Tag Archives: Card

Celebrate the True Meaning of Christmas with Free Printable Nativity Cards & Easy Craft Tutorial for Hope & Joy Napkin Rings for Christmas Dinner

949leigh

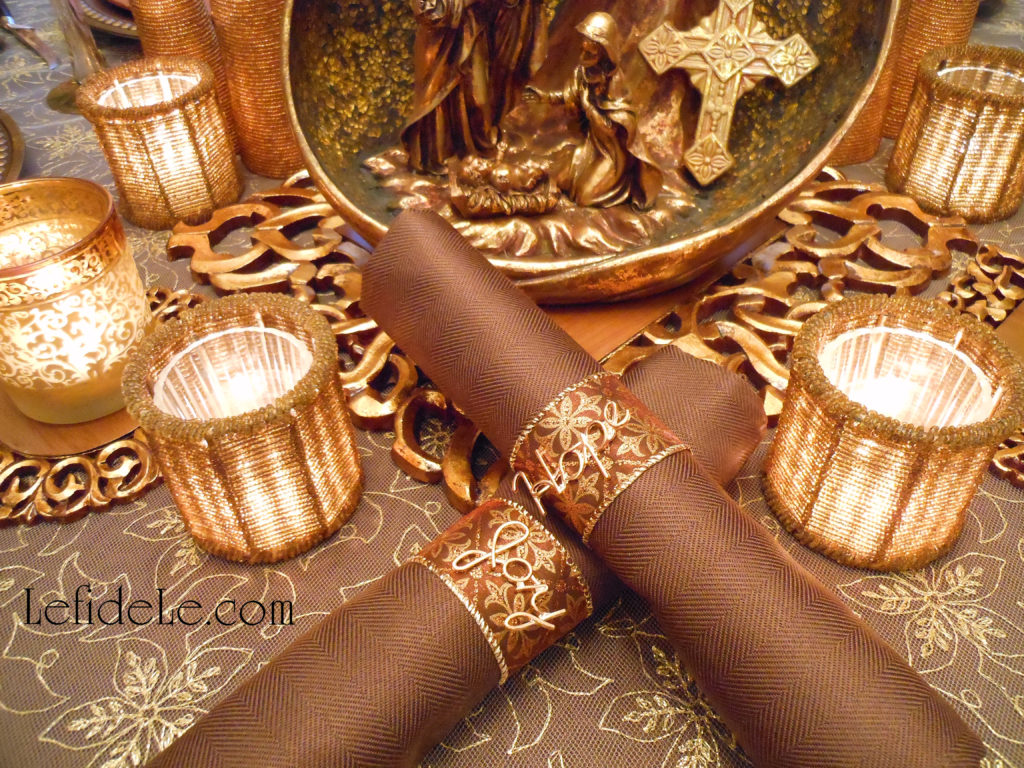
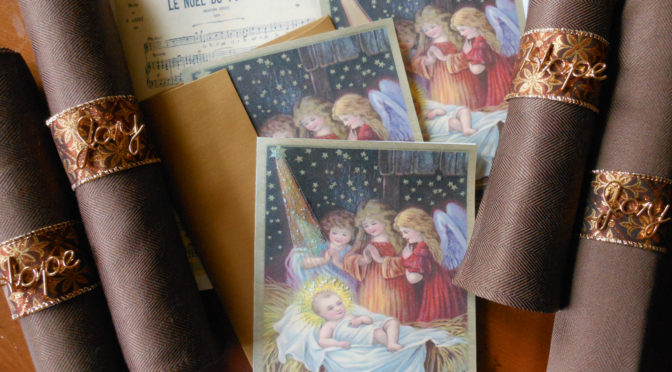
Easily craft beautiful hope and joy napkin rings for Christmas dinner with this quick tutorial, and then send free printable nativity cards that celebrate the true meaning of Christmas. In this way you may offer the message of abounding hope and joy for the Christmas season.

606leigh

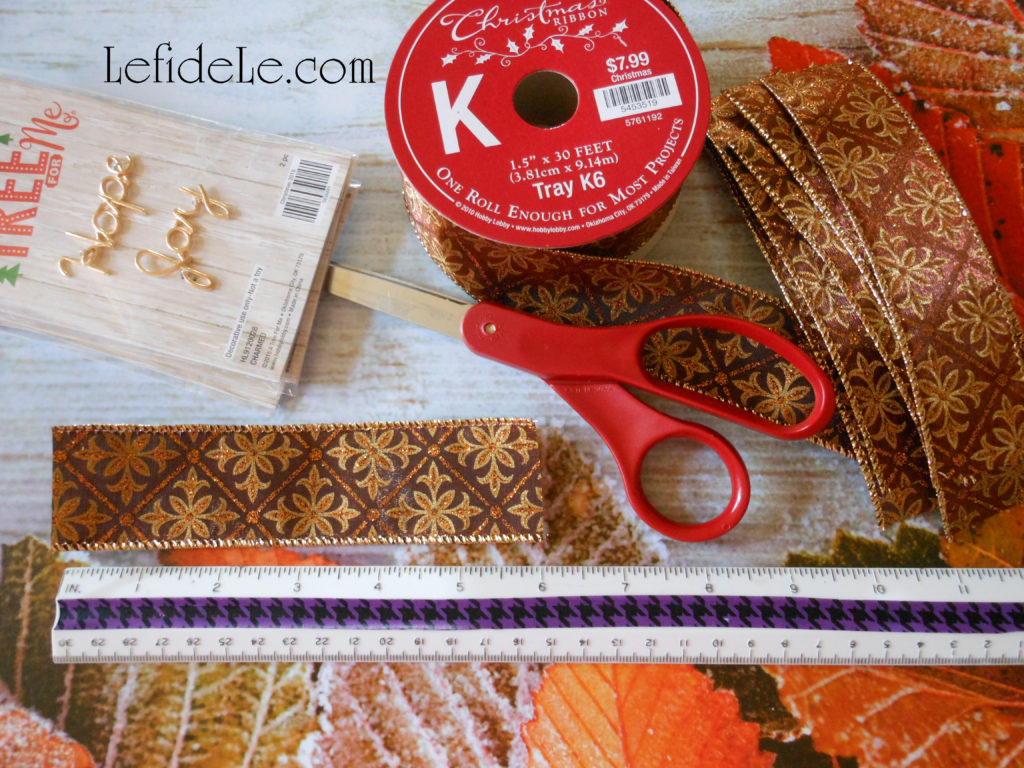
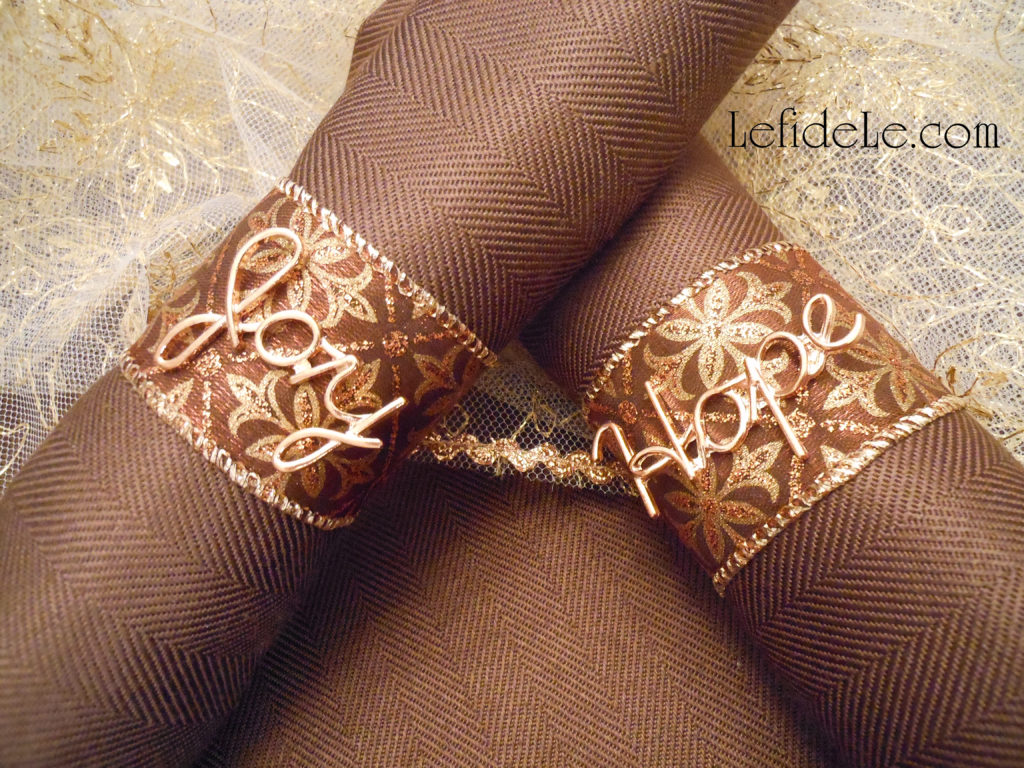
In order to make the napkin rings, you will need a wired ribbon of 1.5 inch width. Choose any pattern of colors to coordinate with the table linens you plan on using. You will need to cut a 6 inch strip for each ring you plan to make, and then you can use the leftover ribbon for coordinating wreaths or packages. You’ll also need miniature word ornaments or scrapbooking embellishments. (This ribbon was 40% off at Hobby Lobby, as were the adornments which were available in various metals and words.) You can also go a step further by bending wire to form a cursive word… but on this day I was going for a quick and easy 5 minute project!

617leigh

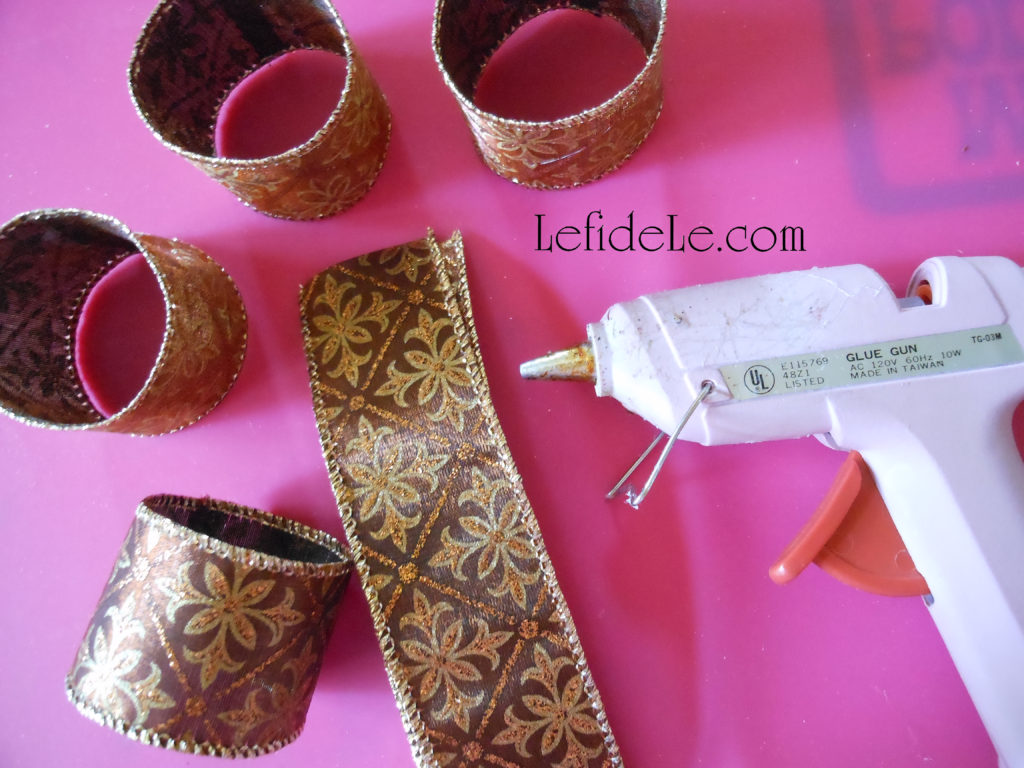
Place a line of glue along the decorative side of the short end of the ribbon. Slightly overlap that edge over the other, and press firmly for lasting adherence. (Use a silicone finger guard to protect yourself from the heat while pressing.)

929leigh

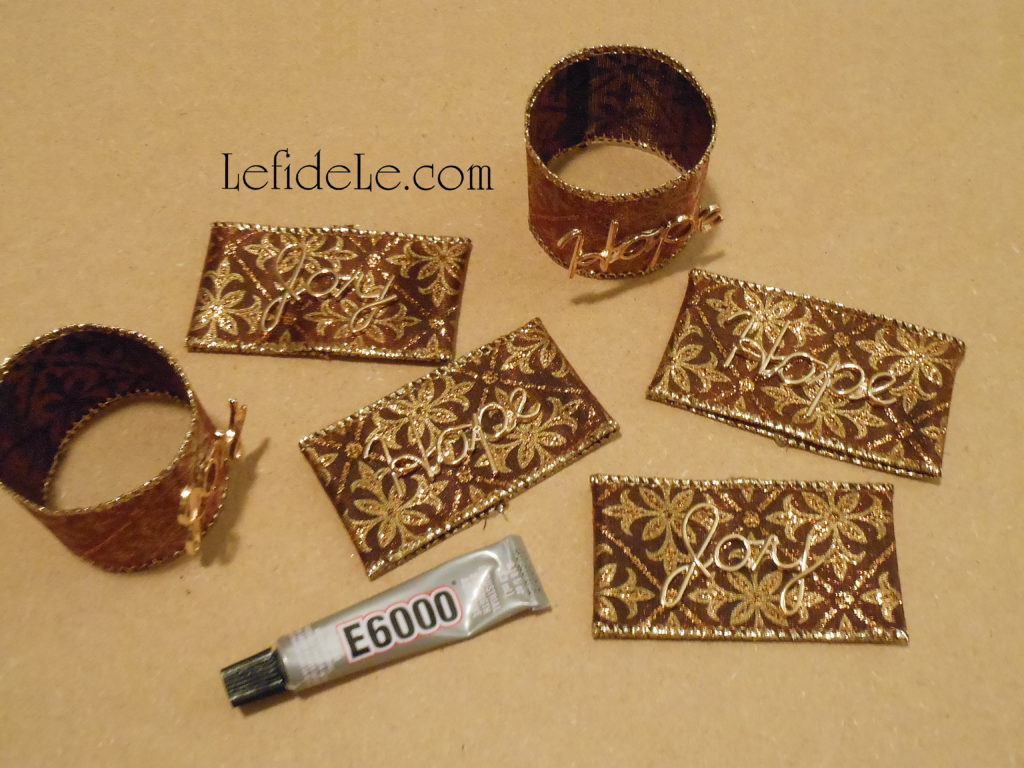
Flatten the rings with the seam centered on the underside. Use a glue like E6000 to adhere the metal to the glittered ribbon, as it grips unlike surfaces well. Just use a dot of glue at the center of the word. Let them dry overnight.

printable-noel-card-by-leigh

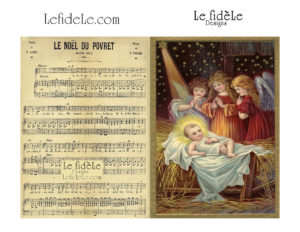
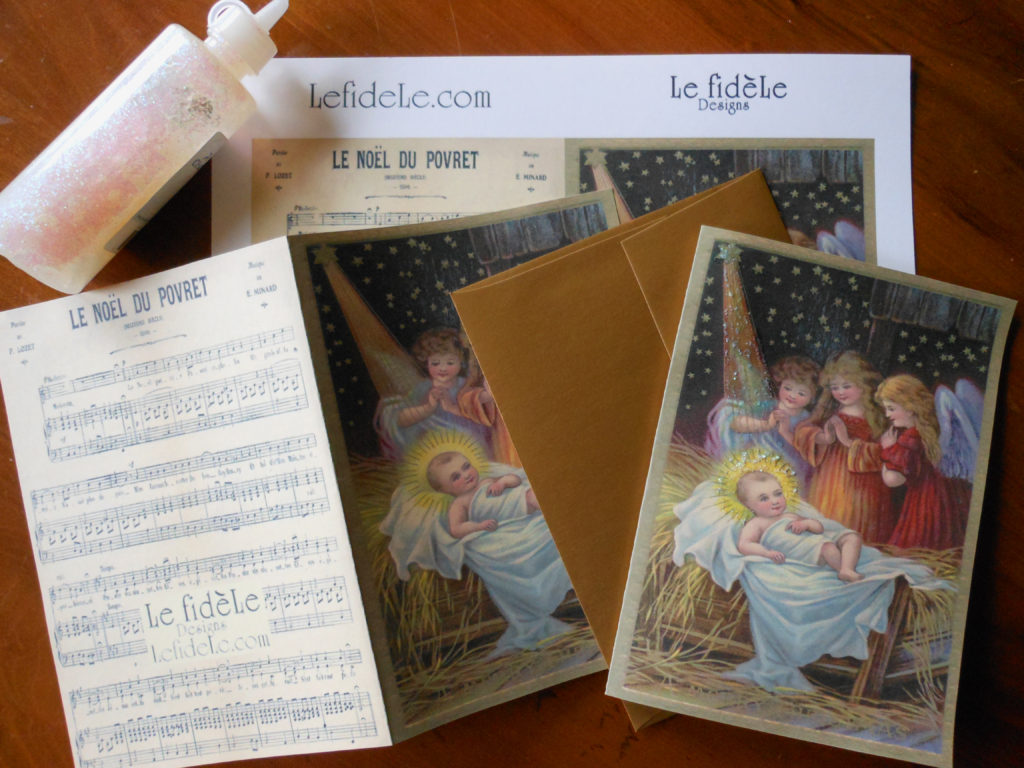
My free printable card is a great way to send Christmas blessings celebrating the true meaning of the holiday to everyone on your list. Print out the exact number you need, when you need them, without having to go back to the store for extra boxed sets. It’s much simpler and far less expensive to buy bulk boxes of envelopes for year round use. (Check my arts & crafts webpage or index webpage for my ever-growing selection of free printables… free for noncommercial personal use only!) To print the cards, simply right click on the image above and select print. One page equals one 5×7 card… so choose the number you want to make, and select color and photo quality settings.

100leigh

Cut along the colorized edge of the rectangle and fold in half. If you really want to make the card shine, spread opalescent glitter glue over the halos and stargazes, and then let them dry overnight before sending. (In person, the dramatic difference is worth the 10 seconds per card.) You can handwrite a line of scripture (like the one below), or use a dollar bin stamp as an easy way to add a special Christmas message of your choice to the inside of each card. (Le fidèLe Designs affiliate store Michaels offers these often.) This is a great project to involve the whole family with an assembly line of printing, cutting, folding, stamping, glittering, and then group signing. You spend less money, and the hand crafted card is appreciated more by the recipient (at least from what I’ve experienced.)

970leigh

“Now the God of hope fill you with all joy and peace in believing, that ye may abound in hope, through the power of the Holy Ghost.” Romans 15:13 KJV

Faithfully Yours,

Leigh

P.S. See the napkin rings within a Christmas dinner setting in my article here: Celebrate the True Meaning of Christmas with Tablescape Décor Ideas Evoking Love’s Pure Light

Easy DIY Taffeta Fabric Napkin Rings & No Sew Tablecloth Craft Tutorial & Free Printable Easter Egg Card or Invitation

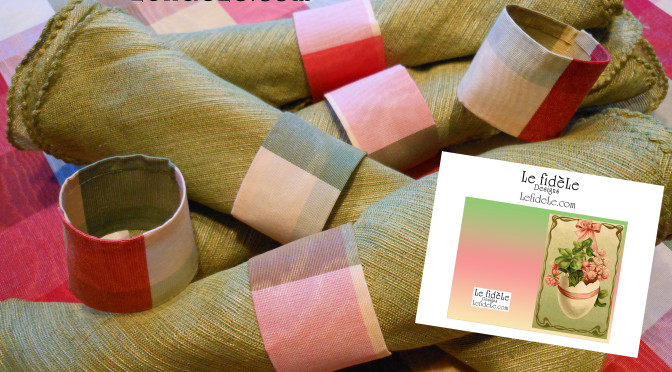
Easily craft these DIY napkin rings and no sew tablecloth from taffeta fabric, and make elegant Easter egg cards or invitations with my free printable in this tutorial. They’re an easy way to create a one-of-a-kind celebration for your next Easter family gathering.

167Leigh

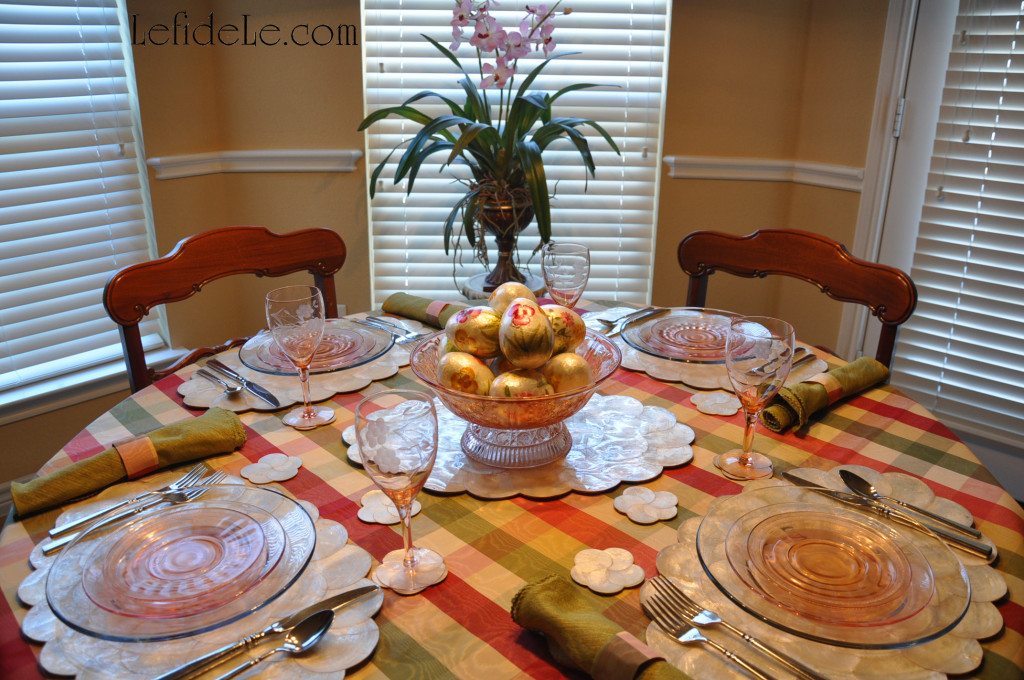
To make the tablecloth, begin by folding one corner of the fabric over onto itself in a triangle shape. Cut the fabric along the edge of the folded section. When it is unopened it will make a perfect square. Slightly fold over the outside edges, and hot fabric glue them into a hem. (Iron the folds before gluing to achieve a perfect no sew hem.) Lay this cloth over another coordinating tablecloth for a lovely layered look. (Check out my Capiz Easter Egg Tablescape for more of these projects in action.)

1932Leigh

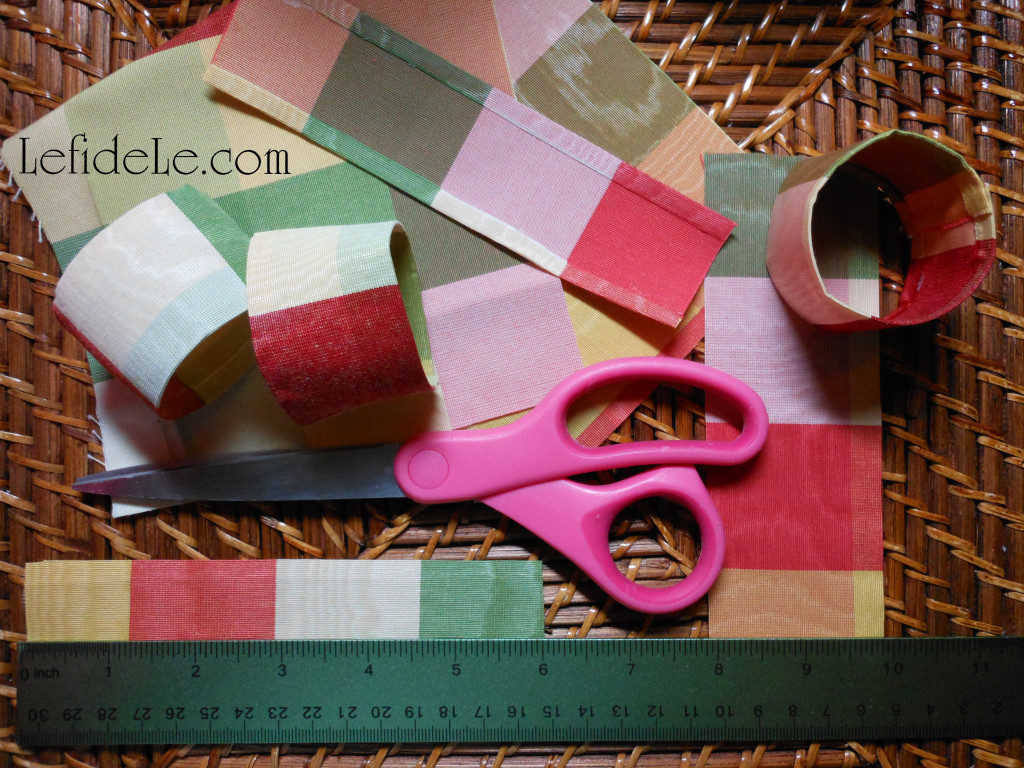
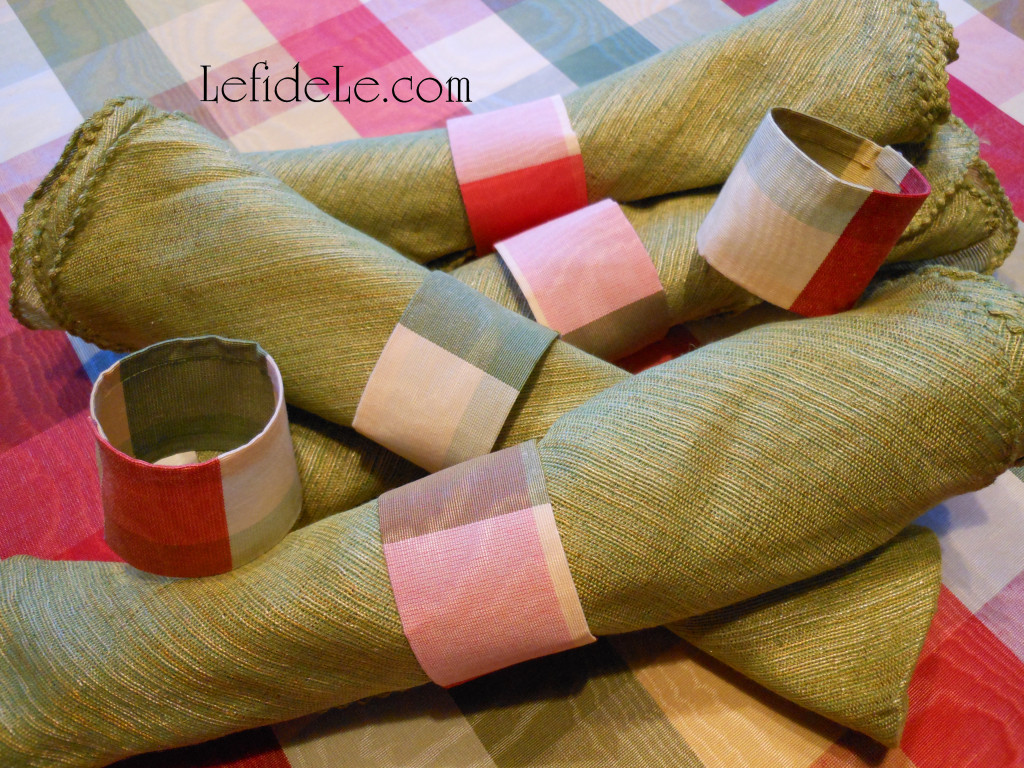
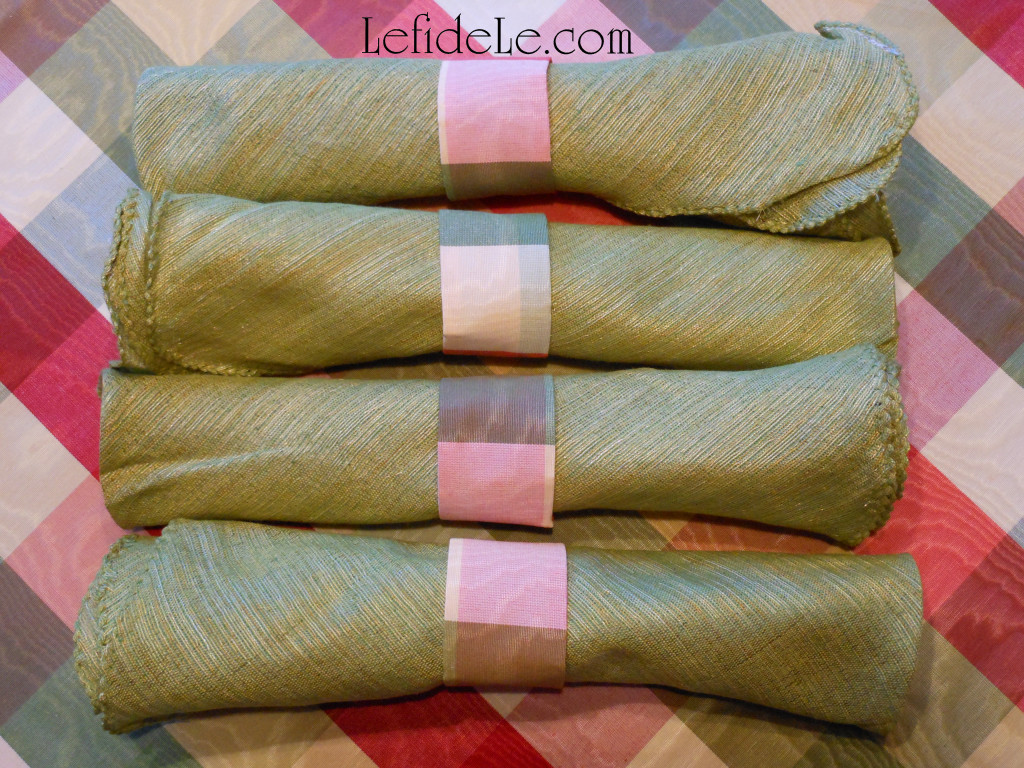
To make the matching napkin rings, cut strips of fabric 2 inches wide by 6 inches long. Fold over the edges on the long sides, and hot fabric glue them under. Next, glue one short side over the other, slightly overlapping them. (Note that the underside of the taffeta is suitable to use also, for a more casual look.)

1948Leigh

This is a great project to use up any leftover fabric from other DIYs, especially if you want to coordinate linens with your drapes or upholstery.

1942Leigh

It’s also great to make these with end-of-bolt clearance sales, if you like the look of high end fabric yet have budget constraints. (And if you don’t… clearance shopping allows you to allocate more funds to charity. Double-win!)

PastelEggCardLeigh

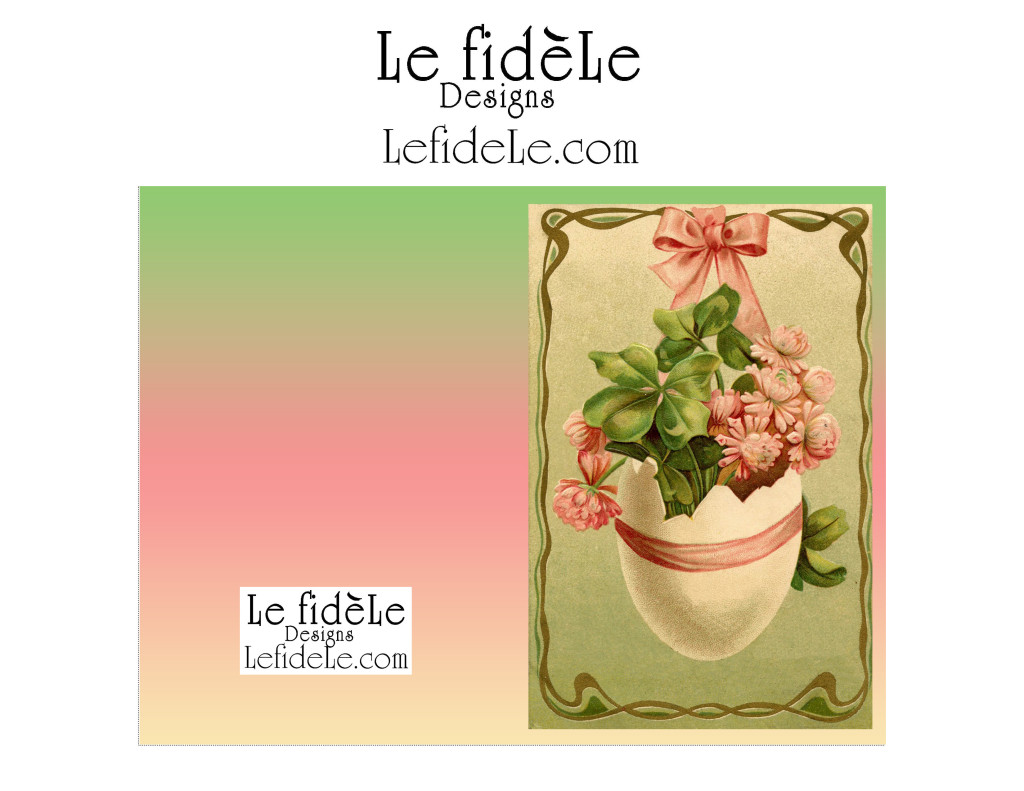
Now print out Easter egg cards and invitations using my free printables. (Note that these are free only for your personal use and not for commercial purposes.) Simply right click on the image above and select print. Choose the photo setting, and print 1 full page for each card you desire. Print them on thick cardstock paper for the best quality card. Cut out the color image, and fold one end over the other. (Boxes of card sized envelopes are quite inexpensive, or you can make your own. Look for my tutorial on this in the future.)

Hoppy Easter to all you creative chicks!

Faithfully Yours,

Leigh

Easy DIY Rainbow Napkin Rings Tutorial & Free Sky Printable Card / Invitation Craft for All Occasions Including Parties & St. Patrick’s Day

2030Leigh

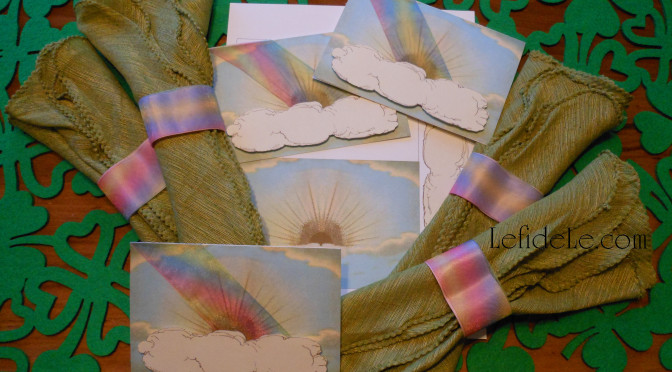
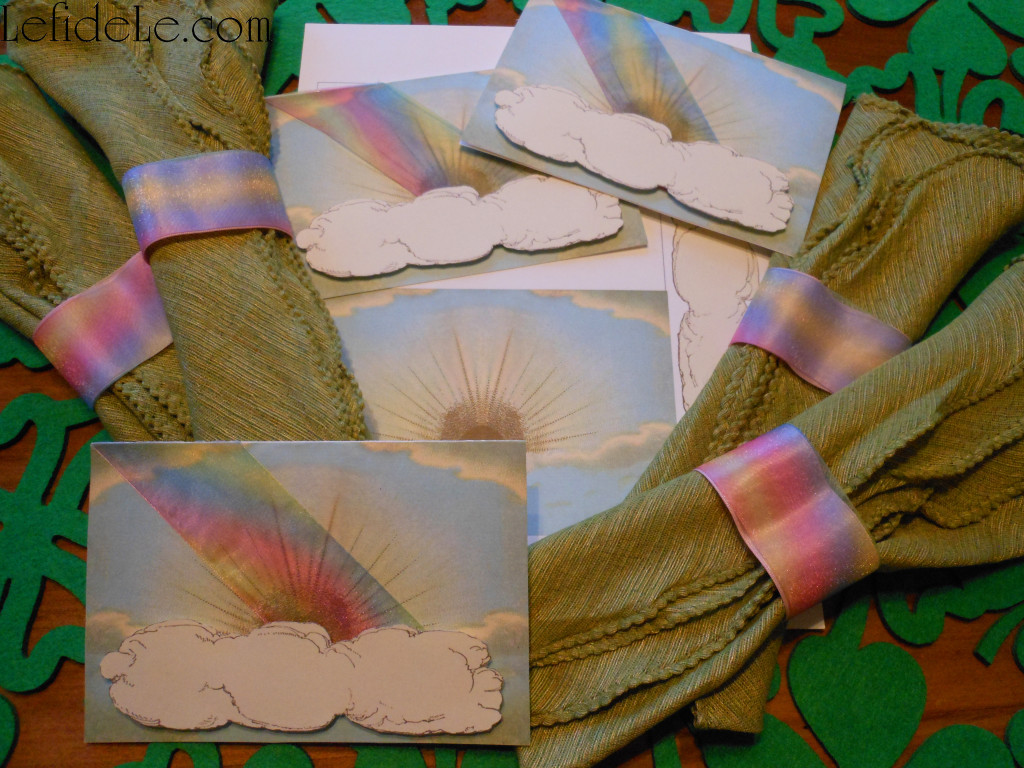
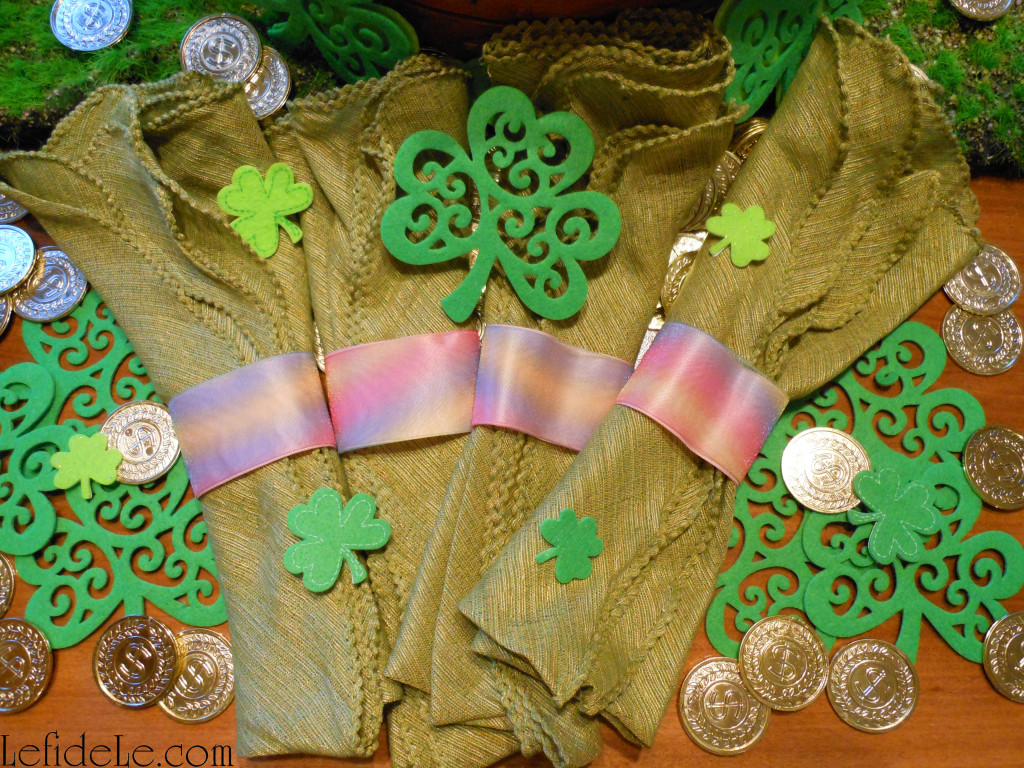
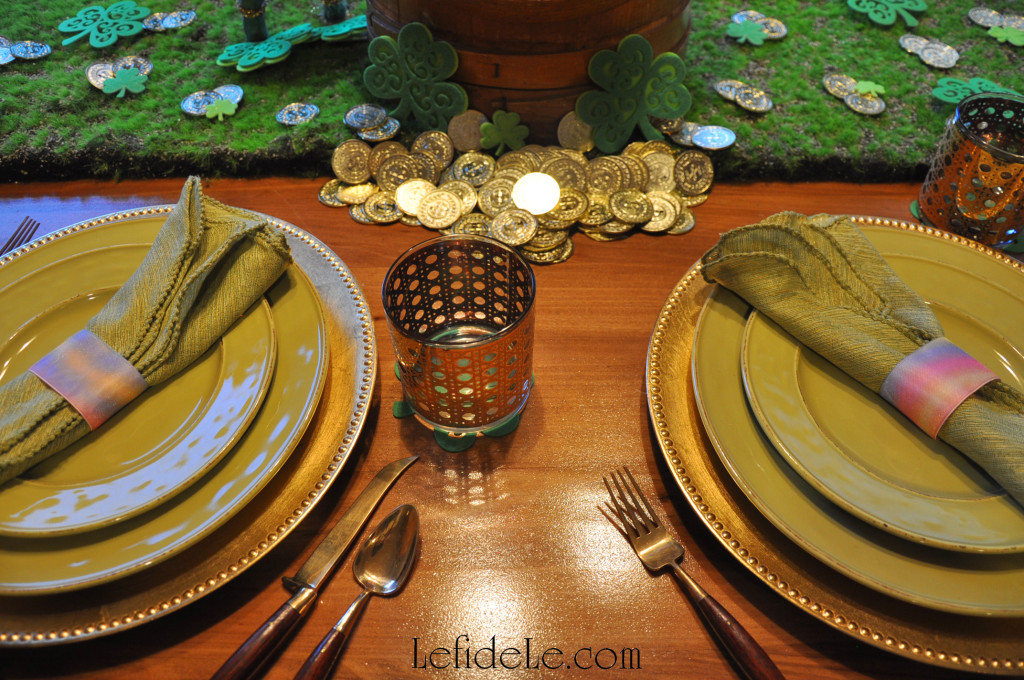
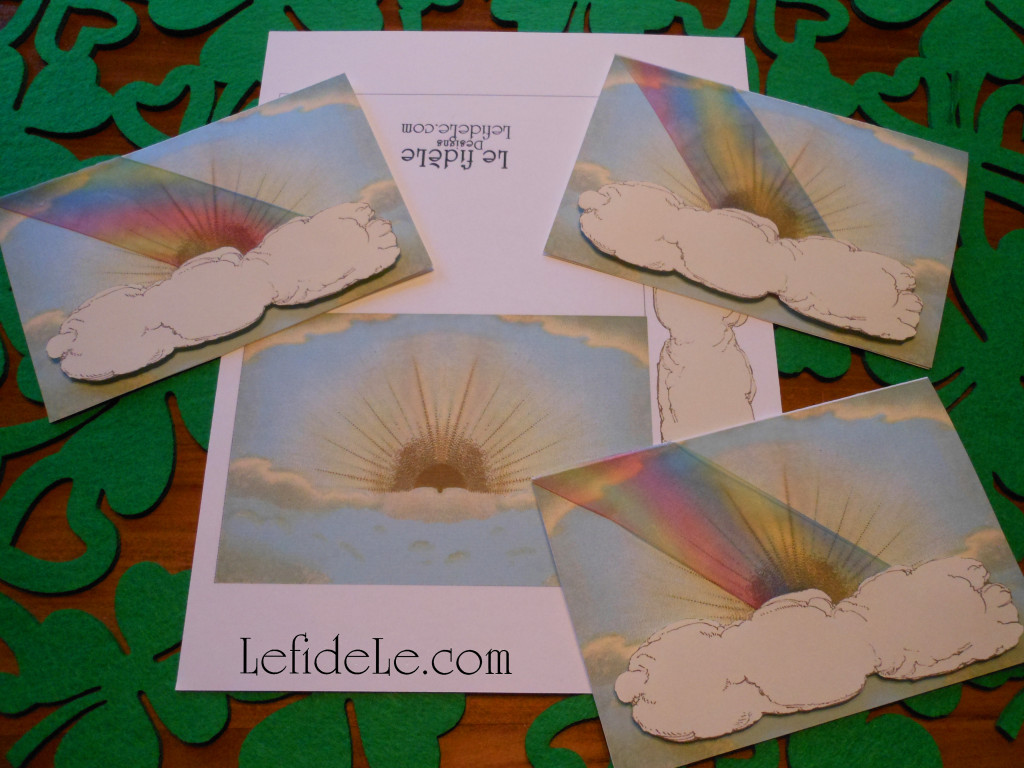
This easy DIY rainbow napkin rings tutorial is perfect for many types of parties including St. Patrick’s Day, and my free printable all occasion sky card is a great craft for making matching invitations. The card can be made with or without the addition of a rainbow, and so it’s useful for many other purposes… such as sympathy, get-well, congratulations, good luck, missing you, birthday, et cetera. Is there ever really a bad time to send a rainbow as the symbolic harbinger of hope?!

2002Leigh

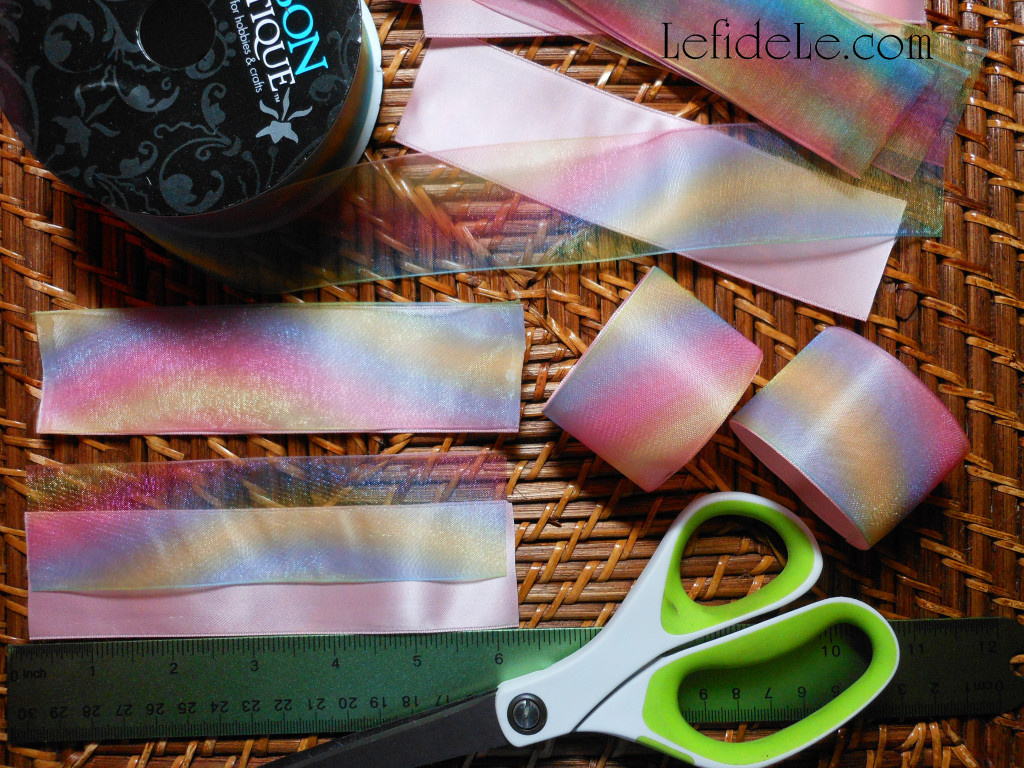
Let’ make the rainbow napkin rings first. To begin, you’ll need a pale color base ribbon and a sheer rainbow ribbon for the top. I used a vintage soft pink satin for the base, because it really brought out the rainbow’s beauty. Just make sure both types of ribbon are the same width.

1919Leigh

Cut 6 inch lengths of each type of ribbon for every ring you want to make. Next, hot glue the short ends only. Make sure to press the ribbon ends together firmly before the glue dries… using silicone finger protectors of course. Now glue one short end to the other, overlapping them slightly. Again, press them together firmly.

35Leigh

These rings are so quick and easy to make that they can be crafted at the last minute before a gathering. Who said procrastinator’s can’t have fabulous decorations?!

2051Leigh

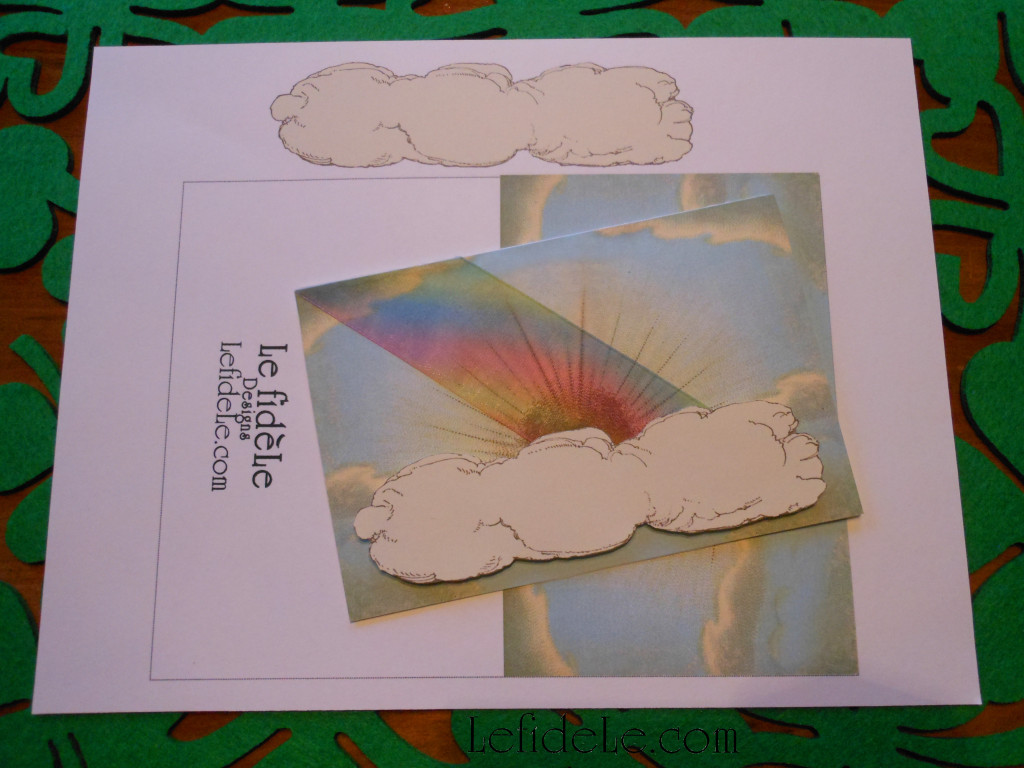
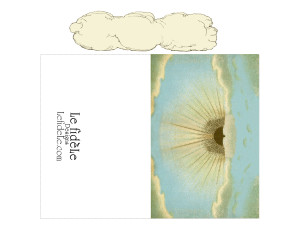
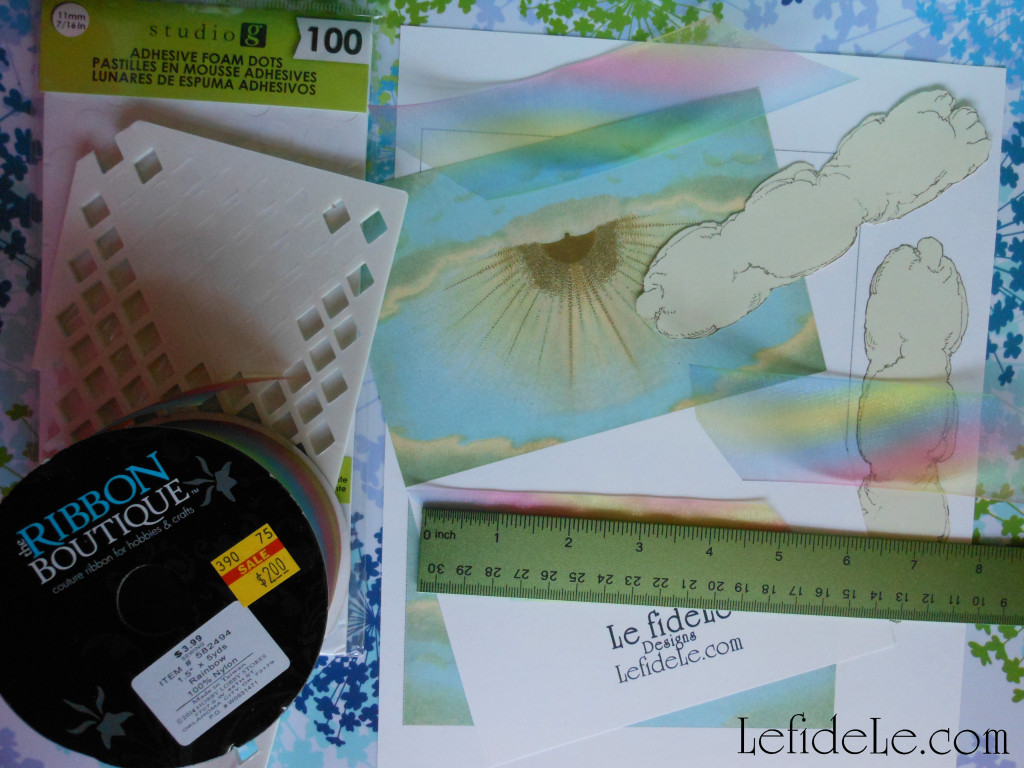
Let’s make the sky card now. You need to print one page for every card you wish to make. I like to make extras during each crafting session, in case I have an unexpected need for a last minute card. (Note that my free printable is for your personal use only… not for commercial purposes.) If you want to add a rainbow, you can use any variety of colorful ribbon you like… striped, thin, checked, thick, solid, translucent, plaid, paper, plastic, or gossamer fabric ribbon like this one that I found on clearance. You can even use a pretty washi paper tape if you like.

Skycard+CloudLeigh

Simply right click on the small image above, and select print. Be sure to choose the photo setting for the finest image. It’s best to use a thick cardstock to make a nice card.

2008Leigh

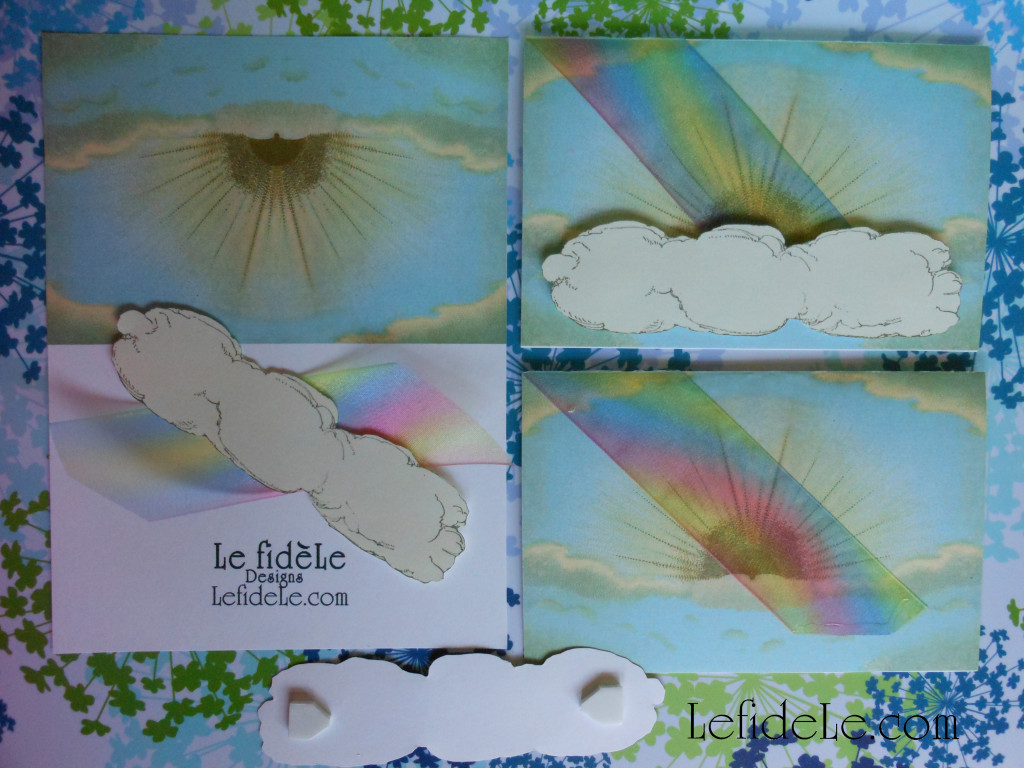
Cut out the rectangle with the logo and sky image together, and then cut out the cloud image. If you want to add a rainbow, cut a 5 inch length of ribbon on the diagonal (like this /__/ ).

2015Leigh

Next, fold the rectangle in half to form the card. Add the rainbow by gluing the ribbon down to the top left corner, and then attach the other end. You can either glue the cloud on top of the ribbon directly, or use dimensional foam stickers to add height to the cloud. Try to place it under the sunrise just above the card opening.

2020Leigh

The perfect St. Patrick’s Day greeting card contains a classic Irish blessing such as this one:

“May the Irish hills caress you. May her lakes and rivers bless you. May the luck of the Irish enfold you. May the blessings of Saint Patrick behold you.”

♣ Lá Fhéile Pádraig Sona Daoibh (Happy St. Patrick’s Day!)

Faithfully Yours,

Leigh

P.S. See more of the rainbow napkin rings in action here: Meet me at the End of the Rainbow Tablescape Ideas for St. Patrick’s Day Party Décor!

July 4th Altered Art Greeting Card as Mailable Mixed Media Independence Day Décor (DIY Collage Art Tutorial)

120Leigh

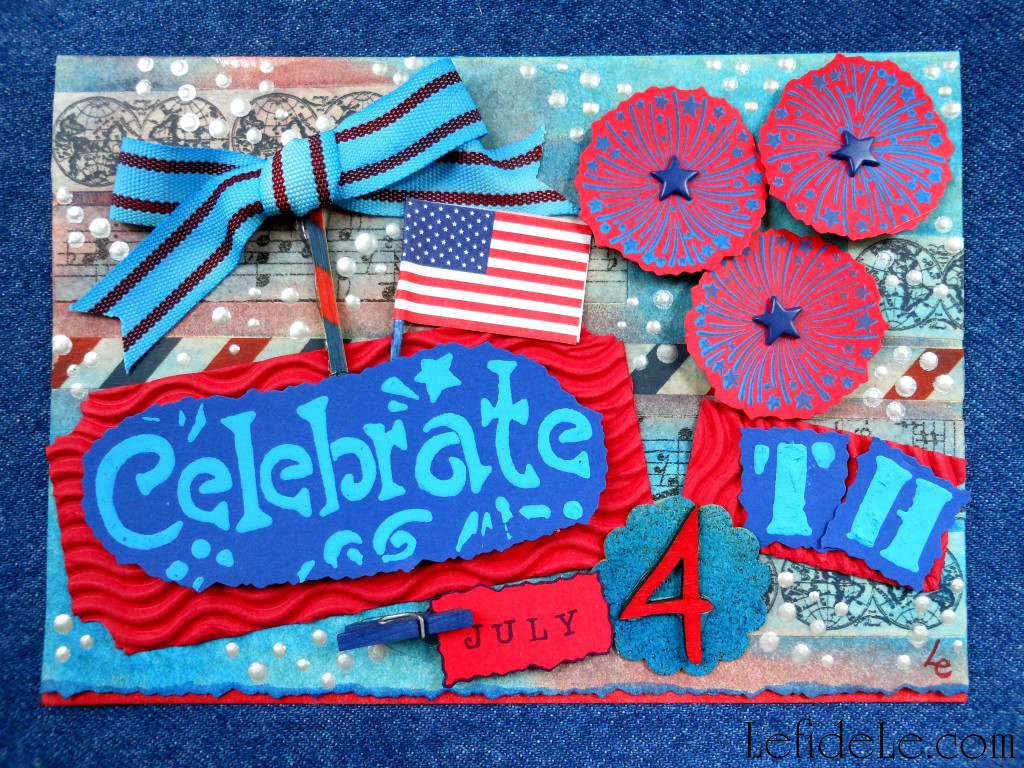
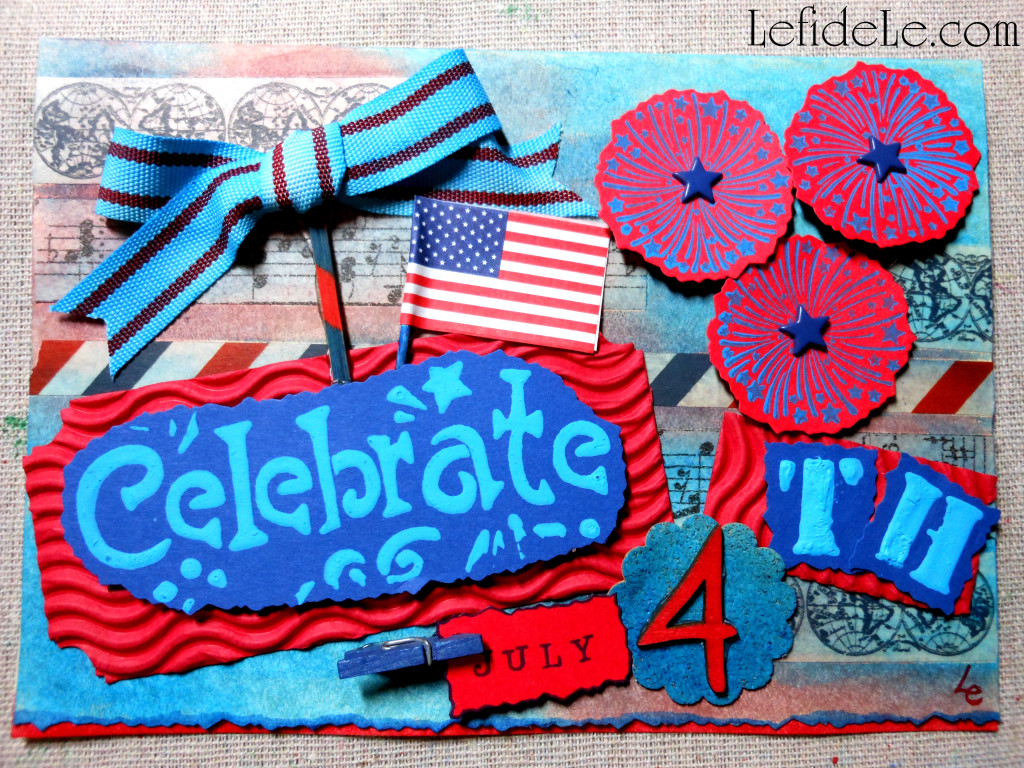
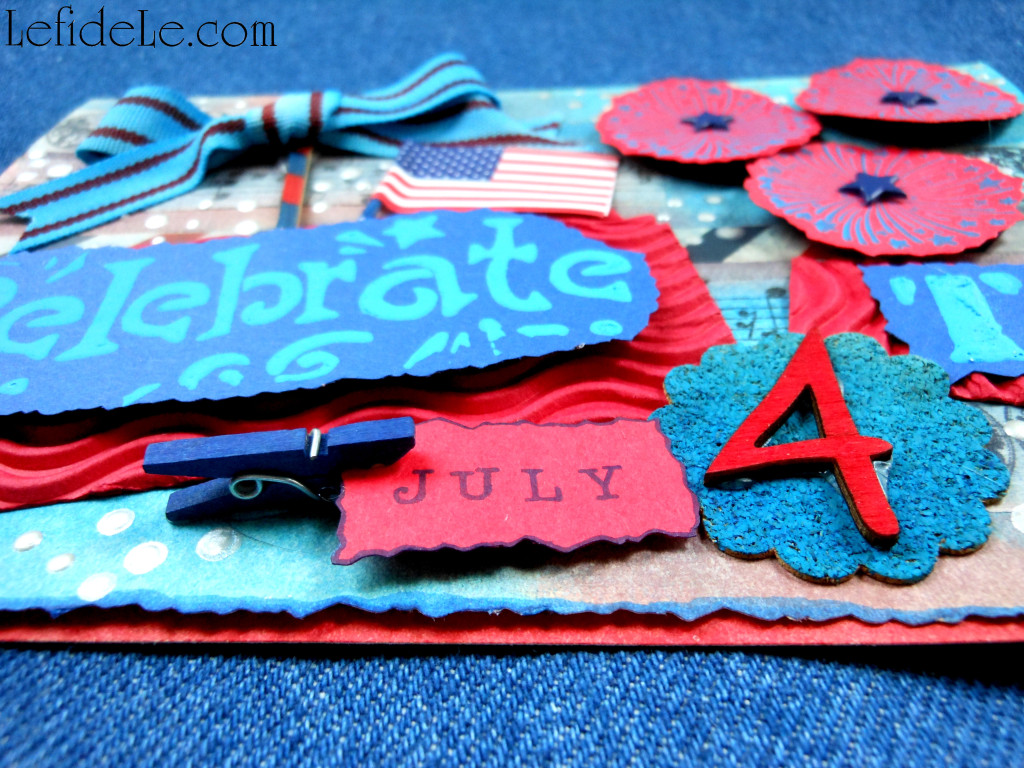
Herald in the fourth of July with an altered art greeting card that doubles as a mailable gift, as it may be framed by the recipient as mixed media décor commemorating Independence Day. It’s a delightful way to send a bit of revelry to a loved one who can’t attend the year’s celebration. This art project is perfect for gathering the whole family together for a fun “crafternoon”, because the Design Memory Craft mediums are non-toxic. They are also fully compatible with each other and a large variety of substrates. This product versatility makes it so easy to combine collage material into something impressive. So follow along as I create an art card ablaze with the spirit of the season, then use the ideas to make one infused with your own artistic essence… because a blast of creativity is the best way to start the holiday off with a bang!

058Leigh

Begin with a readymade greeting card base or make your own inexpensively from sturdy cardstock.

061Leigh

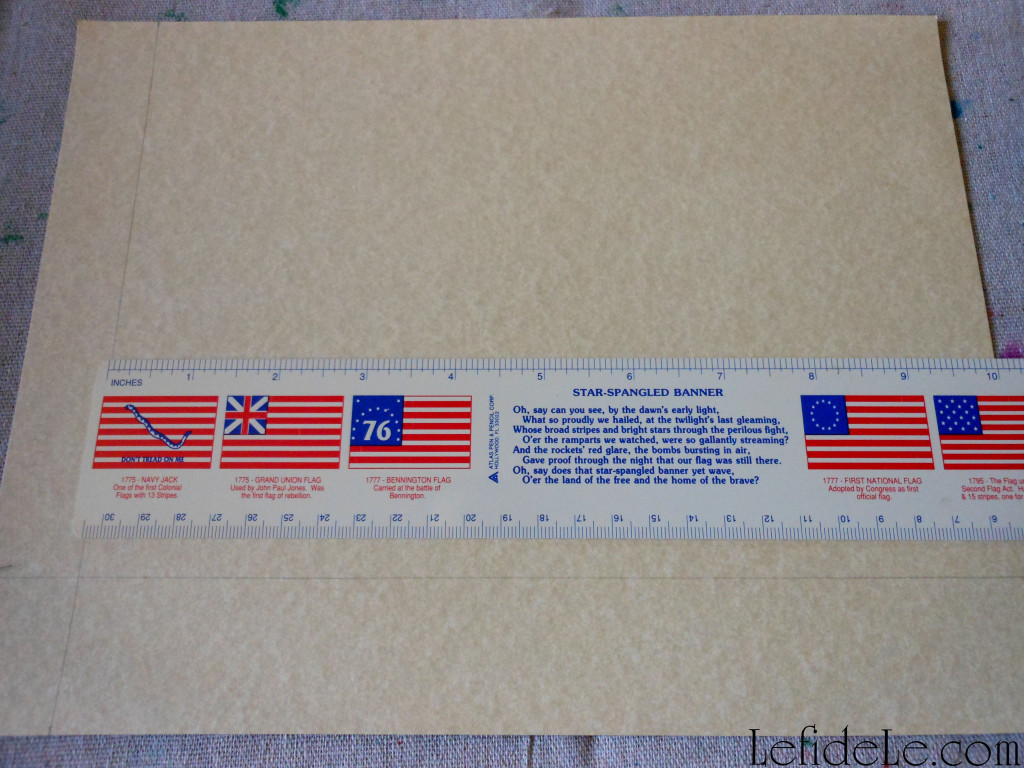
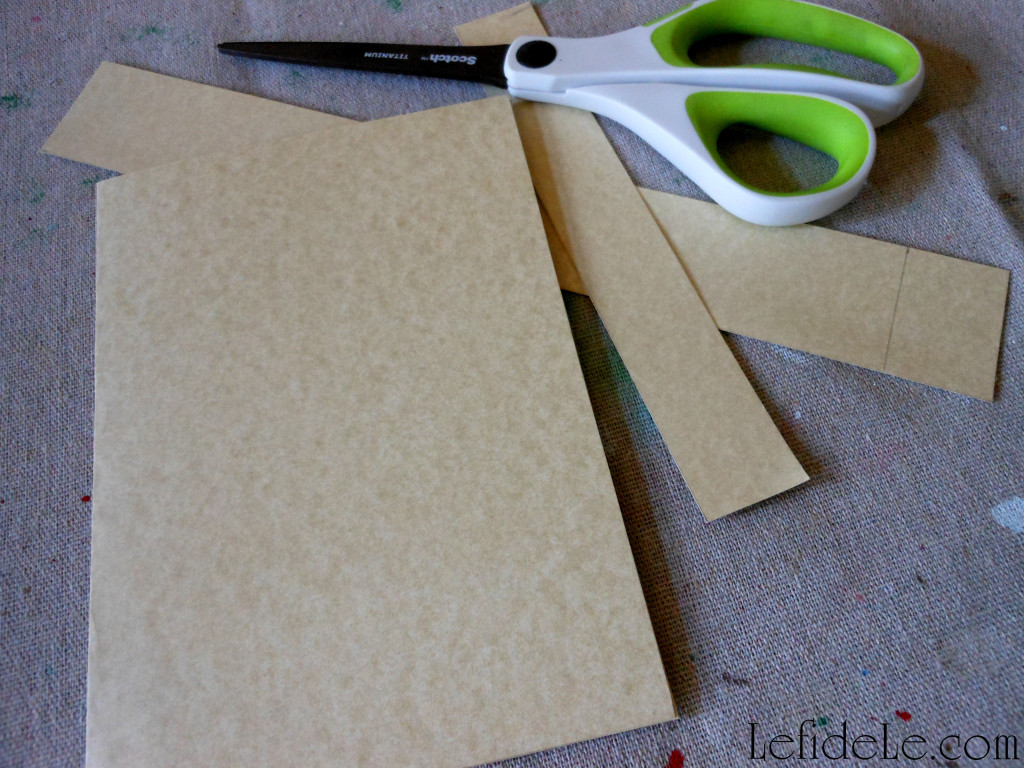
I cut a piece of parchment printed paper to a 7 x 10 inch size, so that it could be folded into a 5 x 7 card… perfect for framing.

63Leigh

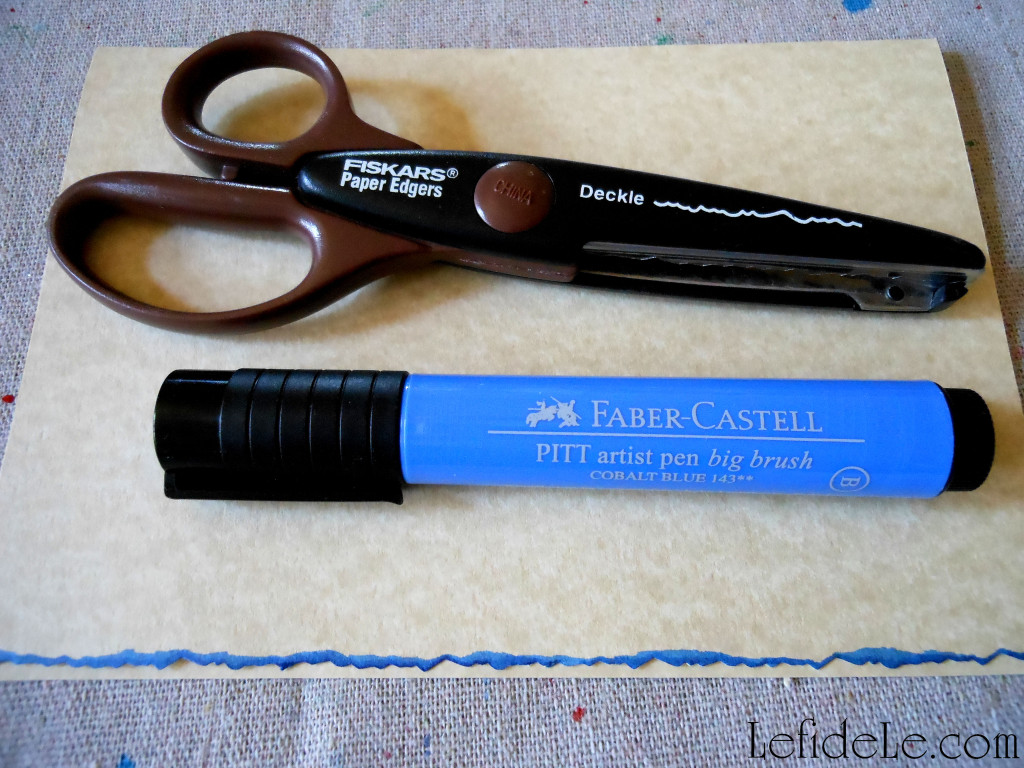
I used deckle edge cutting scissors to produce a torn looking finish on the card. (I later used the deckle scissors to cut around some of the stamped images too.) Pitt artist pen big brushes are perfect for highlighting such details. Just swipe the side of the brush along the edge to deposit the permanent ink in a rough fashion.

064Leigh

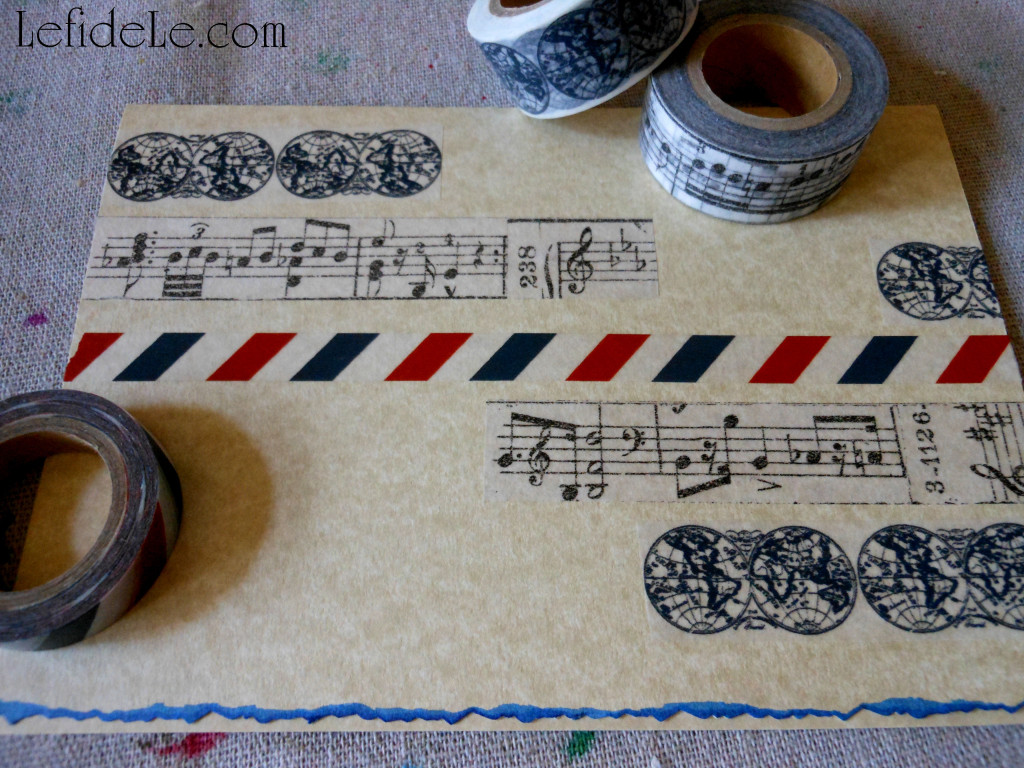
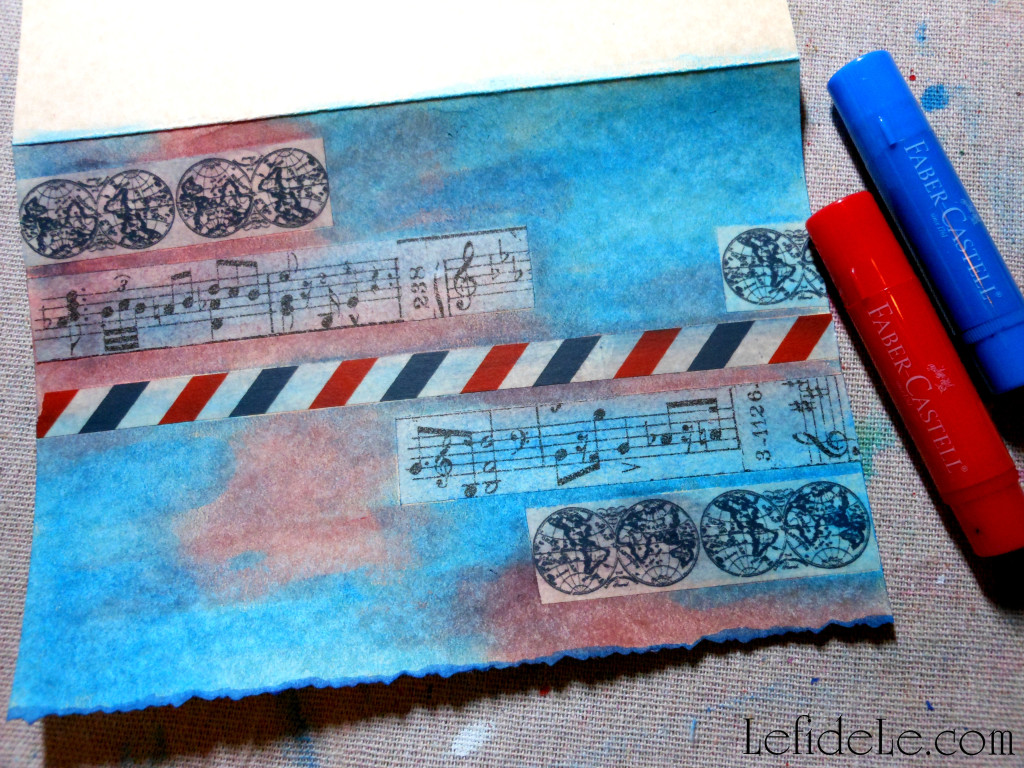
Paper washi tape is a quick way to imbed visual texture onto the base of a collage. Another way is apply printed pages with gel medium. (I’ll demonstrate this more fully in a future tutorial.)

068Leigh

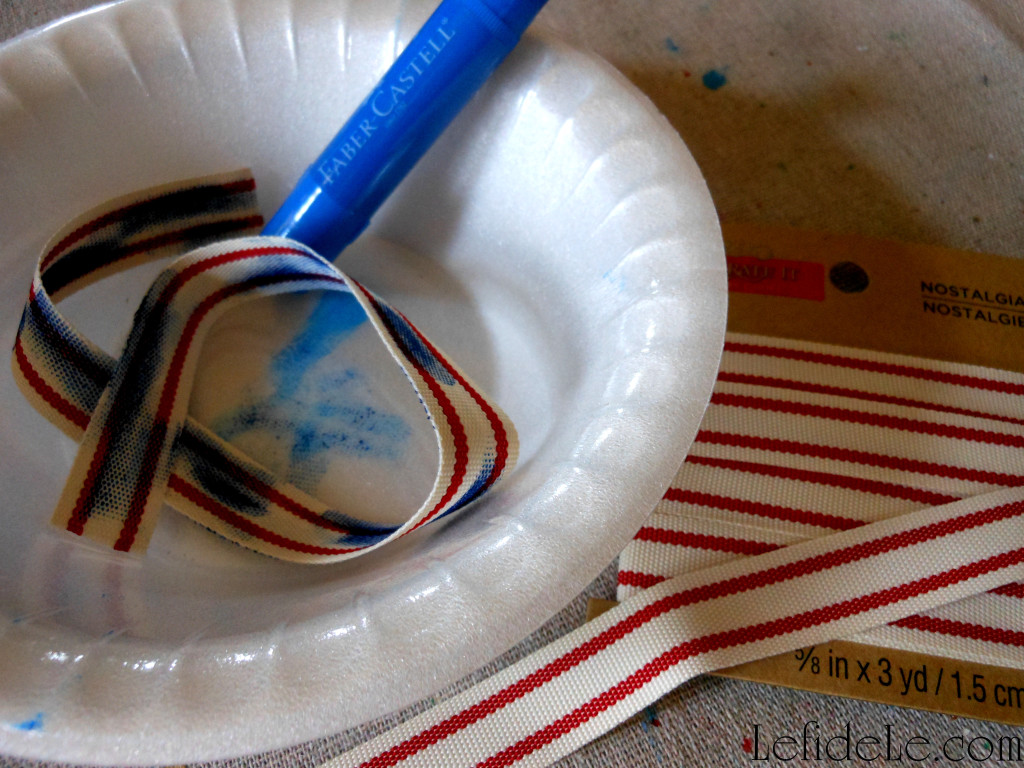
Design Memory Craft gelatos are multipurpose mediums that look like colored chap-sticks. They apply thickly, but can be thinned to watercolor consistency when mixed with water. (You can even turn them into a liquid spray paint to splatter your work with!) They can be used to dye a variety of materials as well. To dye canvas ribbon, I simply marked it haphazardly with a gelato on both sides. I then took water and rubbed it into the ribbon, like magic… it turned blue. It dried fairly quickly too!

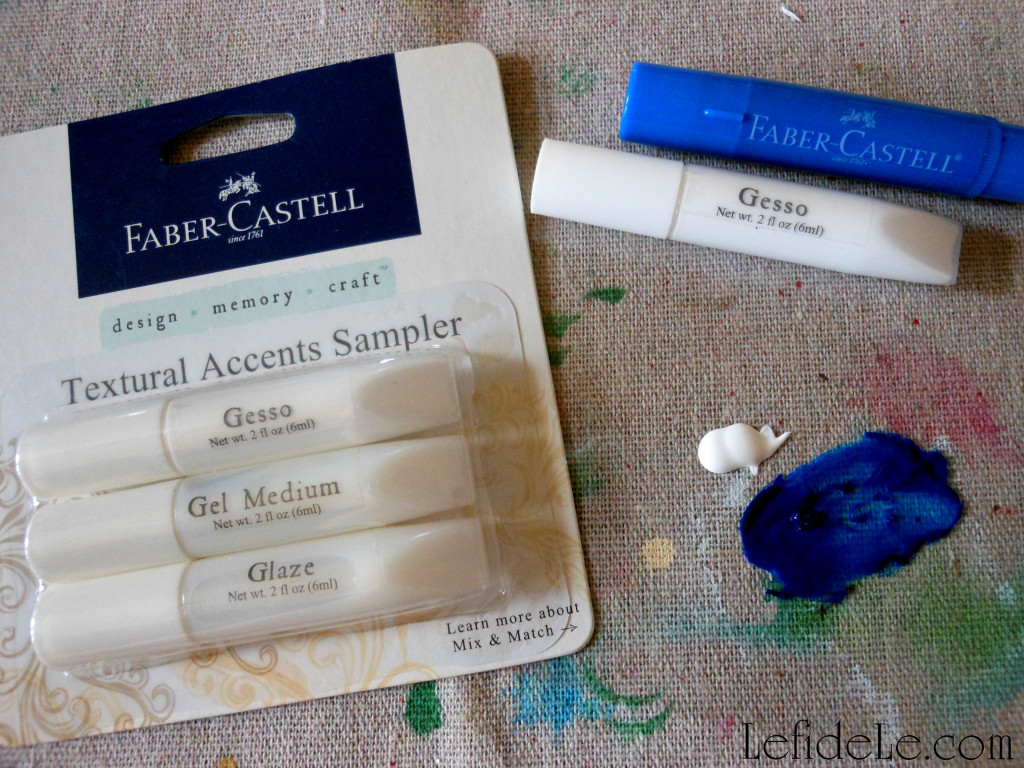
070Leigh They can be mixed with other mediums also. You can see here what straight gelato and plain gesso looked like before mixing. (Warning: if you explore medium capability with a small sample pack like I did… you may get totally hooked too!)

074Leigh

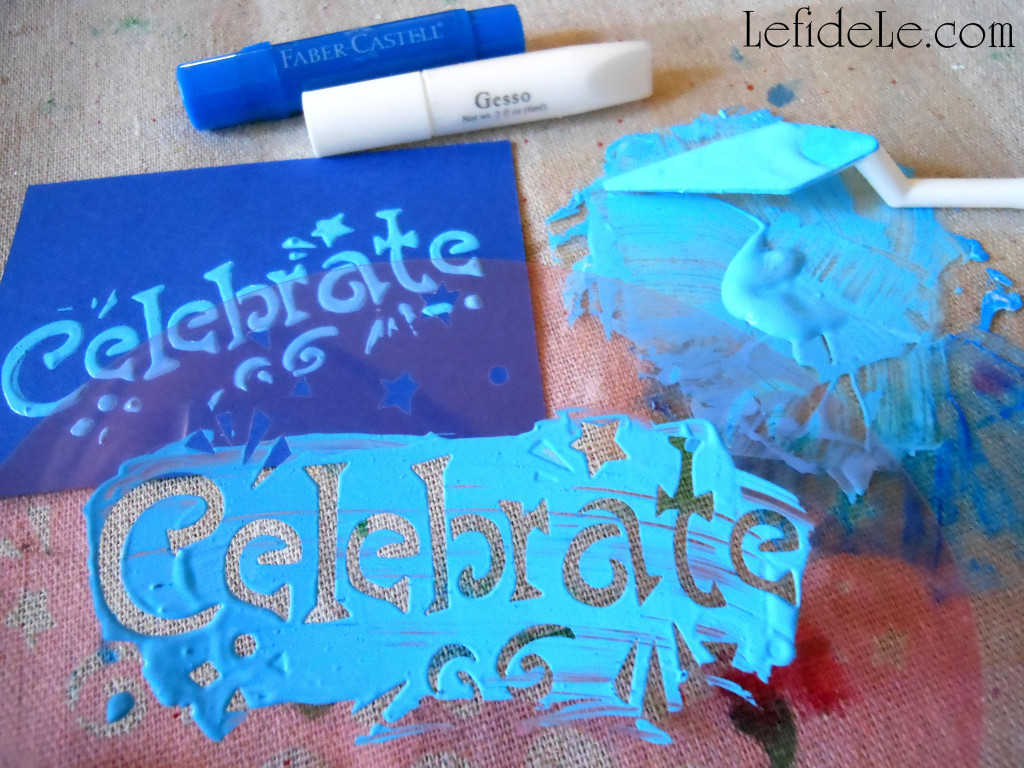
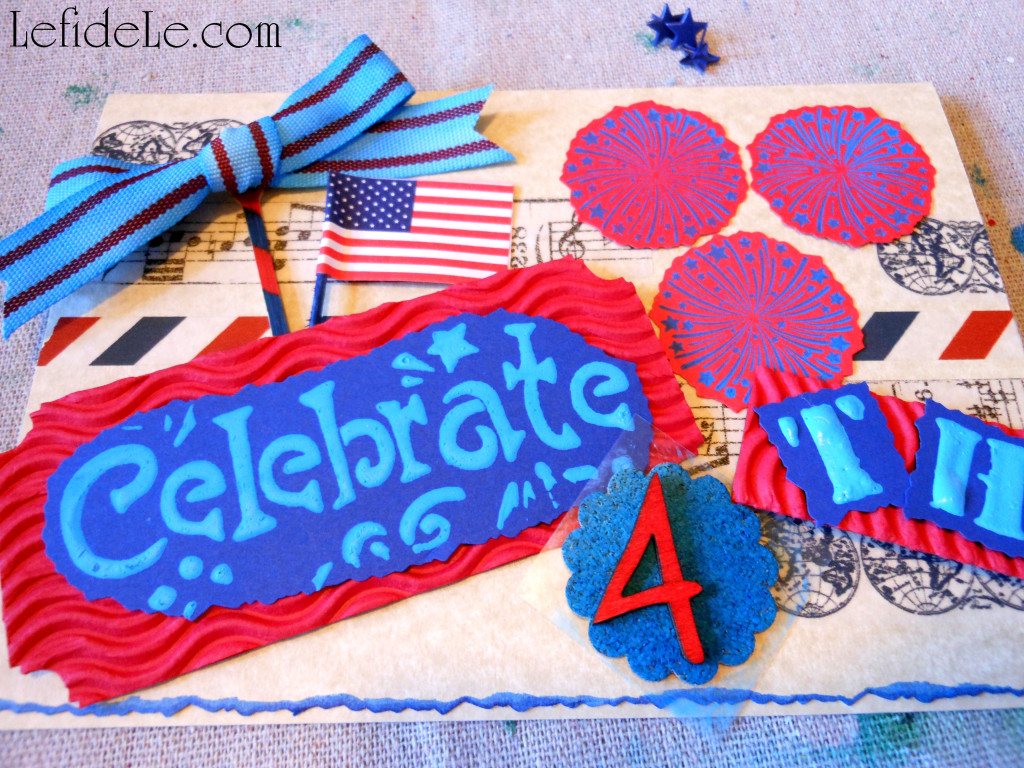
Here I used a palette knife to tint gesso with a cobalt blue gelato. White gesso opacified the color into more of a cornflower blue. A thick swipe of medium over a stencil will lay down a swath of shaped color onto your paper. (Stencil words like “celebrate” are great to have in a craft arsenal to use year round.)

076Leigh

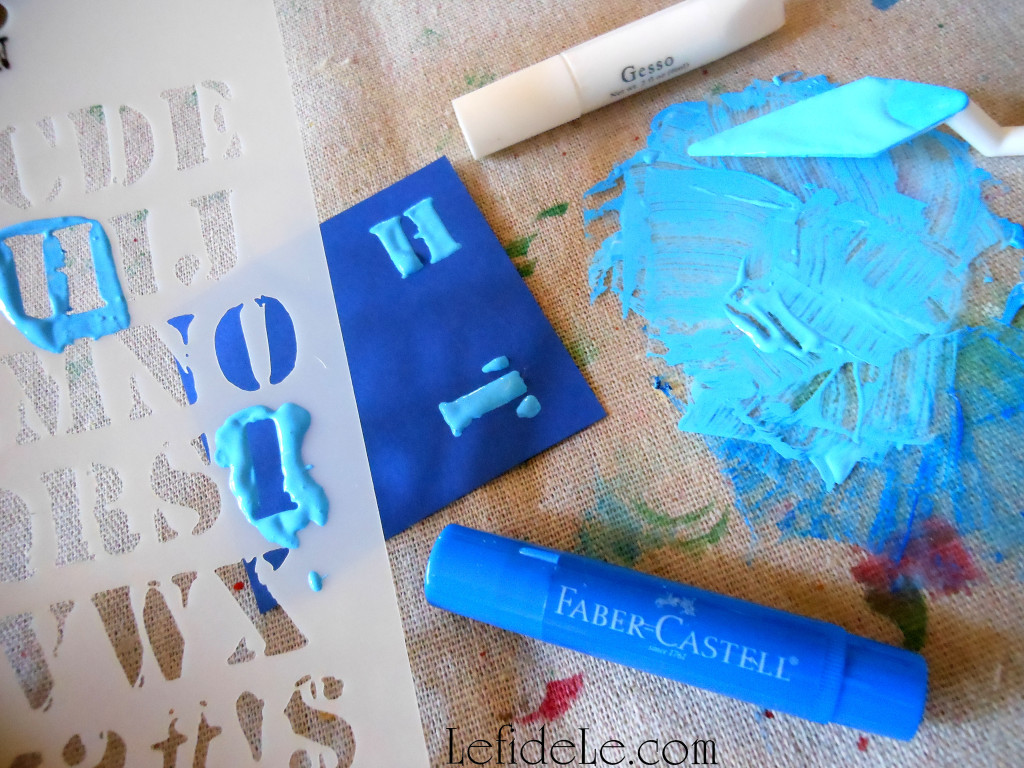
I used the same technique to form raised letters onto colored paper. (This is a great way to use up all those scraps of “craftermath” from previous projects!) The thicker the layer of gesso, the longer it will take to dry.

072Leigh

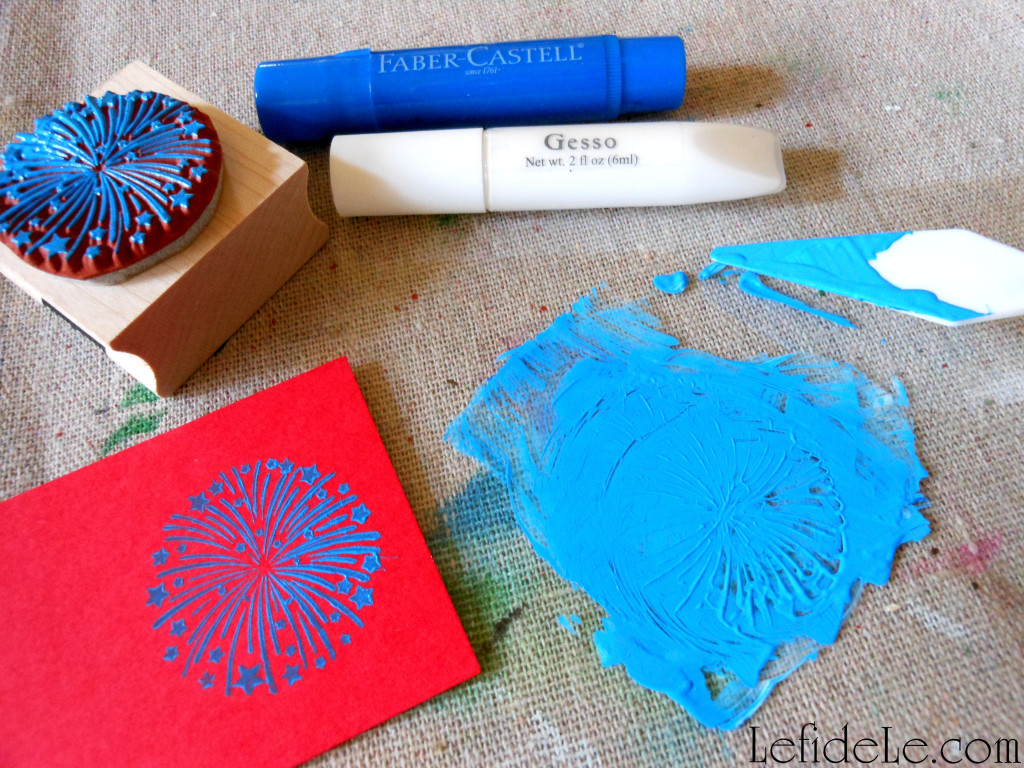
Use any leftover gelatoed-gesso as an opaque stamping ink. It’s great to use on colored papers that would just appear as plain black if using a stamp pad. (I really liked the blue on red for these fireworks.) Just remember to rinse off your stamp before the gesso dries.

079Leigh

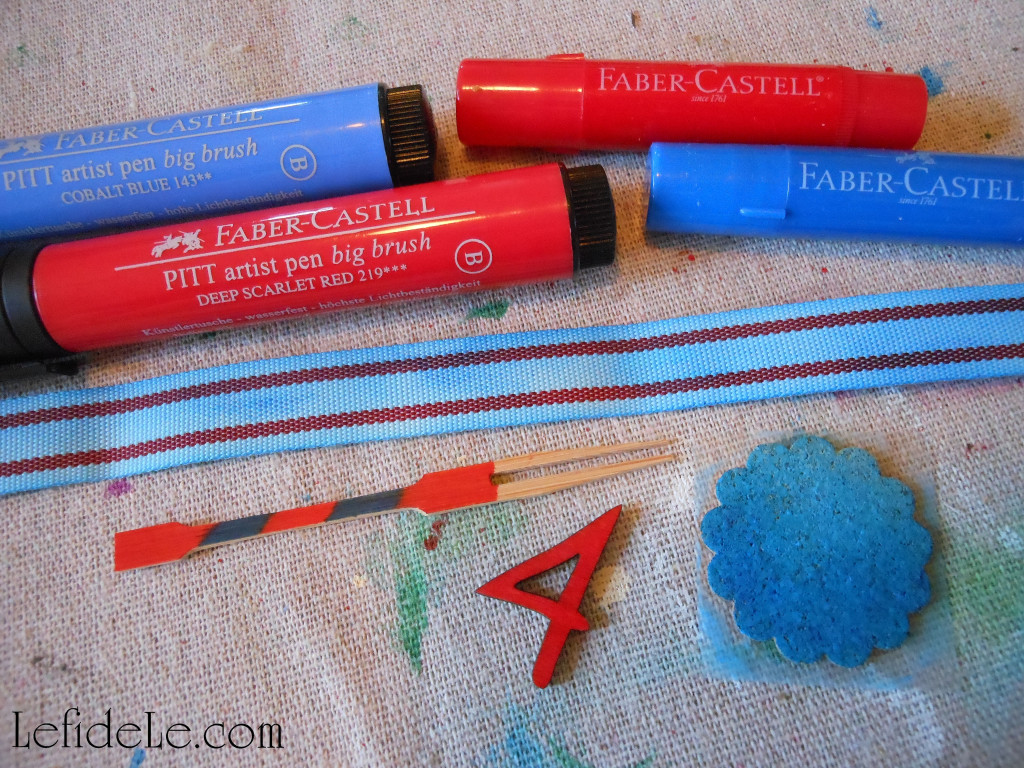
You can dye just about anything with gelatos and pitt pens. The gelato dyed ribbon will appear lighter once it has dried. If you’d like to impart deeper color, just repeat with more gelato. The little scalloped round element is a cork sticker that I tinted with cobalt blue gelato. It’s easy to make an ombre effect by applying color to only one side then rubbing it across the piece. I used the pitt pens as a wood stain by simply coloring the laser-cut birch 4 and bamboo food pick. (This is the easiest and cleanest way I’ve found to tint wood without losing the grain pattern!)

083Leigh

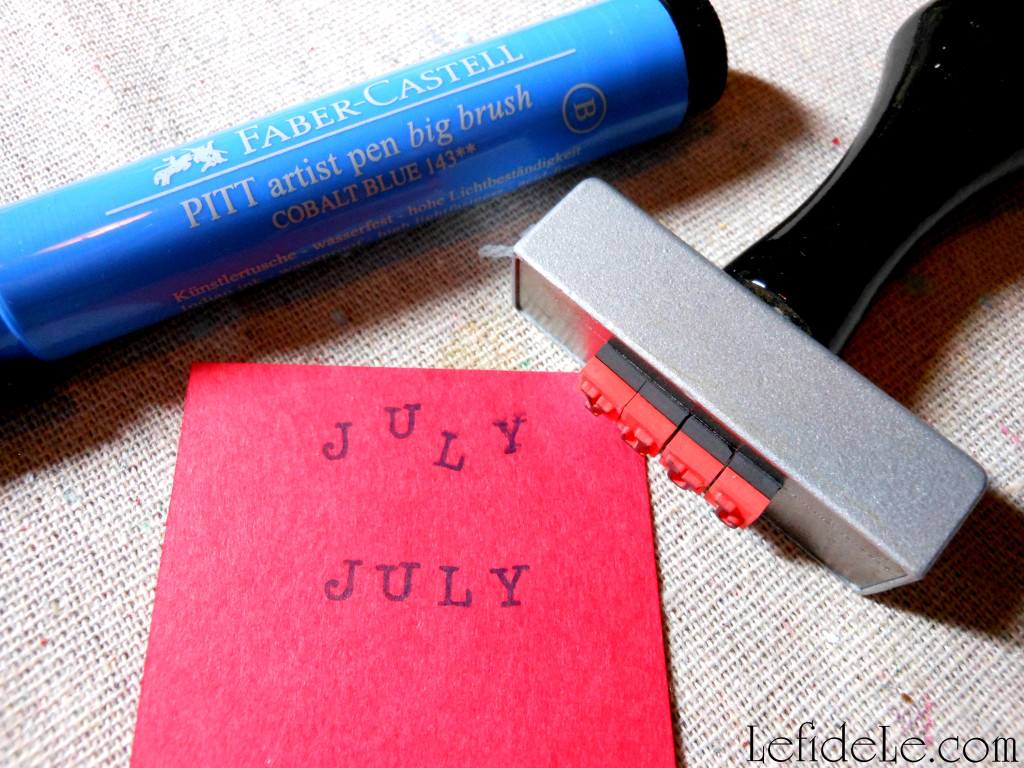
Pitt artist pen big brushes can also be used in place of stamp pads. (They’re especially great when you want to combine colors onto one stamp image!) I spelled out JULY, with a magnetic lettering stamp, as if it had been printed by an old-school typewriter.

087Leigh

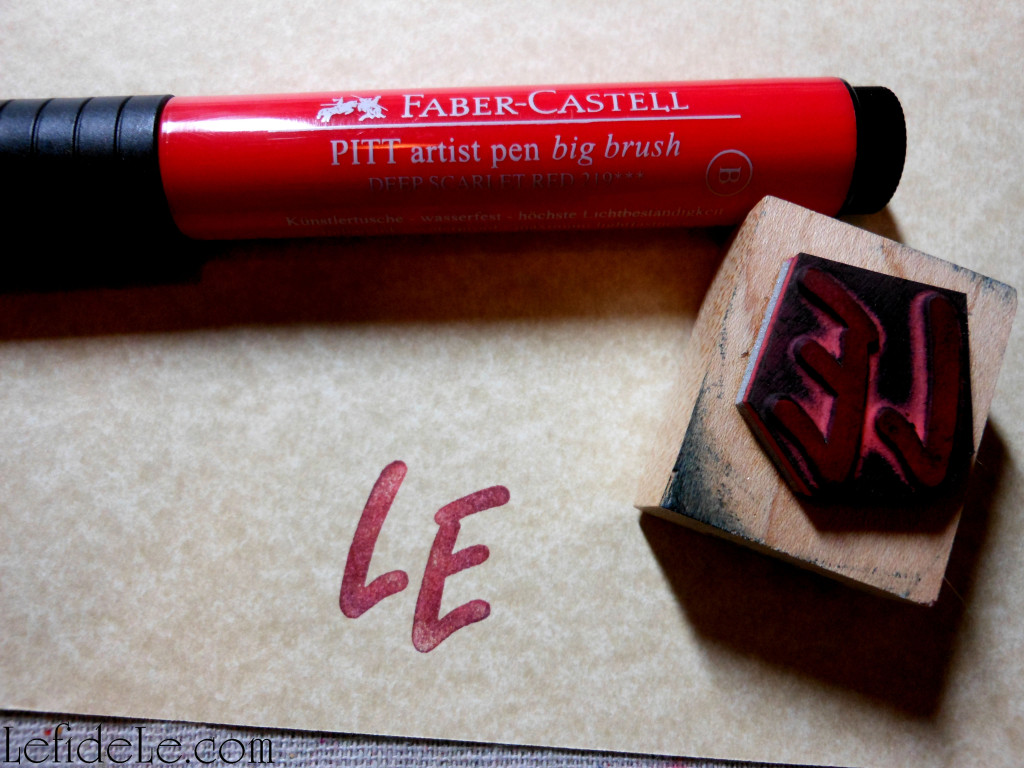
Don’t forget to add your seal of “makership” to the back of your creation! Leftover ink on my stamp blended with the deep scarlet red pitt pen ink to tint the edges a bit darker… which I completely adore.

81Leigh

Once most of your elements are constructed, you can place them on the card in order to edit… if need be. I used the rough-draft placement to decide where my background colors should go.

086Leigh

I used red and blue gelatos as finger-paint to tint the paper and washi tape background with. Use a wet finger or a water brush to grab pigment straight from a gelato, or dip a brush or finger into pre-mixed gelato and water. (My choice took me straight back to kindergarten!)

091Leigh

Next, I tied a bow with the ribbon (representing remembrance) and glued everything down. You can use any glue you like, or even the gel medium to glue down the papers with. (I chose hot glue because it works on all the elements I used… even the wooden ones.)

122Leigh

I layered red tinted cardboard under the stenciled papers, and elevated them with tiny foam stickers for dimension. The fireworks were attached with brads, but I added hot glue dots beneath them to make them pop right off the page. (Note that the star spangled banner is actually another repurposed food pick!)

093Leigh

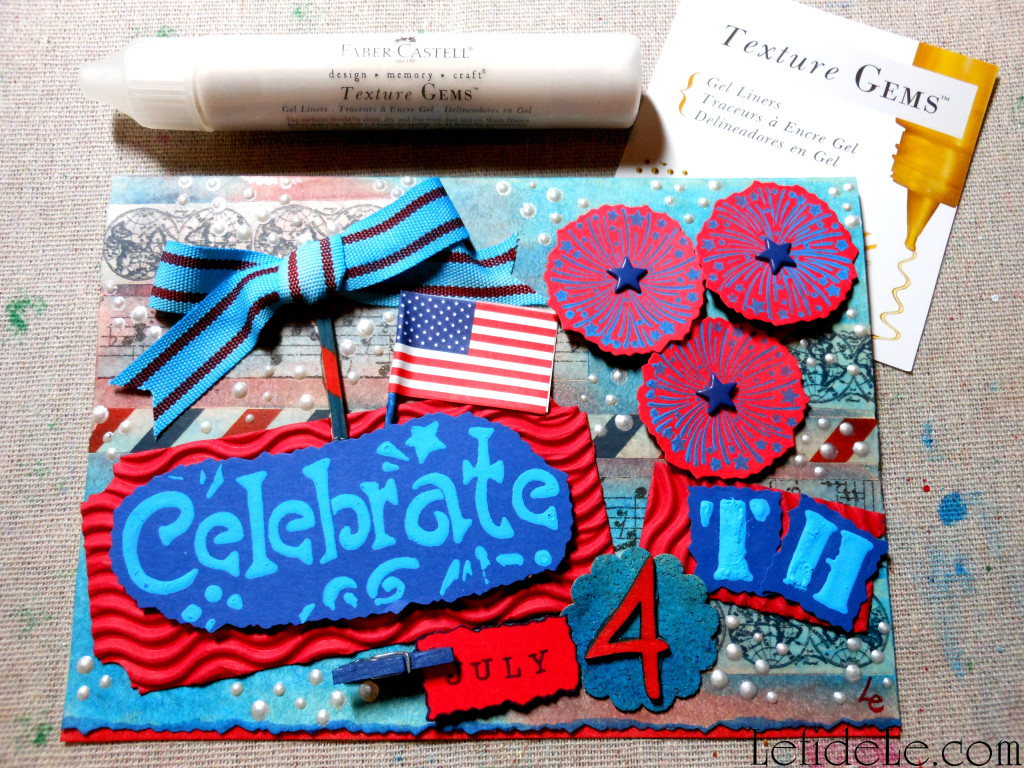
For a finishing touch, I applied dots with opalescent texture gems gel liner (to symbolize stars in the night sky filled with the rocket’s red glare which we memorialize with fireworks).

120Leigh

It’s that subtle yet profound symbolic meaning that completes the piece’s transformation from craft into art which makes it worthy of being framed, not just as a holiday decoration, but as artwork. This Independence Day, I will be celebrating the liberty we are given to express ourselves in a country of freedom.

Faithfully Yours,

Leigh

P.S. If you like making collages, be sure to check out my DIY July 4th Denim No-Sew Appliqué Collage Star-Spangled Banner Craft Tutorial for Independence Day. 

163Leigh

Spring Garden Mother’s Day Tea Party Tablescape Décor Ideas (+ Free Printable Card & Invitation)

002Leigh

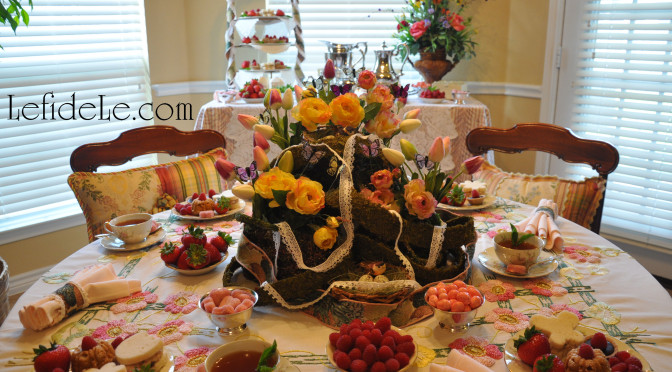
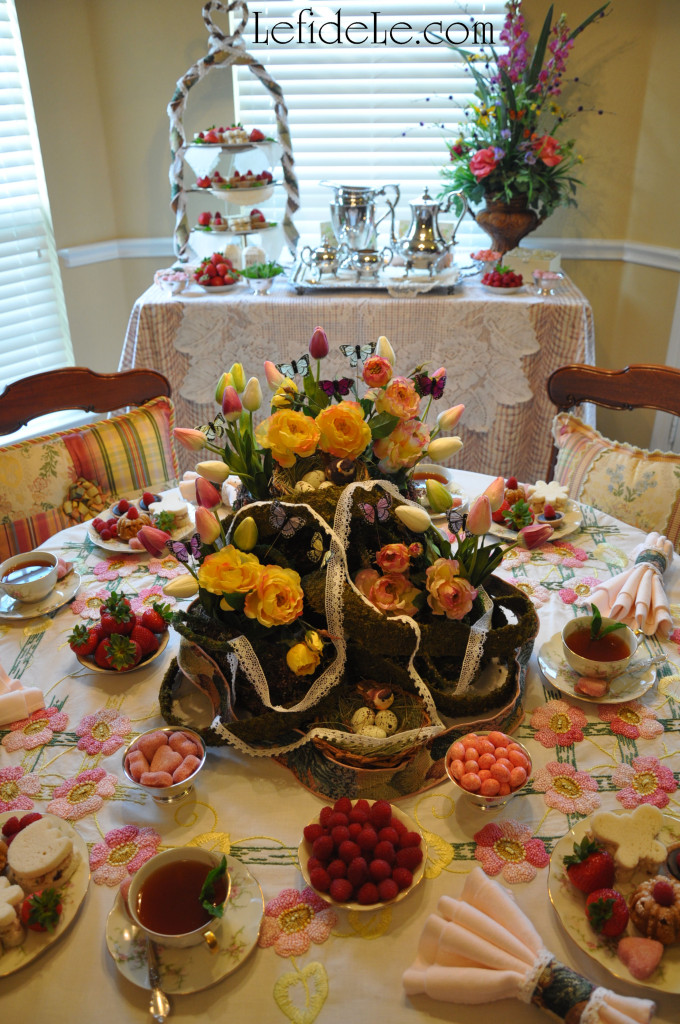
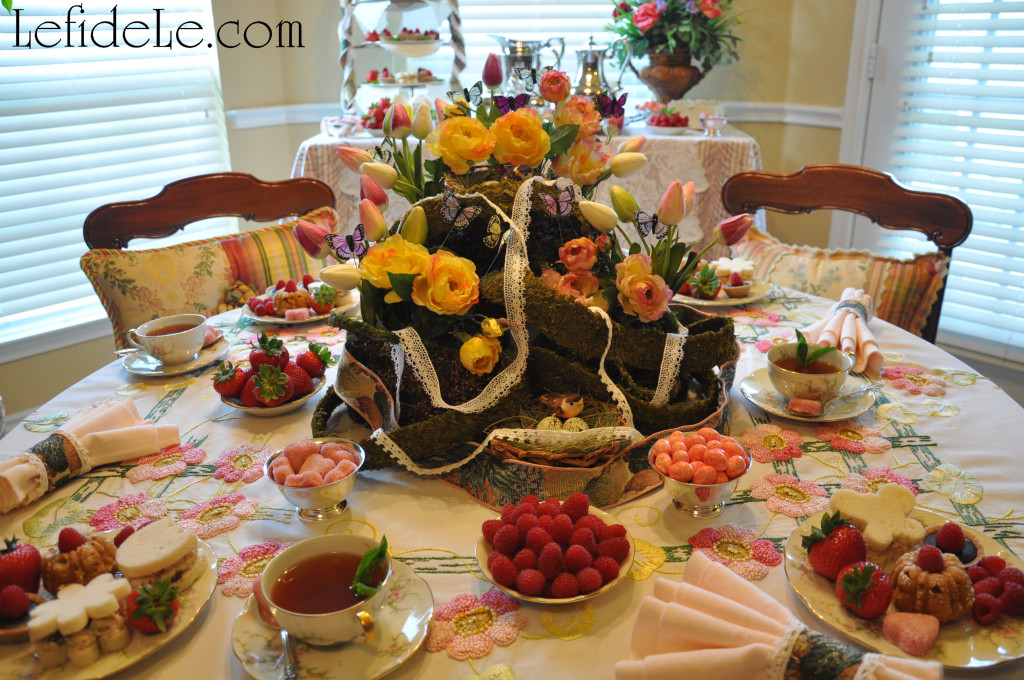
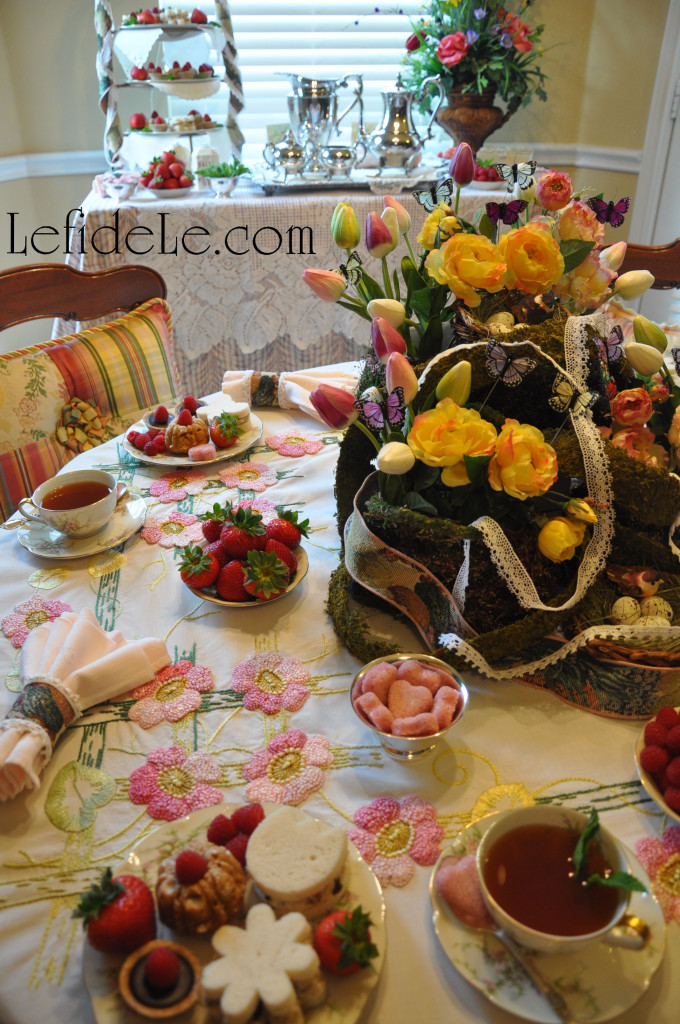
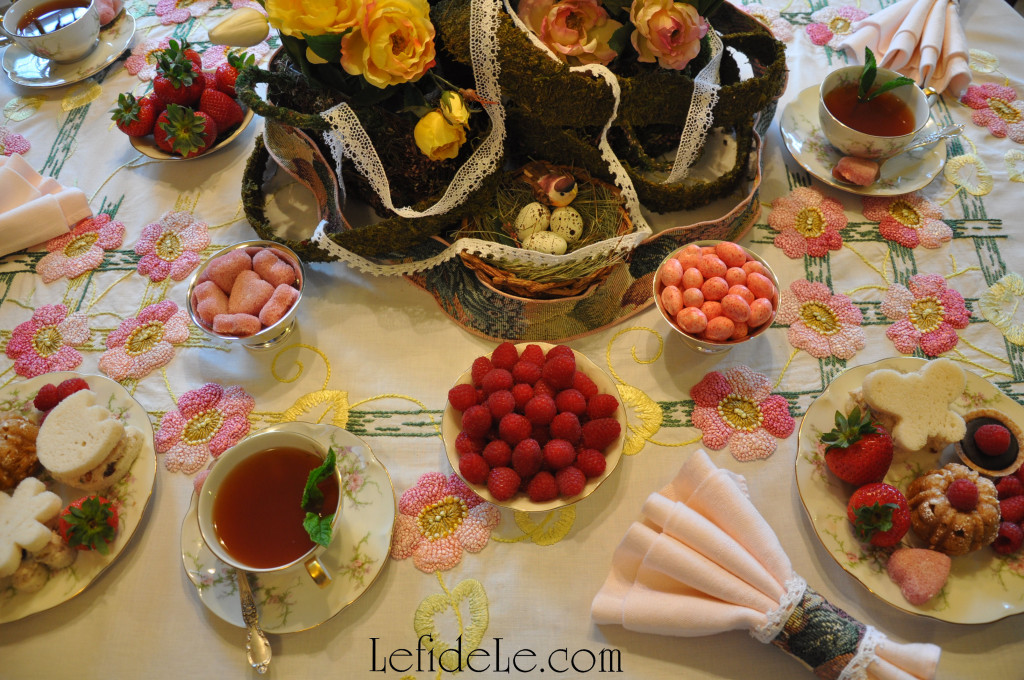
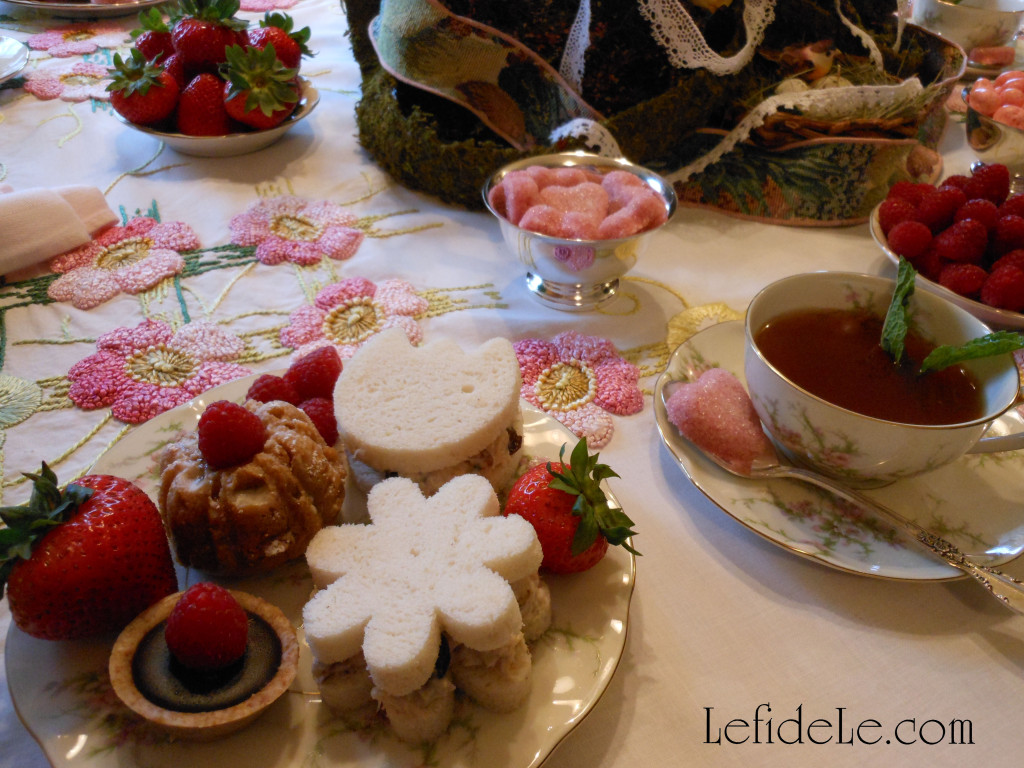
You’re invited for tea at my nest where enchanting tablescape décor awaits, where butterflies will carry you to a flower filled spring garden complete with the melody of birdsong. Delight upon delectable teacakes, treats, tarts, and tea sandwiches while sipping mint scented tea sweetened with pink sugar sweethearts. Celebrate with handmade gift crafts conveying heartfelt sentiments along with free printable invitations and cards sending your warmest wishes for a beautiful Mother’s Day!

022Leigh

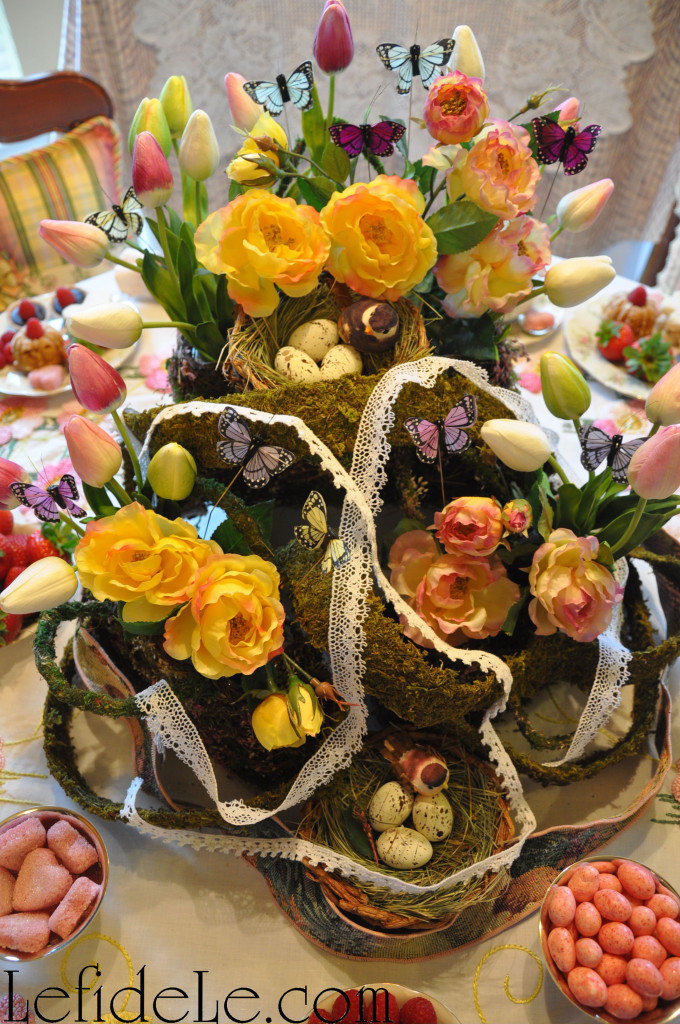
Harken your ears to the call of birds whistling a merry tune of invitation to the spring garden. Two nests double the blessings bestowed upon the day as finding even one is said to be the harbinger of prosperity.

036Leigh

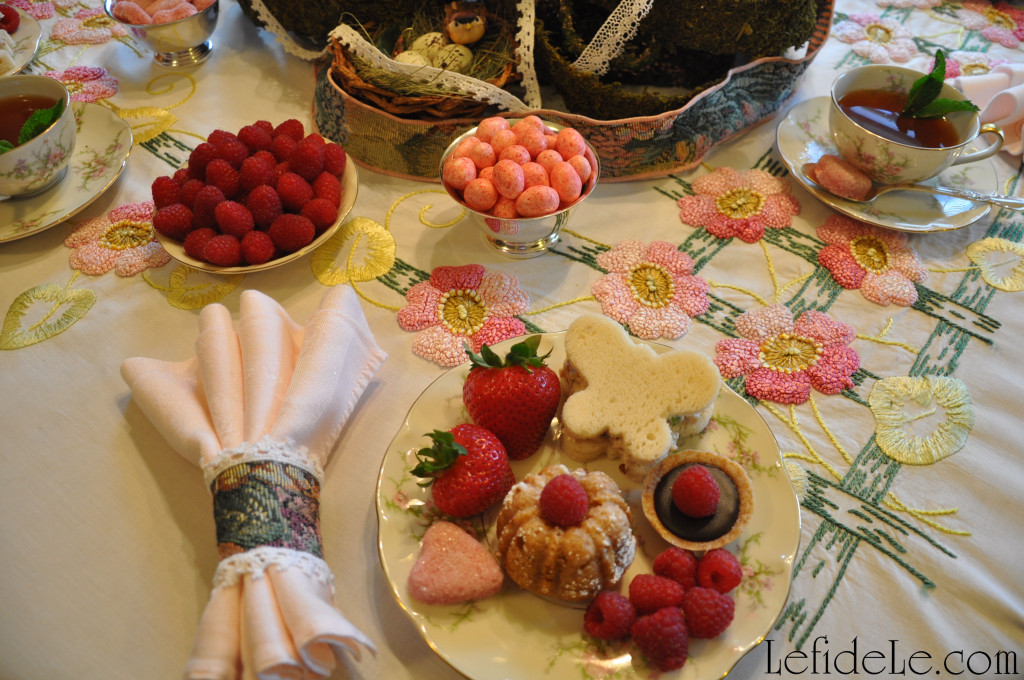
Notice the greeting of butterflies rising from moss laden purses filled with the yellow roses of friendship and tulips representing strength and life itself.

035Leigh

Take a seat cushioned with pastel patchwork pillows provided for your comfort.

028Leigh

Touch the threaded texture of a tablecloth hand embroidered generations ago.

380Leigh

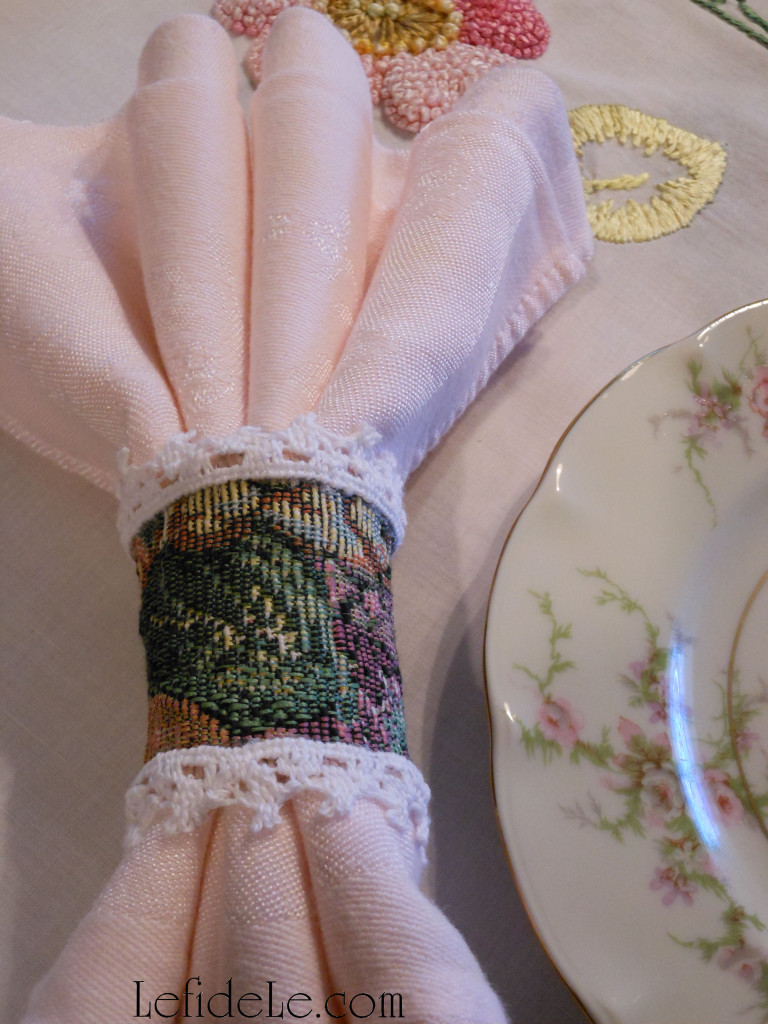
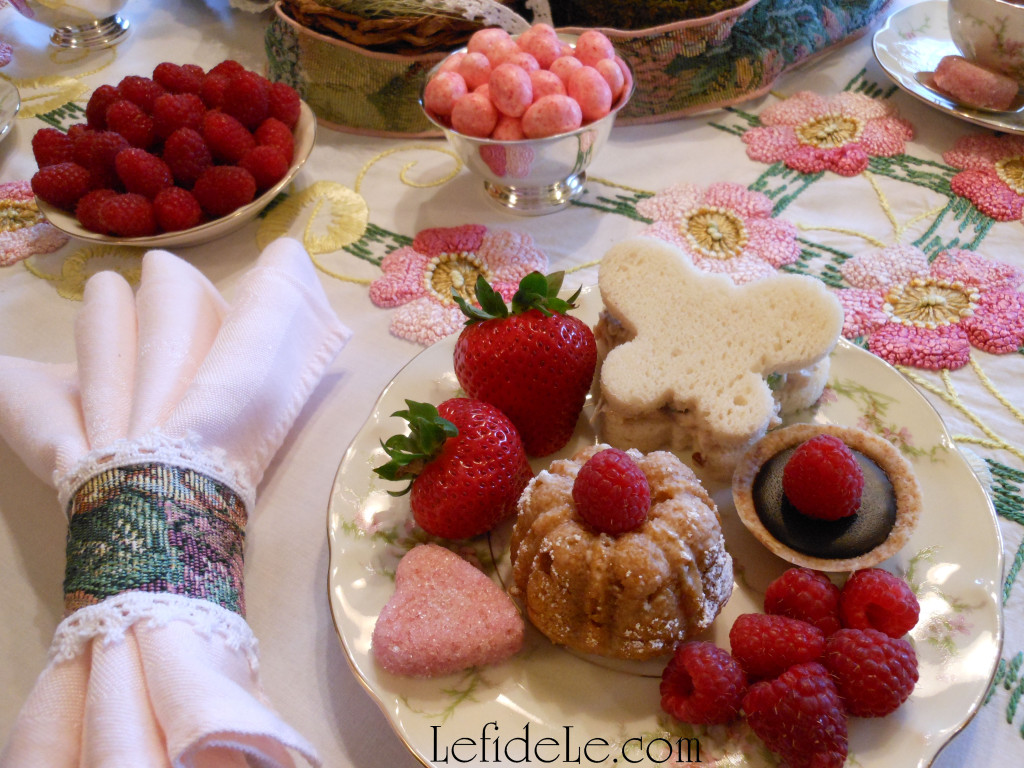
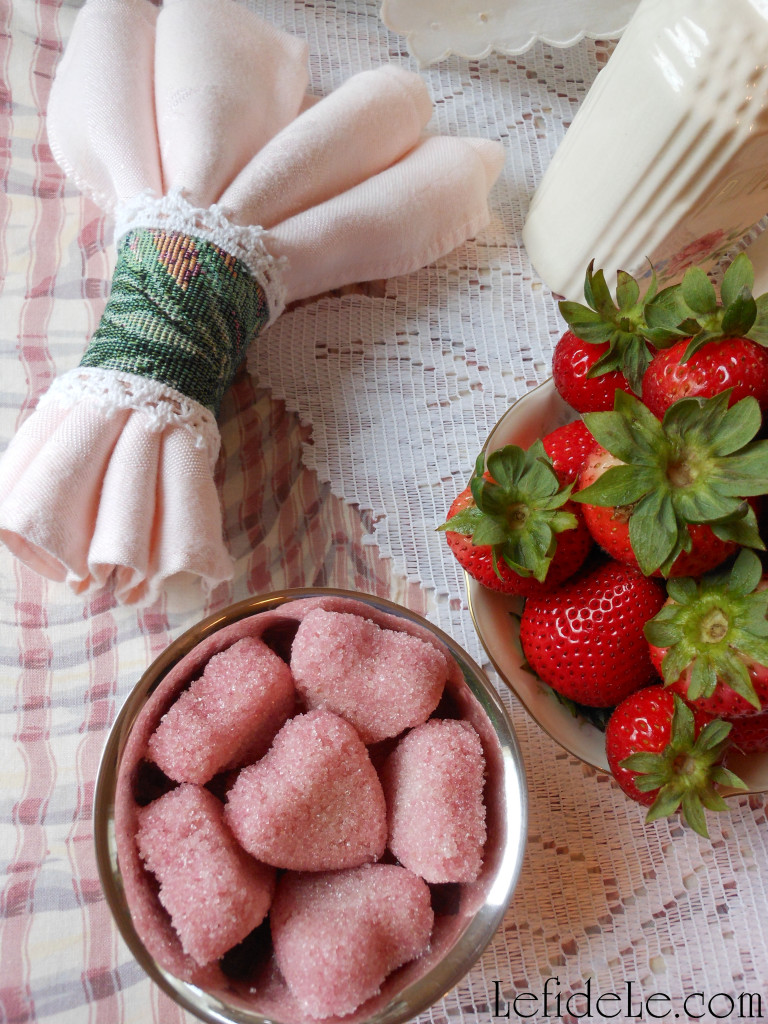
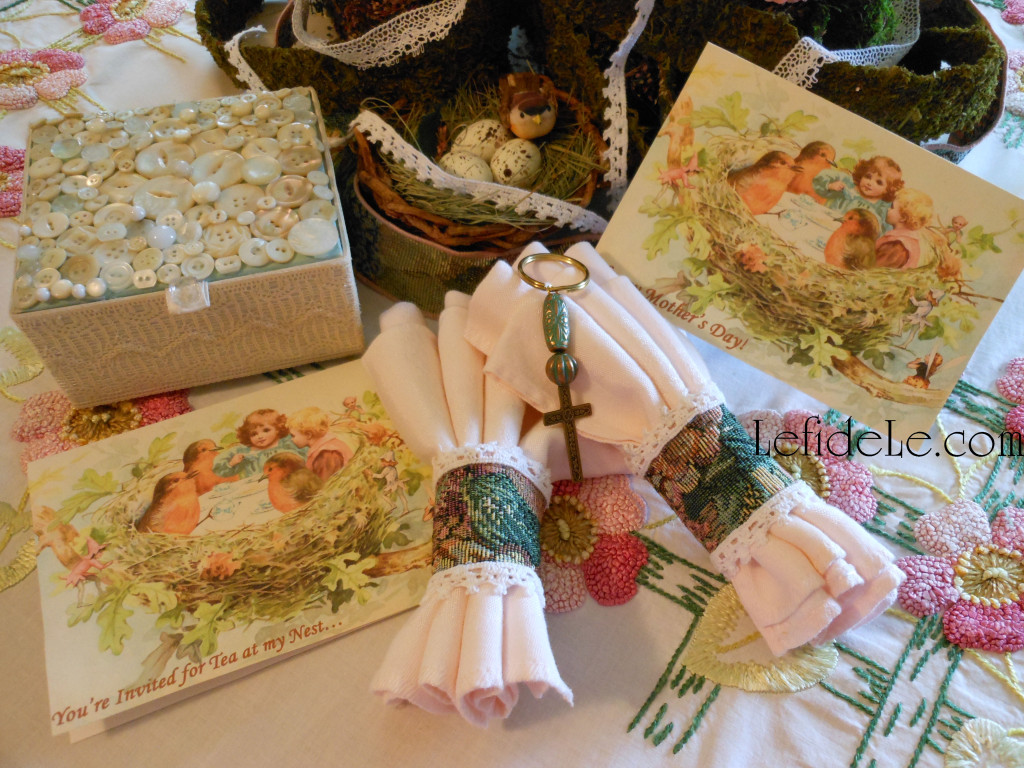
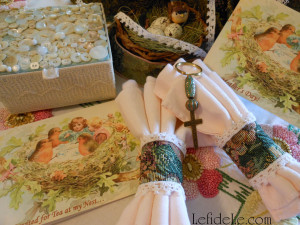
Release baby pink vintage napkins from their handcrafted tapestry and lacework rings.

125Leigh

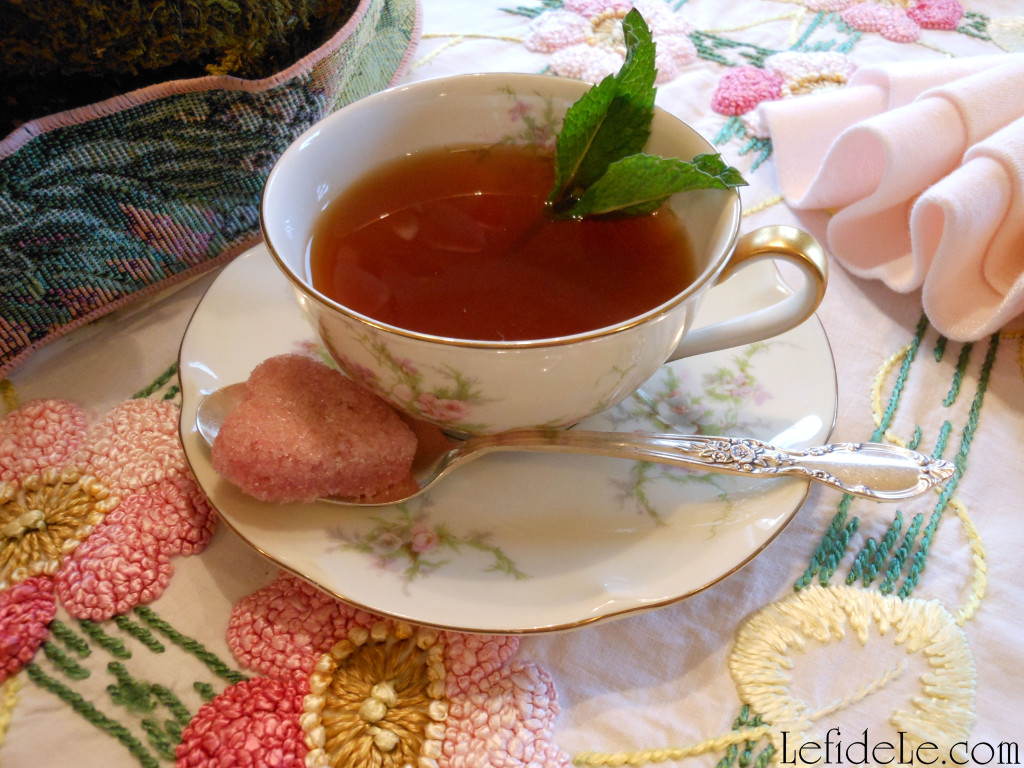
Sip mint scented tea from delicate vintage china teacups ornamented with floral motif.

136Leigh

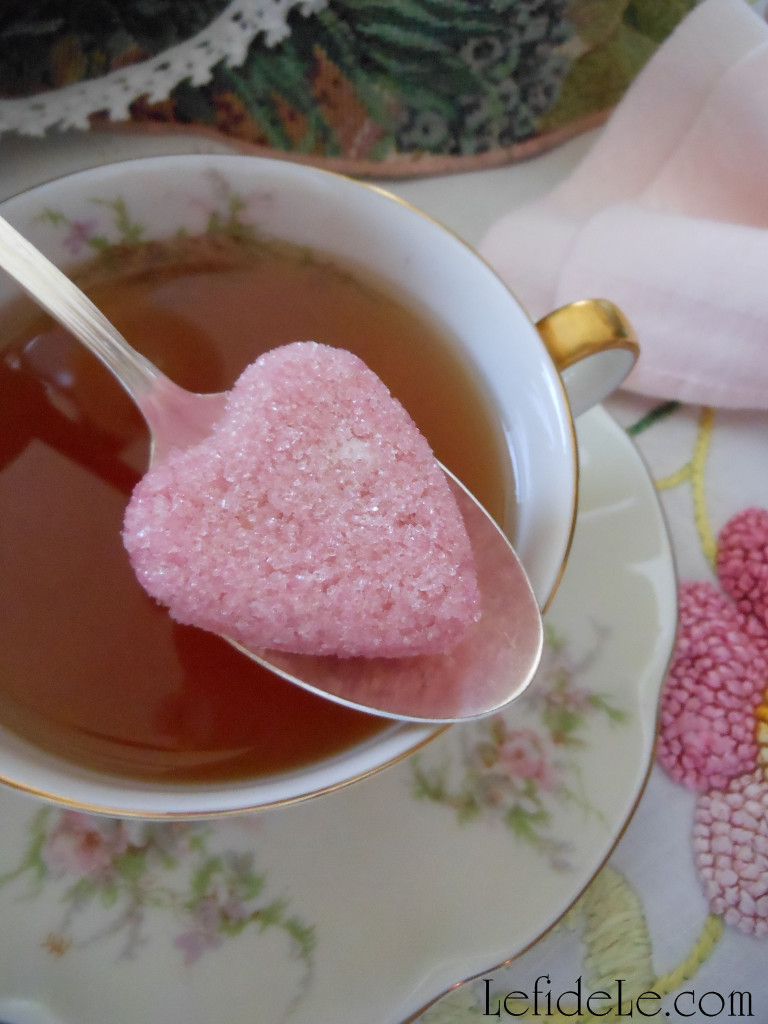
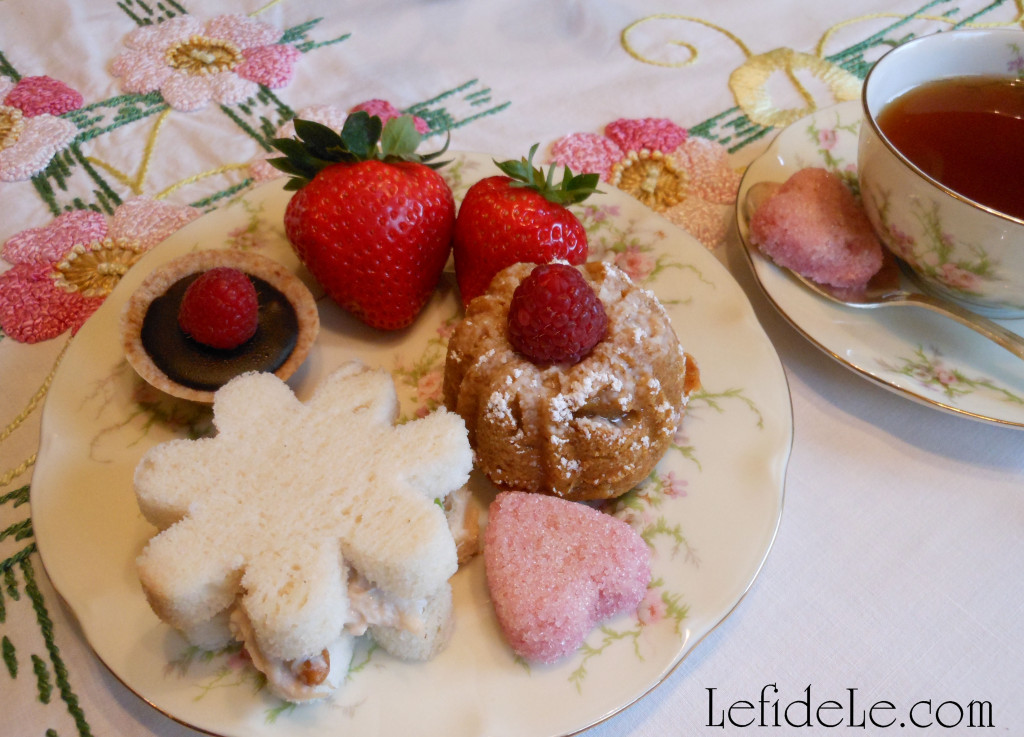
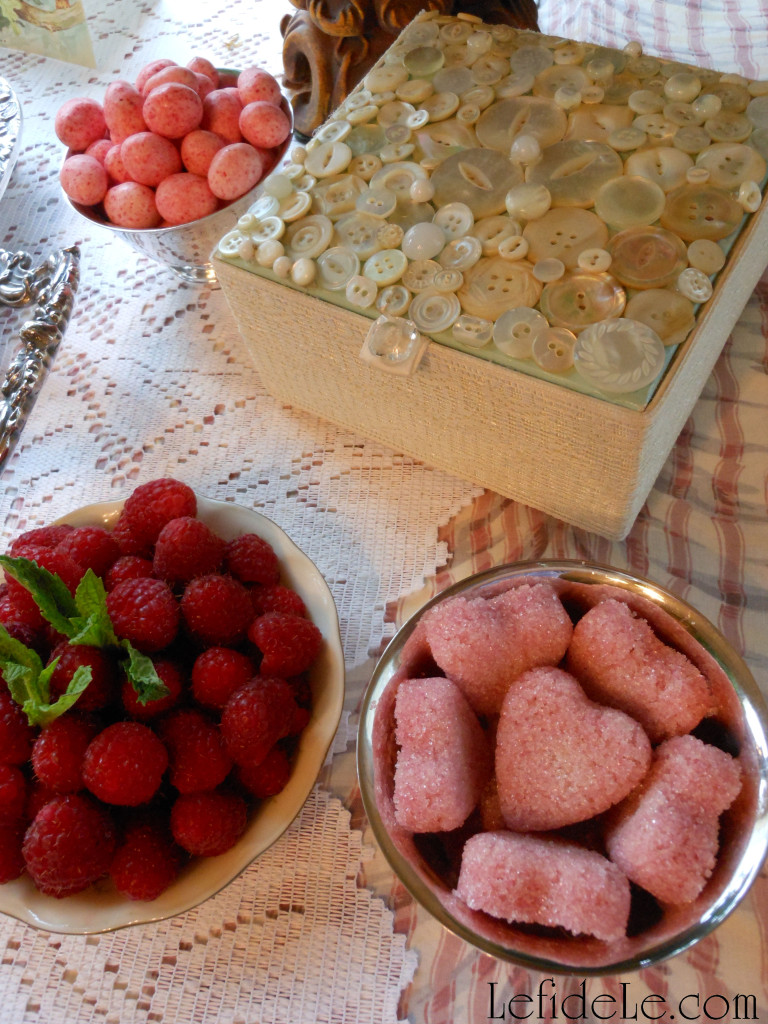
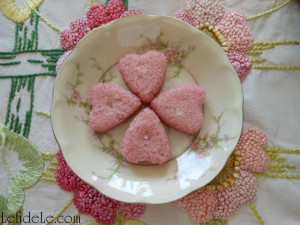
Sweeten your tea with pink sugar sweethearts delivering a spoonful of sugar in the perfect dose.

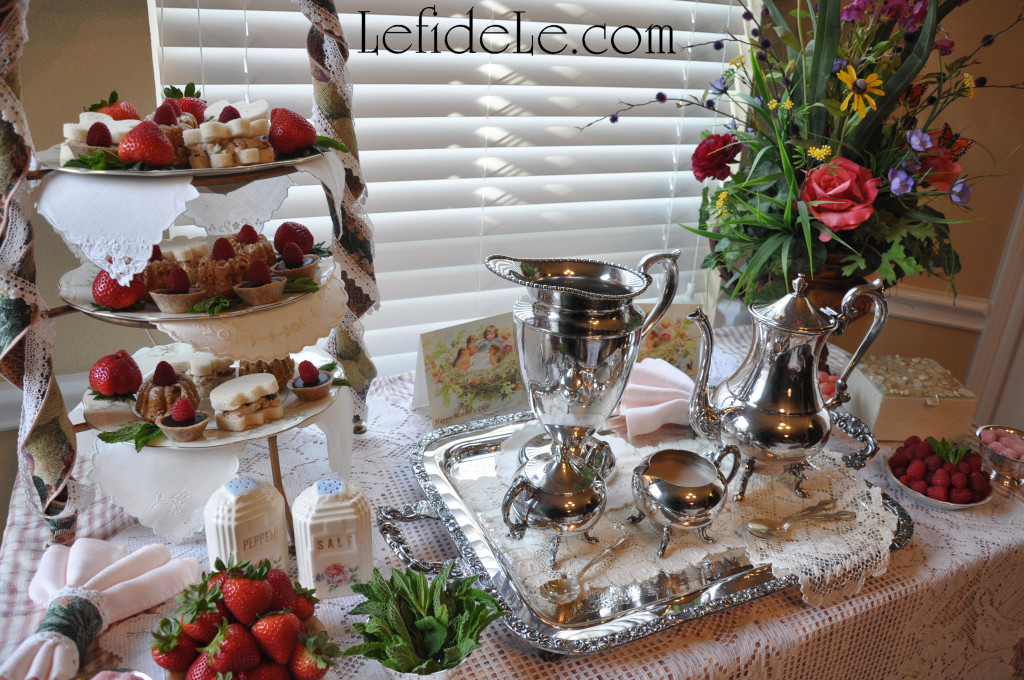
122LeighStir in flavor with silver tea spoons that have been lovingly held by previous generations.

082Leigh

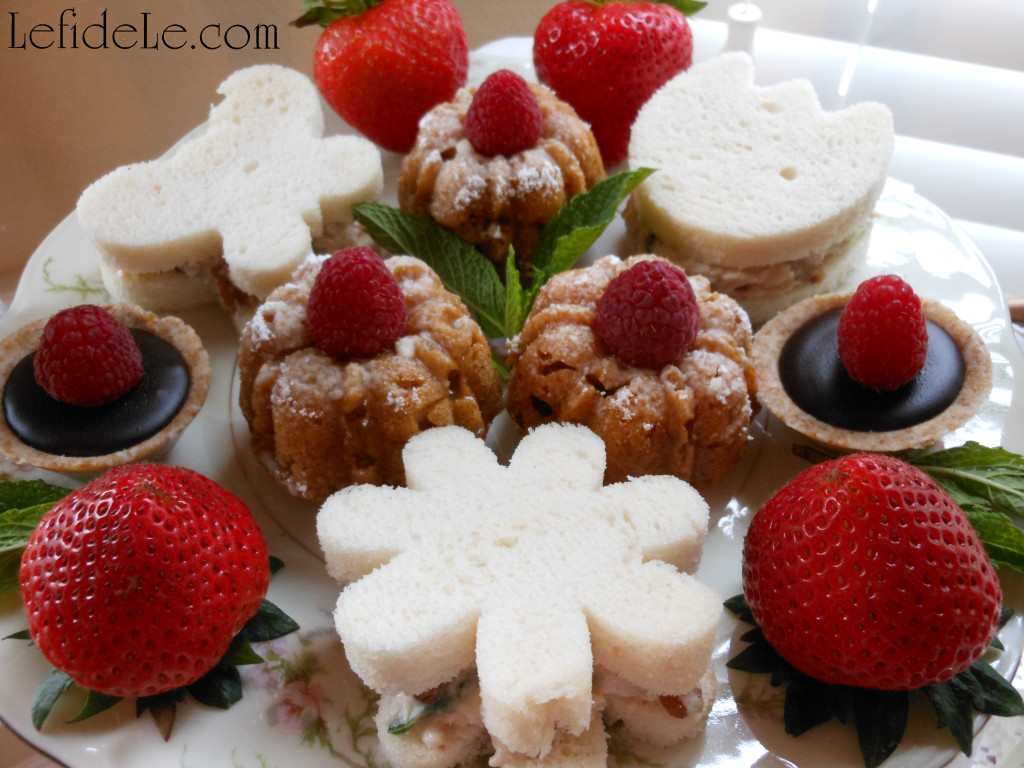
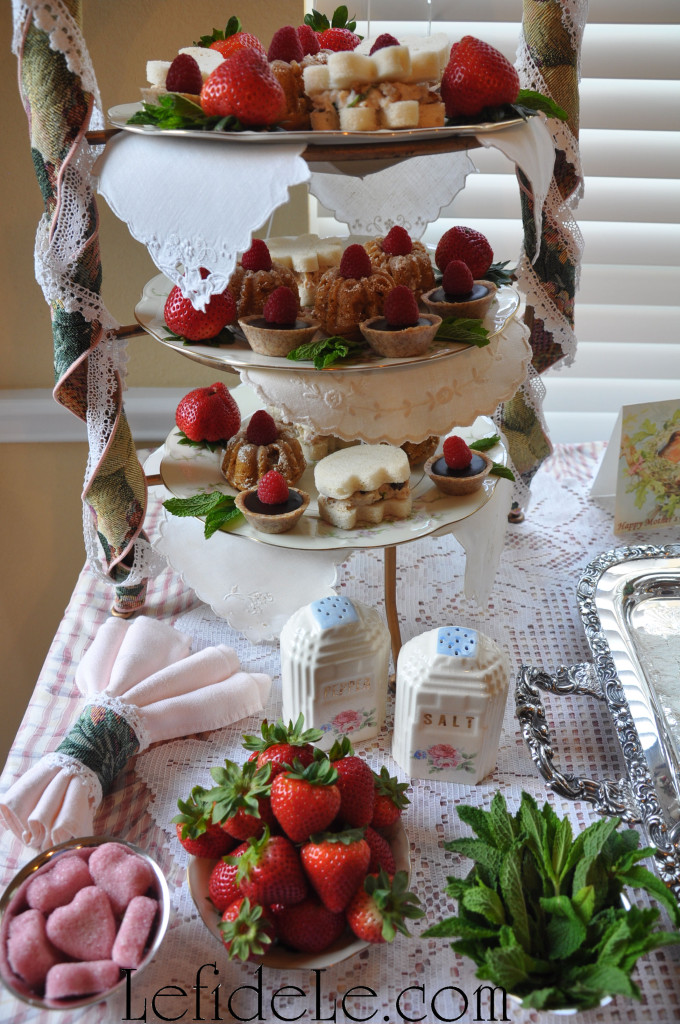
Sup on tea sandwiches packed with cherry pecan chicken salad, whose butterfly and floral shapes echo the garden’s delights.

130Leigh

Try almond crusted chocolate tarts balanced with healthy red raspberry fruit.

128Leigh

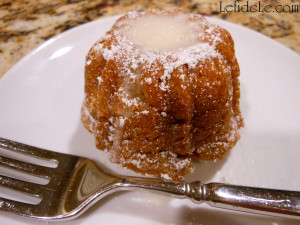
Taste pumpkin pear teacakes dripping with lemon icing, dusted with confectioner’s sugar, and topped with more fruit.

029Leigh

Cleanse your palette with pink peppermint almonds held in small antique silver bowls.

105Leigh

Sink your teeth into juicy plump strawberries offered amid vintage salt and pepper shakers.

051Leigh

Replenish your china plate from a grapevine heart topped tower of treats wrapped in lengths of tapestry and lace.

064Leigh

Gaze upon sunlight reflected from gleaming antique silver service layered with vintage doilies atop layers of vintage lace and patterned cloth.

097Leigh

Feel the impressions of vintage buttons encrusting a jewelry box gift sheltered by a lofty spring floral arrangement.

004fLeigh

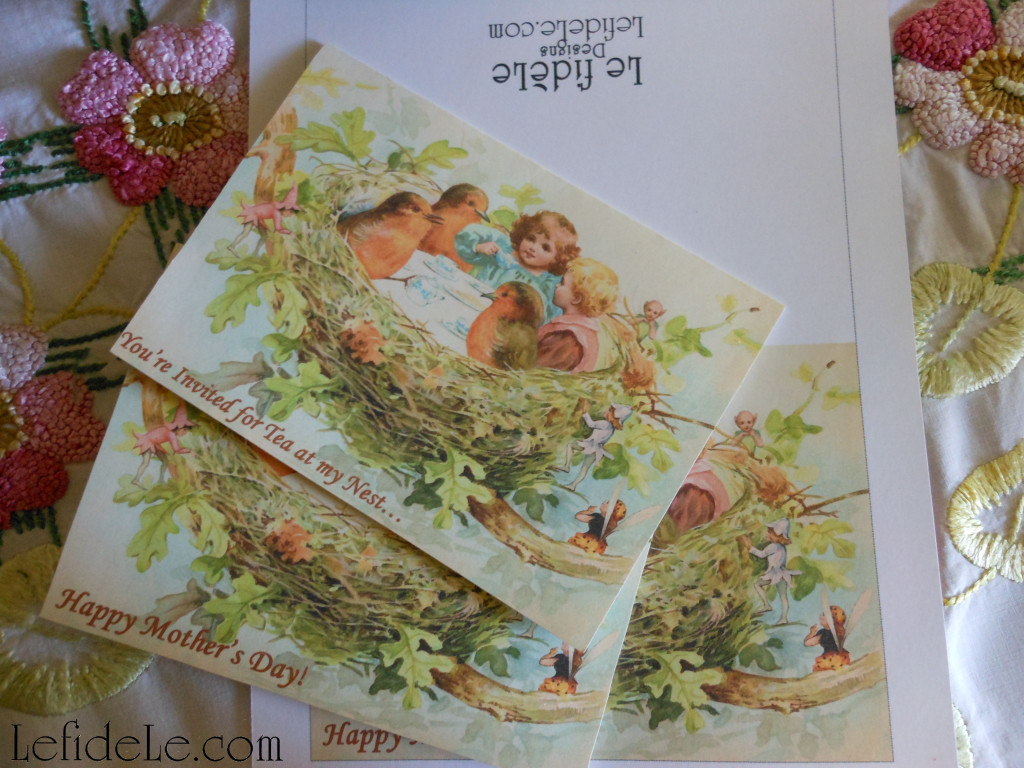
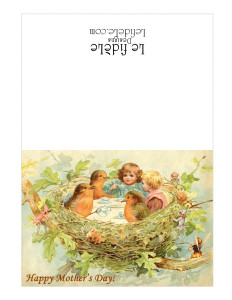
And at last, read the Mother’s Day card that will hold the memory of the cherished event for years to come.

Sincerely wishing you the happiest of Mother’s Days!

Faithfully Yours,

Leigh

6FreePrintCardLeigh

P.S. Right click on the small image below, and select print to make your own invitations (at the left) and cards (at the right) free (for personal use only). Print them on photo and color settings for the best results.

5x7NestTeaInviteLeigh5x7MothersNestCardLeigh

P.P.S. Click on the links below for teacake, chicken salad, and sweetheart recipes as well as crafting instructions for the jewelry box, keychain, and napkin rings.

001Leigh

Quick & Easy Tapestry Napkin Rings, Upcycled Button Jewelry Box, & Keychain Gift Crafts Tutorial (for Mother’s Day Tea)

118Leigh

Easy to Mold Naturally Colored Pink Sugar Shapes Sweethearts Recipe = a Spoonful of Sugar for Your Mother’s Day Tea

47cakelette-Leigh

Lemon Glazed Pumpkin Pear Teacakes (Gluten-Free Vegan, Dairy-Free, Egg- Free) for Mother’s Day Tea

017Leigh

Cherry Pecan Chicken Salad (Soy-Free / Egg-Free with Stuffed Tomato & Gluten-Free Shaped Finger Sandwich Options) for Mother’s Day Tea

St. Patrick’s Day Party Tablescape Décor Ideas (with Rainbows, Shamrocks, Money Tree, & Printable Card & Invite)

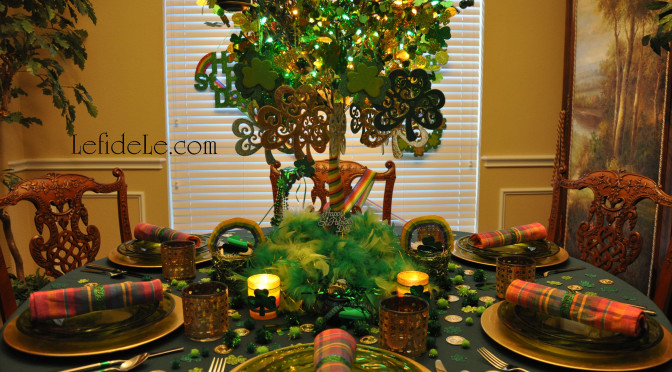
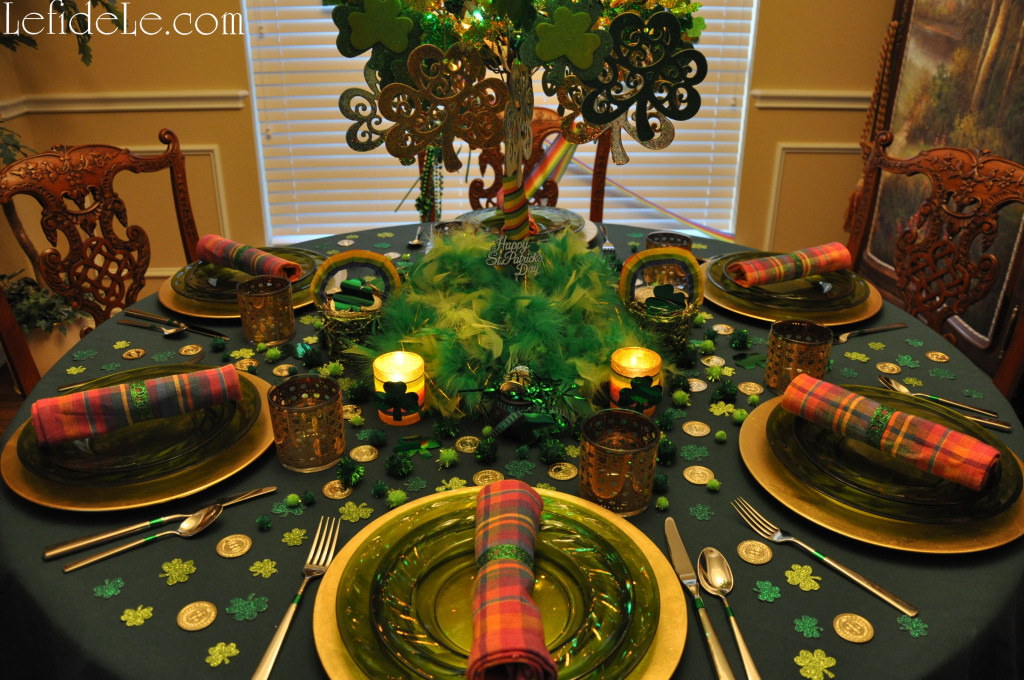
Discover what is really at the end of the rainbow with these St. Patrick’s Day party décor ideas. A centerpiece filled with pots of gold will prove that money does grow on shamrock laden trees! This colorful tablescape is quick and easy to achieve with inexpensive materials and my Quick & Easy Metal Napkin Rings Tutorial, Money Tree + Rainbow & Shamrock Crafts for St. Patrick’s Day Party Décor article to guide you, and use my free printable card to invite your friends to join you for a wee bit o’ whimsy this holiday.

048Leigh

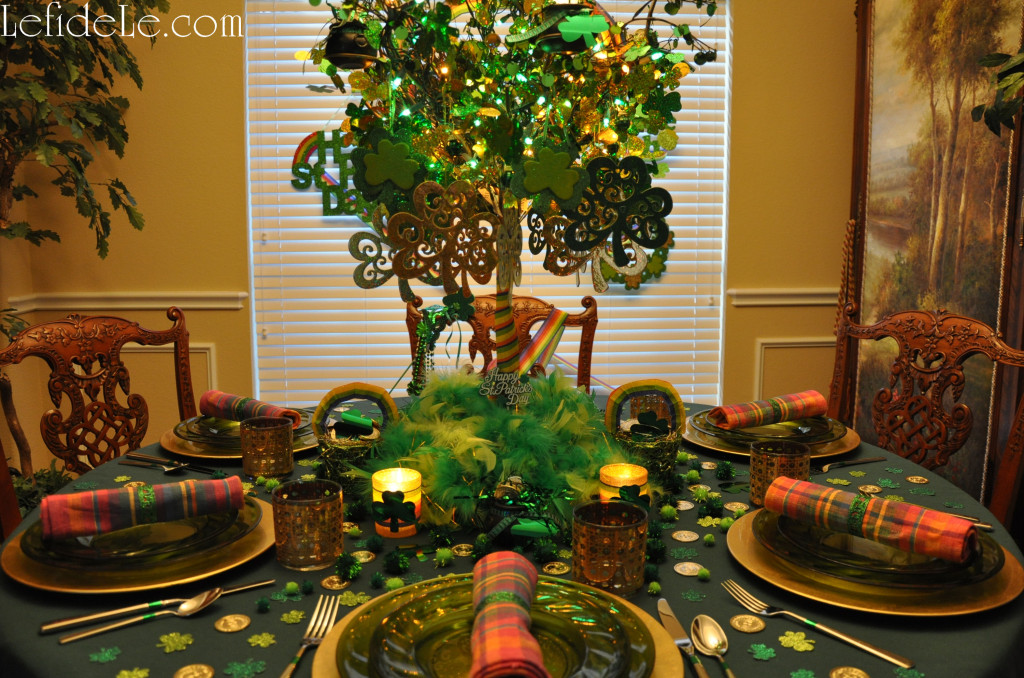
This celebration, I really wanted to indulge in a pure state of whimsicality. I envisioned leprechauns dining in Seussville… and this vibrant tablescape is what resulted. This may of course be toned down for your own home, taking just an idea or two if you like… but as for me and mine, it’s whimsy all the way.

042Leigh

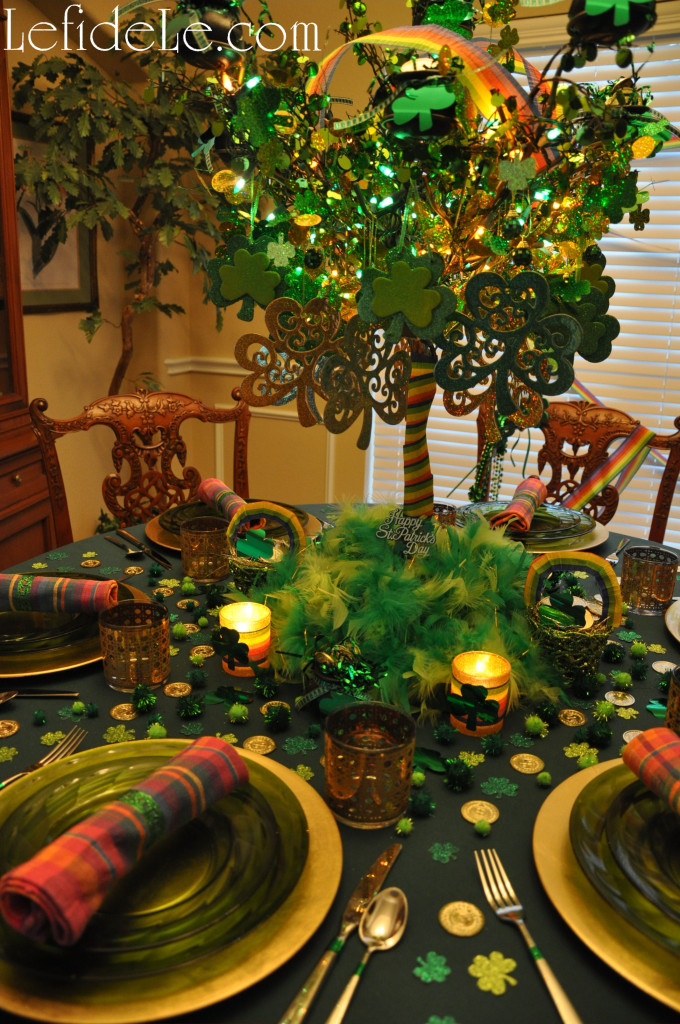
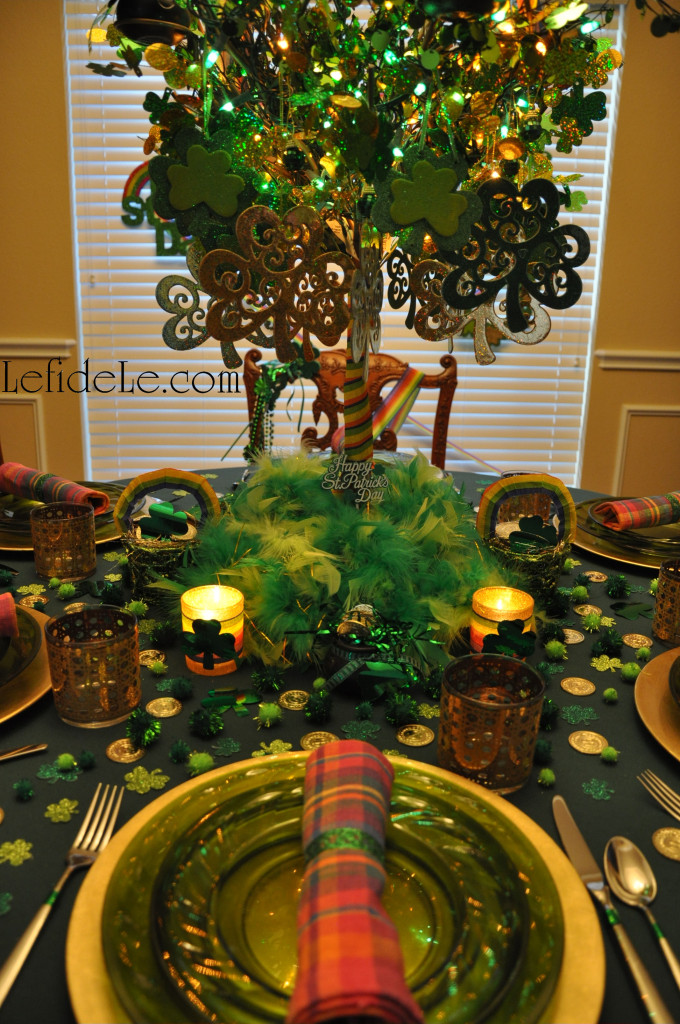
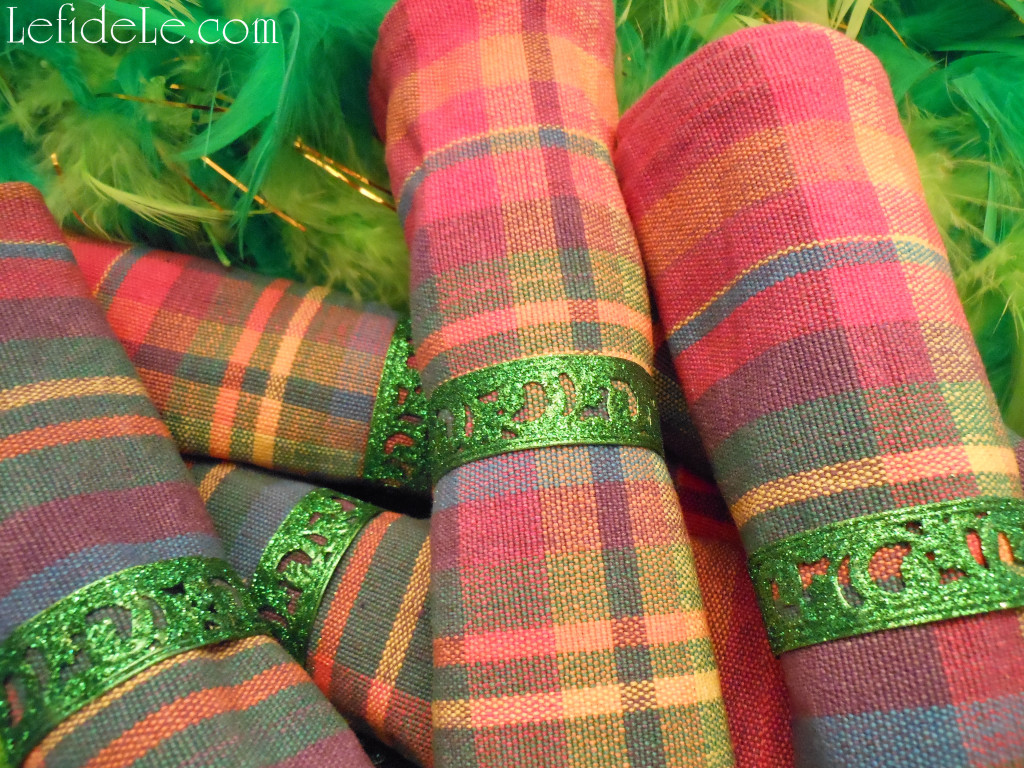
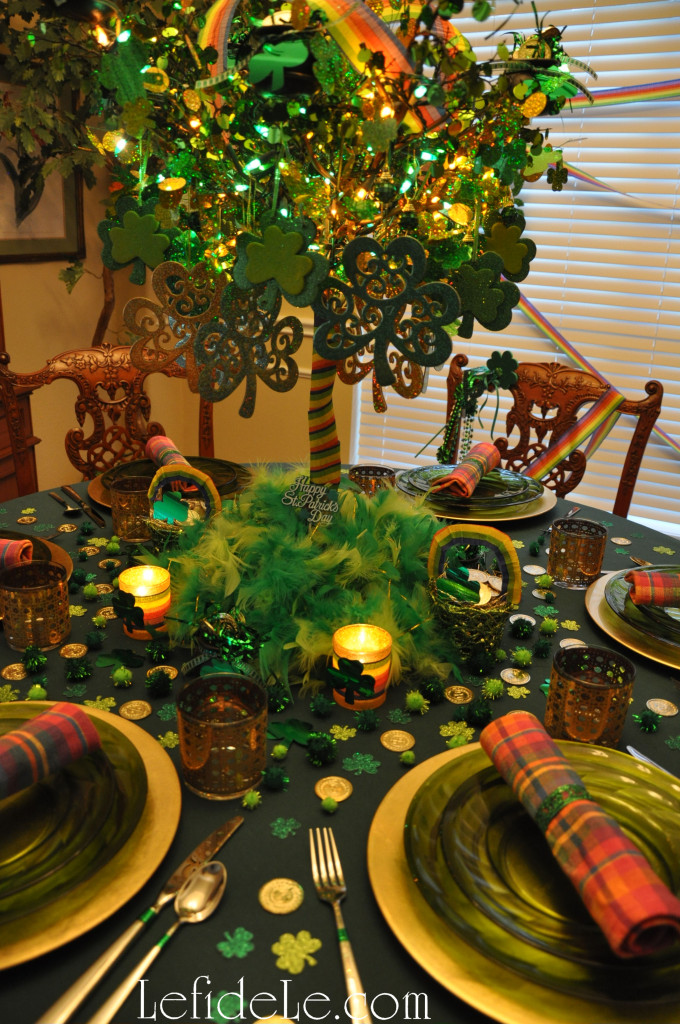
I began with a crisp green field of tablecloth topped with chargers of golden coins. This was layered with green plates and rainbow colored madras plaid napkins ringed in green glittered metal.

163Leigh

(See how to quickly make your own napkin rings easily here.)

038Leigh

Utensils were adorned with metallic green washi tape, just as I had previously done for Mardi Gras. (See more on this here.) Basket gilded glassware contributed to the theme as well. (See these in a Thanksgiving tablescape here.)

050Leigh

The table was strewn with green pom-poms plus mylar and glitter shamrocks as confetti. (The glitter varieties were actually individual stickers that can be used to adorn something later, because their backings remained intact.)

067Leigh

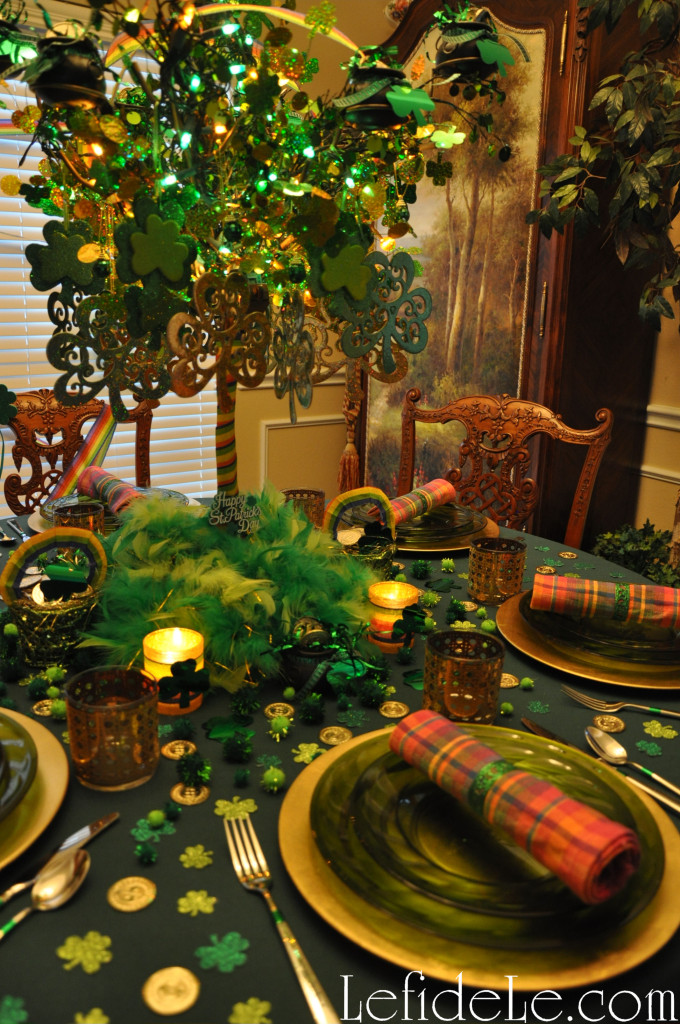
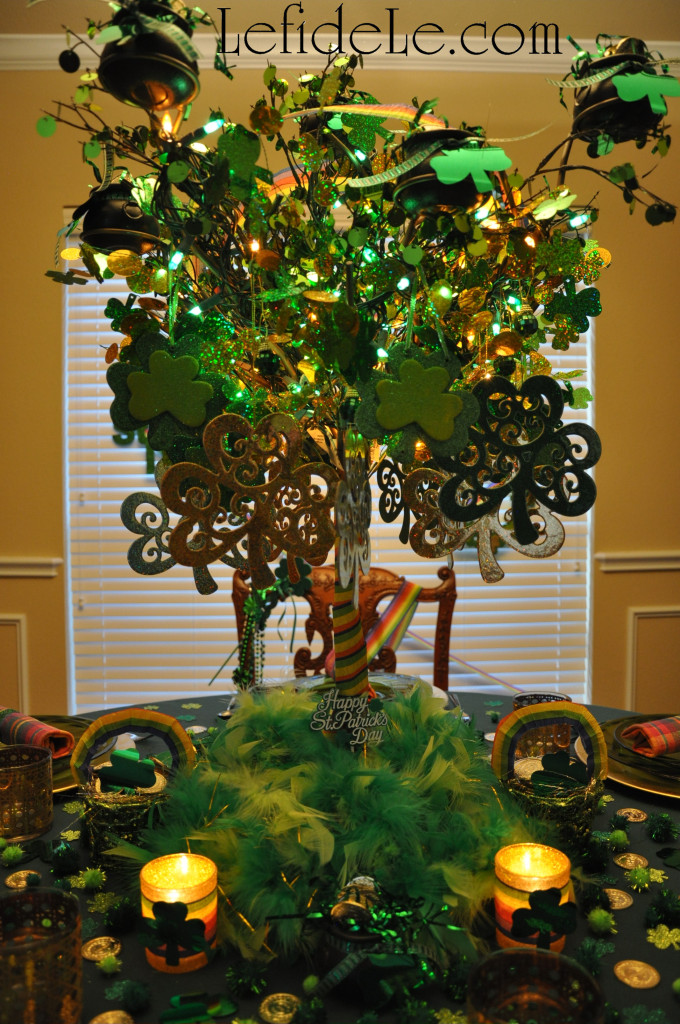
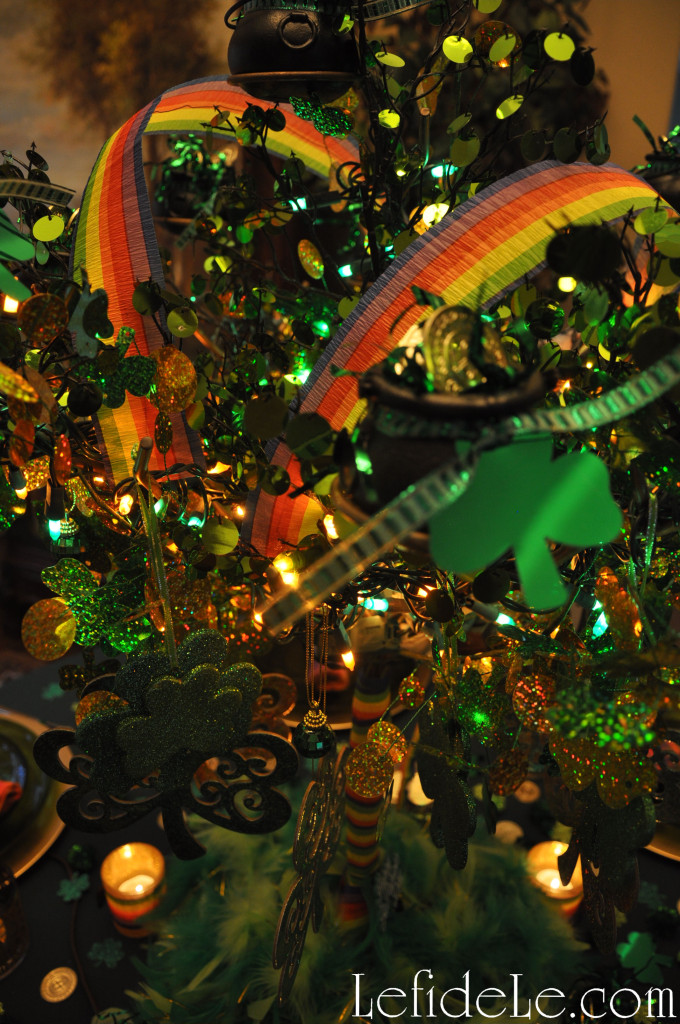
At the table’s center was a money tree with shamrock leaf ornaments, coin-studded branches, with gold and green lights.

073Leigh

Rainbow archways and pots of gold were held in its arms, and its trunk was festooned with more polychromatic splendor. (Find instructions for all of this year’s St. Pat’s crafts here.)

058Leigh

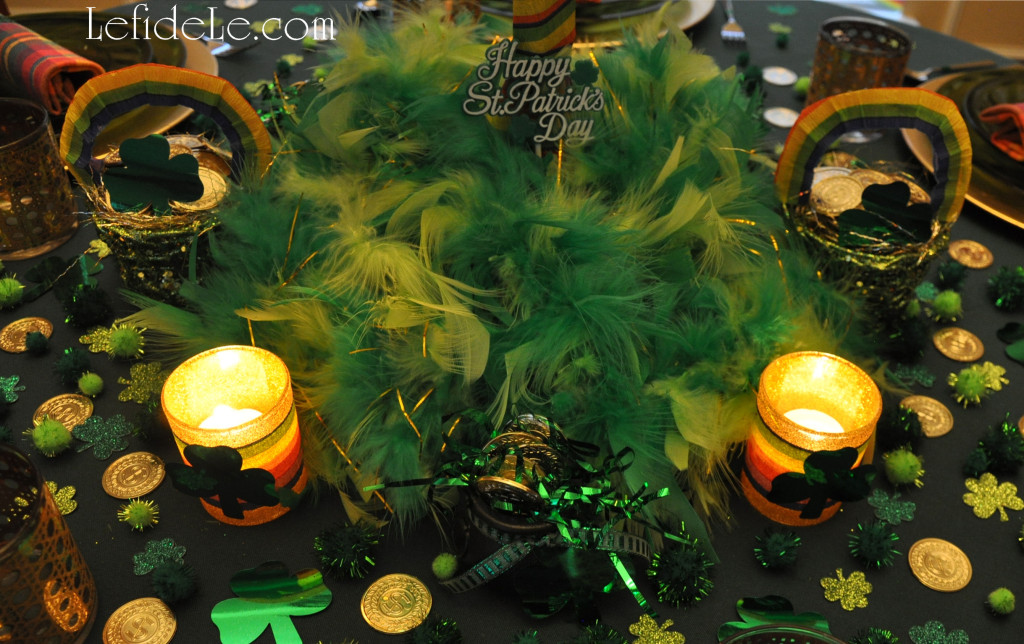
The base of the tree was encircled with a multi-hued feathered boa and apropos greeting. Around that were glowing votive holders and more pots of gold, some complete with their very own rainbows.

070Leigh

A chair for the guest of honor was draped with a rainbow sash, green sequin tiara, glitter shamrock wand, and metallic beads in various shade of green. This was a device with which to further invite whimsy, because who could maintain a serious façade when someone so adorned is seated across from you? For your celebration, this spot might be reserved for the smallest family member. I confess that I have a lot of fun dressing my grandmother in such crazy holiday attire for her parties at the senior center, and it garners her much attention.

075leigh

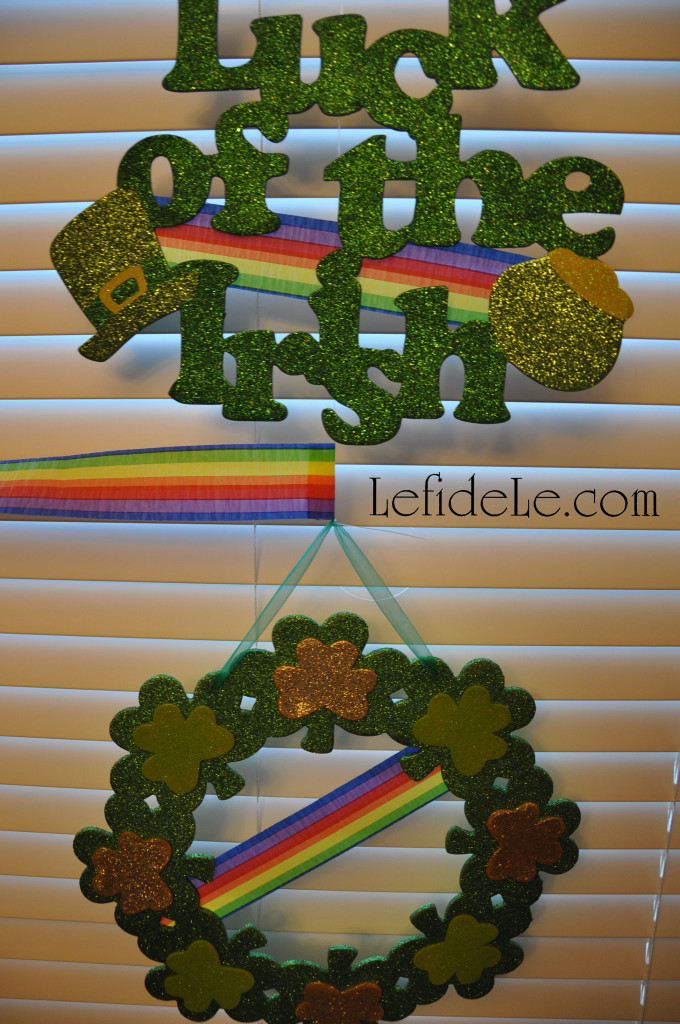
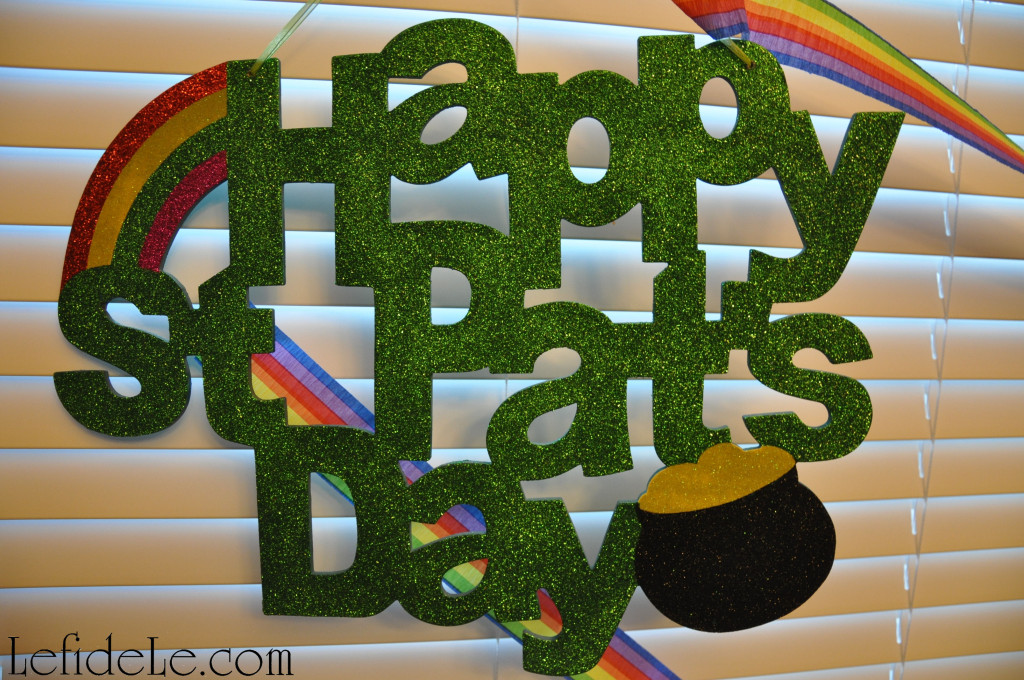
Glittered holiday signs strewn with rainbow streamers fill the window in the background. Believe it or not, I actually held myself back from adding many more rainbows… using the rest of my 81 foot roll of crepe paper would have mummified the window blocking out all sunlight!

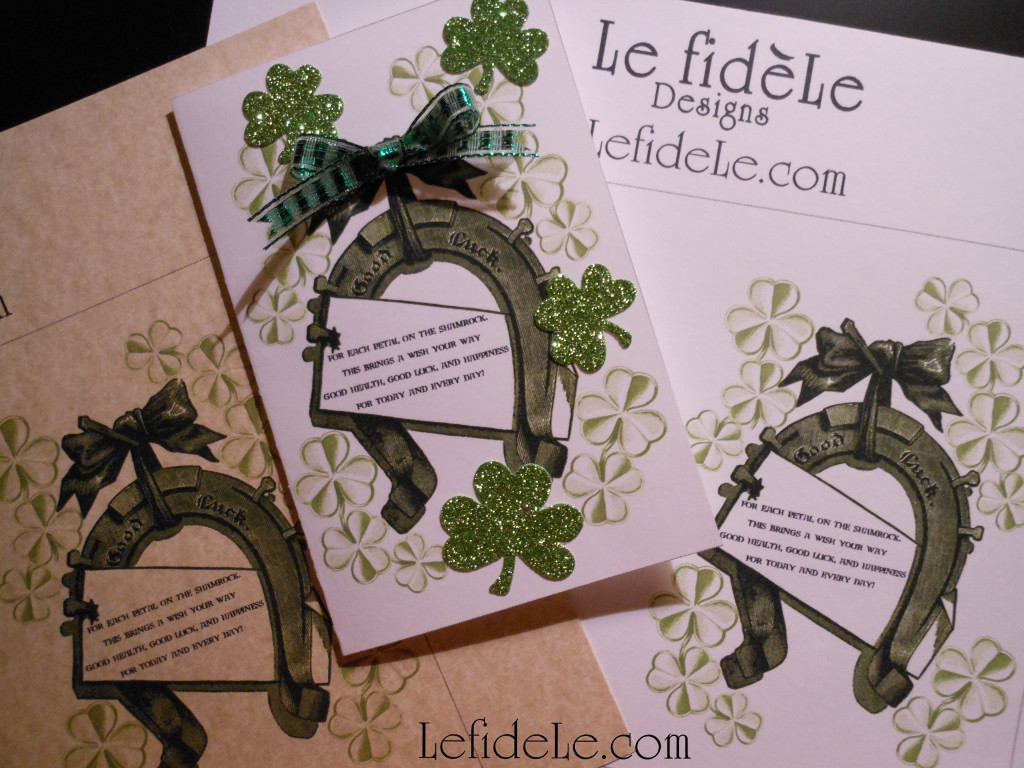
StPatsDayCardsLeigh

My free 4 x 6 printable card may be sent as an invite when details like time and place are added to the inside, but it is also serves as a lovely remembrance for any one that’s cared for. The Irish blessing on the card reads, “For each petal on the shamrock. This brings a wish your way, Good health, good luck, and happiness, For today and every day.”

4x6StPatsCardLeigh

Simply right click on the small image, and select print. Then print it using the color and photo settings on cardstock. Here, I’ve printed them on both plain white stock and a parchment variety so that you may see how paper choice can alter the look of your card. You can also print it in black on green paper. (I’m offering it, along with my other printables free for your personal use. I just ask that my work not be used for commercial purposes.) You can even embellish it for a personal touch with glitter glue, stickers, ribbon, etc. The shamrock stickers I used on the card here are the same kind seen in the tablescape as confetti. A dab of quick dry tacky glue adhered a bow with the same ribbon used on the pots of gold.

074Leigh

I will leave you with this lovely St. Patrick’s Day toast, “May the sound of happy music, And the lilt of Irish laughter, fill your heart with gladness, that stays forever after.”

040Leigh

Faithfully Yours,

Leigh

Fast & Easy DIY Hand-stamped Polka-dot Gift Wrap & Matching Gift Crafts

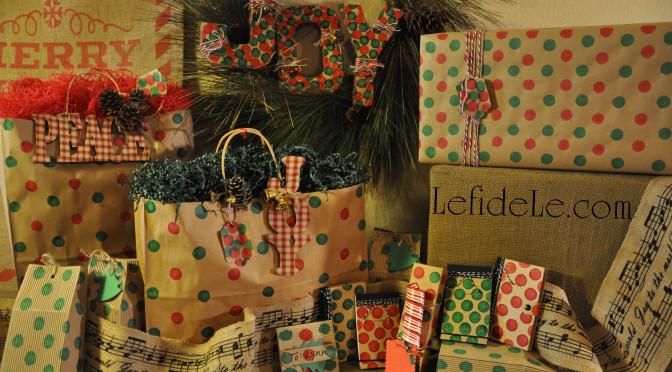
With all of the miles of commercially produced wrapping paper that stores seem to stock at every corner… why make your own? Well, it can be made super-fast and super-easy without looking like it! With my simple repurposing trick, you can make handcrafted gift wrap inexpensively in a matter of minutes. It’s really easy to stamp any type of package, paper, tag, card or box… even one that gets addressed and sent in the mail! It looks even more adorable on matching notebooks, craft letters, or any other gift that would accept inking. With stamping, you can match the colors to your décor for a catalog worthy Christmas, and delight loved ones with one-of-a-kind gifts at the same time. And, I don’t know about you, but I really love it when someone has cared enough to make something just for me.
94Leigh

My simple trick to easy and fast polka-dot making (ahem, drumroll please)… bingo markers! The idea was sparked about 15 years ago when someone gave me a few of these because she thought I might want the ink in them. Let me tell you, I made so many spotted cards with them! Everyone was always surprised when I told them what I had used.
49-2Leigh

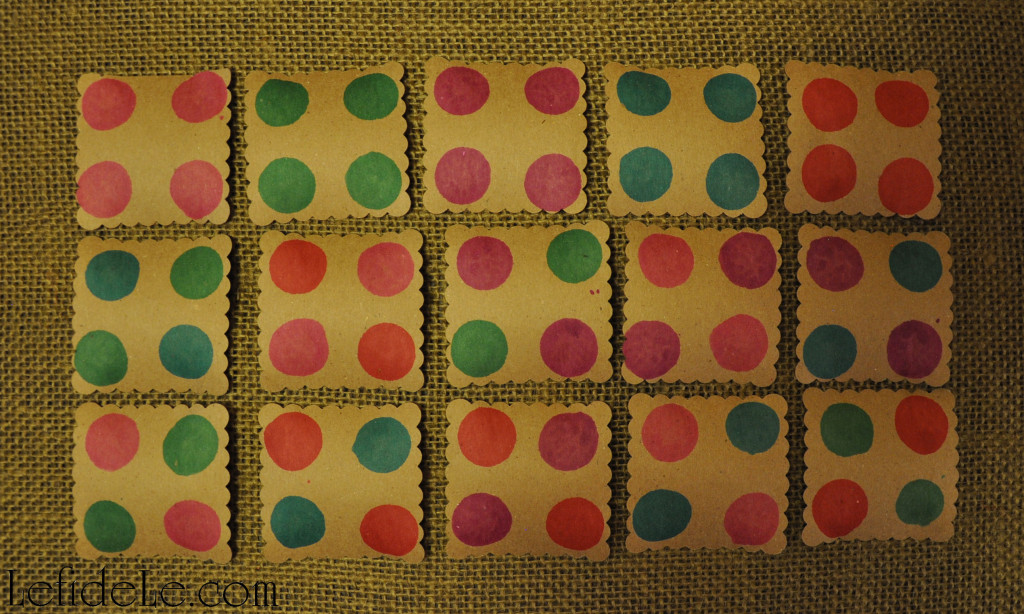
You can find them in so many colors. I’ve used pink, green, blue, red, and purple as examples here. They even come in shapes like shamrocks or hearts, but I’m sticking with polka-dots for now because they are just so classic and chic!
46Leigh

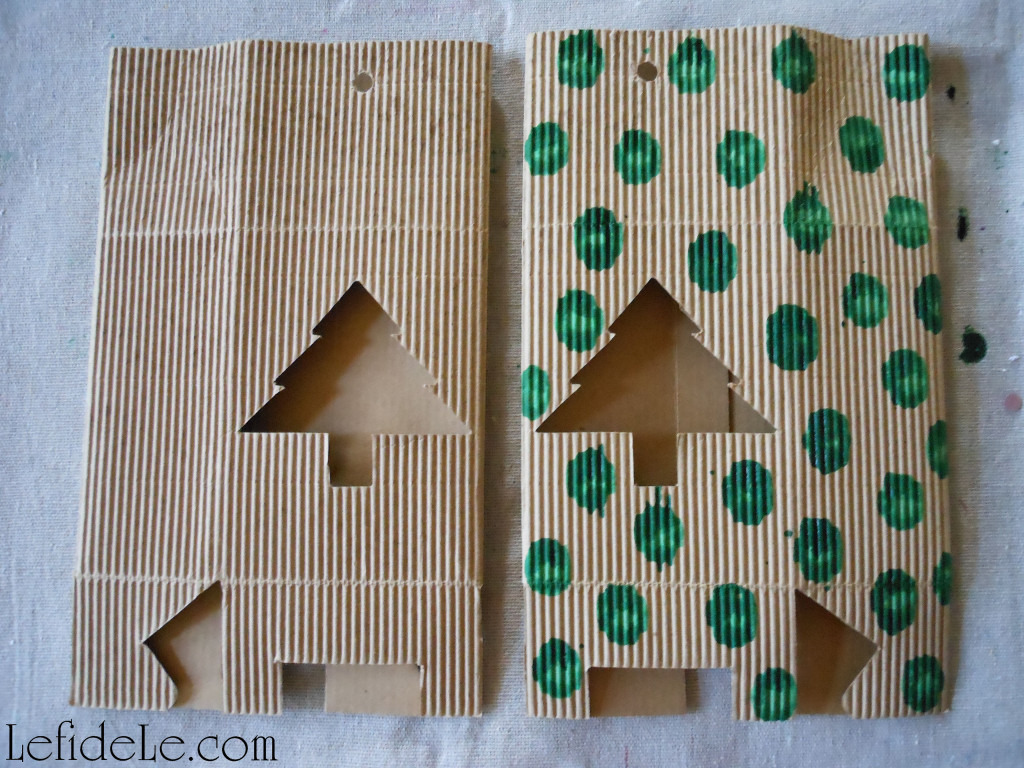
You can use any kind of paper for the gift wrap or bags. Glossy paper will leave more of a watercolor look, while matte paper will dry to a solid flat color. Both have their merits. Just know that glossy surfaces take much longer to dry. It’s great to buy neutral colored bags in white or kraft paper color, and then stamp them into personalized colors as needed.
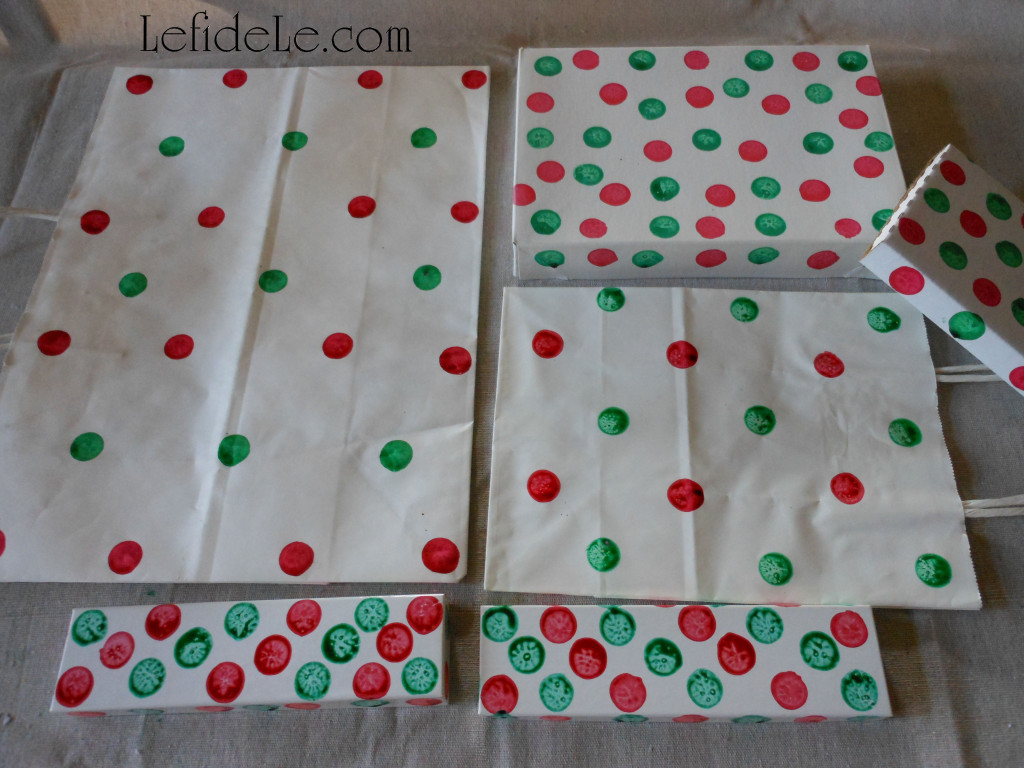
44Leigh

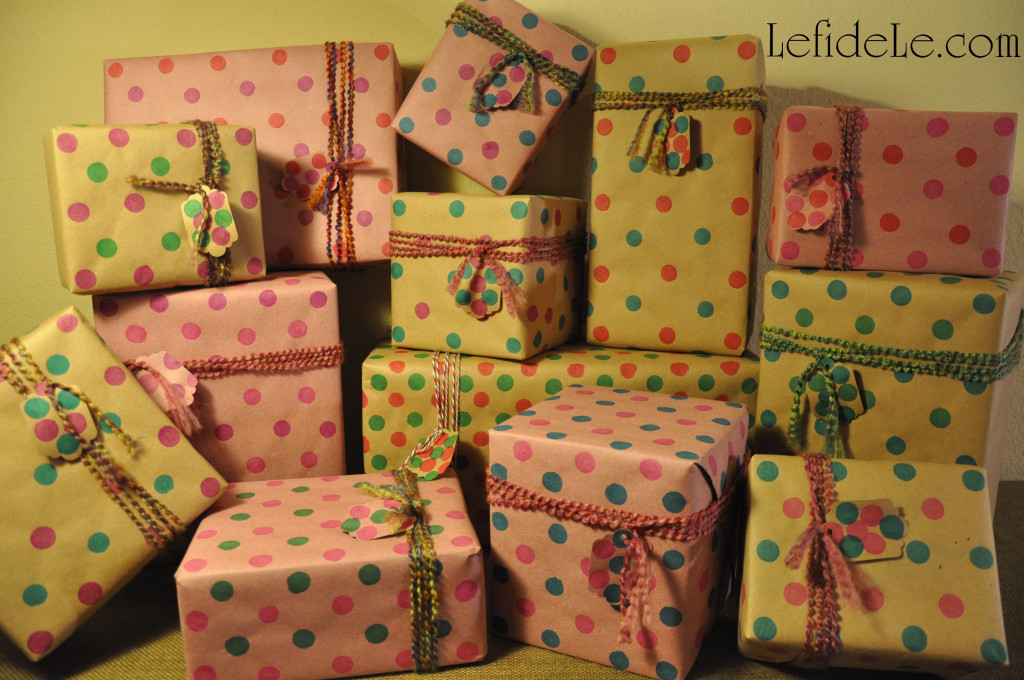
You can match your décors theme, go with traditional colors, or even pick a different color combo for each family member. Pink is my grandmother’s favorite color, so that’s just what she gets!
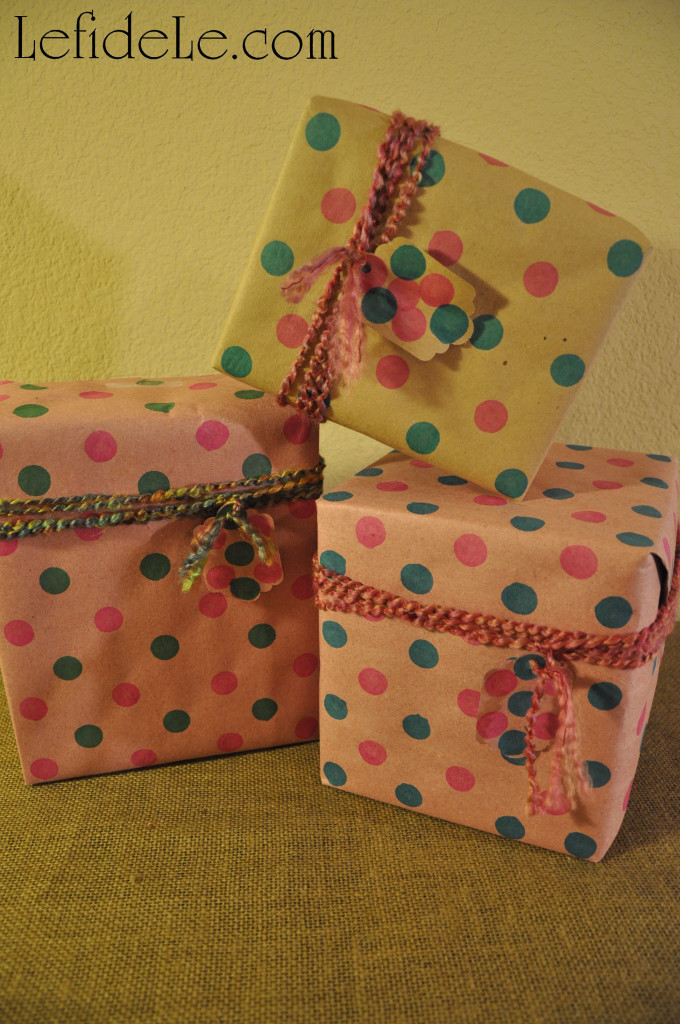
102Leigh

Blue and pink polka-dots are perfect for gender-neutral baby showers.
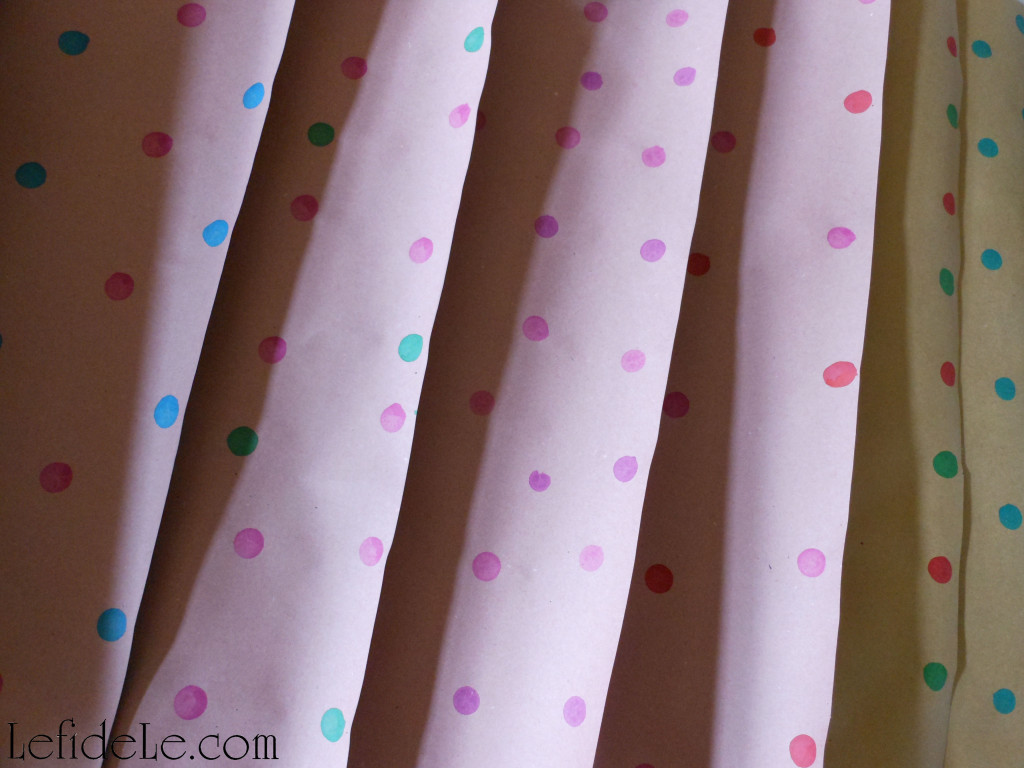
28Leigh

The paper I’m showing here is the best I’ve found for wrapping. It’s thick enough to hide the contents well. It won’t tear like the commercial variety in transit or mailing. It dries quickly and evenly so you can make a ton of it and just roll it back up. The tag in the picture has dry ink on pink paper, and it’s sitting atop tan with freshly applied ink.
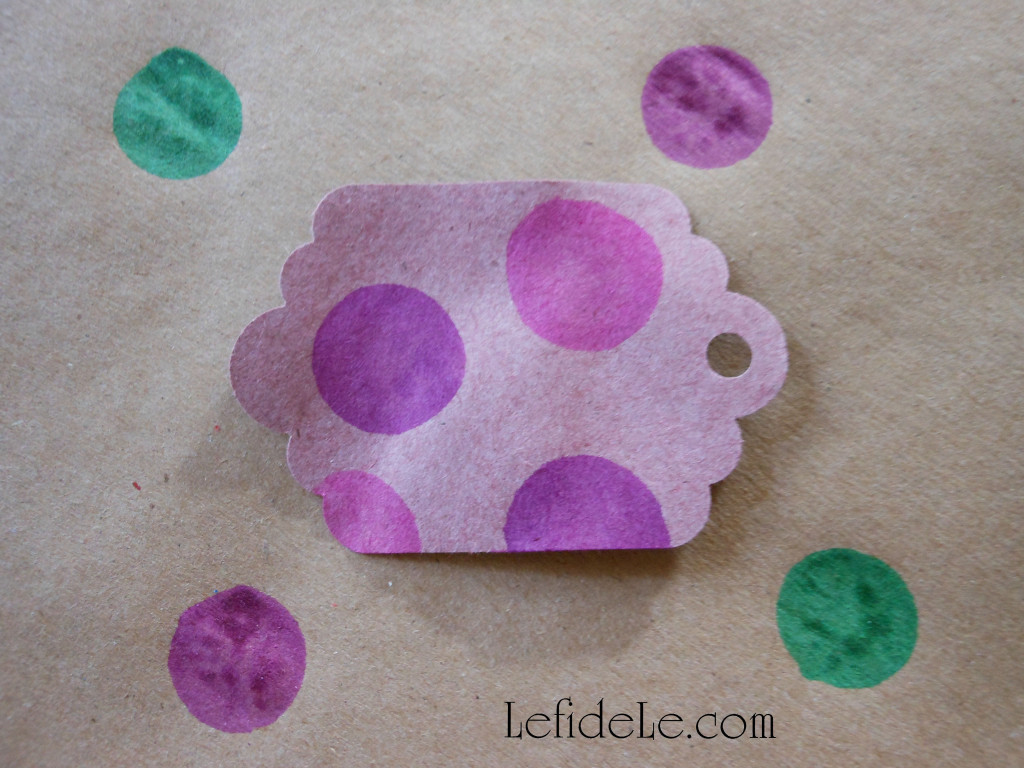
39Leigh

The roll is really inexpensive for quite a lot, so it fits everyone’s budget. It’s so versatile because you can do anything with it (spray paint it, paint a scene on it, write messages on it, have kiddos draw on it, make gift tags or cards out of it, etc…) What is this amazing product? (Another drumroll please)… rosin paper from a hardware store! It’s actually used in homes during construction. I learned about it from my interior designer mother of course. It’s available in pink, green, white and tan like kraft paper in rolls that will last for years. I even use this stuff for covering the backs of framed artwork. (I’ll do a DIY tutorial for this in the future. It’s really easy and will save you so much money.)
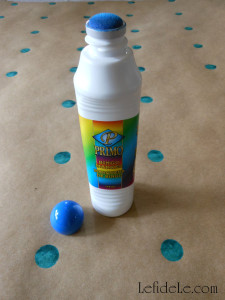
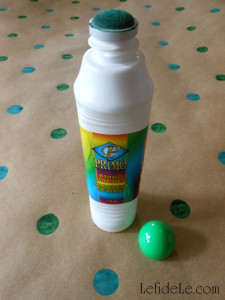
30Leigh34Leigh

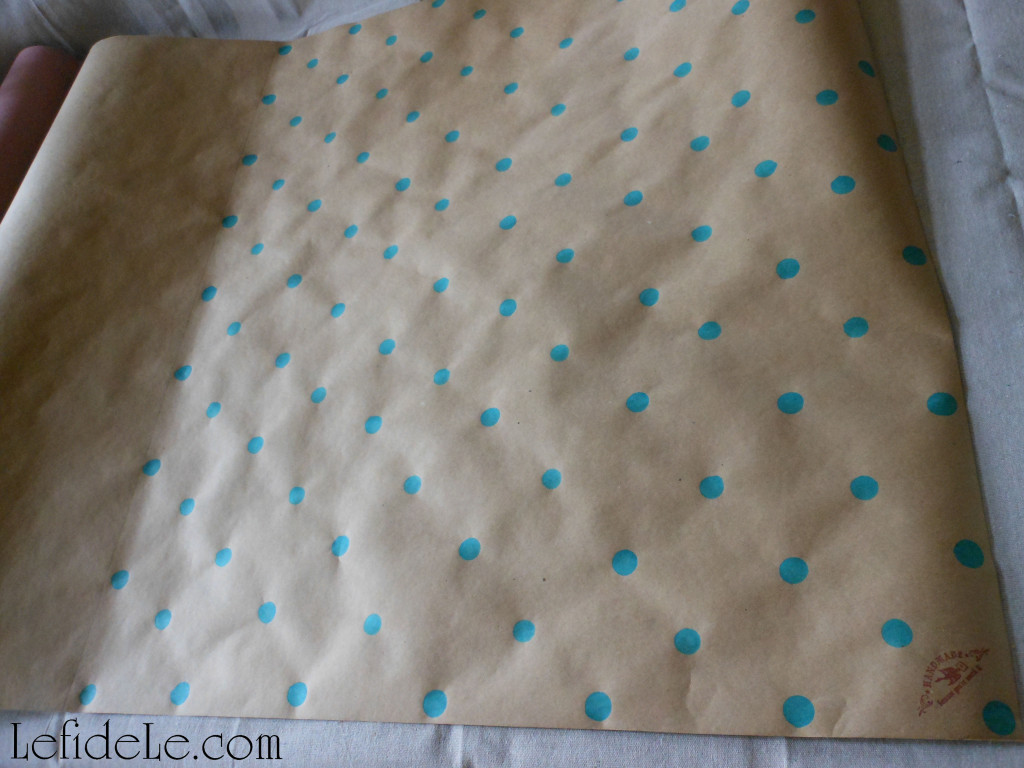
I try to stamp one color in a grid-like pattern, and then follow up in between those with a contrasting color. I have to admit though… sometimes it’s fun to just get stamp-happy all over the place! Do expect this when kiddos are involved. It’s fun to see the creations they come up with.
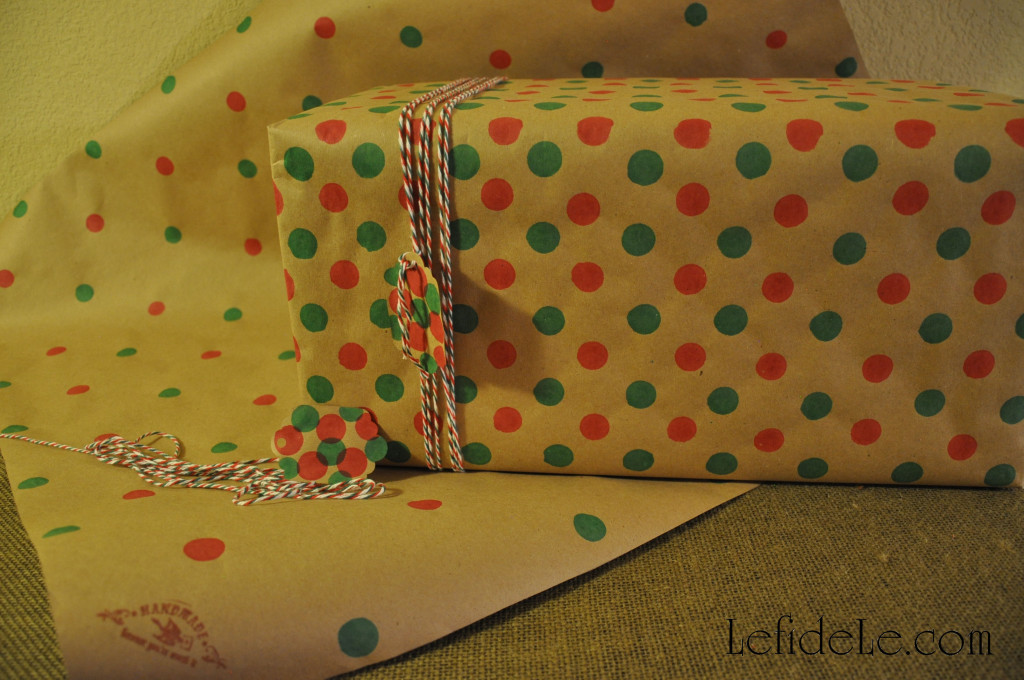
105Leigh

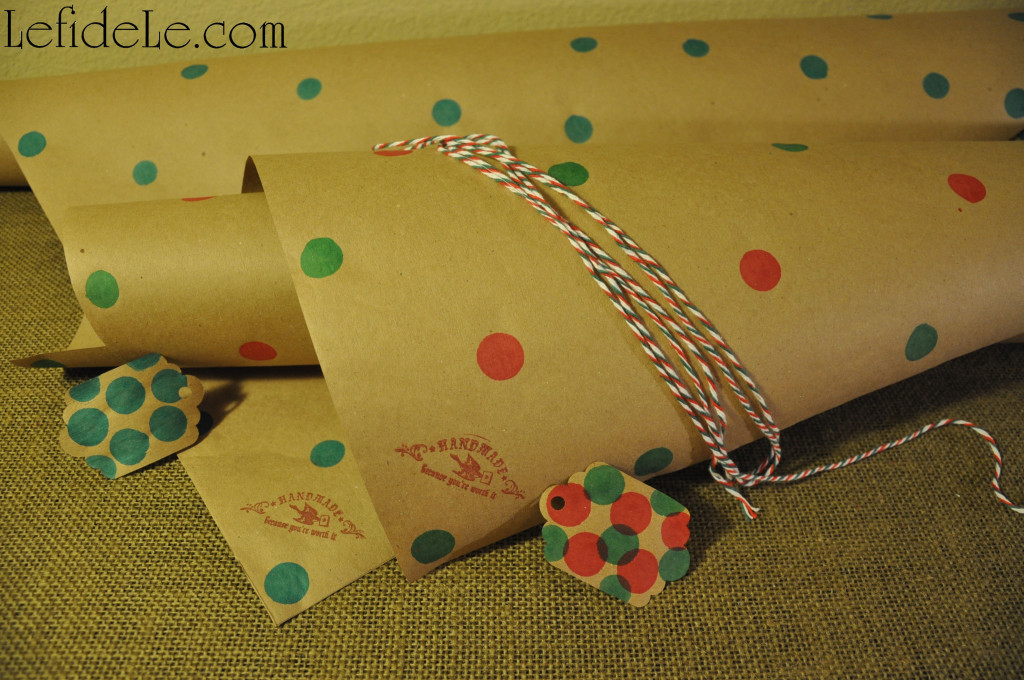
When making hand-stamped giftwrap for my Etsy store, I make long sections for wrapping purchased goods, and also package making kits complete with tag and twine.
74Leigh

I make my individual sheets much larger (36 x 30 inches) than others typically offer (20 x 30 inches) so as to fit larger packages. Each kit will definitely cover several small boxes.
27Leigh

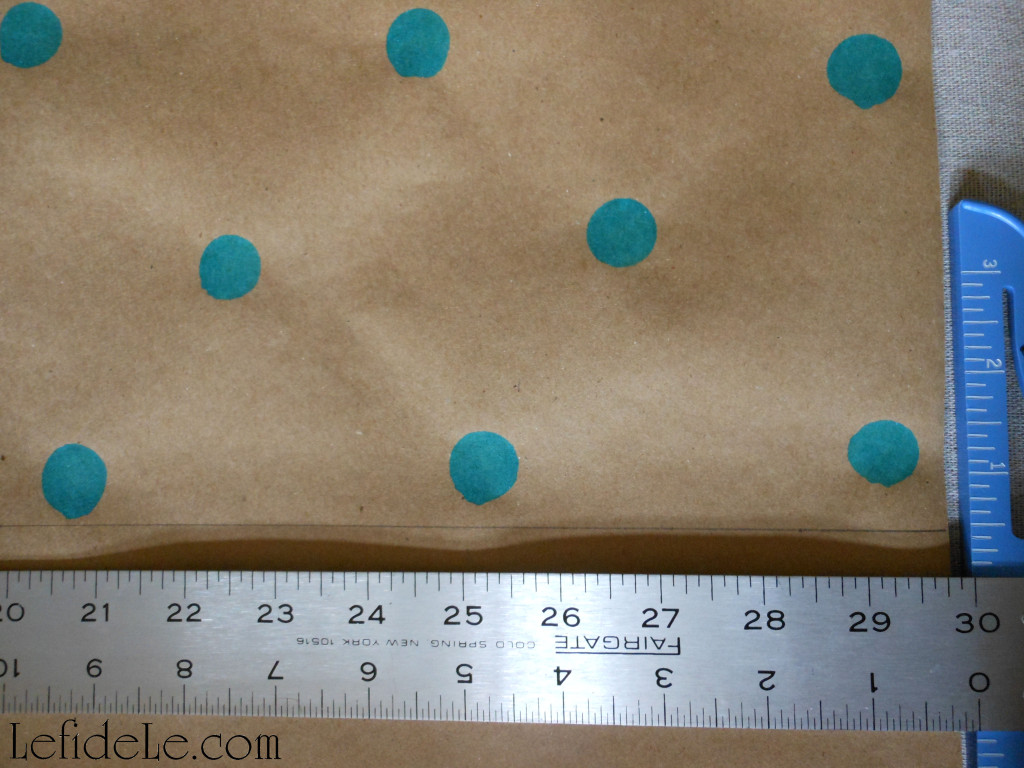
If you want to make individual wrapping paper sheets for yourself, just use a T-square ruler to measure and mark straight distances before cutting.
25Leigh

Another idea, how fun would it be to have a holiday stamping and wrapping craft party with the gal-pals!
24-2Leigh

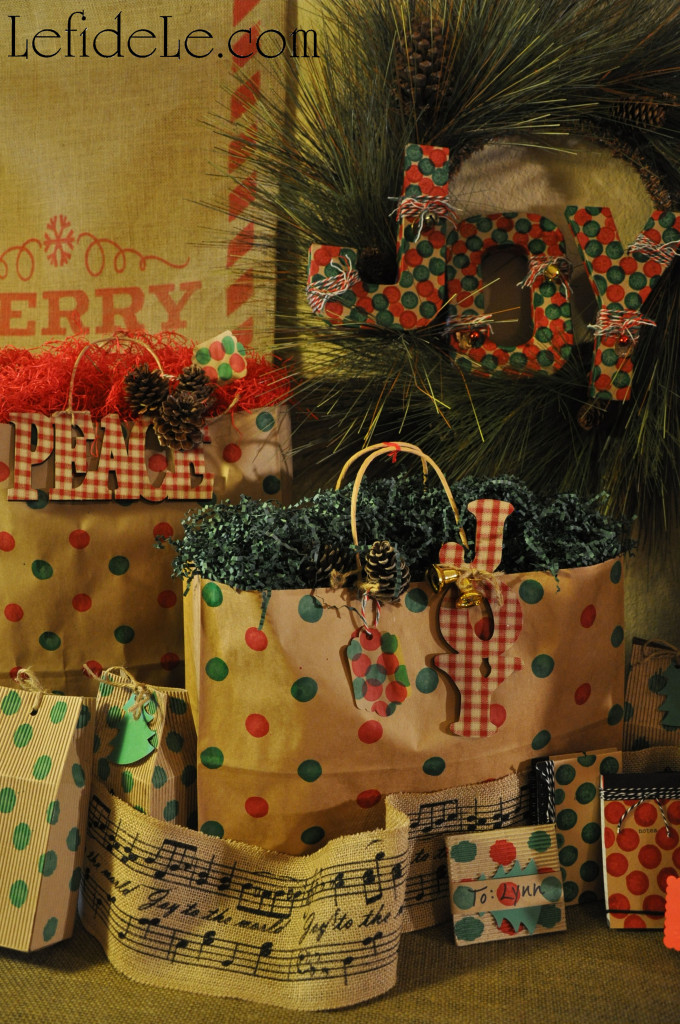
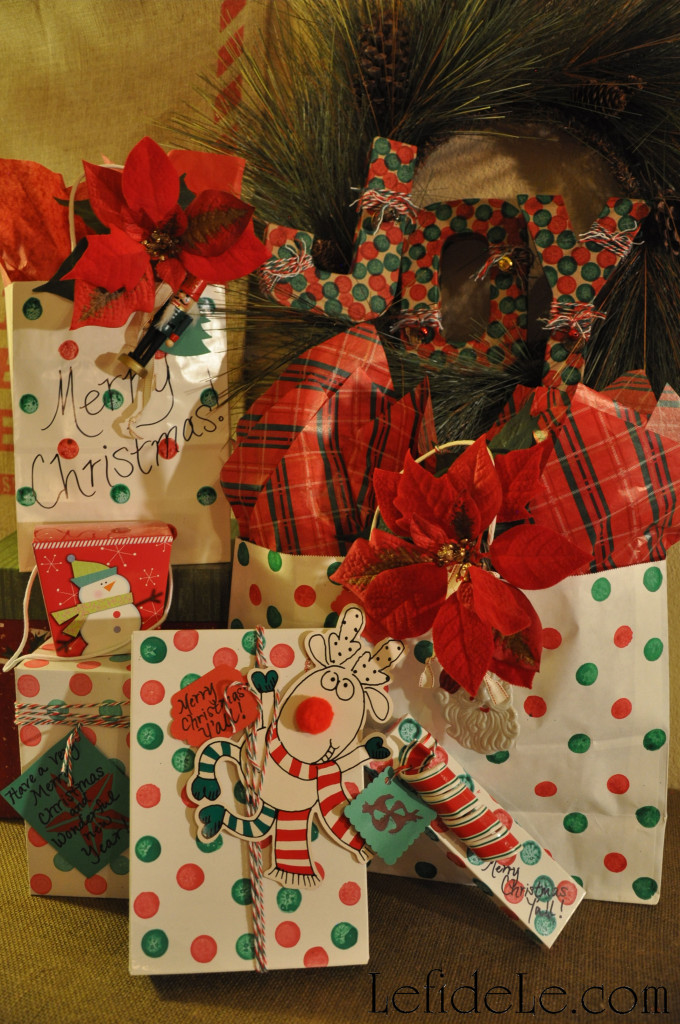
Here are traditional red and green packages for Christmas with added ornament decorations. You can see for yourself the differences between glossy, matte, box, bag, and wrapping paper.
53Leigh

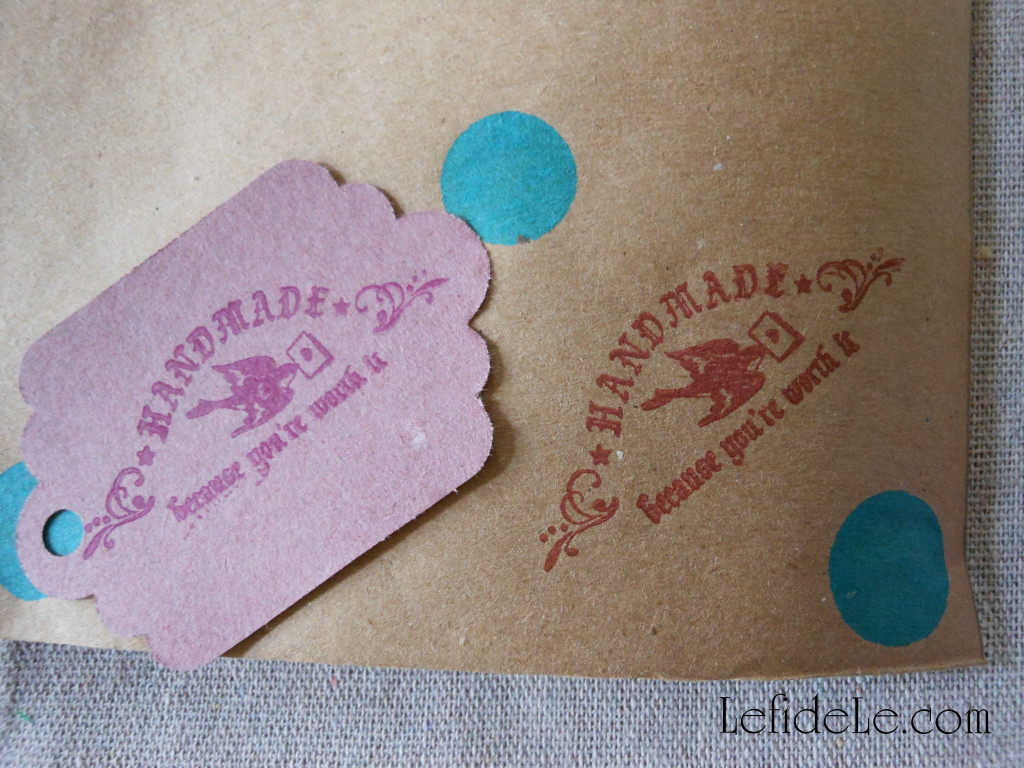
I also used a stamp on them that says, “handmade for you, because you’re worth it,” as it really exemplifies what I’m trying to do… show that I care!
24Leigh

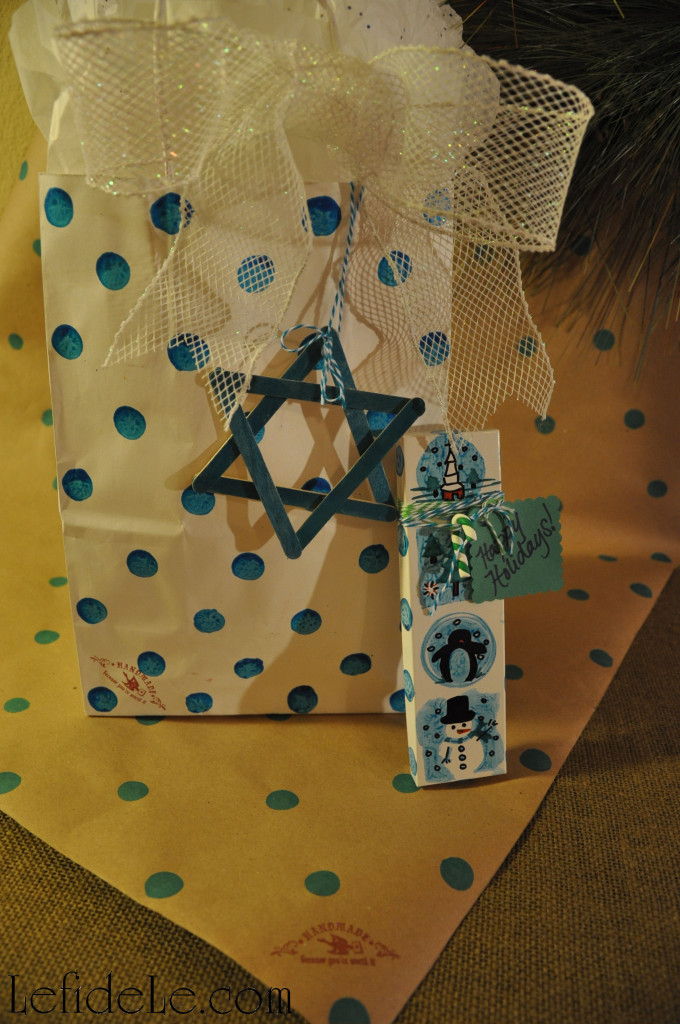
This is an idea for a friend celebrating Hanukkah. I realized I had no appropriate bag decoration for it, so I took a couple of minutes to make one. To make your own, run the matching bingo marker over 6 popsicle sticks to stain them. After they’re dry, hot glue 3 into a triangle. Repeat this with the last three, then glue one triangle on top of the other. Tie on with coordinating twine, yarn, or ribbon.
71Leigh

This would be a great type of Christmas craft for the little ones making ornaments for the family. The bingo markers don’t make a big mess and the ink washes off of skin. Adding a year and a name in permanent marker would make it even more precious.
91Leigh

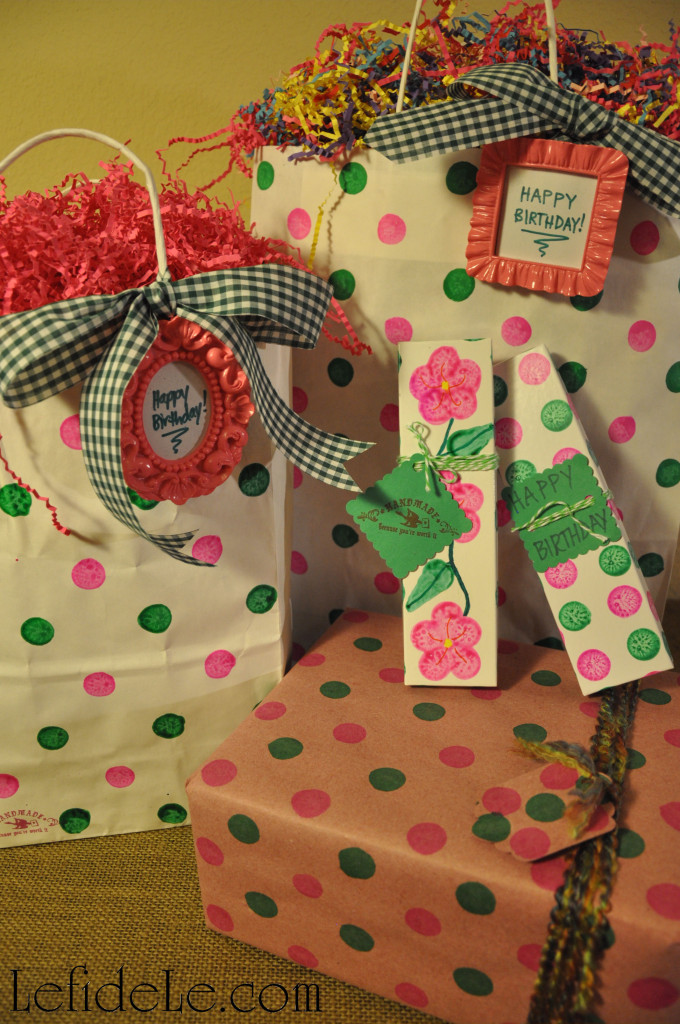
Here are some birthday gift packages with tiny frames as bag décor.
87Leigh

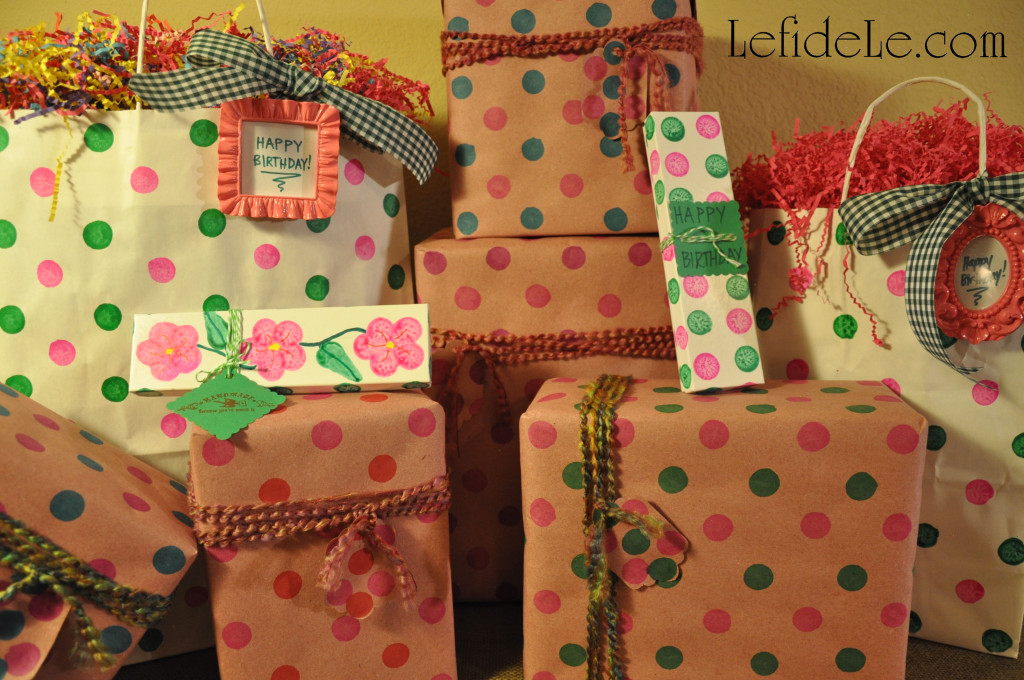
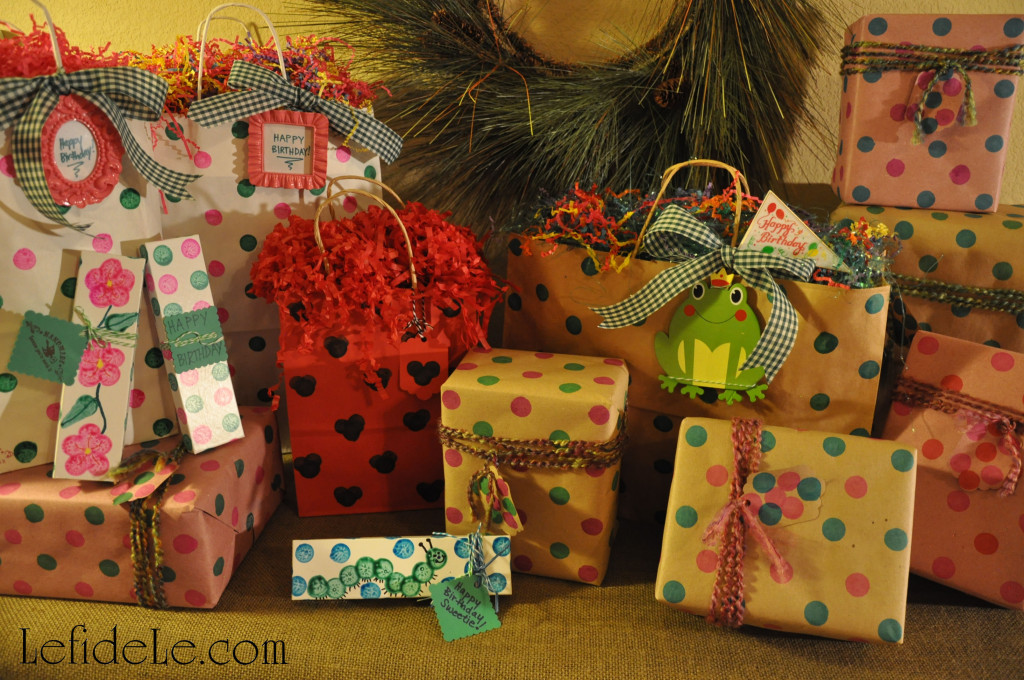
I went ahead and stamped them ahead of time because I already had everything out, and I’m planning an upcoming green and pink polka-dot theme birthday party. It fit just too perfectly!
78Leigh

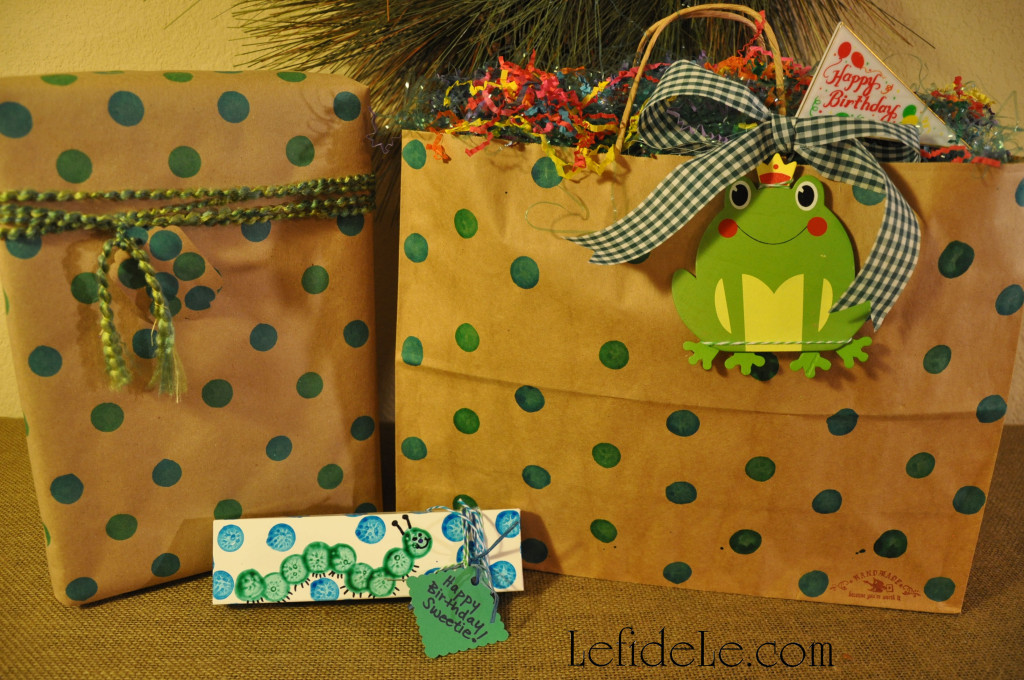
Also, I’ve made some critter themed wrap in blue and green. It seems like there is always a little one being born or having a birthday, so I make a point of finding theme items throughout the year for gift baskets. I can always find cute things in ducks, frogs, and ladybugs.
81Leigh

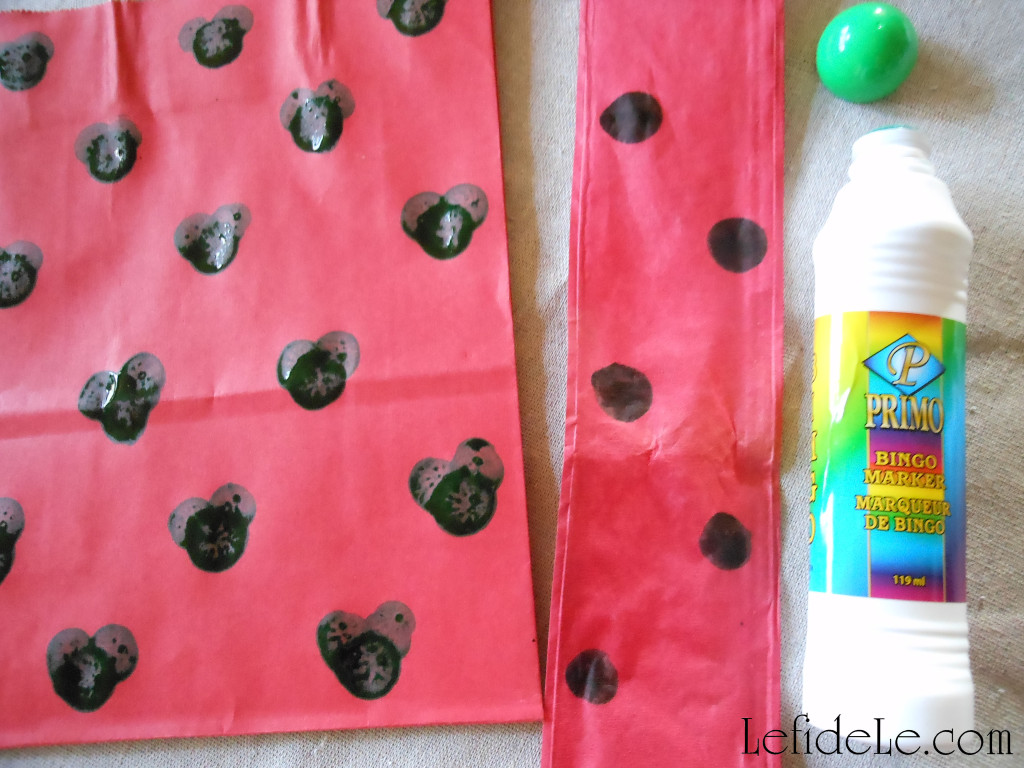
Here are some attempts at making shapes with the bingo markers. I’m sure it probably would have been smarter to practice before doing this on the bag and boxes. Oh well, at least you can get the idea.
42Leigh

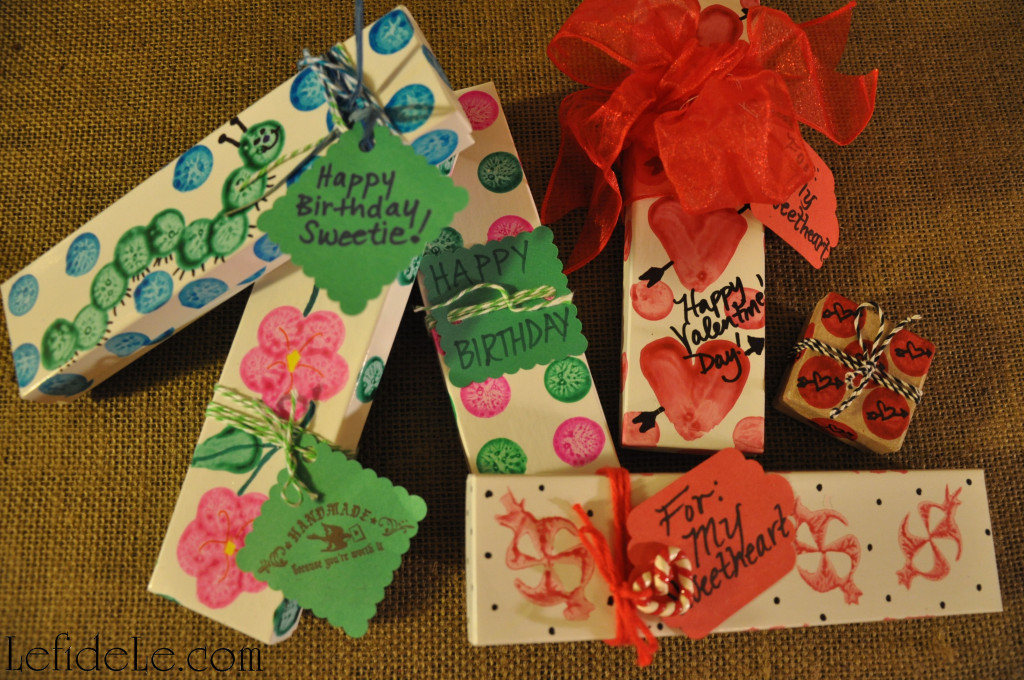
The Mickey / Minnie Mouse bag appears to have black ink on it because green ink appears black on the red paper. I also stamped polka dots onto a length of red paper ribbon to demonstrate the endless possibilities of decorating with ink. The green Hungry Caterpillar box just as easily could have featured a blue Alice in Wonderland Caterpillar.
62-2Leigh

The hearts on the box aren’t great because it isn’t easy to make a V-point with a round stamp. Although I did get better at it by the time I made the leaves for the flowers. Just use a Sharpie to draw in details like arrows or a wavy lined stem. The peppermint candies were made by a foam stamp inked with the bingo marker. I thought it might work, and was delighted to find that it did! I will soon be posting a Winter Candyland Party that this type of stamp is perfect for, but here it’s used for a “sweetheart” gift box.
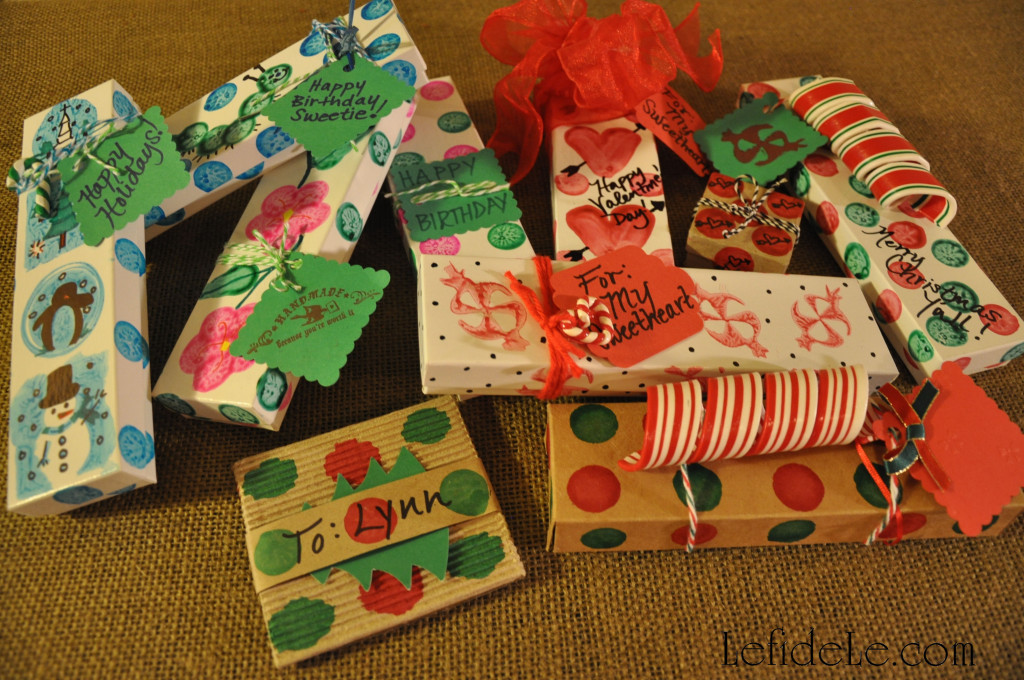
68Leigh

It’s really great to just stamp the outside of gift boxes, and not worry about wrapping at all! Here I’ve use some Christmas yarn… purchased with a coupon so that it was a fraction of the price of baker’s twine. I have enough quantity to be generous with it without worrying about running out… and it’s just really cute.
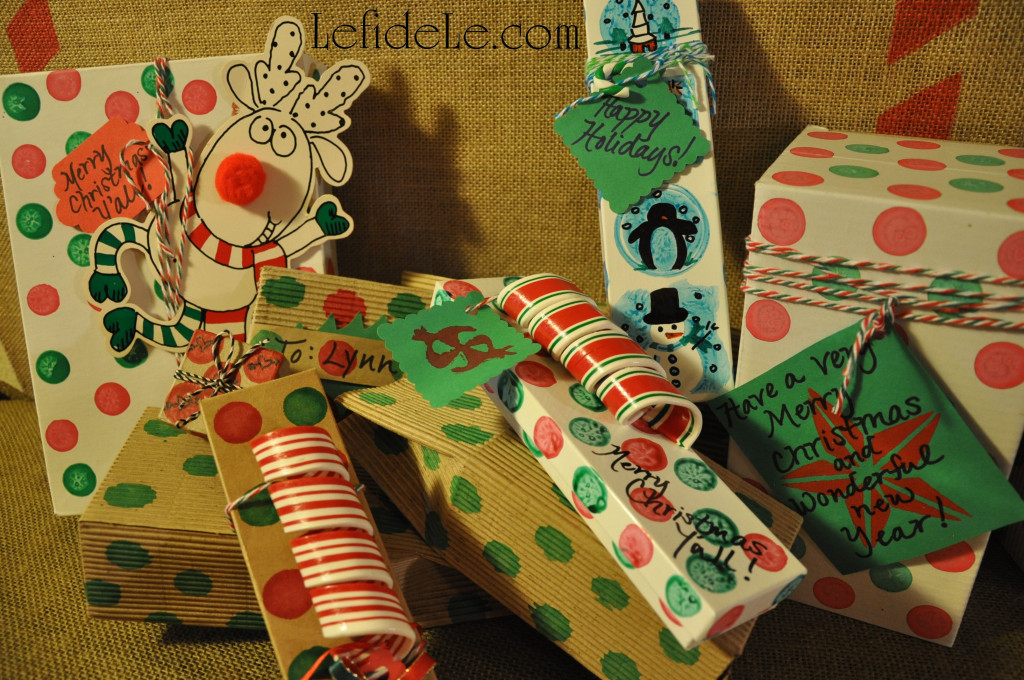
59Leigh

The Rudolph decoration was manufactured, but it would be really easy to draw a silly character on poster board in Sharpie markers and glue on a red pom-pom nose. That could be a fun way to get the kids involved as well. Another festive idea is to stamp the outside of a mailing parcel then write the recipient’s address in black Sharpie.
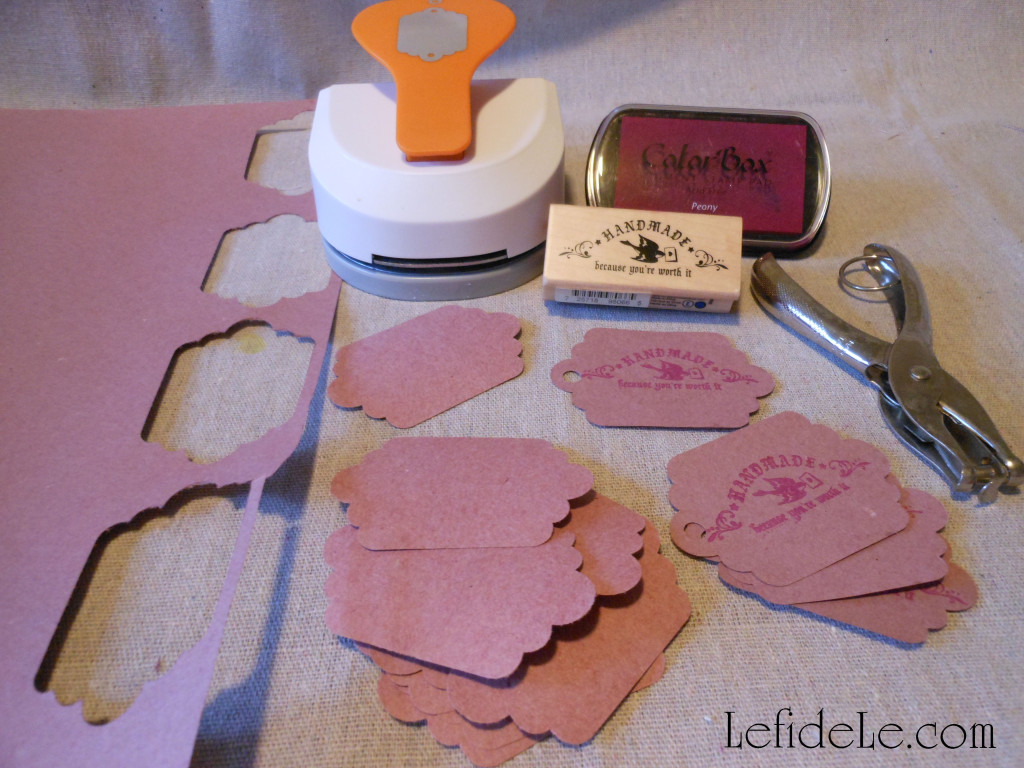
15Leigh

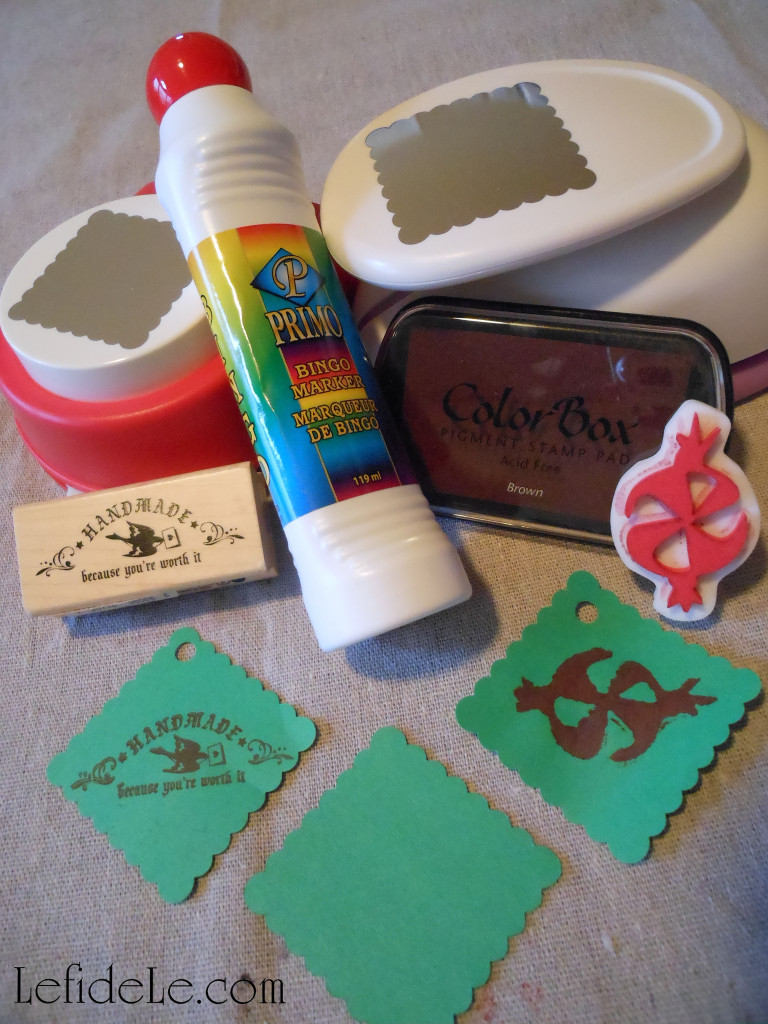
Don’t forget to make tags for your “presies”. I just used several large punches to cut them out of the same paper.
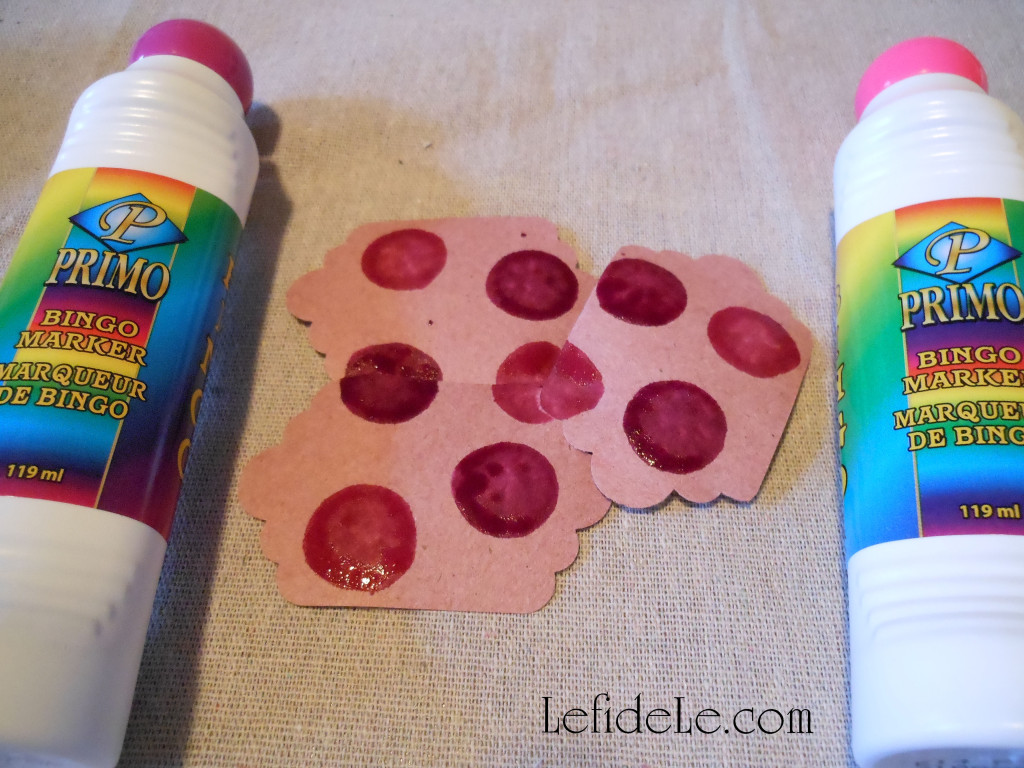
21Leigh

I then stamped them in assembly line fashion… proof positive that quick can be cute!
19Leigh

I used the handmade stamp and candy stamp on some. The star tag was stamped with a foam star and acrylic craft paint. This way you can see the difference between how ink and paint look. Use a Sharpie marker to write messages on any of these as pens just don’t show up well.
40-2Leigh

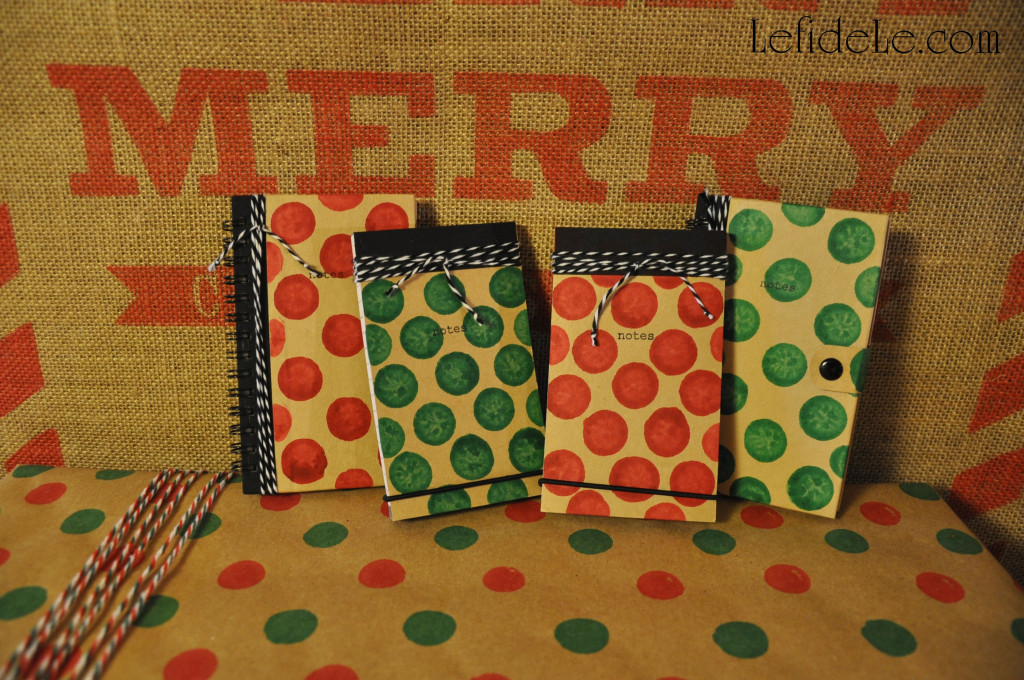
As for the gifts themselves, why not make super-quick stocking stuffers with matching polka-dots?
51Leigh

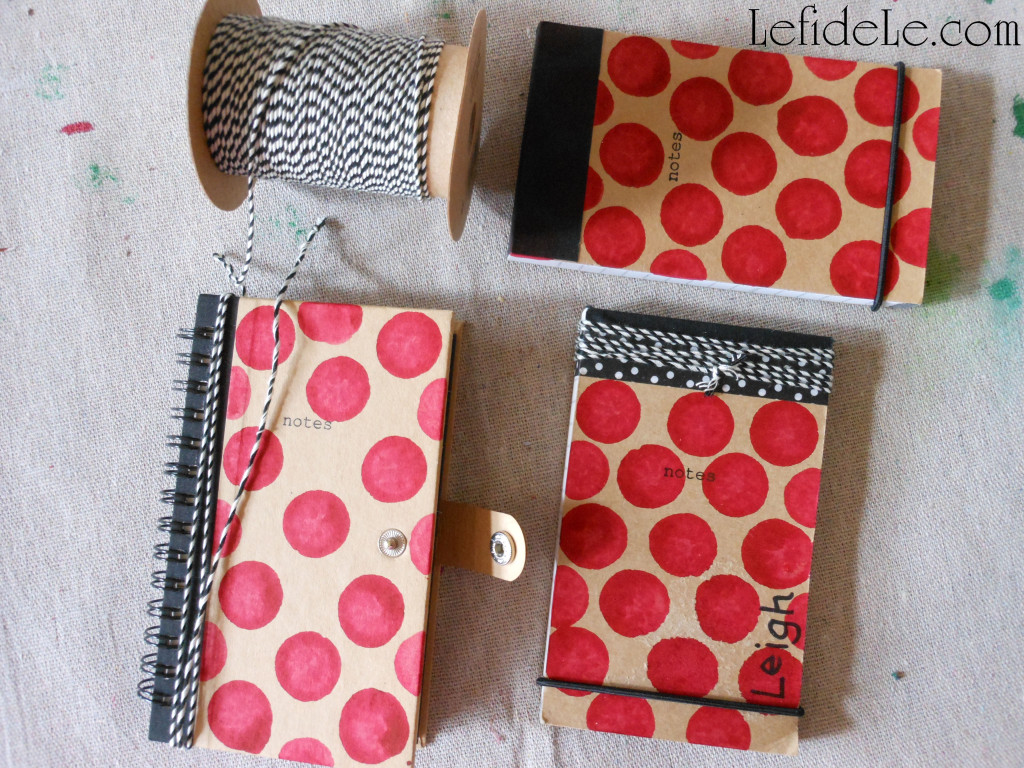
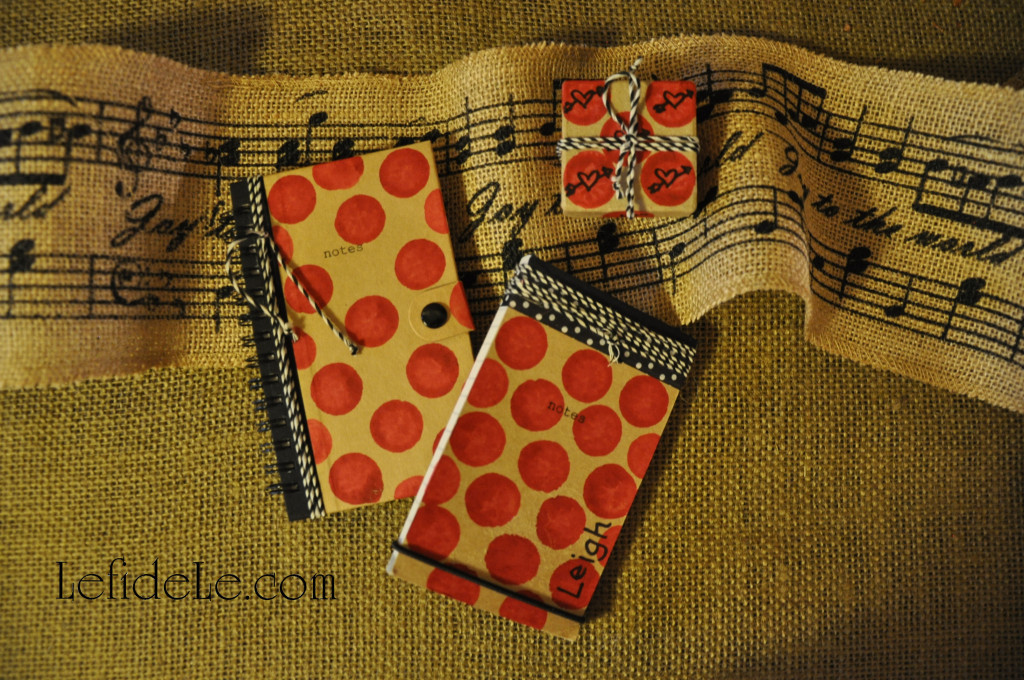
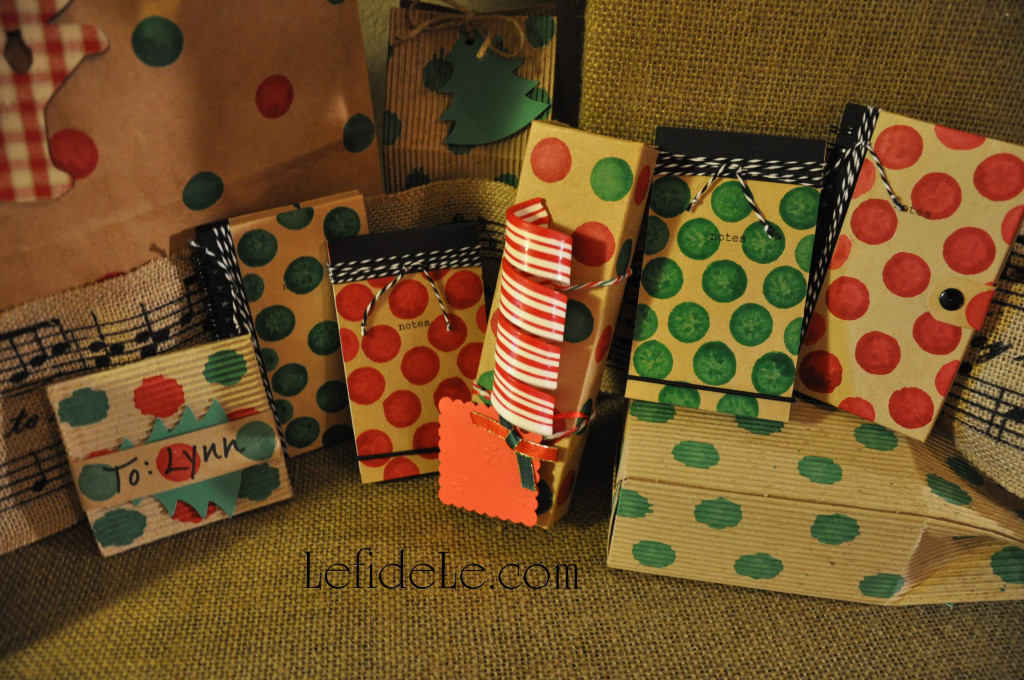
I took boring kraft paper notebooks, and raised the cuteness factor exponentially with a little ink stamping and twine wrapping.
45-2Leigh

I also added some washi tape to one whose top was peeling slightly. I personalized that one with my name in Sharpie.
54Leigh

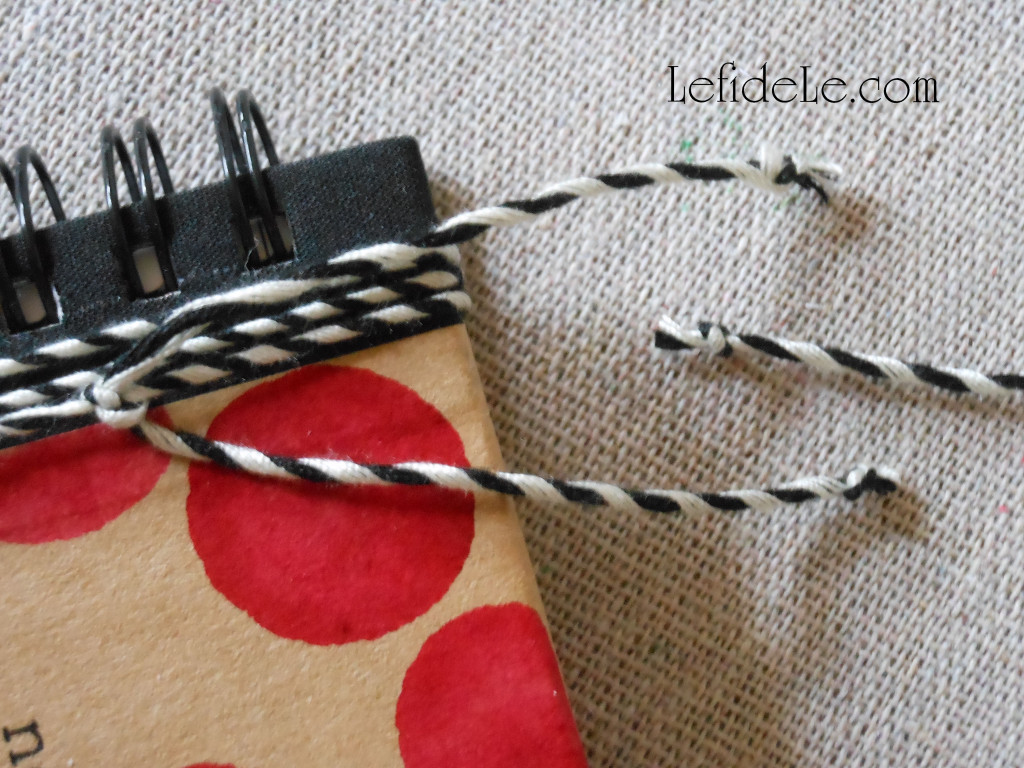
There is one thing which will save you some length on twine brands that have a tendency to unravel easily… tie two knots before cutting in between them. I found that the yarn that looks like twine actually unravels less.
26-2Leigh

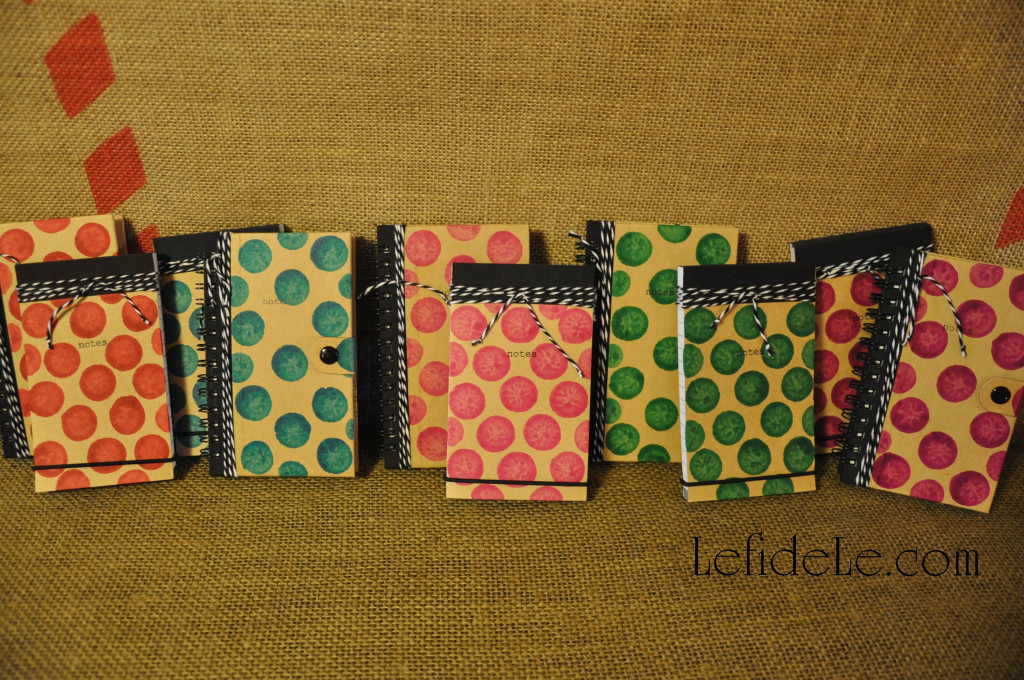
Here is a collection of my various colors of notebooks that will be made available at Le fidèLe Designs Etsy store.
42-2Leigh

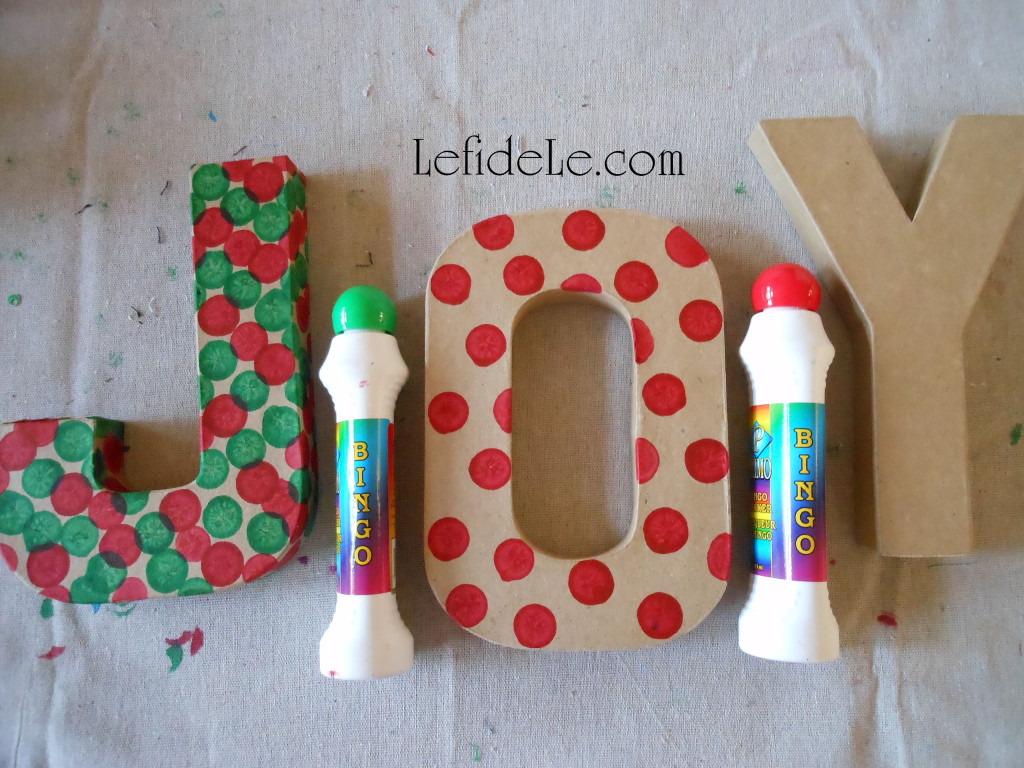
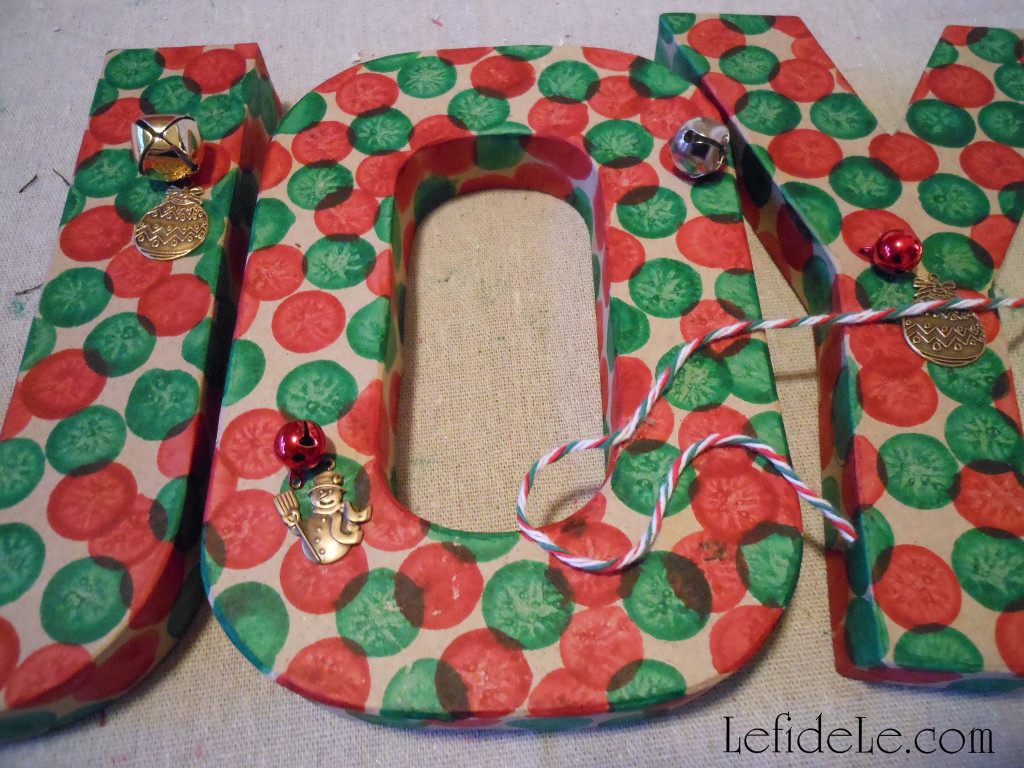
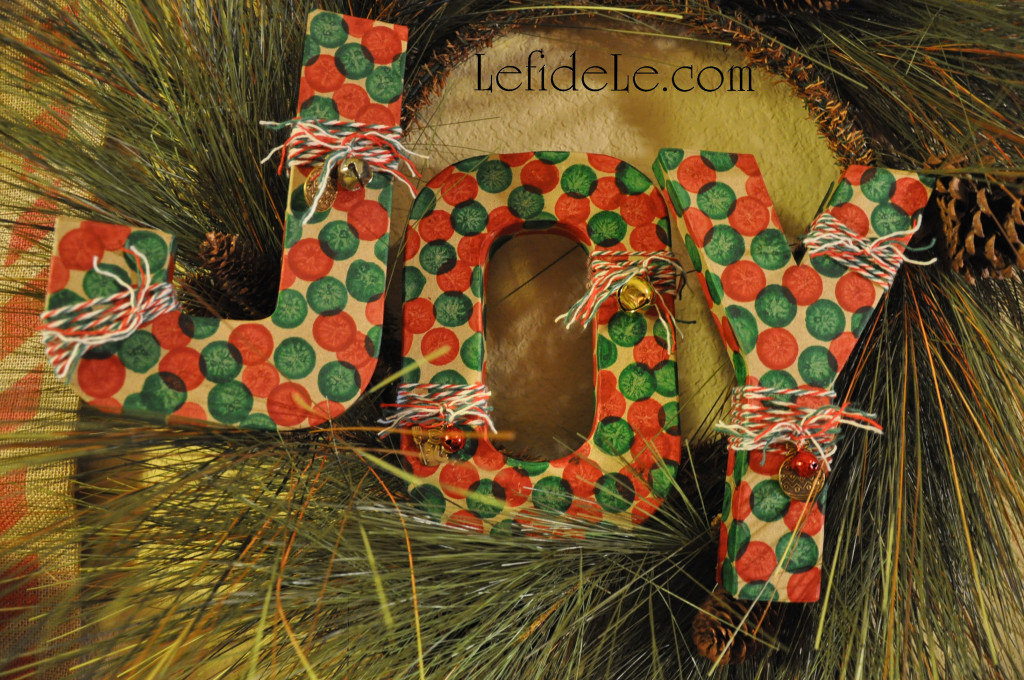
Another stamping idea that’s super-easy and fast is making message holiday décor. I bought the only “J” left in 3 stores, so JOY must be popular for the holidays. Really, any letters using different colors can be made year-round. A name would make a terrific personalized gift for a little one’s nursery.
110Leigh

I simply stamped haphazardly with the red and green, because it was more fun that way!
116Leigh

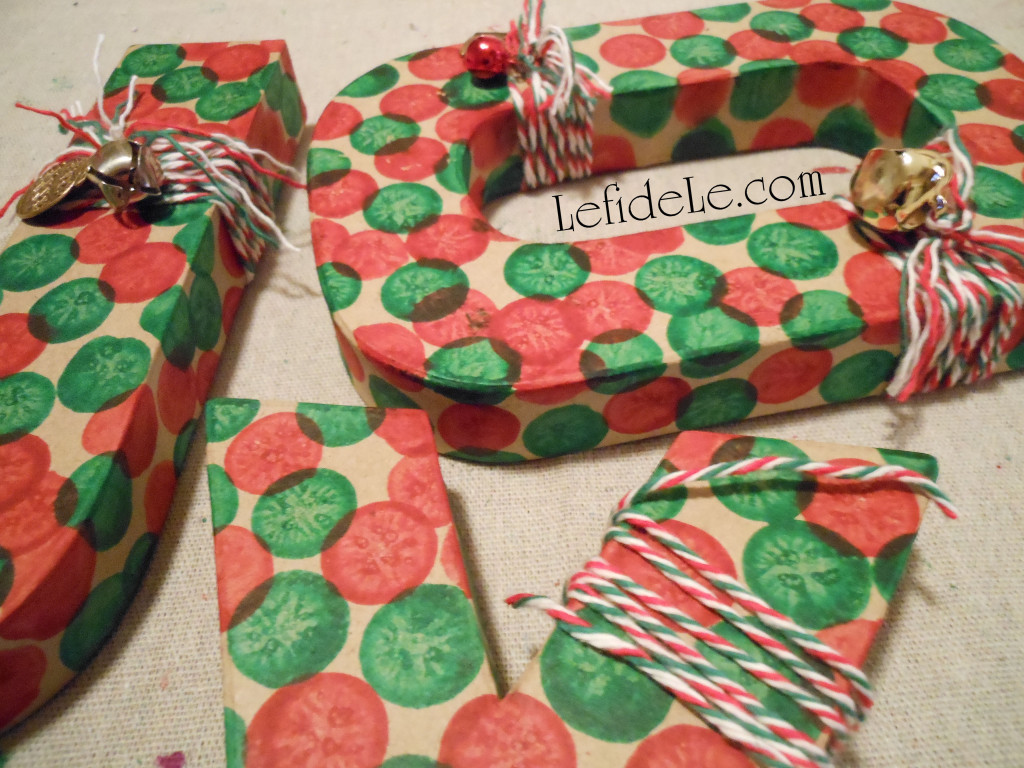
I went ahead and inked the back as well, for versatility. In this way I can set them anywhere, even freestanding in the bar area.
121Leigh

Lastly, I found some holiday charms and bells to tie on with Christmas yarn. It was easy and done in a few minutes.
36-2Leigh

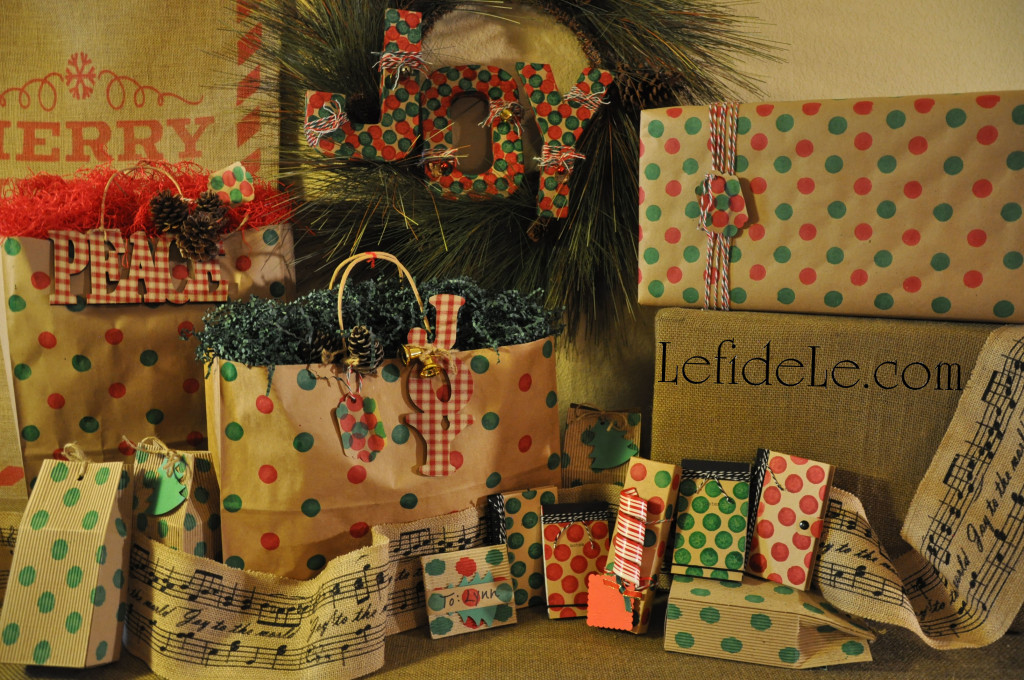
The best part of all of these projects is that I found people really want to reuse some of the stamped wrap. (I even had one request that I not to write on the tag next time, so that she could send it forward… not the gift, just the bag and tag!) By hand-making your own wrapping, you are not only demonstrating that you really cared enough to go that extra mile, but it’s also beneficial to the environment when others want to continue passing it along. Reusing is even better than recycling! It’s yet another way to give when we are good stewards for His majestic creation.
28-2Leigh
Faithfully Yours,

Leigh