Tag Archives: Silver

Spring Garden Mother’s Day Tea Party Tablescape Décor Ideas (+ Free Printable Card & Invitation)

002Leigh

You’re invited for tea at my nest where enchanting tablescape décor awaits, where butterflies will carry you to a flower filled spring garden complete with the melody of birdsong. Delight upon delectable teacakes, treats, tarts, and tea sandwiches while sipping mint scented tea sweetened with pink sugar sweethearts. Celebrate with handmade gift crafts conveying heartfelt sentiments along with free printable invitations and cards sending your warmest wishes for a beautiful Mother’s Day!

022Leigh

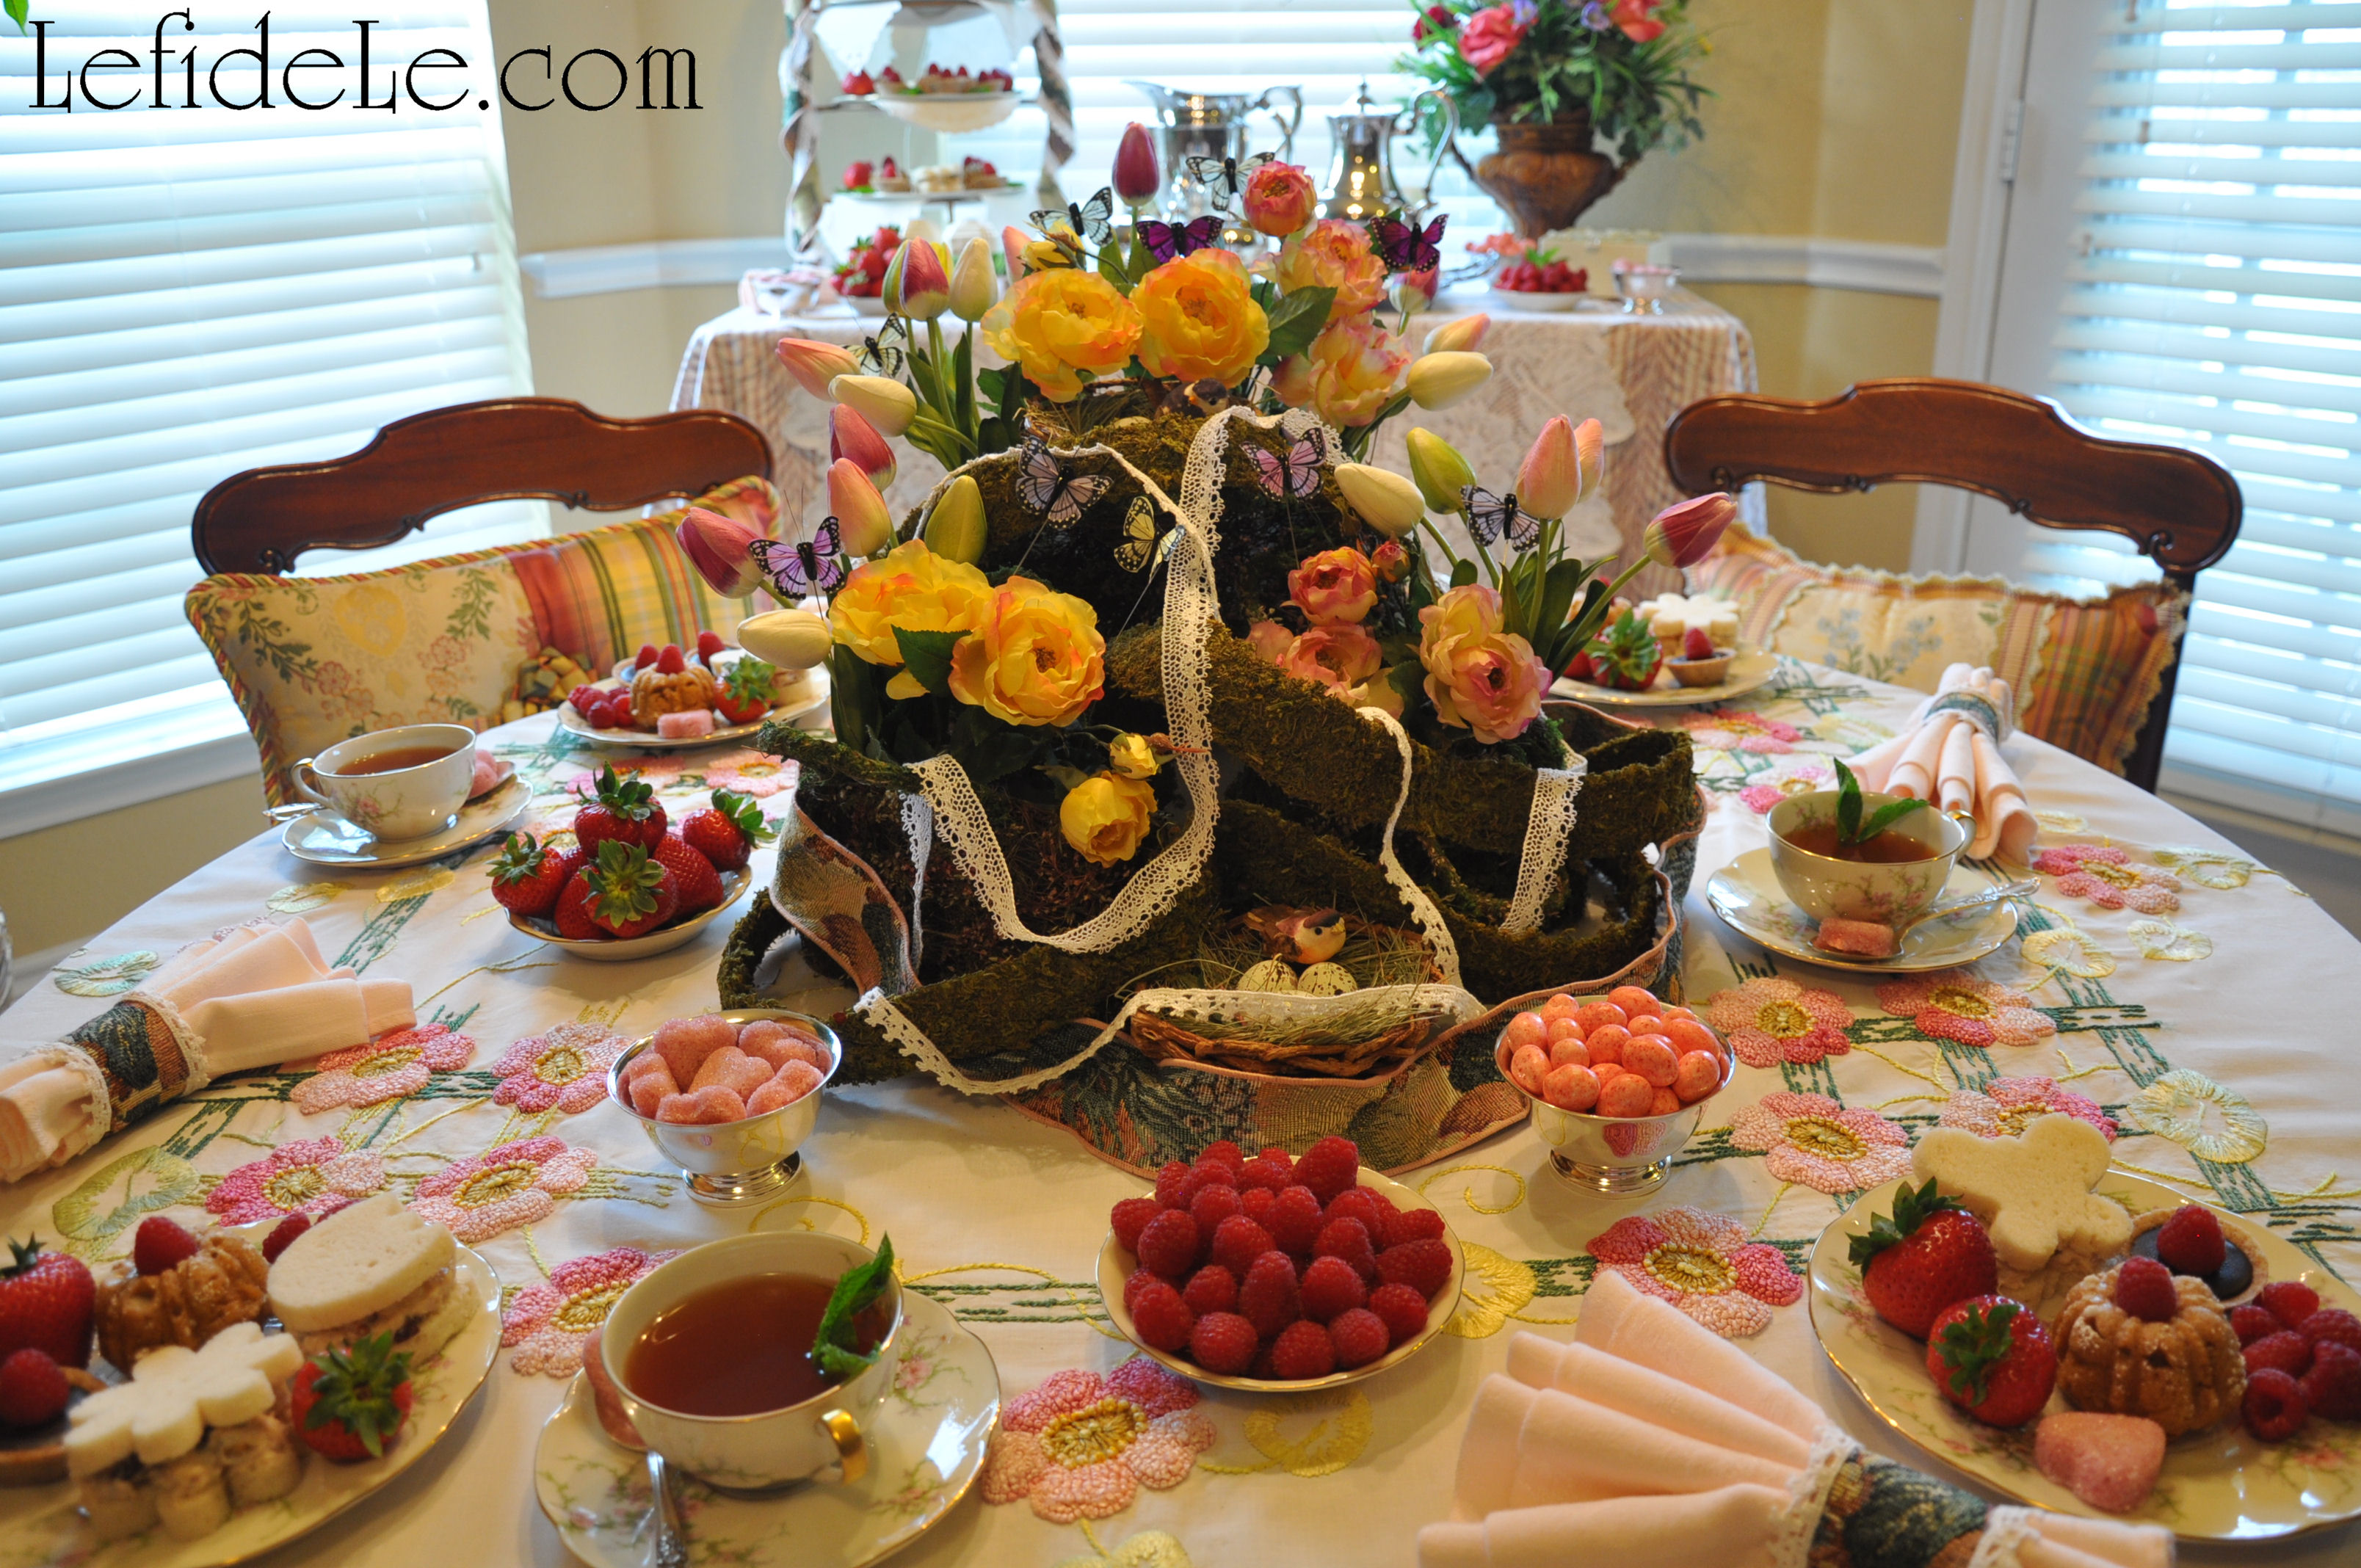
Harken your ears to the call of birds whistling a merry tune of invitation to the spring garden. Two nests double the blessings bestowed upon the day as finding even one is said to be the harbinger of prosperity.

036Leigh

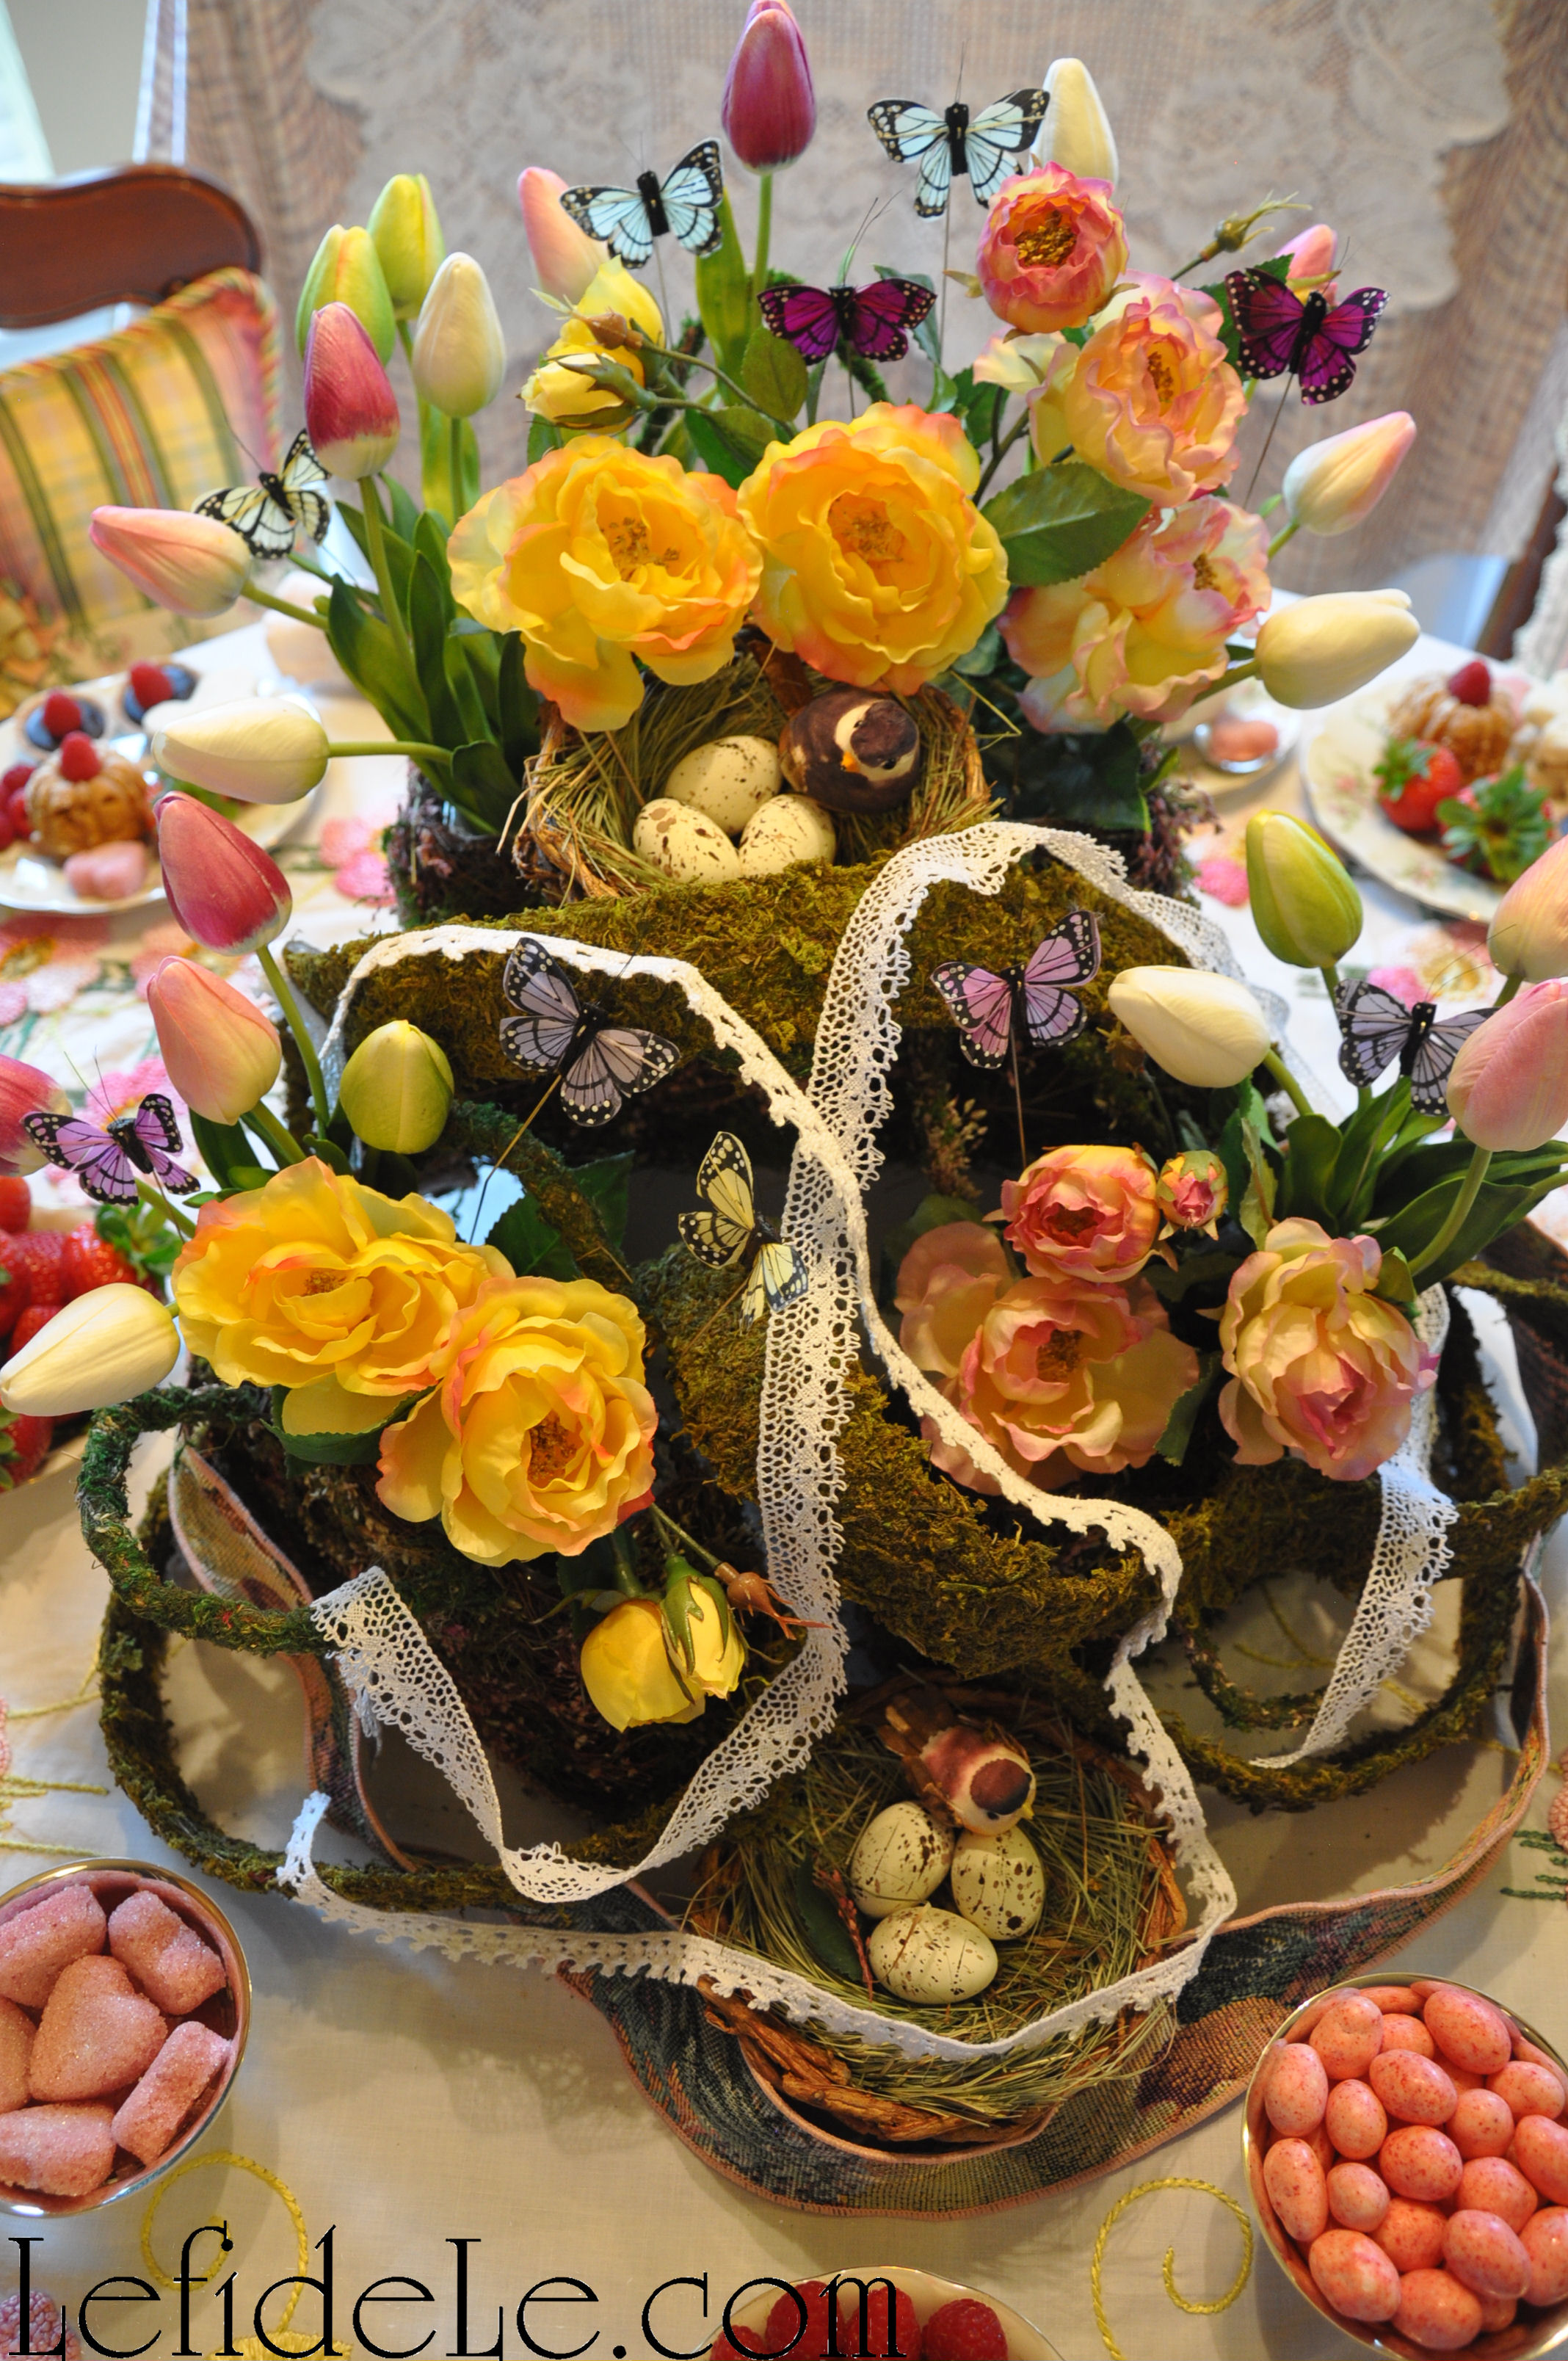
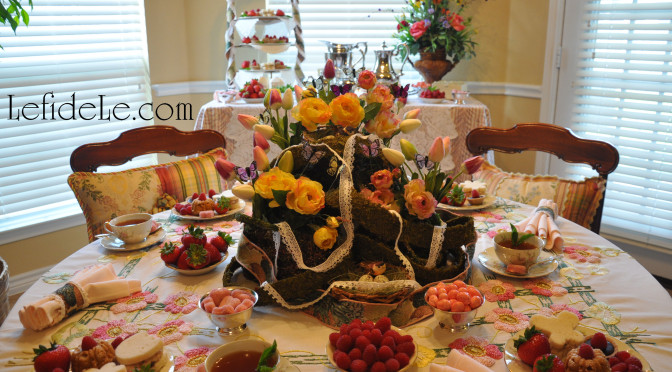
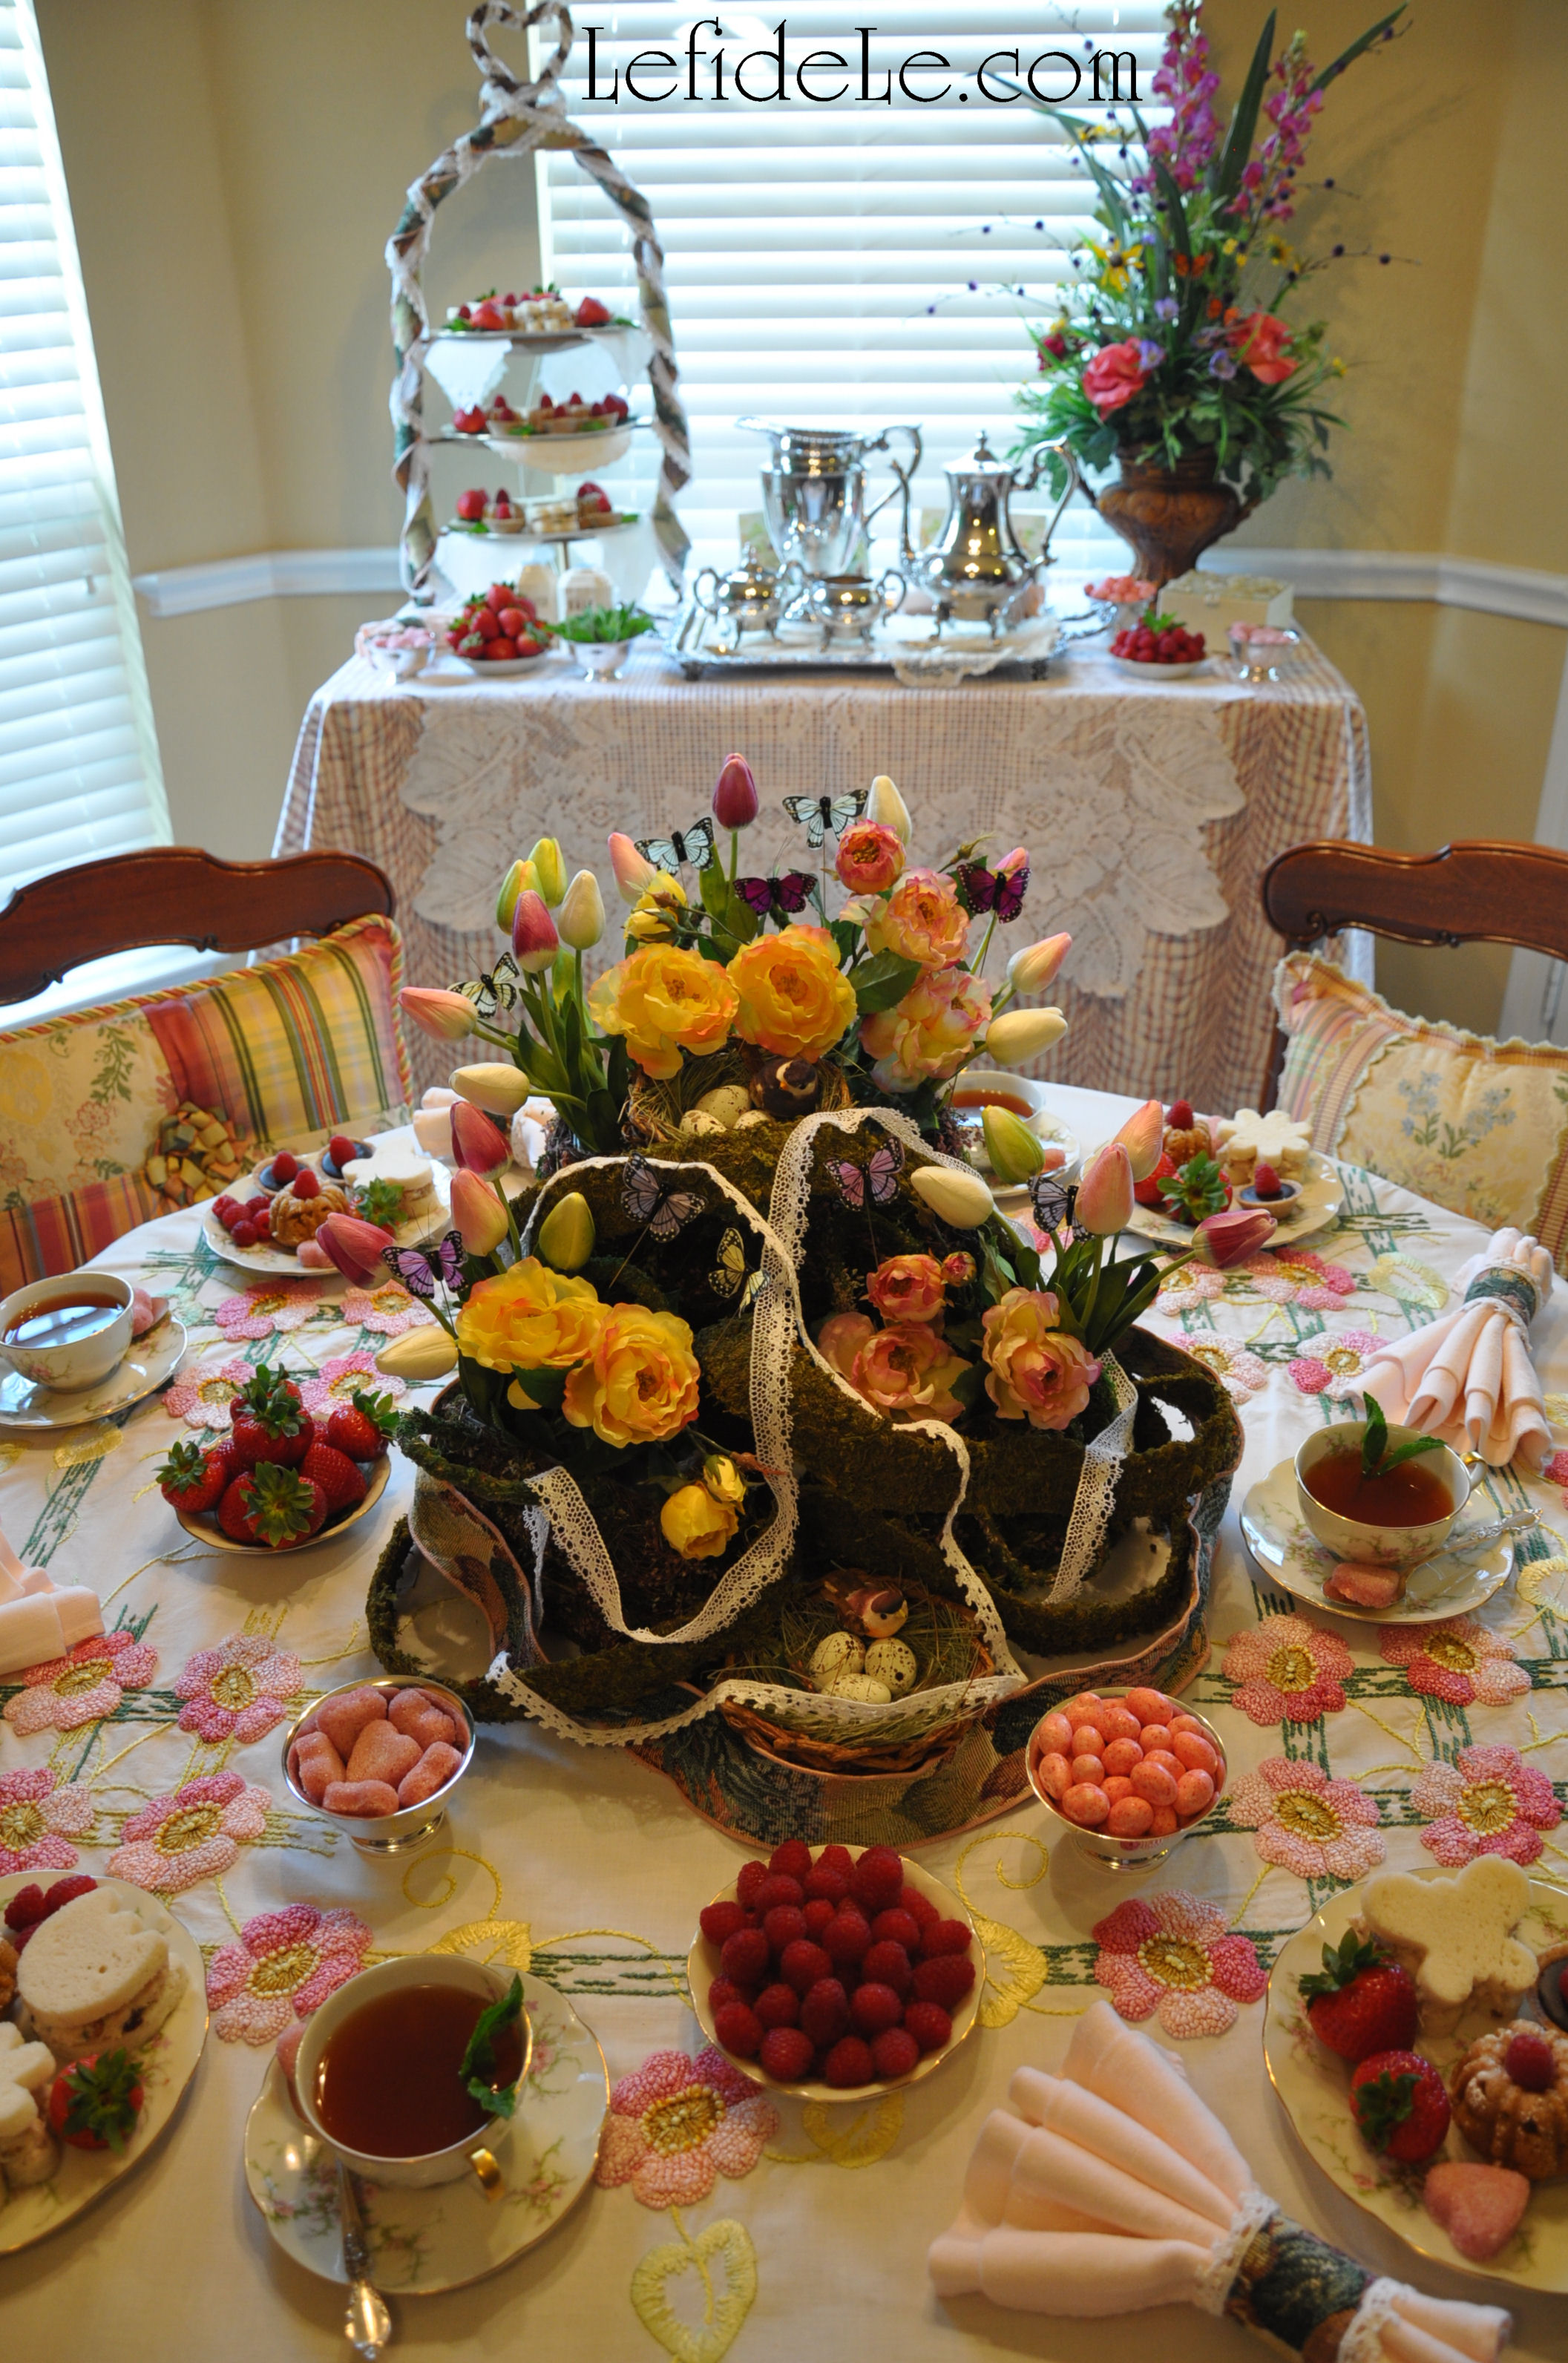
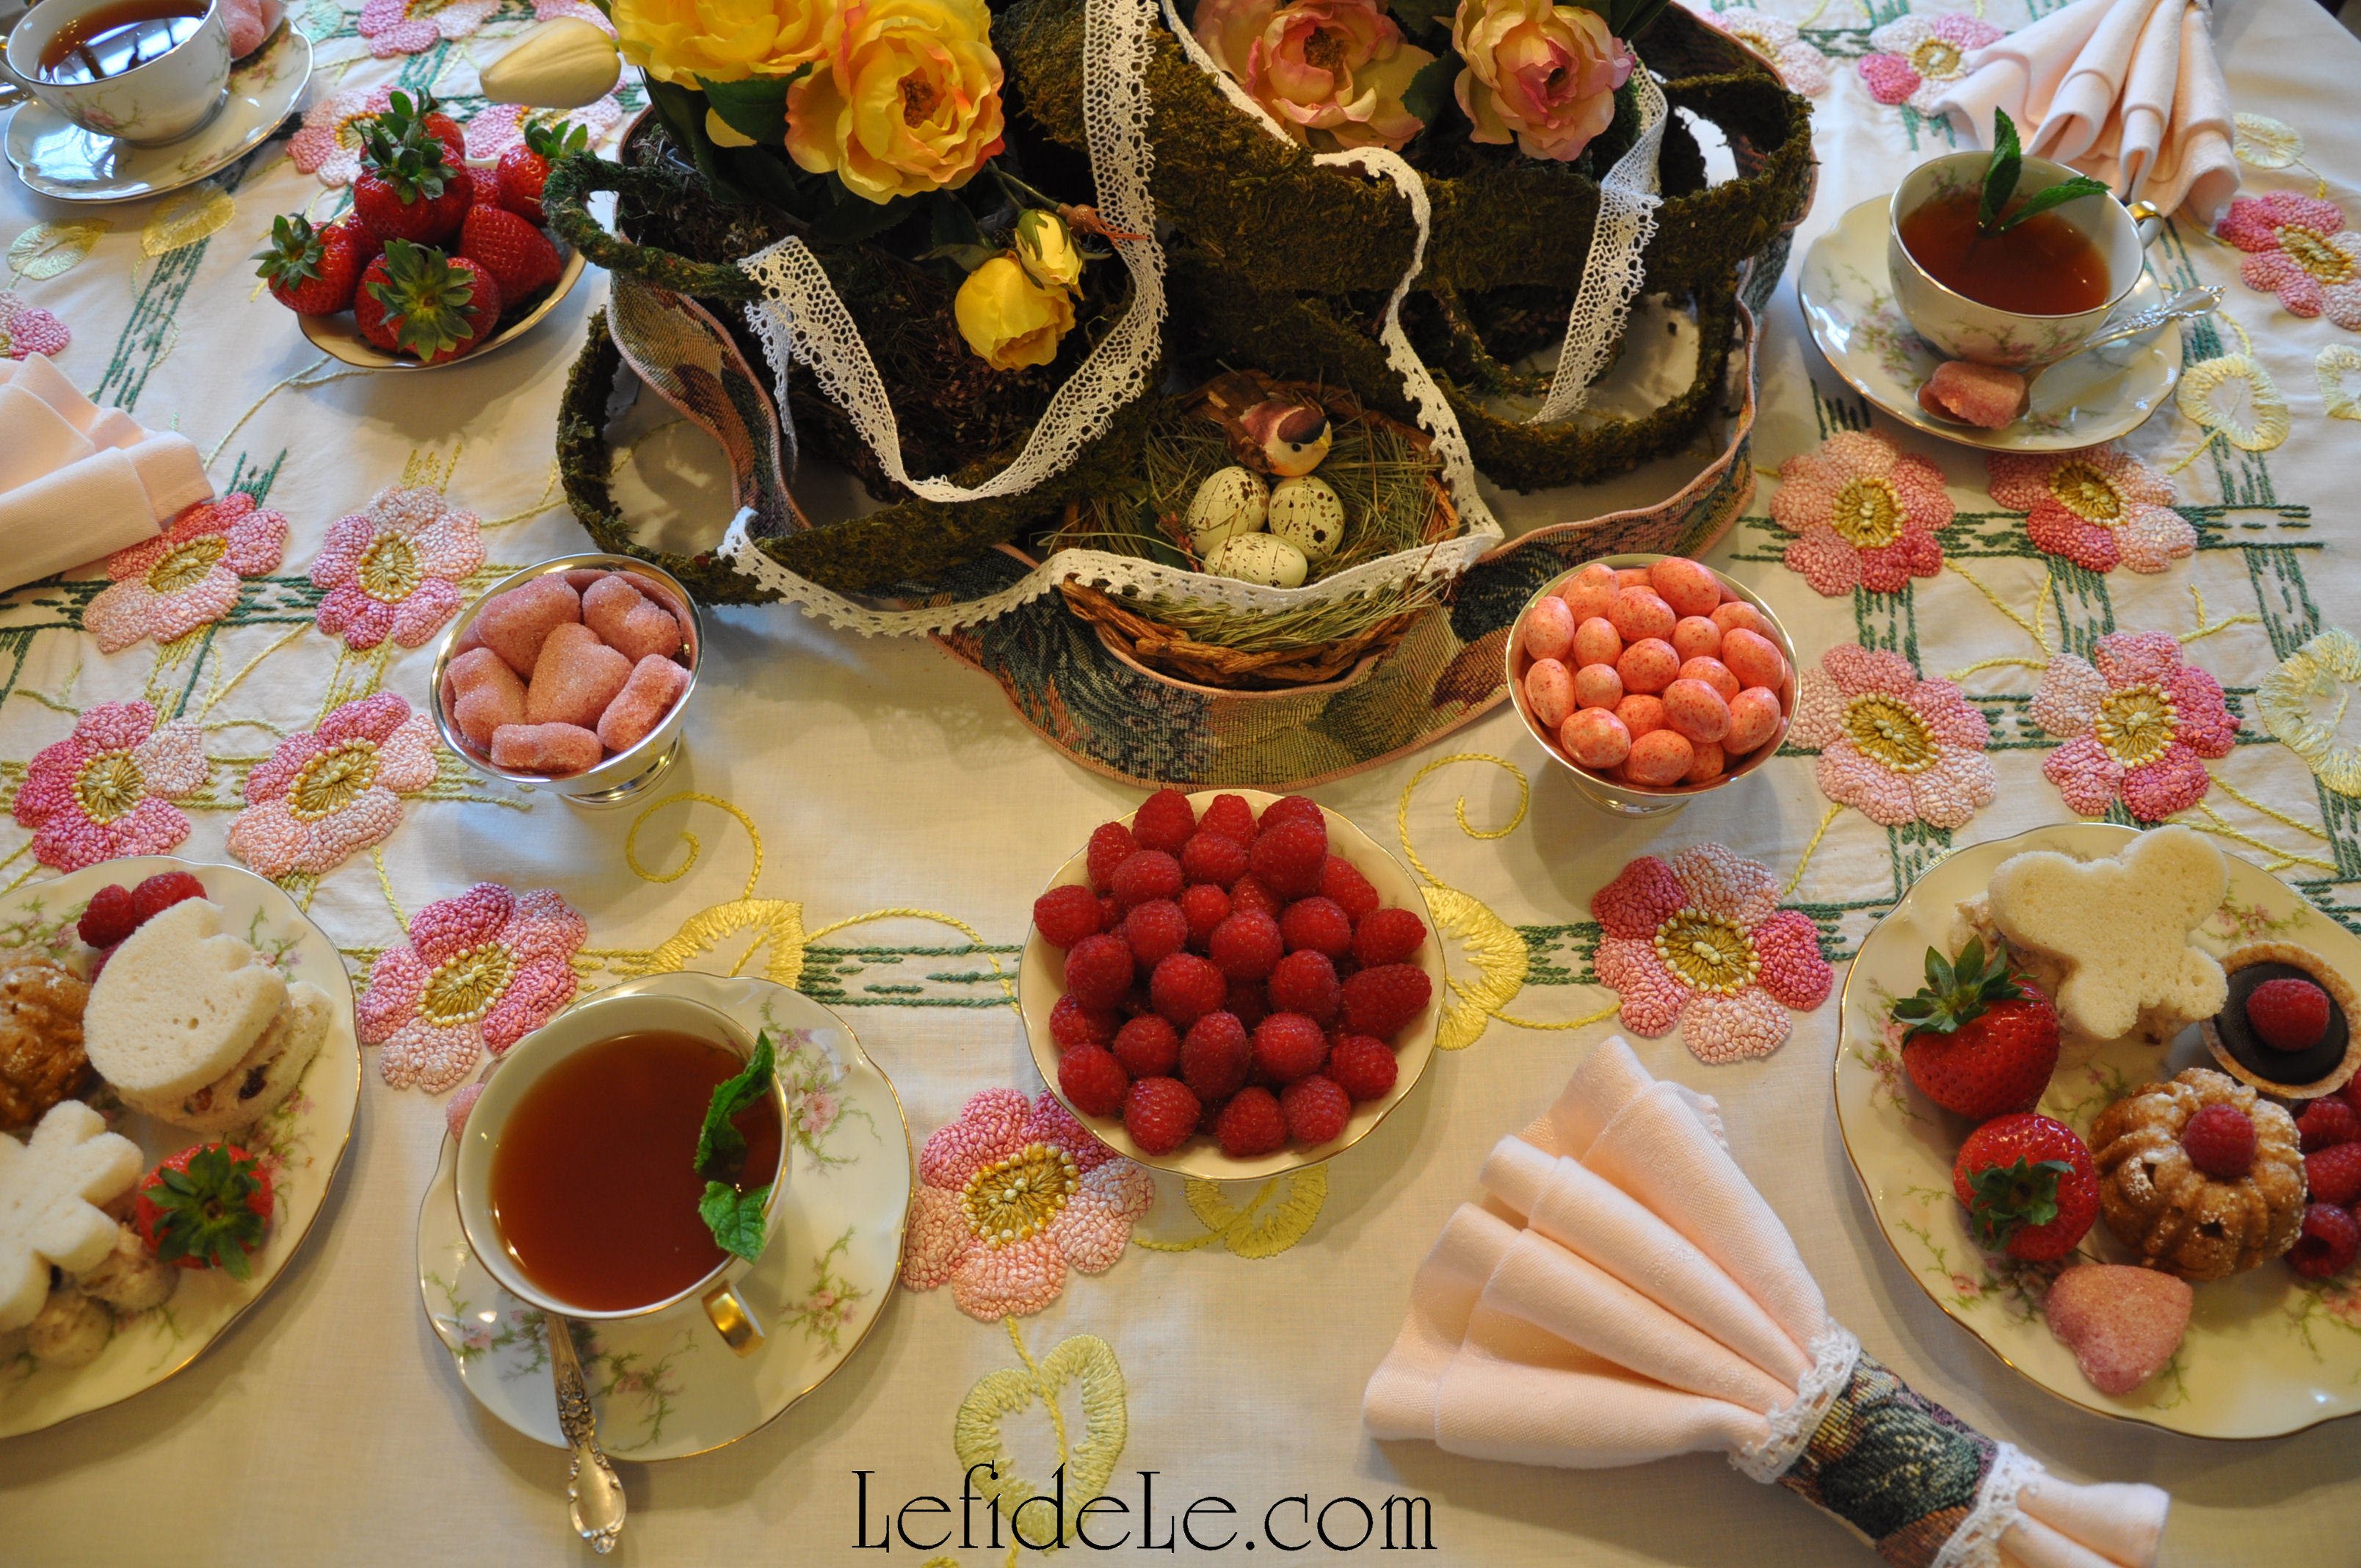
Notice the greeting of butterflies rising from moss laden purses filled with the yellow roses of friendship and tulips representing strength and life itself.

035Leigh

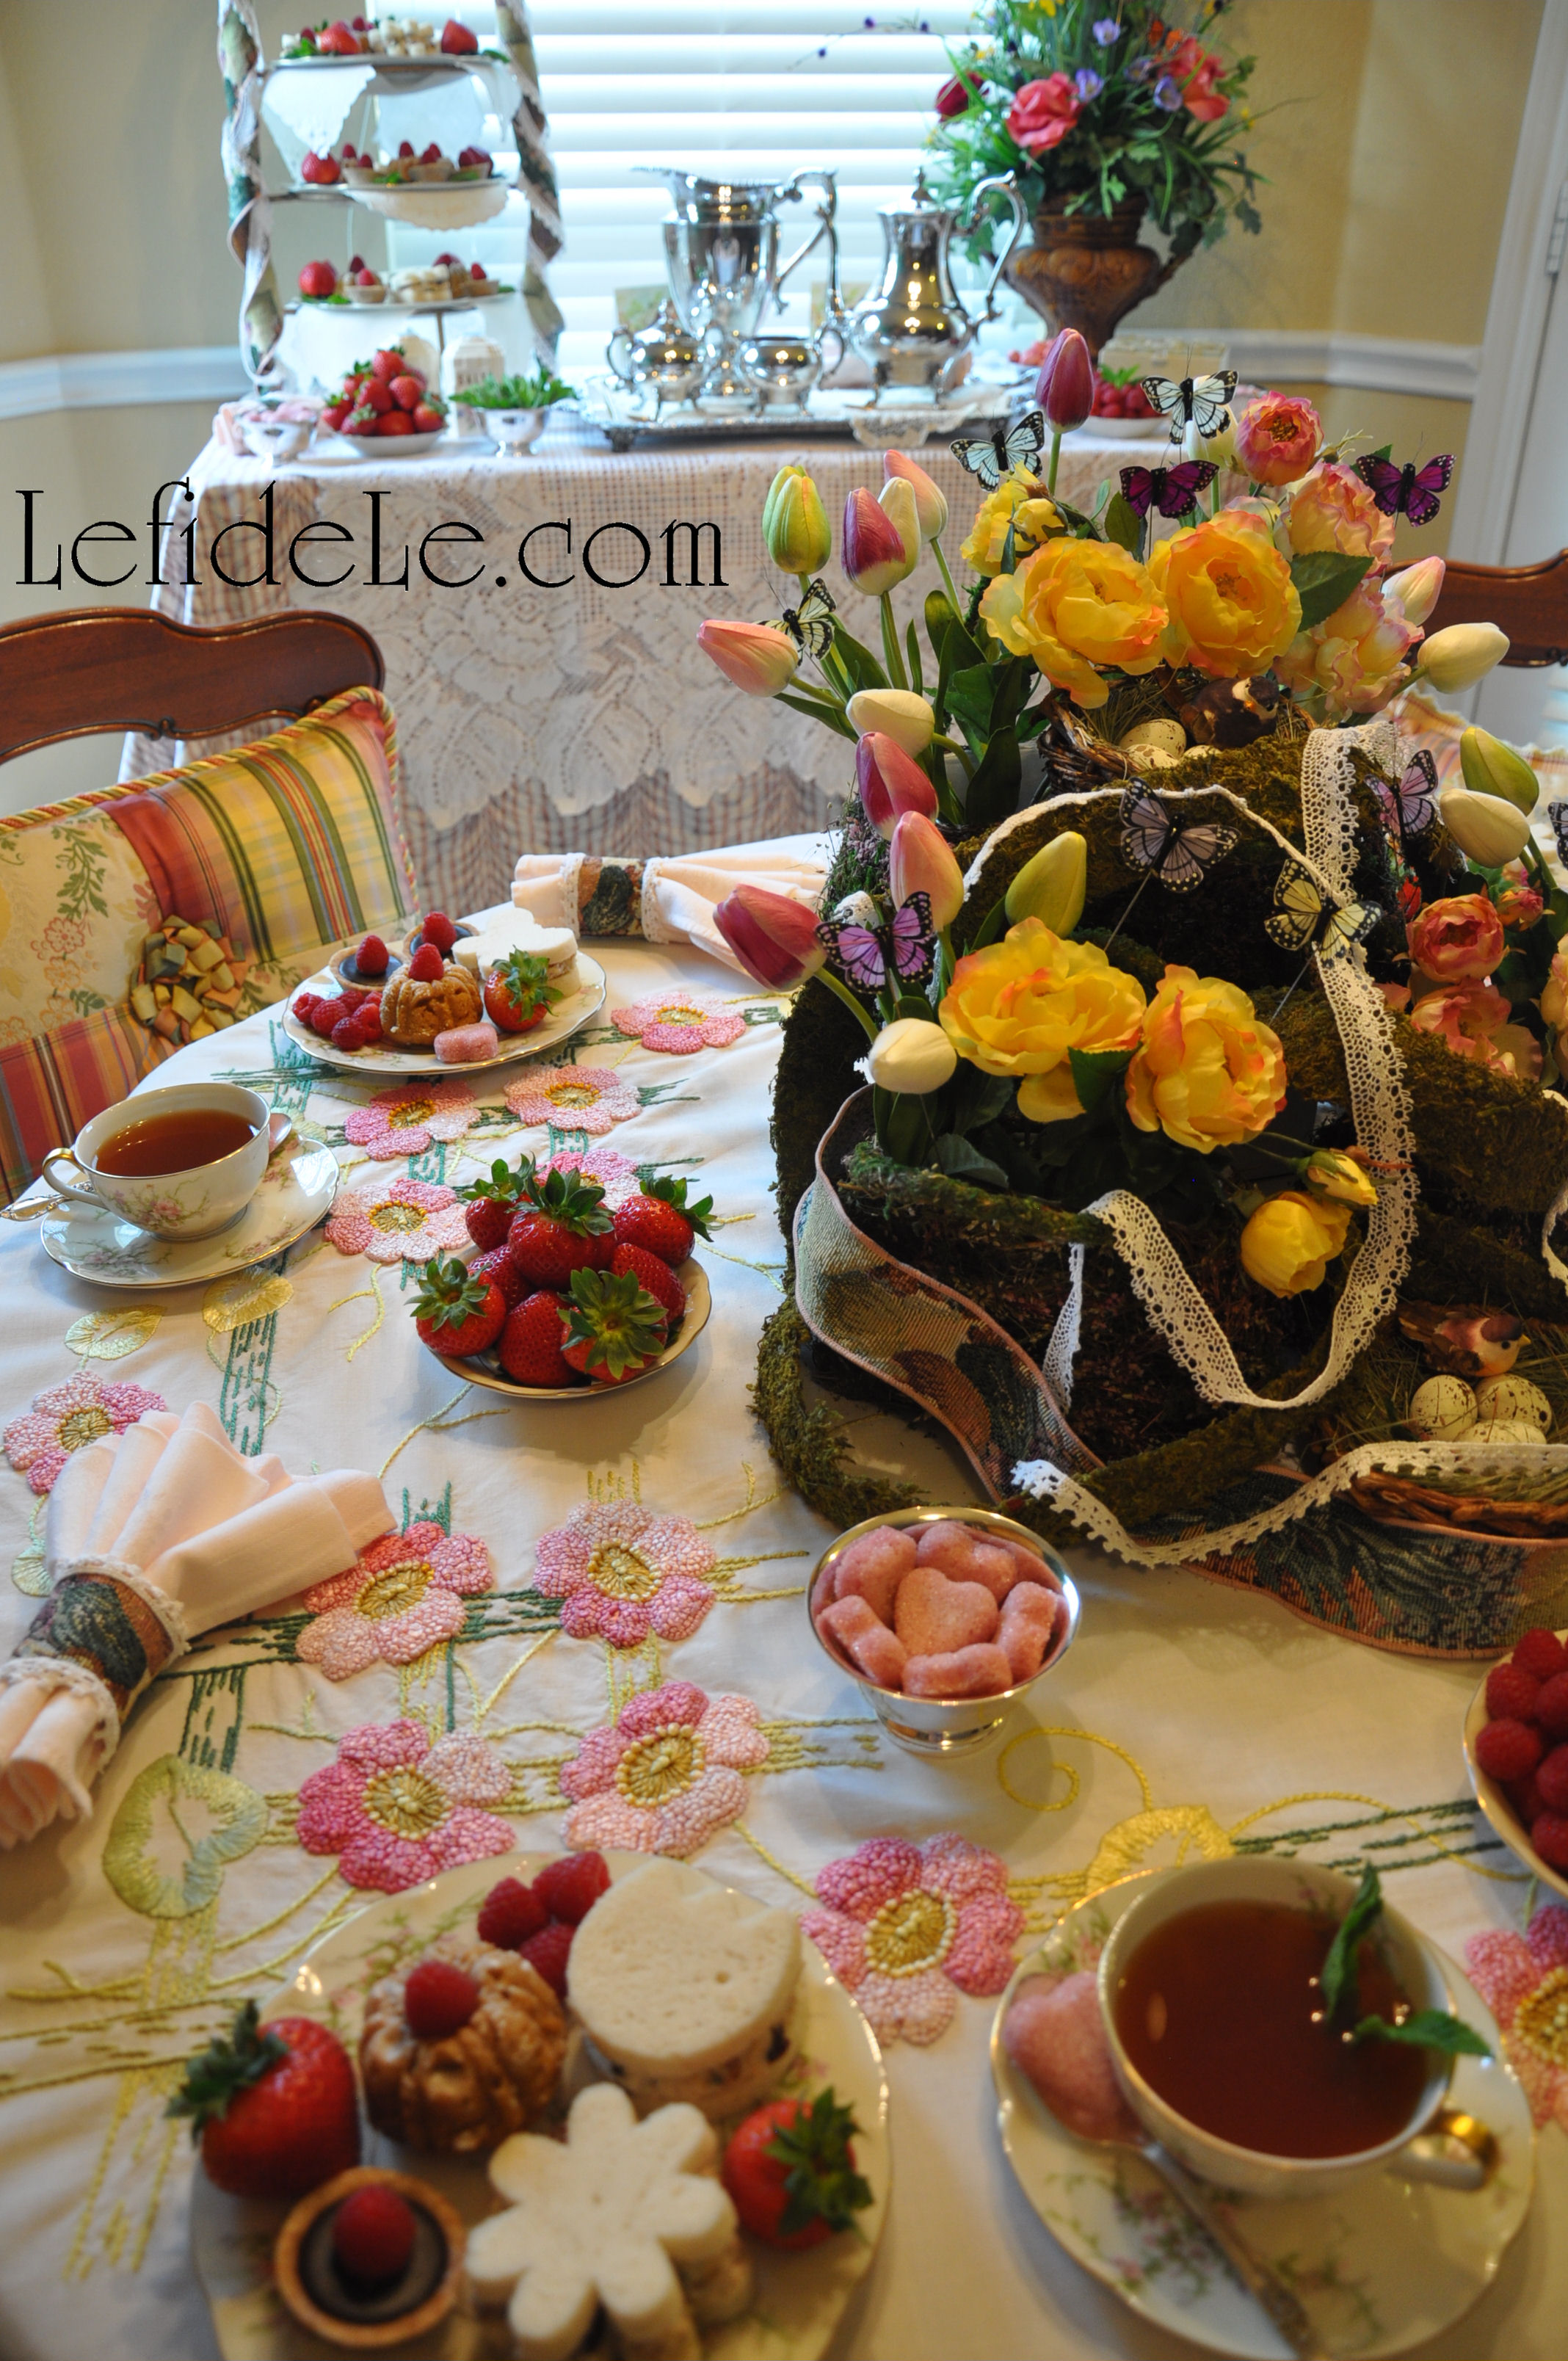
Take a seat cushioned with pastel patchwork pillows provided for your comfort.

028Leigh

Touch the threaded texture of a tablecloth hand embroidered generations ago.

380Leigh

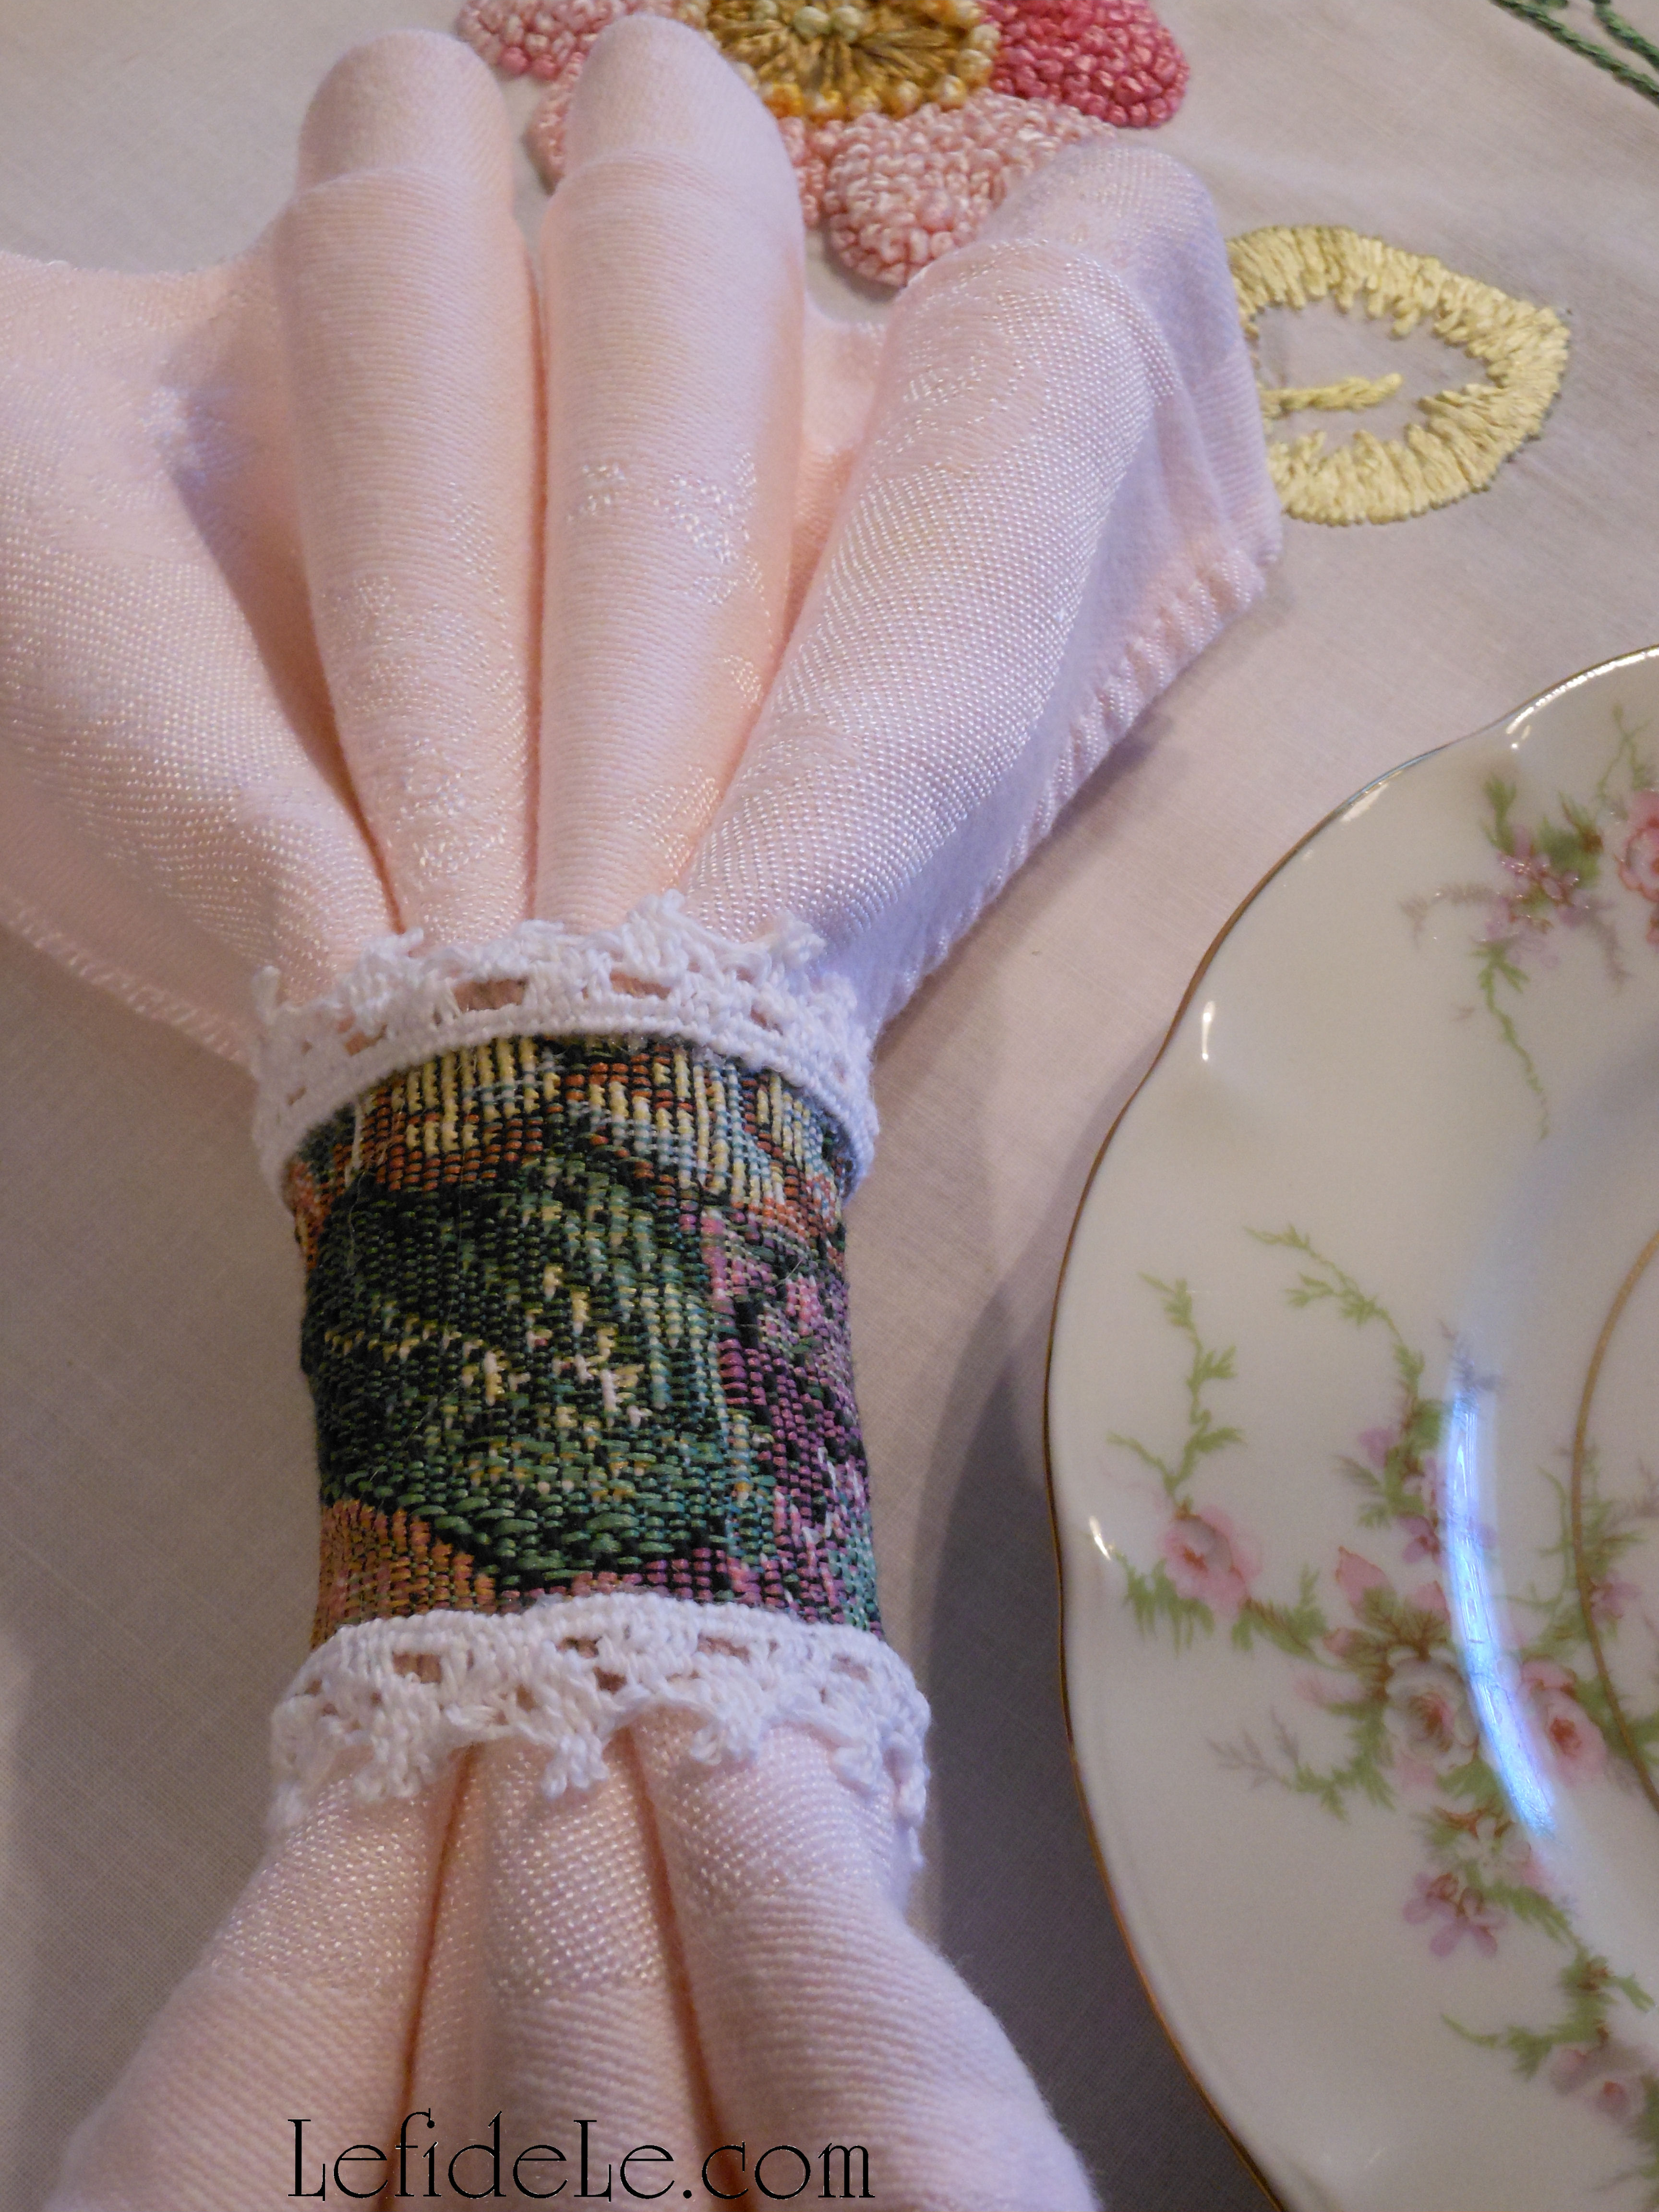
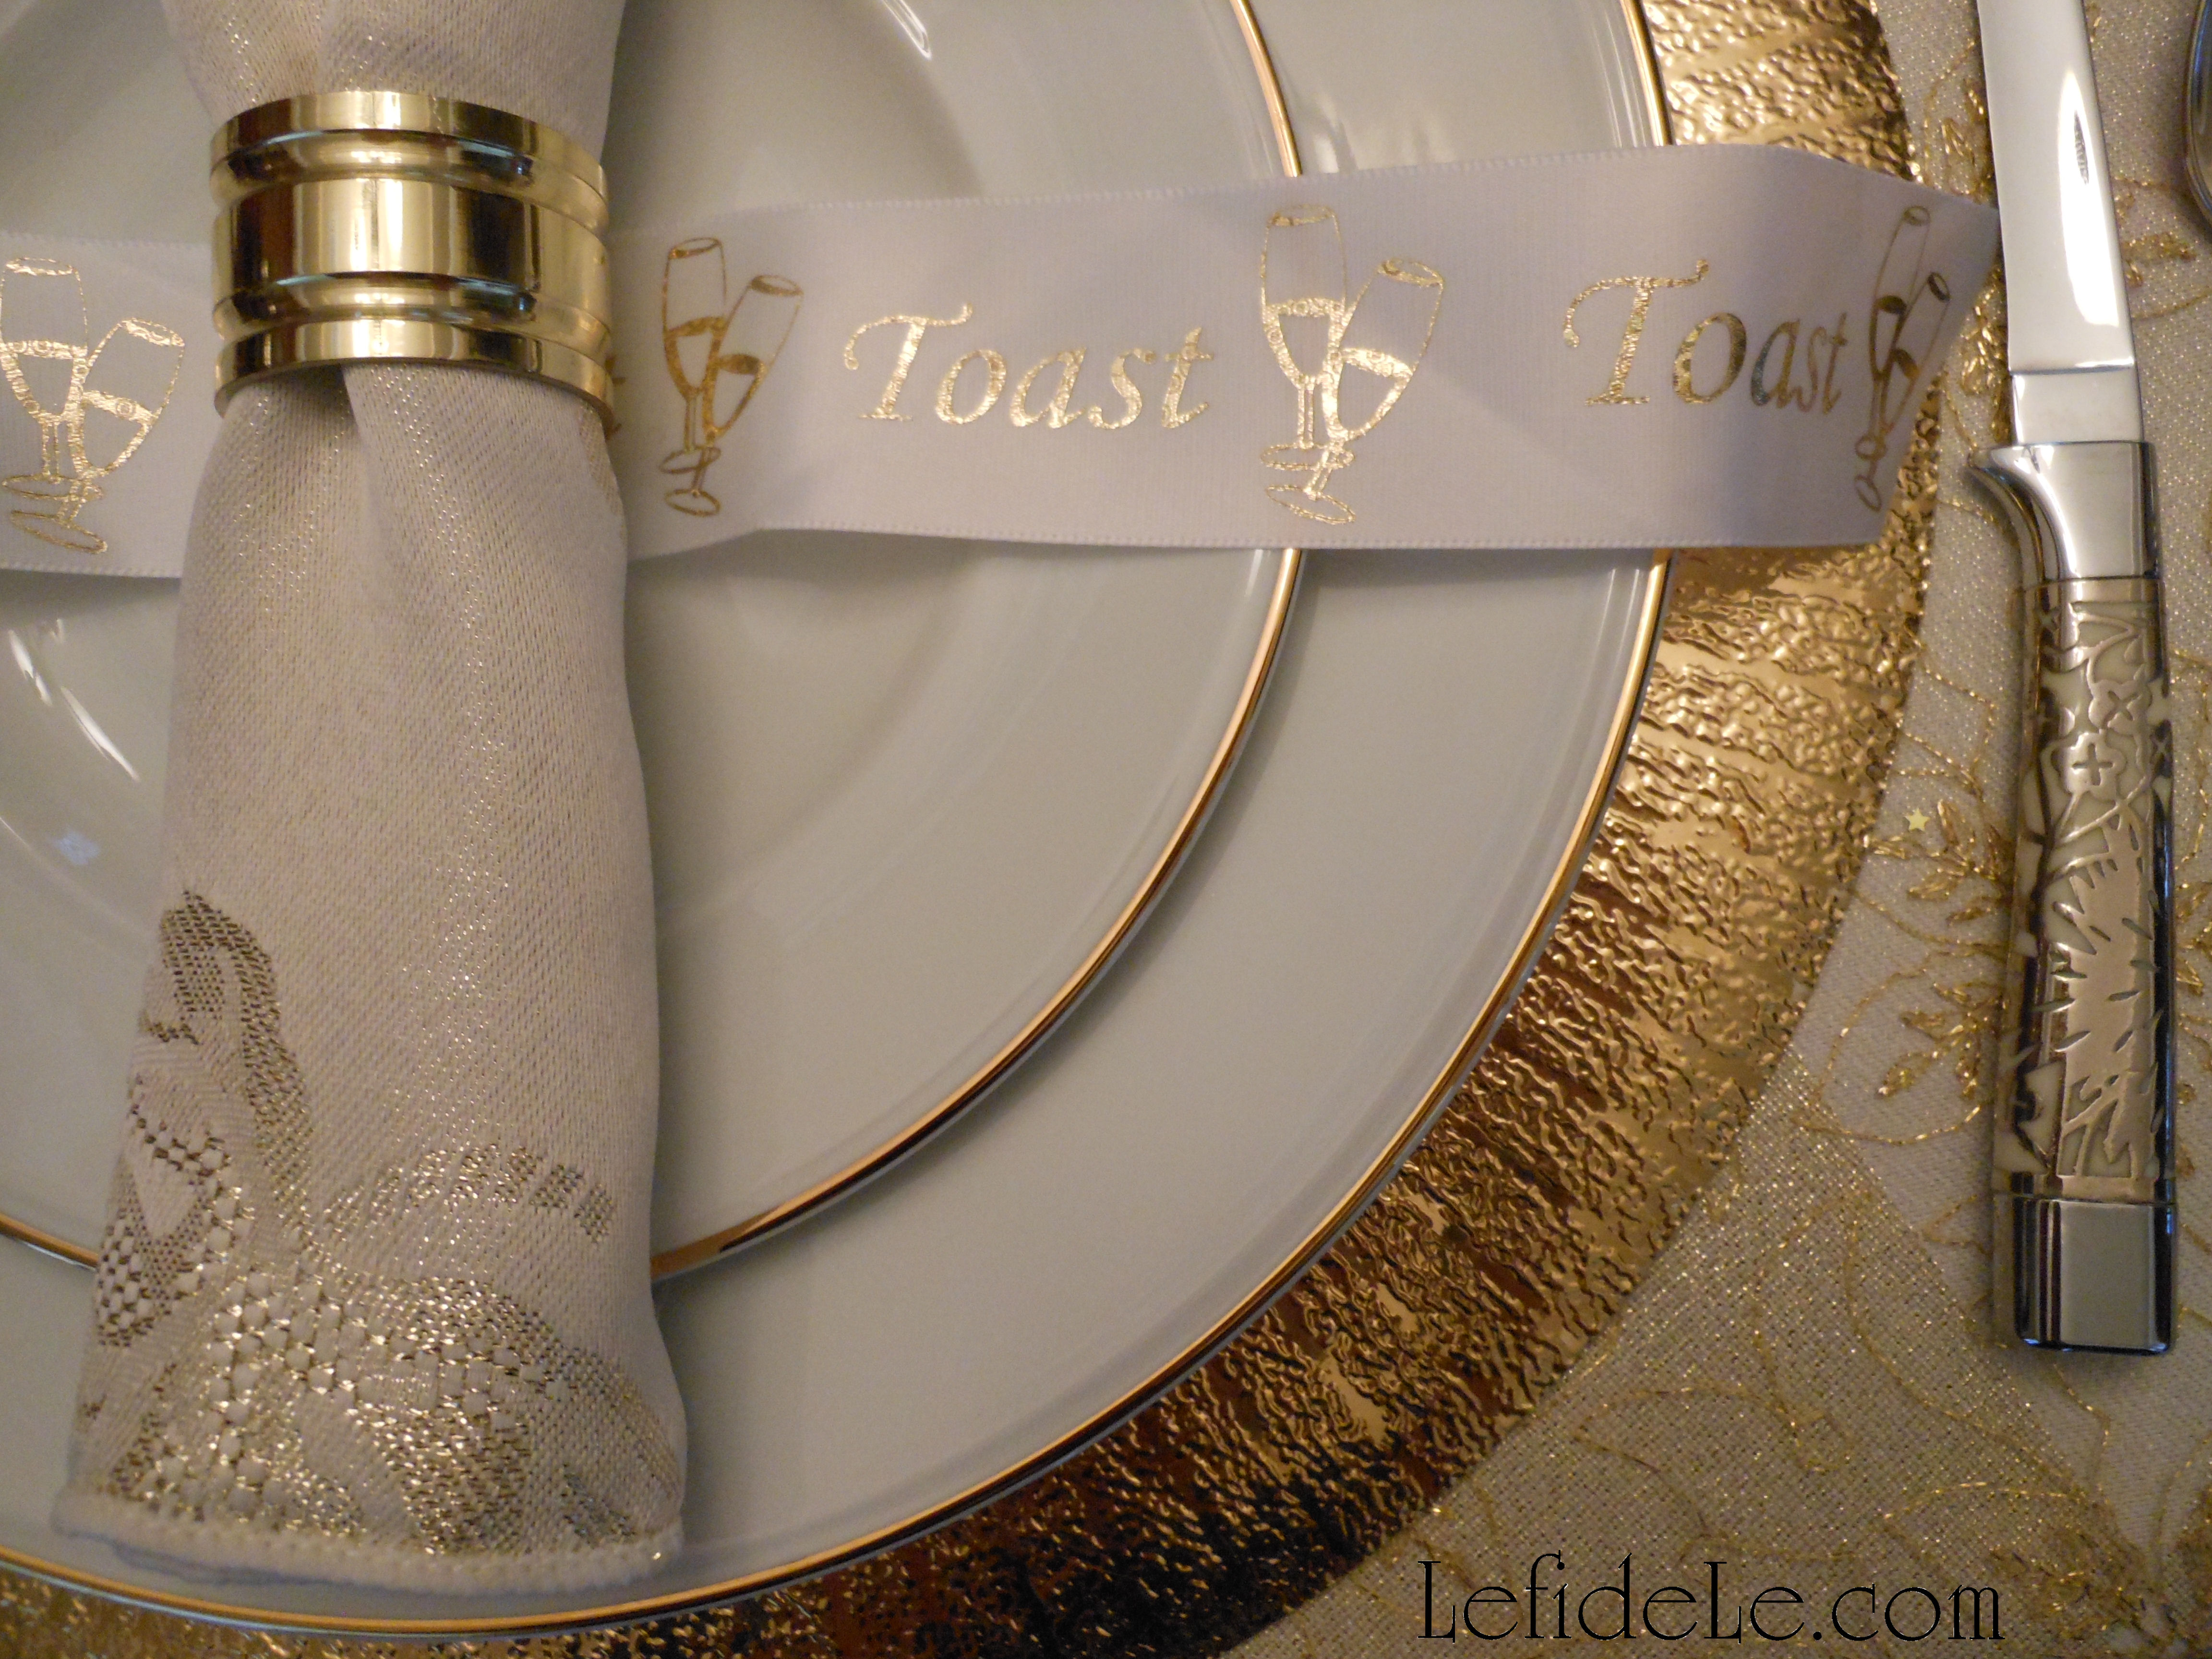
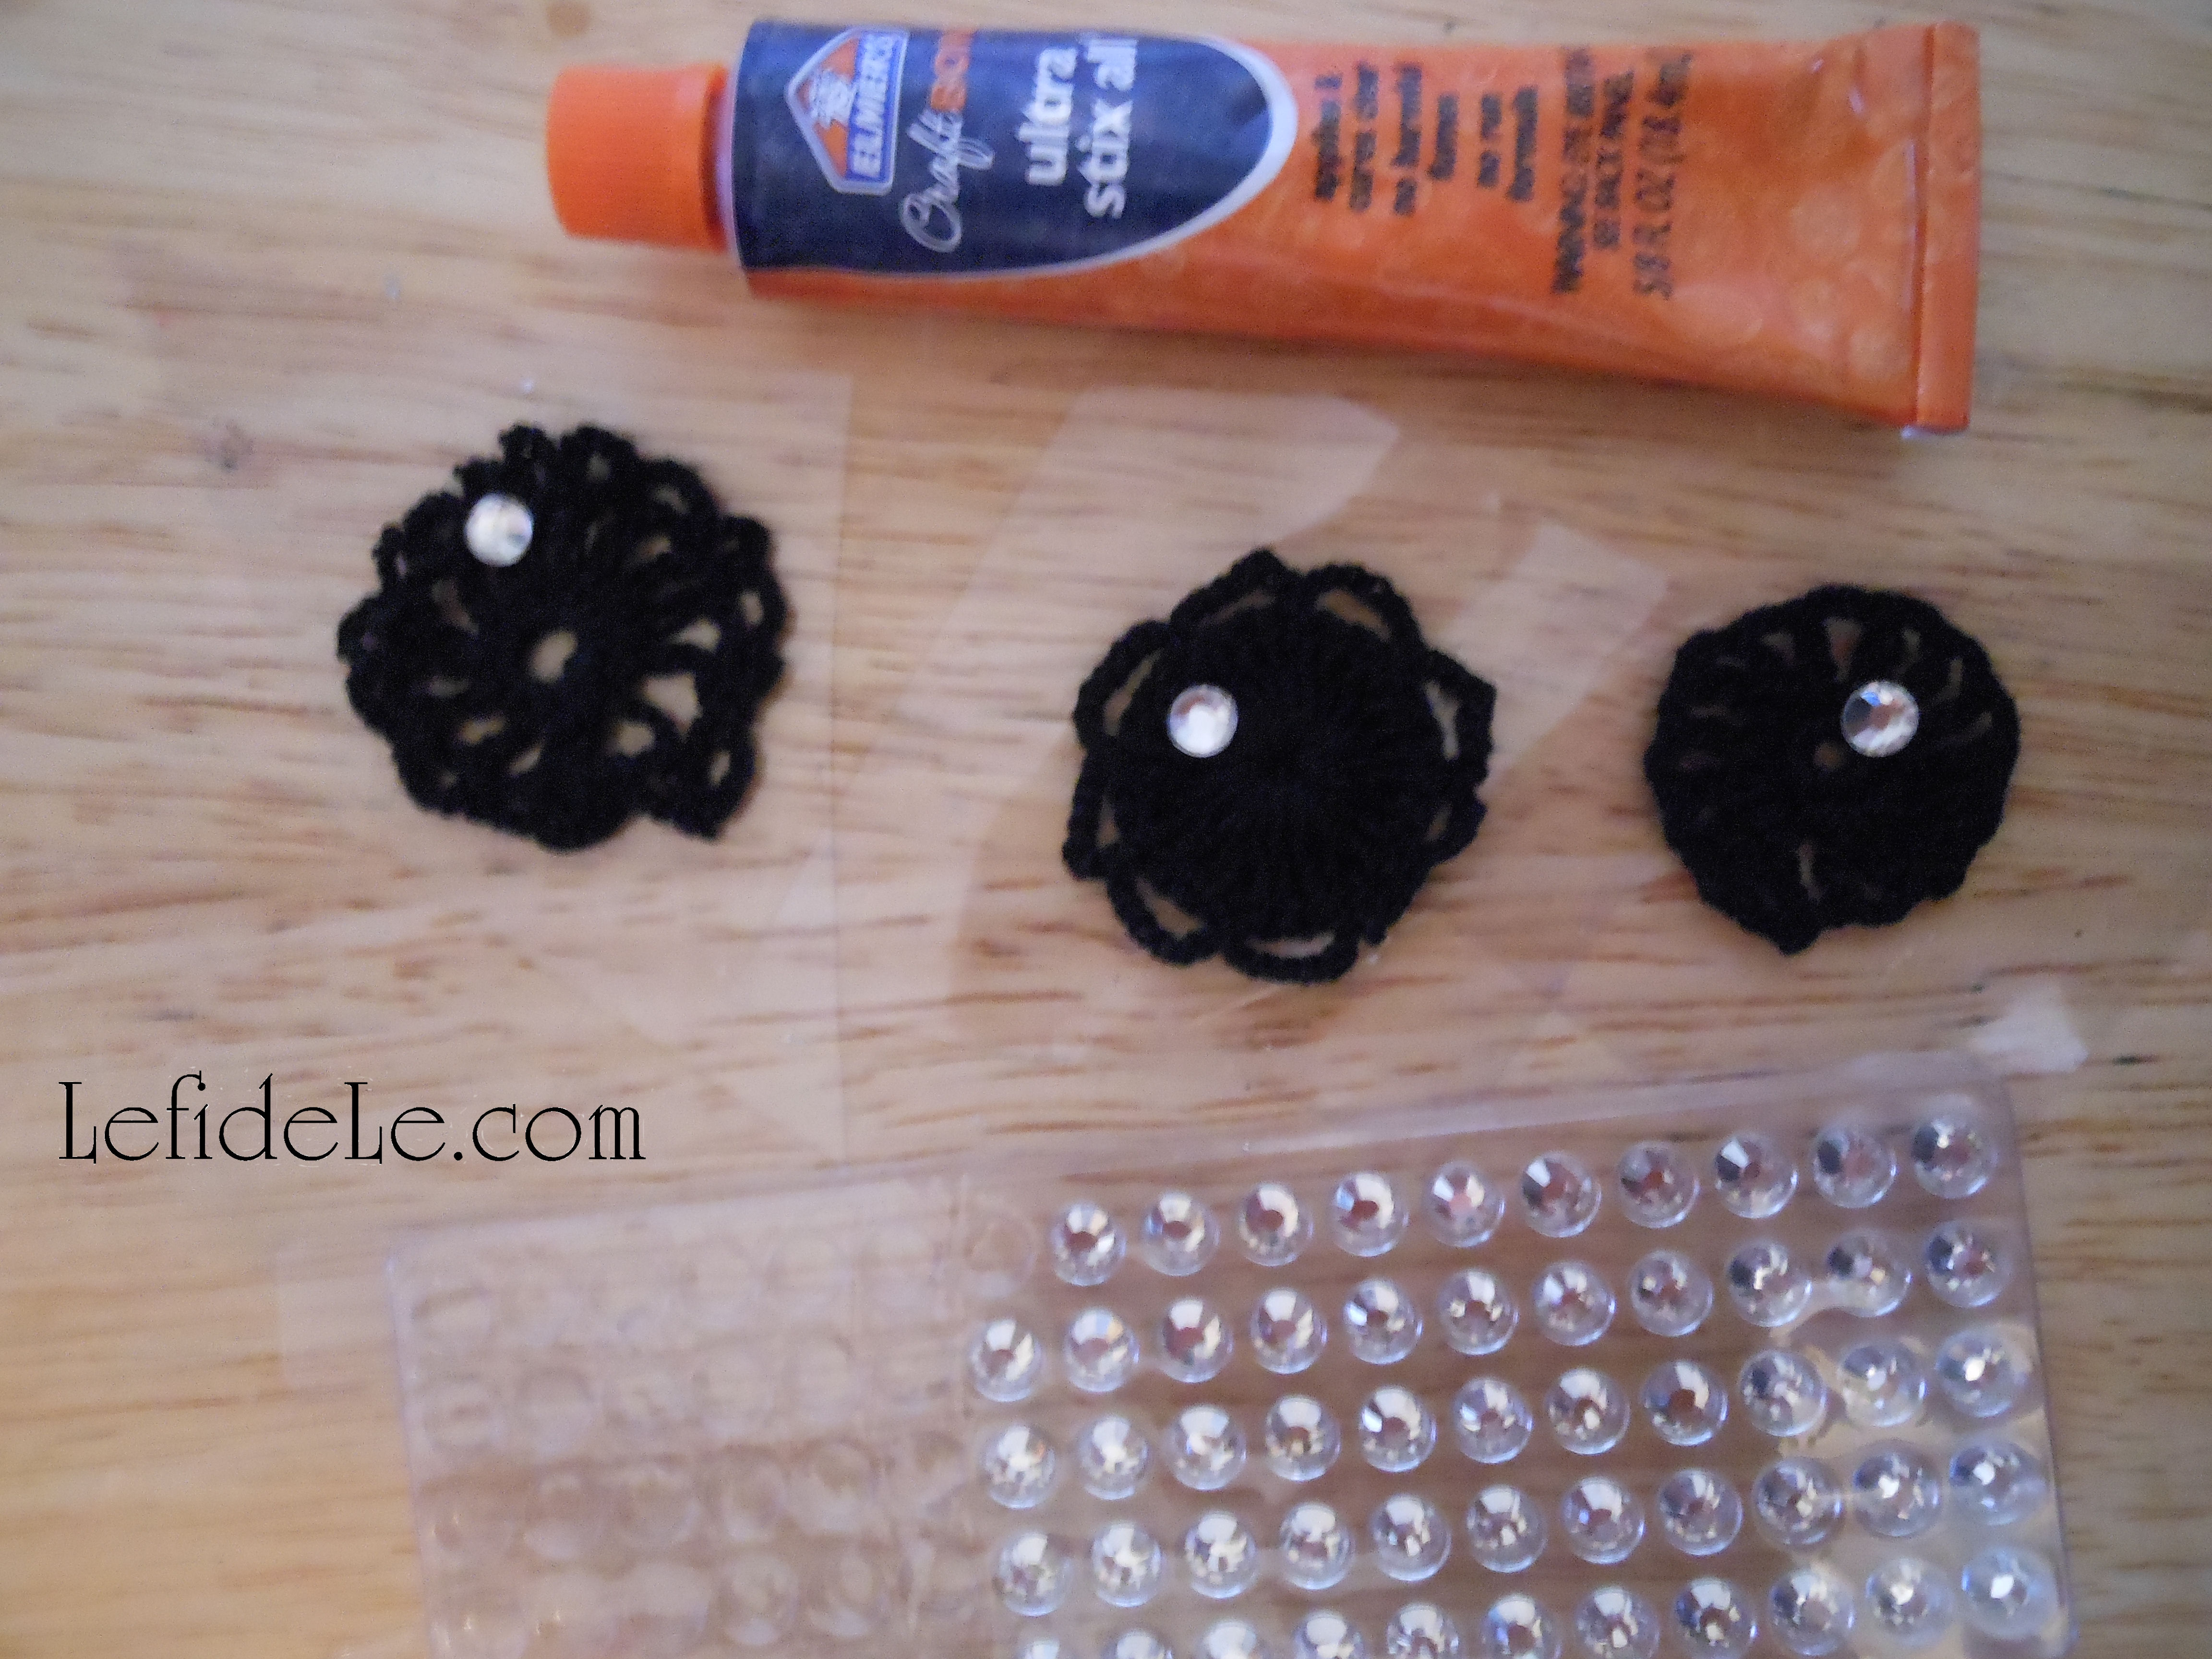
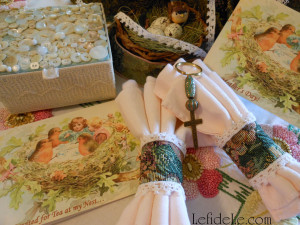
Release baby pink vintage napkins from their handcrafted tapestry and lacework rings.

125Leigh

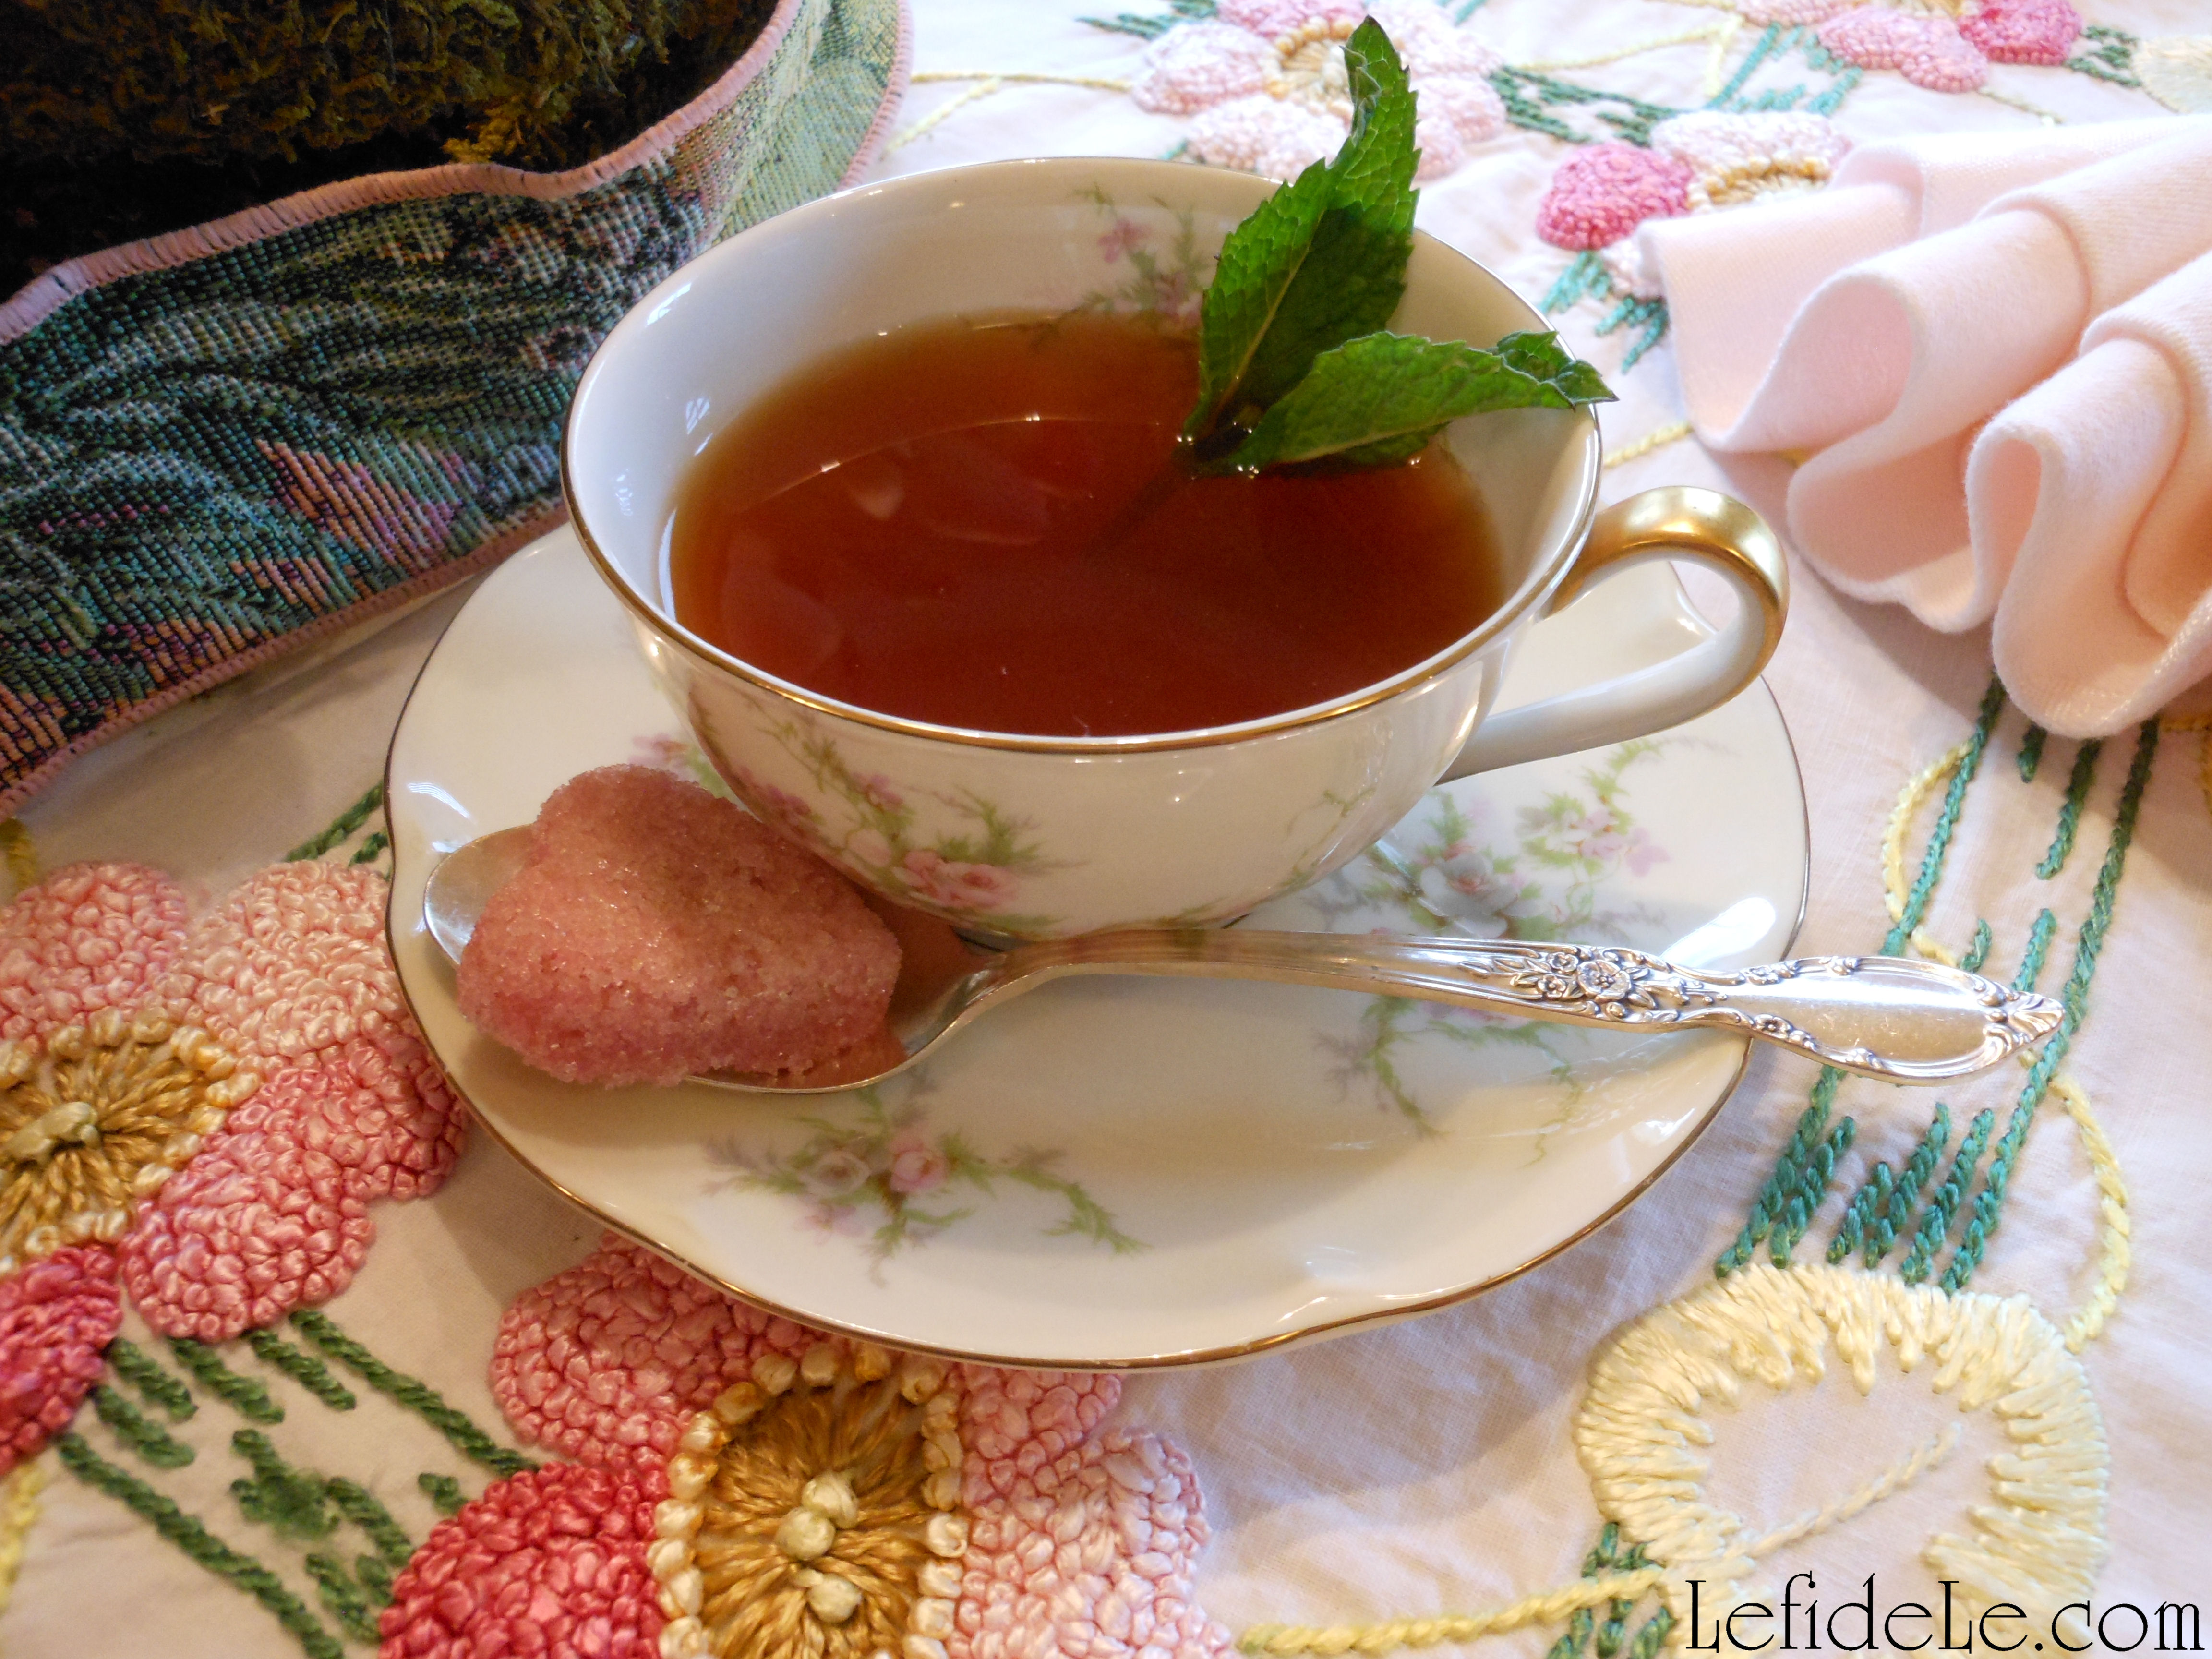
Sip mint scented tea from delicate vintage china teacups ornamented with floral motif.

136Leigh

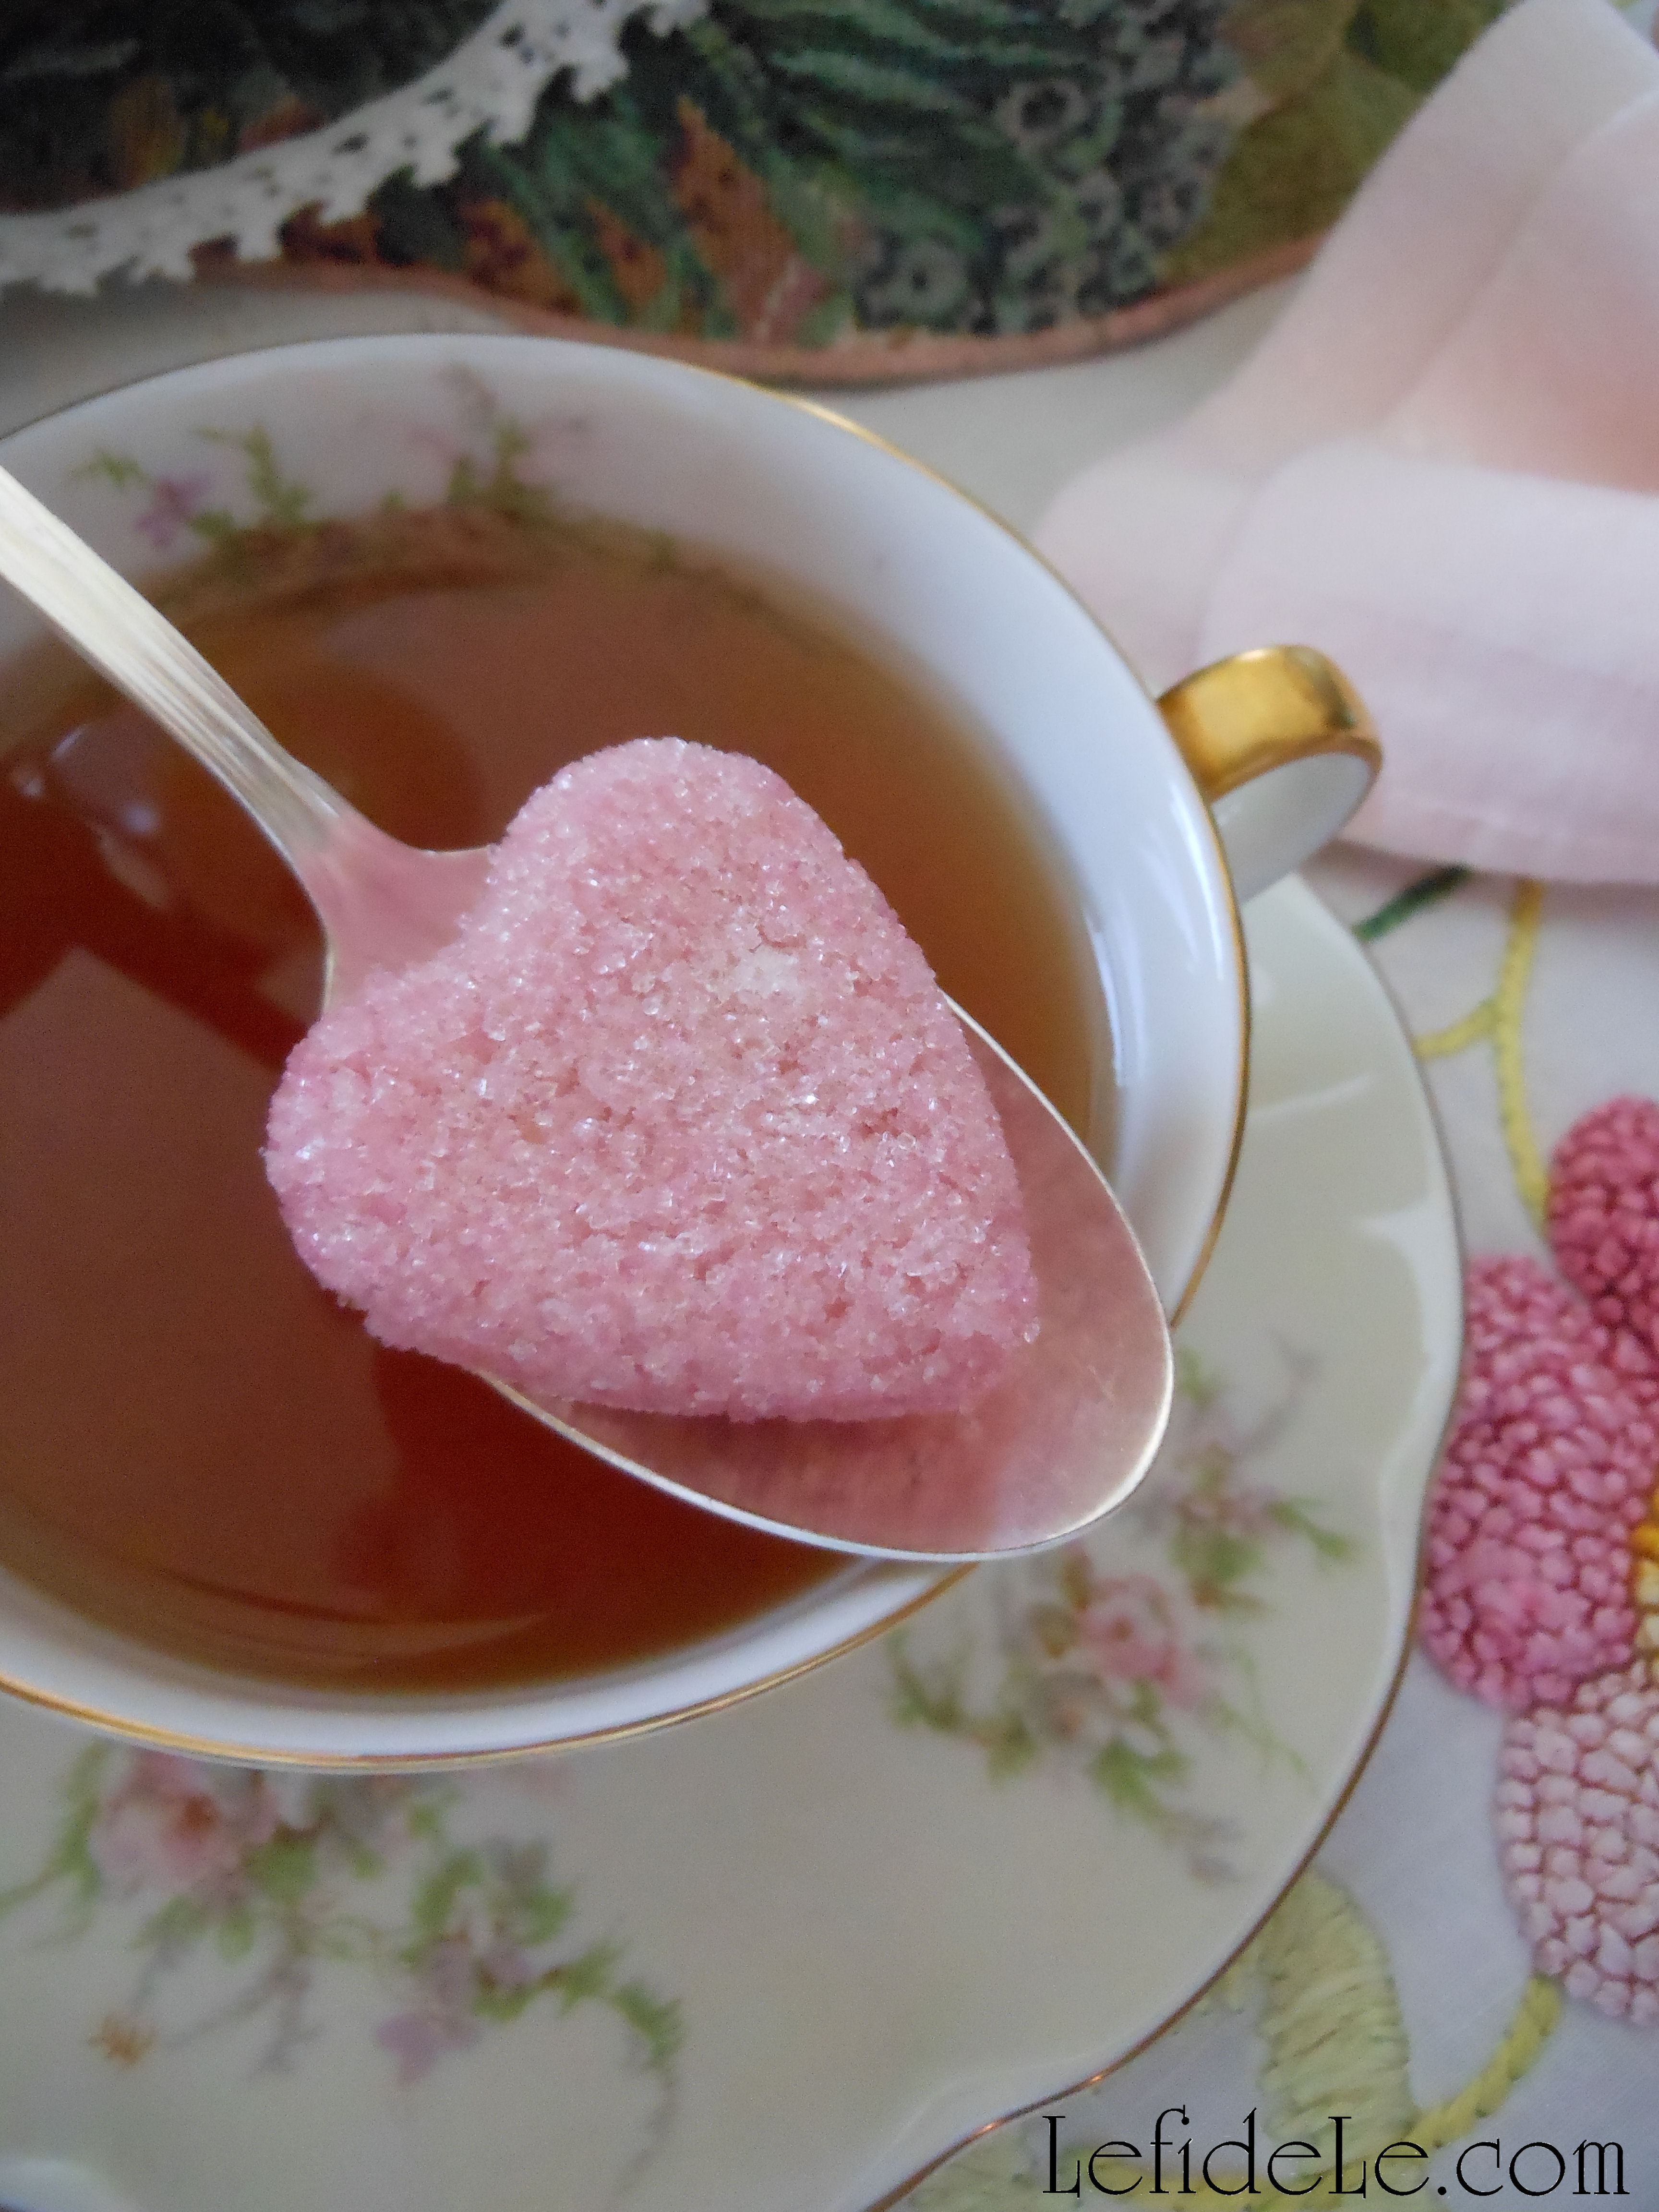
Sweeten your tea with pink sugar sweethearts delivering a spoonful of sugar in the perfect dose.

122LeighStir in flavor with silver tea spoons that have been lovingly held by previous generations.

082Leigh

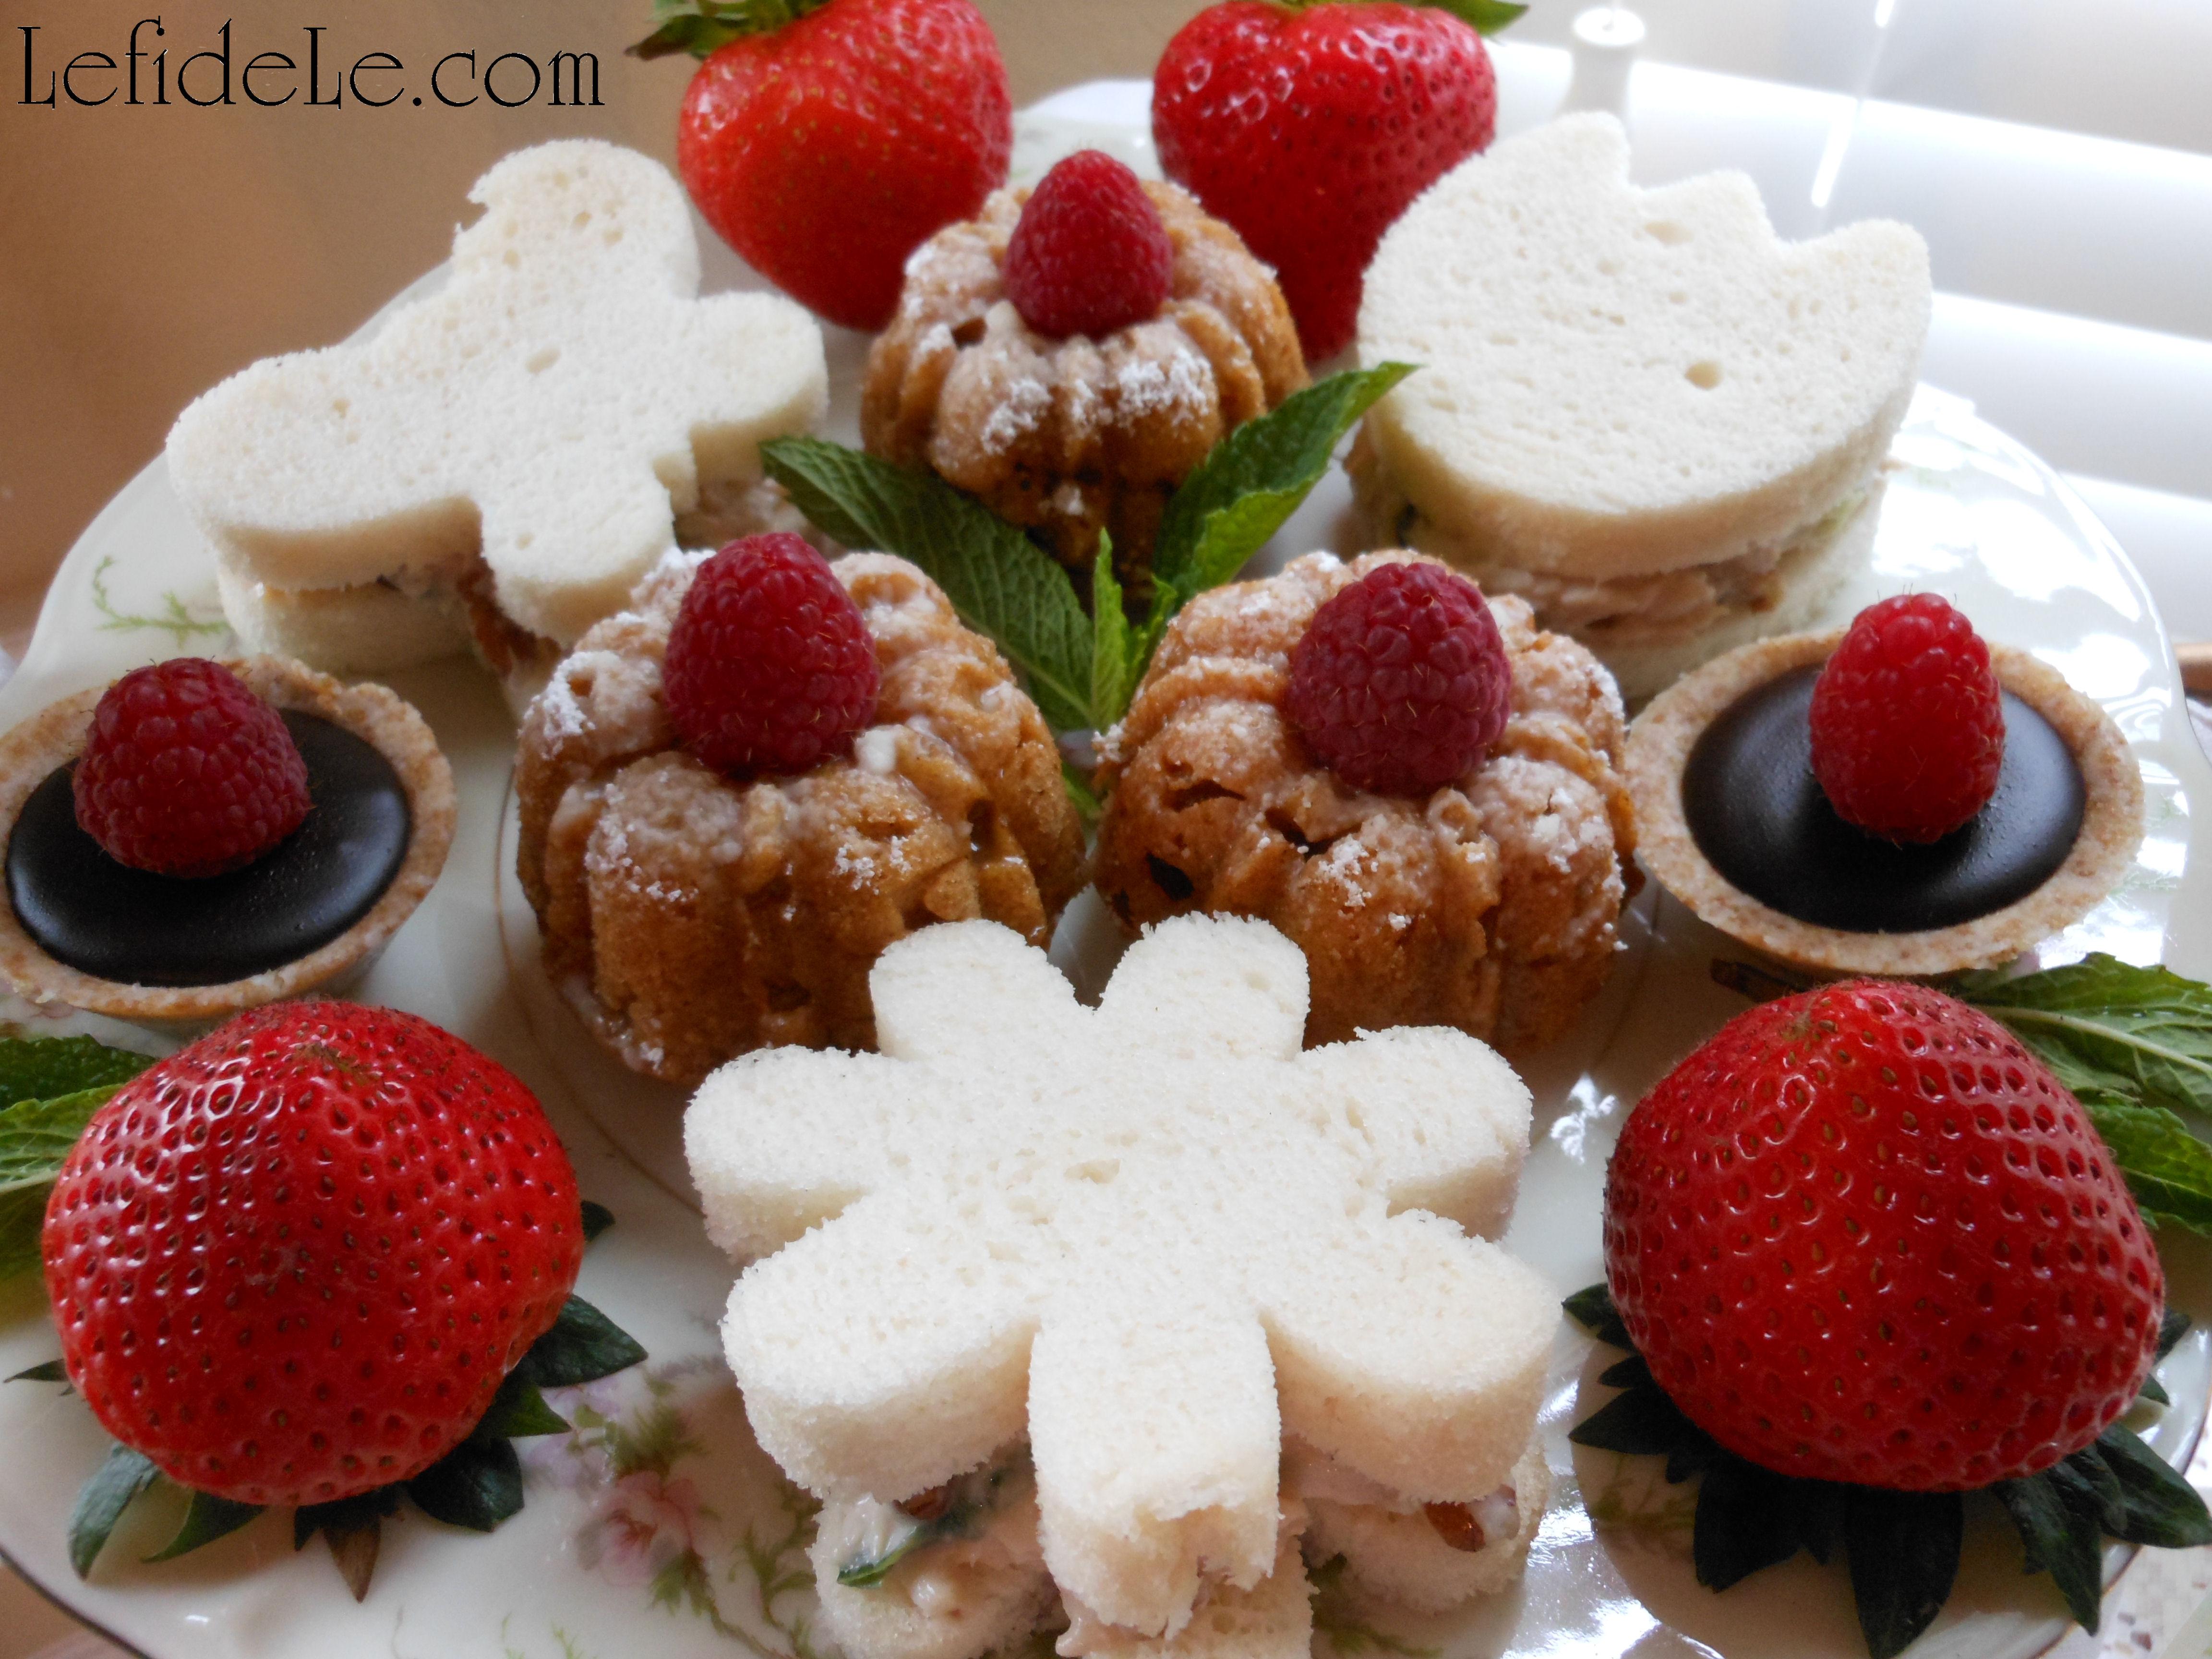
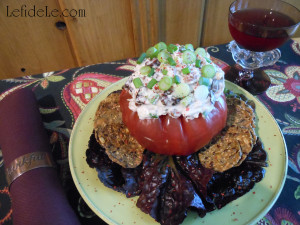
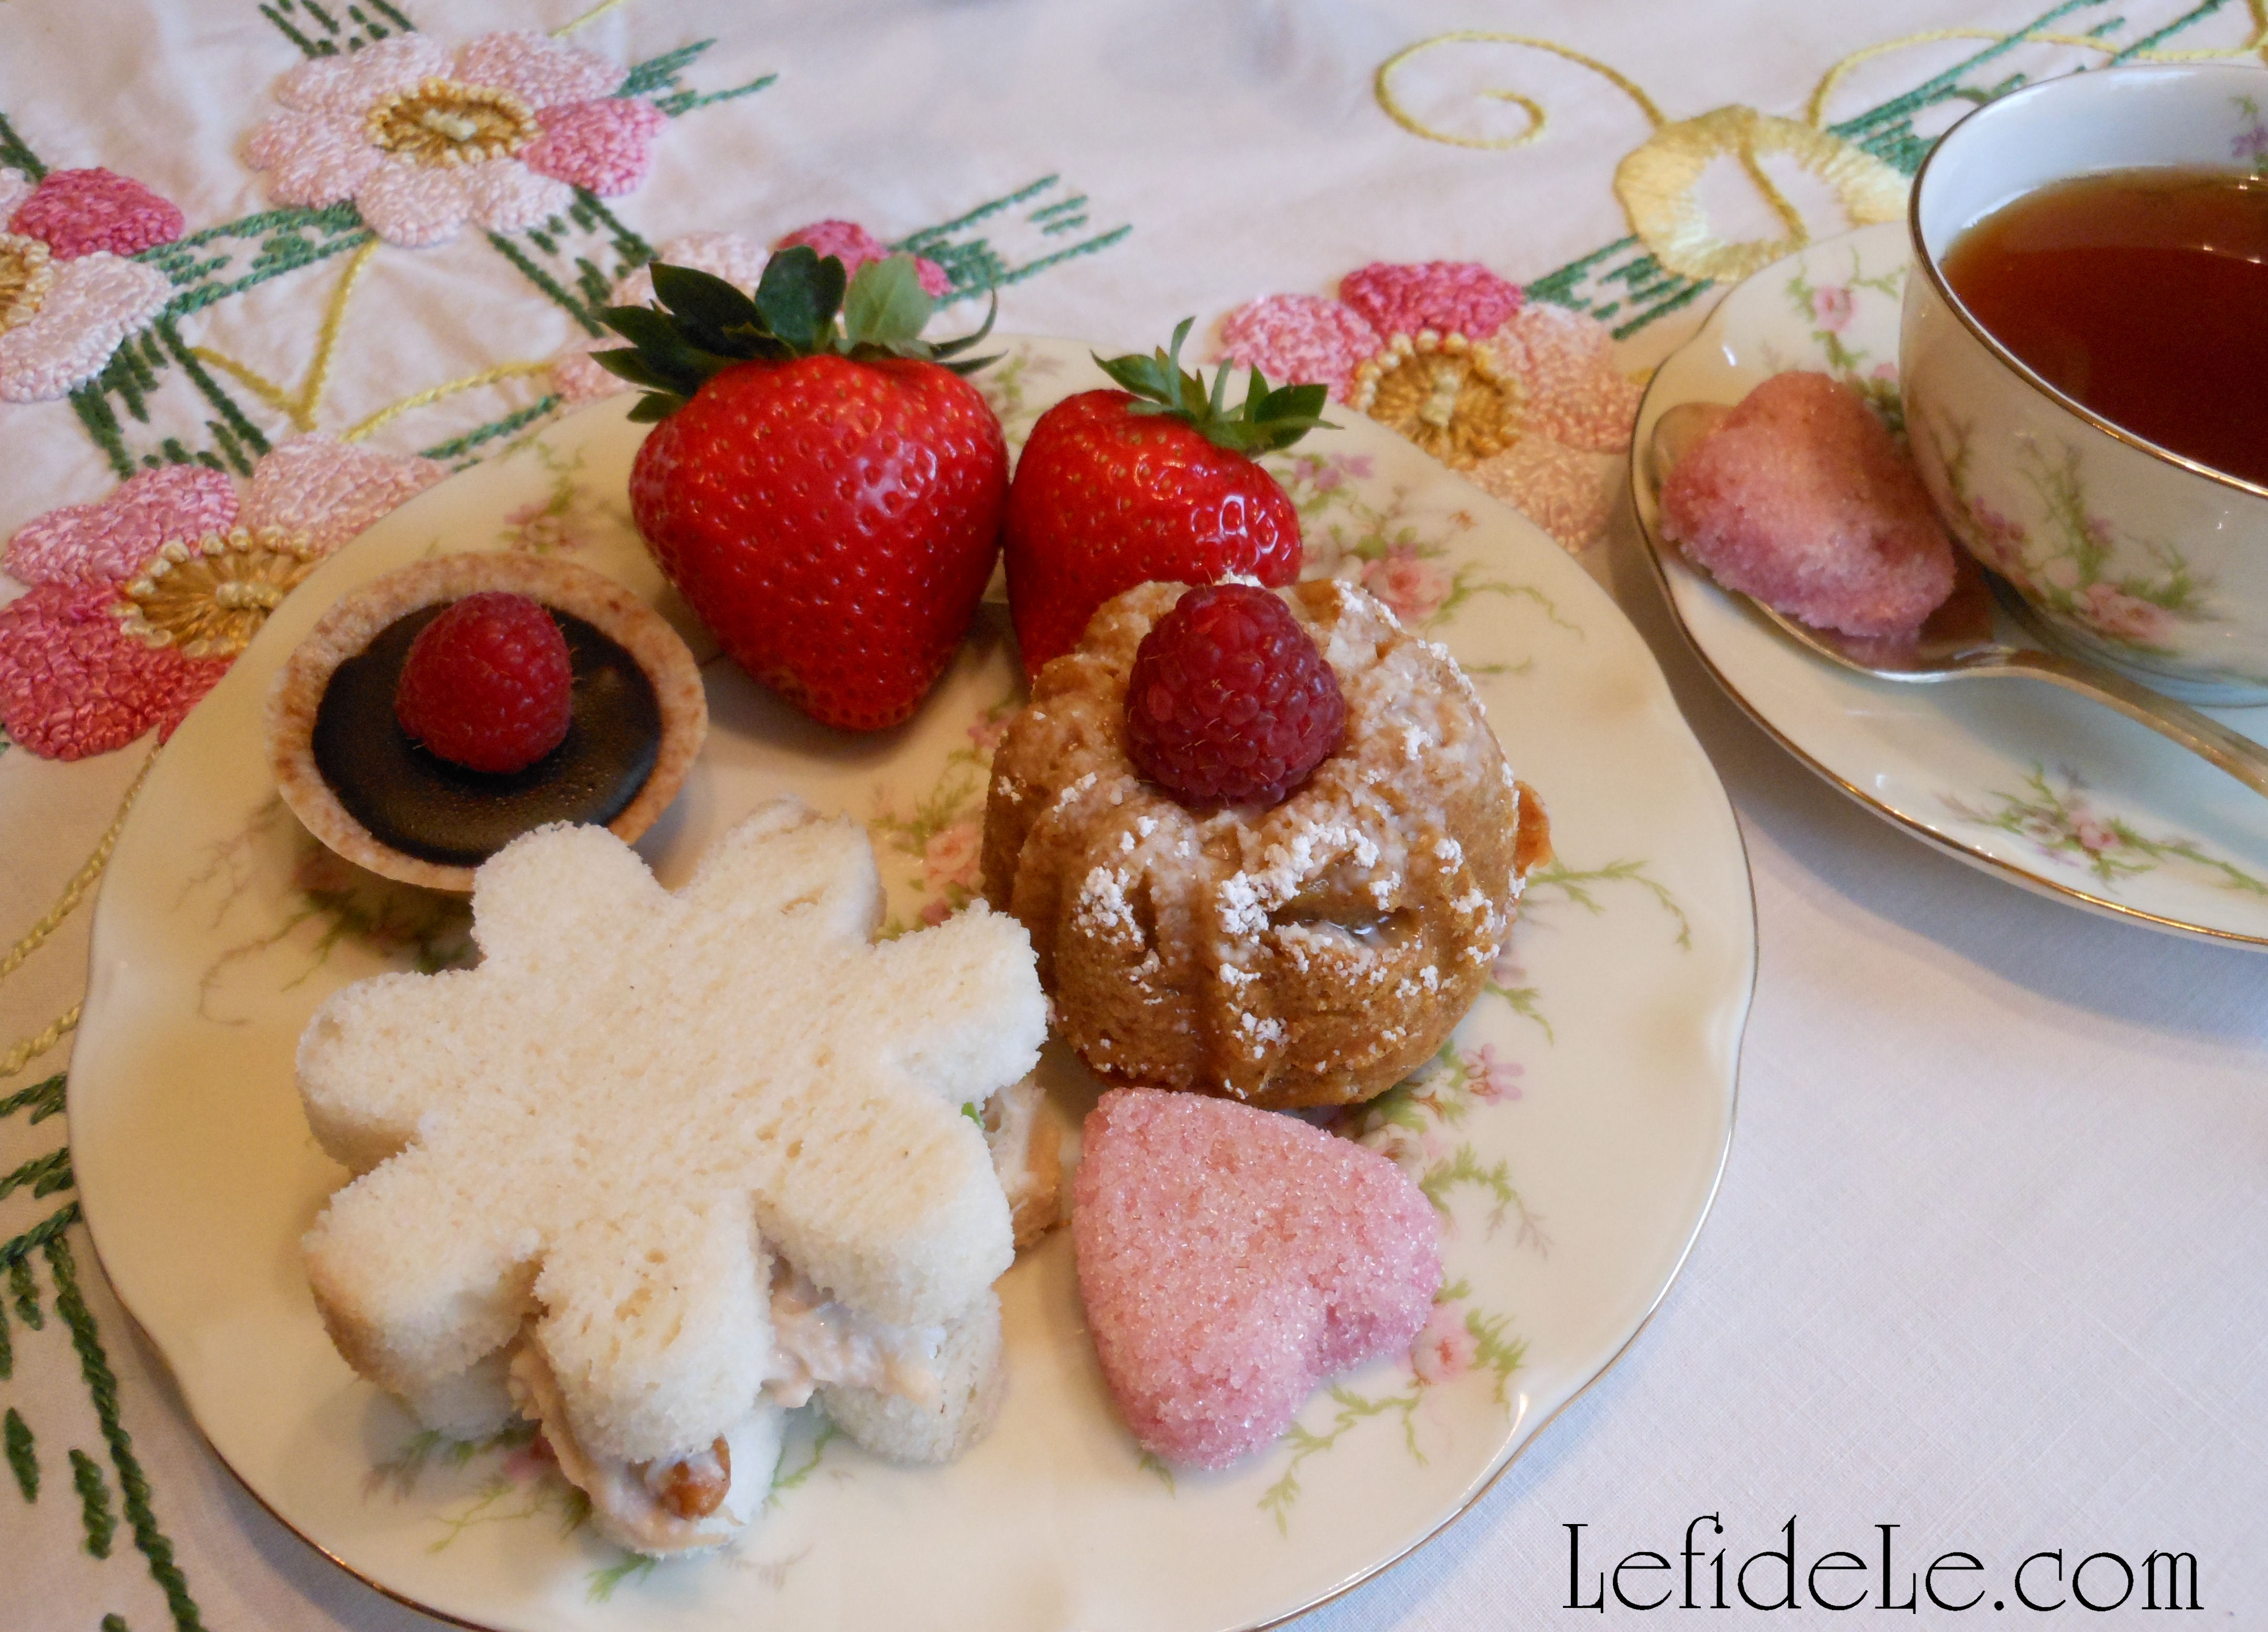
Sup on tea sandwiches packed with cherry pecan chicken salad, whose butterfly and floral shapes echo the garden’s delights.

130Leigh

Try almond crusted chocolate tarts balanced with healthy red raspberry fruit.

128Leigh

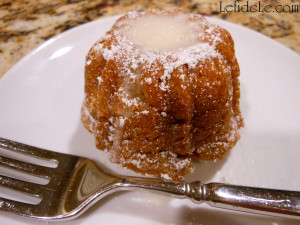
Taste pumpkin pear teacakes dripping with lemon icing, dusted with confectioner’s sugar, and topped with more fruit.

029Leigh

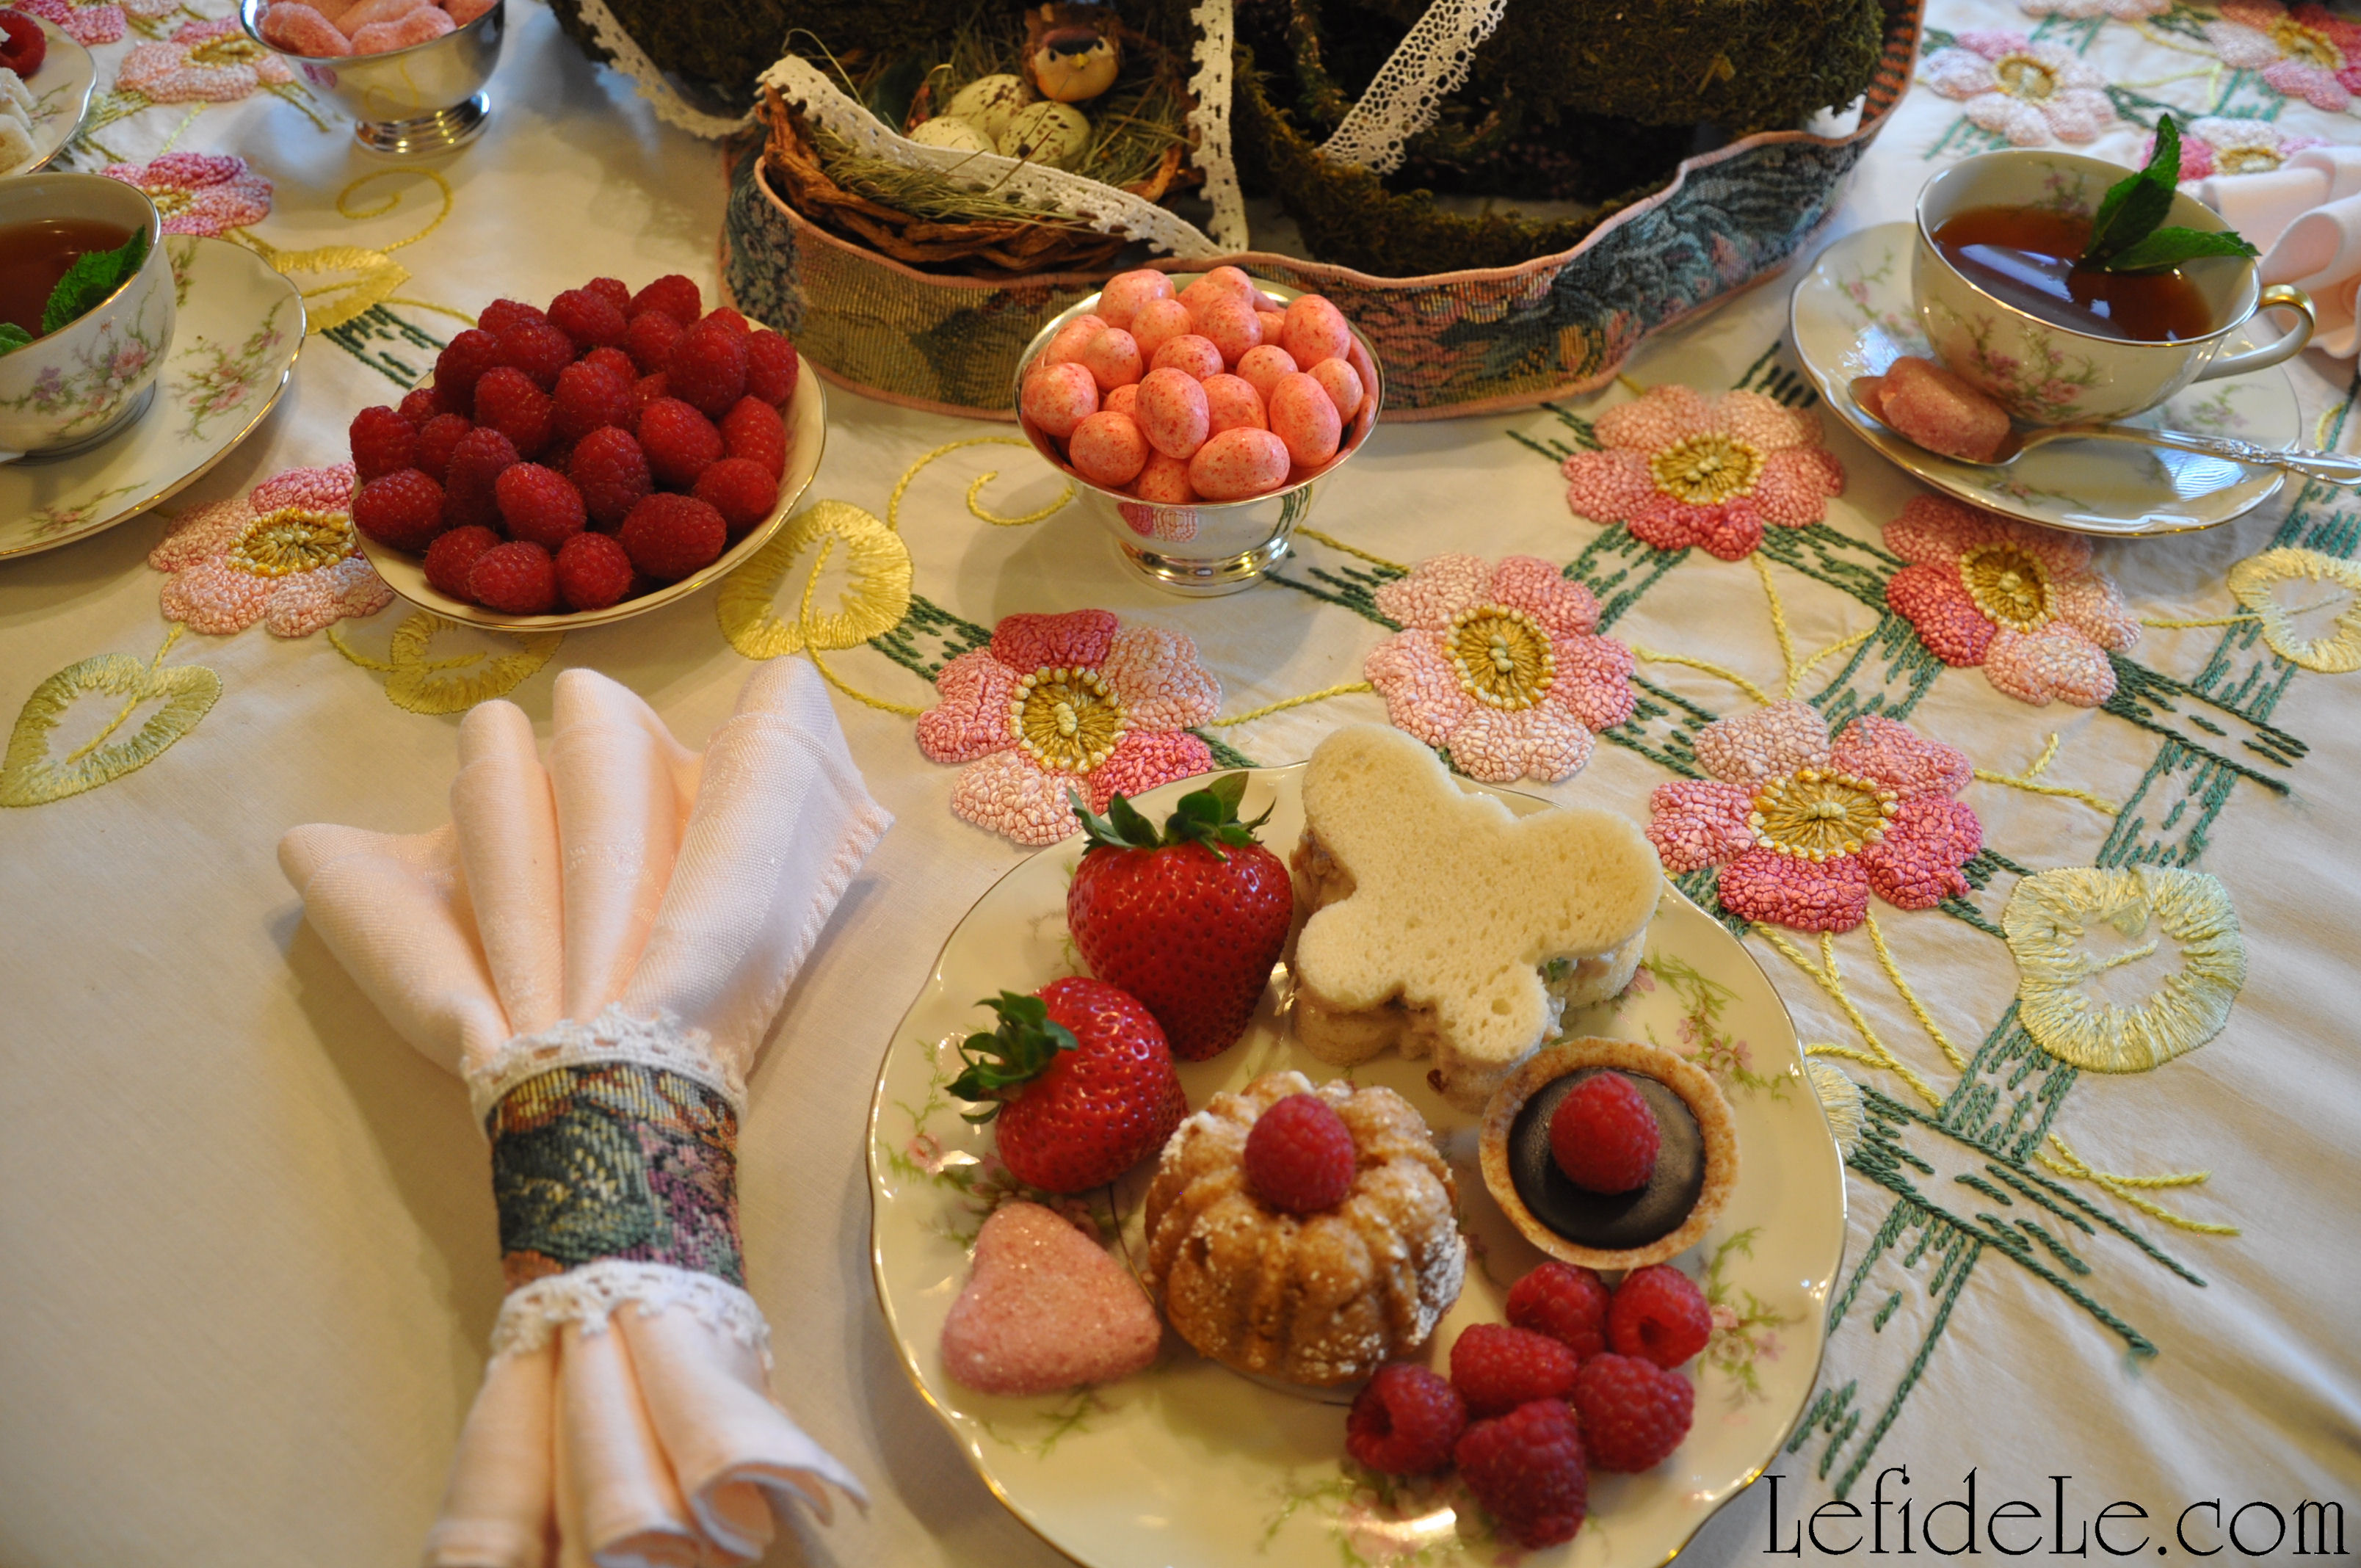
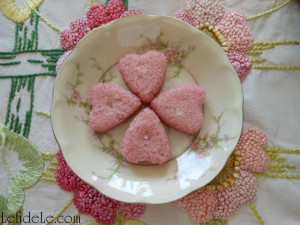
Cleanse your palette with pink peppermint almonds held in small antique silver bowls.

105Leigh

Sink your teeth into juicy plump strawberries offered amid vintage salt and pepper shakers.

051Leigh

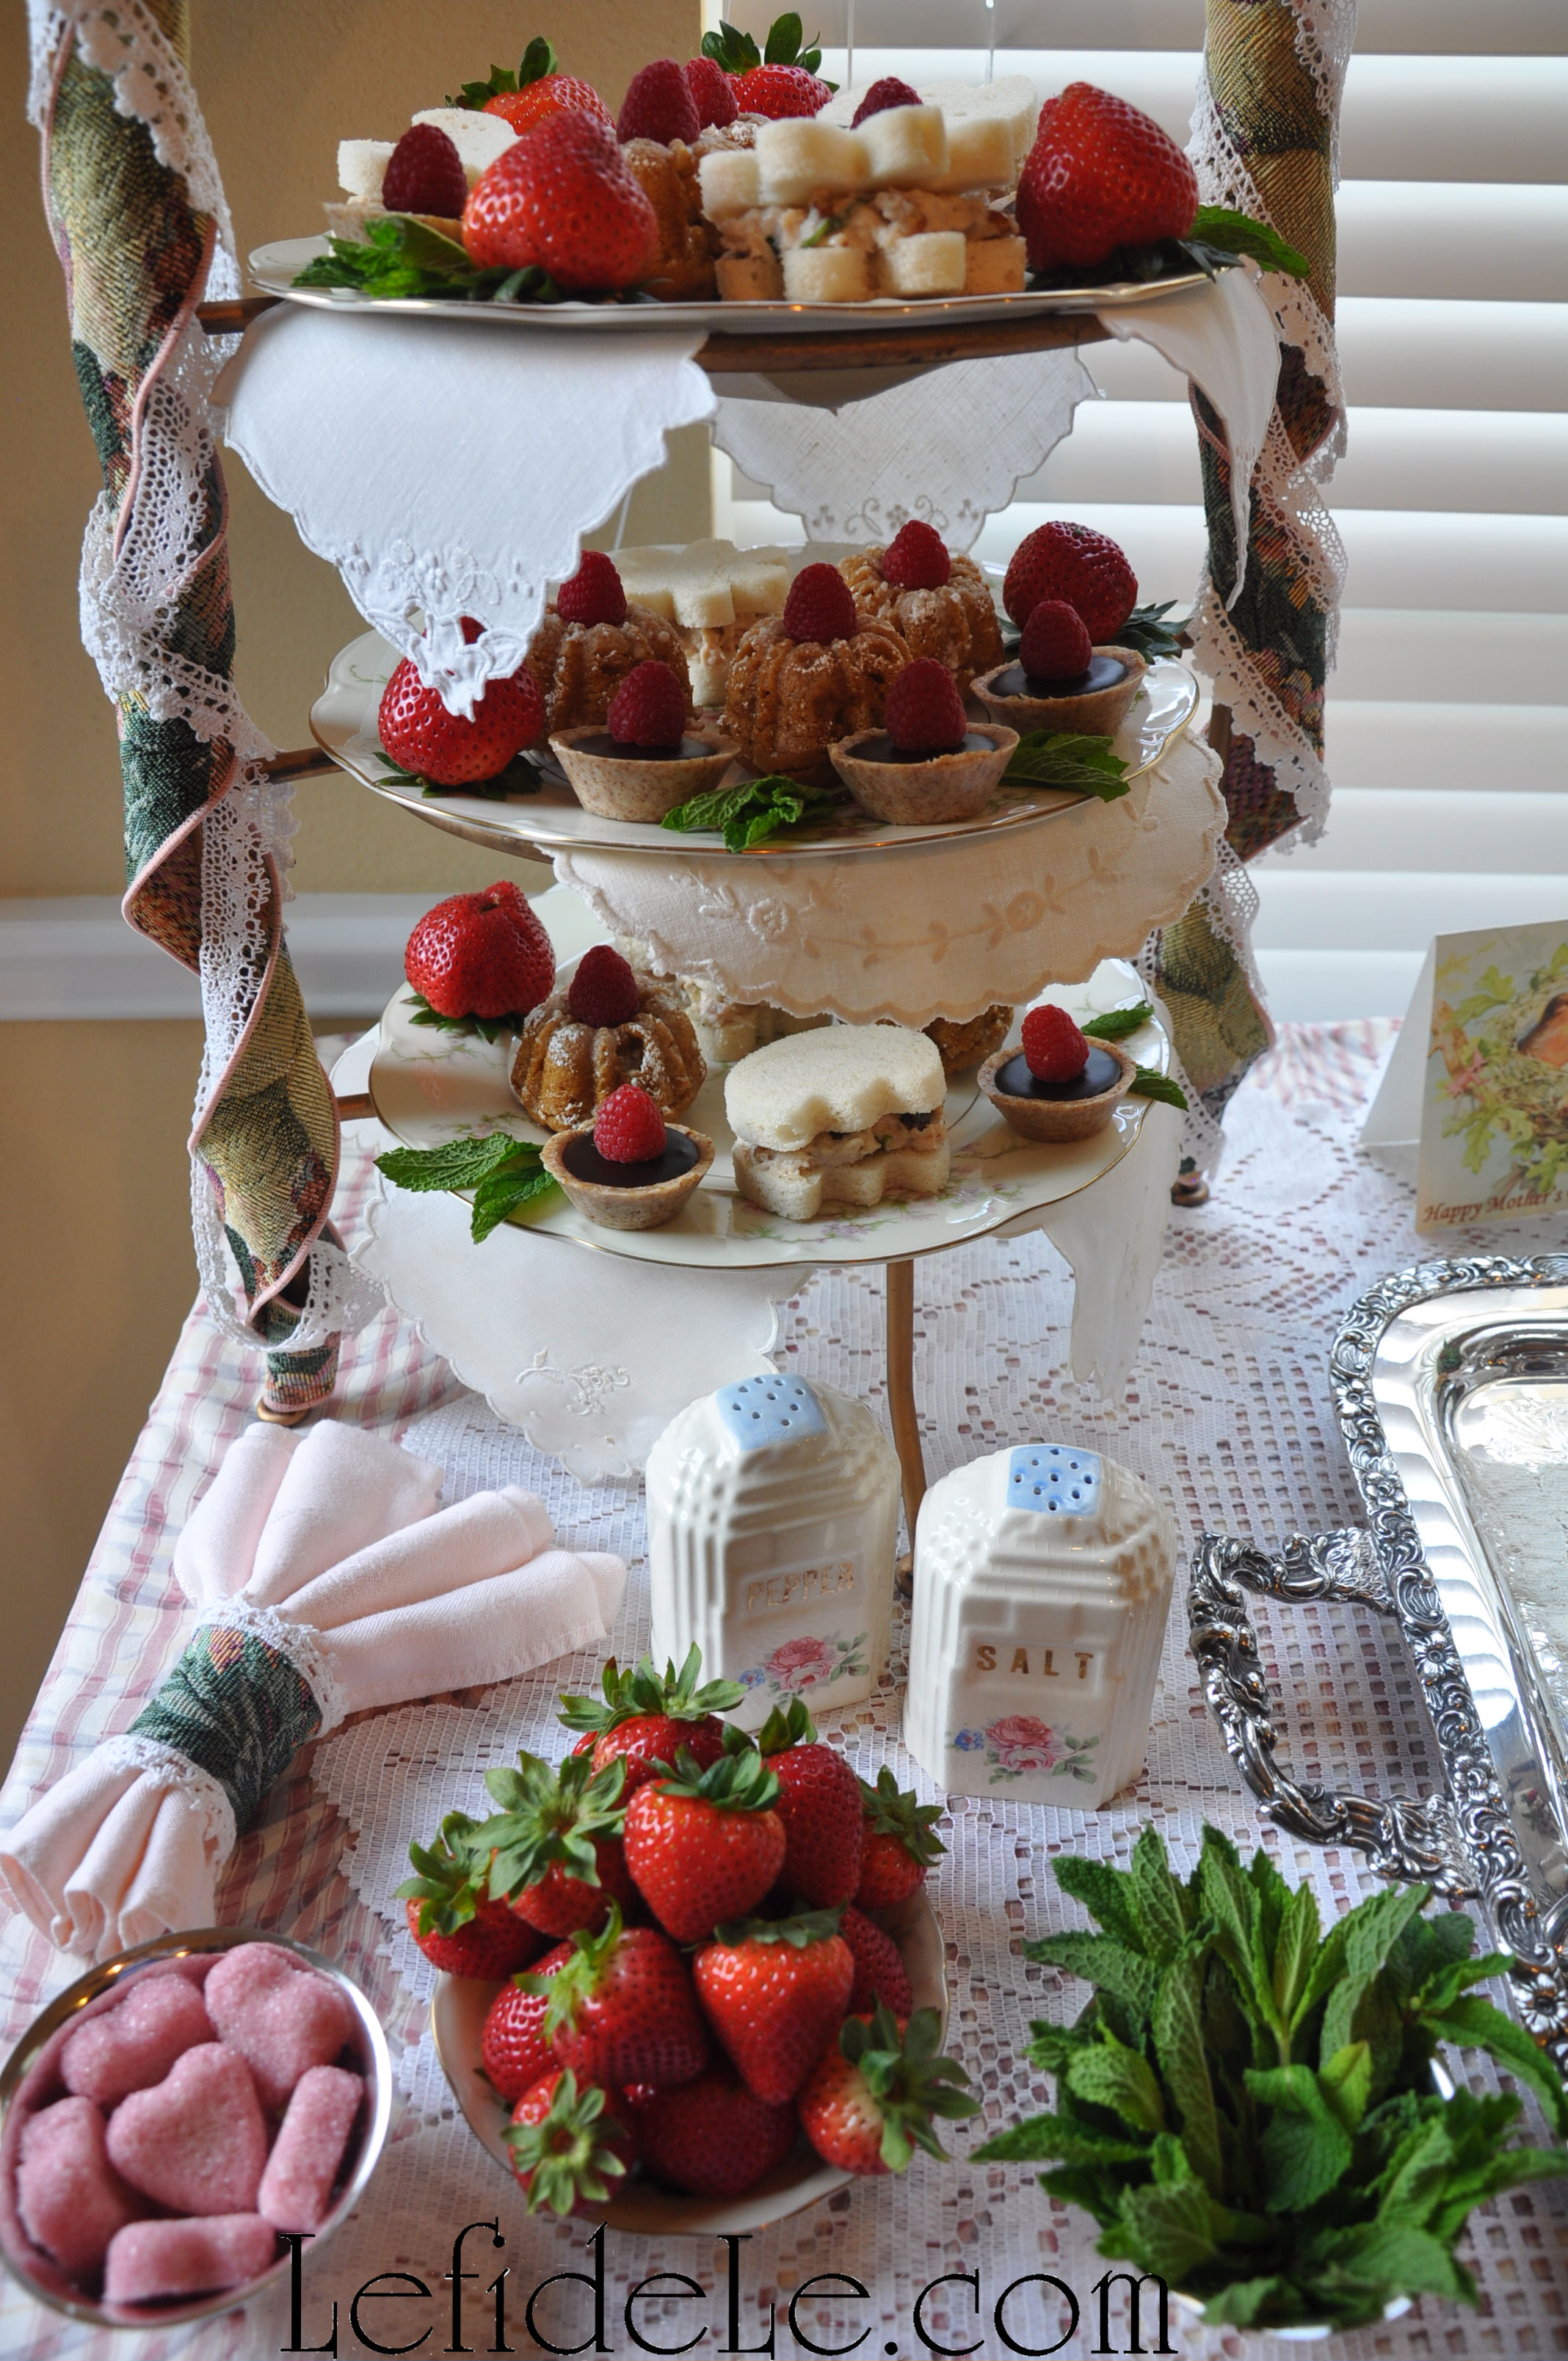
Replenish your china plate from a grapevine heart topped tower of treats wrapped in lengths of tapestry and lace.

064Leigh

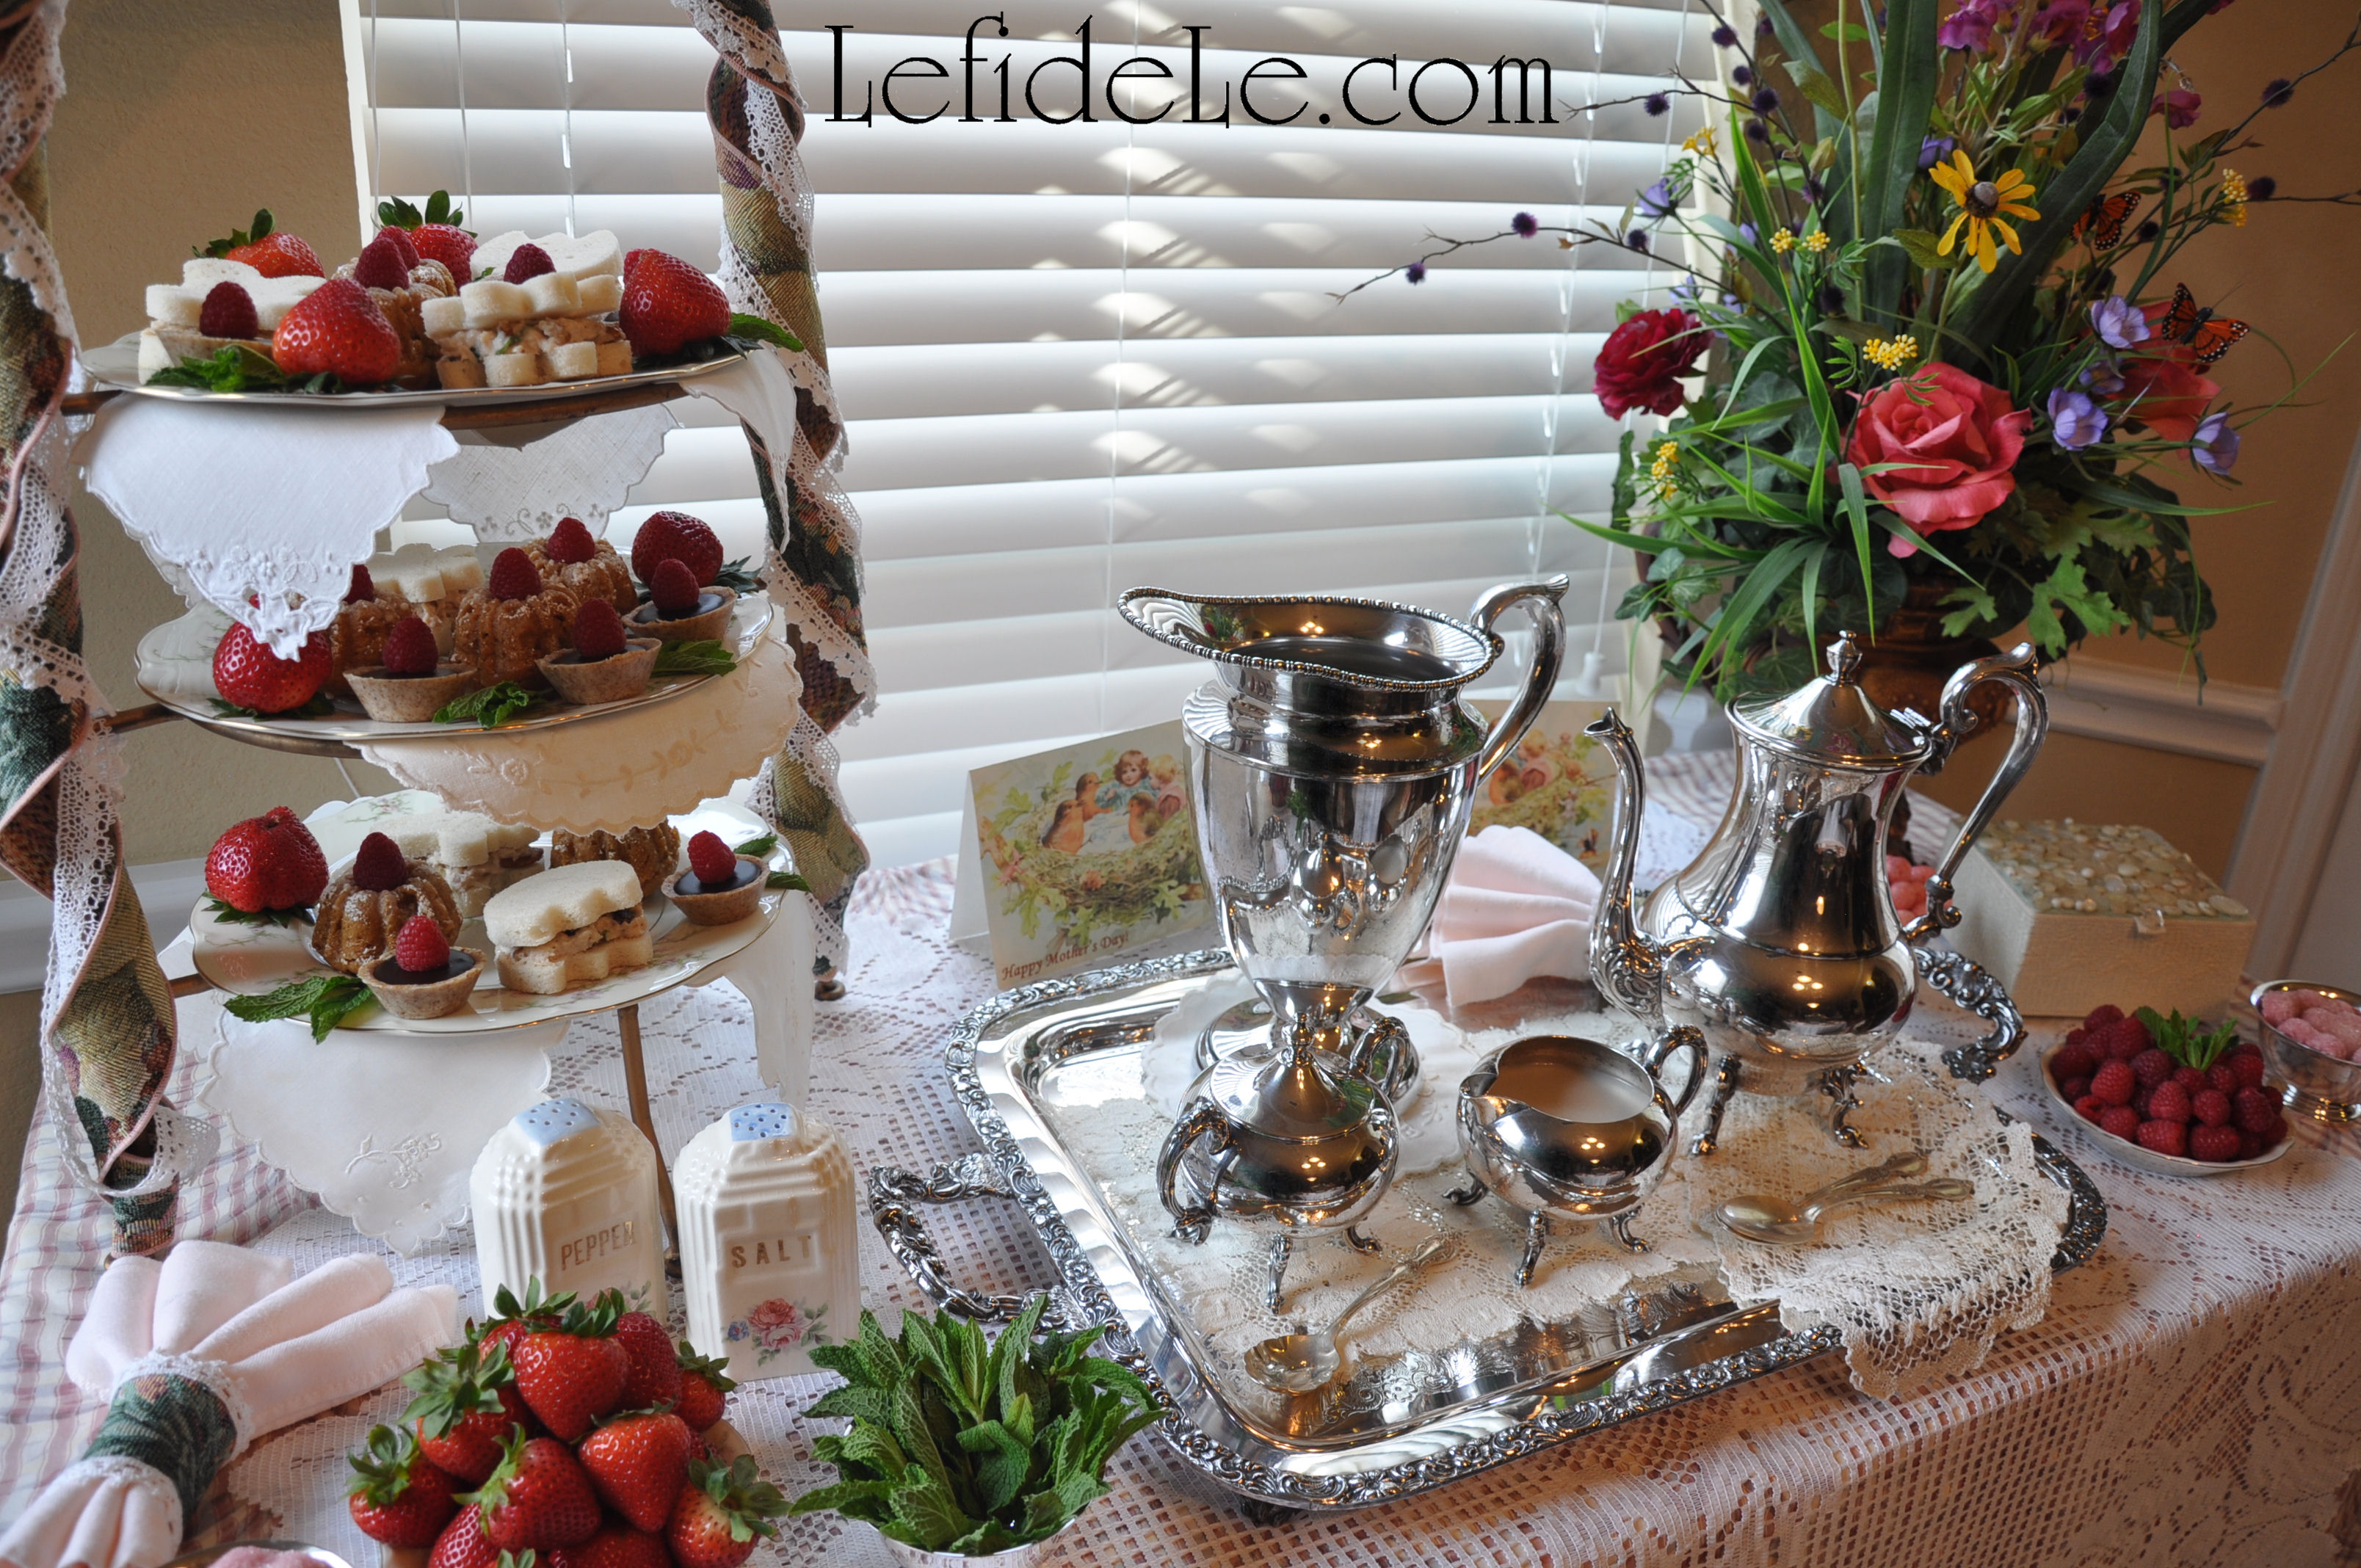
Gaze upon sunlight reflected from gleaming antique silver service layered with vintage doilies atop layers of vintage lace and patterned cloth.

097Leigh

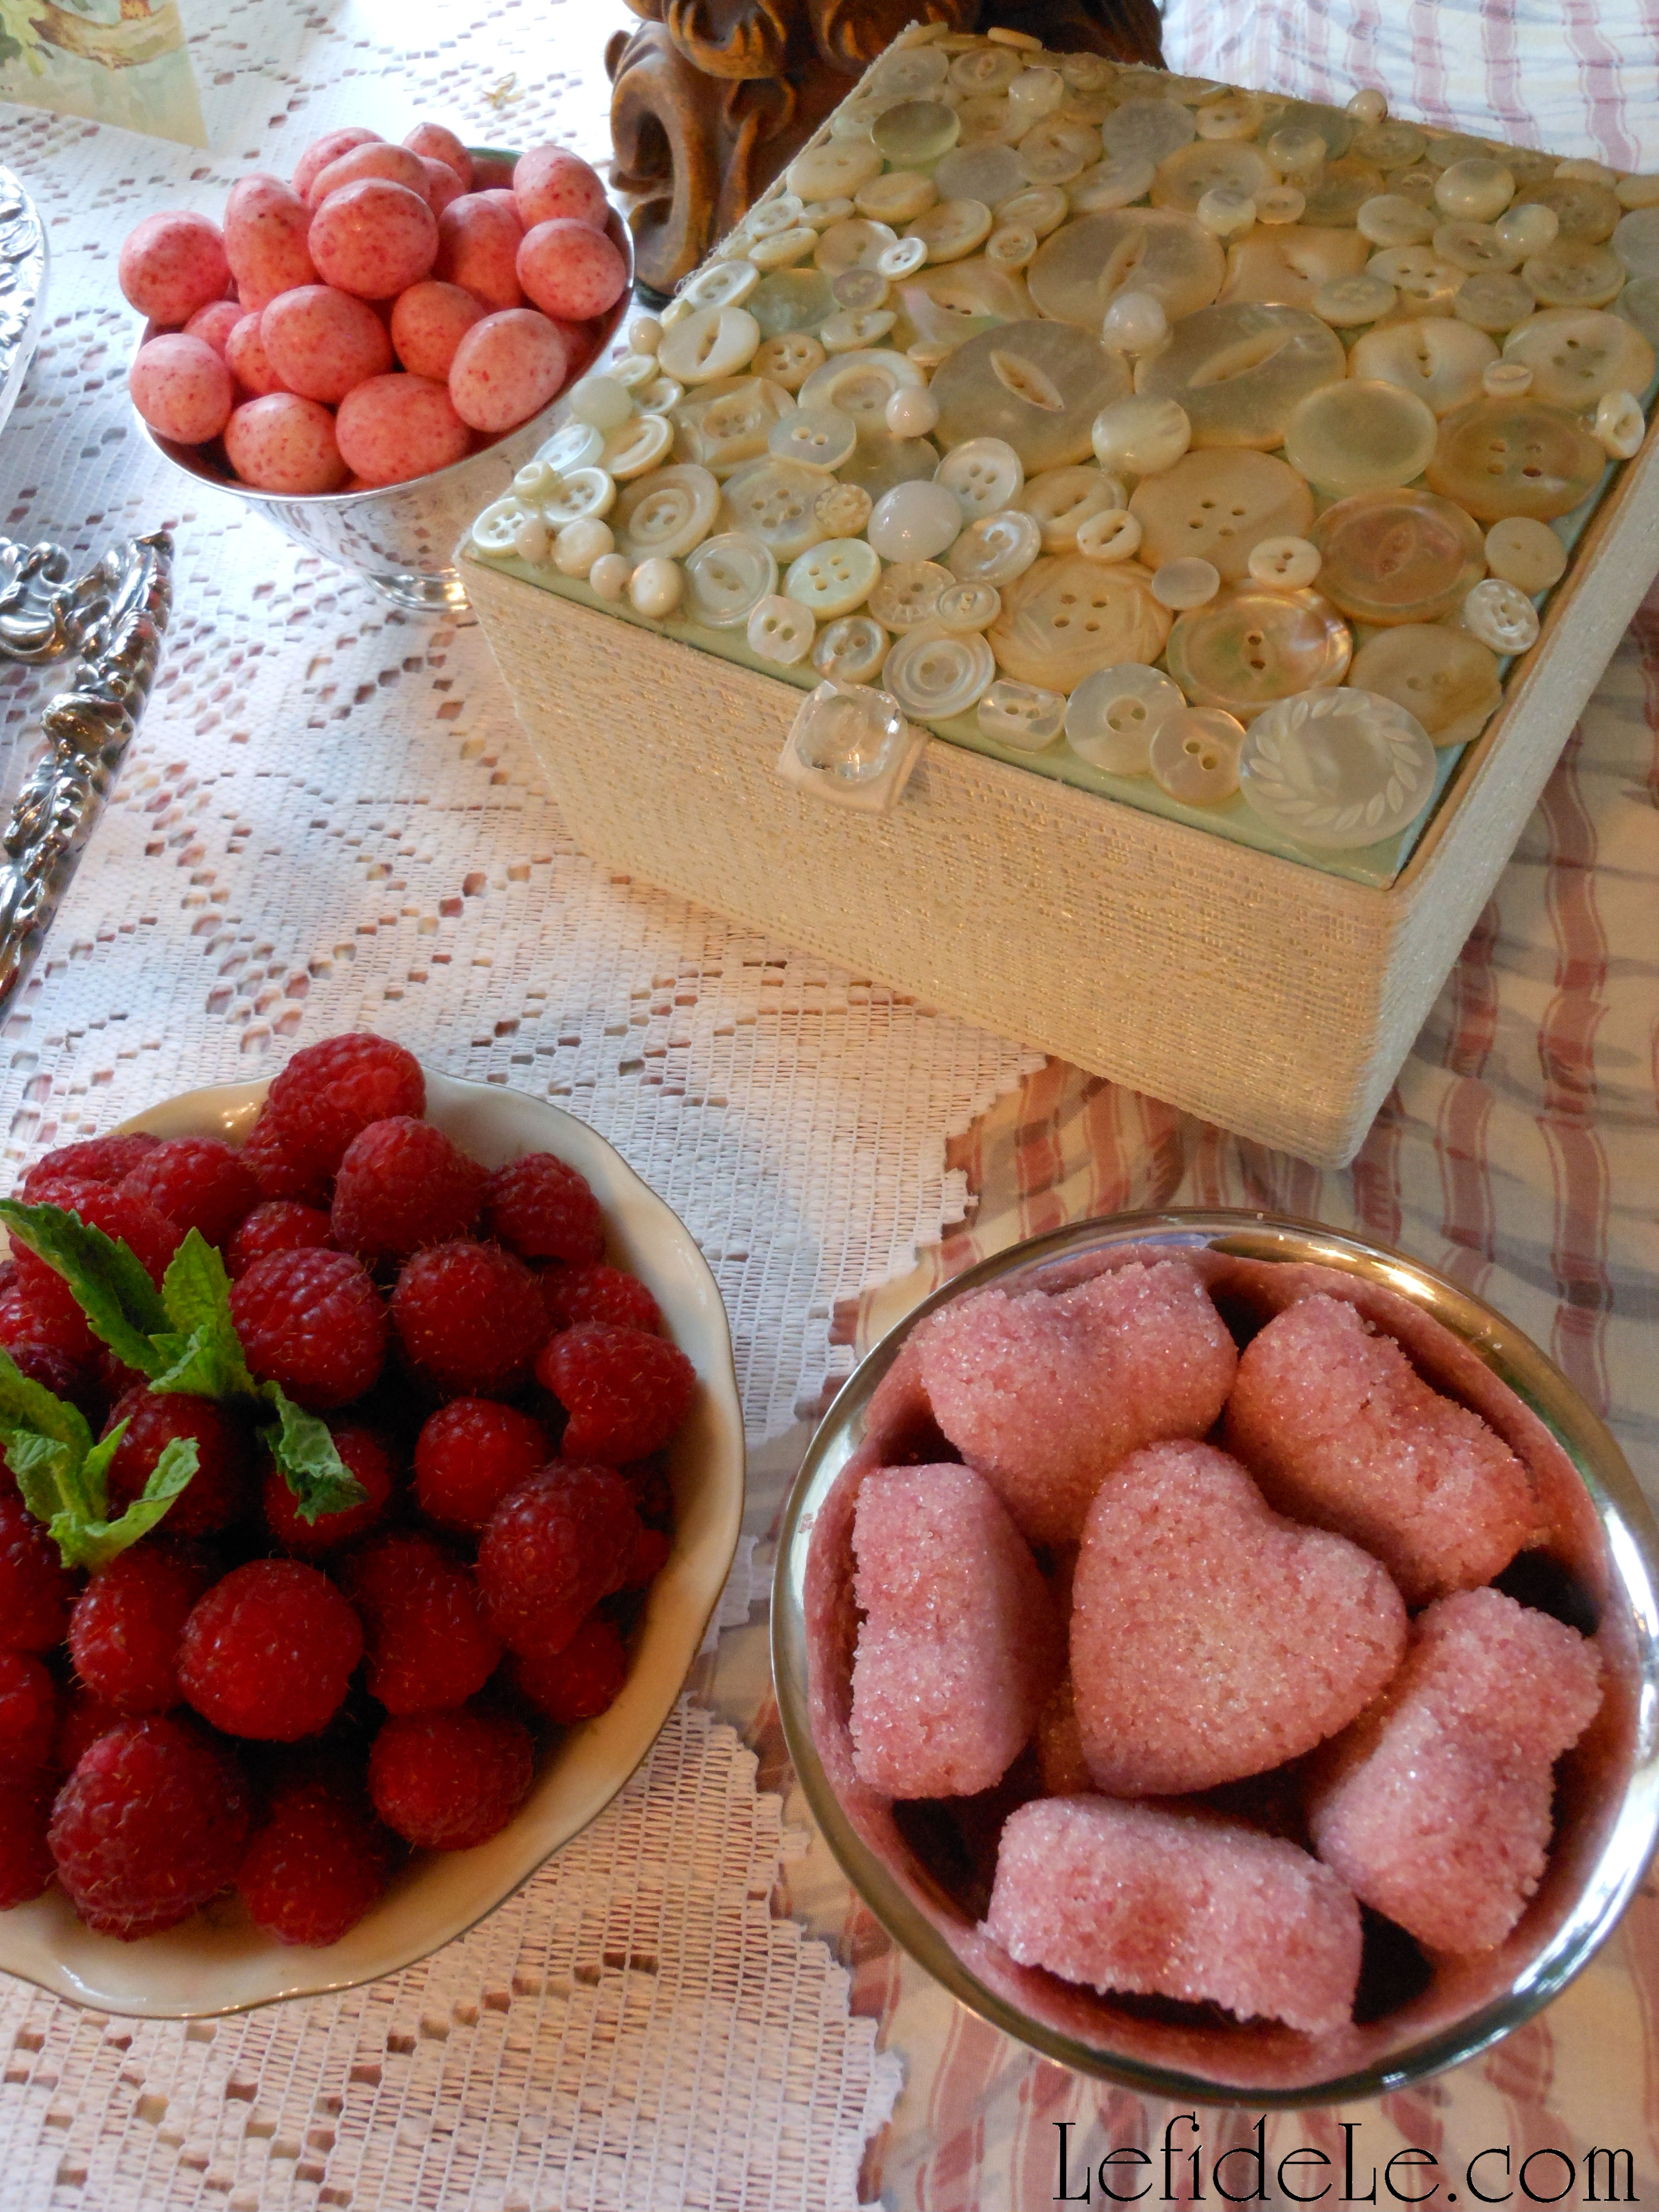
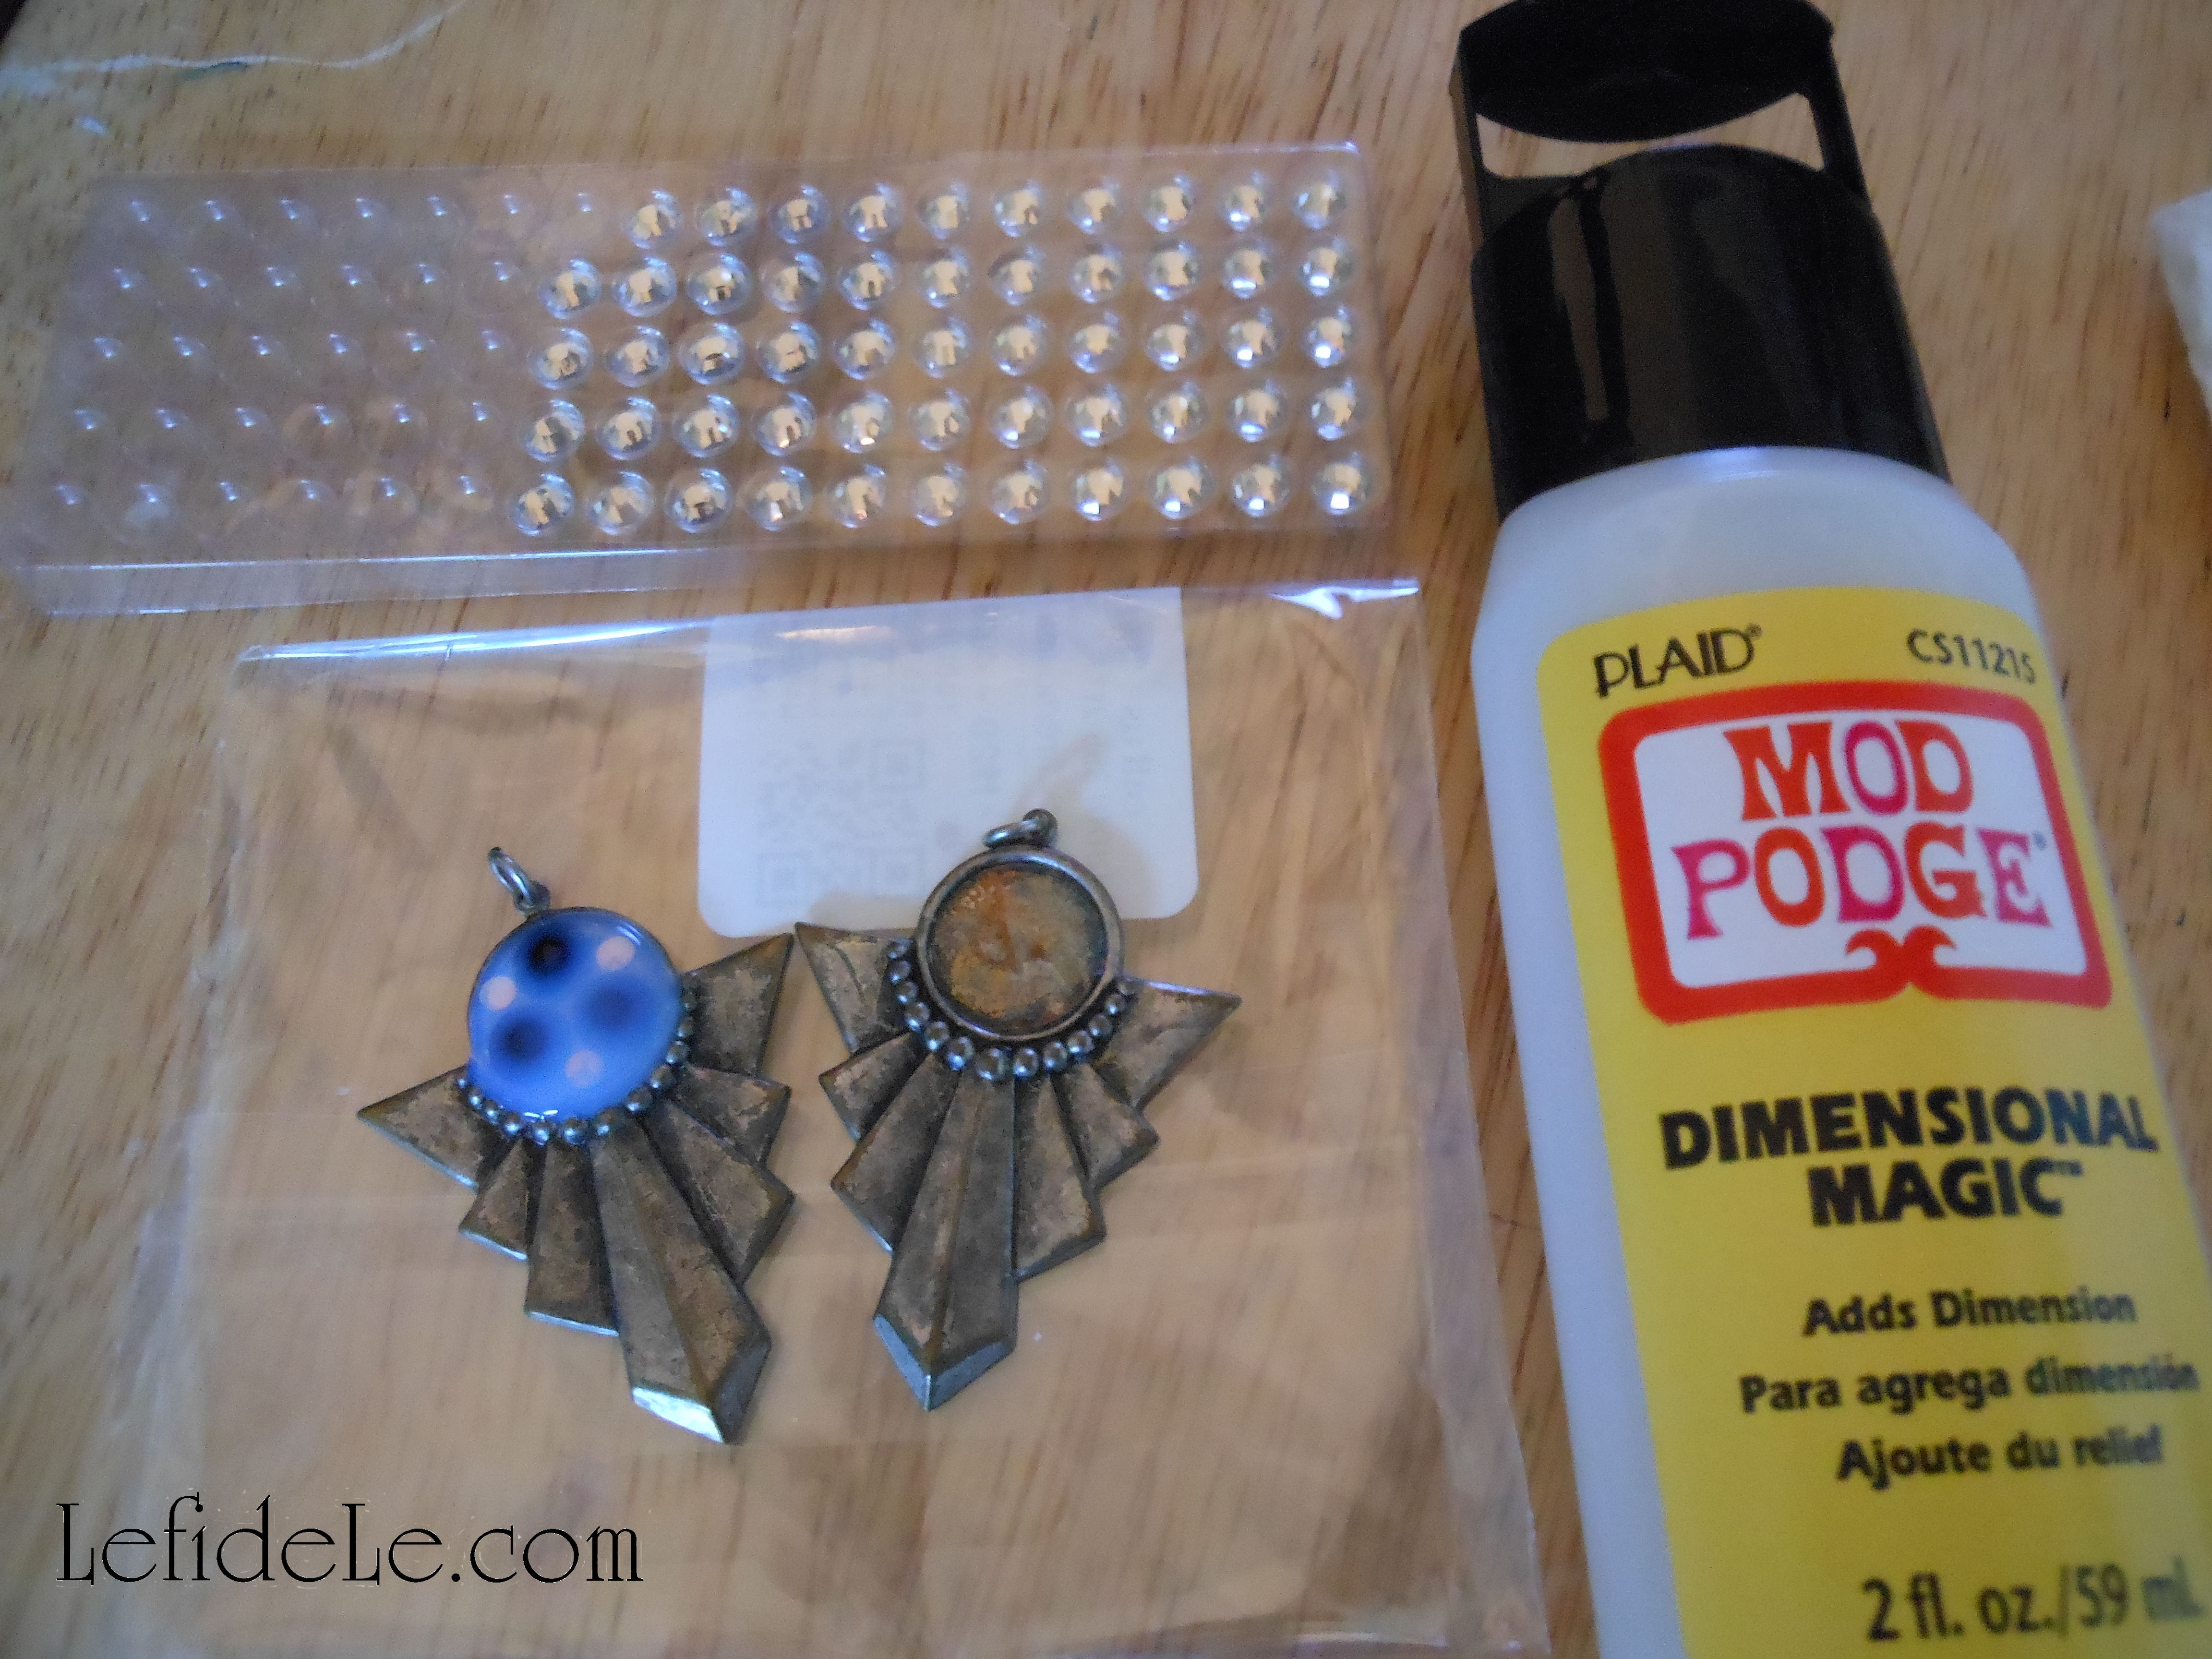
Feel the impressions of vintage buttons encrusting a jewelry box gift sheltered by a lofty spring floral arrangement.

004fLeigh

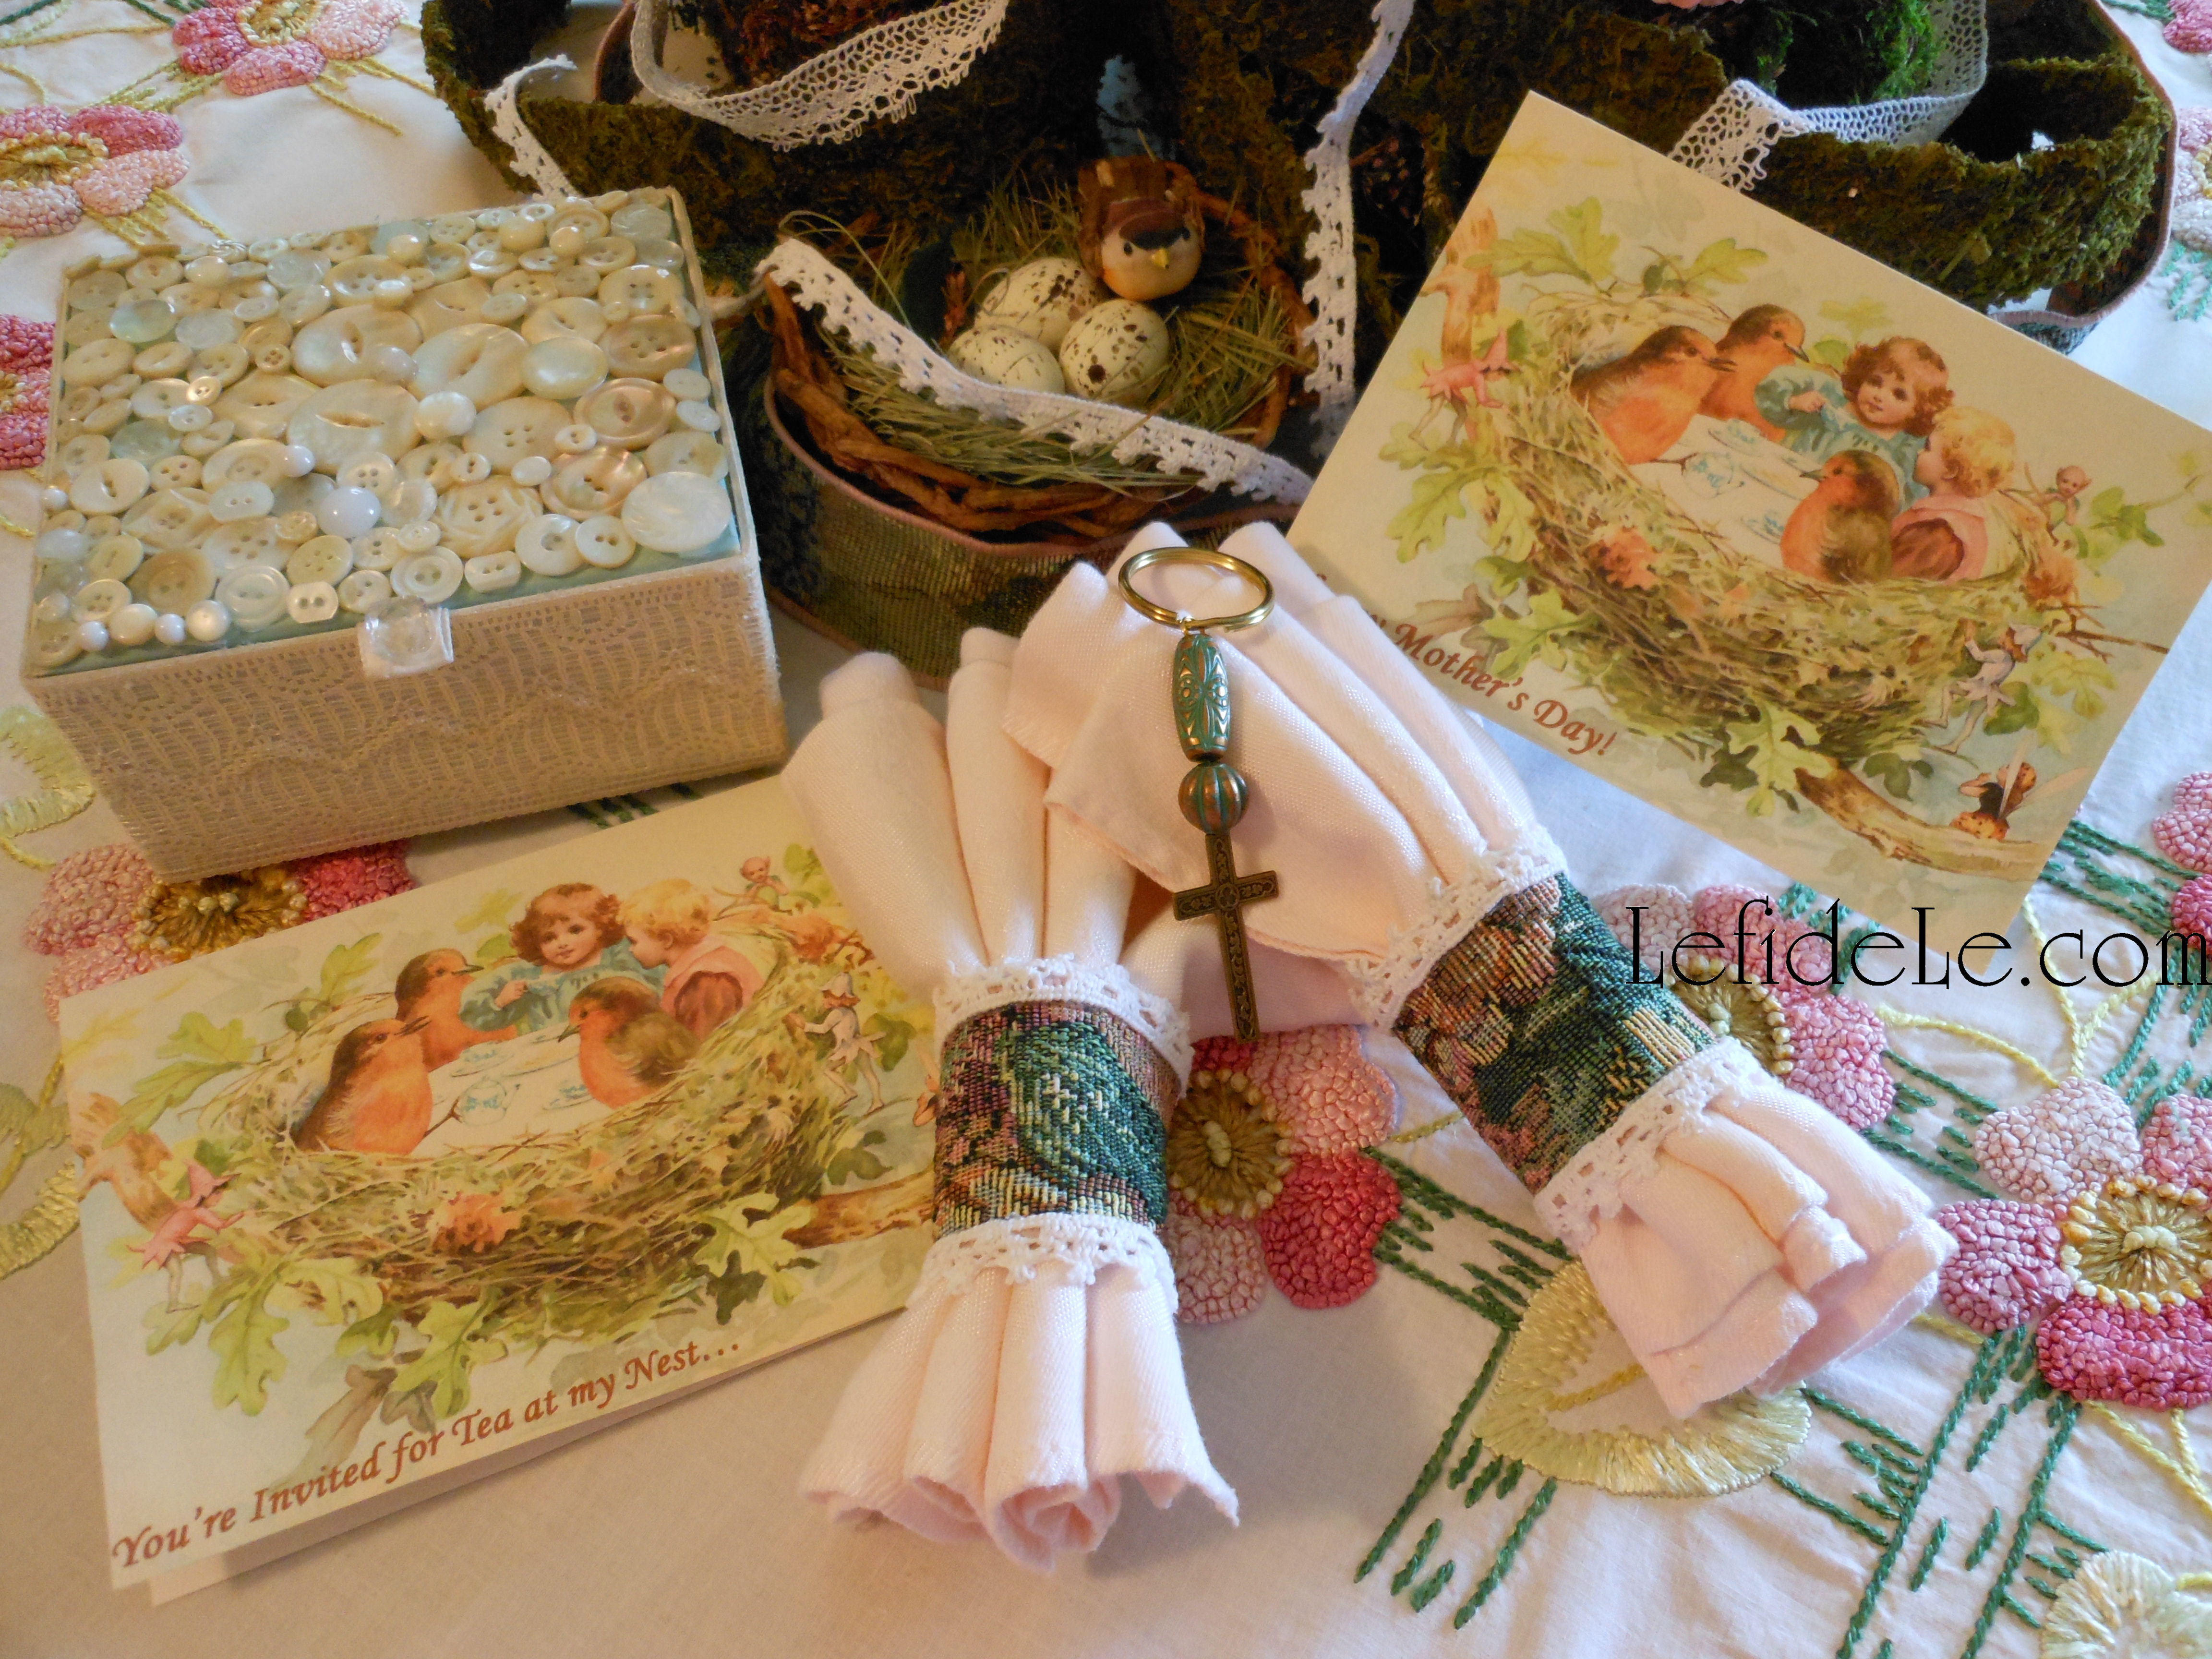
And at last, read the Mother’s Day card that will hold the memory of the cherished event for years to come.

Sincerely wishing you the happiest of Mother’s Days!

Faithfully Yours,

Leigh

6FreePrintCardLeigh

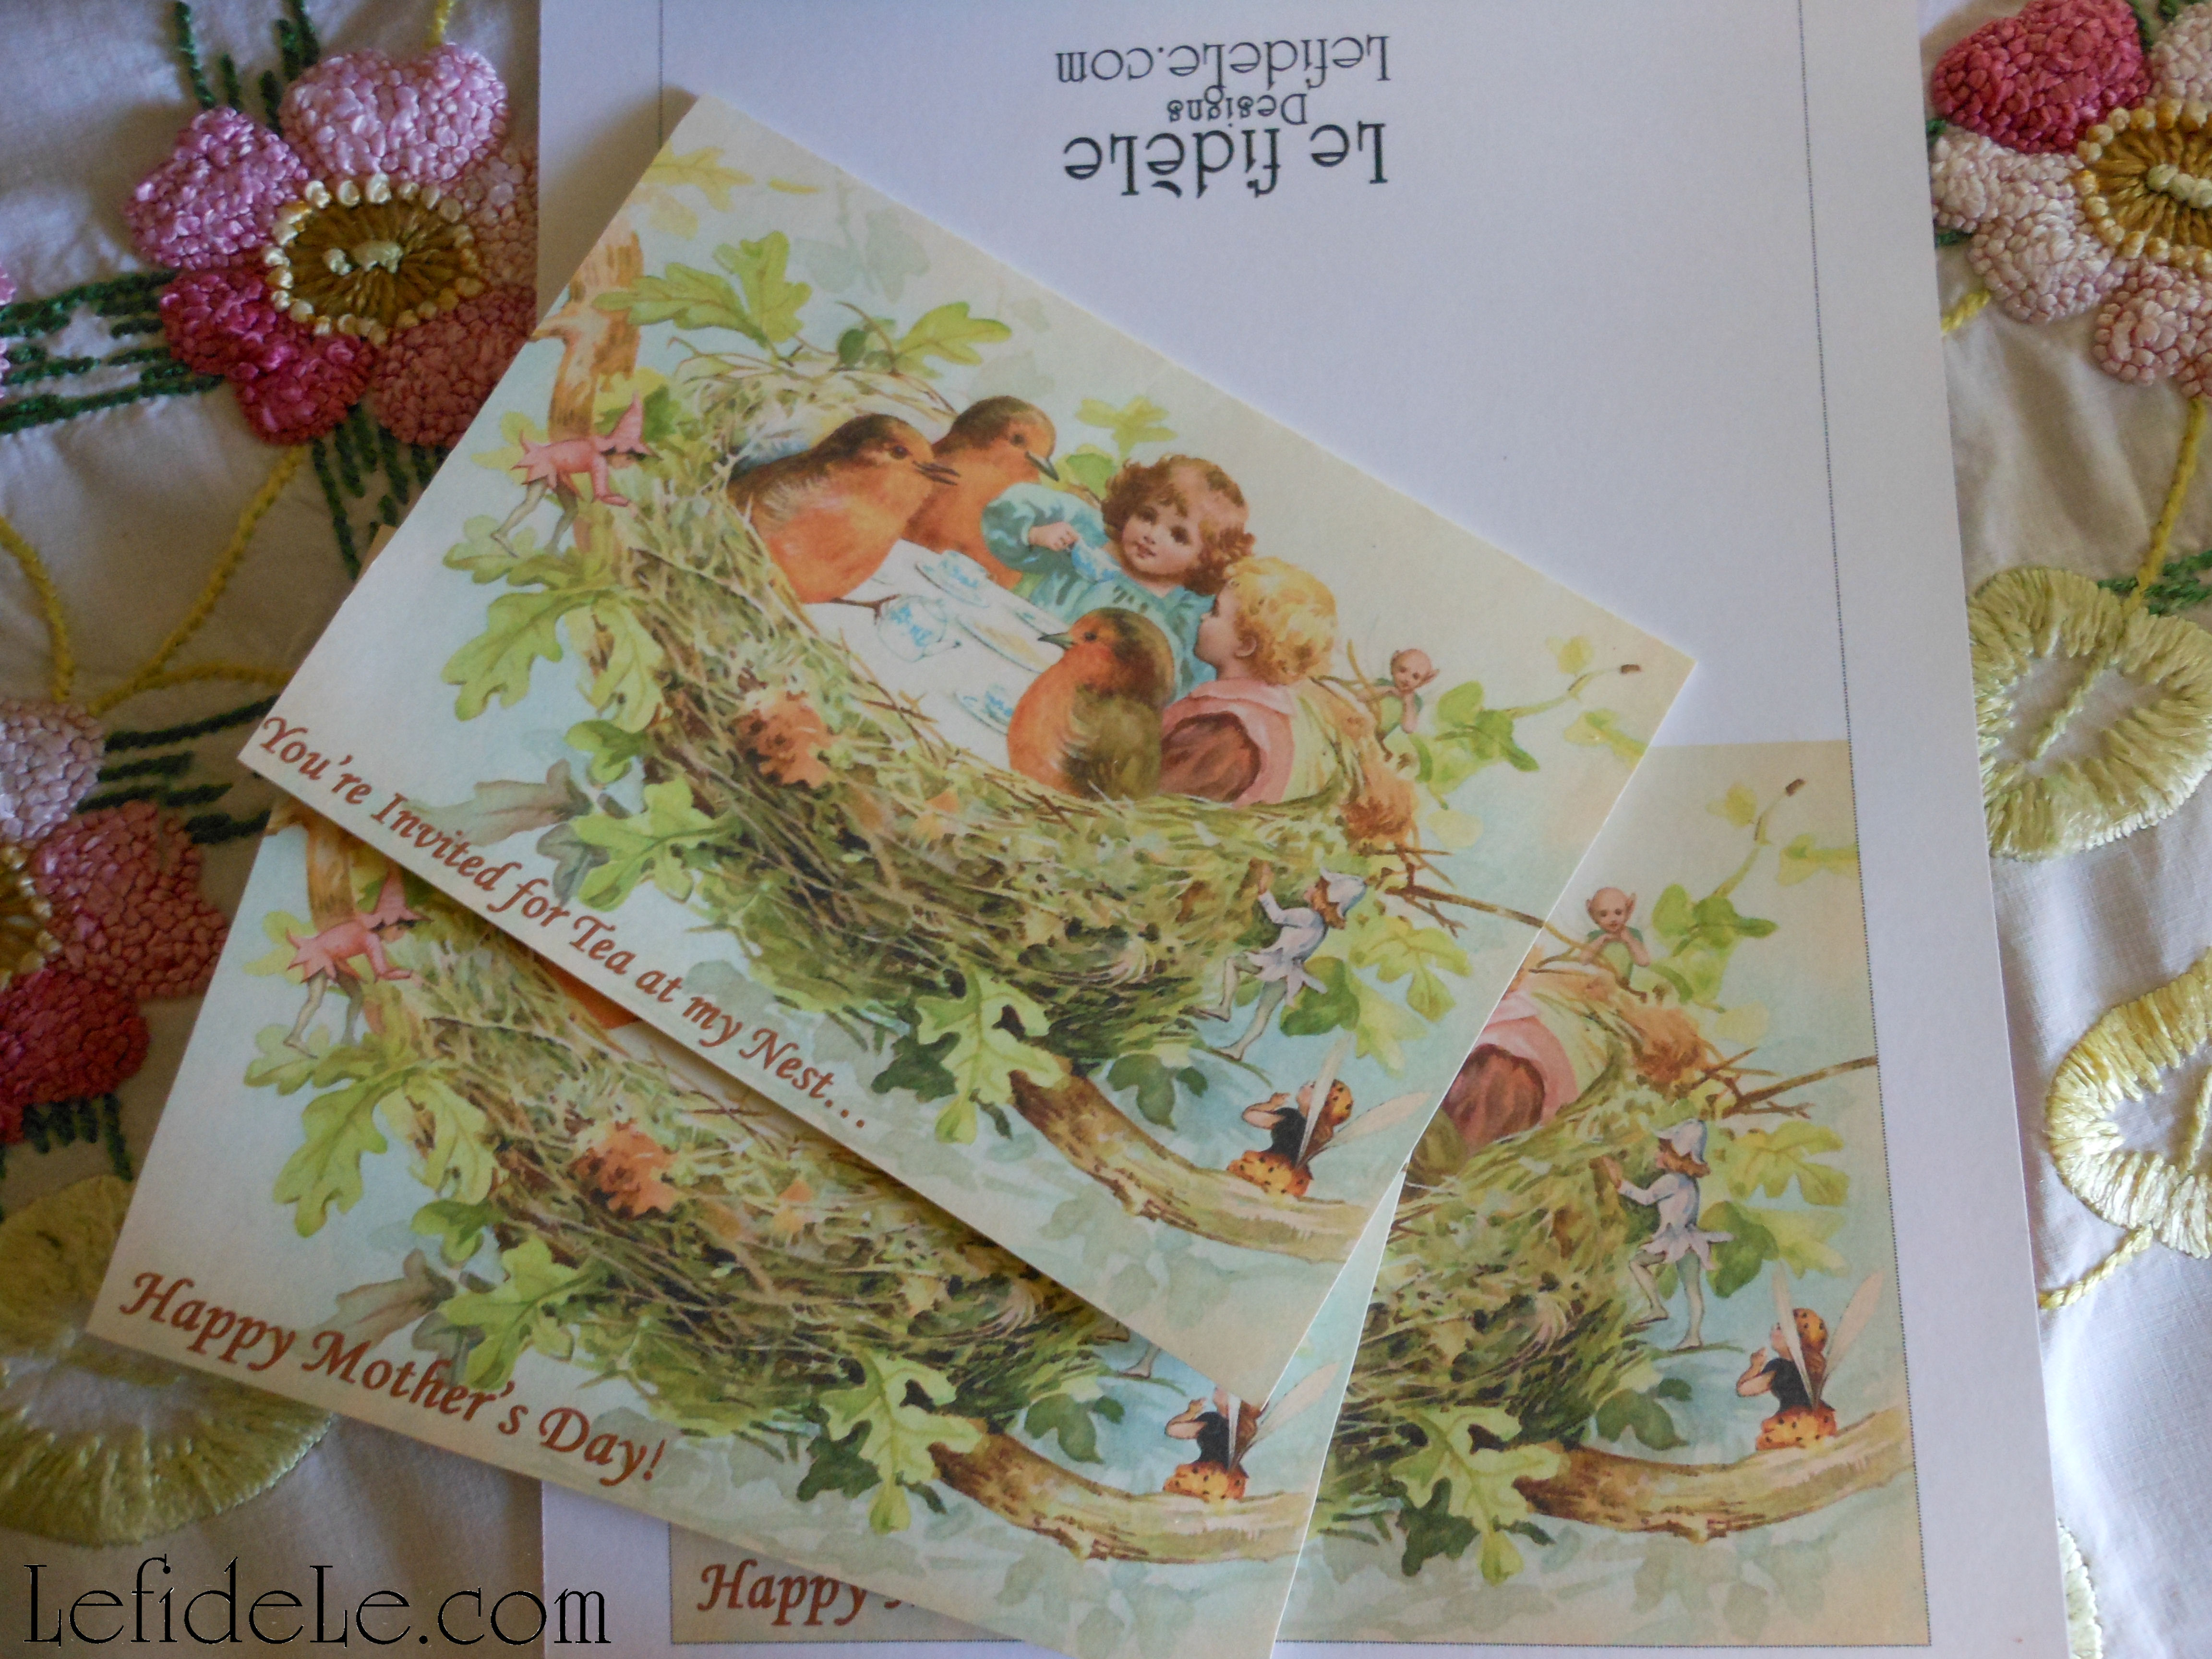
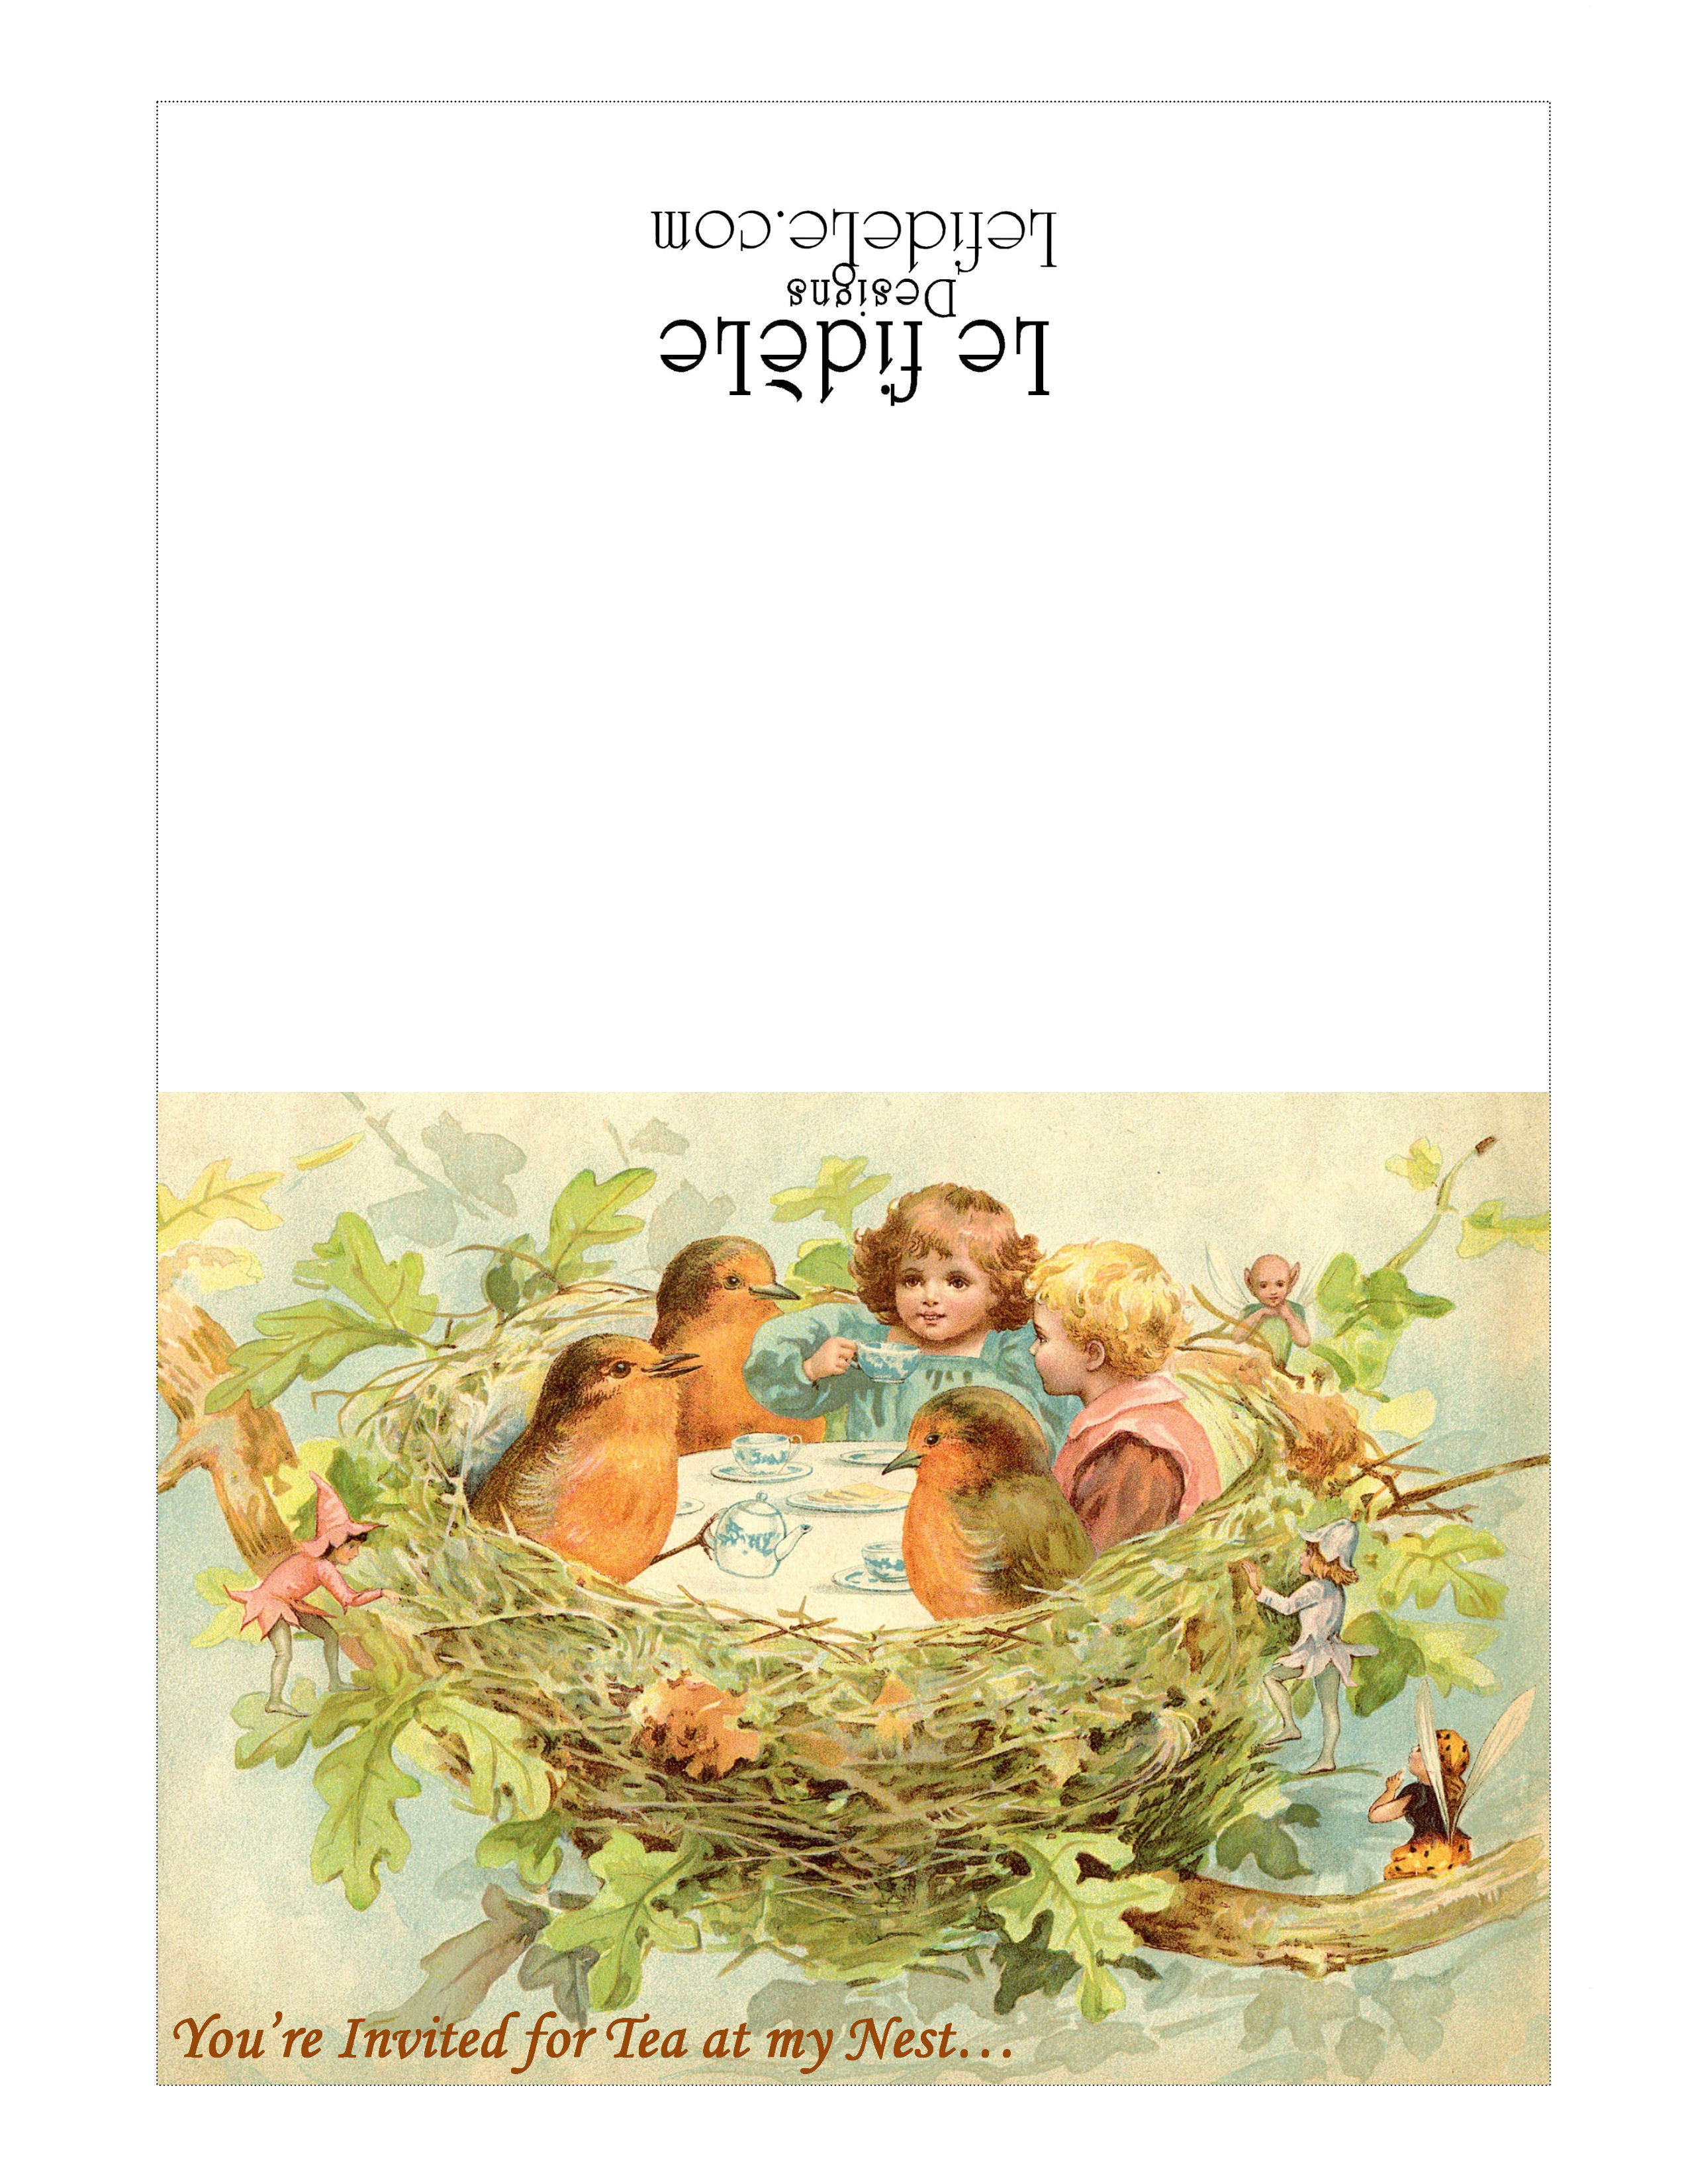
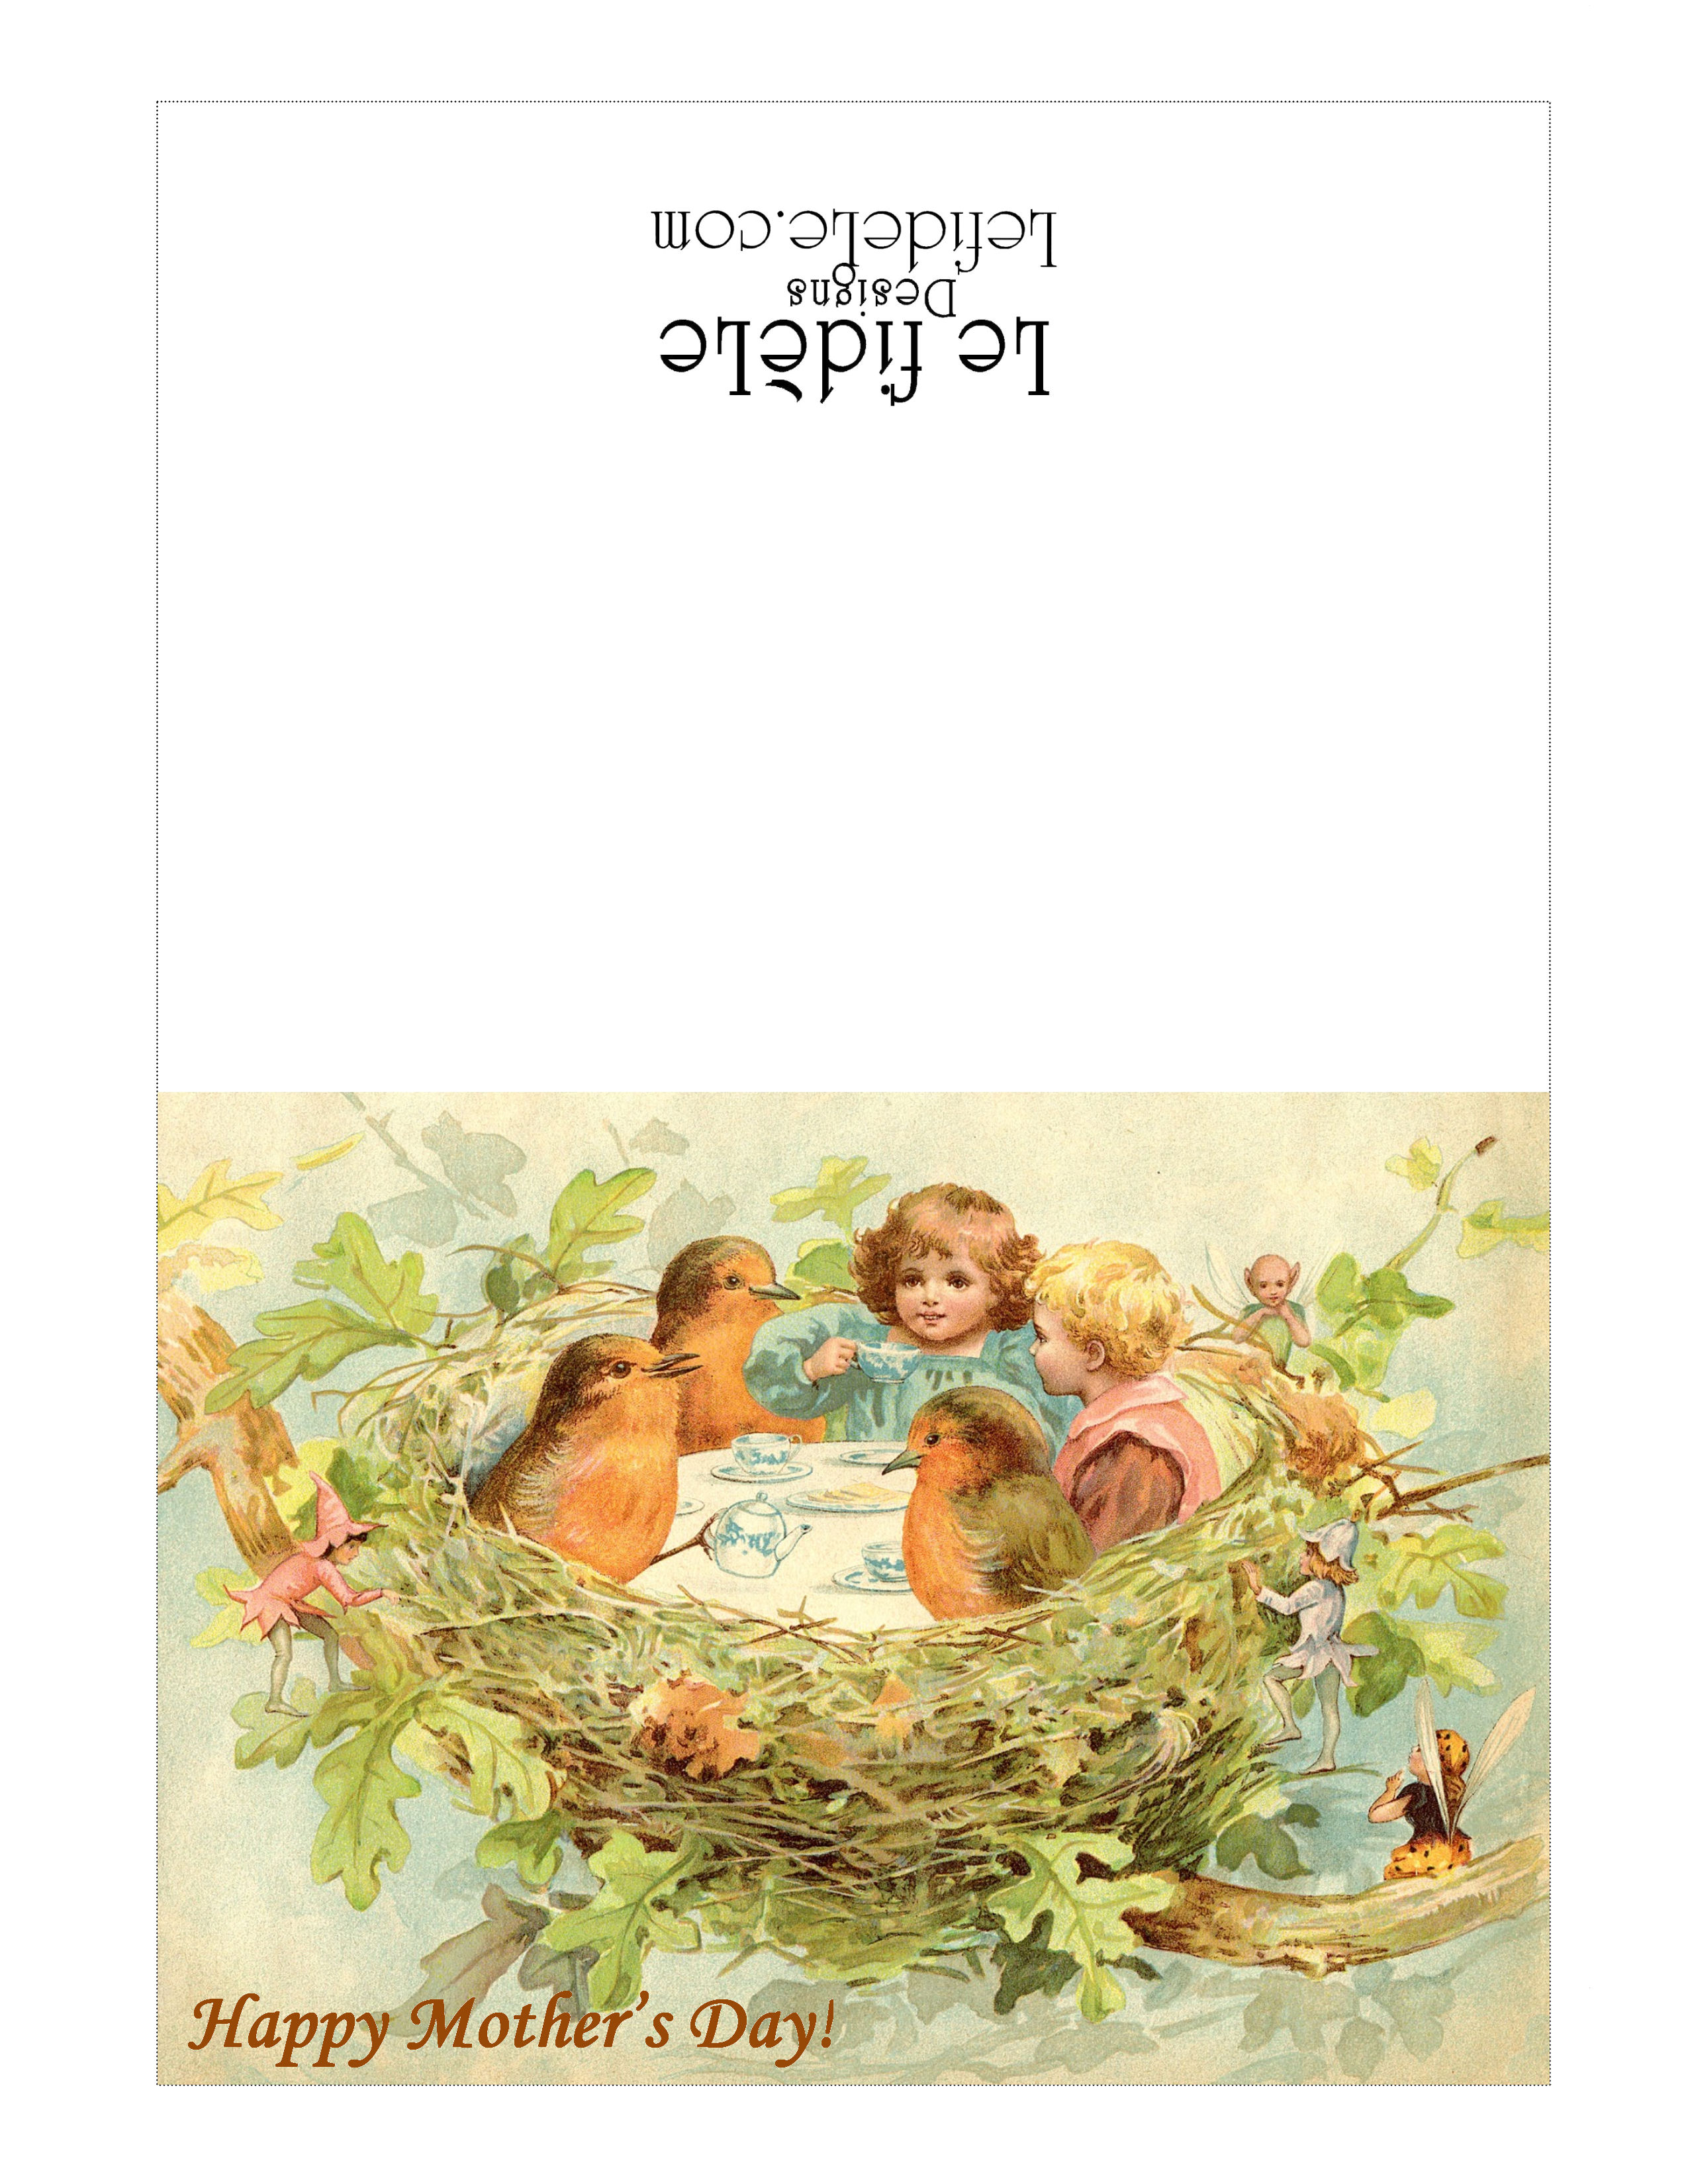
P.S. Right click on the small image below, and select print to make your own invitations (at the left) and cards (at the right) free (for personal use only). Print them on photo and color settings for the best results.

5x7NestTeaInviteLeigh5x7MothersNestCardLeigh

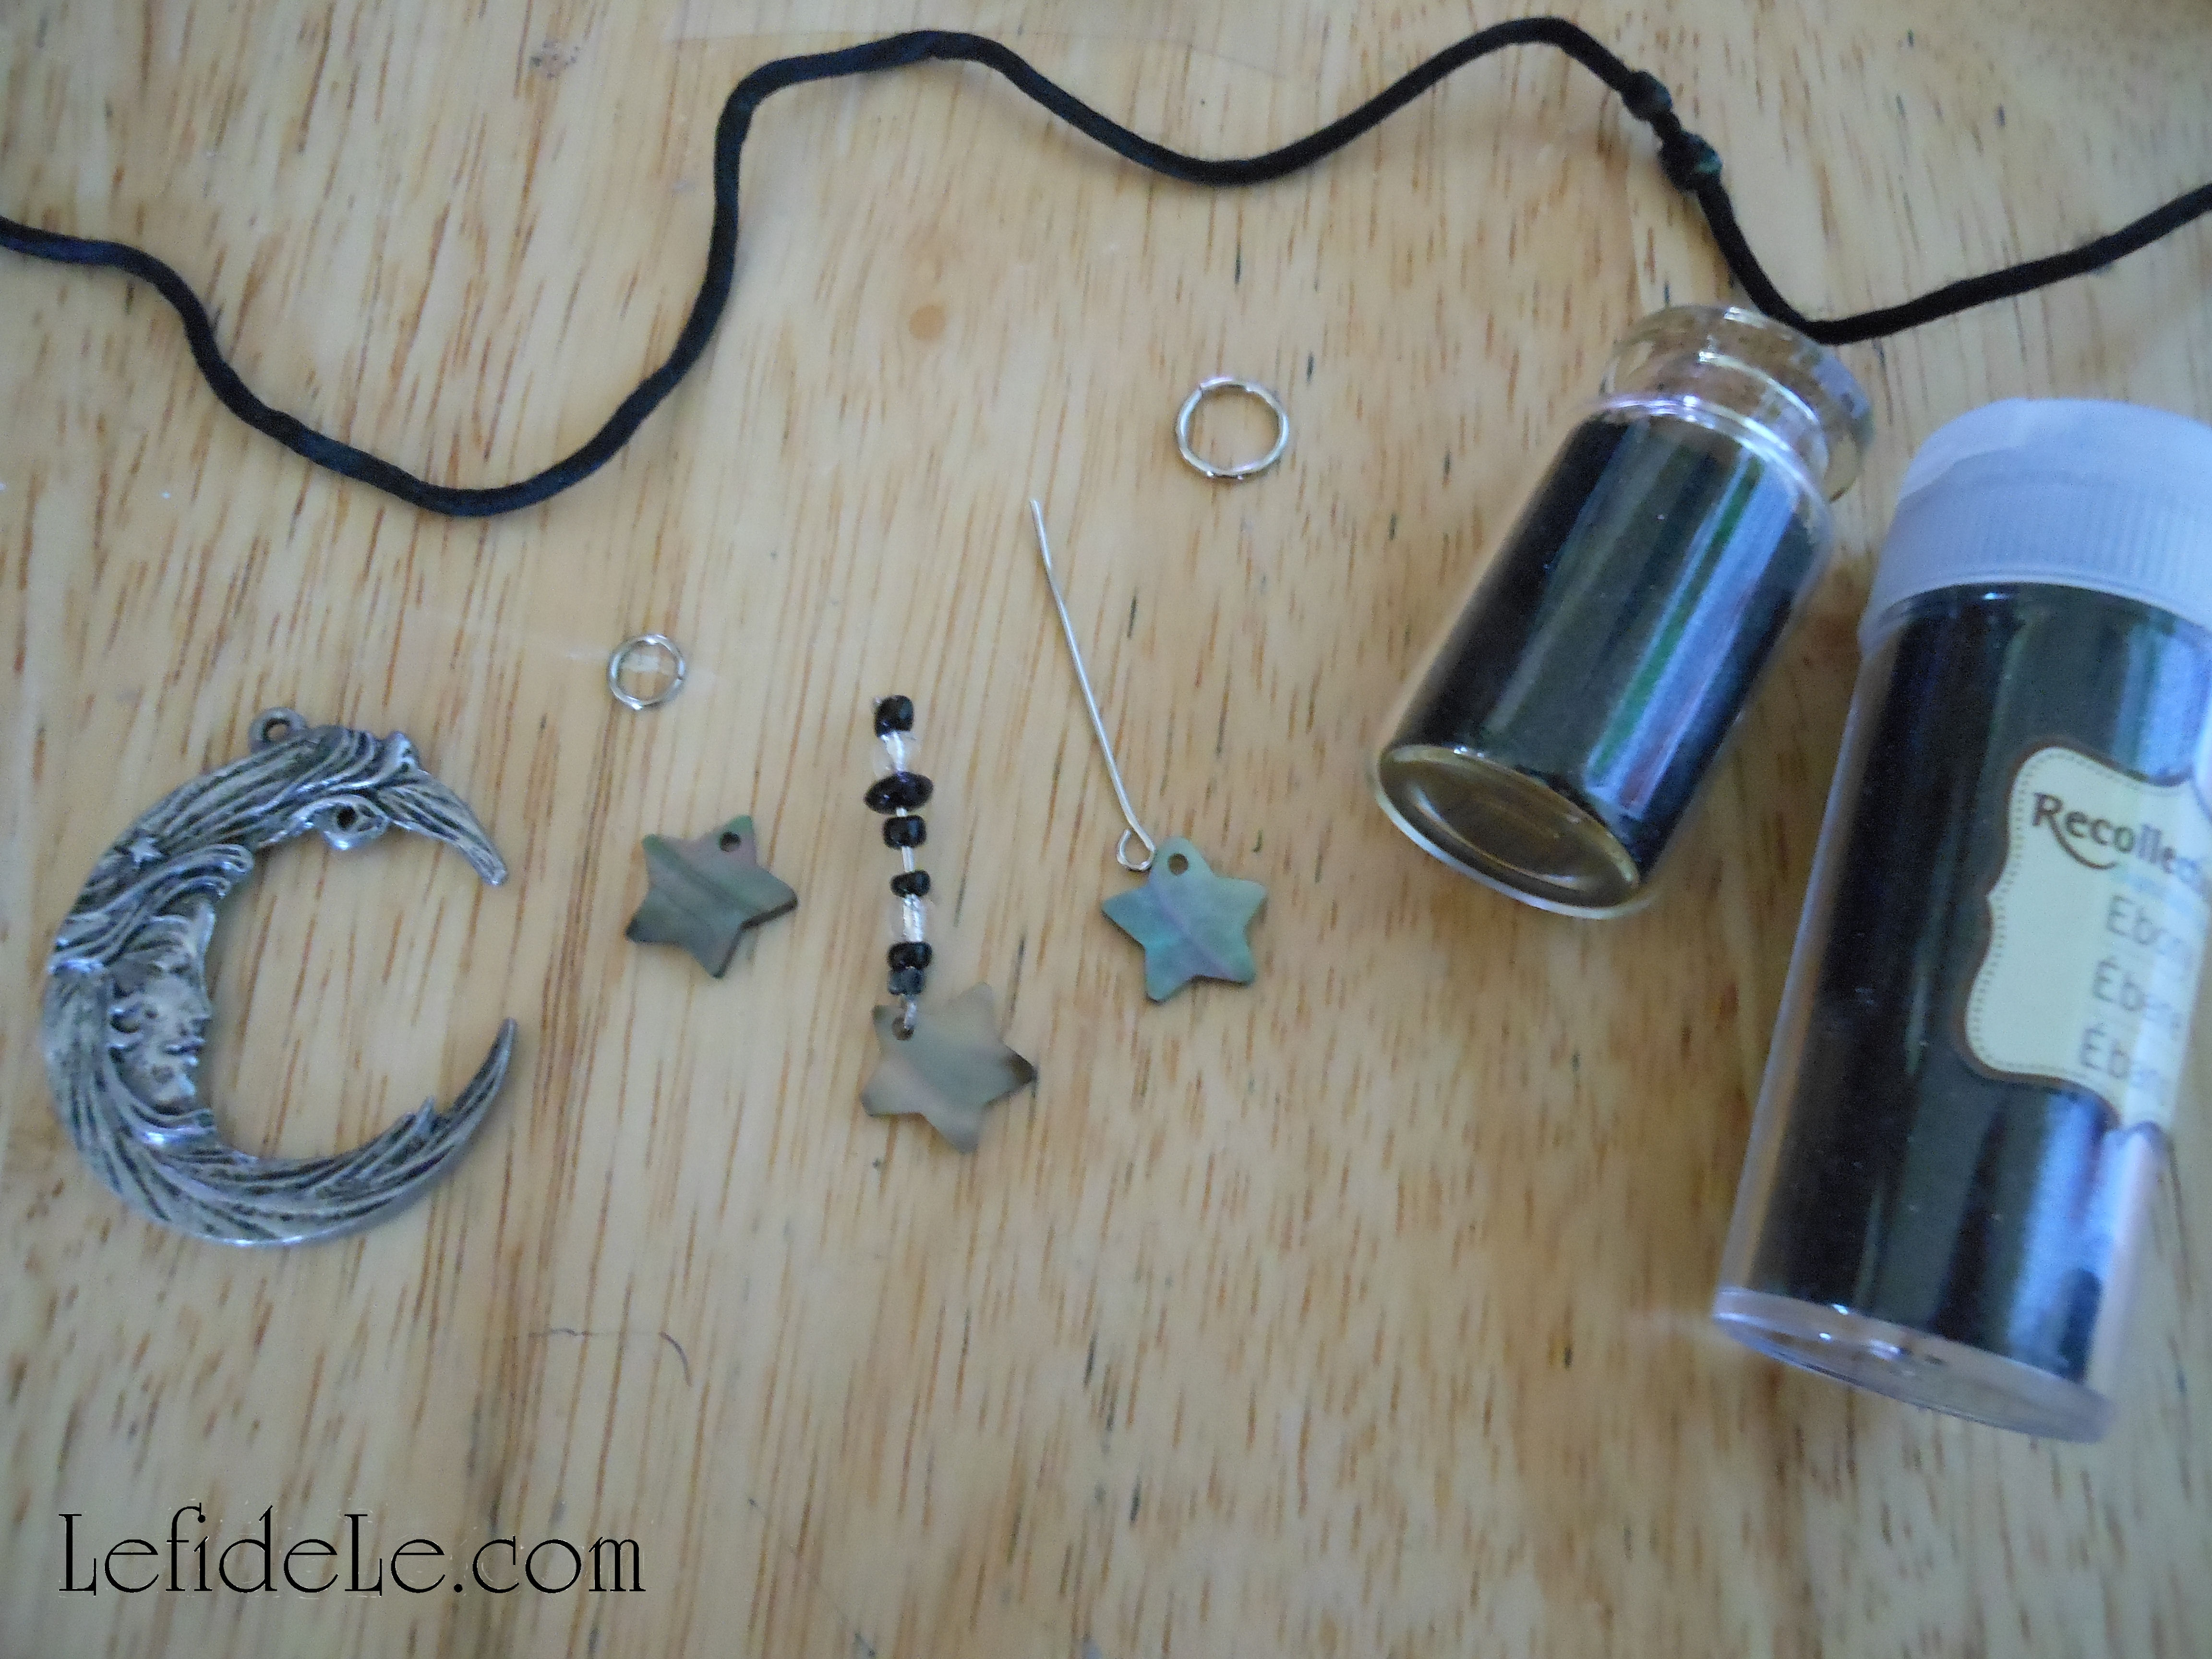
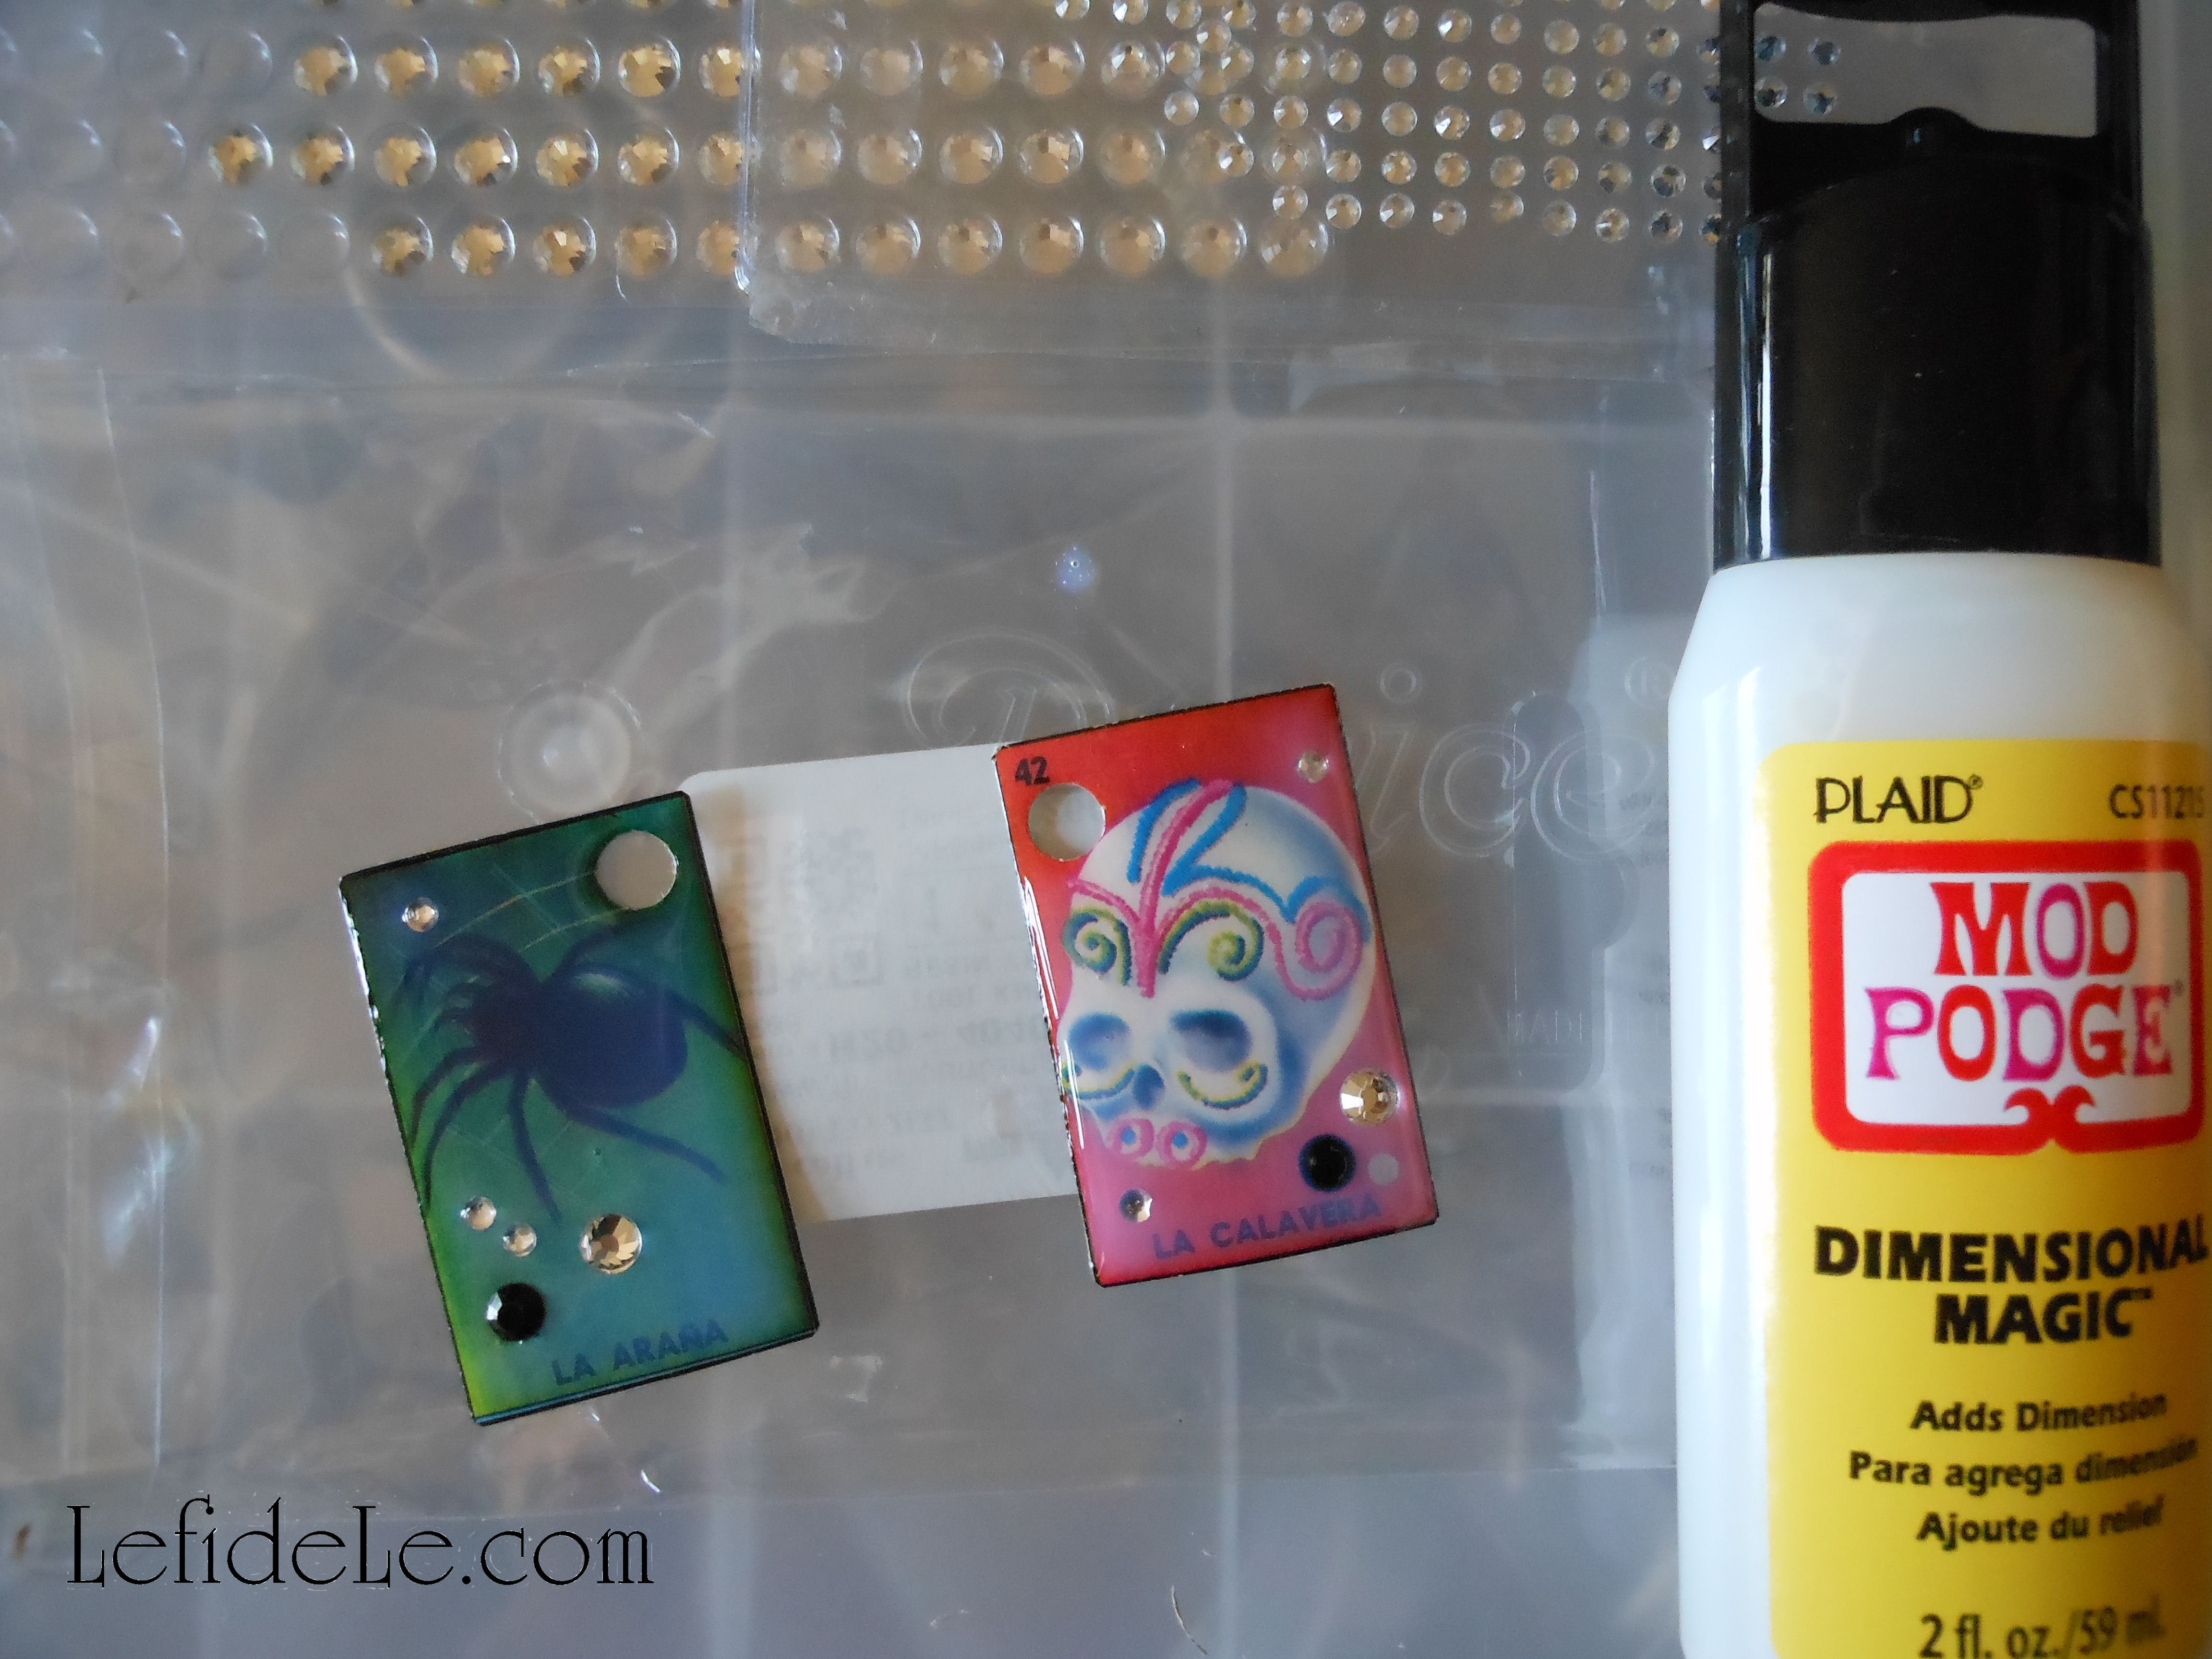
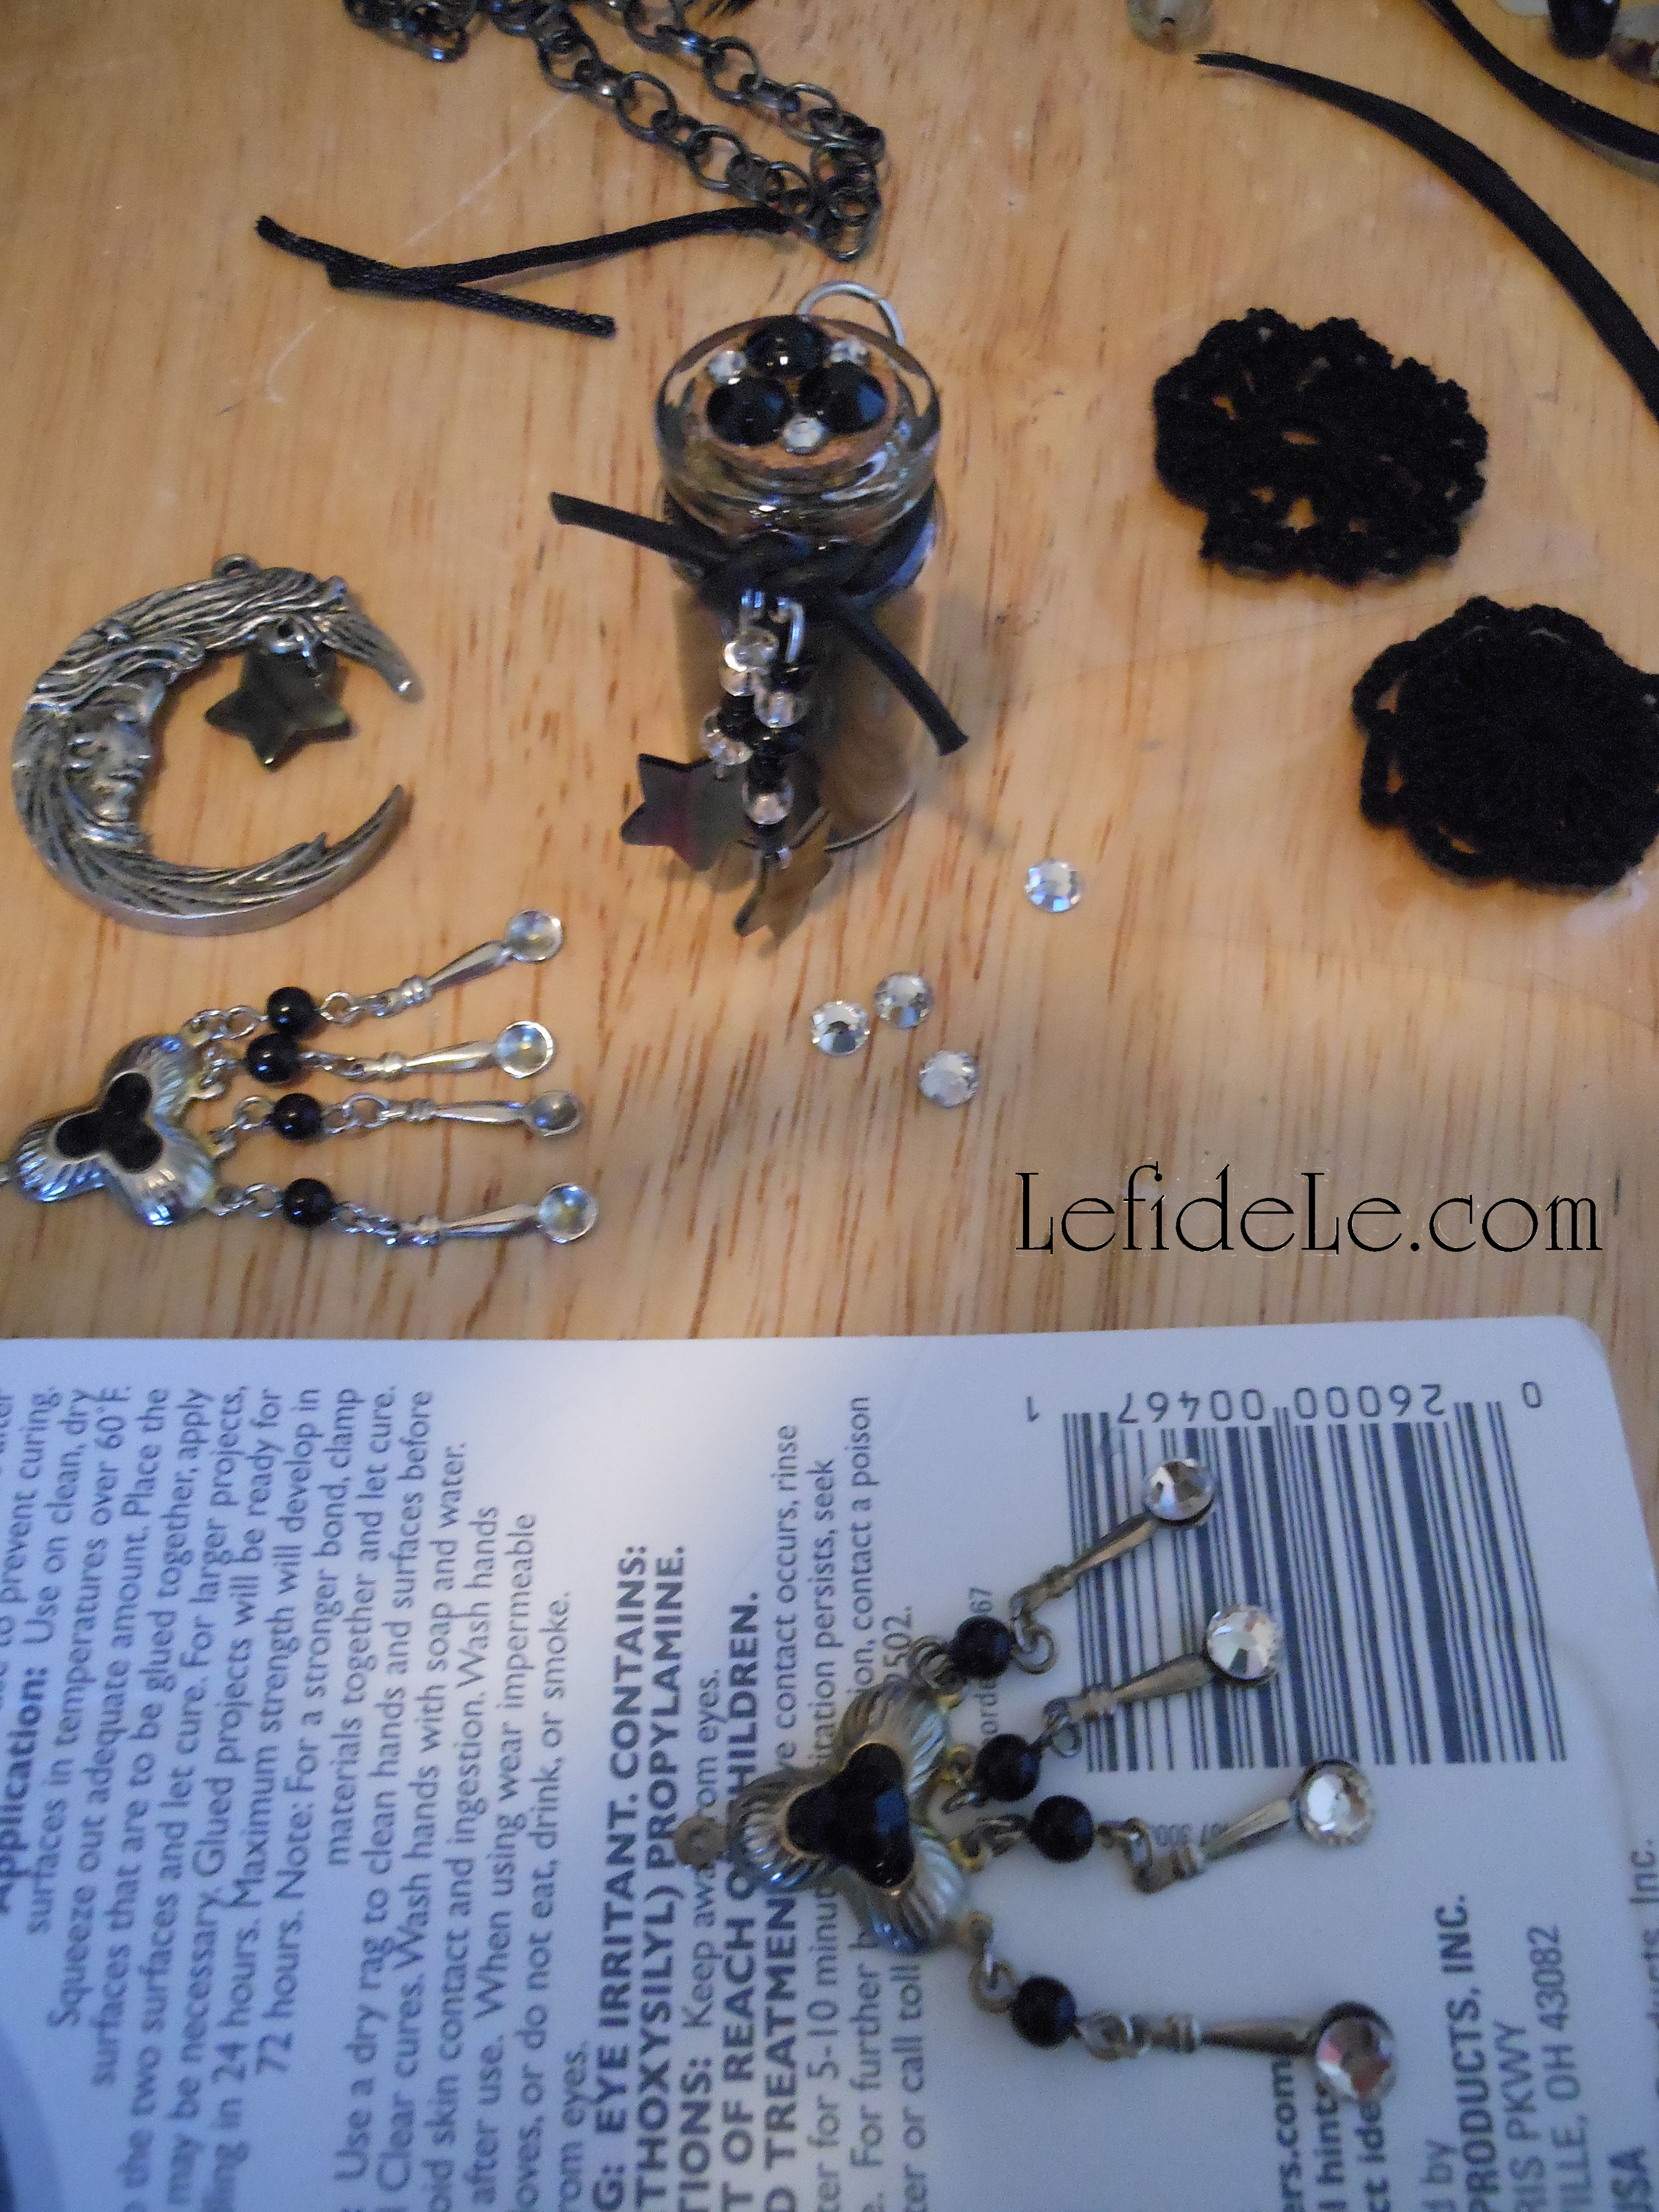
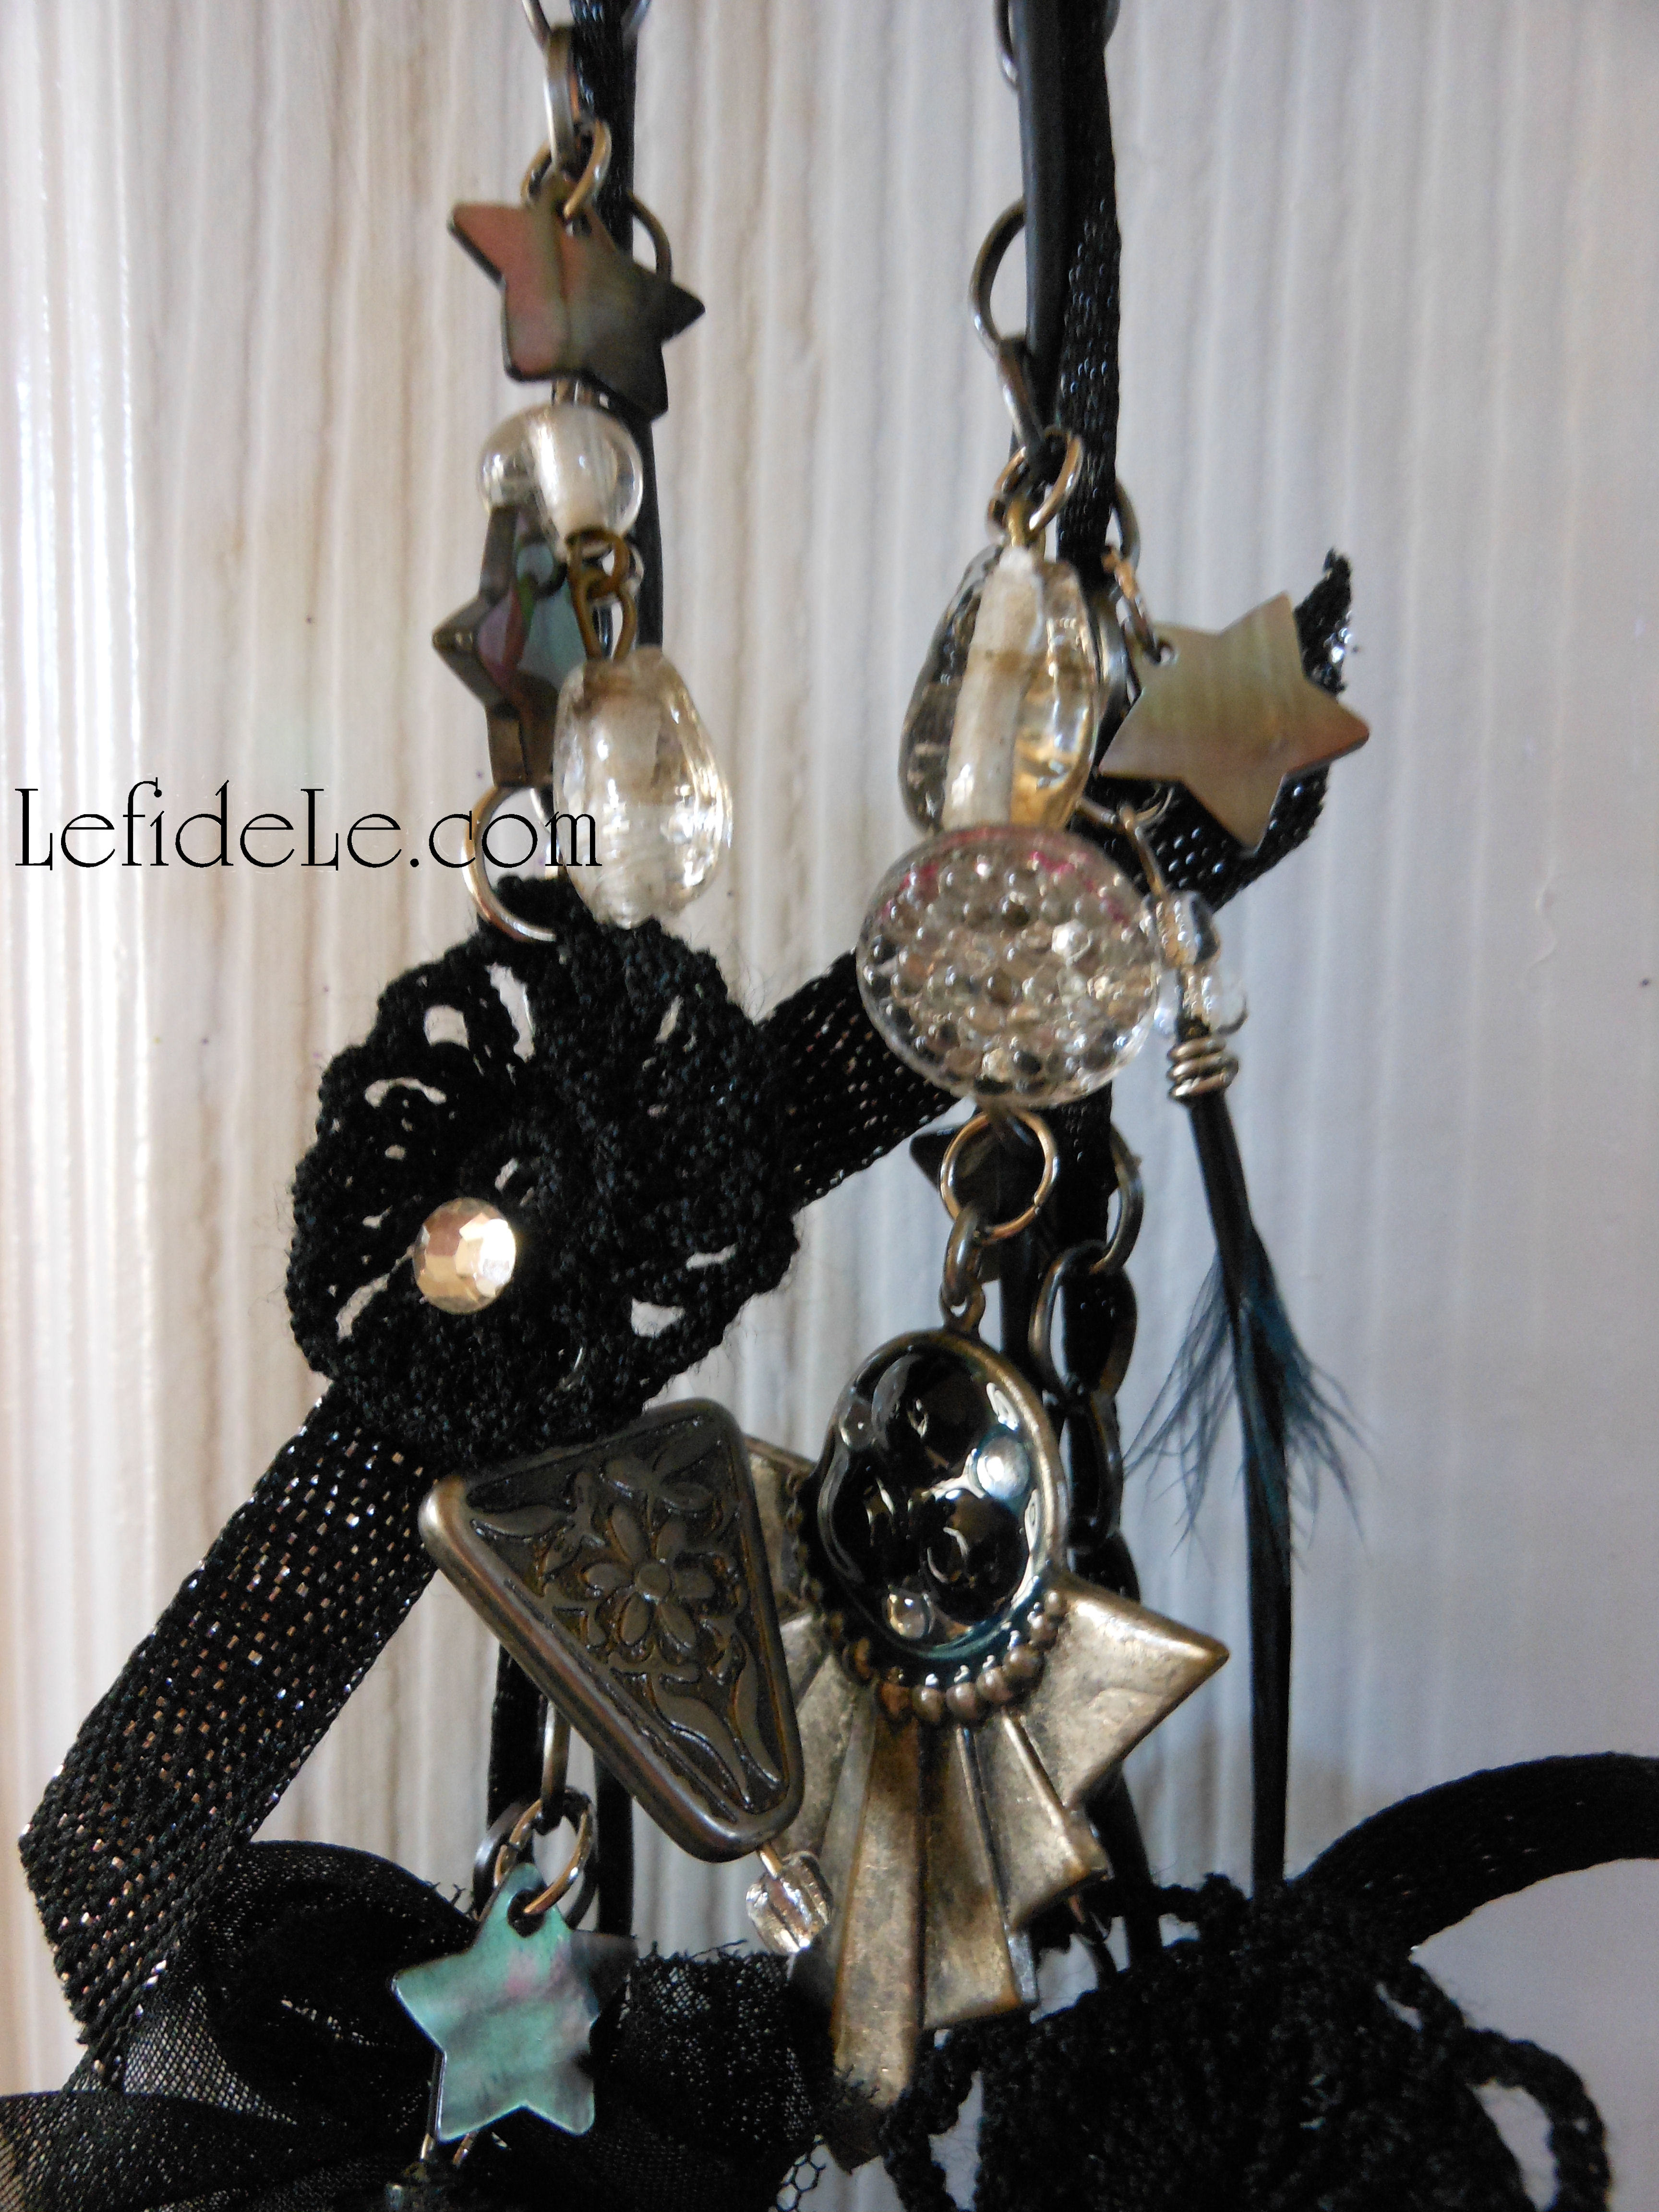
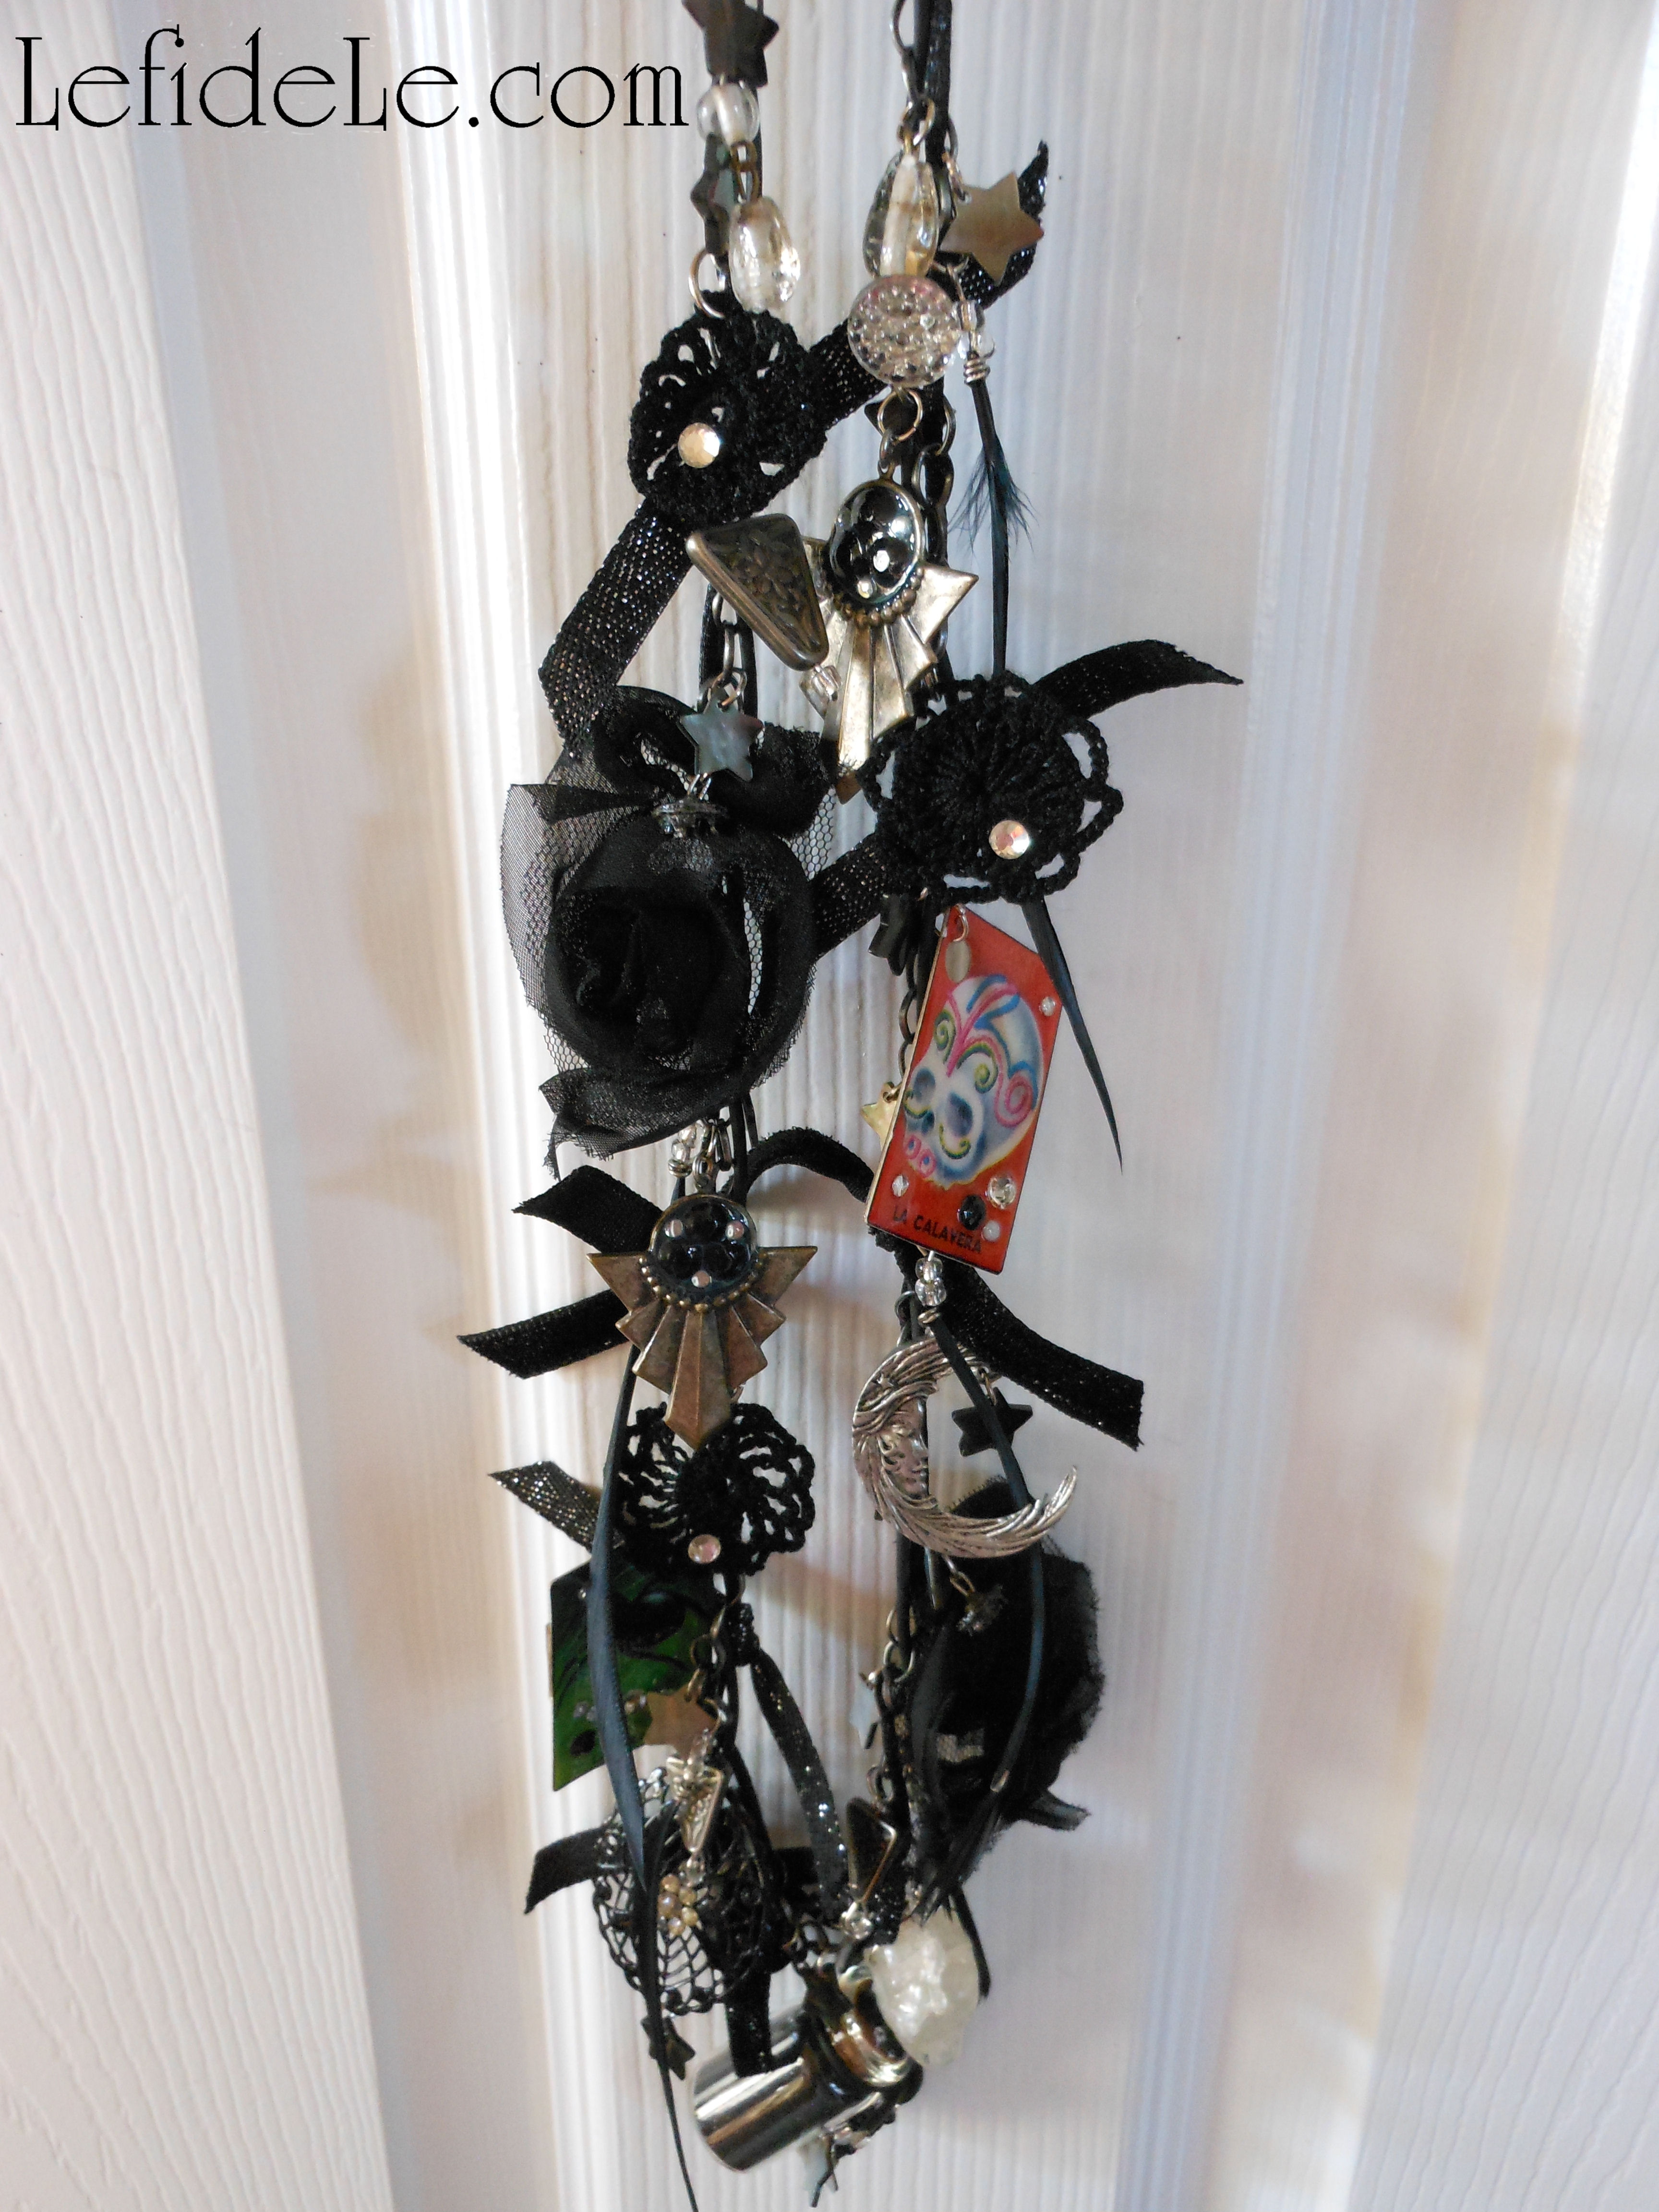
P.P.S. Click on the links below for teacake, chicken salad, and sweetheart recipes as well as crafting instructions for the jewelry box, keychain, and napkin rings.

001Leigh

Quick & Easy Tapestry Napkin Rings, Upcycled Button Jewelry Box, & Keychain Gift Crafts Tutorial (for Mother’s Day Tea)

118Leigh

Easy to Mold Naturally Colored Pink Sugar Shapes Sweethearts Recipe = a Spoonful of Sugar for Your Mother’s Day Tea

47cakelette-Leigh

Lemon Glazed Pumpkin Pear Teacakes (Gluten-Free Vegan, Dairy-Free, Egg- Free) for Mother’s Day Tea

017Leigh

Cherry Pecan Chicken Salad (Soy-Free / Egg-Free with Stuffed Tomato & Gluten-Free Shaped Finger Sandwich Options) for Mother’s Day Tea

Frozen Winter Wonderland Themed Christmas & New Year’s Eve Dinner Parties (+ Optional Crafts)

25FrozenChristmas-Leigh

With New Year’s Eve trailing behind Christmas so closely, I wanted to create a dinner party theme that could easily be converted from one to the other without spending any more money or time. I’ve seen all of the decorative components in variation at stores ranging from high end home goods to budget craft supply. I’ll even describe how you can craft your own easily and inexpensively. I’ve chosen a winter wonderland theme as a visual narration of the “Frozen” movie that celebrates family and friendship. It makes an enchanting setting for the adults, and provides an extra dose of holiday magic for the kiddos with frozen-fever. And, hey, you can always pick up items on sale this year to use the theme for next year’s festivities!

63Leigh

For each of the table-scapes, I set the base of the stage with a gold and ivory harlequin tablecloth found previously at an after Christmas sale. If you see something on your shopping trips that might work for next year’s theme… snap it up! This is how I manage to satisfy my high end taste while sticking to my tight budget. It’s really easy to fill in from there, just before the celebration. I did this with beautifully beaded cones in gold, silver, and pewter from Pier 1. (I have seen other versions of these at many of the stores I been to this year.)

26Leigh

If you’d like to make your own last minute, you have two easy options. One is to buy glitter wrapping paper and double-stick tape it into a cone shape. You can just cut different sizes of paper and wrap each into a tube shape, then tighten one end into a point and tape it down. This only takes a few minutes and is affordable for everyone. The best part is that the paper can be reused for gift wrap later! Another option is to spray inexpensive Styrofoam cones with Krylon Glitter Blast spray. (I really like this stuff. It comes in many colors and is so easy to turn out matching crafts out of very different materials. I’m planning on showing it in use for my next Valentine project.) If you’d really like to go all out with the “Frozen” movie theme, just set the table in aqua blues, silver and white. It would even make a fantastic birthday party for a fan of the film. I topped my harlequin tablecloth with an inherited vintage mesh cloth with golden embroidery. (This layered look is easy to emulate with all of the various sparkly mesh fabric available. I previously purchased some myself from Joann’s with a 40% off coupon.)

44Leigh

For each place setting, I used my grandmother’s ivory dishes with gold trim atop gilded round placemats that served as a form of plate chargers. I also made use of my daily Oneida silverware, but switched out the butter knife for vintage steak knives with ivory scrolled handles. I love mixing and matching seamlessly!

161Leigh

I already had two lovely sets of napkin rings that would work beautifully, so I decided to go with vintage brass ones for New Year’s, and those with golden threads for Christmas. I placed extras of these beneath beaded Christmas ball ornaments as tiny stands, with the metal eyelet hooks hidden inside the rings. (I’ve formerly employed this idea successfully with marble Easter eggs.)

75Leigh

In the New Year’s setting, I placed ivory satin ribbon emblazoned with gold foiled champagne flutes and the exclamation “Toast”. (This ribbon from Joann’s would be equally lovely for a wedding as well.)

176Leigh

For Christmas, I topped the salad plates with large gold glitter snowflakes. I set more of these vertically throughout the centerpiece. (These can be found at numerous stores or may be homemade with chipboard or wooden snowflakes glittered with spray.) Lastly, I added inherited vintage glassware with pewter and golden touches. (Clear vessels would also be lovely in their place.)

195Leigh

Both table-scapes had golden scrolled embossed glass votive holders lined with plastic wrap to safely contain white “snowball” candies. Each of the centerpieces also had LED candles covered in gold sequins.

70Leigh

I added further glow to the New Year’s version with real votives in gold beaded holders. This table was finished off with large foil confetti of silver squares and gold stars. (Another easy addition would be to include metallic noise makers to ring in the New Year.)

84Leigh

For Christmas, pale gold glass trees were nestled between the cones. (I’ve seen different types of metallic glass trees at both department and craft stores.)

29Leigh

All of this was surrounded by a chain garland with opalescent bead “icicles”. (This can be made by anyone with jewelry skills using eye-pins, seed beads, and bulk chain. For everyone else, I’ll probably demonstrate this in the future!)

27Leigh

If your chandelier dips too low (as mine did) to accommodate the center cones, there is a simple solution. Use a small S-hook from a hardware store to hitch up a lower link to a higher one in the chain. Start by setting the S-hook on a link at the height you prefer, then lift the chandelier up, and lastly set a lower link onto the hook. (The photo really illustrates this better than I can describe.)

42Leigh

You might wait to try this until you have help to lift it while you relink it. The linking isn’t noticeable in person, and it really looks better to not have the chandelier visually conflict with the centerpiece.

91FrozenNewYear-Leigh

Whether or not you choose one or both of these table-scapes for your next fête, for this year or the next… the idea of making simple changes to perfect your party for its holiday is a notable one if simply for its low cost and ease of transition. Most importantly, it leaves more time for family and friends. Have a very Merry Christmas and a New Year filled with blessings!

33Leigh

Faithfully Yours,

Leigh

P.S. Be sure to check out my Fast & Easy DIY Hand-stamped Polka-dot Gift Wrap & Matching Gift Crafts!

DIY Mixed Media Wicked Witch Halloween Statement Necklace

010Leigh

This craft originated from an invitation to a huge Halloween costumed charity ball that I donated some artwork to. I wanted to wear an ‘80’s era green velvet frock with princess sleeves and a full skirt, but I just didn’t feel like wearing a crown. So I decided to toughen up the look with black leather boots and a corset belt. Then I ordered a wicked witch hat straight out of “Oz the Great and Powerful”, which I haven’t even seen yet. I even added a beaded black broom, but all of that still couldn’t counteract the sweetness of the dress and my Glinda-the-good-witch curls. What I needed was a wicked witch statement necklace!

01Leigh

Making mixed media jewelry is a fun process that really unleashes the creative spirit because there are really no rules to follow, so there’s no messing it up. One begins with the gathering of any and all material that could possibly coordinate. I used vintage pendants, earrings, and beads alongside newer elements. Craft stores sell many items that have a vintage look if you don’t have any at hand. You can always lay out a design at home and then return anything unused.

9Leigh

I filled a corked glass bottle with fine black glitter to simulate magic potion. Then I placed black and clear seed beads onto eyepins (= short hard wires with a crook at one end) and added shell star beads. (In future articles, I will explain more about beading for those of you who haven’t tried this rewarding activity.) I also added stars to other elements like moon and spider-web pendants with jumprings (= metal circles with single cuts).

4Leigh

Next I cut out 2 spooky pictures from a Spanish bingo game. They would soon become beads.

6Leigh

I placed clear and black crystals on the tiny game cards and squeezed on “Plaid Mod Podge Dimensional Magic”. The liquid dries clear and to the touch in a few hours, and cures by the next day.

12Leigh

Adding crystals and liquid “magic” seemed appropriate for the project, so I continued with other elements that needed further embellishment.

10Leigh

I even used it in lieu of glue to add crystals and seal the top of the glitter vial. I then attached the beaded eyepins and a jumpring to a strand of leather wrapped around the vial. (This alone could have been attached to a chain as a necklace in its own right.)

11Leigh

I glued more crystals onto tiny black doilies with Elmer’s Ultra Stix-all (which dries clear). This symbolizes spiders on their webs. Jumprings then turned them into beads.

14Leigh

Again, I used Stix-all in the hope that it would indeed stick all materials. I added two clear seed beads to each eyepin then coiled the rest of the length of it. The skinny black feathers were glued inside of that. The following day, I was thrilled to find my feather bead idea had worked!

021Leigh

To determine the necklace’s length, I draped chain around my neck, pulled it to the right size, and then cut the length I wanted. There are standard necklace lengths, but this time I winged it because this was my own custom piece. I wove leather cording through every fifth link, and repeated with silk cording in the links preceding those. The ends can then be cut without even having to measure anything.

22Leigh

I slid a jumpring onto each end, folding over the strands, and wrapped it all in metal wire. An eyepin may also be used if you cut off the looped end. Attach any closure you like. I used a “lobster” clasp.

20Leigh

This is perfect place to use any pretty little ribbons from leftover projects. I cut four inch lengths of new velvet and metallic ribbons. I also cut a couple of roses from some black netted fabric trim. I had never tried this before either, but it worked beautifully to slide jumprings through the netting. I also bent the posts (of a pair of vintage black rose earrings) to make loops to slide onto those same jumprings. They made a kind of baby rosette bead for additional decoration. Remember that statement necklaces are supposed to be over-the-top!

23Leigh

I tied ribbons over the wired cord ends to keep them from snagging my hair. This worked so well that I’m considering wrapping ribbon onto some of my old necklaces.

27Leigh

With all of the elements now ready, I laid out my construction scheme. I played with the look, moving items around until they seemed balanced yet still asymmetrical.

67Leigh

I attached my largest and heaviest items toward the bottom first (like a small carved quartz crystal skull). I worked my way down in element size from there.

075Leigh

After that, I closed jumprings into vintage crystal buttons to make fabulous beads. I filled any gaps with shell stars. This helped to maintain continuity throughout the piece.

65Leigh

Lastly, I added the feather beads with the direction of their natural curves following the drape of the necklace.

61HalloweenNecklace-Leigh

You can use these ideas to make any genre of mixed media necklace… even a girly pink princess one, but this year, I made mine wicked!

Faithfully Yours,

Leigh