Tag Archives: Crystals

DIY Calaveras de Azucar (Sugar Skulls) Napkin Rings, Wine Glass Charms, & Vase Craft Tutorial for Dia de los Muertos (Day of the Dead) Themed Halloween Dinner Party Décor

079Leigh

This tutorial will help you to inexpensively craft your own jeweled vase in the Dia de los Muertos (Day of the Dead) style to fill with traditional wild marigolds (cempasuchil), and then easily DIY calaveras de azucar (sugar skulls) napkin rings and wine glass charms to decorate your Halloween dinner party table with. Sugar (azucar in Español) is said to balance the bitterness of death (muerte), and calaveras (skulls) are traditionally offered on All Saint’s Day (November 1) to departed loved ones as one would leave flowers graveside. As Halloween serves to poke fun at all things scary, Dia de los Muertos is intended as a way to accept death as inevitable… and also to honor dearly departed loved ones. Representational calacas (colloquial term for skeletons) symbolize the idea of life being inextricably linked with death, and have migrated north from Mexico into American Halloween celebrations as themed décor. By using one celebration as a theme for the other, the two concepts combine to poke a little fun at death as not being so scary!

1(2)Leigh

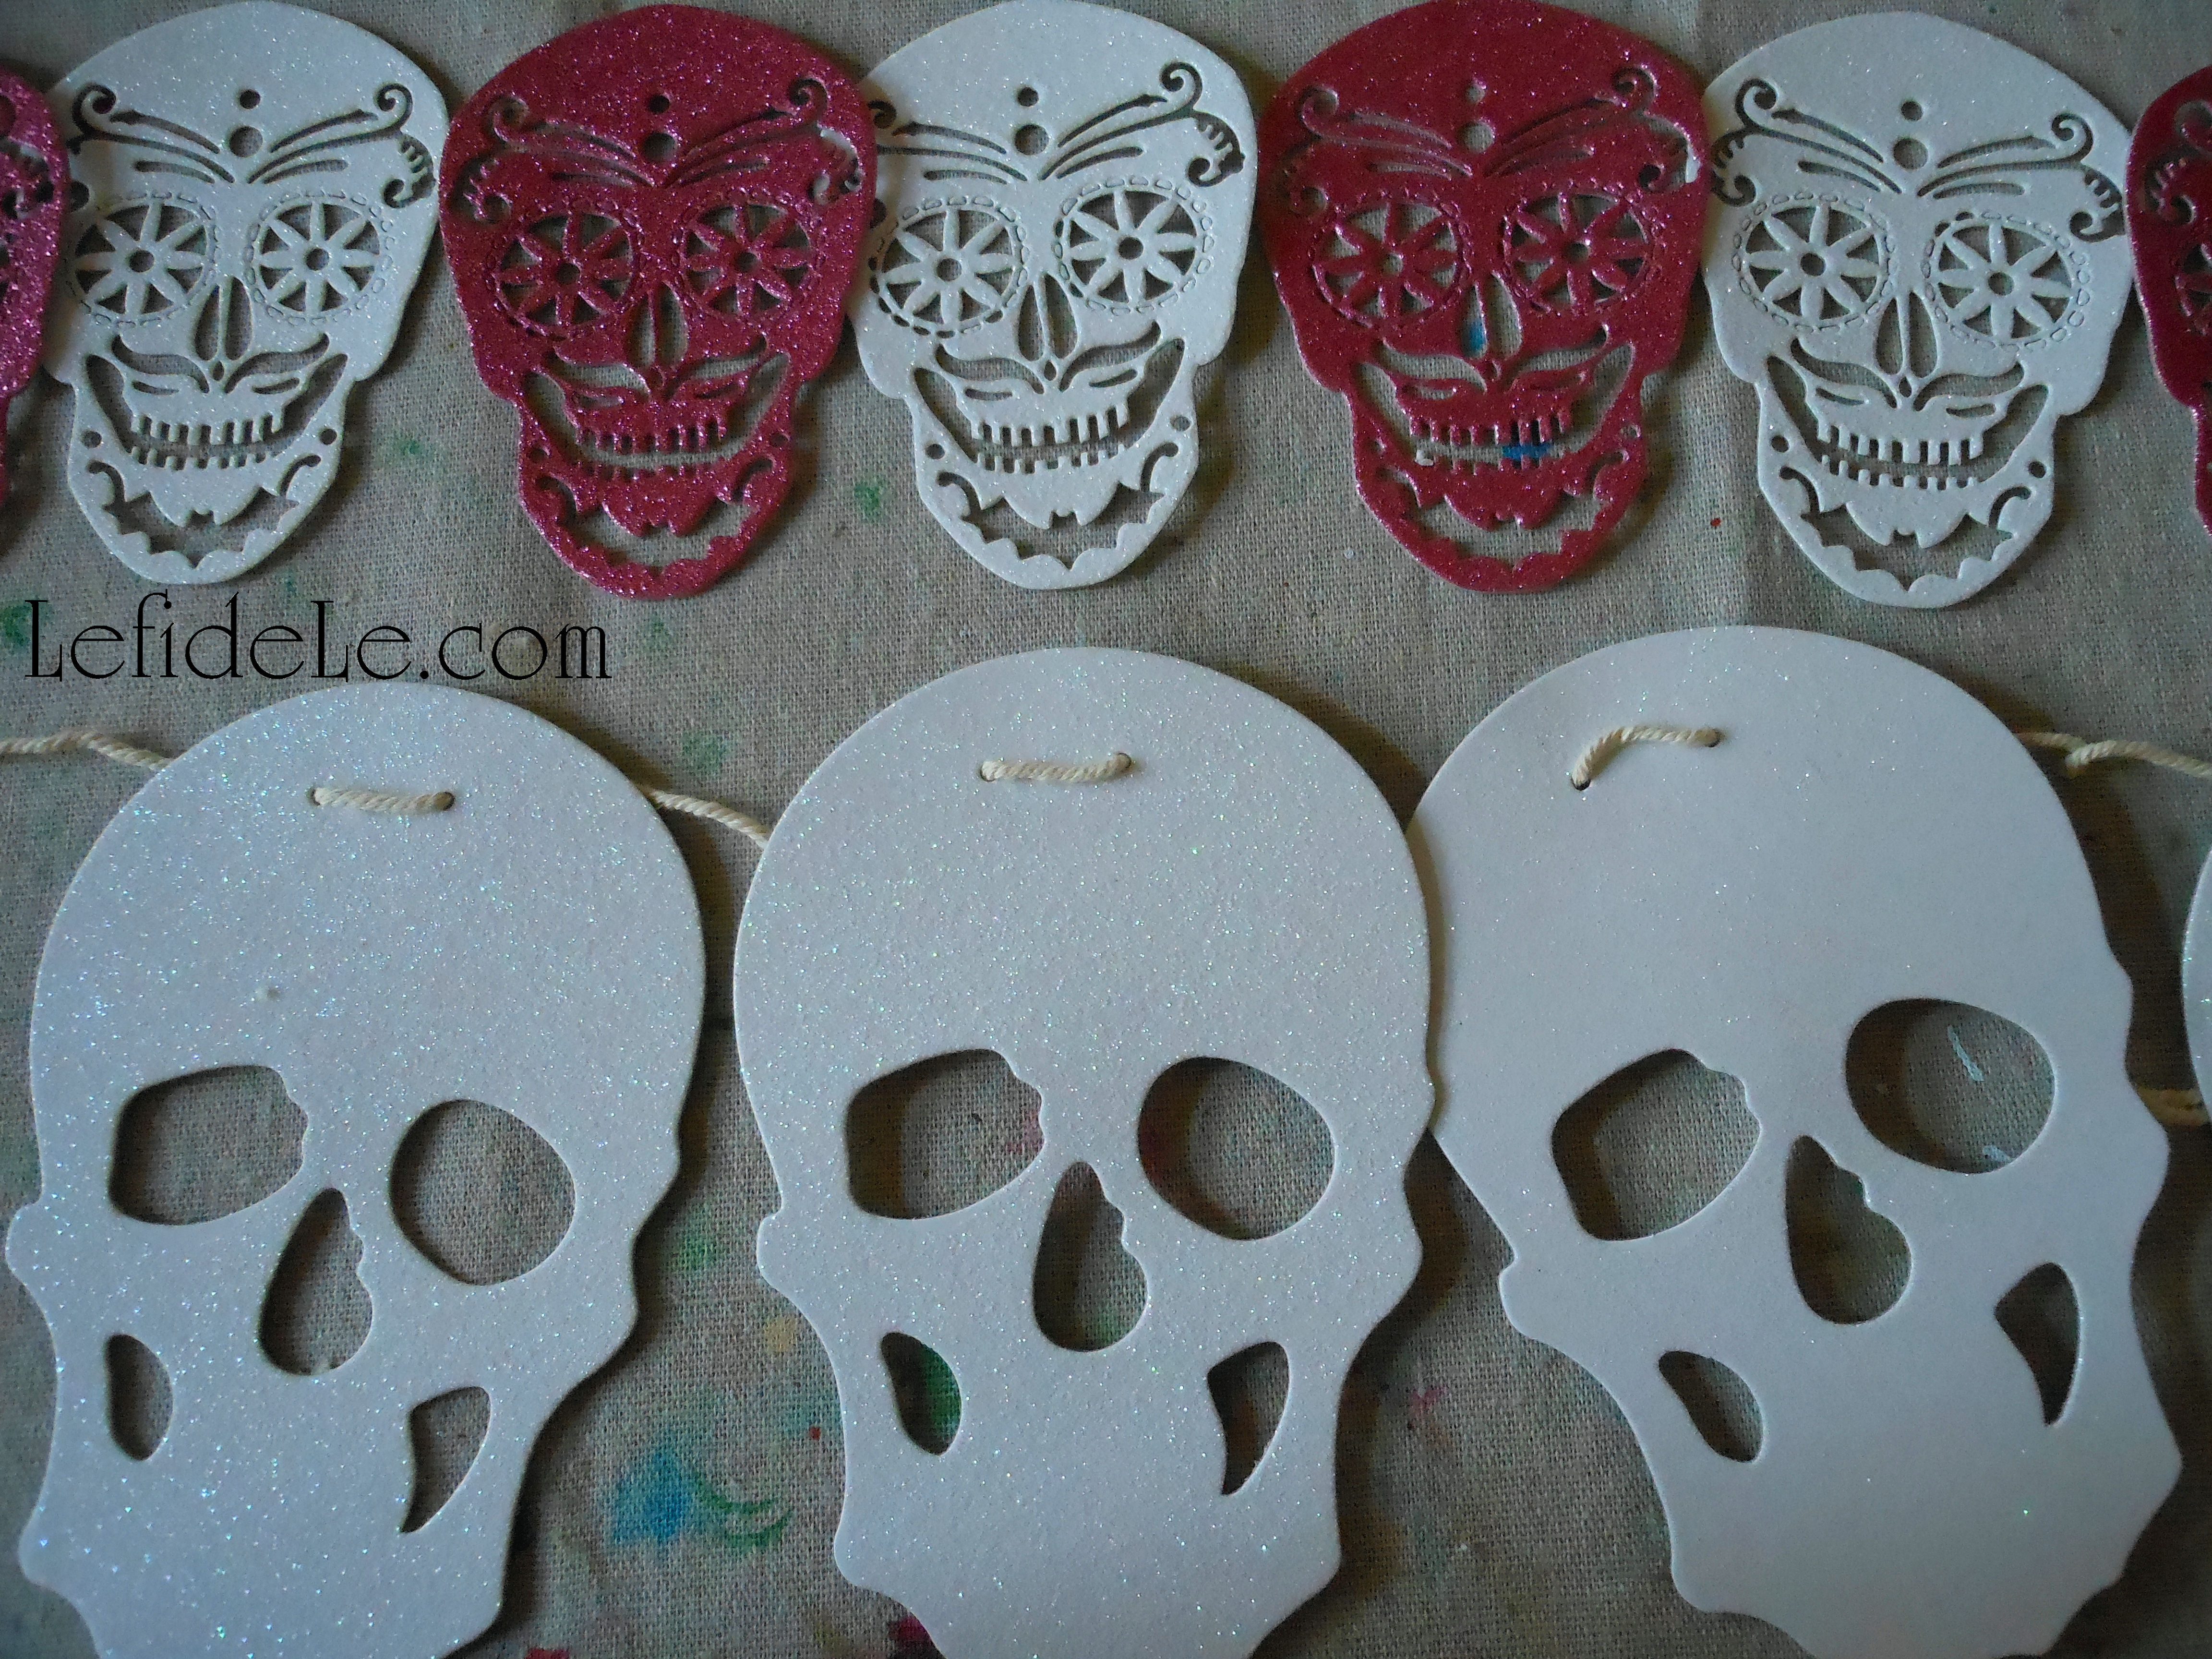
To craft the calaveras de azucar (sugar skulls) napkin rings, begin with either a package of glittered skulls or cut your own shapes from glittered paper. Another option is upgrade a readymade skull banner. (All of these items are available at Le fidèLe Designs craft supply affiliates Michaels and/or Joann whose clickable ads may be found in the sidebar.)

4(2)Leigh

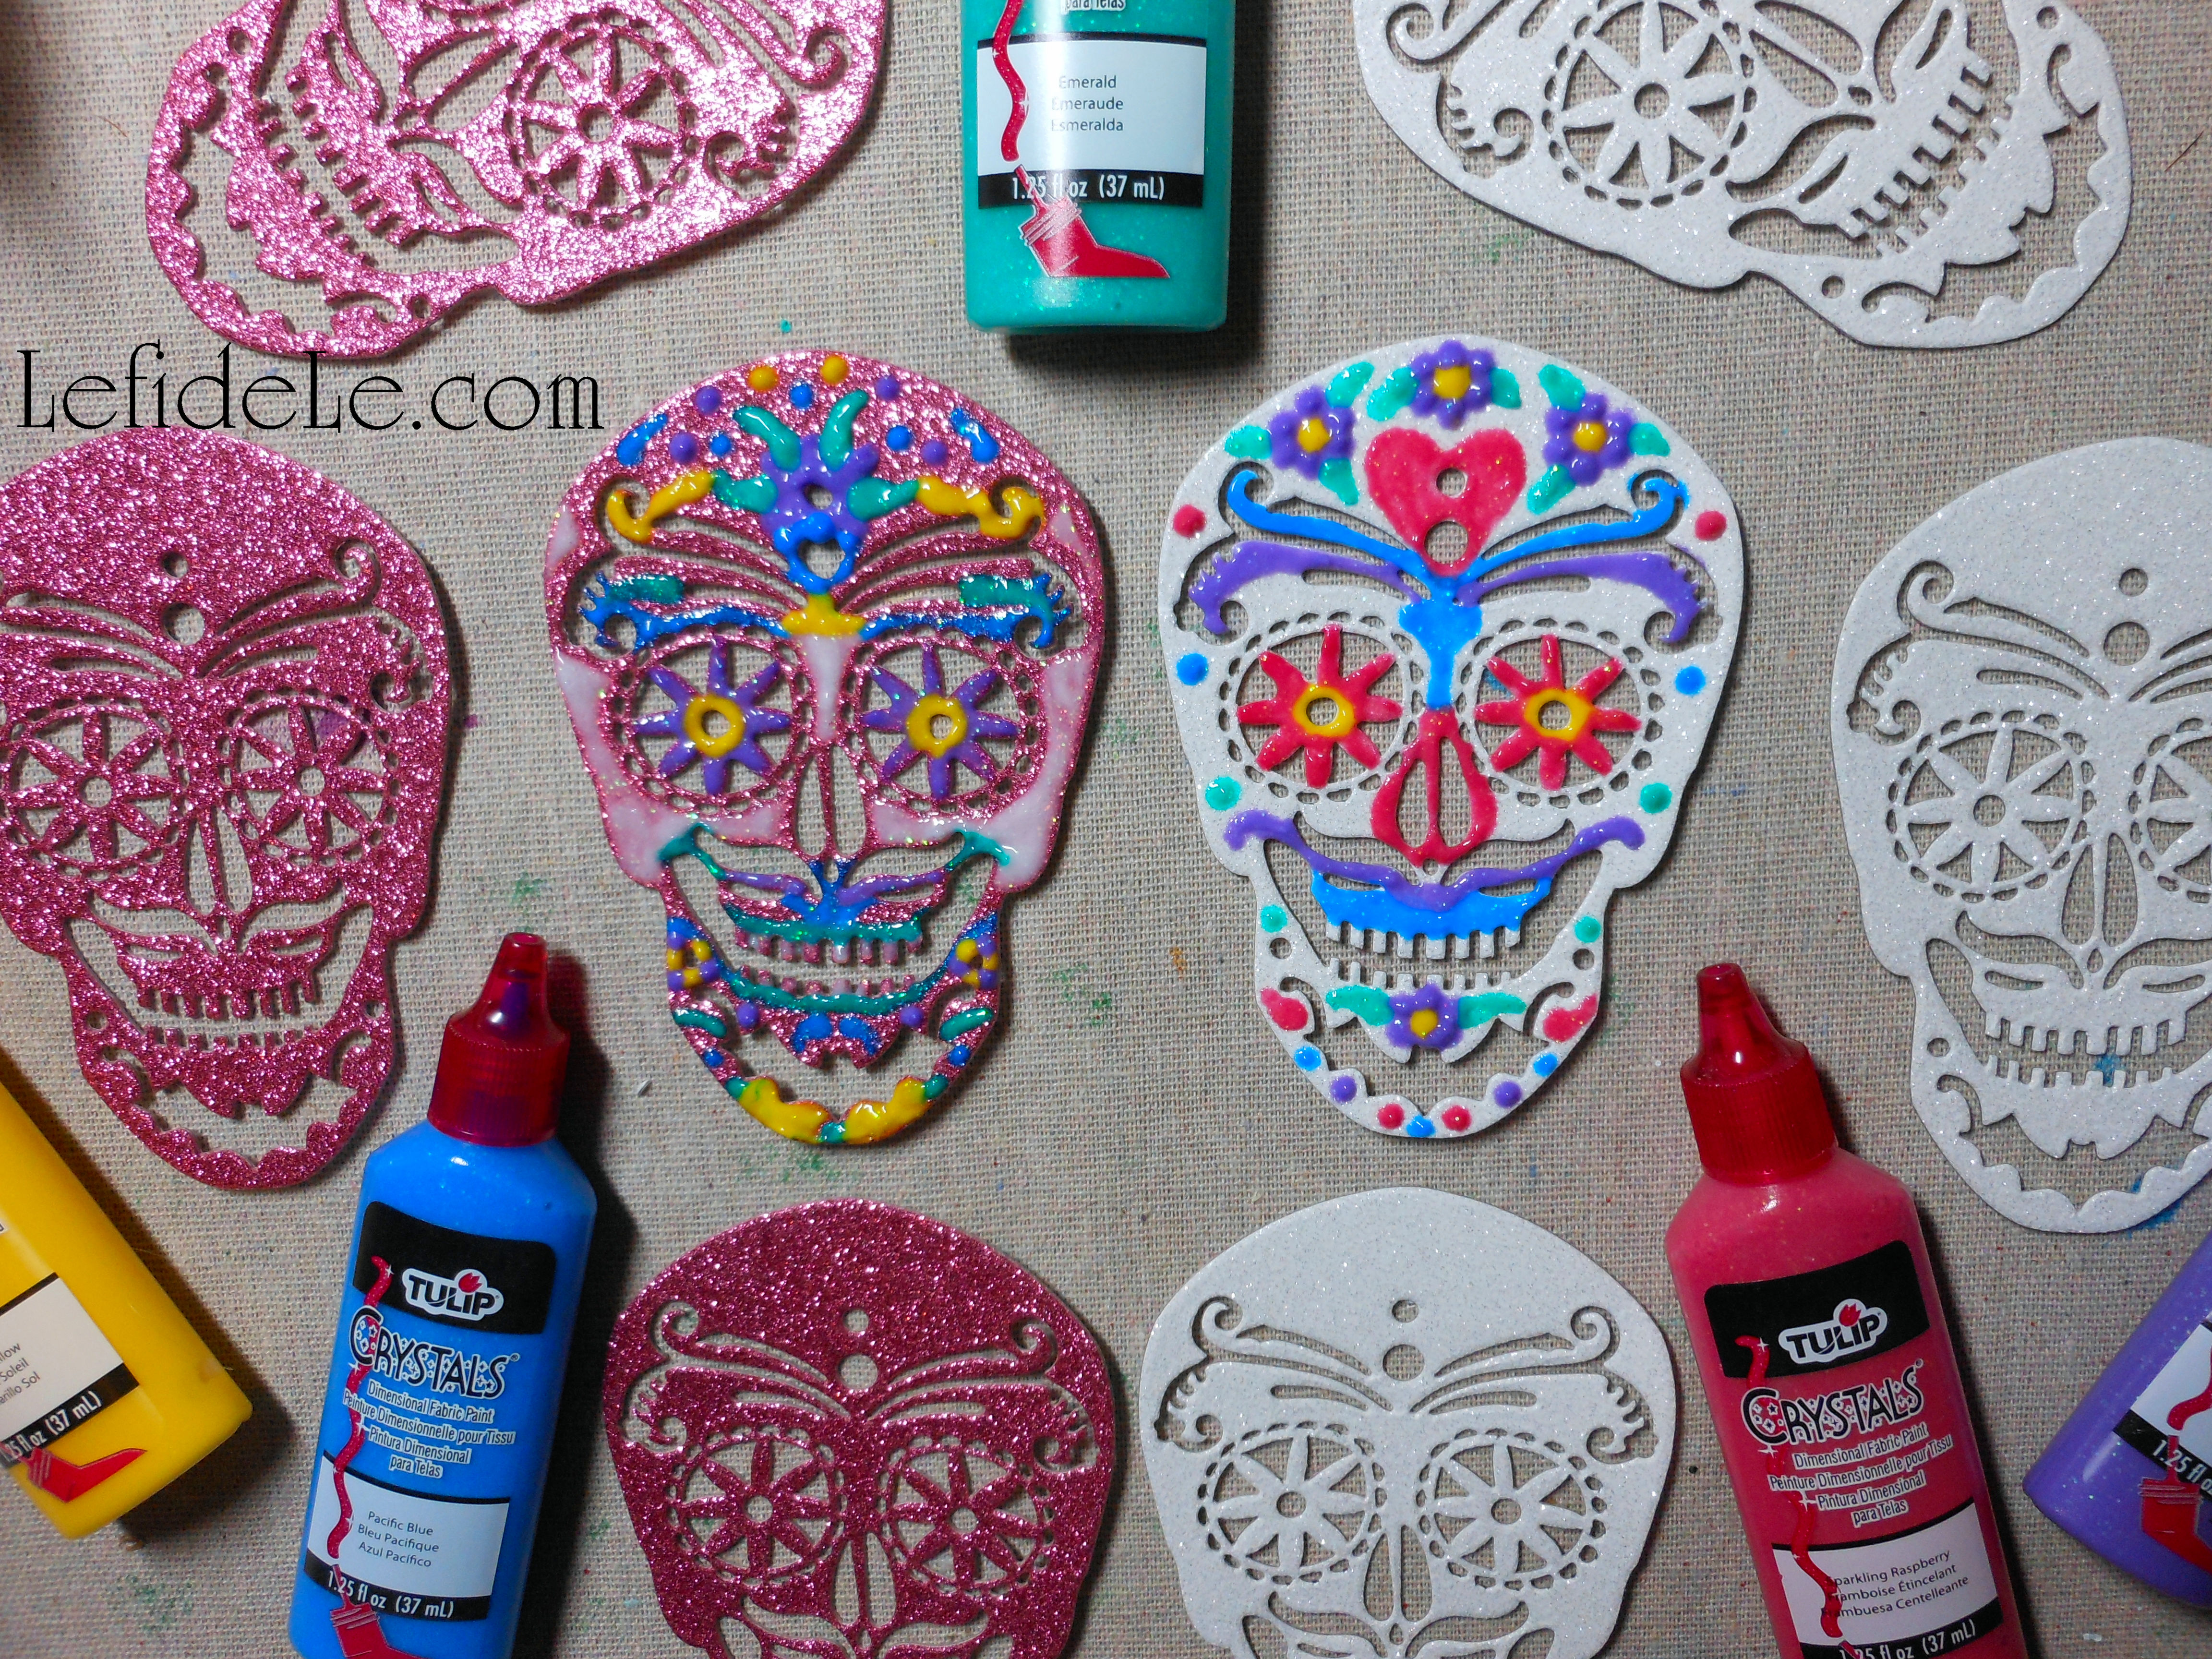
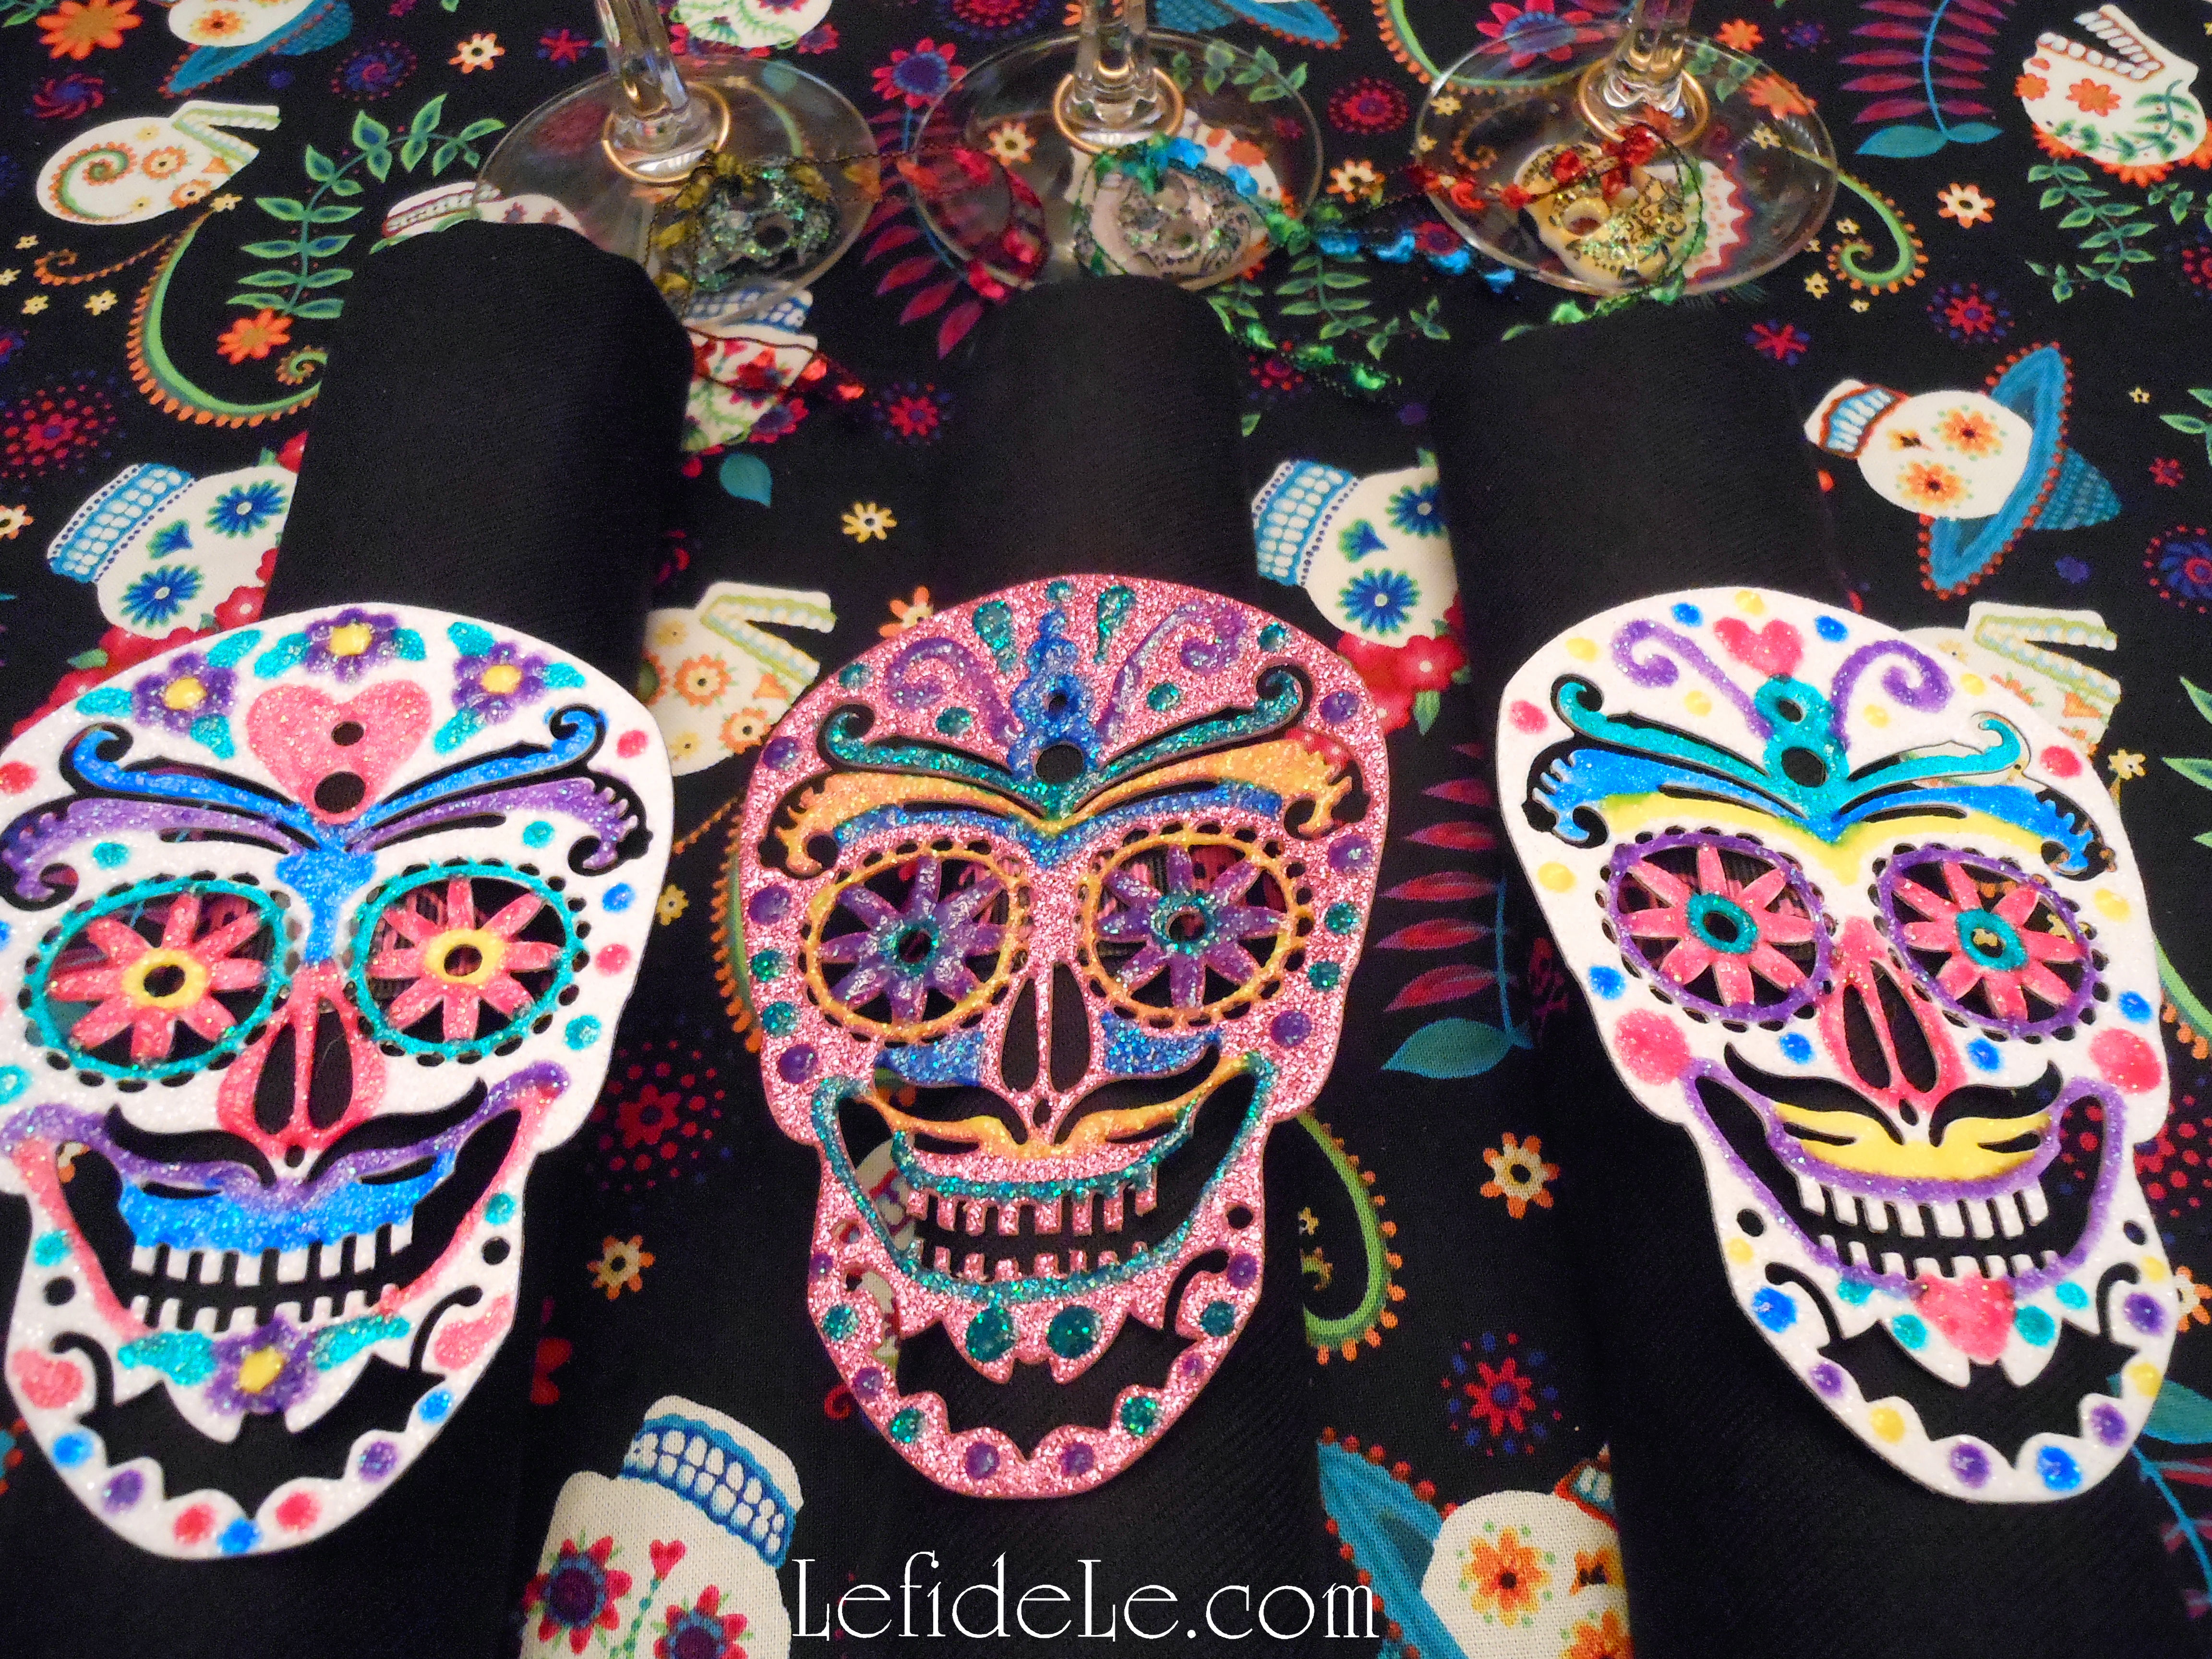
To decorate these with the traditional sugar skull designs of flowers, hearts, swirls, and apostrophe type marks, I utilized Tulip brand Crystals (= glittery like sugar) T-shirt paint. It works really well on many materials besides cotton. The small tips allow the paint to come out just like icing does on real sugar skulls. If you prefer the control of a paintbrush, just squeeze some out onto a paper plate to use as a palette. Let these dry overnight to cure, and ensure that no unwanted marks are impressed into the paint.

034Leigh

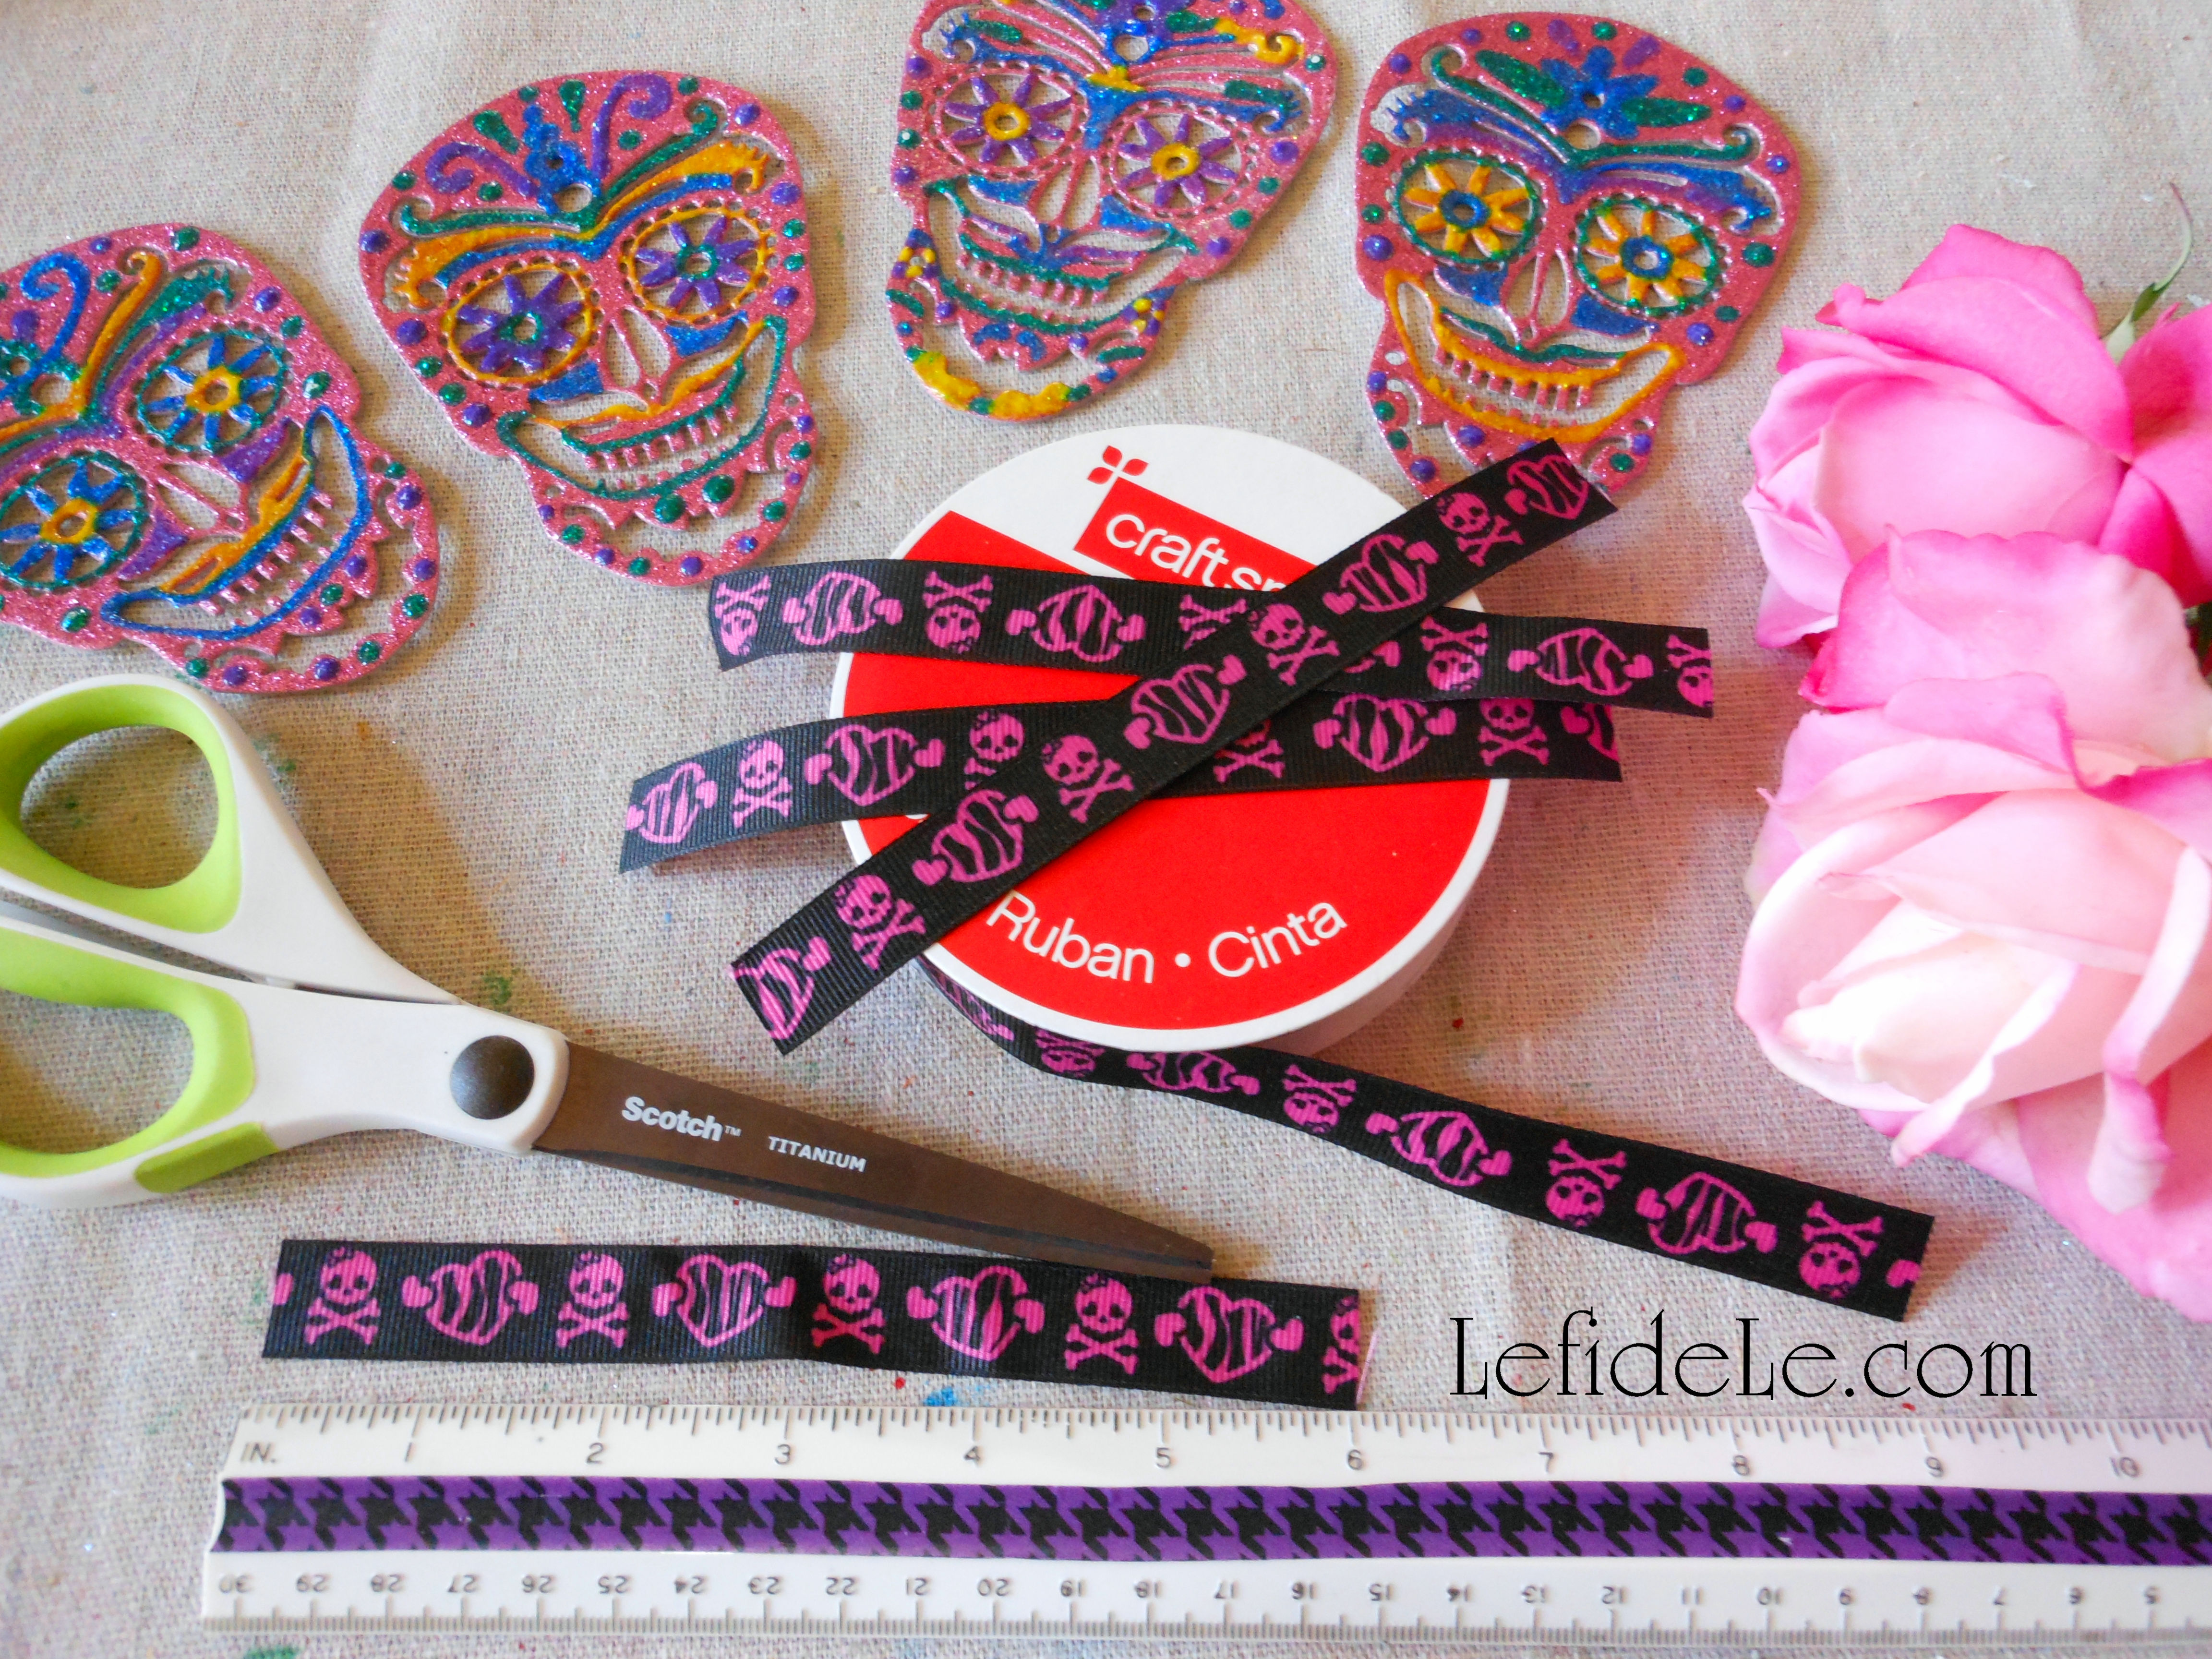
Cut 6 inch lengths of grosgrain ribbon to serve as the ring. (I found this skull printed roll on clearance, and didn’t find out until much later that it’s a “Monster High” motif. Oh well, it worked!)

036Leigh

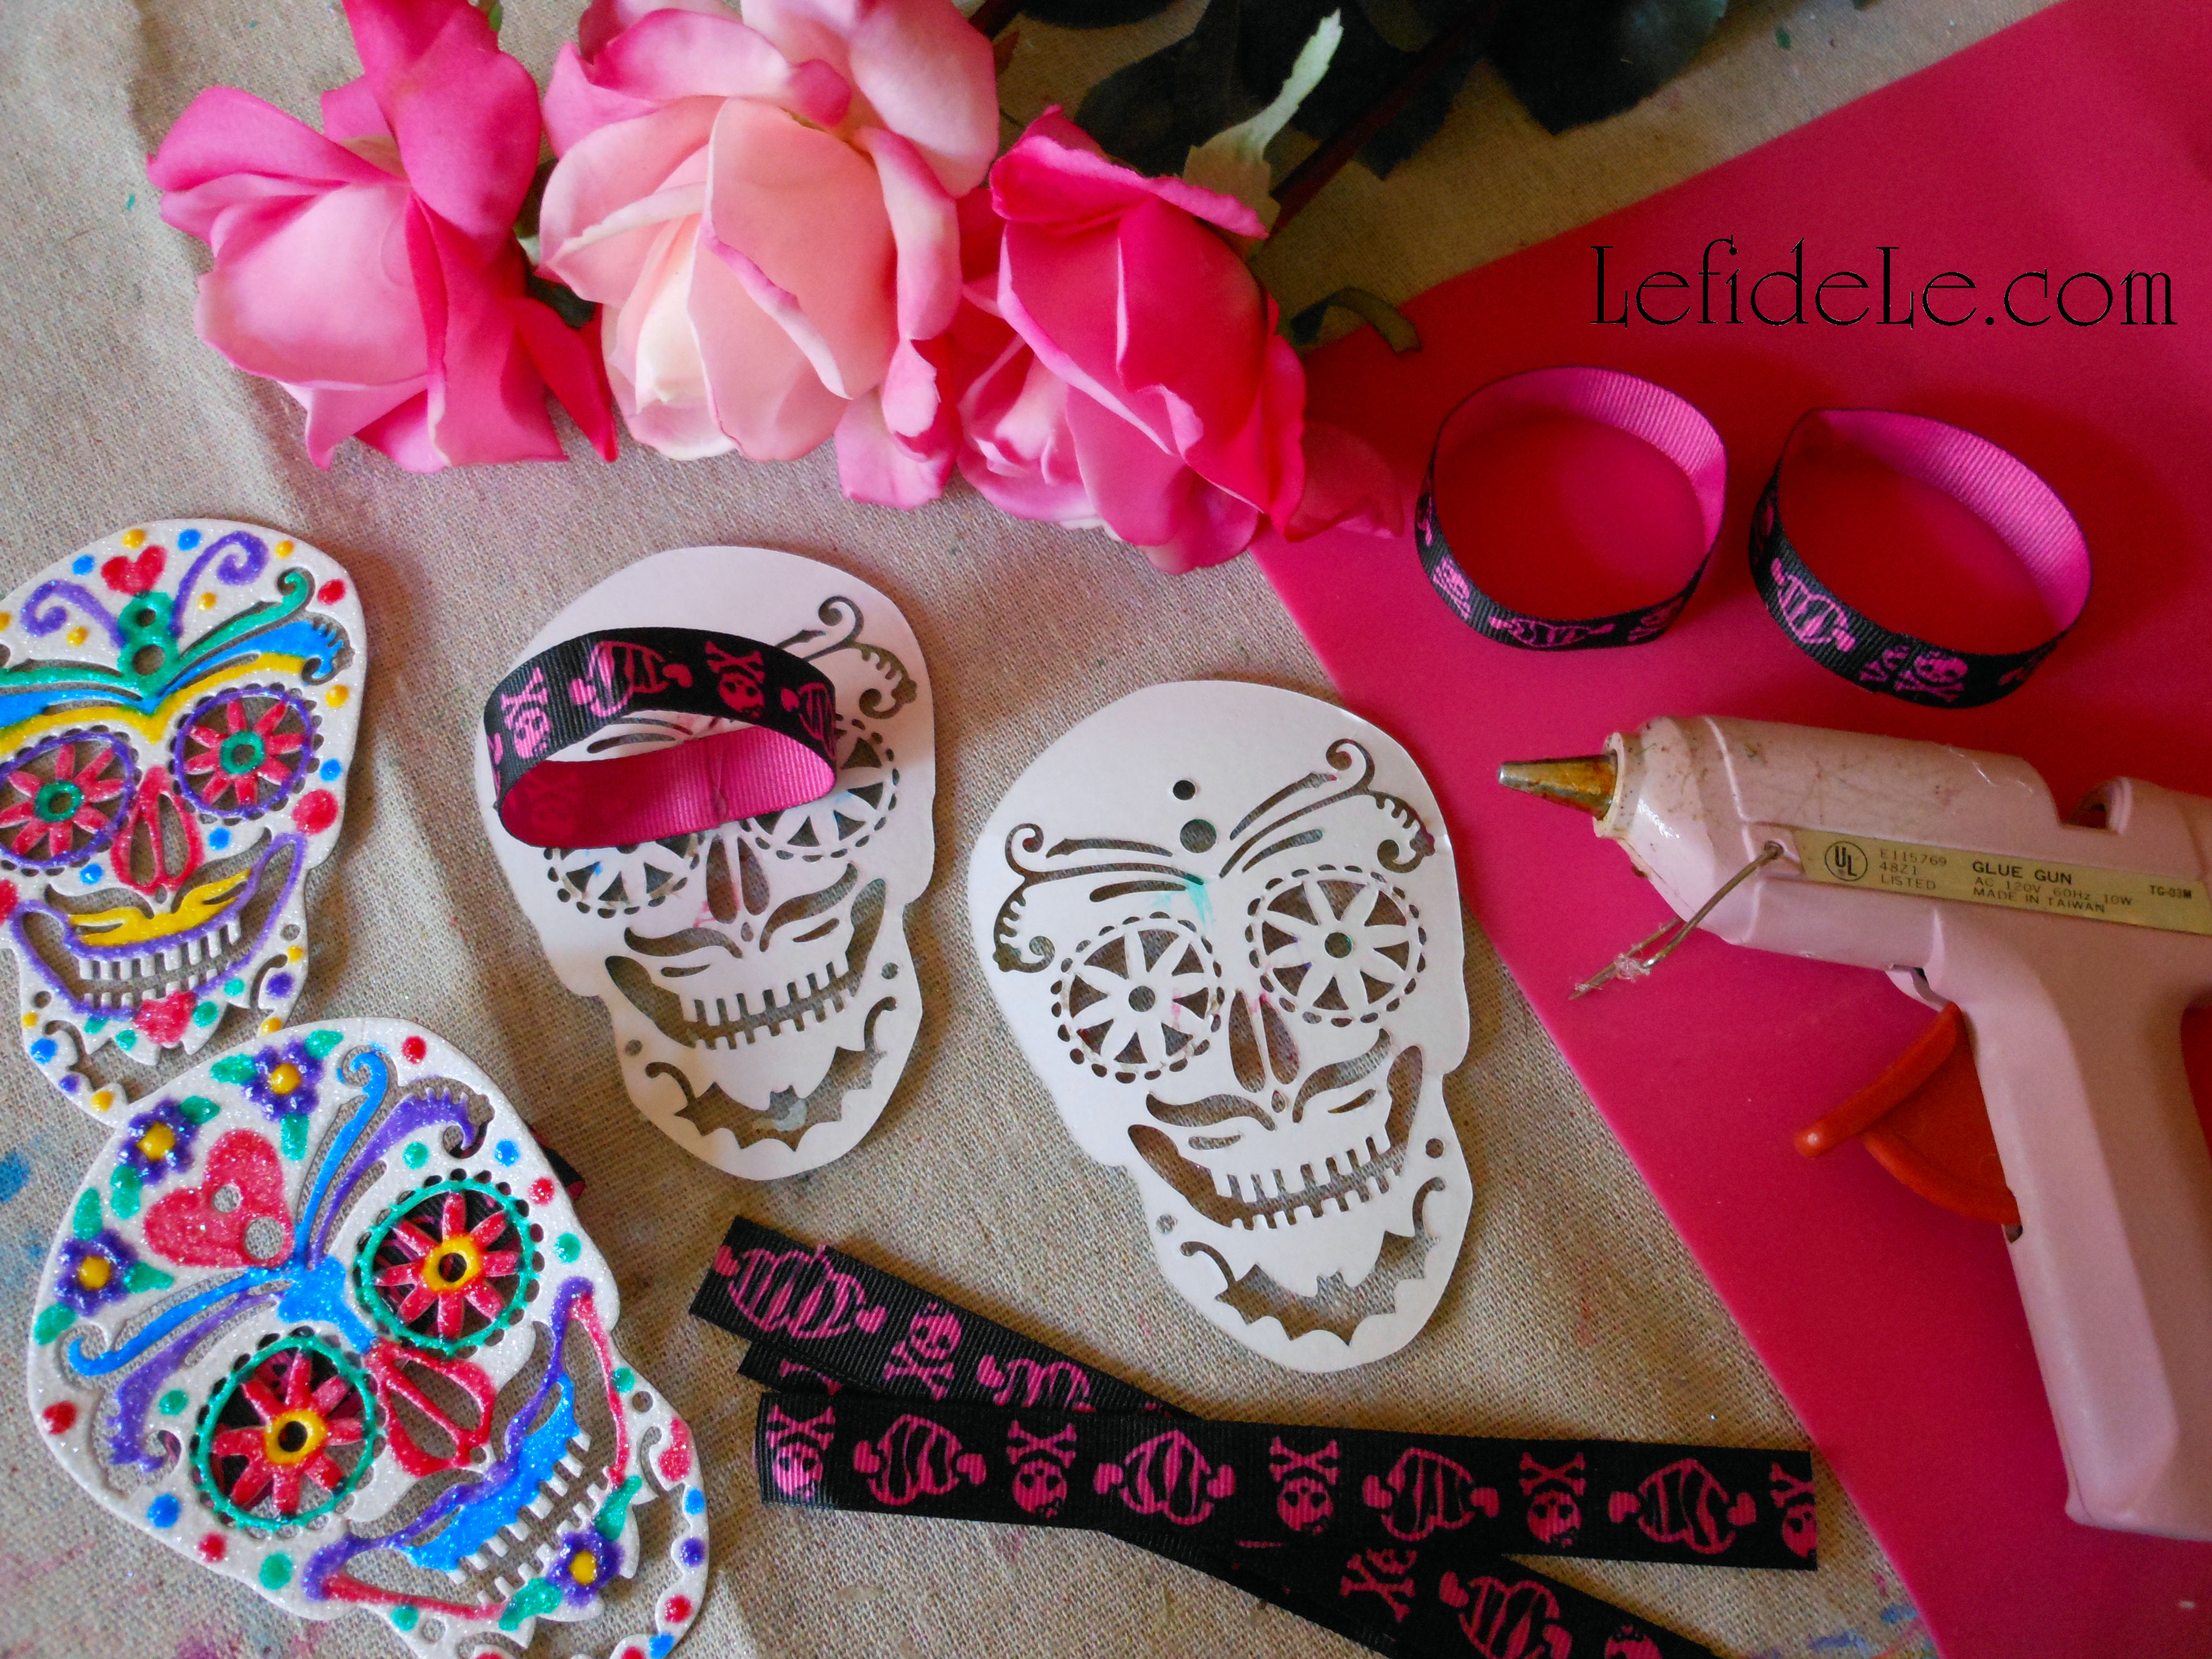
Hot glue each end of a ribbon length onto the center underside of a skull.

085Leigh

Ring a ding ding, look who made a napkin ring!

003Leigh

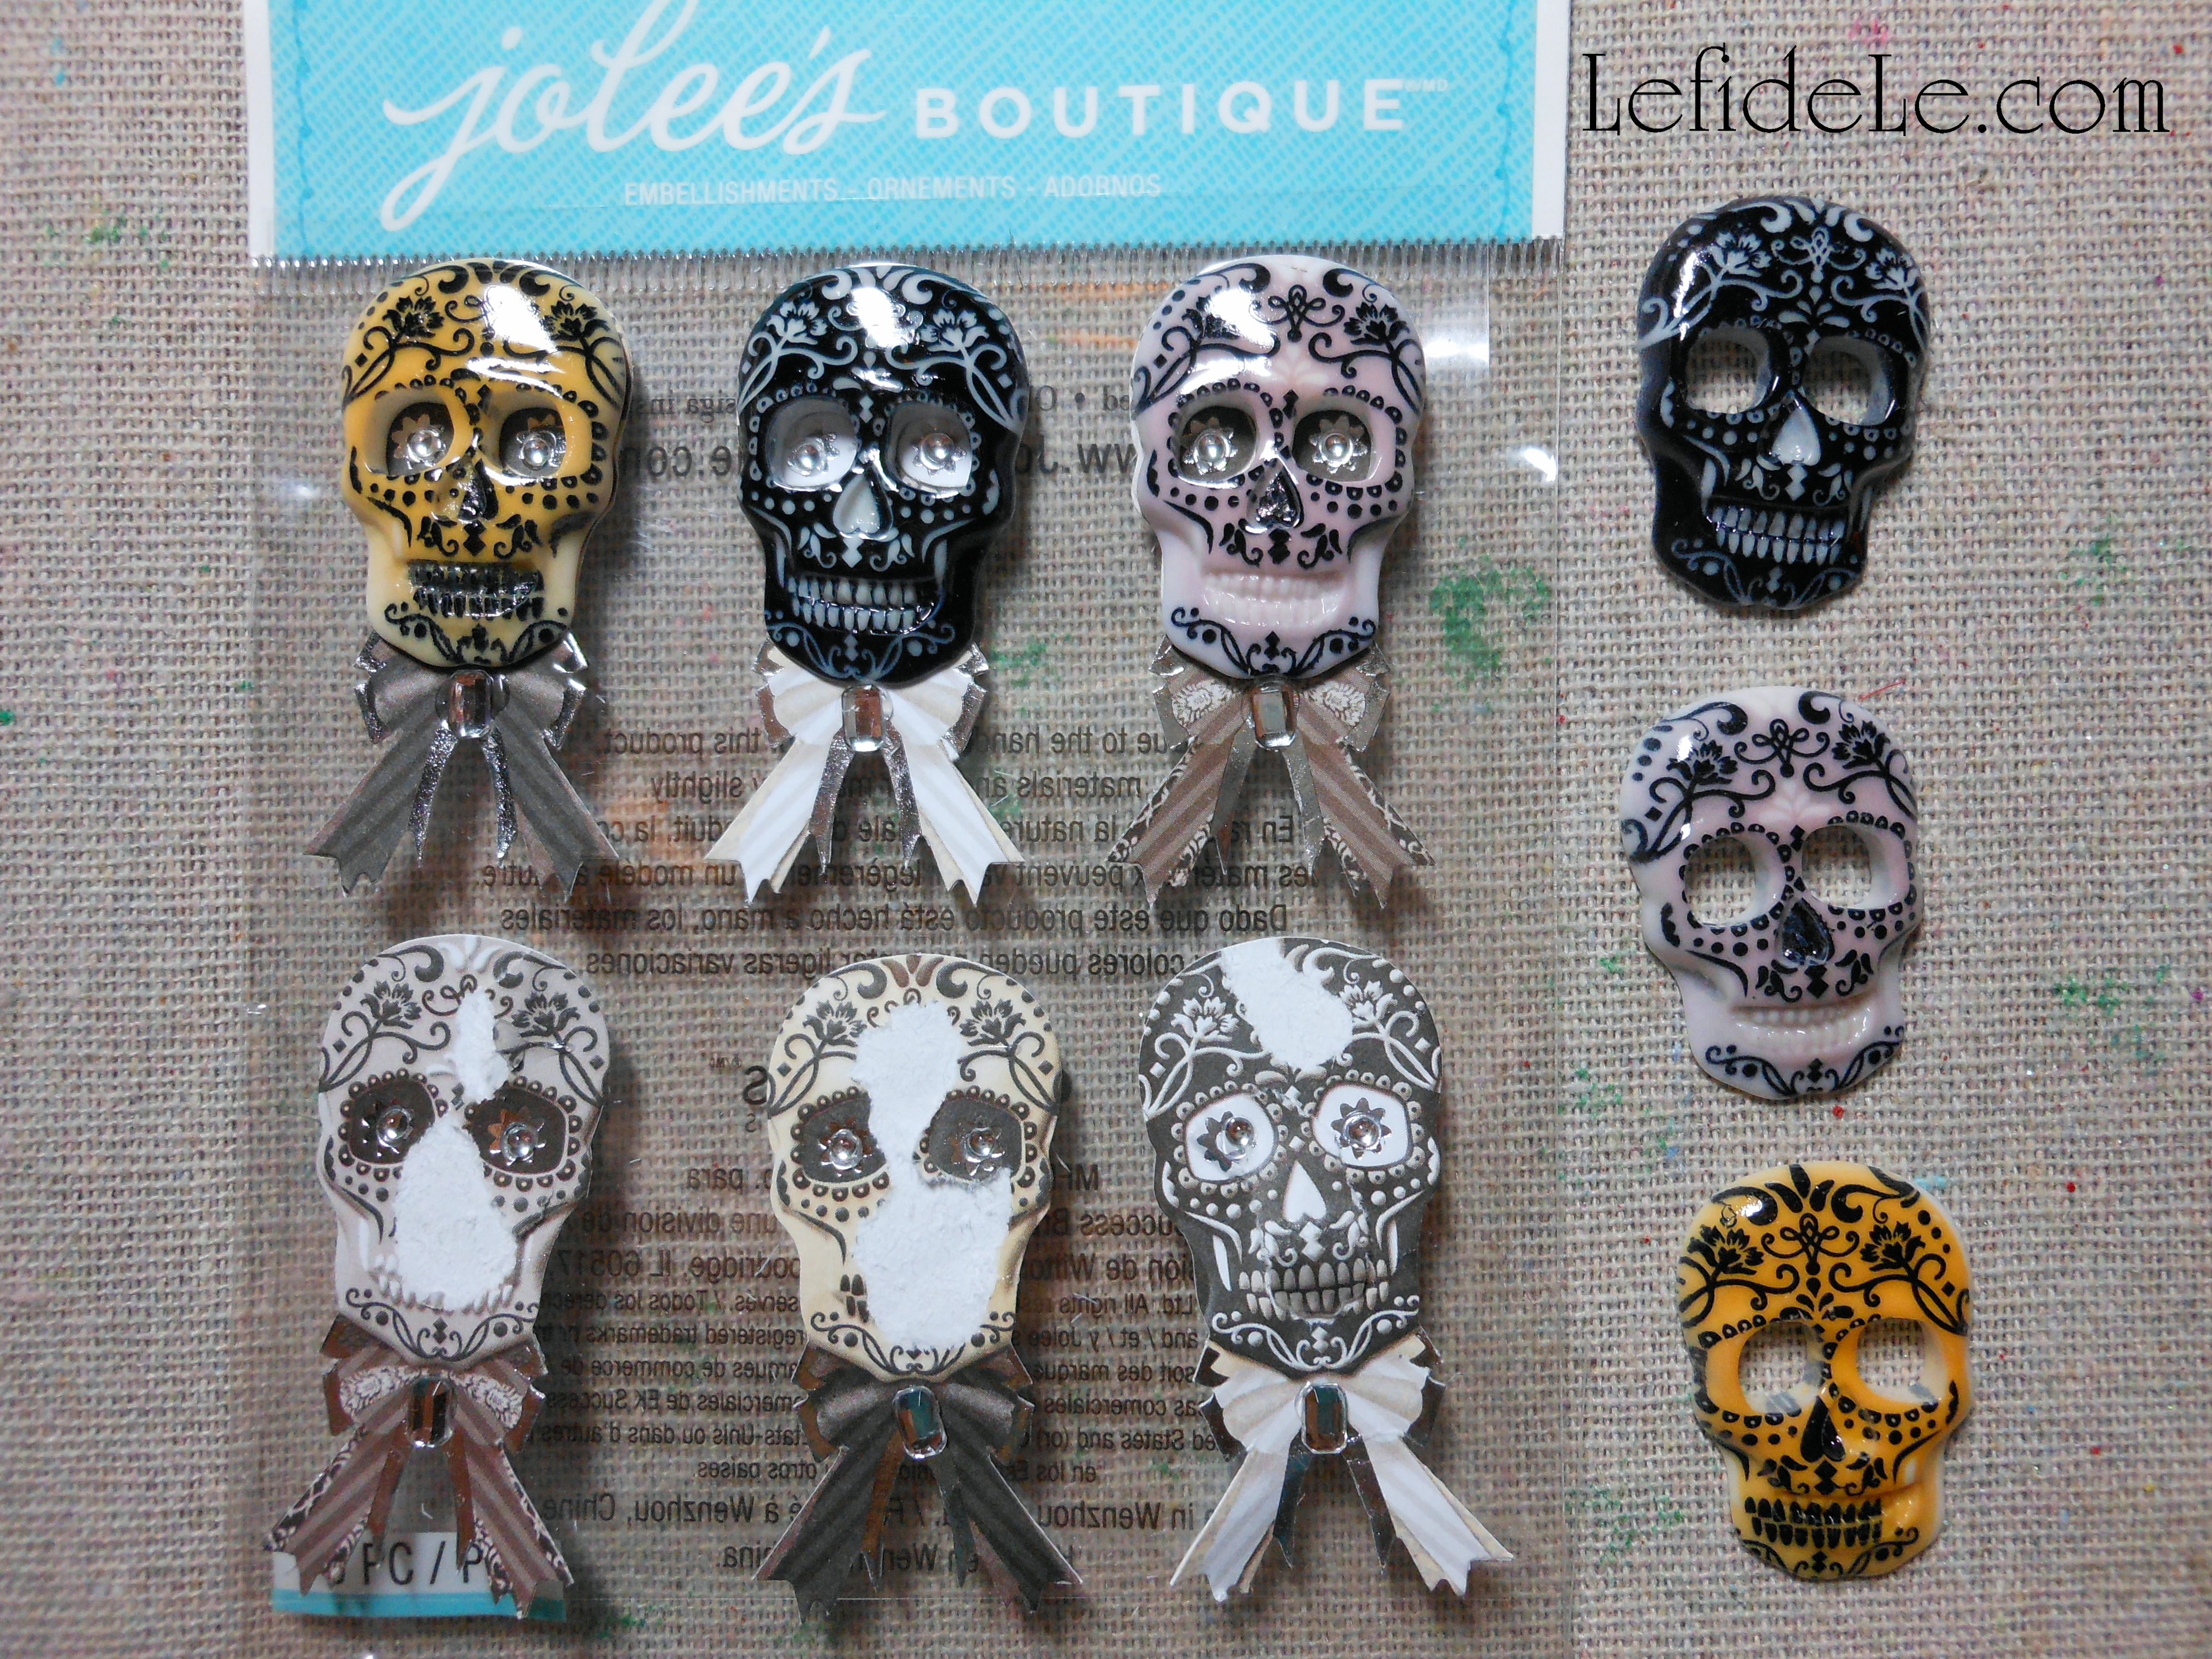
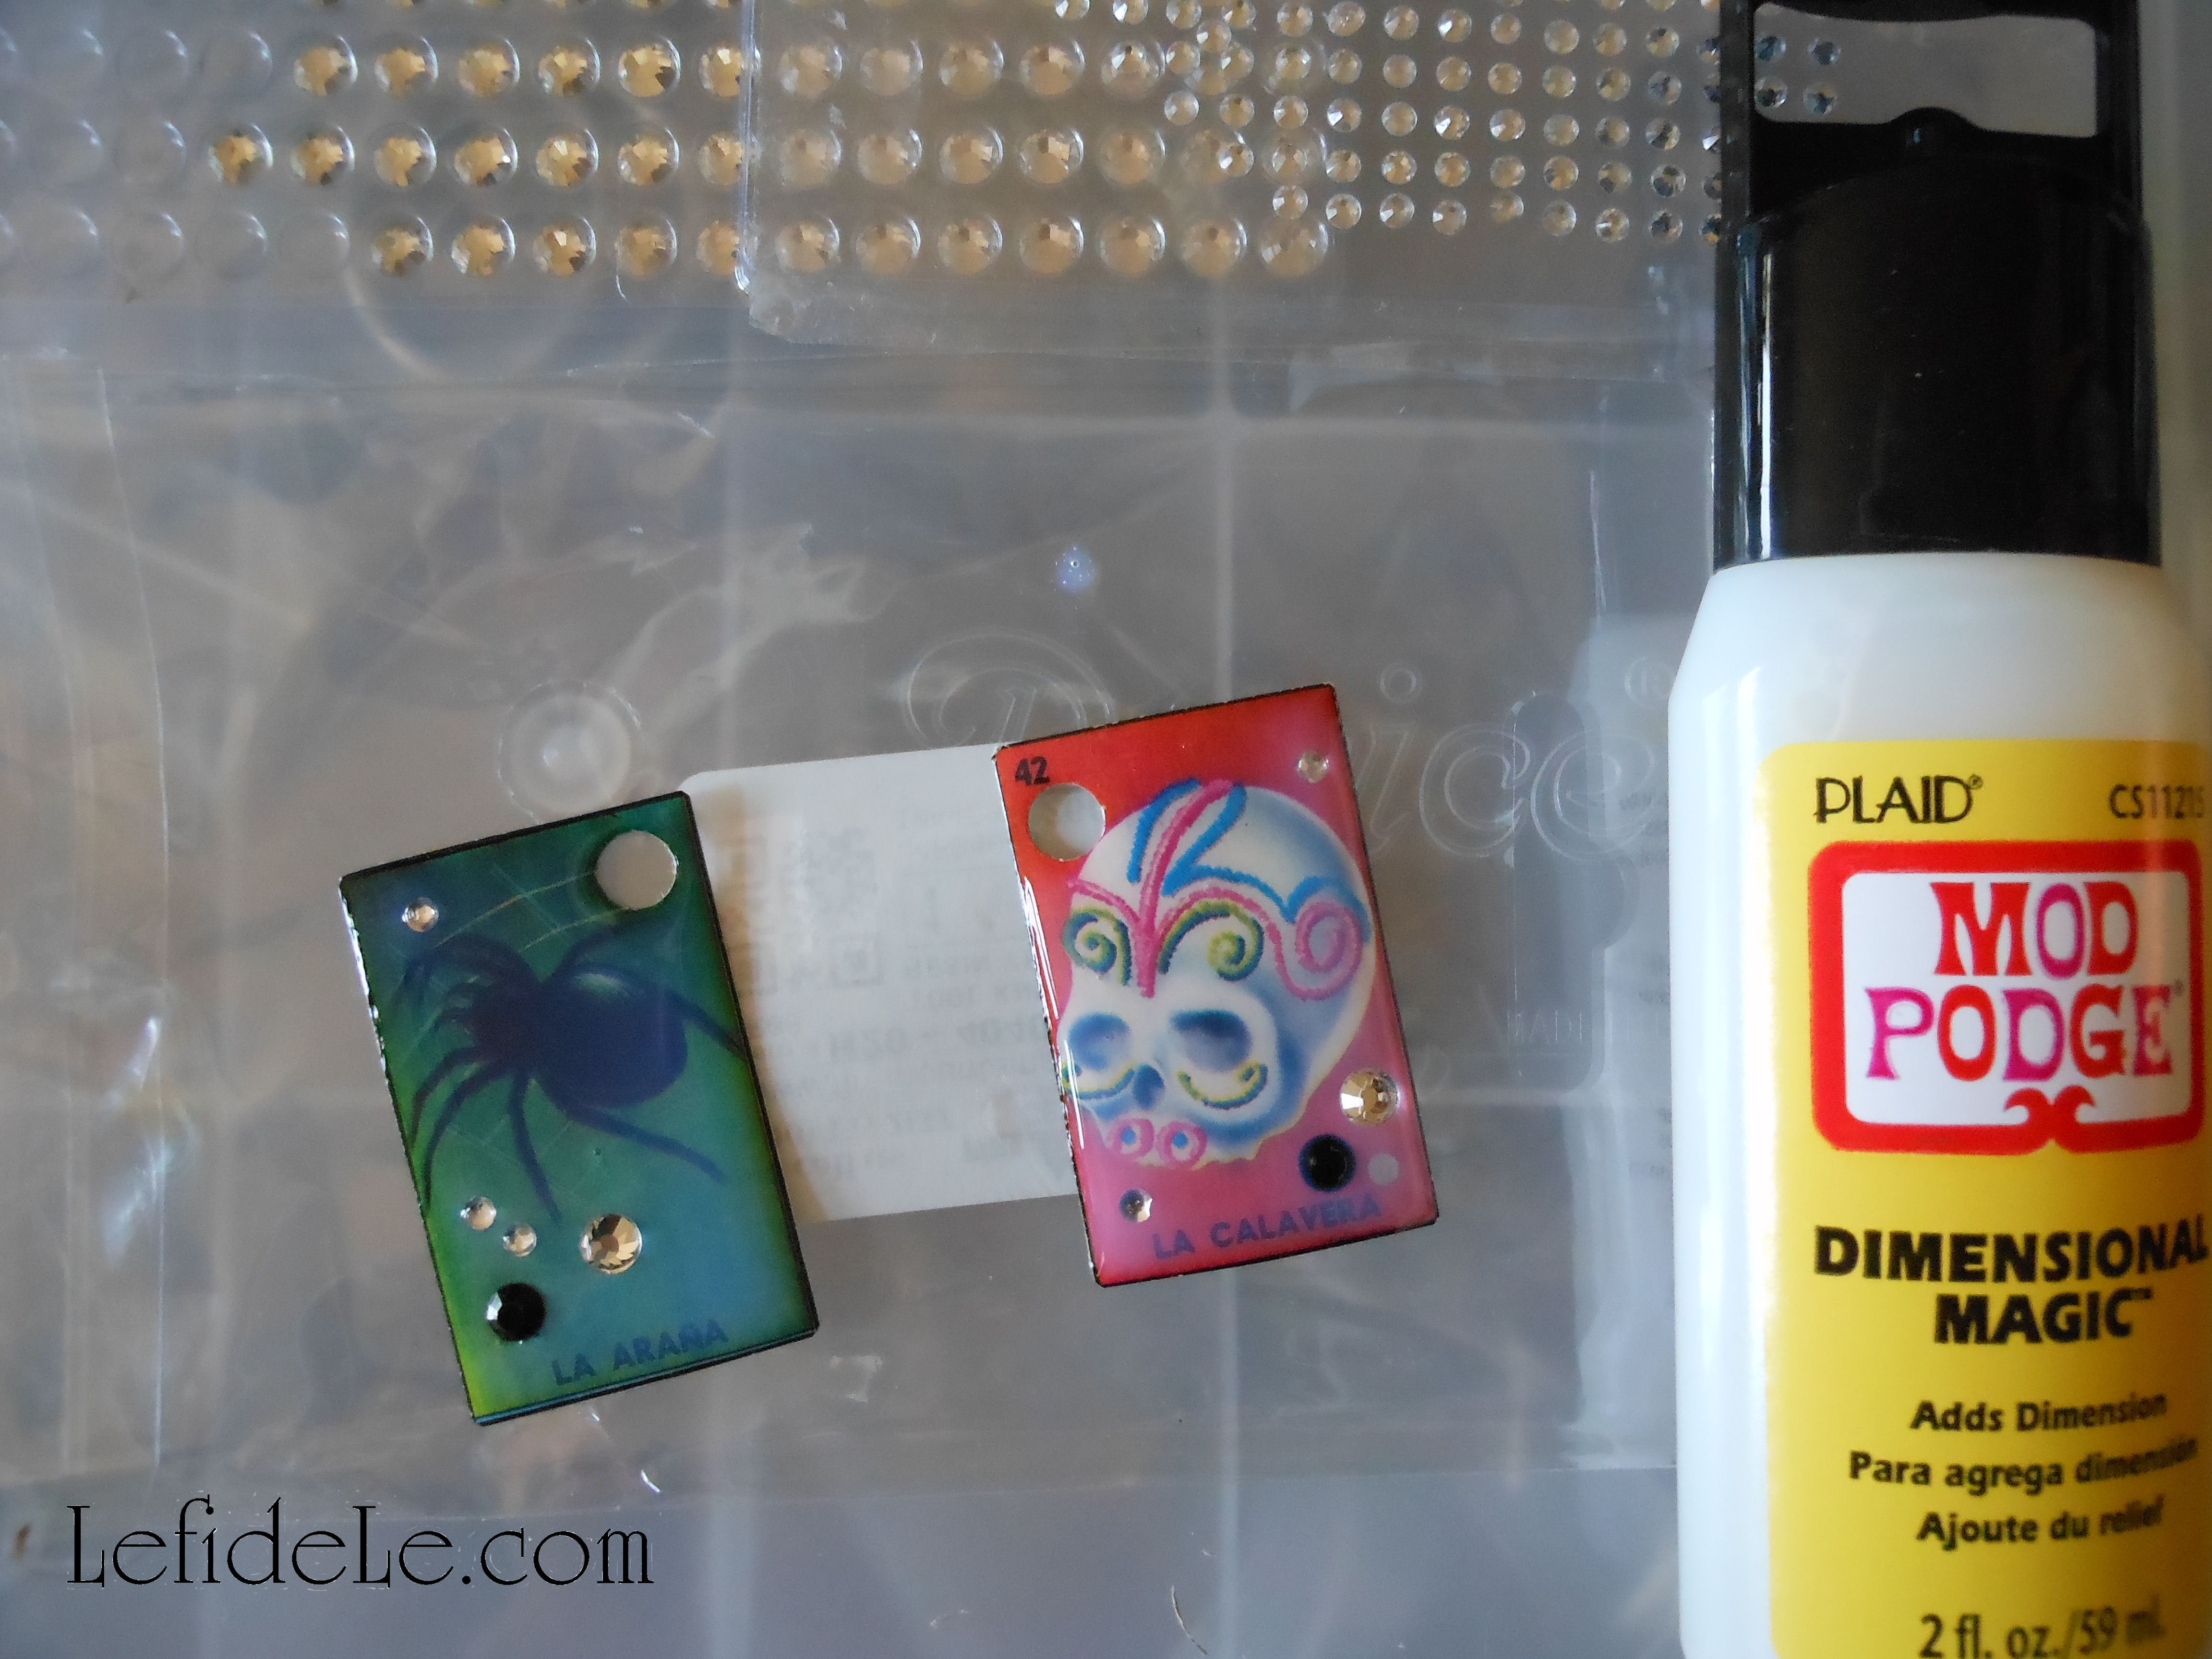
To create wine glass charms, begin with Jolee’s Boutique dimensional scrapbooking stickers. Pull the plastic fronts away from the flat backings.

009Leigh

Use the same T-shirt paint in white to add a layer of sugary glitter to them. These will dry clear. (To make this easier, I made a finger loop of masking tape to hold them while I dotted on the paint, and then just slipped them off onto the table to dry overnight.)

013Leigh

Tie these onto jumbo jump rings with a strand of colorful yarn or ribbon. (I used the same yarn on all my Dia de los Muertos crafts for continuity.)

078Leigh

Since the skulls come in colored sets of 2, why not color-code the drinks by kissing couples!?

018Leigh

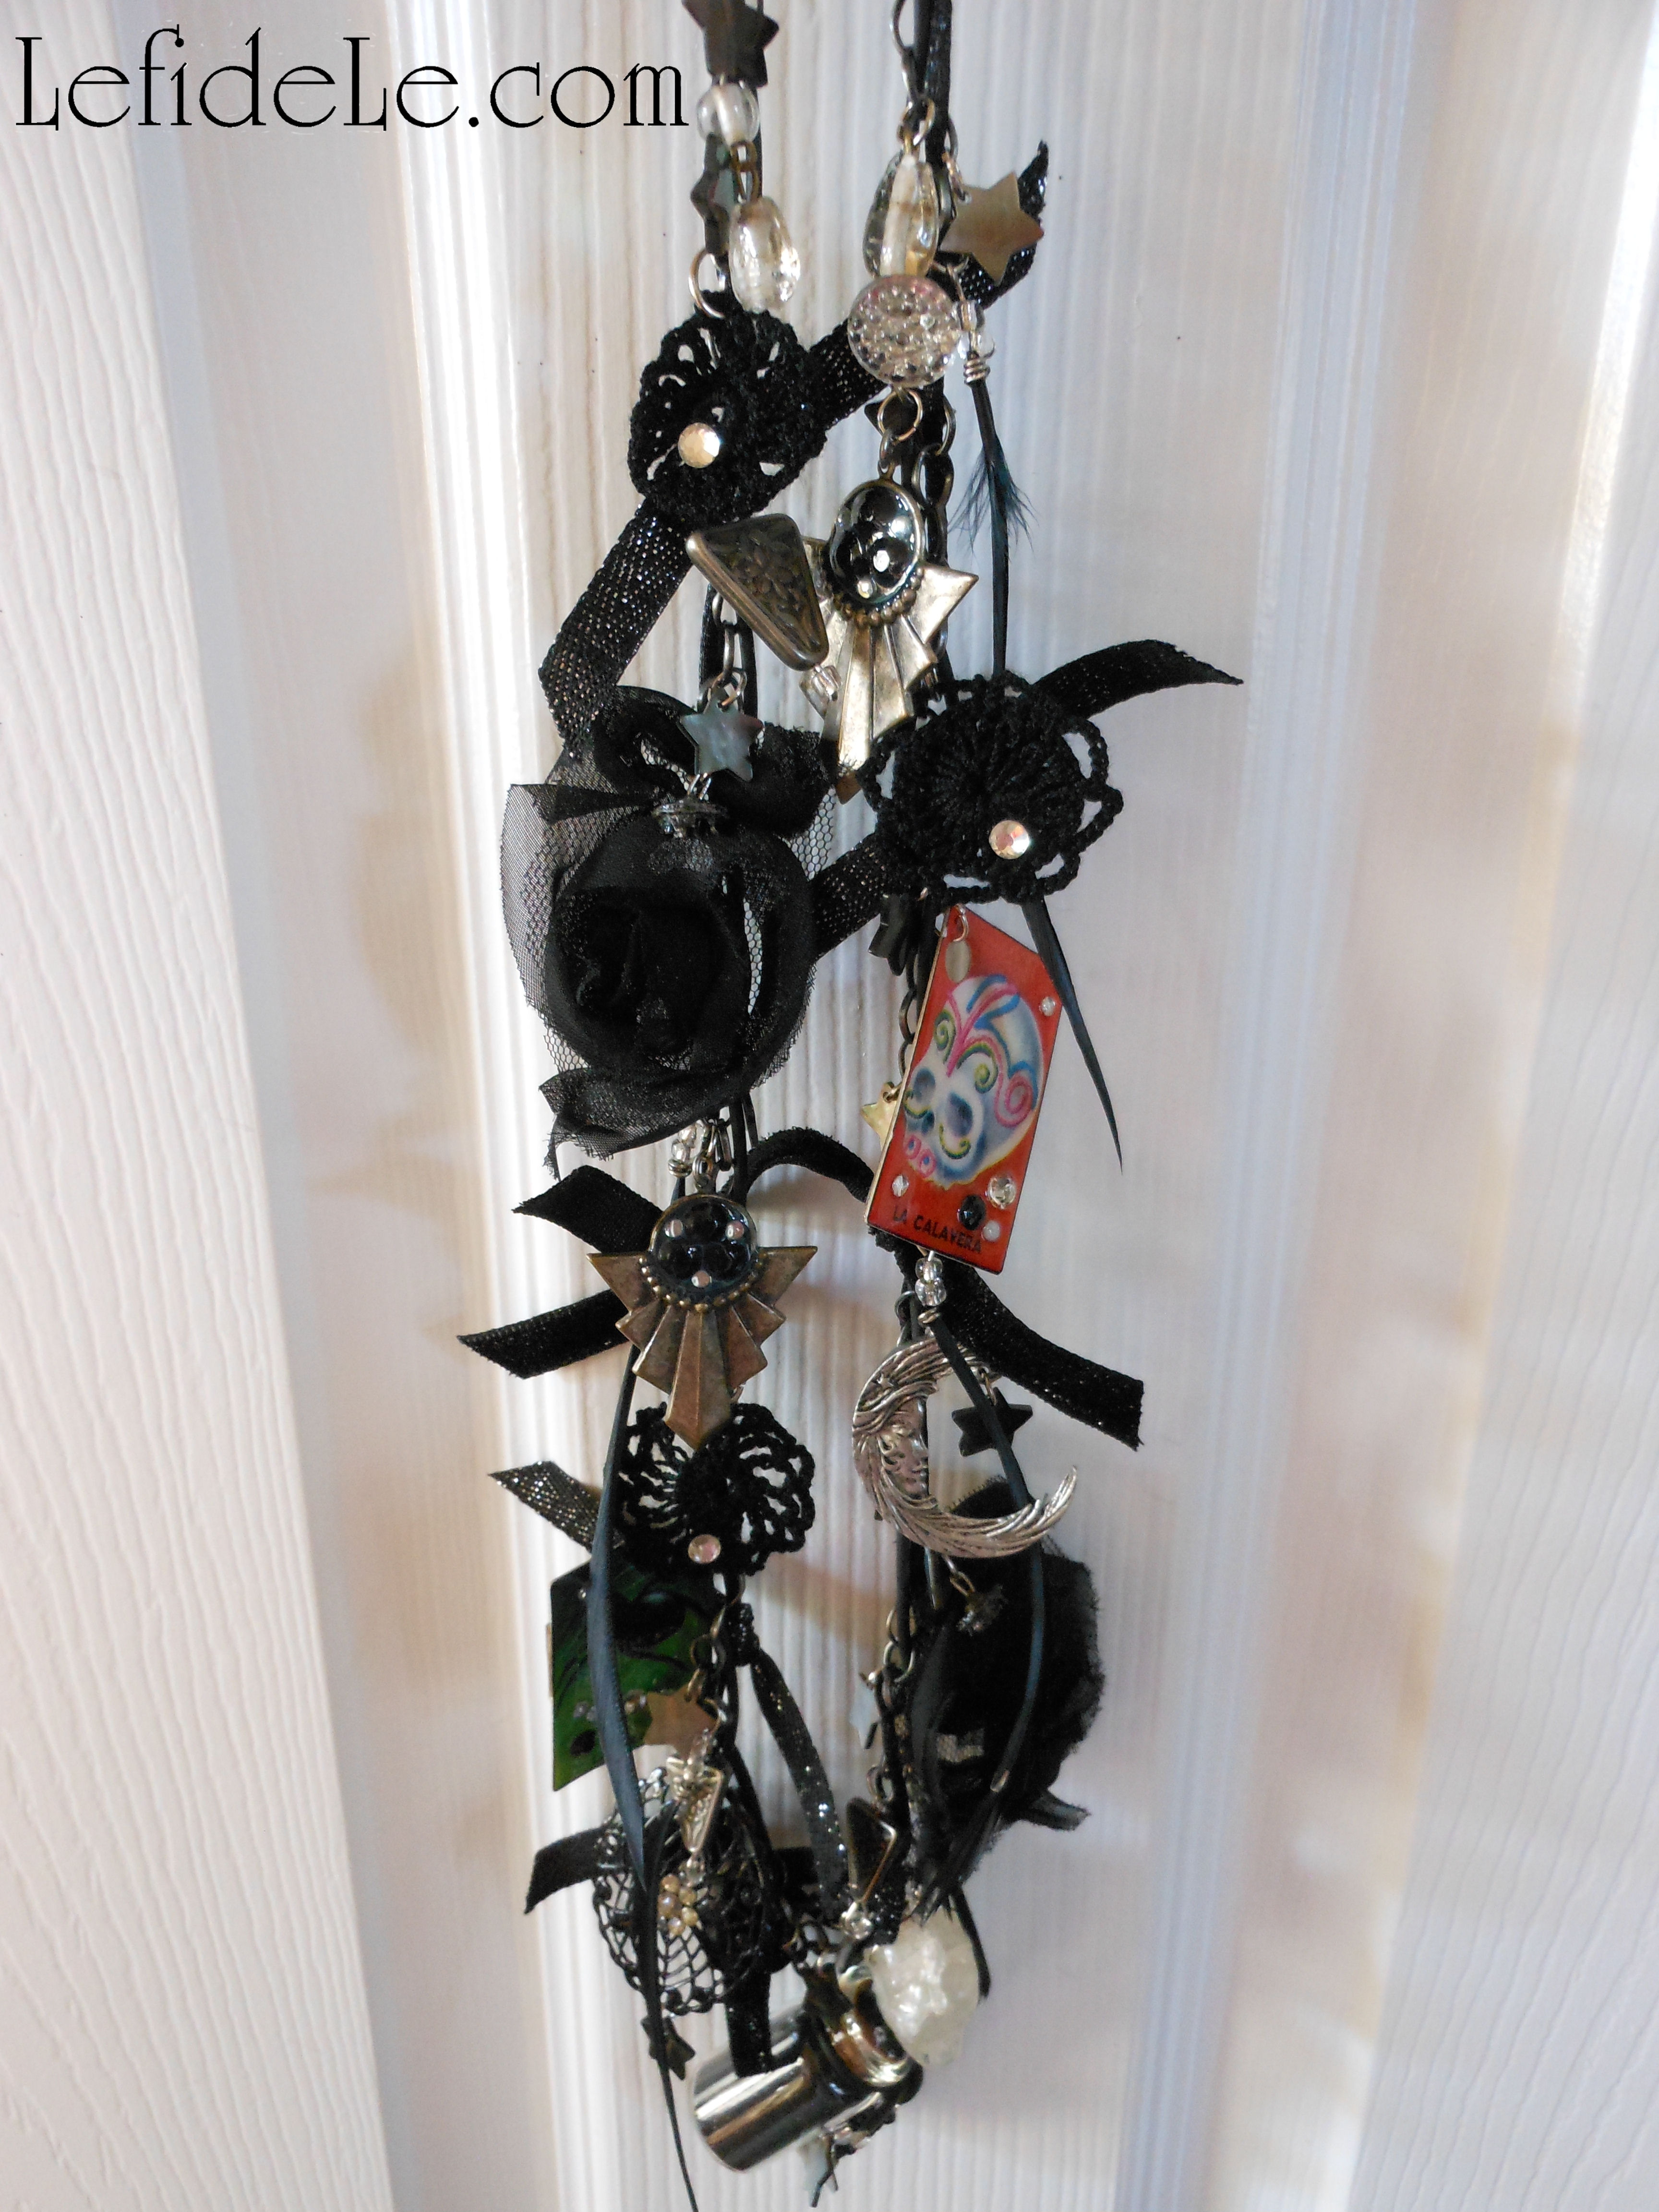
Quickly create a calavera vase by upcycling an old vase with crystal stickers or by gluing crystals on. You can use a complete picture, lay on crystals individually, or both. (If you need to use a pattern, just tape a coloring page to the inside of the vase and adhere crystals to the outside of it over the lines.)

020Leigh

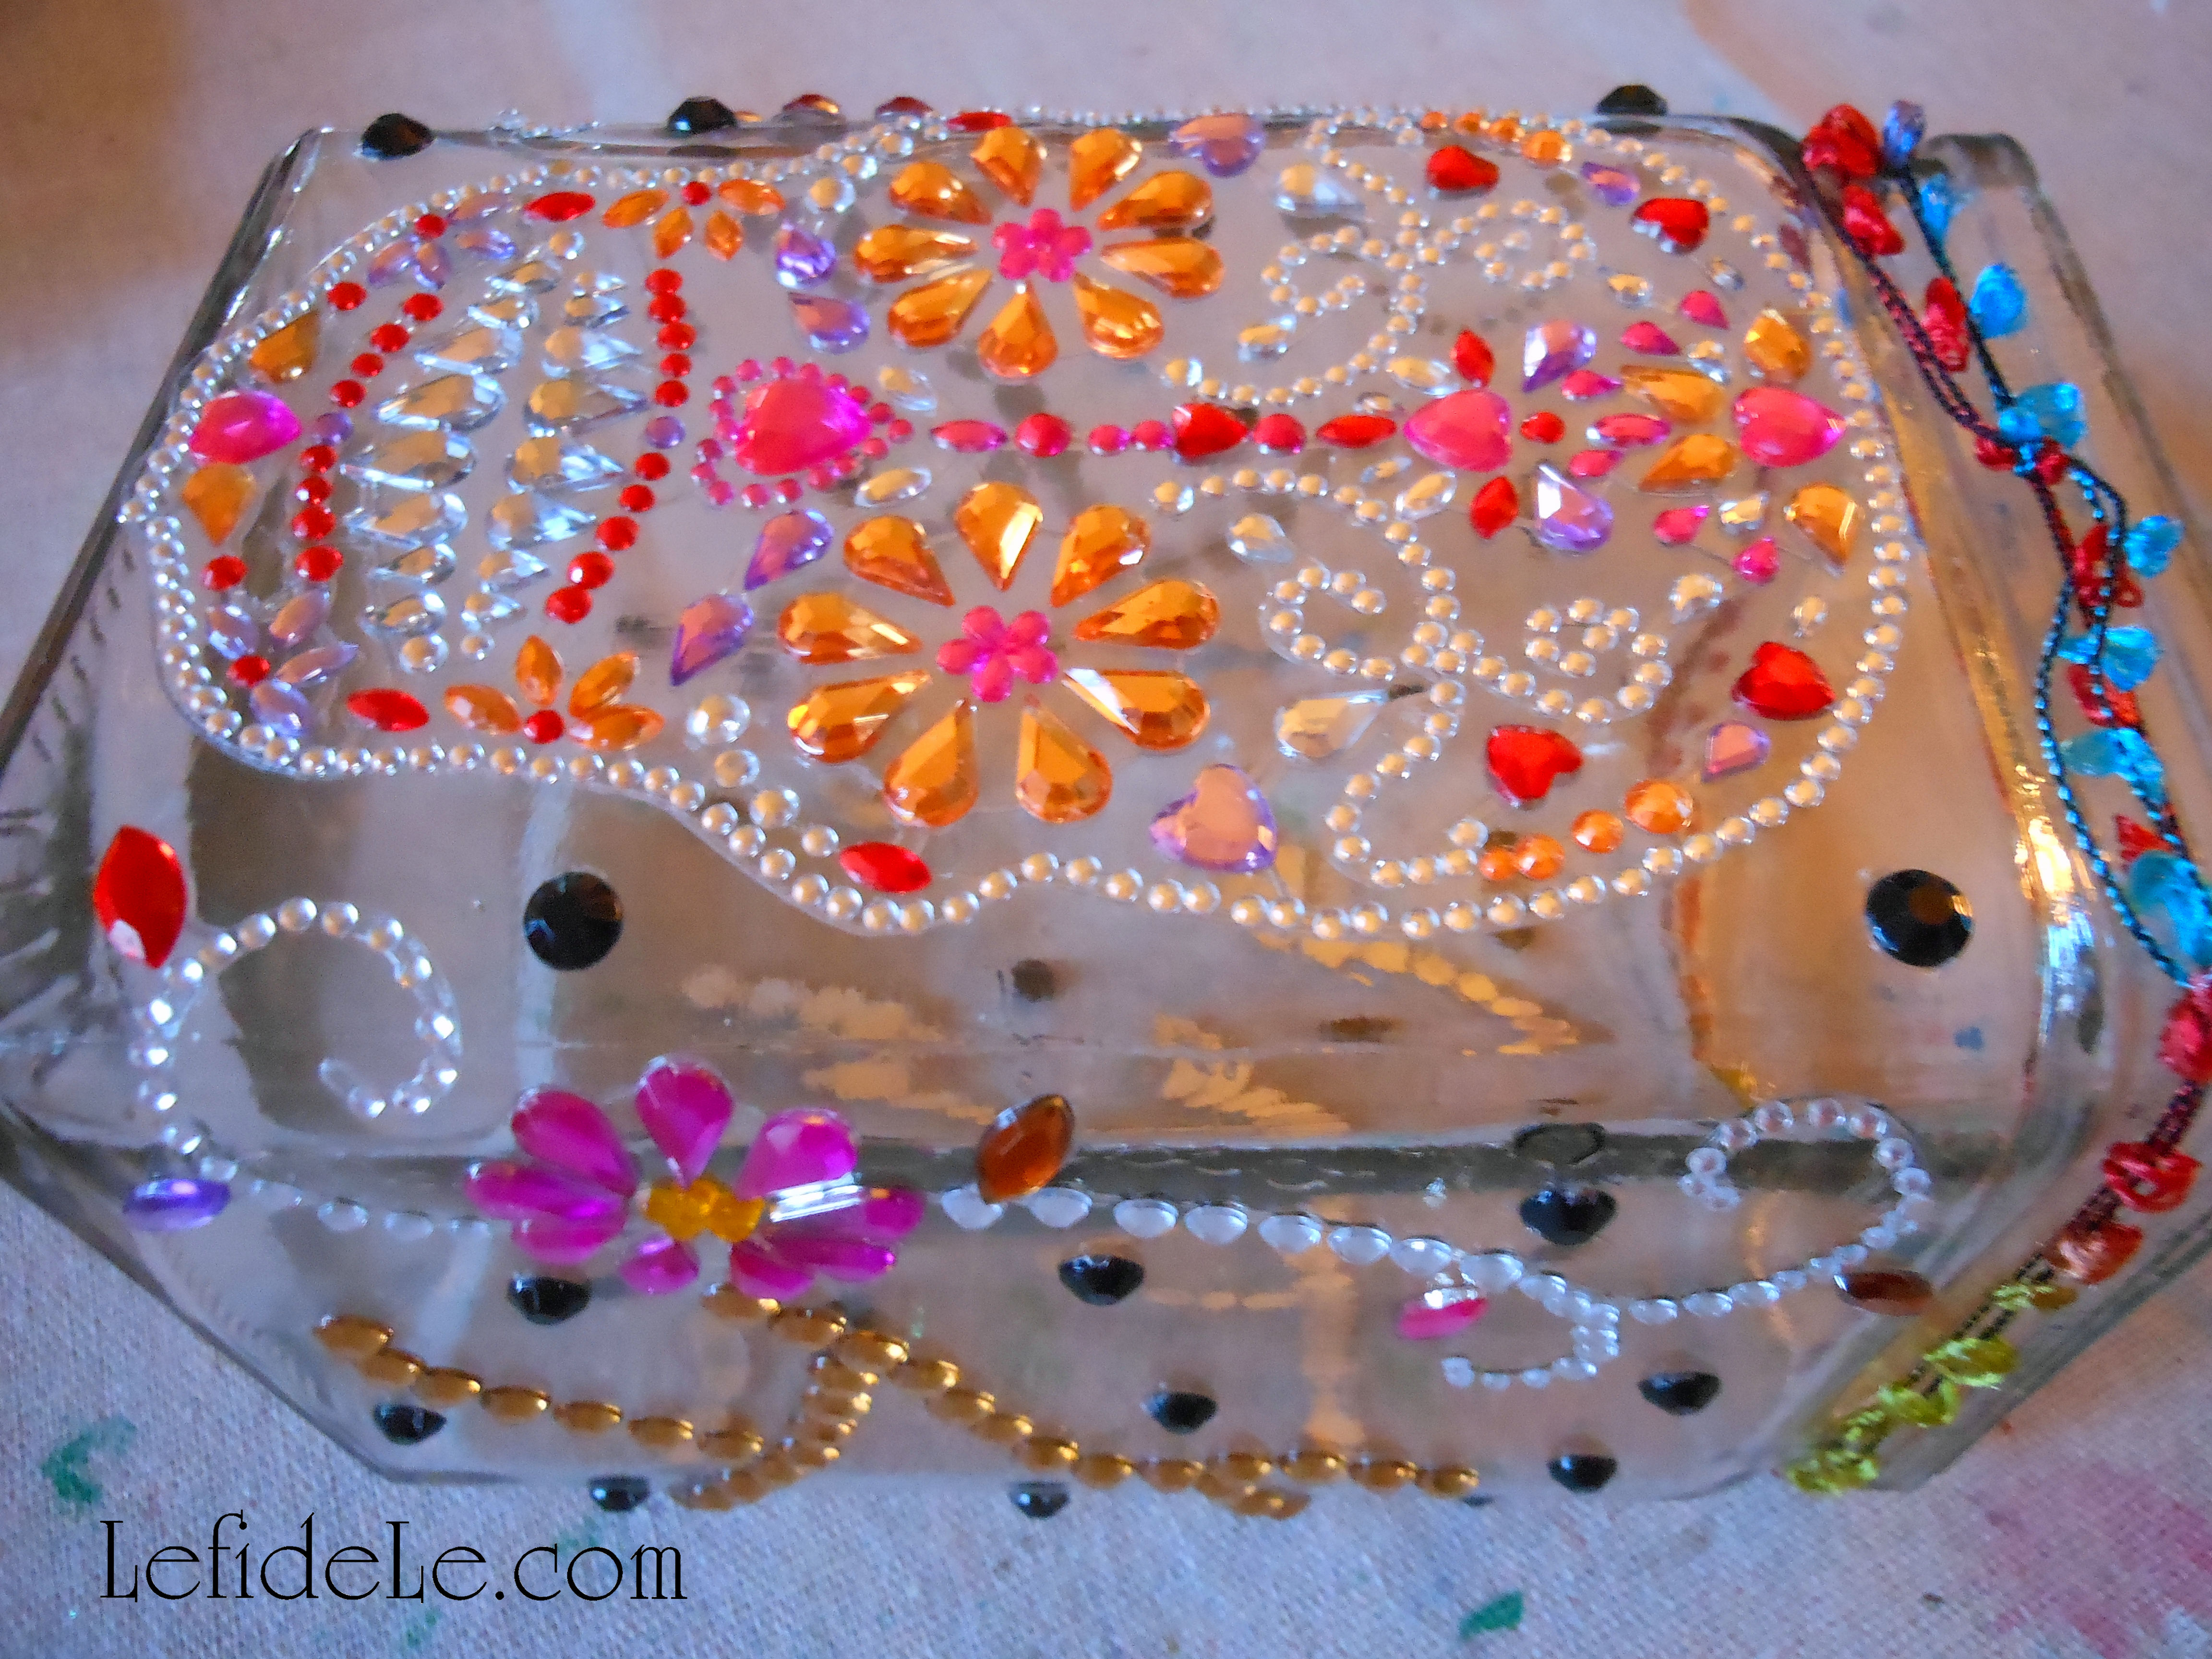
Tie on a length of ribbon to coordinate with the other crafts, and fill the vase with black marbles.

67(2)Leigh

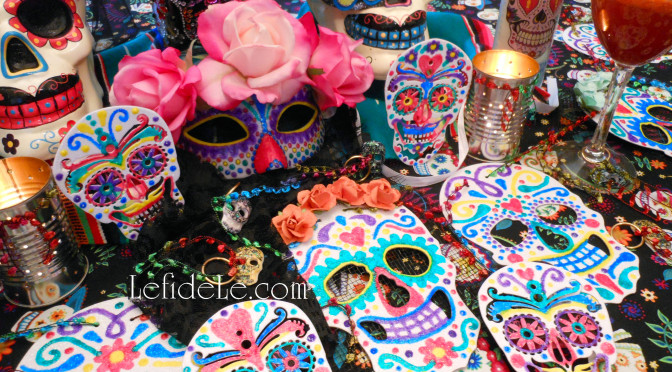
Fill it with traditional wild marigolds to use as a centerpiece surrounded by more calaveras.

Happy Day of the Dead!

Faithfully Yours,

Leigh

DIY Mixed Media Wicked Witch Halloween Statement Necklace

010Leigh

This craft originated from an invitation to a huge Halloween costumed charity ball that I donated some artwork to. I wanted to wear an ‘80’s era green velvet frock with princess sleeves and a full skirt, but I just didn’t feel like wearing a crown. So I decided to toughen up the look with black leather boots and a corset belt. Then I ordered a wicked witch hat straight out of “Oz the Great and Powerful”, which I haven’t even seen yet. I even added a beaded black broom, but all of that still couldn’t counteract the sweetness of the dress and my Glinda-the-good-witch curls. What I needed was a wicked witch statement necklace!

01Leigh

Making mixed media jewelry is a fun process that really unleashes the creative spirit because there are really no rules to follow, so there’s no messing it up. One begins with the gathering of any and all material that could possibly coordinate. I used vintage pendants, earrings, and beads alongside newer elements. Craft stores sell many items that have a vintage look if you don’t have any at hand. You can always lay out a design at home and then return anything unused.

9Leigh

I filled a corked glass bottle with fine black glitter to simulate magic potion. Then I placed black and clear seed beads onto eyepins (= short hard wires with a crook at one end) and added shell star beads. (In future articles, I will explain more about beading for those of you who haven’t tried this rewarding activity.) I also added stars to other elements like moon and spider-web pendants with jumprings (= metal circles with single cuts).

4Leigh

Next I cut out 2 spooky pictures from a Spanish bingo game. They would soon become beads.

6Leigh

I placed clear and black crystals on the tiny game cards and squeezed on “Plaid Mod Podge Dimensional Magic”. The liquid dries clear and to the touch in a few hours, and cures by the next day.

12Leigh

Adding crystals and liquid “magic” seemed appropriate for the project, so I continued with other elements that needed further embellishment.

10Leigh

I even used it in lieu of glue to add crystals and seal the top of the glitter vial. I then attached the beaded eyepins and a jumpring to a strand of leather wrapped around the vial. (This alone could have been attached to a chain as a necklace in its own right.)

11Leigh

I glued more crystals onto tiny black doilies with Elmer’s Ultra Stix-all (which dries clear). This symbolizes spiders on their webs. Jumprings then turned them into beads.

14Leigh

Again, I used Stix-all in the hope that it would indeed stick all materials. I added two clear seed beads to each eyepin then coiled the rest of the length of it. The skinny black feathers were glued inside of that. The following day, I was thrilled to find my feather bead idea had worked!

021Leigh

To determine the necklace’s length, I draped chain around my neck, pulled it to the right size, and then cut the length I wanted. There are standard necklace lengths, but this time I winged it because this was my own custom piece. I wove leather cording through every fifth link, and repeated with silk cording in the links preceding those. The ends can then be cut without even having to measure anything.

22Leigh

I slid a jumpring onto each end, folding over the strands, and wrapped it all in metal wire. An eyepin may also be used if you cut off the looped end. Attach any closure you like. I used a “lobster” clasp.

20Leigh

This is perfect place to use any pretty little ribbons from leftover projects. I cut four inch lengths of new velvet and metallic ribbons. I also cut a couple of roses from some black netted fabric trim. I had never tried this before either, but it worked beautifully to slide jumprings through the netting. I also bent the posts (of a pair of vintage black rose earrings) to make loops to slide onto those same jumprings. They made a kind of baby rosette bead for additional decoration. Remember that statement necklaces are supposed to be over-the-top!

23Leigh

I tied ribbons over the wired cord ends to keep them from snagging my hair. This worked so well that I’m considering wrapping ribbon onto some of my old necklaces.

27Leigh

With all of the elements now ready, I laid out my construction scheme. I played with the look, moving items around until they seemed balanced yet still asymmetrical.

67Leigh

I attached my largest and heaviest items toward the bottom first (like a small carved quartz crystal skull). I worked my way down in element size from there.

075Leigh

After that, I closed jumprings into vintage crystal buttons to make fabulous beads. I filled any gaps with shell stars. This helped to maintain continuity throughout the piece.

65Leigh

Lastly, I added the feather beads with the direction of their natural curves following the drape of the necklace.

61HalloweenNecklace-Leigh

You can use these ideas to make any genre of mixed media necklace… even a girly pink princess one, but this year, I made mine wicked!

Faithfully Yours,

Leigh