With New Year’s Eve trailing behind Christmas so closely, I wanted to create a dinner party theme that could easily be converted from one to the other without spending any more money or time. I’ve seen all of the decorative components in variation at stores ranging from high end home goods to budget craft supply. I’ll even describe how you can craft your own easily and inexpensively. I’ve chosen a winter wonderland theme as a visual narration of the “Frozen” movie that celebrates family and friendship. It makes an enchanting setting for the adults, and provides an extra dose of holiday magic for the kiddos with frozen-fever. And, hey, you can always pick up items on sale this year to use the theme for next year’s festivities!
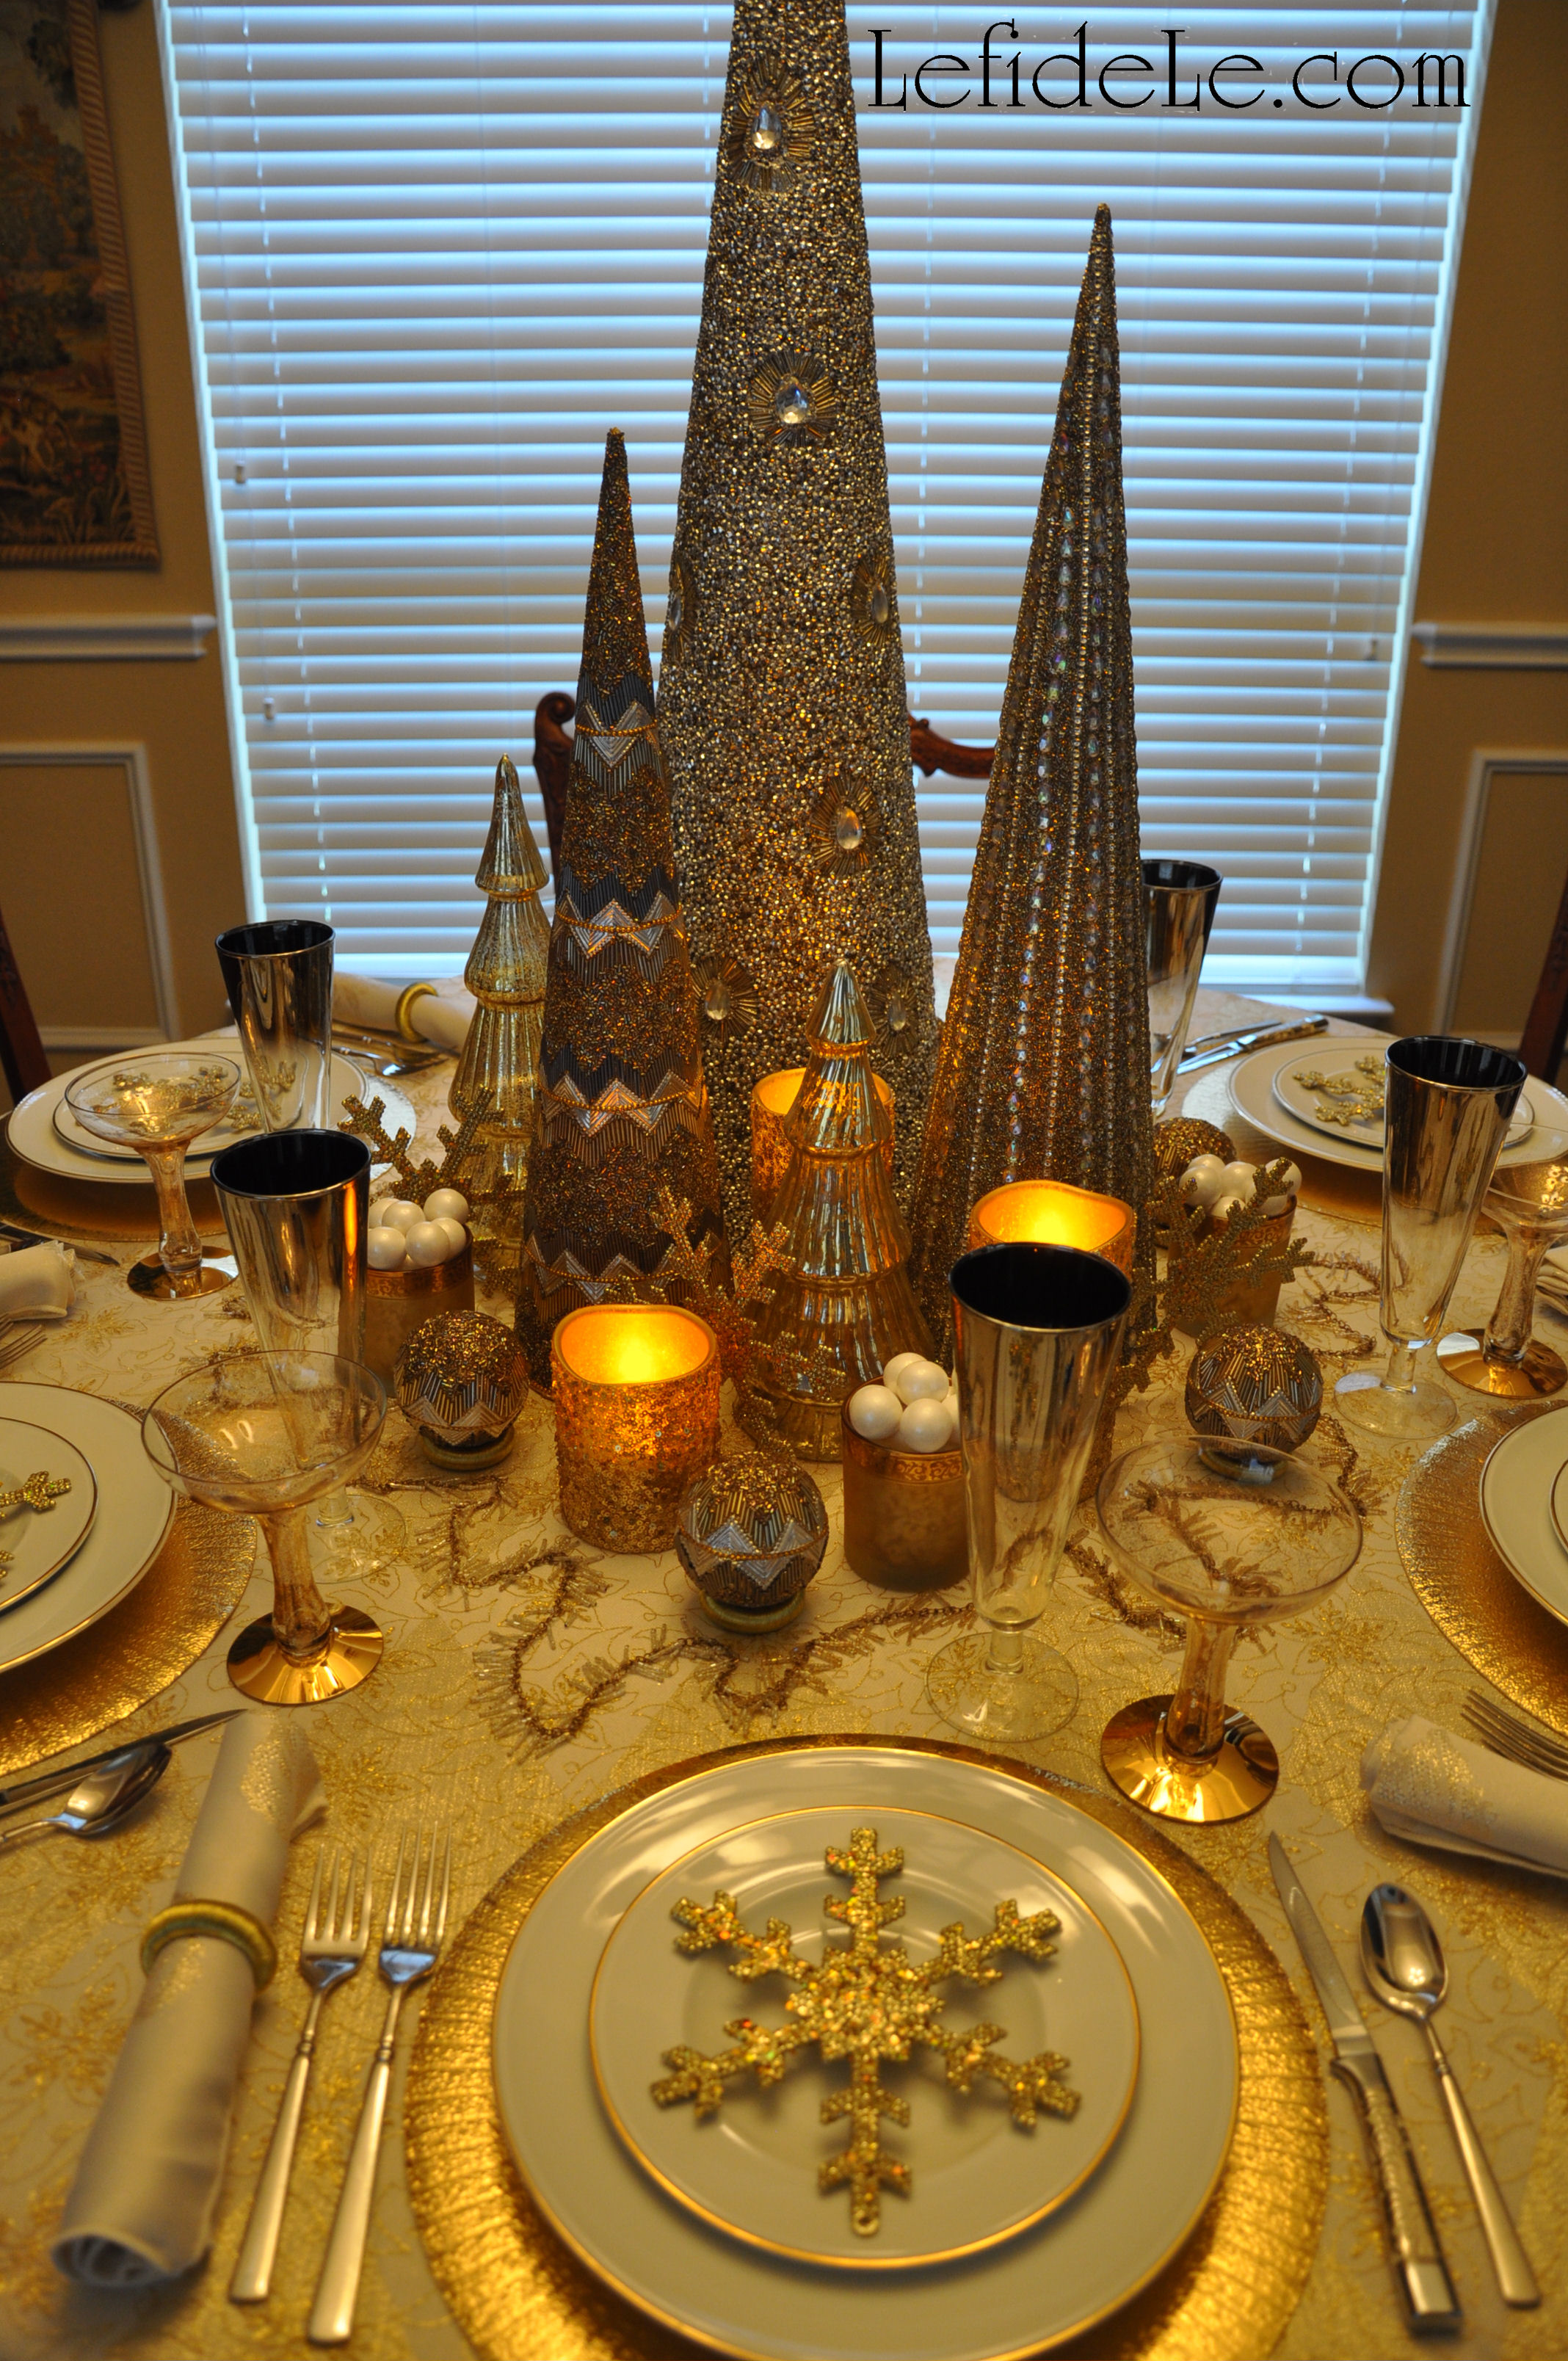
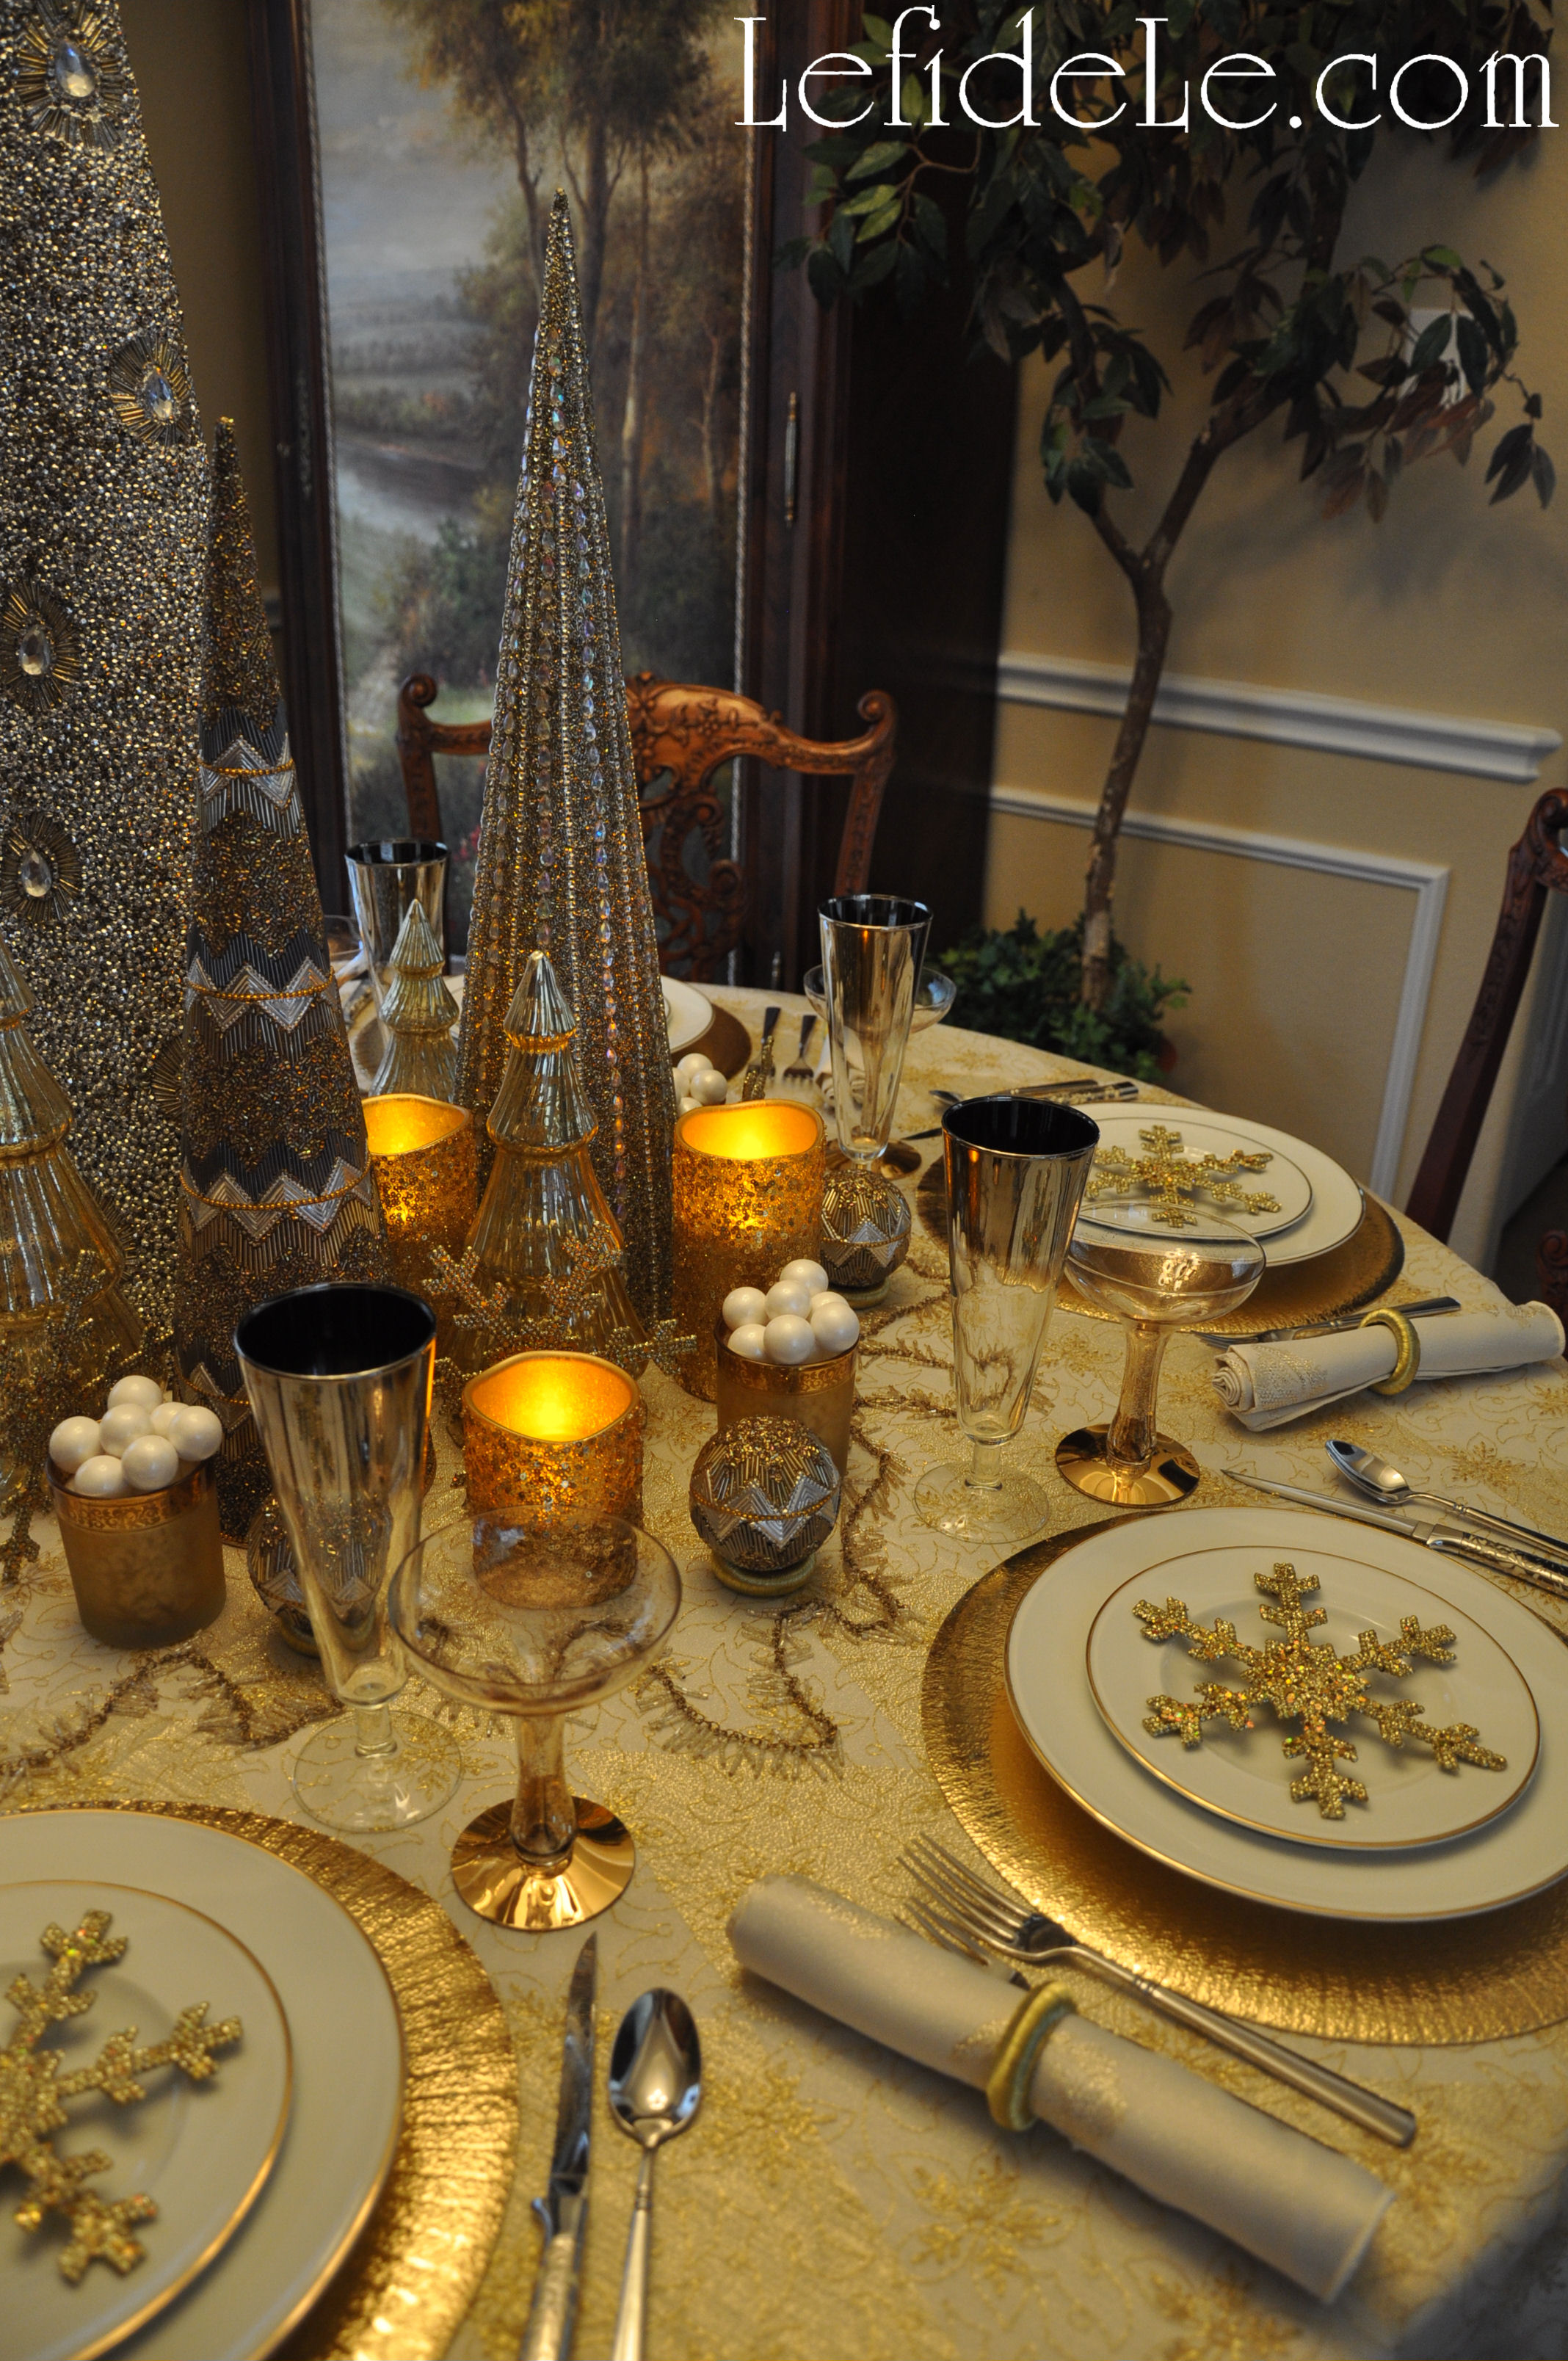
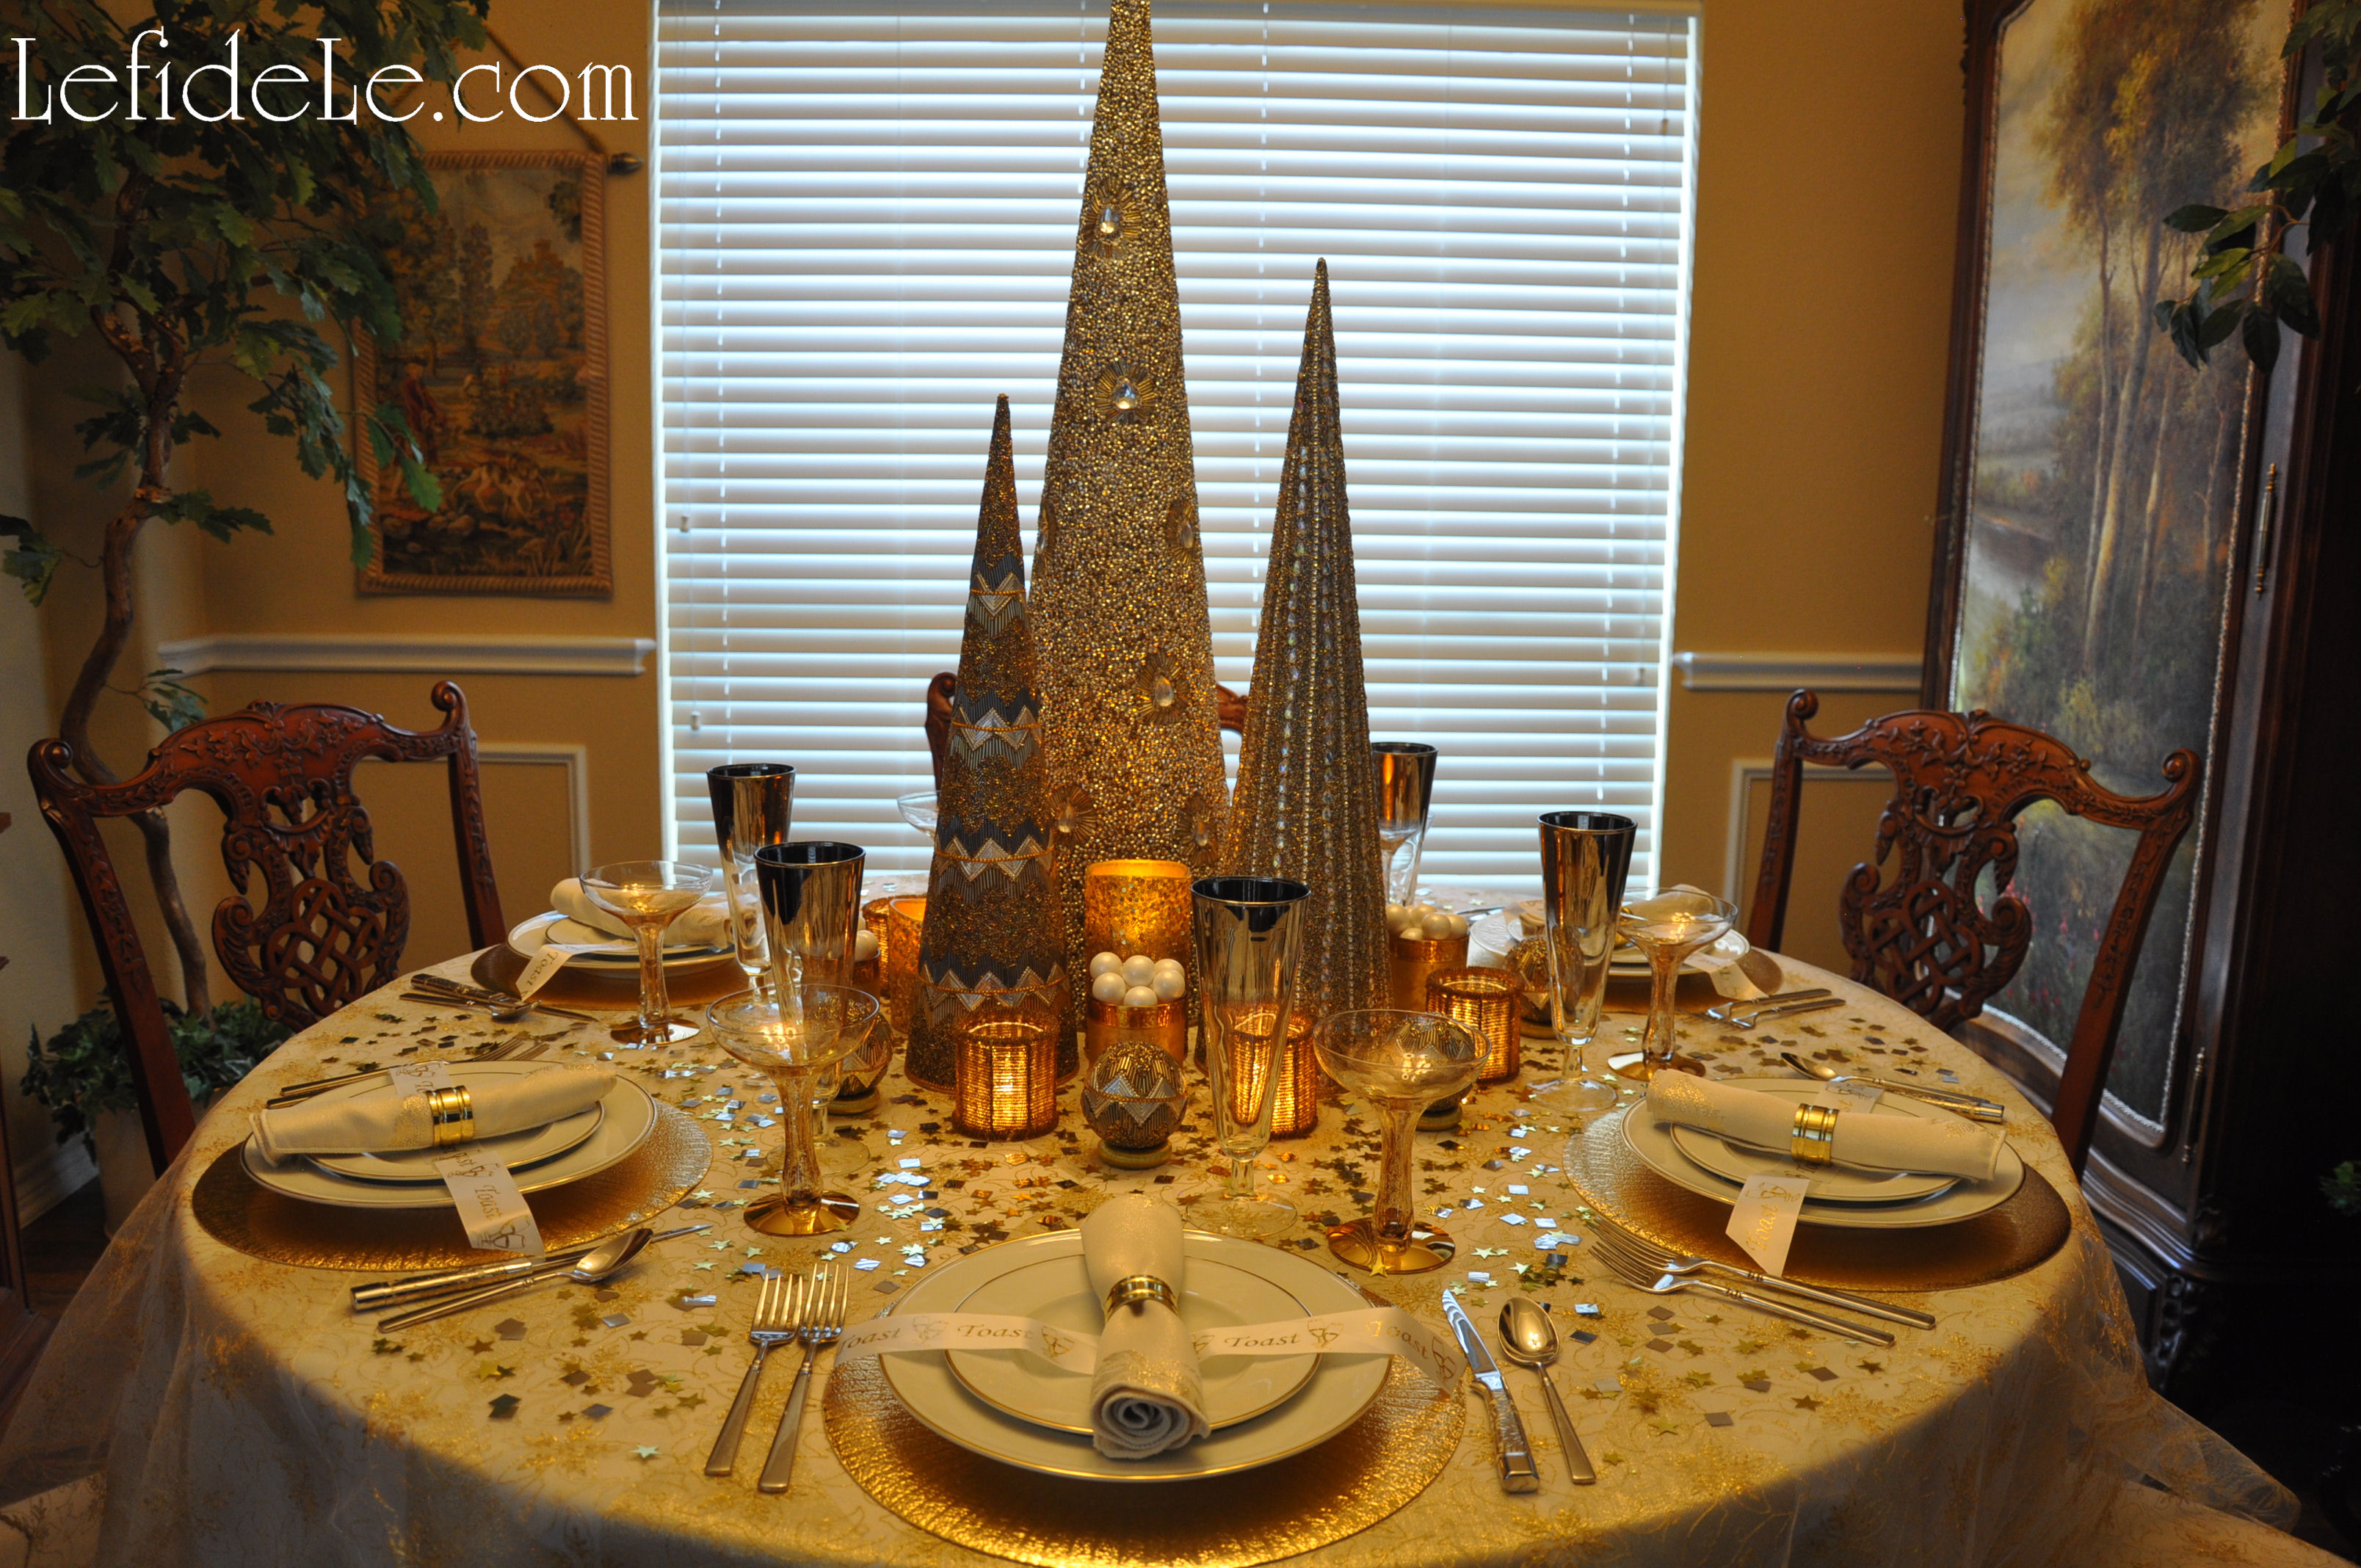
For each of the table-scapes, I set the base of the stage with a gold and ivory harlequin tablecloth found previously at an after Christmas sale. If you see something on your shopping trips that might work for next year’s theme… snap it up! This is how I manage to satisfy my high end taste while sticking to my tight budget. It’s really easy to fill in from there, just before the celebration. I did this with beautifully beaded cones in gold, silver, and pewter from Pier 1. (I have seen other versions of these at many of the stores I been to this year.)
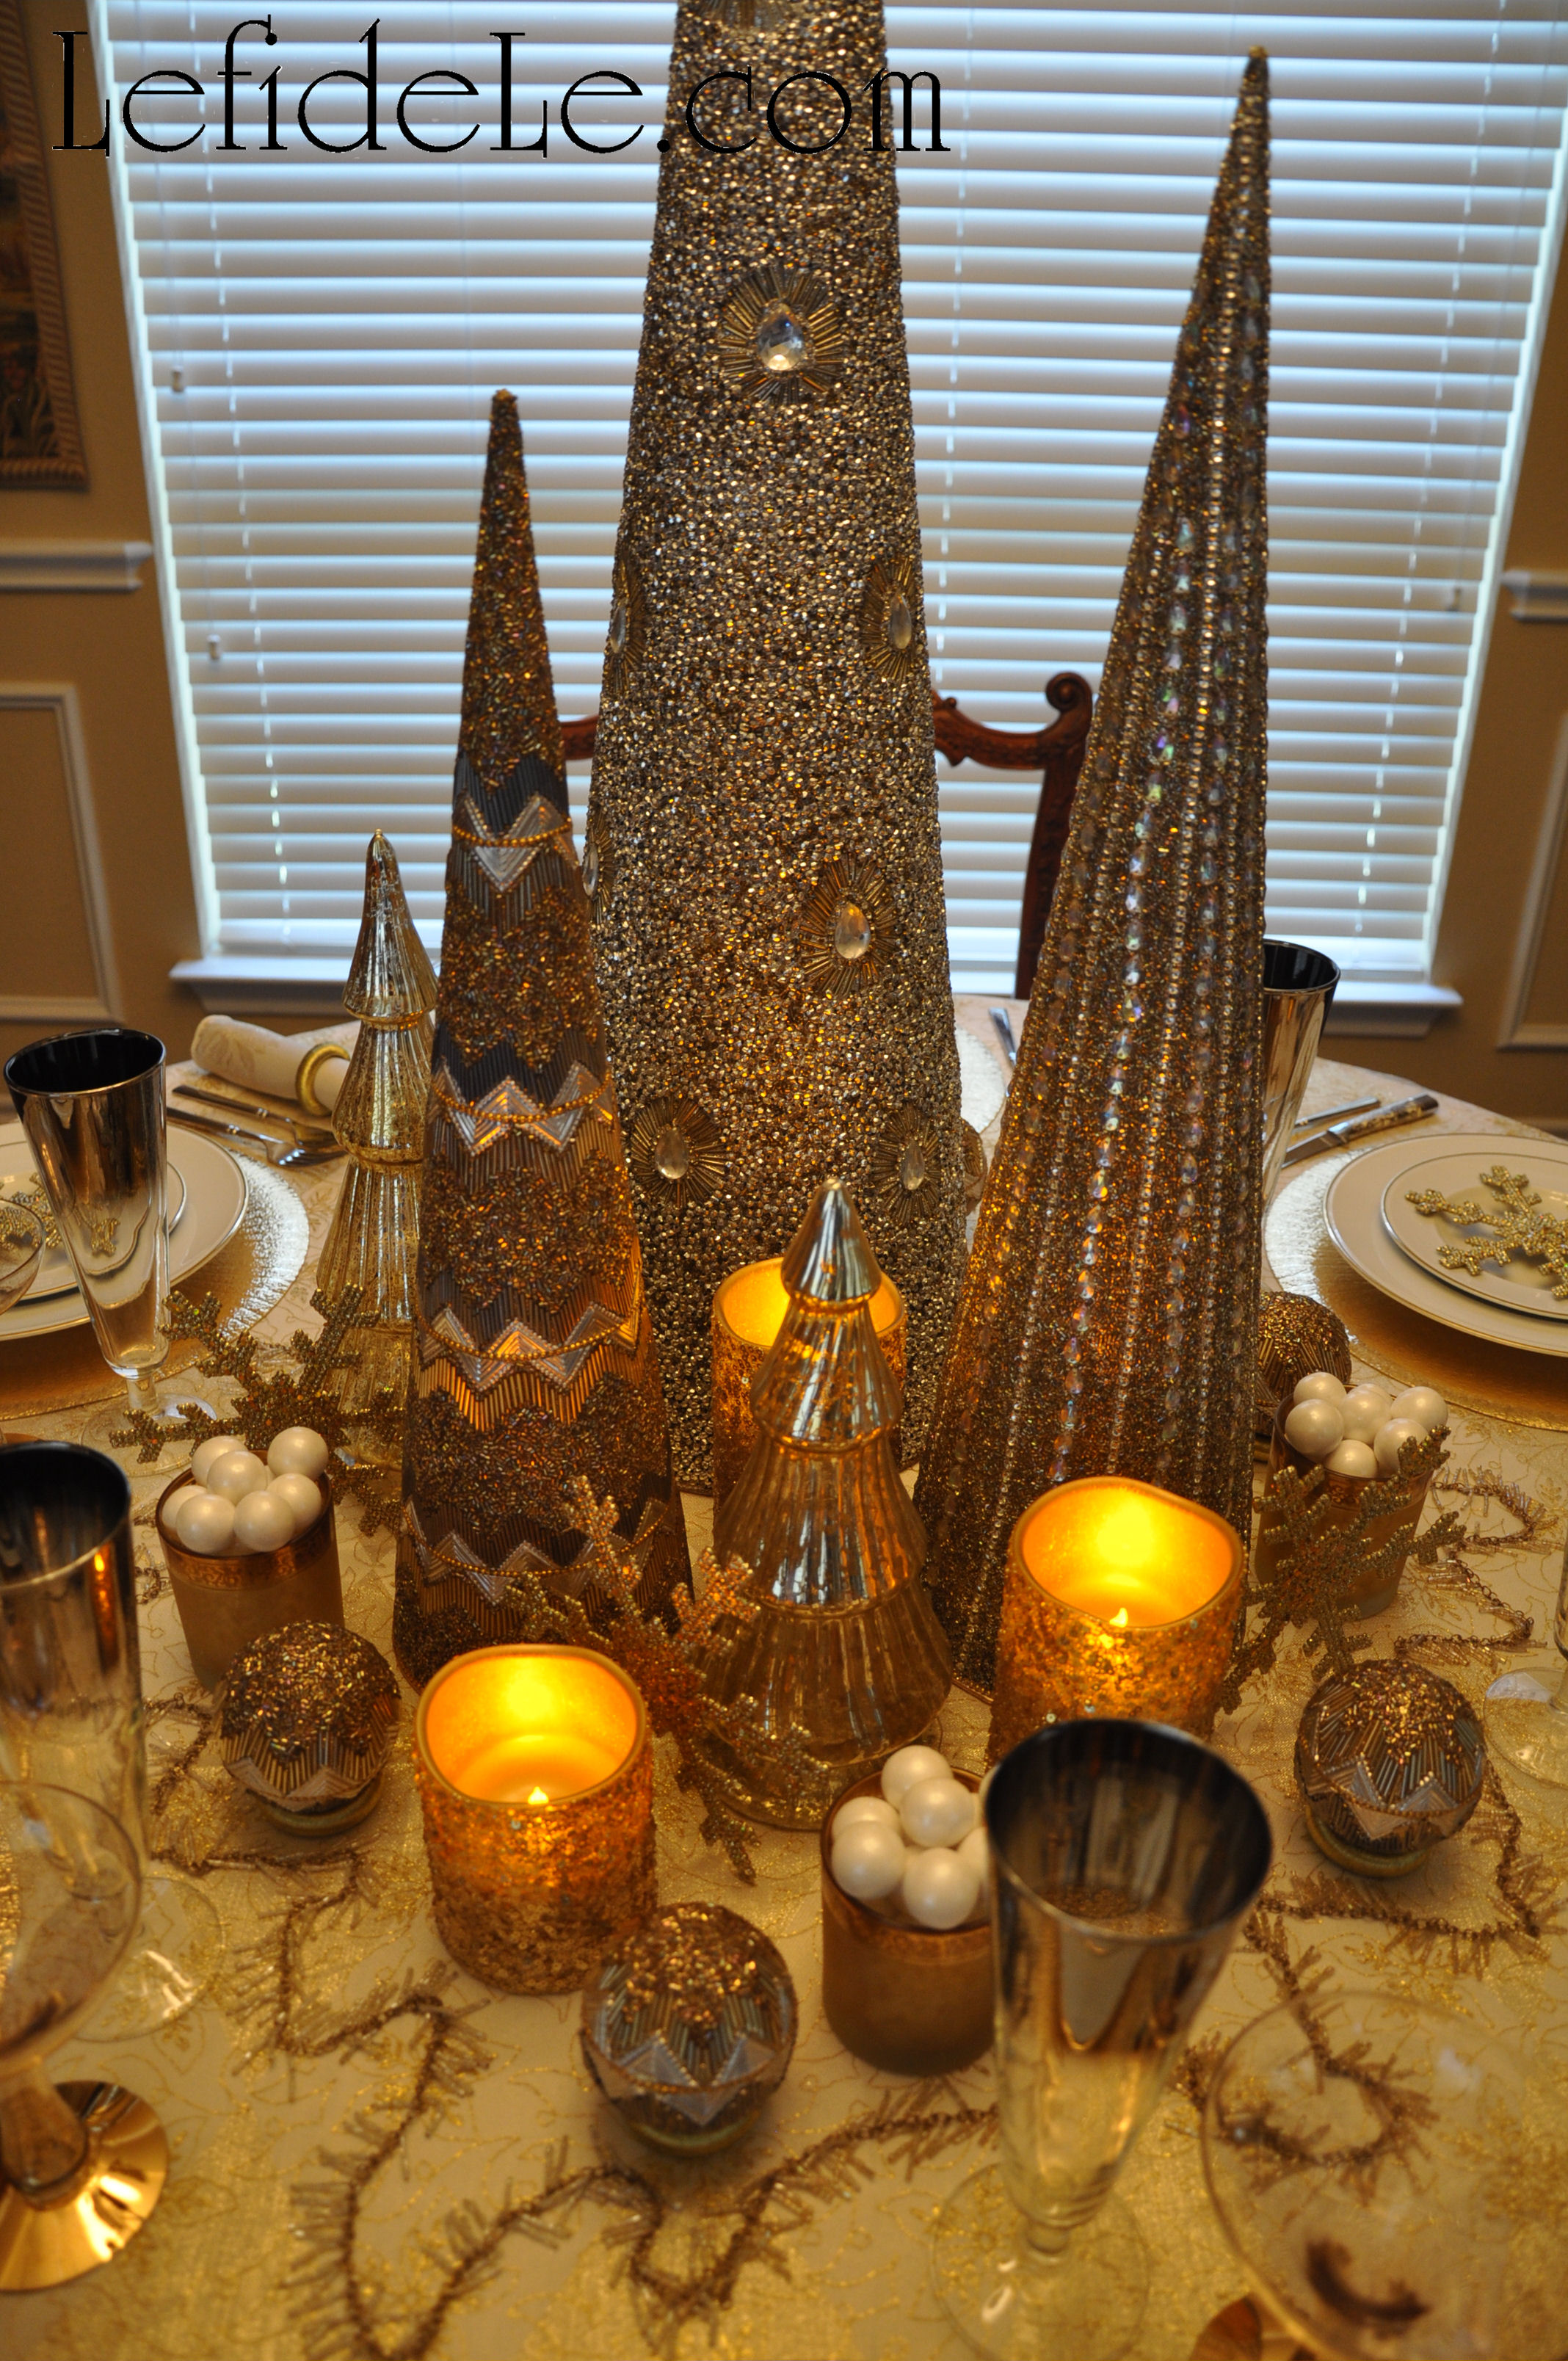
If you’d like to make your own last minute, you have two easy options. One is to buy glitter wrapping paper and double-stick tape it into a cone shape. You can just cut different sizes of paper and wrap each into a tube shape, then tighten one end into a point and tape it down. This only takes a few minutes and is affordable for everyone. The best part is that the paper can be reused for gift wrap later! Another option is to spray inexpensive Styrofoam cones with Krylon Glitter Blast spray. (I really like this stuff. It comes in many colors and is so easy to turn out matching crafts out of very different materials. I’m planning on showing it in use for my next Valentine project.) If you’d really like to go all out with the “Frozen” movie theme, just set the table in aqua blues, silver and white. It would even make a fantastic birthday party for a fan of the film. I topped my harlequin tablecloth with an inherited vintage mesh cloth with golden embroidery. (This layered look is easy to emulate with all of the various sparkly mesh fabric available. I previously purchased some myself from Joann’s with a 40% off coupon.)
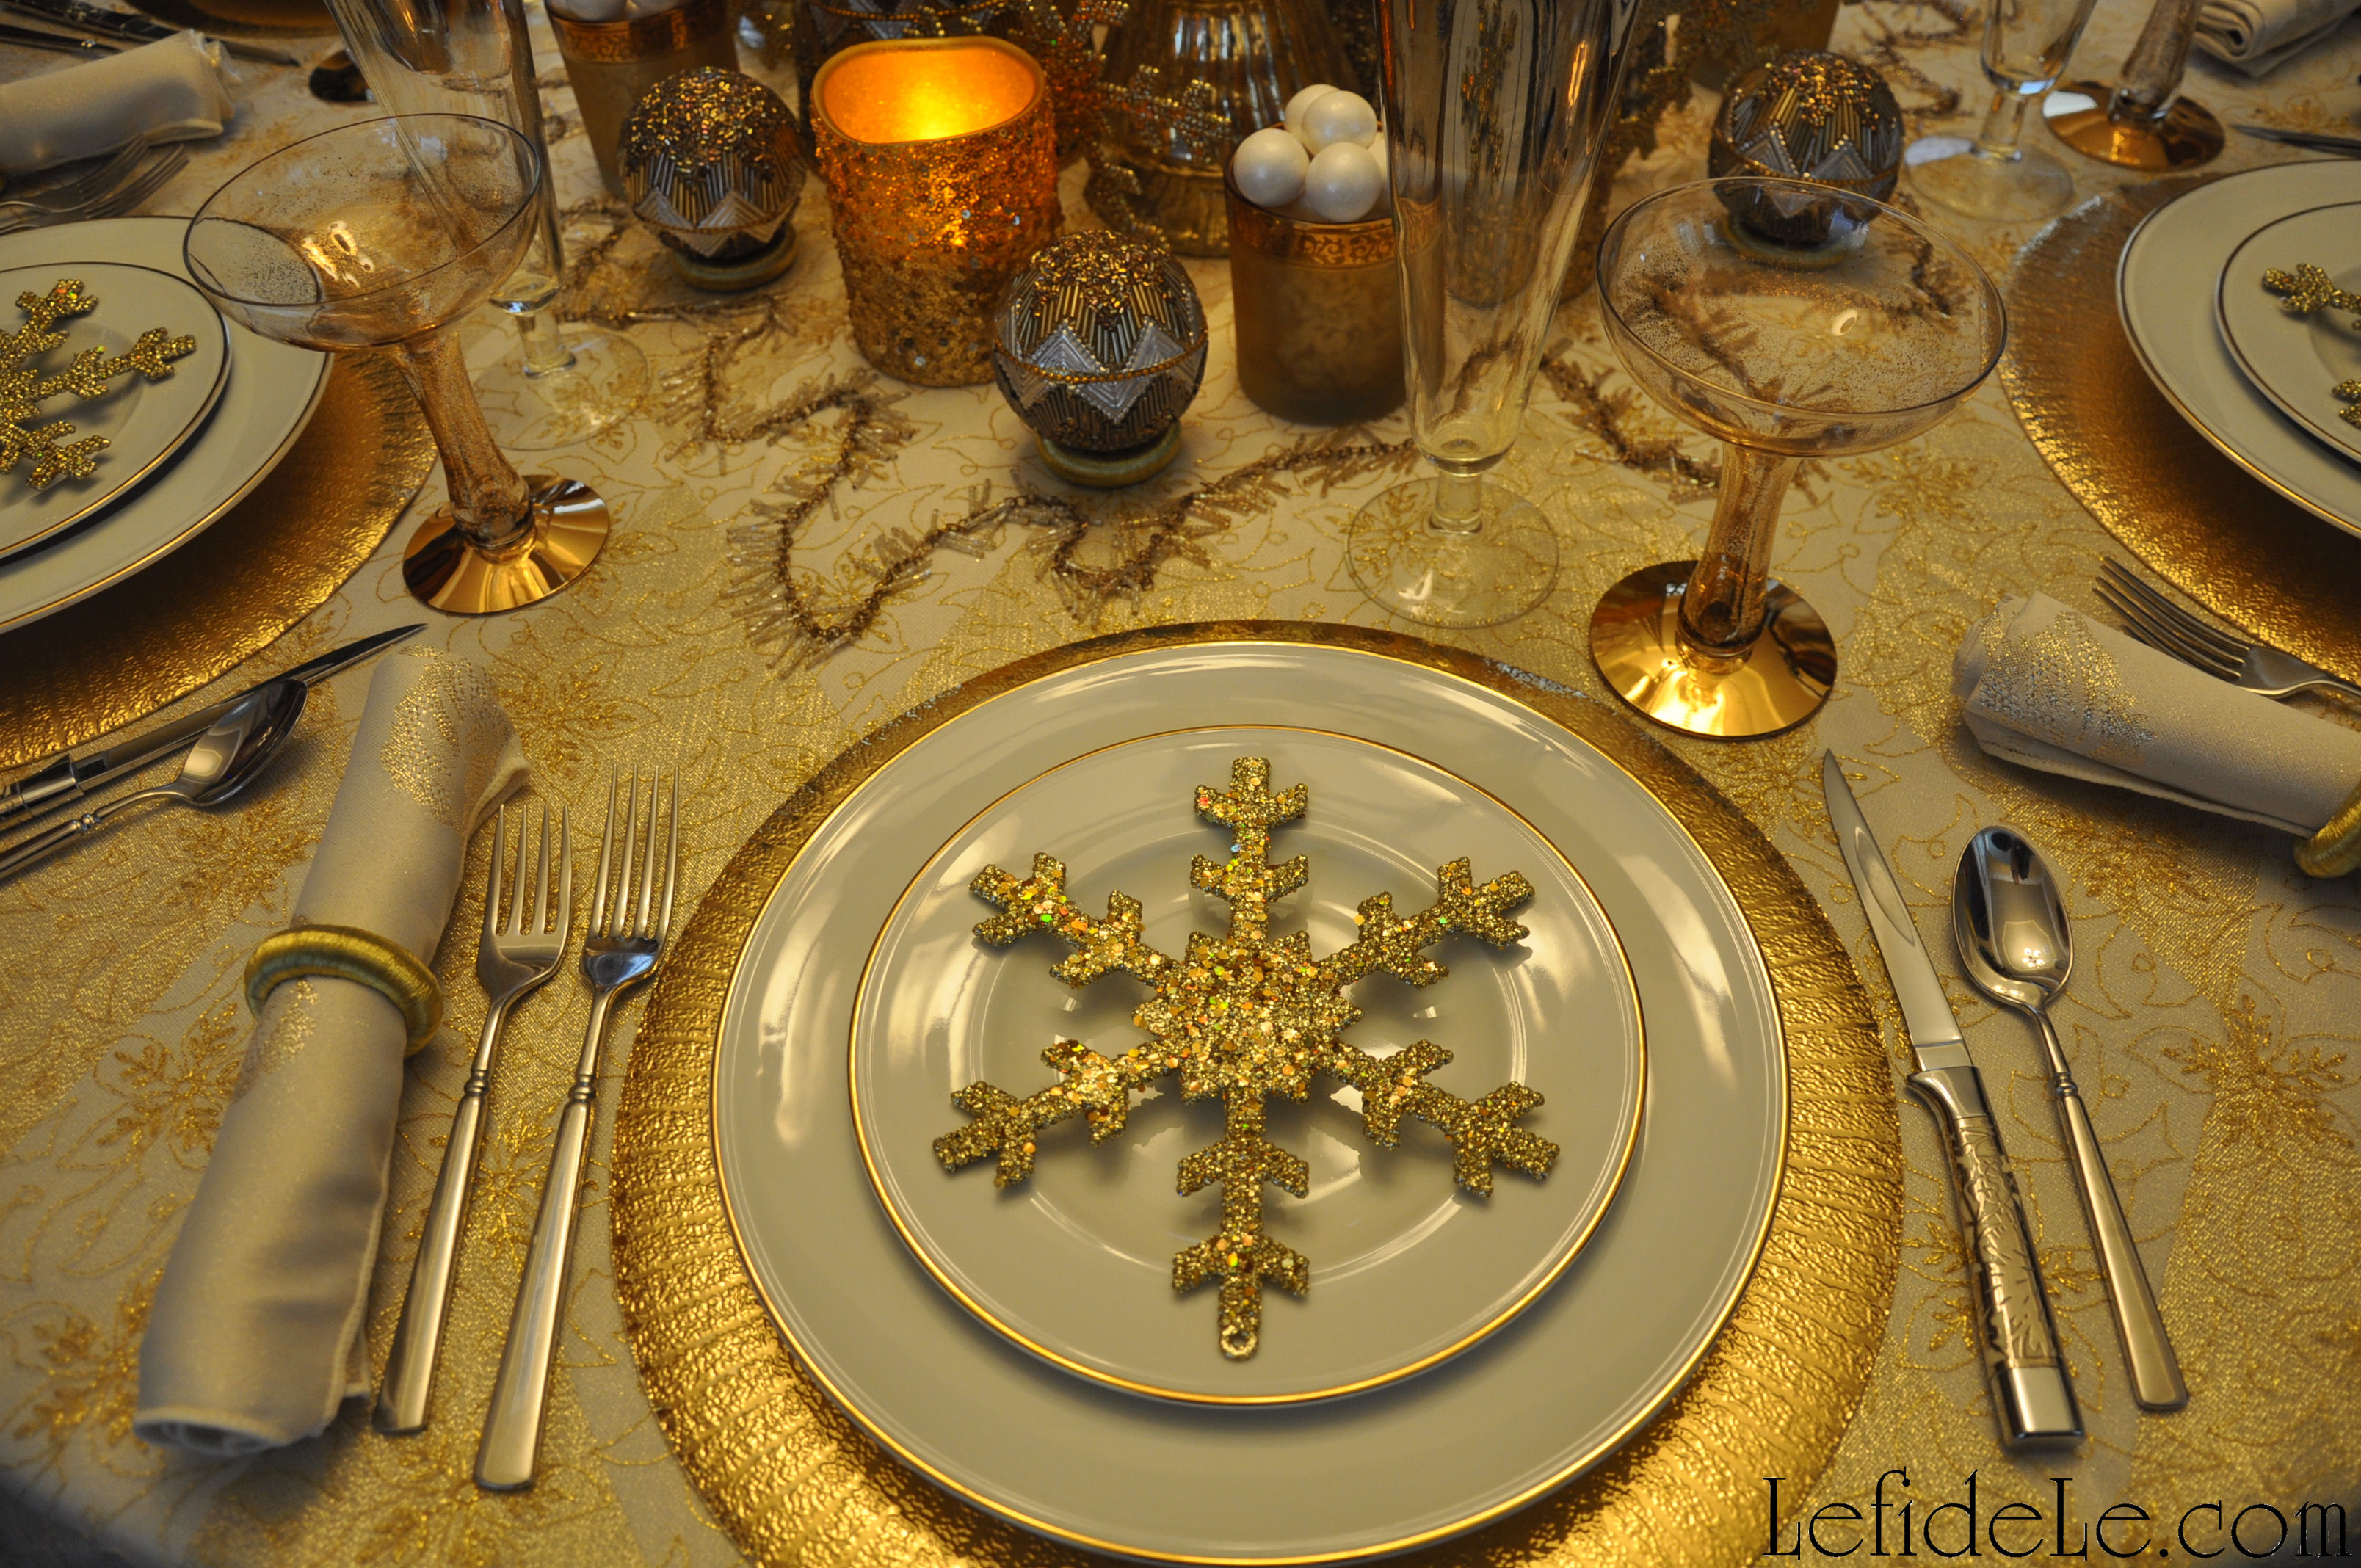
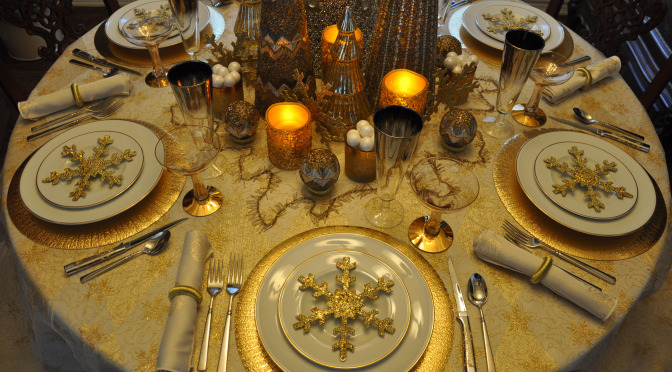
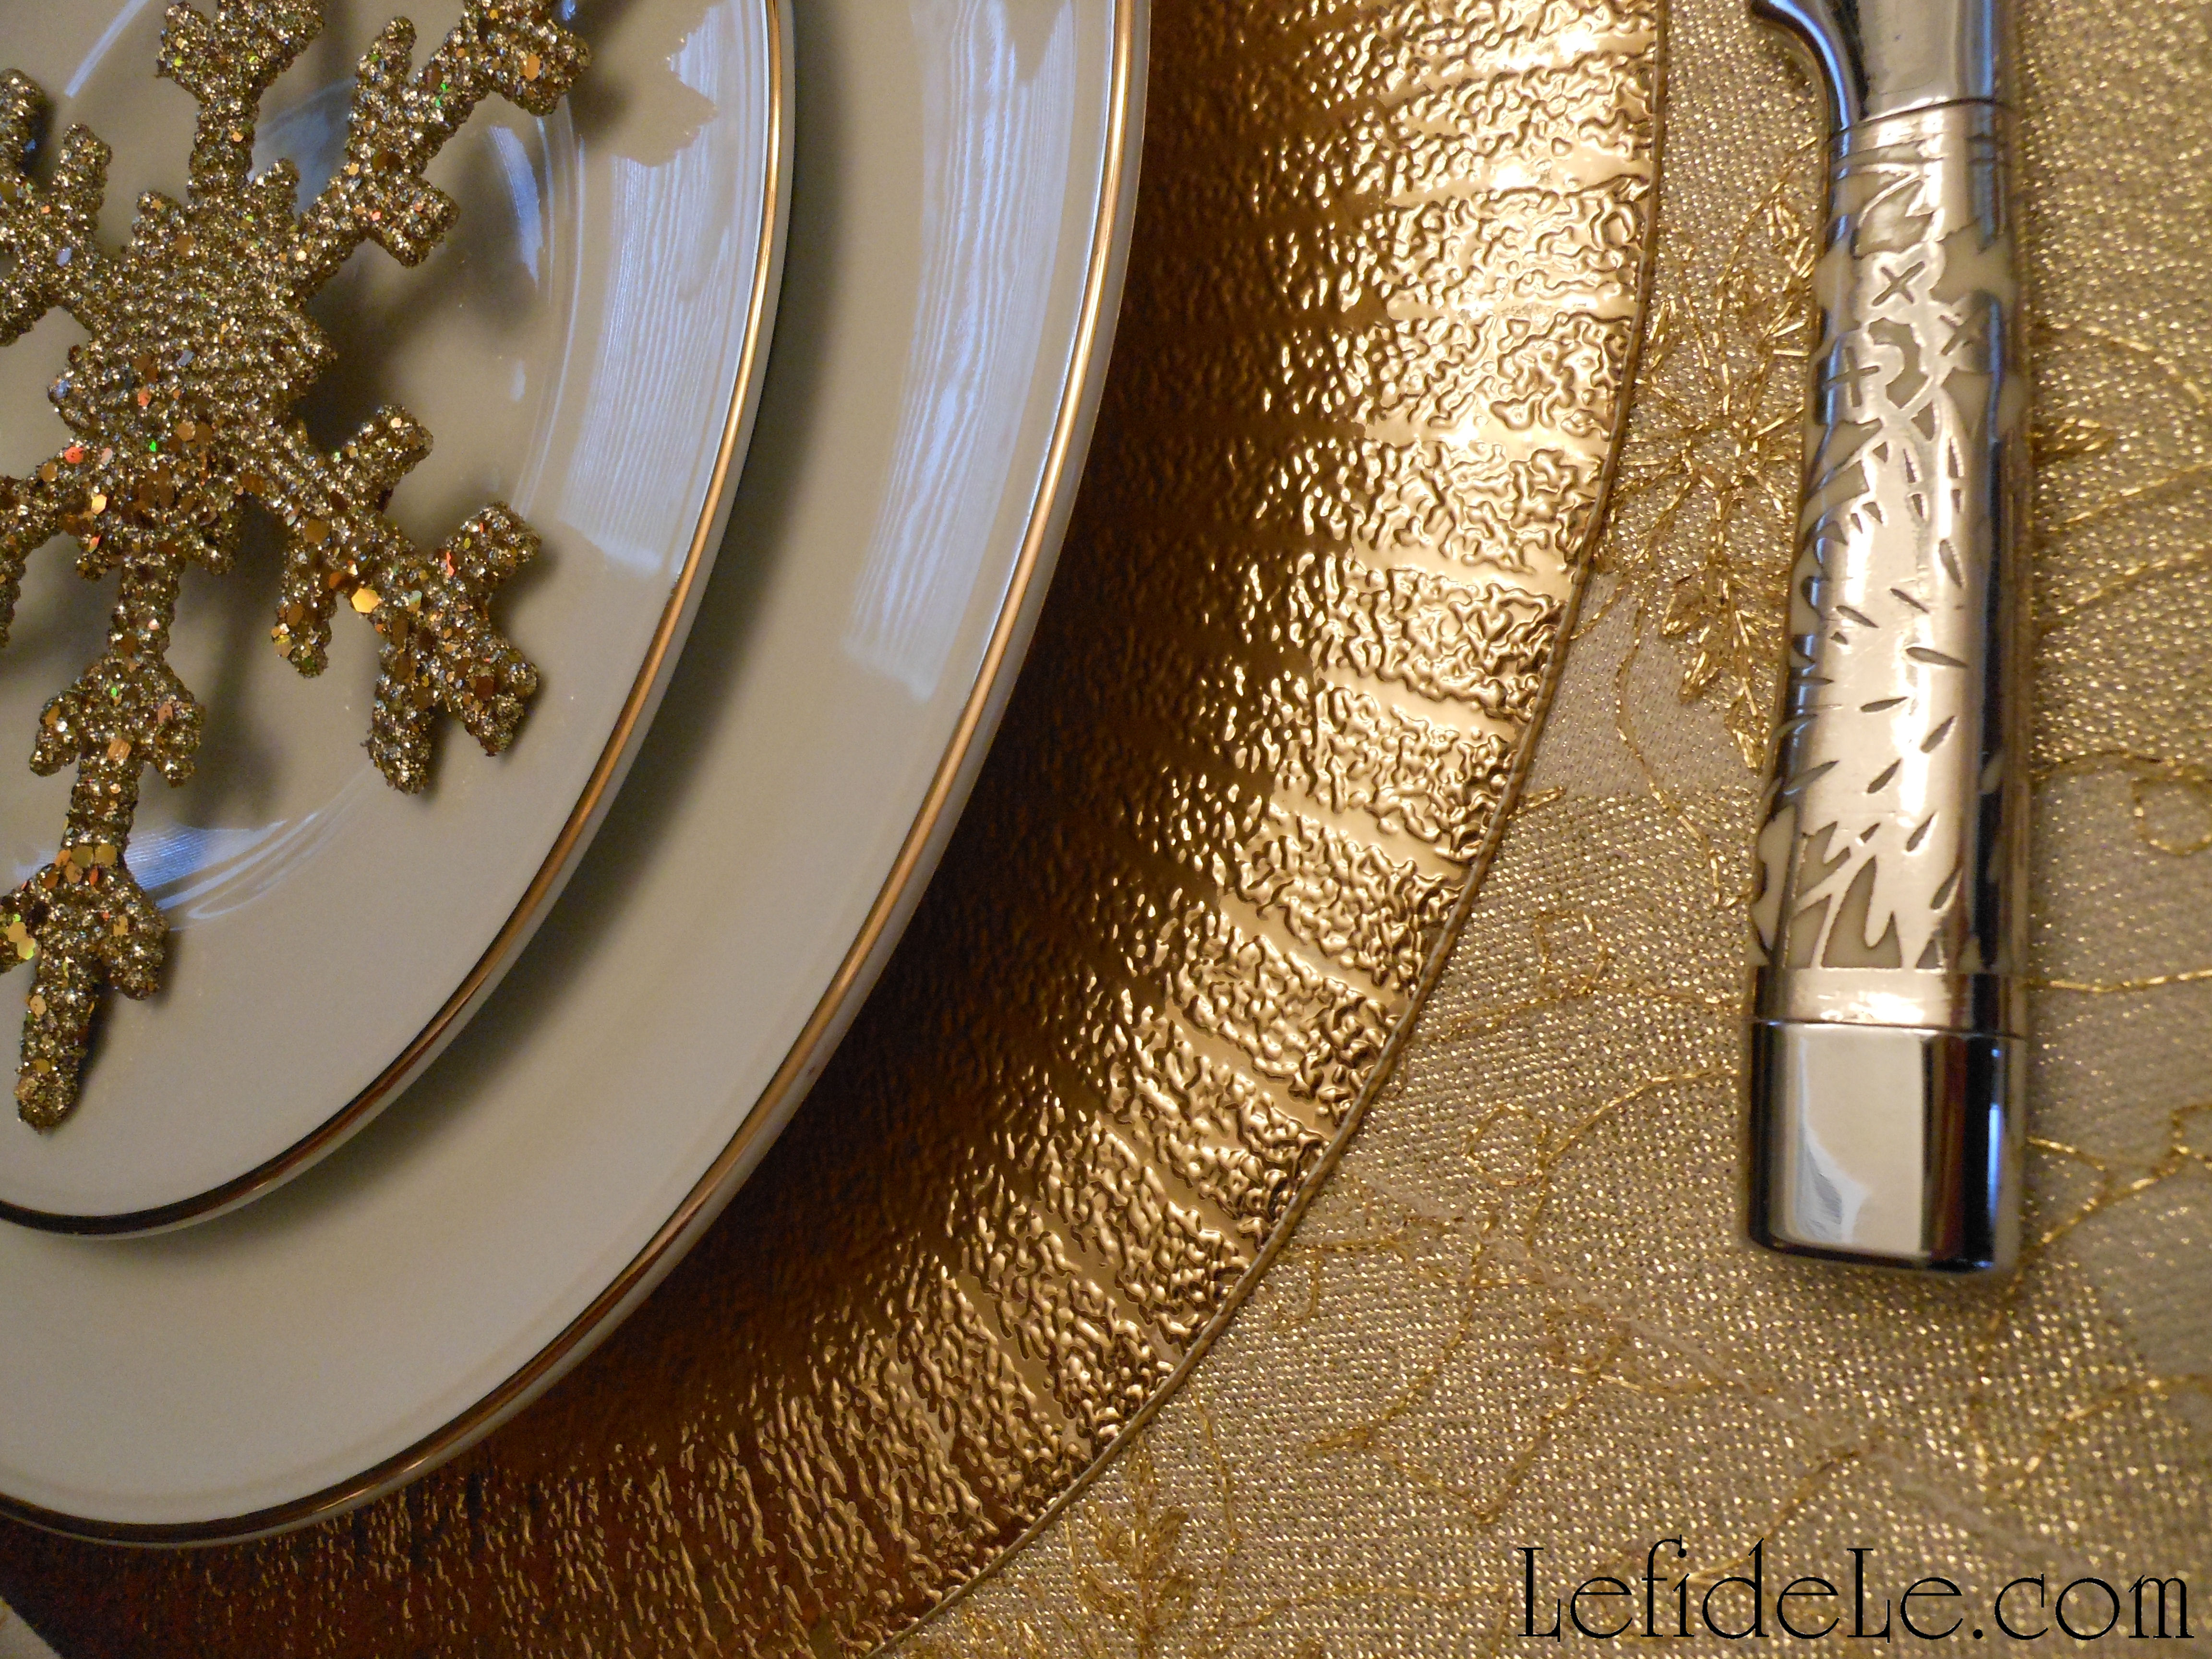
For each place setting, I used my grandmother’s ivory dishes with gold trim atop gilded round placemats that served as a form of plate chargers. I also made use of my daily Oneida silverware, but switched out the butter knife for vintage steak knives with ivory scrolled handles. I love mixing and matching seamlessly!
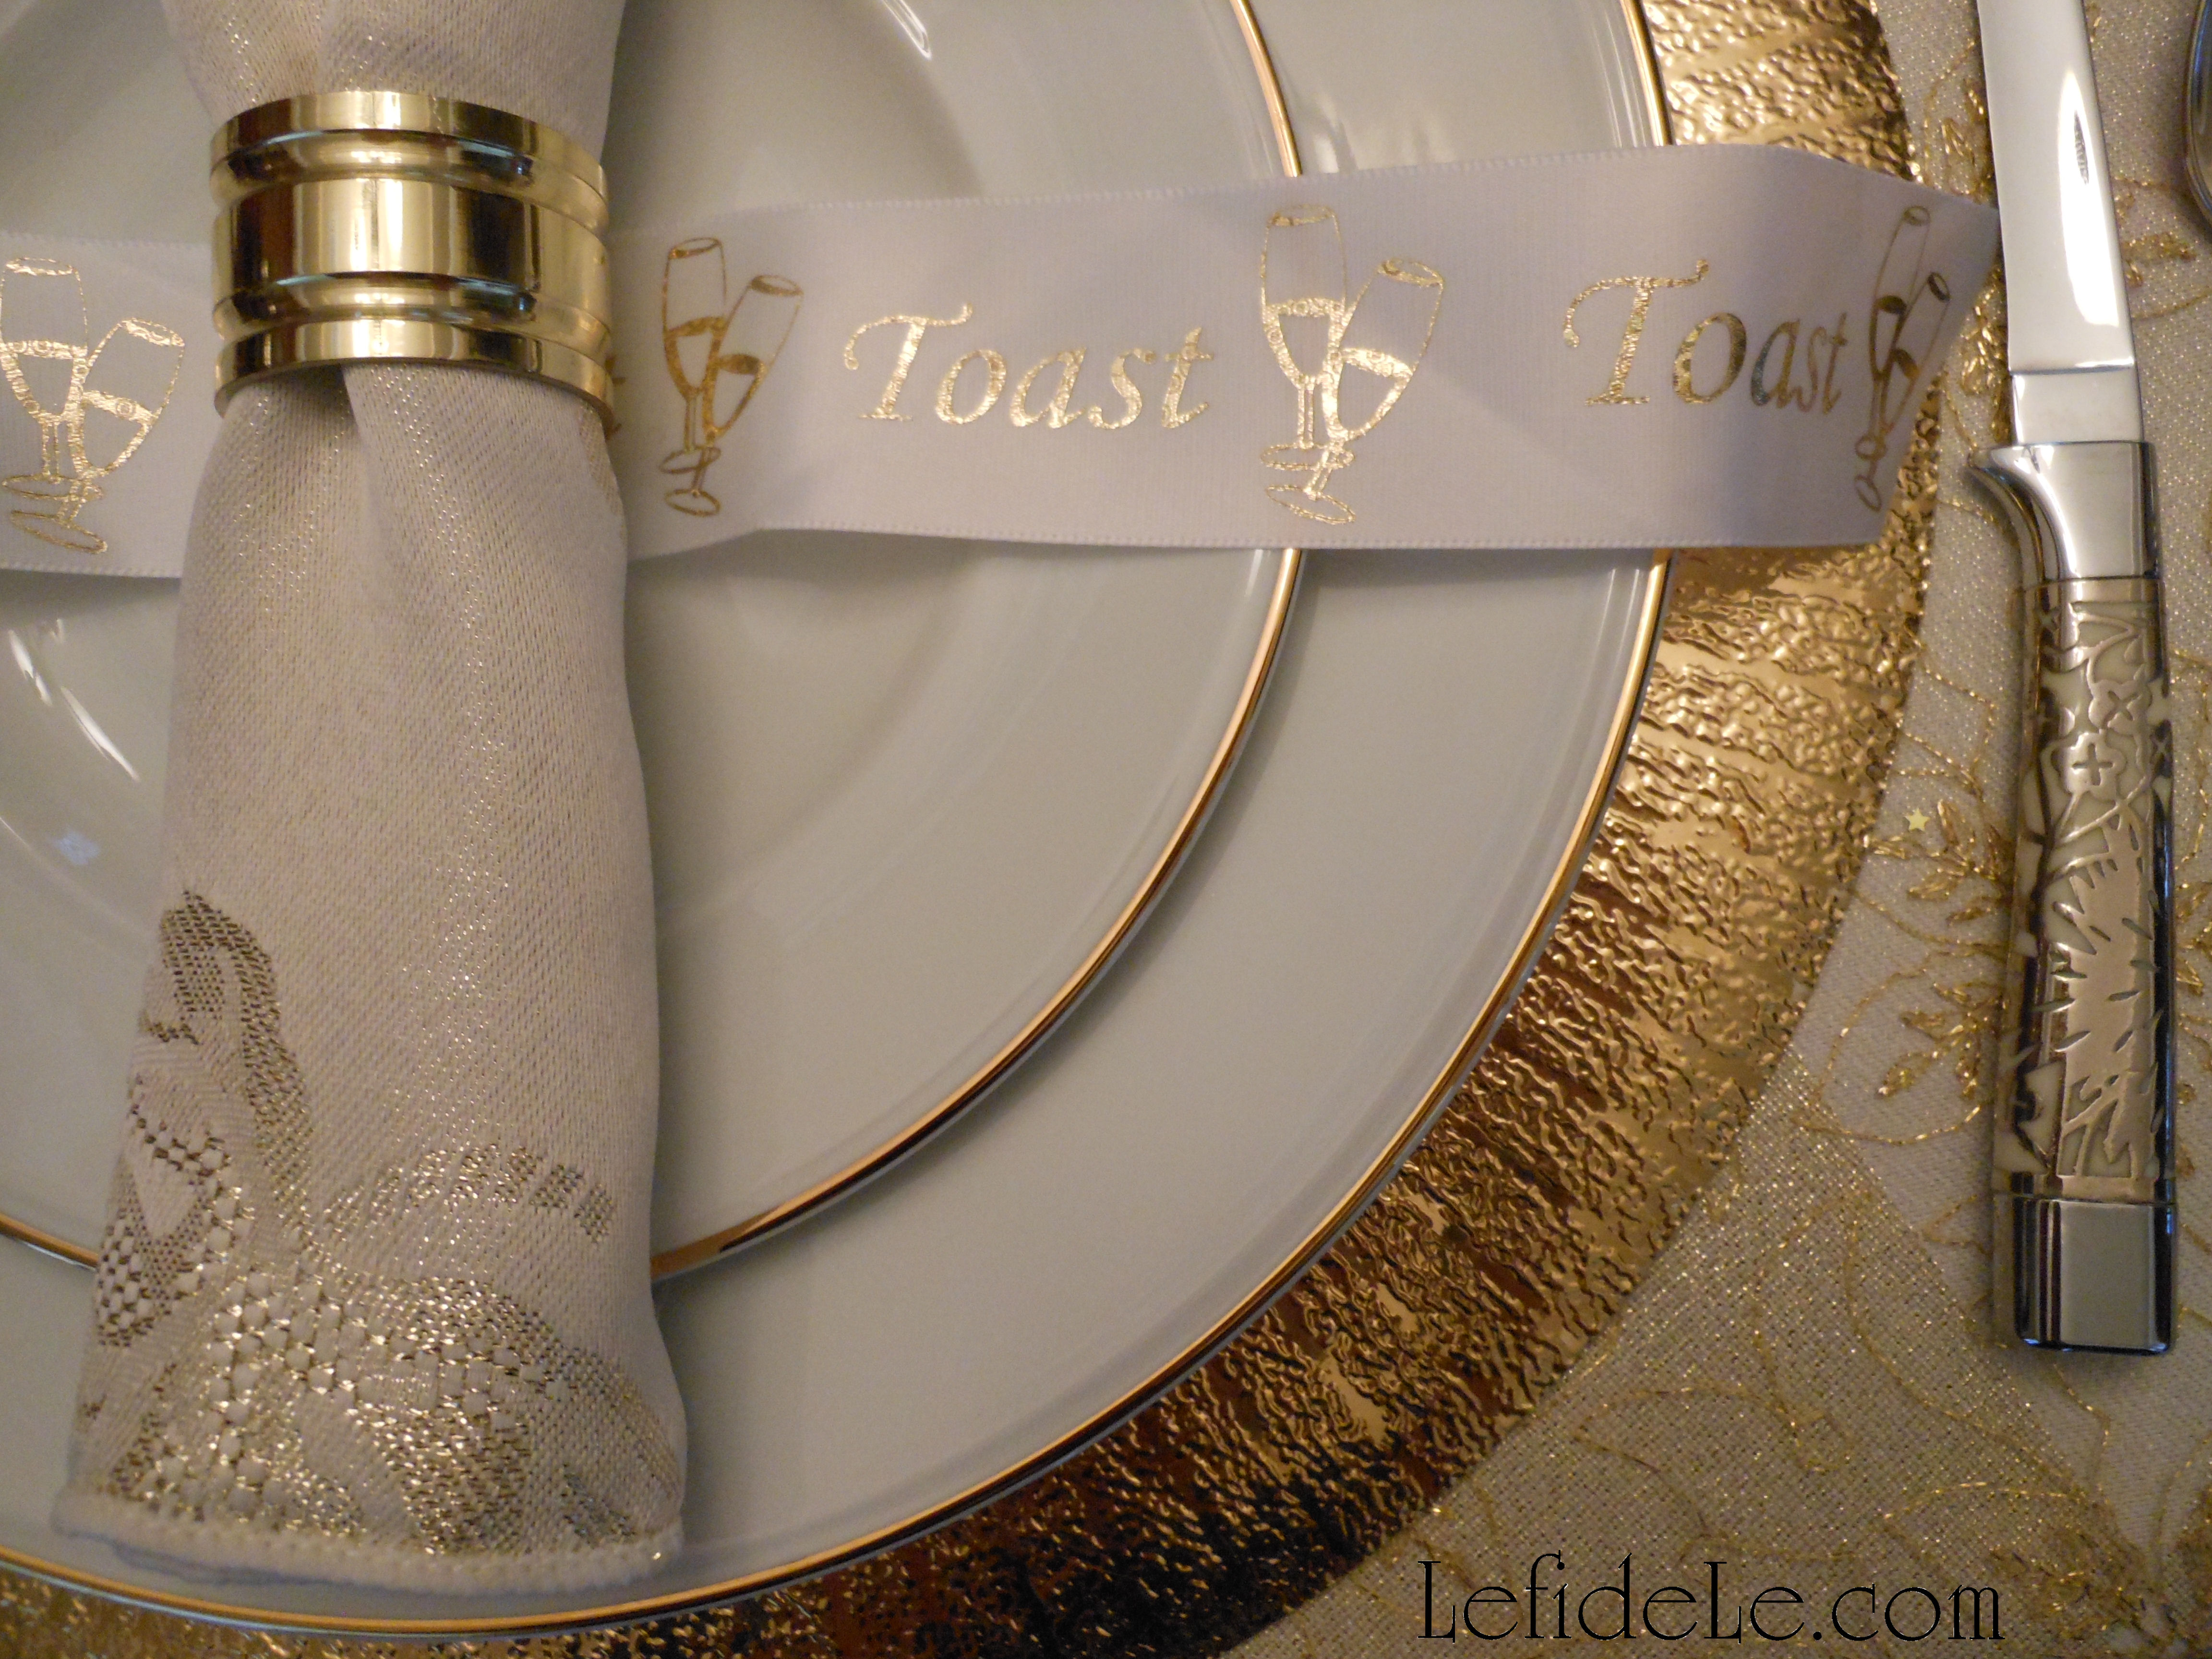
I already had two lovely sets of napkin rings that would work beautifully, so I decided to go with vintage brass ones for New Year’s, and those with golden threads for Christmas. I placed extras of these beneath beaded Christmas ball ornaments as tiny stands, with the metal eyelet hooks hidden inside the rings. (I’ve formerly employed this idea successfully with marble Easter eggs.)

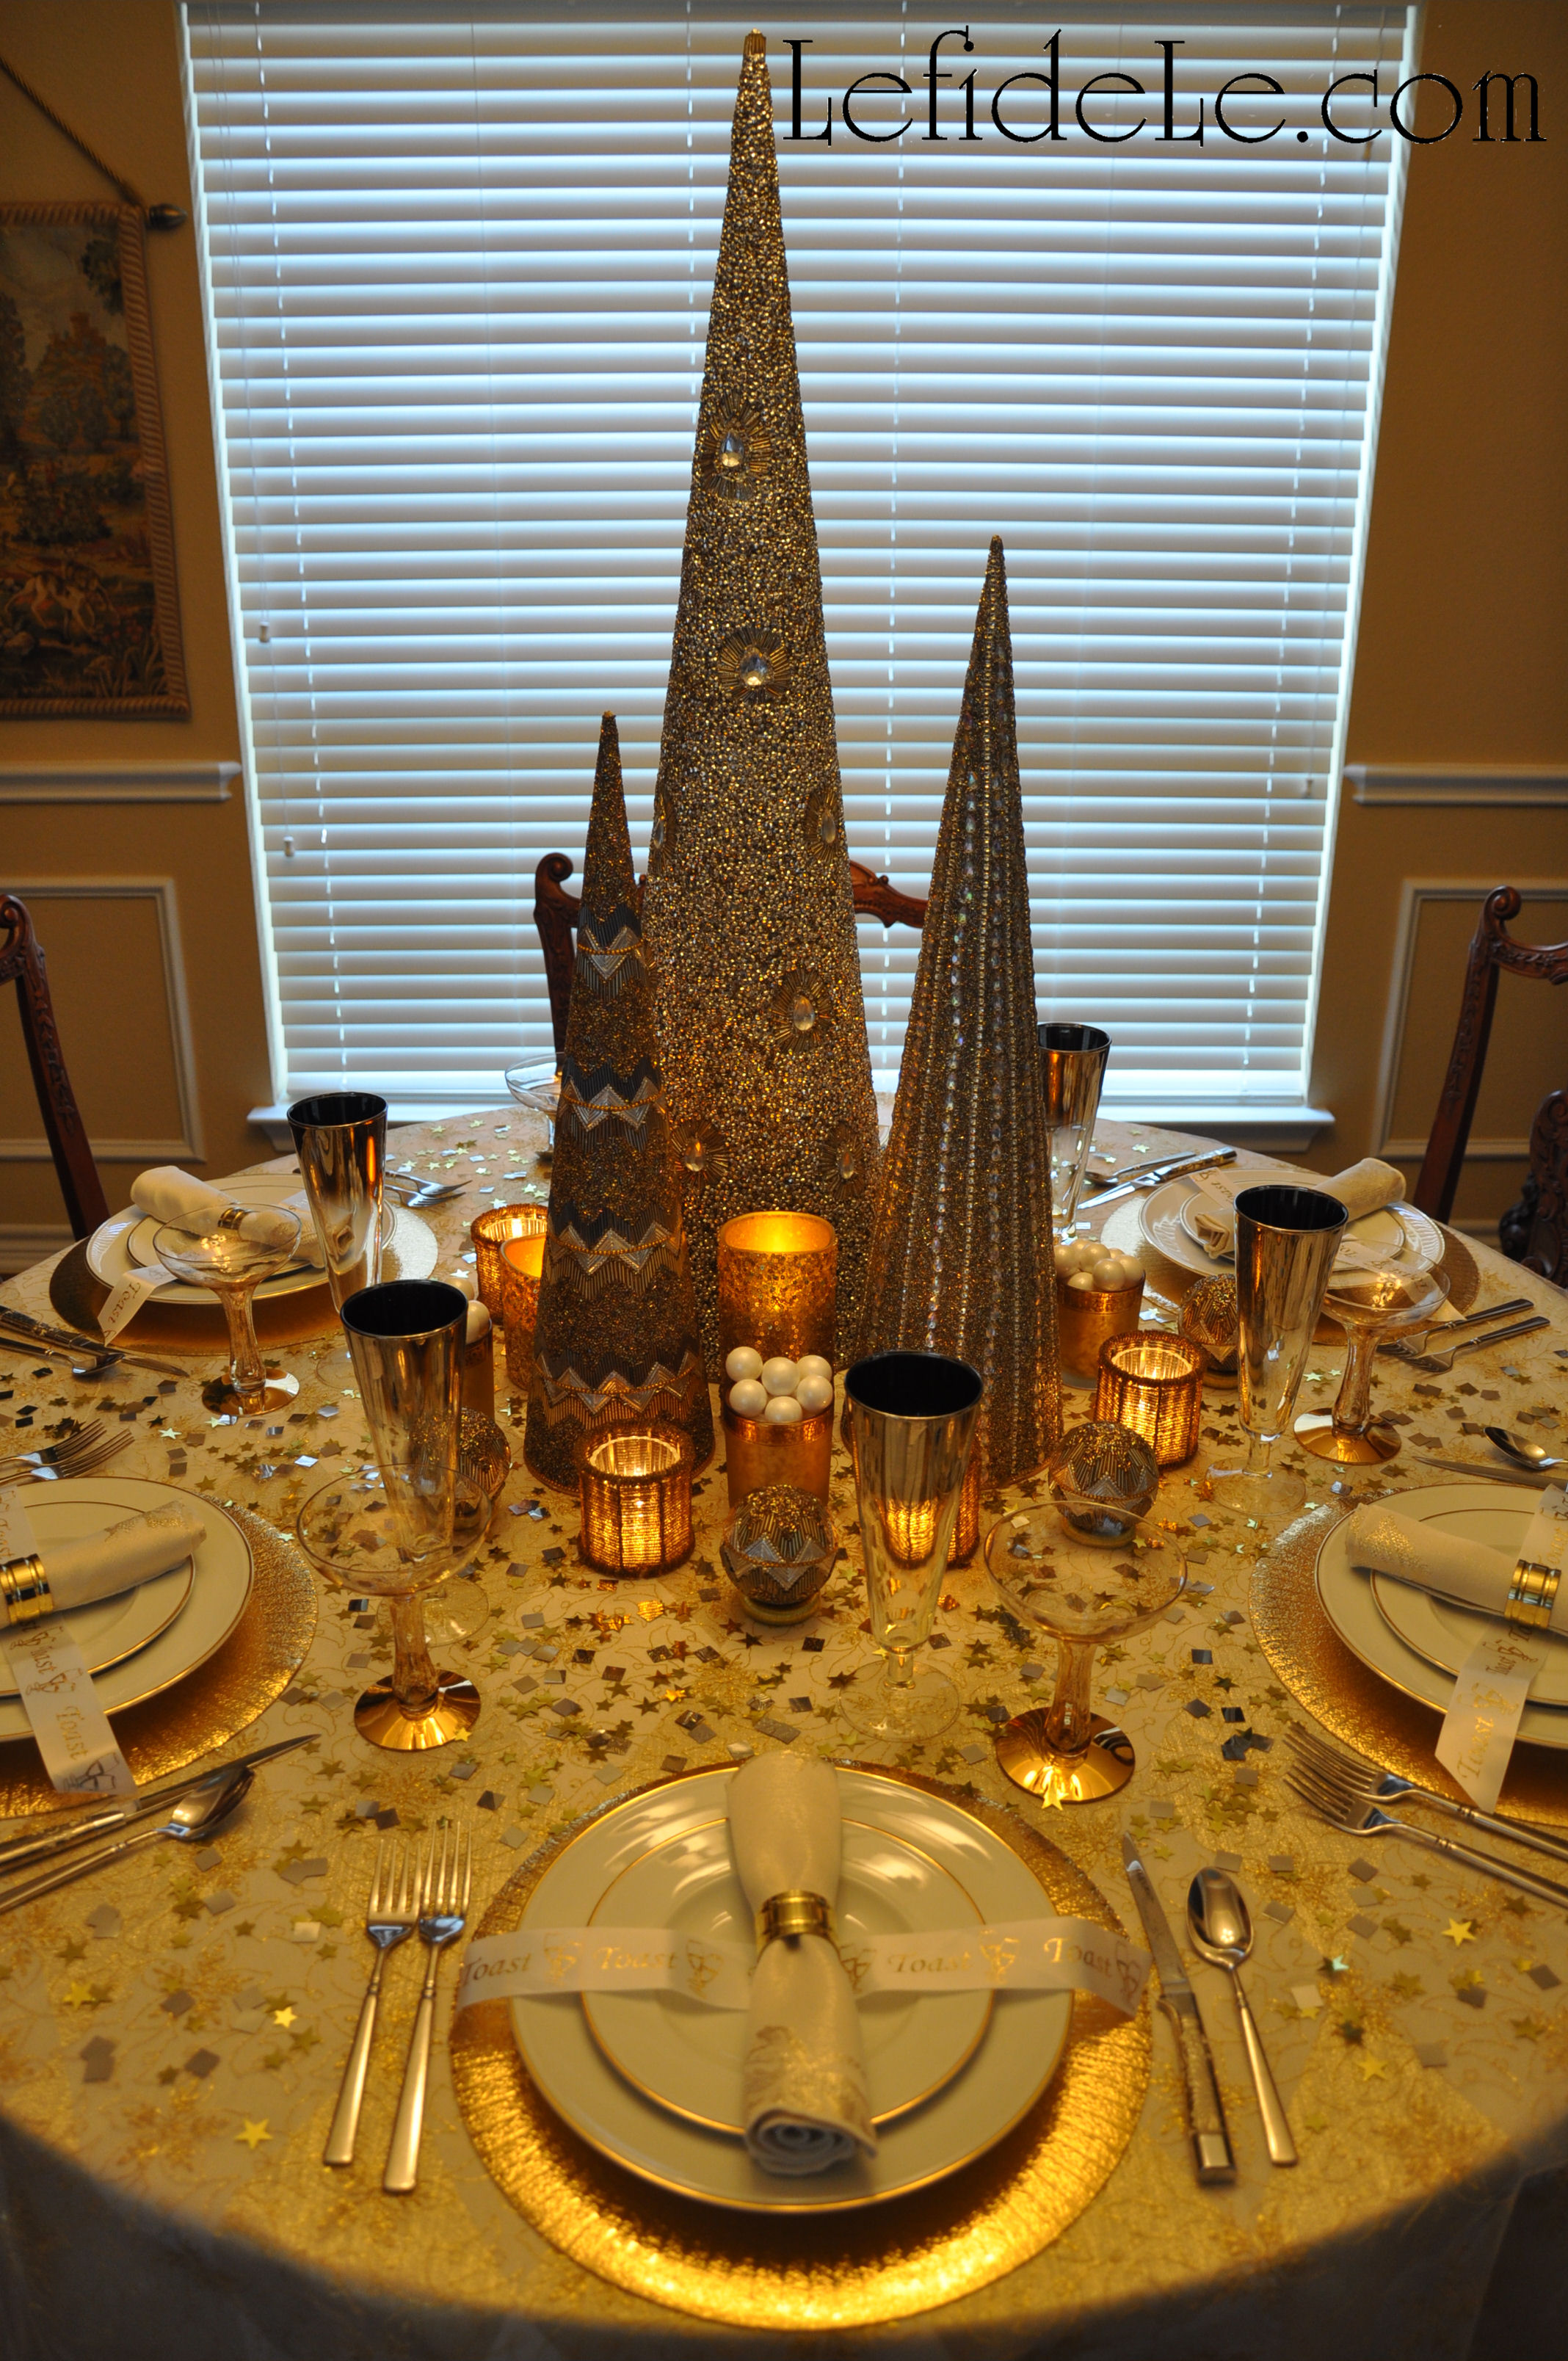
In the New Year’s setting, I placed ivory satin ribbon emblazoned with gold foiled champagne flutes and the exclamation “Toast”. (This ribbon from Joann’s would be equally lovely for a wedding as well.)
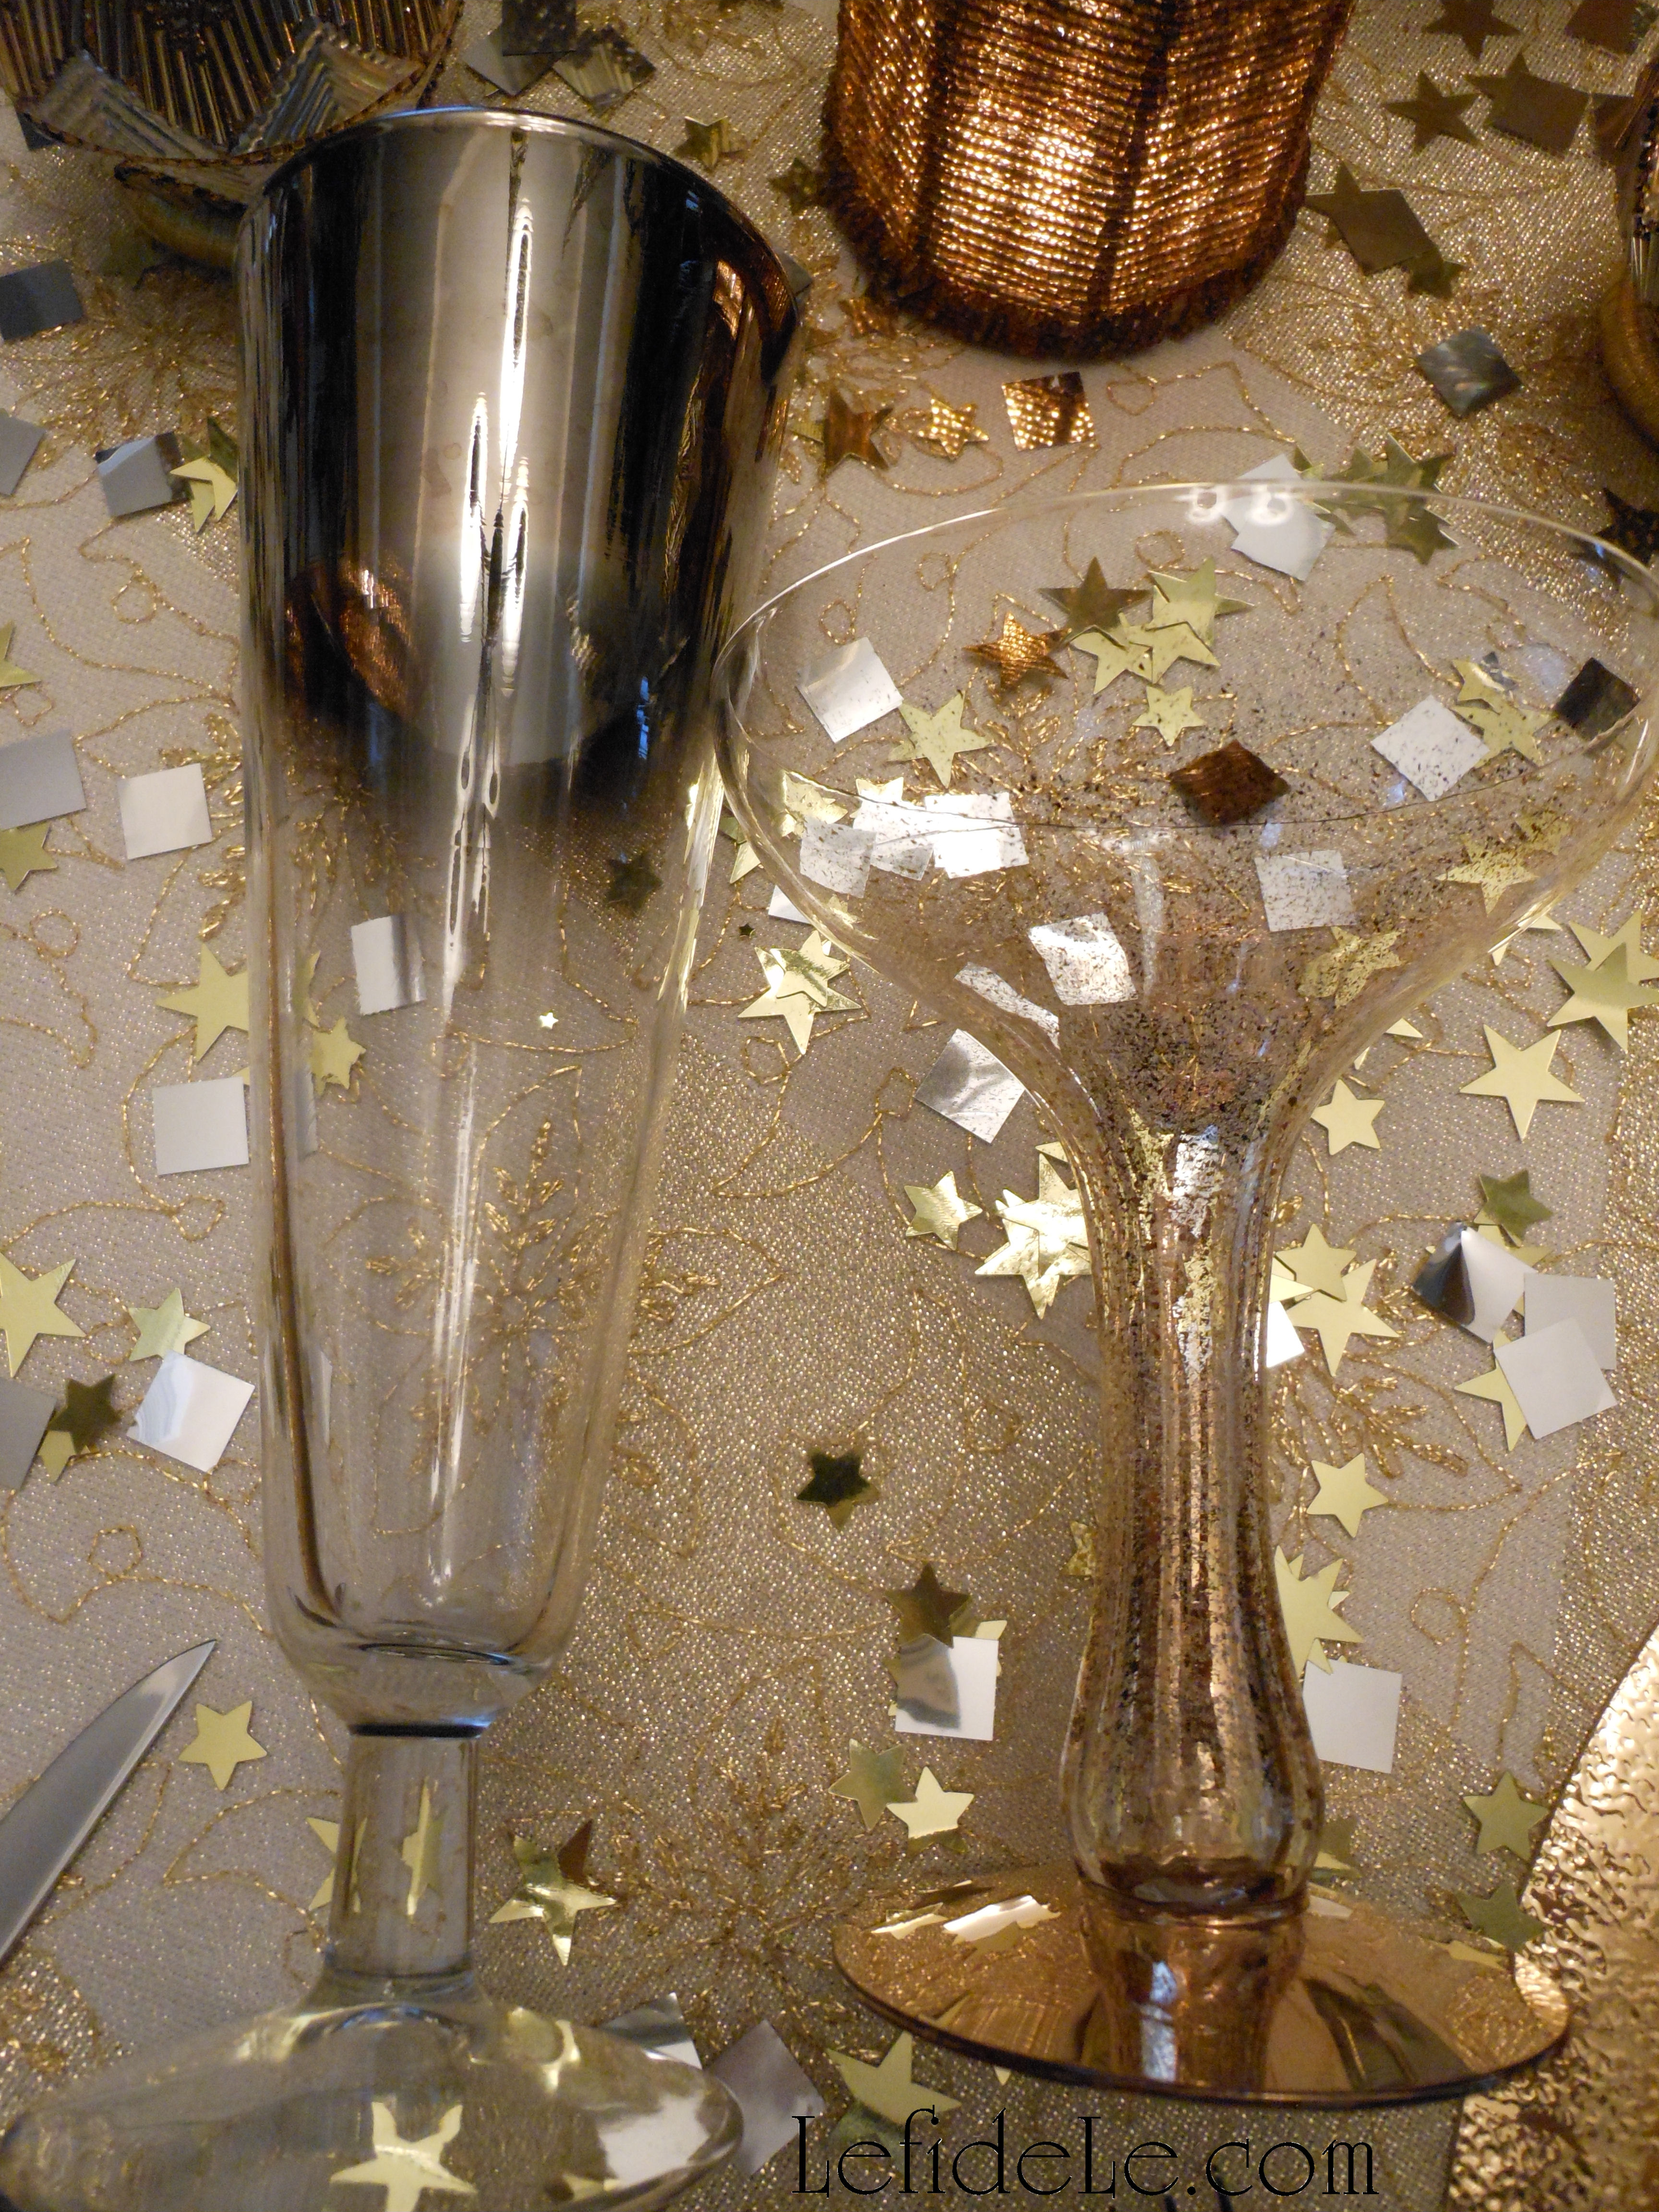
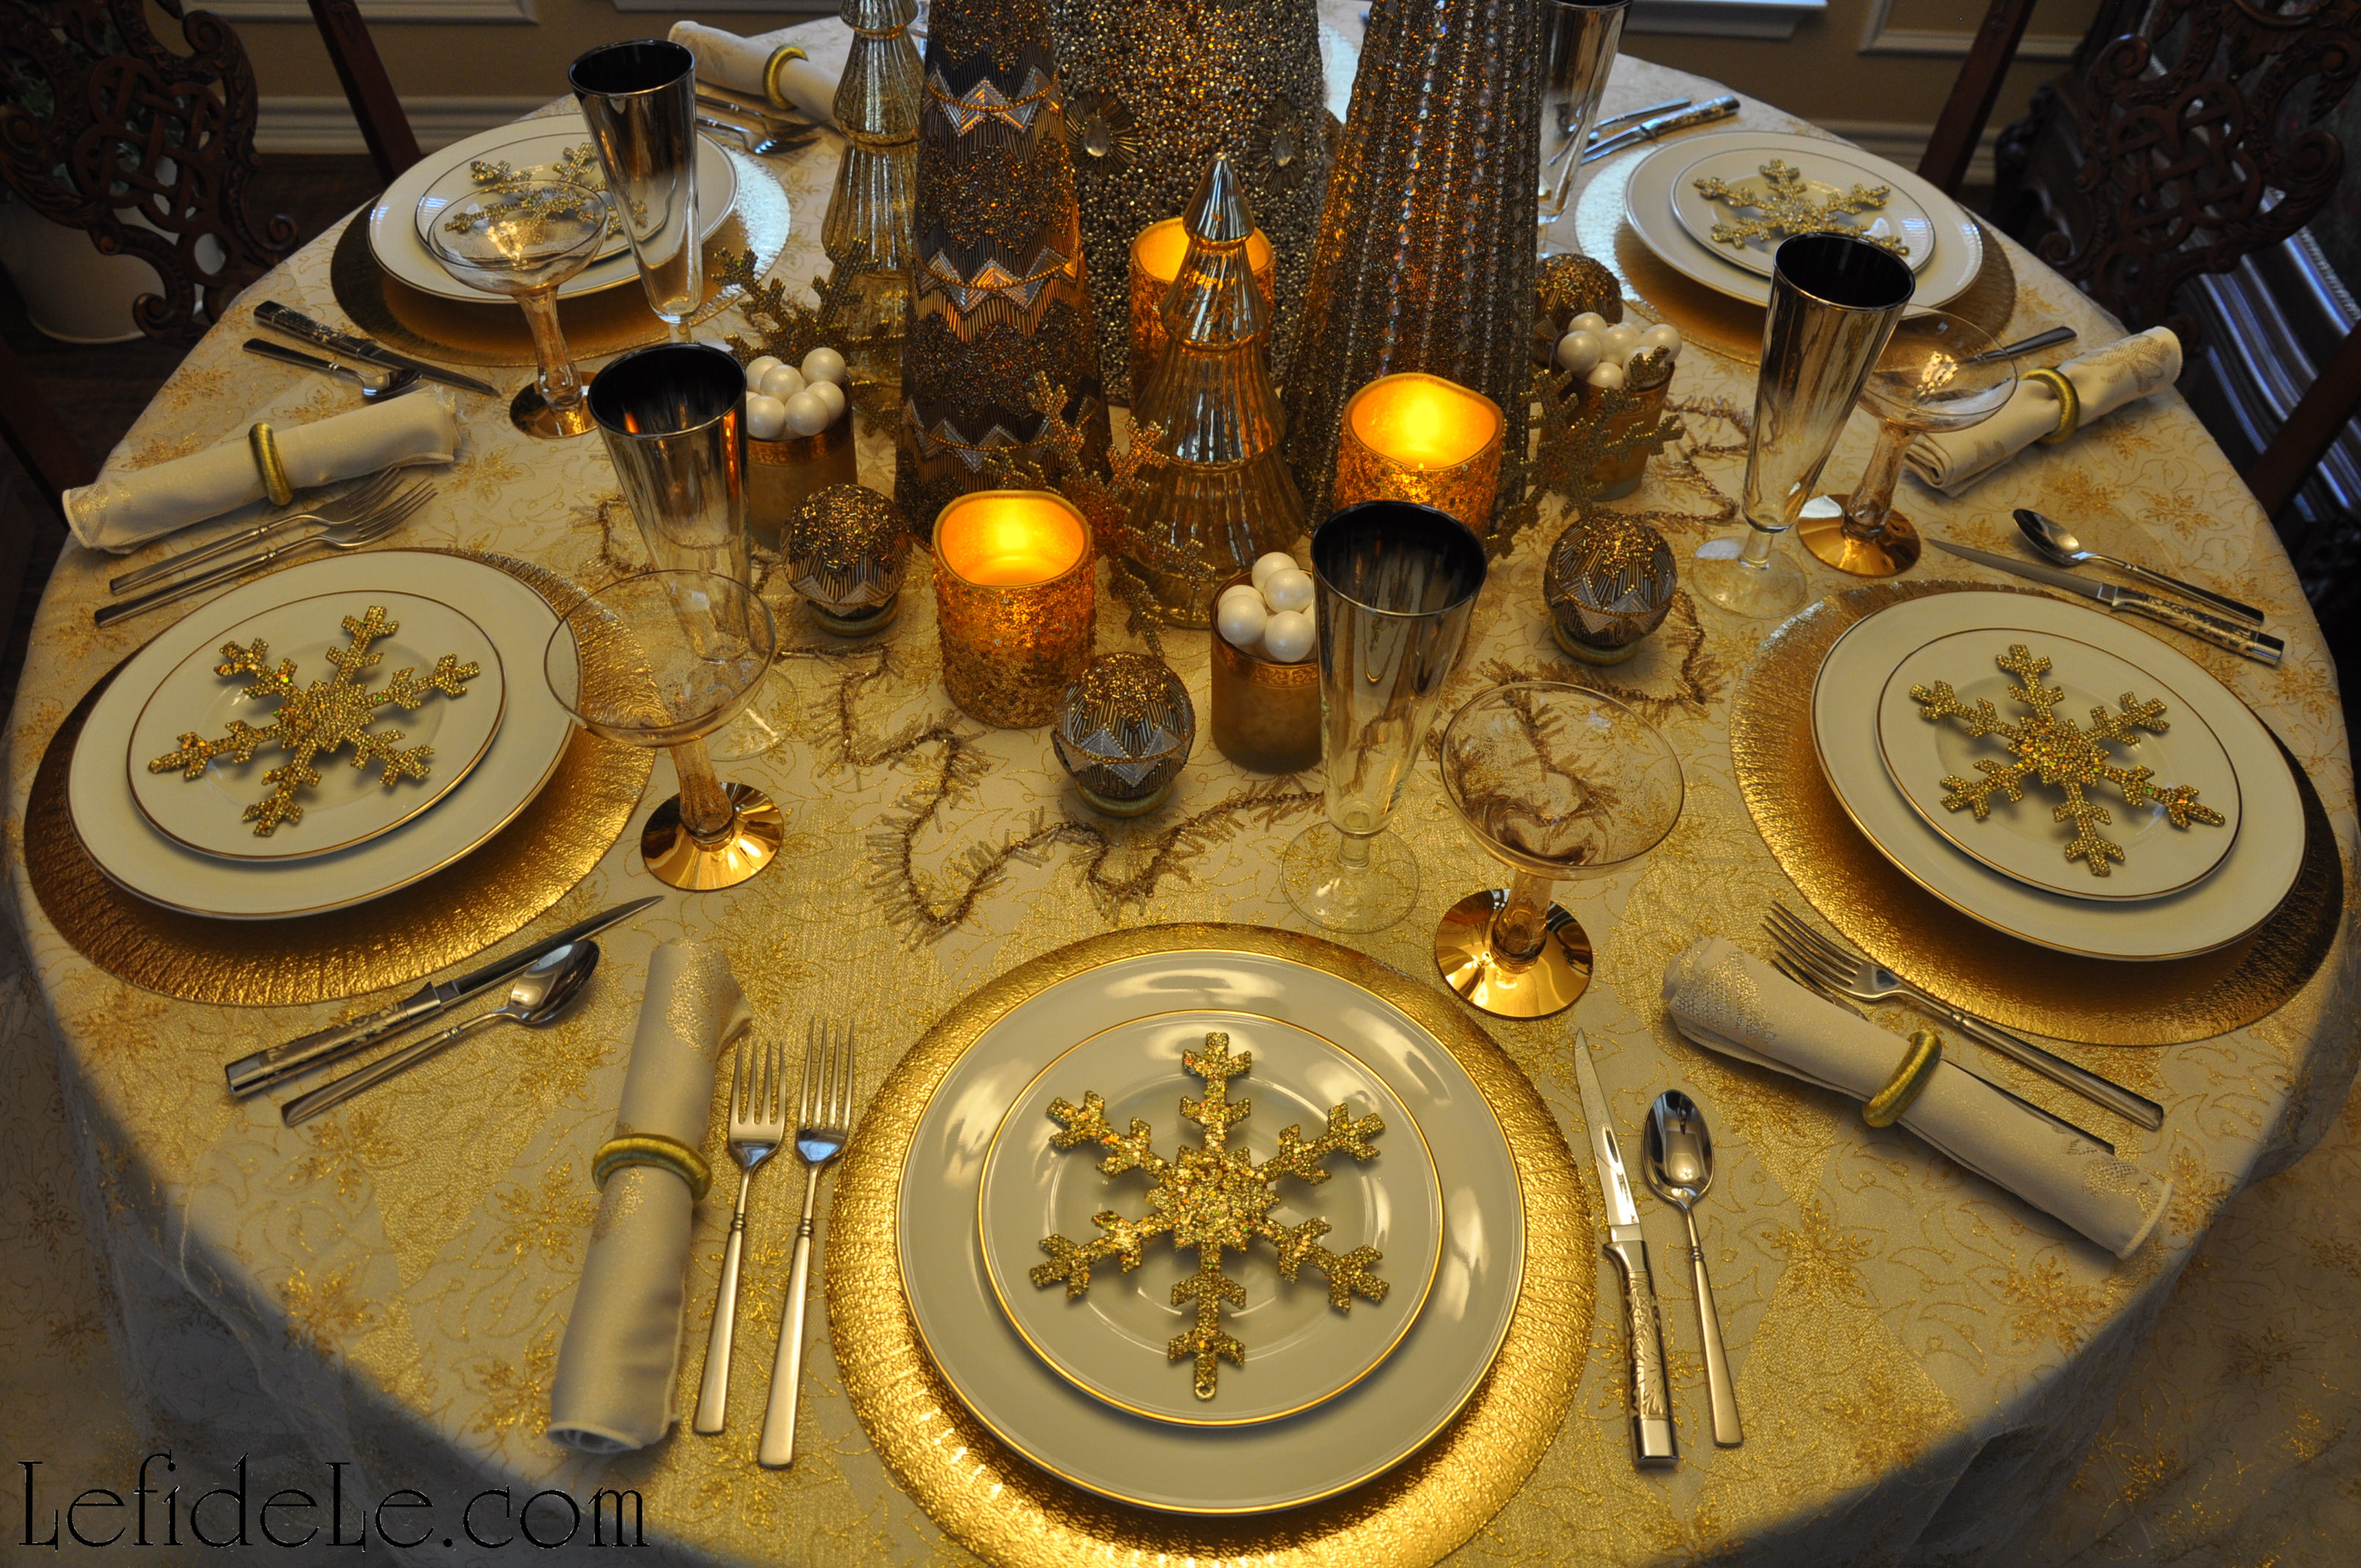
For Christmas, I topped the salad plates with large gold glitter snowflakes. I set more of these vertically throughout the centerpiece. (These can be found at numerous stores or may be homemade with chipboard or wooden snowflakes glittered with spray.) Lastly, I added inherited vintage glassware with pewter and golden touches. (Clear vessels would also be lovely in their place.)
Both table-scapes had golden scrolled embossed glass votive holders lined with plastic wrap to safely contain white “snowball” candies. Each of the centerpieces also had LED candles covered in gold sequins.

I added further glow to the New Year’s version with real votives in gold beaded holders. This table was finished off with large foil confetti of silver squares and gold stars. (Another easy addition would be to include metallic noise makers to ring in the New Year.)

For Christmas, pale gold glass trees were nestled between the cones. (I’ve seen different types of metallic glass trees at both department and craft stores.)
All of this was surrounded by a chain garland with opalescent bead “icicles”. (This can be made by anyone with jewelry skills using eye-pins, seed beads, and bulk chain. For everyone else, I’ll probably demonstrate this in the future!)

If your chandelier dips too low (as mine did) to accommodate the center cones, there is a simple solution. Use a small S-hook from a hardware store to hitch up a lower link to a higher one in the chain. Start by setting the S-hook on a link at the height you prefer, then lift the chandelier up, and lastly set a lower link onto the hook. (The photo really illustrates this better than I can describe.)
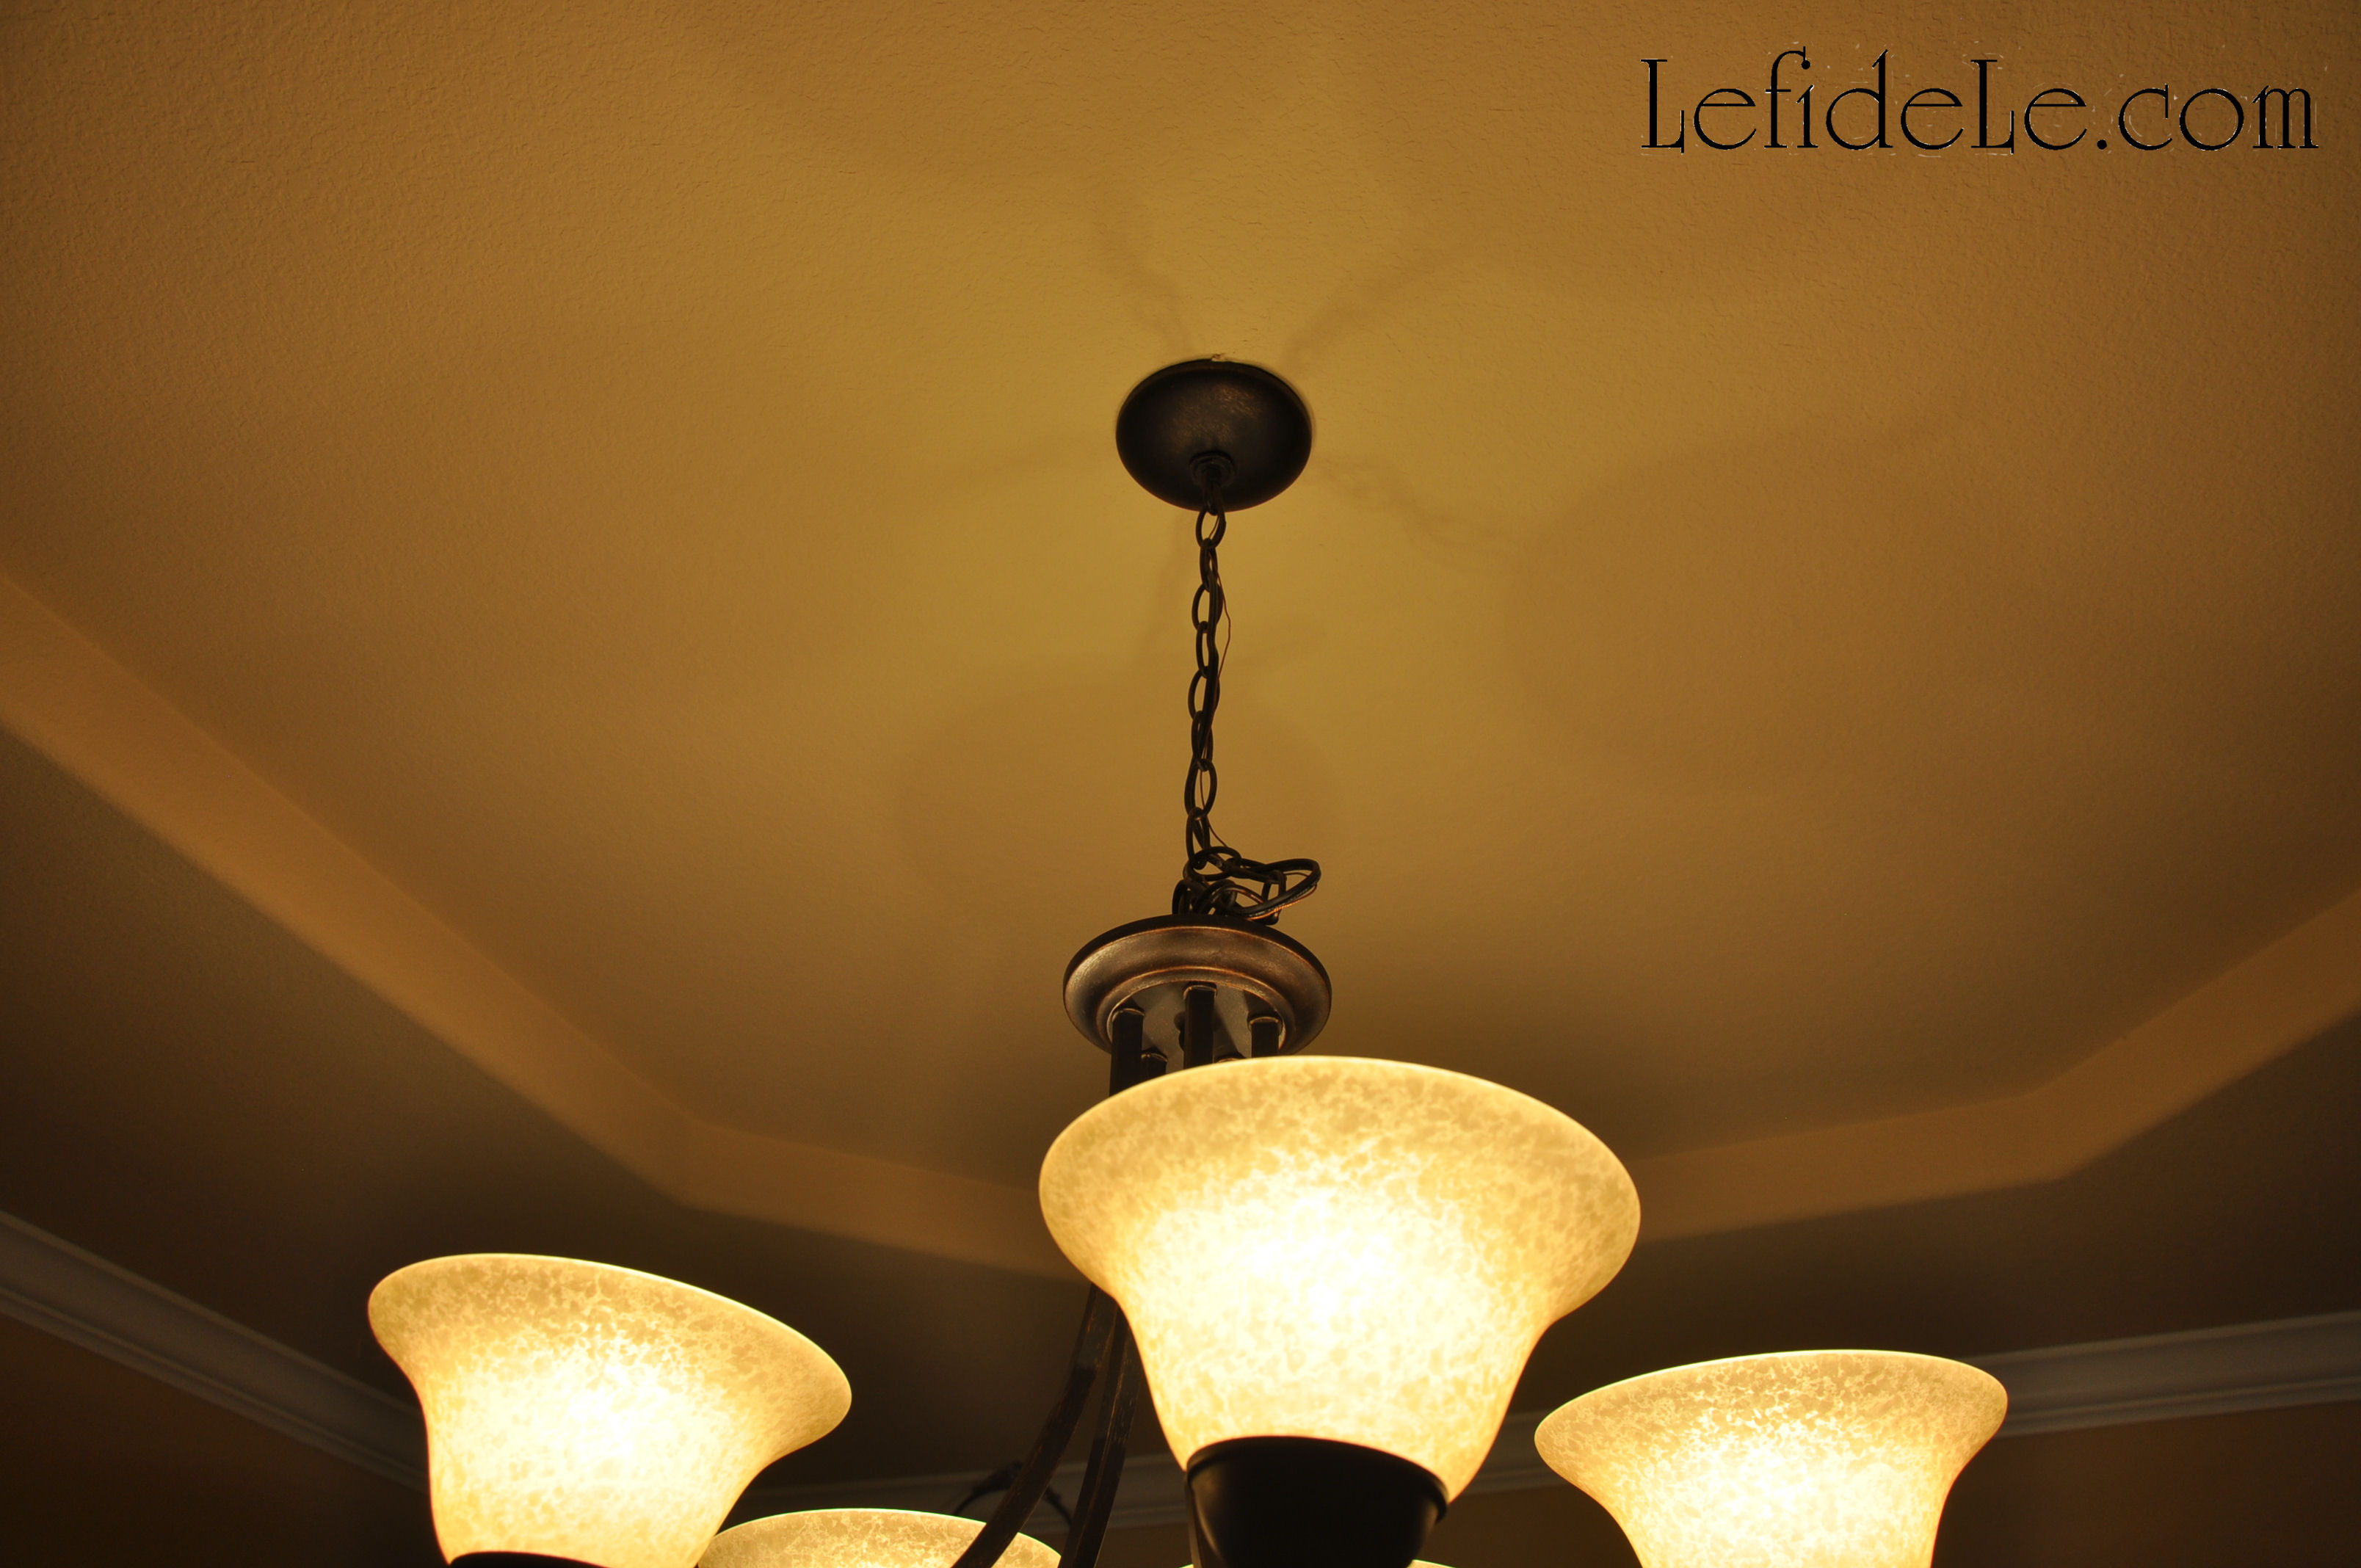
You might wait to try this until you have help to lift it while you relink it. The linking isn’t noticeable in person, and it really looks better to not have the chandelier visually conflict with the centerpiece.
Whether or not you choose one or both of these table-scapes for your next fête, for this year or the next… the idea of making simple changes to perfect your party for its holiday is a notable one if simply for its low cost and ease of transition. Most importantly, it leaves more time for family and friends. Have a very Merry Christmas and a New Year filled with blessings!
Faithfully Yours,
Leigh
P.S. Be sure to check out my Fast & Easy DIY Hand-stamped Polka-dot Gift Wrap & Matching Gift Crafts!