Tag Archives: Mother’s Day

Decadent Macadamia Nut Cake (Gluten-Free Vegan Cheesecake & Pound Cake Fusion) + DIY Cake Decorating Stencil Tutorial

077Leigh

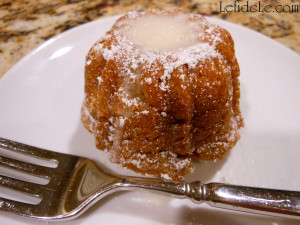
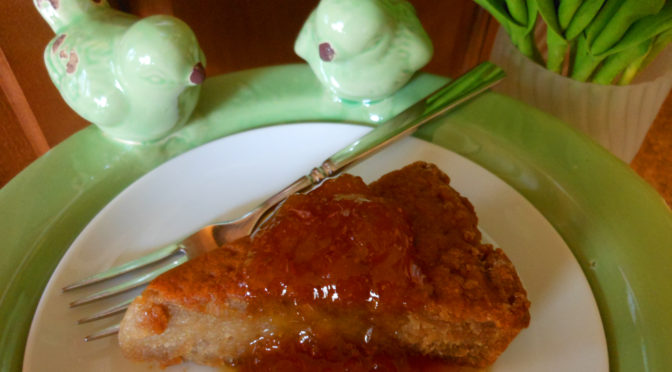
This decadent macadamia nut cake is a unique fusion of rich cheesecake and dense pound cake, yet it’s gluten-free and vegan! I invented it on a random whim of culinary creativity with no idea of how delicious it would turn out. I found out that it tastes even better on the second-day… which makes it a fantastic make-ahead dessert for you next gathering of gal pals. Easily decorate it with a DIY stencil and confectioner’s sugar, and serve it with a variety of fruit preserves. Then all you need to do is wait for the compliments to roll in before shocking everyone with the news that it’s gluten-free and vegan. Who knew guilt-free could taste this indulgent?!


Ingredients:

2 cups raw macadamia nuts (or raw cashews… soaked overnight)

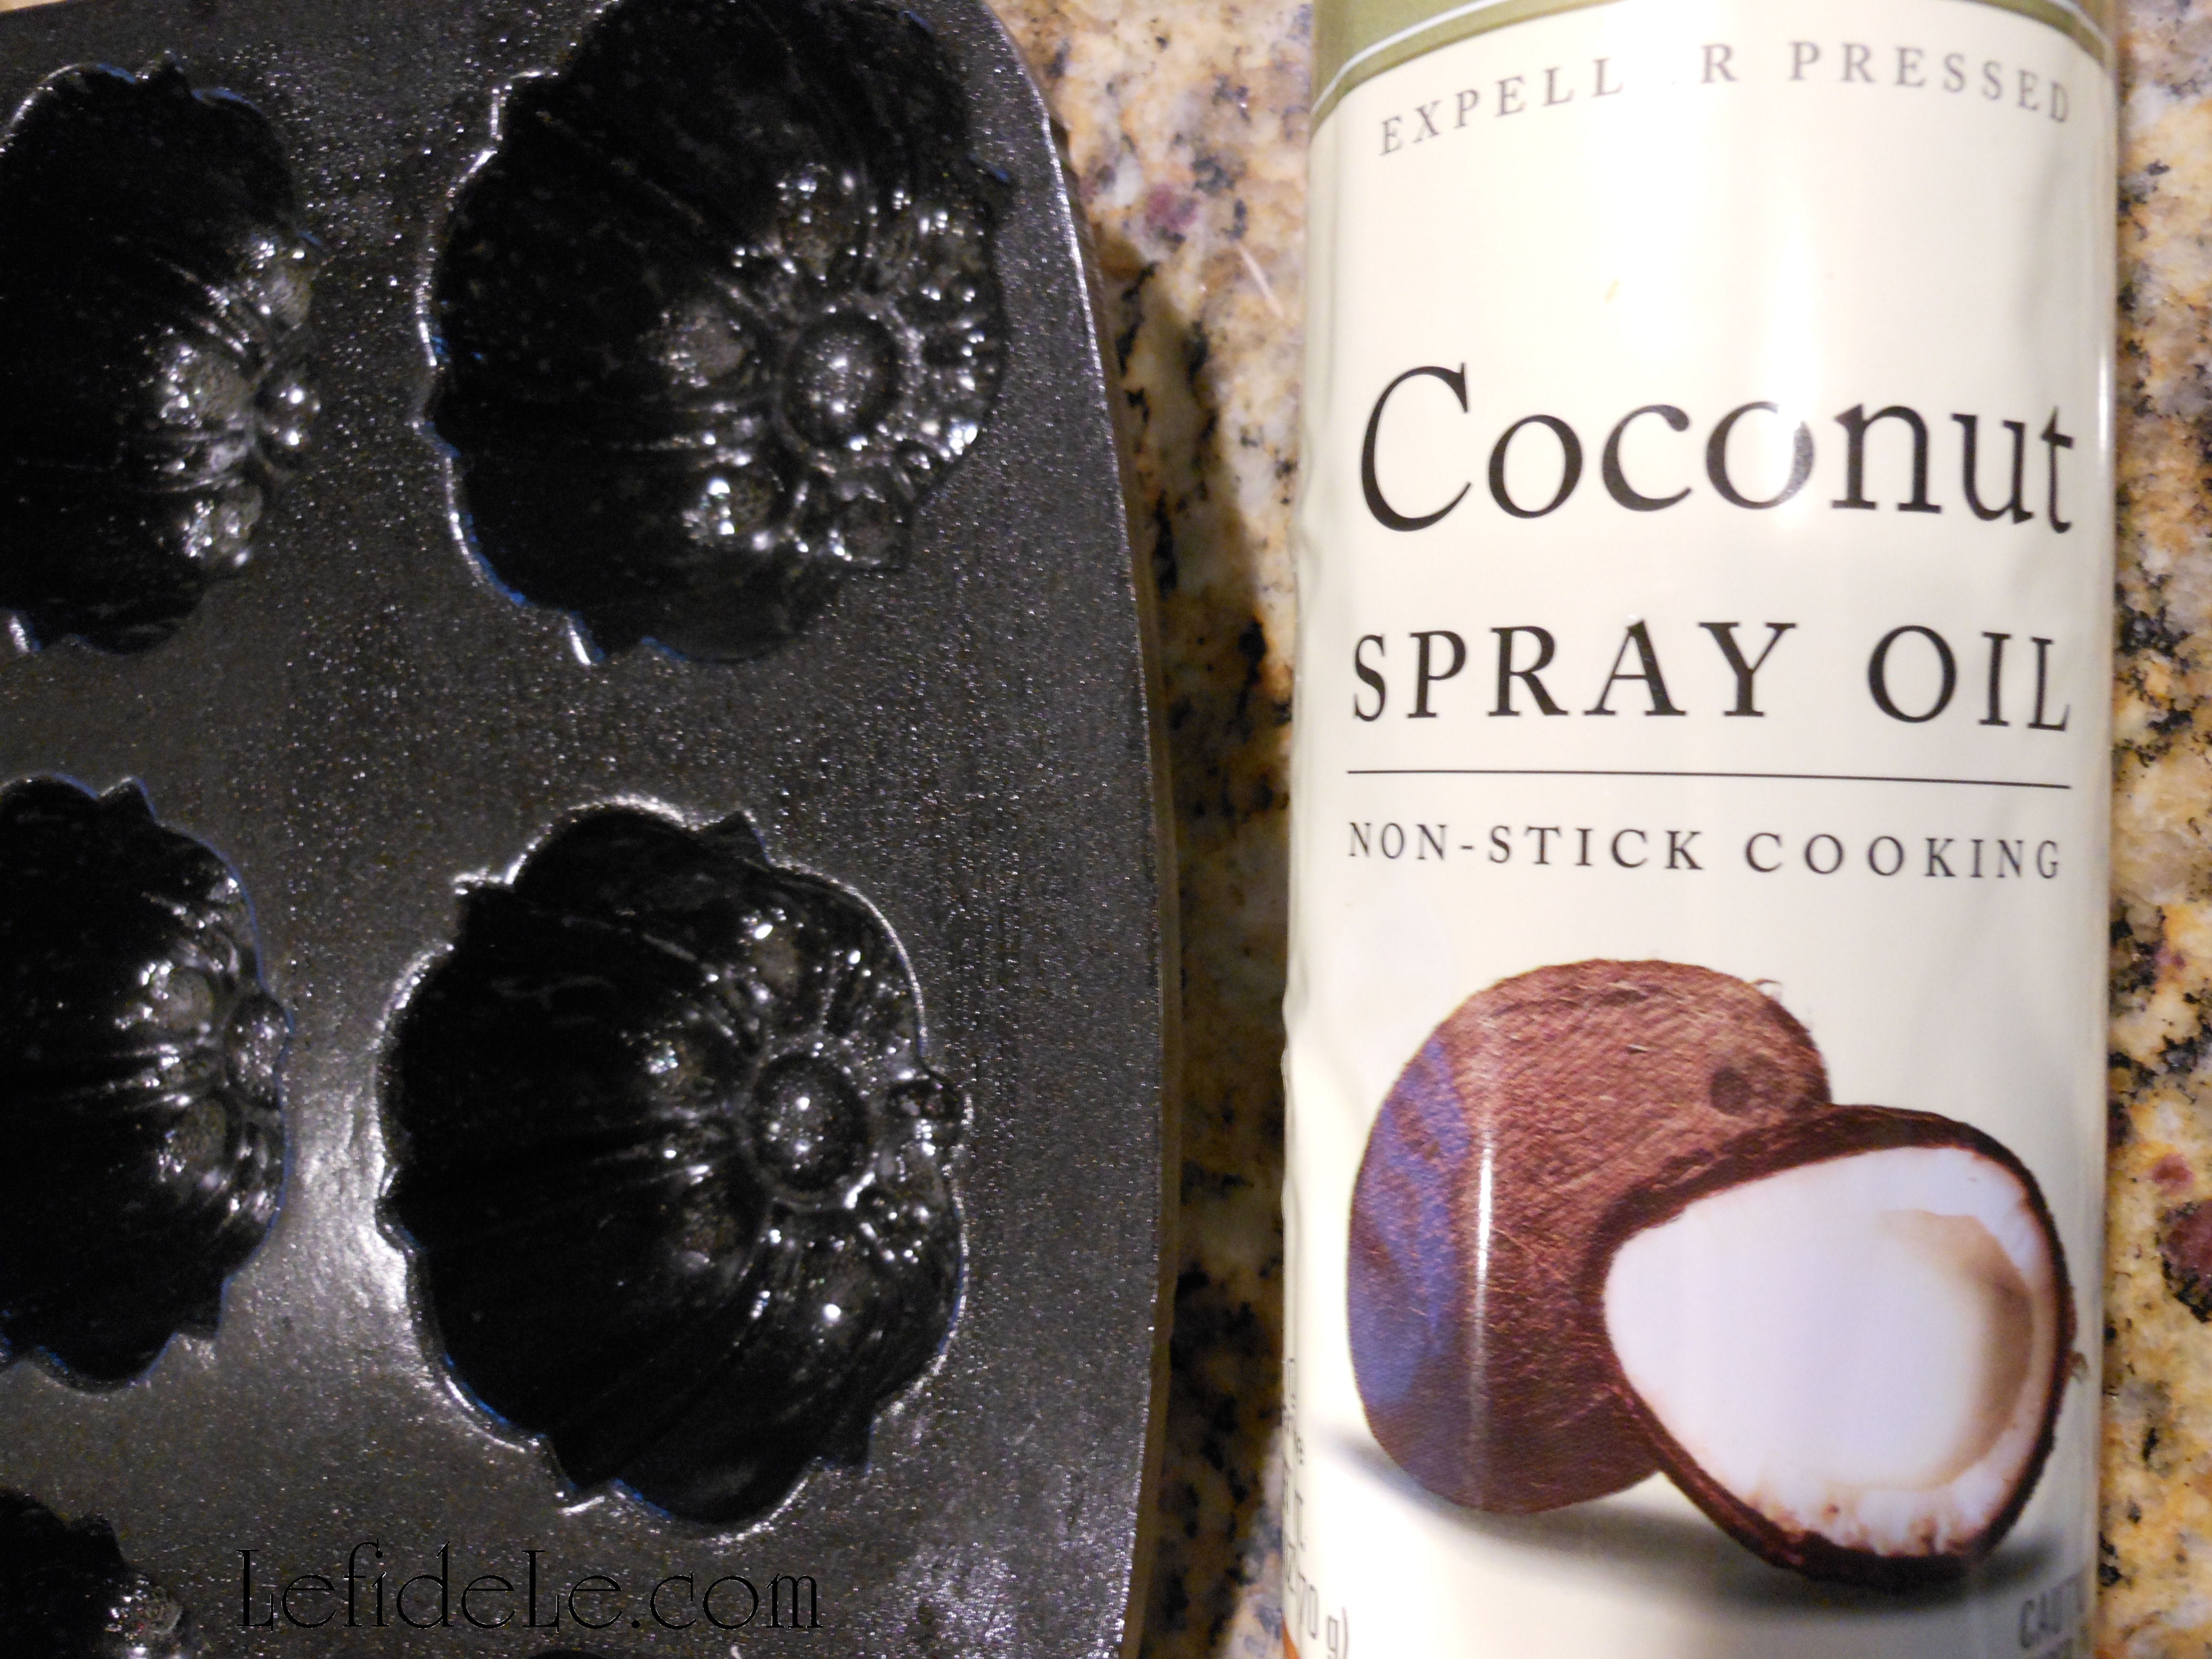
2 tablespoons coconut oil (or butter, shortening, etc.)

2 teaspoons pure vanilla extract (or other extract)

4 teaspoons lemon juice (or other citrus juice)

½ cup fresh water (or juice)

2 cups Arrowhead Mills gluten-free baking mix (or another baking mix… not just flour)

2 egg replacers (3 teaspoons dry replacer + 4 tablespoons warm water… or 2 whole eggs, or 2 chia or flax “eggs”)

1 ¼ cups confectioner’s sugar (or powdered sugar)

1 teaspoons guar gum (or xanthan gum)

1 teaspoon baking soda

1 dash sea salt (= ⅛ teaspoon)

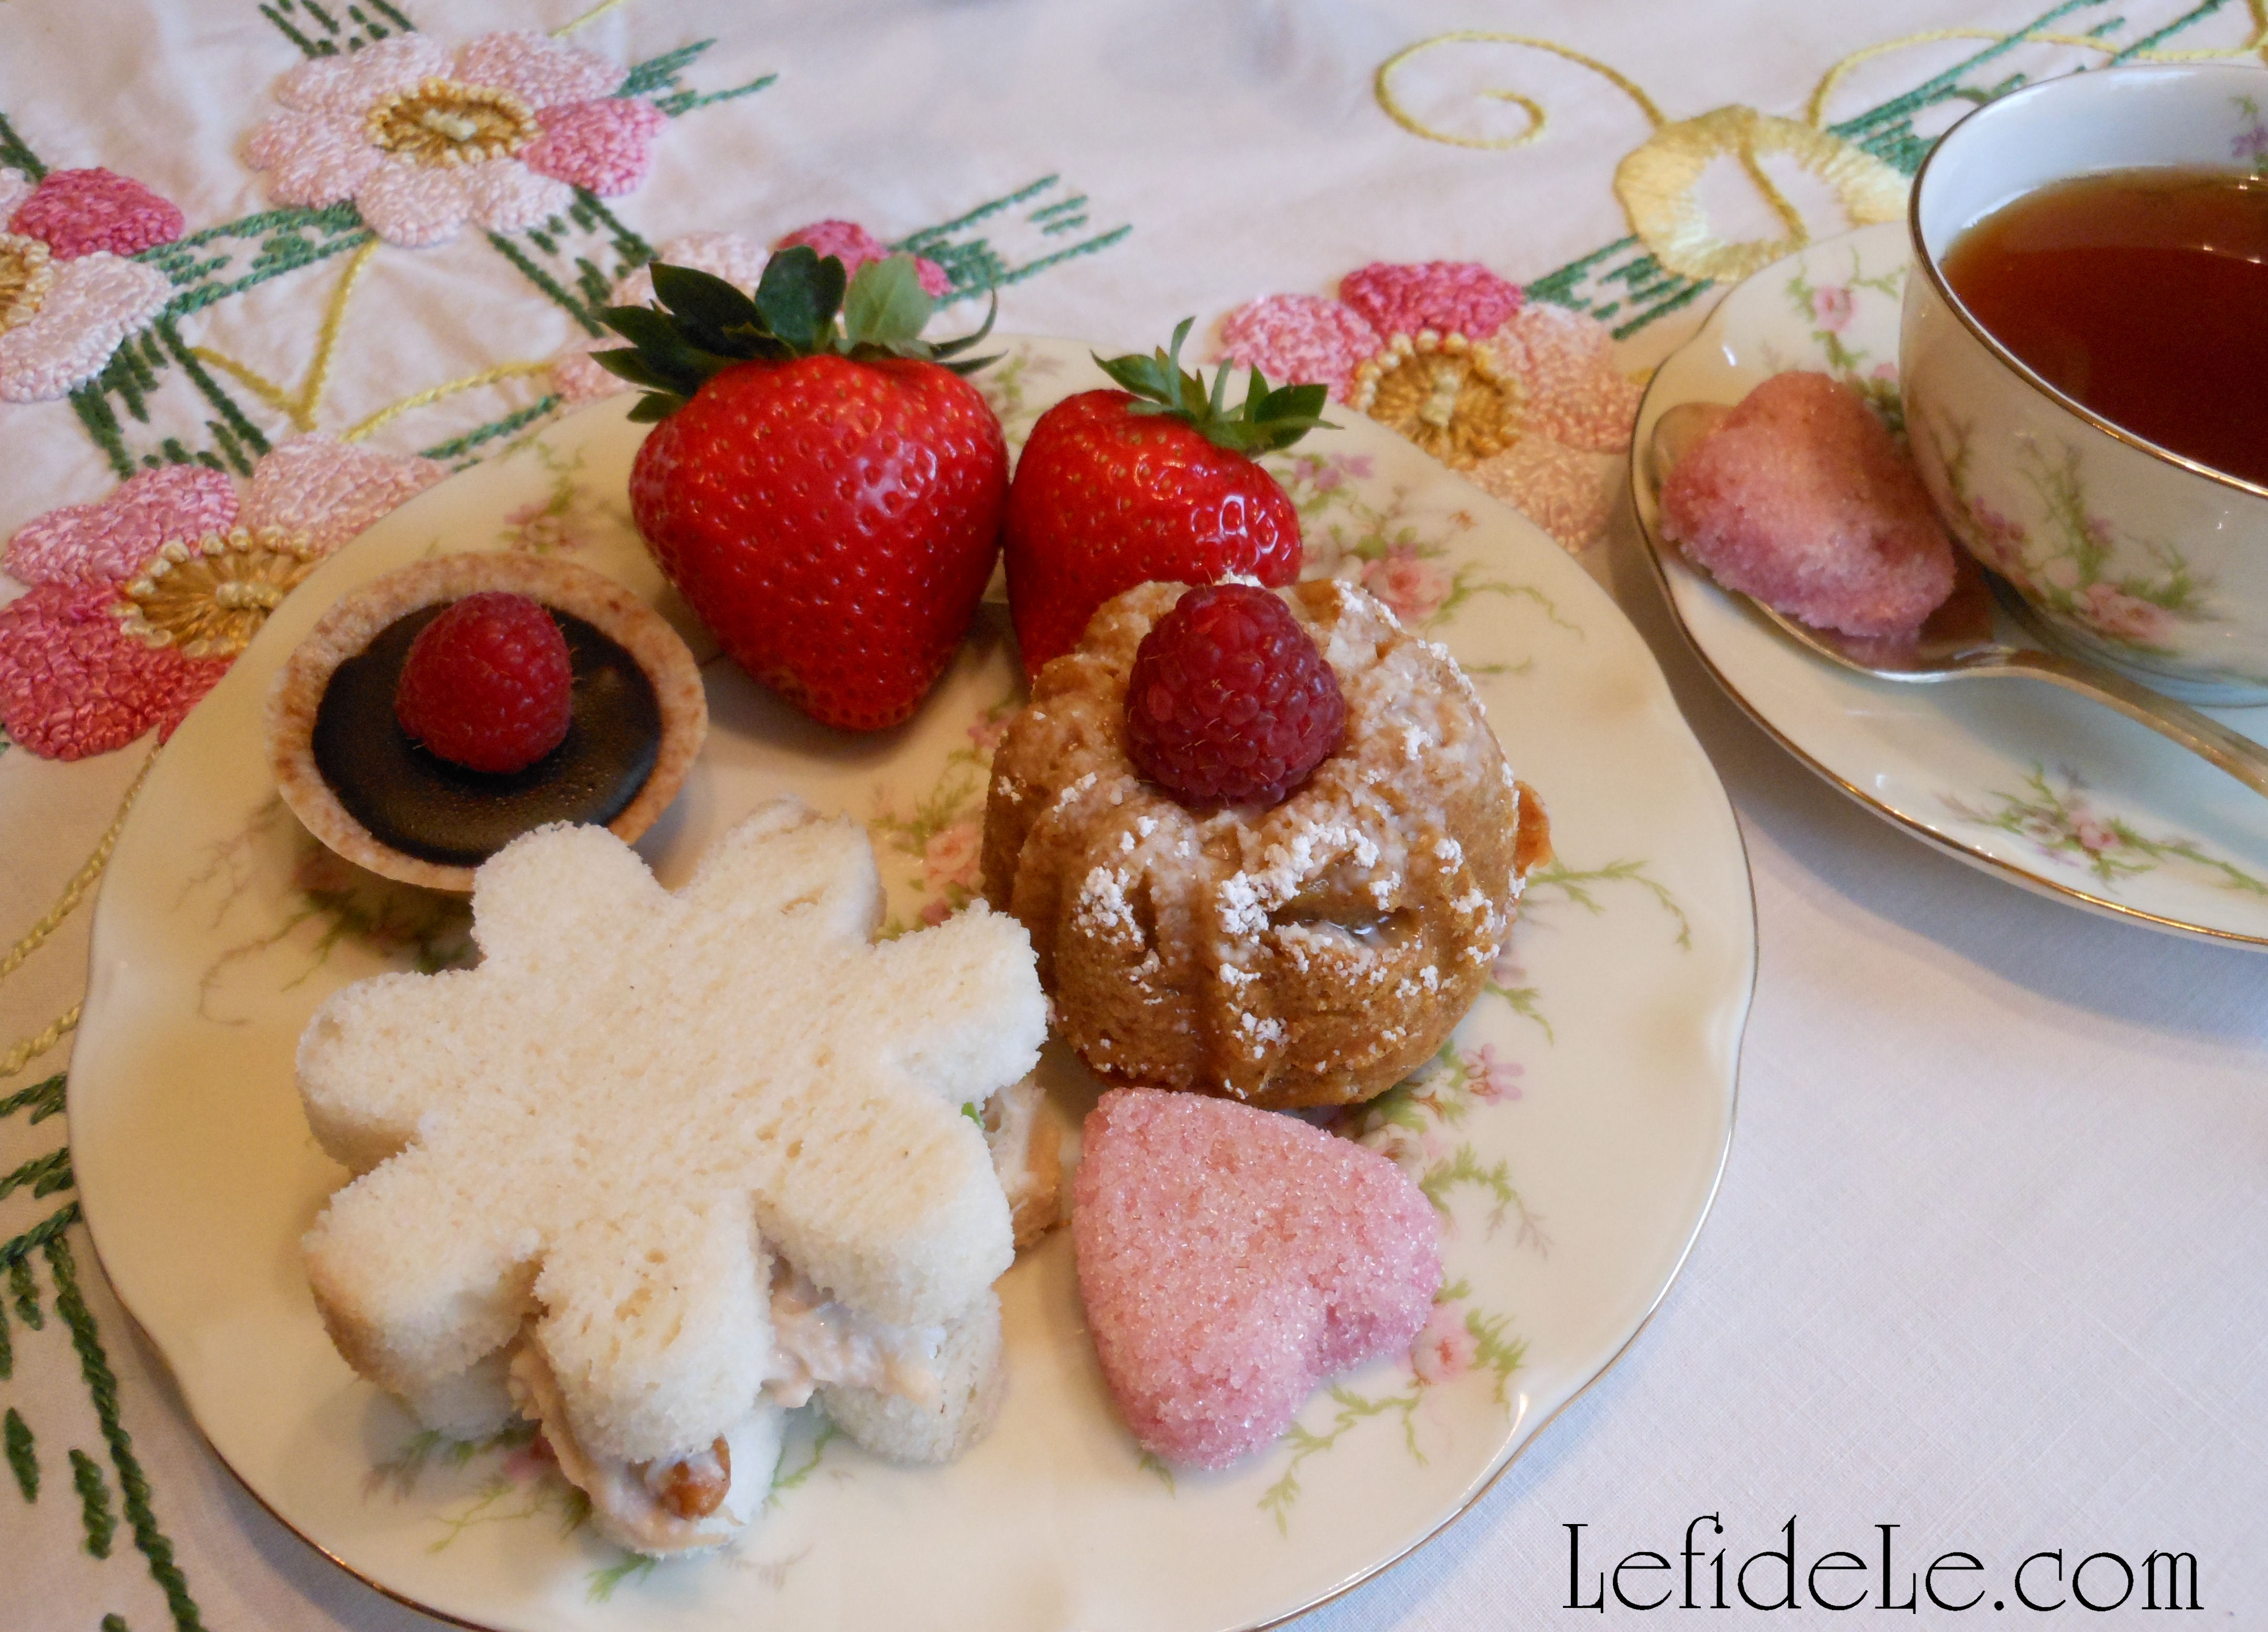
Optional toppings: fruit preserves


Instructions:

014Leigh

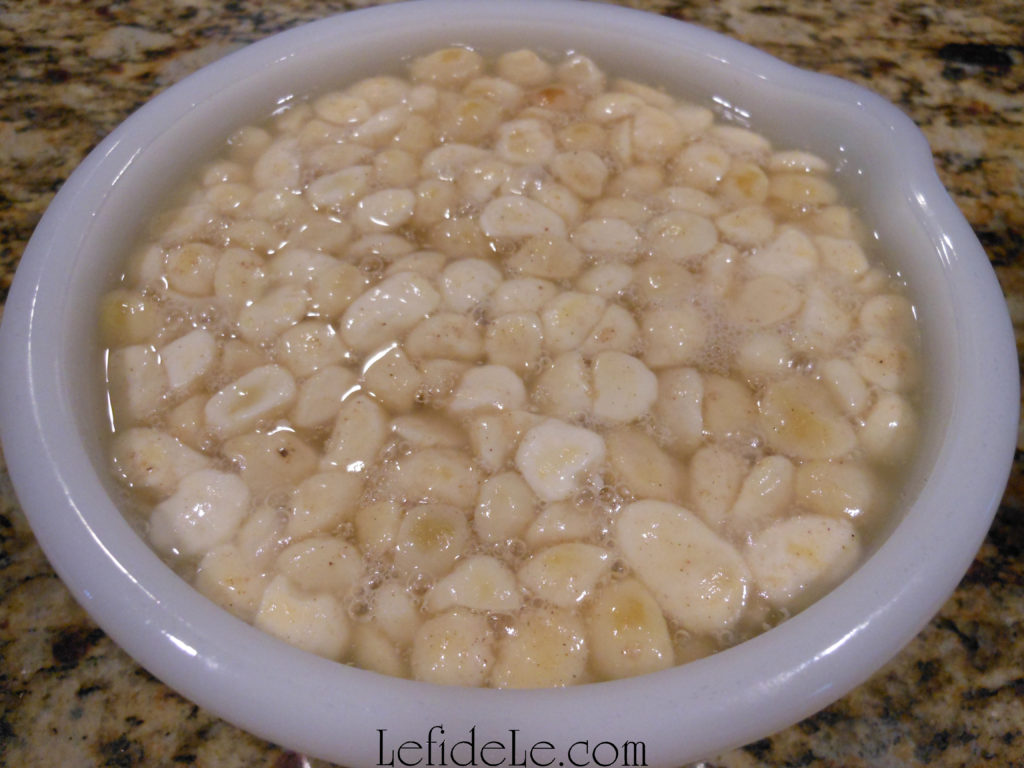
Remember to soak the macadamia nuts at room temperature the night before you want to bake the cake.

019Leigh

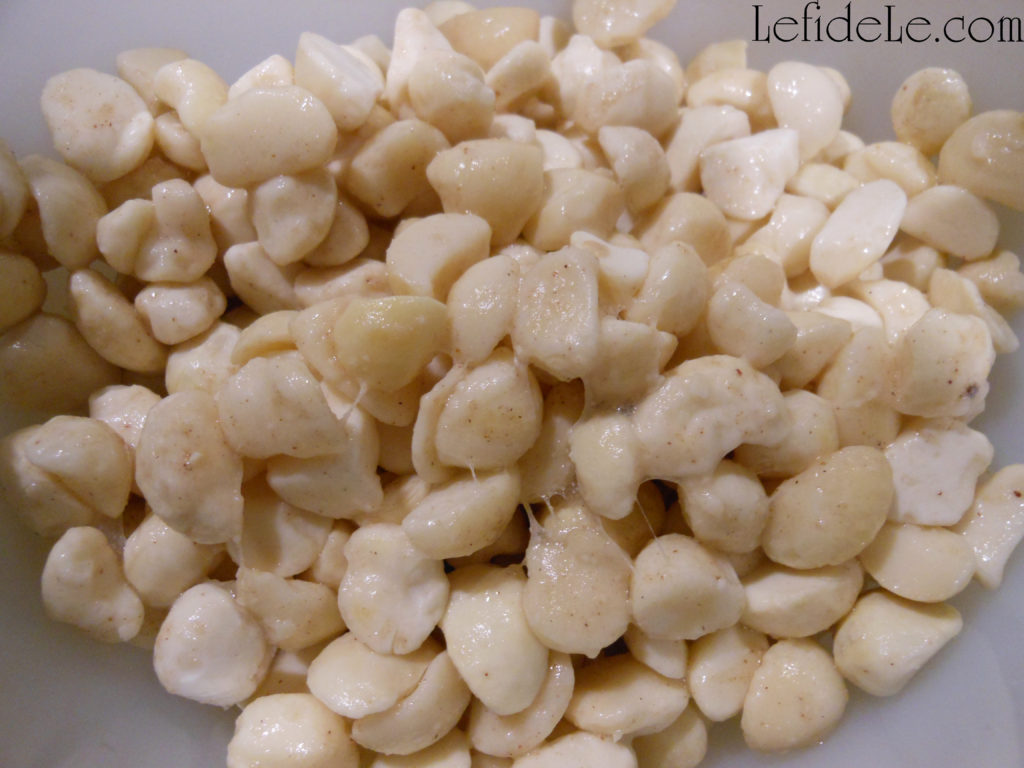
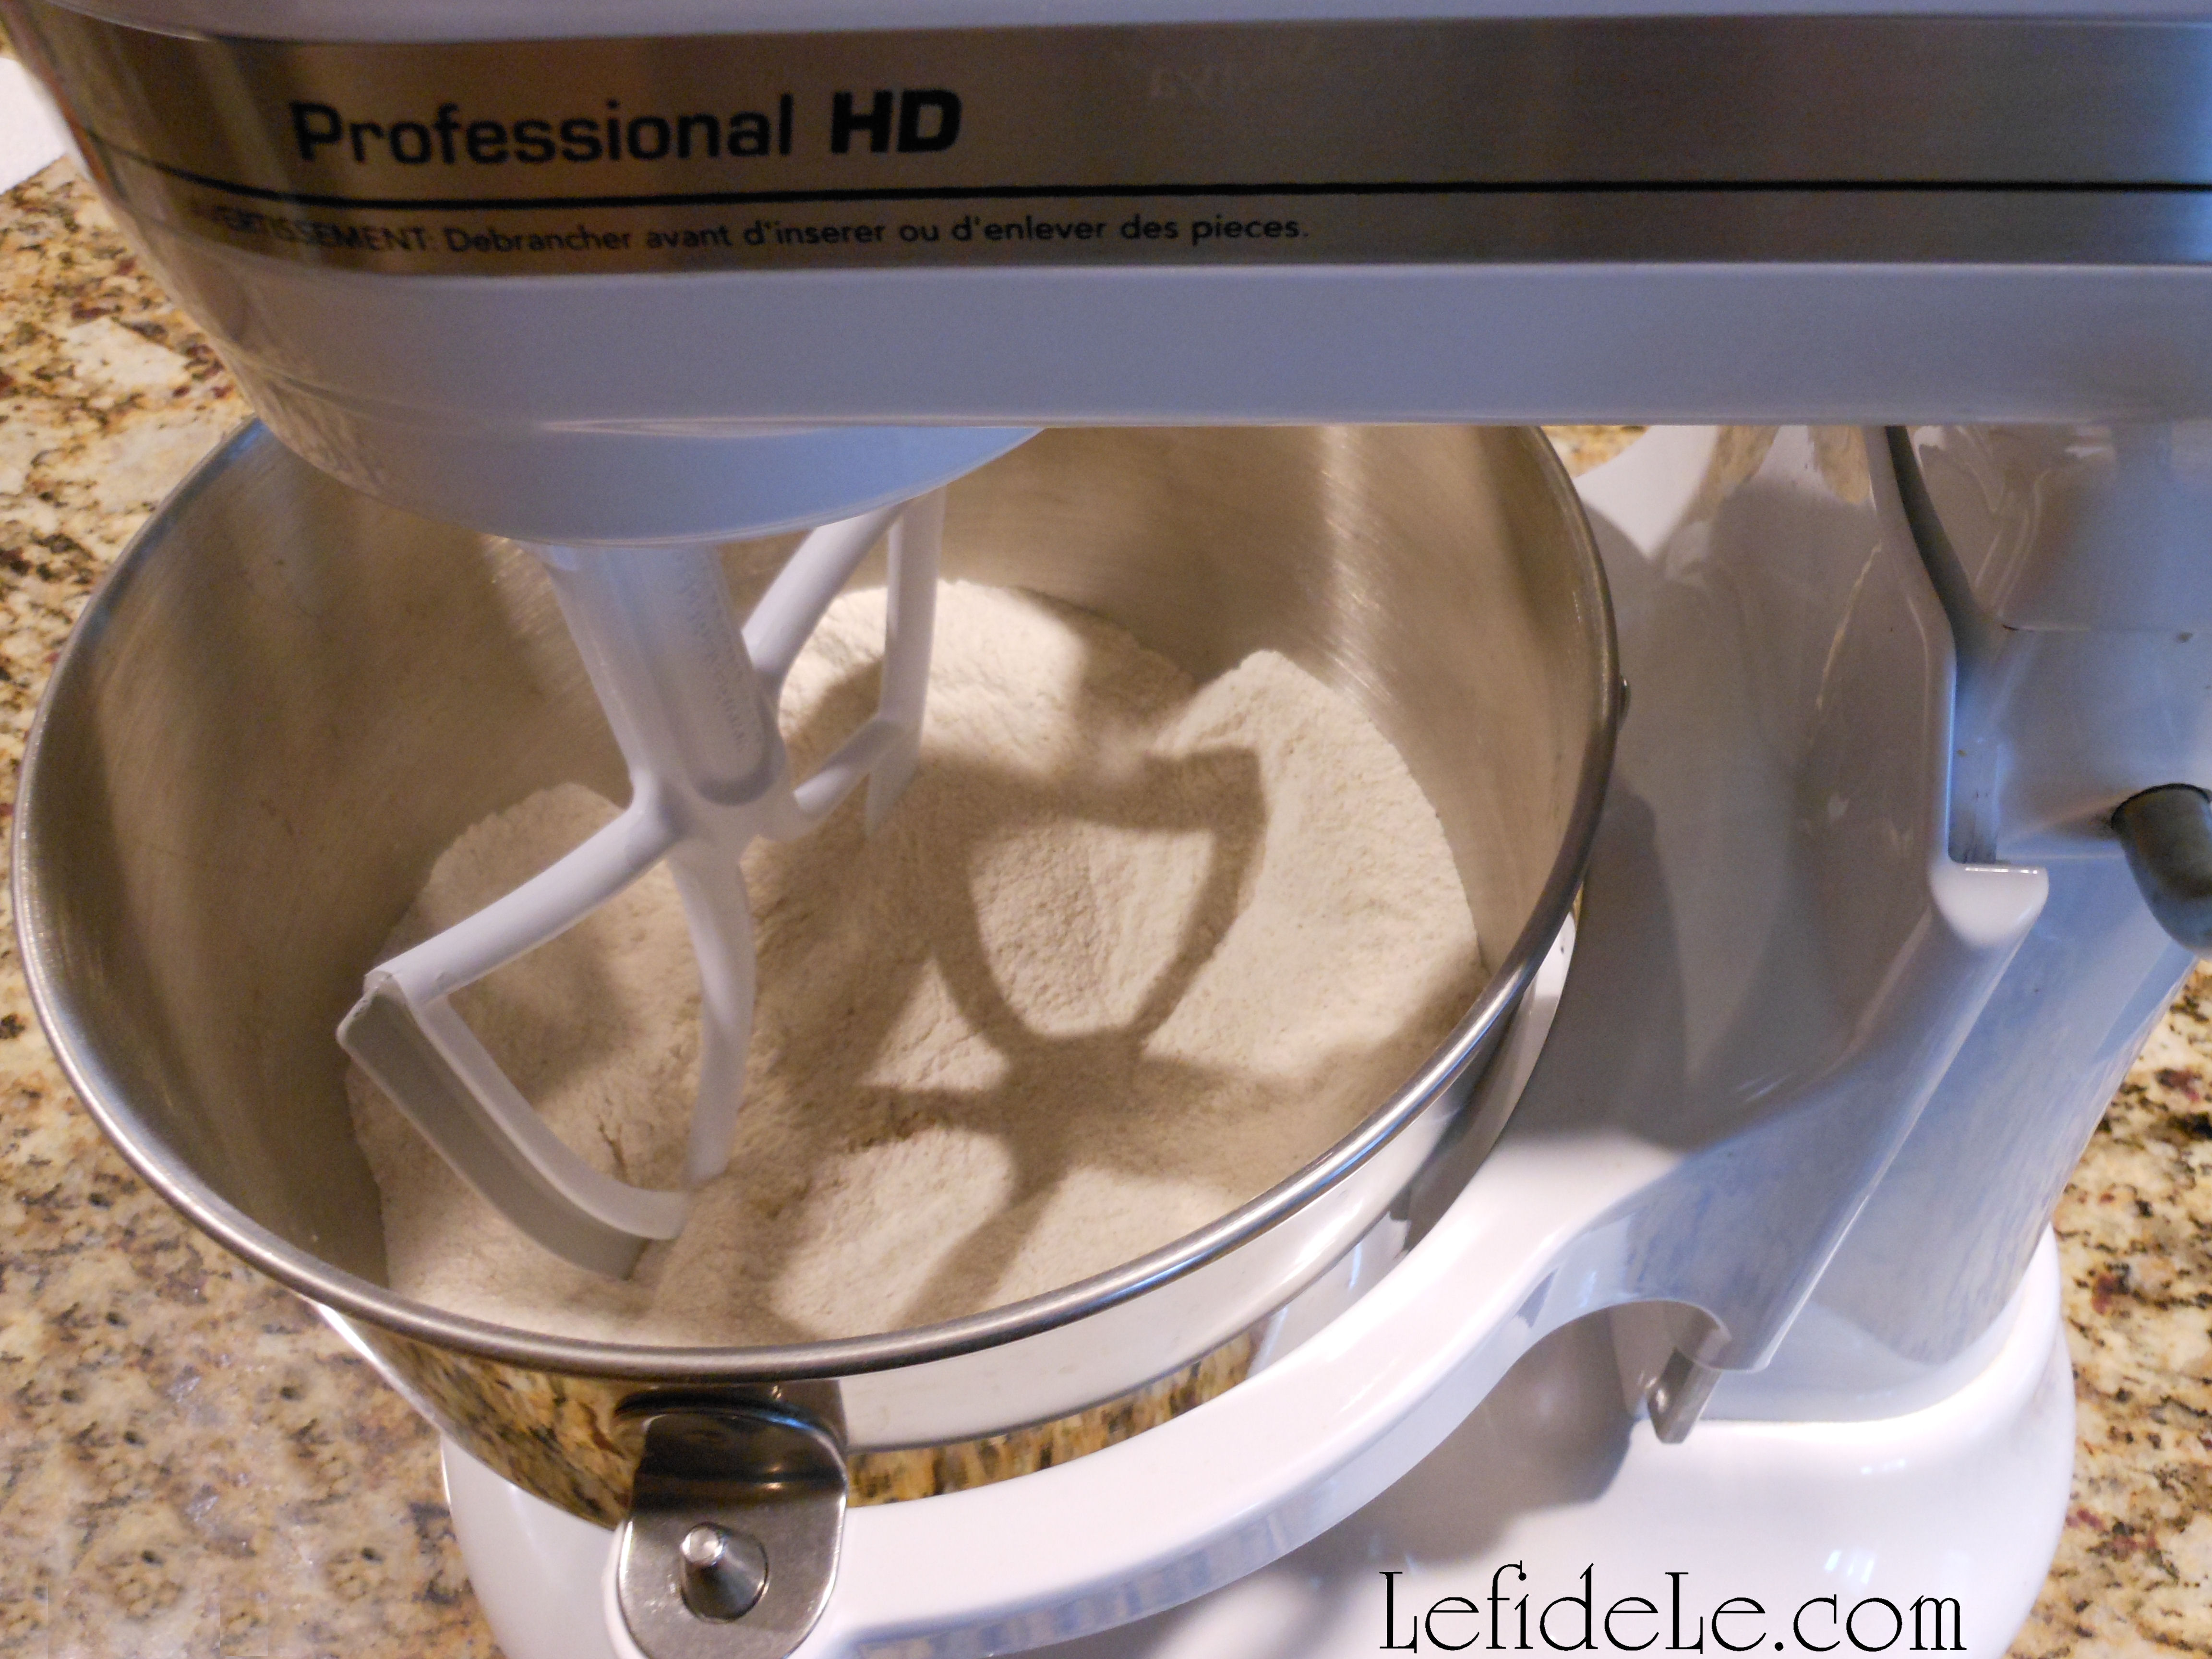
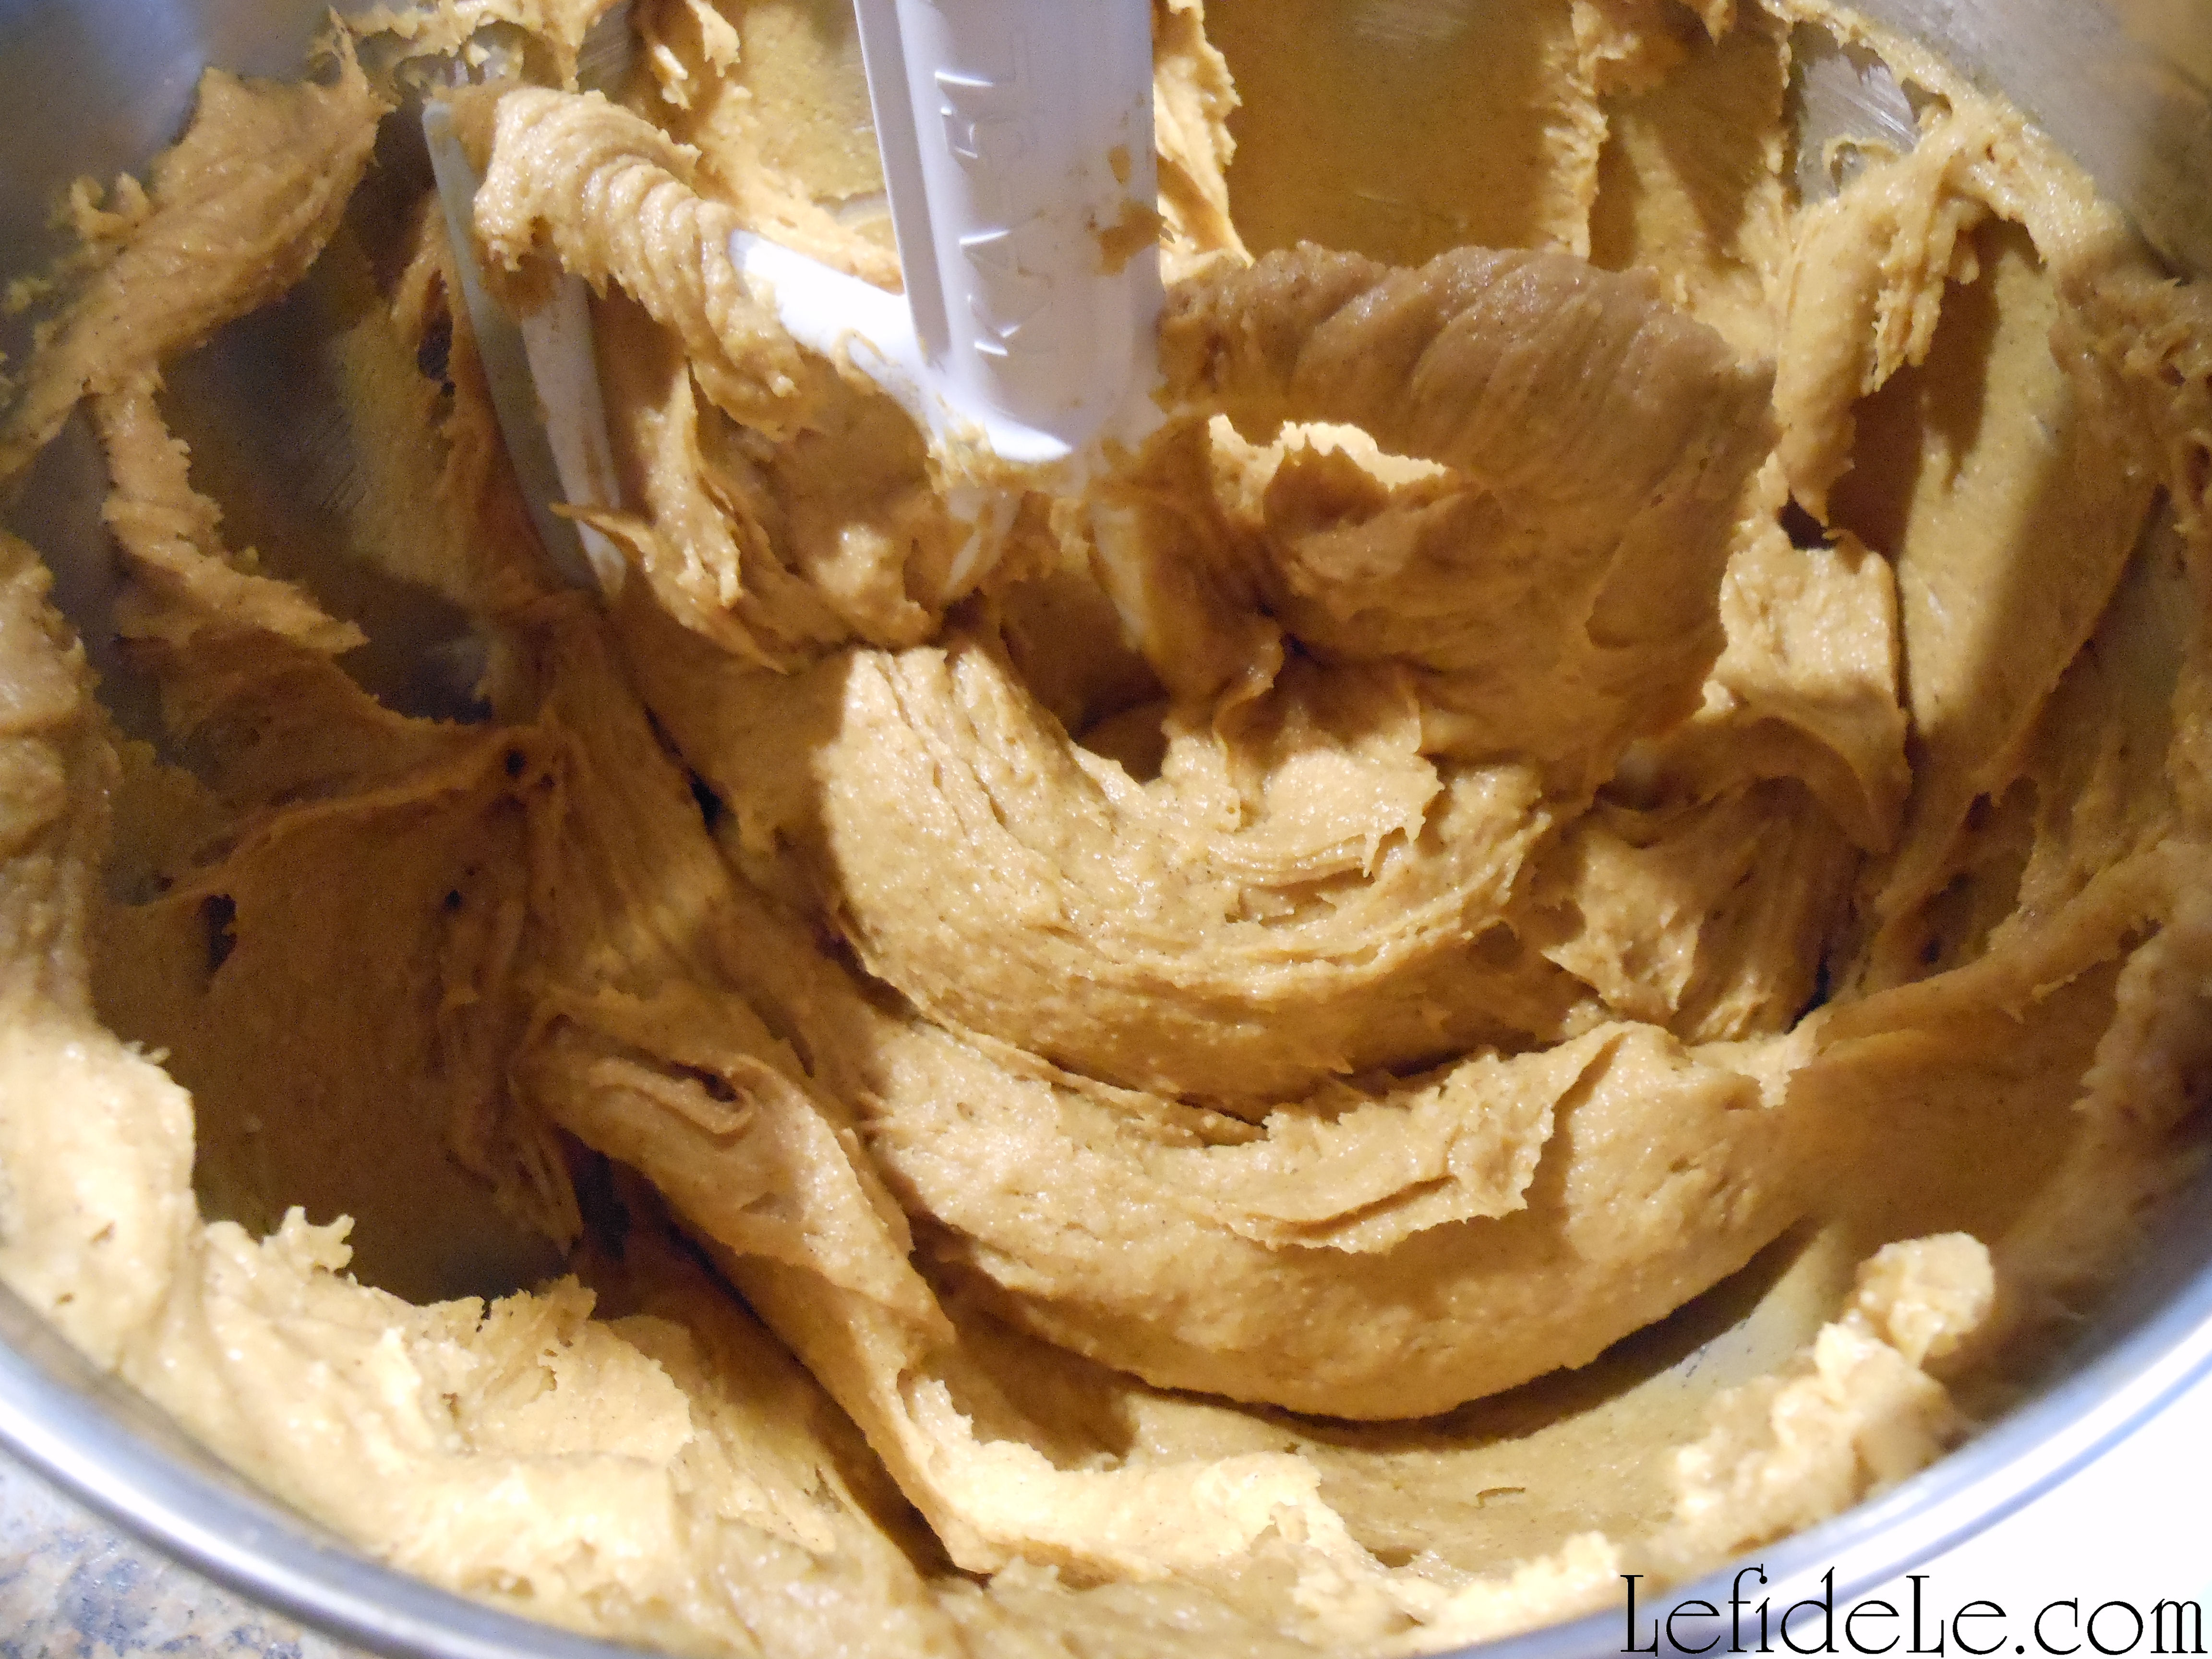
Drain off the soaking liquid, and blend the nuts at high speed with a fresh ½ cup of water plus the lemon juice, vanilla extract, coconut oil, and prepared egg replacer. (Mix the dry egg replacer well with warm water until it’s a frothy white liquid.) Now add the dry ingredients to the wet concoction, mixing it very well. (For those of you with corn allergies… note that confectioner’s sugar and guar gum are the corn-free alternatives to powdered sugar and xanthan gum.)

025Leigh

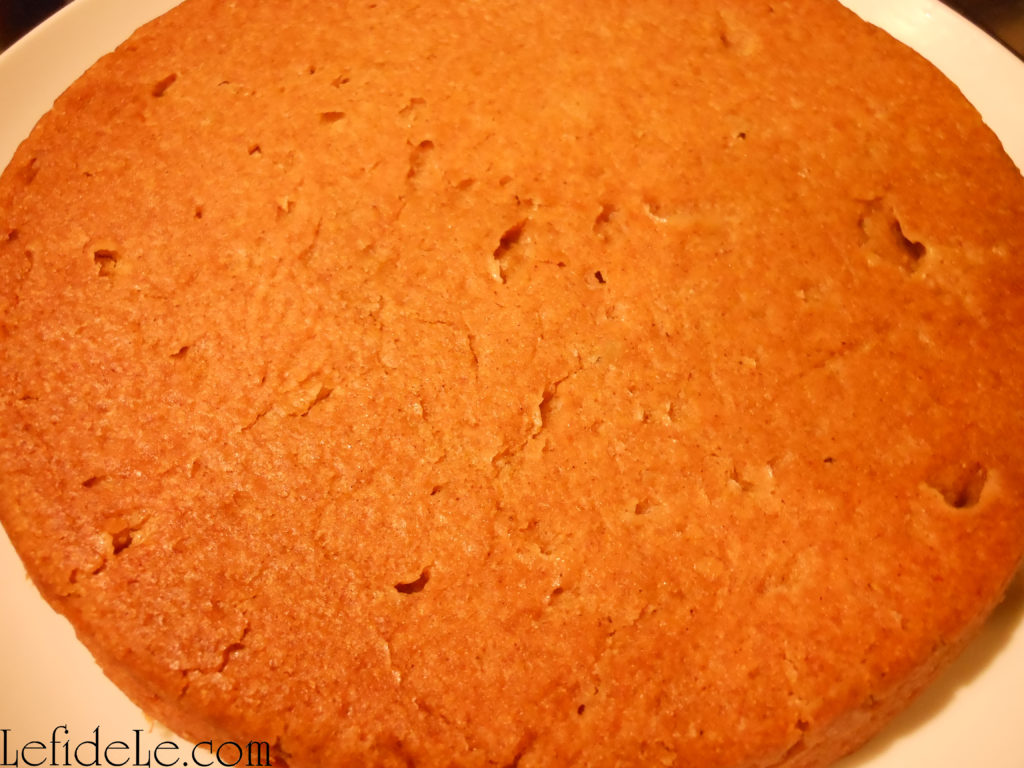
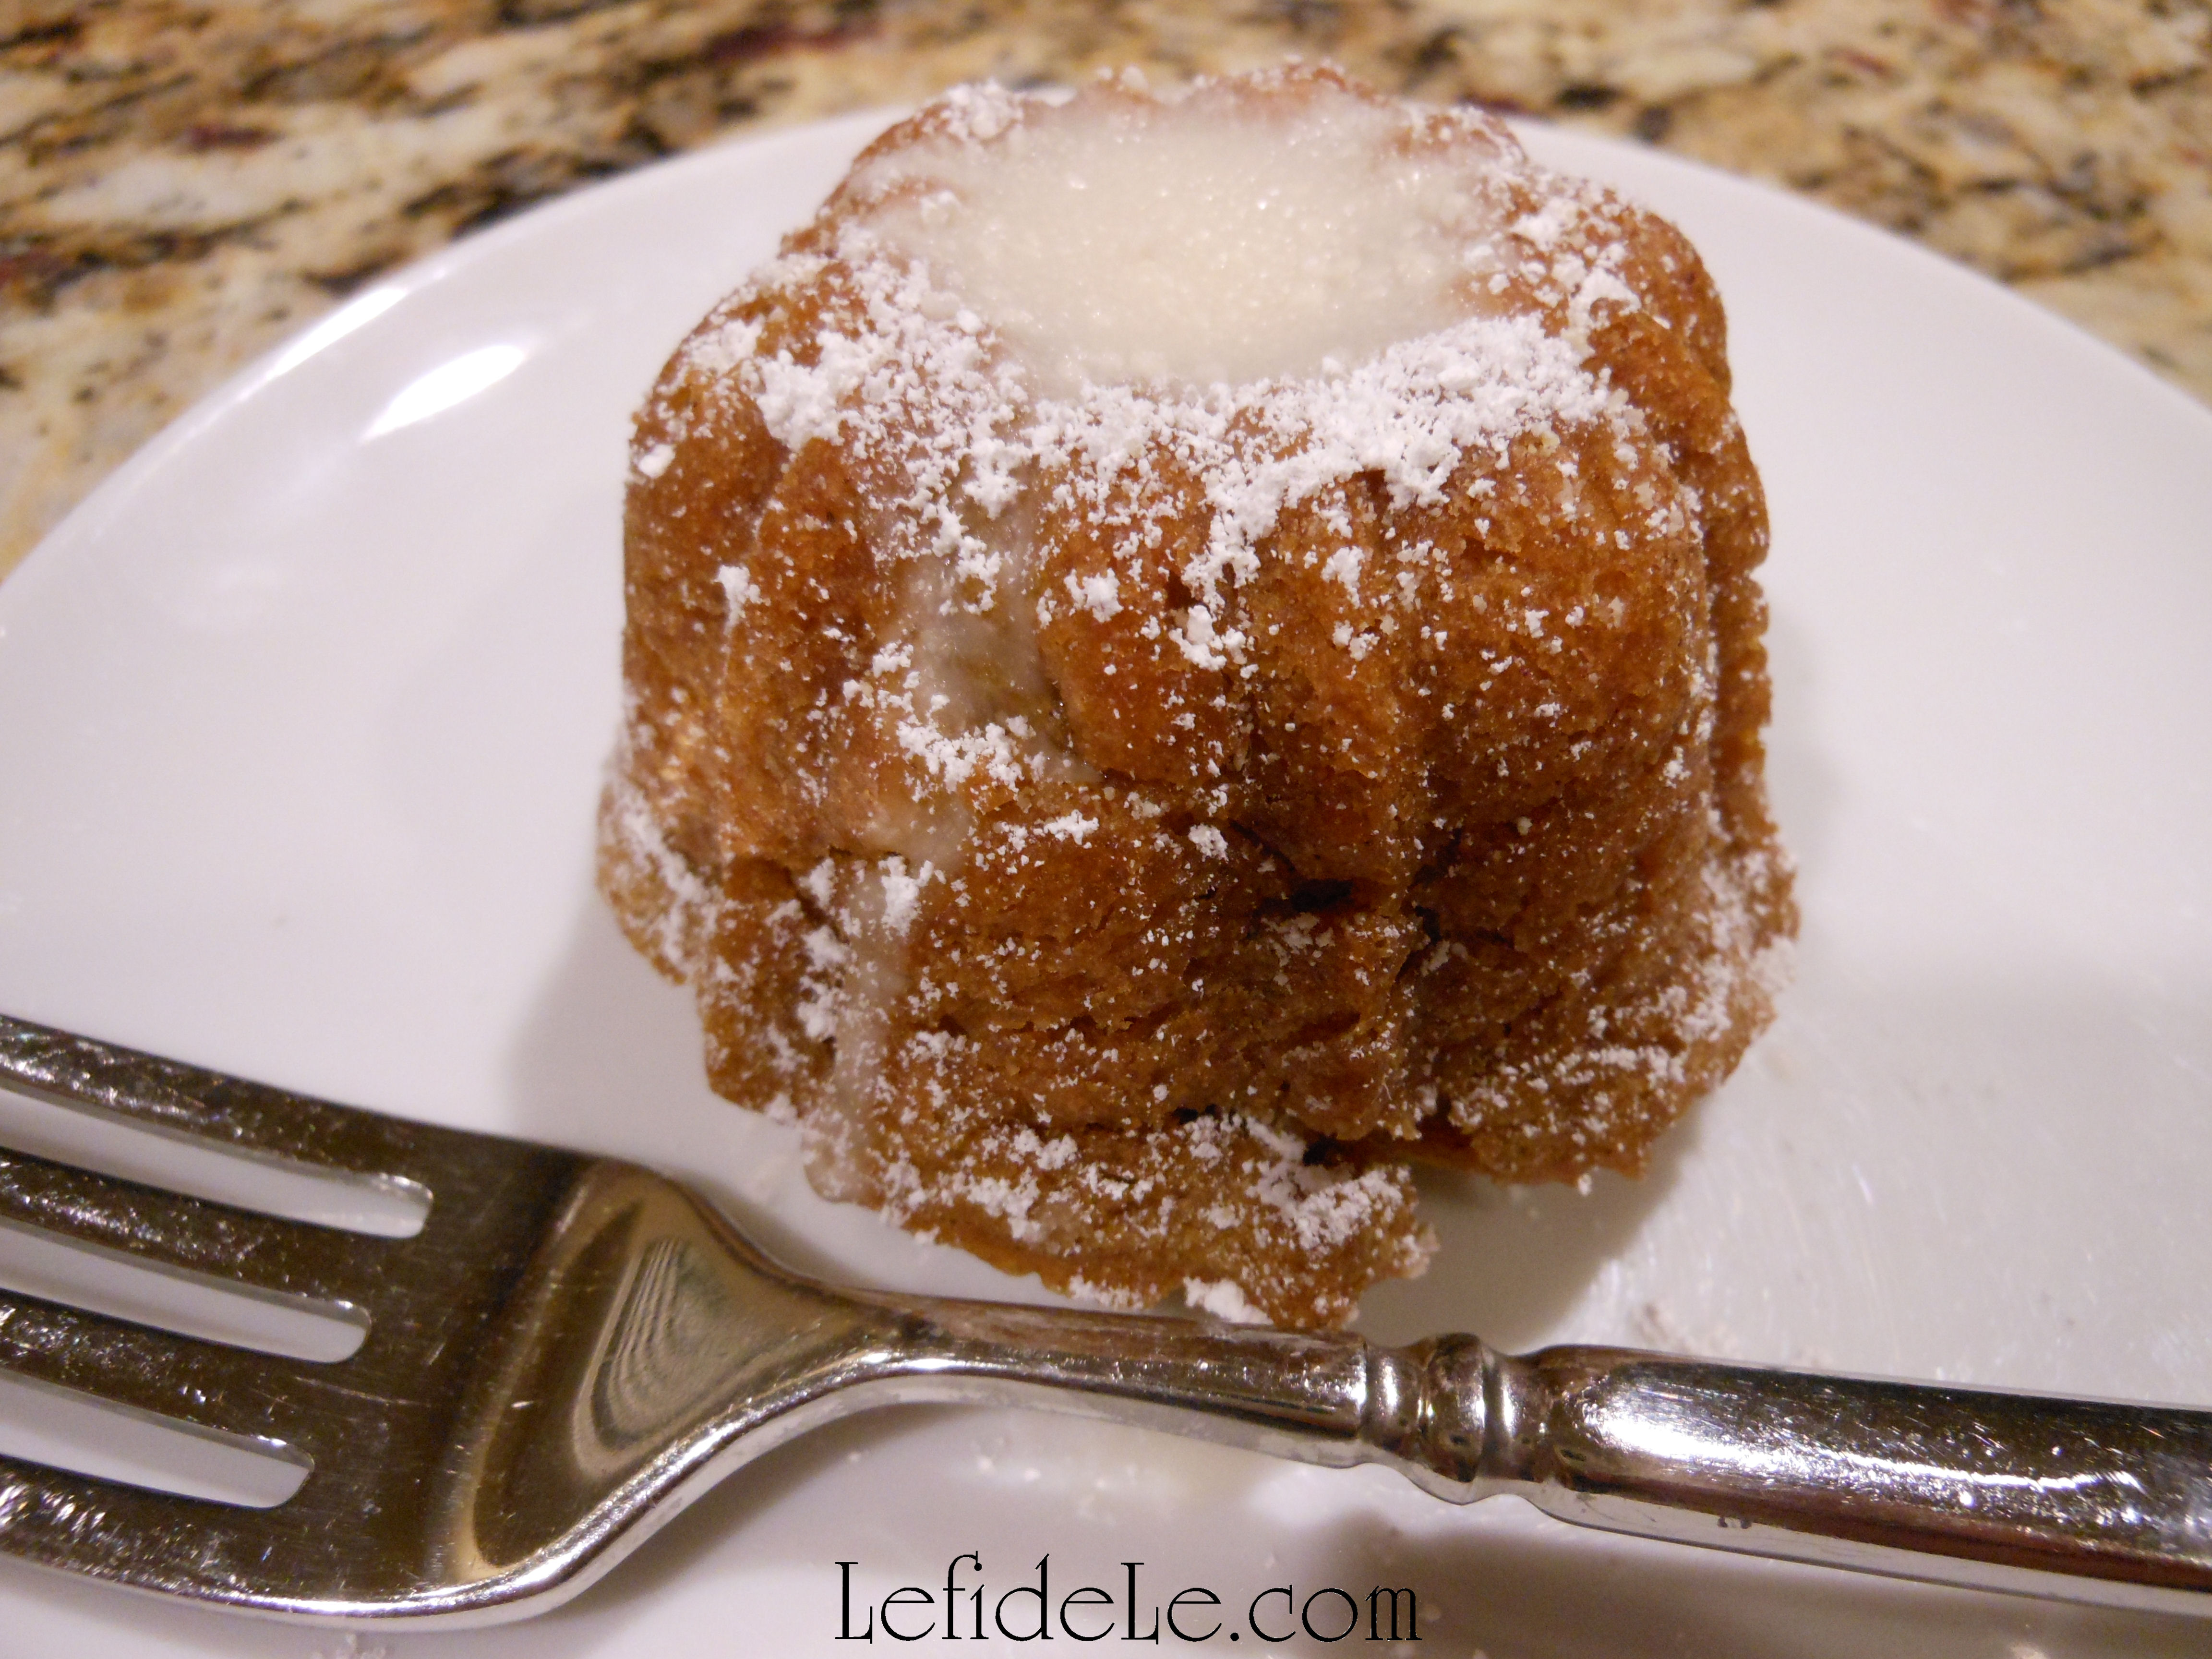
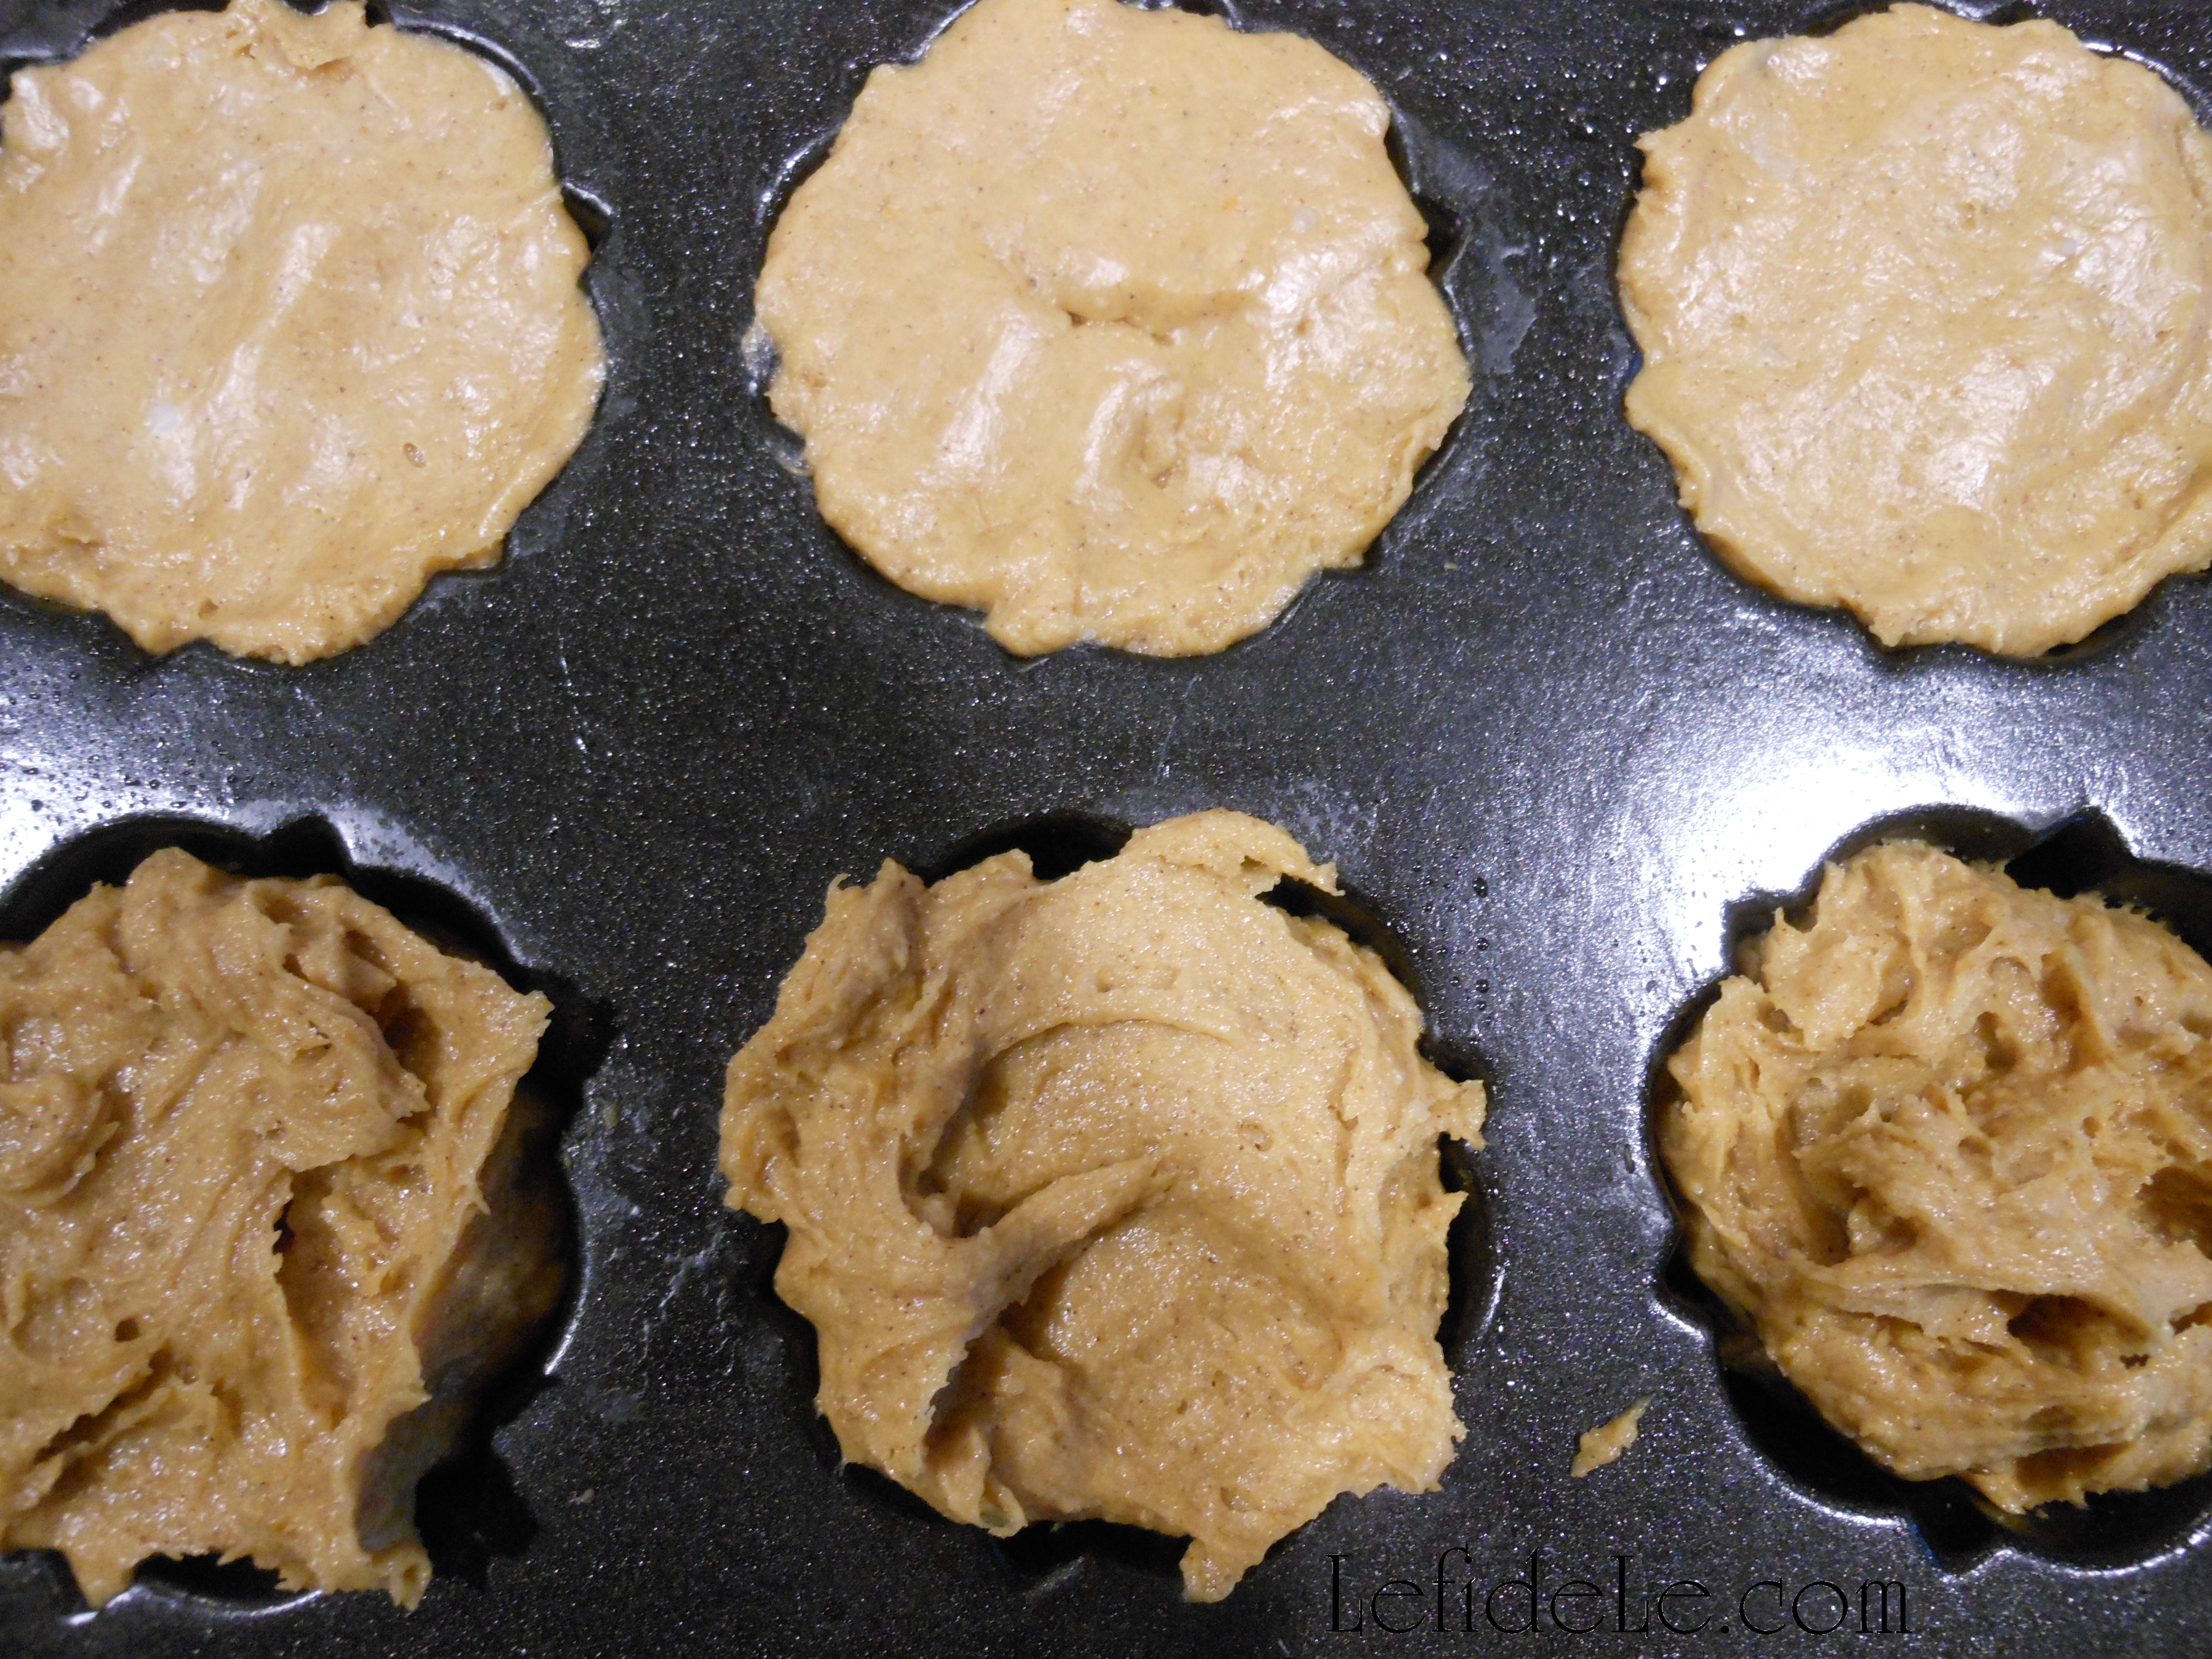
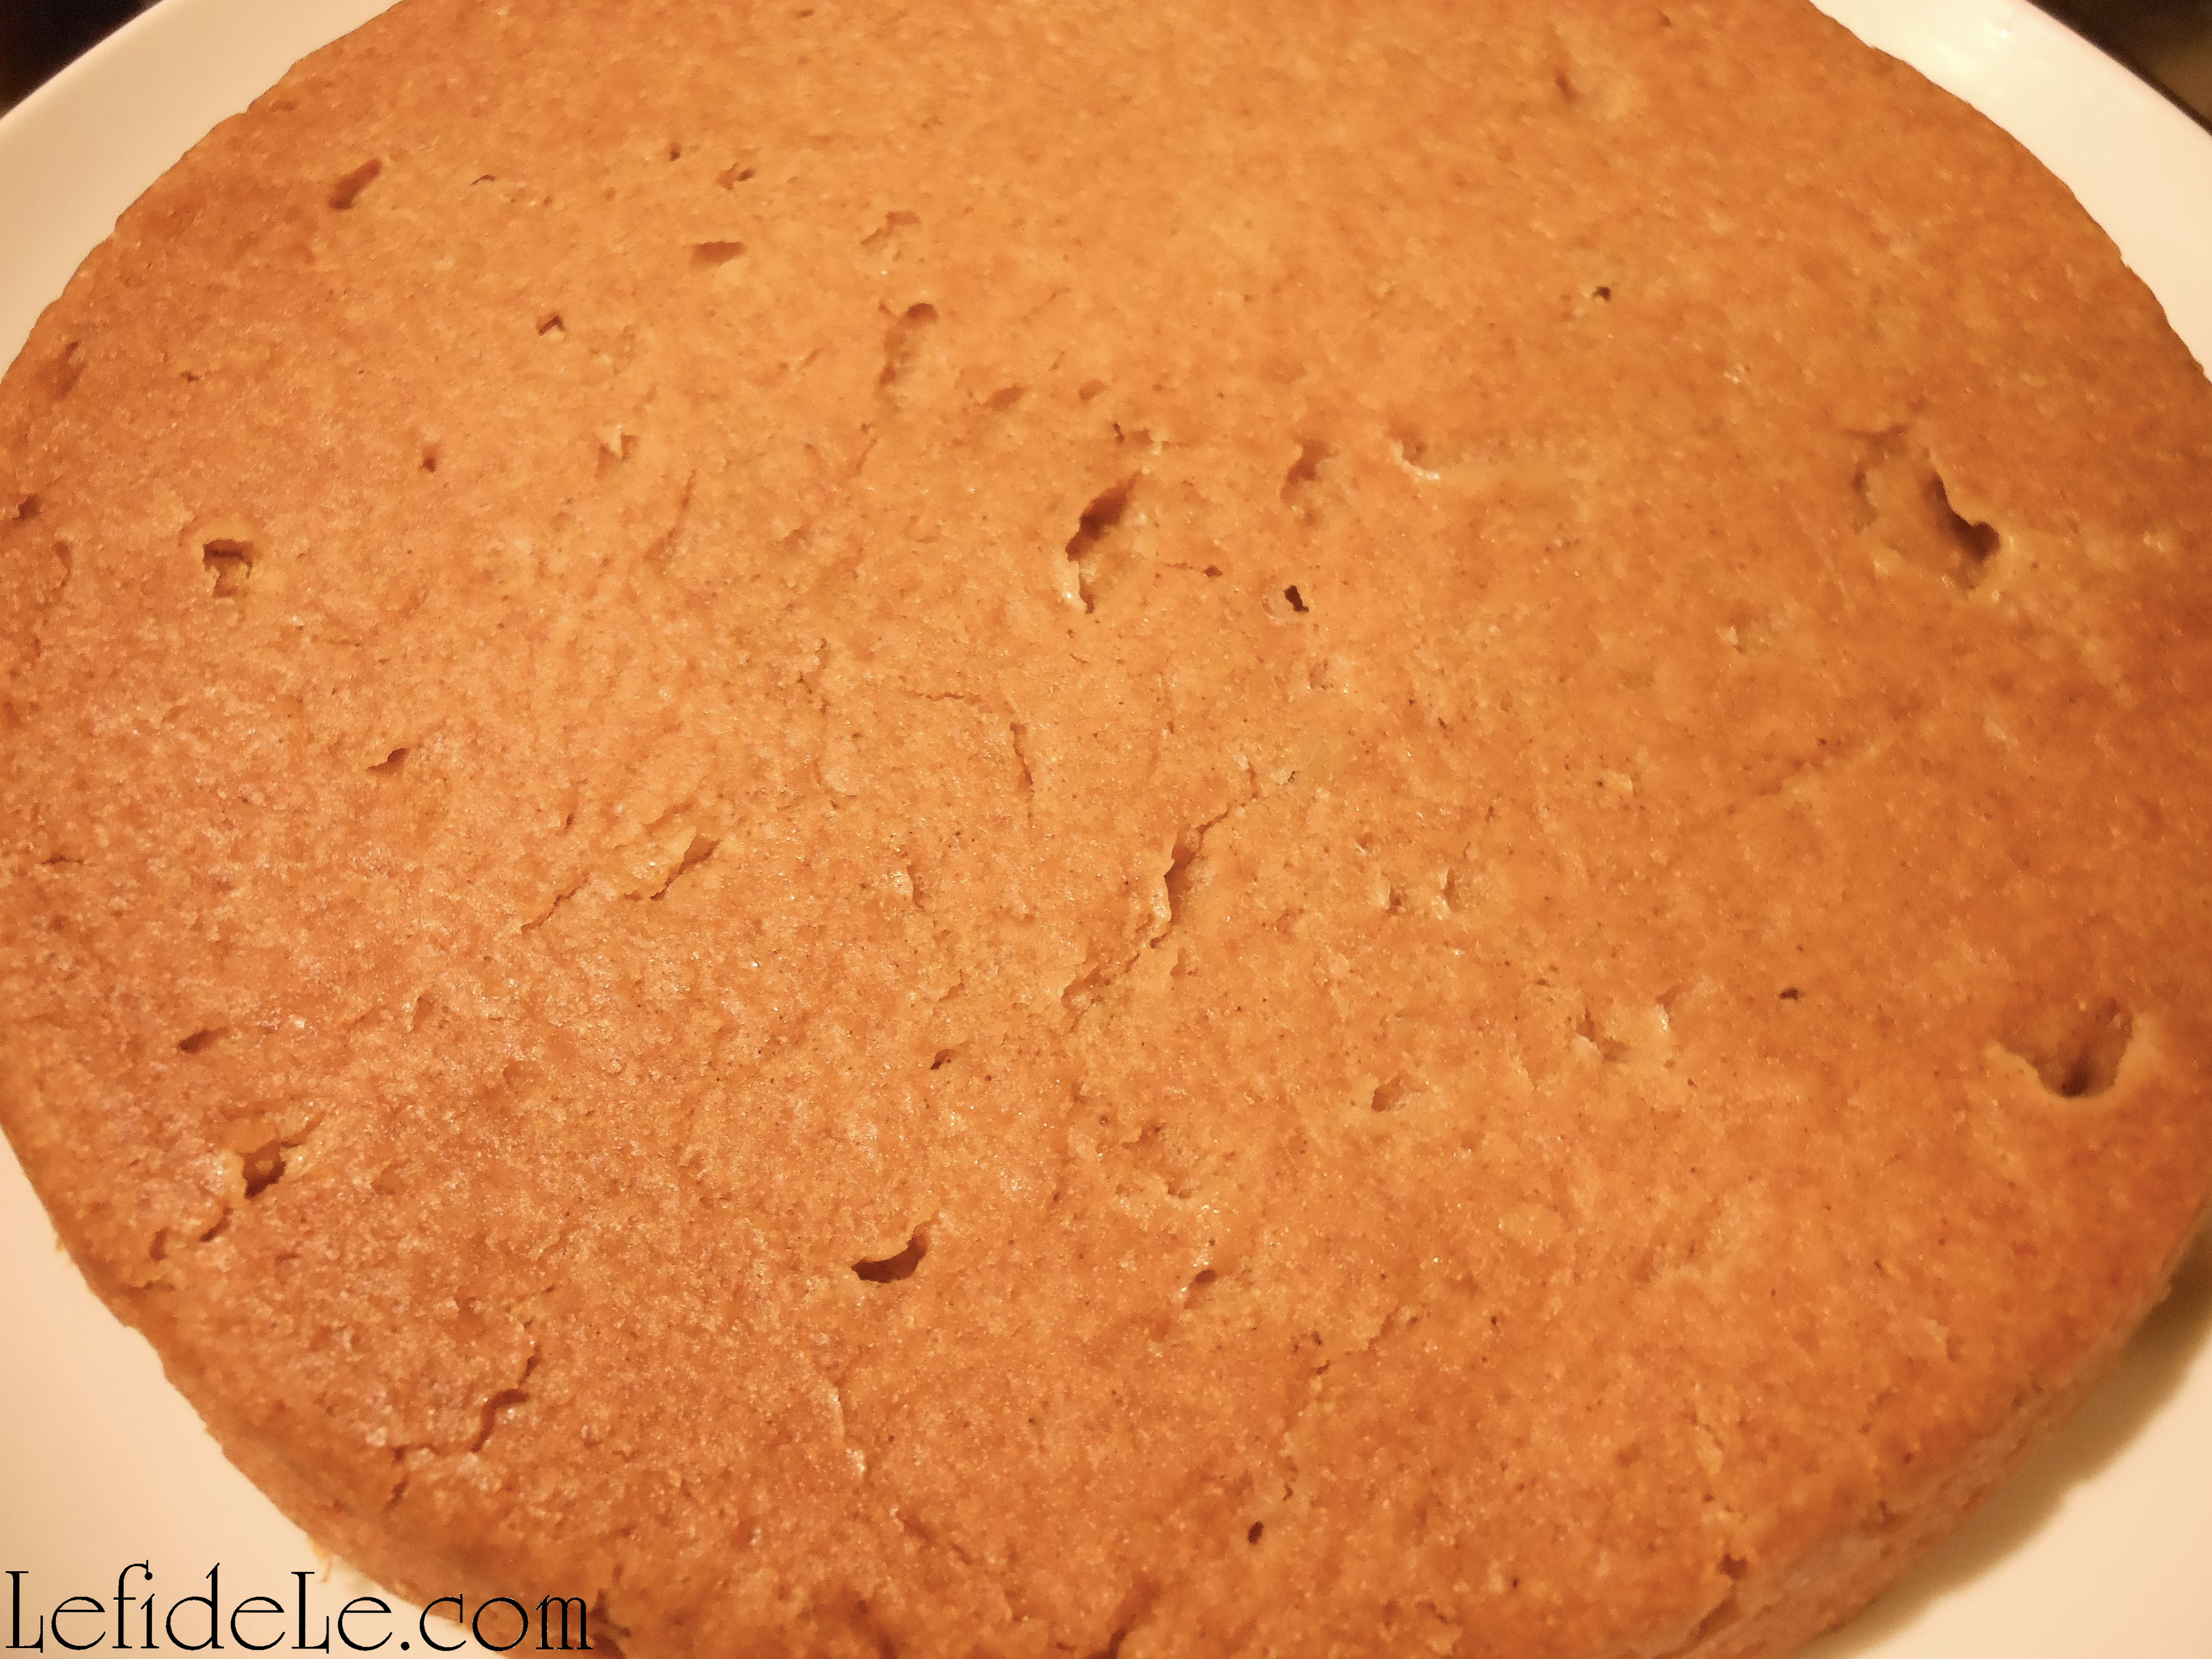
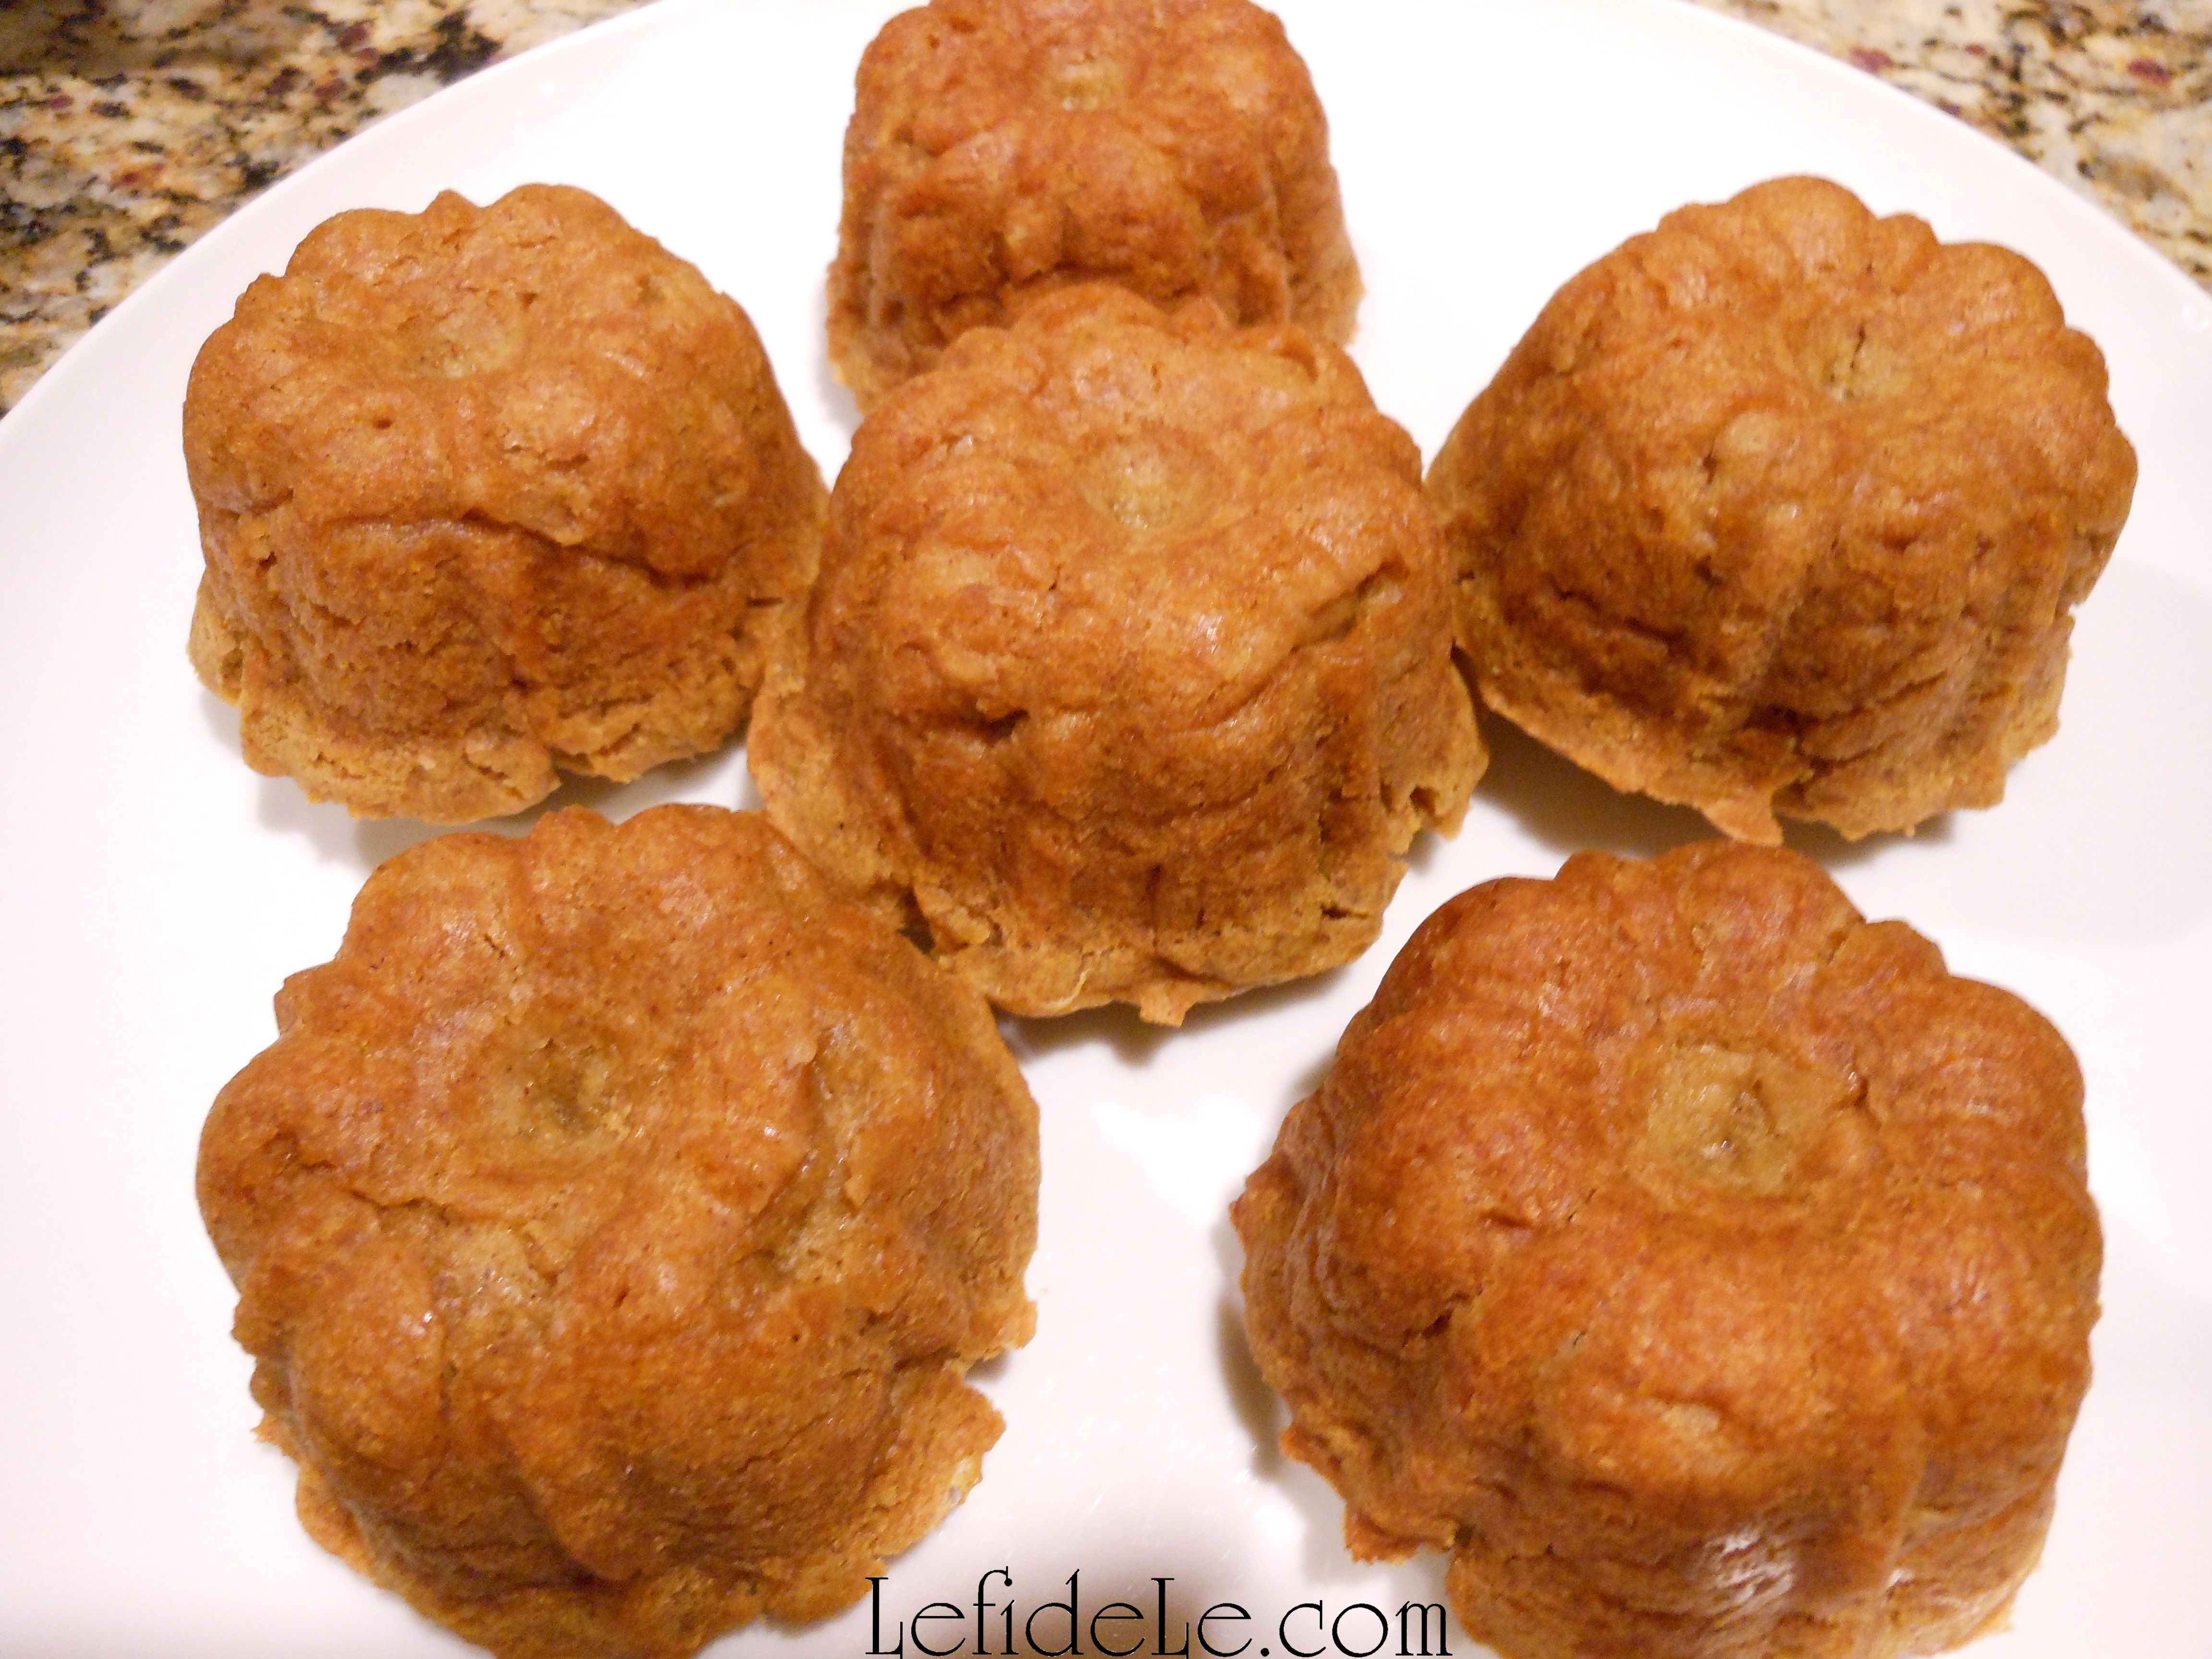
Pour the batter into round metal cake tins. (Metal conducts heat better for gluten-free baked goods.) Bake for approximately 1 hour, or until golden brown, in a 350ᵒ oven. (My oven has been running low and slow… so vary the time according to your oven’s temperament.)

035Leigh

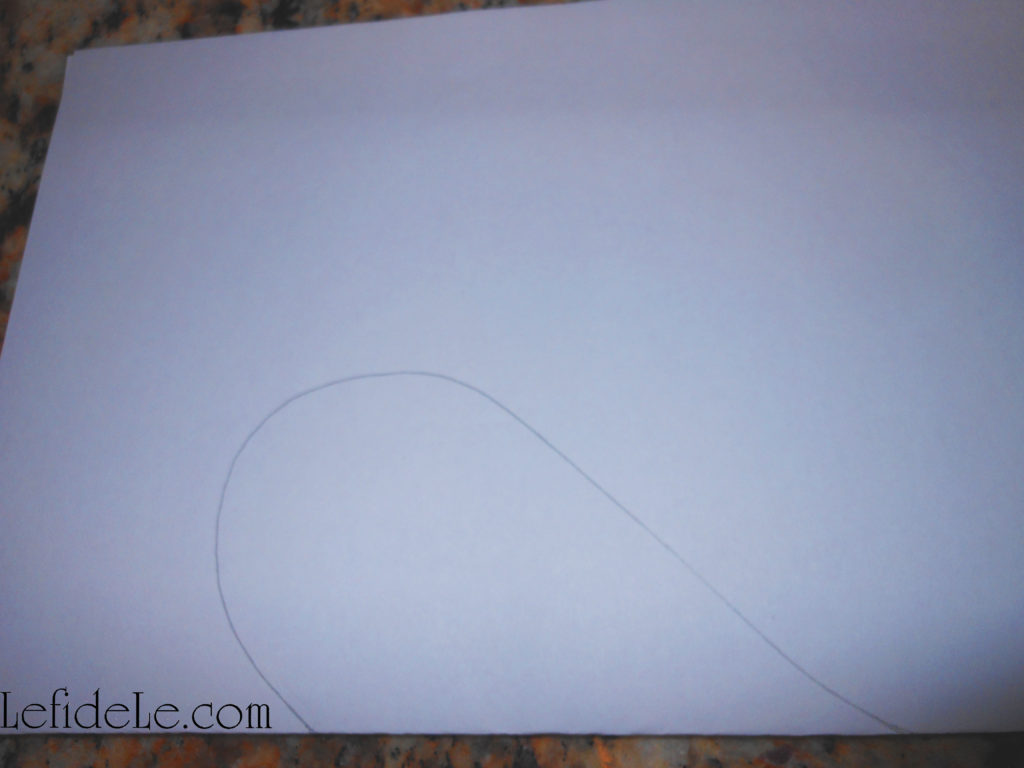
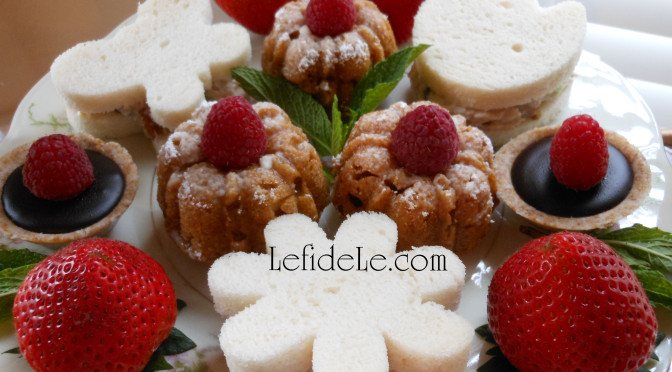
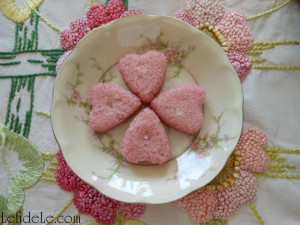
While letting the cakes cool completely, find a piece of clean copy paper to make a stencil / template with. Fold it in half, and draw one side of a heart (with the center of it running into the folded edge). Cut this out, and unfold it to reveal a perfect heart.

055Leigh

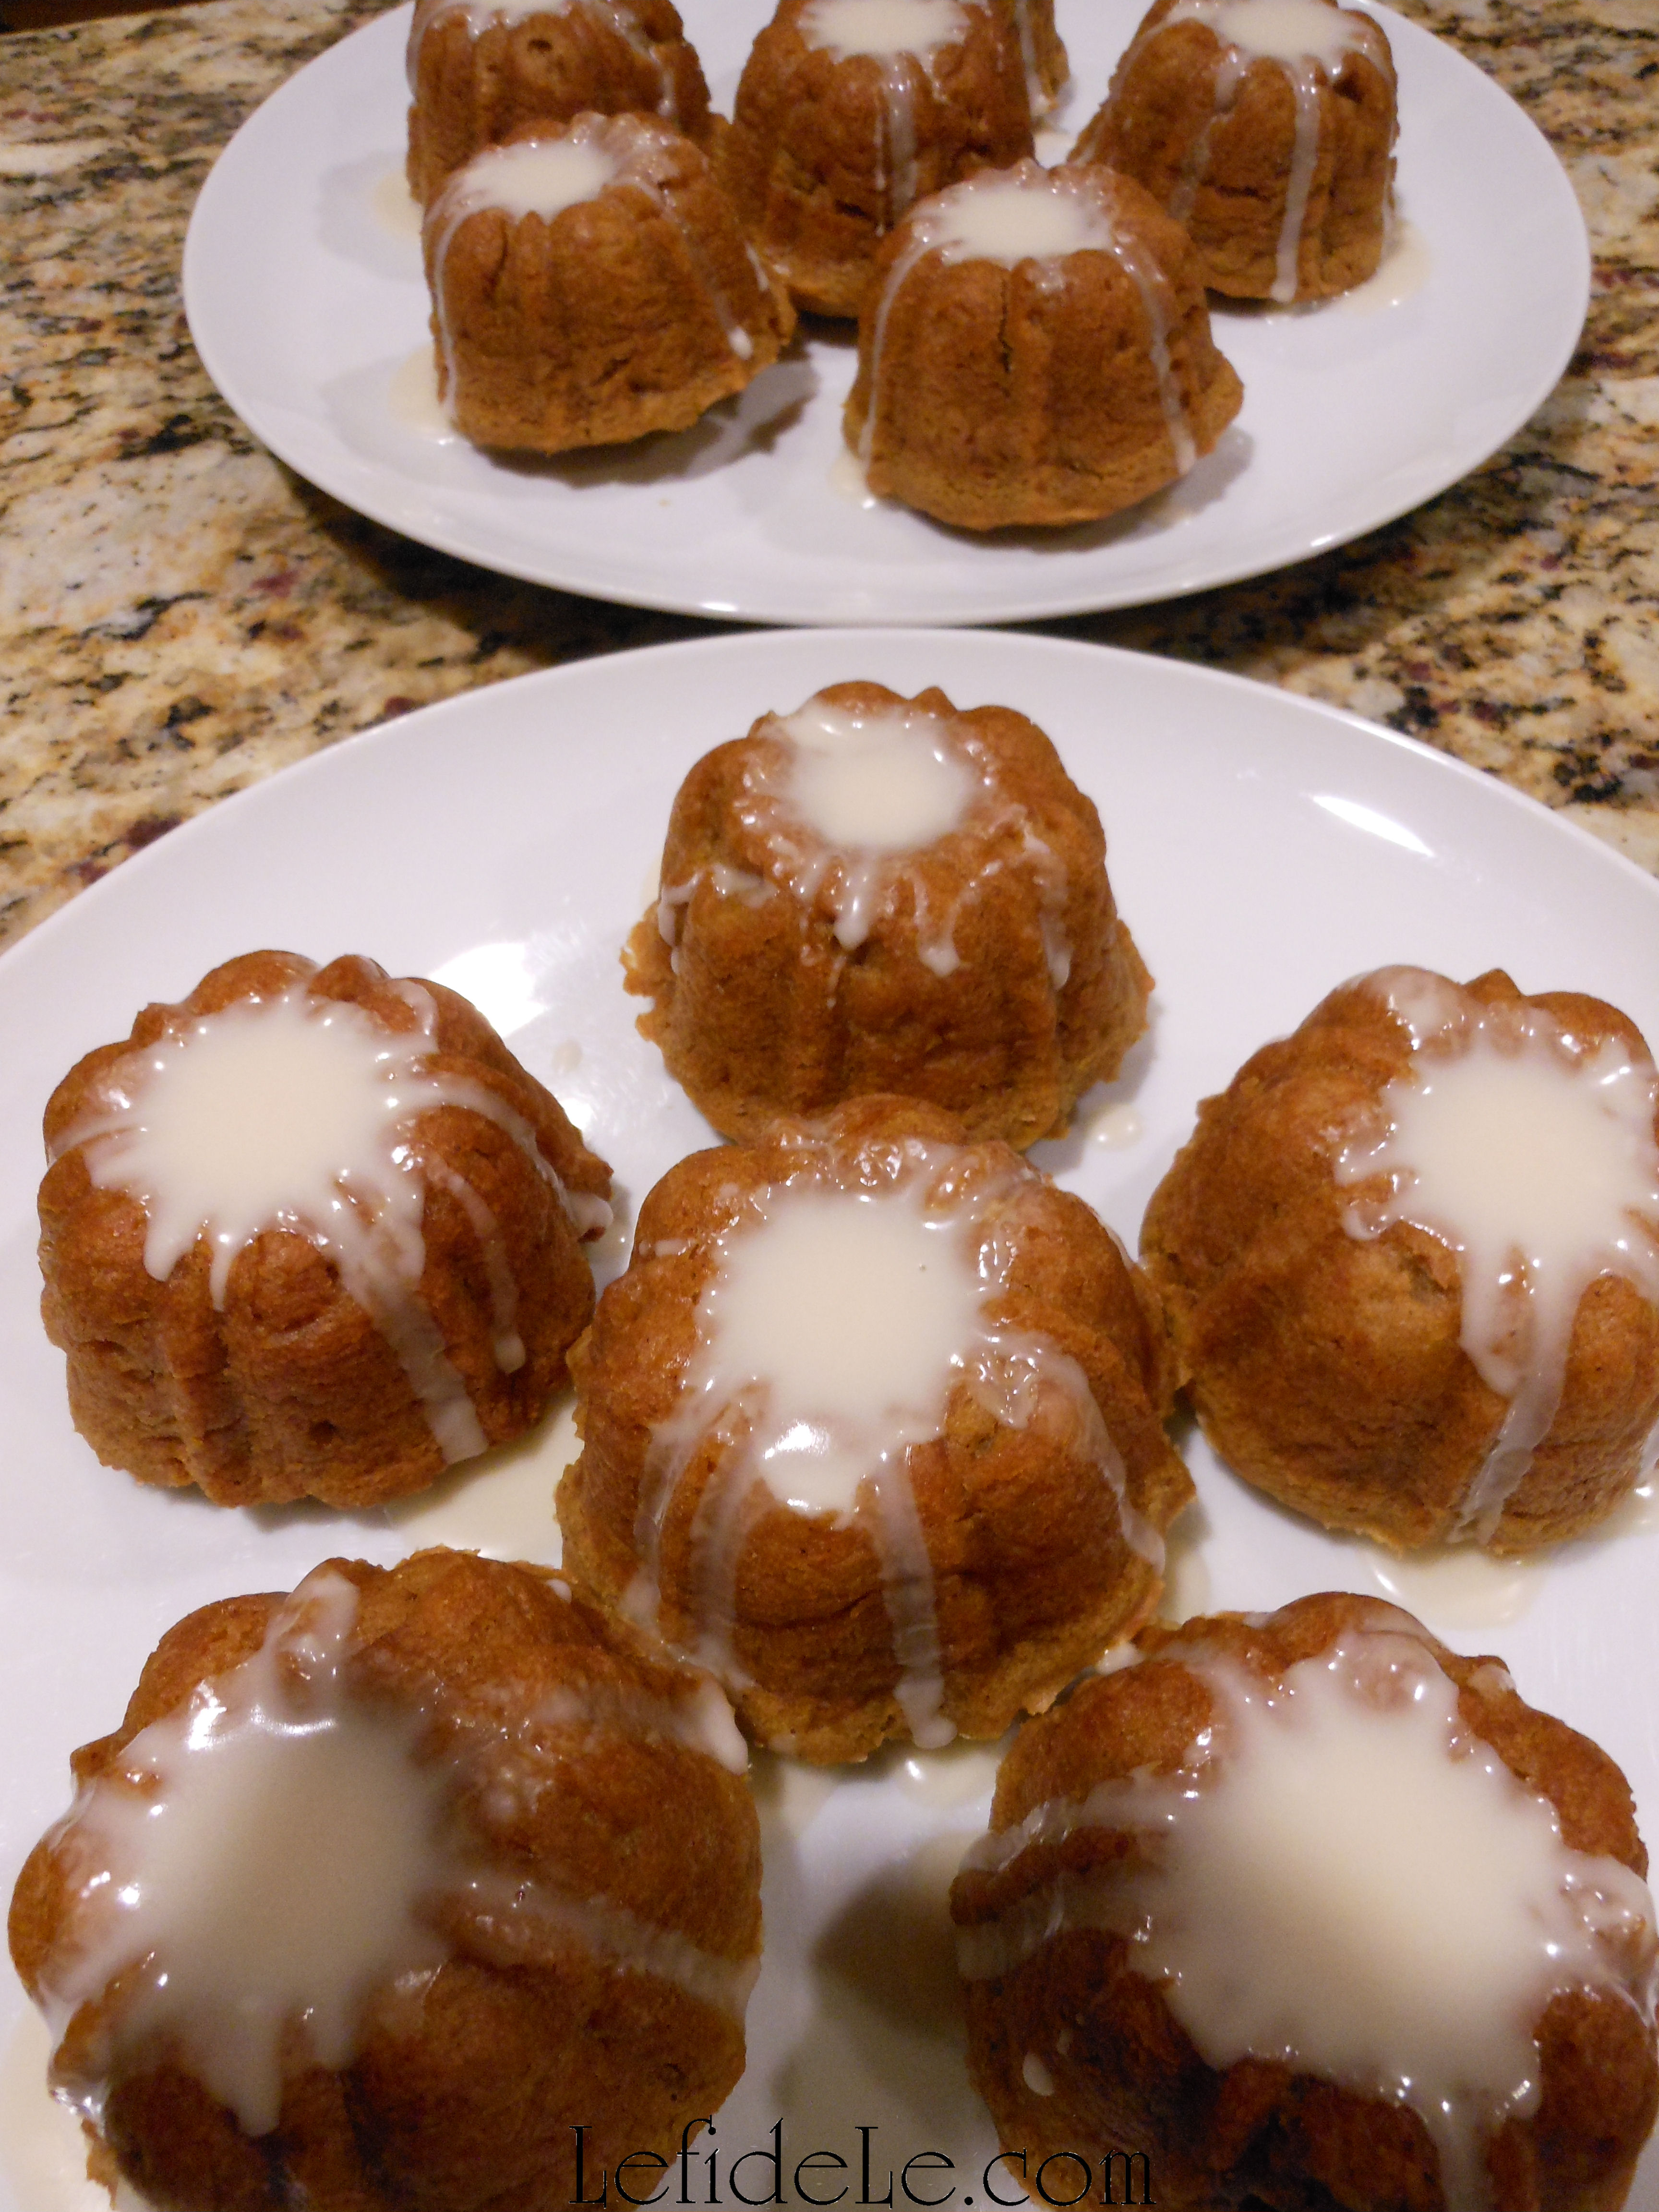
Lay down the open heart and sprinkle additional confectioner’s sugar over the opening.

063Leigh

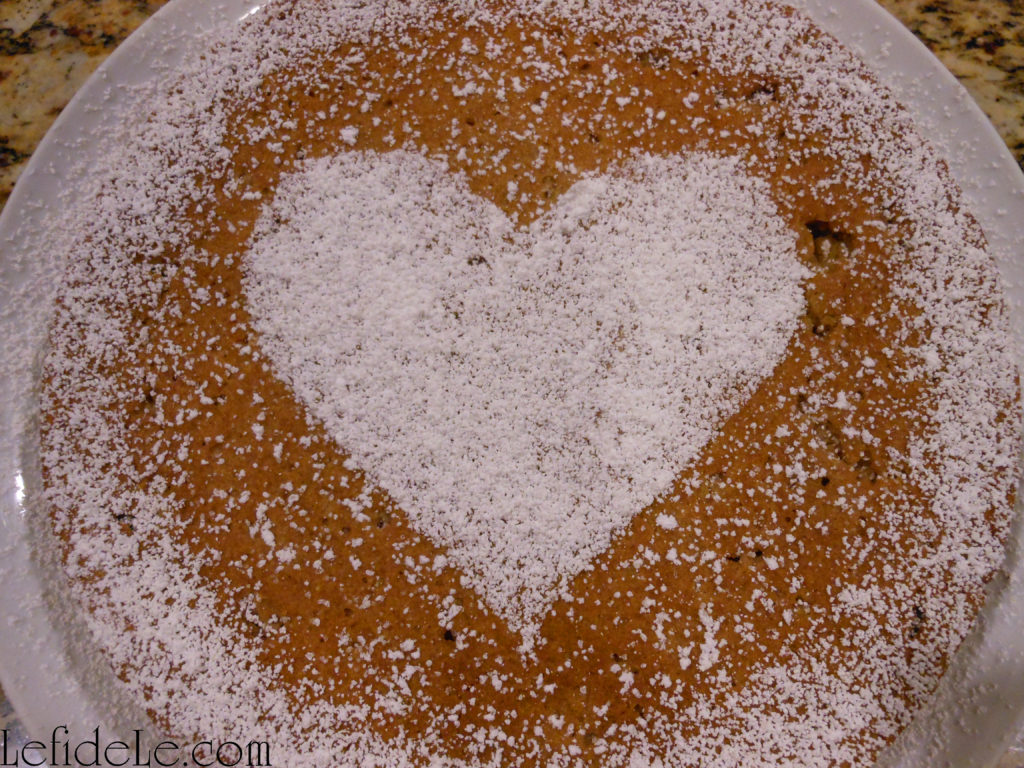
Remove the stencil and sprinkle more around the edges of the cake.

043Leigh

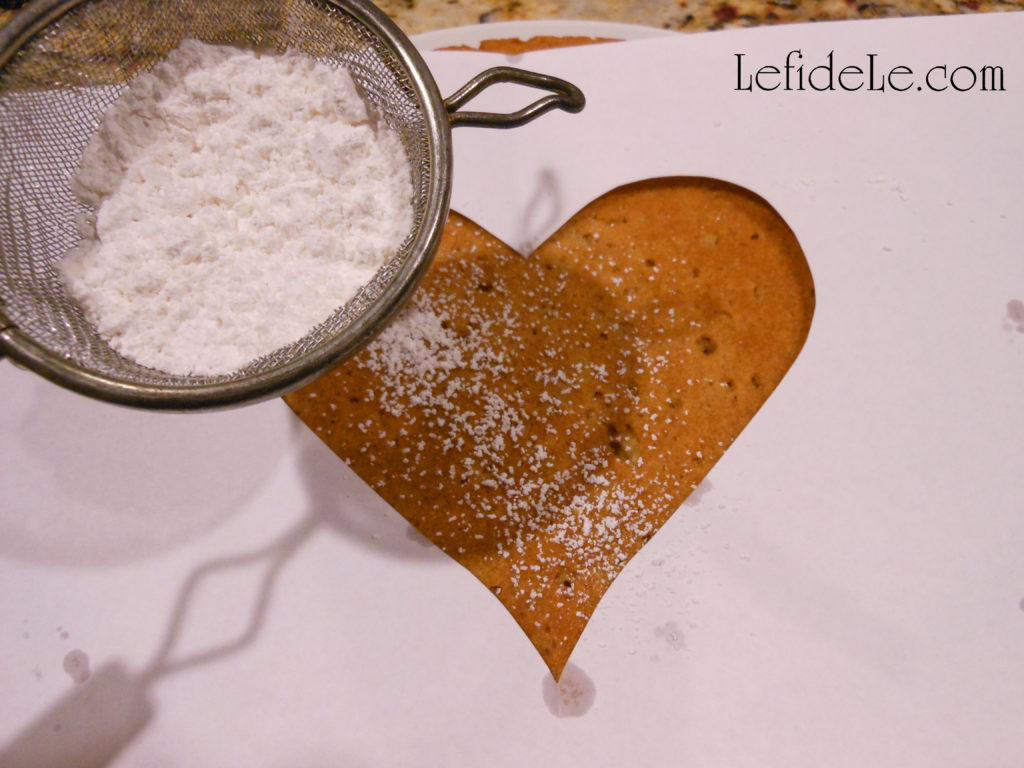
Another option is to lay down the solid heart template and sprinkle confectioner’s sugar around it.

092Leigh


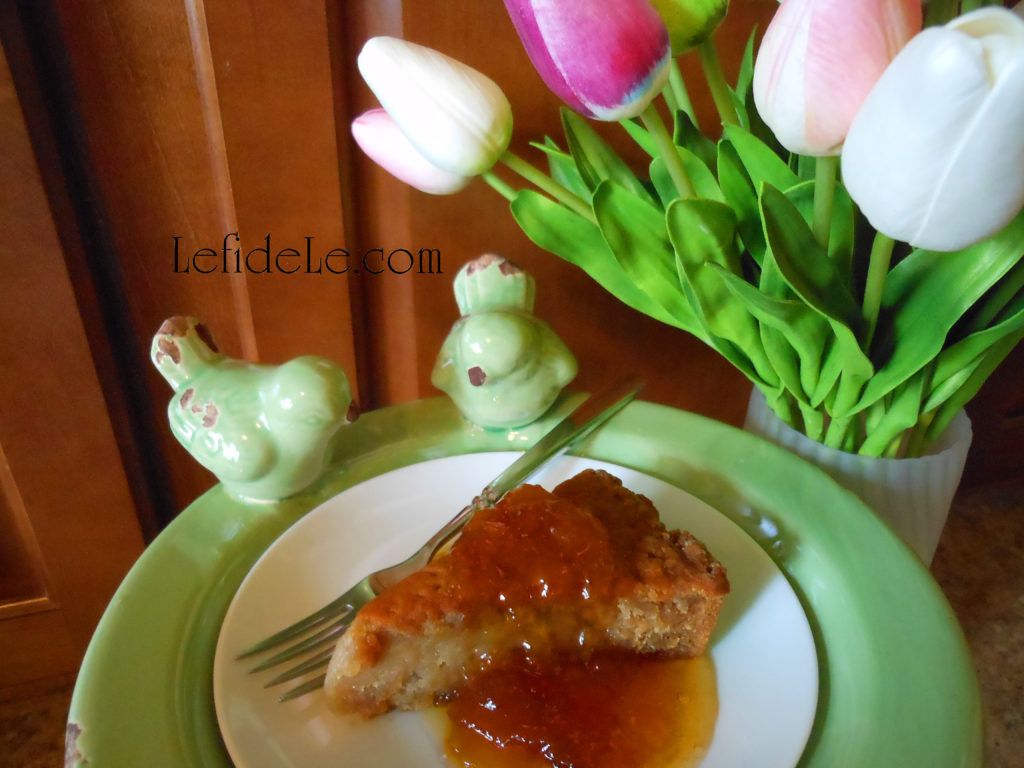
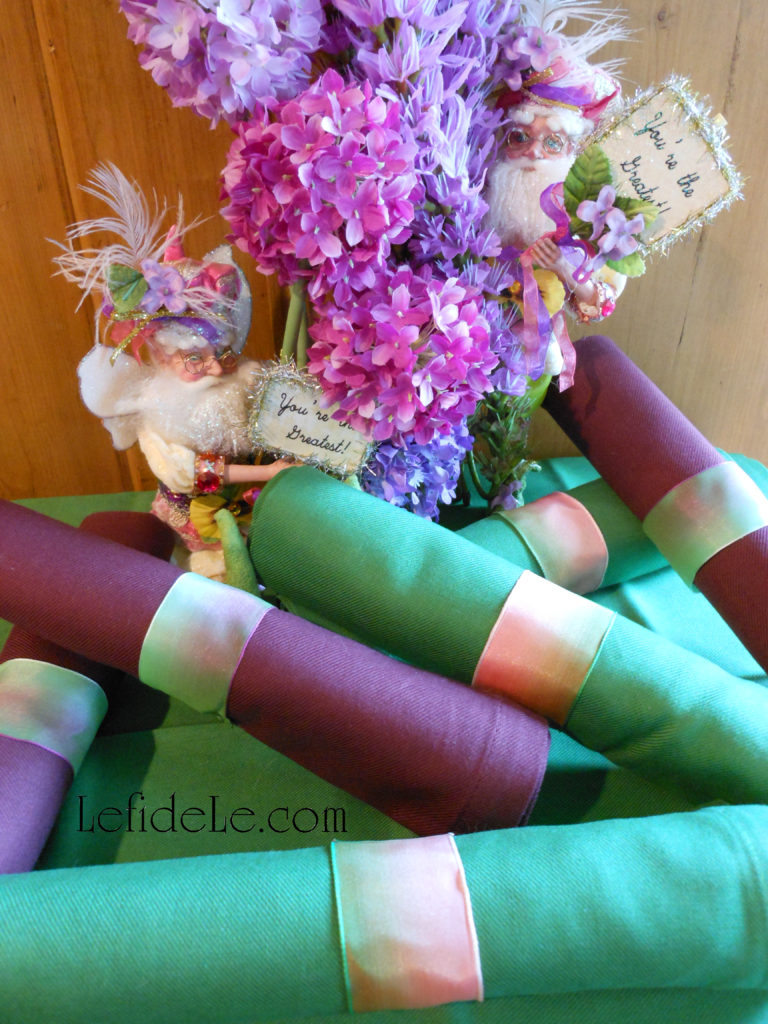
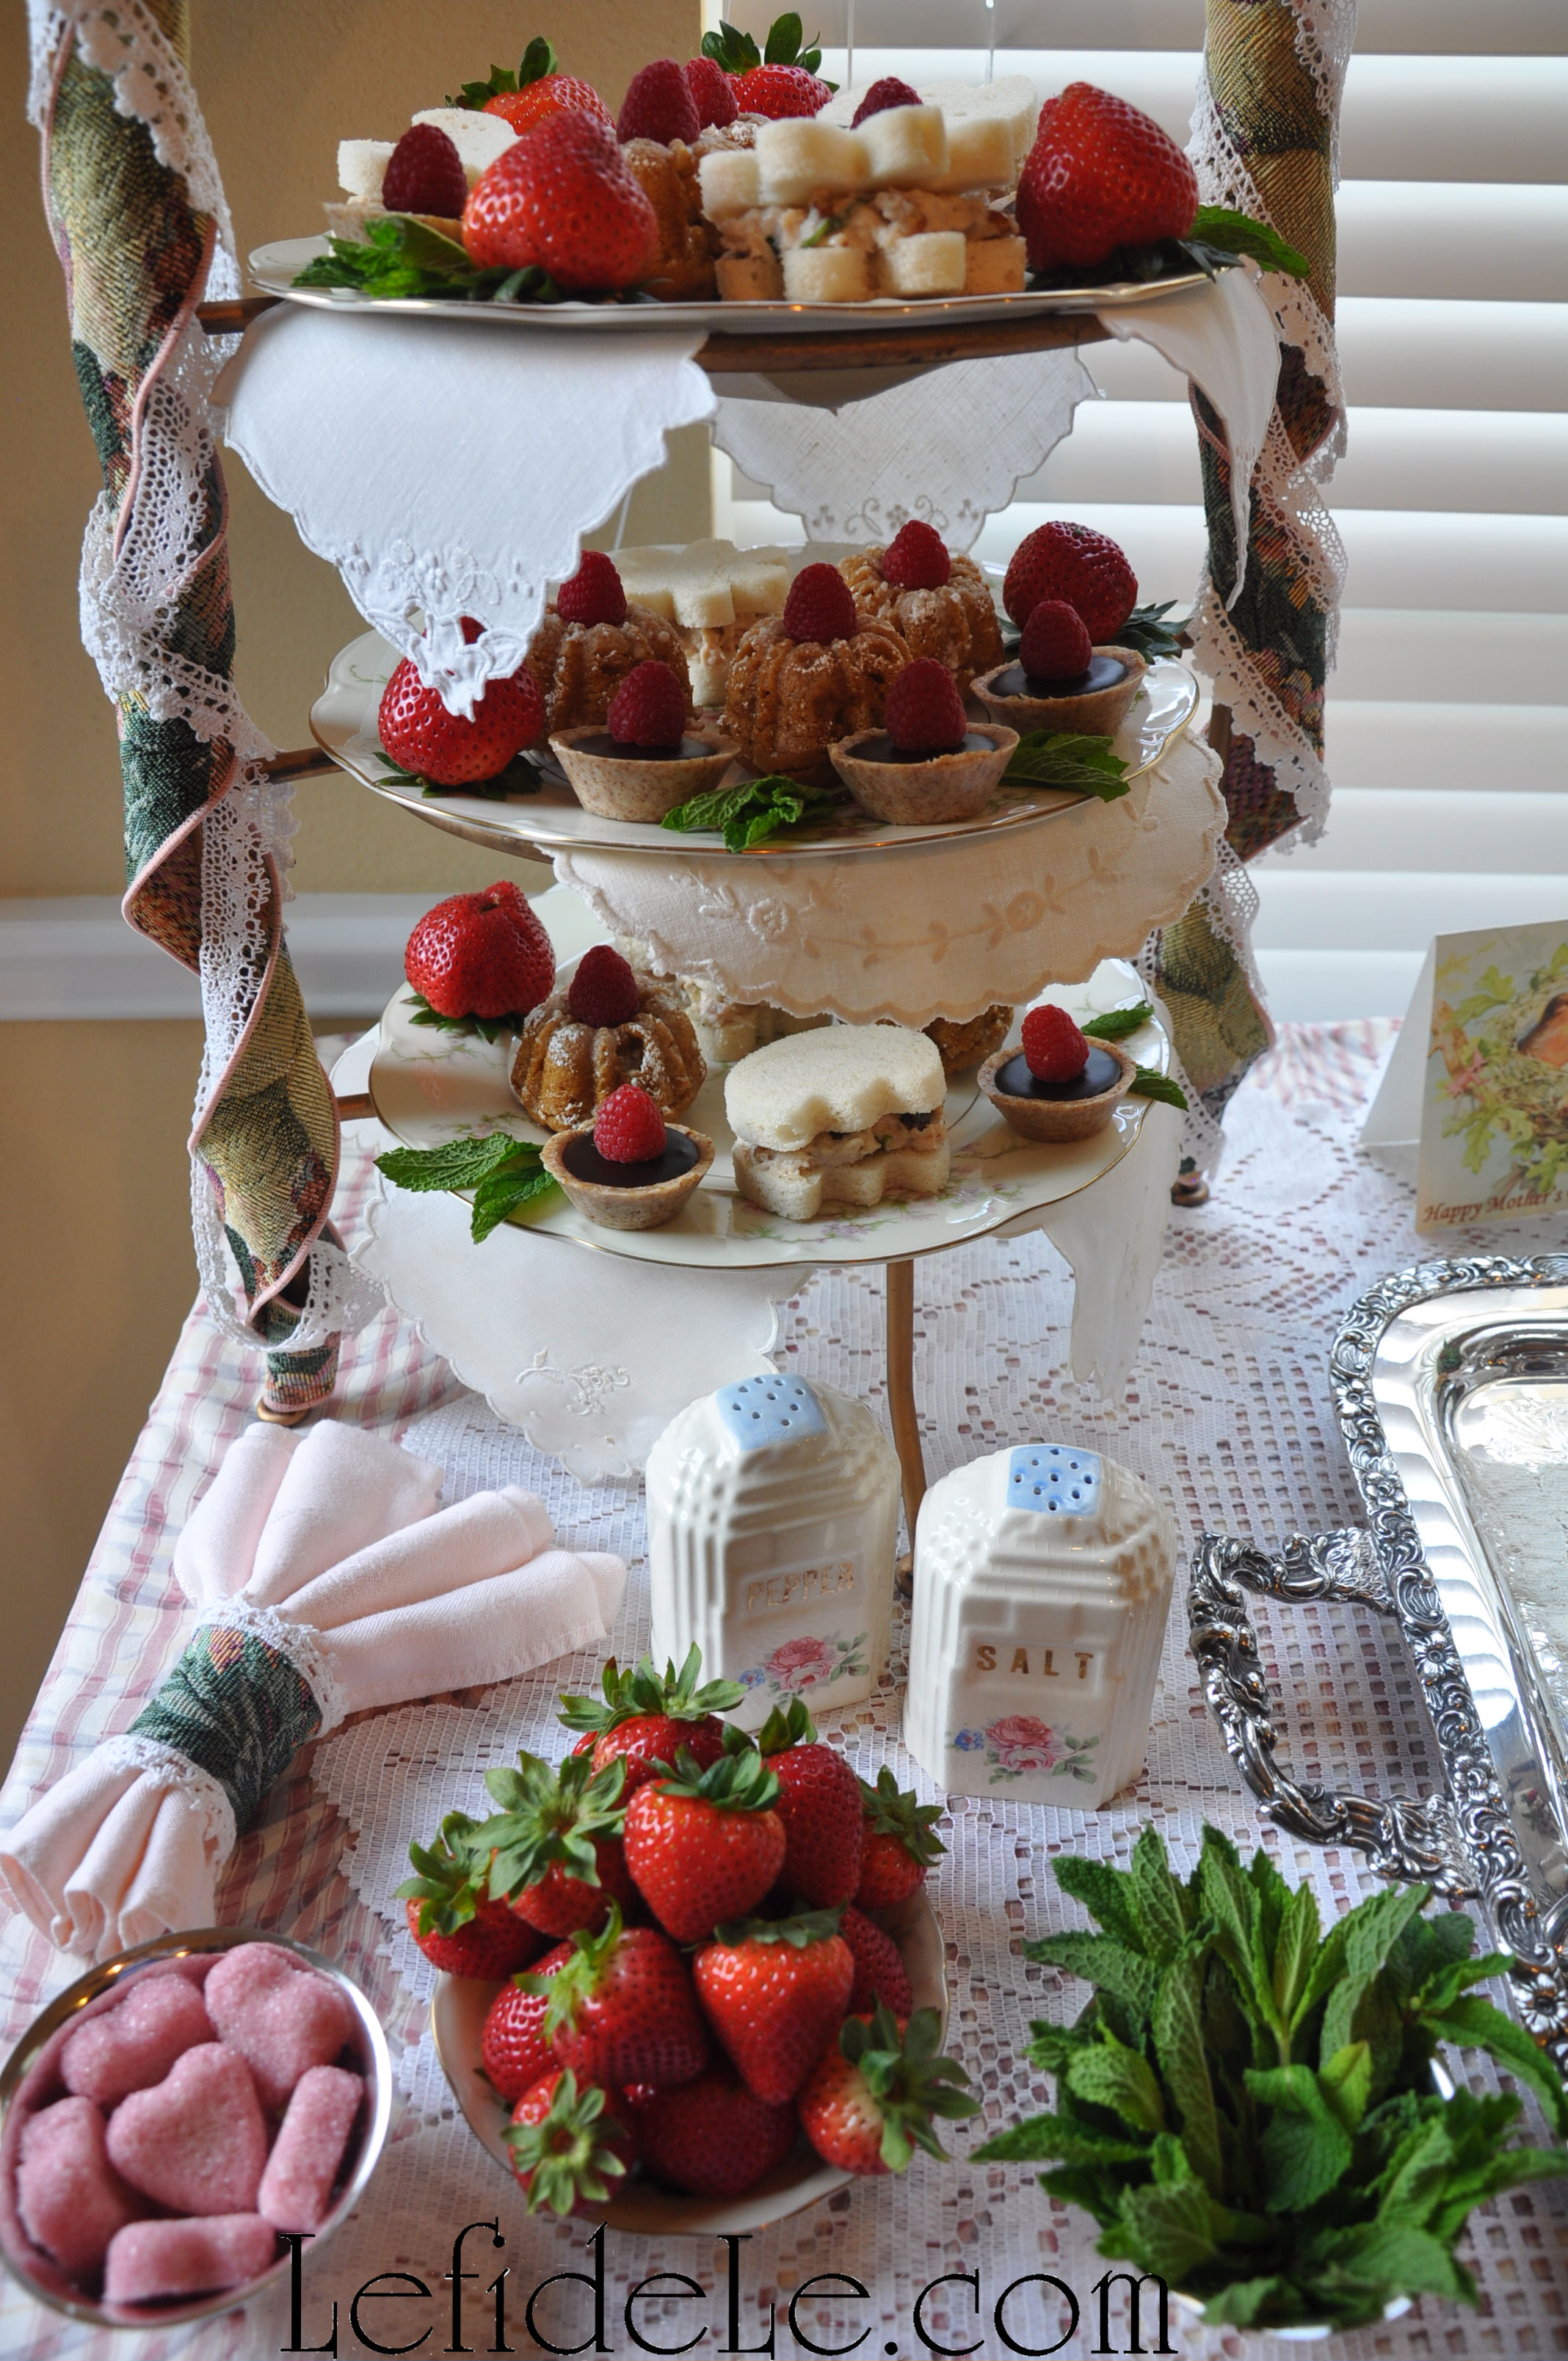
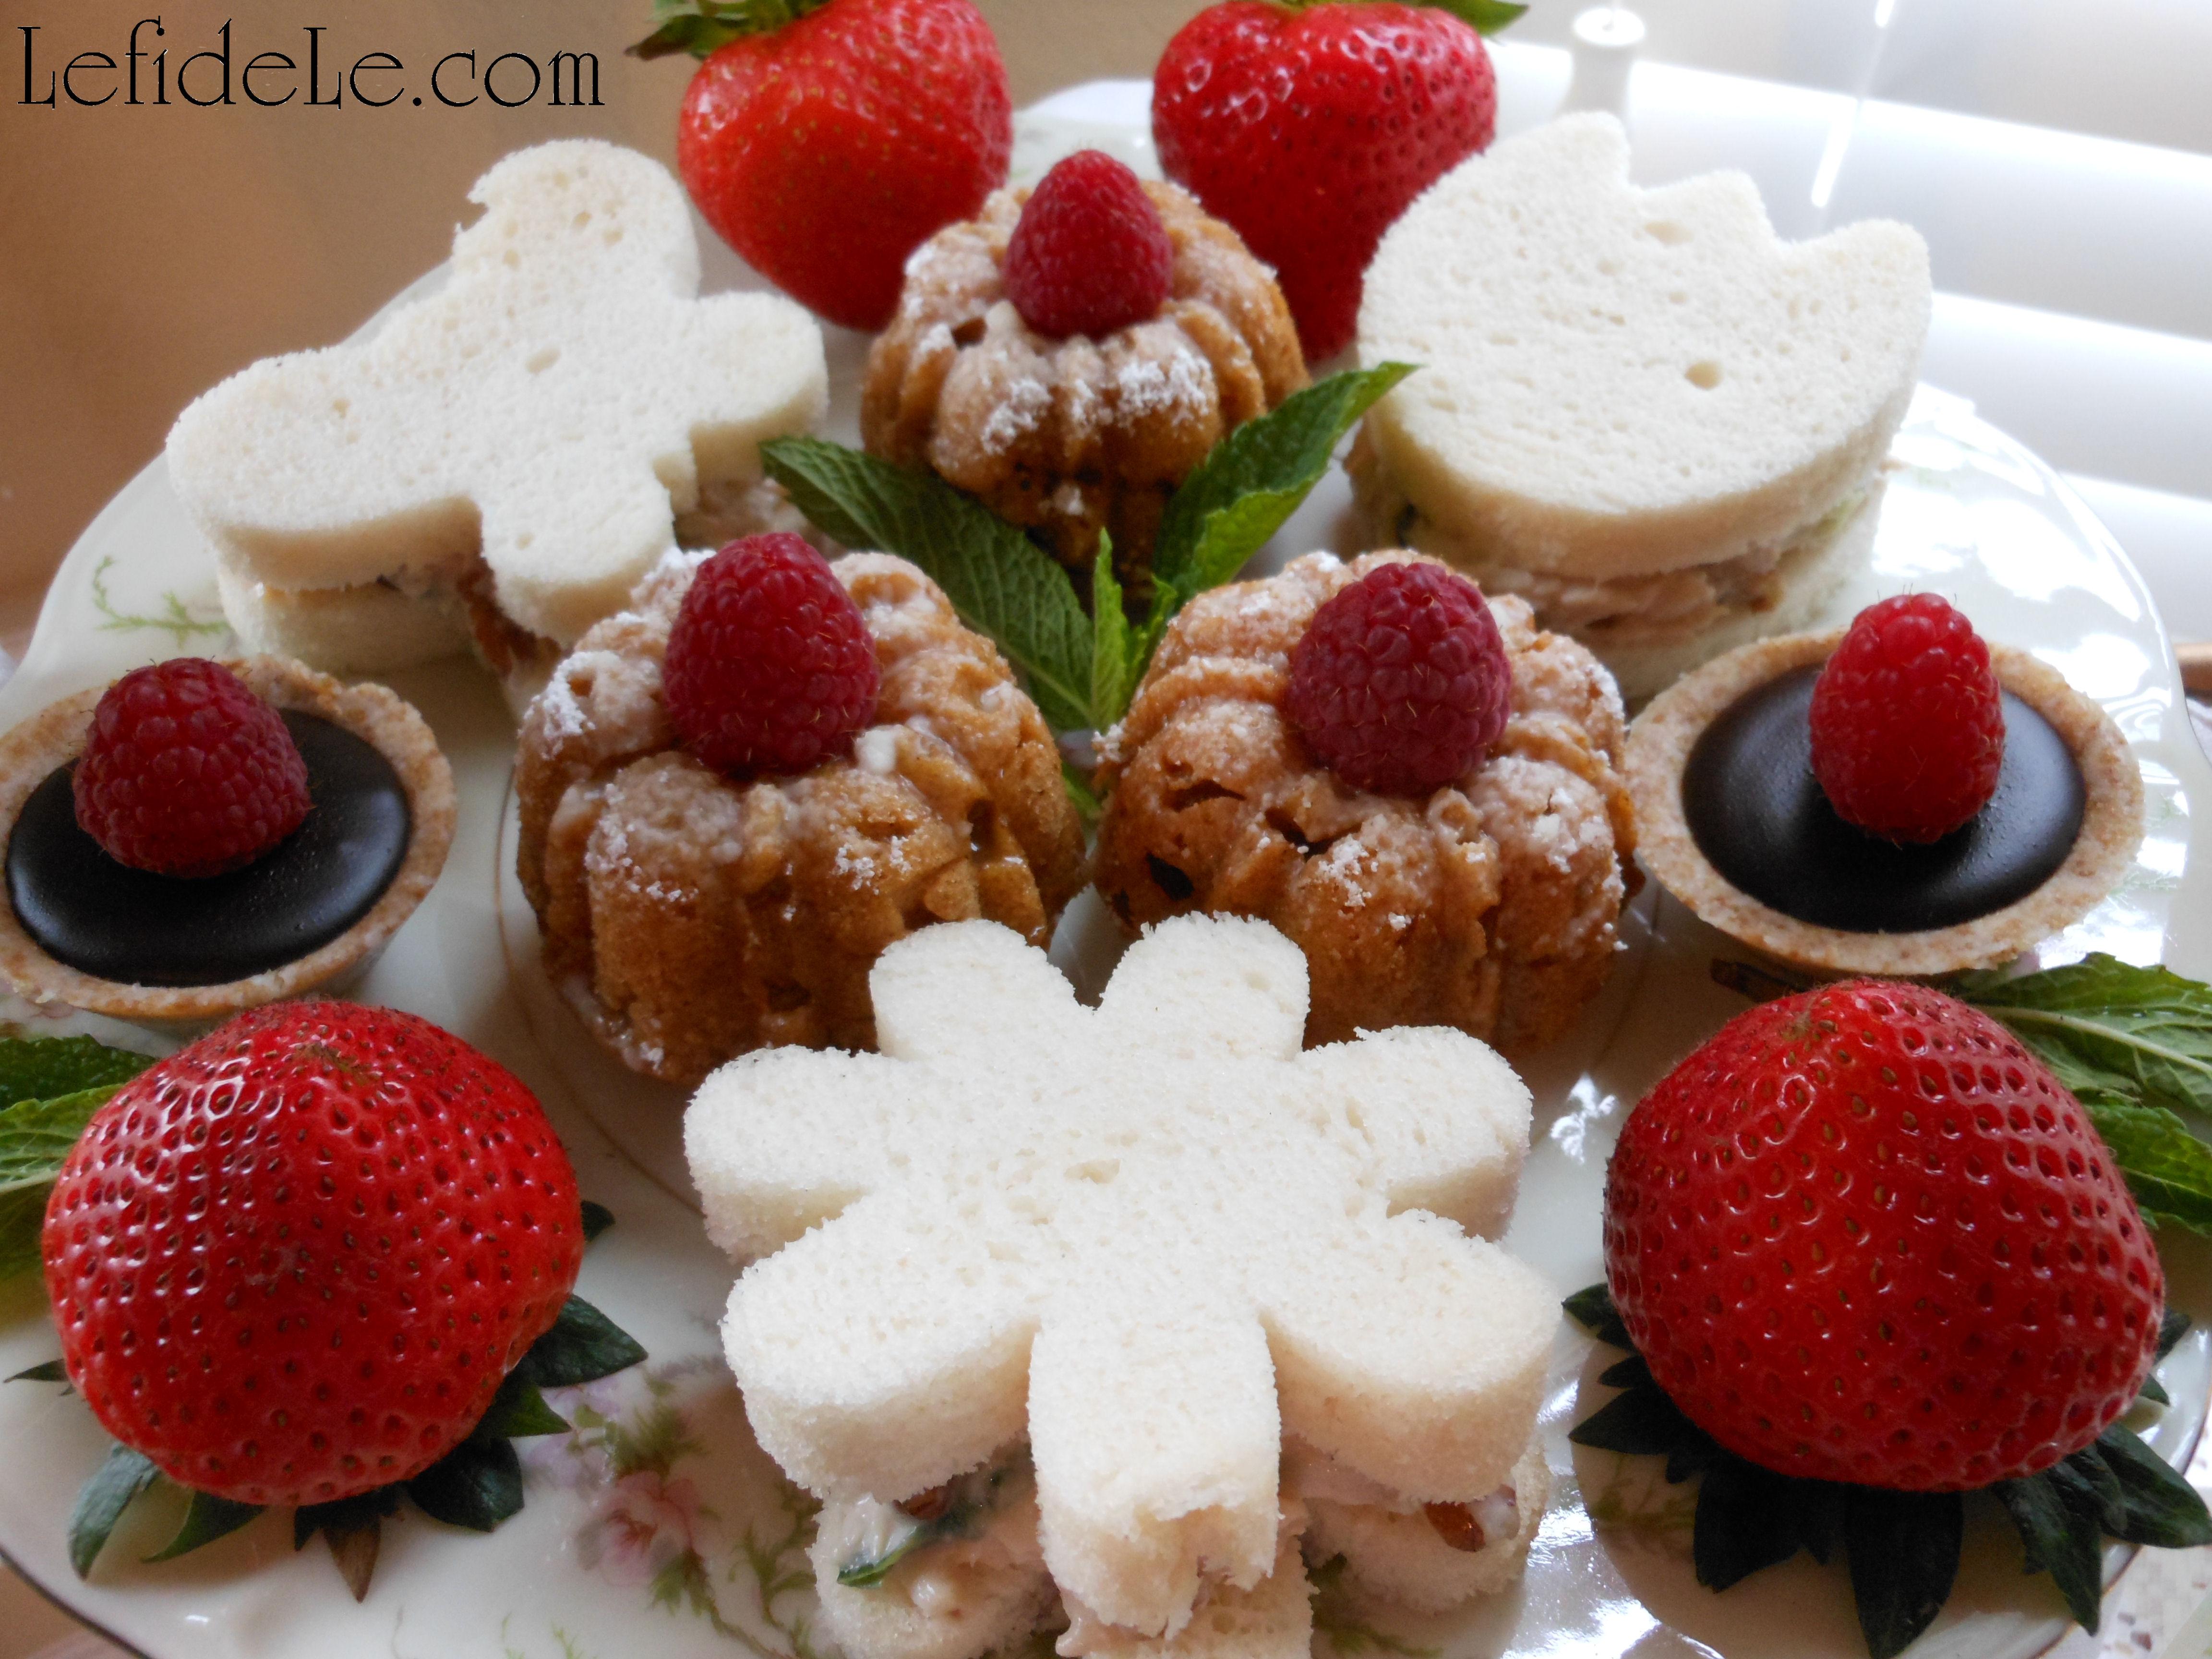
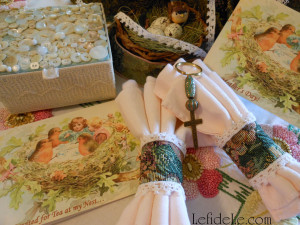
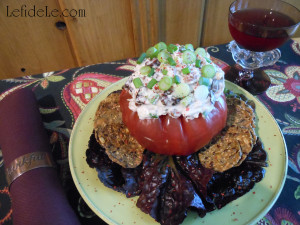
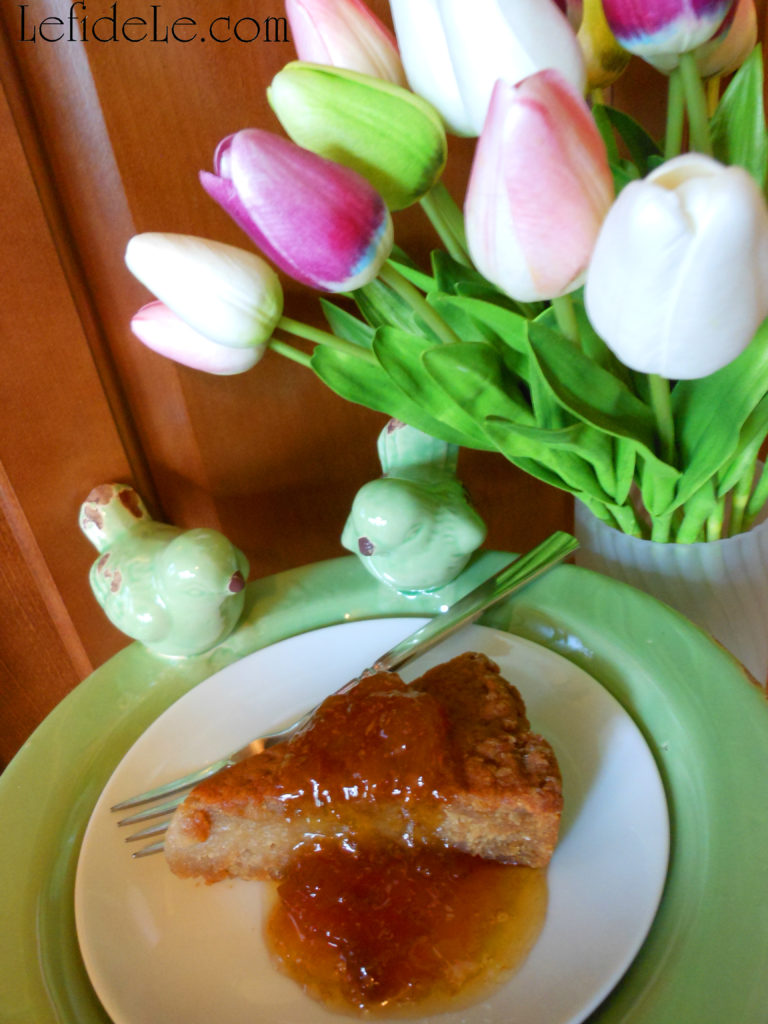
This is a great way to easily decorate this kind of cake for a gathering. Then you can top individual servings with everyone’s favorite flavor of fruit preserves.

079Leigh

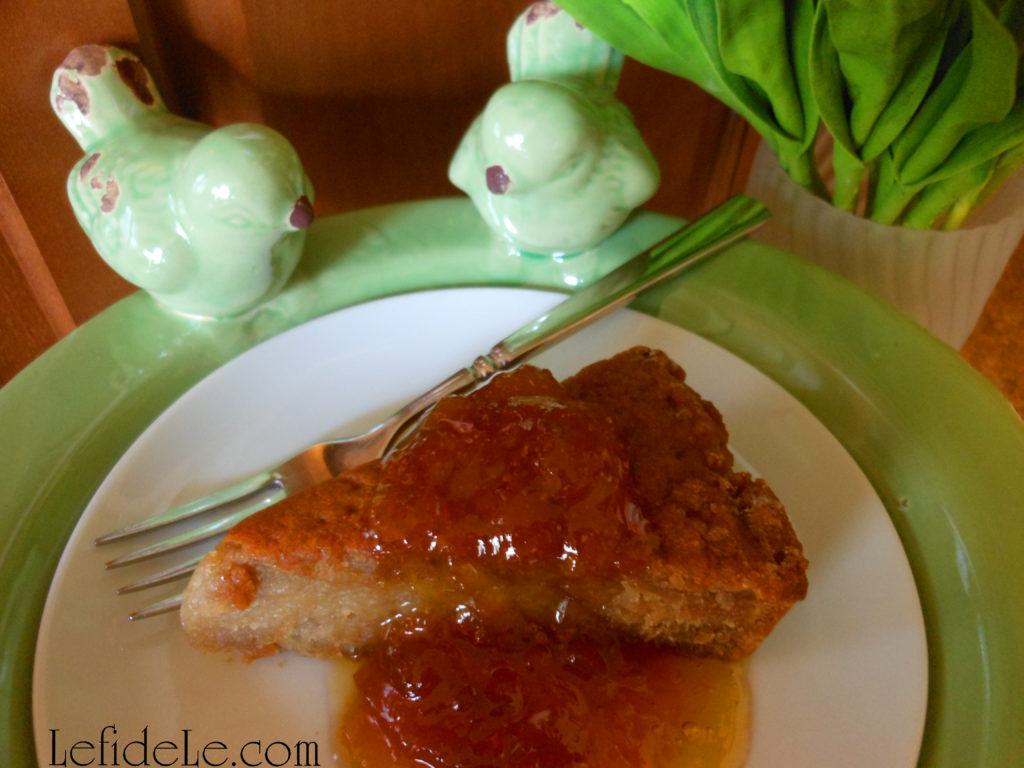
Make your cake peachy keen by topping it with scrumptious peach preserves straight from Fredericksburg, Texas… the town is known for its perfect peaches! (You can buy these delicious preserves, along with other amazing products from the Hill Country, at the affiliate link in the sidebar for Fredericksburg Farms.)

Faithfully Yours,

Leigh

P.S. A little birdie told me that a smidgen is ¹̷32 teaspoon, a pinch is ¹̷16 teaspoon, and a dash is ⅛ teaspoon… who knew a pinch of salt could be so technical!

DIY Scrapbooking Paper Flower Mobile Craft Tutorial for Decorations & Gifts (Birthdays, Baby Showers, Mother’s Day, & Get Well Wishes)

2280Leigh

Craft your own DIY mobile from scrapbooking paper flowers with this tutorial for making decorations and gifts for birthdays, baby showers, Mother’s Day, and get well wishes. They’re great to hang up as party decorations, and then let your guests take them home as gifts. They also inexpensively make sweet craft room décor, and because they’re so lightweight they can be placed nearly everywhere… even suspended over a small workspace in a tiny craft closet to bring the magic of a lush fairy garden inside.

2113Leigh

The most important elements of the mobile are the paper flowers that hang from it. Try walking through the scrapbooking aisle at your local craft store, and choose the collection that really catches your eye. (Here, I’m using K & Company layered accents that were on sale.) Be sure to buy 2 matching sets, so that you can glue them back to back later.

2061Leigh

It looks much prettier to add a wash of color to the backs of the floral elements, so that when they’re glued they appear as additional petals. (The easiest way to do this is with a sheer colored marker like these Prismacolor markers in limepeel and lilac.) You can also easily modify the front of the designs by adding a wash of color to them. (In this way, I made blue flowers violet and white flowers lavender… who needs “Bibbidy Bobbidy Boo” when you have markers?!)

2103Leigh

Also, find a package of smaller floral elements to further embellish your piece with. (Here, I’m using a package of flower confetti that I found on the clearance aisle last year.) Remember that it’s so easy to alter the colors of these elements by simply coloring over them with a marker. (This lilac Prismacolor marker added a translucent layer turning my baby blue confetti into lavender… Flora, Fauna, & Merriweather can eat their hearts out!)

2066Leigh

You have several options for the ring the elements will hang from. You can use a 6 inch metal ring (like this golden one from Joann) and wrap it with ribbon… or simply use it as is. You can also opt to use a coordinating wired paper ribbon (as the one I’m using here, which came from my gift wrapping supplies). To do this simply cut a length of ribbon long enough to form approximately half a foot diameter (exact measurements aren’t necessary), and then cut that in half lengthwise.

2072Leigh

Next, you’ll need to cut 1 strand of yarn/ribbon for each floral element. Try cutting them in various lengths from 6 to 10 inches. (I used clearance yarns that matched my paper flowers.)

2075Leigh

Hot glue the yarn/ribbon pieces (staggered in lengths) to the inside curve of the wired ribbon piece.

2079Leigh

Now glue the ends together to form a complete circle, and then glue the top flap (of the wired ribbon) down over the glued strands.

2284Leigh

Next, you need to add 3 additional pieces of yarn/ribbon to make a hanging “tripod”. You can either glue them as you did with the strands earlier, or you can simply tie some on. Then, gather the loose ends at the top, and form a knotted loop to hang them by. (If you like, tie more pieces of yarn onto the loop to decorate it a bit.)

2100Leigh

Now it’s time to glue on the big flowers. (It’s easiest to do this by hanging the mobile up, so that you can see how you’re arranging the elements.) Hot glue them back to back with the yarn/ribbon sandwiched in between them. (Even though they have foam stickers, it’s best to use a little glue so that the yarn/ribbon stays put… because every fairy godmother knows it mortifying when your creation falls apart.)

2110Leigh

Hot glue the smaller floral pieces (confetti) in a staggered formation along the yarn/ribbon strands. (I also used torn off petals from the green floral confetti as leaves.) To the ring, add a few of the smaller flowers and a couple of larger elements (like these butterflies that were the K & Co. package… which I also tinkered with by adding color).

2111Leigh

I wanted the dominantly purple mobile to have more of a purple toned ring, so I used a lilac Prismacolor to color in the white portions of the paper ribbon. (I did the same using a blue marker on the dominantly blue mobile… the blue fairy herself couldn’t do this any easier.) It’s the little touches like that which really make mobile a visually cohesive structure… in other words, it’s prettier that way.

2277Leigh

If you feel like it needs more sparkle, attach crystals as flower centers and sprinkle glitter… then tell Tinkerbell to eat your pixie dust!

Faithfully Yours,

Leigh

P.S. Check out these mobiles HERE in my Fairyland Tablescape hanging from the trees in the background.

Then get my free printable fairy cards HERE to gift with the mobiles you just created.

037Leigh

Whimsical Fairyland Tablescape Décor Ideas for a Birthday Party or Mother’s Day Celebration

Welcome to a whimsical fairyland with tablescape décor ideas perfect for a birthday party or Mother’s Day celebration. This is a venue where fantastical flower bearing fairies evoke Irish proverbs that will fill your mind with conviviality as joy fills your soul.

133Leigh

“Your feet will bring you where your heart is.”

Take a seat next to a dear loved one whose smile is lit by the glistening light reflected by the chandelier’s découpaged crystals.

140Leigh

“What fills the eye fills the heart.”

Feast your eyes upon a table festooned with watercolor ribbon bows and a berry clustered birdbath centerpiece framed by ceramic tulip salt and pepper shakers.

150Leigh

“A word is more enduring than worldly wealth.”

Meadow fairies present you with purple flowers and signs declaring, “You’re the Greatest!”

182Leigh

“People live in each other’s shelter.”

Rest upon floral cushions as you bask in the serenity of good company sheltering beneath trees adorned with handcrafted paper flower mobiles.

184Leigh

“Time is a good storyteller.”

Raise a toast with violet bubble goblets in celebration of time shared as you dine upon ceramic dishware of purple dragonflies twirling around parchment paper pansies.

136Leigh

“A light heart lives long.”

A lavender tablecloth of basket-weave patterning glides across a lighthearted tablescape with wood handled flatware and eggplant napkins rolled into handmade watercolor ribbon napkin rings.

215Leigh

Remember that “Mothers hold their children’s hands for just a little while… and their hearts forever.”

And as the small serving plates say, “The best medicine in the world is a mother’s kiss,”… remembered and cherished. Love you Mom!

Faithfully Yours,

Leigh

P.S. The flower laden fellows are Mark Roberts Fairies, and the lovely quotes are old Irish proverbs!

P.P.S. Learn how to make your own paper flower mobiles by clicking HERE.

And read how to easily make the ribbon napkin rings HERE.

Get my free printable Birthday & Mother’s Day cards HERE.

Get the perfect Macadamia Nut Cake Recipe (Gluten-free Vegan) to serve at your gathering HERE.

Free Printable Fairyland Mother’s Day & Birthday Cards + Super Easy DIY Ribbon Napkin Rings Craft Tutorials

022Leigh

Craft a fantastic fairyland tablescape with this tutorial for super easy DIY ribbon napkin rings, and make fairyland cards for birthdays and Mother’s Day with my free printables. With four examples of napkin rings, using watercolor ribbon and paper gift wrapping ribbon… you’re sure to get all the inspiration you need to easily and inexpensively create the same magic for your own party. There you can raise a toast, as the fairies do in the cards, saying “Hip Hip Hooray” on celebration day!

2347Leigh

Make the napkin rings using absolutely any kind of ribbon you like to coordinate with your linens and decorations. (Here, I’ve used different varieties of Offray brand watercolor ribbon to resemble the petals in my fairyland tablescape.)

1921Leigh

Simply cut 6 inch lengths of it, and hot glue the edges (overlapping the short ends).

1924Leigh

Here is another example of the watercolor ribbon turned into rings.

2427Leigh

I made these pink and green rings to coordinate with my grandmother’s vintage ribbon rosettes.

2309Leigh

Here, the same super easy technique is used with simple gift wrapping paper ribbon.

2465Leigh

These would be equally lovely when paired with either fabric or paper napkins.

2449Leigh

This is the same wired paper ribbon that I used to make the rings for my scrapbooking paper flower mobiles (click here for the craft tutorial).

012Leigh

Make these Mother’s Day or Birthday cards using my free printables (for personal use only). They only need to be printed, cut out, and folded over. (Find square envelopes in many colors to send these in at Paper Source, whose affiliate link is in the sidebar.)

FairyToastingMothersDayCardLeighFairyToastingBirthdayCardLeigh

Right click on one of the small images above and select print. (The left is Mother’s Day & the right is Birthday.) Print these on heavy cardstock paper using the photo setting.

005Leigh

To further embellish the cards as I’ve done here, you can brush on opalescent glitter glue over the fairy wings. A small ribbon bow hot glued above the words really adds dimension to the cards.

037Leigh

The flower fairies seen here are from the Mark Roberts collection. They really add a whimsical touch to the centerpiece in my fairyland tablescape (see it all put together by clicking here).

2435Leigh

Hip Hip Hooray… we’re crafting today!

Faithfully Yours,

Leigh

Lemon Glazed Pumpkin Pear Teacakes (Gluten-Free Vegan, Dairy-Free, Egg- Free) for Mother’s Day Tea

047Leigh

My dairy, egg, and gluten-free recipe for Lemon Glazed Pumpkin Pear Teacakes began as an experiment to concoct an original healthy and allergy-friendly cake. It can be fashioned into your choice of layered cake, cupcakes, and teacakes. The level of sweetness can be controlled by the amount of glaze you choose to top it with, and almost four cups of pumpkin and pear make this a yummy but guilt-free treat for all to enjoy. So for this Mother’s Day, let them eat teacakes!

032Leigh


Pumpkin Pear Cake Ingredients:

  • 4 cups gluten-free baking mix (brands vary greatly… I used Arrowhead Mills)
  • 2 egg replacers (3 teaspoons + 4 Tablespoons water = 2 eggs… or just use eggs)
  • 1 cup of canned pumpkin (or use homemade purée)
  • 2 ¾ cups pear puree (blended ripe pears, or other fruit purée)
  • ½ cup melted coconut oil (or butter)
  • 1½ cups sugar (or alternative granular sweetener)
  • 2 tablespoons lemon juice (or other citrus juice)
  • 2 teaspoons pure vanilla extract (not imitation)
  • 1 teaspoon salt
  • 2 teaspoons cinnamon
  • 1 teaspoon ginger
  • ½ teaspoon nutmeg
  • ½ teaspoon cloves
  • ½ teaspoon allspice

Lemon Glaze Icing Ingredients:

  • 4 tablespoons lemon juice (or any citrus juice)
  • 1 cup confectioner’s sugar (or use powdered)
  • optional: dust with more confectioner’s sugar (or use powdered)

Instructions:

002Leigh

Mix all the dry ingredients together.

007Leigh

Add in the wet ingredients to make a super sticky batter.

008Leigh

Spray a 2 tea cake pans, 1 muffin tin, or 2 cake rounds with coconut oil… or use a jarred stuff to grease them the old fashioned way. Do not dust with flour afterward.

011Leigh

Pack the dough into your pans. If you’re making muffins, shape rounded tops with the back of a spoon. If making cakes or tea cakes, smooth the mixture flat with a spoon. (This is a sticky dough that will retain more of its shape than the more fluid batters.)

025Leigh

021Leigh

Slide your filled pans into a non-preheated 350ᵒ oven. (This is because gluten-free vegan goods bake a bit differently than the wheat and egg types.) Bake according to your oven’s temperament, for about 40 minutes.

022Leigh

Let them cool off a little before popping them out.

030Leigh

To make the glaze while you’re waiting for them to cool completely, simply mix the ingredients well in a bowl.

031Leigh

Spoon the glaze onto cooled teacakes.

122Leigh

Confectioner’s sugar may also be dusted over the top if you like. (Confectioner’s is a dusting sugar without corn additives.) Top these teacakes with raspberries for a delightful sight.

051Leigh

They were a delicious allergy-free addition to my Spring Garden Mother’s Day Tea.

082Leigh

I hope they bring a smile to your face too!

Faithfully Yours,

Leigh

Easy to Mold Naturally Colored Pink Sugar Shapes Sweethearts Recipe = a Spoonful of Sugar for Your Mother’s Day Tea

136Leigh

Celebrate Mother’s Day the Mary Poppins way with a spoonful of sugar in your tea! This no-cook recipe for pink sweethearts utilizes natural beet juice instead of artificial food coloring, but you can substitute any color of juice you like. Plus, they’re really easy to make and mold into any shape you desire. They’re a “supercallifragilisticexpialidocious” alternative for decorating your baked goods as well, because they contain no corn syrup. It only takes a matter of minutes to mix and mold, then let them dry overnight. They are “practically perfect in every way”.

125Leigh


Ingredients:

  • 2 cups granulated sugar (I used evaporated cane juice)
  • 3 teaspoons water
  • 1 teaspoon bottled beet juice (or other juice… or gel food color + 1 teaspoon water)

+ flexible silicone molds in your choice of shape


Instructions:

019Leigh

Gather the ingredients, and measure them precisely.

020Leigh

Mix them together very well, until the pink color is evenly distributed.

028Leigh

Use spoons to dispense the sweet mixture into each well of the mold. Pack it down tightly, flattening the top with the back of a spoon.  (This recipe filled two of my heart molds.)

118Leigh

Let them sit out to dry overnight, and unmold them gently in the morning. Keep them stored in an airtight container until you’re ready to use them.

097Leigh

Here they are at the Spring Garden Mother’s Day Tea.

122Leigh

One must be allowed to indulge in girliness every once in a while.

121Leigh

These are so much cuter than plain little squares of white sugar.

125Leigh

So how about you… one lump, or two?

128Leigh

“In every job that must be done, there is an element of fun. You find the fun, and – snap – the job’s a game!” –Mary Poppins

Faithfully Yours,

Leigh

Cherry Pecan Chicken Salad (Soy-Free / Egg-Free with Stuffed Tomato & Gluten-Free Shaped Finger Sandwich Options) for Mother’s Day Tea

122Leigh

Skip the watercress and cucumber, and opt for heartier fare for your Mother’s Day Tea with this easy allergy-friendly recipe for Cherry Pecan Chicken Salad. Serve this delicious soy-free and egg-free delight with gluten-free bread or crackers for all your guests to enjoy worry-free. Or just make a nutritious lunch of adorably shaped finger sandwiches for the kiddos and a stuffed tomato for yourself. Either way, try some today!

011Leigh


Ingredients:

  • 1 oven baked chicken breast (see my recipe for this here… or use a can, leftovers, or even turkey)
  • ½ cup pecan pieces (or walnuts, almonds, etc.)
  • ½ cup diced green onion (or leeks, onion, etc.)
  • ½ cup dried cherries (or dried cranberries, raisins, etc.)
  • ¾ cup soy-free veganaise (or mayo, vegan unsweetened yogurt, etc… or mix these ½ and ½)
  • sea salt to taste (or salt free substitute)
  • ground peppercorns to taste
  • optional: heirloom tomato to stuff, gluten-free crackers to top, artisan lettuce to fill, gluten-free bread for tea sandwiches, etc.

Instructions:

002Leigh

Bake and cut a chicken breast into cubes. (See my roasted cocorico chicken with root veggies recipe here, and my chicken with sautéed mixed greens recipe here.) Wash and dice the green onion.

008Leigh

Measure and mix all of the ingredients. Add sea salt and pepper according to your taste and sodium requirements.

017Leigh

Here I cut the top off of a large red and purple heirloom variety tomato, and then scooped out some of the center. Then I spooned a good portion of chicken salad into it and garnished the top with ground red peppercorns and green onion.

025Leigh

The green and purple artisan lettuce it’s resting on, also makes a wonderful carb-free wrap for the chicken salad. Those are gluten-free vegan Mary’s Gone Crackers in the Super Seed variety… yum!

130Leigh

The chicken salad was the perfect filling for the gluten-free tea sandwiches I served at the Spring Garden Mother’s Day Tea.

082Leigh

To go beyond tea sandwich triangles, simply press a cookie cutter into the bread, and fill with chicken salad. (Tulip, daisy, and butterfly shapes were my choice for the tea, but you can see bunny bread here with my carrot crouton recipe.)

043Leigh

Thanks Mom, for all the chicken salad you’ve made me over the years!

Faithfully Yours,

Leigh

31SweetPotatoTortas-Leigh

P.S. If you’re looking for another easy version of this, try my turkey salad recipe here.

Spring Garden Mother’s Day Tea Party Tablescape Décor Ideas (+ Free Printable Card & Invitation)

002Leigh

You’re invited for tea at my nest where enchanting tablescape décor awaits, where butterflies will carry you to a flower filled spring garden complete with the melody of birdsong. Delight upon delectable teacakes, treats, tarts, and tea sandwiches while sipping mint scented tea sweetened with pink sugar sweethearts. Celebrate with handmade gift crafts conveying heartfelt sentiments along with free printable invitations and cards sending your warmest wishes for a beautiful Mother’s Day!

022Leigh

Harken your ears to the call of birds whistling a merry tune of invitation to the spring garden. Two nests double the blessings bestowed upon the day as finding even one is said to be the harbinger of prosperity.

036Leigh

Notice the greeting of butterflies rising from moss laden purses filled with the yellow roses of friendship and tulips representing strength and life itself.

035Leigh

Take a seat cushioned with pastel patchwork pillows provided for your comfort.

028Leigh

Touch the threaded texture of a tablecloth hand embroidered generations ago.

380Leigh

Release baby pink vintage napkins from their handcrafted tapestry and lacework rings.

125Leigh

Sip mint scented tea from delicate vintage china teacups ornamented with floral motif.

136Leigh

Sweeten your tea with pink sugar sweethearts delivering a spoonful of sugar in the perfect dose.

122LeighStir in flavor with silver tea spoons that have been lovingly held by previous generations.

082Leigh

Sup on tea sandwiches packed with cherry pecan chicken salad, whose butterfly and floral shapes echo the garden’s delights.

130Leigh

Try almond crusted chocolate tarts balanced with healthy red raspberry fruit.

128Leigh

Taste pumpkin pear teacakes dripping with lemon icing, dusted with confectioner’s sugar, and topped with more fruit.

029Leigh

Cleanse your palette with pink peppermint almonds held in small antique silver bowls.

105Leigh

Sink your teeth into juicy plump strawberries offered amid vintage salt and pepper shakers.

051Leigh

Replenish your china plate from a grapevine heart topped tower of treats wrapped in lengths of tapestry and lace.

064Leigh

Gaze upon sunlight reflected from gleaming antique silver service layered with vintage doilies atop layers of vintage lace and patterned cloth.

097Leigh

Feel the impressions of vintage buttons encrusting a jewelry box gift sheltered by a lofty spring floral arrangement.

004fLeigh

And at last, read the Mother’s Day card that will hold the memory of the cherished event for years to come.

Sincerely wishing you the happiest of Mother’s Days!

Faithfully Yours,

Leigh

6FreePrintCardLeigh

P.S. Right click on the small image below, and select print to make your own invitations (at the left) and cards (at the right) free (for personal use only). Print them on photo and color settings for the best results.

5x7NestTeaInviteLeigh5x7MothersNestCardLeigh

P.P.S. Click on the links below for teacake, chicken salad, and sweetheart recipes as well as crafting instructions for the jewelry box, keychain, and napkin rings.

001Leigh

Quick & Easy Tapestry Napkin Rings, Upcycled Button Jewelry Box, & Keychain Gift Crafts Tutorial (for Mother’s Day Tea)

118Leigh

Easy to Mold Naturally Colored Pink Sugar Shapes Sweethearts Recipe = a Spoonful of Sugar for Your Mother’s Day Tea

47cakelette-Leigh

Lemon Glazed Pumpkin Pear Teacakes (Gluten-Free Vegan, Dairy-Free, Egg- Free) for Mother’s Day Tea

017Leigh

Cherry Pecan Chicken Salad (Soy-Free / Egg-Free with Stuffed Tomato & Gluten-Free Shaped Finger Sandwich Options) for Mother’s Day Tea

Quick & Easy Tapestry Napkin Rings, Upcycled Button Jewelry Box, & Keychain Gift Crafts Tutorial (for Mother’s Day Tea)

105Leigh

This tutorial will teach you how to quickly craft elegant tapestry and lacework napkin rings for your Spring Garden Mother’s Day Tea Party, then easily make cross keychain gifts and an upcycled jewelry box encrusted with vintage buttons. These are great last minute projects that are actually pretty inexpensive to produce, but would cost a pretty penny if purchased from a boutique. So craft along with me… the best is yet to be!

365Leigh

Let’s begin our crafternoon by making 6 napkin rings so that our tables may be set early.

380Leigh

Start with 3 feet of any variety of woven tapestry ribbon. (I always snatch these up when I find them on clearance, because they are just so versatile. I’ll show you more craft ideas to use it with in the future.) Also look for 6 feet of lovely lacework in a small width.

166Leigh

Cut all of your ribbon and lace into 6 inch lengths.

171Leigh

Glue the ends of the tapestry together overlapping them slightly. Use hot fabric glue or clamp a cold fabric glue to dry… or sew it if you’re so inclined.

177Leigh

Glue one length of lace to either side of the ring, layering it over the serged seam of the ribbon to conceal it.

111Leigh

Fill with any coordinating cloth napkin to suit your event’s color scheme.

083aLeigh

Next, let’s craft a cross keychain gift to extend our best wishes for a blessed life… or one with a heart full of loving-kindness.

080Leigh

Begin with any variety of coordinating beads of various shapes, a shape pendant, a key ring, thin fishing line, and a small split ring. (These can almost always be purchased on sale or clearance.)

082Leigh

Slide the small ring onto the key ring. (This will enable keys to be added to the ring later.)

083Leigh

Slip one end of the fishing line into all the beads first then through the pendant.

085Leigh

Now feed the line back up through those same beads.

087Leigh

Tie the two ends sticking up out of the beads onto the small ring with your choice of a double knot or surgeon’s knot. (Try triple looping the ends then triple looping them again in the opposite direction. Pull the ends really tight to bring it together. This is a great knot to keep keychains secure.)

090Leigh

Cut the dangling ends close but with a little bit sticking out of the knot to keep it from unraveling.

092Leigh

Package it with an apropos and sincere message.

94-2Leigh

Think about buying extra beads to make one for yourself as well!

371Leigh

Now I’ll tell you how I made an upcycled jewelry box, so that you can think about making your own quickly and easily. It would be lovely to enclose that keychain in it as a complete gift… because it’s bad luck to give away an empty jewelry box.

097Leigh

I actually began this upcycled project many years ago as a gift for my grandmother. I hot glued vintage mother of pearl, glass, and pearl buttons to a vintage powder puff box. I then used tacky glue to adhere white grosgrain ribbon to the sides and inside of the box. I added silicone feet to prevent table scuffing along with a button closure.

168Leigh

I never felt that it was quite good enough for my liking, so this year I decided to embellish it further with some ivory lace.

173Leigh

I simply hot glued dots onto the points of the lace then gently tapped them down onto the ribbon. I continued all around the box, and then cut and glued the end corner.

176Leigh

To finish it, I simply inverted another length of lace and glued it all the way around as well.

001Leigh

It looks so much more finished now, so I am happy to present the new and improved version back to my grandmother. To make your own, upcycle any old but pretty box or paint a new paper maché one. Cover it with vintage buttons or newly purchased ones. Glue on silicone or wooden feet. It’s an easy project that makes a beautiful gift.

128Leigh

Now you’re on your way to a fantastic Mother’s Day!

Faithfully Yours,

Leigh

P.S. Get free printable cards and invitations, plus see the napkin rings and box placed in the whole Tea here: Spring Garden Mother’s Day Tea Party Tablescape Décor Ideas (+ Free Printable Card & Invitation)