Tag Archives: Pumpkin

Lemon Glazed Pumpkin Pear Teacakes (Gluten-Free Vegan, Dairy-Free, Egg- Free) for Mother’s Day Tea

047Leigh

My dairy, egg, and gluten-free recipe for Lemon Glazed Pumpkin Pear Teacakes began as an experiment to concoct an original healthy and allergy-friendly cake. It can be fashioned into your choice of layered cake, cupcakes, and teacakes. The level of sweetness can be controlled by the amount of glaze you choose to top it with, and almost four cups of pumpkin and pear make this a yummy but guilt-free treat for all to enjoy. So for this Mother’s Day, let them eat teacakes!

032Leigh


Pumpkin Pear Cake Ingredients:

  • 4 cups gluten-free baking mix (brands vary greatly… I used Arrowhead Mills)
  • 2 egg replacers (3 teaspoons + 4 Tablespoons water = 2 eggs… or just use eggs)
  • 1 cup of canned pumpkin (or use homemade purée)
  • 2 ¾ cups pear puree (blended ripe pears, or other fruit purée)
  • ½ cup melted coconut oil (or butter)
  • 1½ cups sugar (or alternative granular sweetener)
  • 2 tablespoons lemon juice (or other citrus juice)
  • 2 teaspoons pure vanilla extract (not imitation)
  • 1 teaspoon salt
  • 2 teaspoons cinnamon
  • 1 teaspoon ginger
  • ½ teaspoon nutmeg
  • ½ teaspoon cloves
  • ½ teaspoon allspice

Lemon Glaze Icing Ingredients:

  • 4 tablespoons lemon juice (or any citrus juice)
  • 1 cup confectioner’s sugar (or use powdered)
  • optional: dust with more confectioner’s sugar (or use powdered)

Instructions:

002Leigh

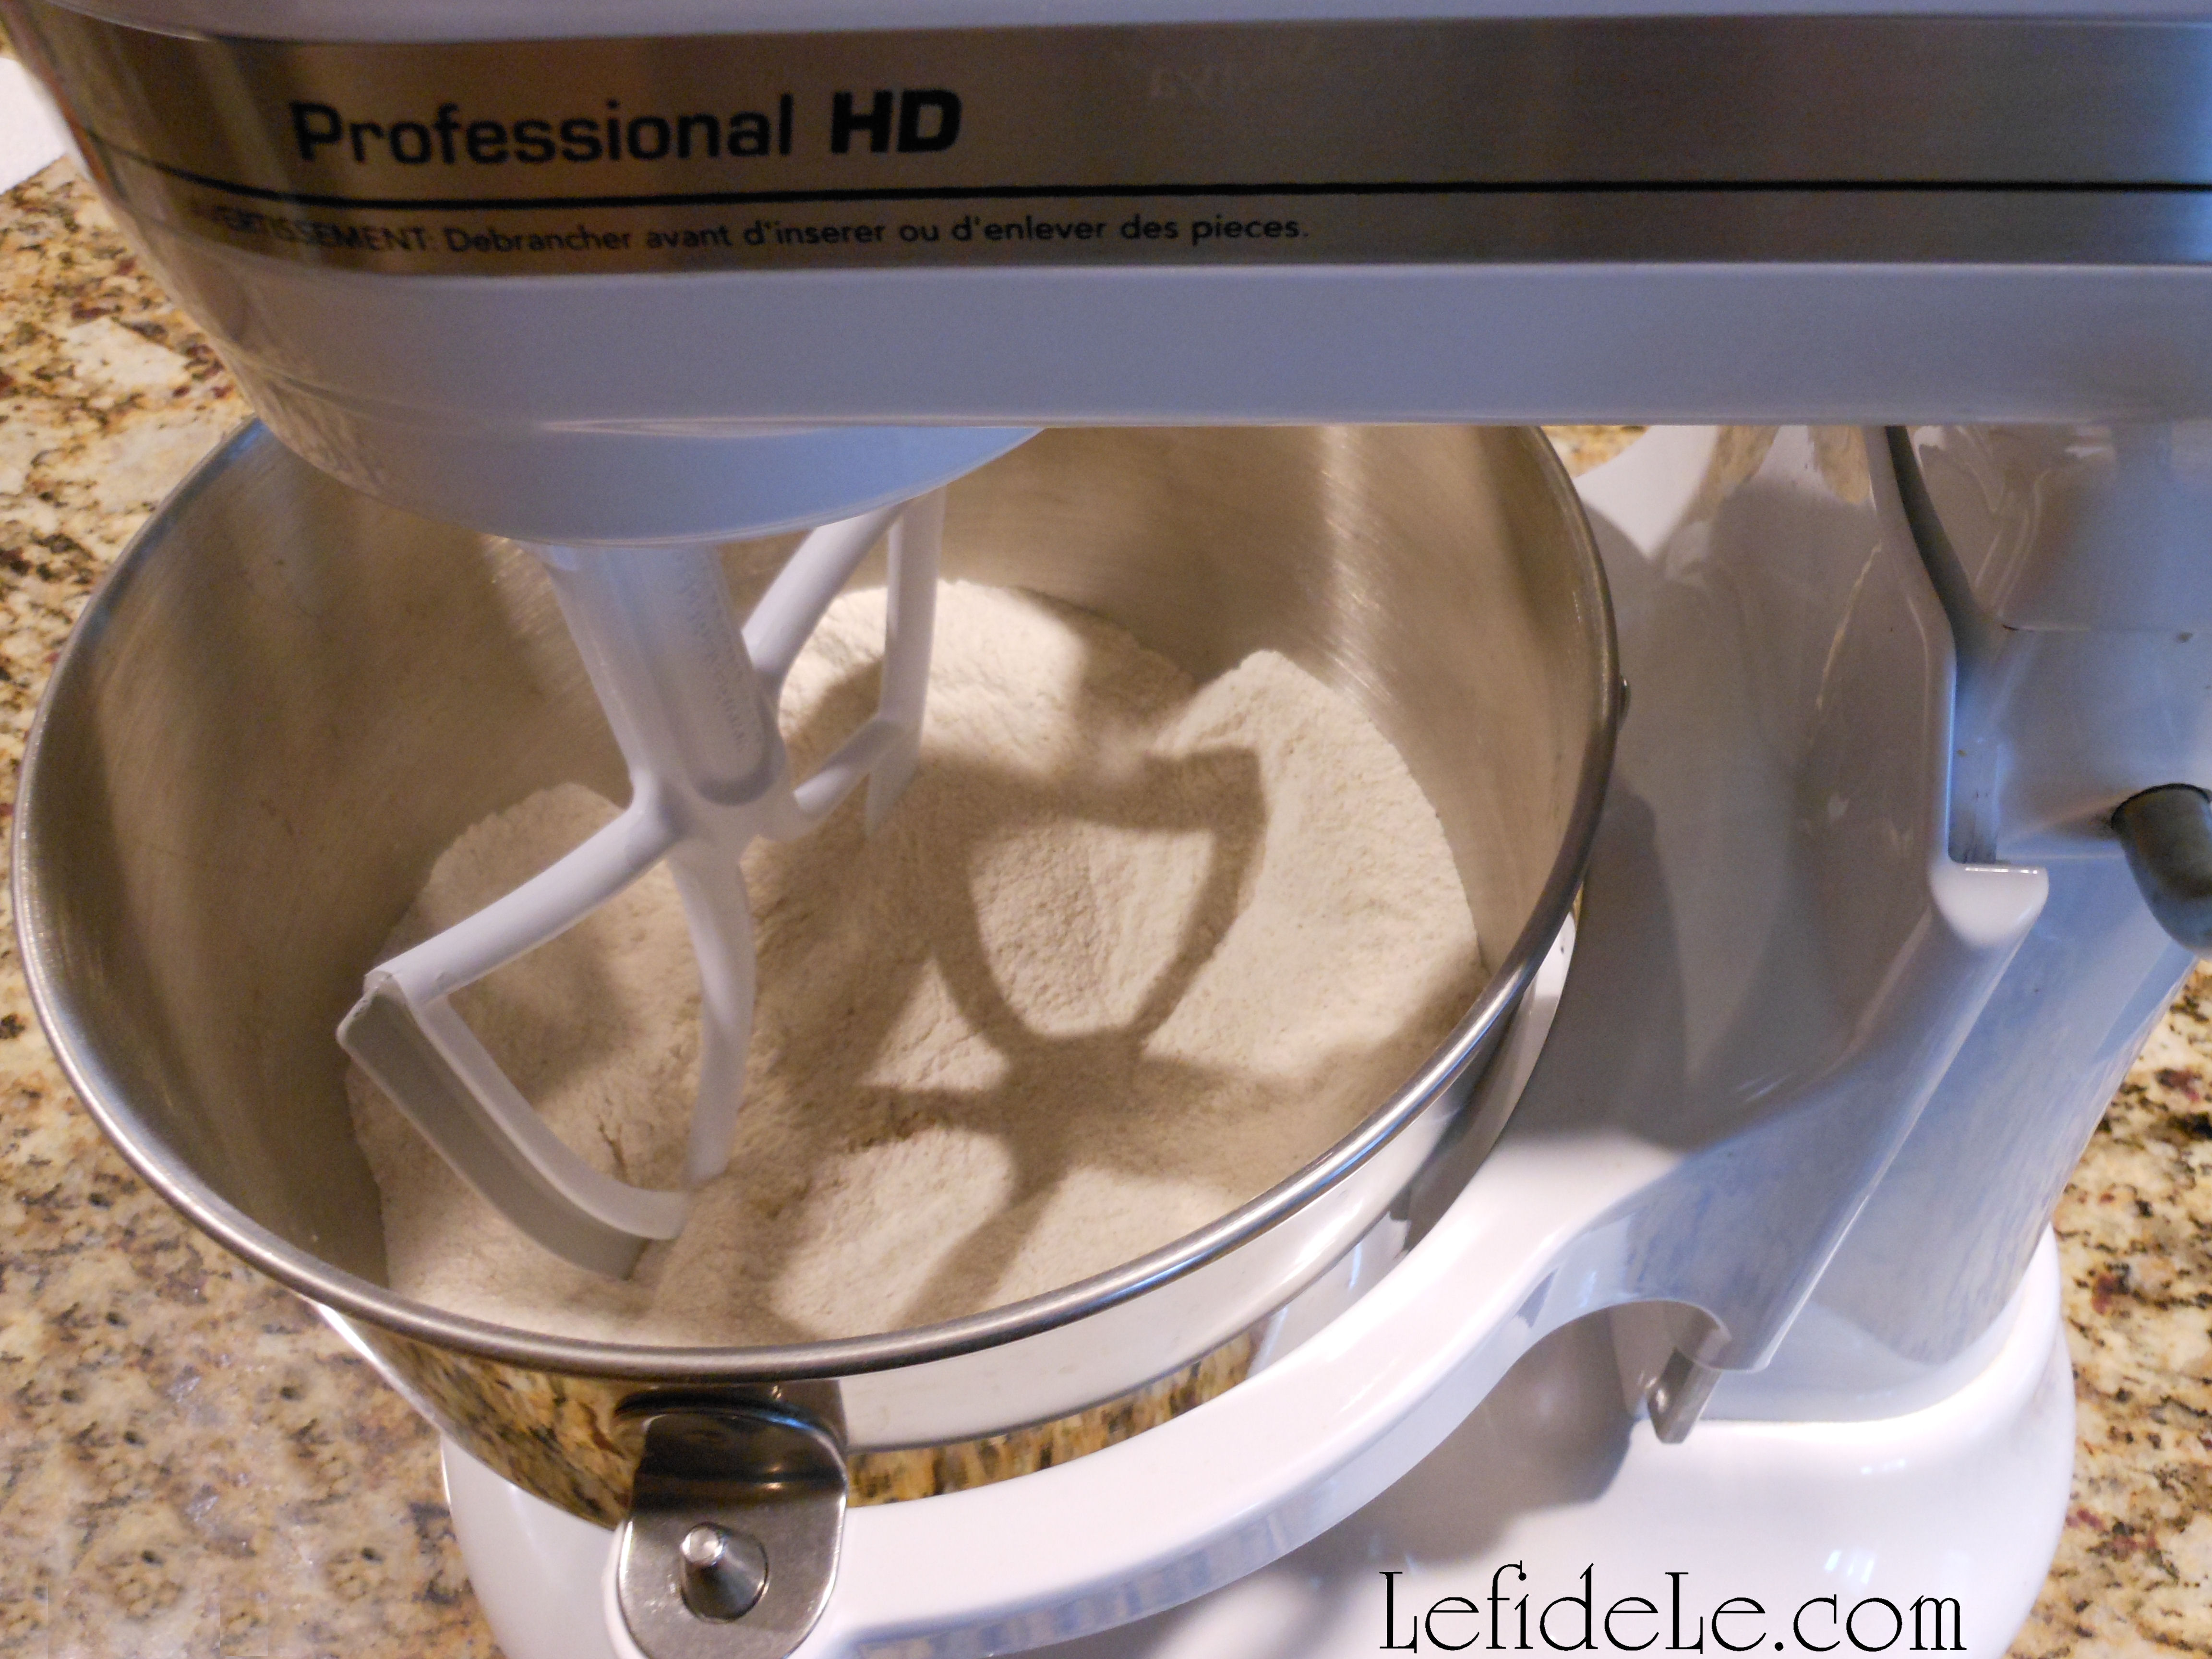
Mix all the dry ingredients together.

007Leigh

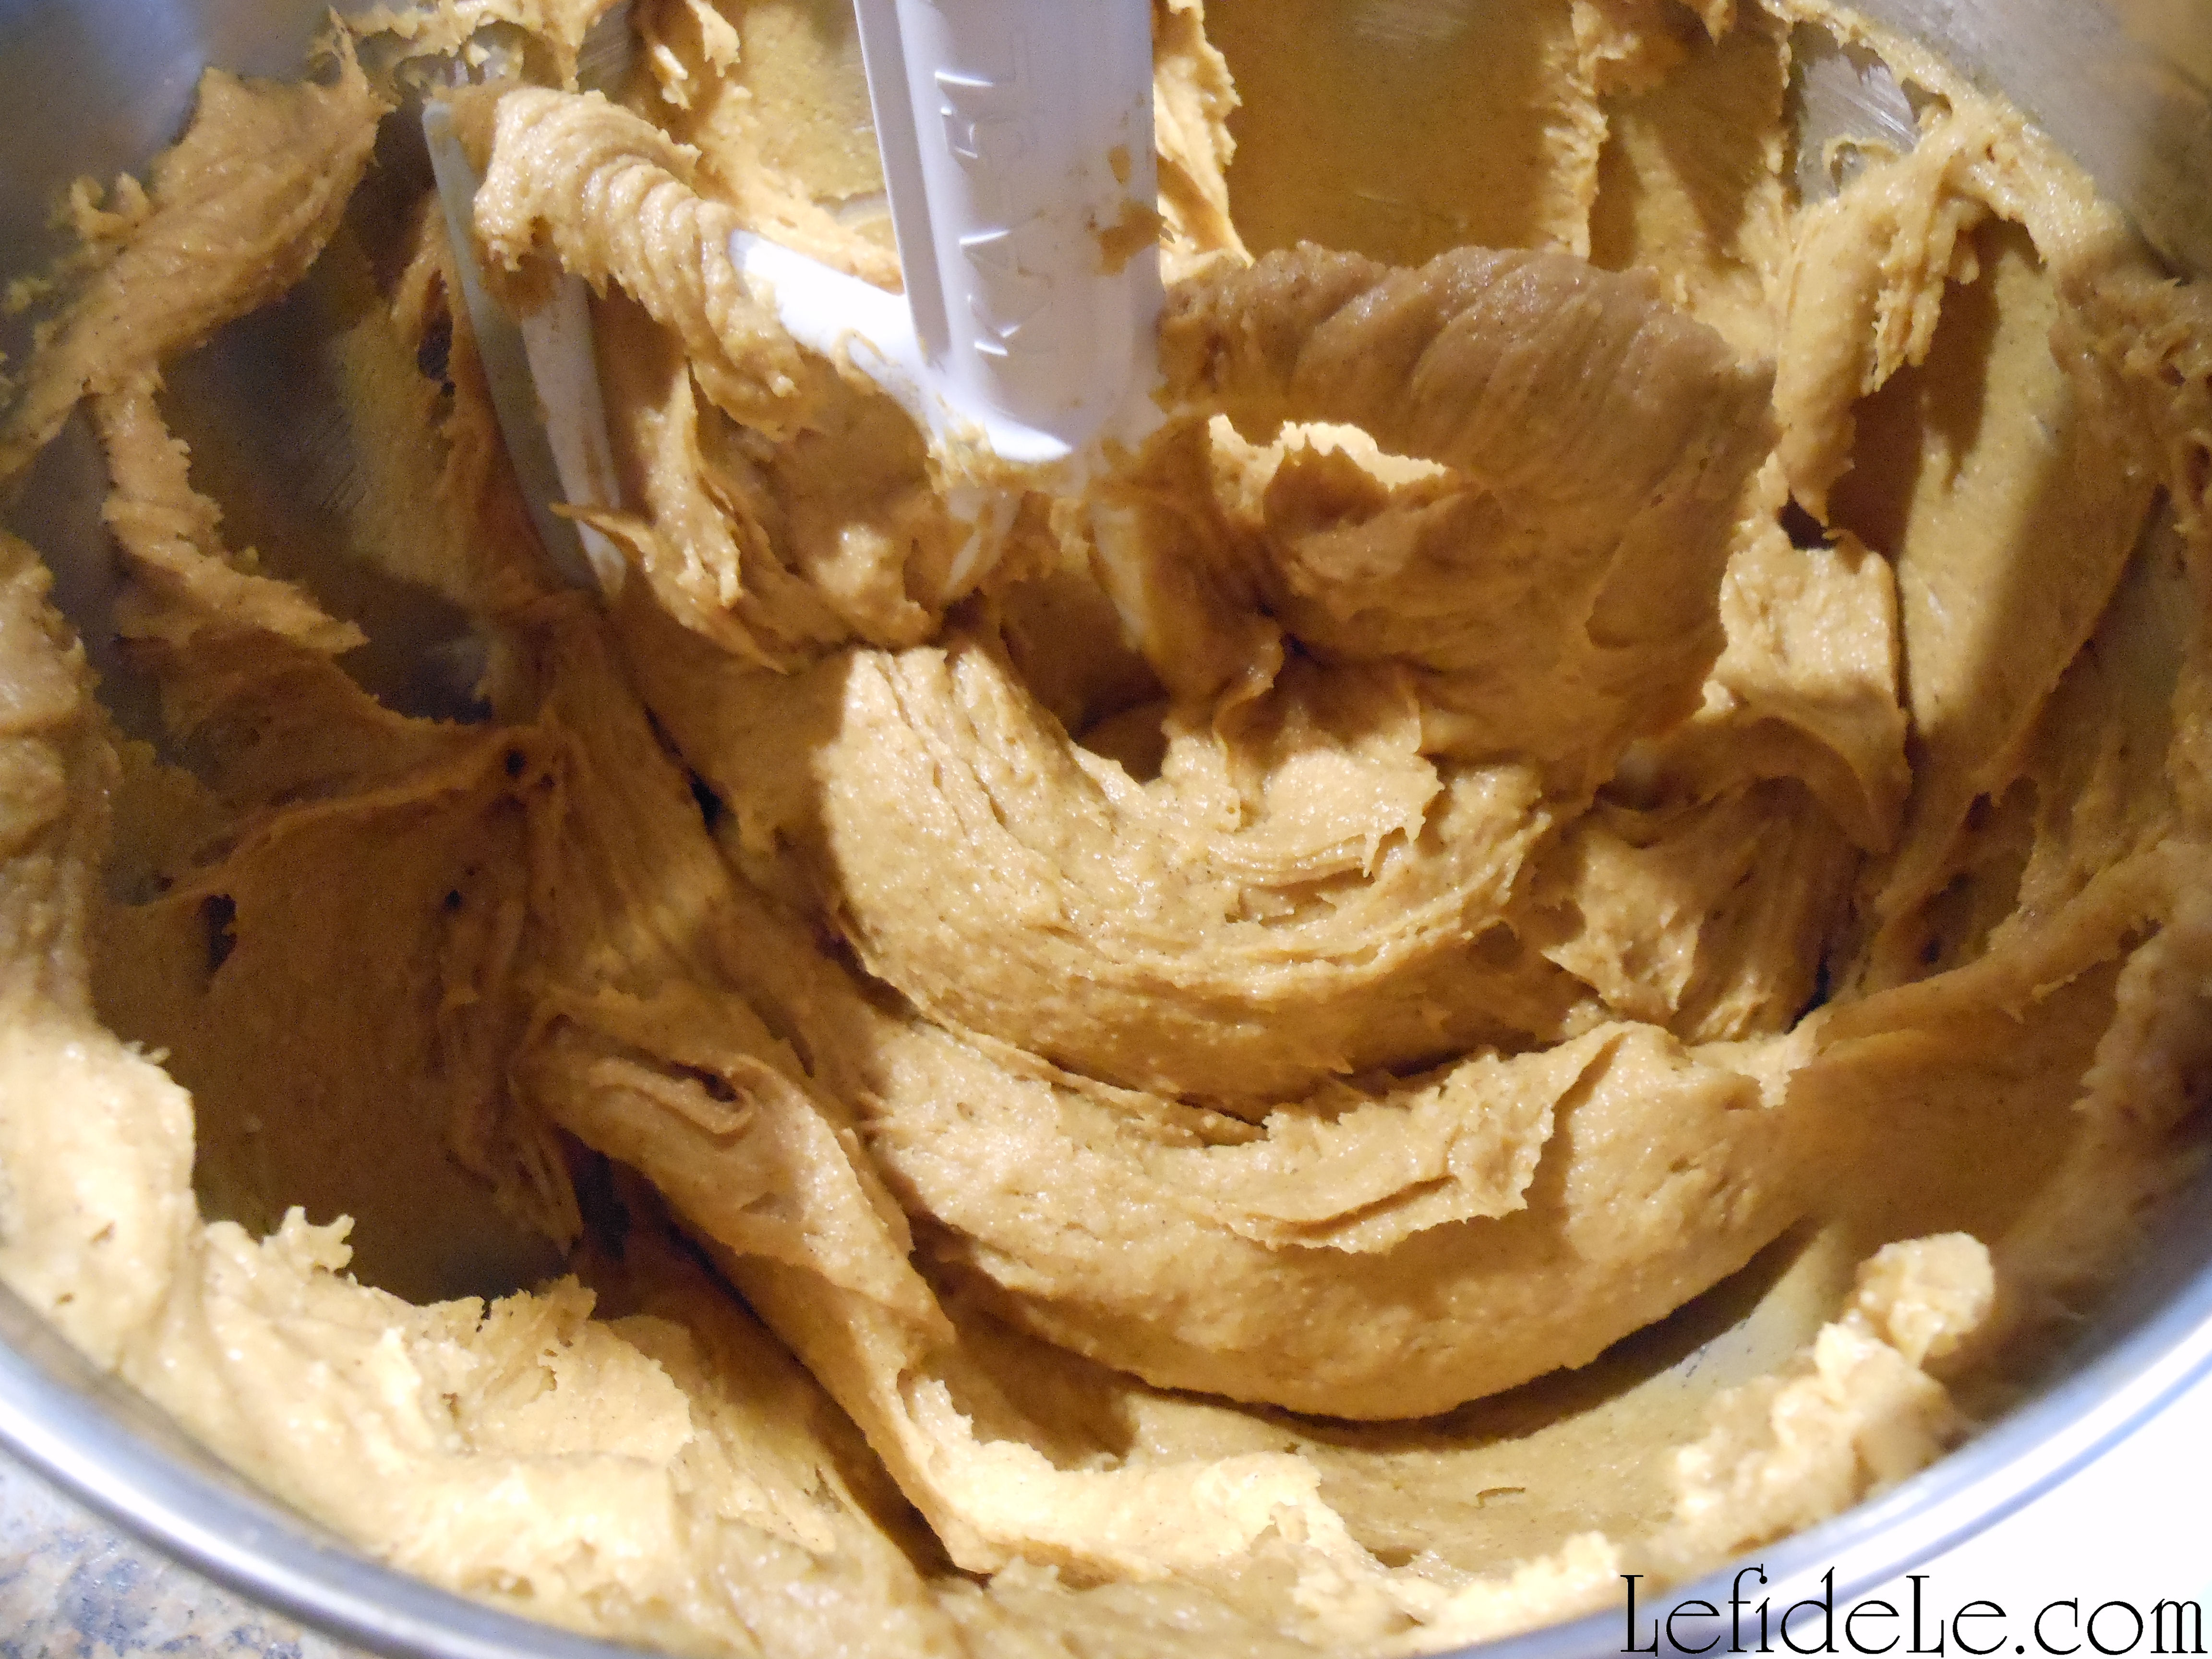
Add in the wet ingredients to make a super sticky batter.

008Leigh

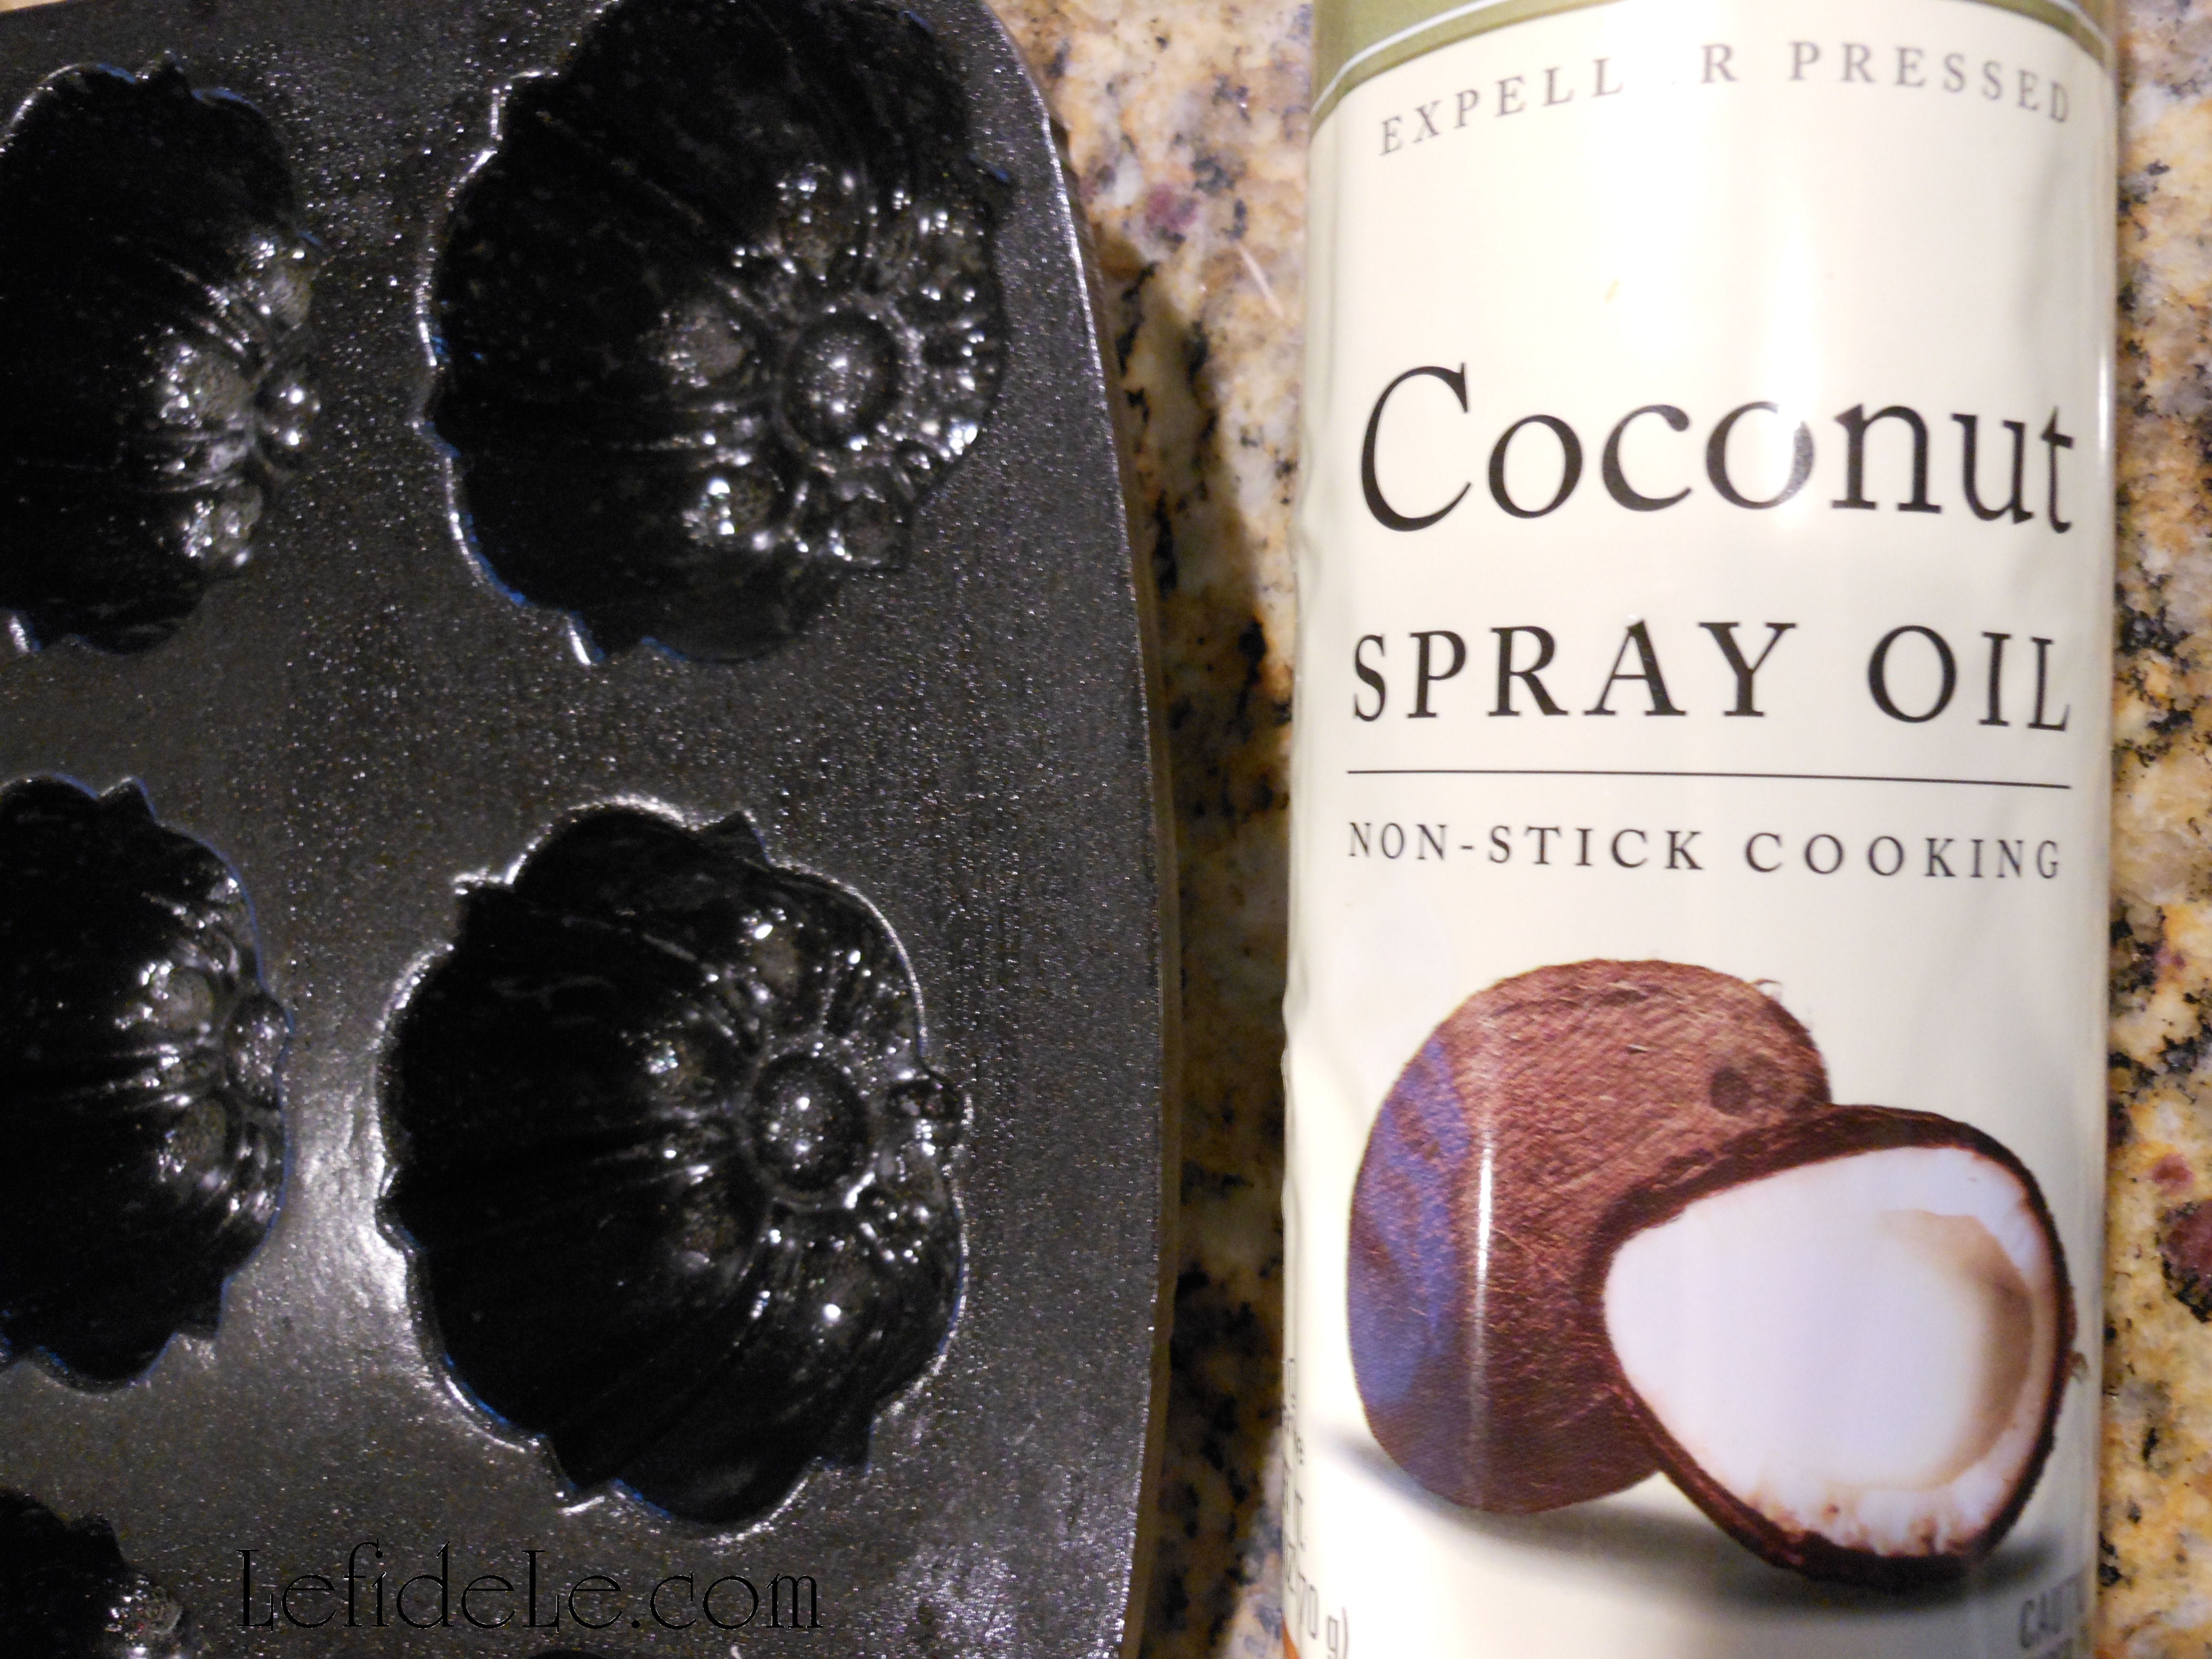
Spray a 2 tea cake pans, 1 muffin tin, or 2 cake rounds with coconut oil… or use a jarred stuff to grease them the old fashioned way. Do not dust with flour afterward.

011Leigh

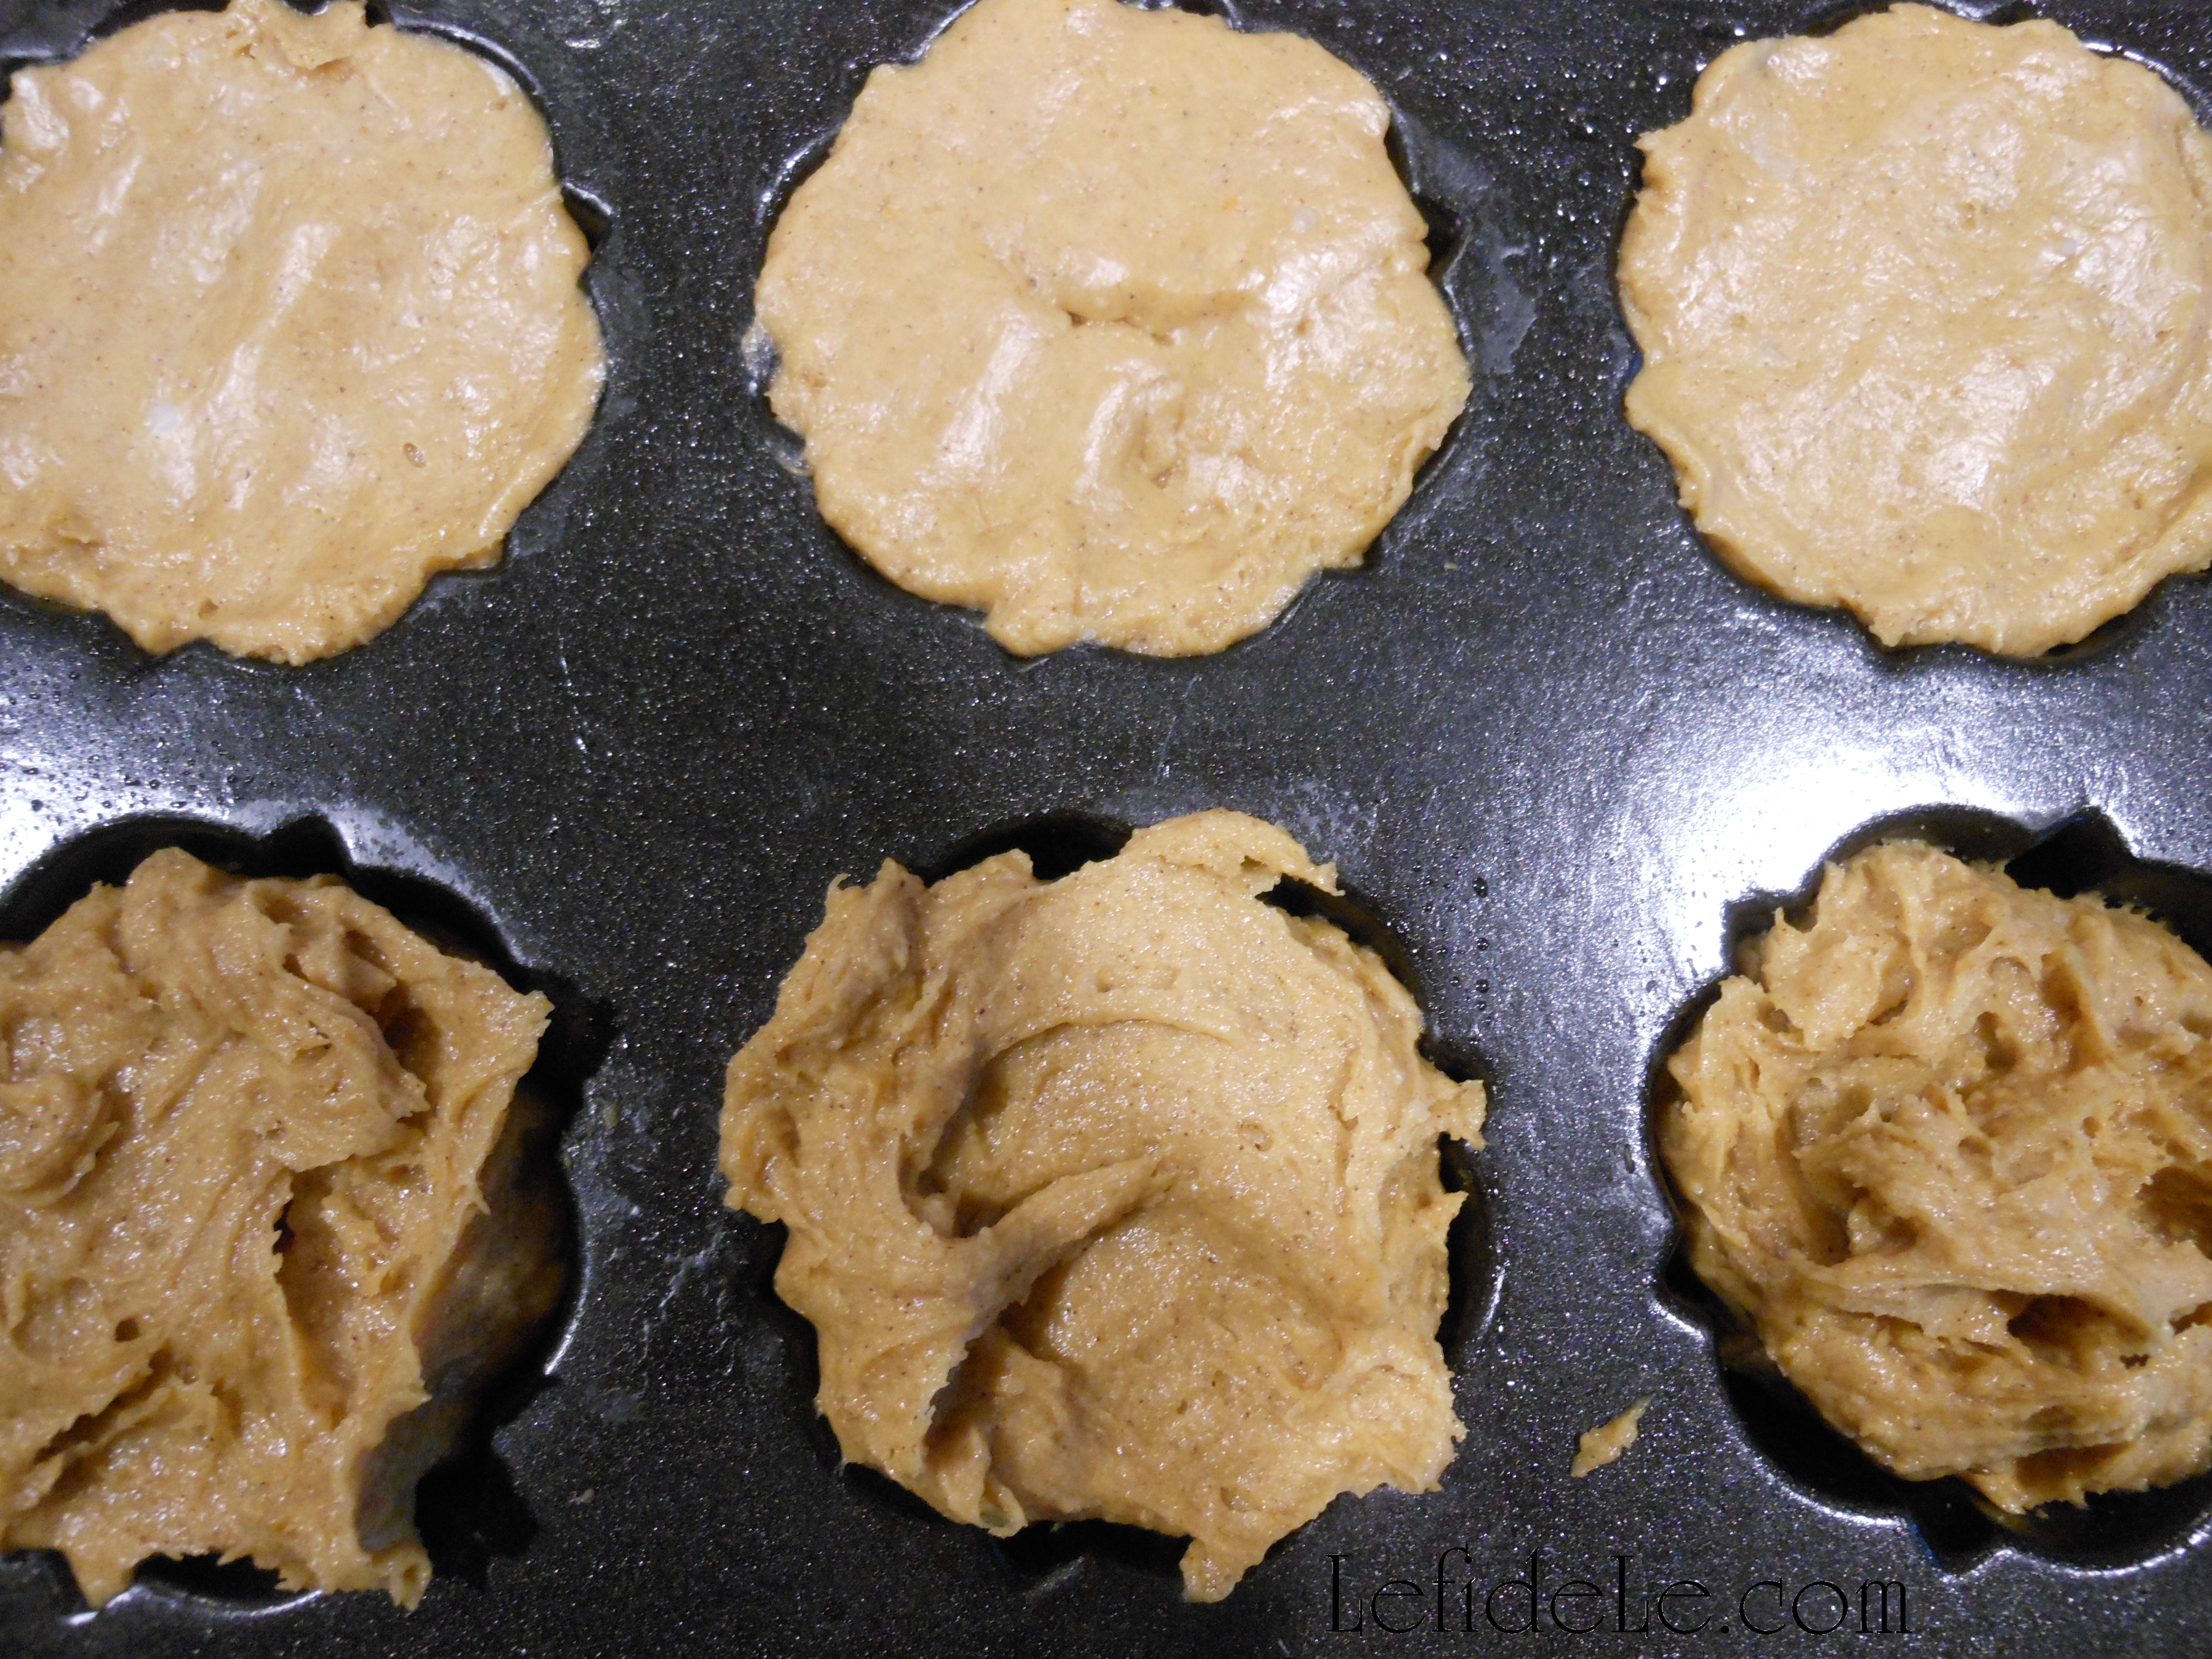
Pack the dough into your pans. If you’re making muffins, shape rounded tops with the back of a spoon. If making cakes or tea cakes, smooth the mixture flat with a spoon. (This is a sticky dough that will retain more of its shape than the more fluid batters.)

025Leigh

021Leigh

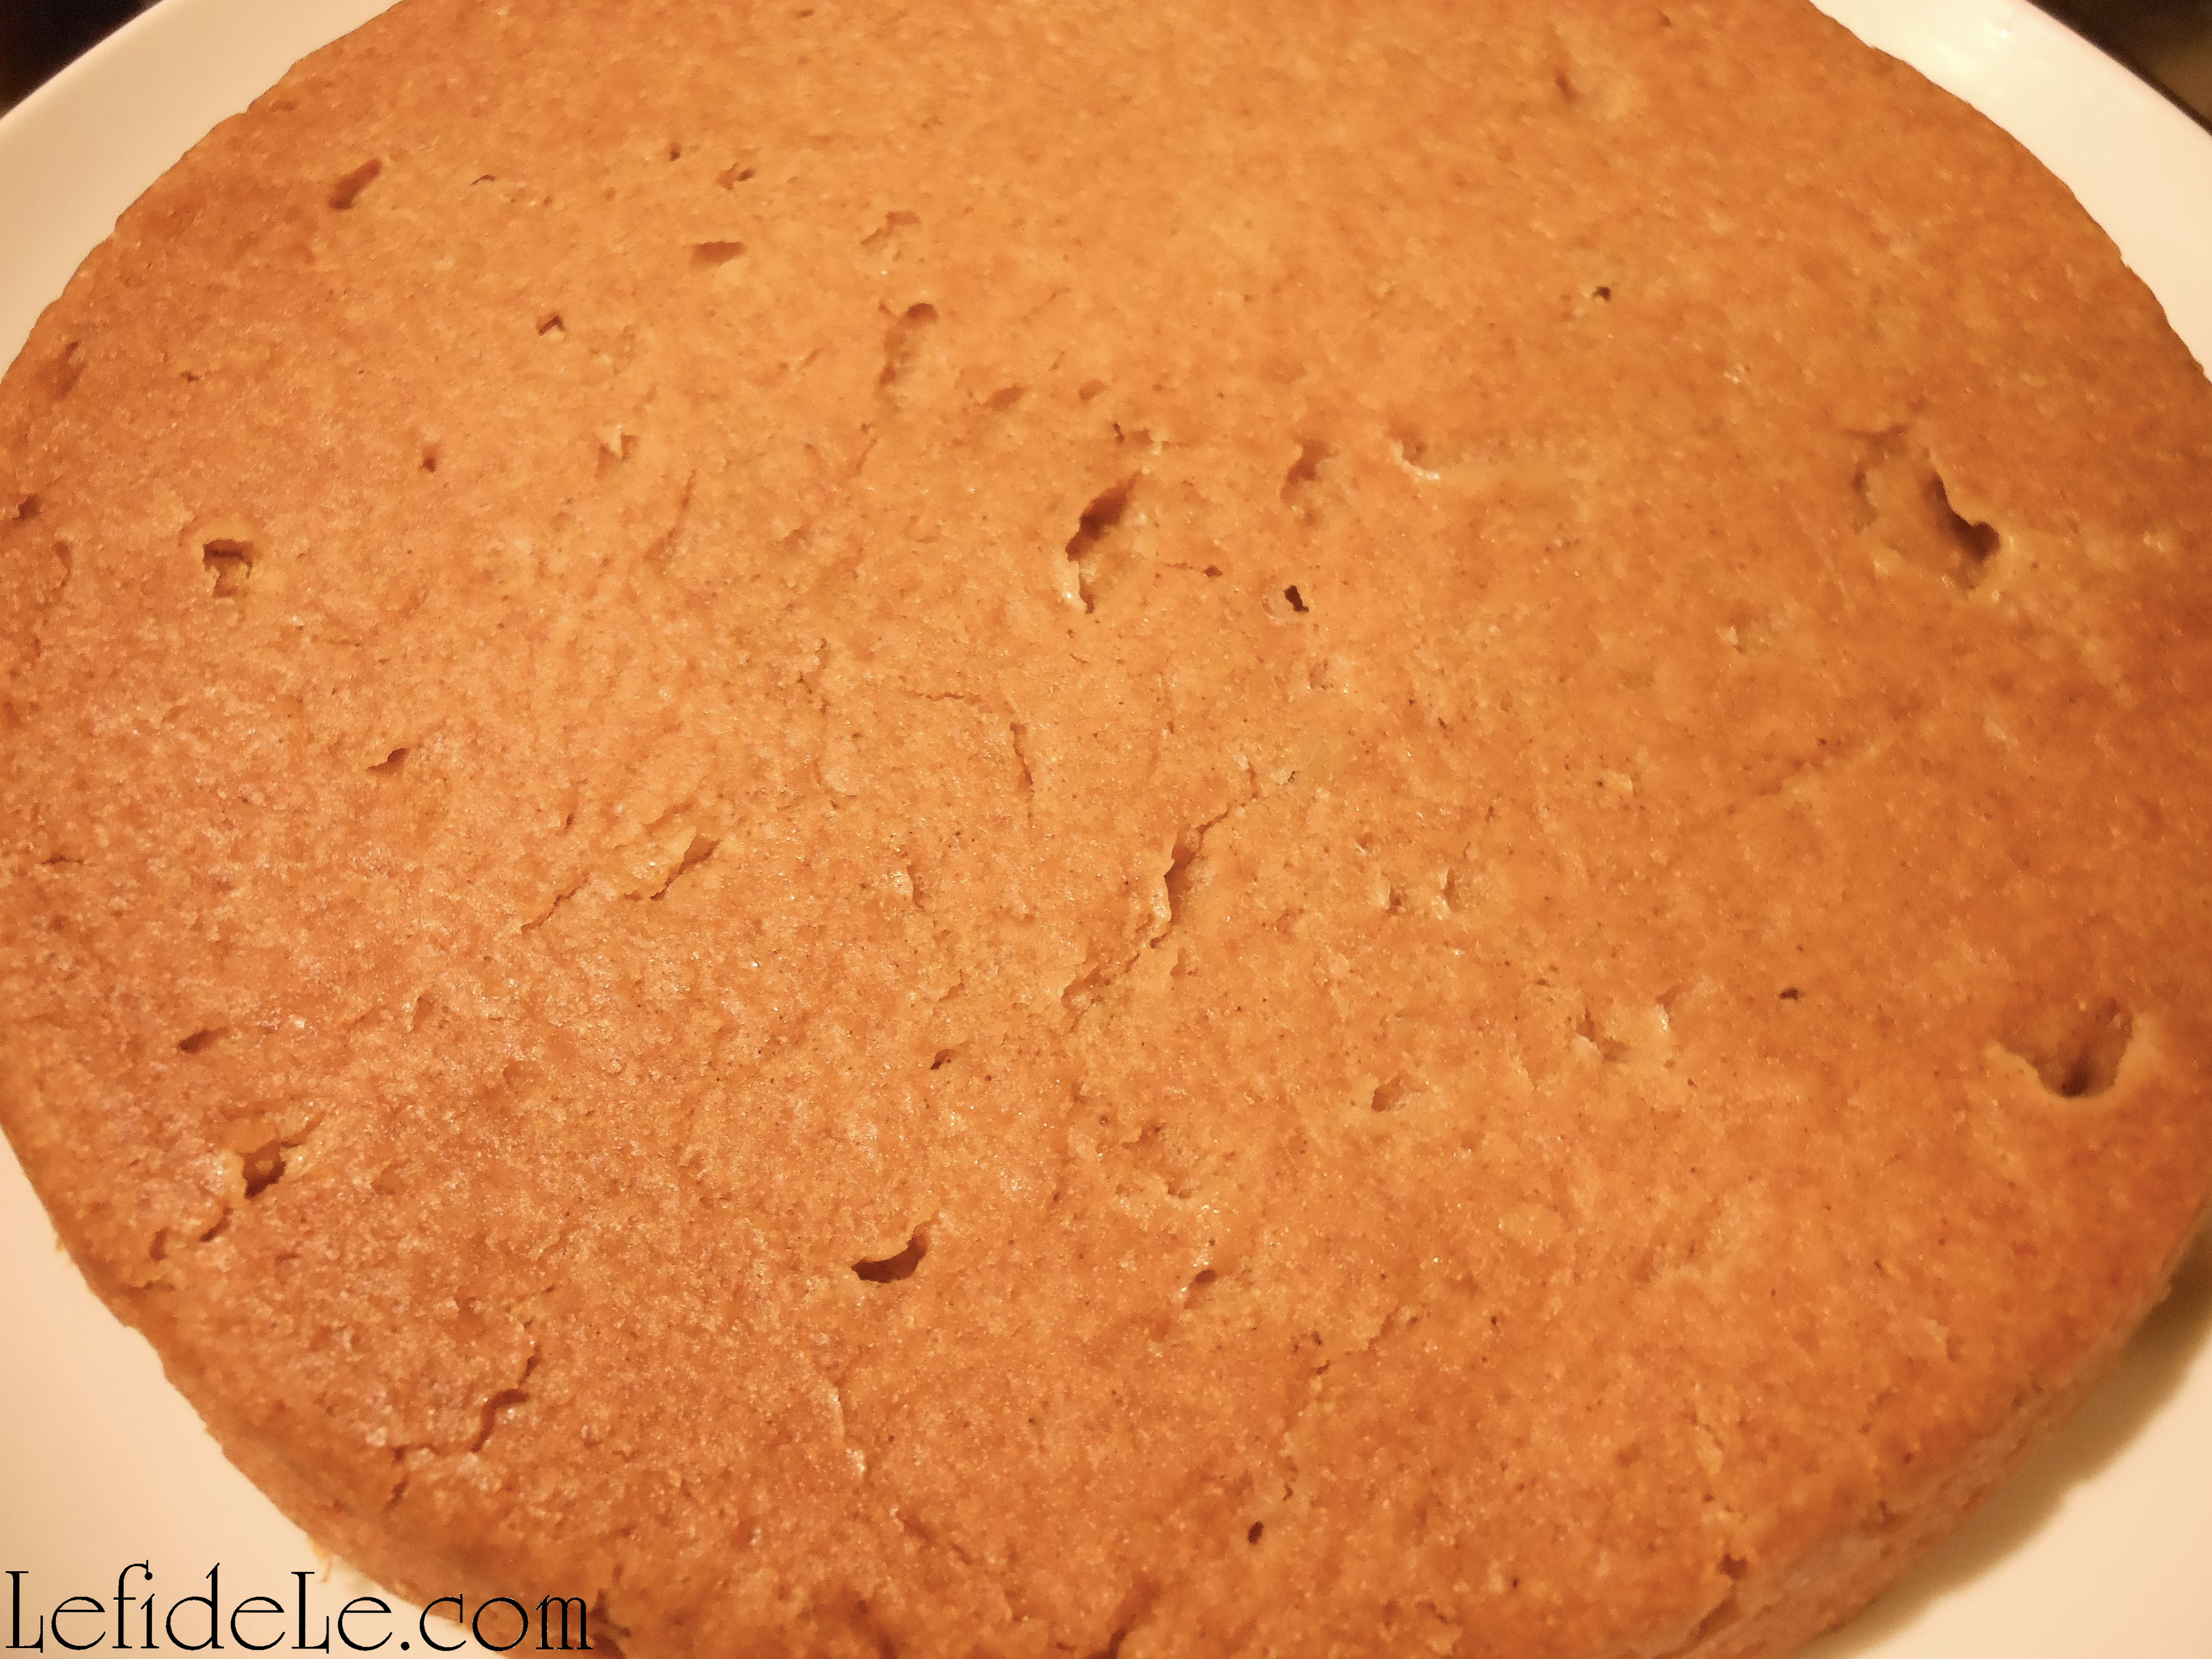
Slide your filled pans into a non-preheated 350ᵒ oven. (This is because gluten-free vegan goods bake a bit differently than the wheat and egg types.) Bake according to your oven’s temperament, for about 40 minutes.

022Leigh

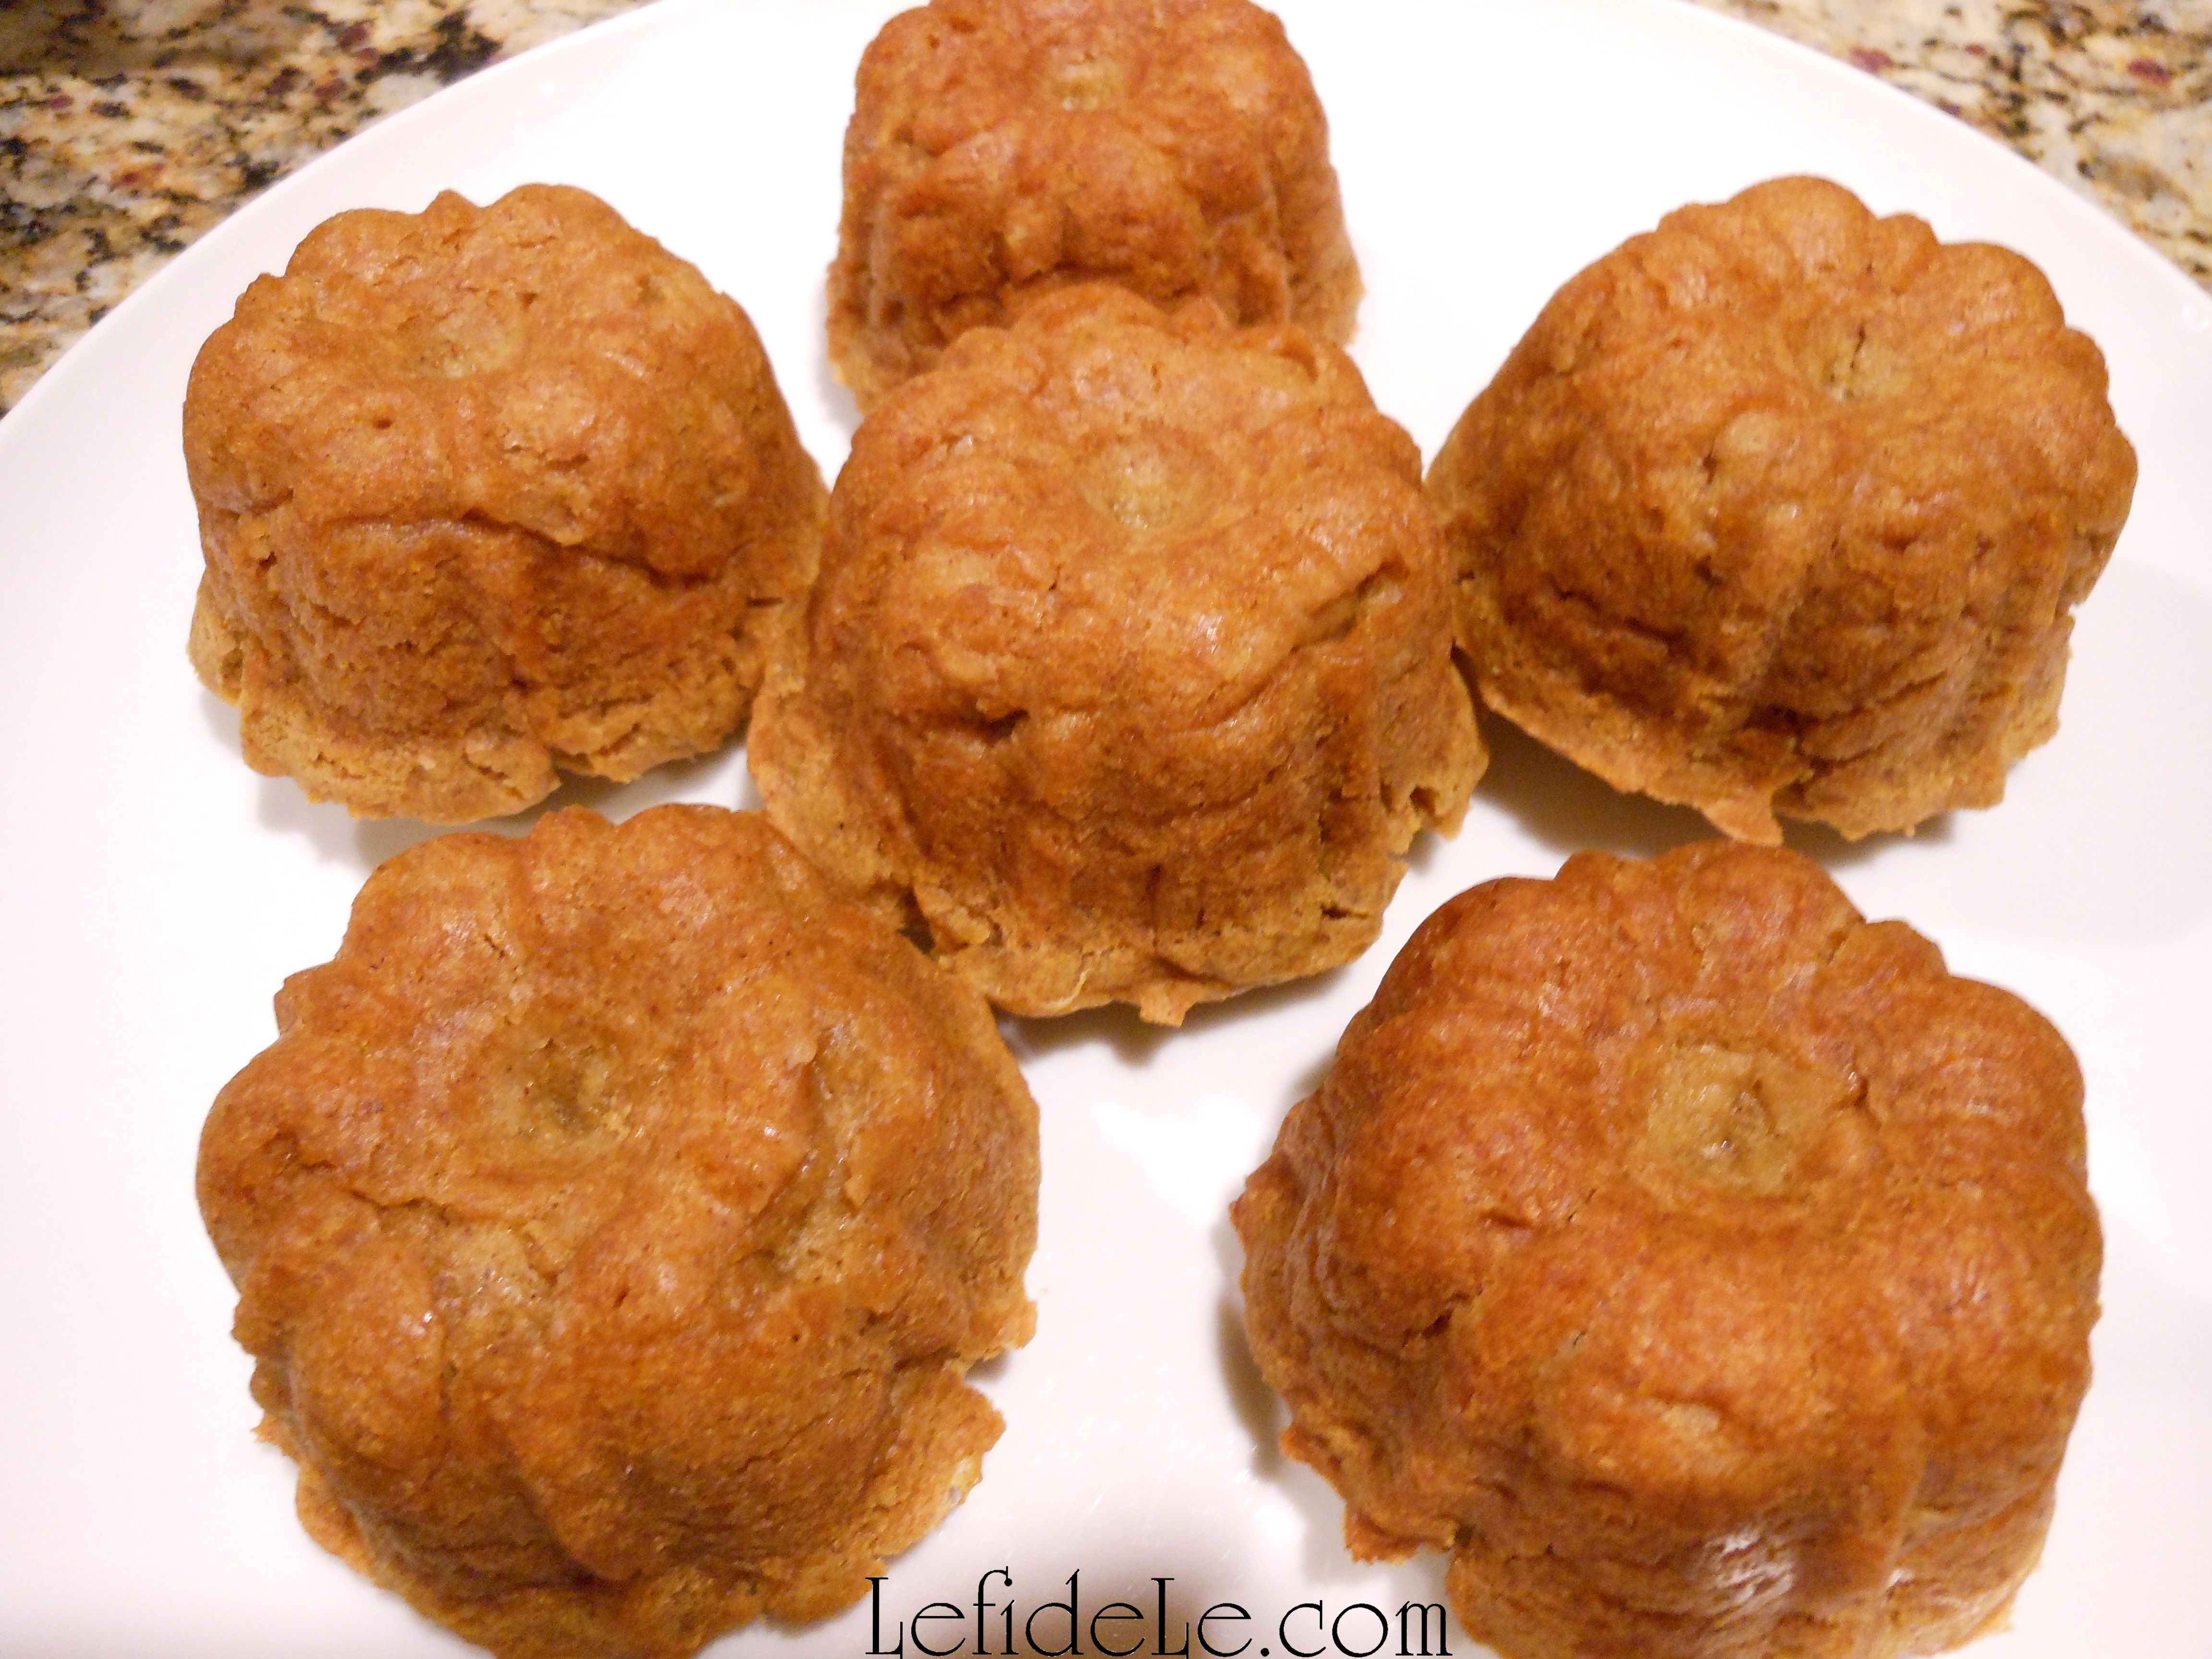
Let them cool off a little before popping them out.

030Leigh

To make the glaze while you’re waiting for them to cool completely, simply mix the ingredients well in a bowl.

031Leigh

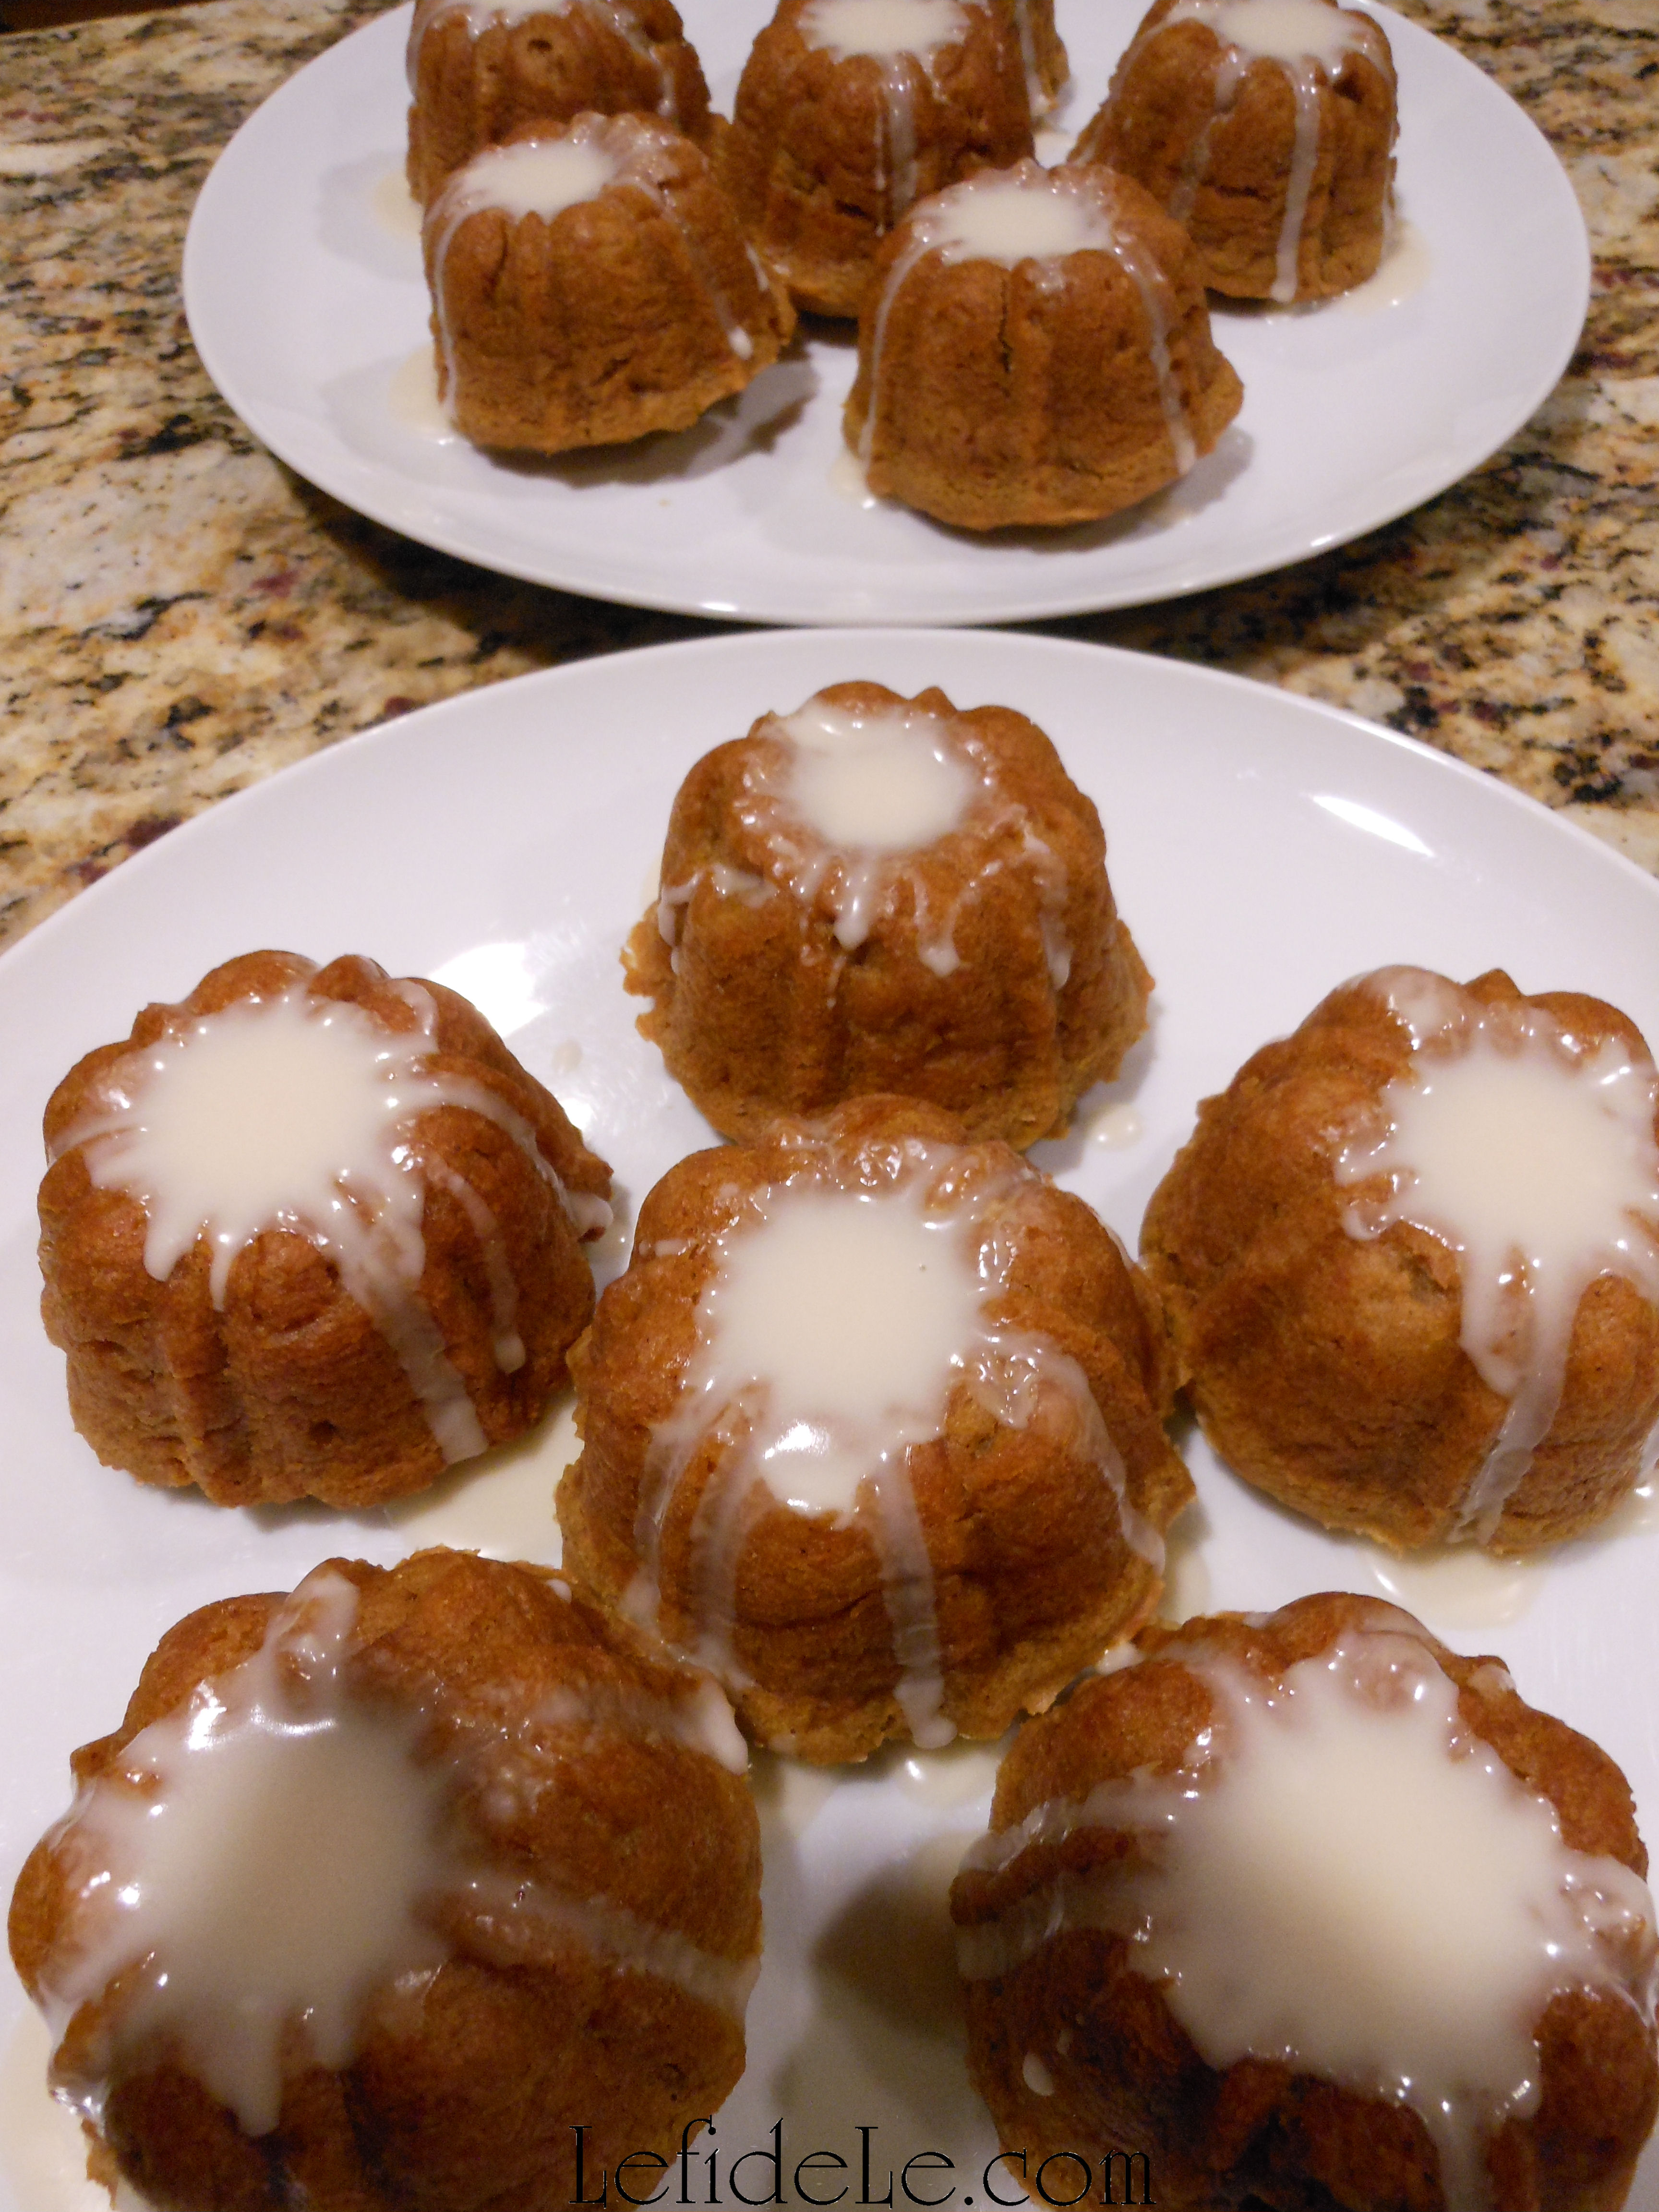
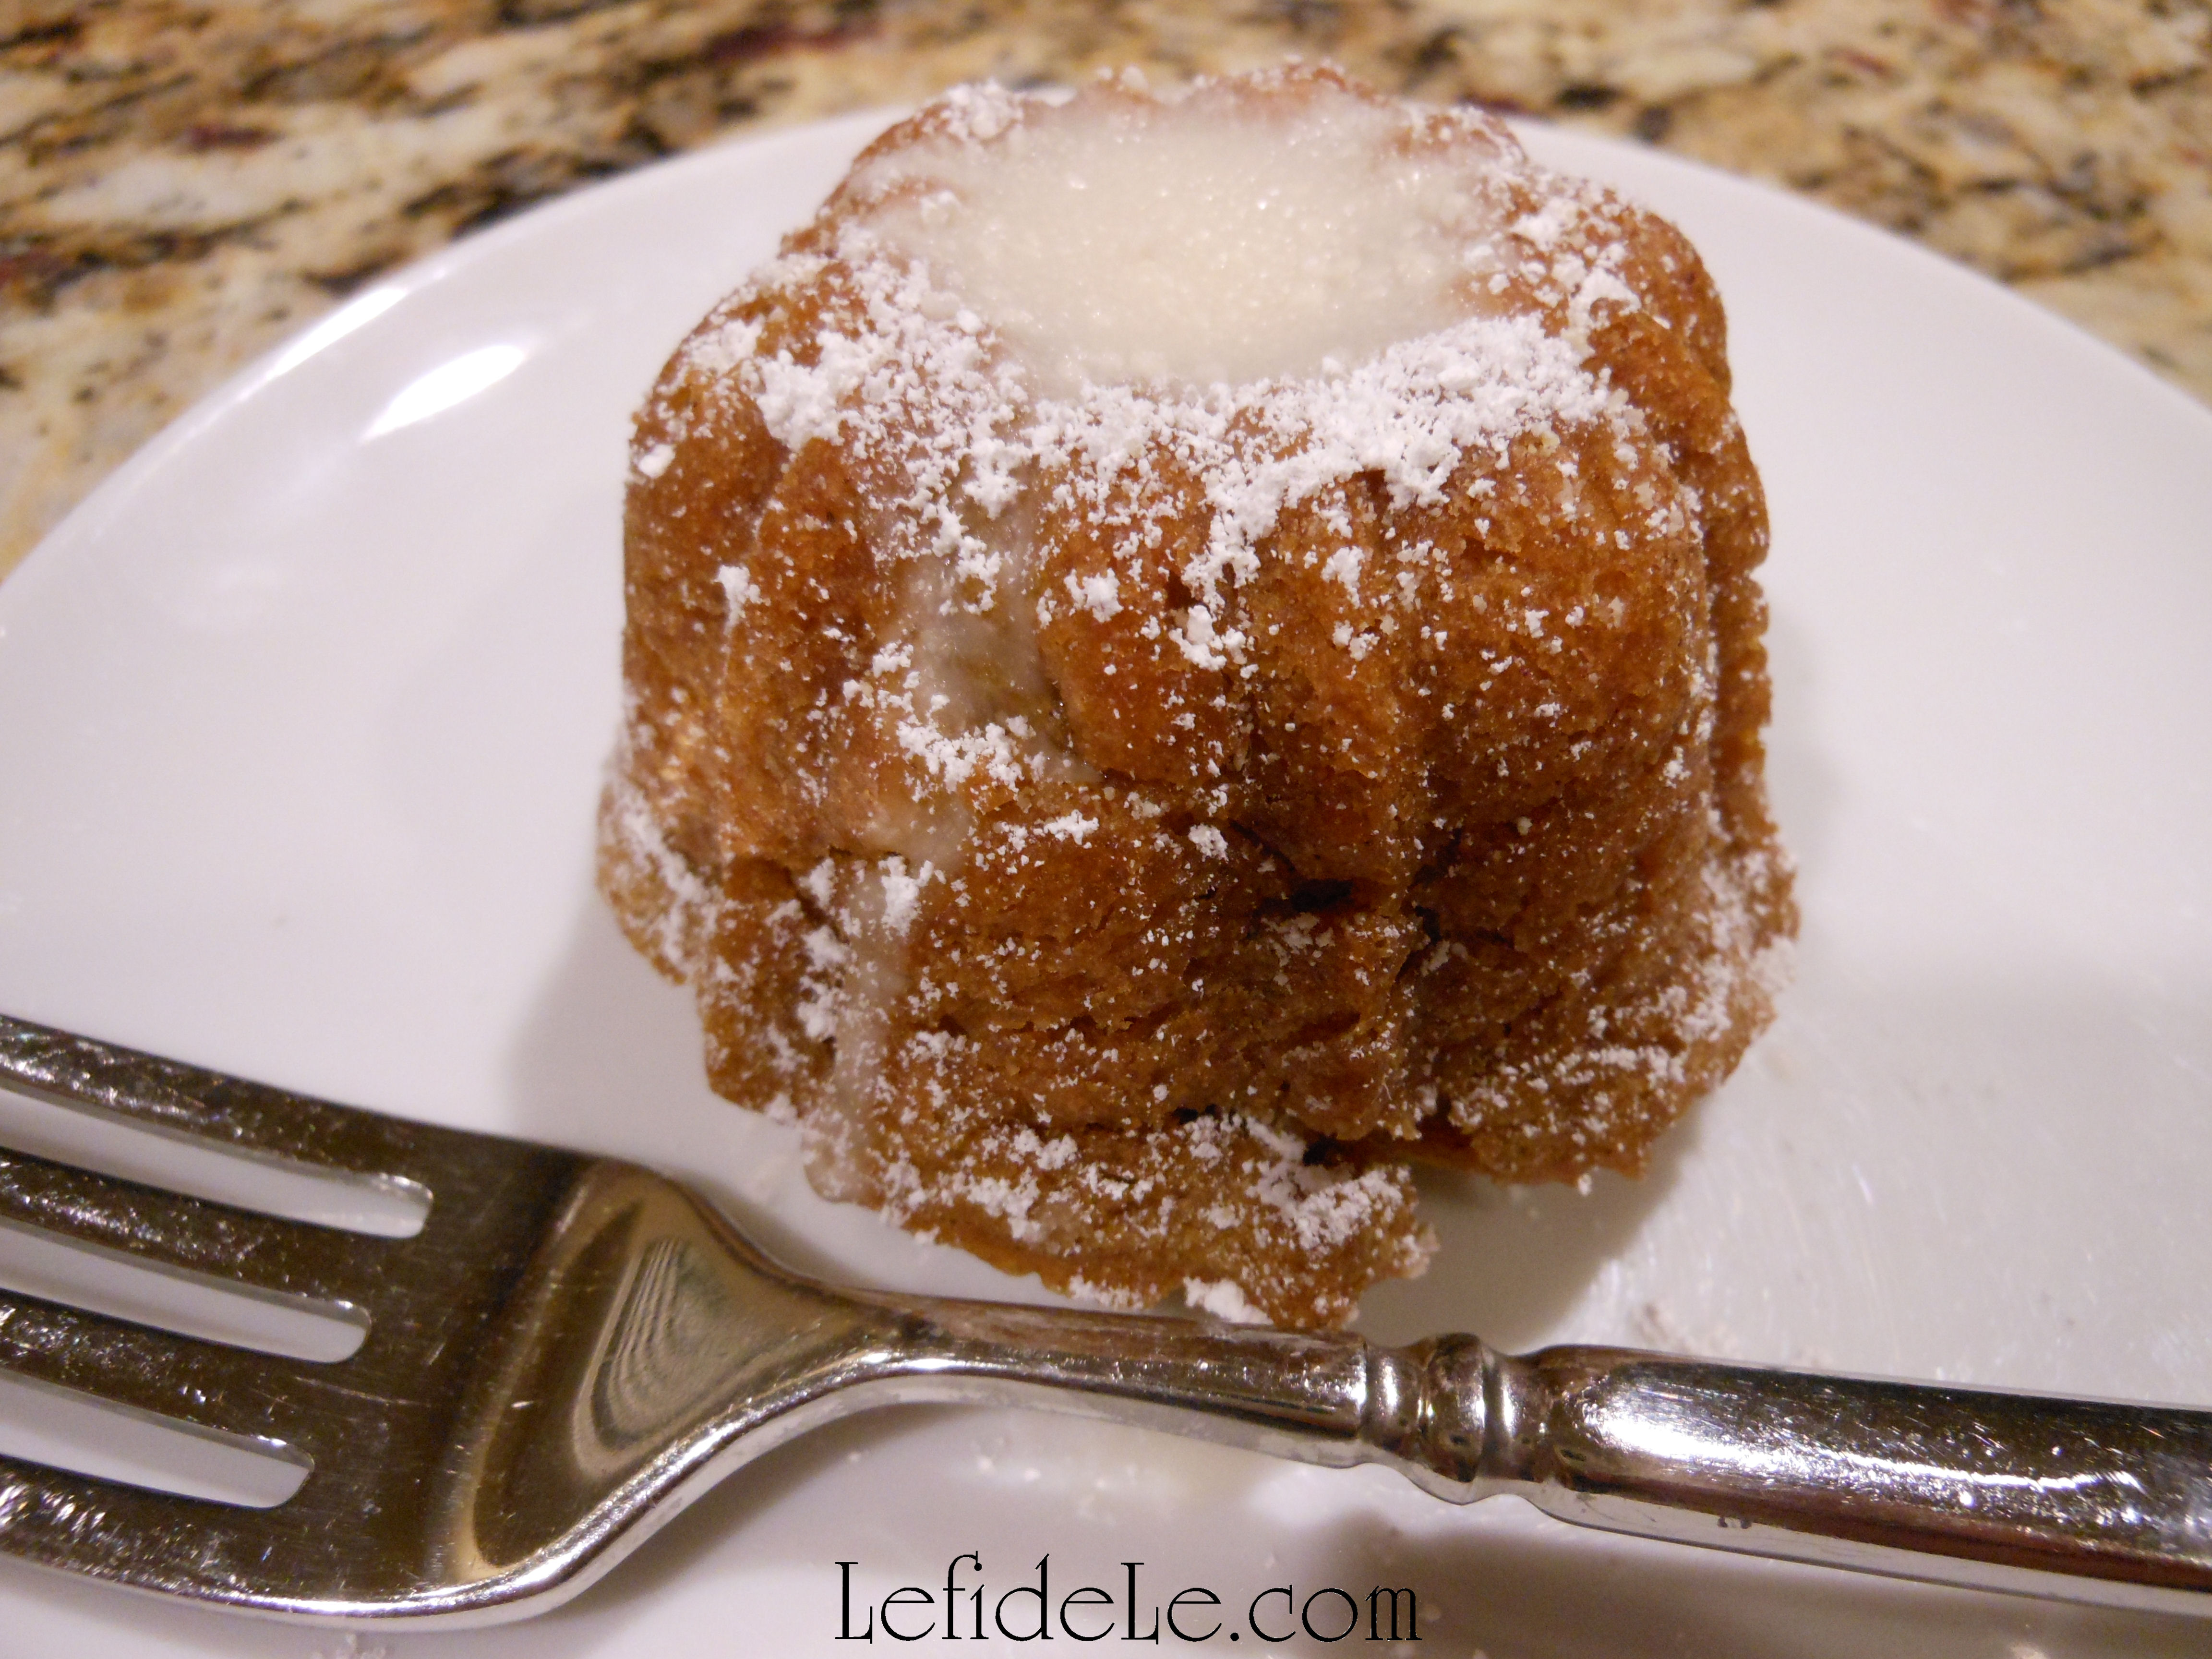
Spoon the glaze onto cooled teacakes.

122Leigh

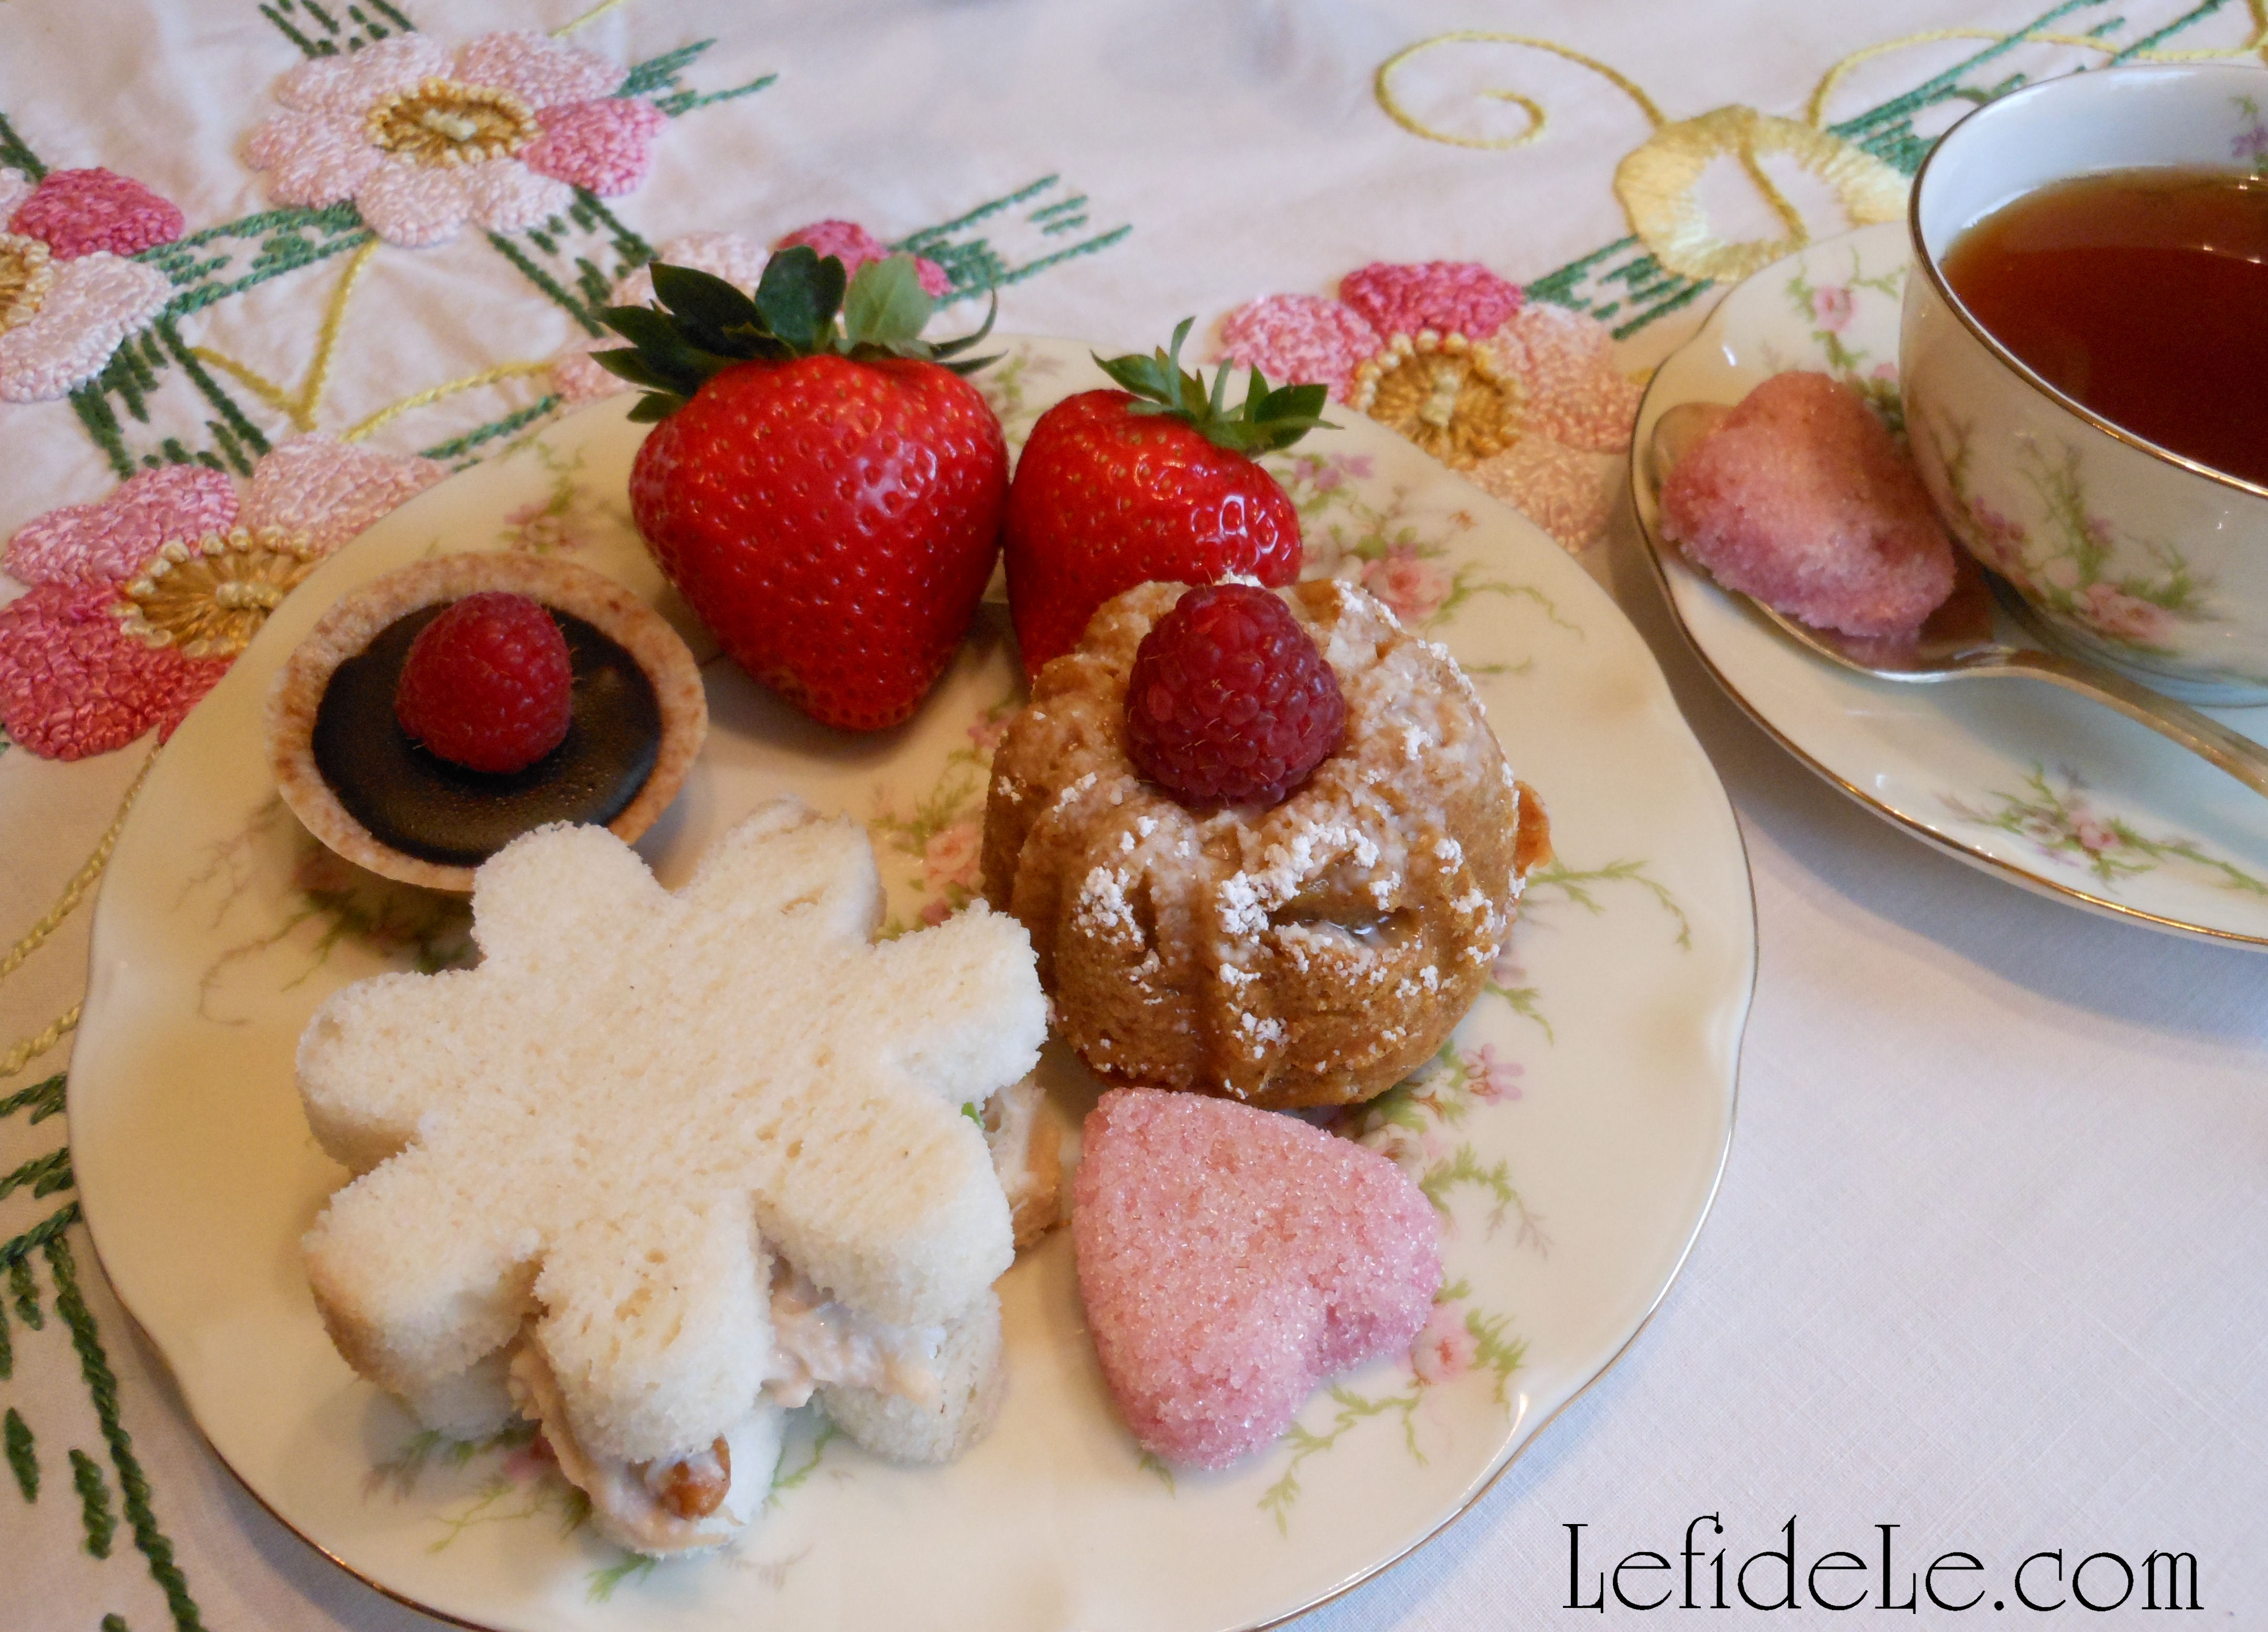
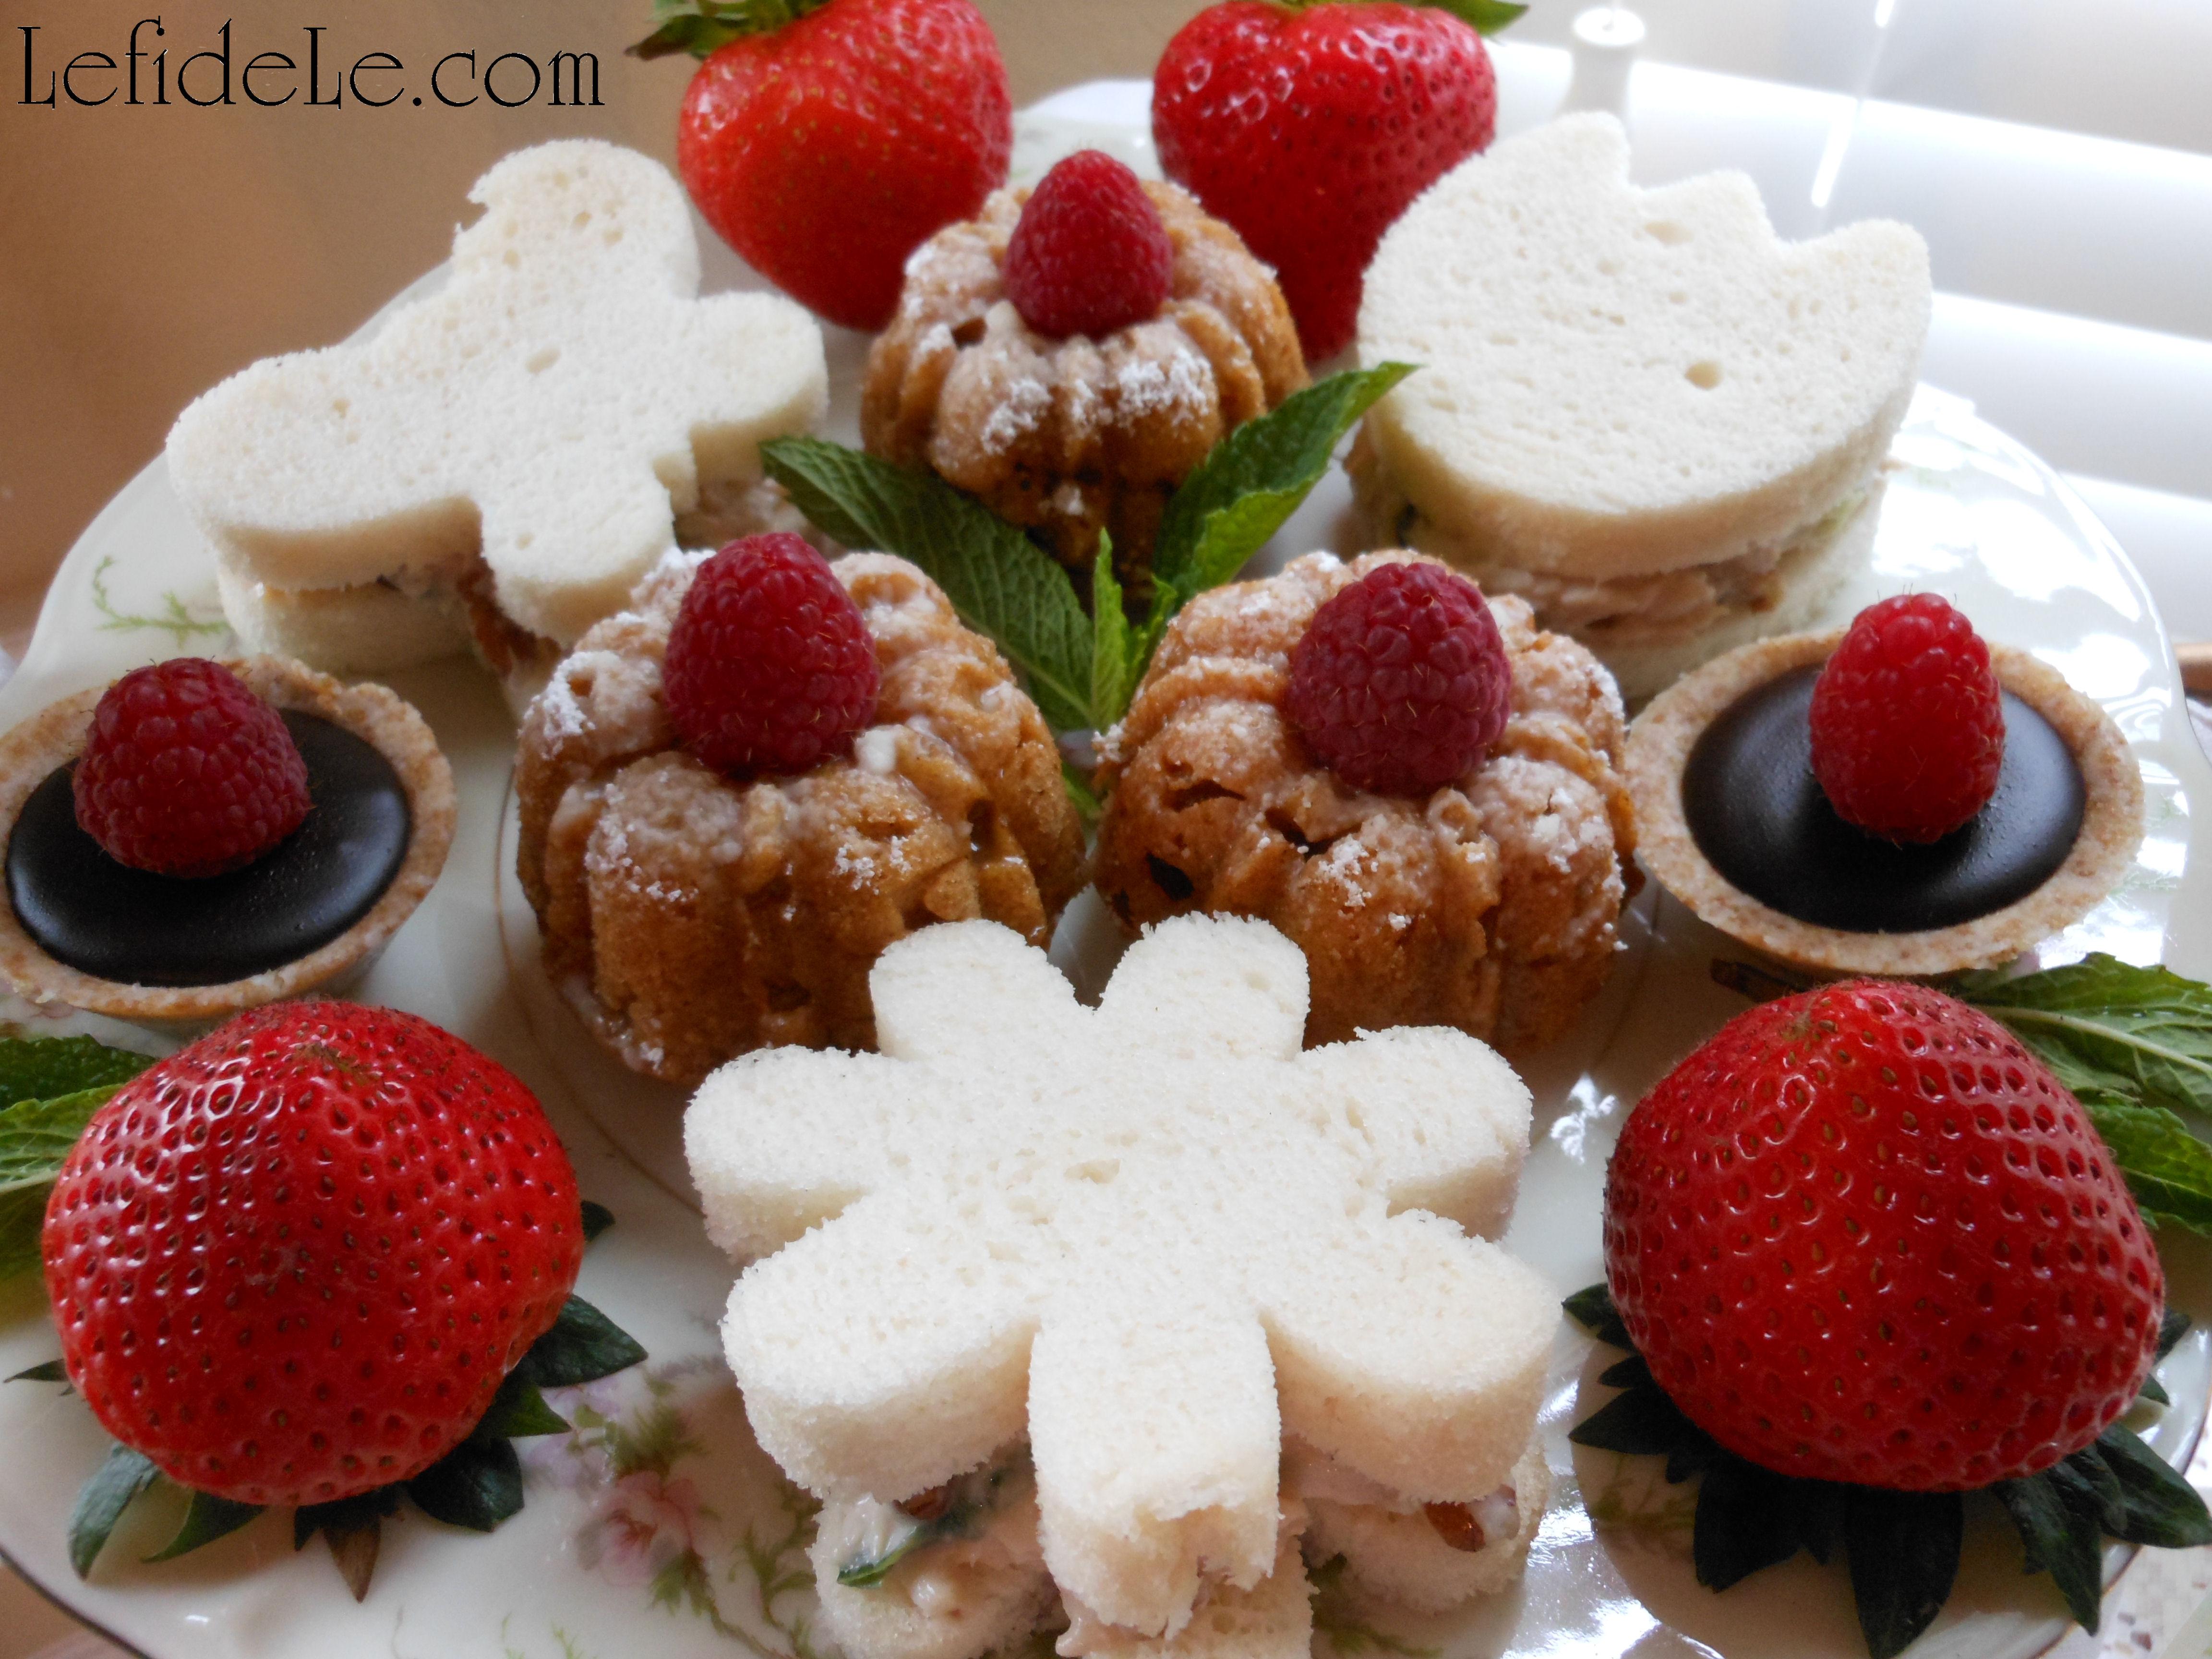
Confectioner’s sugar may also be dusted over the top if you like. (Confectioner’s is a dusting sugar without corn additives.) Top these teacakes with raspberries for a delightful sight.

051Leigh

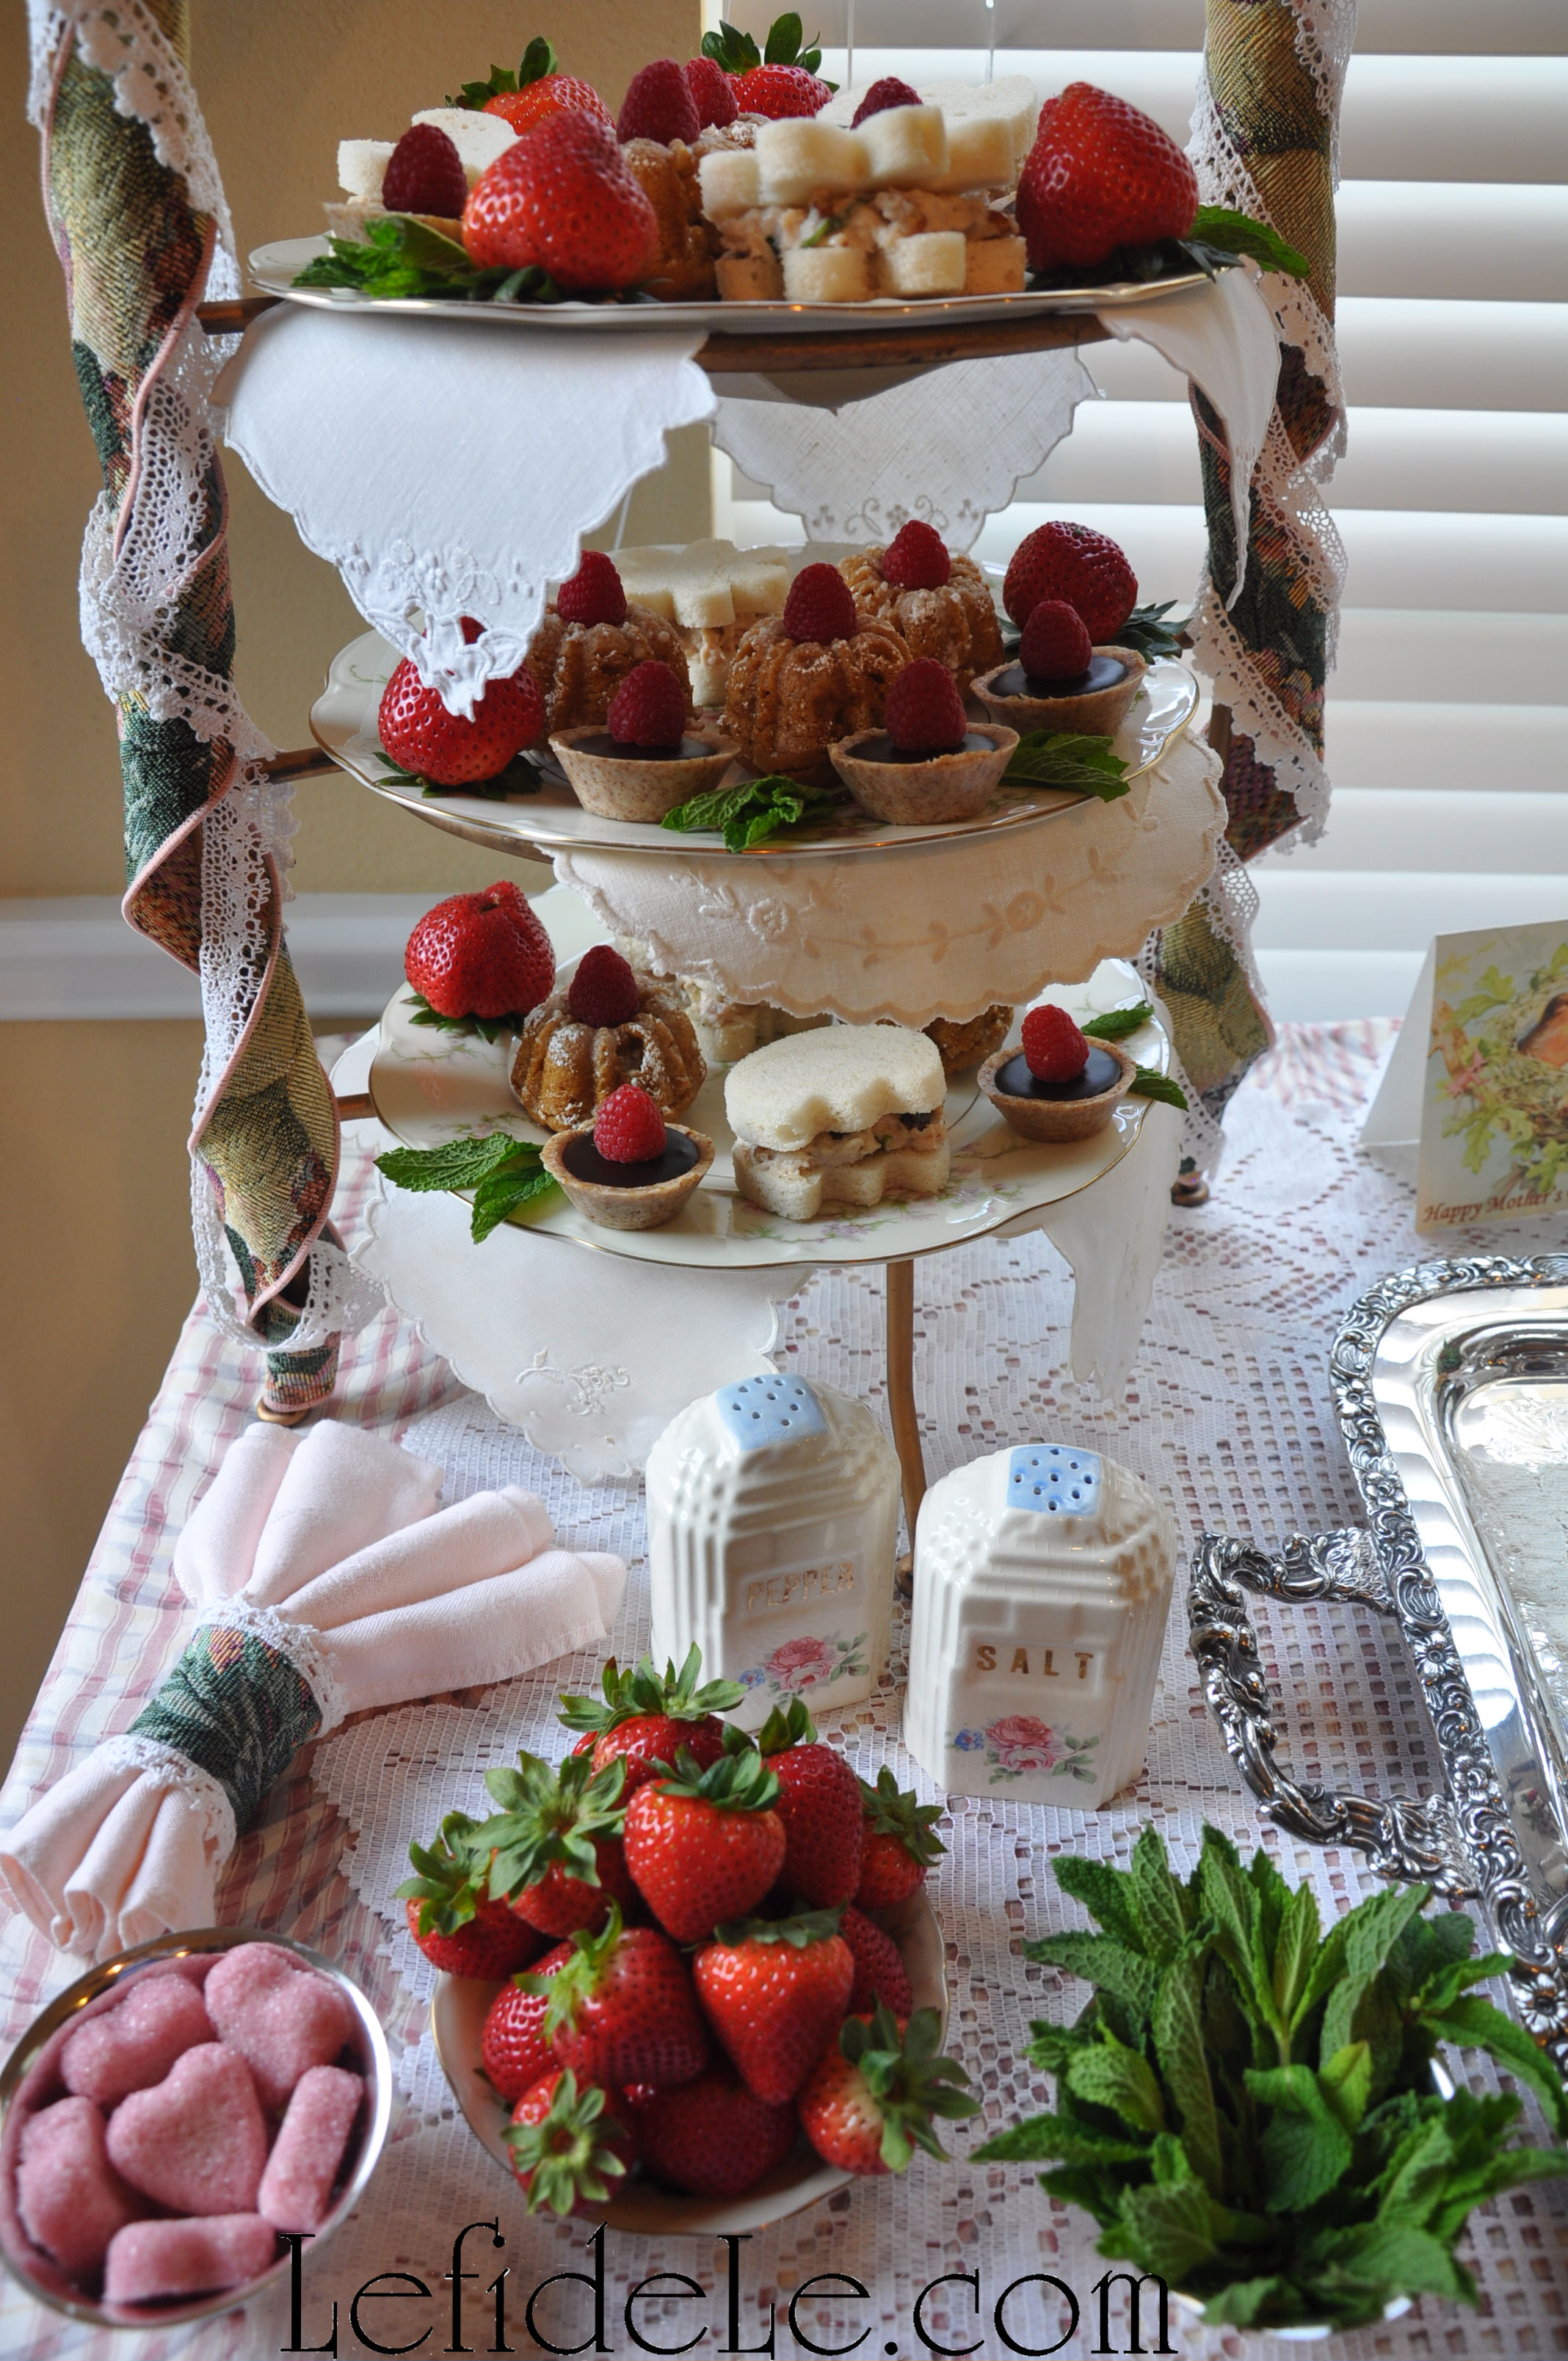
They were a delicious allergy-free addition to my Spring Garden Mother’s Day Tea.

082Leigh

I hope they bring a smile to your face too!

Faithfully Yours,

Leigh

Fall Leaves & Pumpkins Themed Thanksgiving Tablescape Décor Ideas

When I think of fall, images of brightly colored leaves and plump pumpkins immediately fill my mind’s eye. This was the initial inspiration behind this tablescape for Thanksgiving.

194fLeigh

I craved more color than is typically seen in fall décor, and so added a tablecloth with a denim background.

76Leigh

The blue color perfectly balanced the orange of my pumpkin topiary crafts that I made for place-card holders.

75PumpkinTopiaries-Leigh

More color was added with green plates and green crystal votive holders.

148PumpkinTopiaries-Leigh

Deeply stained wooden bowls and chargers were utilized to reflect nature. Turning some upside down made stable pedestals for serving pieces.

141Leigh

I chose terra cotta to echo the pots of the topiaries and because the covered dishes would better retain the warmth of the meal. Little tassels tied to the handles softened the hard look of the pottery.

197Leigh

Wooden stands added interest and height to the tableware, thereby making the food the centerpiece. Bringing the floral out and the food in, contributed further to my untraditional Tablescape.

187Leigh

The silverware and golden basket weave glasses provided the finishing touches for the table, just as one would finish an outfit with jewelry.

143Leigh

After the salad course was served, the wooden pedestal hosted turkey slices that had been carved in the kitchen. This is a lovely alternative for round tables where the turkey would make up the entire centerpiece otherwise. This way, no one has to look at the carcass for the remainder of the meal, which is a blessing to any vegans who were invited.

174QuinoaSquash-Leigh

This is my healthy quinoa pilaf stuffed patty pan “mini” squash recipe which is Gluten-Free and Dairy-Free so that everyone may happily partake of the meal. Ground meat may also be added to make a complete meal.

8CauliPotatoes-Leigh

This is my quick and easy heart-healthy “shortcut cauli-potatoes” recipe that is also Gluten-Free and Dairy-Free. It’s great year round because it’s so healthy and so fast to prepare.

160Leigh

Happy Thanksgiving!

Faithfully Yours,

Leigh

Fabulous Fall Leaf & Pumpkin Décor Crafts (Place-card Holders & Easy Remade Basket)

354PumpkinBasket-Leigh

I’m combining what are essentially two projects, because they entail exactly the same easy process of hot gluing your way to a fabulous fall! With so many beautiful options in faux foliage available, you can keep your creations to display again. The pumpkin topiaries may be placed throughout your home or office as small floral elements, or used as place-card holders as I have for my Fall Leaves & Pumpkins Themed Thanksgiving Tablescape. And though I used a vintage pumpkin shaped basket, I’ve seen similar variations of it at several craft and party stores that are just begging for embellishment.

314Leigh

For those of you who are brand new to this kind of thing… always buy fall foliage on sale (and there is always a sale somewhere). There are a plethora of leaves, sunflowers, berries, twigs, and mini-pumpkins available in fall colors. Rip off (or cut) the pretty bits from the largest stem.

313Leigh

Make curlicue vines by first wrapping brown floral tape around wire (pulling as you go). Then take that and twirl it around a pen. Pull the pen out, and you’re ready to use your newly made vine.

316Leigh

Now glue, glue, glue to your heart’s content. For the basket, start with leaves in order to form a base platform (at the junction between the handle and bowl of the basket). Then glue the larger elements on top of that blanket of leaves (without covering them completely).

317Leigh

Add smaller elements like berries, by dropping glue onto the stem ends, then tucking them in behind the biggest center element. Lastly, glue the vine ends (in the same way as the berries) and tuck those in wherever you see empty spaces.

320Leigh

It’s just that easy! You may now fill your creation with anything from candy to potpourri. To see it action, check out my “Glitter-Ween” Halloween Party Theme Decorating Ideas (With DIY Links).

194Leigh

As for the pumpkin topiaries… simply start with small terra cotta rose pots (because they are taller than regular pots). Fill these with floral styrofoam cut to size (not squishy “oasis” as that is made for wet arrangements). Next, hot glue a stack of tiny pumpkins (with a leaf in-between each) onto the top’s center. Cover the styrofoam with a layer of green moss. Then add a leaf or stem of berries here and there. Voila!

01Leigh

If you’d like to turn these into place-card holders… simply make flags out of toothpicks and washi tape, by using a ruler as a guide to cutting similar lengths.

75PumpkinTopiaries-Leigh

Or… you can use floral tape, like I did, so long as you stretch it as you smash it between your fingers. A permanent marker writes the name well. You can also do this for your décor, to add a message like, “Happy Fall Y’all!”

76Leigh

See more of these here: Fall Leaves & Pumpkins Themed Thanksgiving Tablescape Décor Ideas.

Faithfully Yours,

Leigh


DIY Easy Last Minute Halloween Décor Kid Friendly Foam Shape Crafts

This project began with the question, “What on earth do I do with that sack of foam shapes that didn’t get used up in that last project?” My answer was to make holiday signs, spooky garlands, not-so-scary ornaments, favor necklaces, and puppet favor / food picks! So without further ado, here are some quick and easy kid friendly craft ideas that are great for last minute fill-ins for your décor this Halloween.

112Leigh

Glue colored twine in between two foam shapes to make any length garland you chose. Adults can use hot glue and a ruler as a distance guide. Kiddos can use foam glue and make it as crazy as they like!

297Leigh

Drape it along a spooky Halloween tree, or loop the ends and hang them on the wall with tacks.

291Leigh

Using the same technique, make favor necklaces for the little ones. Wrap them around mini felt witch hats for party hat dress up that doubles as décor. A barrette turns them into a grown-up witchy fascinator.

113Leigh

Glue the shapes back to back with a new popsicle sticks in-between.

79Leigh

Stick those little puppet favors into candy stashes for an extra dose of Halloween fun.

327Leigh

Some shapes can double as letters for a thrifty but cute holiday sign.

115Leigh

A block of wood or small canvas backed with a ghost cut-out, may be topped with eyehooks for a wire handle.

117Leigh

Glue on small letters plus pumpkins for O’s, armed ghosts for T’s and K’s (when an arm is cut and added as the kick in the K). Bats can just swarm the whole project!

118Leigh

A coat of glitter paint (or glue) unifies the whole project, making the foam indistinguishable from other materials. The whole thing can actually dry on the wall (so long as wee fingers are out of reach).

121Leigh

Thread an intentionally random mix of seed beads to a thick wire handle, and twist securely into a hole or eyehook.

56Leigh

Voila, super-cute… super-cheap… super-fun!

253Leigh

Happy Halloween!

Faithfully yours,

Leigh


DIY Glitter Pumpkin Tassels for Halloween Decorating


339-Leigh

This DIY Halloween project makes perfect use of all those leftover ribbon scraps that are just too pretty to throw away, but are too short to do much else with. There are many kinds of tiny pumpkins available at craft stores, and they don’t have to be glittered like these. I love to mix various textures and finishes of materials because it produces more visually compelling creations.

133-Leigh

I used some of the scatter pumpkins that were decorating my living room console. I really don’t know what sparked the idea, but I just had to turn some of them into tassels. The conundrum was how to accomplish this, but as one of my studio art professors said, “Art is about problem solving.” My answer came in the form of a hot glue gun.

152-Leigh


I first glued the ends of a few inches of shimmering green yarn onto the plastic stem of the pumpkins, in order to form a hanging loop. Then I glued matching flat ribbon, as I coiled it around the stem, until it was covered completely. Clearance and dollar bin ribbon are great for projects like this, when you need just a few lengths to complete the job.

160-Leigh

I gathered up all my coordinating ribbon scraps, and then cut additional lengths off new rolls that I had set aside for this year’s “Glitter-ween” Party theme. In that way, the finished product would harmonize with the other crafts I had already completed. I cut the wired ribbon into longer lengths to purposely be able to bend it into waves later. That would add dimension and separation by introducing “negative space” into the piece. Sometimes the empty places are as important to the composition as the materials themselves are. The wider ribbons, I either cut in half or folded in half and glued together. Cutting the gluing ends flat and the trailing ends pointed, into a V or W depending on the width, adds a touch of polish.

164-Leigh

I began gluing bent tips of the darkest and thickest ribbons to the center of the pumpkin bases. From there I just kept turning and gluing until I got to the thin ribbons and yarns. Those I added to the outside areas where it seemed like some color was needed to fill to the space.

165-Leigh

This is where to just keep adding intuitively until it looks finished. I always say that I work on a project until I’m afraid that I’ll mess it up if I add any more. Then and only then, is it finished. If you feel like something’s missing, take a break and come back to it later with a fresh perspective. If you still feel that it’s just not quite right, ask a creative friend for their opinion. Sometimes a conversation about a design is enough to generate even more of your own ideas.

278-Leigh

Laying out all the pumpkins helps to see if any errant lengths need to be trimmed down. Then it’s time decorate with them.

288-Leigh

They look fanciful hanging from lamp switches where light can reflect on them. That’s a glittered bell wreath perched atop the lampshade.

319-Leigh

They make great ornaments for indoor trees. Adding a Happy Halloween sign helped too.

239-Leigh

They connect the space between table and chandelier when suspended from the lights. The bats are an easy craft that will come with a PDF template in a future posting.

312-Leigh

If the loops are made large enough, they’ll hang on any doorknob, even an armoire.

323-Leigh

They can even hang from a tack nail on the wall where a bit of empty space needs decorative filling.

339-Leigh

Best of all, they’re one-of-a-kind handmade in the USA creations that not everyone on the block has seen in a store’s ad, and I had fun making them. Here’s hoping you do too!

Faithfully Yours,

Leigh