Craft your way to classic Candyland cuteness befitting birthdays, baby showers, and Christmas décor. This tutorial for hard candy lanterns, candy ornaments, and conversation heart garlands are part two of a DIY party decorating series with easy projects and free printables. Using some or all of the ideas, you’ll be sure to delight the inner-child in all of your guests. Sweet!
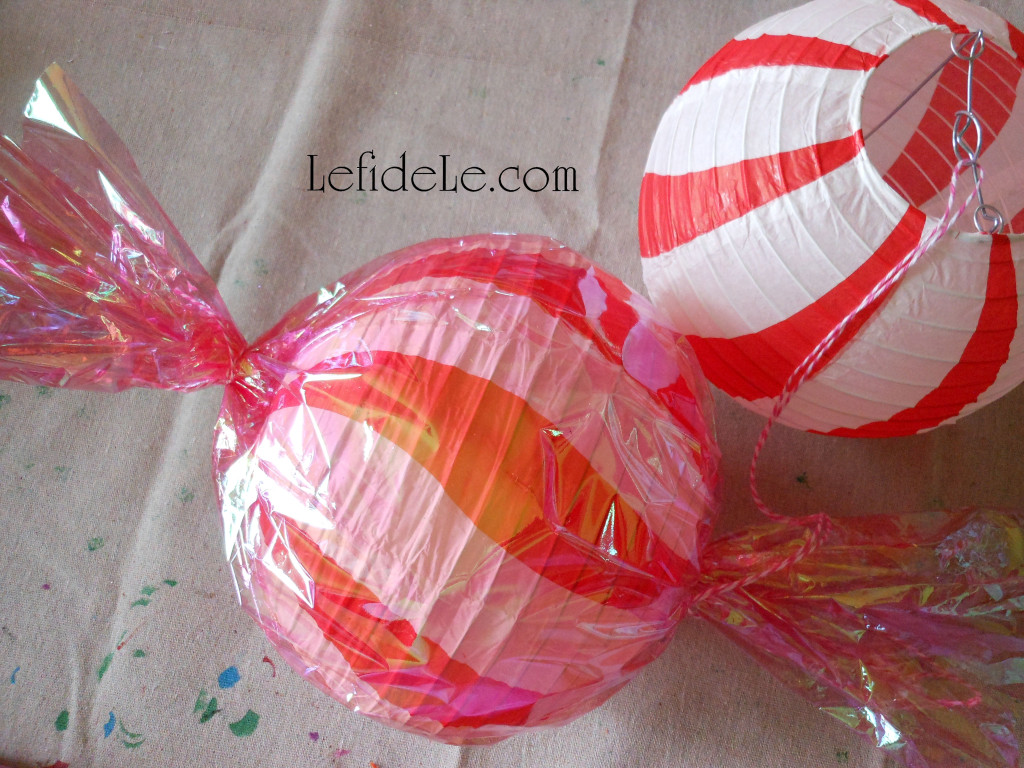
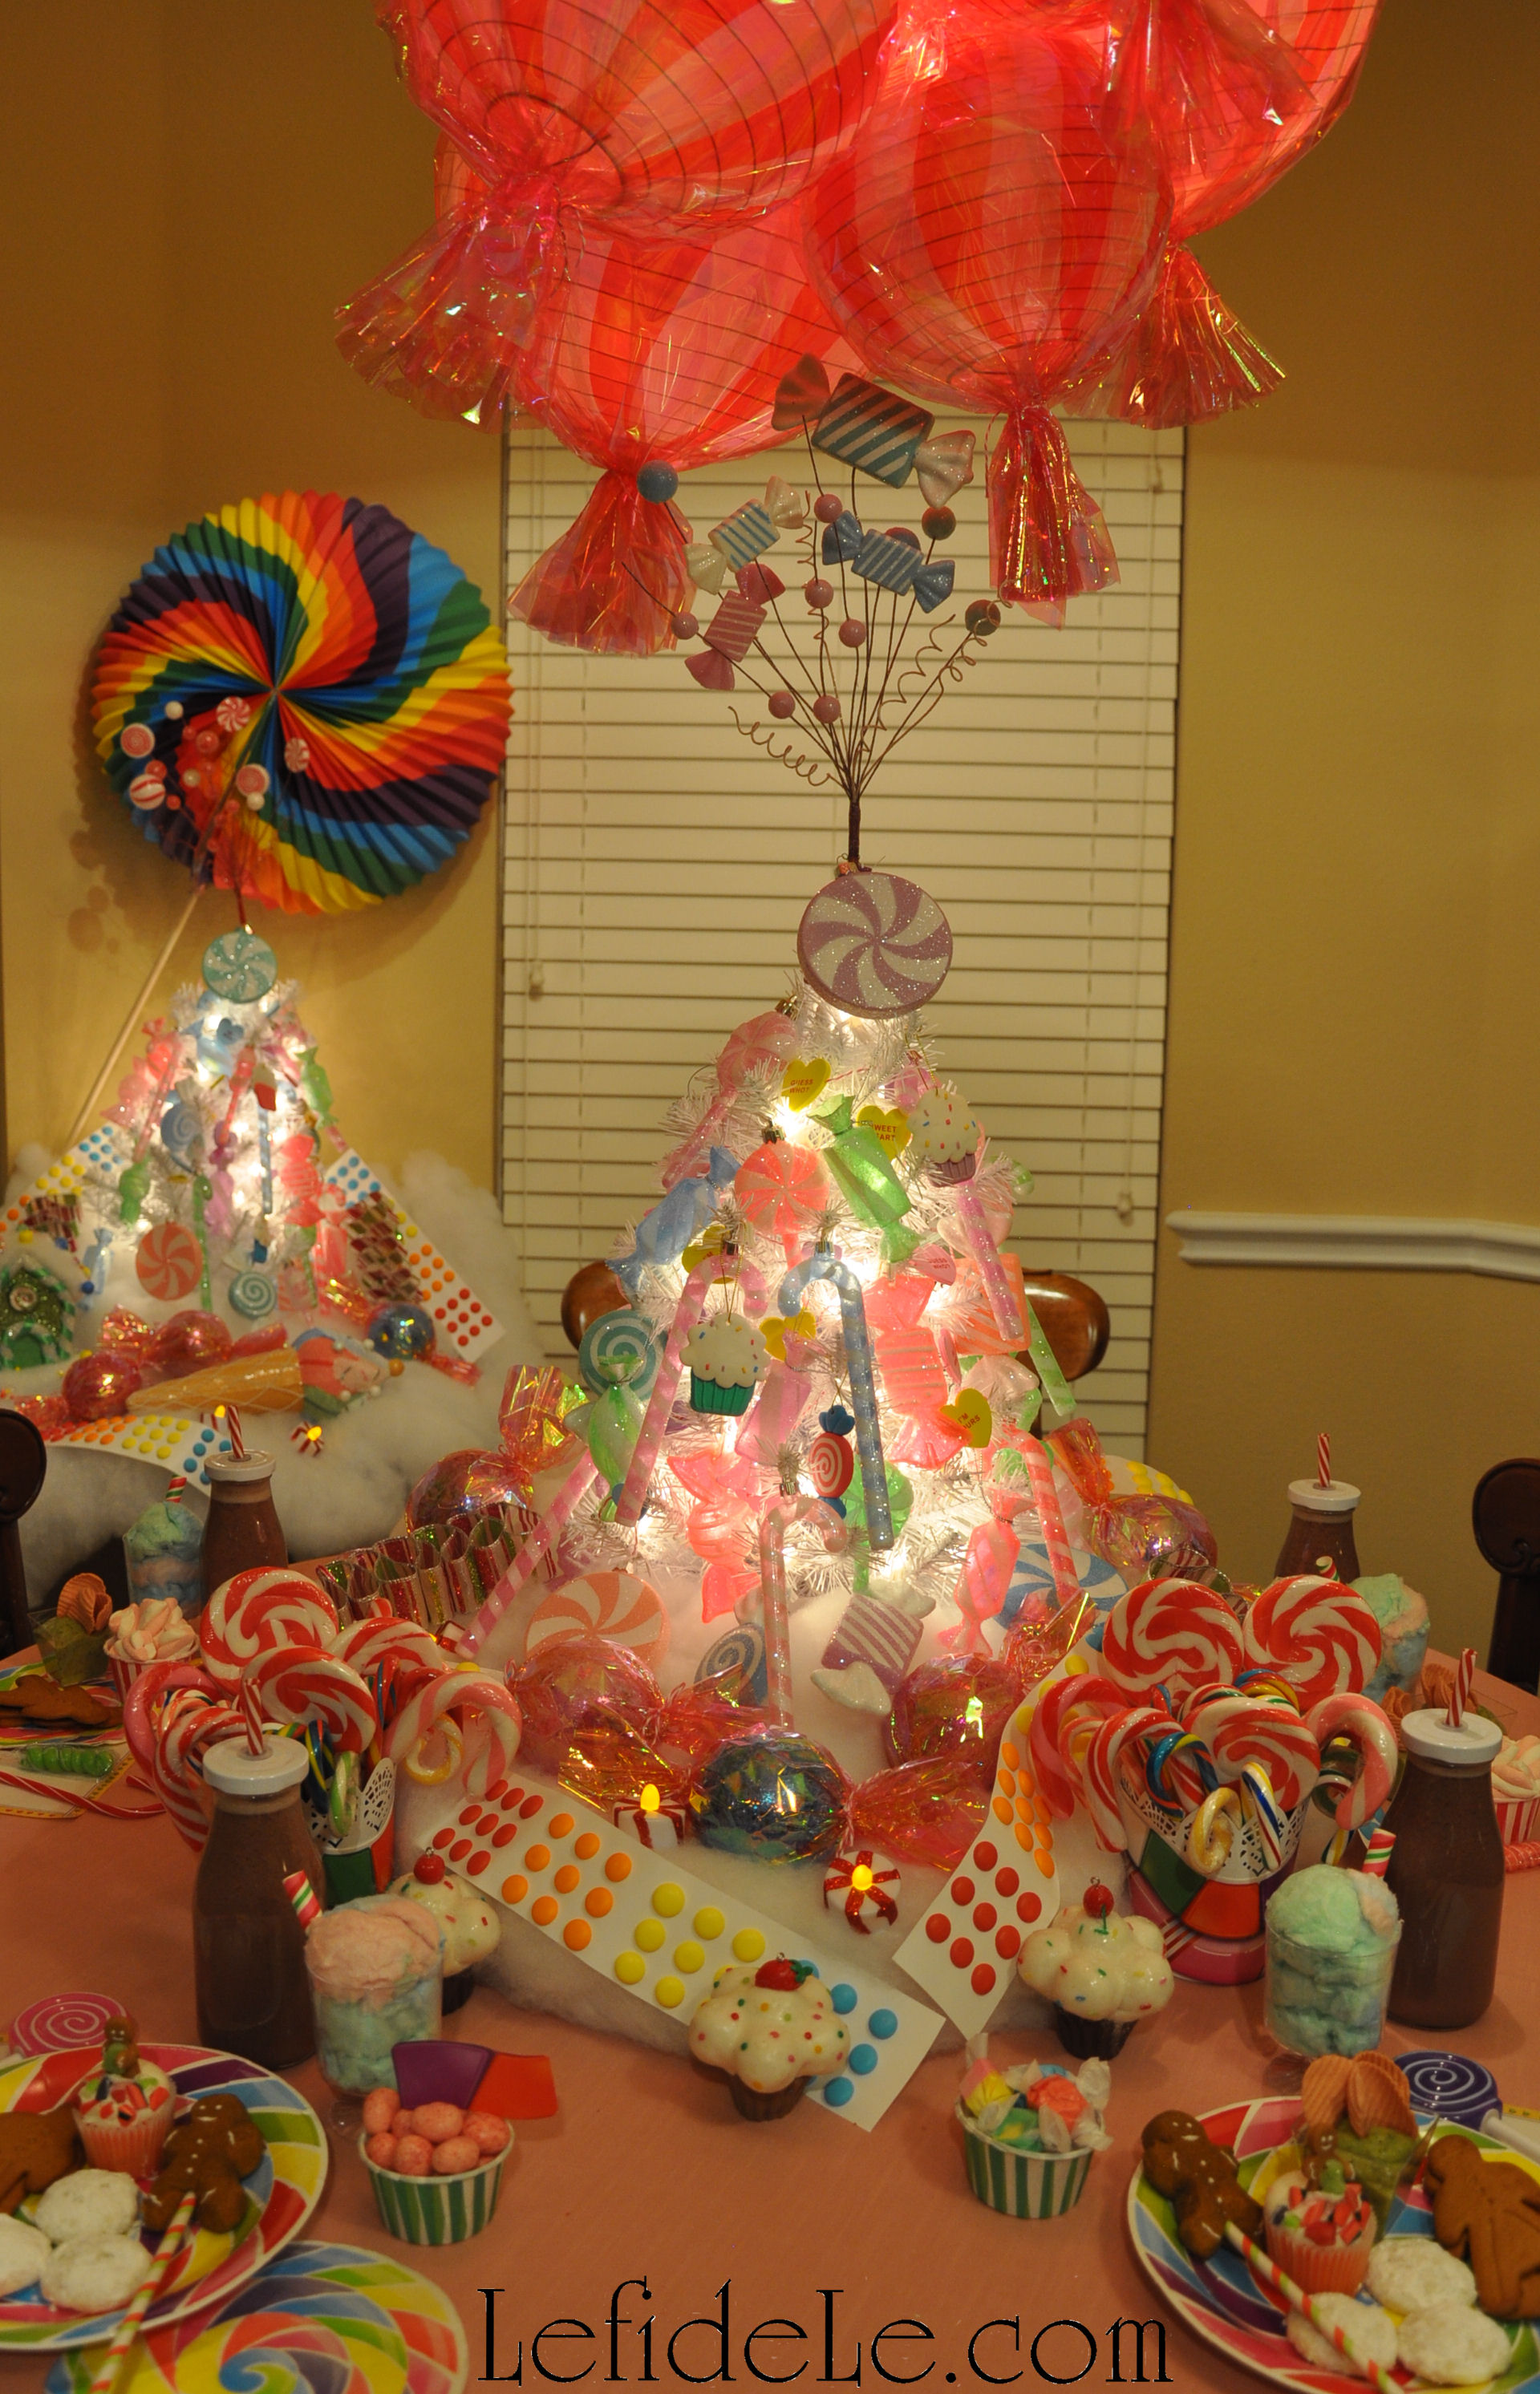
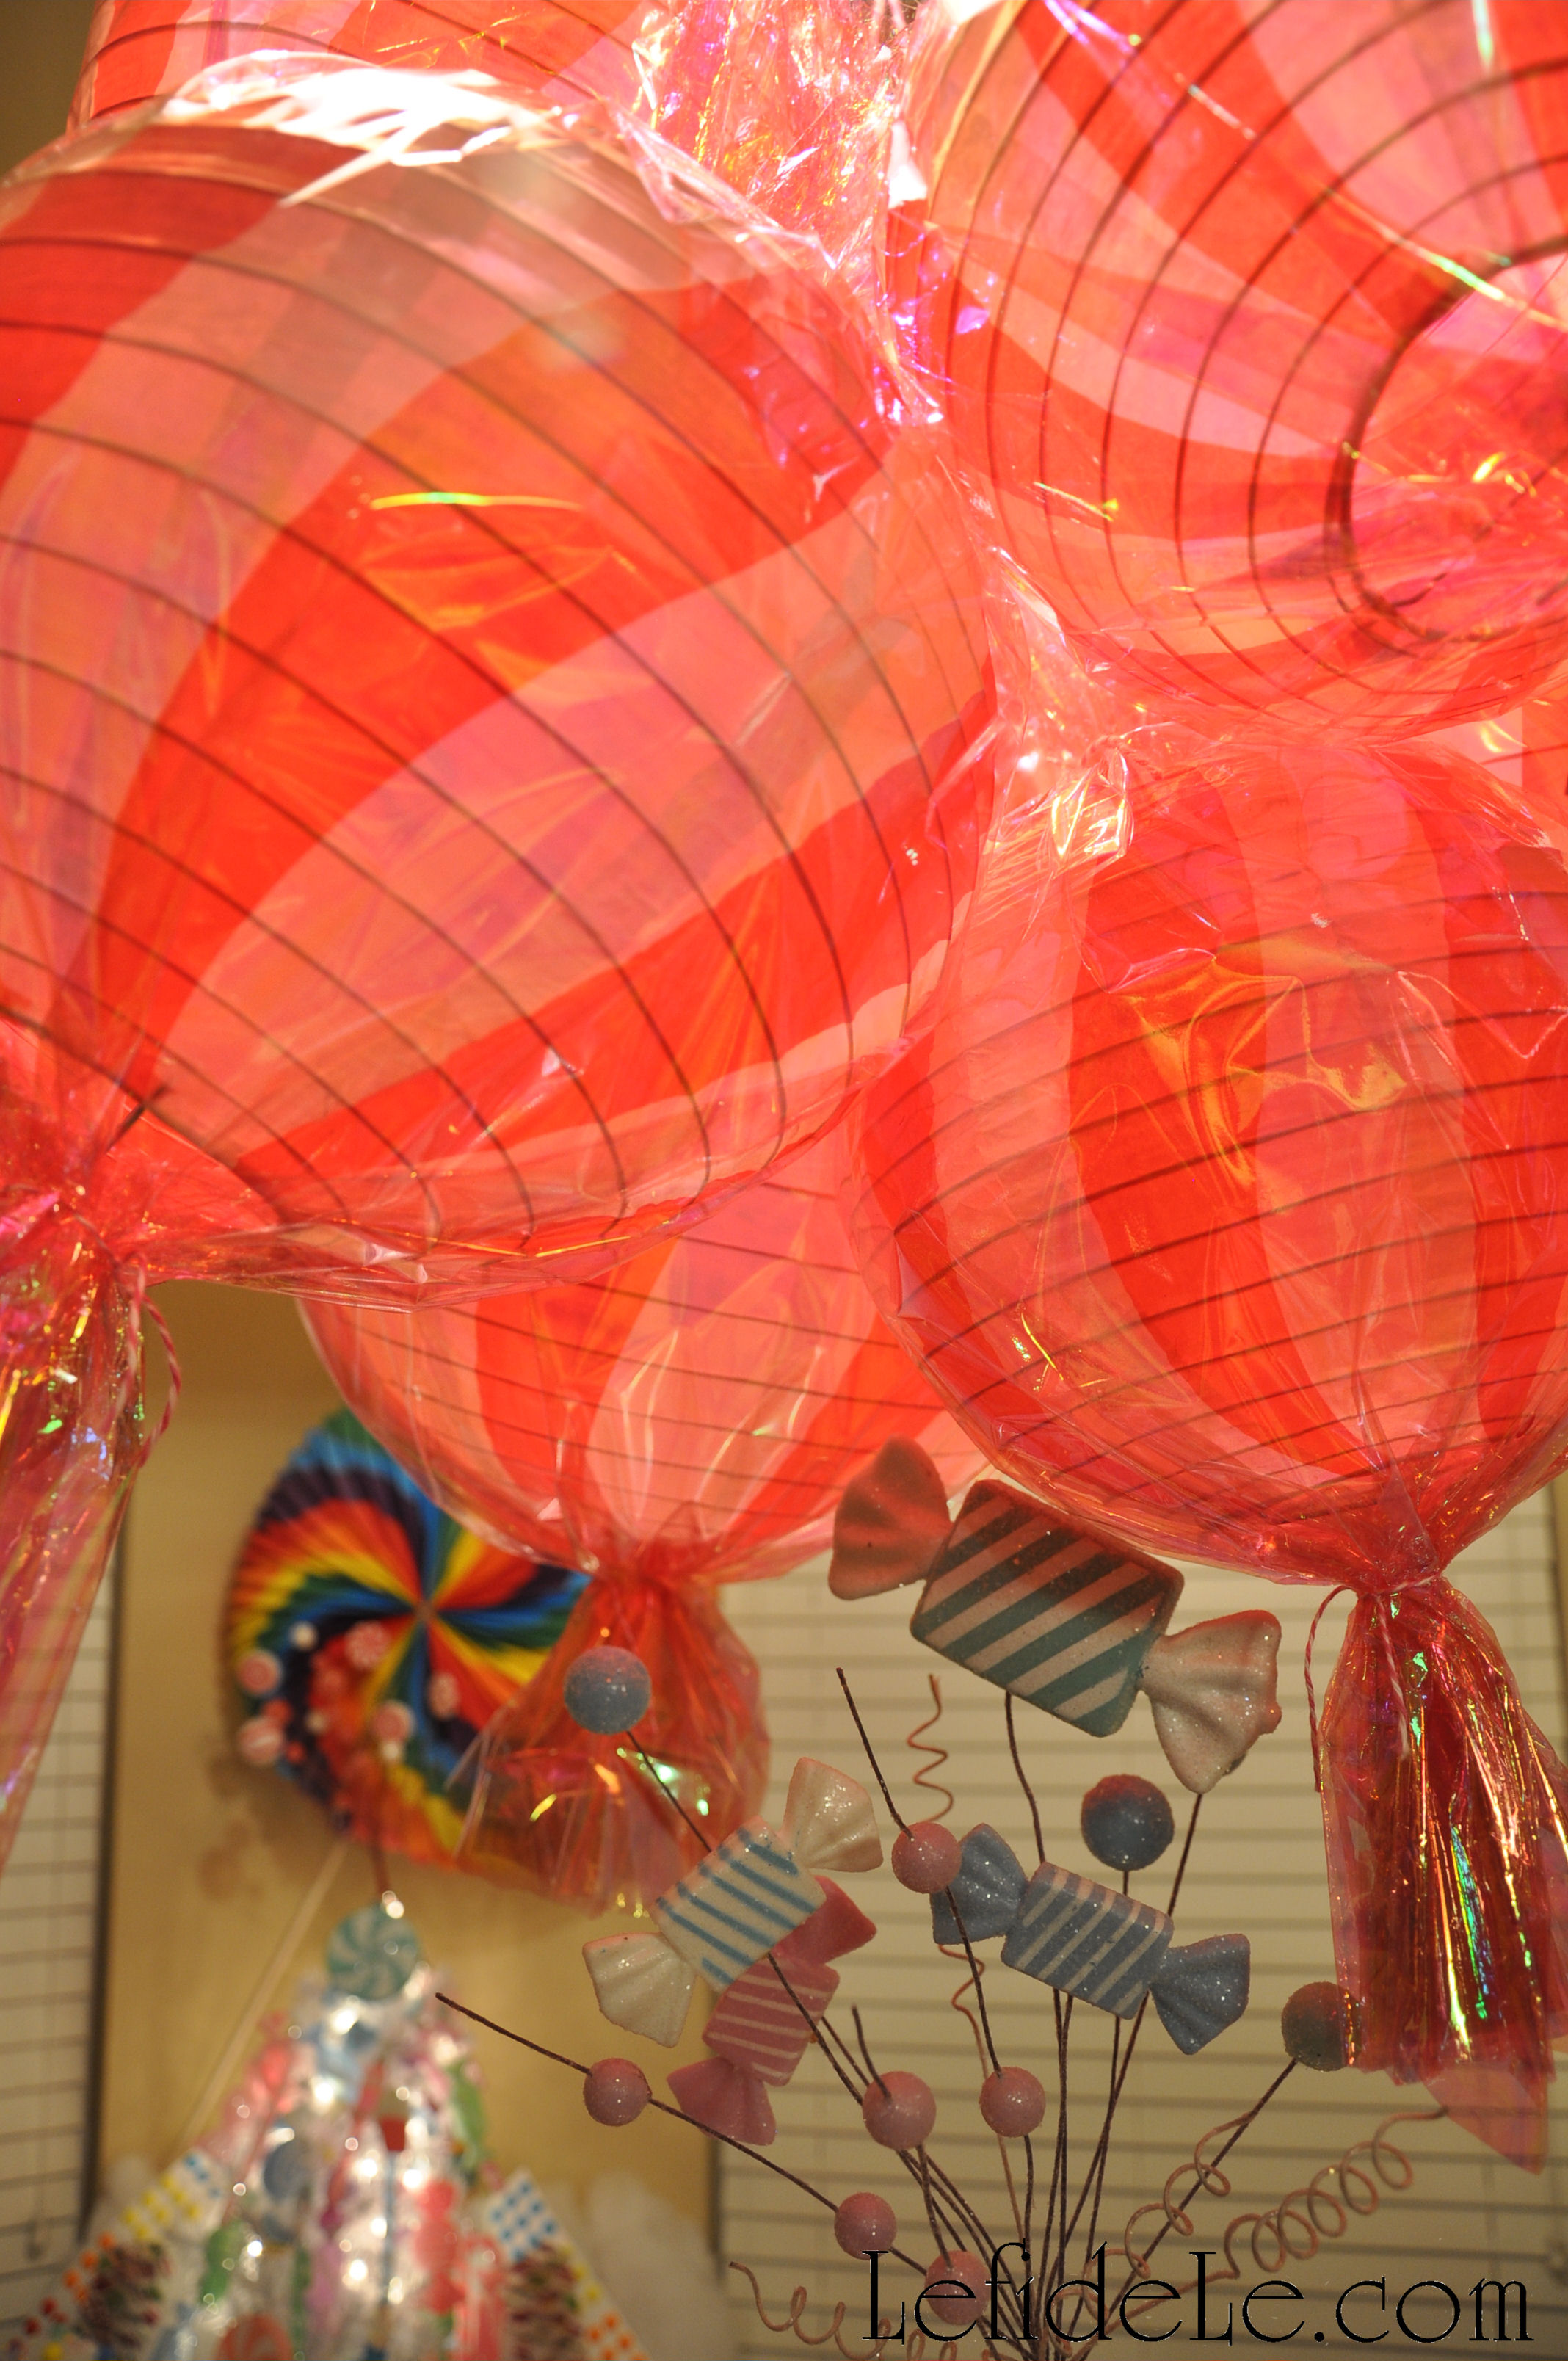
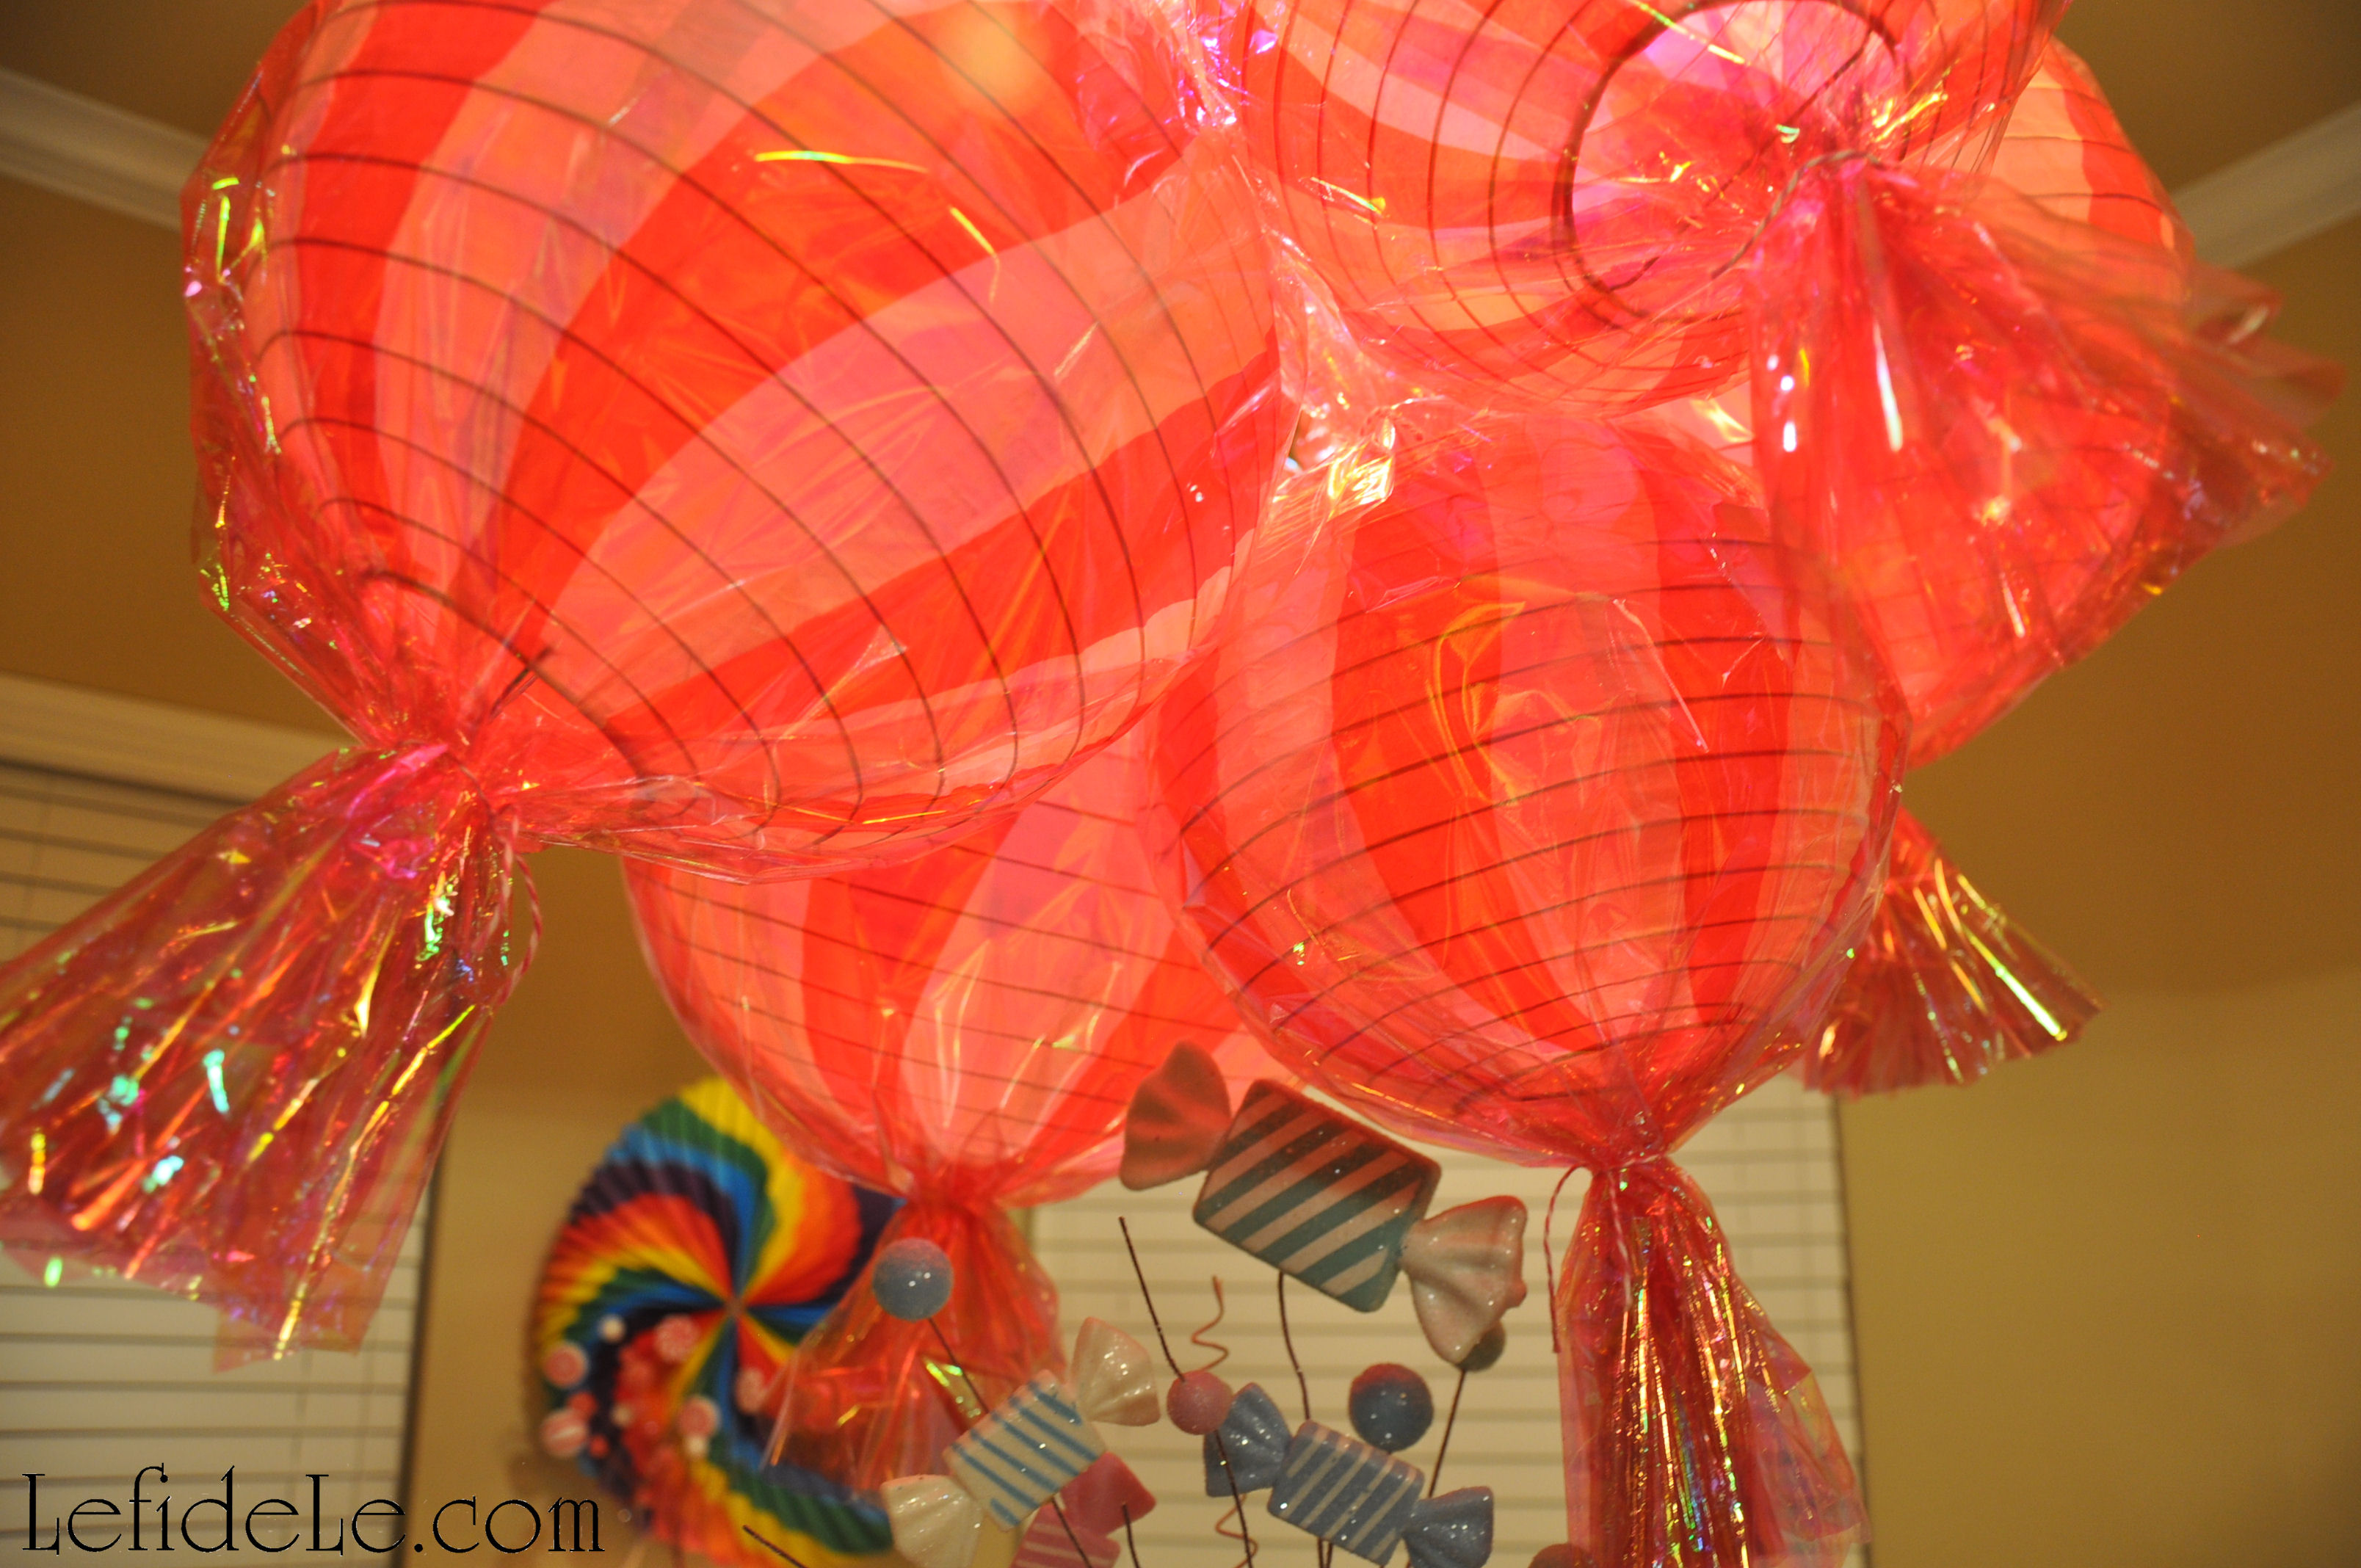
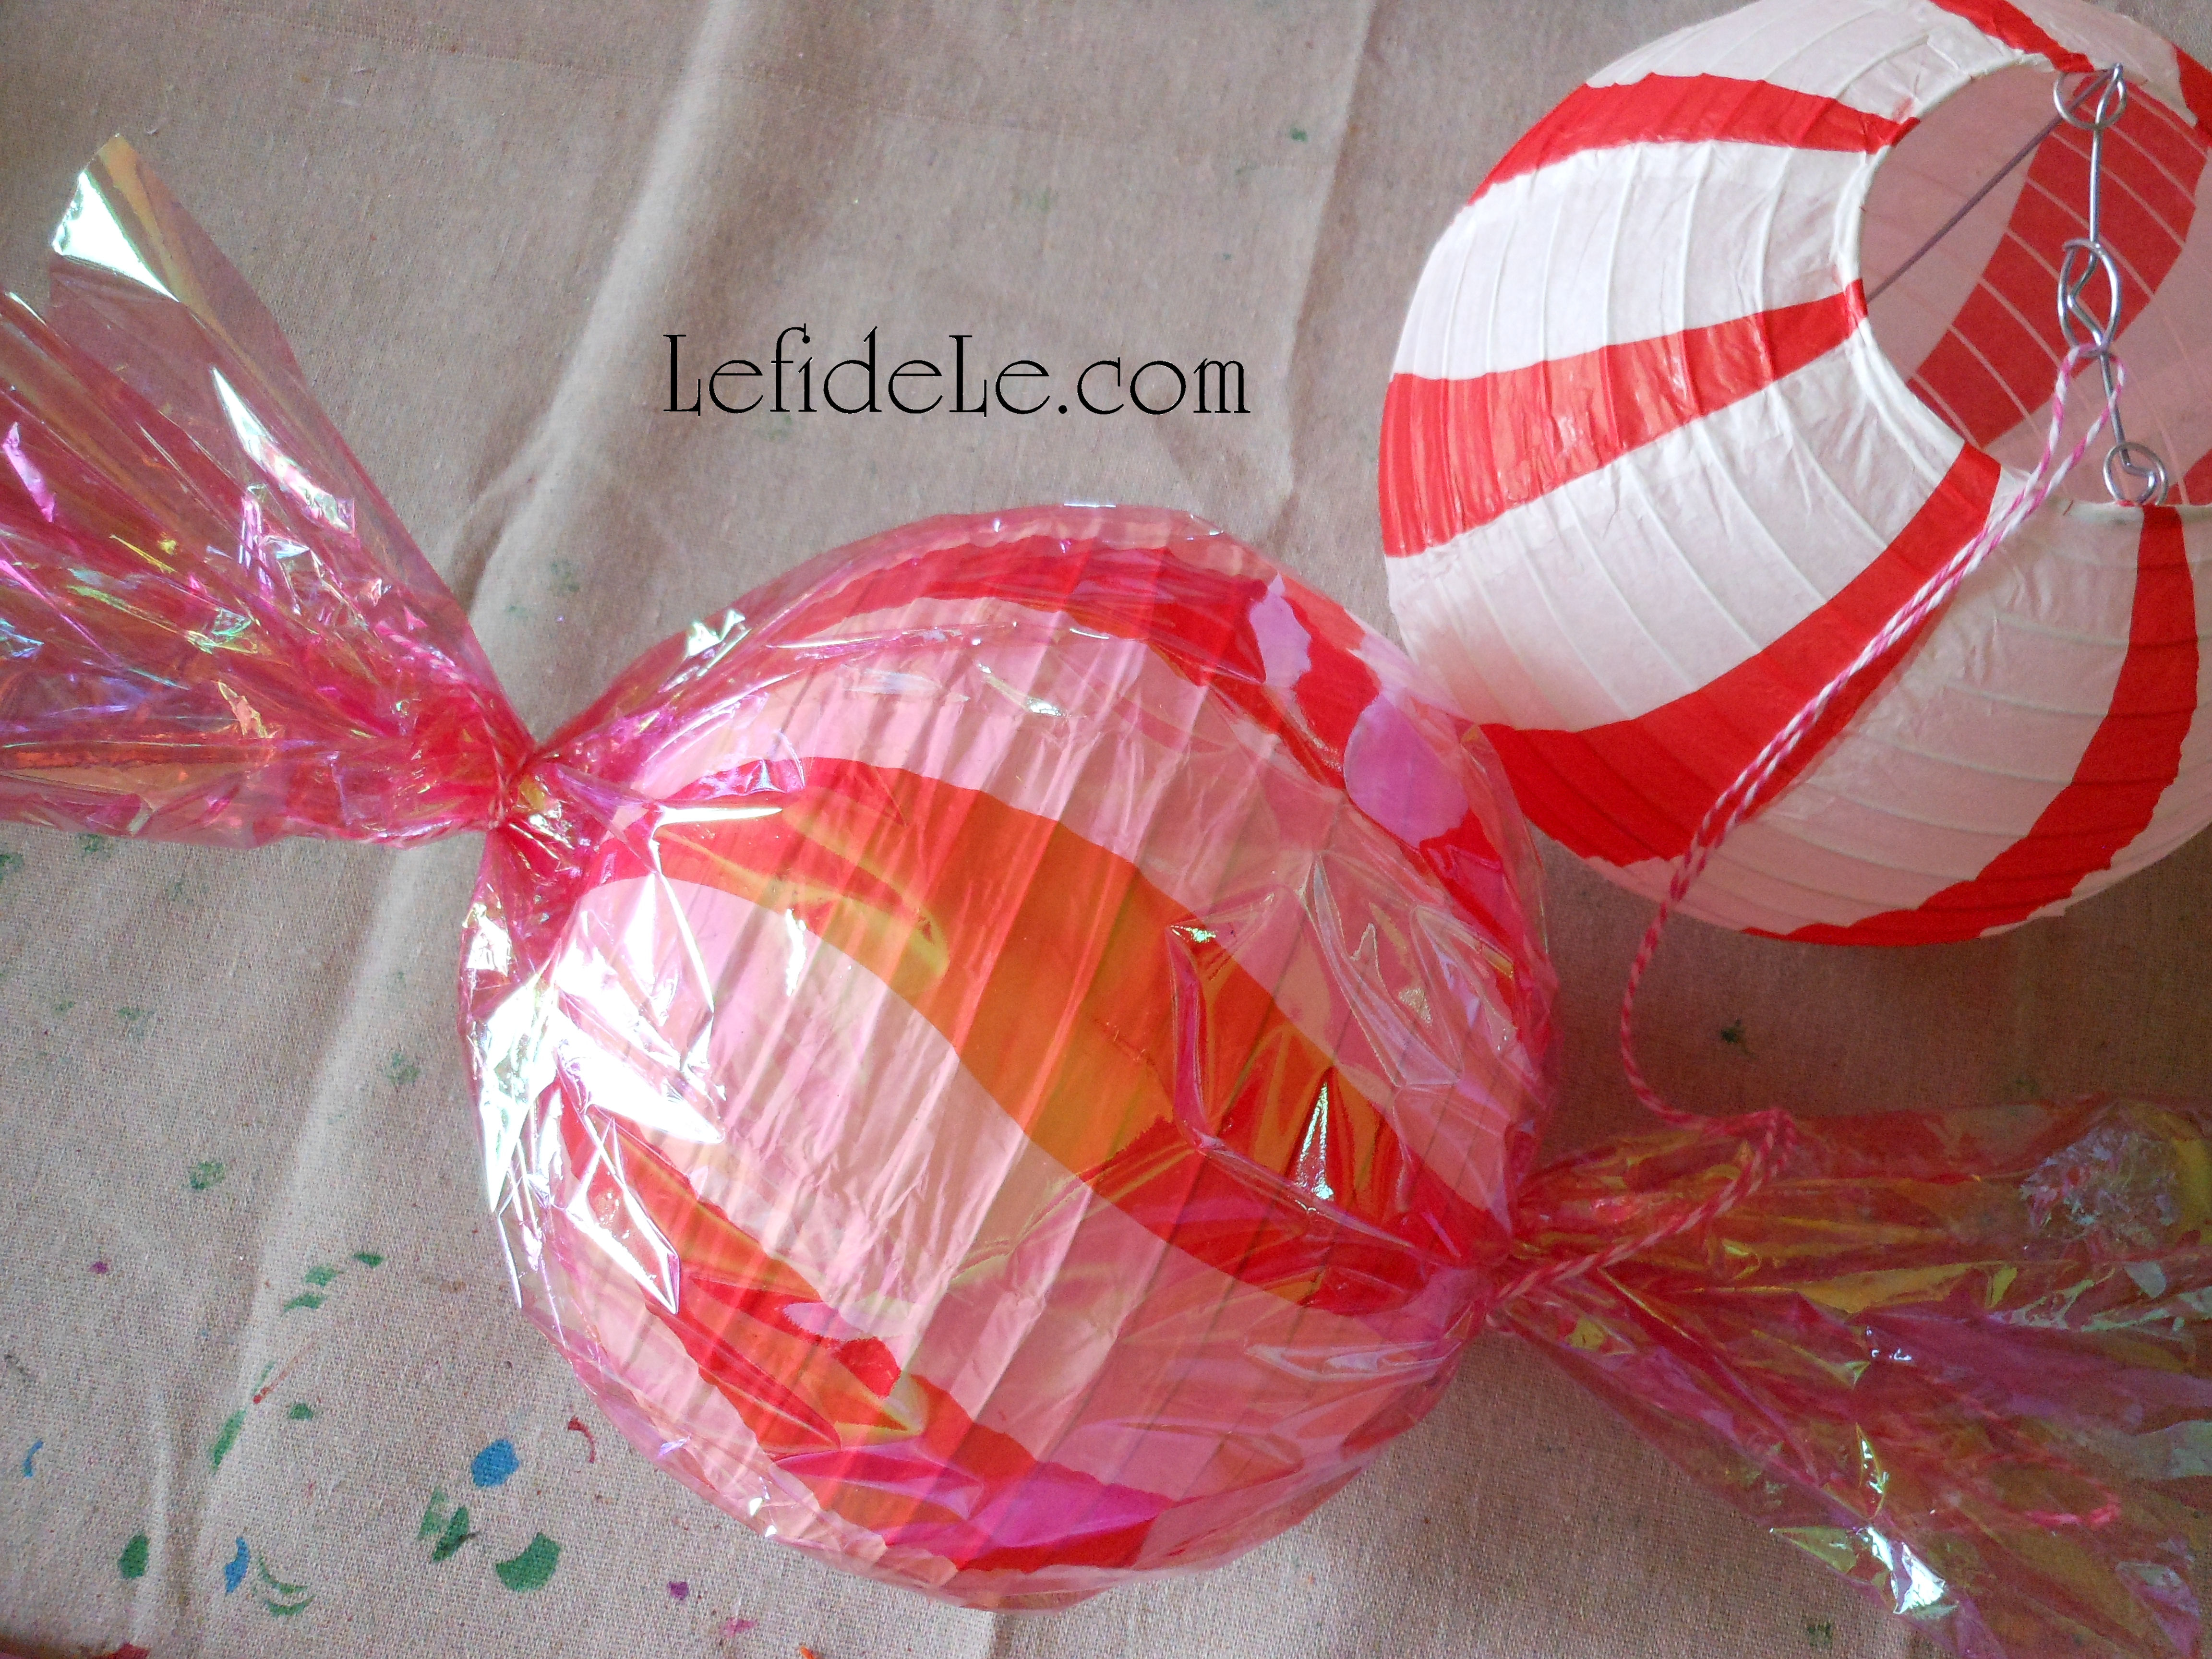
Old-school paper lanterns may easily evolve into supersized hard candy confections with a few simple steps. Begin with any variety of sizes and colors (but choose lighter versions if you wish to light them). You can even find some in a candy swirl pattern like these red and white striped kinds in graduated sizes… or just start with white and add your own stripes. Craft paint is quicker, but marker works as well. Tie a loop of twine, ribbon, or fishing line to the top of each lantern to hang them by later.
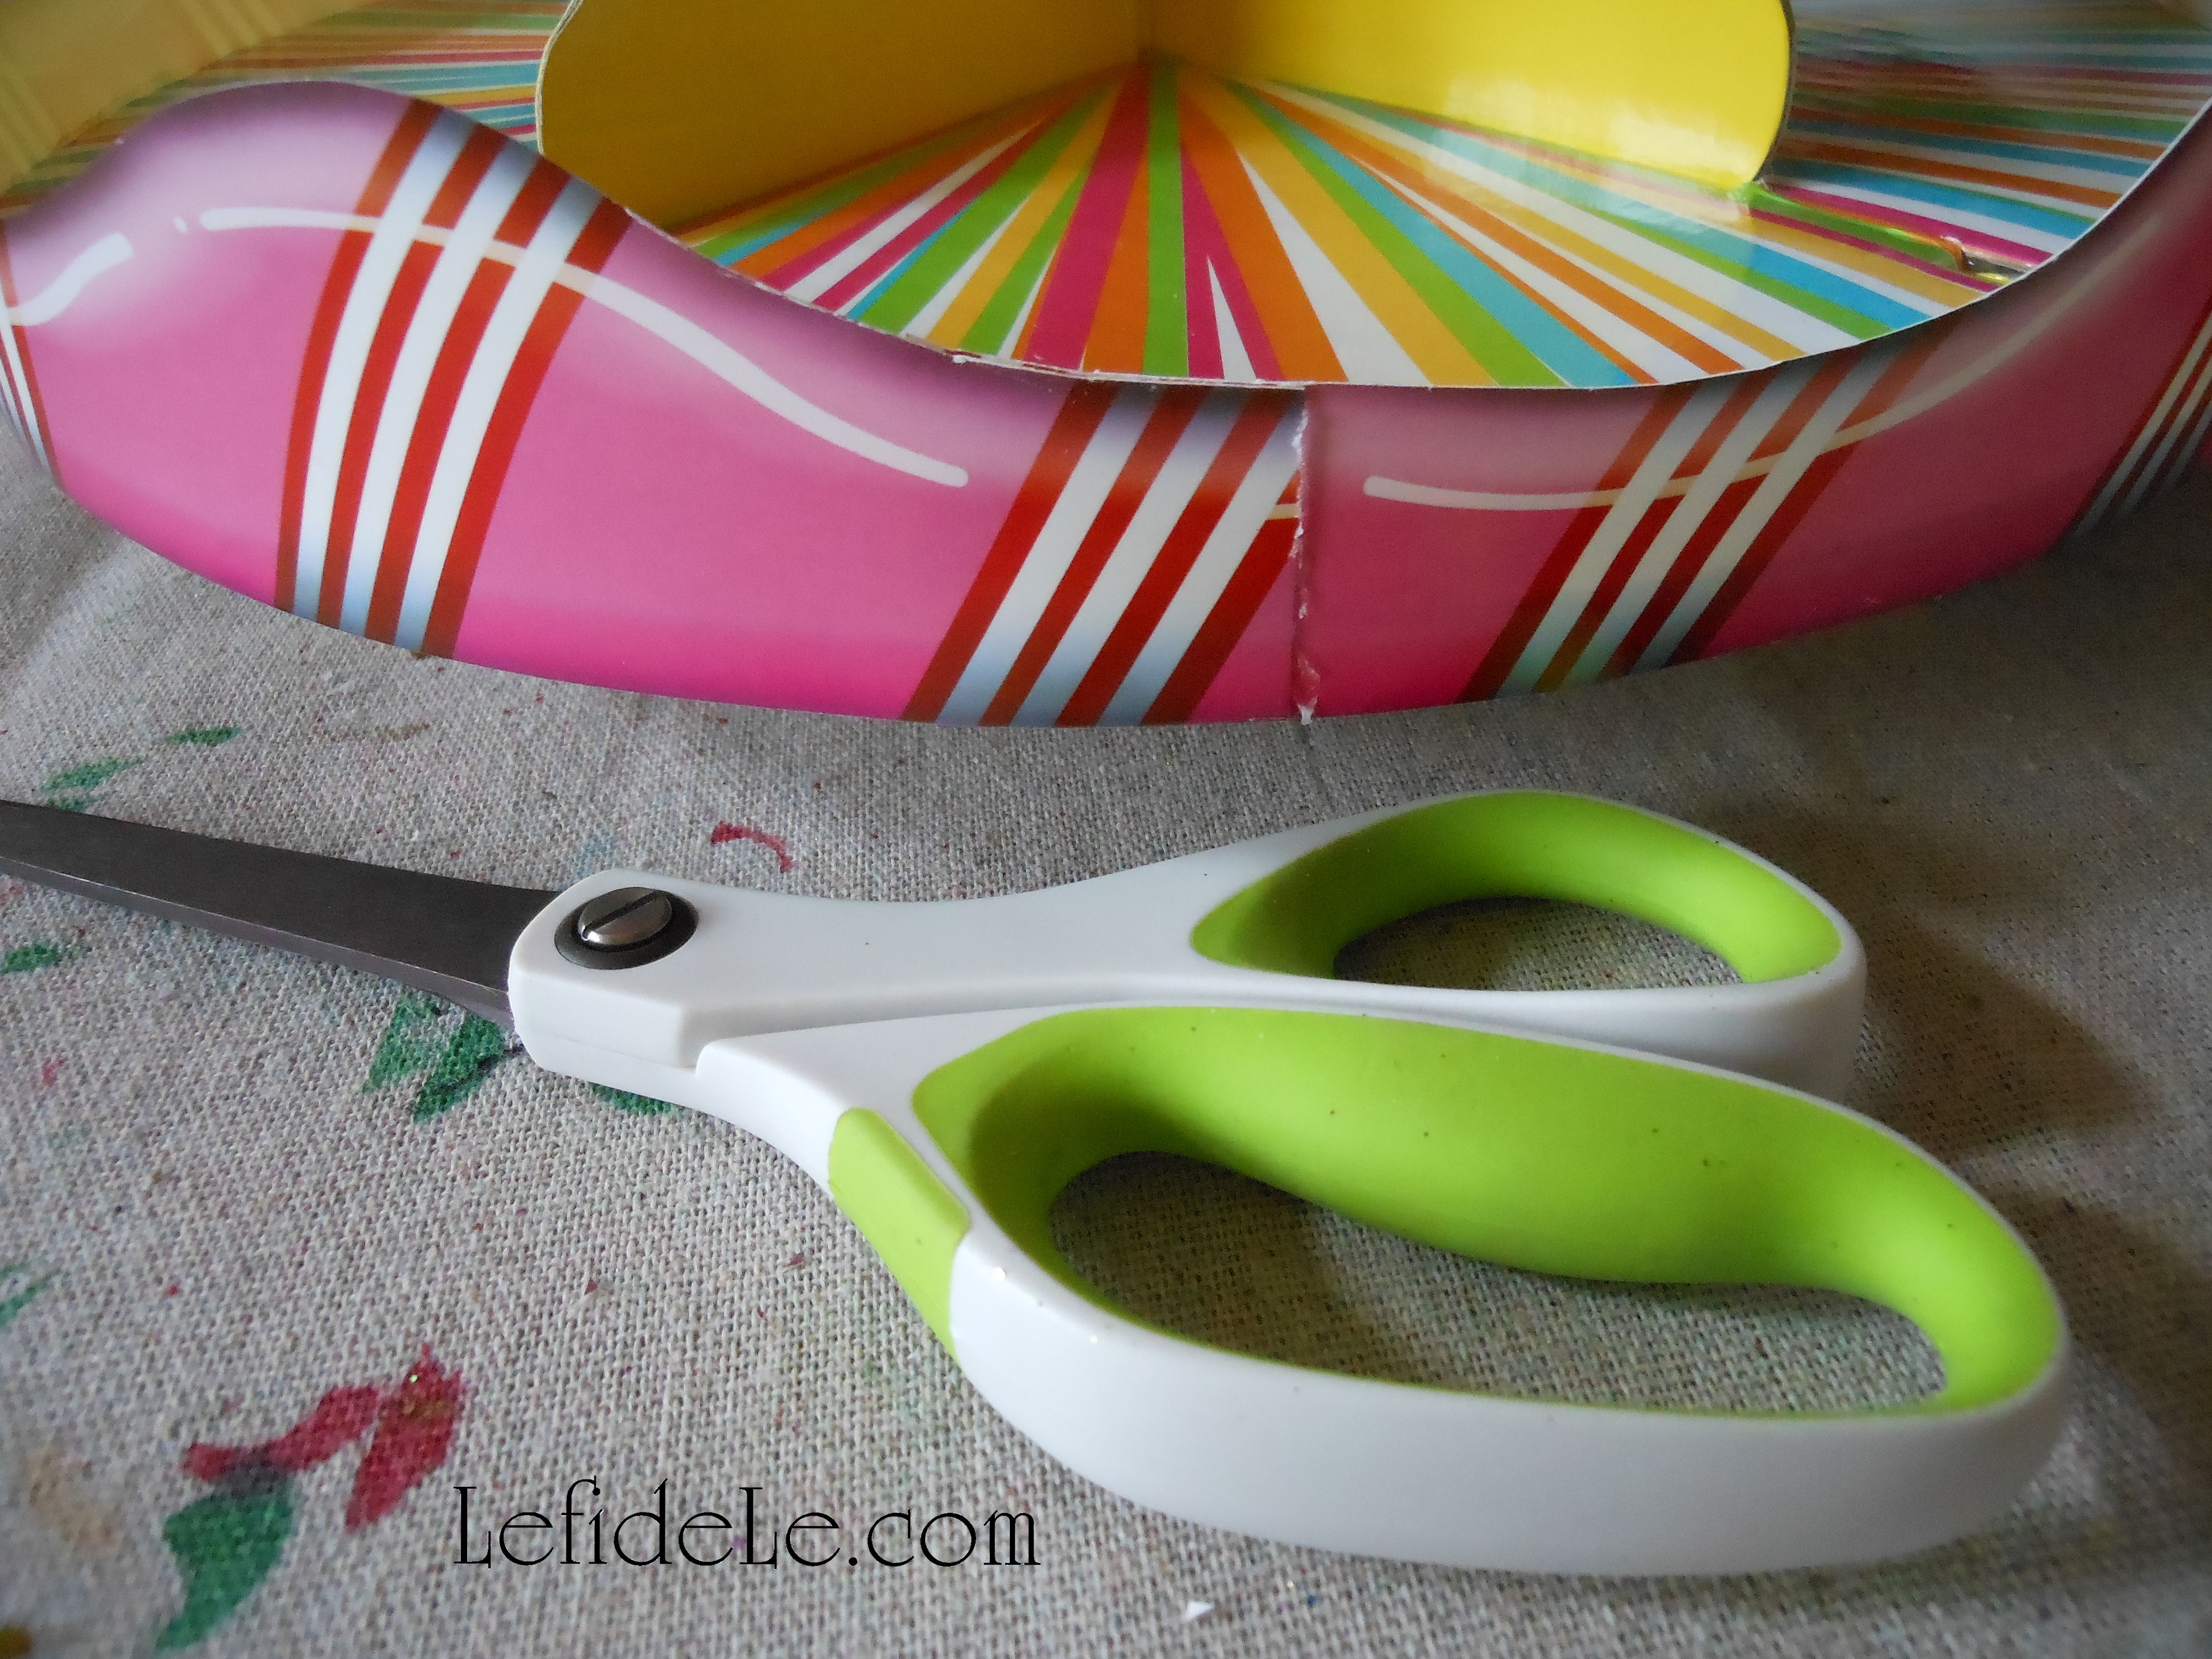
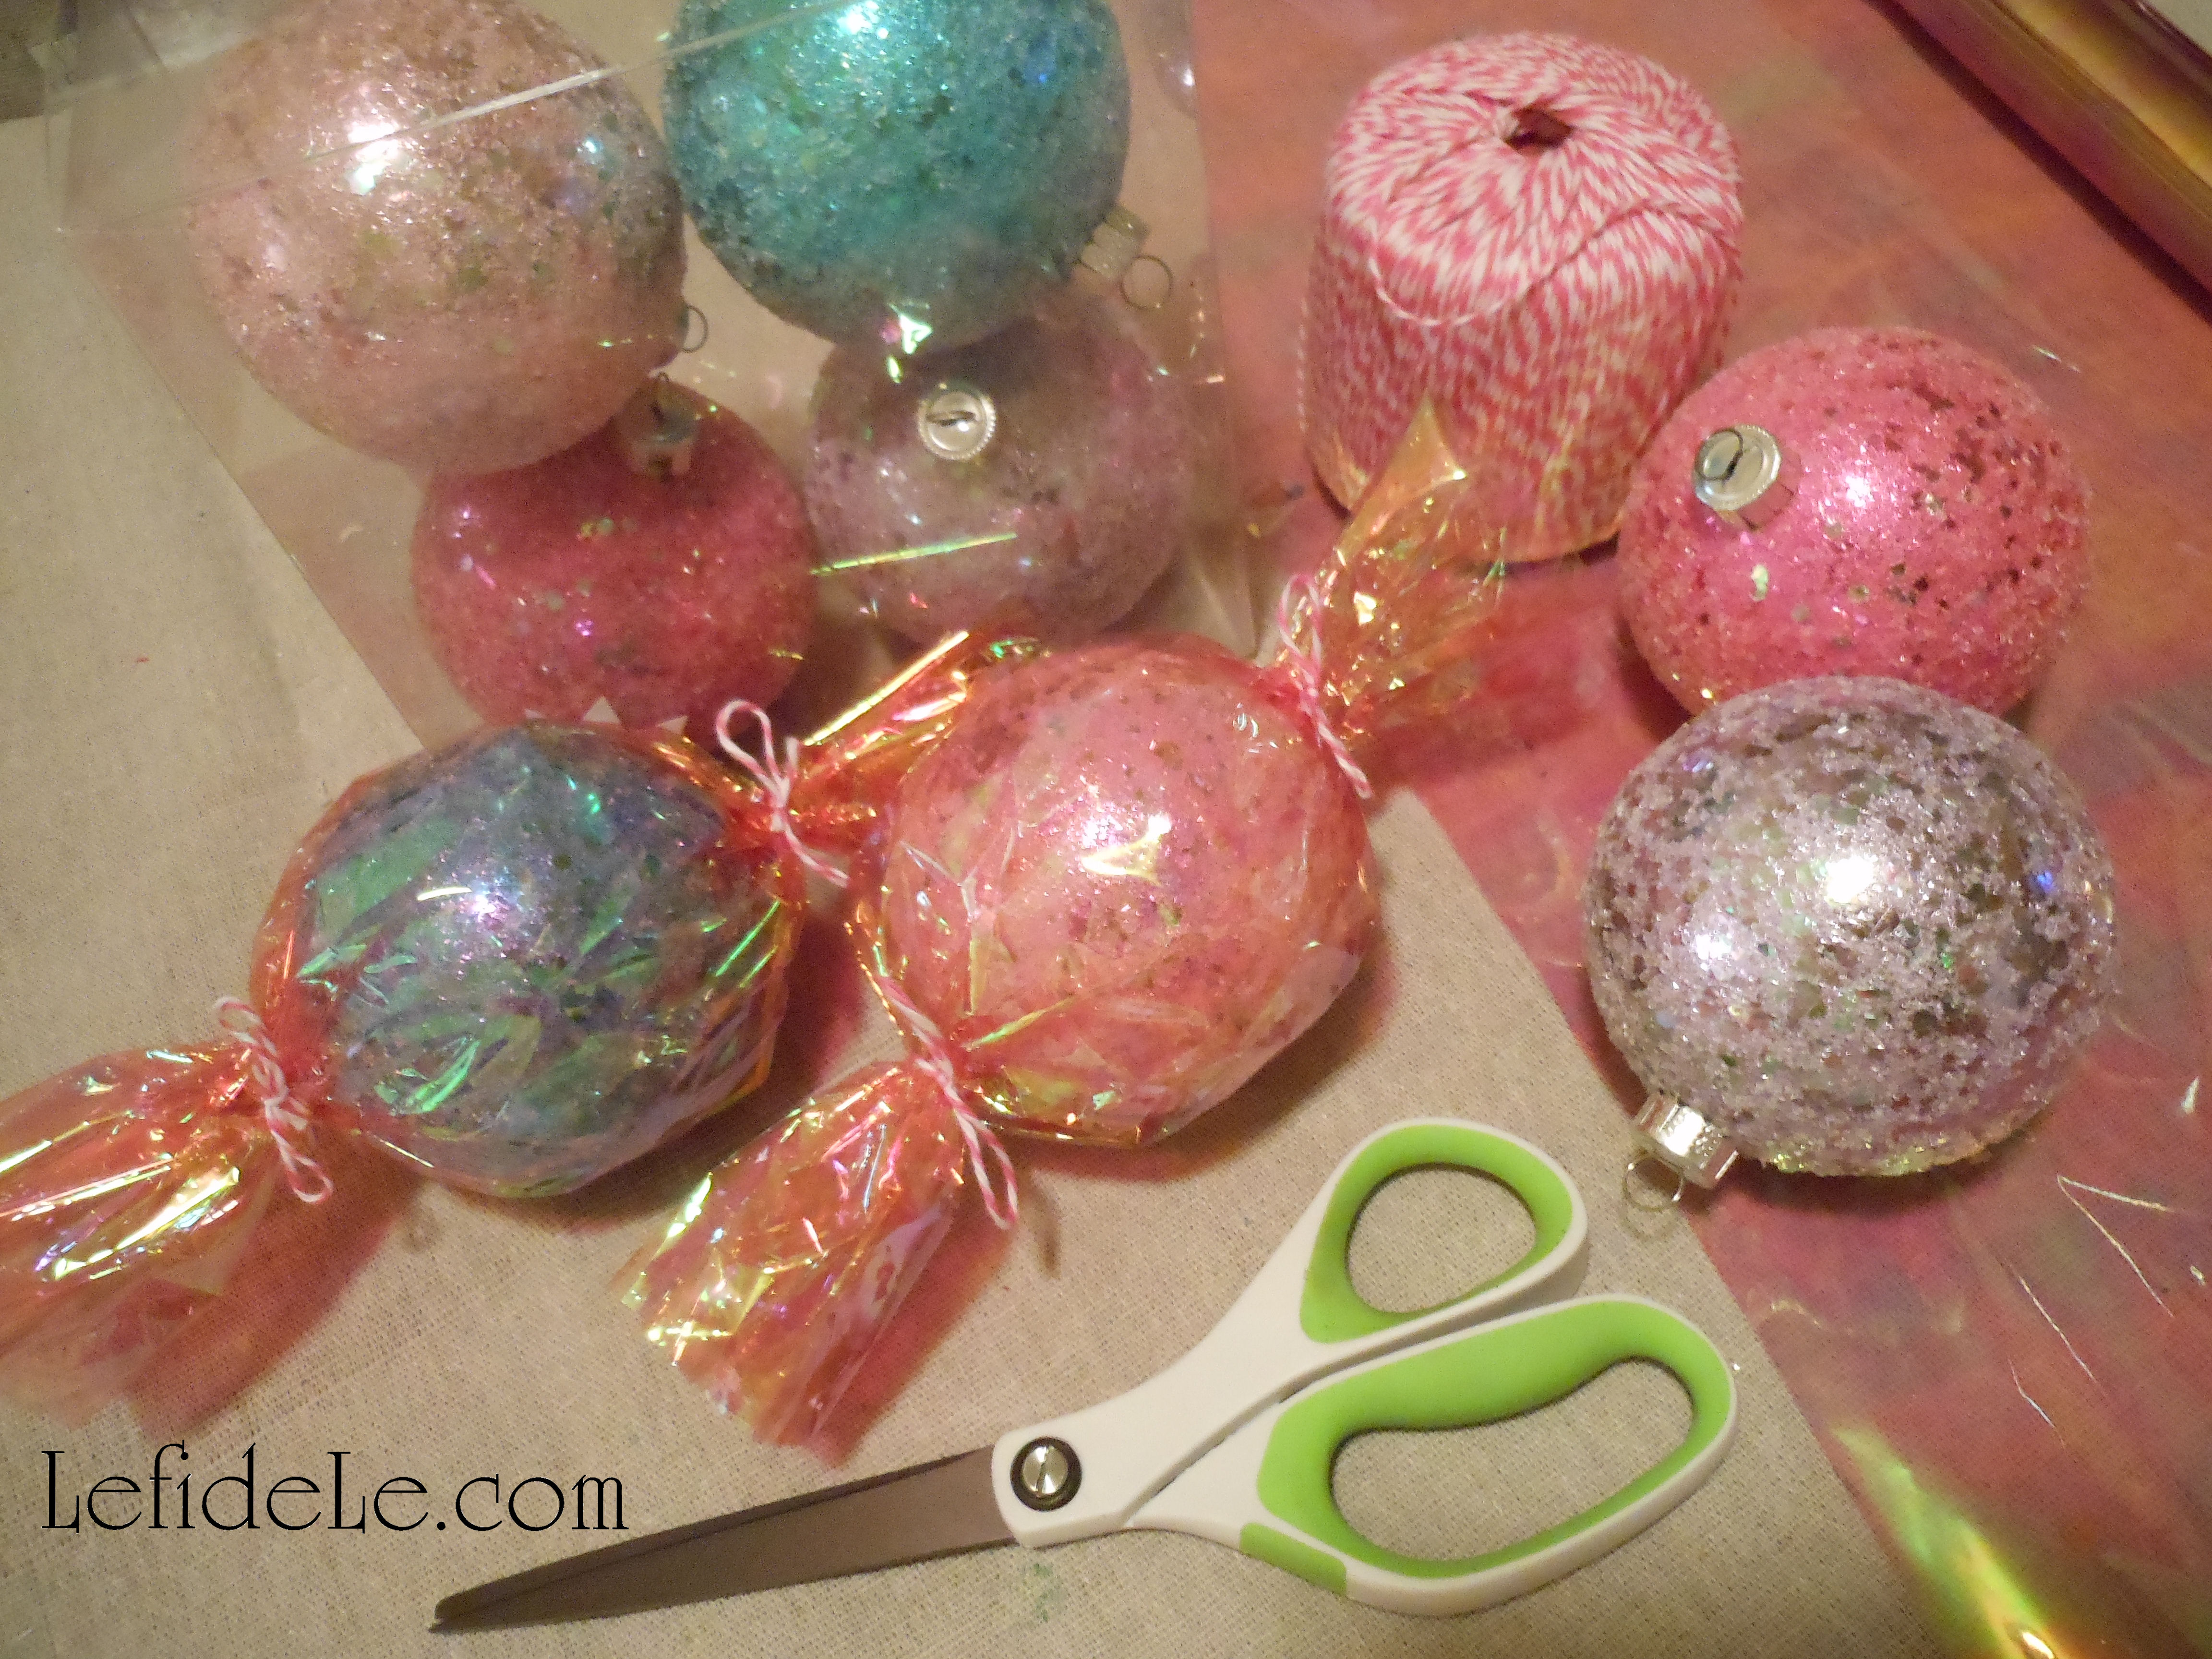
Use a theme coordinating color of gift basket cellophane to wrap around each lantern. Be sure the ends overlap before cutting. I used opalescent pink so that the red stripes would show through as hot pink. This way I can reuse the lanterns later with a clear wrap as peppermint candies or without wrapping as striped beach balls in summer.
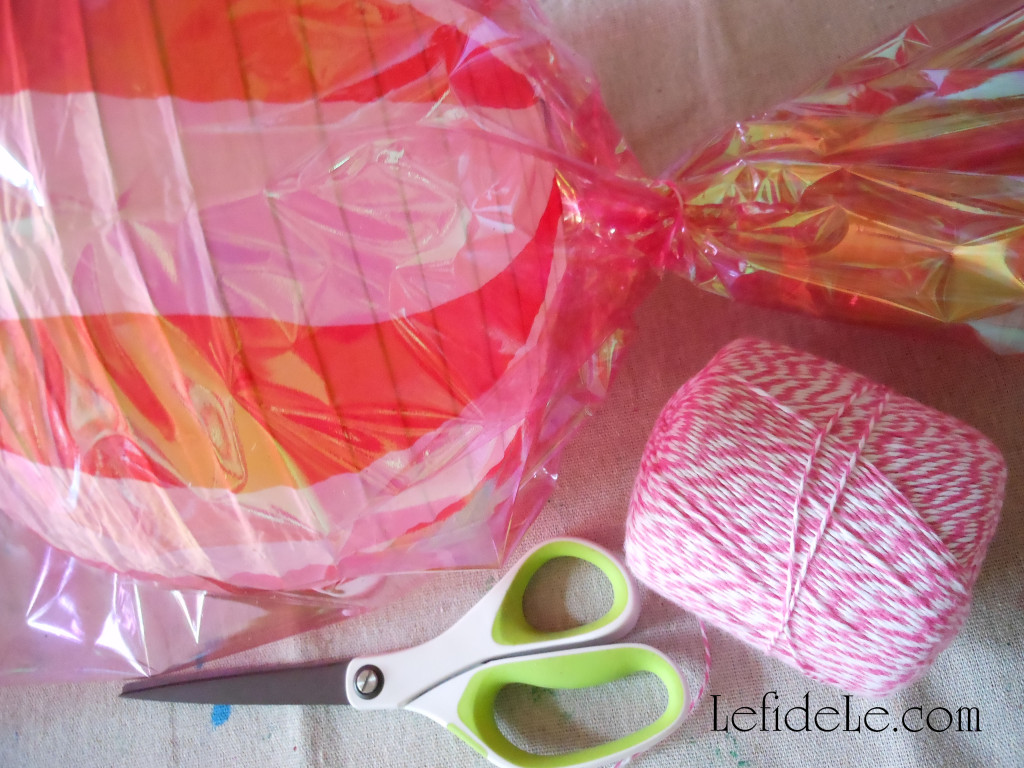
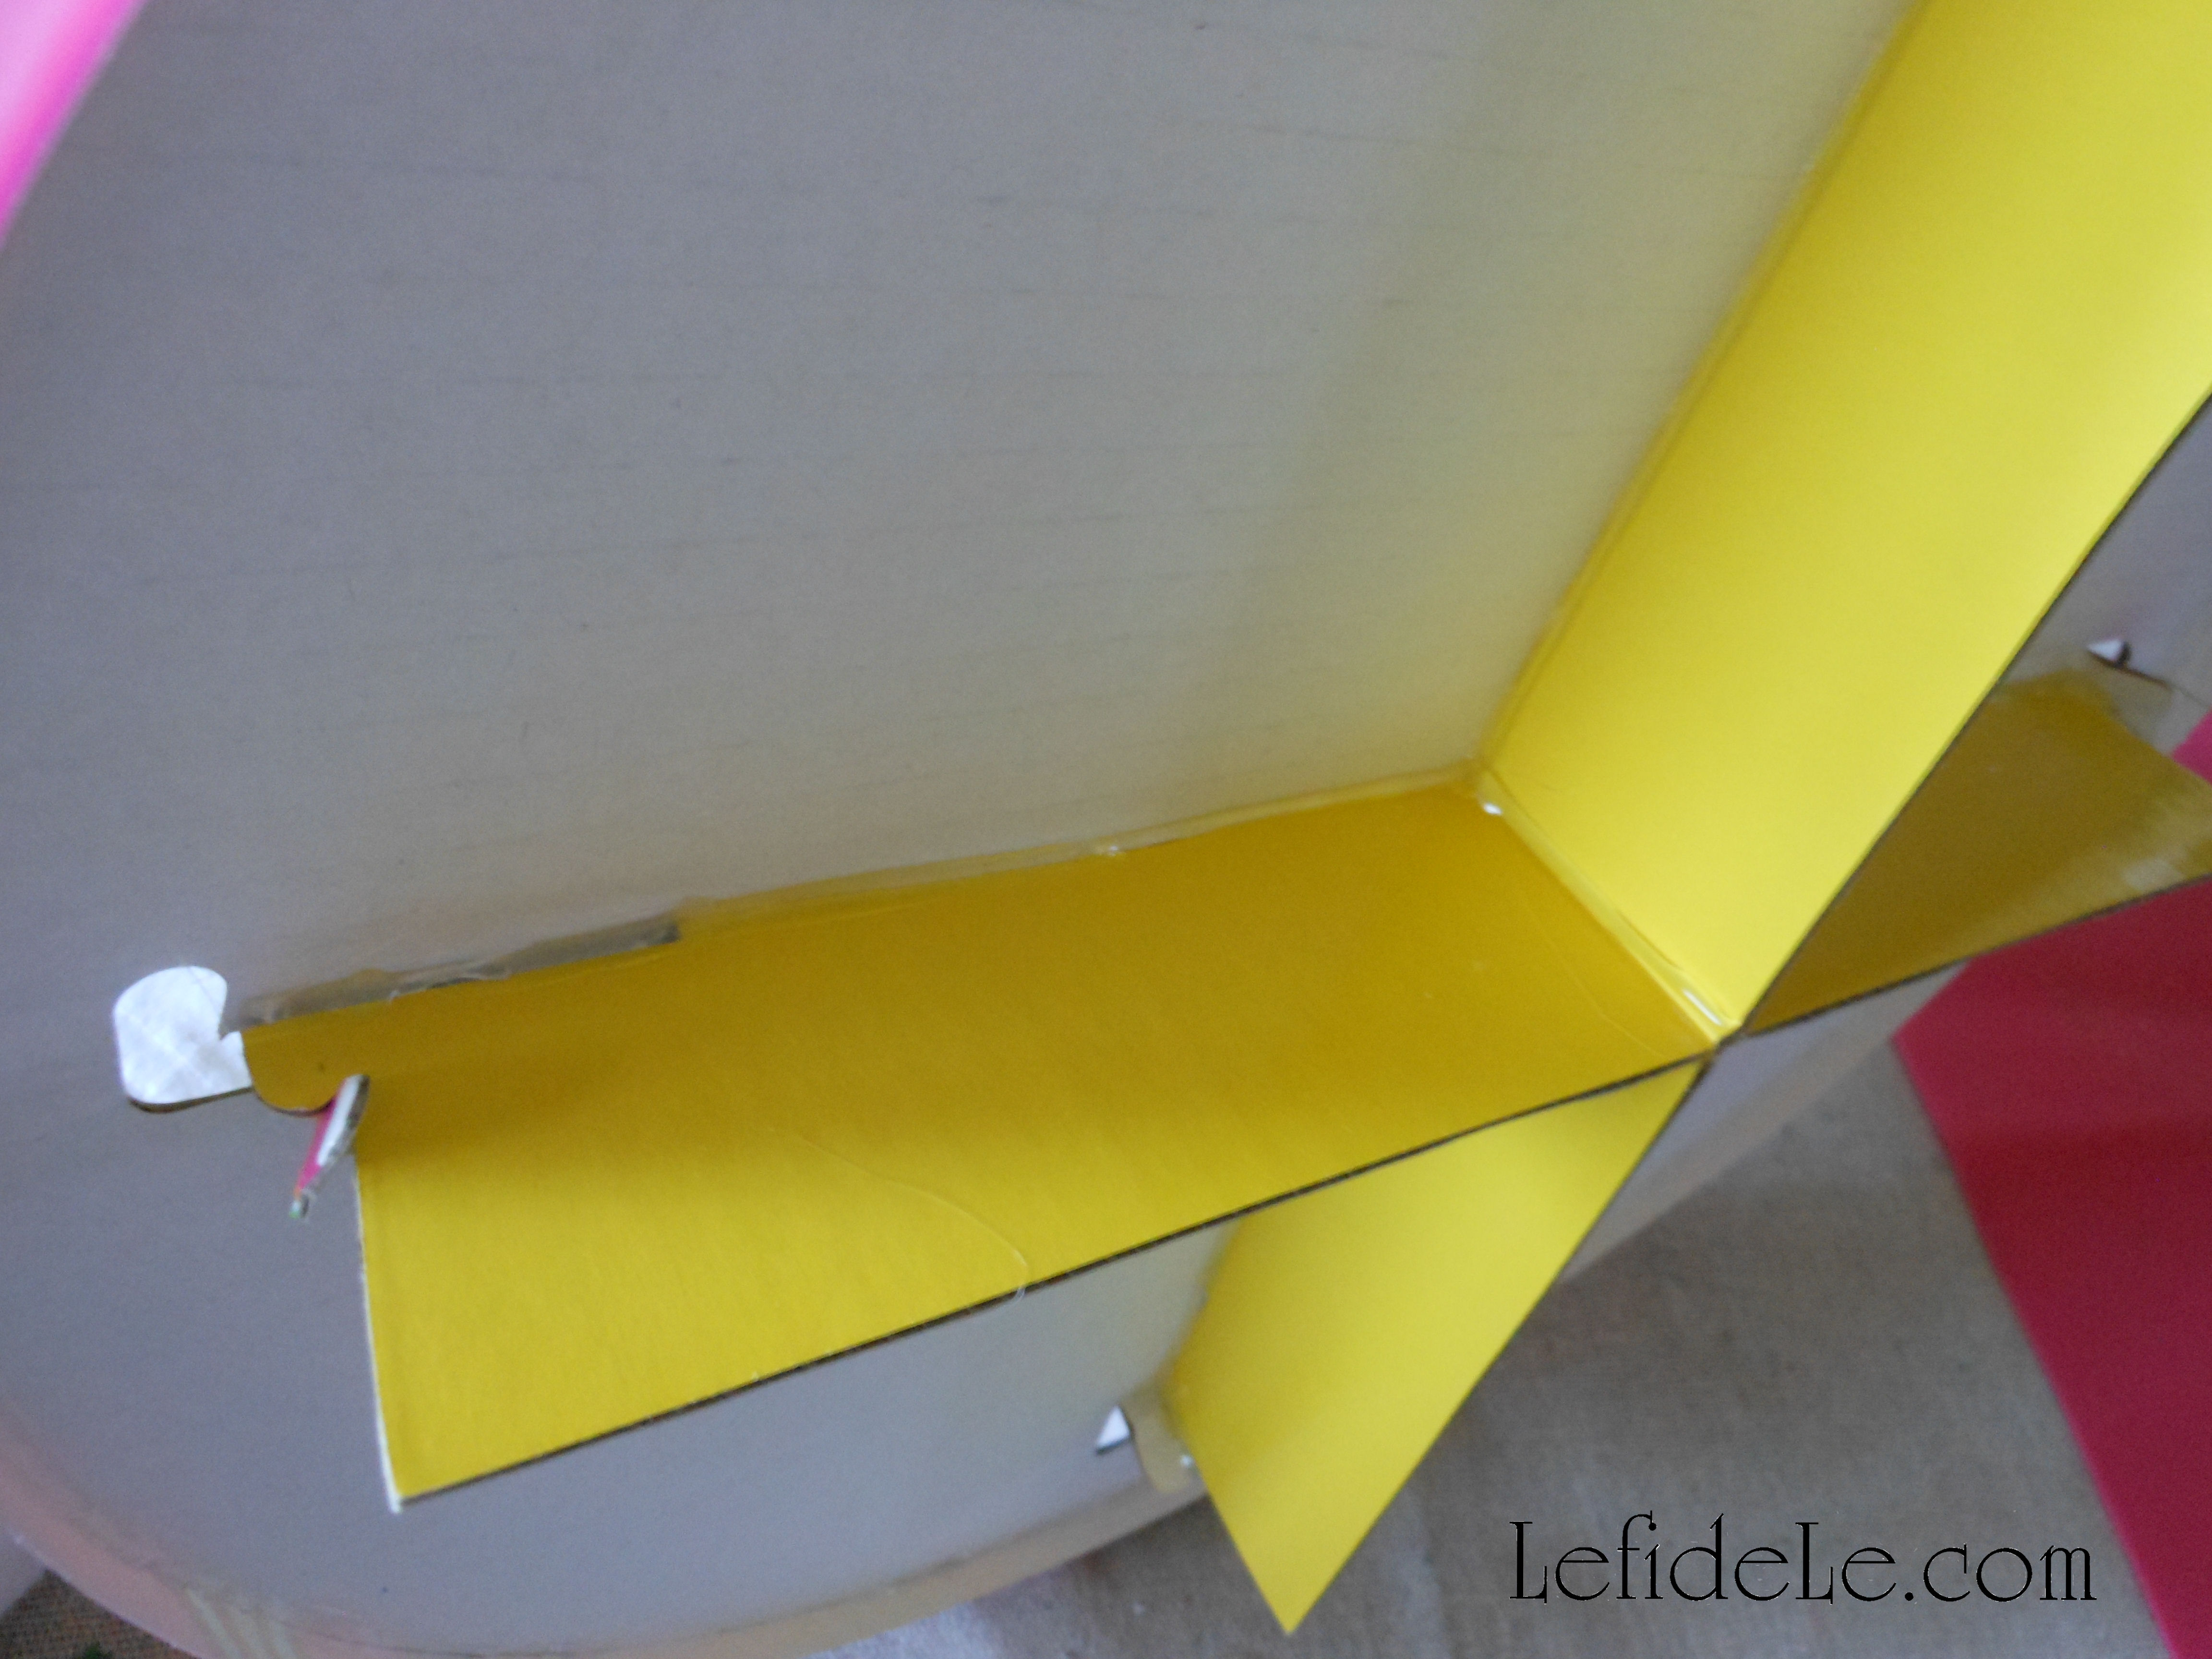
Tie a length of twine or ribbon to gather the cellophane at the lantern’s base. I actually used a pink and white yarn that mimics baker’s twine but is less expensive.
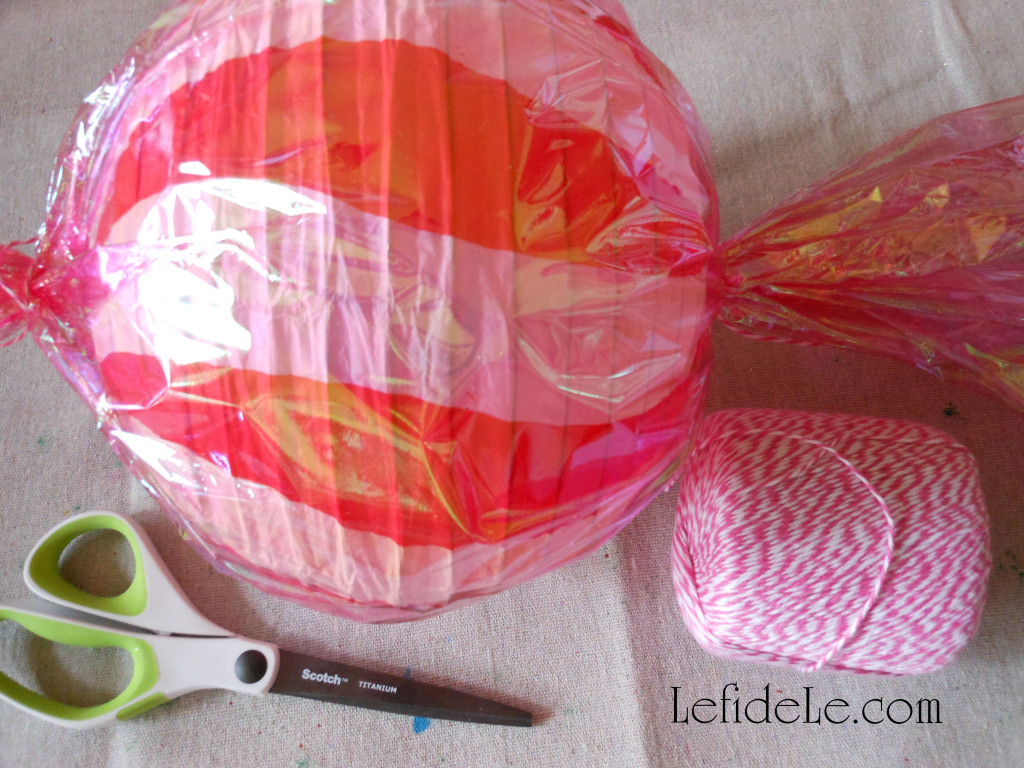
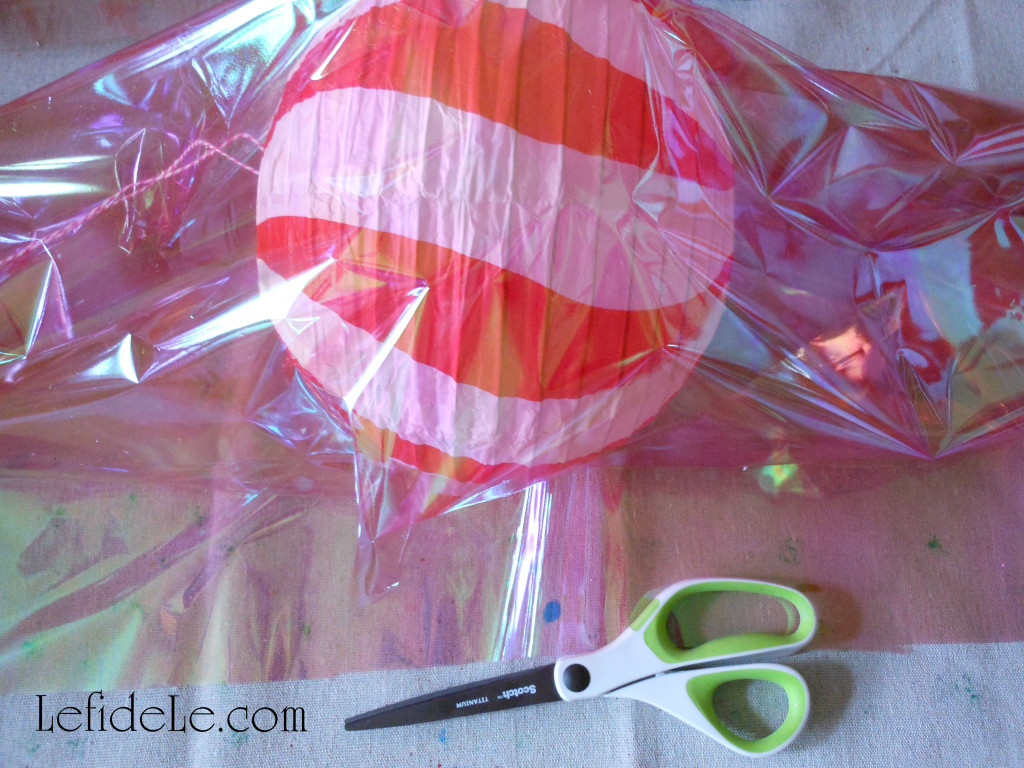
Pull the hanging cord straight out from the top of the lantern, and gather the cellophane around it. Pull the wrap taut around the sphere (like you would make a ponytail). Tie another bow around this end to secure it. (Note that you can now throw in some lit LED tea-light candles before closing it, but read on to find an easier way to light them.)

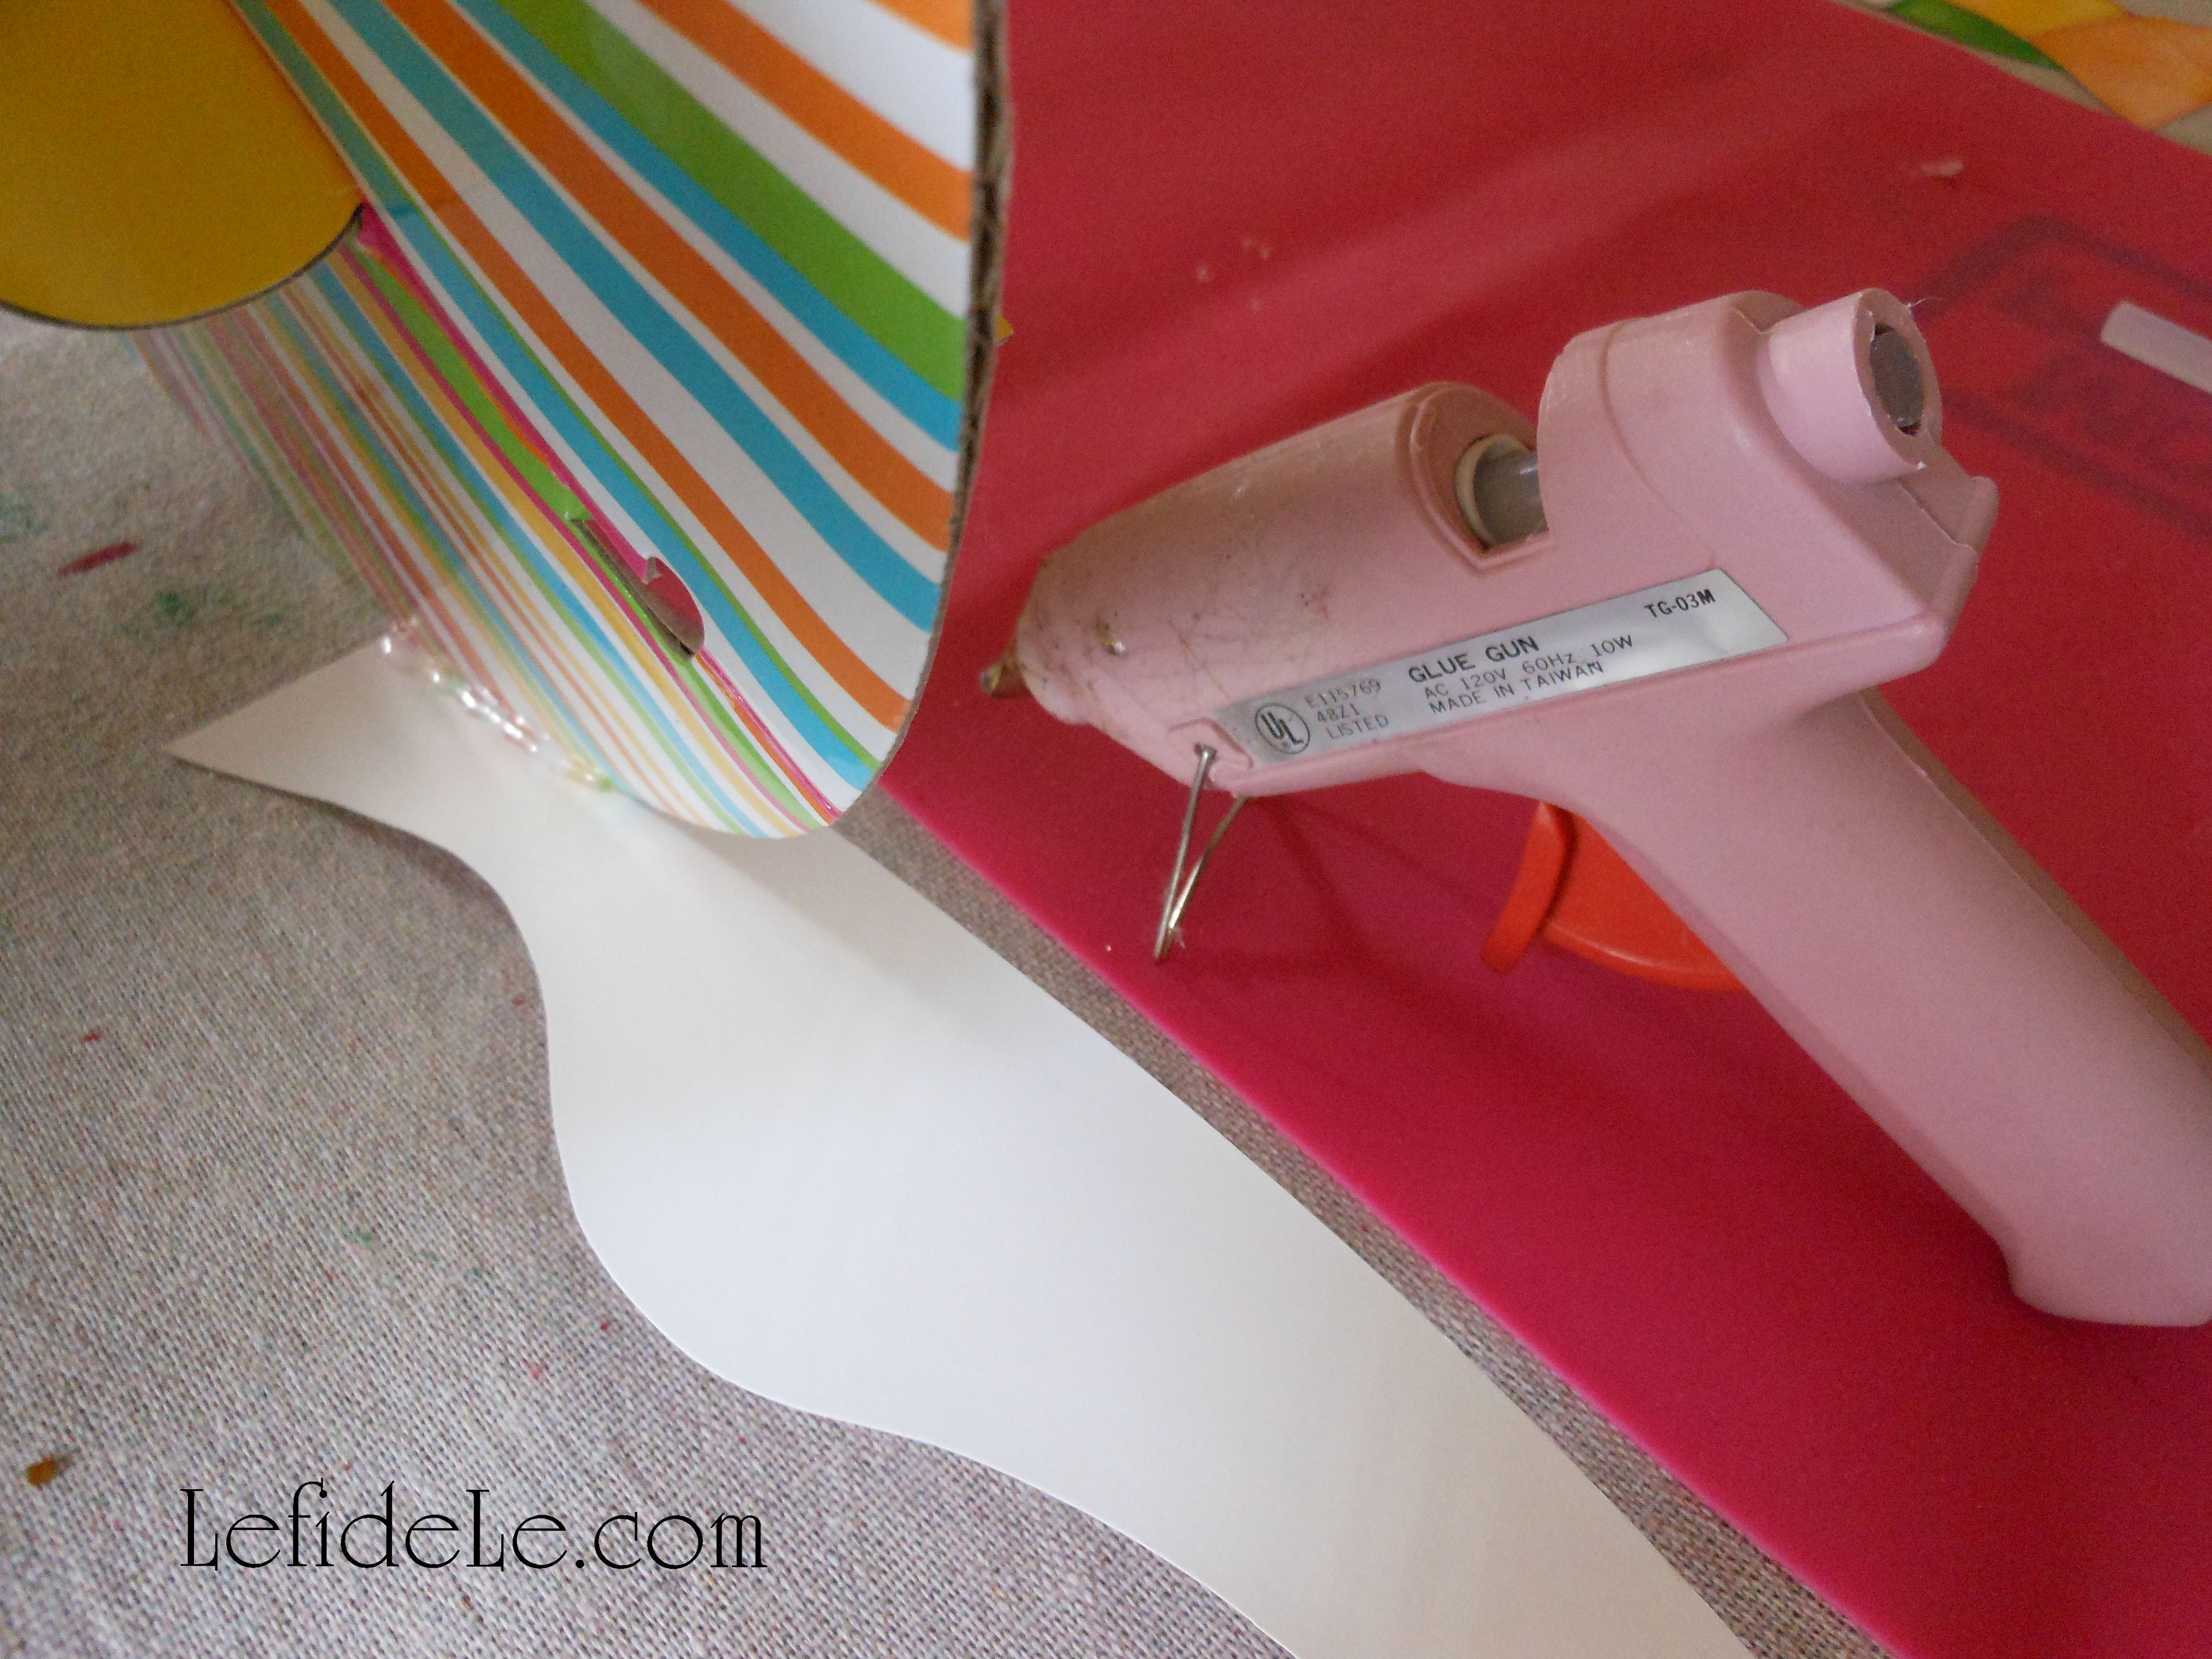
Cut off the excess cellophane from the “candy” ends so that it appears to be the right proportion.

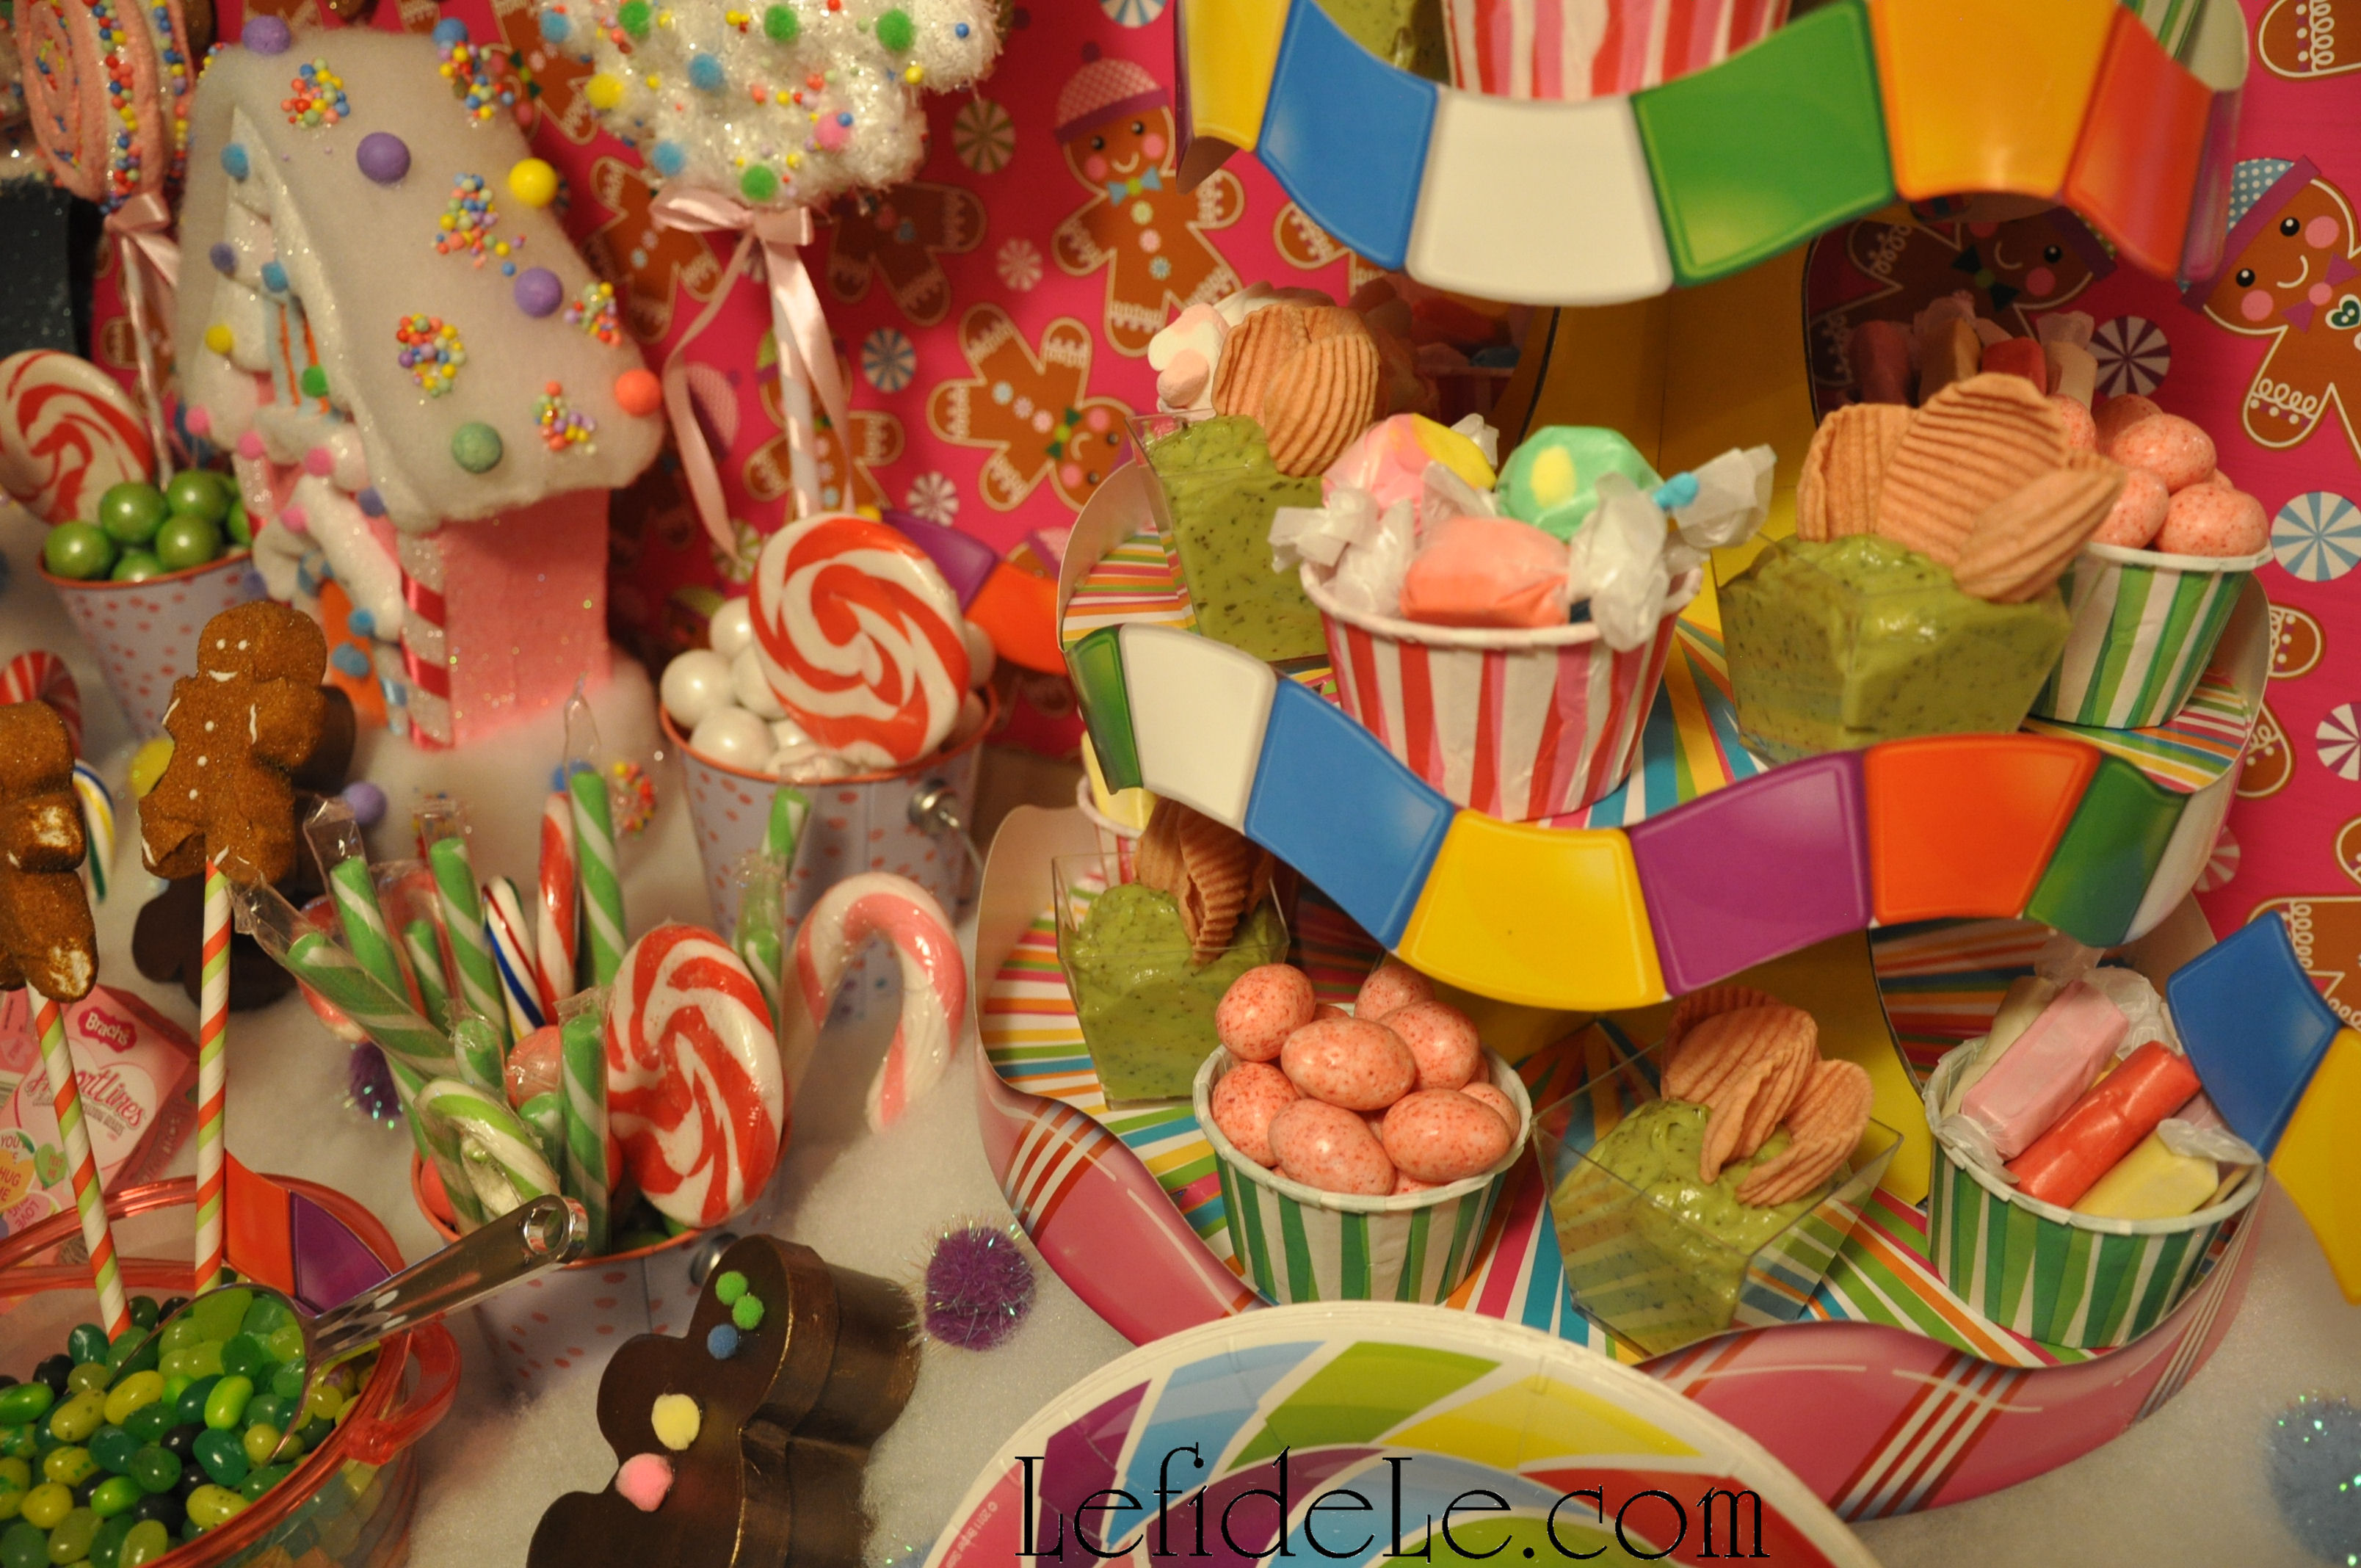
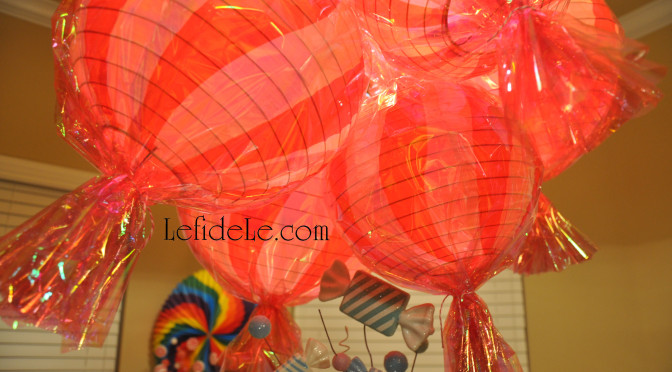
You can set these on a table, integrate them into a display, or hang a grouping of various sizes to make a hanging centerpiece. I opted to hike up the chain of my chandelier with an S-hook to shorten it. (See a picture of how to do this here: Frozen Winter Wonderland Themed Christmas & New Year’s Eve Dinner Parties.) Then I attached the twine loops with a couple inches of wire to the chandelier at different levels. I turned the light on, and was immediately awash in a pink candy glow as the light filtered through the lanterns and cellophane. A plug-in up-light aimed squared at the lanterns will also cause them to glow in any location of your choosing. It’s much easier to do this rather than wait to light, close, and then hang your lanterns at the last minute. Of course, another option would be to purchase a light kit for each lantern then plug all those cords in… but who needs more trouble and expense?

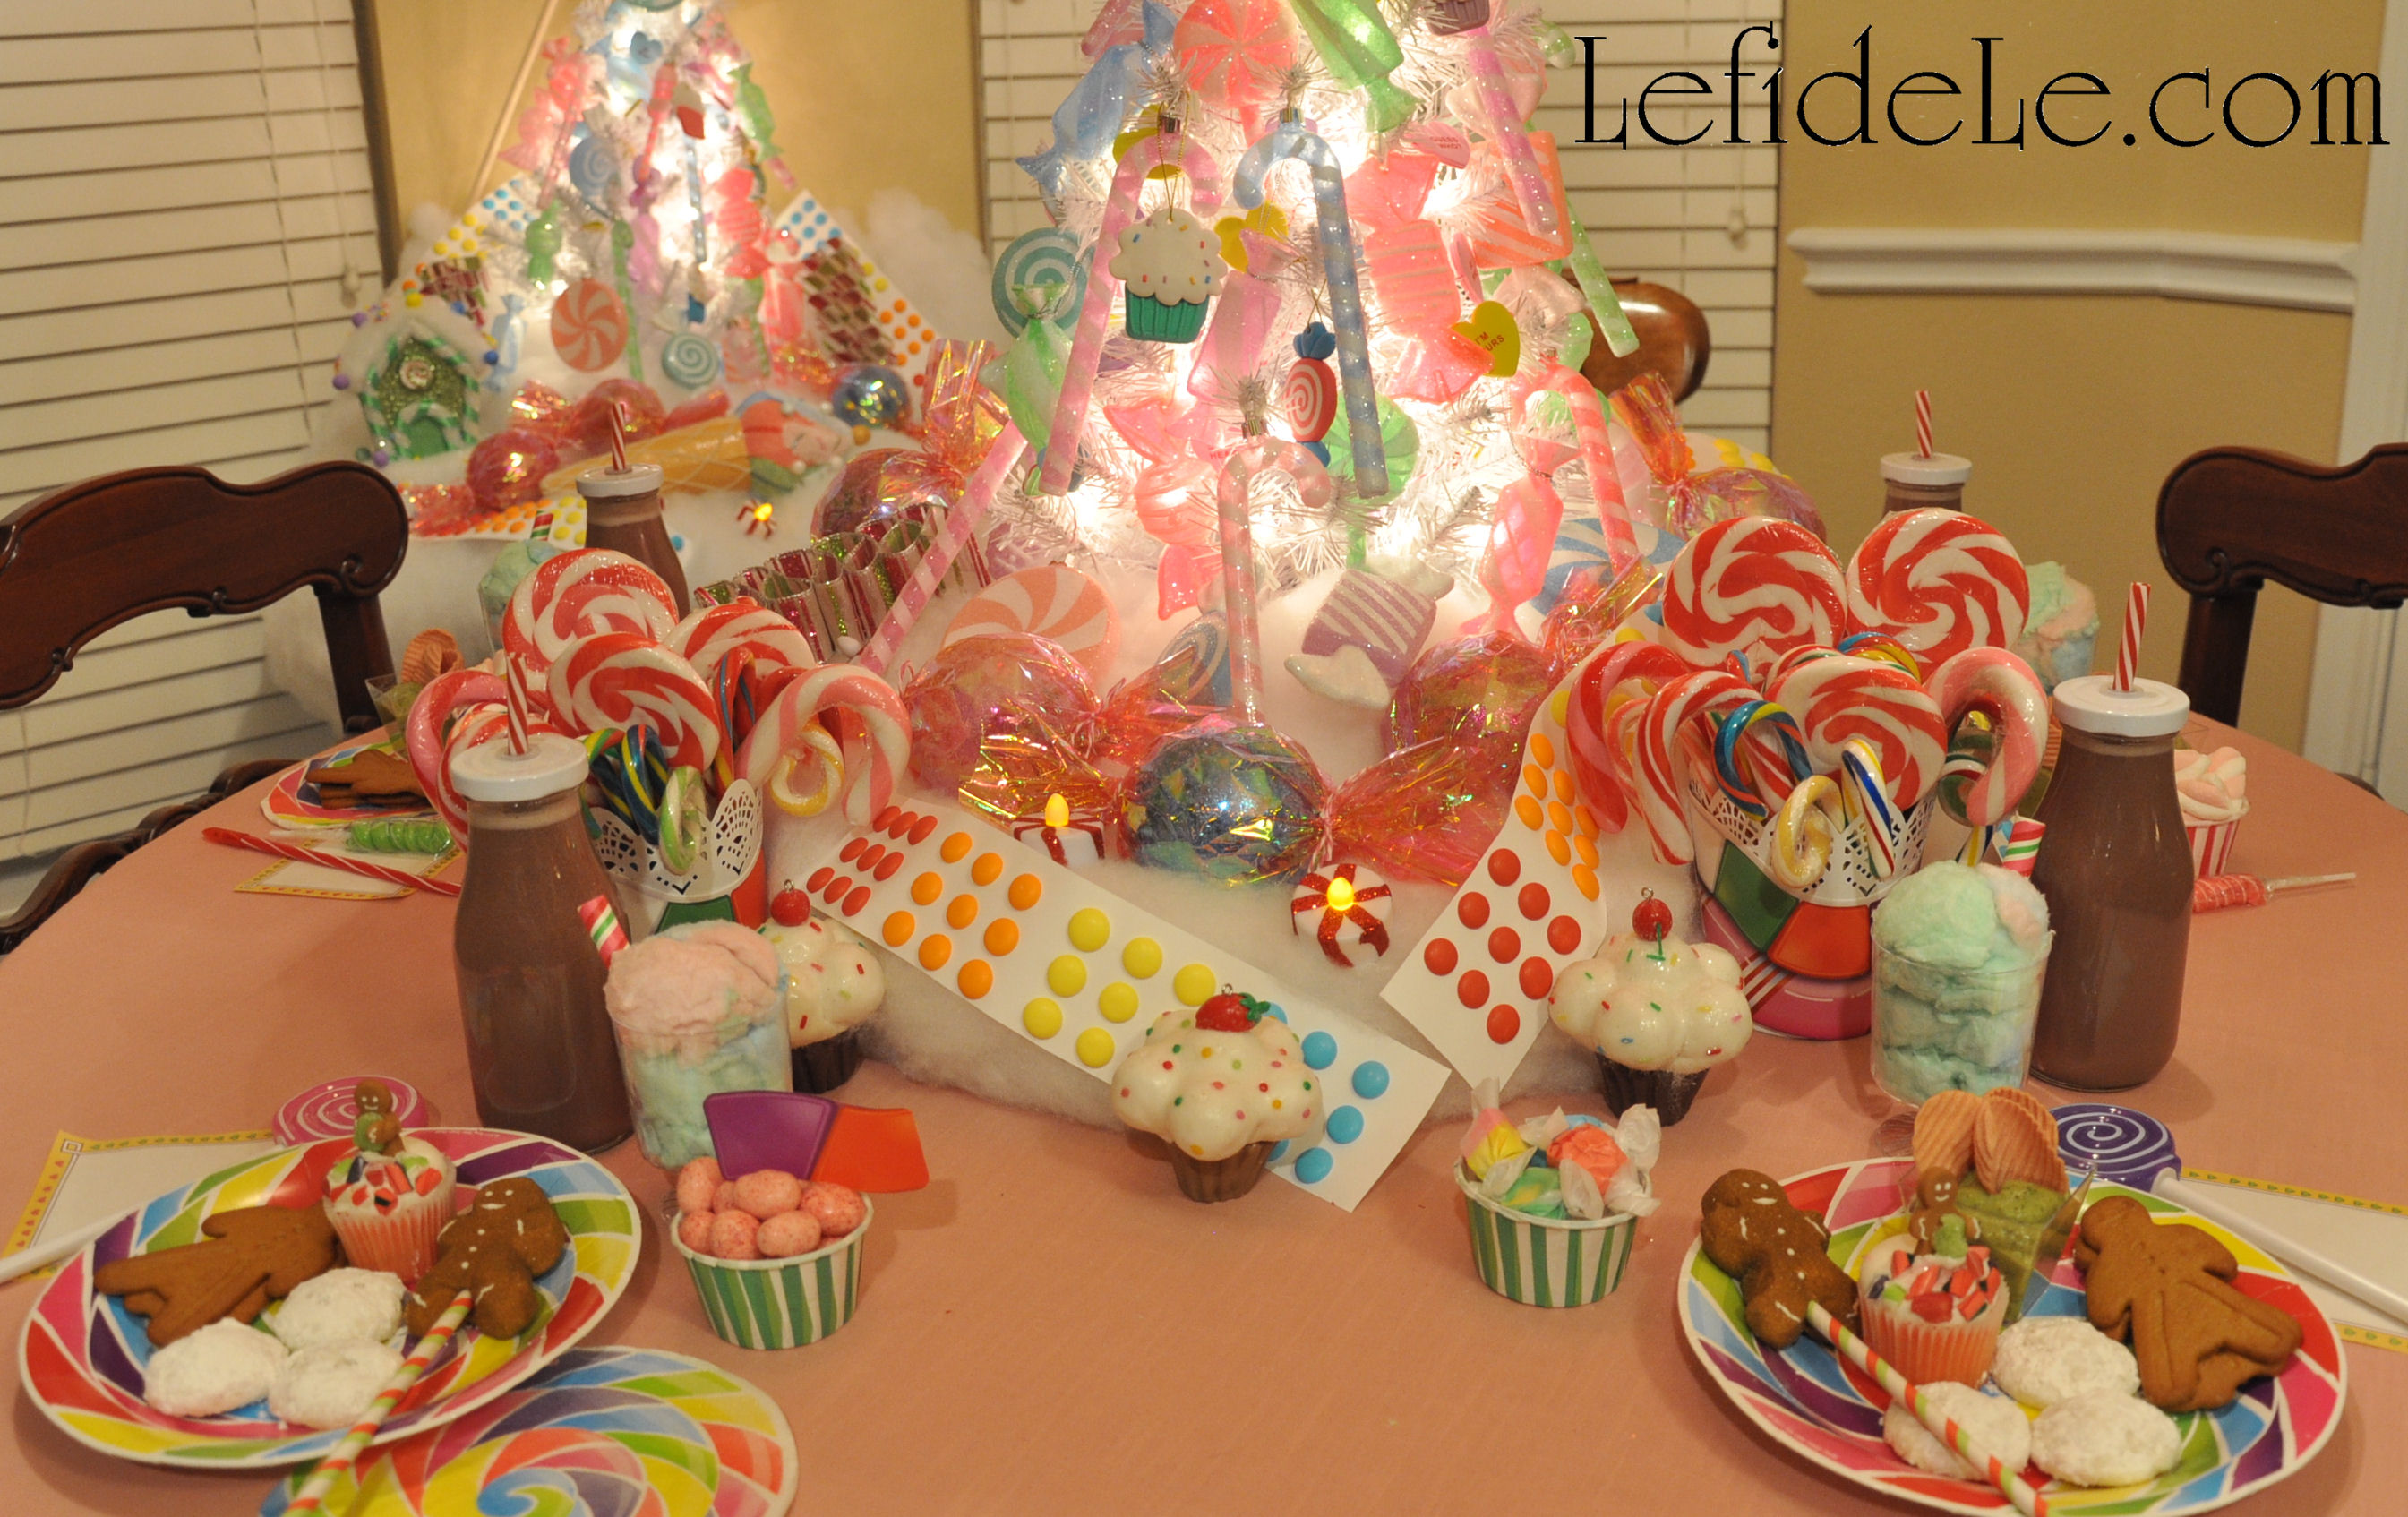
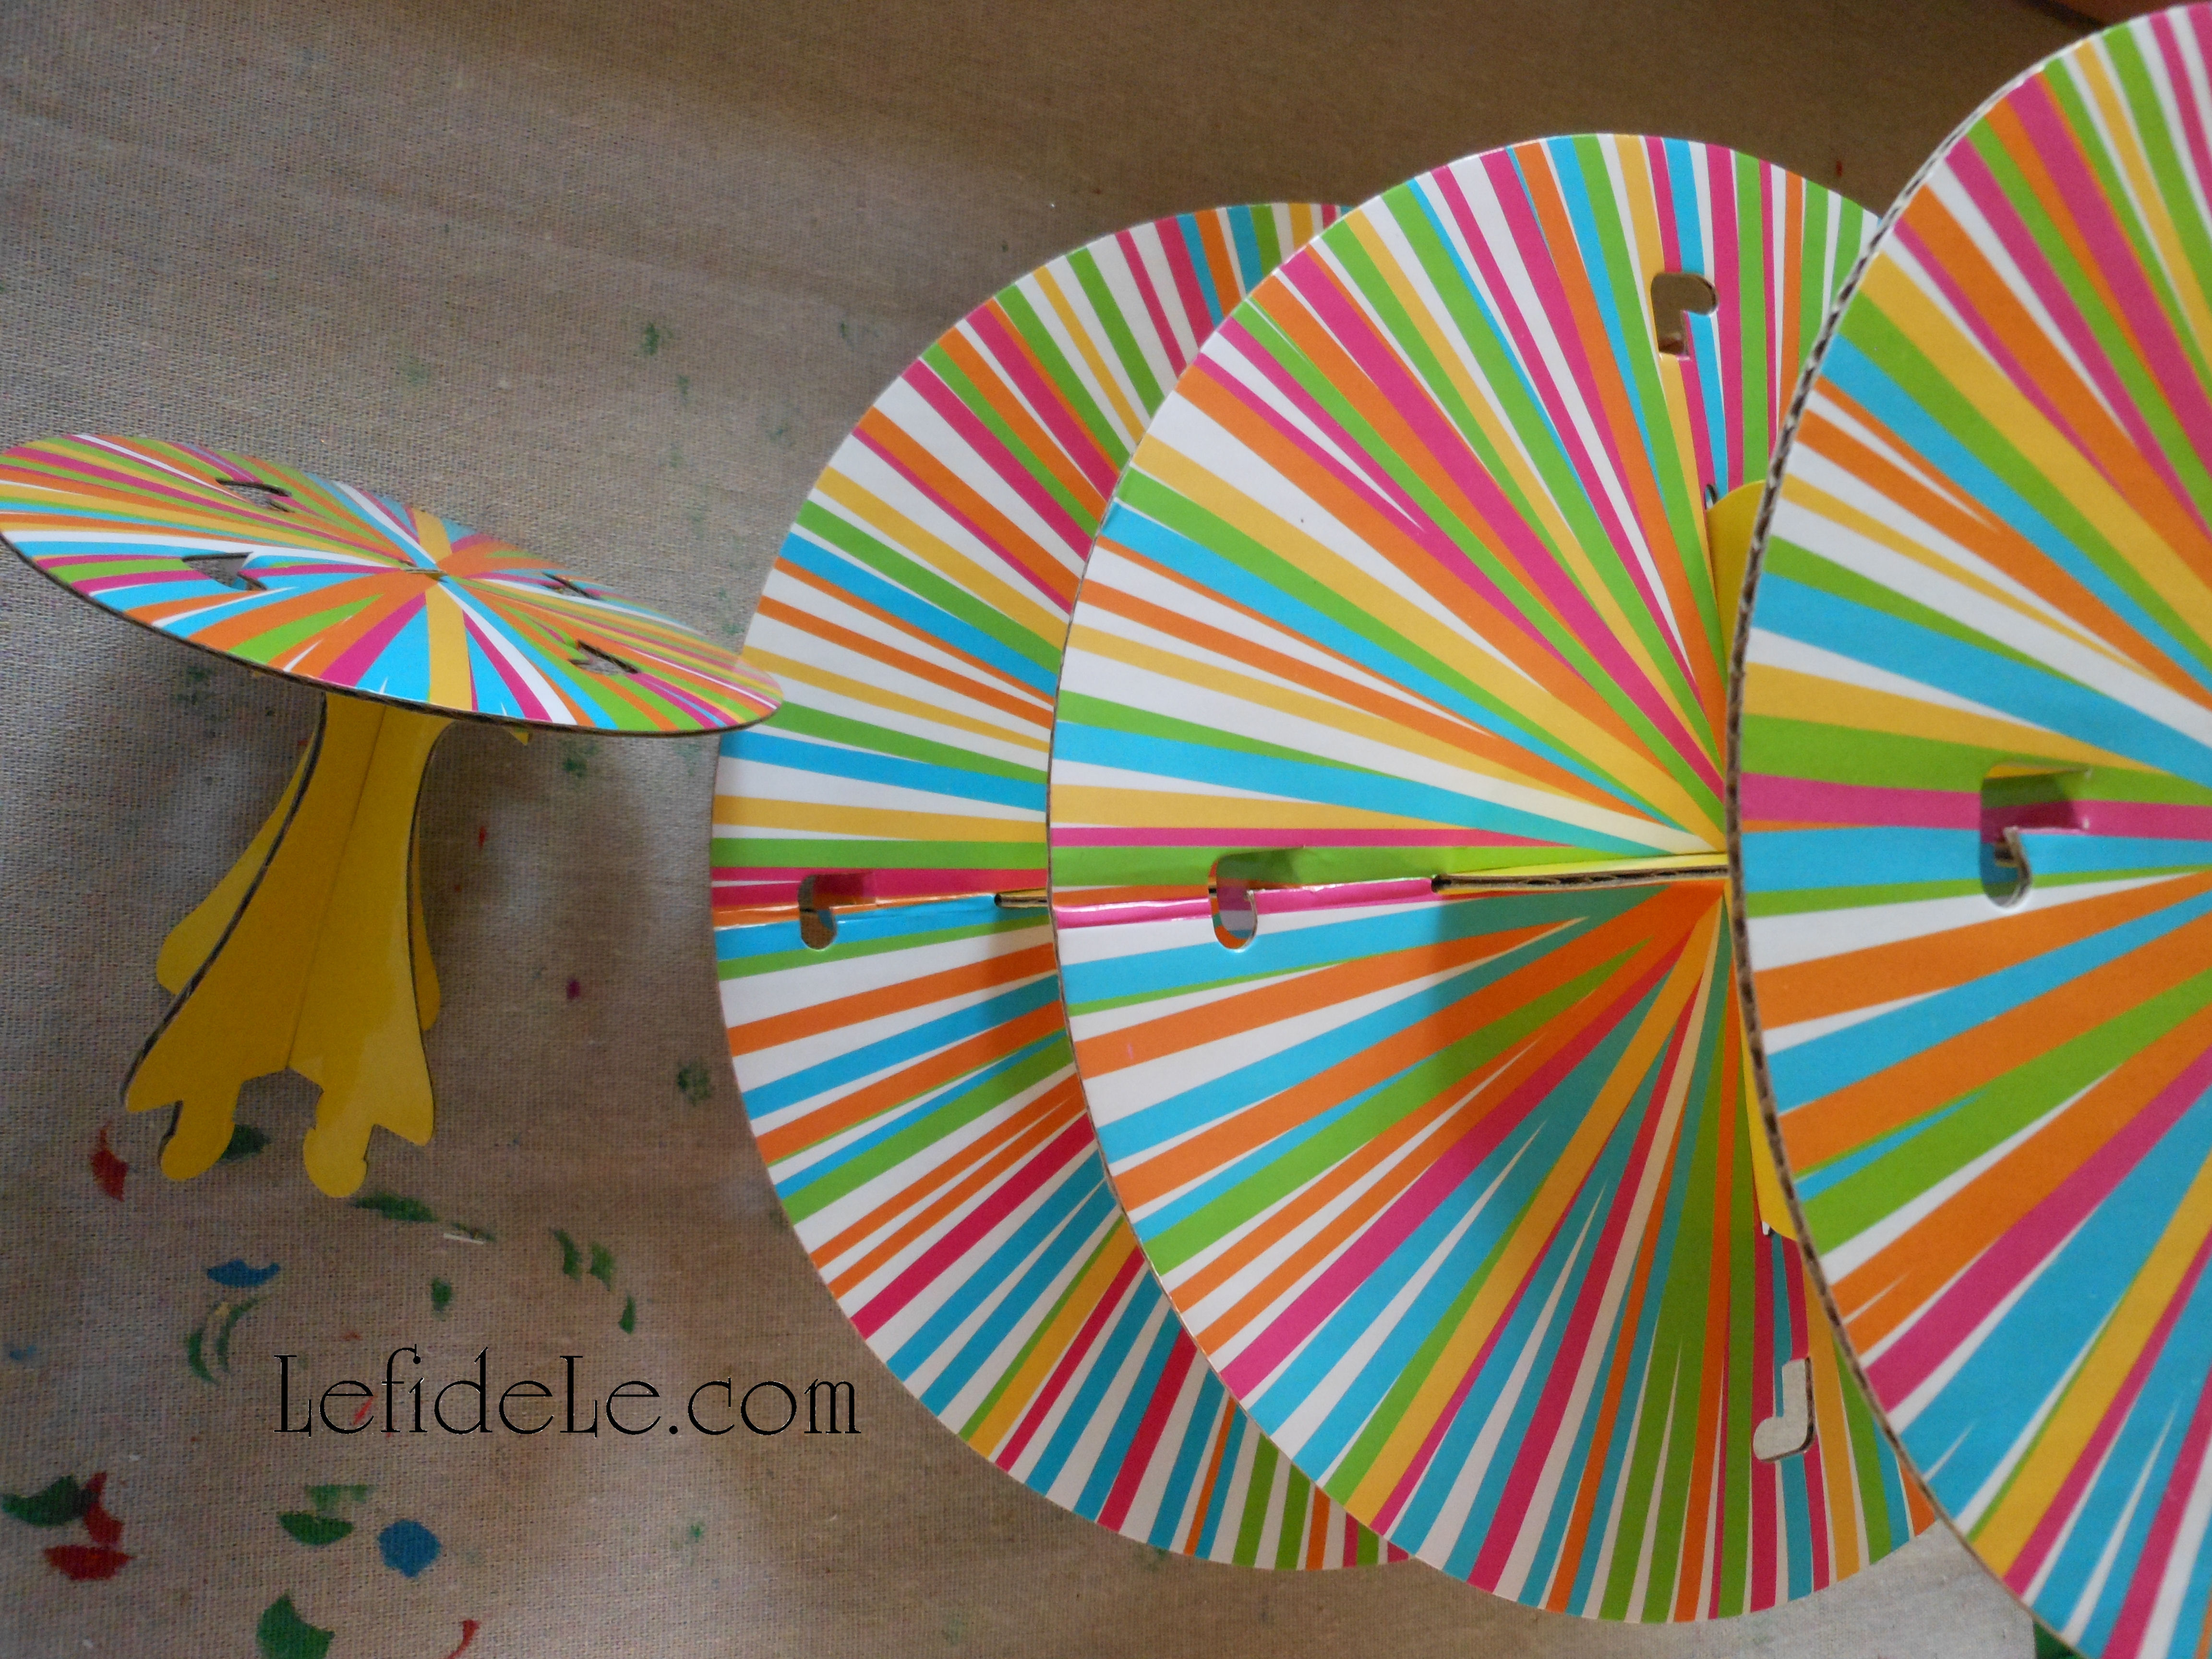
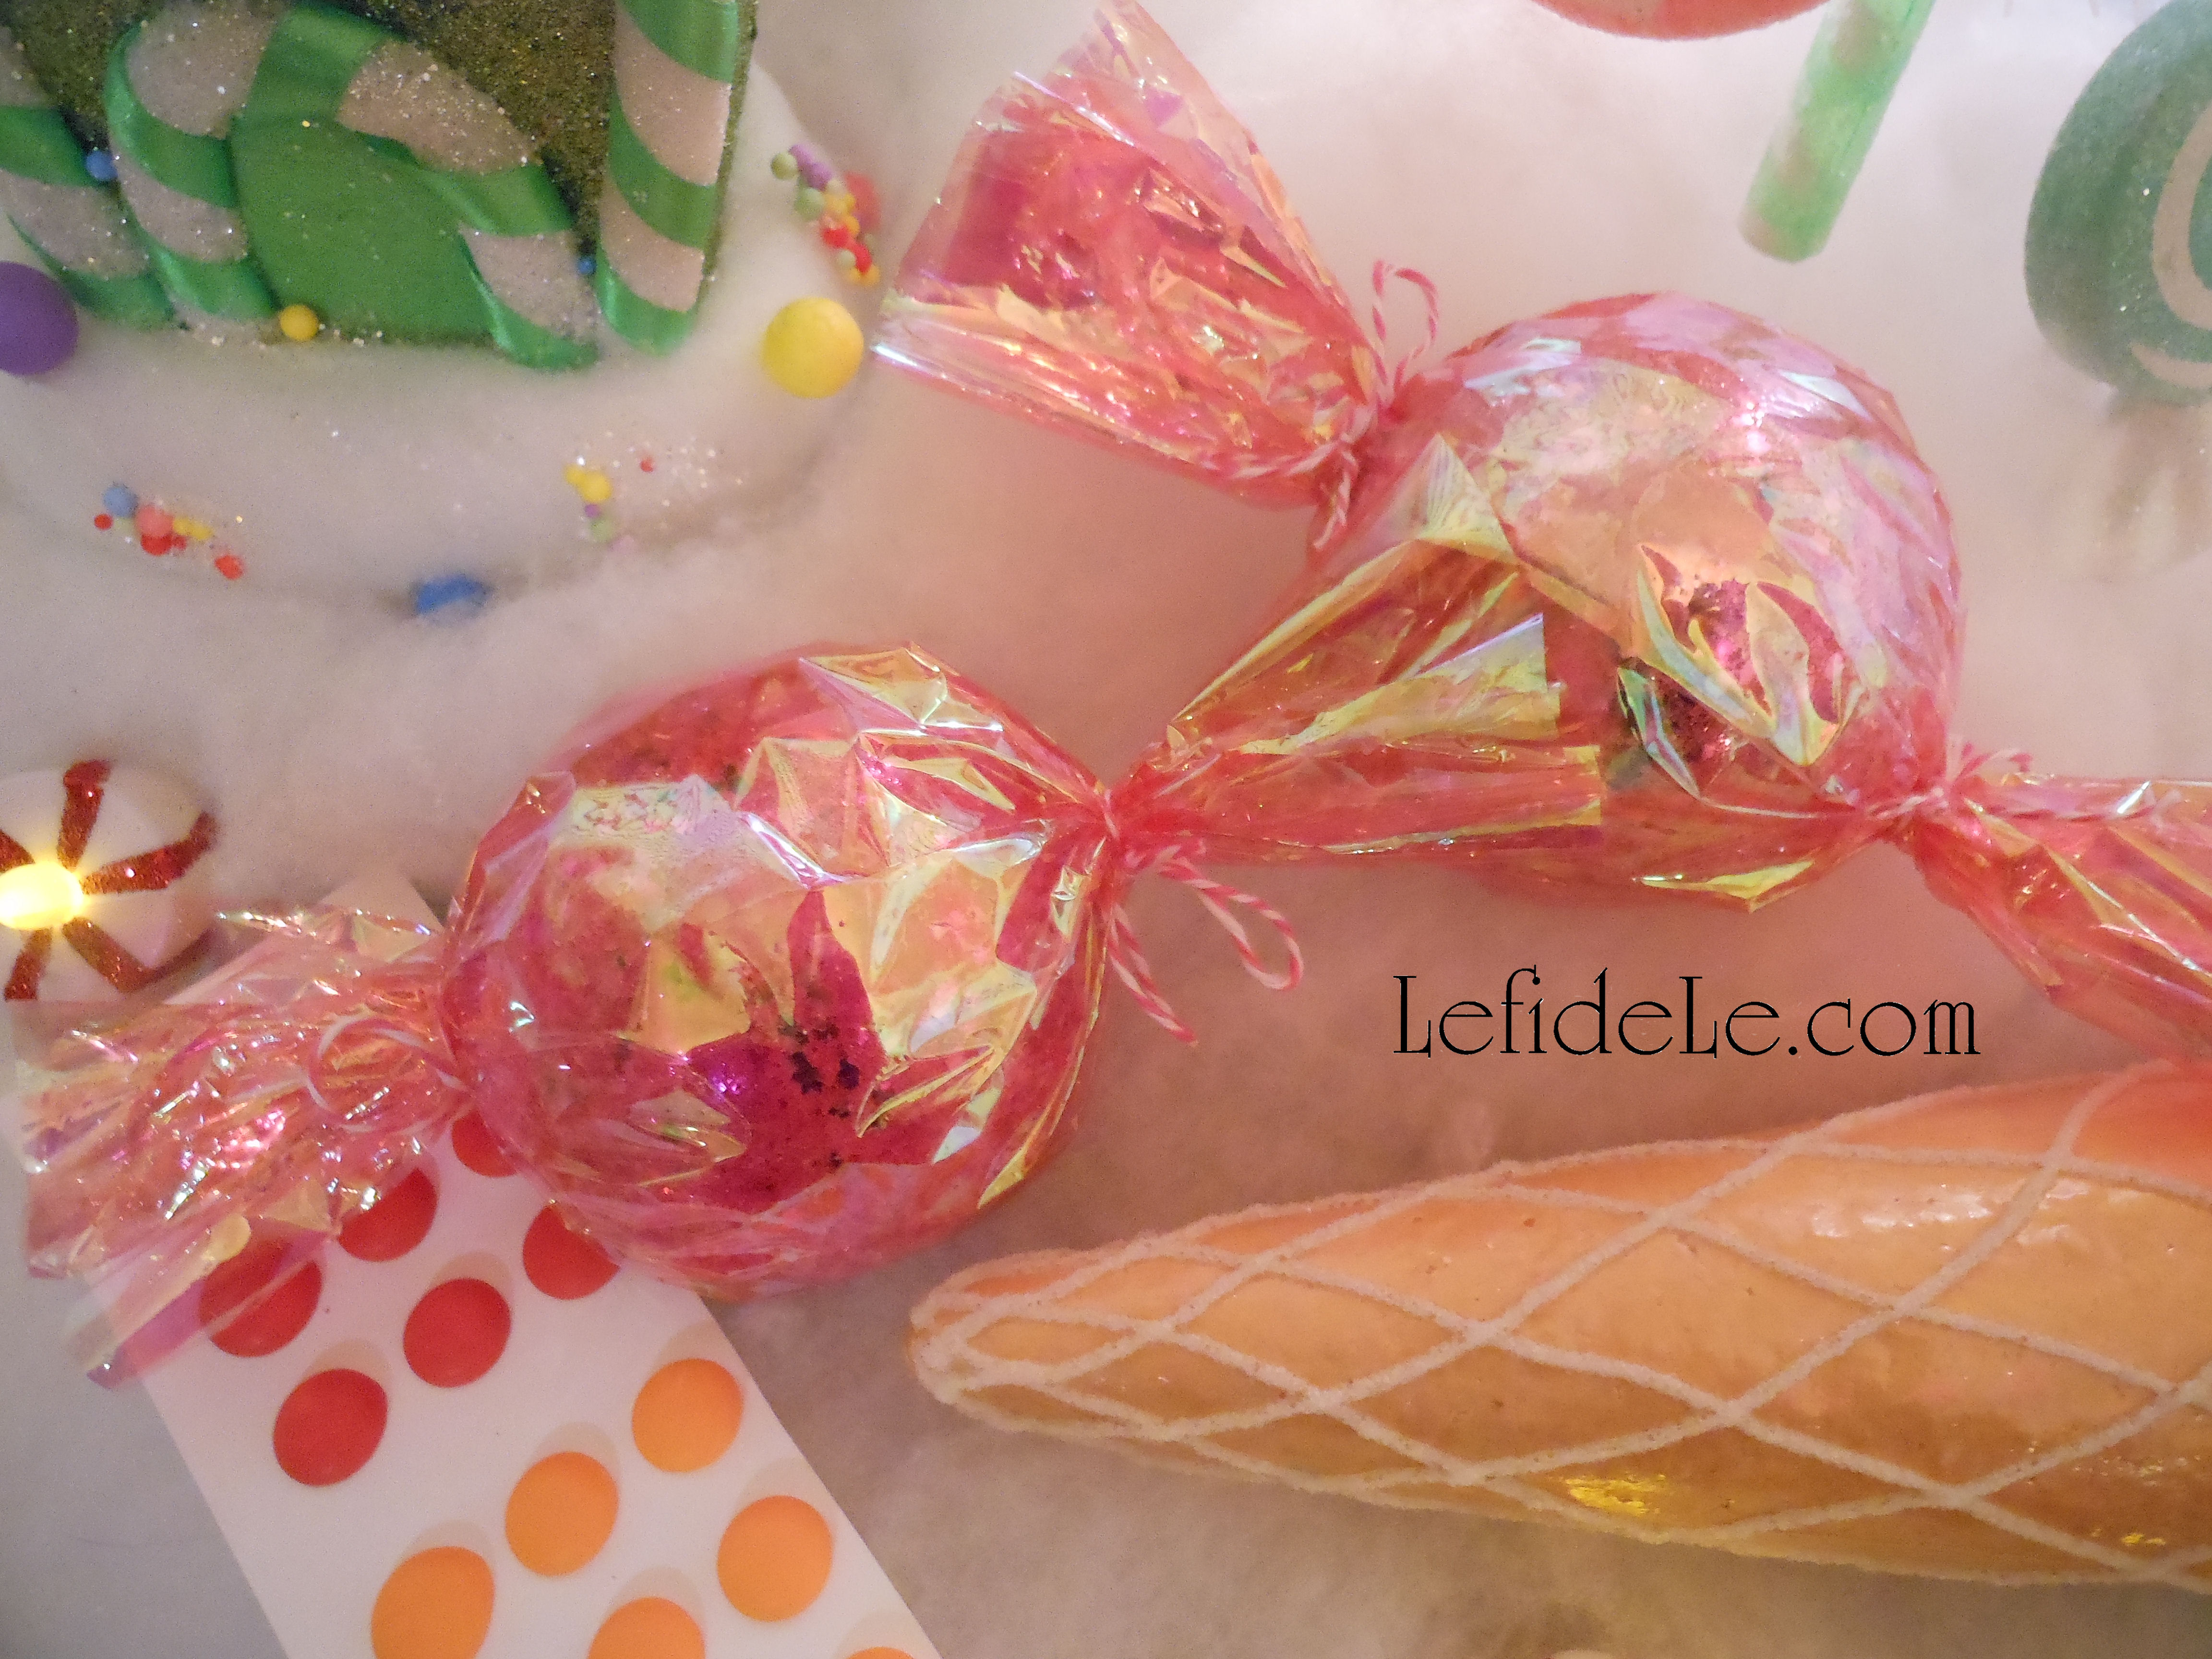
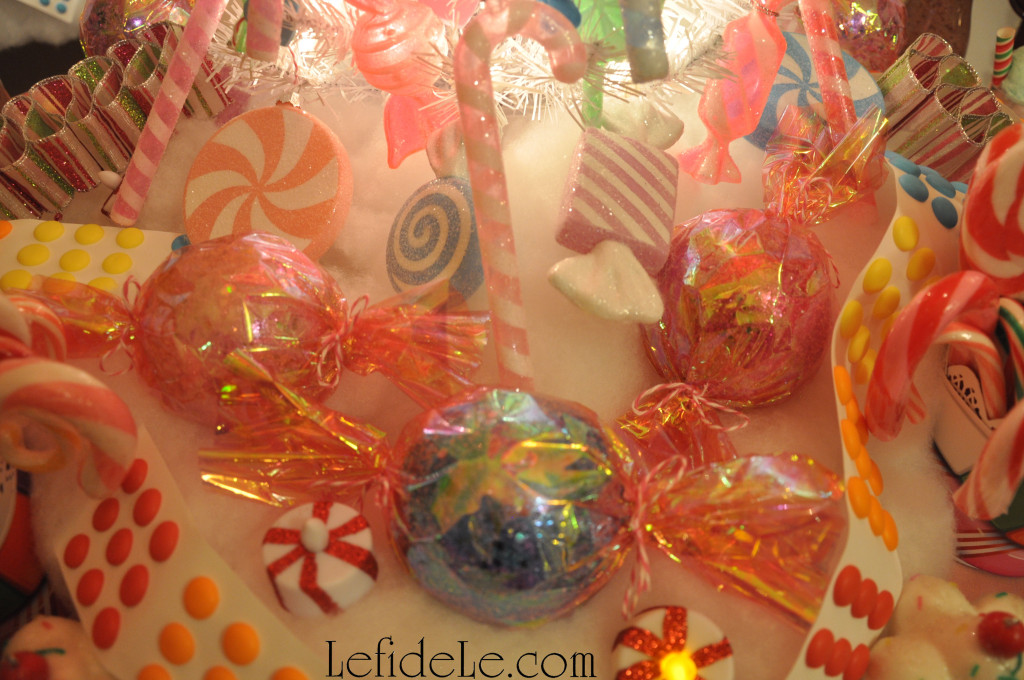
The exact same method was employed to craft the hard candy ornaments using, well… ball ornaments.

The only difference was that I didn’t tie on twine hangers, because I elected to use them for table display instead. They would have been lovely hanging though. I can always add twine to string them on a tree or centerpiece later, because I intentionally left the round hanging eye stick out of the gathered wrap. It’s visually concealed by the cellophane.
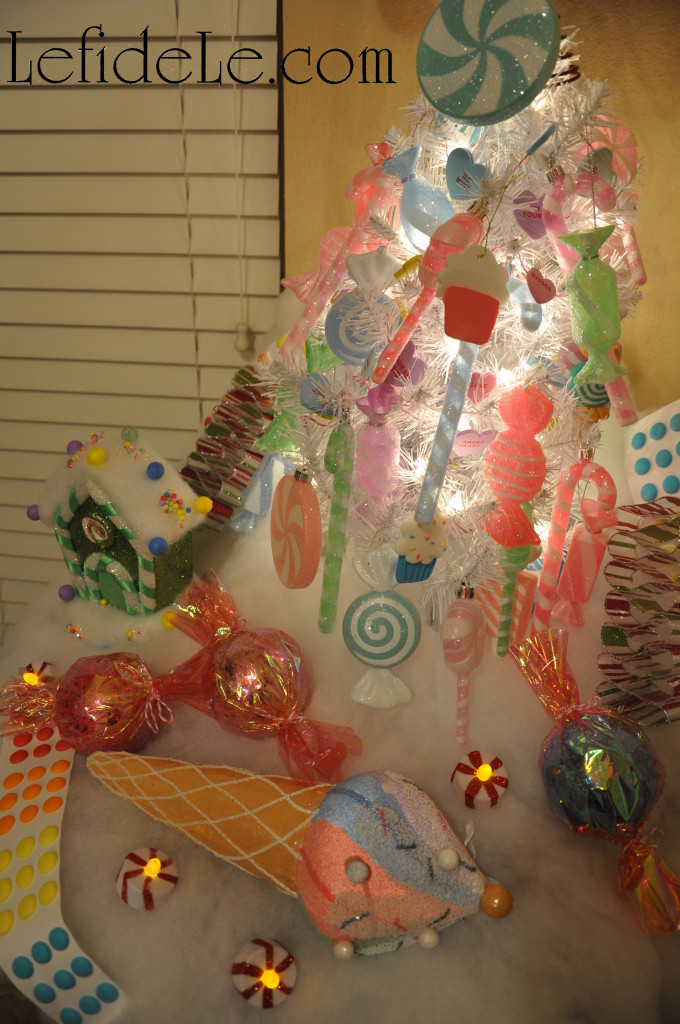
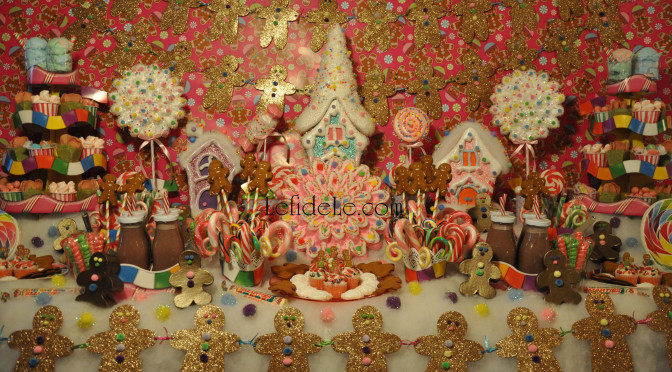
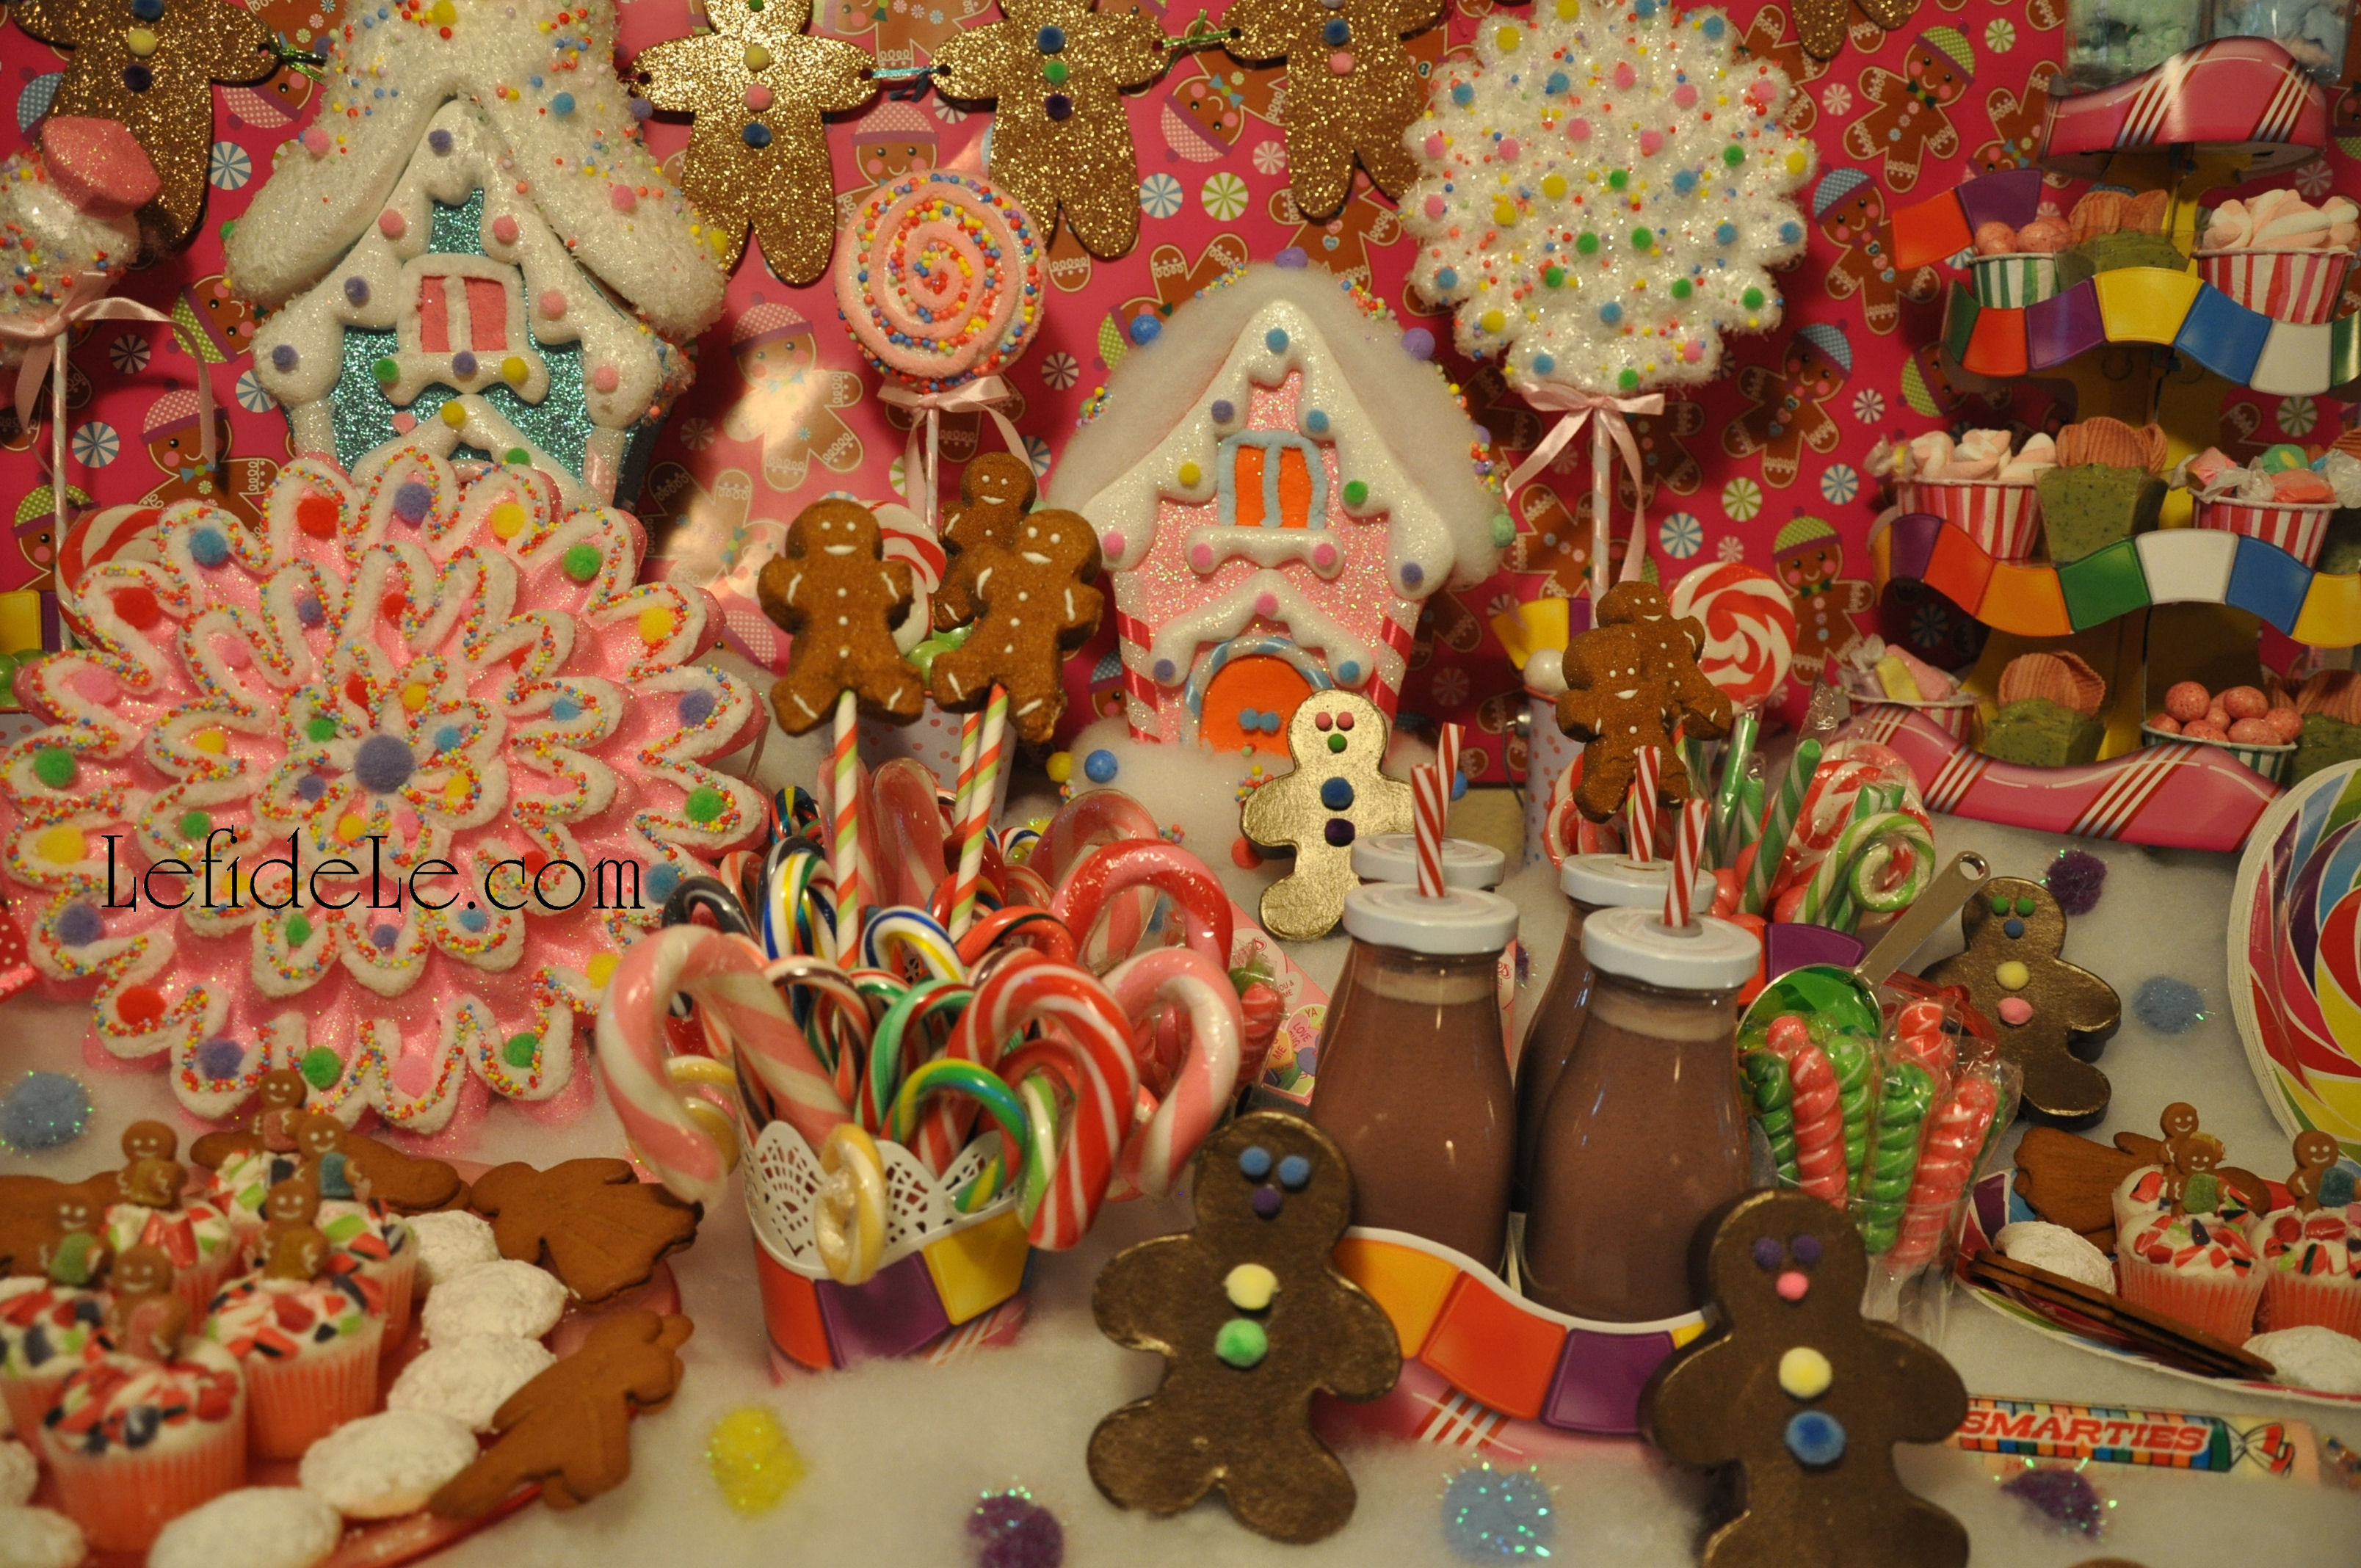
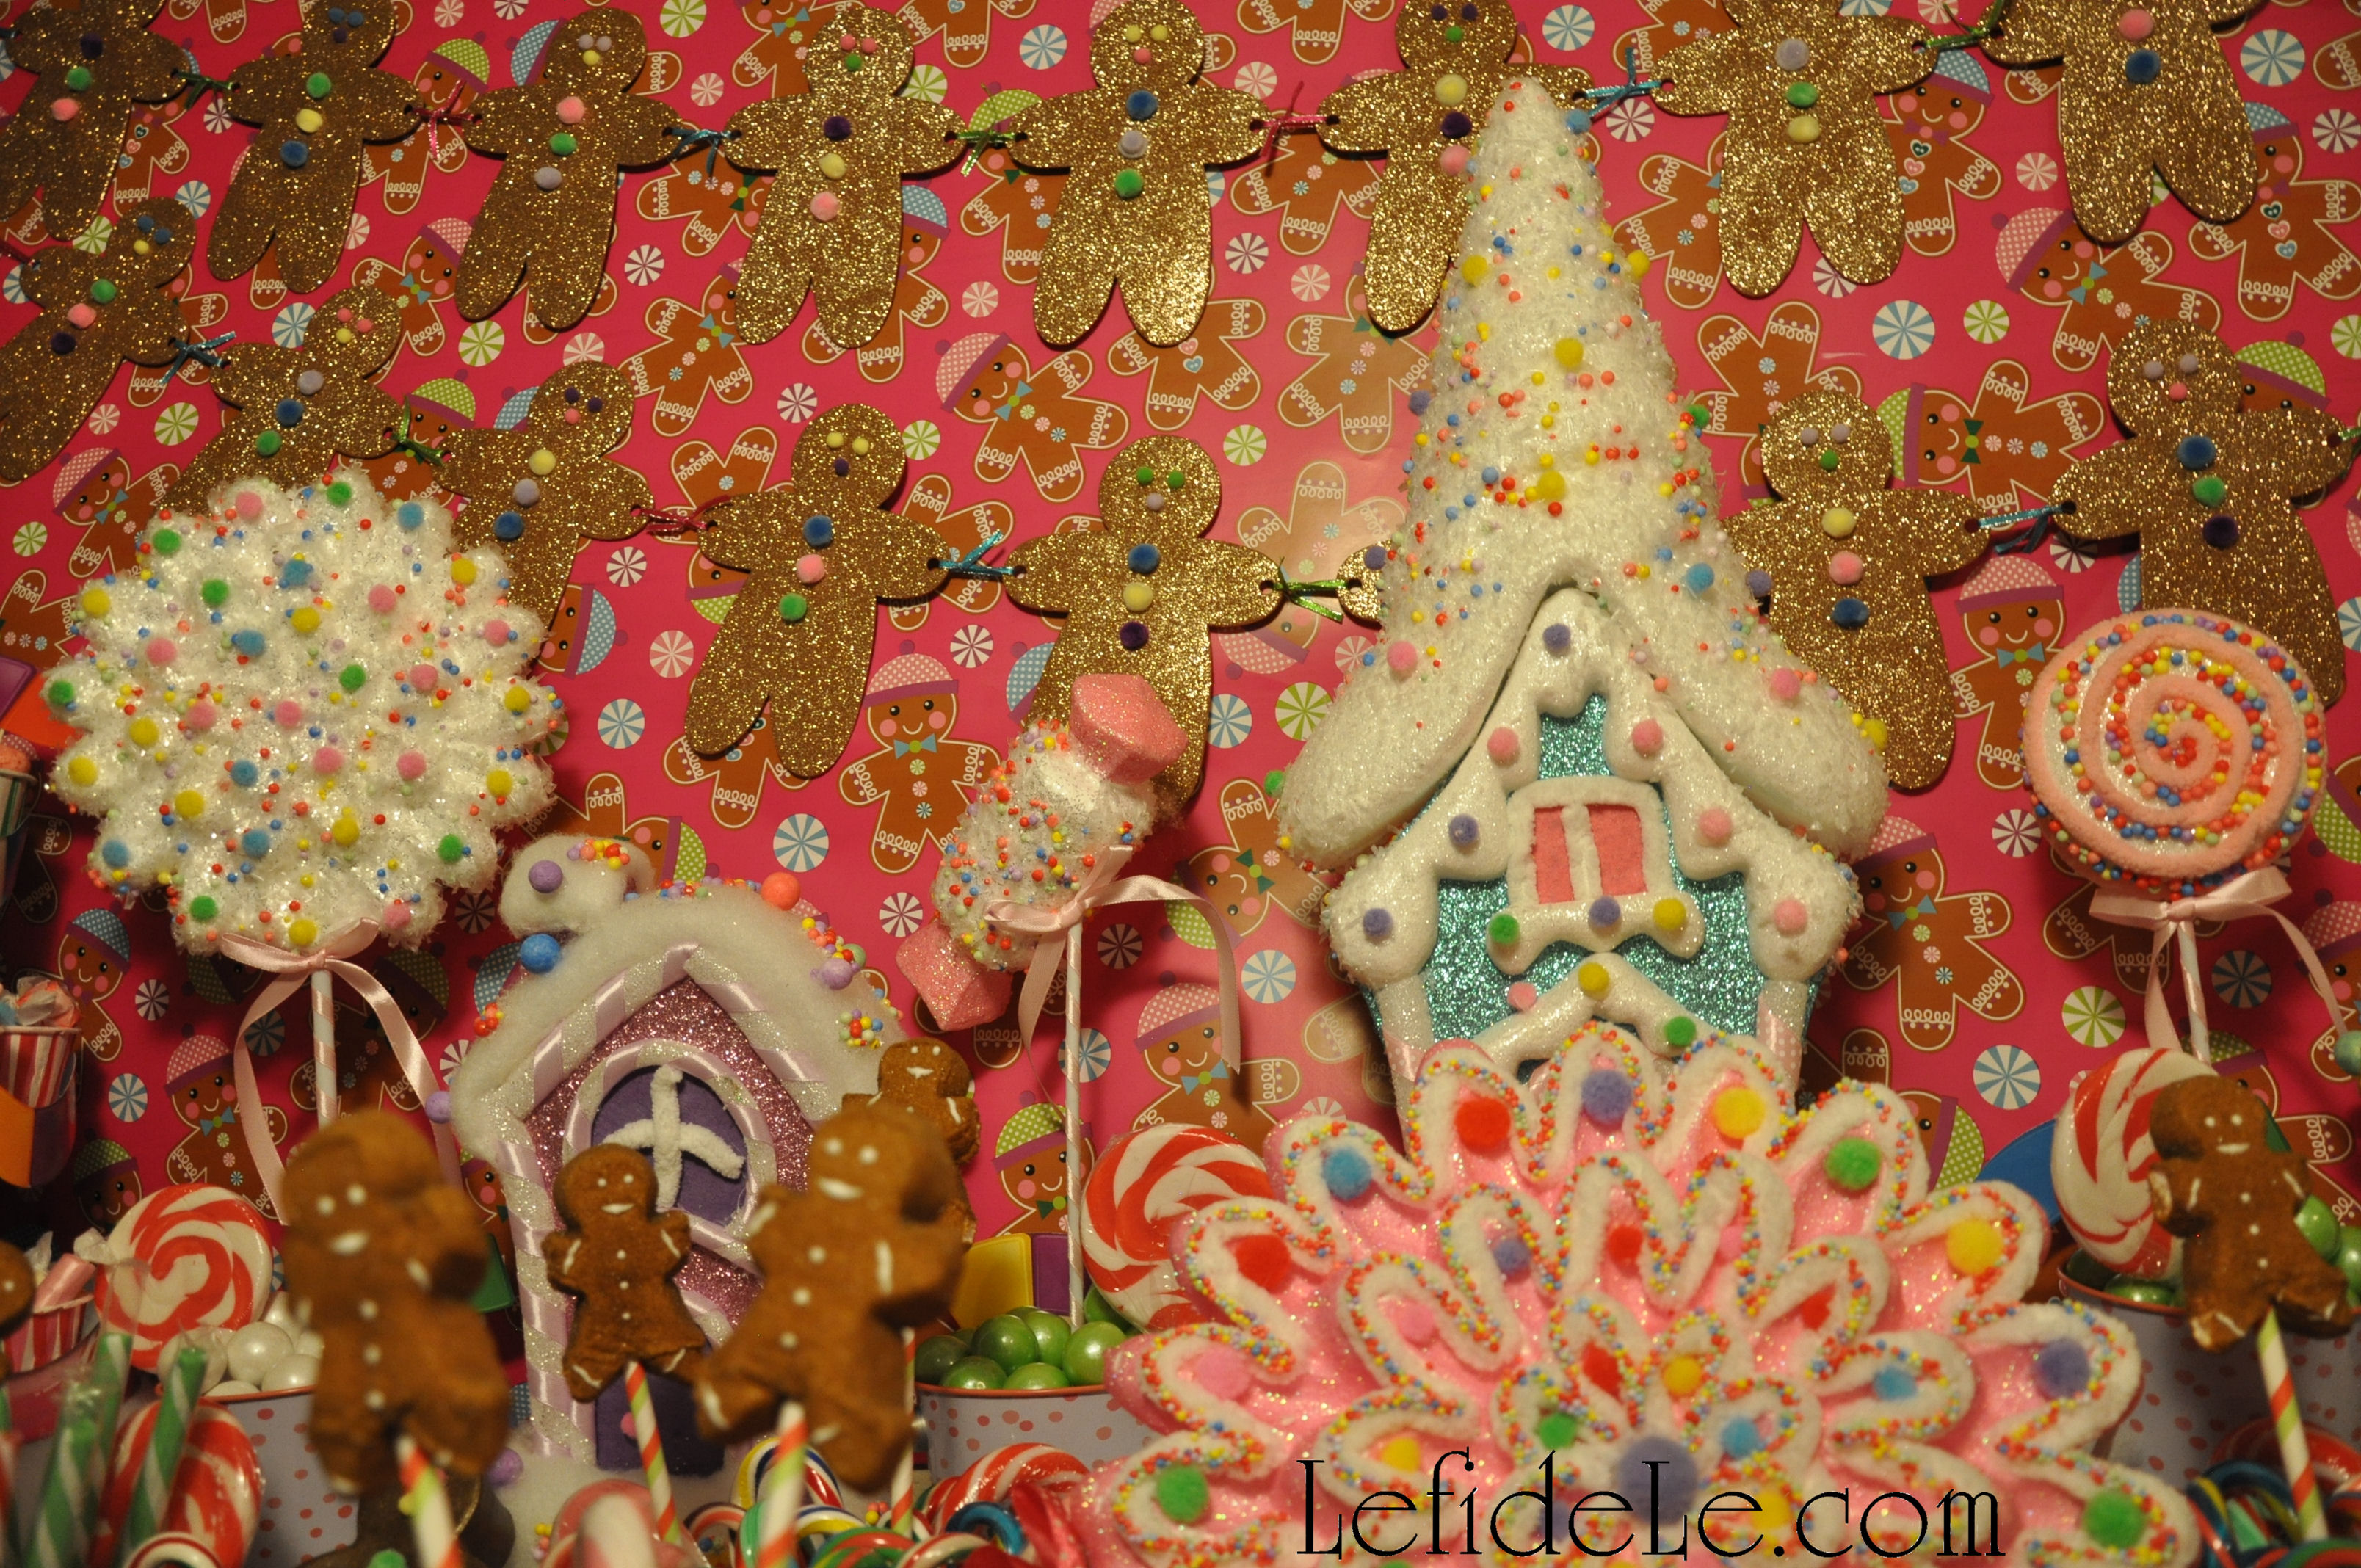
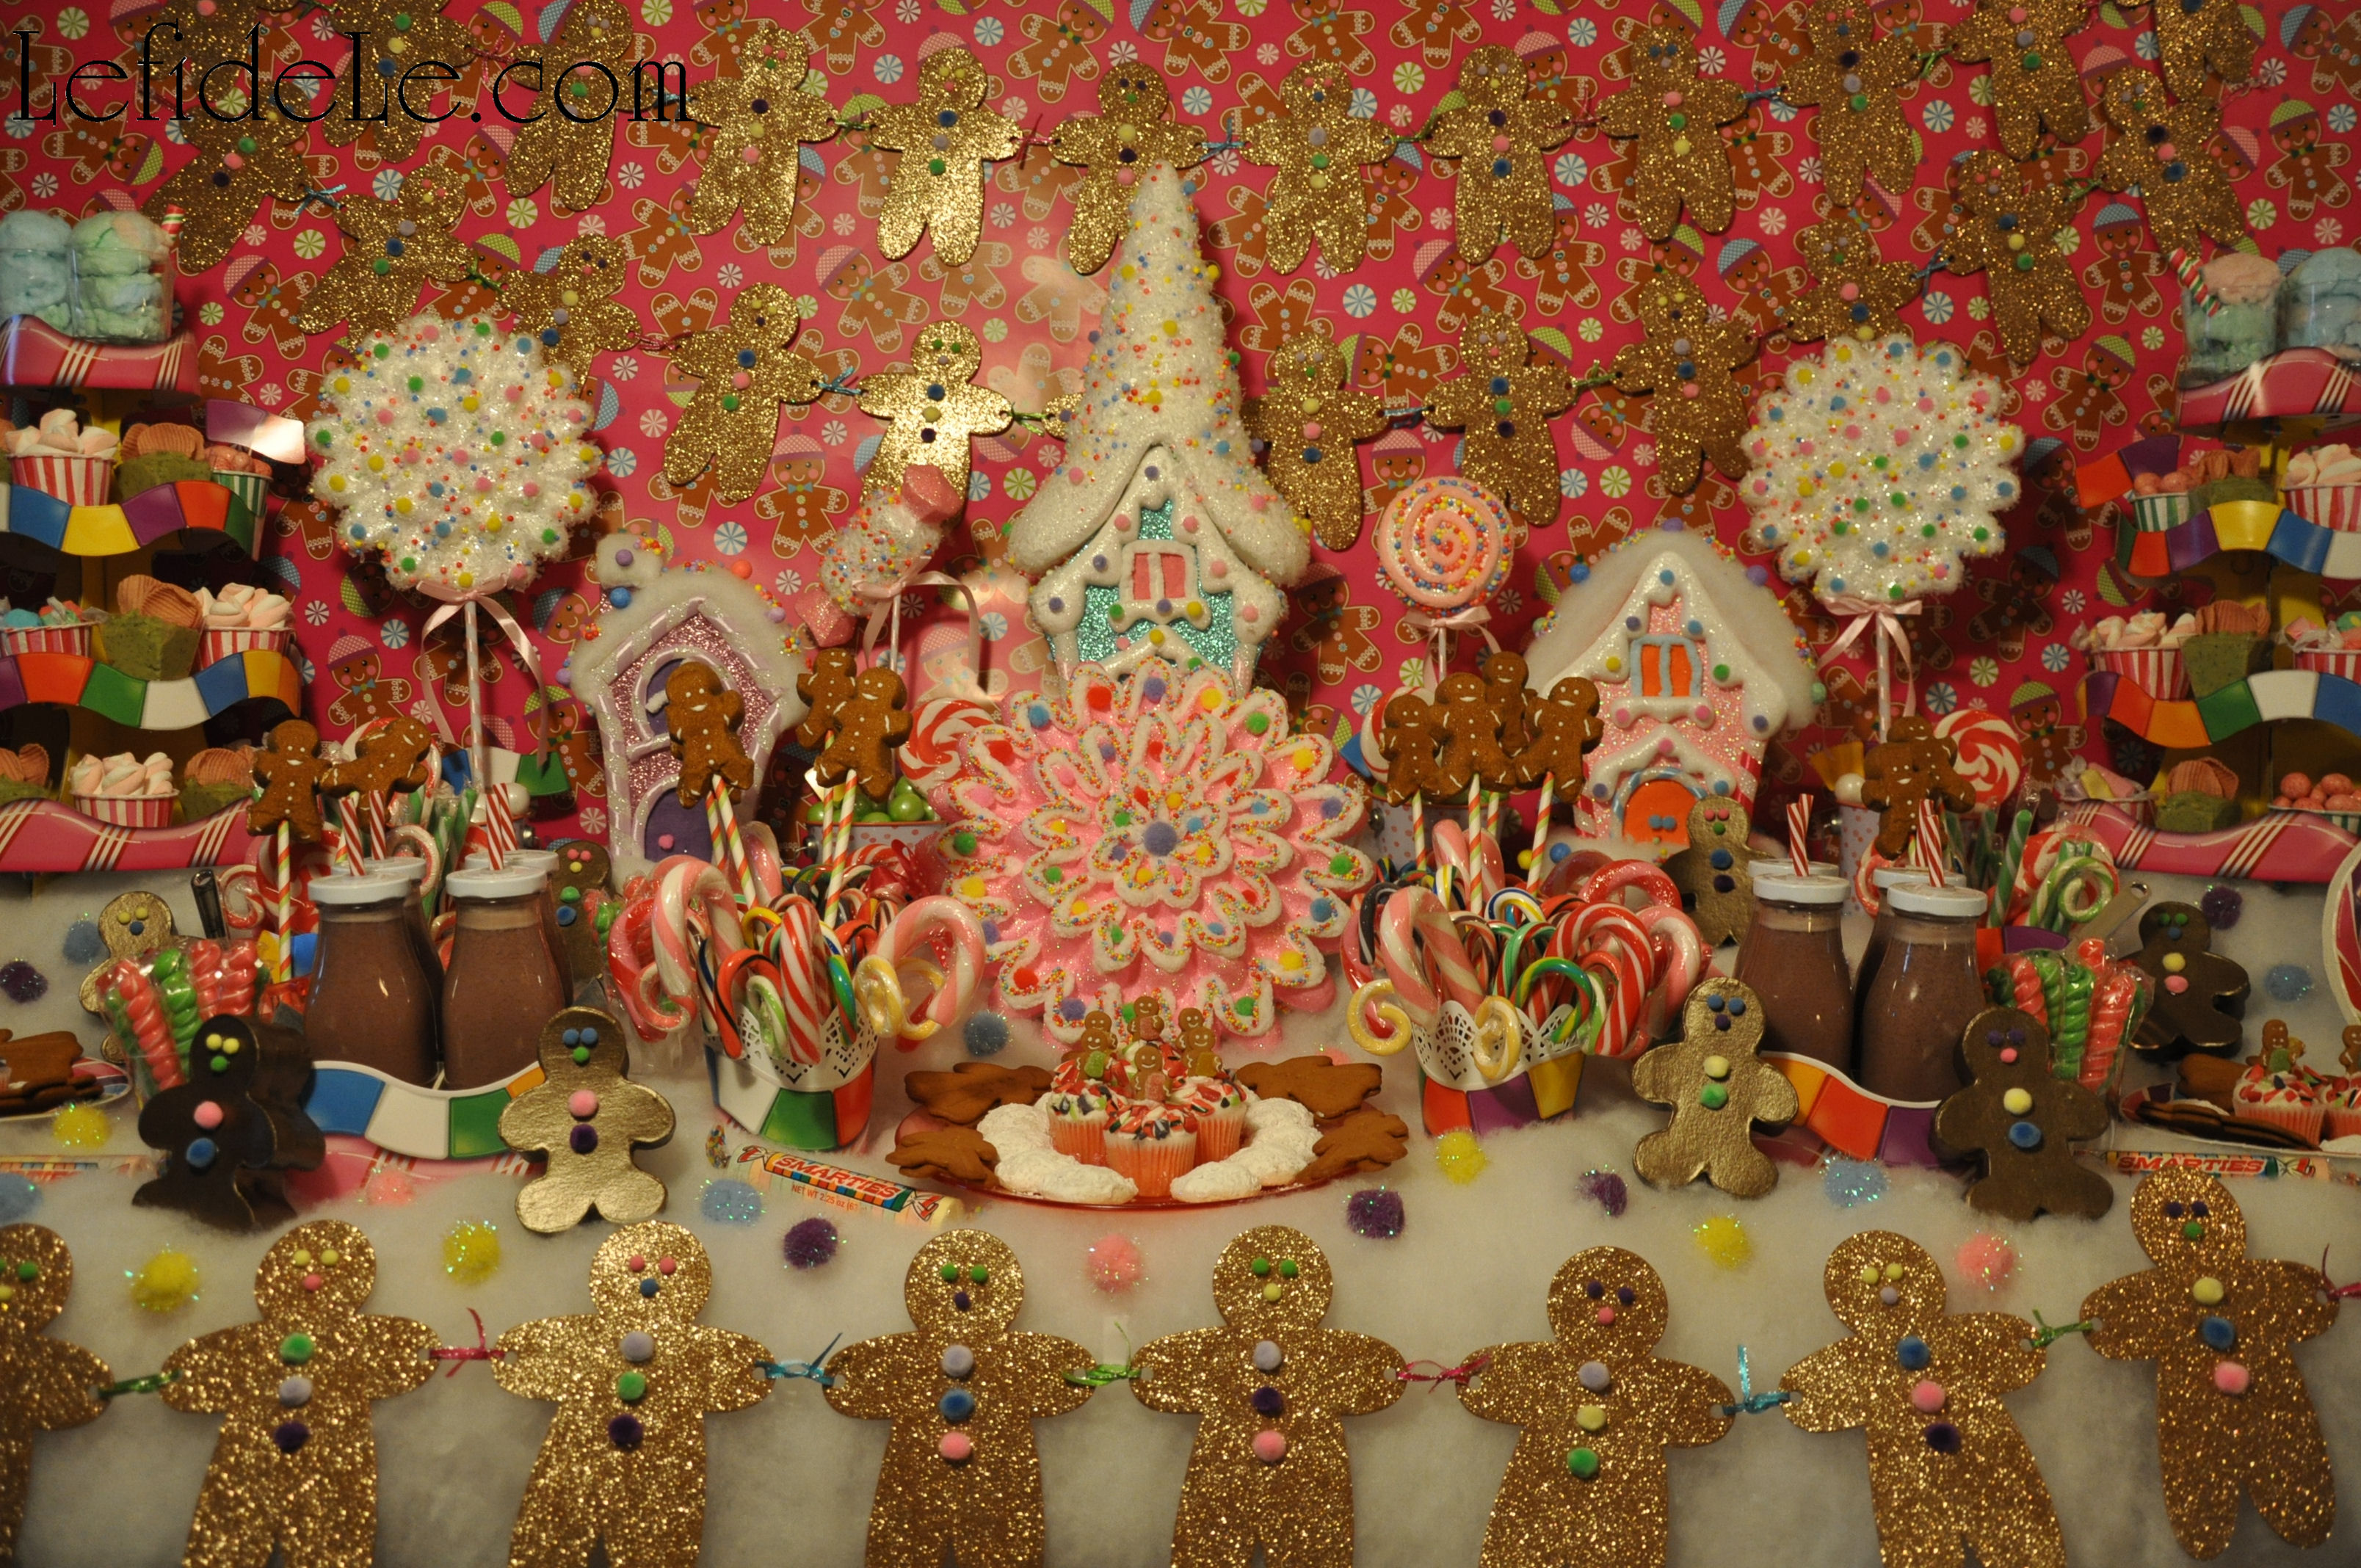
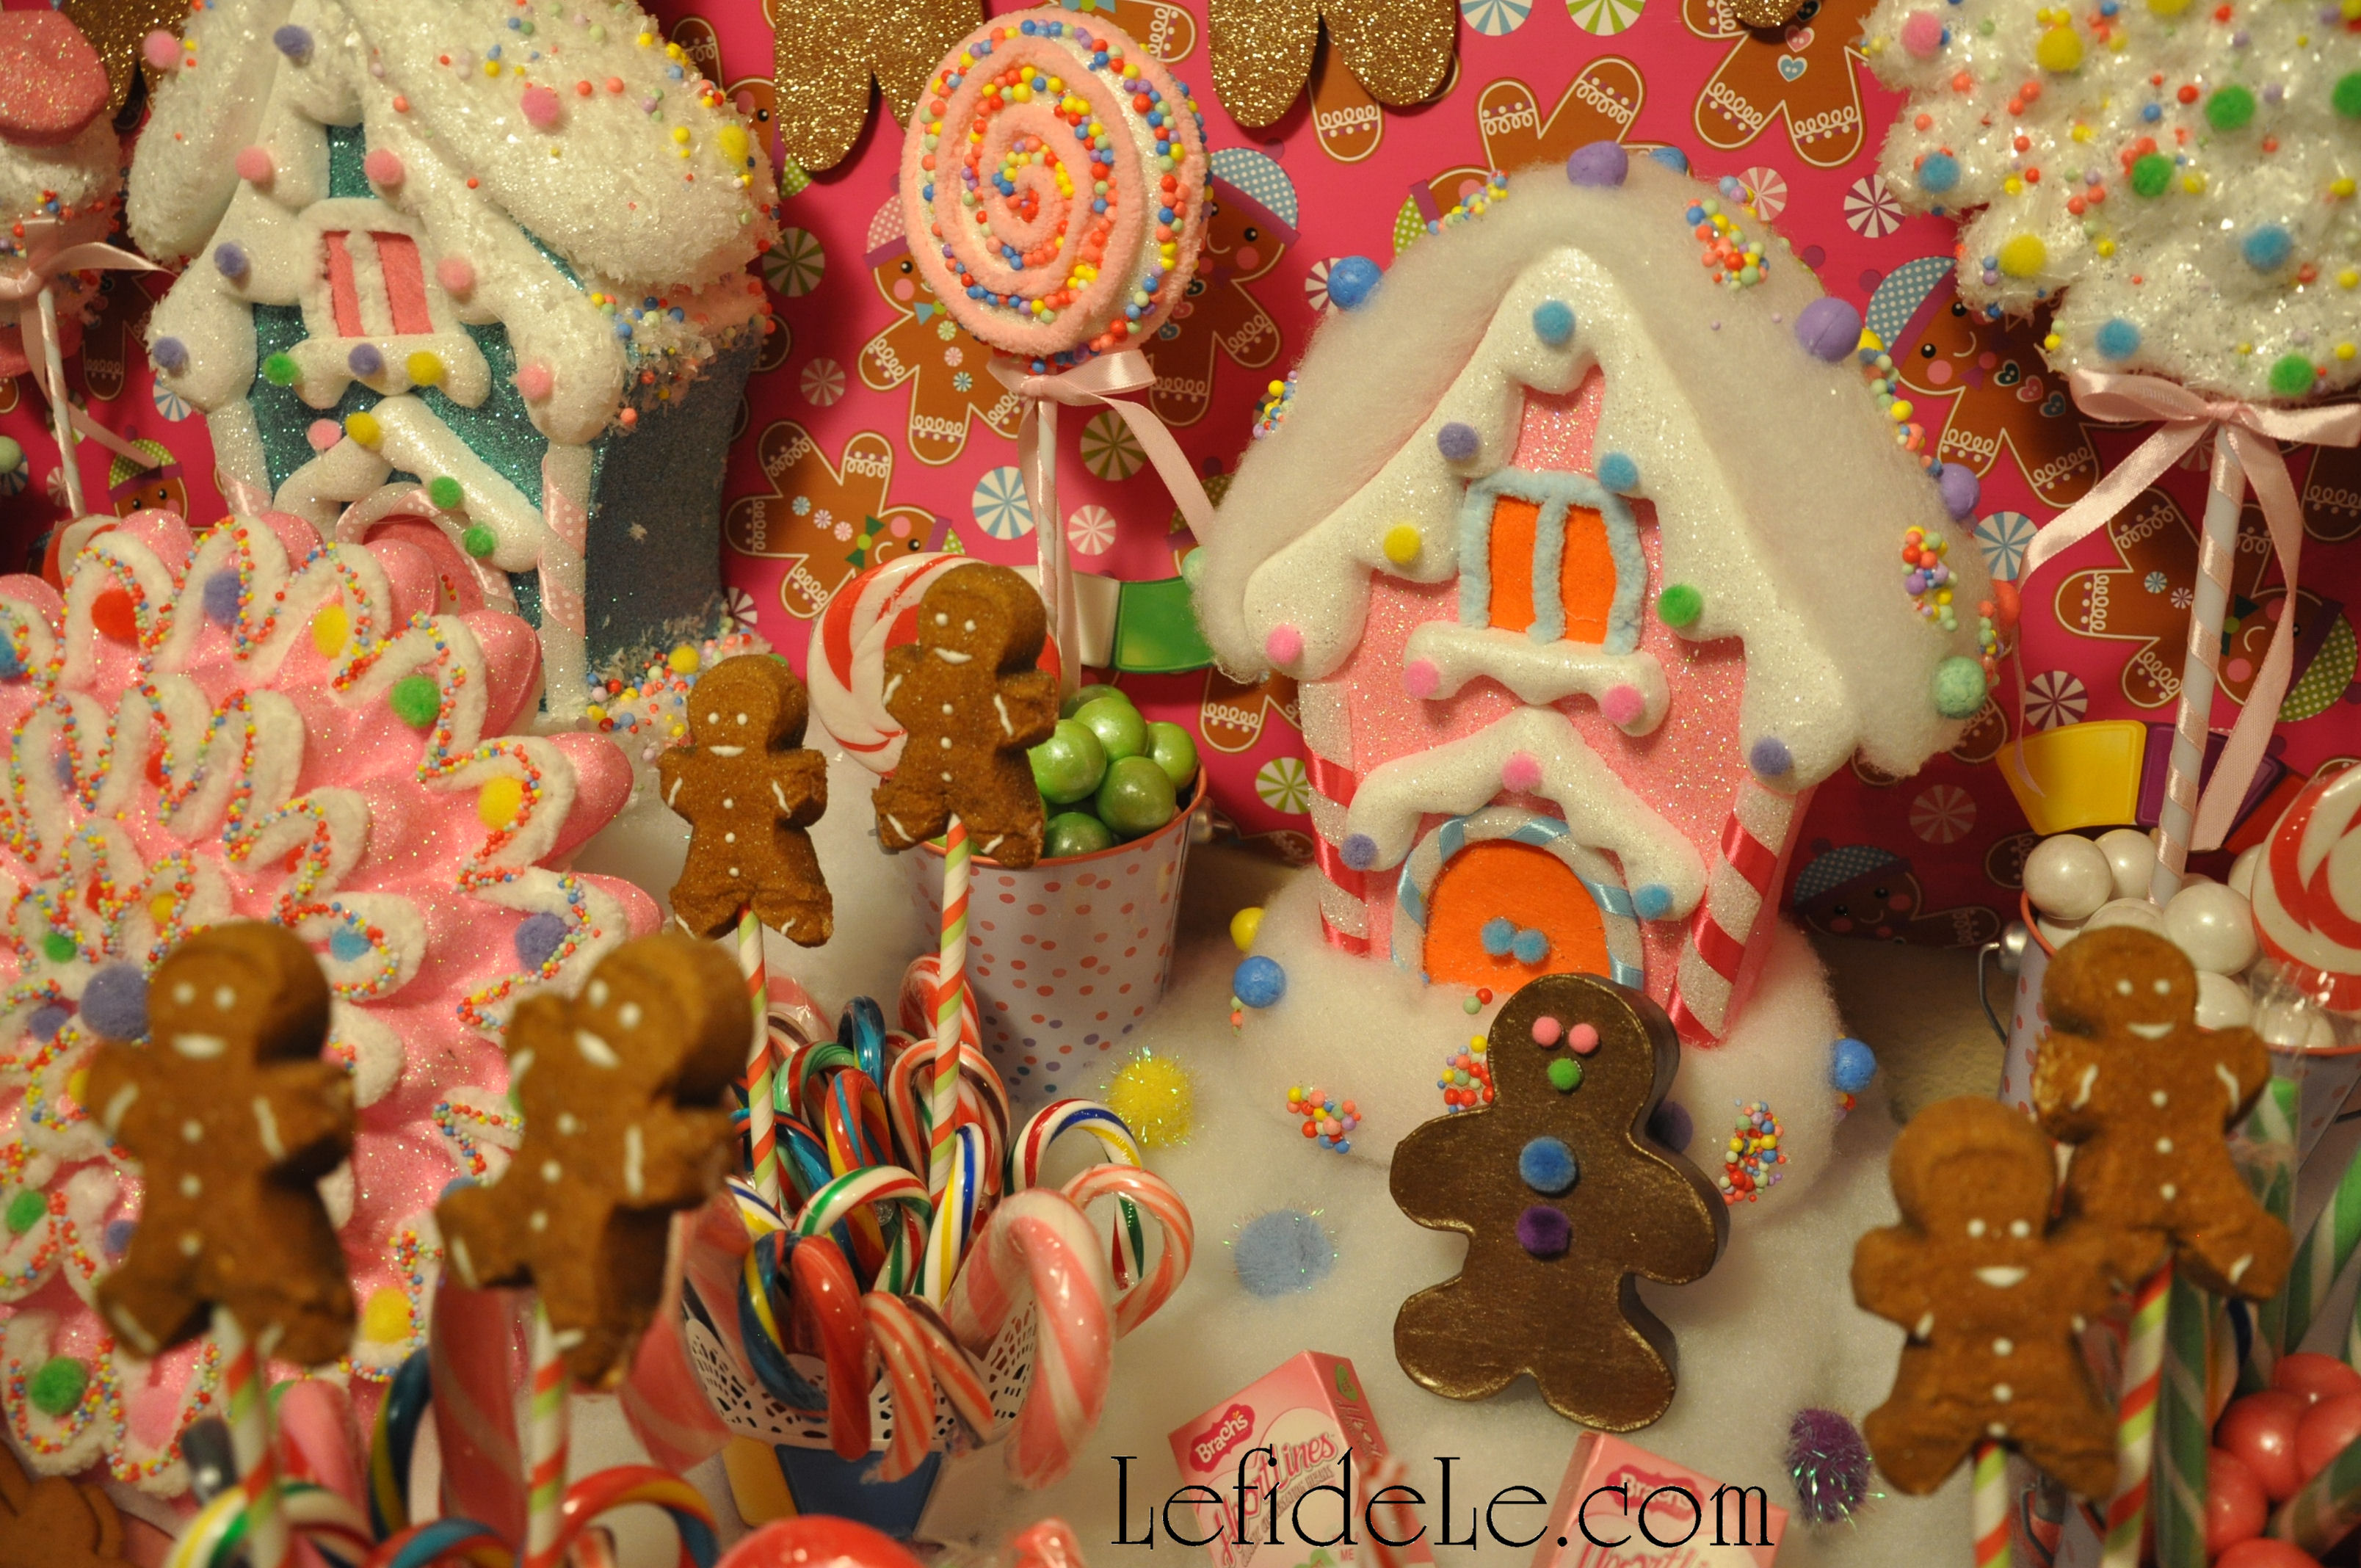
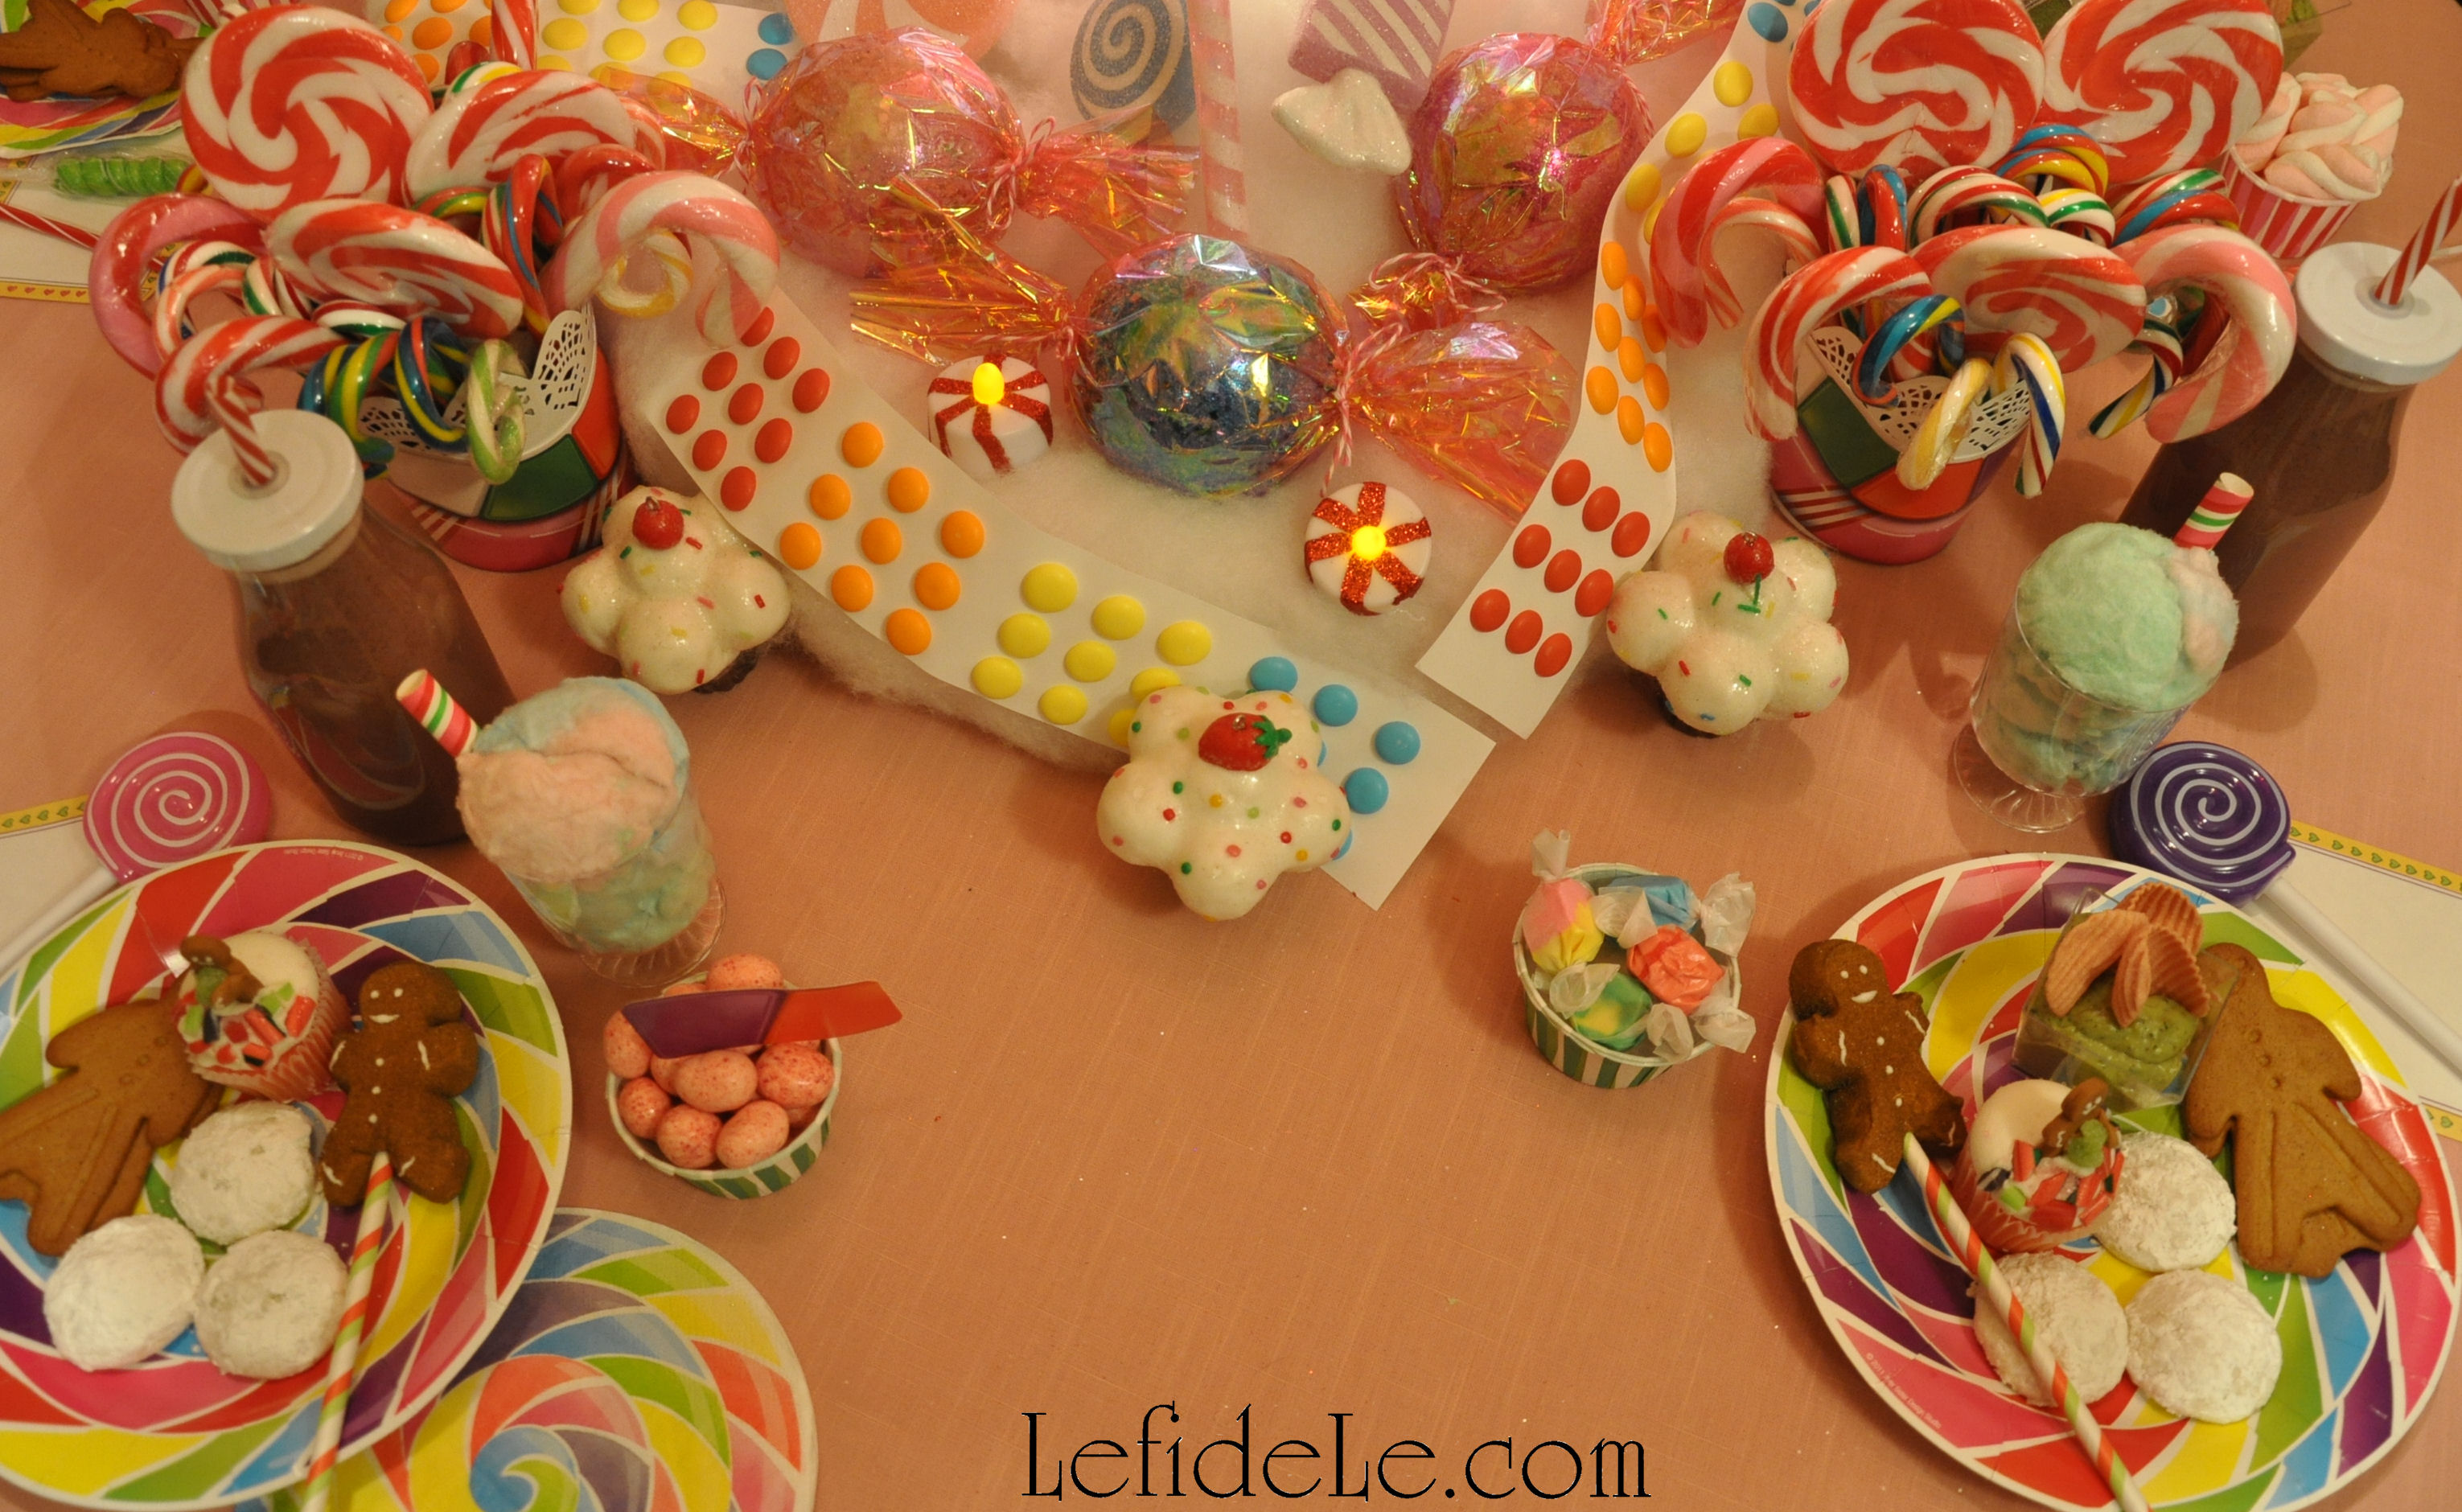
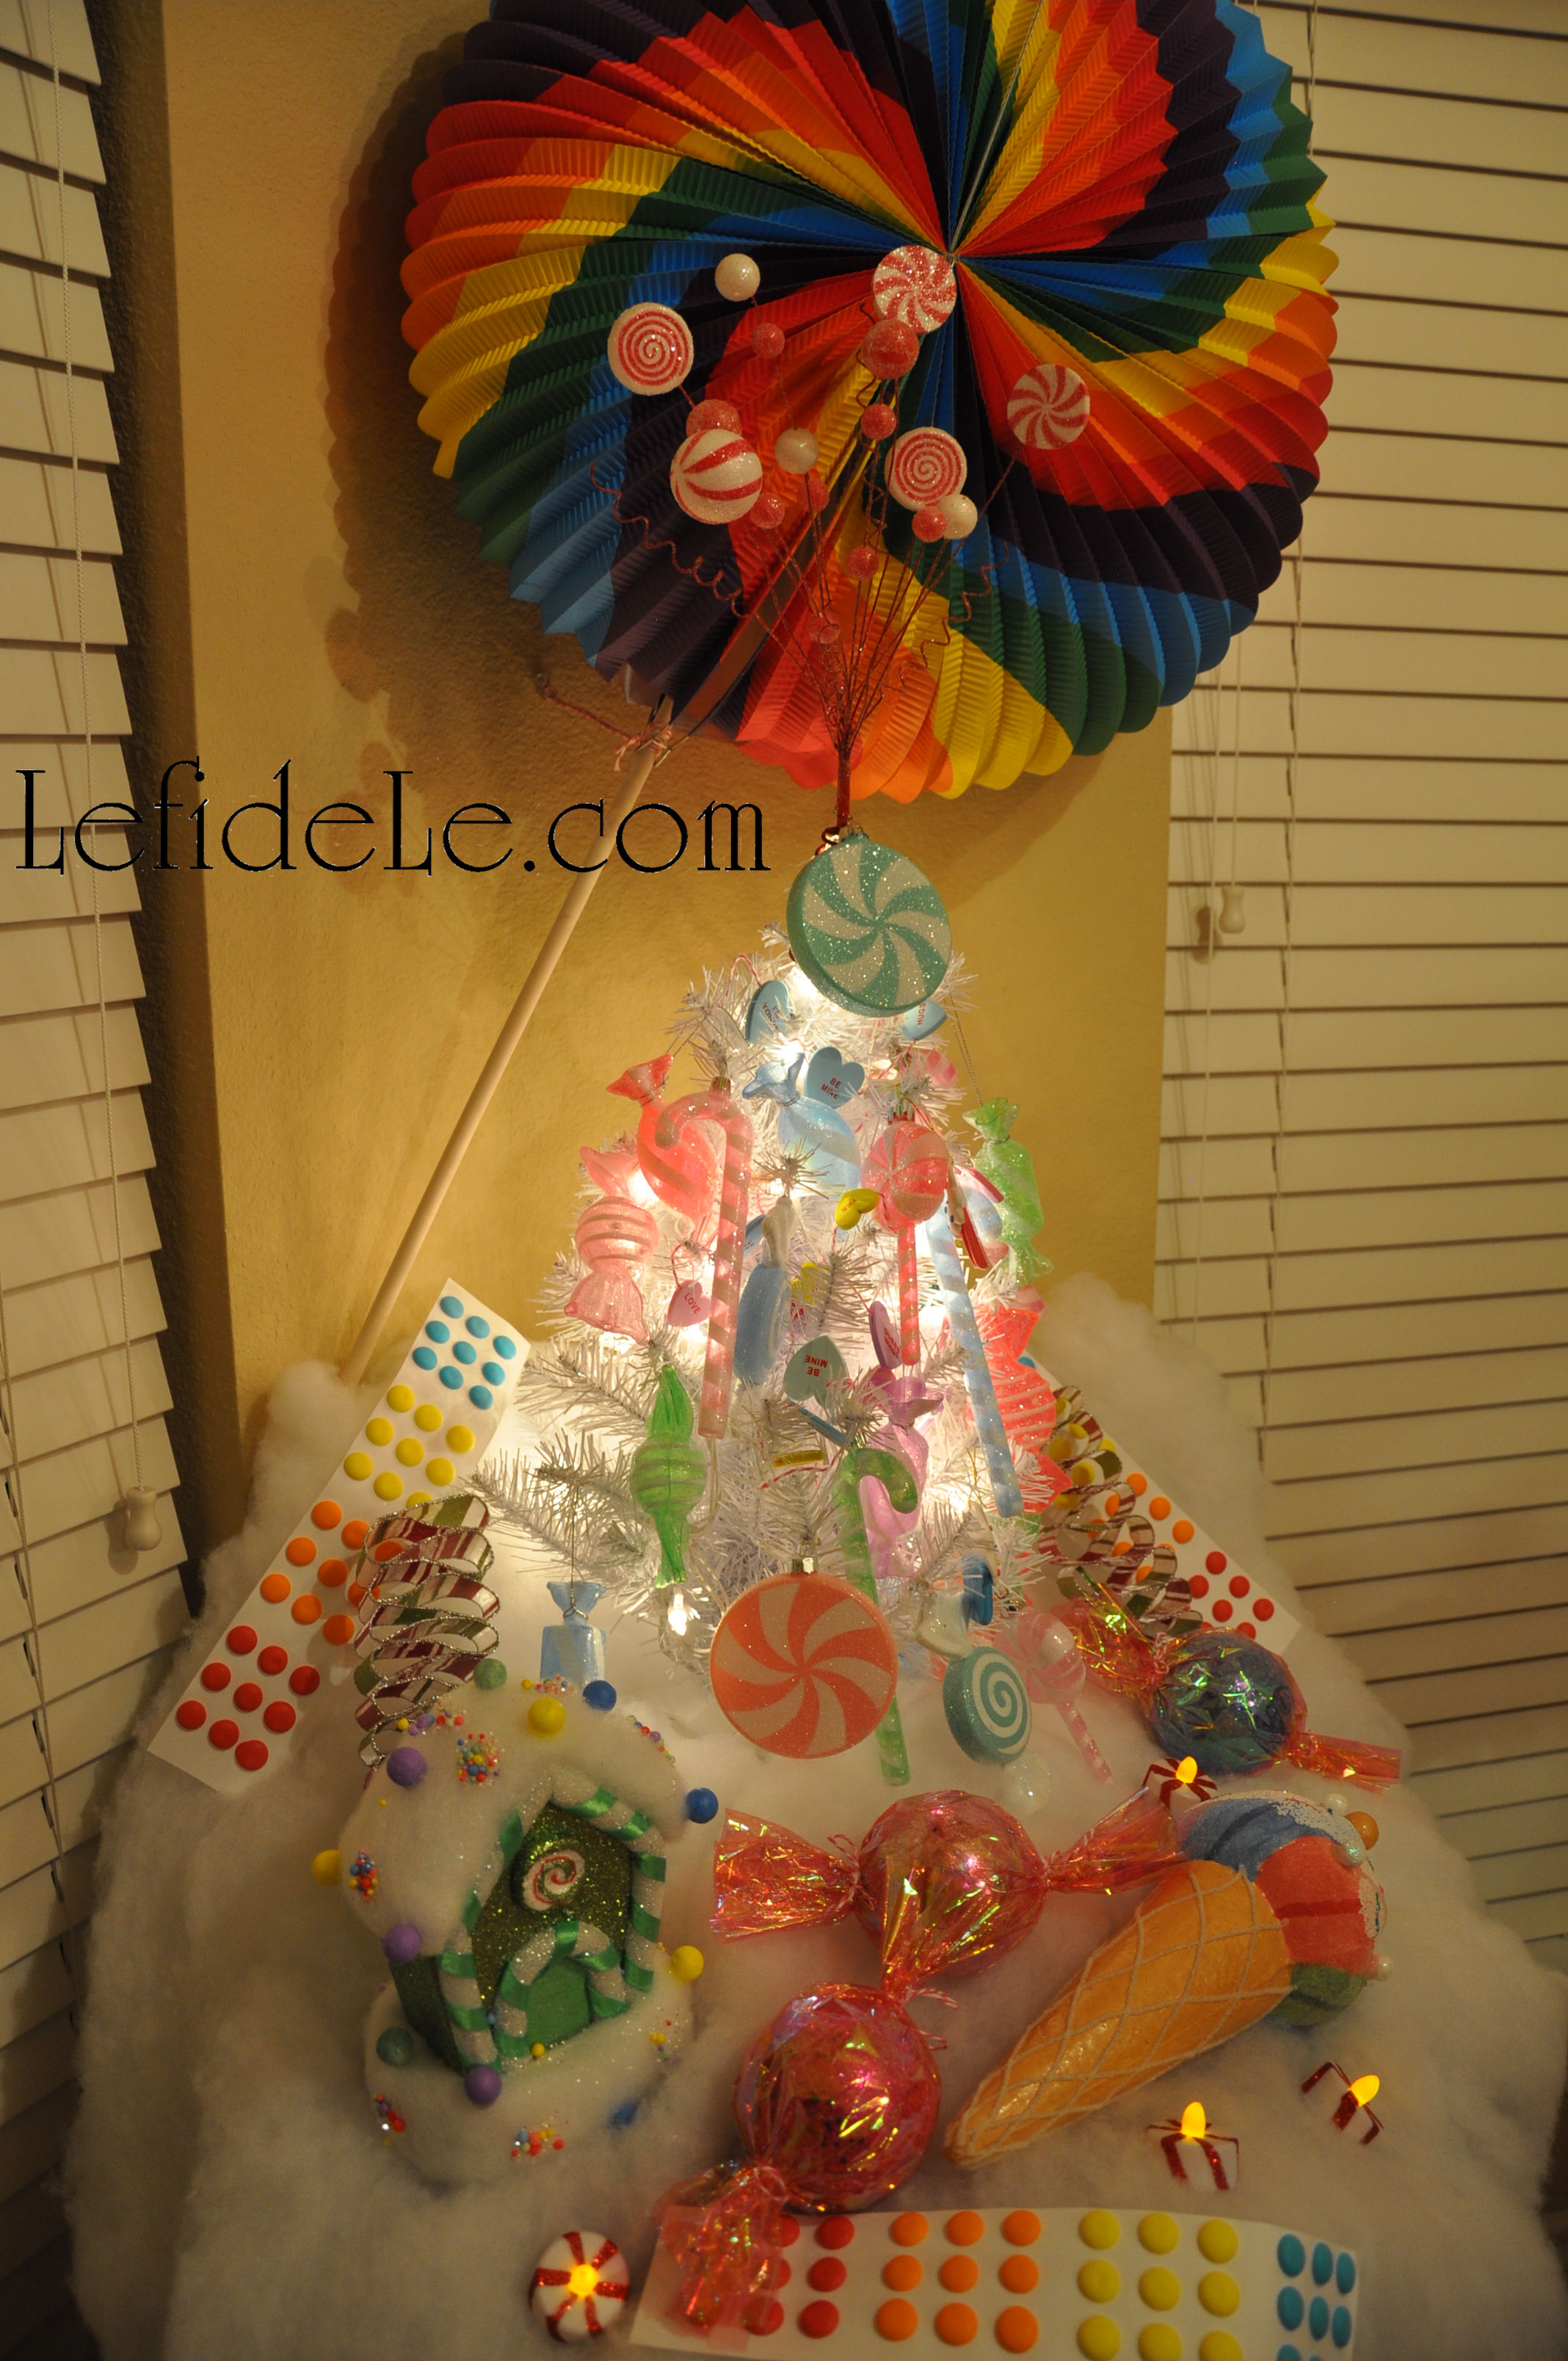
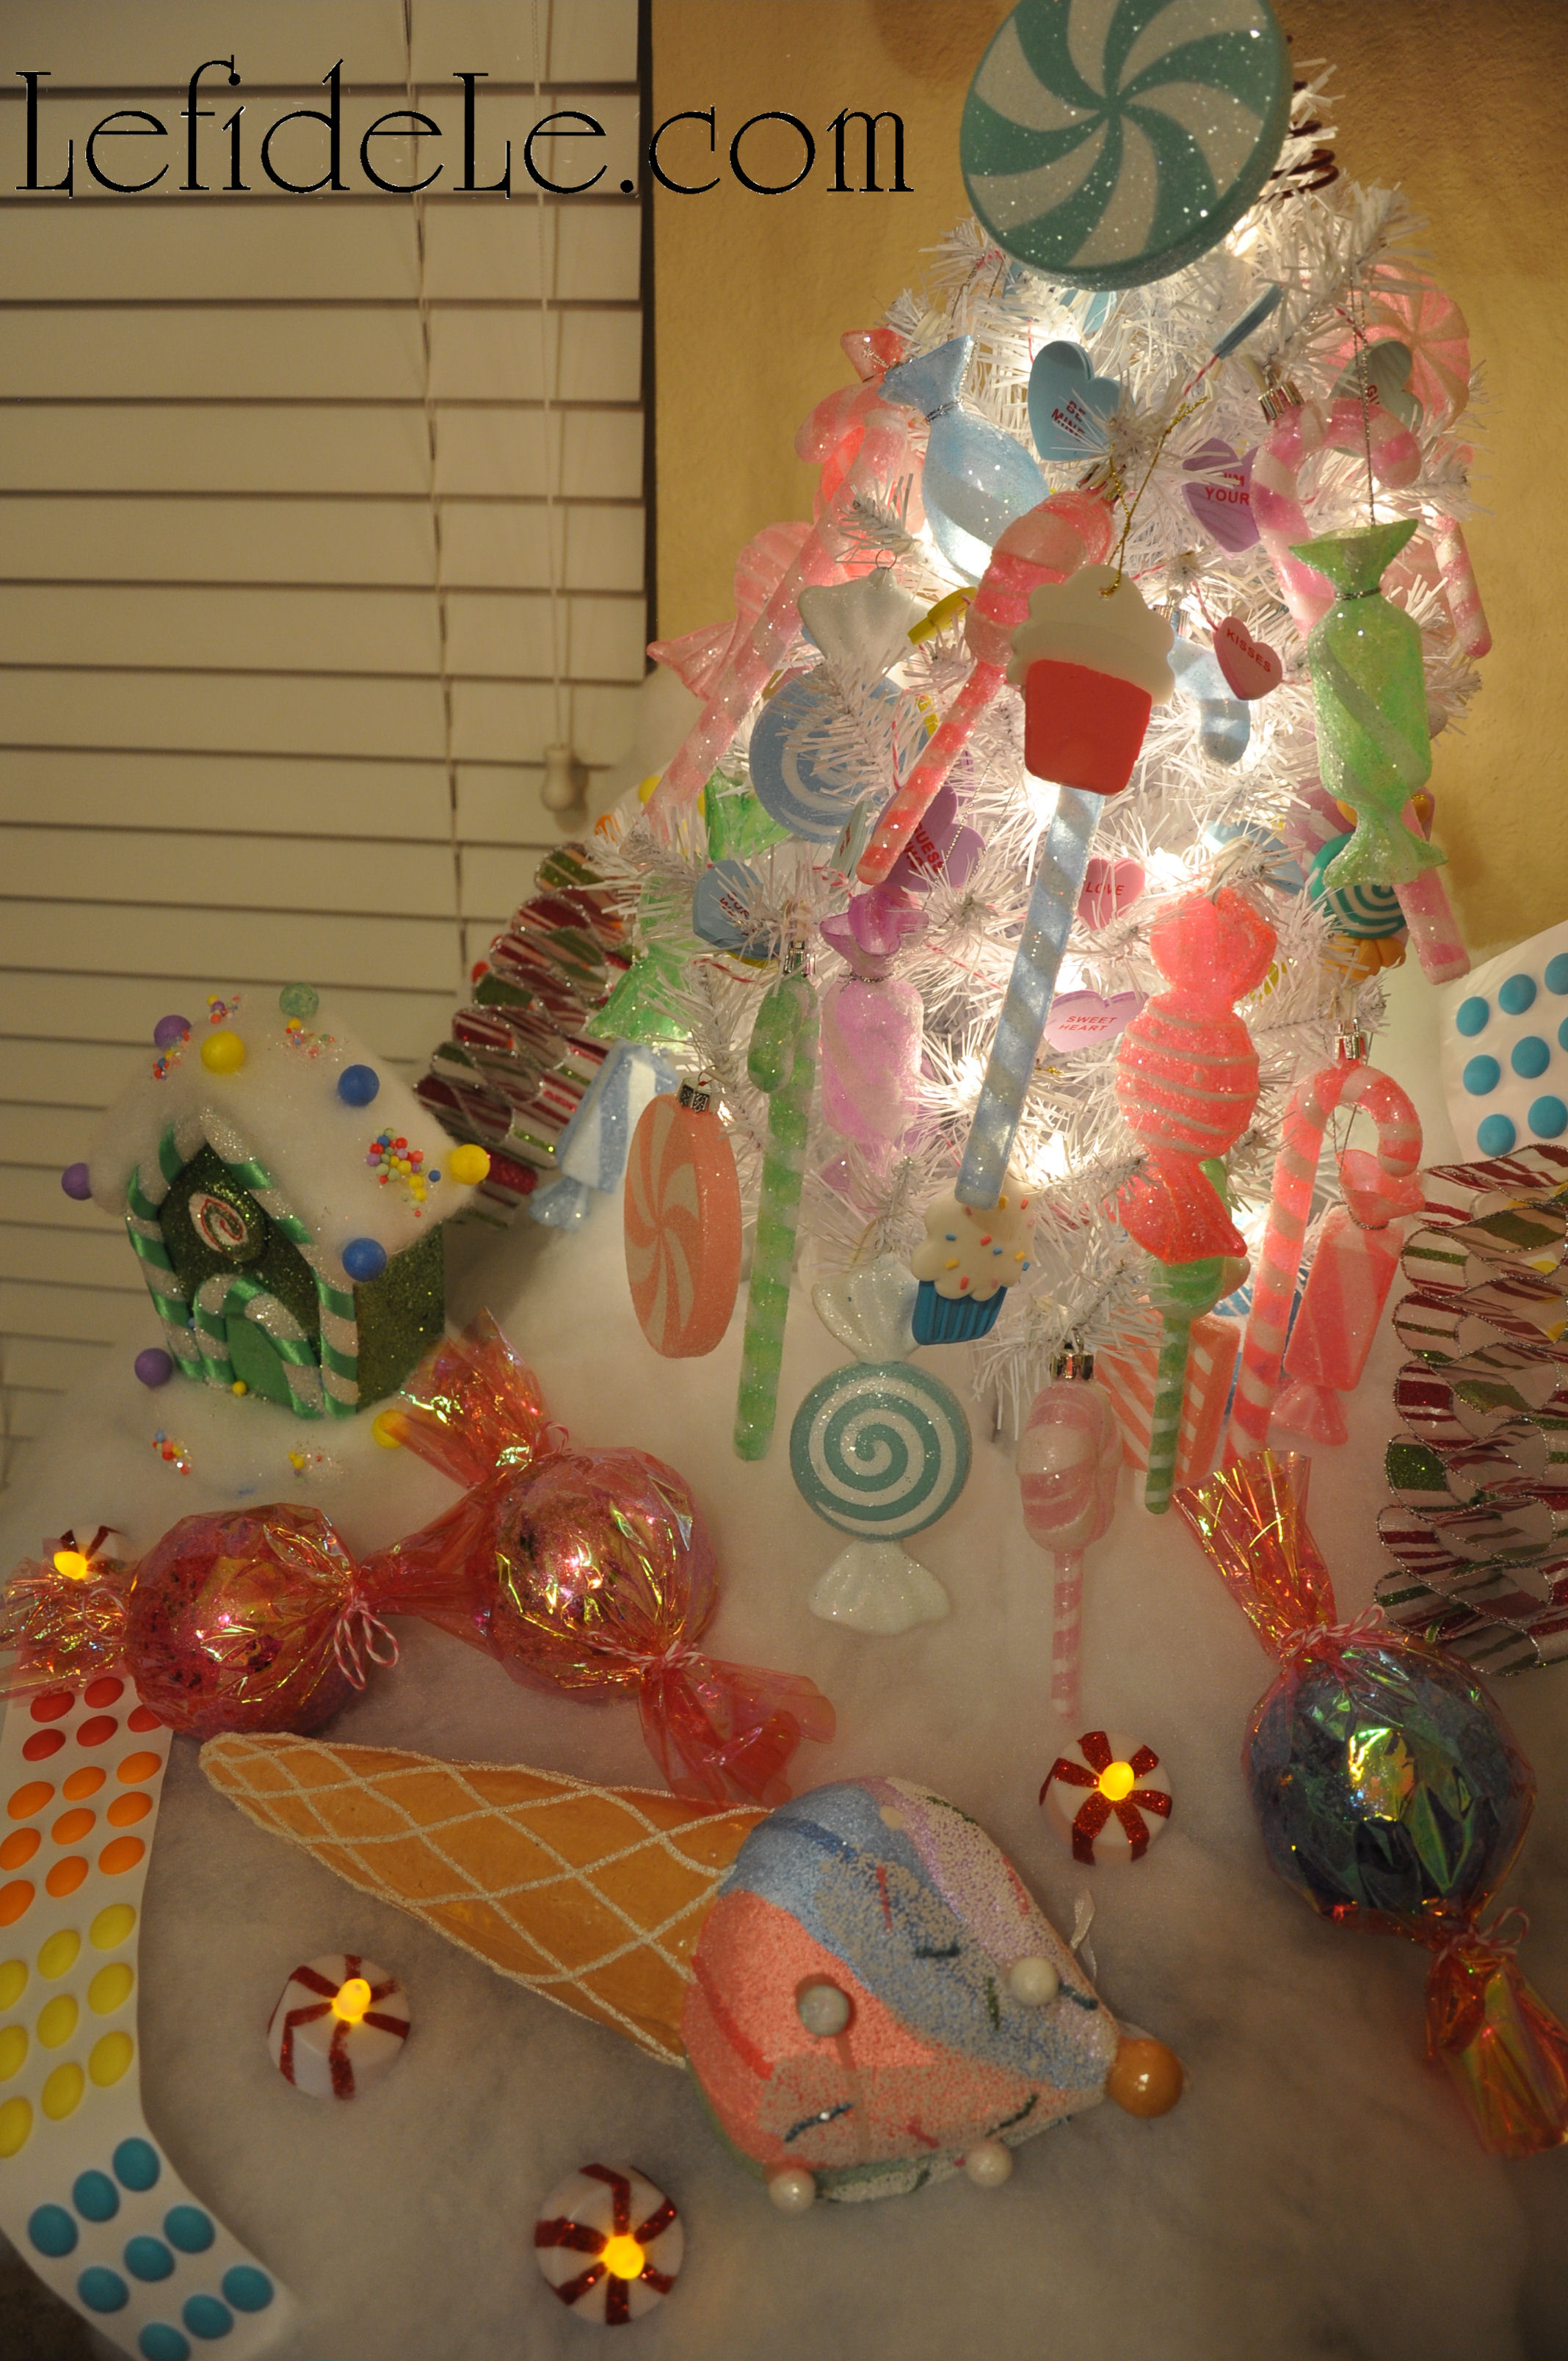
I made “big rock candy mountains” out of lit white Christmas trees that appeared to glow from within. I then placed the “candy”ornaments on and around them.
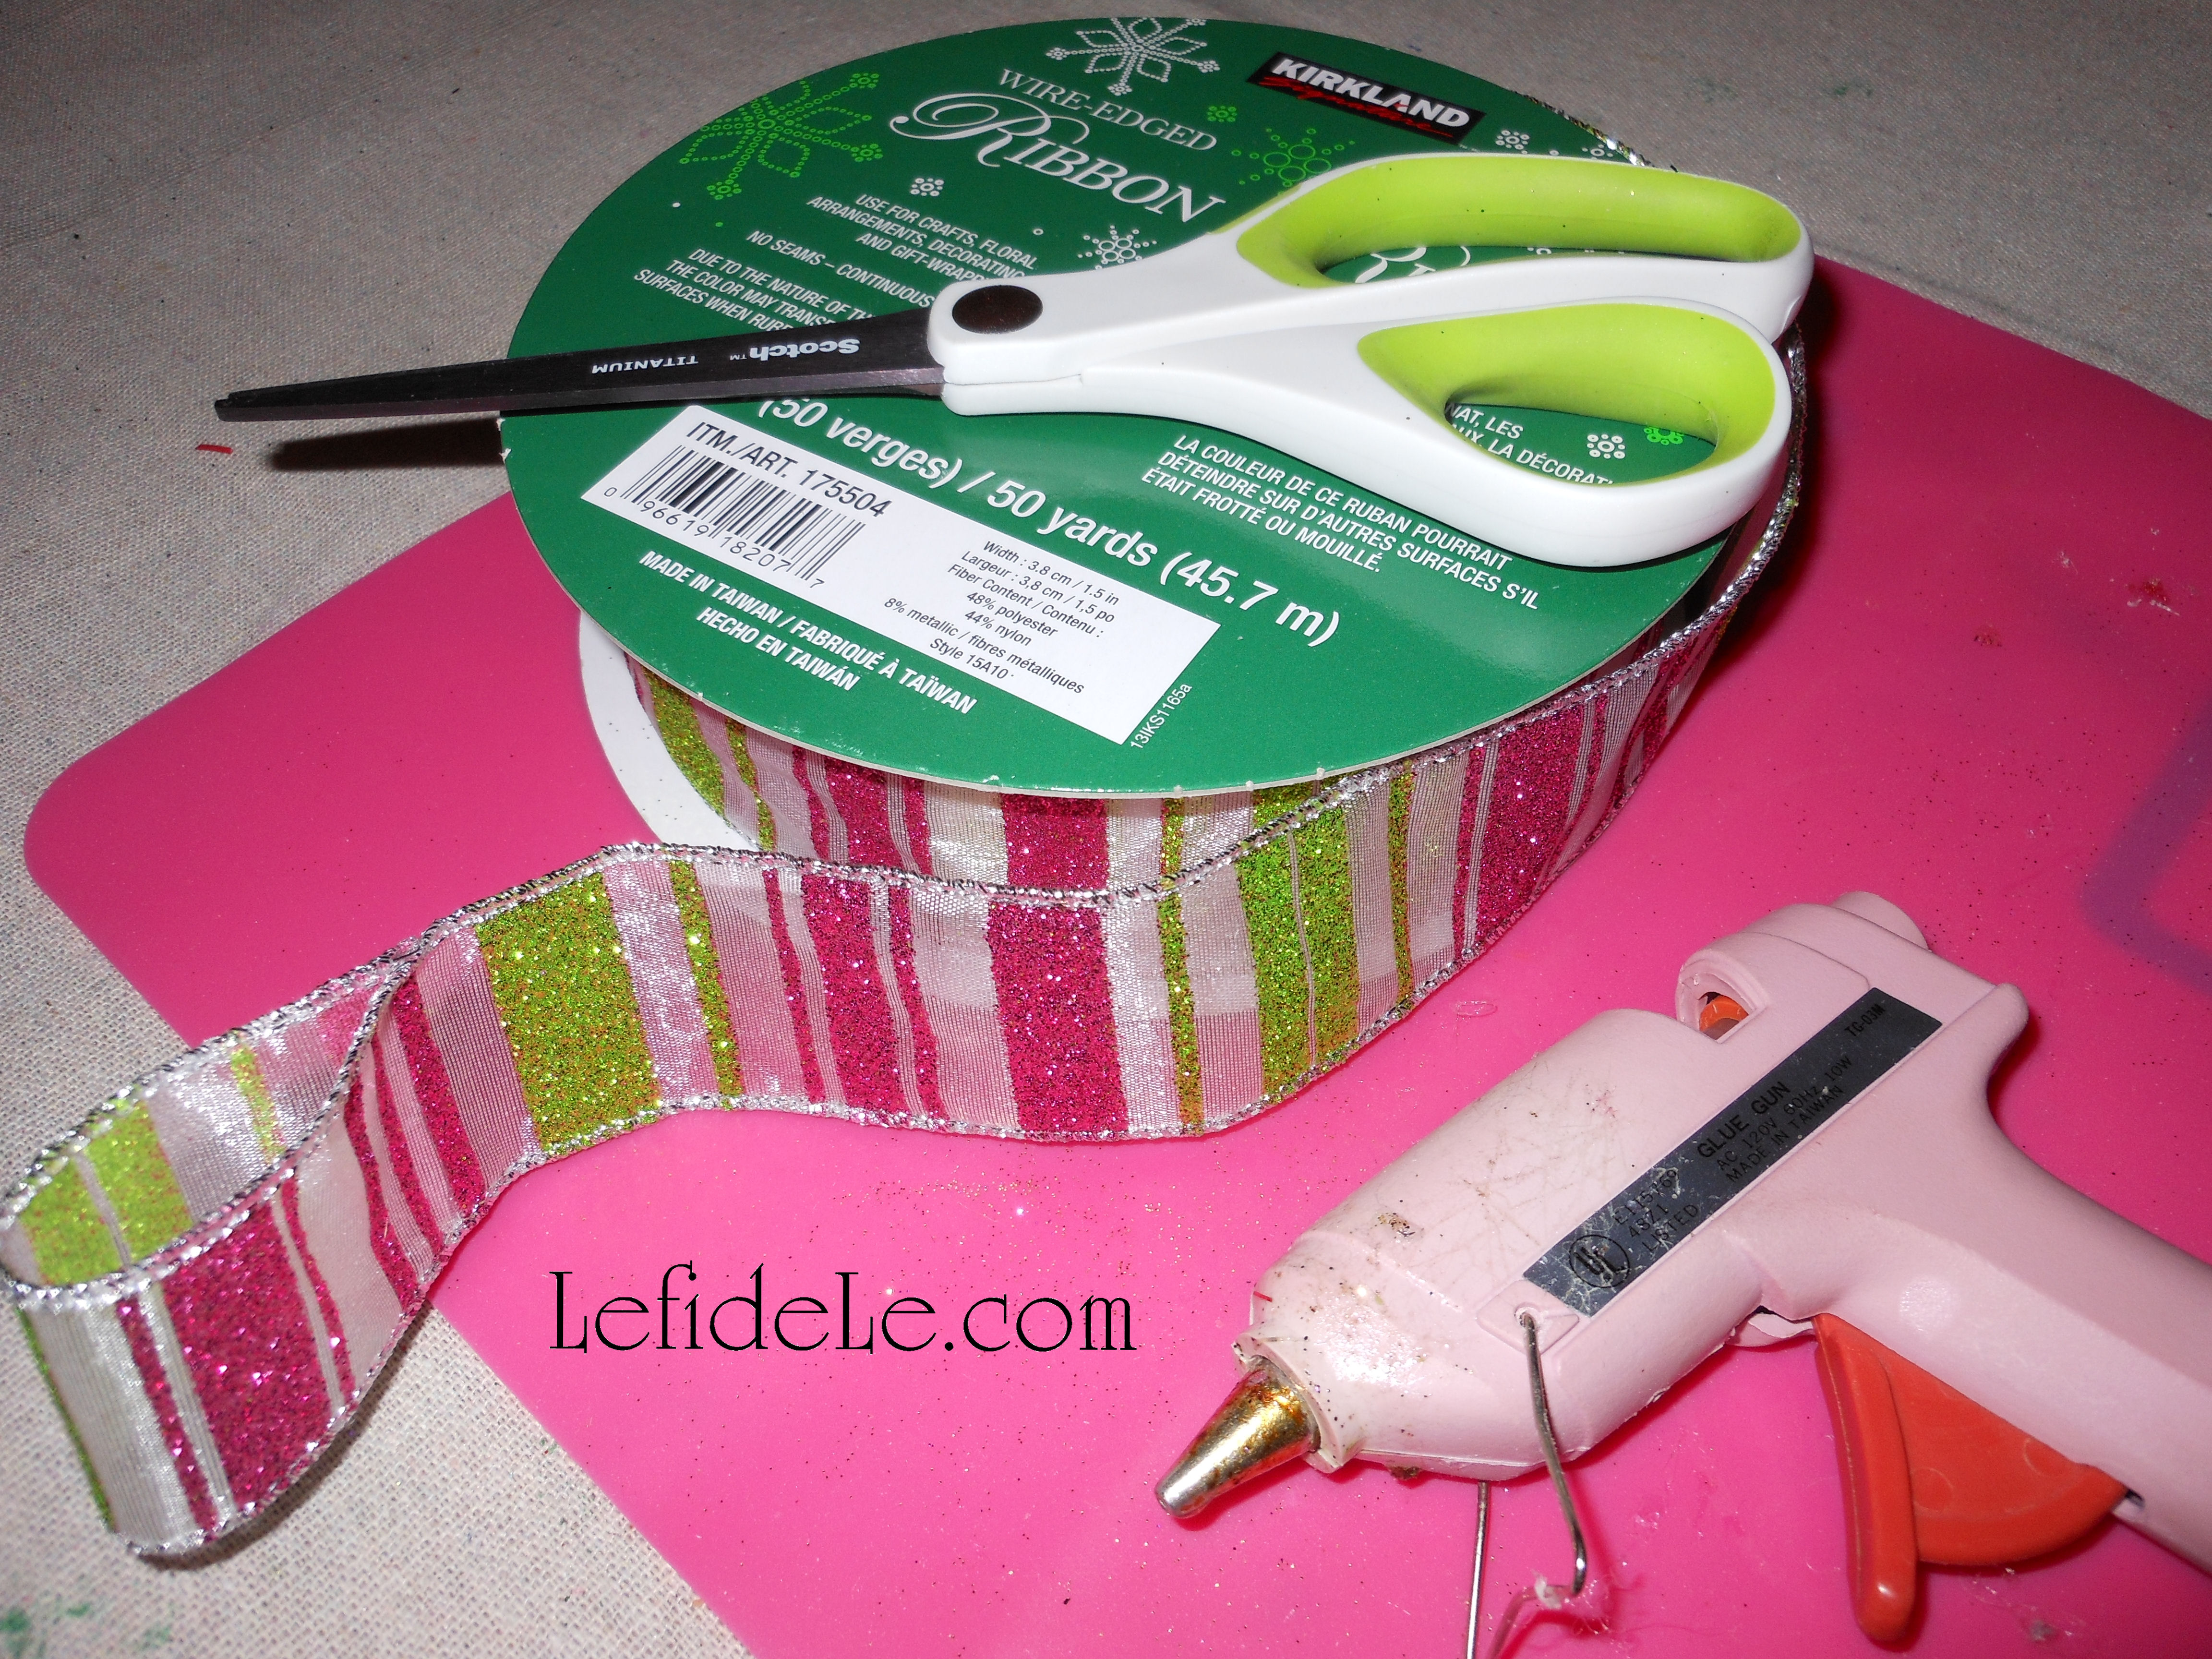
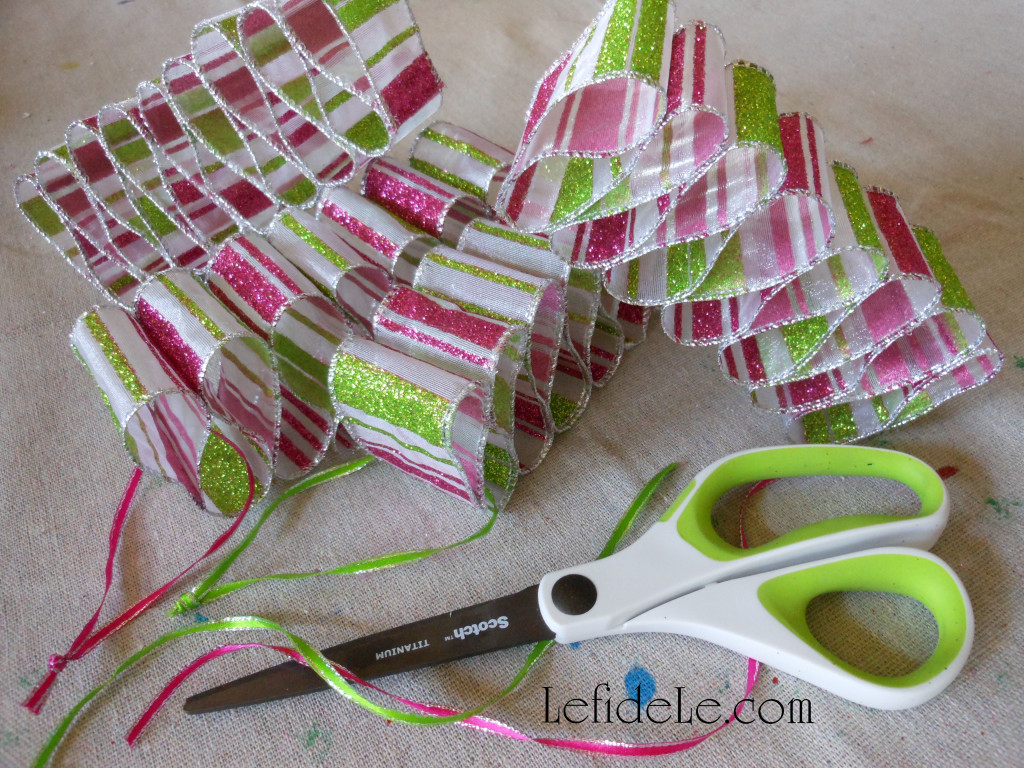
Ribbon candy ornaments are another simple décor craft that can utilize bits of leftover ribbon or even old package wrapping for an eclectic mix. I used a portion of a giant roll from Costco that is actually reserved for another project. Real ribbon candy doesn’t have glitter and has stripes facing the other way, but I thought they were adorable anyway.
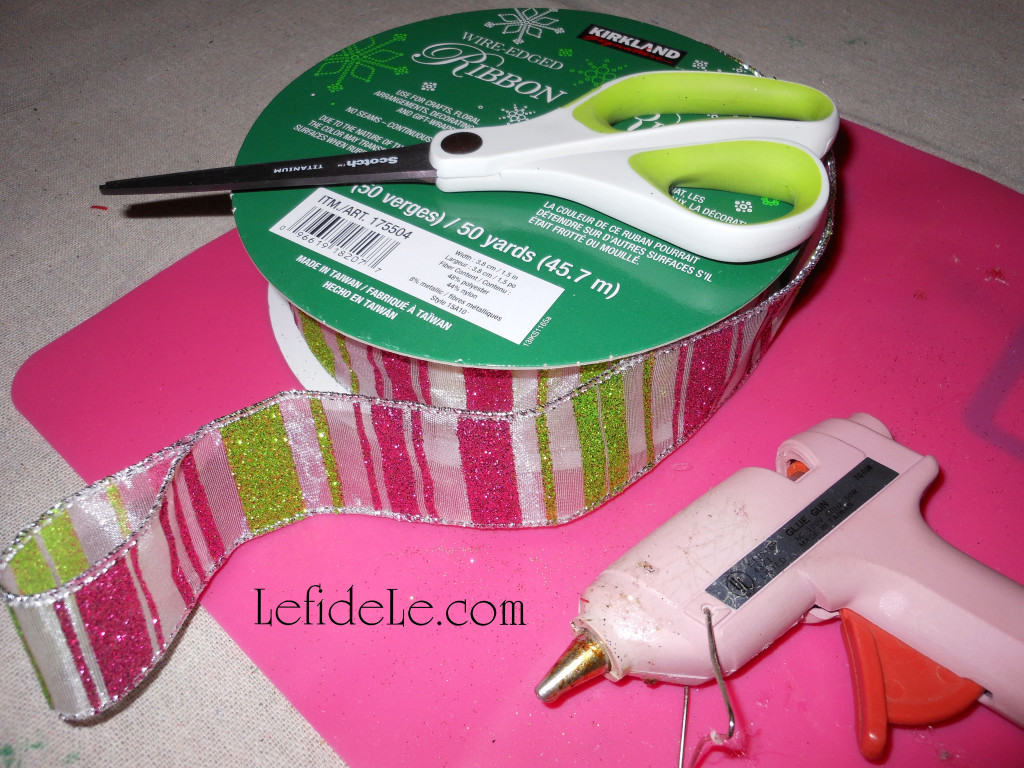
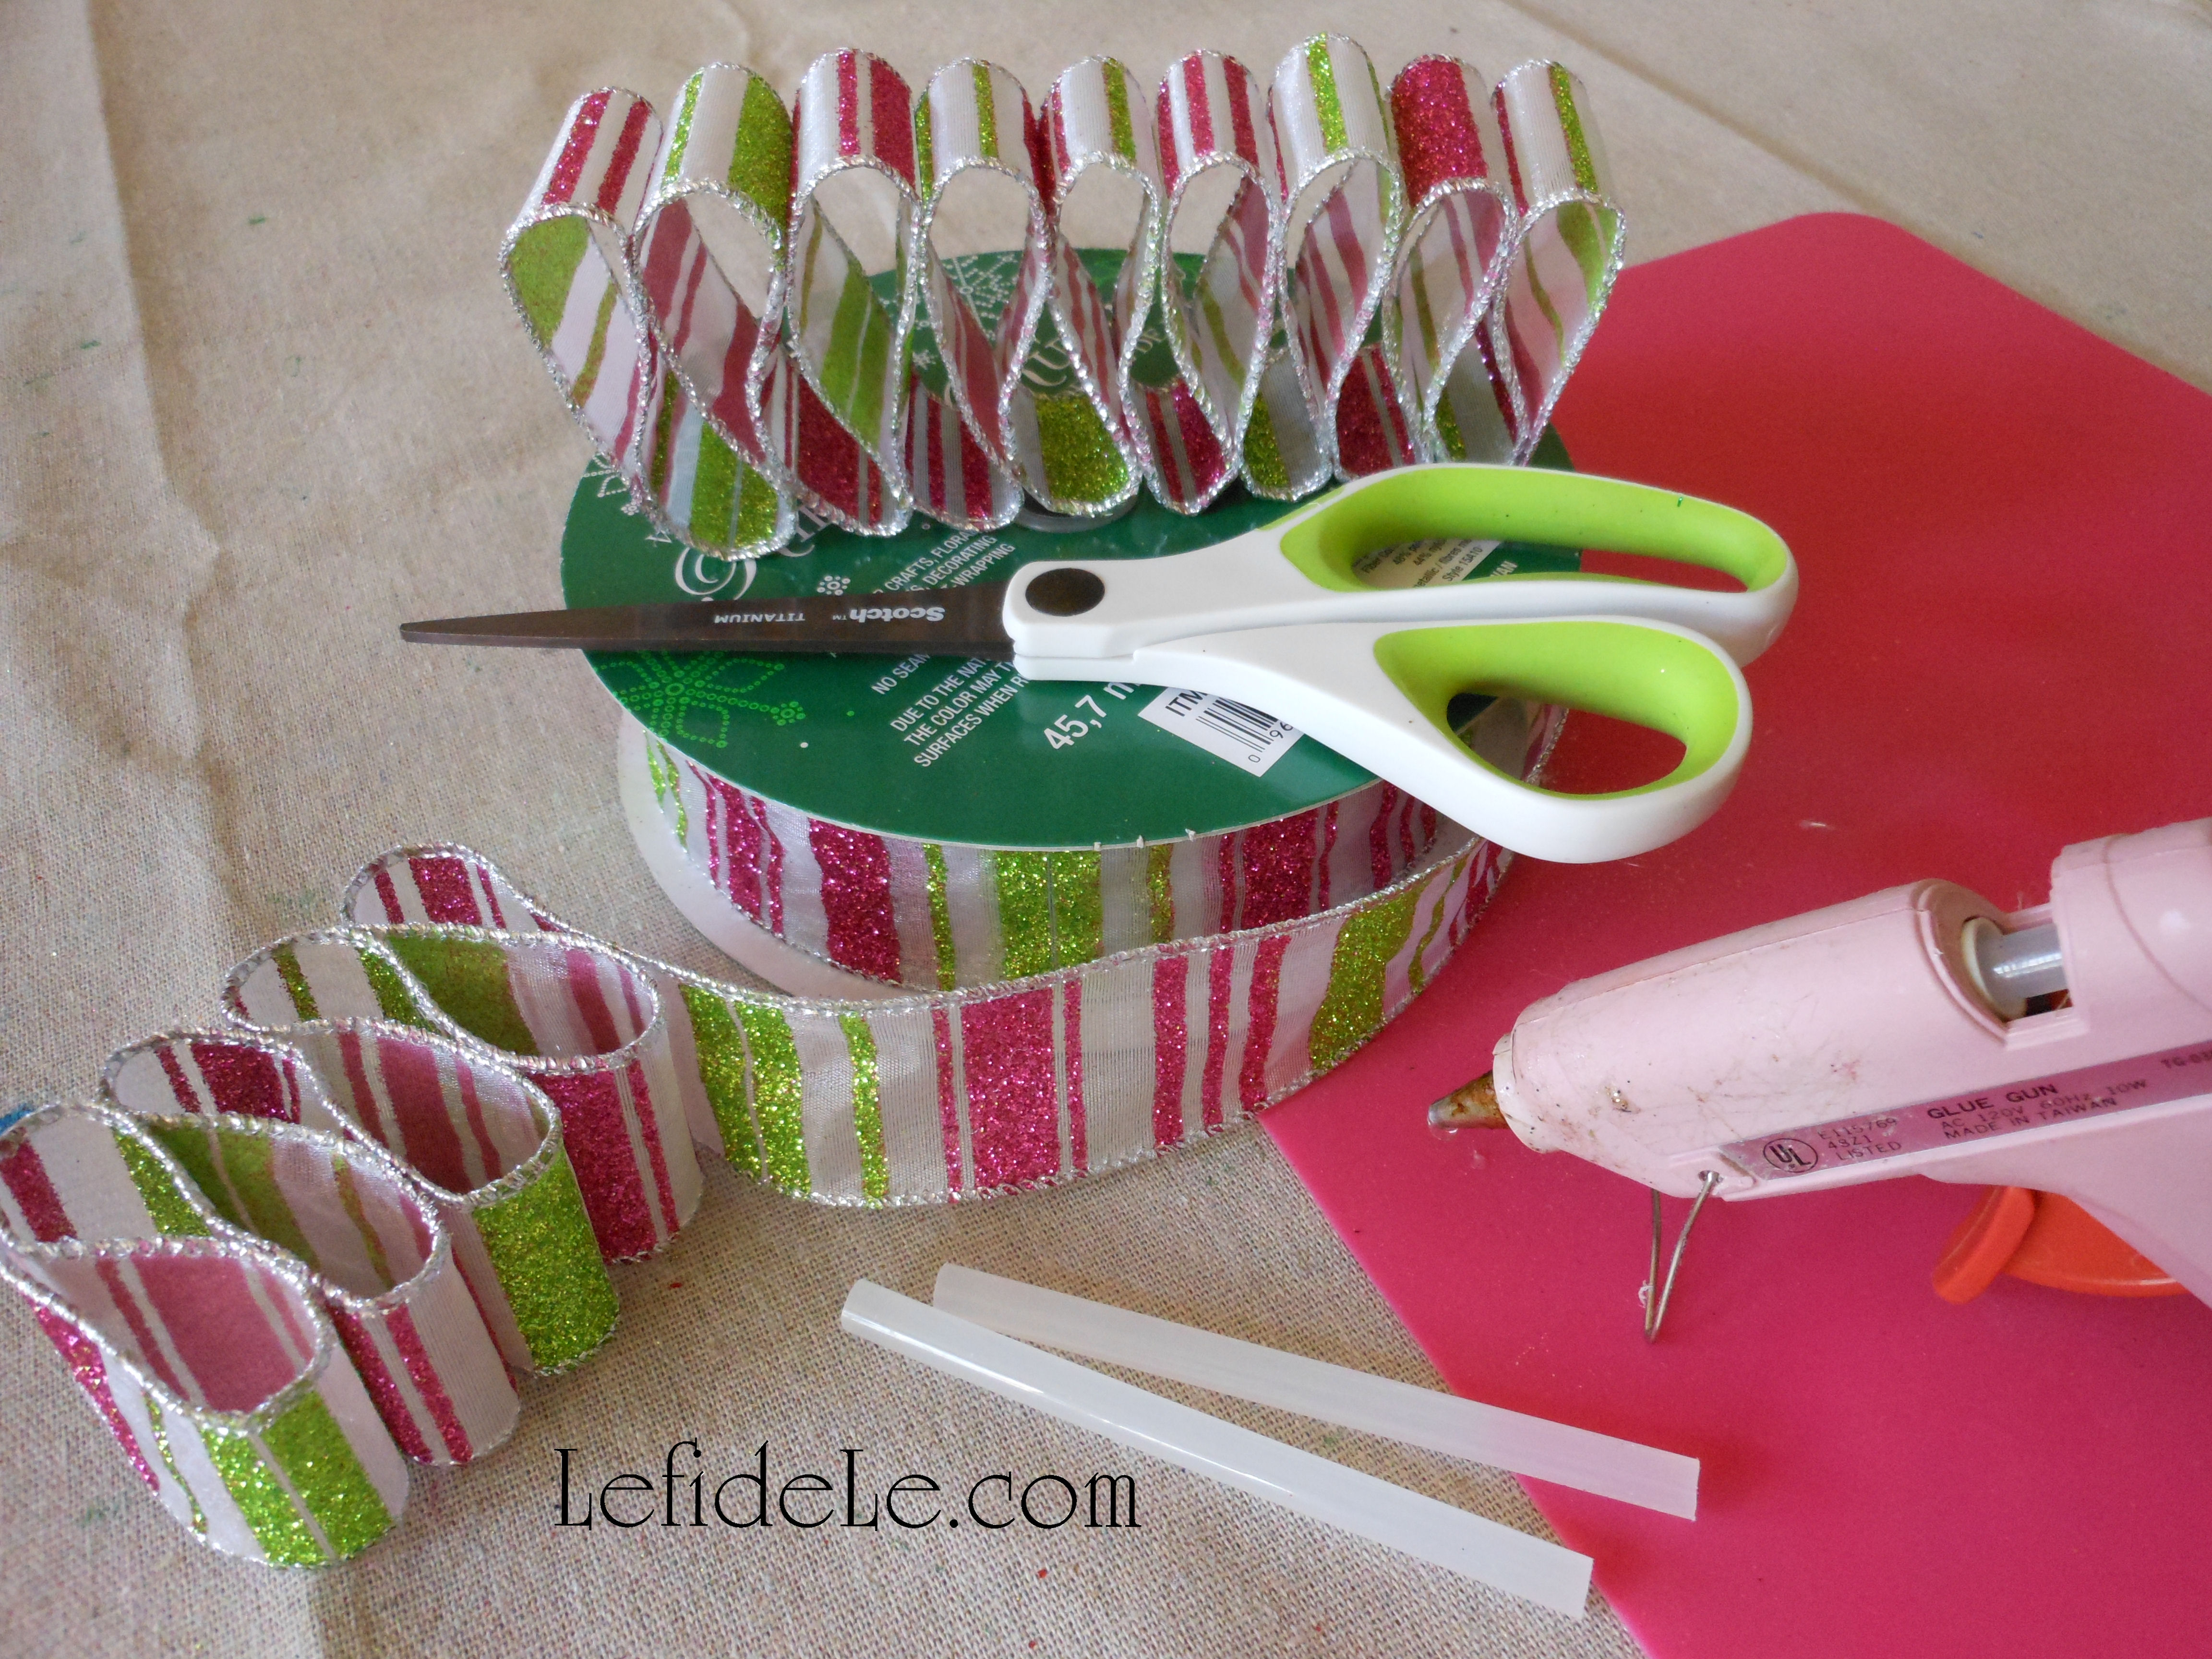
To make these, just hot glue a line onto the ribbon’s end, and tap it down to form a loop.

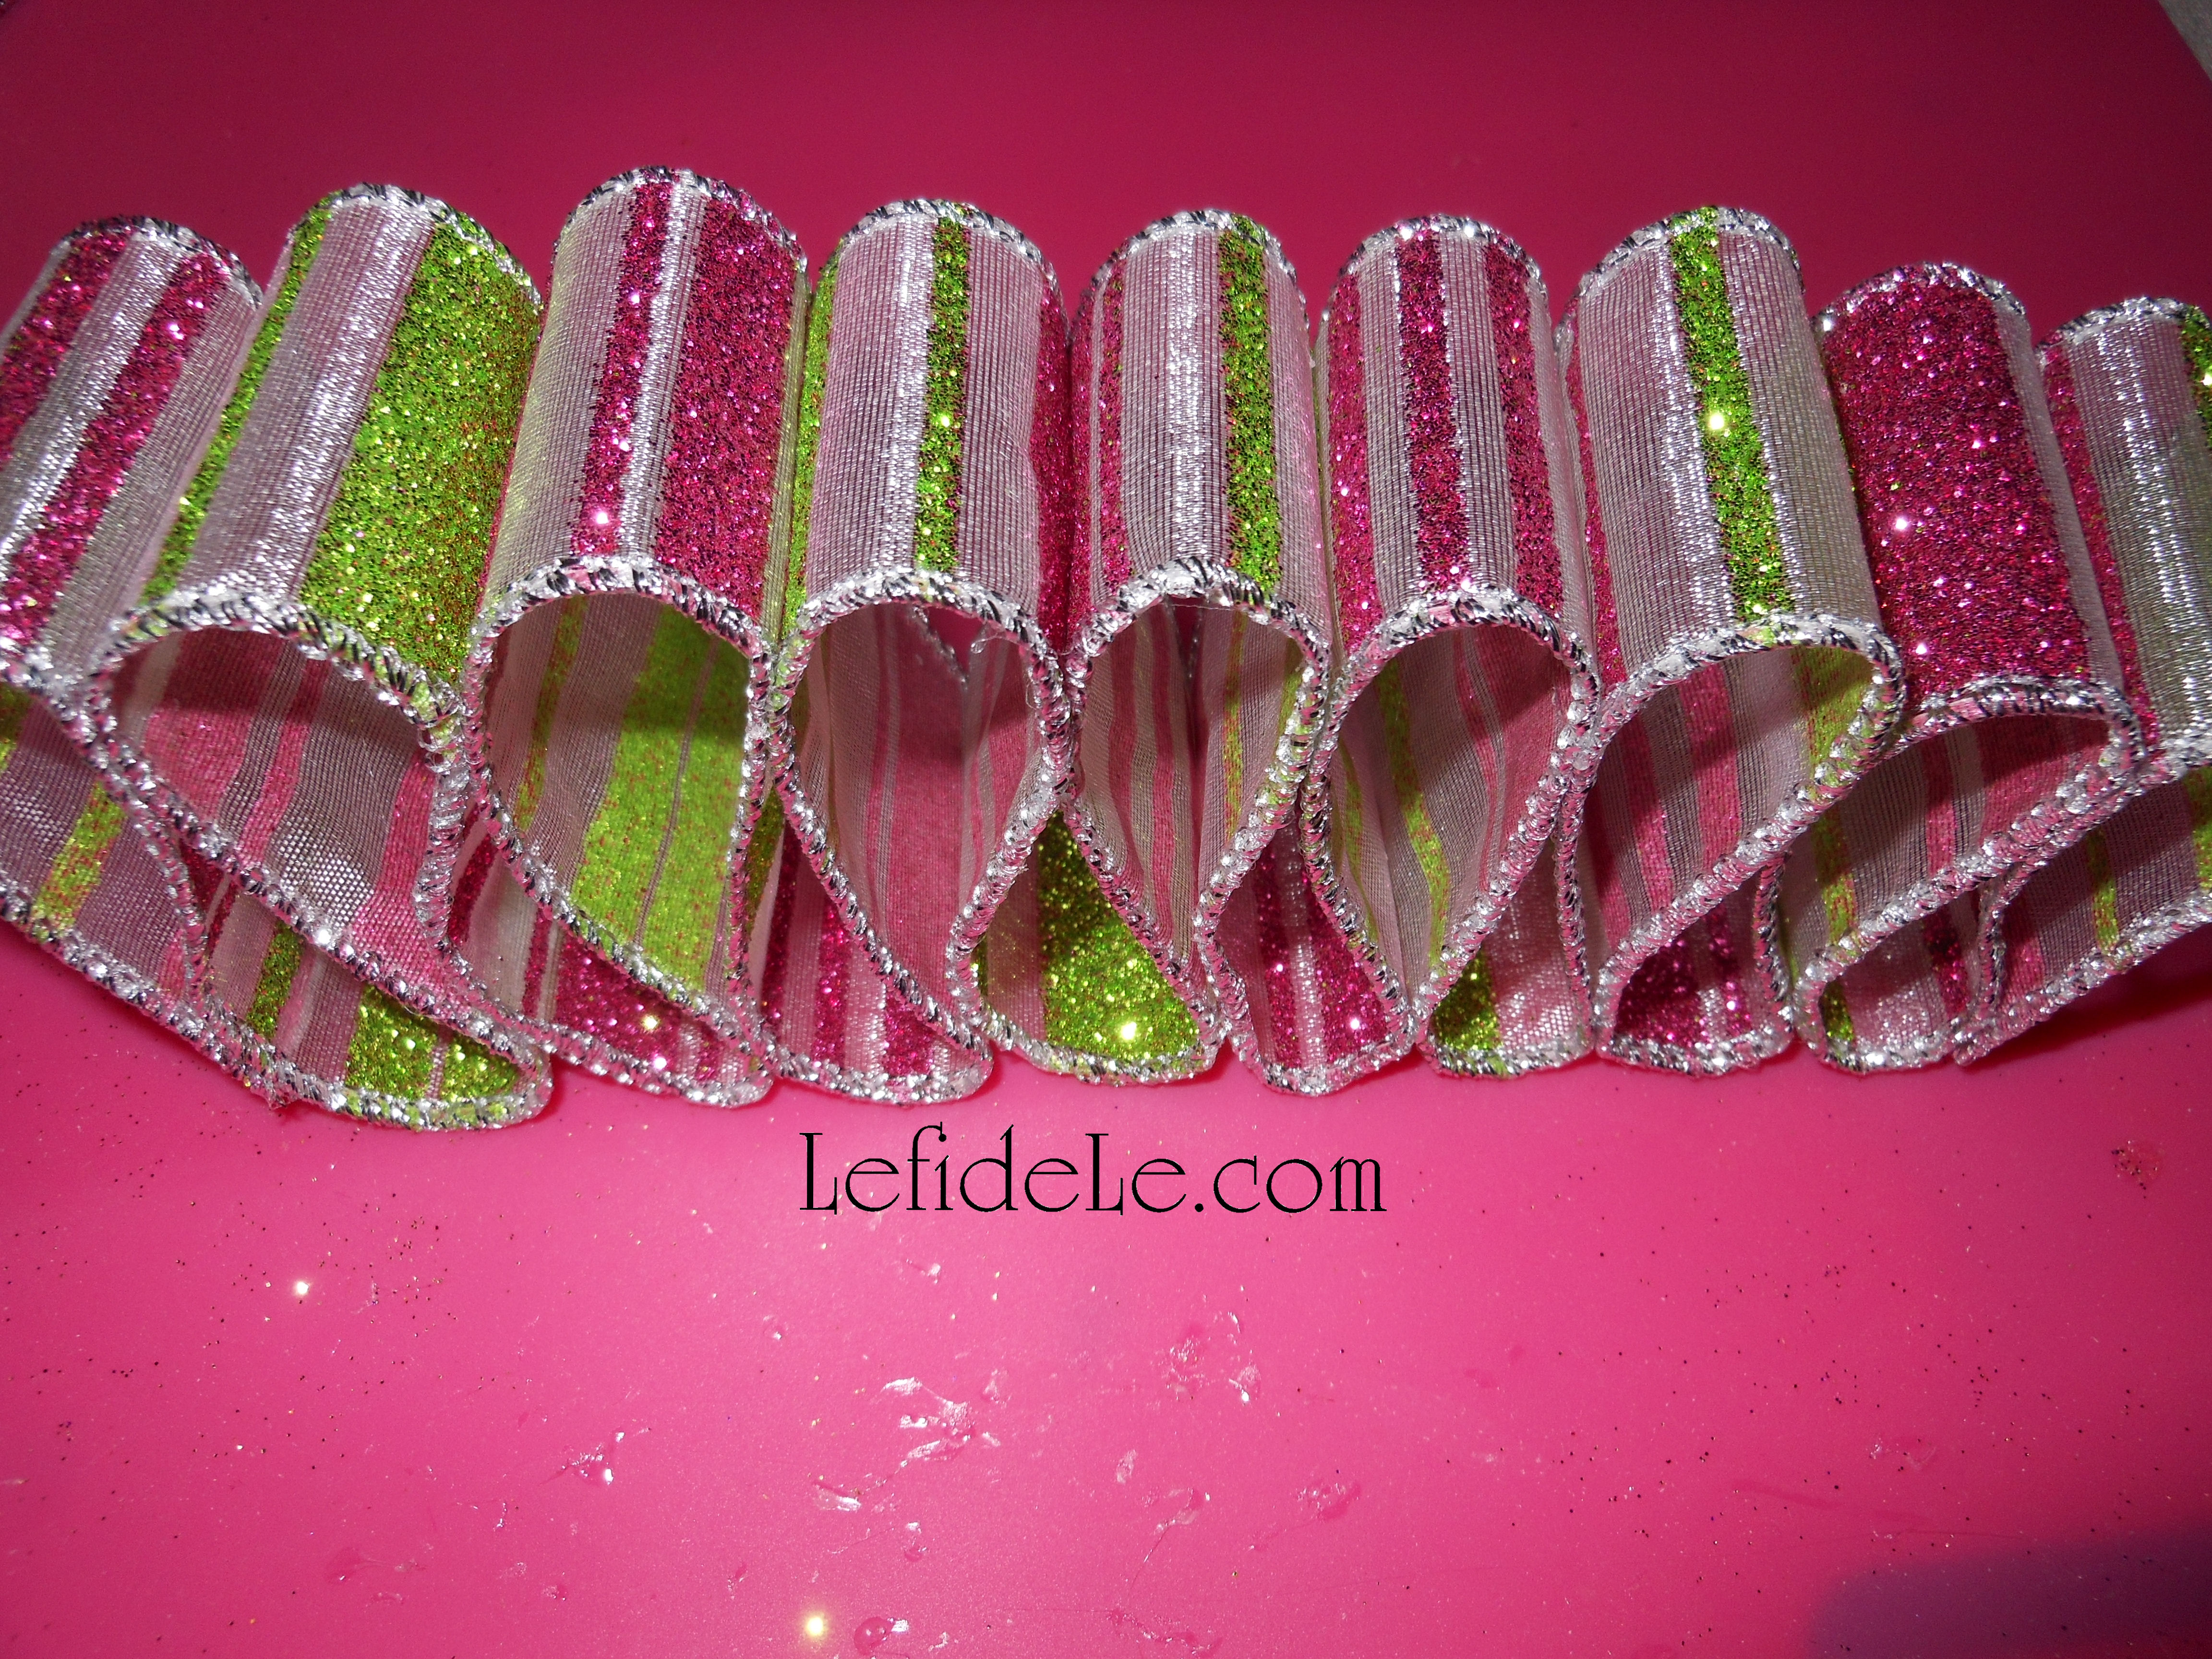
Keep repeating this action, forming more and more loops, until you reach a size that seems proportionate to a candy dimension.

Cut off the end, and glue it down to form the last loop.
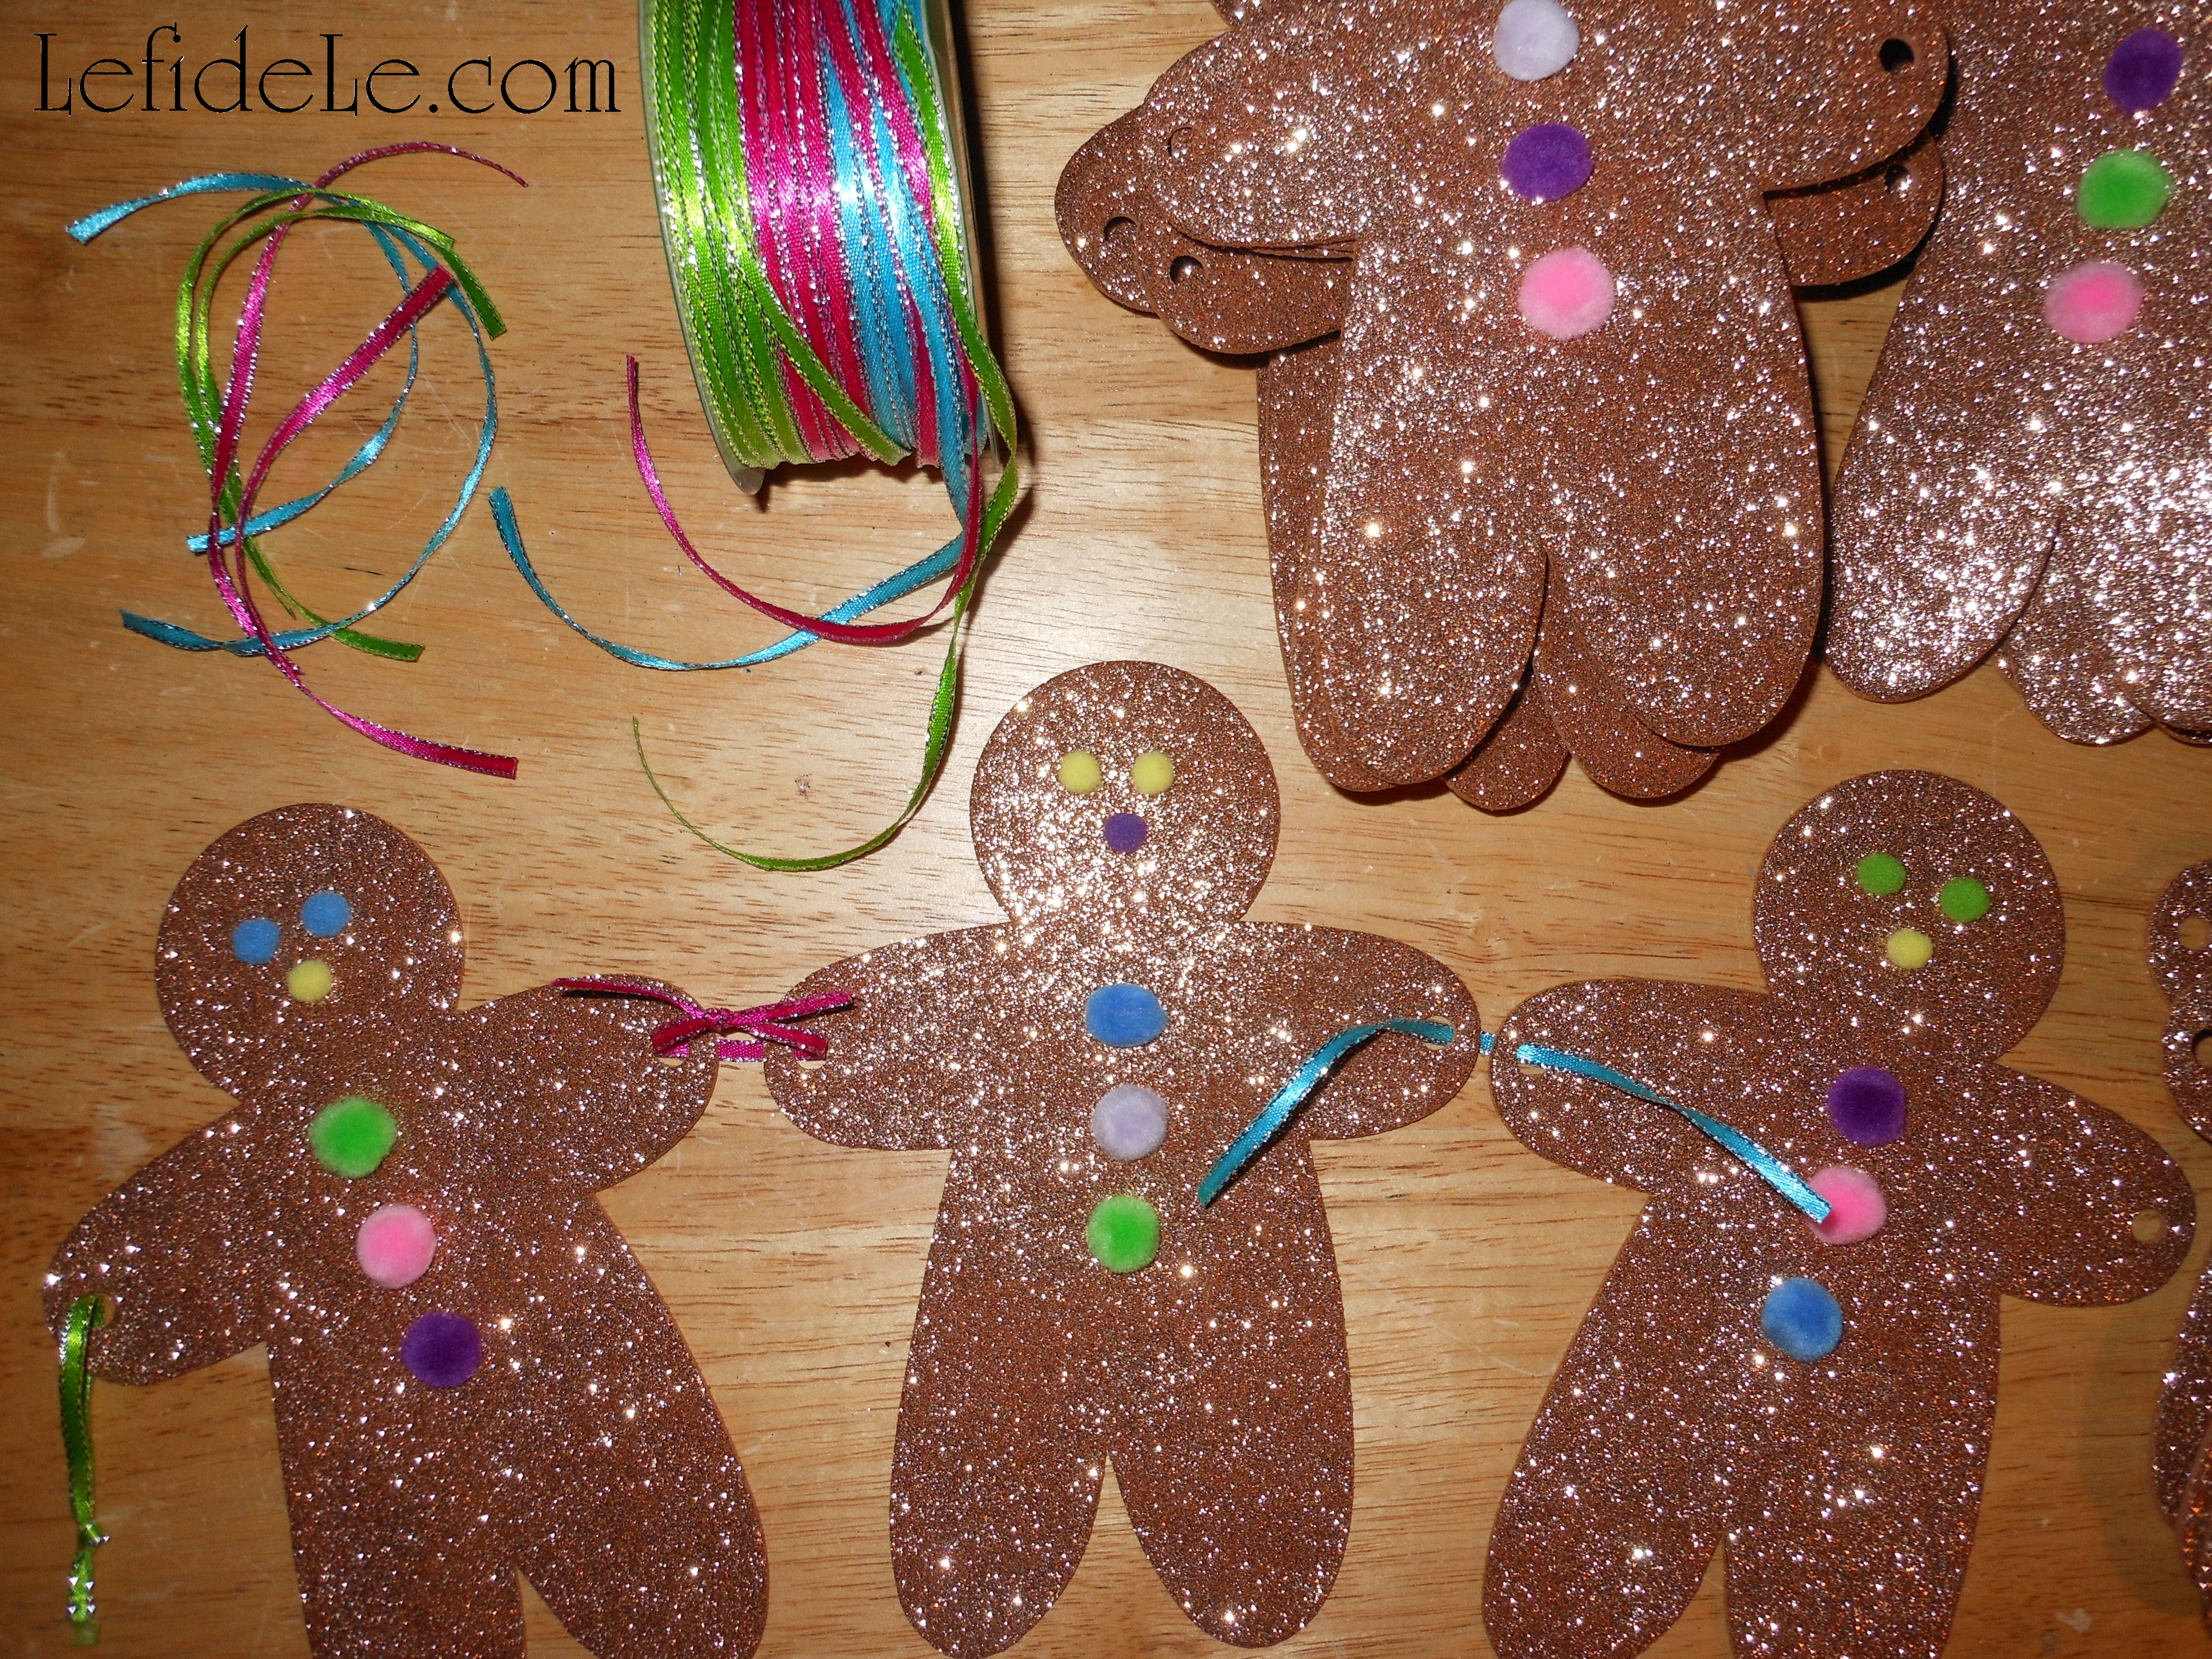
Next, add a hanger if you’d like to. I used the same thin ribbon as the banner in part one of the Candyland craft series. Make a loop through one loop end of the “candy” and tie a knot. (This seems to be a much safer option, than metal hooks, around small children and pets.)
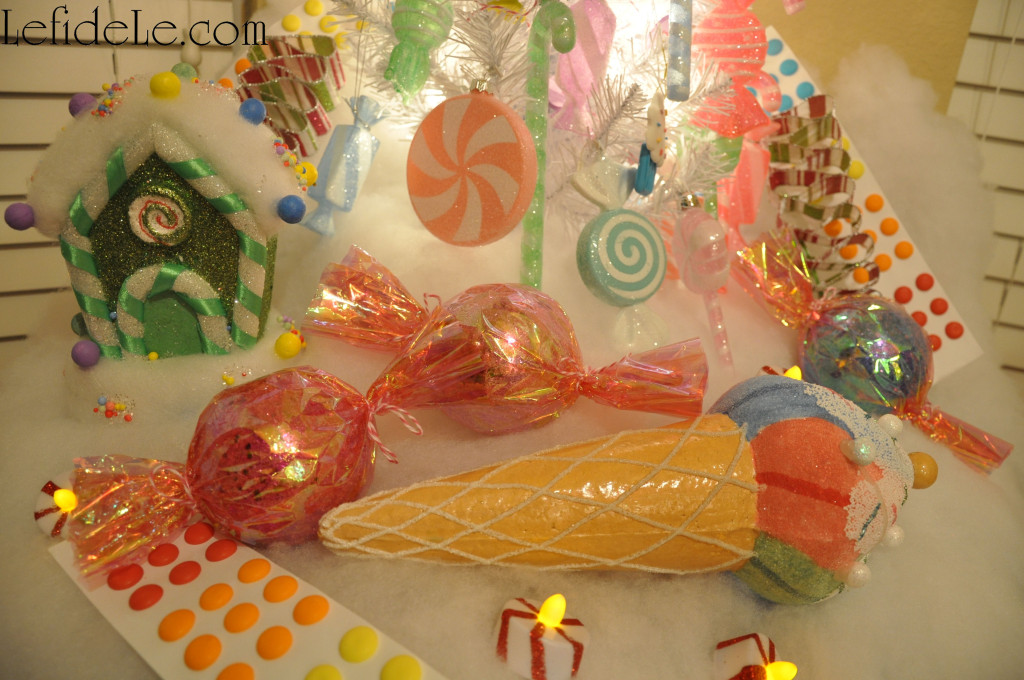
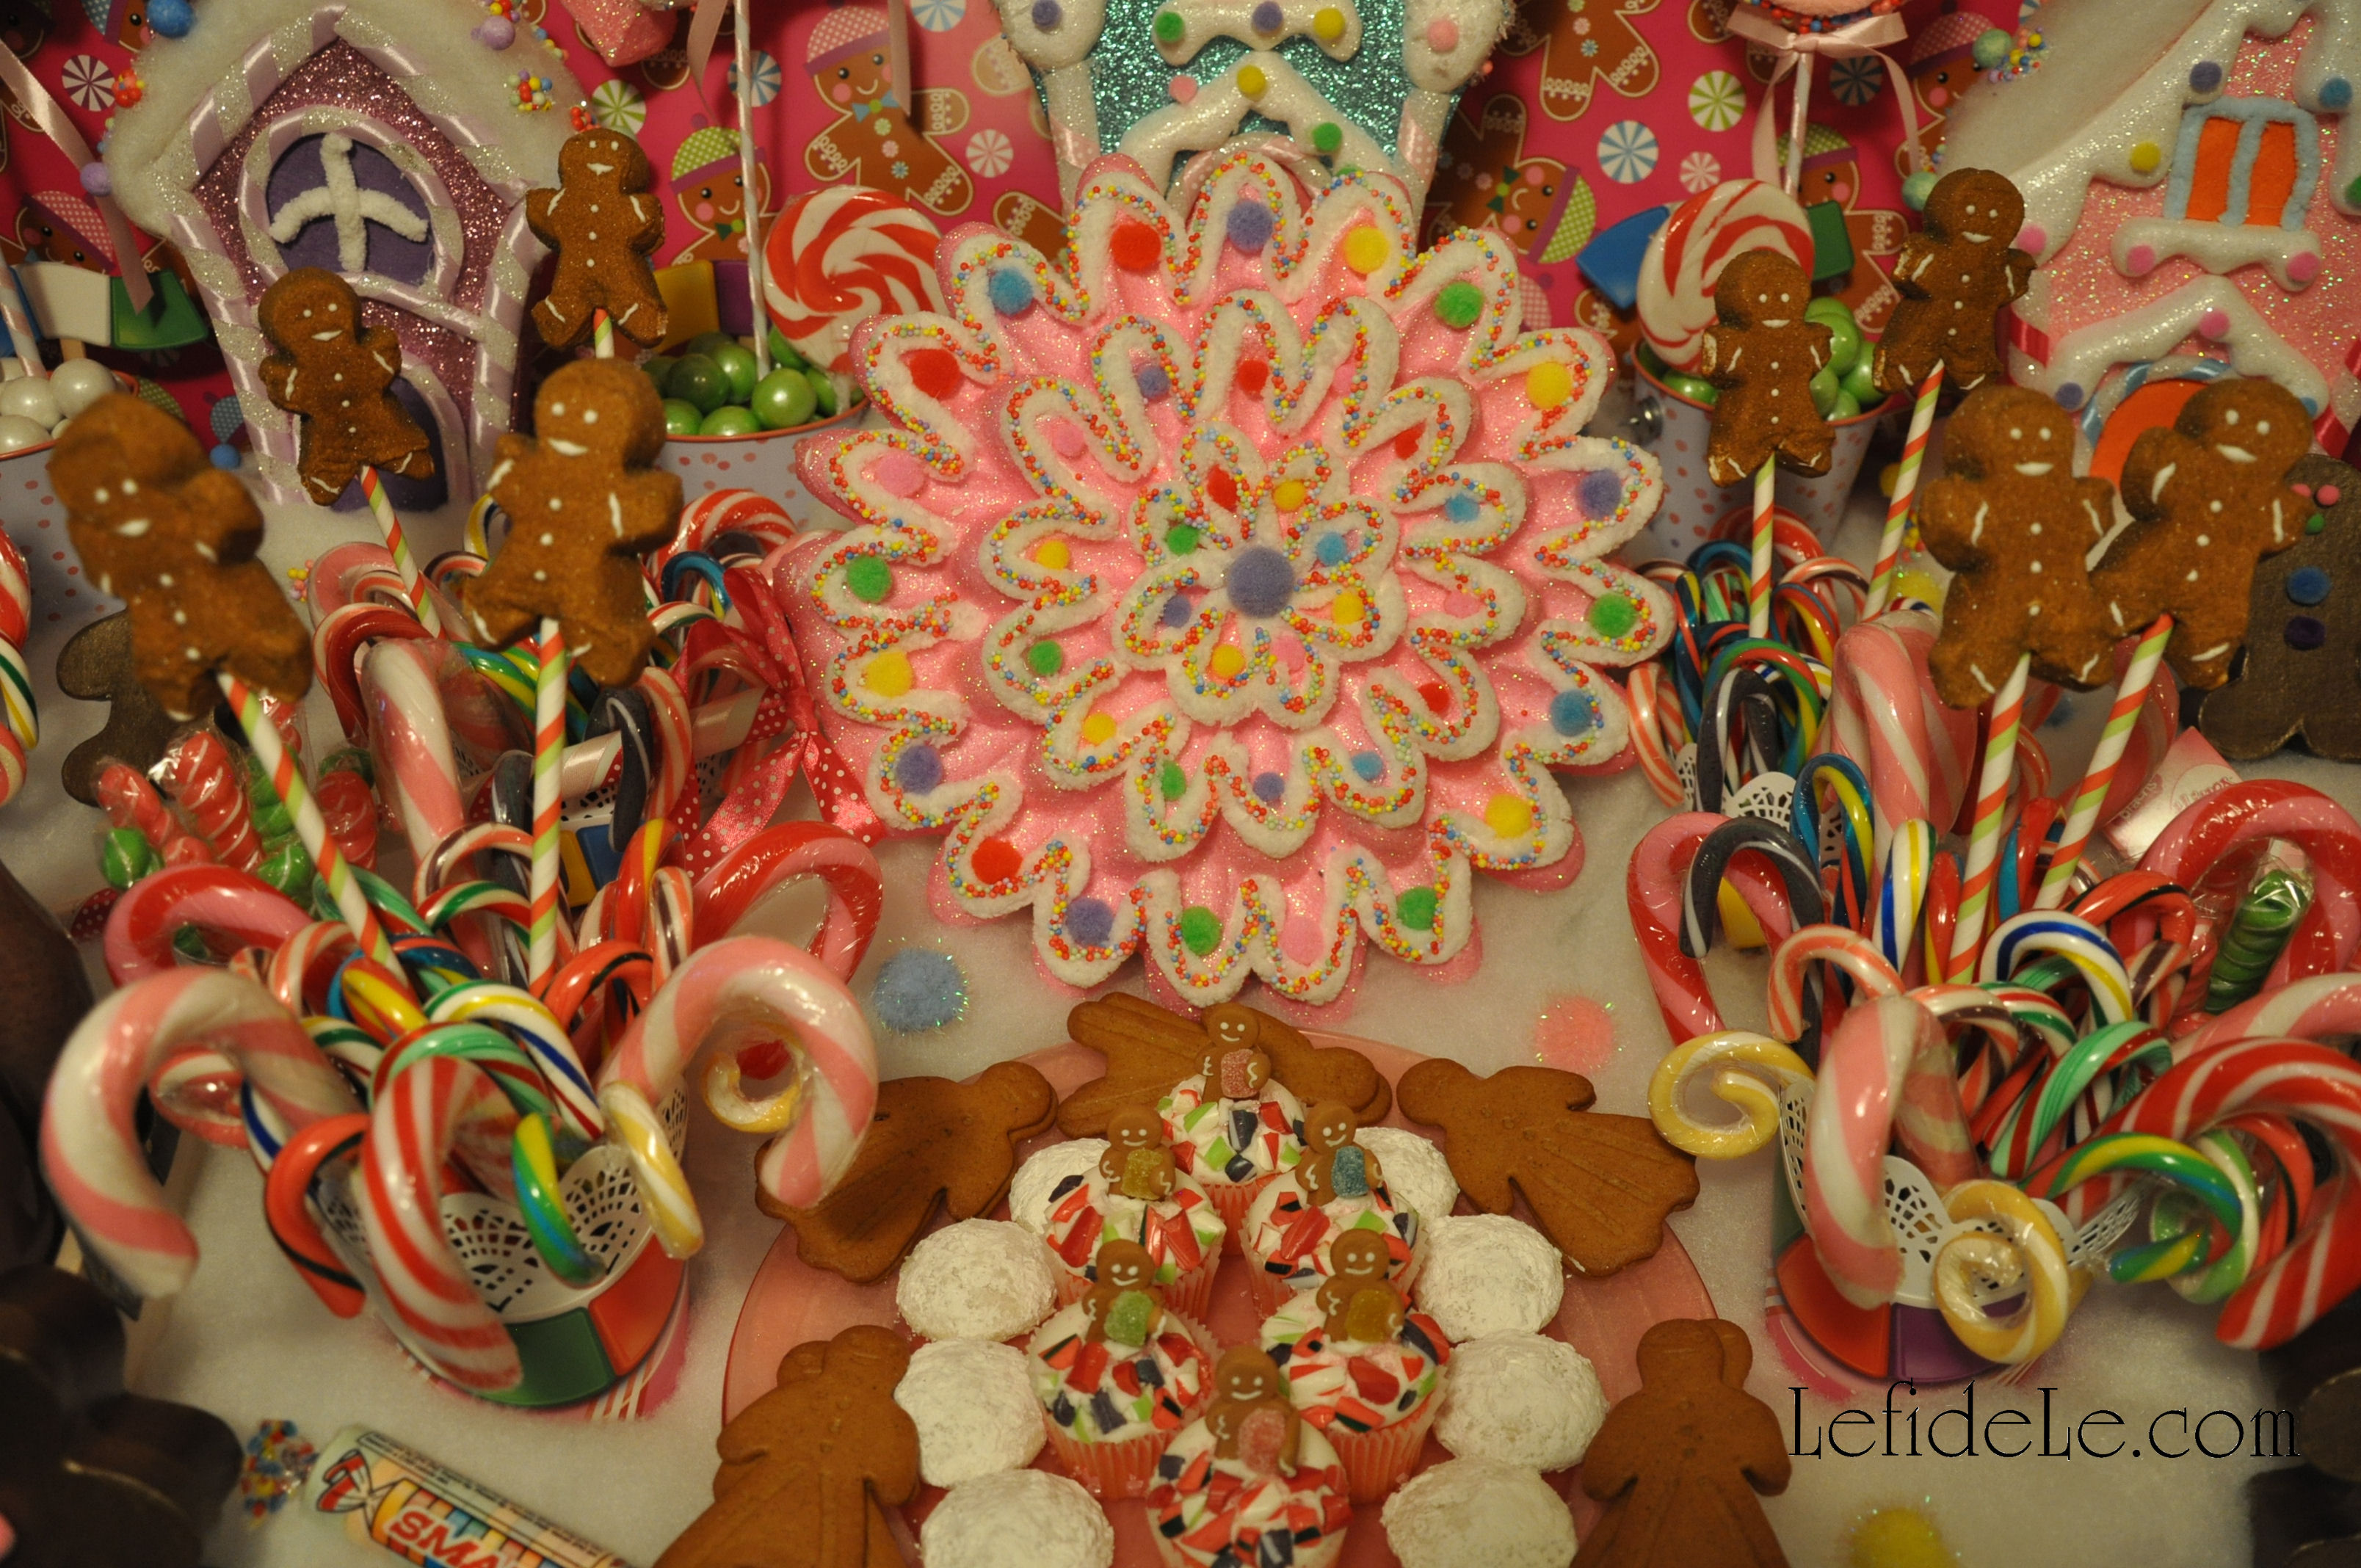
Hang these from Christmas trees, add them to a candy lantern display, or set them around a centerpiece like my “big rock candy mountains”. The “icing” bases in the picture were comprised of blankets of buffalo snow batting.
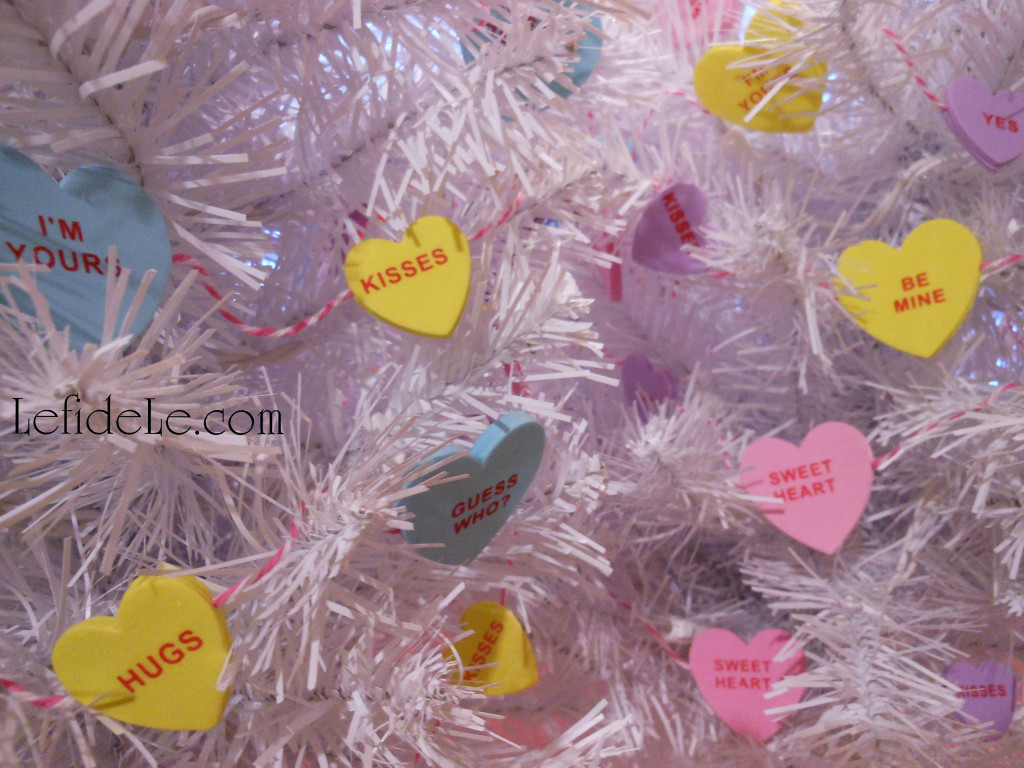
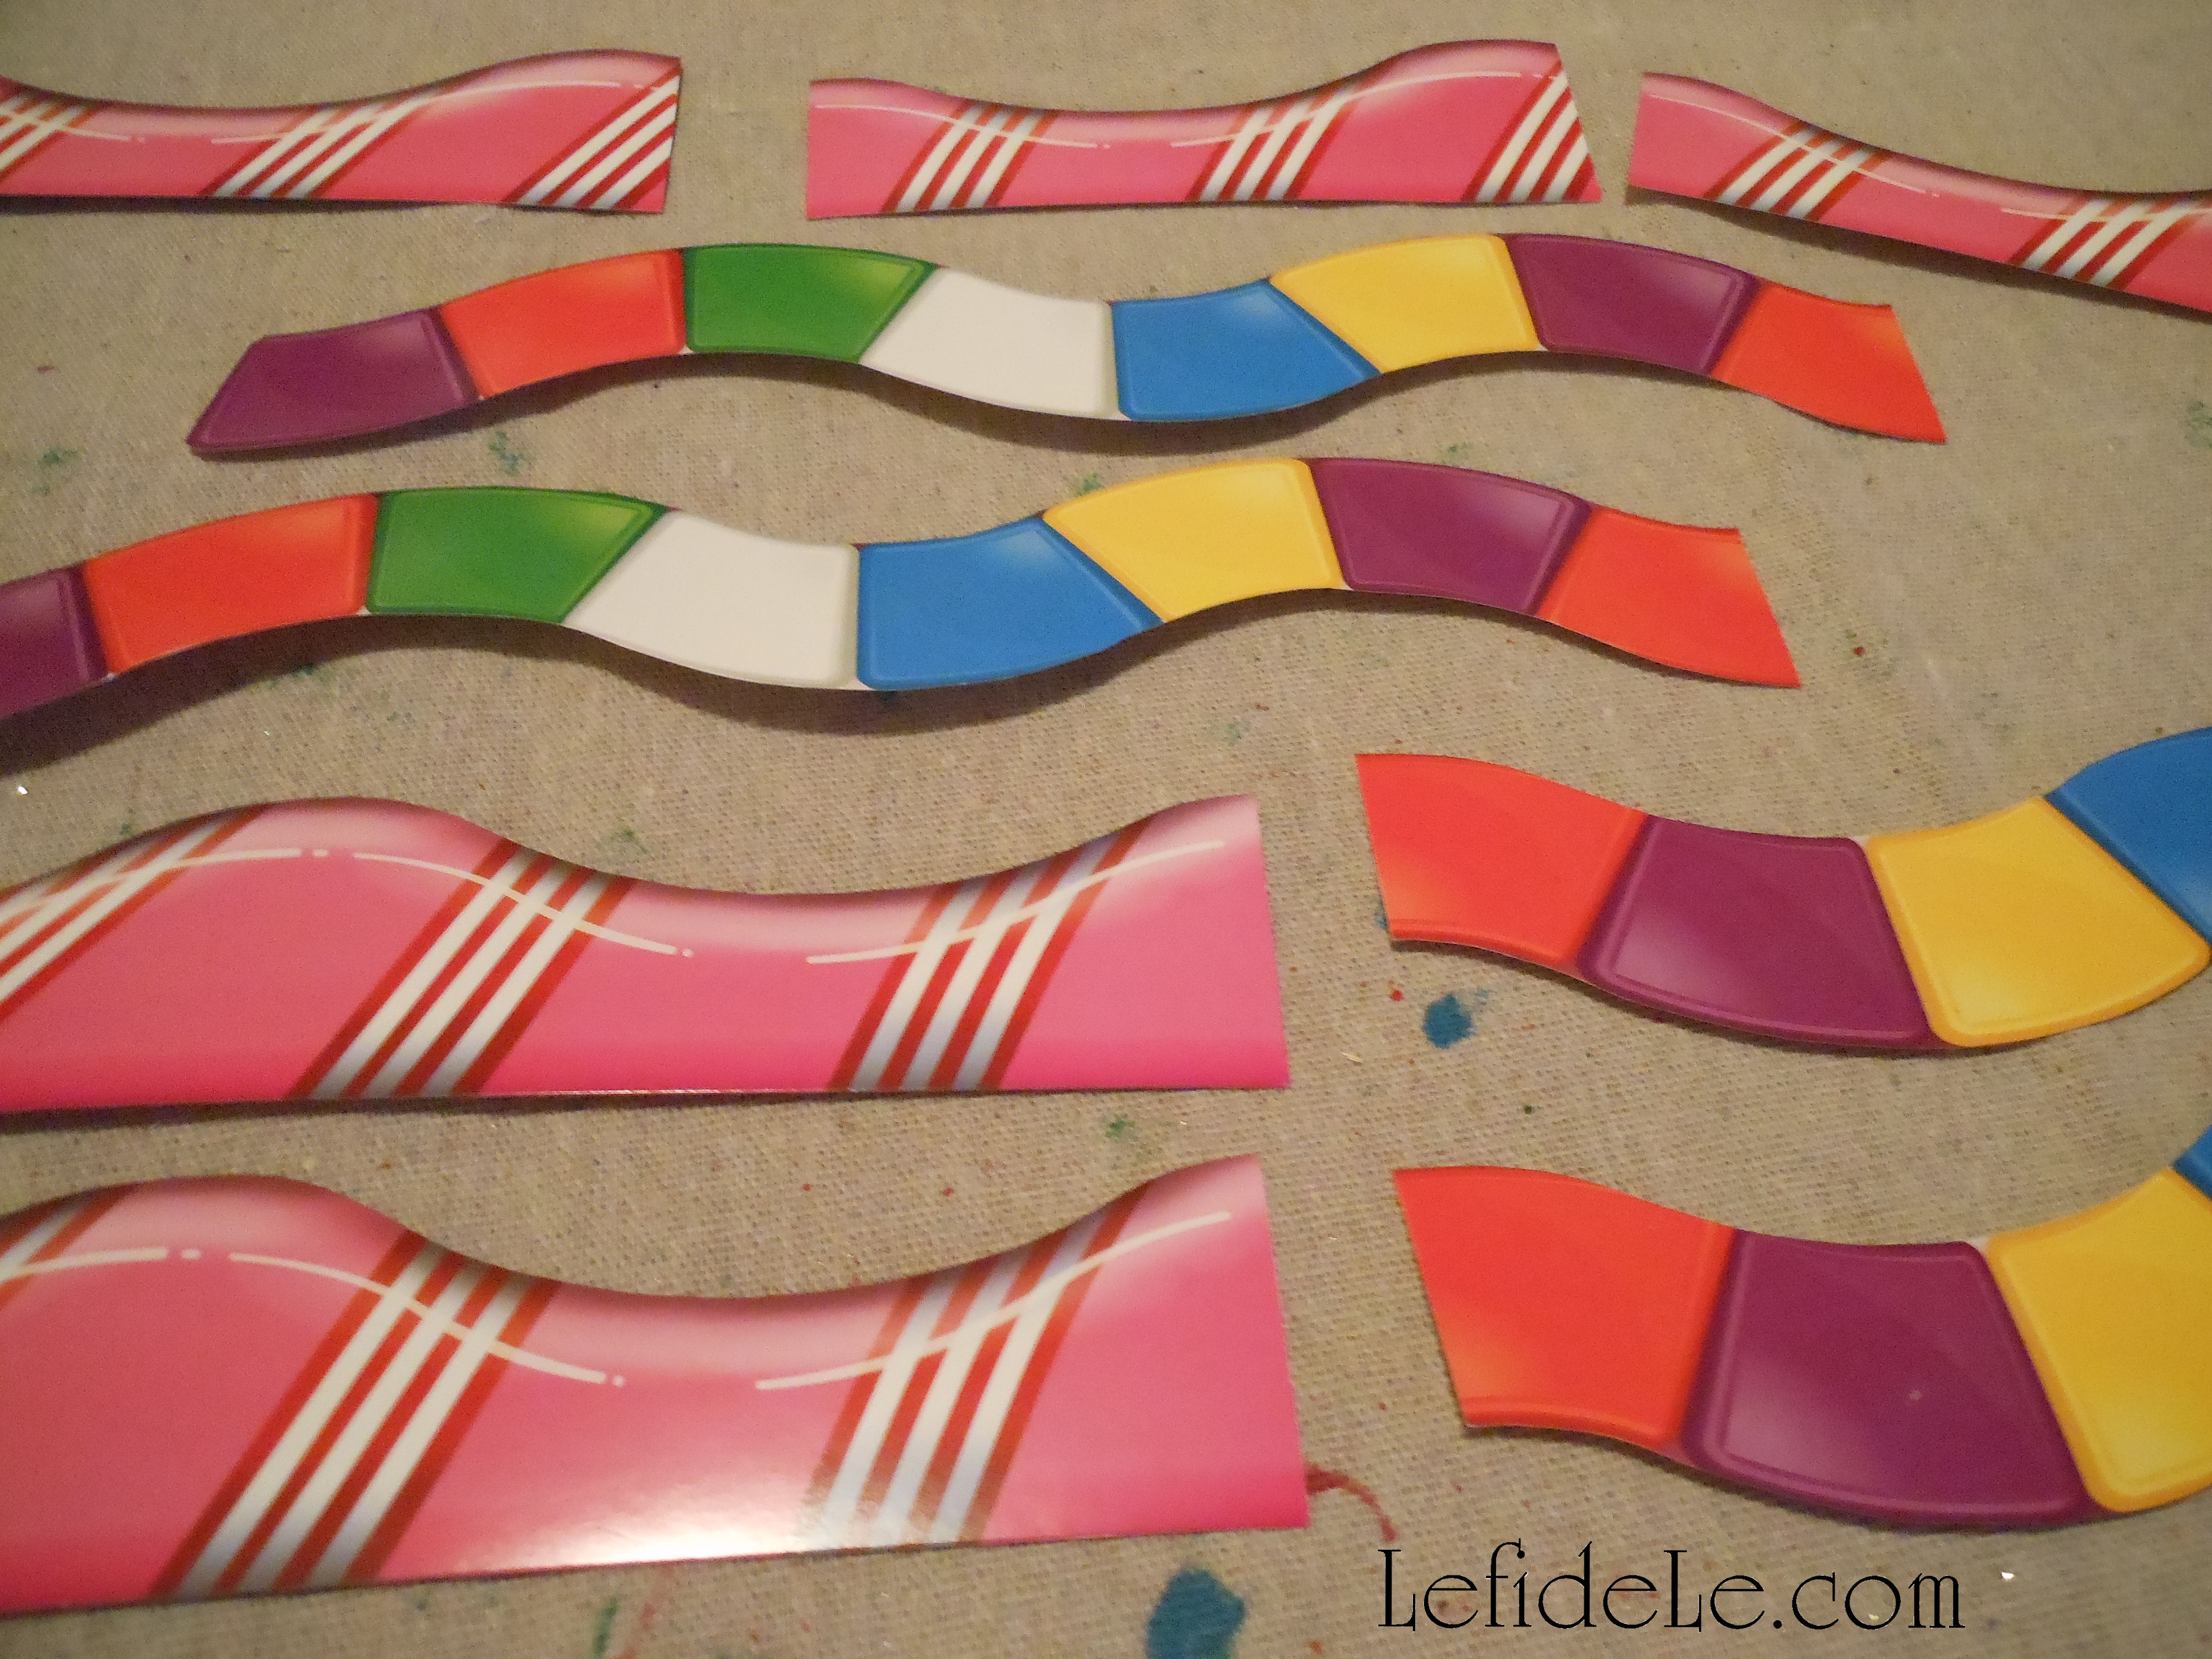
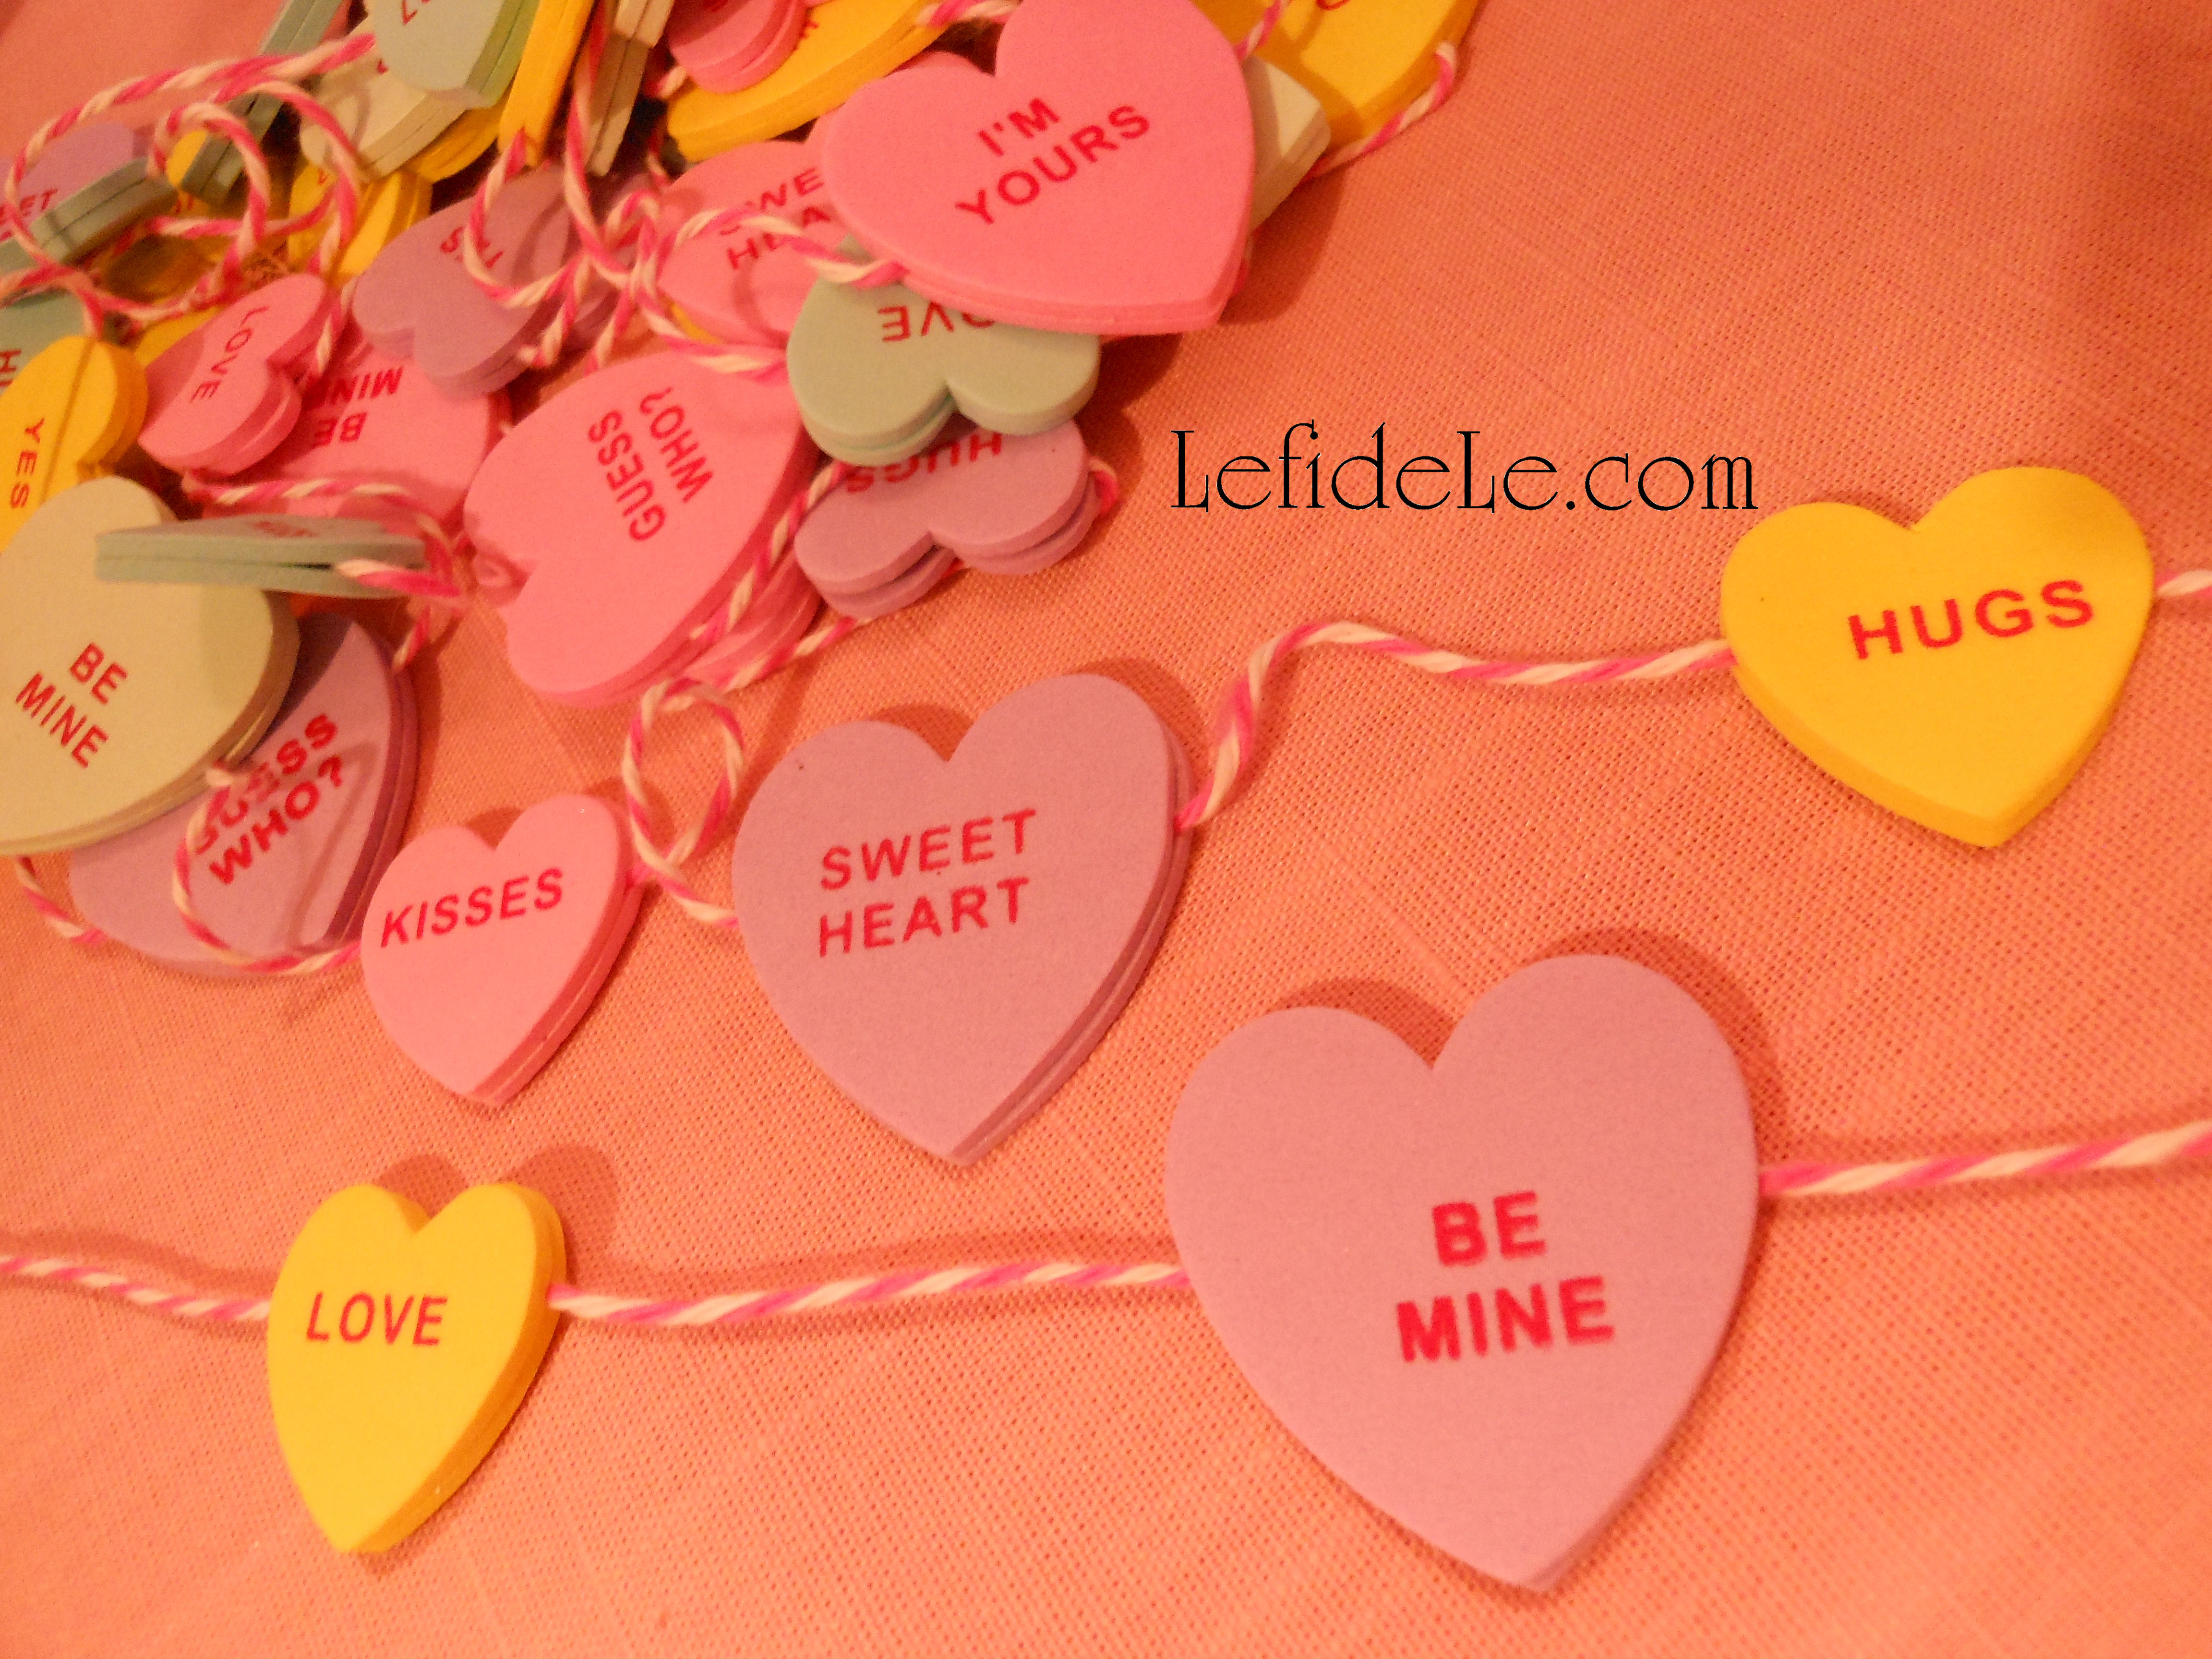
The last craft for the tree is a conversation heart garland that would serve equally as well as a banner for a Valentine’s celebration.

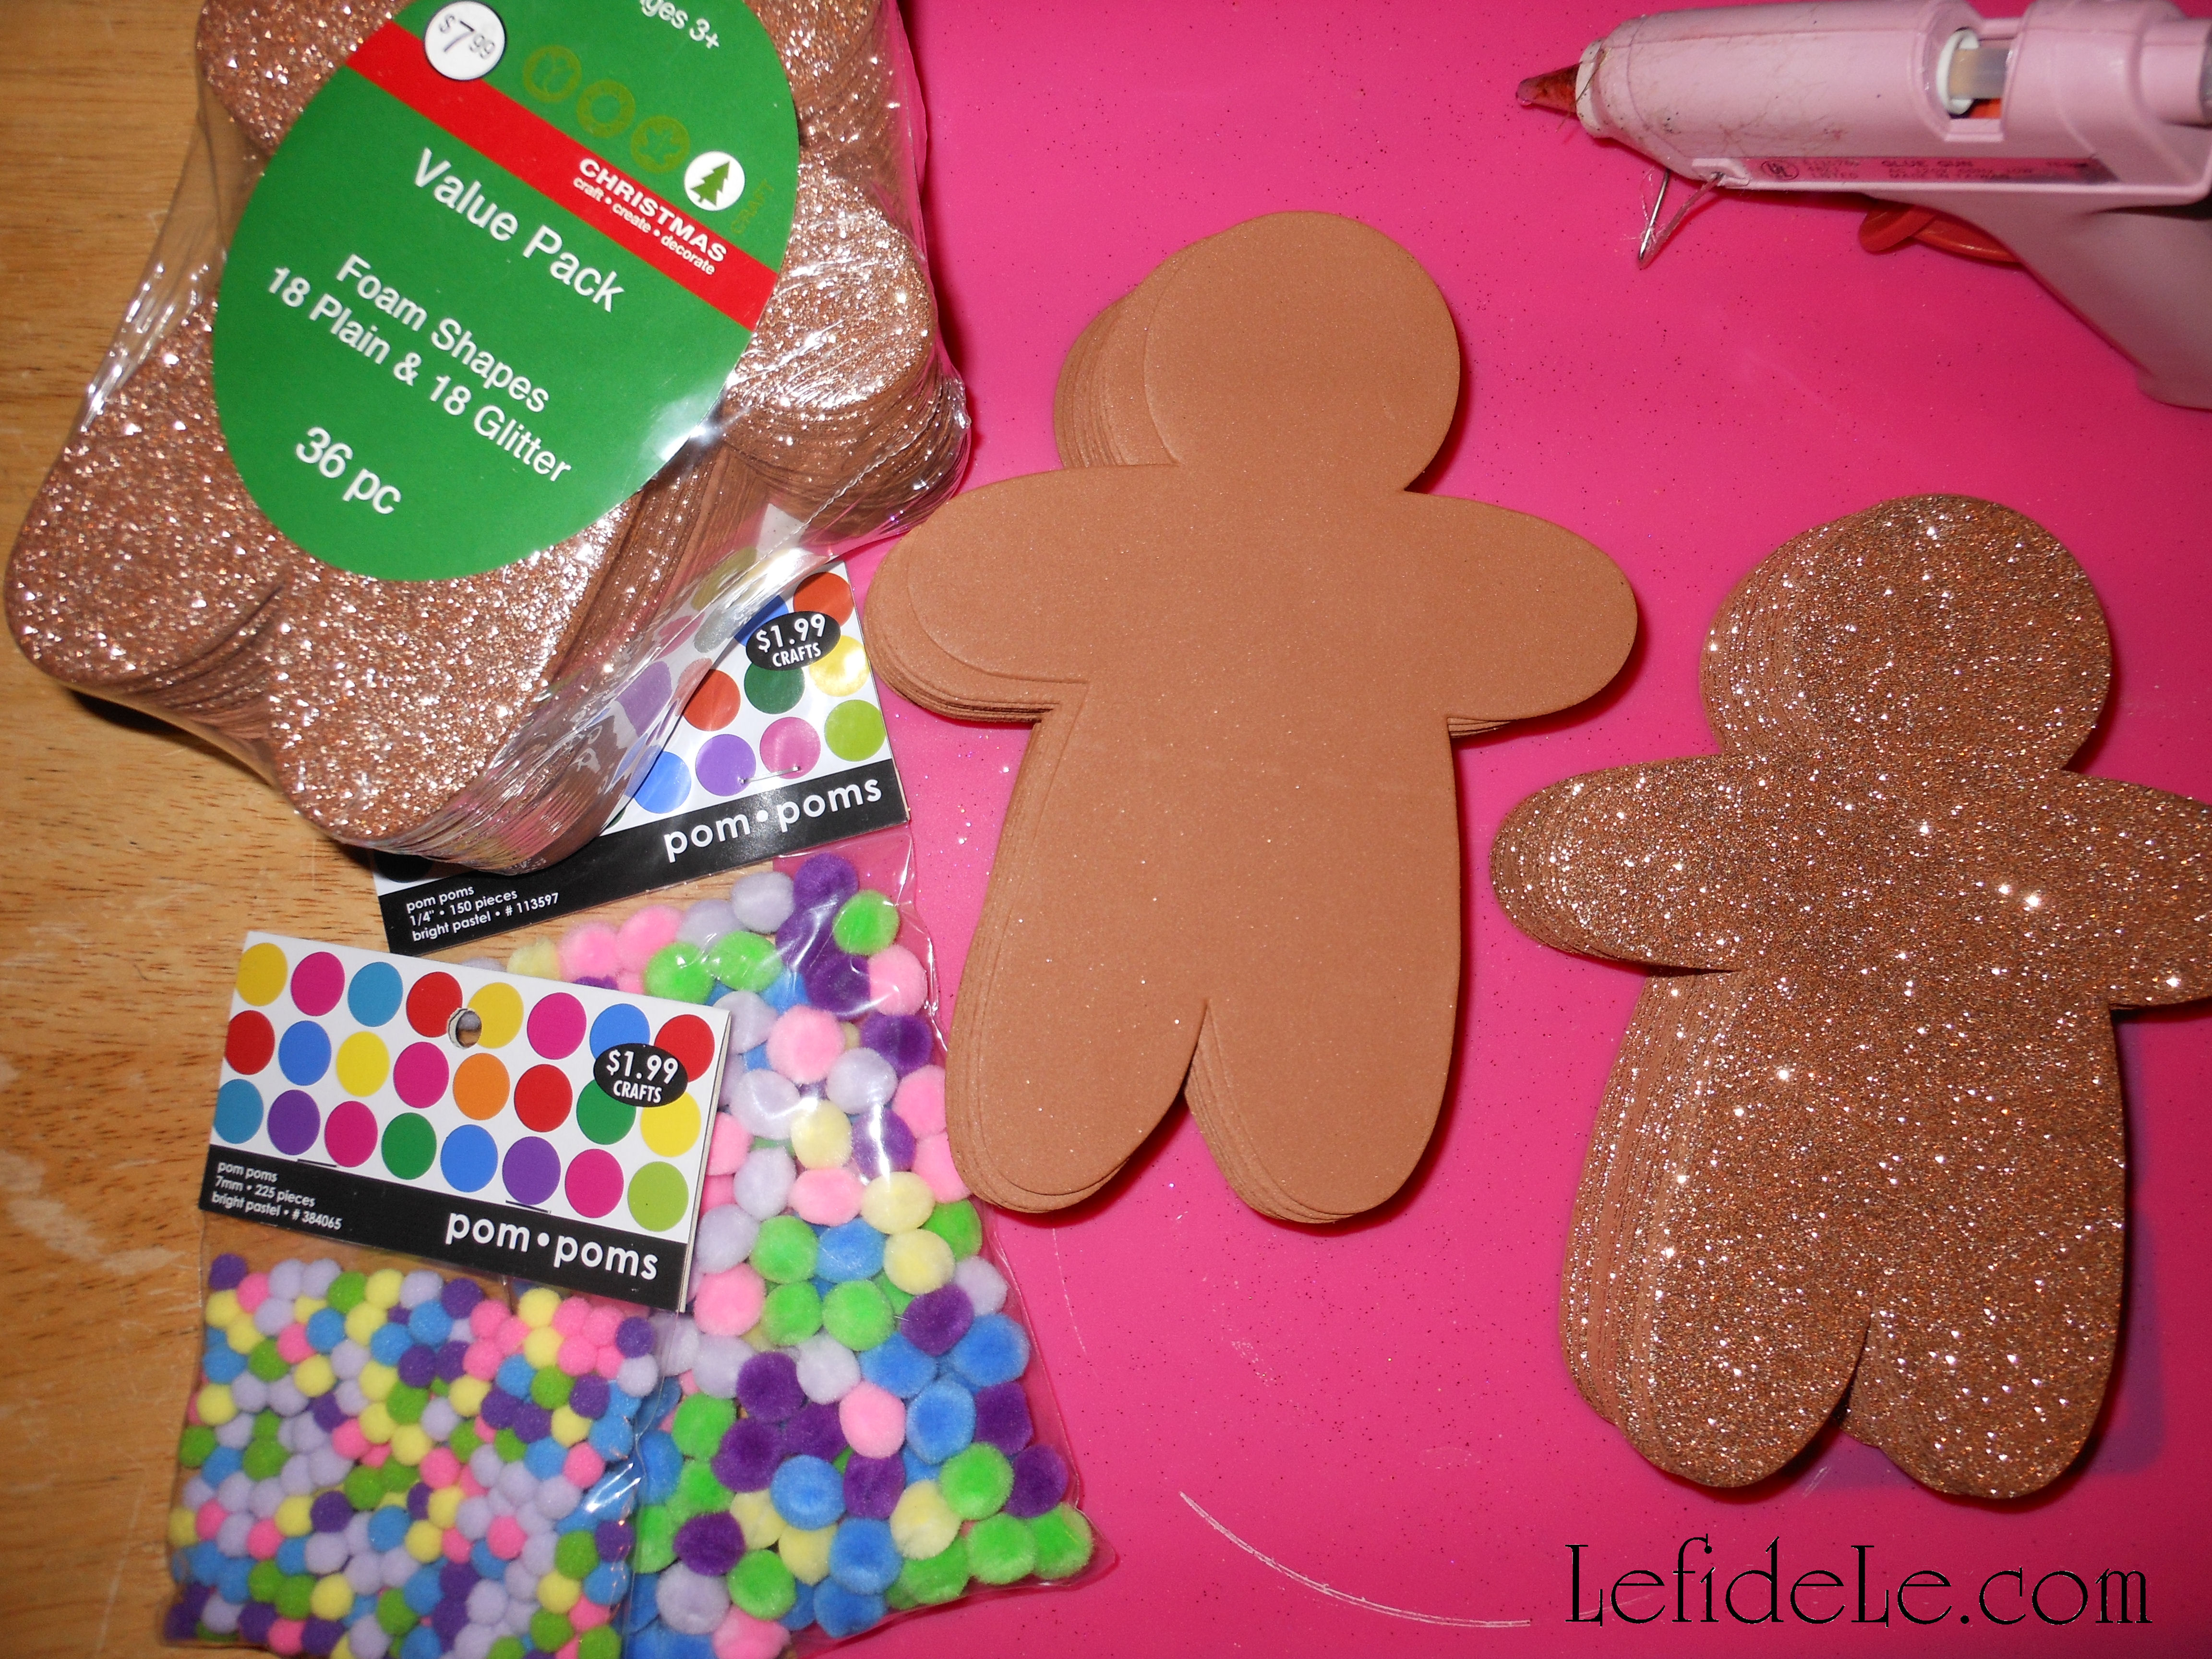
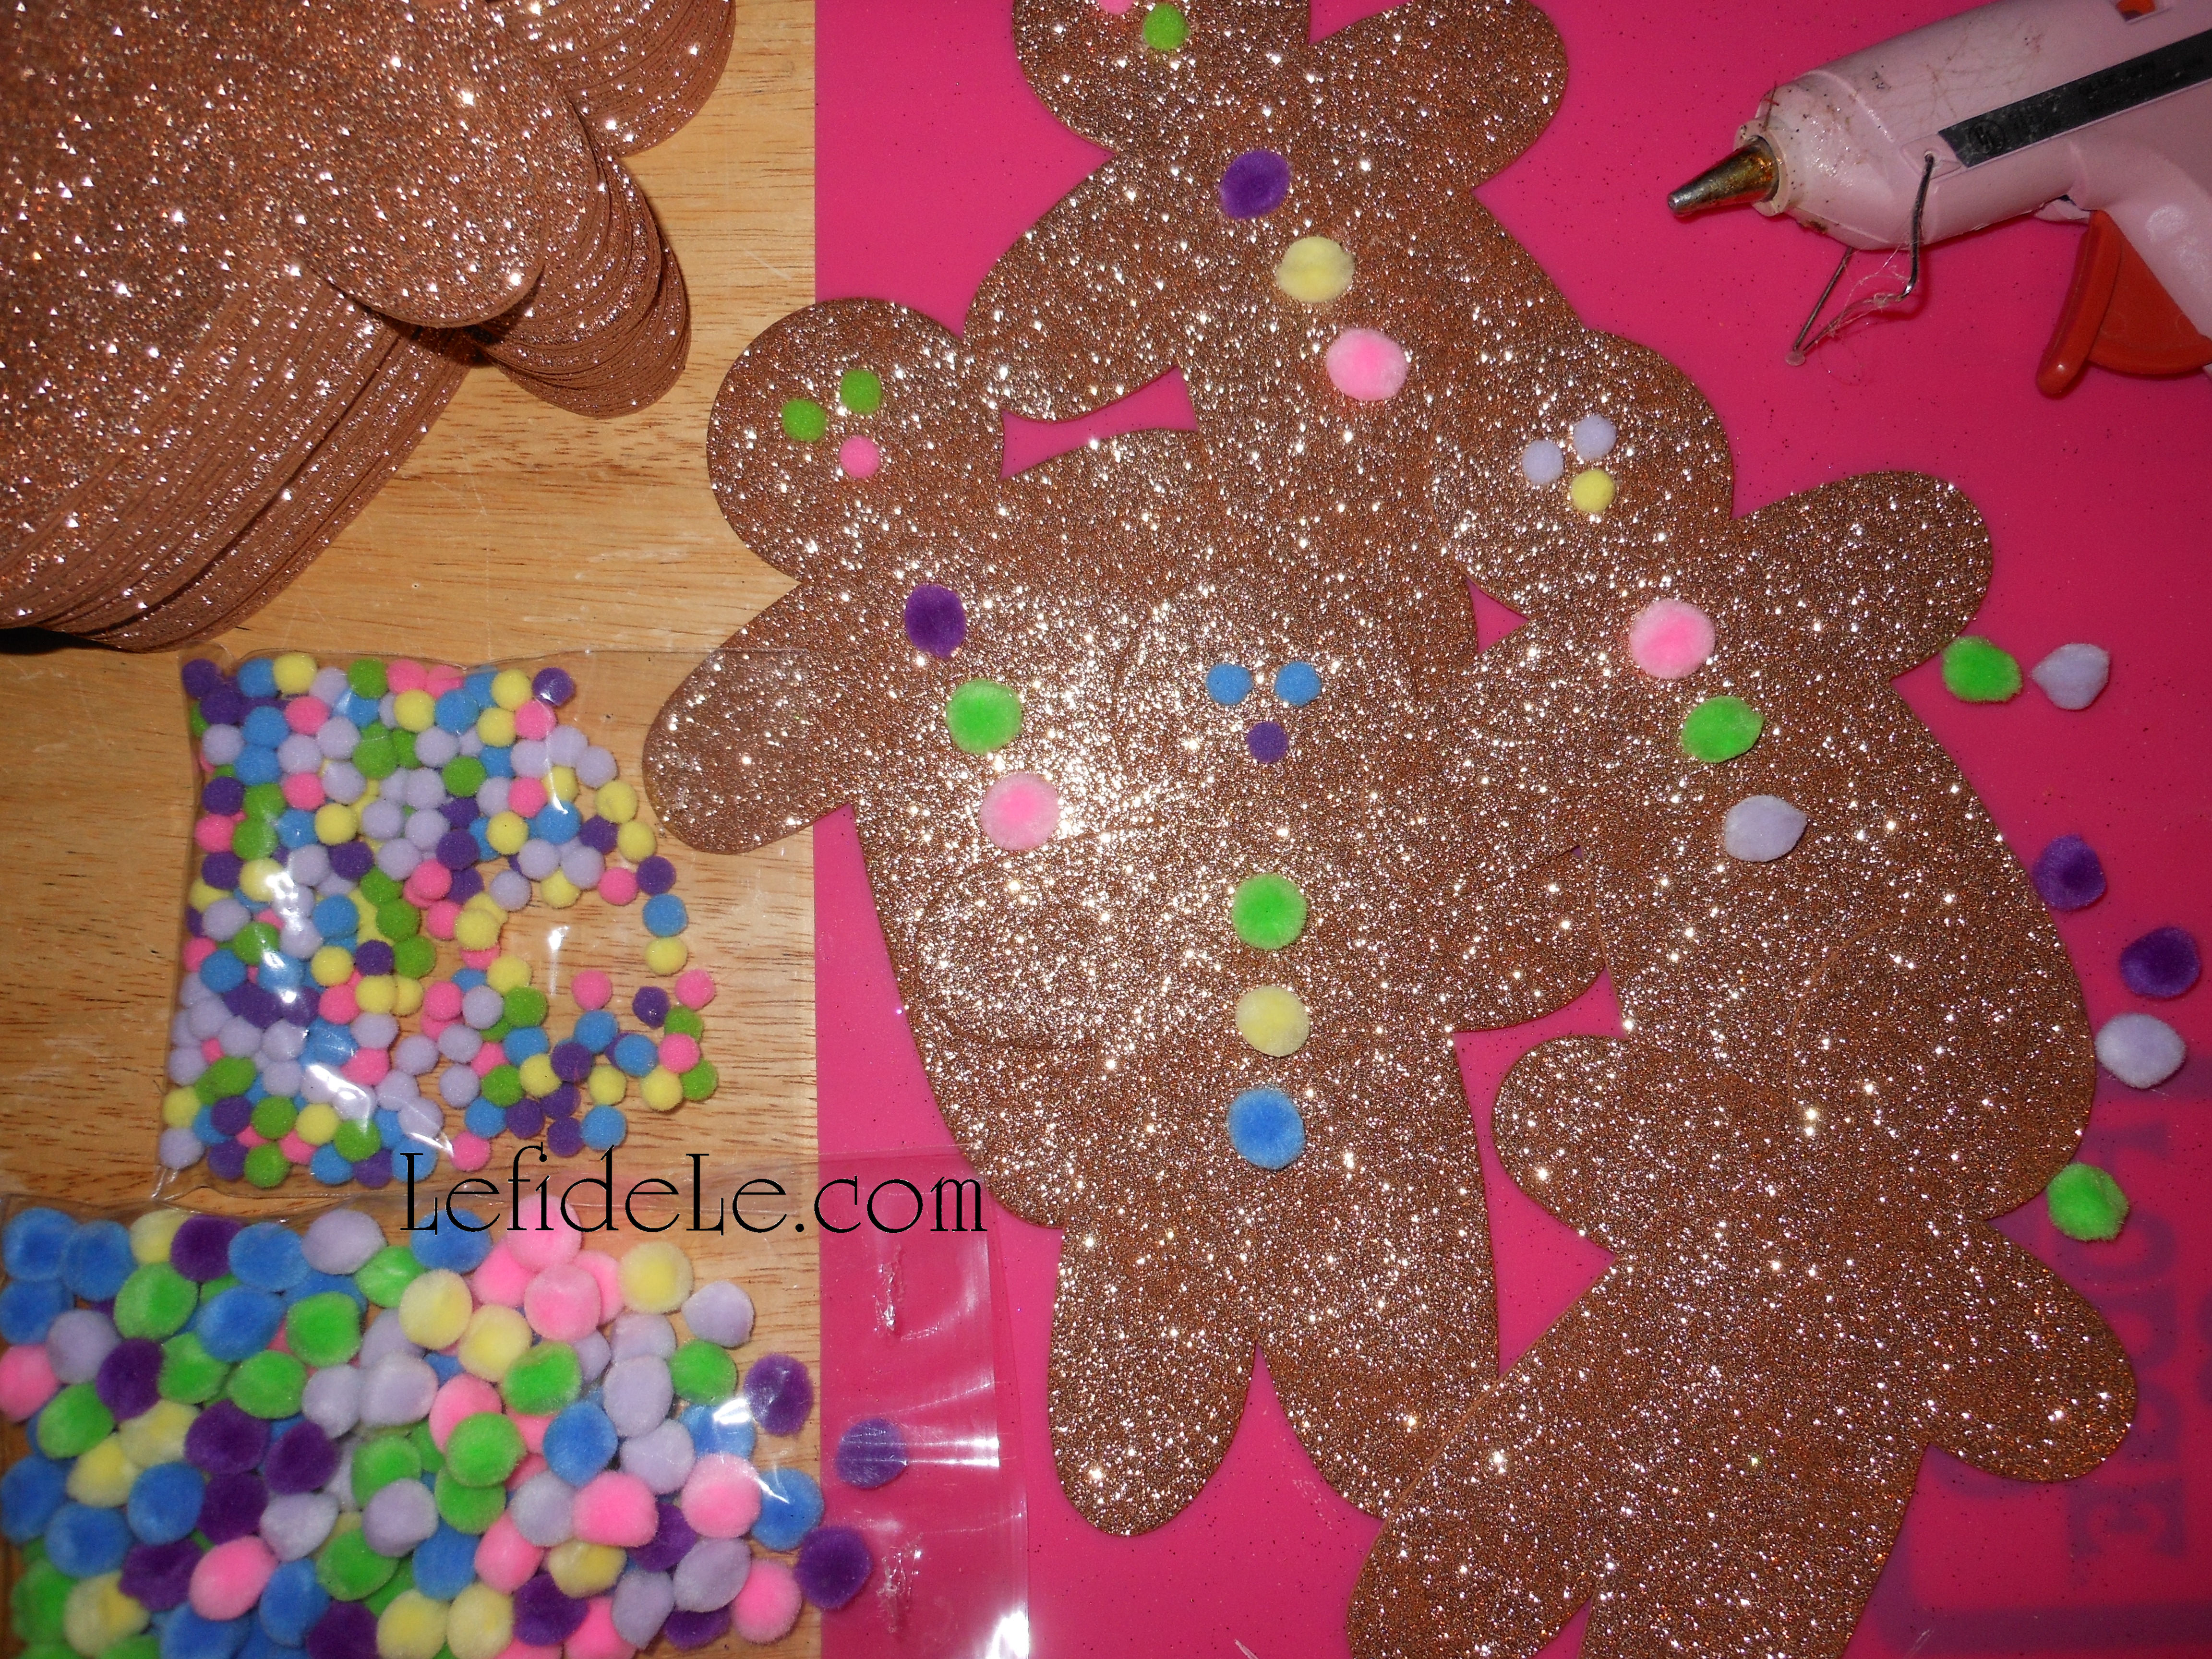
It’s so simple and inexpensive because it utilizes foam craft hearts and yarn (or thin ribbon, or baker’s twine if you like).
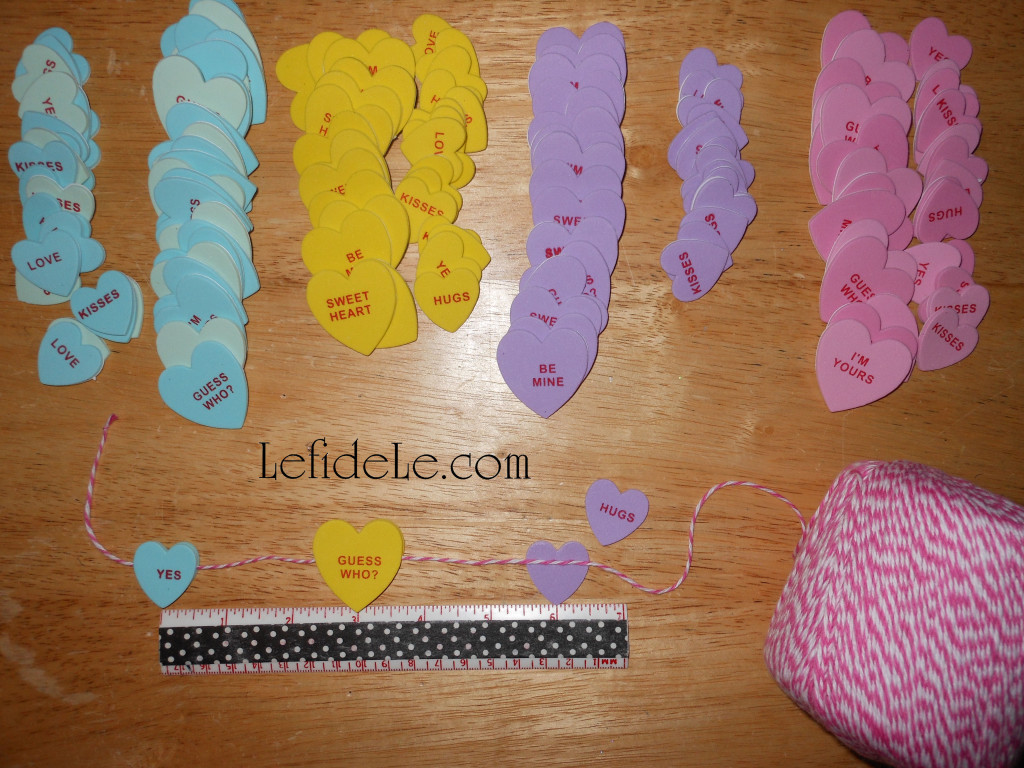
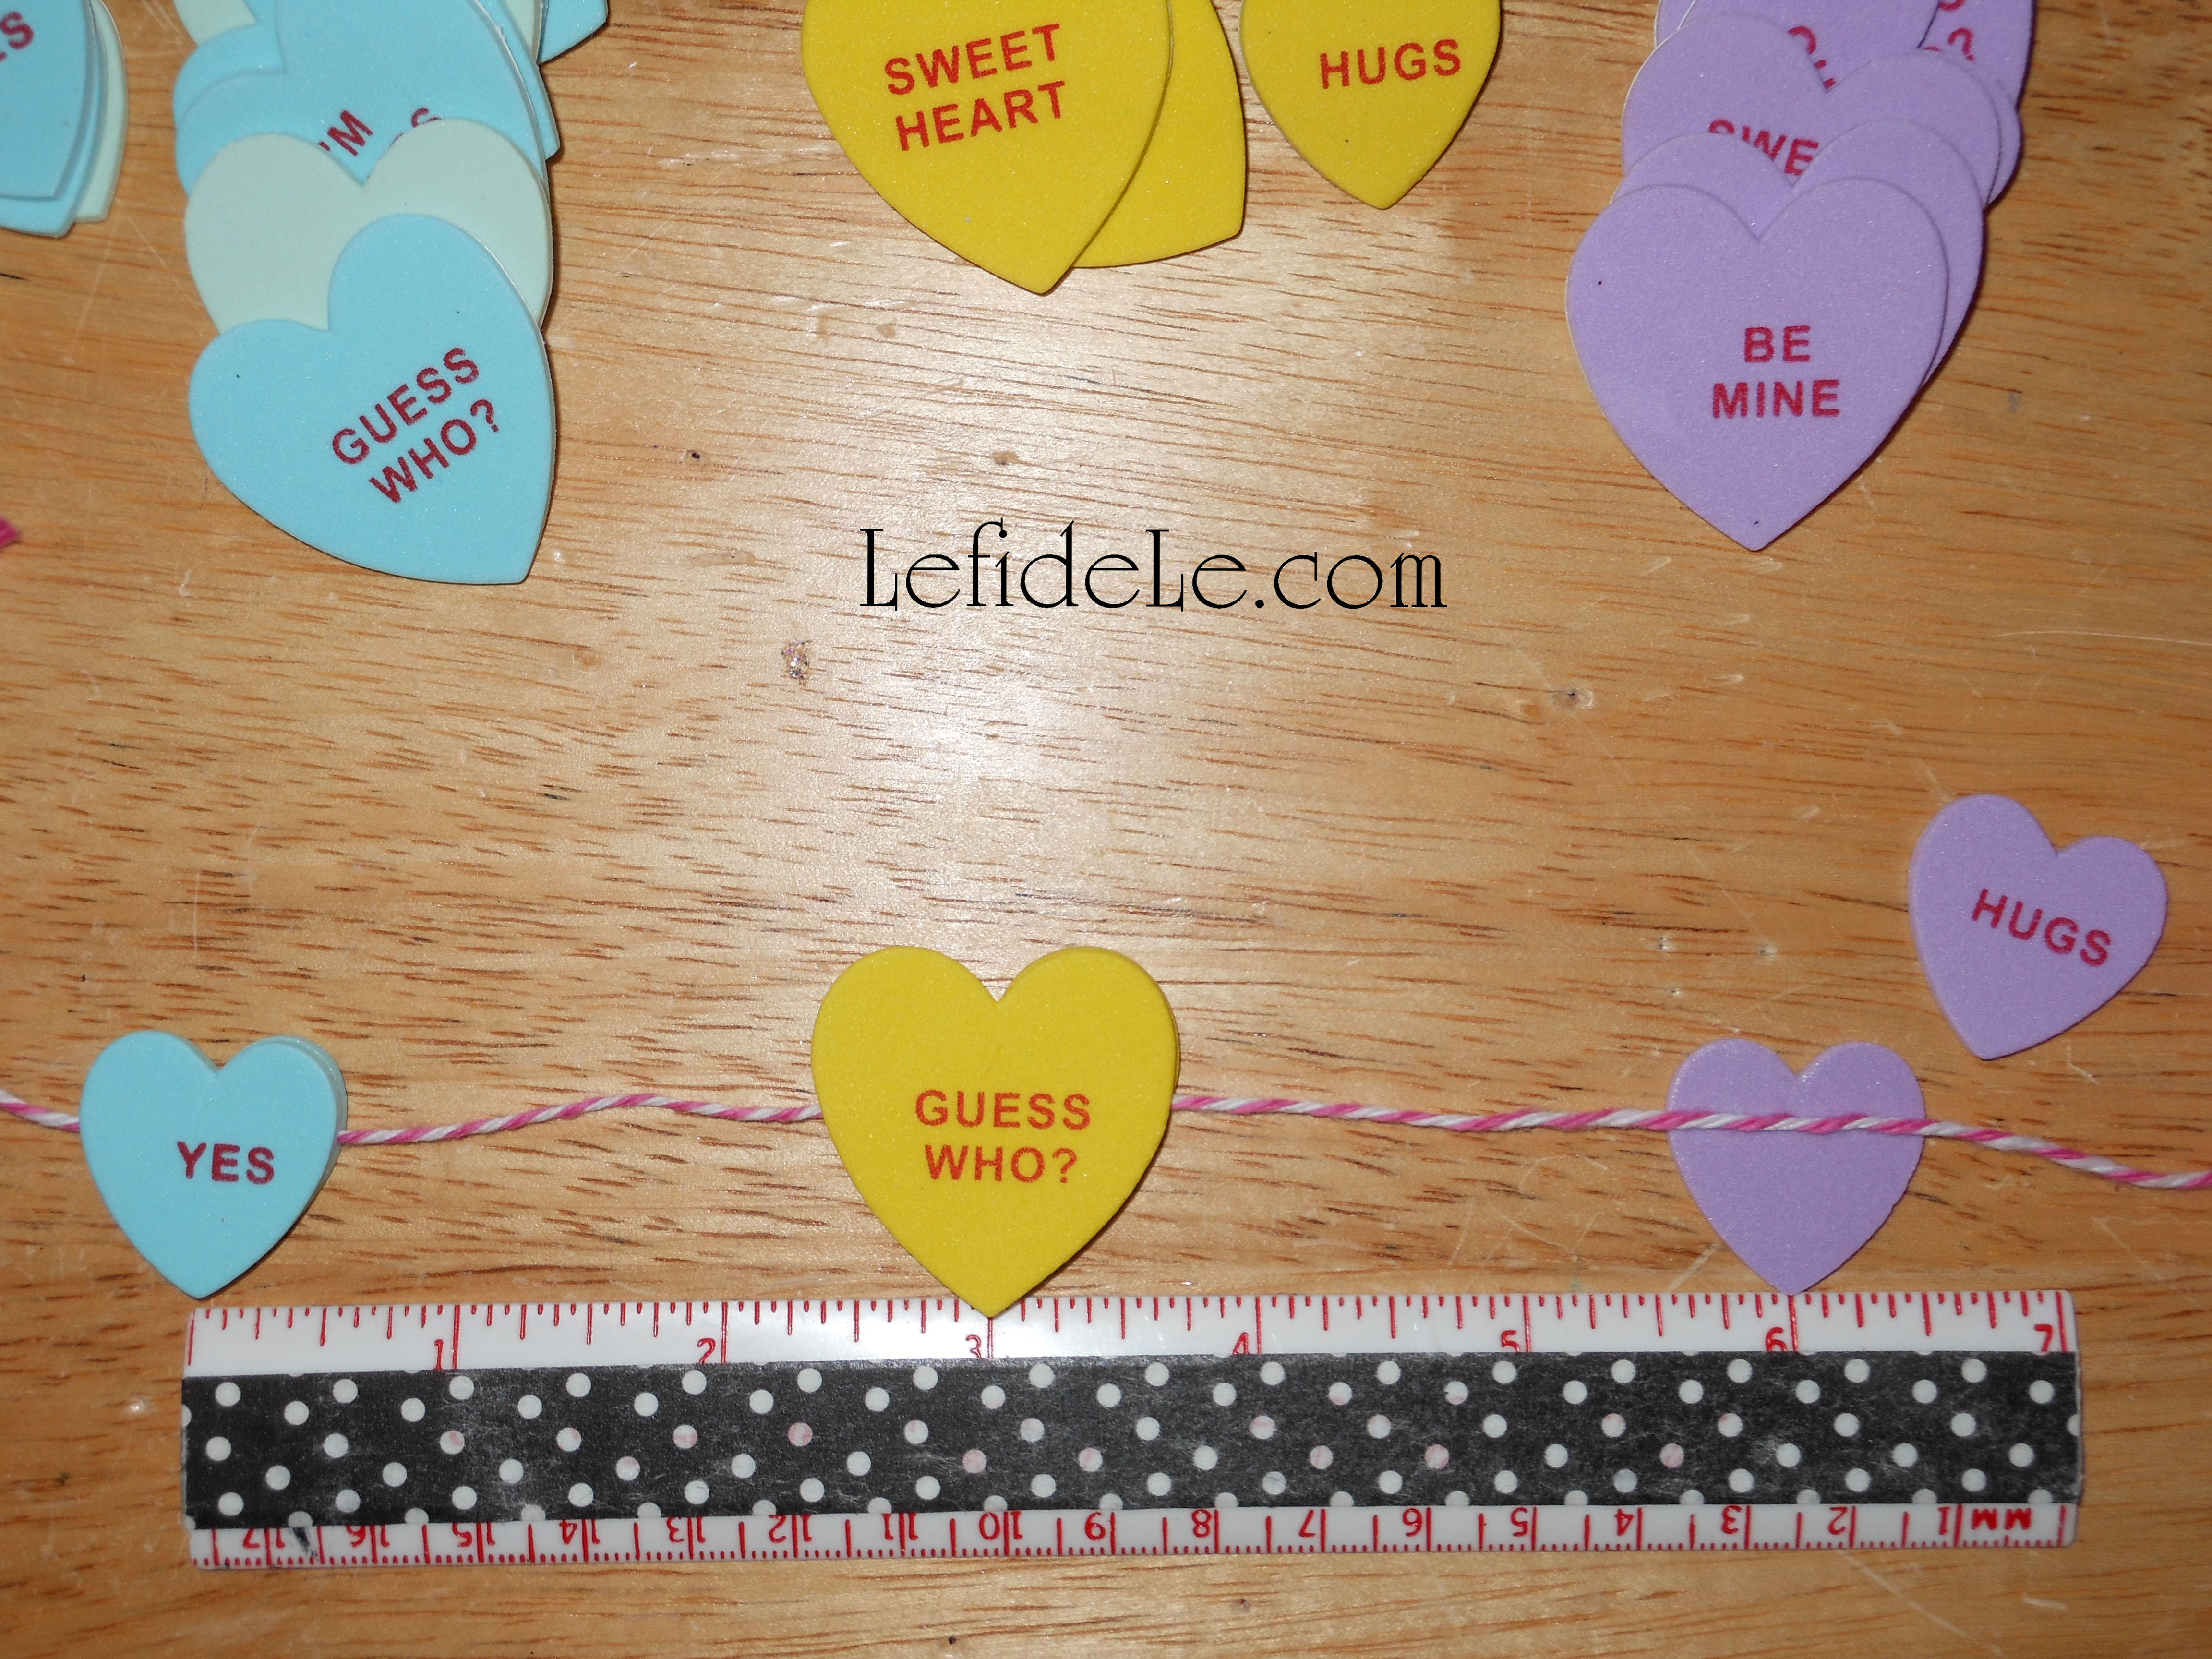
Begin by simply setting out your hearts according to color, so that you can string them in a pleasing order.

Use a ruler (or just “eyeball” it) in order to hot glue them back to back spaced 3 inches apart, sandwiching the yarn in-between.

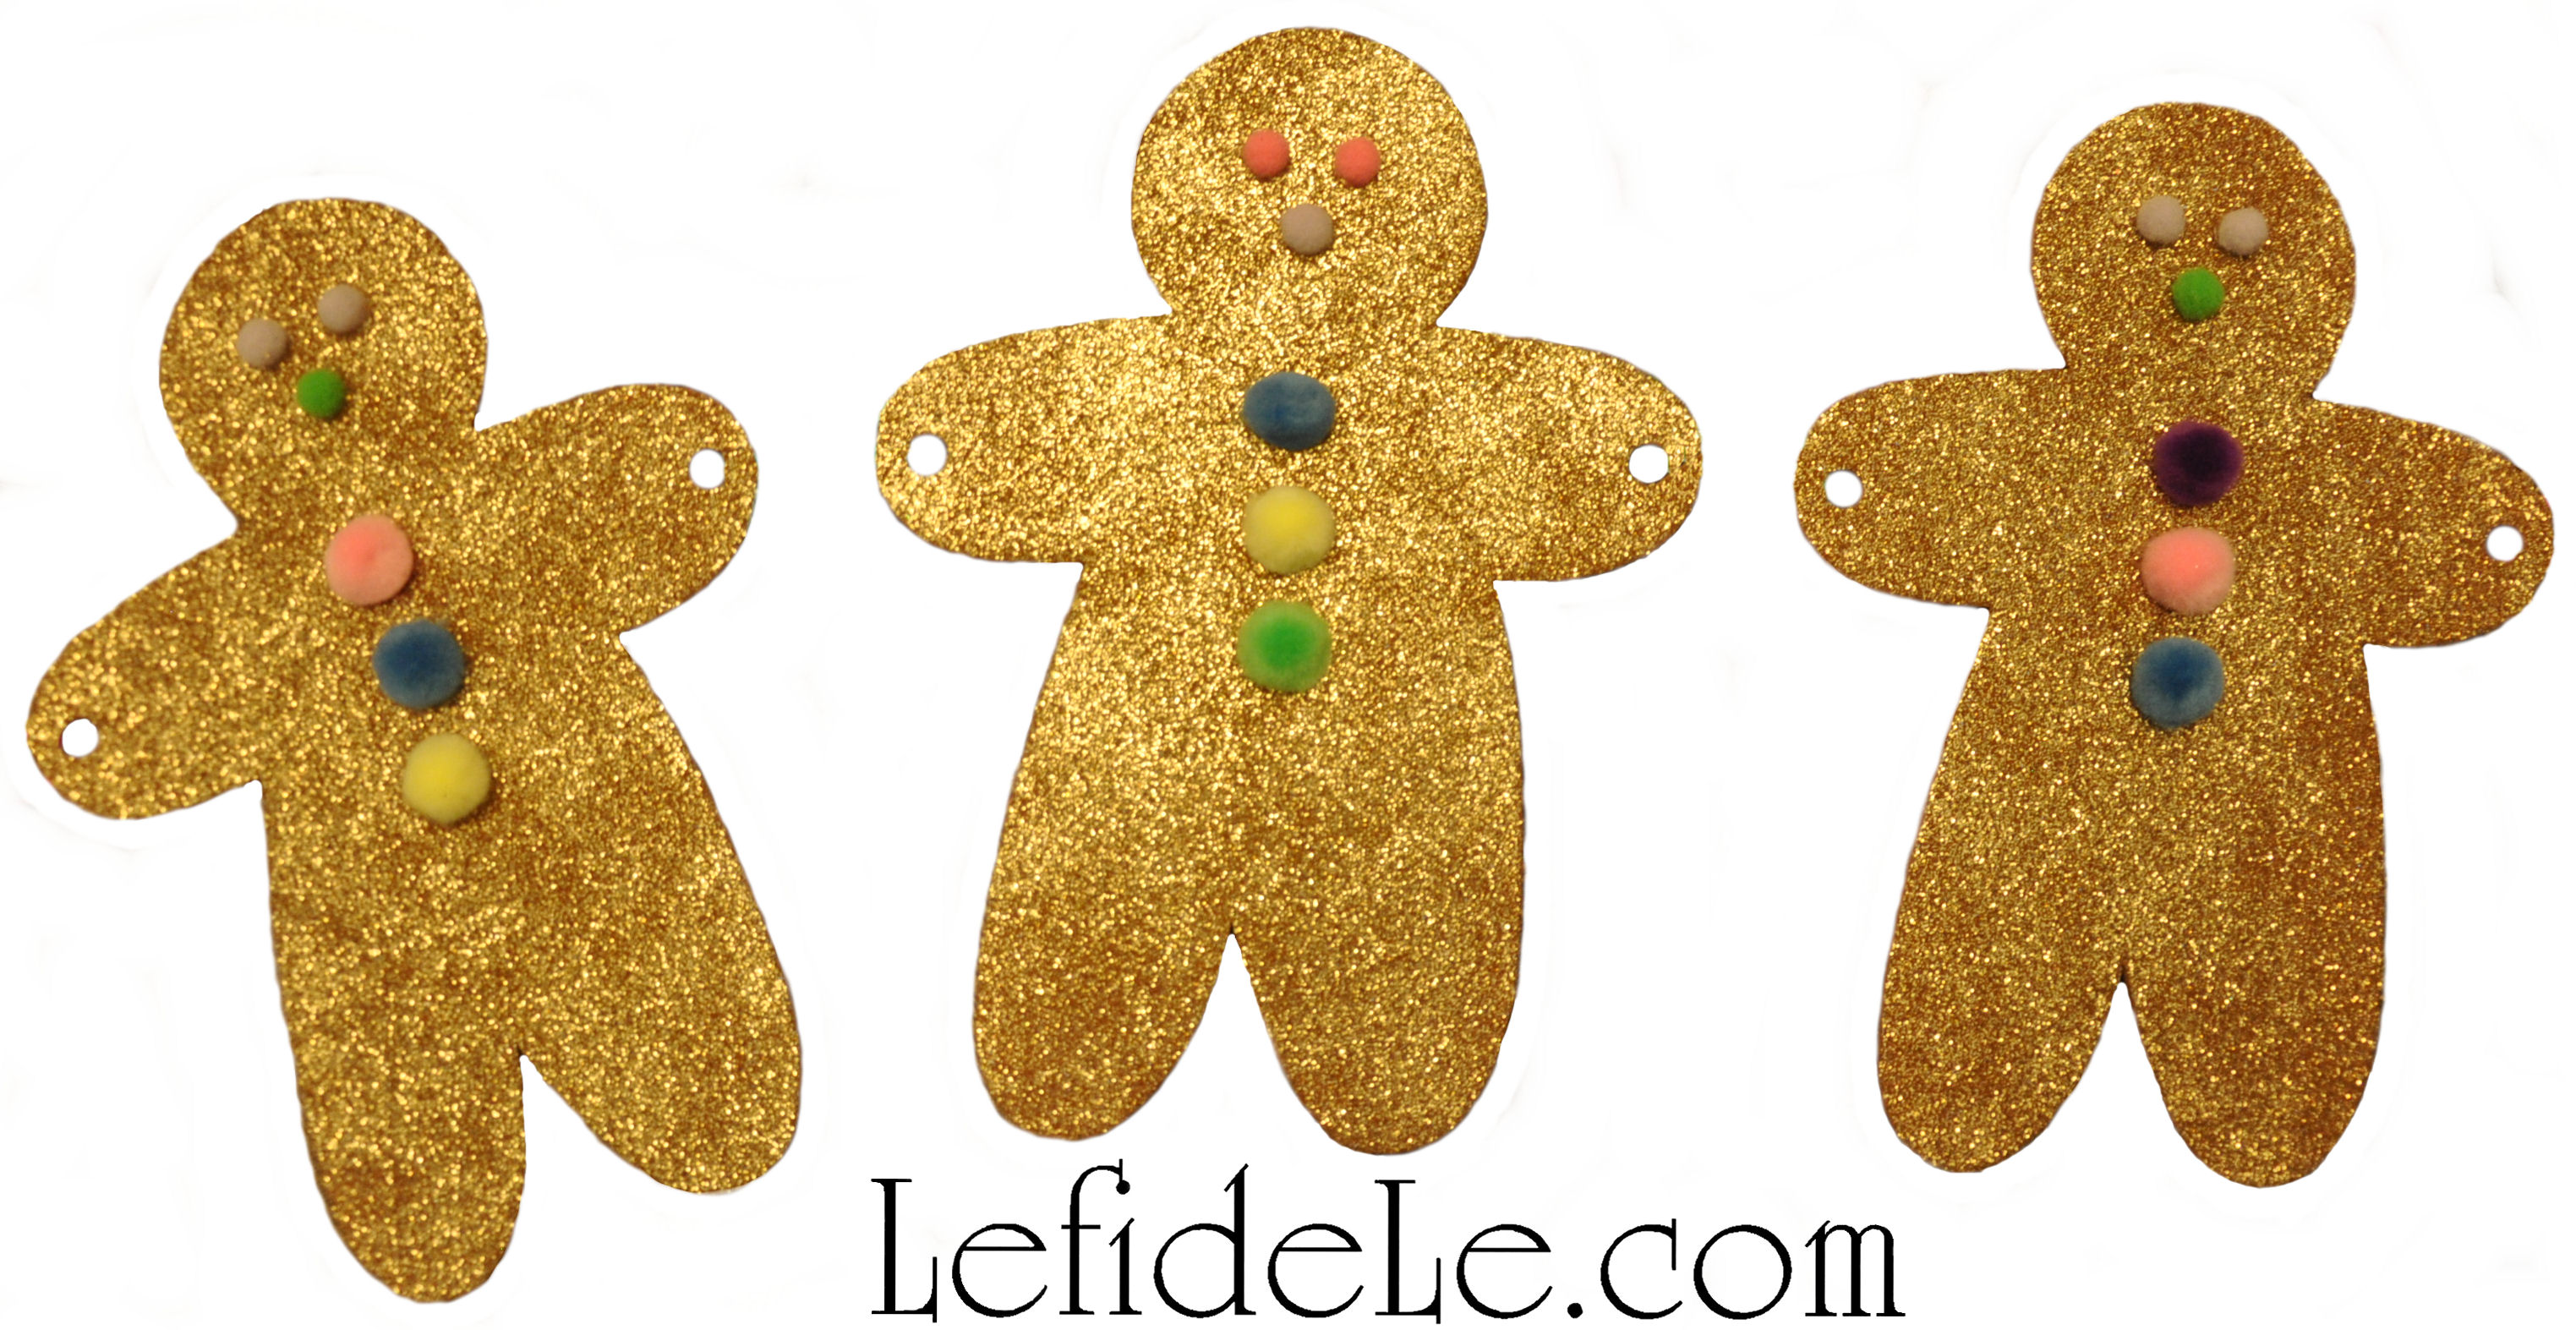
Cut the yarn after the last “foamie”, and knot the ends to prevent fraying. (Click here to see the same method used on my kid-friendly “Glitter-ween” garland.)

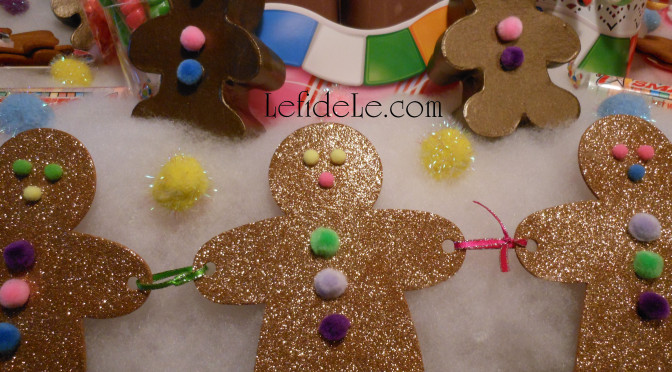
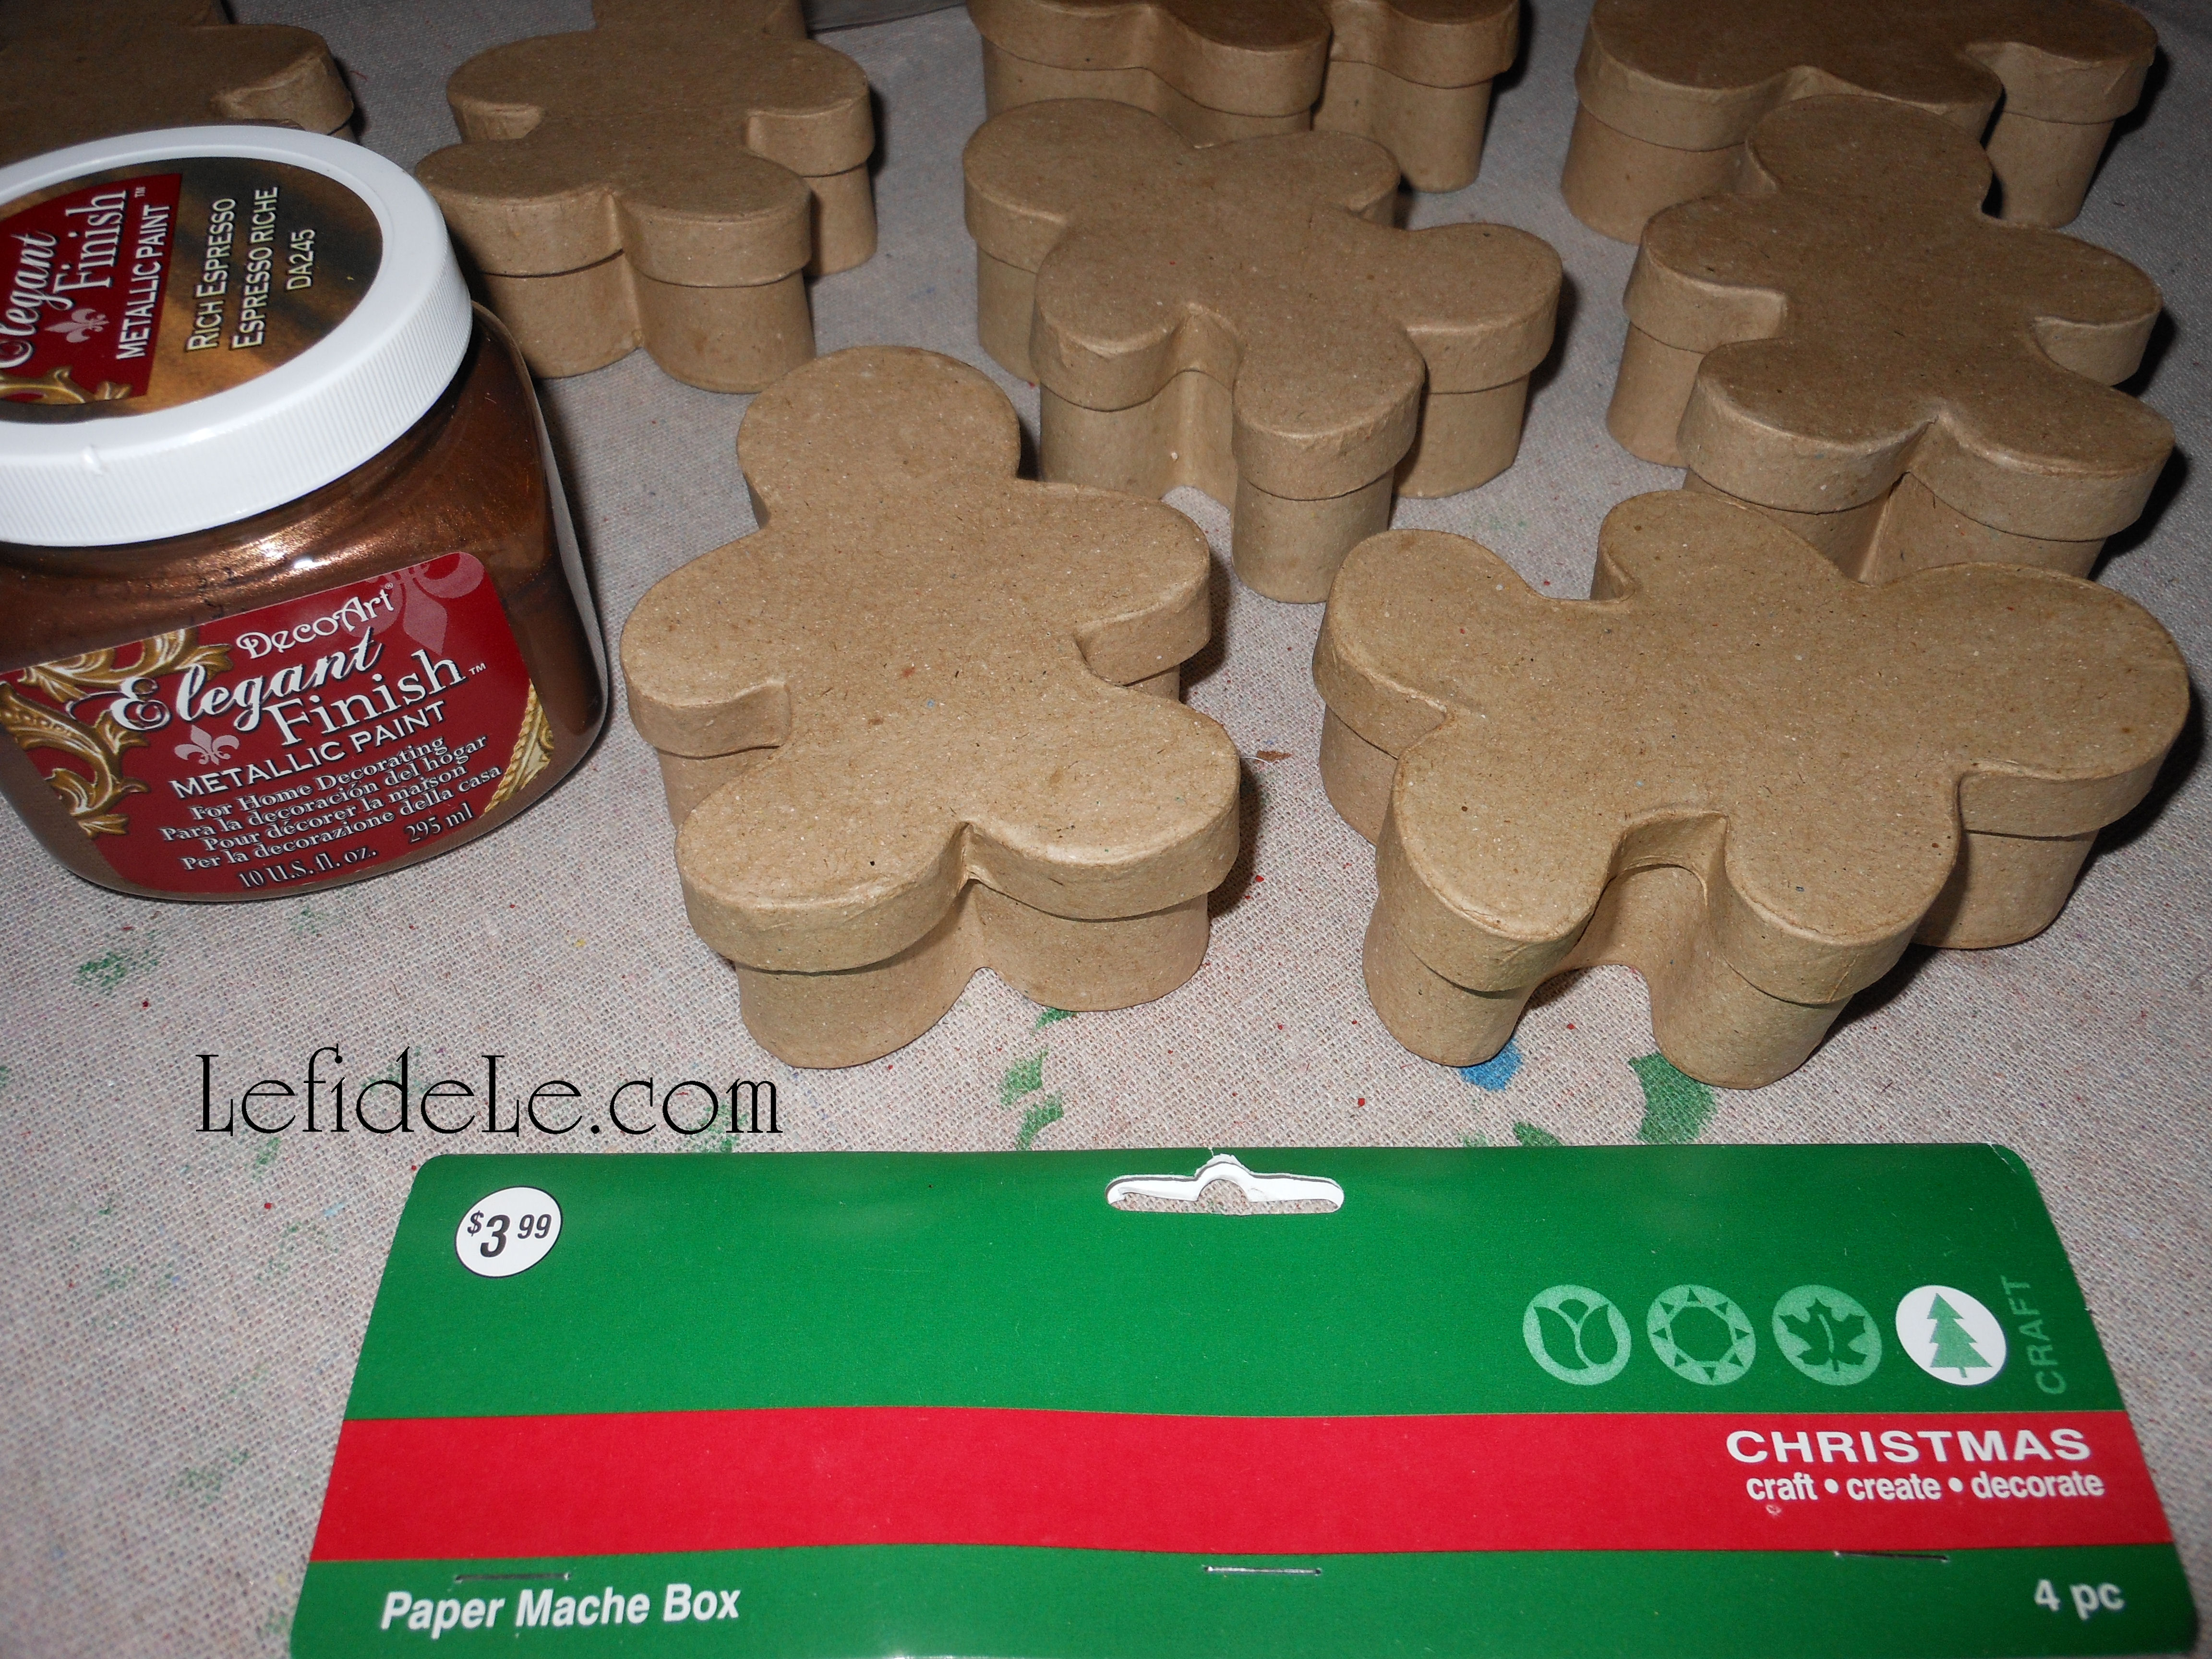
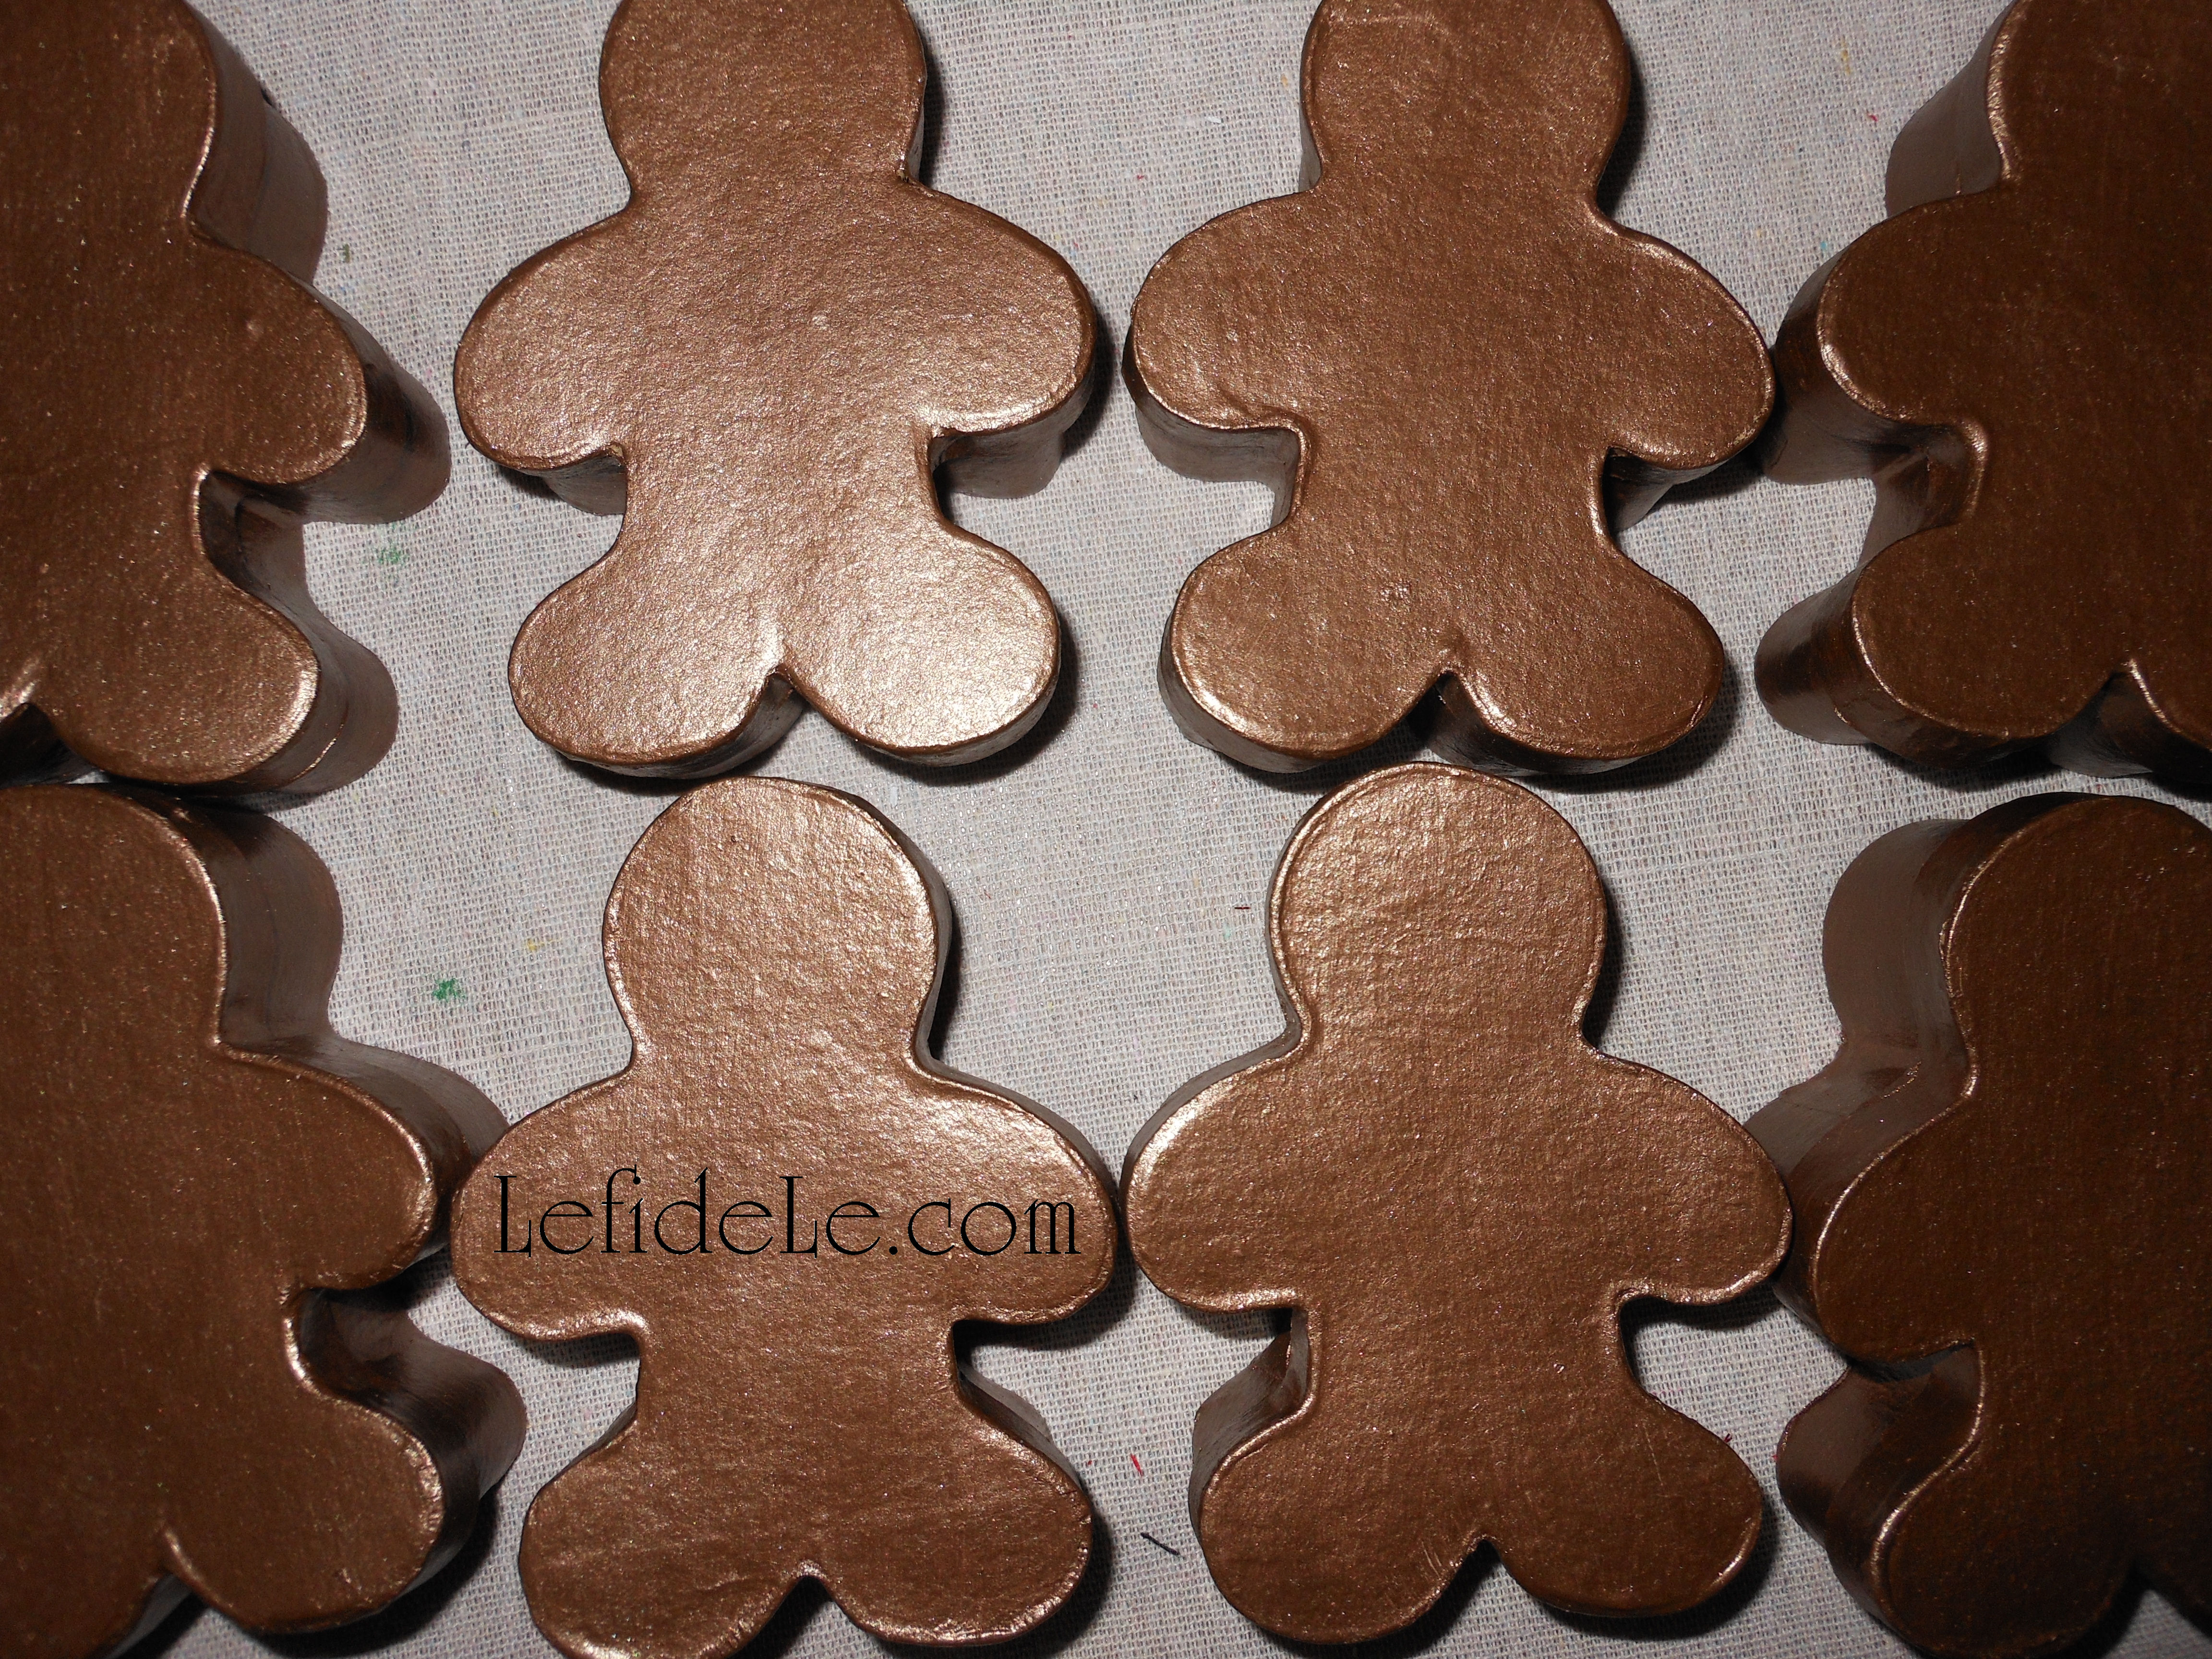
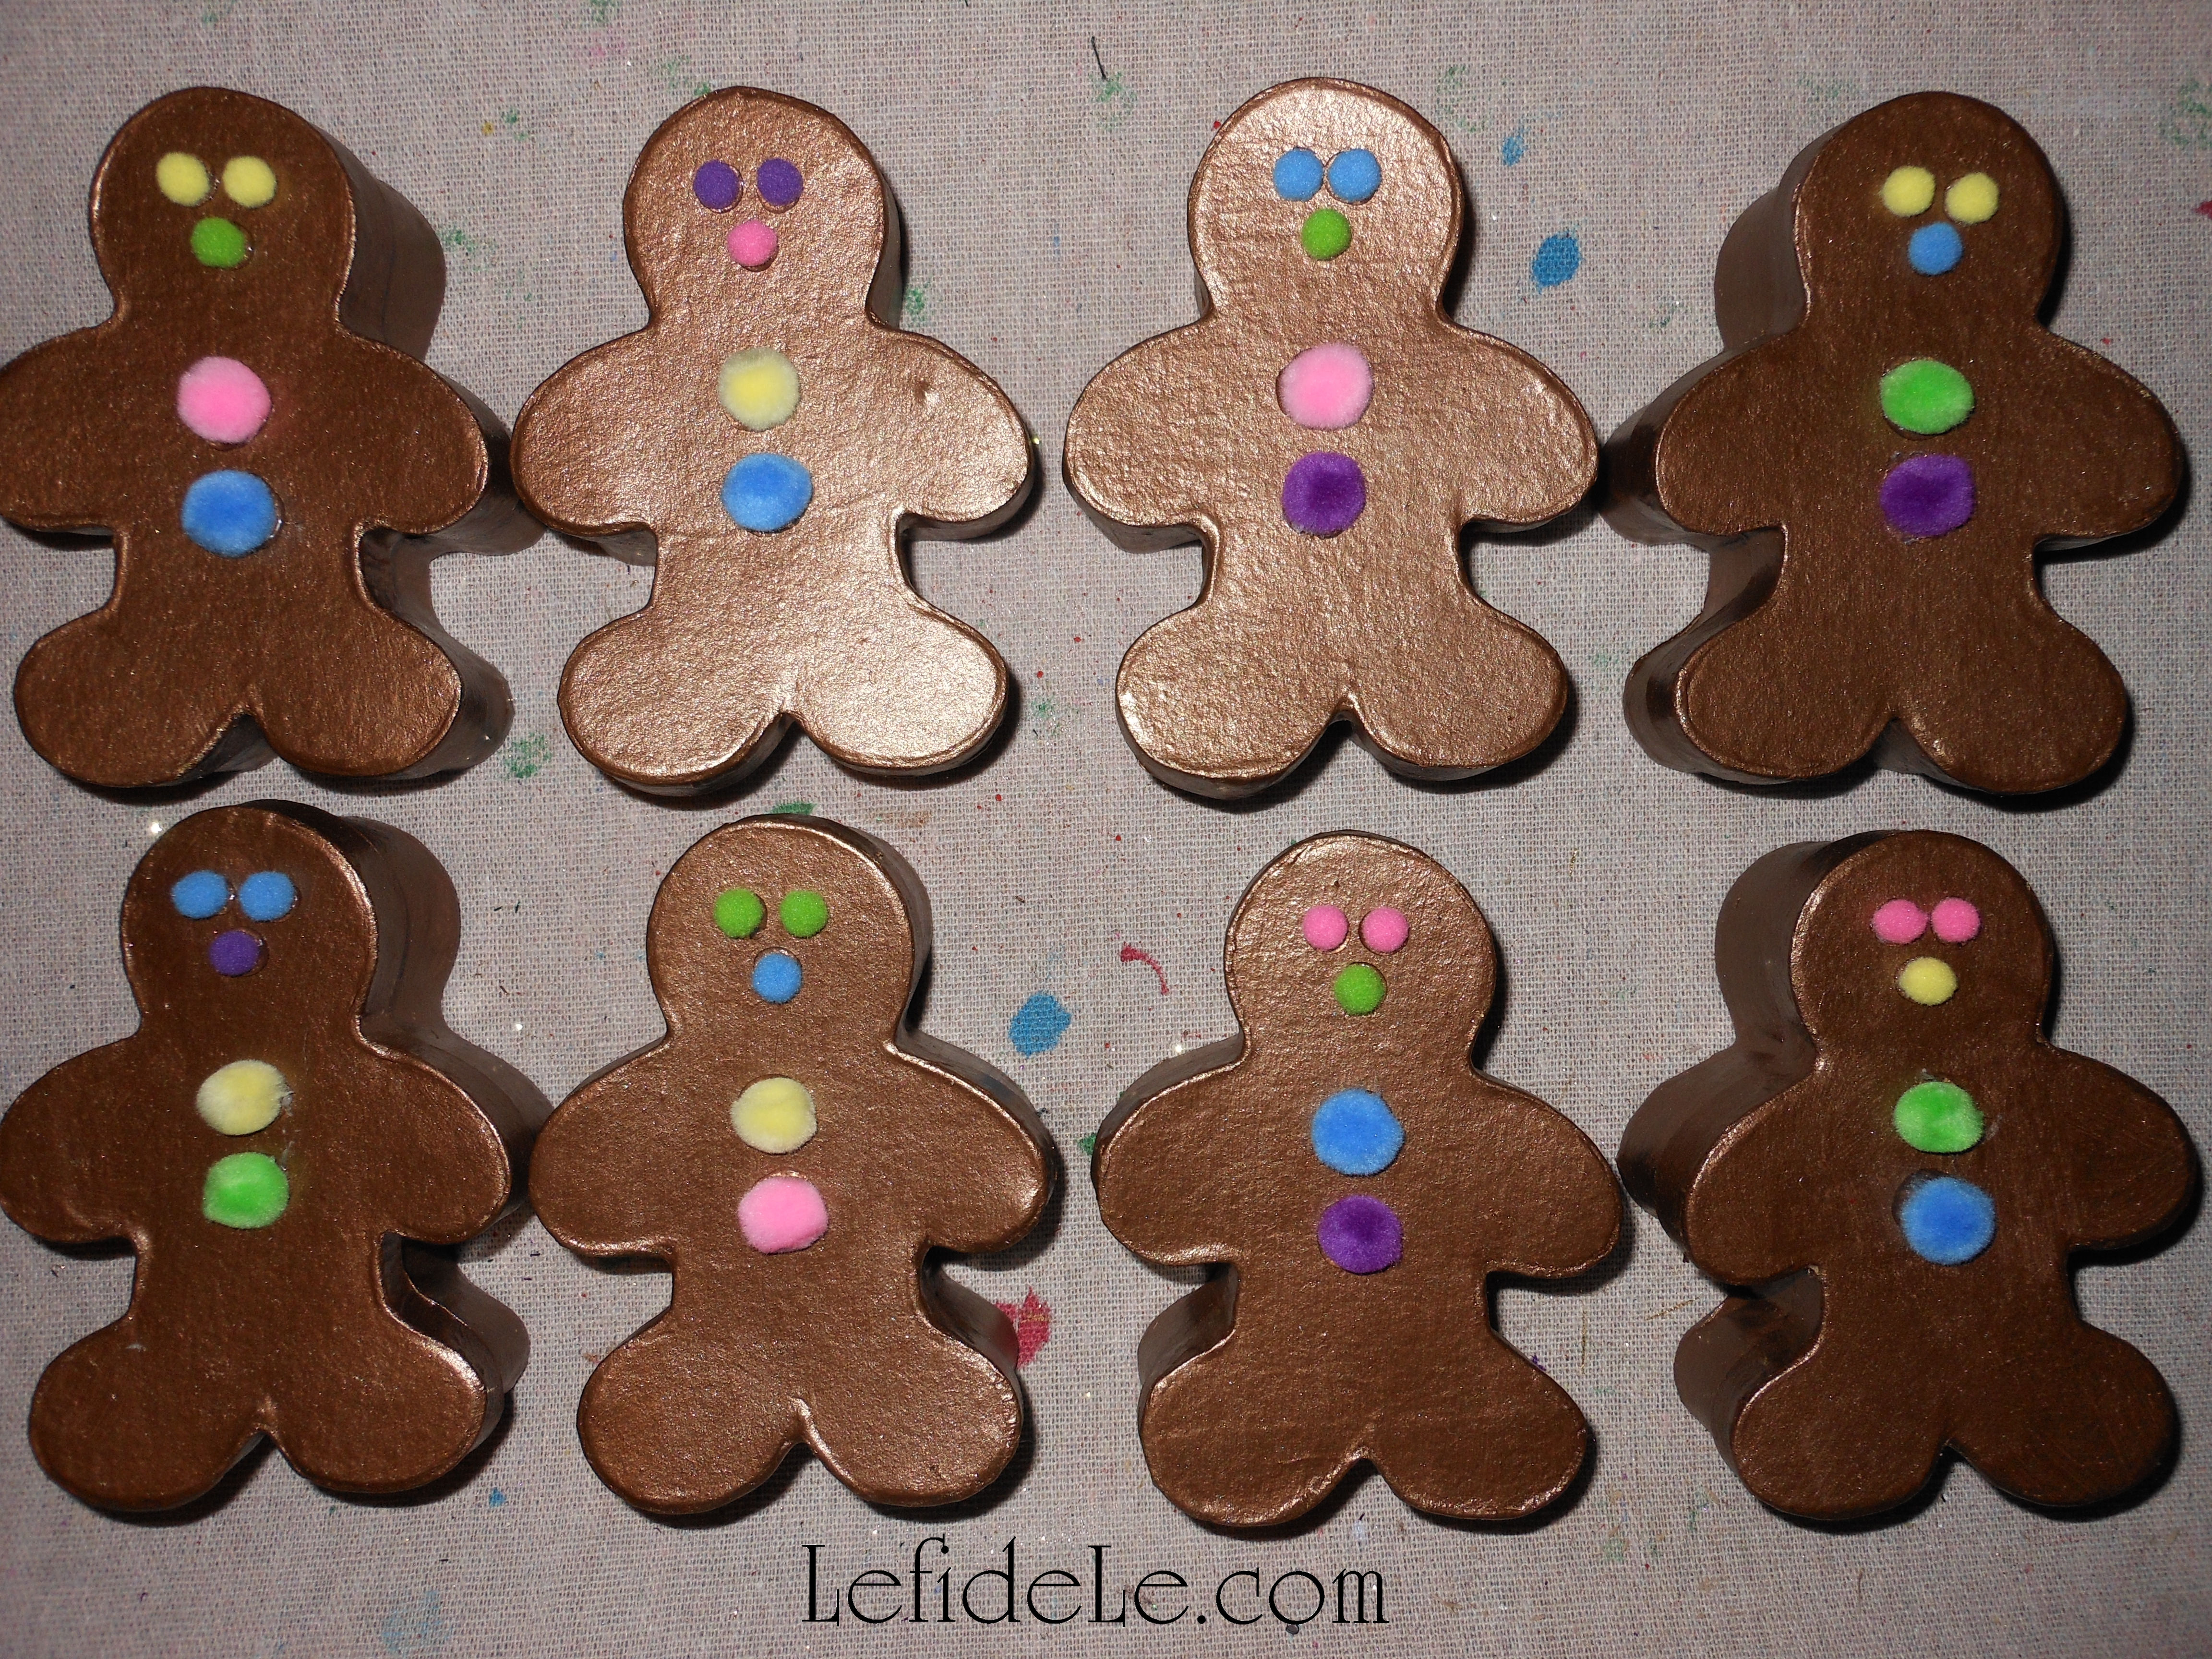
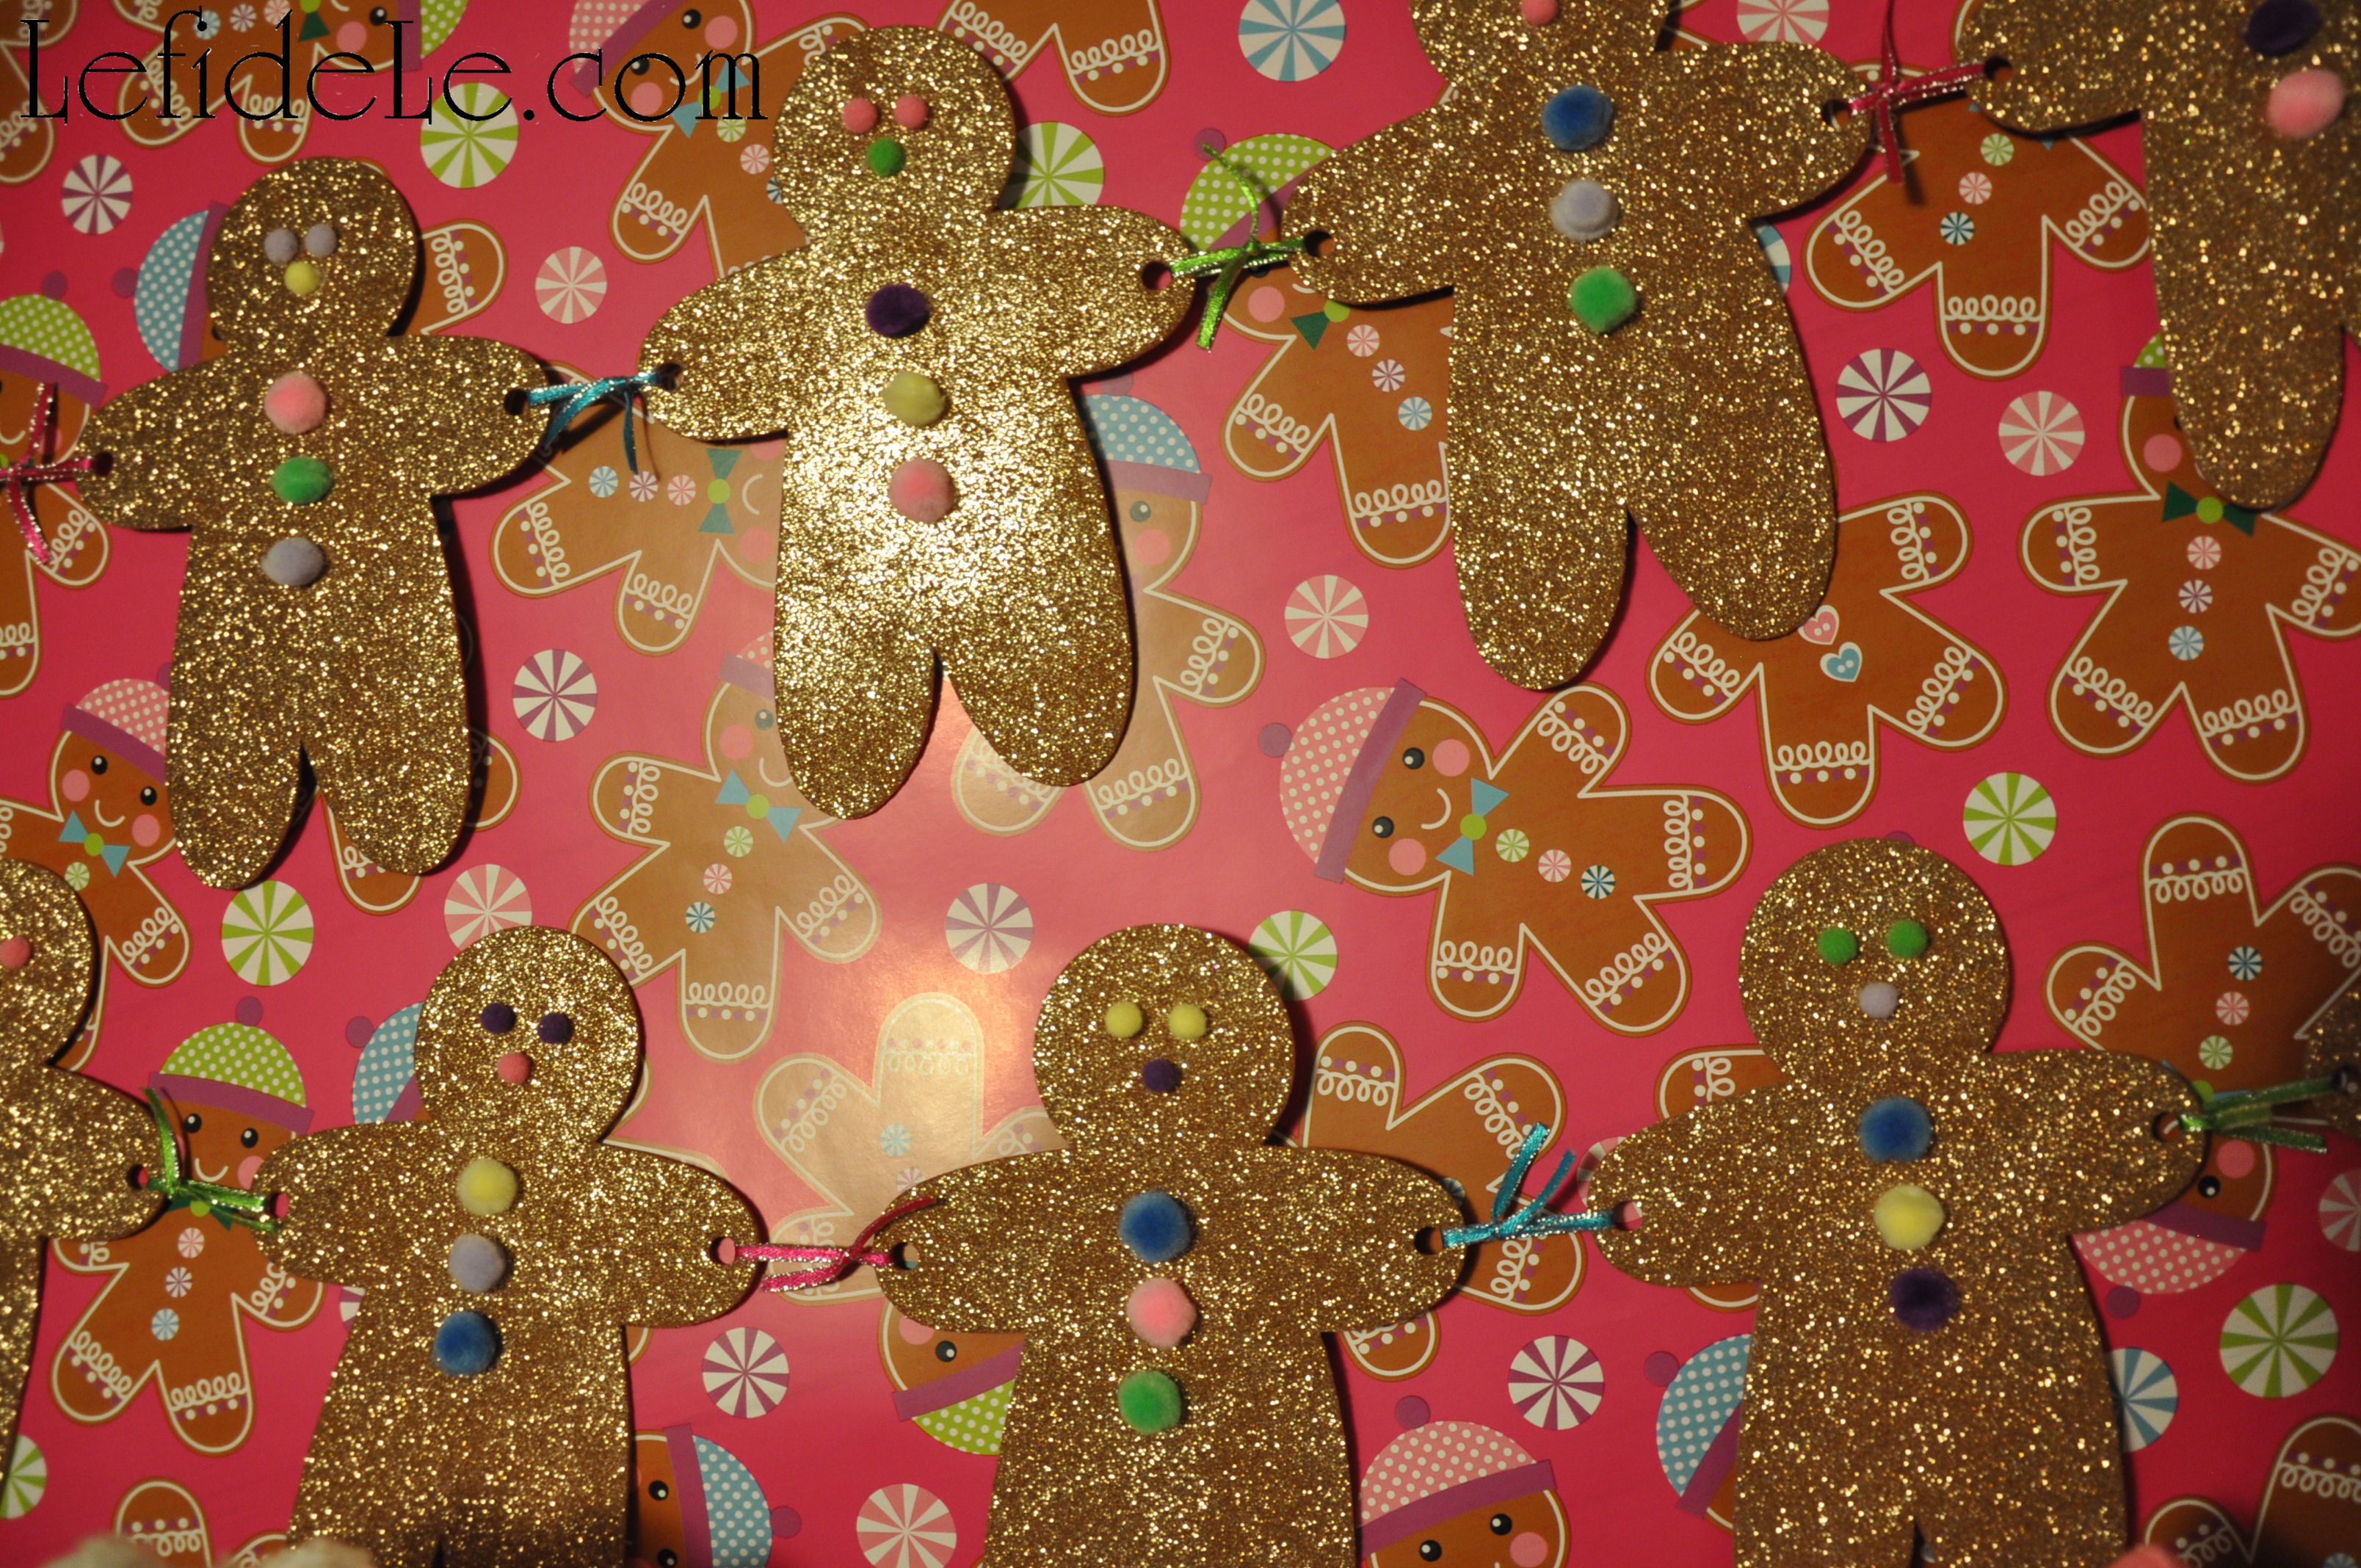
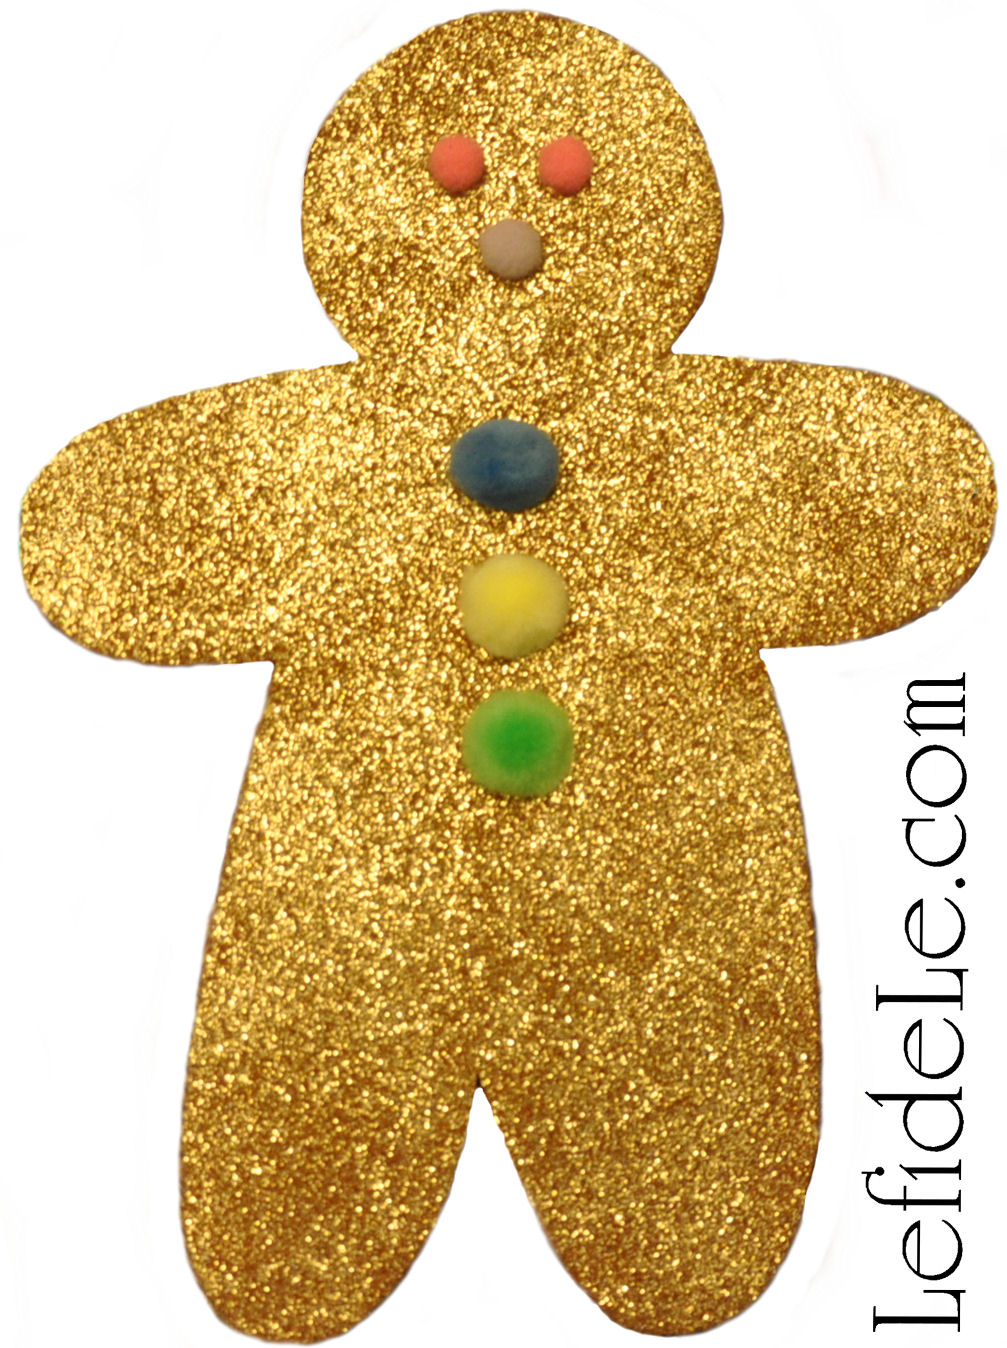
Check out the rest of my Candyland craft series: Gingerbread People Banner, Treat Gift Boxes, & Printables and Game Board Treat Tower & Easy Buffet Display as well as the final party post on Candyland Themed Party Décor Ideas.
Faithfully Yours,
Leigh