Tag Archives: Fabric

Easy DIY Taffeta Fabric Napkin Rings & No Sew Tablecloth Craft Tutorial & Free Printable Easter Egg Card or Invitation

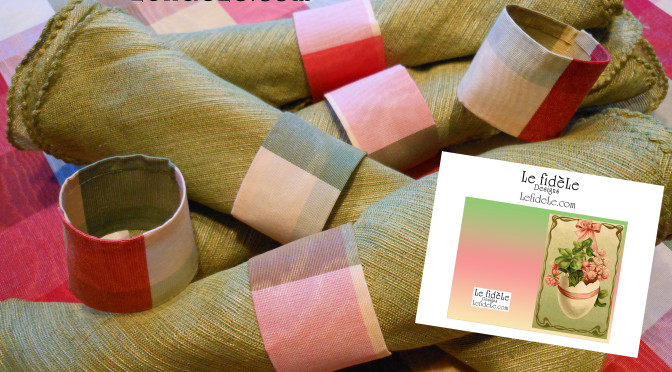
Easily craft these DIY napkin rings and no sew tablecloth from taffeta fabric, and make elegant Easter egg cards or invitations with my free printable in this tutorial. They’re an easy way to create a one-of-a-kind celebration for your next Easter family gathering.

167Leigh

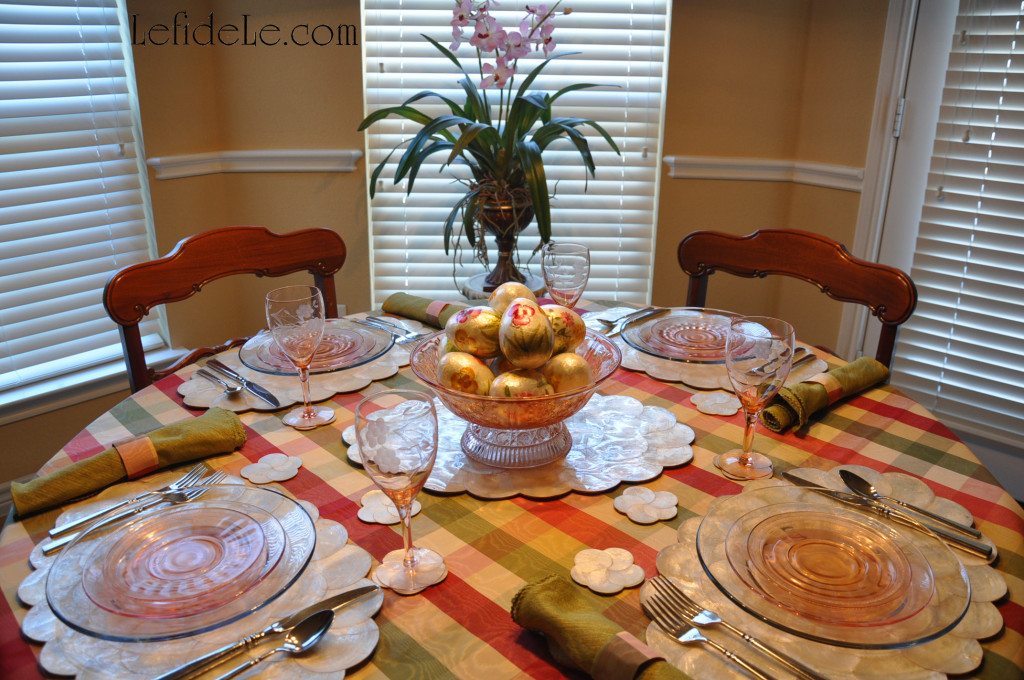
To make the tablecloth, begin by folding one corner of the fabric over onto itself in a triangle shape. Cut the fabric along the edge of the folded section. When it is unopened it will make a perfect square. Slightly fold over the outside edges, and hot fabric glue them into a hem. (Iron the folds before gluing to achieve a perfect no sew hem.) Lay this cloth over another coordinating tablecloth for a lovely layered look. (Check out my Capiz Easter Egg Tablescape for more of these projects in action.)

1932Leigh

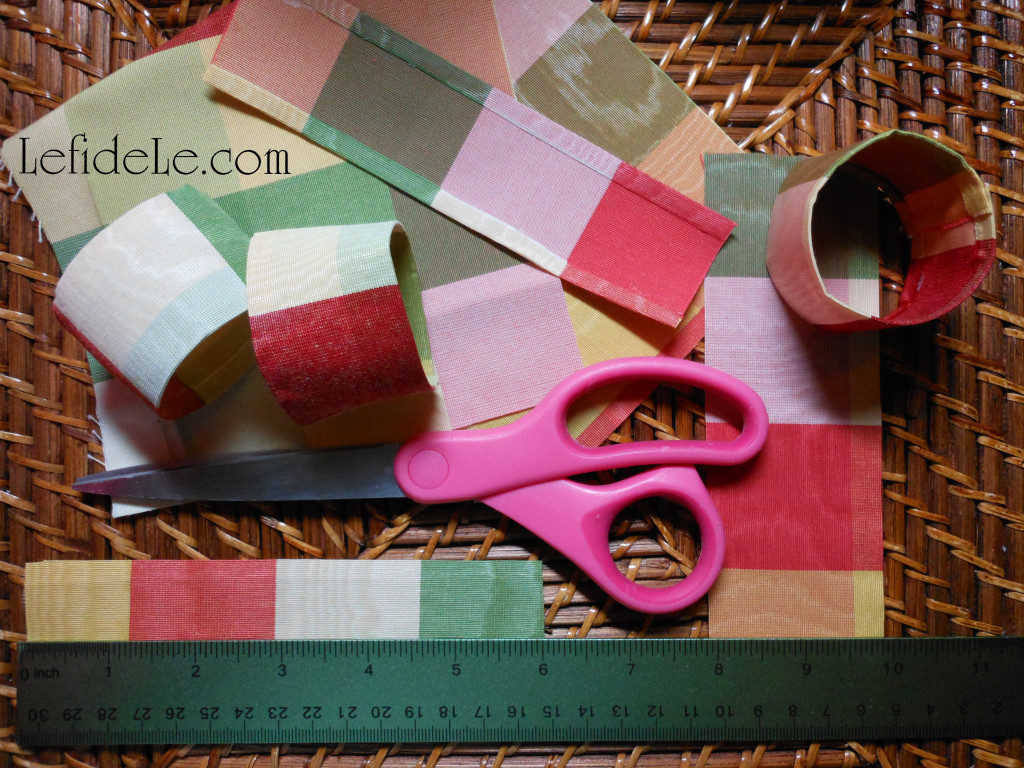
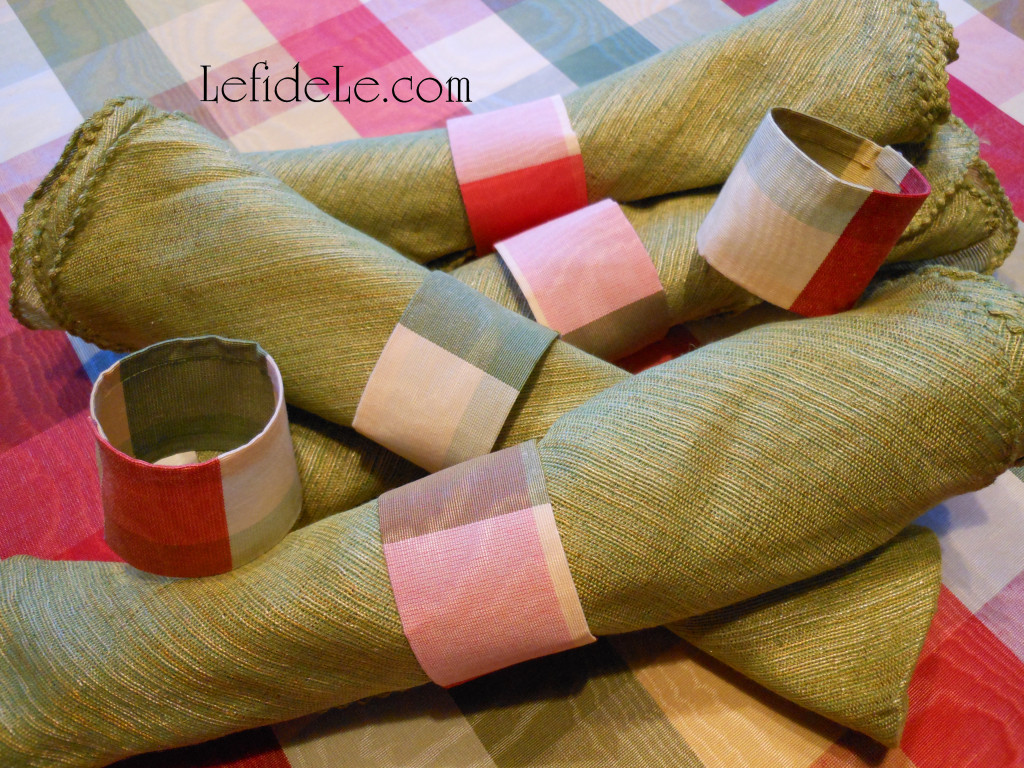
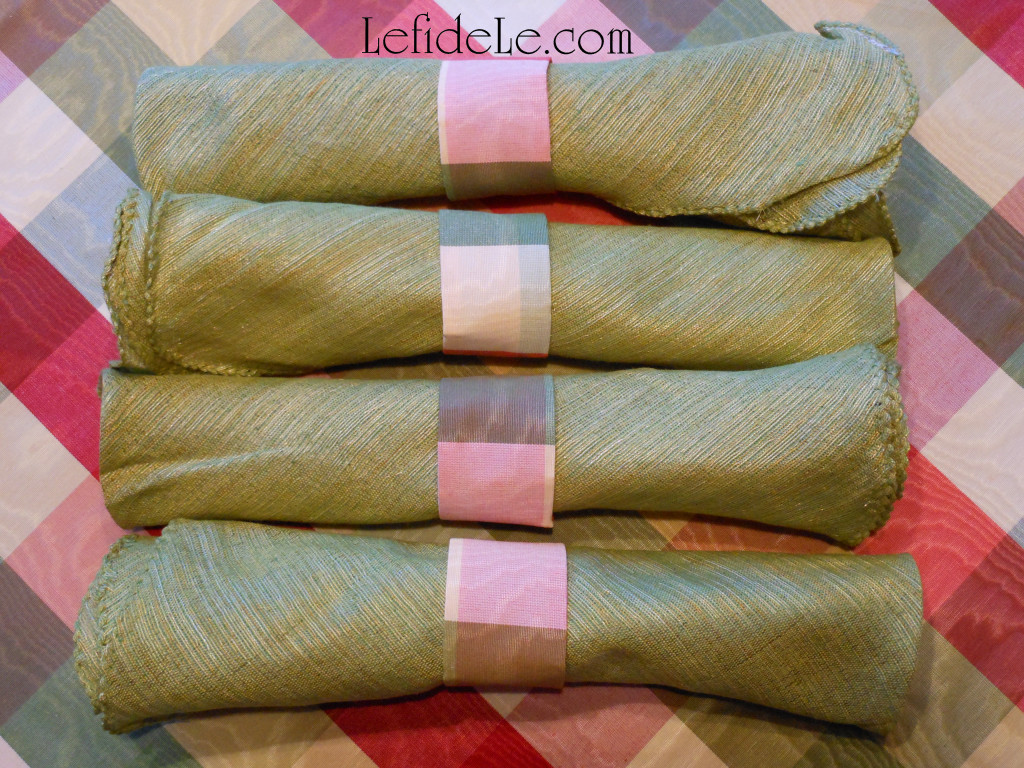
To make the matching napkin rings, cut strips of fabric 2 inches wide by 6 inches long. Fold over the edges on the long sides, and hot fabric glue them under. Next, glue one short side over the other, slightly overlapping them. (Note that the underside of the taffeta is suitable to use also, for a more casual look.)

1948Leigh

This is a great project to use up any leftover fabric from other DIYs, especially if you want to coordinate linens with your drapes or upholstery.

1942Leigh

It’s also great to make these with end-of-bolt clearance sales, if you like the look of high end fabric yet have budget constraints. (And if you don’t… clearance shopping allows you to allocate more funds to charity. Double-win!)

PastelEggCardLeigh

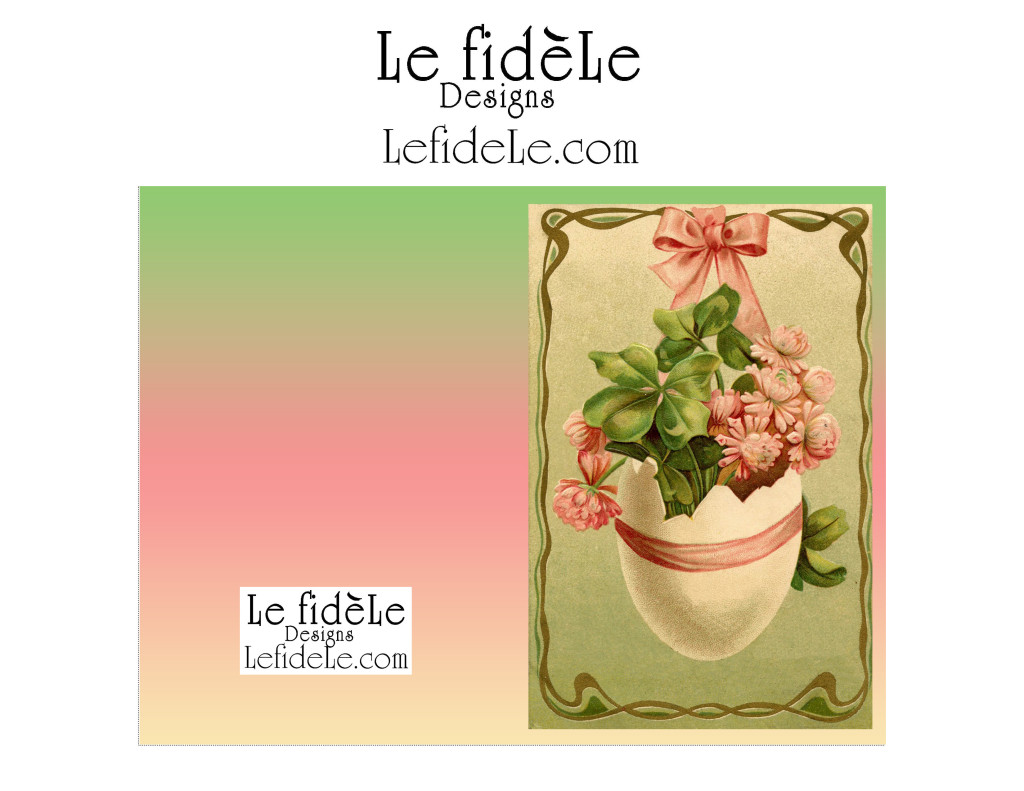
Now print out Easter egg cards and invitations using my free printables. (Note that these are free only for your personal use and not for commercial purposes.) Simply right click on the image above and select print. Choose the photo setting, and print 1 full page for each card you desire. Print them on thick cardstock paper for the best quality card. Cut out the color image, and fold one end over the other. (Boxes of card sized envelopes are quite inexpensive, or you can make your own. Look for my tutorial on this in the future.)

Hoppy Easter to all you creative chicks!

Faithfully Yours,

Leigh

DIY July 4th Denim No-Sew Appliqué Collage Star-Spangled Banner Craft Tutorial for Independence Day

163Leigh

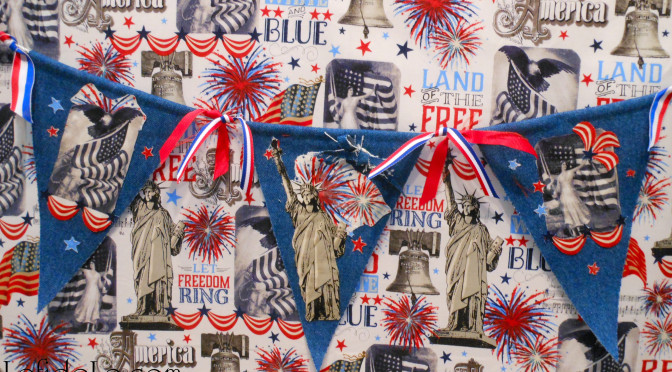
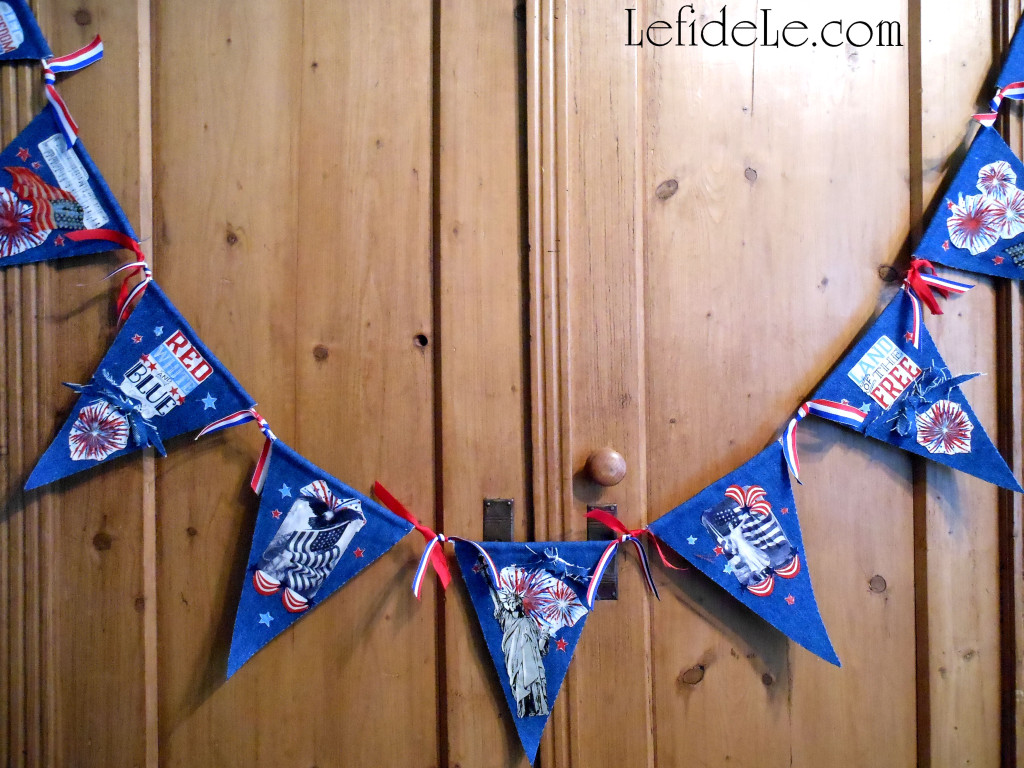
Inspired by our glorious national anthem, I set out to construct my own star-spangled banner (not old glory) to wave over a modern Independence Day celebration. Making a fabric appliqué collage banner is easier than it looks, and it’s easy on the budget because it only takes a little fabric, rope, ribbon, and hot fabric glue. That’s right, glue… no sewing skills are necessary! This makes it so quick to construct, that it can be made the day before a party. Even better, no one else will have anything like it, because it’s your own one-of-a-kind work of art!
125Leigh

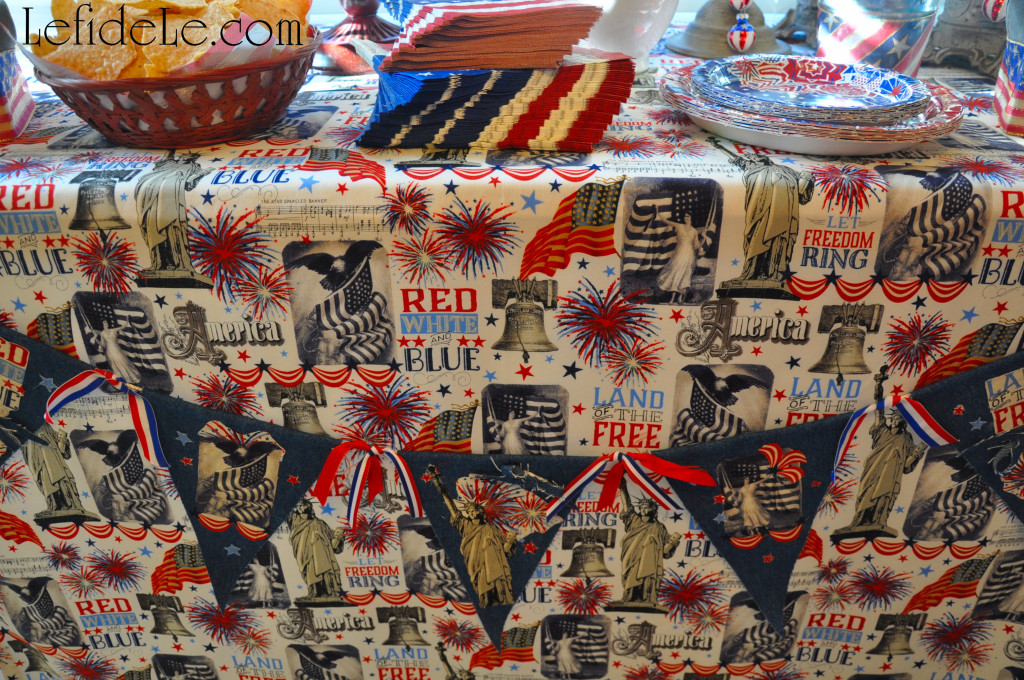
Let’s begin with fabric selection as there are a number of ways to go about this… if you have a plethora of leftover fabric scraps, all the power to you, use them! For my banner base triangles, I used old denim. (This might be the perfect project to do something useful with that old pair of jeans that hasn’t fit in, well… awhile!) You can also purchase coordinates at the fabric shops and craft stores. (See my affiliate links in the side bars as they offer great discounts from time to time.) For my appliqués, I bought a patriotic print on sale (from Le fidèLe Designs affiliate Joann / Hancock Fabrics) that was just perfect for collaging. (See more denim and patriotic print fabric completing my Star-Spangled Independence Day Party Décor as table cloths here.)
127Leigh

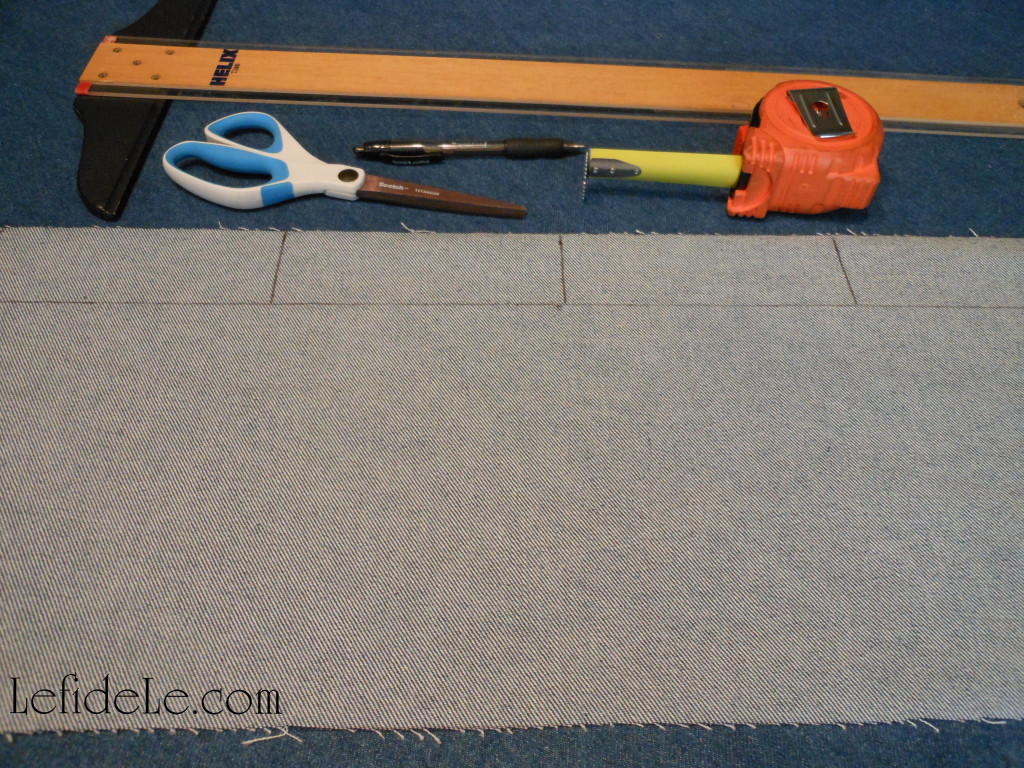
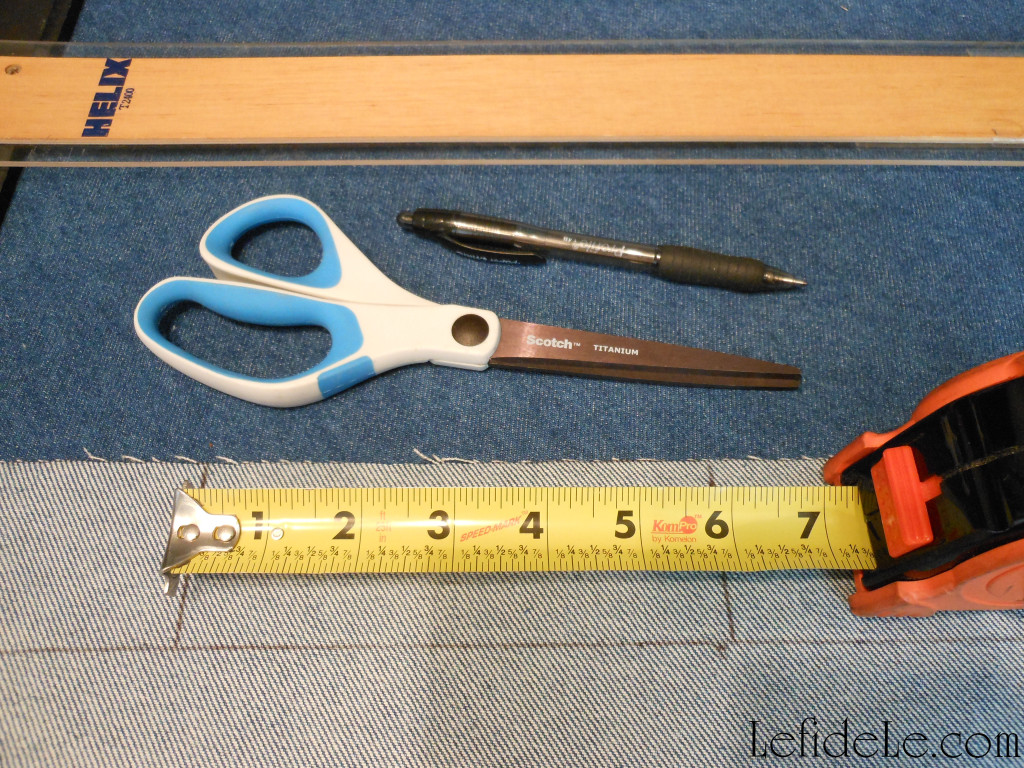
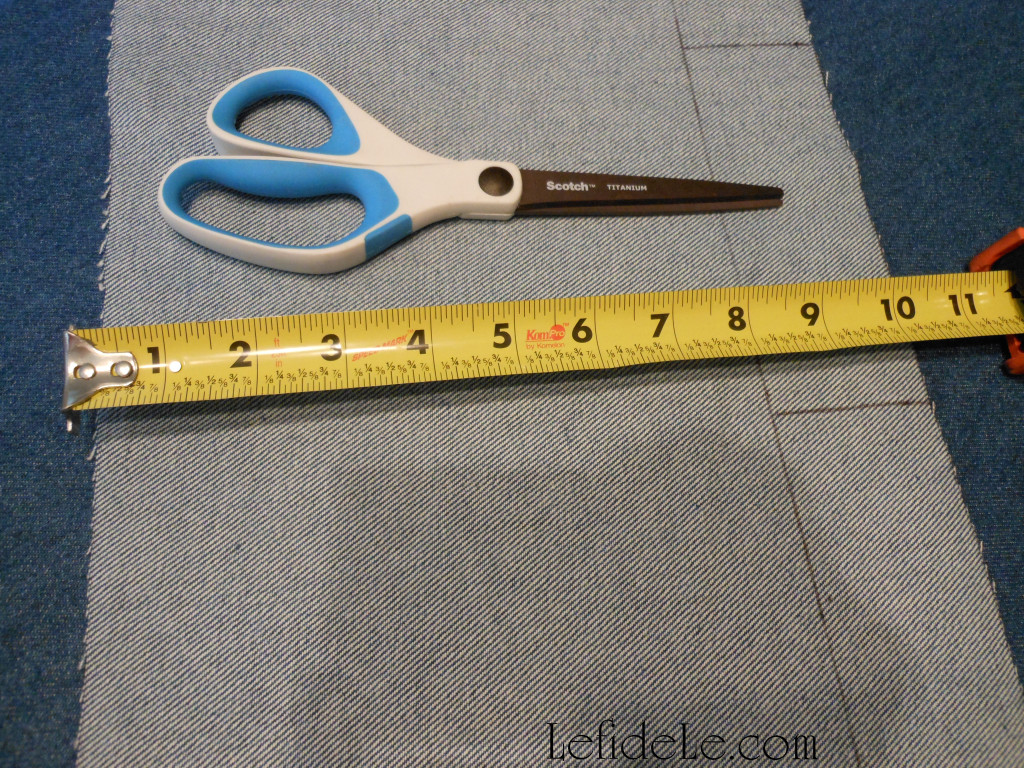
Divide the end of your base fabric into 6 inch sections, and mark the underside of the fabric with a pen.
128Leigh

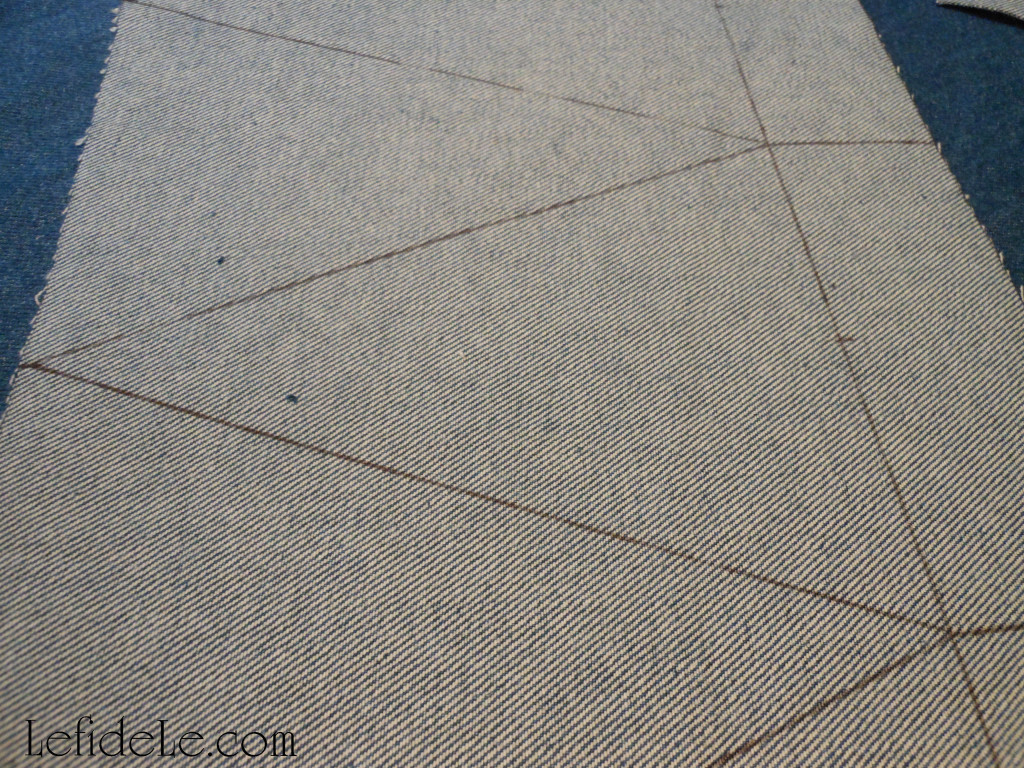
Next, mark 8 inches below the top line to form the length of your future triangles. (You can either cut this strip now or wait until all your marks have been made.)
133Leigh

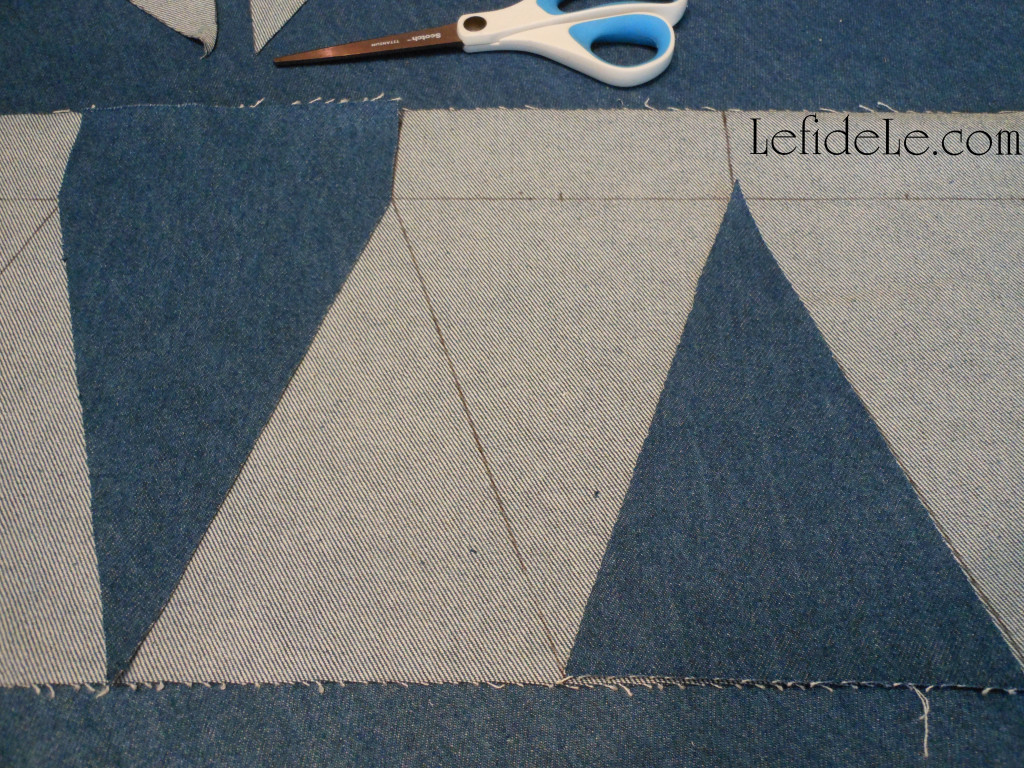
Mark a dot on the 3 inch midpoint of each 6 inch top section. Use a ruler to mark the corresponding point directly below it, onto the 8 inch line (or cut). This will be your triangle’s point. Mark a line to connect this point to each corner of the 6 inch marks you made first. (You will be making triangles with each connection.)
132Leigh

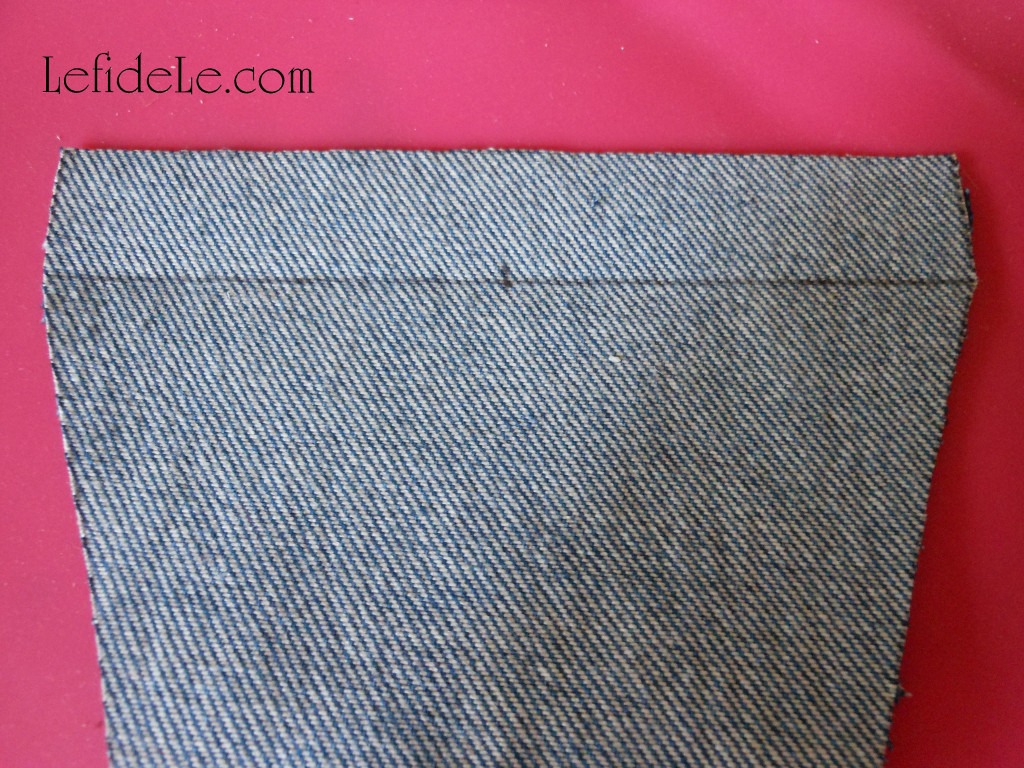
Cut along each line to make your triangle bases. Another option is to make a tab at the top of each triangle in order to fold it over a thick piece of rope… otherwise just glue the triangle top to the rope. (I elected to make a tab for these. I’ll demonstrate the tab-less version in a future tutorial.)
140Leigh

Cut a tapered edge on any tab tops you make, so that it isn’t seen on the front after gluing.
136Leigh

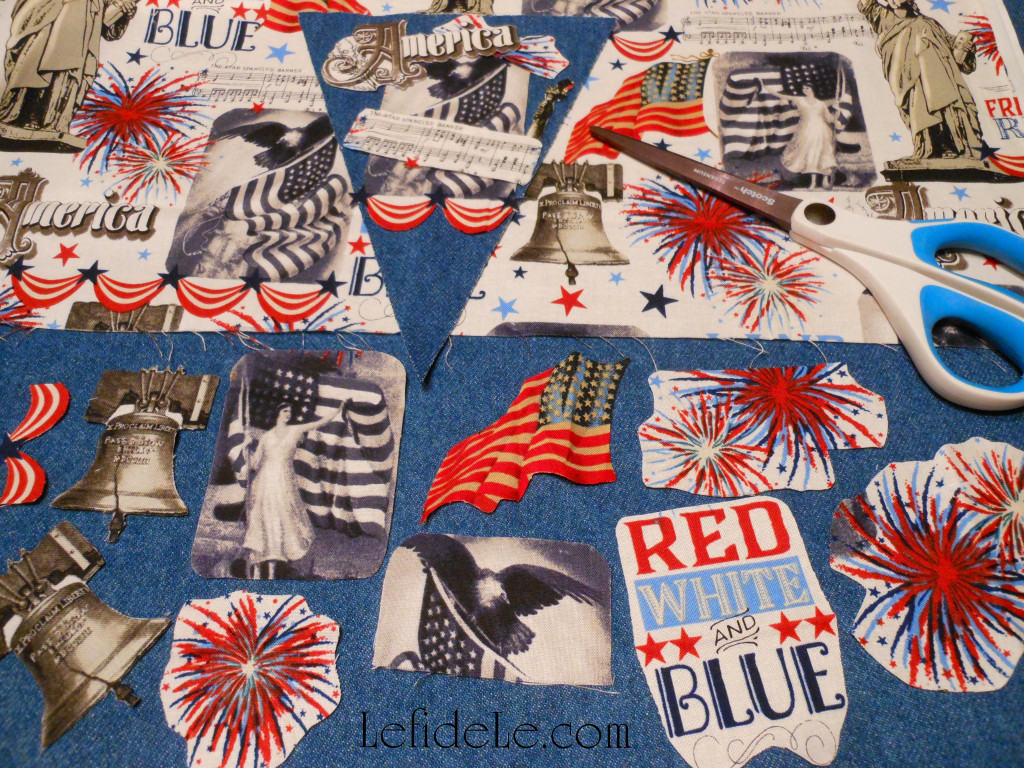
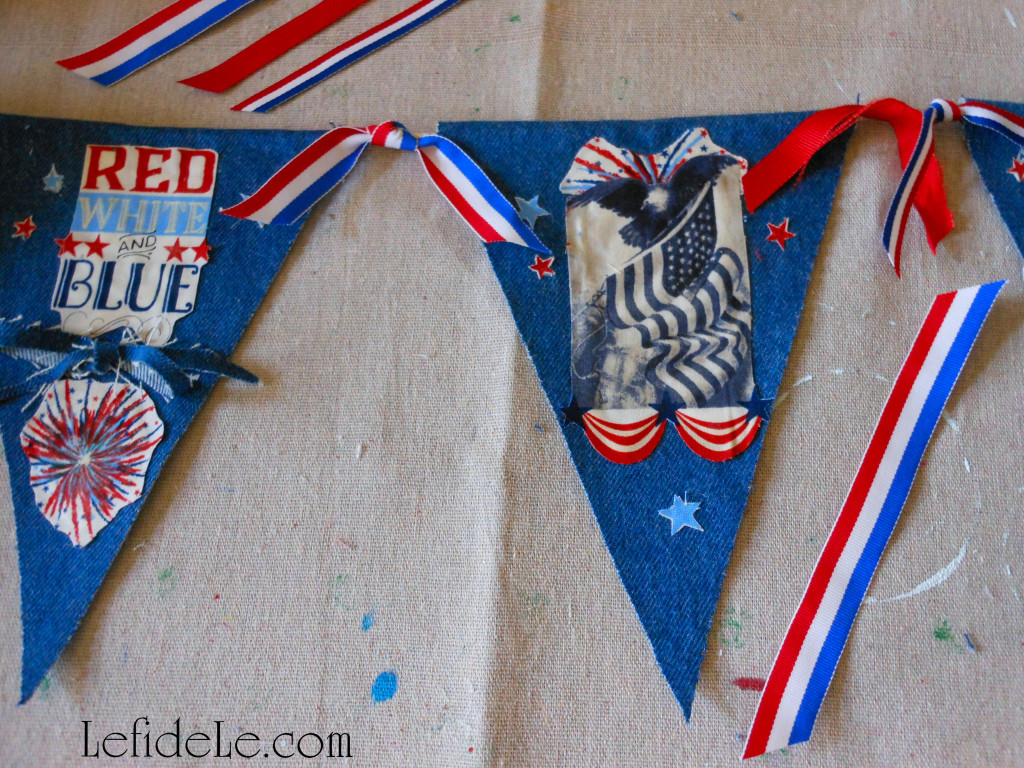
Now cut out individual images from your printed fabric… just as you would in a paper collage or decoupage project. Use good fabric shears for a clean cut, or old scissors to make an intentionally rough edge… again, it’s your project, so it’s your choice. Also, think about cutting apart some of the larger images into smaller ones. (For example, cut apart the eagle from the flag in one image.)
138Leigh

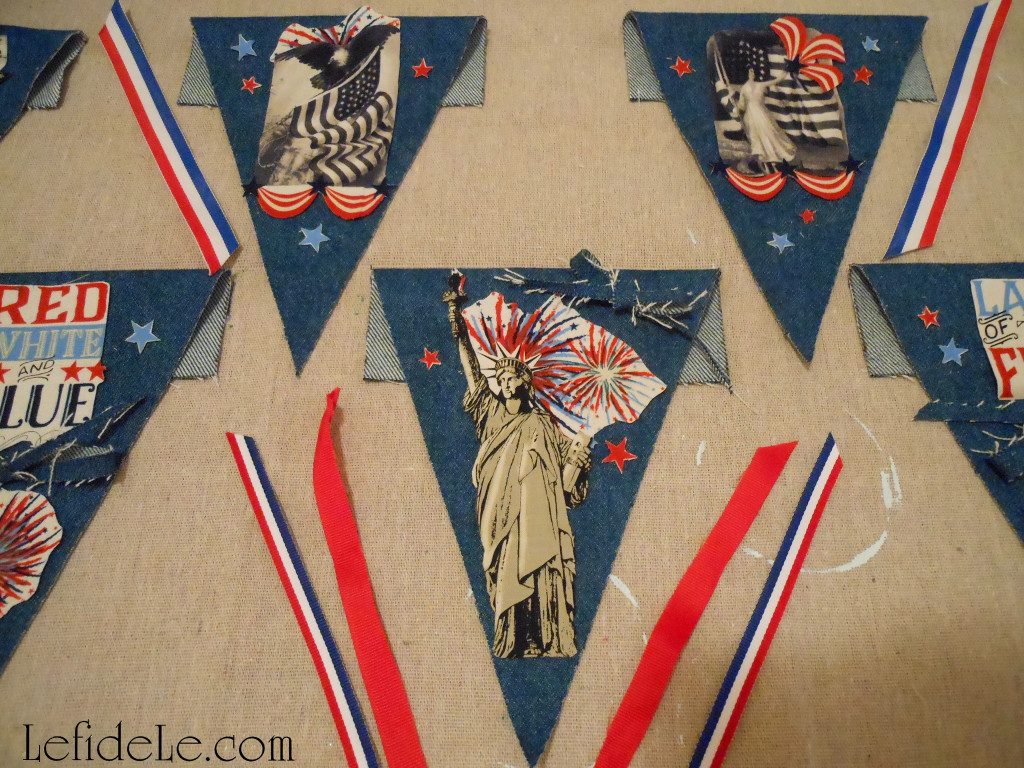
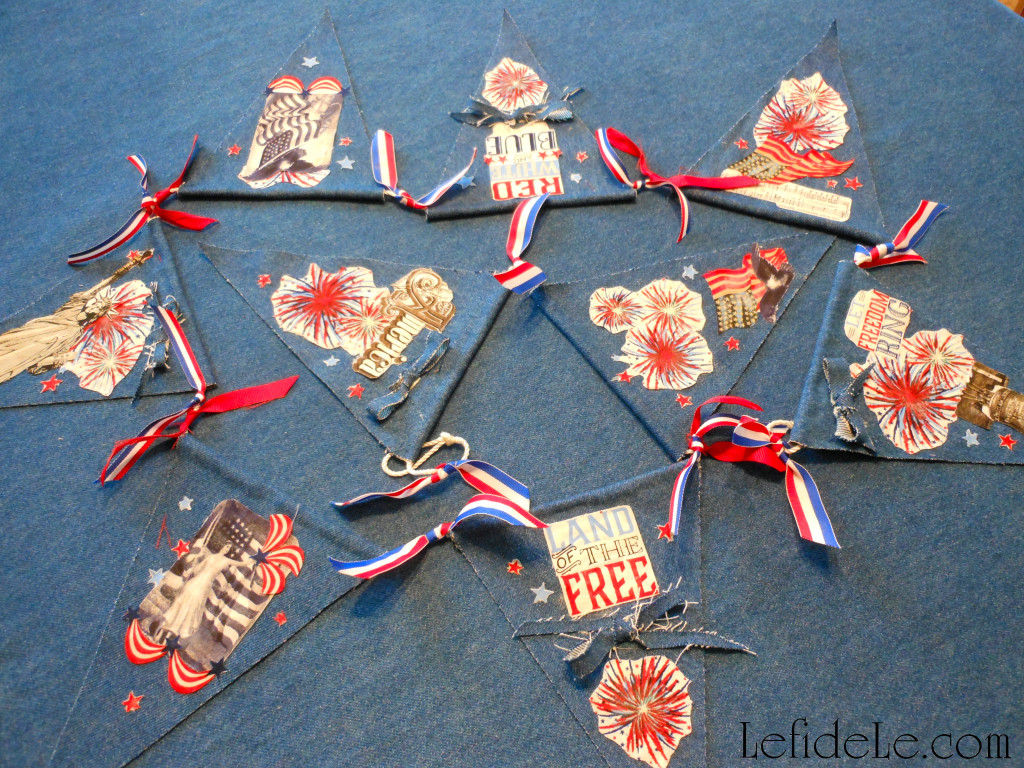
Lay out your triangles to plan your design. Rearrange your cut images until you find it looks pleasing. (This is the part where banner craft becomes collage art.)
142Leigh

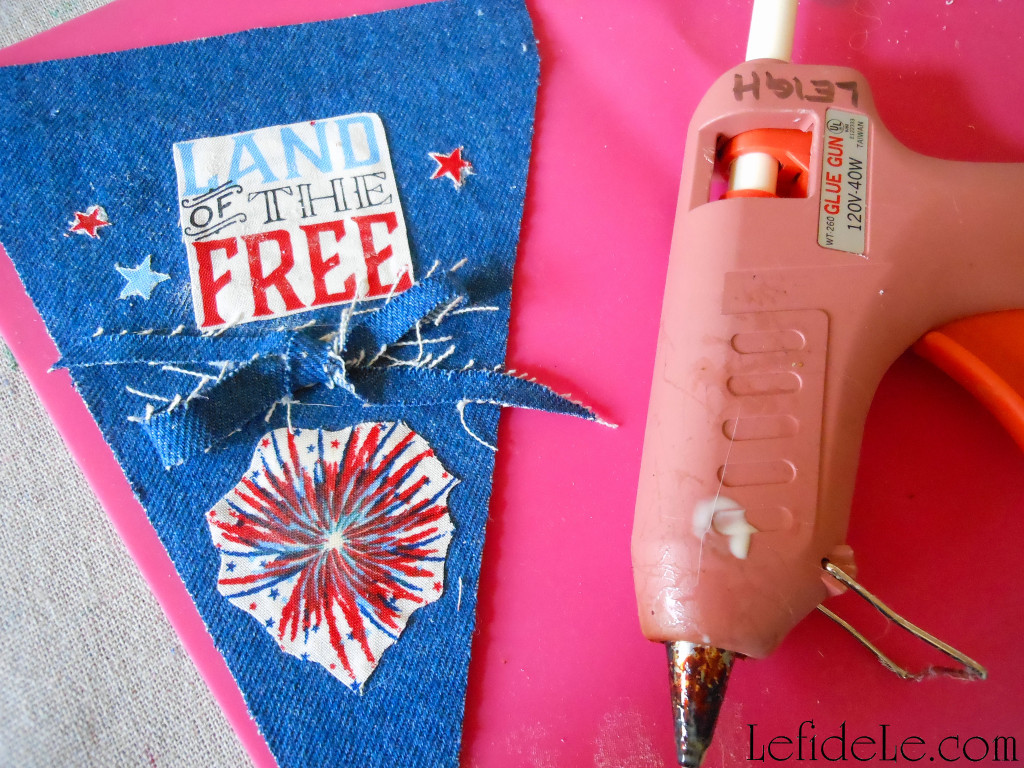
Adhere the appliqués to the triangle base with hot fabric glue. (Because I’ve already dealt with staunch naysayers concerning the ability of hot glue to work on fabric… there are varieties of hot glue made just for fabric, and it will say so on the label. Press the fabrics together immediately after applying the glue, using silicone hand protection of course. Once the glue has cooled completely, I defy anyone to pull the 2 materials apart!) There are also many varieties of cold fabric glue that just require more drying time. (This would be the safer option if constructing this with kiddos.)
145Leigh

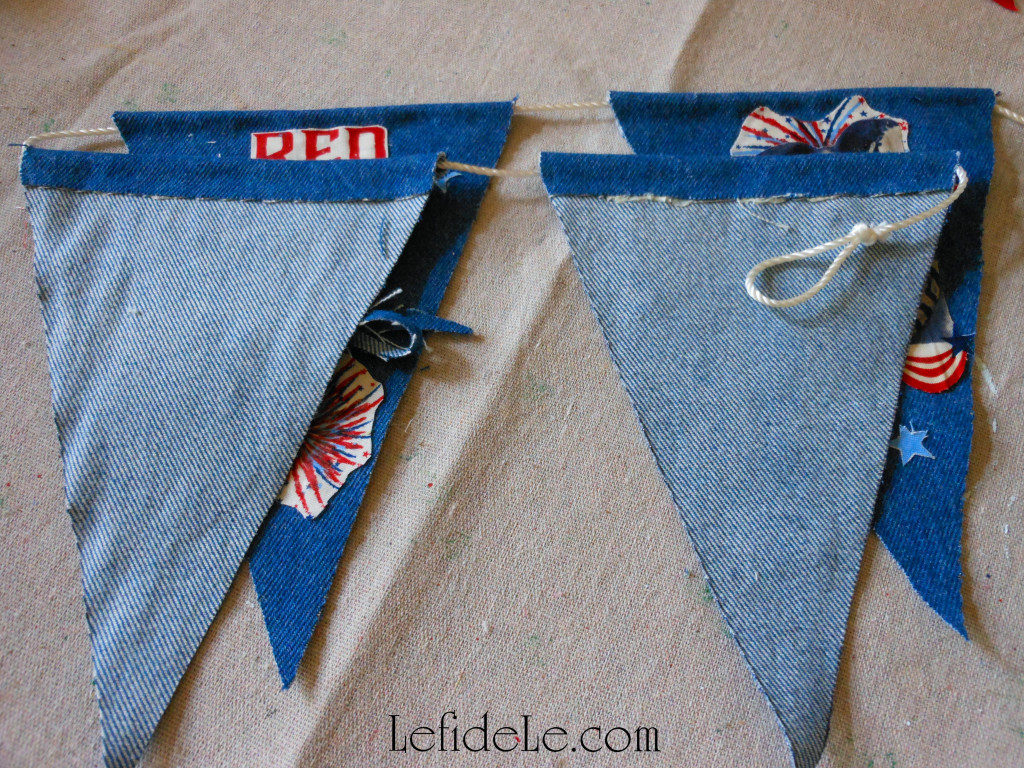
Next glue each triangle flap over the rope you’ve chosen, leaving an inch or so between each. (For the tab-less version, just glue along the top of the triangle’s underside to attach it to the rope directly.) Don’t forget to tie a loop at each end for hanging.
148Leigh

Cut lengths of random yet coordinating ribbon to tie between each panel. Another option is to cut strips of fabric and tie those on. (You can see I’ve done this in the bows I glued to the panel fronts.) Now go hang it up and admire your handiwork! 🙂
162Leigh

“Oh, say, can you see, by the dawn’s early light,What so proudly we hail’d at the twilight’s last gleaming? Whose broad stripes and bright stars, thro’ the perilous fight, O’er the ramparts we watch’d, were so gallantly streaming? And the rockets’ red glare, the bombs bursting in air, Gave proof thro’ the night that our flag was still there. O say, does that star-spangled banner yet wave O’er the land of the free and the home of the brave?”
368Leigh

May you have an absolute blast crafting your own star-spangled banner this Independence Day!

Faithfully Yours,

Leigh

P.S. If you like collage, check out my July 4th Altered Art Greeting Card as Mailable Mixed Media Independence Day Décor (DIY Collage Art Tutorial).
120Leigh

DIY Herb Garden Fabric Napkin Rings Craft, Free Basil Seed Card Printables (Invitations, Place-cards, Food Tents, Menus, Herb Markers) & How to Customize a Table Setting with Washi Tape

253Leigh

Bring the splendor of the herb garden to an indoor tablescape resplendent with free basil seed card printables for invitations, place-cards, food tents, menus, and even herb markers. Craft matching napkin rings with herb printed fabric, and then learn how to effortlessly customize a table setting with washi tape. Practically zero budget is needed to create a splendiferous luncheon with every element detailed… what a splendid way to grow a party!
104Leigh

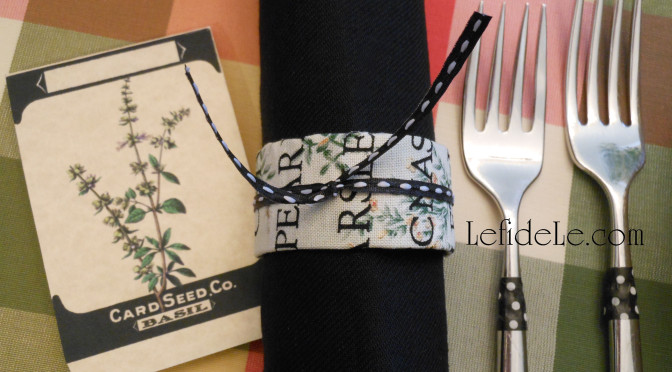
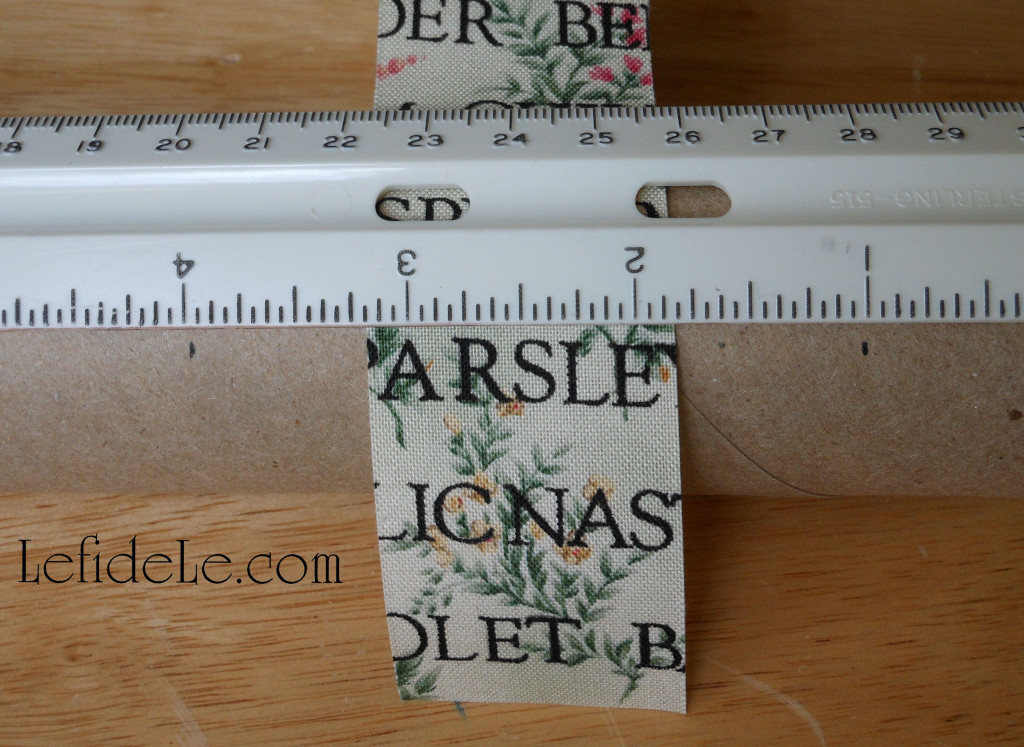
Let’s begin with crafting the herb garden napkin rings. Find a fabric with a lovely herb motif. Cut it into 6 inch long strips about 1 ⅜ inch wide.

106Leigh

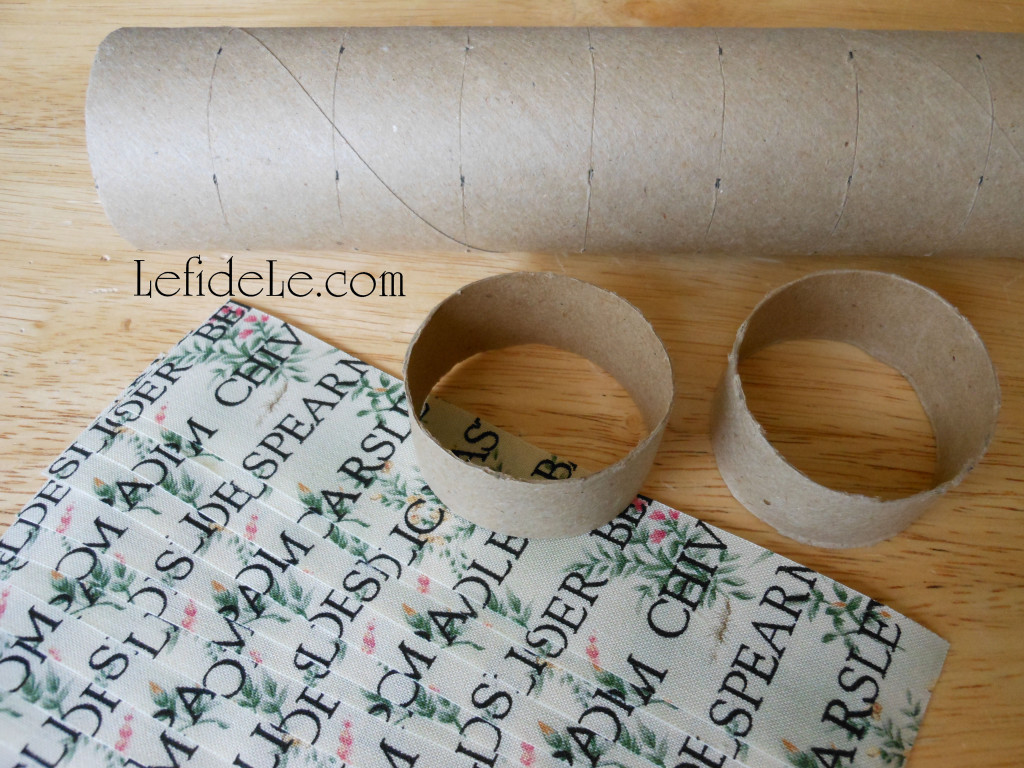
Mark an empty wrapping paper roll (or use a paper tower tube) into 1 inch sections. Cut through these sections to make the ring bases.

107Leigh

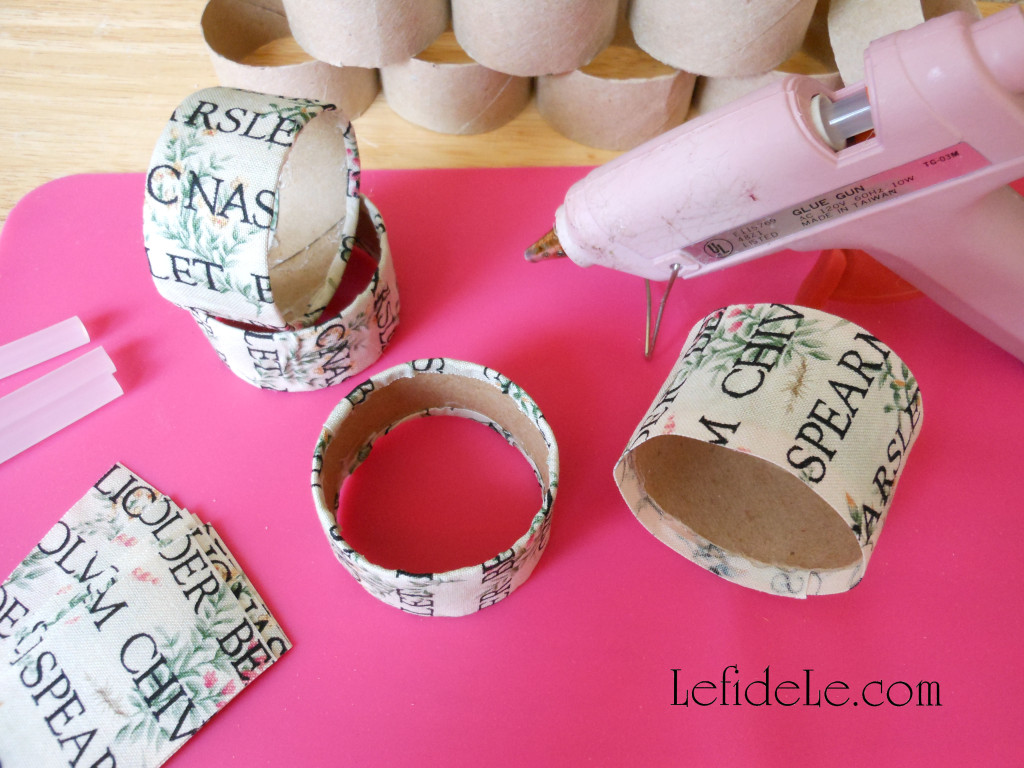
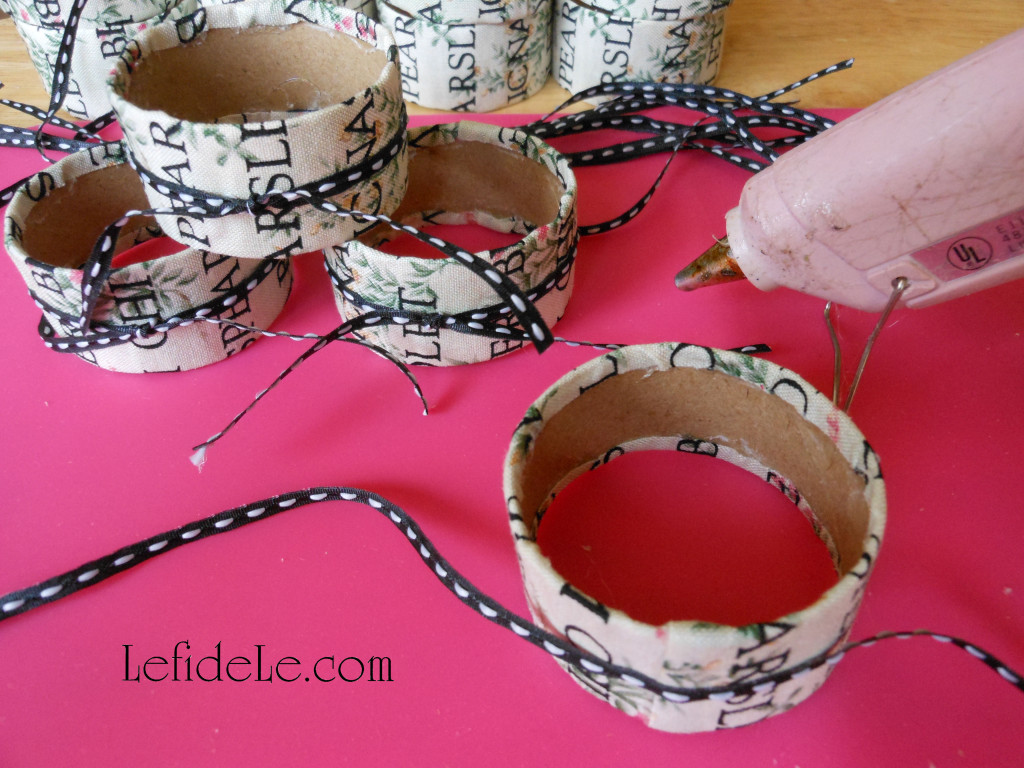
Hot glue the fabric strips onto the paper roll sections. (The ends should overlap a little.)

108Leigh

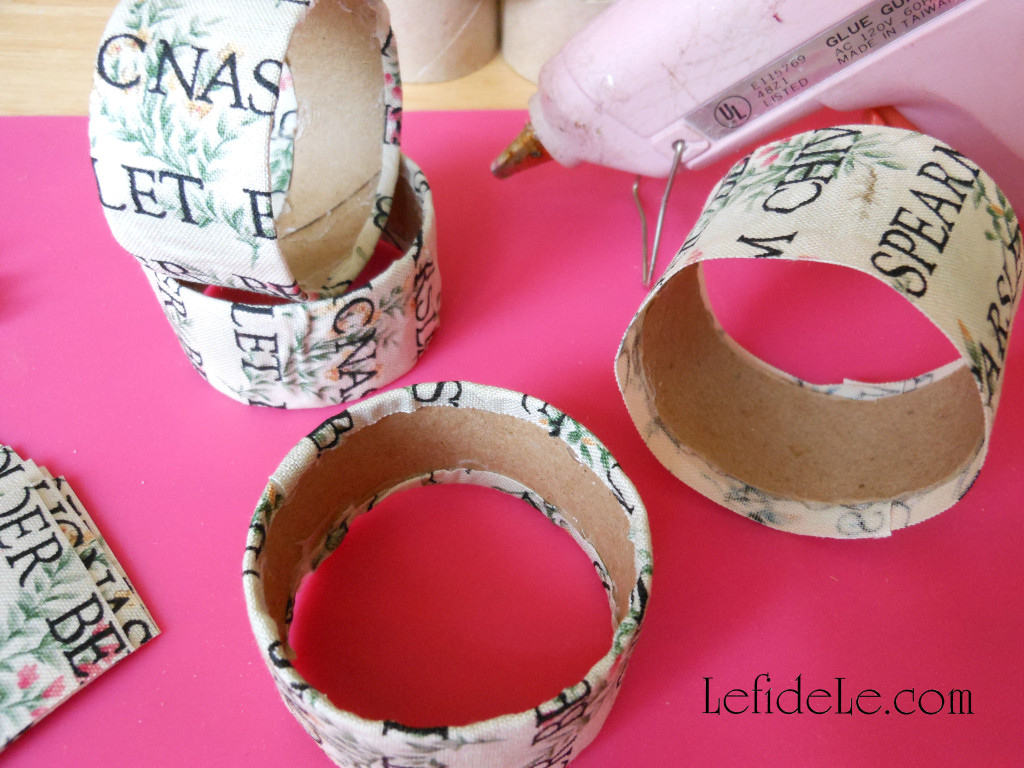
Glue the fabric flaps down to the inside of each roll. (This will make a nice edge that won’t fray in the future.)

110Leigh

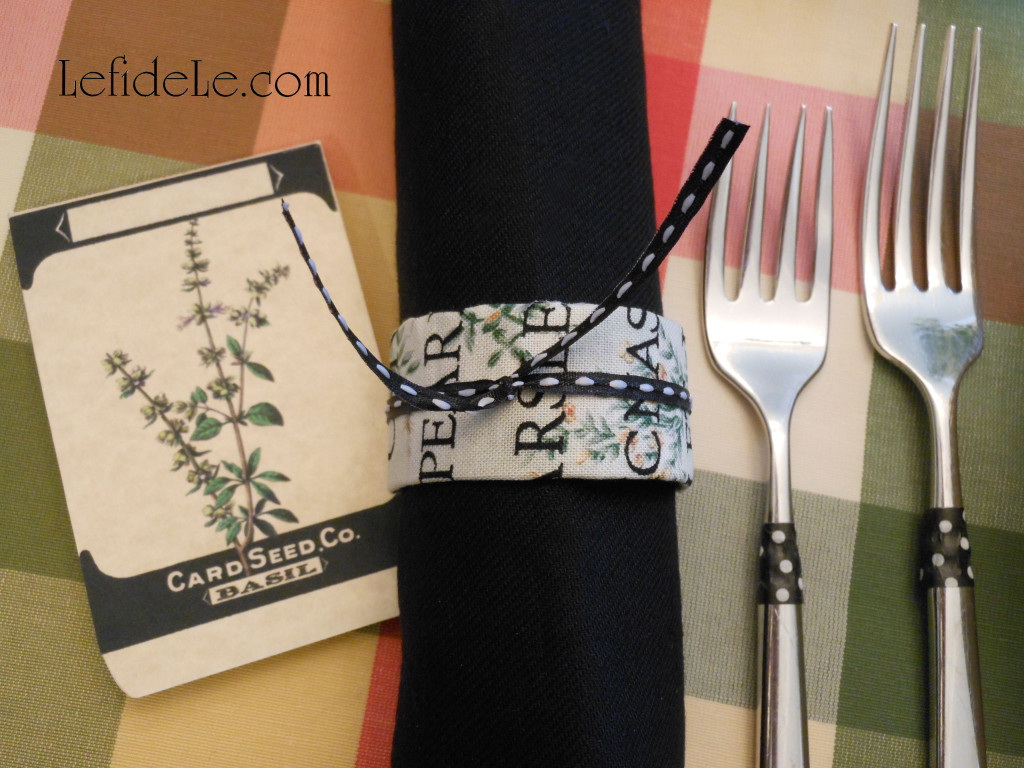
Tie on a thin ribbon that coordinates to the darkest color of your fabric, and knot it closed. Trim the loose ends to about an inch long each.

254Leigh

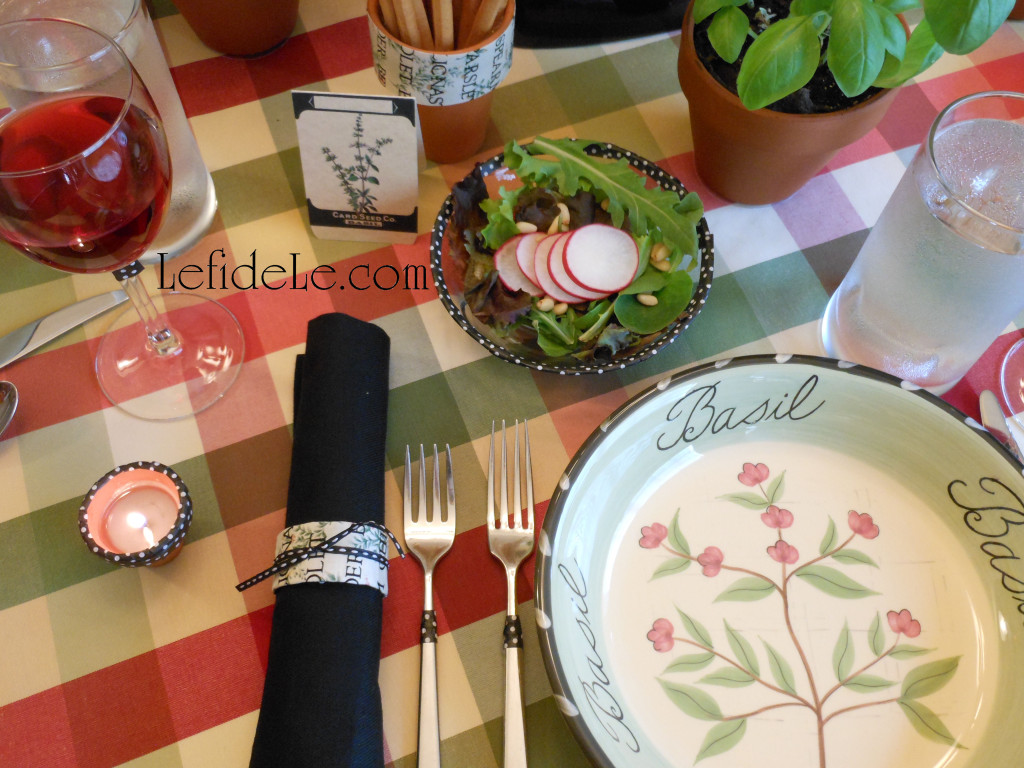
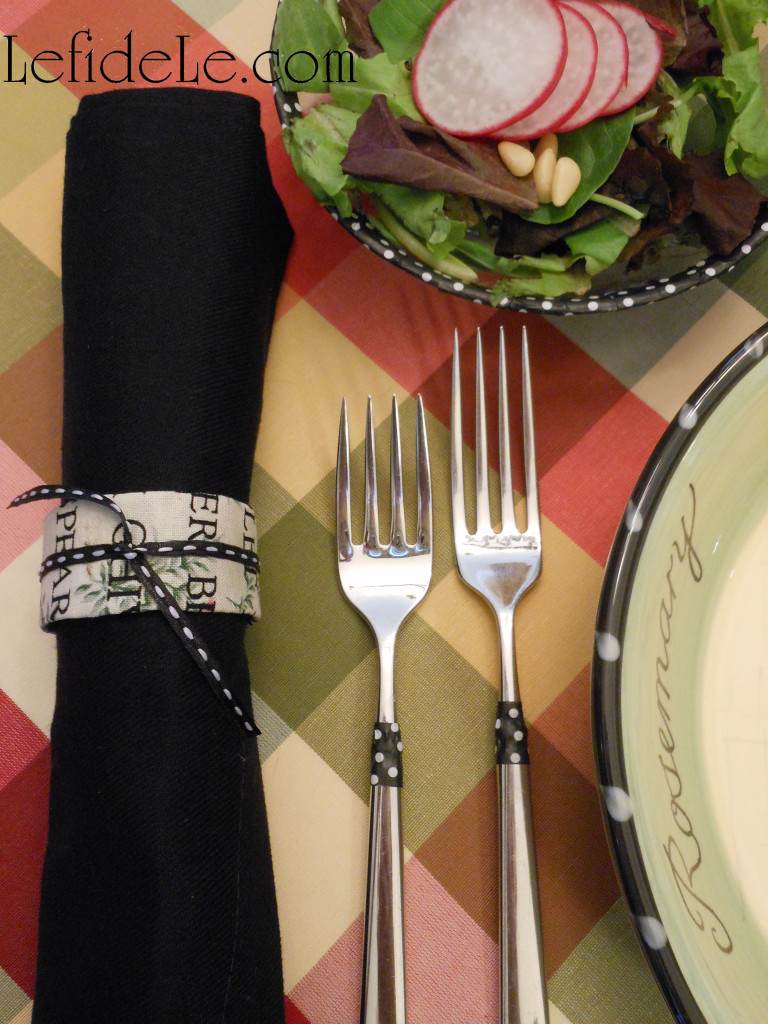
Now your rings are ready to use and are reusable too! Fill them with cloth napkins and place them next to flatware customized with washi tape. It’s a great way to accent your look without having to buy new dishes or utensils, and it’s better for the environment than resorting to the disposable stuff.

197Leigh

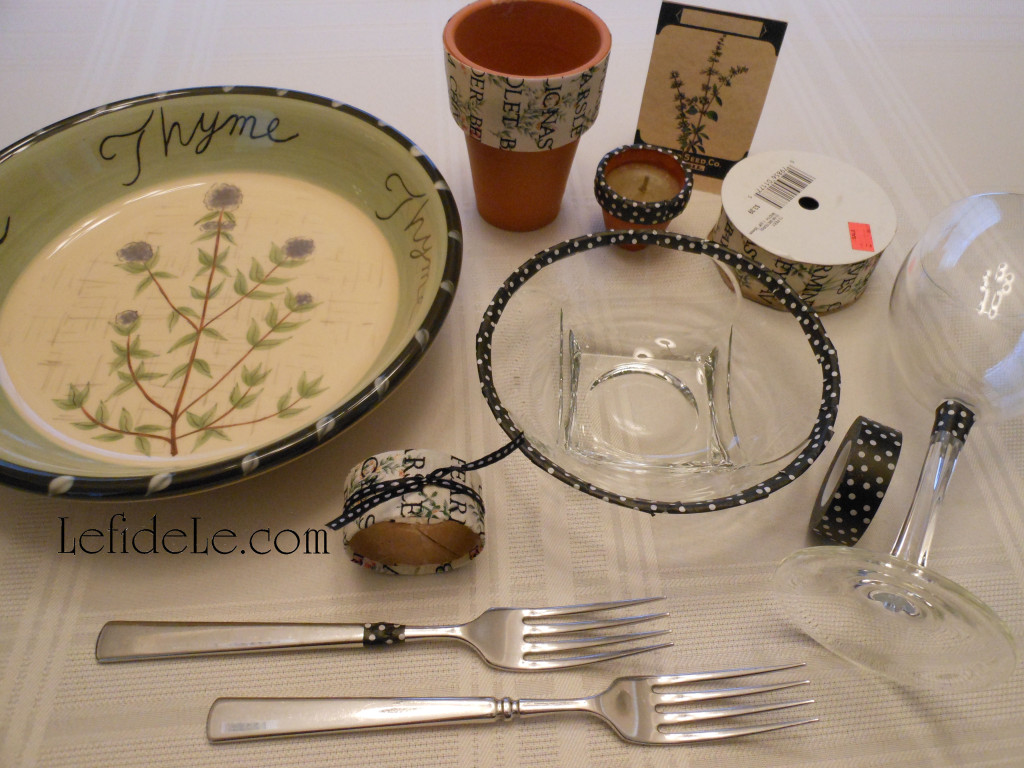
Simply cut small inch sections of a coordinating paper tape and wrap onto anything you want to embellish. It won’t leave any residue when you peel it off, so clean-up is a breeze!

225Leigh

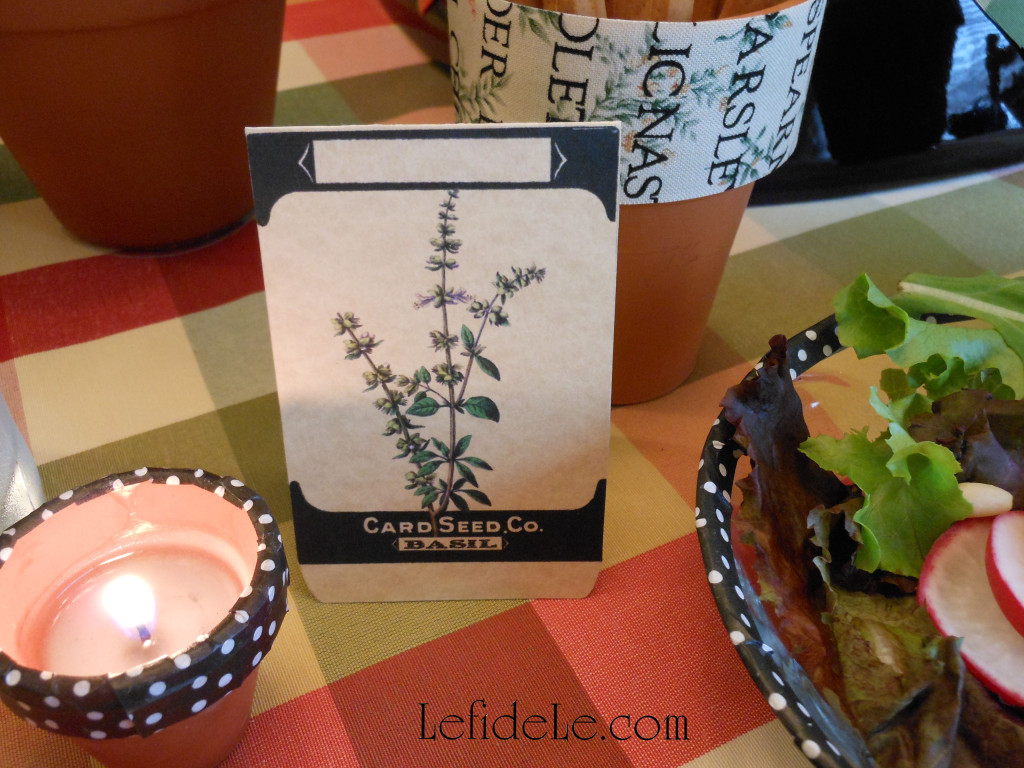
Utensils, goblets, and even a salad bowl have been effortlessly washi-ed to wonderful.

214Leigh

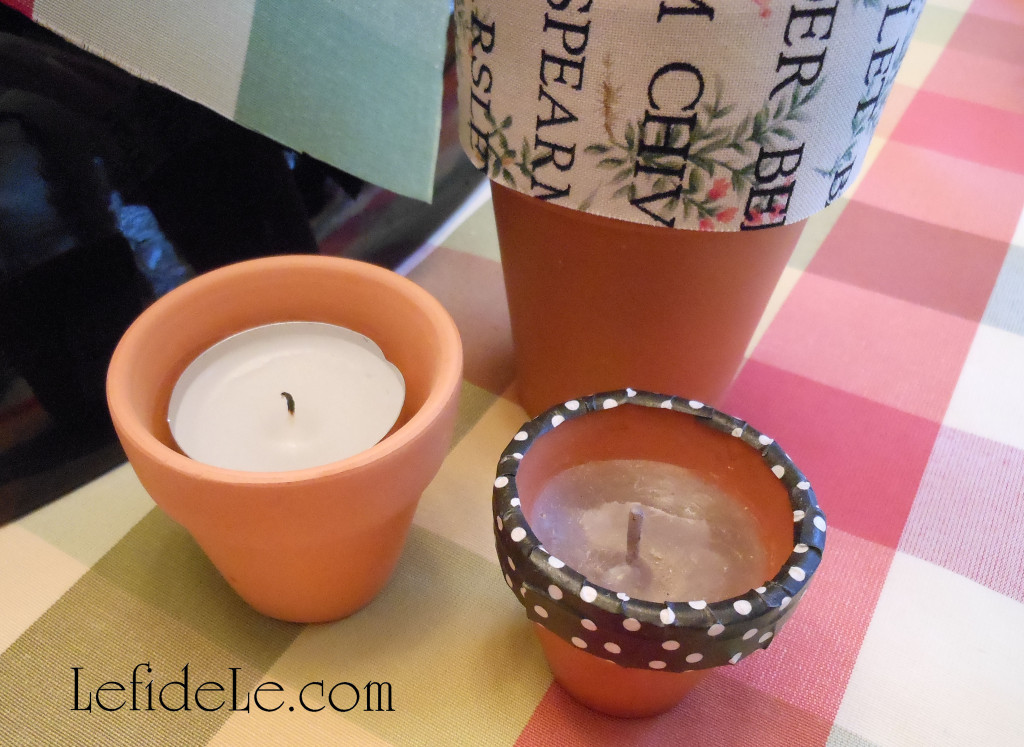
I even added washi to tiny terracotta pots filled with candles. The easiest way to make your own is to slip a tea-light candle into one. (We had no burning incident, but if you’re worried about fire… try an flameless LED tea-light instead.)

248Leigh

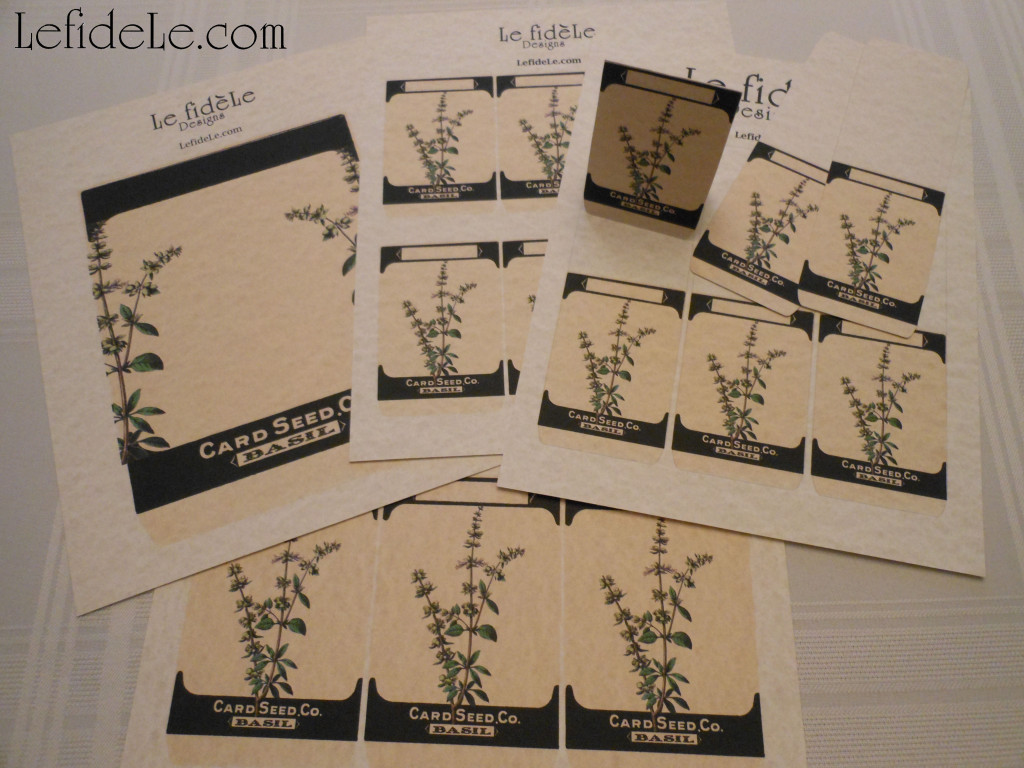
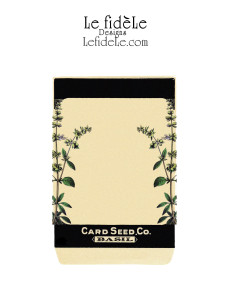
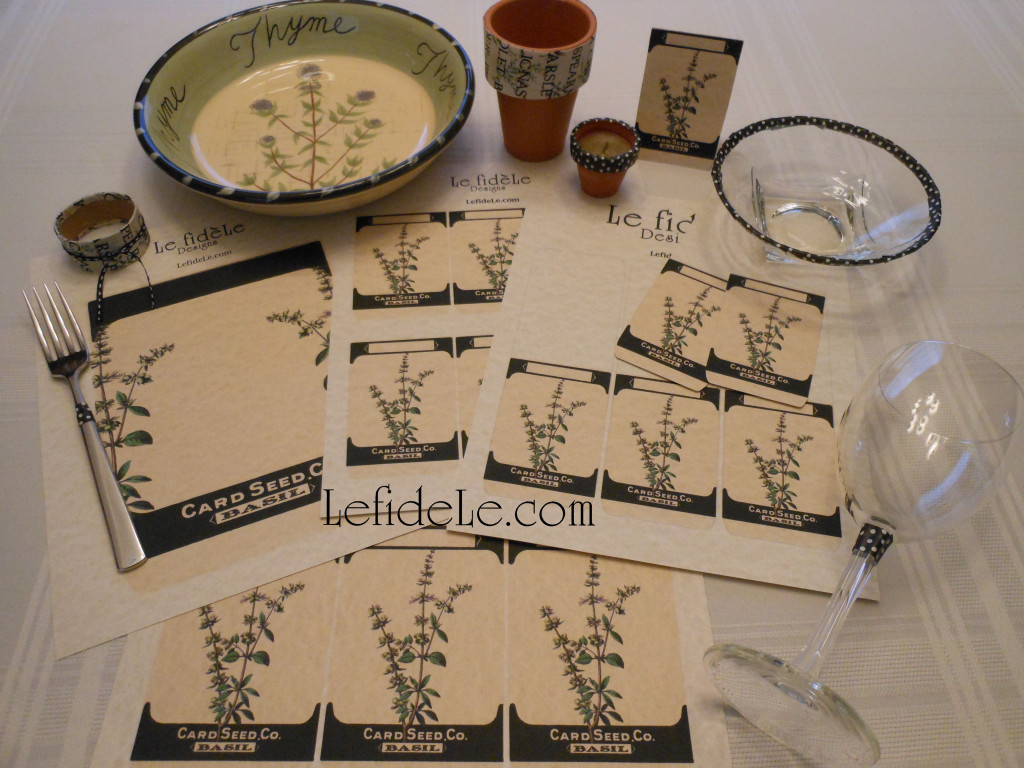
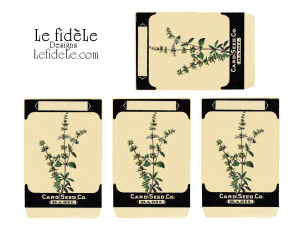
Now let’s make basil seed card invitations, menus, food tents cards, place-cards, and even herb markers for your tablescape. (Please note that my seed card printables are free for your personal use only.)

200Leigh

Simply right click on a small image below and select print. Choose color and photo settings for the best results. Print them on a thick paper cardstock that won’t curl.

HerbPlacecardsLeighHerbInviteLeighHerbMarkersLeigh

Cut them out by the lines, and fold the pieces that need them into tents.

244Leigh

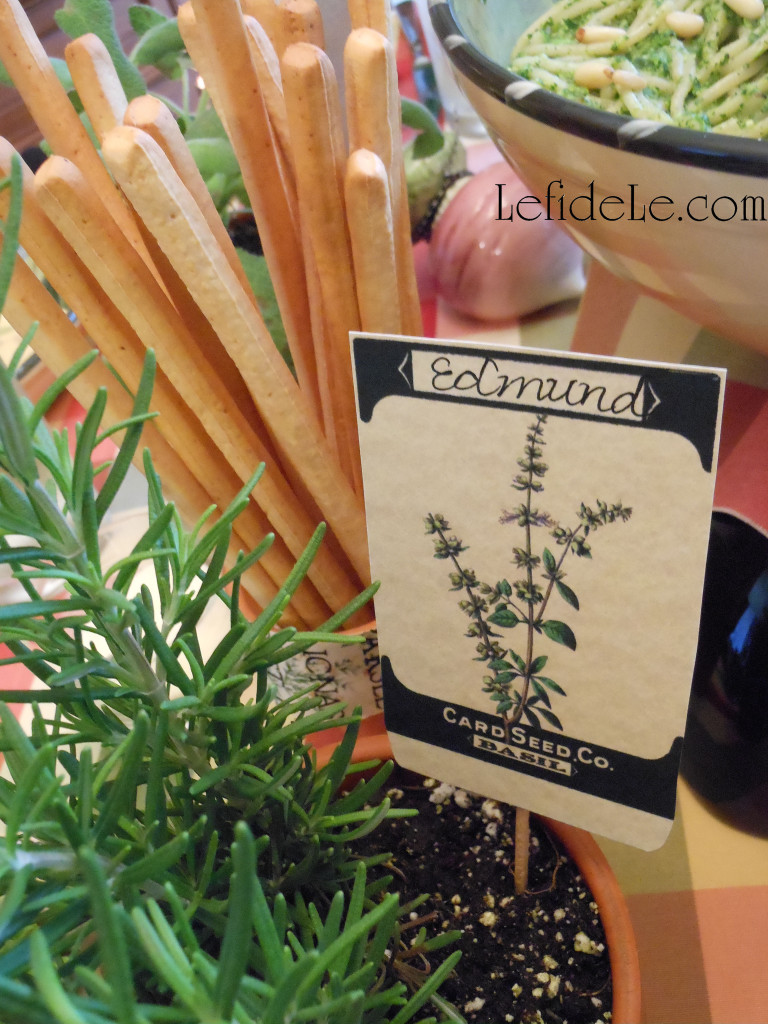
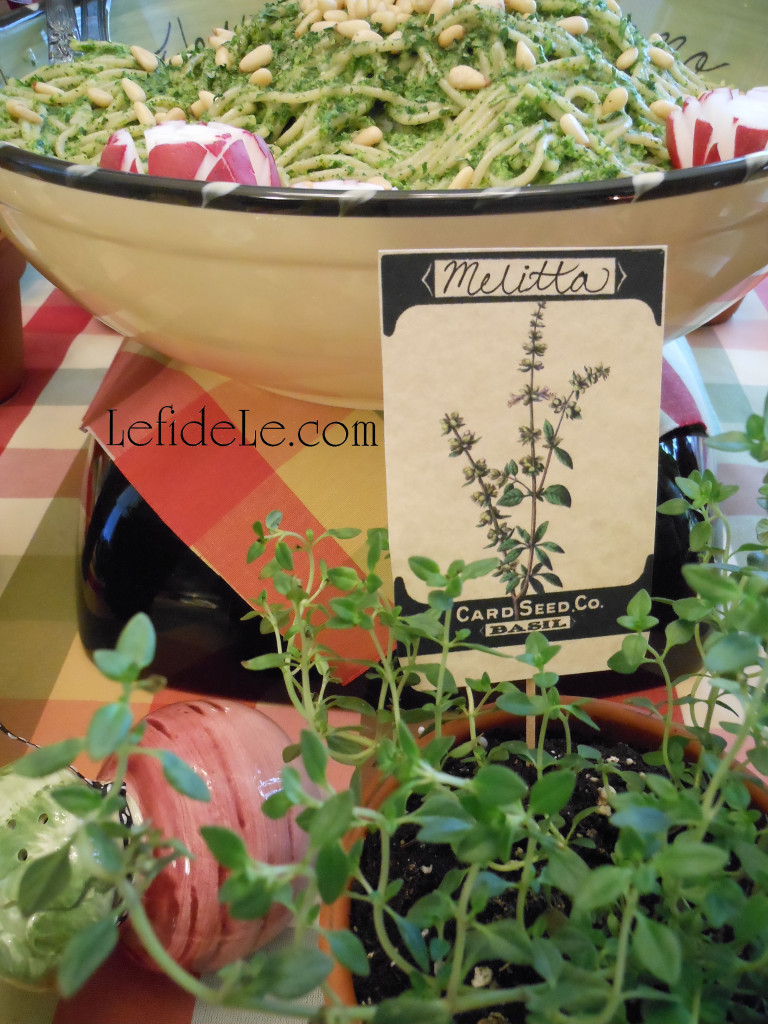
I taped the flat herb markers to toothpicks and wrote names on them to use as place-cards. The herbs they were stuck into then became lovely take home gifts for the name bearers.

224Leigh

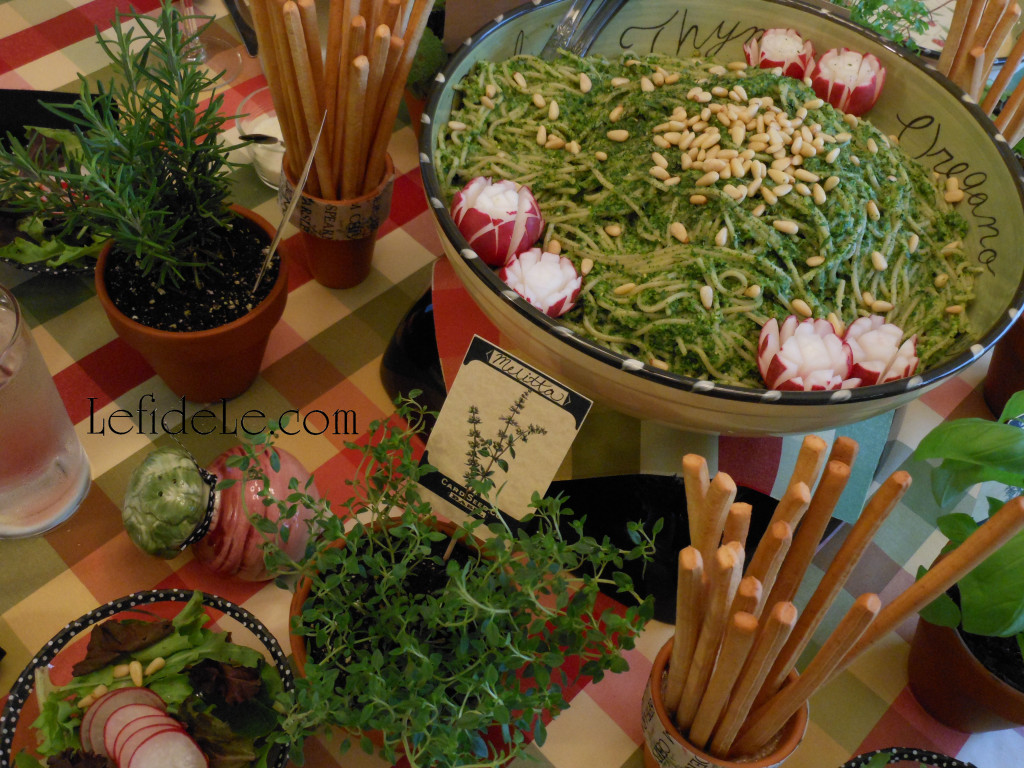
The herb pots were lovely to set around a centerpiece of parsley pesto pine nut pasta elevated by an inverted serving bowl. (A piece of cloth, sandwiched in between, ensured no slippage while serving.)

252Leigh

See the recipe for my Healthy Herb Garden Fresh Parsley Pesto Pine Nut Pasta Recipe (Gluten-Free, Dairy-Free, Soy-Free, Vegan) here.

204Leigh

Race you to the craft room!

Faithfully Yours,

Leigh