Tag Archives: Get Well

Easy DIY Rainbow Napkin Rings Tutorial & Free Sky Printable Card / Invitation Craft for All Occasions Including Parties & St. Patrick’s Day

2030Leigh

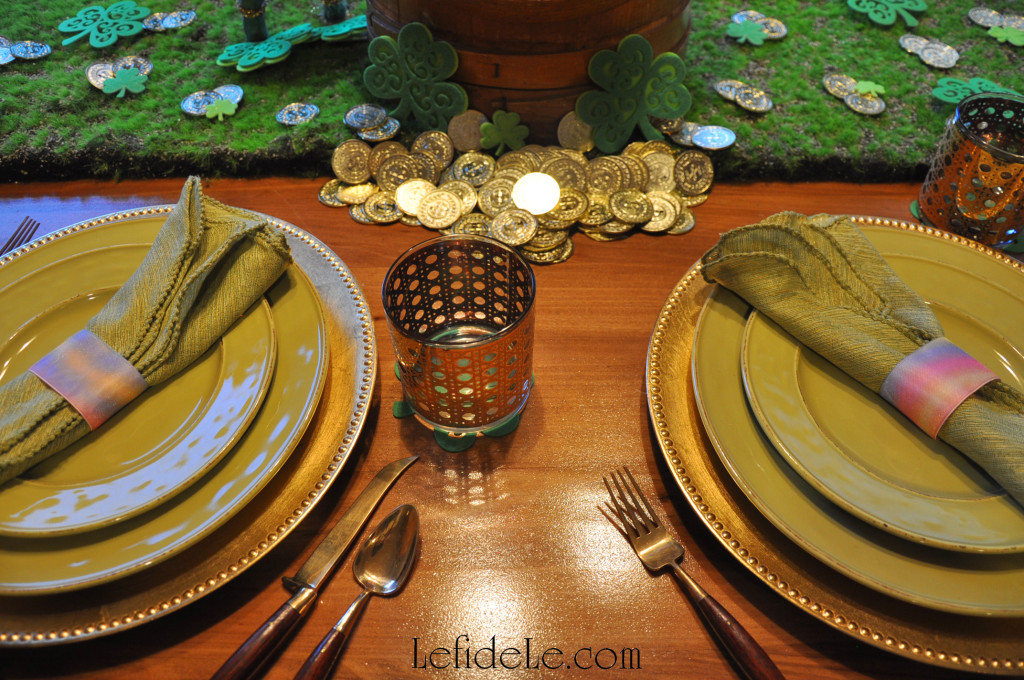
This easy DIY rainbow napkin rings tutorial is perfect for many types of parties including St. Patrick’s Day, and my free printable all occasion sky card is a great craft for making matching invitations. The card can be made with or without the addition of a rainbow, and so it’s useful for many other purposes… such as sympathy, get-well, congratulations, good luck, missing you, birthday, et cetera. Is there ever really a bad time to send a rainbow as the symbolic harbinger of hope?!

2002Leigh

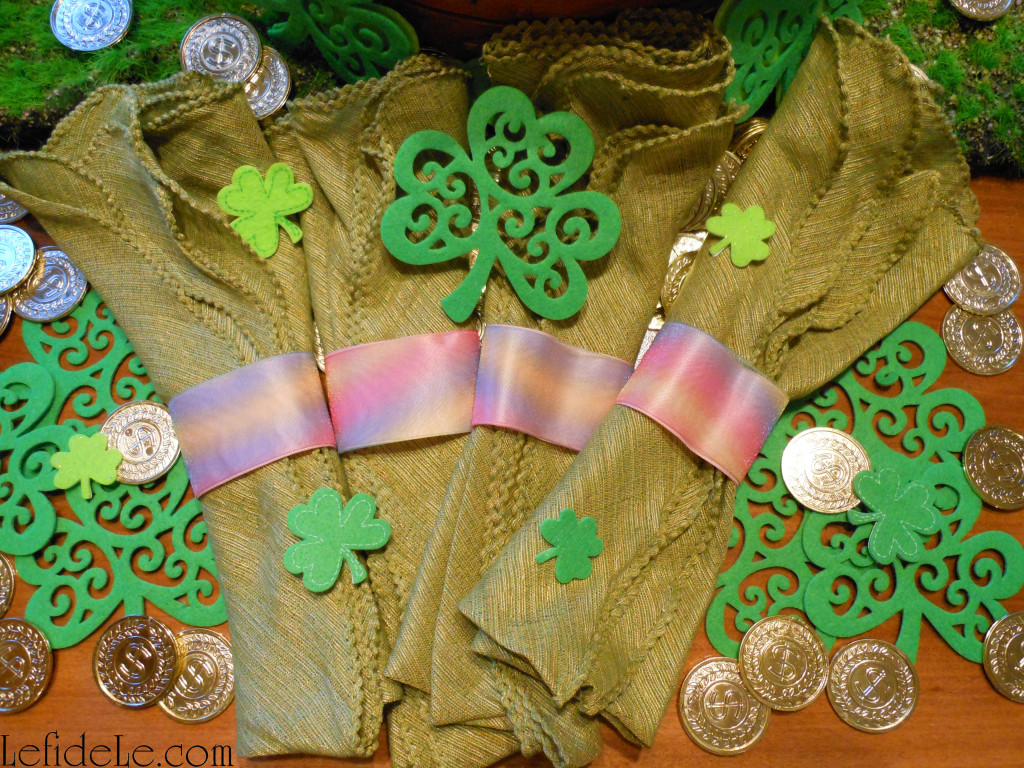
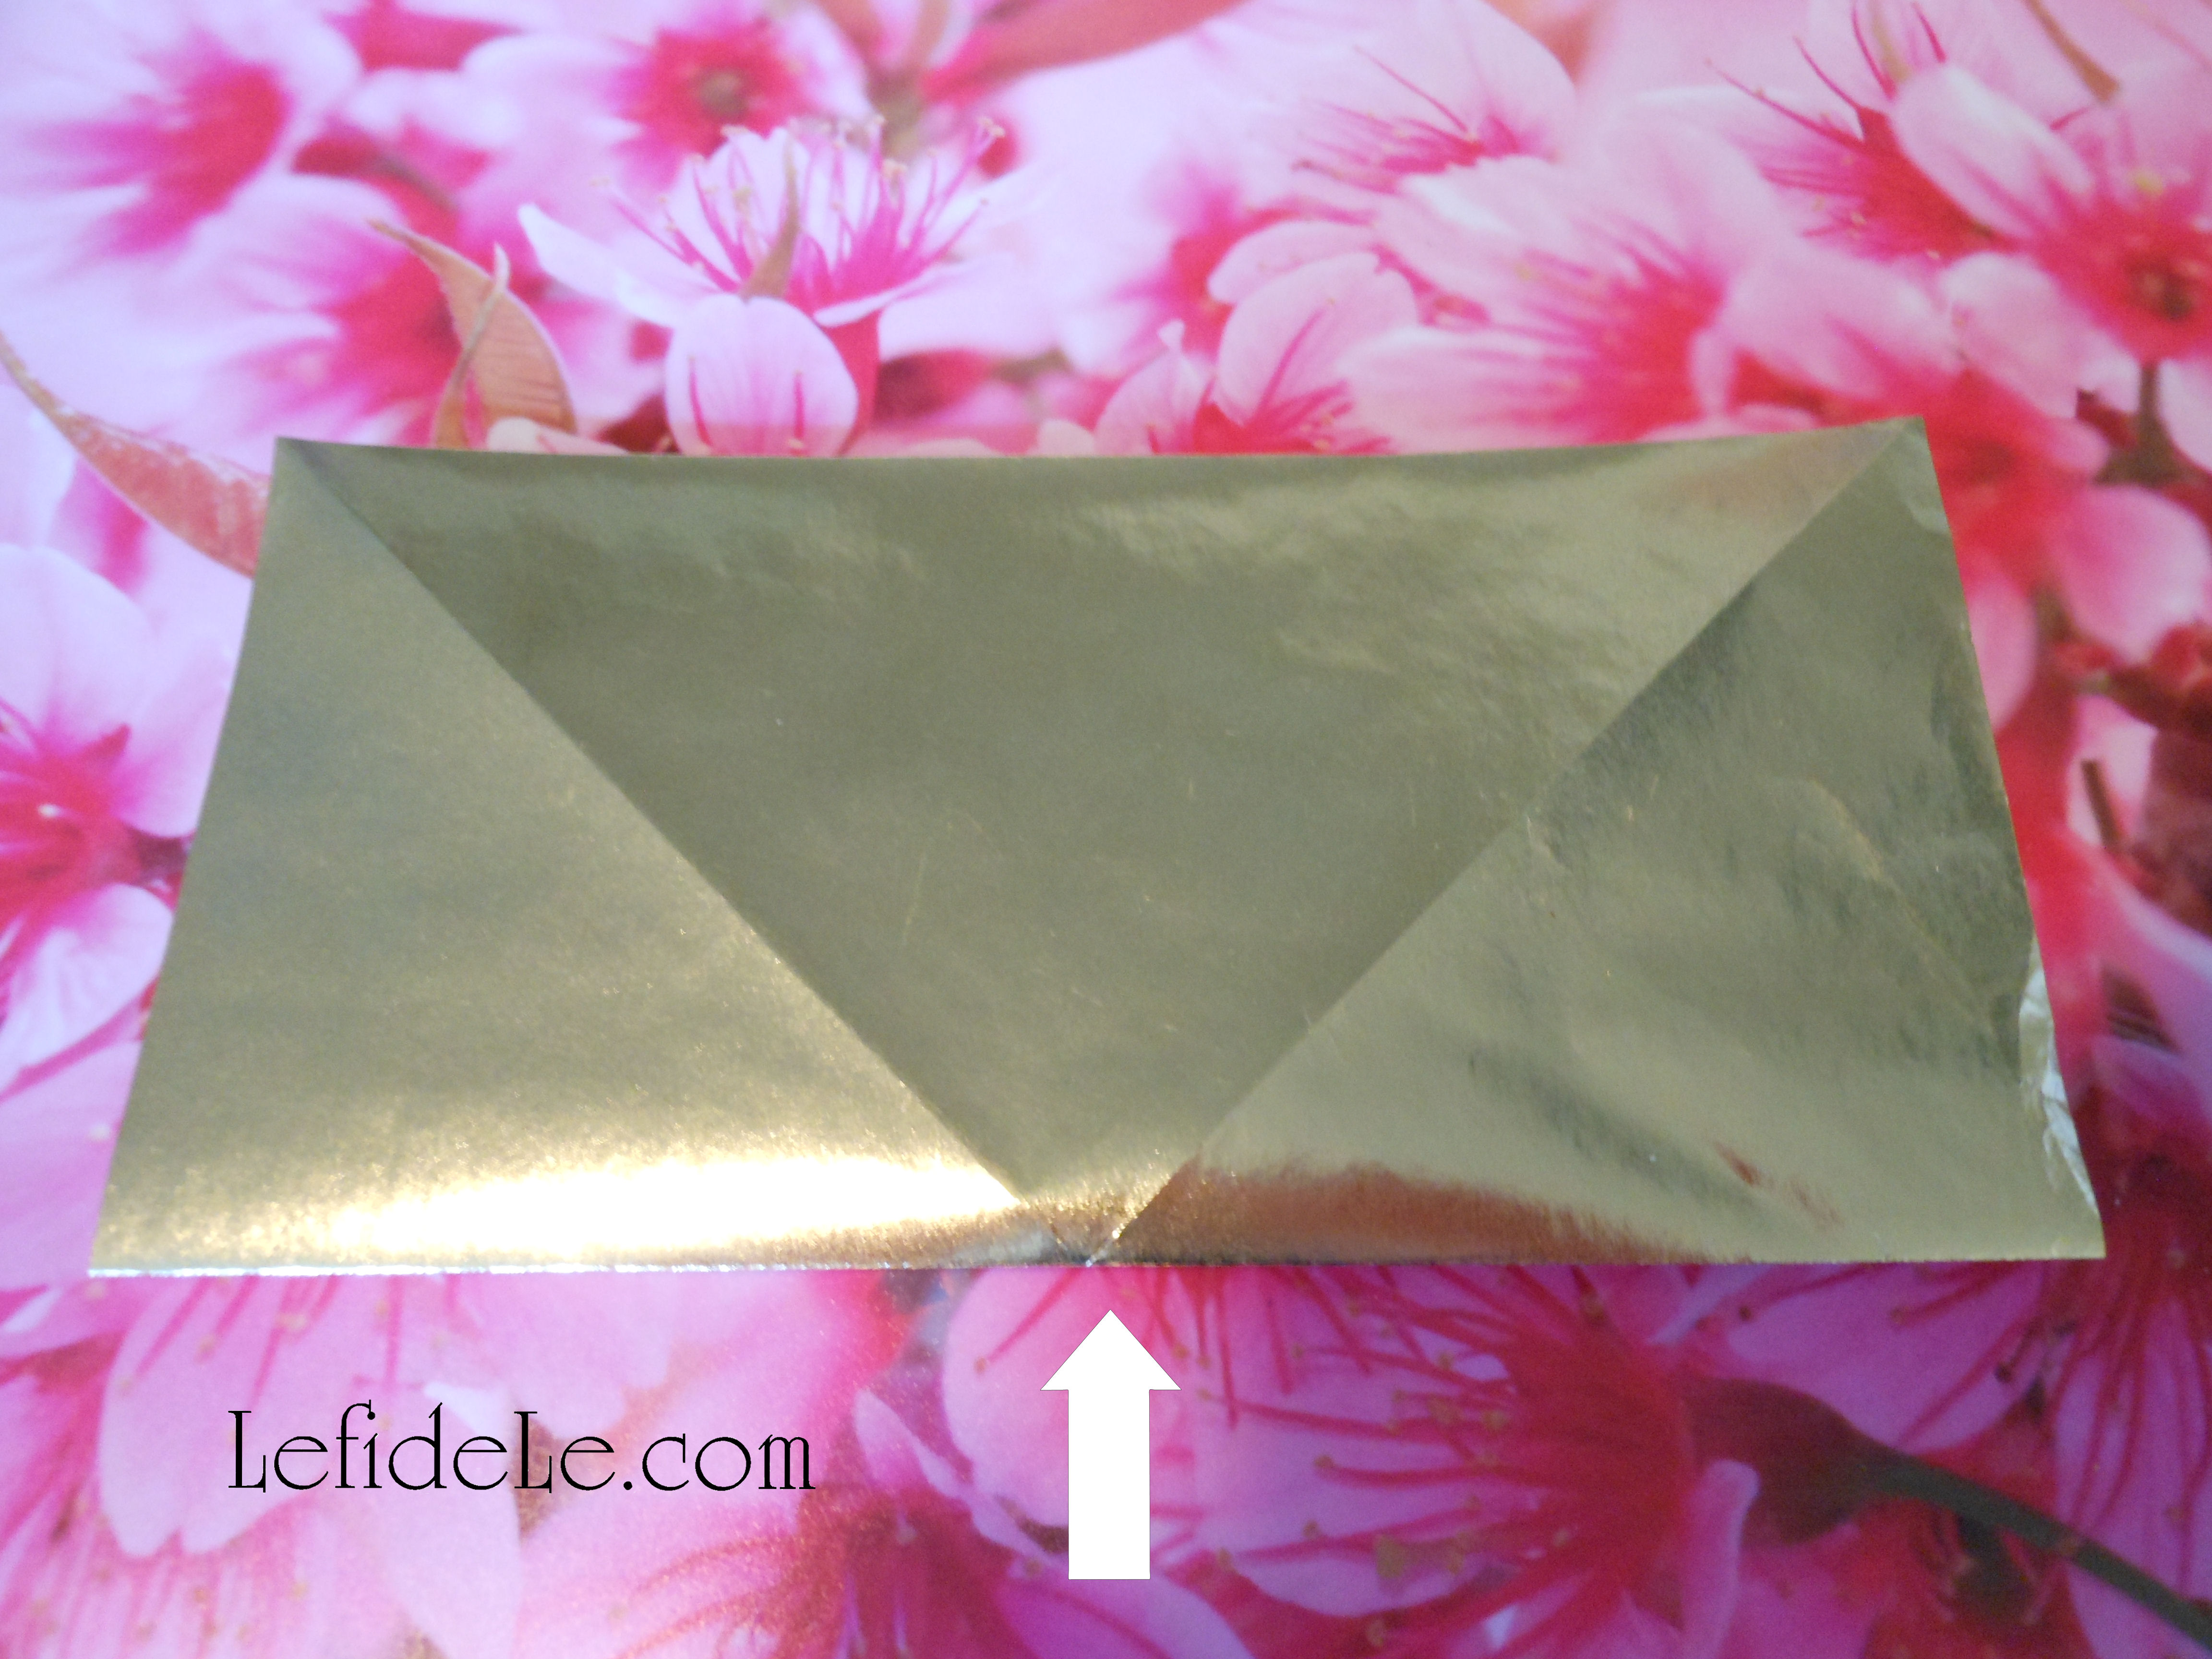
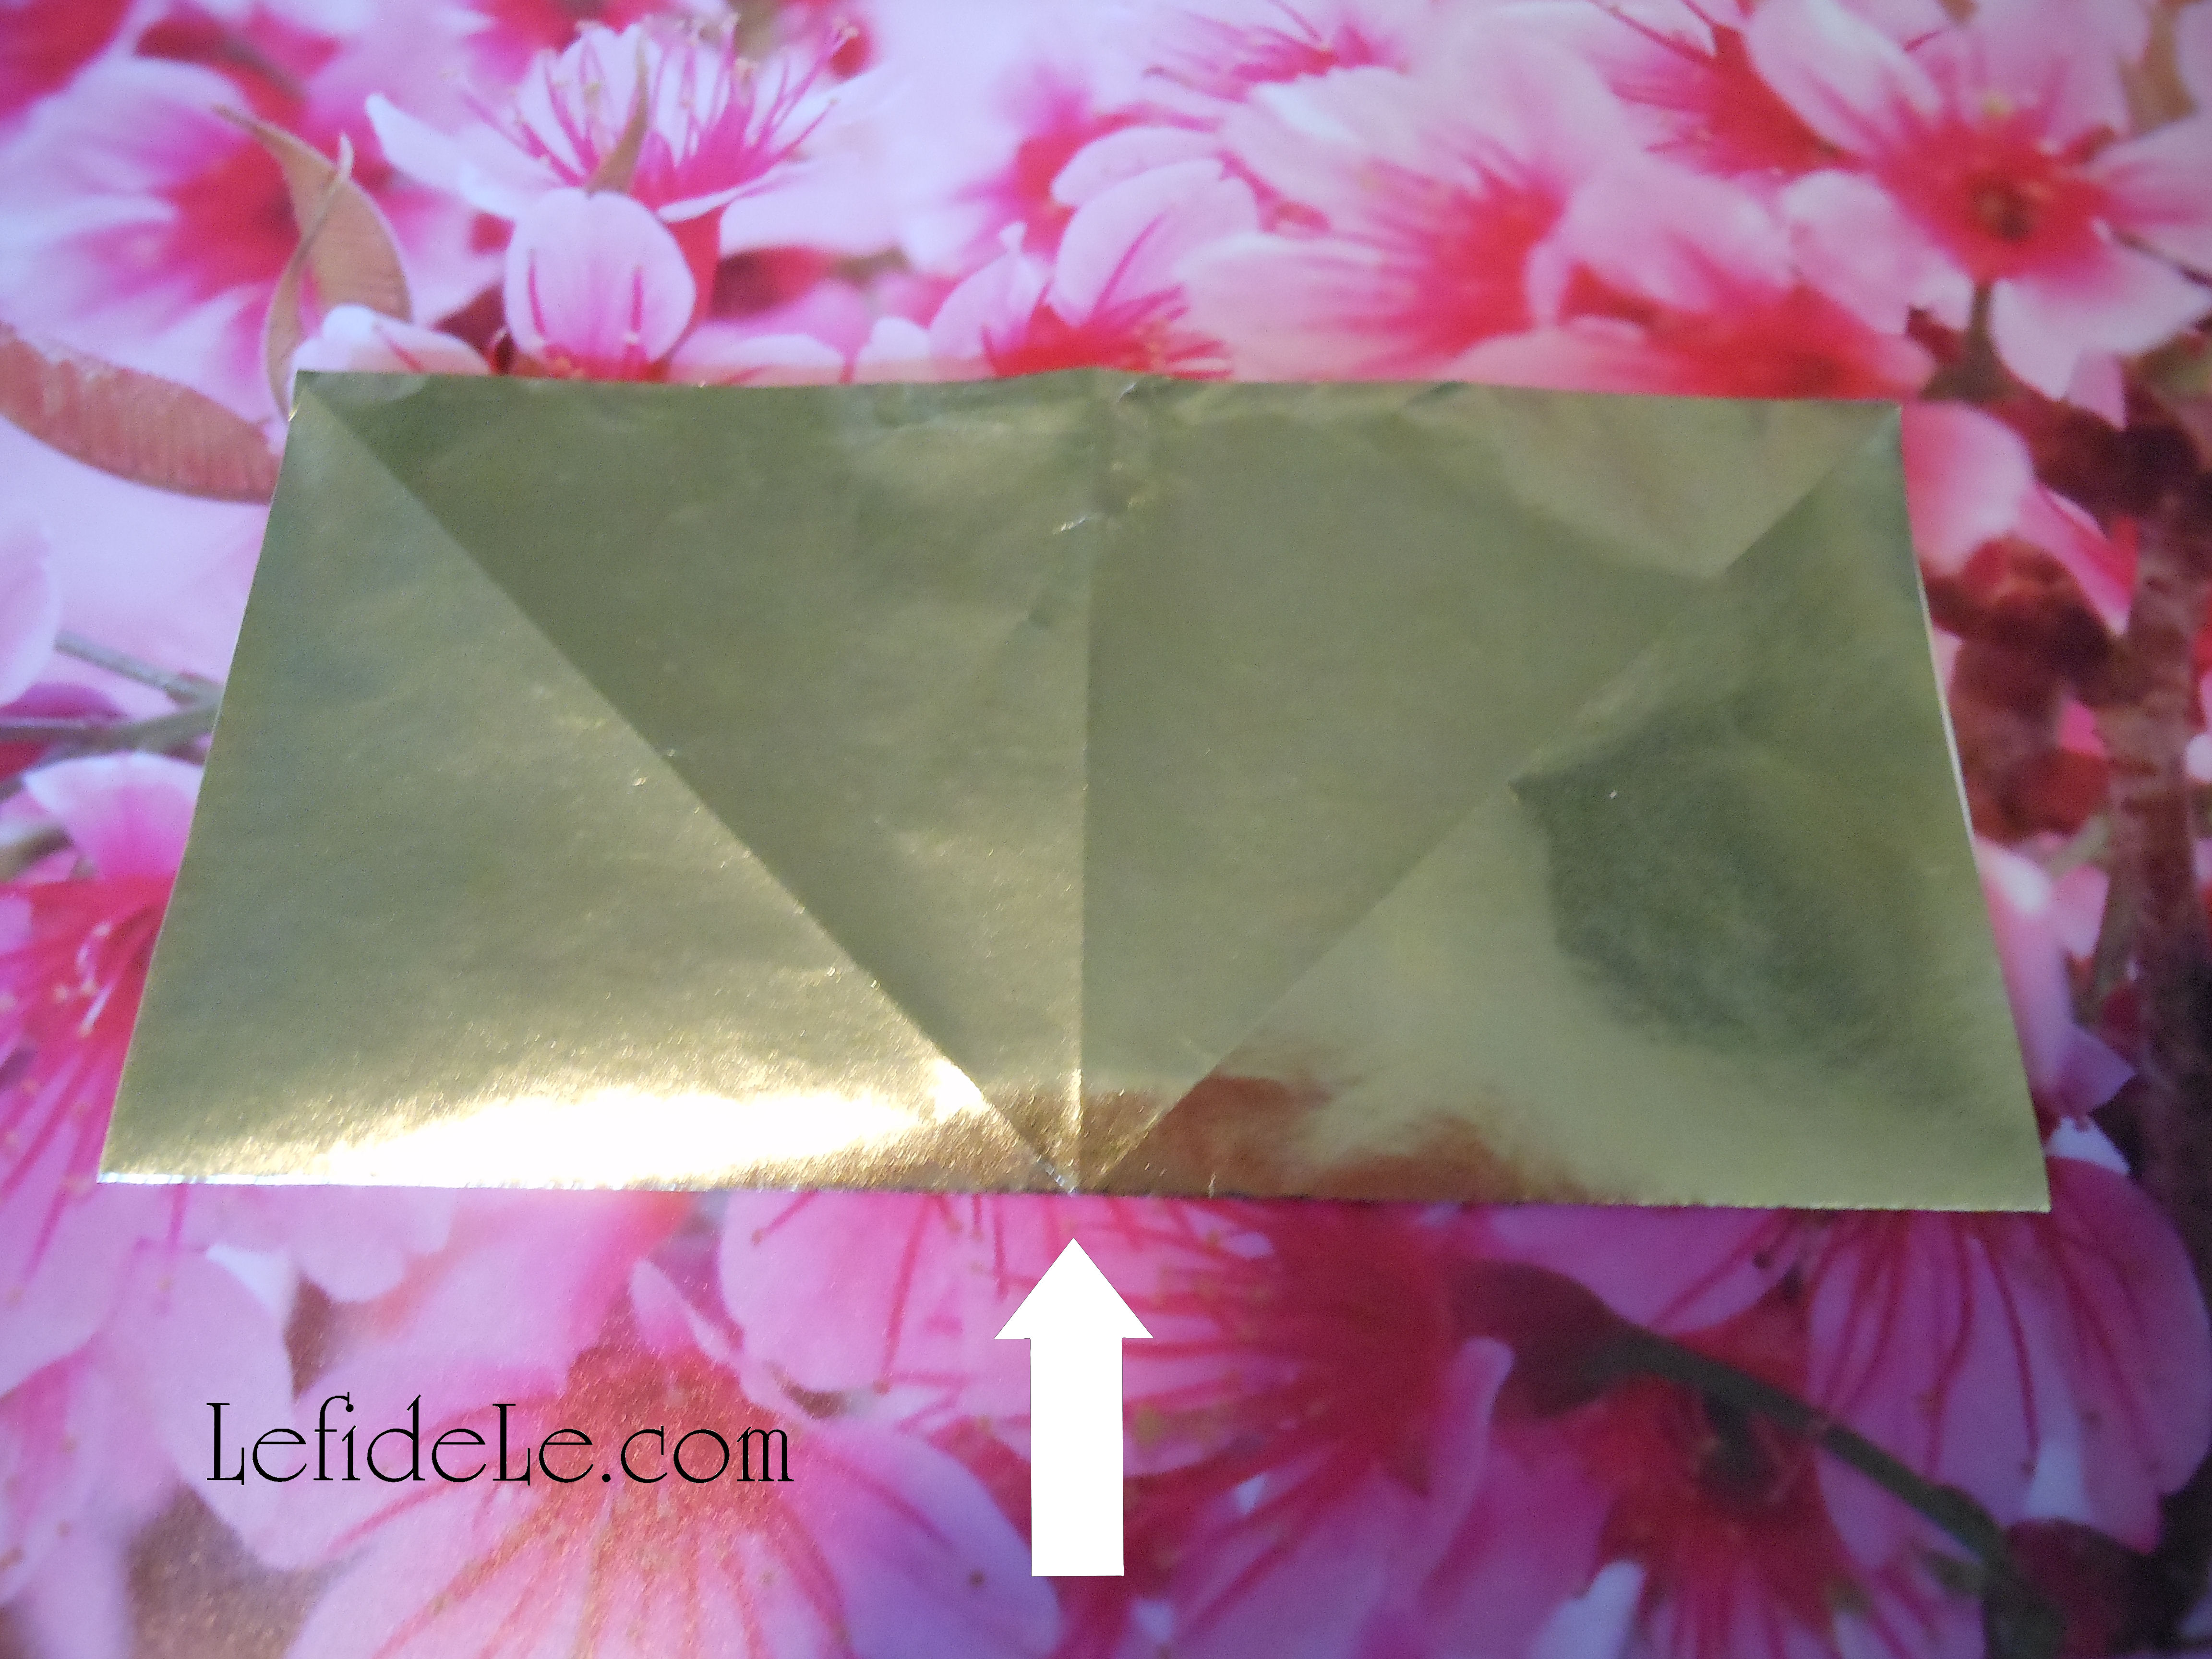
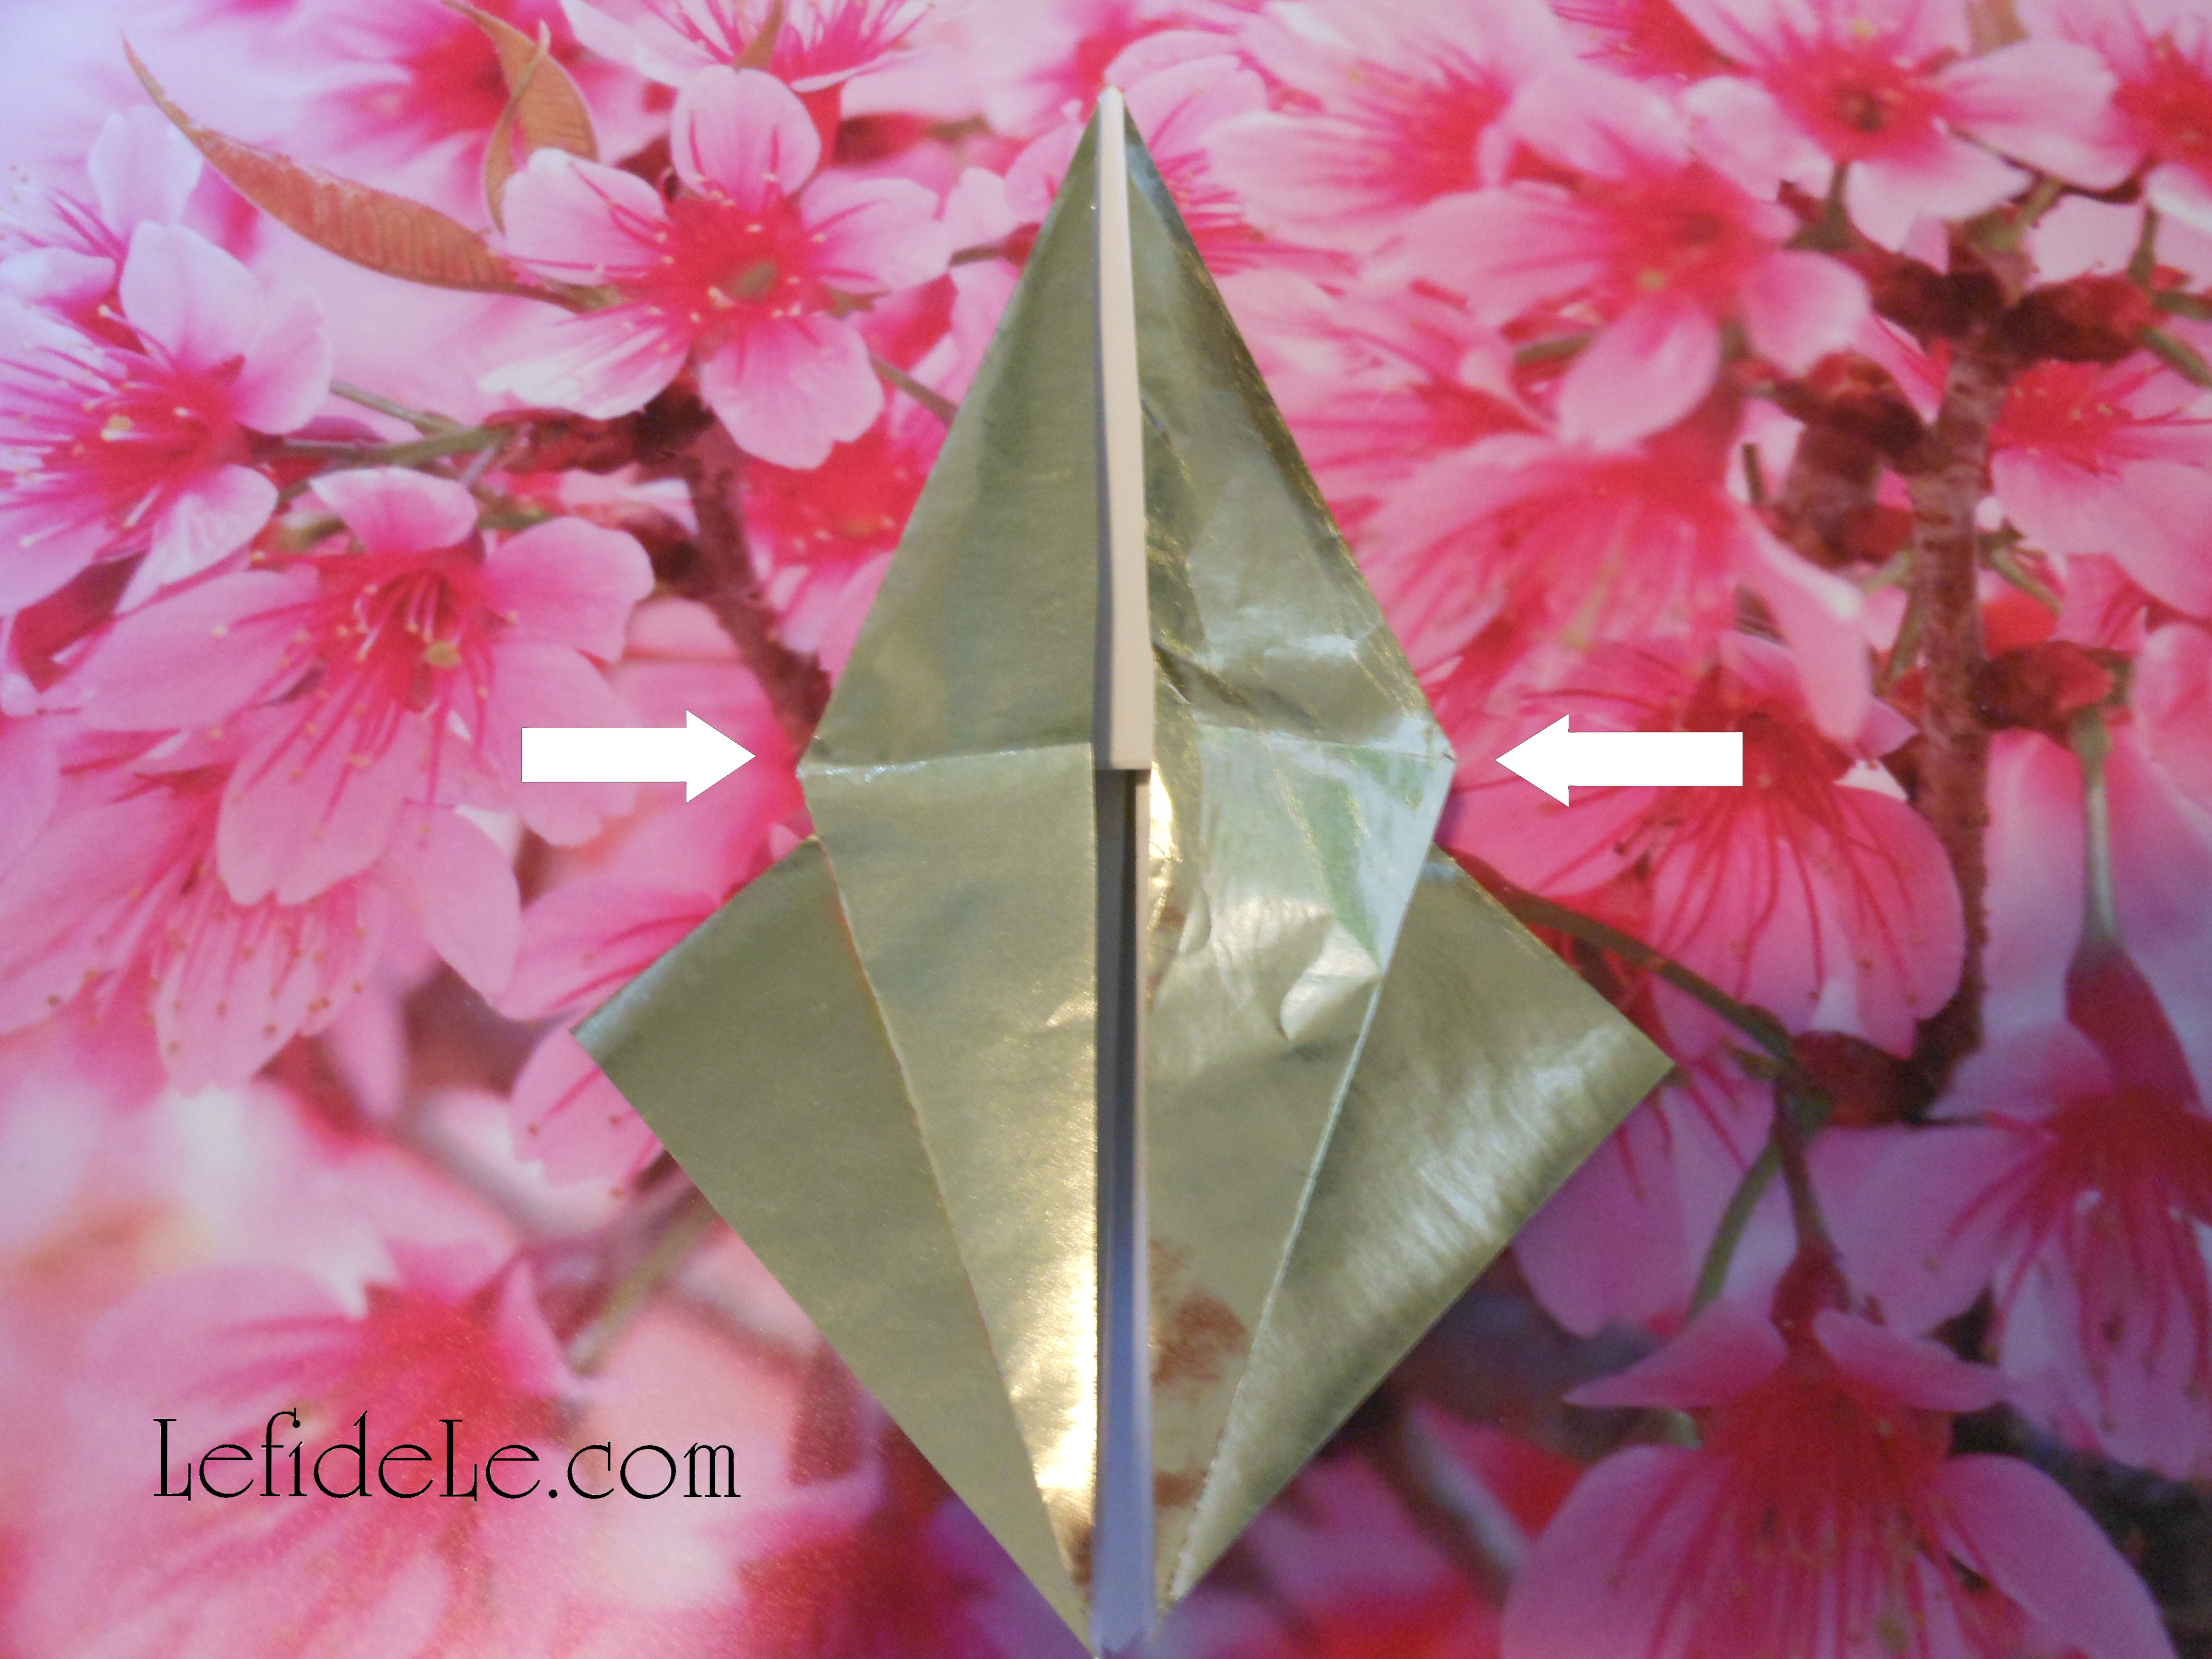
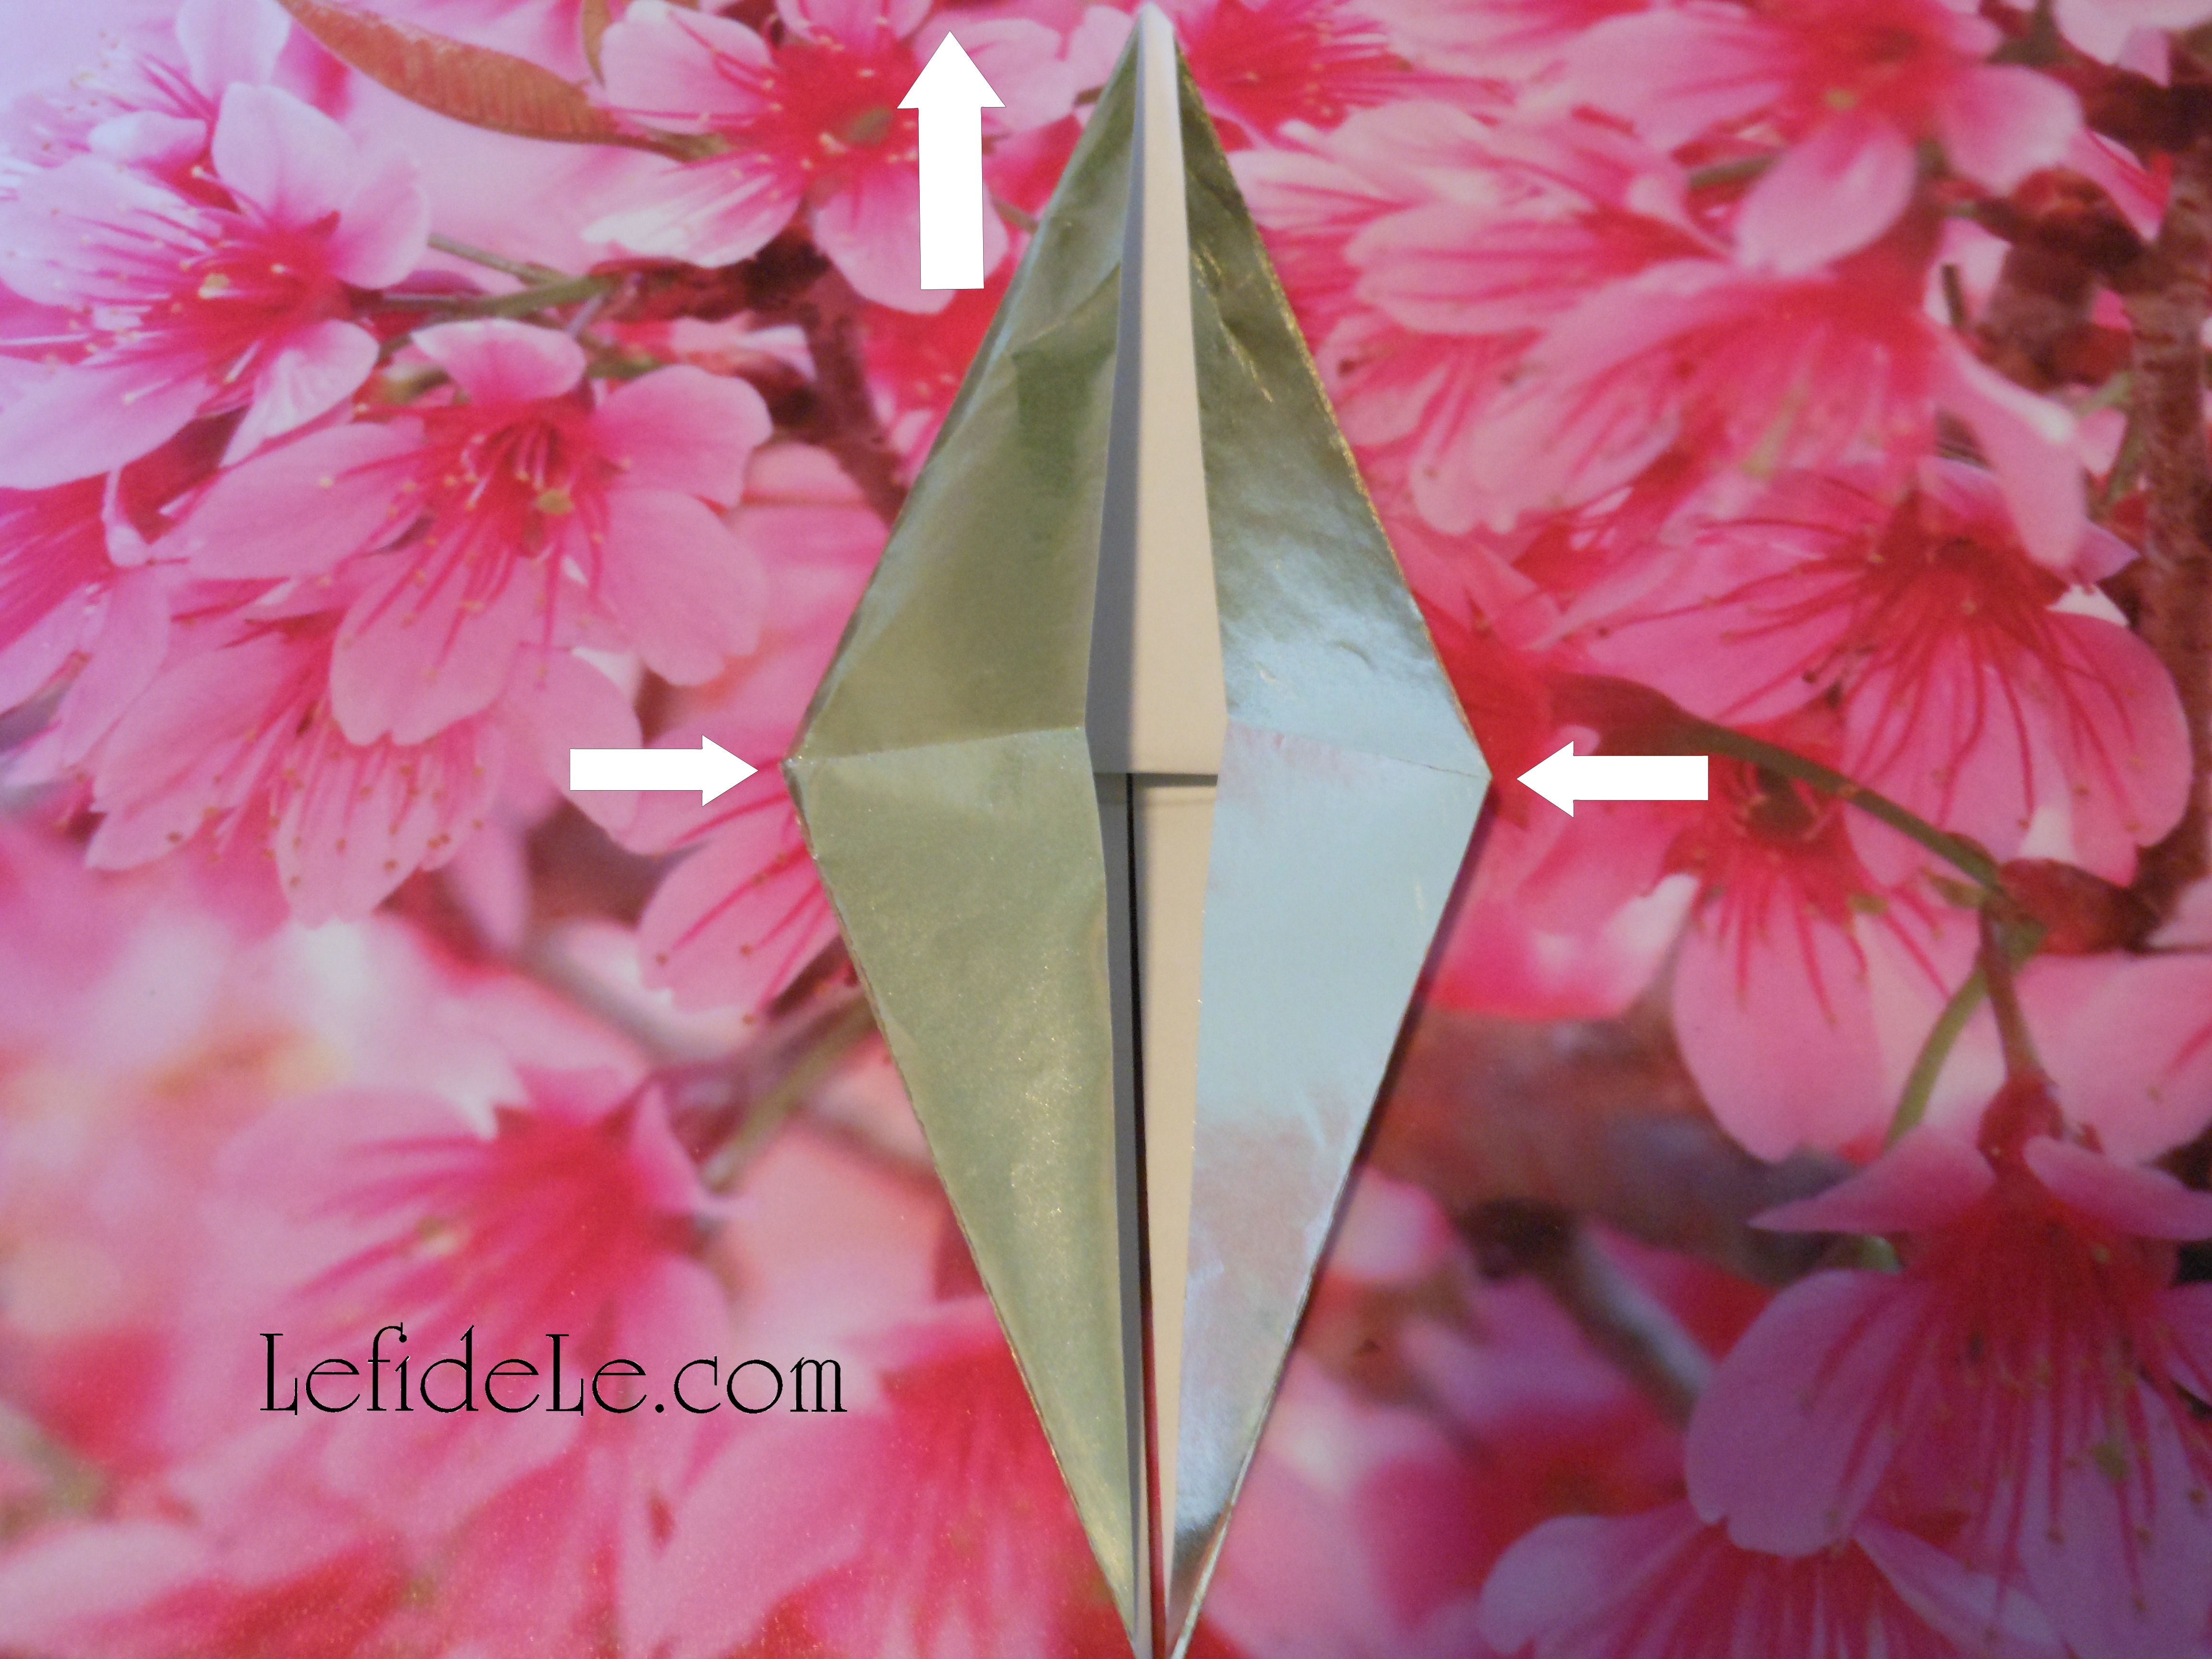
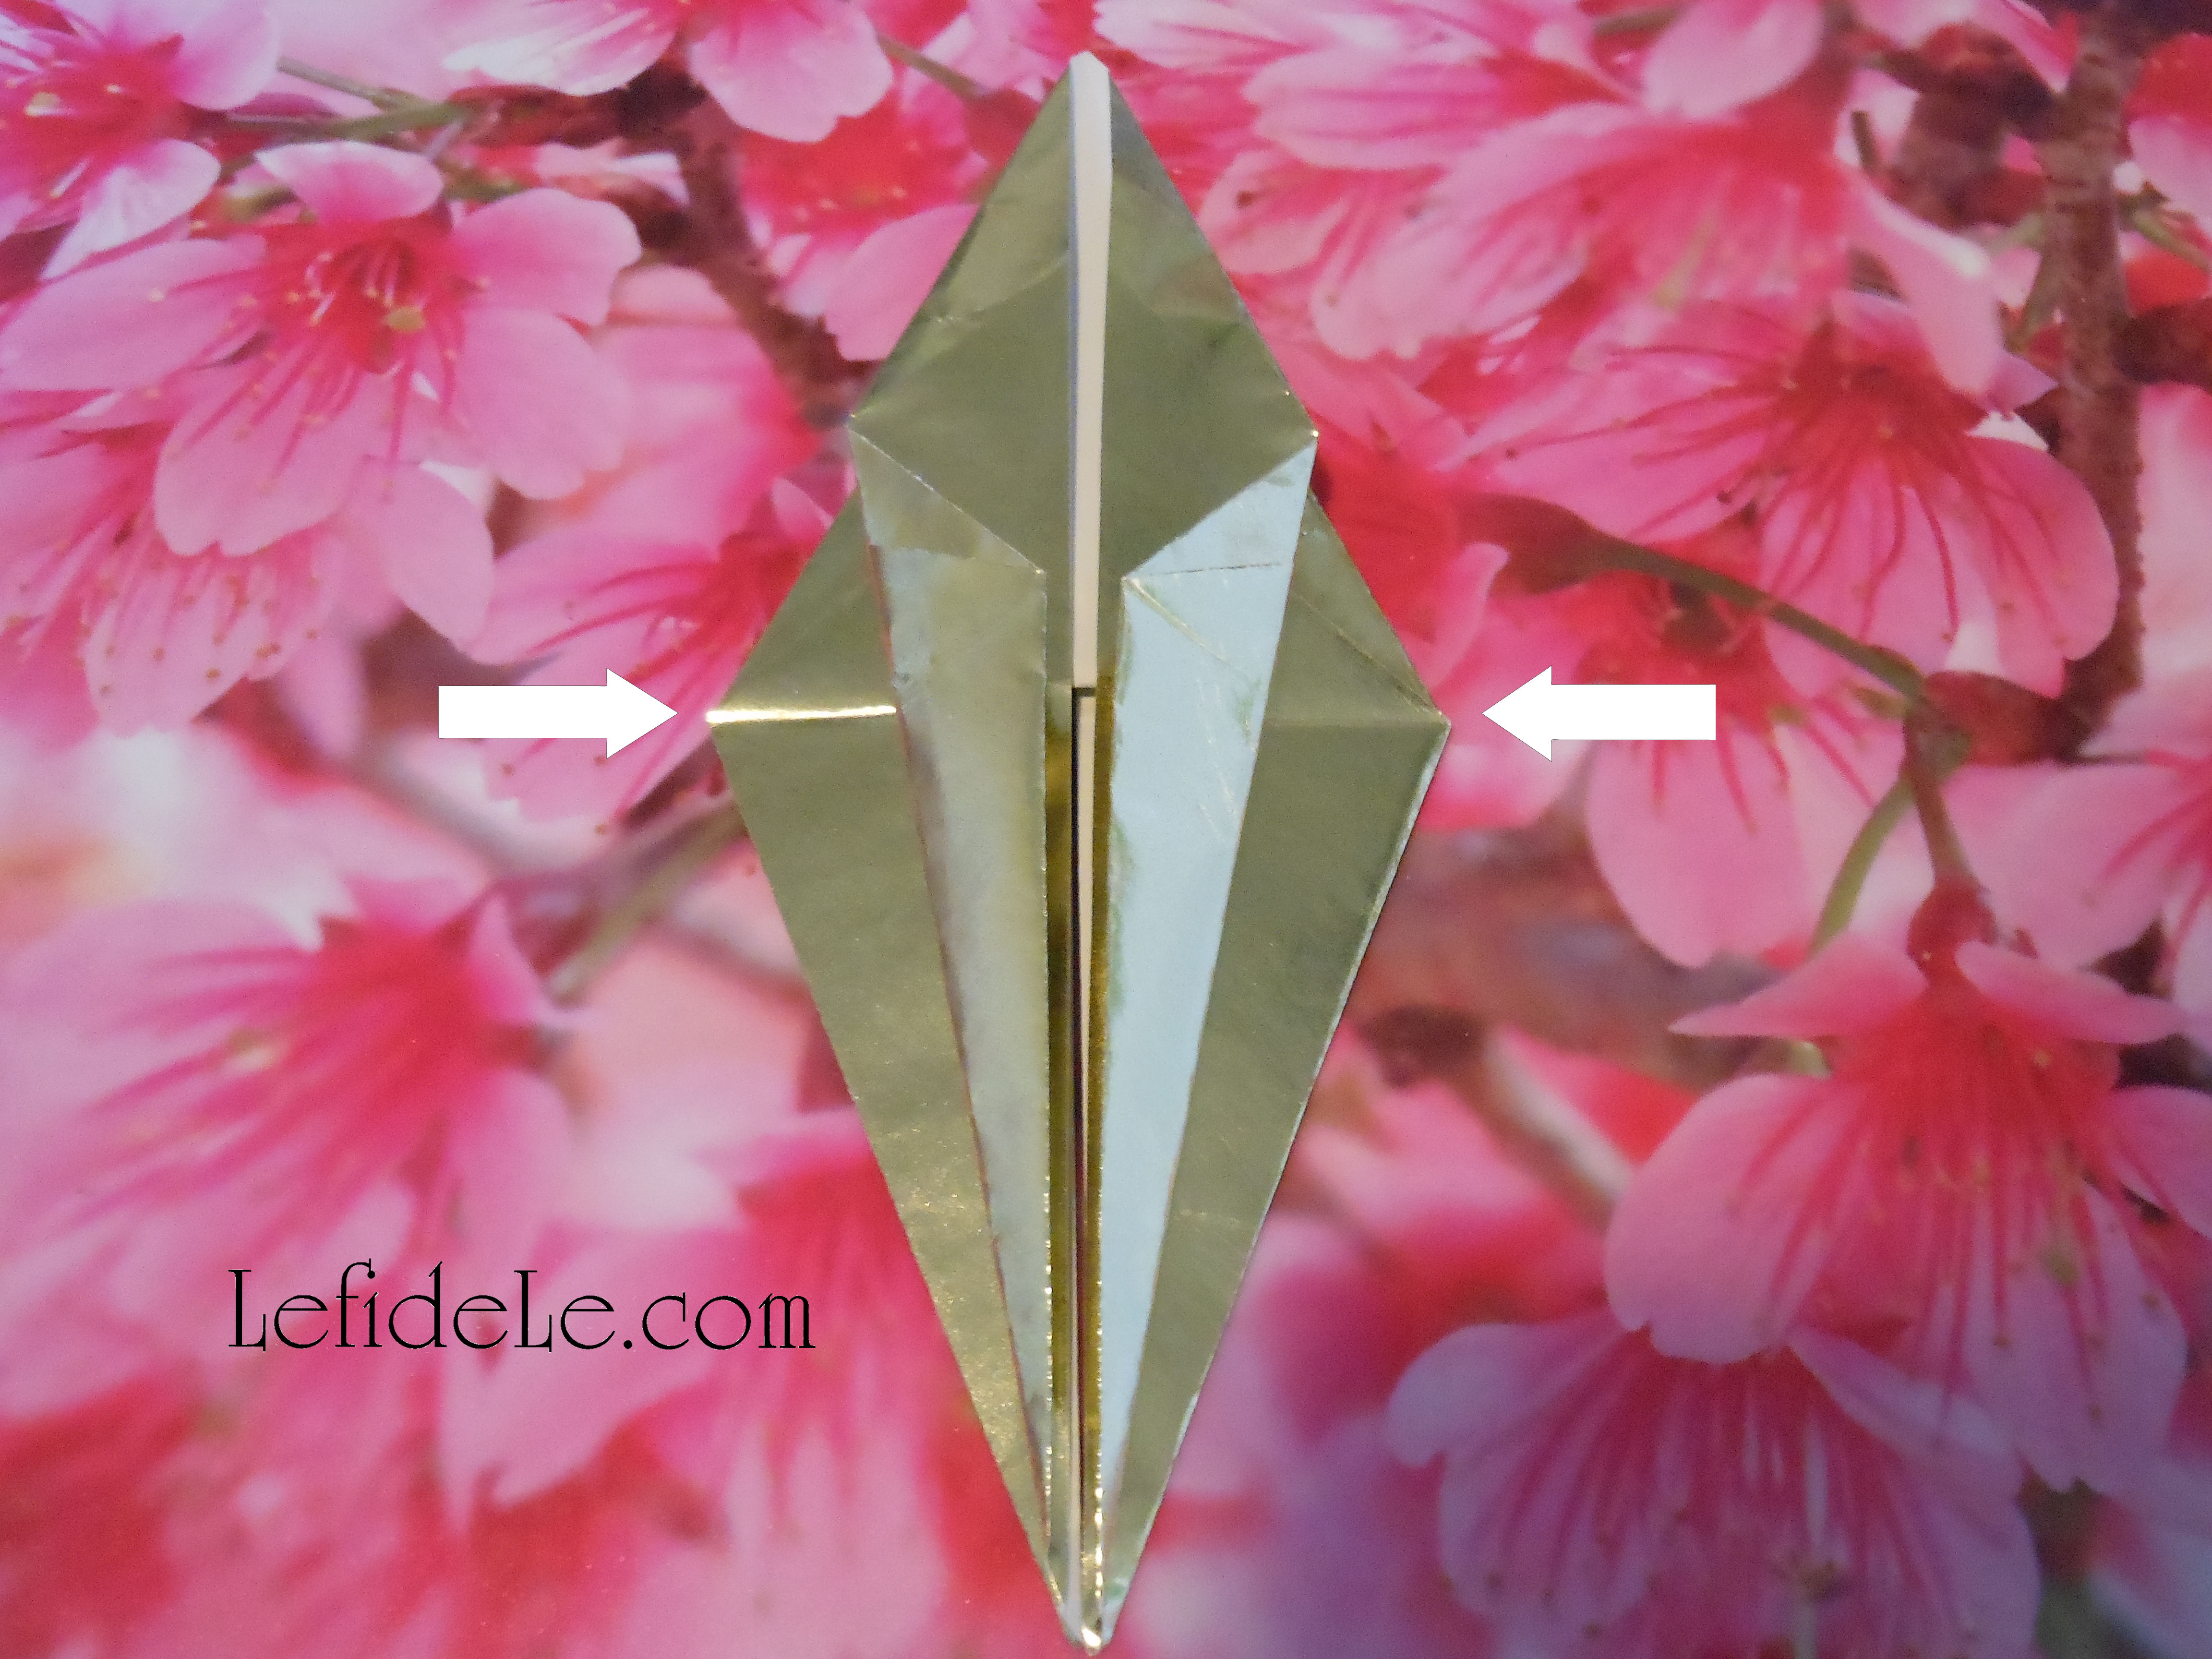
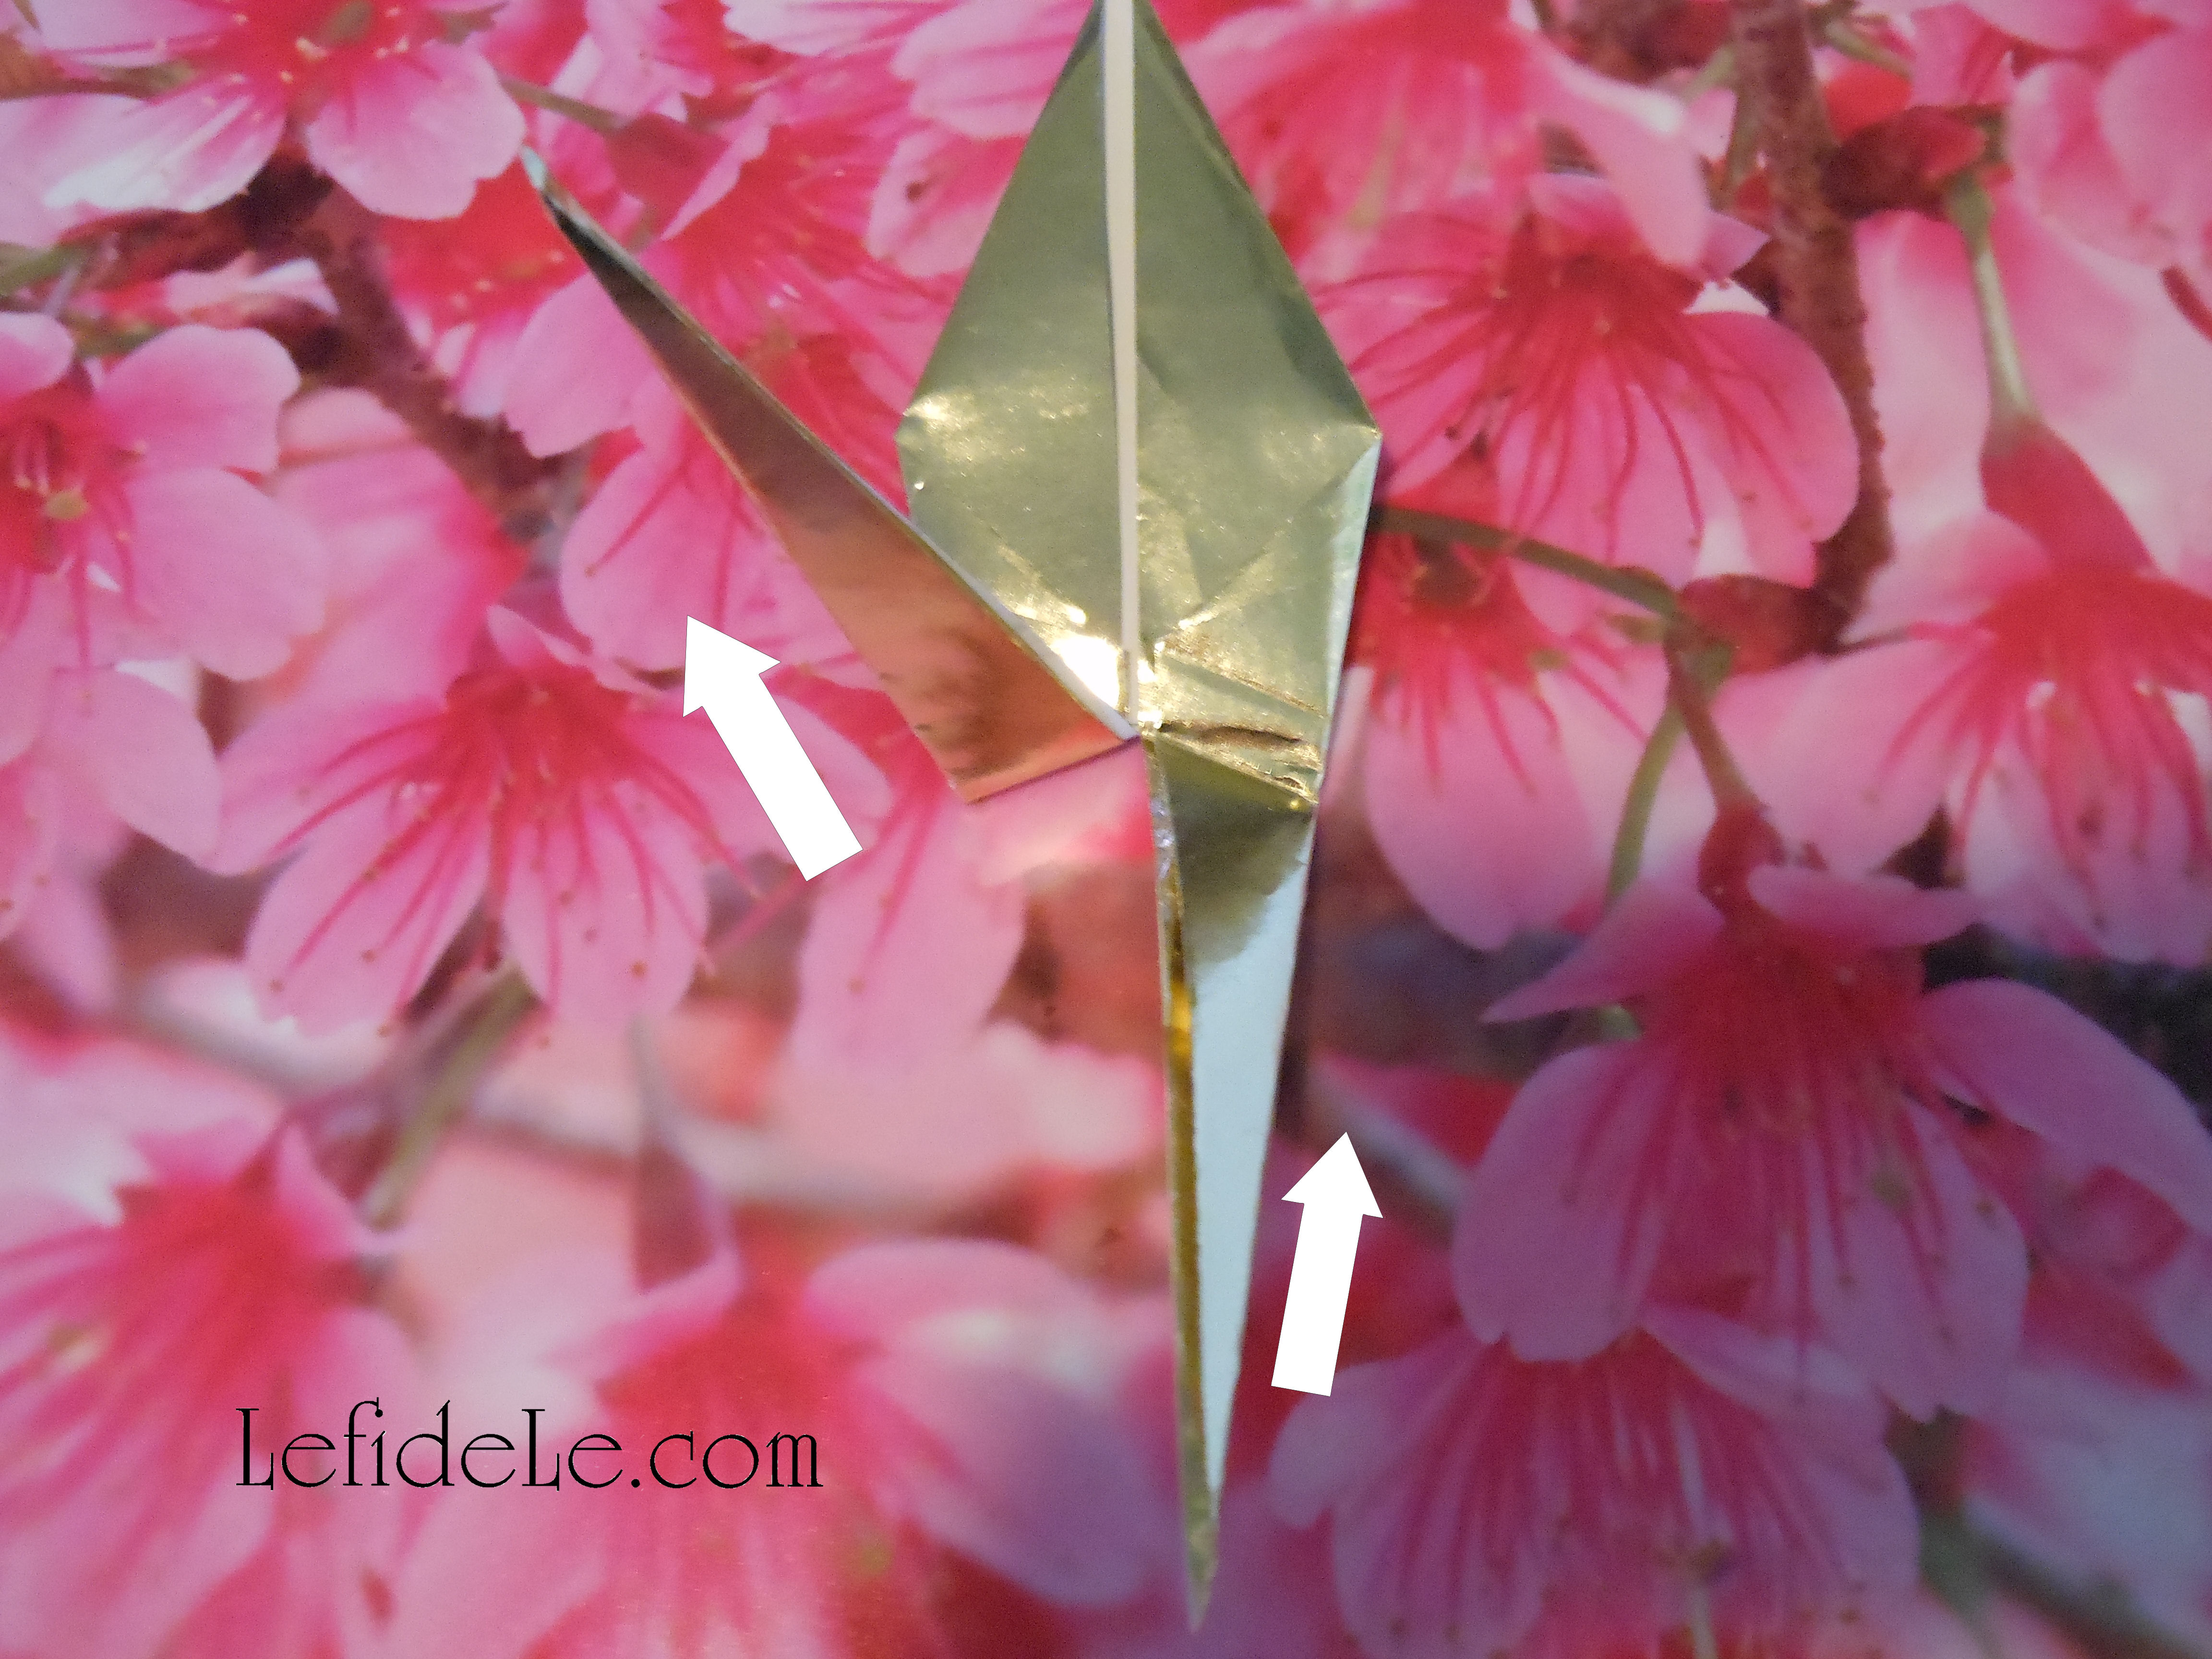
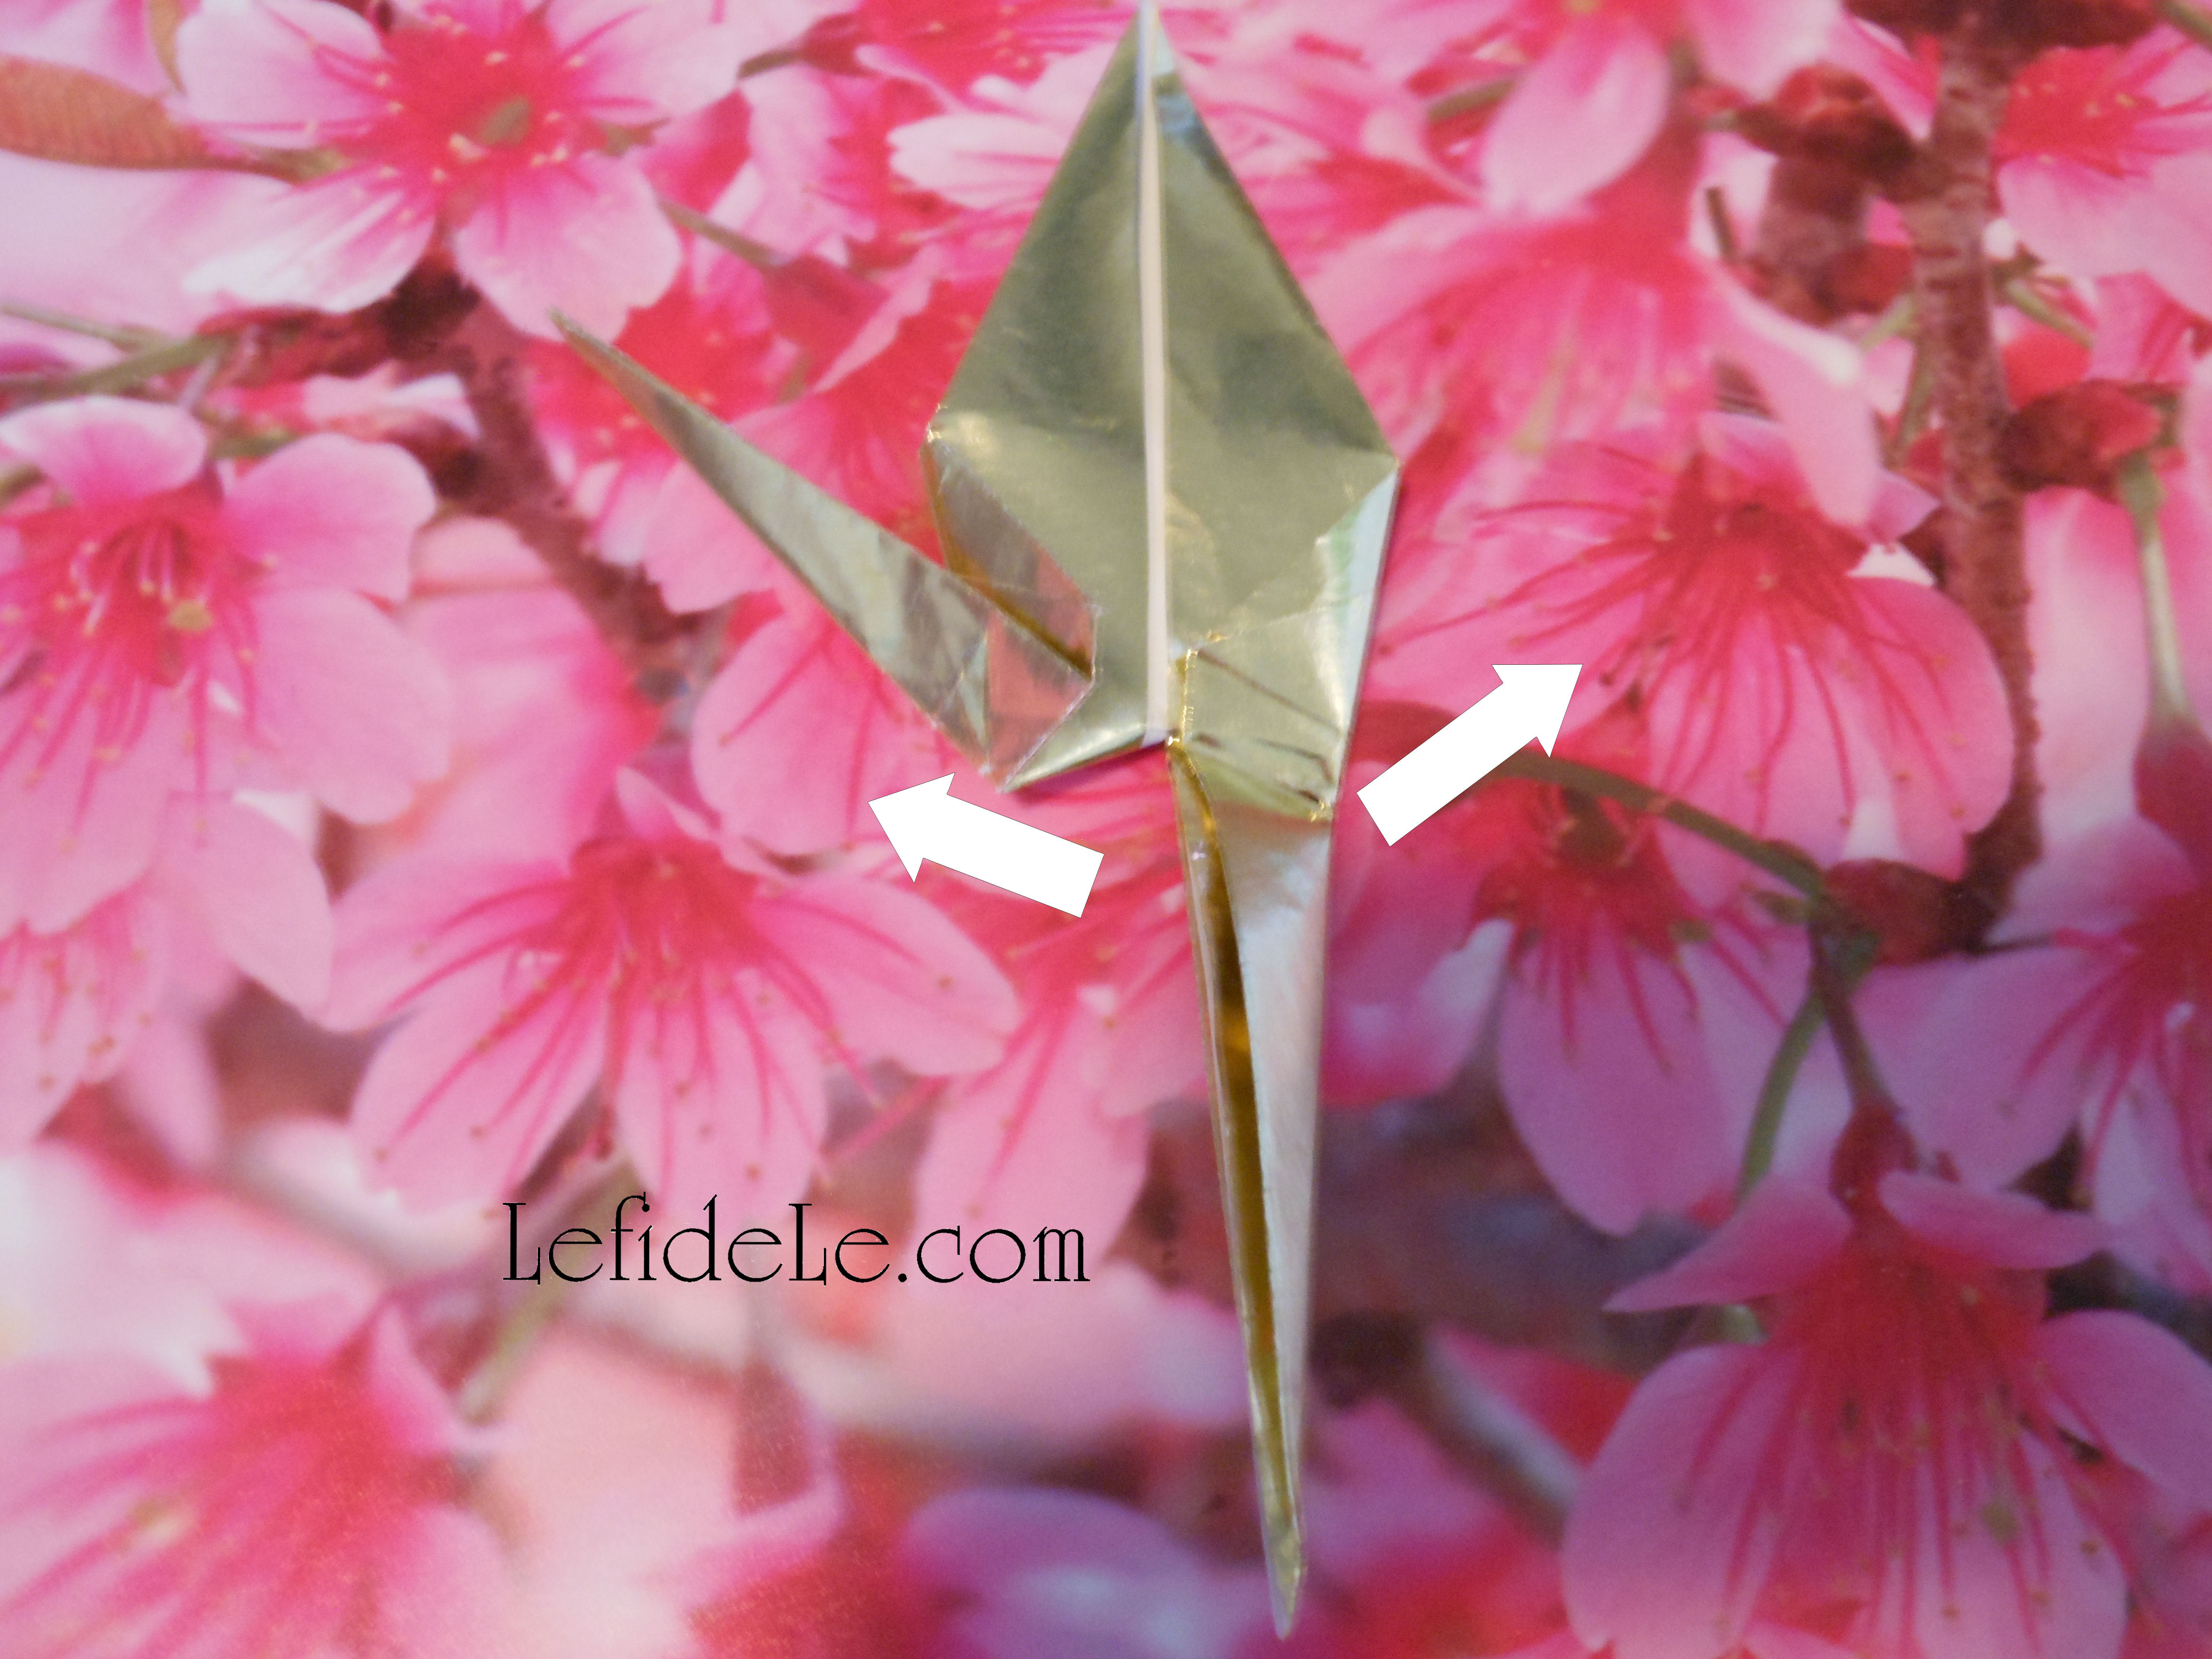
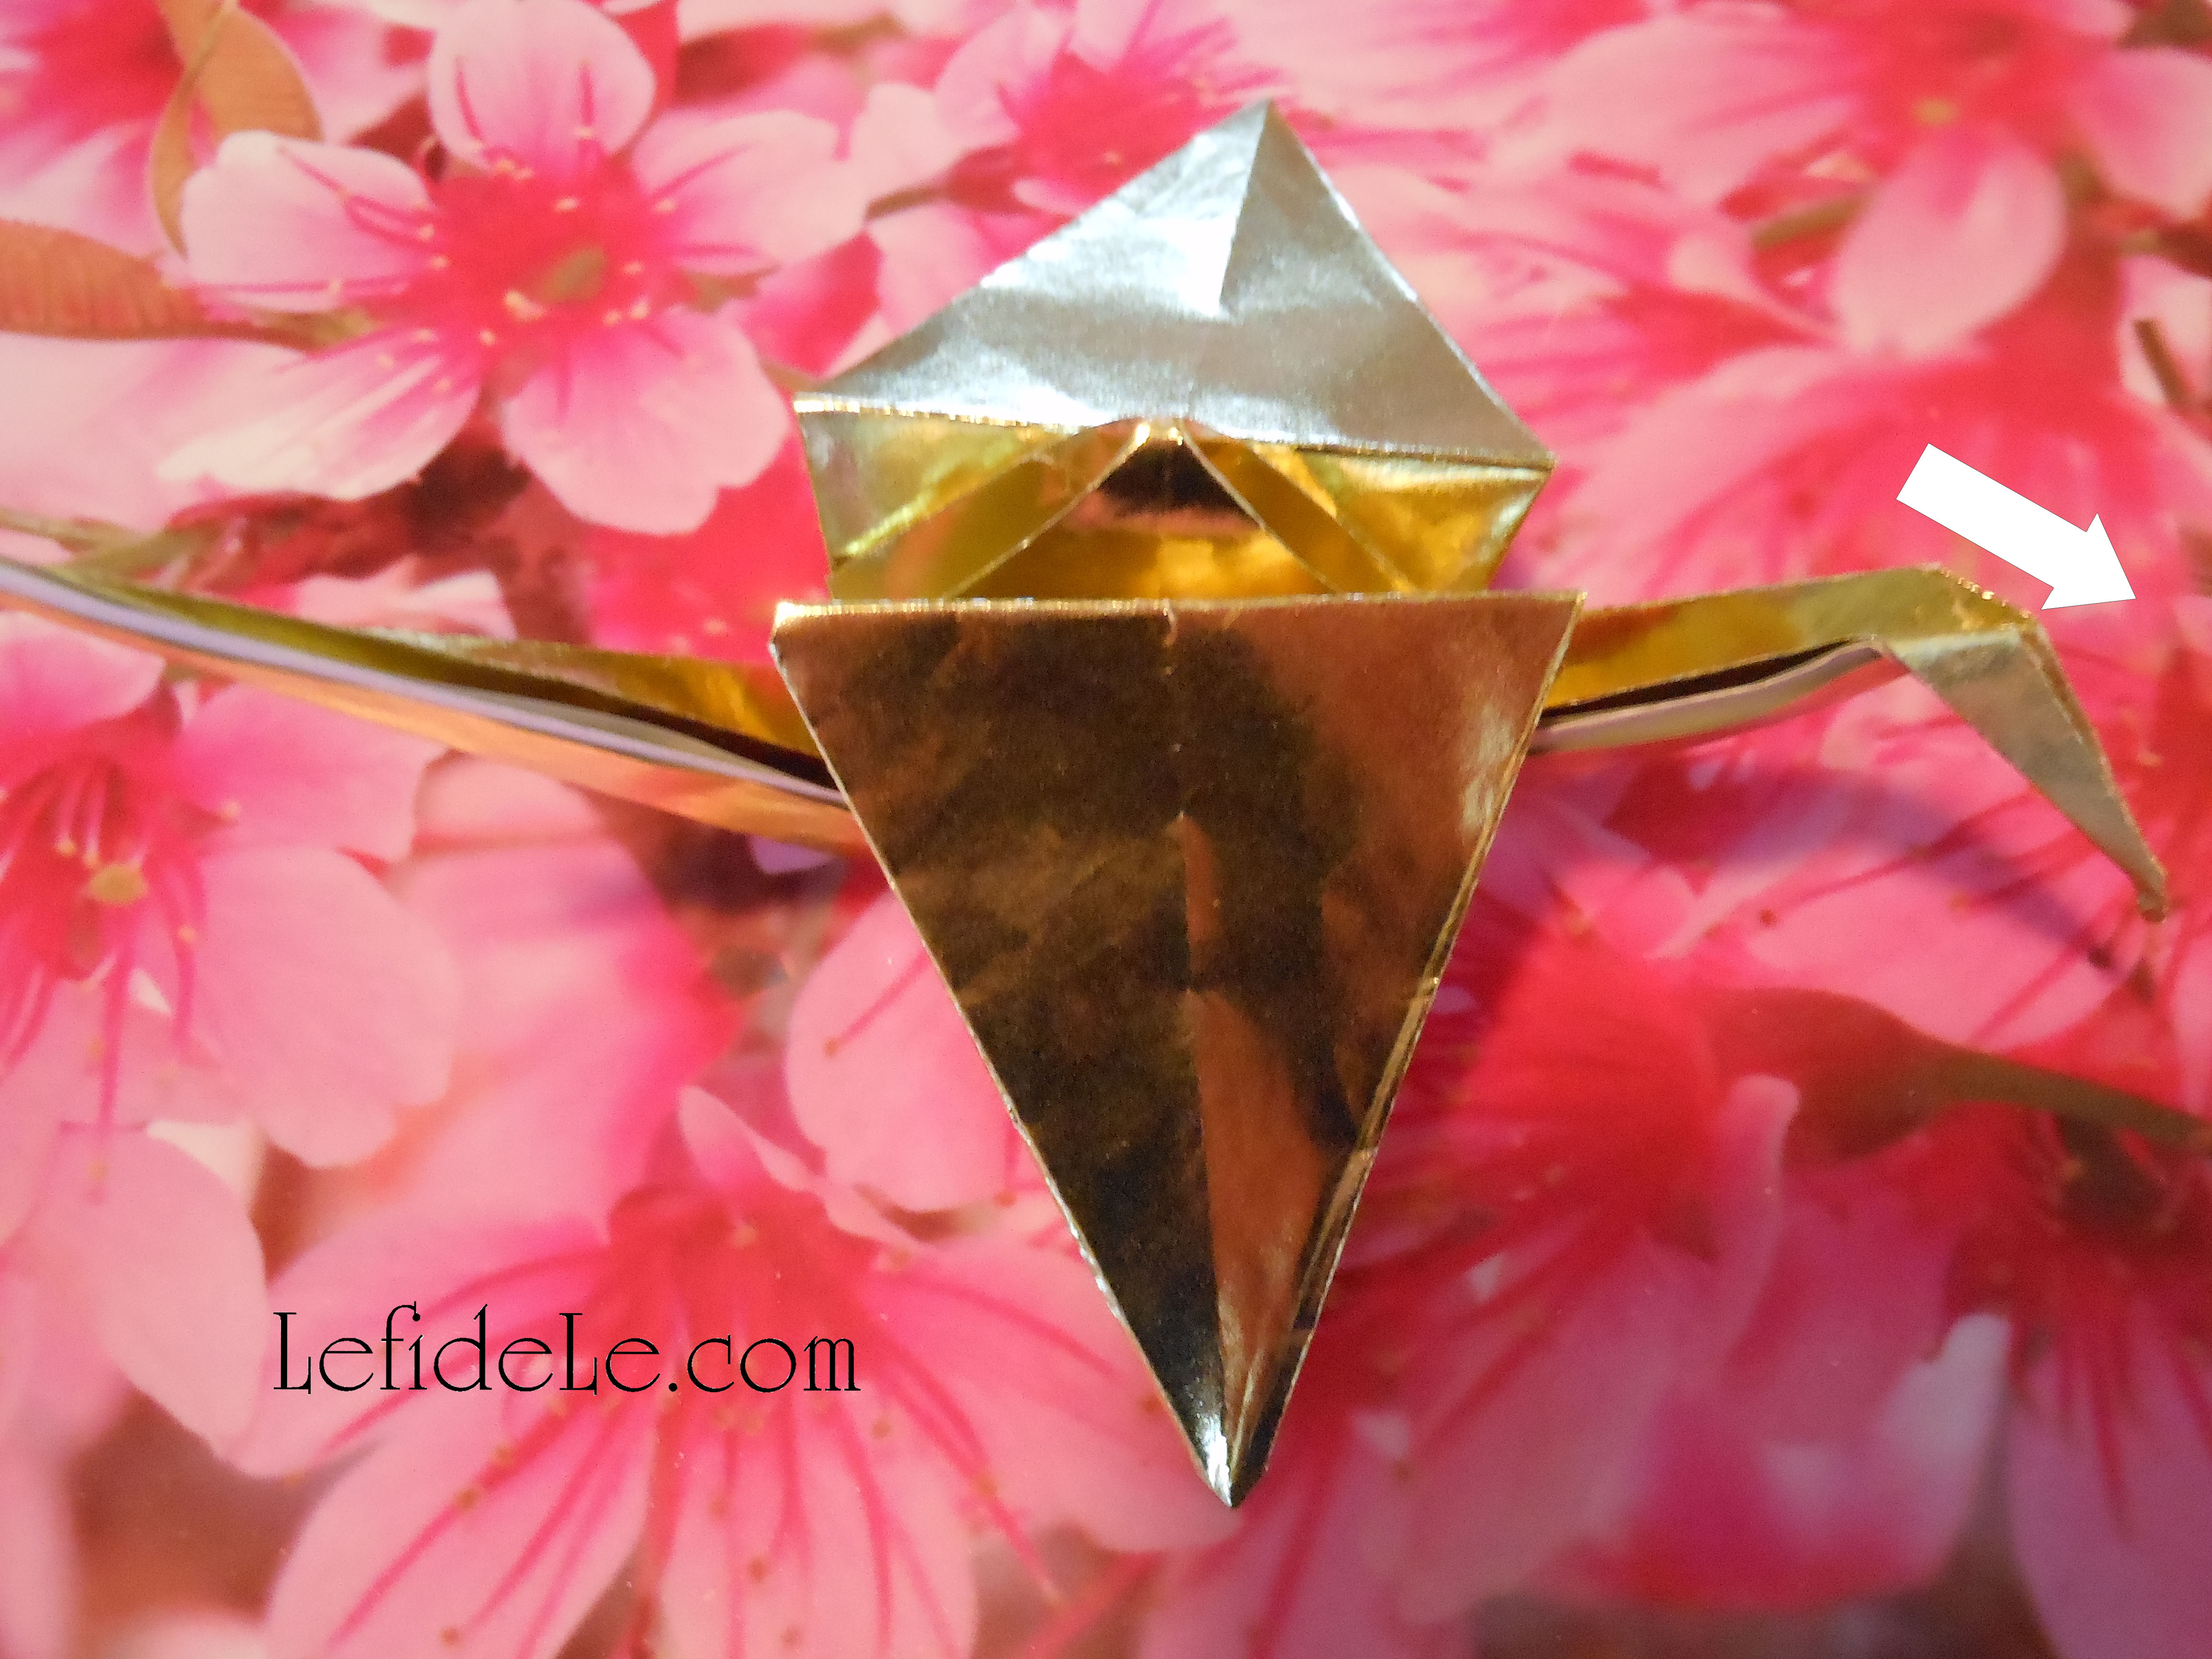
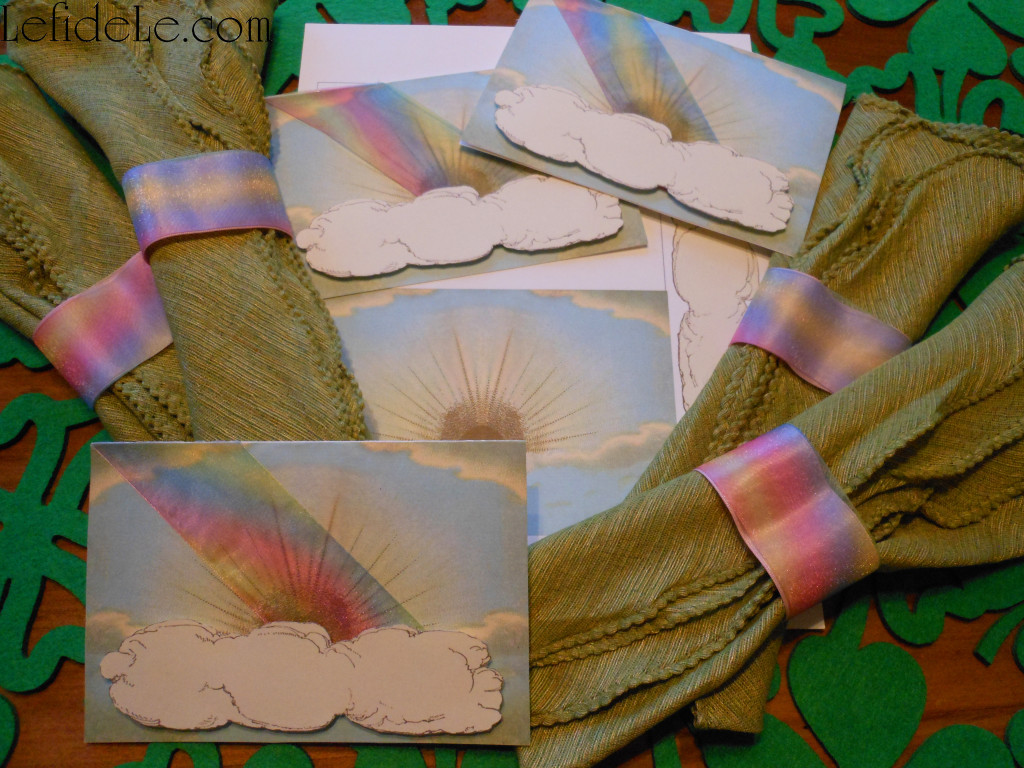
Let’ make the rainbow napkin rings first. To begin, you’ll need a pale color base ribbon and a sheer rainbow ribbon for the top. I used a vintage soft pink satin for the base, because it really brought out the rainbow’s beauty. Just make sure both types of ribbon are the same width.

1919Leigh

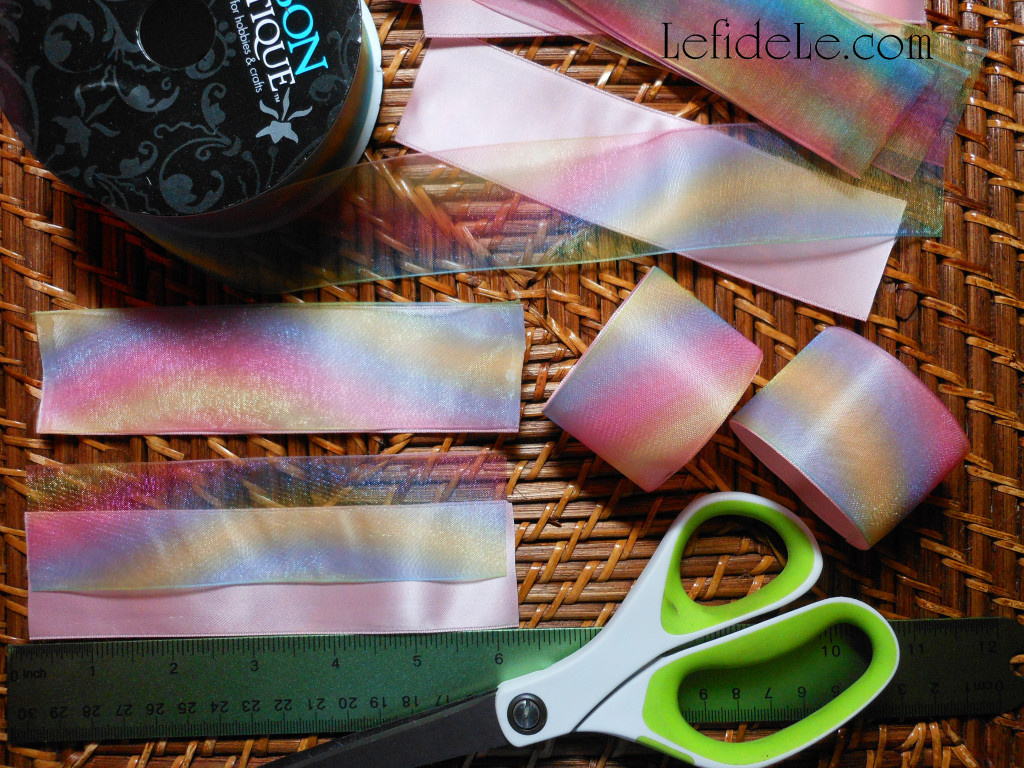
Cut 6 inch lengths of each type of ribbon for every ring you want to make. Next, hot glue the short ends only. Make sure to press the ribbon ends together firmly before the glue dries… using silicone finger protectors of course. Now glue one short end to the other, overlapping them slightly. Again, press them together firmly.

35Leigh

These rings are so quick and easy to make that they can be crafted at the last minute before a gathering. Who said procrastinator’s can’t have fabulous decorations?!

2051Leigh

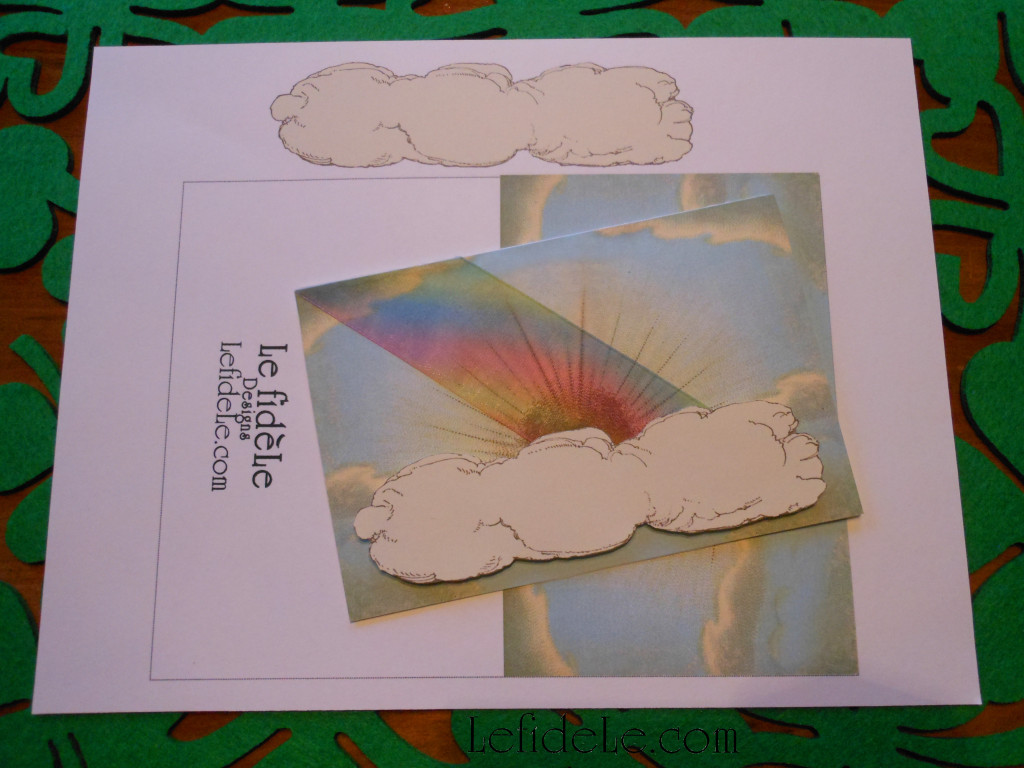
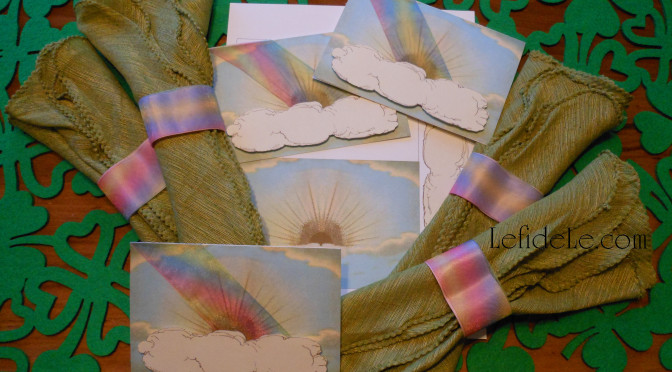
Let’s make the sky card now. You need to print one page for every card you wish to make. I like to make extras during each crafting session, in case I have an unexpected need for a last minute card. (Note that my free printable is for your personal use only… not for commercial purposes.) If you want to add a rainbow, you can use any variety of colorful ribbon you like… striped, thin, checked, thick, solid, translucent, plaid, paper, plastic, or gossamer fabric ribbon like this one that I found on clearance. You can even use a pretty washi paper tape if you like.

Skycard+CloudLeigh

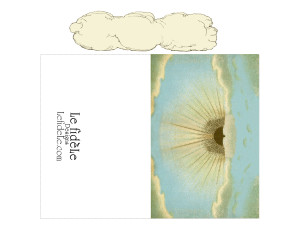
Simply right click on the small image above, and select print. Be sure to choose the photo setting for the finest image. It’s best to use a thick cardstock to make a nice card.

2008Leigh

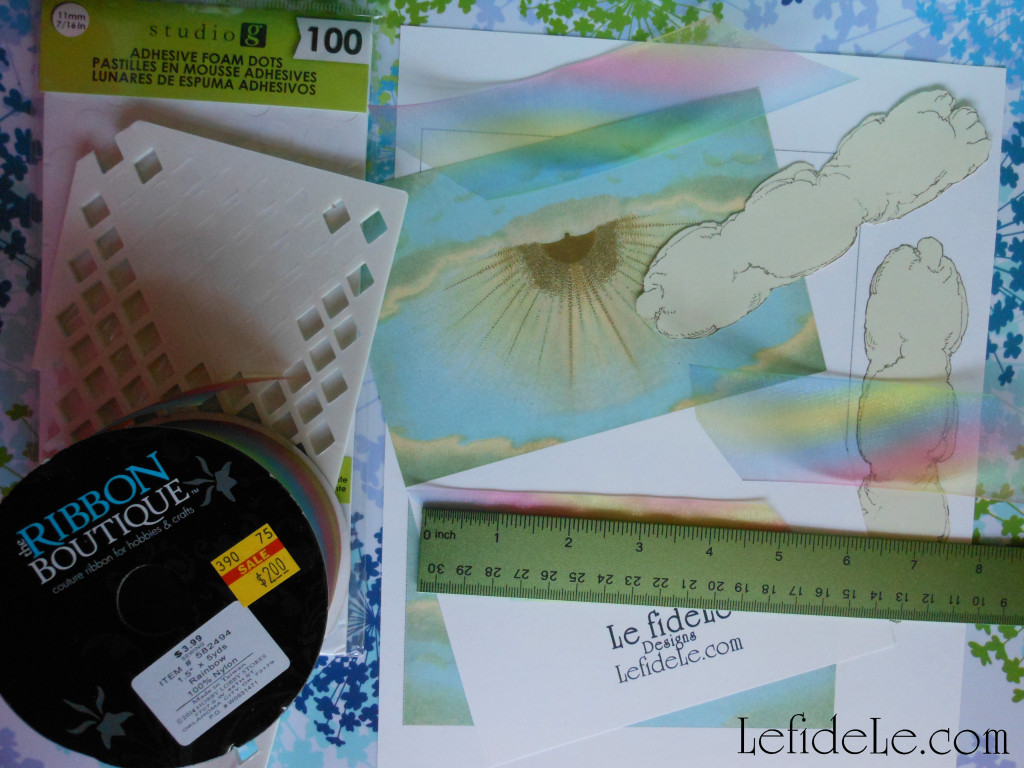
Cut out the rectangle with the logo and sky image together, and then cut out the cloud image. If you want to add a rainbow, cut a 5 inch length of ribbon on the diagonal (like this /__/ ).

2015Leigh

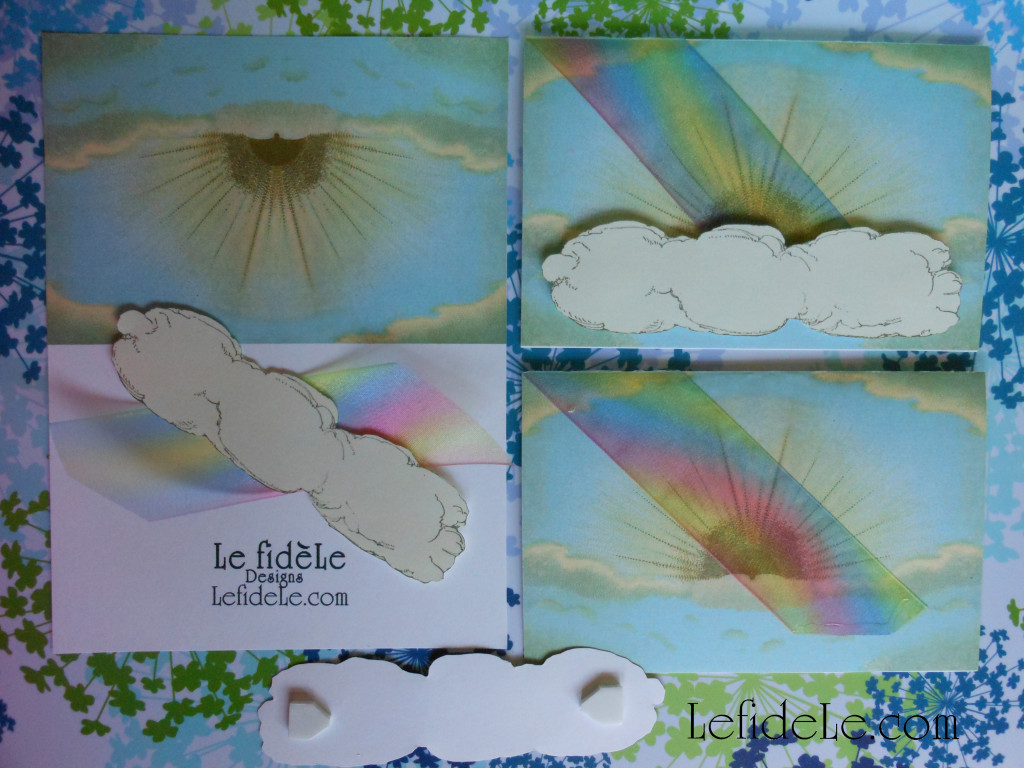
Next, fold the rectangle in half to form the card. Add the rainbow by gluing the ribbon down to the top left corner, and then attach the other end. You can either glue the cloud on top of the ribbon directly, or use dimensional foam stickers to add height to the cloud. Try to place it under the sunrise just above the card opening.

2020Leigh

The perfect St. Patrick’s Day greeting card contains a classic Irish blessing such as this one:

“May the Irish hills caress you. May her lakes and rivers bless you. May the luck of the Irish enfold you. May the blessings of Saint Patrick behold you.”

♣ Lá Fhéile Pádraig Sona Daoibh (Happy St. Patrick’s Day!)

Faithfully Yours,

Leigh

P.S. See more of the rainbow napkin rings in action here: Meet me at the End of the Rainbow Tablescape Ideas for St. Patrick’s Day Party Décor!

Origami Crane Paper Folding Instructions (for Get Well Wishes or Chinese New Year Party Décor)

The timeless art of origami paper folding is an easy and inexpensive way to decorate for a Chinese New Year Celebration. The project also provides a means for quality time in generational bonding. This tutorial for the historically traditional crane figure is an apropos symbol of hope for the coming year. The Japanese tradition of the Senbazuru folding of 1000 paper cranes is said to grant the maker a wish, such as healing for a loved one. (Why not fold and send one in lieu of a get well card?) The “Tsuru” (crane) is also said to denote happiness and luck, which is the same meaning of the “Fú” 福character of the Chinese New Year. My Take-Out Favor Box & Paper Lantern Craft Printable (Chinese New Year Party Décor) also utilizes the symbol which has graced the entrances of Chinese homes for many hundreds of New Year’s.

341Leigh

There are beautiful origami papers available, but it’s easy to make your own from any inexpensive paper. By cutting them yourself, you can make any sized piece you like… and if you’re a beginner, it’s much easier to fold a larger sheet. Here I’ve chosen gold metallic wrapping paper purchased at an after clearance sale years ago. I used a large T-square ruler to mark 6 x 6 inch sections, and then cut them out.

342Leigh

Begin by folding the paper in half diagonally then unfold it.

344Leigh

Repeat this on the other diagonal, thereby creating an X crease on the paper.

346Leigh

Next fold the paper in half, creating a rectangle, then unfold it.

348Leigh

Repeat this fold, of a half rectangle, to complete another X crease.

349Leigh

Now that you’ve made an asterisk * shape mark on the paper, turn a tip to point directly towards you. Take the remaining 3 tips, and pull them over the closest one. The 2 side points will meet in the middle, and the farthest tip will close over those.

353Leigh

Next take the 2 side points and fold them to meet in a line dissecting the middle of the piece, then unfold it.

355Leigh

Take the farthest point and pull it toward you to form a triangle, and then unfold it also.

357bLeigh

Pull the upper point away from you while pushing in the 2 side points so that they meet in the middle.

360Leigh

Push it all down to crease it flat.

362Leigh

Flip the piece over, and repeat the last step to form a diamond shape.

370Leigh

Once again, fold the 2 side points inward to meet in the center.

372Leigh

Flip it over, and repeat the last step to form a much pointier diamond.

374Leigh

There will be 2 pieces resembling legs that comprise the portion closest to you, take one and bend it up and out on a diagonal… as if it’s making a high kick. Do the same with the other leg then crease both well. Unfold them straight again.

376Leigh

The next step is the trickiest part, but it can be unfolded and retried until it works out. The legs need to be bent inward in what is called a “reverse fold”. The easiest way that I’ve found to do this is to use your thumbs to sort of pop in the center of the leg toward the center of the piece. The crease you made earlier will be the line it folds according to. Just study the picture and play with your piece until they look similar. Crease it flat once it’s in the correct position. Do this with both legs of the piece which will form the head and tail/feet of the crane.

378Leigh

Make the wings flap down by folding the farthest point of the upper flap towards you. Flip over and repeat for the other wing.

381Leigh

The last step is to form the bird’s head by performing a “reverse fold” downward on one of the former legs. Adjust it, if need be, by strengthening your creases and pushing up on the center portion until it sits upright on its own.

384Leigh

Now what to do with it… write a “Get Well Soon” or “Happy New Year” message on one of the wings and push the crane flat to enclose in an envelope, use a needle and thread to string and hang it, or just set it out on your table for an easy décor element.

031Leigh

May all your dearest wishes be granted this year!

Faithfully Yours,

Leigh