Tag Archives: Paper

Simple Origami Lotus / Waterlily Flower Arts & Crafts Tutorial (Perfect for Pan Asian Themed Décor, Place-cards, & Chopstick Rests)

010Leigh

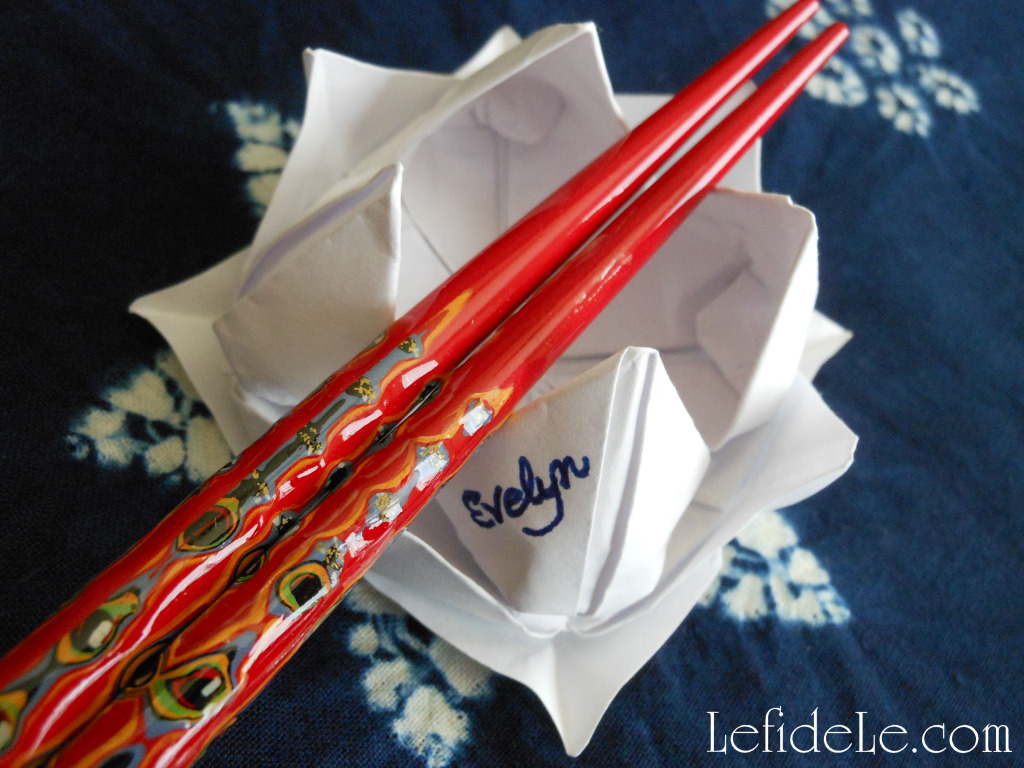
This arts and crafts tutorial for an origami lotus flower, also known as a waterlily, is really very simple. I first learned the method from a book in elementary school, and I’ve been making them ever since. I’ve been known to leave them as calling cards, get well messages, love tokens, etc. They also make elegant yet inexpensive table décor because they can be upcycled from any paper. Just write a name on a petal to use them as place-cards then allow them to double as disposable chopstick rests… but expect some to be taken home as mementos from the evening.

001Leigh

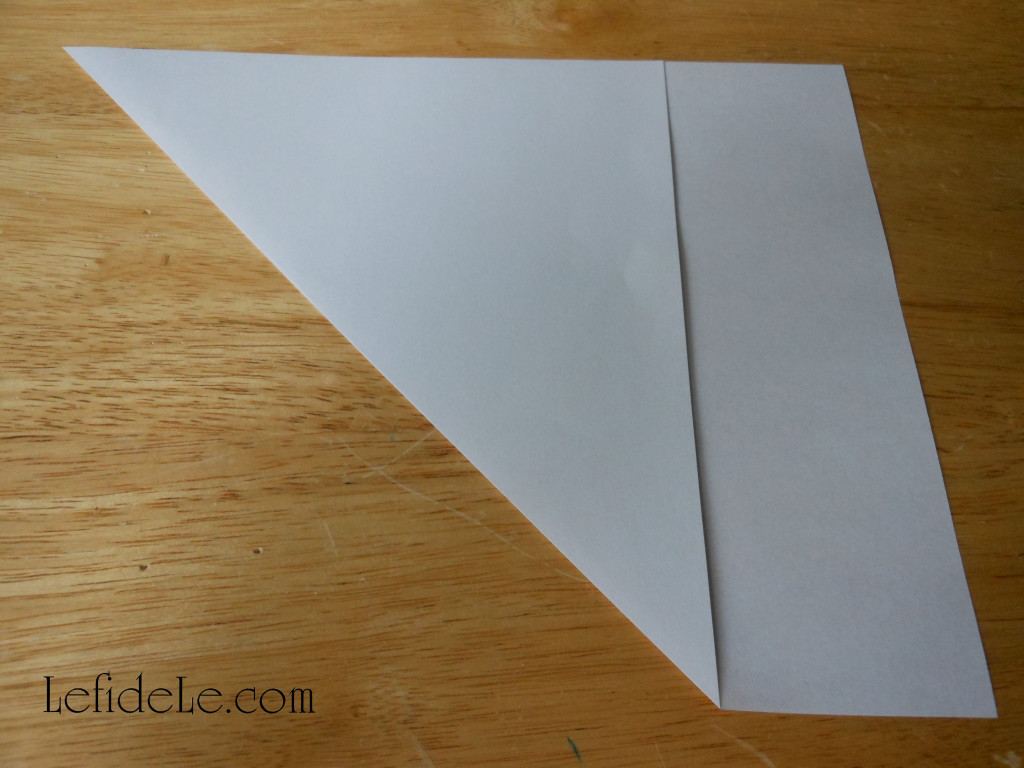
Use any paper you like from traditional origami paper from the craft store, to economical white printer paper like this. (Read my origami crane tutorial to read how to use wrapping paper.) Fold one corner over until it meets the opposite side, and press the crease down flat.

002Leigh

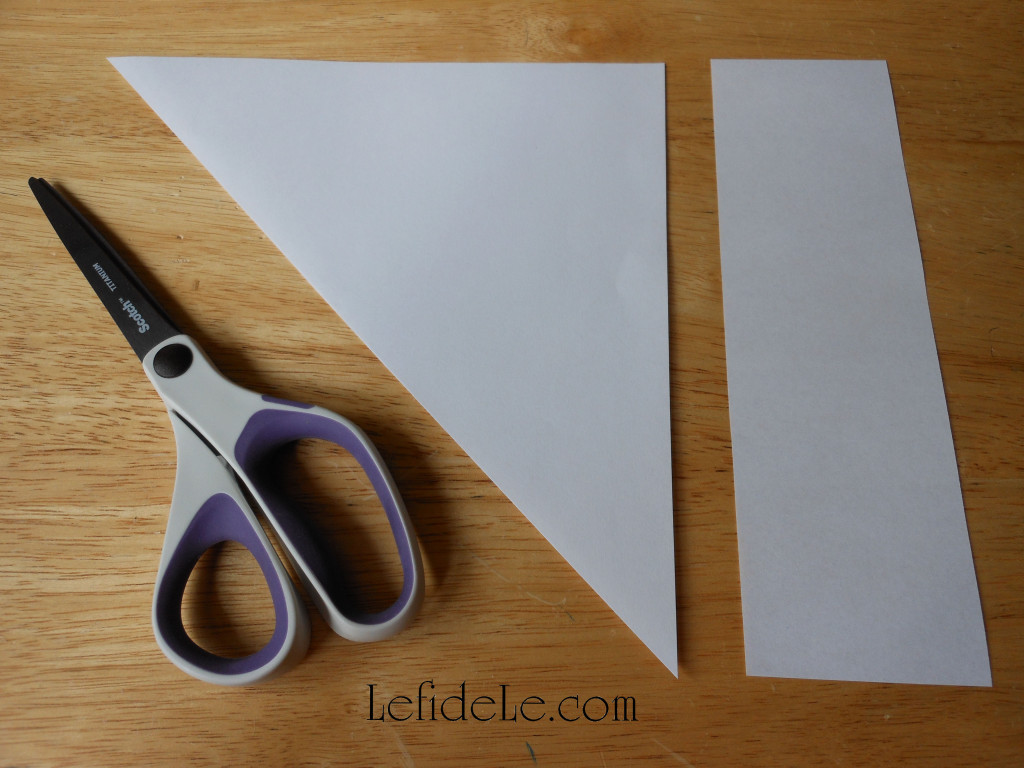
Cut off the uncovered portion of paper cleanly, using the folded paper’s edge as a guide. You have just made a perfect square without using a ruler.

003Leigh

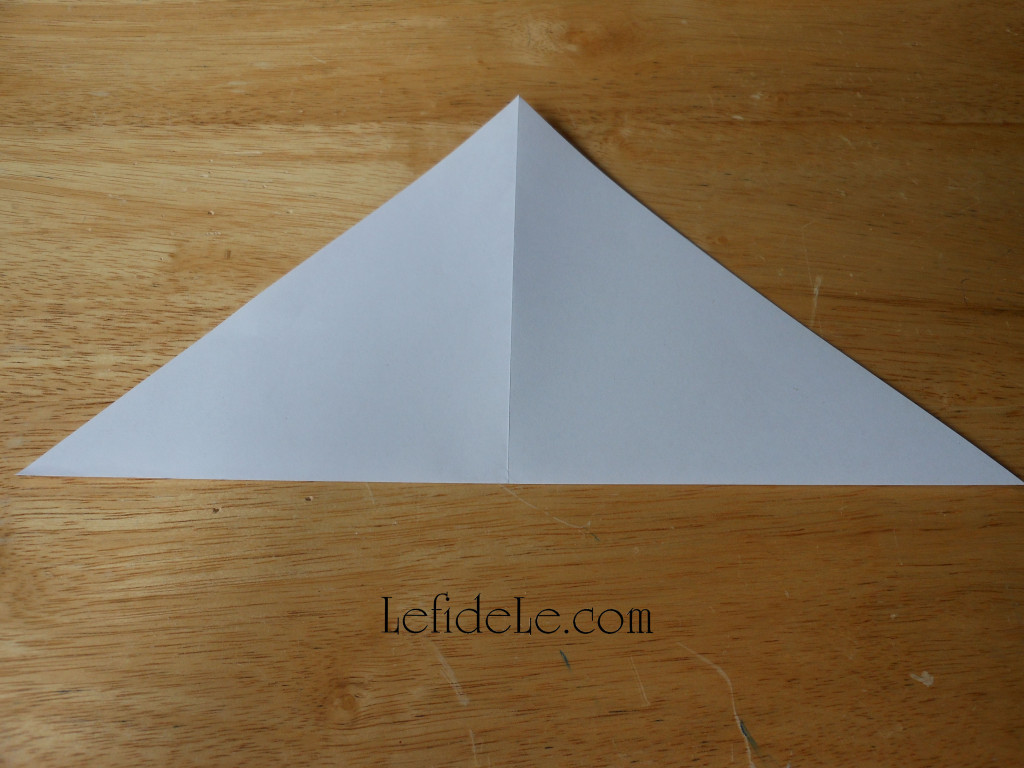
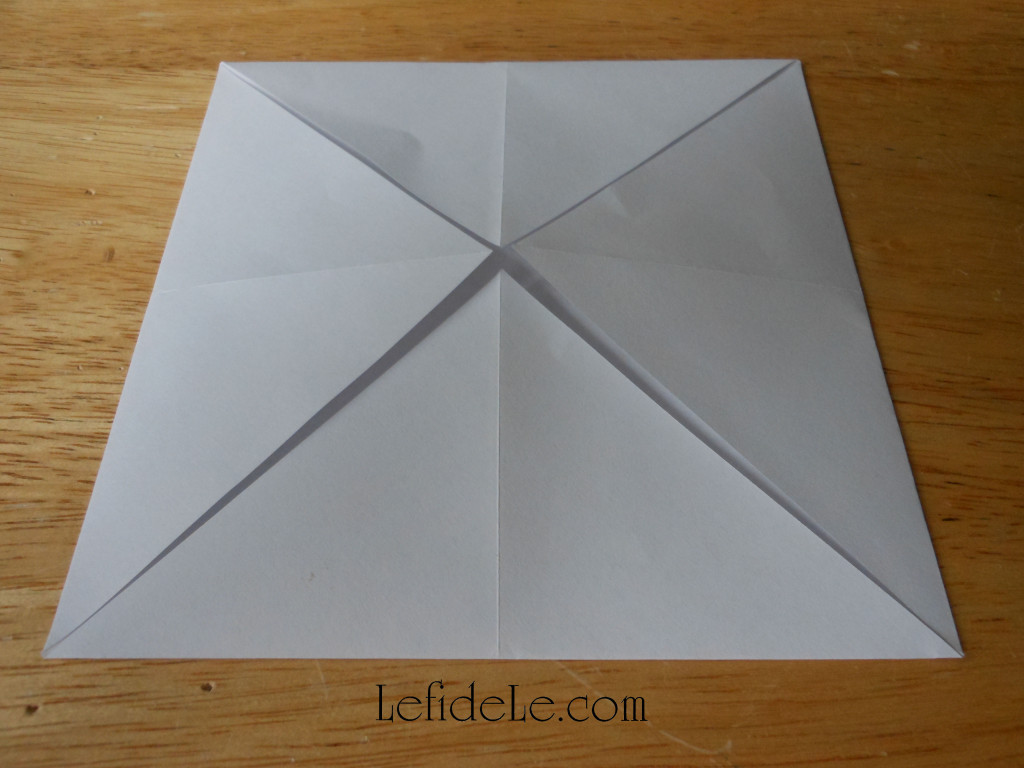
Unfold the triangle you’ve cut free, and then refold it using the opposite corners. Now unfold it, you should see an X crease into the square of paper.

004Leigh

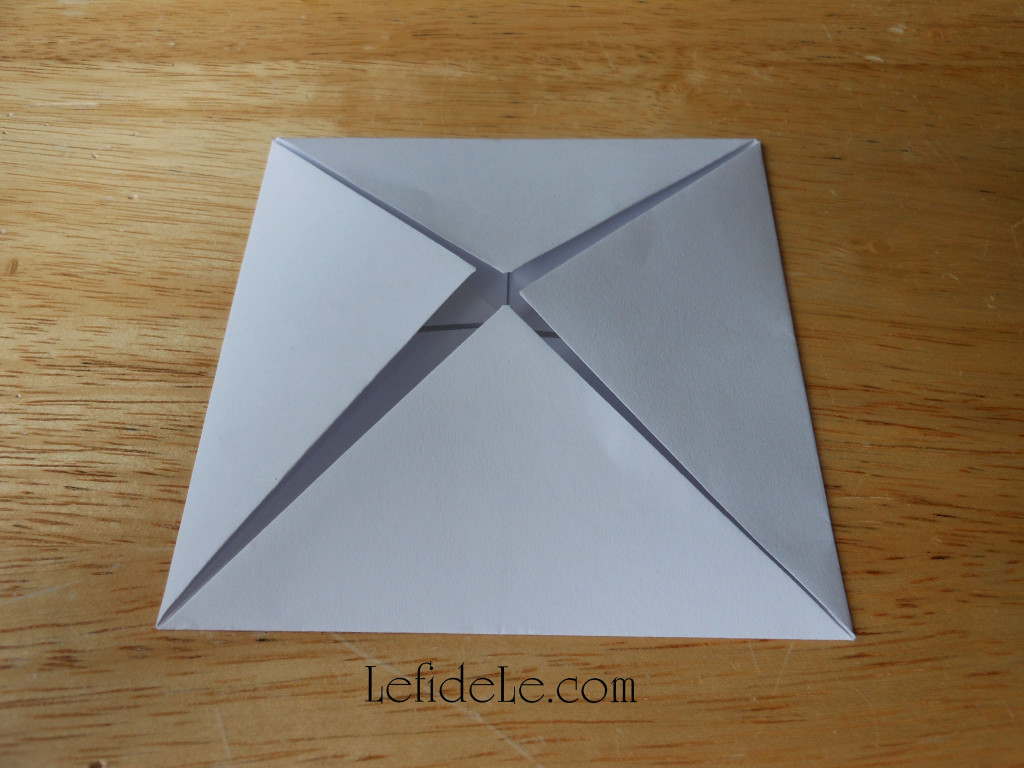
Next take each corner and fold it into the middle, using the X crease as a guide. You just made a smaller square shape.

005Leigh

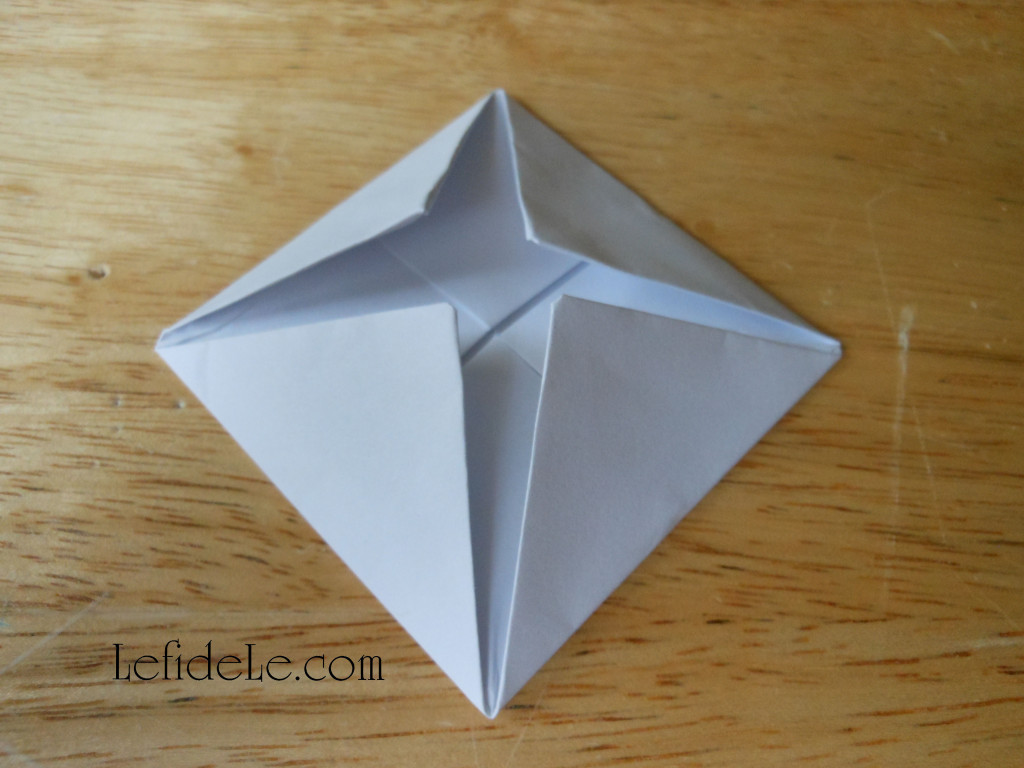
Repeat this 4 corner folding again, making an even smaller square.

006Leigh

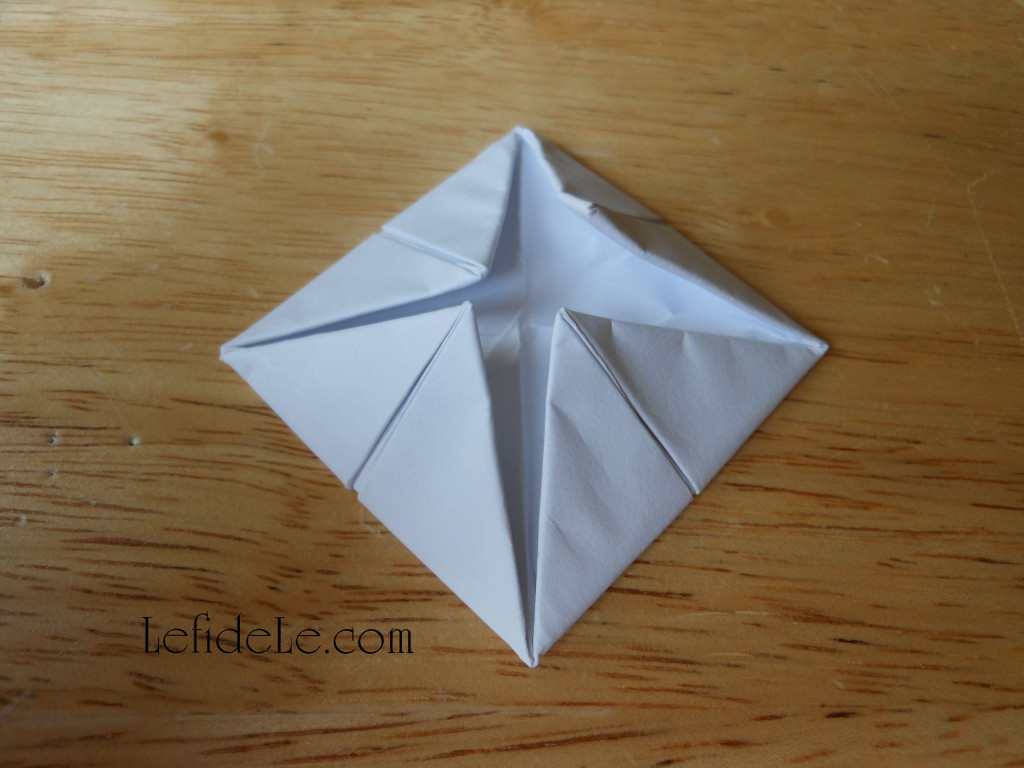
Repeat this again, making an even tinier square.

007Leigh

Now flip it over, and then repeat the 4 corner folding into the center one last time.

008Leigh

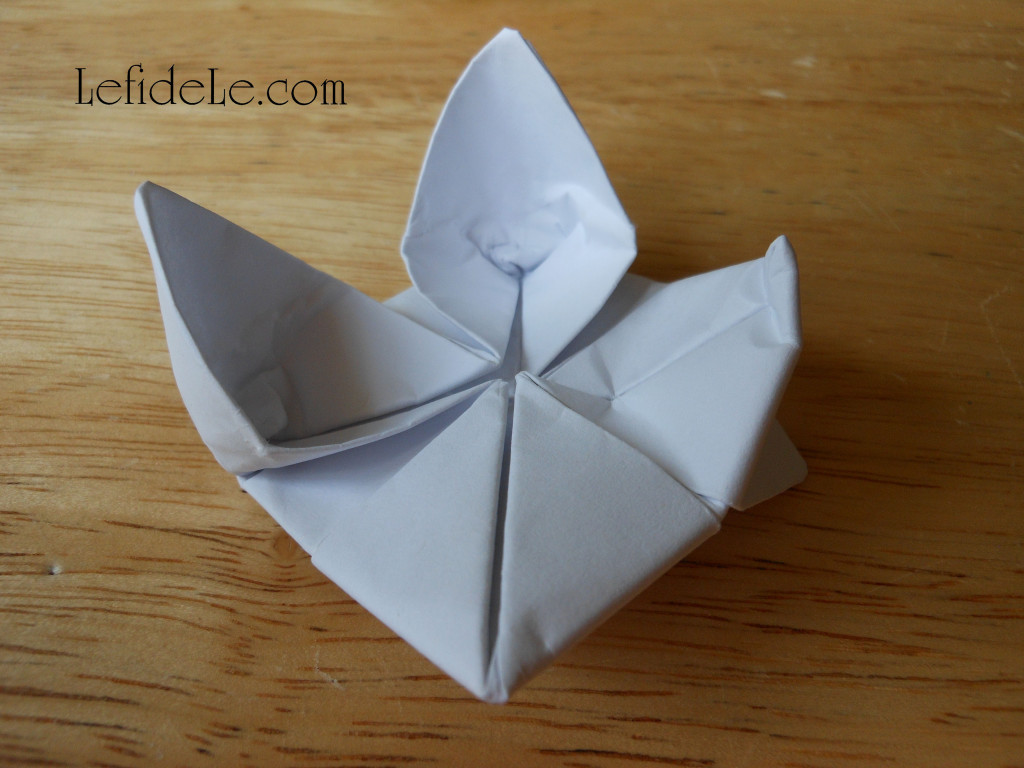
This is the tricky part… place your thumb into one corner of the square, and place the other fingers under the lipped point underneath it. Push in the corner with your thumb while gently pulling the underneath point out. It will flip up and over into a sort of petal. (The right petal in the picture is only halfway done. You can keep pulling gently until it looks like the left petal.) Stop pushing and pulling once the petal has a solid form with a rounded outside edge. Repeat this petal making on all corners.

009Leigh

Now pull out the four hidden points from beneath.

010Leigh

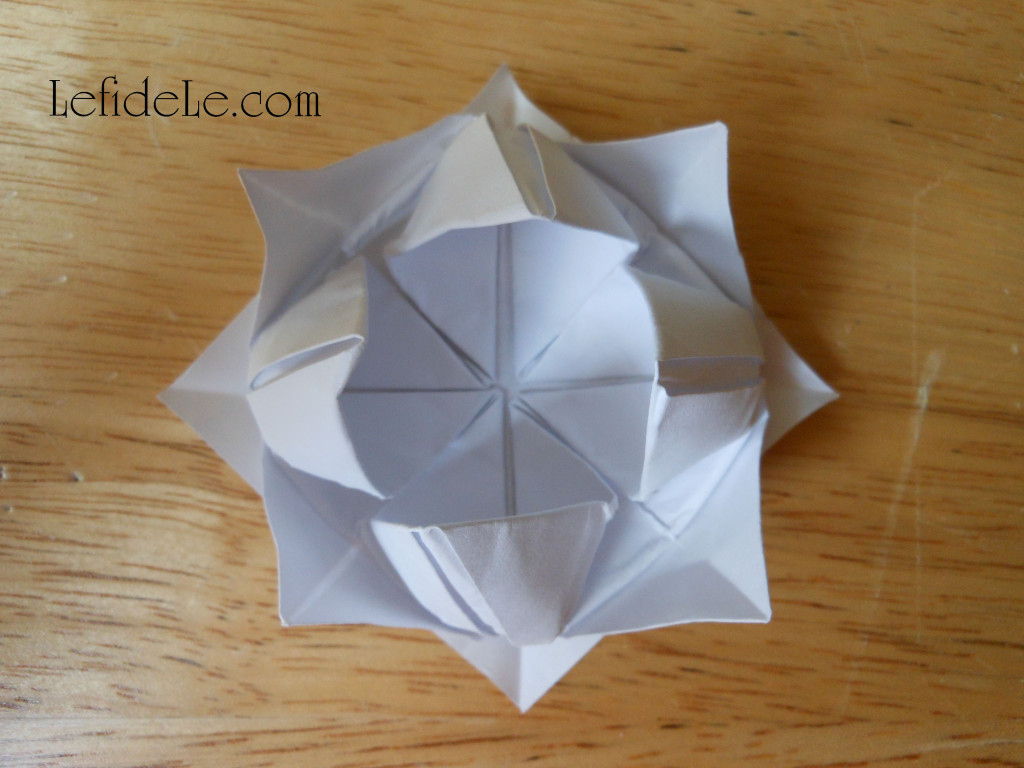
This is what it’s supposed to look like, but it may take a few blooms to get the hang of petal pulling.

011Leigh

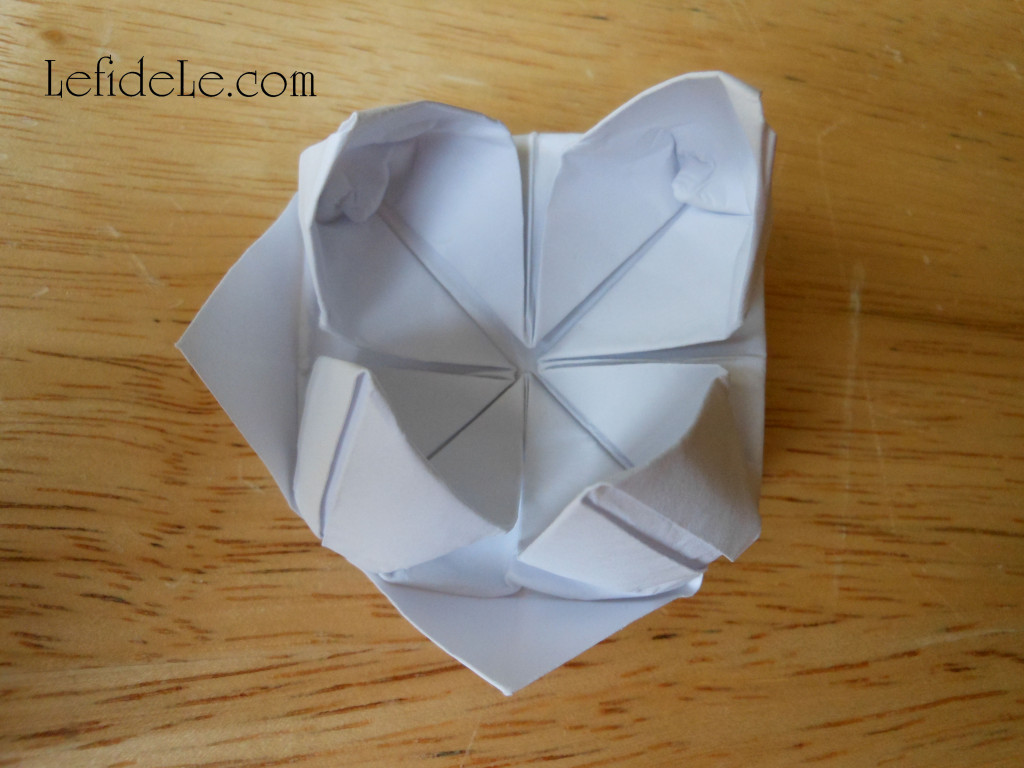
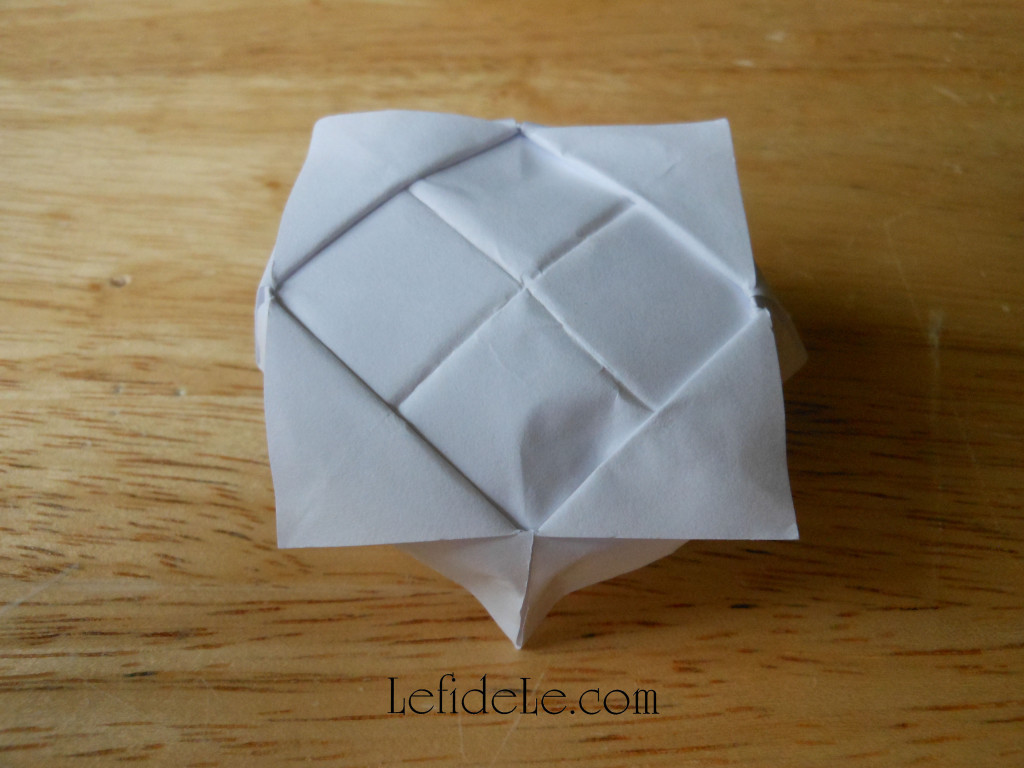
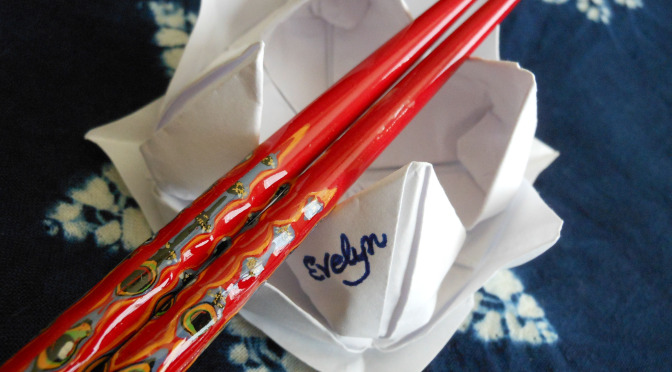
This is what the underside should look like. (It’s the perfect place to write a little message.)

14ChopstickRest-Leigh

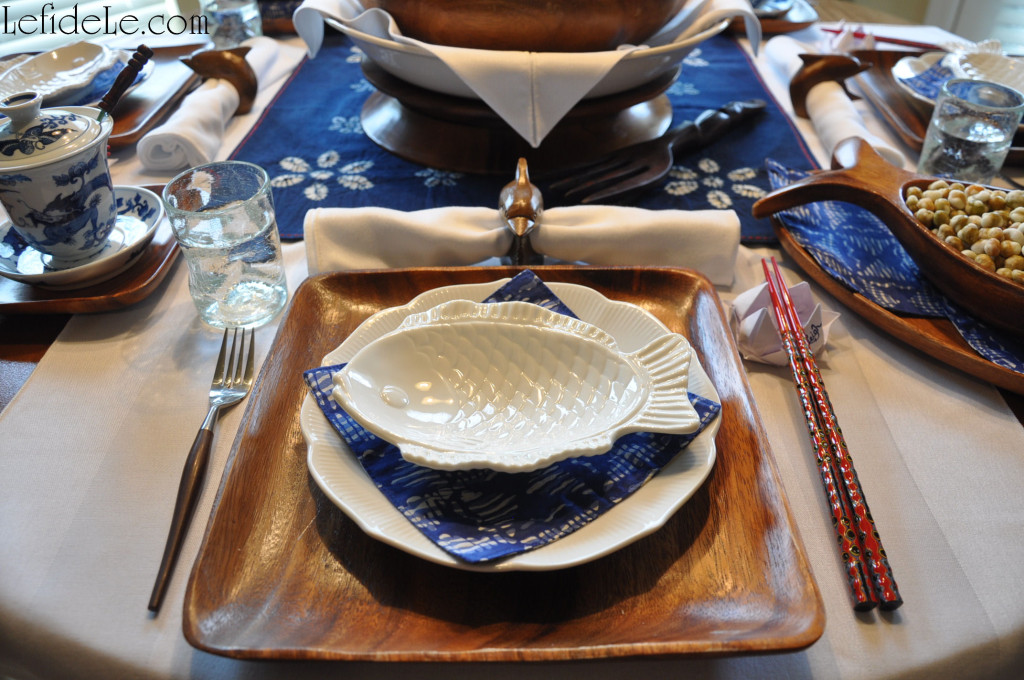
This is one of my origami waterlilies being used as a place-card holder/ chopstick rest. See it in action in my Pan Asian Inspired Indigo Shibori & Wooden Themed Tablescape (Perfect for Luncheons & Informal Dinners).

227Leigh

Bloom where you are planted!

Faithfully Yours,

Leigh

Take-Out Favor Box & Paper Lantern Craft Printable + Bamboo Lantern + Paint to Antique a Lion Fú-Dog (DIY Chinese New Year Party Décor Crafts)

059Leigh

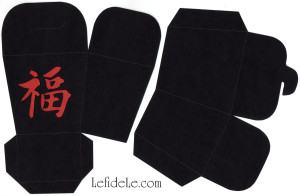
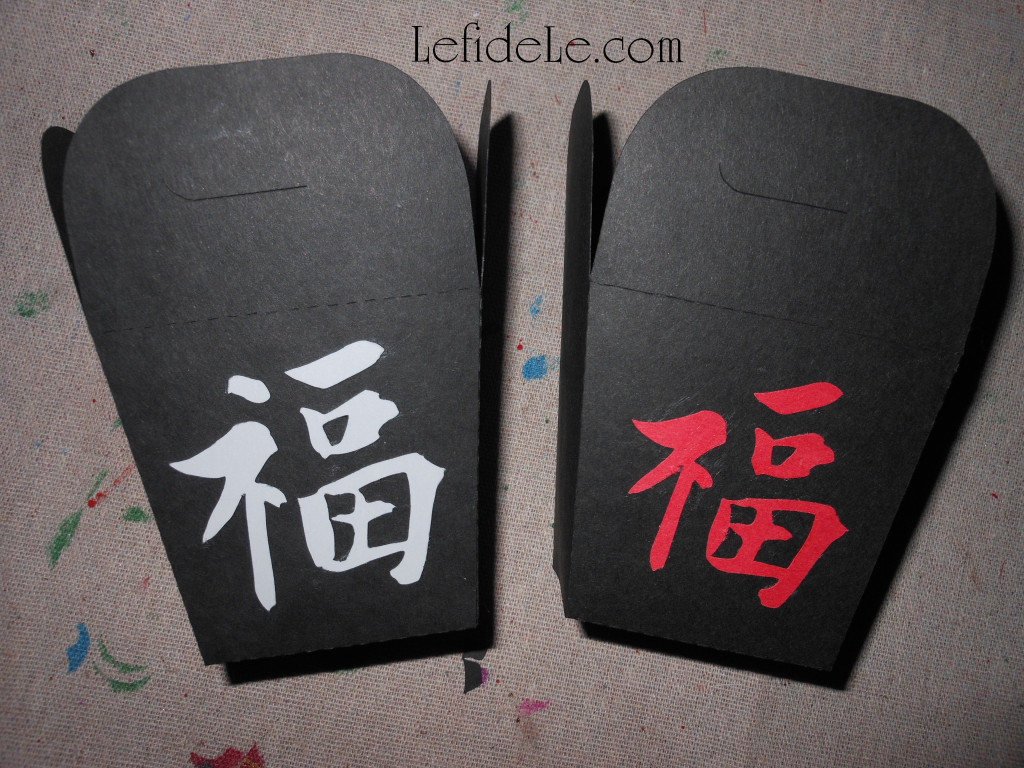
The “Fú” 福 character has graced the entrances of Chinese homes for many hundreds of New Year’s. It is said to have originated not just for its meaning of happiness and luck, but also because “upside down” and “to arrive” sound alike when spoken in Chinese, thus making an upside down Fú equate to “good luck arrives”. (For some, however, hanging the Fu upside down is bad luck, so I’ve decided to make the character right side up on my printable boxes!) Use them as favor containers, table crayon corrals, or cut out the character to make an LED lantern or luminaria. Use the cut-out character to easily embellish a bamboo lantern. I’ll demonstrate this along with how to paint a modern lion Fú-dog statuette to make it look like an antique.
HappinessBox-Leigh

To make your own favor take out boxes or lanterns, simply right click on the small image and select print. Print them on a photo and color setting. One page makes one box, so just print as many copies as boxes you need.
267Leigh

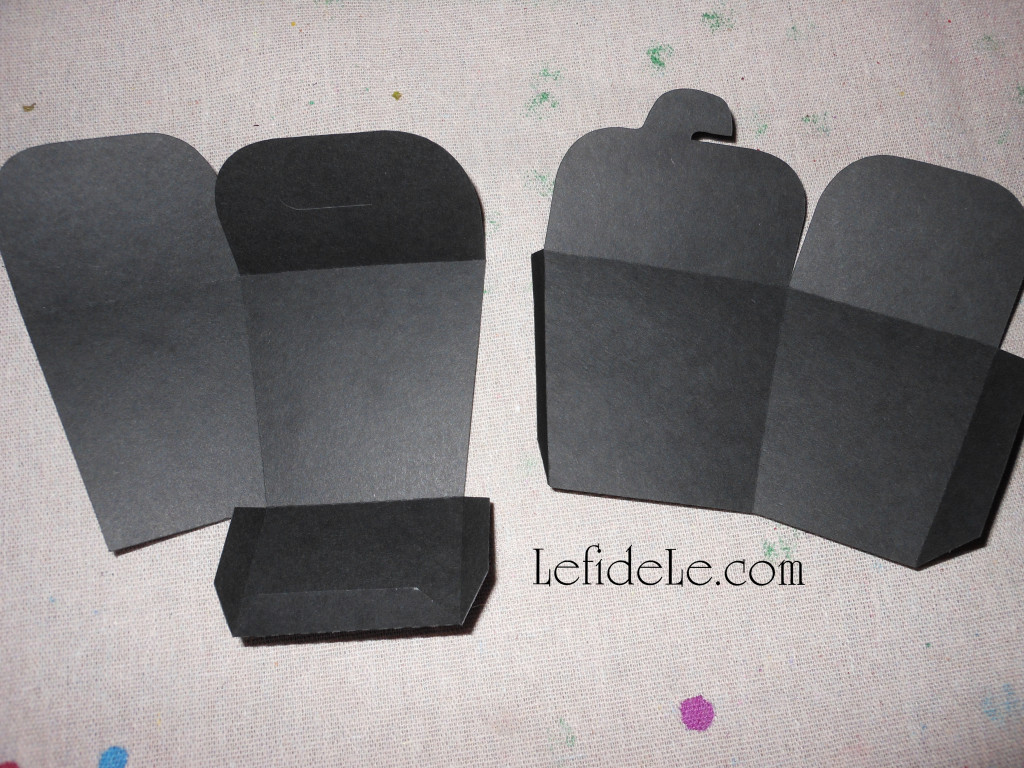
Next you need to cut out the black boxes… this is a great time to enlist help from the family!
269Leigh

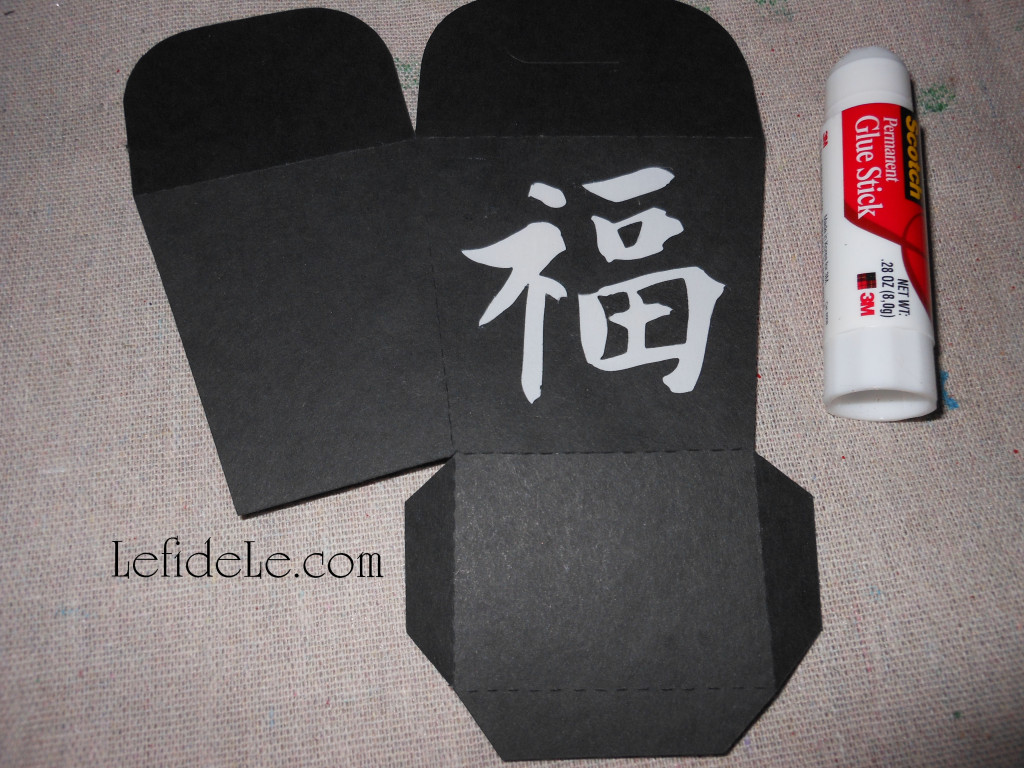
To make the paper lanterns, you will want to cut out the Chinese character before gluing the box together. Use an x-acto knife if you’re brave… I always seem to slice my thumb with these so I opt for rougher cuts using scissors. Simply poke a little hole with the pointy tip of a pen, compass point, or scissor tip then use it as a pilot hole to begin cutting each section of the character out. (If you’re short on time, just skip the cutting + vellum part and place an LED tea-light inside an open box. They still look adorable this way.)
268Leigh

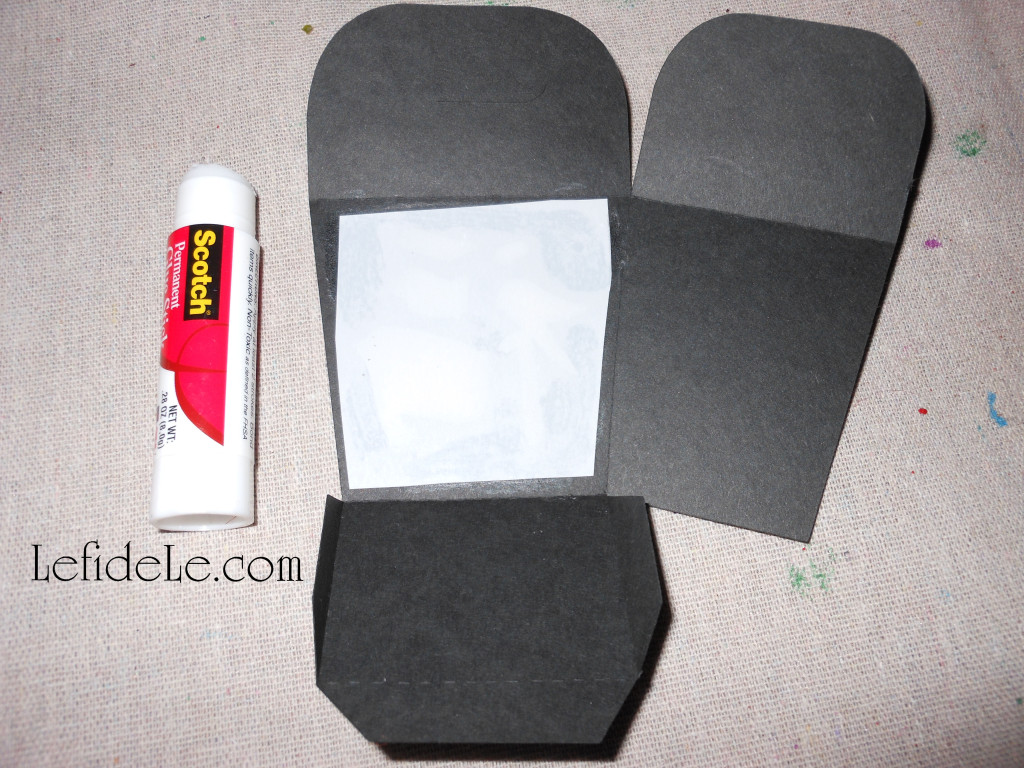
The paper lanterns, with the cut out characters, glow when little squares of vegan vellum are glued to the underside/inside of the boxes. Use the photo to check how the “Fú” 福 character is supposed to look like from the outside, and place that outside edge down onto your working surface. Cut a piece of vegan vellum to fit the box’s side and cover the character completely. Use a permanent glue stick along the edges of the vellum and place it over the character face down. Press it down flat to adhere it fully.
272Leigh

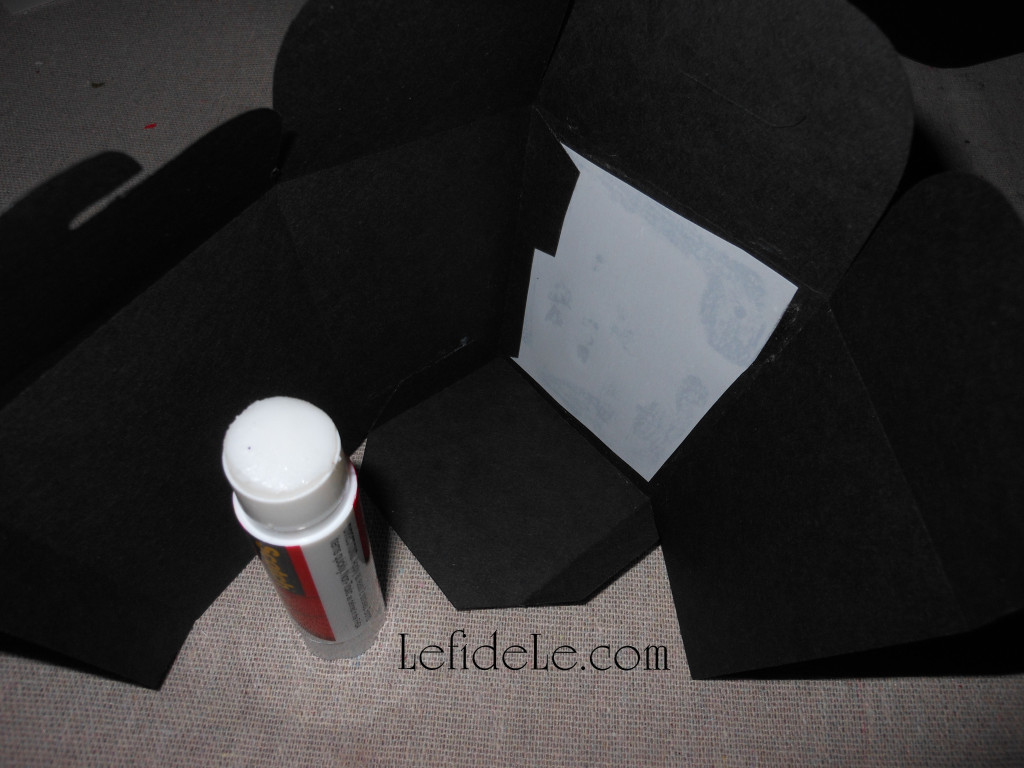
To make both the favor boxes and the paper lanterns, glue the tabs to the sides with a permanent glue stick. Use the photos as visual reference for how to do this. Note that 2 sides will be wider than the others. These should be glued opposite to each other, so that a narrow side is in between each.
279Leigh

Glue all of the sides, and leave the top free to be filled with crayons, good luck candies, fortune cookies, LED tea-lights, or even small condiment bowls for sauces… just let your creativity run with these! Just try to let them dry well before loading them up with goodies. I let mine sit overnight, and they became super sturdy.
096Leigh

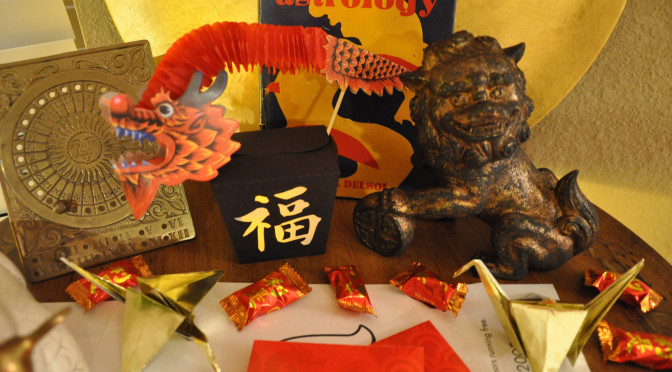
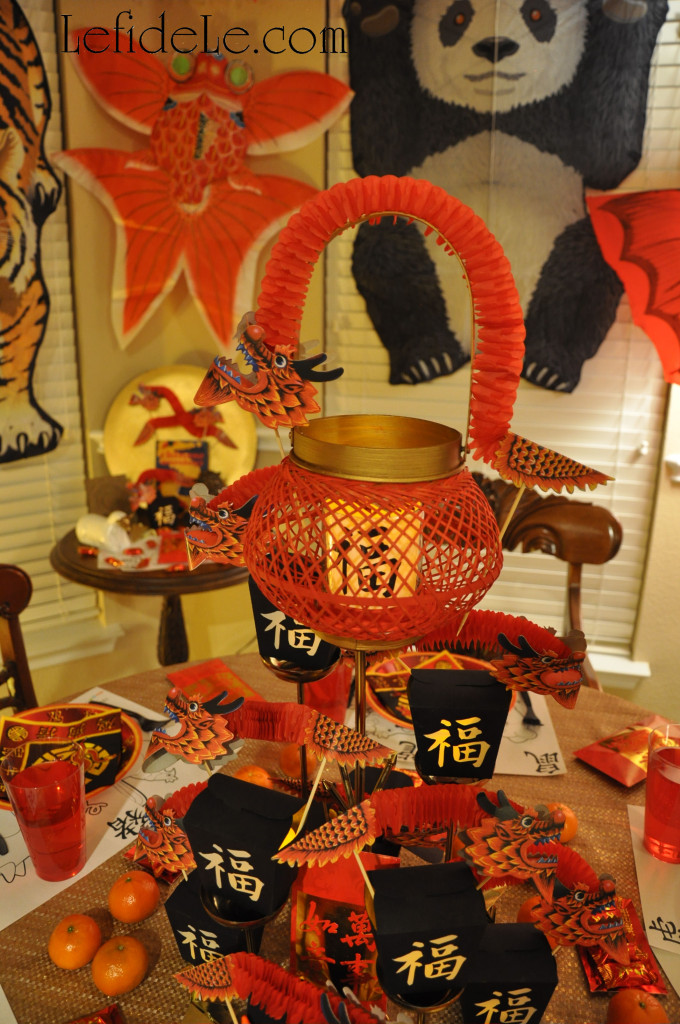
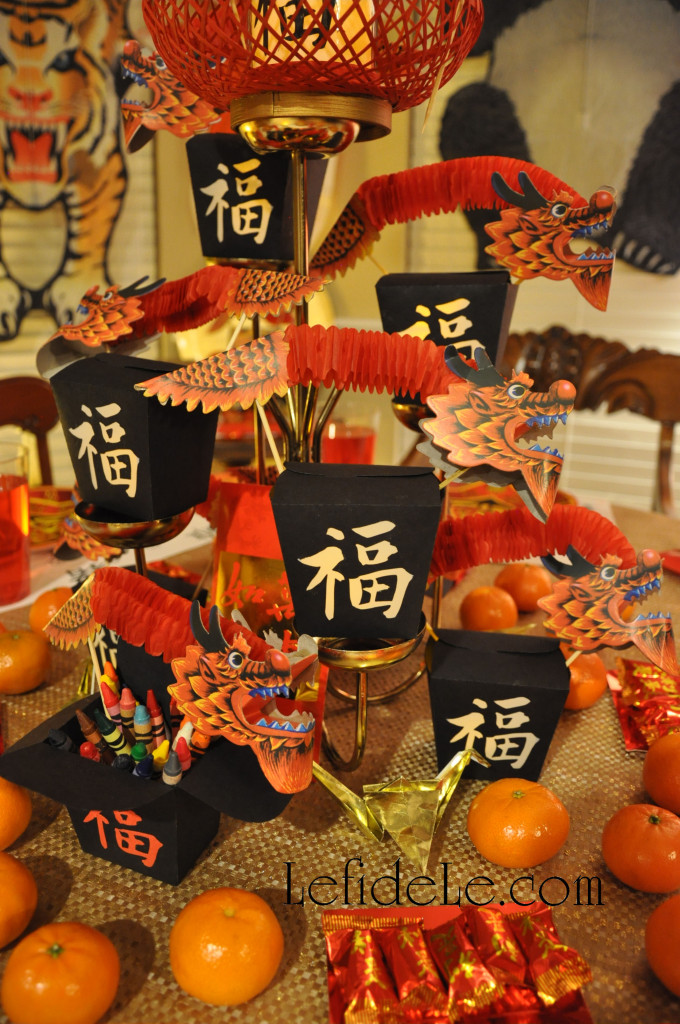
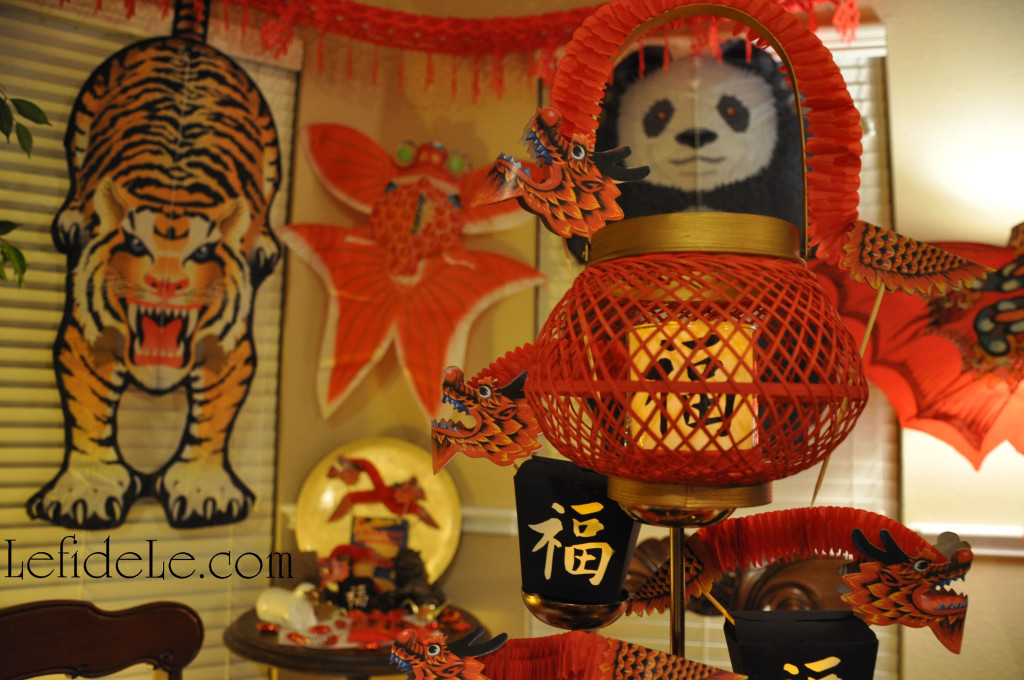
I stacked some of the paper lanterns onto a vintage brass tea-light holder and stuck in paper dragon favor puppets to heighten the spectacle… with no expectation that the centerpiece would stay intact long! Crayon filled favor boxes sat at the base of the structure to be used on Chinese New Year coloring pages. (See more from the Chinese New Year of the Sheep / Ram Party Décor Ideas (With Formal Table Setting & Kid’s Table.)
081Leigh

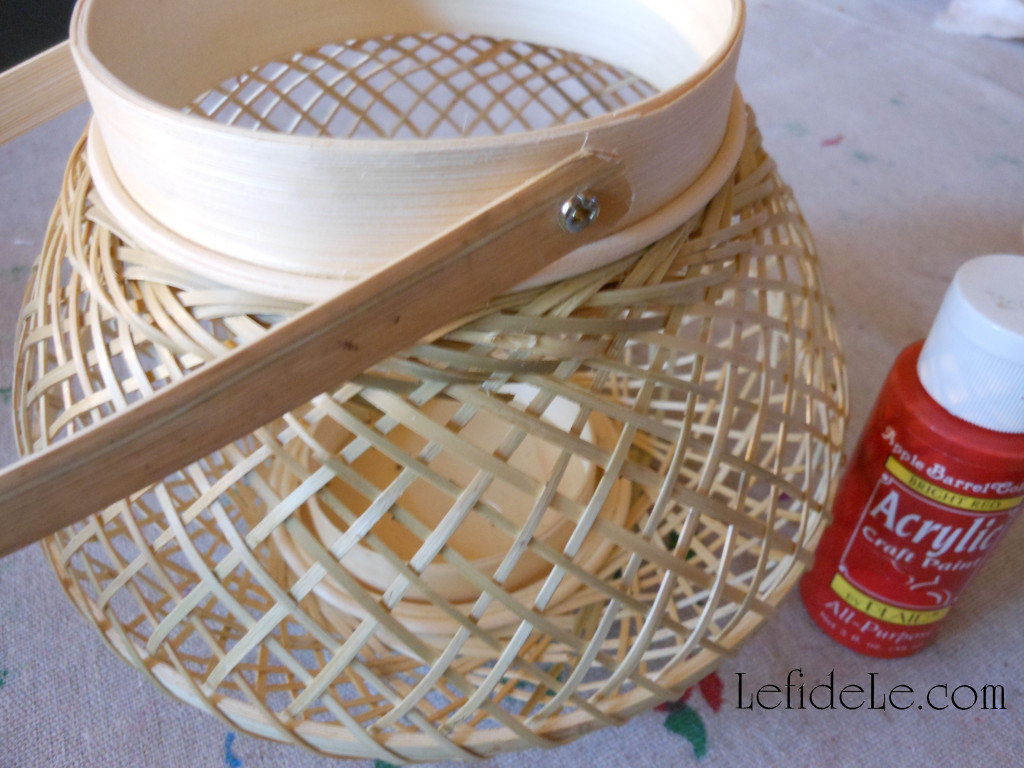
The top of the tower held an inexpensive bamboo lantern that I painted to coordinate with the theme’s colors.
246Leigh

Simple red acrylic craft paint covered the whole structure well.
250Leigh

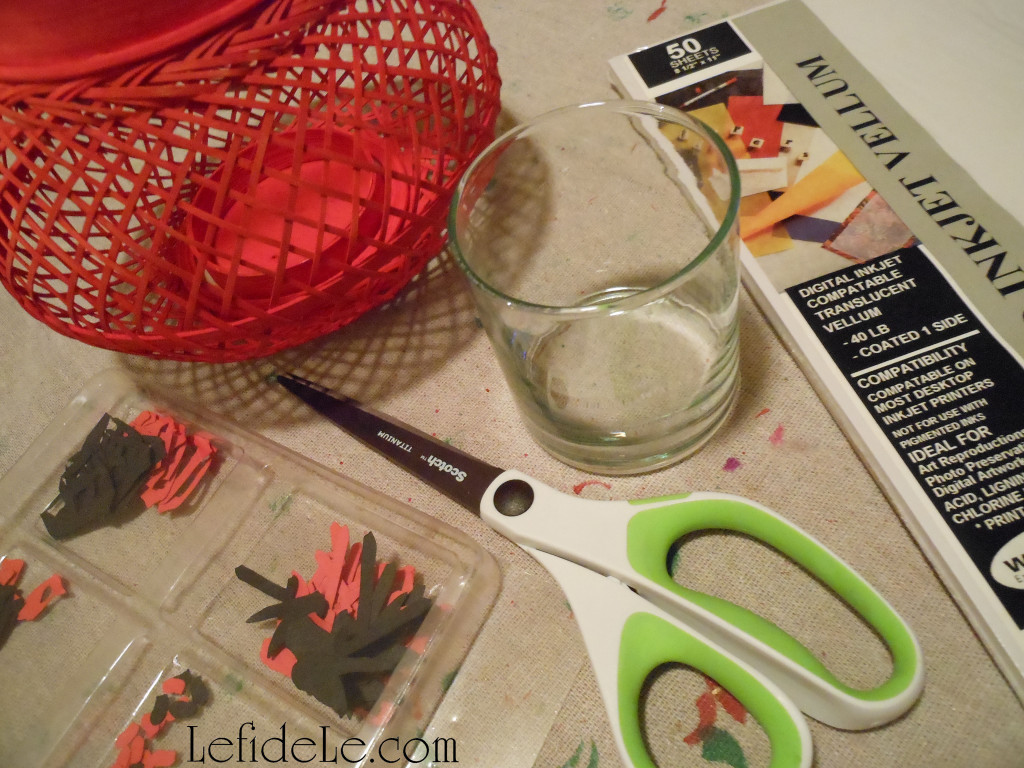
Gold paint made the handle and base appear as a richer metallic surface.
253Leigh

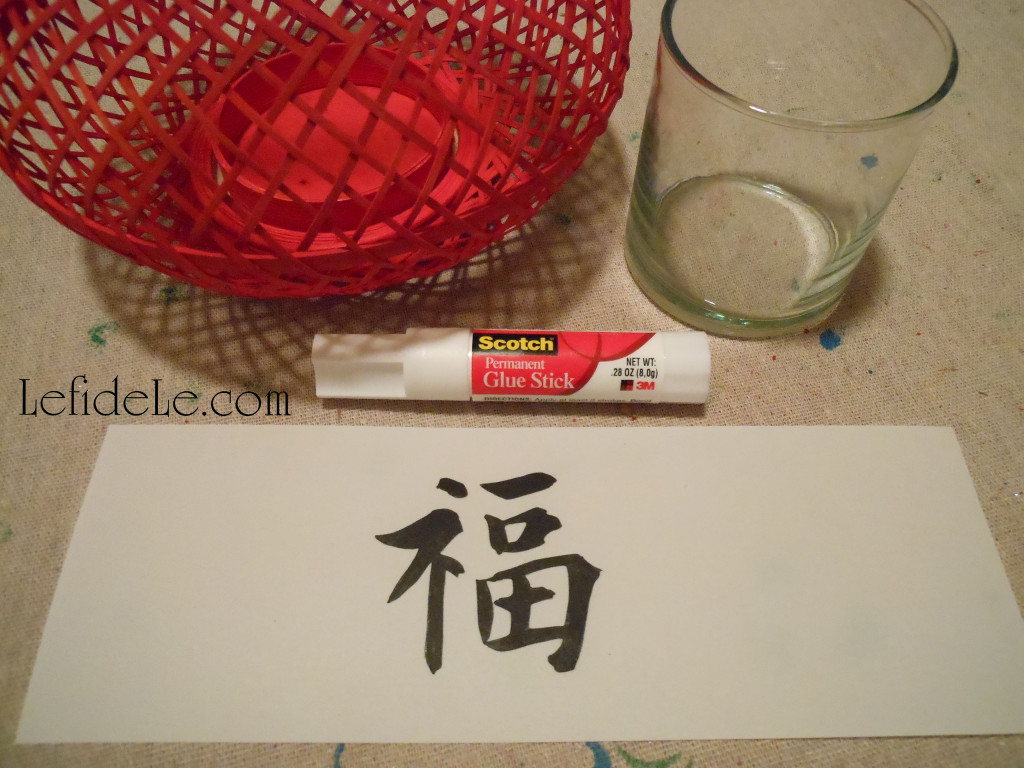
I glued a cut out “Fú” 福 character to a strip of vegan vellum with a permanent glue stick. You may use the red symbol cut from the printable, or just use it as a template to draw by with black marker, or cut out a black character from cardstock.
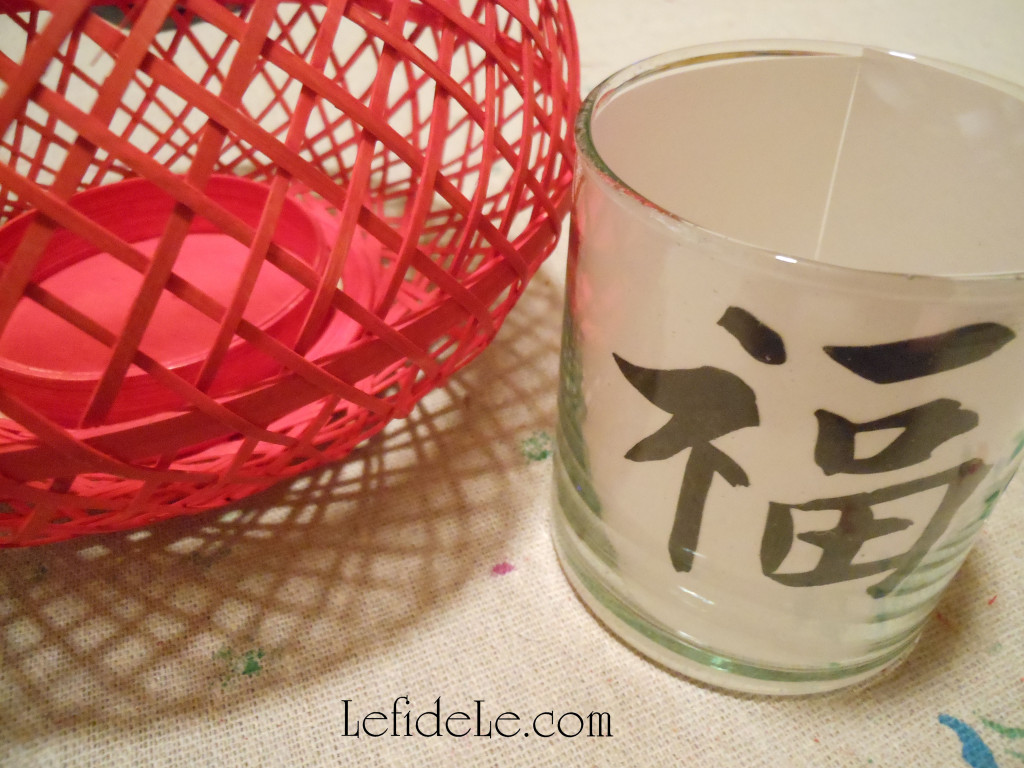
254Leigh

This strip can then be set into any clear votive cup… lantern or not! It doesn’t even need to be glued or taped. The vellum just expands to fit the glass securely. Using LED lights insures that no fire will catch the paper, even if knocked over… so it’s super kid and pet safe.
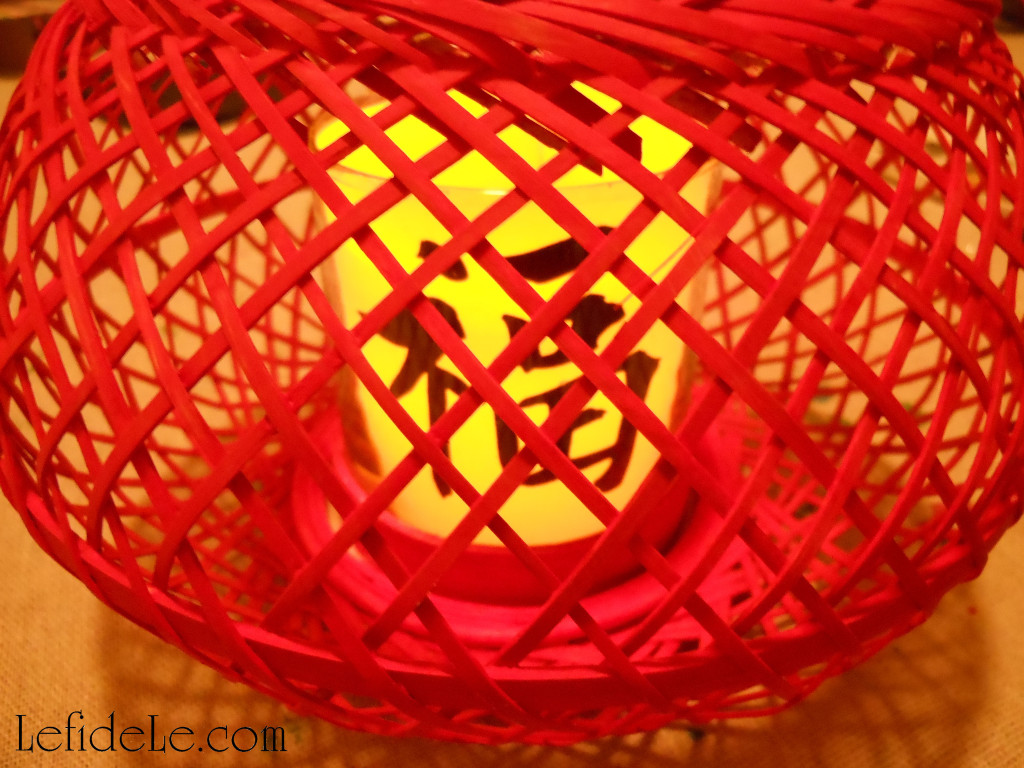
258Leigh

The best part is that I retain the option of removing the vellum strip and repainting the lanterns for a new color scheme in the future. I just love redoing and reusing… it’s so much better than merely recycling!
221Leigh

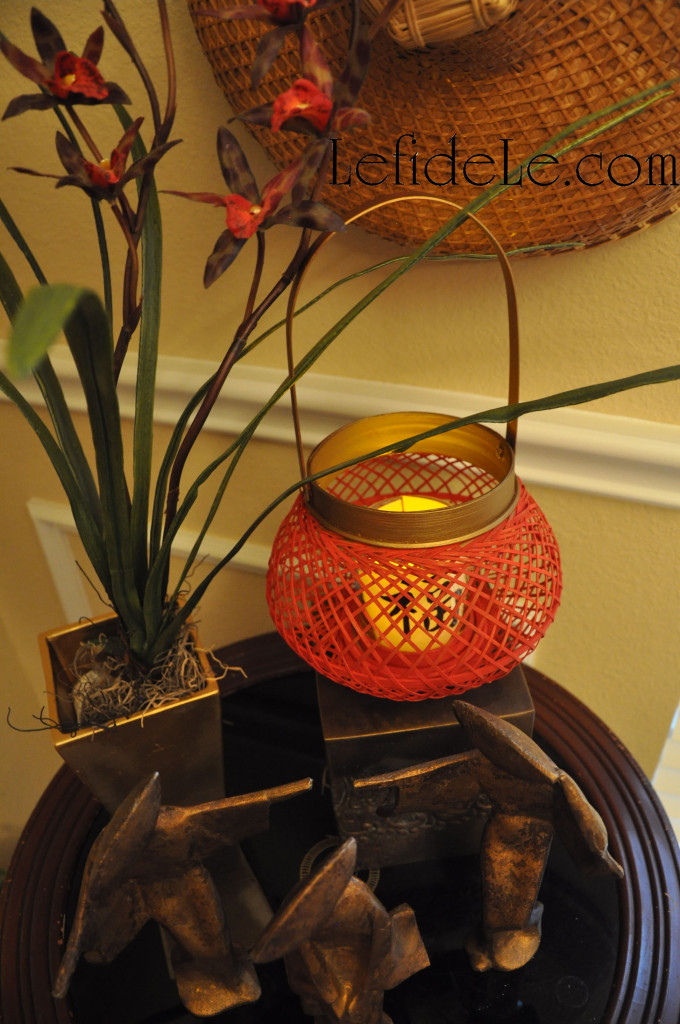
I also set a lantern onto the side table of the formal tablescape. (The bamboo lanterns originally came from Cost Plus World Market for a few dollars on clearance. See the sidebar for coupons and free shipping links.)
229Leigh

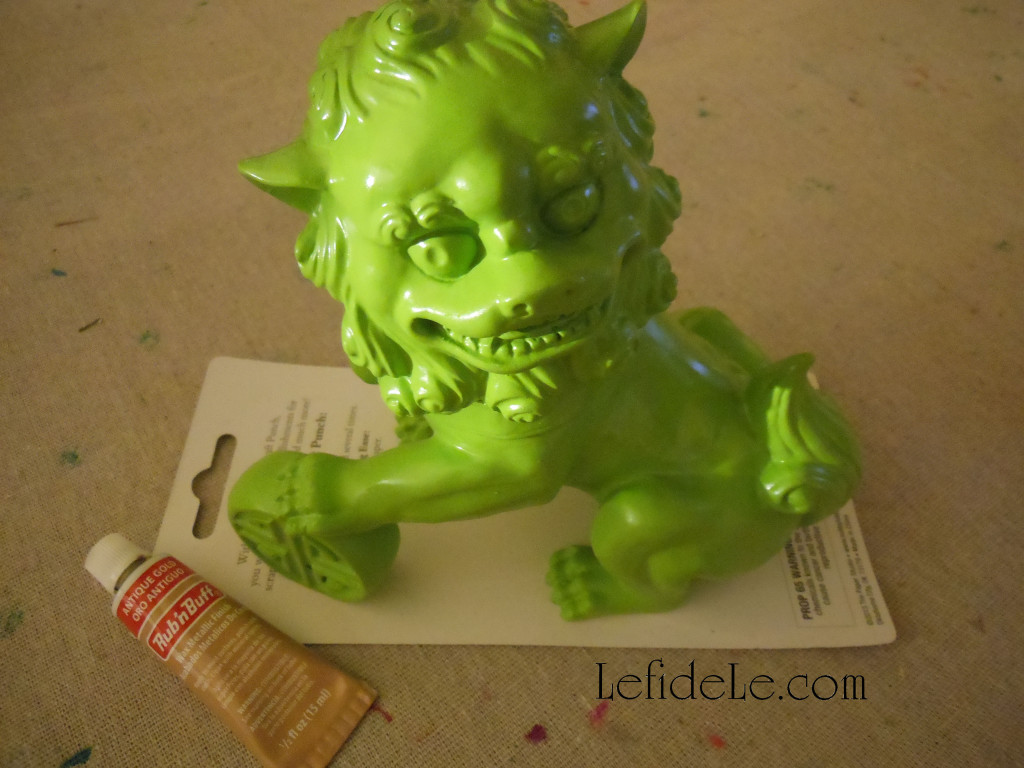
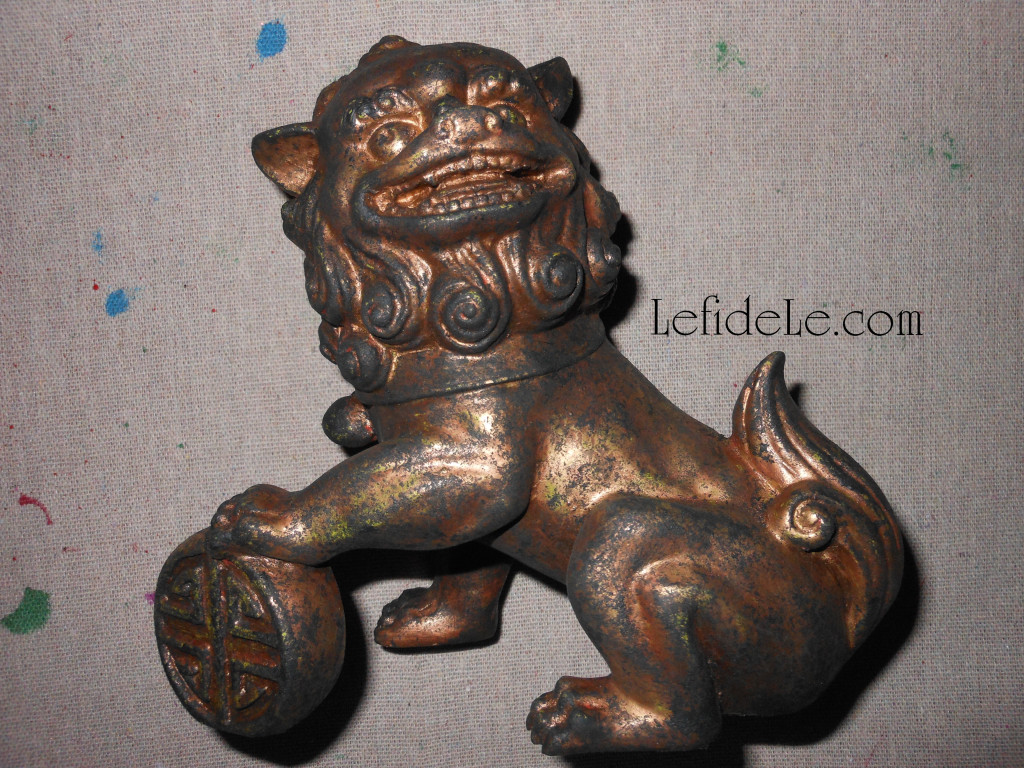
The powerful guardian lion Fú-dog is a traditional Chinese figure of protection. The one seen here is male because he’s resting a paw on a ball that represents the earth. Usually they are presented in pairs, but I only had one in a bright lime green color. I simply had to antique it!
231Leigh

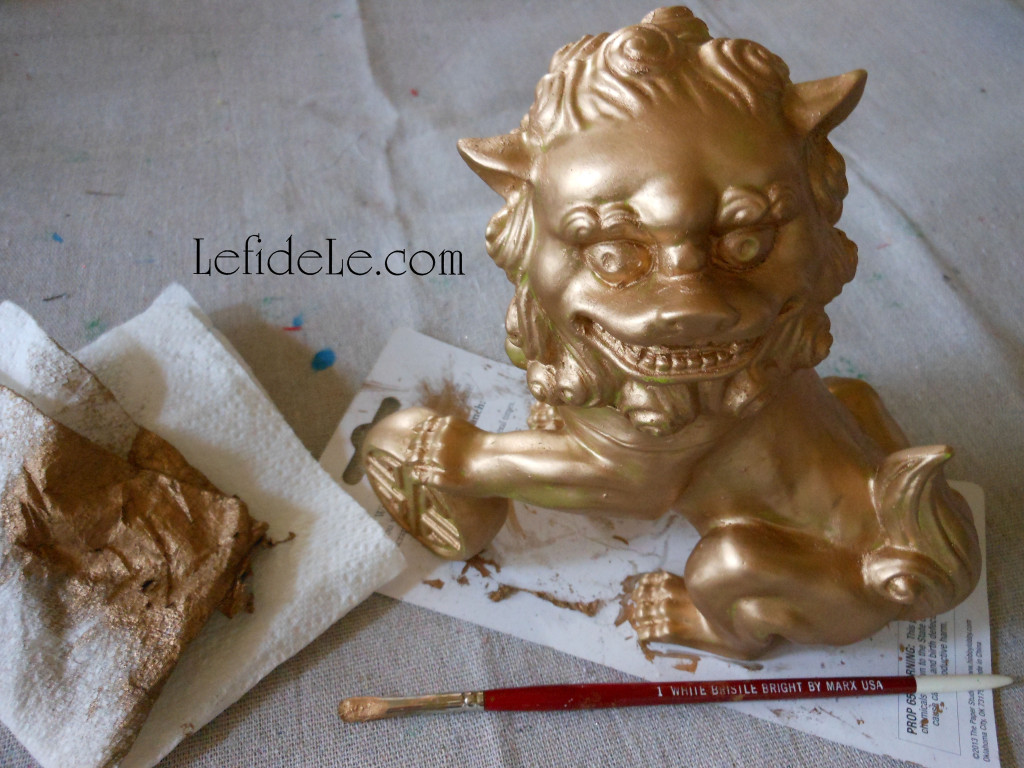
I began to turn the resin into metal by first using a gold Rub-n-Buff paint all over its surface. I gently wiped away the excess and let it set for a couple of days. Then I used a paper towel to rub/shine it up.
242Leigh

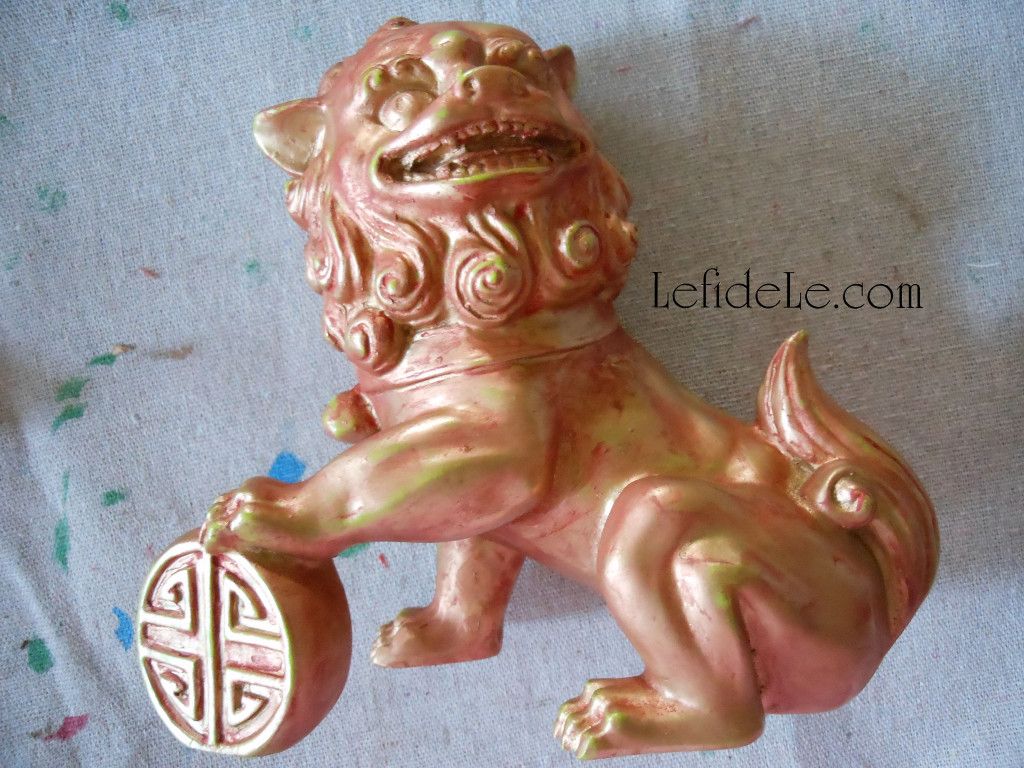
Next I coated that layer with the same red acrylic craft paint that I used on the lantern. I gently wiped off the excess, leaving an interesting pattern of color… green, gold, and red.
259Leigh

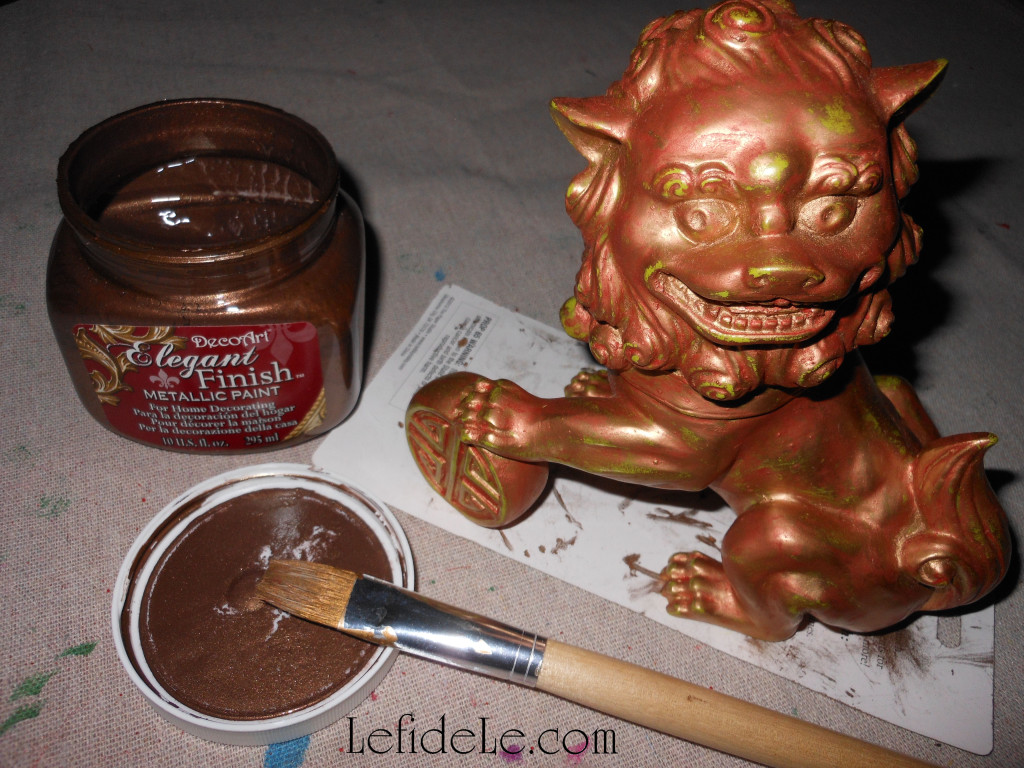
I let that dry overnight, then took some bronze glazing paint (called Elegant Finish by Deco Art) and coated the whole piece. I really gently dapped at the piece in spots to lightly remove some of the paint. For any of you who have ragged a wall, this is similar to that technique. I let that dry for another night.
284Leigh

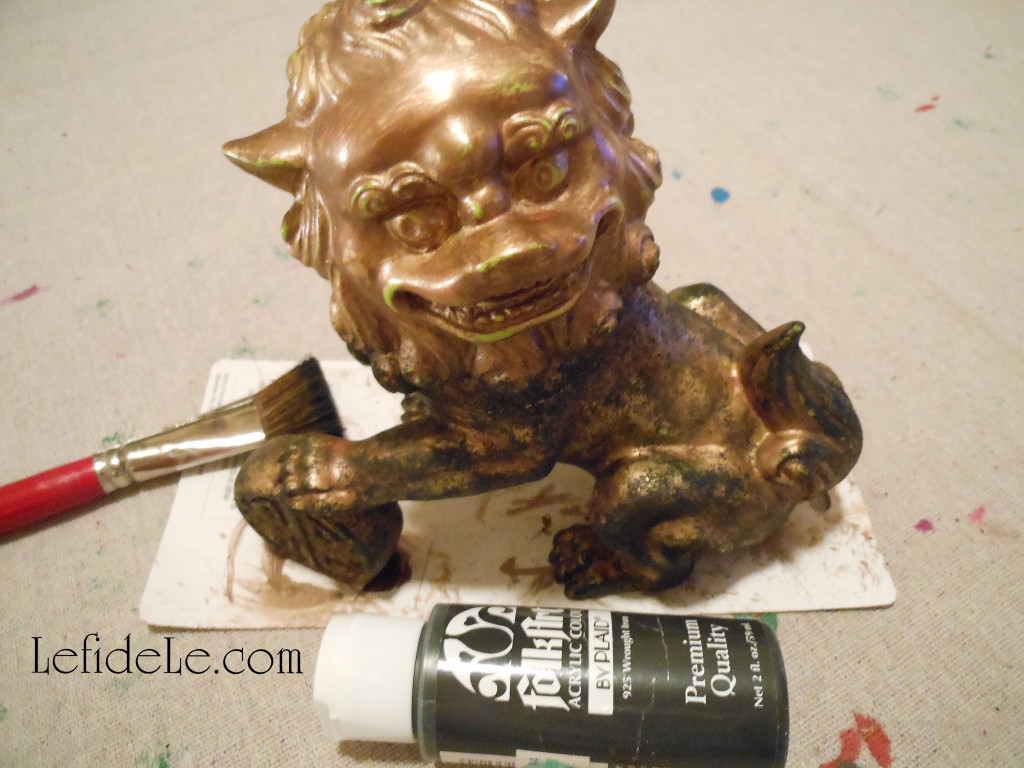
The last layer is the one you actually have to pay attention to. It requires plain old black acrylic craft paint and a really messed up “scruffy brush”. Never throw away those brushes that your loved ones mess up, don’t wash well, and leave in a horrible condition… they are your new besties. They’re great if you barely dip them into paint, pounce off the excess onto a paper towel, then “stipple” paint onto your surface. This is a sort of haphazard pouncing of the brush perpendicularly to the piece. It’s the easiest way to paint an antique looking surface… and it’s actually a lot of fun.
290Leigh

I took this statuette from lime lion to antique guardian in a few simple steps. You can do the same with any accessory that doesn’t quite match your décor, or looks a bit cheaper than you’d like. This is especially great to do when you see a fantastic find on clearance that just has a ding or two… paint it up! You will have created your own one-of-a-kind upcycled beauty that will have people thinking it’s an antique.
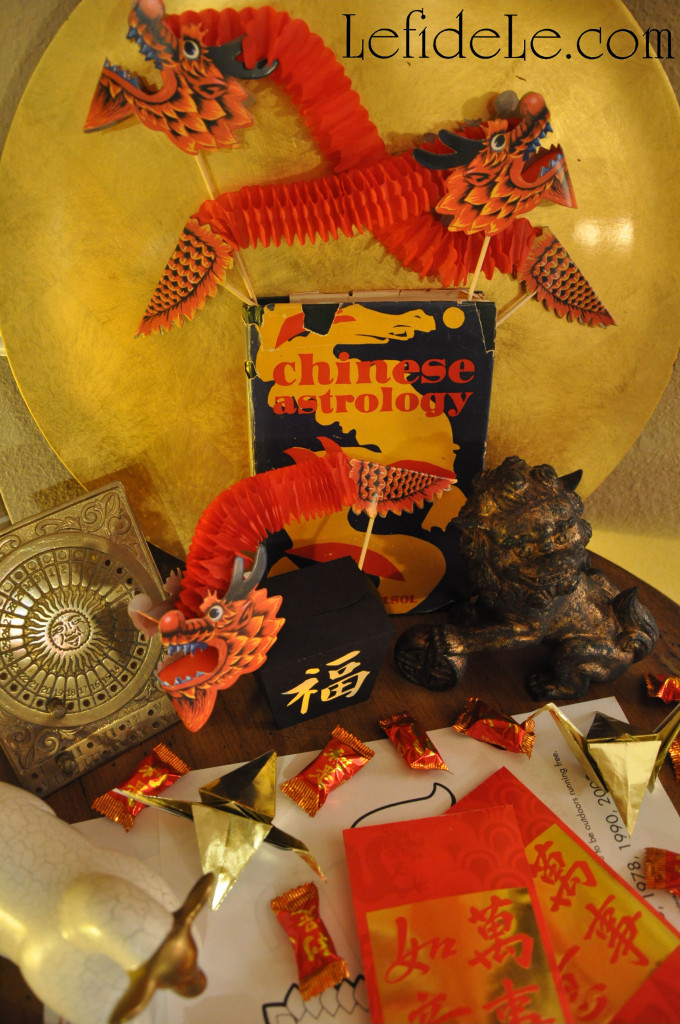
032Leigh

Happy crafting in the New Year!

Faithfully Yours,

Leigh
Origami Crane Paper Folding Instructions (for Get Well Wishes or Chinese New Year Party Décor)

The timeless art of origami paper folding is an easy and inexpensive way to decorate for a Chinese New Year Celebration. The project also provides a means for quality time in generational bonding. This tutorial for the historically traditional crane figure is an apropos symbol of hope for the coming year. The Japanese tradition of the Senbazuru folding of 1000 paper cranes is said to grant the maker a wish, such as healing for a loved one. (Why not fold and send one in lieu of a get well card?) The “Tsuru” (crane) is also said to denote happiness and luck, which is the same meaning of the “Fú” 福character of the Chinese New Year. My Take-Out Favor Box & Paper Lantern Craft Printable (Chinese New Year Party Décor) also utilizes the symbol which has graced the entrances of Chinese homes for many hundreds of New Year’s.

341Leigh

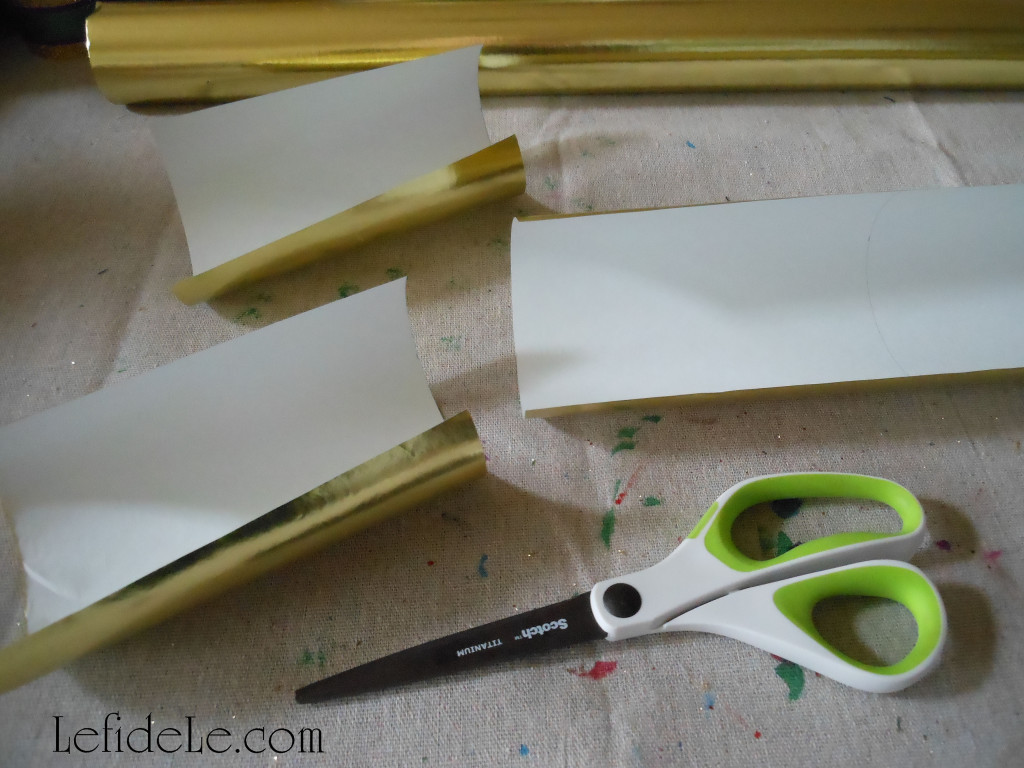
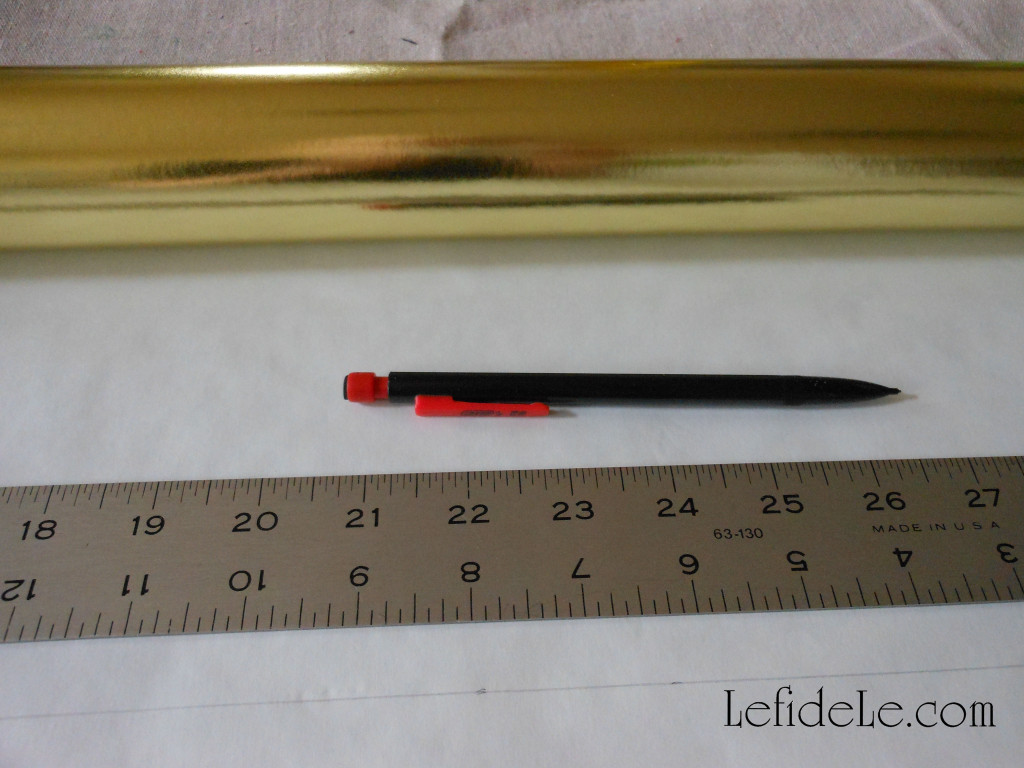
There are beautiful origami papers available, but it’s easy to make your own from any inexpensive paper. By cutting them yourself, you can make any sized piece you like… and if you’re a beginner, it’s much easier to fold a larger sheet. Here I’ve chosen gold metallic wrapping paper purchased at an after clearance sale years ago. I used a large T-square ruler to mark 6 x 6 inch sections, and then cut them out.

342Leigh

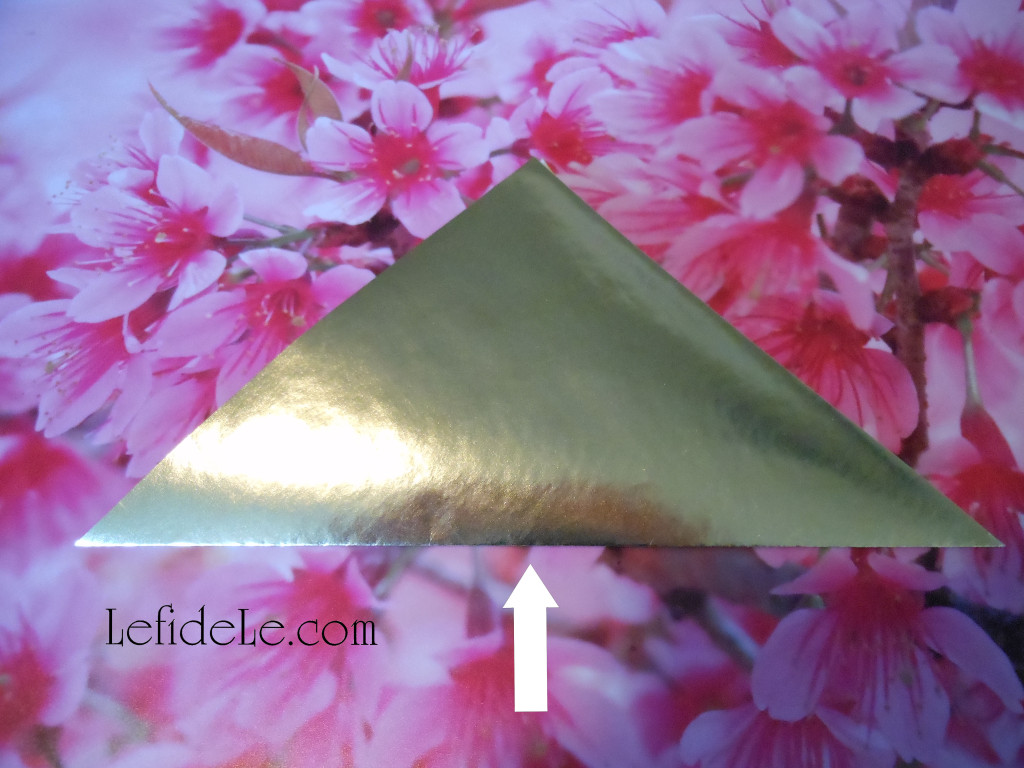
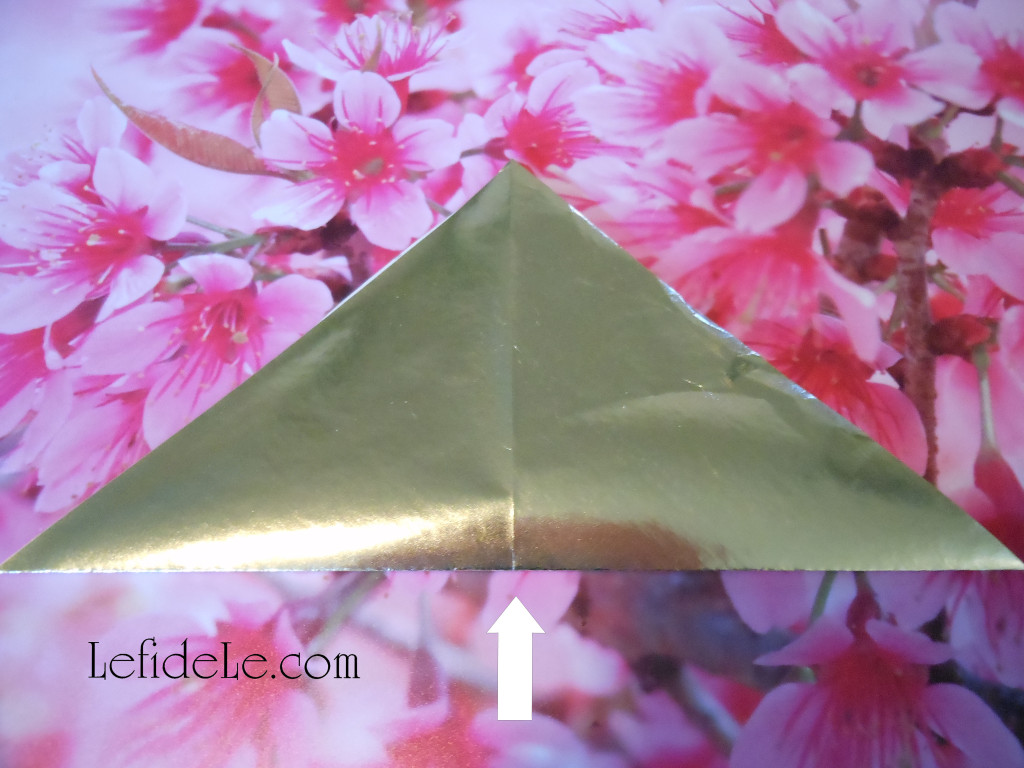
Begin by folding the paper in half diagonally then unfold it.

344Leigh

Repeat this on the other diagonal, thereby creating an X crease on the paper.

346Leigh
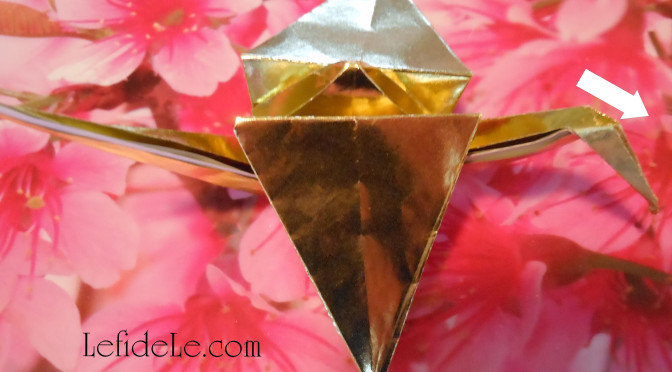
Next fold the paper in half, creating a rectangle, then unfold it.

348Leigh
Repeat this fold, of a half rectangle, to complete another X crease.

349Leigh

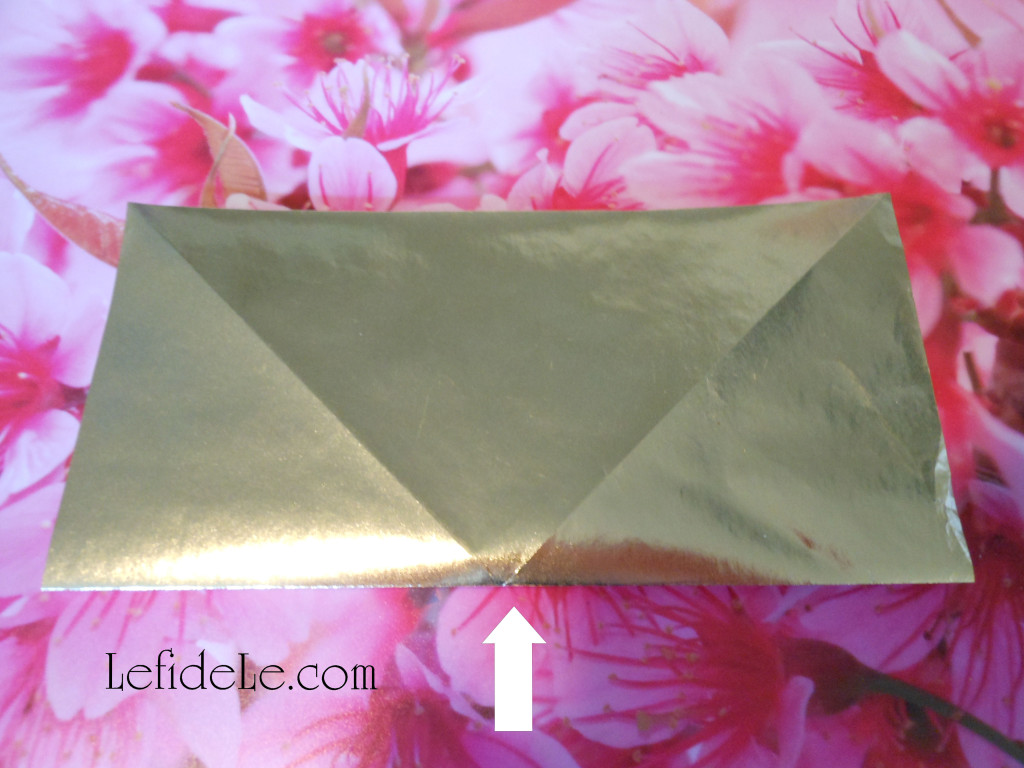
Now that you’ve made an asterisk * shape mark on the paper, turn a tip to point directly towards you. Take the remaining 3 tips, and pull them over the closest one. The 2 side points will meet in the middle, and the farthest tip will close over those.

353Leigh

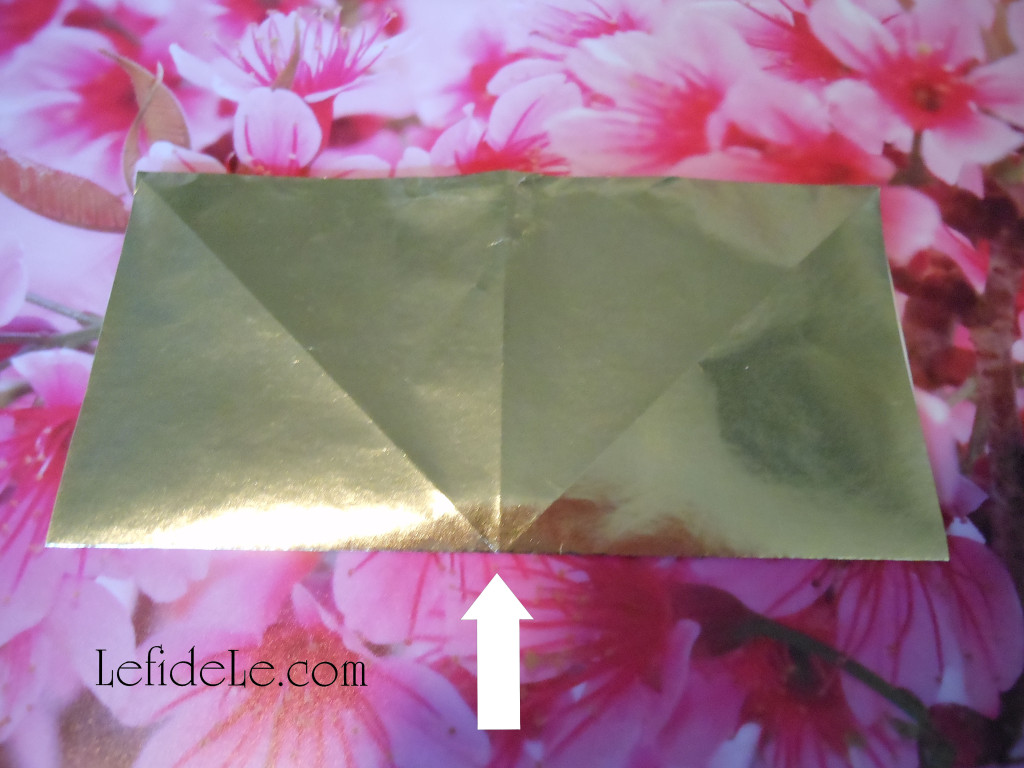
Next take the 2 side points and fold them to meet in a line dissecting the middle of the piece, then unfold it.

355Leigh

Take the farthest point and pull it toward you to form a triangle, and then unfold it also.

357bLeigh

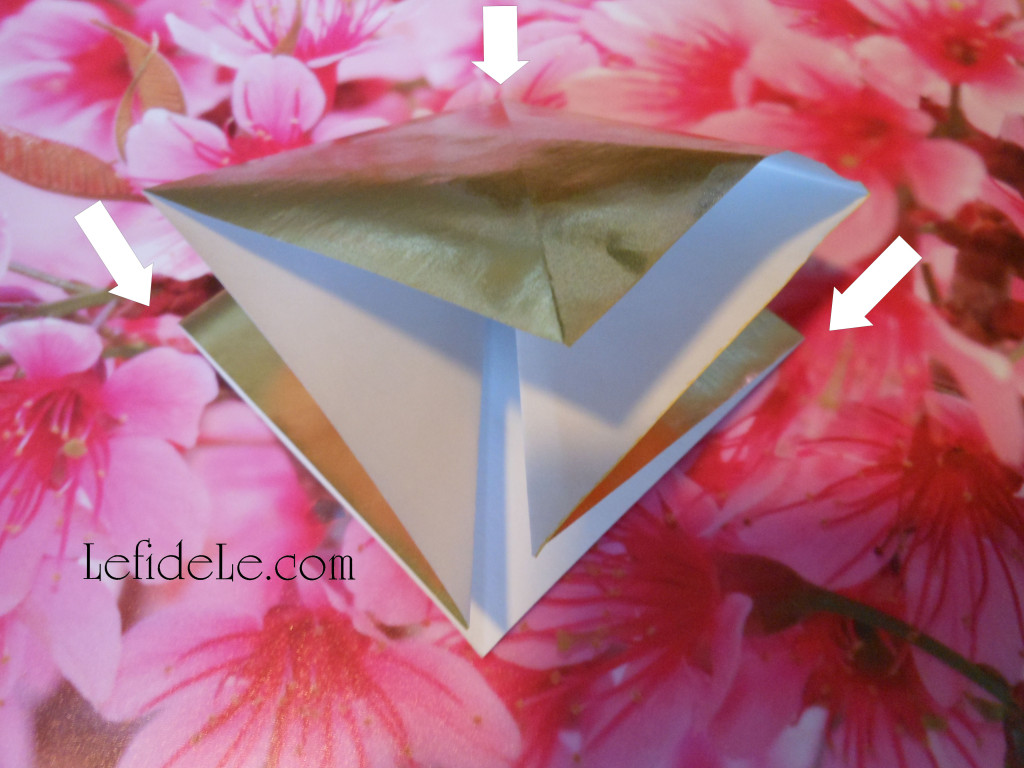
Pull the upper point away from you while pushing in the 2 side points so that they meet in the middle.

360Leigh

Push it all down to crease it flat.

362Leigh

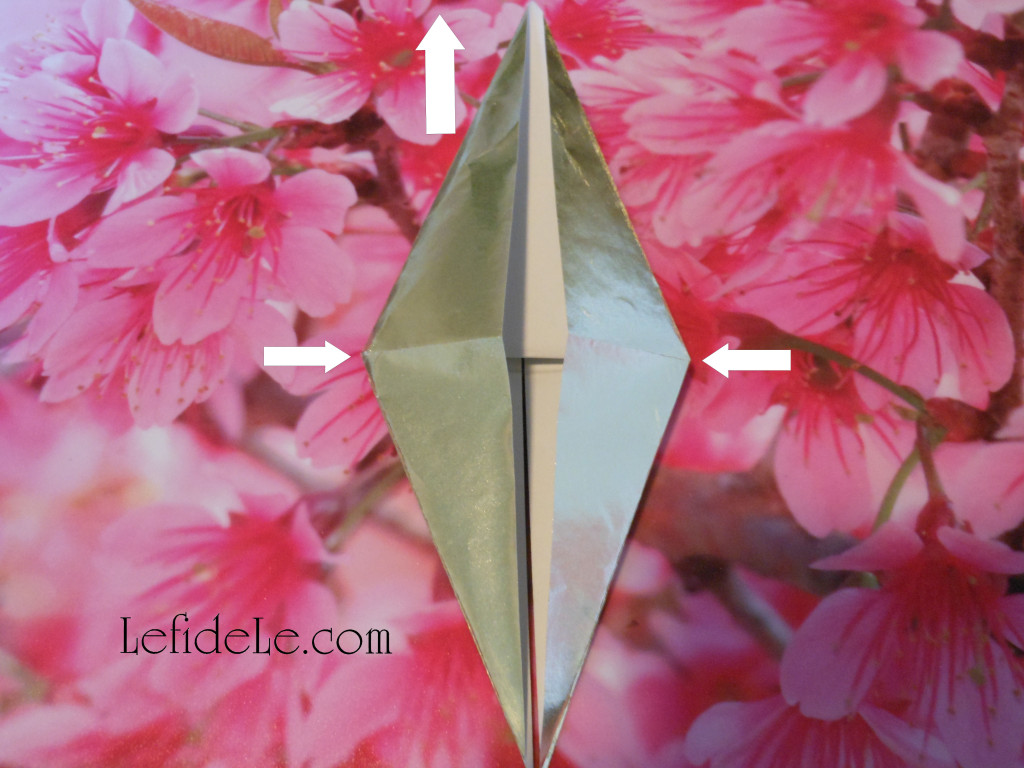
Flip the piece over, and repeat the last step to form a diamond shape.

370Leigh

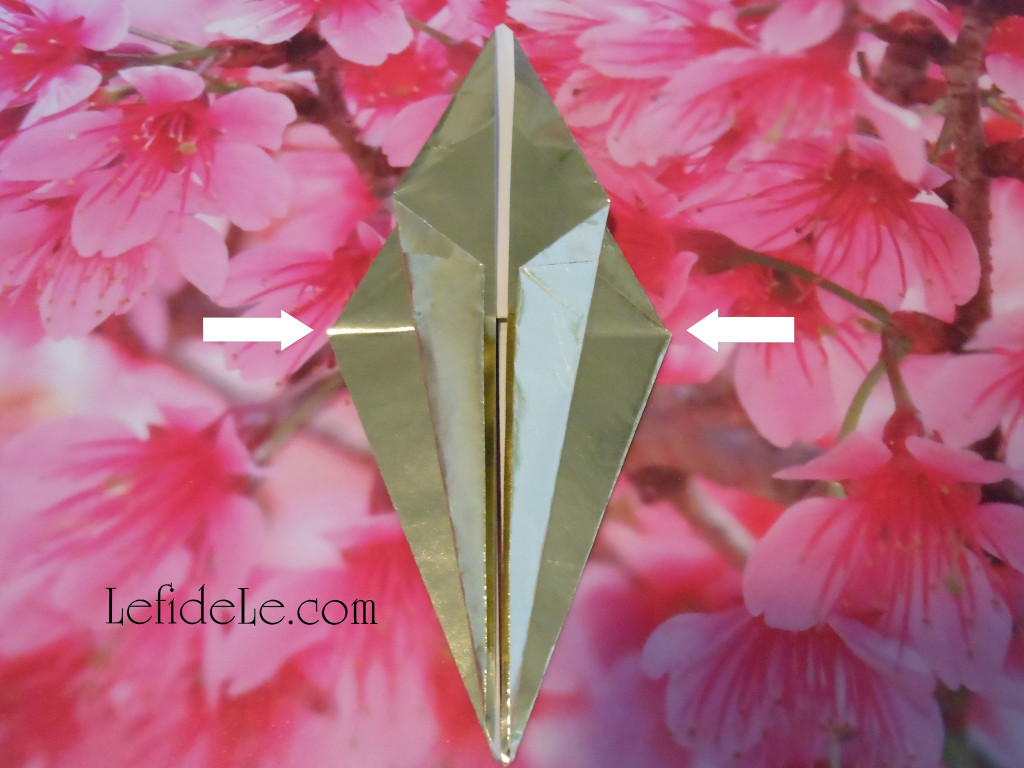
Once again, fold the 2 side points inward to meet in the center.

372Leigh

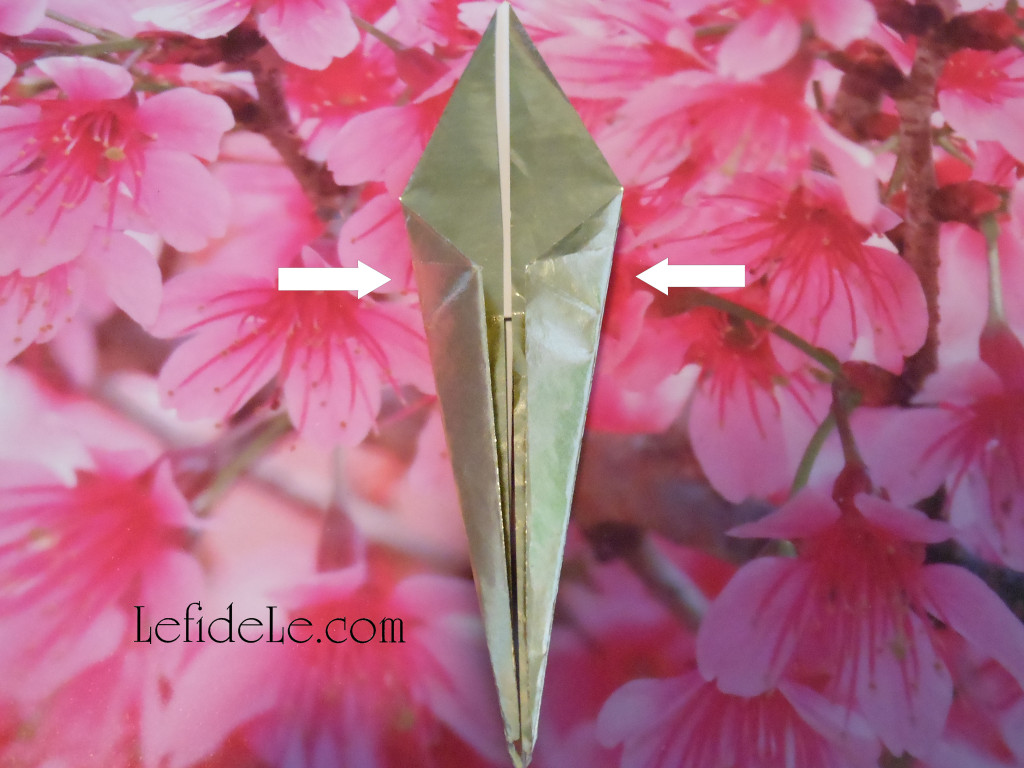
Flip it over, and repeat the last step to form a much pointier diamond.

374Leigh

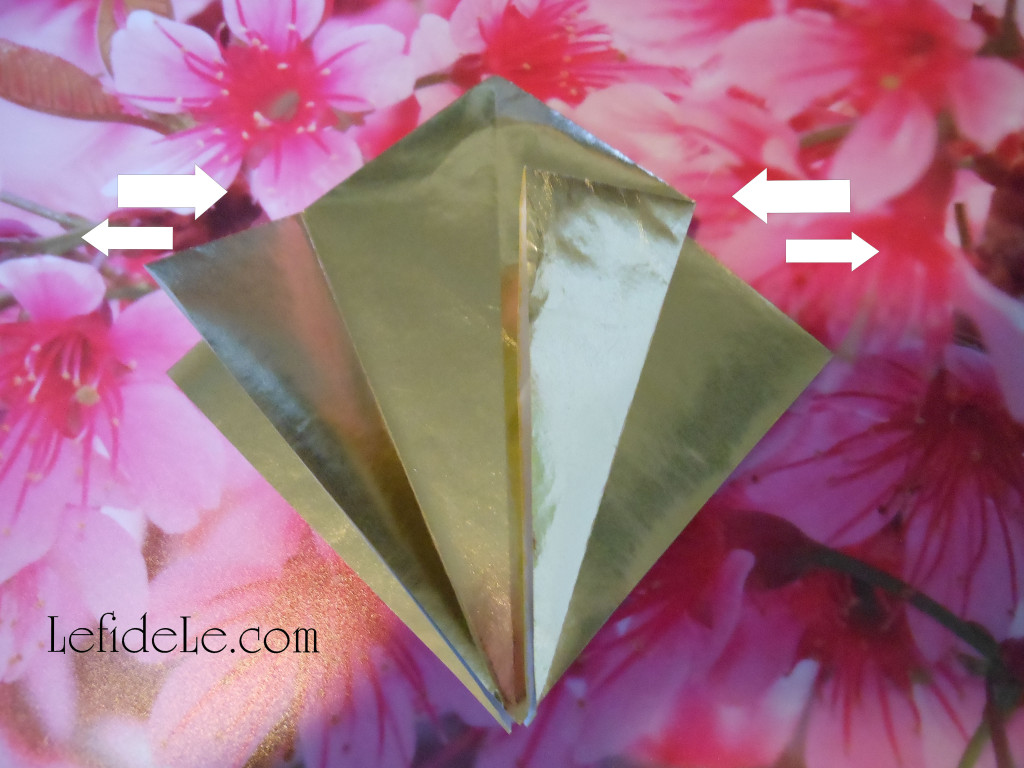
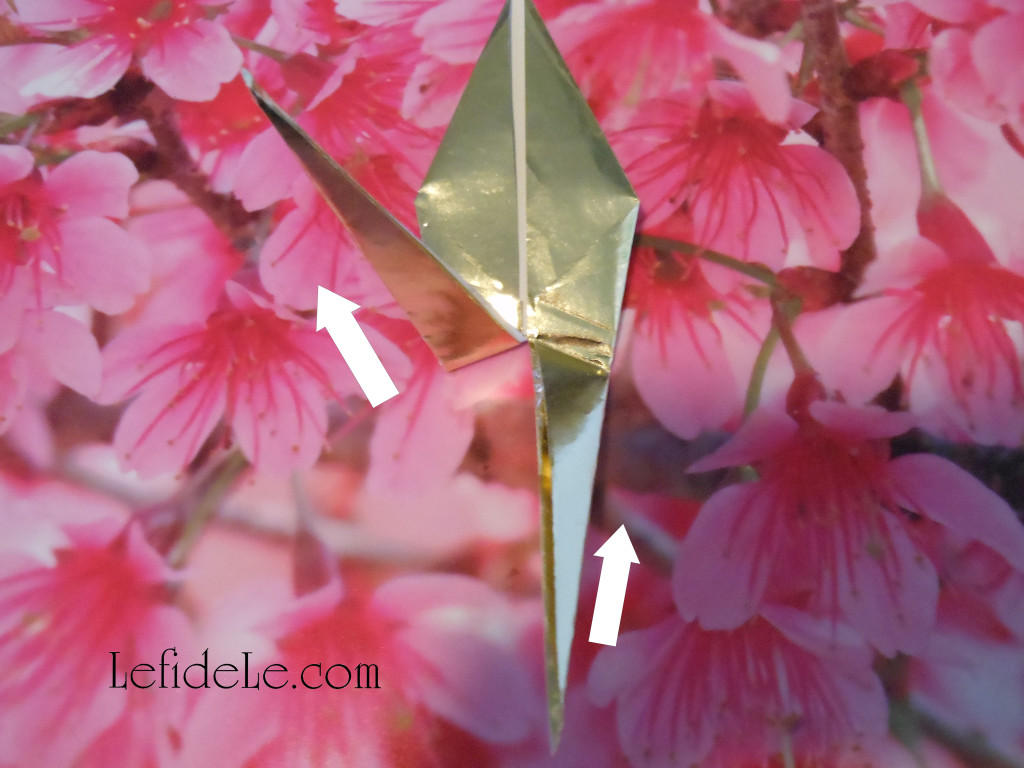
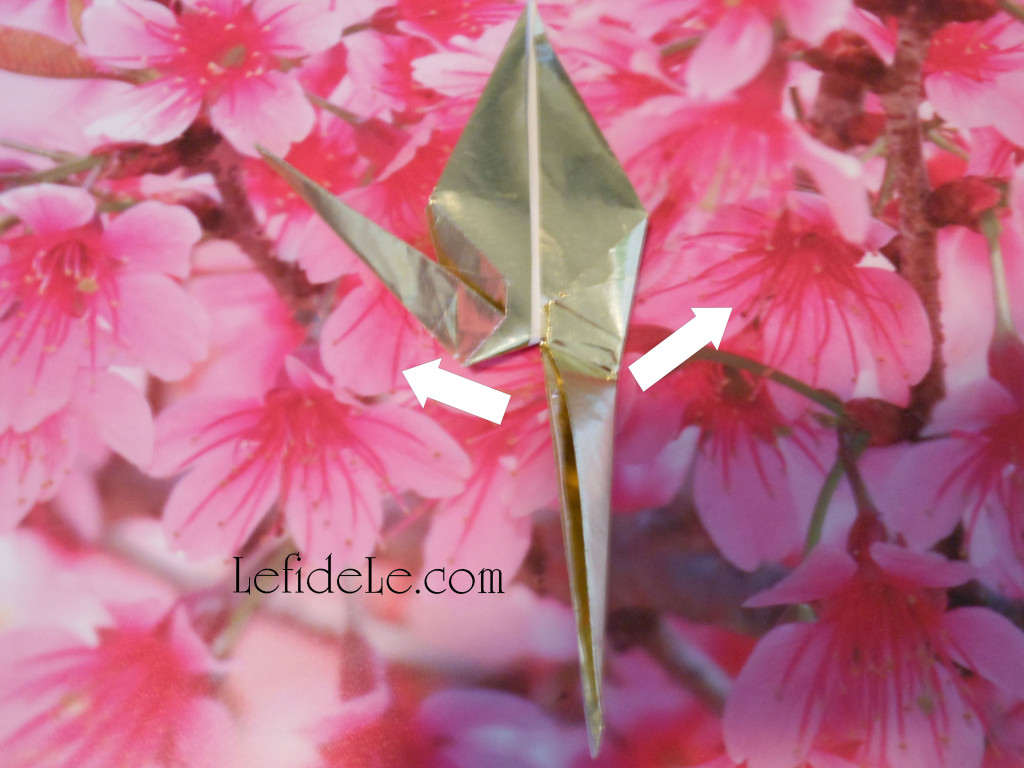
There will be 2 pieces resembling legs that comprise the portion closest to you, take one and bend it up and out on a diagonal… as if it’s making a high kick. Do the same with the other leg then crease both well. Unfold them straight again.

376Leigh

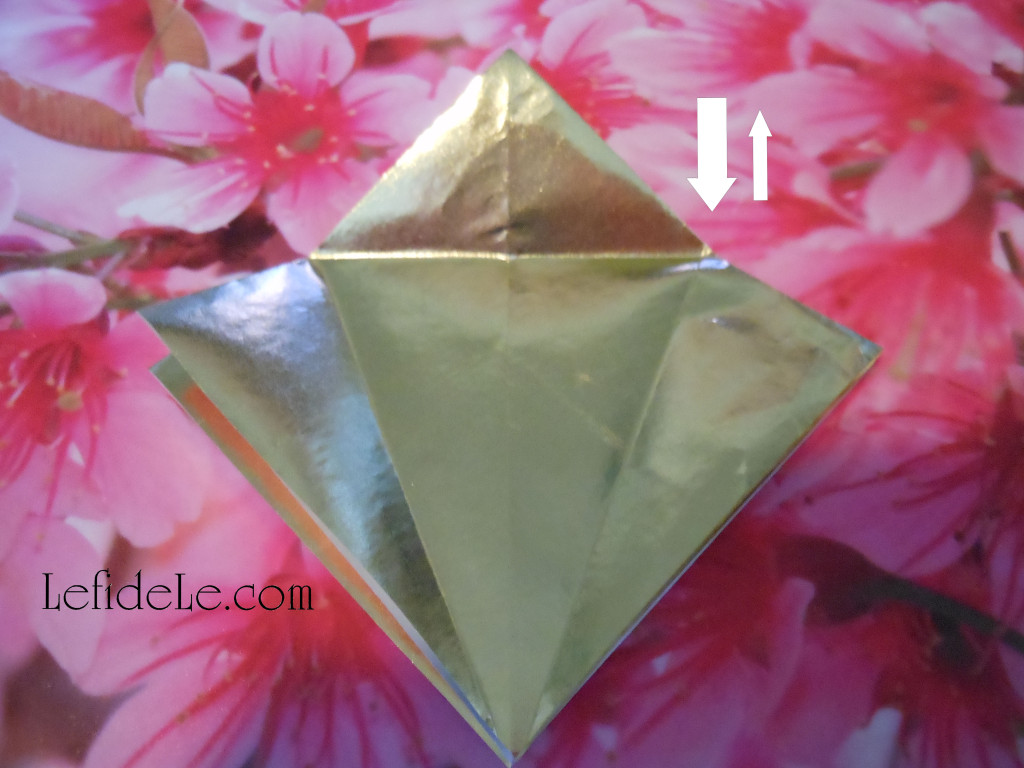
The next step is the trickiest part, but it can be unfolded and retried until it works out. The legs need to be bent inward in what is called a “reverse fold”. The easiest way that I’ve found to do this is to use your thumbs to sort of pop in the center of the leg toward the center of the piece. The crease you made earlier will be the line it folds according to. Just study the picture and play with your piece until they look similar. Crease it flat once it’s in the correct position. Do this with both legs of the piece which will form the head and tail/feet of the crane.

378Leigh

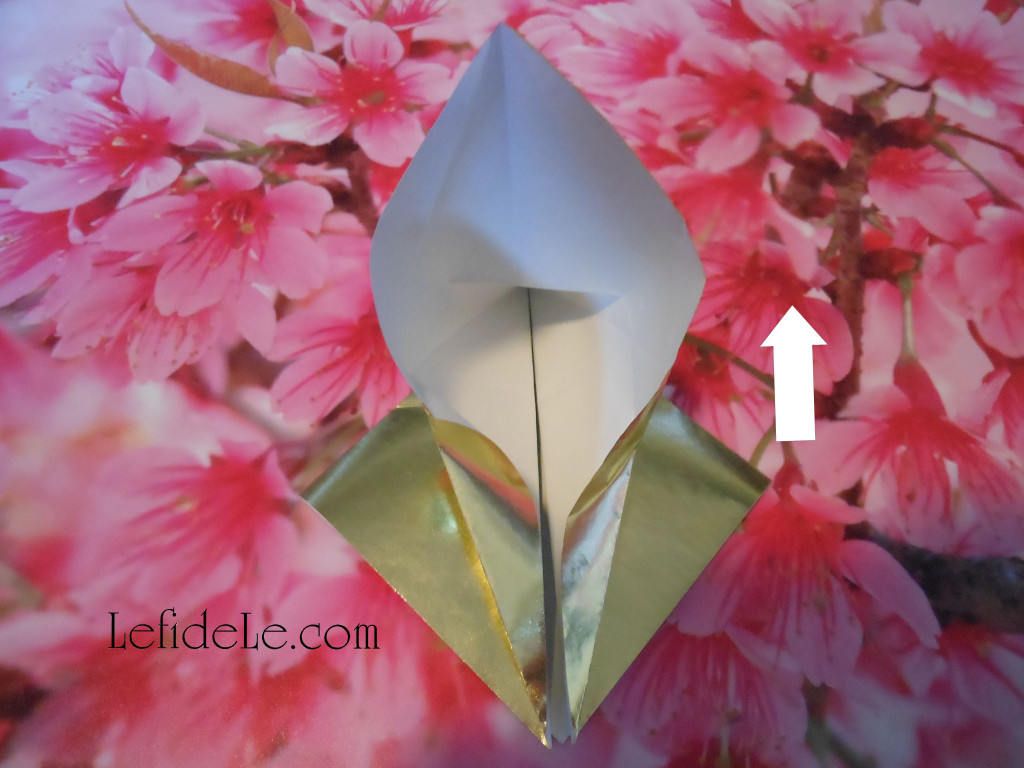
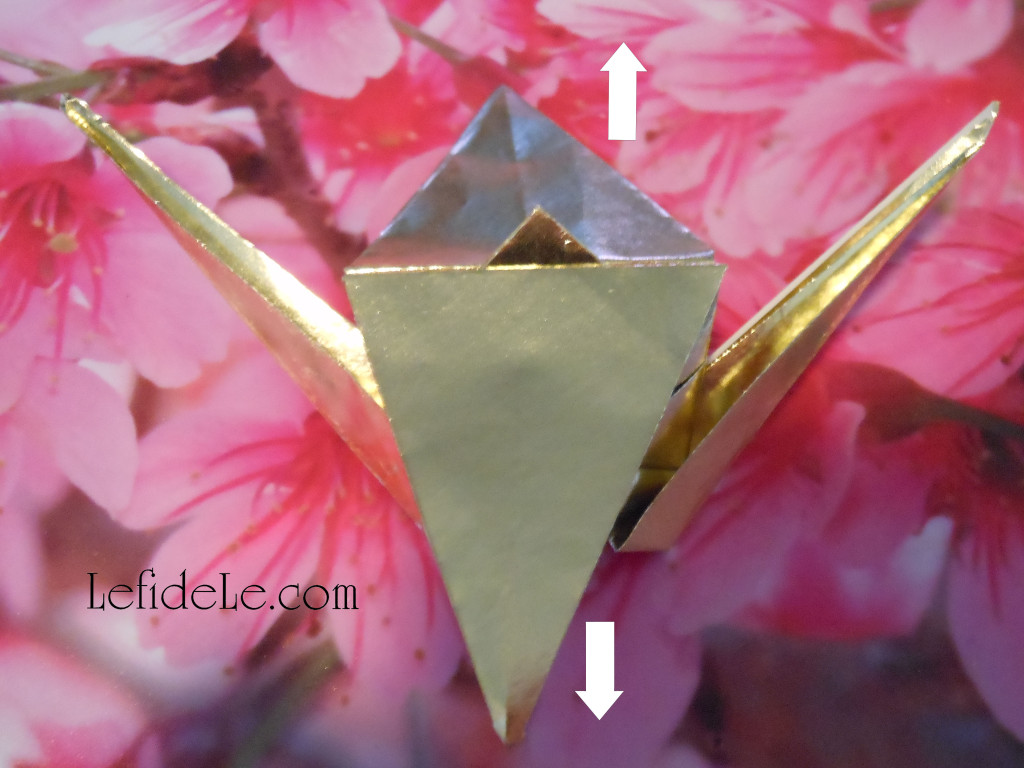
Make the wings flap down by folding the farthest point of the upper flap towards you. Flip over and repeat for the other wing.

381Leigh

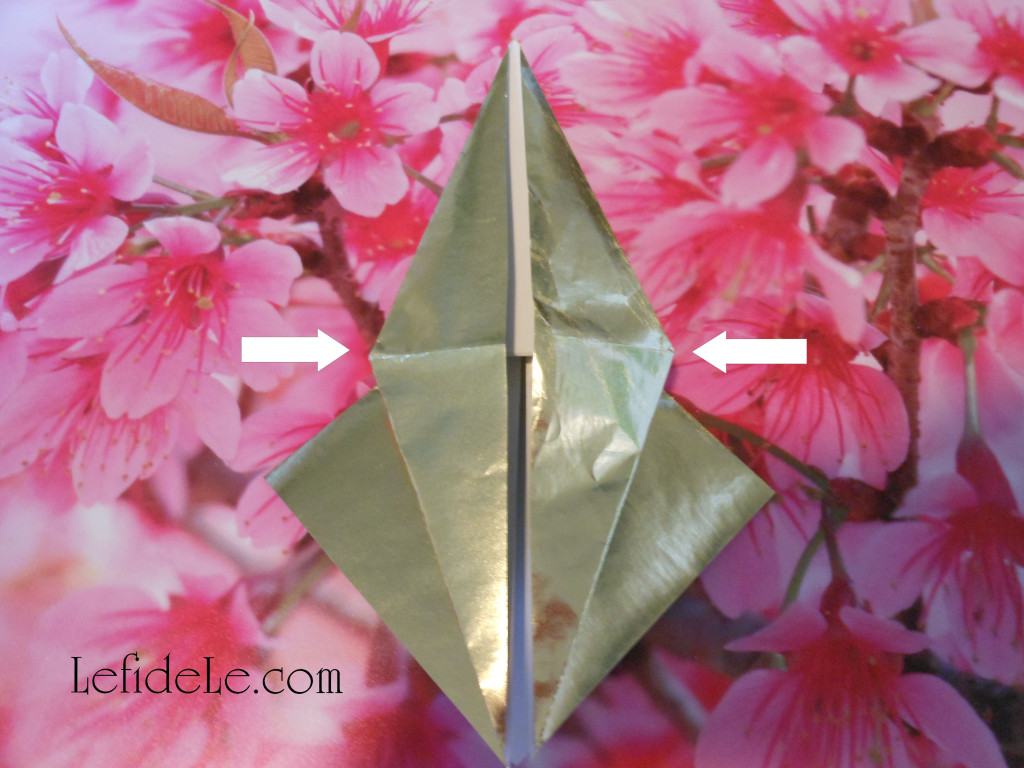
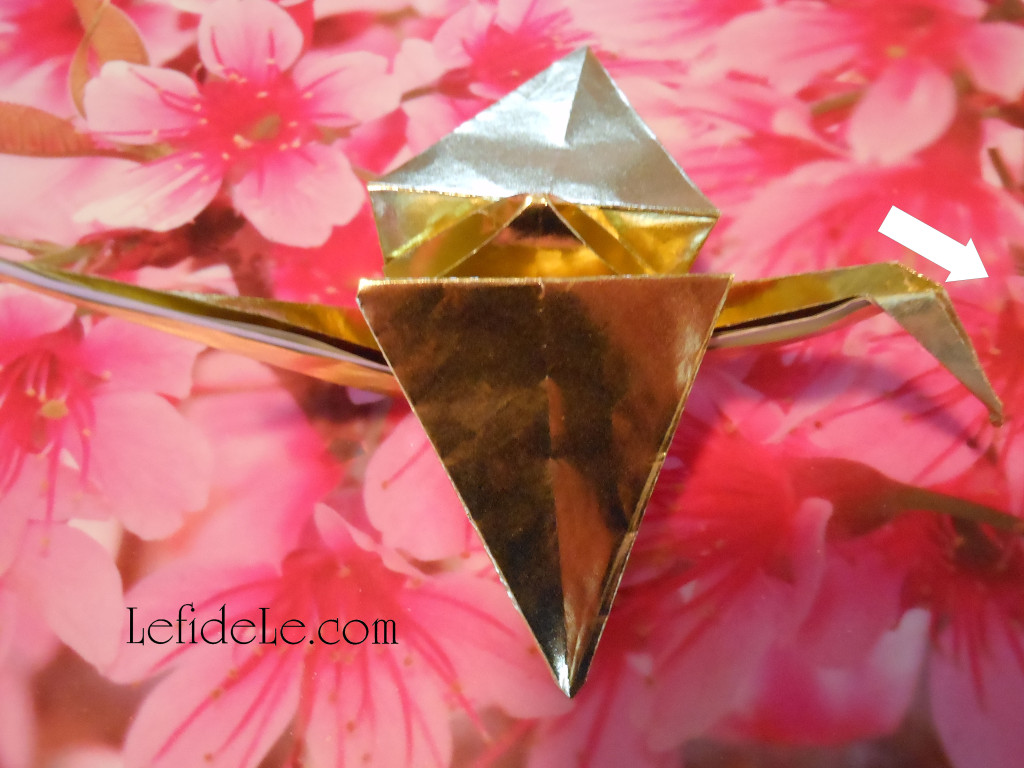
The last step is to form the bird’s head by performing a “reverse fold” downward on one of the former legs. Adjust it, if need be, by strengthening your creases and pushing up on the center portion until it sits upright on its own.

384Leigh

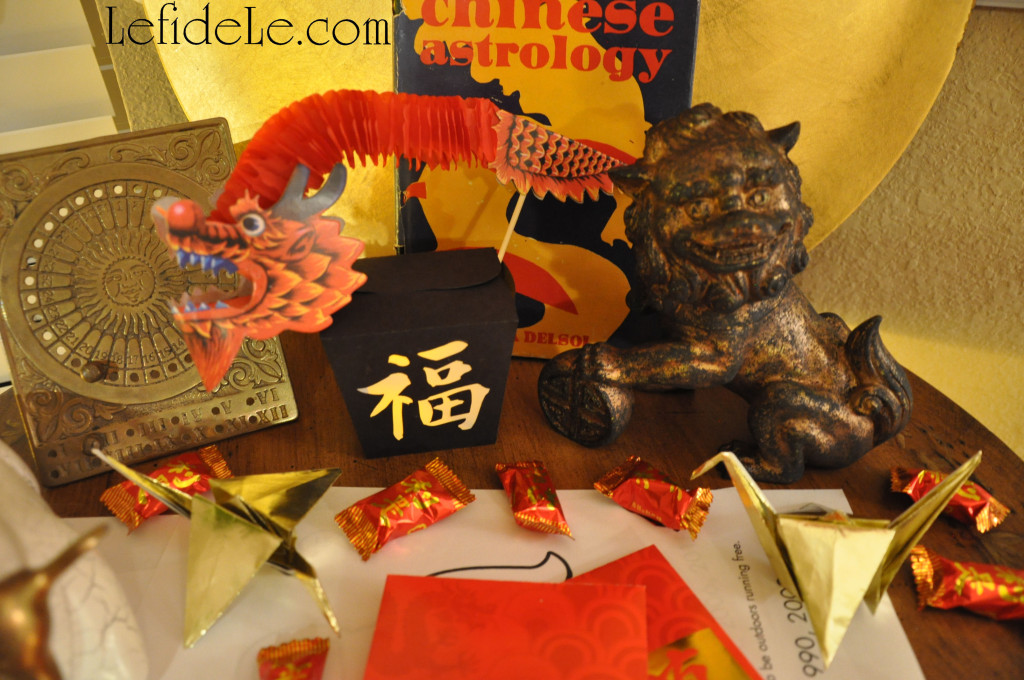
Now what to do with it… write a “Get Well Soon” or “Happy New Year” message on one of the wings and push the crane flat to enclose in an envelope, use a needle and thread to string and hang it, or just set it out on your table for an easy décor element.

031Leigh

May all your dearest wishes be granted this year!

Faithfully Yours,

Leigh