Tag Archives: Origami

Simple Origami Lotus / Waterlily Flower Arts & Crafts Tutorial (Perfect for Pan Asian Themed Décor, Place-cards, & Chopstick Rests)

010Leigh

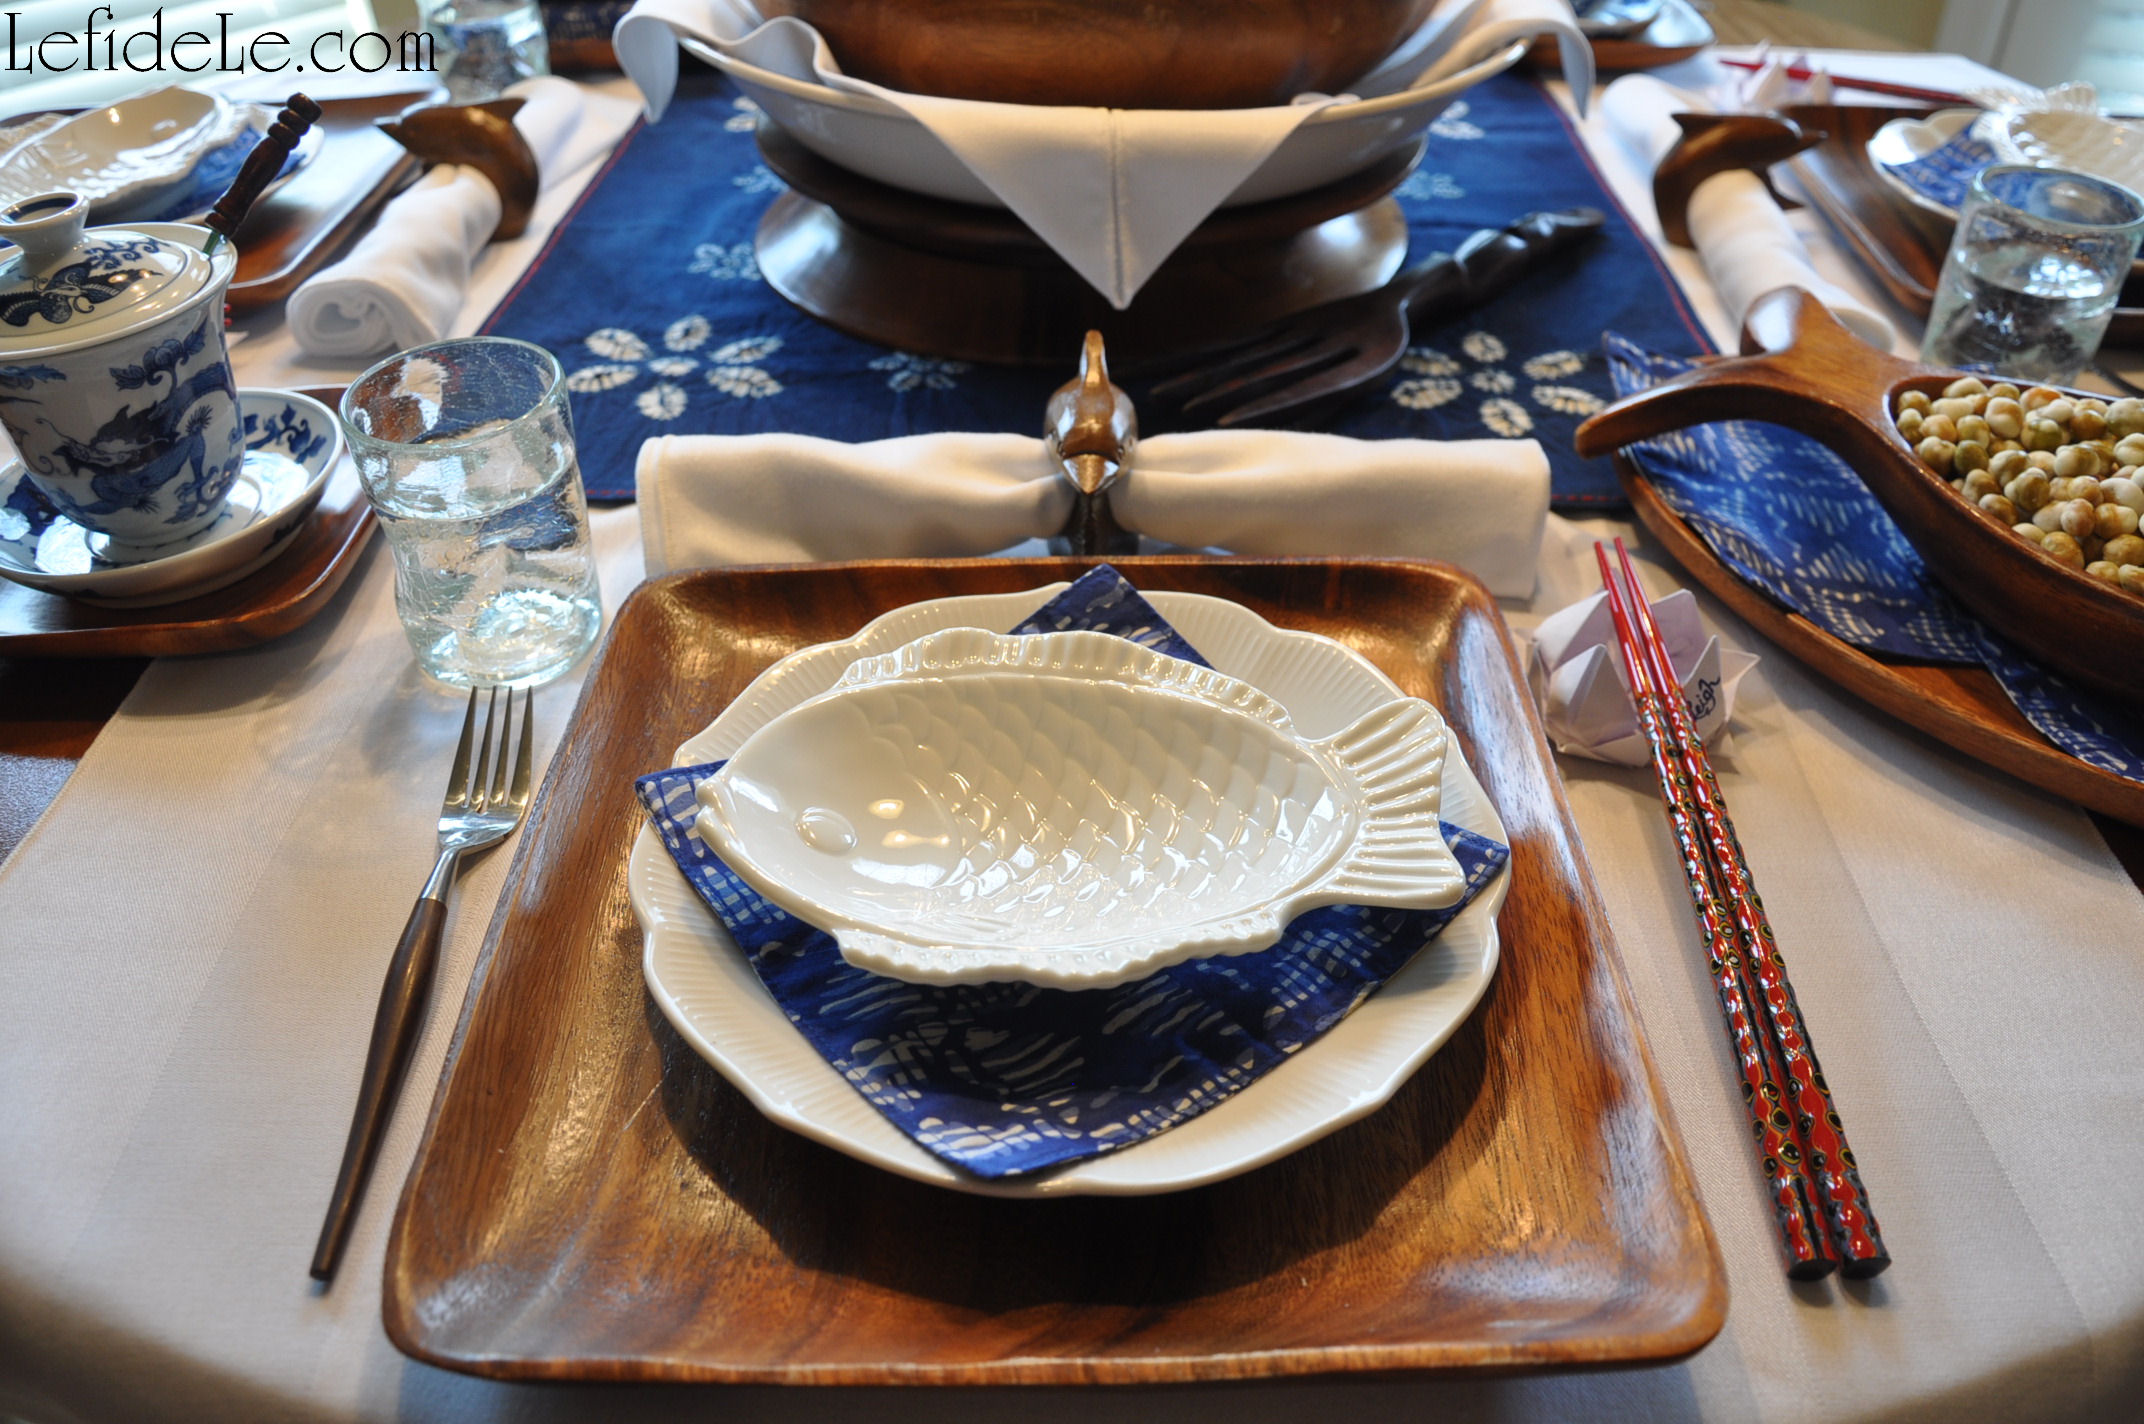
This arts and crafts tutorial for an origami lotus flower, also known as a waterlily, is really very simple. I first learned the method from a book in elementary school, and I’ve been making them ever since. I’ve been known to leave them as calling cards, get well messages, love tokens, etc. They also make elegant yet inexpensive table décor because they can be upcycled from any paper. Just write a name on a petal to use them as place-cards then allow them to double as disposable chopstick rests… but expect some to be taken home as mementos from the evening.

001Leigh

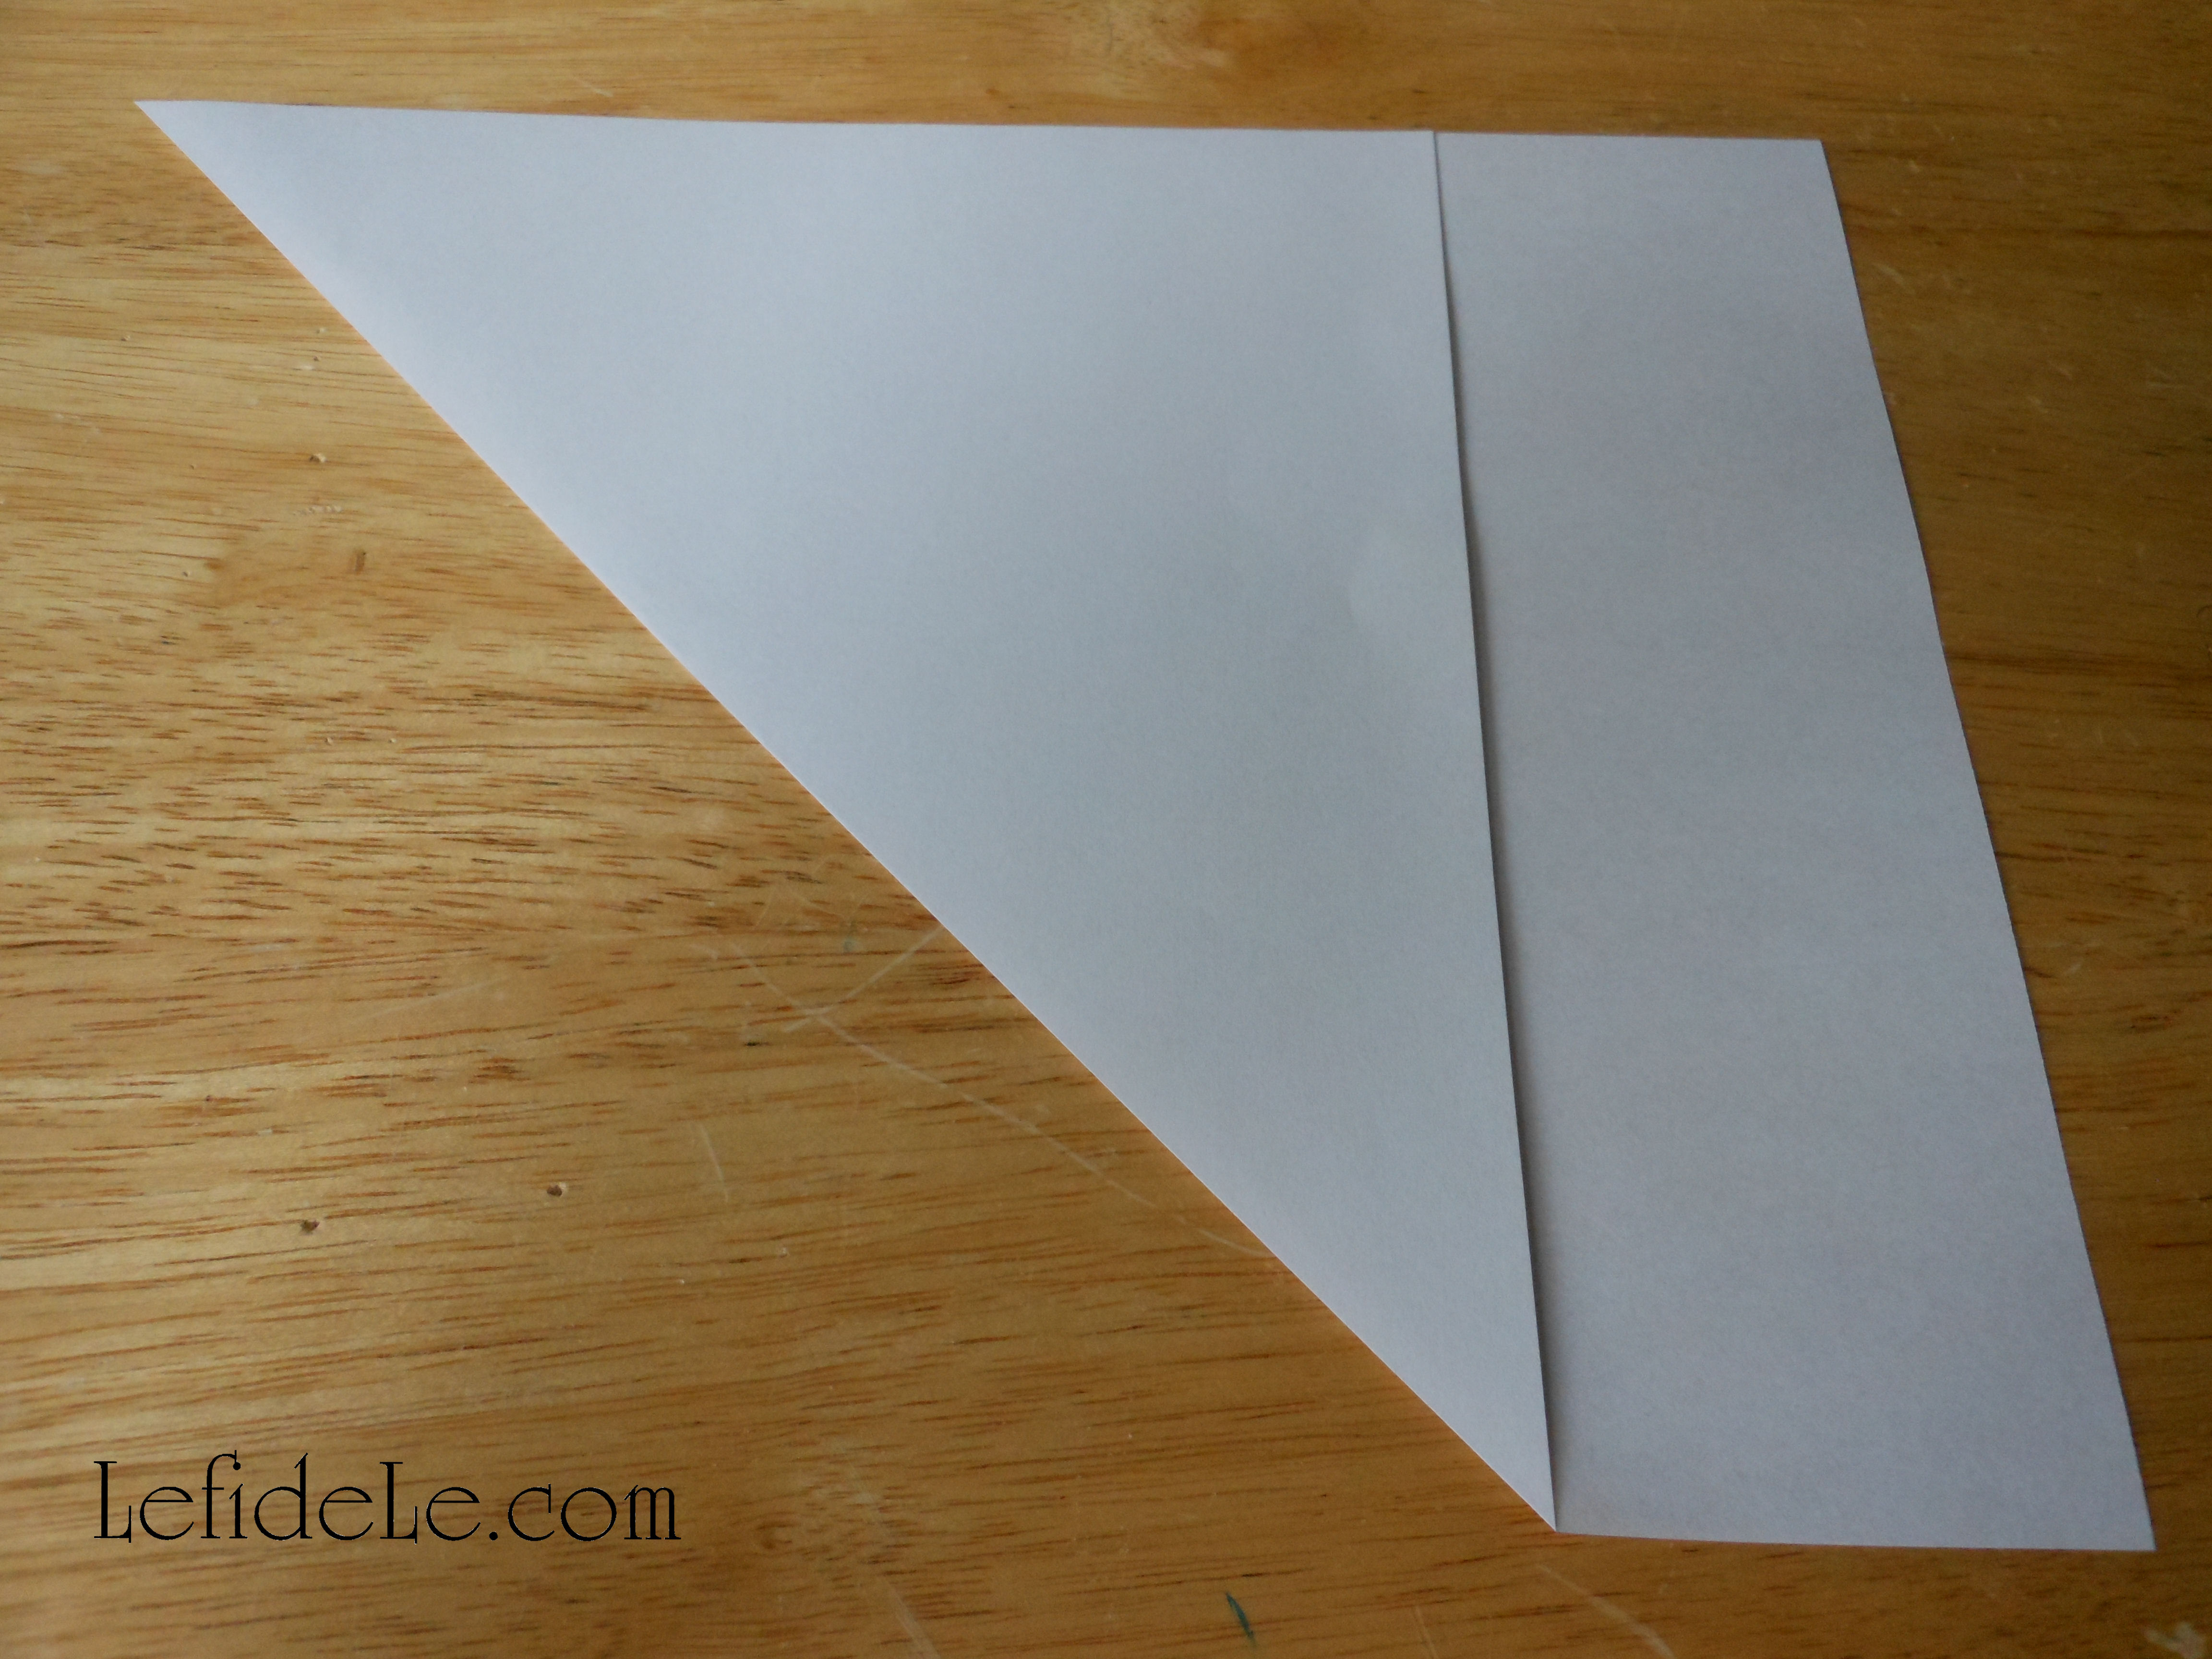
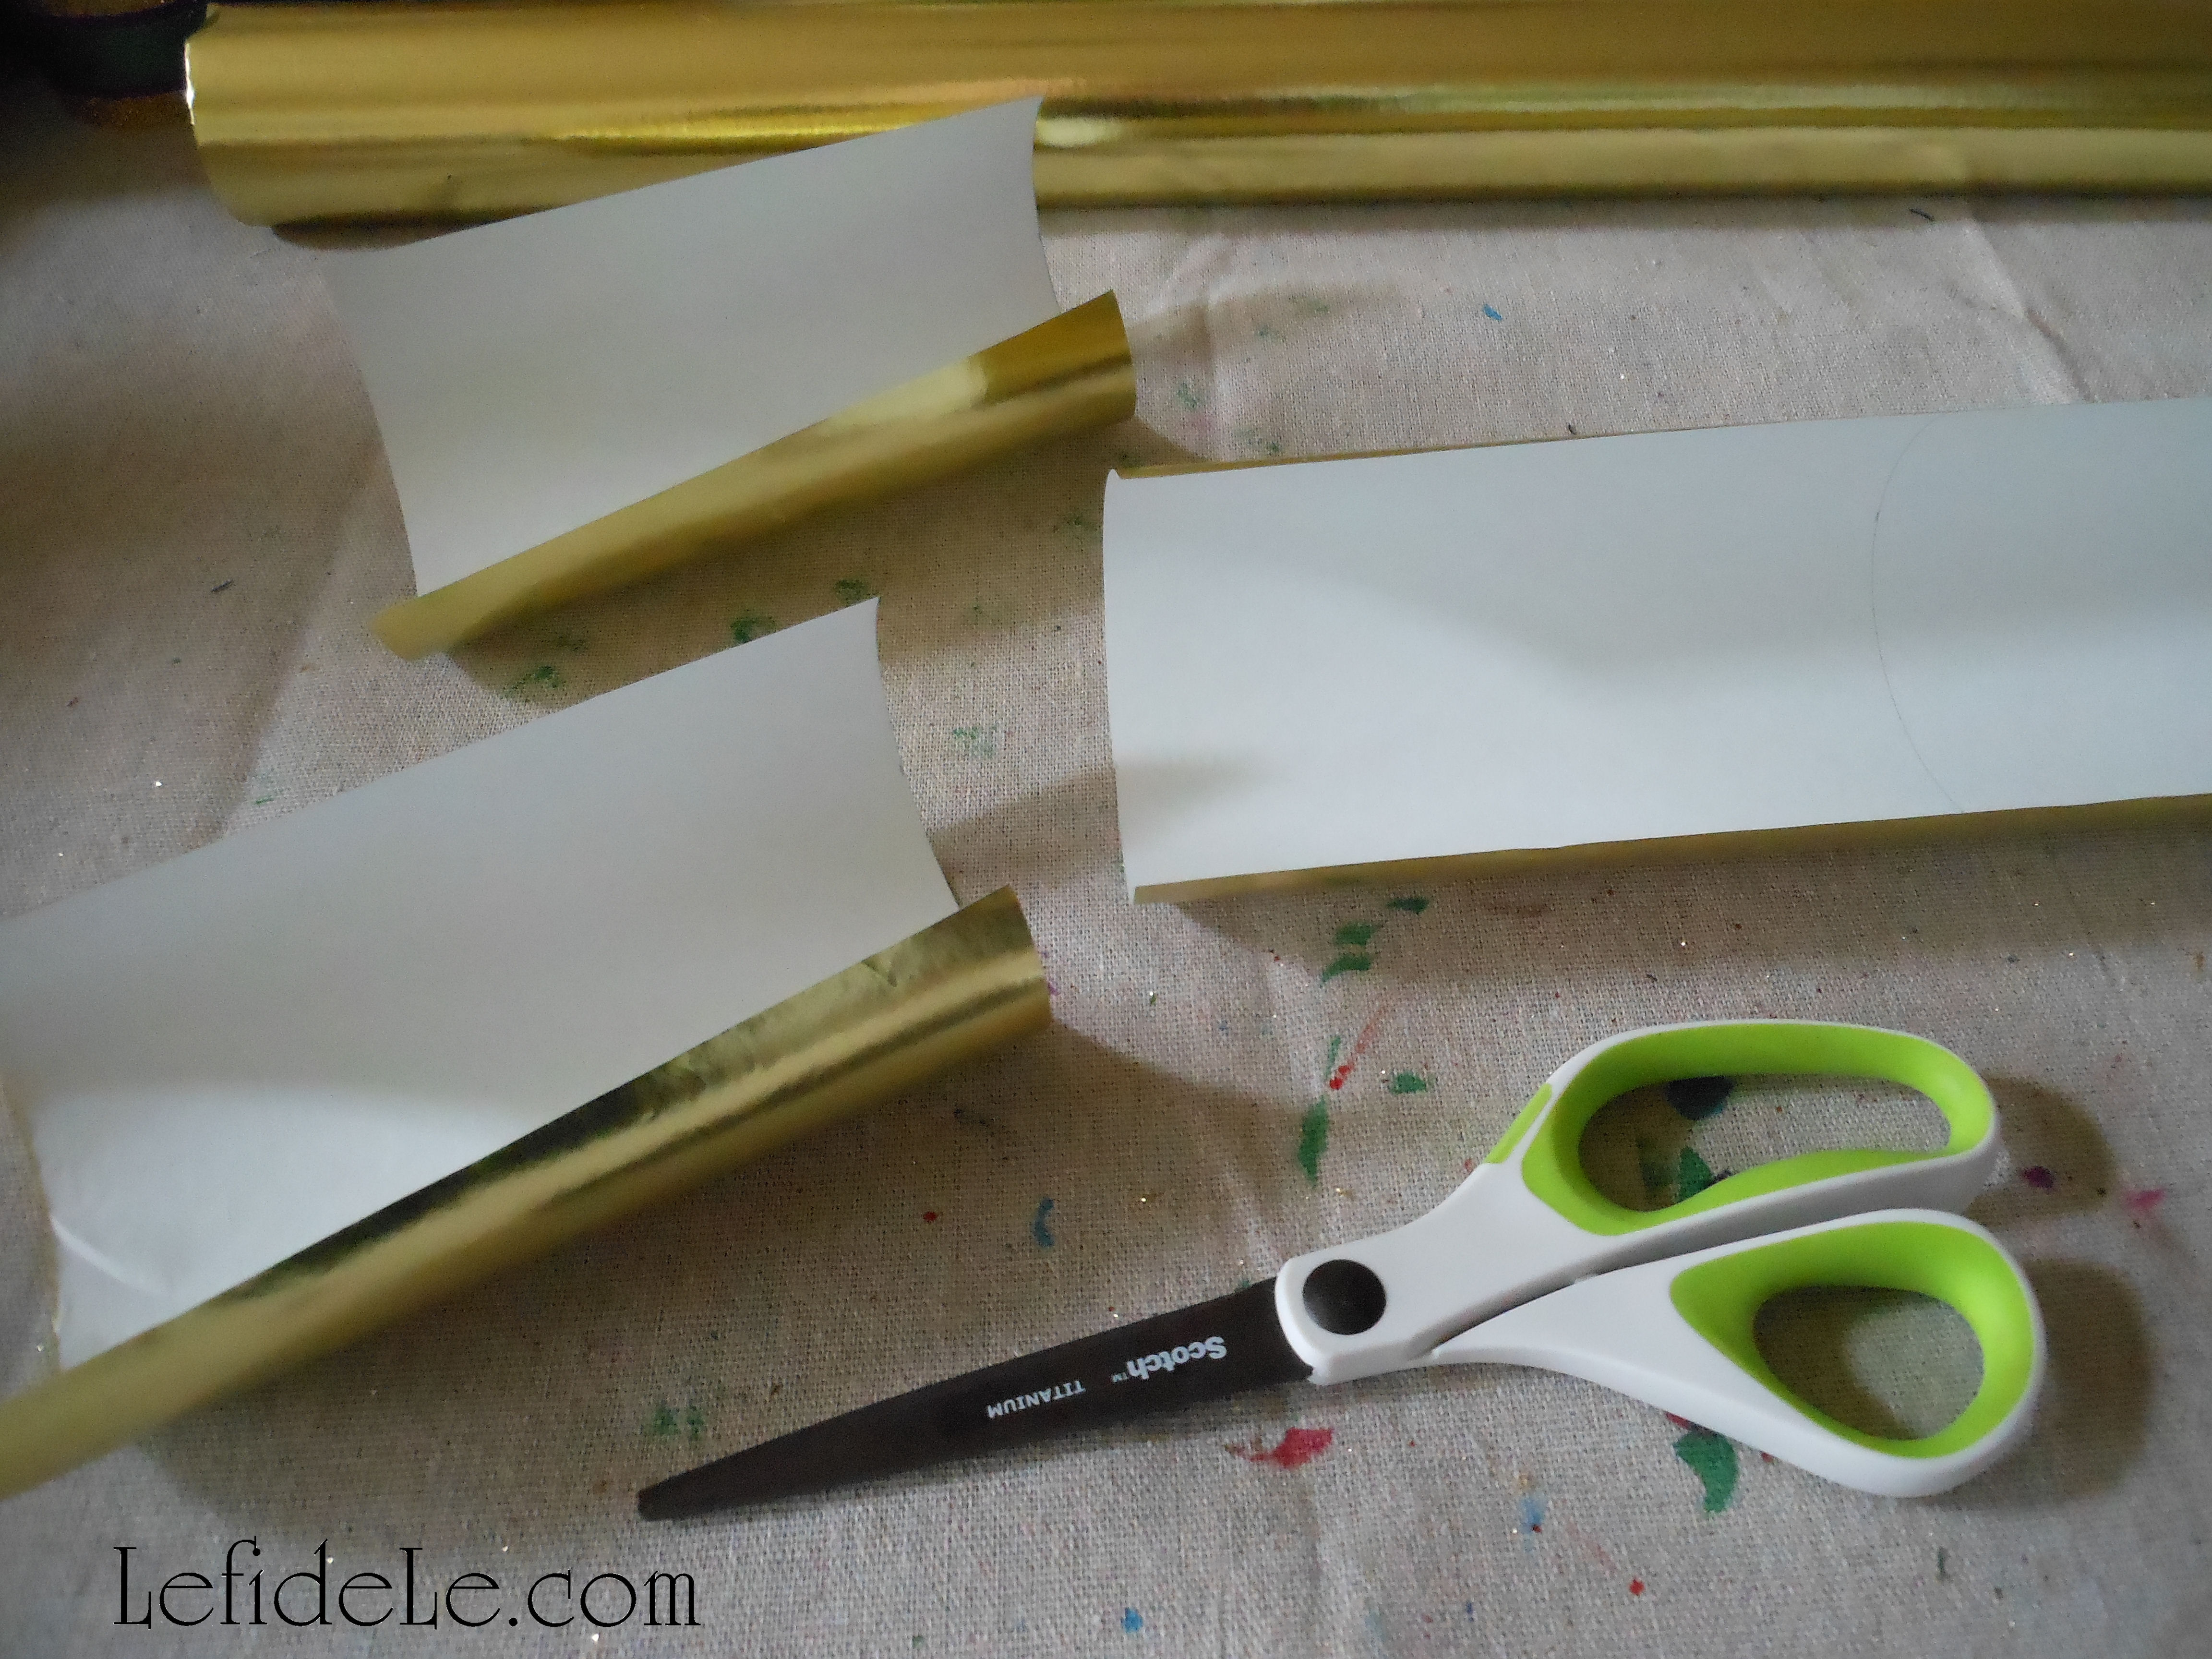
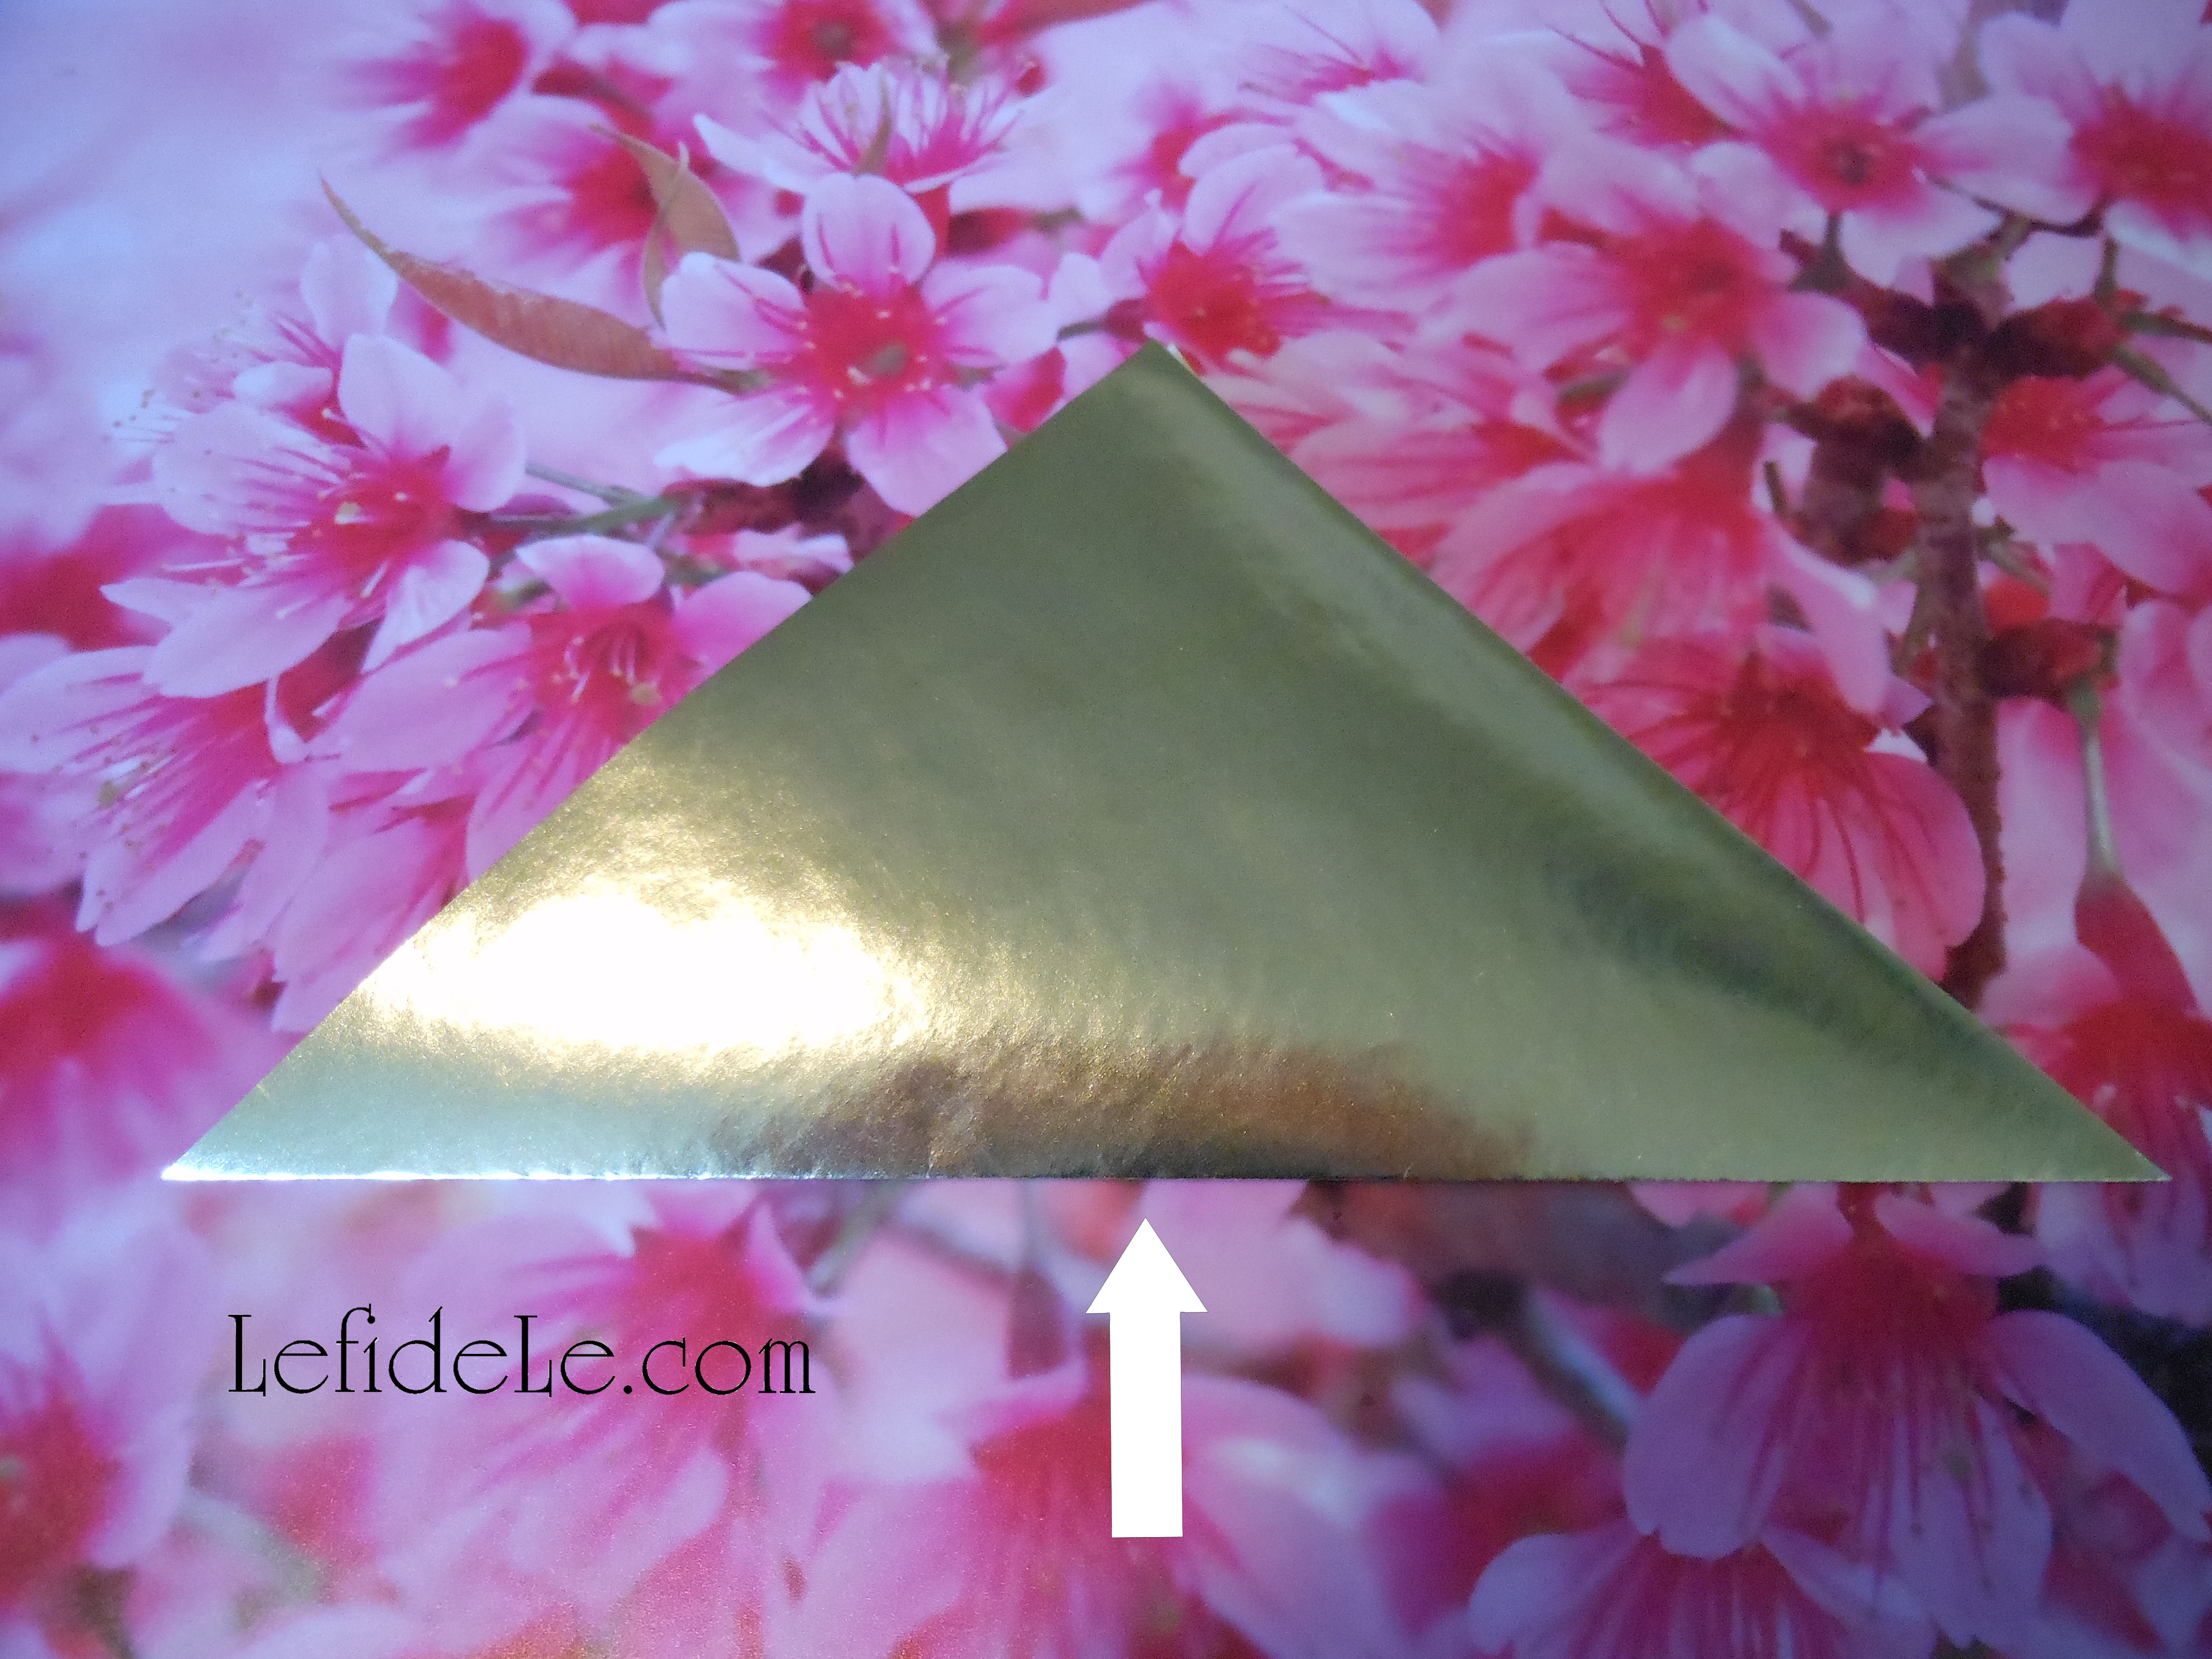
Use any paper you like from traditional origami paper from the craft store, to economical white printer paper like this. (Read my origami crane tutorial to read how to use wrapping paper.) Fold one corner over until it meets the opposite side, and press the crease down flat.

002Leigh

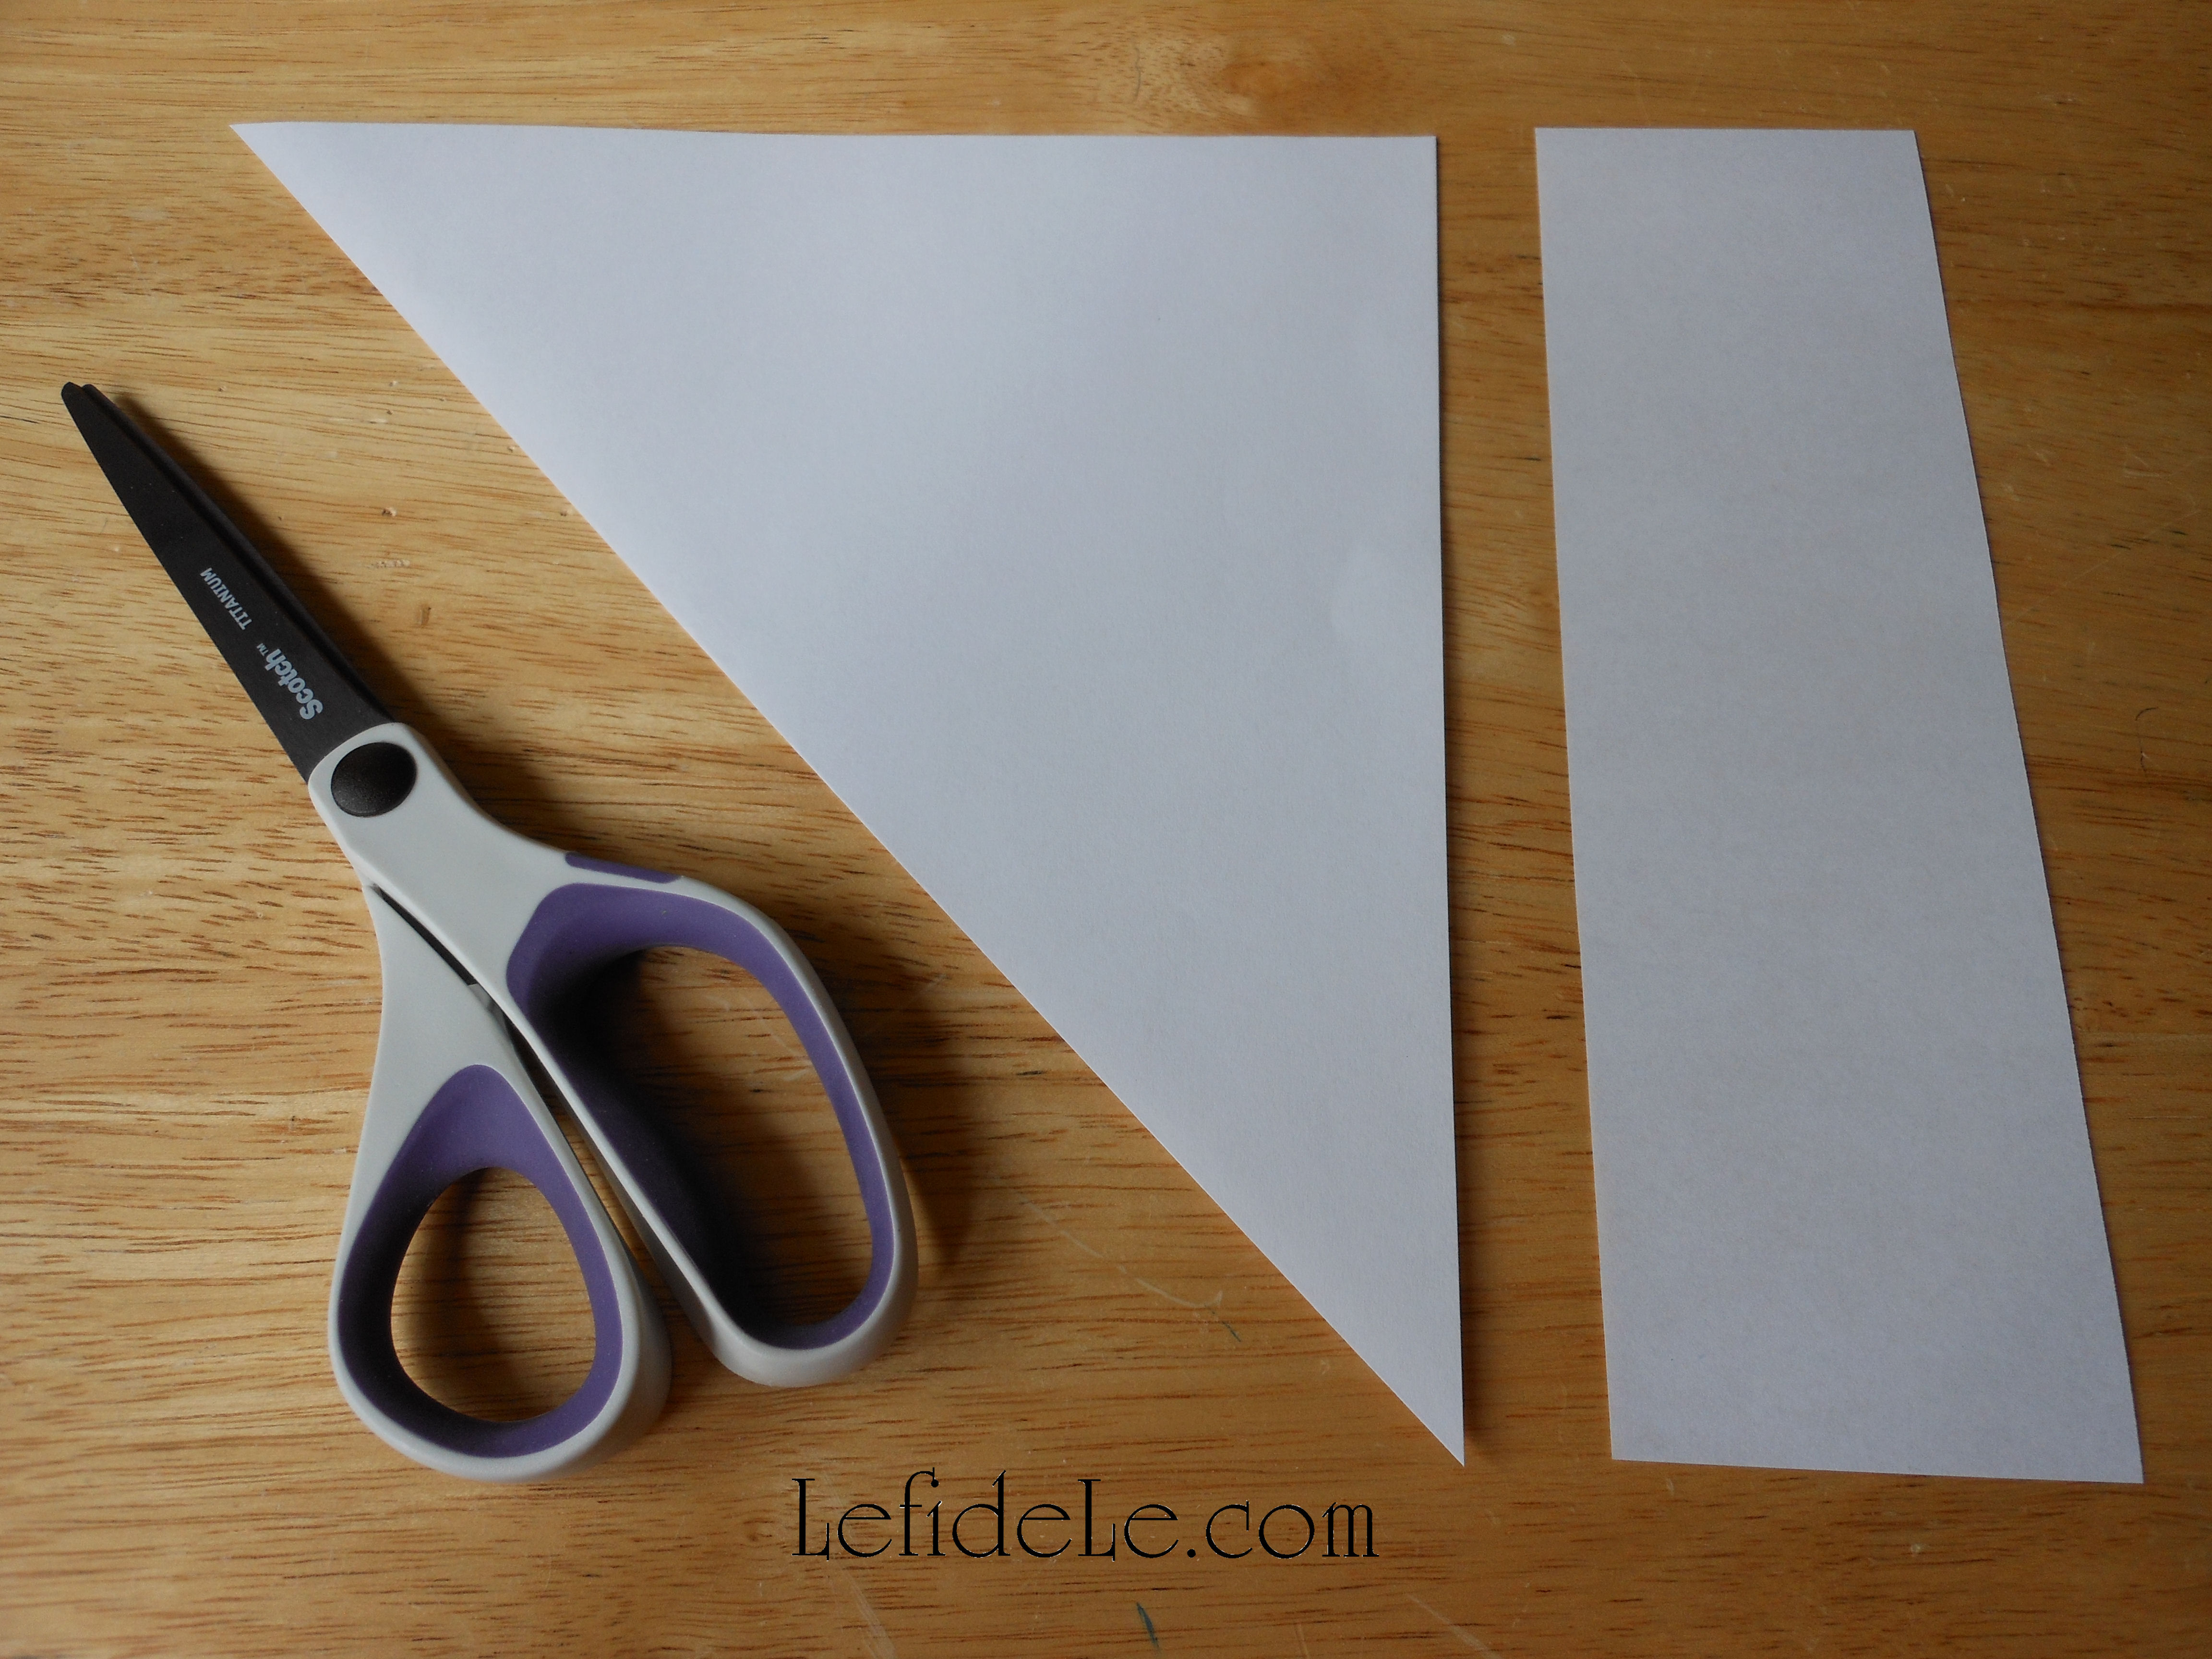
Cut off the uncovered portion of paper cleanly, using the folded paper’s edge as a guide. You have just made a perfect square without using a ruler.

003Leigh

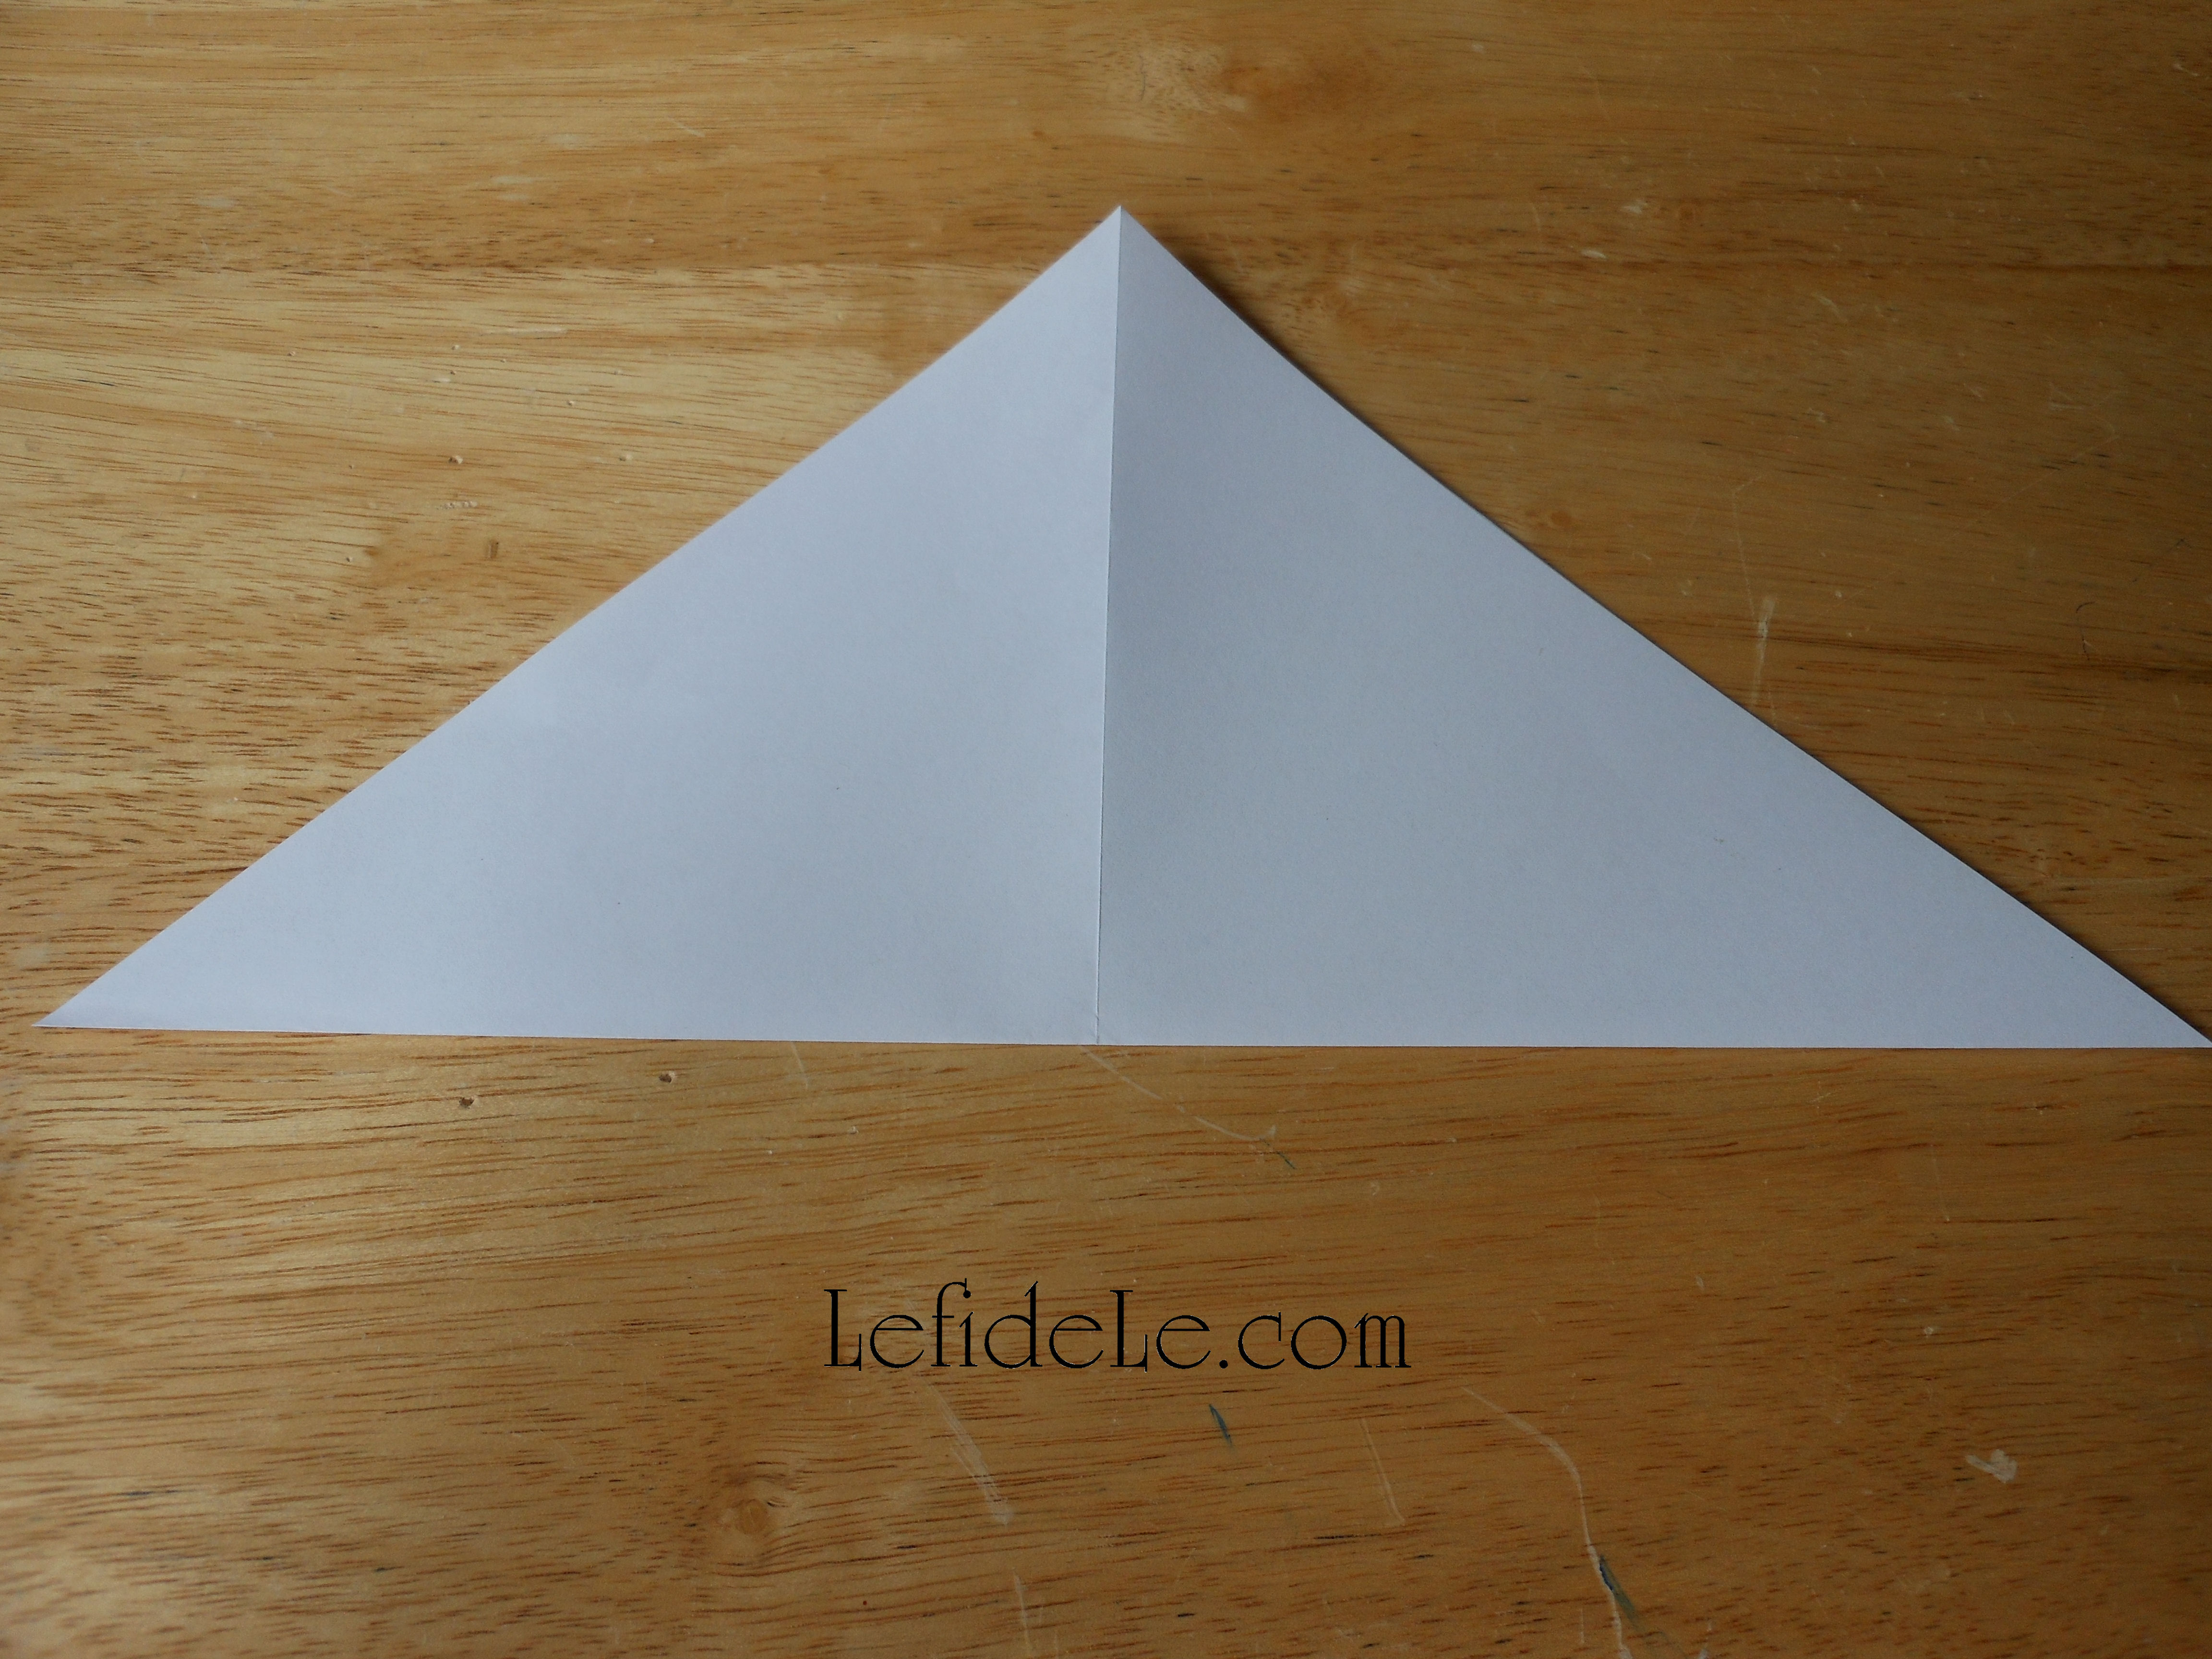
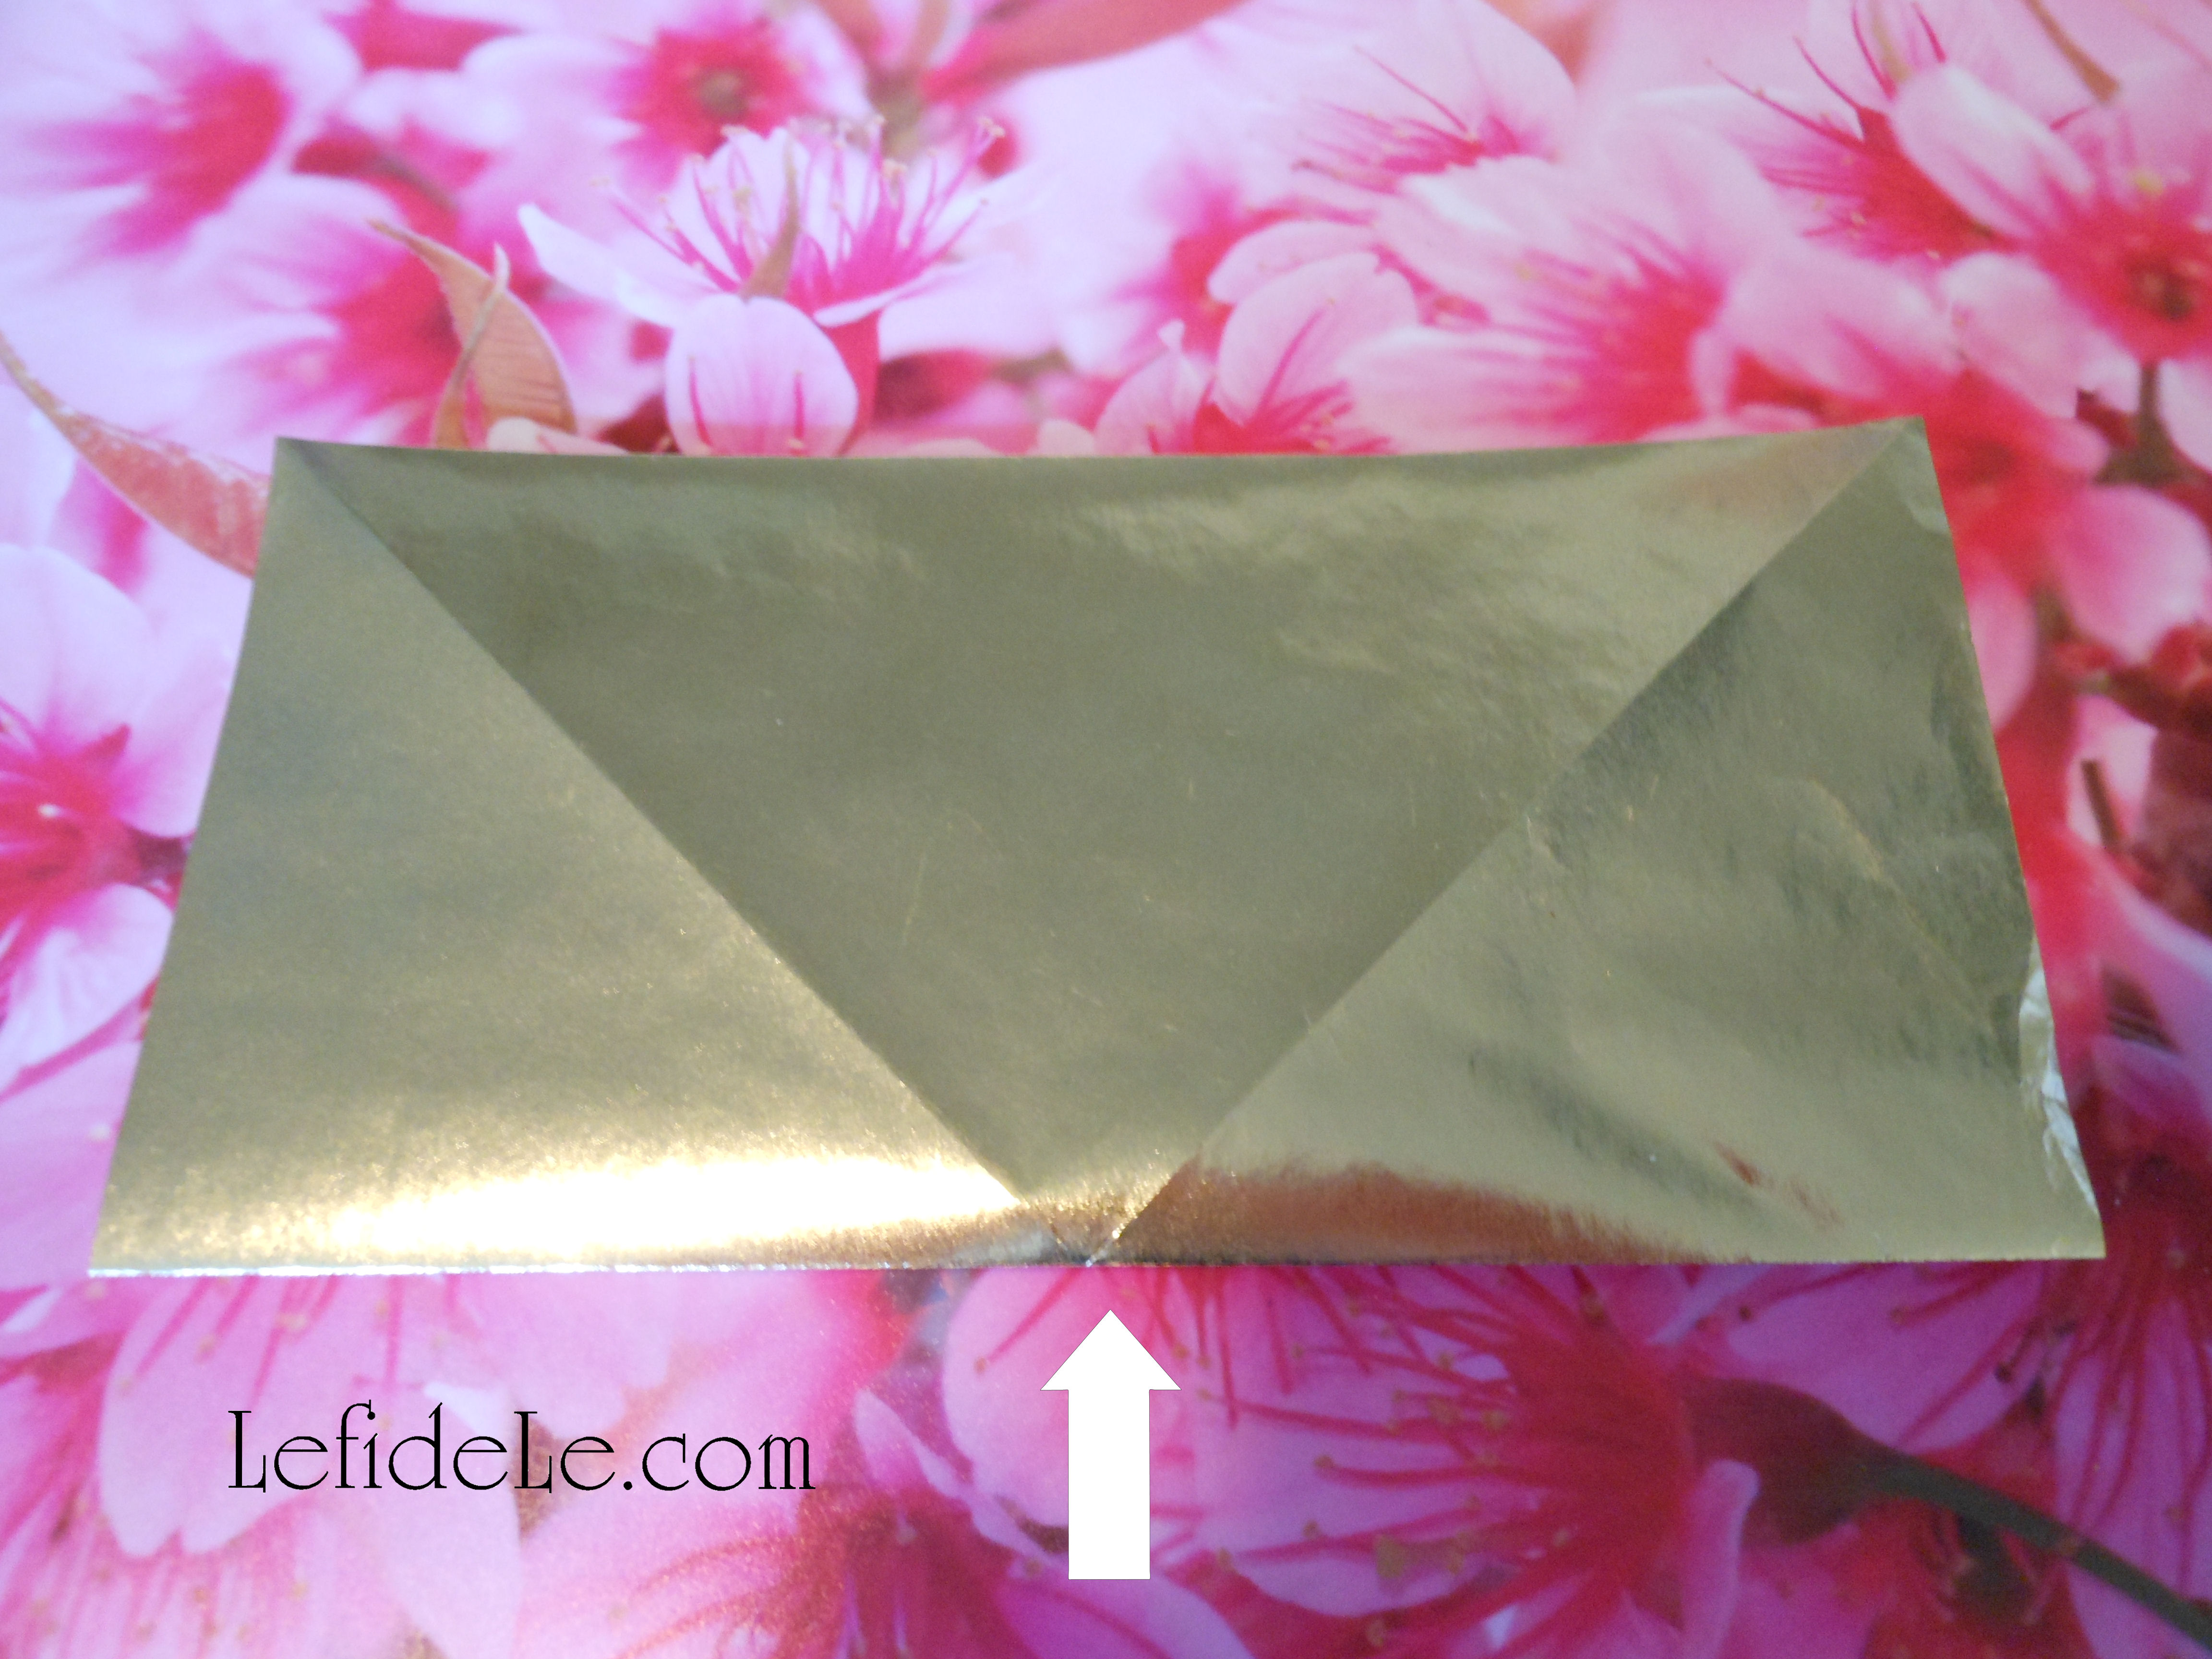
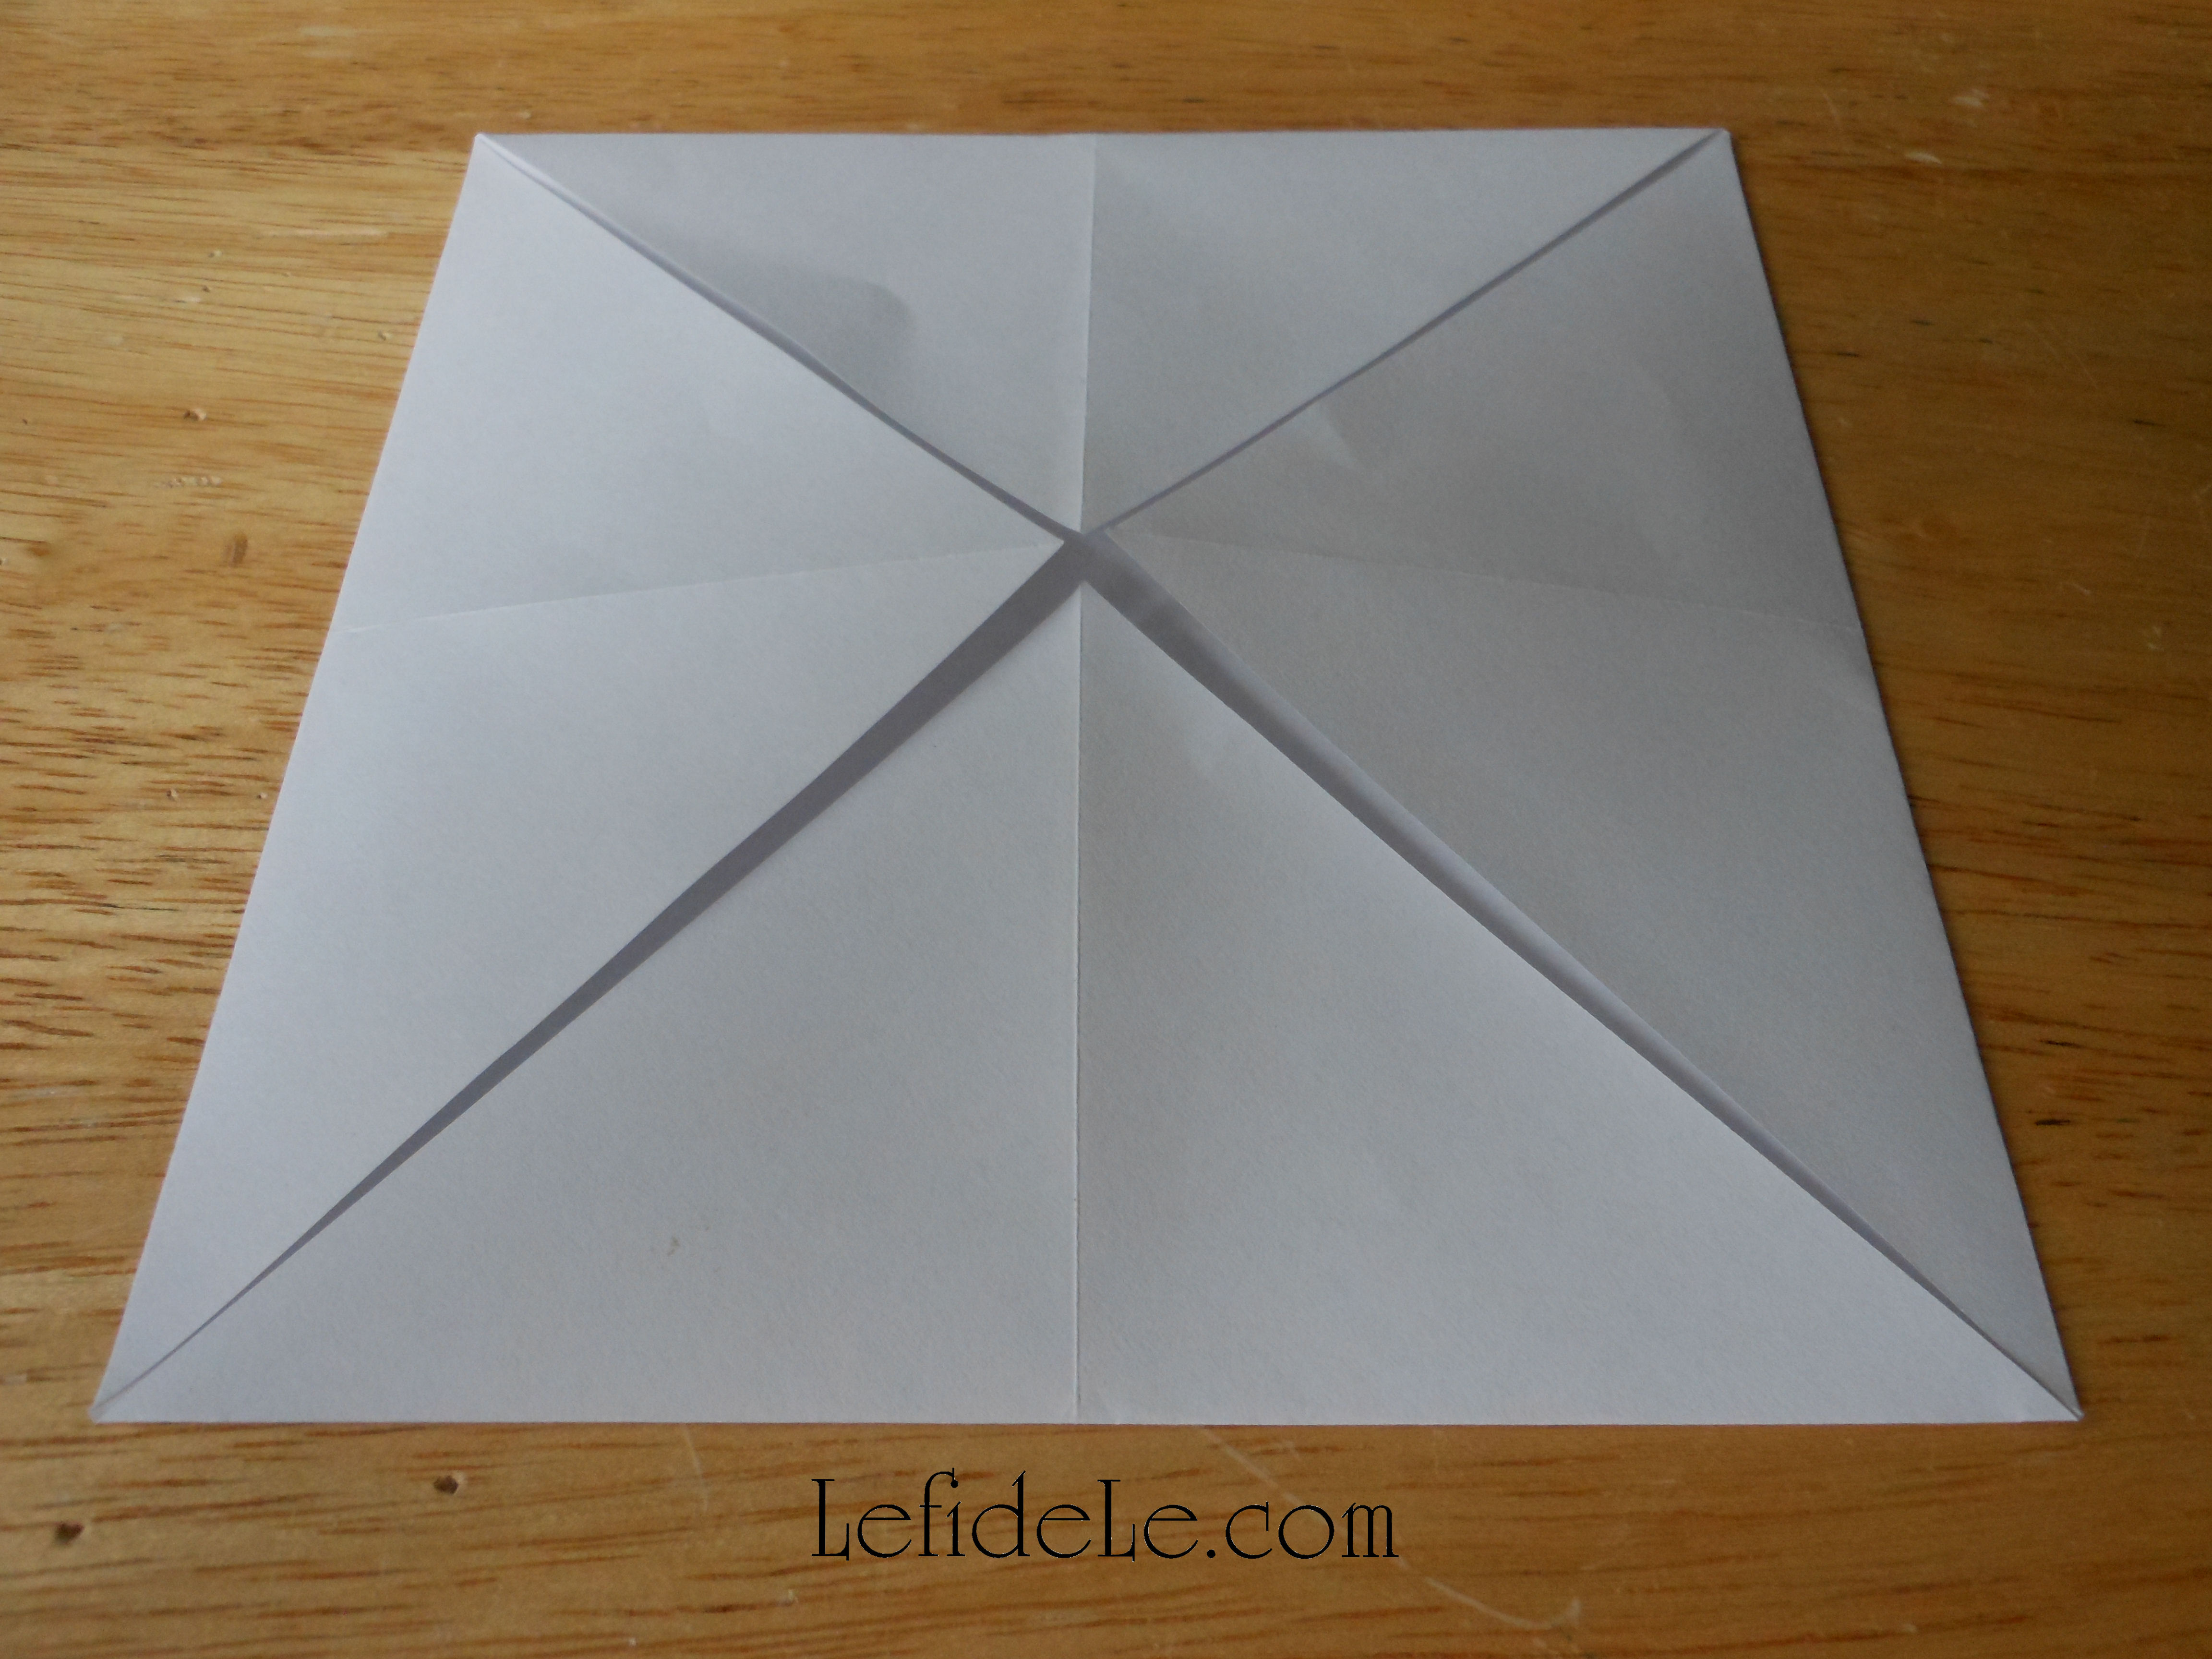
Unfold the triangle you’ve cut free, and then refold it using the opposite corners. Now unfold it, you should see an X crease into the square of paper.

004Leigh

Next take each corner and fold it into the middle, using the X crease as a guide. You just made a smaller square shape.

005Leigh

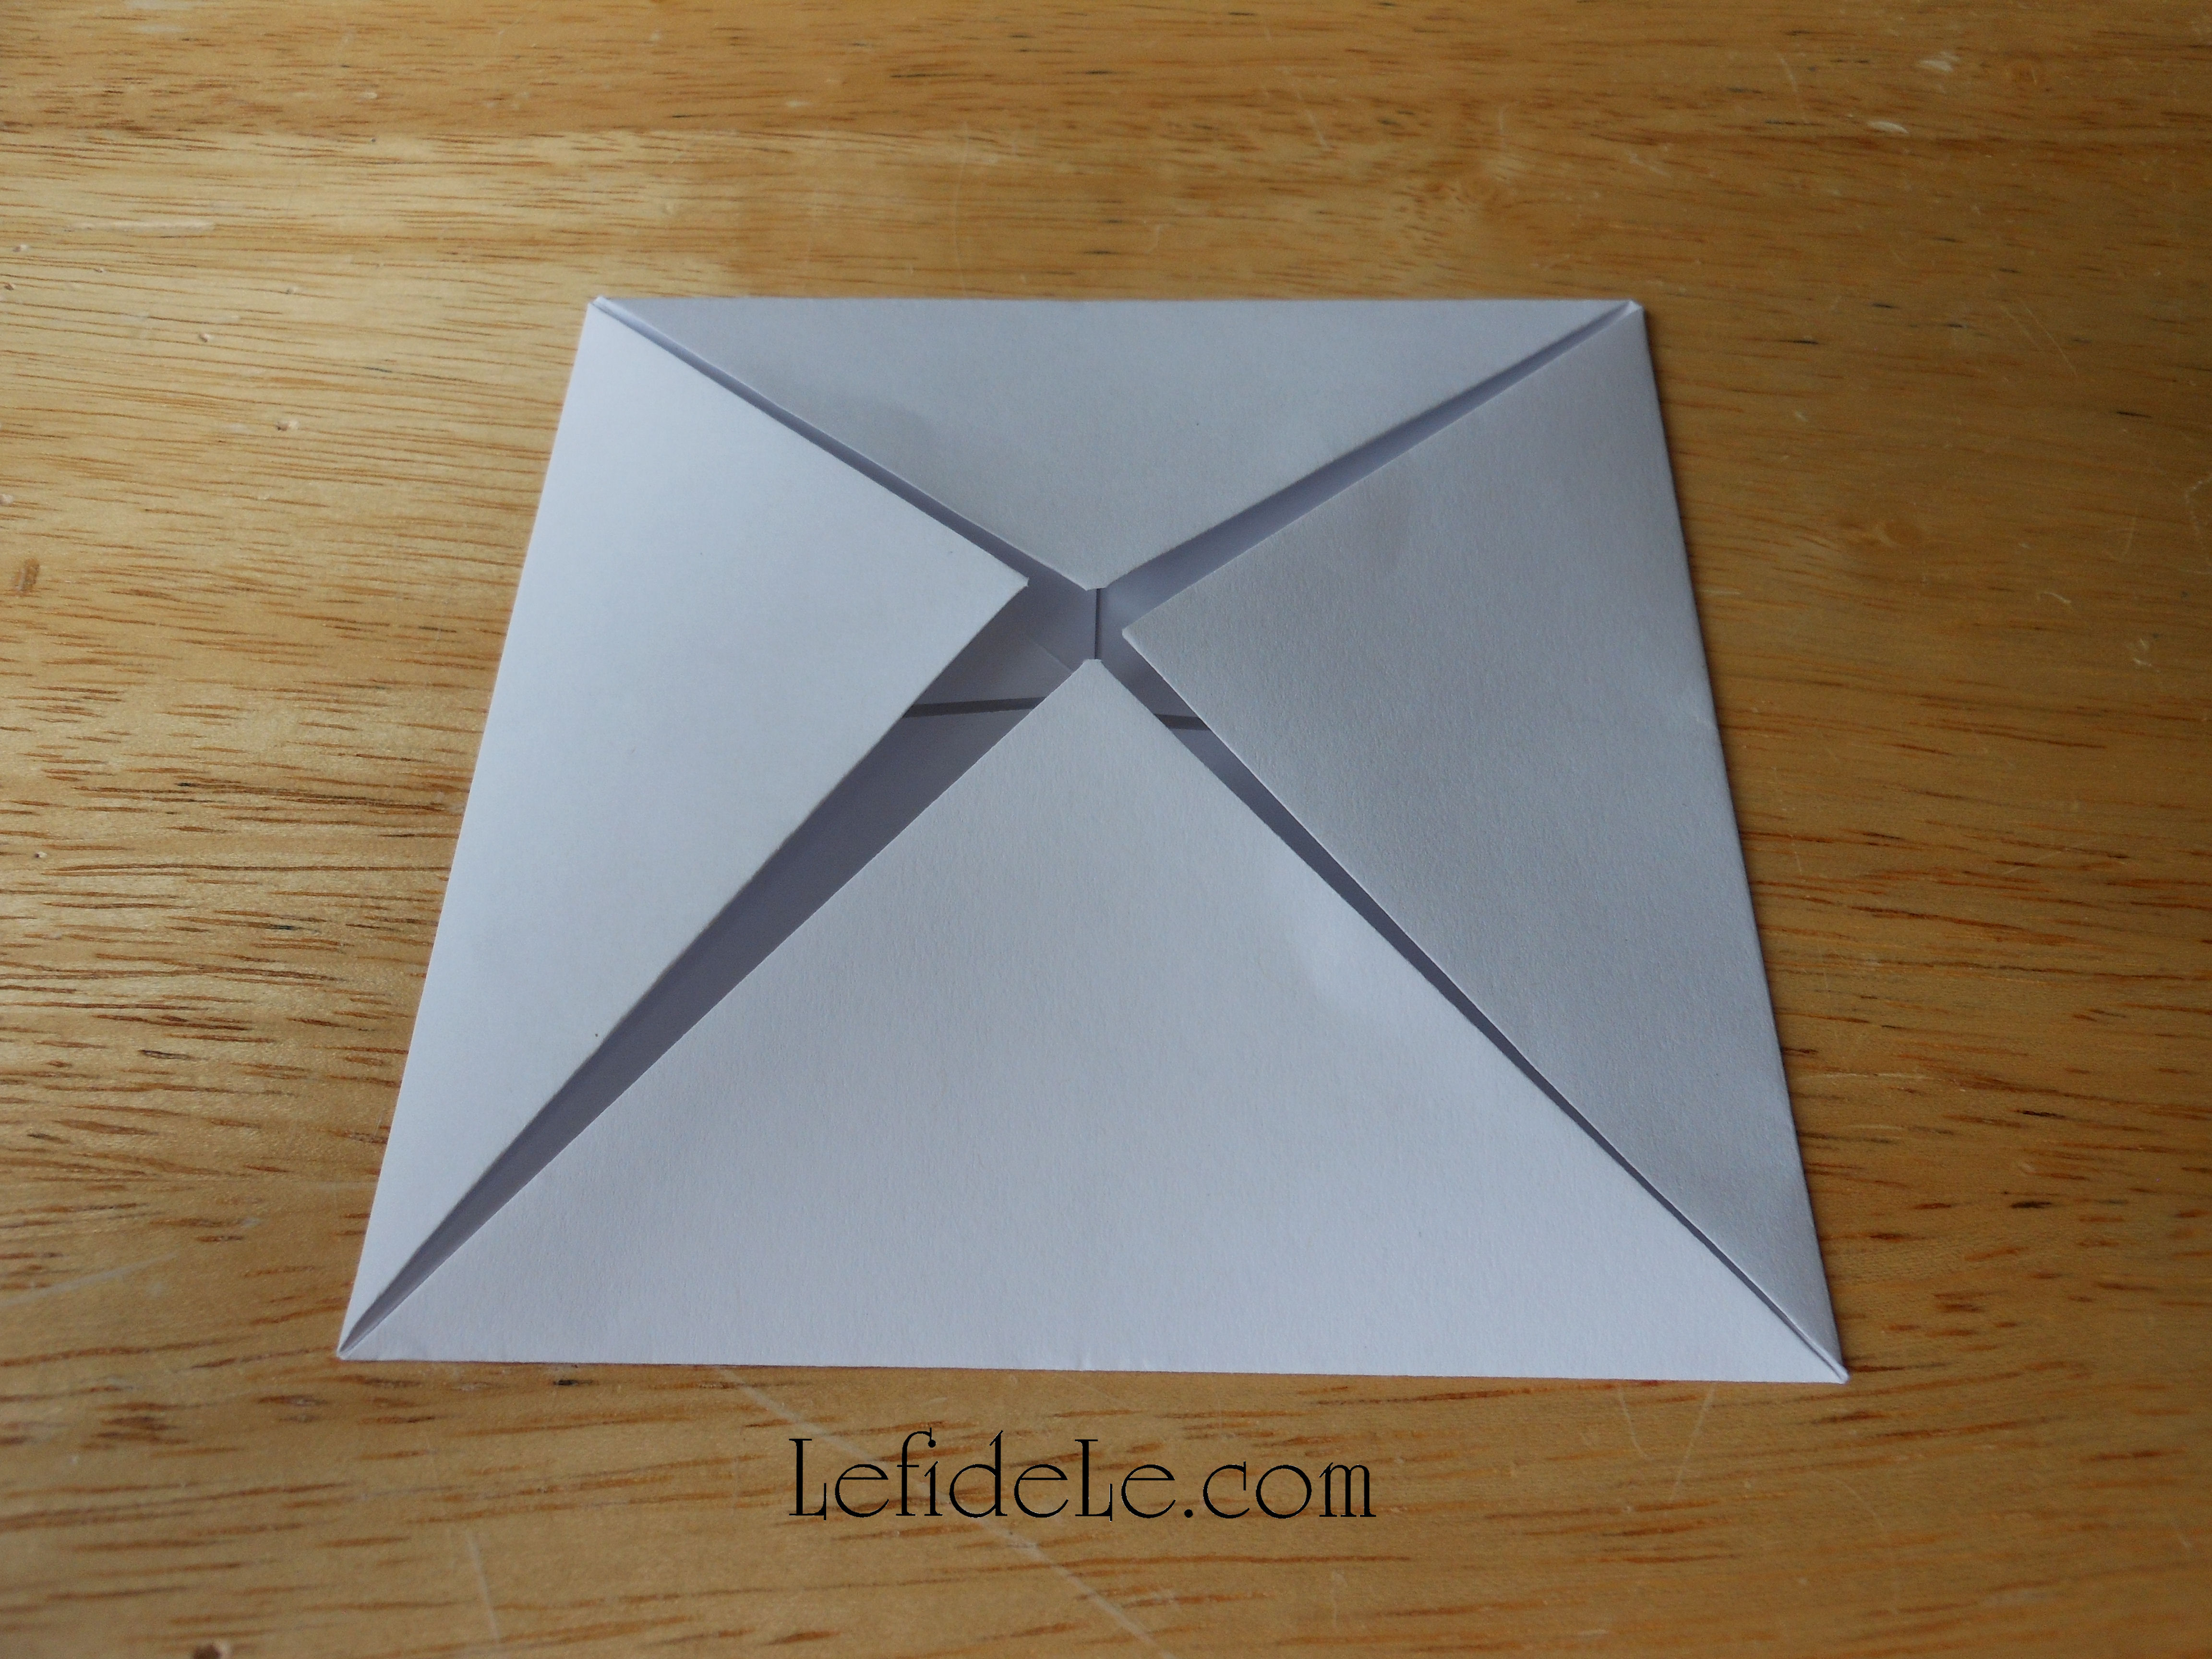
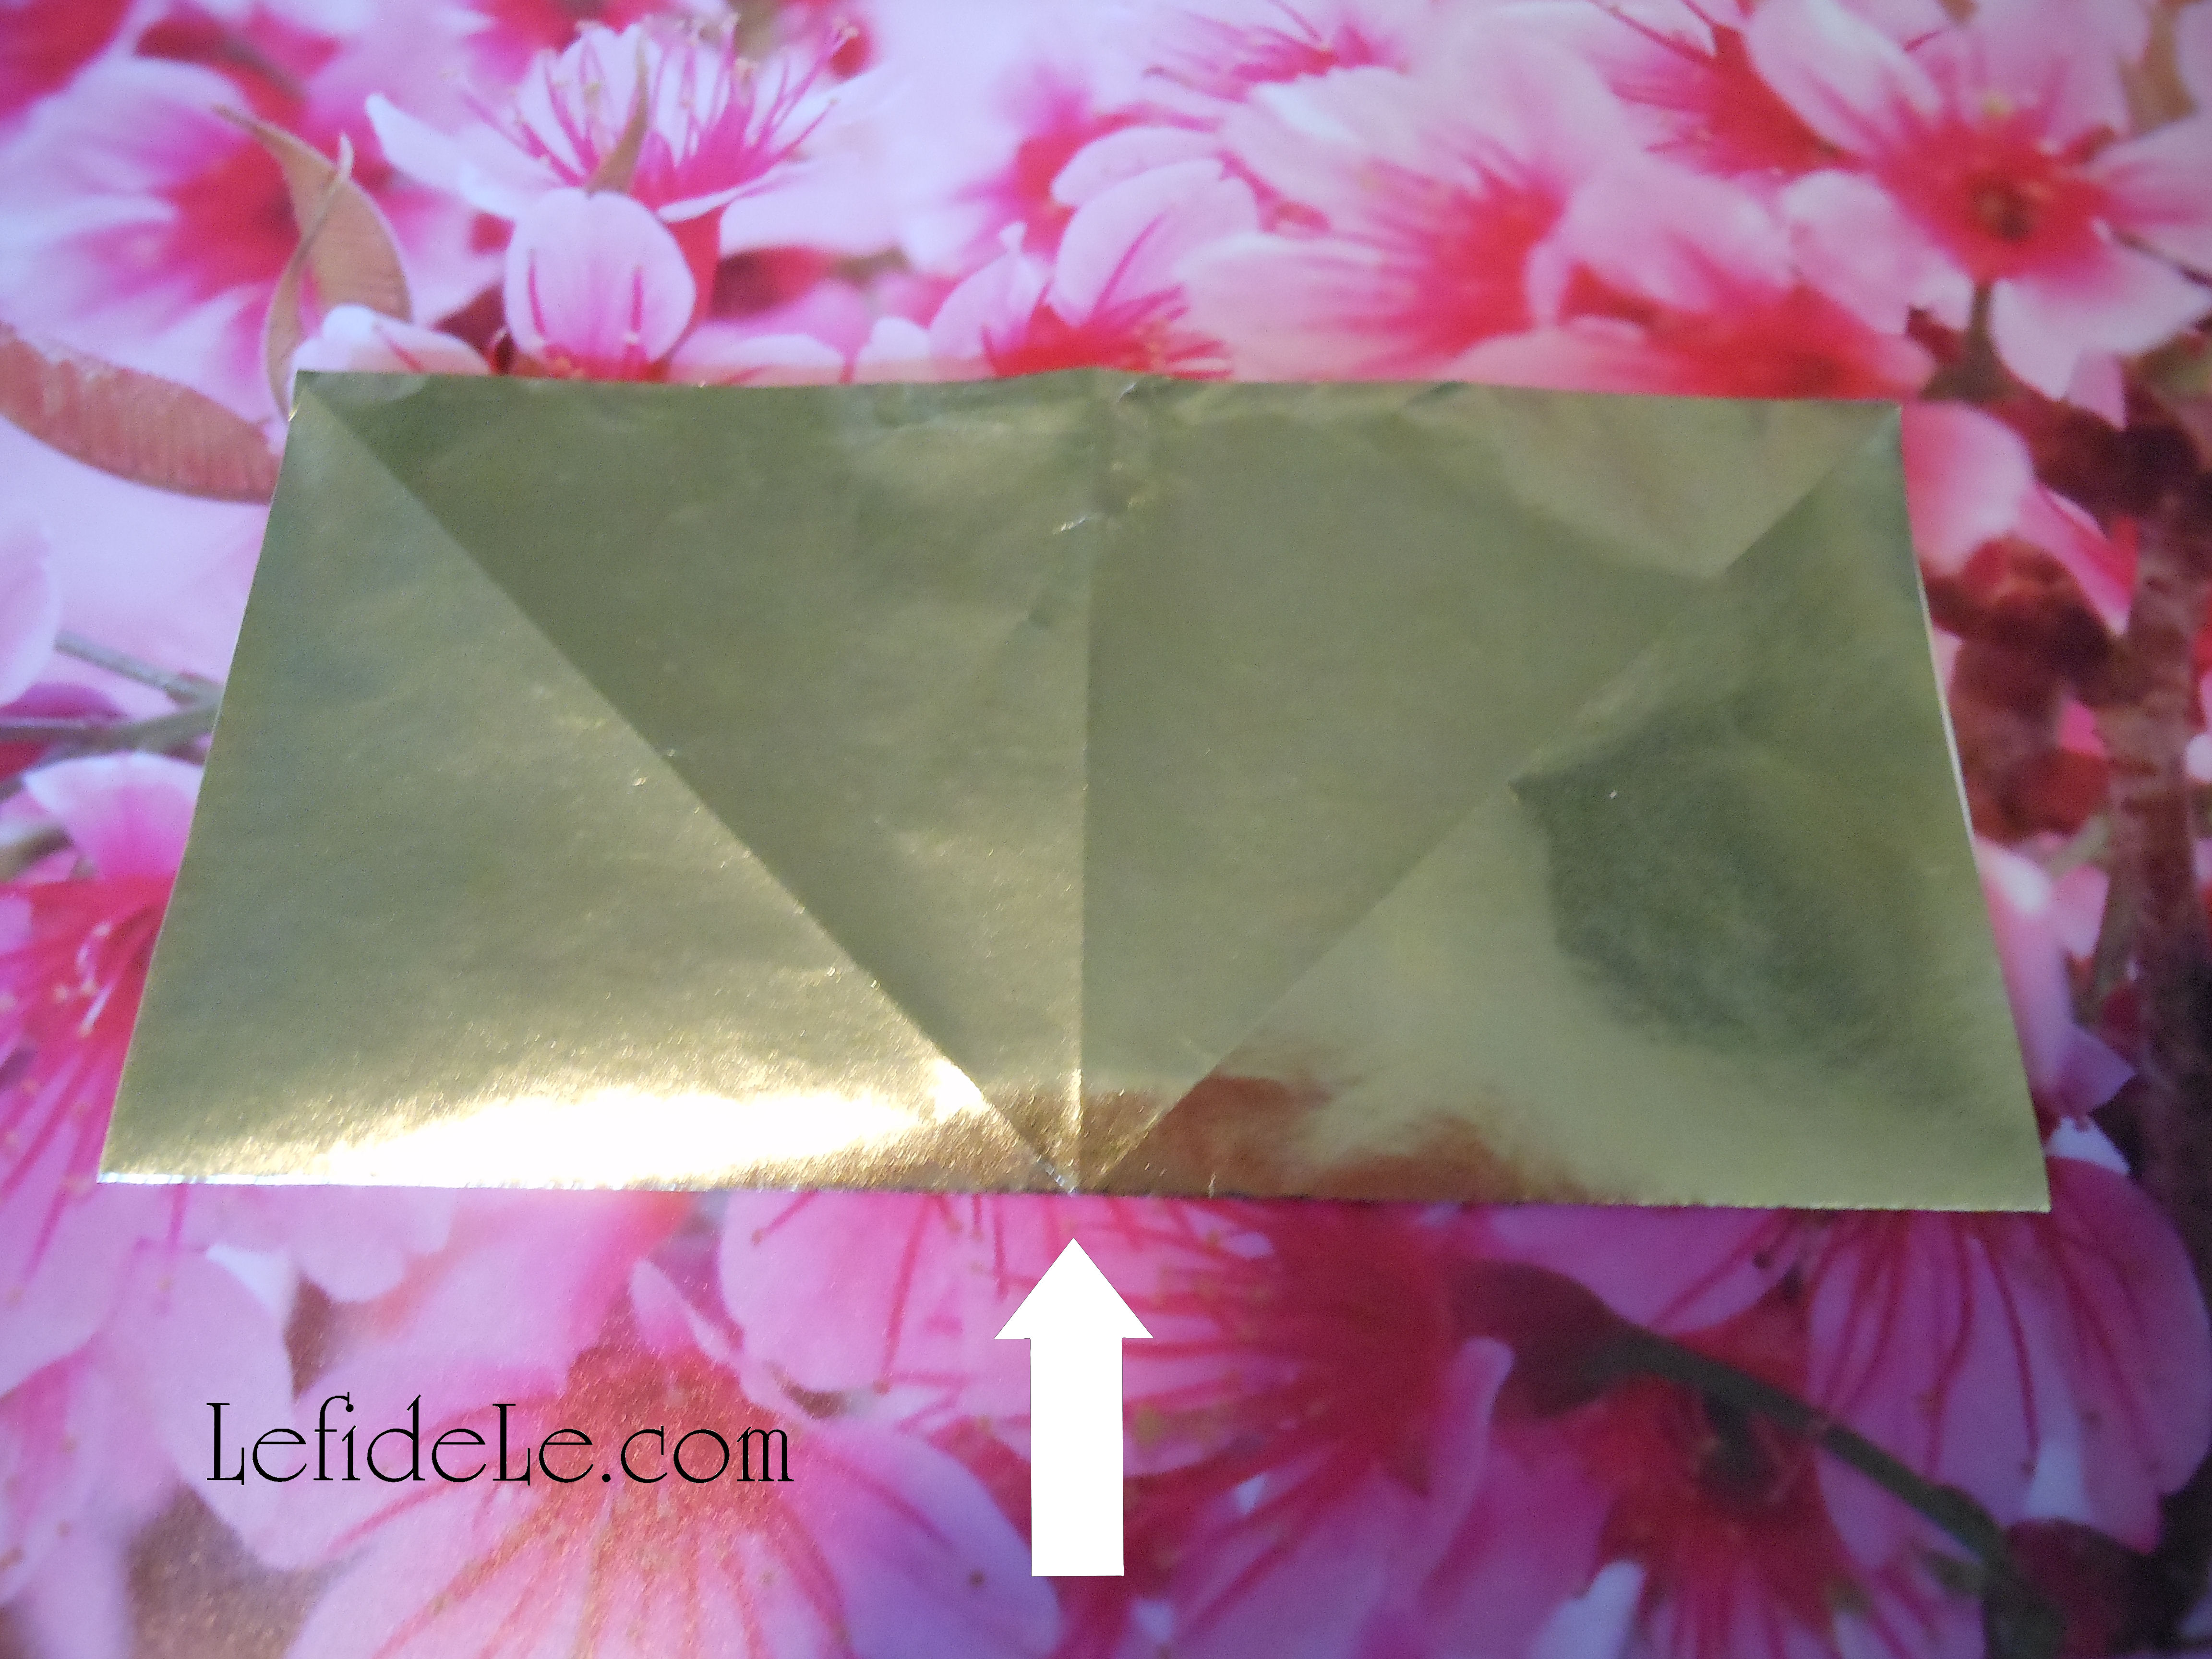
Repeat this 4 corner folding again, making an even smaller square.

006Leigh

Repeat this again, making an even tinier square.

007Leigh

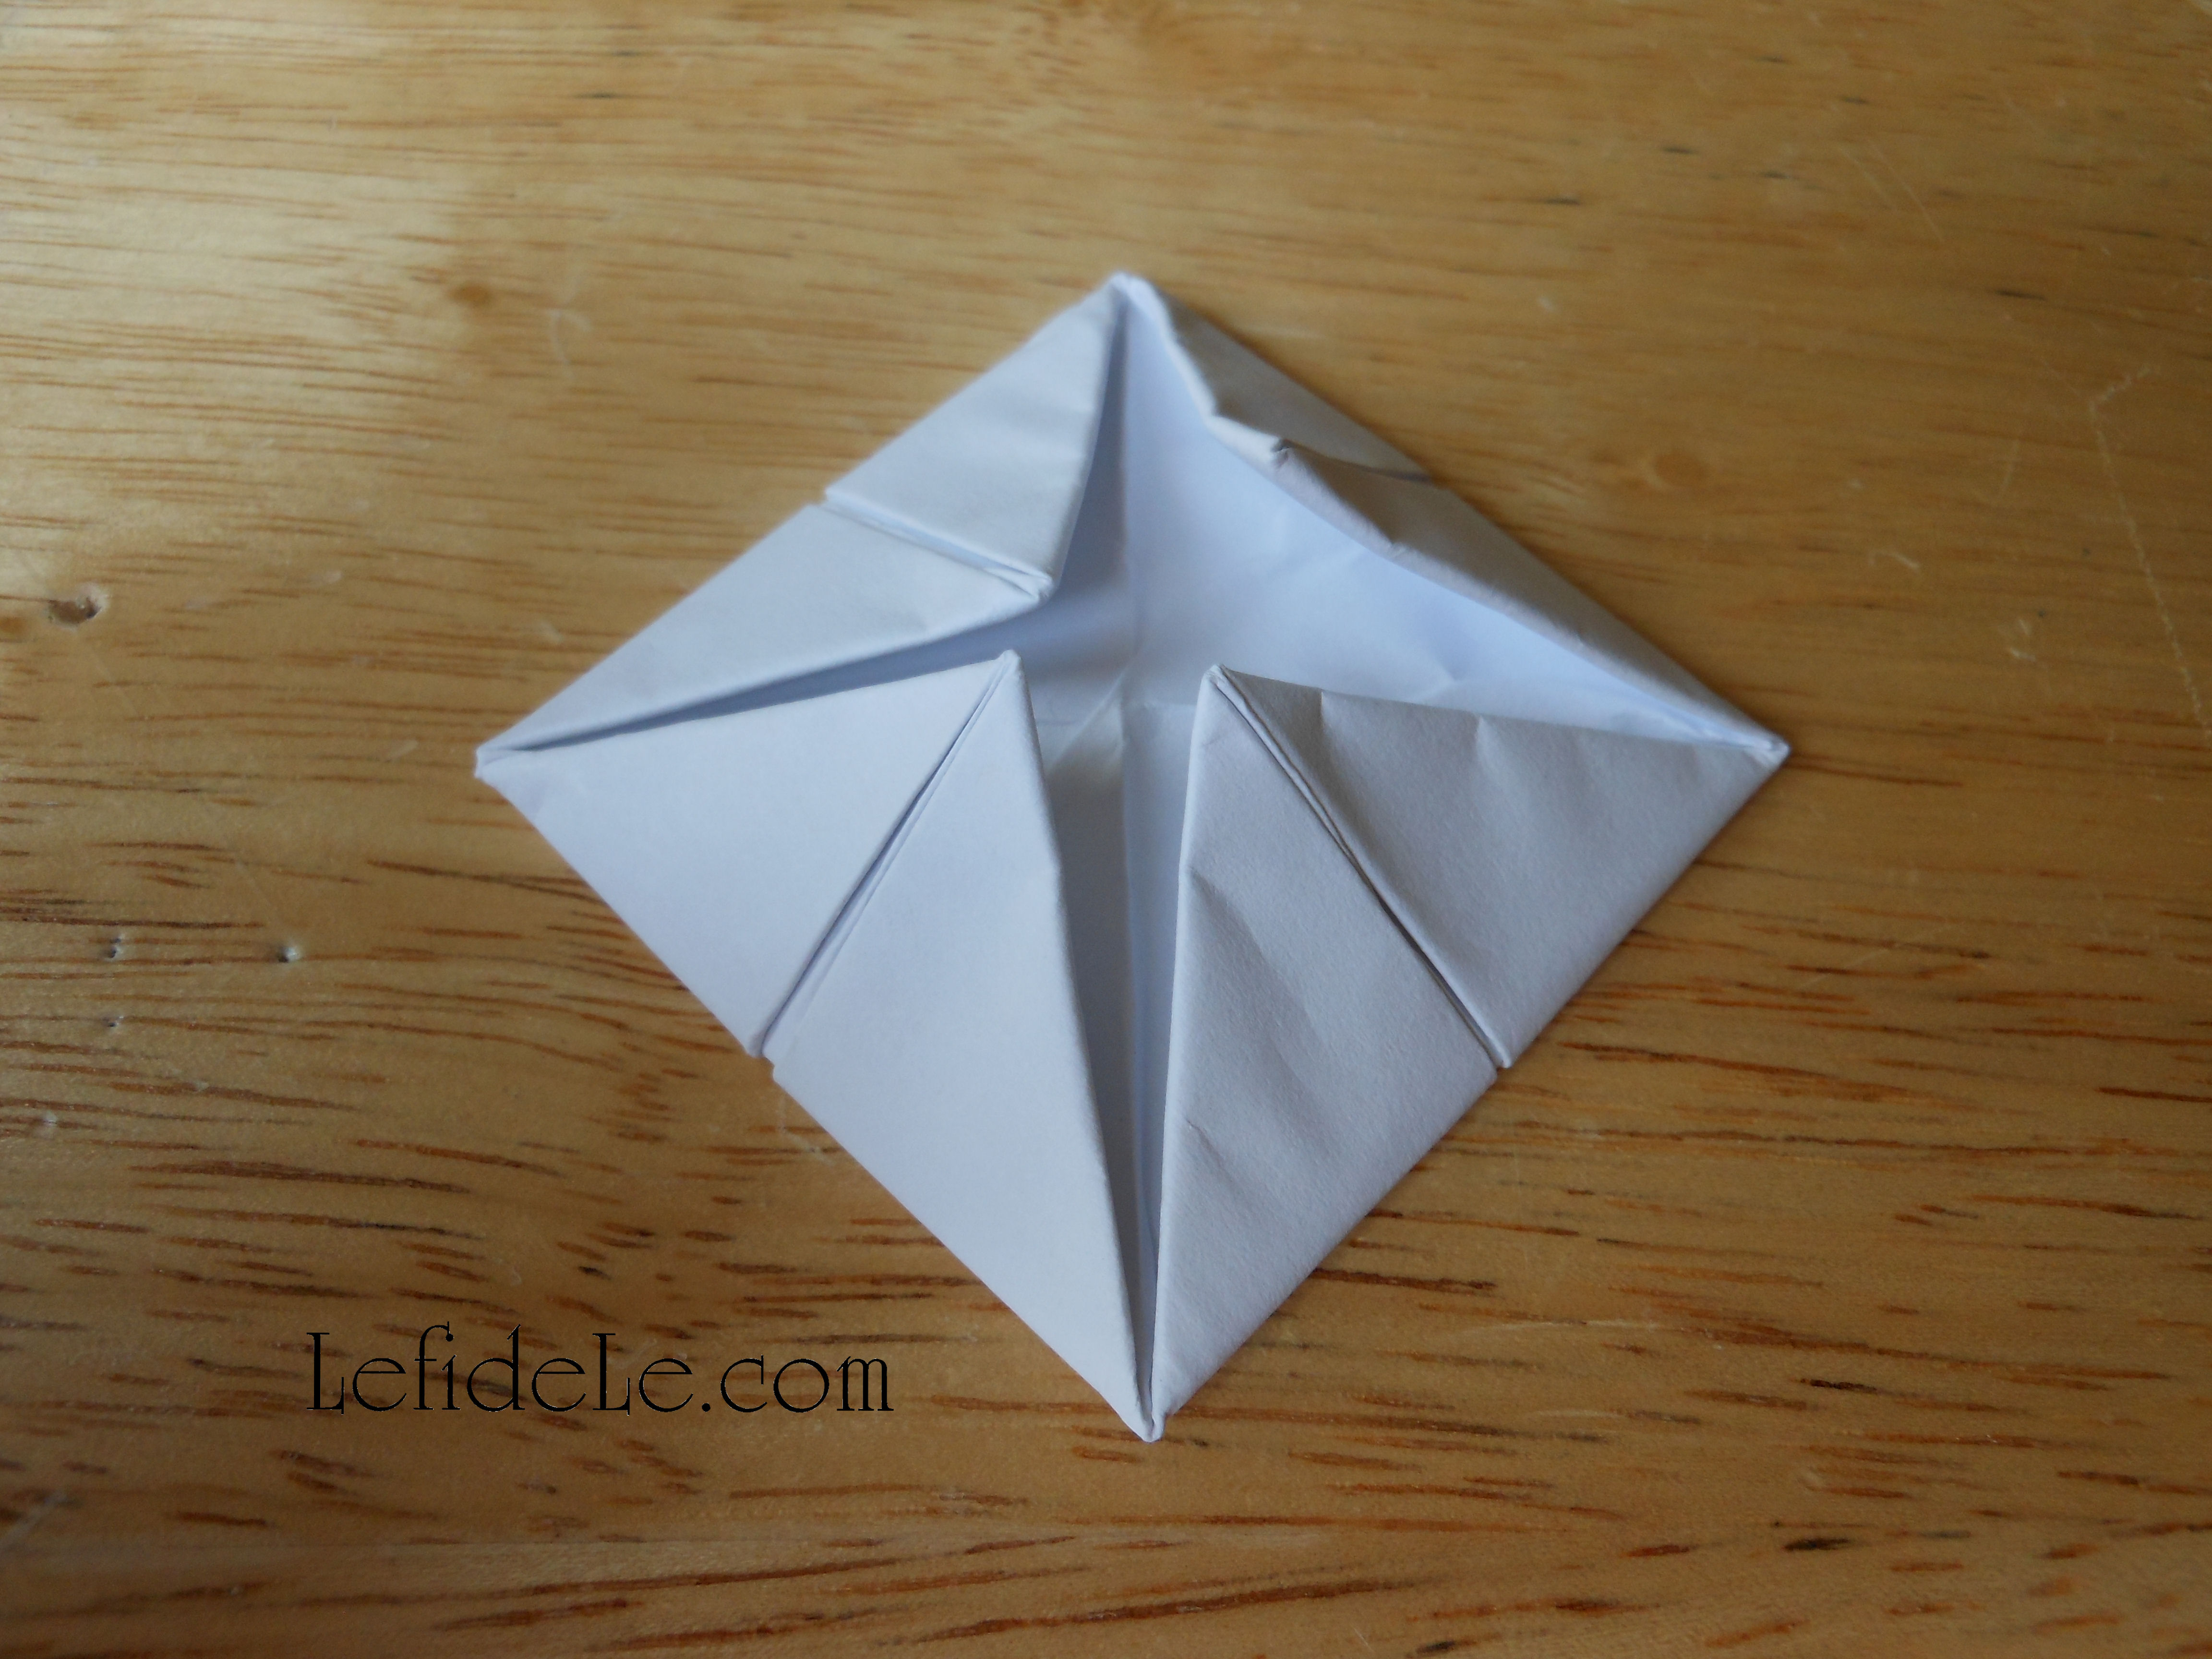
Now flip it over, and then repeat the 4 corner folding into the center one last time.

008Leigh

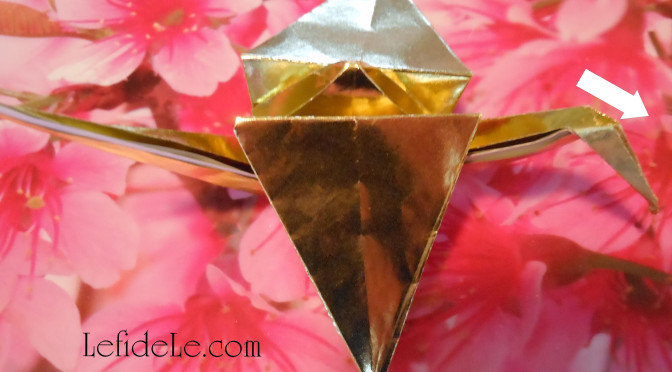
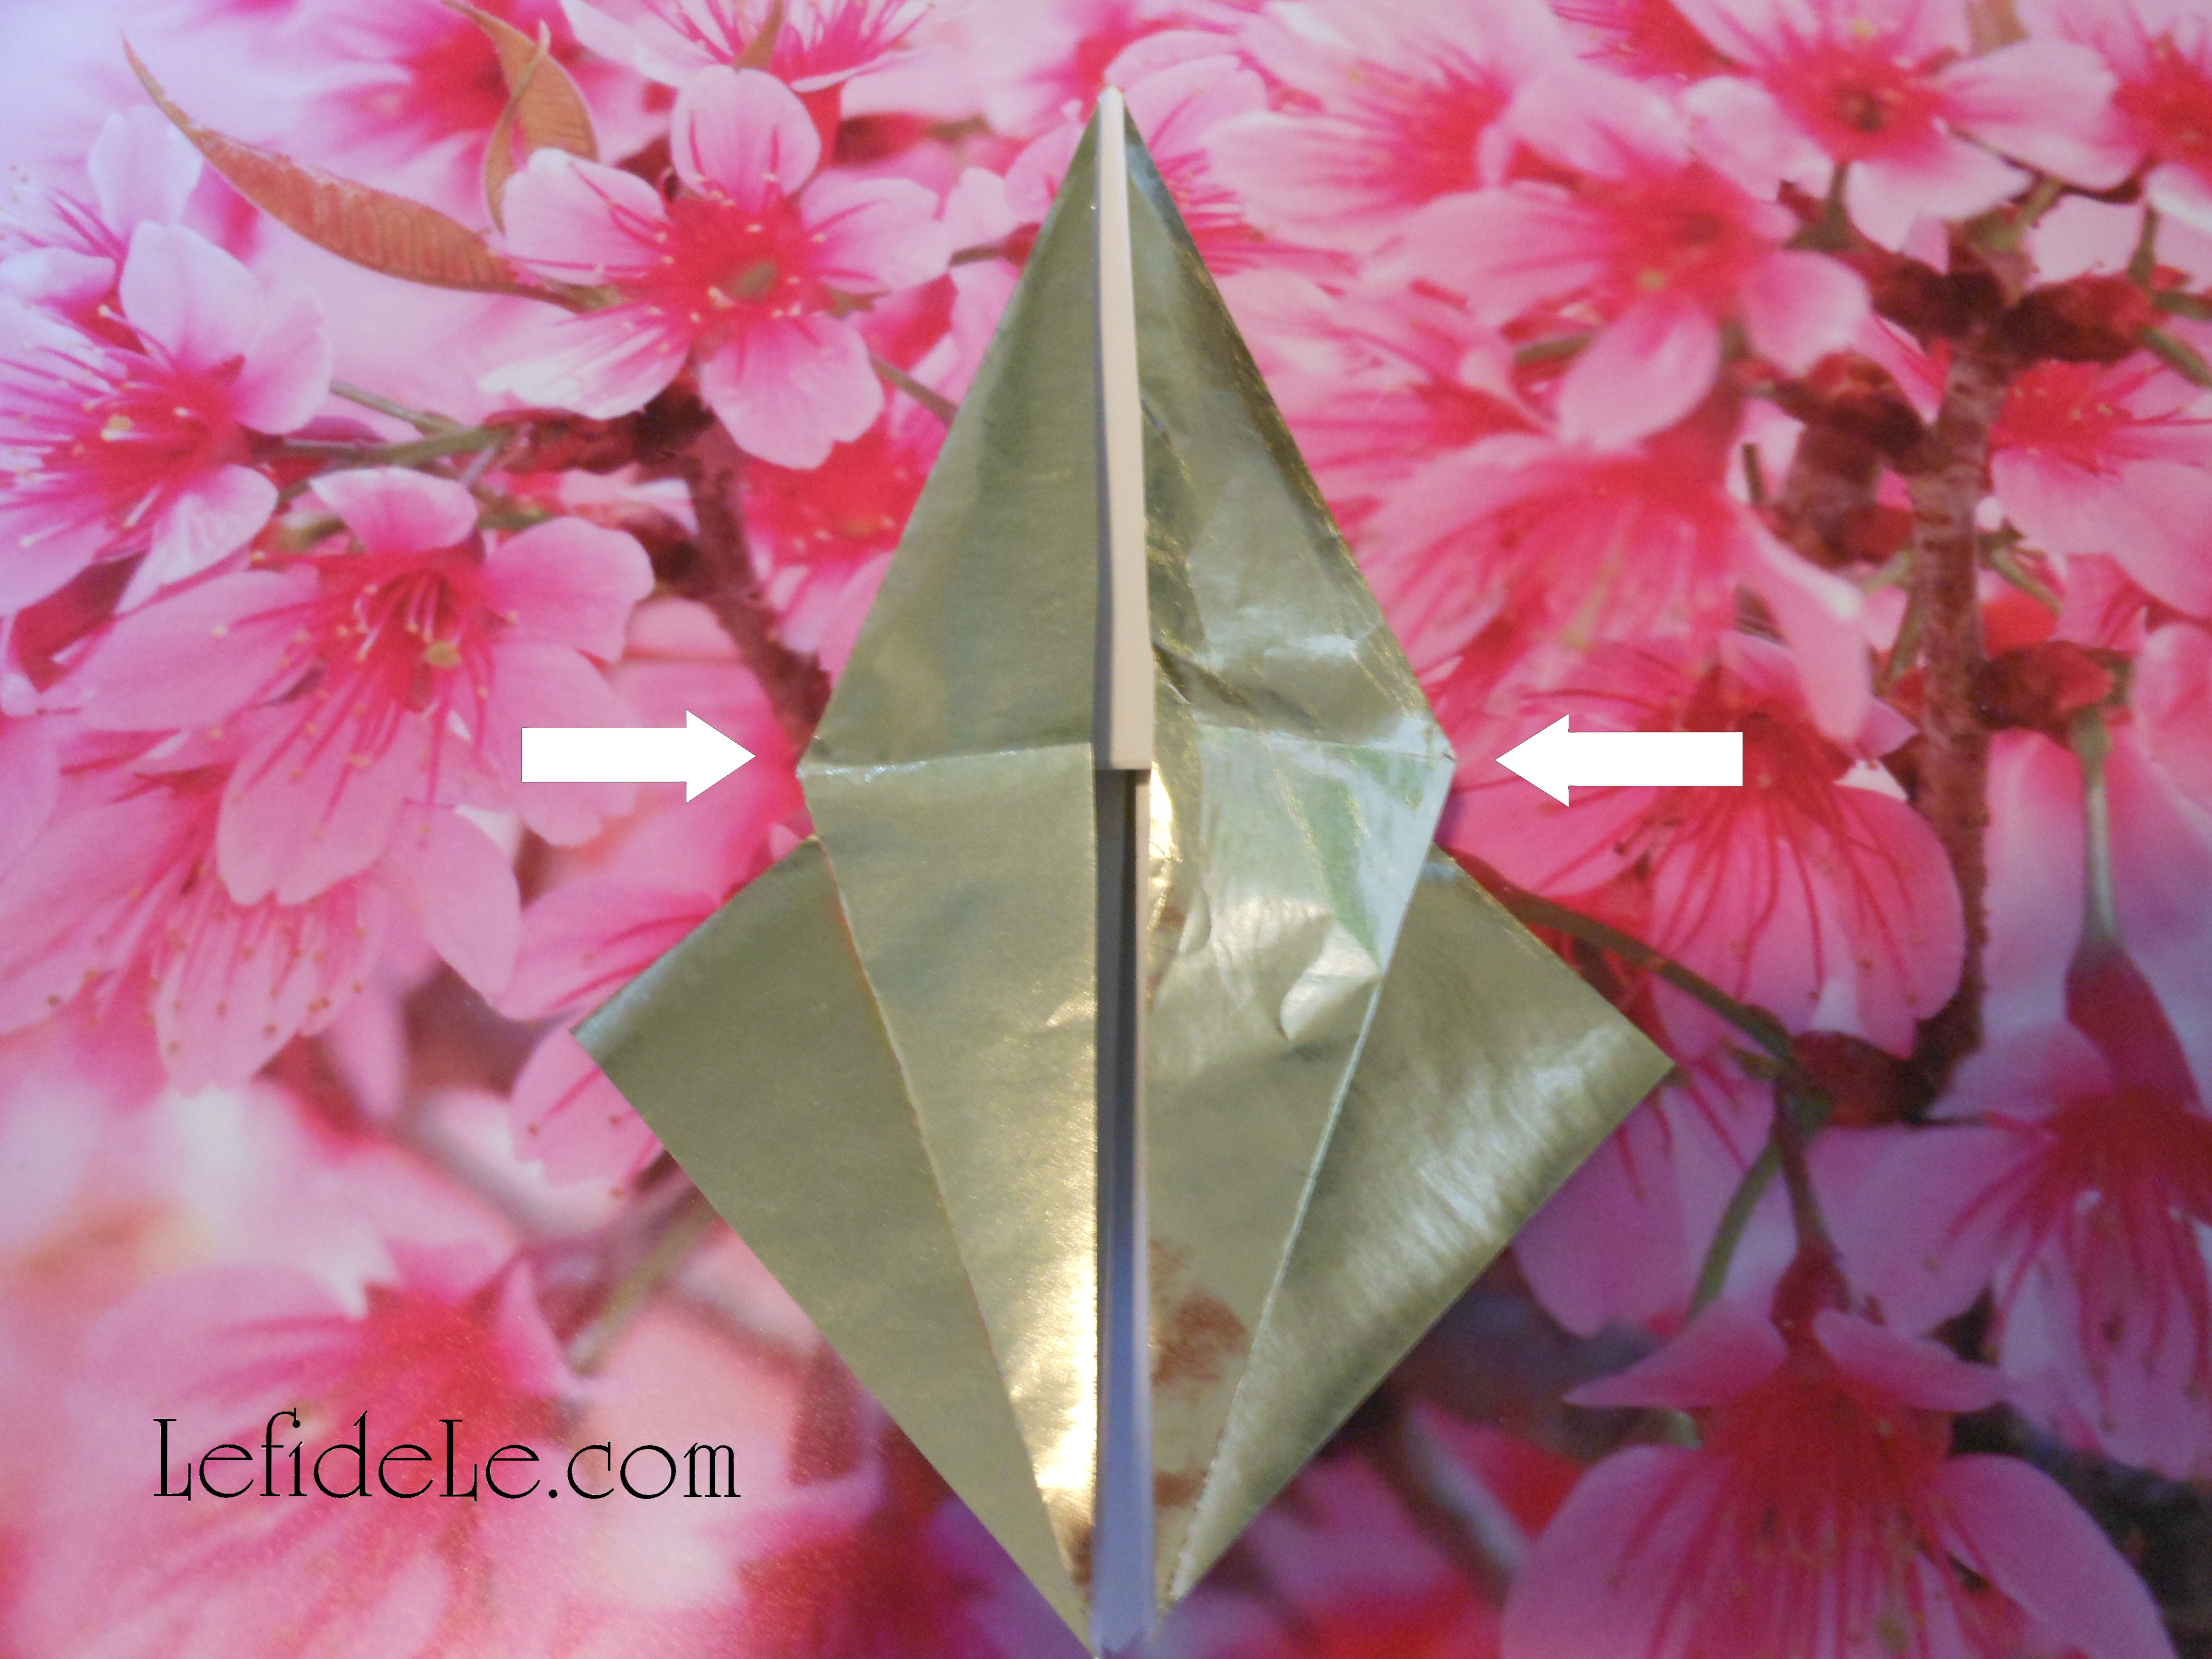
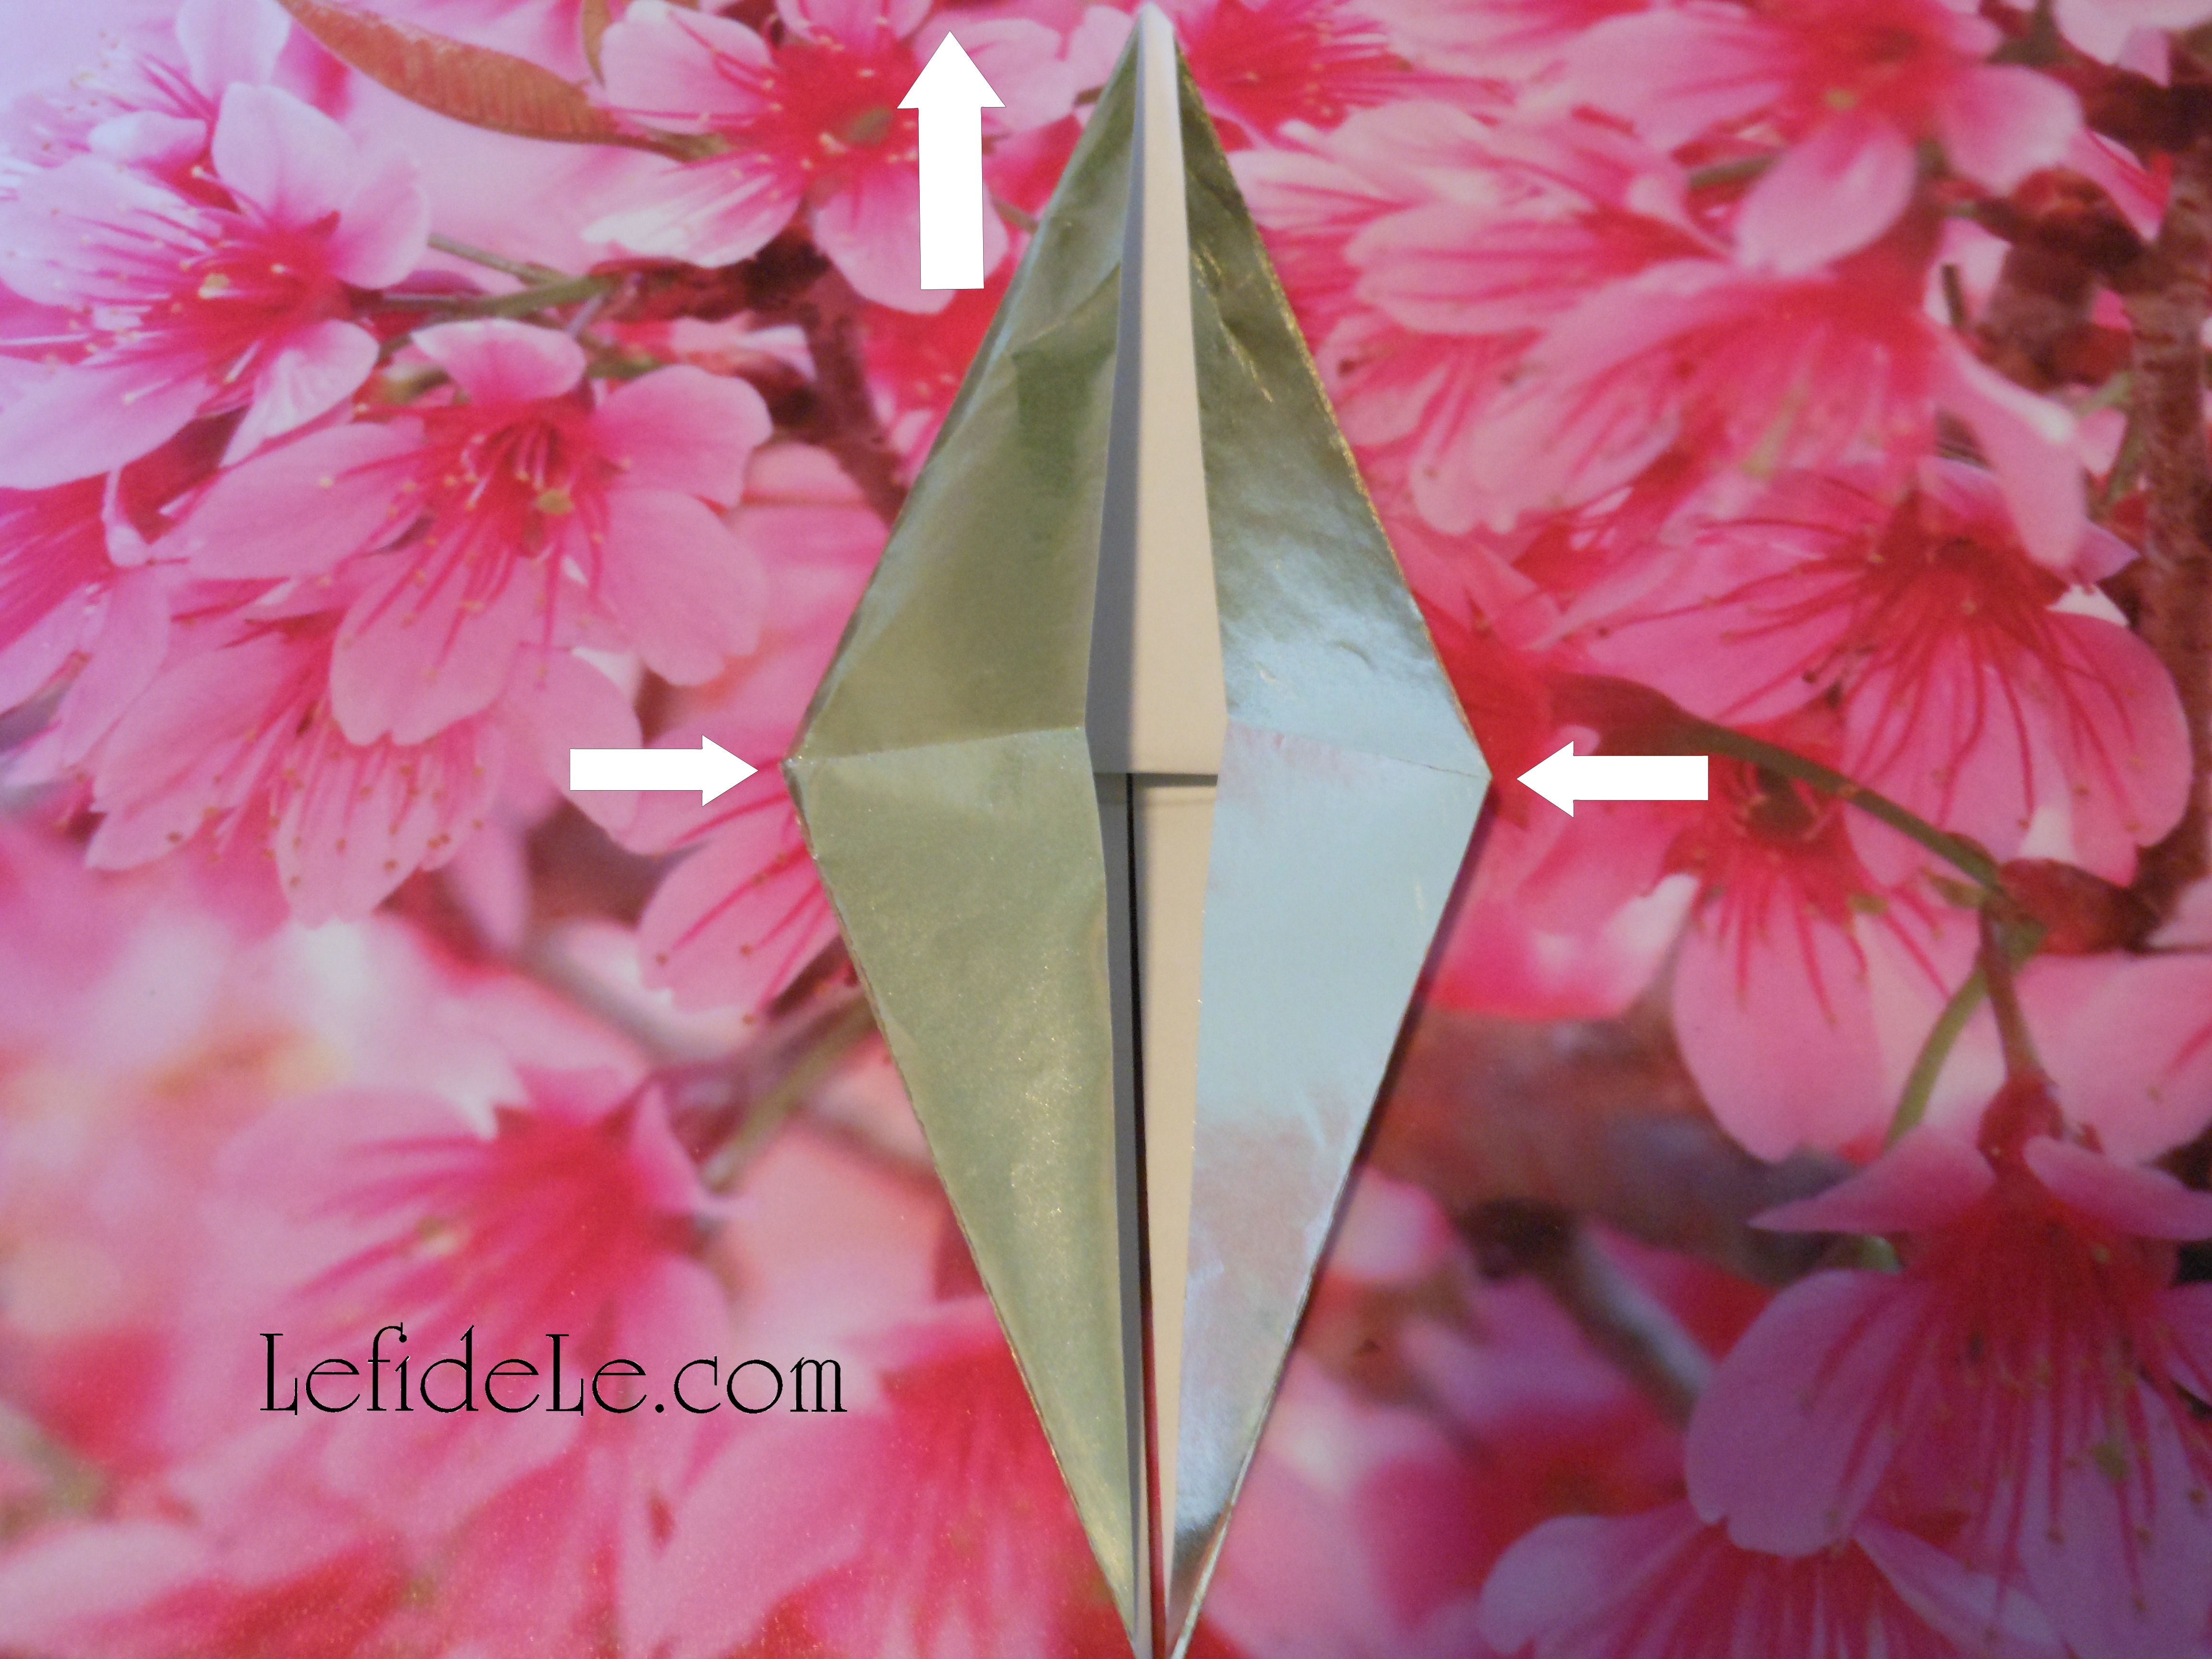
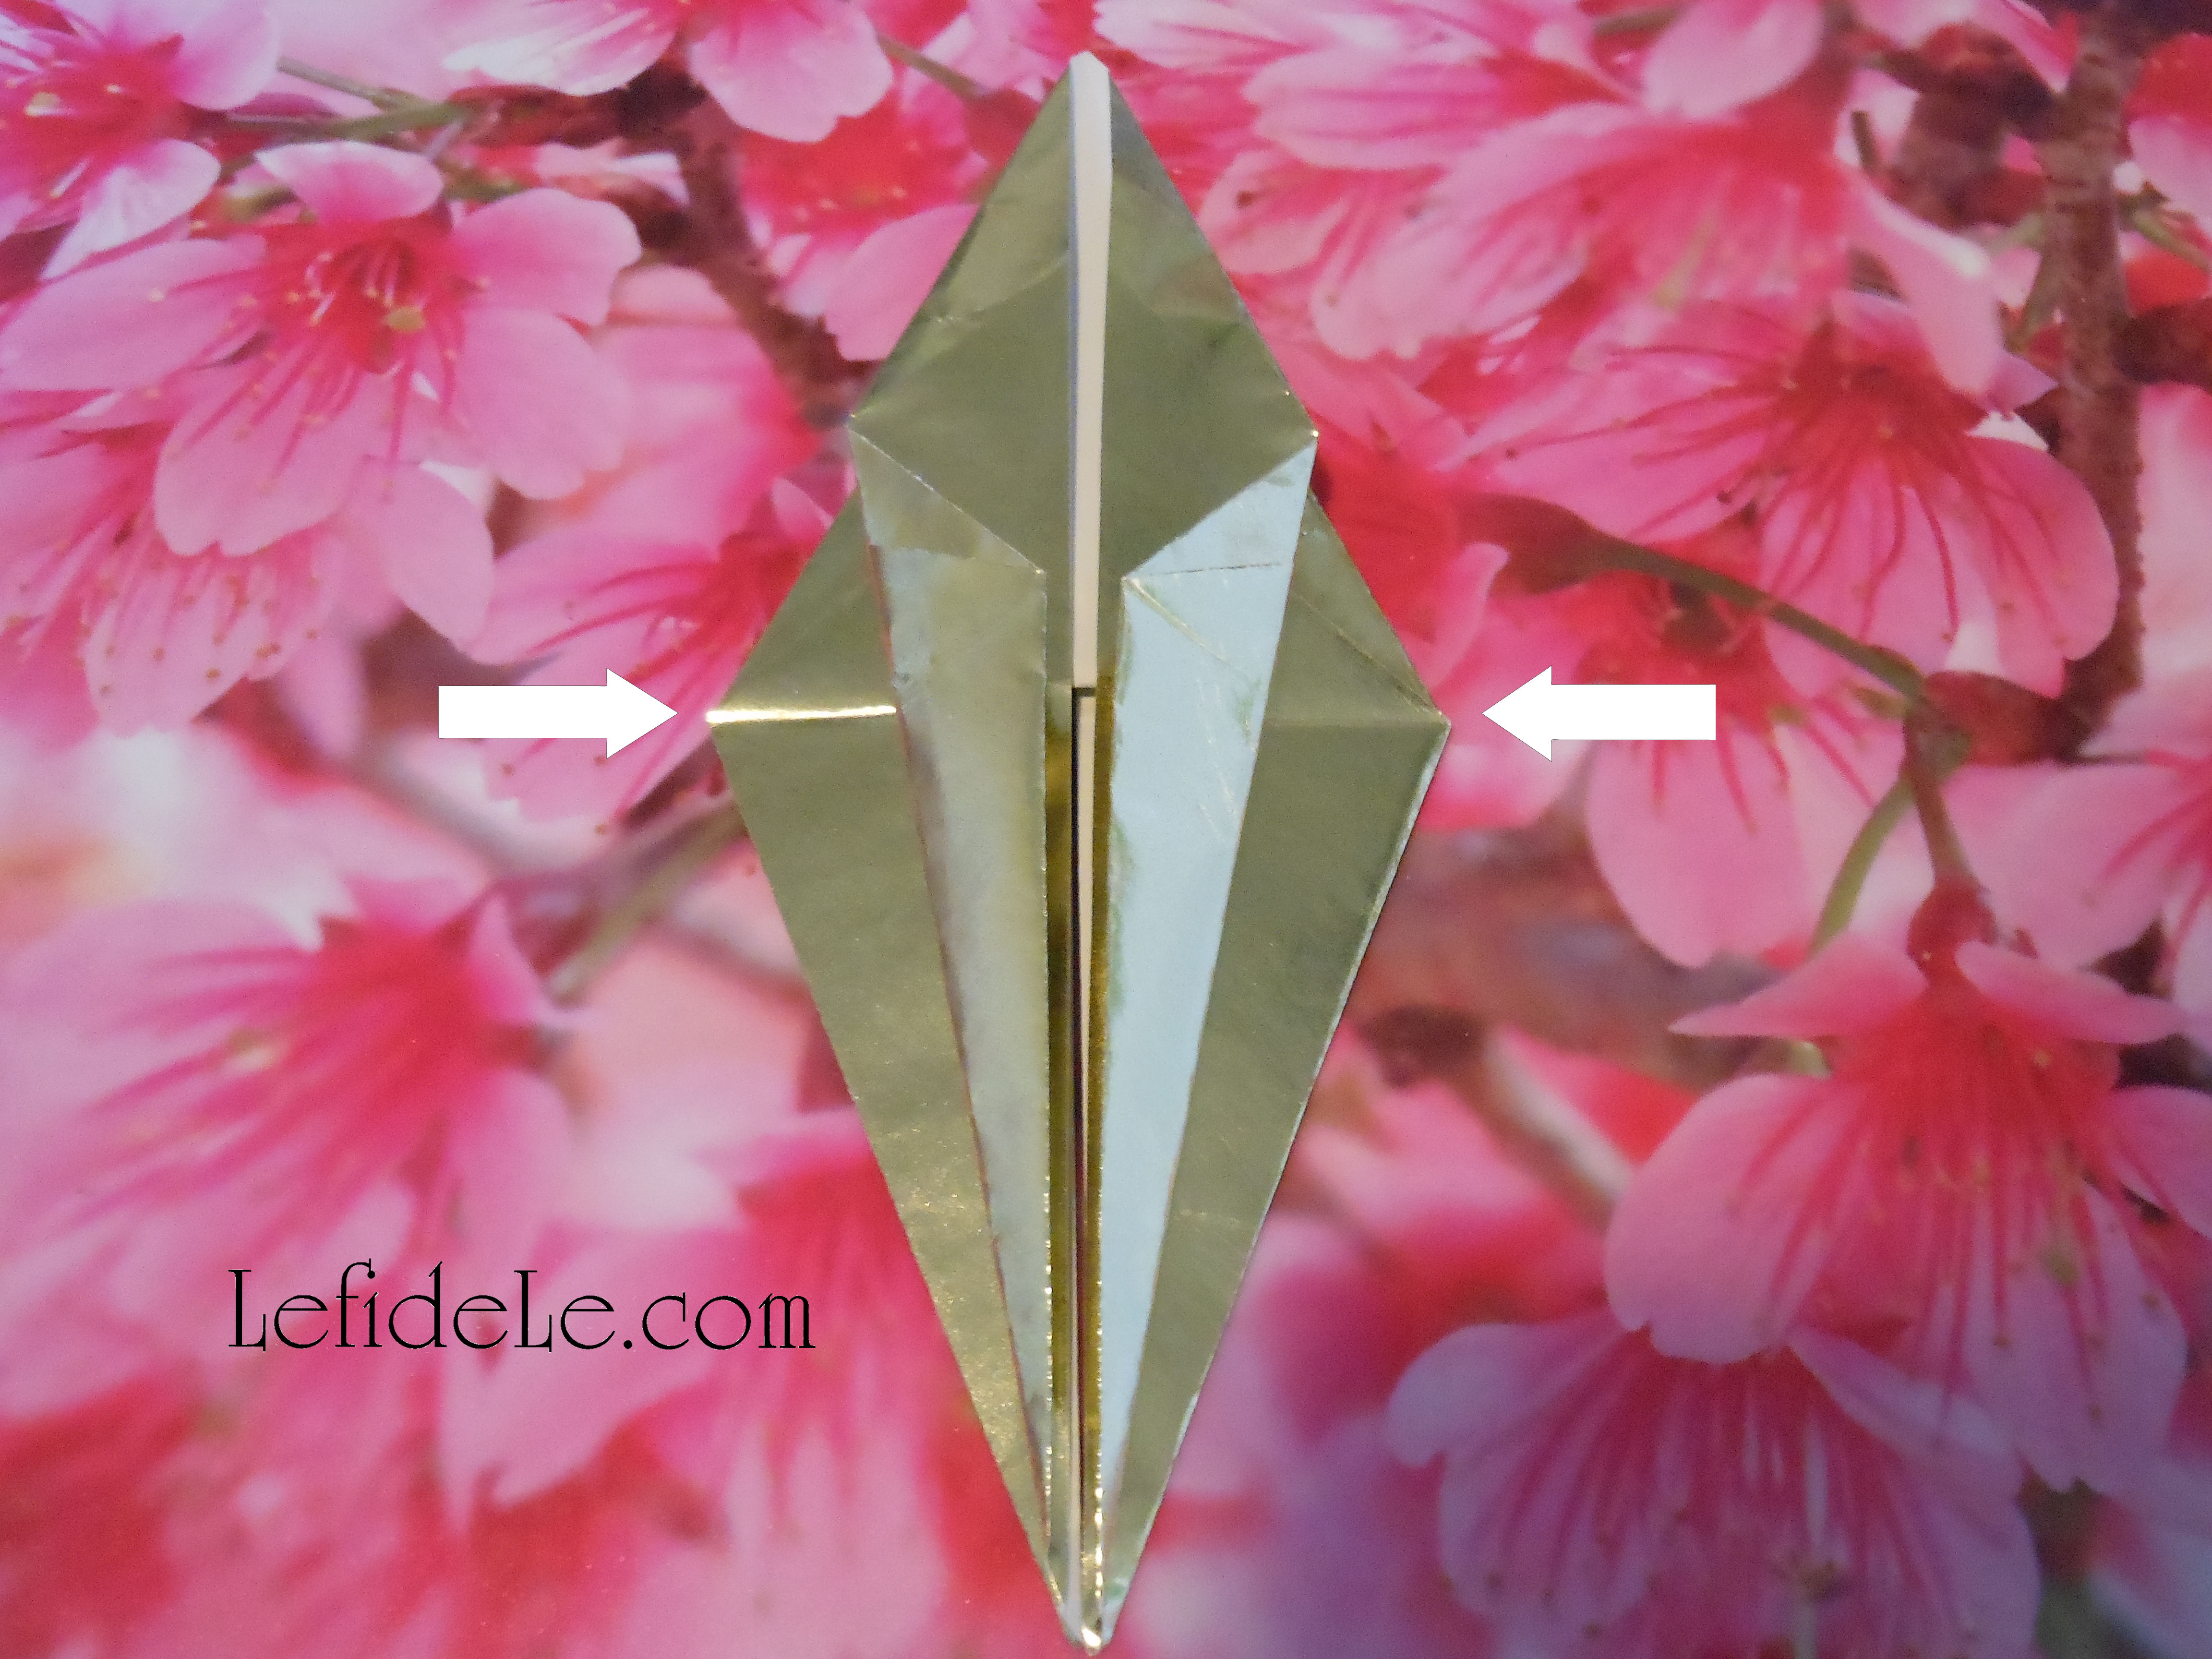
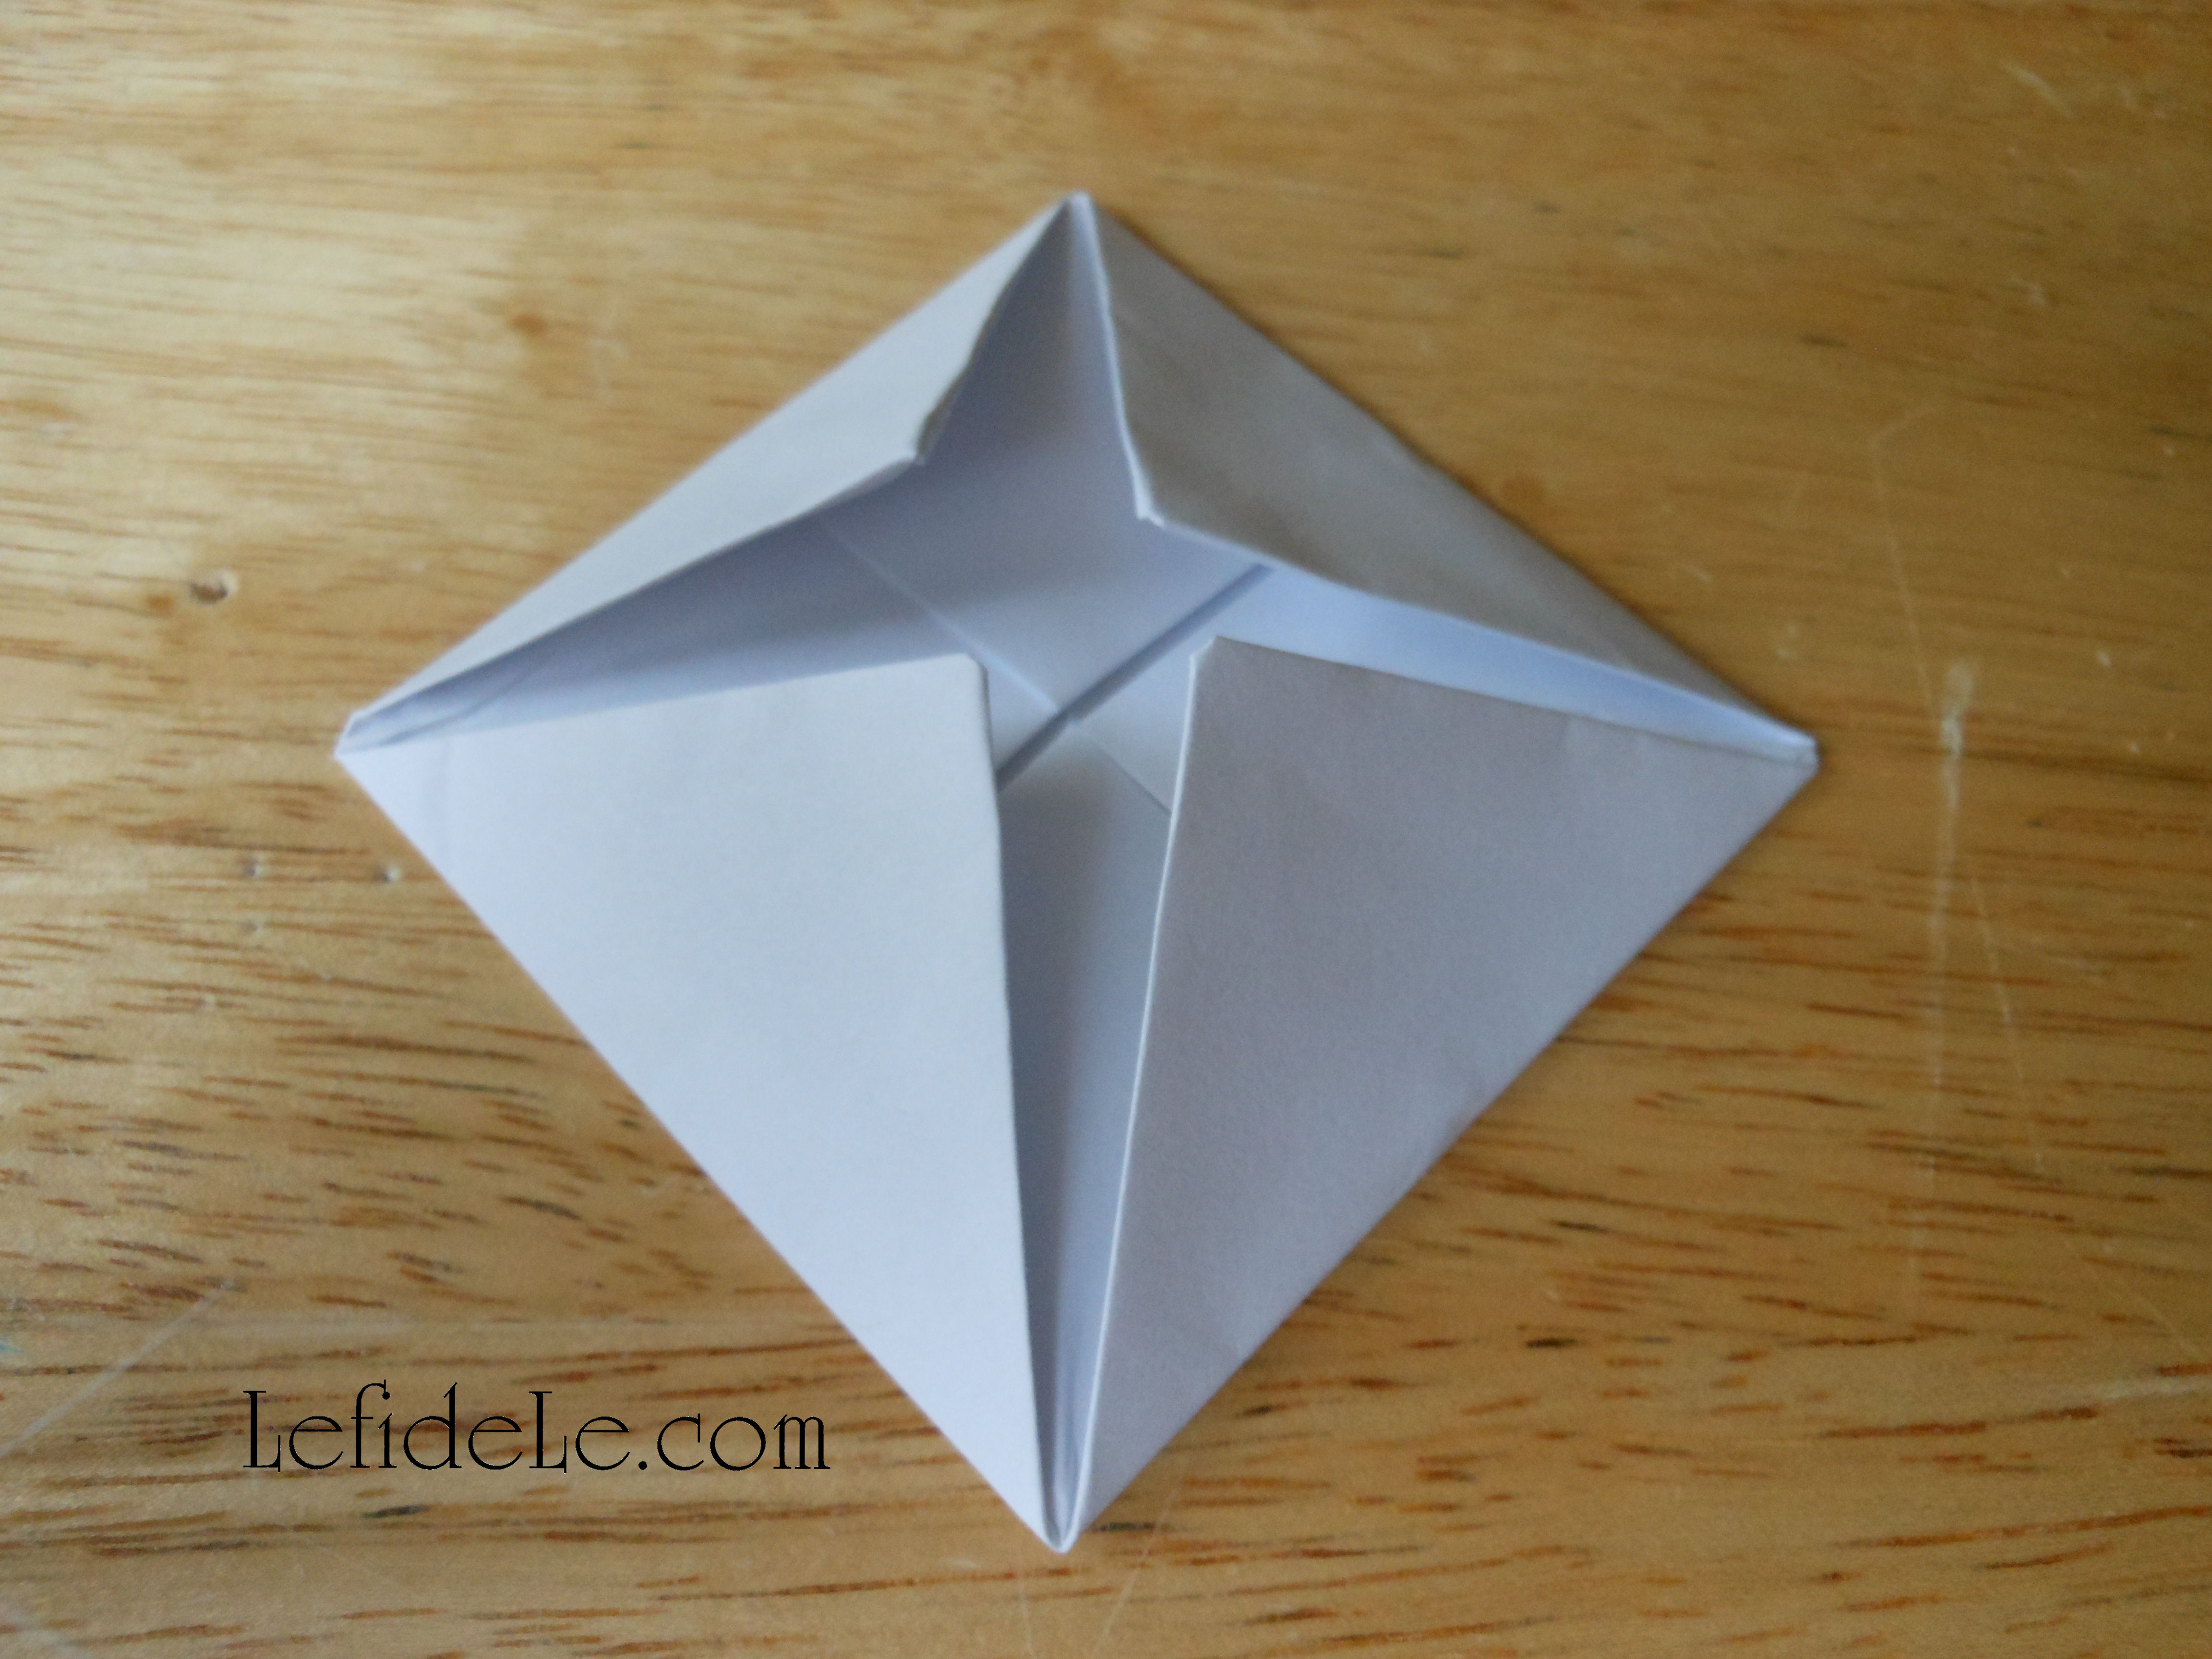
This is the tricky part… place your thumb into one corner of the square, and place the other fingers under the lipped point underneath it. Push in the corner with your thumb while gently pulling the underneath point out. It will flip up and over into a sort of petal. (The right petal in the picture is only halfway done. You can keep pulling gently until it looks like the left petal.) Stop pushing and pulling once the petal has a solid form with a rounded outside edge. Repeat this petal making on all corners.

009Leigh

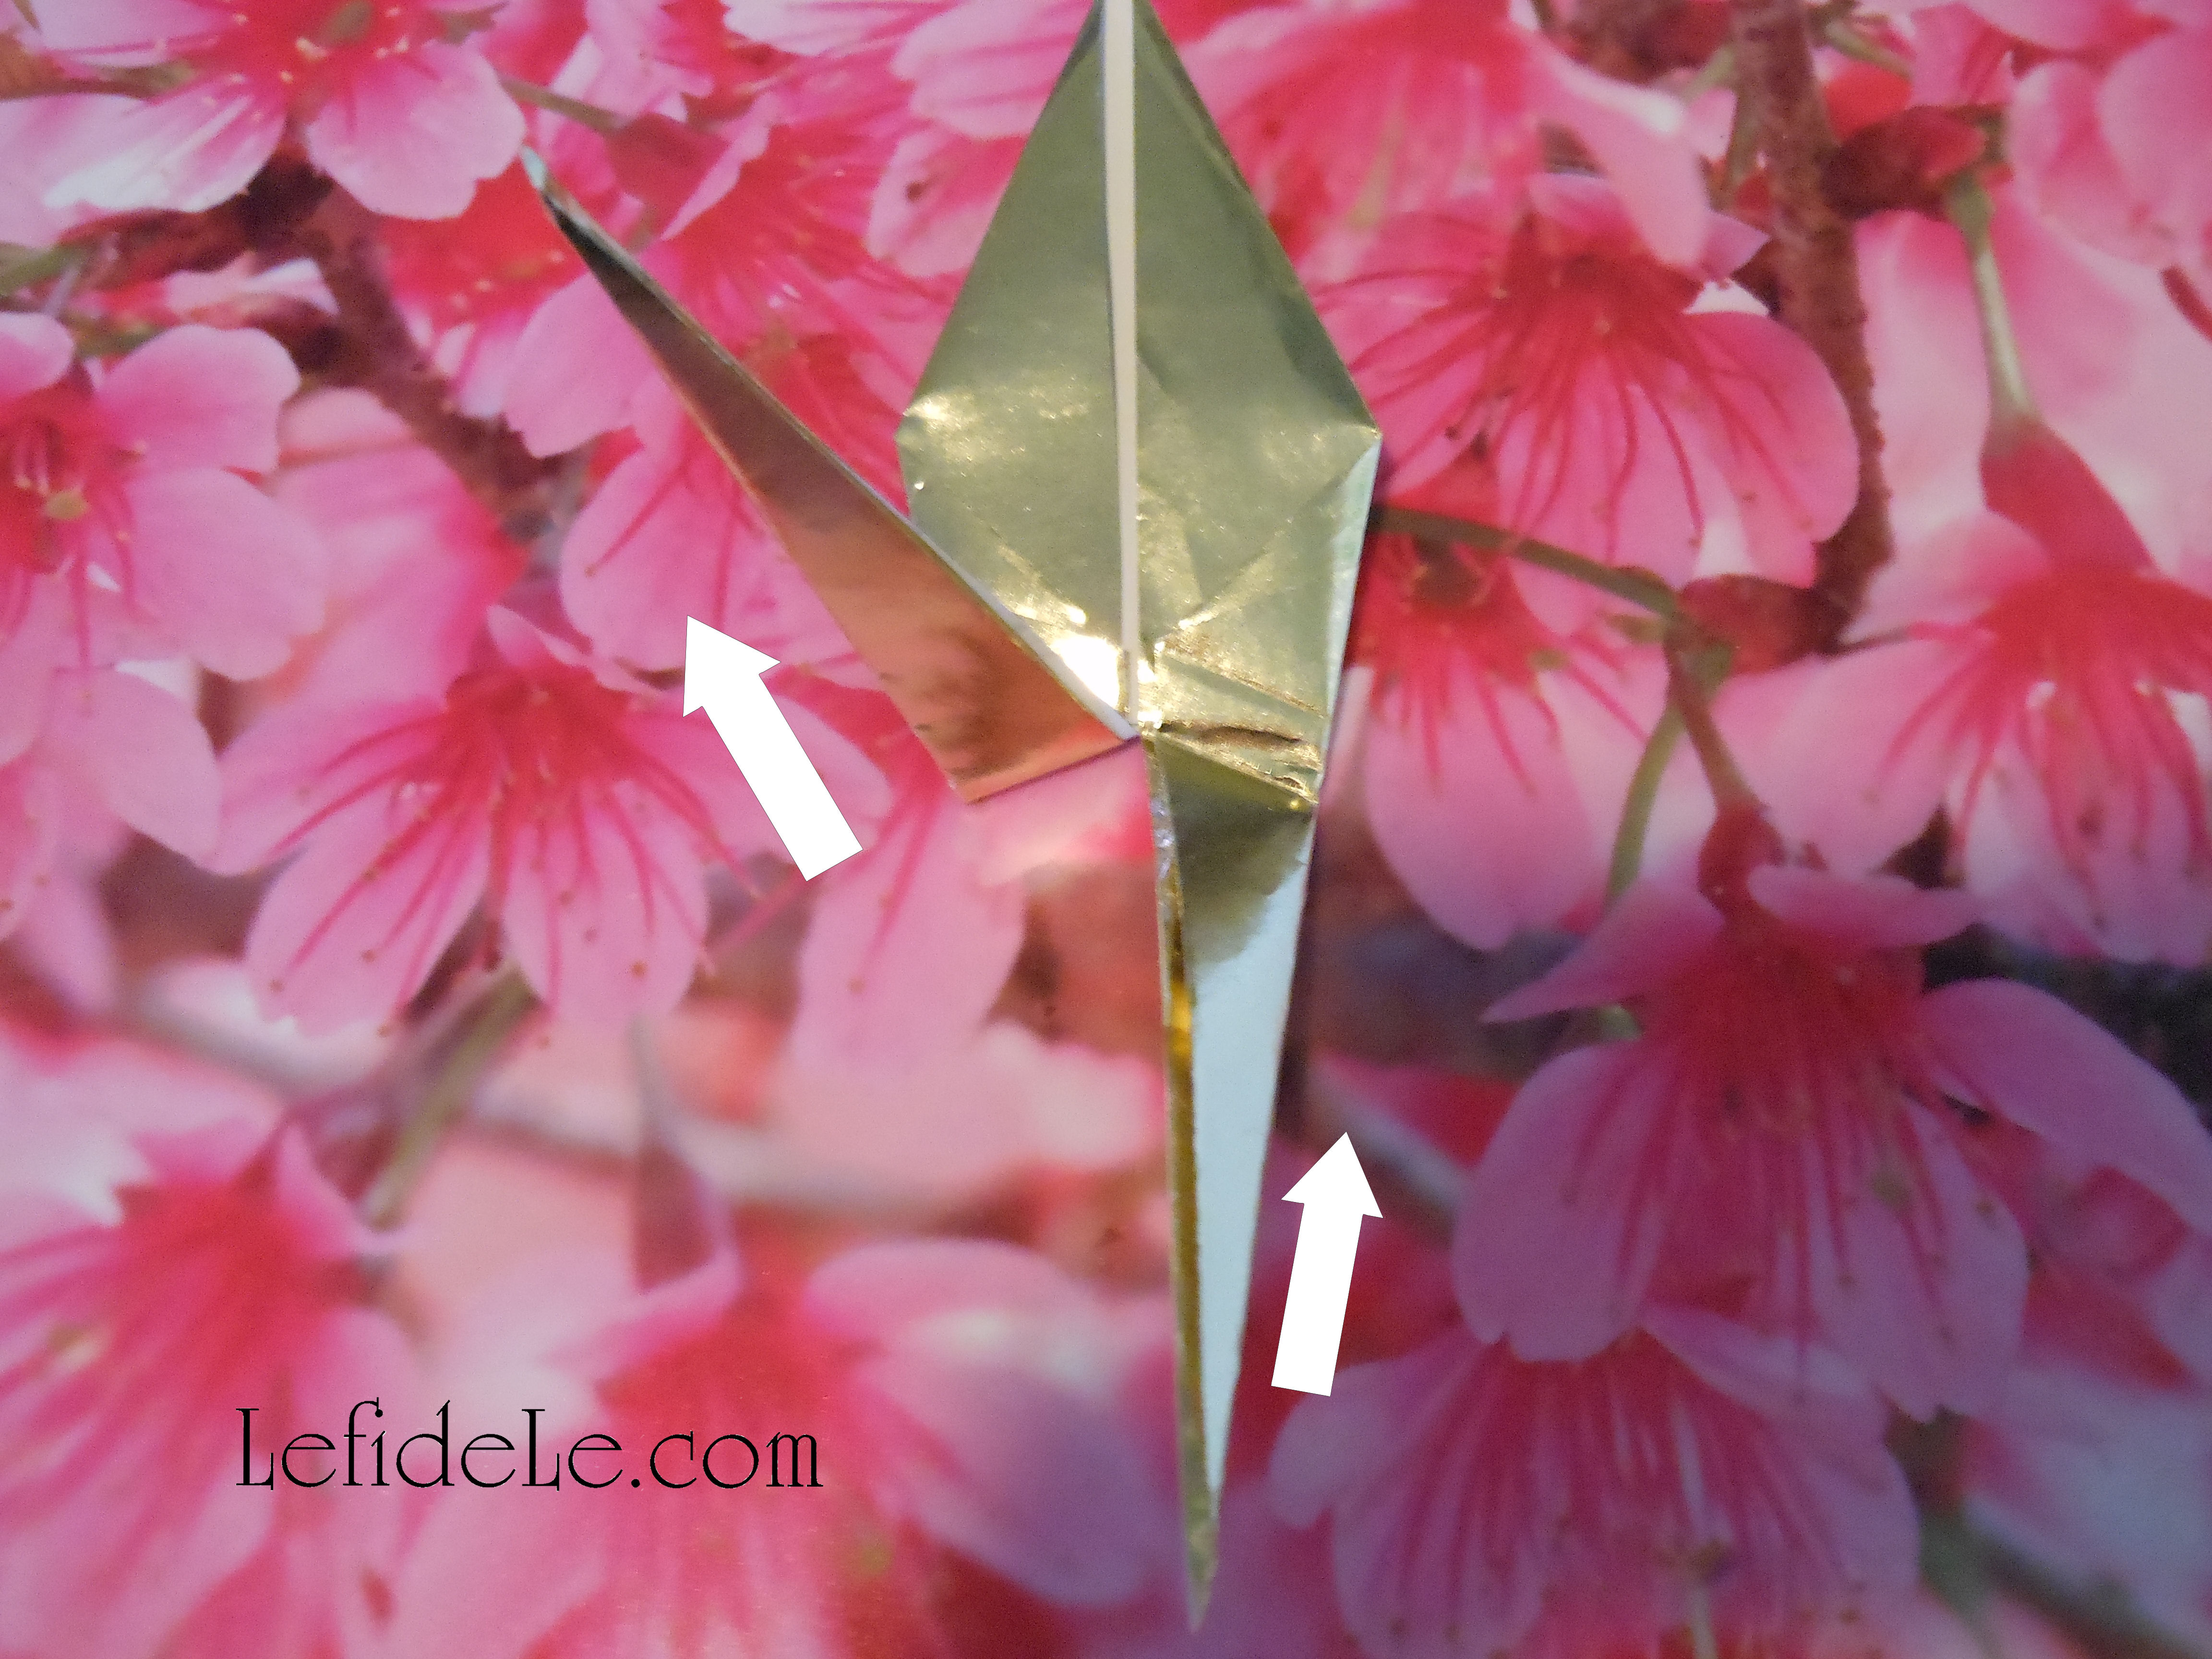
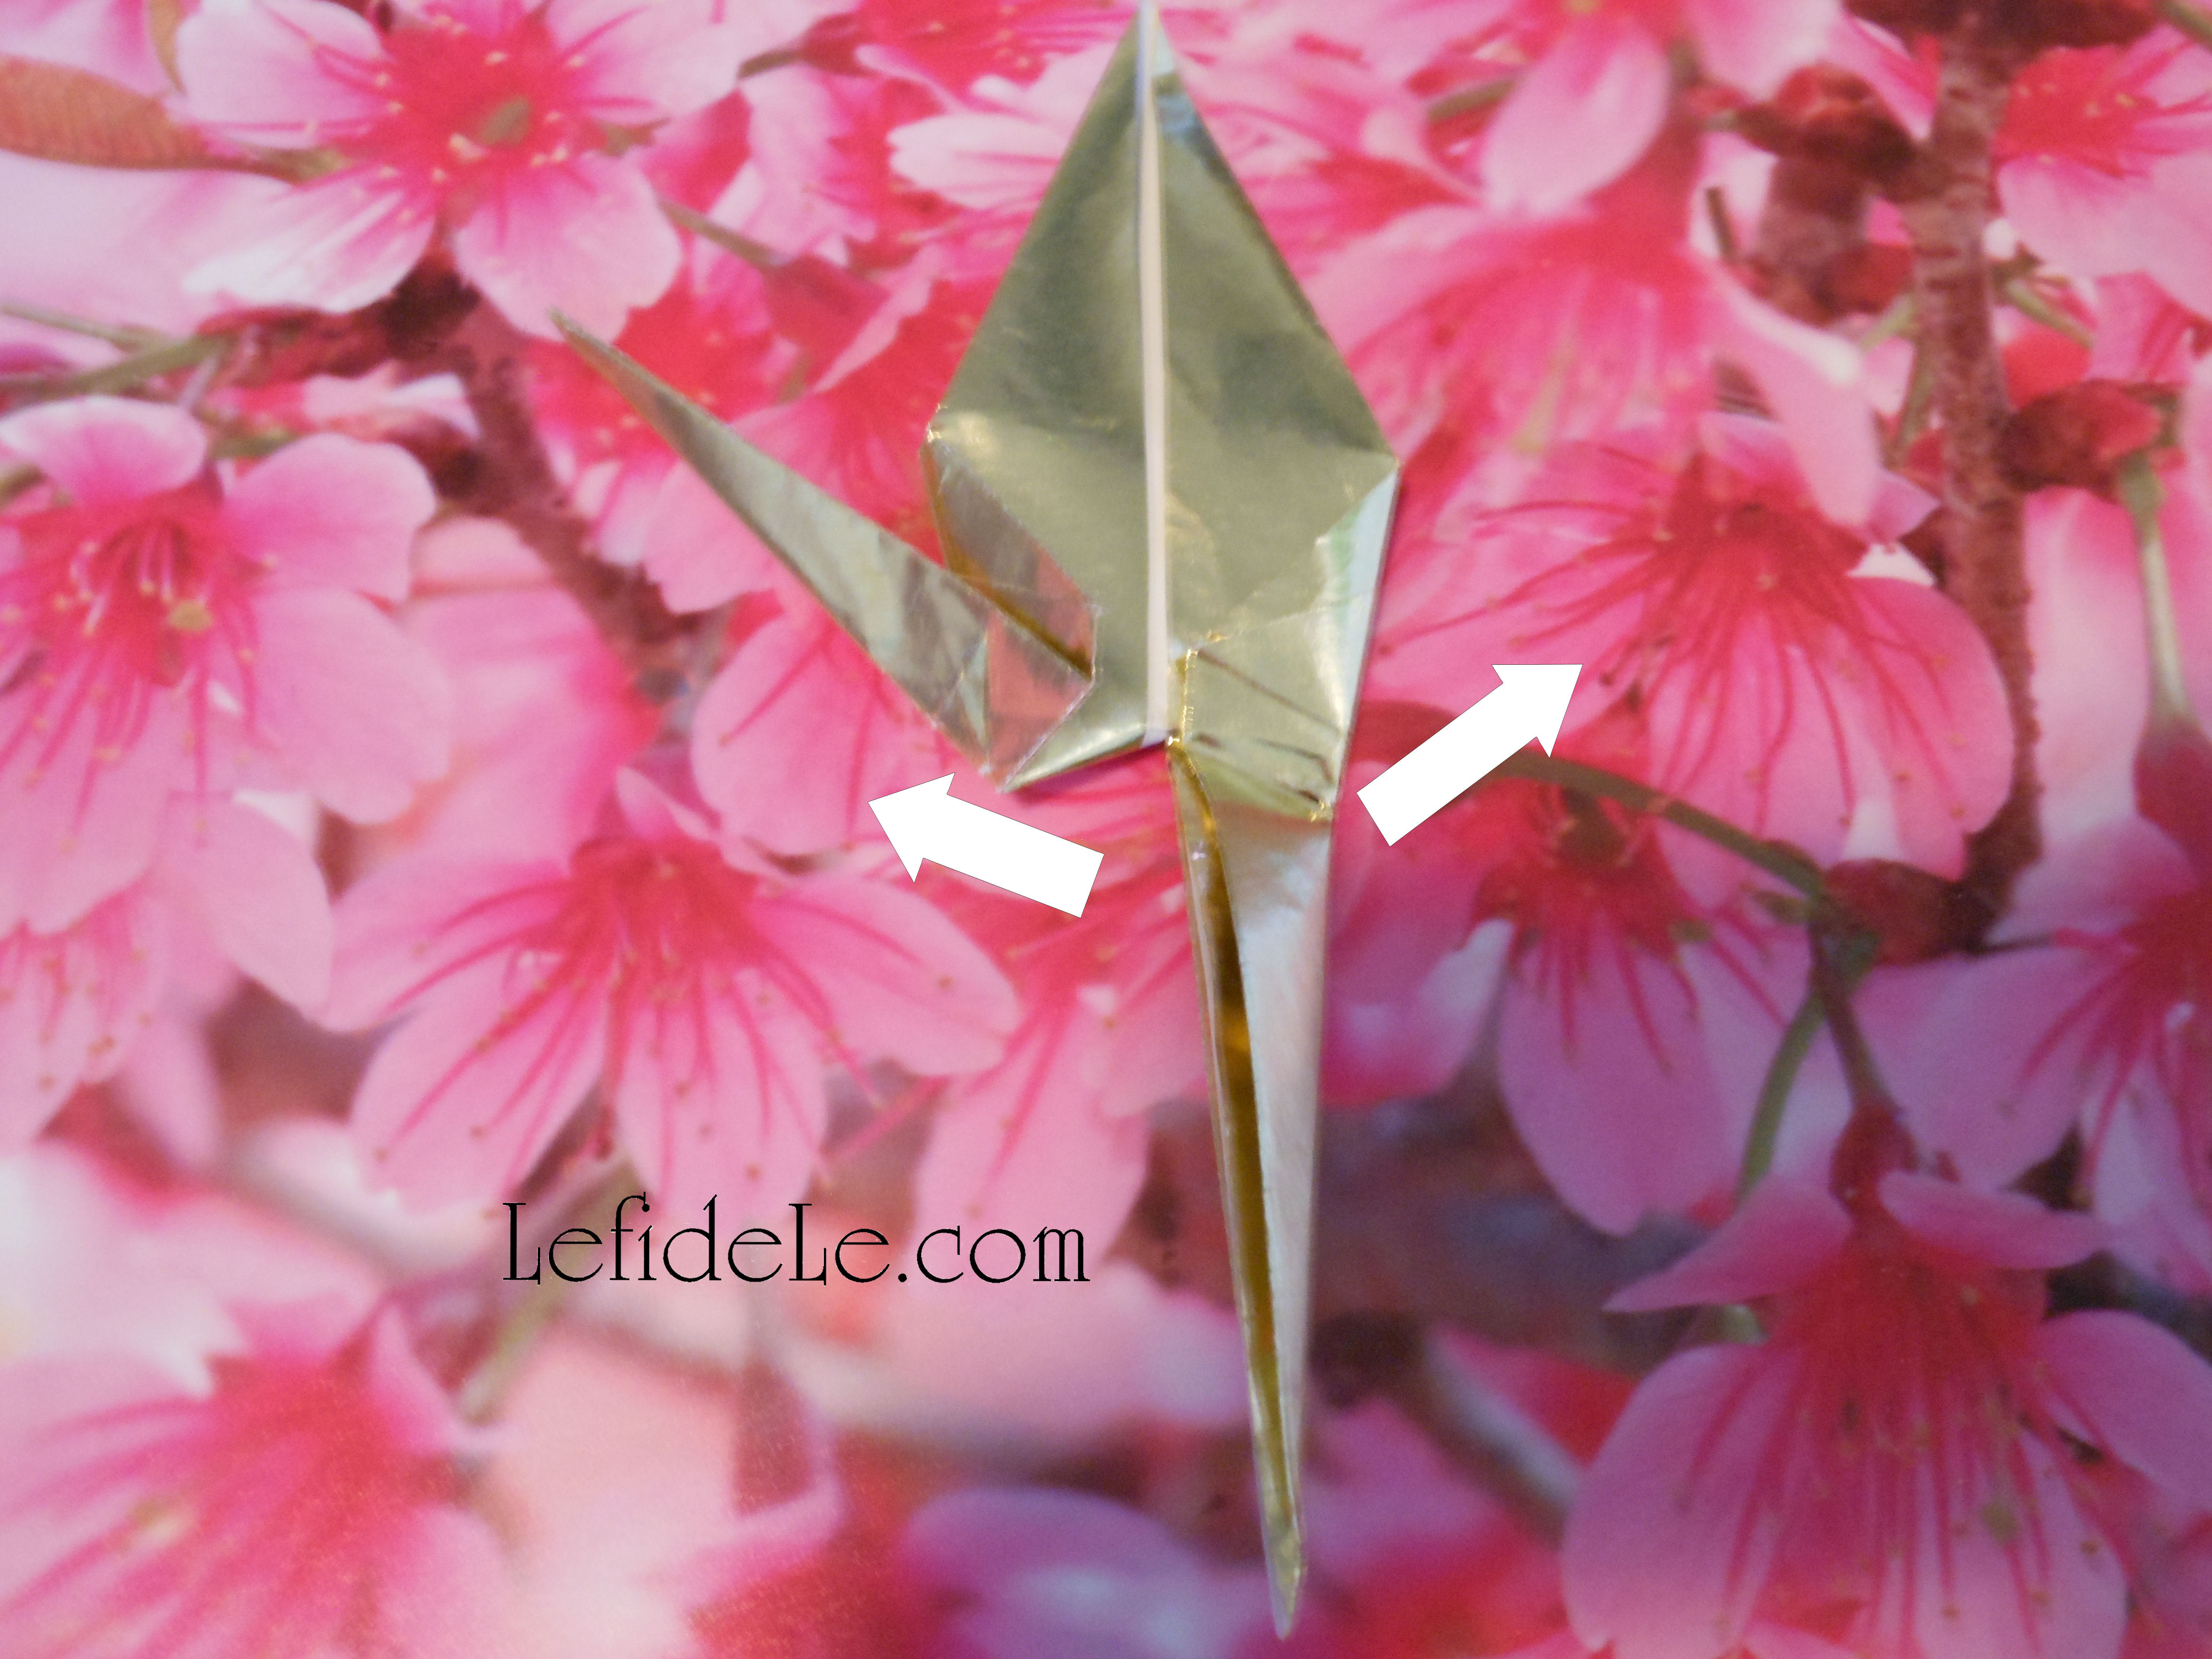
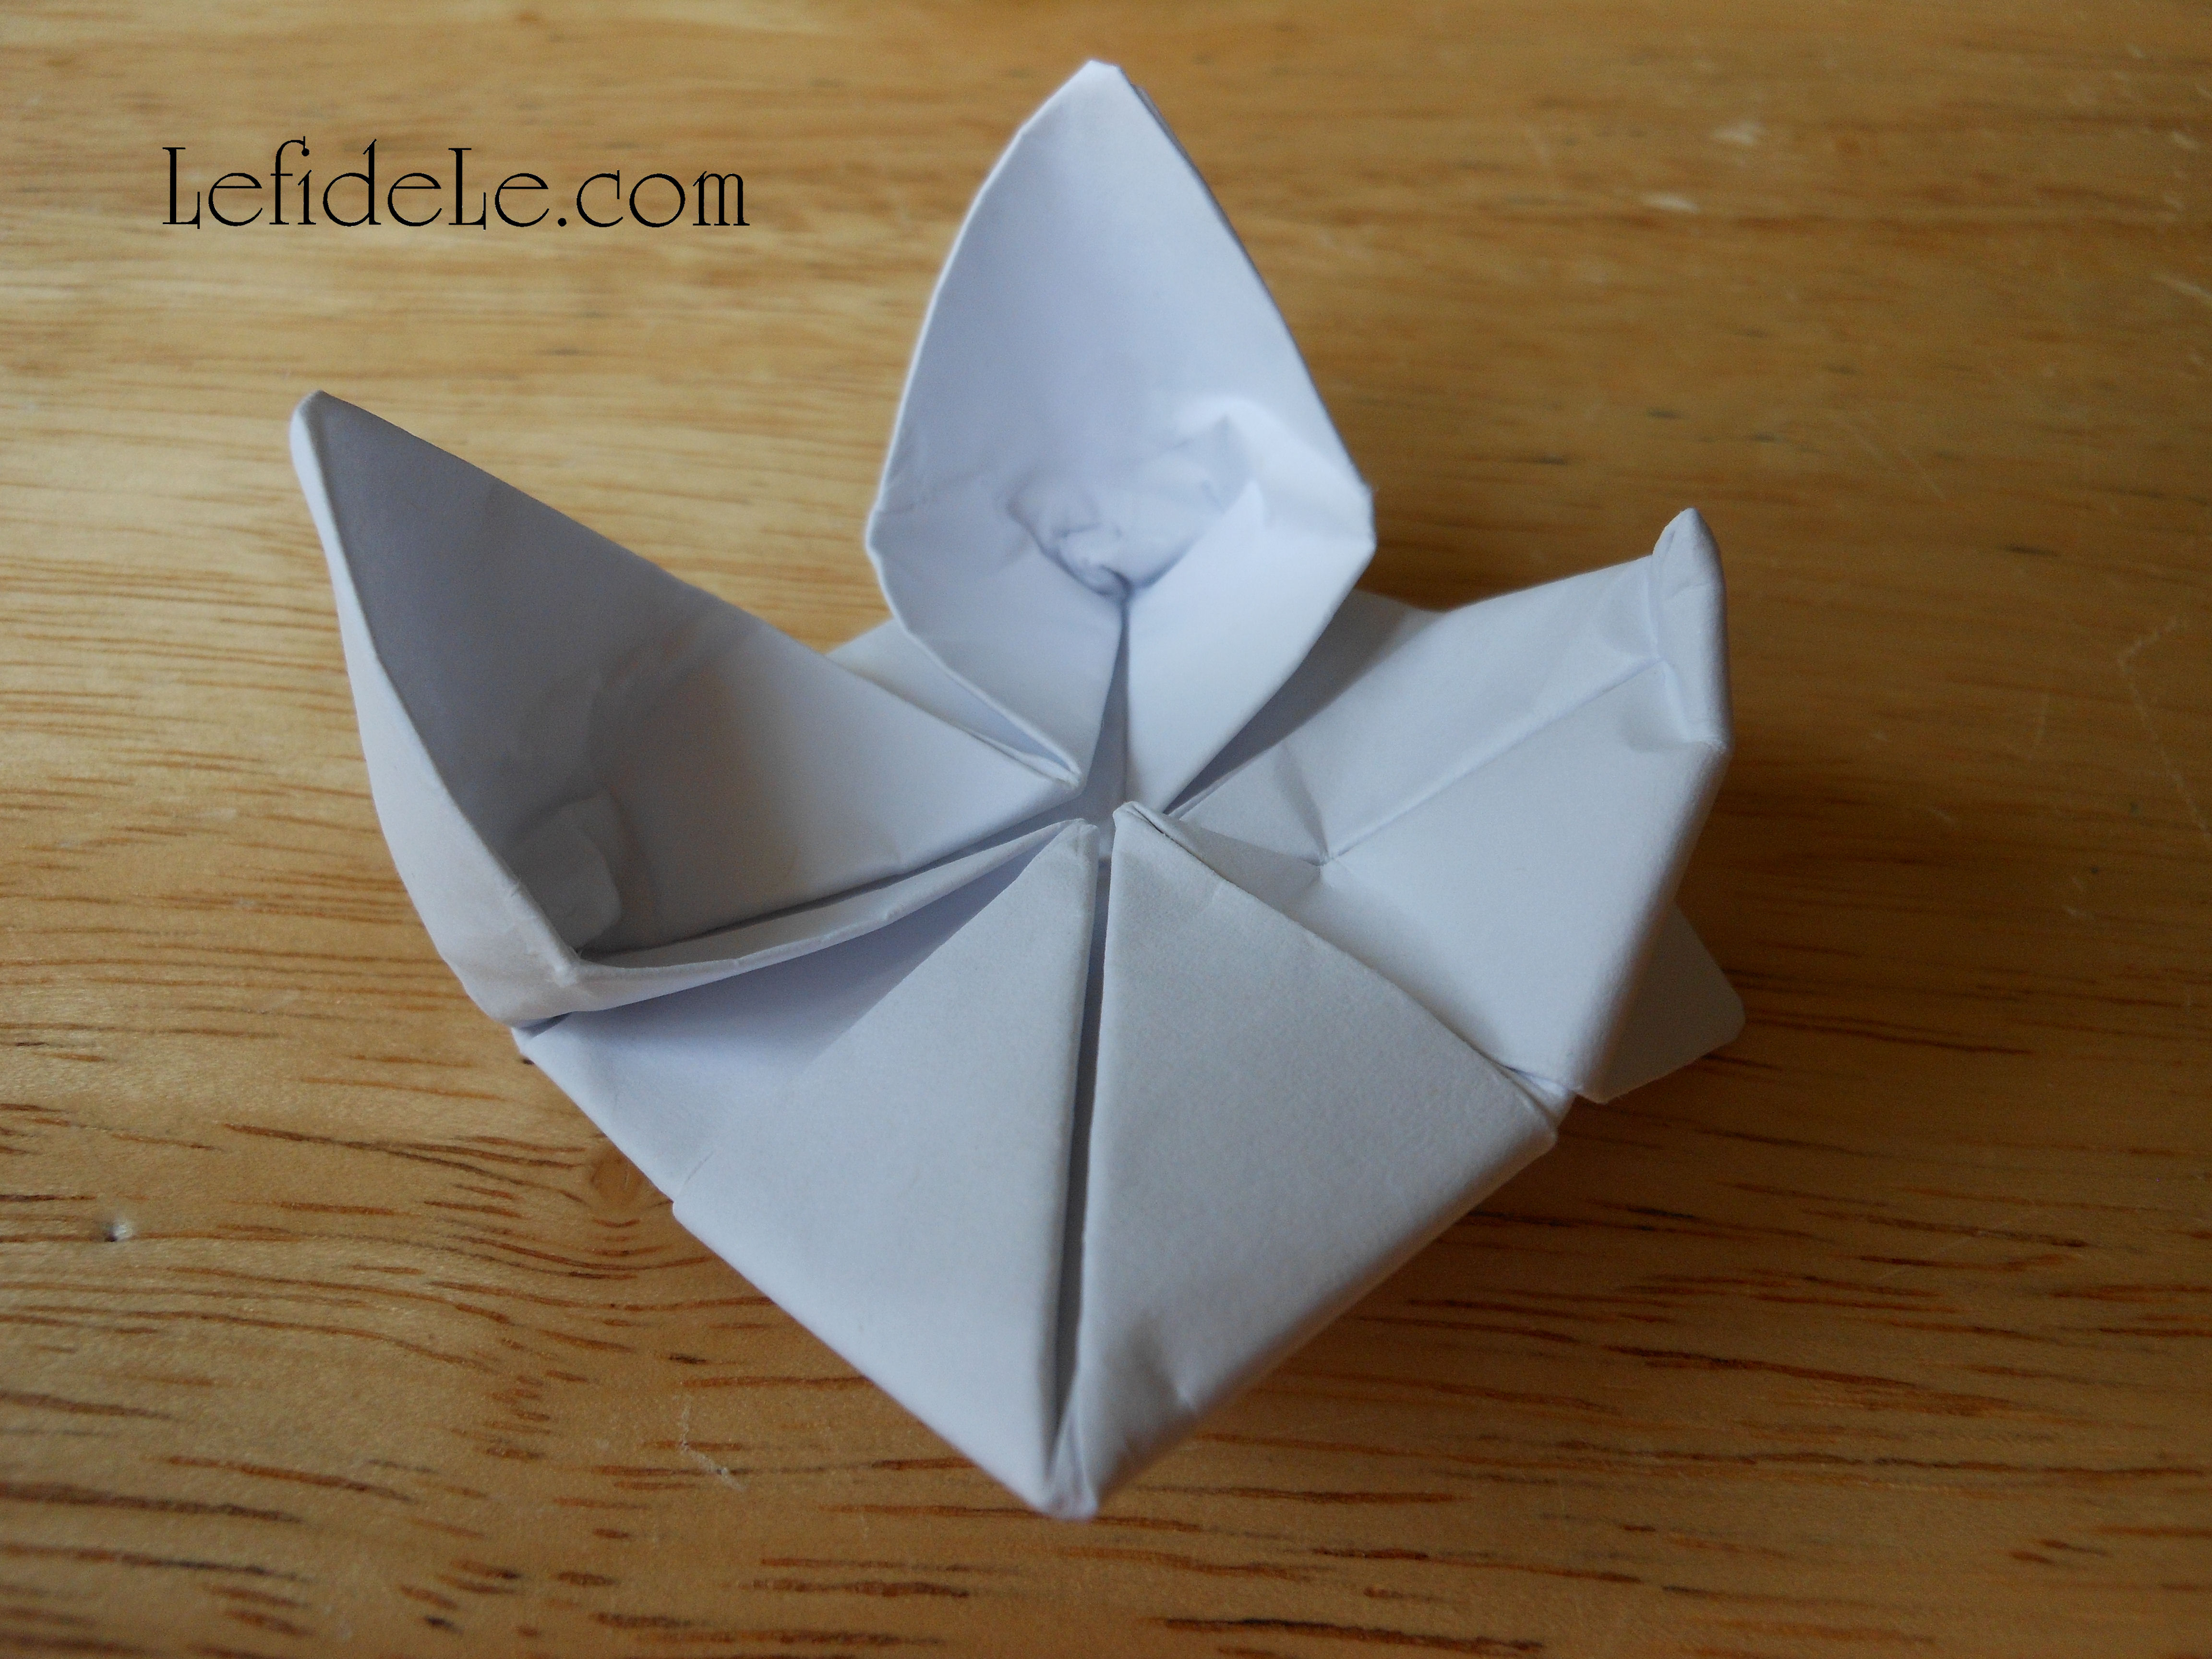
Now pull out the four hidden points from beneath.

010Leigh

This is what it’s supposed to look like, but it may take a few blooms to get the hang of petal pulling.

011Leigh

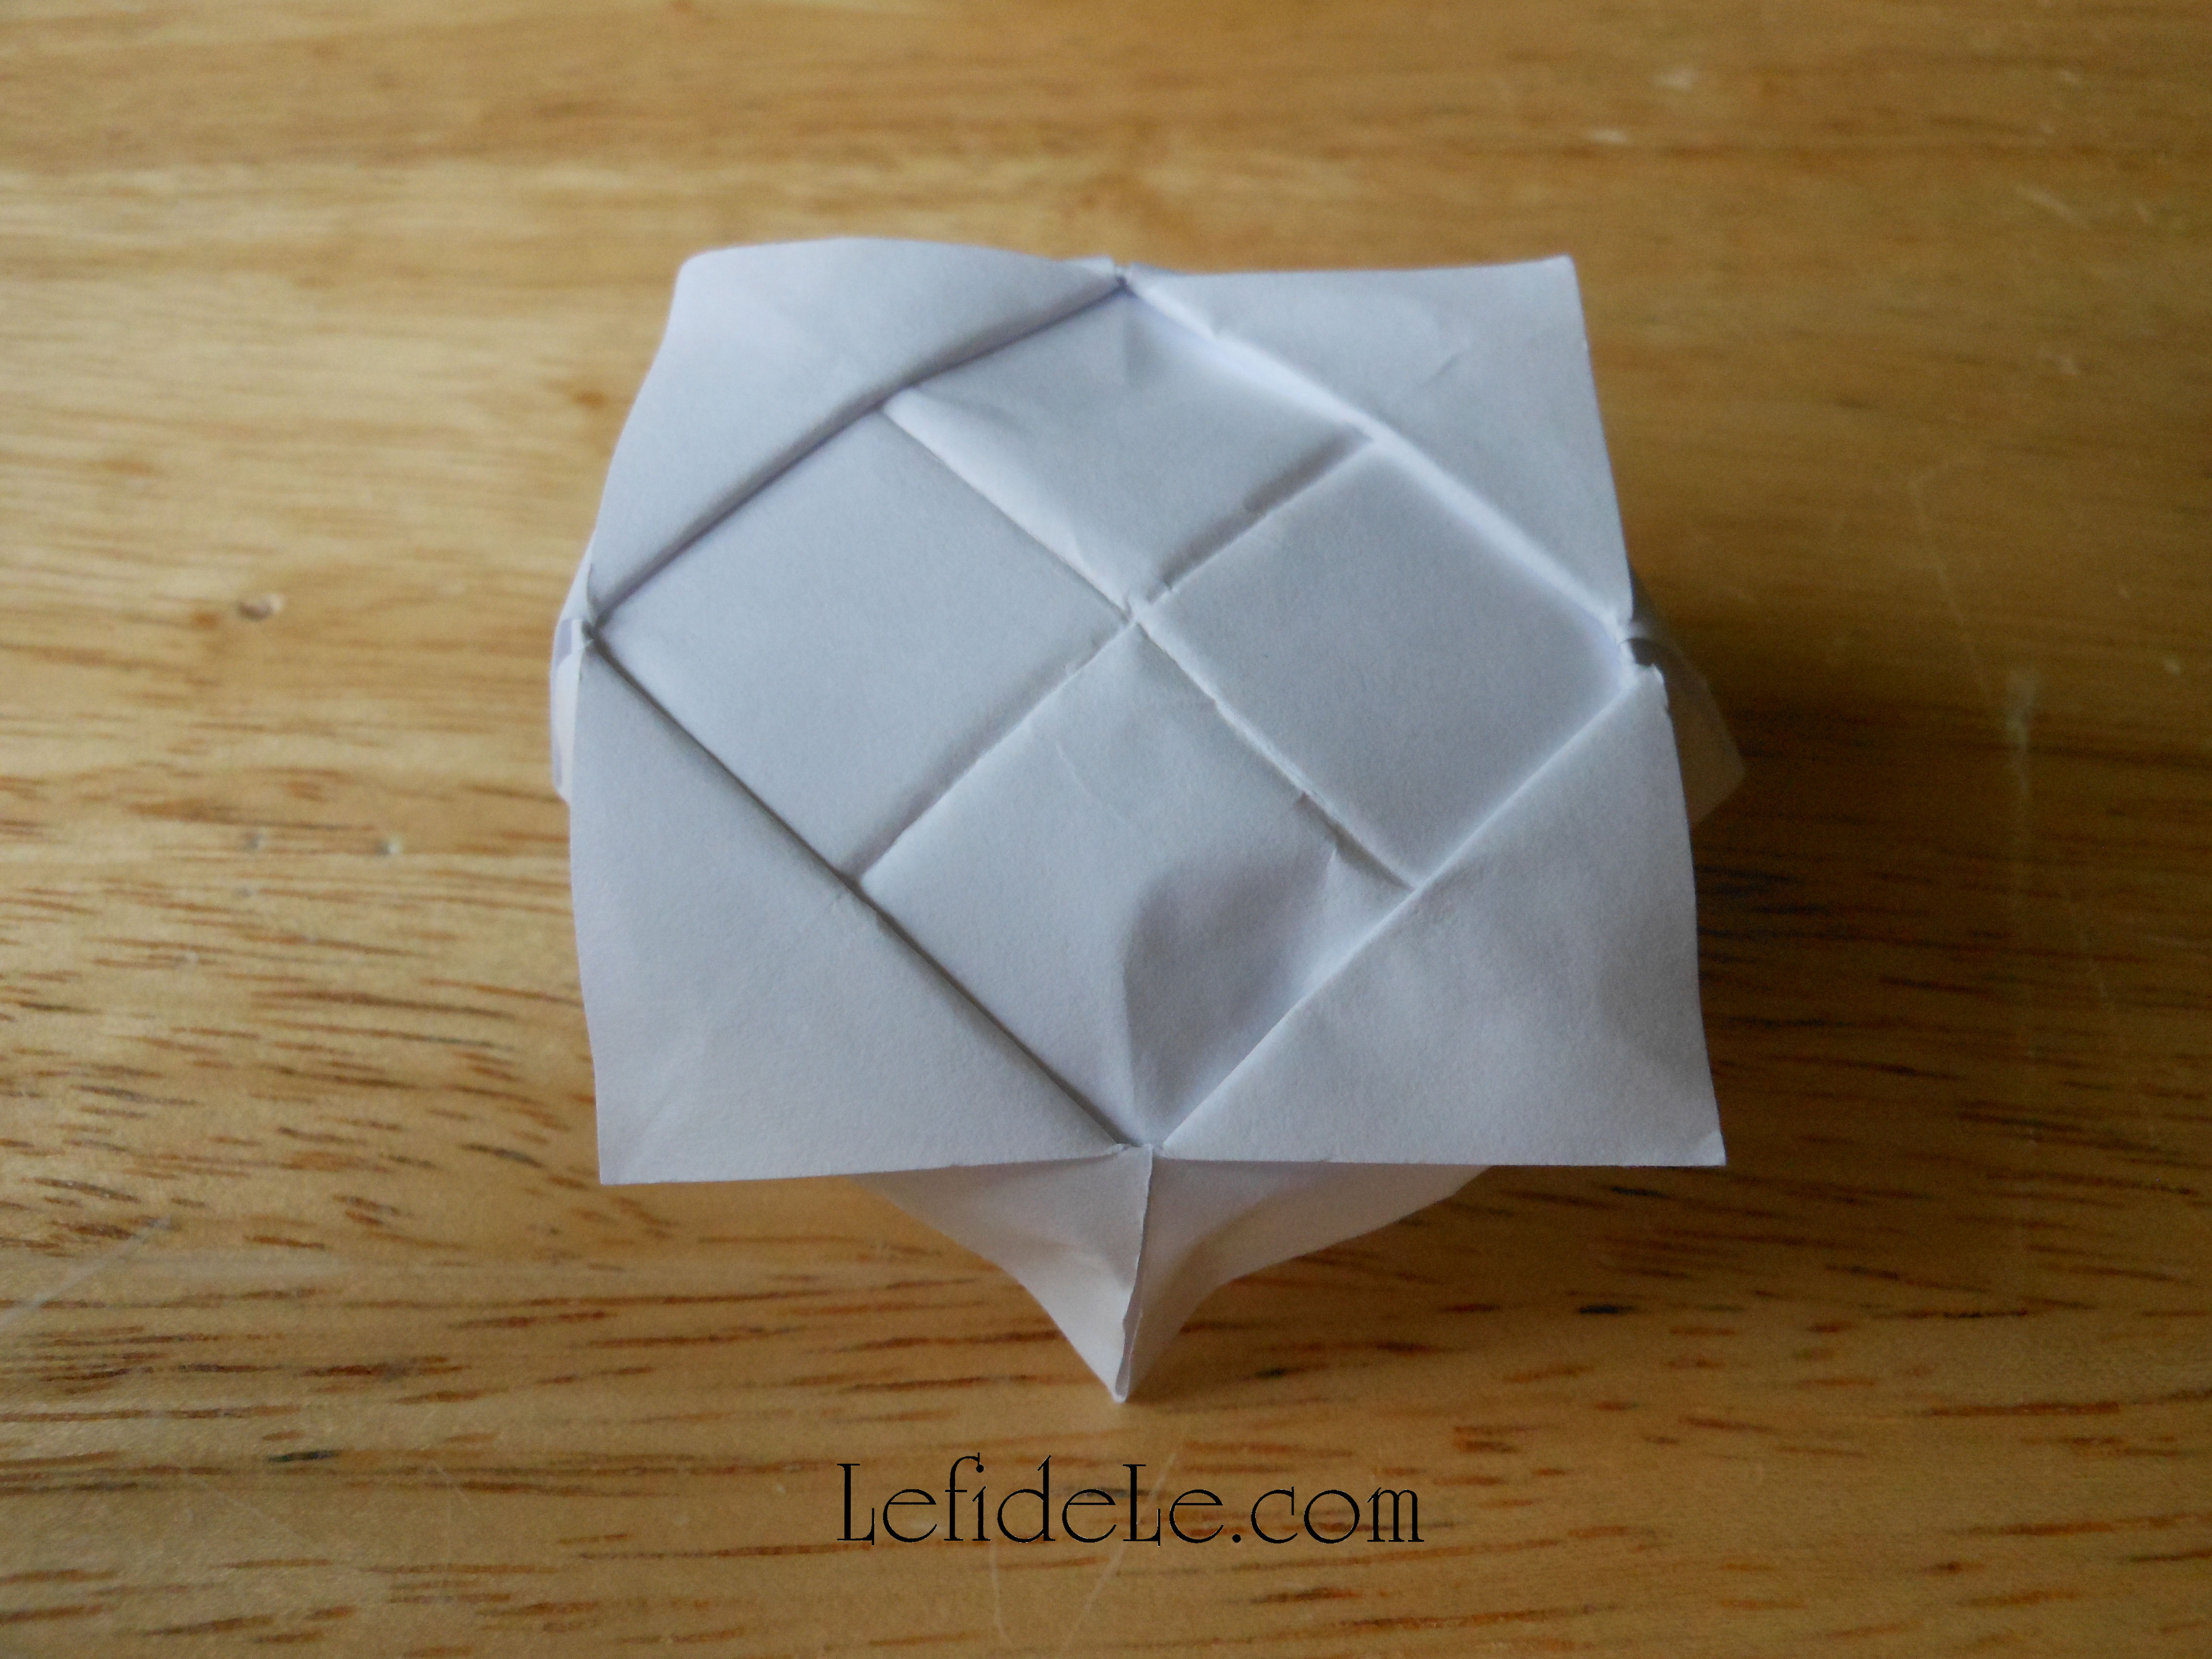
This is what the underside should look like. (It’s the perfect place to write a little message.)

14ChopstickRest-Leigh

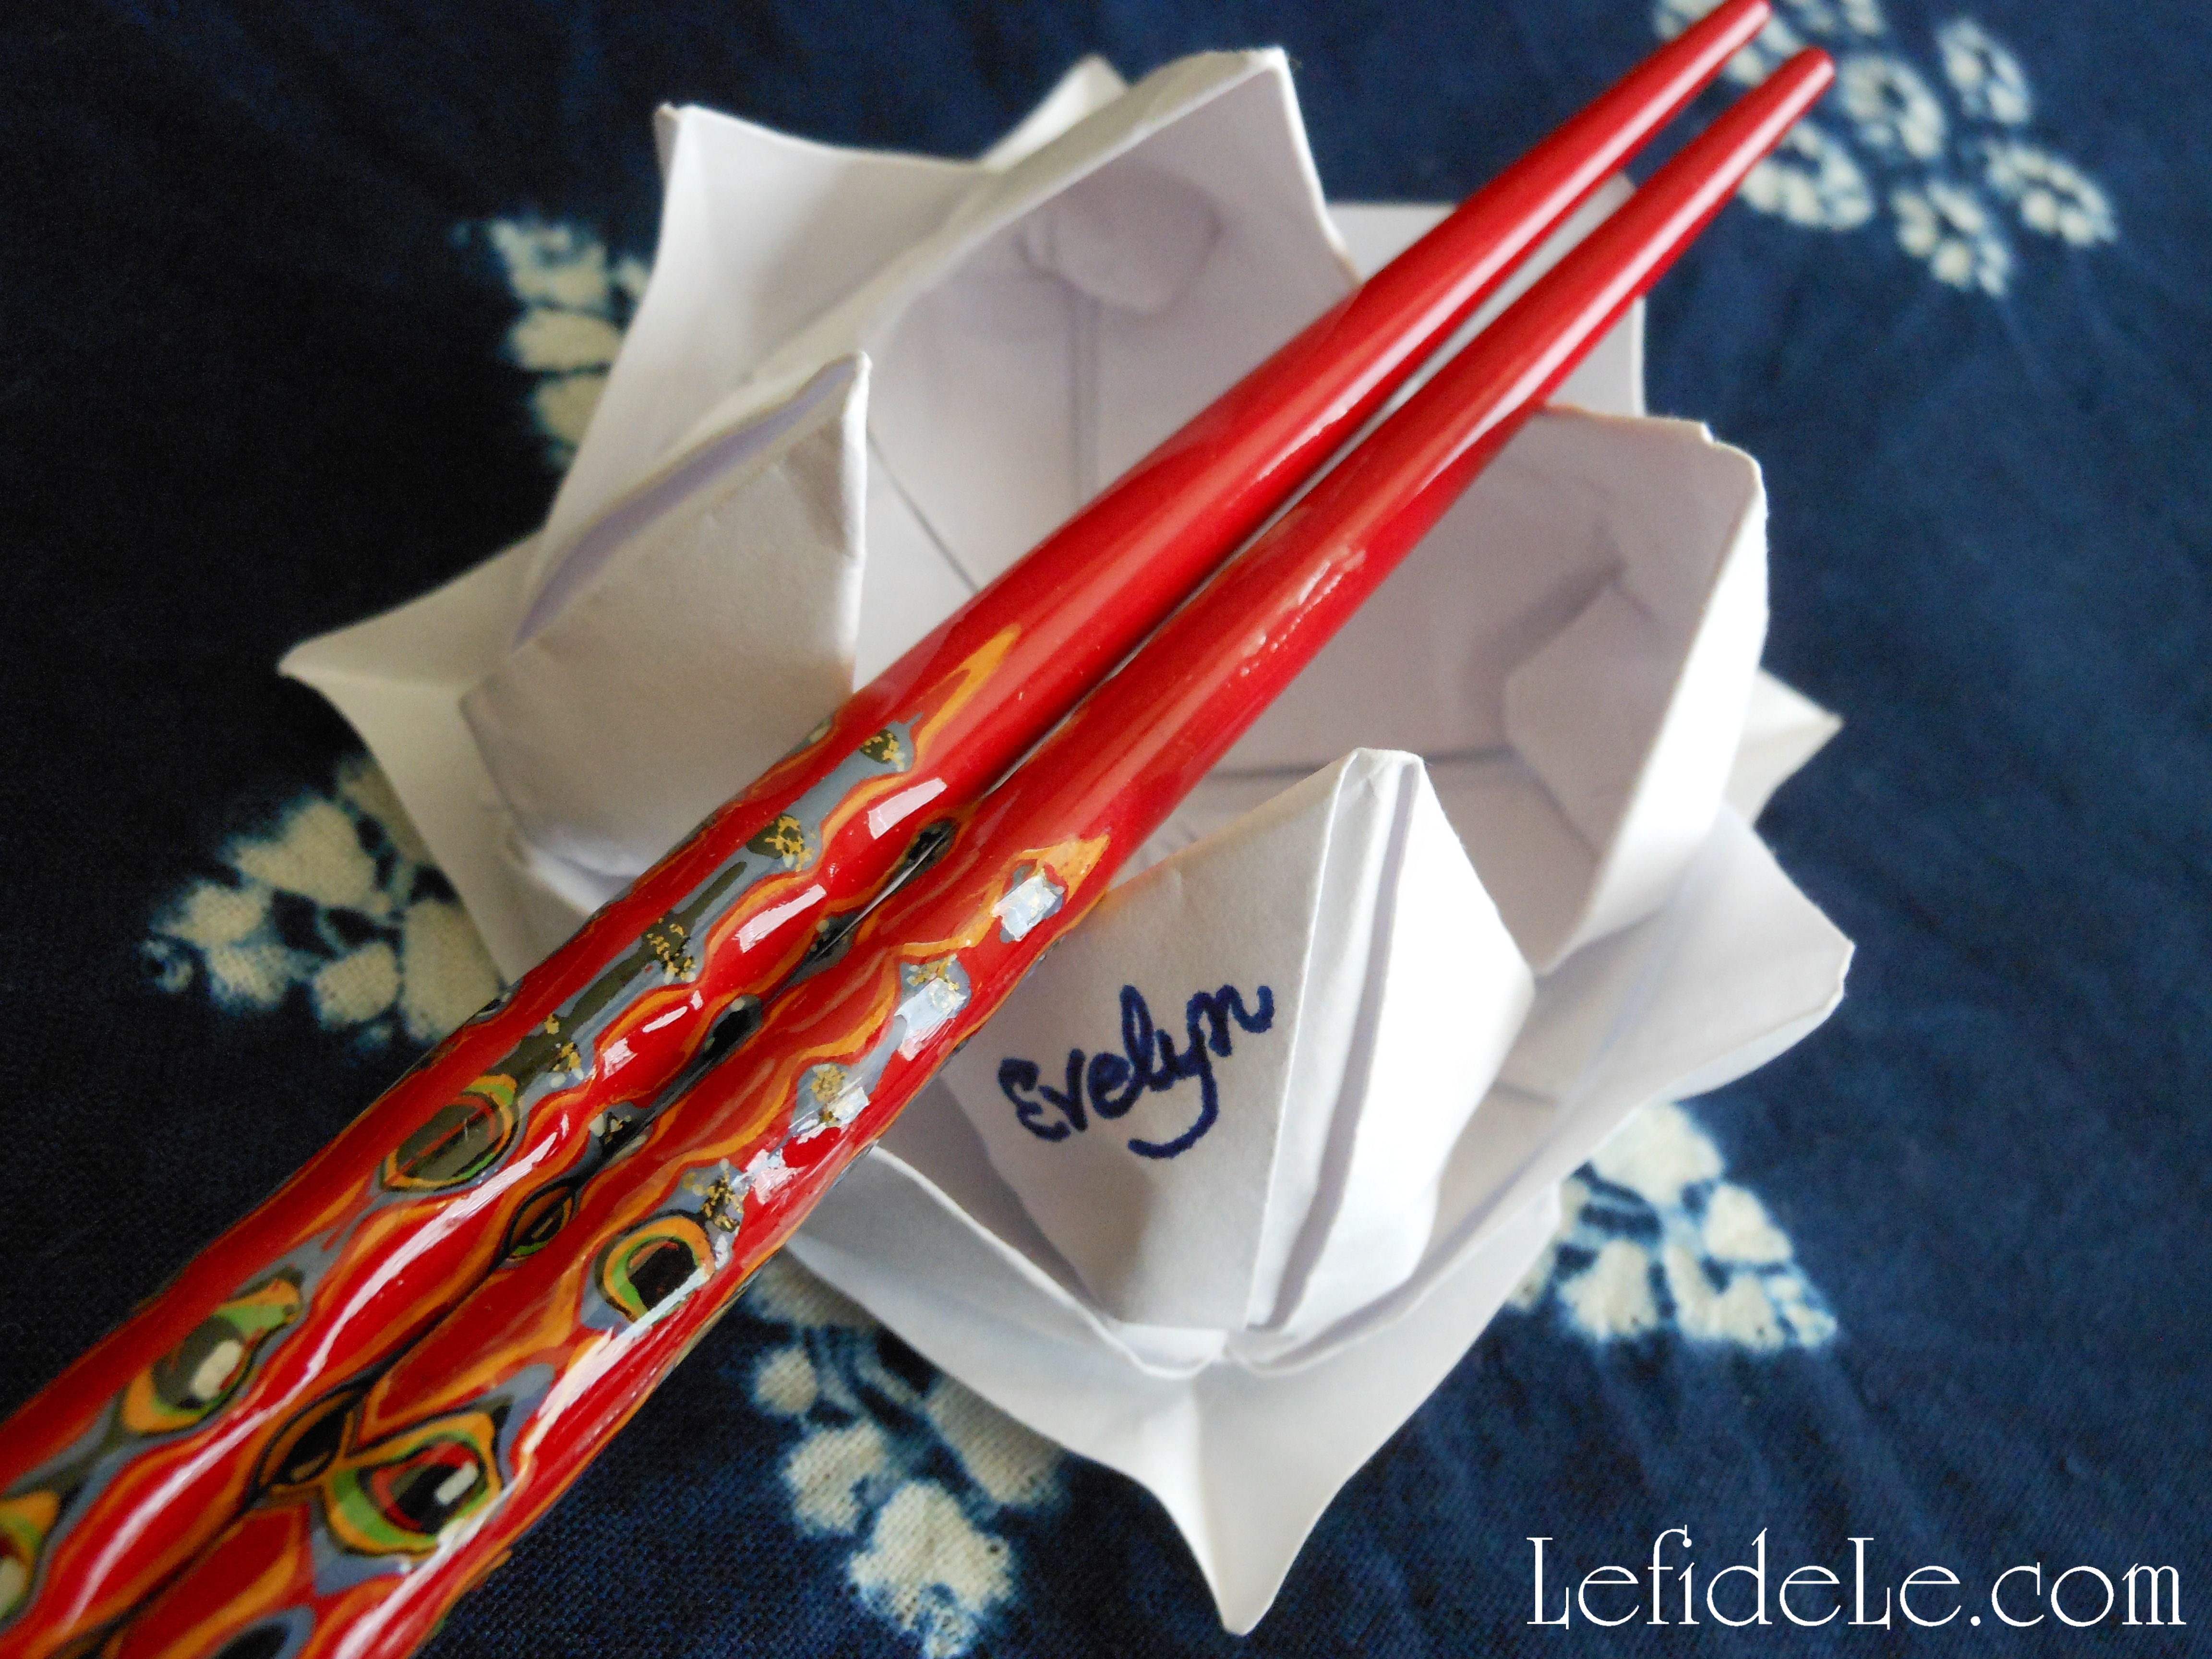
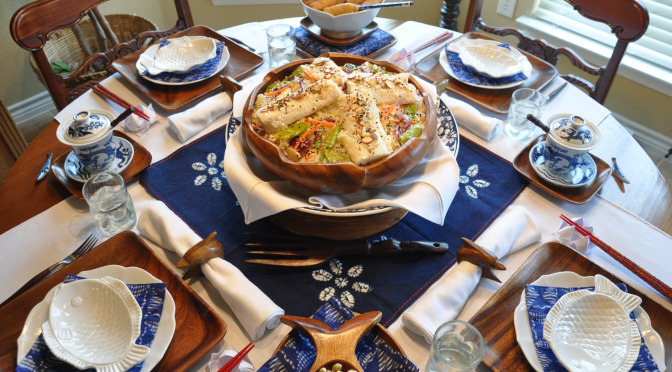
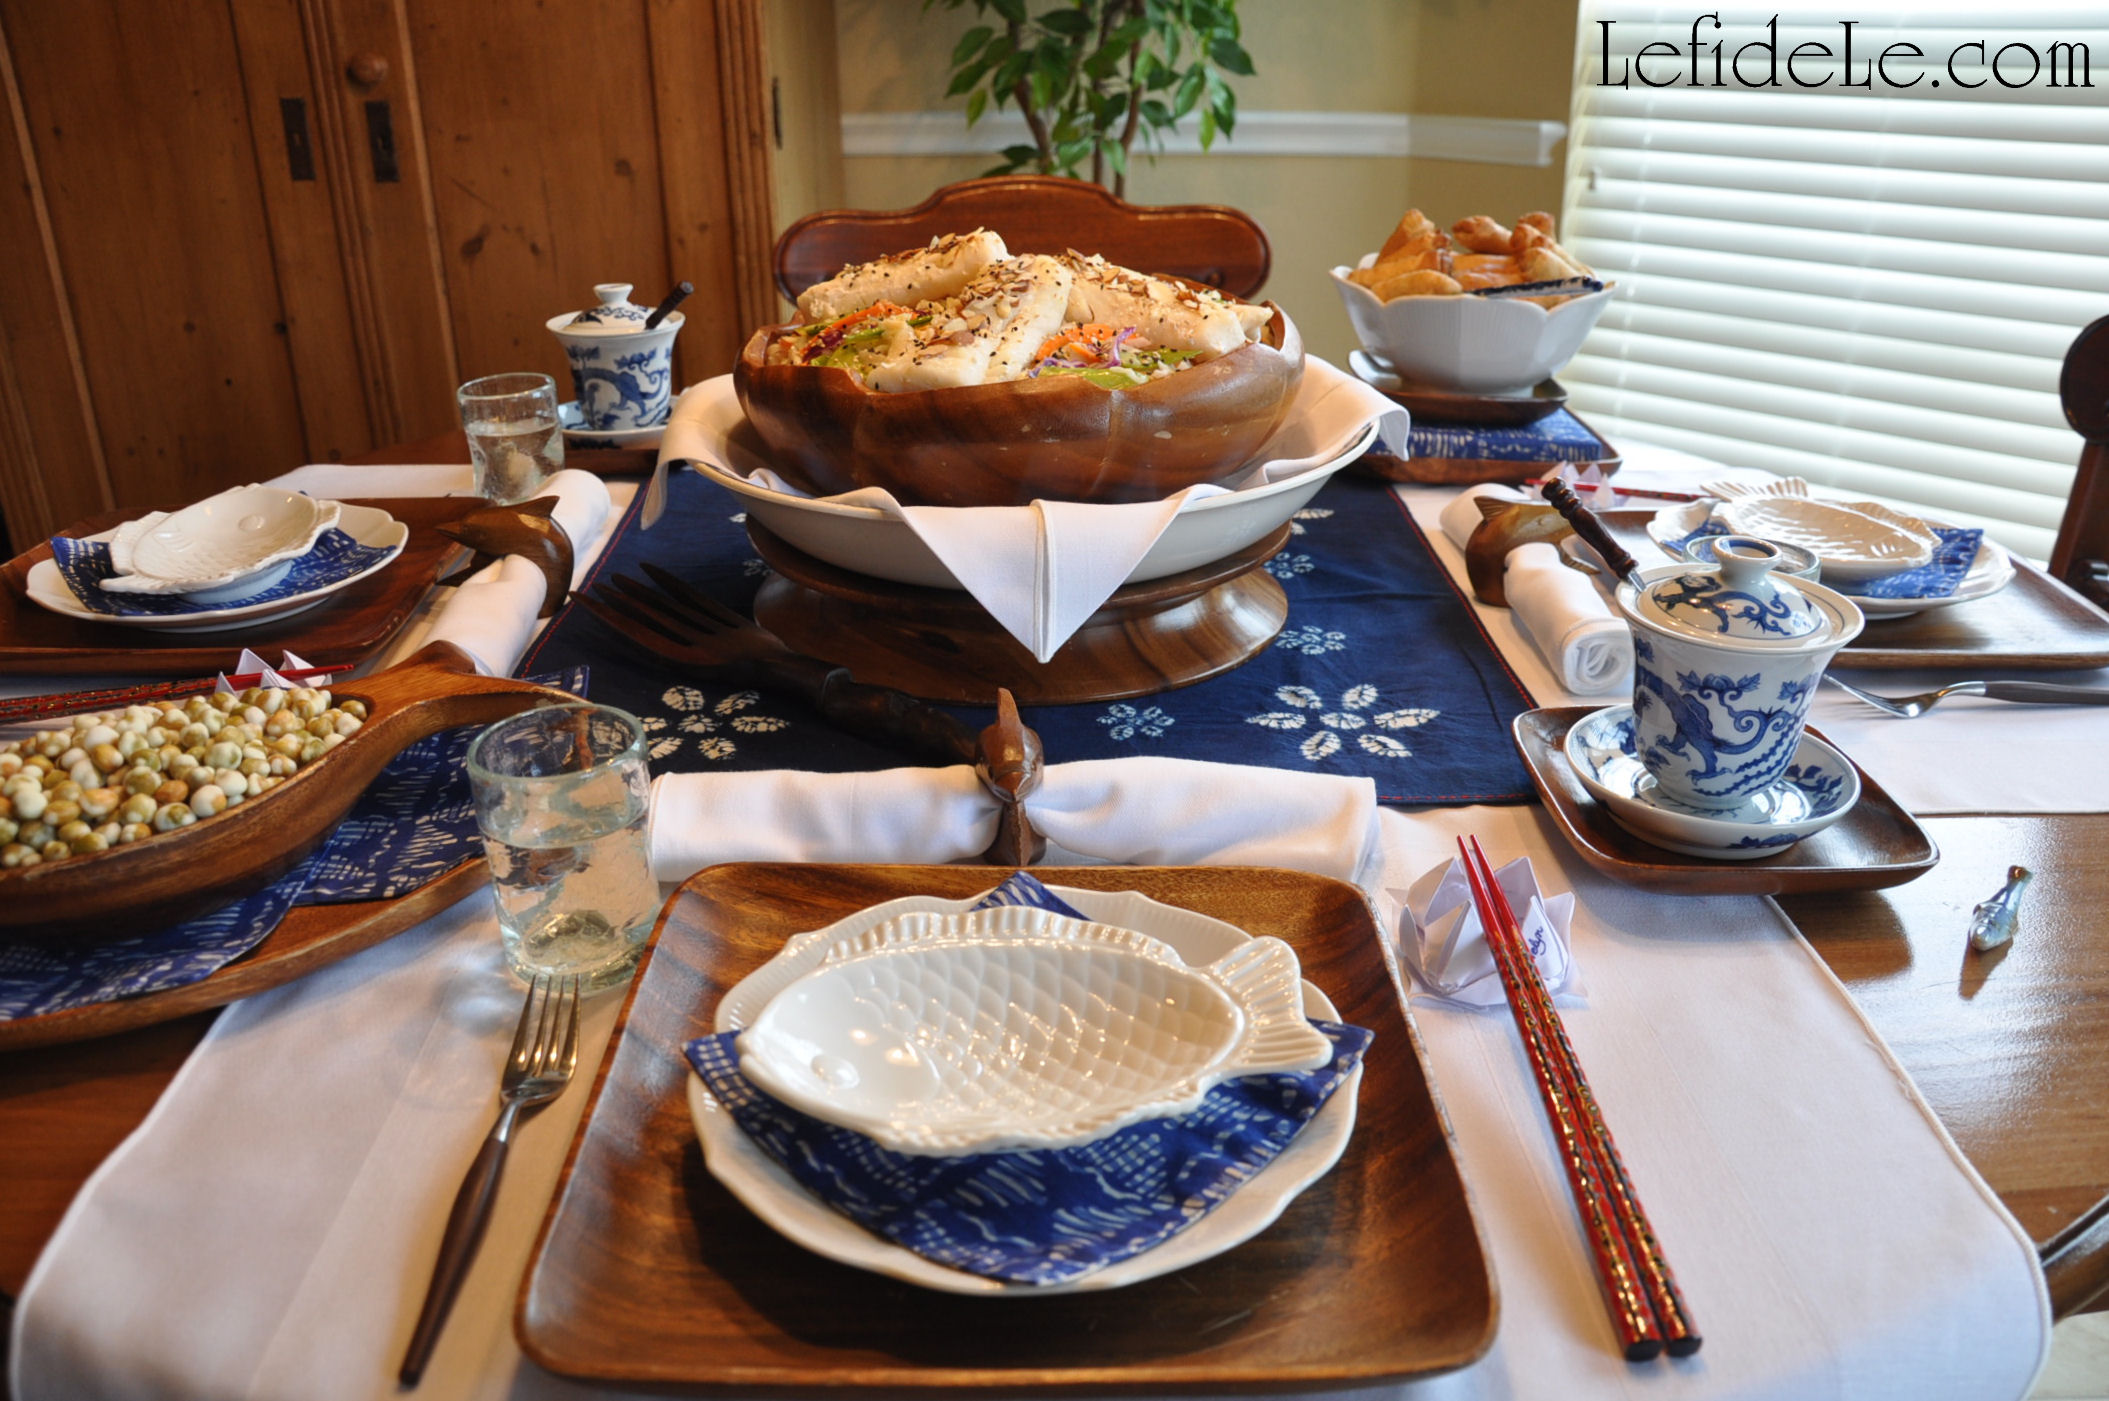
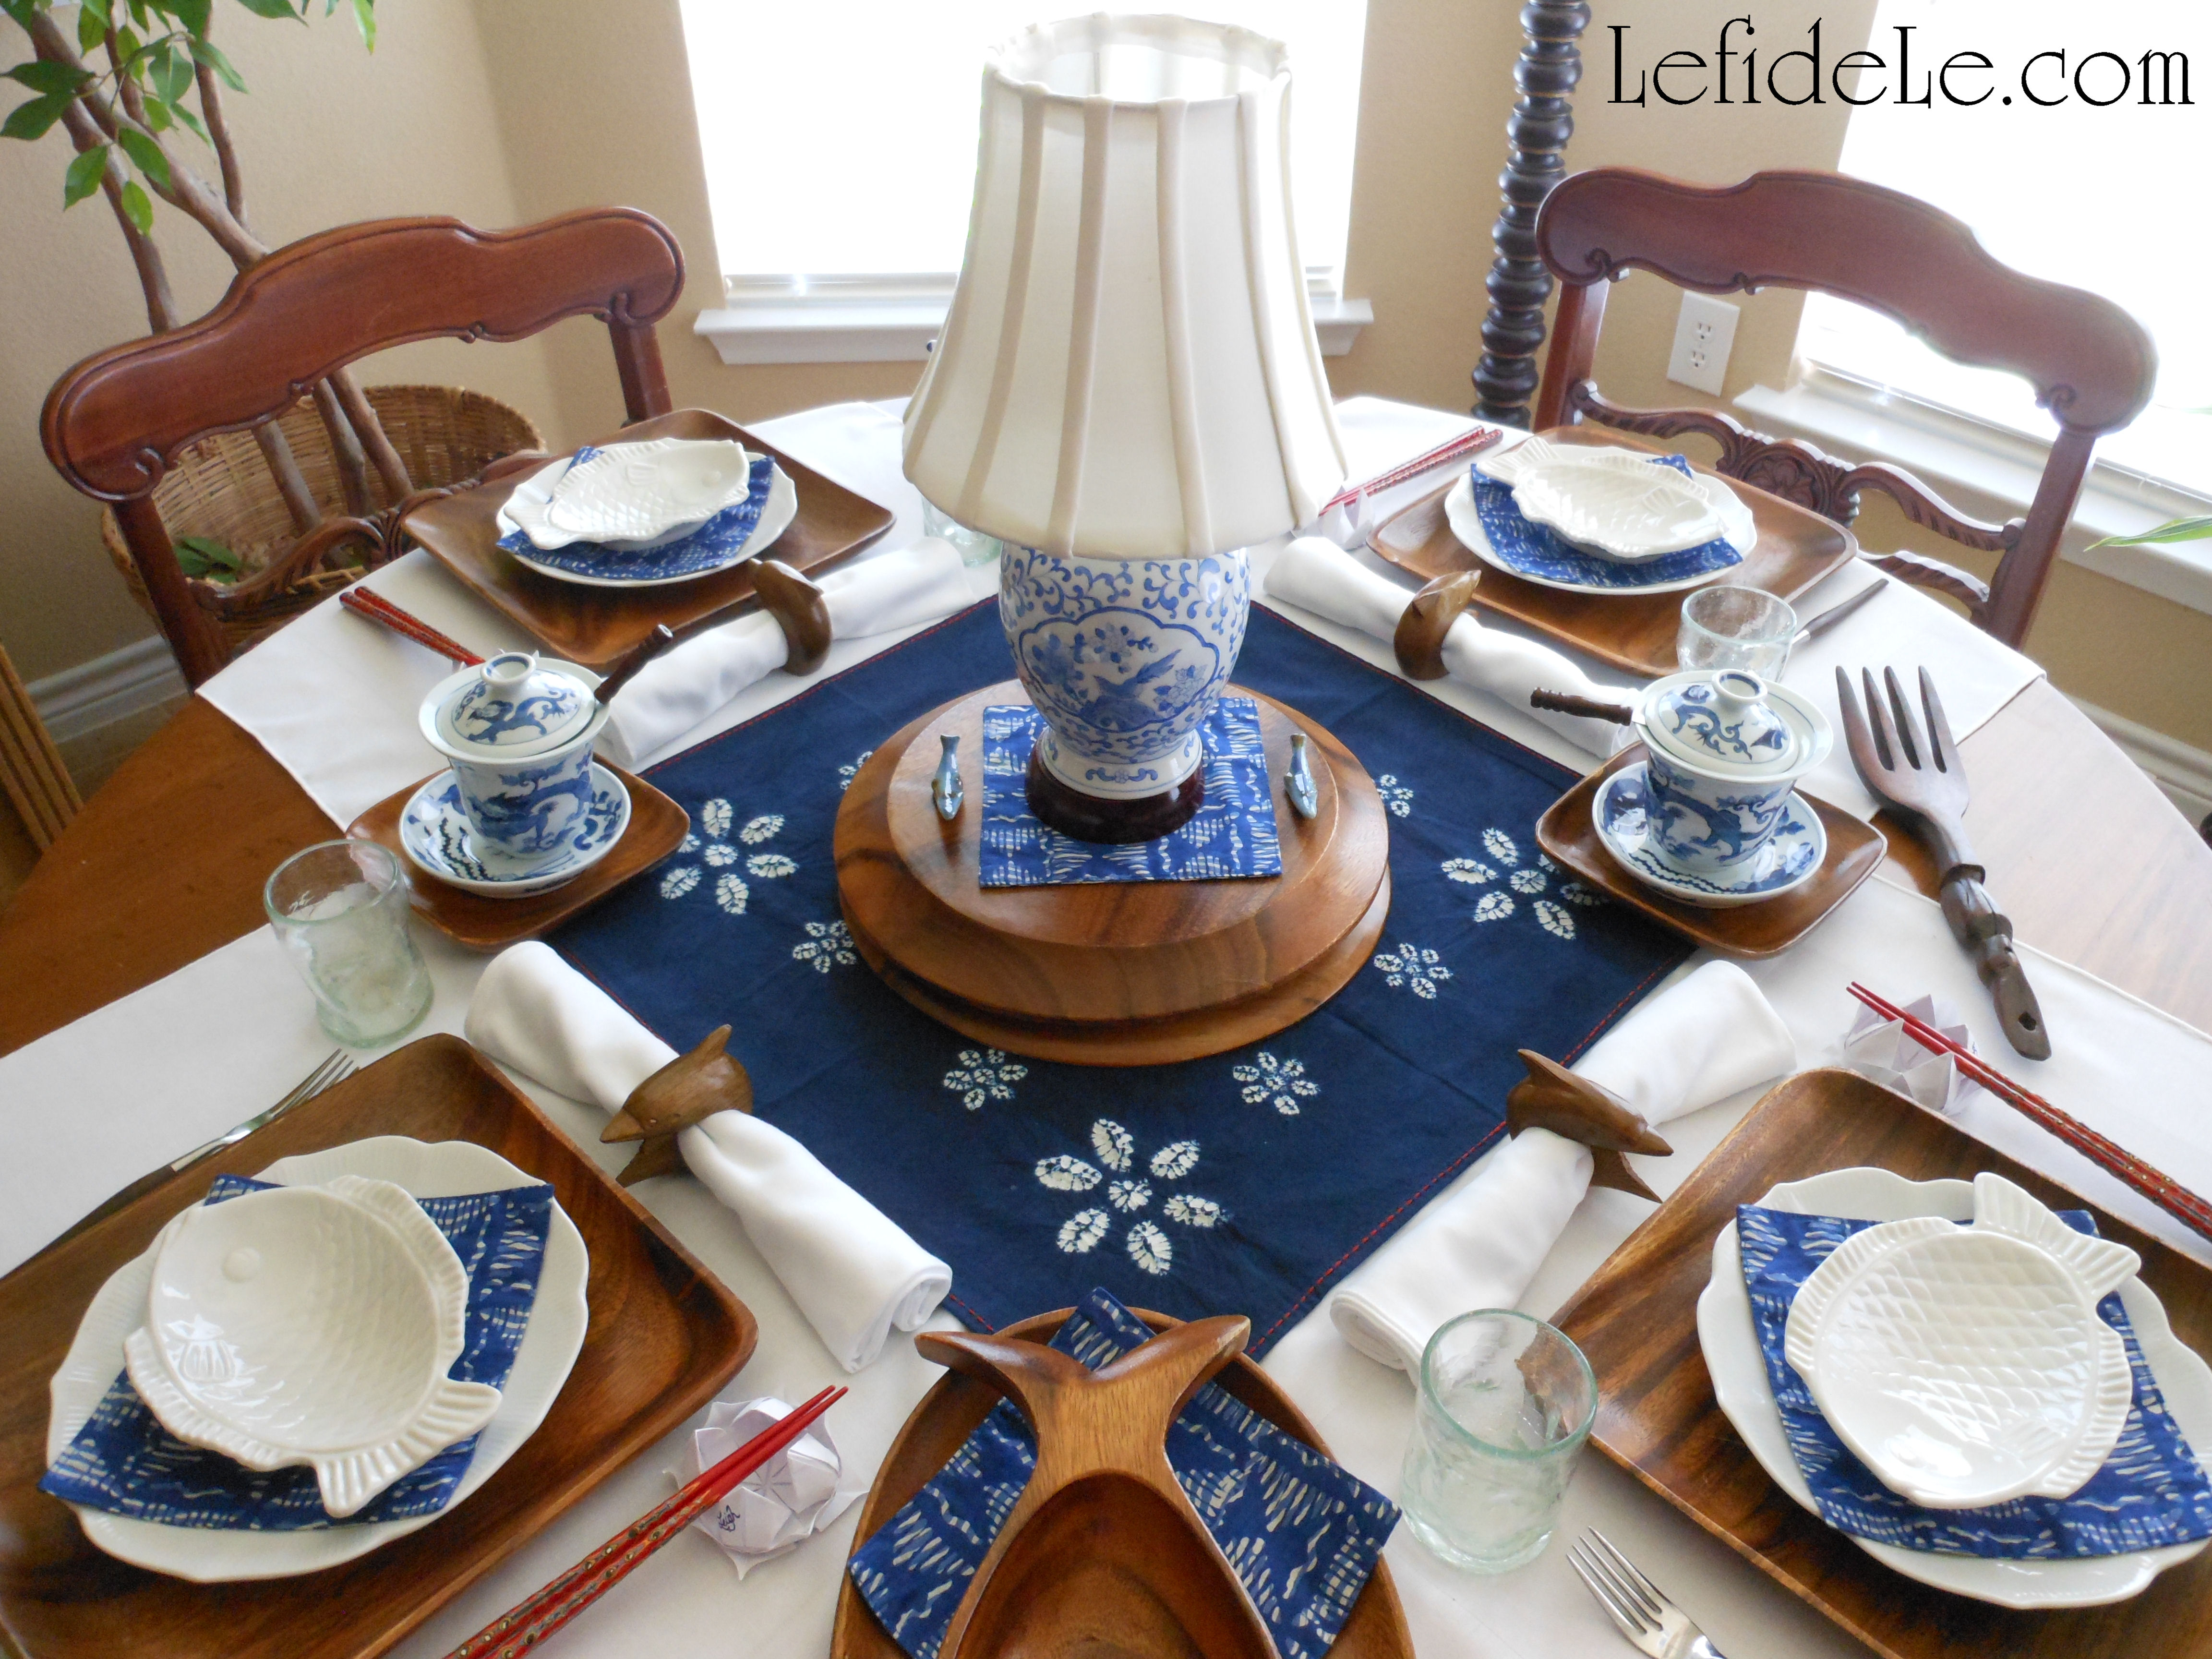
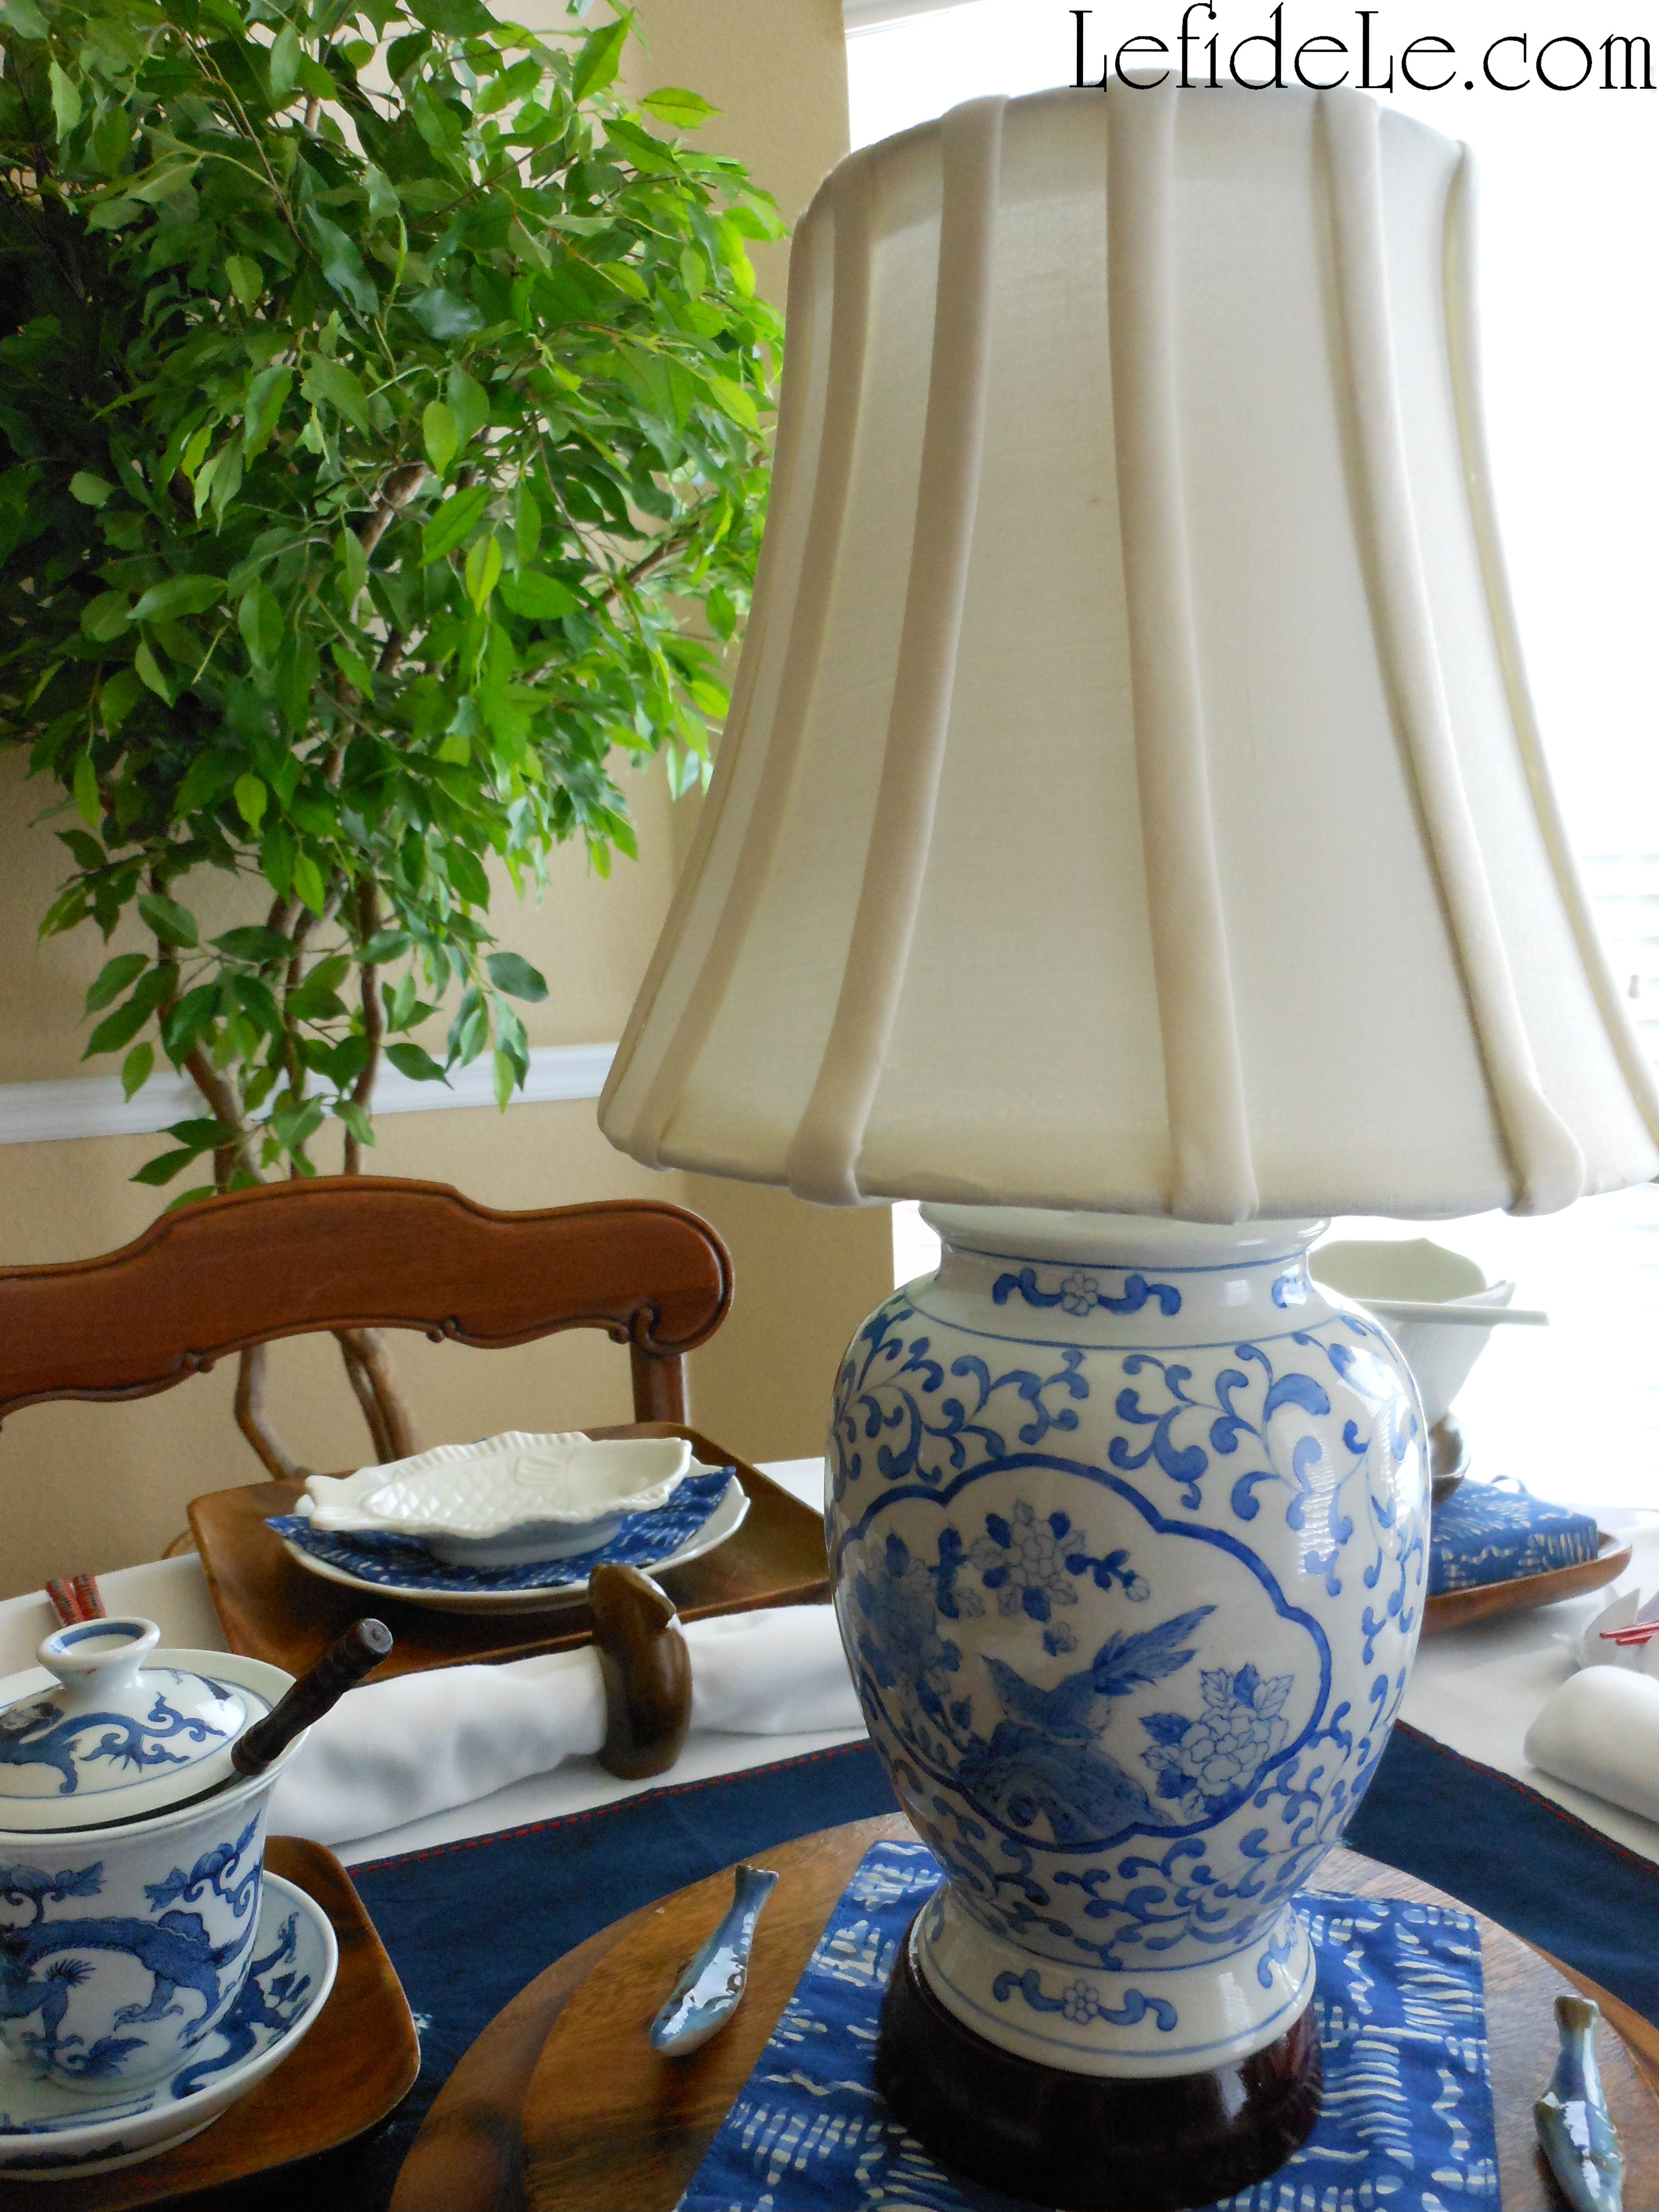
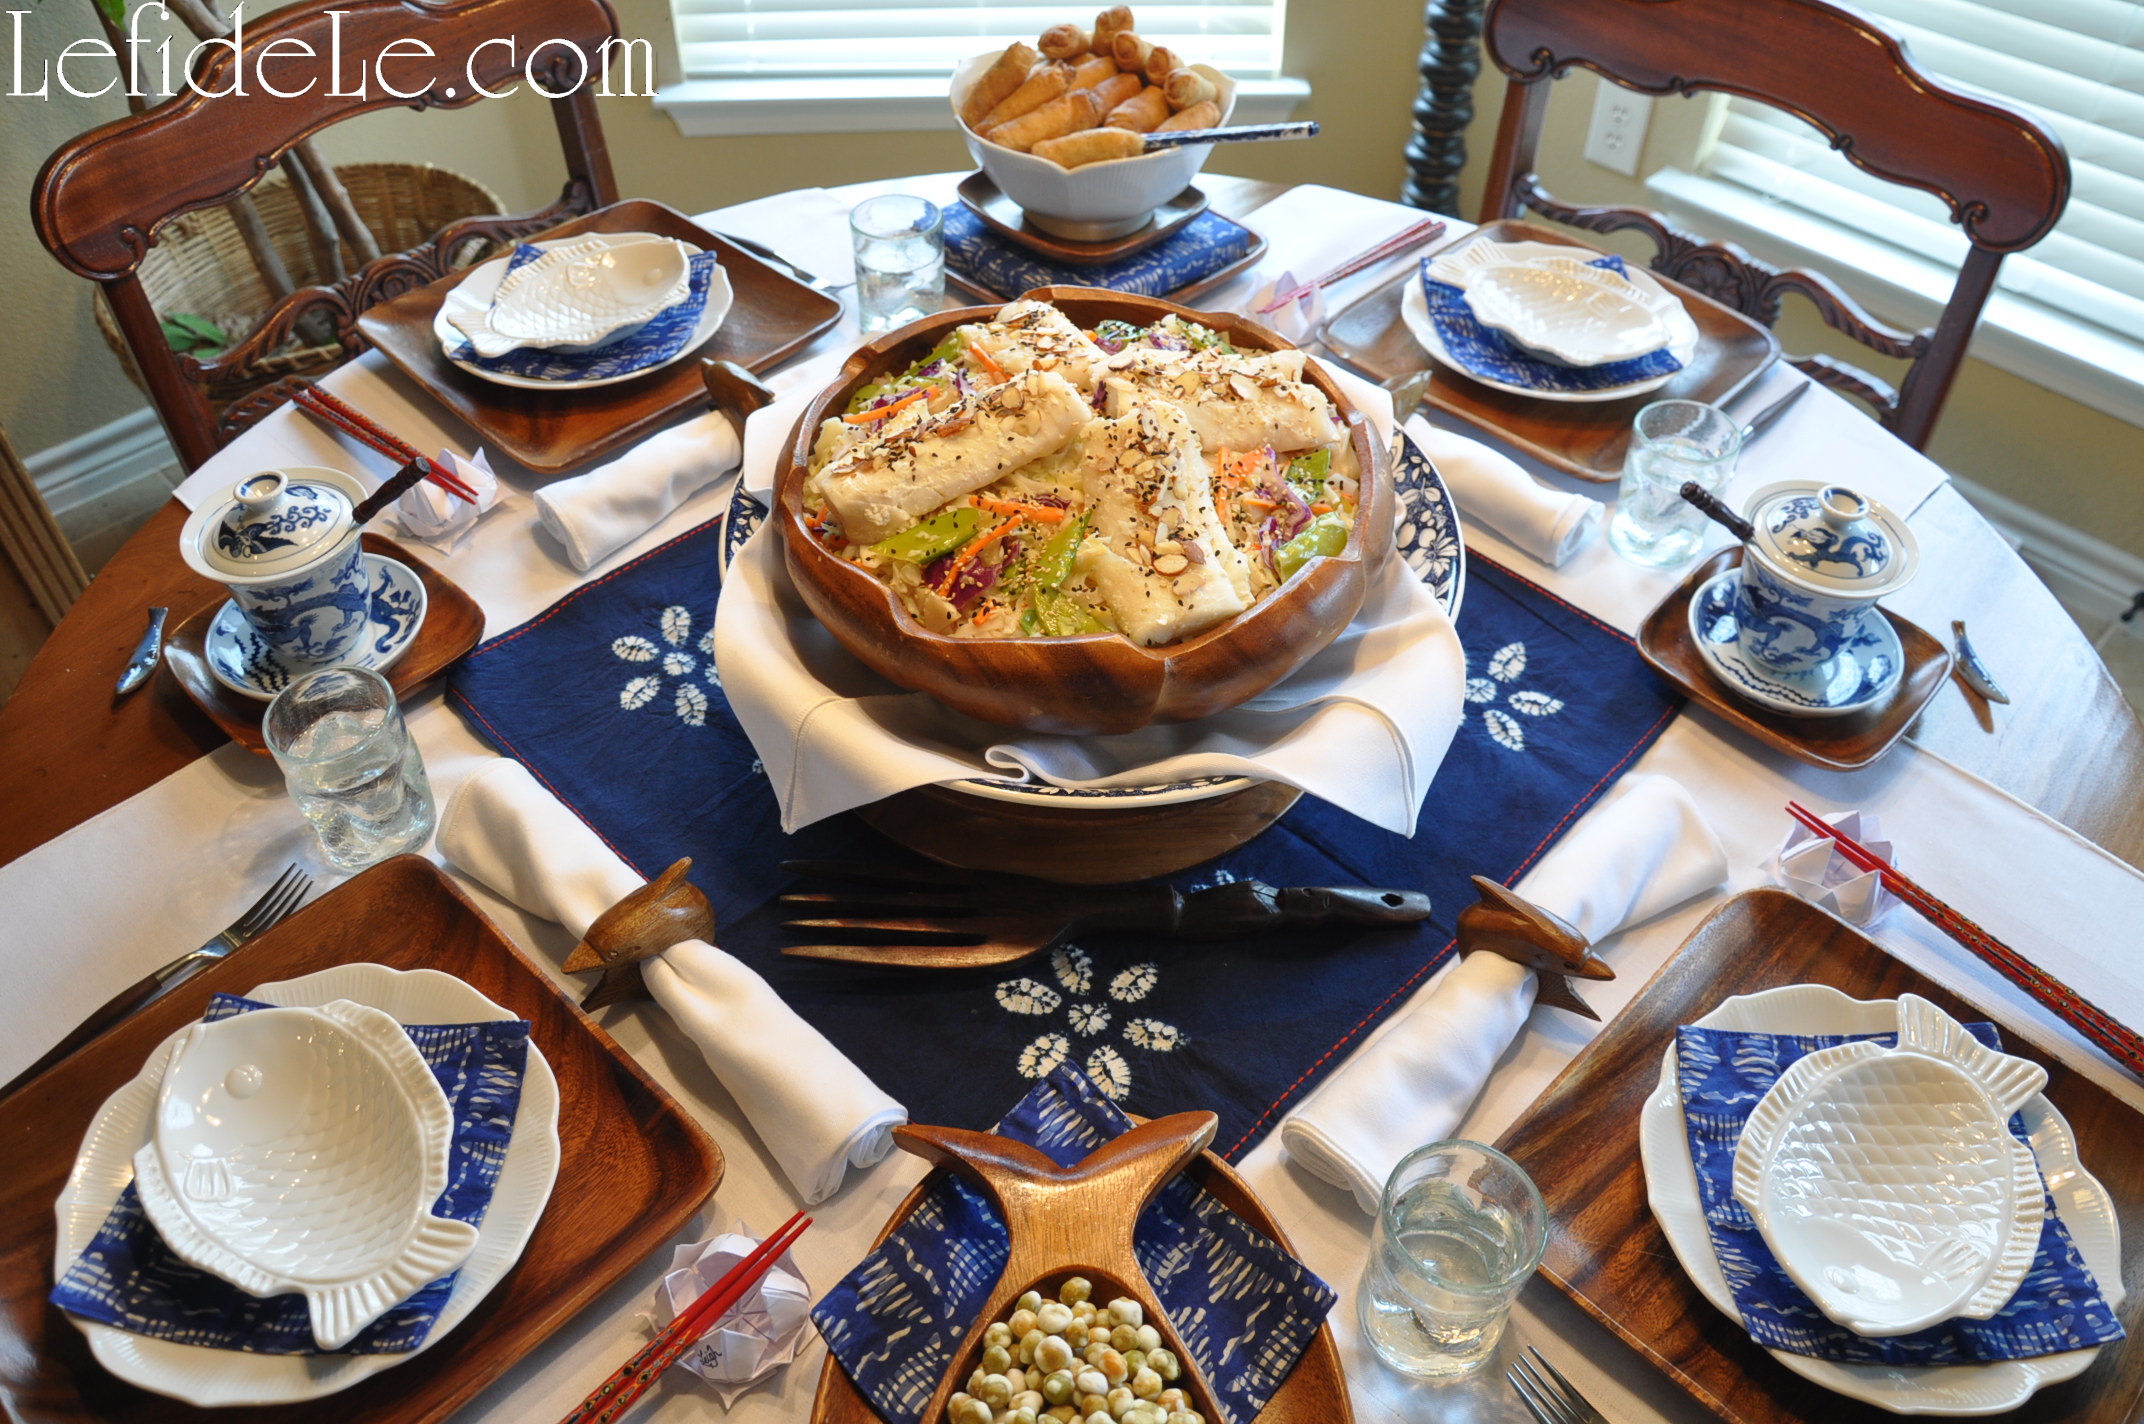
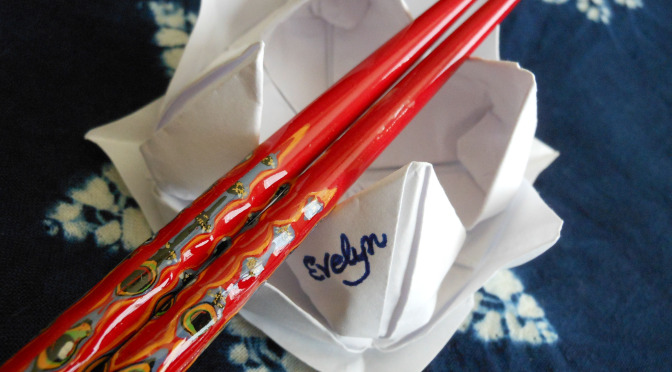
This is one of my origami waterlilies being used as a place-card holder/ chopstick rest. See it in action in my Pan Asian Inspired Indigo Shibori & Wooden Themed Tablescape (Perfect for Luncheons & Informal Dinners).

227Leigh

Bloom where you are planted!

Faithfully Yours,

Leigh

Pan Asian Inspired Indigo Shibori & Wooden Themed Tablescape (Perfect for Luncheons & Informal Dinners)

120Leigh

This Pan Asian tablescape makes the perfect theme for the fall transition when hot outside air temps still feel like summer. It was inspired by thoughts of wooden fishing boats sailing upon cool serene indigo waters. Make my Pan Asian Rice Noodle dish as a centerpiece, or just use a small lamp as ambiance for takeout. With origami waterlilies serving as décor, place-cards, and chopstick rests… it’s easy and inexpensive to put together a last minute luncheon or informal dinner.

228Leigh

The traditional Japanese method of hand-dying cloth with indigo, known as Shibori, has produced a lovely piece to represent serene waters stacked with wooden dishware symbolizing hand hewn boats delivering the sea’s bounty. The vintage carved salad bowl was laden with Pan Asian rice noodles with veggies and creamy coconut milk sauce with cod fish (find my allergy-friendly recipe here). This was set into a blue and white ceramic bowl layered with folded white cloth placed upon an upturned wooden plate as pedestal. A large carved wooden vintage fork stood ready for serving.

207Leigh

White cloth napkins rested out-of-place inside vintage Philippines carved wooden dolphin napkin rings. The pristine cloth squares also functioned as placemats. Square wooden plates from the same region held lotus blossom and fish plates softened with dyed cloth coaster napkins signifying blue waters. Small vintage crystal glasses with sides that undulated like waves crackled with patterns that emulated the splash of tides.

227Leigh

Vintage wooden handled forks were presented as an alternative to the colorfully painted chopsticks that rested upon origami lotus / waterlily blooms (see the craft tutorial here) that were marked to double as place-cards.

14ChopstickRest-Leigh

Blue patterned and lidded tea cups were transformed into sauce containers when fitted with small wooden spoons and once infusion cups were removed. These were each placed upon small wooden plates as coasters. Oven-baked spring rolls were offered from a ceramic lotus bowl resting upon a batik box fit into a small wooden plate. Blue patterned serving chopsticks were placed horizontally (to avoid the suggestion of funerary incense). Crunchy wasabi peas were cradled by a carved Philippine fish bowl over more cloth coaster napkins layered upon an oblong wooden plate.

024Leigh

An alternative to a family style setting with the main dish at the center is one with a simple matching lamp sitting as centerpiece. The cord lies hidden by a wooden plate beneath a serving bowl, so that it stays hidden even when the bowl is passed around. For elevation, the small lamp is placed onto a cloth coaster over upturned wooden plates as pedestal. (This kind of arrangement is great to have waiting for an after-work gathering fueled by everyone’s favorite takeout.)

027Leigh

ありがとうございます。= “arigatou gozaimasu” (= thank you very much in Japanese)

223PanAsian-Leigh

Faithfully Yours,

Leigh

Origami Crane Paper Folding Instructions (for Get Well Wishes or Chinese New Year Party Décor)

The timeless art of origami paper folding is an easy and inexpensive way to decorate for a Chinese New Year Celebration. The project also provides a means for quality time in generational bonding. This tutorial for the historically traditional crane figure is an apropos symbol of hope for the coming year. The Japanese tradition of the Senbazuru folding of 1000 paper cranes is said to grant the maker a wish, such as healing for a loved one. (Why not fold and send one in lieu of a get well card?) The “Tsuru” (crane) is also said to denote happiness and luck, which is the same meaning of the “Fú” 福character of the Chinese New Year. My Take-Out Favor Box & Paper Lantern Craft Printable (Chinese New Year Party Décor) also utilizes the symbol which has graced the entrances of Chinese homes for many hundreds of New Year’s.

341Leigh

There are beautiful origami papers available, but it’s easy to make your own from any inexpensive paper. By cutting them yourself, you can make any sized piece you like… and if you’re a beginner, it’s much easier to fold a larger sheet. Here I’ve chosen gold metallic wrapping paper purchased at an after clearance sale years ago. I used a large T-square ruler to mark 6 x 6 inch sections, and then cut them out.

342Leigh

Begin by folding the paper in half diagonally then unfold it.

344Leigh

Repeat this on the other diagonal, thereby creating an X crease on the paper.

346Leigh

Next fold the paper in half, creating a rectangle, then unfold it.

348Leigh

Repeat this fold, of a half rectangle, to complete another X crease.

349Leigh

Now that you’ve made an asterisk * shape mark on the paper, turn a tip to point directly towards you. Take the remaining 3 tips, and pull them over the closest one. The 2 side points will meet in the middle, and the farthest tip will close over those.

353Leigh

Next take the 2 side points and fold them to meet in a line dissecting the middle of the piece, then unfold it.

355Leigh

Take the farthest point and pull it toward you to form a triangle, and then unfold it also.

357bLeigh

Pull the upper point away from you while pushing in the 2 side points so that they meet in the middle.

360Leigh

Push it all down to crease it flat.

362Leigh

Flip the piece over, and repeat the last step to form a diamond shape.

370Leigh

Once again, fold the 2 side points inward to meet in the center.

372Leigh

Flip it over, and repeat the last step to form a much pointier diamond.

374Leigh

There will be 2 pieces resembling legs that comprise the portion closest to you, take one and bend it up and out on a diagonal… as if it’s making a high kick. Do the same with the other leg then crease both well. Unfold them straight again.

376Leigh

The next step is the trickiest part, but it can be unfolded and retried until it works out. The legs need to be bent inward in what is called a “reverse fold”. The easiest way that I’ve found to do this is to use your thumbs to sort of pop in the center of the leg toward the center of the piece. The crease you made earlier will be the line it folds according to. Just study the picture and play with your piece until they look similar. Crease it flat once it’s in the correct position. Do this with both legs of the piece which will form the head and tail/feet of the crane.

378Leigh

Make the wings flap down by folding the farthest point of the upper flap towards you. Flip over and repeat for the other wing.

381Leigh

The last step is to form the bird’s head by performing a “reverse fold” downward on one of the former legs. Adjust it, if need be, by strengthening your creases and pushing up on the center portion until it sits upright on its own.

384Leigh

Now what to do with it… write a “Get Well Soon” or “Happy New Year” message on one of the wings and push the crane flat to enclose in an envelope, use a needle and thread to string and hang it, or just set it out on your table for an easy décor element.

031Leigh

May all your dearest wishes be granted this year!

Faithfully Yours,

Leigh