Tag Archives: Birthday

Decadent Macadamia Nut Cake (Gluten-Free Vegan Cheesecake & Pound Cake Fusion) + DIY Cake Decorating Stencil Tutorial

077Leigh

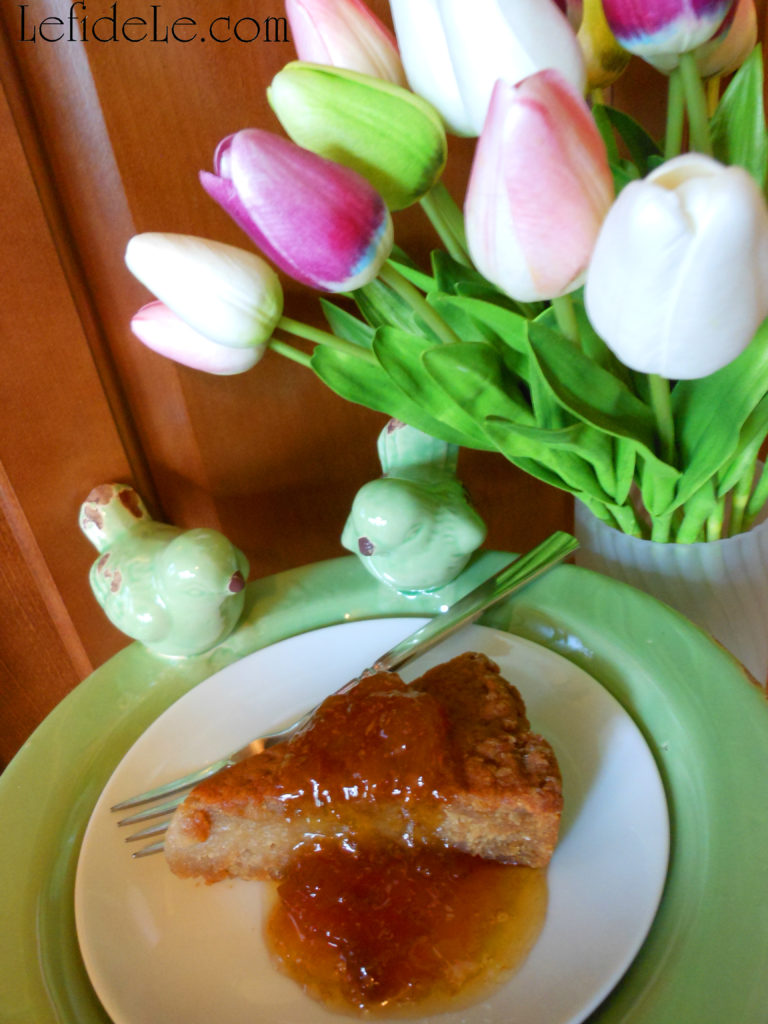
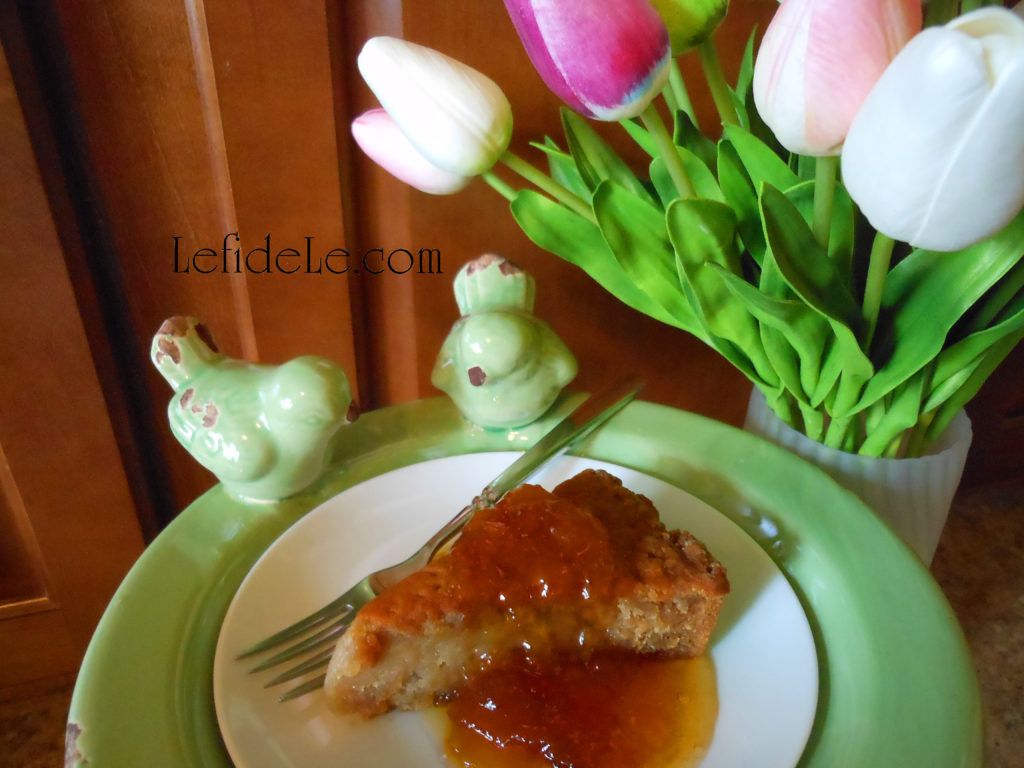
This decadent macadamia nut cake is a unique fusion of rich cheesecake and dense pound cake, yet it’s gluten-free and vegan! I invented it on a random whim of culinary creativity with no idea of how delicious it would turn out. I found out that it tastes even better on the second-day… which makes it a fantastic make-ahead dessert for you next gathering of gal pals. Easily decorate it with a DIY stencil and confectioner’s sugar, and serve it with a variety of fruit preserves. Then all you need to do is wait for the compliments to roll in before shocking everyone with the news that it’s gluten-free and vegan. Who knew guilt-free could taste this indulgent?!


Ingredients:

2 cups raw macadamia nuts (or raw cashews… soaked overnight)

2 tablespoons coconut oil (or butter, shortening, etc.)

2 teaspoons pure vanilla extract (or other extract)

4 teaspoons lemon juice (or other citrus juice)

½ cup fresh water (or juice)

2 cups Arrowhead Mills gluten-free baking mix (or another baking mix… not just flour)

2 egg replacers (3 teaspoons dry replacer + 4 tablespoons warm water… or 2 whole eggs, or 2 chia or flax “eggs”)

1 ¼ cups confectioner’s sugar (or powdered sugar)

1 teaspoons guar gum (or xanthan gum)

1 teaspoon baking soda

1 dash sea salt (= ⅛ teaspoon)

Optional toppings: fruit preserves


Instructions:

014Leigh

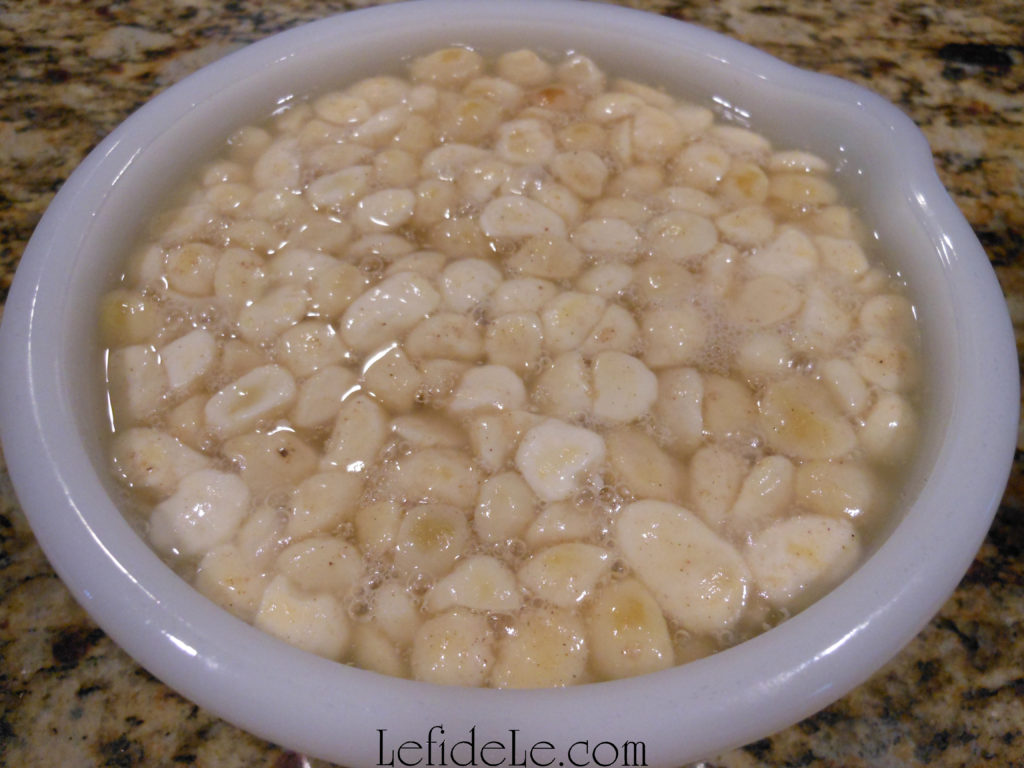
Remember to soak the macadamia nuts at room temperature the night before you want to bake the cake.

019Leigh

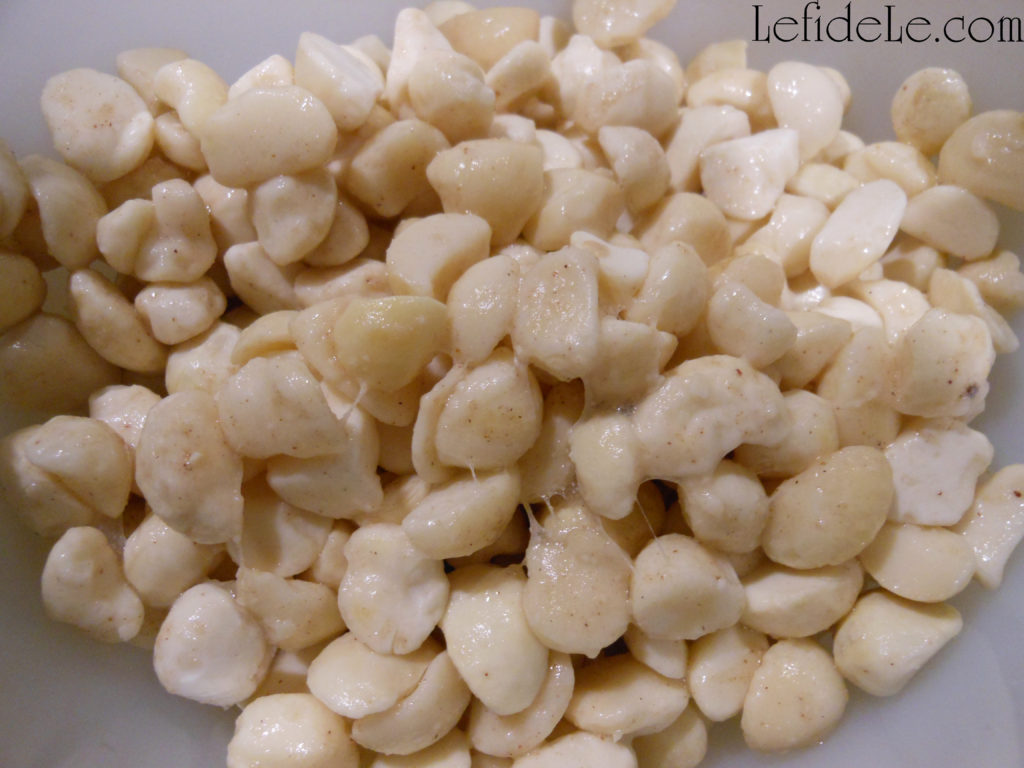
Drain off the soaking liquid, and blend the nuts at high speed with a fresh ½ cup of water plus the lemon juice, vanilla extract, coconut oil, and prepared egg replacer. (Mix the dry egg replacer well with warm water until it’s a frothy white liquid.) Now add the dry ingredients to the wet concoction, mixing it very well. (For those of you with corn allergies… note that confectioner’s sugar and guar gum are the corn-free alternatives to powdered sugar and xanthan gum.)

025Leigh

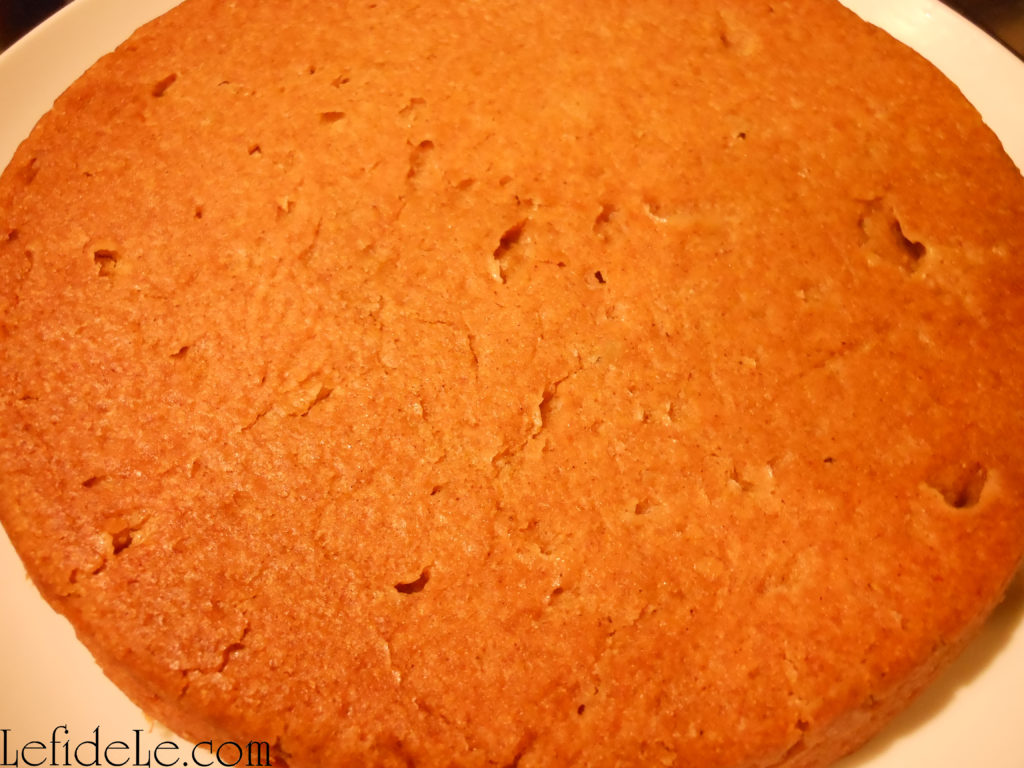
Pour the batter into round metal cake tins. (Metal conducts heat better for gluten-free baked goods.) Bake for approximately 1 hour, or until golden brown, in a 350ᵒ oven. (My oven has been running low and slow… so vary the time according to your oven’s temperament.)

035Leigh

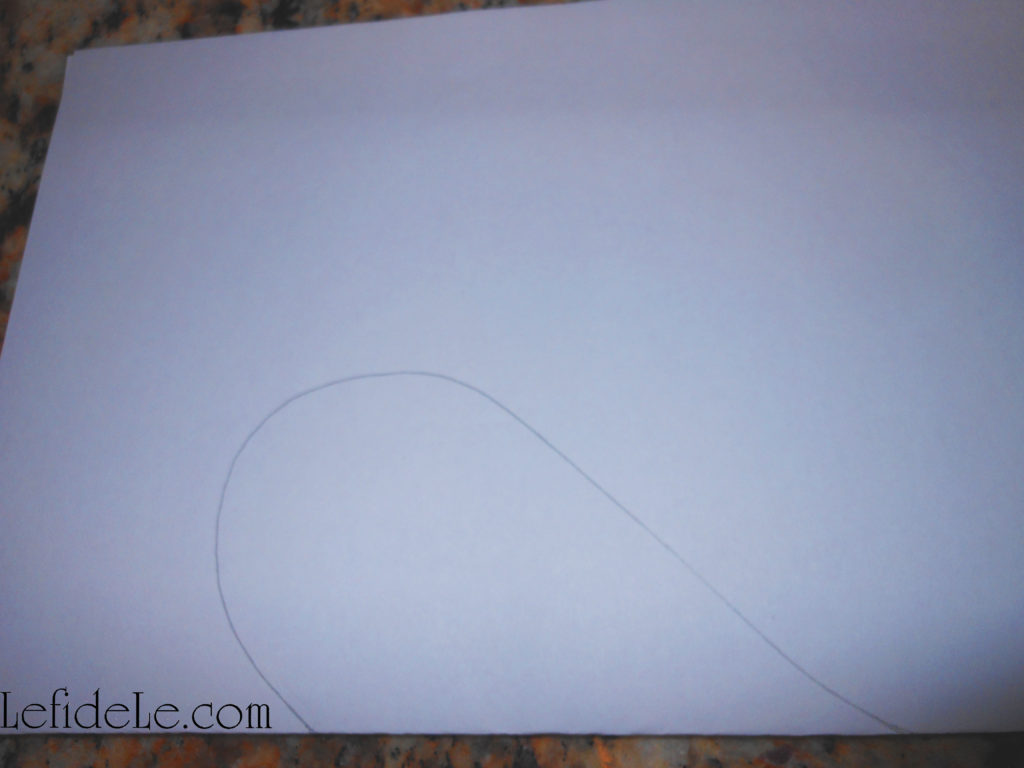
While letting the cakes cool completely, find a piece of clean copy paper to make a stencil / template with. Fold it in half, and draw one side of a heart (with the center of it running into the folded edge). Cut this out, and unfold it to reveal a perfect heart.

055Leigh

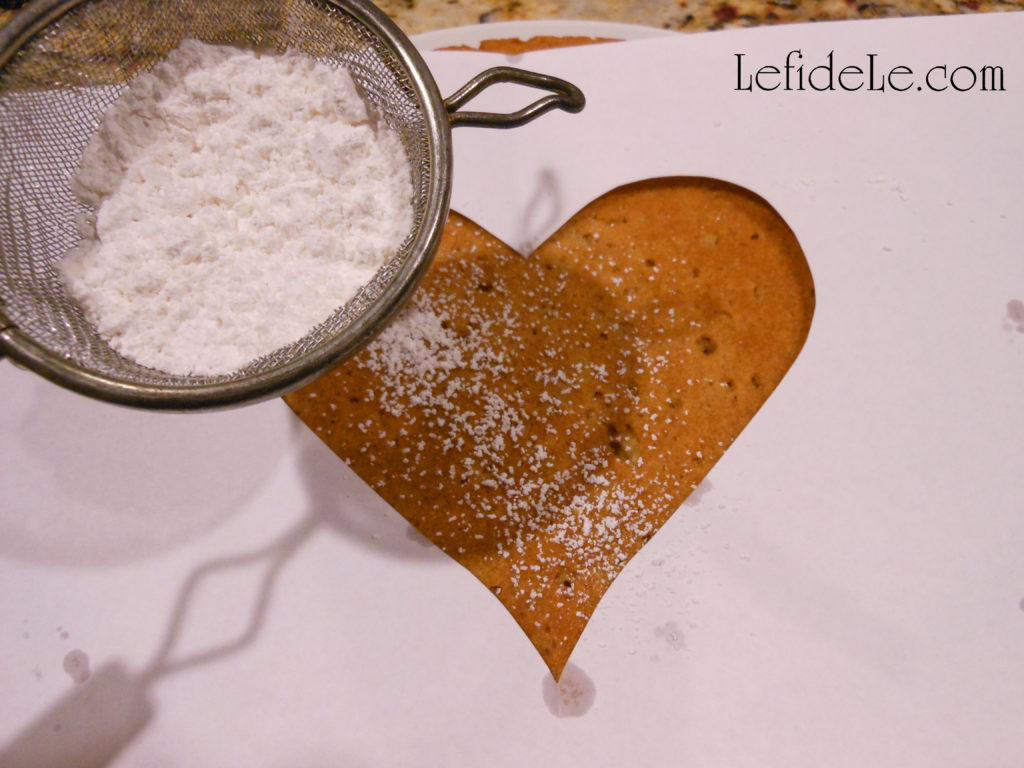
Lay down the open heart and sprinkle additional confectioner’s sugar over the opening.

063Leigh

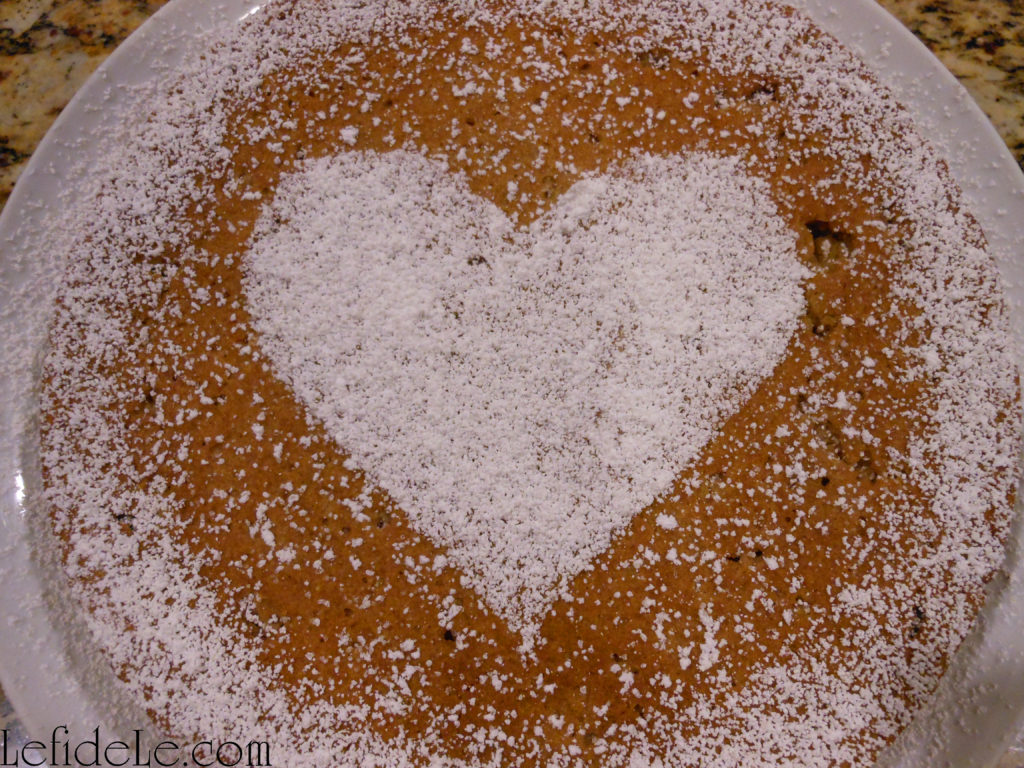
Remove the stencil and sprinkle more around the edges of the cake.

043Leigh

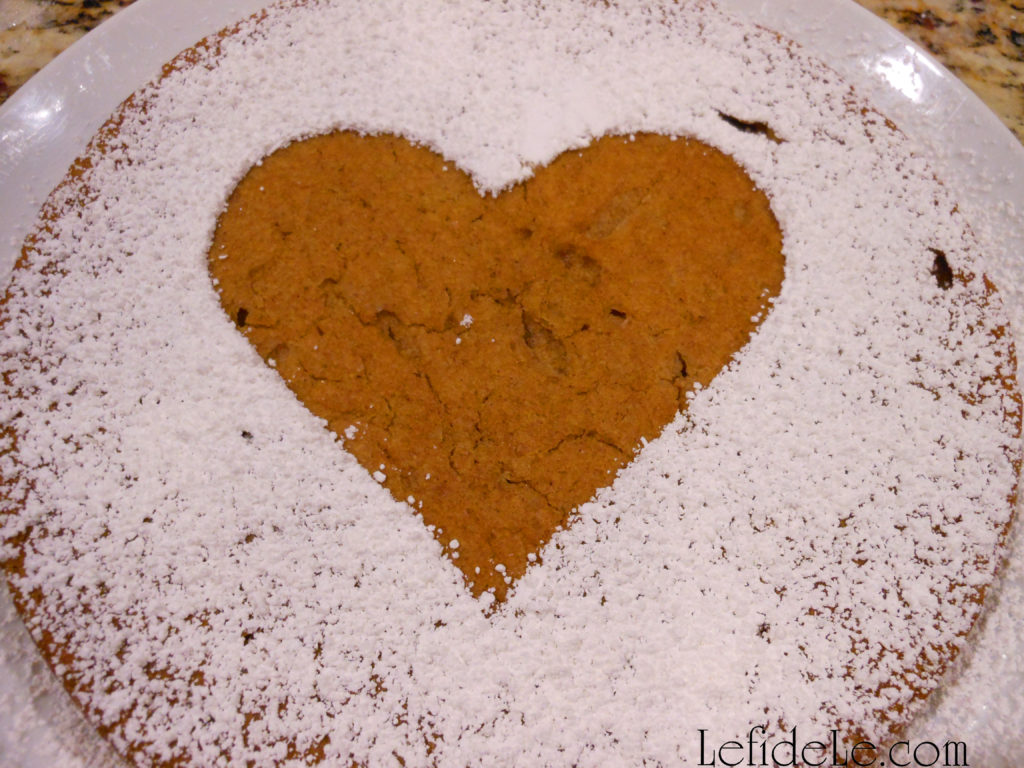
Another option is to lay down the solid heart template and sprinkle confectioner’s sugar around it.

092Leigh


This is a great way to easily decorate this kind of cake for a gathering. Then you can top individual servings with everyone’s favorite flavor of fruit preserves.

079Leigh

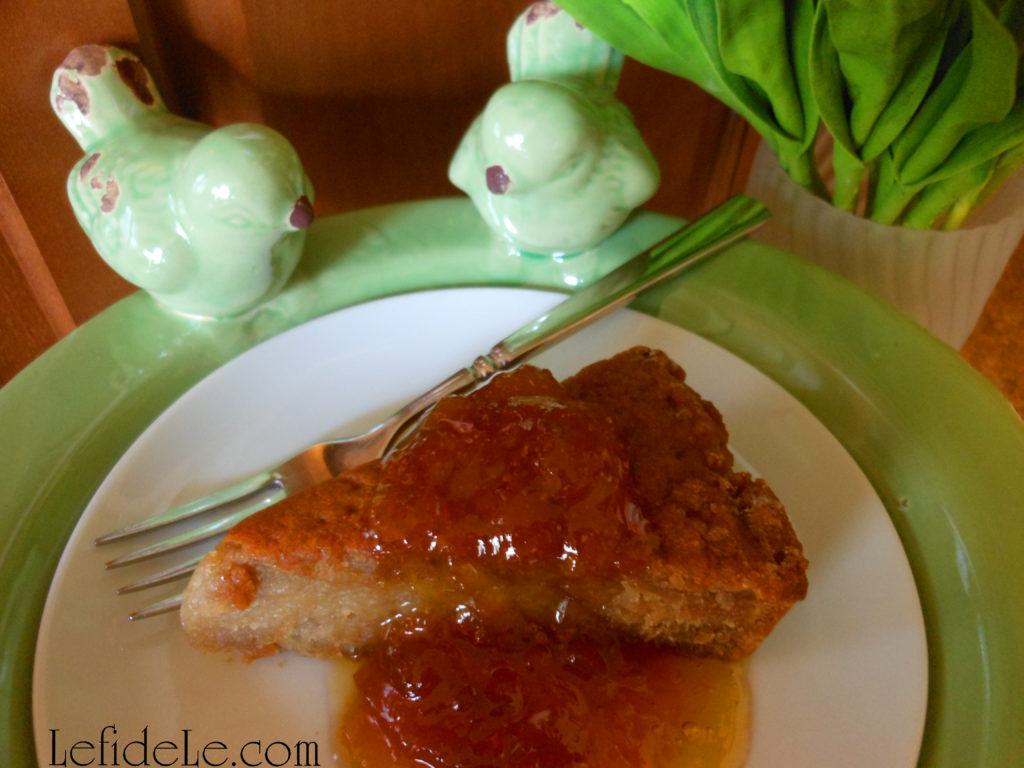
Make your cake peachy keen by topping it with scrumptious peach preserves straight from Fredericksburg, Texas… the town is known for its perfect peaches! (You can buy these delicious preserves, along with other amazing products from the Hill Country, at the affiliate link in the sidebar for Fredericksburg Farms.)

Faithfully Yours,

Leigh

P.S. A little birdie told me that a smidgen is ¹̷32 teaspoon, a pinch is ¹̷16 teaspoon, and a dash is ⅛ teaspoon… who knew a pinch of salt could be so technical!

DIY Scrapbooking Paper Flower Mobile Craft Tutorial for Decorations & Gifts (Birthdays, Baby Showers, Mother’s Day, & Get Well Wishes)

2280Leigh

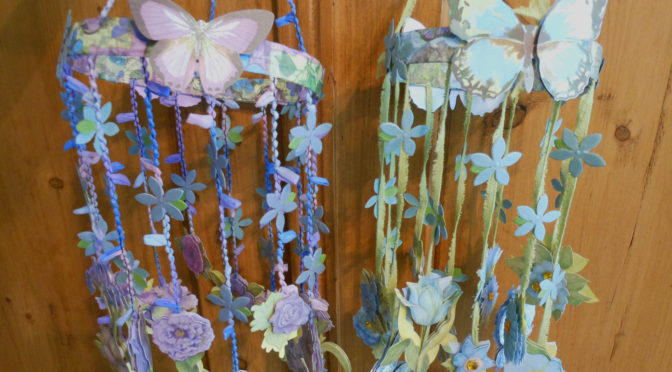
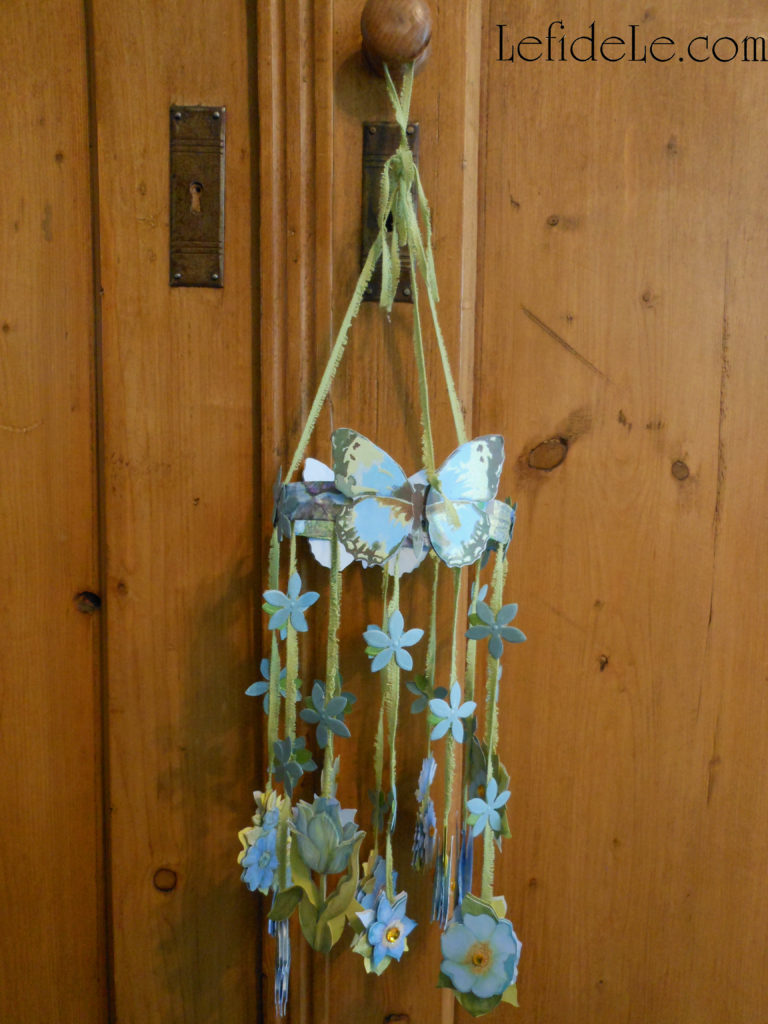
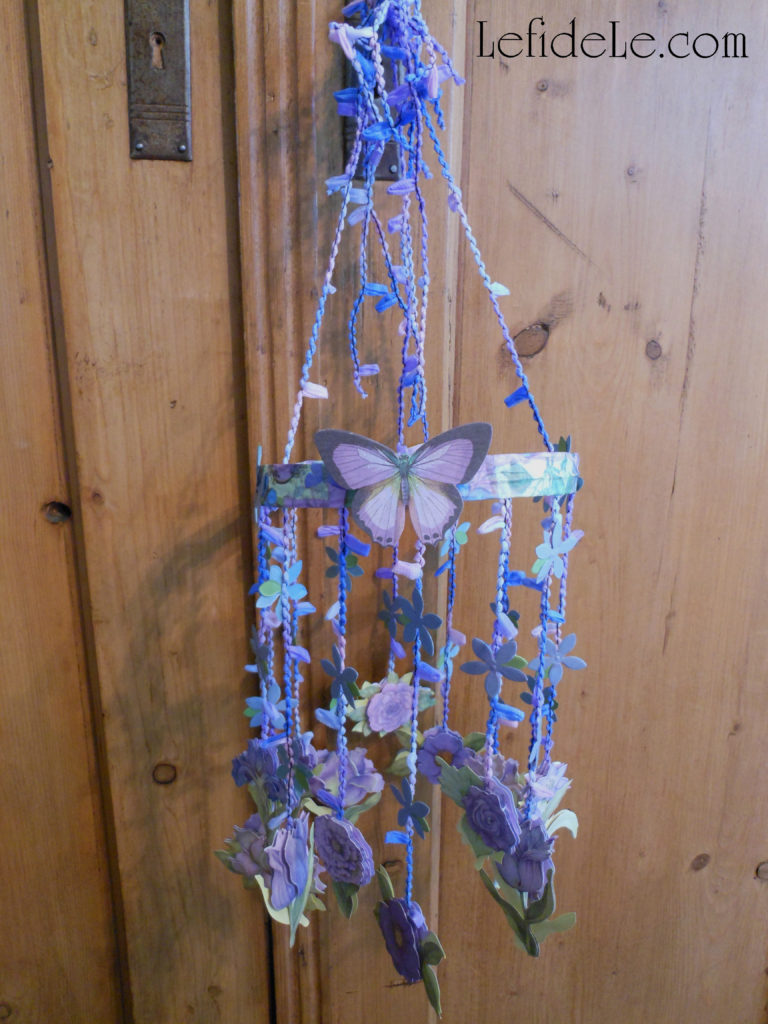
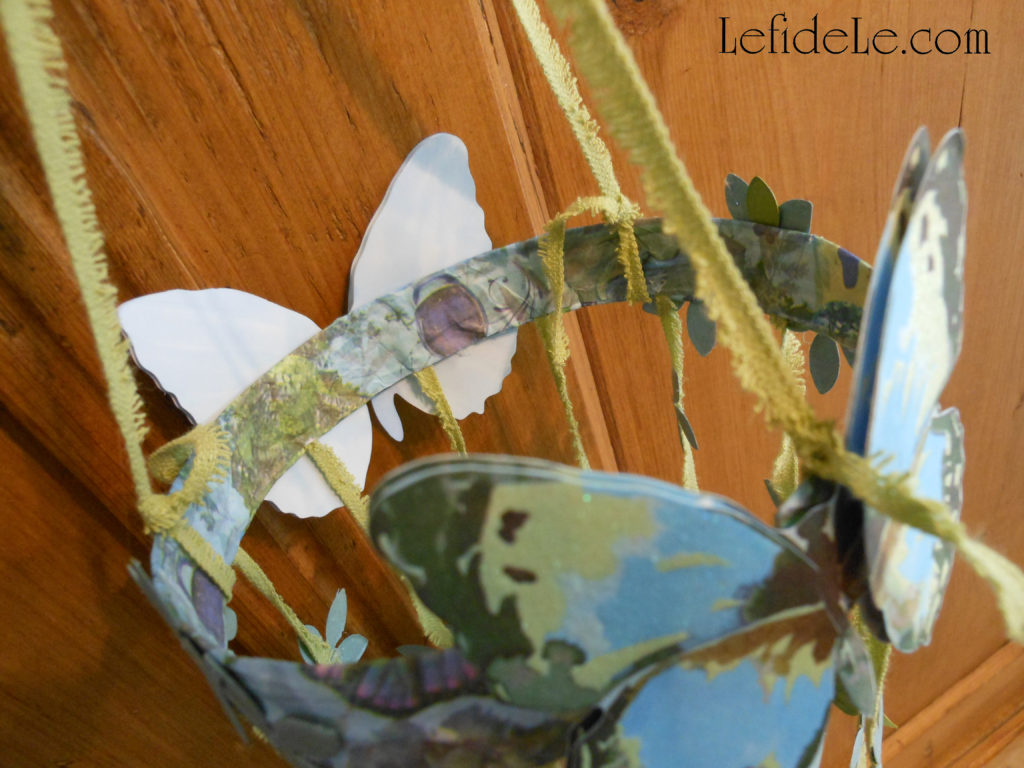
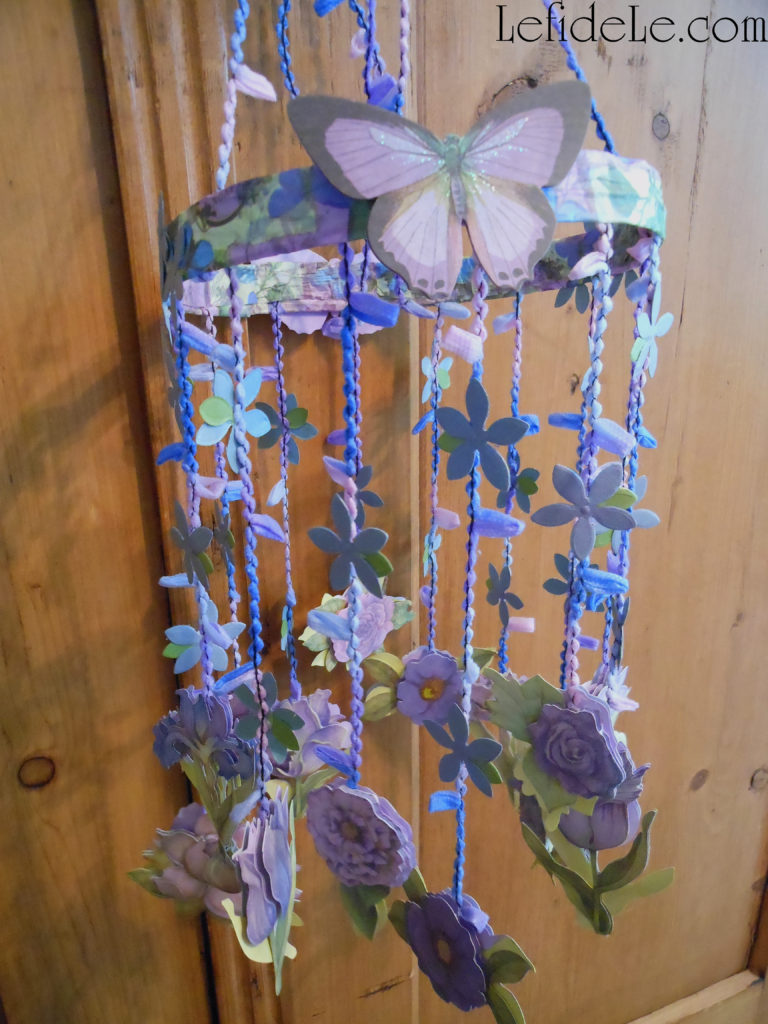
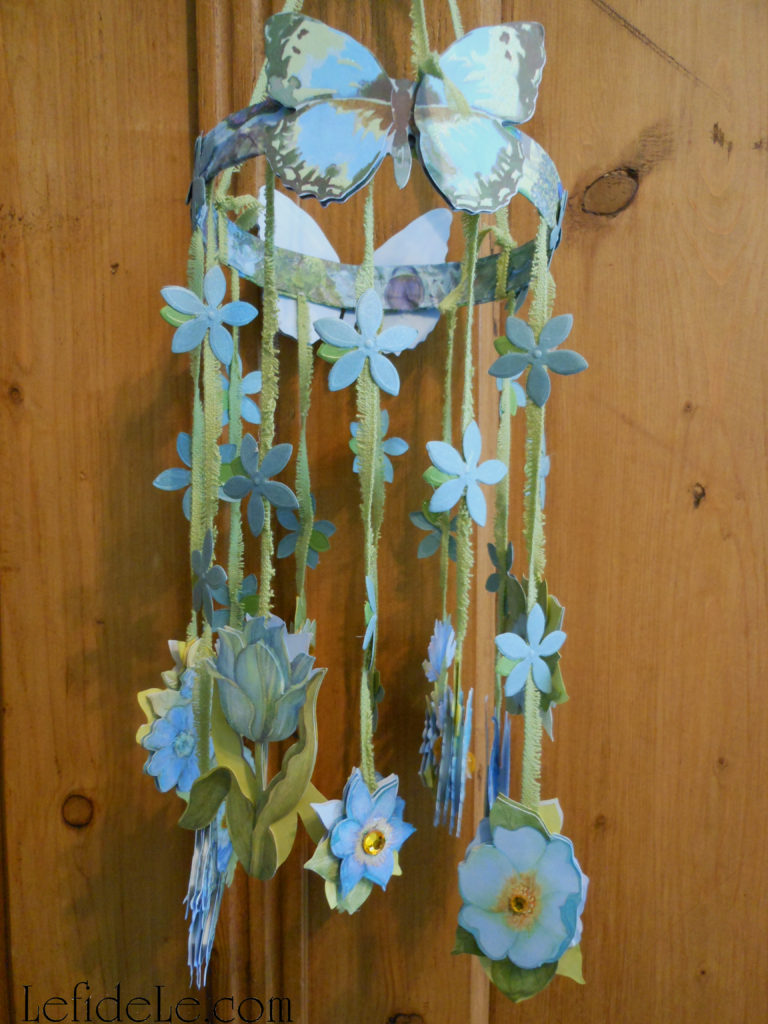
Craft your own DIY mobile from scrapbooking paper flowers with this tutorial for making decorations and gifts for birthdays, baby showers, Mother’s Day, and get well wishes. They’re great to hang up as party decorations, and then let your guests take them home as gifts. They also inexpensively make sweet craft room décor, and because they’re so lightweight they can be placed nearly everywhere… even suspended over a small workspace in a tiny craft closet to bring the magic of a lush fairy garden inside.

2113Leigh

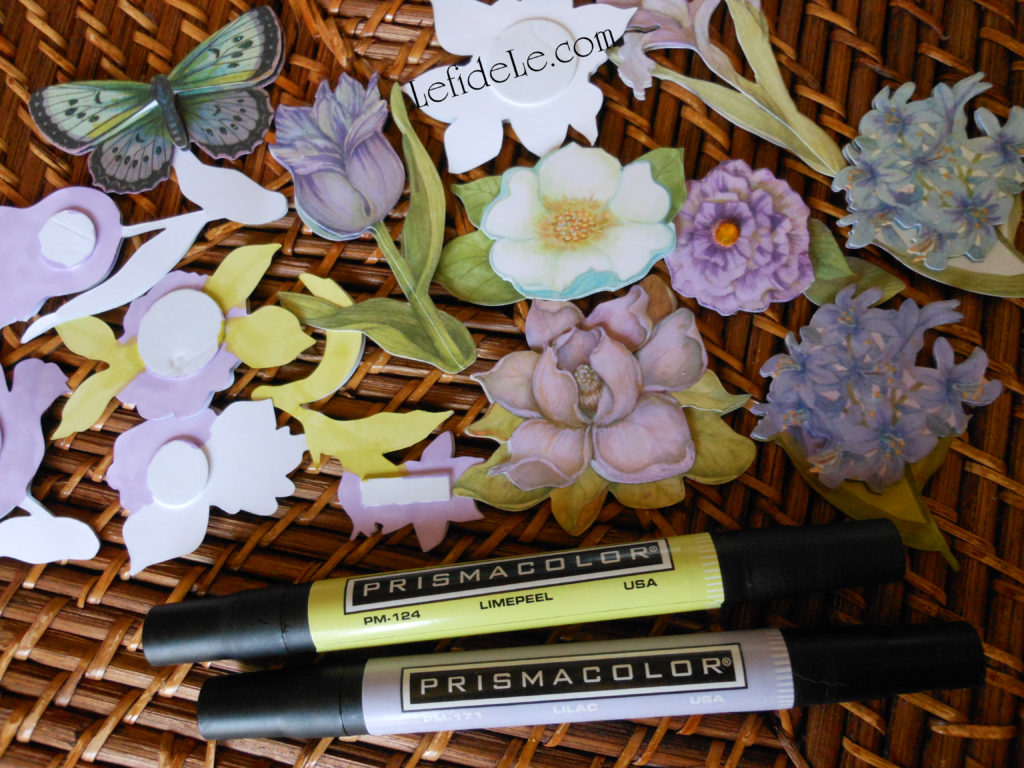
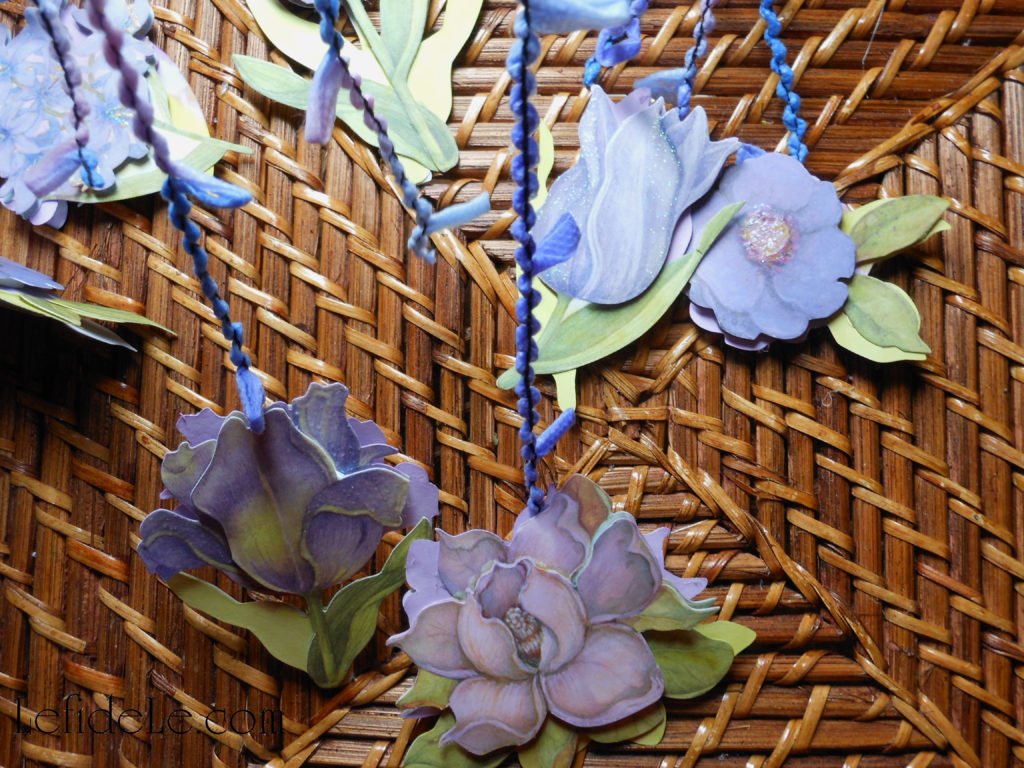
The most important elements of the mobile are the paper flowers that hang from it. Try walking through the scrapbooking aisle at your local craft store, and choose the collection that really catches your eye. (Here, I’m using K & Company layered accents that were on sale.) Be sure to buy 2 matching sets, so that you can glue them back to back later.

2061Leigh

It looks much prettier to add a wash of color to the backs of the floral elements, so that when they’re glued they appear as additional petals. (The easiest way to do this is with a sheer colored marker like these Prismacolor markers in limepeel and lilac.) You can also easily modify the front of the designs by adding a wash of color to them. (In this way, I made blue flowers violet and white flowers lavender… who needs “Bibbidy Bobbidy Boo” when you have markers?!)

2103Leigh

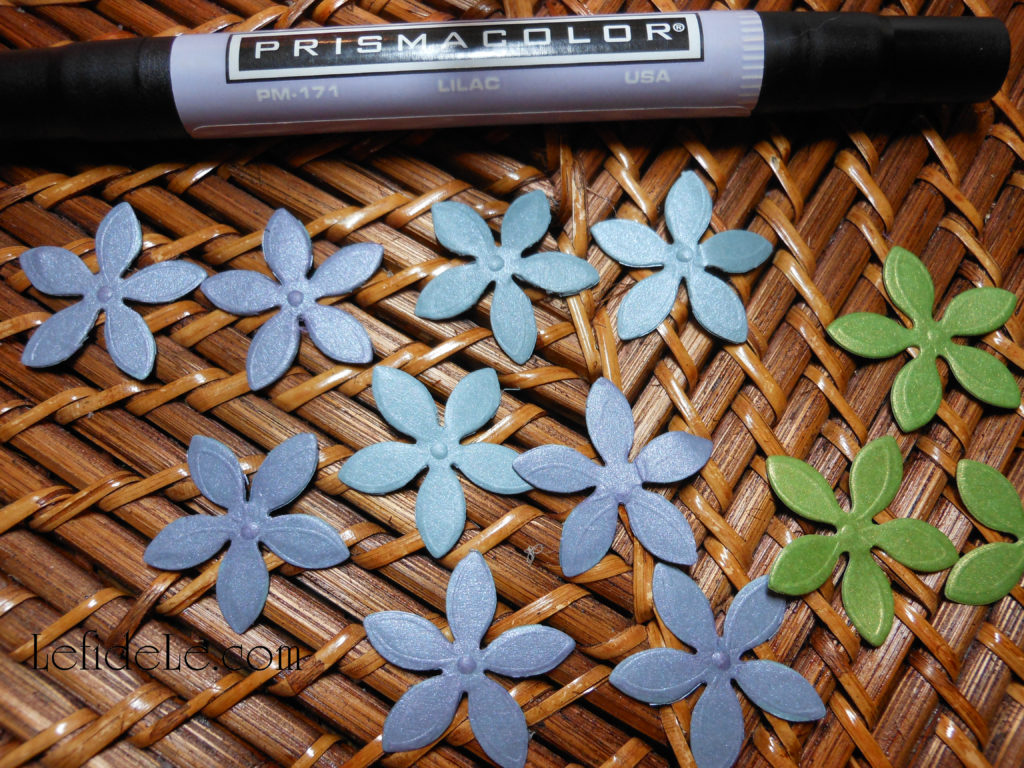
Also, find a package of smaller floral elements to further embellish your piece with. (Here, I’m using a package of flower confetti that I found on the clearance aisle last year.) Remember that it’s so easy to alter the colors of these elements by simply coloring over them with a marker. (This lilac Prismacolor marker added a translucent layer turning my baby blue confetti into lavender… Flora, Fauna, & Merriweather can eat their hearts out!)

2066Leigh

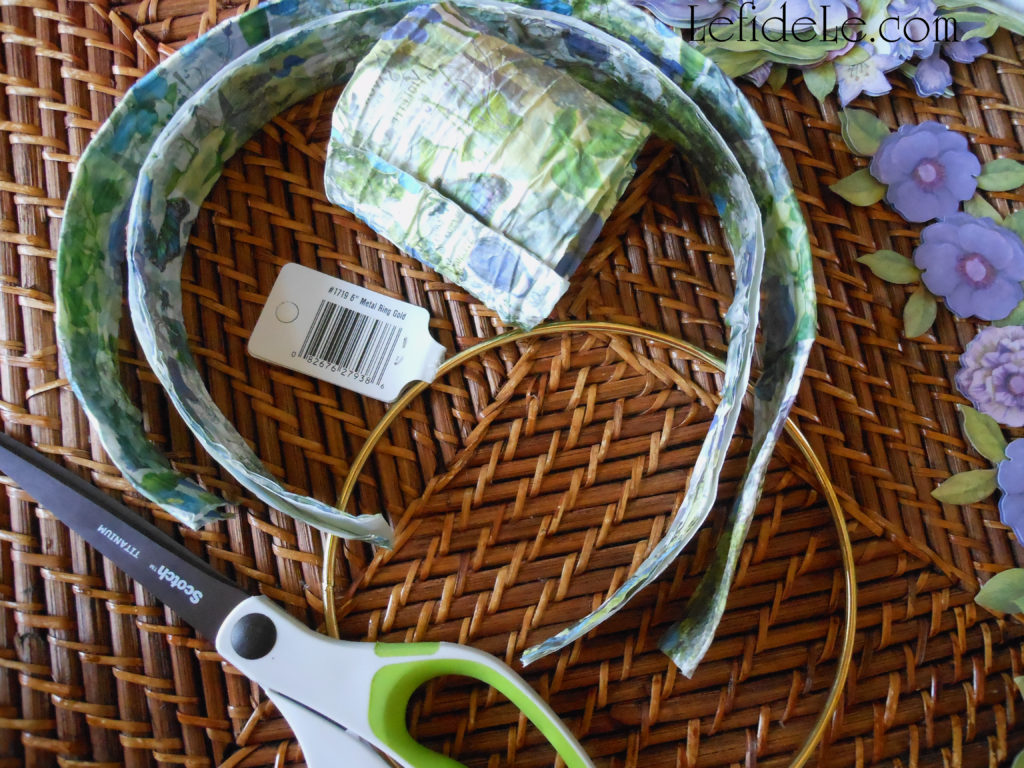
You have several options for the ring the elements will hang from. You can use a 6 inch metal ring (like this golden one from Joann) and wrap it with ribbon… or simply use it as is. You can also opt to use a coordinating wired paper ribbon (as the one I’m using here, which came from my gift wrapping supplies). To do this simply cut a length of ribbon long enough to form approximately half a foot diameter (exact measurements aren’t necessary), and then cut that in half lengthwise.

2072Leigh

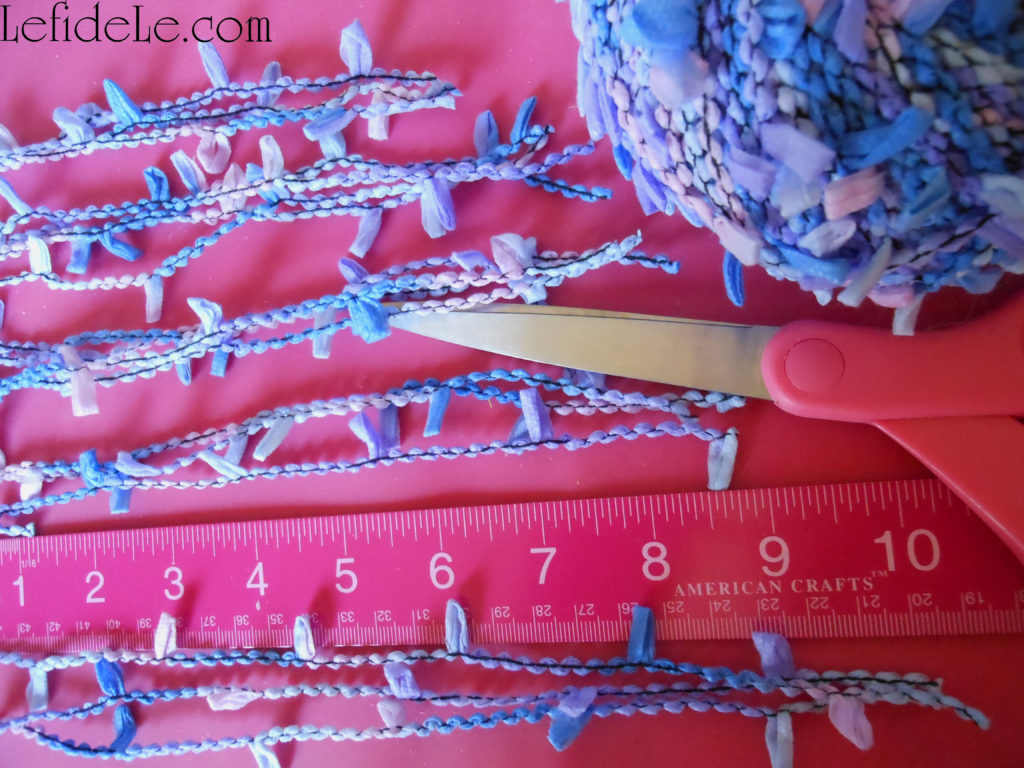
Next, you’ll need to cut 1 strand of yarn/ribbon for each floral element. Try cutting them in various lengths from 6 to 10 inches. (I used clearance yarns that matched my paper flowers.)

2075Leigh

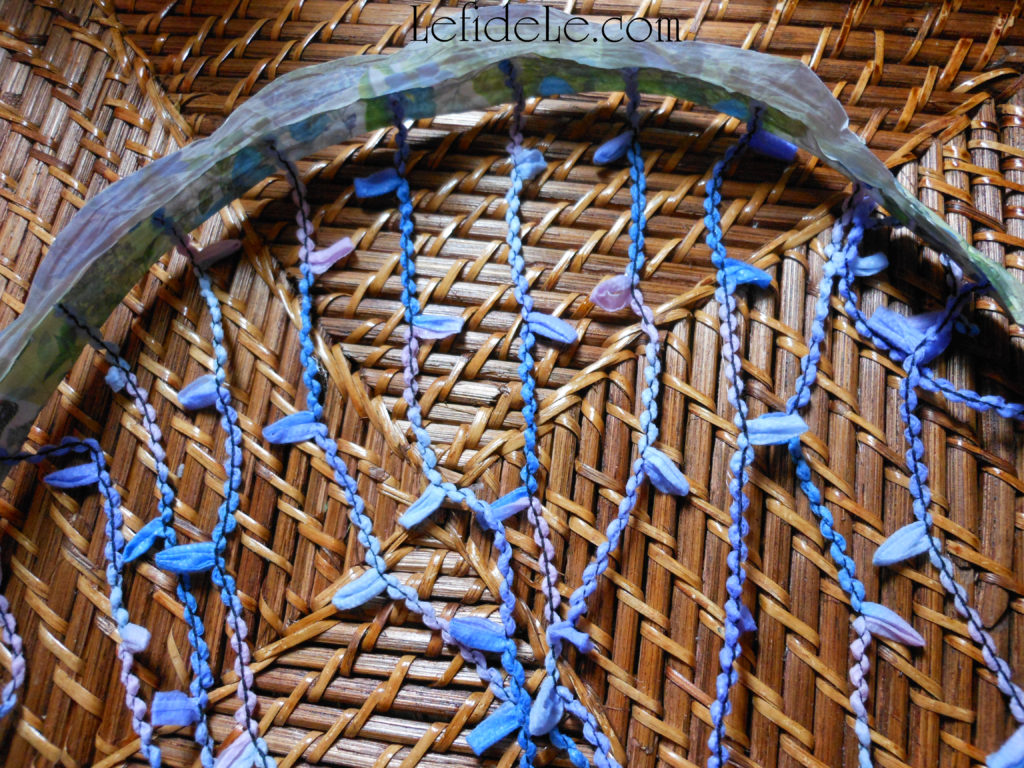
Hot glue the yarn/ribbon pieces (staggered in lengths) to the inside curve of the wired ribbon piece.

2079Leigh

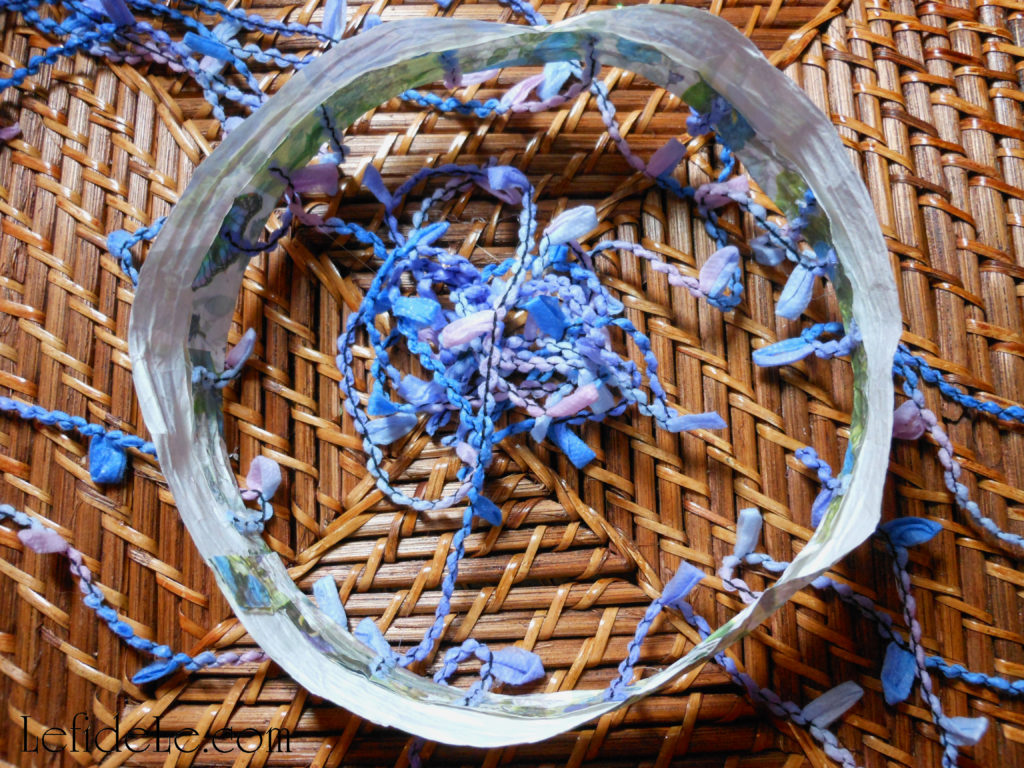
Now glue the ends together to form a complete circle, and then glue the top flap (of the wired ribbon) down over the glued strands.

2284Leigh

Next, you need to add 3 additional pieces of yarn/ribbon to make a hanging “tripod”. You can either glue them as you did with the strands earlier, or you can simply tie some on. Then, gather the loose ends at the top, and form a knotted loop to hang them by. (If you like, tie more pieces of yarn onto the loop to decorate it a bit.)

2100Leigh

Now it’s time to glue on the big flowers. (It’s easiest to do this by hanging the mobile up, so that you can see how you’re arranging the elements.) Hot glue them back to back with the yarn/ribbon sandwiched in between them. (Even though they have foam stickers, it’s best to use a little glue so that the yarn/ribbon stays put… because every fairy godmother knows it mortifying when your creation falls apart.)

2110Leigh

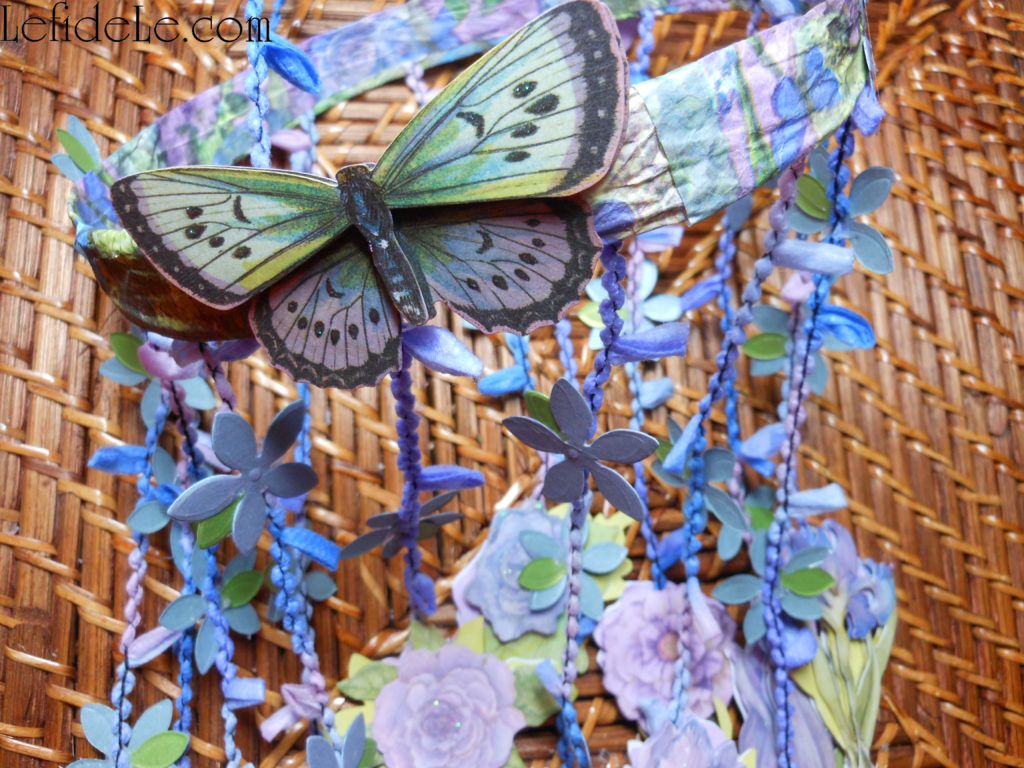
Hot glue the smaller floral pieces (confetti) in a staggered formation along the yarn/ribbon strands. (I also used torn off petals from the green floral confetti as leaves.) To the ring, add a few of the smaller flowers and a couple of larger elements (like these butterflies that were the K & Co. package… which I also tinkered with by adding color).

2111Leigh

I wanted the dominantly purple mobile to have more of a purple toned ring, so I used a lilac Prismacolor to color in the white portions of the paper ribbon. (I did the same using a blue marker on the dominantly blue mobile… the blue fairy herself couldn’t do this any easier.) It’s the little touches like that which really make mobile a visually cohesive structure… in other words, it’s prettier that way.

2277Leigh

If you feel like it needs more sparkle, attach crystals as flower centers and sprinkle glitter… then tell Tinkerbell to eat your pixie dust!

Faithfully Yours,

Leigh

P.S. Check out these mobiles HERE in my Fairyland Tablescape hanging from the trees in the background.

Then get my free printable fairy cards HERE to gift with the mobiles you just created.

037Leigh

Whimsical Fairyland Tablescape Décor Ideas for a Birthday Party or Mother’s Day Celebration

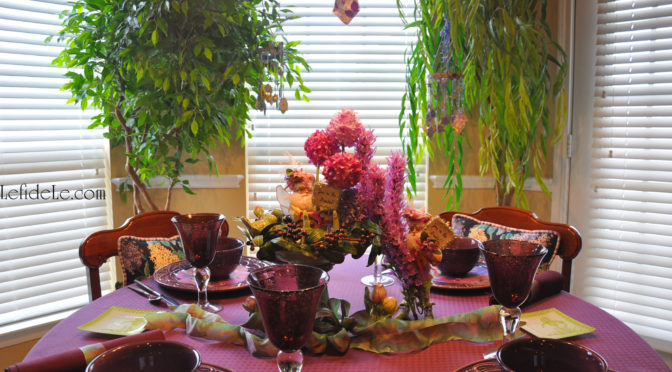
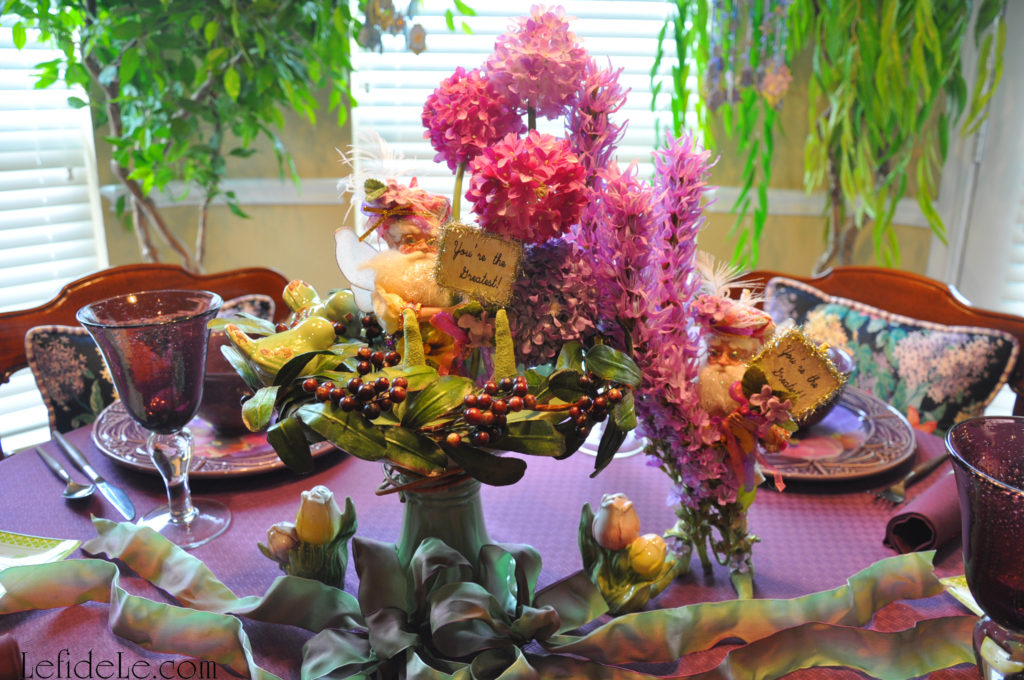
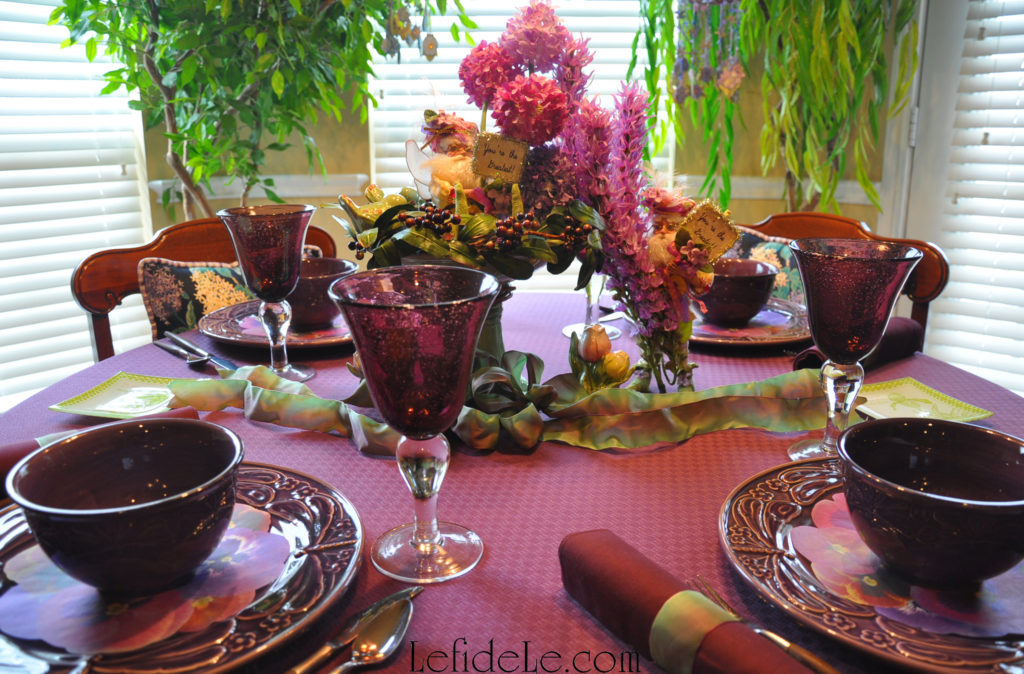
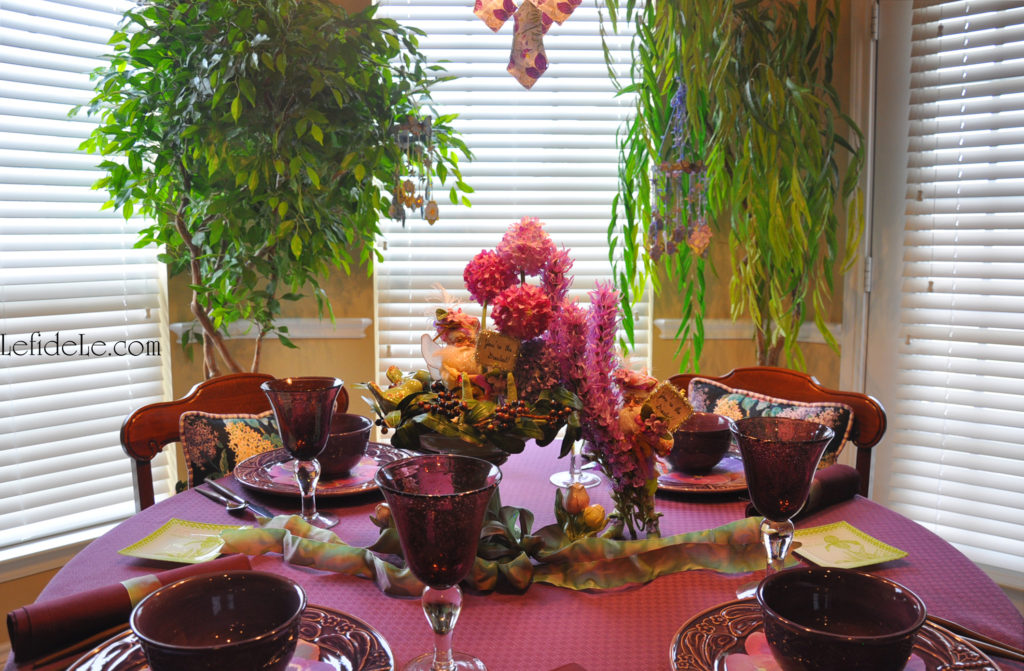
Welcome to a whimsical fairyland with tablescape décor ideas perfect for a birthday party or Mother’s Day celebration. This is a venue where fantastical flower bearing fairies evoke Irish proverbs that will fill your mind with conviviality as joy fills your soul.

133Leigh

“Your feet will bring you where your heart is.”

Take a seat next to a dear loved one whose smile is lit by the glistening light reflected by the chandelier’s découpaged crystals.

140Leigh

“What fills the eye fills the heart.”

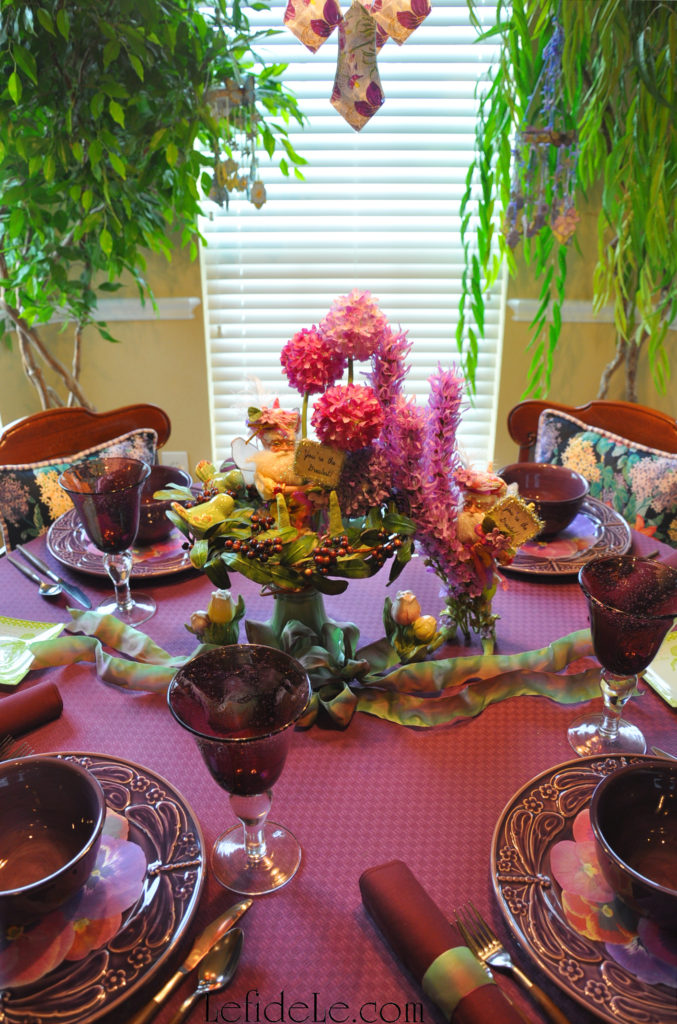
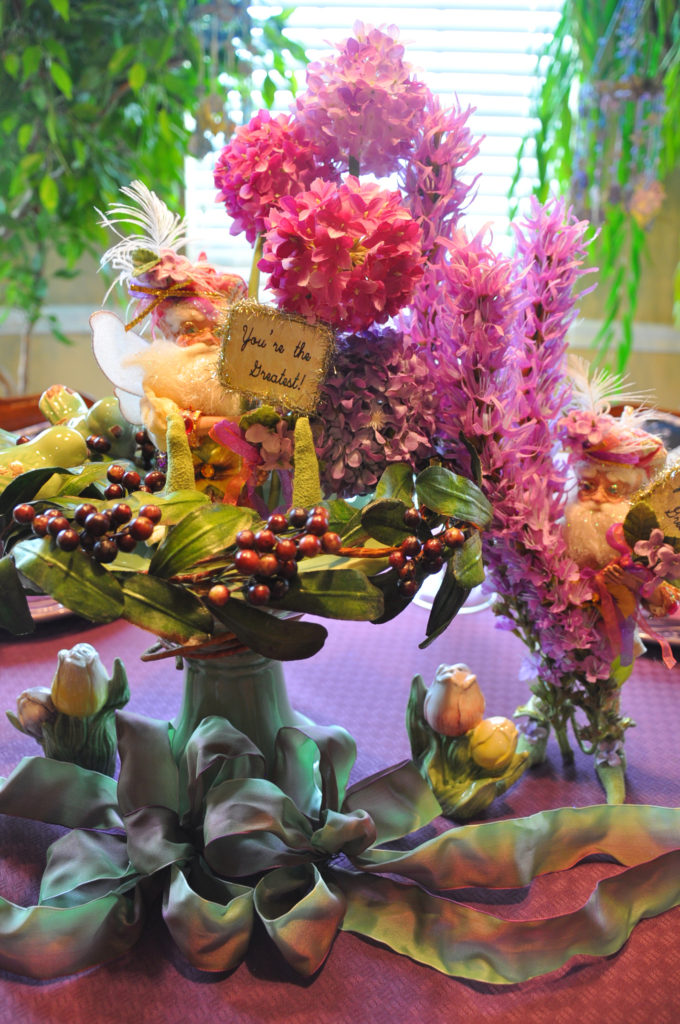
Feast your eyes upon a table festooned with watercolor ribbon bows and a berry clustered birdbath centerpiece framed by ceramic tulip salt and pepper shakers.

150Leigh

“A word is more enduring than worldly wealth.”

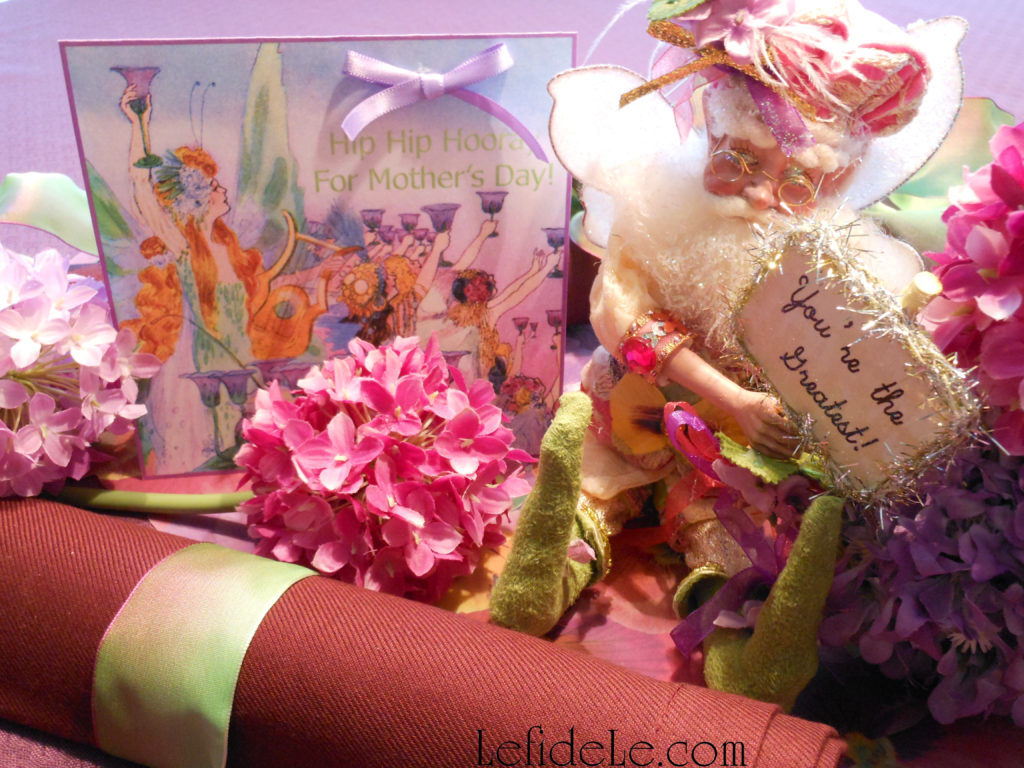
Meadow fairies present you with purple flowers and signs declaring, “You’re the Greatest!”

182Leigh

“People live in each other’s shelter.”

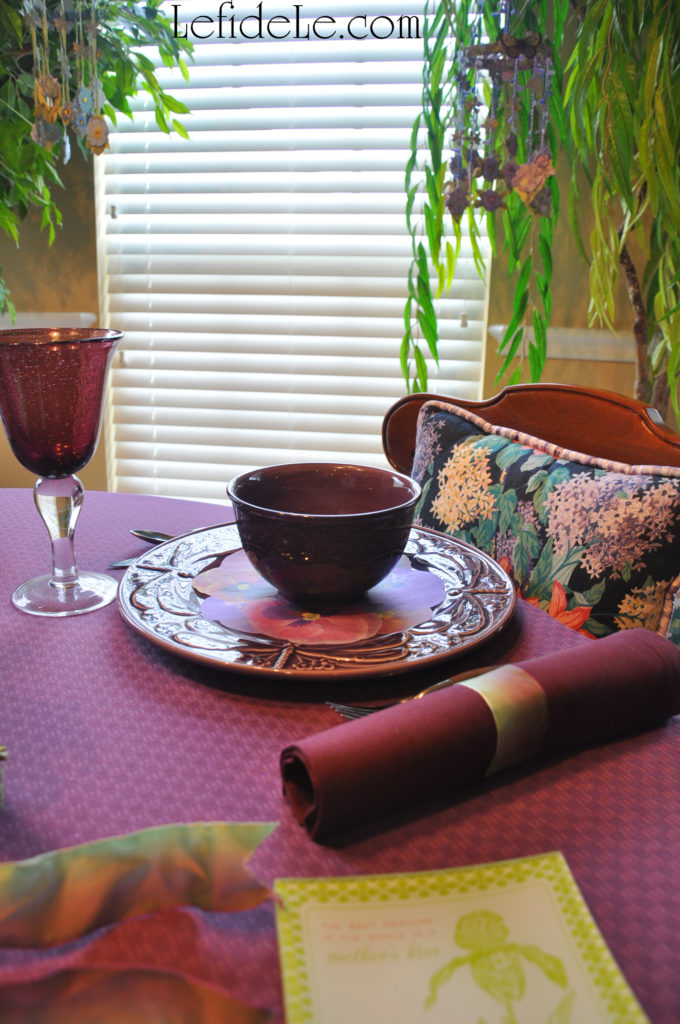
Rest upon floral cushions as you bask in the serenity of good company sheltering beneath trees adorned with handcrafted paper flower mobiles.

184Leigh

“Time is a good storyteller.”

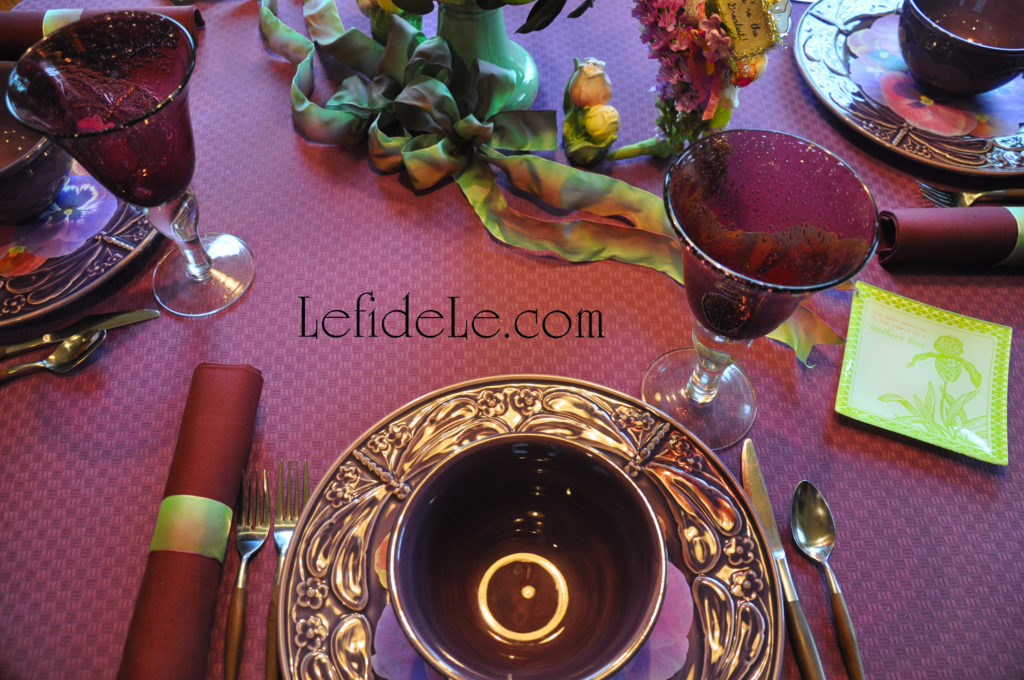
Raise a toast with violet bubble goblets in celebration of time shared as you dine upon ceramic dishware of purple dragonflies twirling around parchment paper pansies.

136Leigh

“A light heart lives long.”

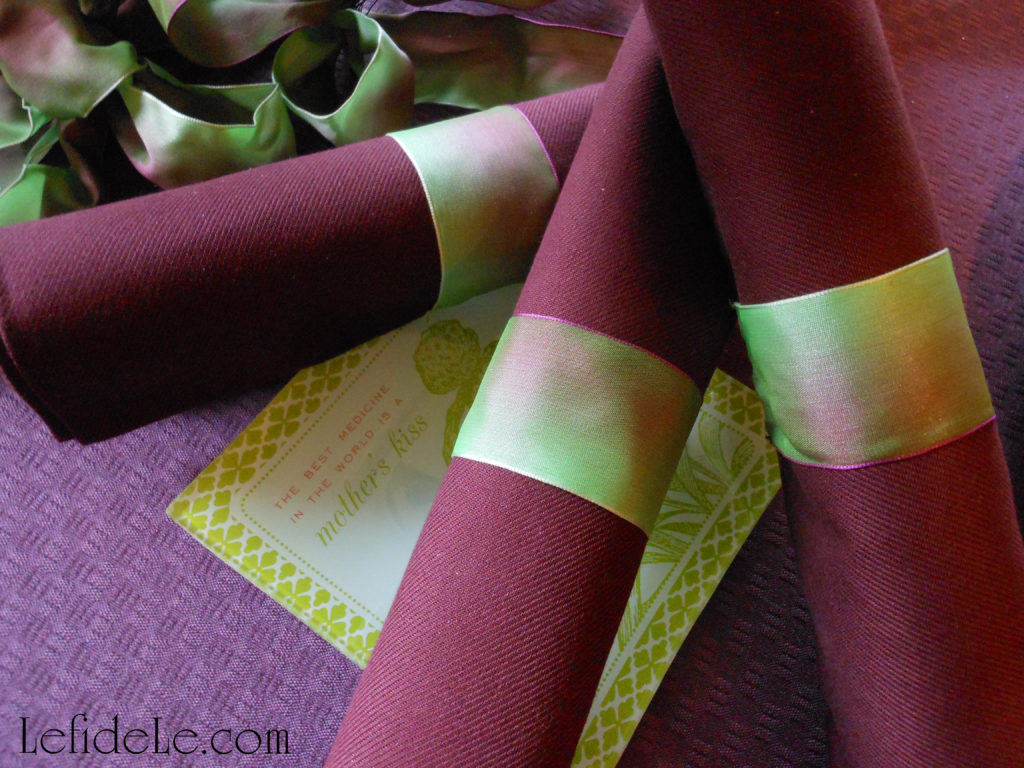
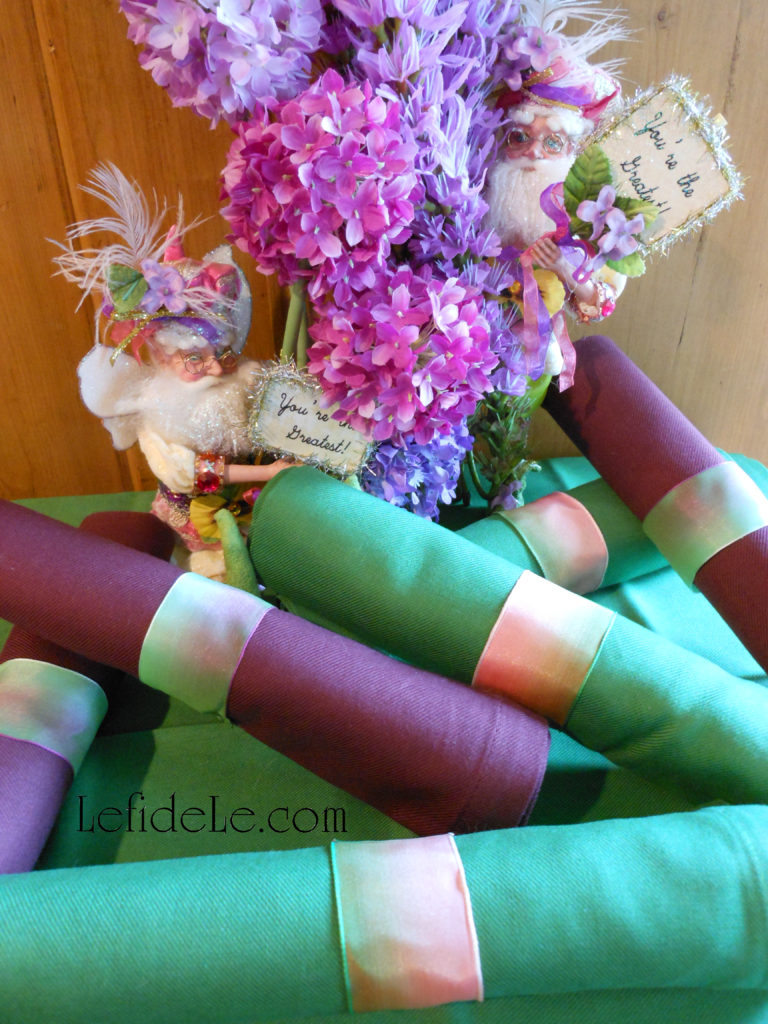
A lavender tablecloth of basket-weave patterning glides across a lighthearted tablescape with wood handled flatware and eggplant napkins rolled into handmade watercolor ribbon napkin rings.

215Leigh

Remember that “Mothers hold their children’s hands for just a little while… and their hearts forever.”

And as the small serving plates say, “The best medicine in the world is a mother’s kiss,”… remembered and cherished. Love you Mom!

Faithfully Yours,

Leigh

P.S. The flower laden fellows are Mark Roberts Fairies, and the lovely quotes are old Irish proverbs!

P.P.S. Learn how to make your own paper flower mobiles by clicking HERE.

And read how to easily make the ribbon napkin rings HERE.

Get my free printable Birthday & Mother’s Day cards HERE.

Get the perfect Macadamia Nut Cake Recipe (Gluten-free Vegan) to serve at your gathering HERE.

Free Printable Fairyland Mother’s Day & Birthday Cards + Super Easy DIY Ribbon Napkin Rings Craft Tutorials

022Leigh

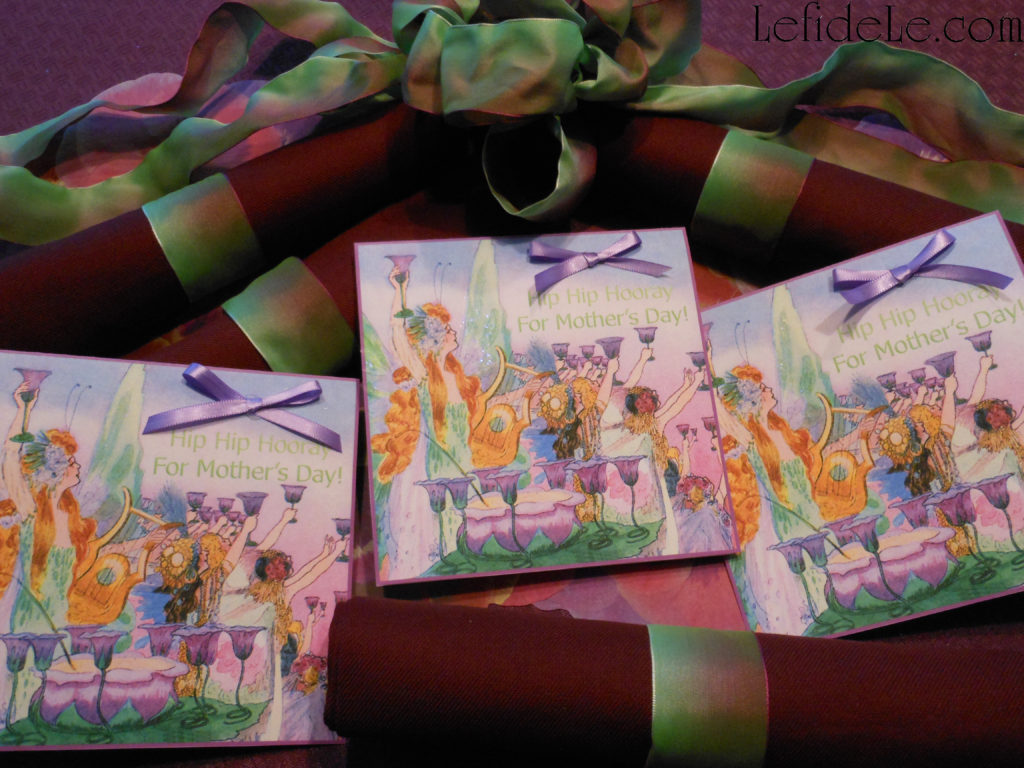
Craft a fantastic fairyland tablescape with this tutorial for super easy DIY ribbon napkin rings, and make fairyland cards for birthdays and Mother’s Day with my free printables. With four examples of napkin rings, using watercolor ribbon and paper gift wrapping ribbon… you’re sure to get all the inspiration you need to easily and inexpensively create the same magic for your own party. There you can raise a toast, as the fairies do in the cards, saying “Hip Hip Hooray” on celebration day!

2347Leigh

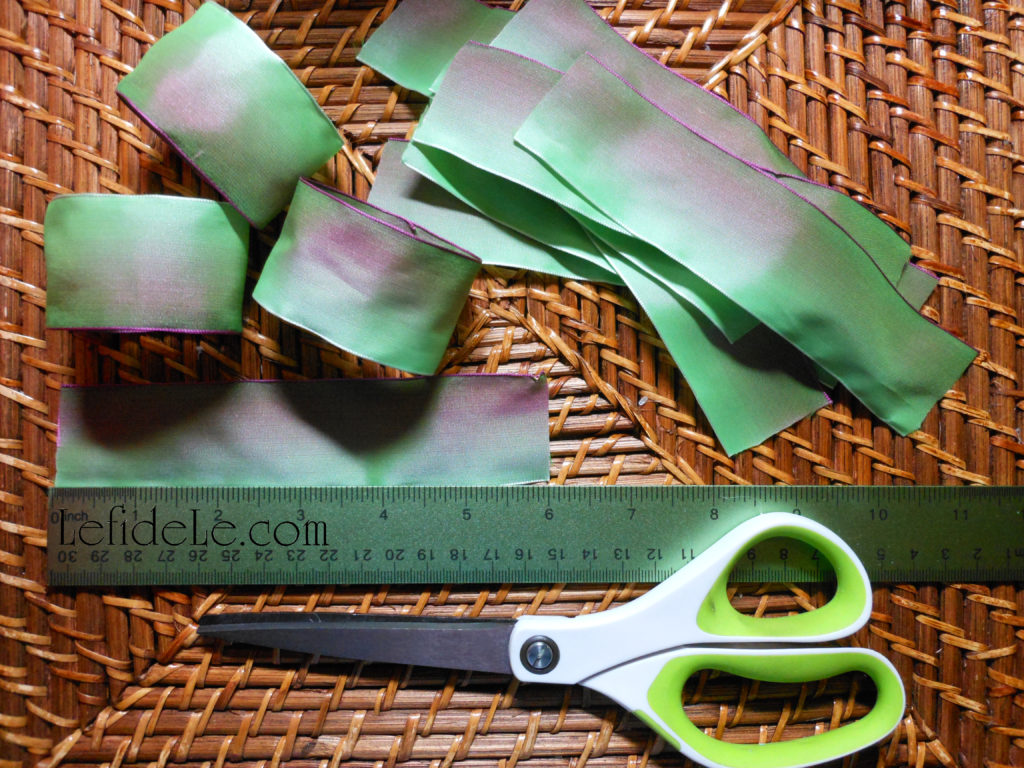
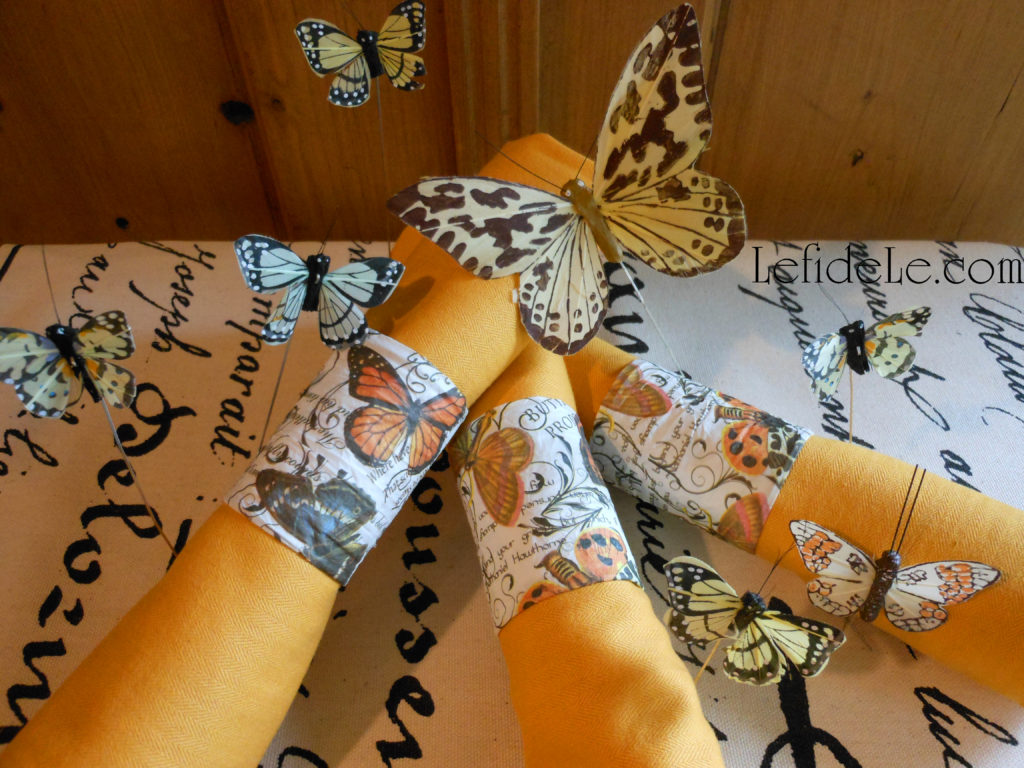
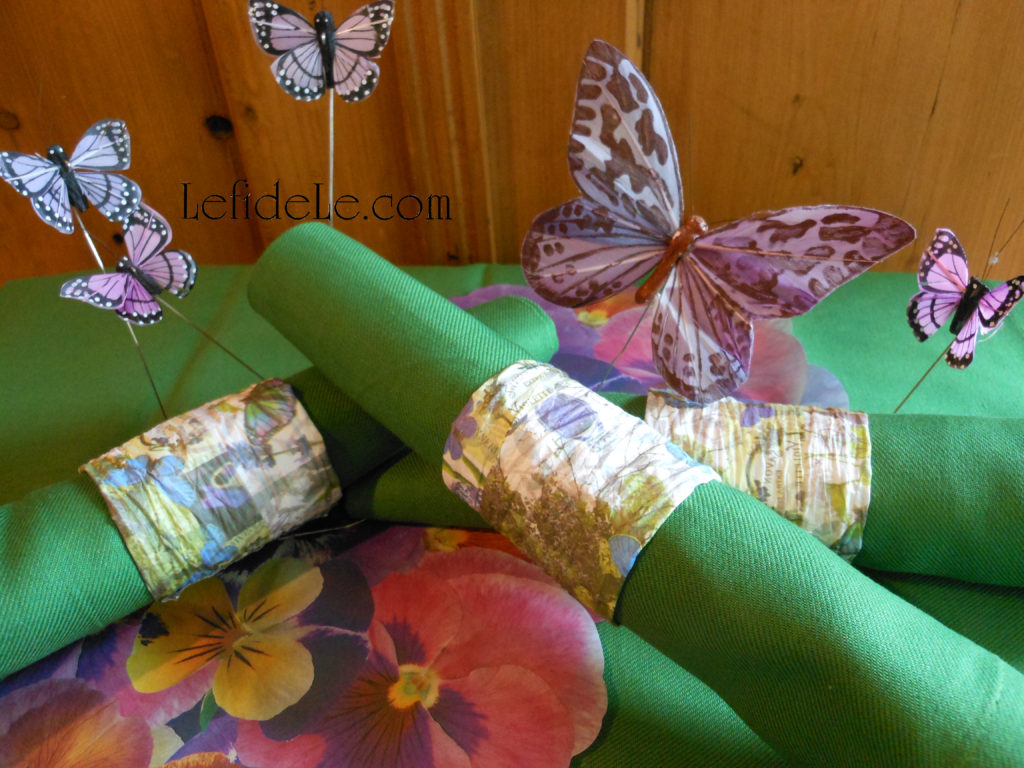
Make the napkin rings using absolutely any kind of ribbon you like to coordinate with your linens and decorations. (Here, I’ve used different varieties of Offray brand watercolor ribbon to resemble the petals in my fairyland tablescape.)

1921Leigh

Simply cut 6 inch lengths of it, and hot glue the edges (overlapping the short ends).

1924Leigh

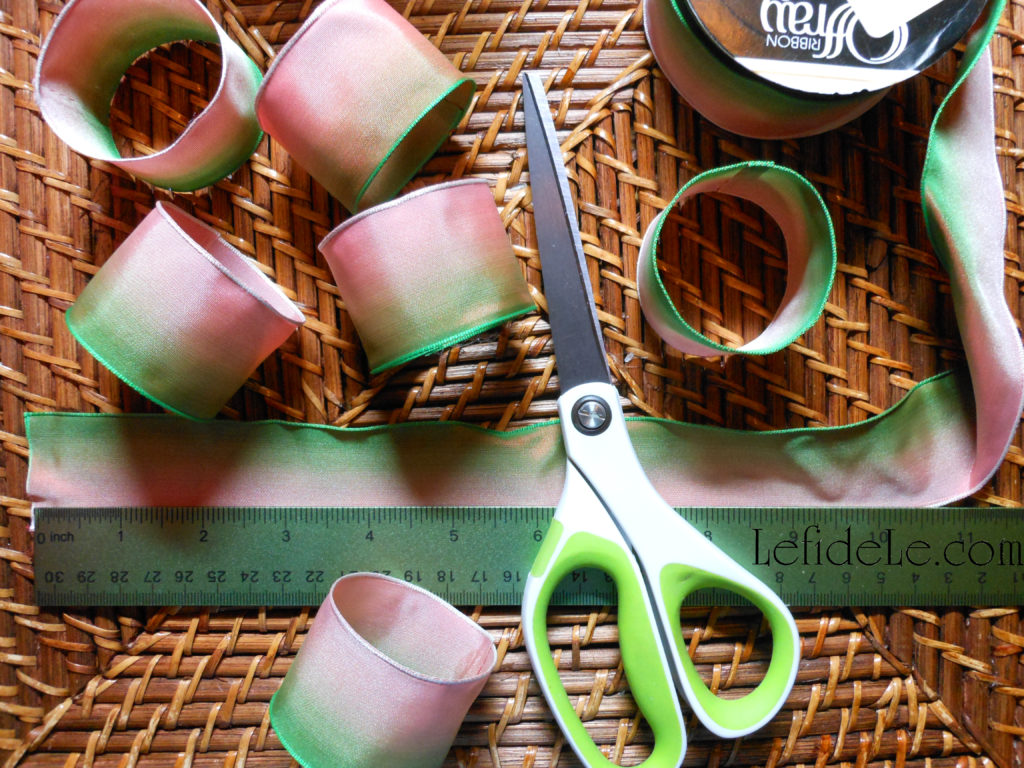
Here is another example of the watercolor ribbon turned into rings.

2427Leigh

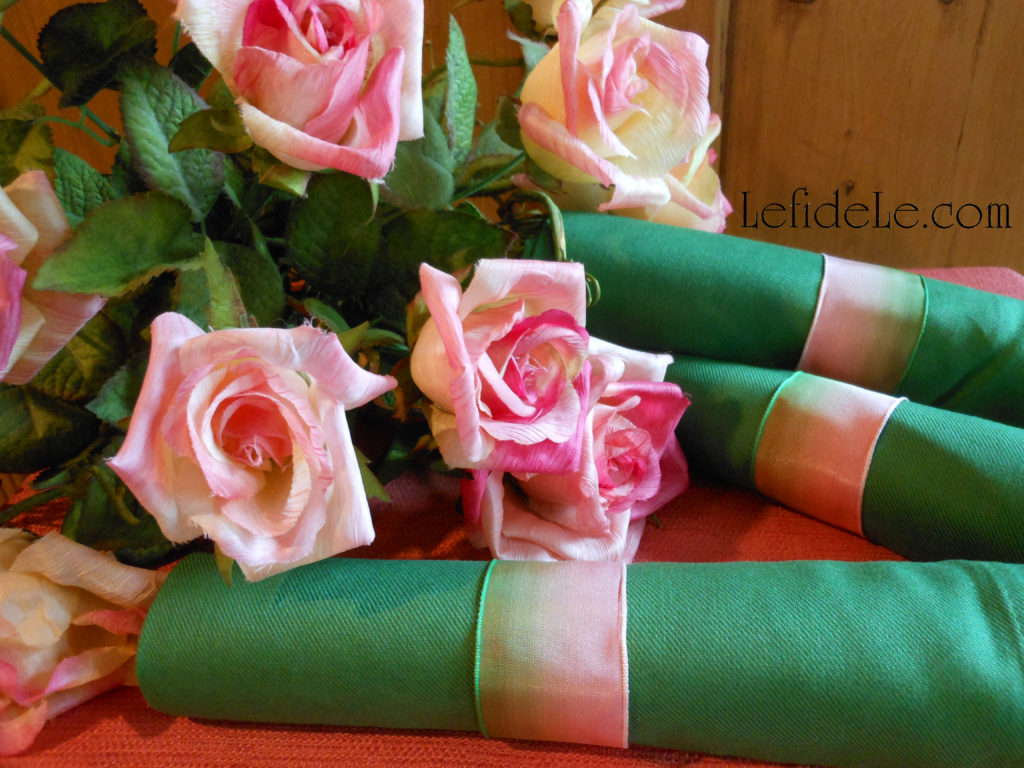
I made these pink and green rings to coordinate with my grandmother’s vintage ribbon rosettes.

2309Leigh

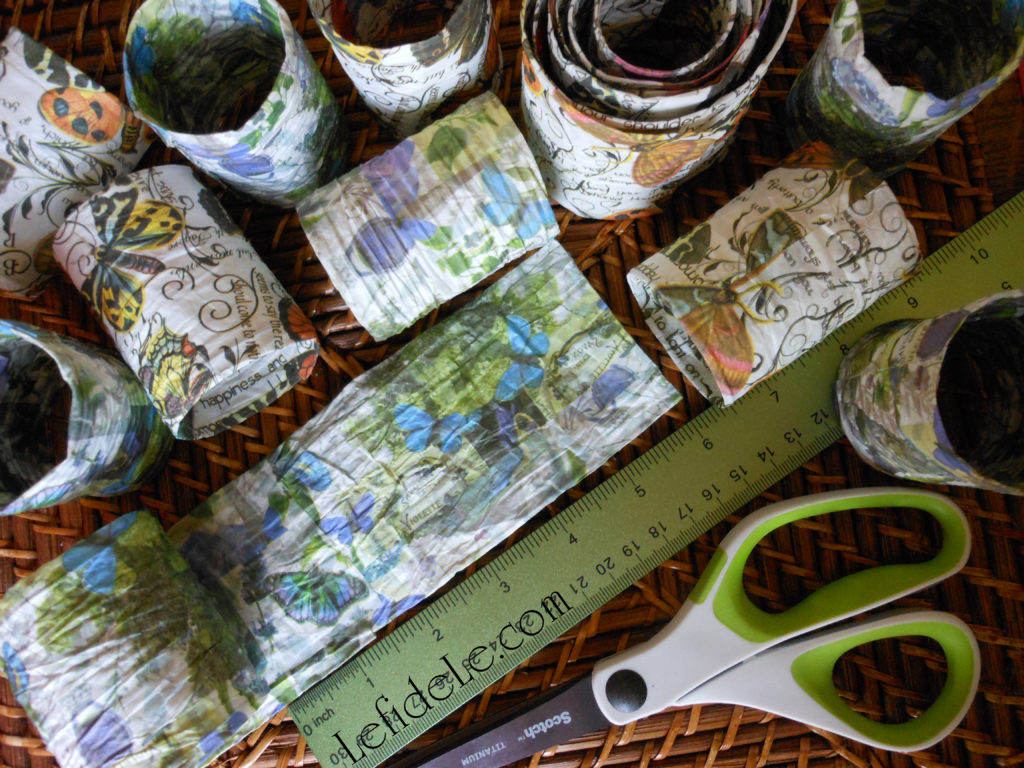
Here, the same super easy technique is used with simple gift wrapping paper ribbon.

2465Leigh

These would be equally lovely when paired with either fabric or paper napkins.

2449Leigh

This is the same wired paper ribbon that I used to make the rings for my scrapbooking paper flower mobiles (click here for the craft tutorial).

012Leigh

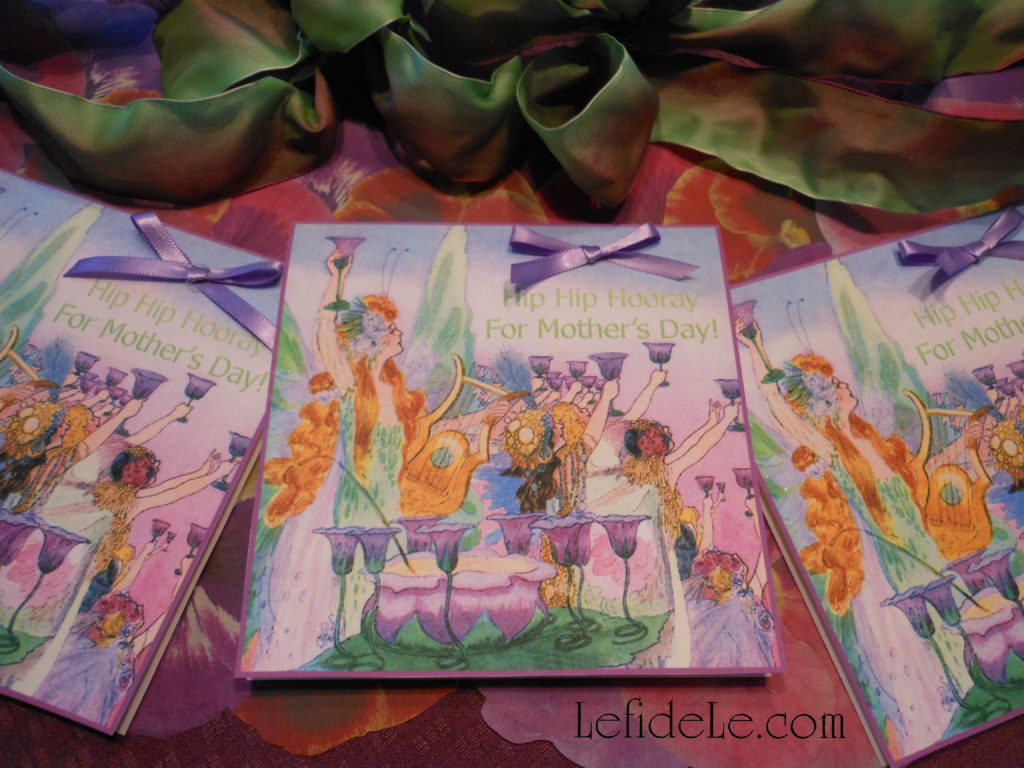
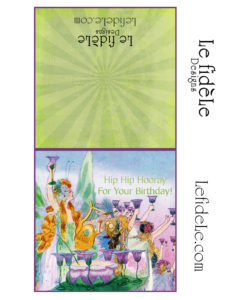
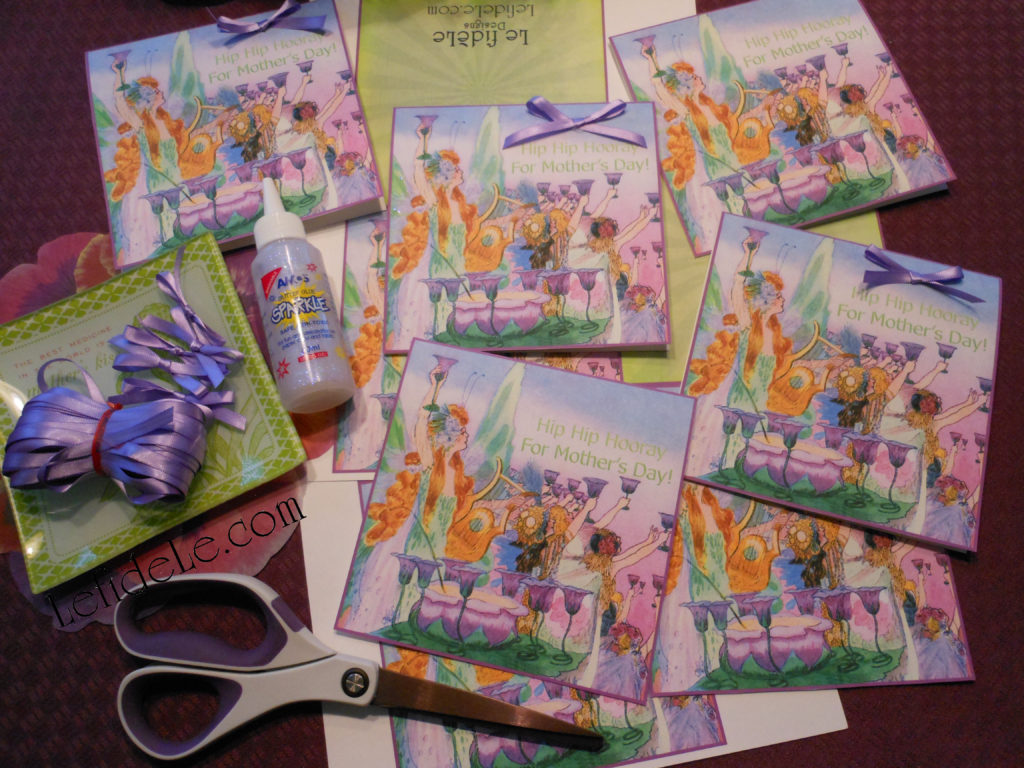
Make these Mother’s Day or Birthday cards using my free printables (for personal use only). They only need to be printed, cut out, and folded over. (Find square envelopes in many colors to send these in at Paper Source, whose affiliate link is in the sidebar.)

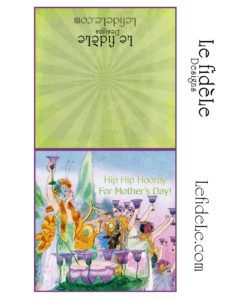
FairyToastingMothersDayCardLeighFairyToastingBirthdayCardLeigh

Right click on one of the small images above and select print. (The left is Mother’s Day & the right is Birthday.) Print these on heavy cardstock paper using the photo setting.

005Leigh

To further embellish the cards as I’ve done here, you can brush on opalescent glitter glue over the fairy wings. A small ribbon bow hot glued above the words really adds dimension to the cards.

037Leigh

The flower fairies seen here are from the Mark Roberts collection. They really add a whimsical touch to the centerpiece in my fairyland tablescape (see it all put together by clicking here).

2435Leigh

Hip Hip Hooray… we’re crafting today!

Faithfully Yours,

Leigh

Easy DIY Rainbow Napkin Rings Tutorial & Free Sky Printable Card / Invitation Craft for All Occasions Including Parties & St. Patrick’s Day

2030Leigh

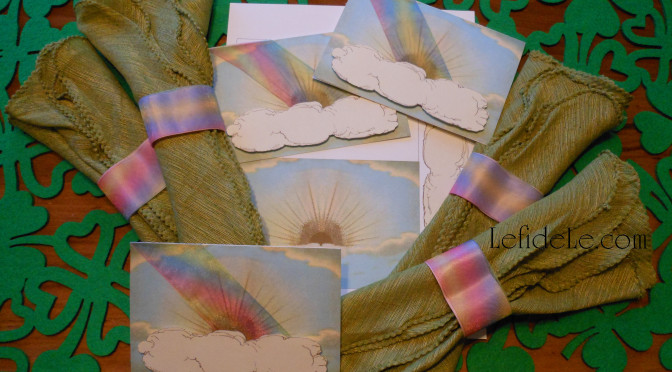
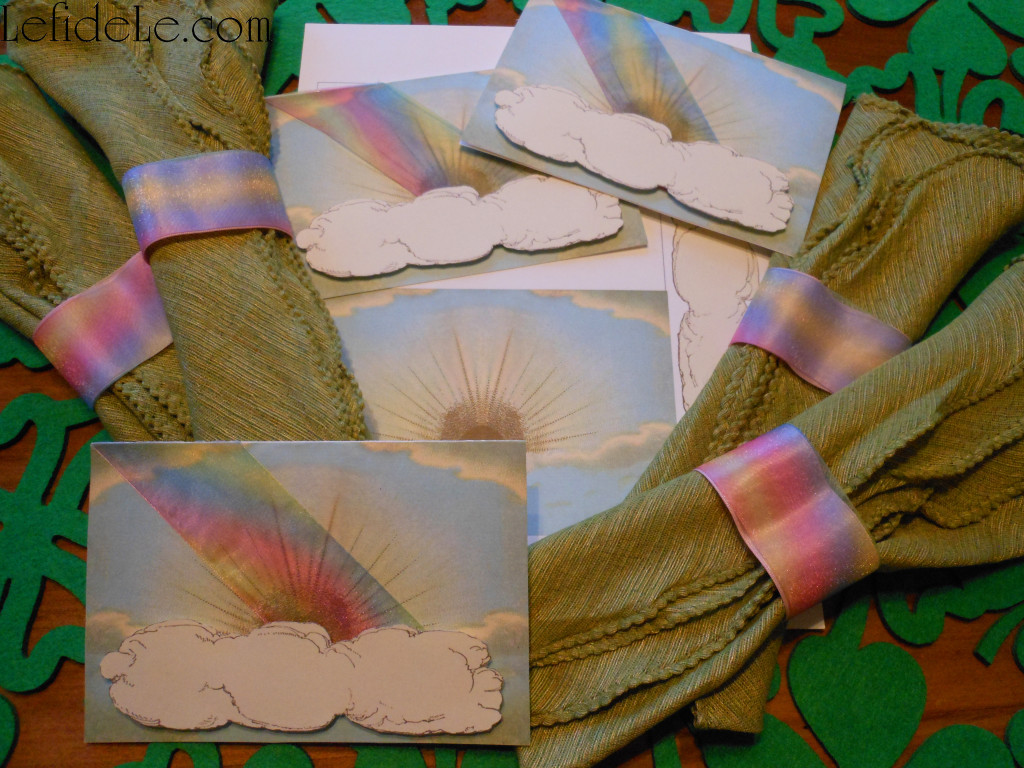
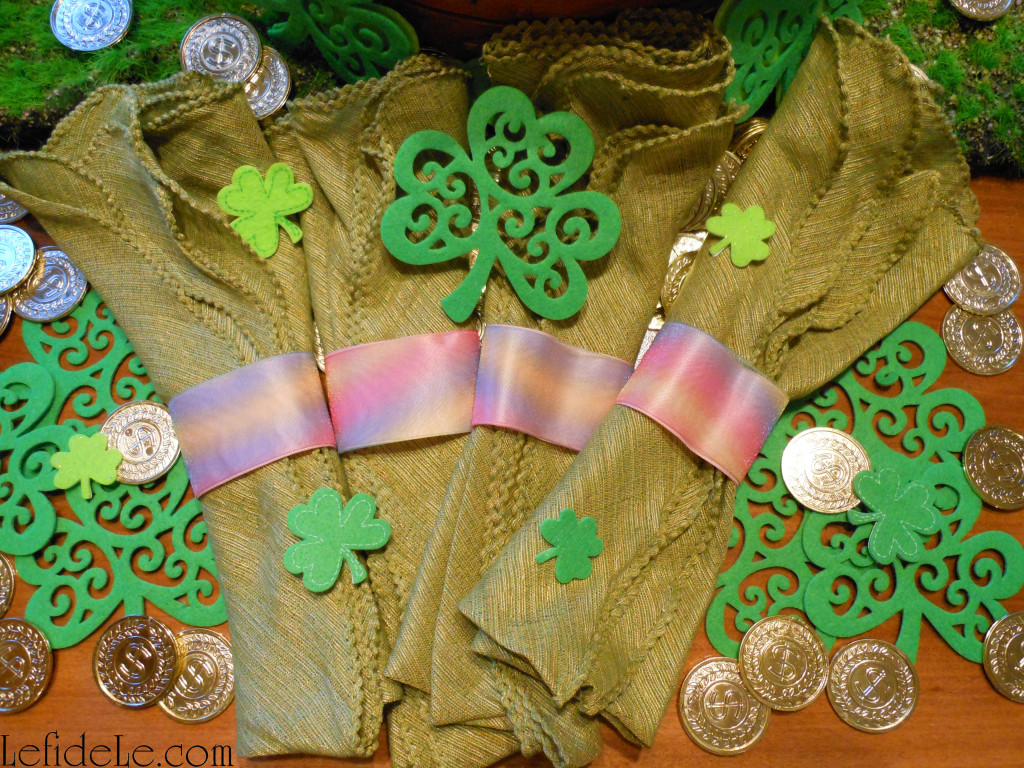
This easy DIY rainbow napkin rings tutorial is perfect for many types of parties including St. Patrick’s Day, and my free printable all occasion sky card is a great craft for making matching invitations. The card can be made with or without the addition of a rainbow, and so it’s useful for many other purposes… such as sympathy, get-well, congratulations, good luck, missing you, birthday, et cetera. Is there ever really a bad time to send a rainbow as the symbolic harbinger of hope?!

2002Leigh

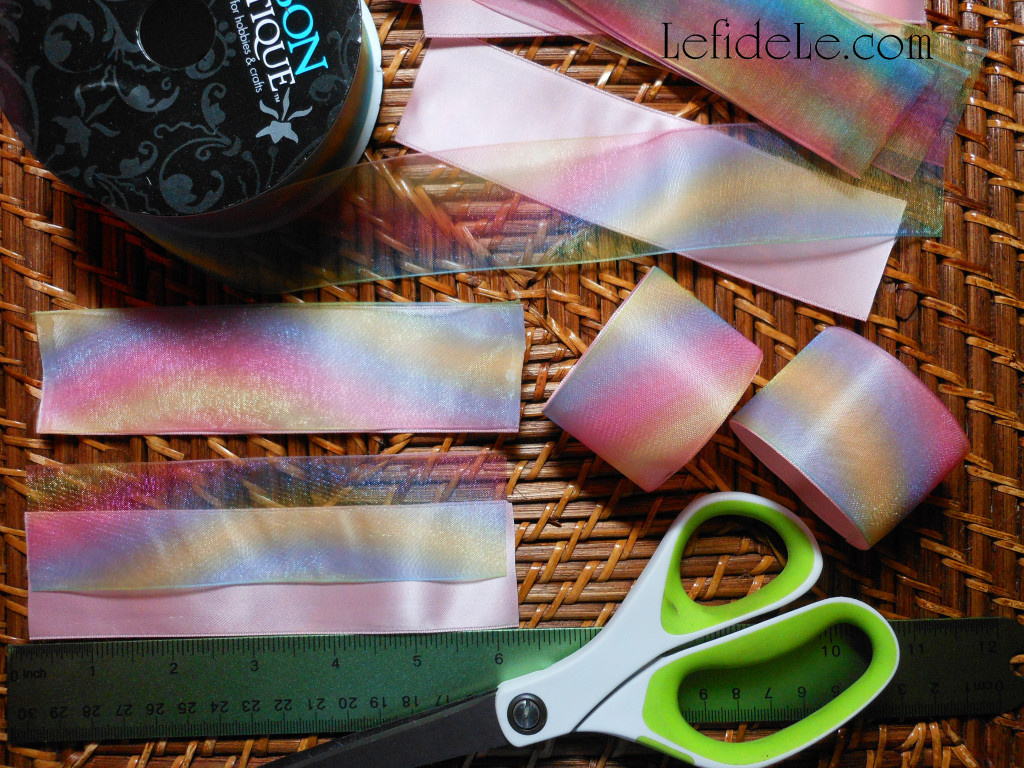
Let’ make the rainbow napkin rings first. To begin, you’ll need a pale color base ribbon and a sheer rainbow ribbon for the top. I used a vintage soft pink satin for the base, because it really brought out the rainbow’s beauty. Just make sure both types of ribbon are the same width.

1919Leigh

Cut 6 inch lengths of each type of ribbon for every ring you want to make. Next, hot glue the short ends only. Make sure to press the ribbon ends together firmly before the glue dries… using silicone finger protectors of course. Now glue one short end to the other, overlapping them slightly. Again, press them together firmly.

35Leigh

These rings are so quick and easy to make that they can be crafted at the last minute before a gathering. Who said procrastinator’s can’t have fabulous decorations?!

2051Leigh

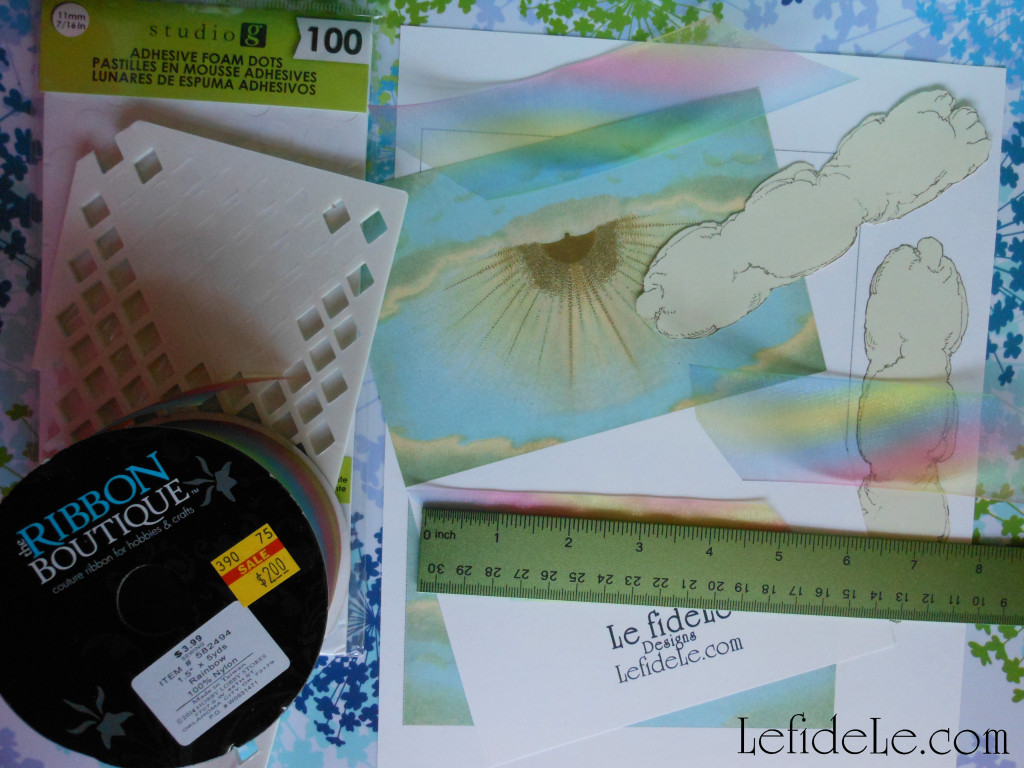
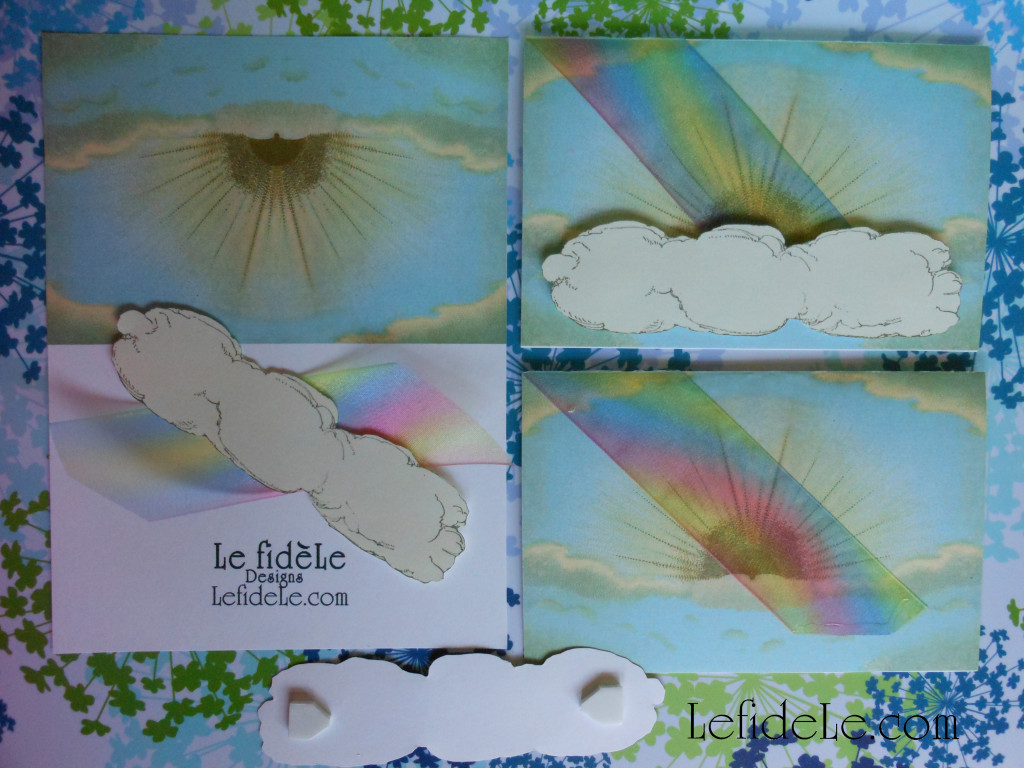
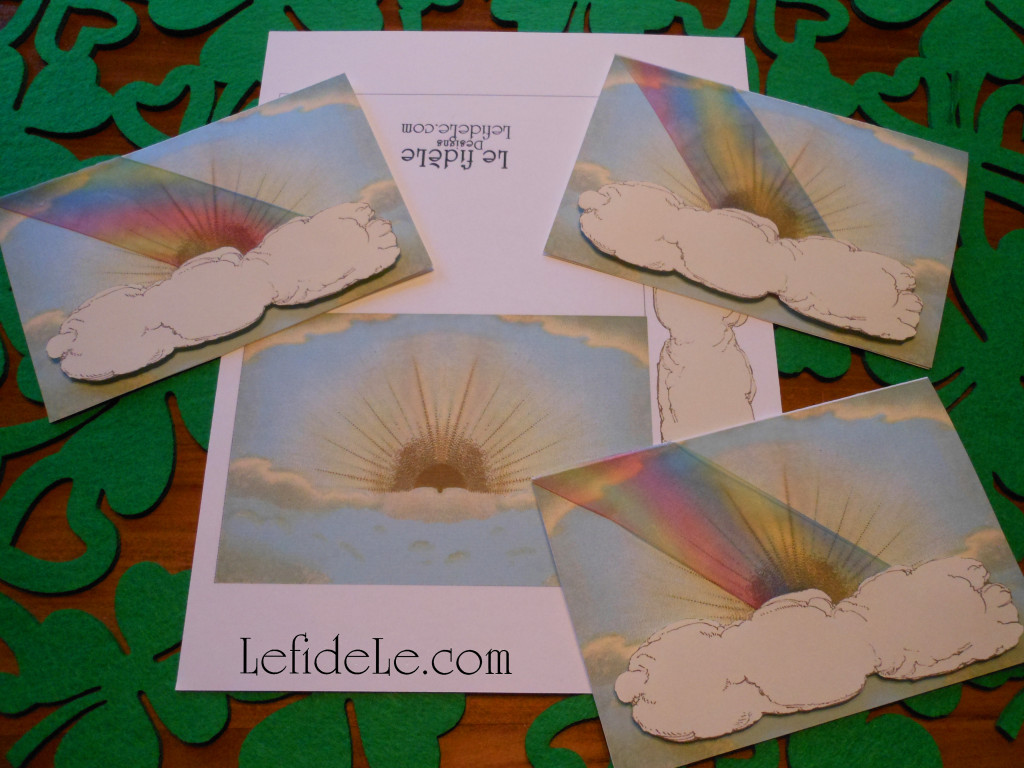
Let’s make the sky card now. You need to print one page for every card you wish to make. I like to make extras during each crafting session, in case I have an unexpected need for a last minute card. (Note that my free printable is for your personal use only… not for commercial purposes.) If you want to add a rainbow, you can use any variety of colorful ribbon you like… striped, thin, checked, thick, solid, translucent, plaid, paper, plastic, or gossamer fabric ribbon like this one that I found on clearance. You can even use a pretty washi paper tape if you like.

Skycard+CloudLeigh

Simply right click on the small image above, and select print. Be sure to choose the photo setting for the finest image. It’s best to use a thick cardstock to make a nice card.

2008Leigh

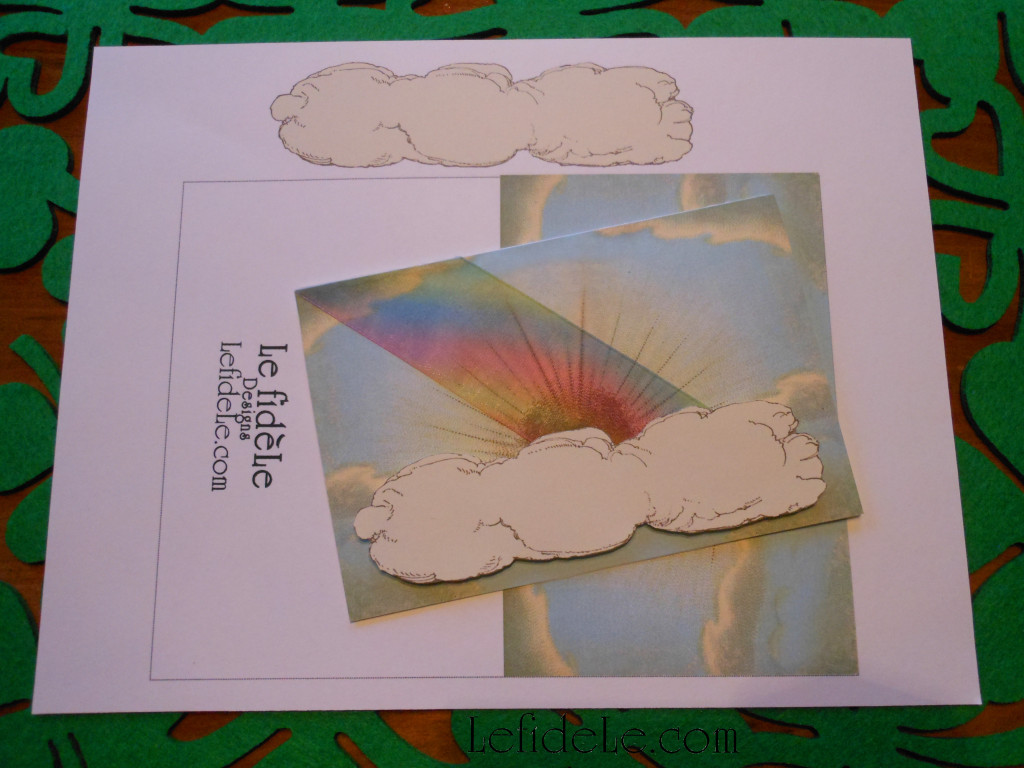
Cut out the rectangle with the logo and sky image together, and then cut out the cloud image. If you want to add a rainbow, cut a 5 inch length of ribbon on the diagonal (like this /__/ ).

2015Leigh

Next, fold the rectangle in half to form the card. Add the rainbow by gluing the ribbon down to the top left corner, and then attach the other end. You can either glue the cloud on top of the ribbon directly, or use dimensional foam stickers to add height to the cloud. Try to place it under the sunrise just above the card opening.

2020Leigh

The perfect St. Patrick’s Day greeting card contains a classic Irish blessing such as this one:

“May the Irish hills caress you. May her lakes and rivers bless you. May the luck of the Irish enfold you. May the blessings of Saint Patrick behold you.”

♣ Lá Fhéile Pádraig Sona Daoibh (Happy St. Patrick’s Day!)

Faithfully Yours,

Leigh

P.S. See more of the rainbow napkin rings in action here: Meet me at the End of the Rainbow Tablescape Ideas for St. Patrick’s Day Party Décor!

Get your Paw Patrol Party On With Birthday Express!

**This post contains affiliate links and I will be compensated if you make a purchase after clicking on my links

Paw Patrol birthday party supplies
No job is too big, no pup is too small!

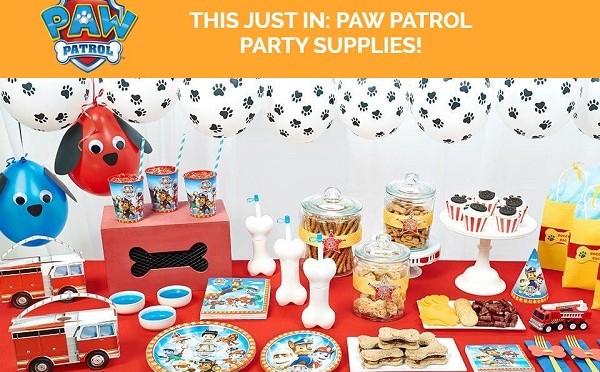
The Party of the Month is Paw Patrol! And, of course, Birthday Express has all paws on deck to help you plan the pawww-urfect Paw Patrol-themed party. Here are some fun ideas that are sure to get your tail waggin’!

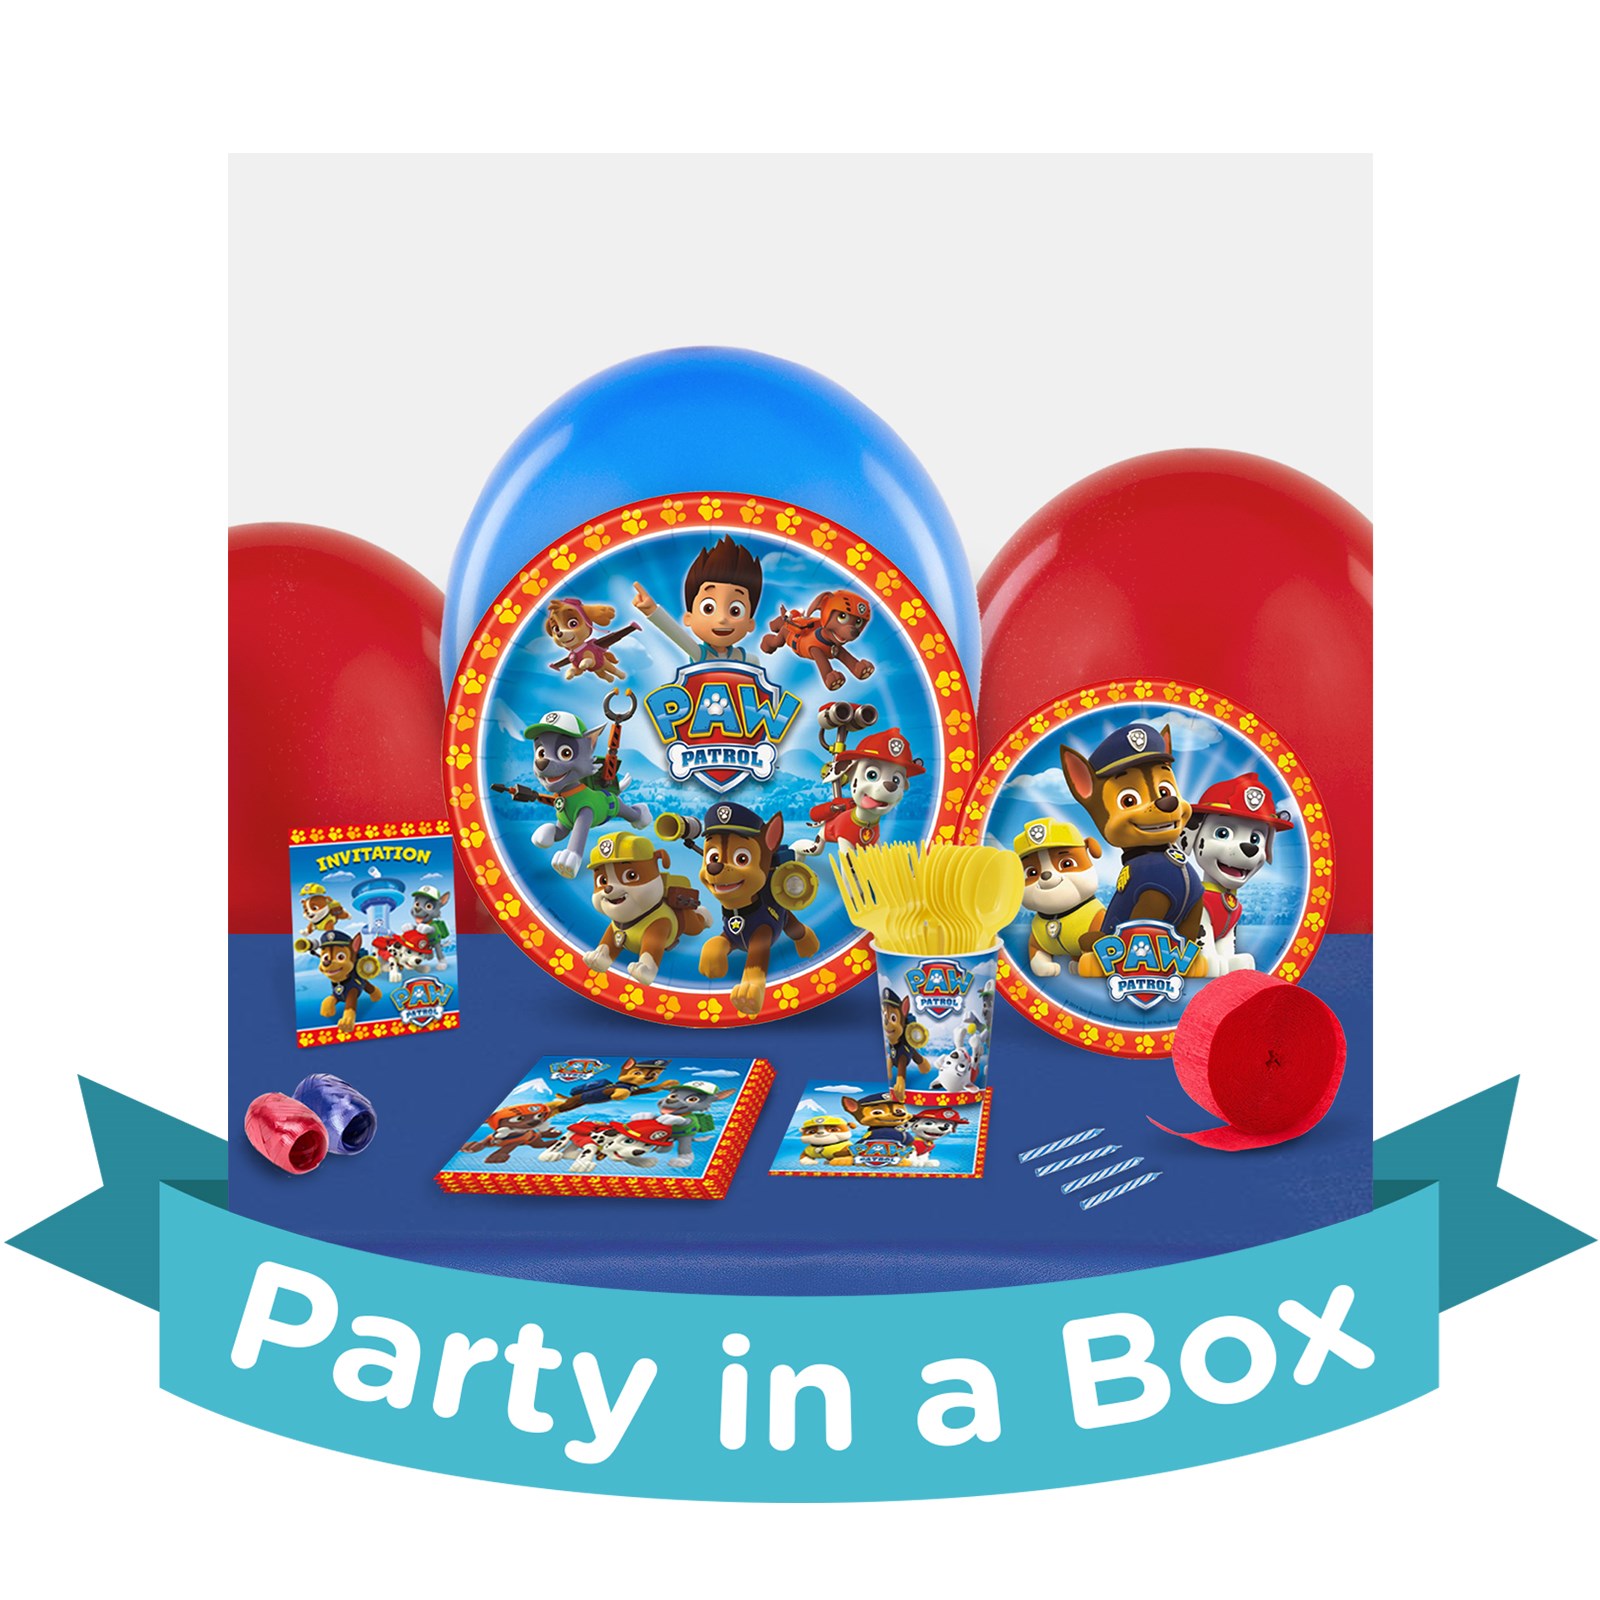
Invitations – Get your guests into the Paw Patrol party spirit with these Paw Patrol Invitations! The package includes 8 invitations (with envelopes) and features all of the Paw Patrol team.

Party Decor – With Birthday Express’ Paw Patrol Scene Setter and Swirl Decorations, your guests will be transported to Adventure Bay with Ryder, Chase, Marshall, Rubble, Rocky, and the rest of the gang! You could provide each guest their own Paw Patrol Paper Mask when they walk in the door, and there’s even Paw Patrol Ribbons and Medals that can be given away as prizes with your Paw Patrol Party Games.

Food & Drink – The possibilities are endless for food and drink at a Paw Patrol Party. In addition to Paw Patrol Party Games, you could get various-sized dog bowls and use them for chips, dip, candy, and other snacks. You could also make dog bone-shaped sandwiches or cookies! And the birthday boy or girl will love the Party Patrol Birthday Cake Candle Set.

As Marshall says … I’m fired up!!!!! about Birthday Express’ new Paw Patrol theme!
Get 20% Off entire purchase with no minimum through 3-23-15 with Coupon Code: oneday20BX


PAW Patrol Party in a Box – Deluxe – 8 Guests

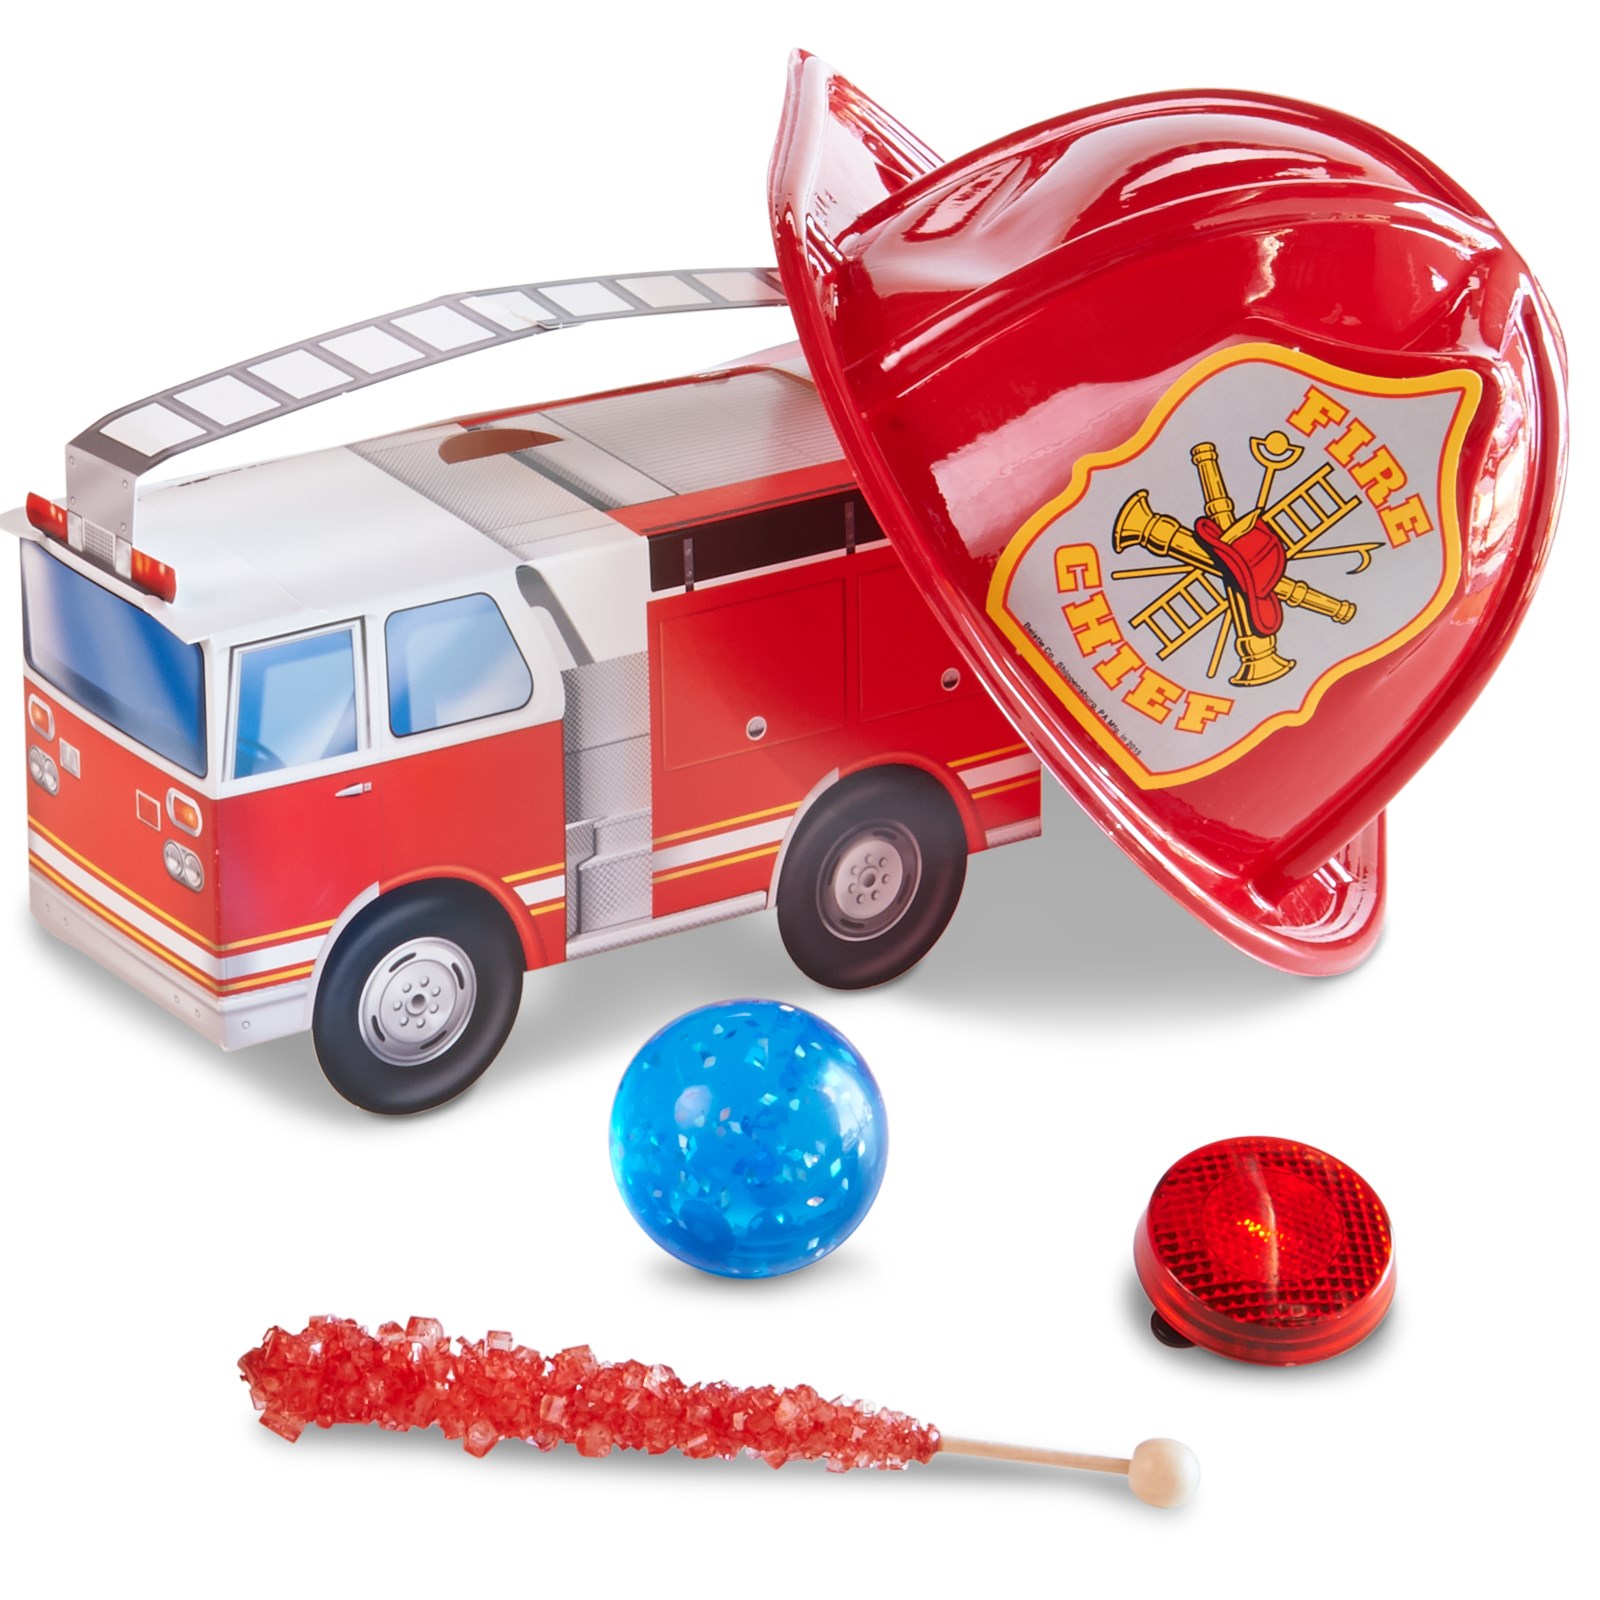
PAW Patrol Party Favor Box

Dog Bone 18″ Pinata

Fast & Easy DIY Hand-stamped Polka-dot Gift Wrap & Matching Gift Crafts

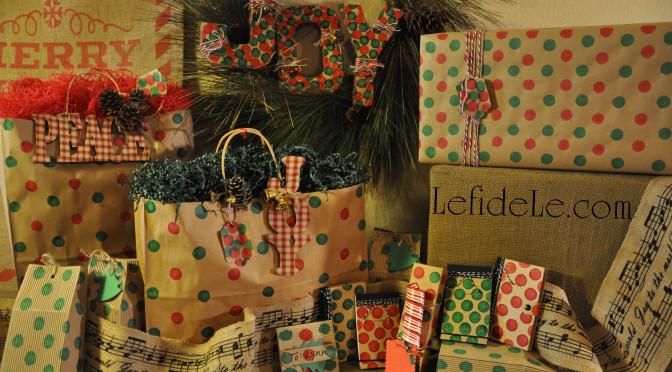
With all of the miles of commercially produced wrapping paper that stores seem to stock at every corner… why make your own? Well, it can be made super-fast and super-easy without looking like it! With my simple repurposing trick, you can make handcrafted gift wrap inexpensively in a matter of minutes. It’s really easy to stamp any type of package, paper, tag, card or box… even one that gets addressed and sent in the mail! It looks even more adorable on matching notebooks, craft letters, or any other gift that would accept inking. With stamping, you can match the colors to your décor for a catalog worthy Christmas, and delight loved ones with one-of-a-kind gifts at the same time. And, I don’t know about you, but I really love it when someone has cared enough to make something just for me.
94Leigh

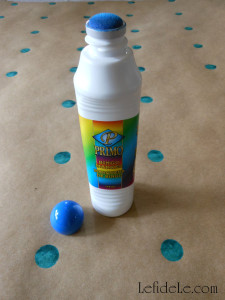
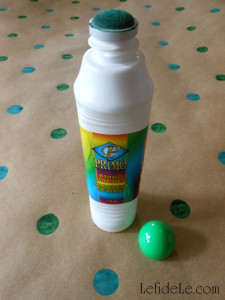
My simple trick to easy and fast polka-dot making (ahem, drumroll please)… bingo markers! The idea was sparked about 15 years ago when someone gave me a few of these because she thought I might want the ink in them. Let me tell you, I made so many spotted cards with them! Everyone was always surprised when I told them what I had used.
49-2Leigh

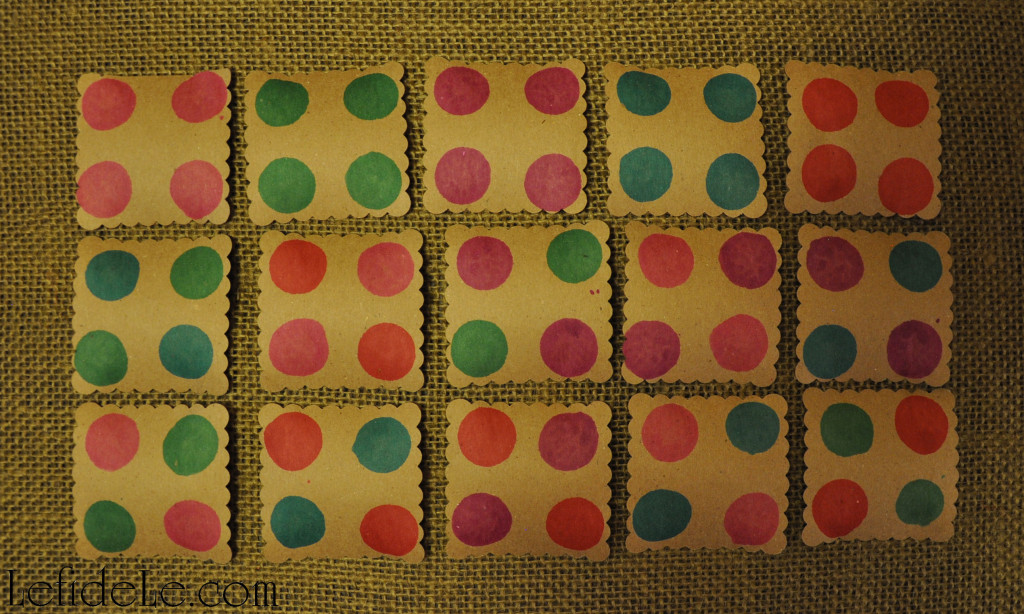
You can find them in so many colors. I’ve used pink, green, blue, red, and purple as examples here. They even come in shapes like shamrocks or hearts, but I’m sticking with polka-dots for now because they are just so classic and chic!
46Leigh

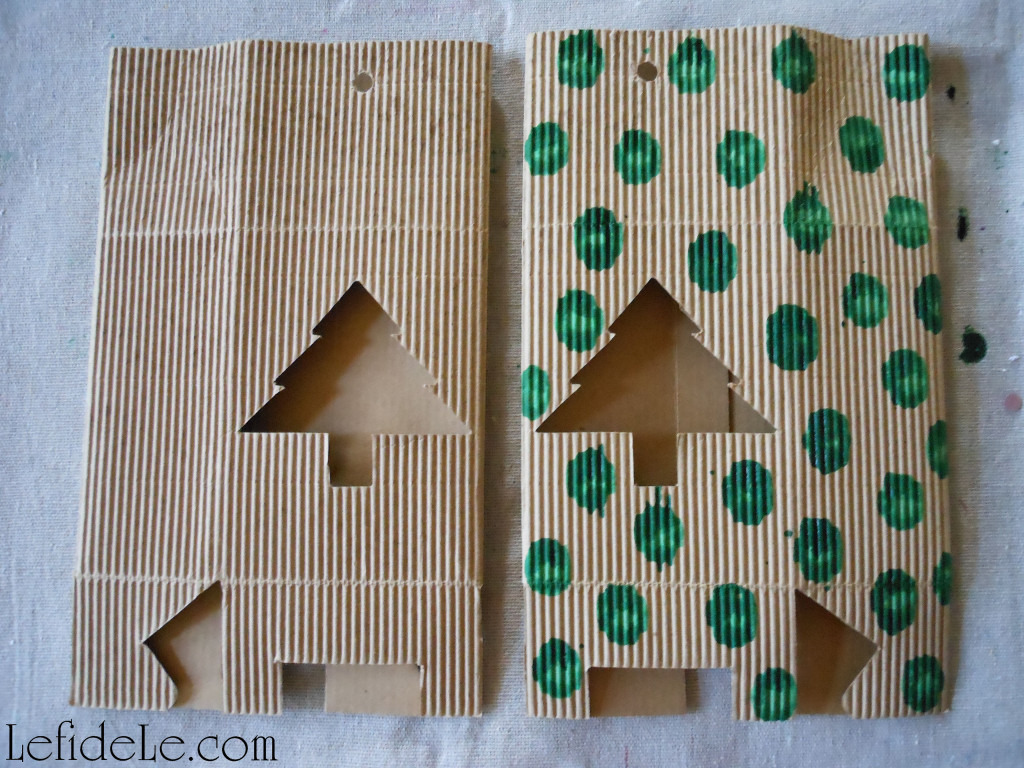
You can use any kind of paper for the gift wrap or bags. Glossy paper will leave more of a watercolor look, while matte paper will dry to a solid flat color. Both have their merits. Just know that glossy surfaces take much longer to dry. It’s great to buy neutral colored bags in white or kraft paper color, and then stamp them into personalized colors as needed.
44Leigh

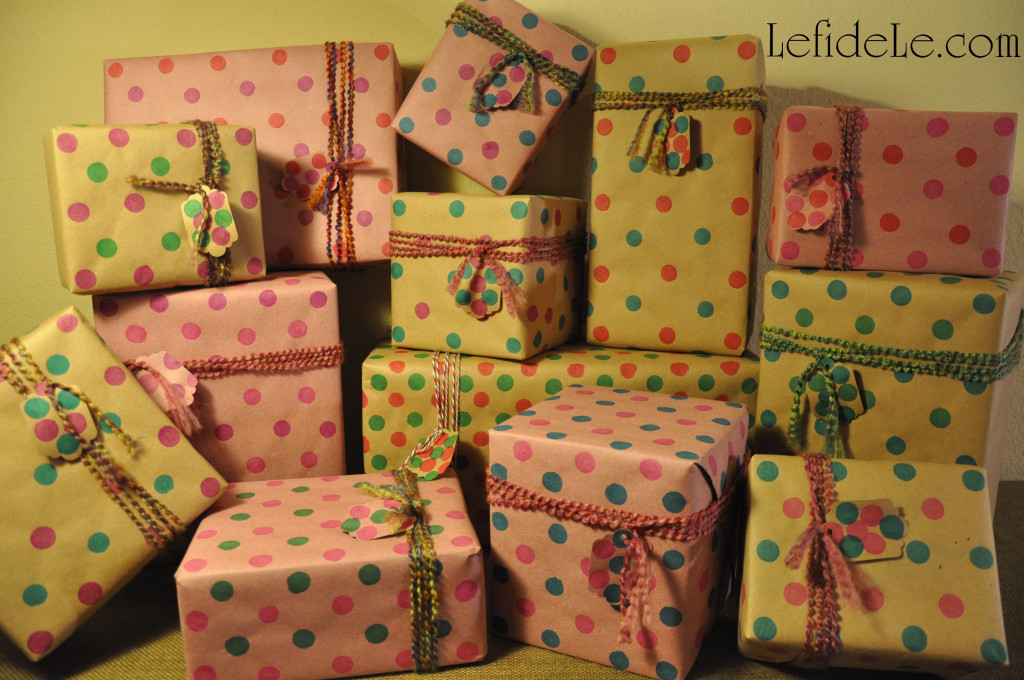
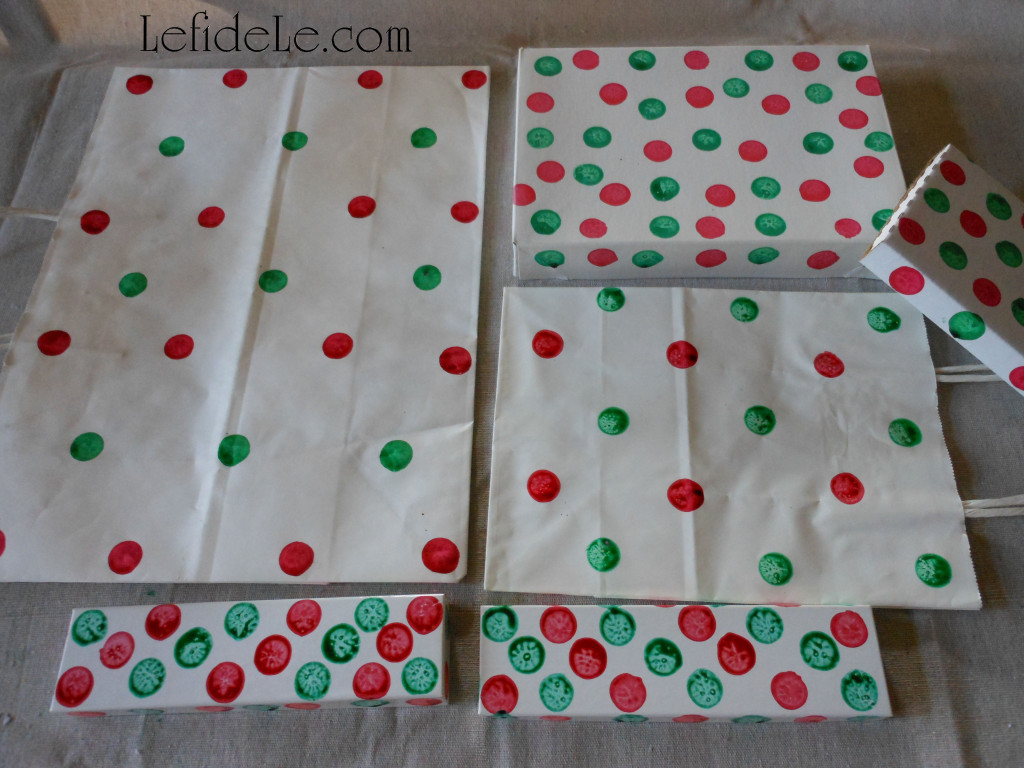
You can match your décors theme, go with traditional colors, or even pick a different color combo for each family member. Pink is my grandmother’s favorite color, so that’s just what she gets!
102Leigh

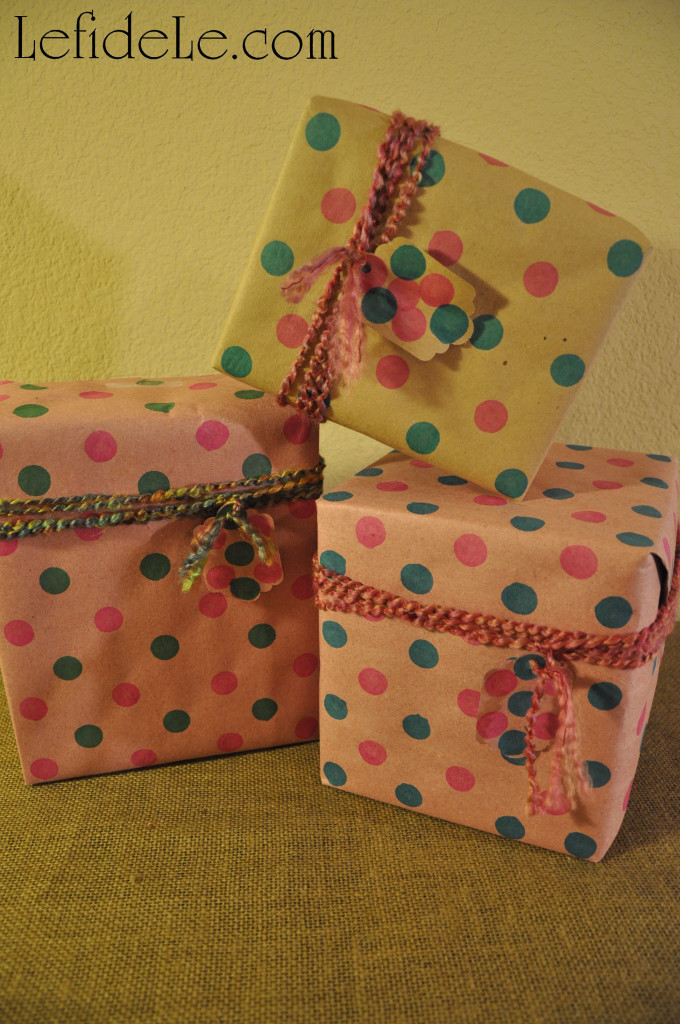
Blue and pink polka-dots are perfect for gender-neutral baby showers.
28Leigh

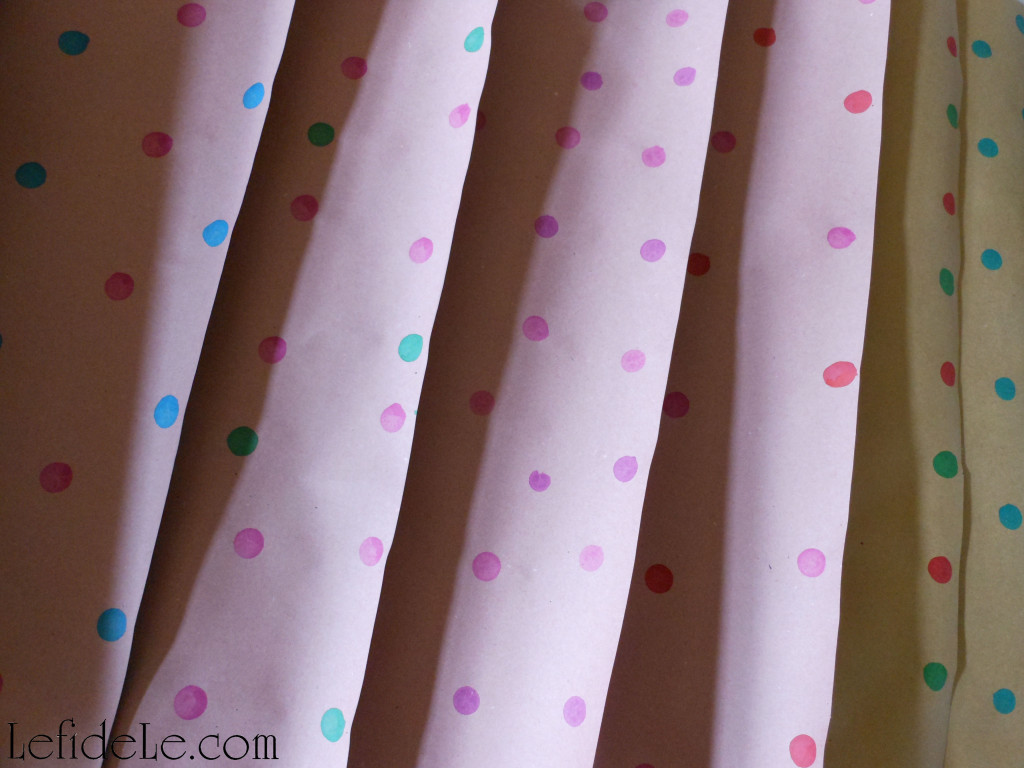
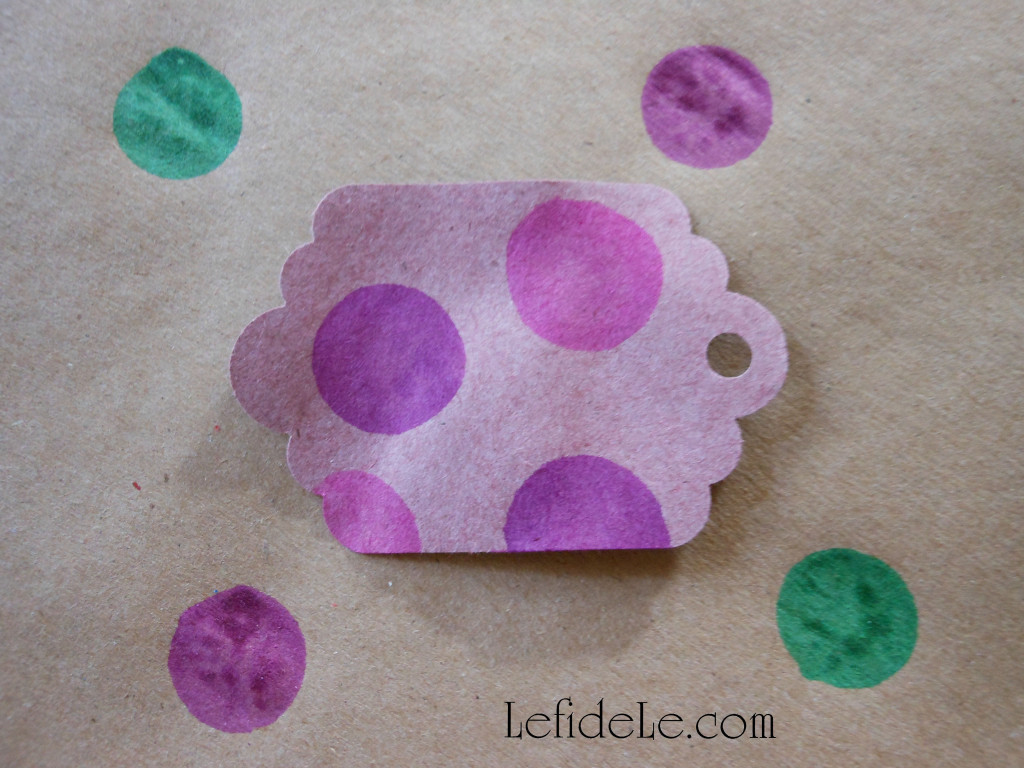
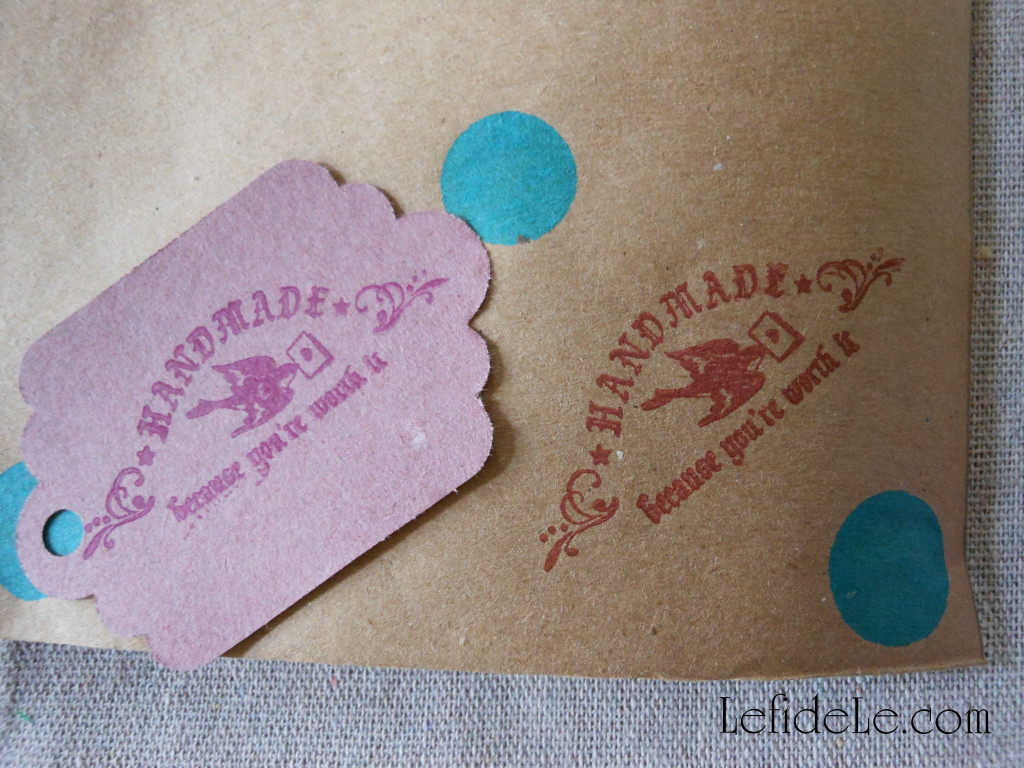
The paper I’m showing here is the best I’ve found for wrapping. It’s thick enough to hide the contents well. It won’t tear like the commercial variety in transit or mailing. It dries quickly and evenly so you can make a ton of it and just roll it back up. The tag in the picture has dry ink on pink paper, and it’s sitting atop tan with freshly applied ink.
39Leigh

The roll is really inexpensive for quite a lot, so it fits everyone’s budget. It’s so versatile because you can do anything with it (spray paint it, paint a scene on it, write messages on it, have kiddos draw on it, make gift tags or cards out of it, etc…) What is this amazing product? (Another drumroll please)… rosin paper from a hardware store! It’s actually used in homes during construction. I learned about it from my interior designer mother of course. It’s available in pink, green, white and tan like kraft paper in rolls that will last for years. I even use this stuff for covering the backs of framed artwork. (I’ll do a DIY tutorial for this in the future. It’s really easy and will save you so much money.)
30Leigh34Leigh

I try to stamp one color in a grid-like pattern, and then follow up in between those with a contrasting color. I have to admit though… sometimes it’s fun to just get stamp-happy all over the place! Do expect this when kiddos are involved. It’s fun to see the creations they come up with.
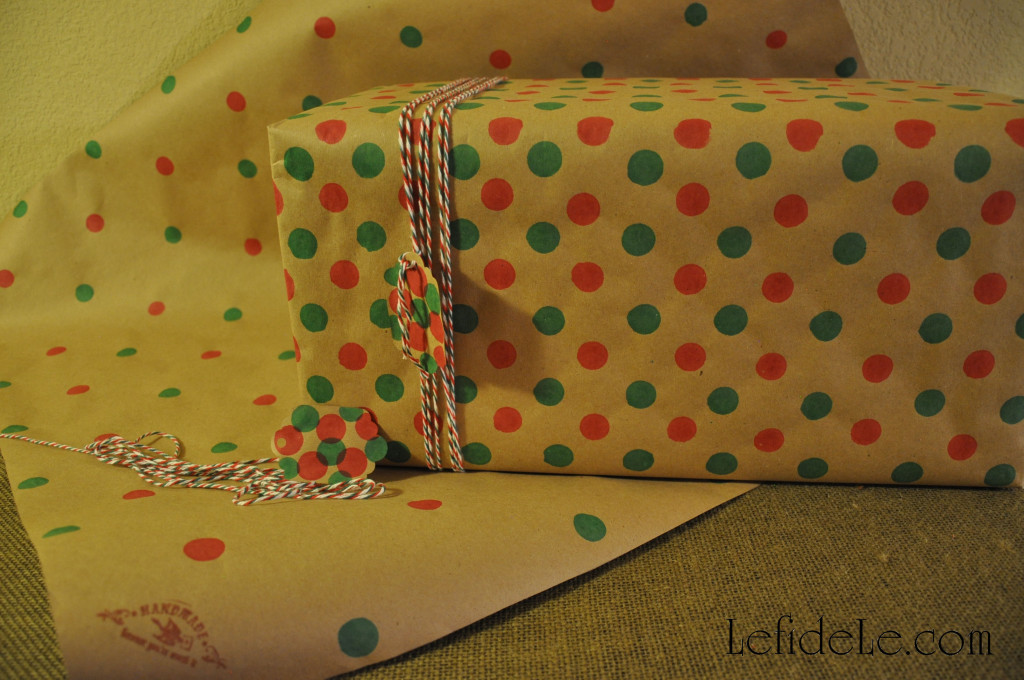
105Leigh

When making hand-stamped giftwrap for my Etsy store, I make long sections for wrapping purchased goods, and also package making kits complete with tag and twine.
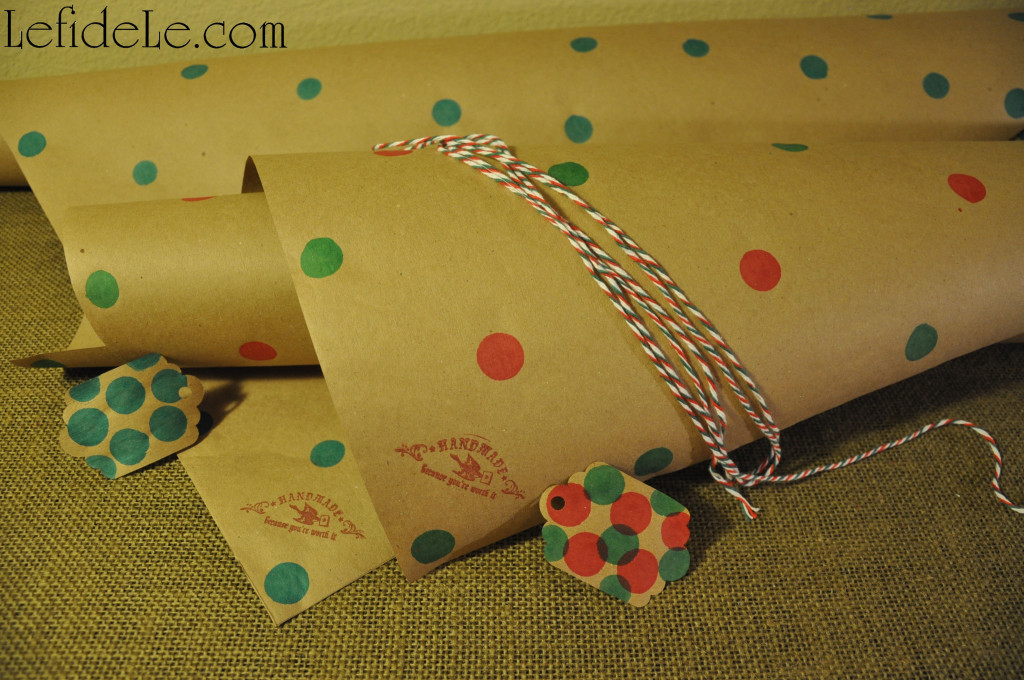
74Leigh

I make my individual sheets much larger (36 x 30 inches) than others typically offer (20 x 30 inches) so as to fit larger packages. Each kit will definitely cover several small boxes.
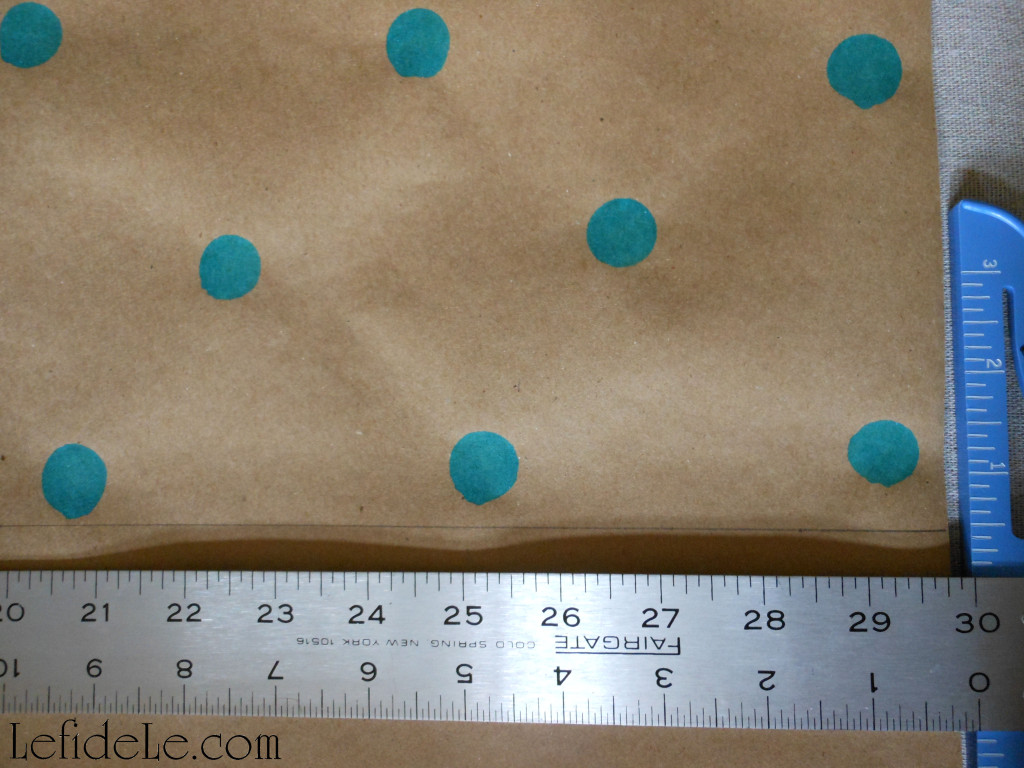
27Leigh

If you want to make individual wrapping paper sheets for yourself, just use a T-square ruler to measure and mark straight distances before cutting.
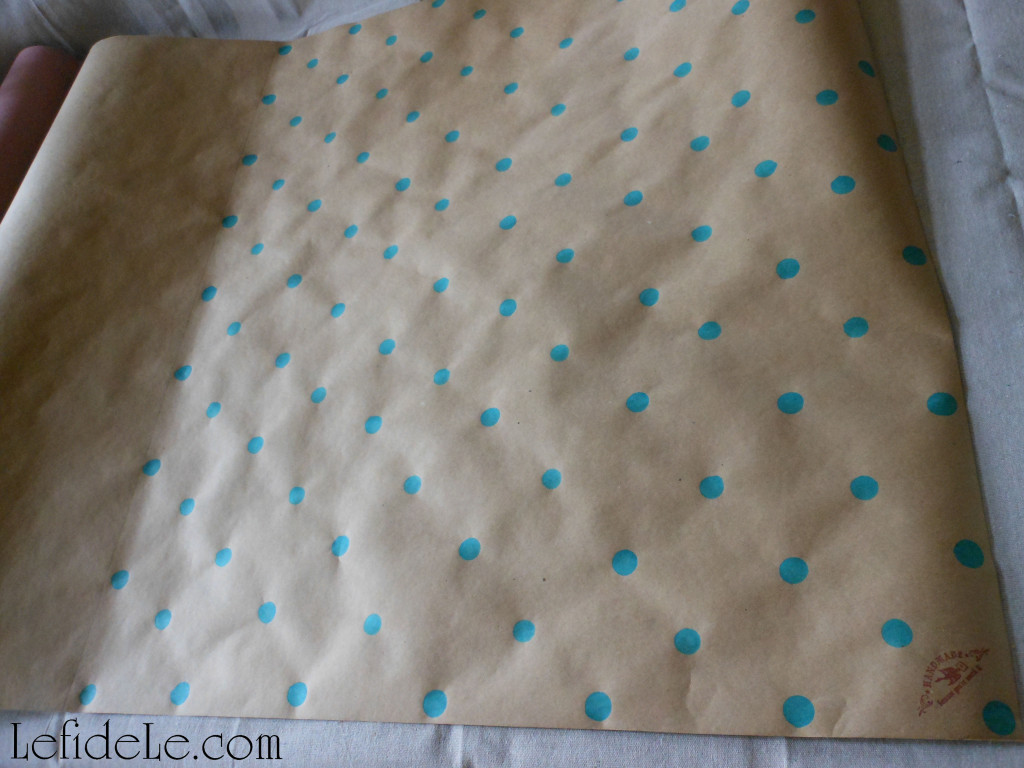
25Leigh

Another idea, how fun would it be to have a holiday stamping and wrapping craft party with the gal-pals!
24-2Leigh

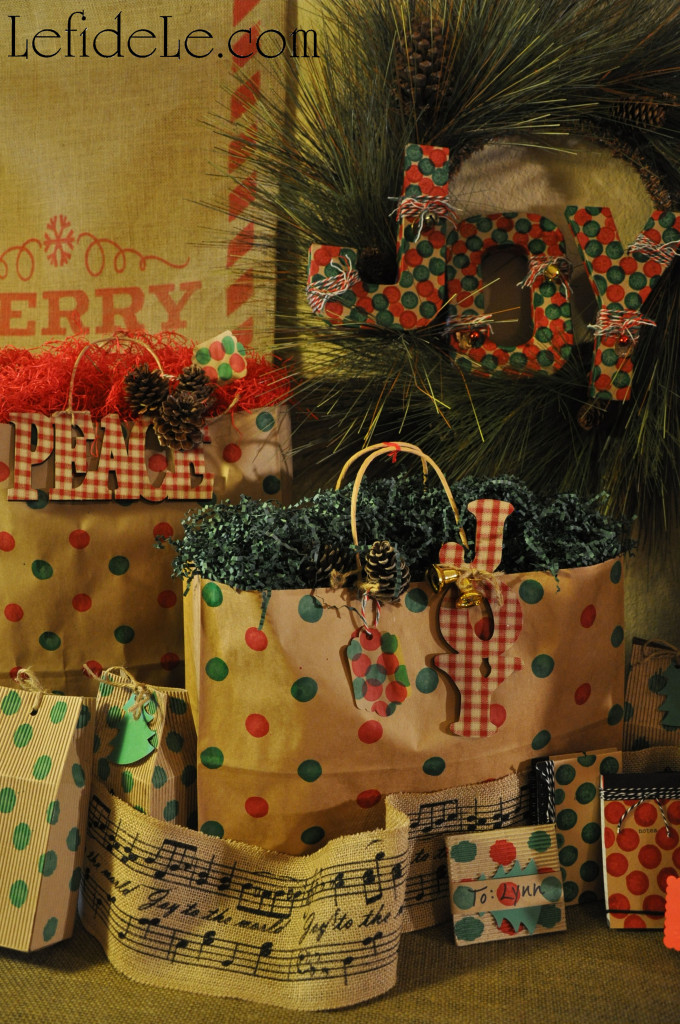
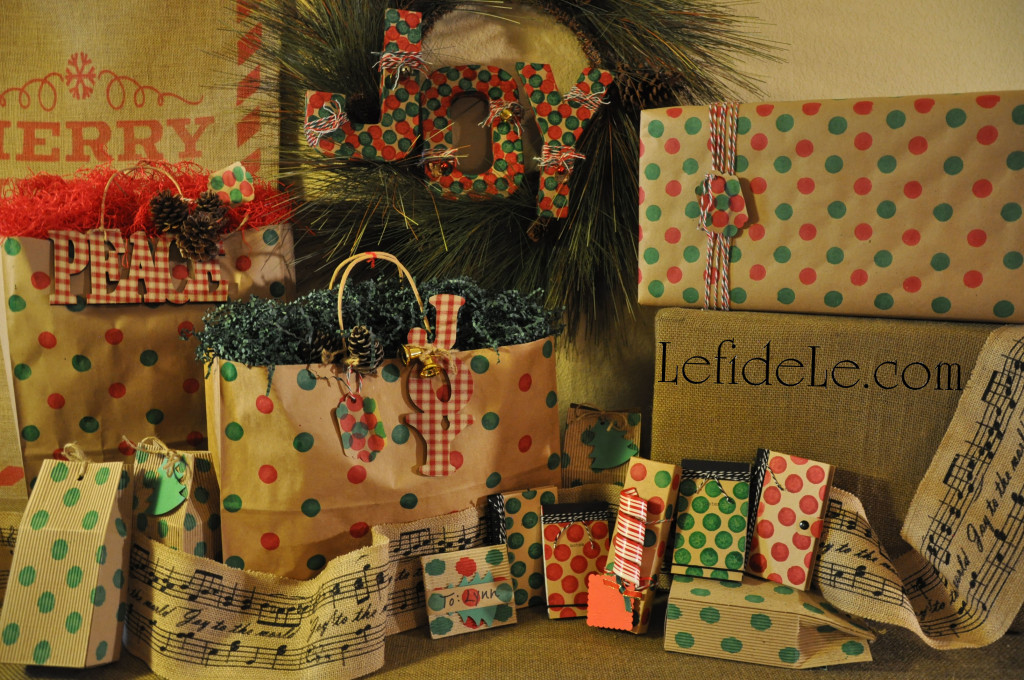
Here are traditional red and green packages for Christmas with added ornament decorations. You can see for yourself the differences between glossy, matte, box, bag, and wrapping paper.
53Leigh

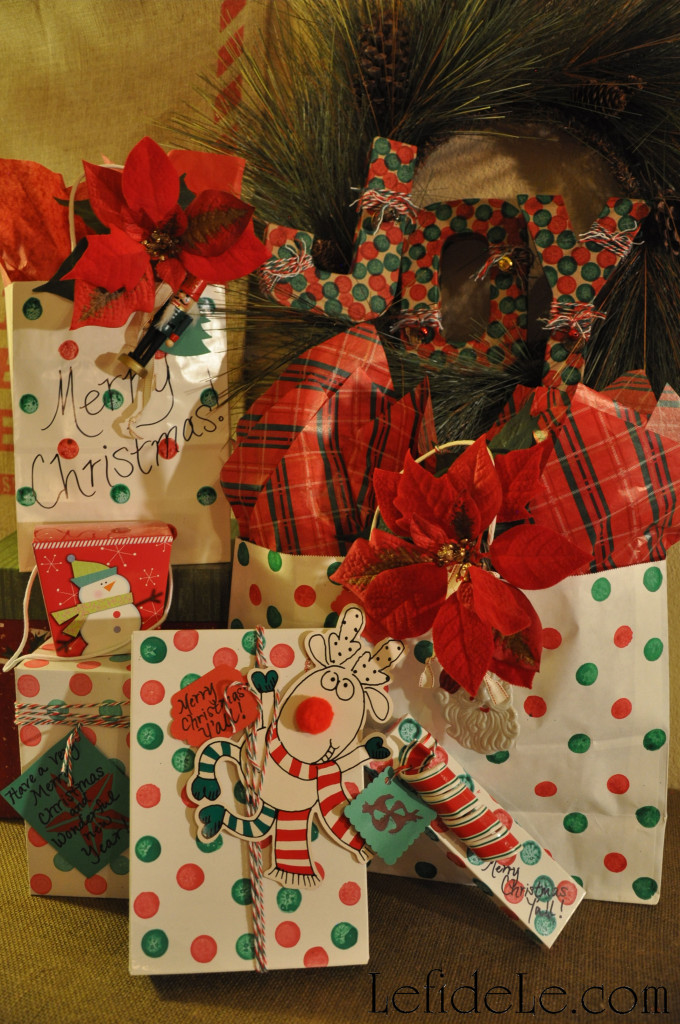
I also used a stamp on them that says, “handmade for you, because you’re worth it,” as it really exemplifies what I’m trying to do… show that I care!
24Leigh

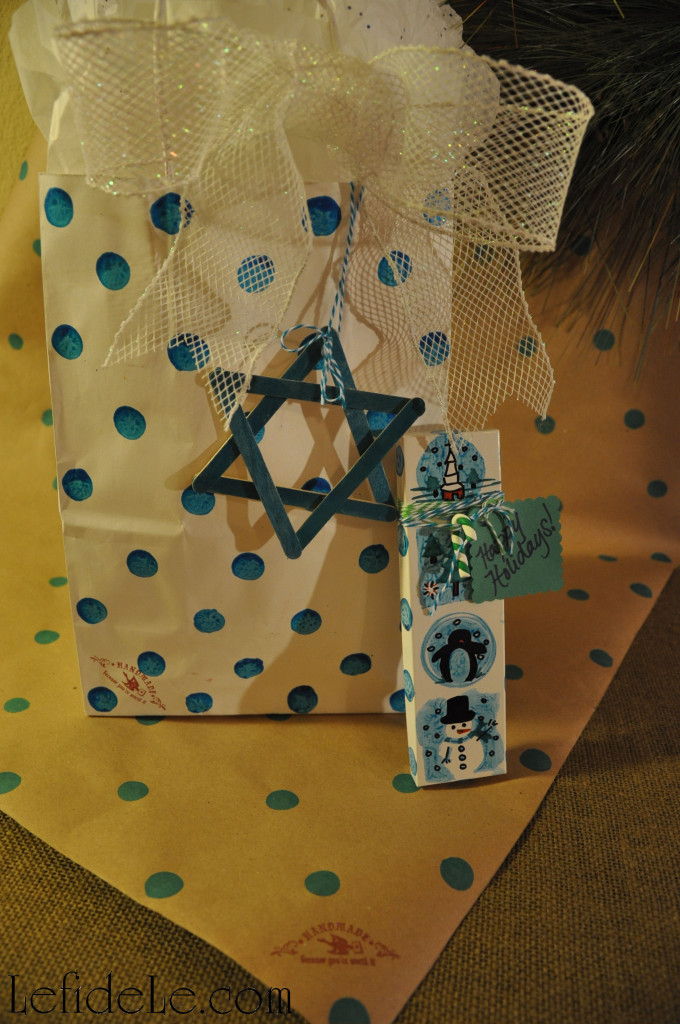
This is an idea for a friend celebrating Hanukkah. I realized I had no appropriate bag decoration for it, so I took a couple of minutes to make one. To make your own, run the matching bingo marker over 6 popsicle sticks to stain them. After they’re dry, hot glue 3 into a triangle. Repeat this with the last three, then glue one triangle on top of the other. Tie on with coordinating twine, yarn, or ribbon.
71Leigh

This would be a great type of Christmas craft for the little ones making ornaments for the family. The bingo markers don’t make a big mess and the ink washes off of skin. Adding a year and a name in permanent marker would make it even more precious.
91Leigh

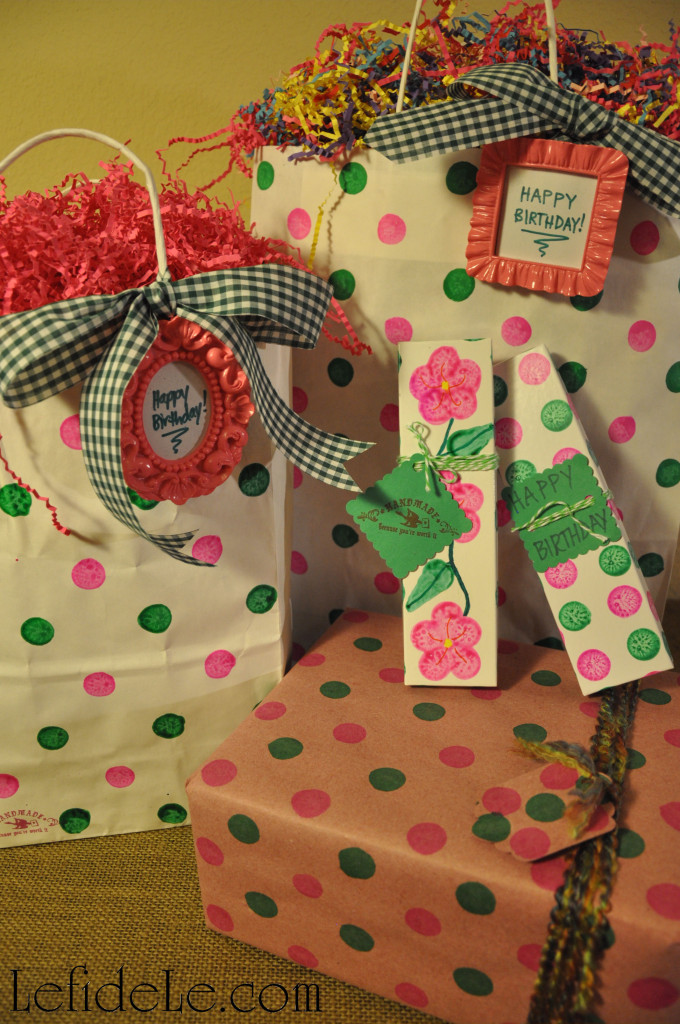
Here are some birthday gift packages with tiny frames as bag décor.
87Leigh

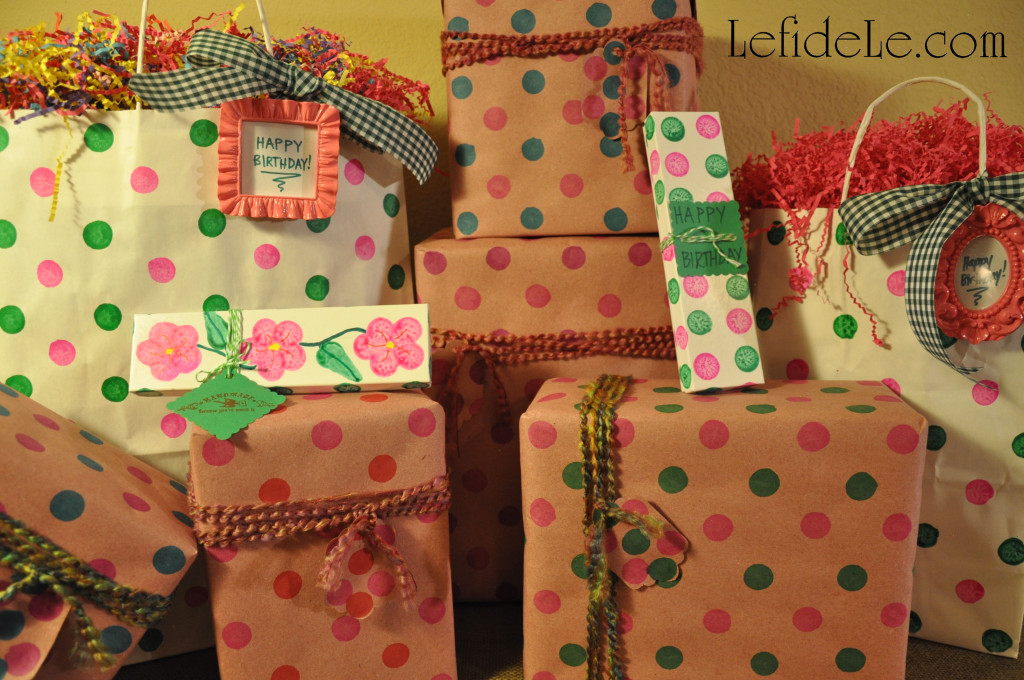
I went ahead and stamped them ahead of time because I already had everything out, and I’m planning an upcoming green and pink polka-dot theme birthday party. It fit just too perfectly!
78Leigh

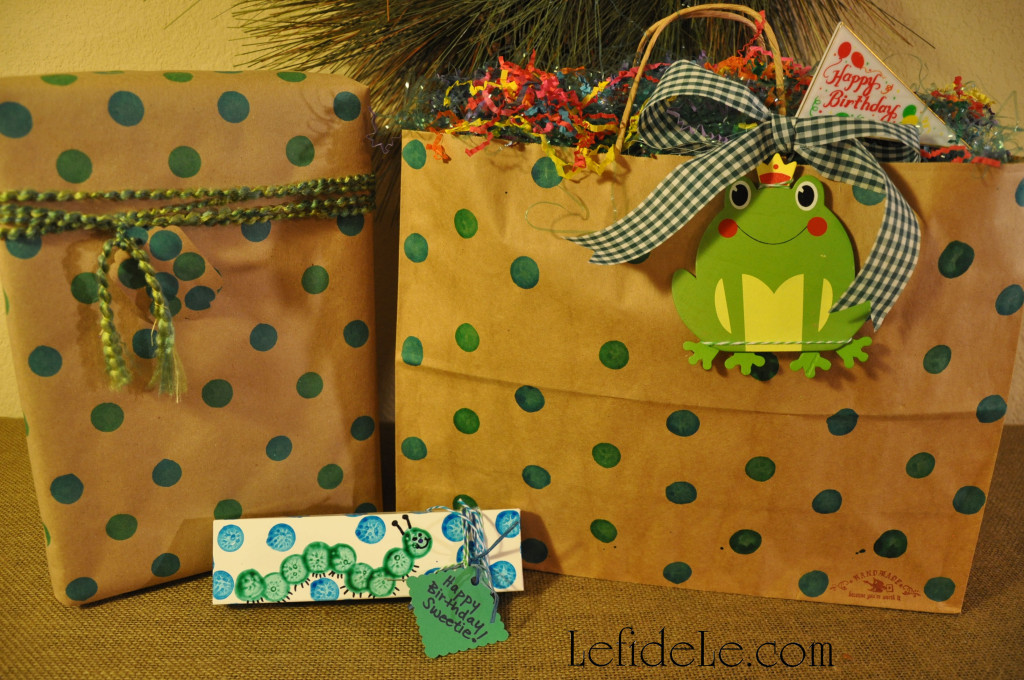
Also, I’ve made some critter themed wrap in blue and green. It seems like there is always a little one being born or having a birthday, so I make a point of finding theme items throughout the year for gift baskets. I can always find cute things in ducks, frogs, and ladybugs.
81Leigh

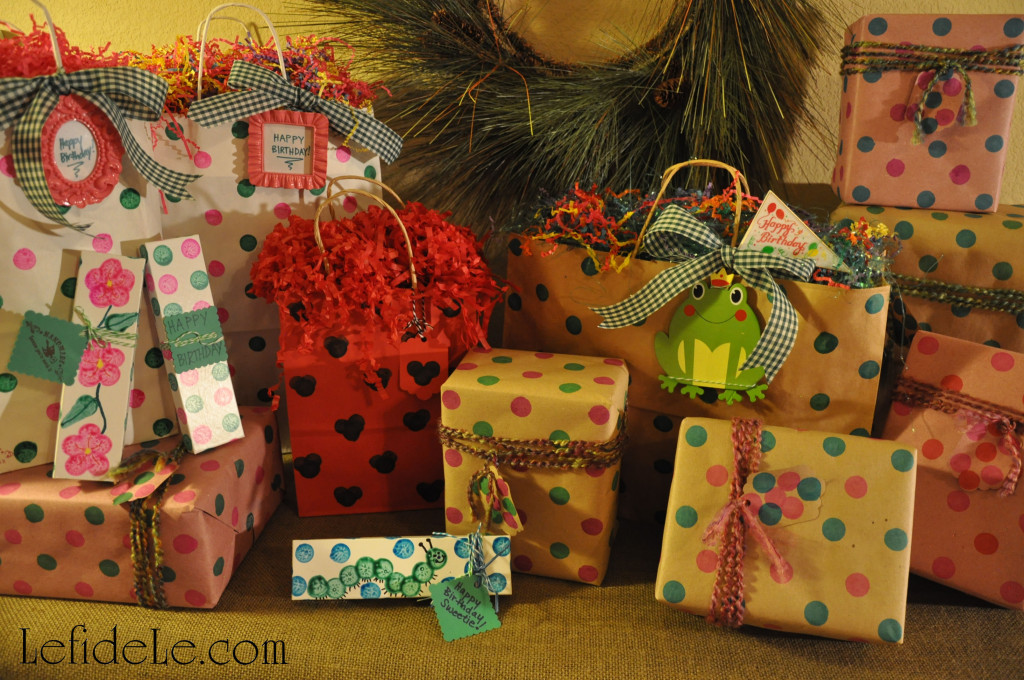
Here are some attempts at making shapes with the bingo markers. I’m sure it probably would have been smarter to practice before doing this on the bag and boxes. Oh well, at least you can get the idea.
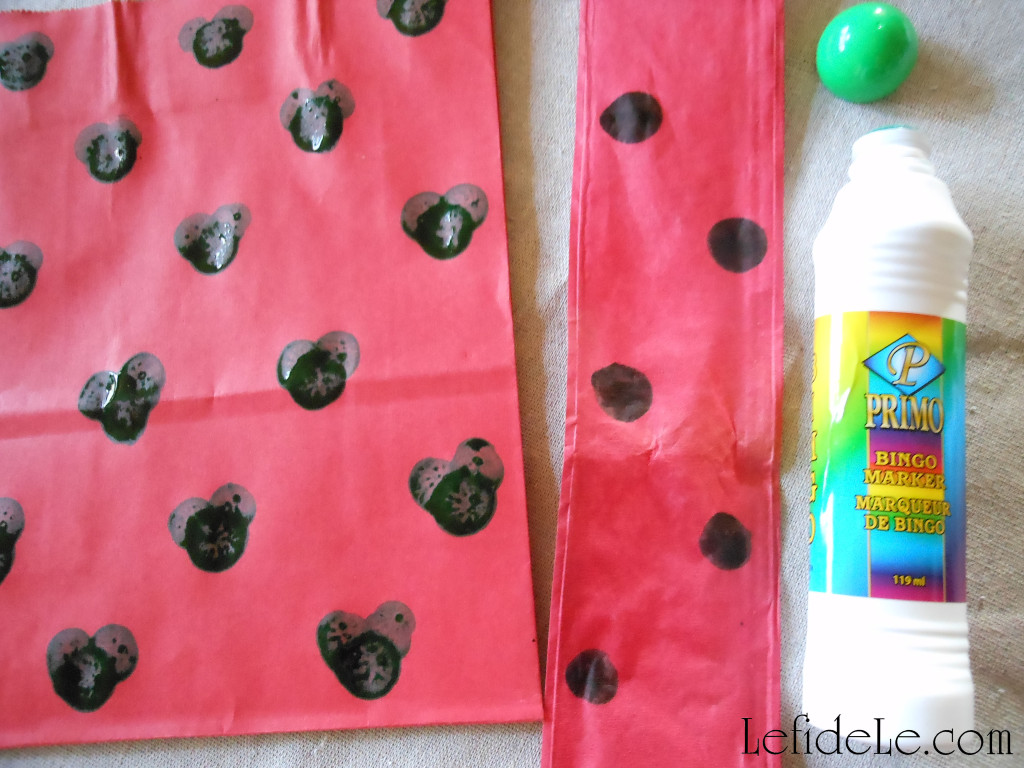
42Leigh

The Mickey / Minnie Mouse bag appears to have black ink on it because green ink appears black on the red paper. I also stamped polka dots onto a length of red paper ribbon to demonstrate the endless possibilities of decorating with ink. The green Hungry Caterpillar box just as easily could have featured a blue Alice in Wonderland Caterpillar.
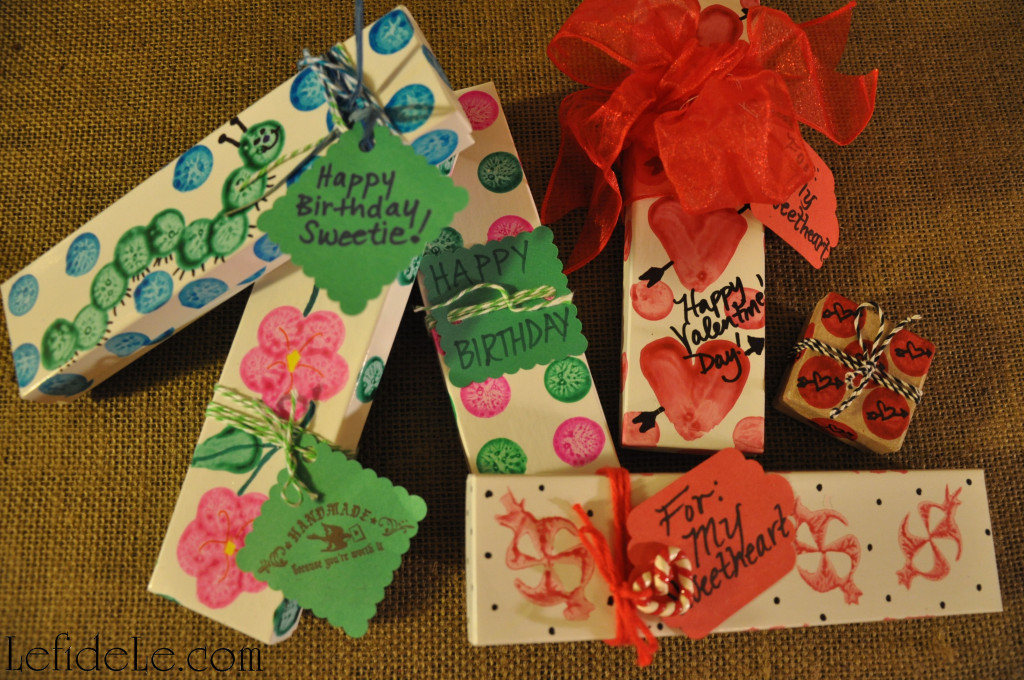
62-2Leigh

The hearts on the box aren’t great because it isn’t easy to make a V-point with a round stamp. Although I did get better at it by the time I made the leaves for the flowers. Just use a Sharpie to draw in details like arrows or a wavy lined stem. The peppermint candies were made by a foam stamp inked with the bingo marker. I thought it might work, and was delighted to find that it did! I will soon be posting a Winter Candyland Party that this type of stamp is perfect for, but here it’s used for a “sweetheart” gift box.
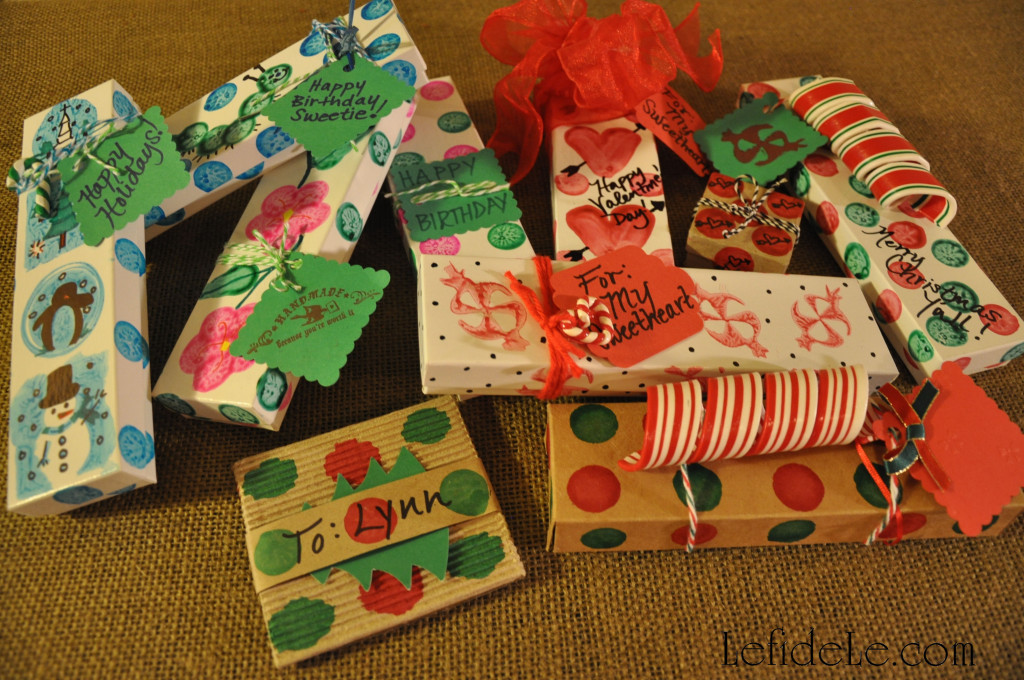
68Leigh

It’s really great to just stamp the outside of gift boxes, and not worry about wrapping at all! Here I’ve use some Christmas yarn… purchased with a coupon so that it was a fraction of the price of baker’s twine. I have enough quantity to be generous with it without worrying about running out… and it’s just really cute.
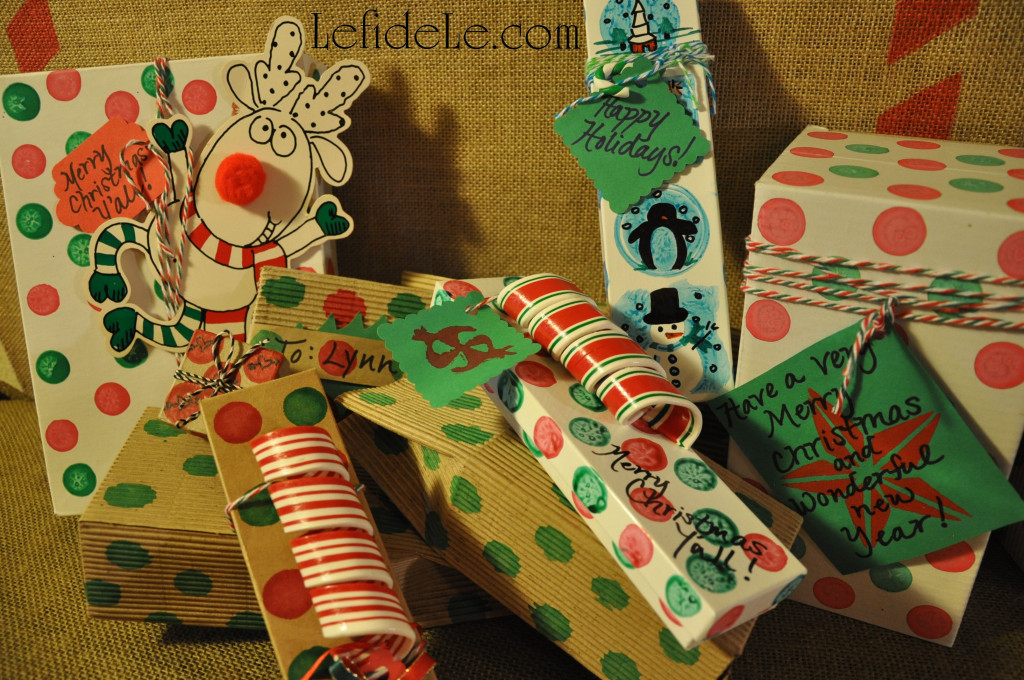
59Leigh

The Rudolph decoration was manufactured, but it would be really easy to draw a silly character on poster board in Sharpie markers and glue on a red pom-pom nose. That could be a fun way to get the kids involved as well. Another festive idea is to stamp the outside of a mailing parcel then write the recipient’s address in black Sharpie.
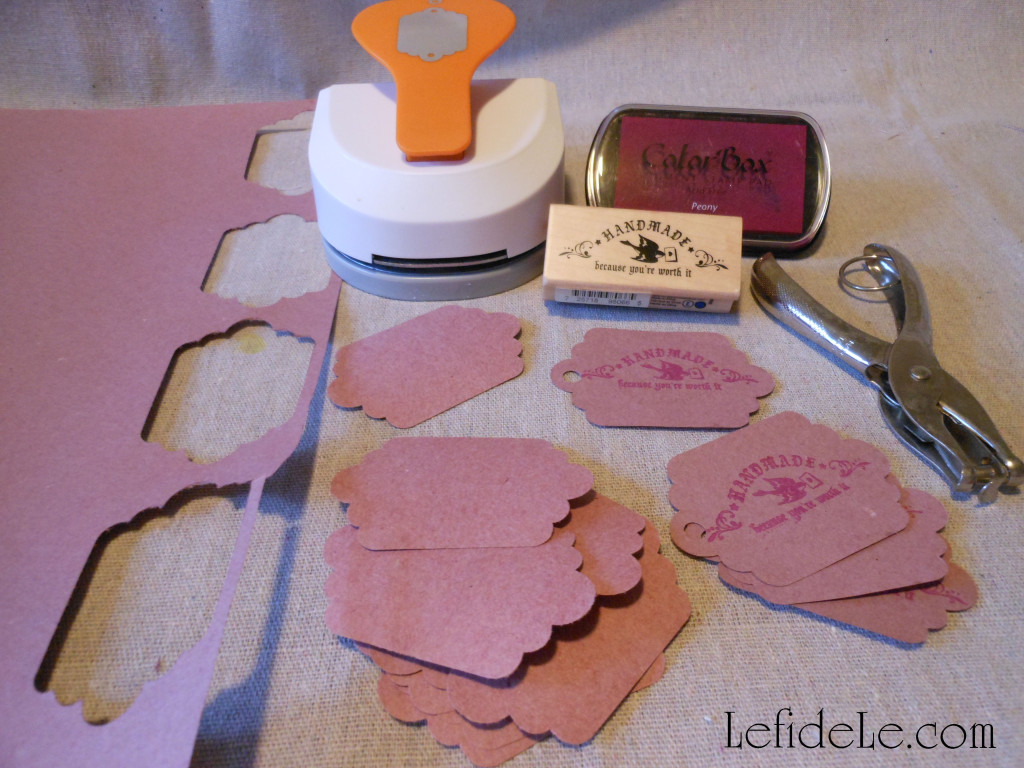
15Leigh

Don’t forget to make tags for your “presies”. I just used several large punches to cut them out of the same paper.
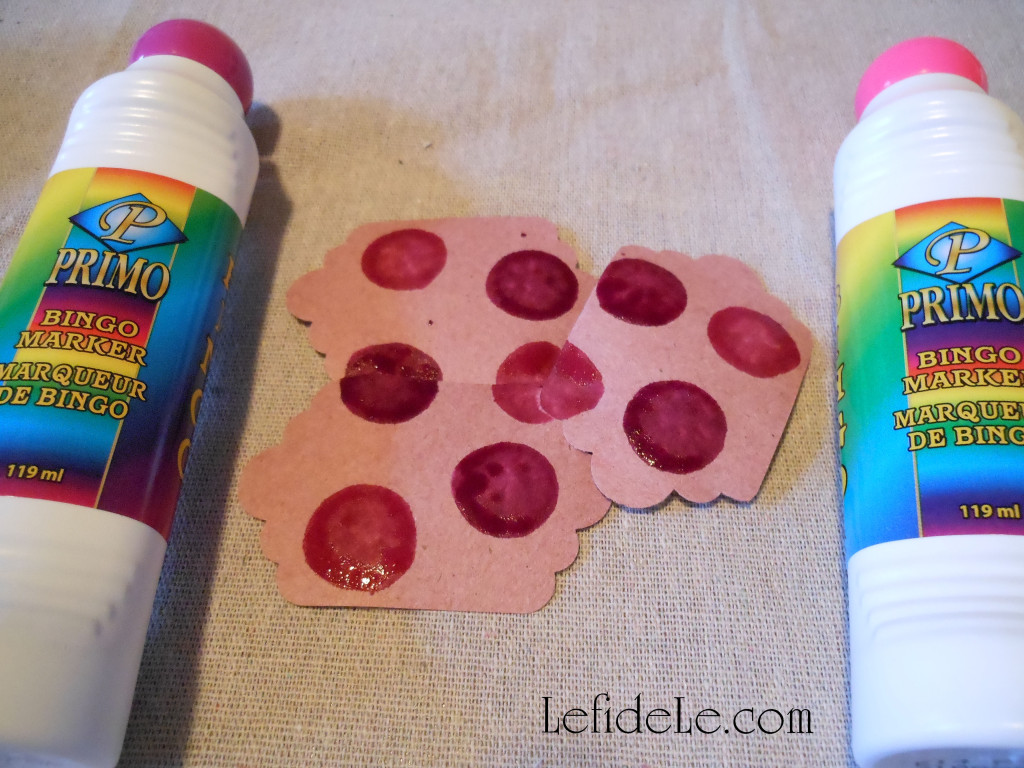
21Leigh

I then stamped them in assembly line fashion… proof positive that quick can be cute!
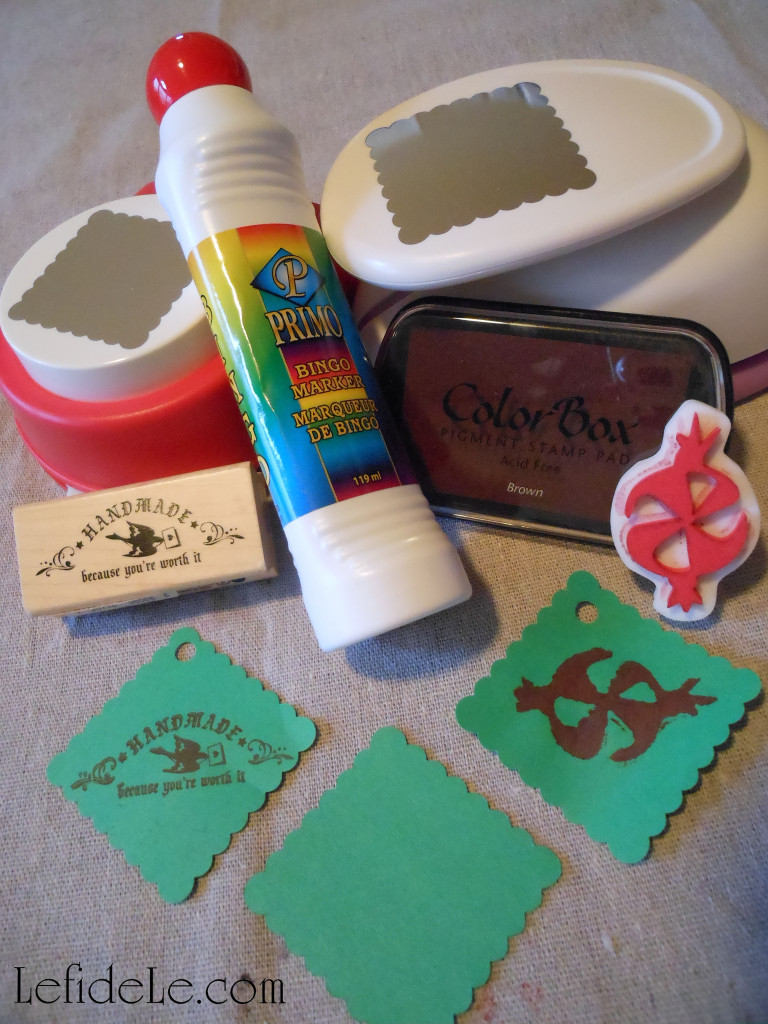
19Leigh

I used the handmade stamp and candy stamp on some. The star tag was stamped with a foam star and acrylic craft paint. This way you can see the difference between how ink and paint look. Use a Sharpie marker to write messages on any of these as pens just don’t show up well.
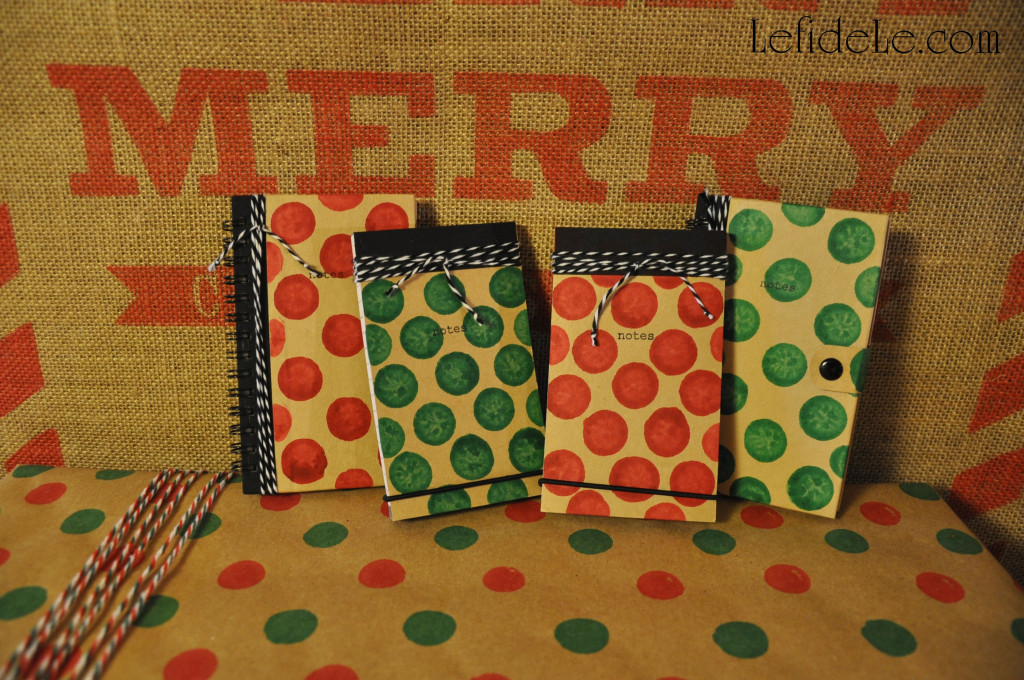
40-2Leigh

As for the gifts themselves, why not make super-quick stocking stuffers with matching polka-dots?
51Leigh

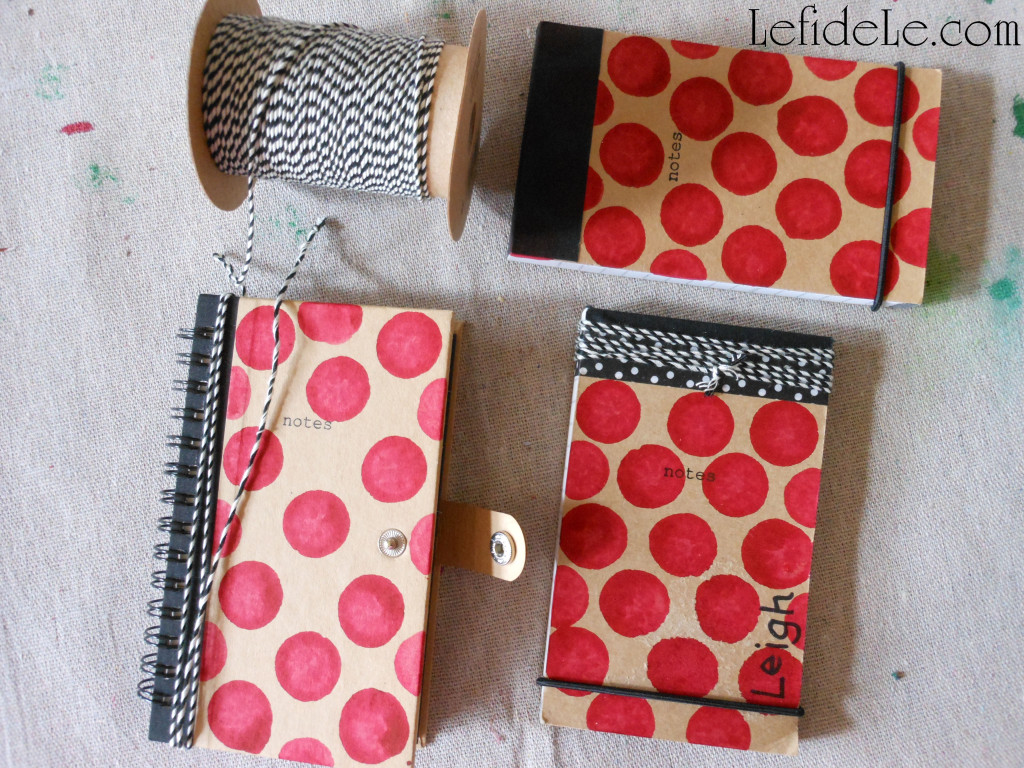
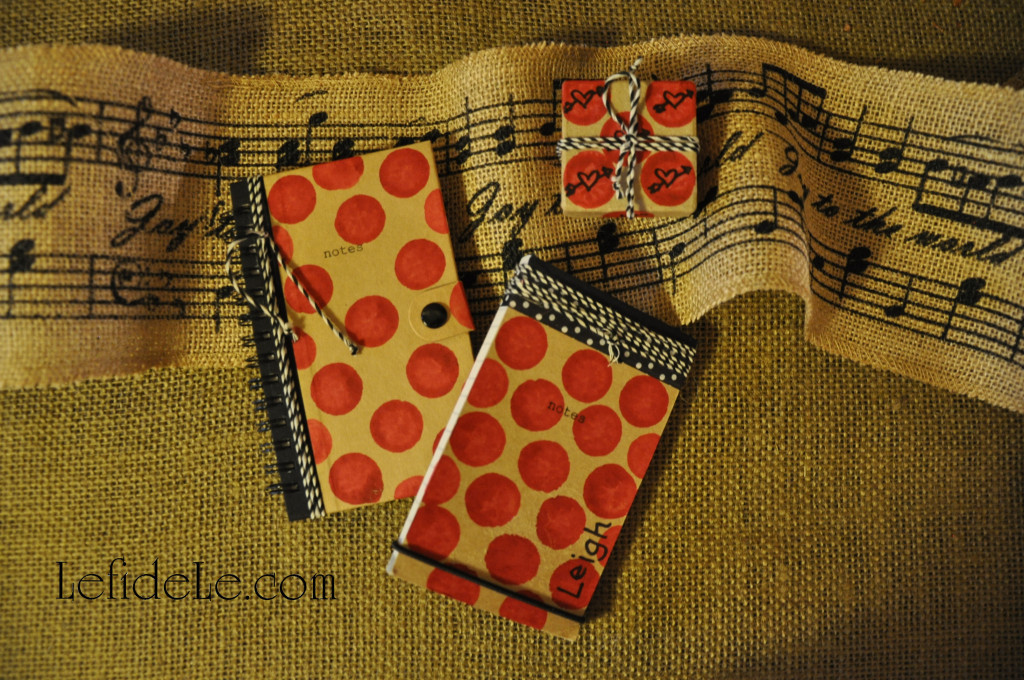
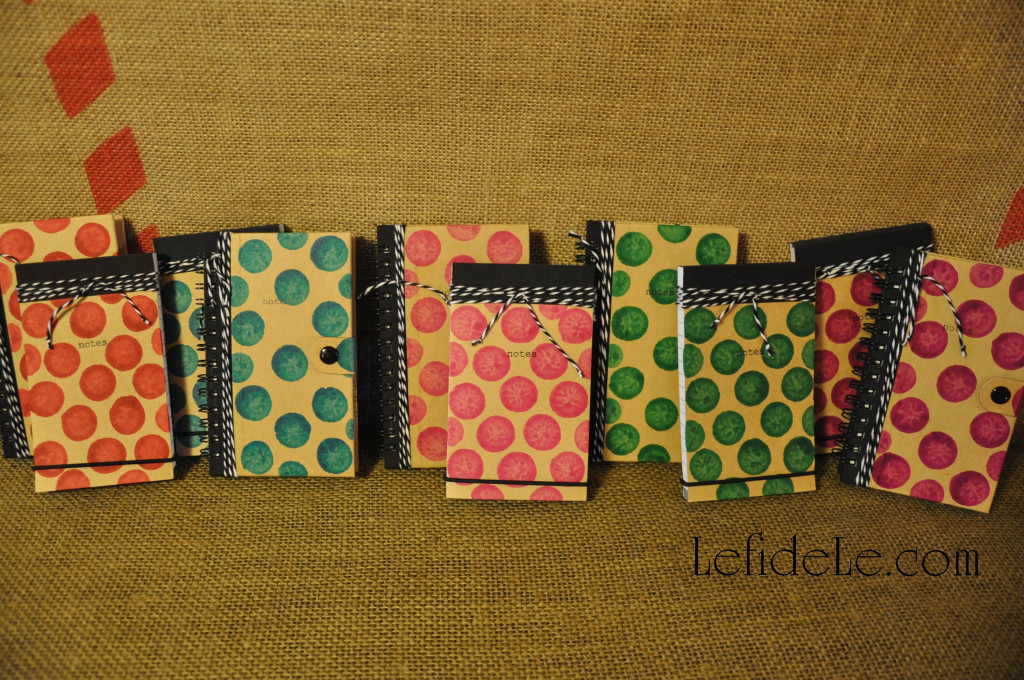
I took boring kraft paper notebooks, and raised the cuteness factor exponentially with a little ink stamping and twine wrapping.
45-2Leigh

I also added some washi tape to one whose top was peeling slightly. I personalized that one with my name in Sharpie.
54Leigh

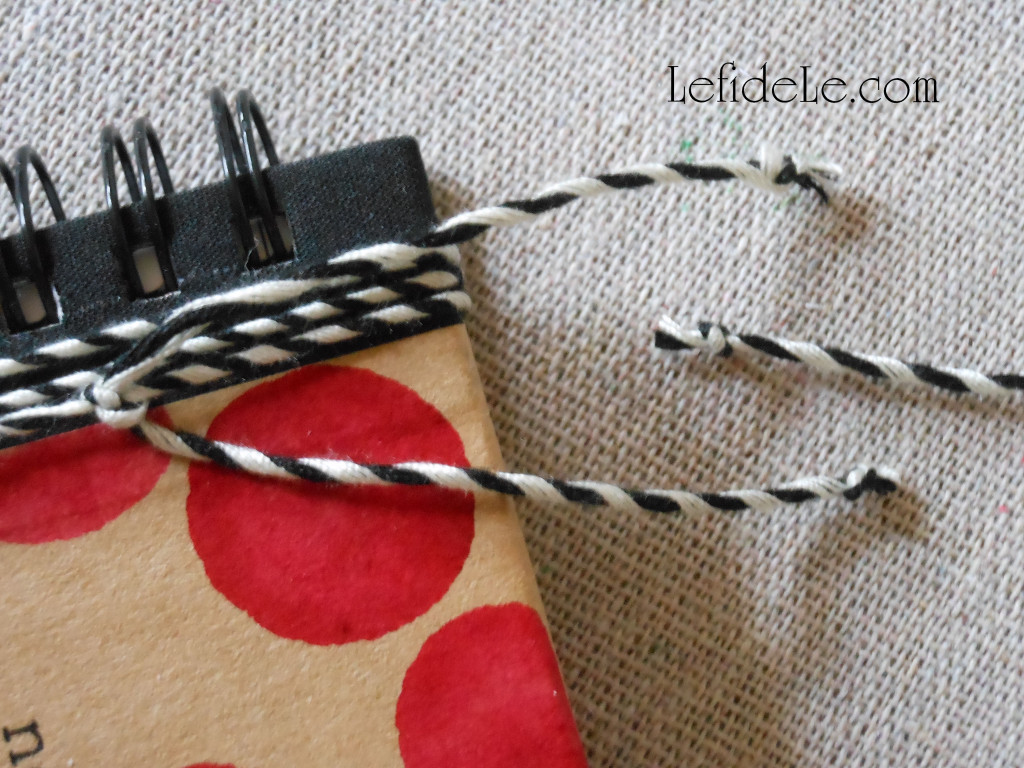
There is one thing which will save you some length on twine brands that have a tendency to unravel easily… tie two knots before cutting in between them. I found that the yarn that looks like twine actually unravels less.
26-2Leigh

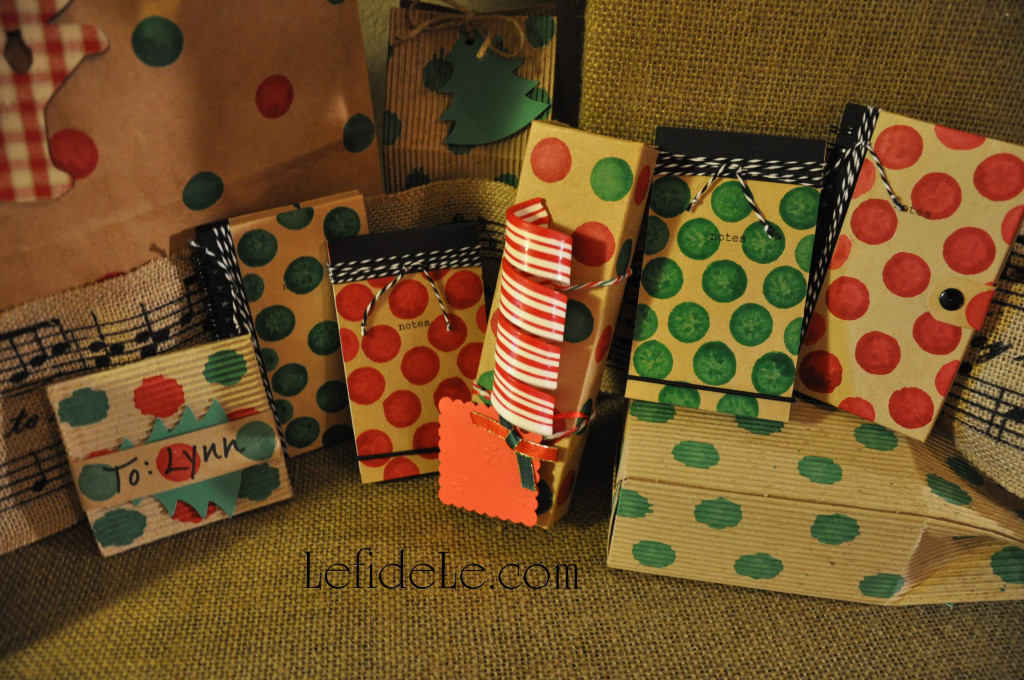
Here is a collection of my various colors of notebooks that will be made available at Le fidèLe Designs Etsy store.
42-2Leigh

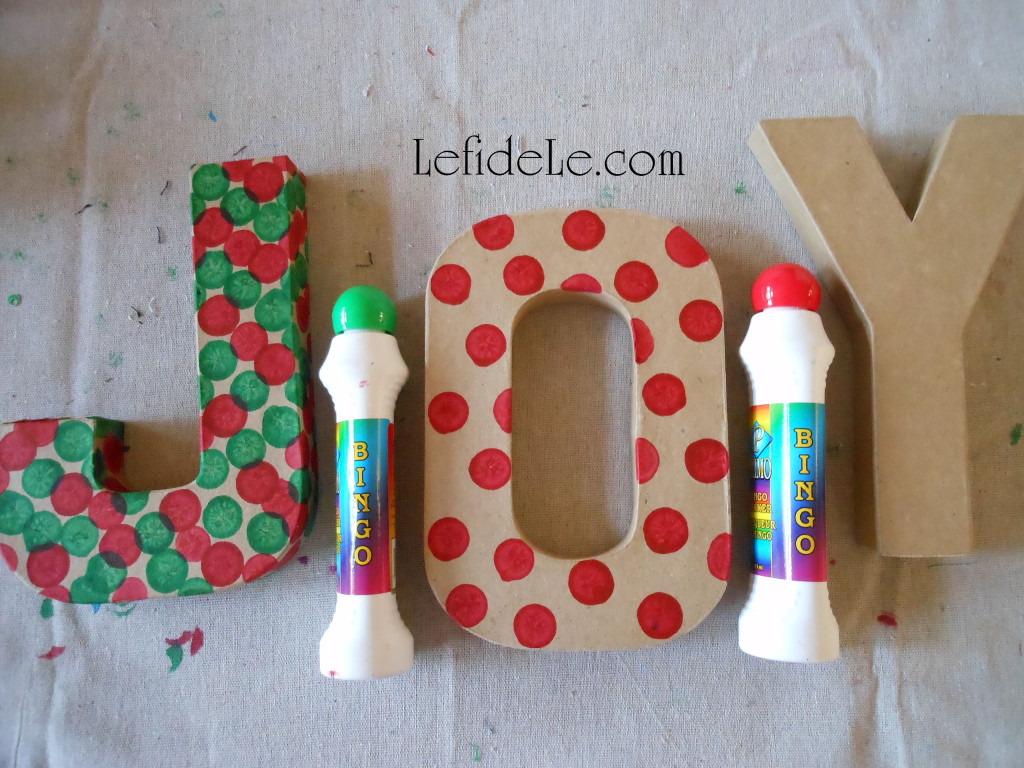
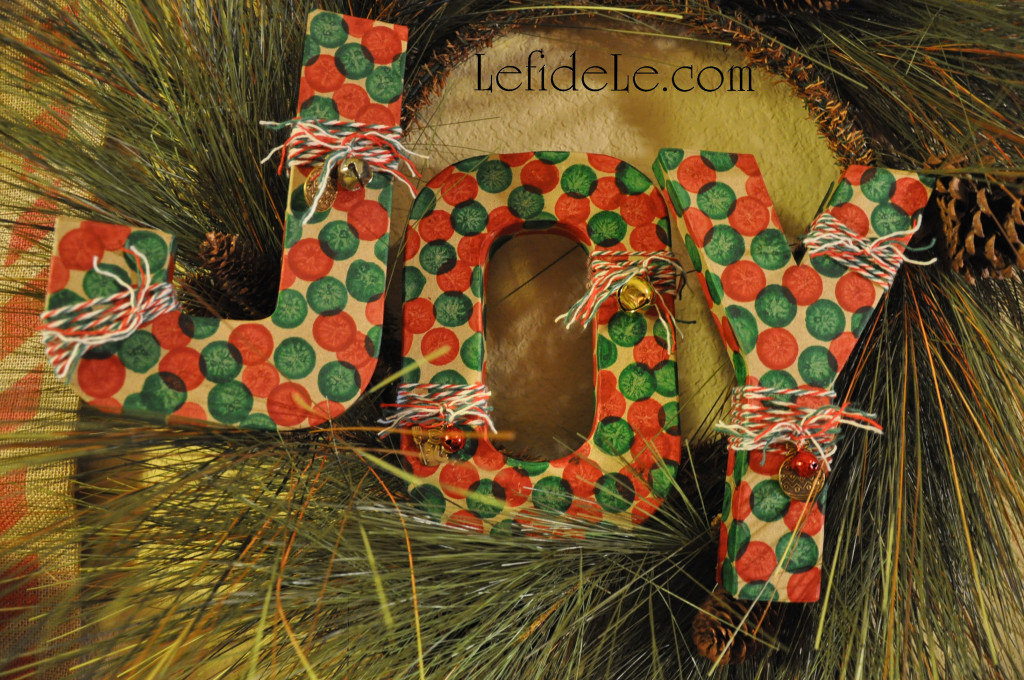
Another stamping idea that’s super-easy and fast is making message holiday décor. I bought the only “J” left in 3 stores, so JOY must be popular for the holidays. Really, any letters using different colors can be made year-round. A name would make a terrific personalized gift for a little one’s nursery.
110Leigh

I simply stamped haphazardly with the red and green, because it was more fun that way!
116Leigh

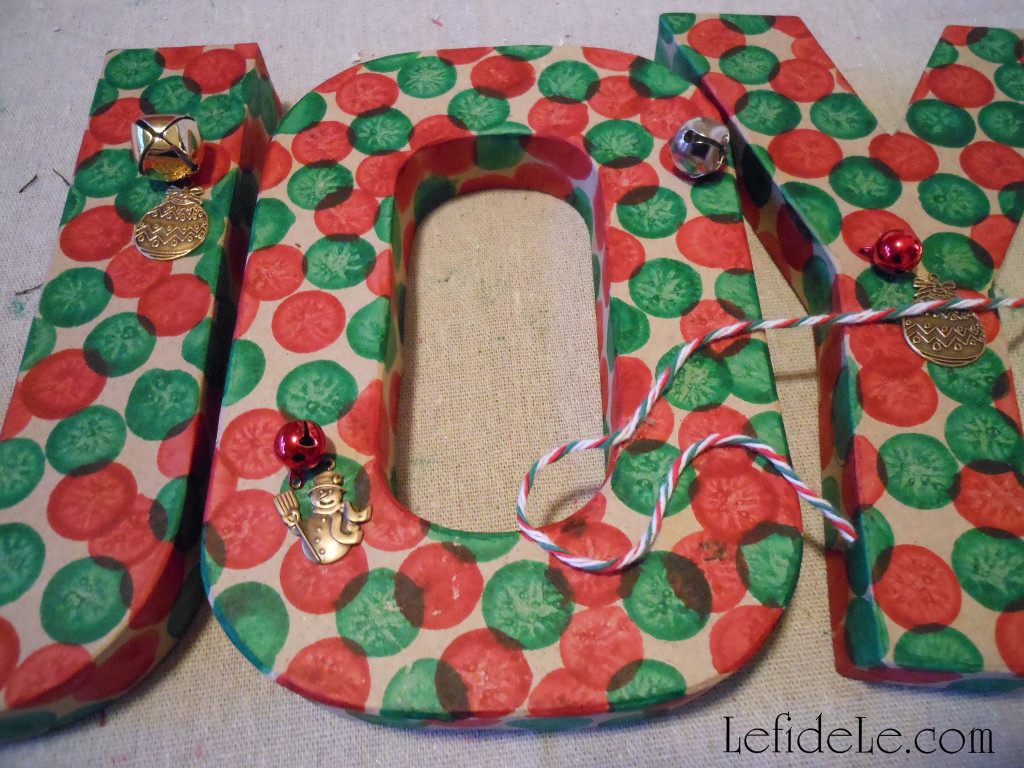
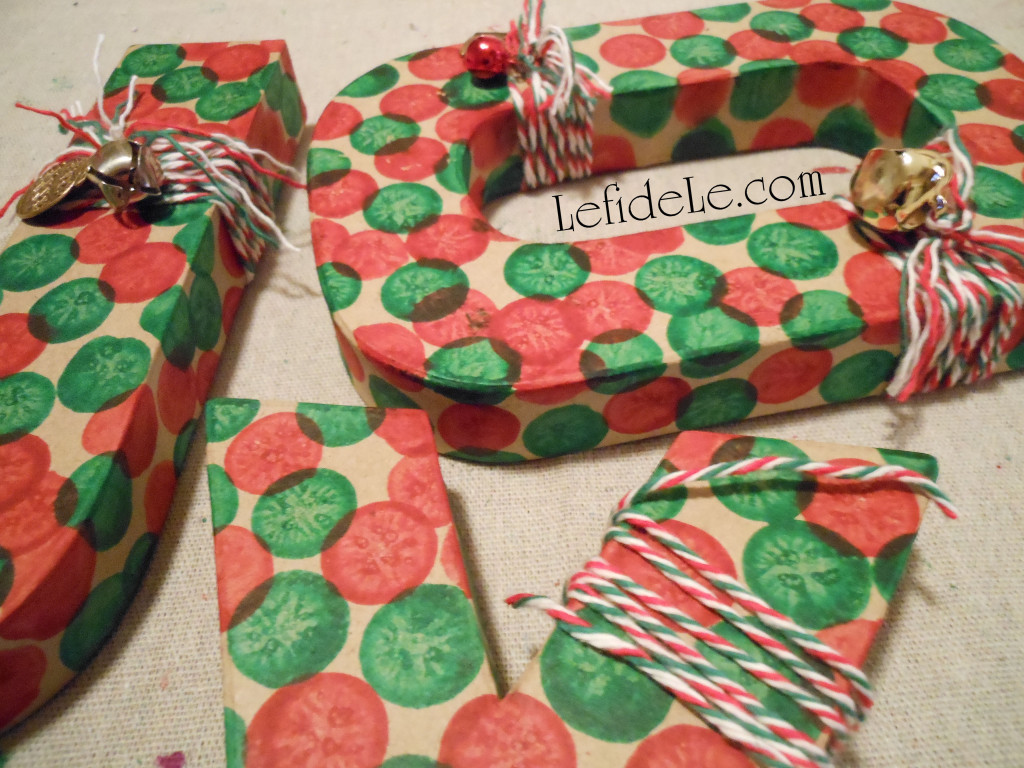
I went ahead and inked the back as well, for versatility. In this way I can set them anywhere, even freestanding in the bar area.
121Leigh

Lastly, I found some holiday charms and bells to tie on with Christmas yarn. It was easy and done in a few minutes.
36-2Leigh

The best part of all of these projects is that I found people really want to reuse some of the stamped wrap. (I even had one request that I not to write on the tag next time, so that she could send it forward… not the gift, just the bag and tag!) By hand-making your own wrapping, you are not only demonstrating that you really cared enough to go that extra mile, but it’s also beneficial to the environment when others want to continue passing it along. Reusing is even better than recycling! It’s yet another way to give when we are good stewards for His majestic creation.
28-2Leigh
Faithfully Yours,

Leigh