Tag Archives: Free Printable

Easy DIY Rainbow Napkin Rings Tutorial & Free Sky Printable Card / Invitation Craft for All Occasions Including Parties & St. Patrick’s Day

2030Leigh

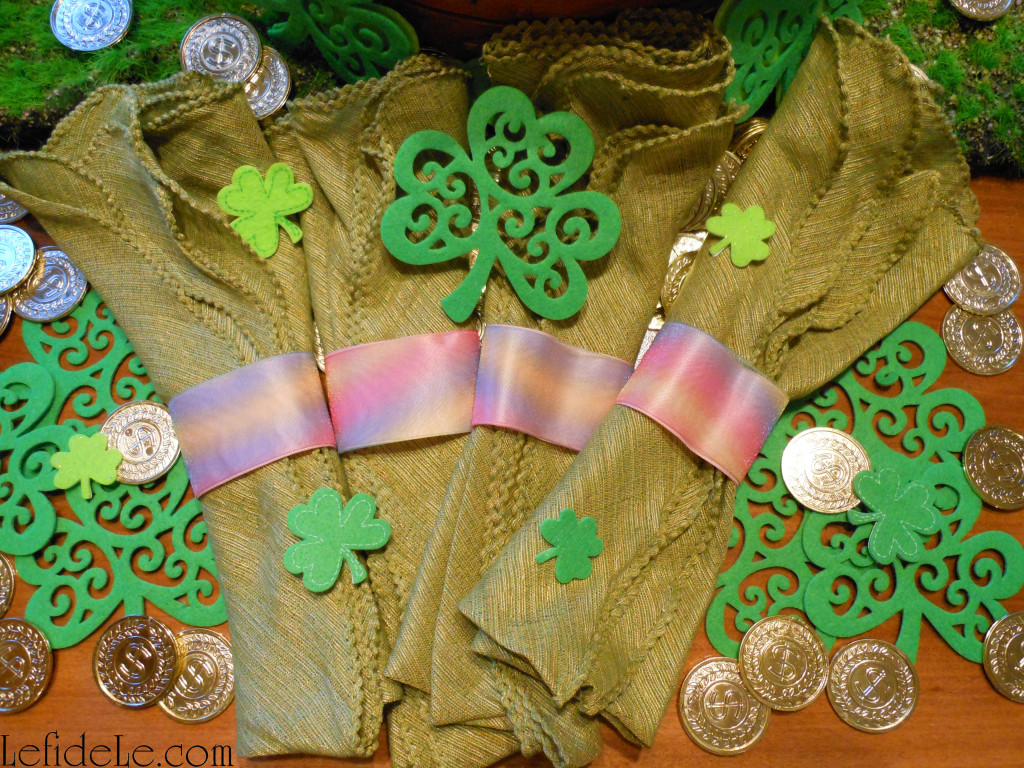
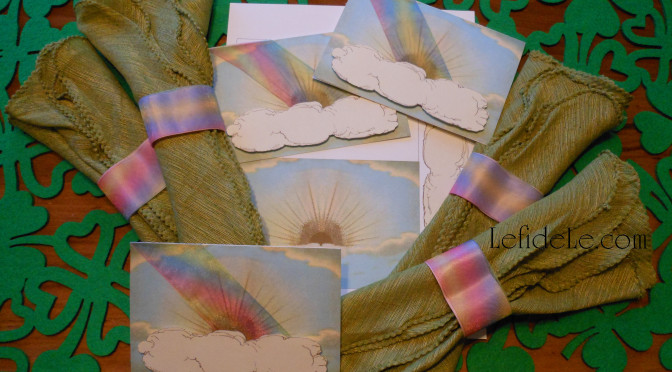
This easy DIY rainbow napkin rings tutorial is perfect for many types of parties including St. Patrick’s Day, and my free printable all occasion sky card is a great craft for making matching invitations. The card can be made with or without the addition of a rainbow, and so it’s useful for many other purposes… such as sympathy, get-well, congratulations, good luck, missing you, birthday, et cetera. Is there ever really a bad time to send a rainbow as the symbolic harbinger of hope?!
2002Leigh

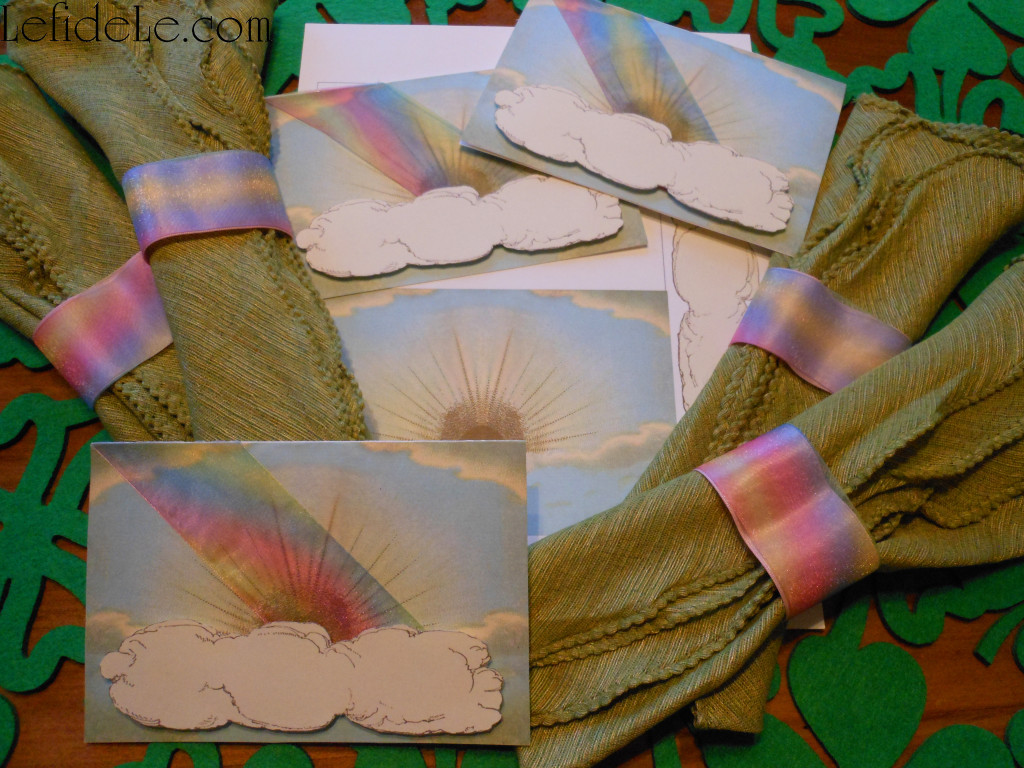
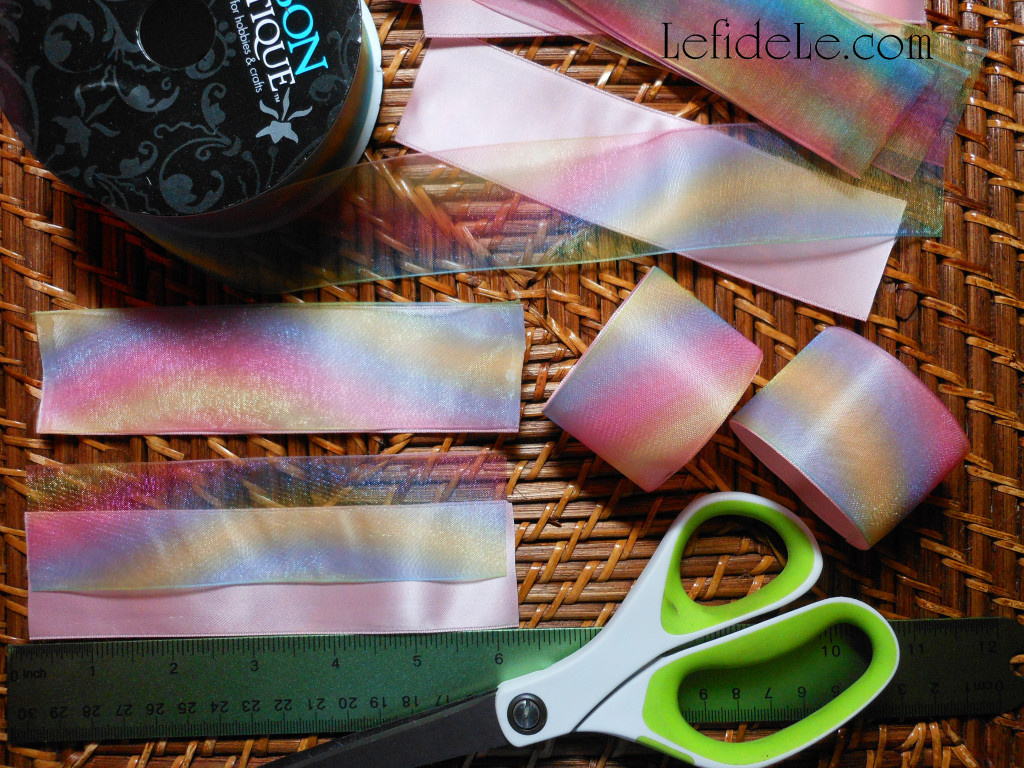
Let’ make the rainbow napkin rings first. To begin, you’ll need a pale color base ribbon and a sheer rainbow ribbon for the top. I used a vintage soft pink satin for the base, because it really brought out the rainbow’s beauty. Just make sure both types of ribbon are the same width.
1919Leigh

Cut 6 inch lengths of each type of ribbon for every ring you want to make. Next, hot glue the short ends only. Make sure to press the ribbon ends together firmly before the glue dries… using silicone finger protectors of course. Now glue one short end to the other, overlapping them slightly. Again, press them together firmly.
35Leigh

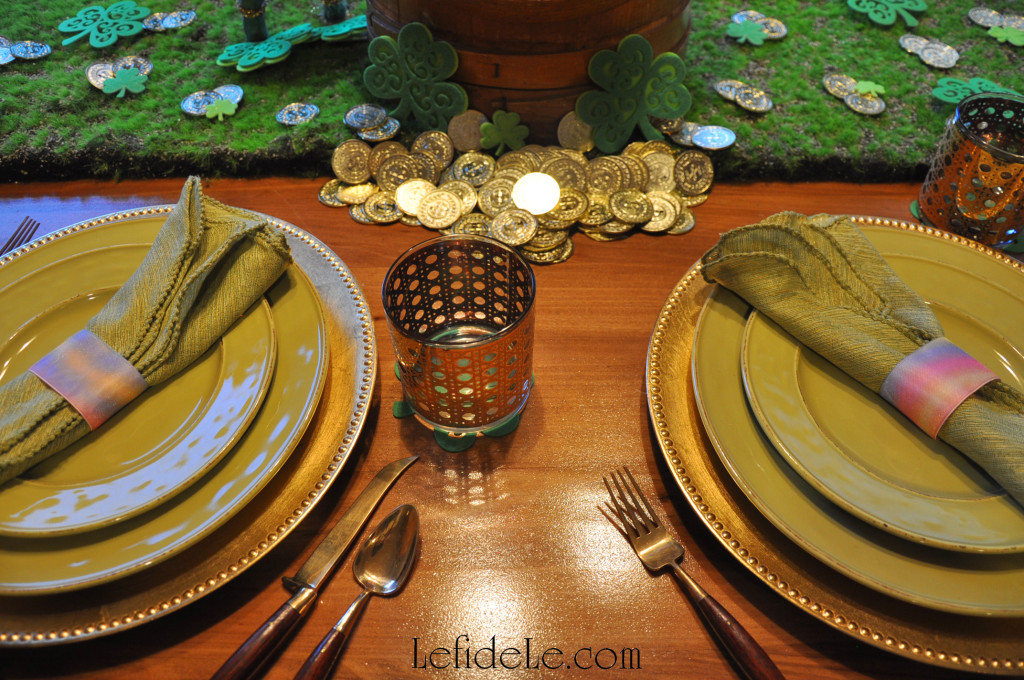
These rings are so quick and easy to make that they can be crafted at the last minute before a gathering. Who said procrastinator’s can’t have fabulous decorations?!
2051Leigh

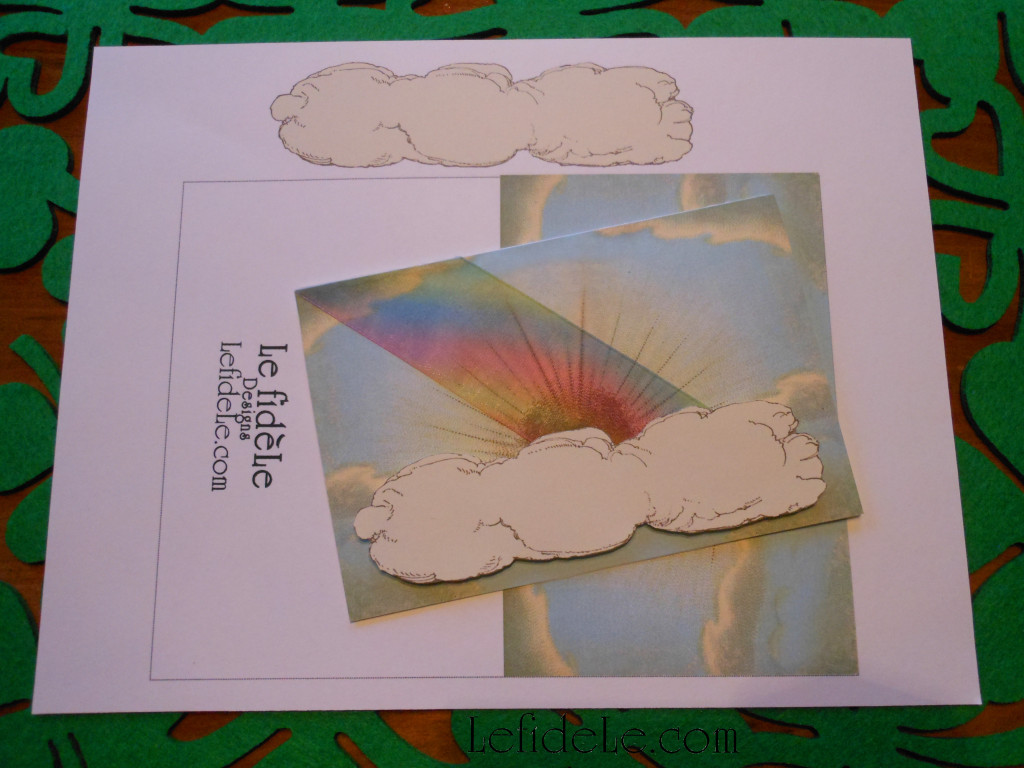
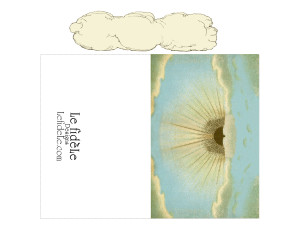
Let’s make the sky card now. You need to print one page for every card you wish to make. I like to make extras during each crafting session, in case I have an unexpected need for a last minute card. (Note that my free printable is for your personal use only… not for commercial purposes.) If you want to add a rainbow, you can use any variety of colorful ribbon you like… striped, thin, checked, thick, solid, translucent, plaid, paper, plastic, or gossamer fabric ribbon like this one that I found on clearance. You can even use a pretty washi paper tape if you like.
Skycard+CloudLeigh

Simply right click on the small image above, and select print. Be sure to choose the photo setting for the finest image. It’s best to use a thick cardstock to make a nice card.
2008Leigh

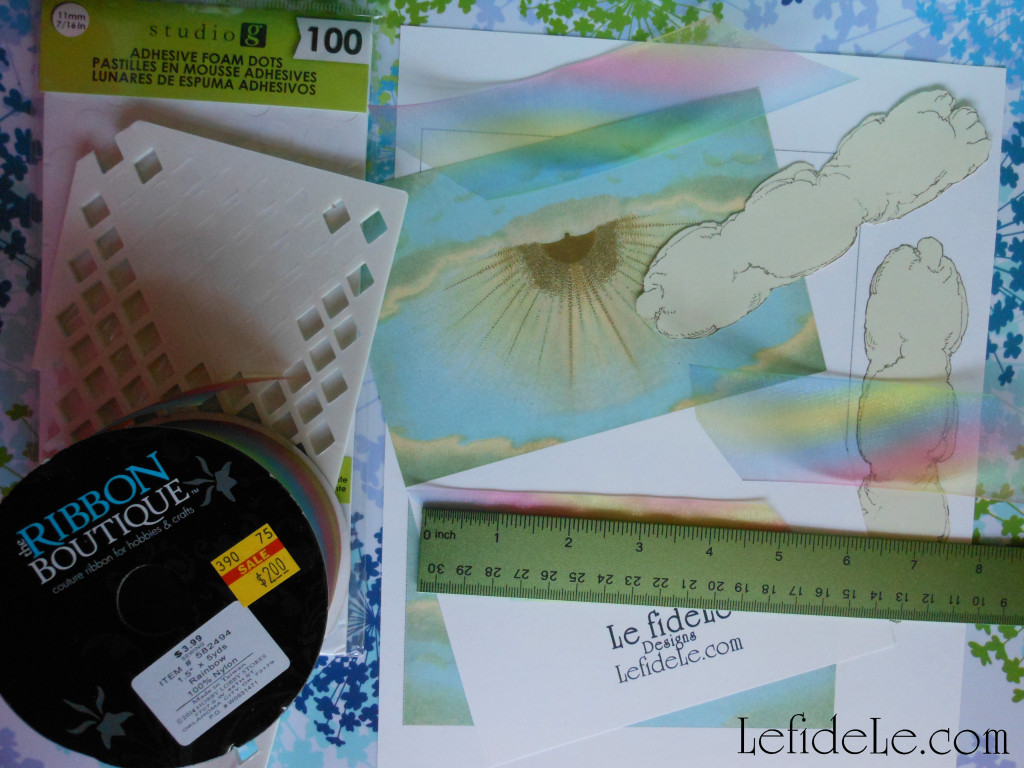
Cut out the rectangle with the logo and sky image together, and then cut out the cloud image. If you want to add a rainbow, cut a 5 inch length of ribbon on the diagonal (like this /__/ ).
2015Leigh

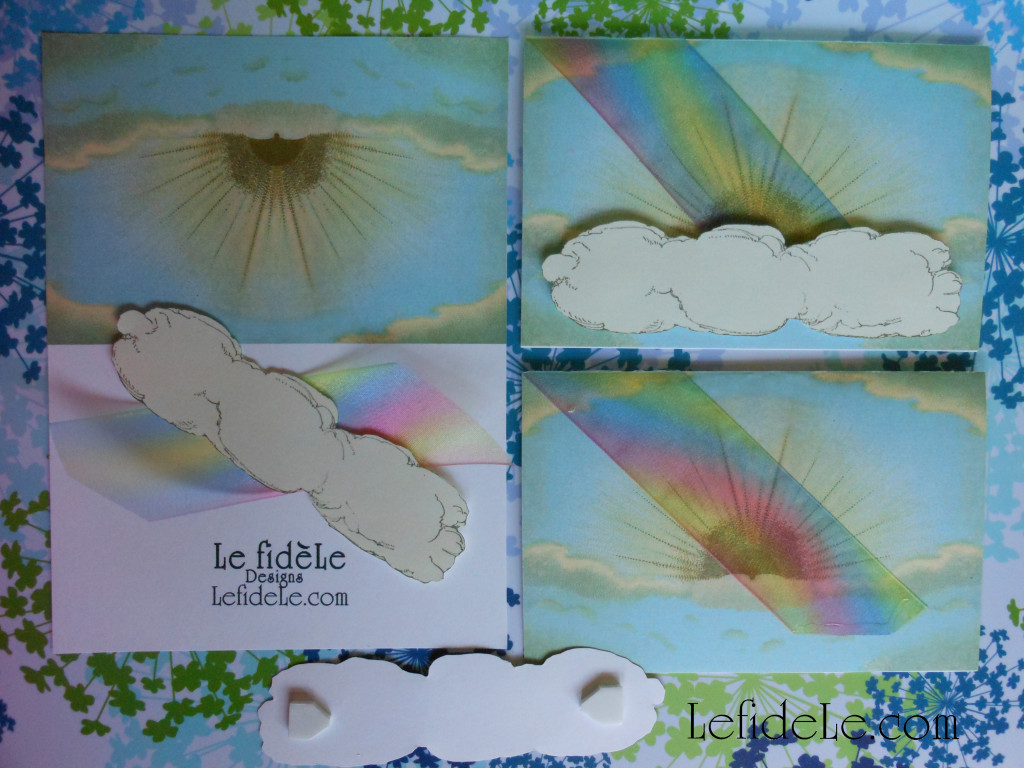
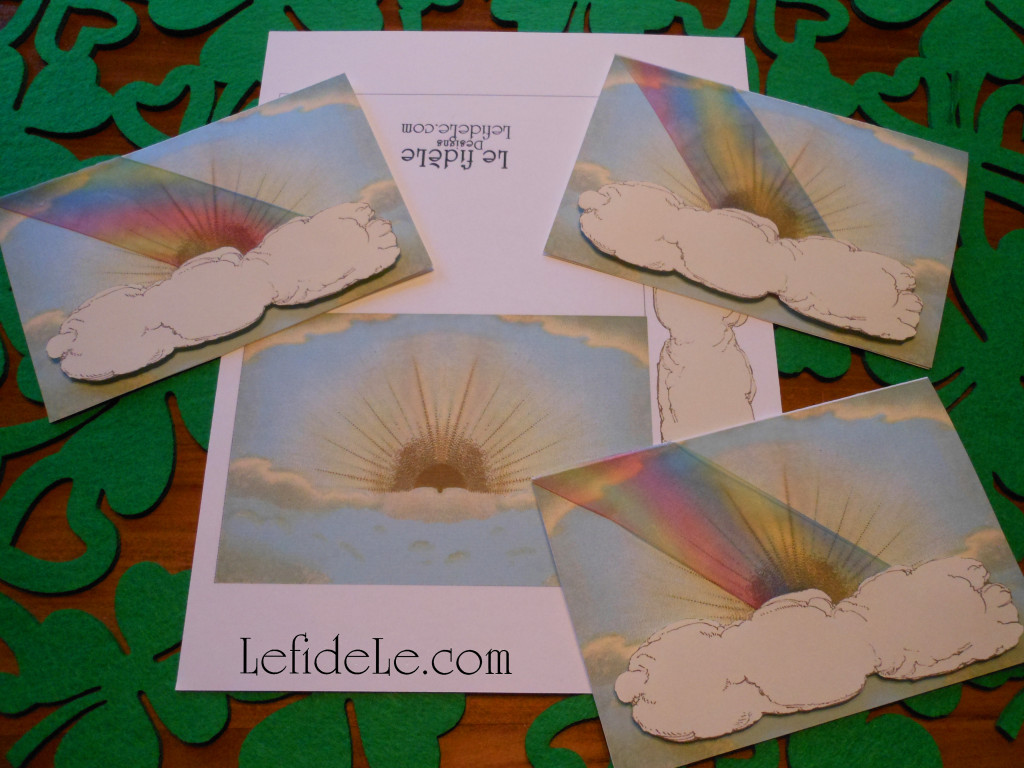
Next, fold the rectangle in half to form the card. Add the rainbow by gluing the ribbon down to the top left corner, and then attach the other end. You can either glue the cloud on top of the ribbon directly, or use dimensional foam stickers to add height to the cloud. Try to place it under the sunrise just above the card opening.
2020Leigh

The perfect St. Patrick’s Day greeting card contains a classic Irish blessing such as this one:

“May the Irish hills caress you. May her lakes and rivers bless you. May the luck of the Irish enfold you. May the blessings of Saint Patrick behold you.”

♣ Lá Fhéile Pádraig Sona Daoibh (Happy St. Patrick’s Day!)

Faithfully Yours,

Leigh

P.S. See more of the rainbow napkin rings in action here: Meet me at the End of the Rainbow Tablescape Ideas for St. Patrick’s Day Party Décor!
Easy DIY Valentine’s Day Countdown Calendar / Treat Bag Banner & Love Letter Napkin Rings Craft Tutorials

1661Leigh

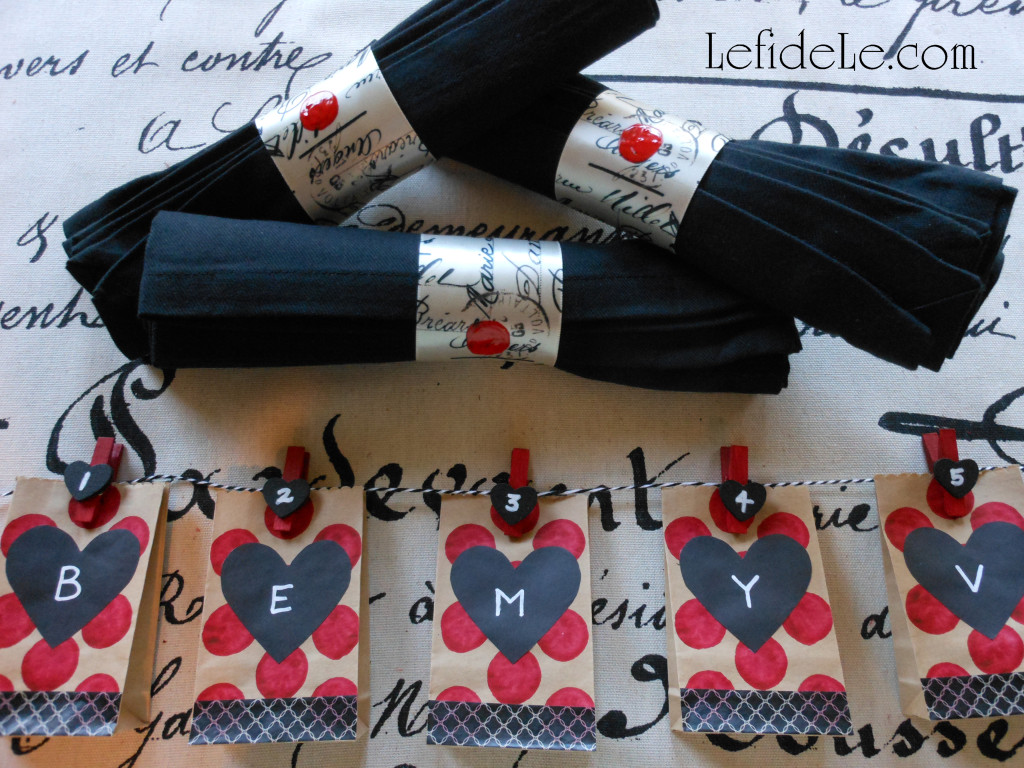
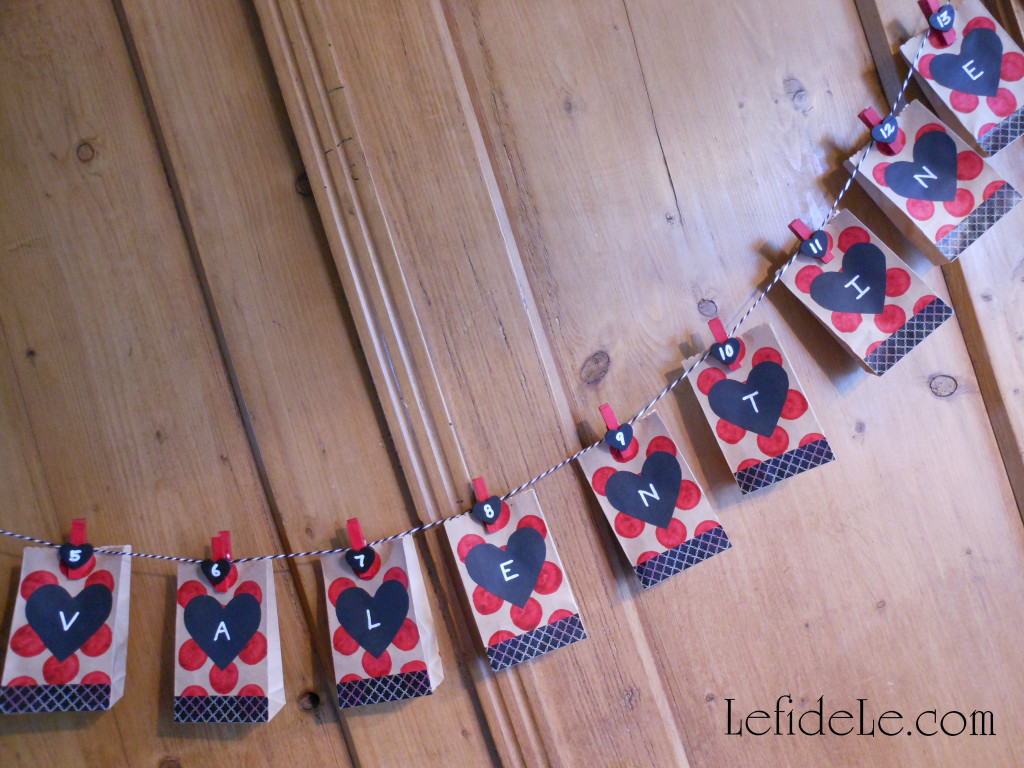
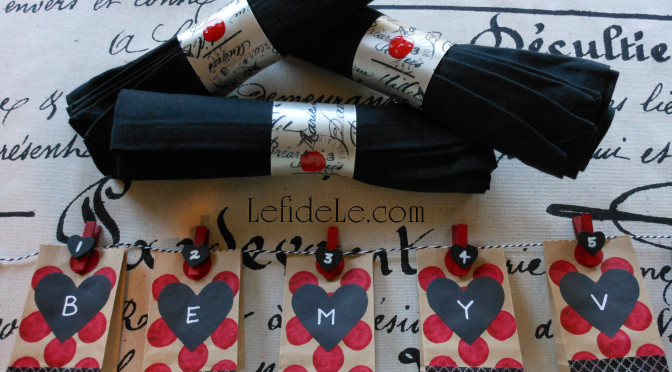
This easy DIY Valentine’s Day countdown calendar plus treat bag banner and love letter napkin rings craft tutorial comprises three of my favorite things to make… banners, napkin rings, and advent calendars. The latter project arose from the questions, “Why are countdown calendars typically made for Christmas advent and not for other holidays?” and, “Why not expand the celebration with 2 weeks of excitement leading up to Valentine’s Day?” This works well for either children or adults depending on what’s placed inside the bags. As for the love letter themed napkin rings, they perfectly fit a romantic Valentine’s theme… though this one is for adults only!
1638Leigh

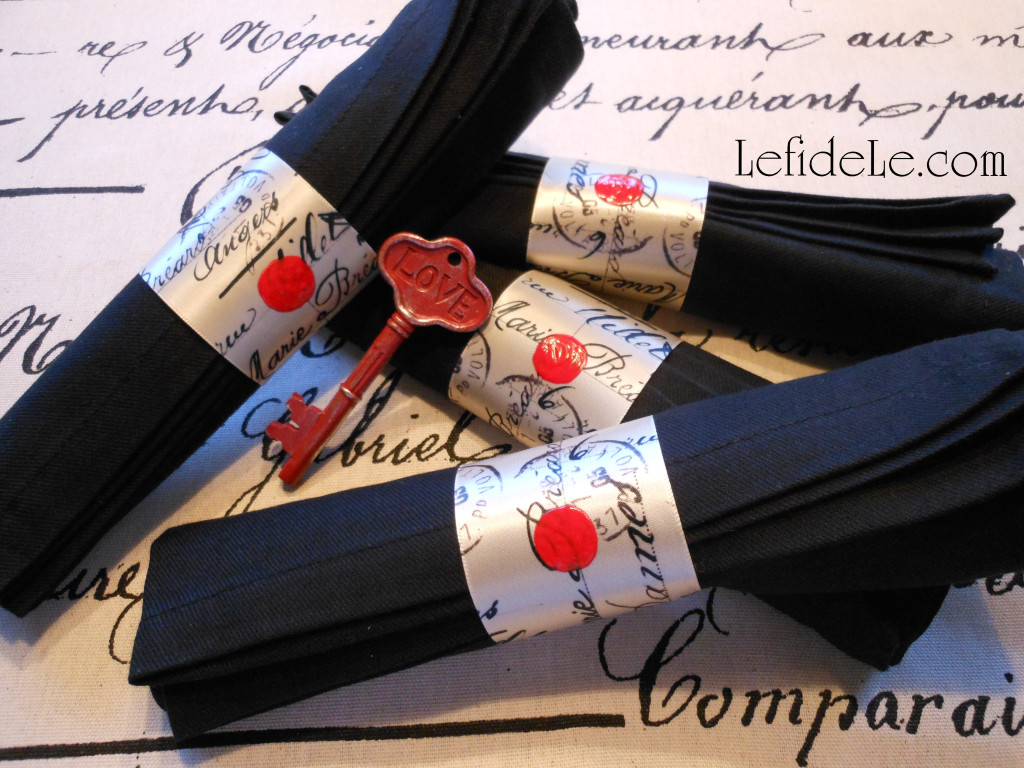
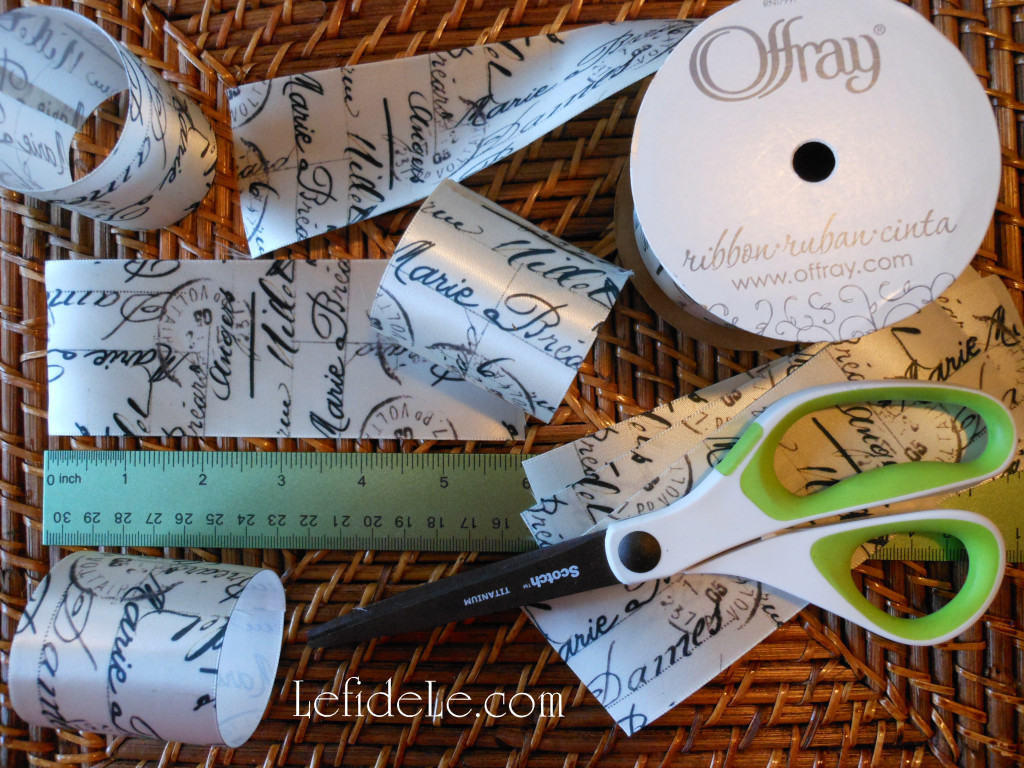
Let’s begin with the napkin rings. You’ll need a roll of Offray Brand Ribbon in a script pattern. (I purchased this ½ price with a coupon from Joann Craft & Fabric Stores. There’s a link for them in the sidebar.)

1647Leigh

You can make 12 rings and still have enough left over for a gift package bow if you like. You’ll also need either hot glue or liquid fabric glue and fabric paint in red (because it works on so much more than just T-shirts).

1216Leigh

Measure and cut a 6 inch length of ribbon for each ring you wish to make (use sharp sewing scissors to prevent fraying ends). If using hot glue, bond the ends with one side overlapping the other and press them together tightly. For liquid fabric glue, use a plastic clothes pin as a clamp or secure with a straight pin… and allow them to dry completely.

1243Leigh

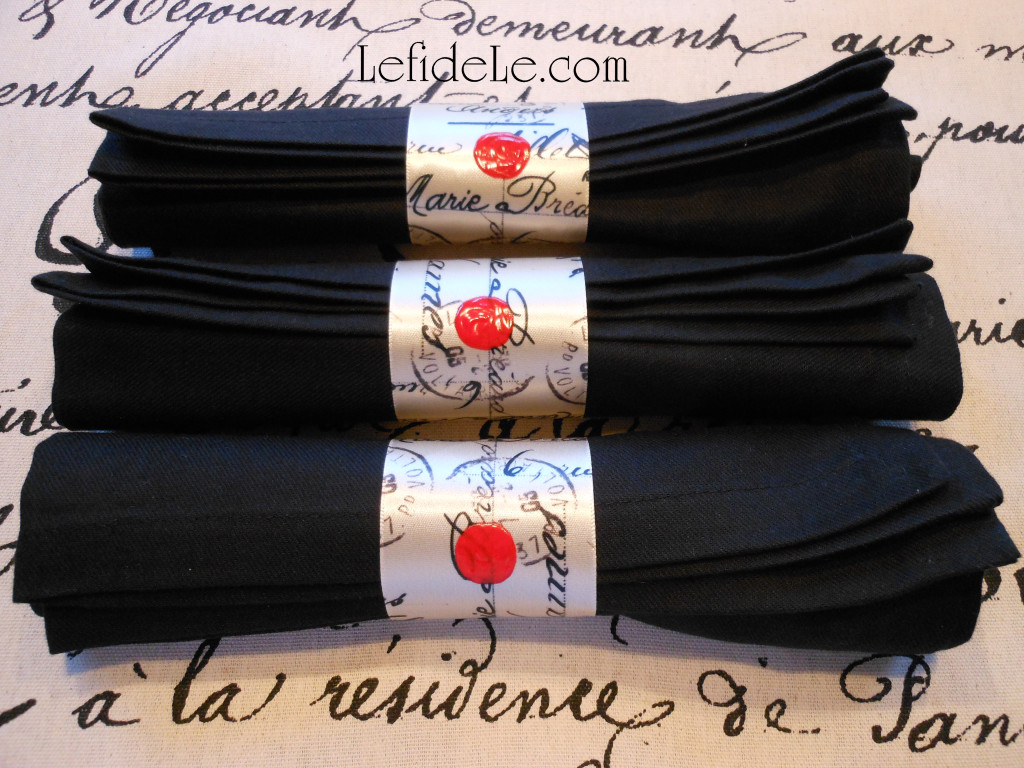
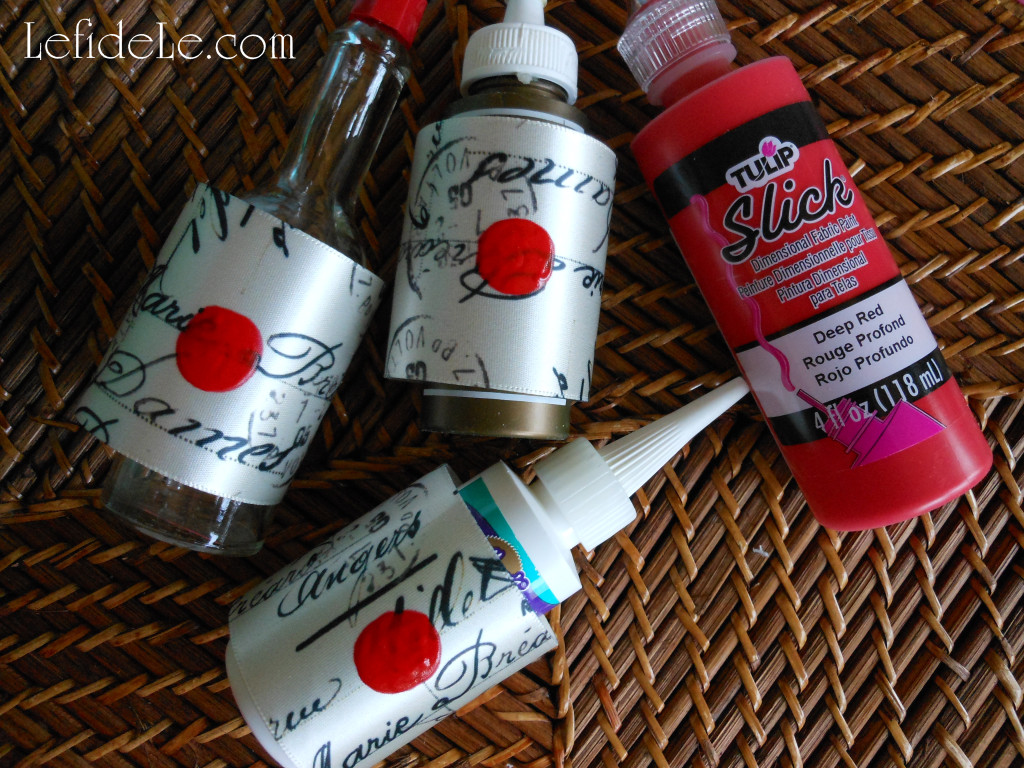
Next, make a faux sealing wax impression with the red paint. Either use the fabric paint tip to draw a circle and fill it in, or just squeeze some onto a plate and use a brush. Allow these to dry completely before handling. (Hot sauce bottles, glue bottles, and paint tubes placed inside the rings will prevent rolling and paint smears.)

83Leigh

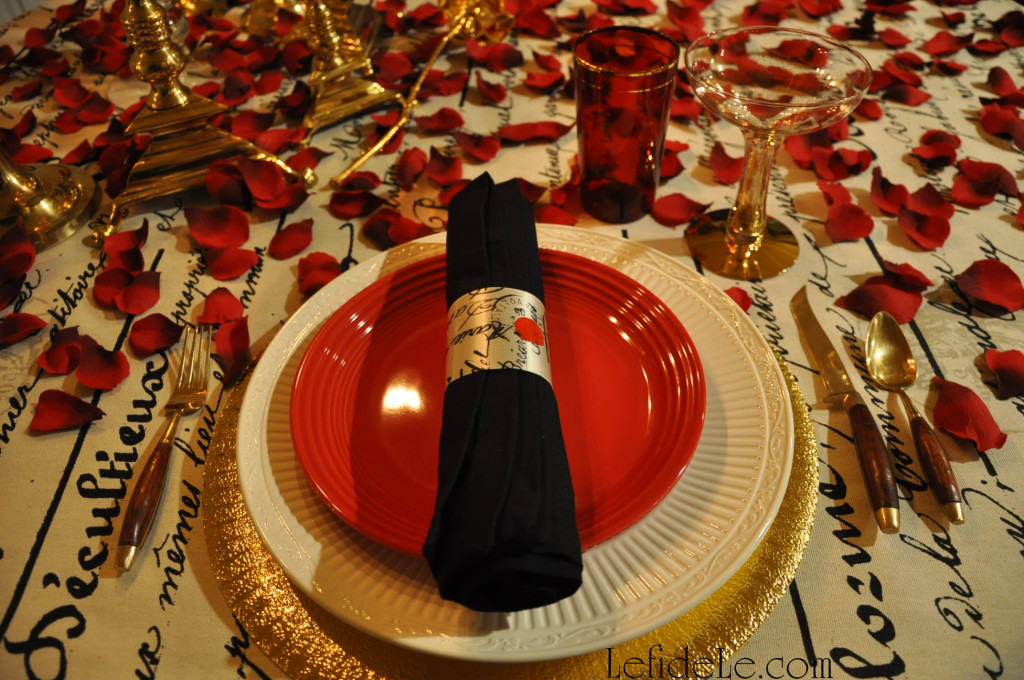
These napkin rings were so quick and easy to craft, and they were a great little touch to add to the Love Letter Themed Tablescape (Perfect for Valentine’s Day, Romantic Date Night, or Anniversary Dinner).

1617Leigh

Now let’s make a Valentine’s Day countdown calendar and treat bag banner. (This is an easy enough project for the kiddos in your life to make too.) Begin by purchasing 14 mini clothespins complete with chalkboard hearts (these were 12 for $1 at the Target bargain bins). You can also buy the clothespins plainly and easily attach small flat wooden hearts with wood glue or hot glue… yes, hot glue does work on wood. Then all you need to do is paint the hearts with chalkboard paint. (All of the major craft stores carry the hearts. There are sidebar links for my favorite stores that carry coupon codes with them!)

1547Leigh

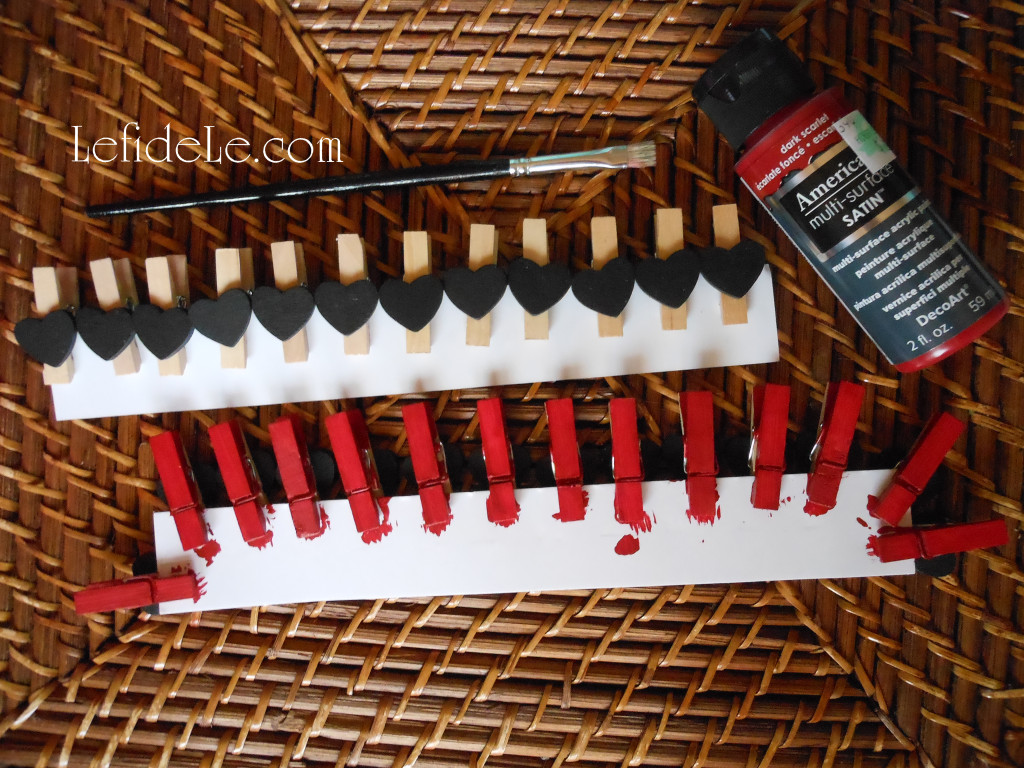
If you like, paint the remaining portion of the clothespins in your choice of red or pink… though the natural wood tone would look fine with the paper bags if you’re short on time. (I used dark scarlet multi-surface acrylic paint from DecoArt, because it matches my spice racks.) It’s easiest to clip them onto cardboard and just paint one side, leaving them to dry before flipping them over and completing the opposite side.

1552Leigh

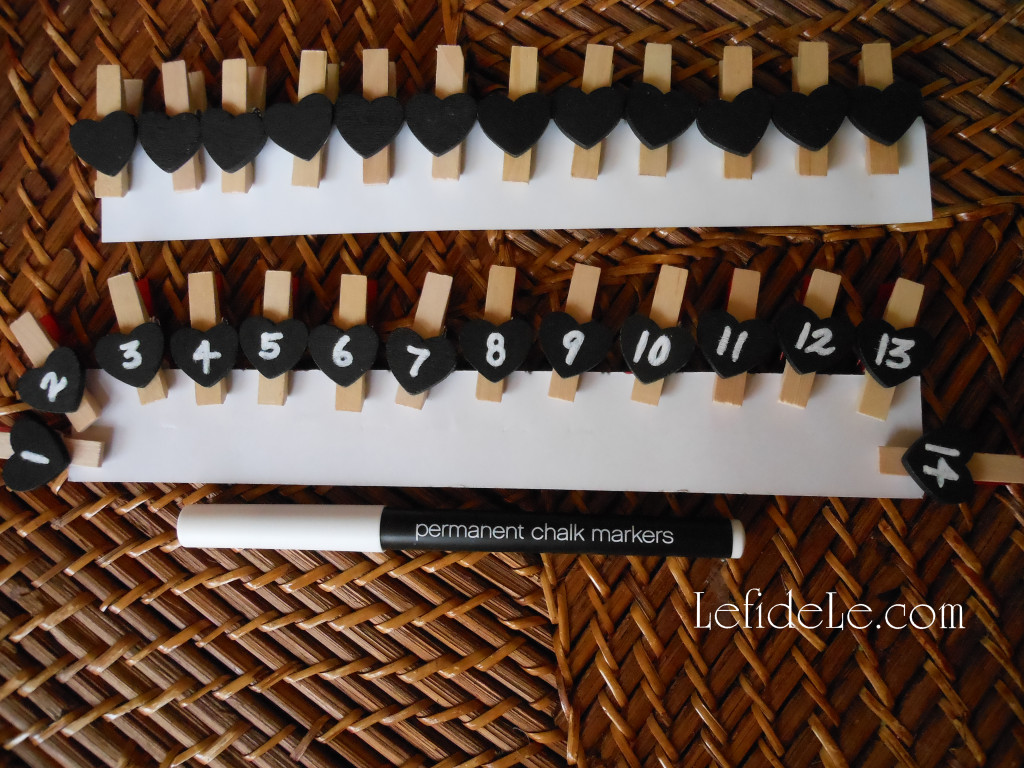
You have the option of writing the 14 day numbered countdown with actual chalk (so that they may utilized in another capacity after the holiday) or with a permanent chalk marker that can’t be rubbed off.

1555Leigh

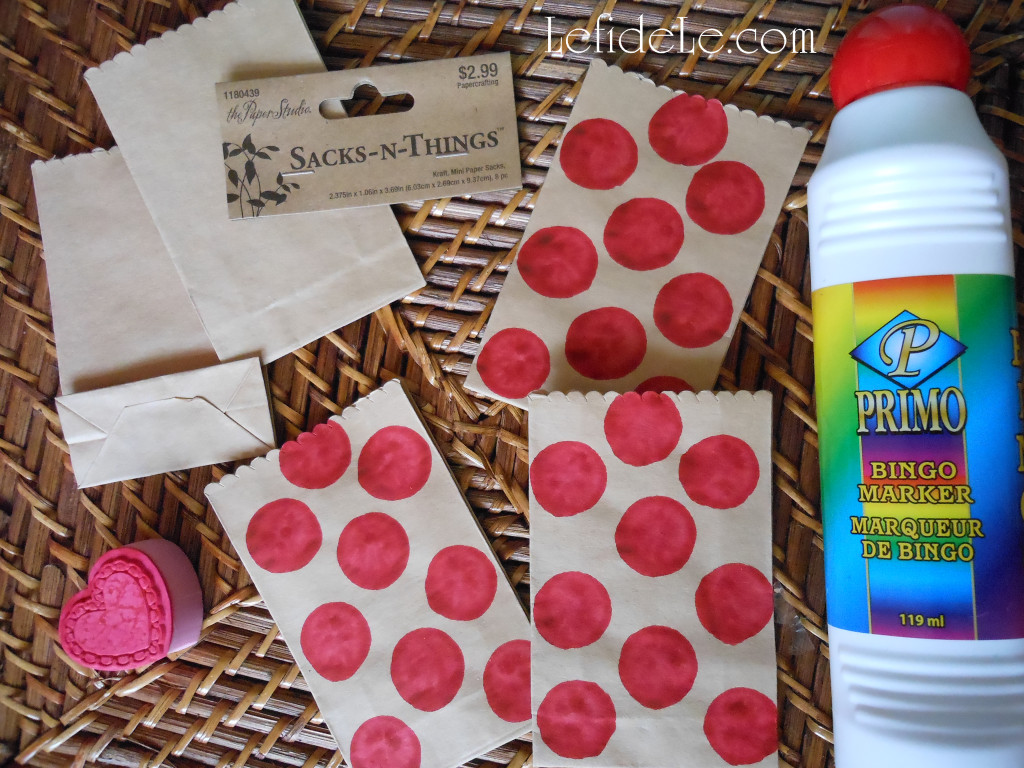
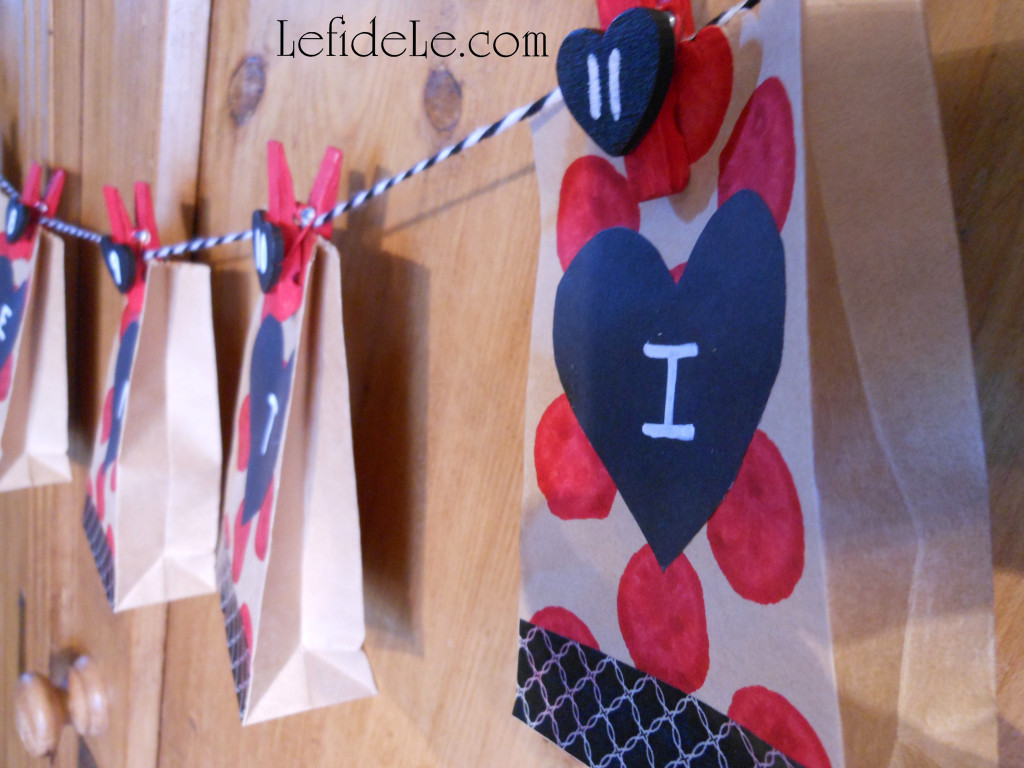
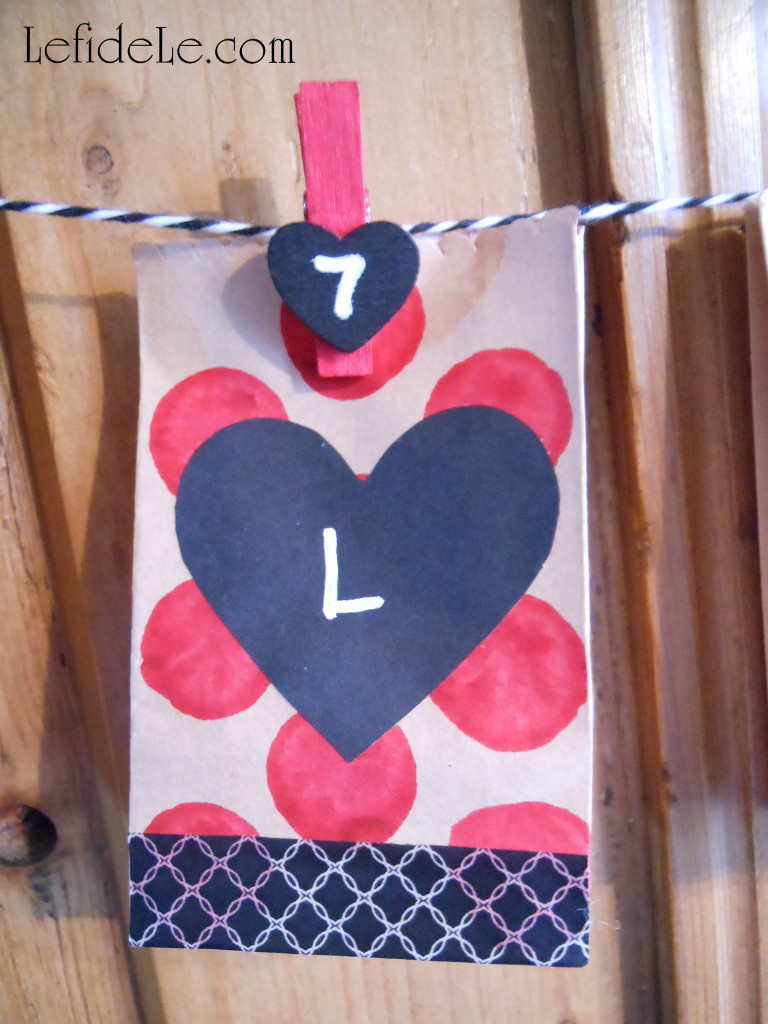
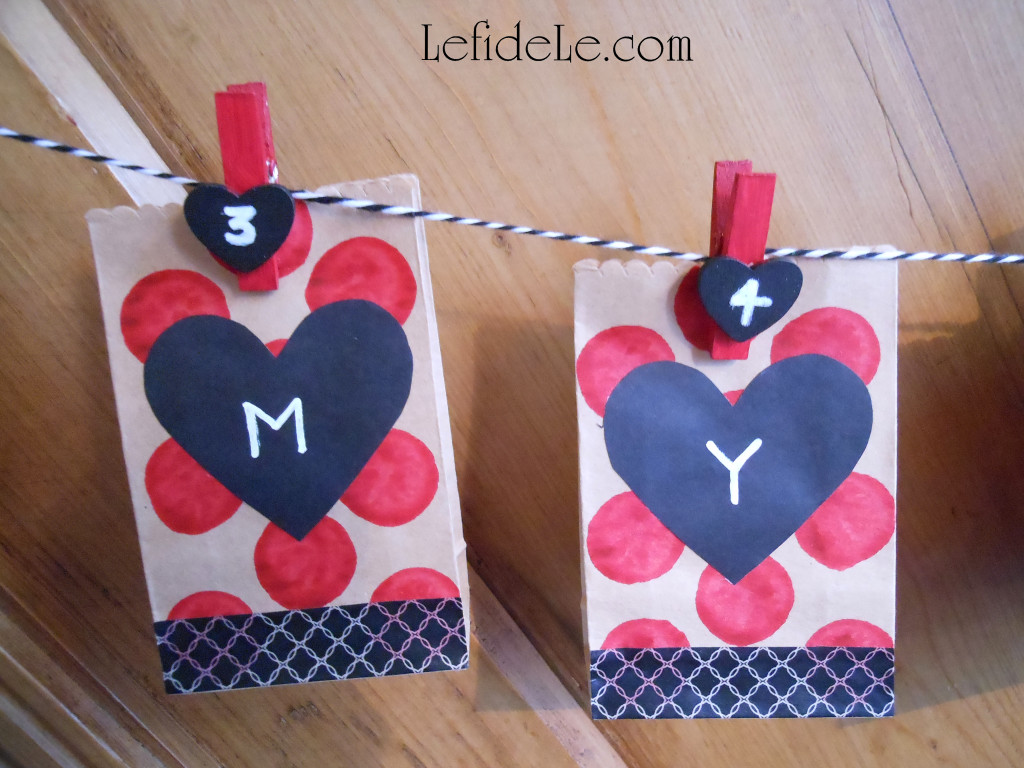
While those are drying, decorate your treat bags. (These plain little sacks were purchased cheaply for ½ off, but you can purchase printed ones if you’d like to speed up the process.) I used a red bingo marker to stamp dots in a polka dot pattern. (See more about this, along with other project ideas in my article on Fast & Easy DIY Hand-stamped Polka-dot Gift Wrap & Matching Gift Crafts.)Let these dry completely before the next step. (You also have the option of stamping a pattern onto the bags with ink or paint.)

1560Leigh

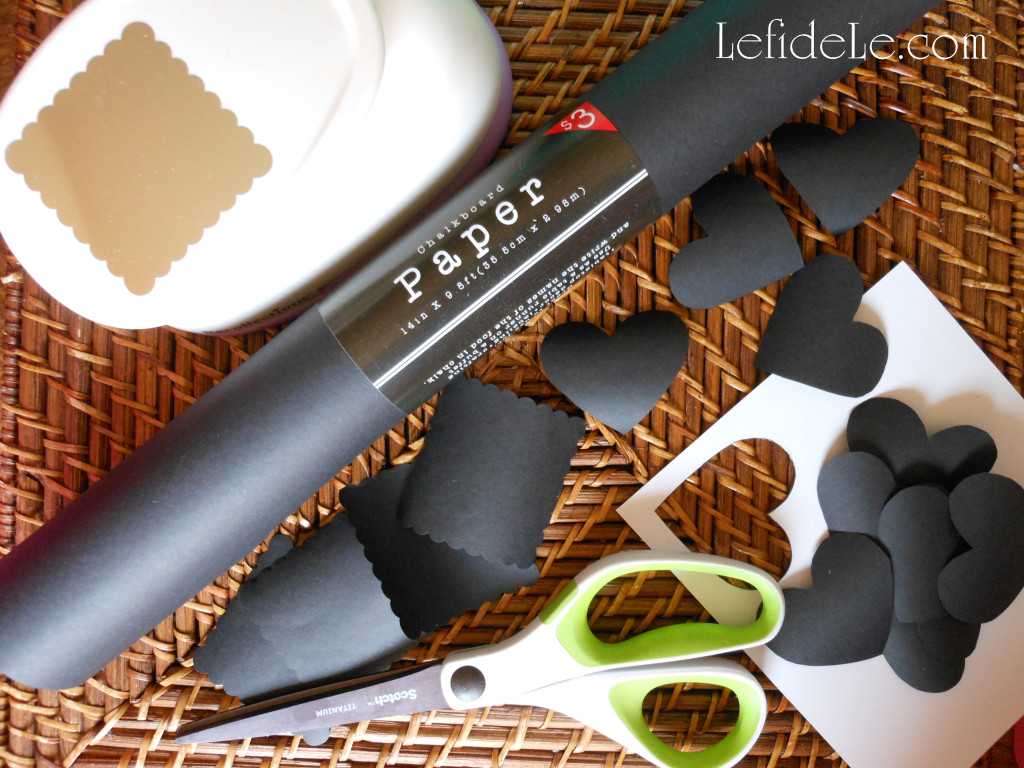
Next, cut out hearts from black chalkboard paper, or use a paper punch in any shape you like, or speedily use readymade chalkboard sticker labels.

heart template

Here is my handy little template to print free at home then cut out to trace around. It’s an easy way to make the same exact heart shape repeatedly. (Just right click the small image above and select print.)

1564Leigh


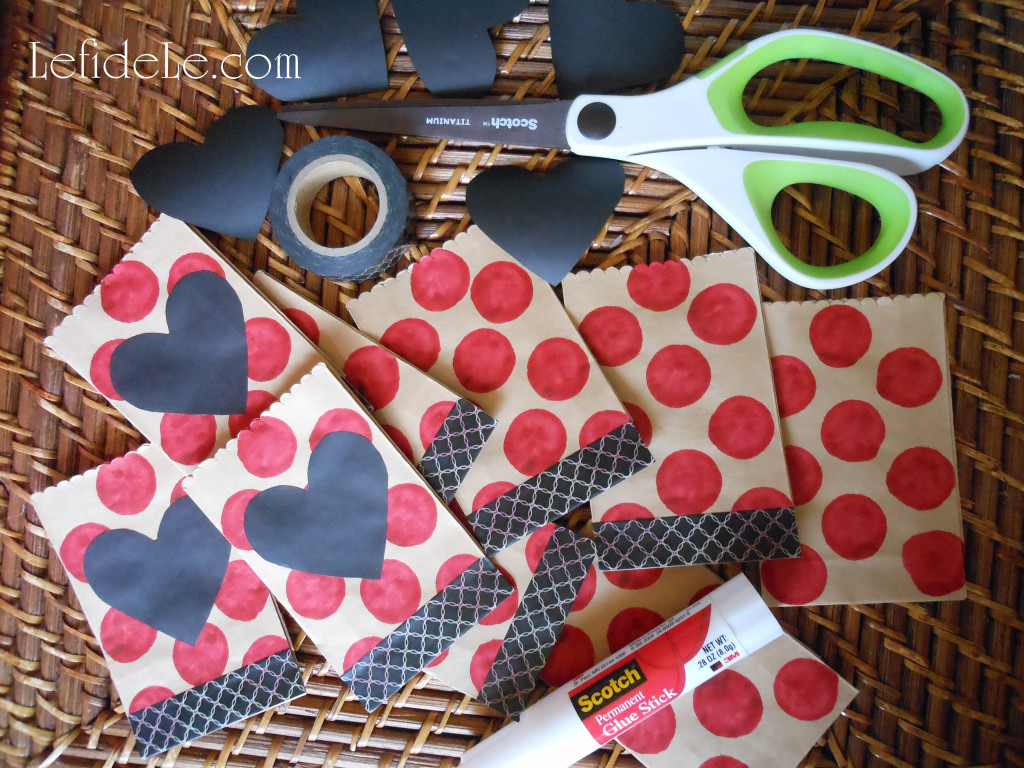
Adhere the paper hearts onto the bags with a permanent glue stick. Then run a strip of matching washi tape along the base for easily added flair.

1571Leigh

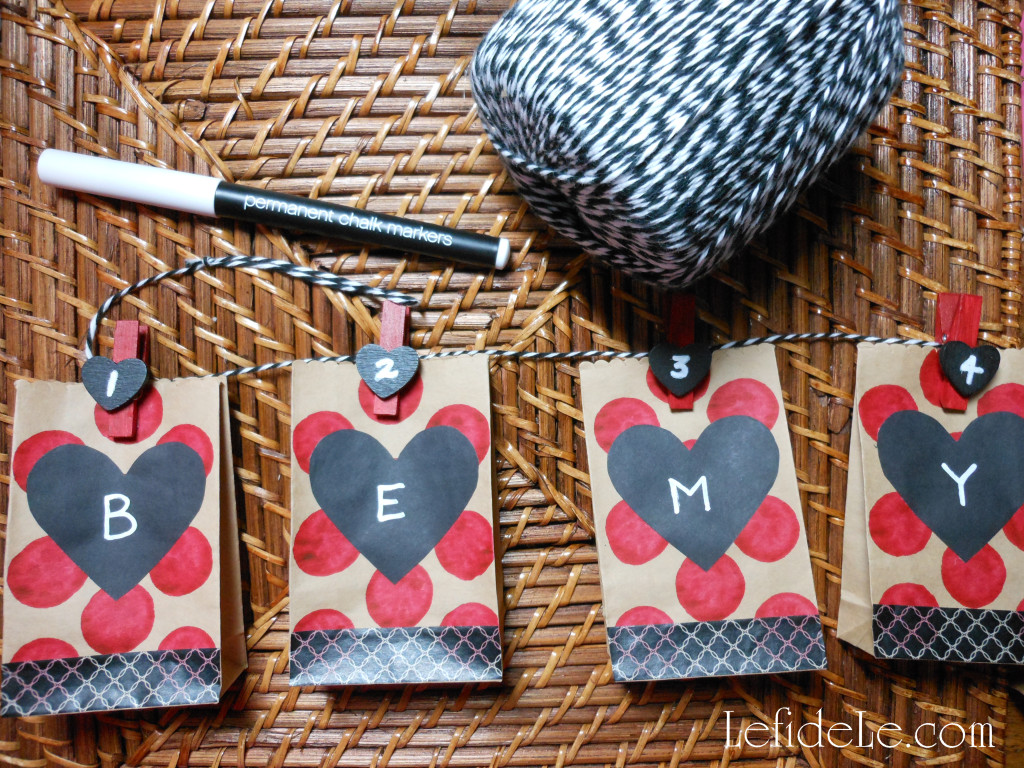
String the dry clothespins onto ribbon, string, jute, cording, twine, or yarn. (I used yarn that looks like twine because three times the amount can be purchased for ⅓of the price.) Once again, use either permanent white marker or actual chalk to write on each heart.

1623Leigh

I chose to write “Be my Valentine!” but “Valentines Day!” or “Happy Hearts Day” would also have fit on the 14 bags. You can also write the names of individual recipients like friends, classmates, or even alternate the names of family members.

1635Leigh

Fill the little bags with anything you like… you can make it as inexpensive or extravagant as you like.

1629Leigh

For kiddos: try candy, stickers, stamps, tiny toys, erasers, inexpensive jewelry… or silly printed jokes you won’t mind hearing over and over again. On the 14th day, think about directions leading to a larger gift like a stuffed animal.

1628Leigh

For adults: try printing faux fortunes, poems, romantic quotes, movie or event tickets, or even homemade coupons for “honey-do” chores or special treats. On the 14th day, think about directions leading to a larger gift like a dozen roses, box of chocolates… or something uber masculine like the latest power tool at home depot.

1661Leigh

This makes a super cute banner decoration as well, and it can be strung just about anywhere using either tape, 2 extra clothespins, or by tying knotted loops at each end of the string.

I ♥ Crafting… Don’t you?!

Faithfully Yours,

Leigh

Create a Homespun Holiday of Barn Red & Burlap with Christmas Tablescape & Mantle Décor Ideas

917Leigh

Why prepare for Christmas by waiting in long lines at overcrowded stores when you can create heartfelt moments with loved ones while crafting a homespun holiday that harkens back to simpler times. Deck the halls without breaking the bank using my easy craft tutorials for DIY décor that harmonizes perfectly with the season’s traditional crafts of gingerbread houses and strung cranberries or popcorn. Have friends over for a cookie decorating or gift wrapping party, and then move the décor over to the mantel in time for a cozy Christmas. In this way, we can all celebrate togetherness in the real spirit of the season!

943Leigh

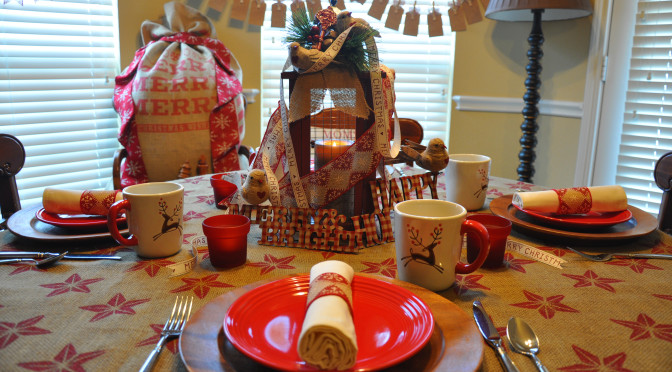
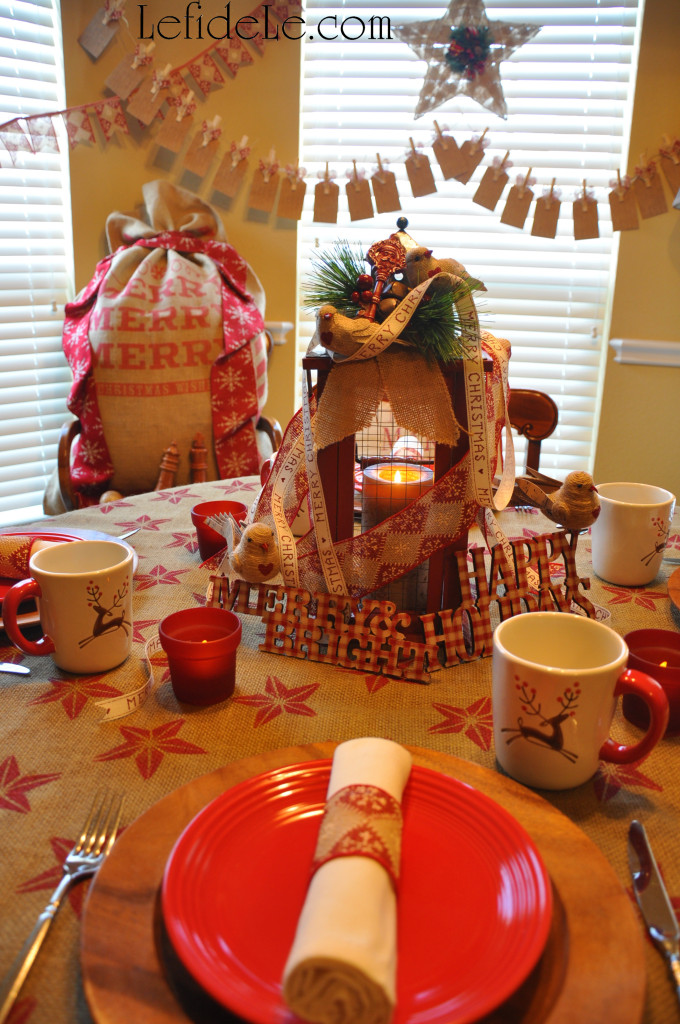
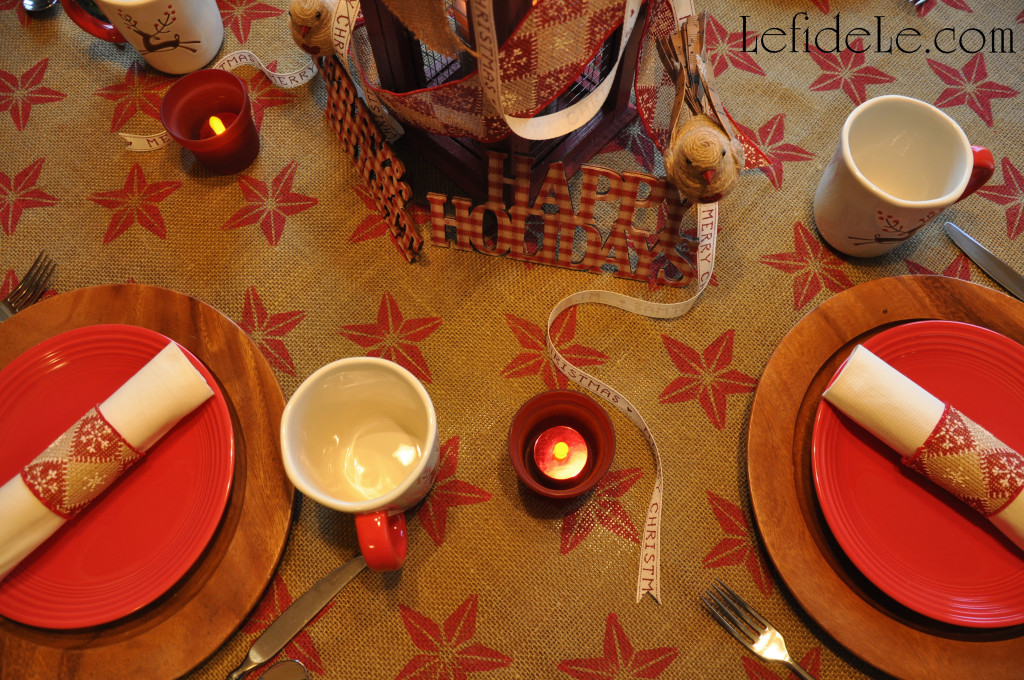
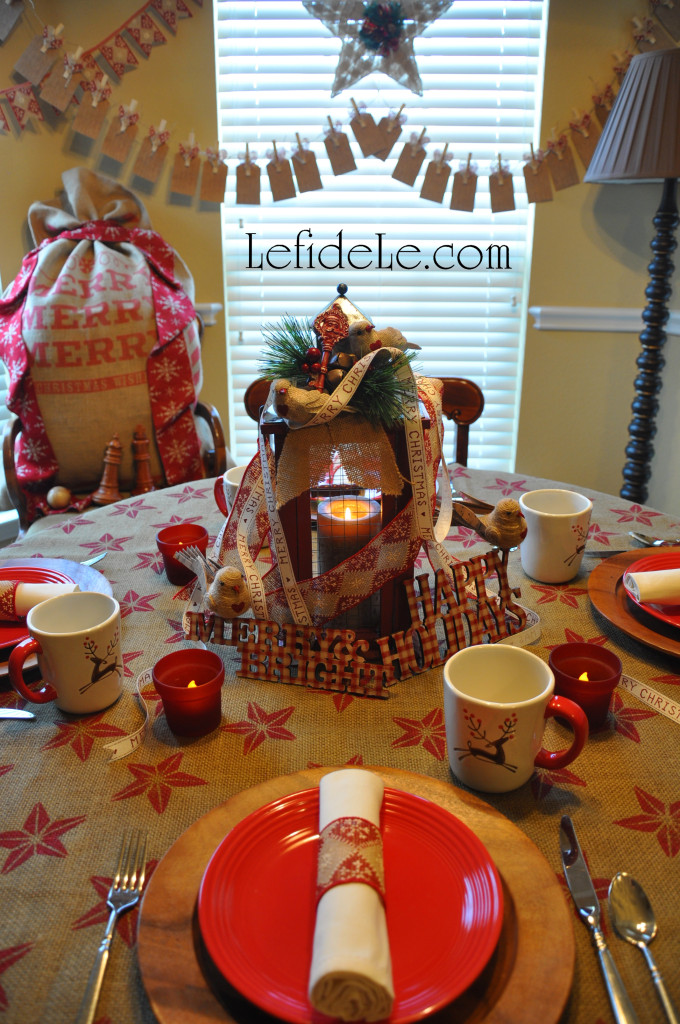
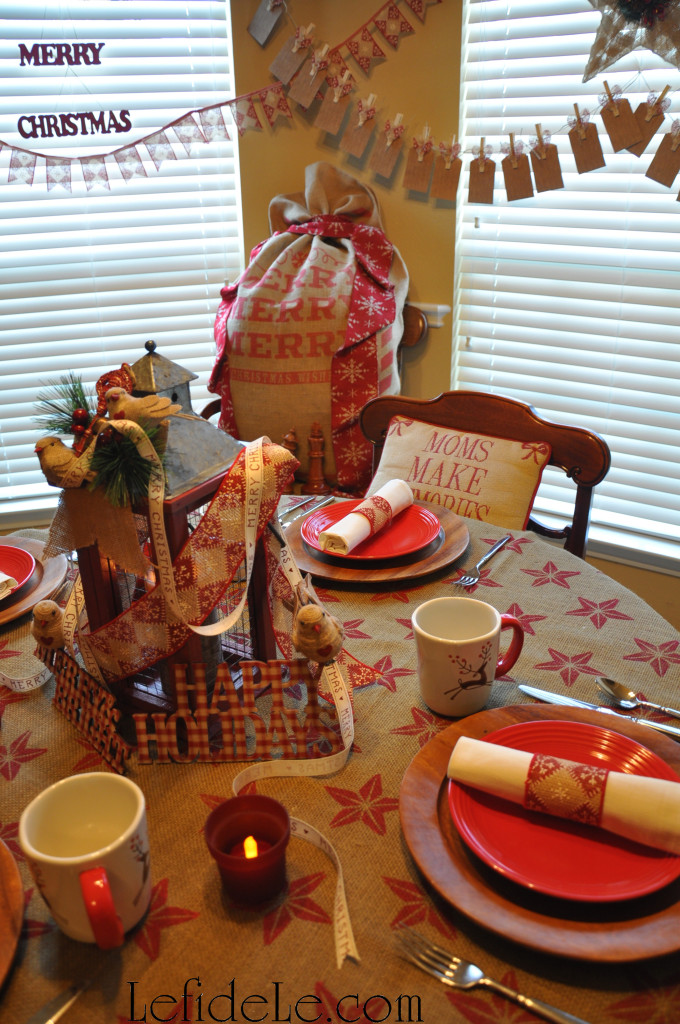
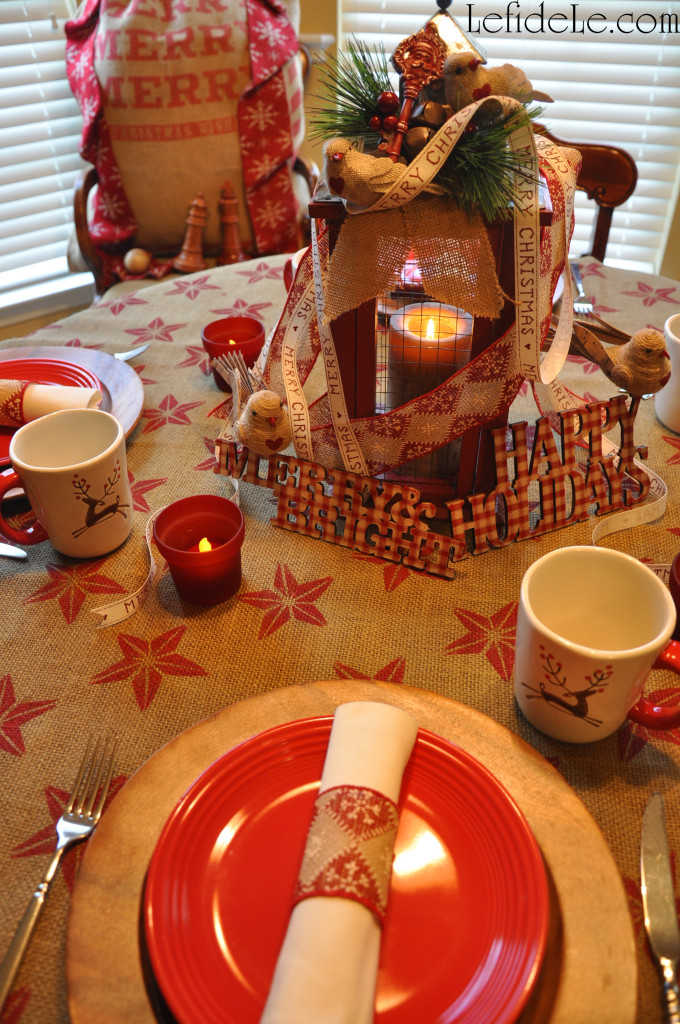
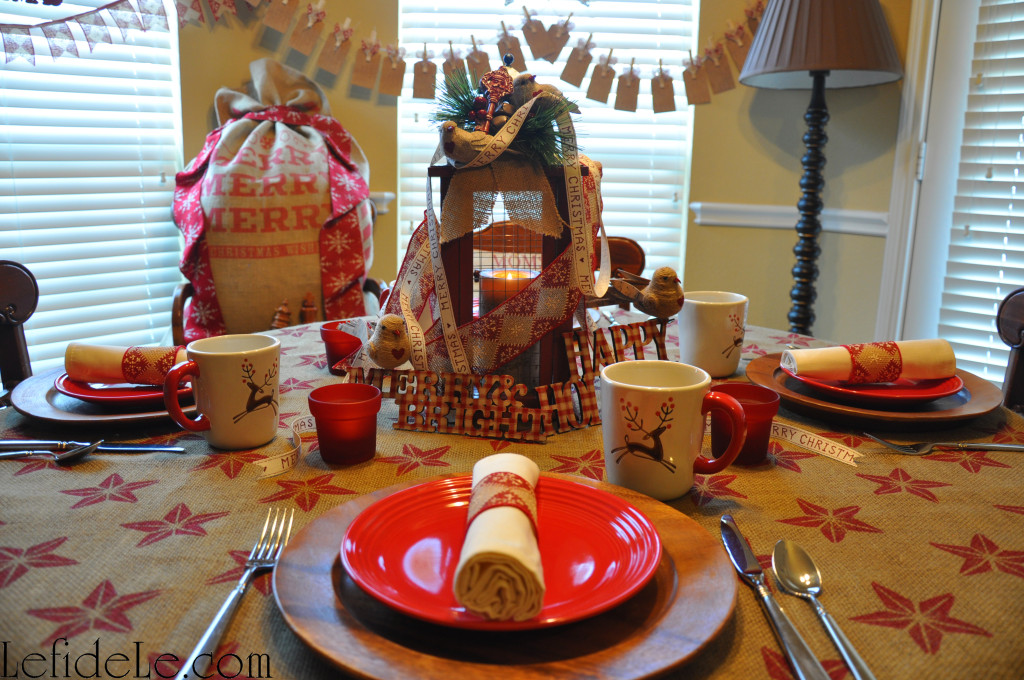
“Deck the halls with boughs of holly“ and a one-of-a-kind burlap tablecloth painted with stamps and matching napkin rings which set a delightful tone for a homespun holiday gathering. (Learn how easy it is to make these here!)

928Leigh

“’Tis the season to be jolly” and nosh on gluten-free vegan gingerbread cake served upon red ceramic plates over wooden chargers accompanied by holiday reindeer mugs filled with steaming cups of hot chocolate and homemade marshmallows.

936Leigh

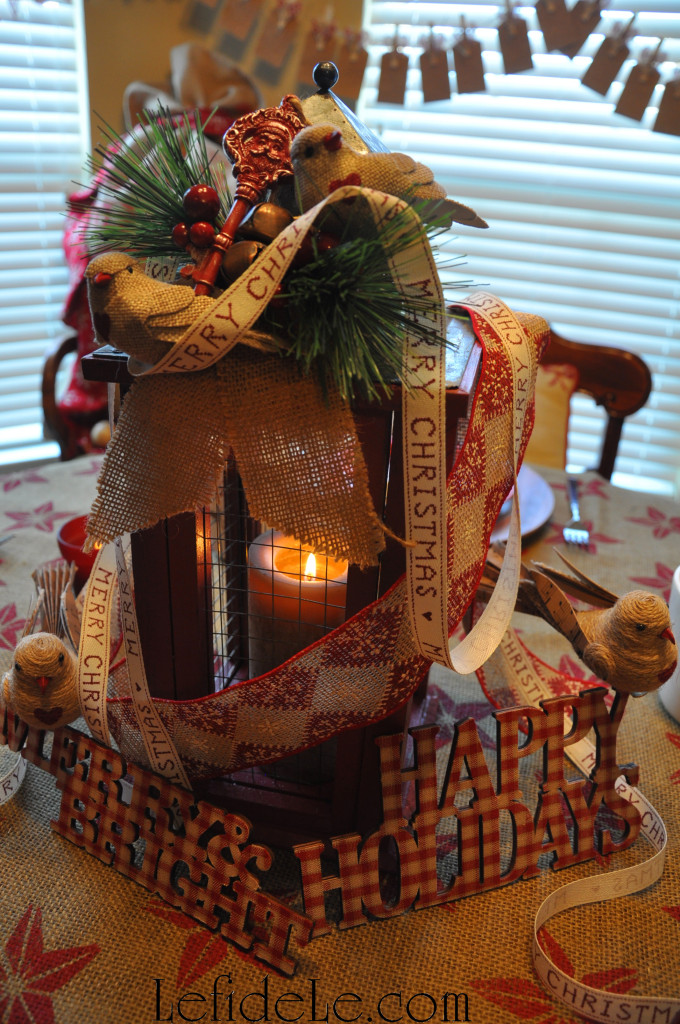
“Follow me in merry measure” to a table lit by barn red lantern bedecked with ribbons and merry-making birds. (See more about the birdies here!)

941Leigh

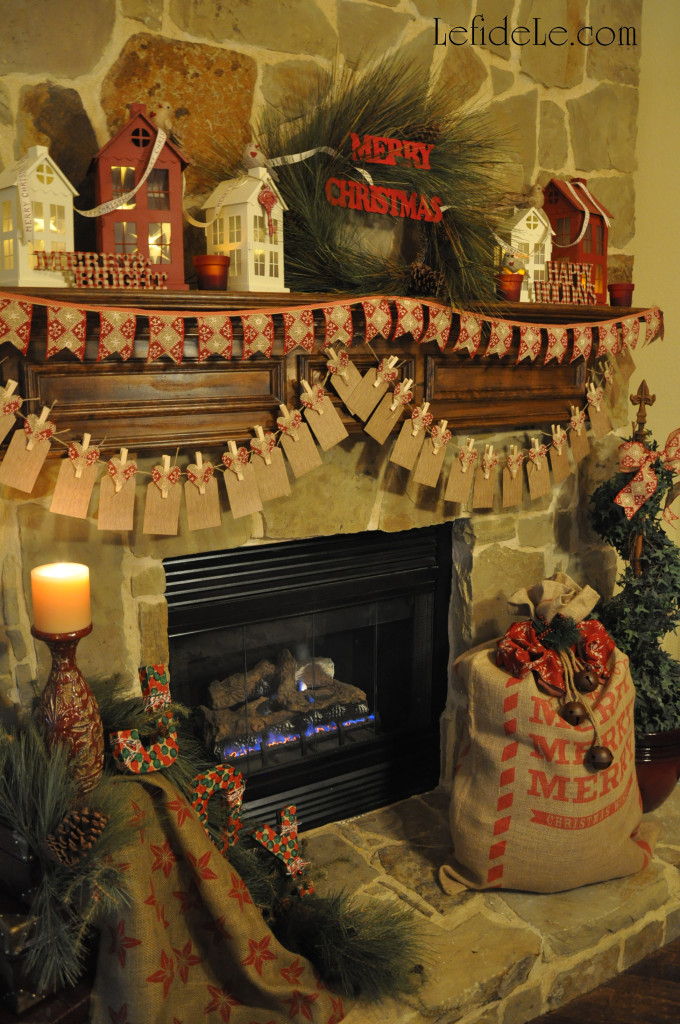
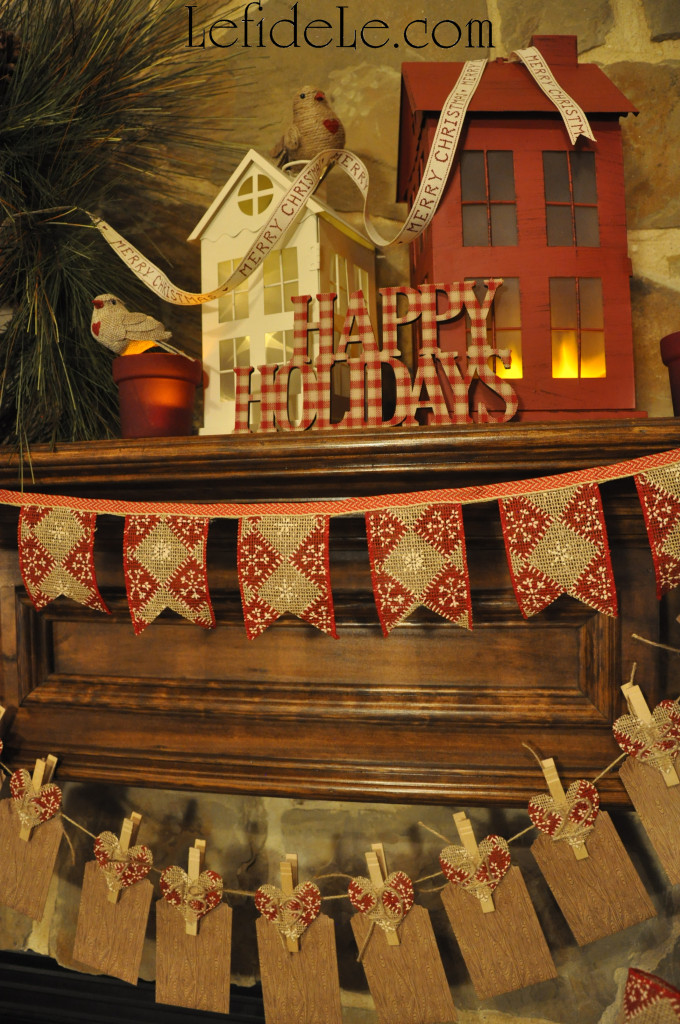
“While I tell of Yule-tide treasure” held in handcrafted advent calendars alongside festive banners and signs trimming the windows in the background. (Find out how to make these here!)

58Leigh

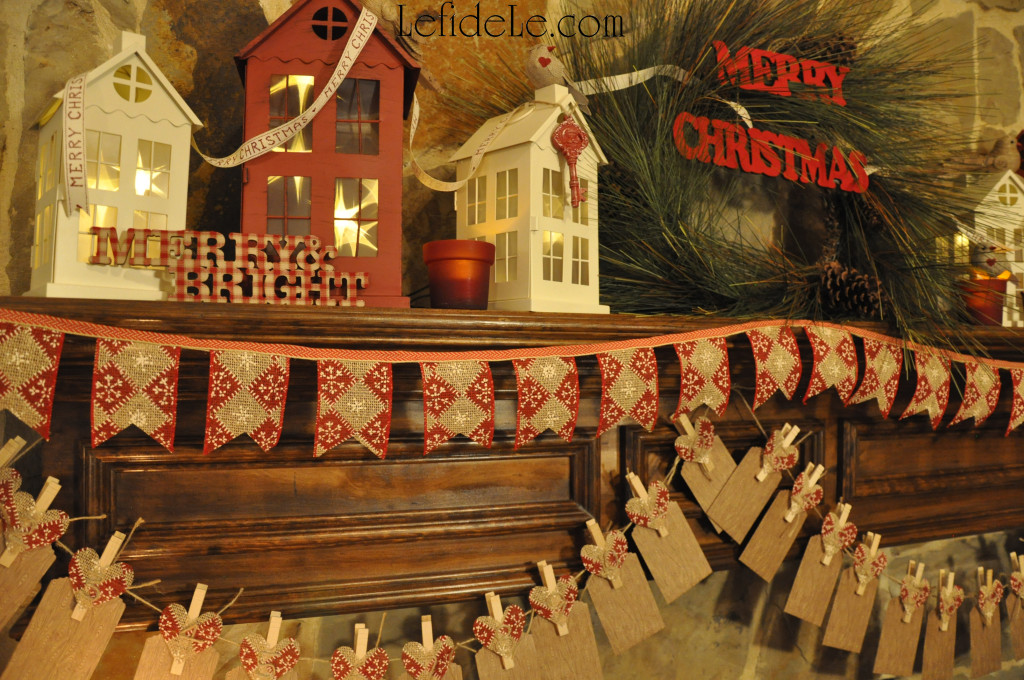
“See the blazing Yule before us” and the apropos message of J-O-Y spelling out the holiday sentiment. (Learn how easily these were made here!)

67Leigh

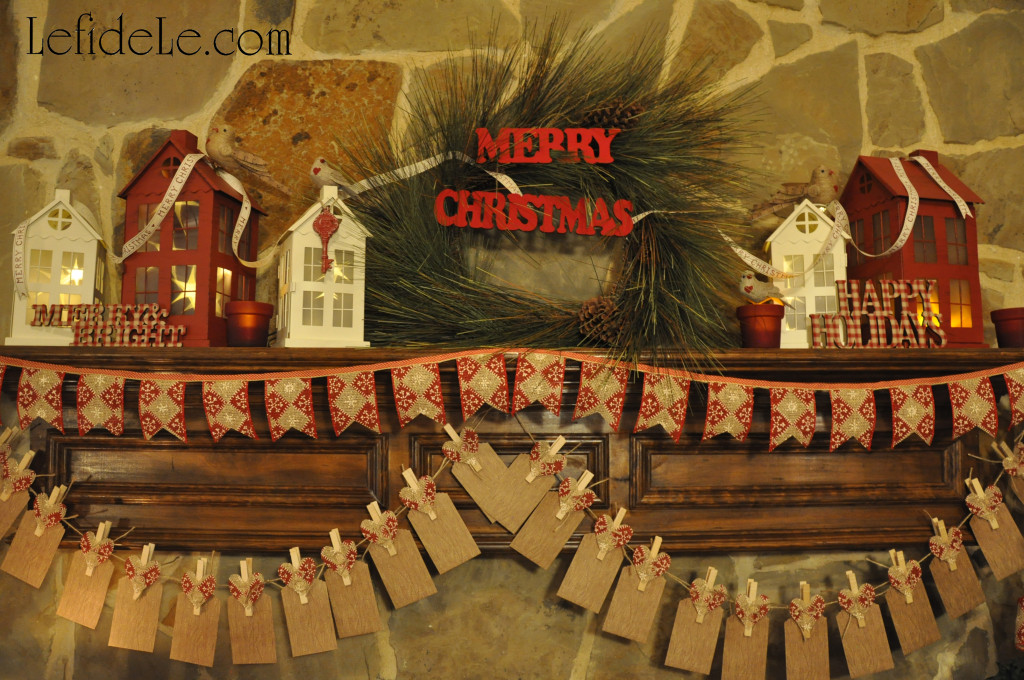
“Strike the harp and join the chorus” of pretty burlap birds perched perfectly upon tiny tin houses. (See this quick project here!)

918Leigh

“Sing we joyous, all together, heedless of the wind and weather.

Fa-La-La-La-La-La-La-La-La!”

Faithfully Yours,

Leigh

Easy DIY Burlap Ribbon Holiday Banner & Christmas Countdown Advent Calendar Craft Tutorials (+ Free Printable Heart Template)

75Leigh Why prepare for Christmas by waiting in long lines at overcrowded stores when you can create heartfelt moments with loved ones while crafting a homespun holiday that harkens back to simpler times. Deck the halls without breaking the bank with easy DIY advent calendars and holiday banners made from burlap, ribbon, jute or twine, and clothes pins. Nothing is more festive than a banner, and the countdown to Christmas is even more exiting when it’s accompanied with a daily treat. In this way, we can all celebrate togetherness in the real spirit of the season!

946Leigh

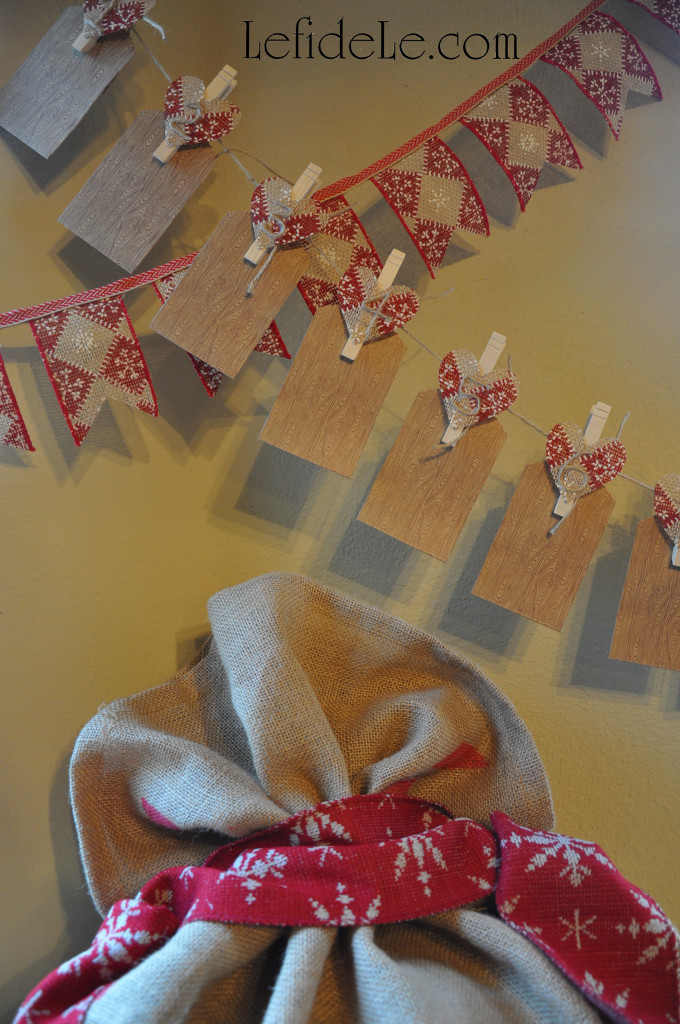
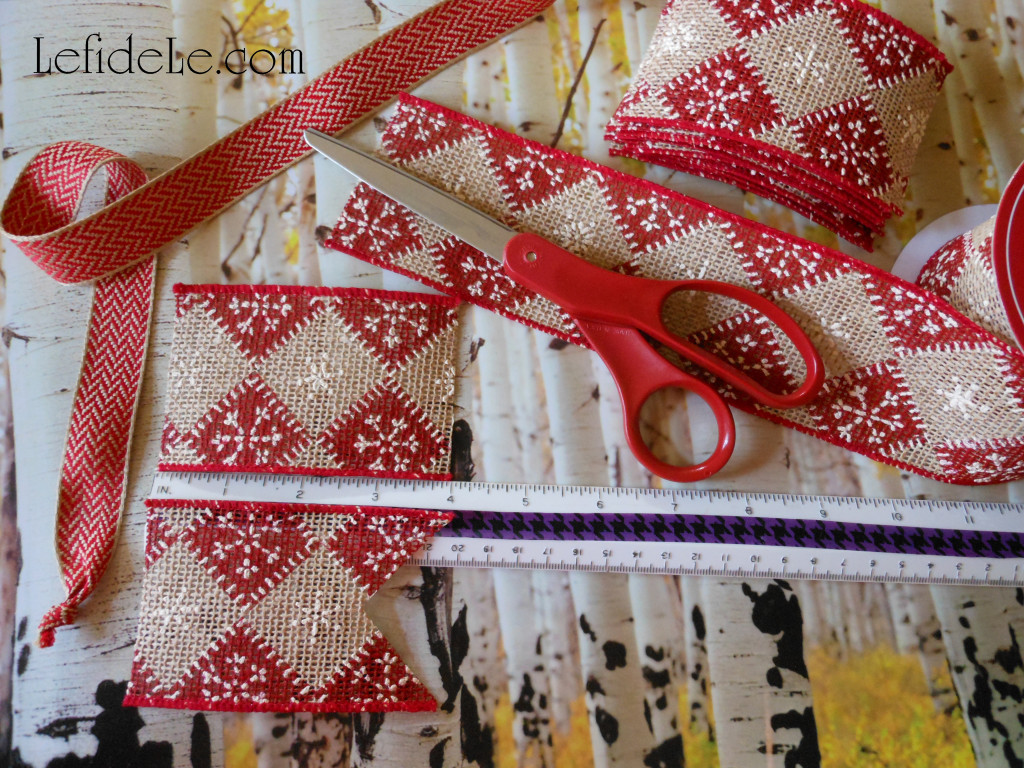
To make a simple yet adorable Christmas banner, use a wired ribbon (like patterned burlap) and a thinner flat woven ribbon. Cut the woven ribbon as long as you want your banner to be (like the length of your mantel).

624Leigh

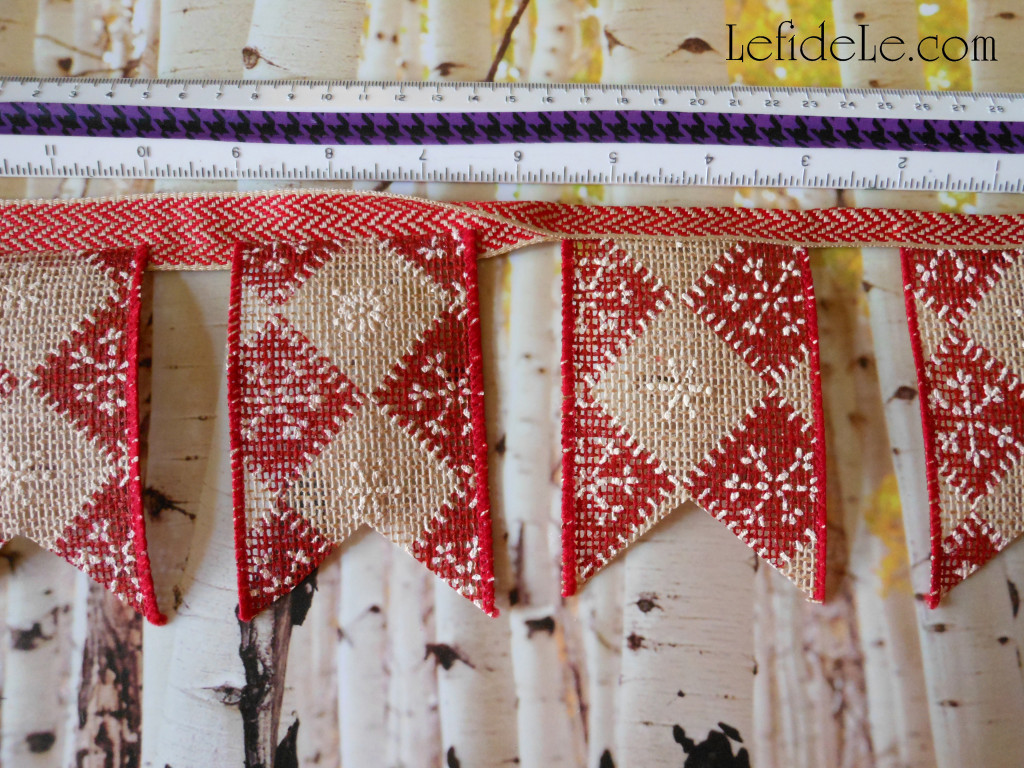
To make the little flags, cut enough 4 inch lengths of the wired ribbon to fill the length of the banner. Next cut 1 inch V-notches out of one end of each (by folding in half lengthwise and making a straight cut at a diagonal angle).

628Leigh

Hot glue the straight sides of the cut flags to the center of the long woven strand (spacing them a little apart). Now add a line of glue to the top of the long ribbon and fold in half over the cut ribbons. (Press this down for better adherence.) Do this in sections of a few flags at a time (so the hot glue doesn’t have time to cool before pressing).

923Leigh

Try hanging it on a stairway or as a festive backdrop in your breakfast room. (I even have one hanging across my spice racks as I write this.)

84Leigh

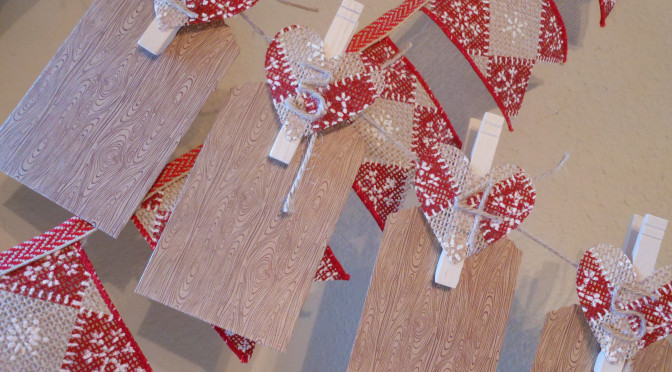
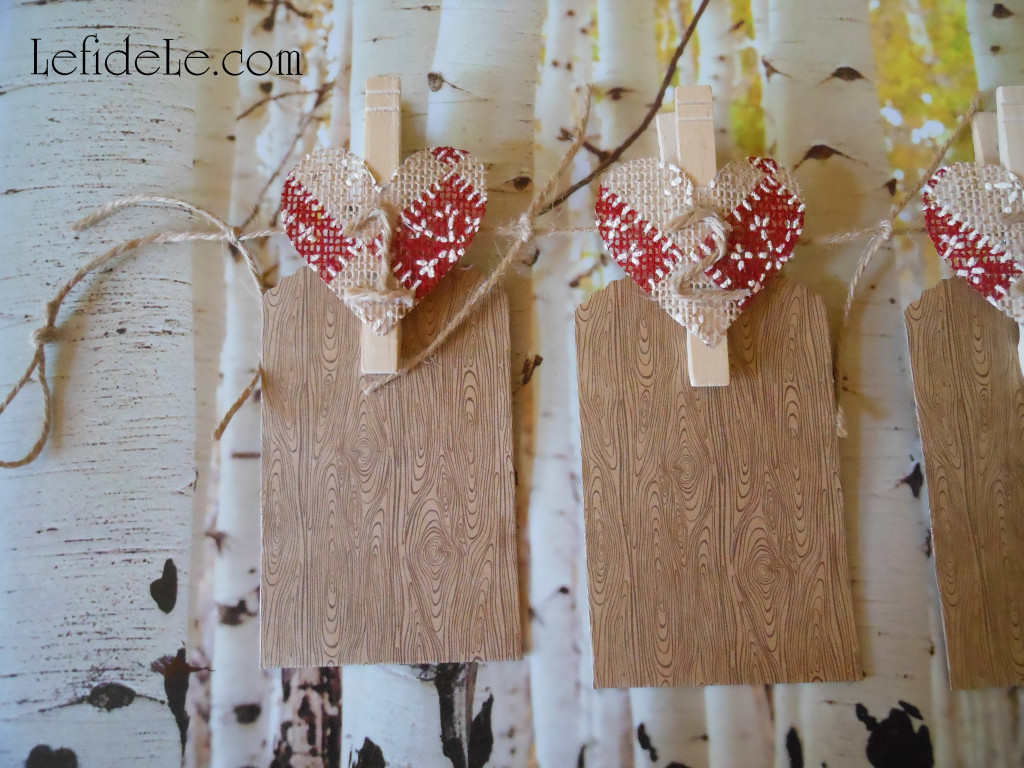
To make an original yet inexpensive advent calendar use 25 clothespins, 25 tiny paper bags, jute or twine, and some leftover ribbon or burlap.

heart template

Print my heart stencil, and cut it out to use as an easy template to trace uniform shapes quickly. (Just right click on the image above, and select print.)

653Leigh

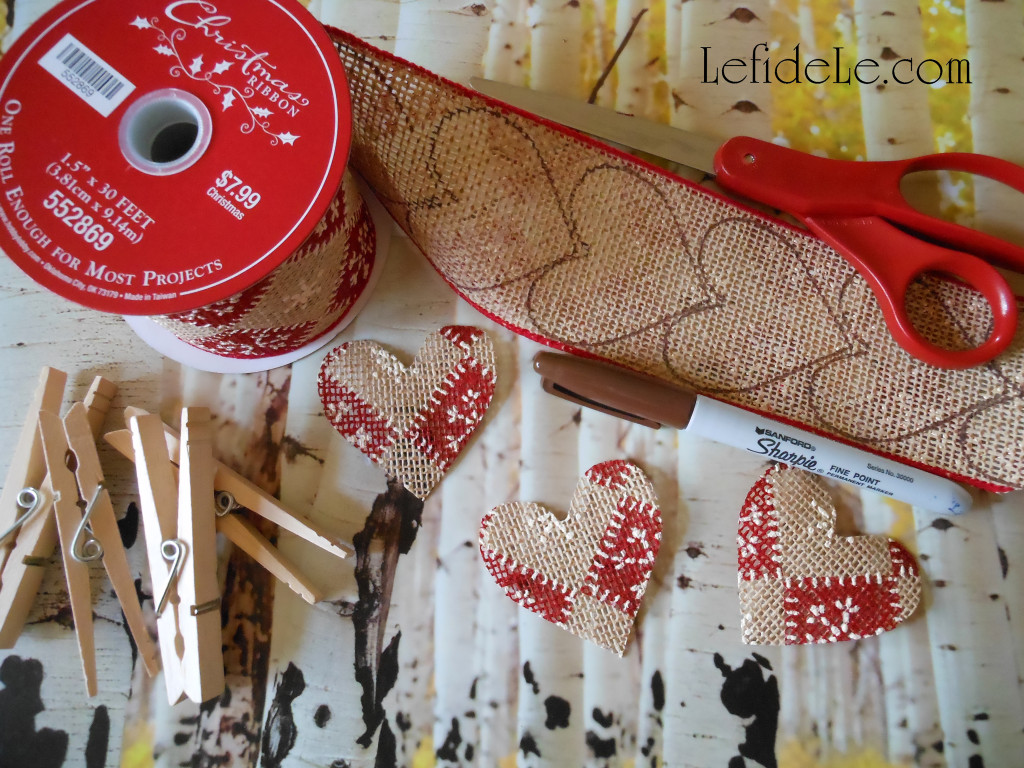
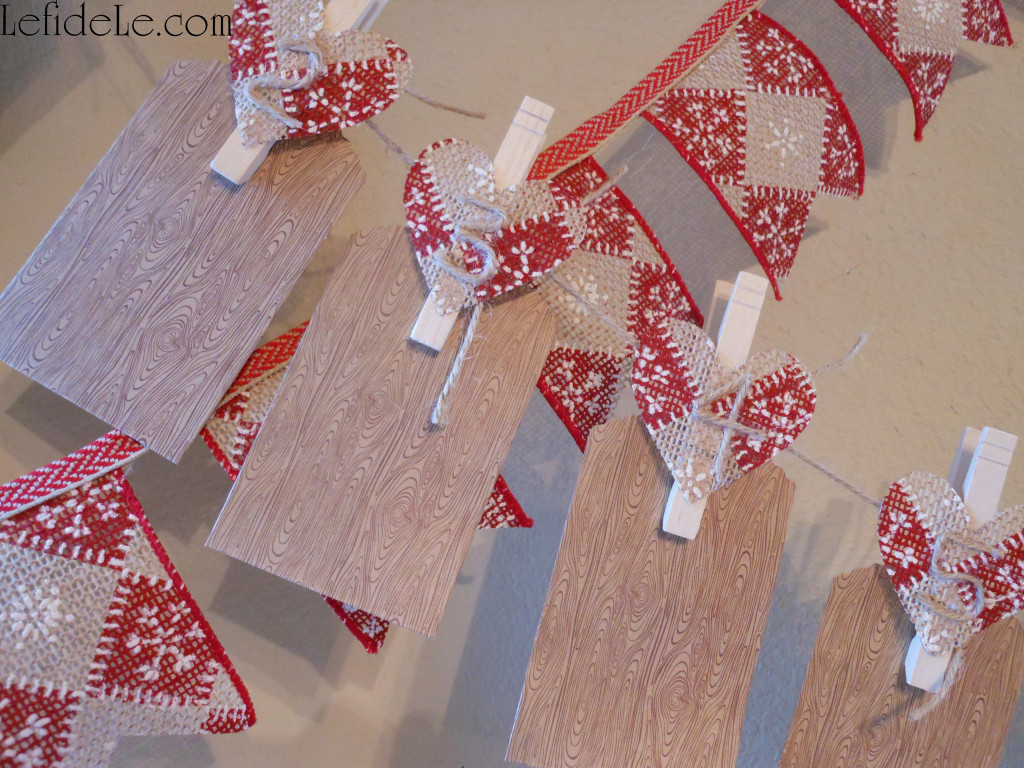
Trace the hearts (or make stars, trees, circles, etc.) onto the underside of your choice of ribbon, fabric, paper, or burlap. Cut 25 of the shapes out.

663Leigh

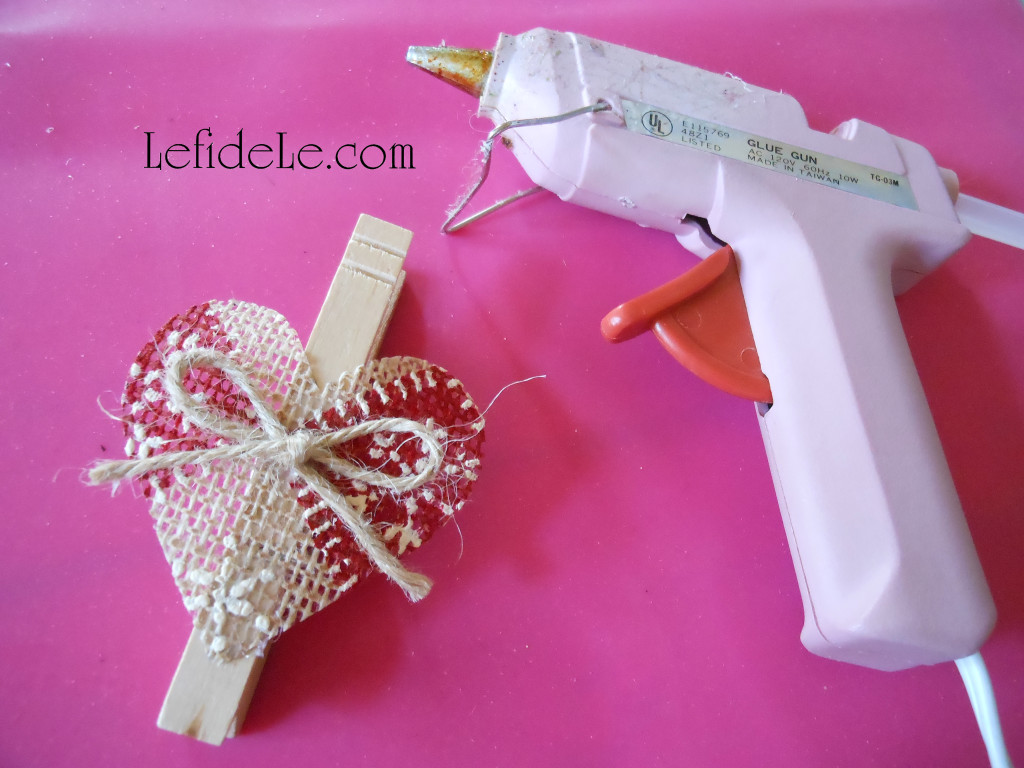
Then hot glue a shape to each clothespin. Next, you have the choice of gluing a ready-made number onto each heart, or simply adding a bow. (This is really cute when using them as a mantle-less stocking holder line. You can also add a strong magnet to the back, and stick it on the fridge.)

2Leigh

I chose to hot glue jute in the shape of numbers onto each heart. (It is easier than it looks, but it was a bit more time consuming.)

706Leigh

Be sure to knot small lengths of twine in between each clothespin at regular intervals (so that they don’t all end up in the center once they’re hung up).

58Leigh

A few ideas for daily treats are… gum or candy, jewelry or cufflinks, holiday fortunes without the cookies, gift cards from favorite stores, love notes or poetry, cash or coins, seasonal jokes, flash drives loaded with holiday movies or music, sewing goods like thimbles or embroidery floss, special recipes with a promise to make, barrettes or keyrings, homemade certificates for things like breakfast in bed or car-washing, lip gloss or chap-stick, scavenger hunt clues for large items, scrapbooking stickers or components, and tickets for movies, concerts, events, or travel. Or for the crafty person… try putting one piece of a crafting kit into each packet which can be completed when the holiday’s over. You can even assign odd and even days to different family members.

67Leigh

Why have one day of a filled stocking that competes with big presents, when you spread the joy of Christmas into 25 days of surprises!

Fa La La La La Lovin’ It!

Faithfully Yours,

Leigh

P.S. Check out my other coordinating homespun holiday craft tutorial HERE, and the full results all of the heartfelt crafting HERE!