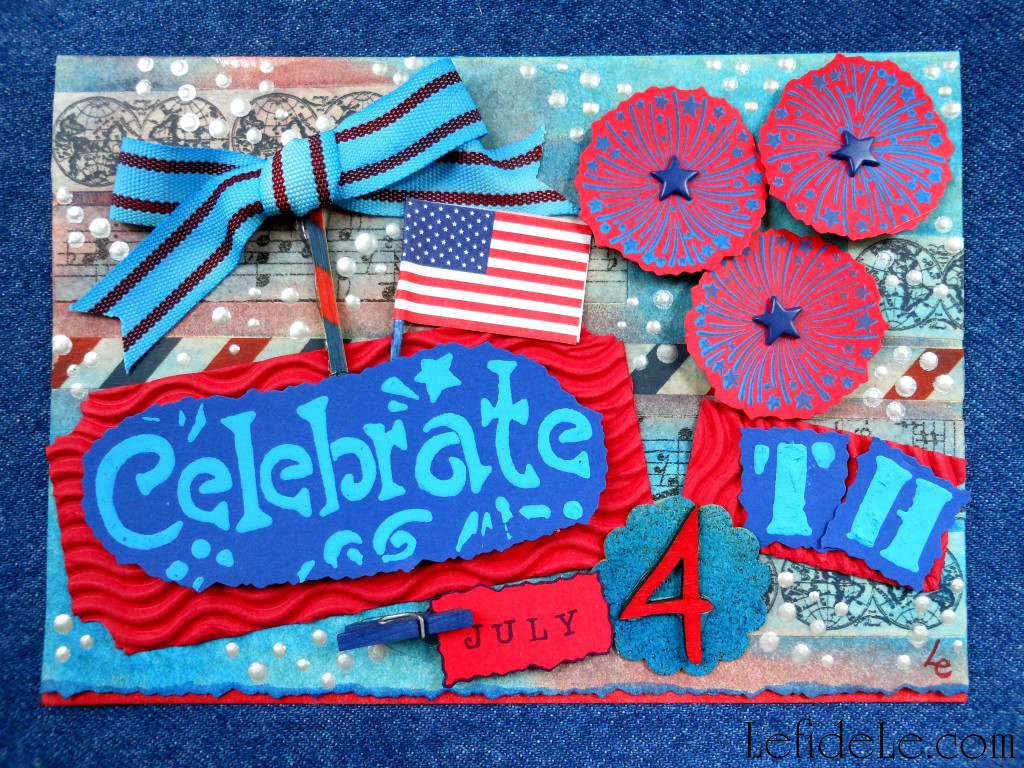
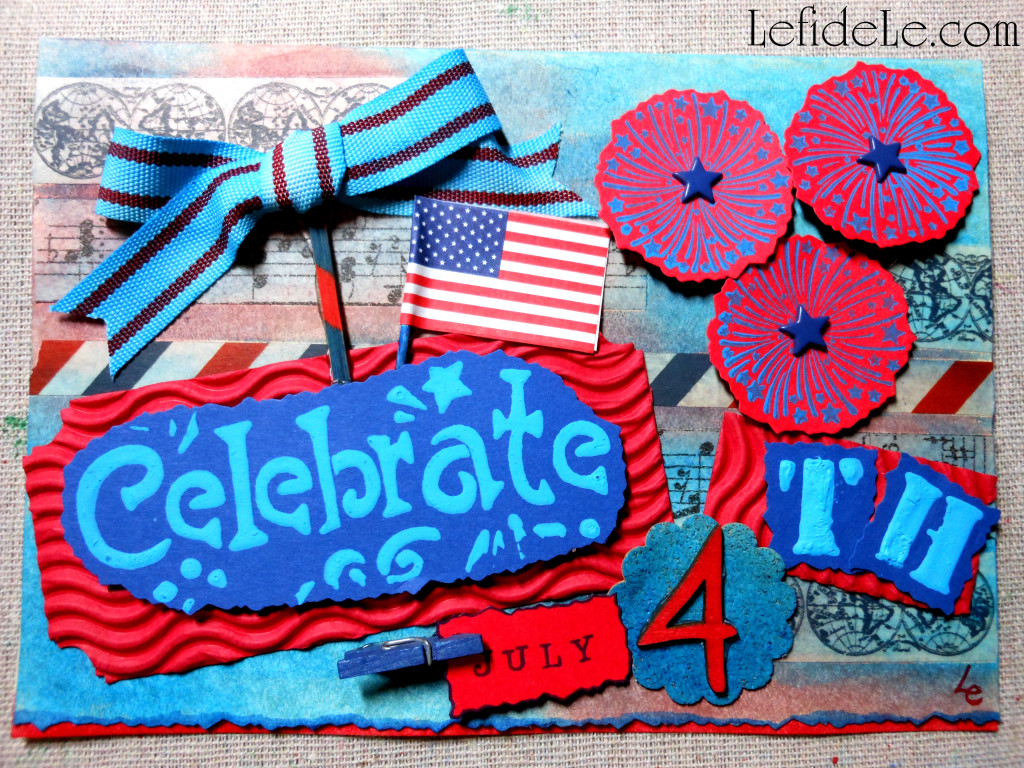
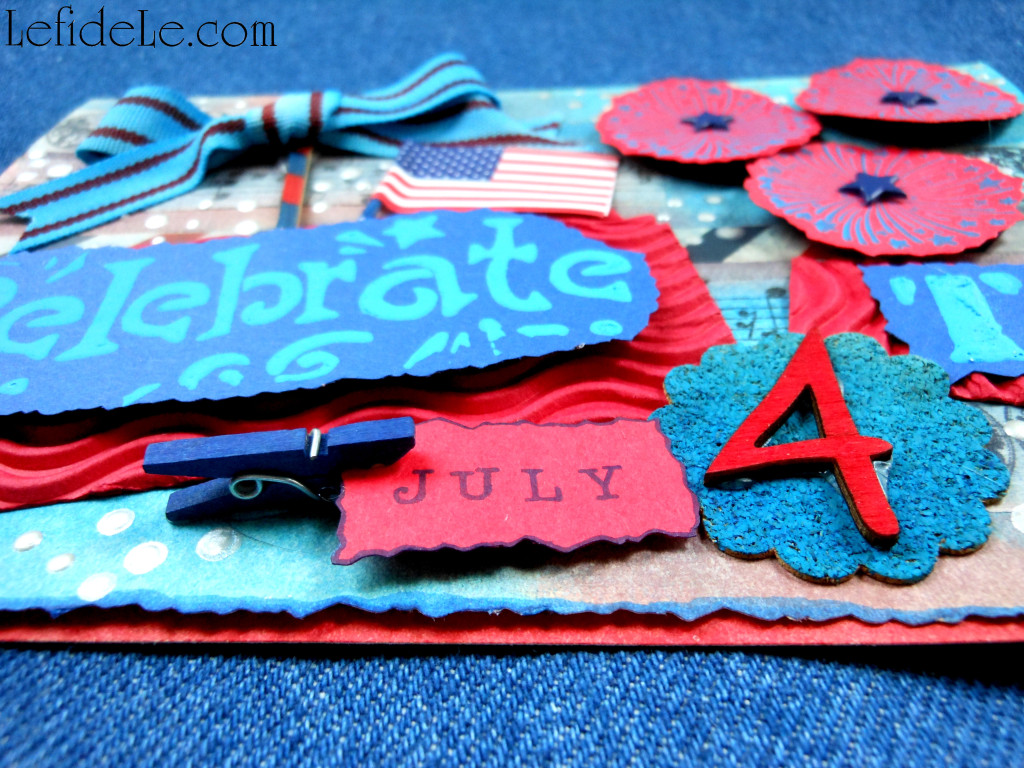
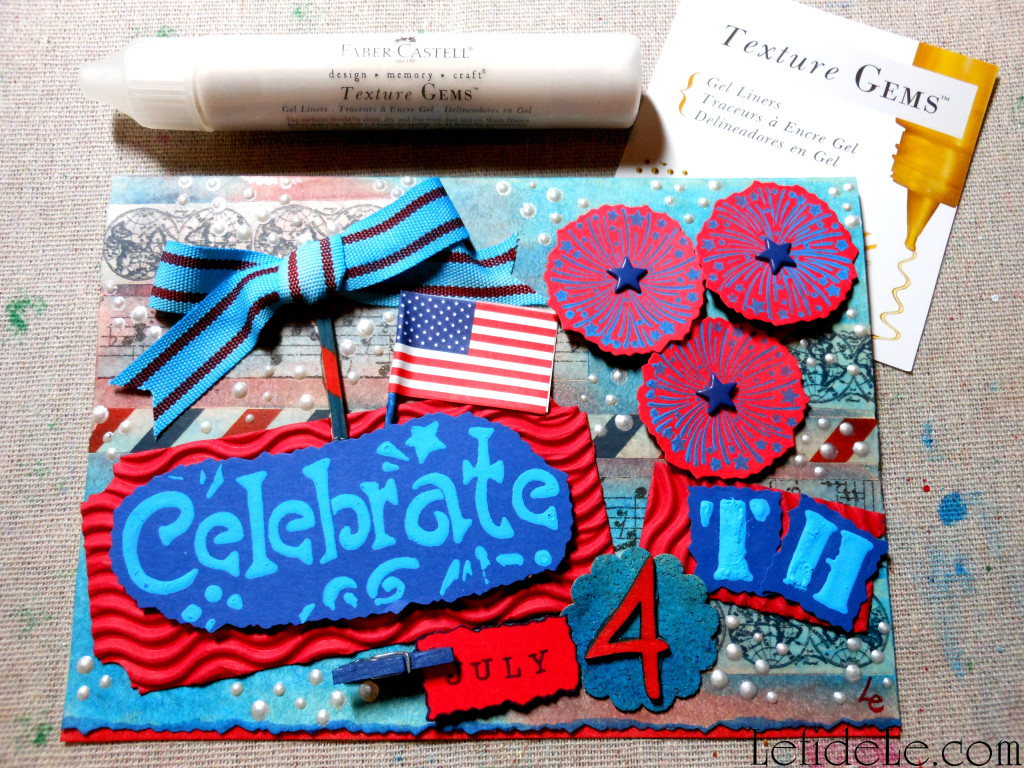
Herald in the fourth of July with an altered art greeting card that doubles as a mailable gift, as it may be framed by the recipient as mixed media décor commemorating Independence Day. It’s a delightful way to send a bit of revelry to a loved one who can’t attend the year’s celebration. This art project is perfect for gathering the whole family together for a fun “crafternoon”, because the Design Memory Craft mediums are non-toxic. They are also fully compatible with each other and a large variety of substrates. This product versatility makes it so easy to combine collage material into something impressive. So follow along as I create an art card ablaze with the spirit of the season, then use the ideas to make one infused with your own artistic essence… because a blast of creativity is the best way to start the holiday off with a bang!
Begin with a readymade greeting card base or make your own inexpensively from sturdy cardstock.
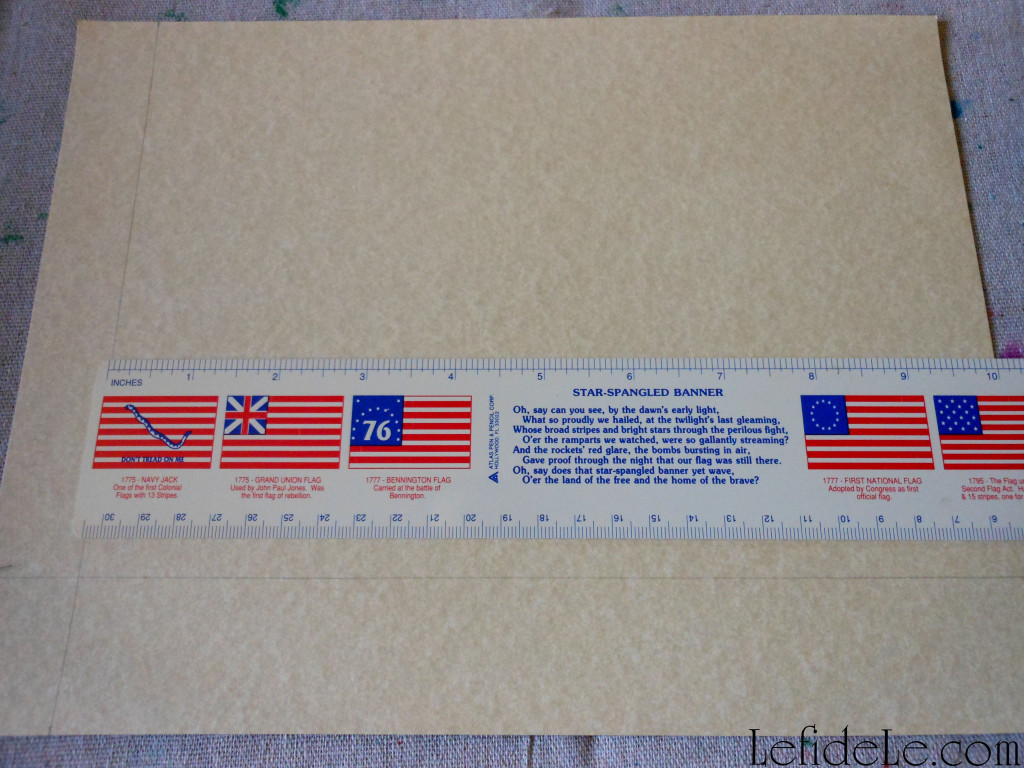
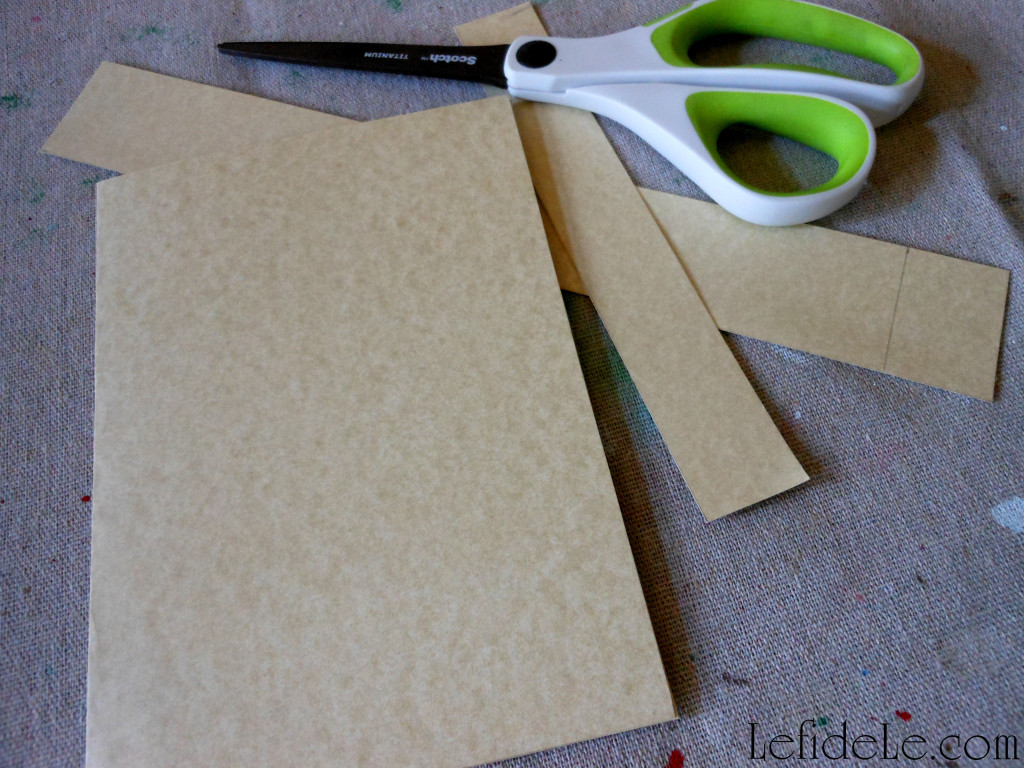
I cut a piece of parchment printed paper to a 7 x 10 inch size, so that it could be folded into a 5 x 7 card… perfect for framing.
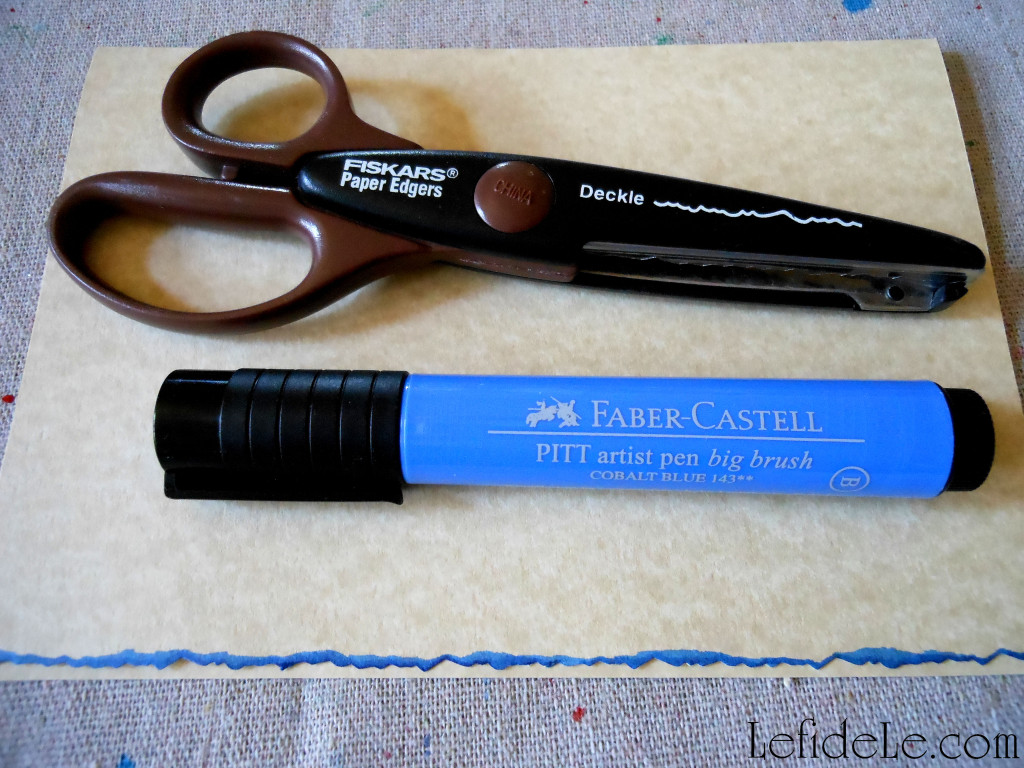
I used deckle edge cutting scissors to produce a torn looking finish on the card. (I later used the deckle scissors to cut around some of the stamped images too.) Pitt artist pen big brushes are perfect for highlighting such details. Just swipe the side of the brush along the edge to deposit the permanent ink in a rough fashion.
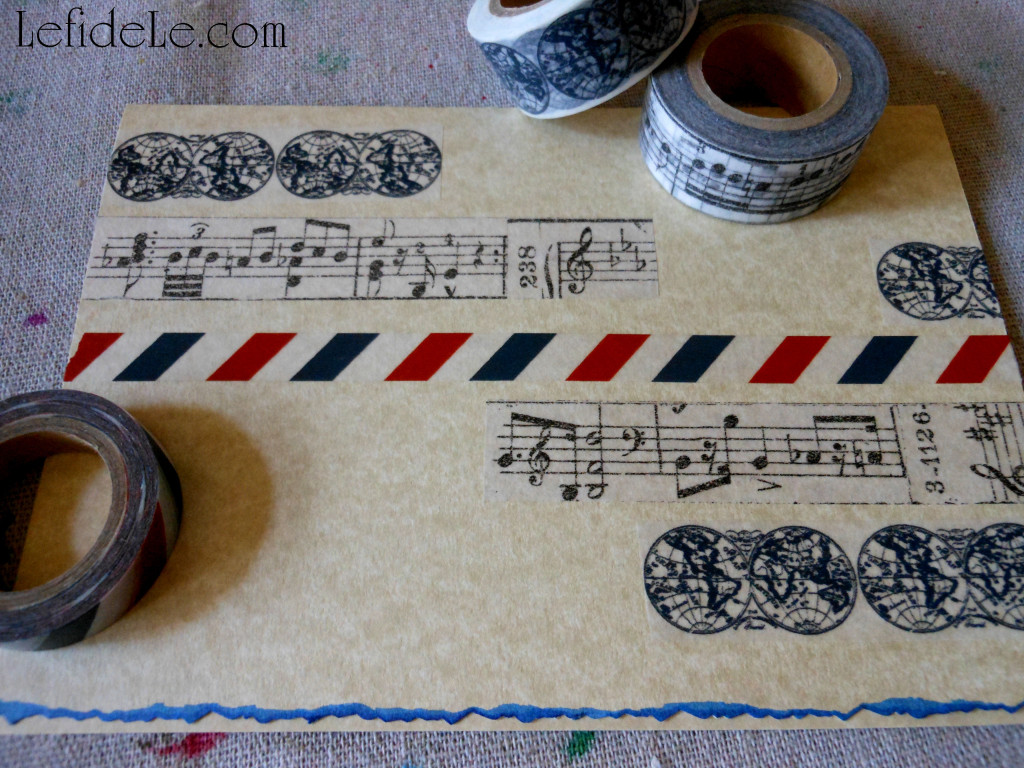
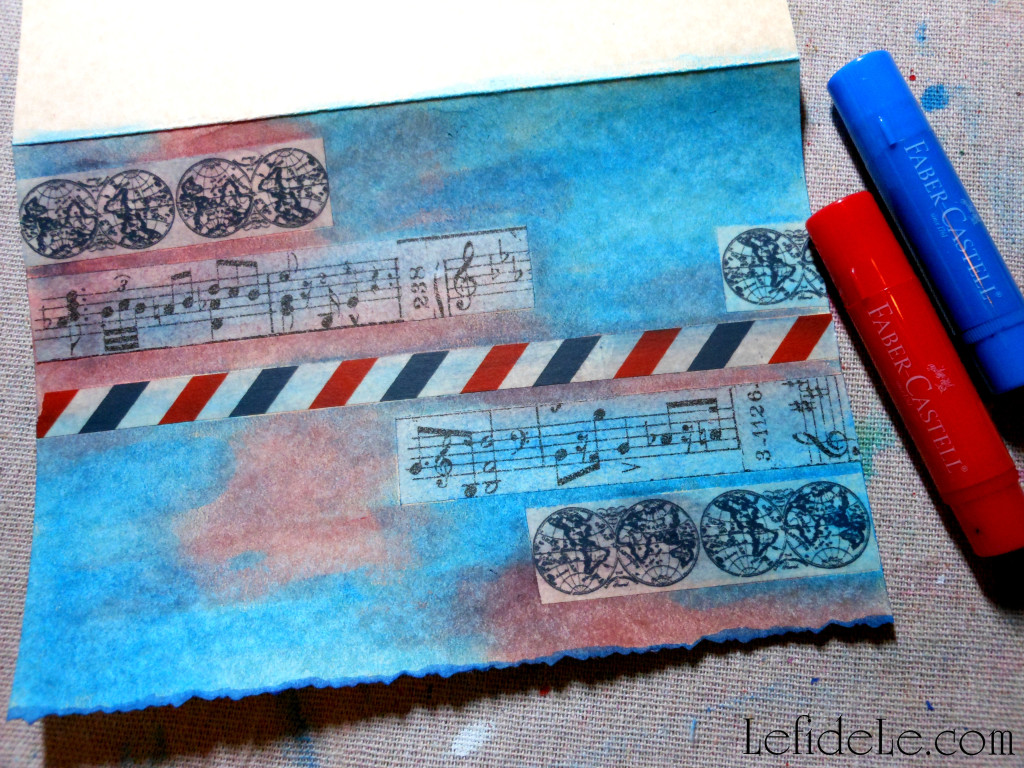
Paper washi tape is a quick way to imbed visual texture onto the base of a collage. Another way is apply printed pages with gel medium. (I’ll demonstrate this more fully in a future tutorial.)
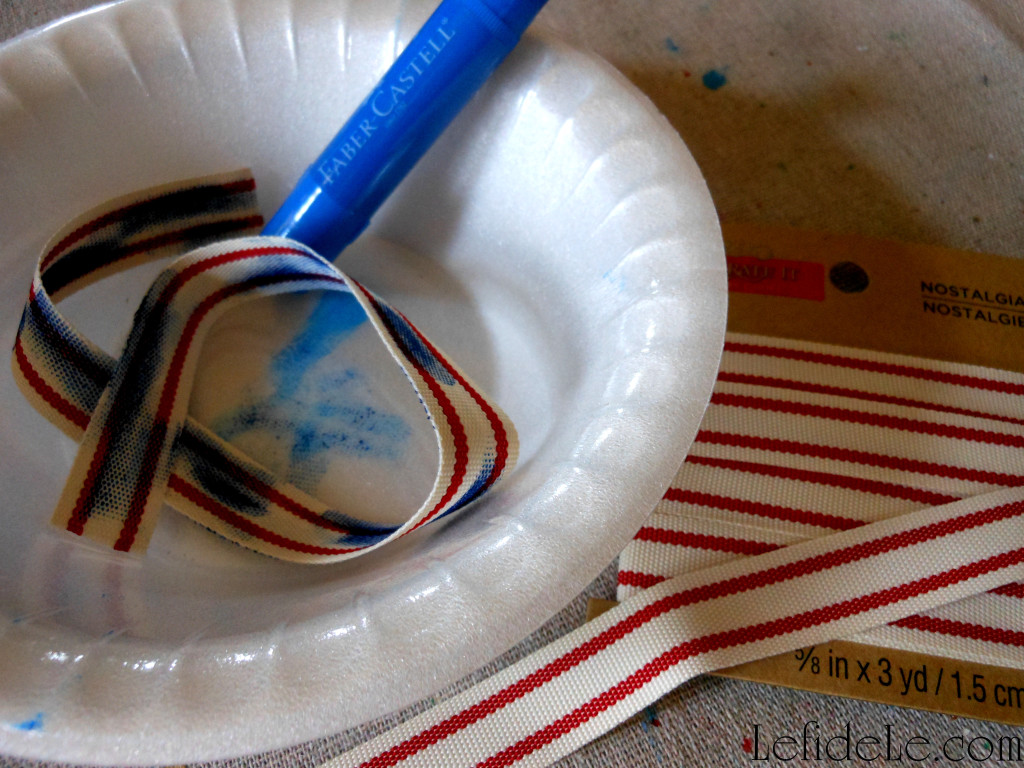
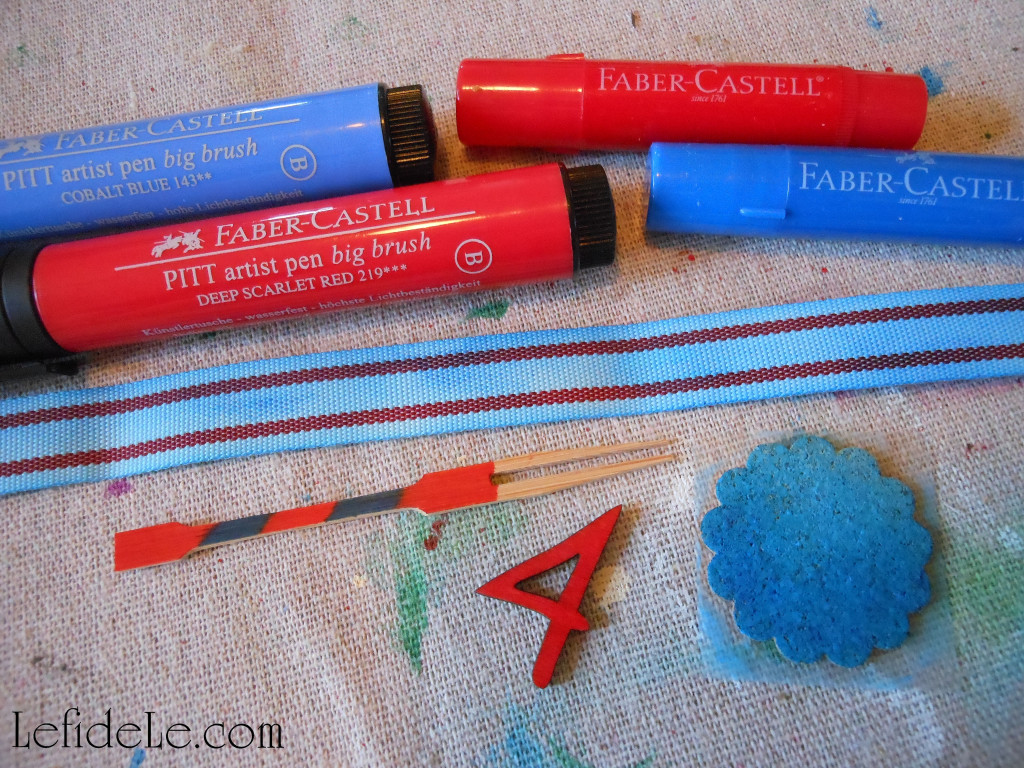
Design Memory Craft gelatos are multipurpose mediums that look like colored chap-sticks. They apply thickly, but can be thinned to watercolor consistency when mixed with water. (You can even turn them into a liquid spray paint to splatter your work with!) They can be used to dye a variety of materials as well. To dye canvas ribbon, I simply marked it haphazardly with a gelato on both sides. I then took water and rubbed it into the ribbon, like magic… it turned blue. It dried fairly quickly too!
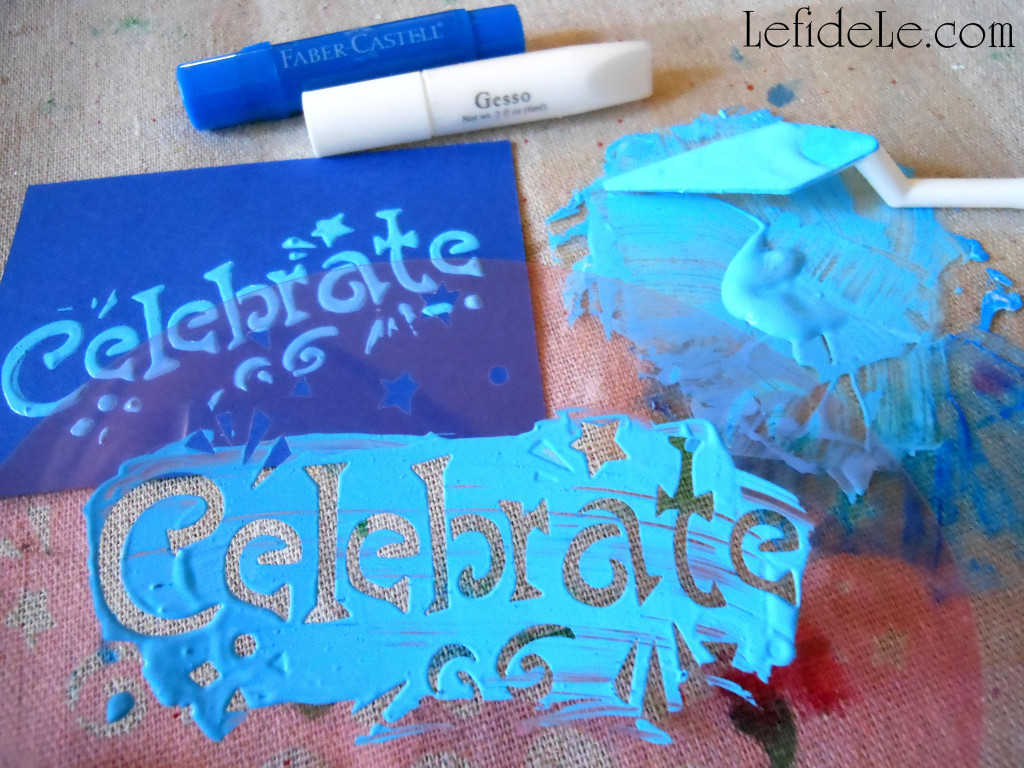
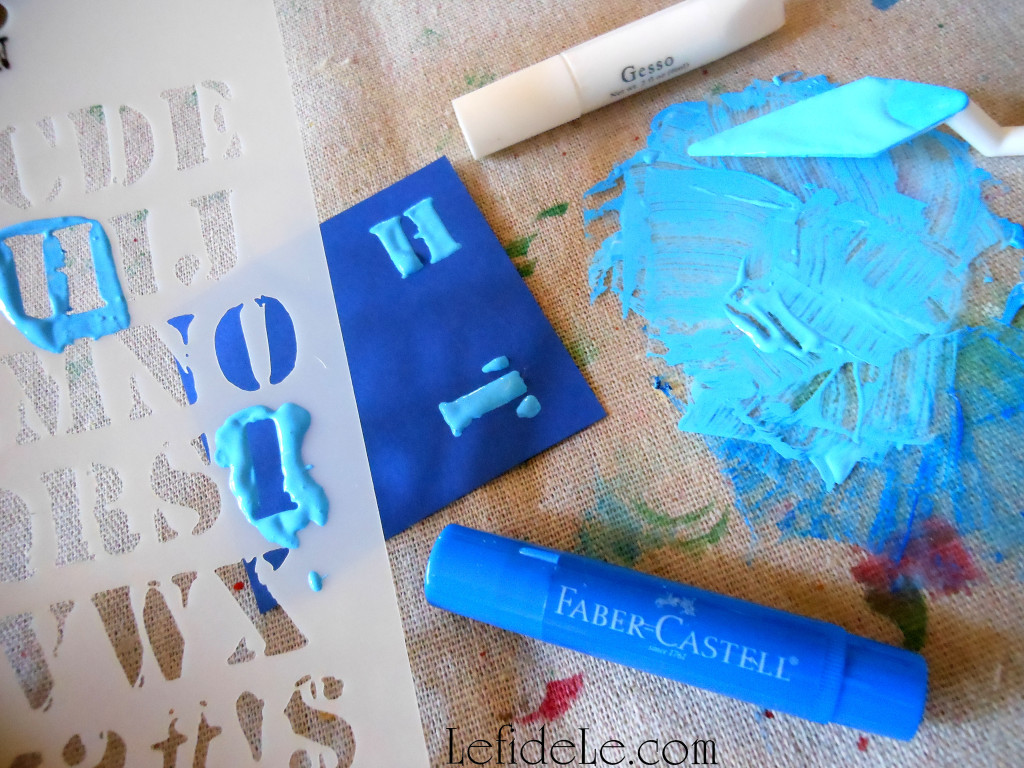
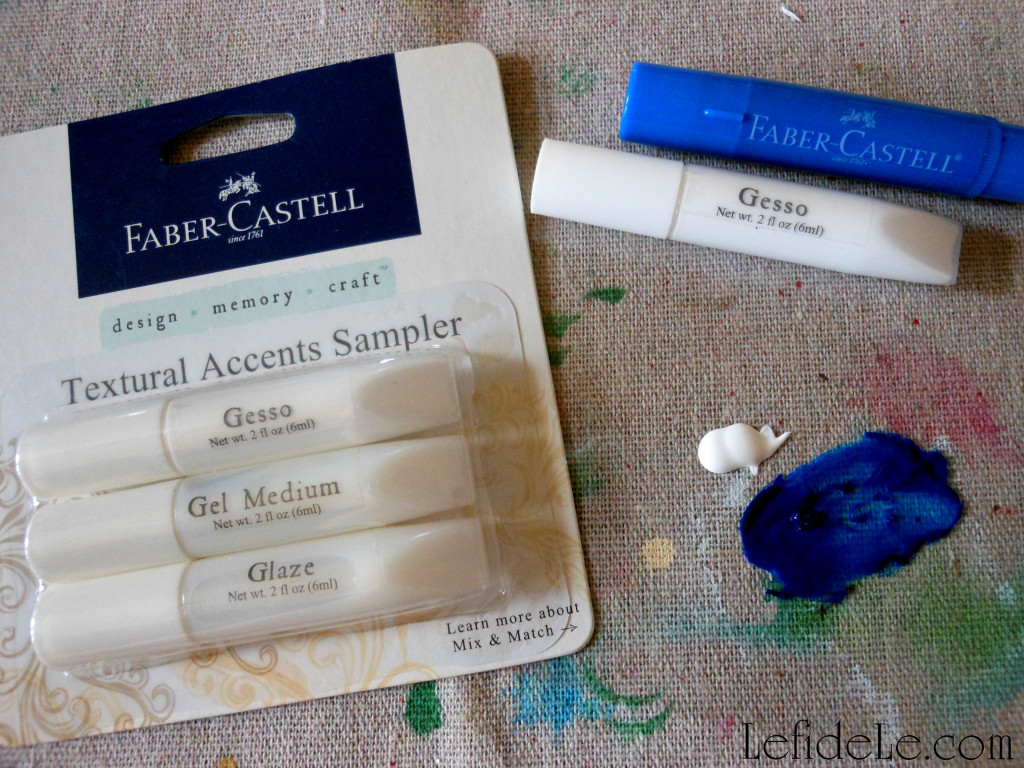 They can be mixed with other mediums also. You can see here what straight gelato and plain gesso looked like before mixing. (Warning: if you explore medium capability with a small sample pack like I did… you may get totally hooked too!)
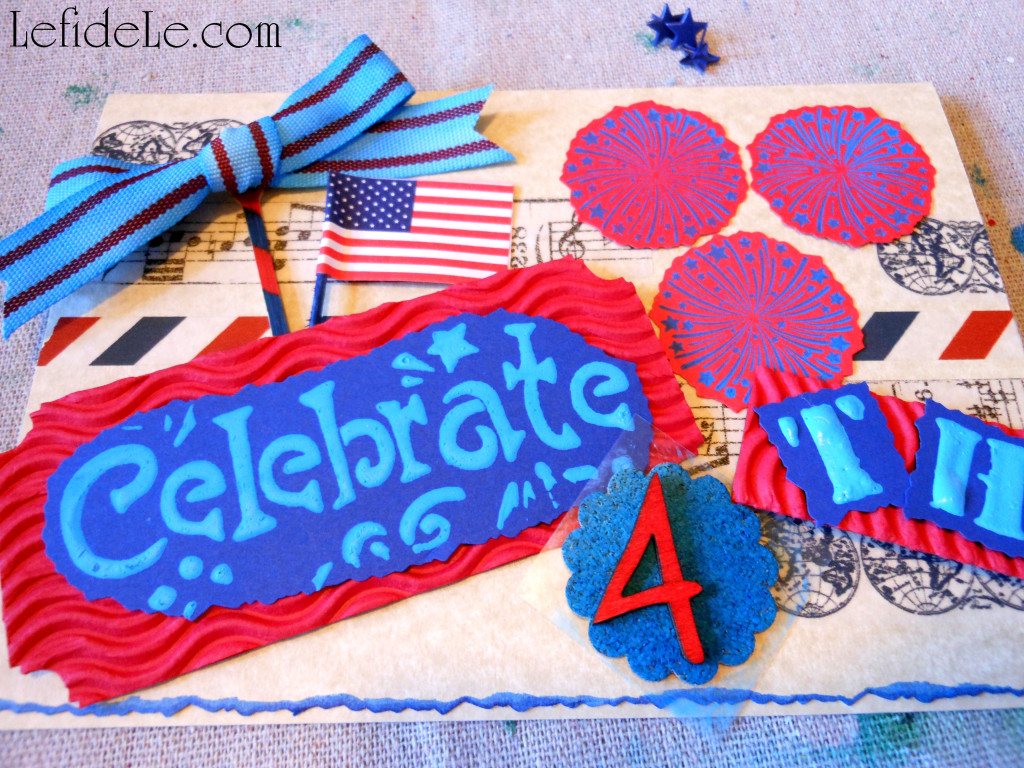
Here I used a palette knife to tint gesso with a cobalt blue gelato. White gesso opacified the color into more of a cornflower blue. A thick swipe of medium over a stencil will lay down a swath of shaped color onto your paper. (Stencil words like “celebrate” are great to have in a craft arsenal to use year round.)
I used the same technique to form raised letters onto colored paper. (This is a great way to use up all those scraps of “craftermath” from previous projects!) The thicker the layer of gesso, the longer it will take to dry.
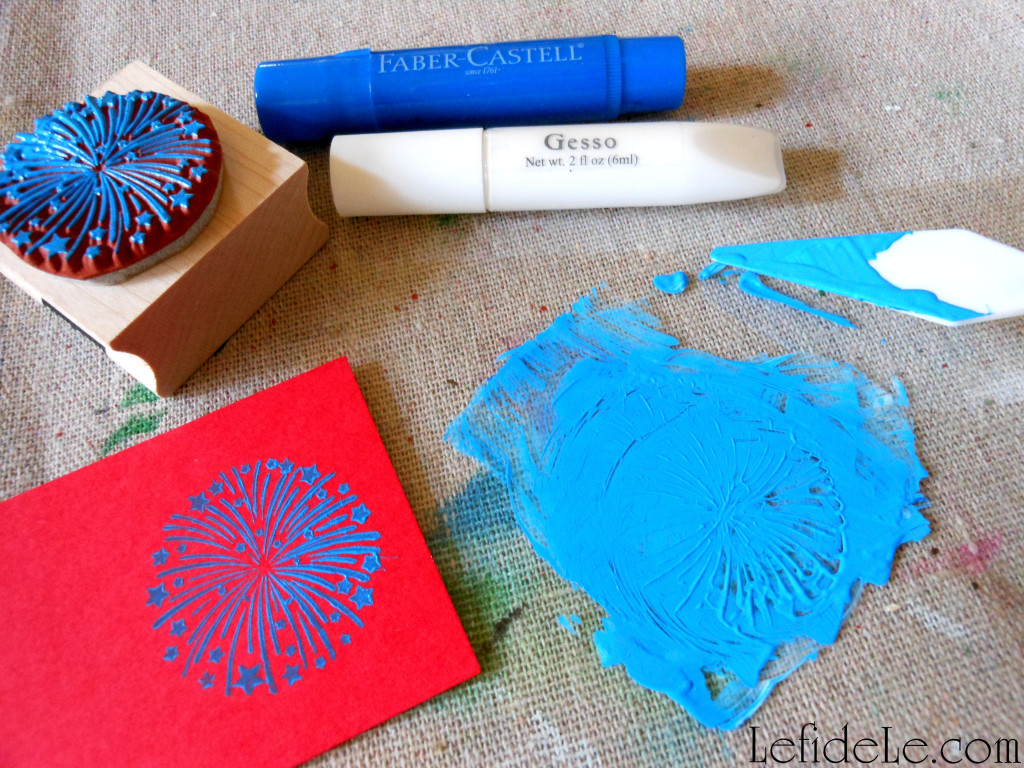
Use any leftover gelatoed-gesso as an opaque stamping ink. It’s great to use on colored papers that would just appear as plain black if using a stamp pad. (I really liked the blue on red for these fireworks.) Just remember to rinse off your stamp before the gesso dries.
You can dye just about anything with gelatos and pitt pens. The gelato dyed ribbon will appear lighter once it has dried. If you’d like to impart deeper color, just repeat with more gelato. The little scalloped round element is a cork sticker that I tinted with cobalt blue gelato. It’s easy to make an ombre effect by applying color to only one side then rubbing it across the piece. I used the pitt pens as a wood stain by simply coloring the laser-cut birch 4 and bamboo food pick. (This is the easiest and cleanest way I’ve found to tint wood without losing the grain pattern!)
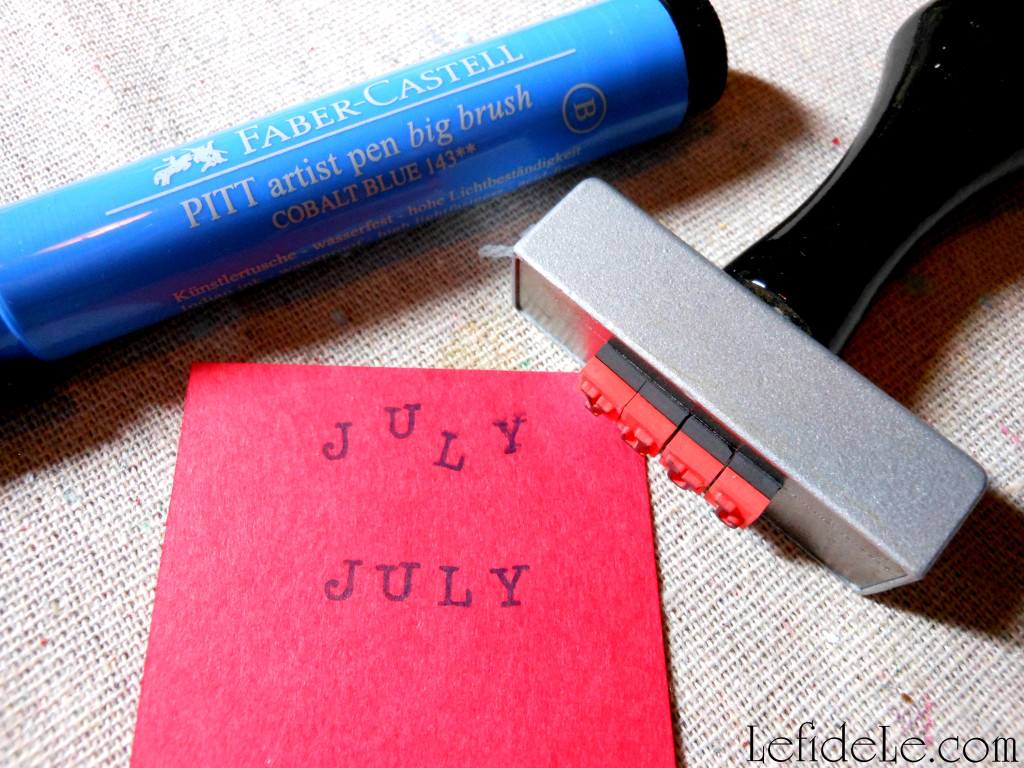
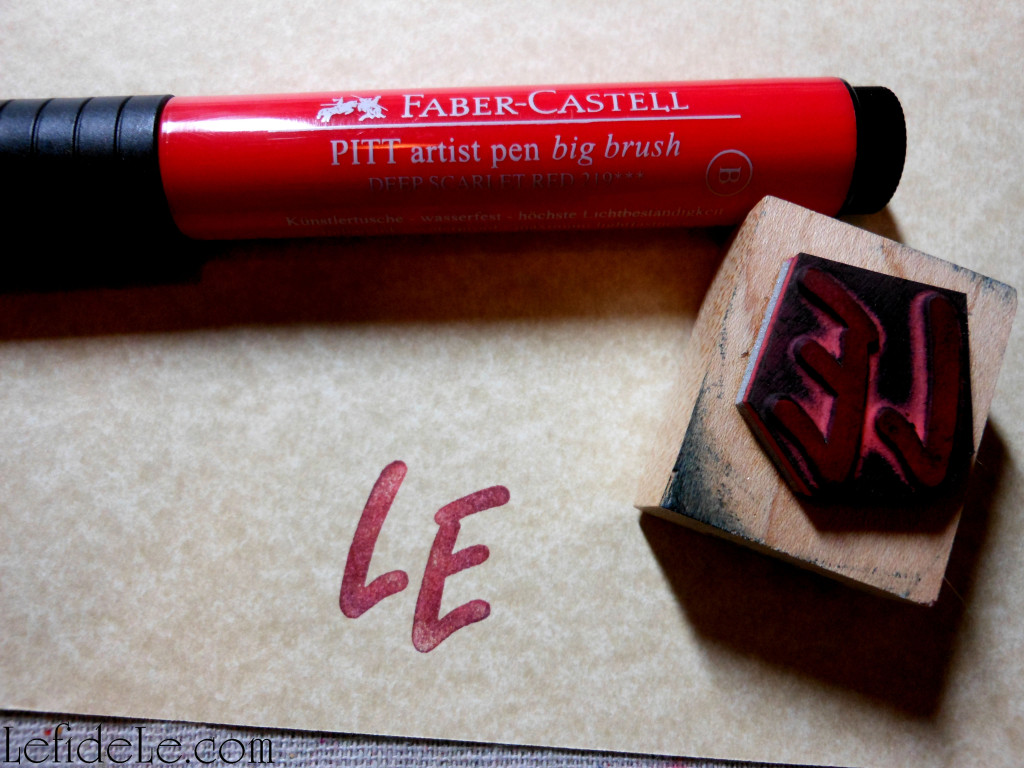
Pitt artist pen big brushes can also be used in place of stamp pads. (They’re especially great when you want to combine colors onto one stamp image!) I spelled out JULY, with a magnetic lettering stamp, as if it had been printed by an old-school typewriter.
Don’t forget to add your seal of “makership” to the back of your creation! Leftover ink on my stamp blended with the deep scarlet red pitt pen ink to tint the edges a bit darker… which I completely adore.
Once most of your elements are constructed, you can place them on the card in order to edit… if need be. I used the rough-draft placement to decide where my background colors should go.
I used red and blue gelatos as finger-paint to tint the paper and washi tape background with. Use a wet finger or a water brush to grab pigment straight from a gelato, or dip a brush or finger into pre-mixed gelato and water. (My choice took me straight back to kindergarten!)
Next, I tied a bow with the ribbon (representing remembrance) and glued everything down. You can use any glue you like, or even the gel medium to glue down the papers with. (I chose hot glue because it works on all the elements I used… even the wooden ones.)
I layered red tinted cardboard under the stenciled papers, and elevated them with tiny foam stickers for dimension. The fireworks were attached with brads, but I added hot glue dots beneath them to make them pop right off the page. (Note that the star spangled banner is actually another repurposed food pick!)
For a finishing touch, I applied dots with opalescent texture gems gel liner (to symbolize stars in the night sky filled with the rocket’s red glare which we memorialize with fireworks).
It’s that subtle yet profound symbolic meaning that completes the piece’s transformation from craft into art which makes it worthy of being framed, not just as a holiday decoration, but as artwork. This Independence Day, I will be celebrating the liberty we are given to express ourselves in a country of freedom.
Faithfully Yours,
Leigh
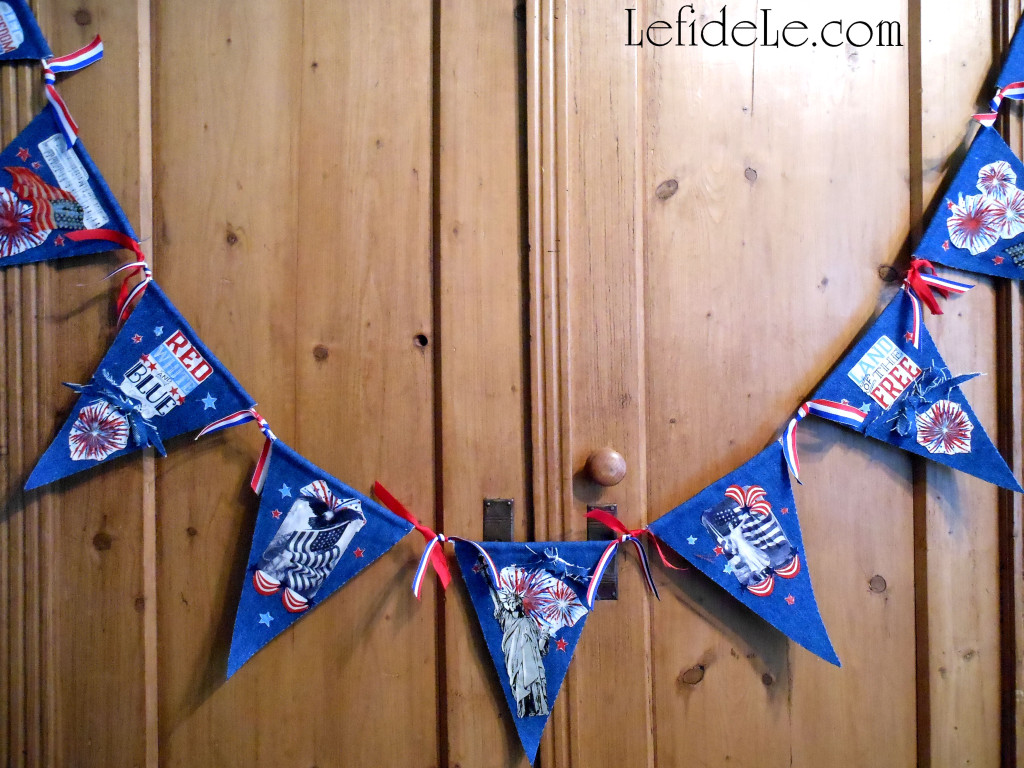
P.S. If you like making collages, be sure to check out my DIY July 4th Denim No-Sew Appliqué Collage Star-Spangled Banner Craft Tutorial for Independence Day.
