Tag Archives: Ribbon

DIY July 4th Denim No-Sew Appliqué Collage Star-Spangled Banner Craft Tutorial for Independence Day

163Leigh

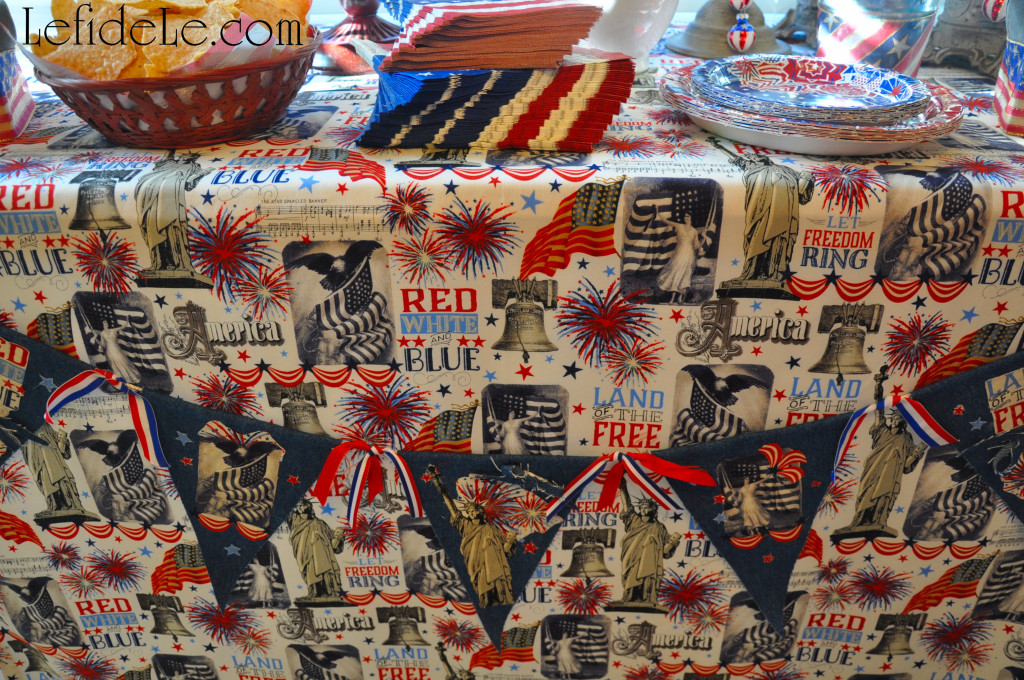
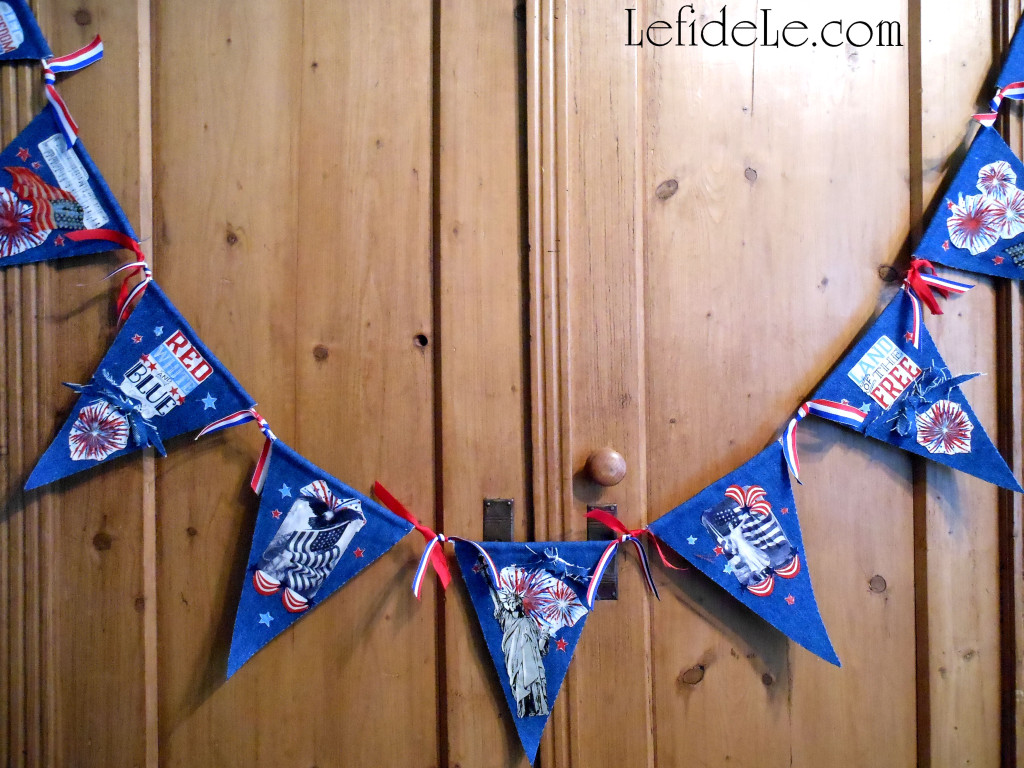
Inspired by our glorious national anthem, I set out to construct my own star-spangled banner (not old glory) to wave over a modern Independence Day celebration. Making a fabric appliqué collage banner is easier than it looks, and it’s easy on the budget because it only takes a little fabric, rope, ribbon, and hot fabric glue. That’s right, glue… no sewing skills are necessary! This makes it so quick to construct, that it can be made the day before a party. Even better, no one else will have anything like it, because it’s your own one-of-a-kind work of art!

125Leigh

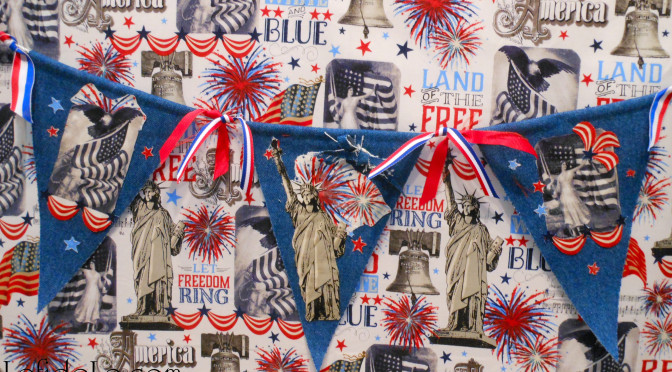
Let’s begin with fabric selection as there are a number of ways to go about this… if you have a plethora of leftover fabric scraps, all the power to you, use them! For my banner base triangles, I used old denim. (This might be the perfect project to do something useful with that old pair of jeans that hasn’t fit in, well… awhile!) You can also purchase coordinates at the fabric shops and craft stores. (See my affiliate links in the side bars as they offer great discounts from time to time.) For my appliqués, I bought a patriotic print on sale (from Le fidèLe Designs affiliate Joann / Hancock Fabrics) that was just perfect for collaging. (See more denim and patriotic print fabric completing my Star-Spangled Independence Day Party Décor as table cloths here.)

127Leigh

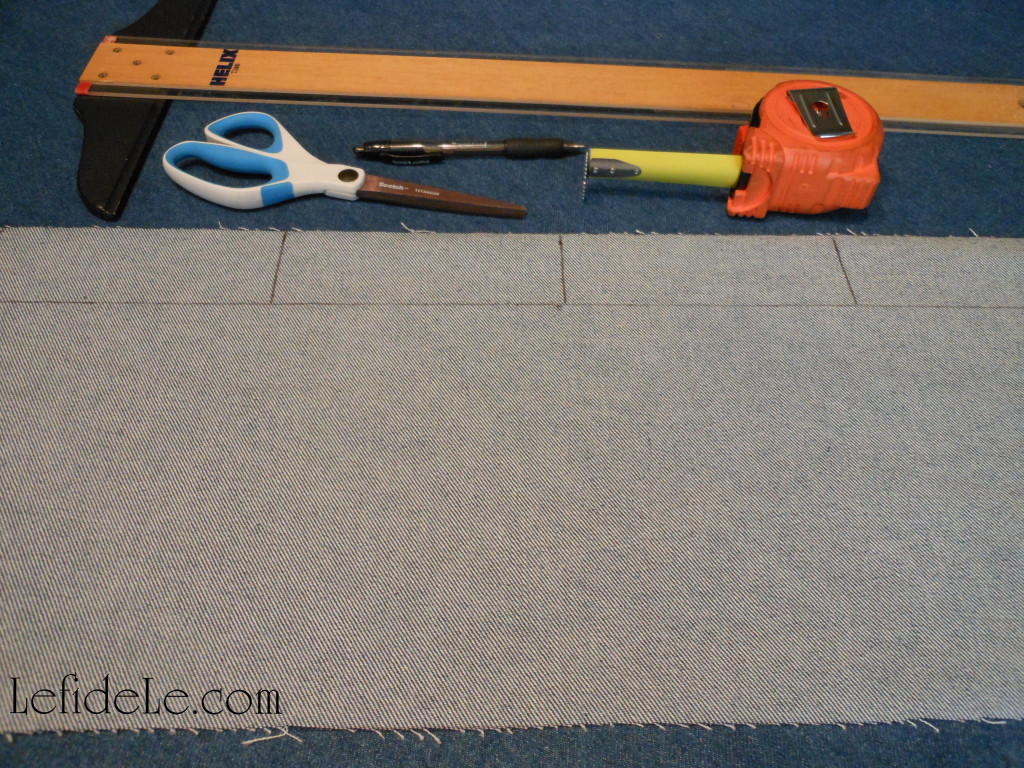
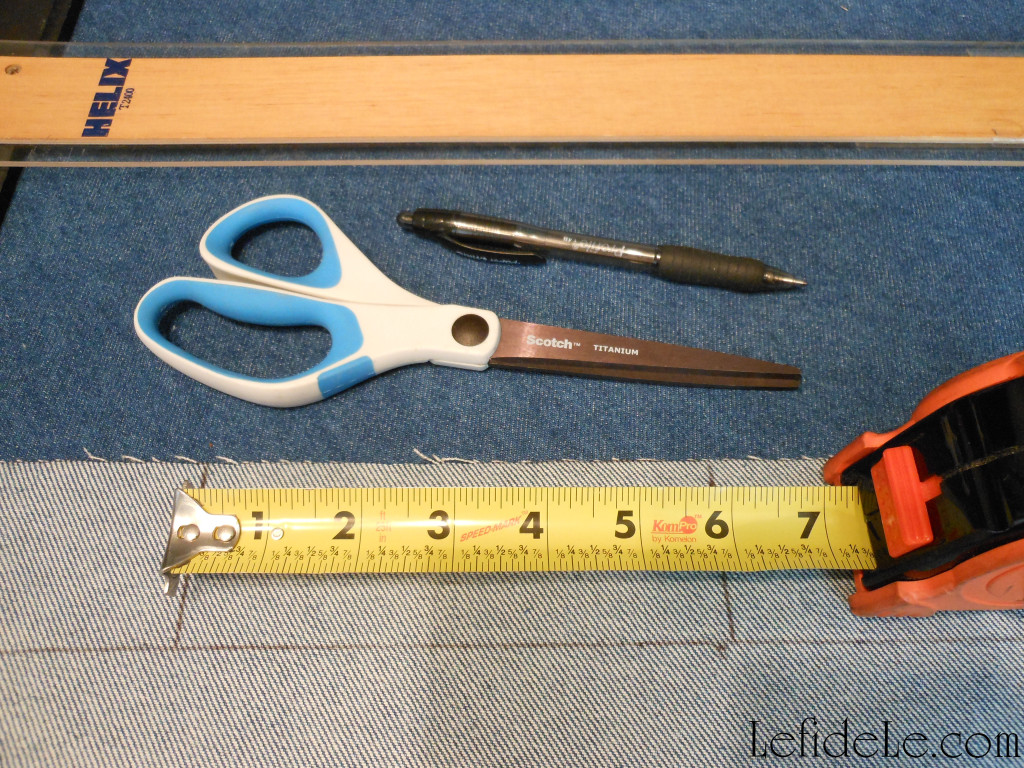
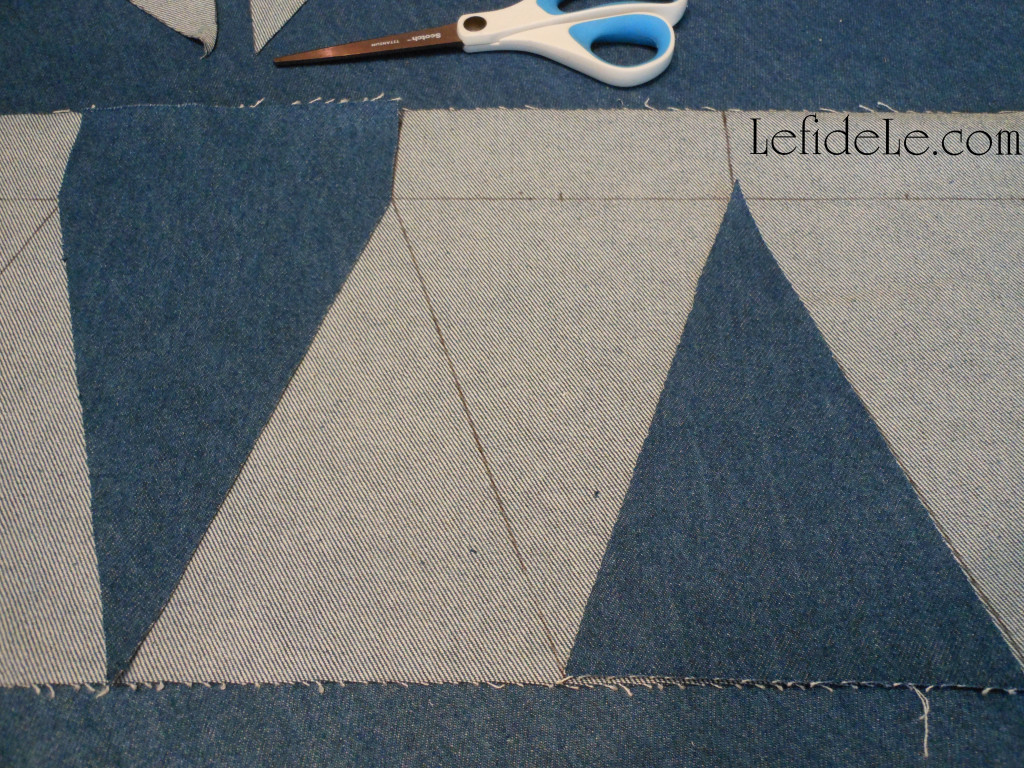
Divide the end of your base fabric into 6 inch sections, and mark the underside of the fabric with a pen.

128Leigh

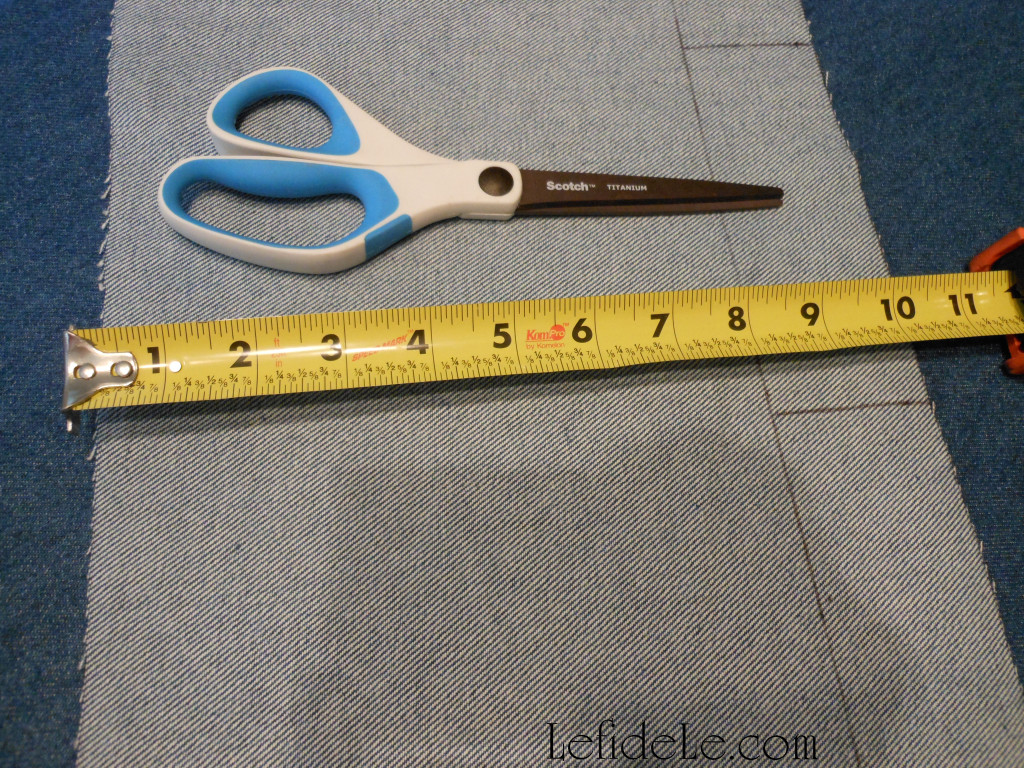
Next, mark 8 inches below the top line to form the length of your future triangles. (You can either cut this strip now or wait until all your marks have been made.)

133Leigh

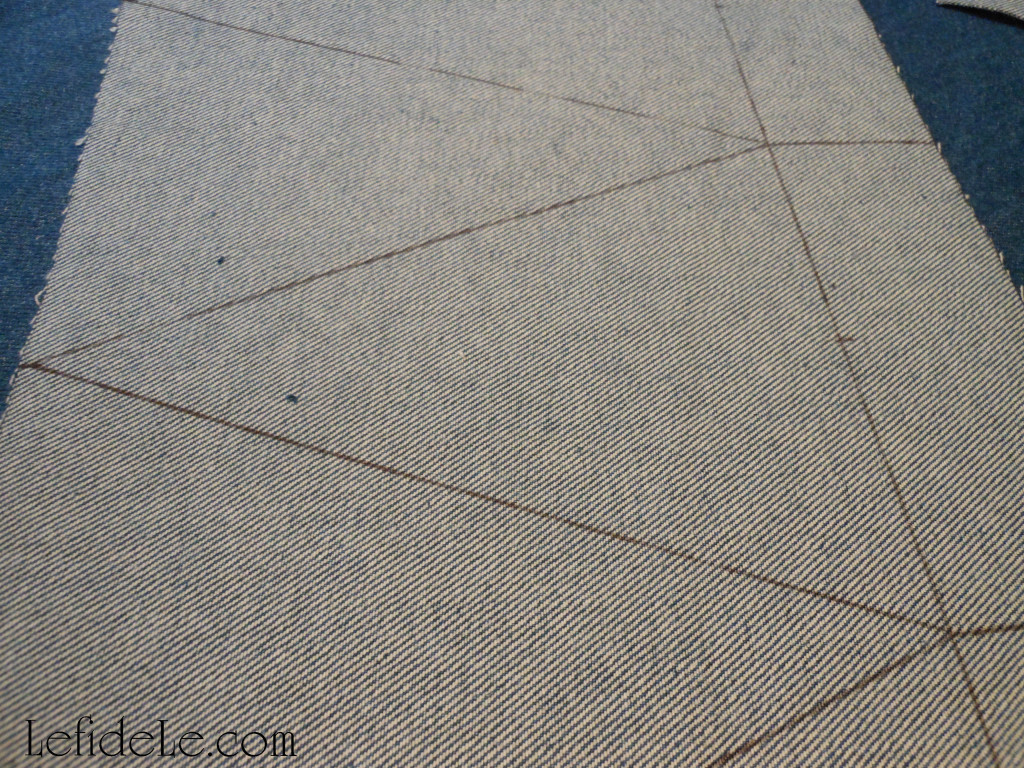
Mark a dot on the 3 inch midpoint of each 6 inch top section. Use a ruler to mark the corresponding point directly below it, onto the 8 inch line (or cut). This will be your triangle’s point. Mark a line to connect this point to each corner of the 6 inch marks you made first. (You will be making triangles with each connection.)

132Leigh

Cut along each line to make your triangle bases. Another option is to make a tab at the top of each triangle in order to fold it over a thick piece of rope… otherwise just glue the triangle top to the rope. (I elected to make a tab for these. I’ll demonstrate the tab-less version in a future tutorial.)

140Leigh

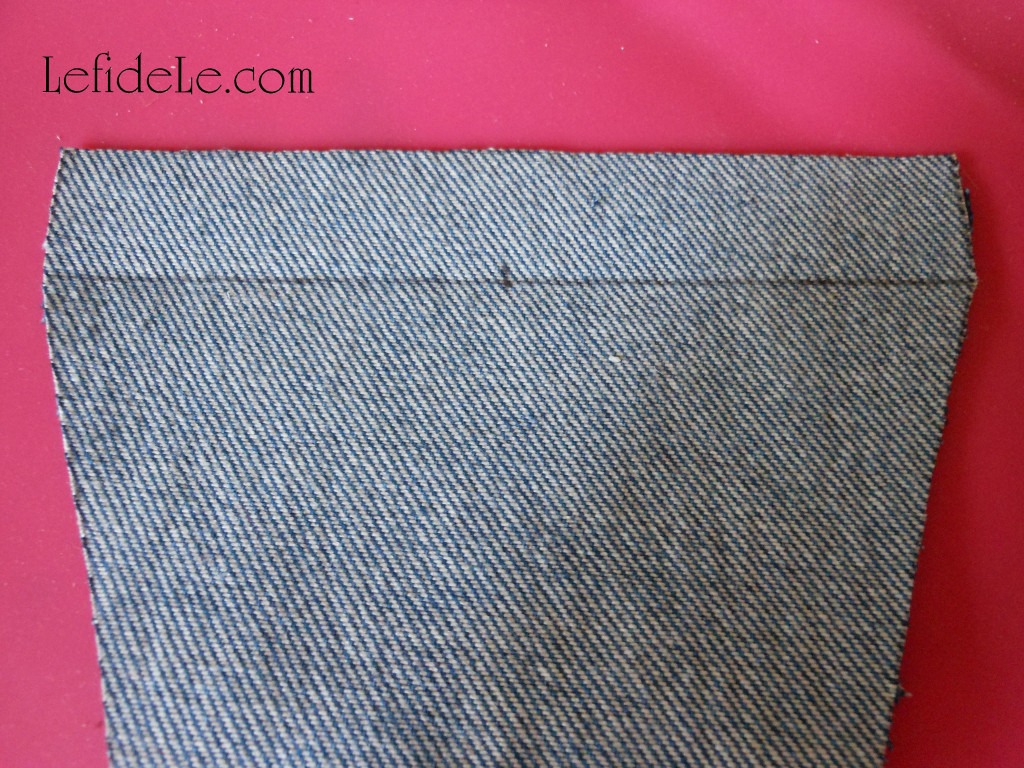
Cut a tapered edge on any tab tops you make, so that it isn’t seen on the front after gluing.

136Leigh

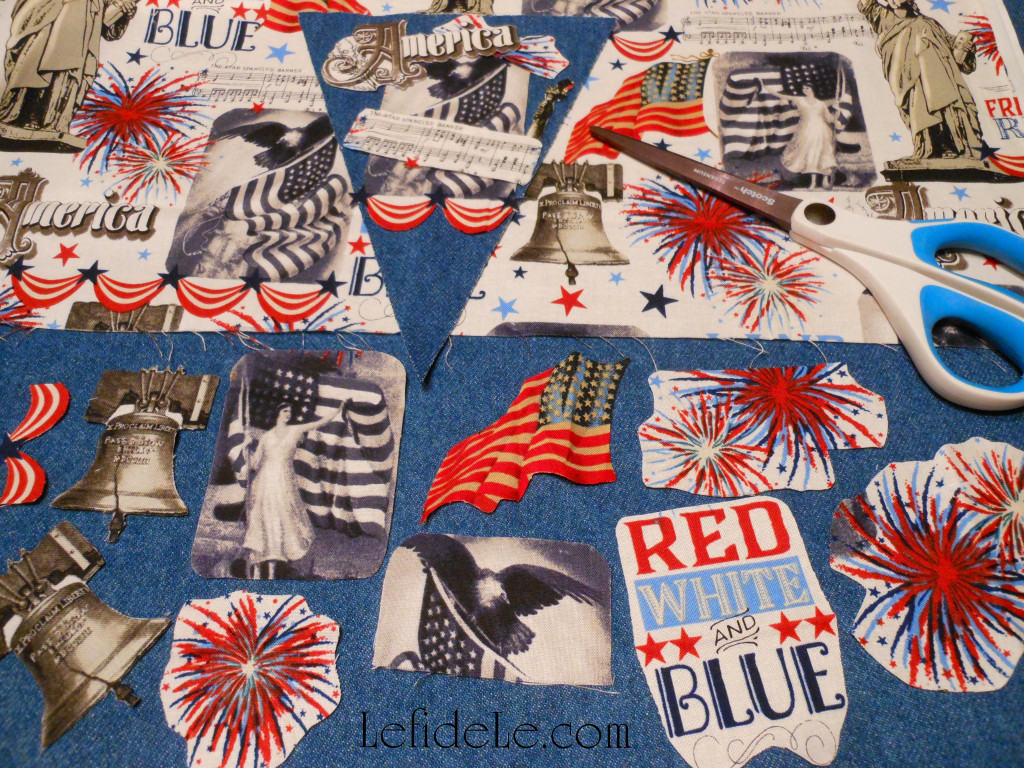
Now cut out individual images from your printed fabric… just as you would in a paper collage or decoupage project. Use good fabric shears for a clean cut, or old scissors to make an intentionally rough edge… again, it’s your project, so it’s your choice. Also, think about cutting apart some of the larger images into smaller ones. (For example, cut apart the eagle from the flag in one image.)

138Leigh

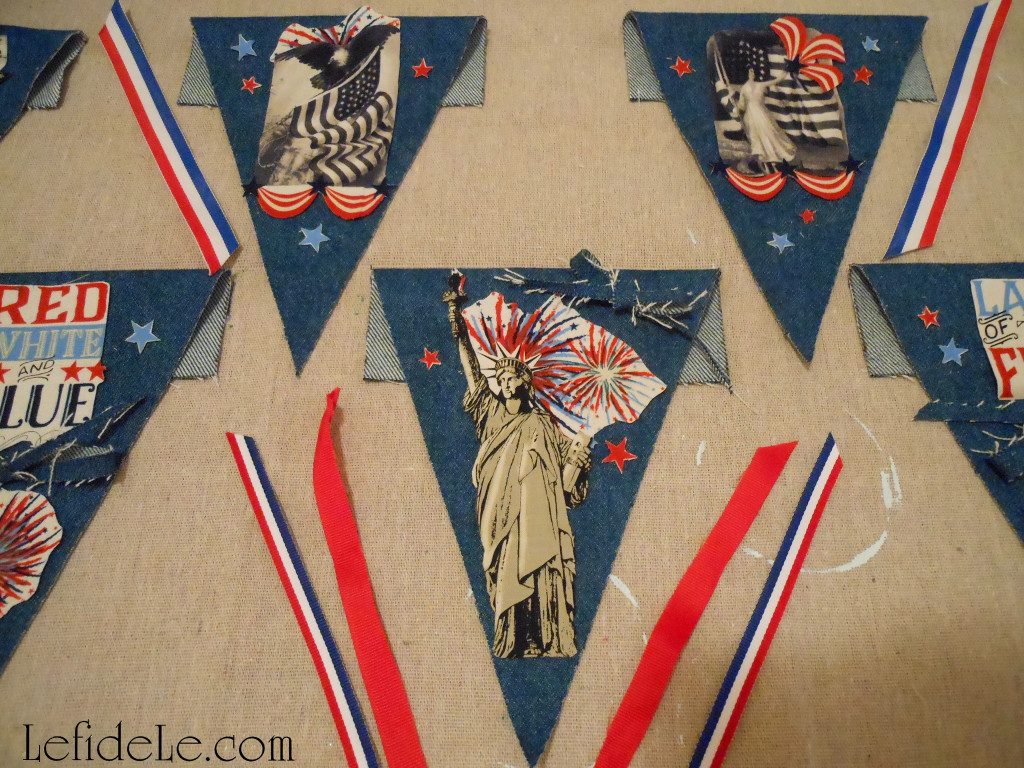
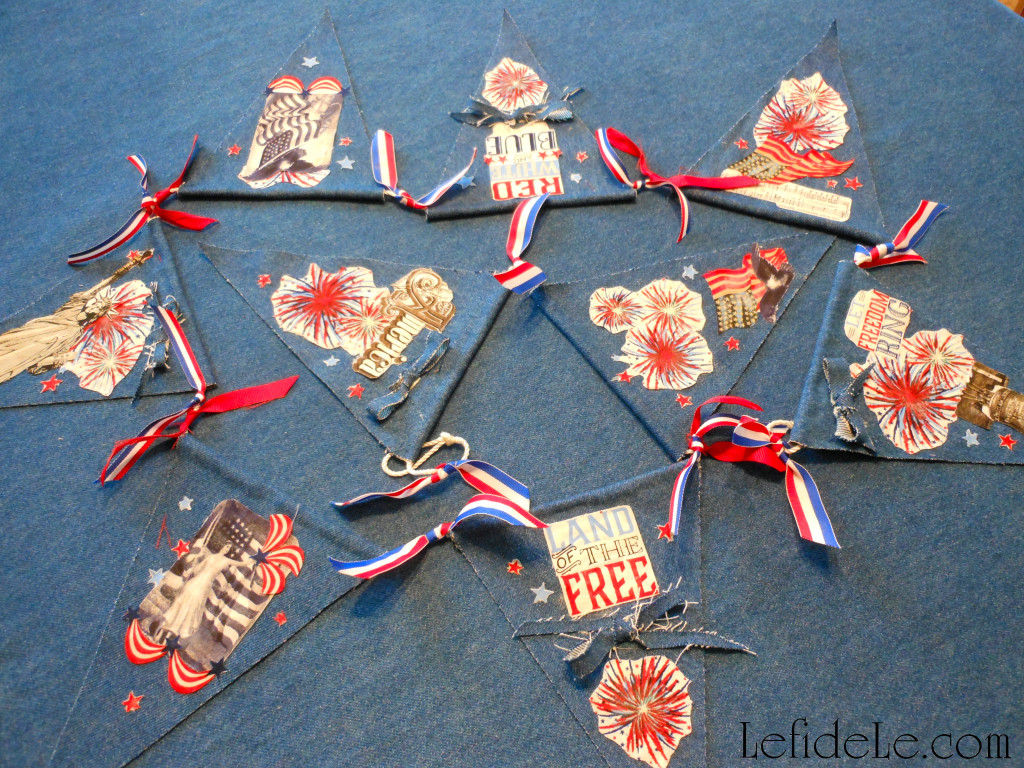
Lay out your triangles to plan your design. Rearrange your cut images until you find it looks pleasing. (This is the part where banner craft becomes collage art.)

142Leigh

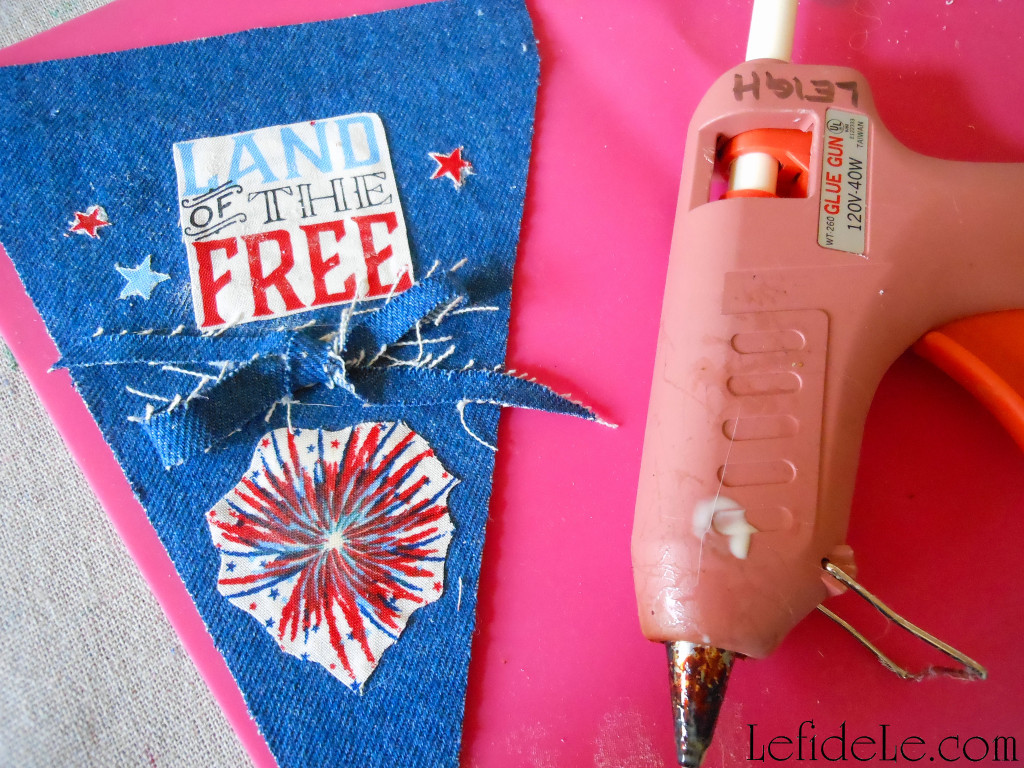
Adhere the appliqués to the triangle base with hot fabric glue. (Because I’ve already dealt with staunch naysayers concerning the ability of hot glue to work on fabric… there are varieties of hot glue made just for fabric, and it will say so on the label. Press the fabrics together immediately after applying the glue, using silicone hand protection of course. Once the glue has cooled completely, I defy anyone to pull the 2 materials apart!) There are also many varieties of cold fabric glue that just require more drying time. (This would be the safer option if constructing this with kiddos.)

145Leigh

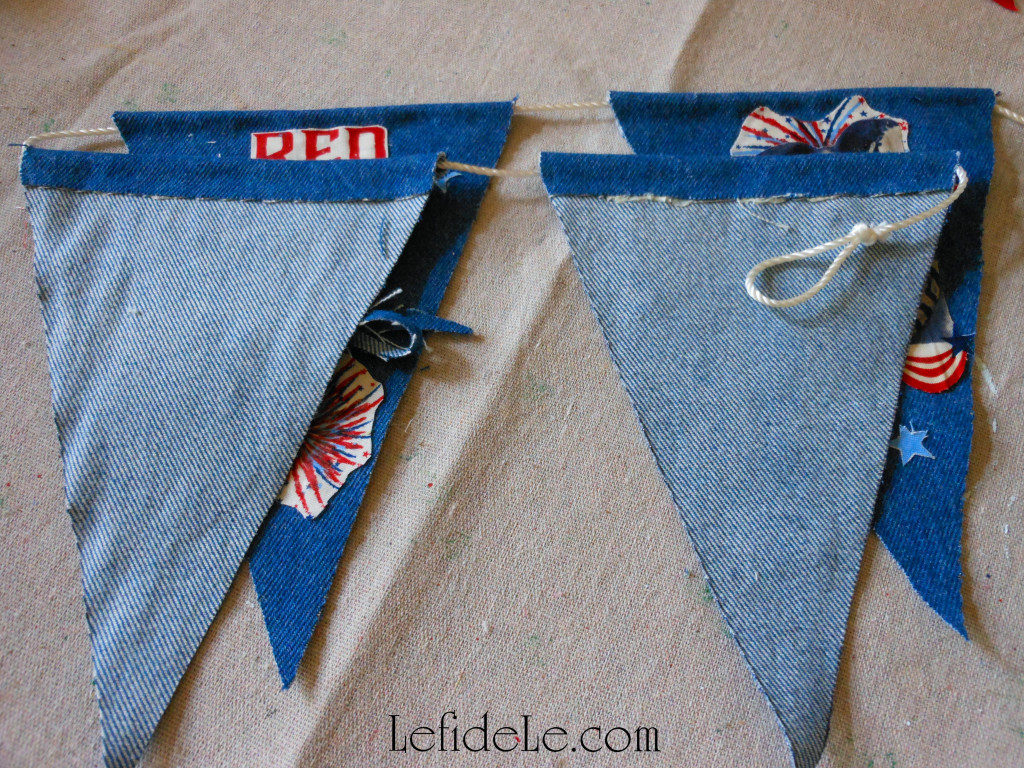
Next glue each triangle flap over the rope you’ve chosen, leaving an inch or so between each. (For the tab-less version, just glue along the top of the triangle’s underside to attach it to the rope directly.) Don’t forget to tie a loop at each end for hanging.

148Leigh

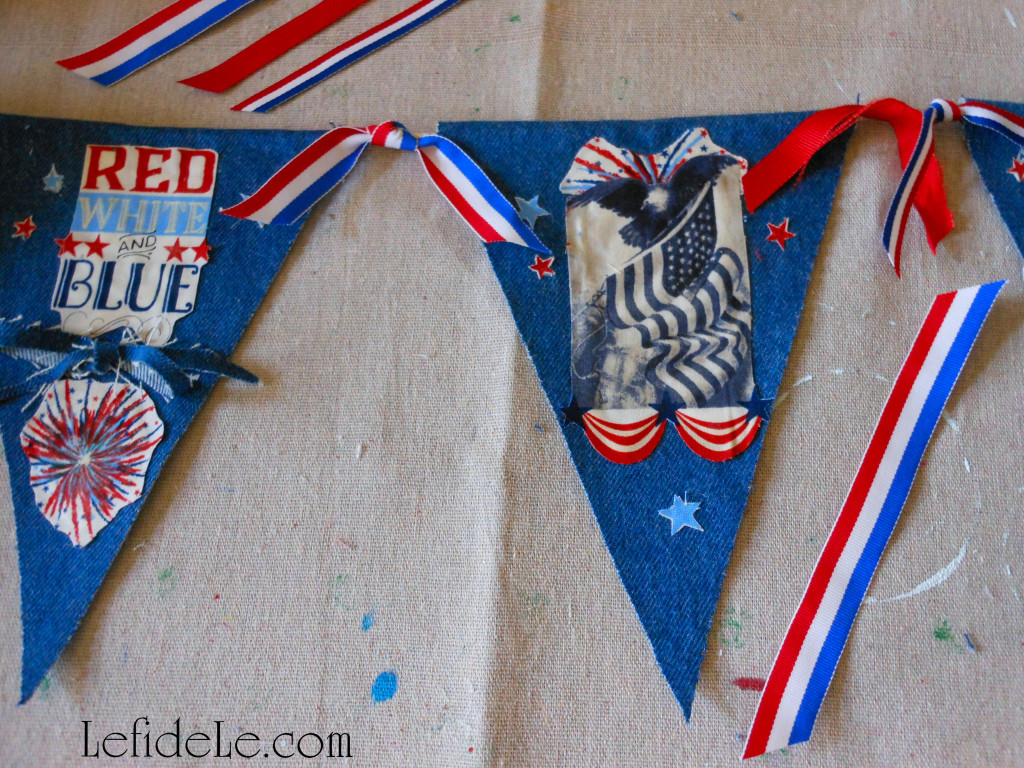
Cut lengths of random yet coordinating ribbon to tie between each panel. Another option is to cut strips of fabric and tie those on. (You can see I’ve done this in the bows I glued to the panel fronts.) Now go hang it up and admire your handiwork! 🙂

162Leigh

“Oh, say, can you see, by the dawn’s early light,What so proudly we hail’d at the twilight’s last gleaming? Whose broad stripes and bright stars, thro’ the perilous fight, O’er the ramparts we watch’d, were so gallantly streaming? And the rockets’ red glare, the bombs bursting in air, Gave proof thro’ the night that our flag was still there. O say, does that star-spangled banner yet wave O’er the land of the free and the home of the brave?”

368Leigh

May you have an absolute blast crafting your own star-spangled banner this Independence Day!

Faithfully Yours,

Leigh

P.S. If you like collage, check out my July 4th Altered Art Greeting Card as Mailable Mixed Media Independence Day Décor (DIY Collage Art Tutorial).
120Leigh

DIY Herb Garden Fabric Napkin Rings Craft, Free Basil Seed Card Printables (Invitations, Place-cards, Food Tents, Menus, Herb Markers) & How to Customize a Table Setting with Washi Tape

253Leigh

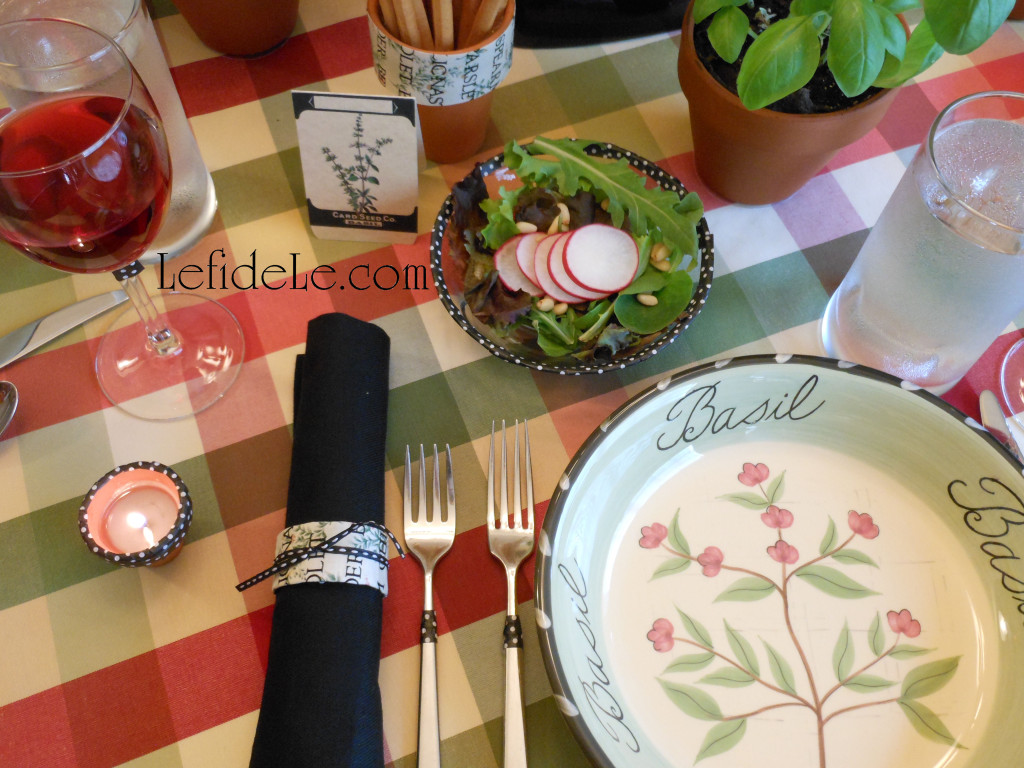
Bring the splendor of the herb garden to an indoor tablescape resplendent with free basil seed card printables for invitations, place-cards, food tents, menus, and even herb markers. Craft matching napkin rings with herb printed fabric, and then learn how to effortlessly customize a table setting with washi tape. Practically zero budget is needed to create a splendiferous luncheon with every element detailed… what a splendid way to grow a party!

104Leigh

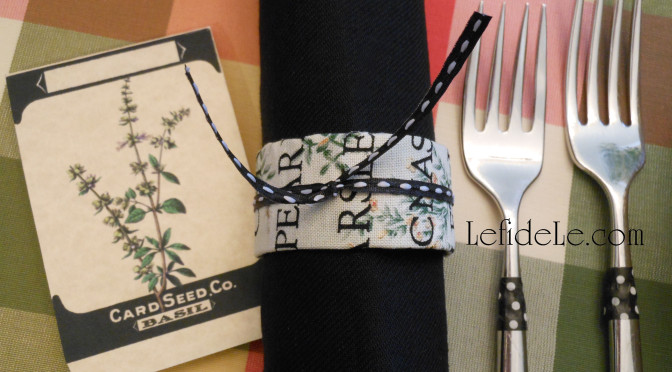
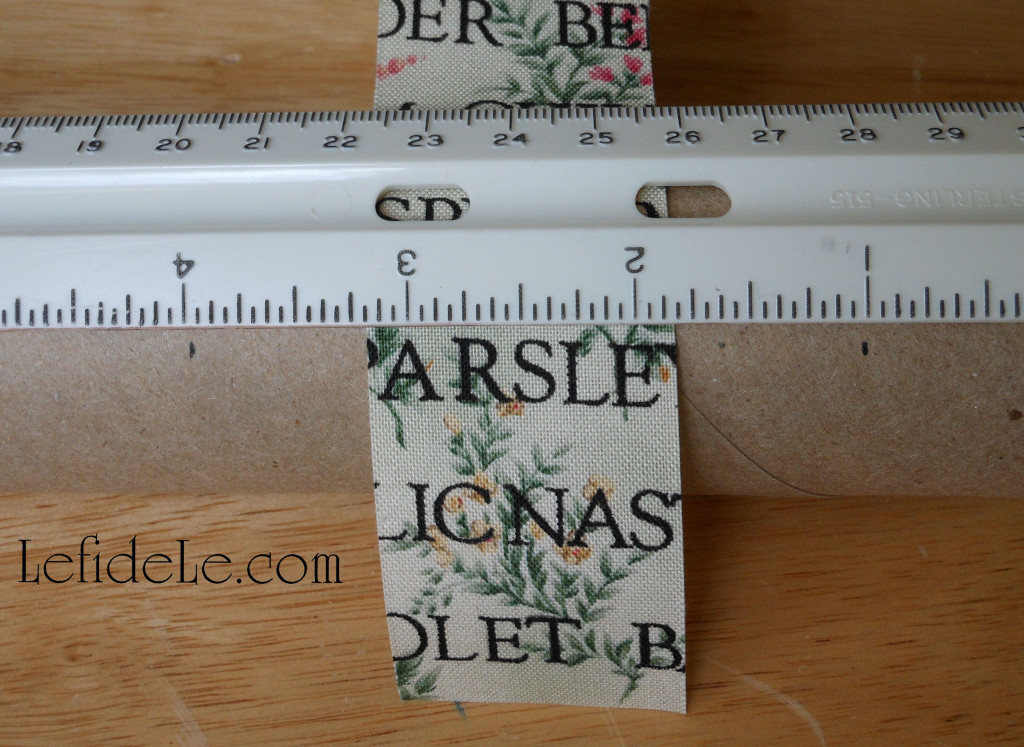
Let’s begin with crafting the herb garden napkin rings. Find a fabric with a lovely herb motif. Cut it into 6 inch long strips about 1 ⅜ inch wide.

106Leigh

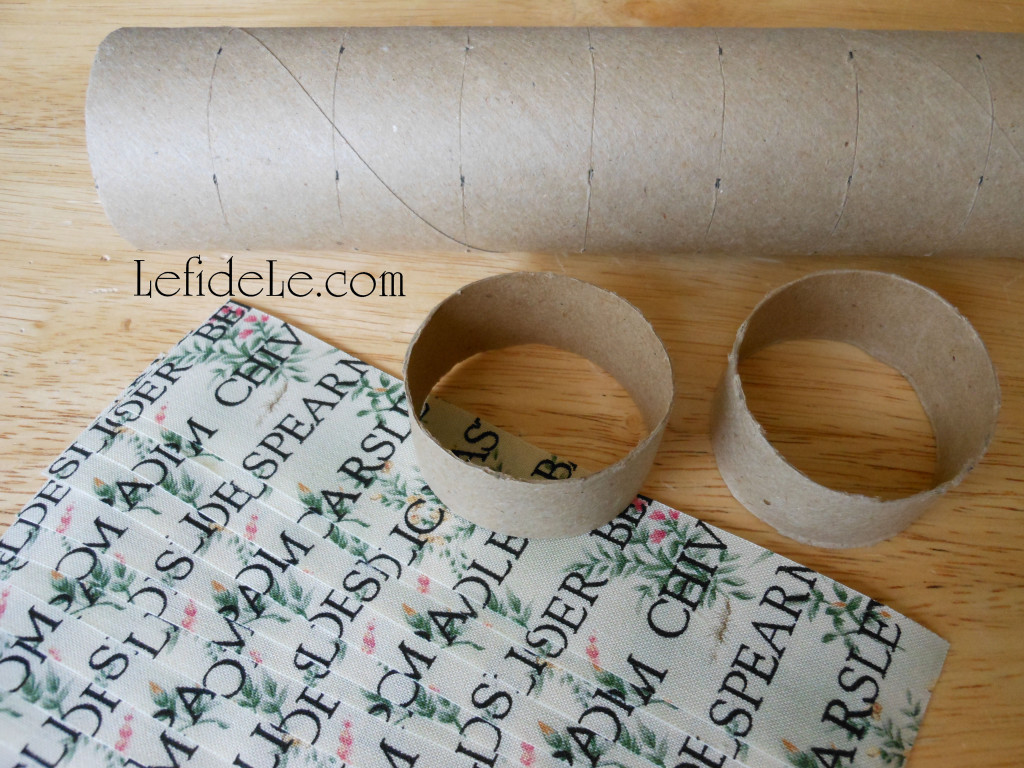
Mark an empty wrapping paper roll (or use a paper tower tube) into 1 inch sections. Cut through these sections to make the ring bases.

107Leigh

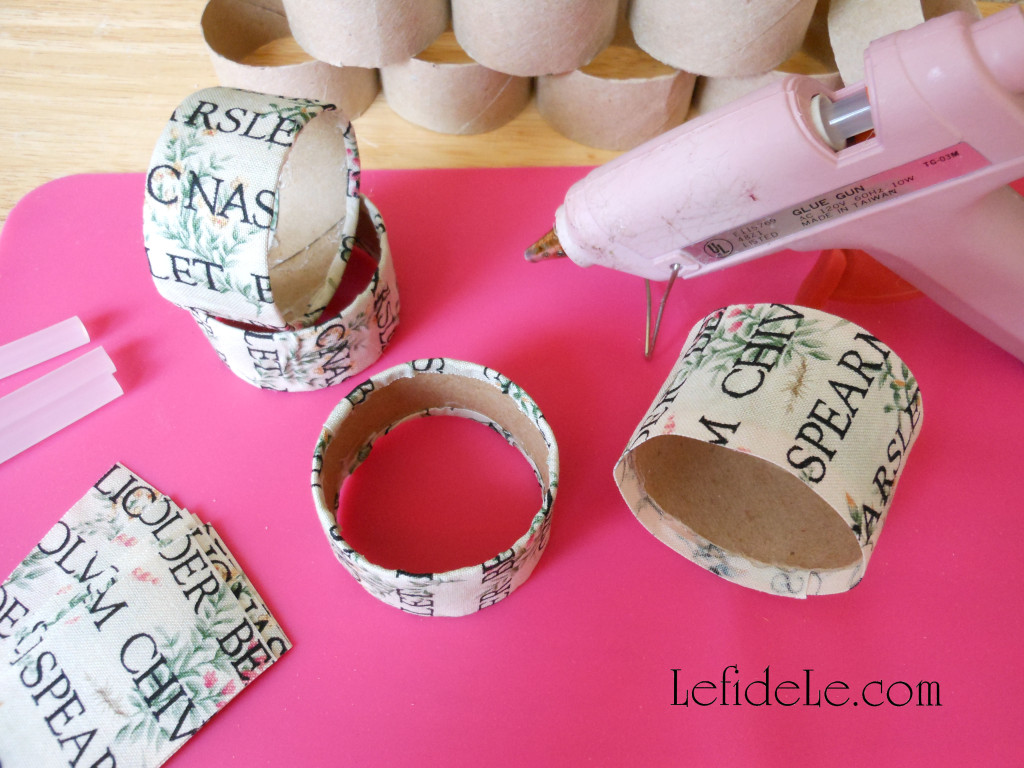
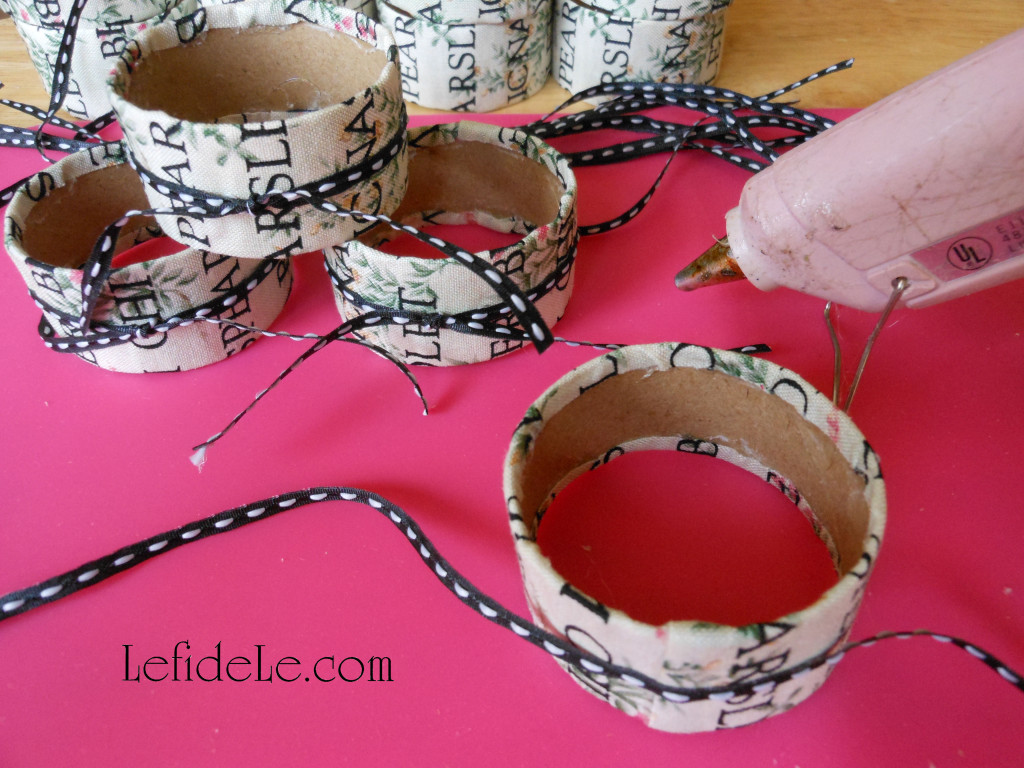
Hot glue the fabric strips onto the paper roll sections. (The ends should overlap a little.)

108Leigh

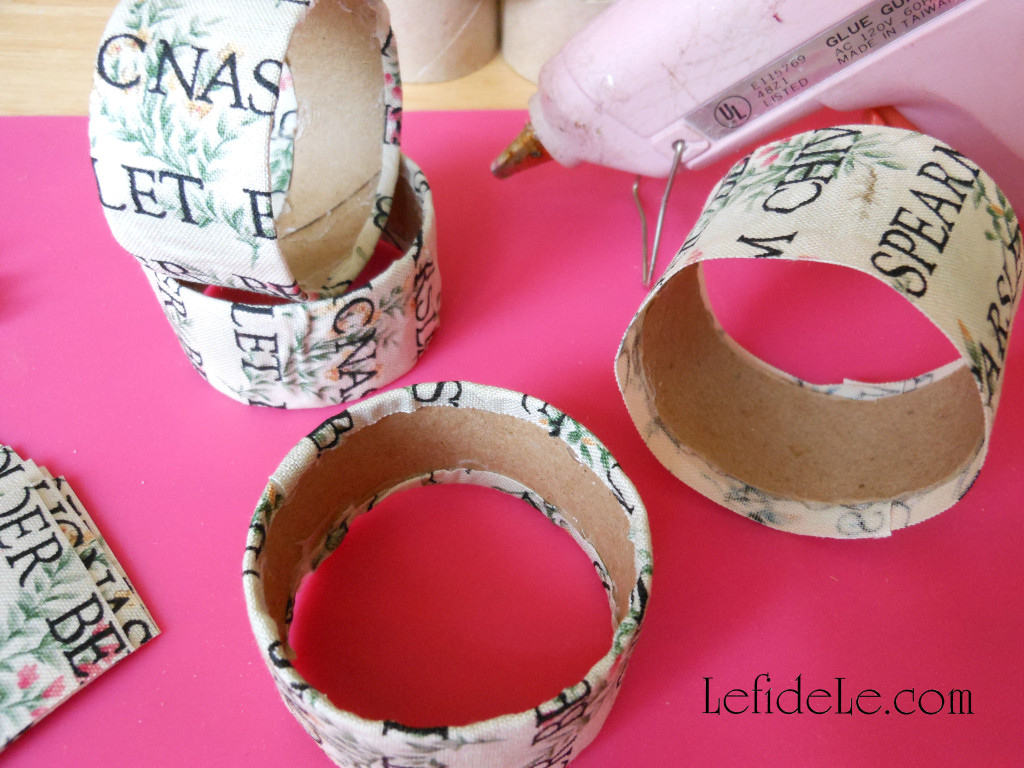
Glue the fabric flaps down to the inside of each roll. (This will make a nice edge that won’t fray in the future.)

110Leigh

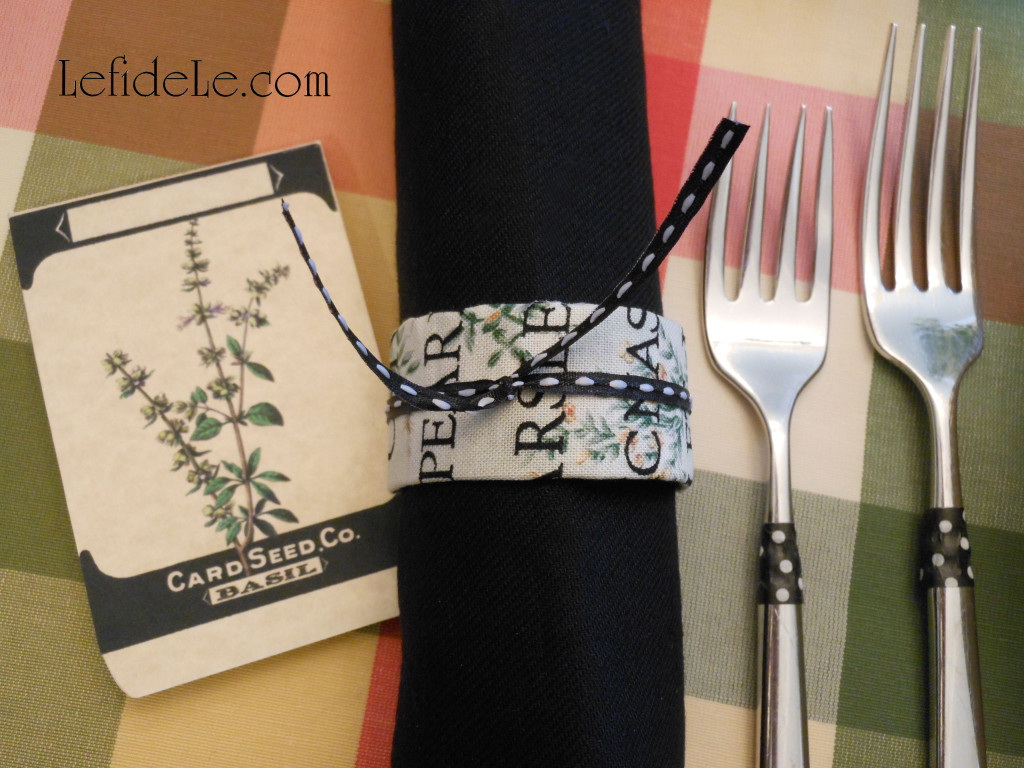
Tie on a thin ribbon that coordinates to the darkest color of your fabric, and knot it closed. Trim the loose ends to about an inch long each.

254Leigh

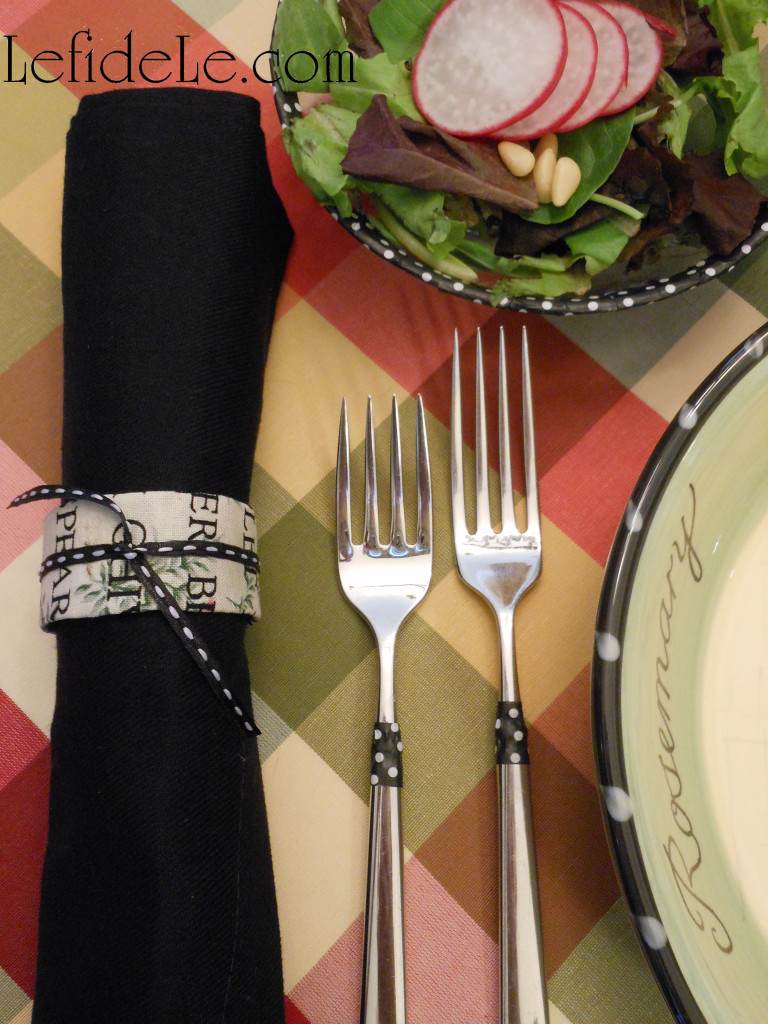
Now your rings are ready to use and are reusable too! Fill them with cloth napkins and place them next to flatware customized with washi tape. It’s a great way to accent your look without having to buy new dishes or utensils, and it’s better for the environment than resorting to the disposable stuff.

197Leigh

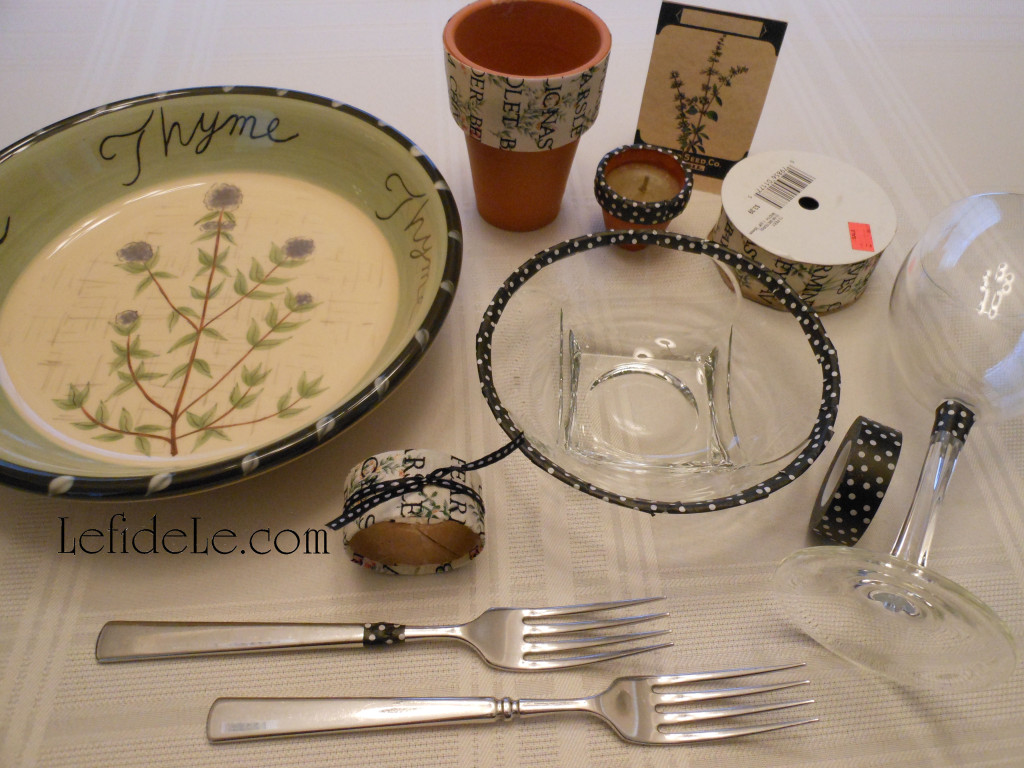
Simply cut small inch sections of a coordinating paper tape and wrap onto anything you want to embellish. It won’t leave any residue when you peel it off, so clean-up is a breeze!

225Leigh

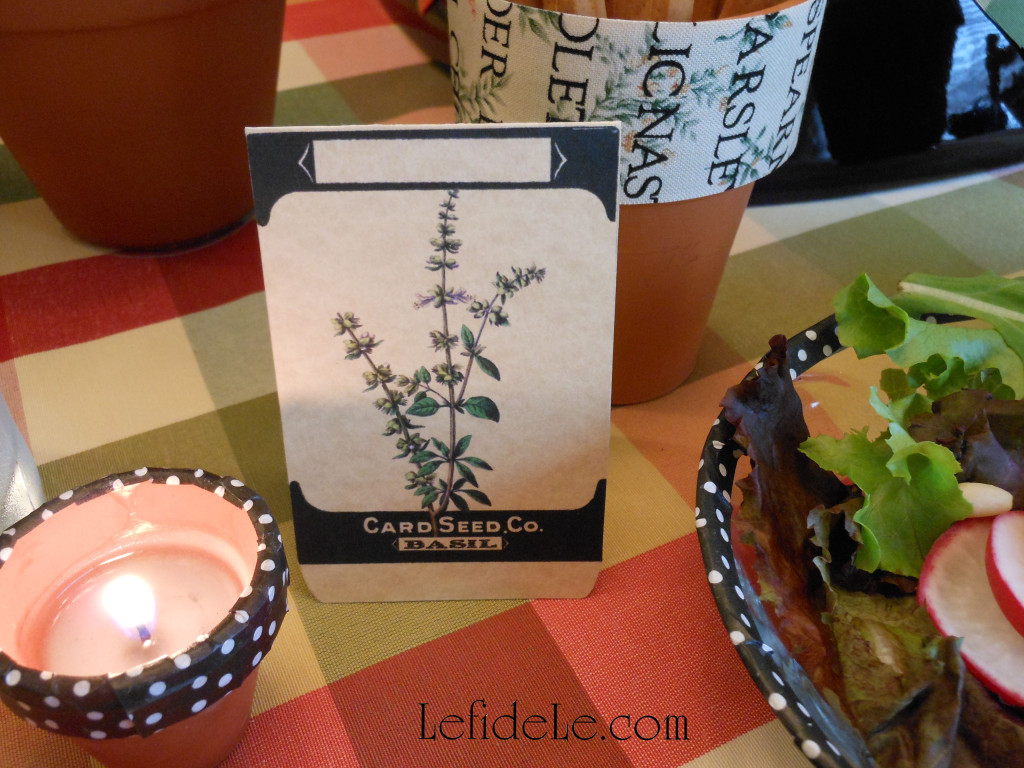
Utensils, goblets, and even a salad bowl have been effortlessly washi-ed to wonderful.

214Leigh

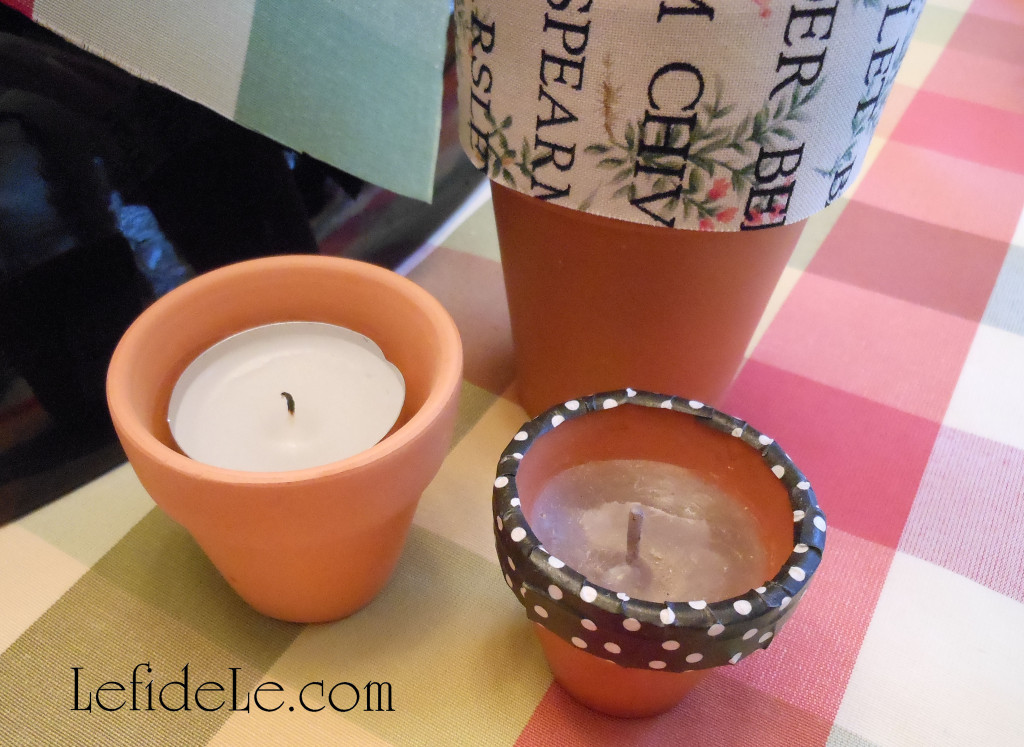
I even added washi to tiny terracotta pots filled with candles. The easiest way to make your own is to slip a tea-light candle into one. (We had no burning incident, but if you’re worried about fire… try an flameless LED tea-light instead.)

248Leigh

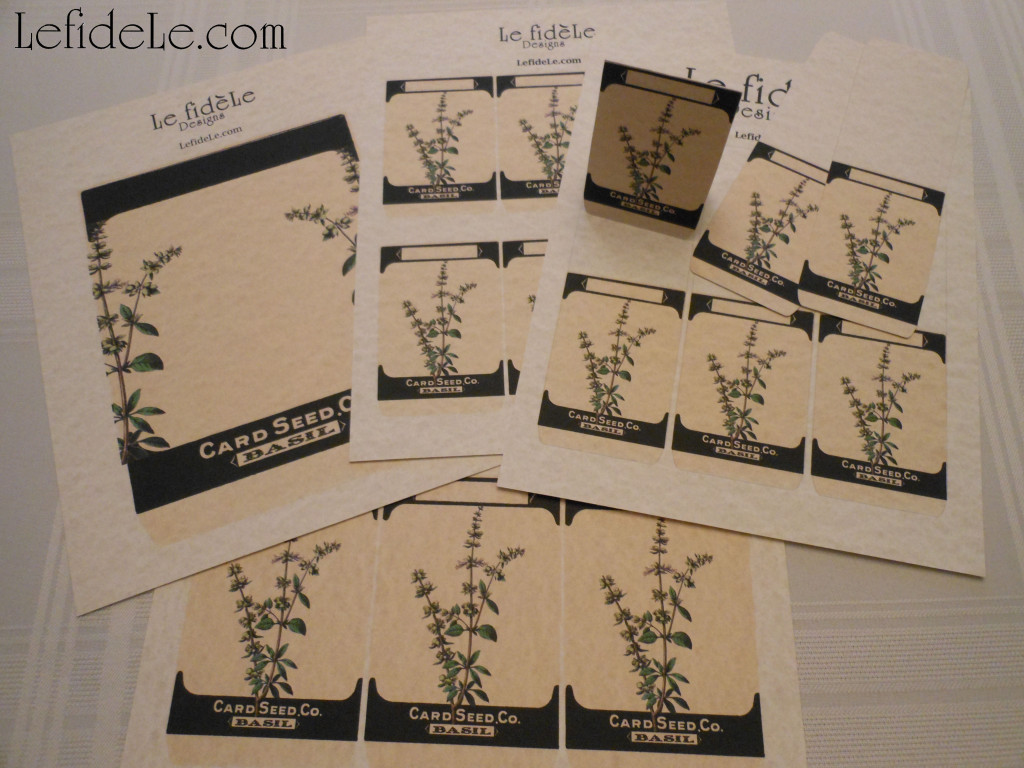
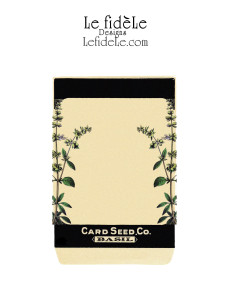
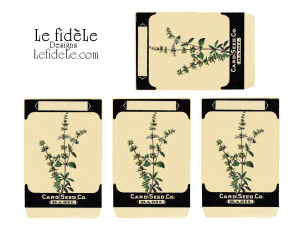
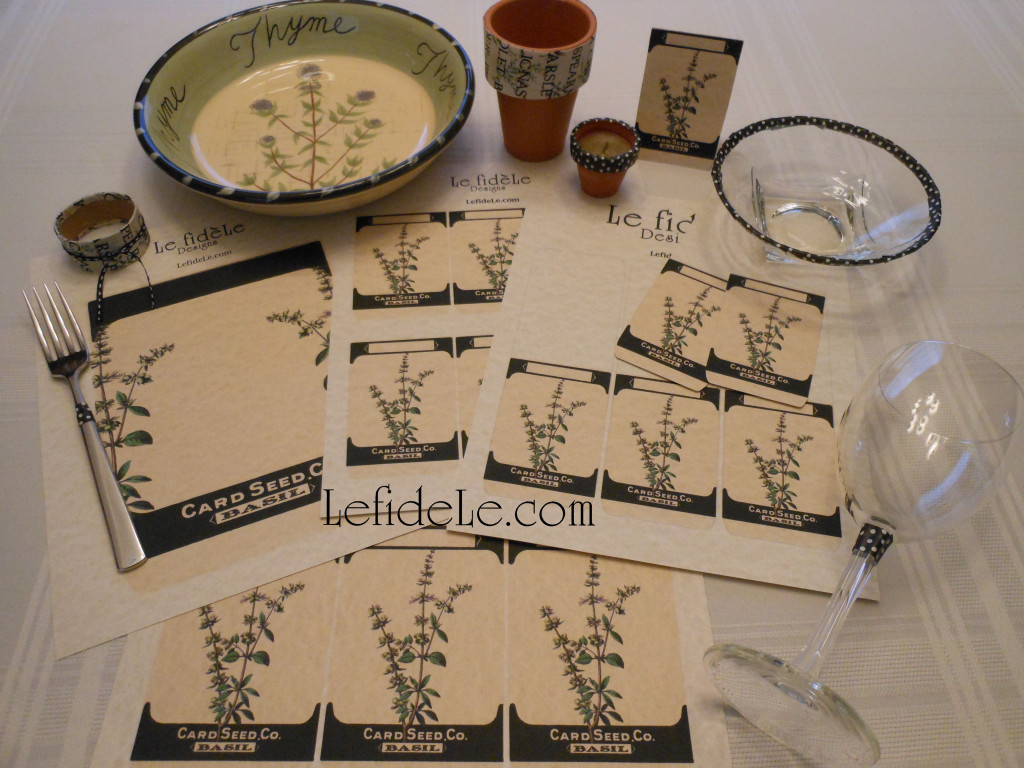
Now let’s make basil seed card invitations, menus, food tents cards, place-cards, and even herb markers for your tablescape. (Please note that my seed card printables are free for your personal use only.)

200Leigh

Simply right click on a small image below and select print. Choose color and photo settings for the best results. Print them on a thick paper cardstock that won’t curl.

HerbPlacecardsLeighHerbInviteLeighHerbMarkersLeigh

Cut them out by the lines, and fold the pieces that need them into tents.

244Leigh

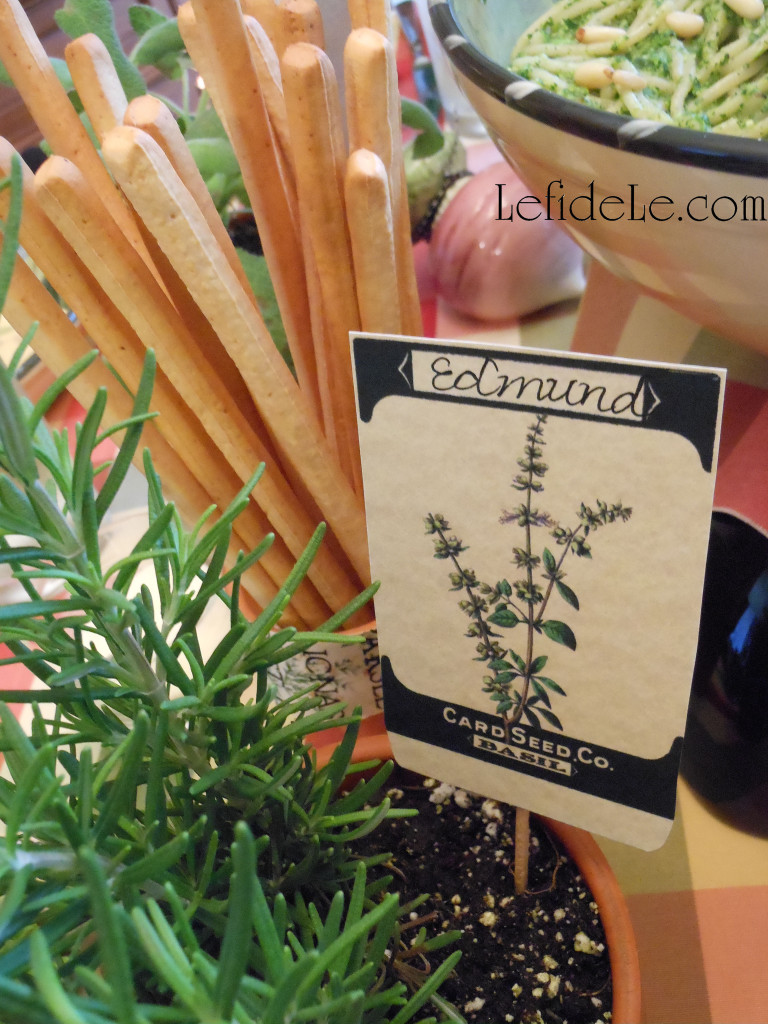
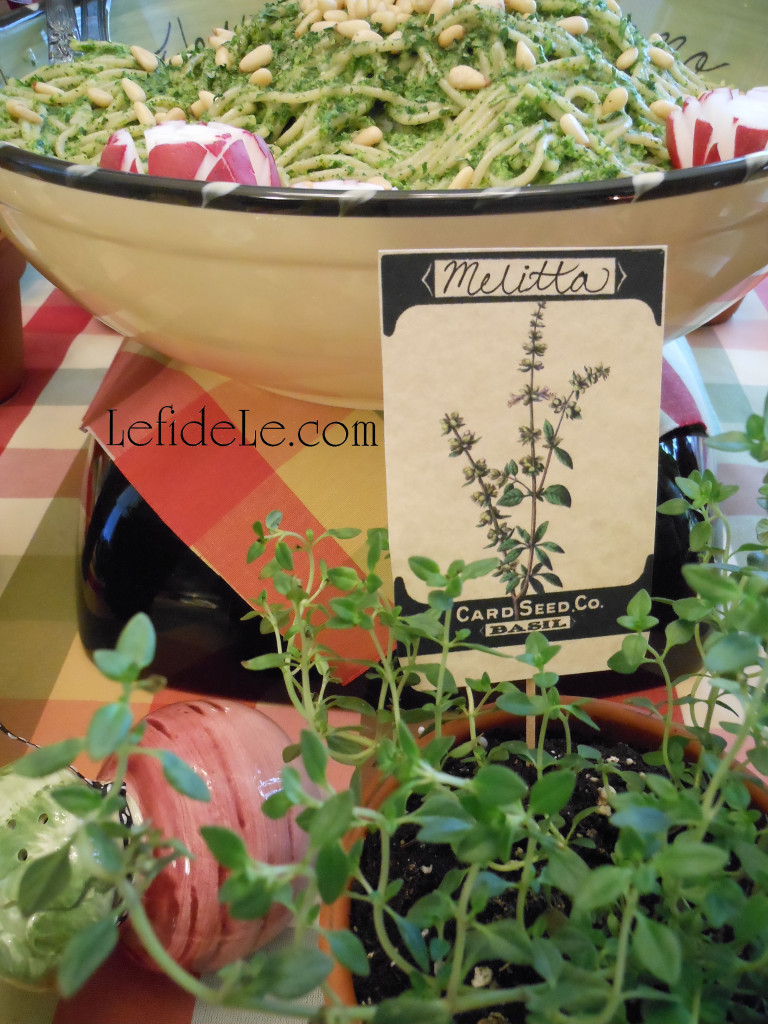
I taped the flat herb markers to toothpicks and wrote names on them to use as place-cards. The herbs they were stuck into then became lovely take home gifts for the name bearers.

224Leigh

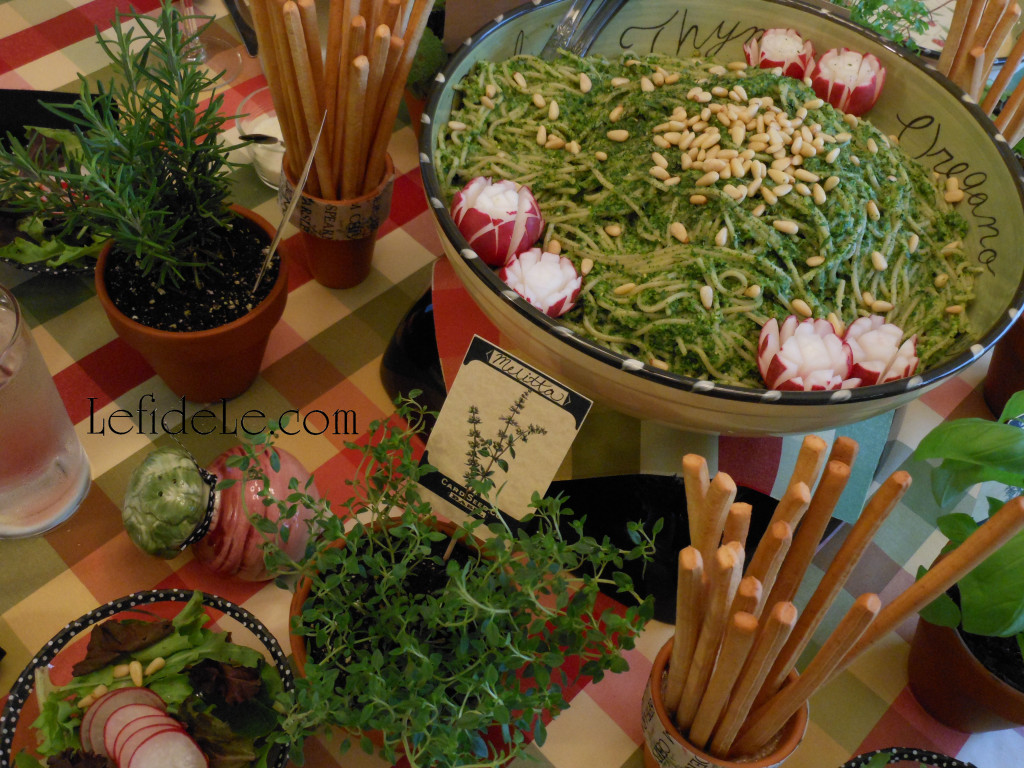
The herb pots were lovely to set around a centerpiece of parsley pesto pine nut pasta elevated by an inverted serving bowl. (A piece of cloth, sandwiched in between, ensured no slippage while serving.)

252Leigh

See the recipe for my Healthy Herb Garden Fresh Parsley Pesto Pine Nut Pasta Recipe (Gluten-Free, Dairy-Free, Soy-Free, Vegan) here.

204Leigh

Race you to the craft room!

Faithfully Yours,

Leigh

Easy DIY Leaping Bunny Topiary Craft Tutorials with Free Banner, Wreath, Place-card, Invitation, & Thank You Note Printables (for Easter, Showers, Luncheons, & Brunches)

253Leigh

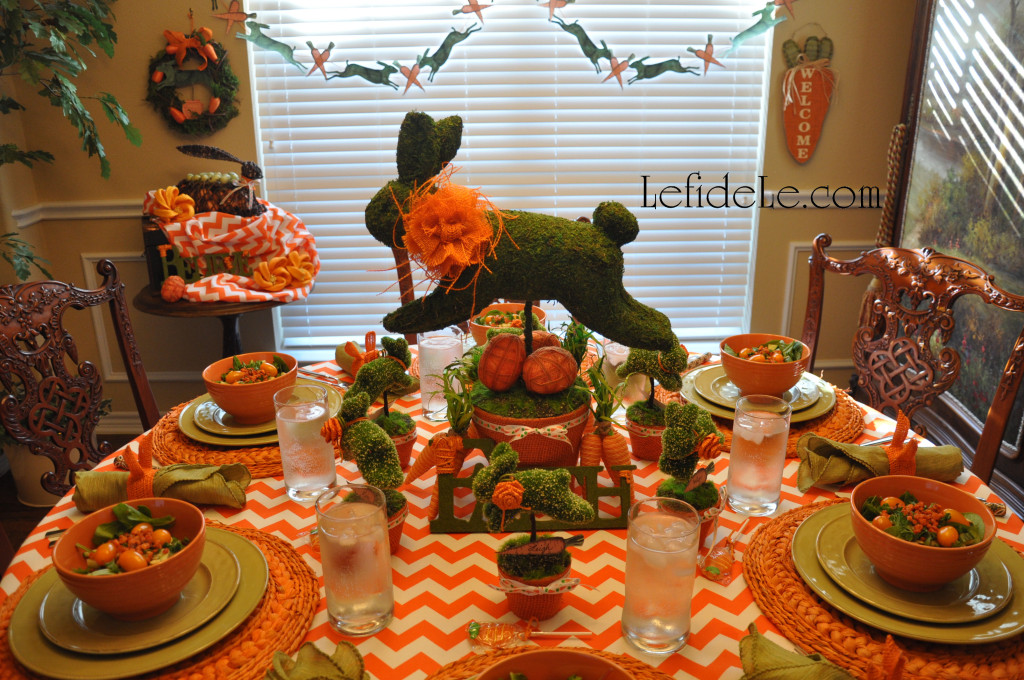
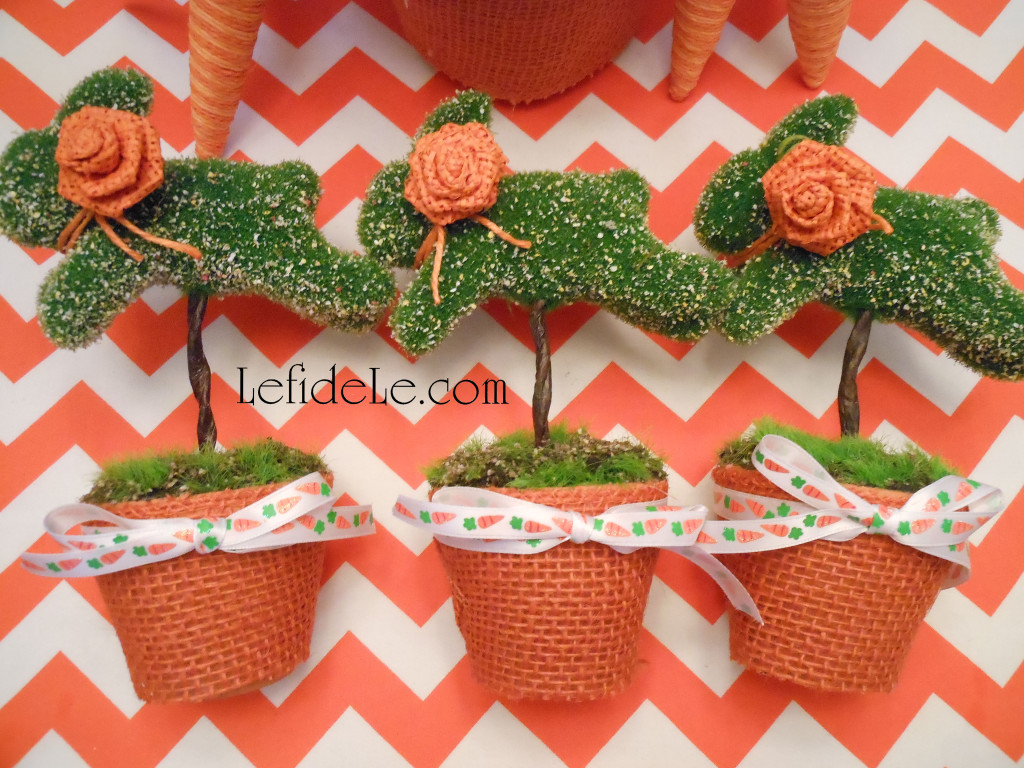
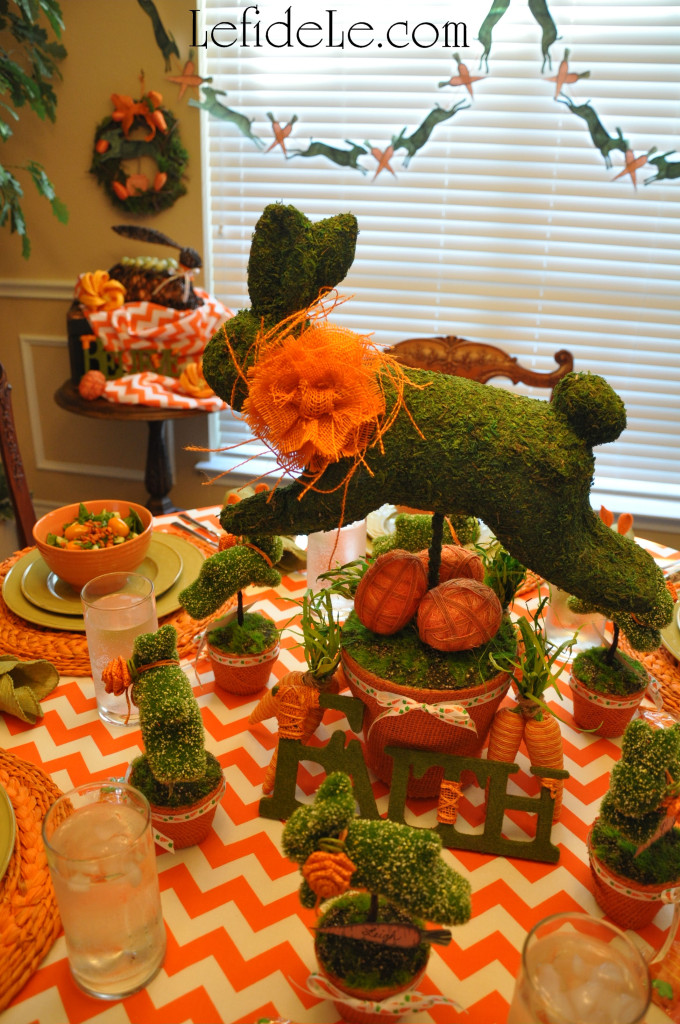
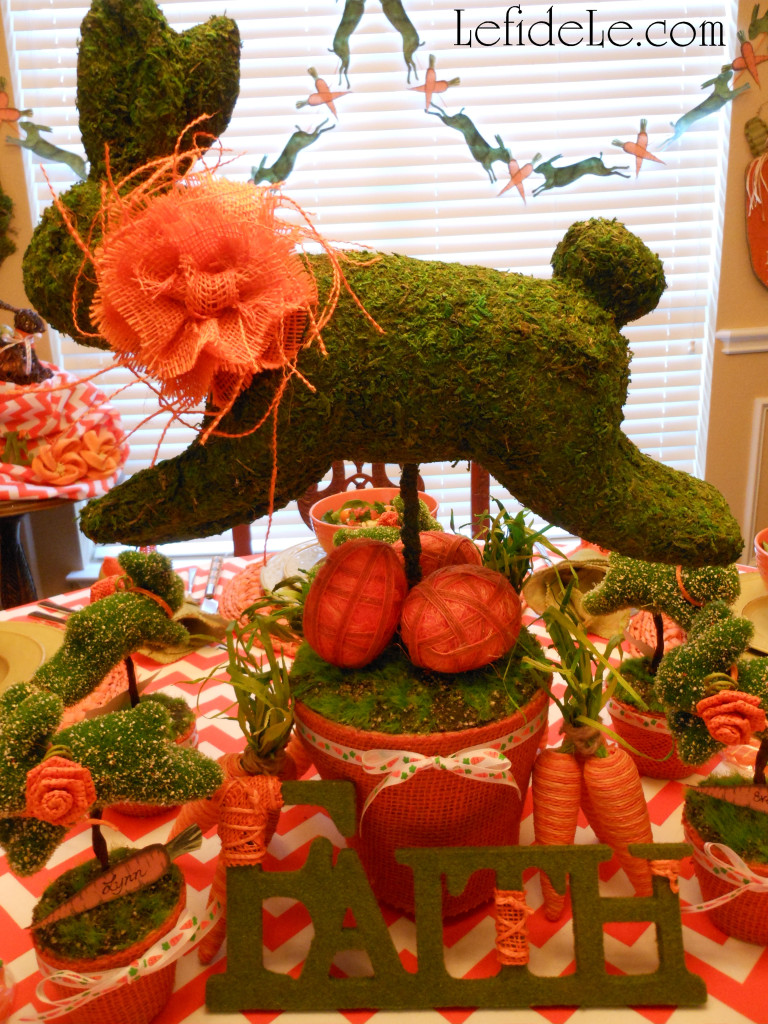
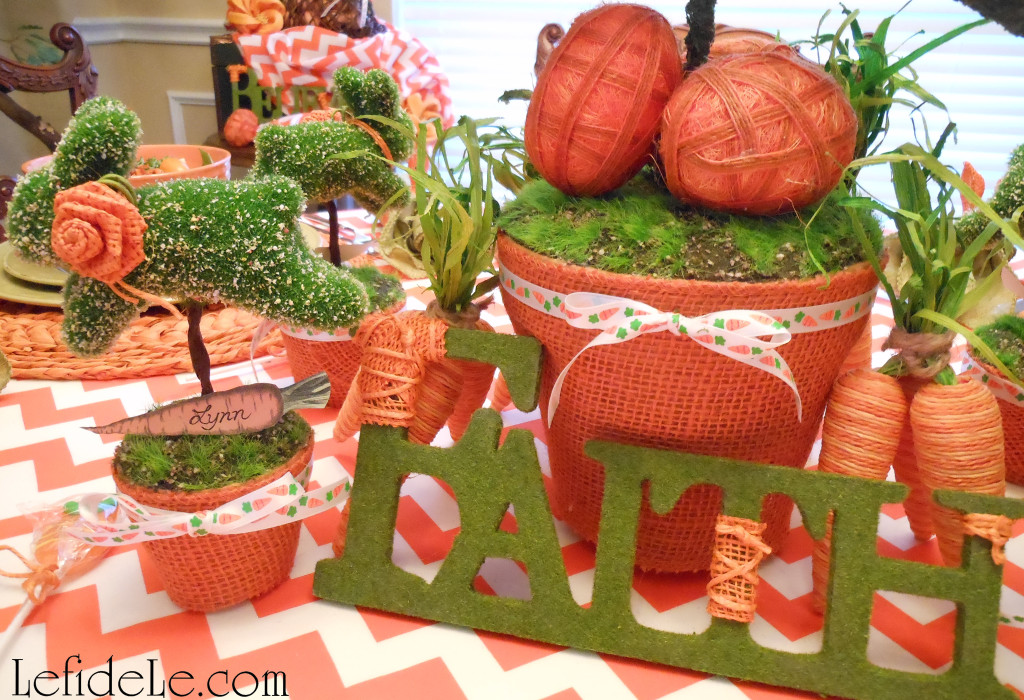
Make your own tabletop garden full of leaping bunnies for your next indoor garden party. DIY these easy projects 3-dimensionally or with my free printables… or mix and match the crafts as I’ve done here. Choose your own color and theme to embellish the bunnies with, or follow my lead and make burlap carrot pots to sprout your menagerie from. Better yet, keep the wraps, rosettes, and ribbons nonpermanent so the bunnies may be used again for another theme. Let these rascally rabbits transform your spring fling into a colossal cute –fest today!

256Leigh

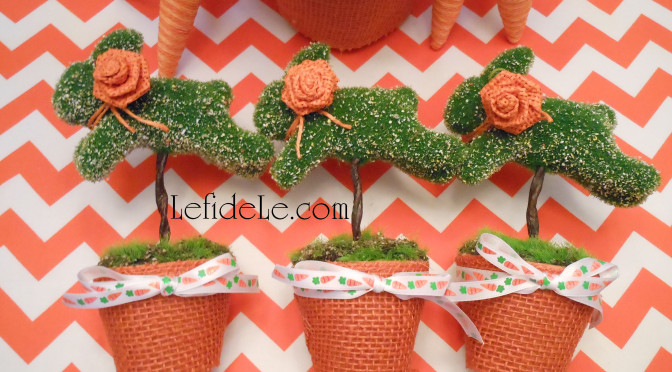
I’ve seen faux foliage covered bunny and bird ornaments as well as topiary picks at several stores locally, and online the choices are endless. Using one of these ready-mades is the quickest way to craft a 3-dimensional creature topiary. (I’ll tell you how to make 2 other types later.)

020Leigh

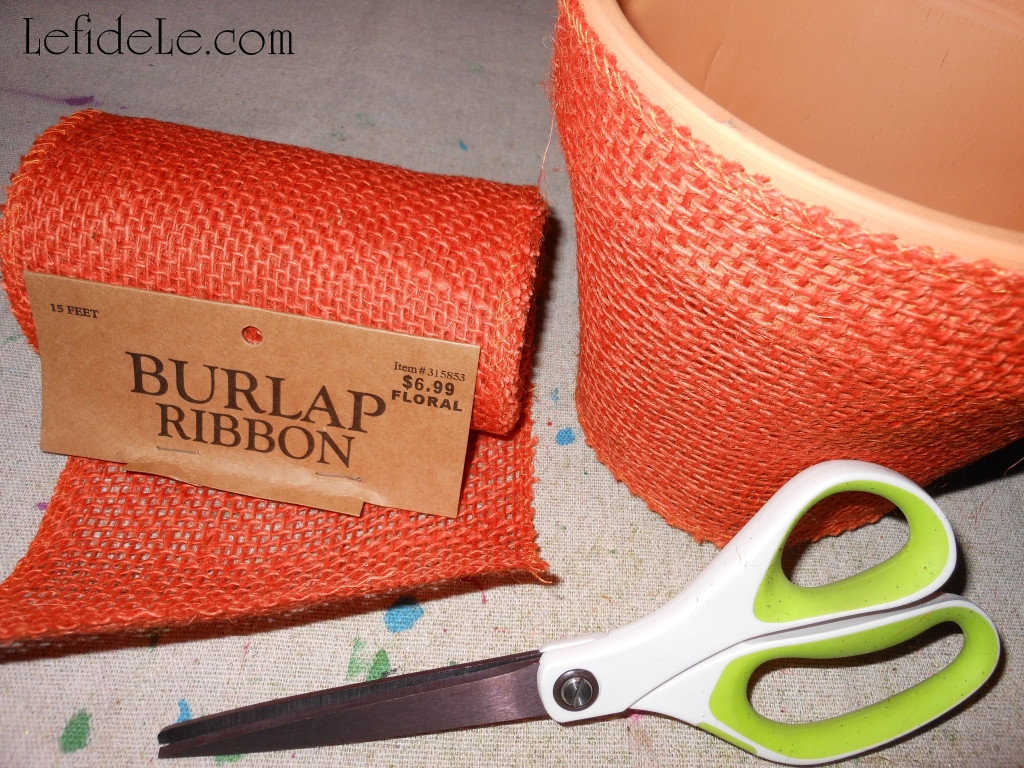
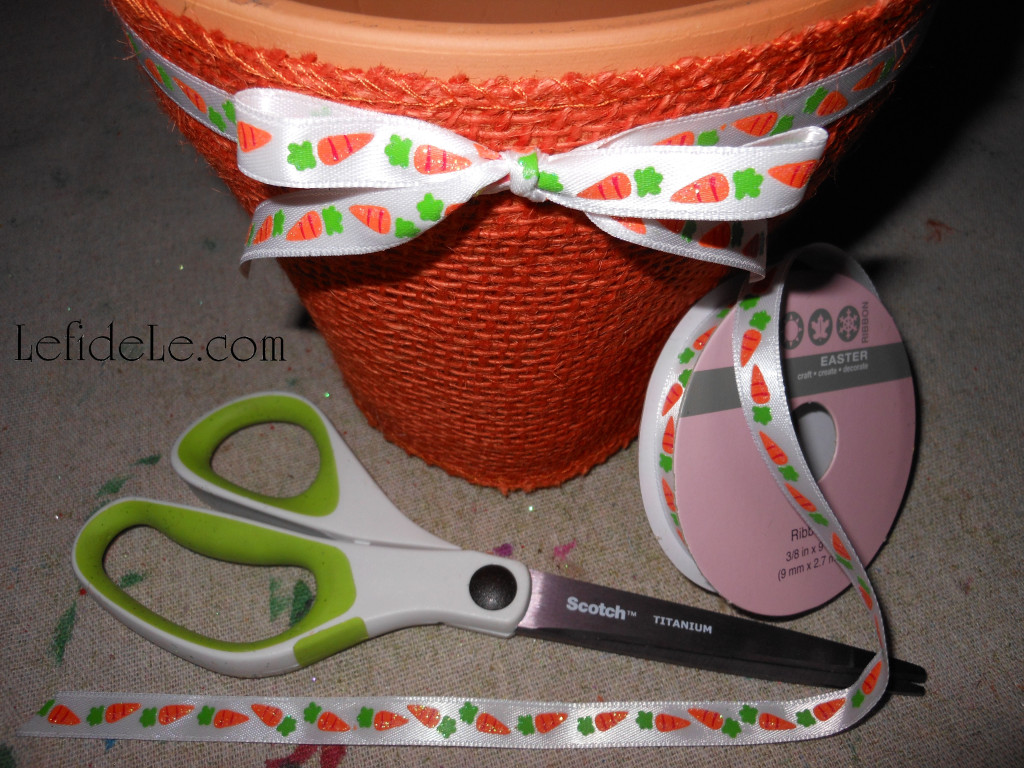
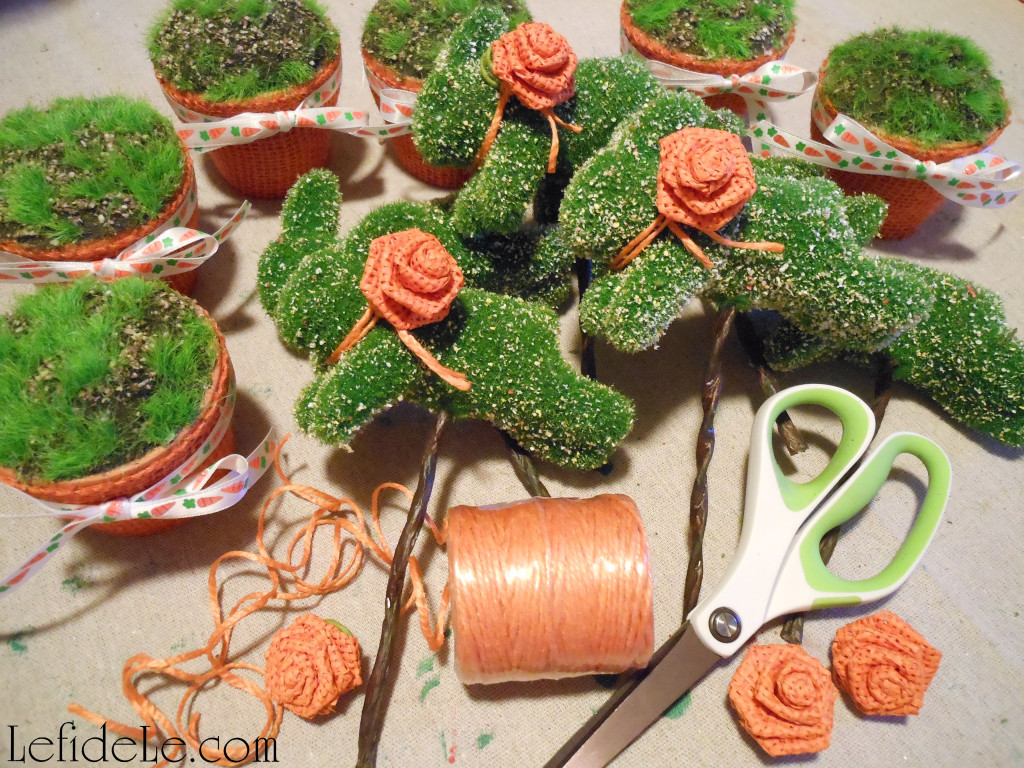
Wrap small terra cotta pots with burlap fabric or ribbon, and cut after the overlap. Use dots of hot glue to adhere one side to the other. Avoid gluing the burlap to the pot if you’d like to reuse these with another theme, as I’ll be sure to do in the future. Trim the excess length off with scissors so that the pots sit flat on the table.

023Leigh

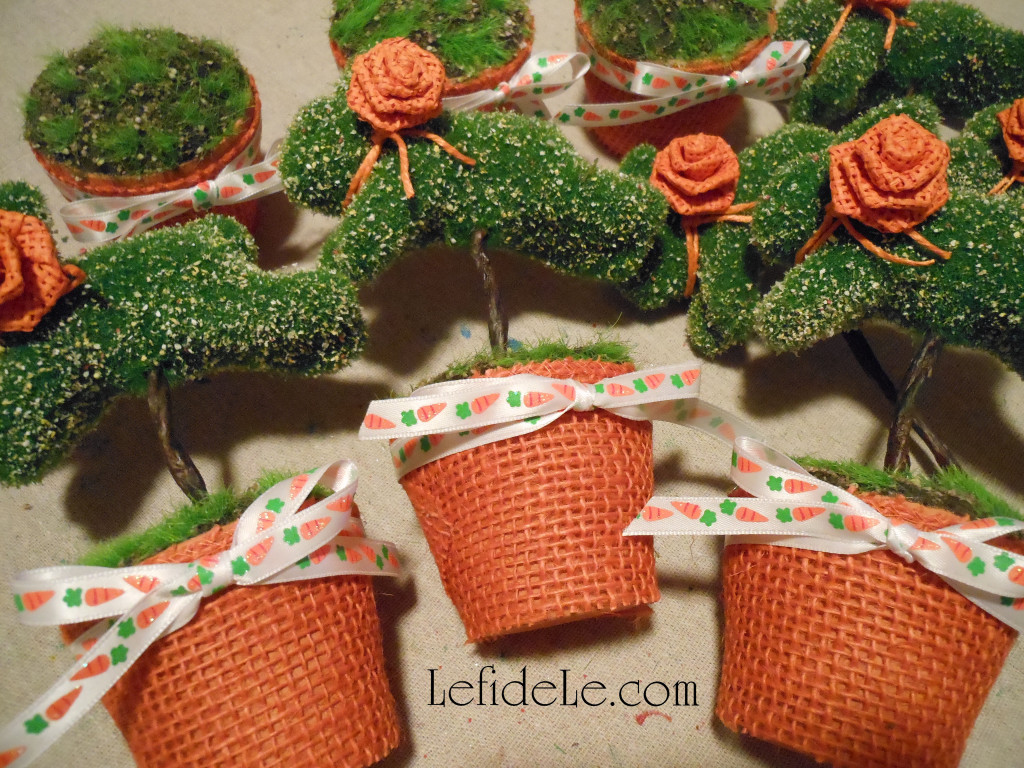
Add a length of ribbon around the top and tie it in a taut bow. This is not only decorative, but is a trick to keep the burlap securely in place without having to glue it permanently.

005Leigh

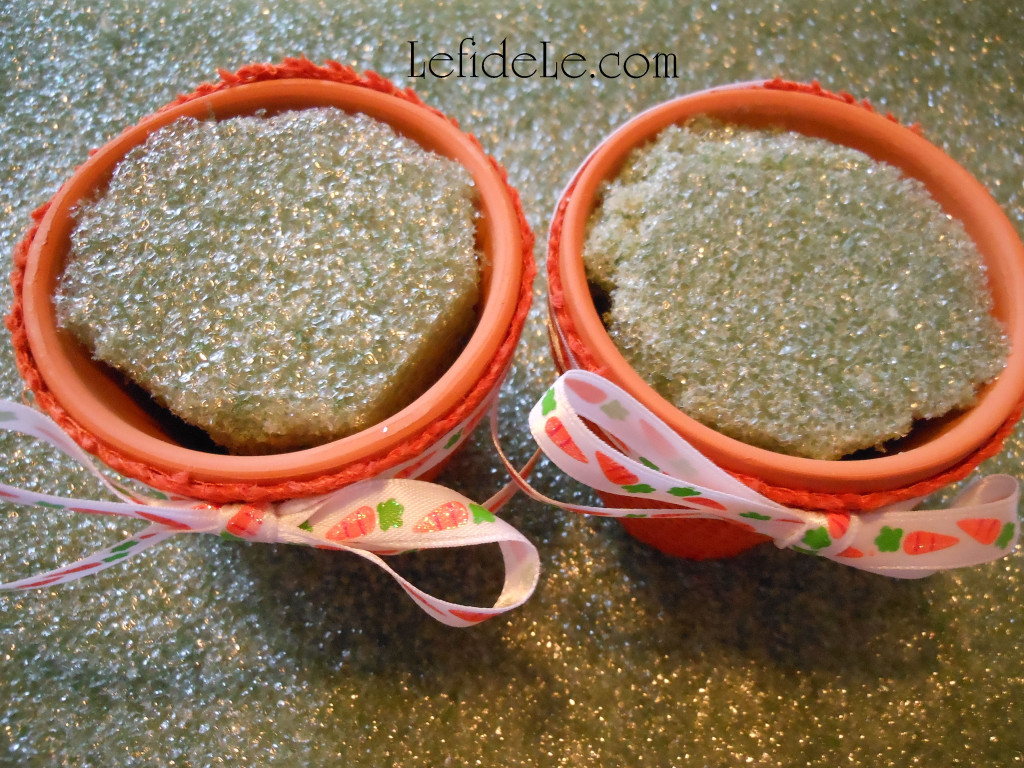
Fill each pot with a chunk cut to fit, from a large block of stryofoam. Wedge little chunks of stryofoam in between the large block and the wall of the pot until the large block has no wiggle room. This keeps your creation from drooping later.

006Leigh

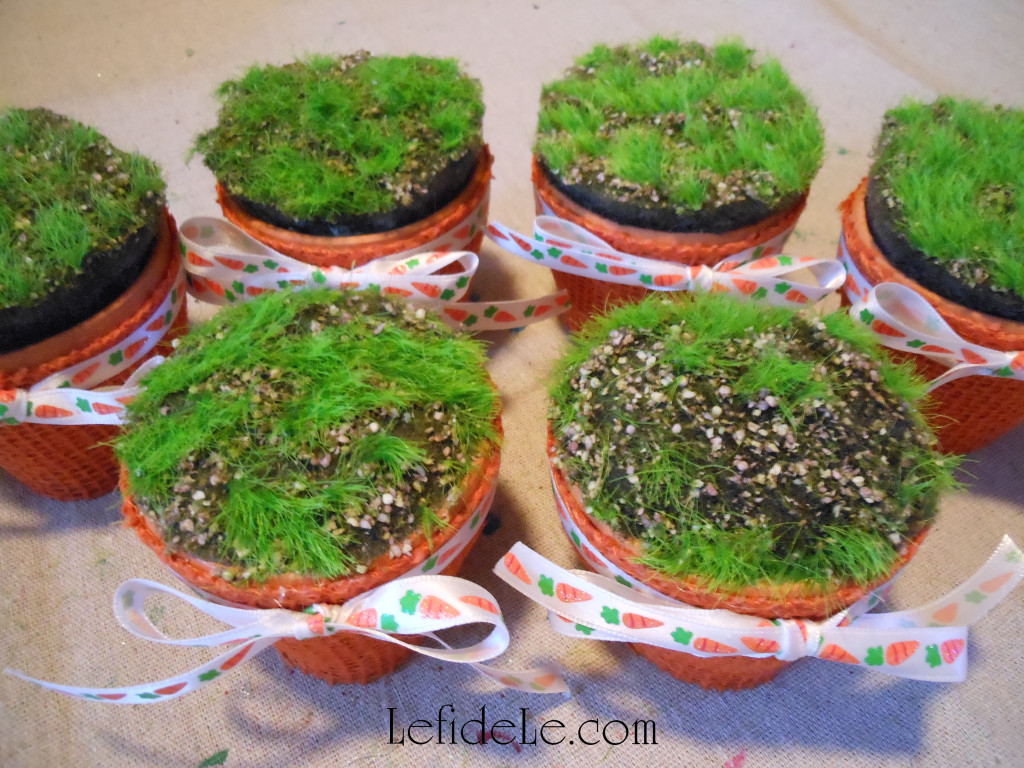
Glue ground cover to the top of your moss. Do this by cutting the green edges to fit the pot, and gluing those edges to the rim. I used faux earth meant for a table runner, but I’ve seen similar stuff in the form of placemats as well. Other options are faux Easter grass, moss ribbon, Astroturf, green burlap, or grass printed scrapbook paper (for the printable topiary).

010(2)Leigh

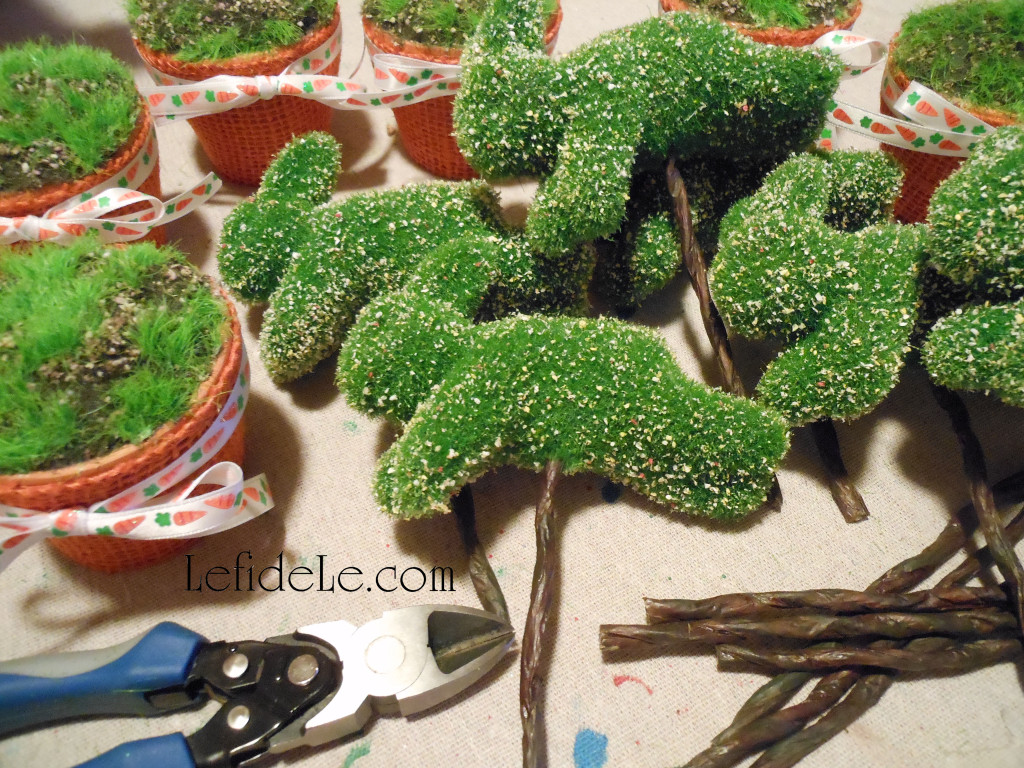
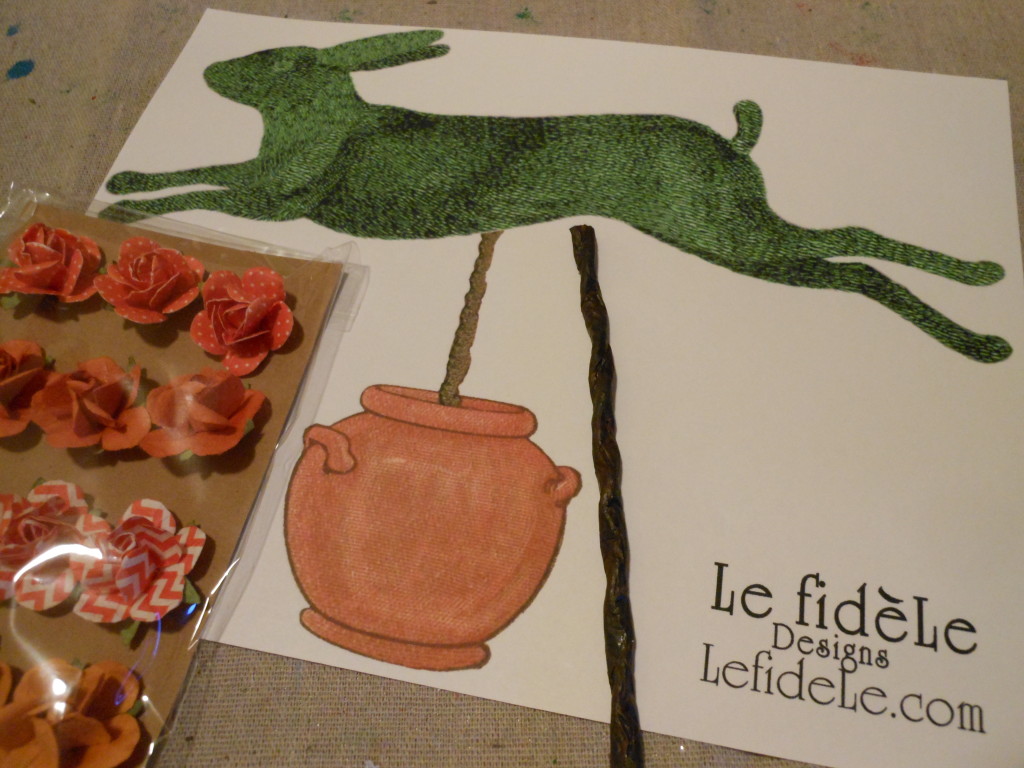
Cut stems, sticks, or dowels to jab into your ornaments, and wrap them with brown floral tape. If your animals are already on sticks, simply cut them to size with good sheers.

013 (2)Leigh

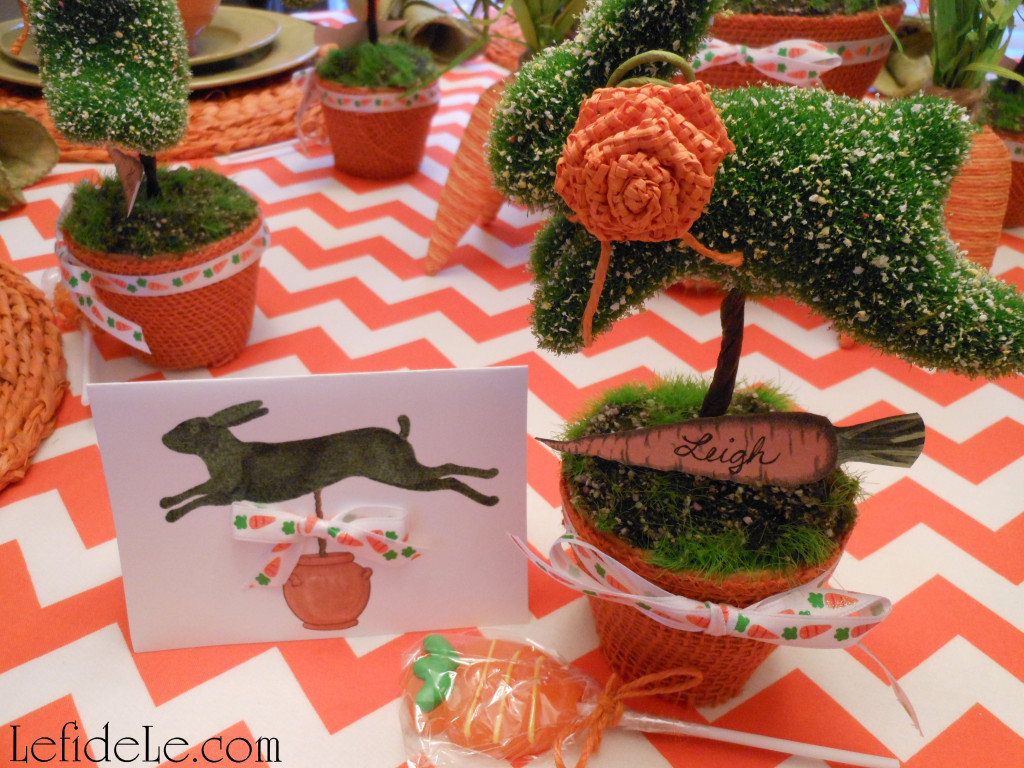
It’s easier to embellish your bunnies before potting them. Double-wrapped a length of jute (or yarn, ribbon, twine) around each bunny neck and knot it loosely. Slip a burlap rosette under the jute so that it sits securely without glue.

014 (2)Leigh

Make a pilot hole into the center of the green stuff. Do this carefully with any sharp point from an awl to a screwdriver. (I used a scissor side… but I have a tendency toward crafting dangerously.) Lastly, jab the bunny stick into the pilot hole.

134Leigh

Continue crafting the rest of your rascally rabbits.

287Leigh

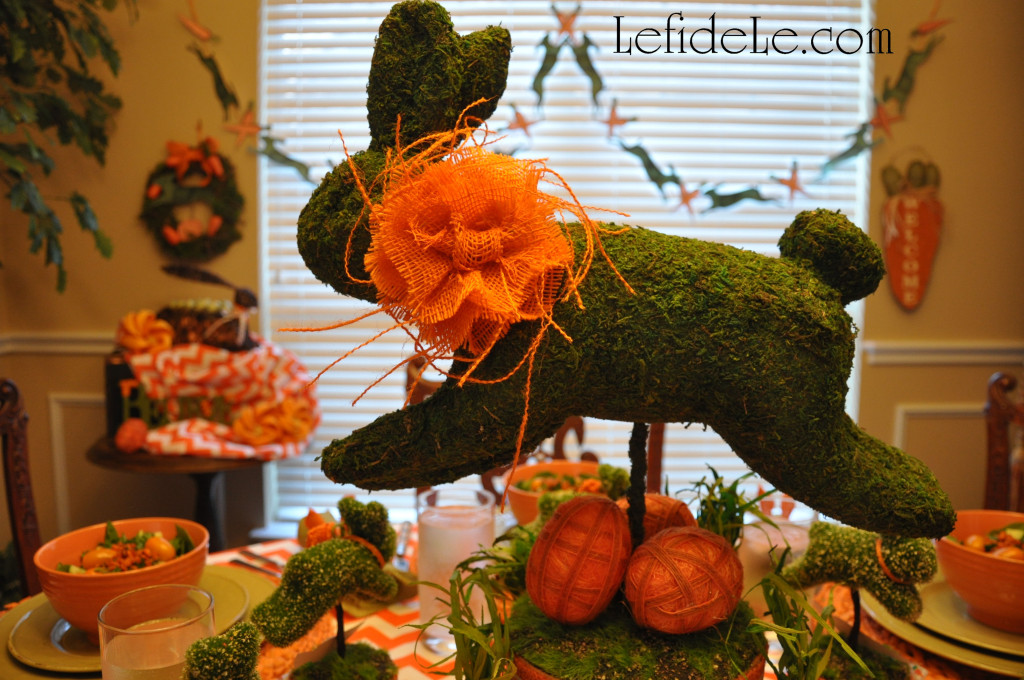
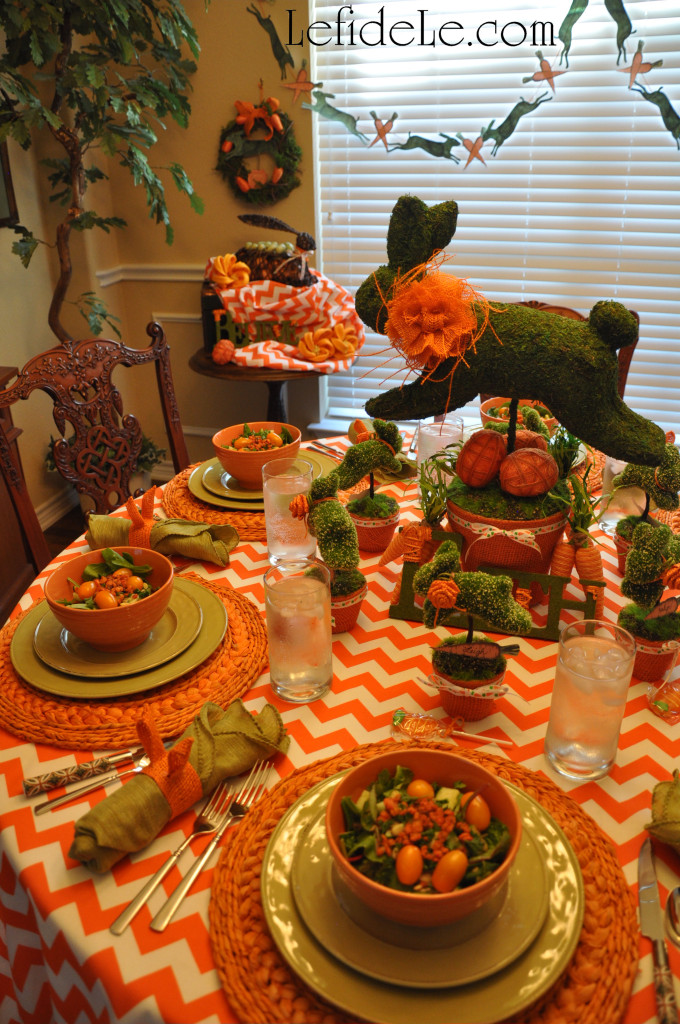
Another option is cover a carved styrofoam shape with moss, as I have done with the larger bunny centerpiece. I’m not going to cover that in detail here because it took a lot more time, energy, and patience. If you choose to go that route, you can either purchase a ready-made animal shape, or carve one from a block of stryofoam yourself. Foam cutting knives are available that will make the job slightly easier.

257Leigh

One way to add foliage is to cover your creation with moss ribbon as I have done. This is a kind of moss covered carpet tape. Cut it into pieces and round the edges, so that the animal shape may be completed in an unseen patchwork. Adhere the patches with hot glue, pressing firmly.

130Leigh

 Embellish it with a burlap ribbon collar and flower, and pot it in the same way as I showed you earlier. I wanted to reuse the bunny topiary again for future themes, so I did not glue the collar to the bunny. I simply glued the flower to one end of a length of ribbon, and then wrapped the ribbon around the neck. I began with the blank end and looped it underneath. The weight of the flower resting on top of the opposite ribbon end kept it firmly in place. It will look completely different with a another color of base wrap and type of collar embellishment.

183Leigh

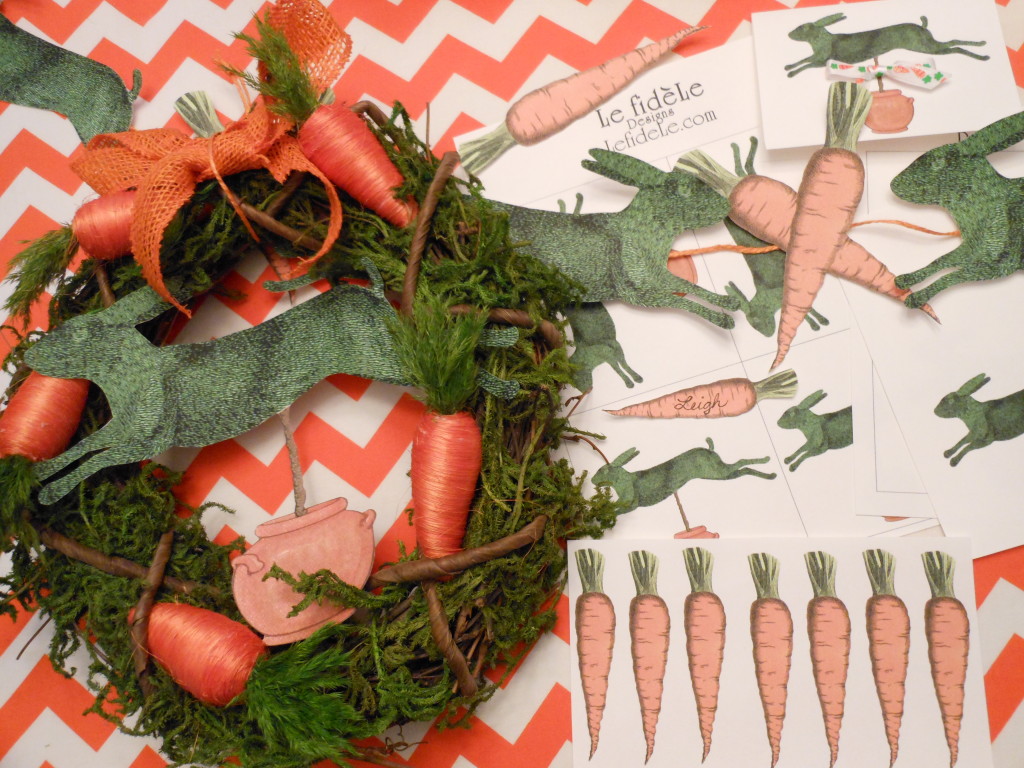
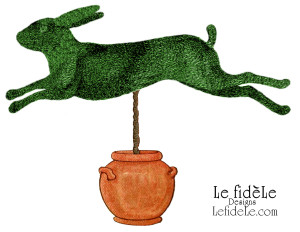
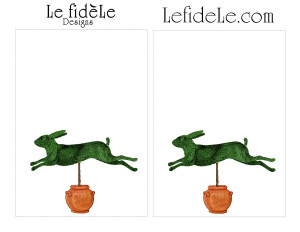
The following are my leaping bunny printables (free for noncommercial use). Right click on the image you want to use, and select print. Choose color and photo settings for your printer, and print them on sturdy white cardstock.

BigBunnyTopiaryCraftLeighBunnyTopiaryCraftLeigh2BunnyTopiary5x7LeighCarrotsCraftLeigh


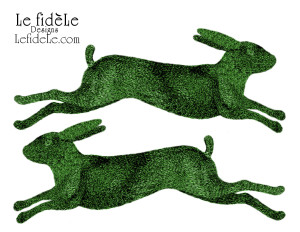
To make a paper topiary from my printables, begin by printing and cutting out the two opposite facing bunnies.

034Leigh

Glue them together, back to back with a stick or popsicle stick in between. Pot the stick, as shown previously, and embellish it further with paper rosettes and ribbons.

129Leigh

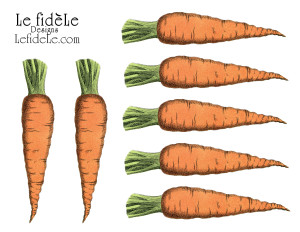
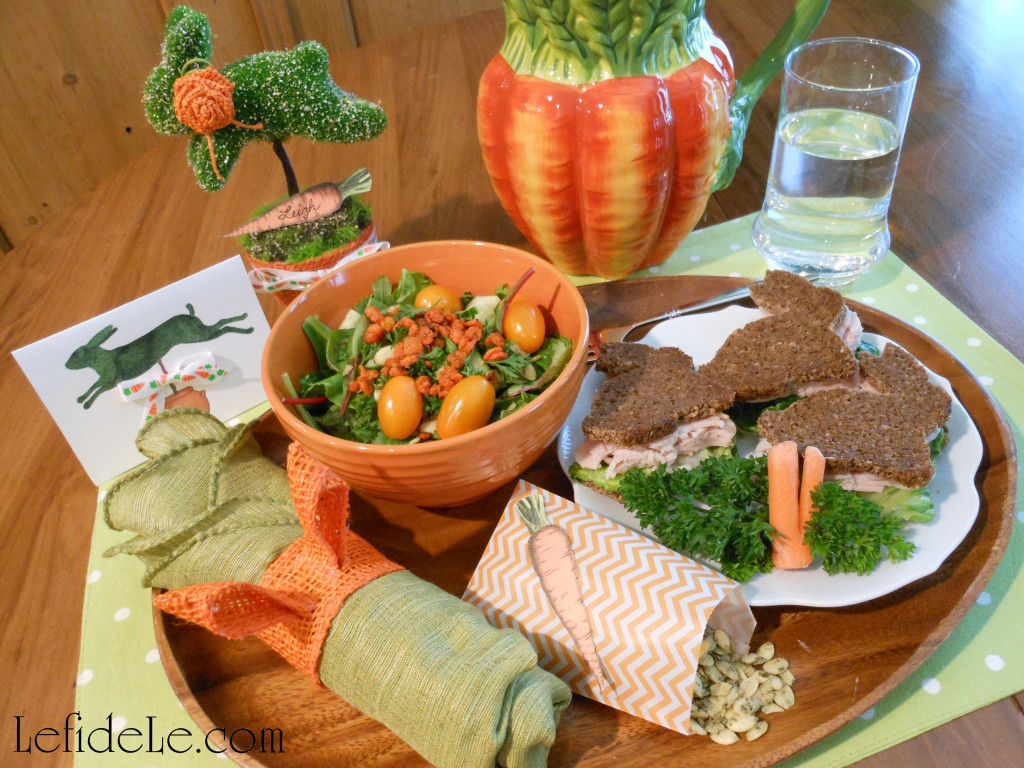
Cut out the carrots to use as place-cards that rest on your newly crafted topiaries. I printed mine, 2 sheets to a piece of cardstock, so that they would be smaller than the banner carrots.

158Leigh

Another option for folded place-cards, is to print out the 5×7 invitations / thank you cards and fold them in half. Embellish them with tiny bows or paper flowers, and write guests’ names on them.

198Leigh

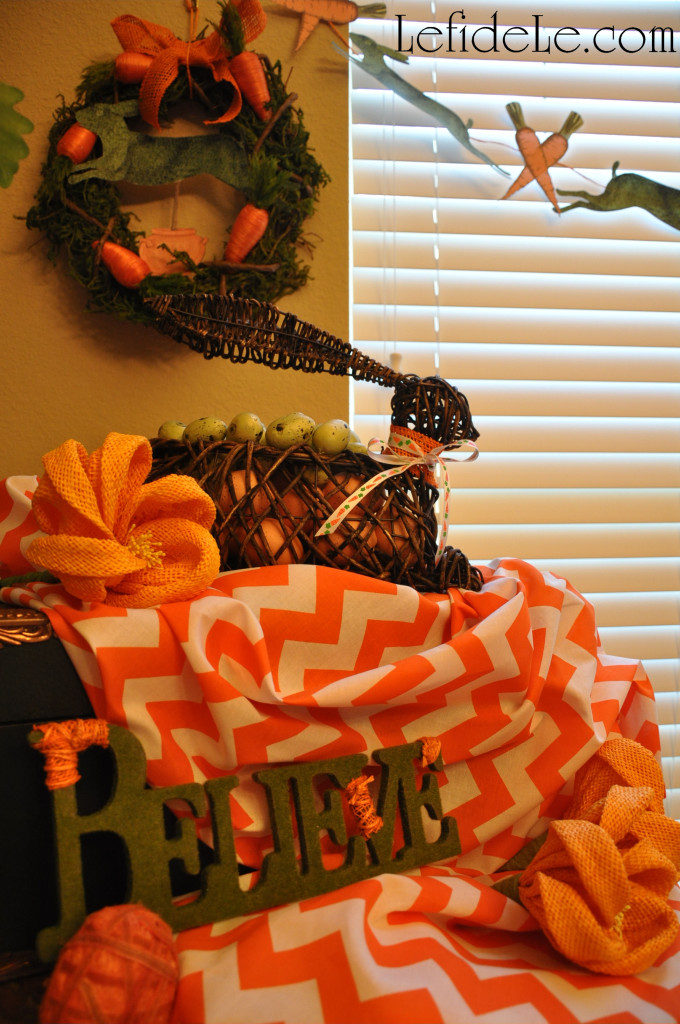
Adding my leaping bunny topiary printable to the center of an existing wreath is an easy way to update a piece you already own and make it fit perfectly to your theme. (This carrot wreath came from Le fidèLe Design’s affiliate Cost Plus World Market. Find a link to them with up to date coupons in the side bar.)

032Leigh

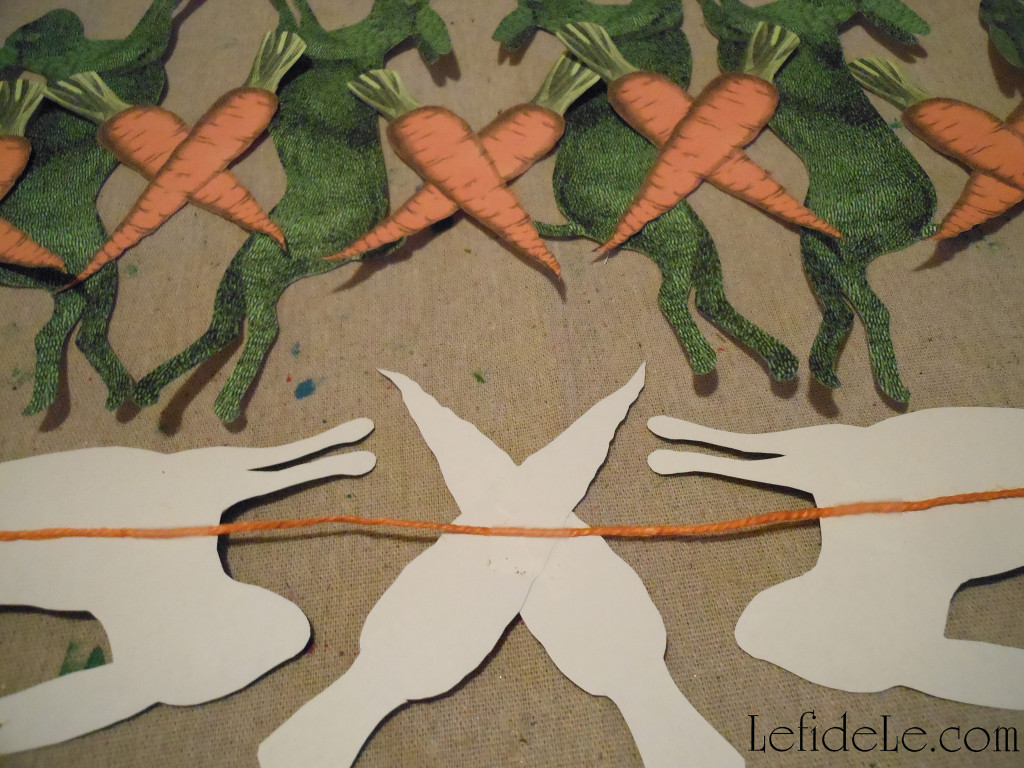
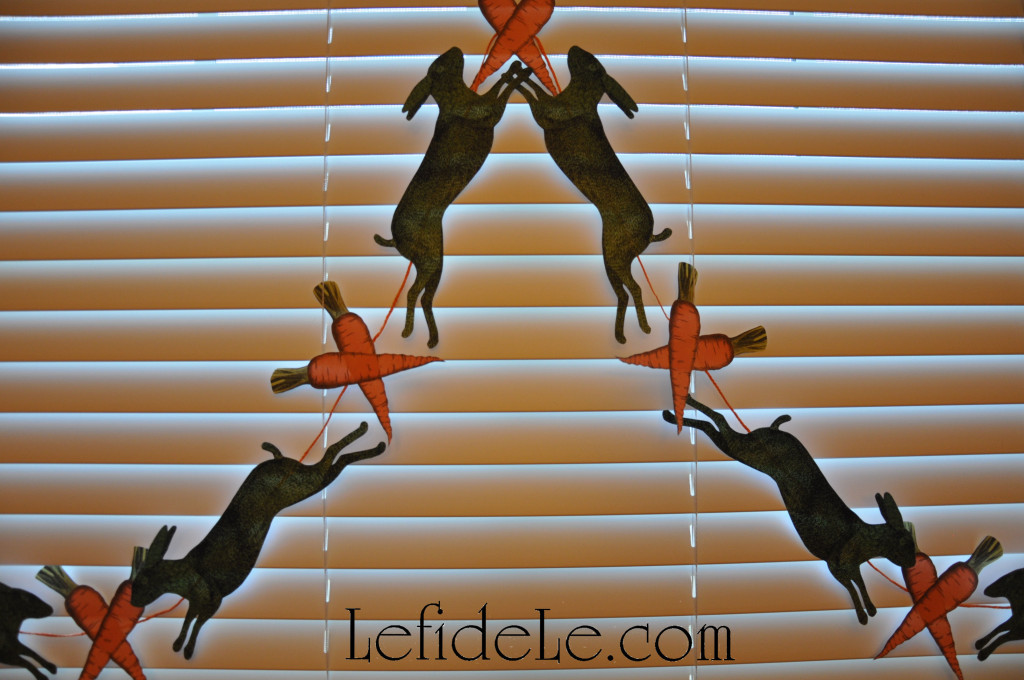
Make a banner with the bunnies and carrots by simply arranging them in a pleasing manner and taping the backs to jute, ribbon, twine, or yarn. I chose to criss-cross the carrots between the bunnies.

209Leigh

A loop at each end makes it easy to hang with clear thumbtacks.

113Leigh

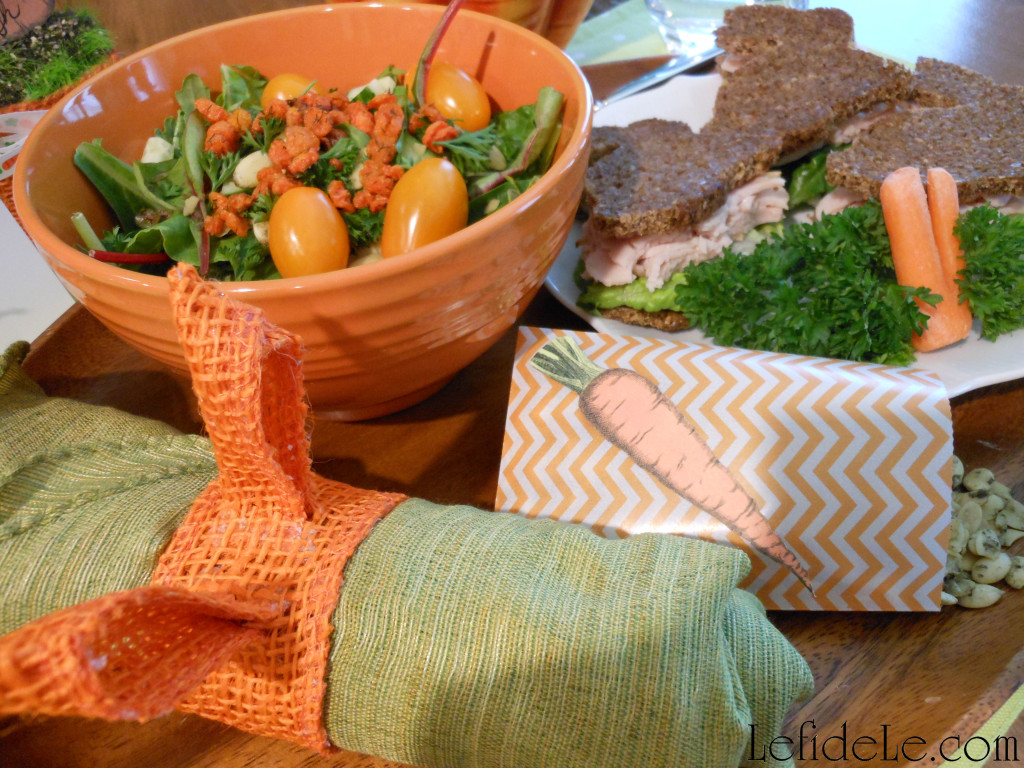
You can also attach the carrots to readymade treat bags like the orange chevron one here. It’s filled with sprouted pumpkin seeds as a part of a healthy and tasty lunch. (See more of this along with the recipe here.)

090Leigh

(Find the bunny ears napkin ring tutorial here.)

Faithfully Yours,

Leigh

P.S. The Easter Bunny approves this message.

WildBackyardBunnyLeigh

(This is one of the wild backyard bunnies visiting my porch!)

Fast & Easy DIY Burlap Ribbon Bunny Ears Napkin Rings Craft Tutorial (Perfect for Easter, Showers, Luncheons, & Brunches)

139Leigh

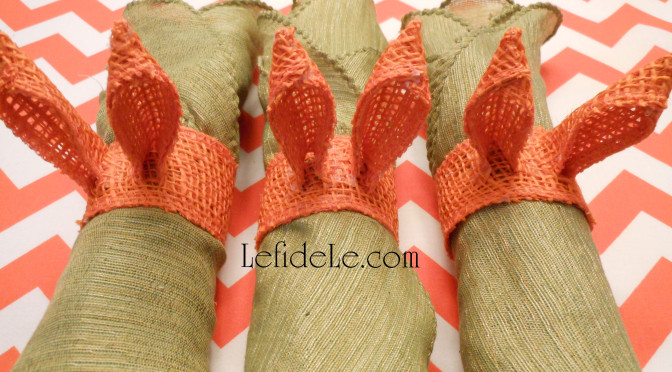
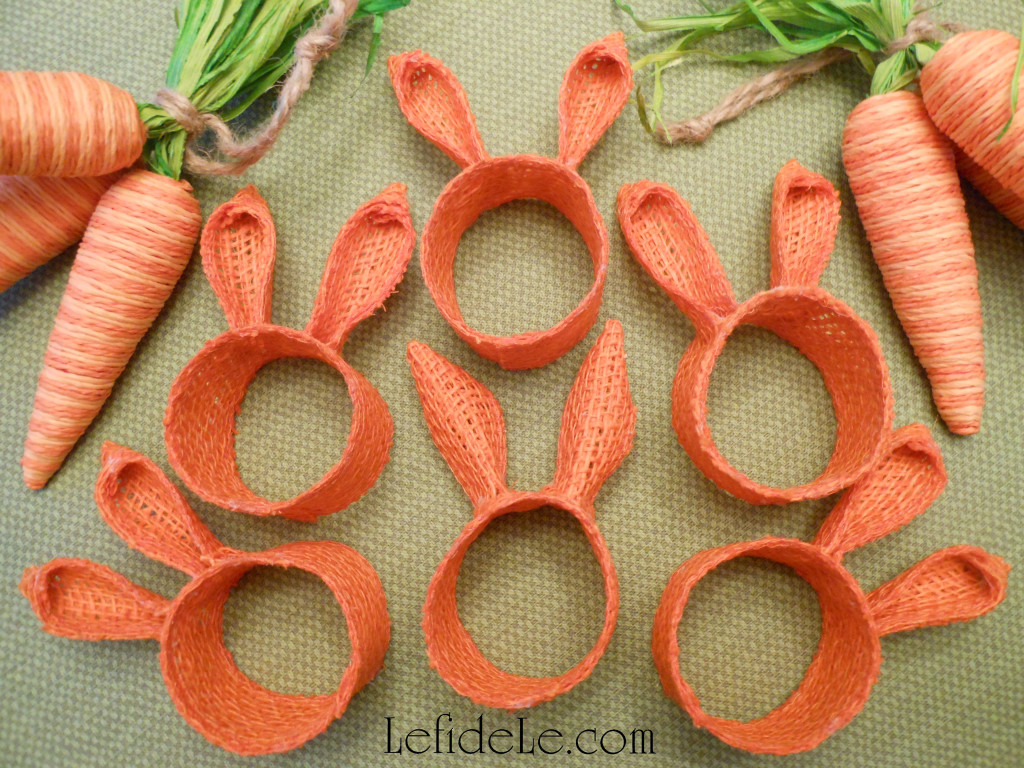
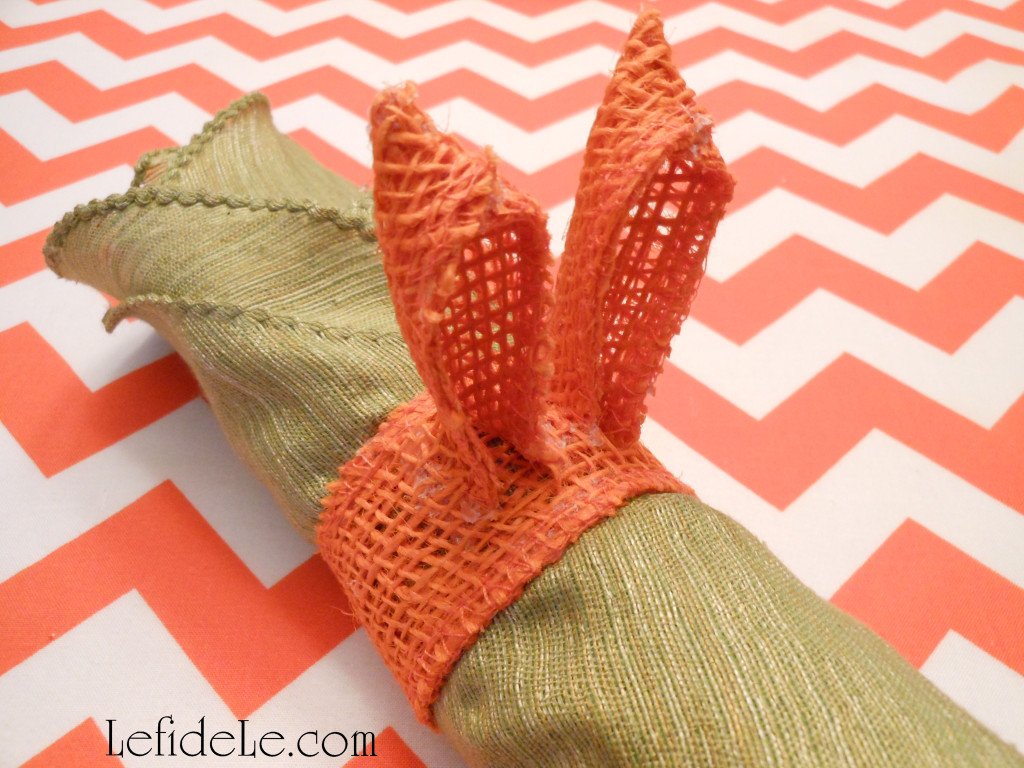
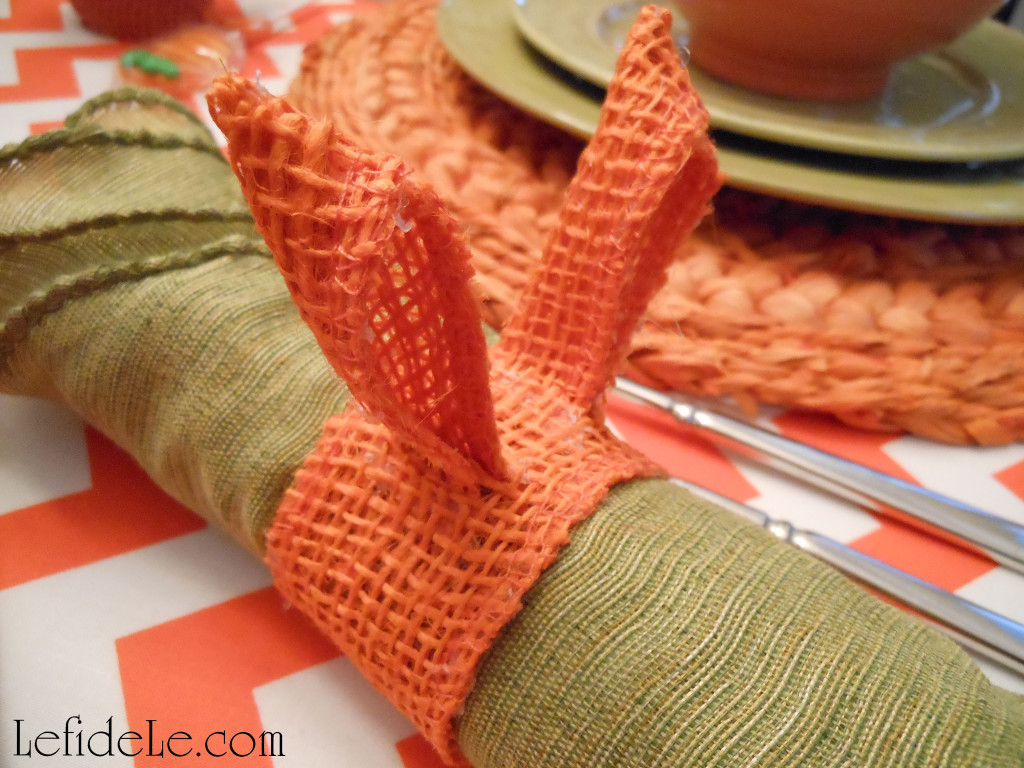
Why buy a set of bunny ears napkin rings when you can make your own for a fraction of the cost that suits your décor perfectly? This was the thought that sparked one of my cutest projects. 12 feet of 1 inch wide orange burlap ribbon was enough to make 6 rascally rabbit rings for my leaping bunny topiary theme, but many other ribbons would have worked just fine. Hot glue, scissors, and a ruler were the only tools needed to finish the napkin creatures in half an hour. What a perfect project for a spring “crafternoon”!

017 (2)Leigh

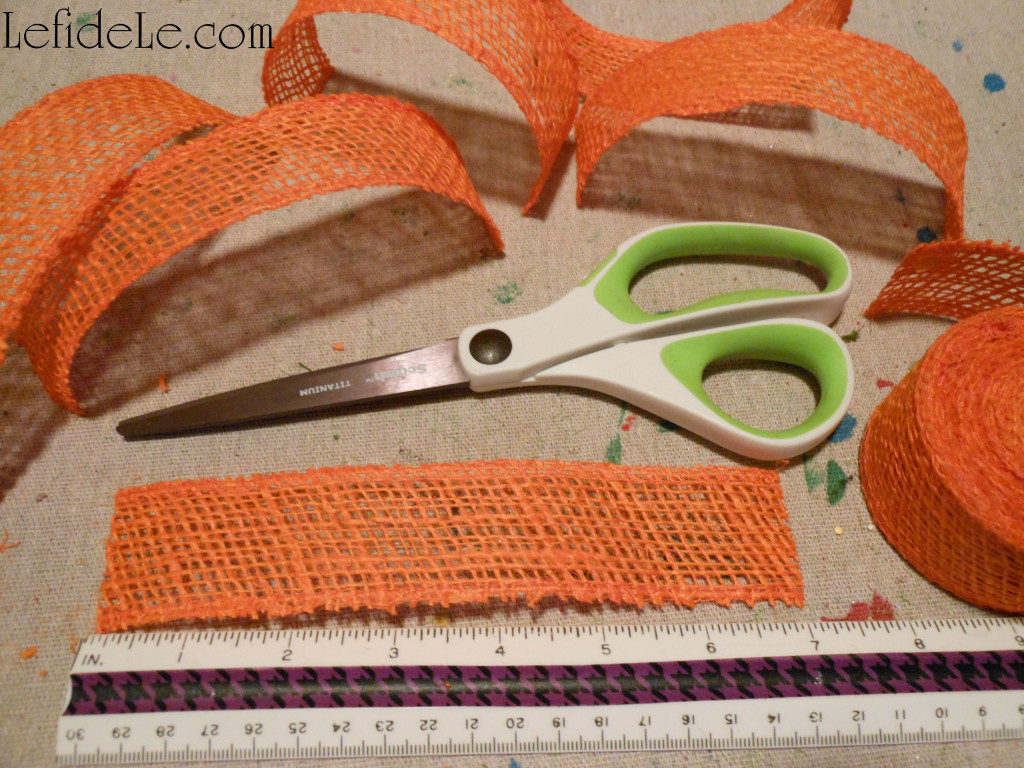
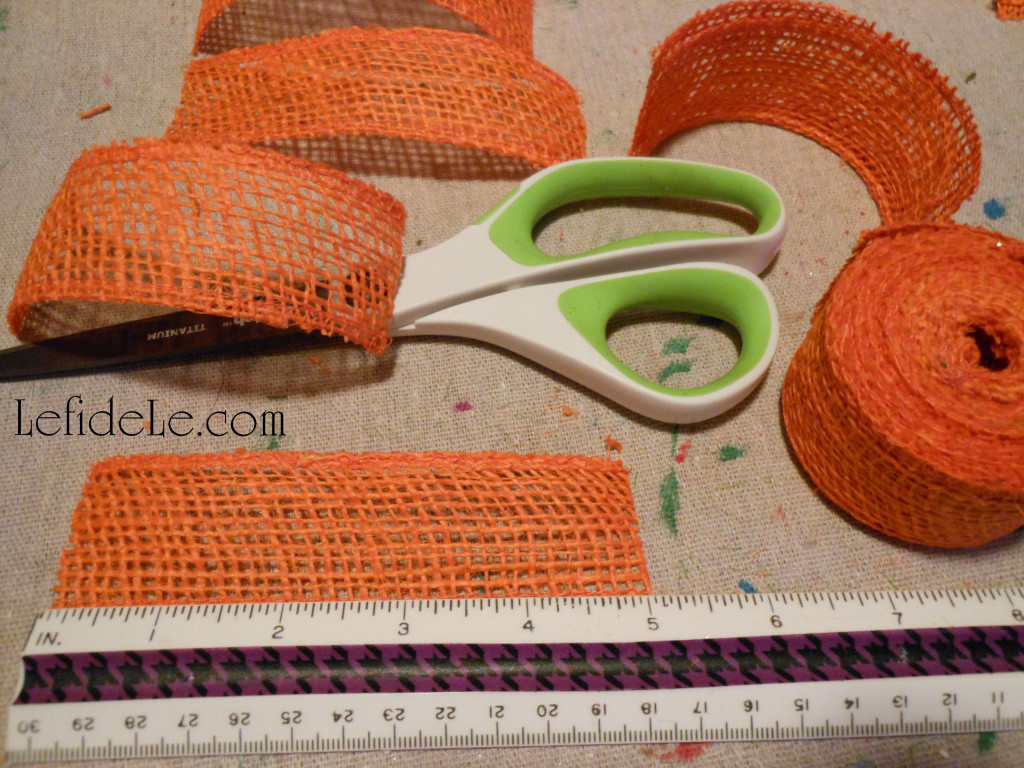
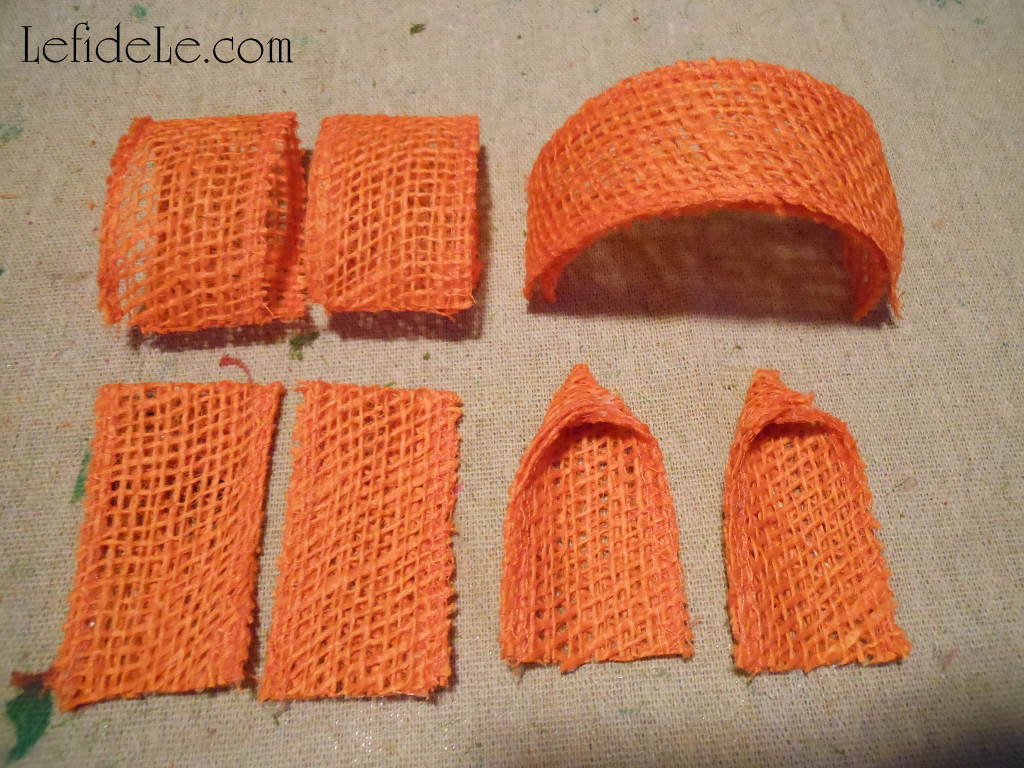
Each bunny will use about 2 feet of ribbon, so plan accordingly. Note that one inch wide ribbon is the perfect size for this project. Cut 2 lengths of 7 inch strips for each ring… or 12 strips for a half dozen rings.

019 (2)Leigh

Cut 2 lengths of 5 inch strips for each set of ears… or 12 strips for a half dozen rings.

020 (2)Leigh

Fold each 5 inch strip in half, and press a crease into the folded edge. Lay down a thin strip of hot glue along each vertical side edge, in order to glue the fold into place permanently. (Try using a cool temp hot glue gun to avoid burning your fingers with the hole-filled burlap.) Leave the bottom non-folded edges unglued, forming a tiny sack. At the top folded edge, take the right corner and fold it over toward the center. Then take the top left corner, and fold it over the right one. It will make the top of each ear. Glue the folds into place with a dot of glue, under the left corner and over the right.

023 (2)Leigh

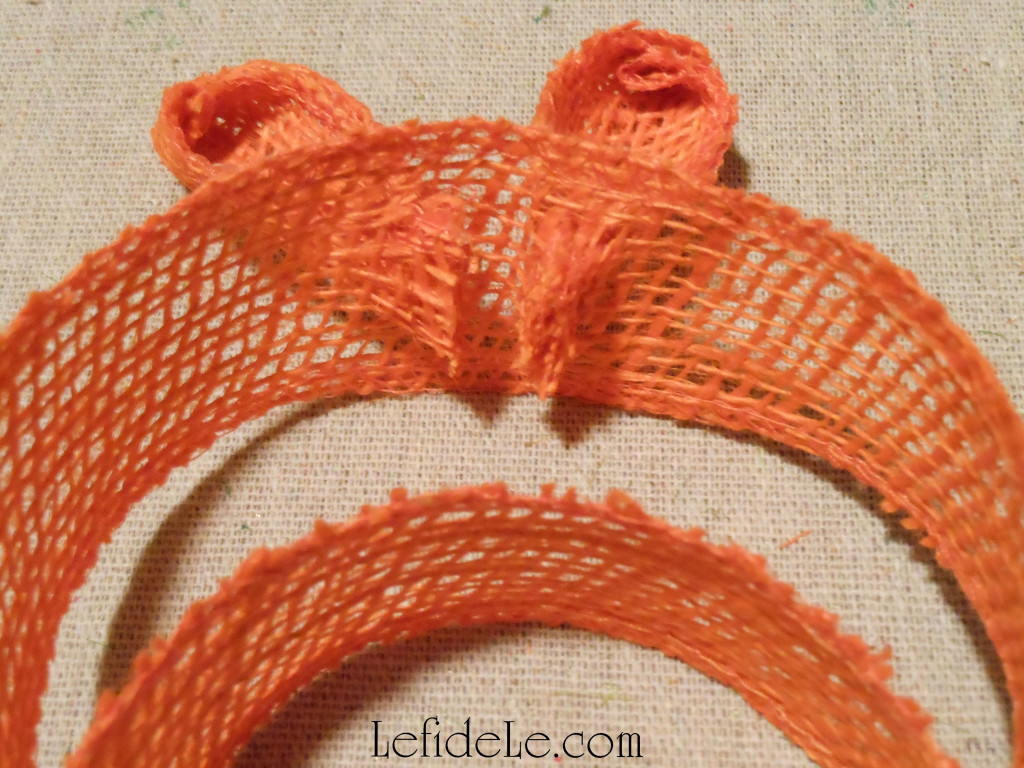
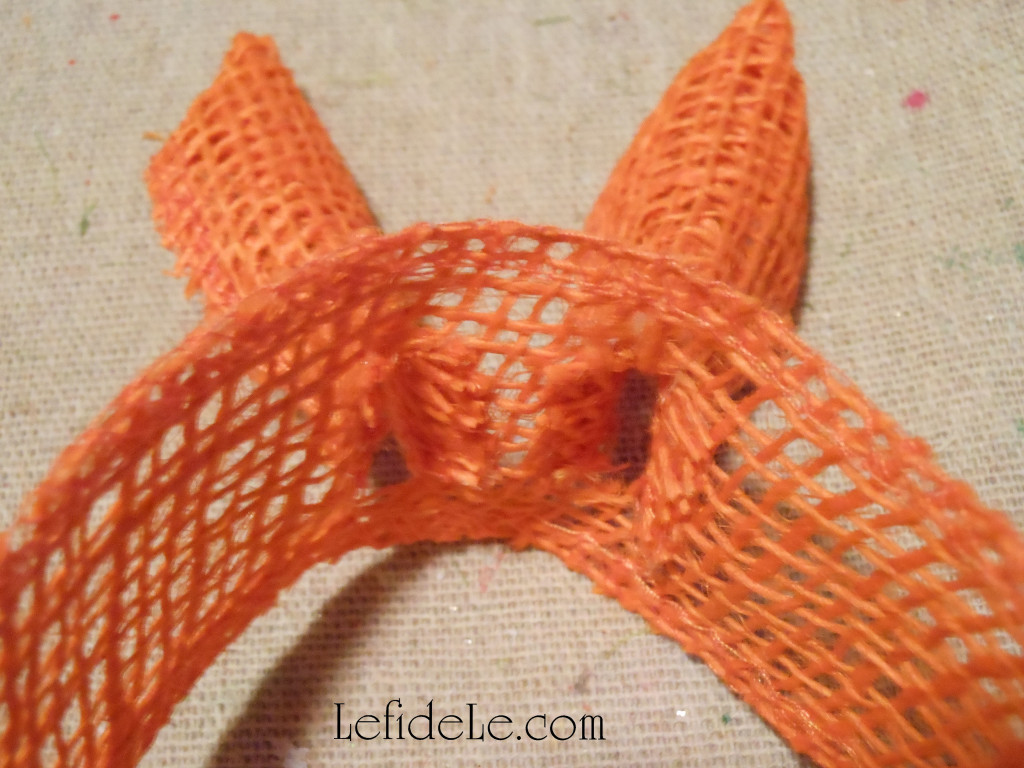
With all your ears made, assembly line fashion, get started on attaching them to the rings. Take one of the 7 inch strips and fold it in half to locate its center. Cut centimeter length slits, about a centimeter away from that fold, perpendicular to the fold. (You just made two ear canals.) Fold the bottom open edge of an ear in half, and slip it into a slit opening. You should see about a half centimeter sticking out.

024 (2)Leigh

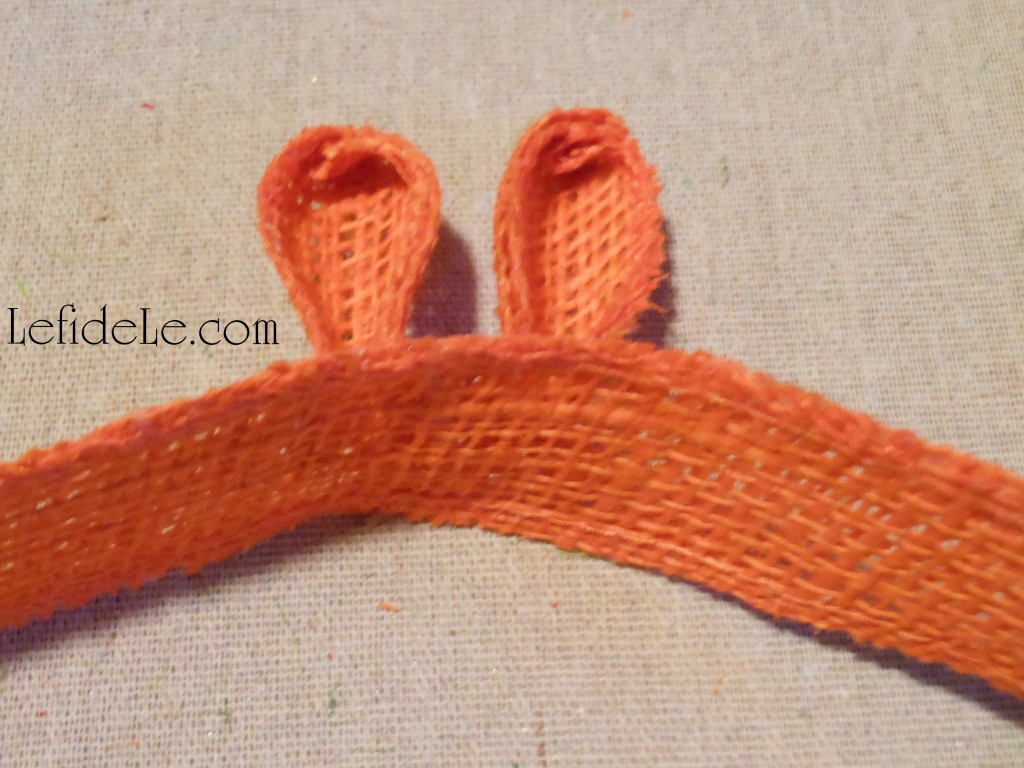
Glue the outside of this protruding portion to the 7 inch ring strip. It should fan outward. Repeat with the other ear, making sure they’re facing the same direction.

026Leigh

Take another 7 in strip of ribbon and glue it to the flat side of the bunny eared strip. The easiest way to begin is by gluing one end and tapping it into place. Continue on until the whole strip is joined. Make sure the ribbons are curved the same direction for a less troublesome experience.

037Leigh

Form the ring by gluing one end of the long strip to the other, by slightly overlapping the edges. (You just made a bunny face.)

170Leigh

Repeat this process until your rabbit warren is complete. (Know that they get easier after making the first one.)

149Leigh

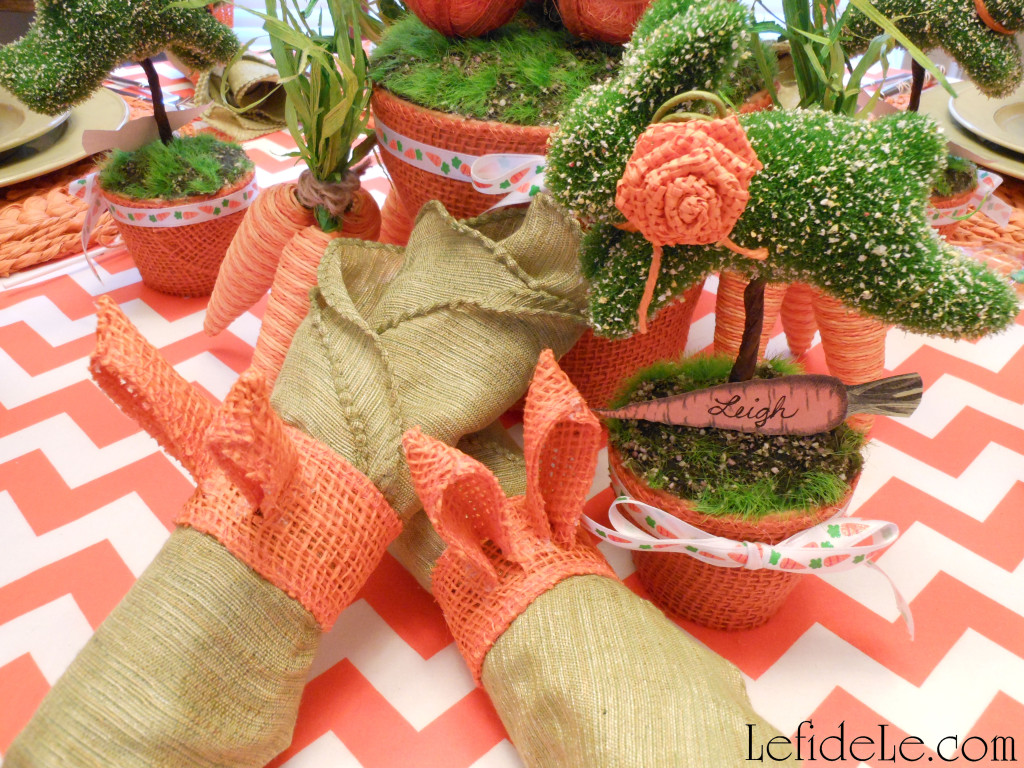
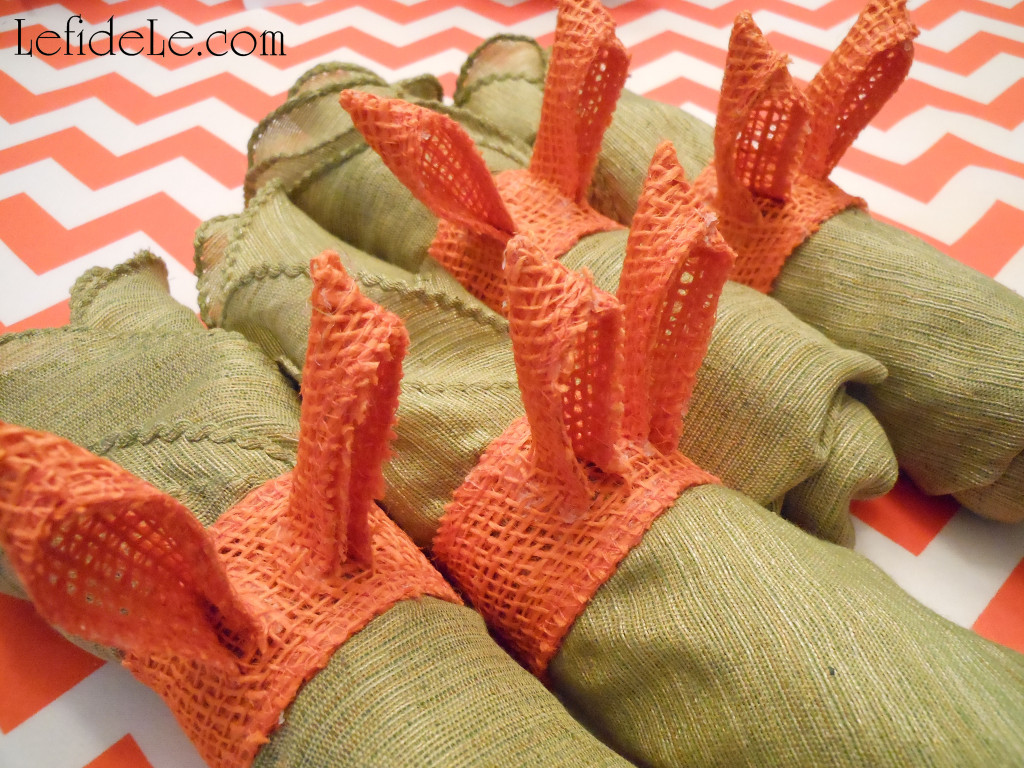
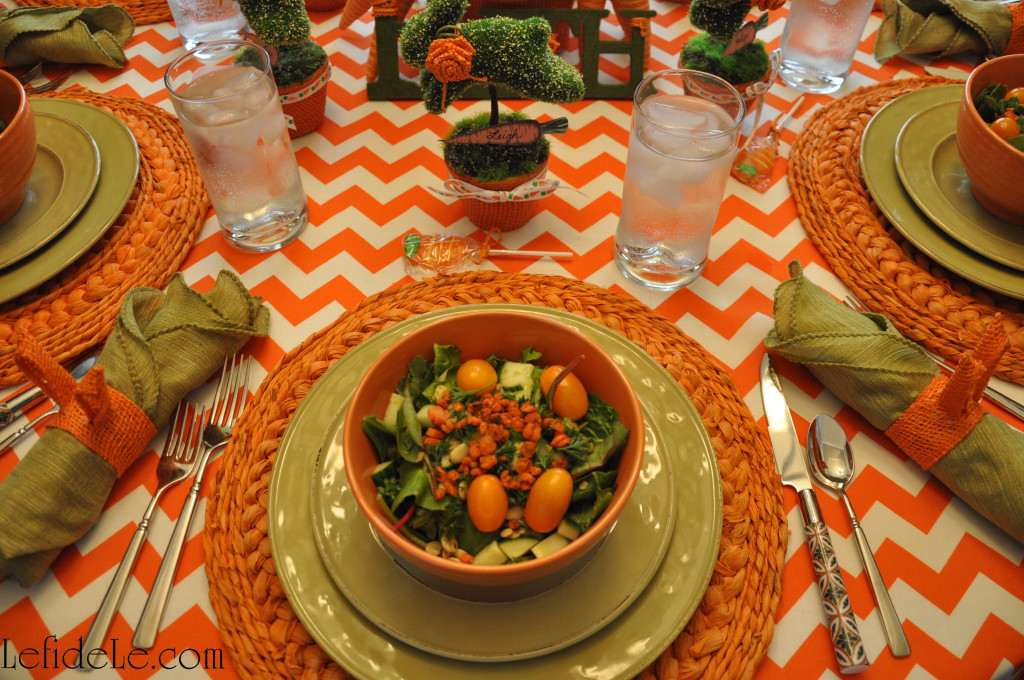
I used sage green cloth napkins with a seam that is actually called a lettuce edge. These folded beautifully into a roll with a top that resembled a small head of lettuce.

252Leigh

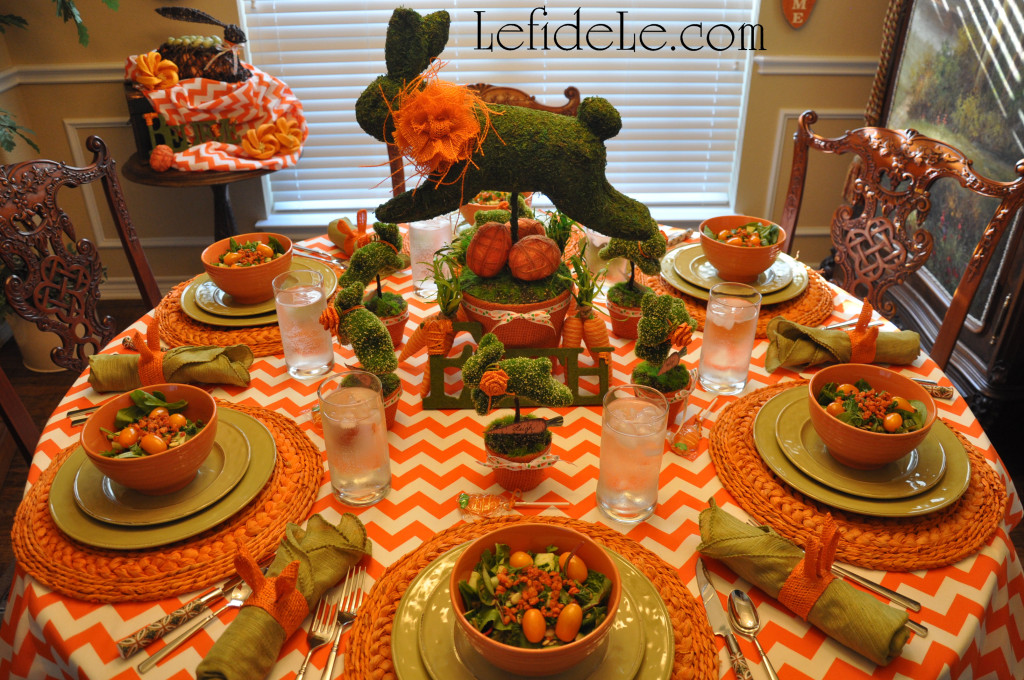
These are perfect for an Easter party. (See more of the leaping bunny garden party here.)

090Leigh

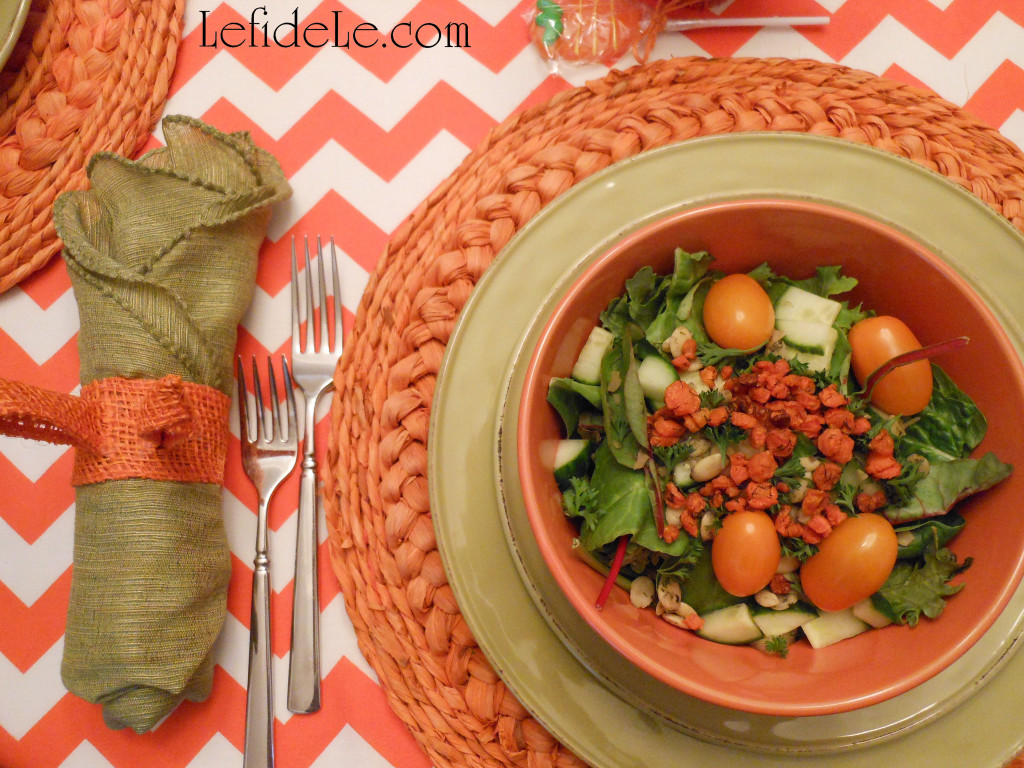
They’re also great to pull out for a spring lunch. (Find the carrot croutons / “bacon” bits recipe here.)

166Leigh

I wanted orange bunnies to coordinate with my carrot décor, which no one even sells, so I made them with fall clearance ribbon… making the grand total for this project a whopping buck fifty!

220Leigh

The best part of all, was receiving the genuine compliment that they were so much cuter than the stores’ versions. I hope you think so too. (Get the topiary craft tutorial and printables here.)

073Leigh

Faithfully Yours,

Leigh

P.S. The Easter Bunny approves this message.

WildBackyardBunnyLeigh

(This is one of the wild backyard bunnies visiting my porch!)

DIY Glitter “BOO” Wreath Halloween Decoration Craft

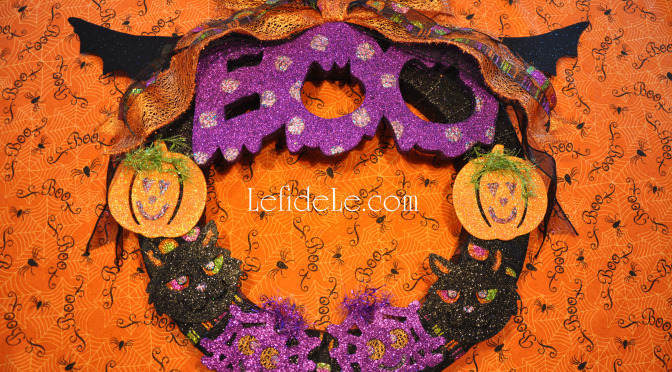
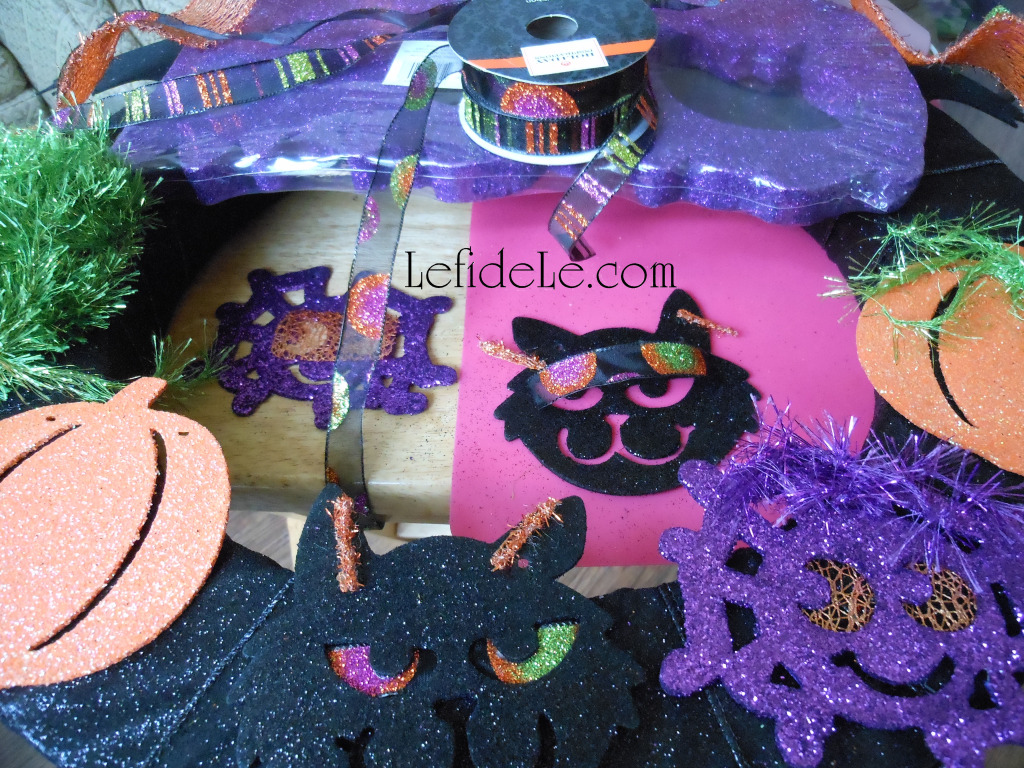
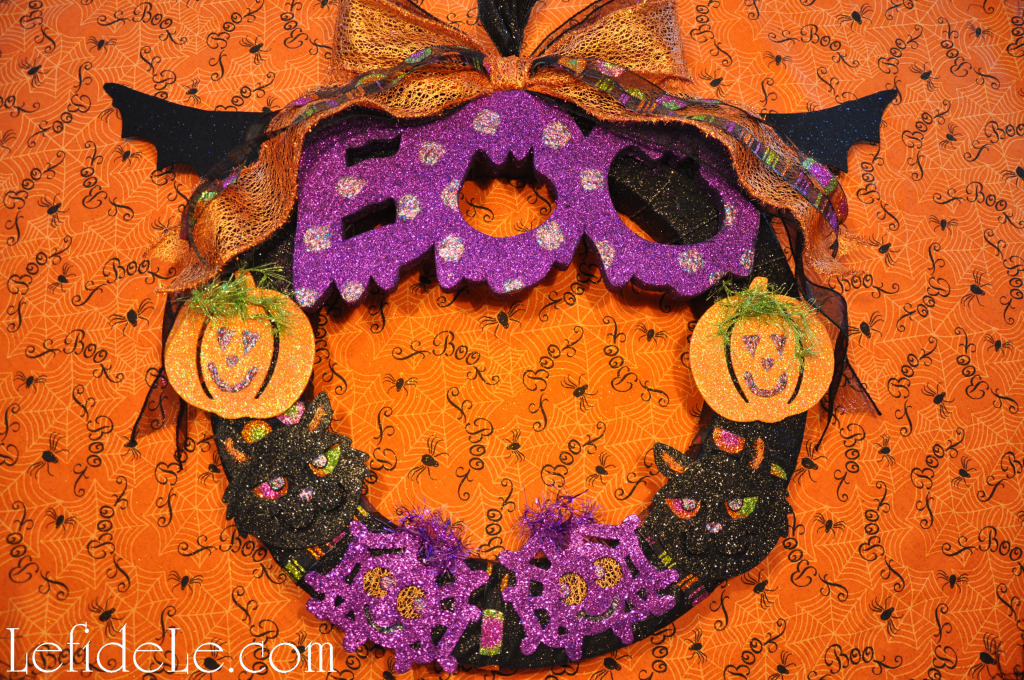
This year’s glitter explosion of kid-friendly Halloween party decorations needed an accompanying wreath, because every holiday deserves its own wreath… right?! I chose to make this one out of the same materials I had already been using. It contains a “BOO” sign, which you’ll see more of in my “Glitter-ween” Party article appearing soon. (You can find this type of thing at most craft stores.) I also used a pair of felt bat wings that were cut using my template from a previous craft, and some of the glitter shapes I set aside from my garland remade craft. (You can use any glitter shape made out of foam or wood.) Lastly, I used some of the same Halloween ribbon I had decorating various other elements in my home. This is why you should always buy extra rolls of matching ribbon. You never know when the crafting-bug will strike!

119Leigh

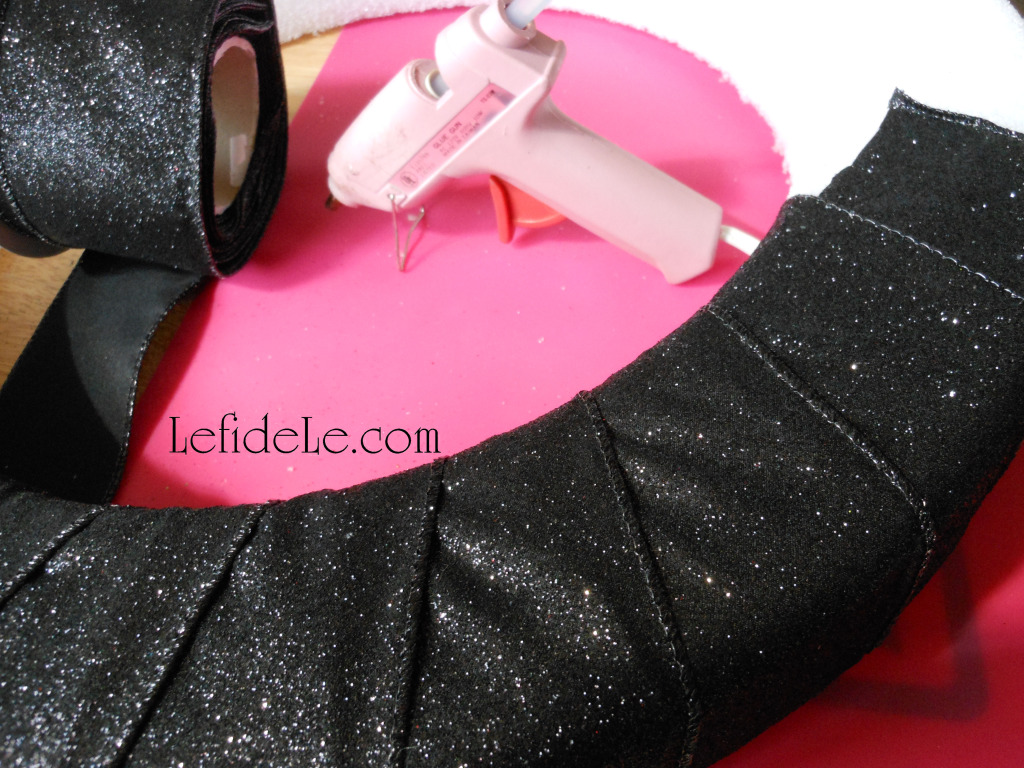
The best way to make a ribbon wreath is to use a hay or Styrofoam wreath form as a base. Just start by gluing the ribbon end at a 45 angle to the base. Then just pull tautly as you wrap the ribbon at the same angle around the form. I hot glue dots to the underside as I go, but that’s just because I’m a stickler for solid construction. It’s really not necessary until you reach the end of the underside. Then all you need to do is cut the ribbon and fold it over, for a clean finish, then glue it down. Though there’s no need to fold it over if you’re including a ribbon hanger.

0120Leigh

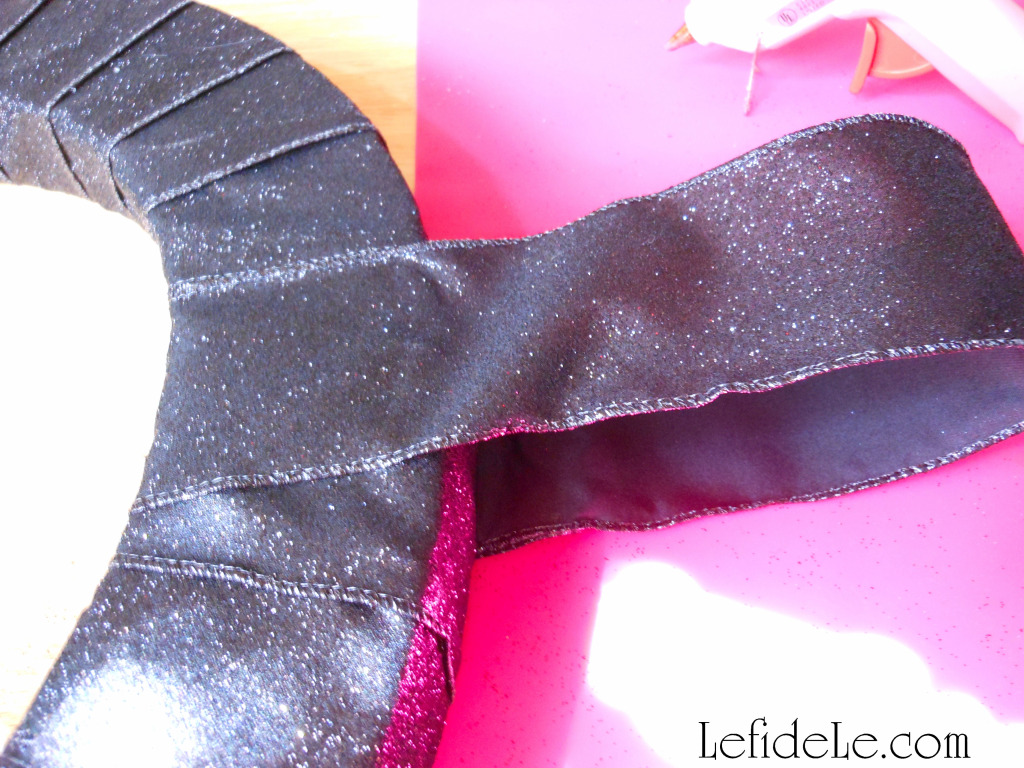
To add a convenient built in hanger, simply cut a length of ribbon in relation to the size of your wreath. (Use the photo as a visual guide.) Glue it well to the underside, forming a loop.

0121Leigh

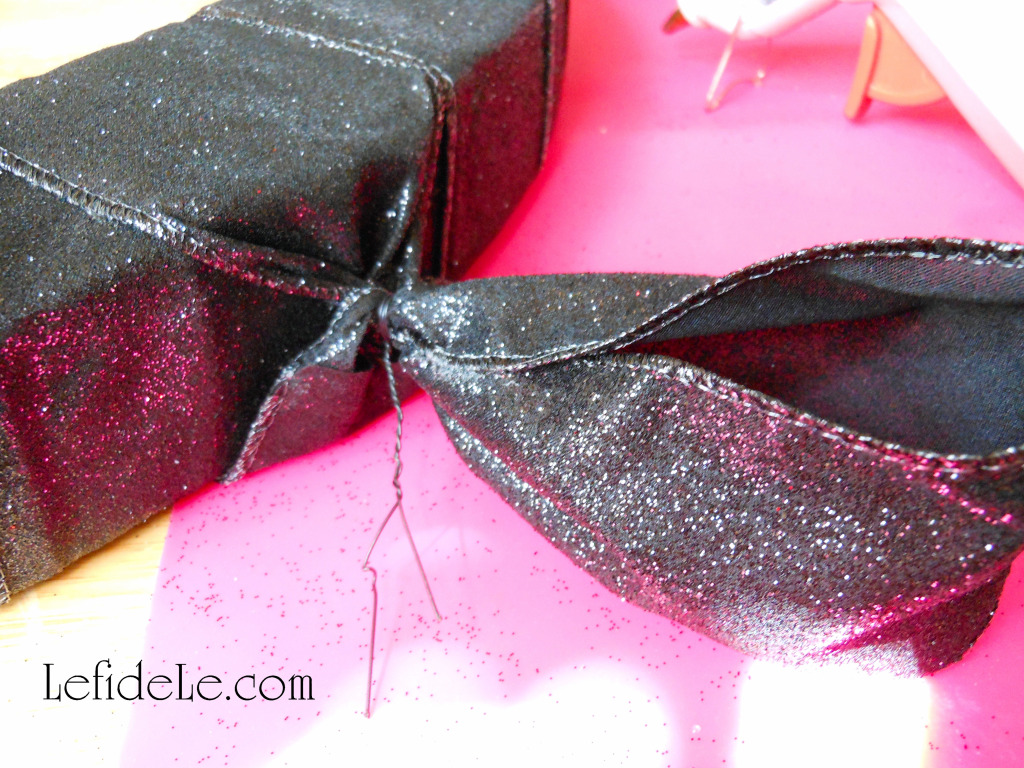
Cut a piece of floral wire, and then twist the loose section of ribbon. Give it a couple of turns, and tie it off with the wire (like you would a twist tie on a bag of chips). Don’t worry about how it looks as this will be covered by a bow later.

123Leigh

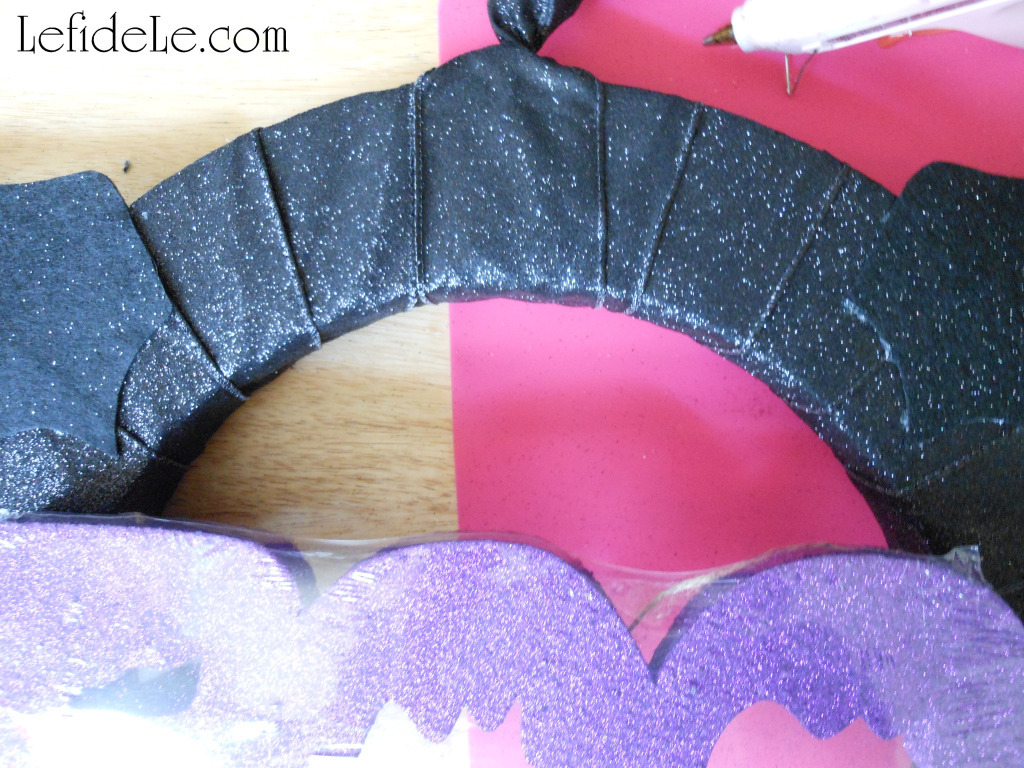
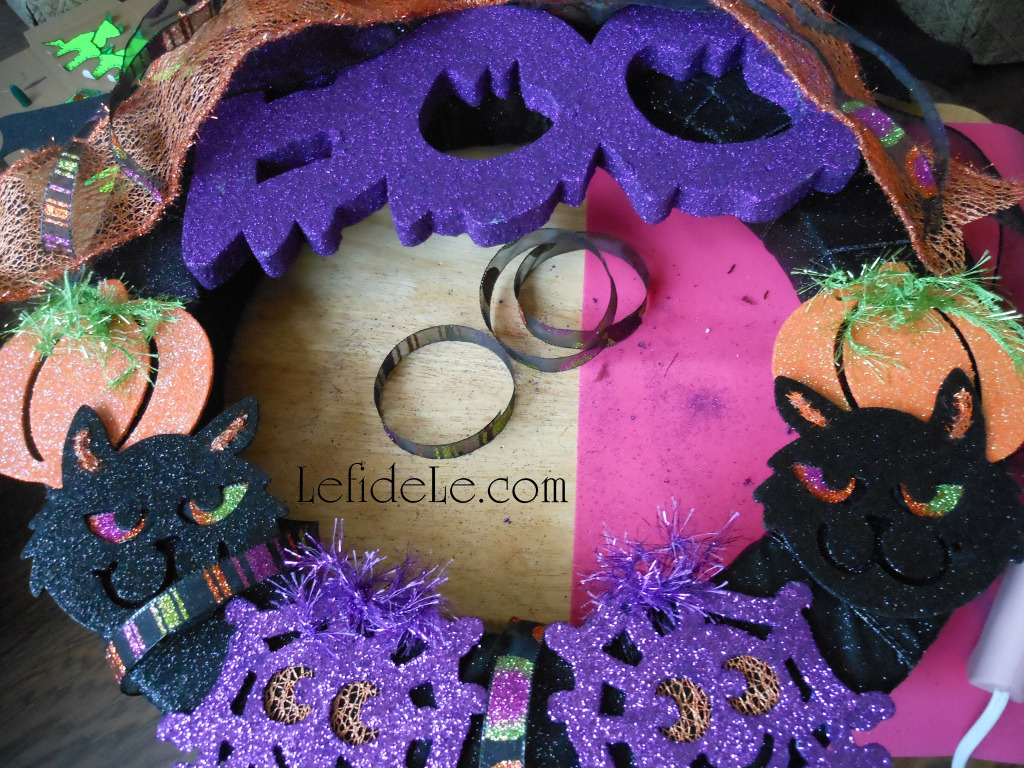
Now use my template to cut out bat wings from stiff felt or craft foam. Place your “BOO” sign (or individual letters) next to the top area… so it’s easier to judge where to place those wings. Once you’ve found your placement, glue them down.

124Leigh

Arrange your shapes in the way you like best, because enjoying your own creation is the most important part. Since the shape openings didn’t show up well on the black glittery ribbon, I made some “eyes” from brighter pieces. I merely glued the lengths onto the underside of the shapes.

127Leigh

To add more visual interest, glue more loops of bright ribbons around the base in between the shapes. Now make a bow and layer it with several types and colors of ribbon. You can either make it by tying several ribbons together at once, or by gluing additional ribbons to a bow. Glue all of that visual smorgasbord to the base then top it off with the “BOO” sign.

0130Leigh

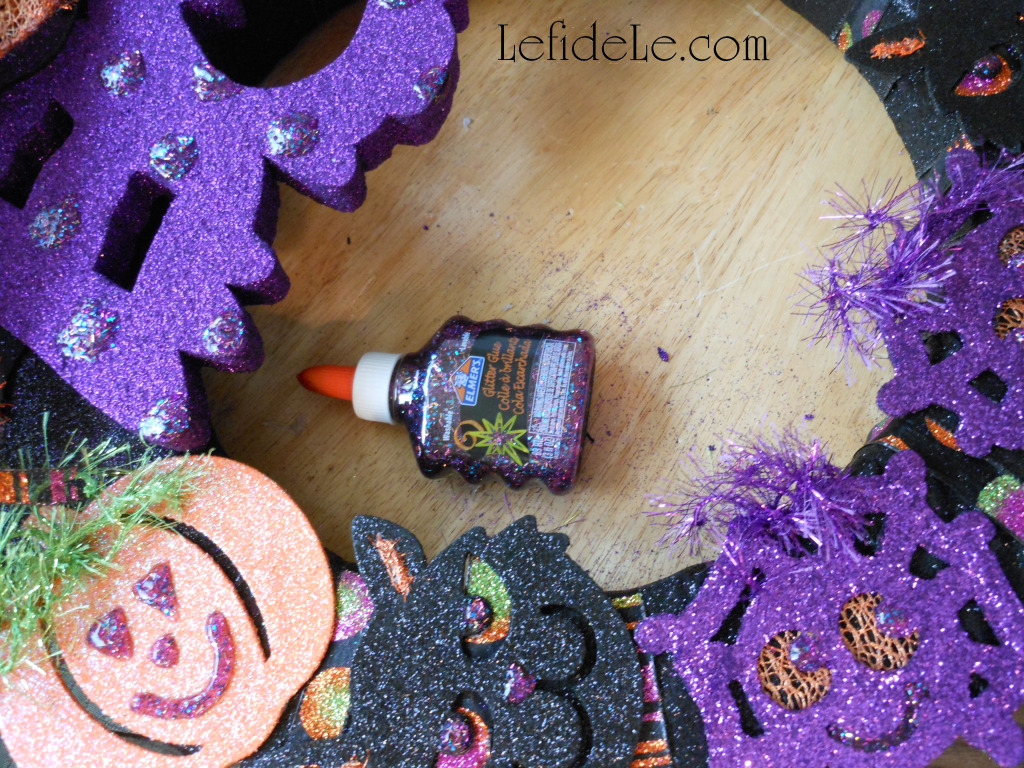
If you like, use coordinating glitter glue to add faces or fill in shape openings, but wait a day to hang it up. I added extra glitter dots to cover the sparse areas of the “BOO”.

349Leigh

The last step is to hang it up and enjoy your handiwork! Have a Happy Halloween!

Faithfully Yours,

Leigh


DIY Mixed Media Wicked Witch Halloween Statement Necklace

010Leigh

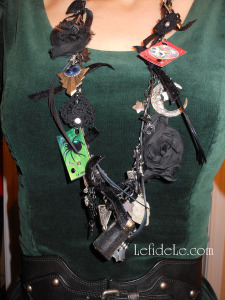
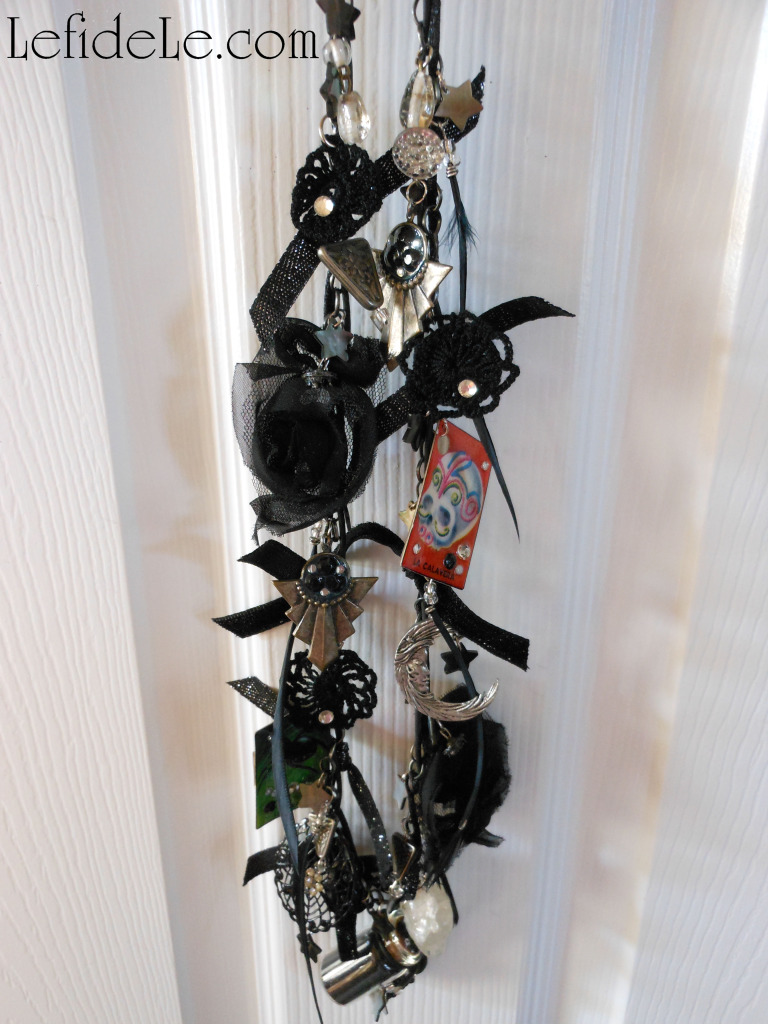
This craft originated from an invitation to a huge Halloween costumed charity ball that I donated some artwork to. I wanted to wear an ‘80’s era green velvet frock with princess sleeves and a full skirt, but I just didn’t feel like wearing a crown. So I decided to toughen up the look with black leather boots and a corset belt. Then I ordered a wicked witch hat straight out of “Oz the Great and Powerful”, which I haven’t even seen yet. I even added a beaded black broom, but all of that still couldn’t counteract the sweetness of the dress and my Glinda-the-good-witch curls. What I needed was a wicked witch statement necklace!

01Leigh

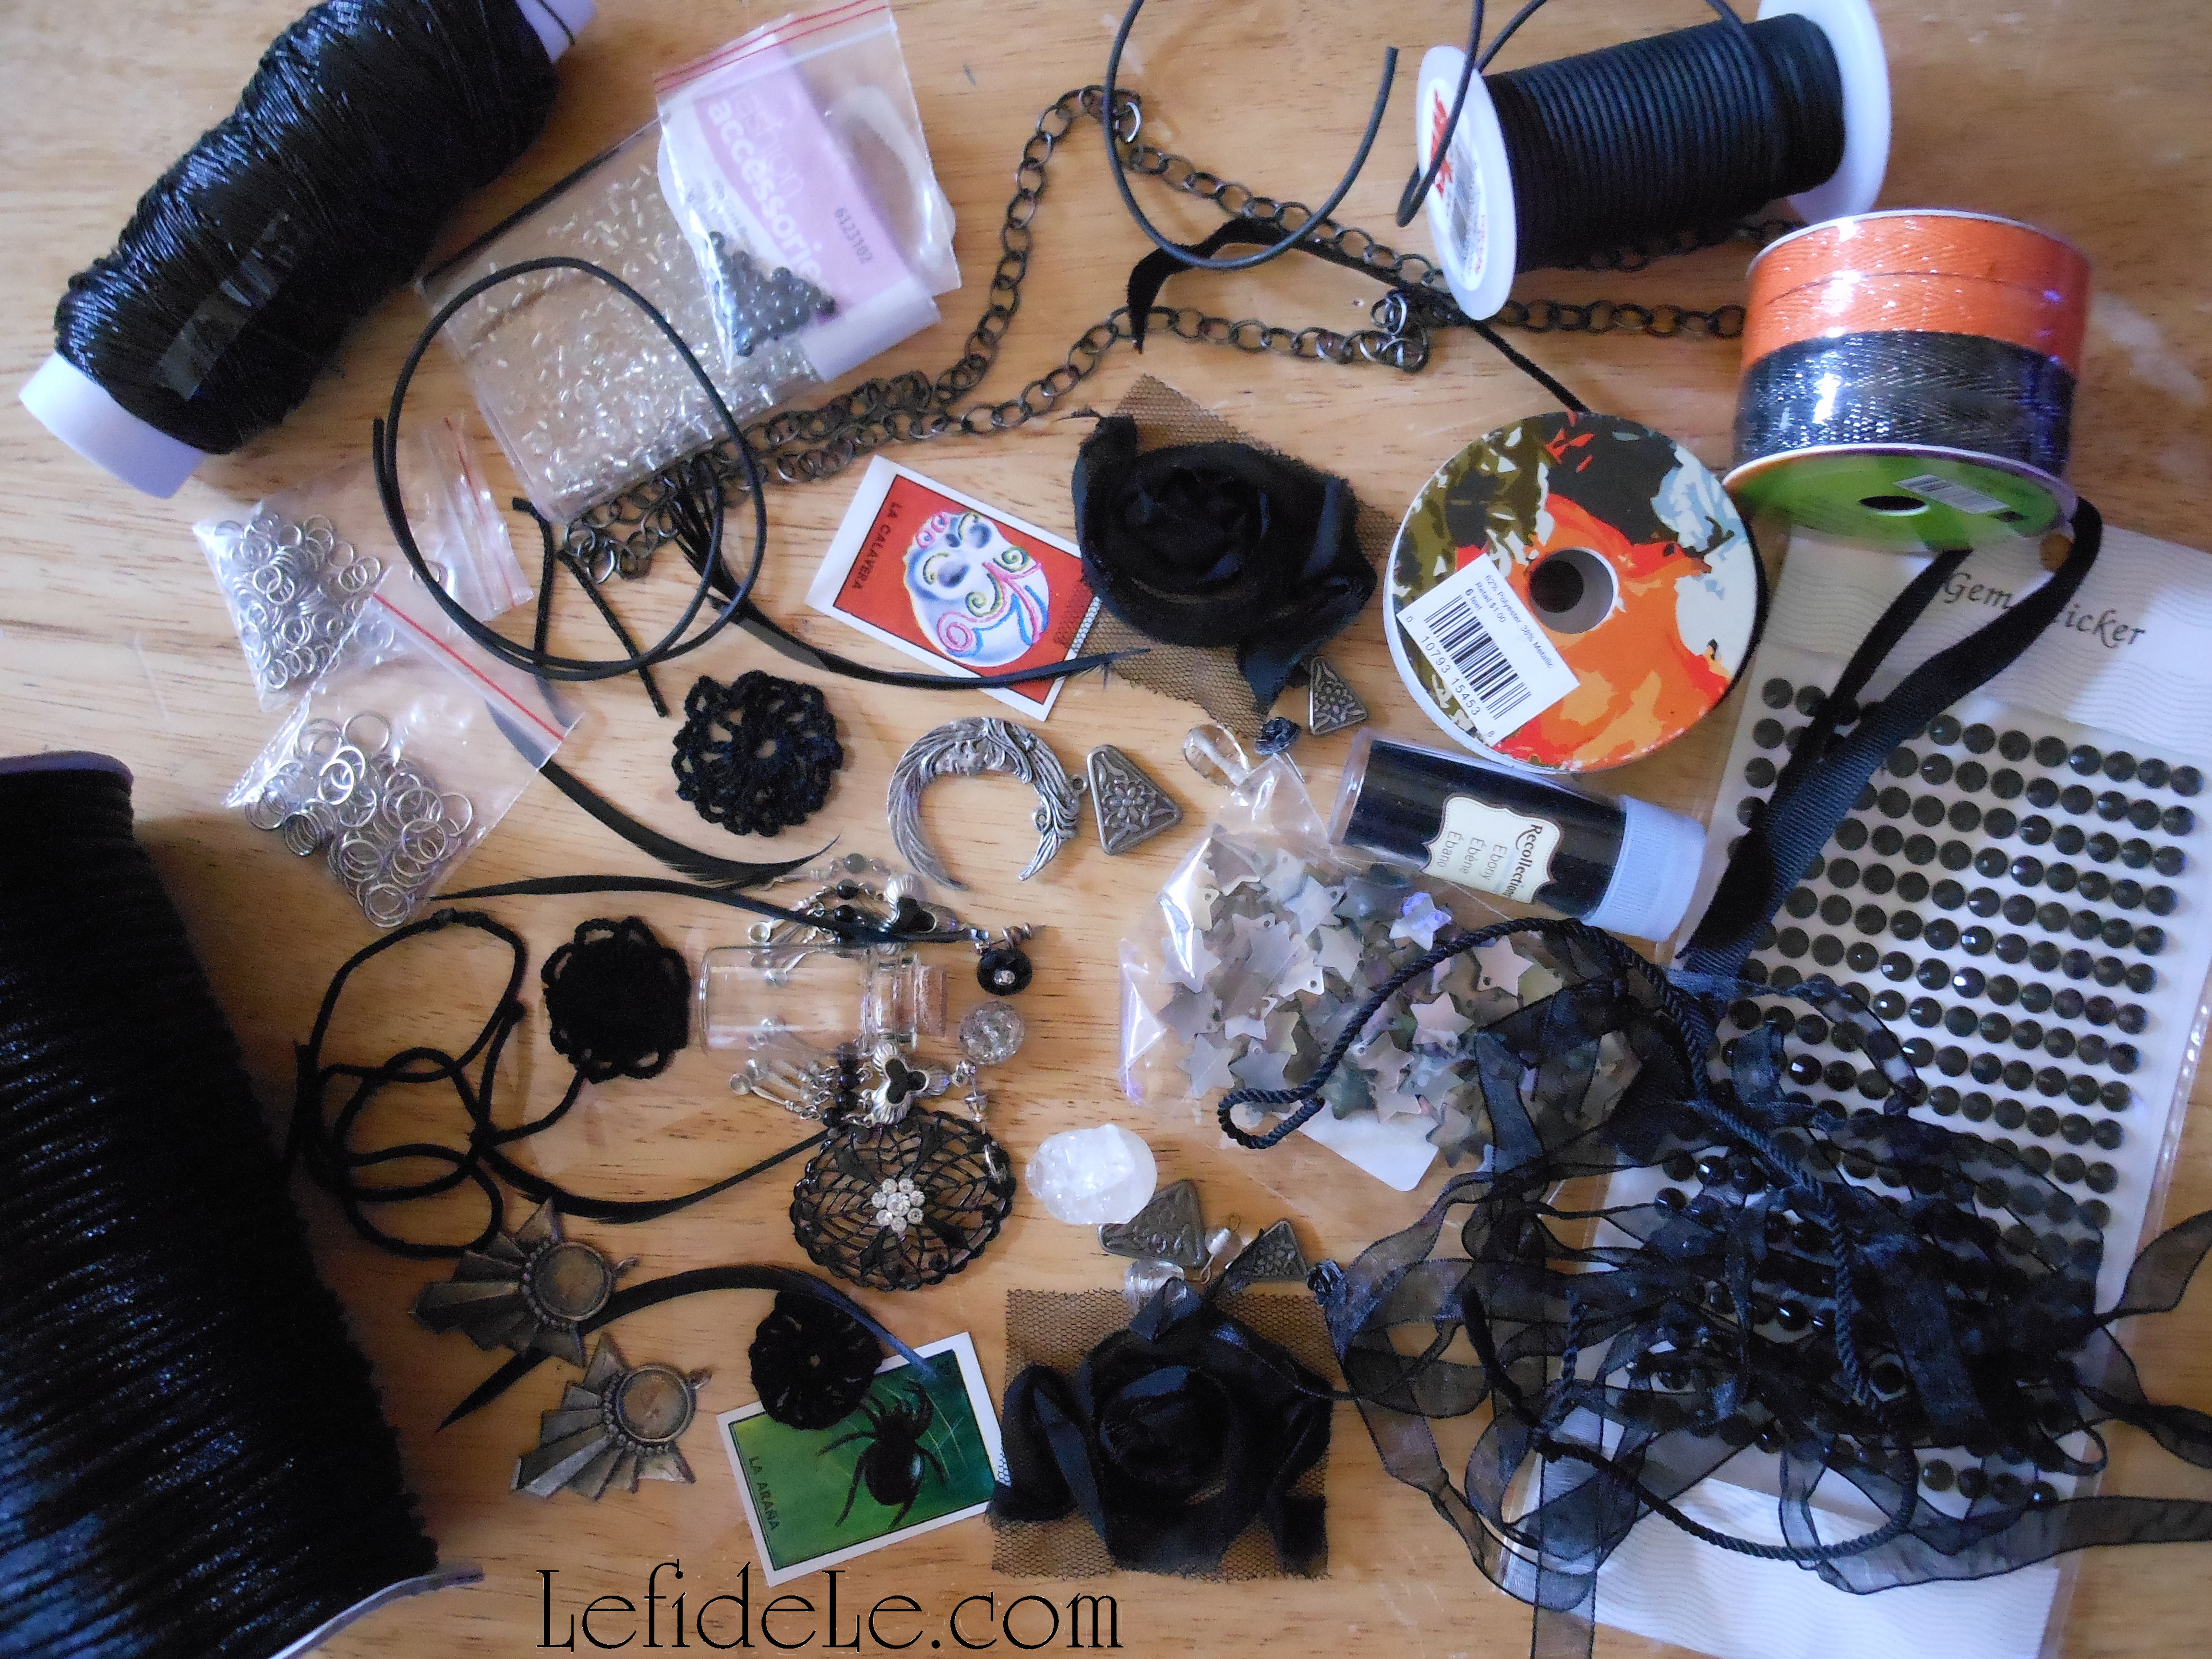
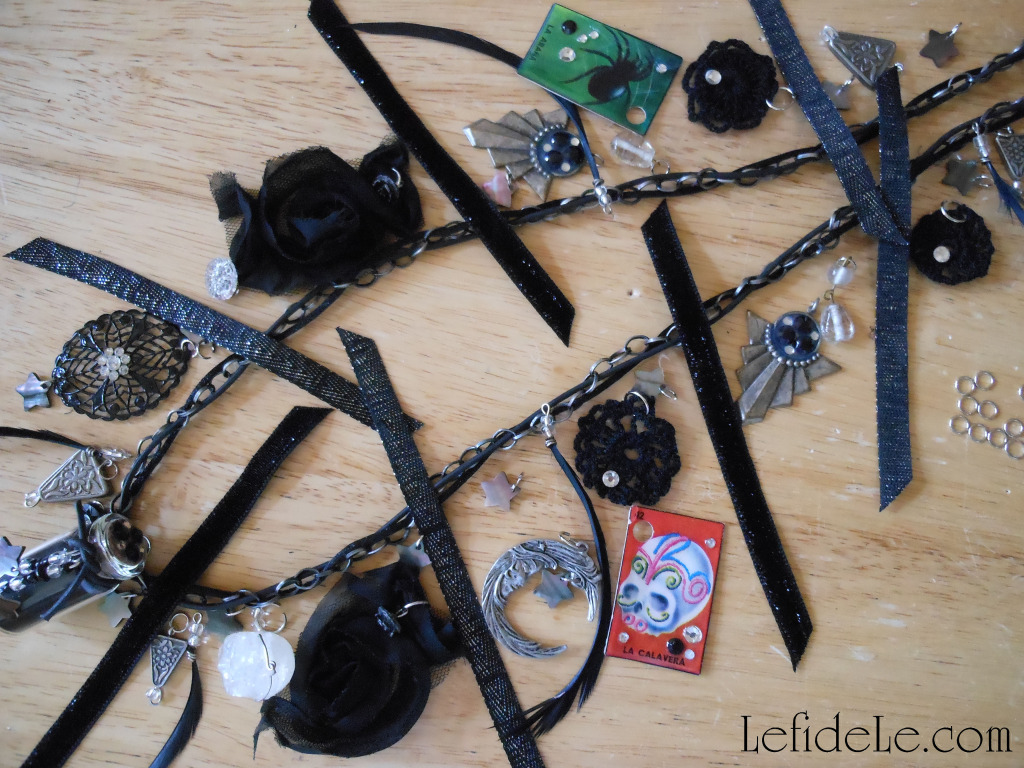
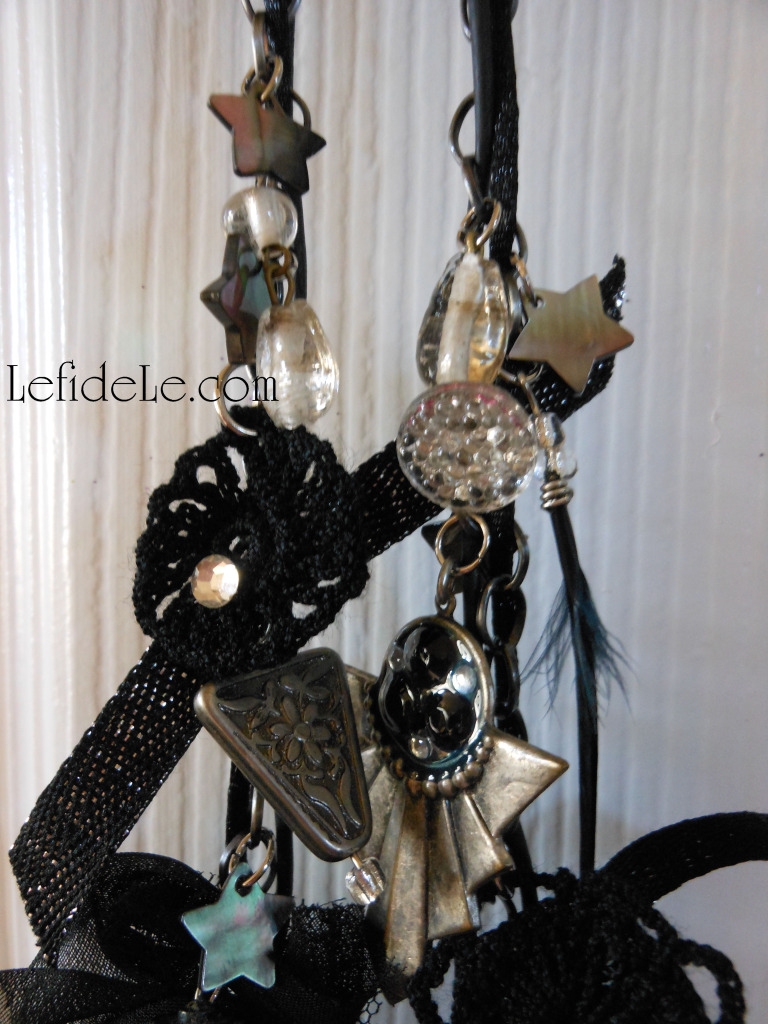
Making mixed media jewelry is a fun process that really unleashes the creative spirit because there are really no rules to follow, so there’s no messing it up. One begins with the gathering of any and all material that could possibly coordinate. I used vintage pendants, earrings, and beads alongside newer elements. Craft stores sell many items that have a vintage look if you don’t have any at hand. You can always lay out a design at home and then return anything unused.

9Leigh

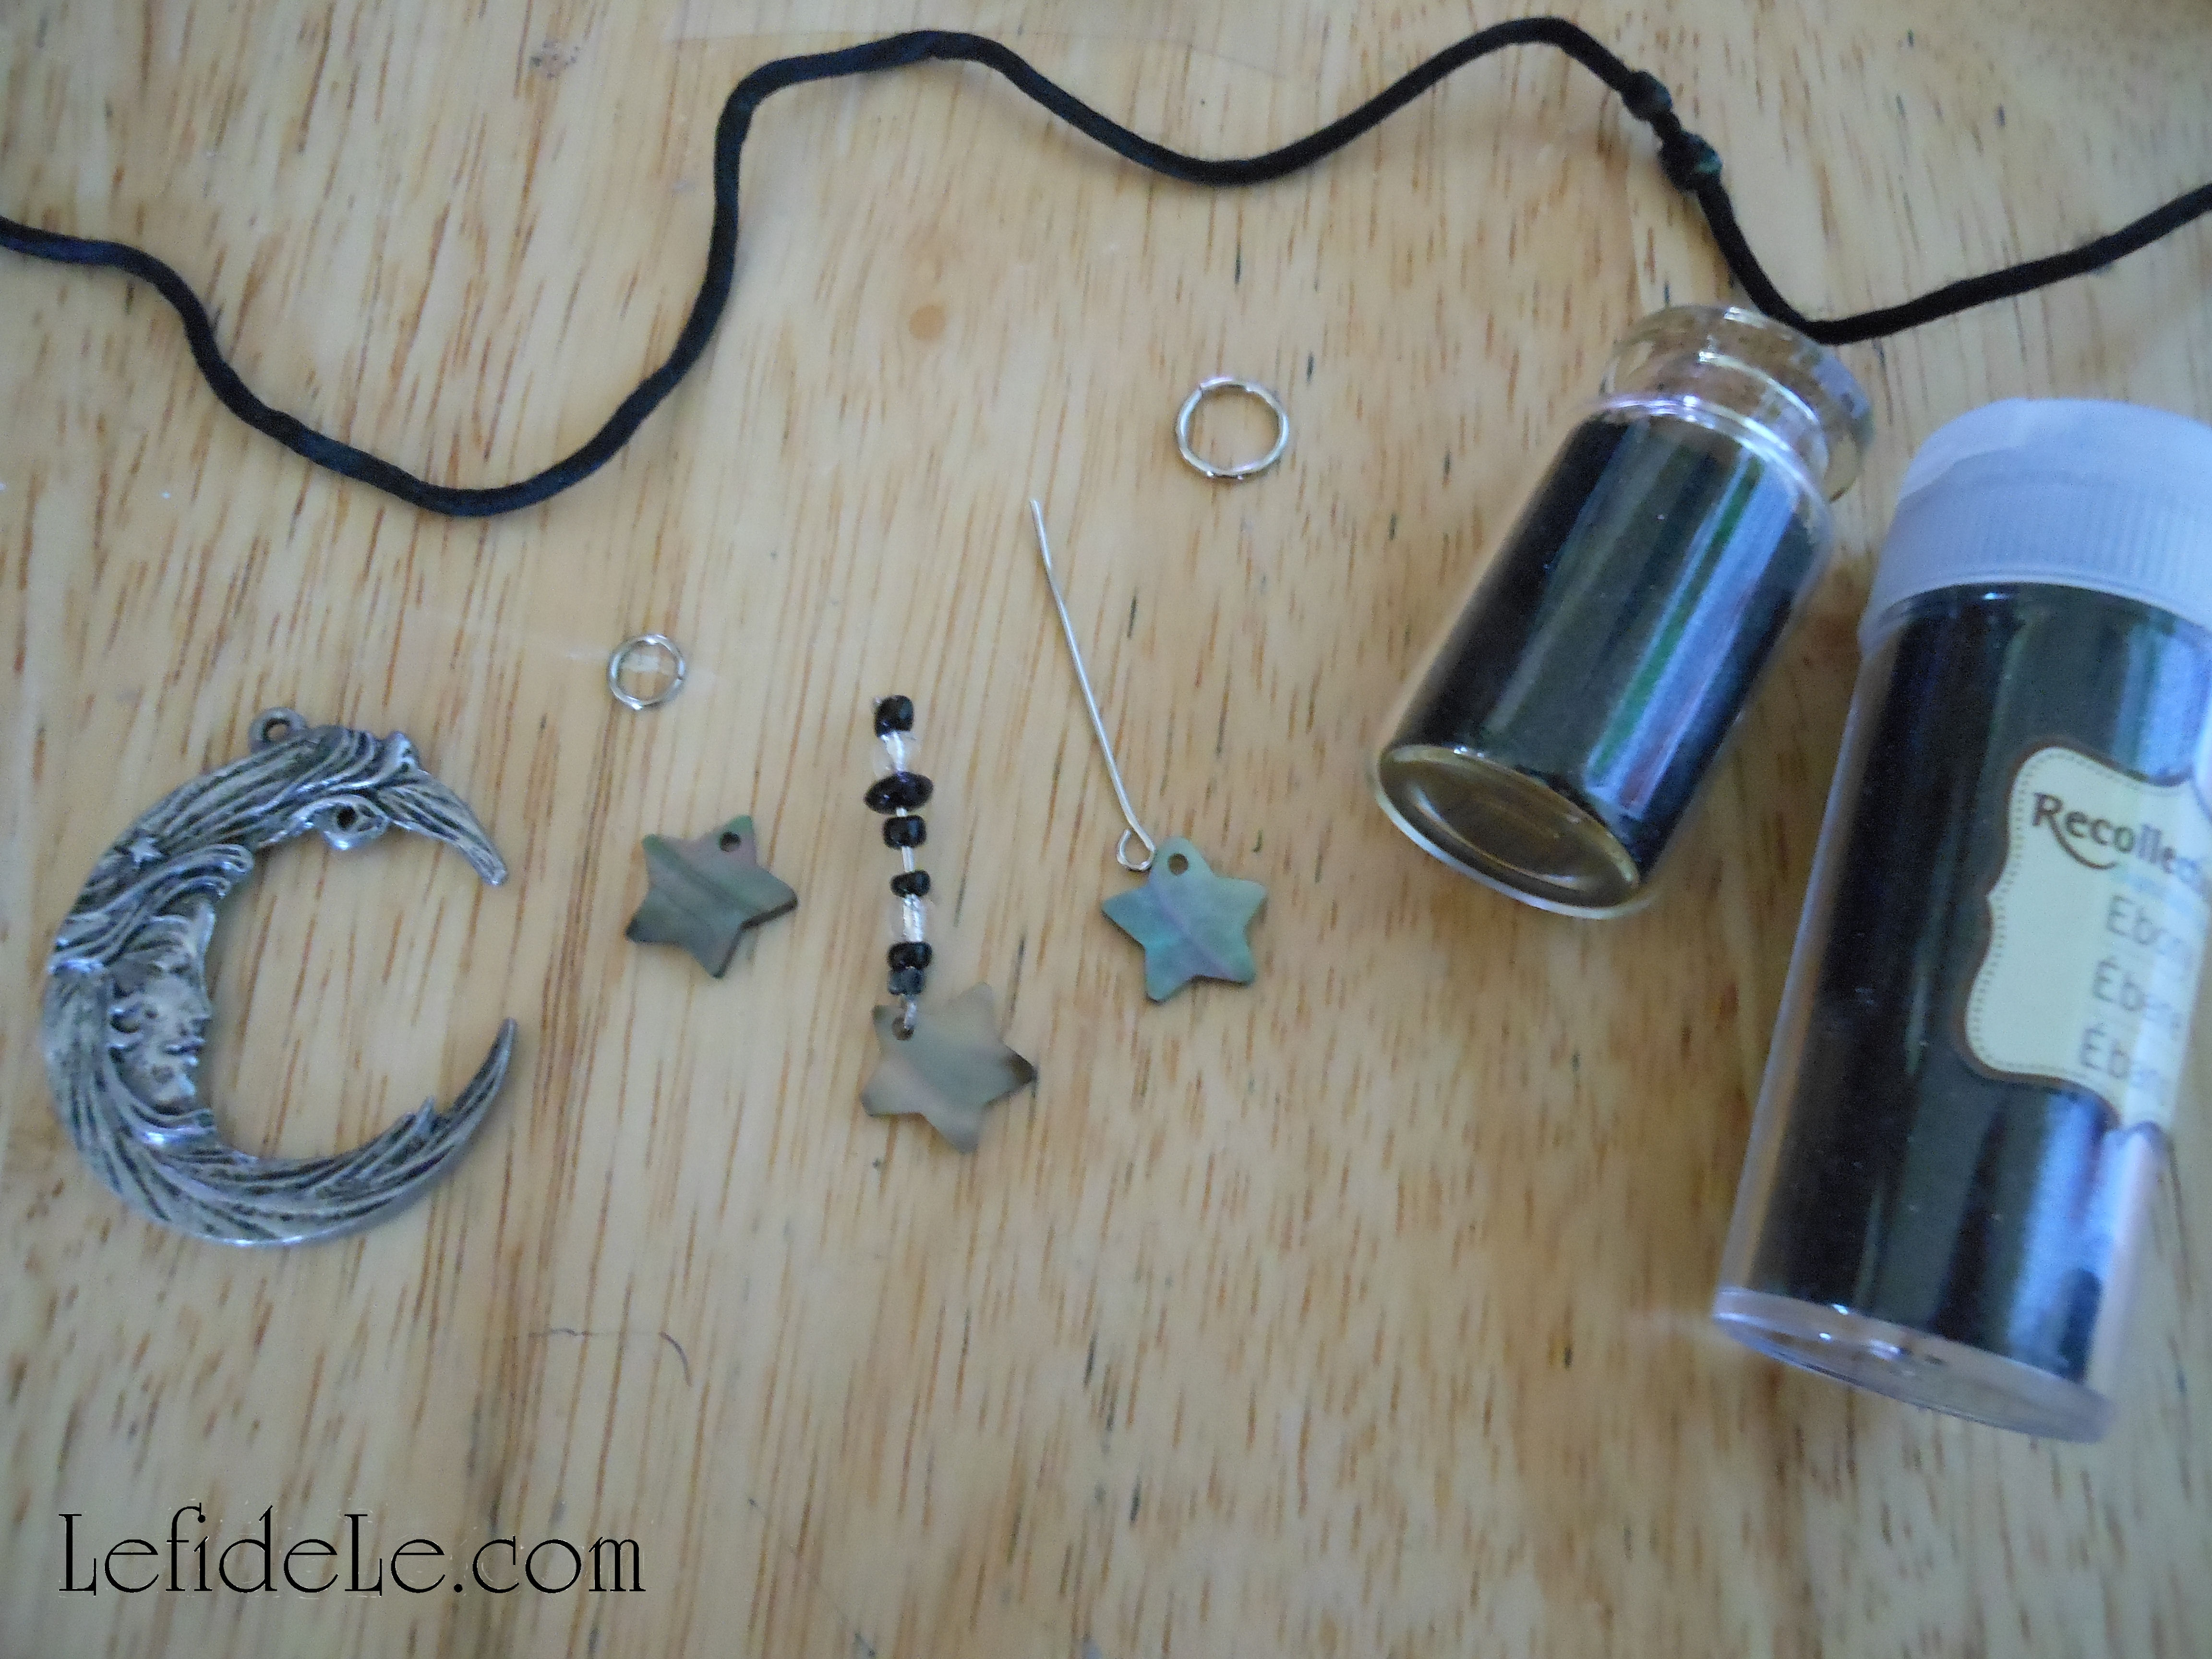
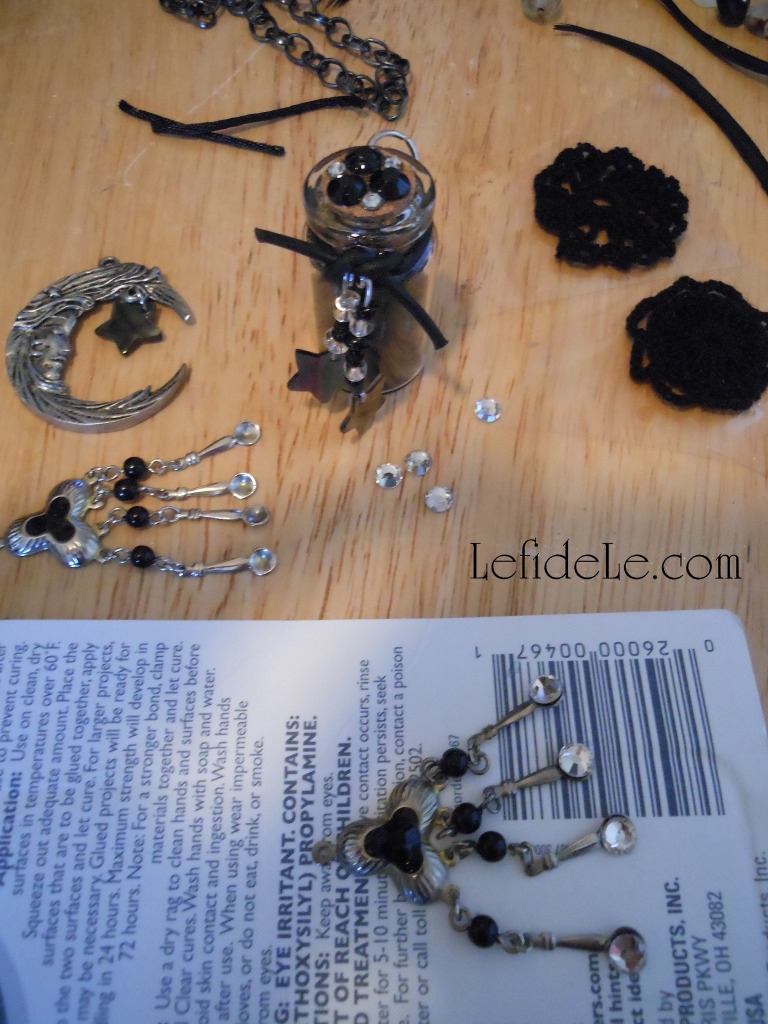
I filled a corked glass bottle with fine black glitter to simulate magic potion. Then I placed black and clear seed beads onto eyepins (= short hard wires with a crook at one end) and added shell star beads. (In future articles, I will explain more about beading for those of you who haven’t tried this rewarding activity.) I also added stars to other elements like moon and spider-web pendants with jumprings (= metal circles with single cuts).

4Leigh

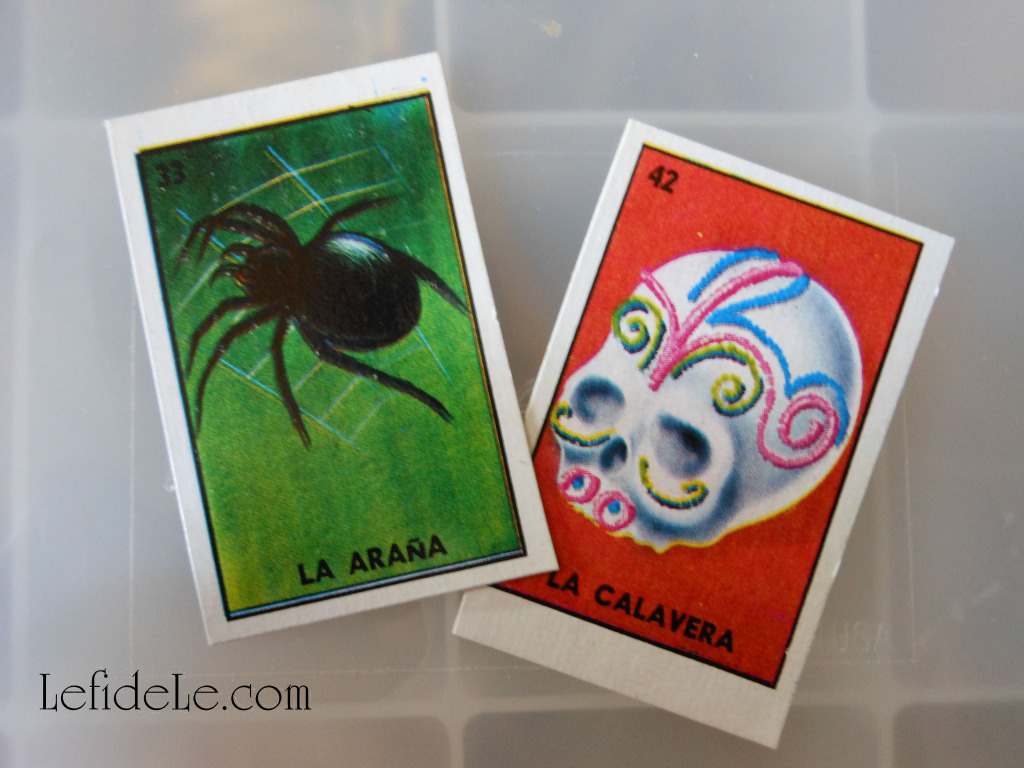
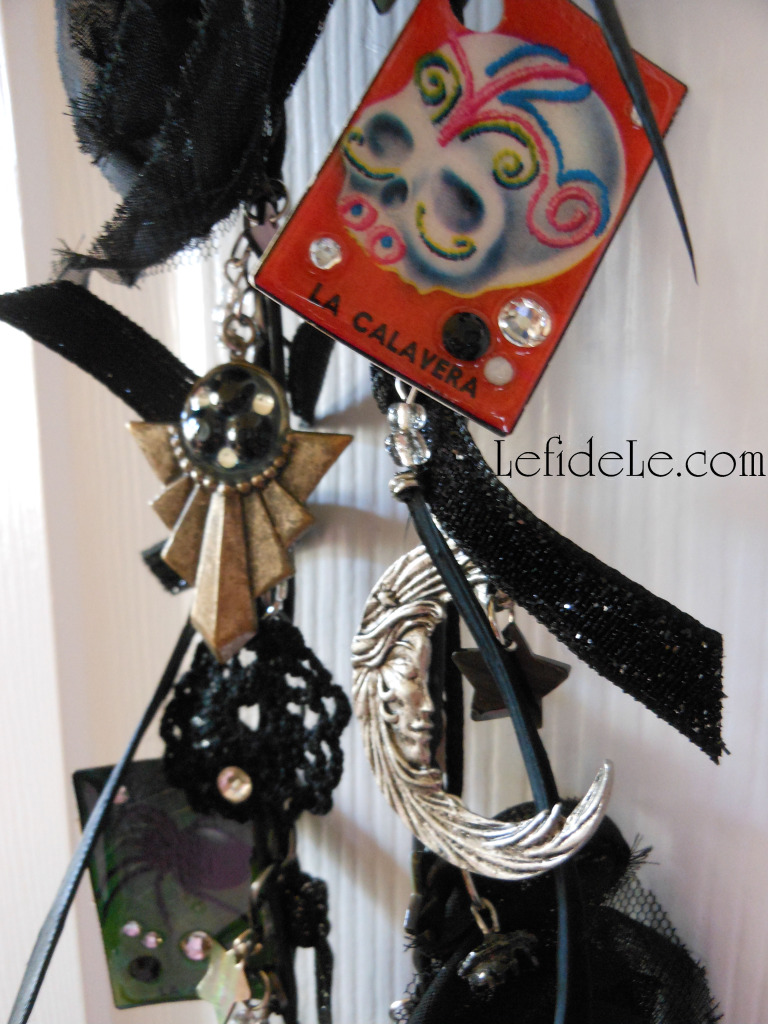
Next I cut out 2 spooky pictures from a Spanish bingo game. They would soon become beads.

6Leigh

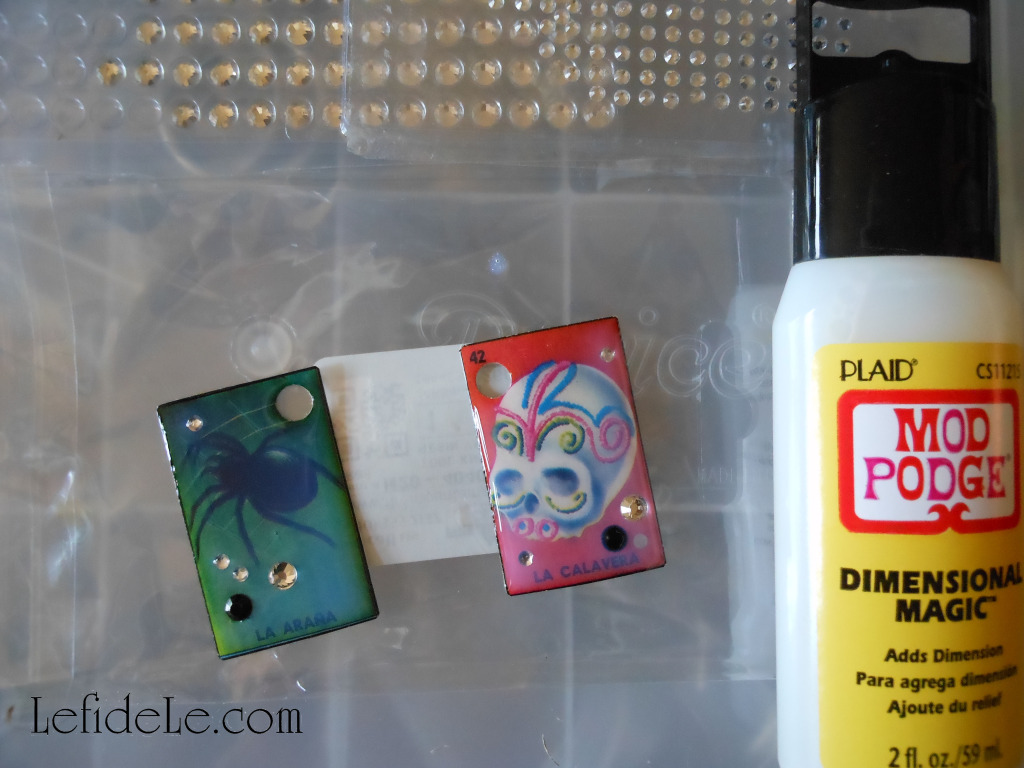
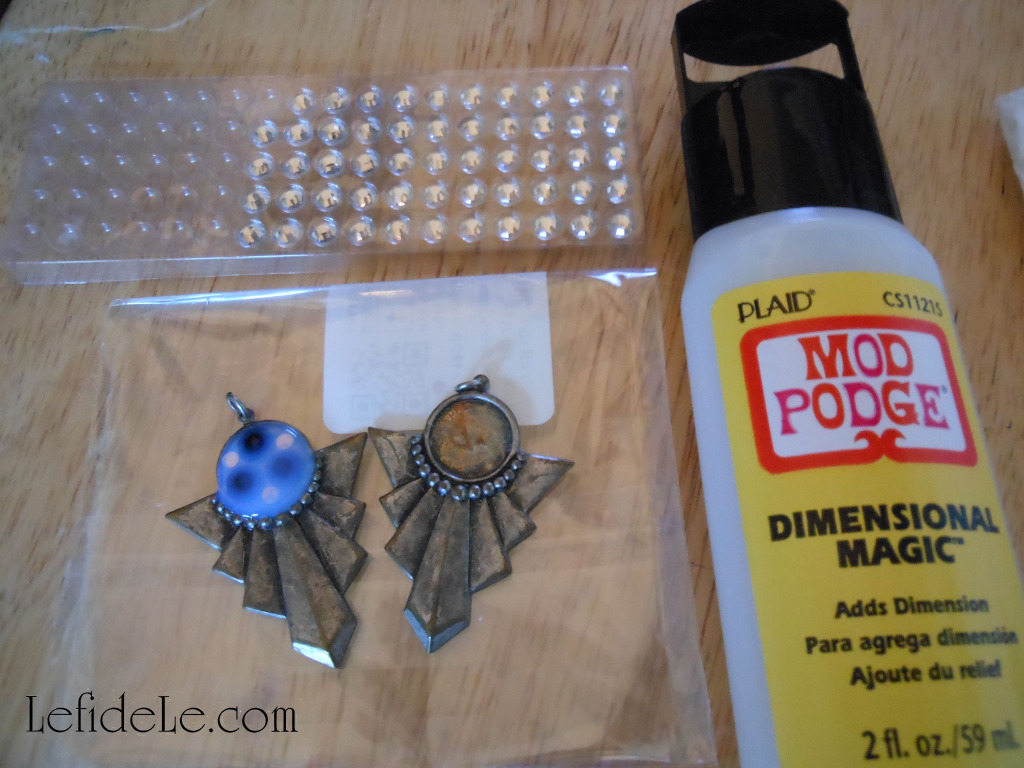
I placed clear and black crystals on the tiny game cards and squeezed on “Plaid Mod Podge Dimensional Magic”. The liquid dries clear and to the touch in a few hours, and cures by the next day.

12Leigh

Adding crystals and liquid “magic” seemed appropriate for the project, so I continued with other elements that needed further embellishment.

10Leigh

I even used it in lieu of glue to add crystals and seal the top of the glitter vial. I then attached the beaded eyepins and a jumpring to a strand of leather wrapped around the vial. (This alone could have been attached to a chain as a necklace in its own right.)

11Leigh

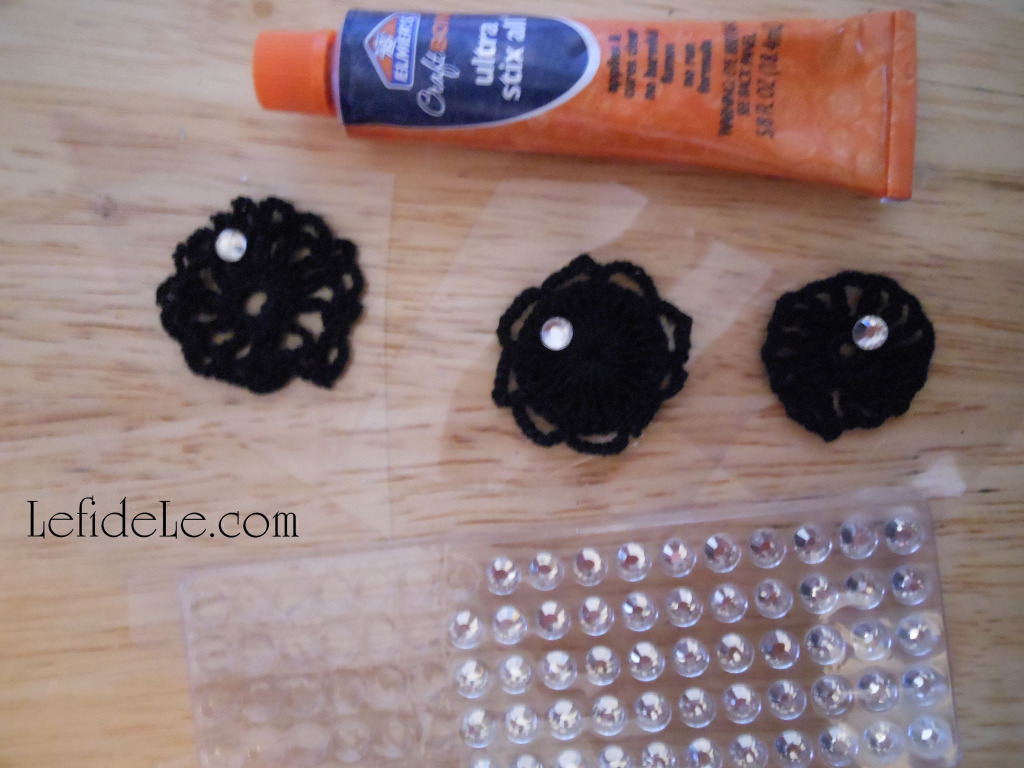
I glued more crystals onto tiny black doilies with Elmer’s Ultra Stix-all (which dries clear). This symbolizes spiders on their webs. Jumprings then turned them into beads.

14Leigh

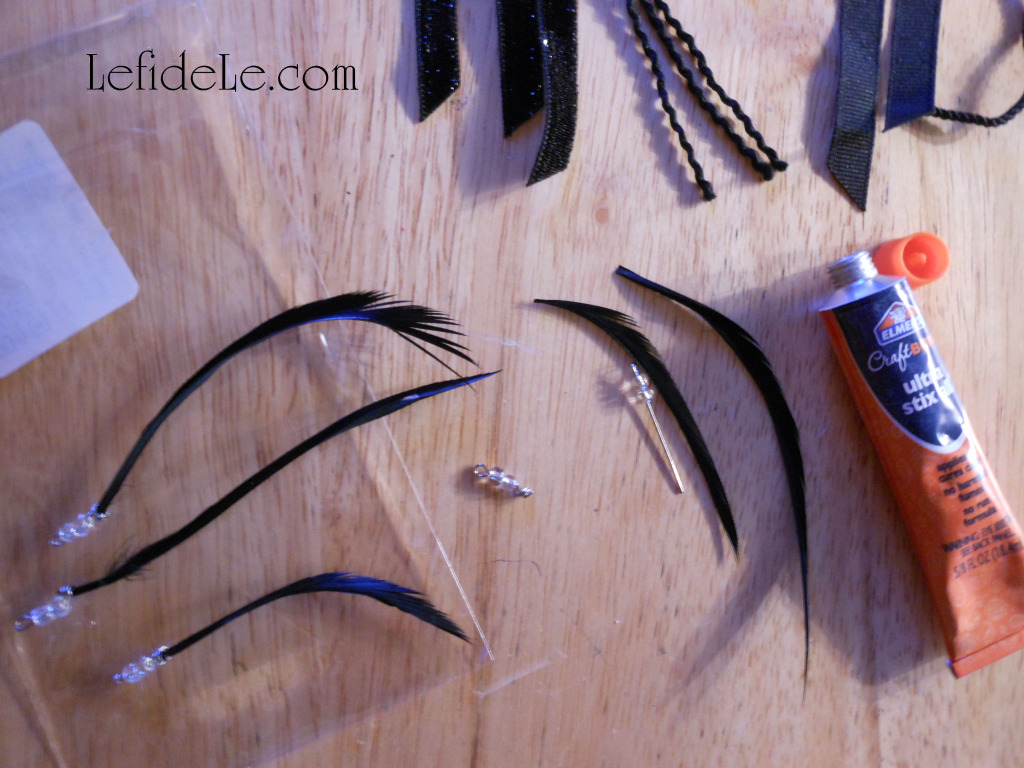
Again, I used Stix-all in the hope that it would indeed stick all materials. I added two clear seed beads to each eyepin then coiled the rest of the length of it. The skinny black feathers were glued inside of that. The following day, I was thrilled to find my feather bead idea had worked!

021Leigh

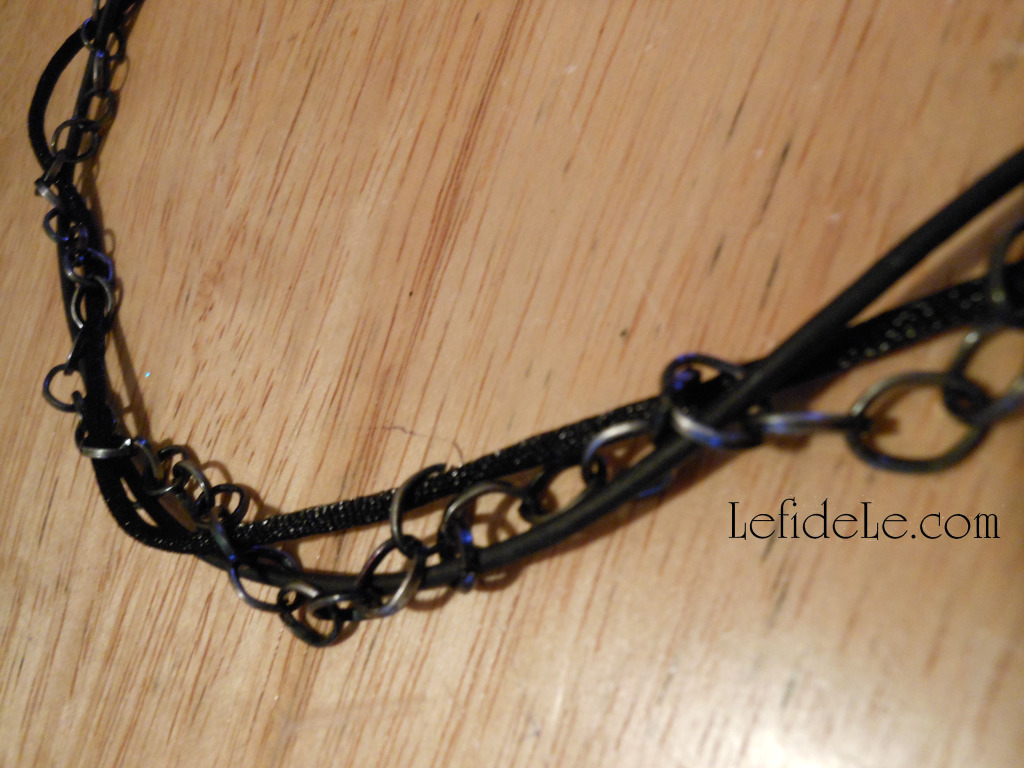
To determine the necklace’s length, I draped chain around my neck, pulled it to the right size, and then cut the length I wanted. There are standard necklace lengths, but this time I winged it because this was my own custom piece. I wove leather cording through every fifth link, and repeated with silk cording in the links preceding those. The ends can then be cut without even having to measure anything.

22Leigh

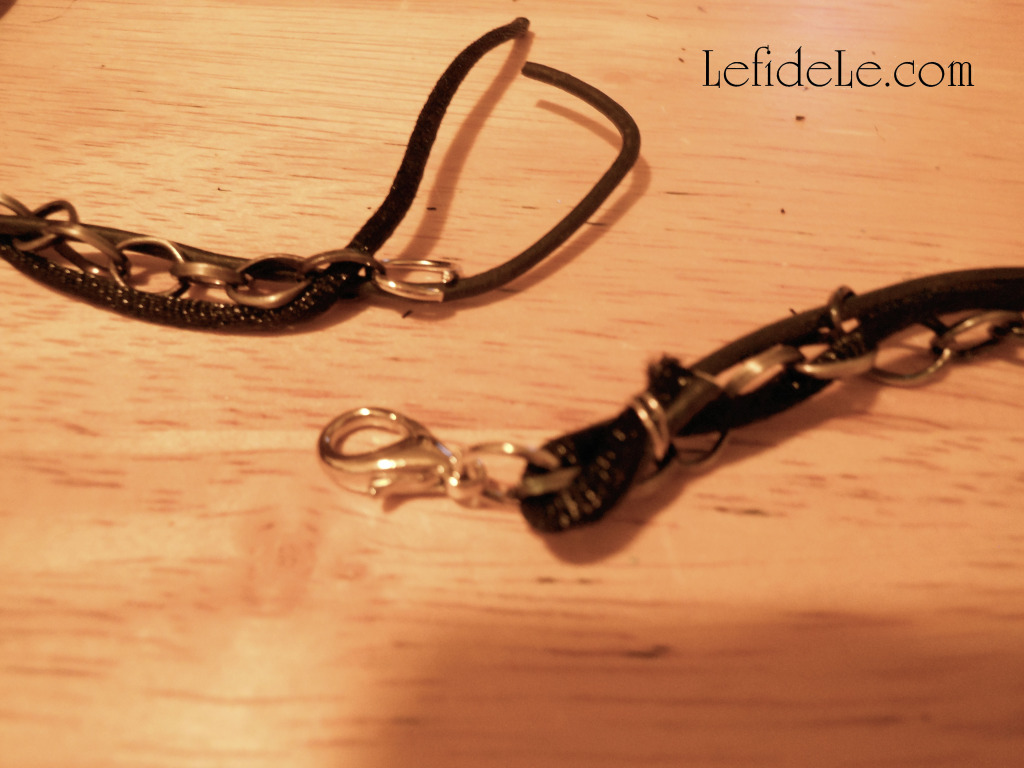
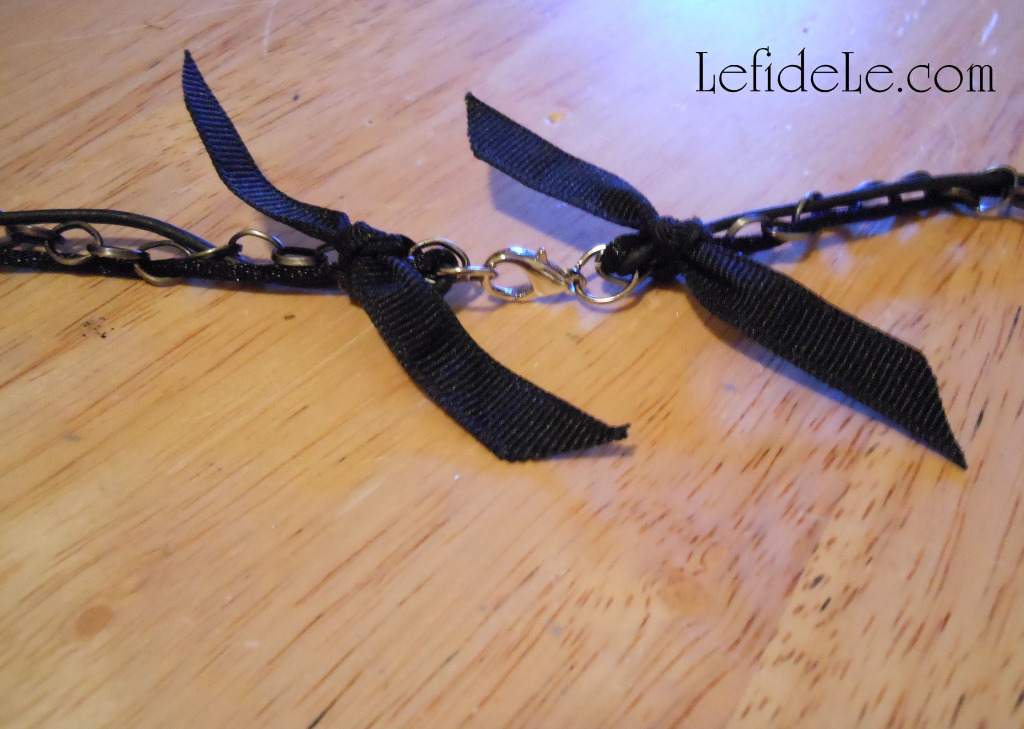
I slid a jumpring onto each end, folding over the strands, and wrapped it all in metal wire. An eyepin may also be used if you cut off the looped end. Attach any closure you like. I used a “lobster” clasp.

20Leigh

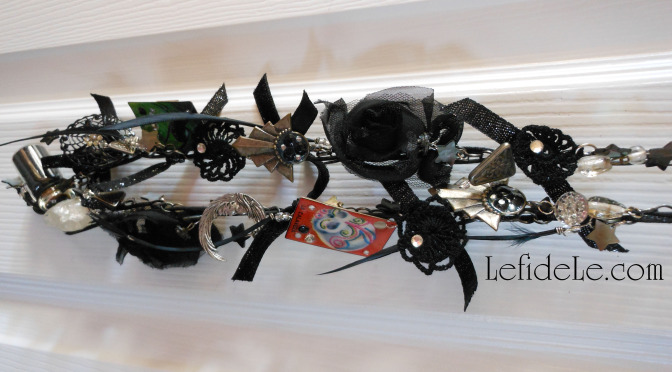
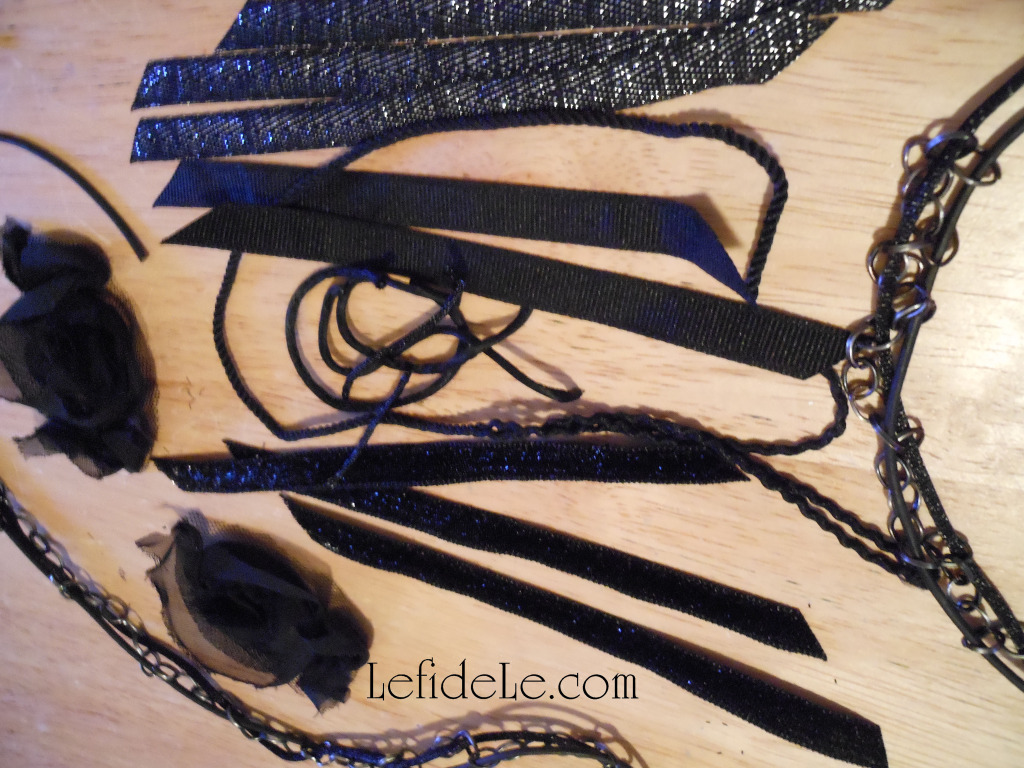
This is perfect place to use any pretty little ribbons from leftover projects. I cut four inch lengths of new velvet and metallic ribbons. I also cut a couple of roses from some black netted fabric trim. I had never tried this before either, but it worked beautifully to slide jumprings through the netting. I also bent the posts (of a pair of vintage black rose earrings) to make loops to slide onto those same jumprings. They made a kind of baby rosette bead for additional decoration. Remember that statement necklaces are supposed to be over-the-top!

23Leigh

I tied ribbons over the wired cord ends to keep them from snagging my hair. This worked so well that I’m considering wrapping ribbon onto some of my old necklaces.

27Leigh

With all of the elements now ready, I laid out my construction scheme. I played with the look, moving items around until they seemed balanced yet still asymmetrical.

67Leigh

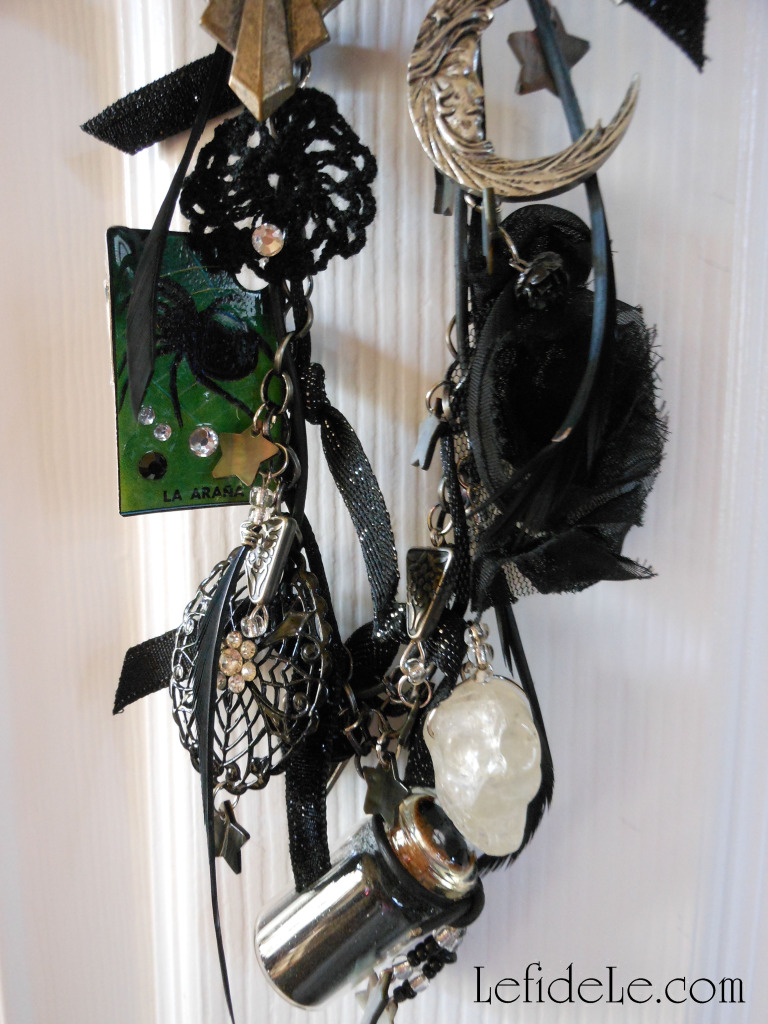
I attached my largest and heaviest items toward the bottom first (like a small carved quartz crystal skull). I worked my way down in element size from there.
075Leigh

After that, I closed jumprings into vintage crystal buttons to make fabulous beads. I filled any gaps with shell stars. This helped to maintain continuity throughout the piece.
65Leigh

Lastly, I added the feather beads with the direction of their natural curves following the drape of the necklace.

61HalloweenNecklace-Leigh

You can use these ideas to make any genre of mixed media necklace… even a girly pink princess one, but this year, I made mine wicked!

Faithfully Yours,

Leigh