Celebrate Halloween with colorful Dia de los Muertos (Day of the Dead) party décor inspired by traditional ofrenda symbolism. It is an edifying means of incorporating both traditions into an event that seeks to cultivate an atmosphere of cultural understanding. By recognizing the universal conditions of love, life, and death through festivity, we can be united as one people comprised of a beautiful mosaic of ethnic tradition. In this way, revelry becomes a means of dispelling the negative cultural bias that plagues the nation, so that we may move forward together in celebration.
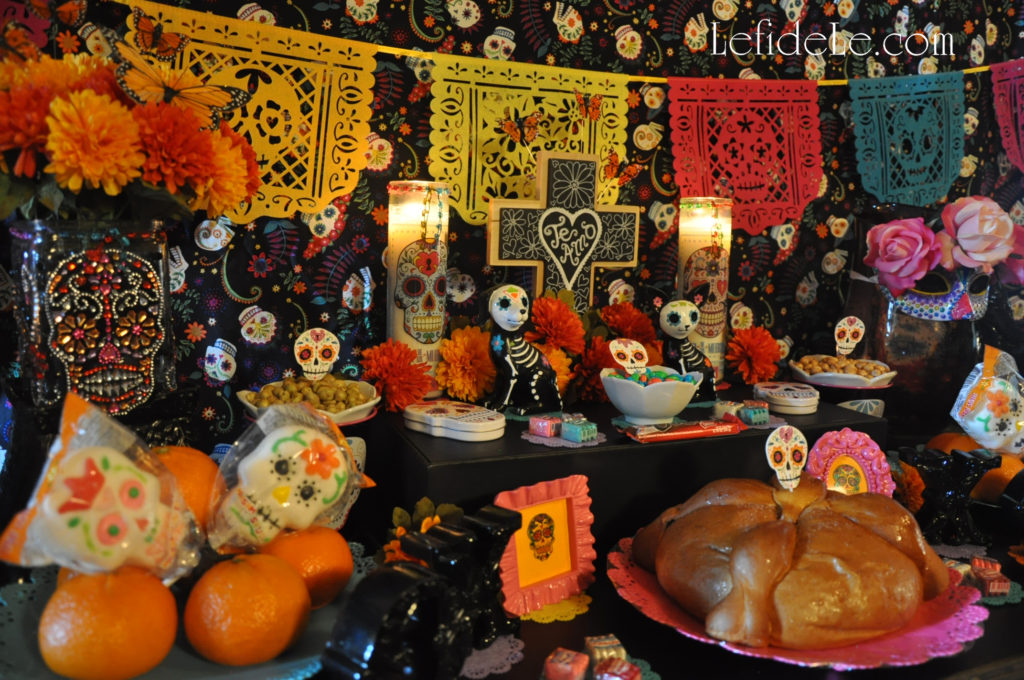
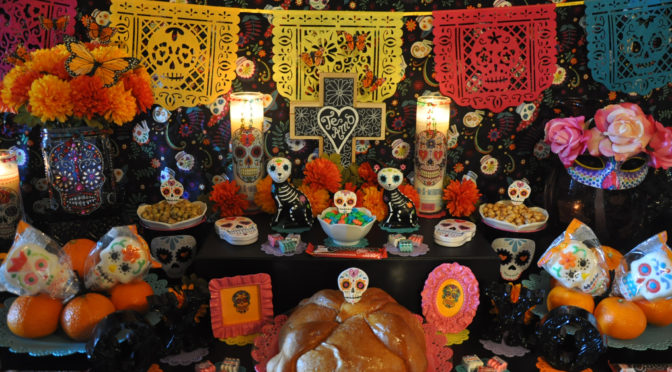
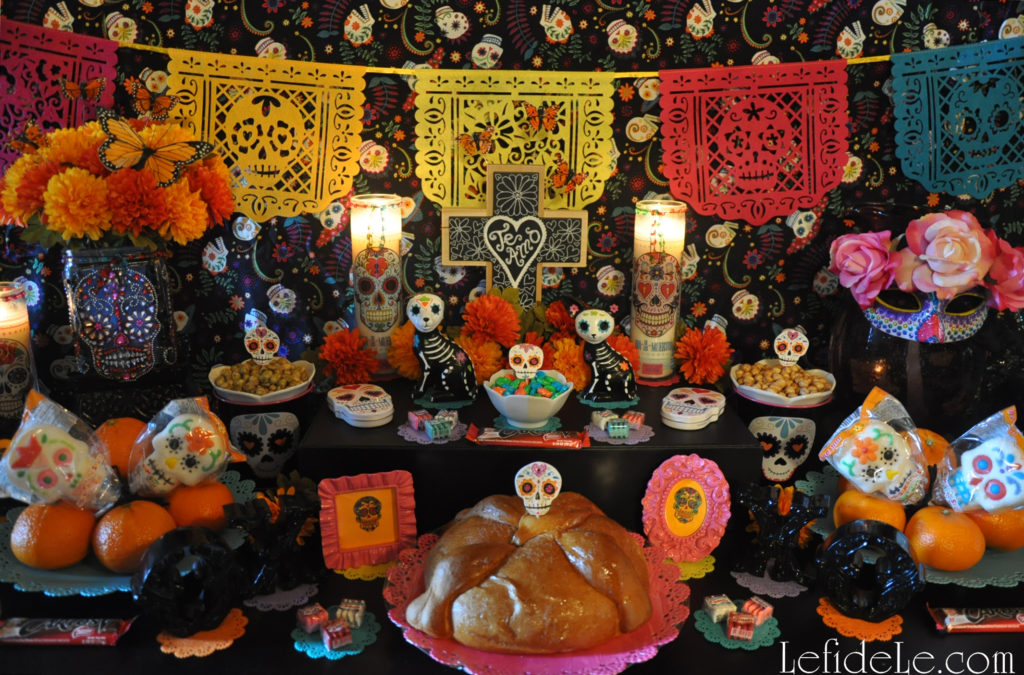
Dia de los Muertos (Day of the Dead) coincides with All Saints Day and All Souls Day in both tradition and calendar. In this regard, a traditional ofrenda (offering) has a higher central tier honoring a deceased loved one. Taking the place of a photograph is another traditional element, that of a religious symbol. It takes the form of a chalkboard cross that has been inscribed with flowers and the Spanish words, “Te Amo” (“I love You”). A vase upcycled with crystal appliques holds a floral offering in keeping with gravesite ritual. See how easy this is to make in my tutorial here: DIY Calaveras de Azucar (Sugar Skulls) Napkin Rings, Wine Glass Charms, & Vase Craft Tutorial for Dia de los Muertos (Day of the Dead) Themed Halloween Dinner Party Décor.
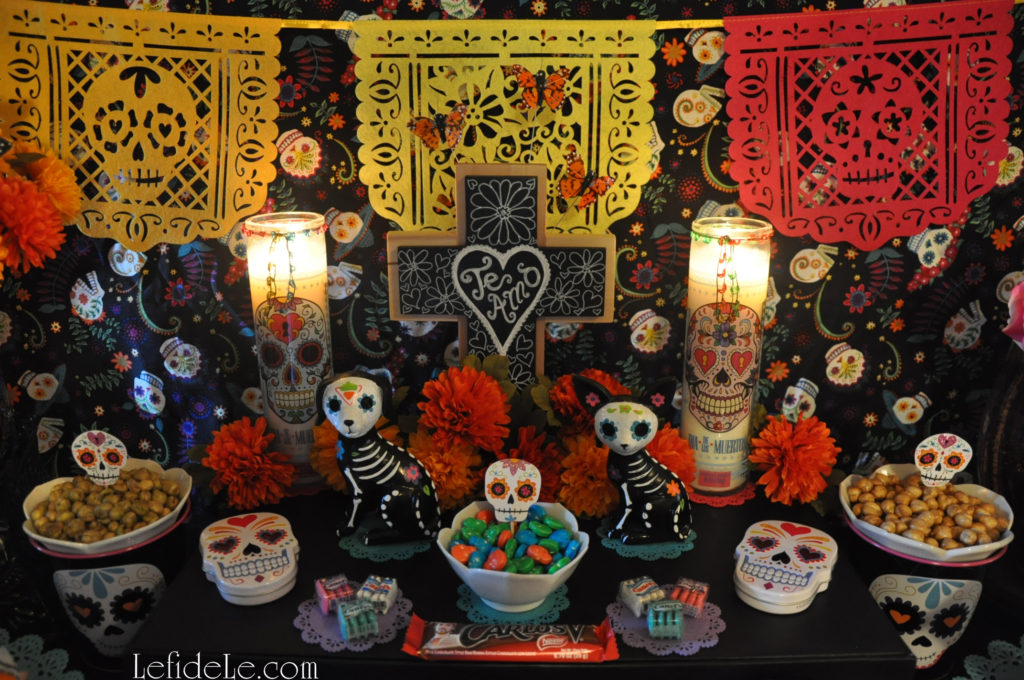
Lit candles are said to illuminate the path for the visiting spirits of loved ones. Representing fire, these may be in the form of Catholic religious candles depicting santos (saints), luminarias (lanterns) made of pierced paper bags or cans, or plain wax candles. Perritos (little dog figurines) are presented in symbolic gesture regarding the idea that dogs guided ancestral spirits to the afterlife. (Because surely “all dogs go to Heaven”!) Mariposas monarcha (monarch butterflies), that migrate to Mexico through Texas in the fall, represent visiting ancestors. Wild yellow and orange Mexican marigolds (cempasúchil) are known as the flor de muerto (flower of the dead). They may be linked into garlands, shaped into crosses, or placed decoratively. A fun way to incorporate these elements is make your own luminarias and flowers. The traditional crafts are easy to make using my tutorial here: Easy DIY Upcycled Can Tea-light Luminarias (+ Free Printable Template) & Tissue Paper Flowers Crafts (for Cinco de Mayo Fiesta Décor). Another essential item is a papel picado (cut paper) banner which signifies the fragility of life.
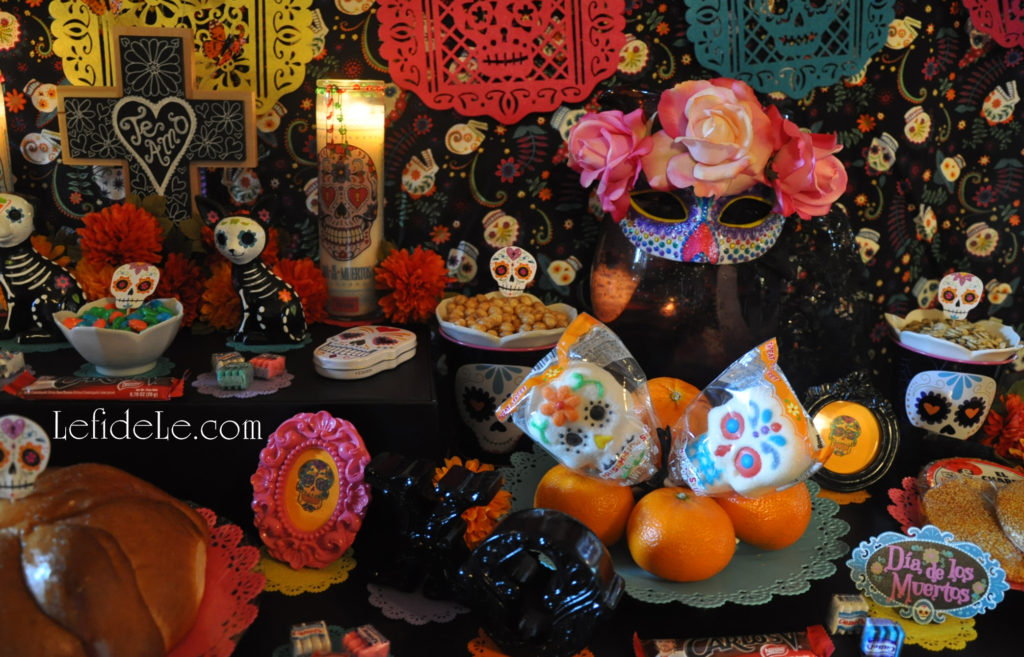
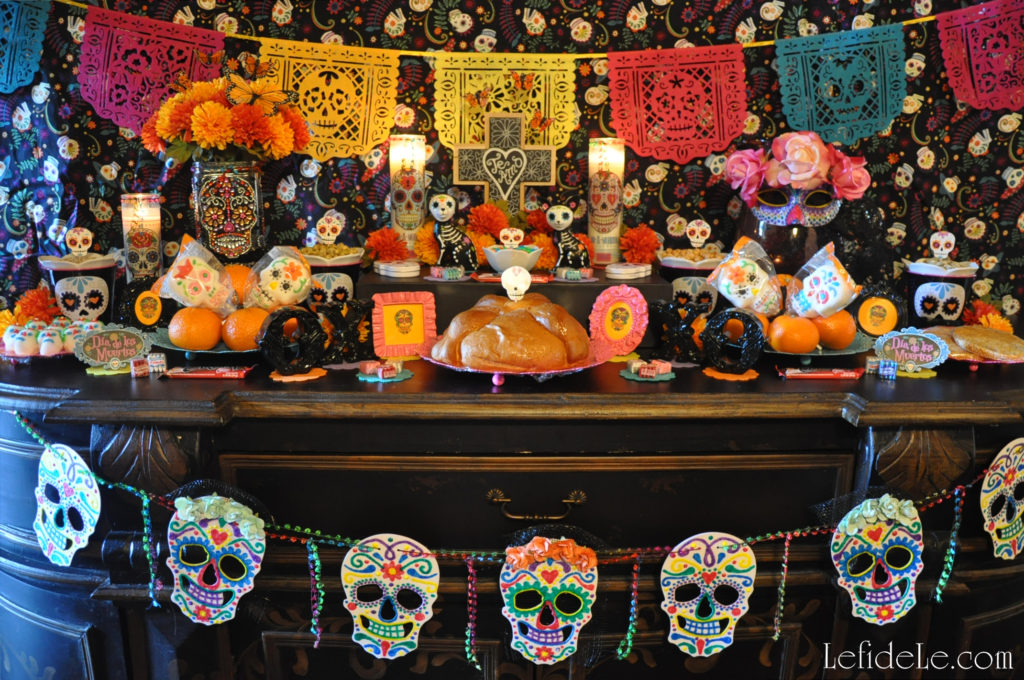
Representing water is a Mexican bubble glass pitcher bearing a traditional mask of la calavera catrina (iconic image of a wealthy 1800’s era Euro-Mexican lady). When worn as a parade mask, half of the face is covered with a skull representation symbolizing life as inextricably linked with death. Make your own with the help of my tutorial here: DIY La Calavera Catrina Costume Mask & Calaveras de Azucar (Sugar Skulls) Banner for a Dia de los Muertos (Day of the Dead) Themed Halloween. Other decorative elements are multi-colored doilies beneath figures of X’s & O’s(kisses & hugs), and little signs naming the holiday. Small sugar skull tins replace toys, and framed sugar skull images replace ancestors’ photos in this lighthearted nod to tradition.
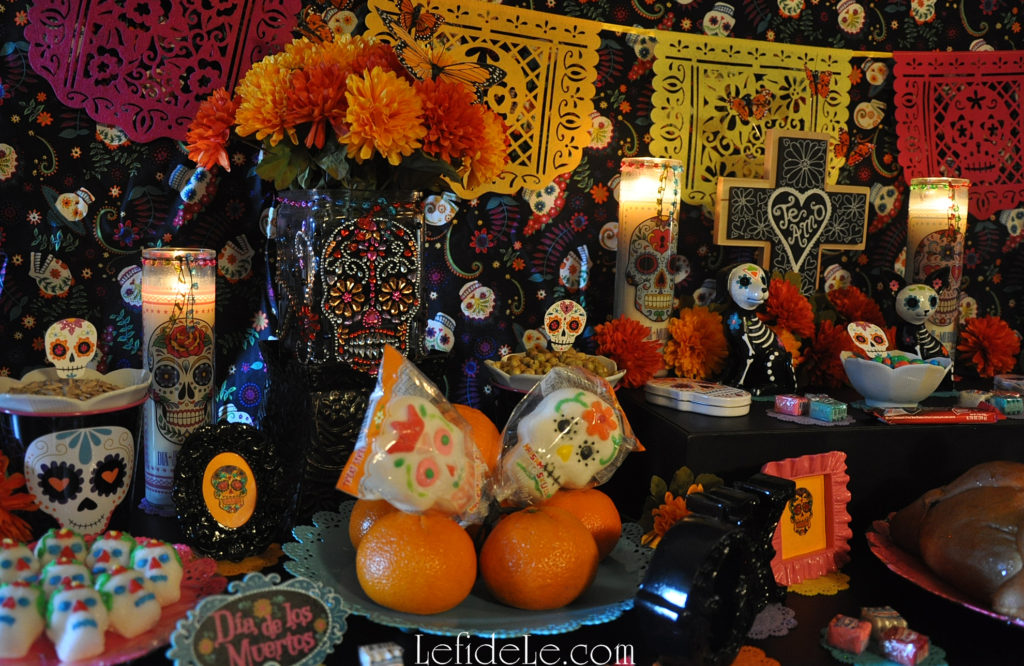
Calaveritas de azucar (little sugar skulls) are necessary offerings as its sweetness (representing life) is said to balance the bitterness of muerte (death). Easily make these with my recipe here: Calaveras de Azucar (Sugar Skulls) Edible Folk Art & Egg-Free Vegan Candy Recipe for Dia de los Muertos (Day of the Dead) or Halloween. Seeds (with an obvious connection to life) originally decorated skulls in place of sugar. They are still offered as a traditional component, with food representing the element earth. Here they are contained in floral dishes nested into decorative tin pails. Sprouted pepitas or semillas de Calabaza (pumpkin seeds), pipas (sunflower seeds), and fried green peas as well as roasted chick peas (garbanzo beans) are adorned here with glittered skull cupcake picks. A trio of palanqueta de ajonjoli disks (sesame seed candy) are another sweet form of seed offering. (Nut brittle is a form of this kind of candy.) Sugared marshmallow pops are propped into stacks of customary naranjas (oranges). (The pops were purchased at Fiesta Mart, but they may also be found at Le fidèLe affiliates Michaels & World Market whose coupon links are in the left side bar or below on a smart phone.) Pan de muerto (bread of the dead) sits front and center of the ofrenda as it denotes human life in its round skull-like form with an X of raised dough like cross-bones. It is a pan dulce (sweet bread) flavored with anise and orange peel. Candies, Mexican chocolate, and chicle (chewing gum) are also customary offerings.
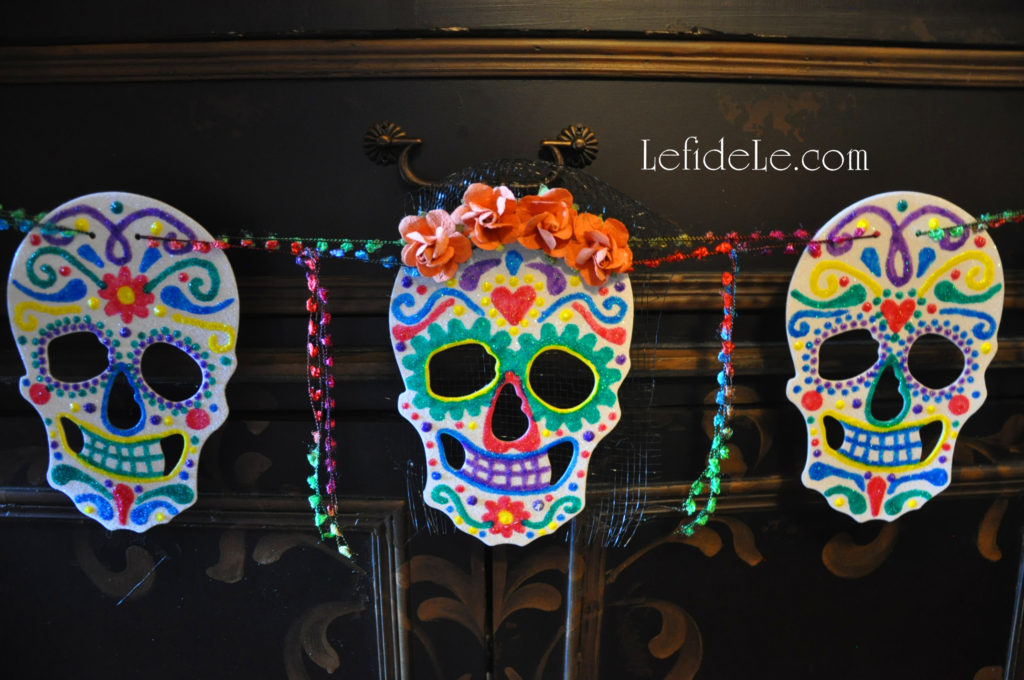
White glittered skull shapes may be decorated and strung as another craft honoring the holiday. Read how to make the banner here: DIY La Calavera Catrina Costume Mask & Calaveras de Azucar (Sugar Skulls) Banner for a Dia de los Muertos (Day of the Dead) Themed Halloween.
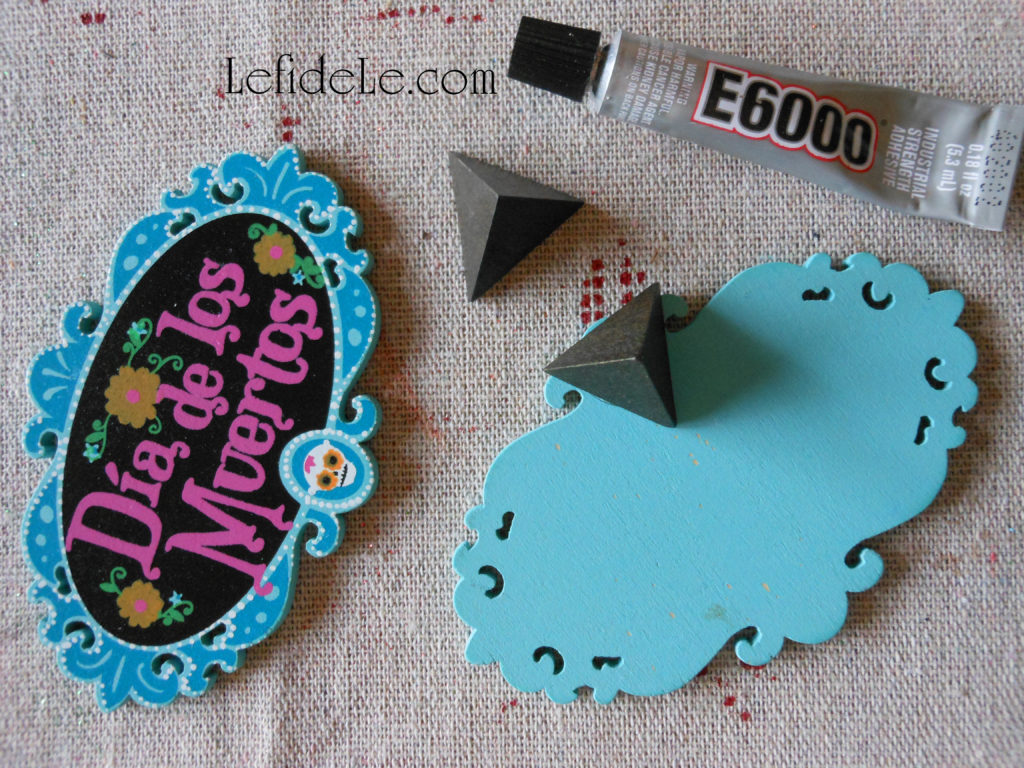
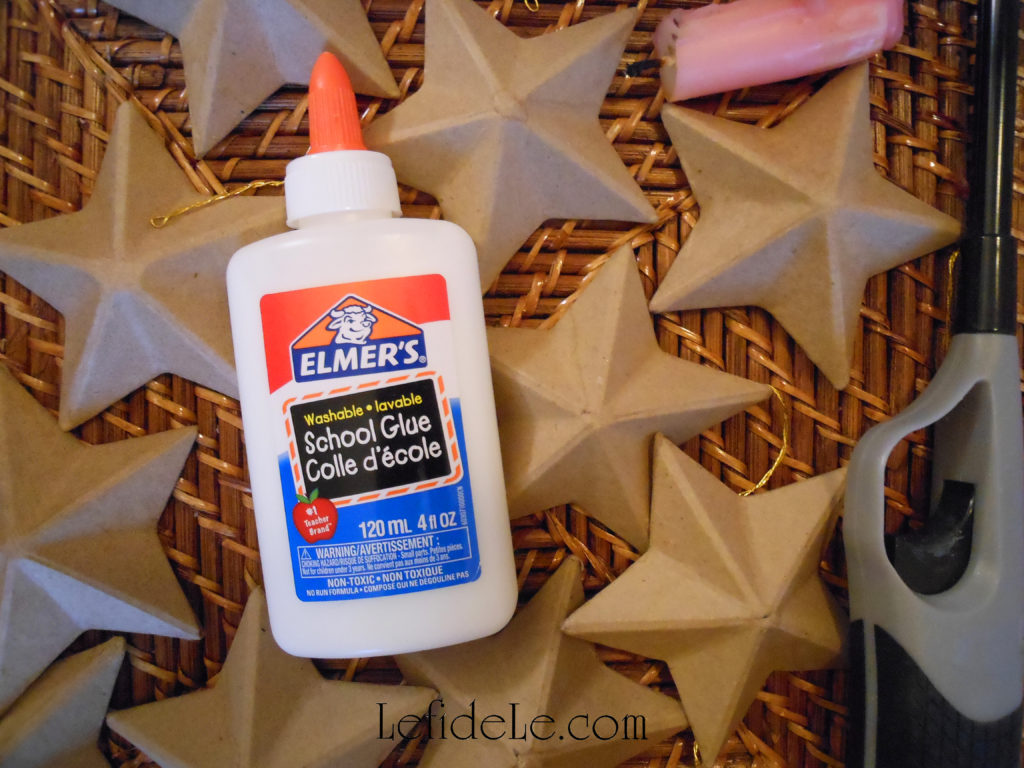
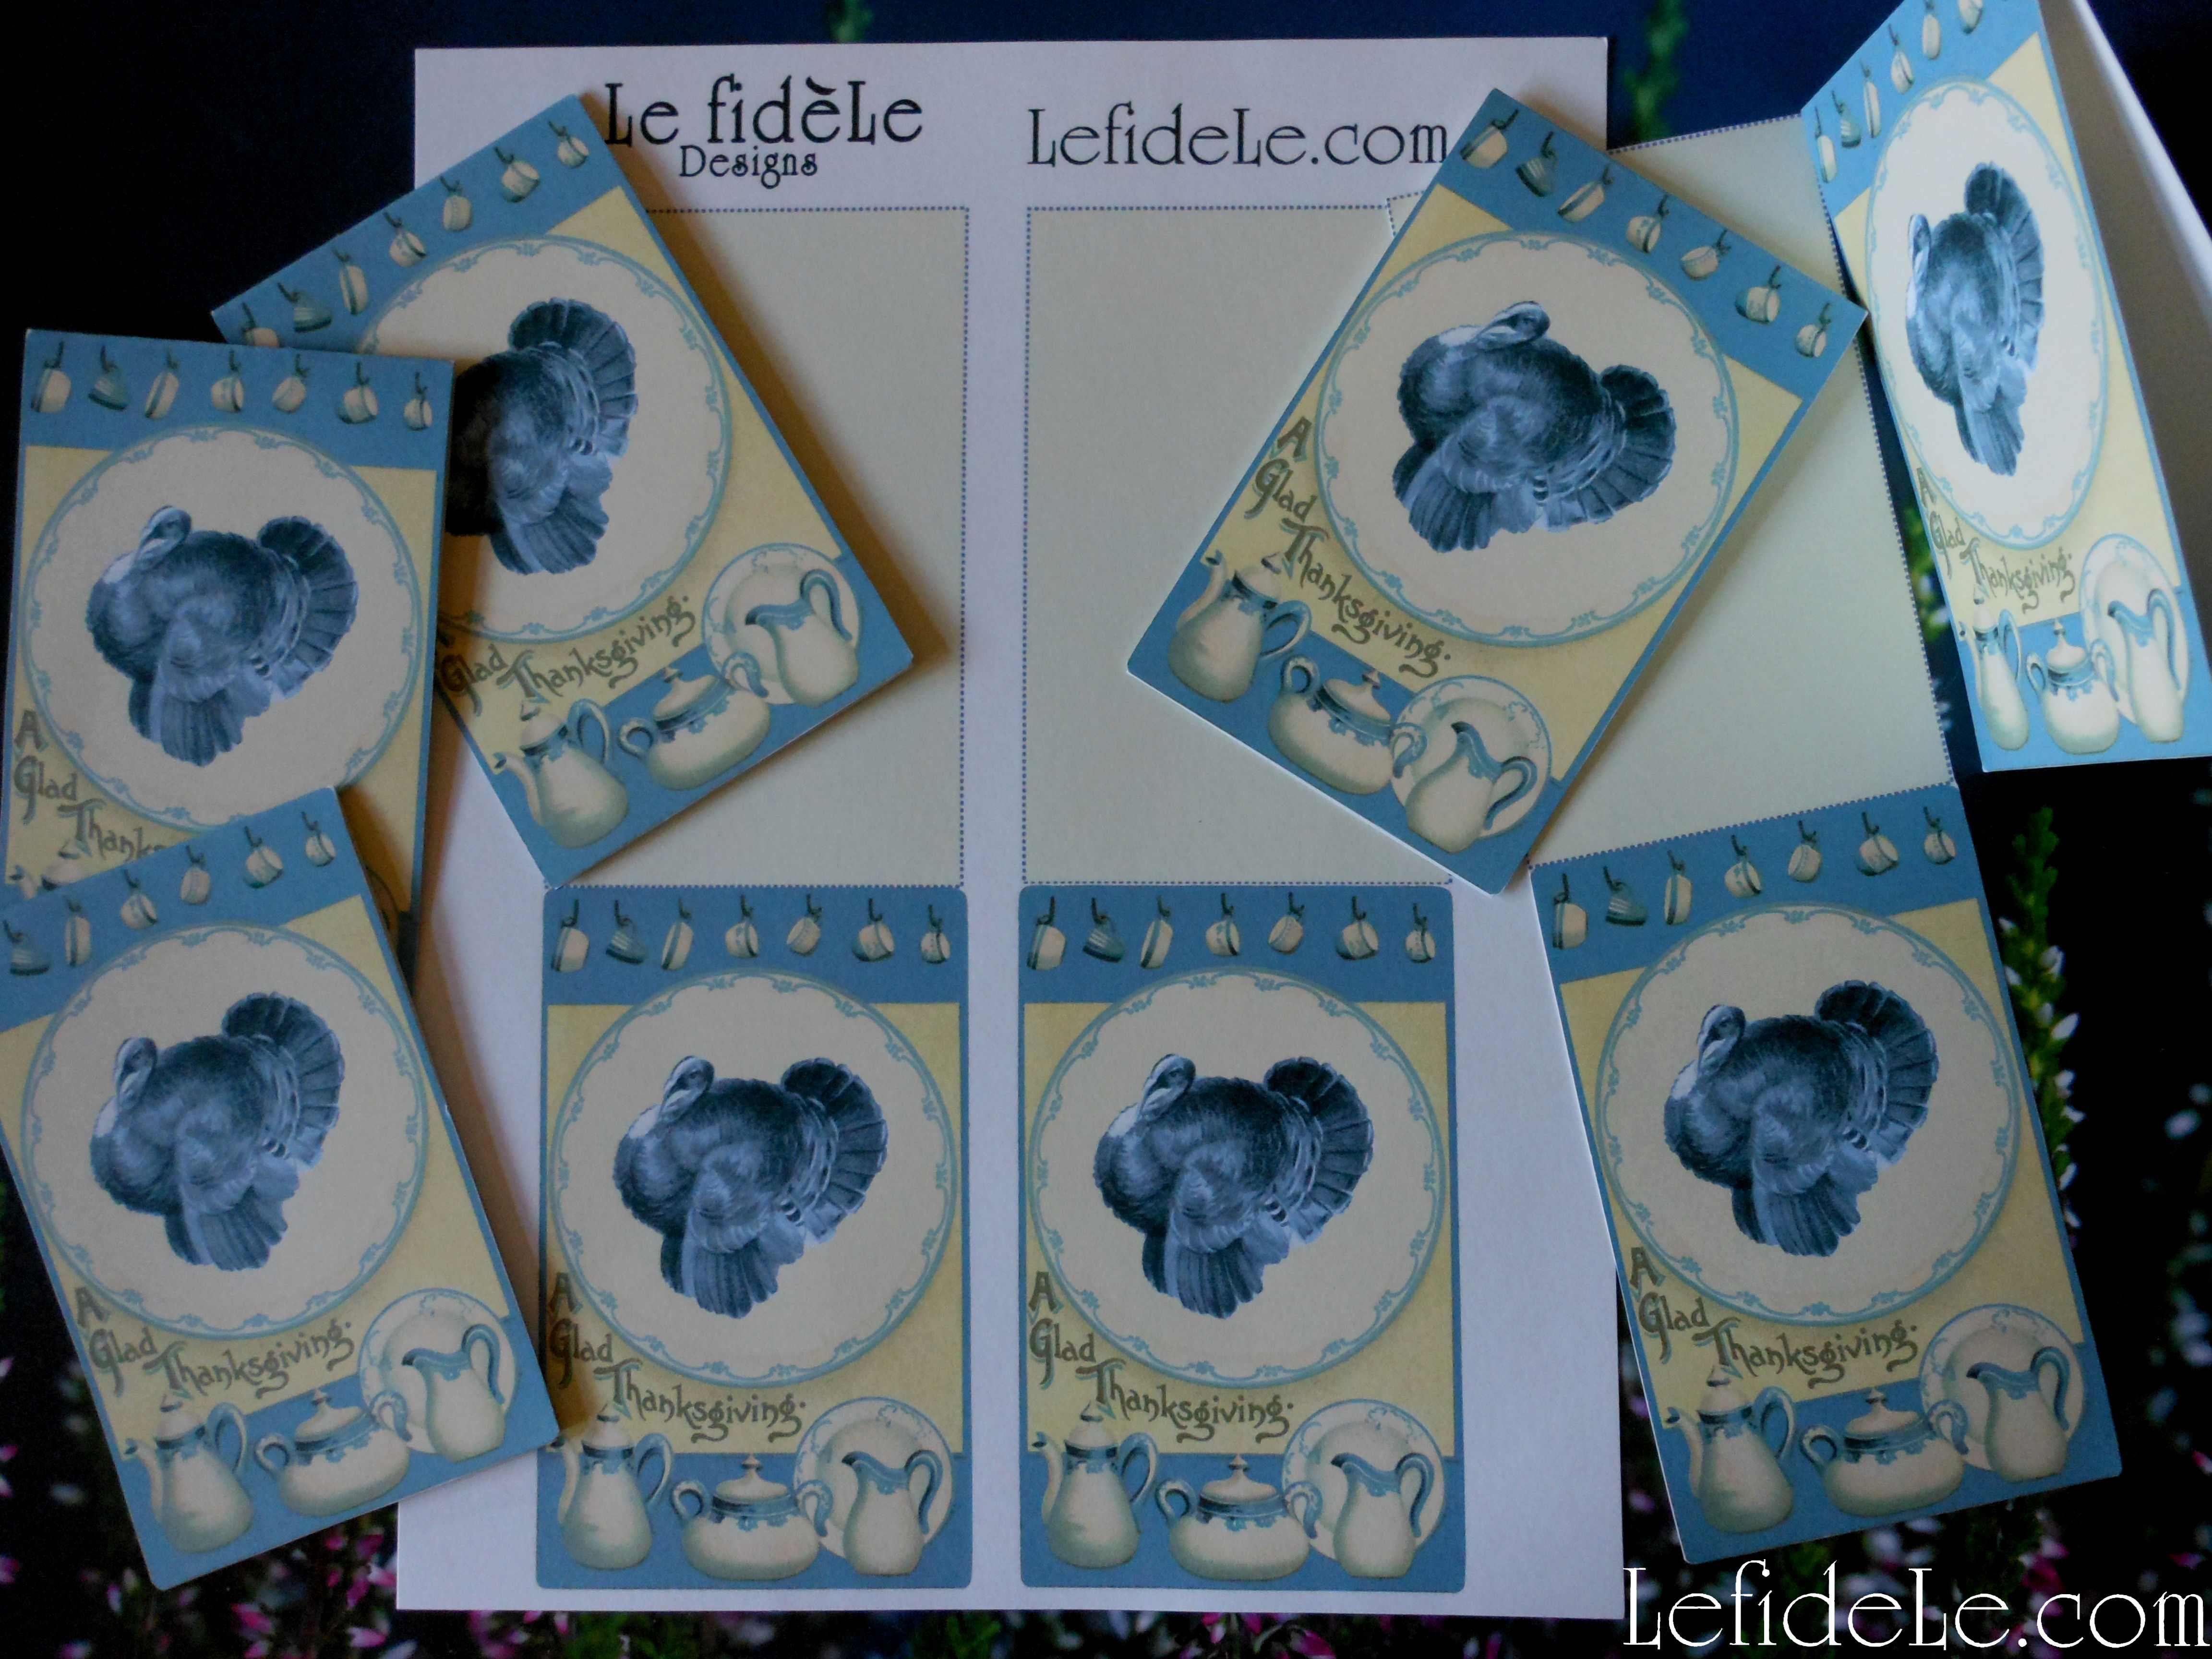
Make your own stand-up signs with dollar wooden shapes from the craft store. These prepainted shapes came from Le fidèLe Design’s affiliate Michaels (see the coupon link in the left side bar or scroll down on a smart phone), but any blank shape may be decorated easily with paint pens. Simply glue a wooden bead or shape (like these pyramids) to the base of the back.
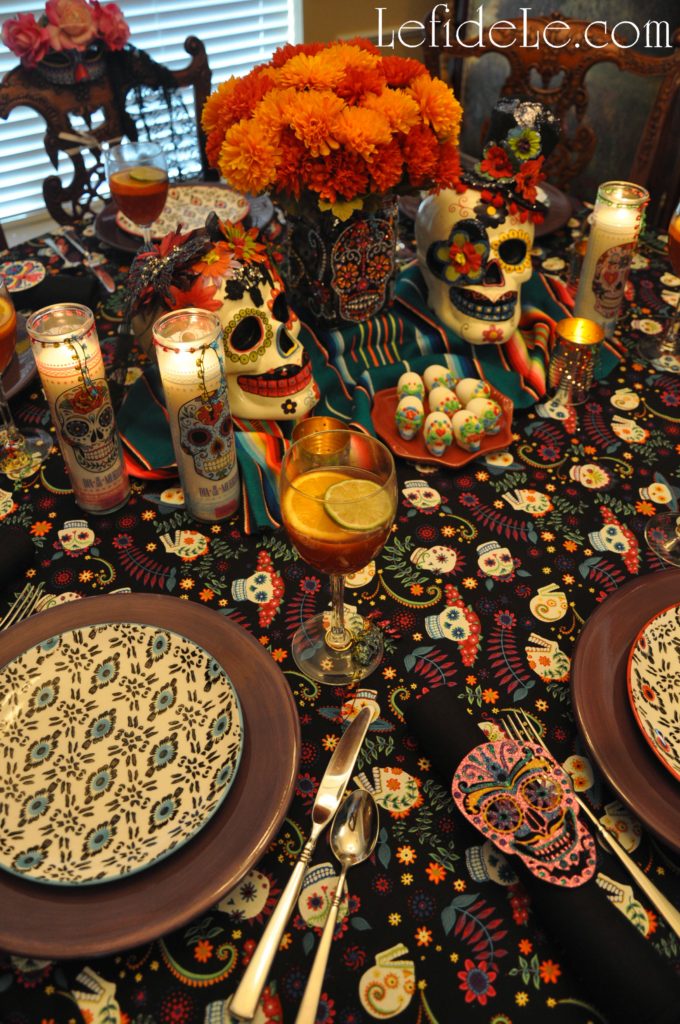
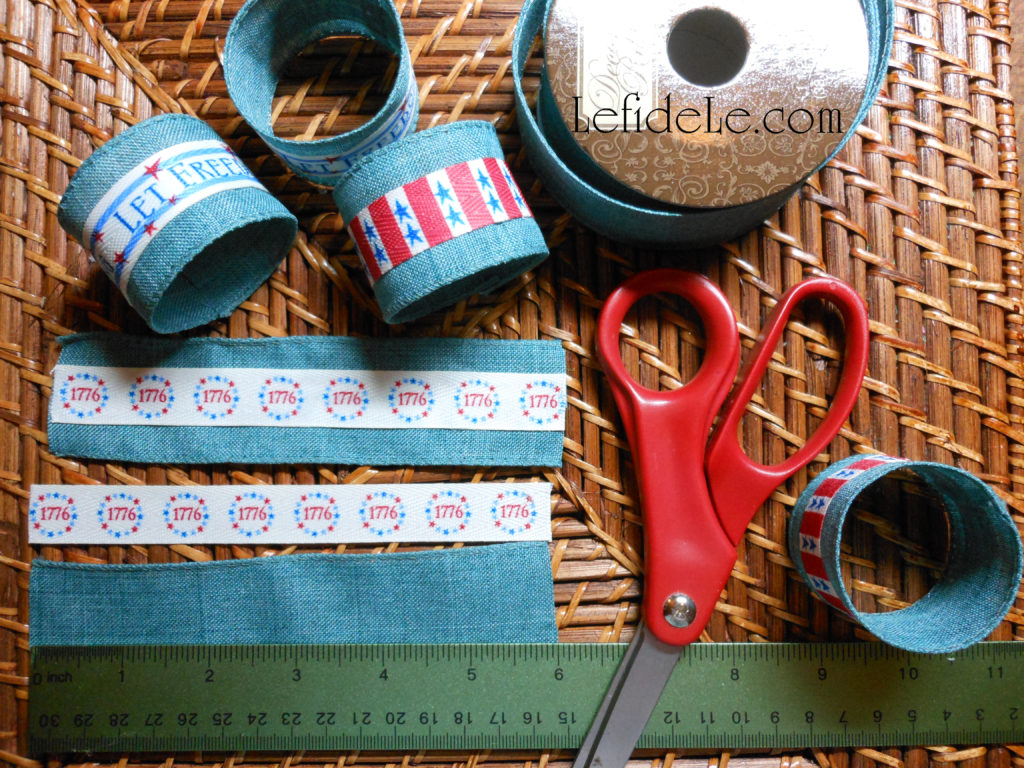
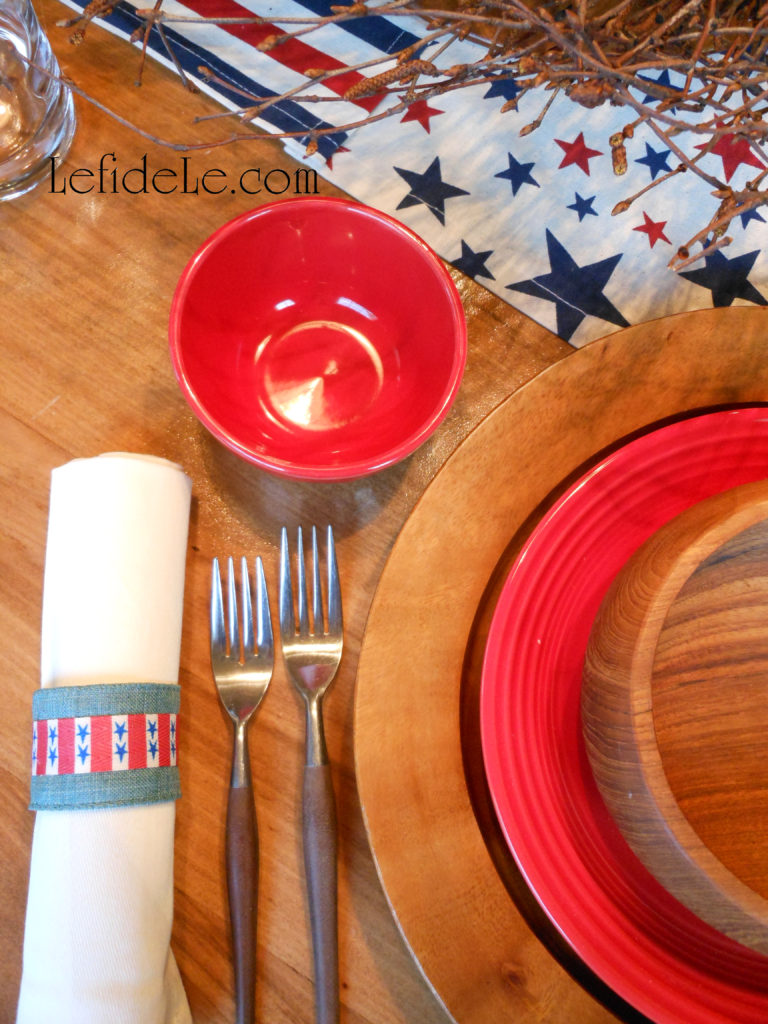
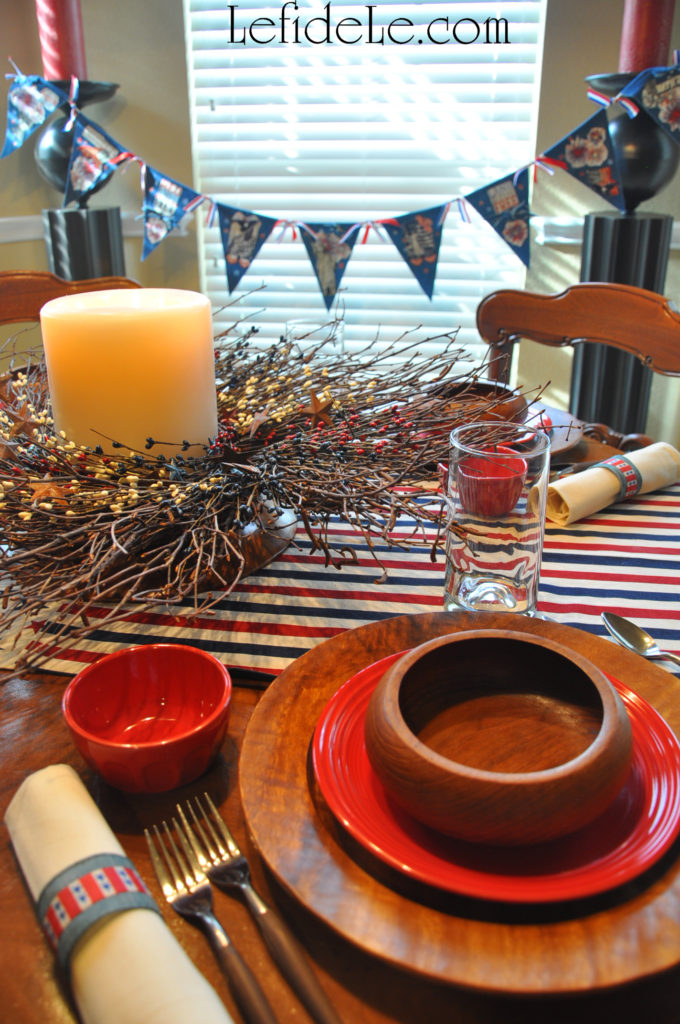
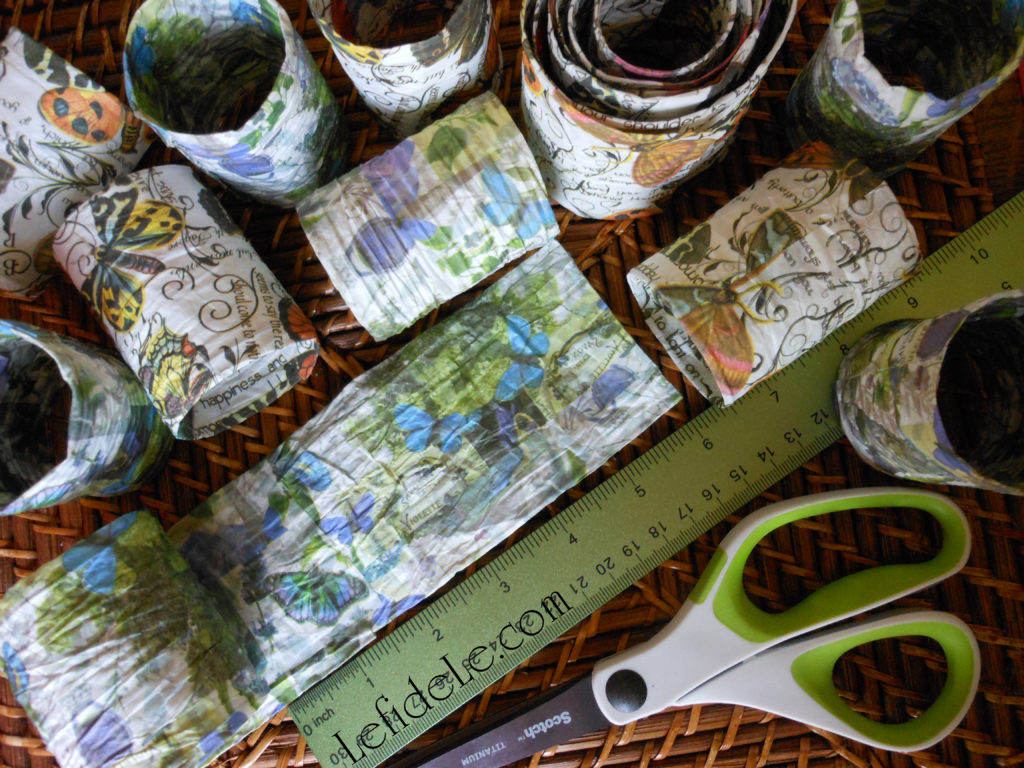
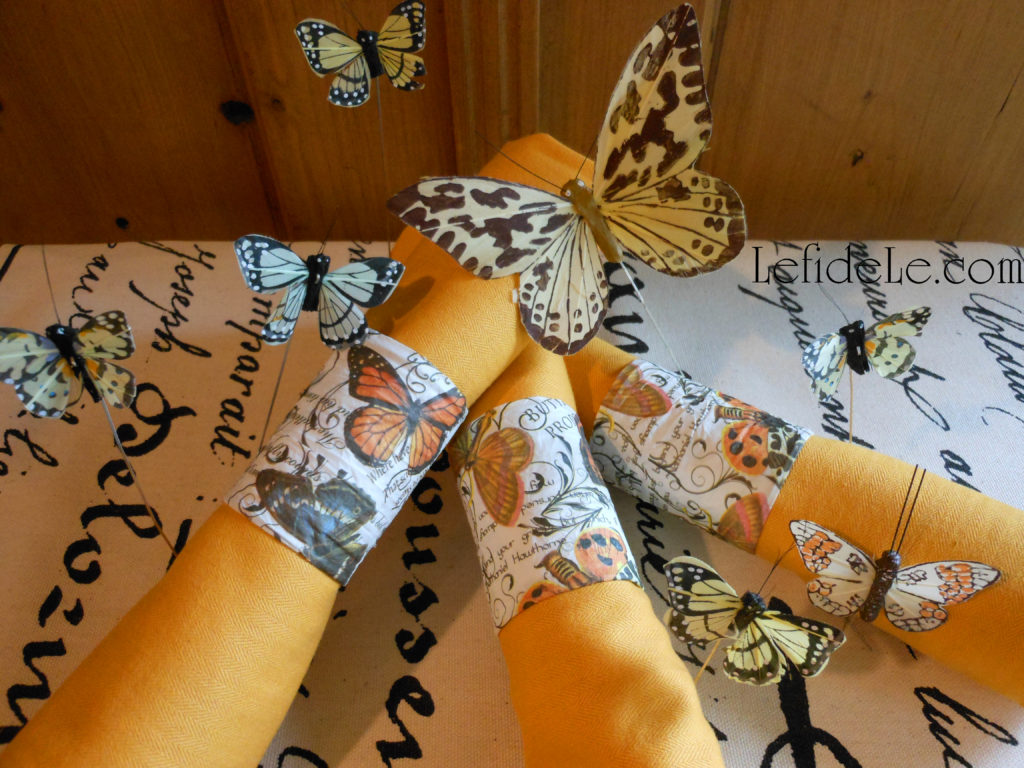
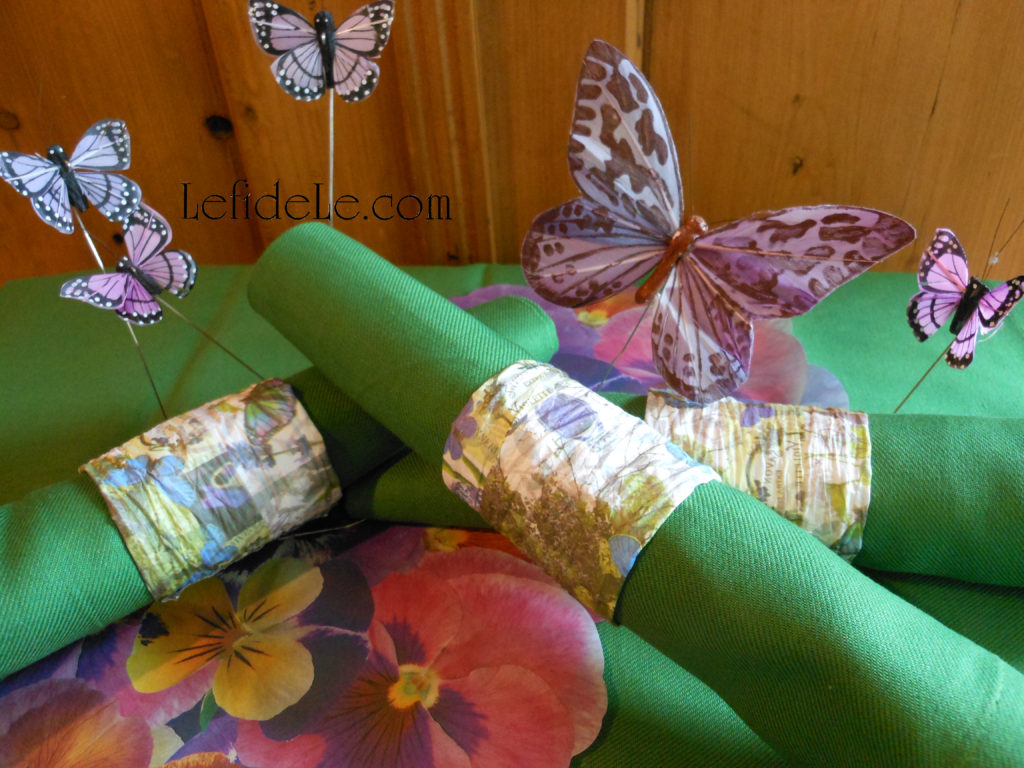
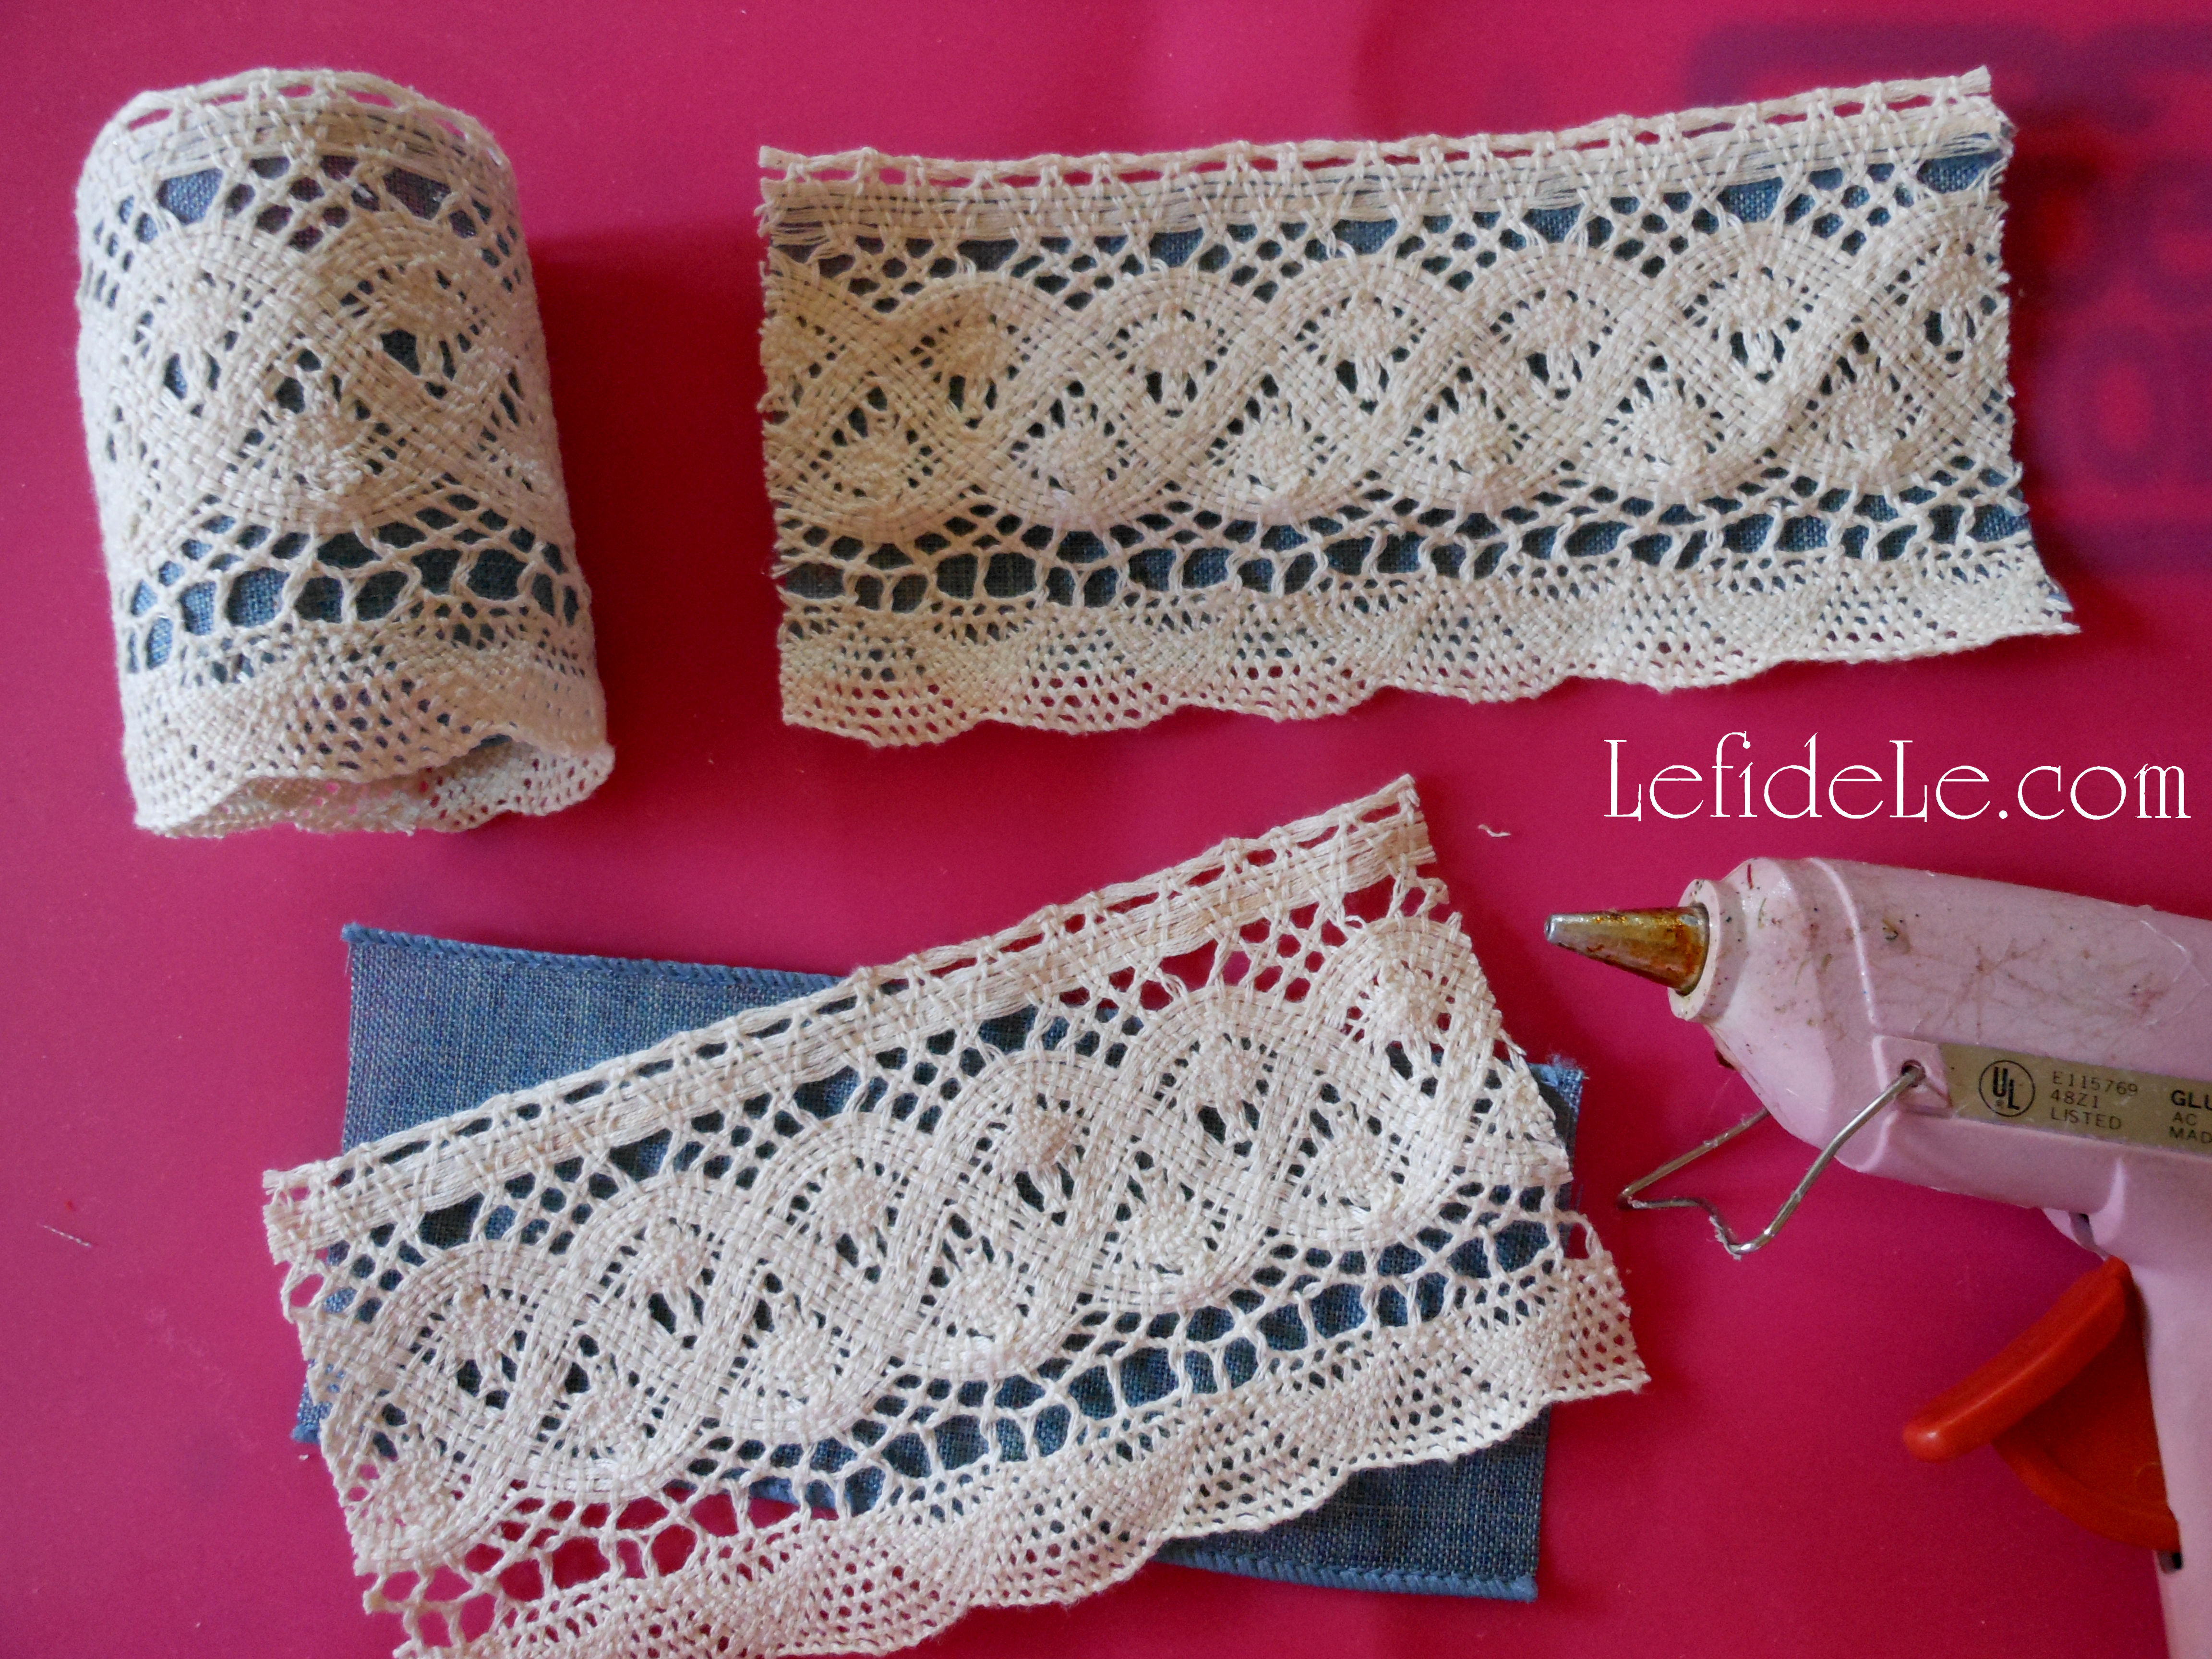
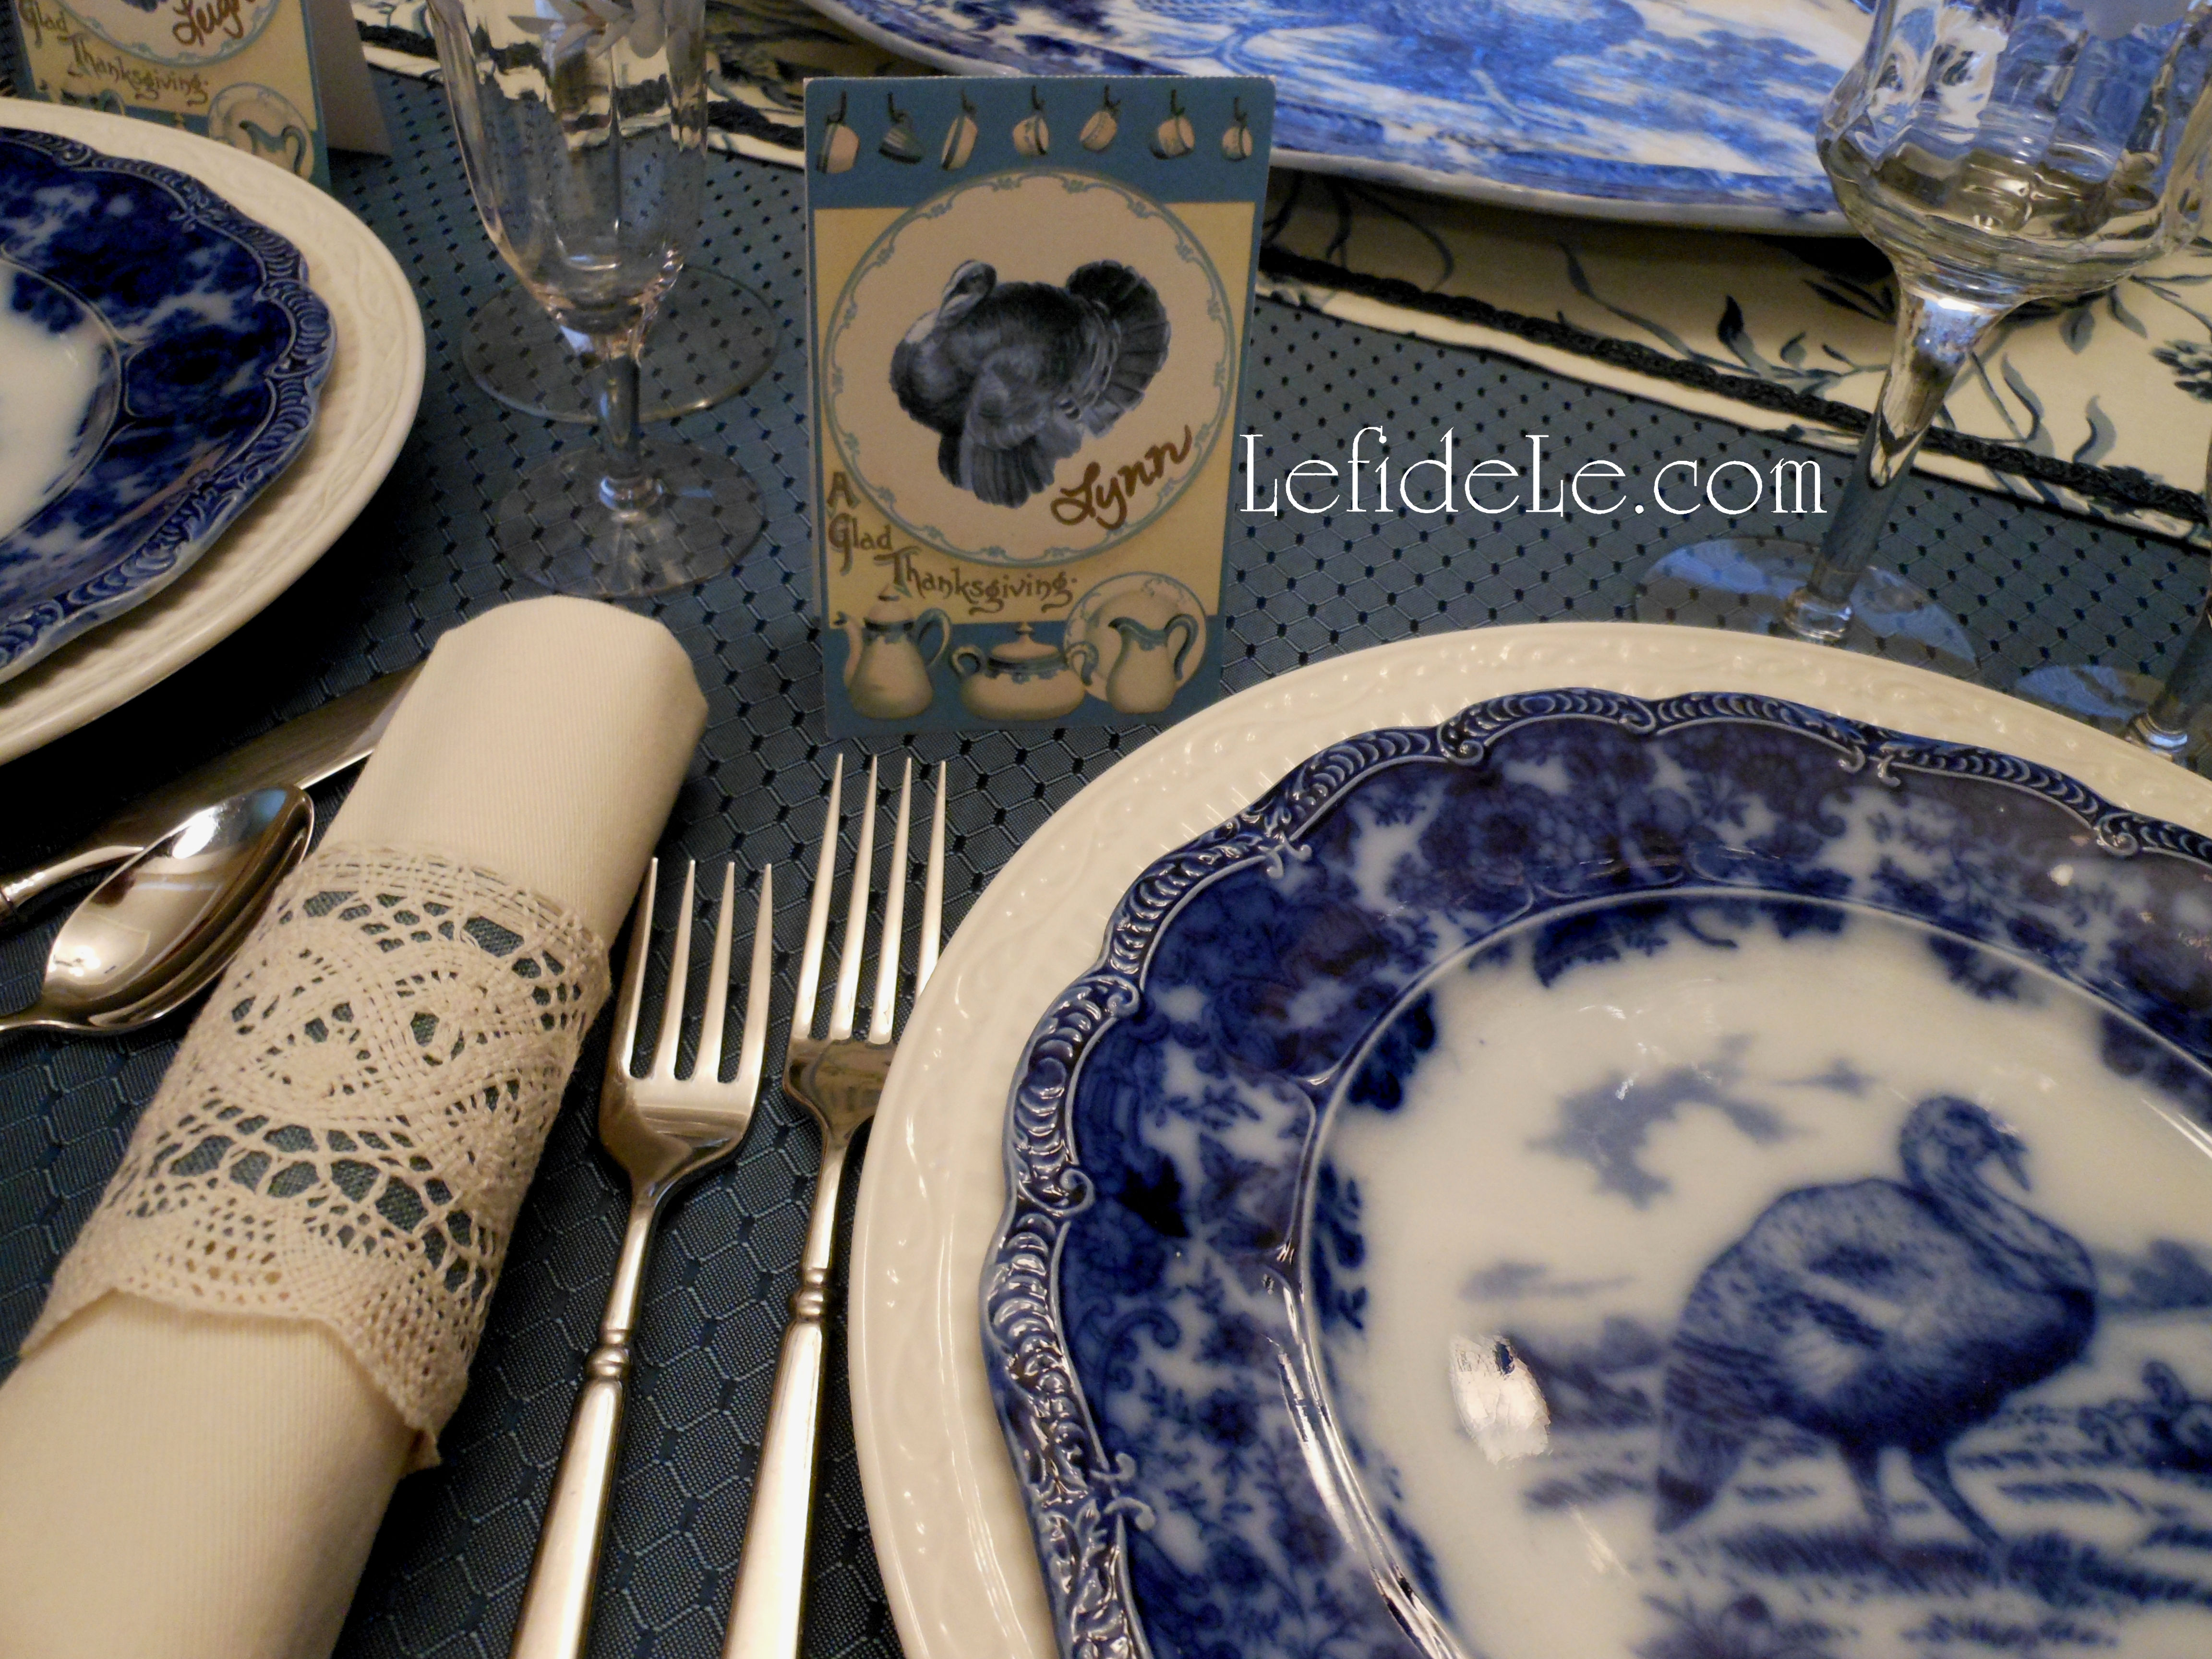
The background fabric for the ofrenda was once used as a tablecloth for a dinner party. (It can be purchased at Le fidèLe affiliate Joann whose coupon link is in the left sidebar, or below on a smart phone.) See it in this capacity in my previously posted article using this theme for a grown-up Halloween tablescape here: Dia de los Muertos (Day of the Dead) Themed Halloween Dinner Party Décor + DIY Décor & Recipe Links. Learn how to make your own wine glass charms and napkin rings for the dinner party here: DIY Calaveras de Azucar (Sugar Skulls) Napkin Rings, Wine Glass Charms, & Vase Craft Tutorial for Dia de los Muertos (Day of the Dead) Themed Halloween Dinner Party Décor.
Feliz Dia de los Muertos!
Faithfully Yours,
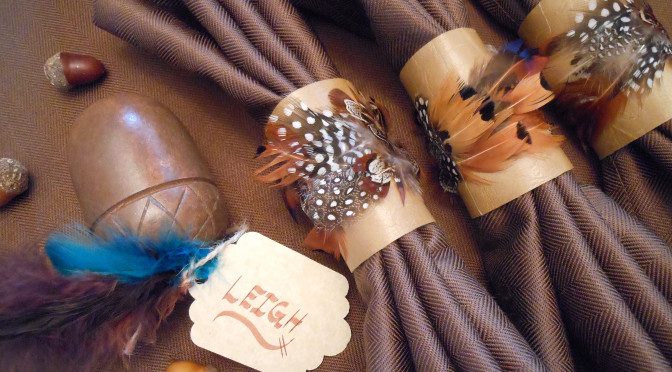
Leigh