Celebrating Chinese New Year is always fun as each year comes with a new built-in theme to accompany the vibrant traditional colors and motifs. In this way, it’s easy to build on the previous event by adding a few new décor elements each year. Use the elegant formal table setting or the fun and playful Kid’s Table… or a combination as ideas for your own celebration. Spend as much or as little as you like, making the evening a complete spectacle or a simple affair. It’s a wonderful opportunity to celebrate the beauty of another culture, and the Year of the Ram will only return in twelve years… and well, it’s a really good excuse for having a great time!

The kids table utilized printables and crafts from my recent articles (Origami Crane Paper Folding Instructions -for Get Well Wishes or Chinese New Year Décor) & (Take-Out Favor Box & Paper Lantern Craft Printable + Bamboo Lantern + Paint to Antique a Lion Fú-Dog -DIY Chinese New Year Party Décor Crafts). The projects are a quick and easy way to decorate while leaving your budget available for all the wonderful food.
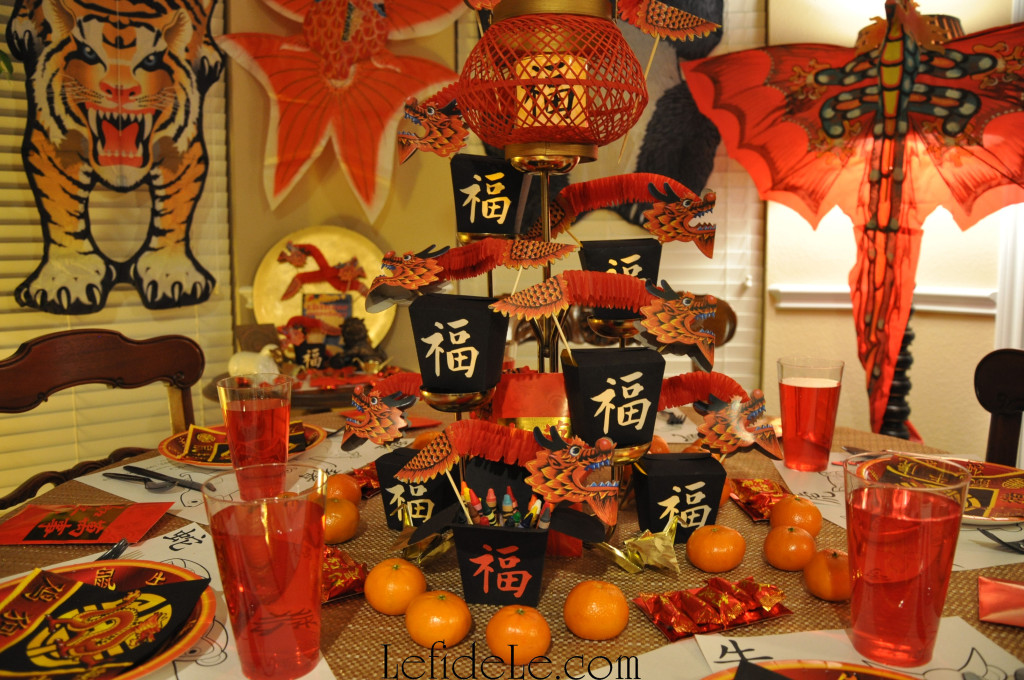
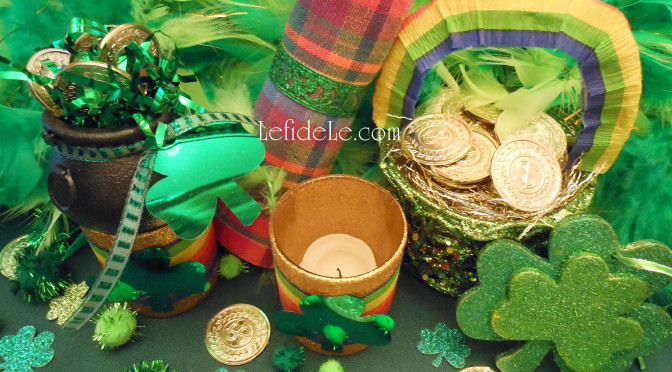
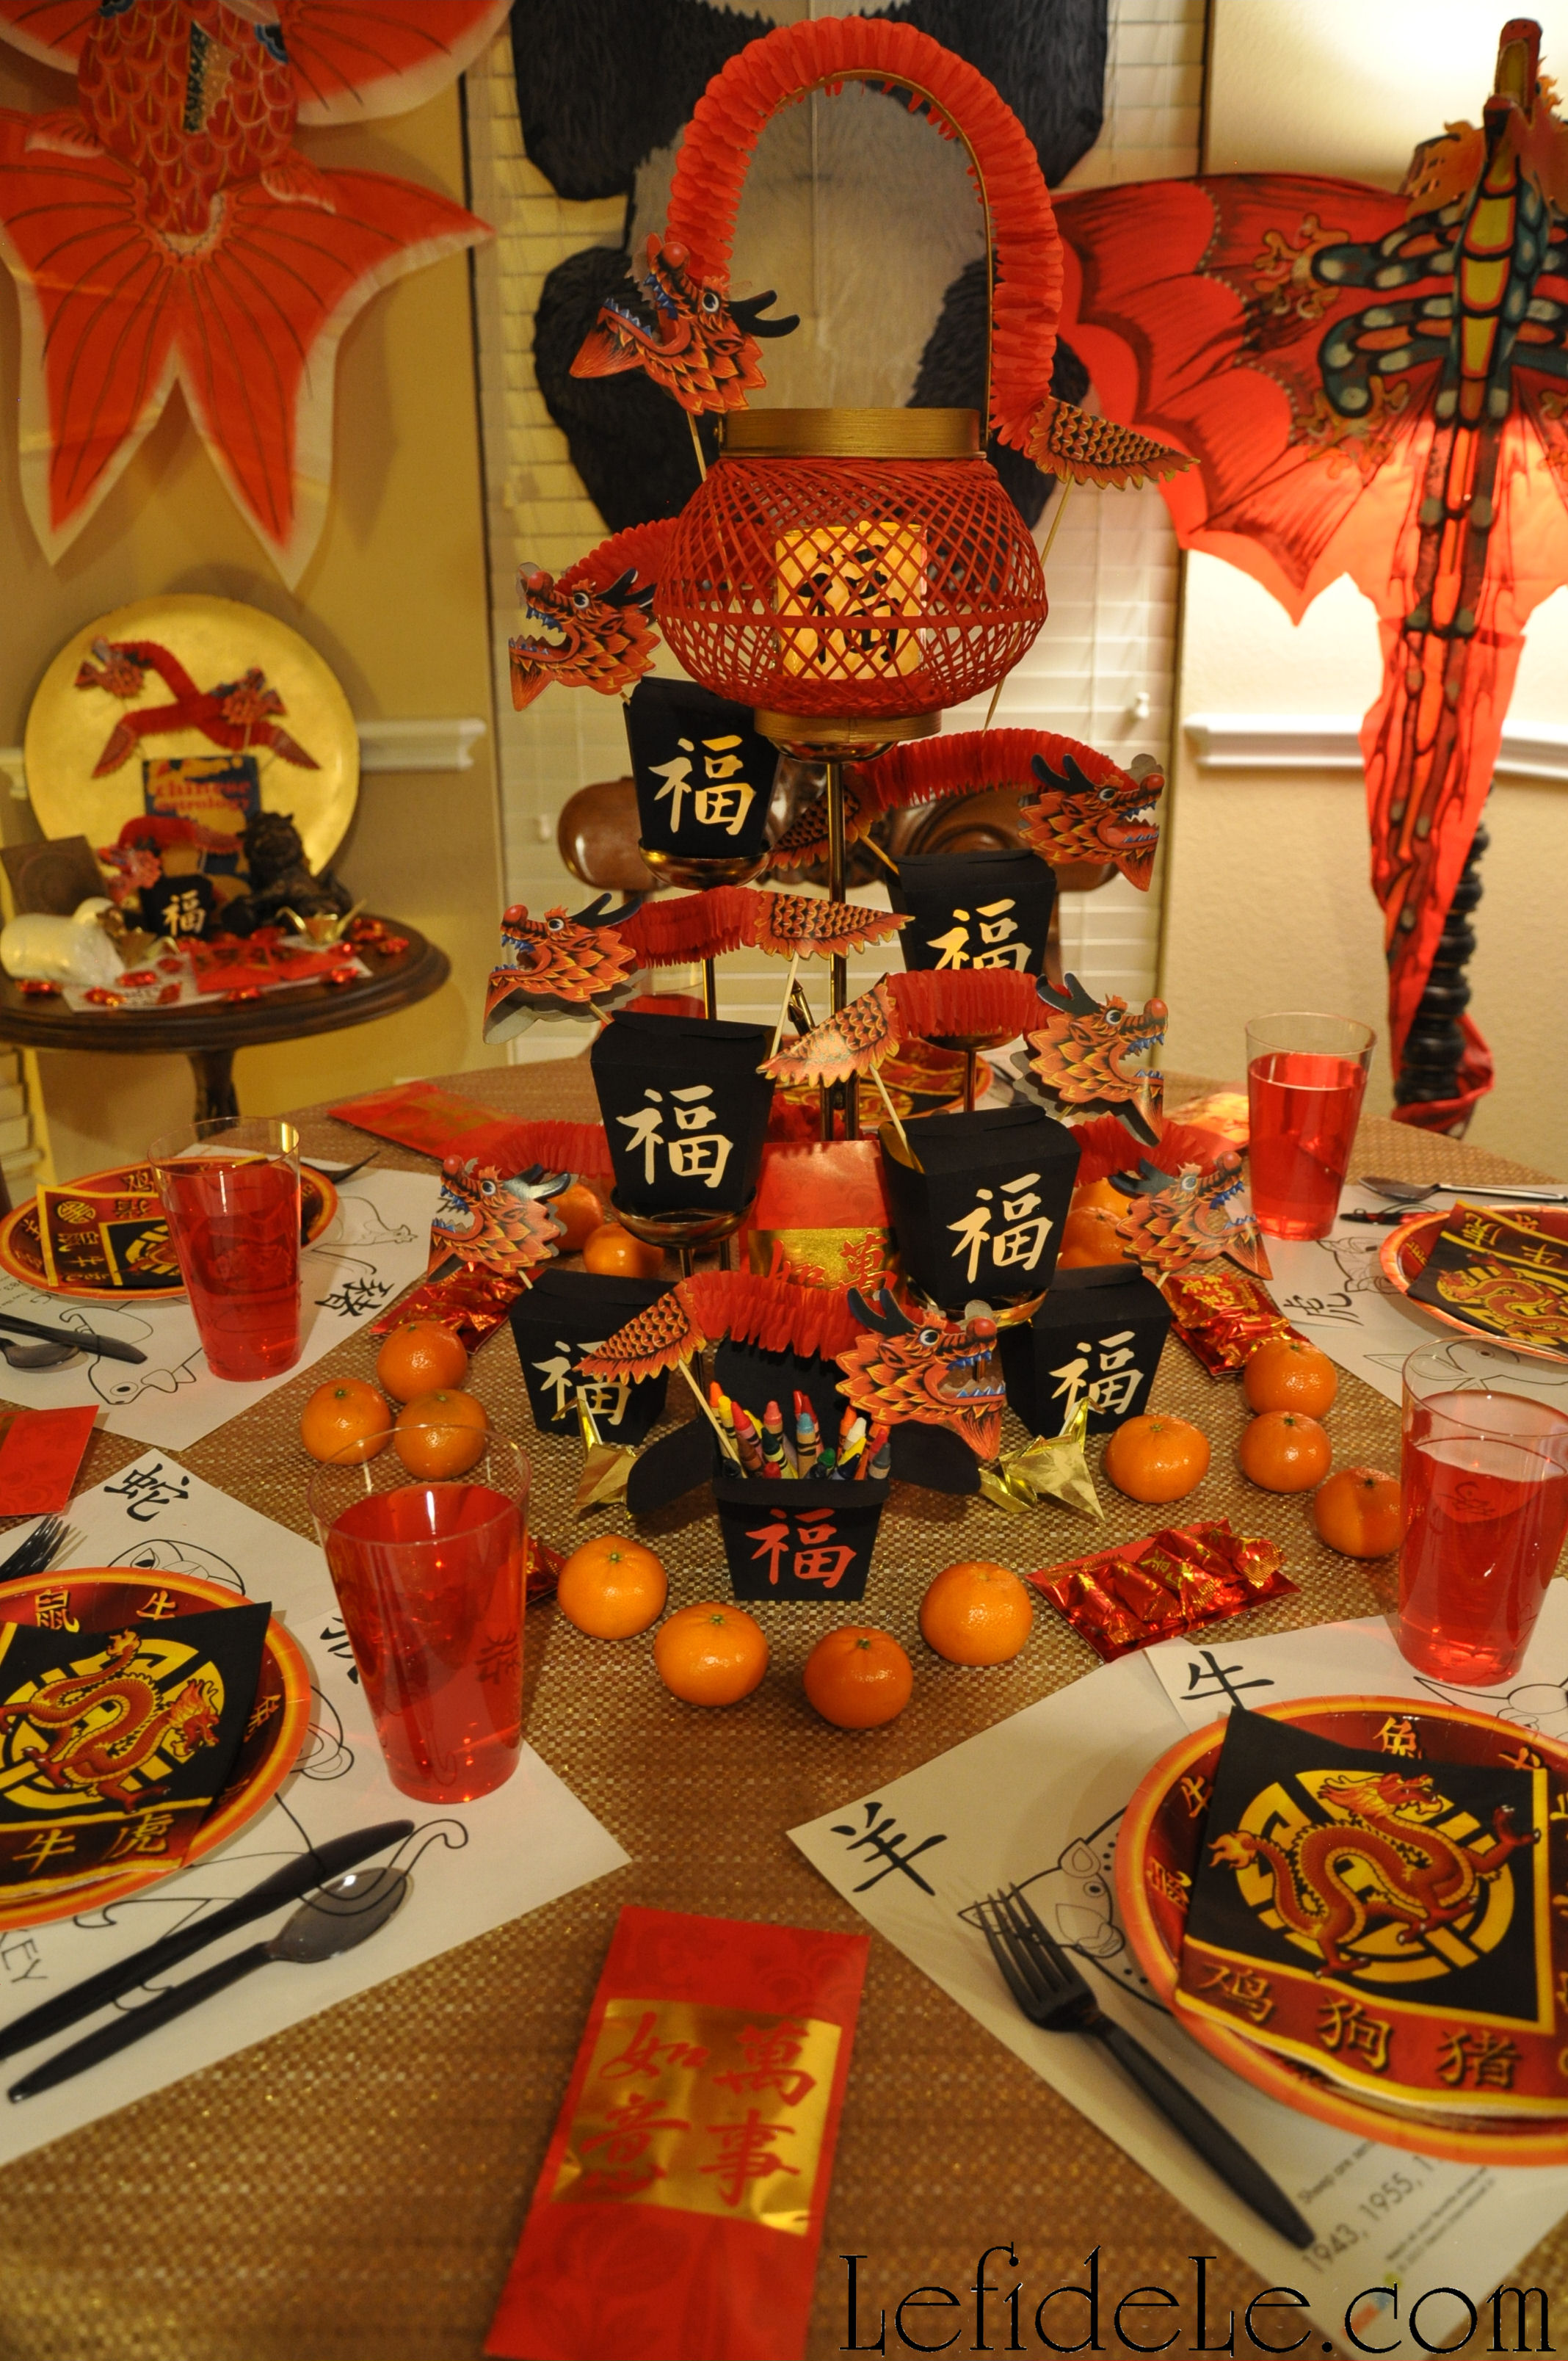
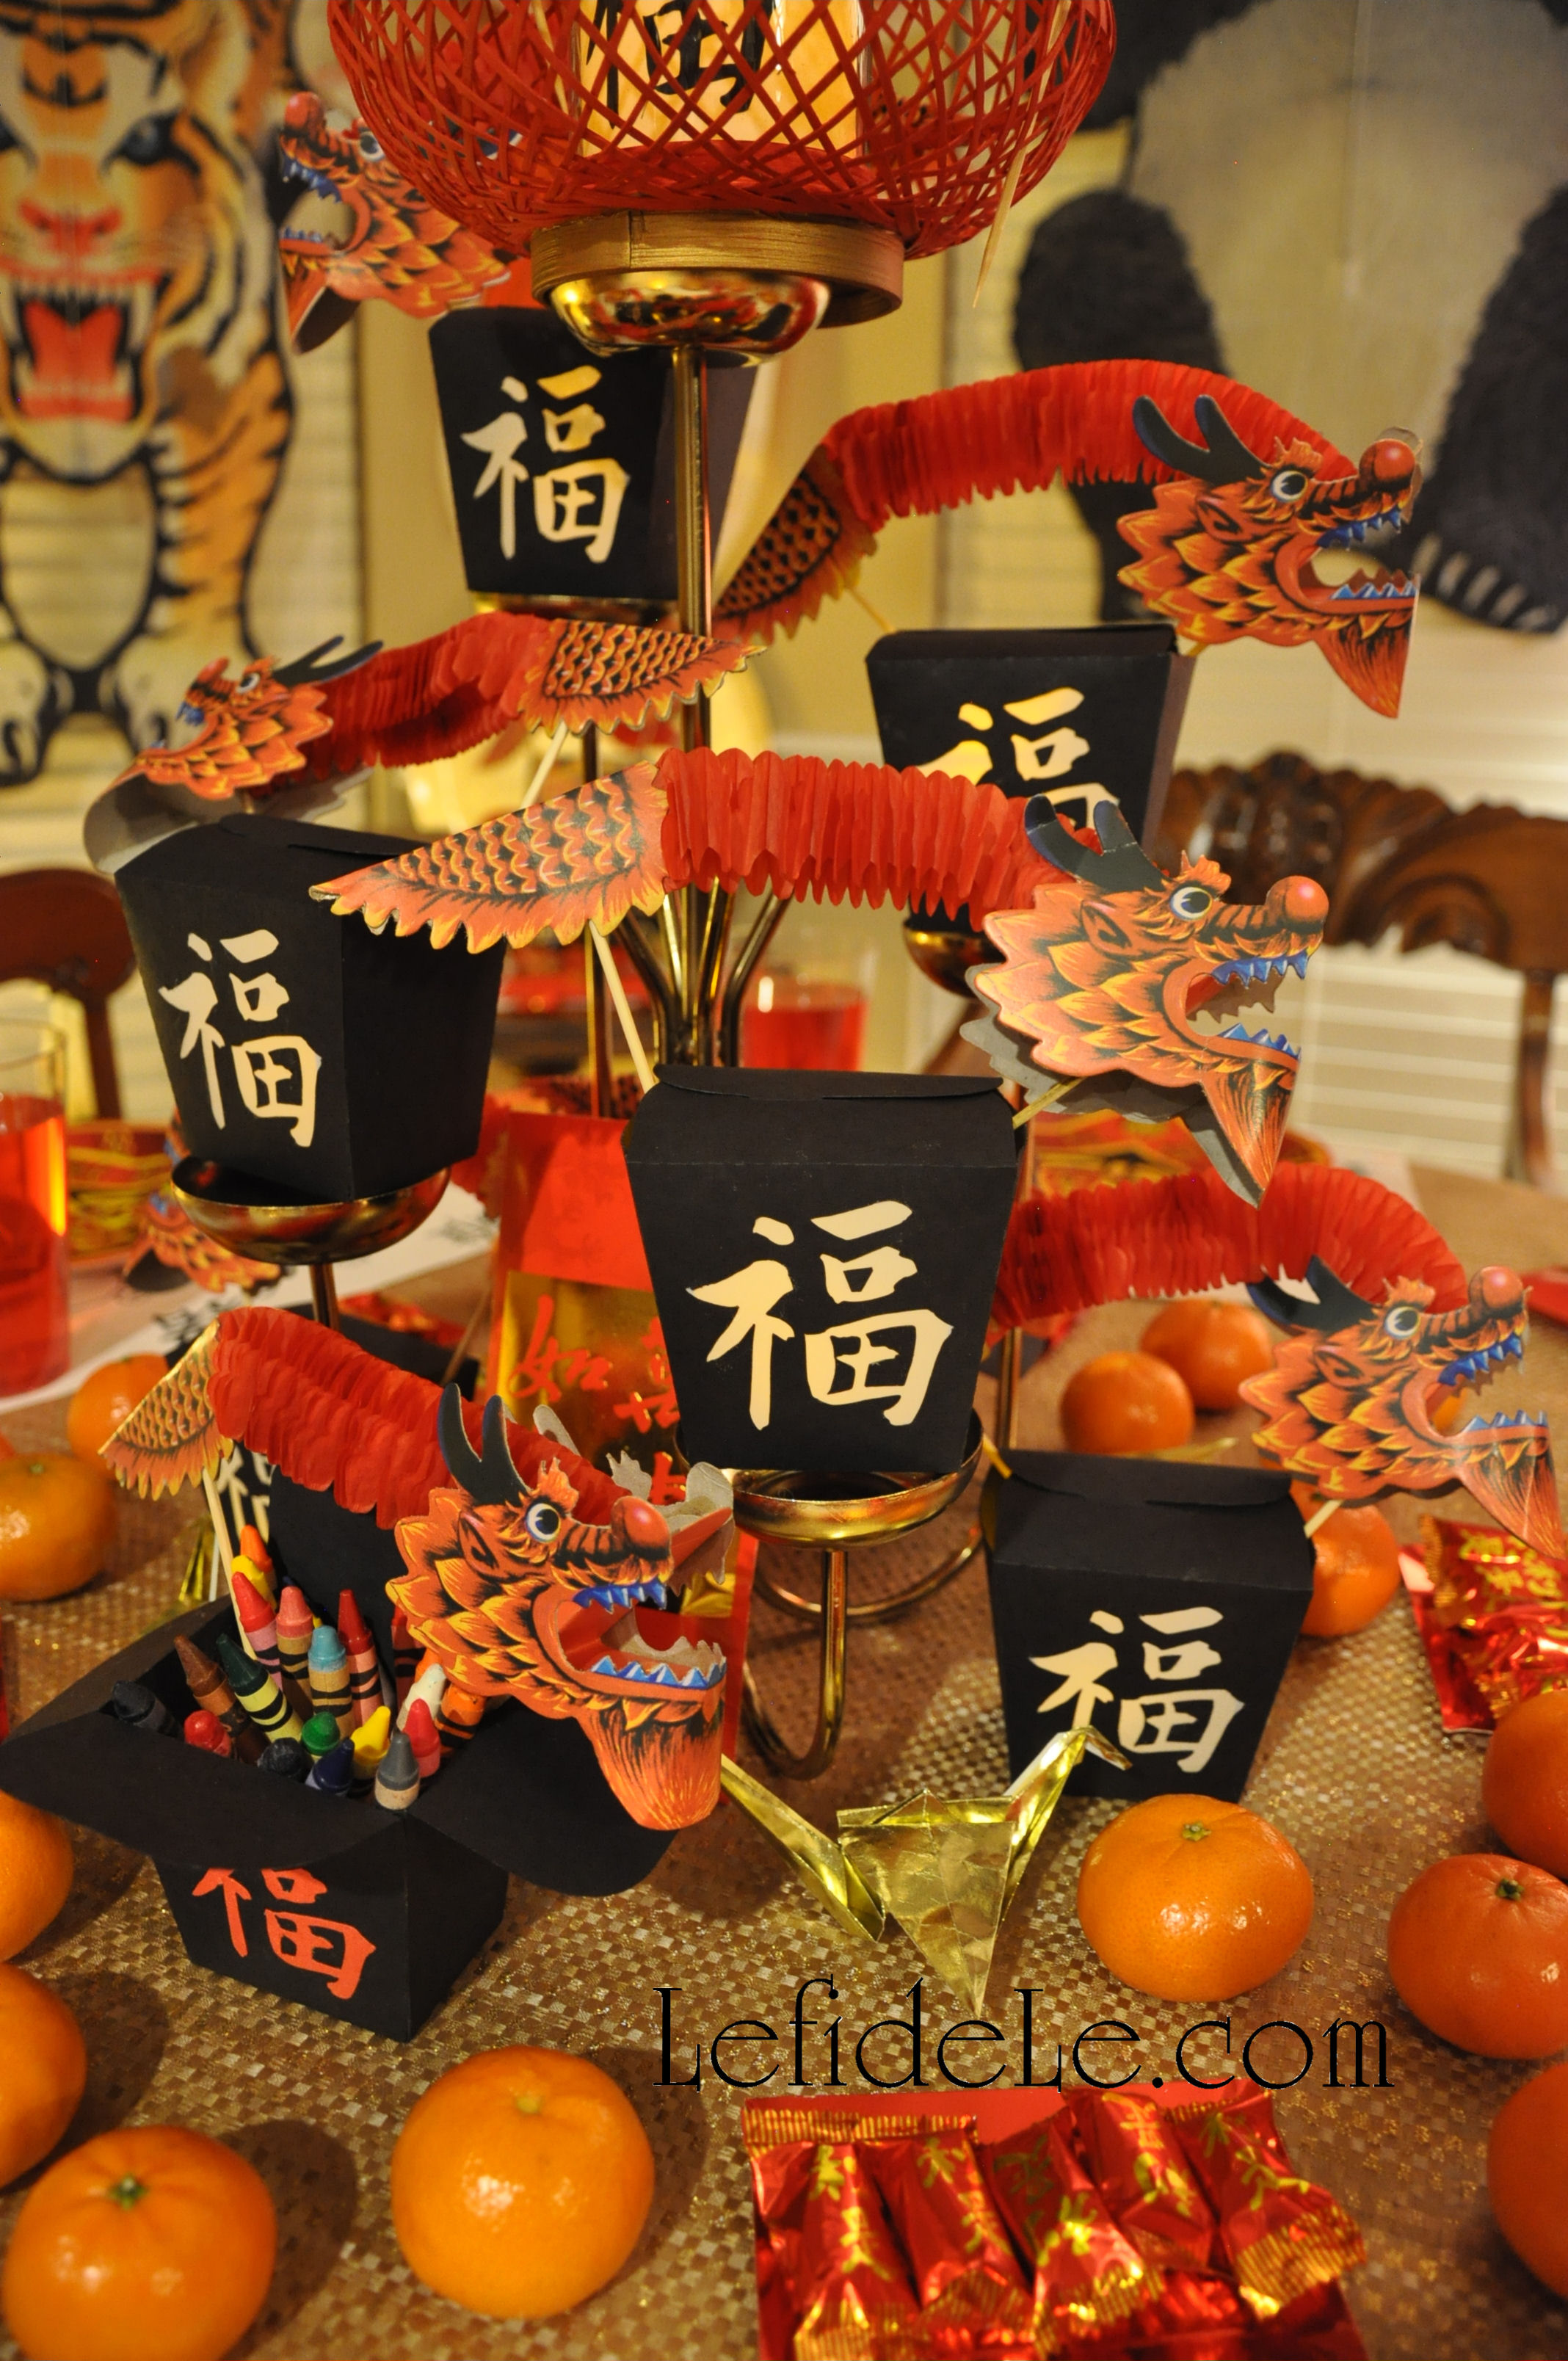
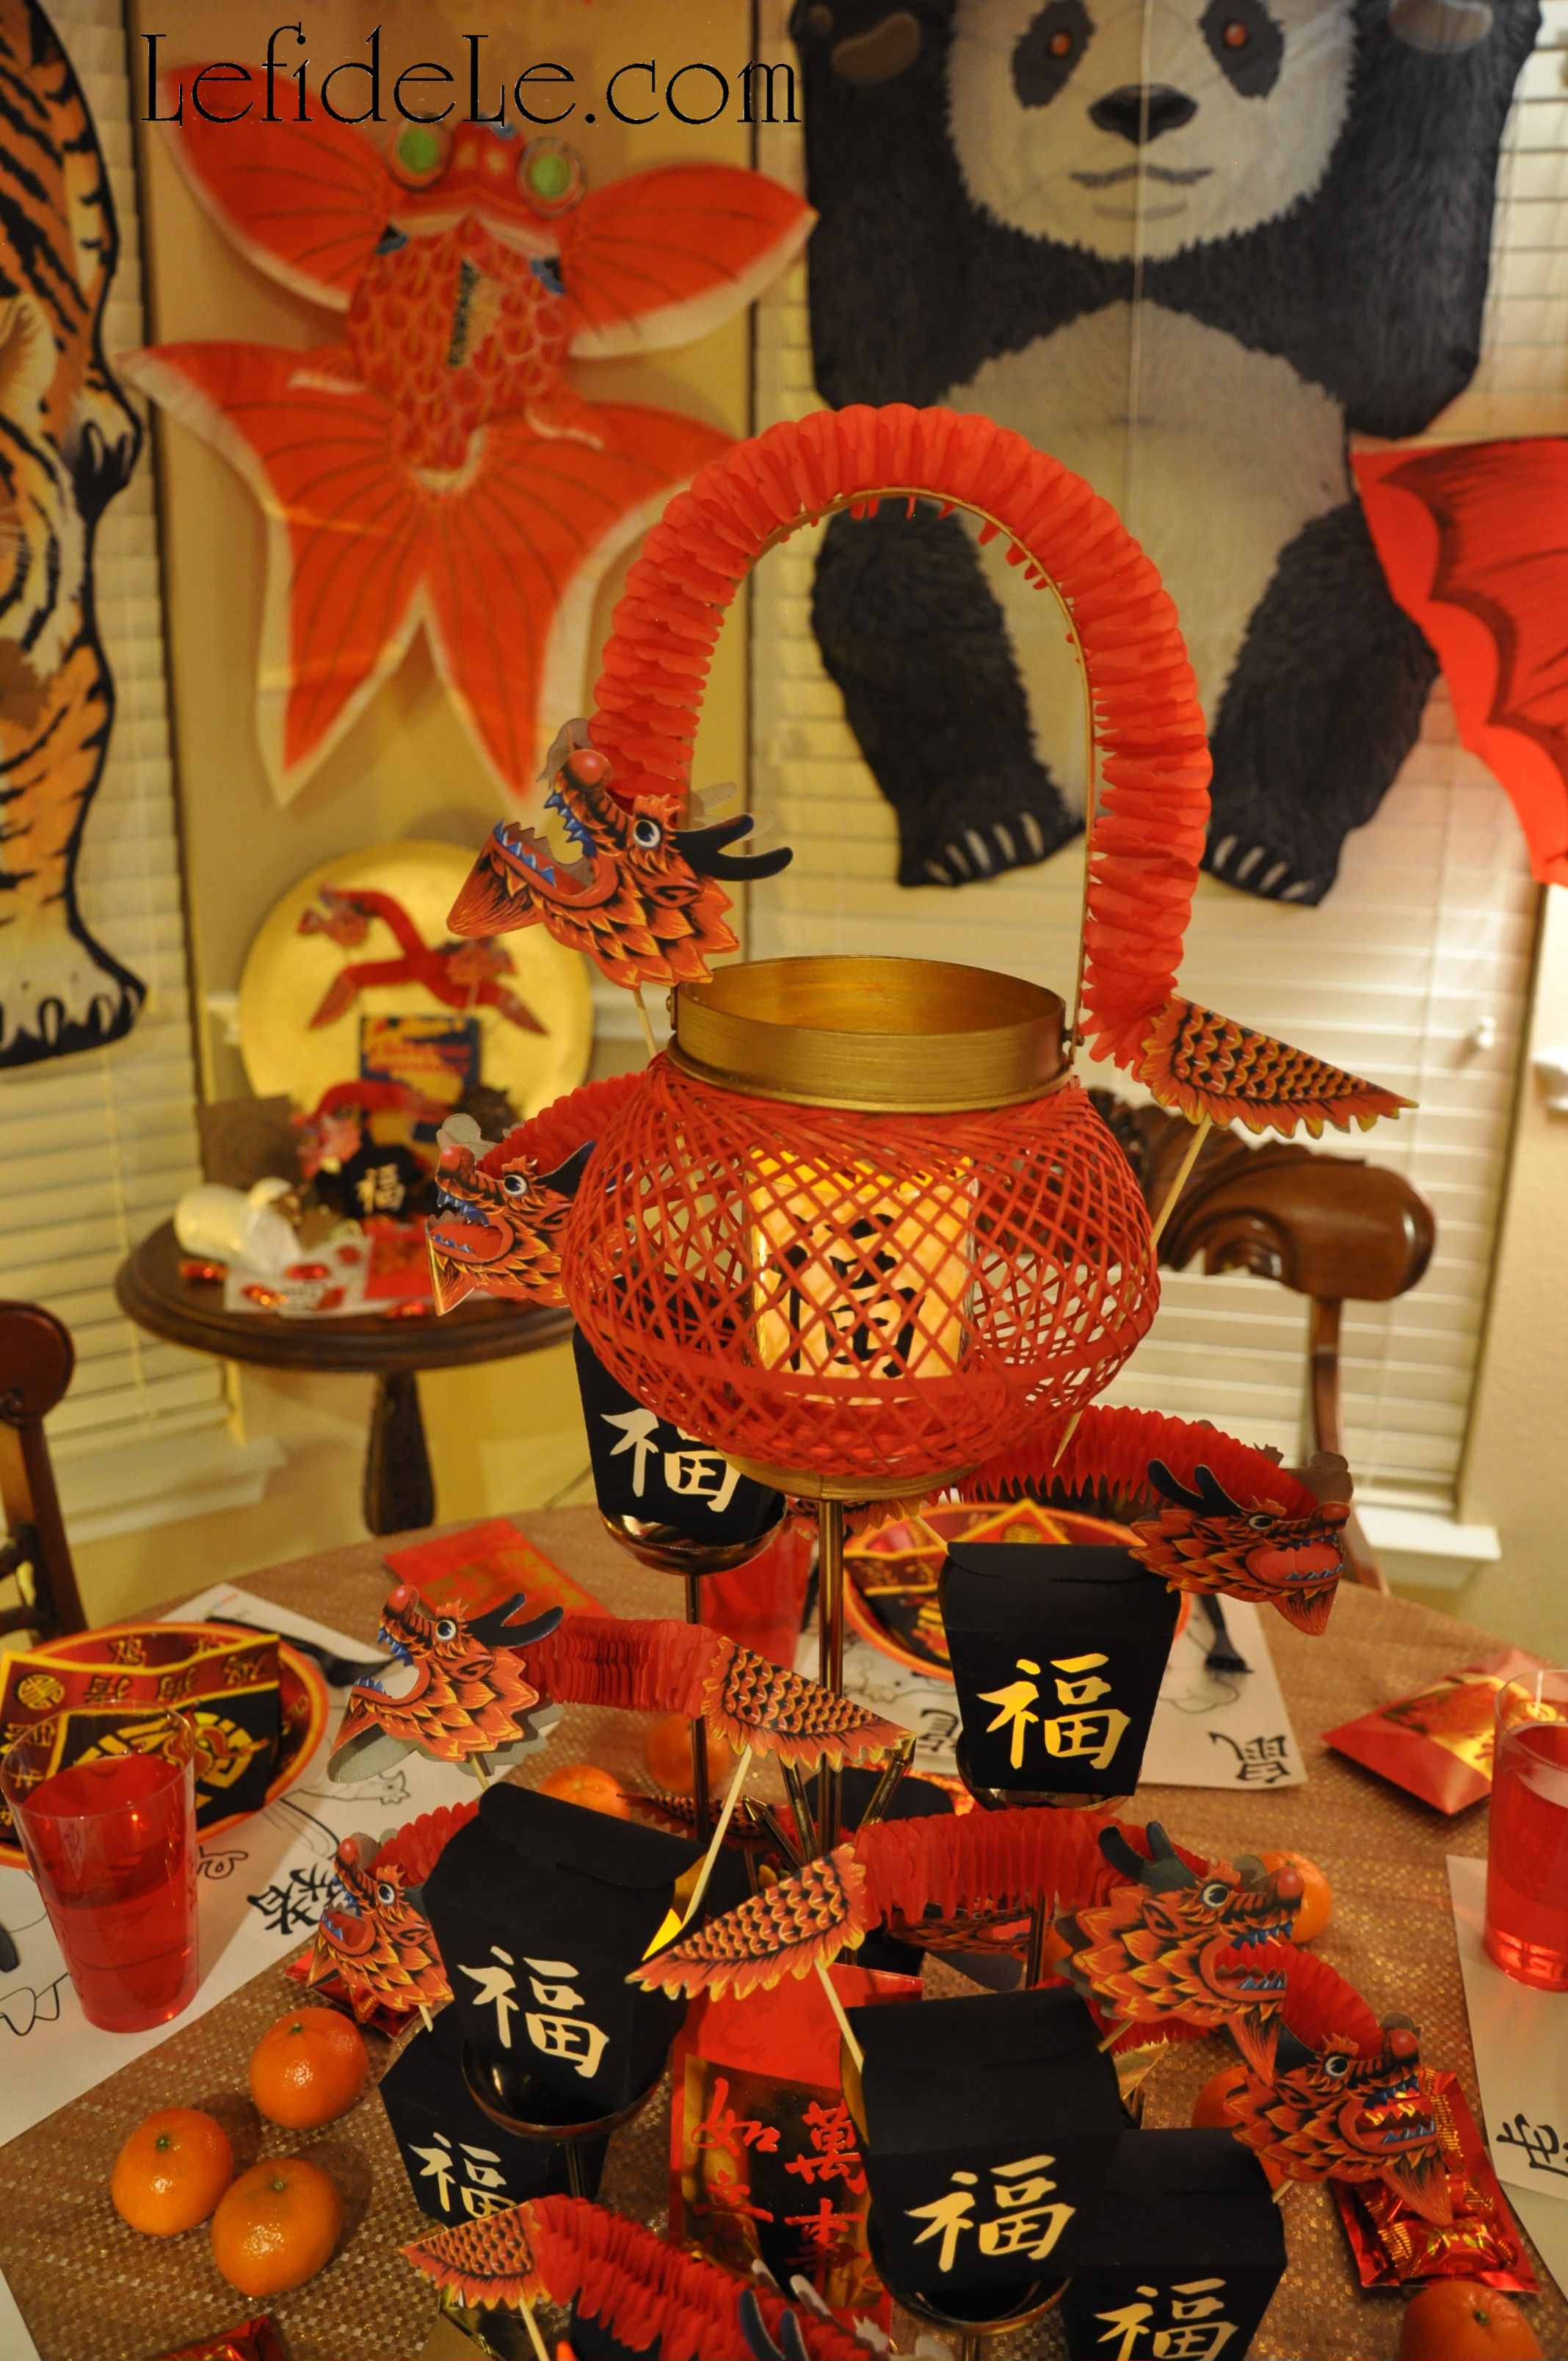
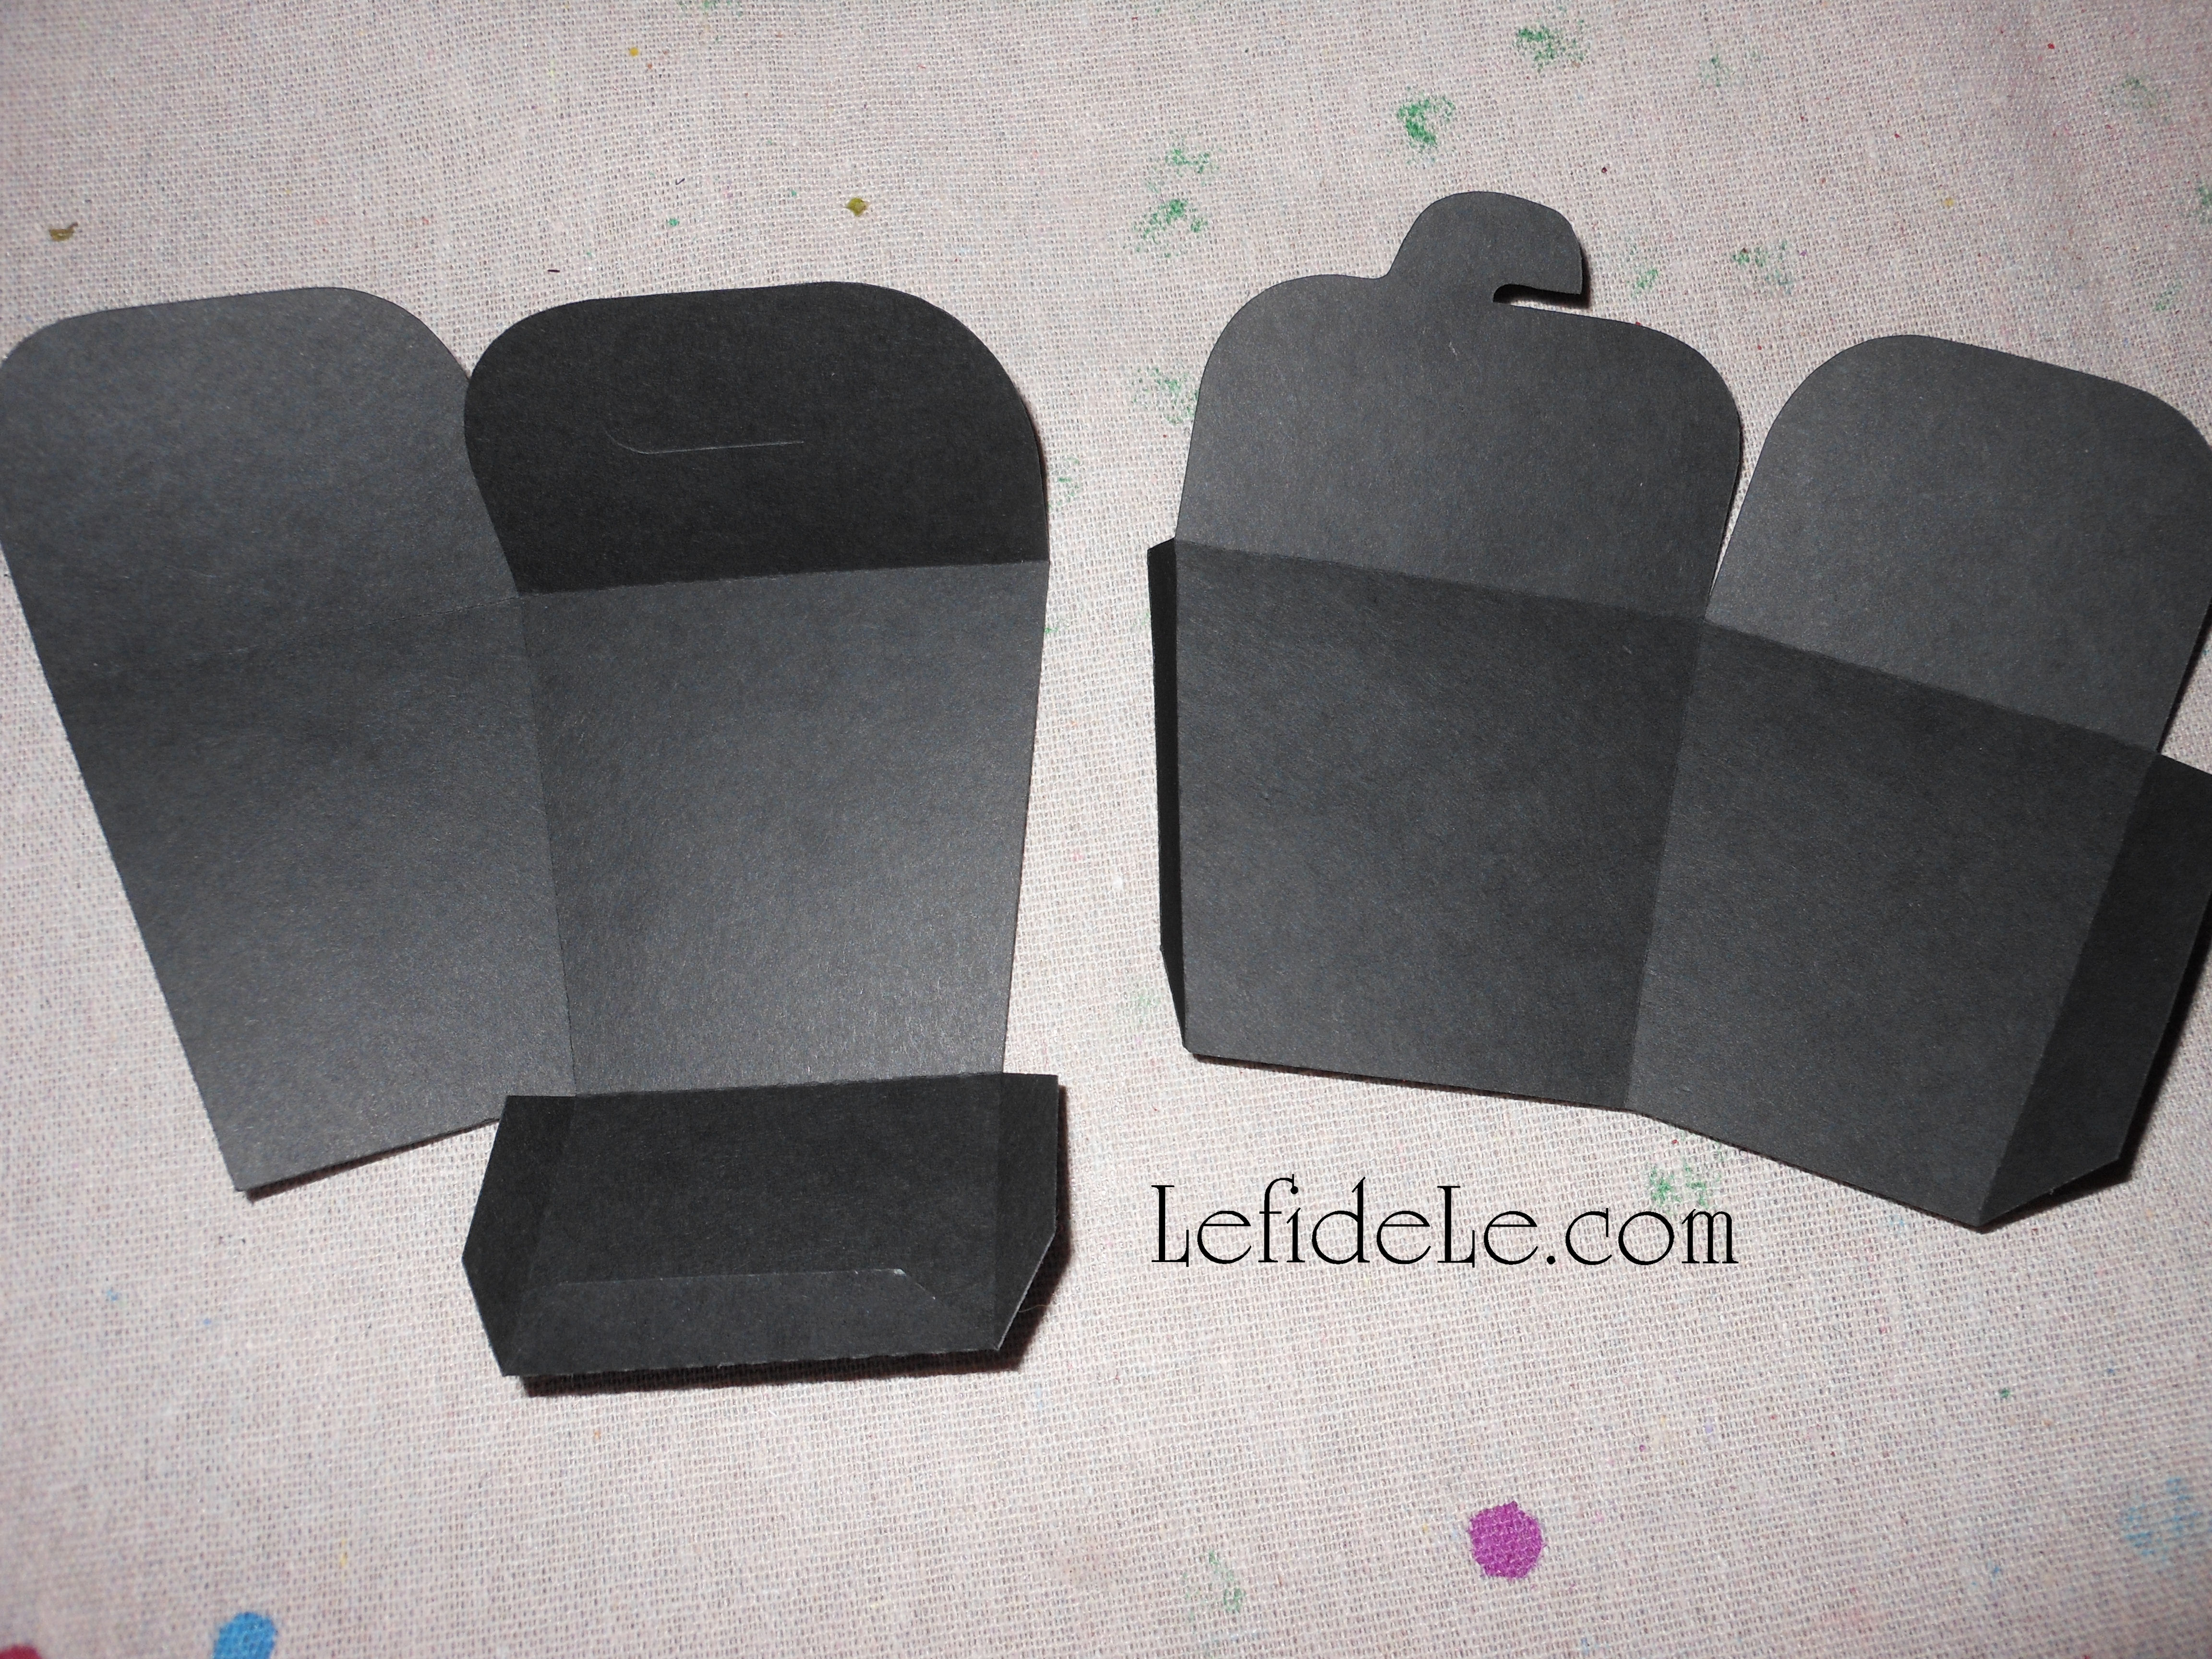
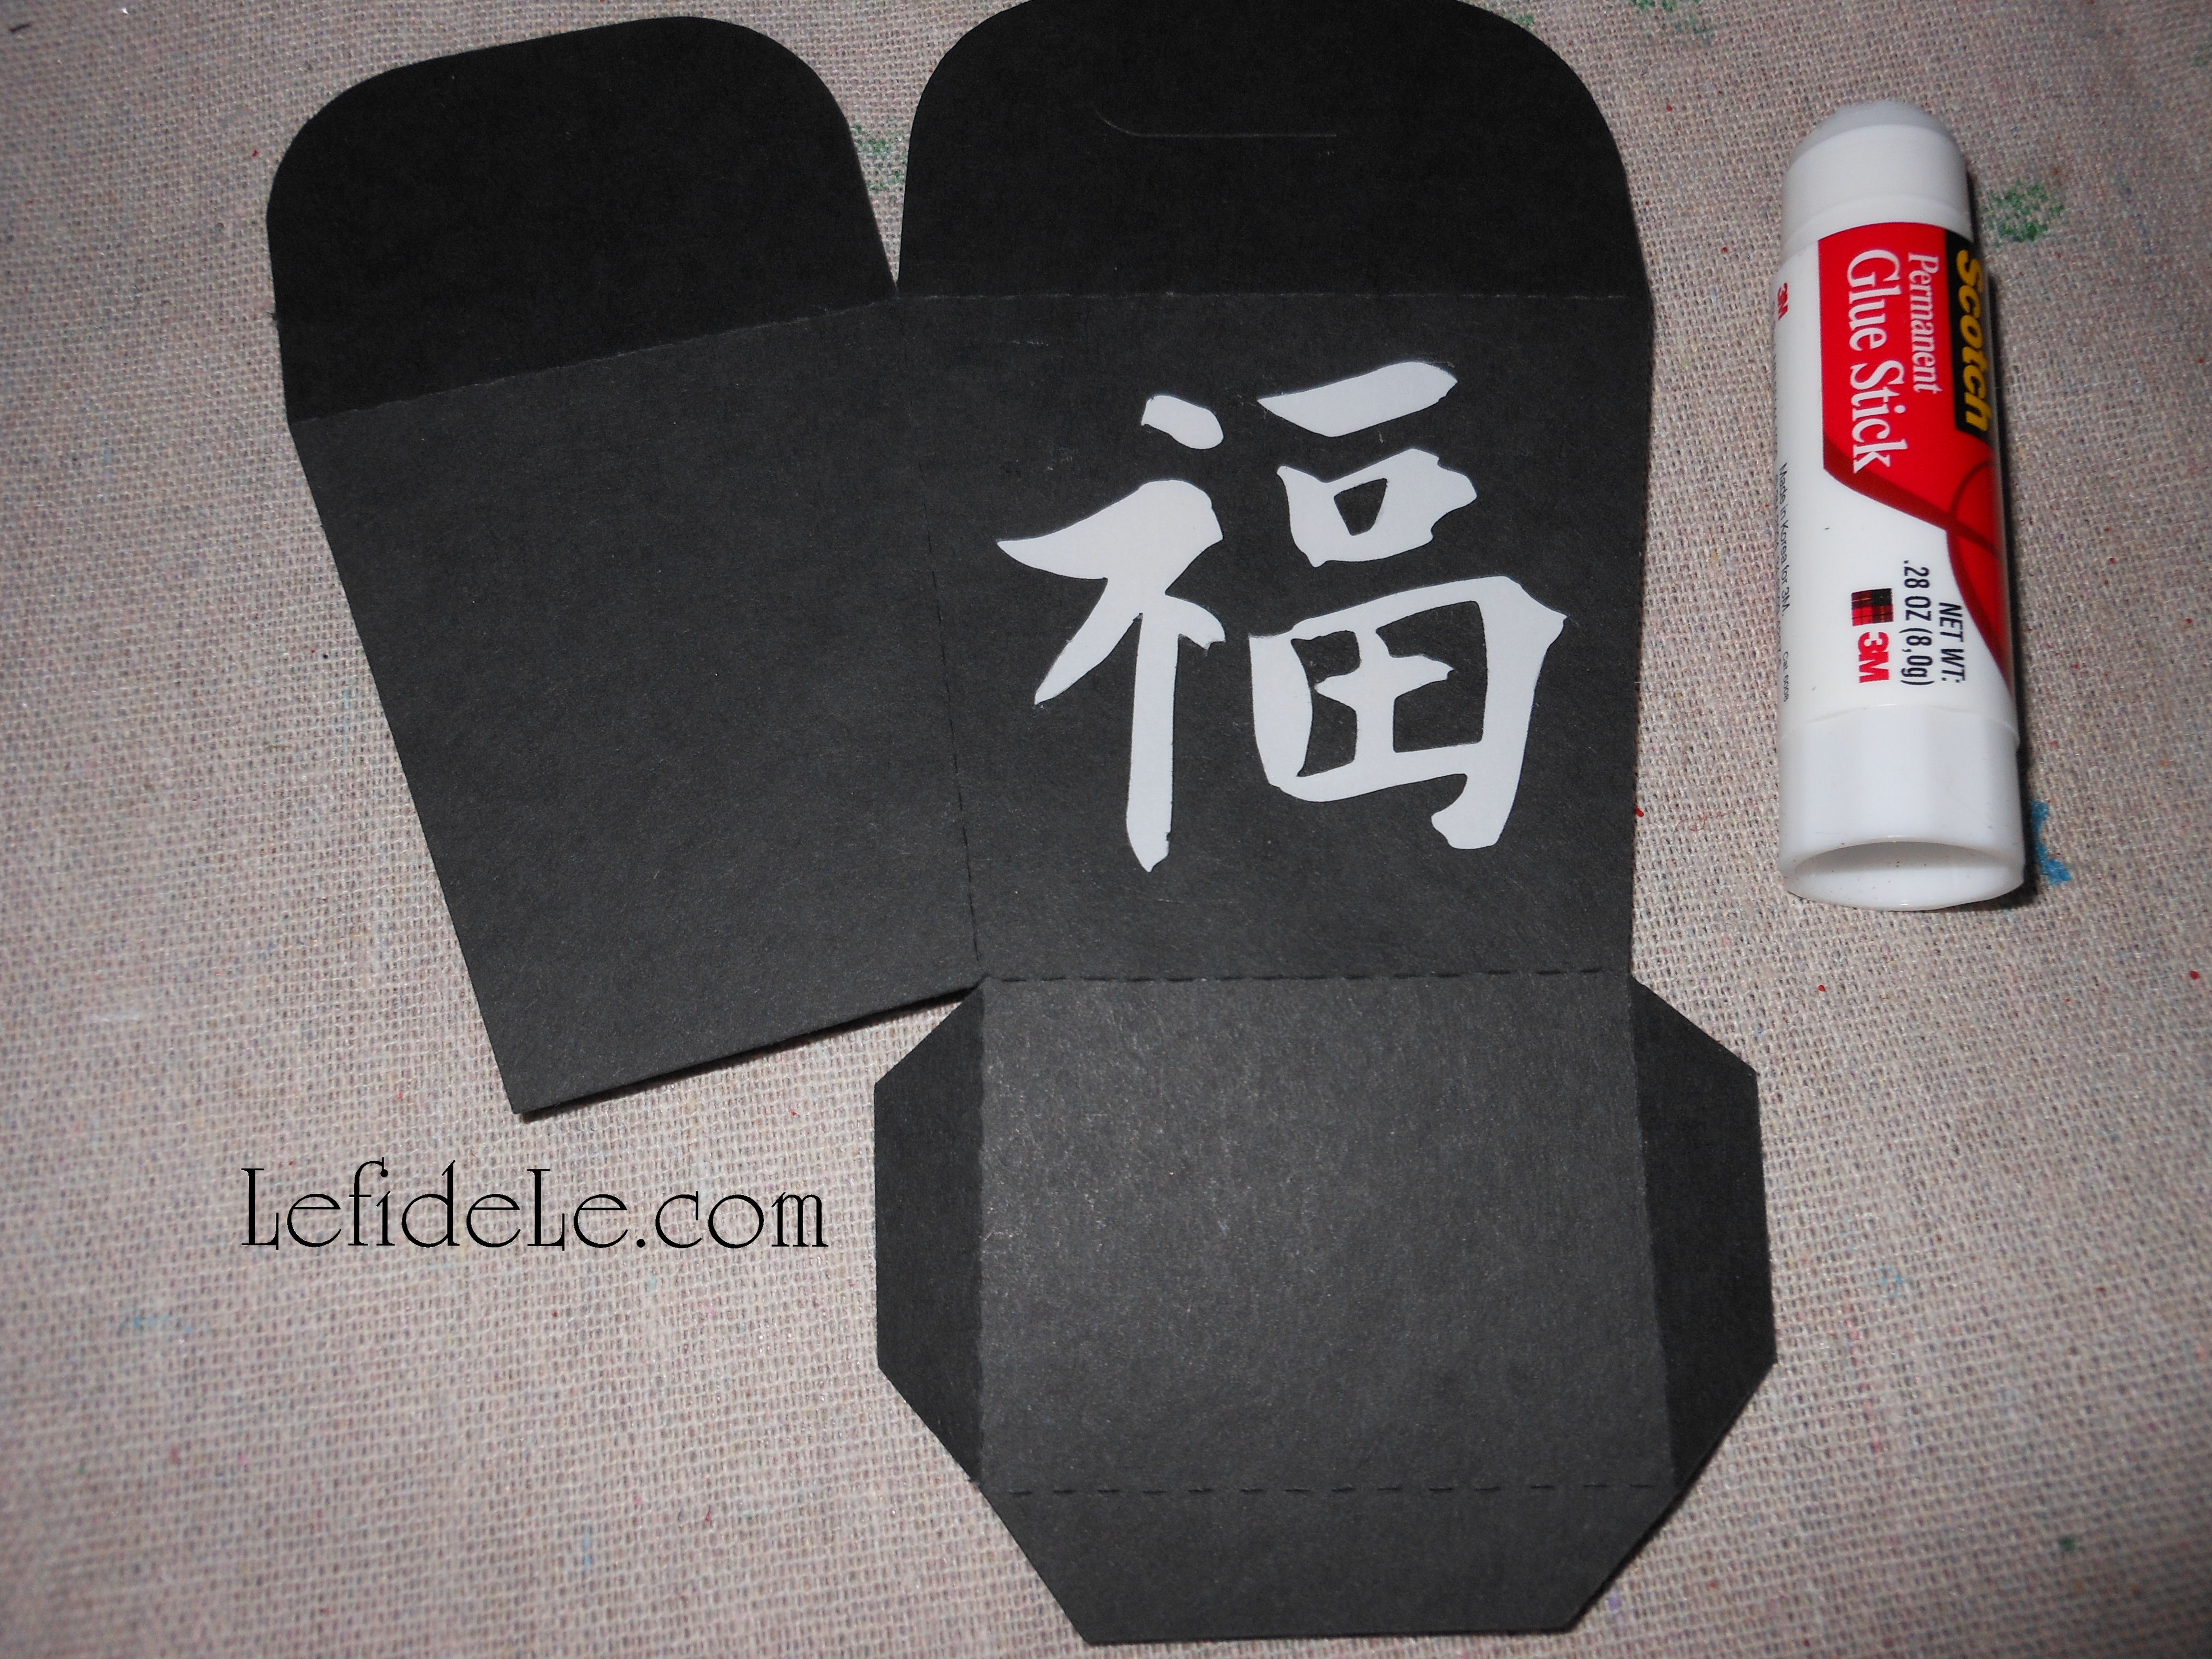
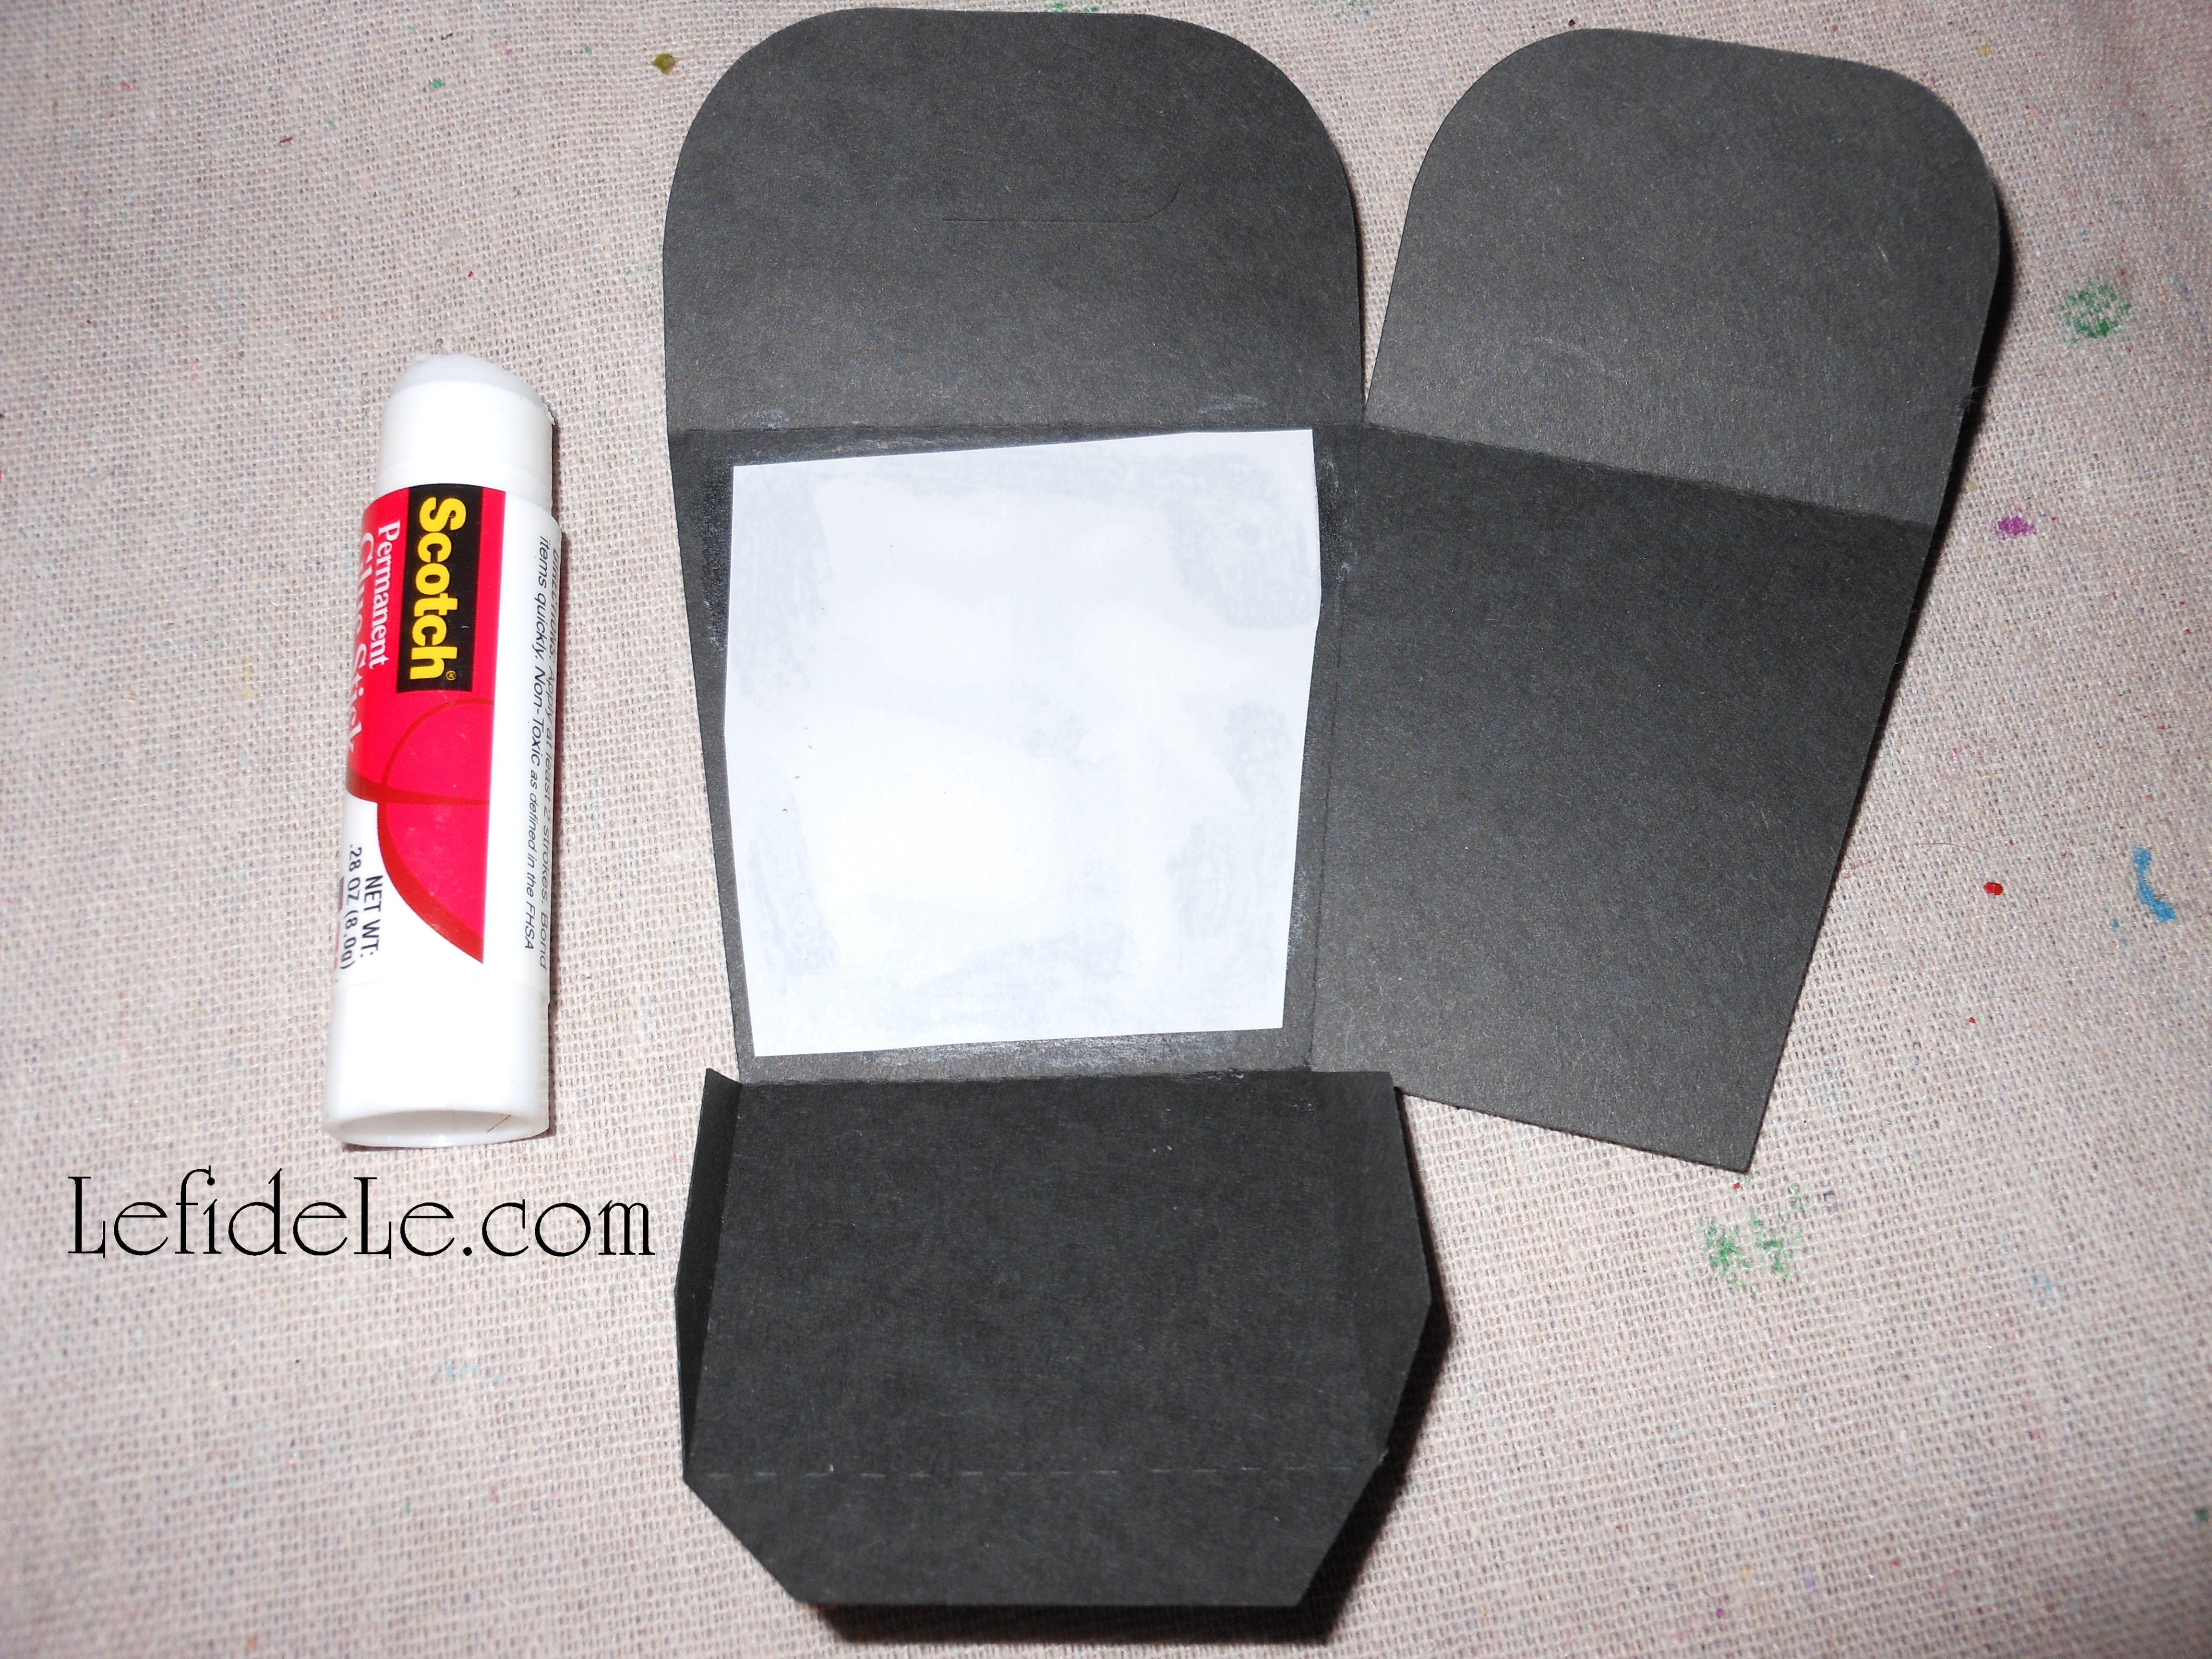
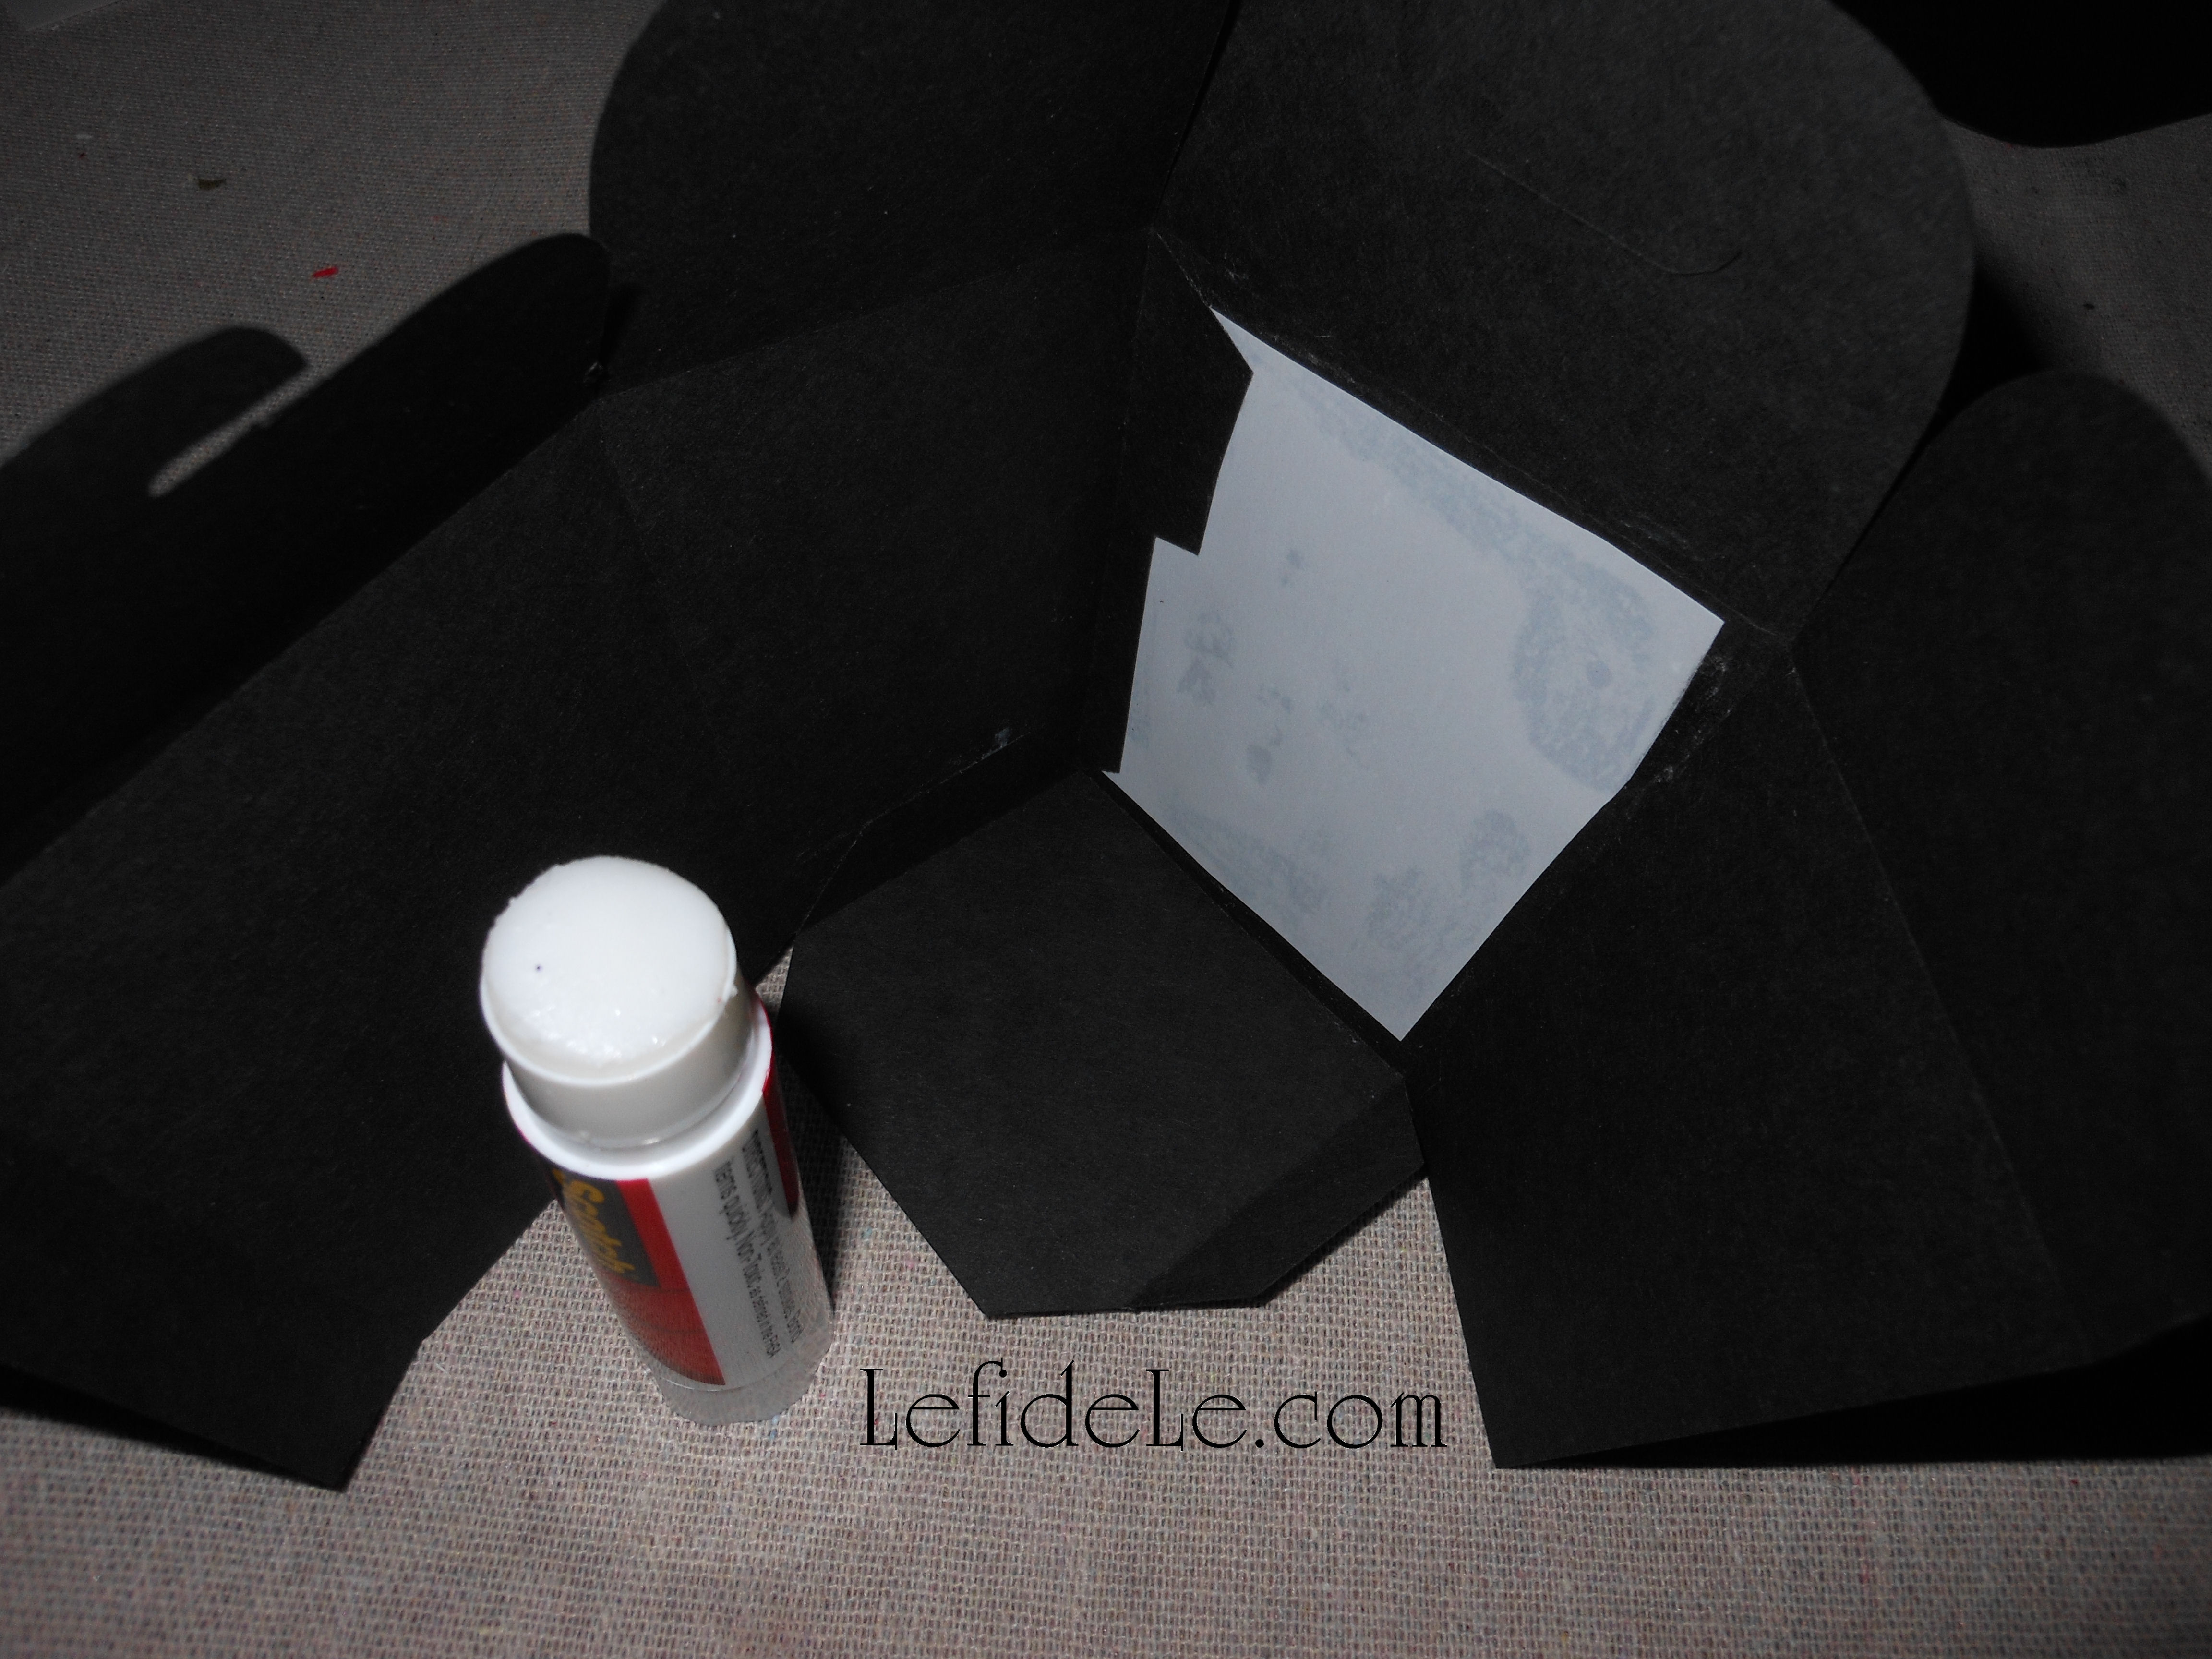
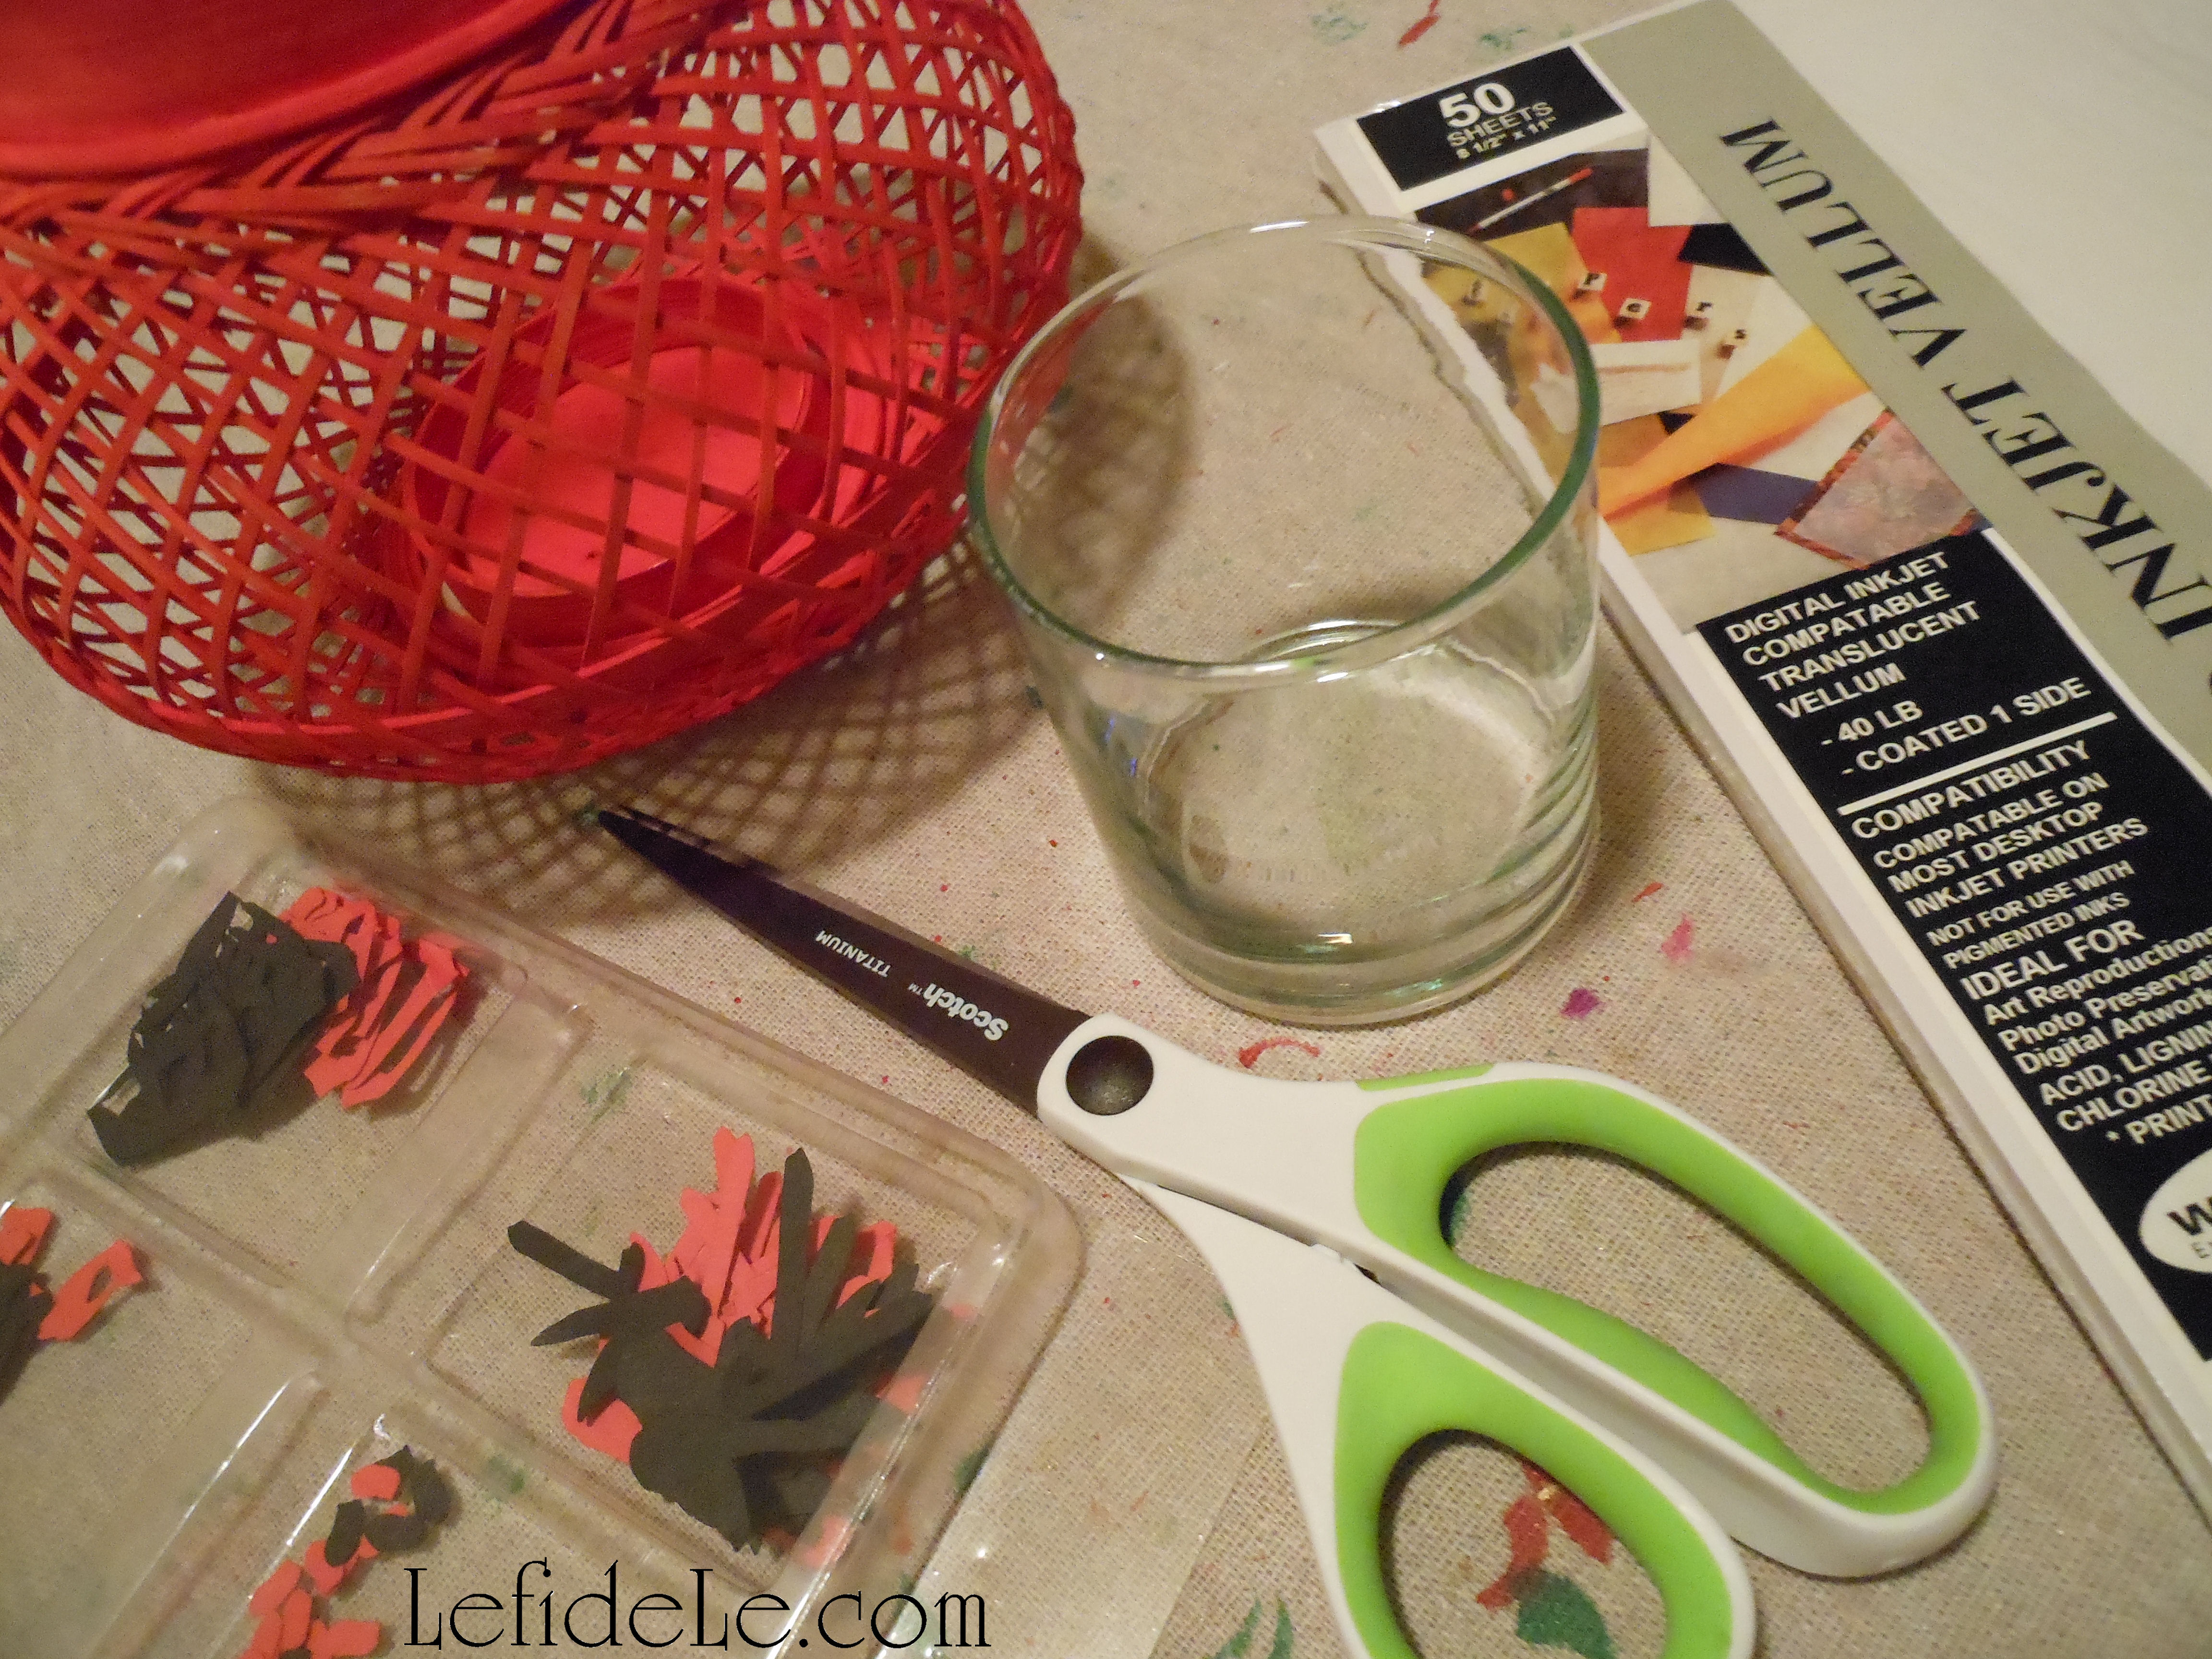
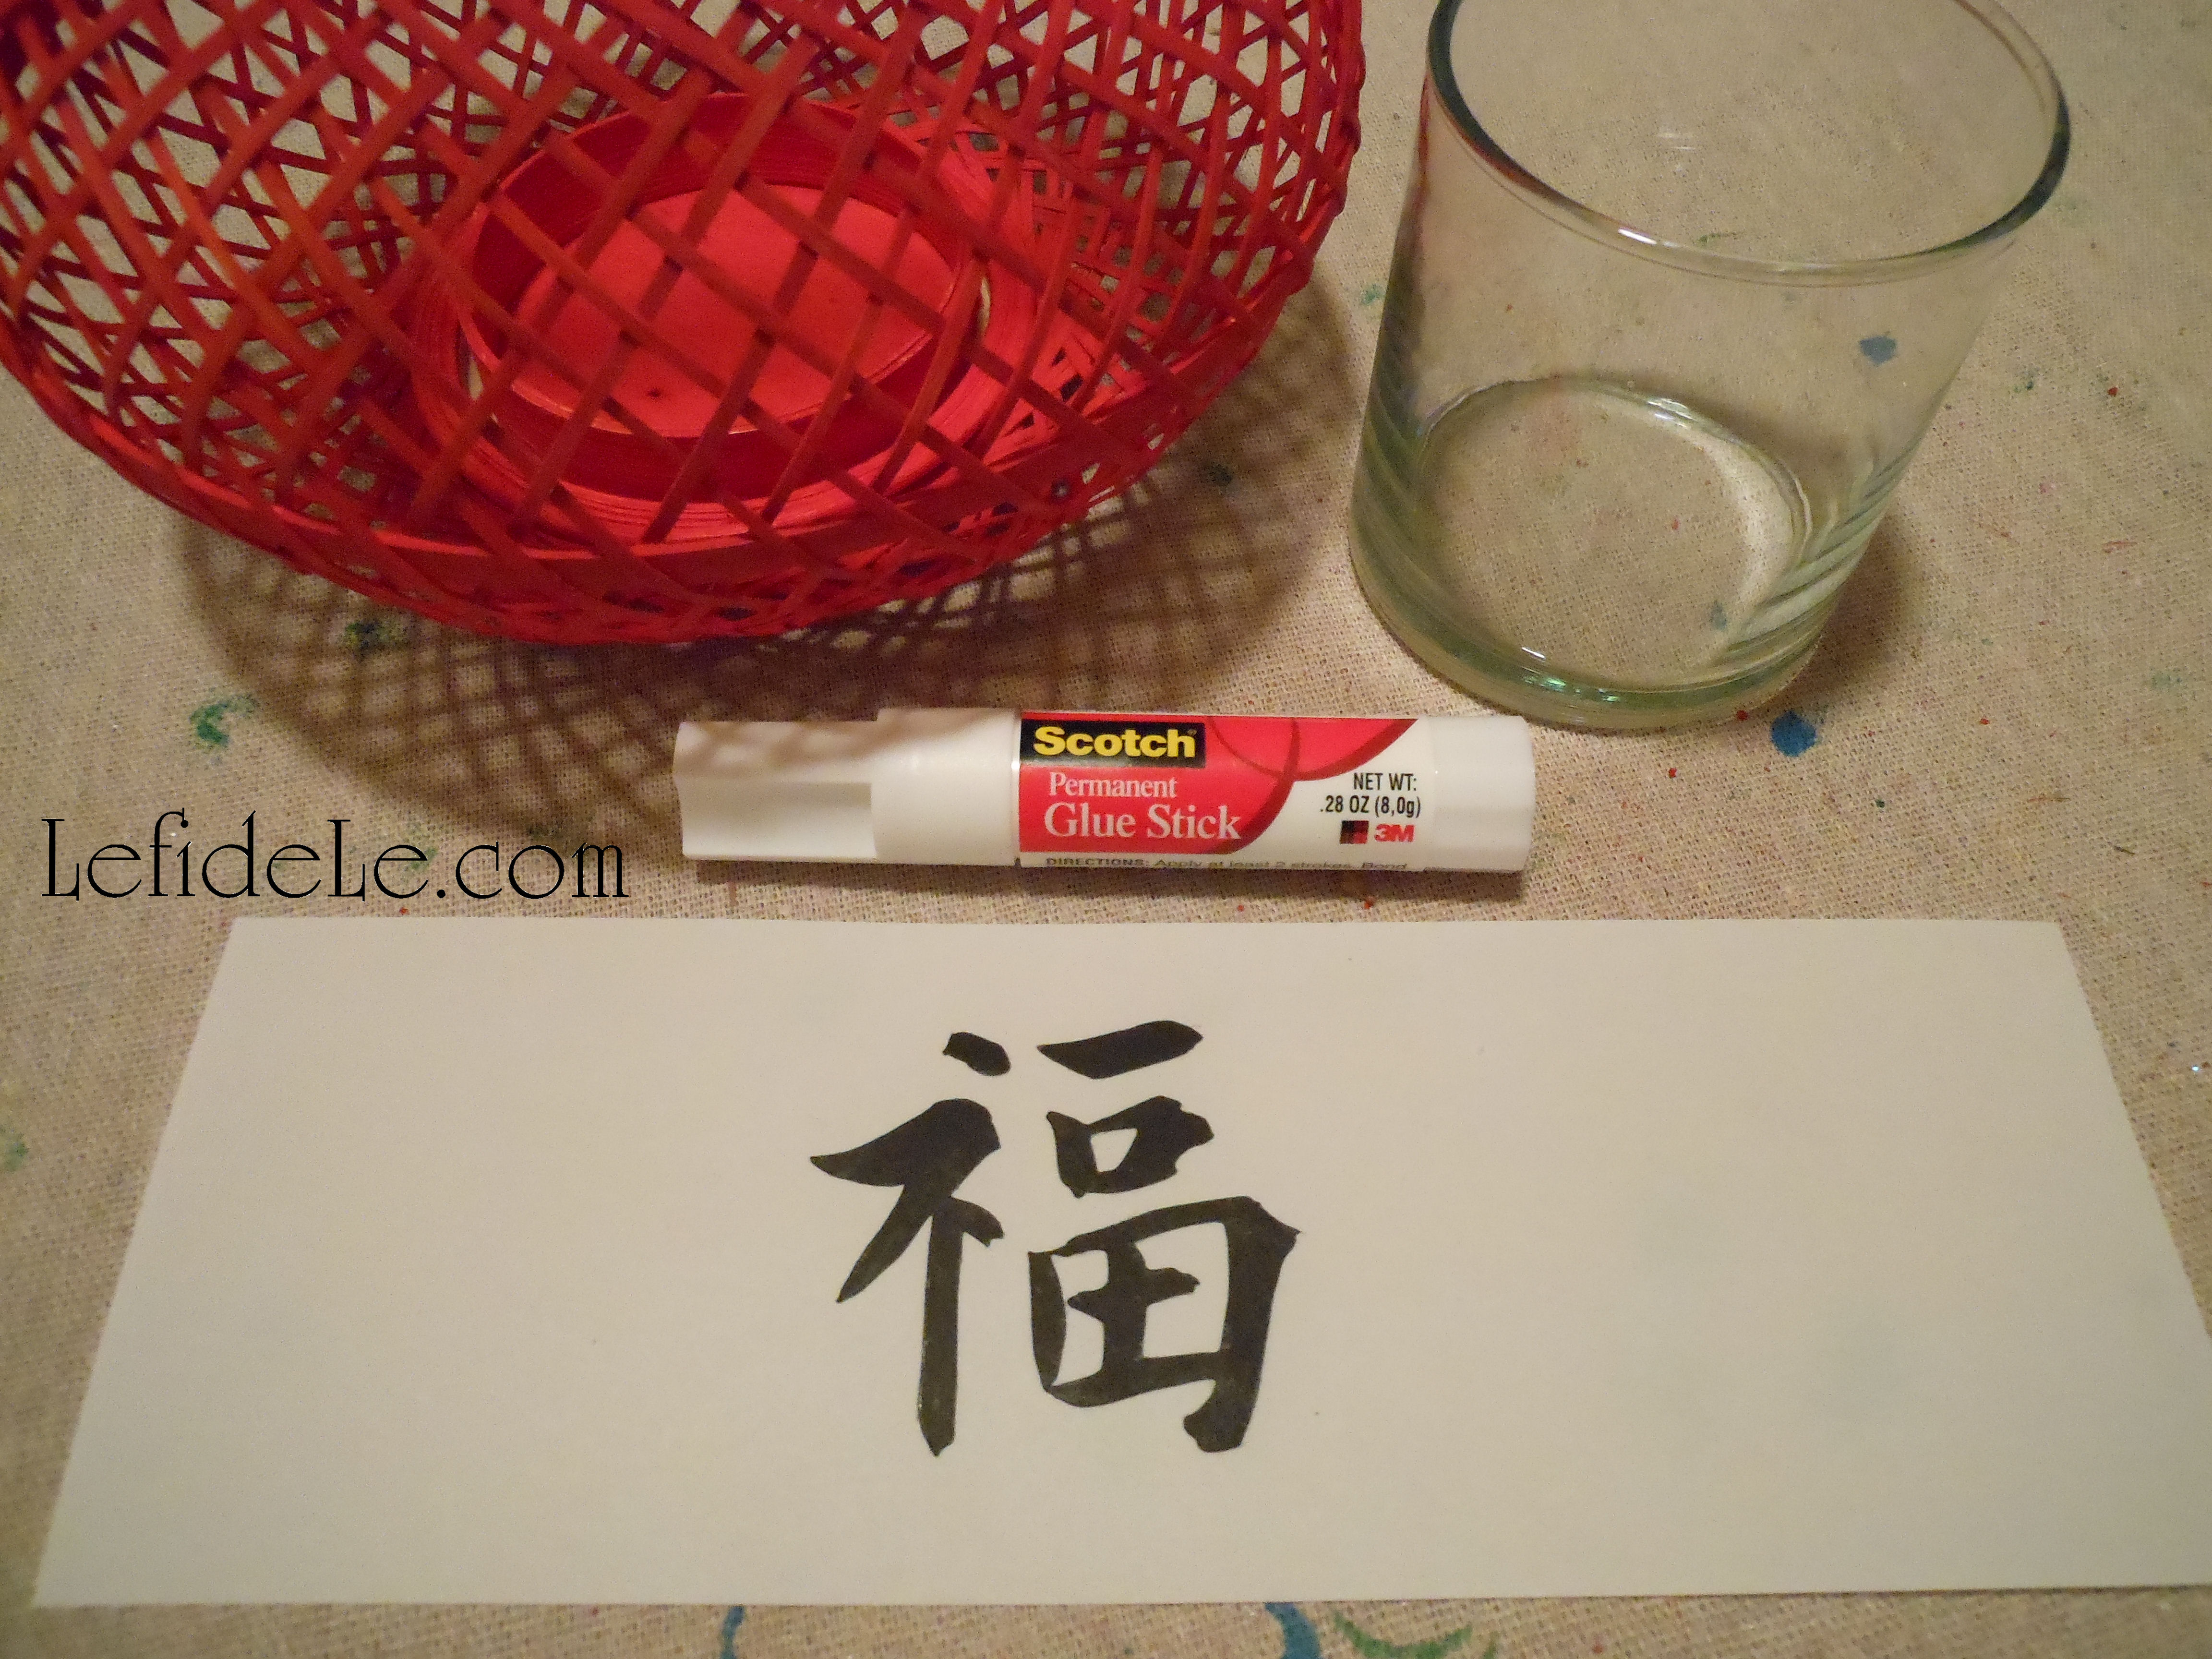
Lanterns are a traditional element of the Chinese New Year because the last day of it is the start of the lantern festival. My printables are an easy way to employ that tradition in your own home. They only need printing, cutting, and gluing. The “Fú” 福 characters, decorating the boxes, have graced the entrances of Chinese homes for many hundreds of New Year’s. It is said to have originated, not just for its meaning of happiness and luck, but also because “upside down” and “to arrive” sound alike when spoken in Chinese, thus making an upside down Fú equate to “good luck arrives”. (For some, however, hanging the Fu upside down is bad luck, so I’ve decided to make the character right side up on my printable boxes!)

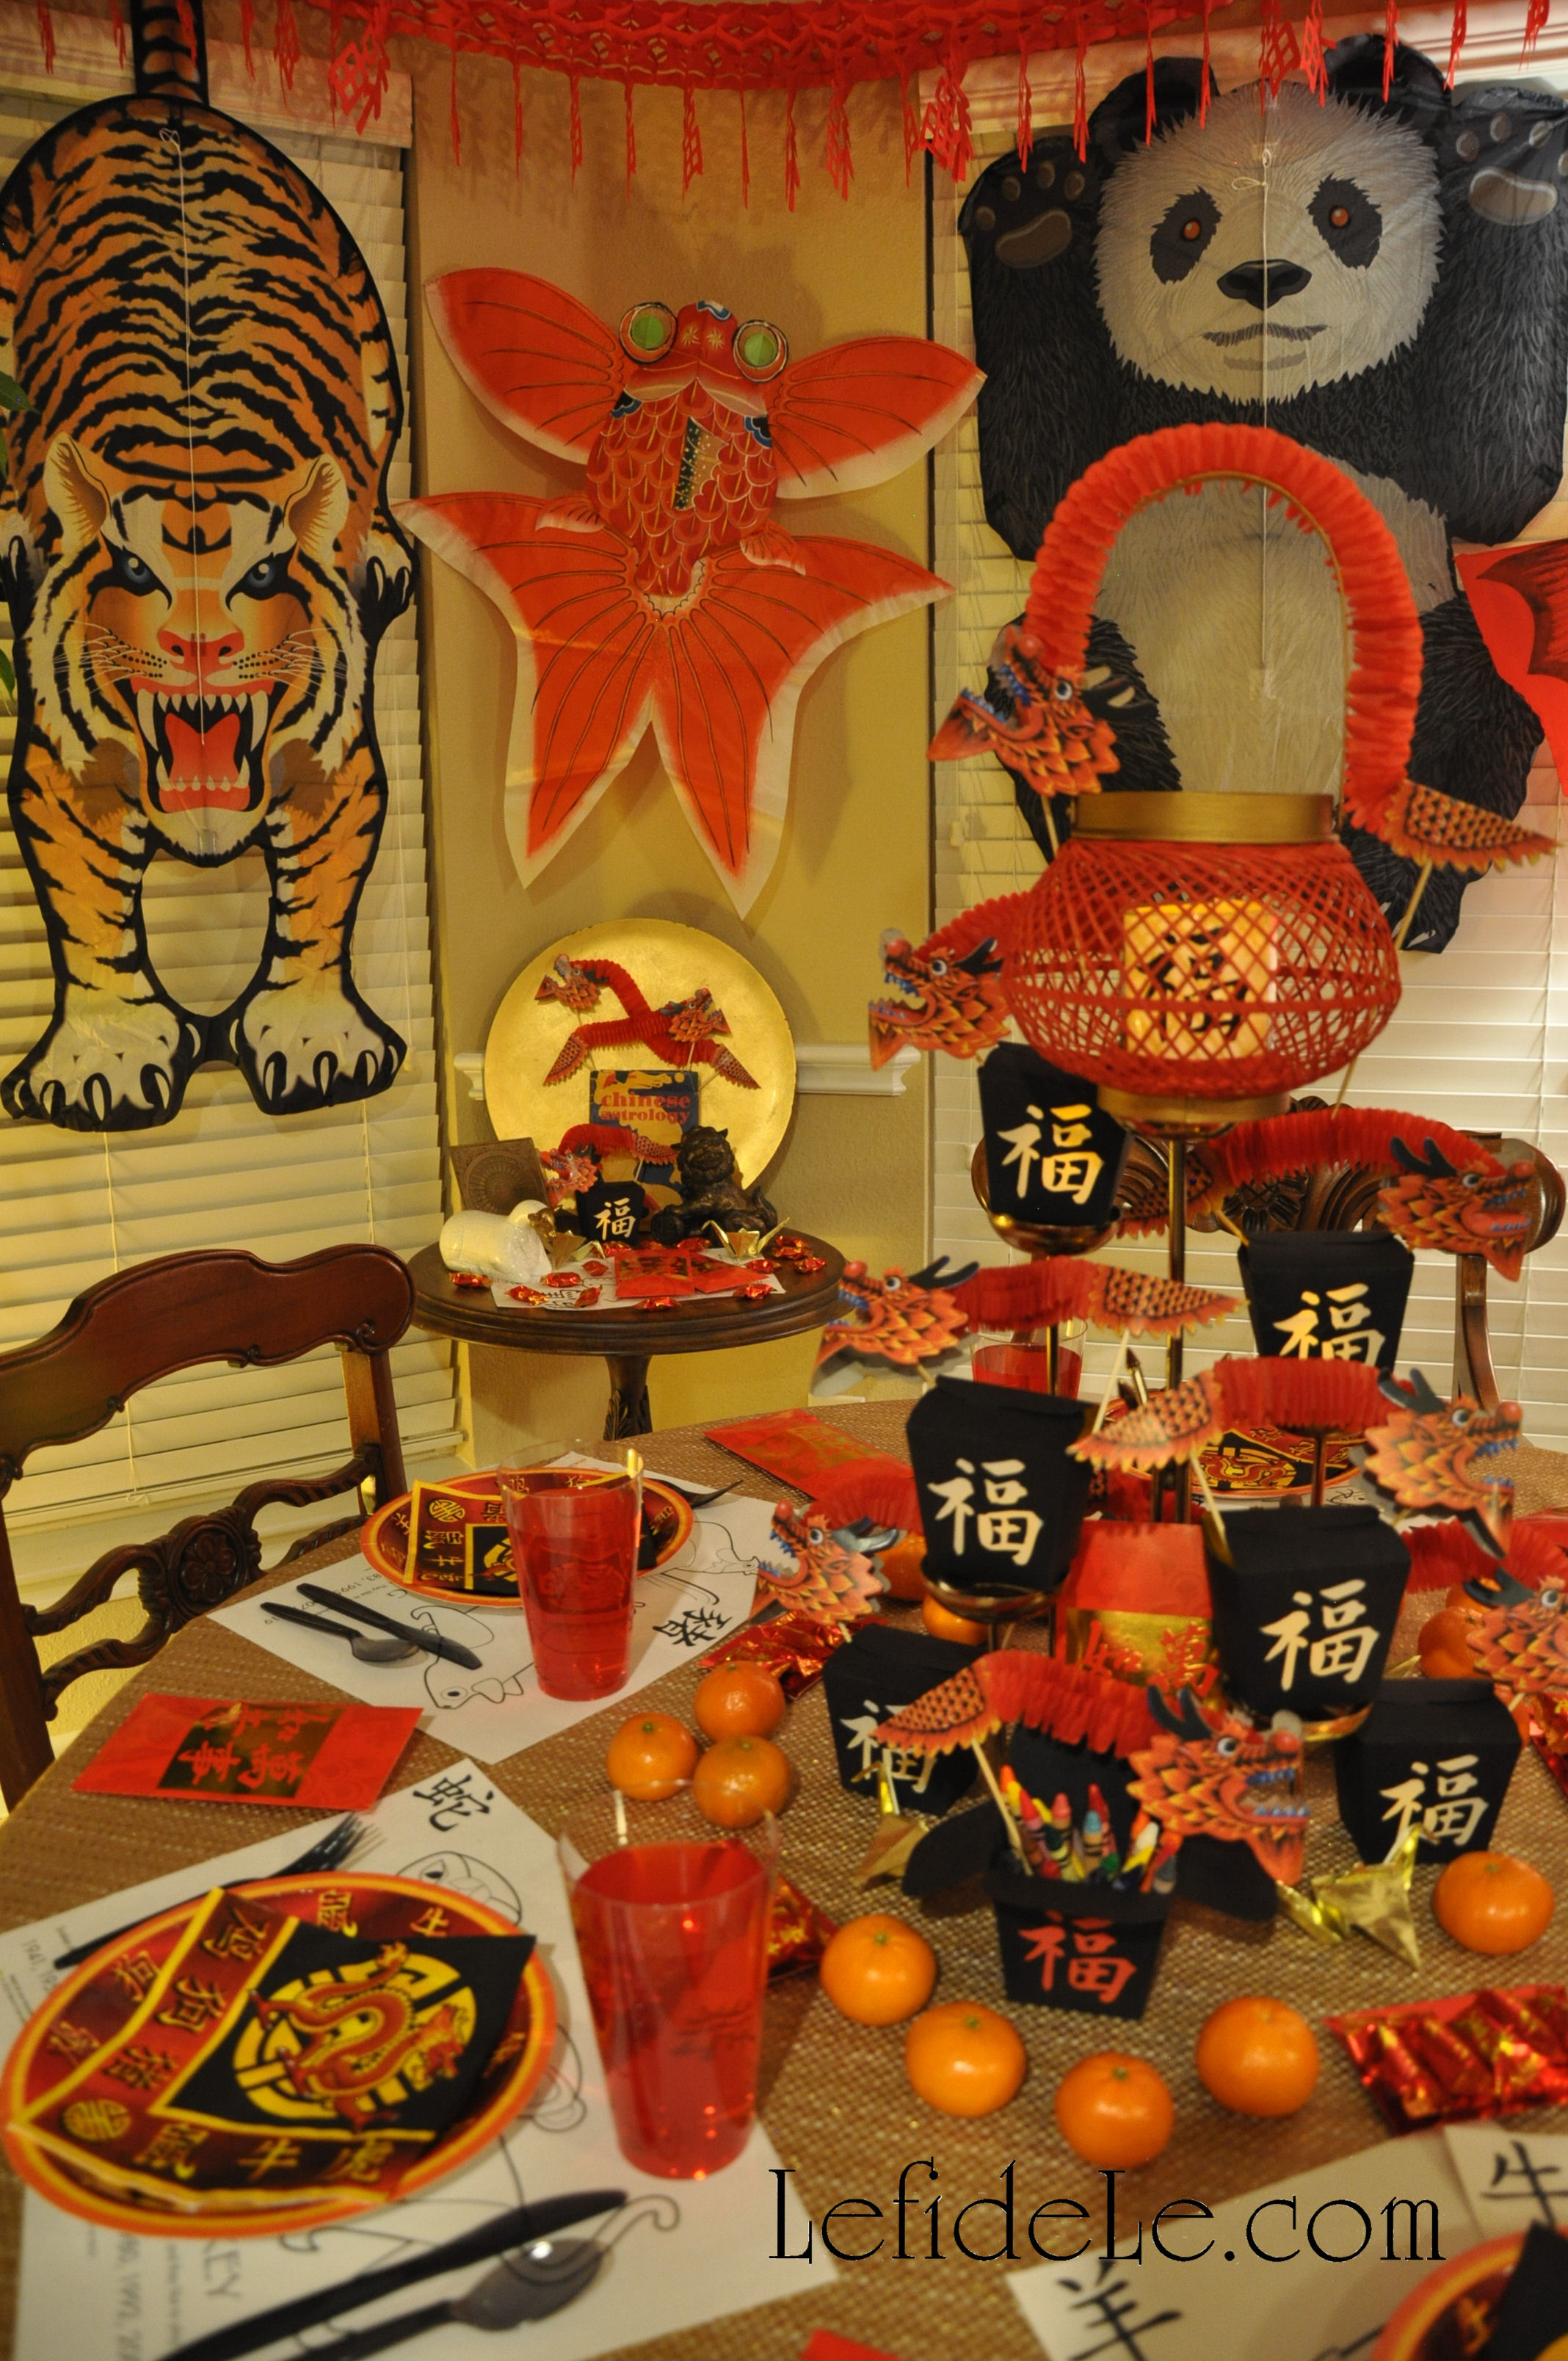
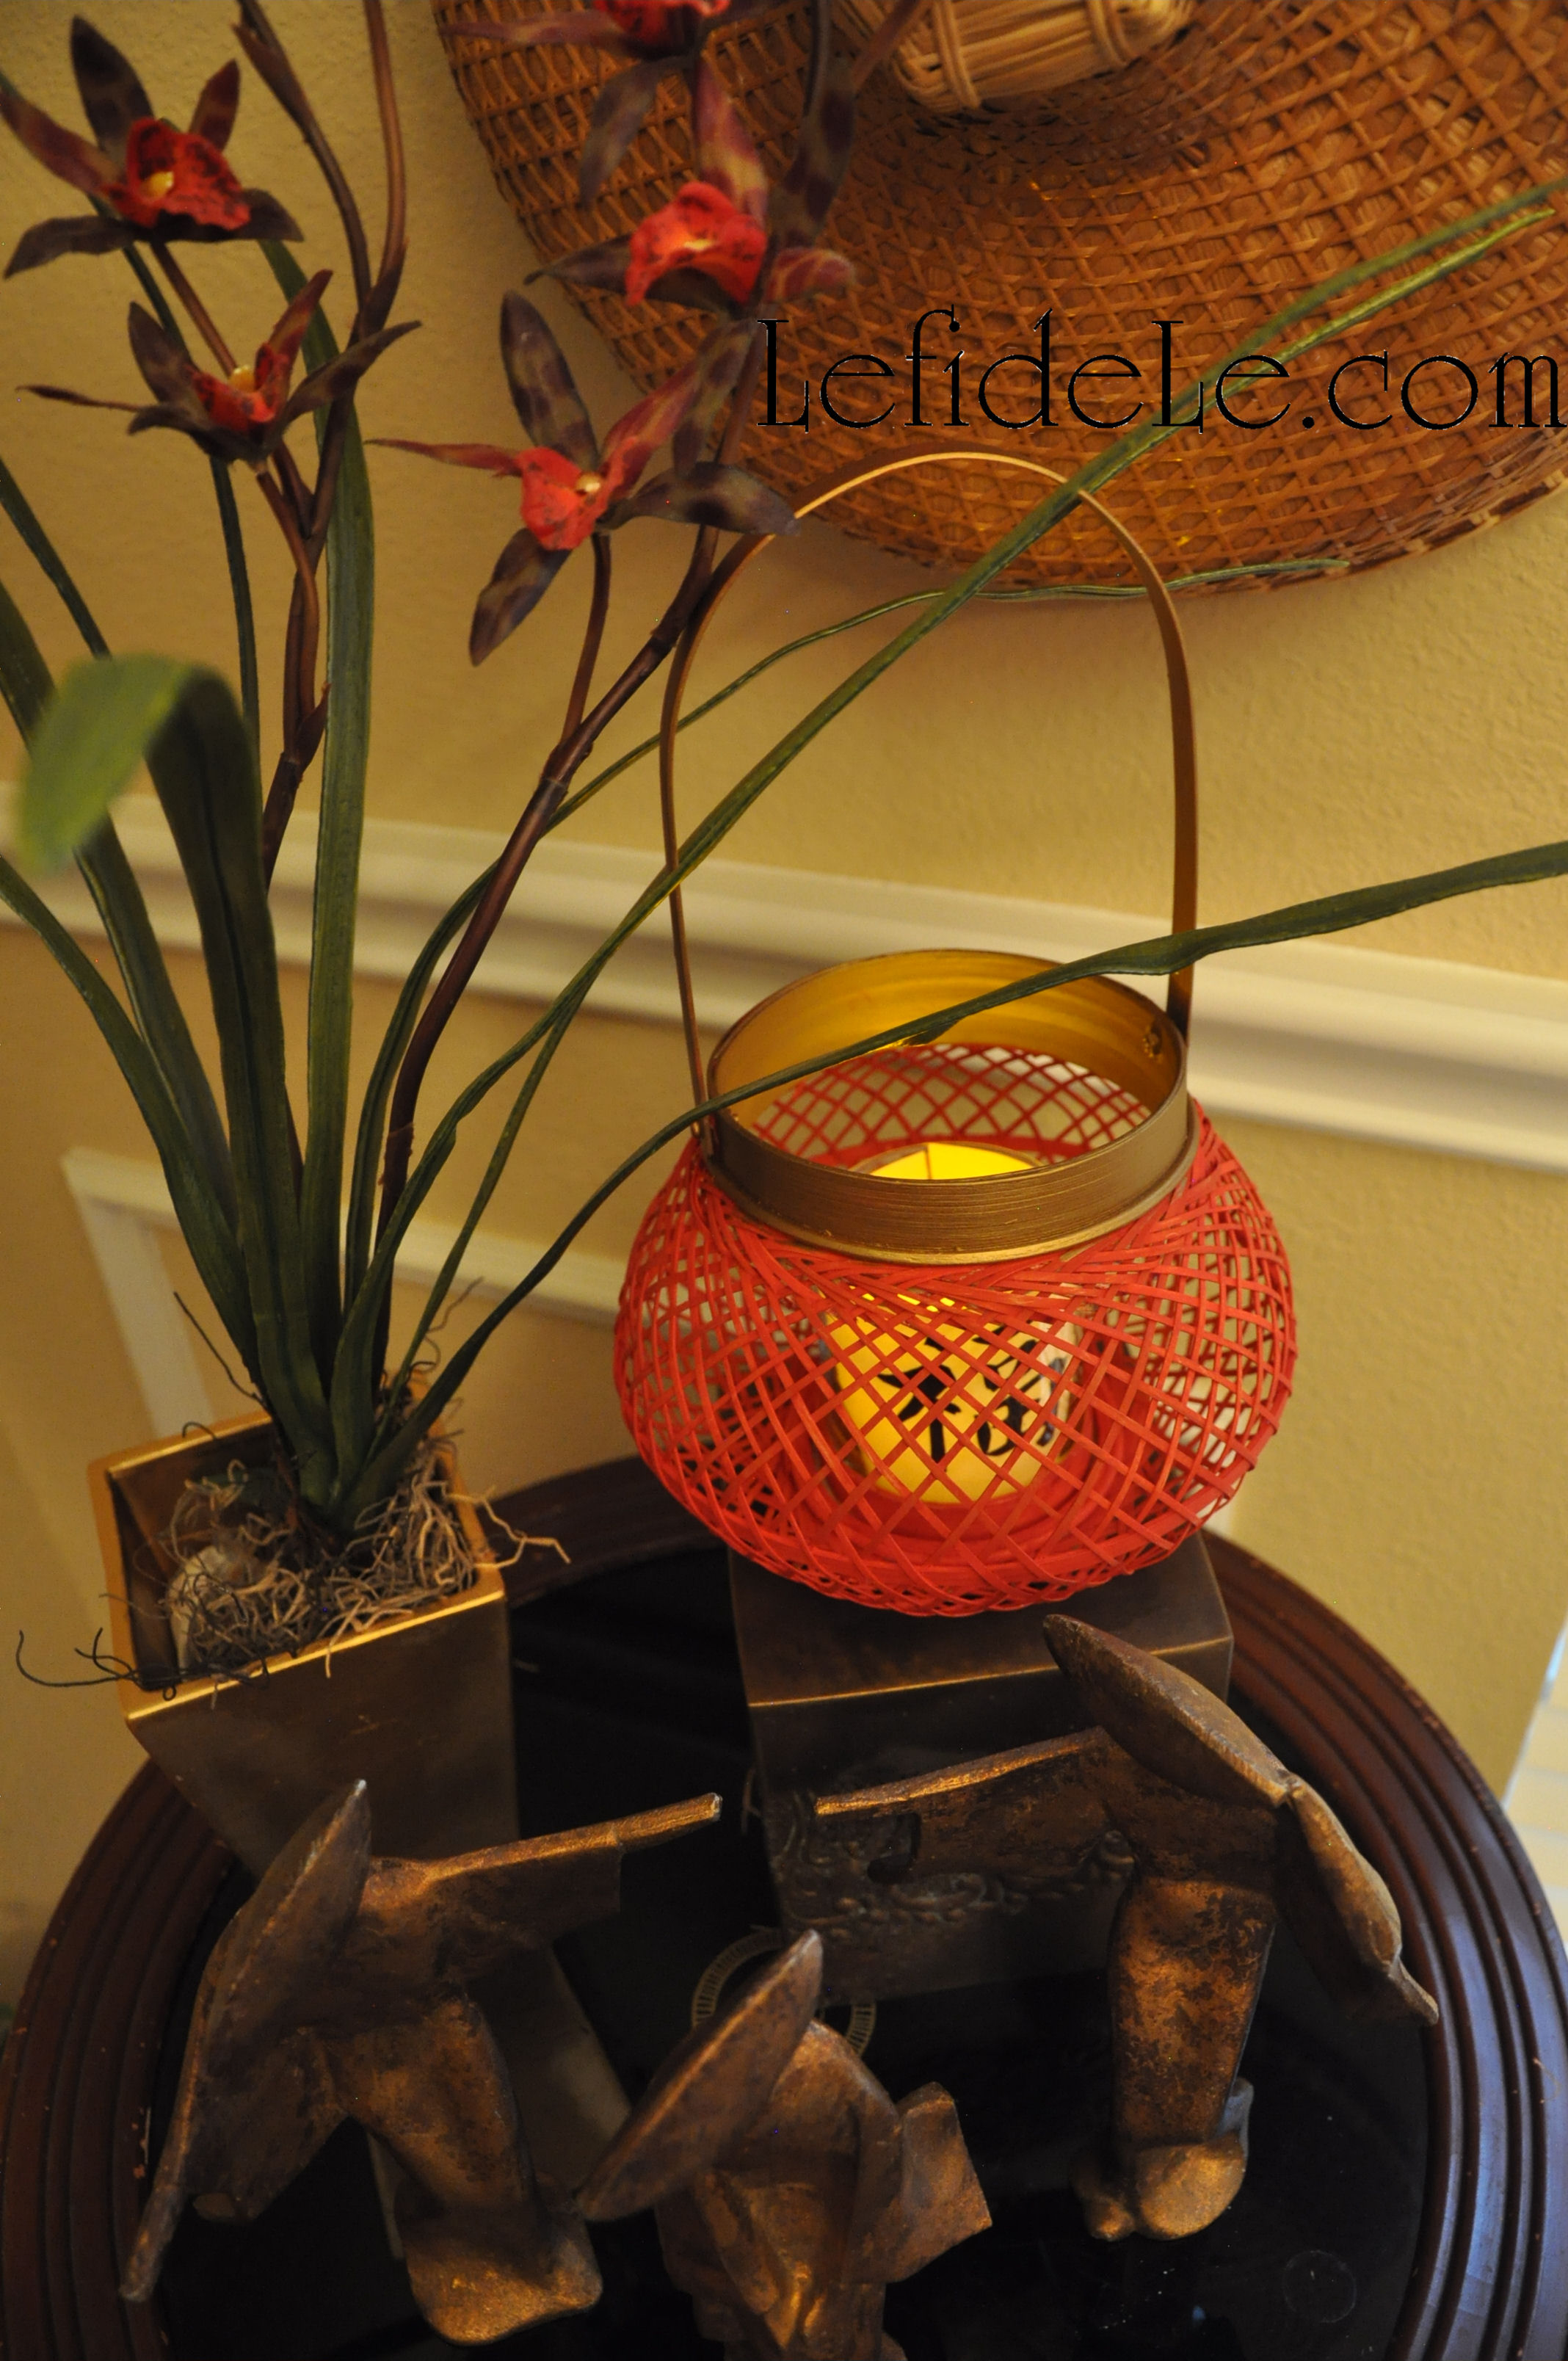
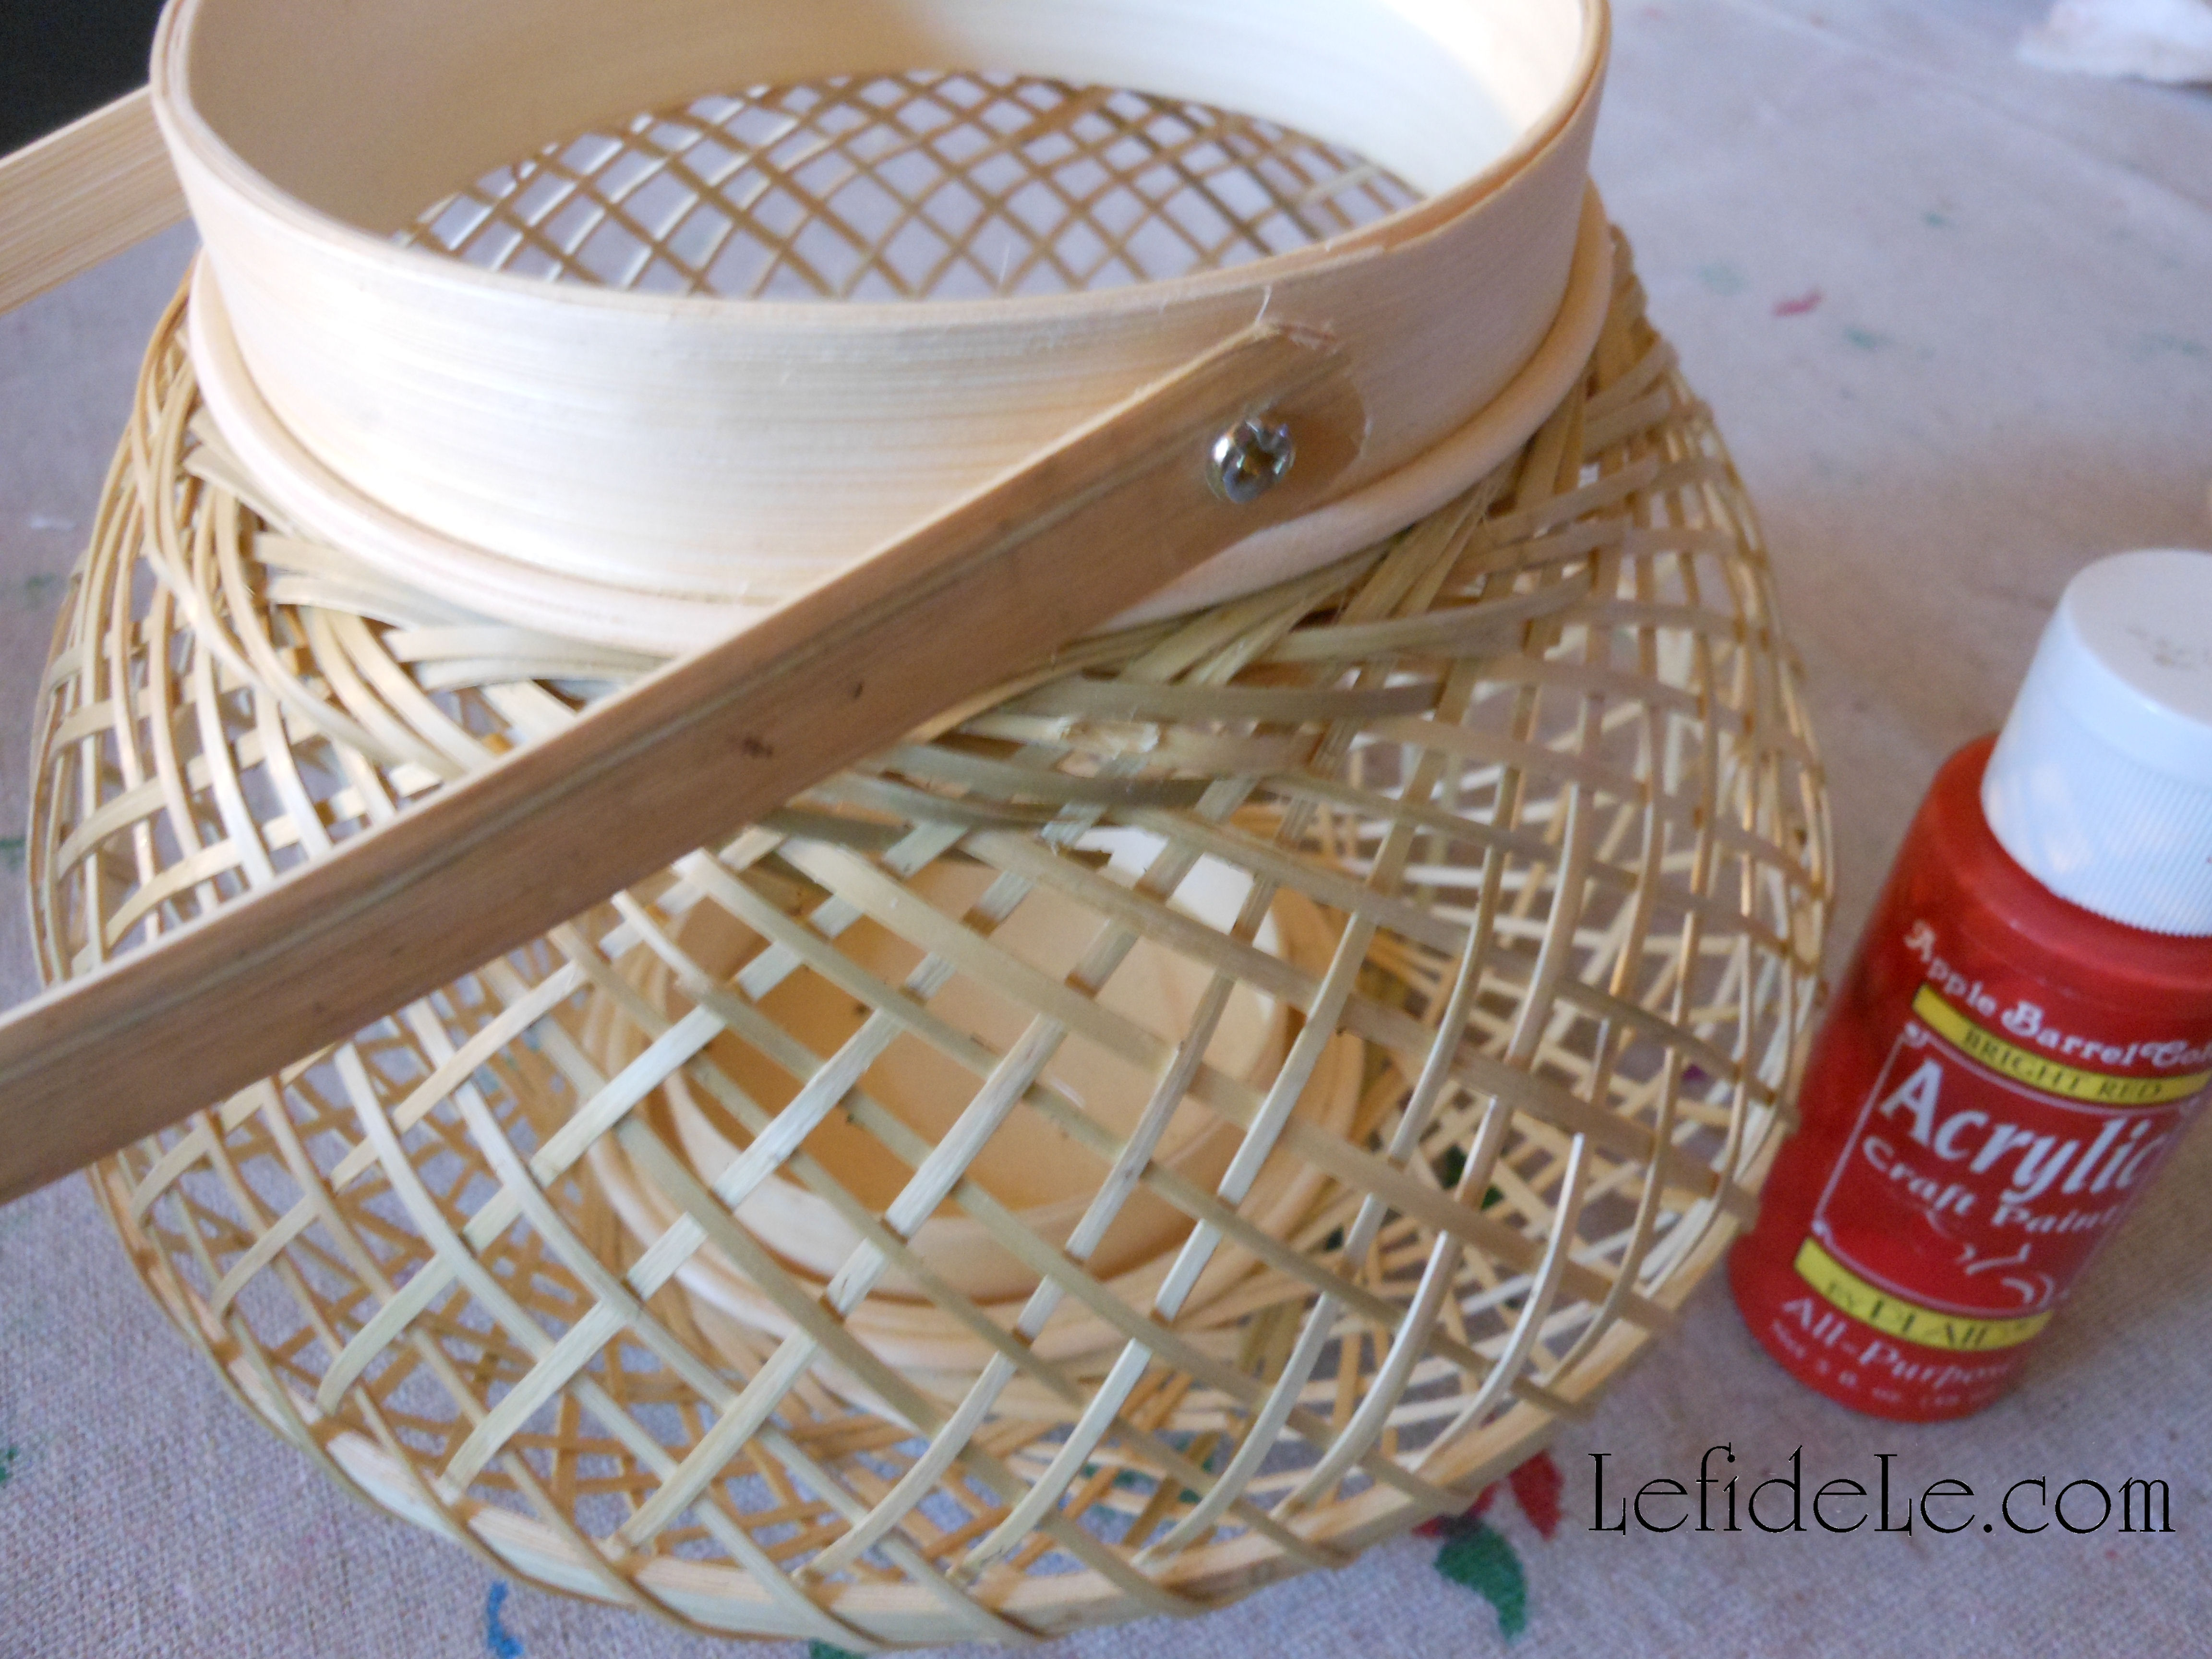
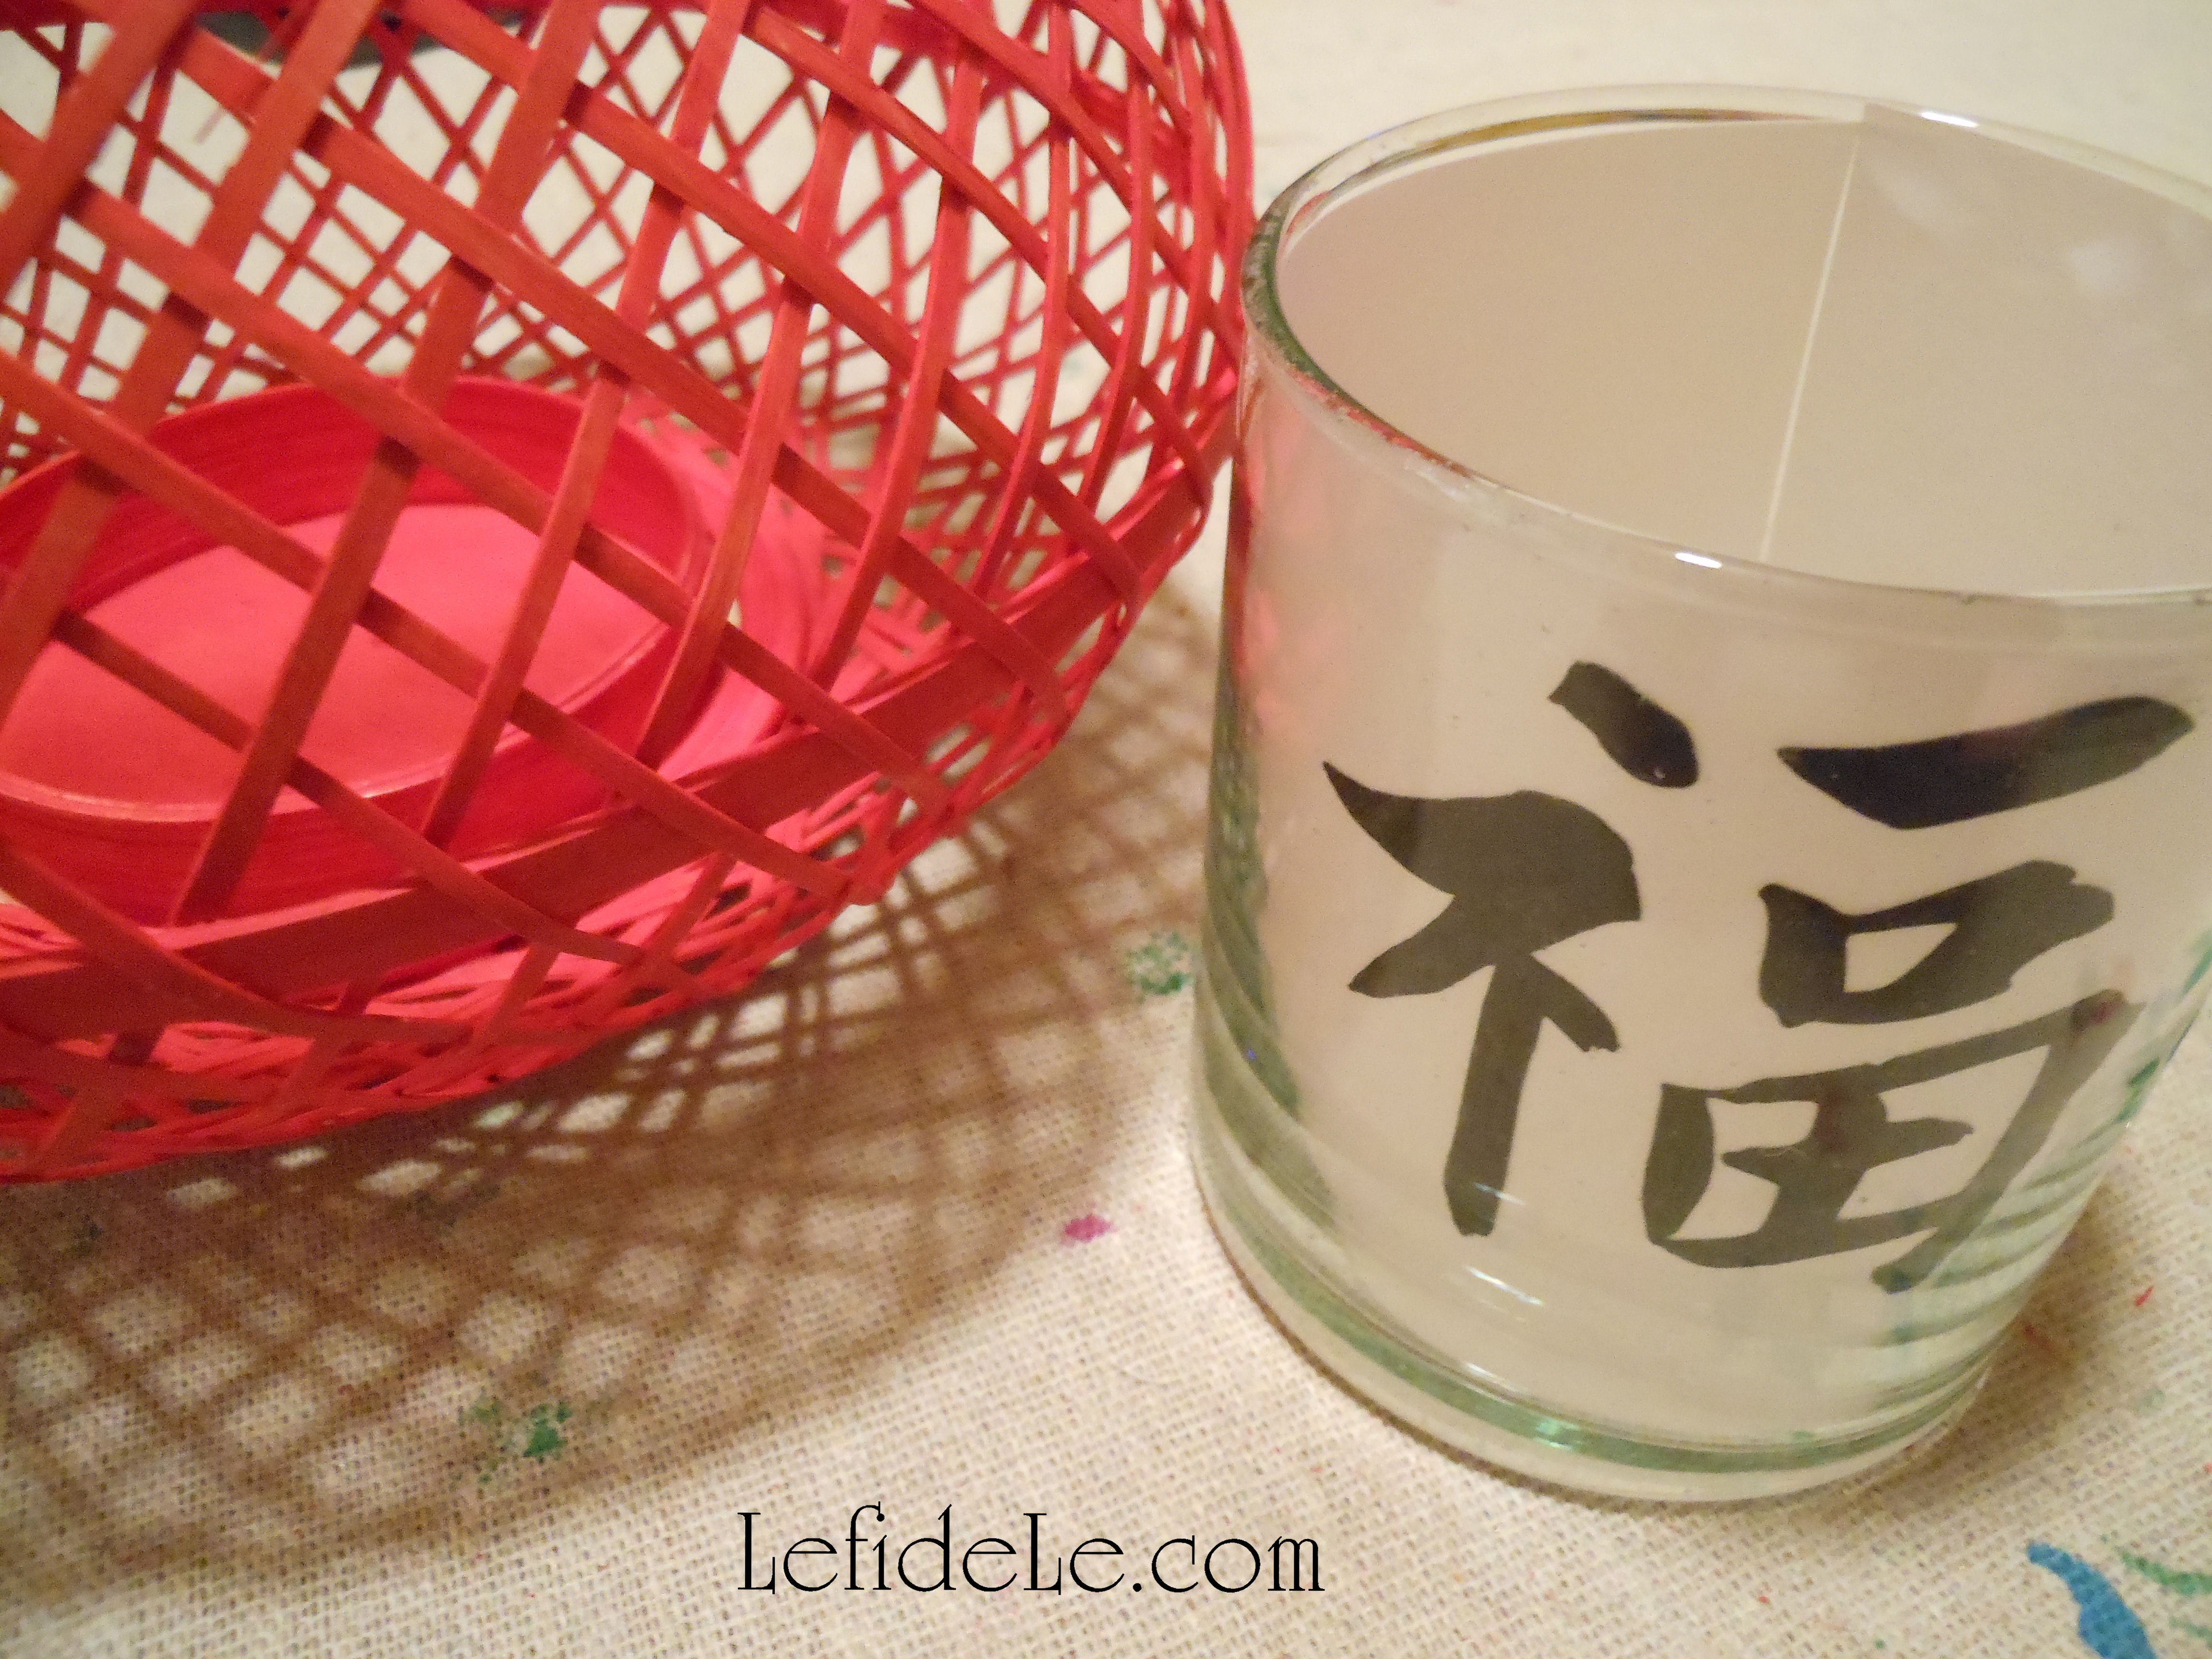
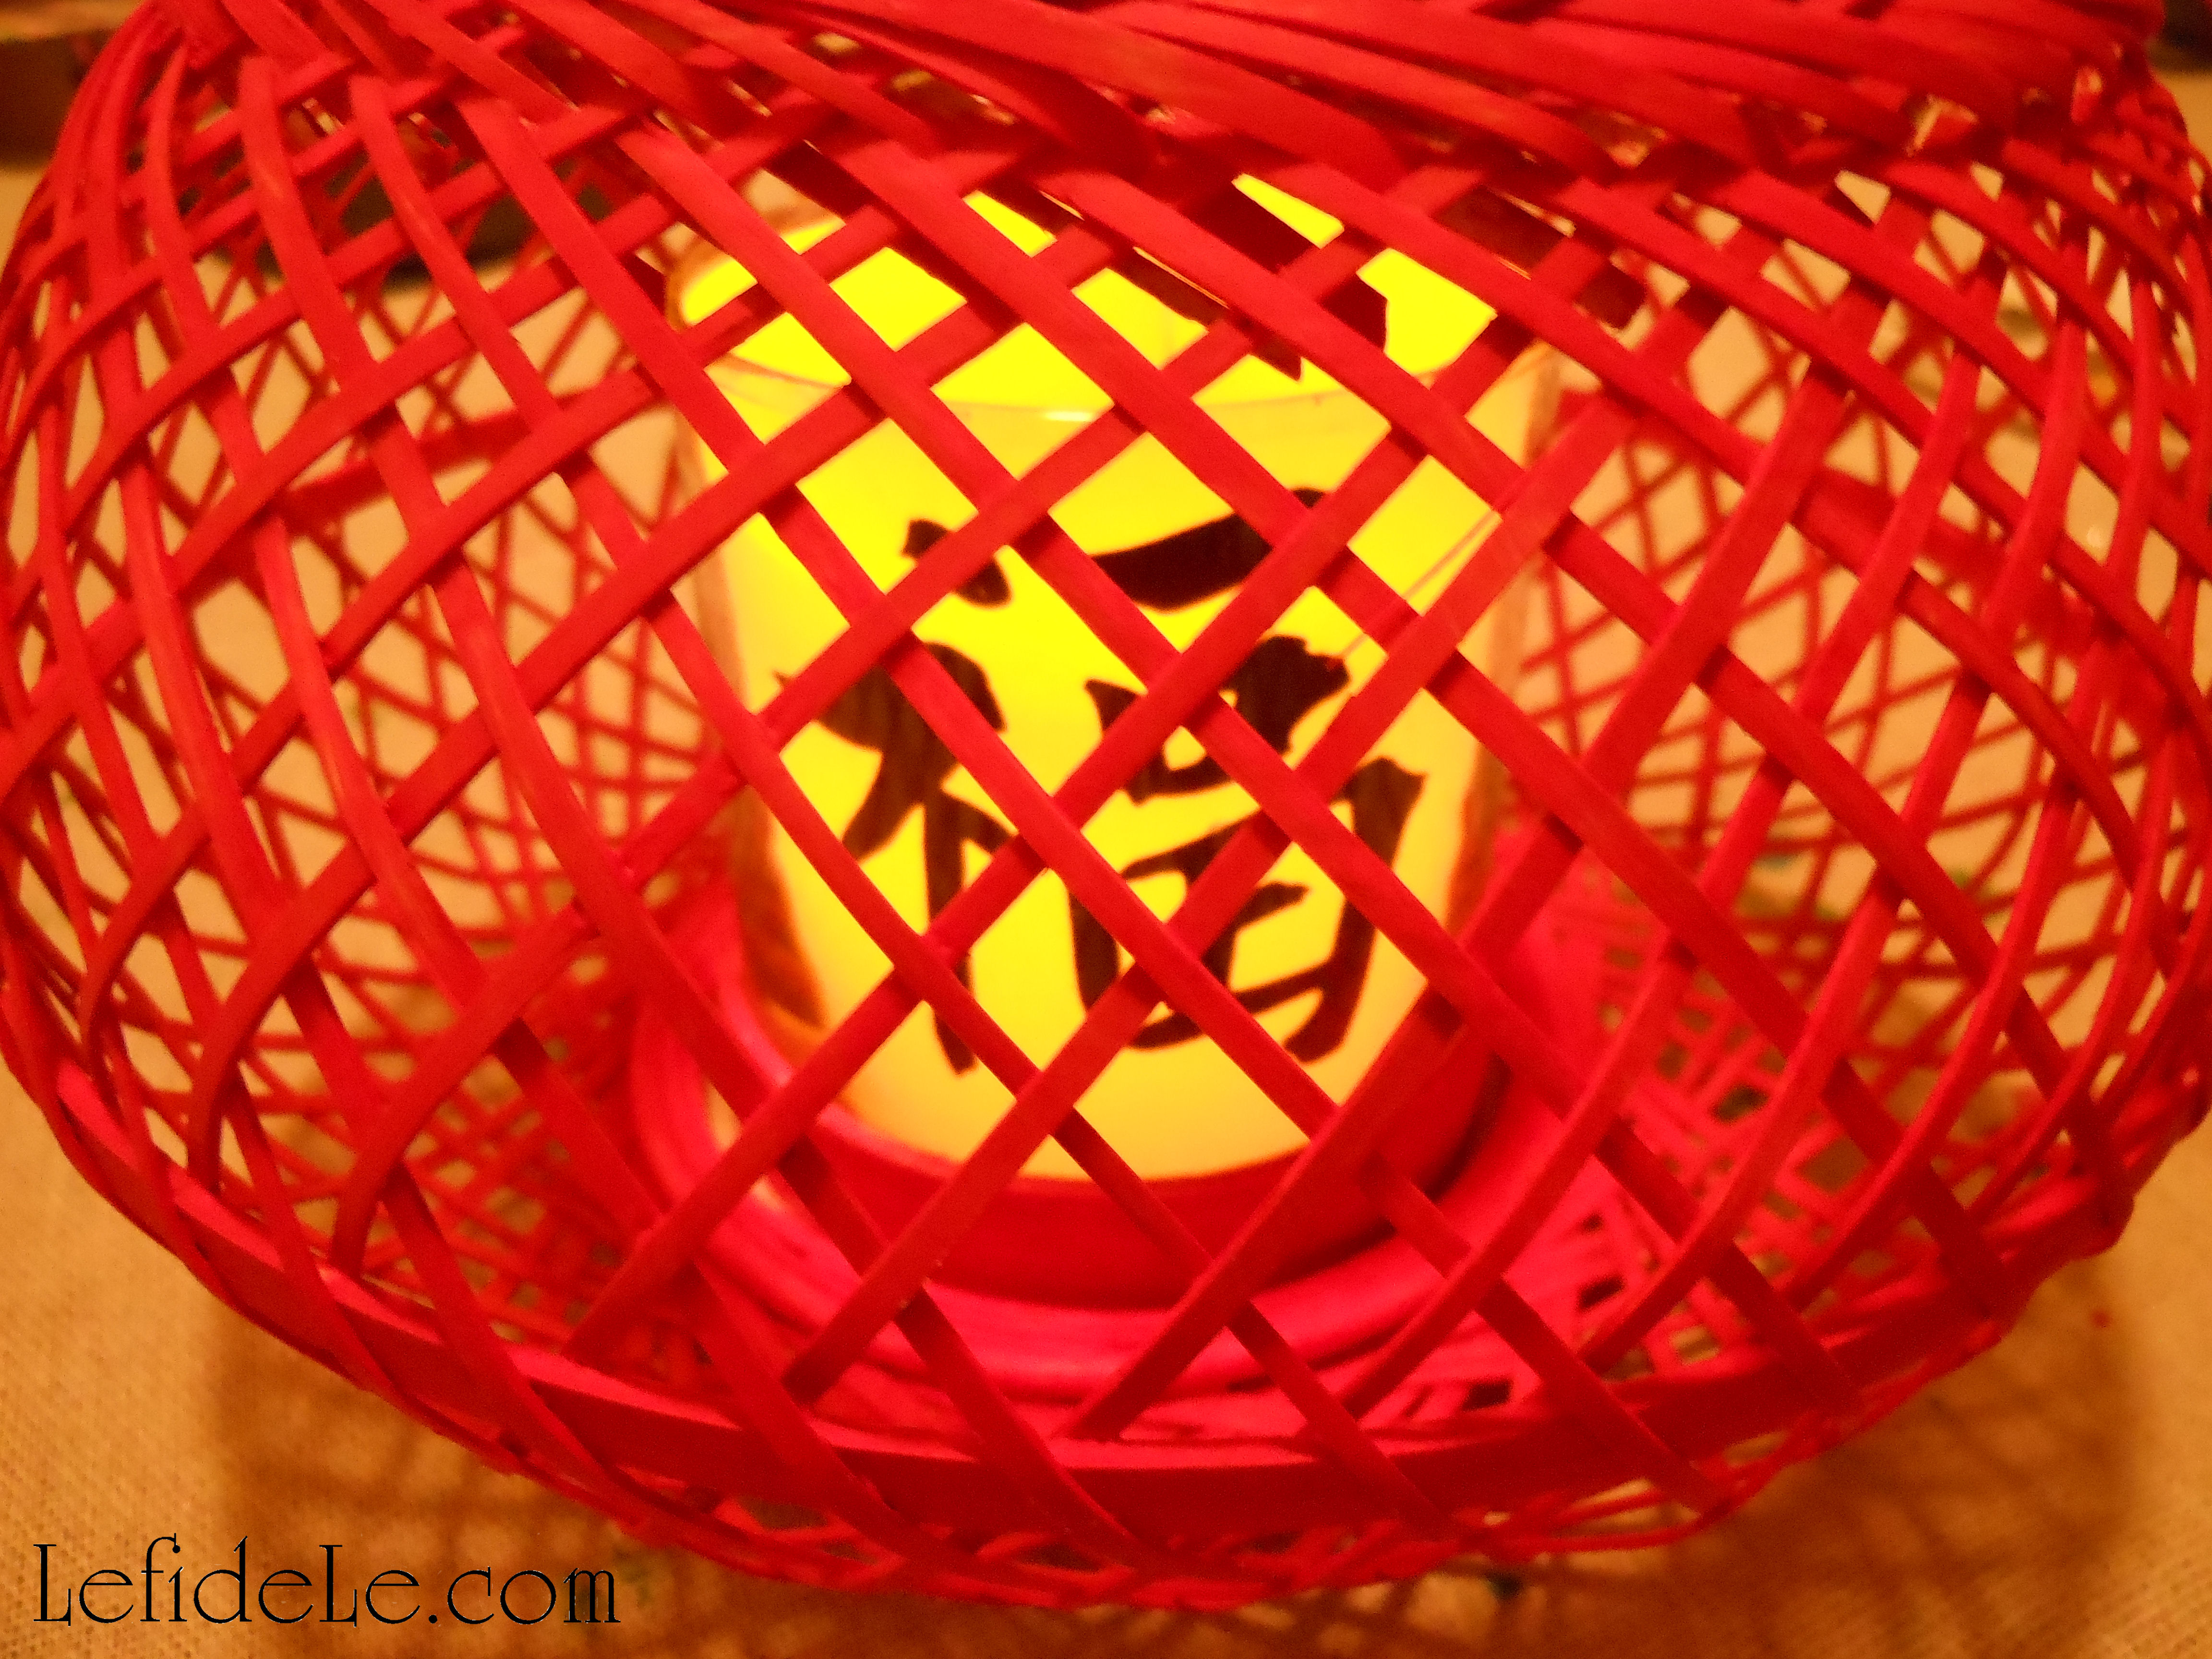
Use the printables as favor containers, table crayon corrals, or cut out the character to make an LED lantern or luminaria. I stacked some of them onto a vintage brass tea-light holder and stuck in paper dragon favor puppets to heighten the spectacle… with no expectation that the centerpiece would stay intact long! Using LED lights insures that no fire will catch the paper, even if knocked over… so they are super kid and pet safe. It’s also easy to use the cut-out character to embellish a bamboo lantern like those I’ve painted in the pictures. (See my tutorial for the instructions on how to complete your own.)
Origami cranes are a lovely way to bring the kiddos into the party planning while teaching a timeless art to another generation. The historically traditional crane figure is an apropos symbol of hope for the coming year. The Japanese tradition of the “Senbazuru” folding of 1000 paper cranes is said to grant the maker a wish, such as healing for a loved one. The “Tsuru” (crane) is also said to denote happiness and luck, which is the same meaning of the “Fú” 福 character. These can easily be made with anything from wrapping paper to typing paper (see my tutorial for instructions with a picture for each step).
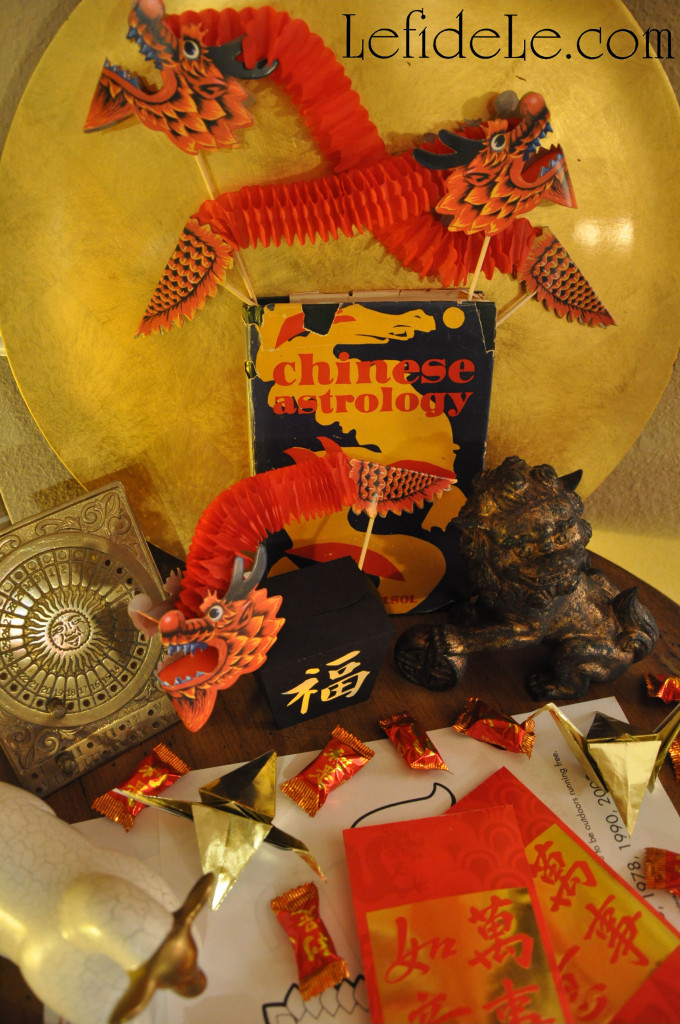
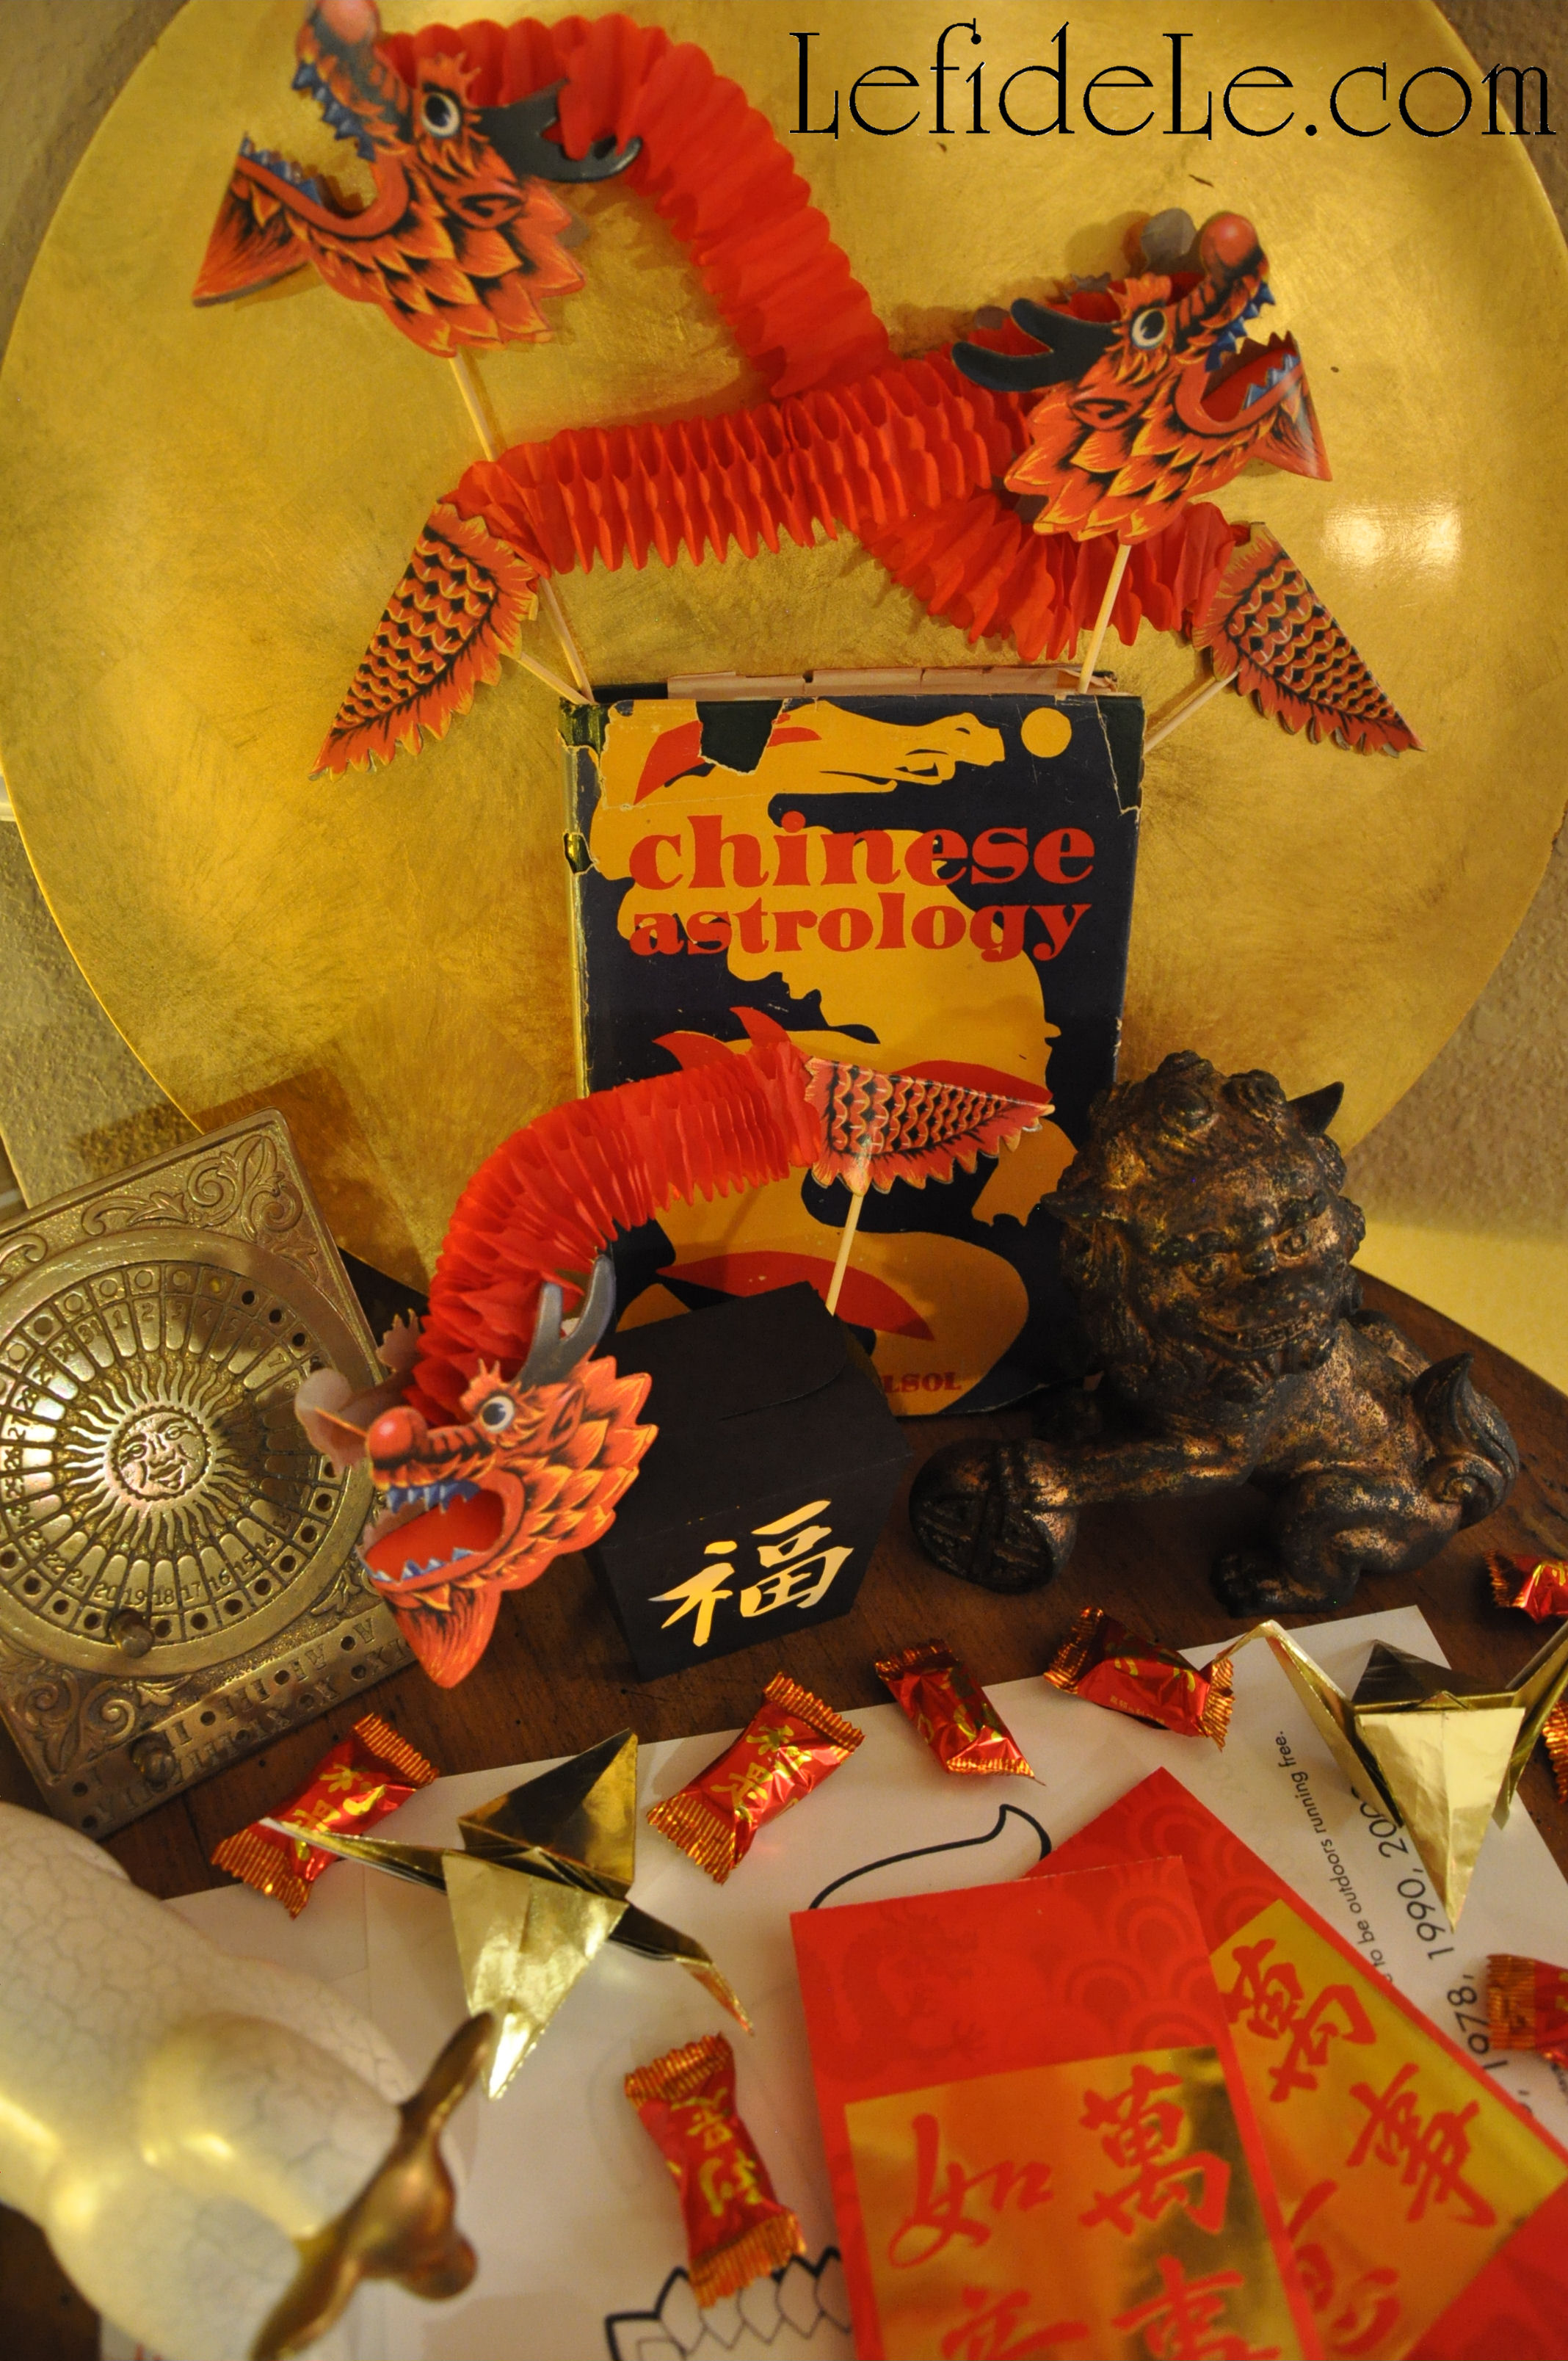
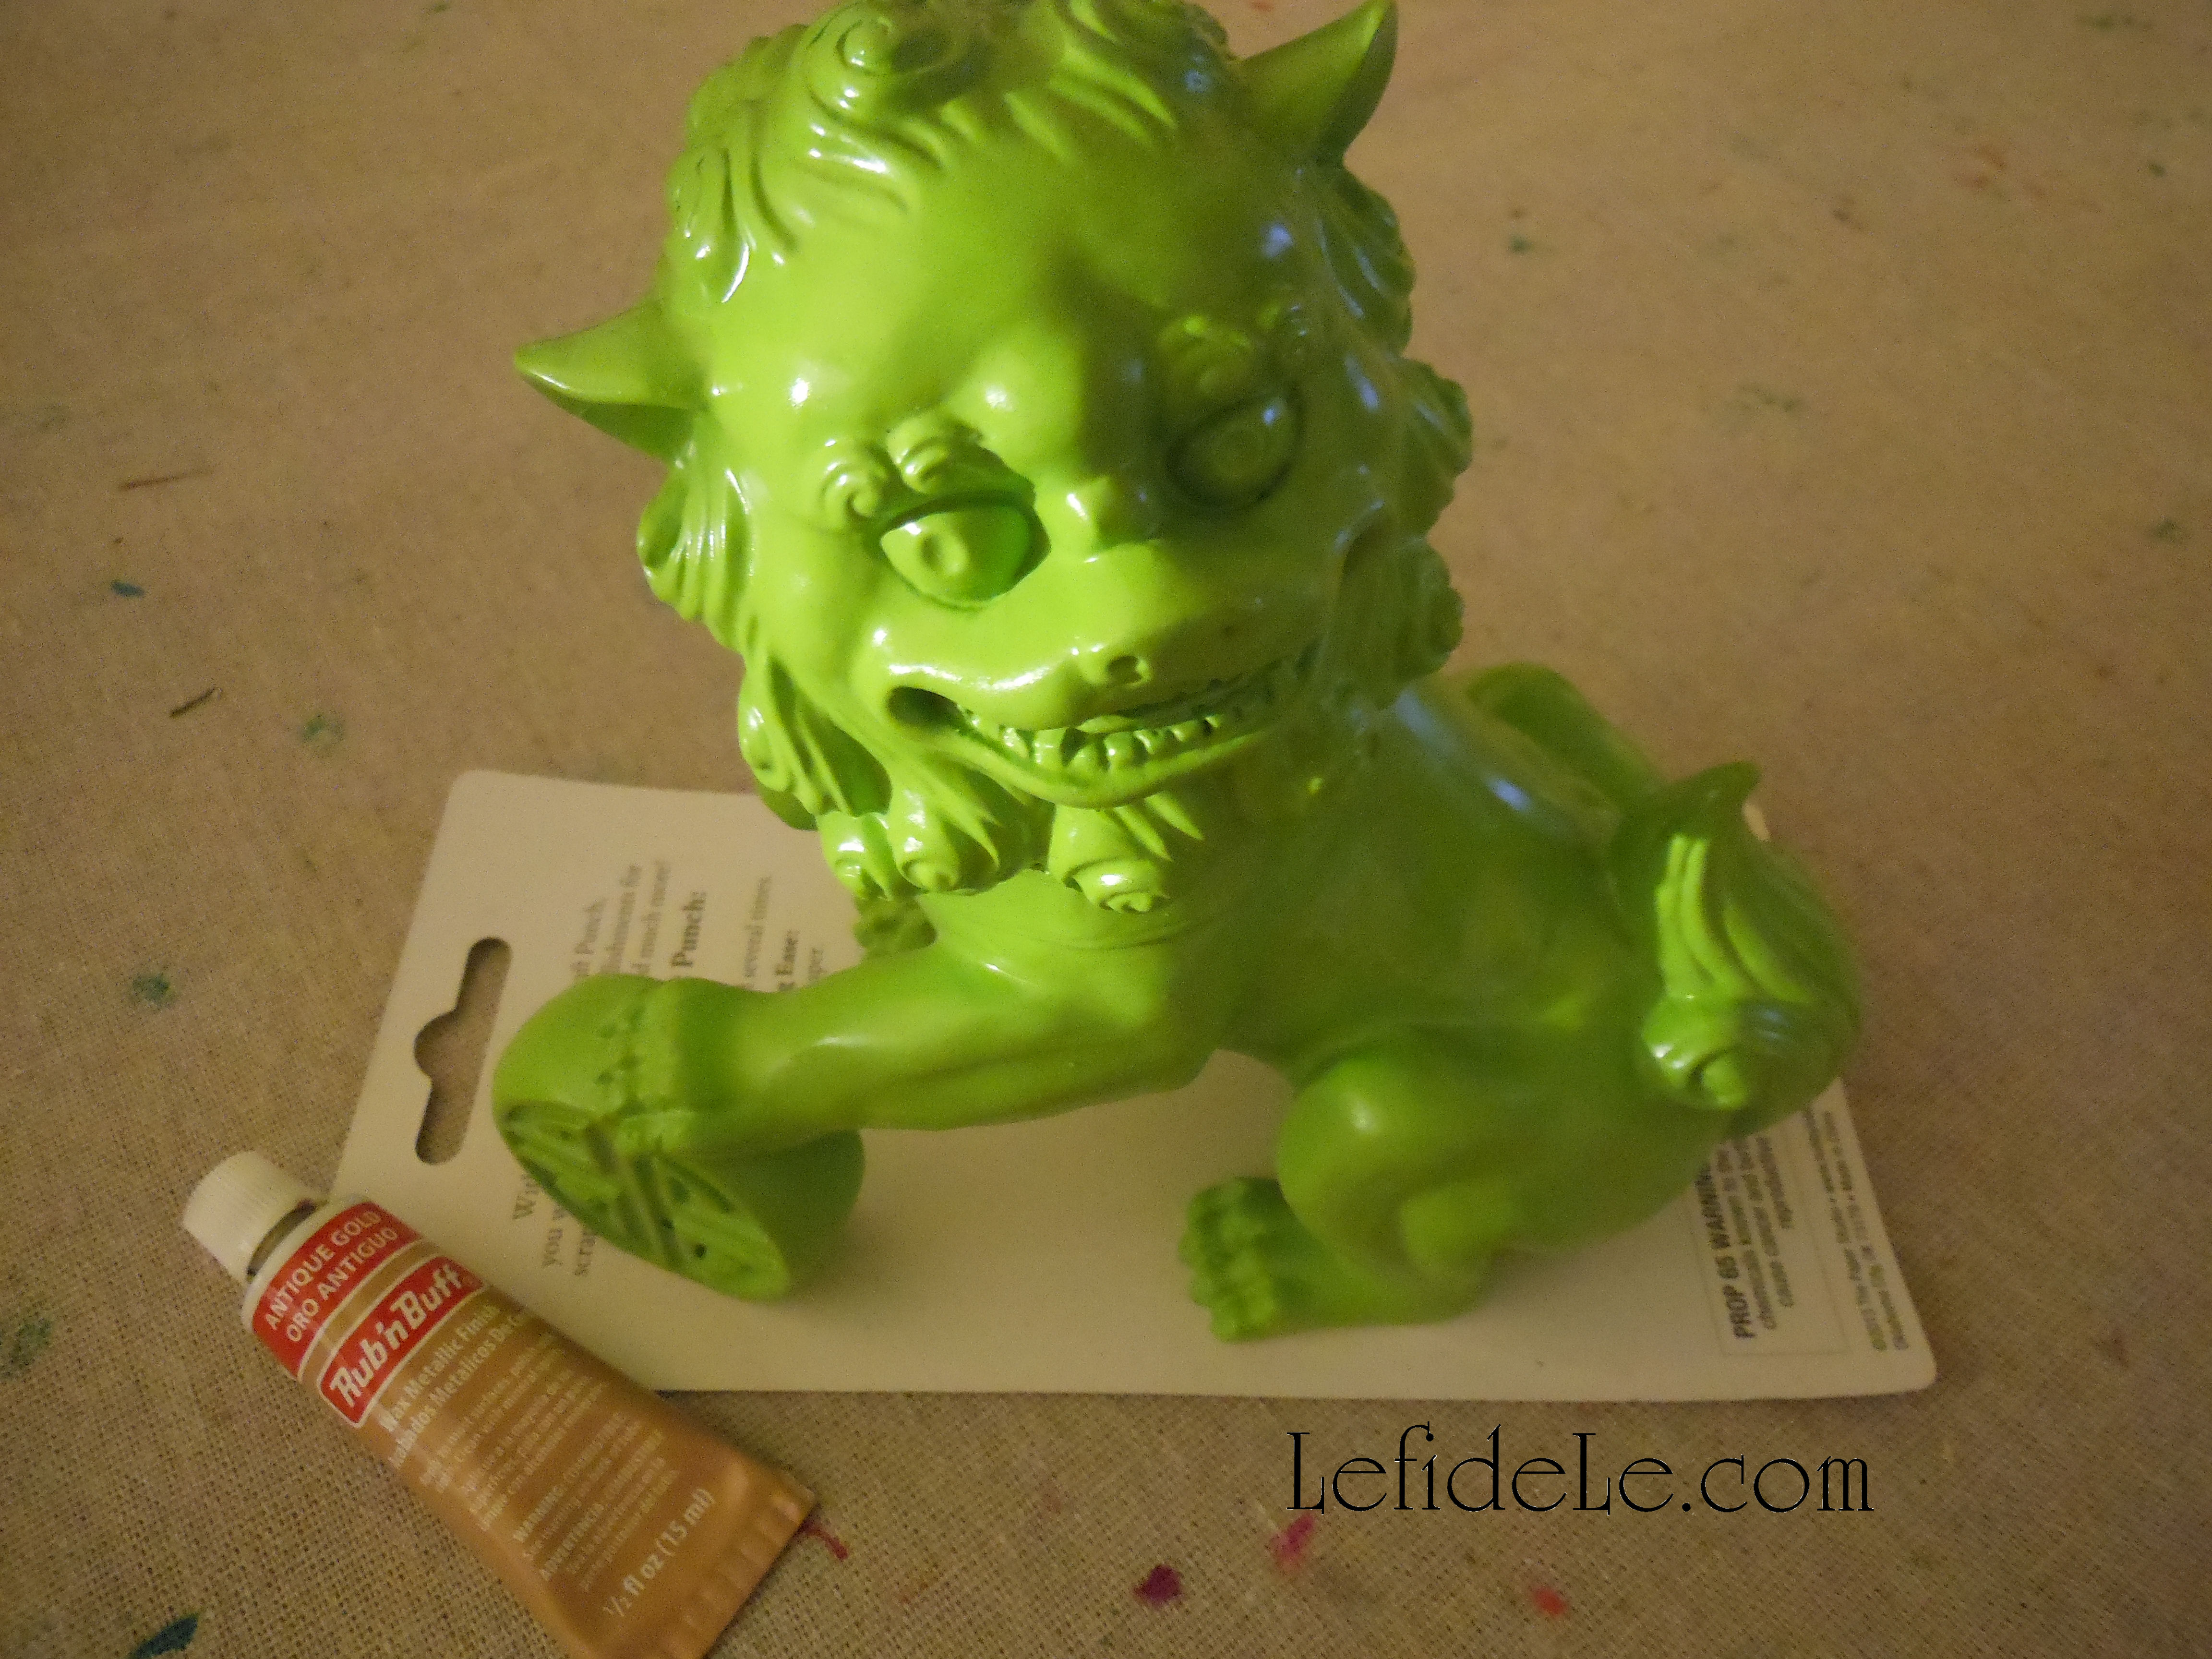
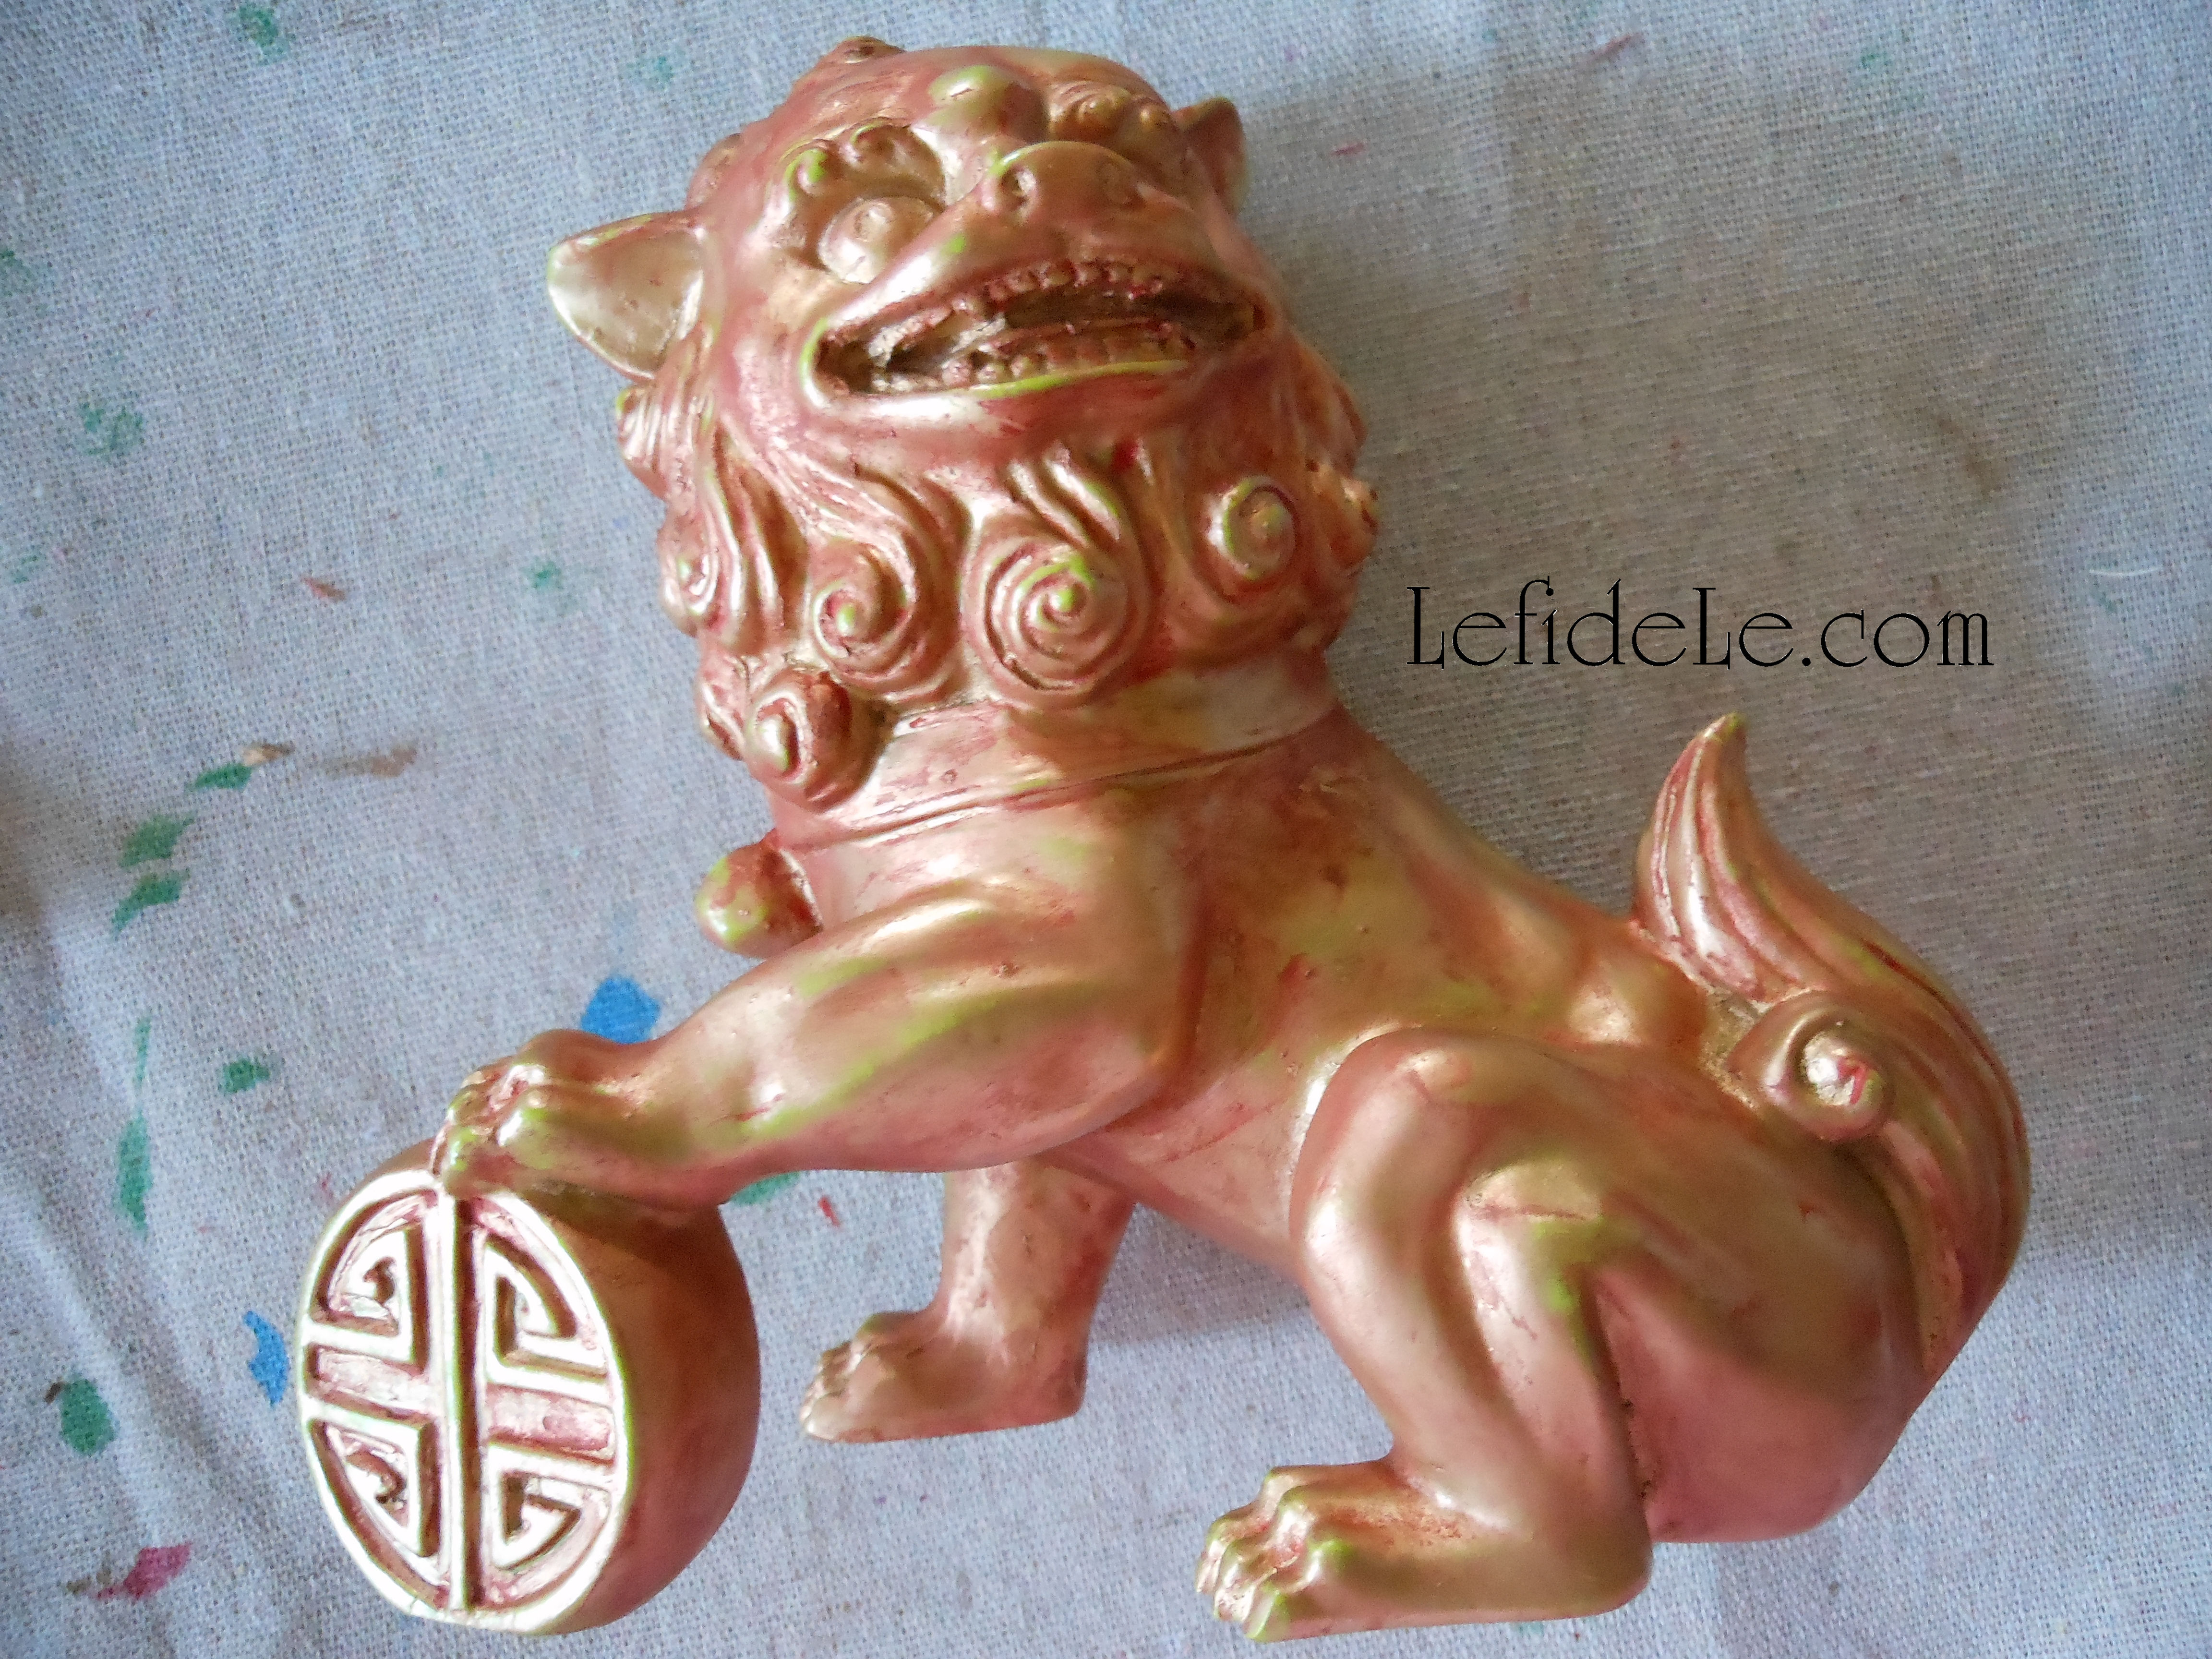
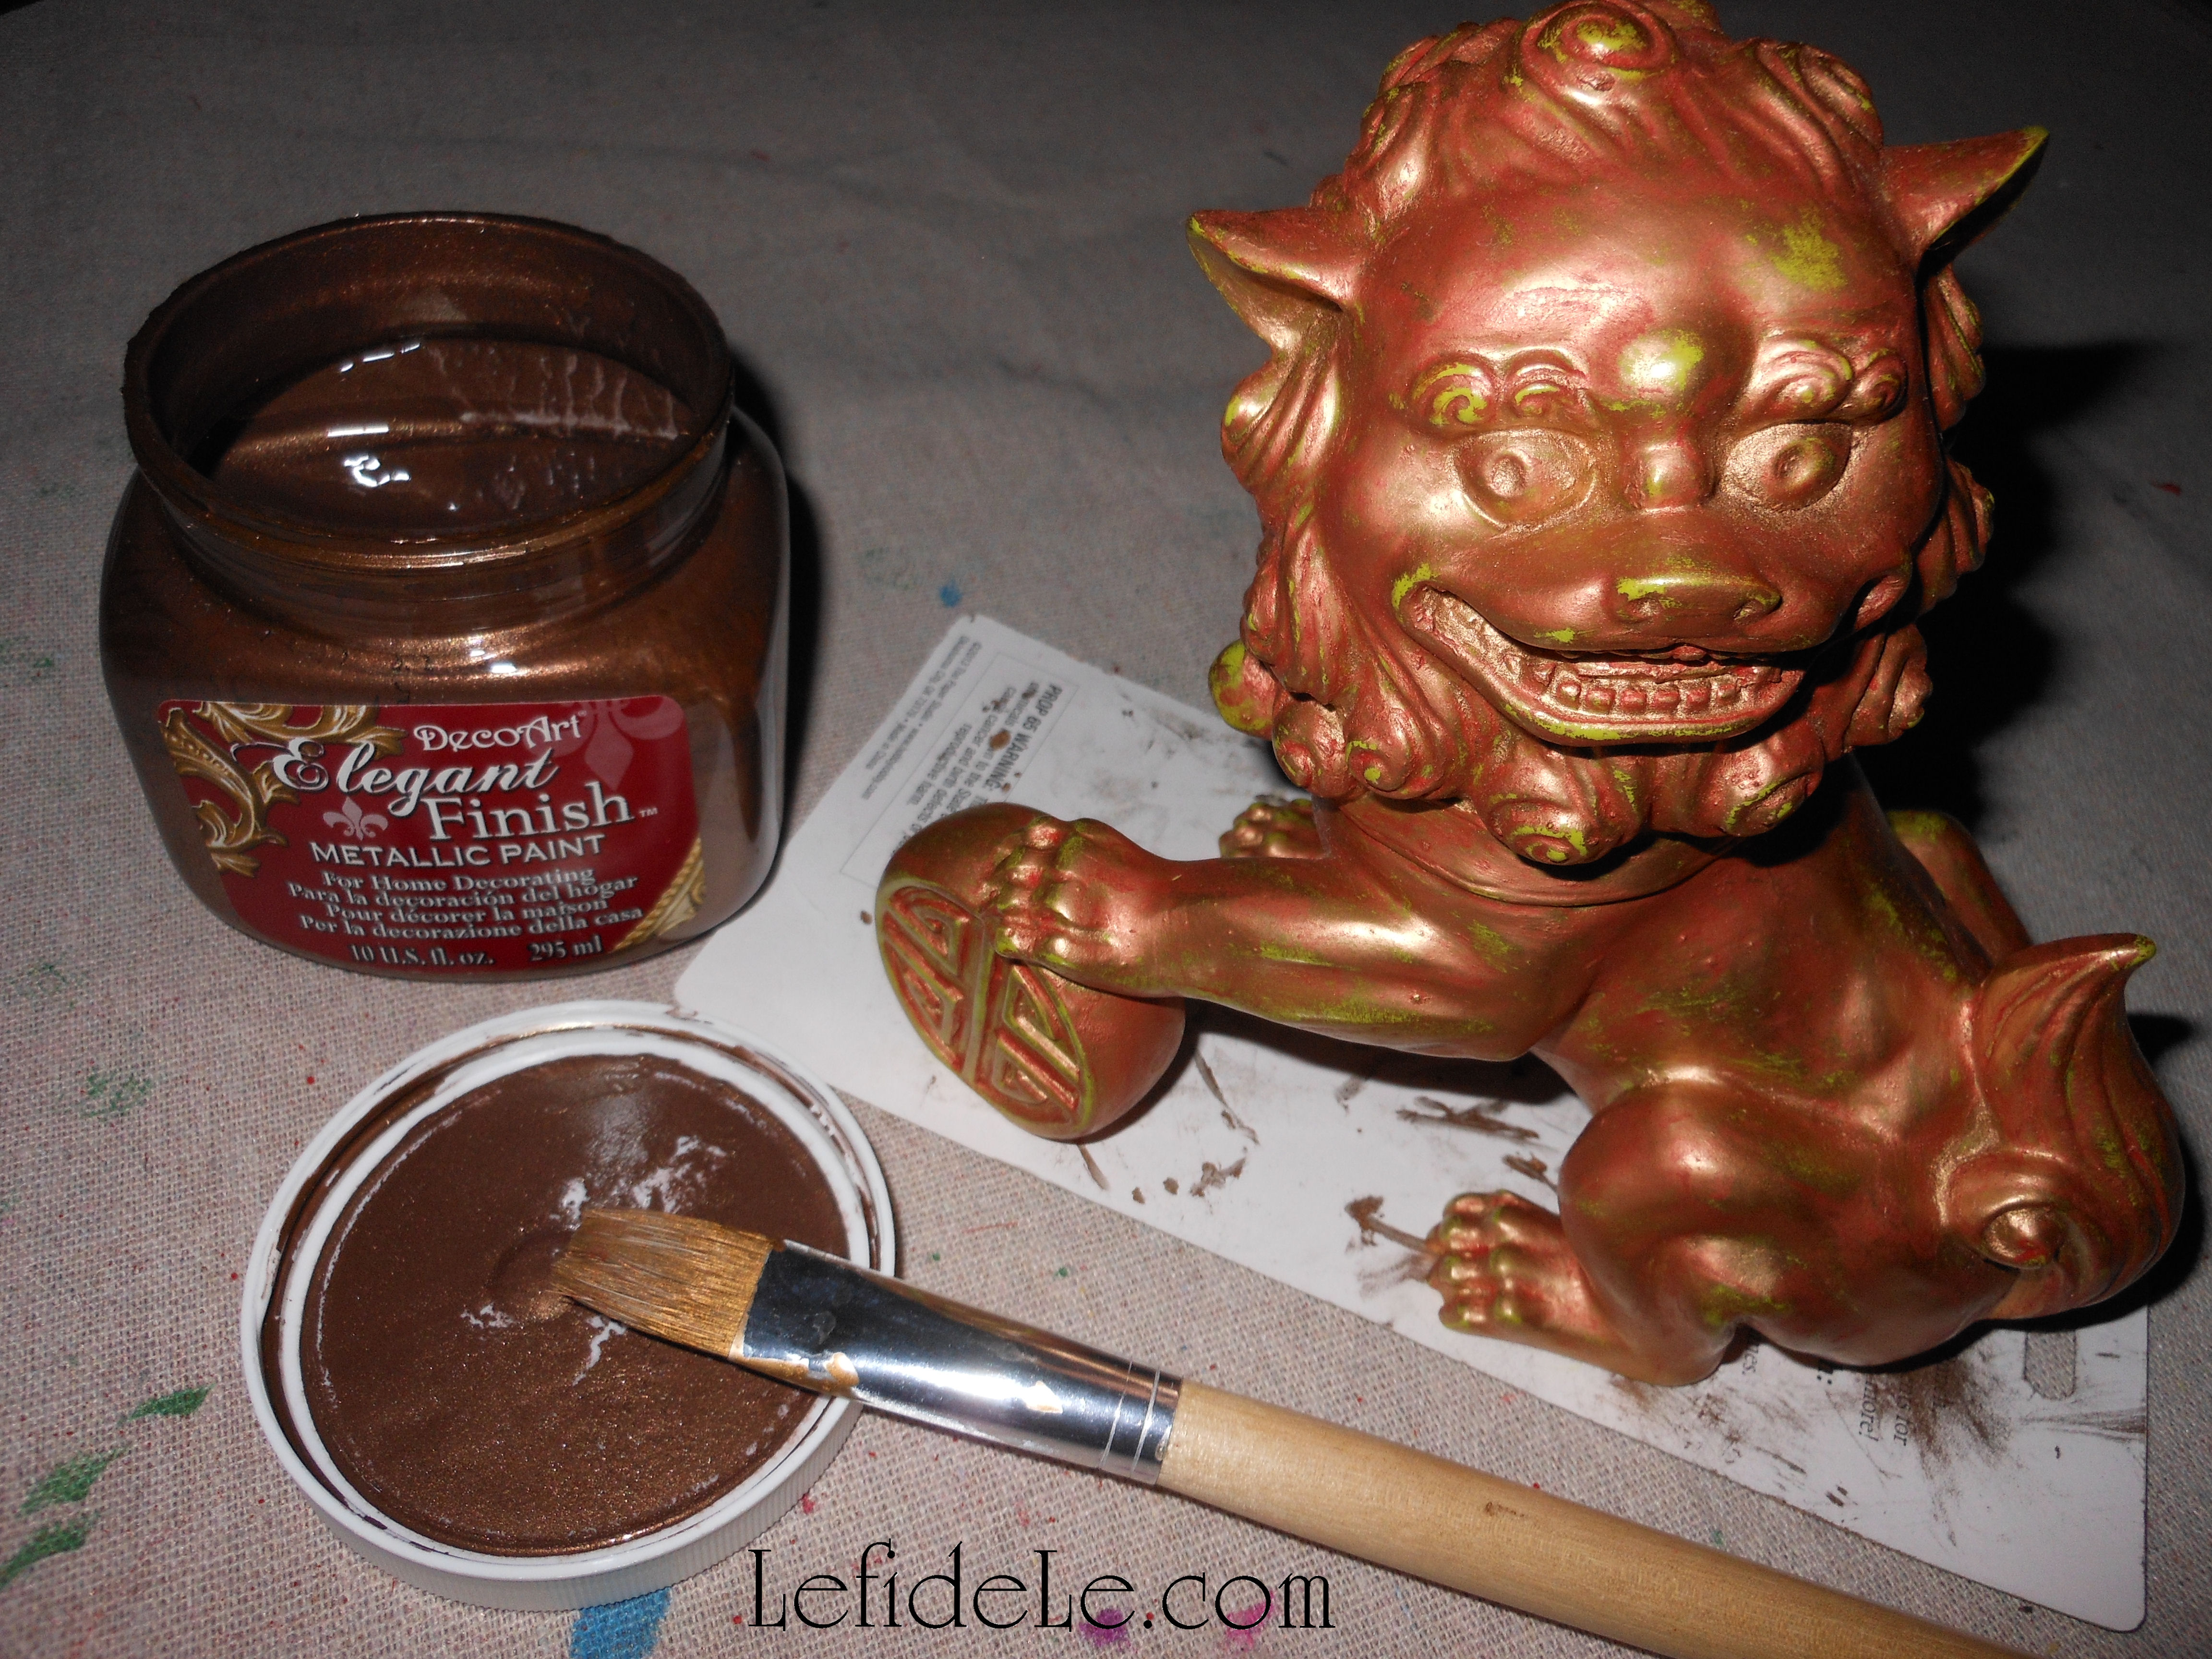
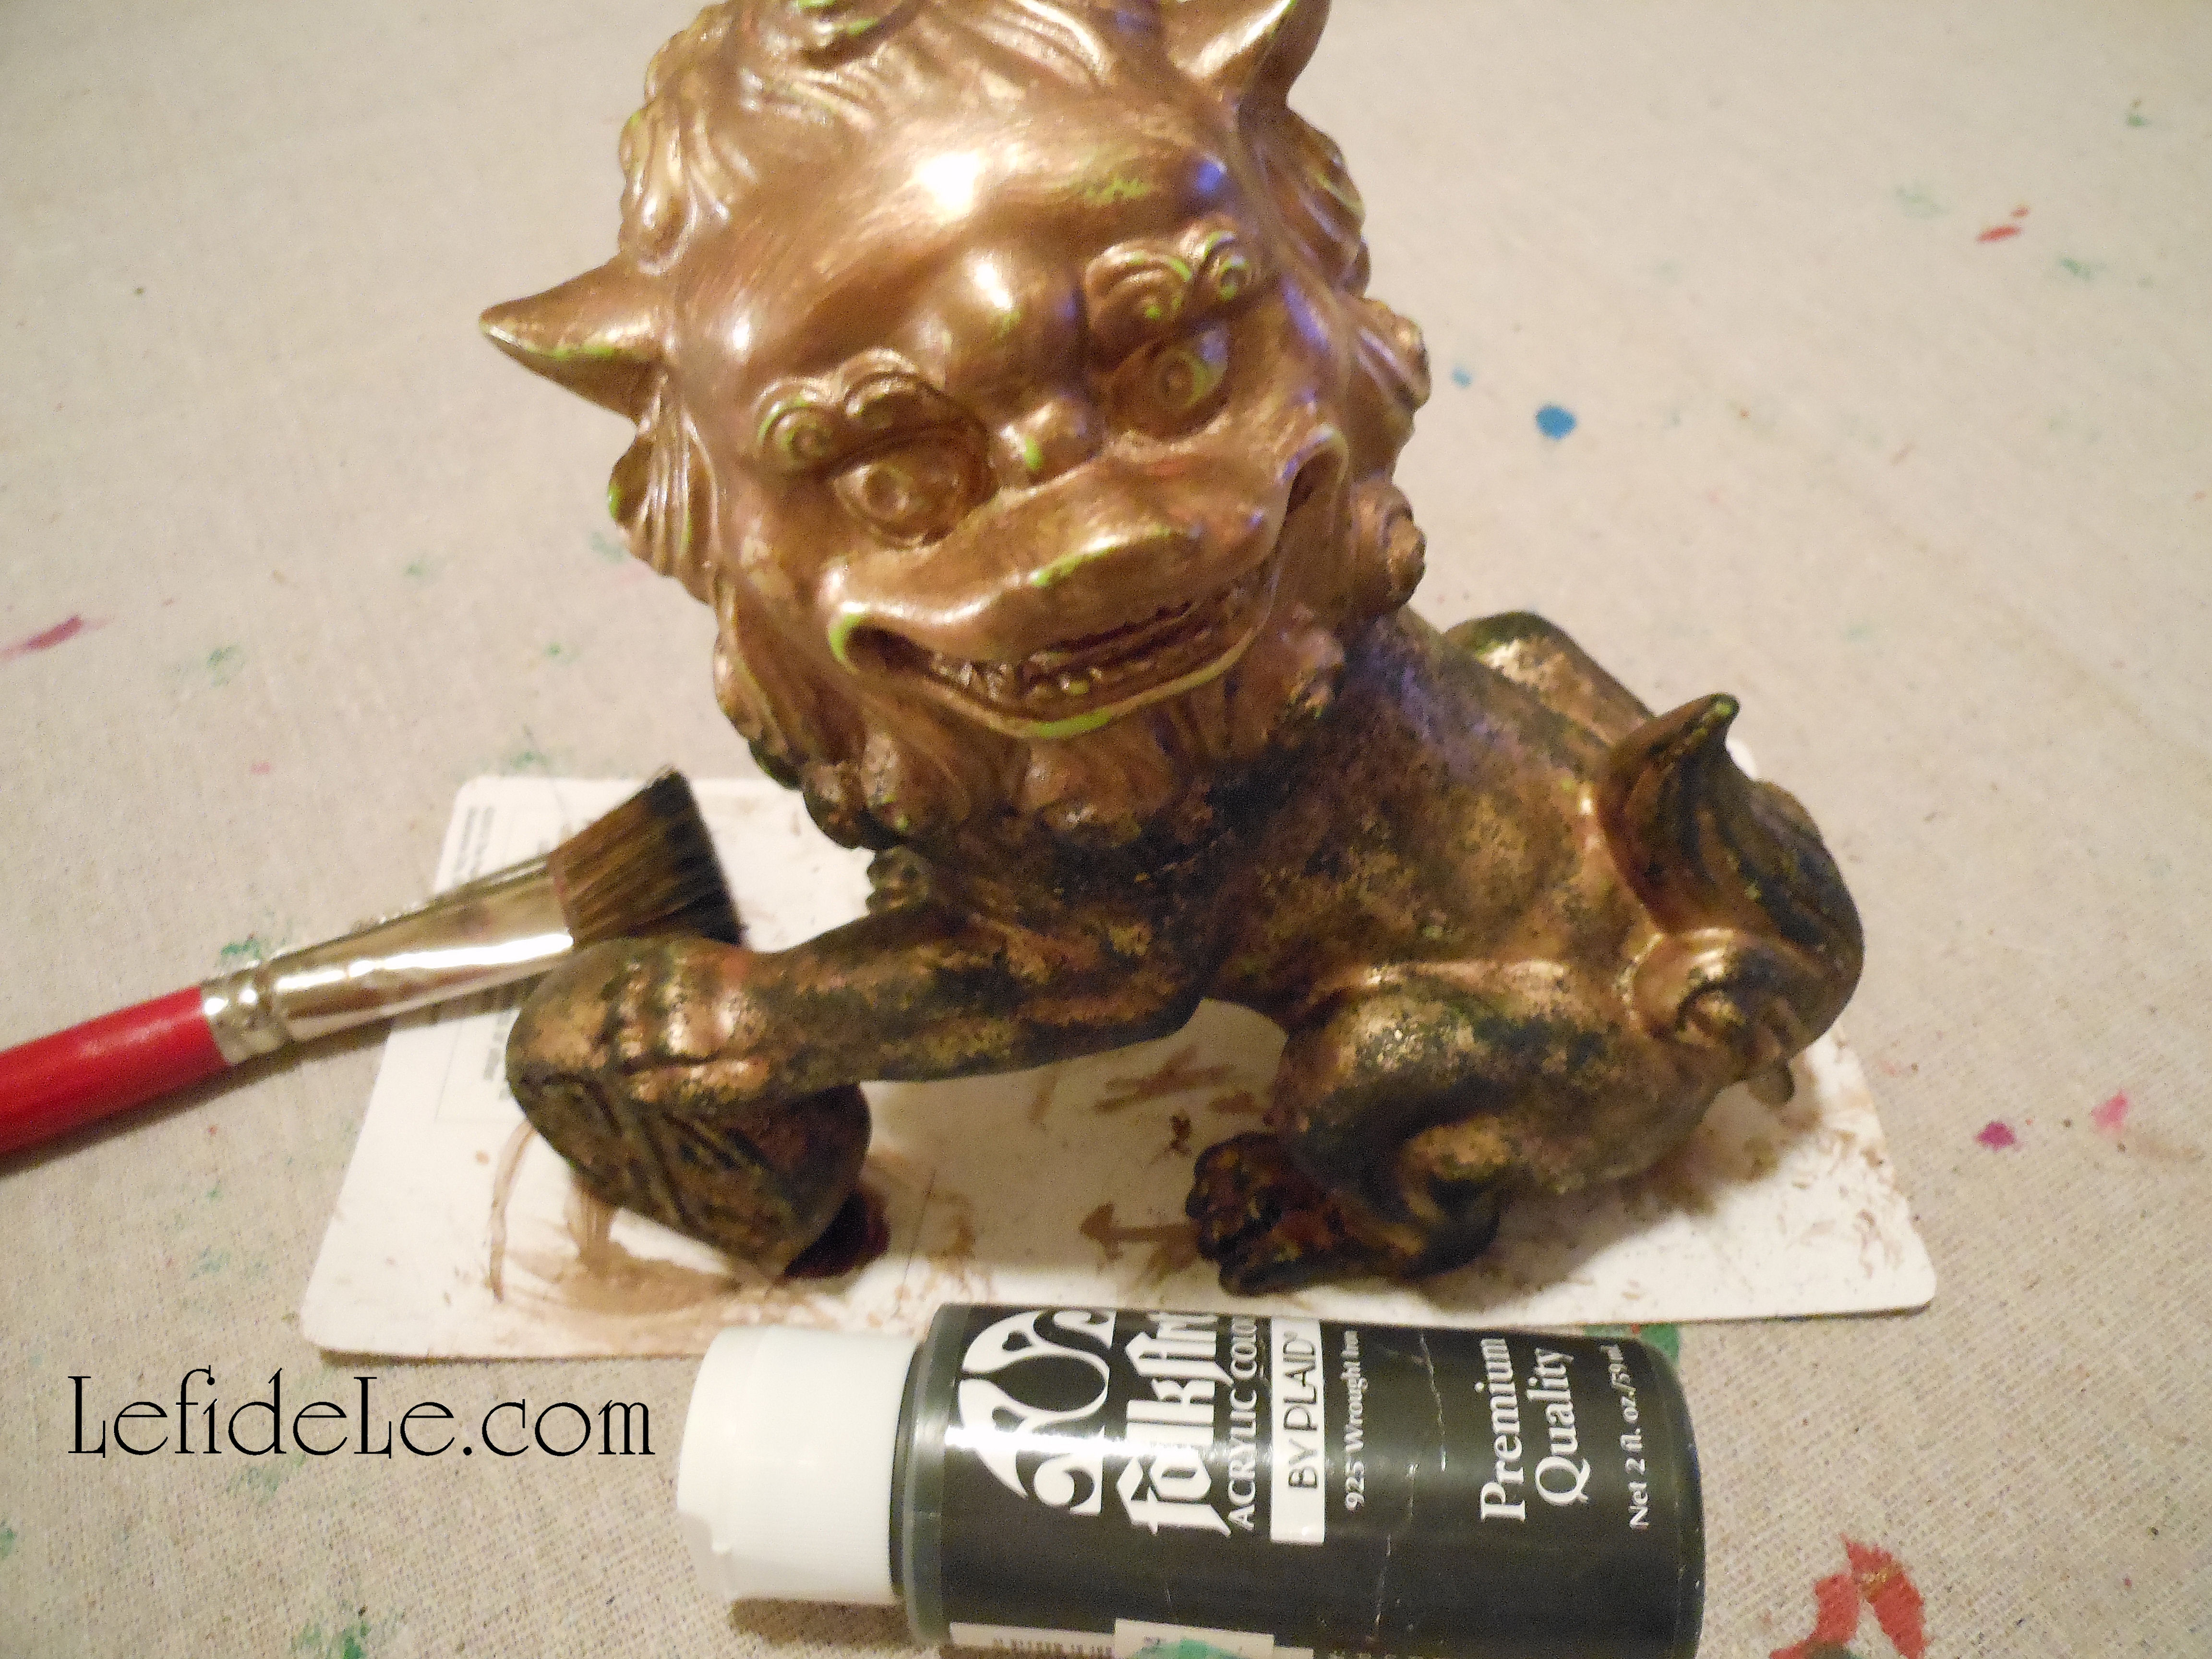
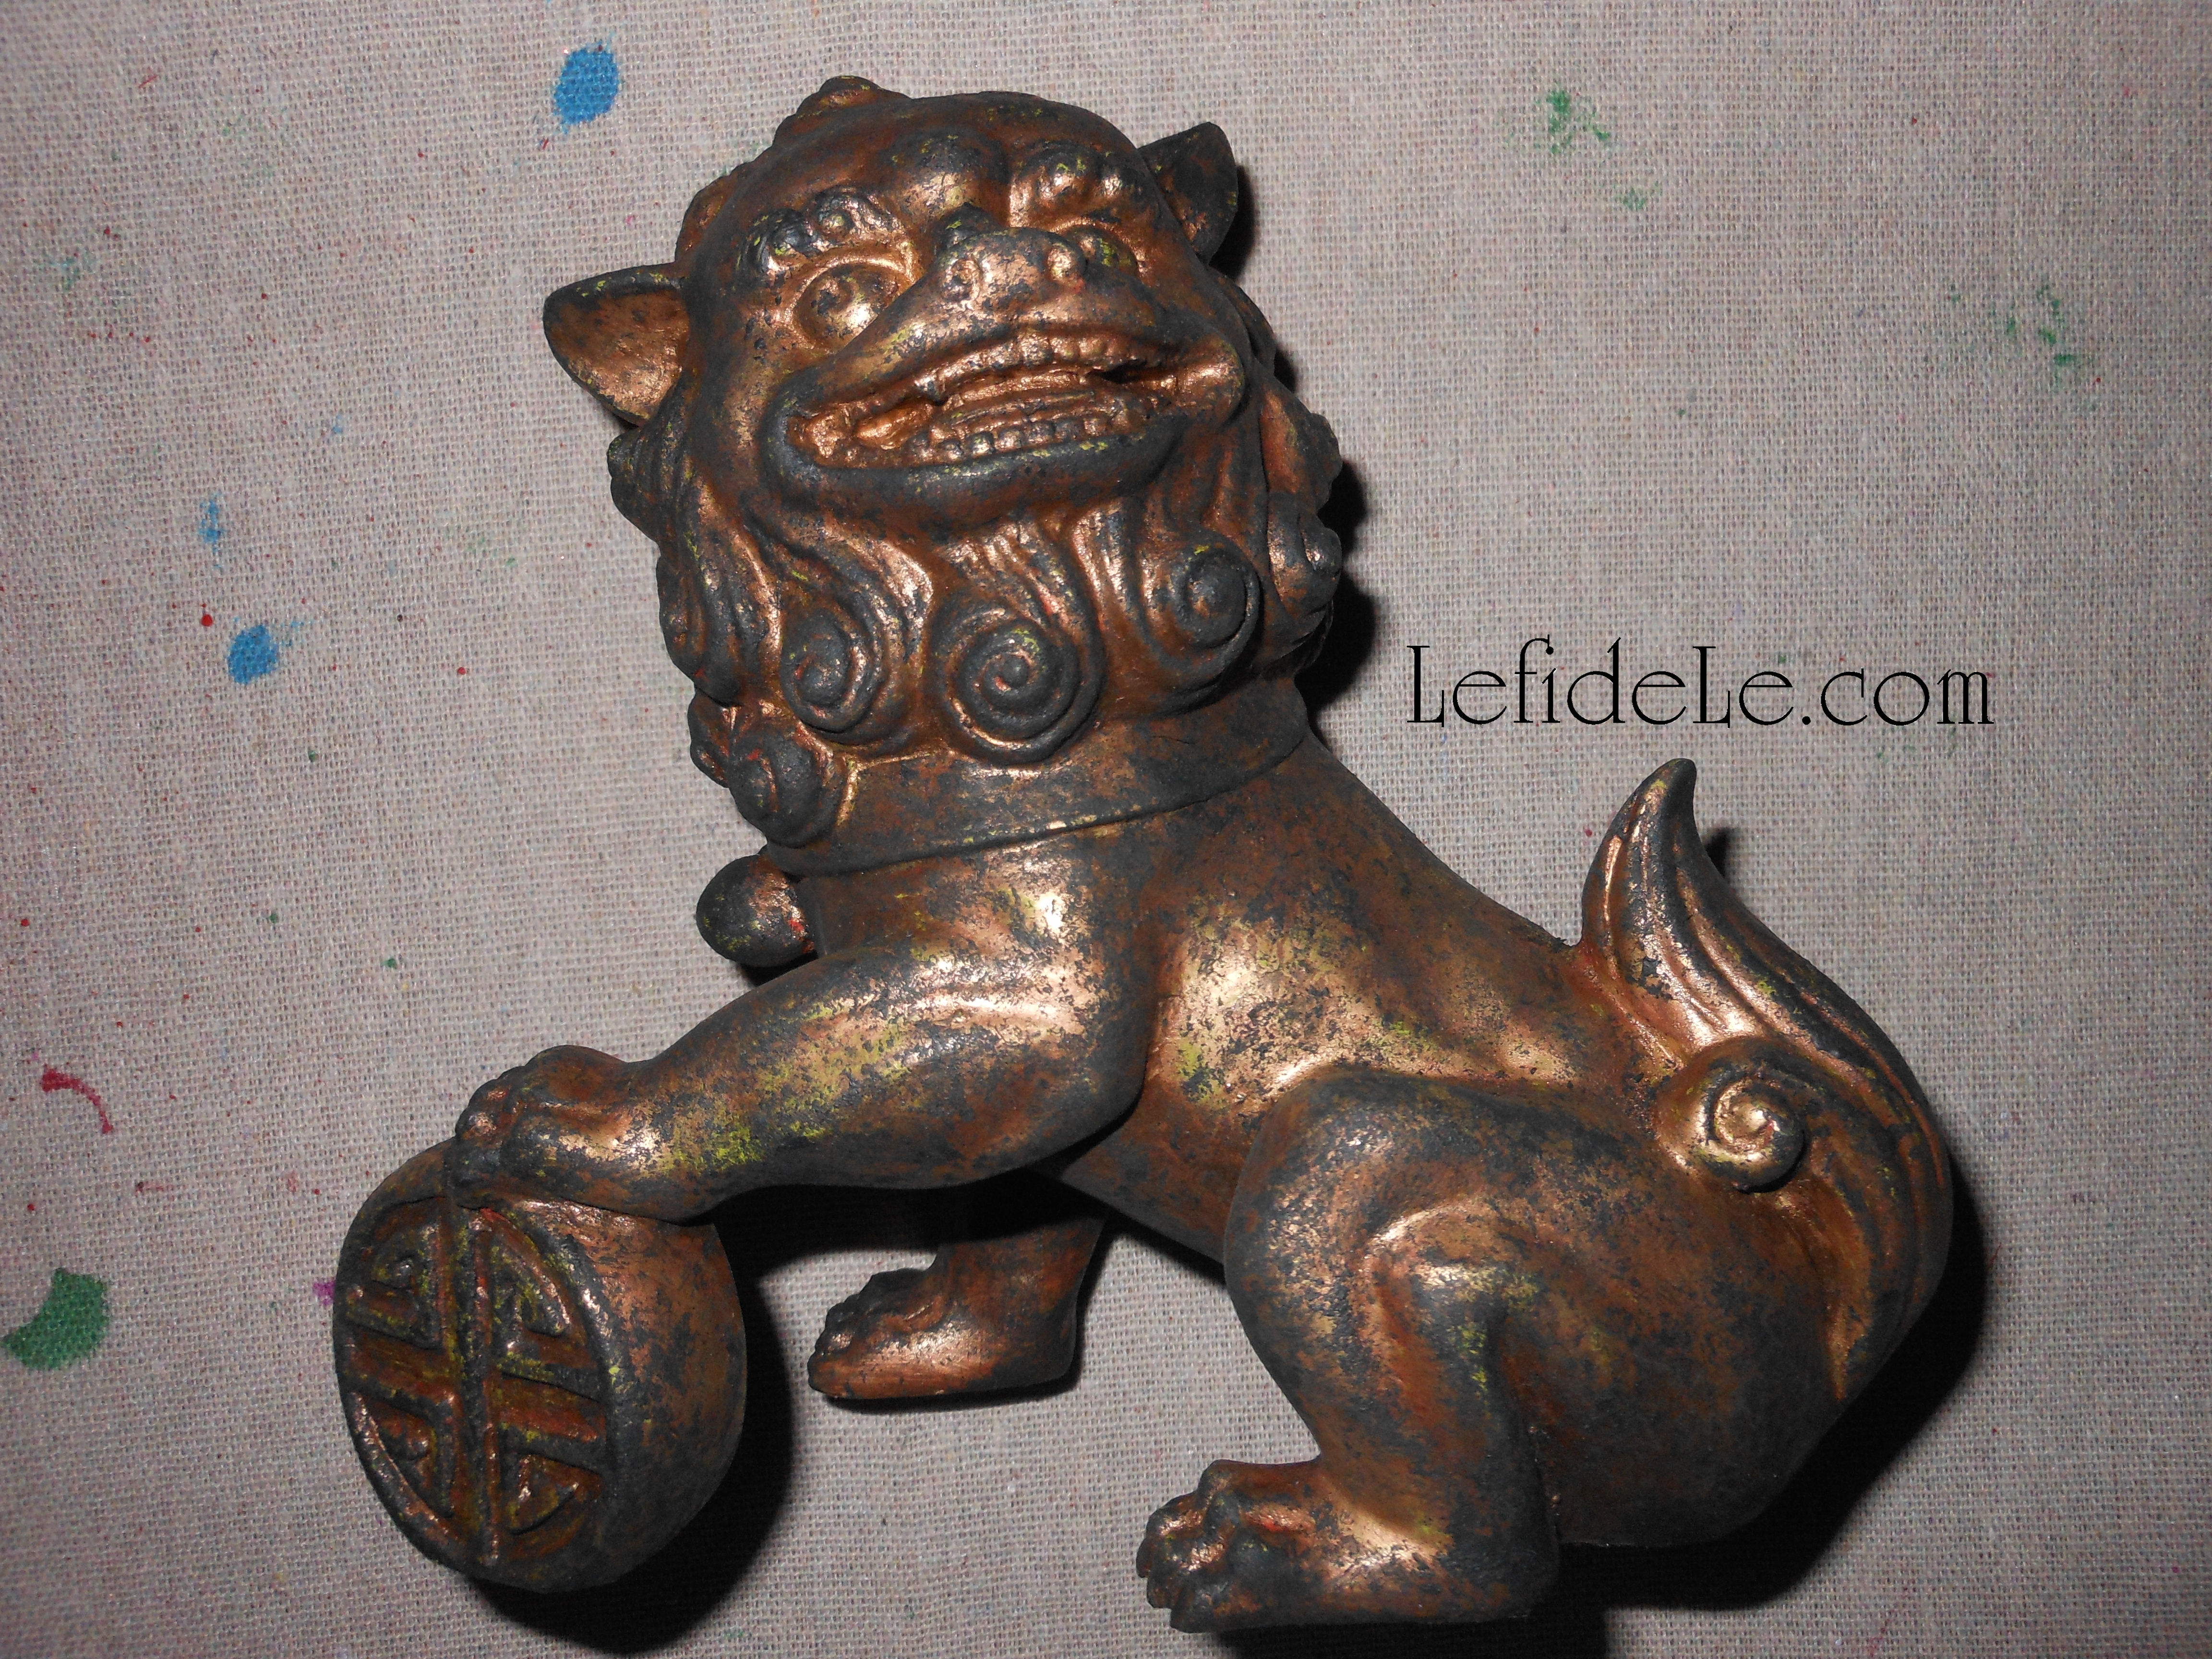
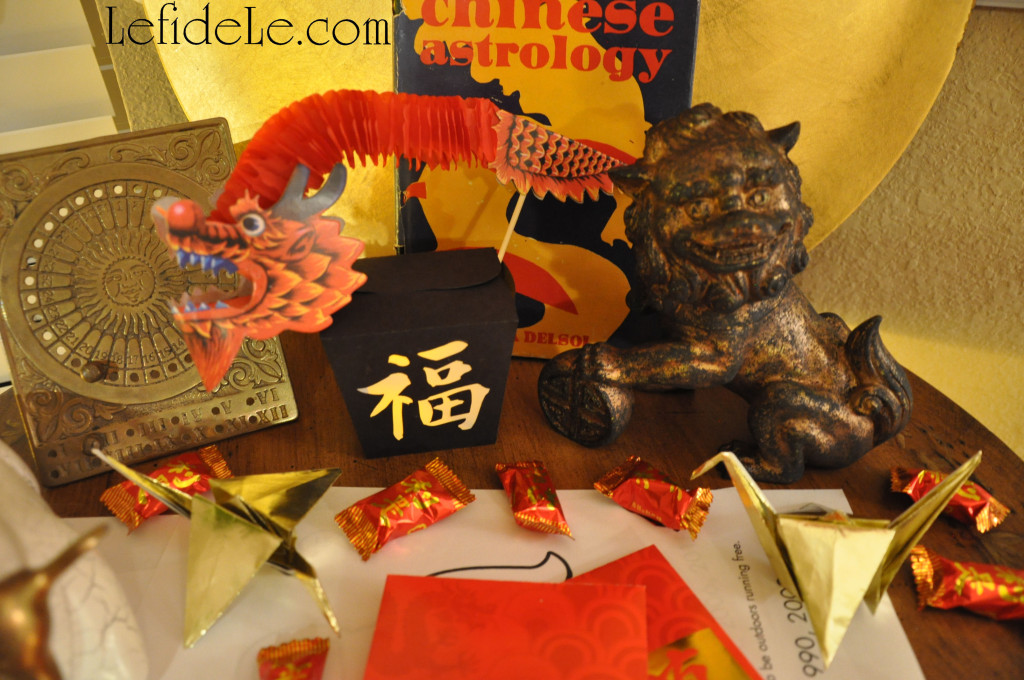
The powerful guardian lion Fú-dog is a traditional Chinese figure of protection. The one seen here is male because he’s resting a paw on a ball that represents the earth. Usually they are presented in pairs, but I only had one in a bright lime green color. I took this statuette from modern lime lion to antique guardian in a few simple steps (detailed in my tutorial). You can do the same with any accessory that doesn’t quite match your décor. Also set on the side table was a small sheep figure as a traditional way to represent the year. The gilded platter (non-breakable) symbolized the land of the rising sun. A book with more dragon puppets (from Oriental Trading Company, see the side bar for discount links) extra coloring pages, and lucky candy completed the picture.

Decorating the background were a mix of traditionally made bamboo kites (red phoenix bird and orange karp / goldfish) and modern kites (tiger and panda). Extend the New Year’s celebration to the weekend by letting your decorations fly freely. Having something else to look forward to is a nice way to ease the post-party let down that kiddos sometimes feel. (All of these were found on clearance for a few dollars each at Cost Plus World Market.) Above them hung an inexpensive yet lovely Chinese banner (again from Oriental Trading Company) suspended on simple pushpins.

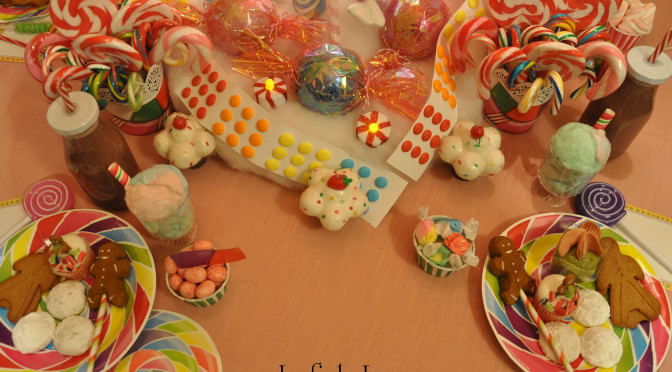
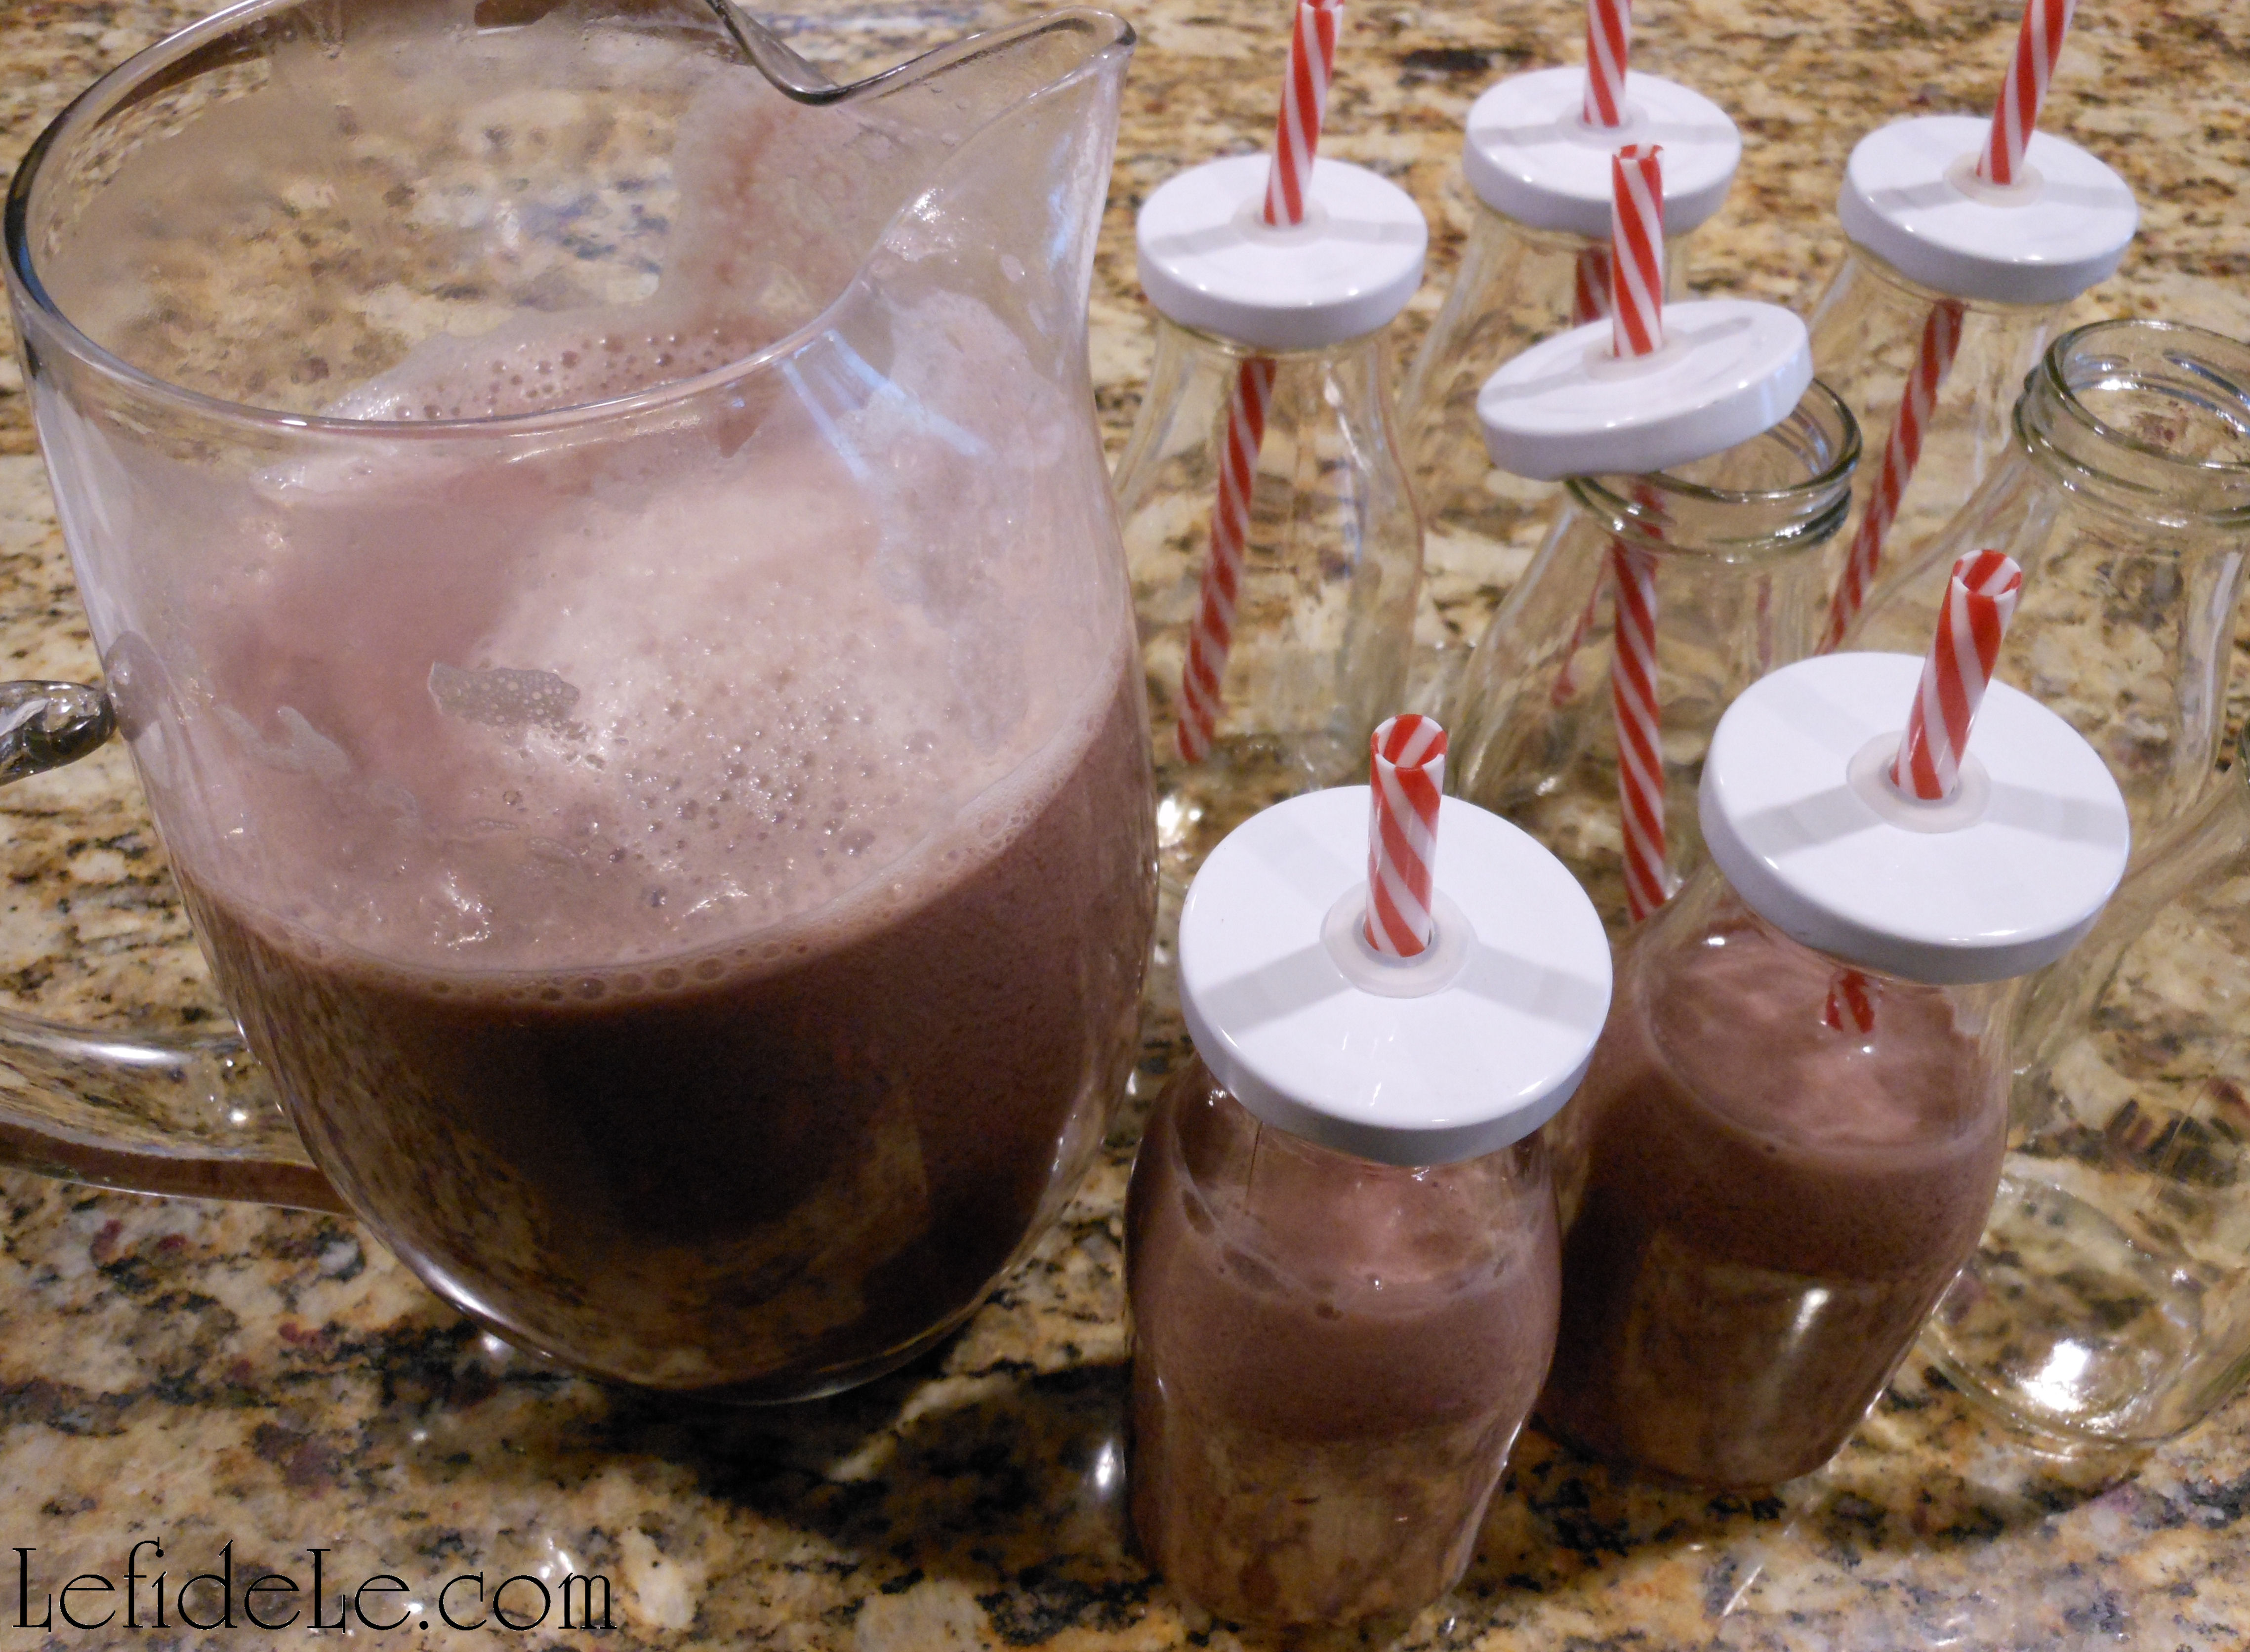
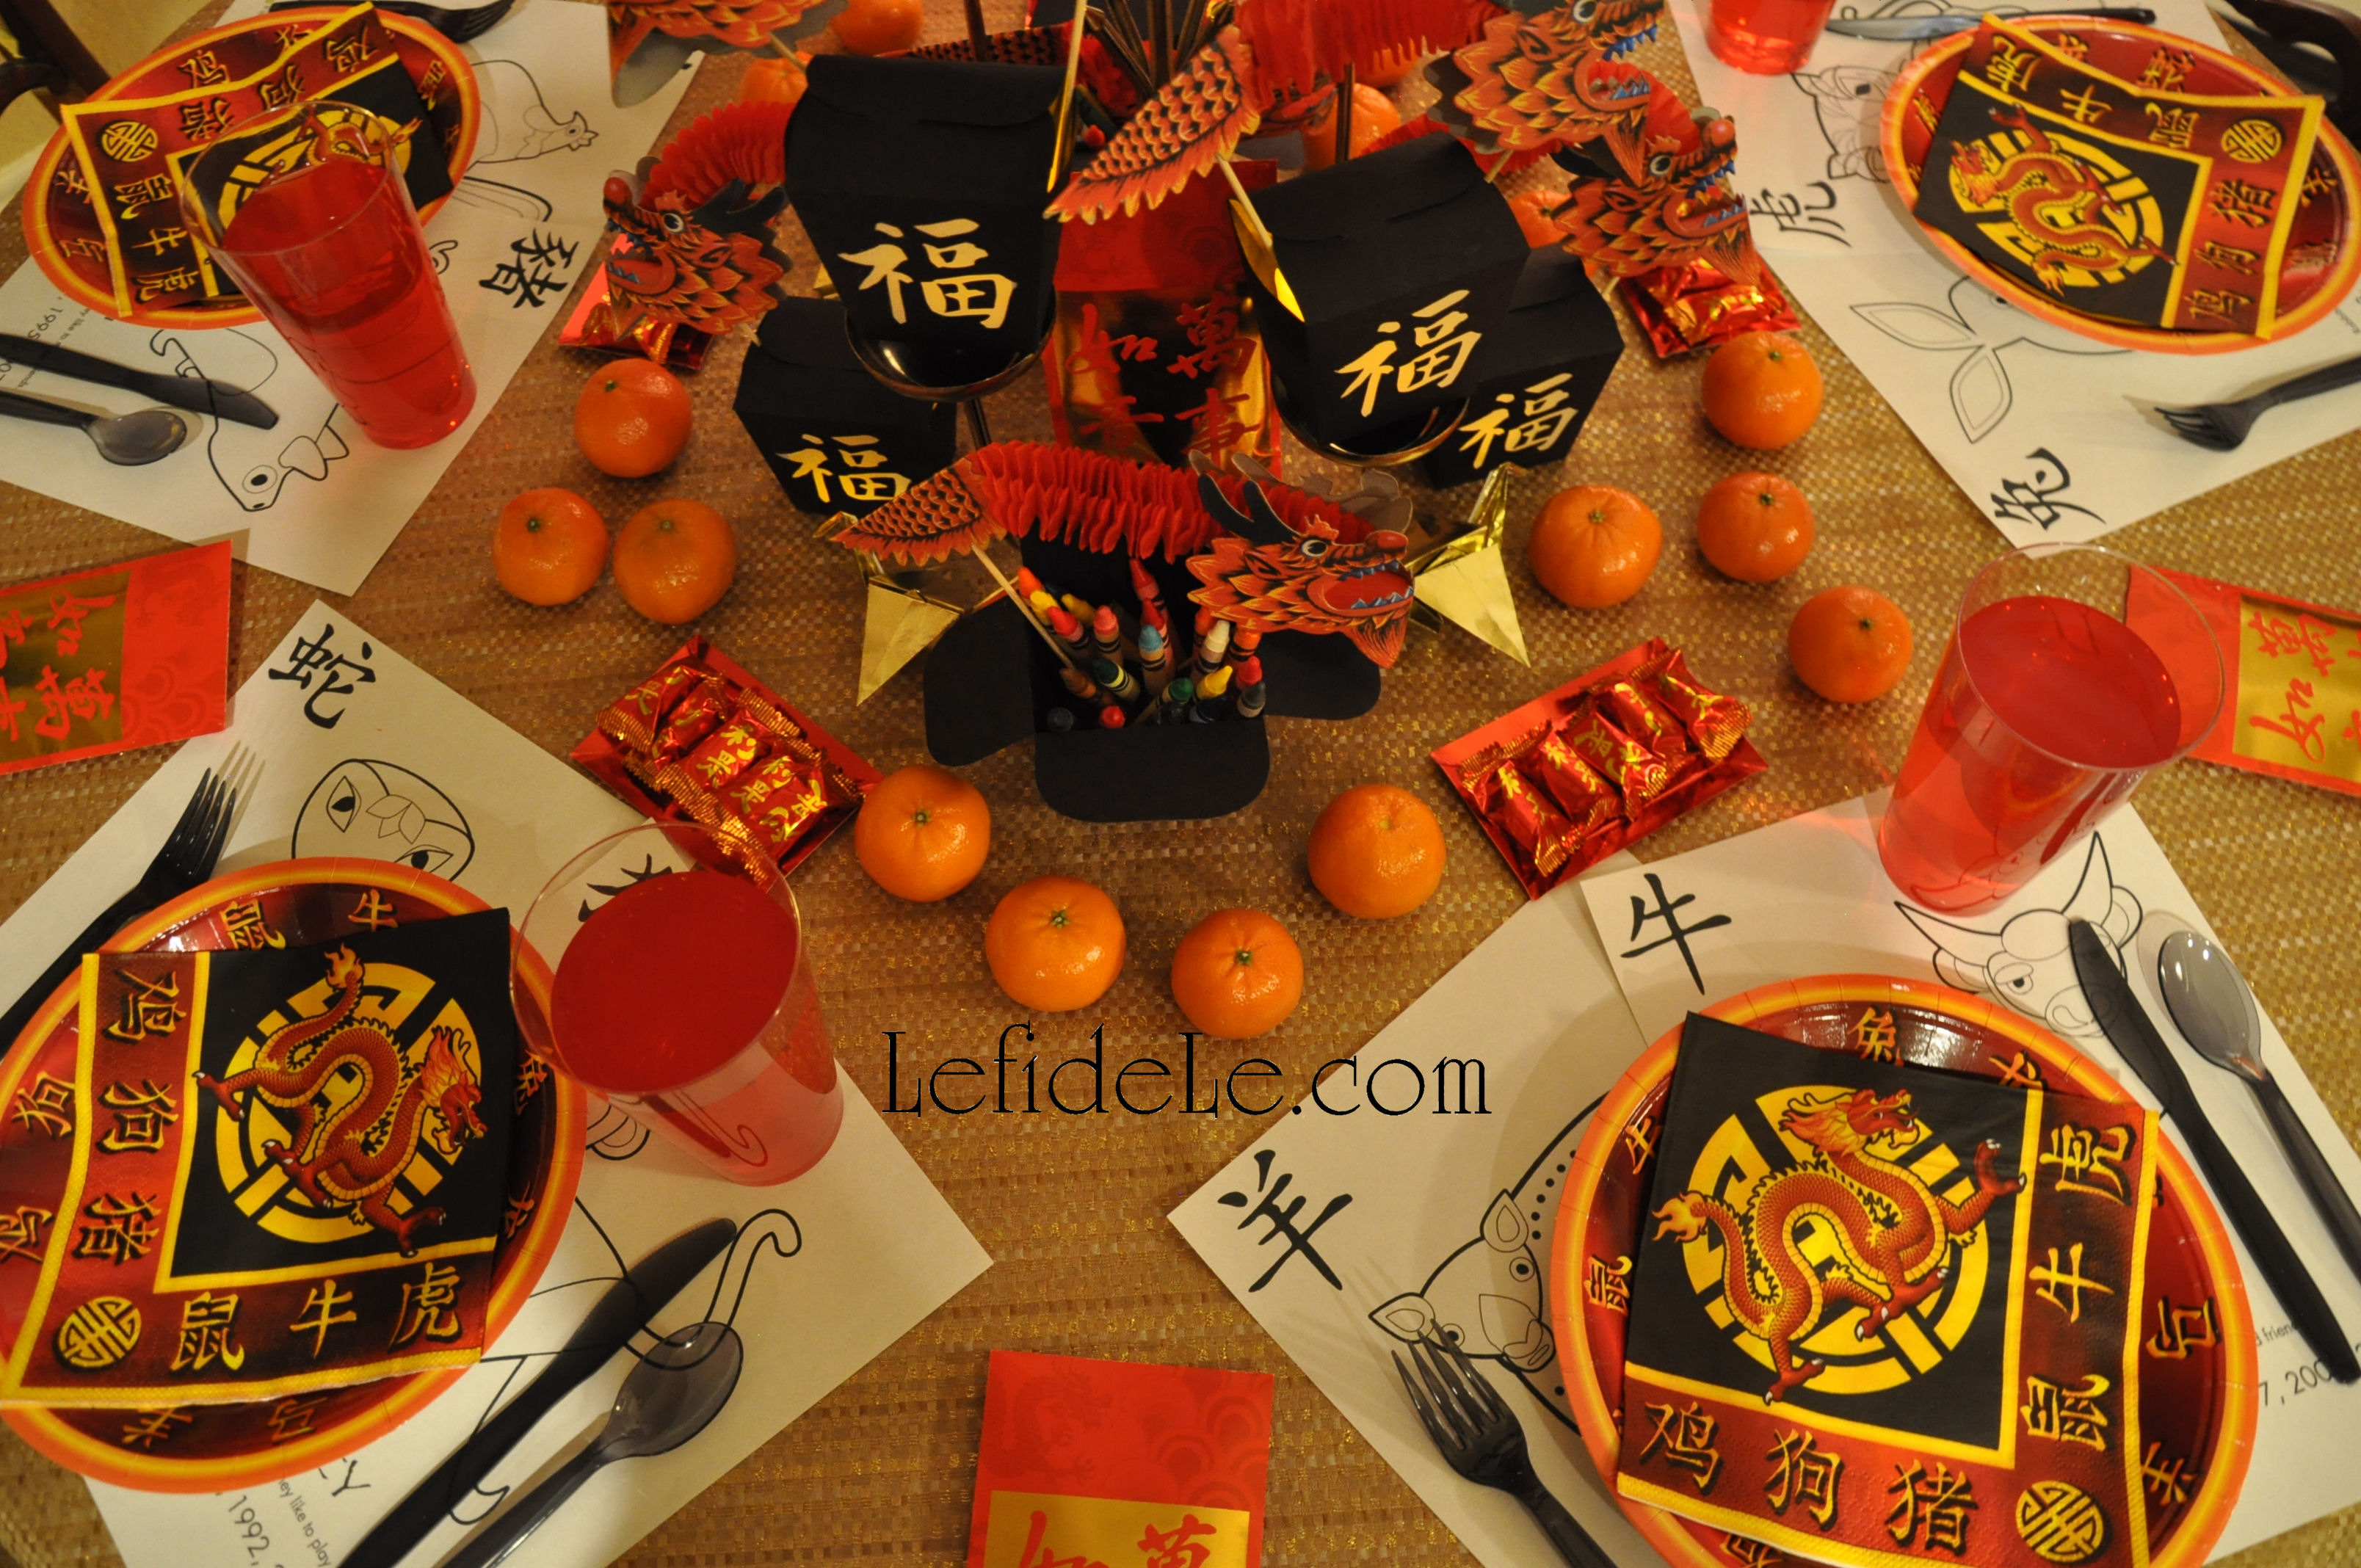
Decorative paper plates and napkins were set onto printed coloring pages depicting all of the animals in the Chinese zodiac. Red envelopes containing coin money in even numbers are a traditional gift for children. Colorful punch, lucky candy, paper cranes, crayons, and mandarin oranges completed the setting.

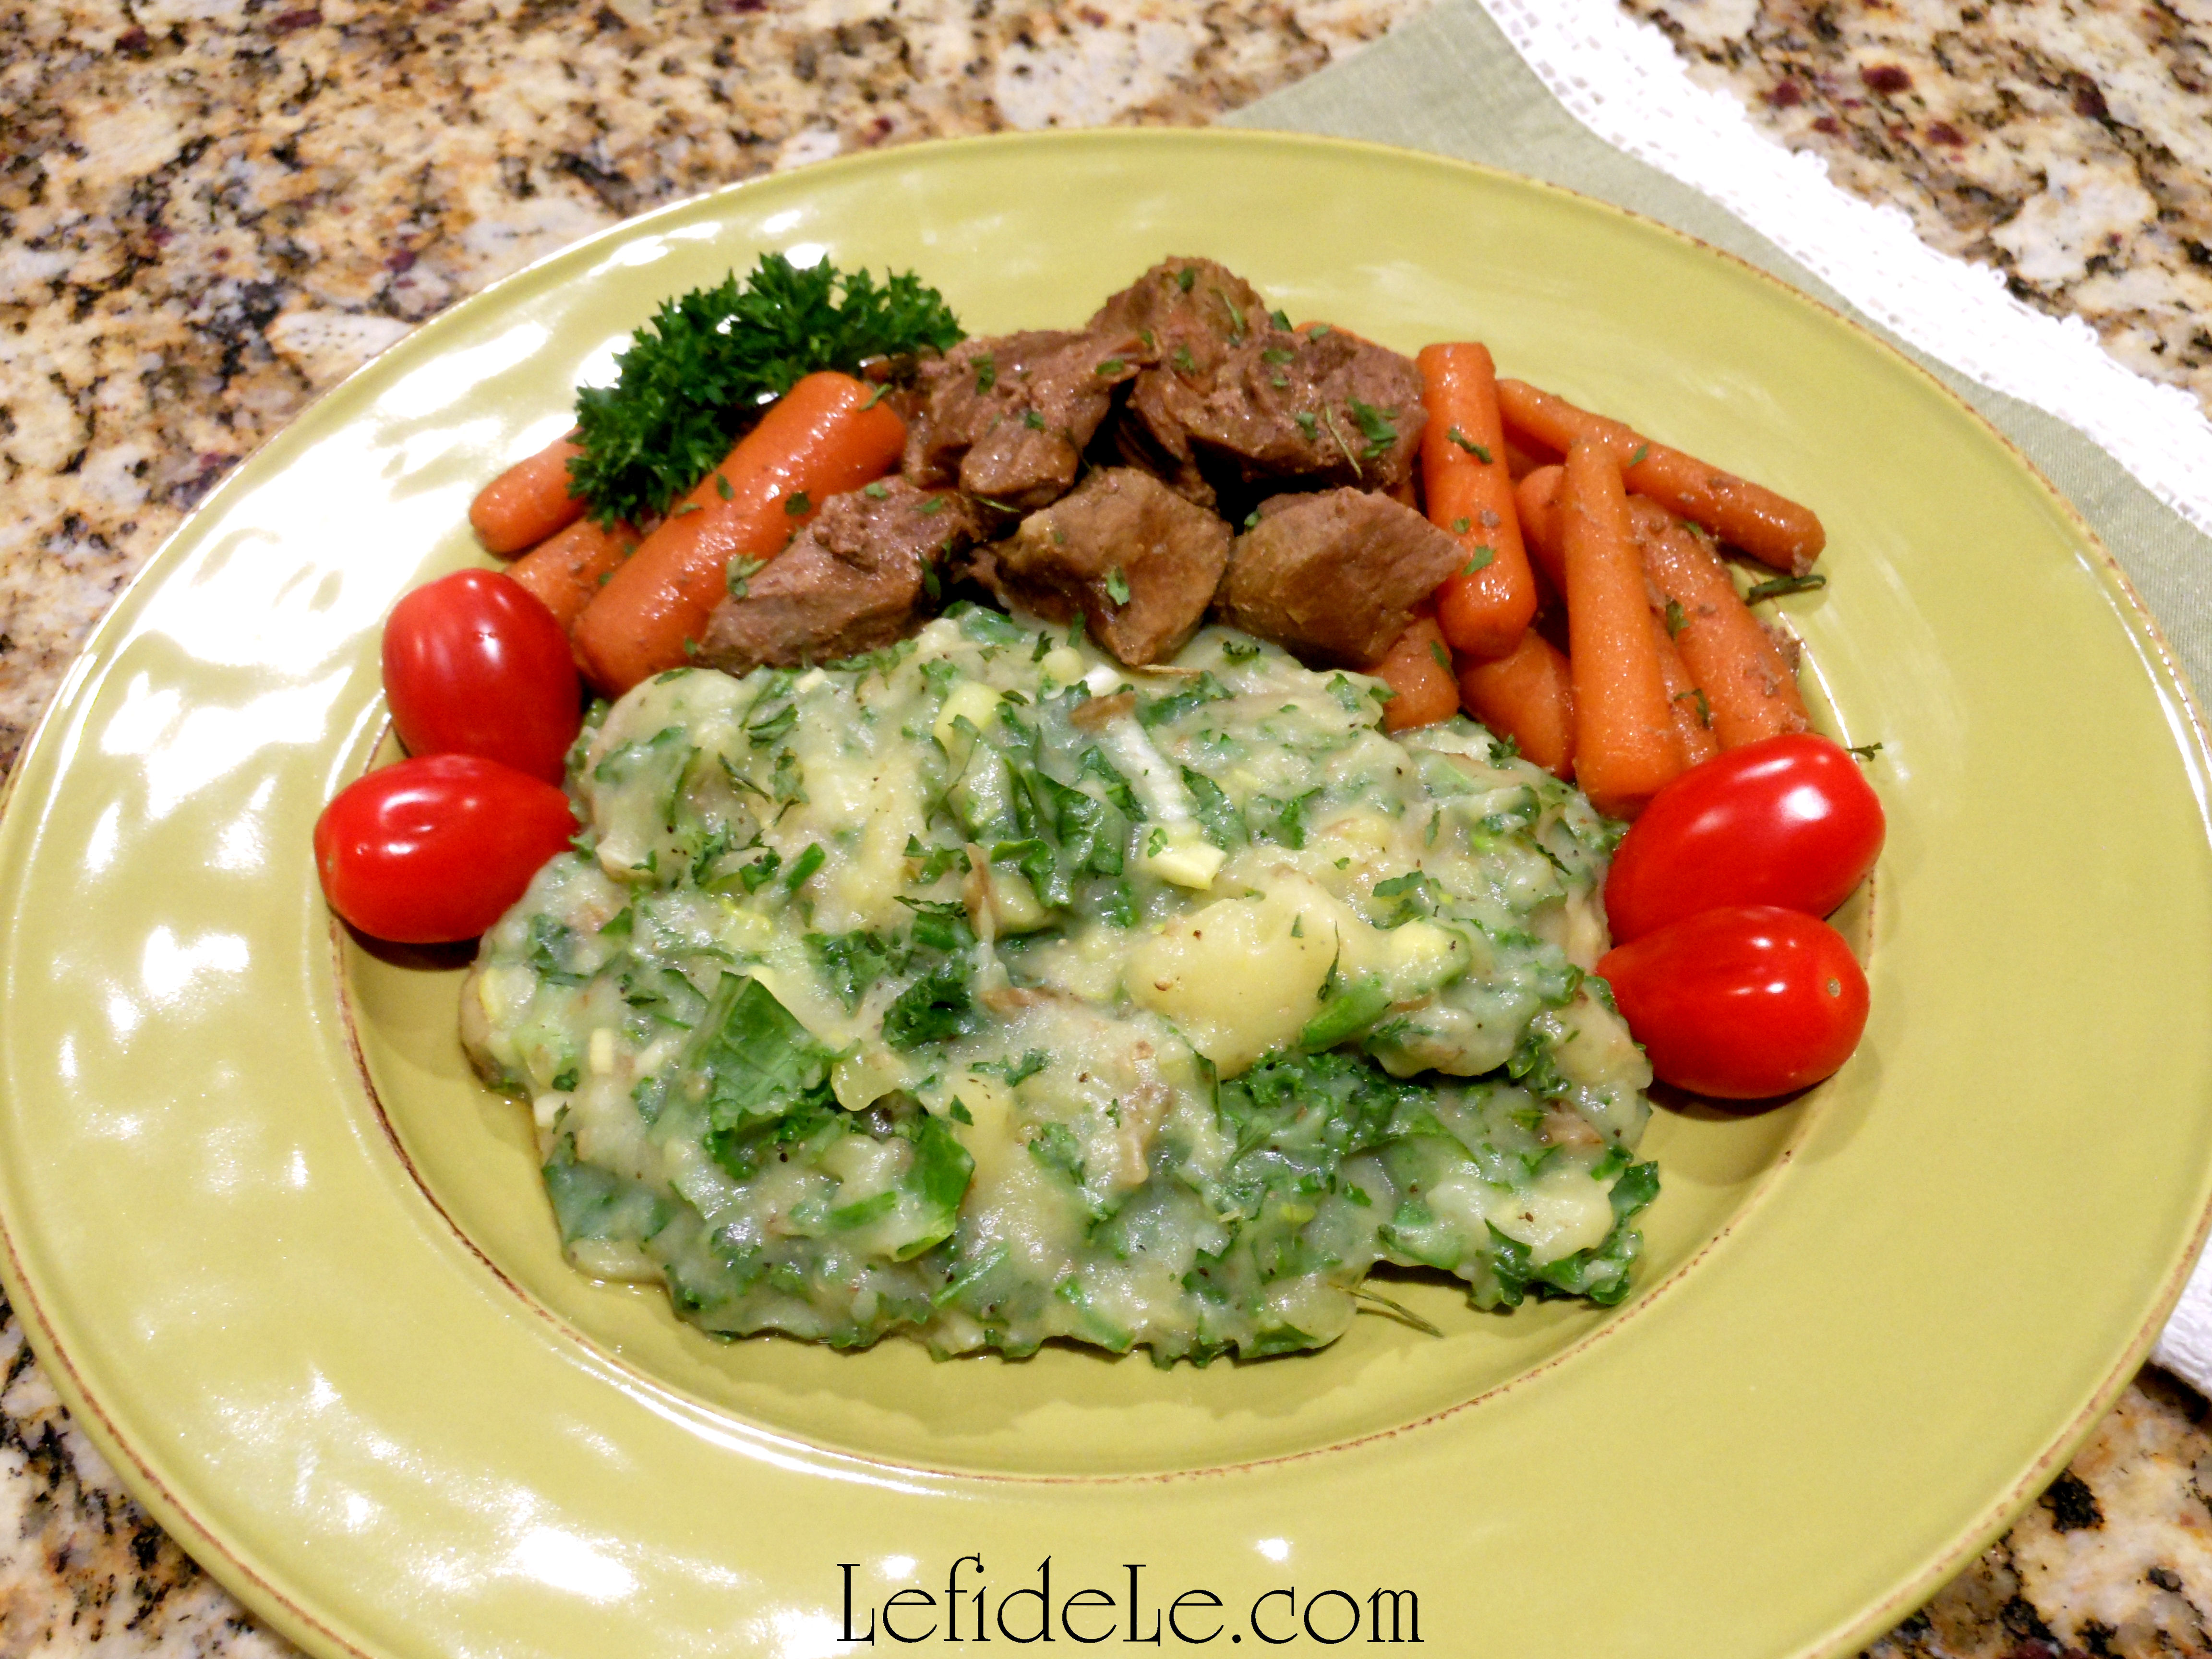
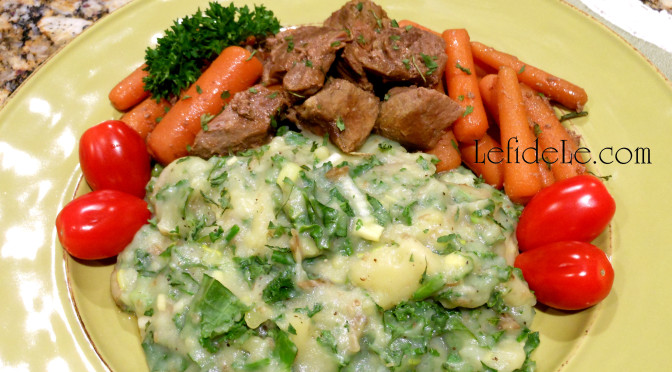
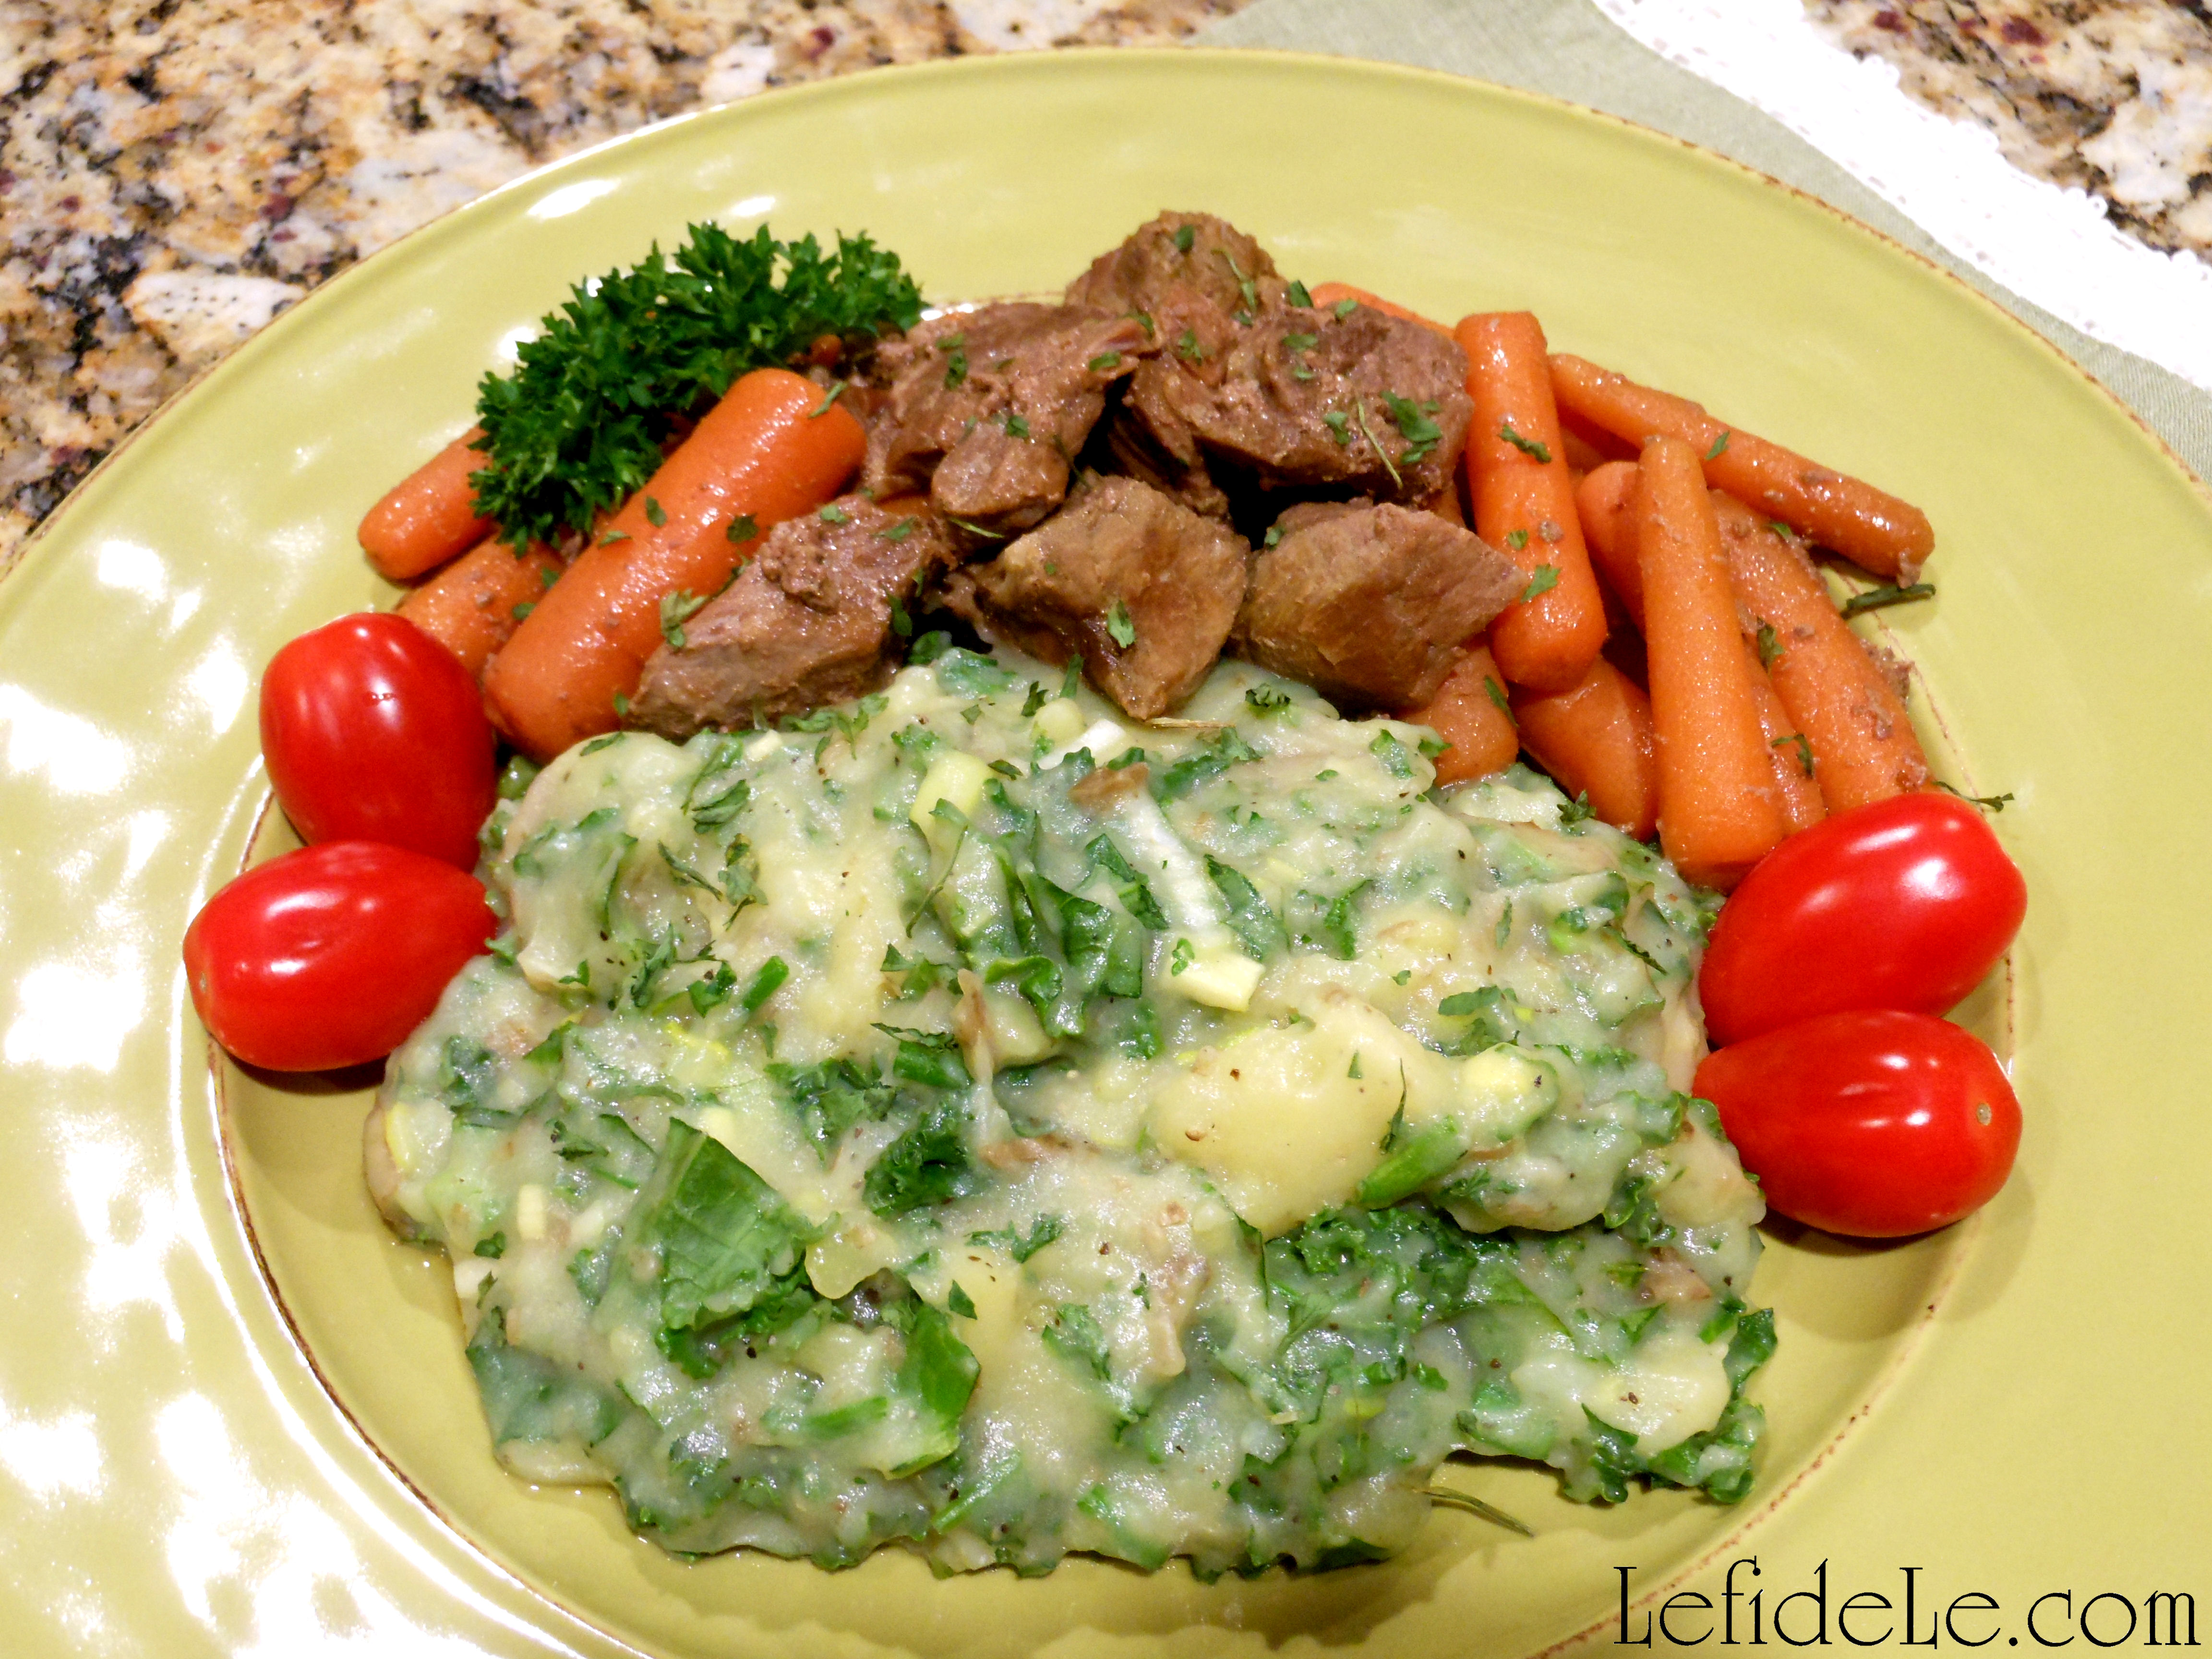
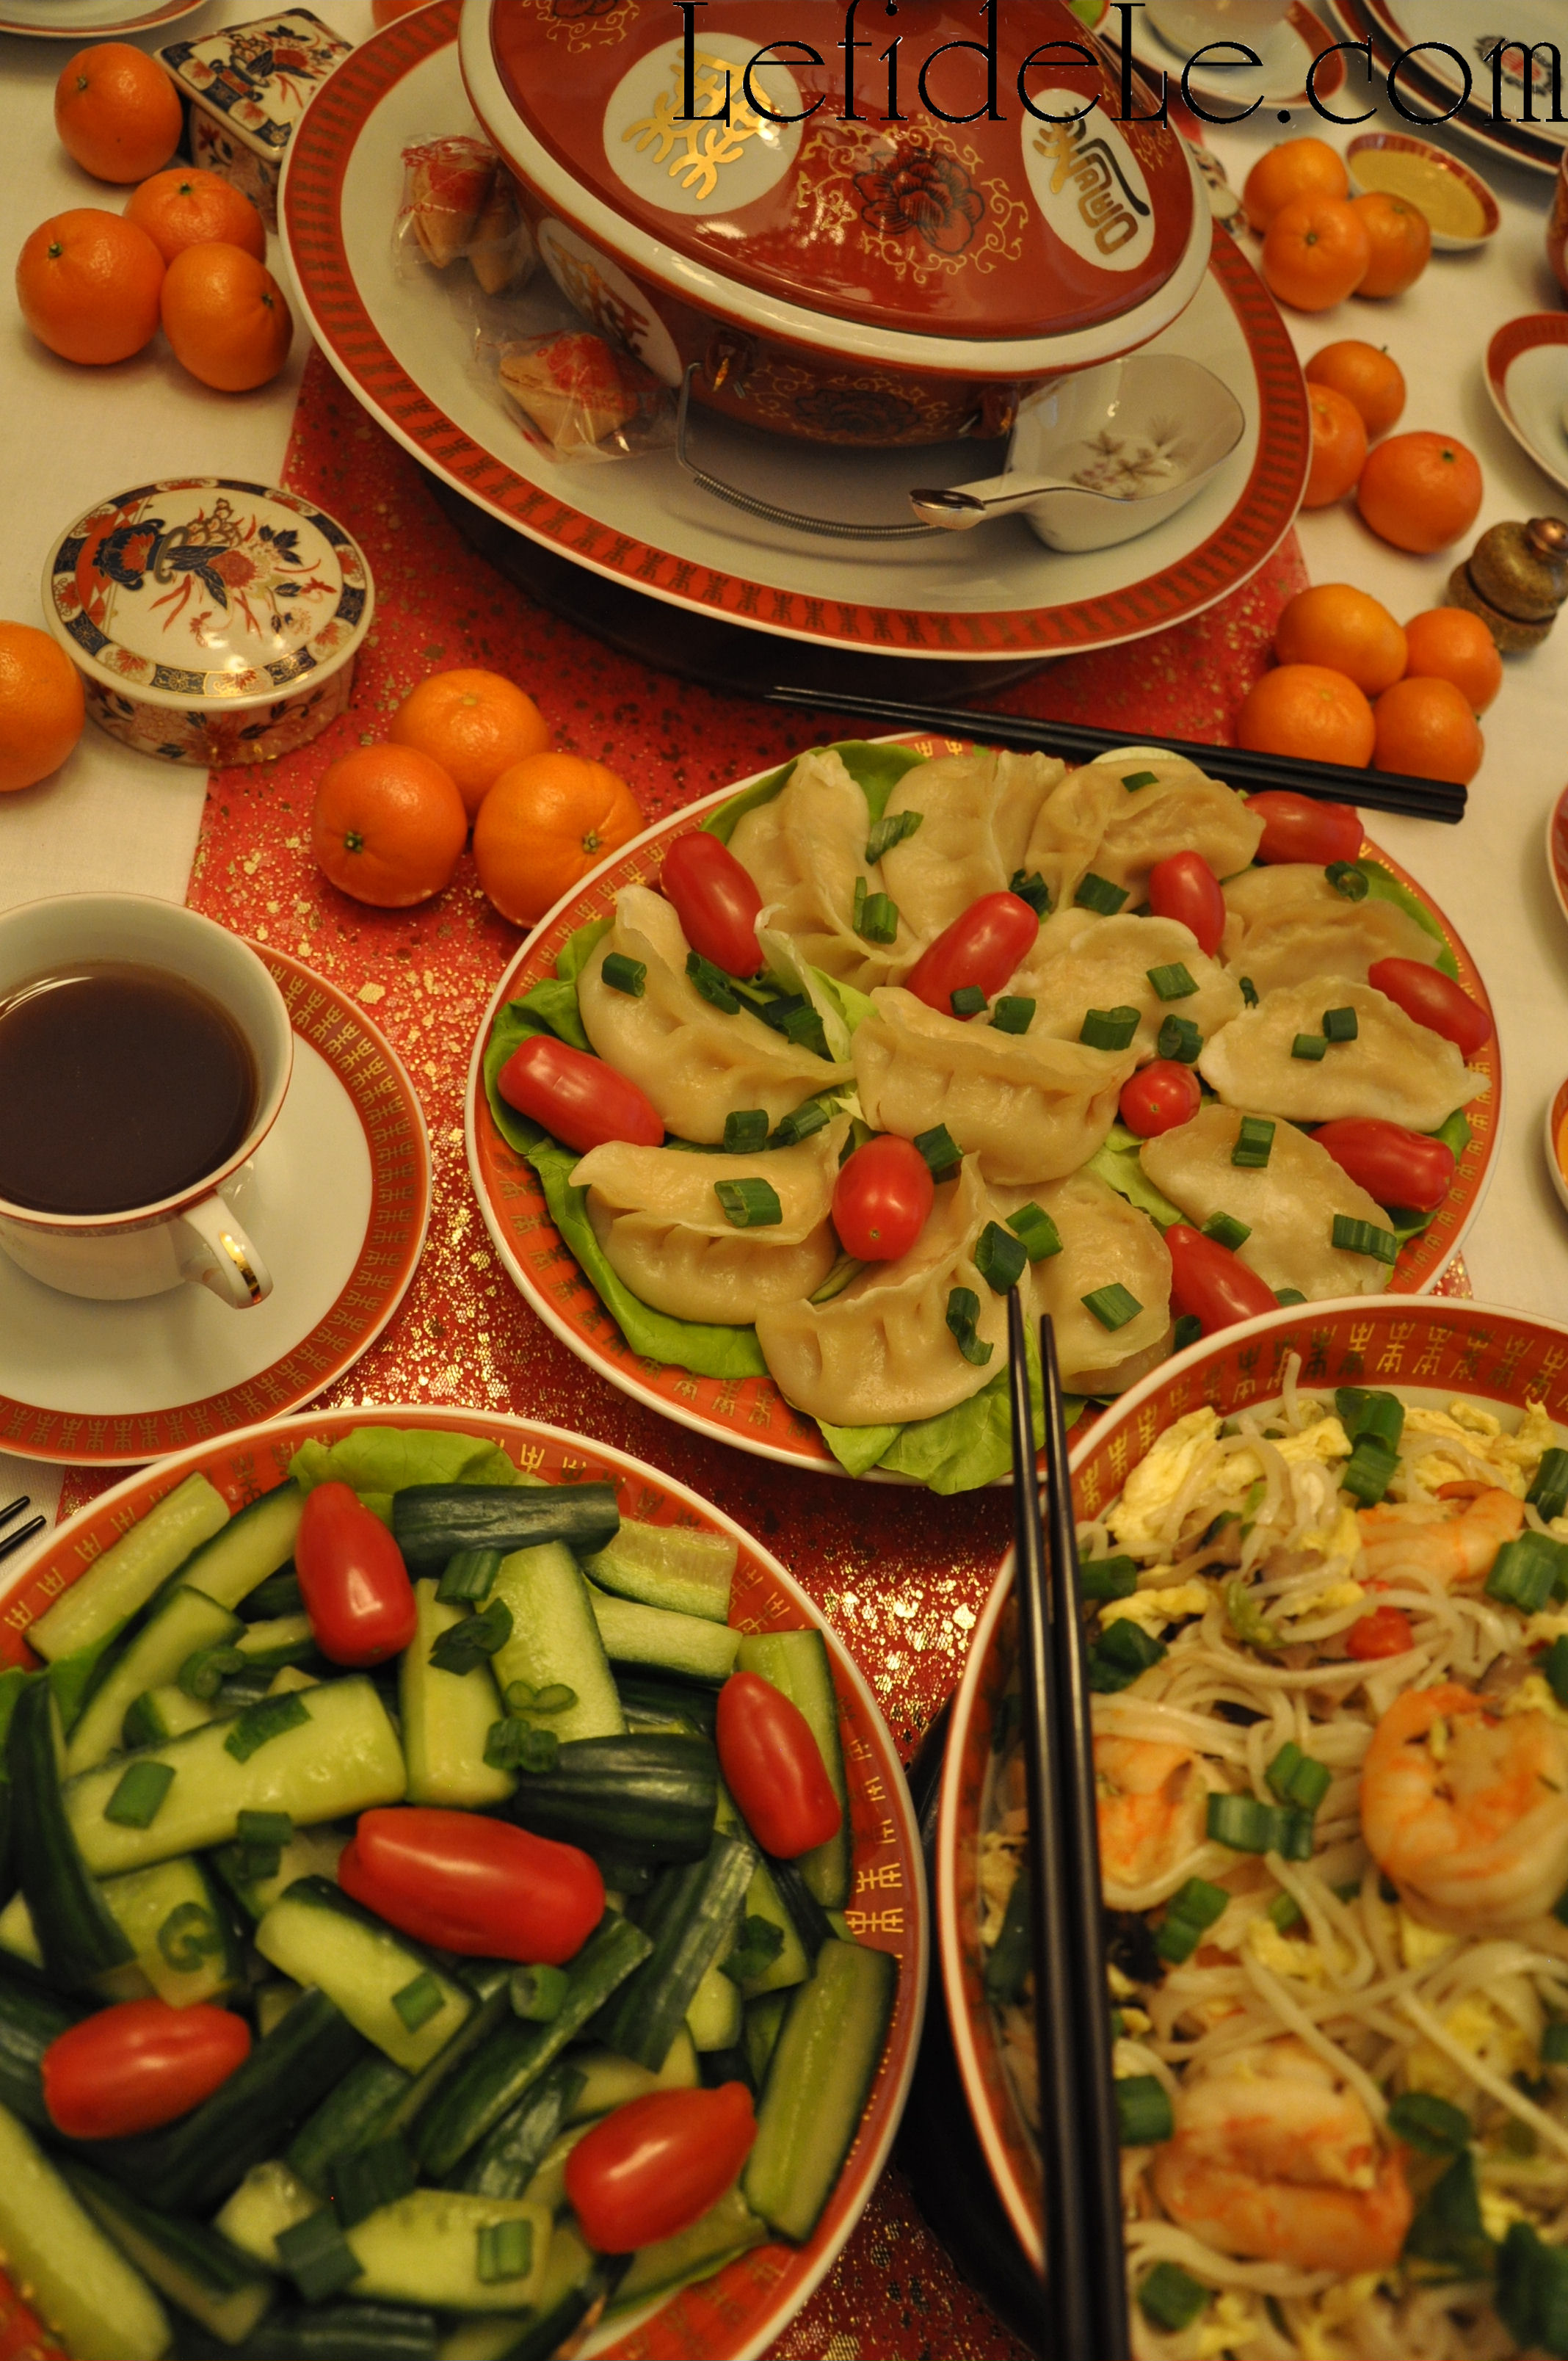
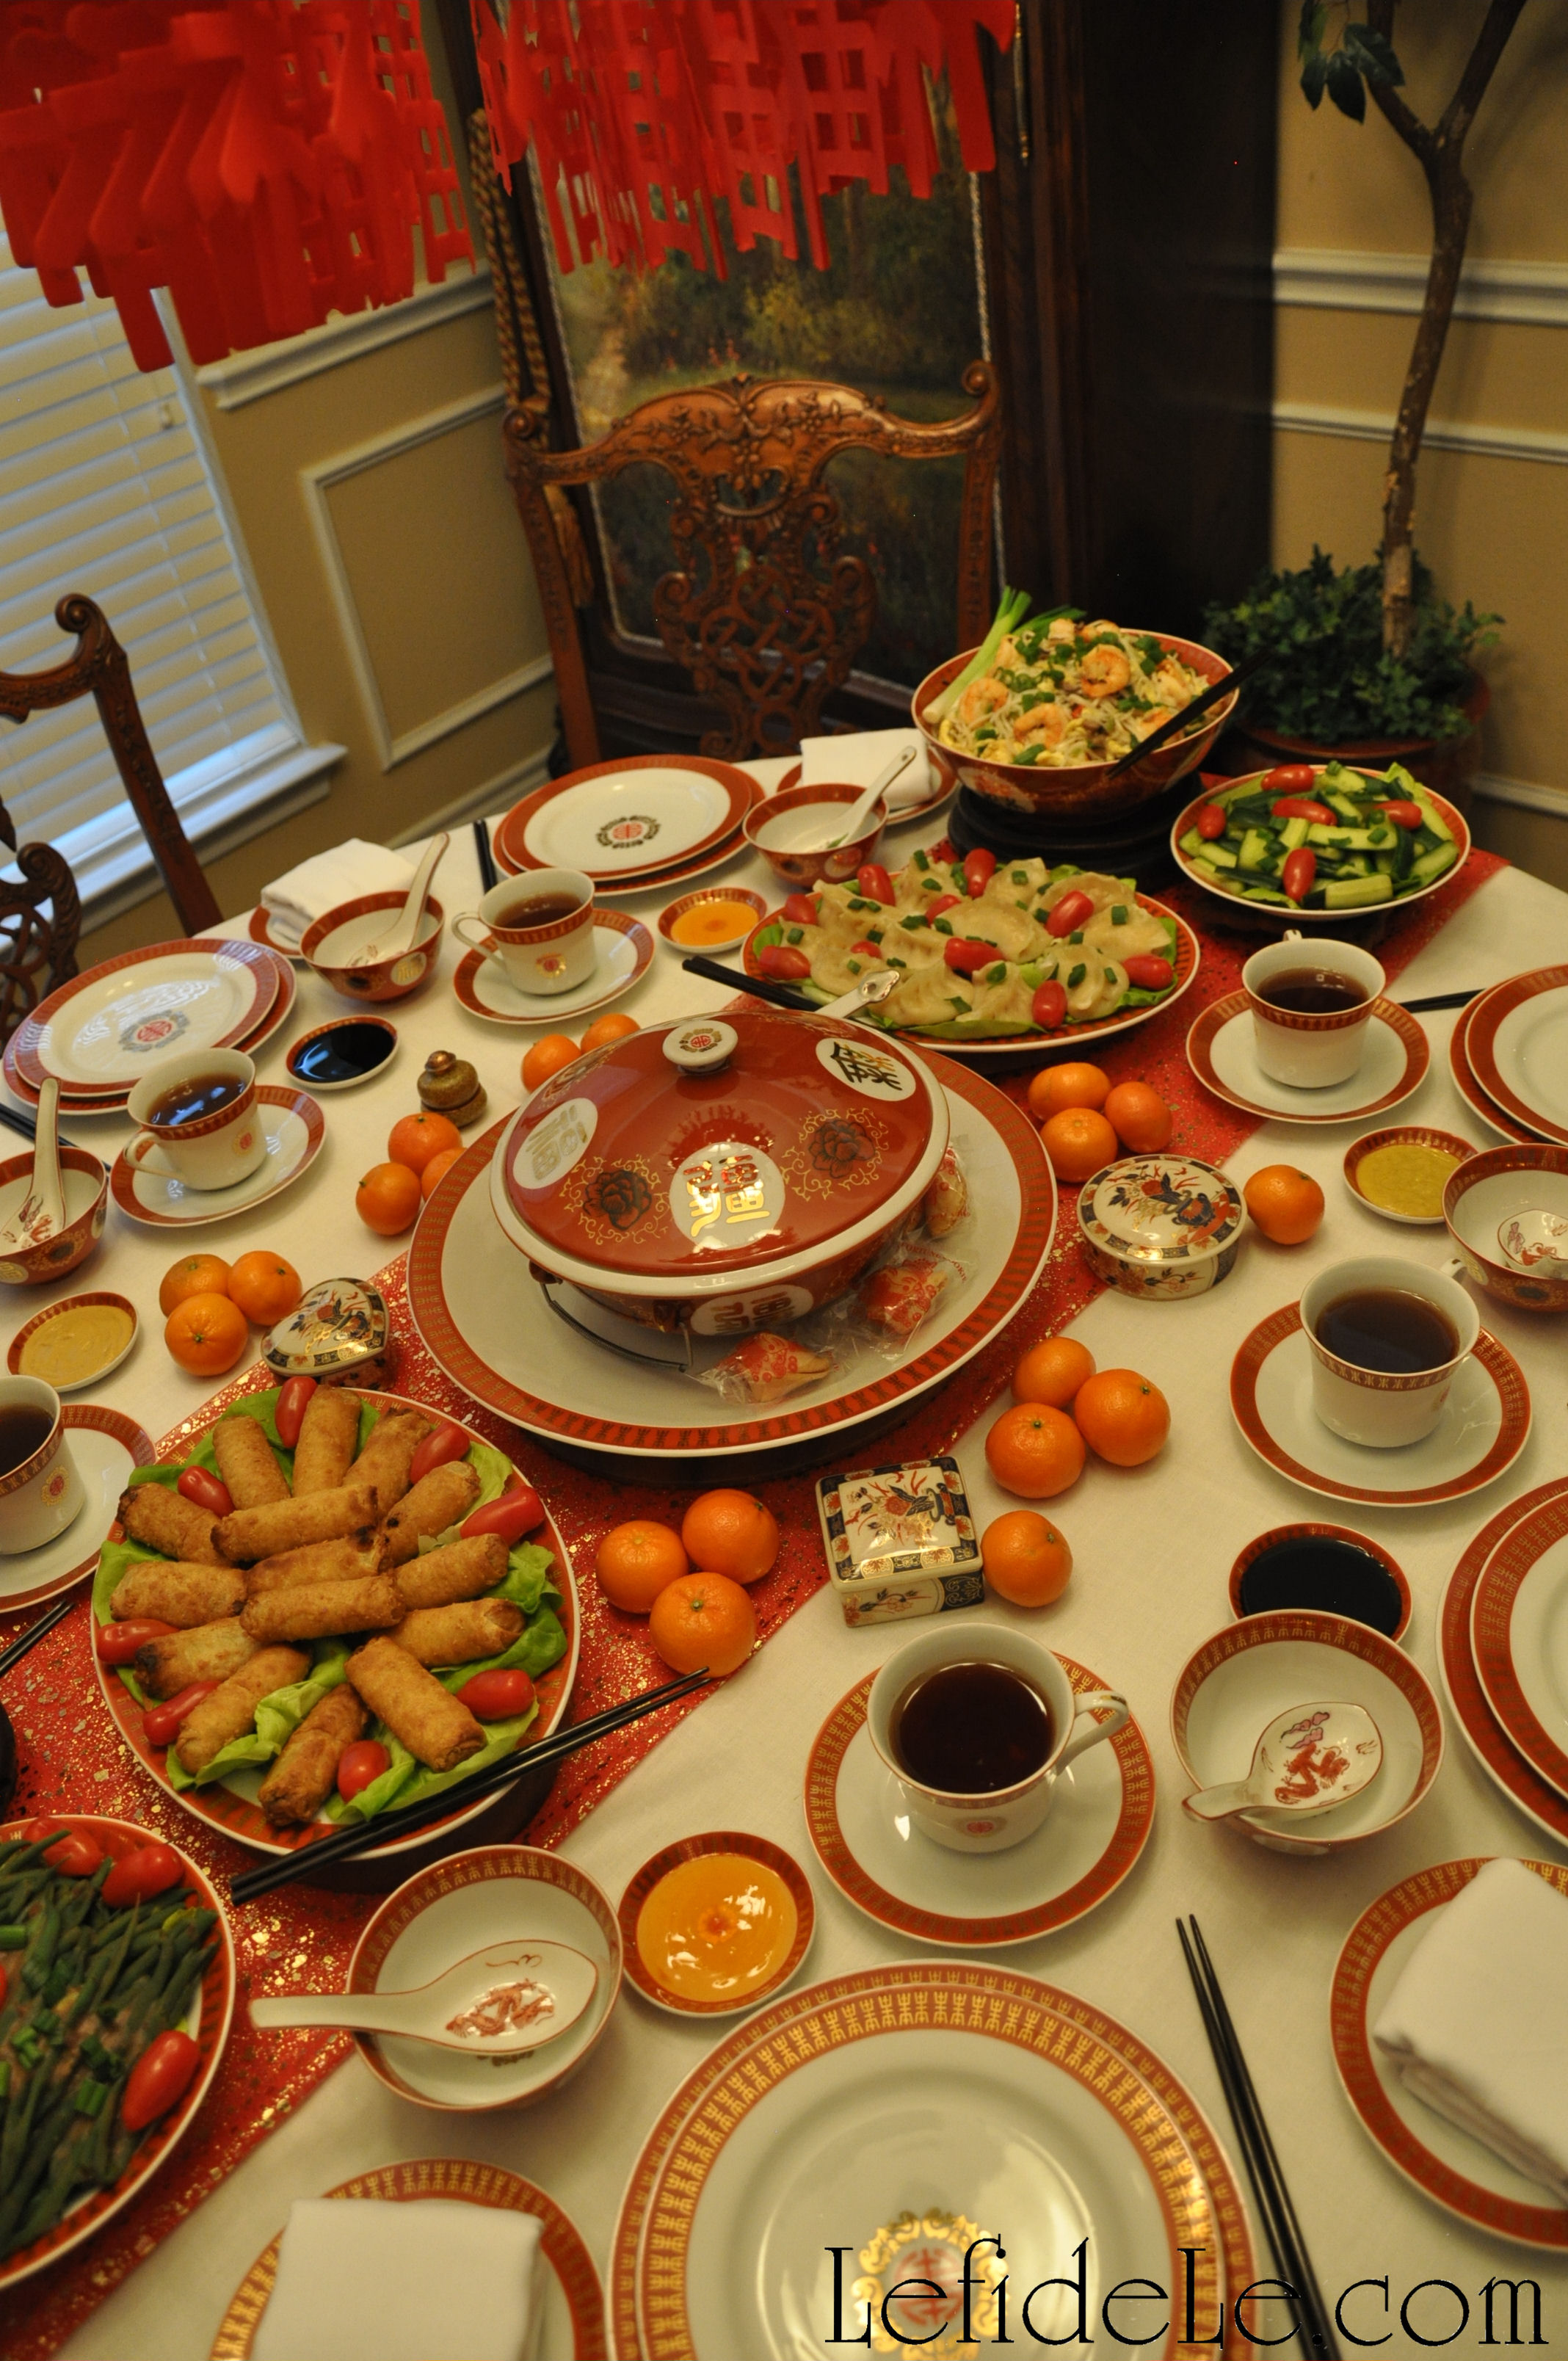
Orange fruit is another traditional element of the Chinese New Year, so I included them in both tablescapes. It’s an easy way to add color without the trouble or expense of a formal centerpiece. It allows the gorgeous food to remain the center of attention.
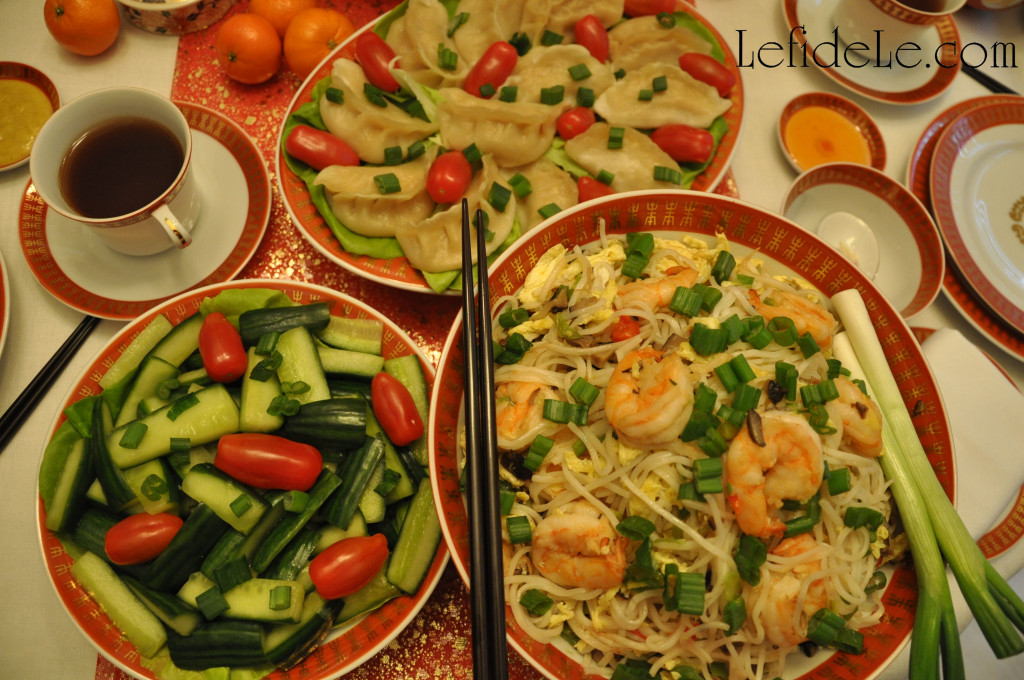
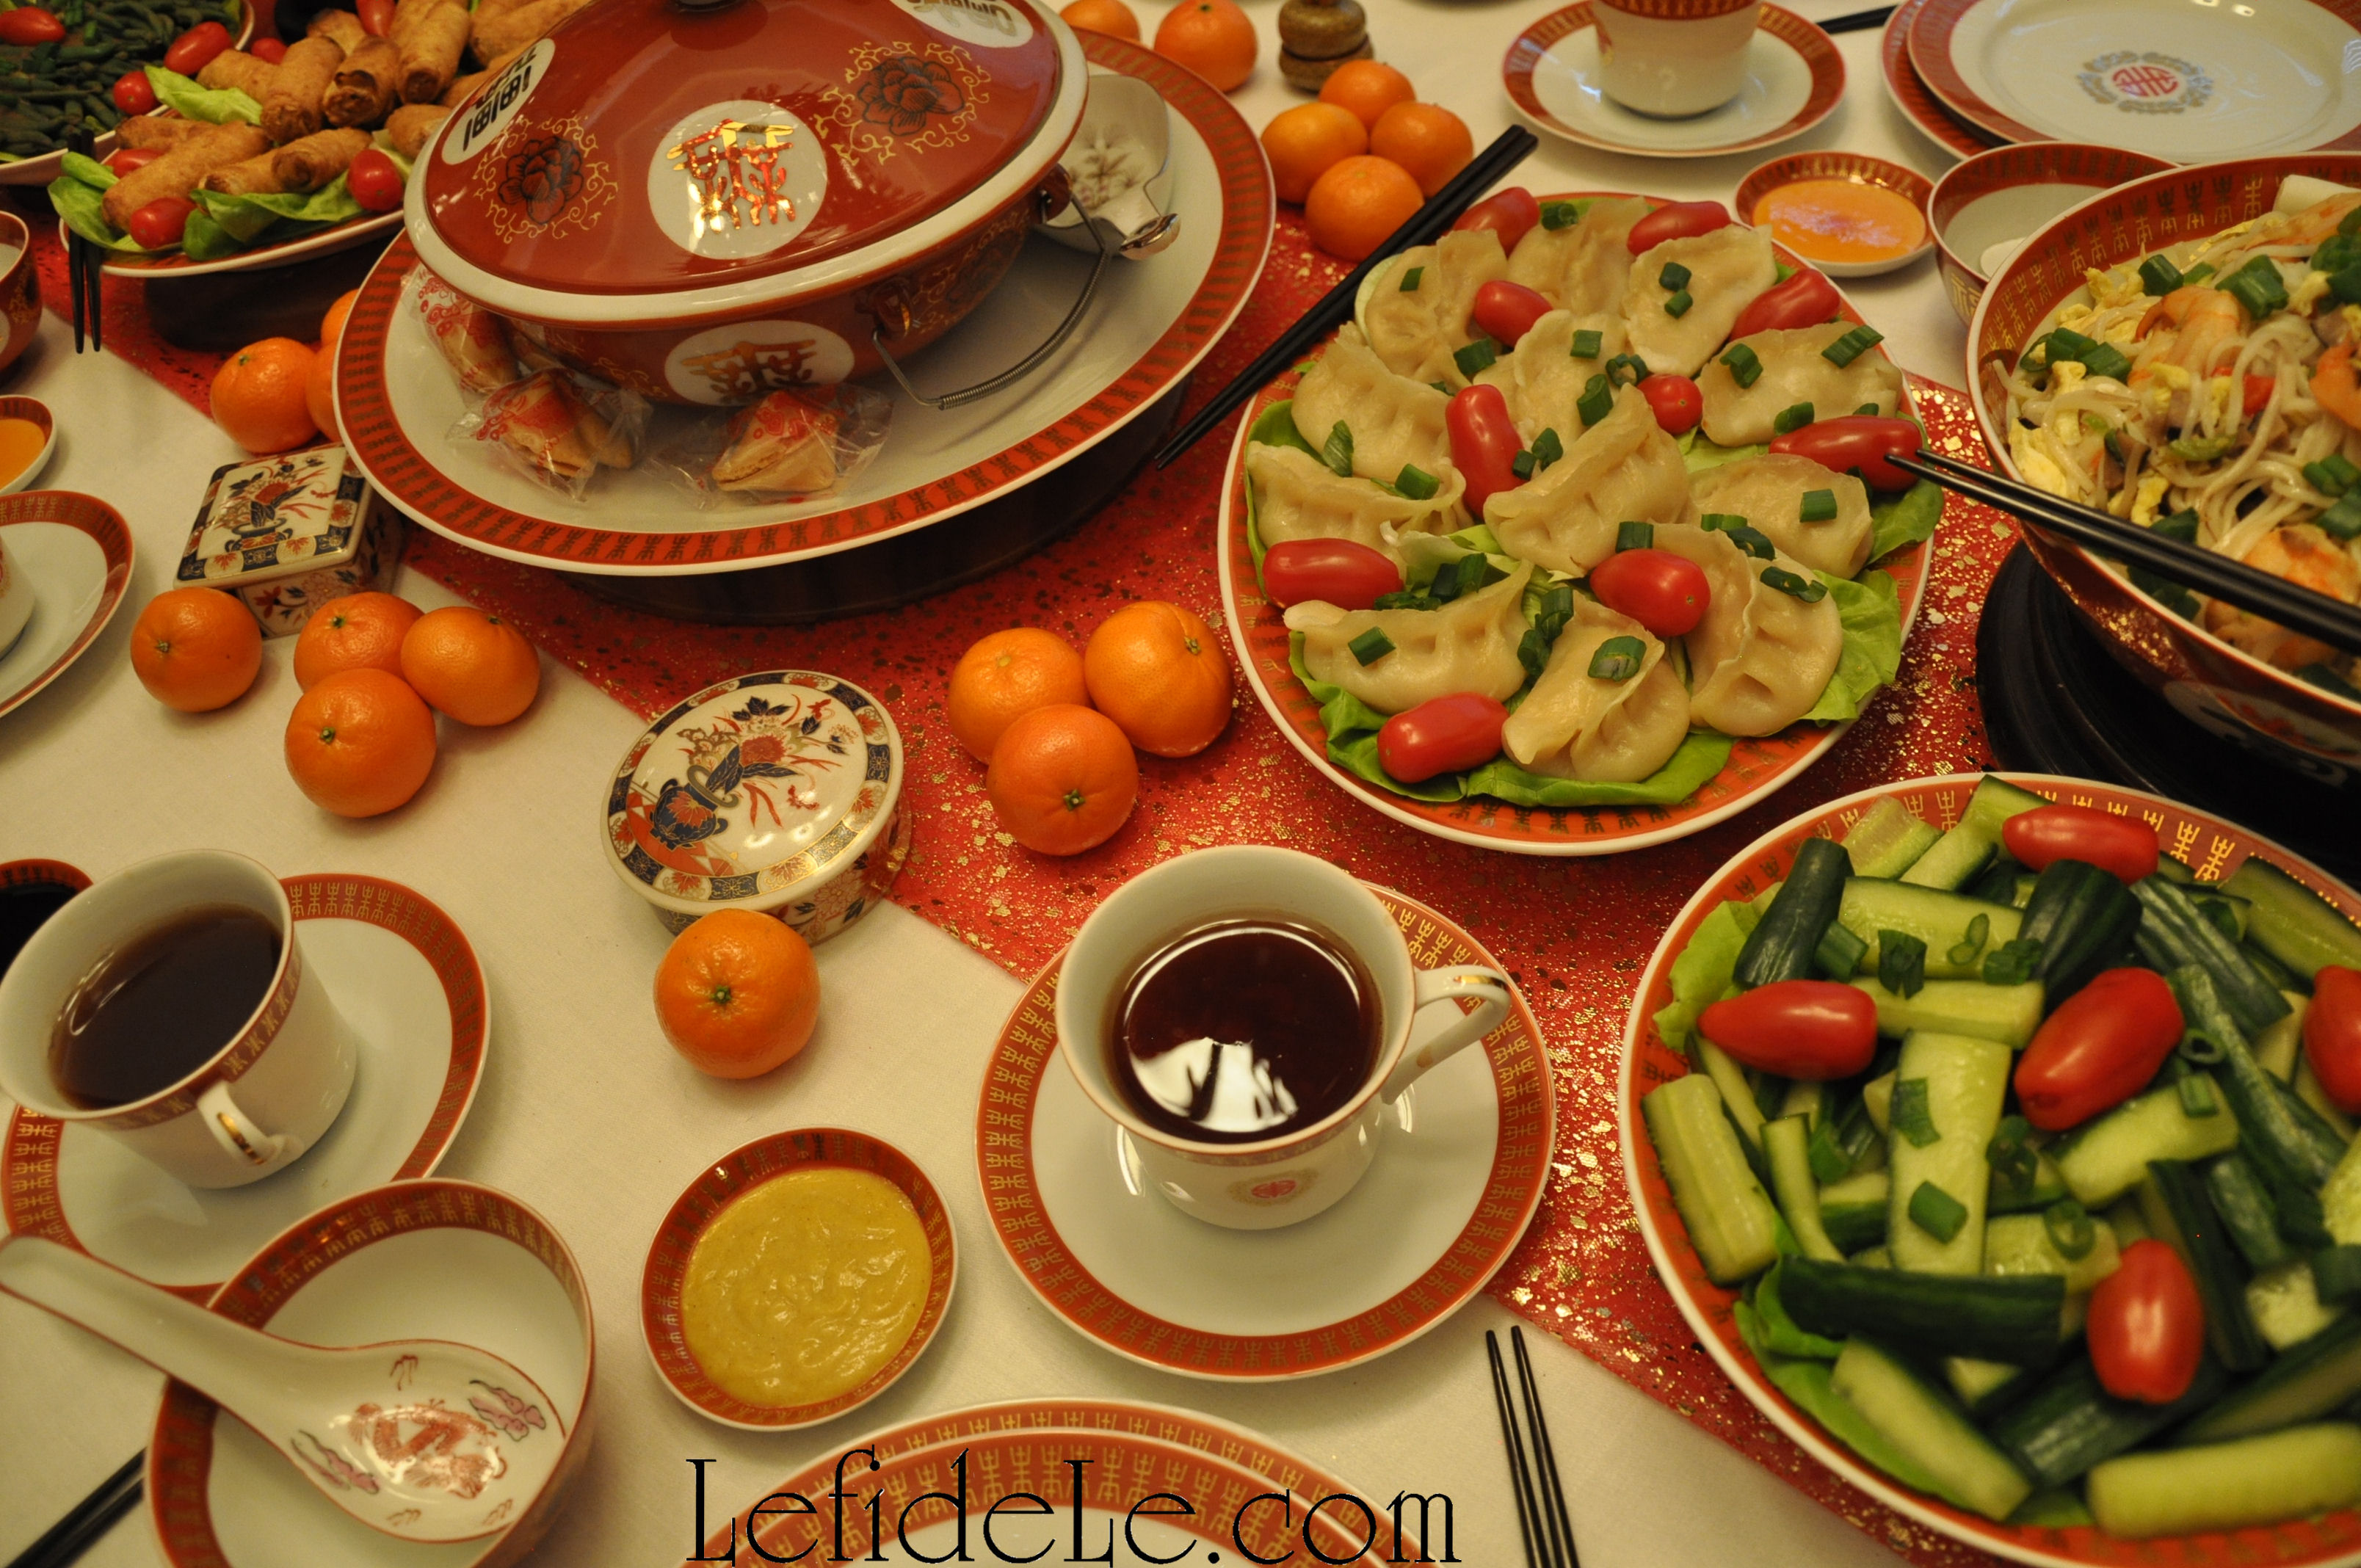
My Quick & Easy Overnight Pickled Cucumbers Recipe was another colorful element to complement the other traditional dishes. (I will be posting more Asian inspired recipes from time to time in the future.)

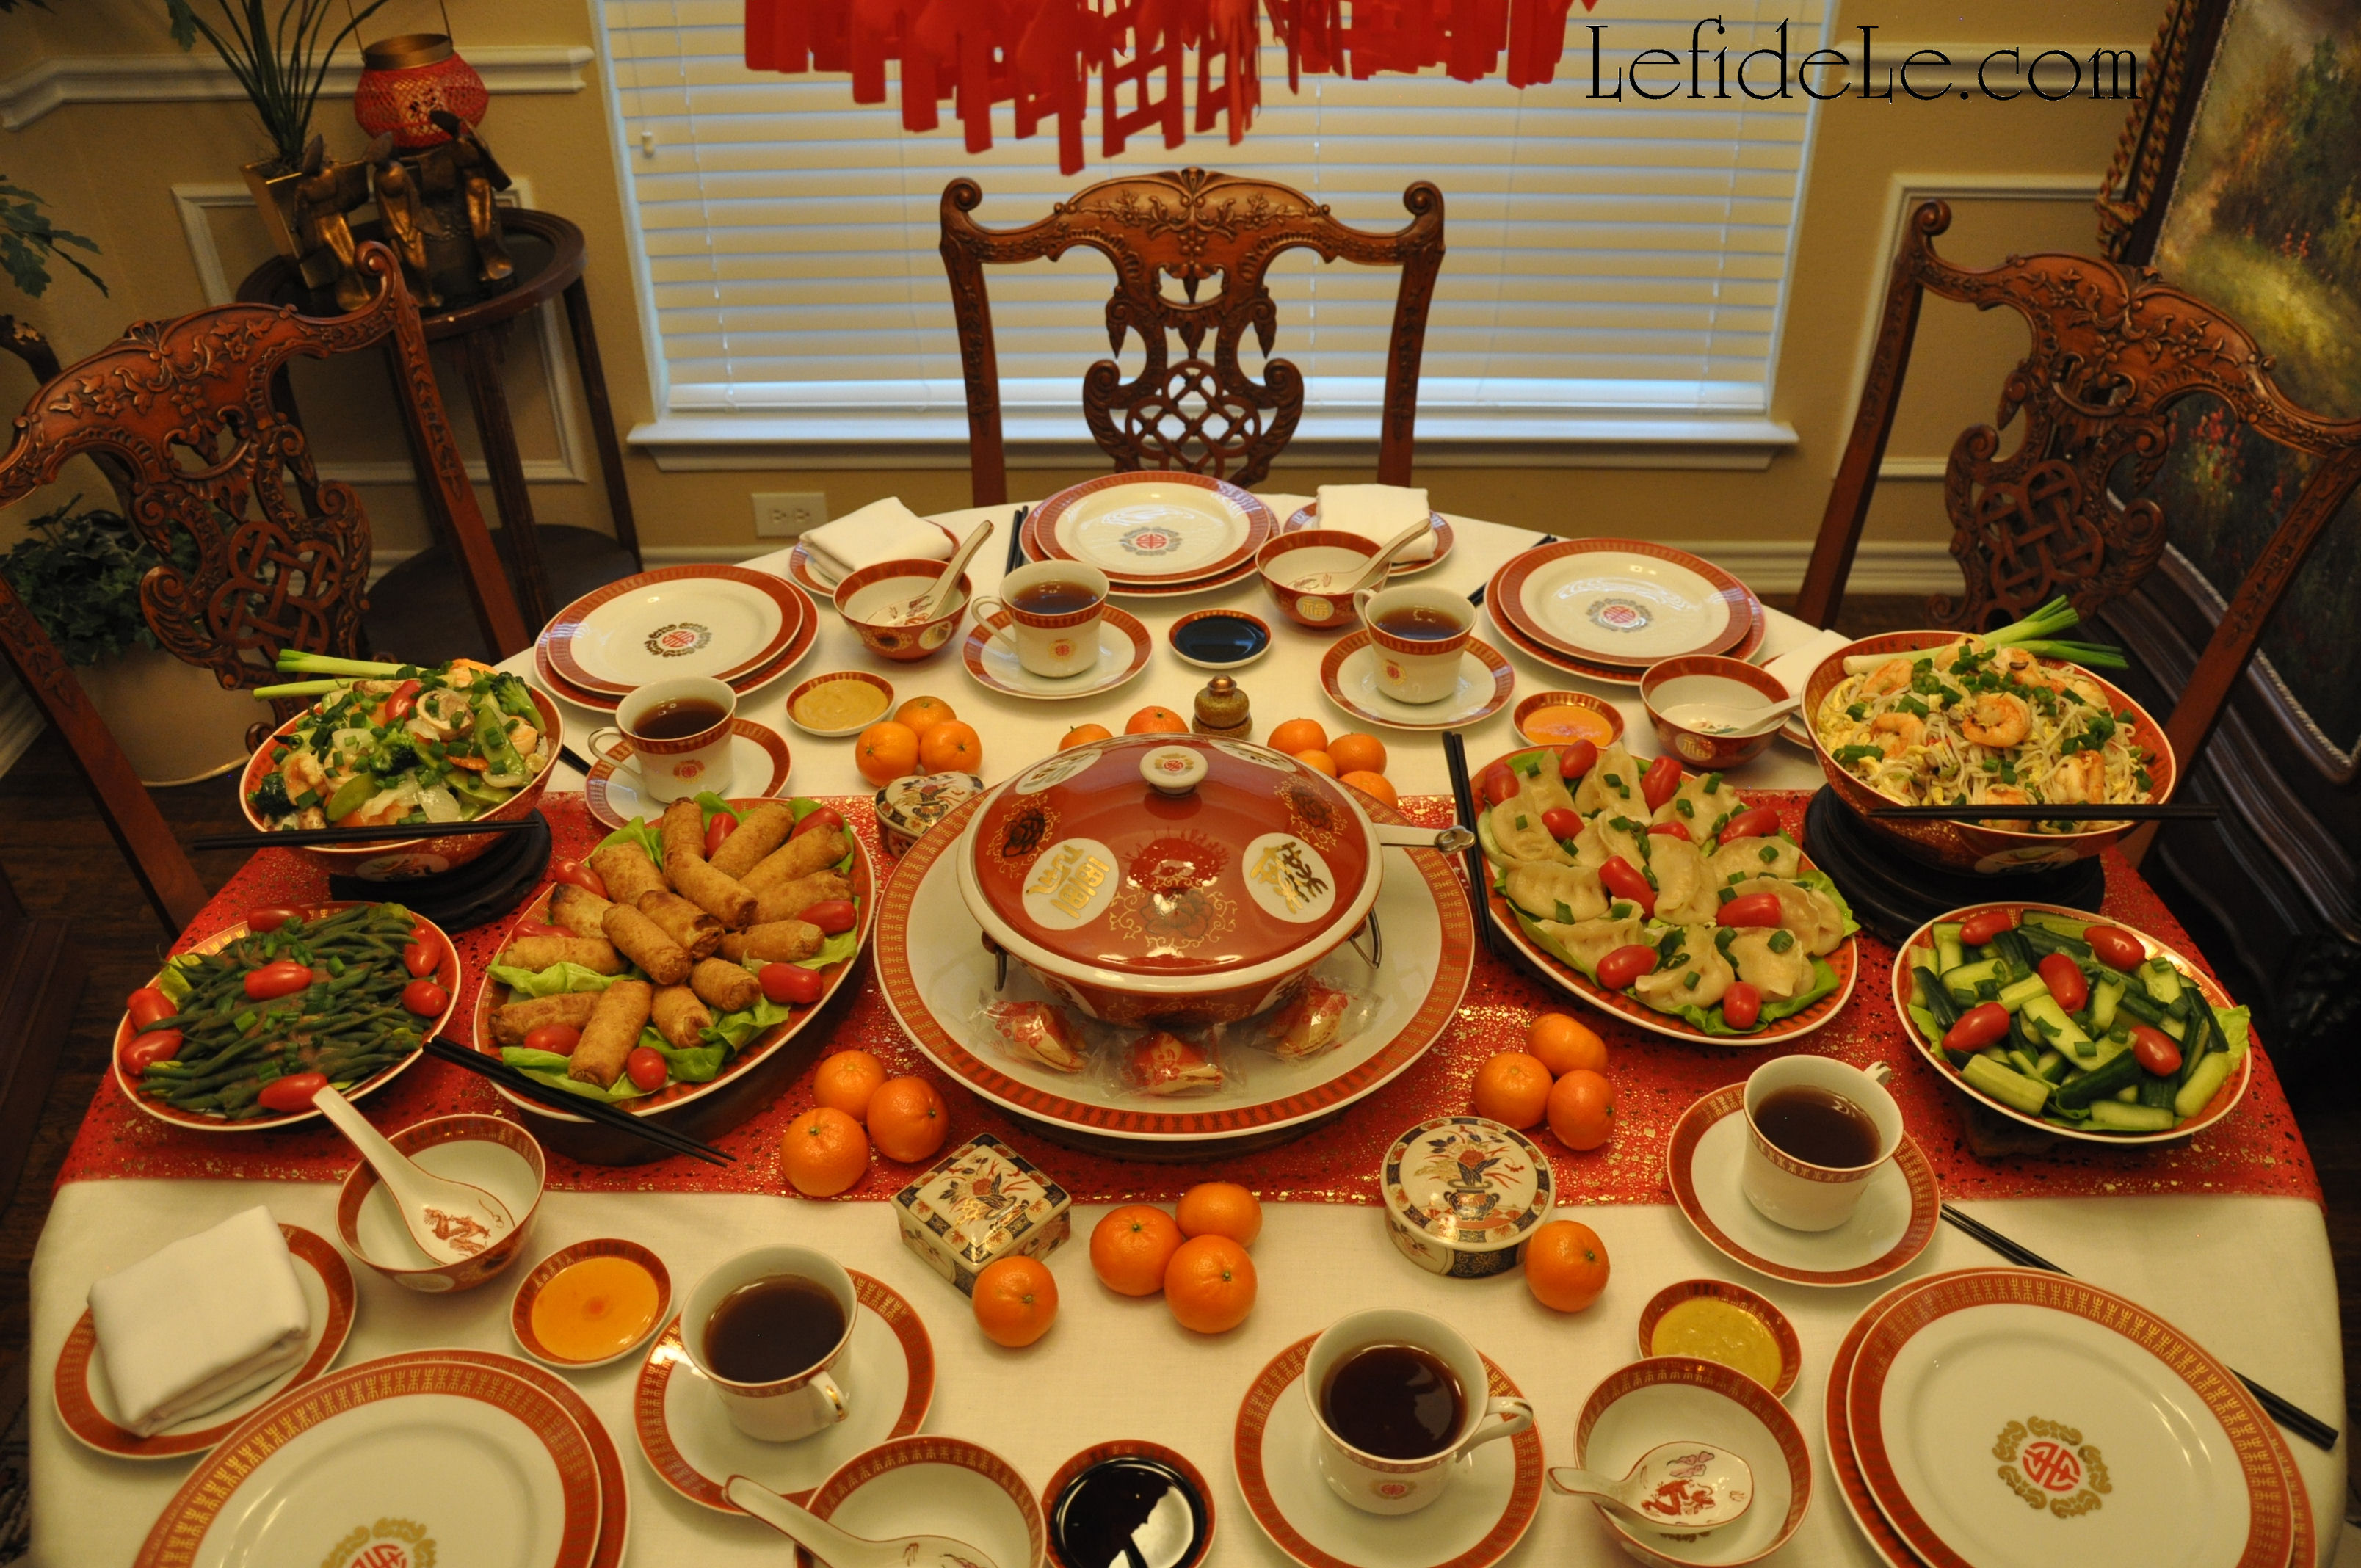
Next to it were longevity noodles which symbolize long life when uncut. The dish was topped with prawns because seafood is a Chinese New Year must have. (Just make sure no guest has a shellfish allergy.) A whole fish pointed in the direction of the guest of honor would have been more traditional, but I was out-voted on that menu choice.

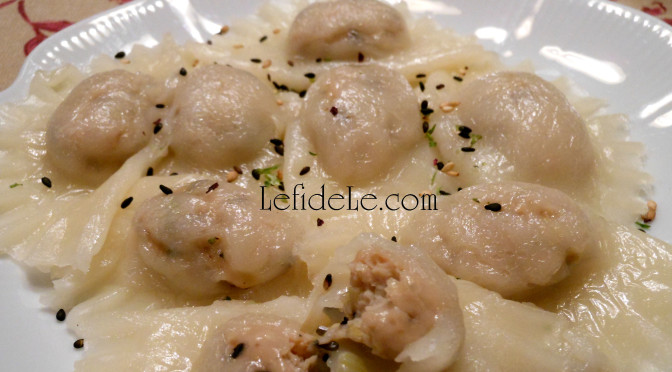
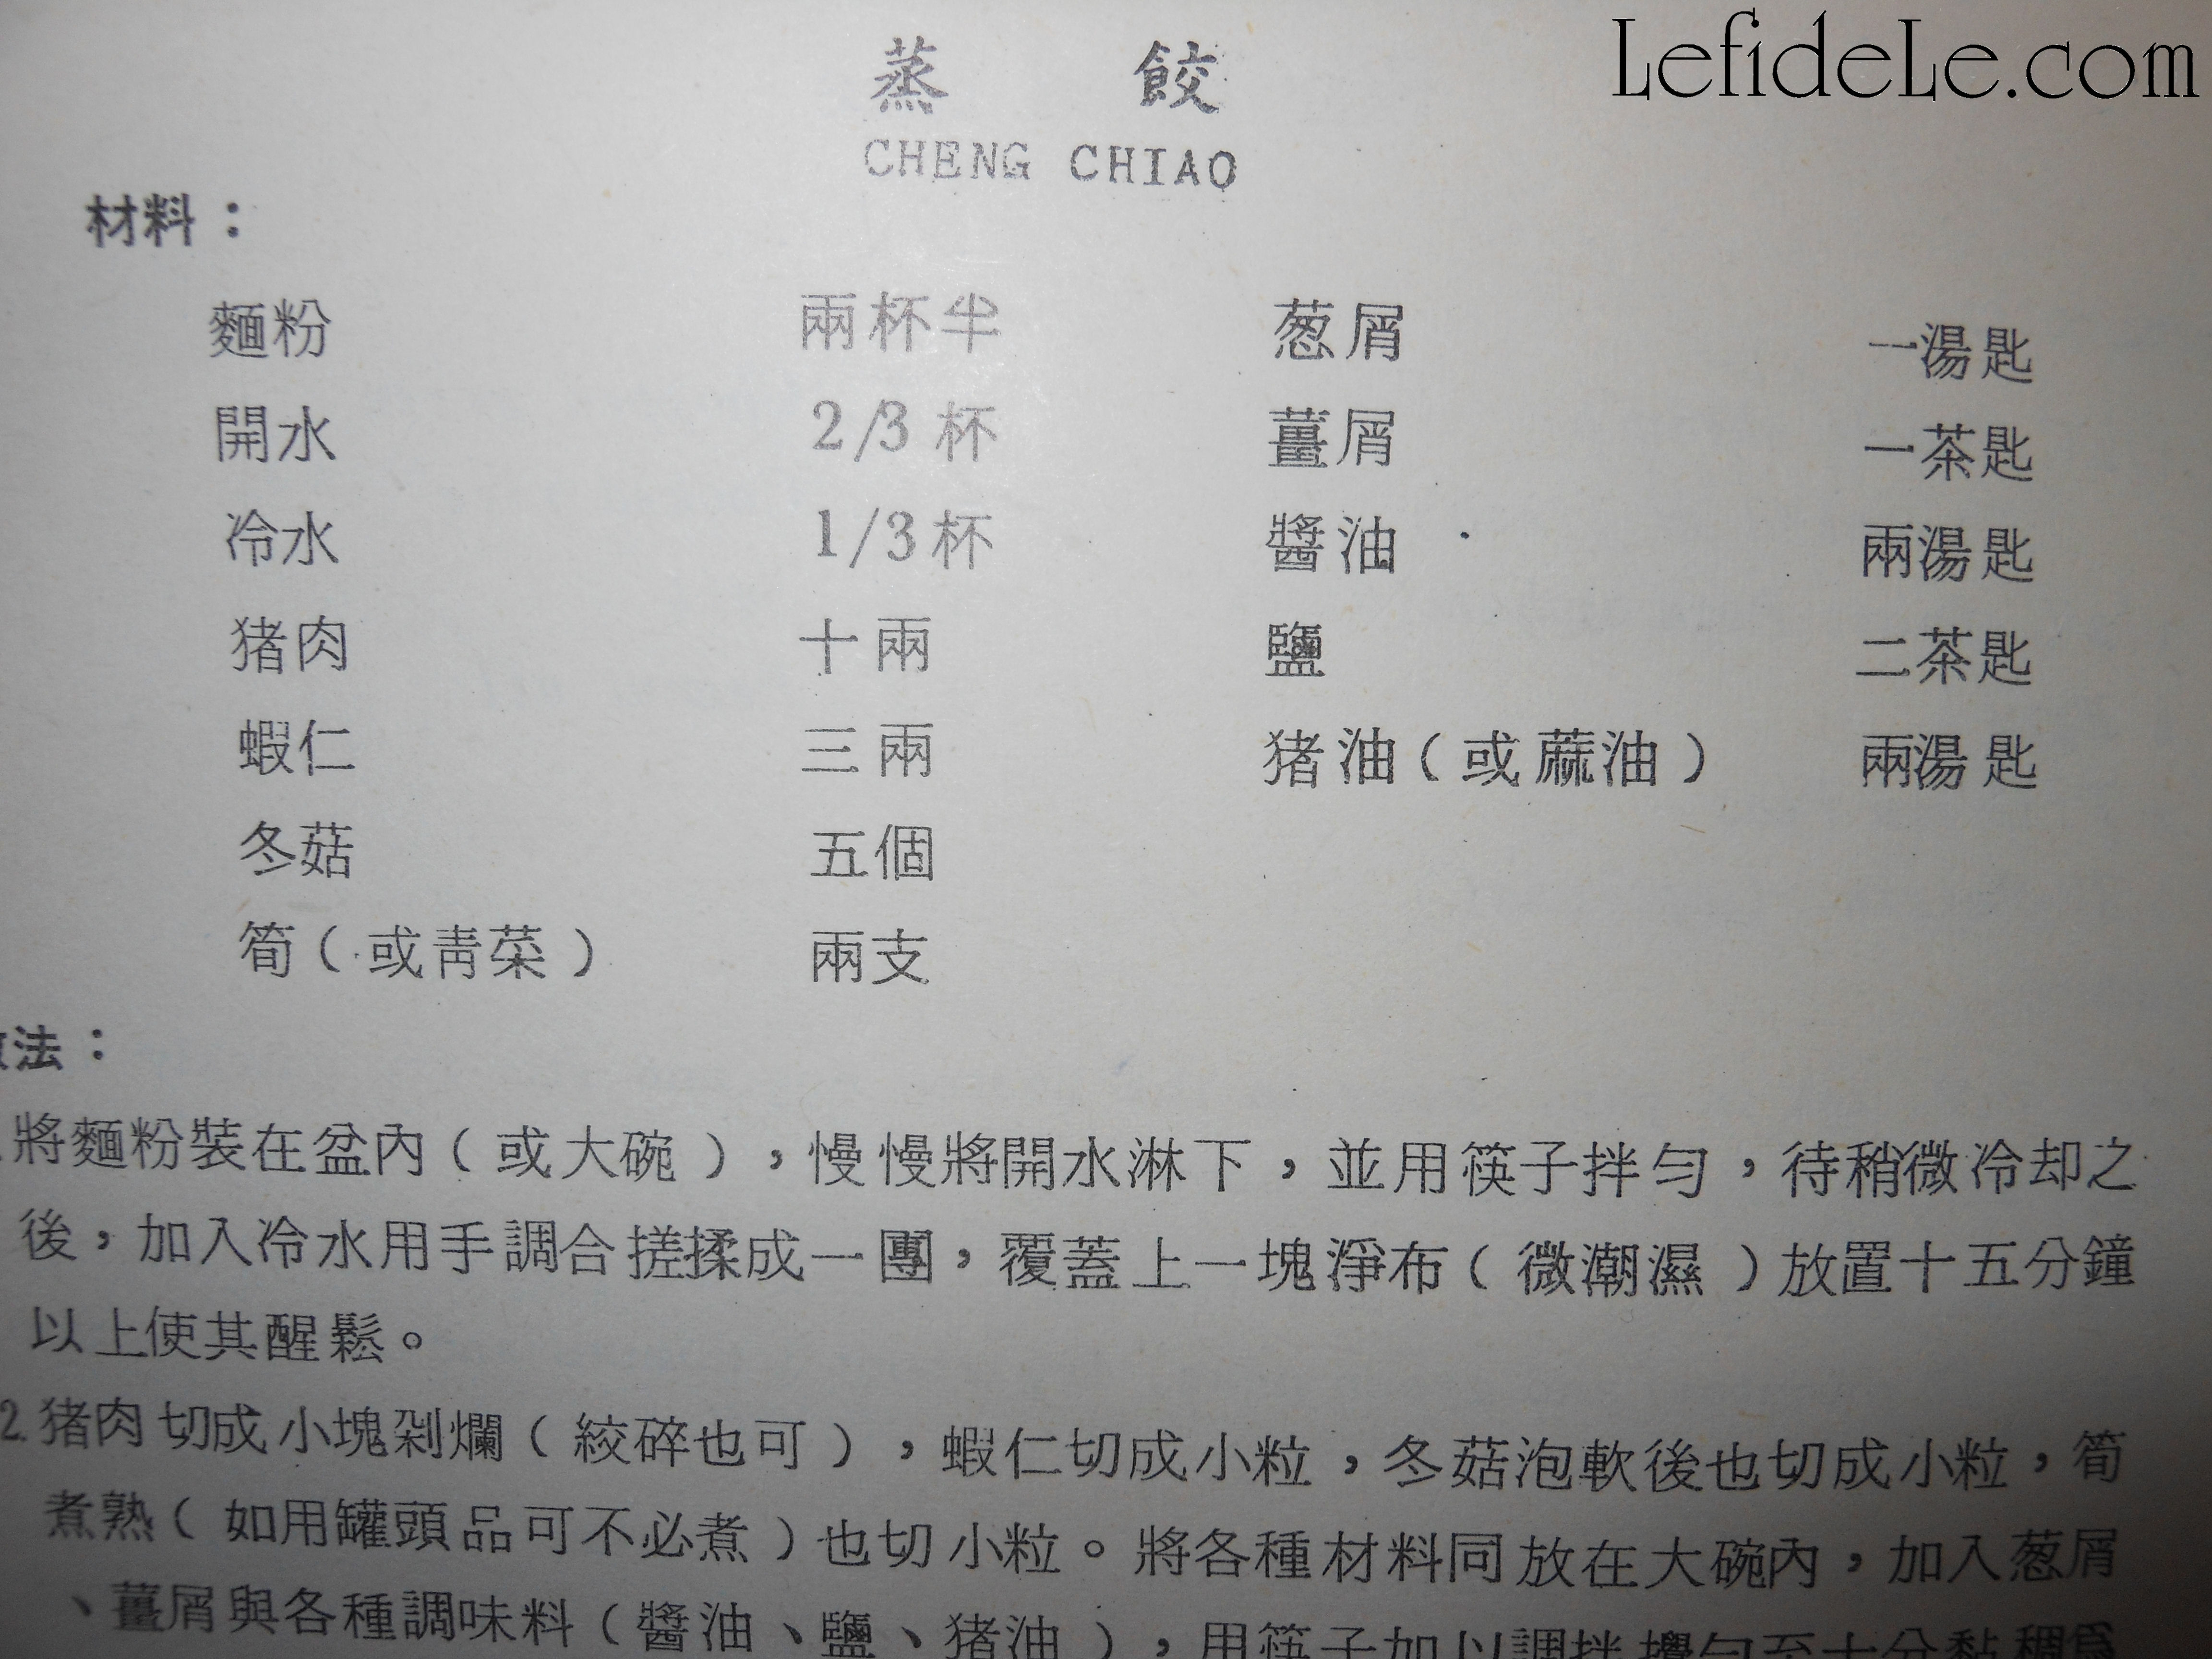
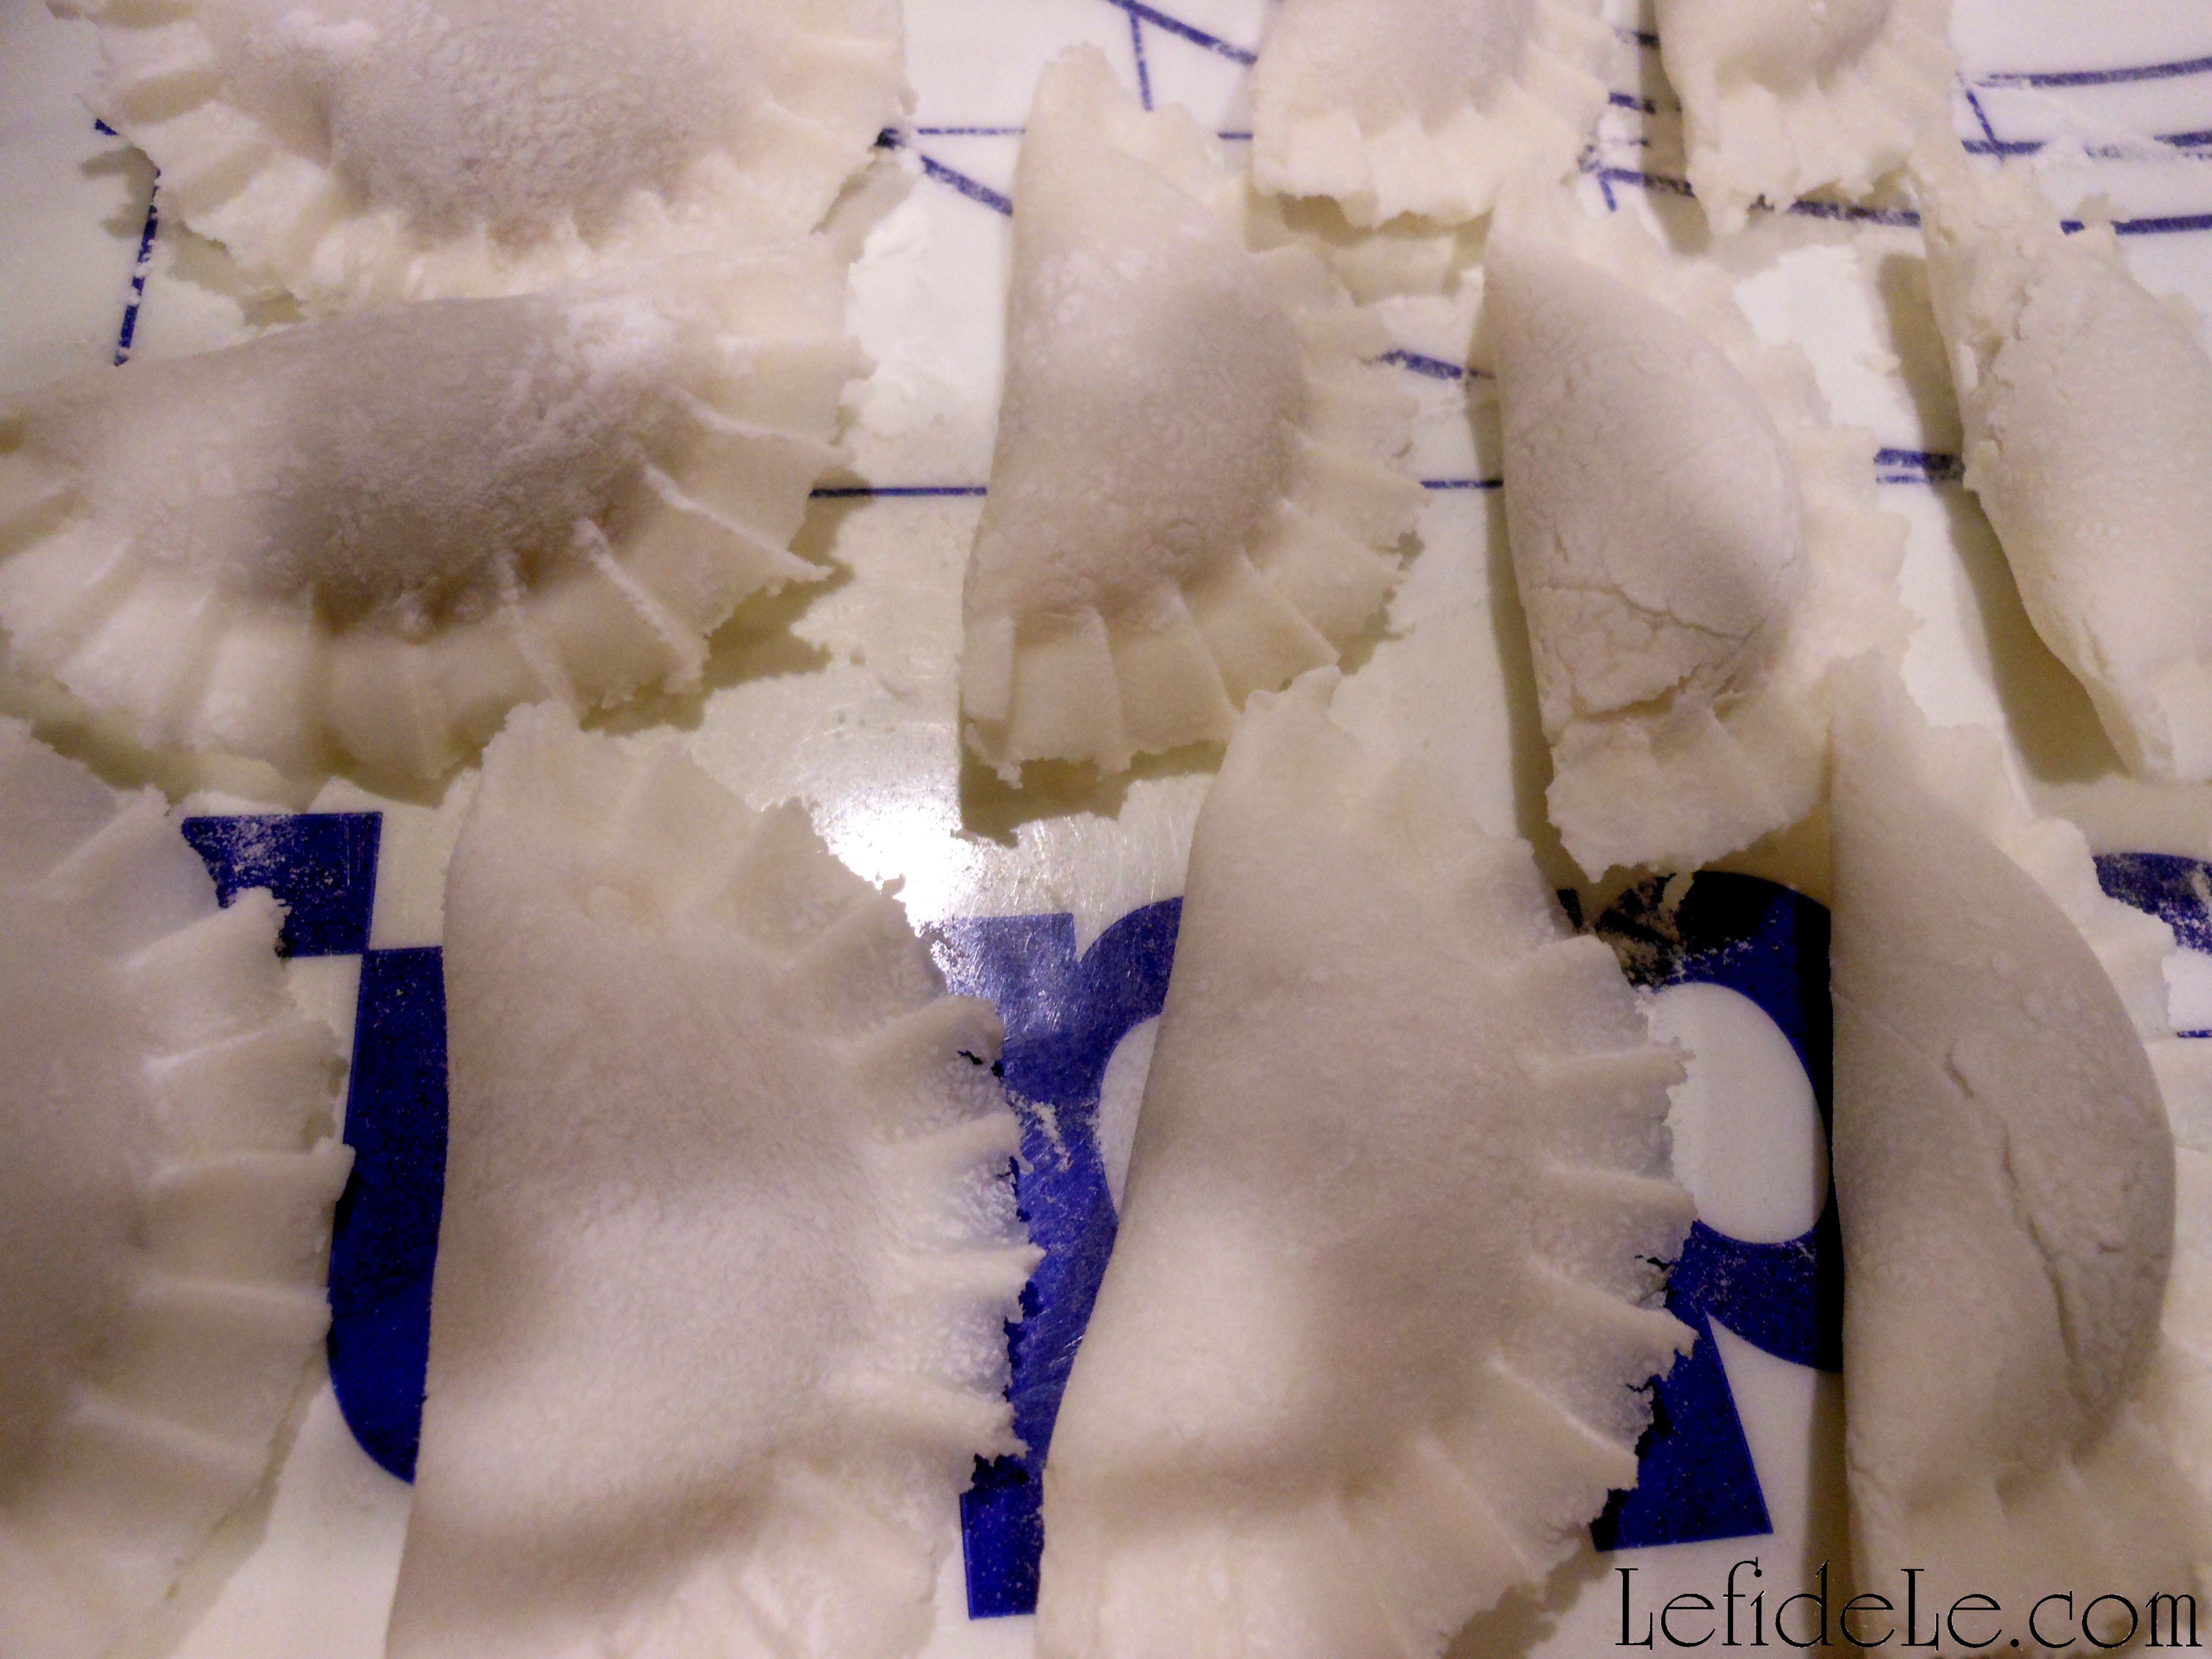
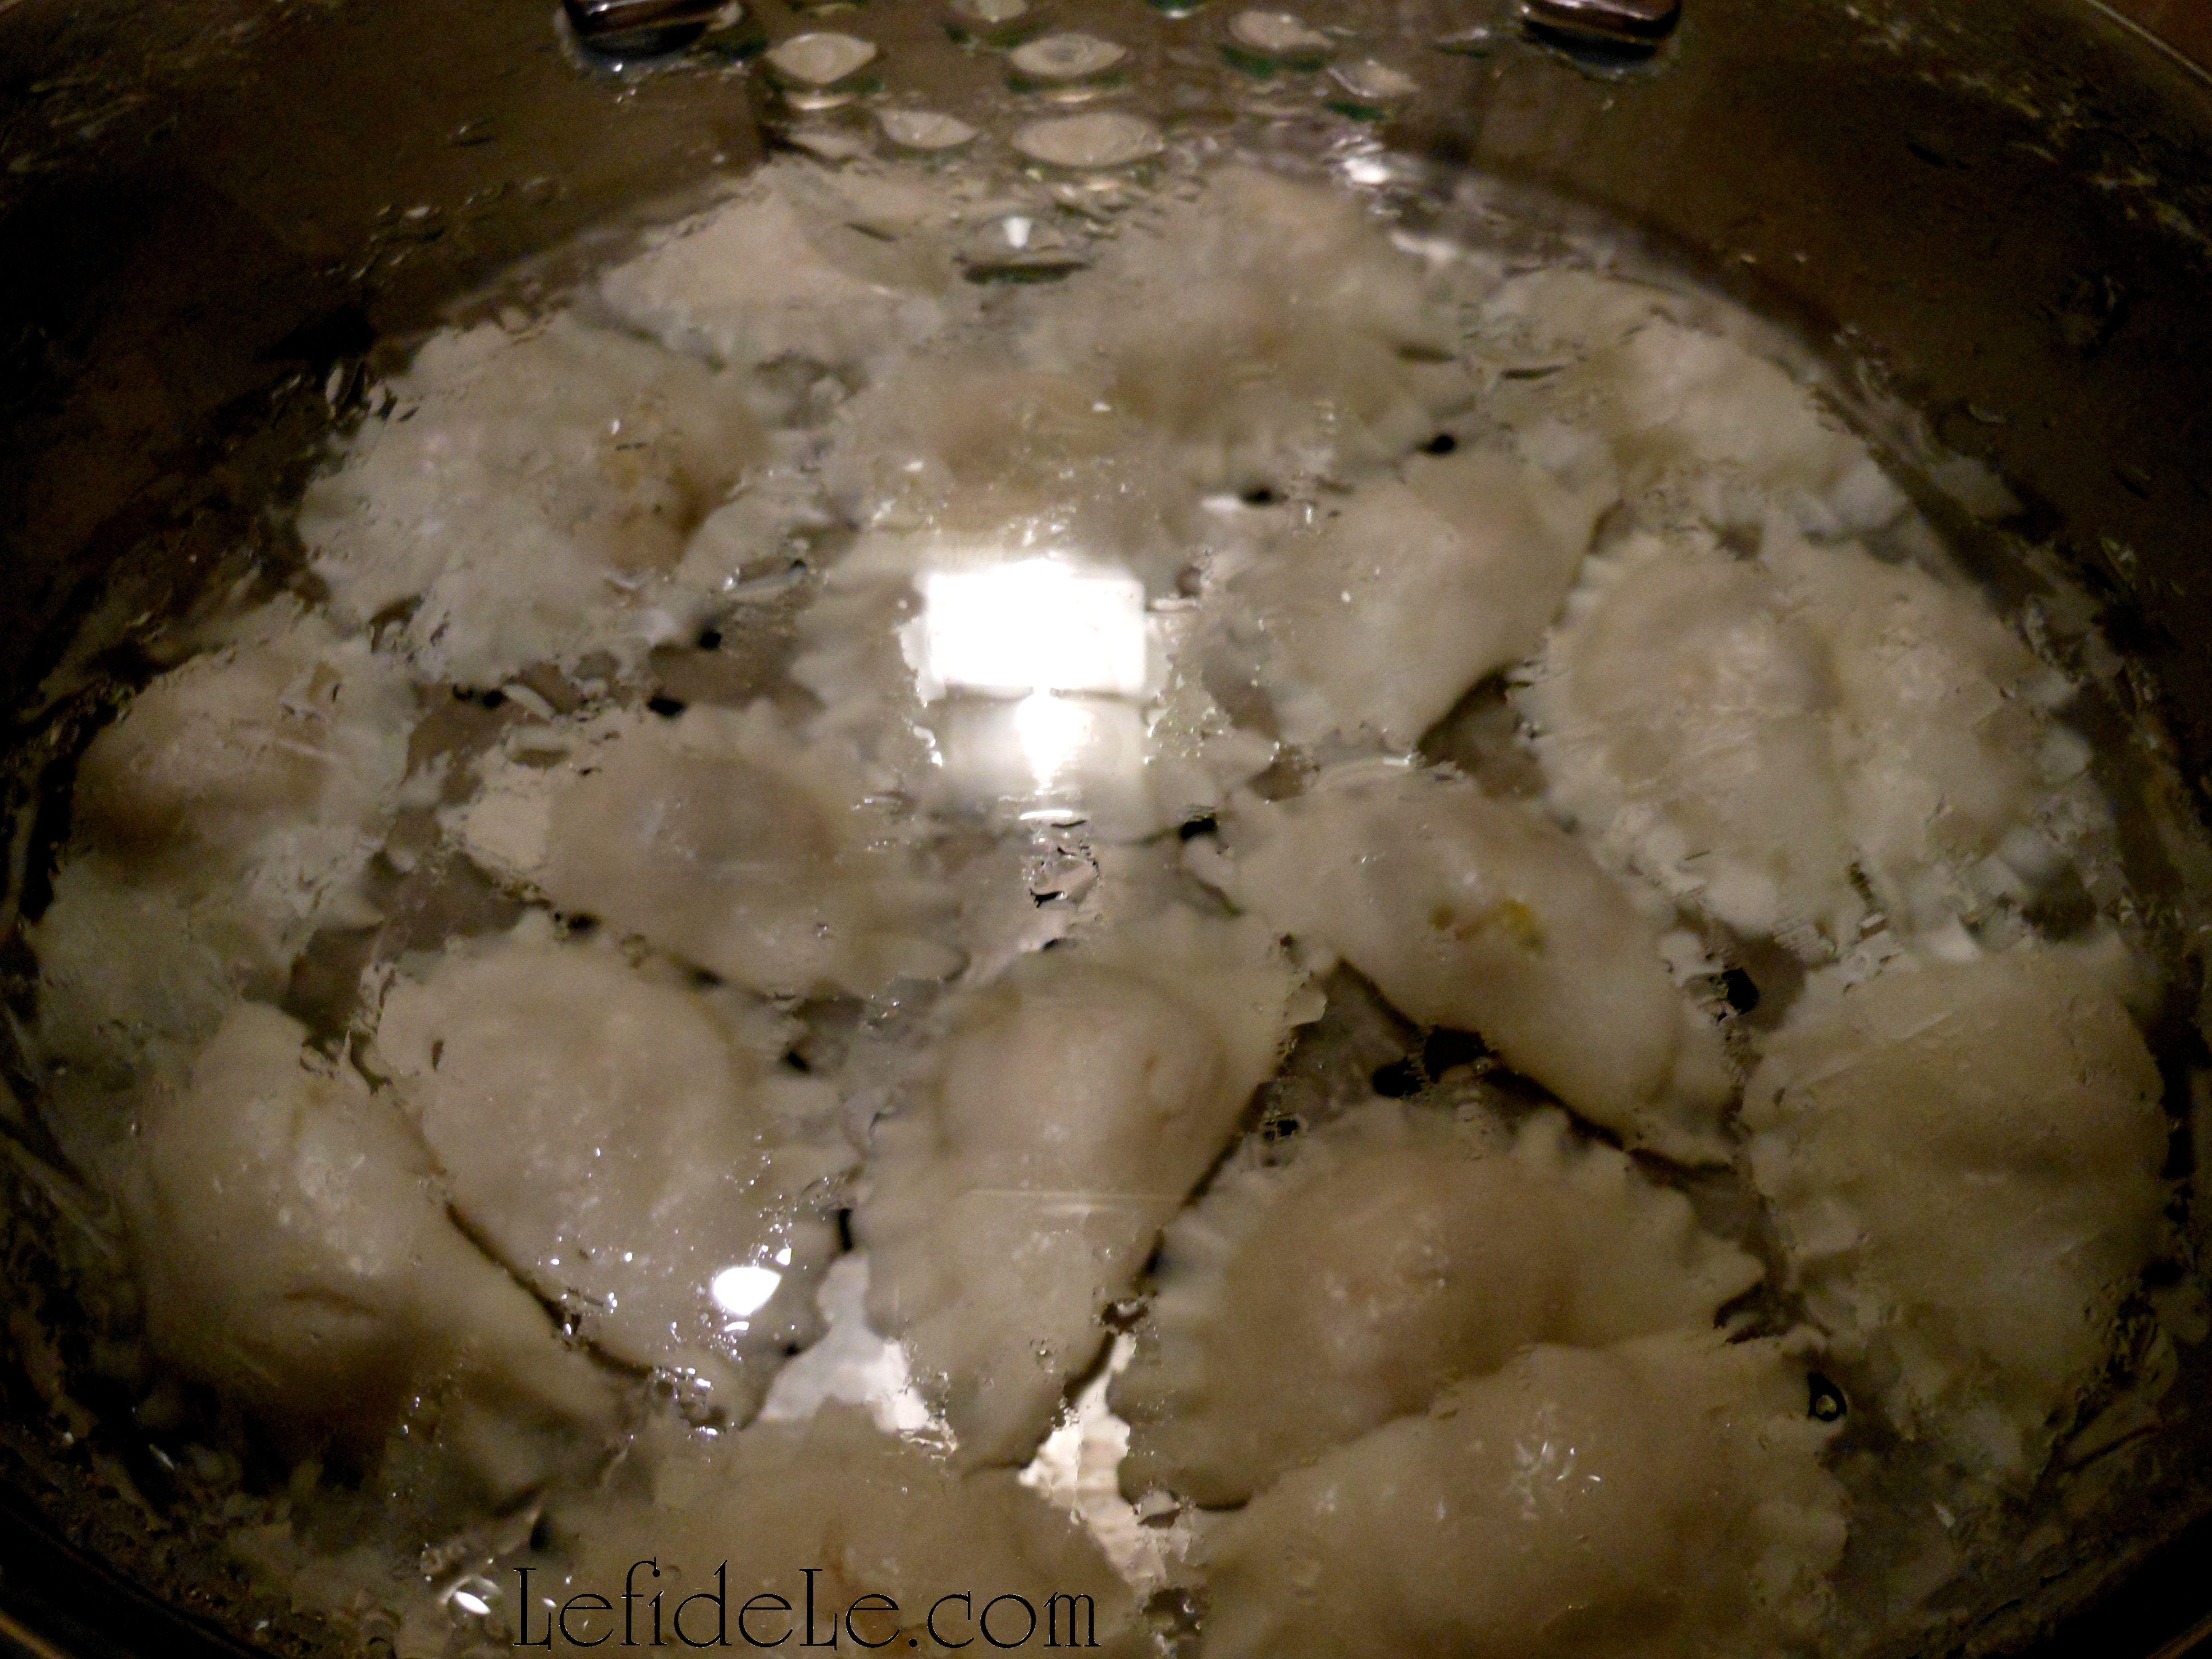
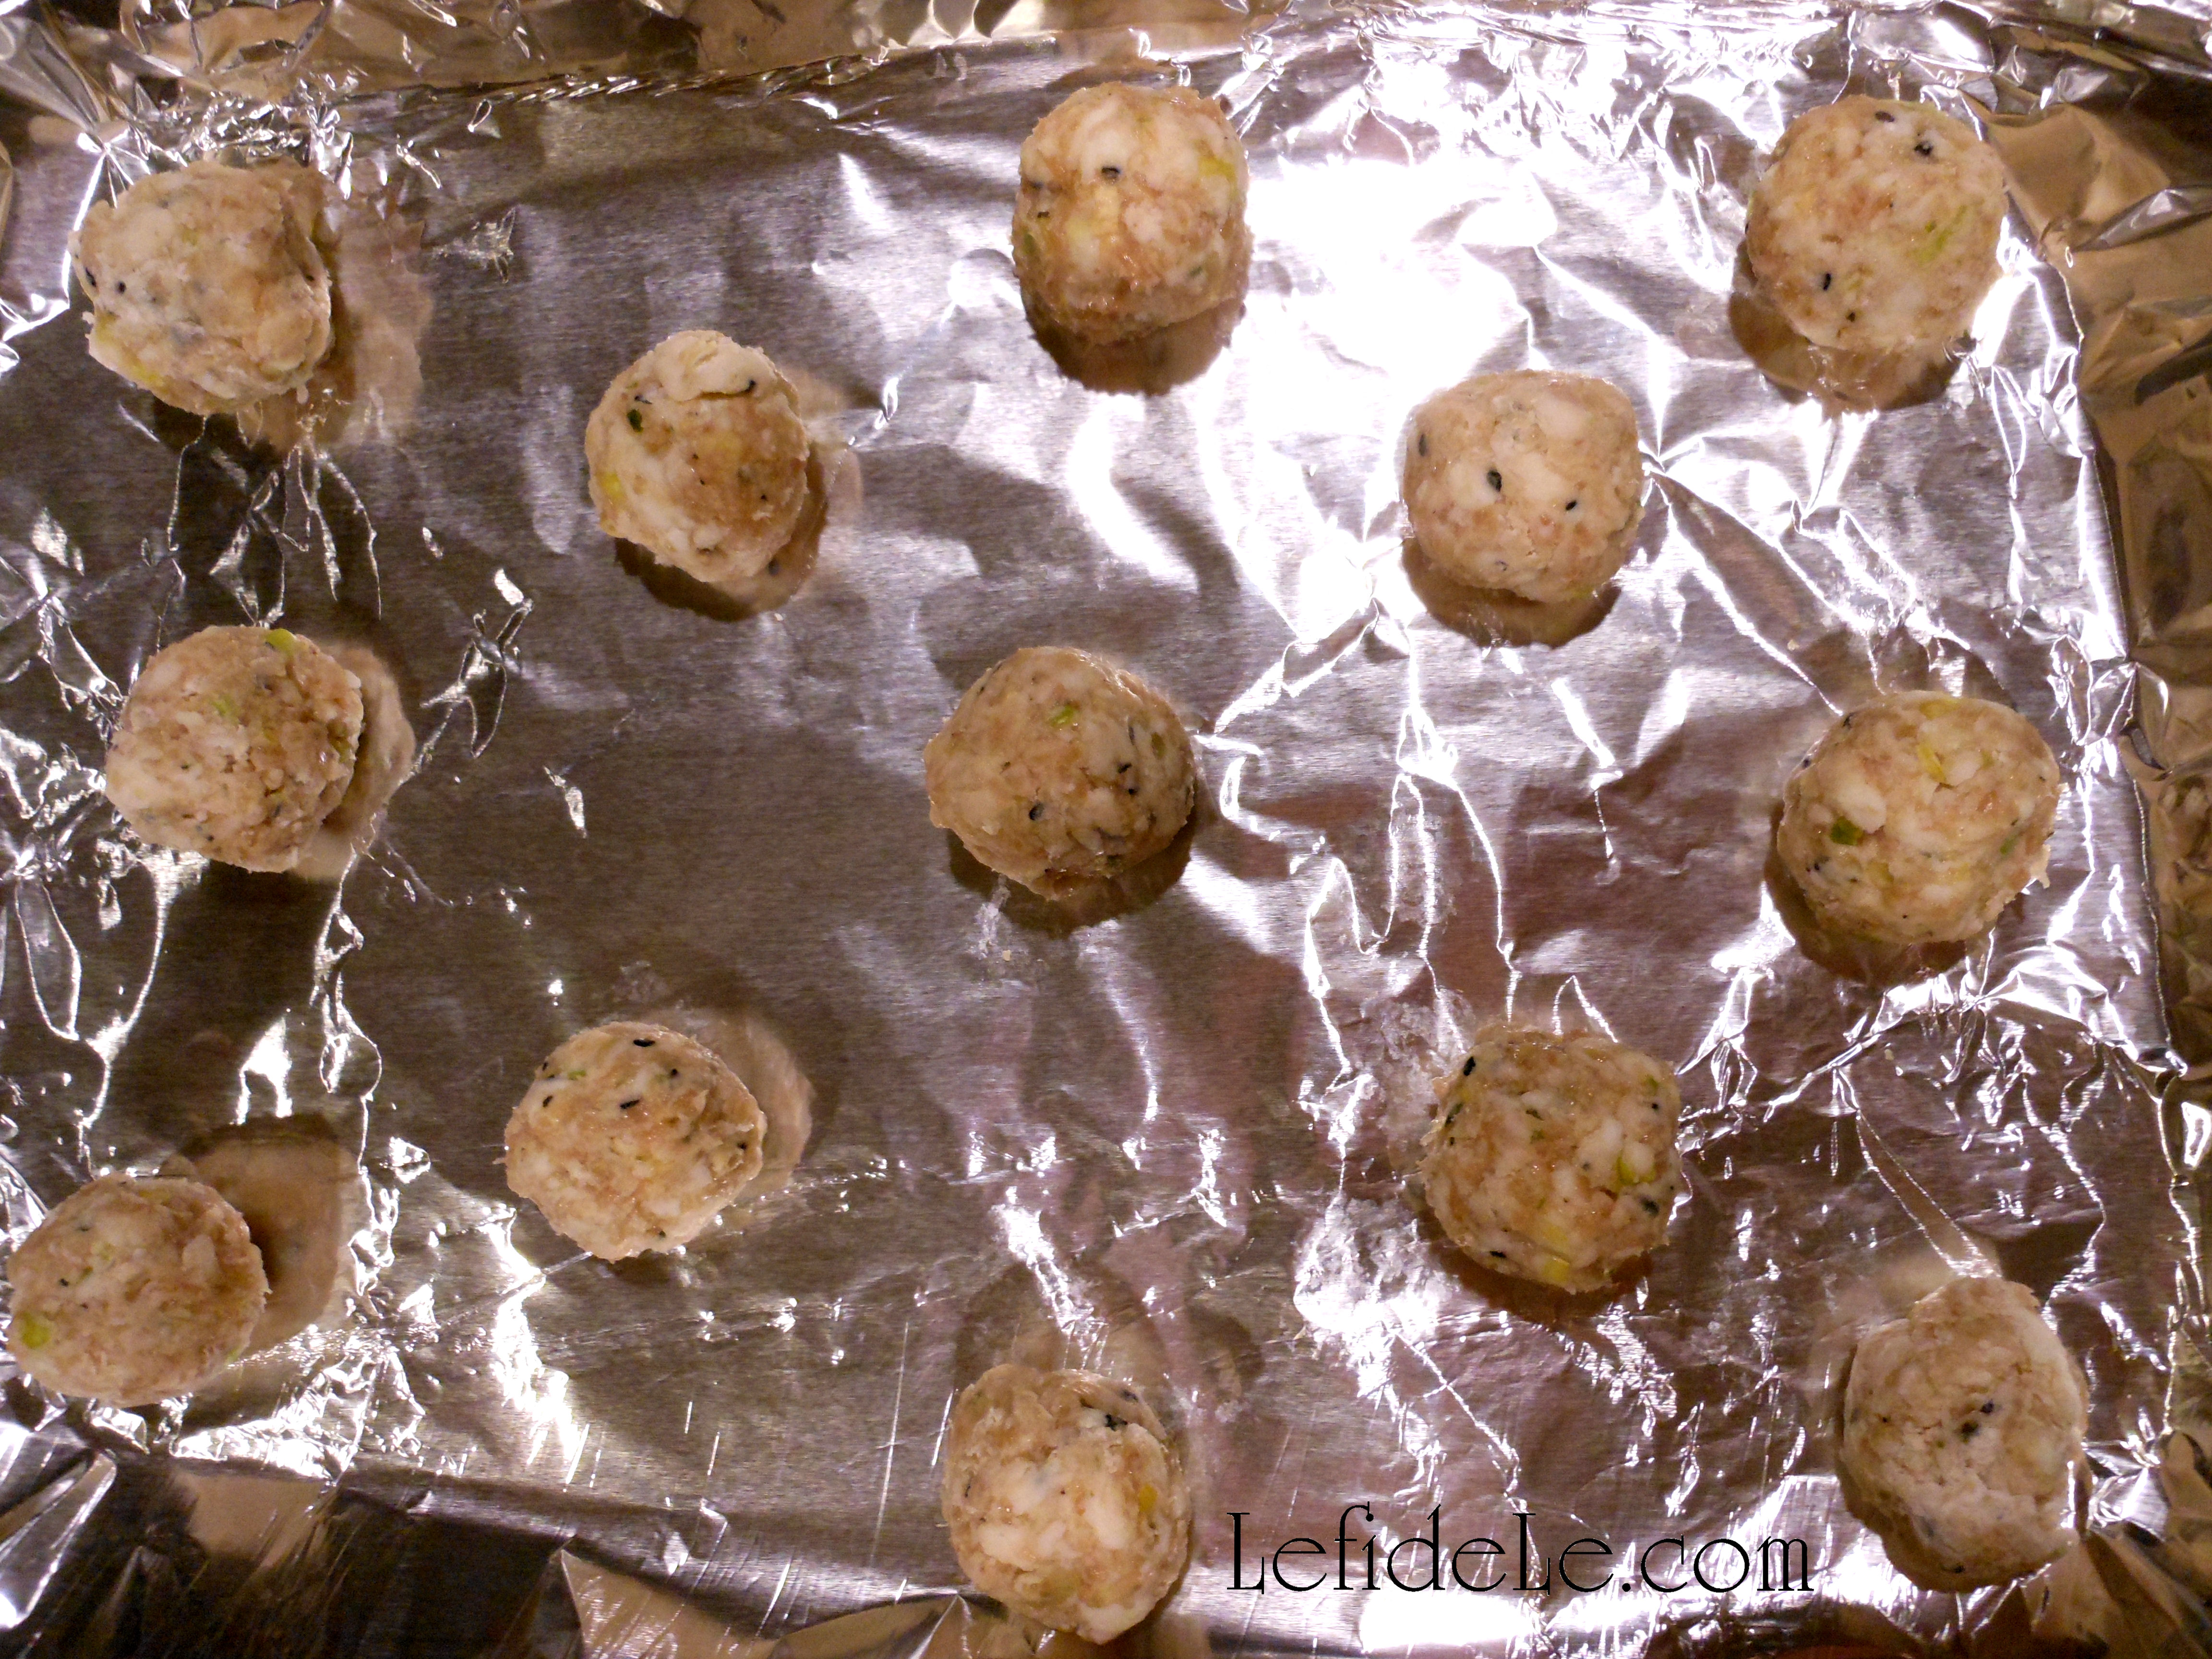
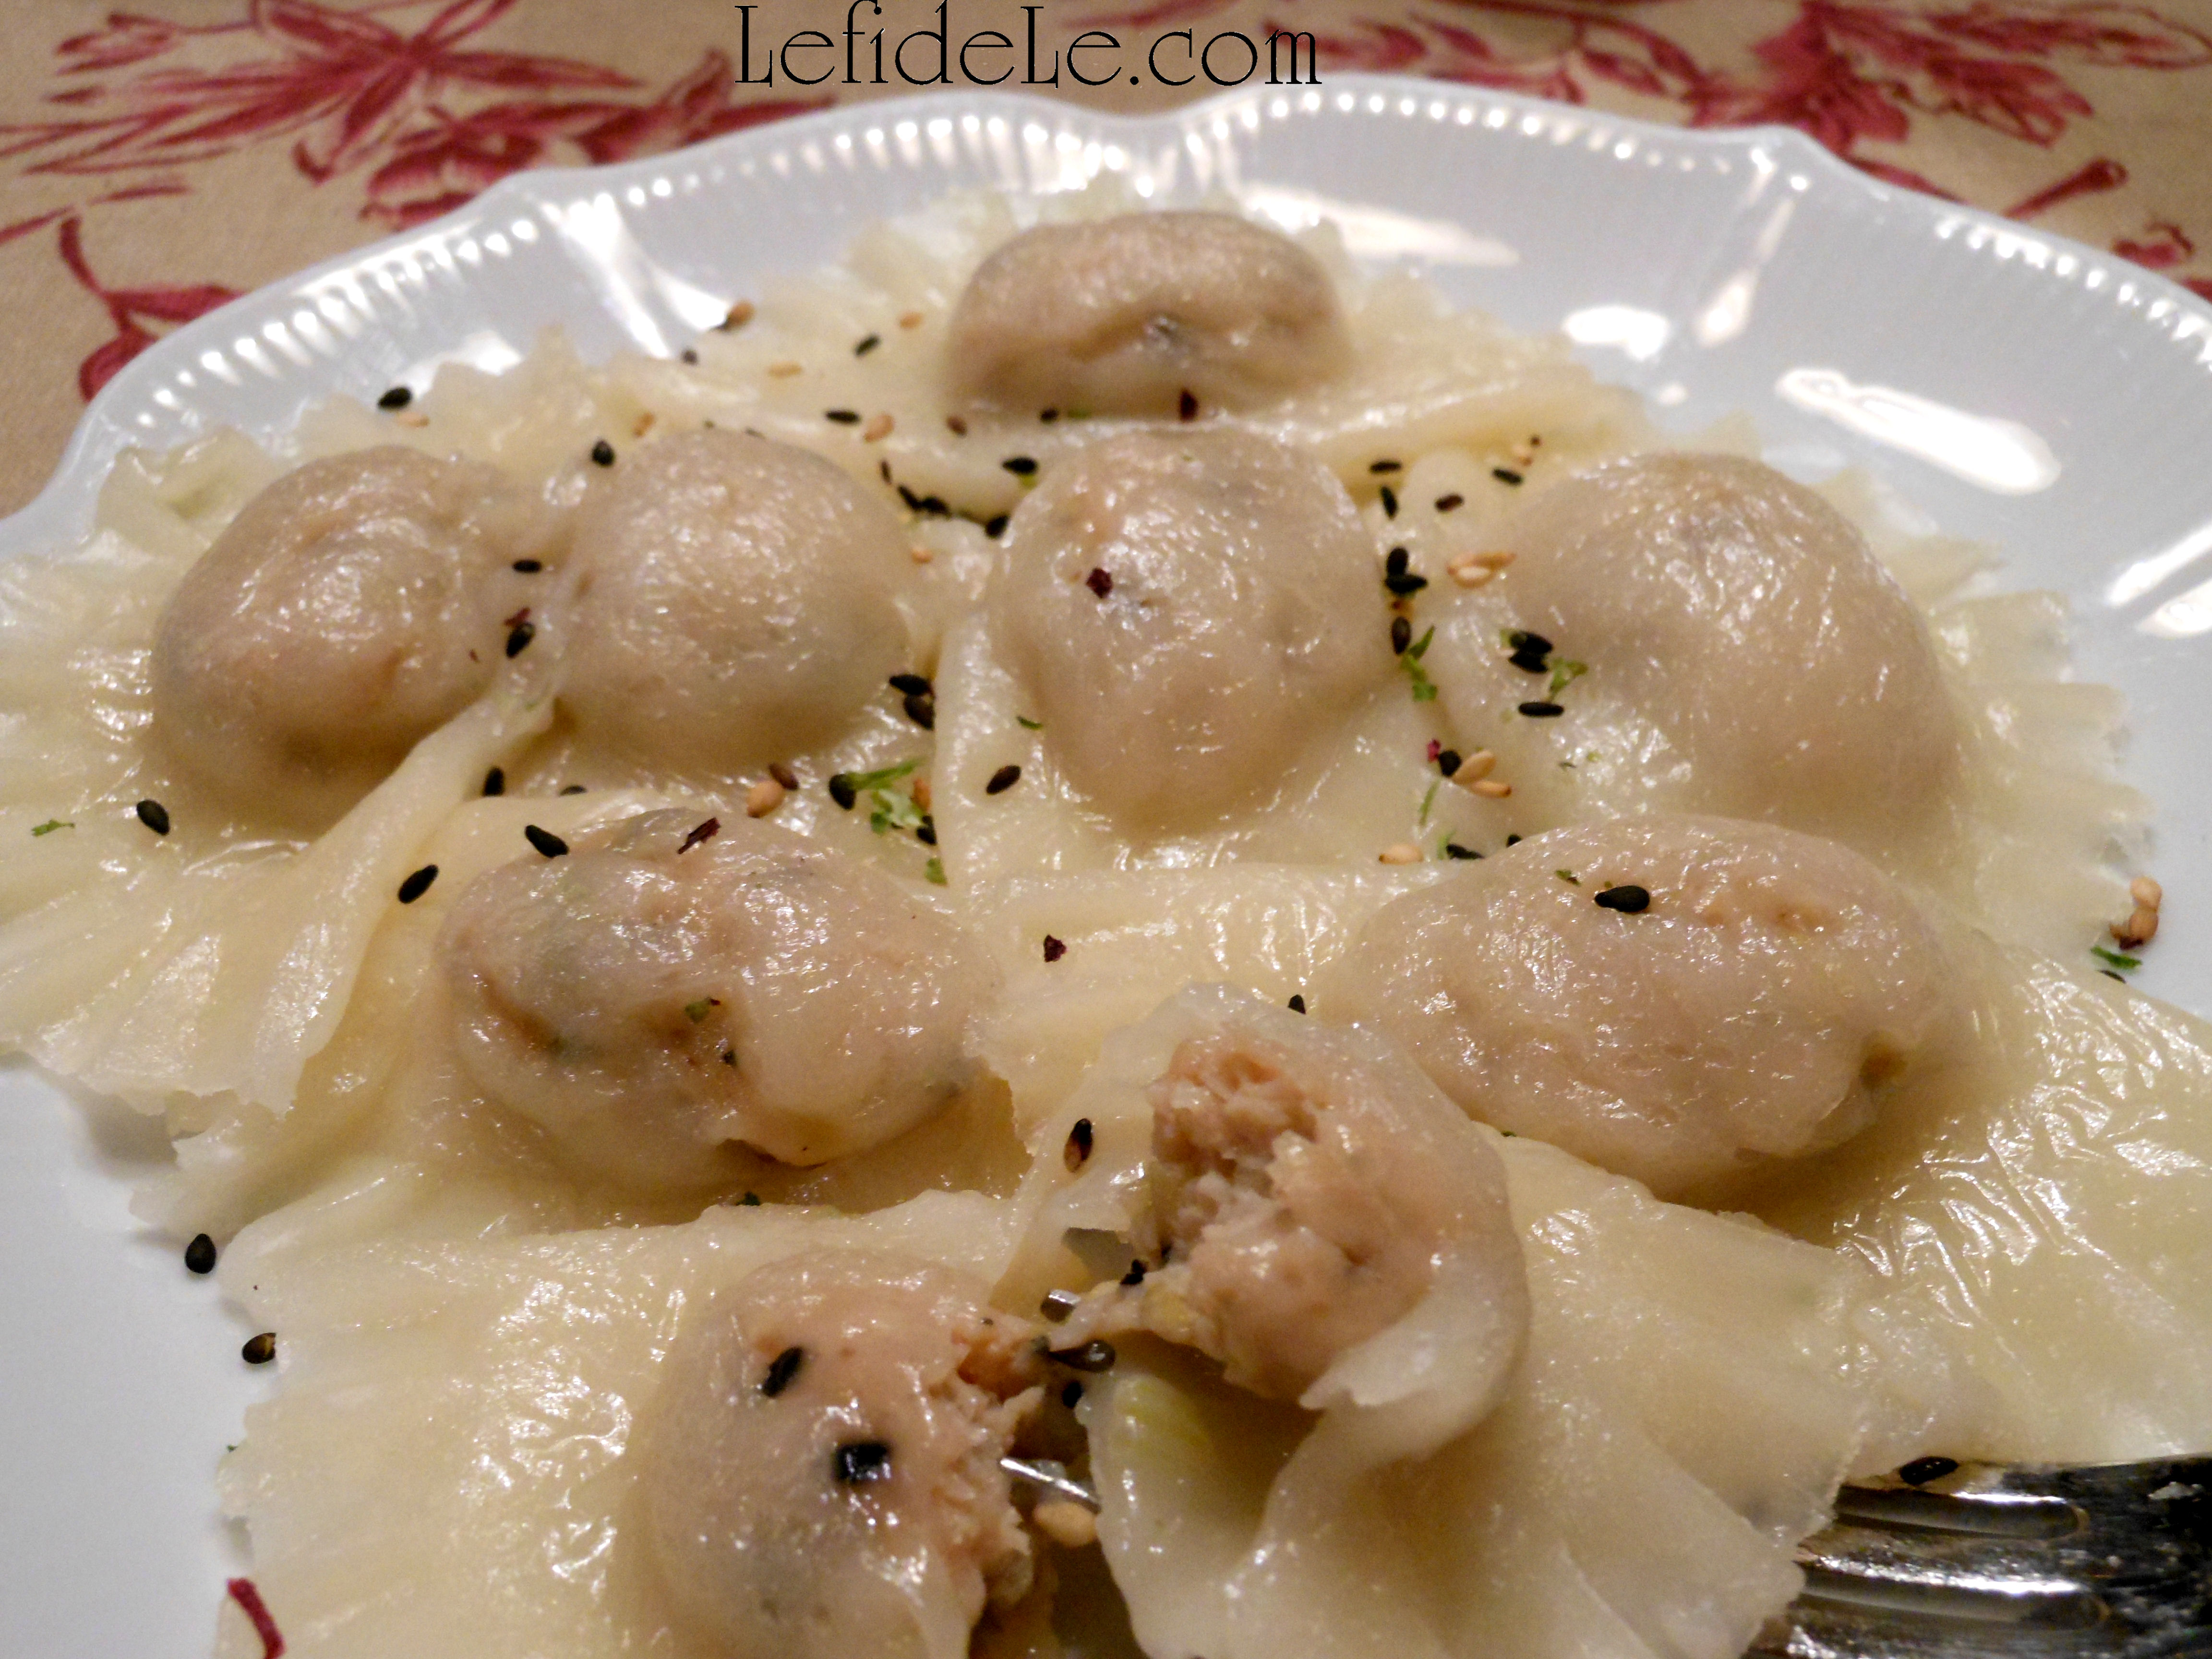
Half-moon shaped steamed dumplings are another necessity for the year’s celebration. (The round shaped variety depicts a life that goes around in circles never completing any goals, so those are considered bad luck!) Check out my allergy-friendly recipe for steamed dumplings here.

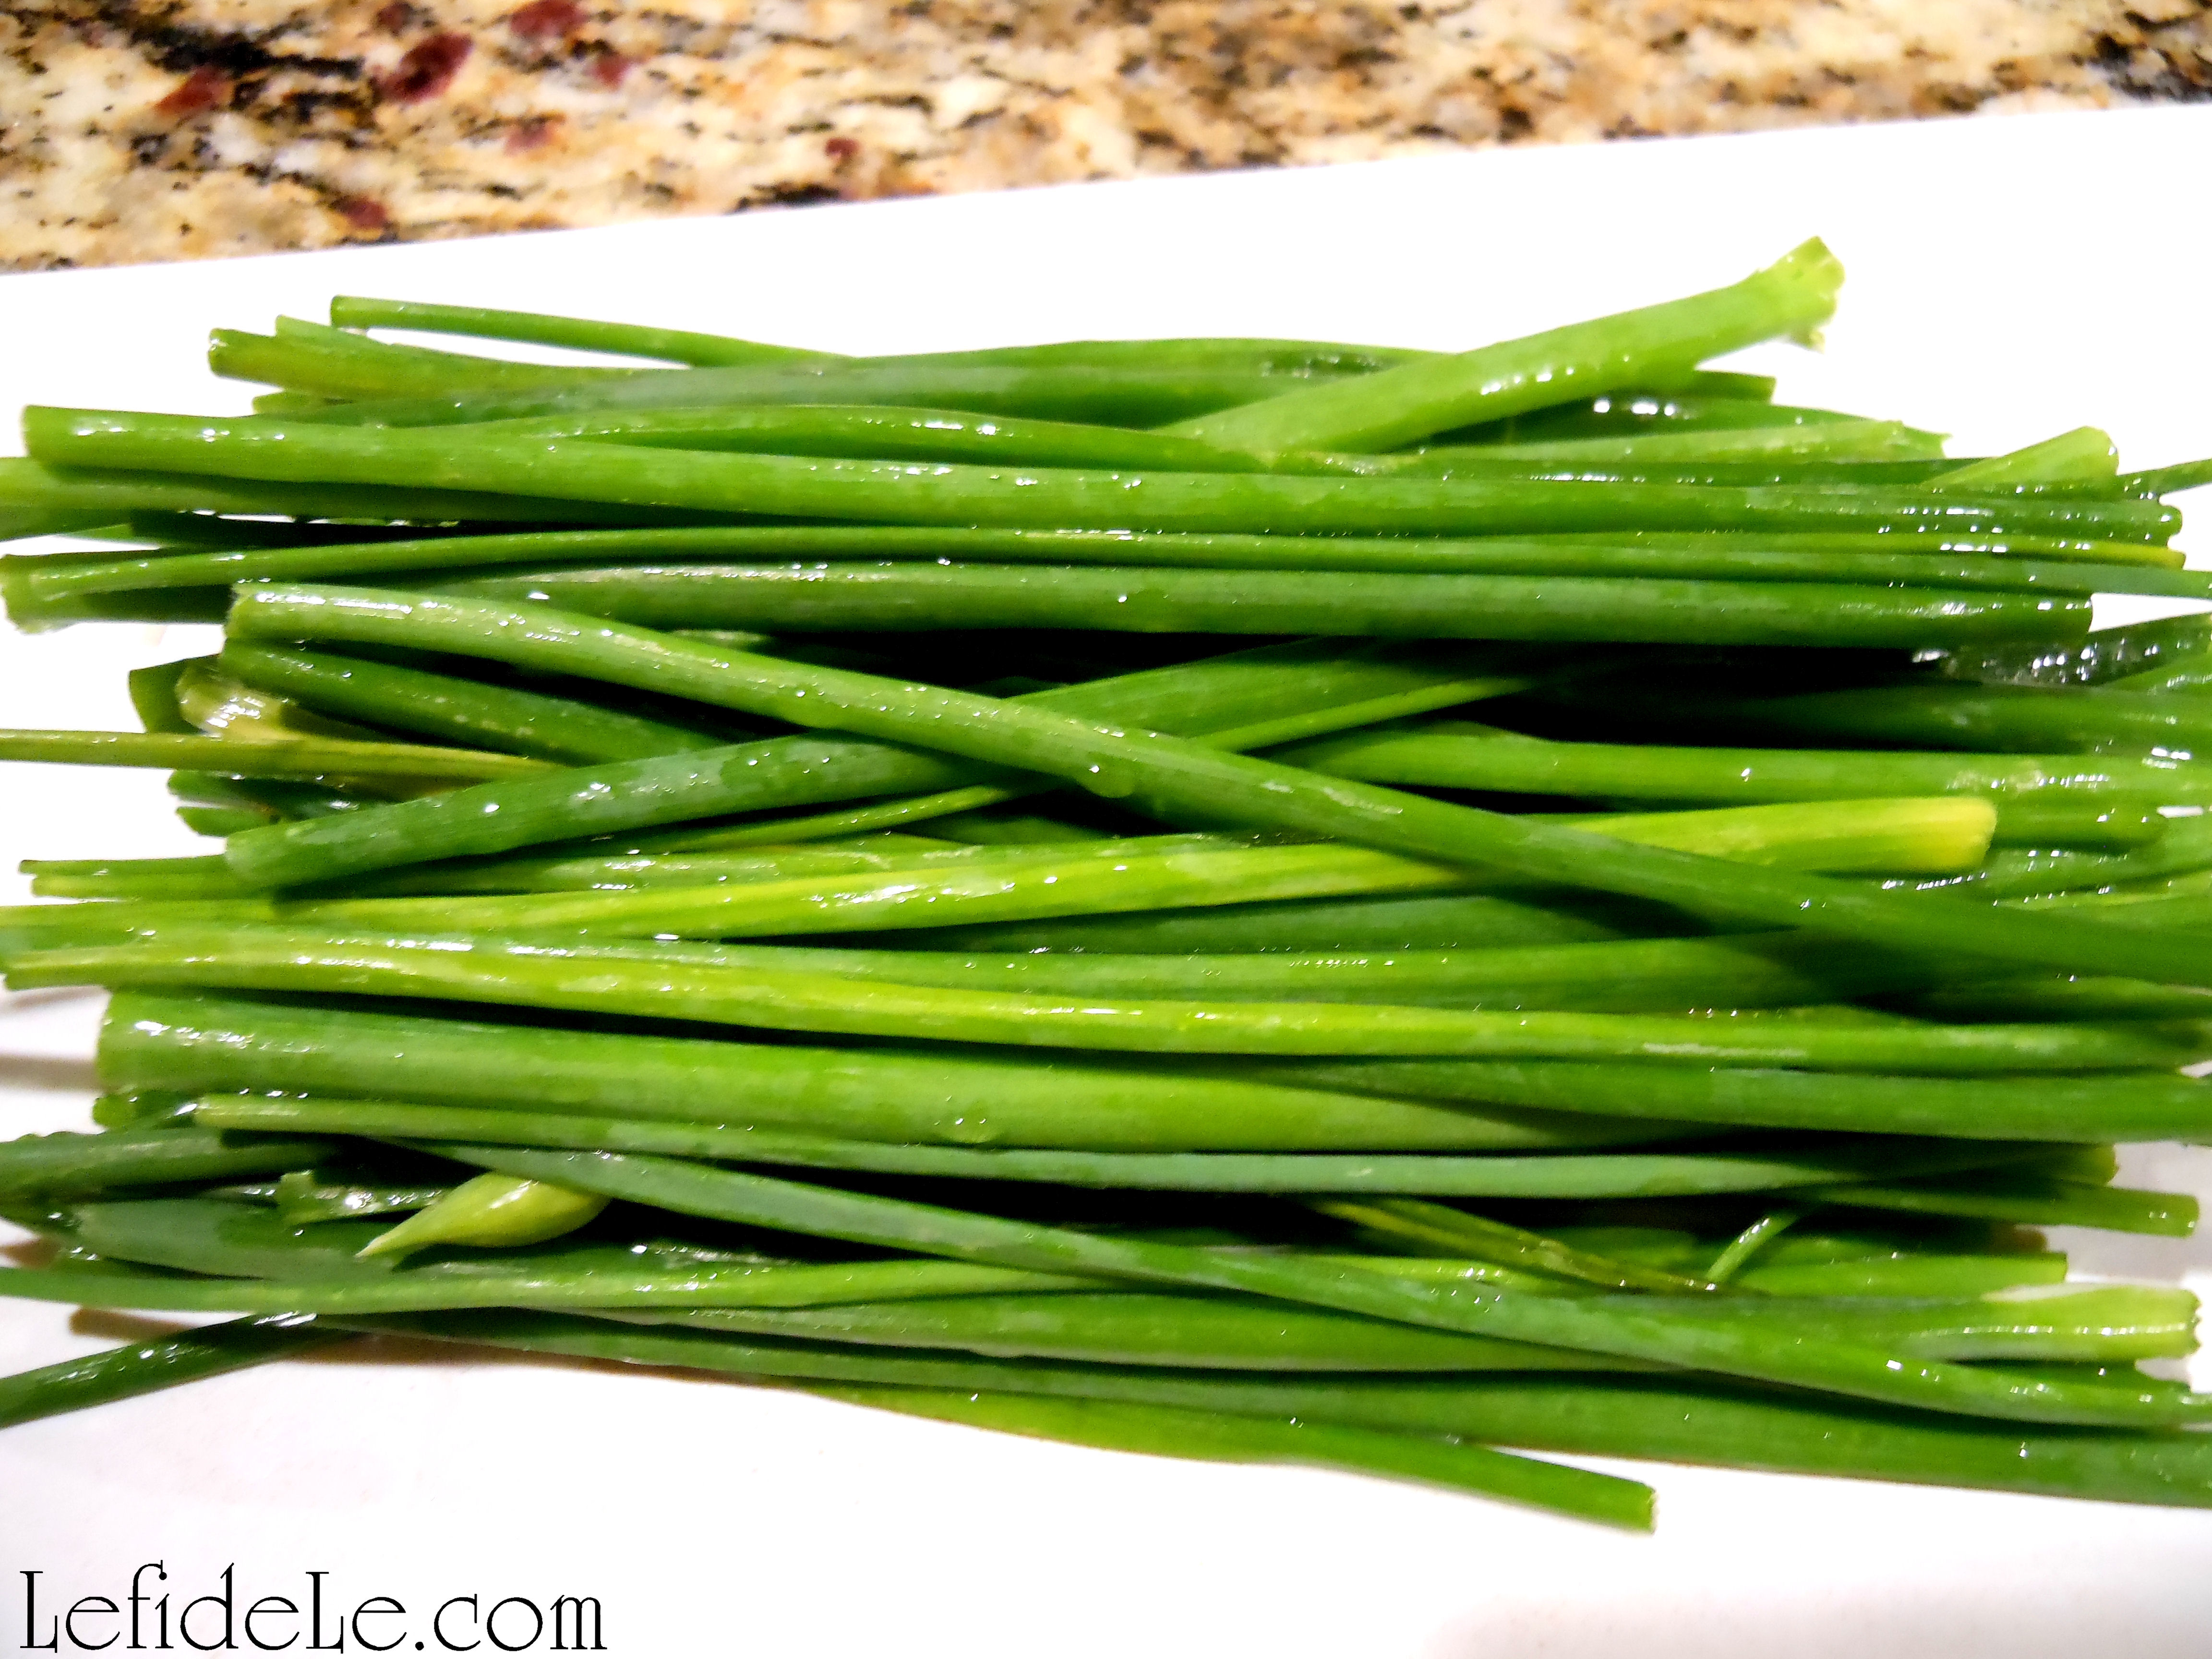
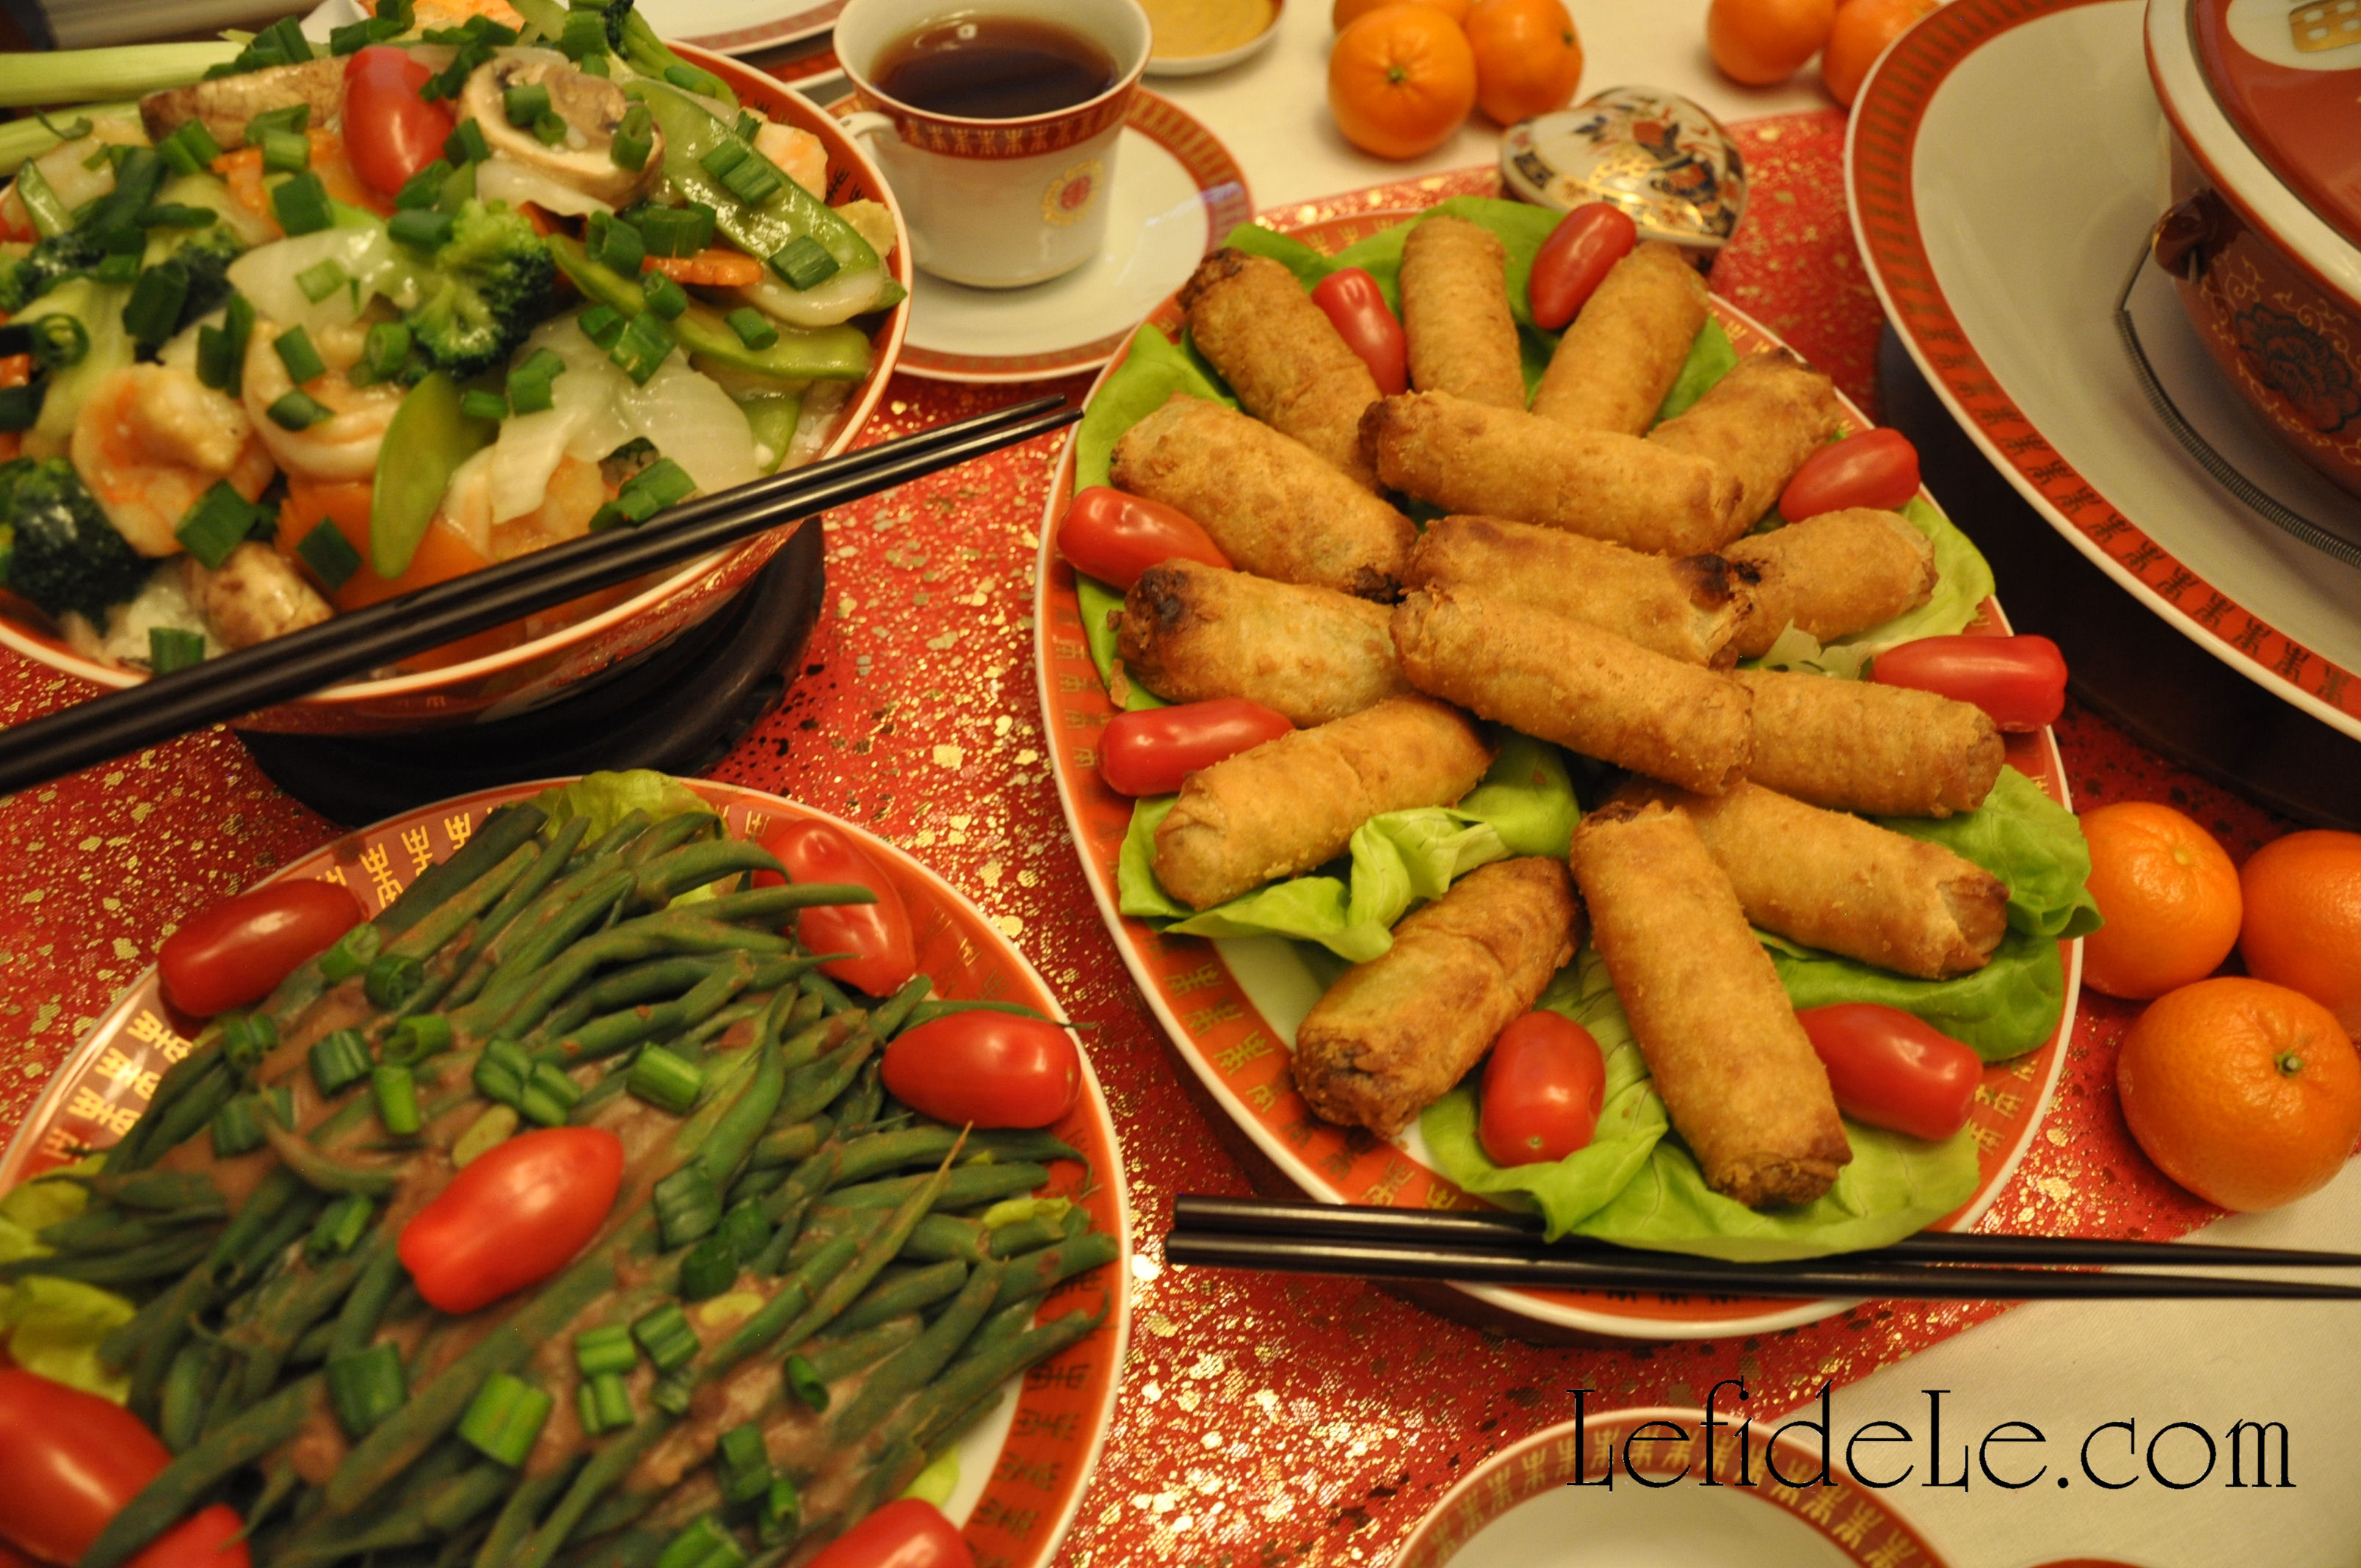
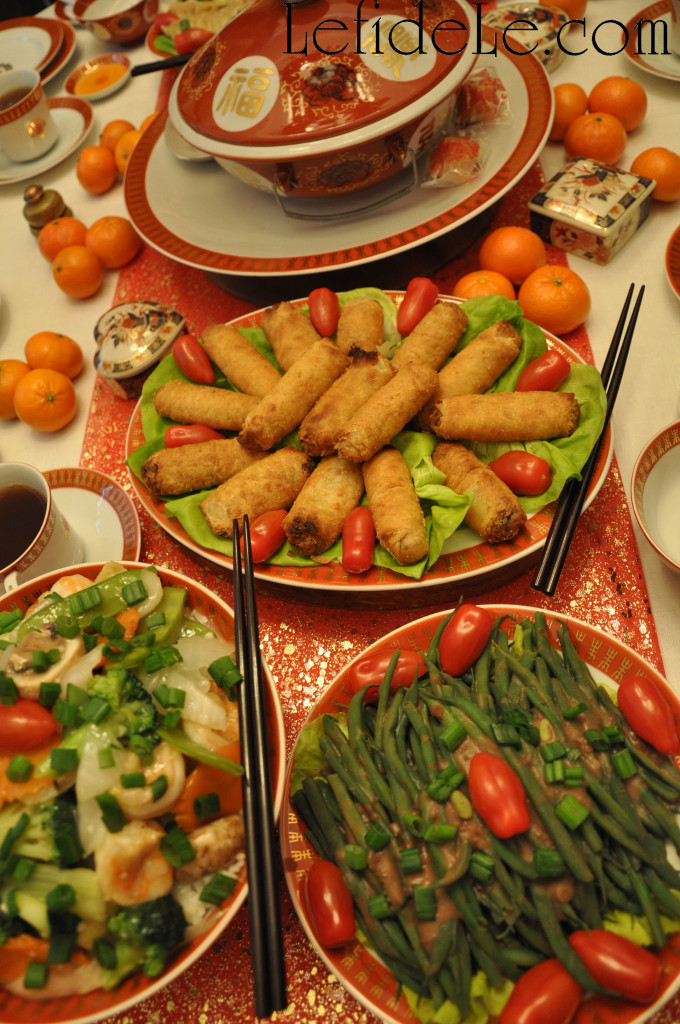
Fried springs rolls are practically required New Year’s fare! Adjacent to those were long beans with a black bean sauce and a prawn vegetable dish served over rice.
Some of the dishes were set onto wooden stands to both protect the table and elevate the vessels to different heights.
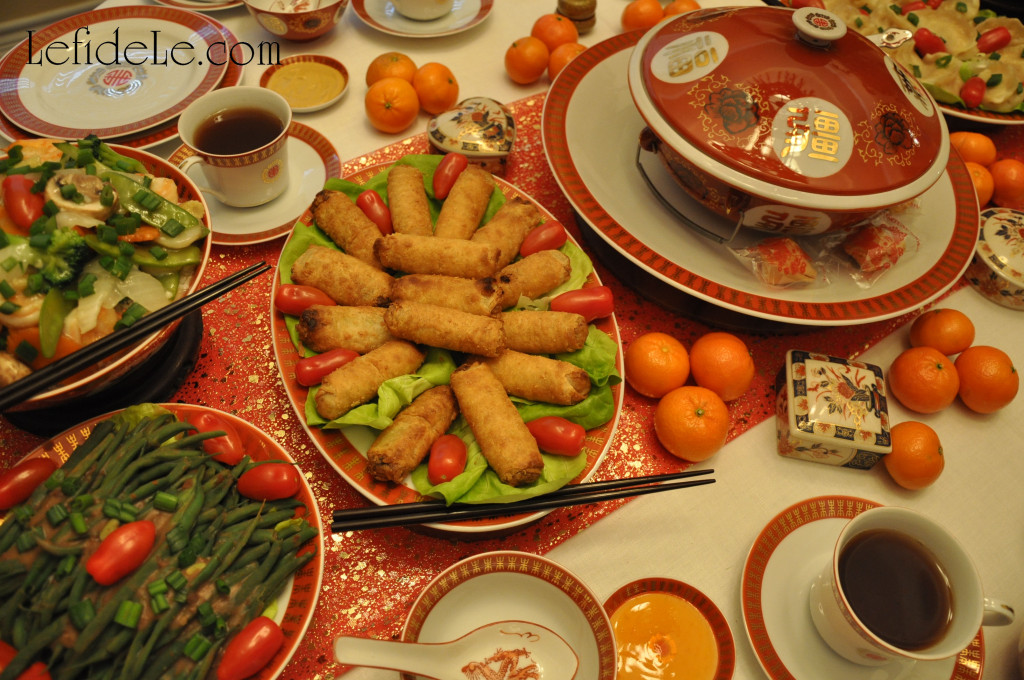
Each platter should have its own set of chopsticks or spoon. Serving chopsticks are typically longer and more decorative than those one eats with, but I only had one set of that type.
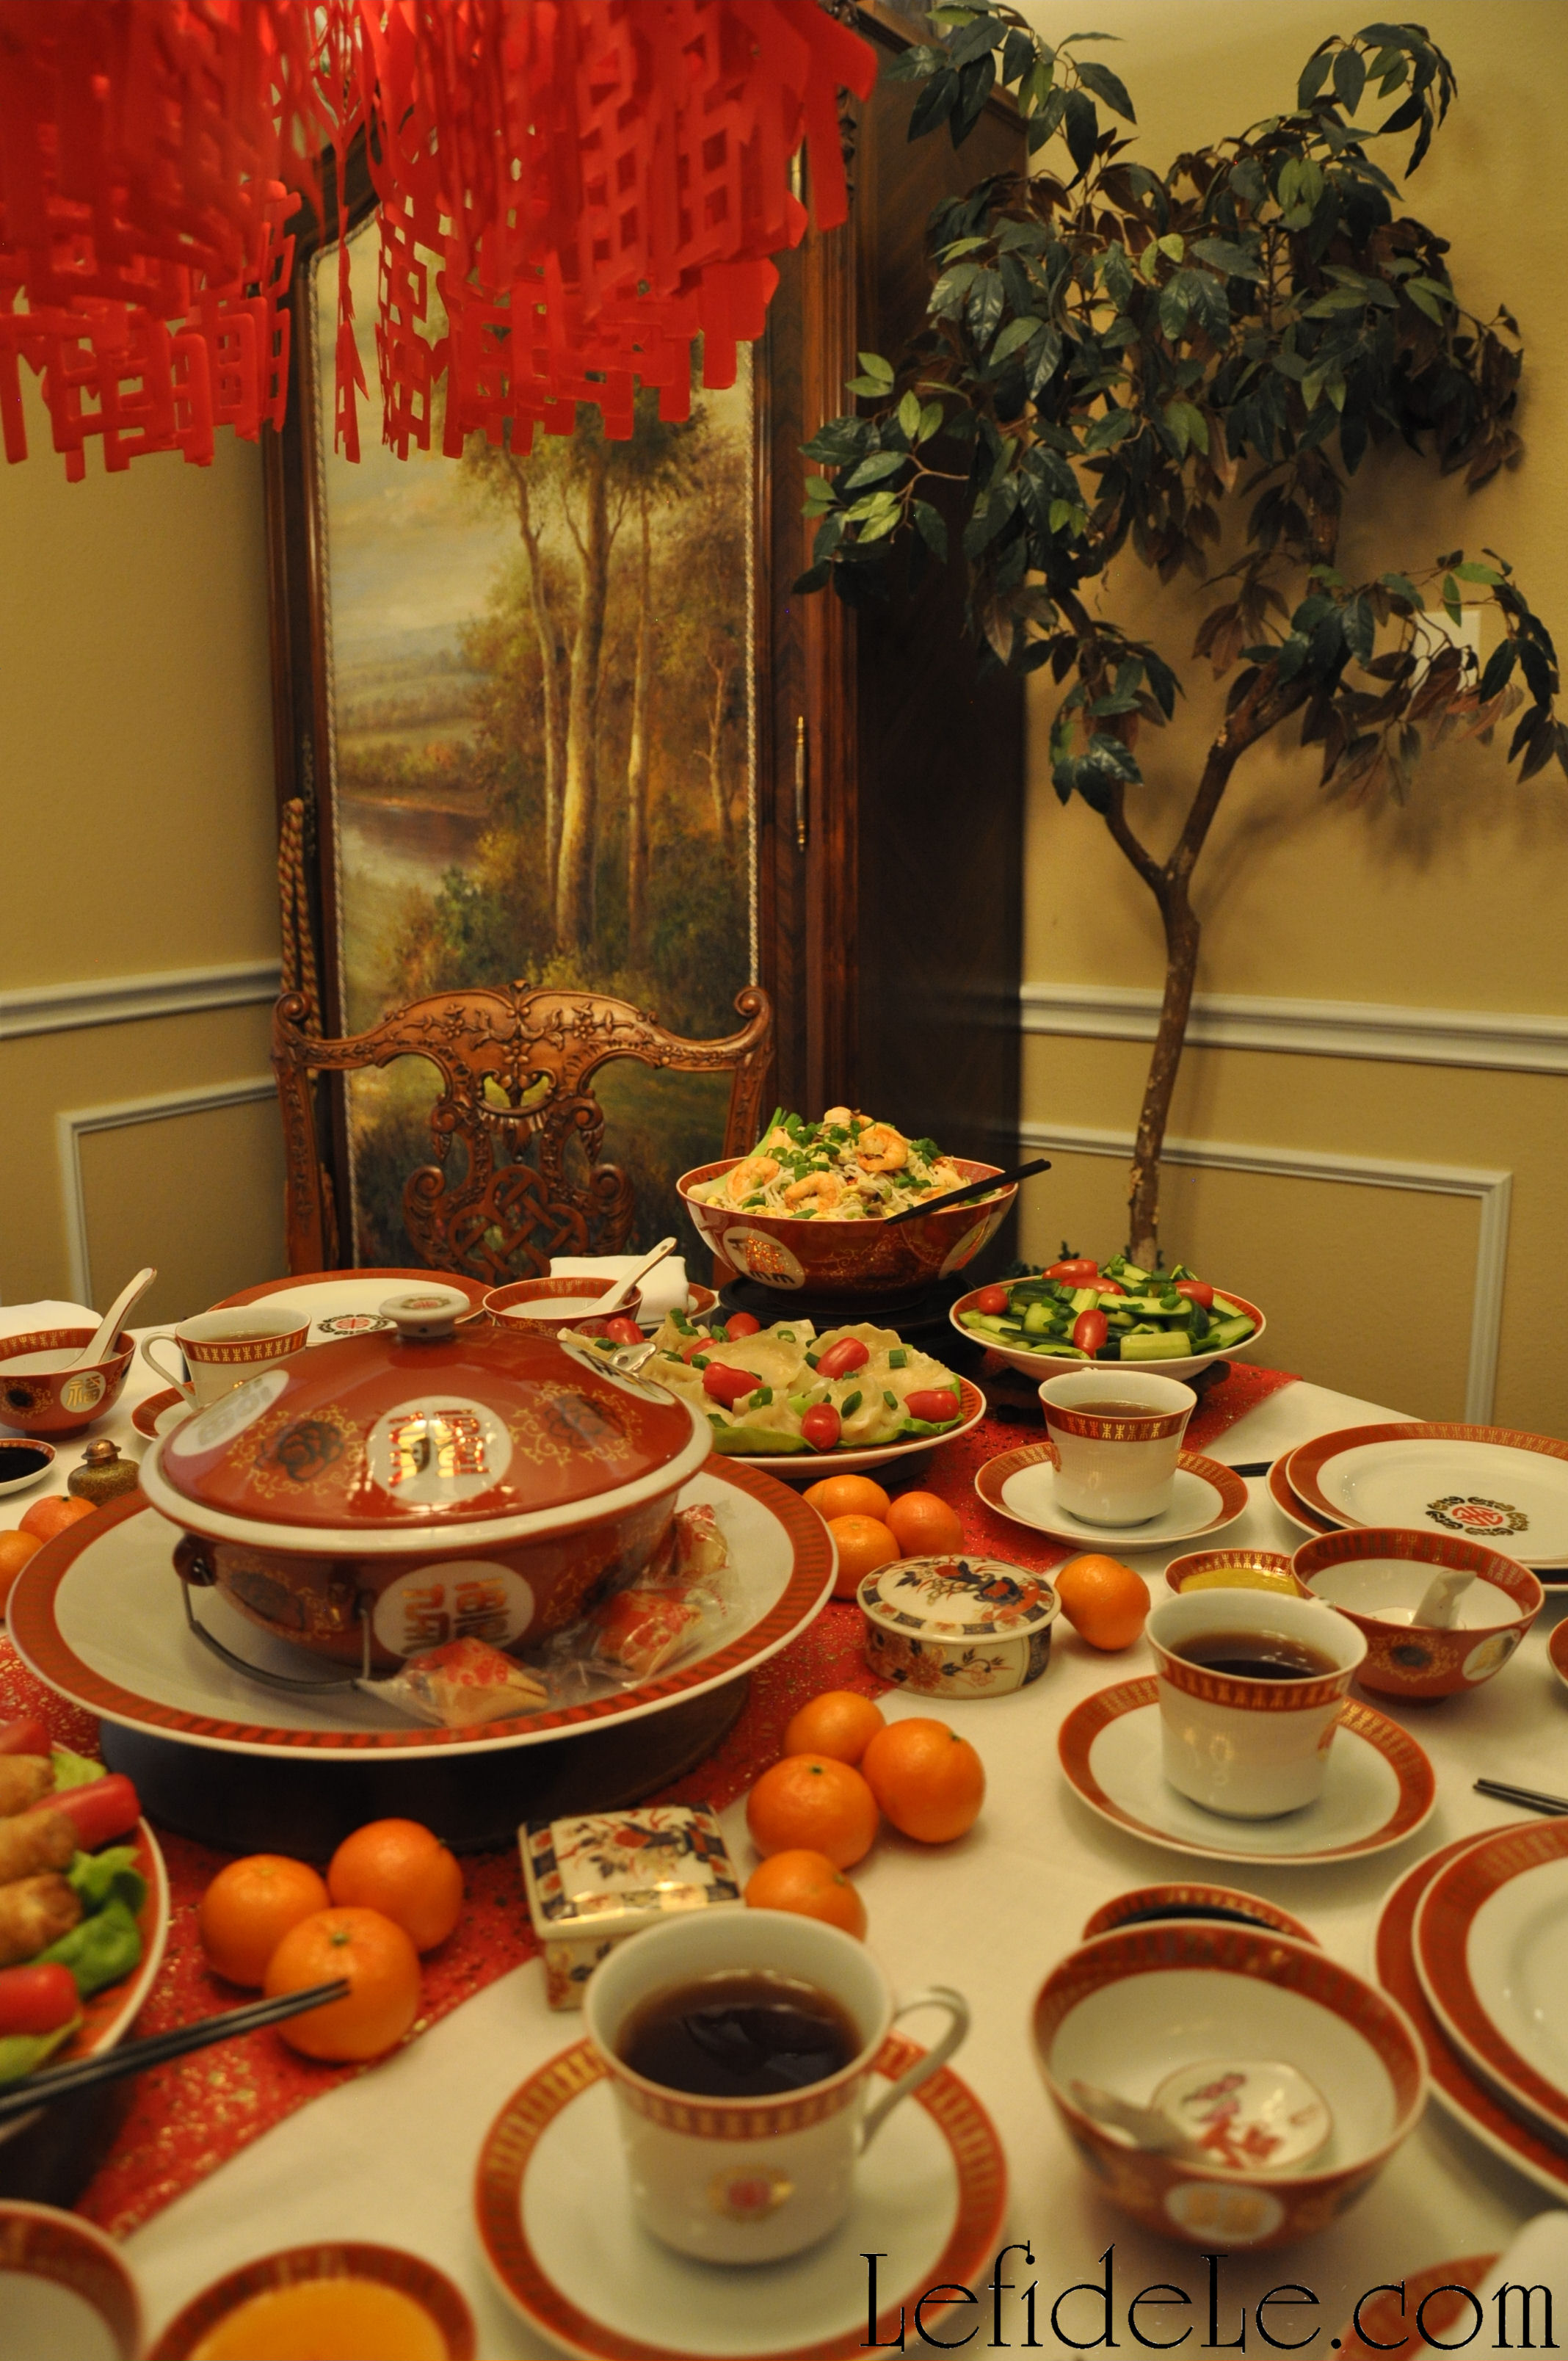
A lovely soup tureen was set into another platter to catch spills. This also contained a serving spoon and a few fortune cookies… an American tradition only, but why not celebrate the blending of beautiful cultures. Scattered around the center were some vintage boxes containing lucky candy.
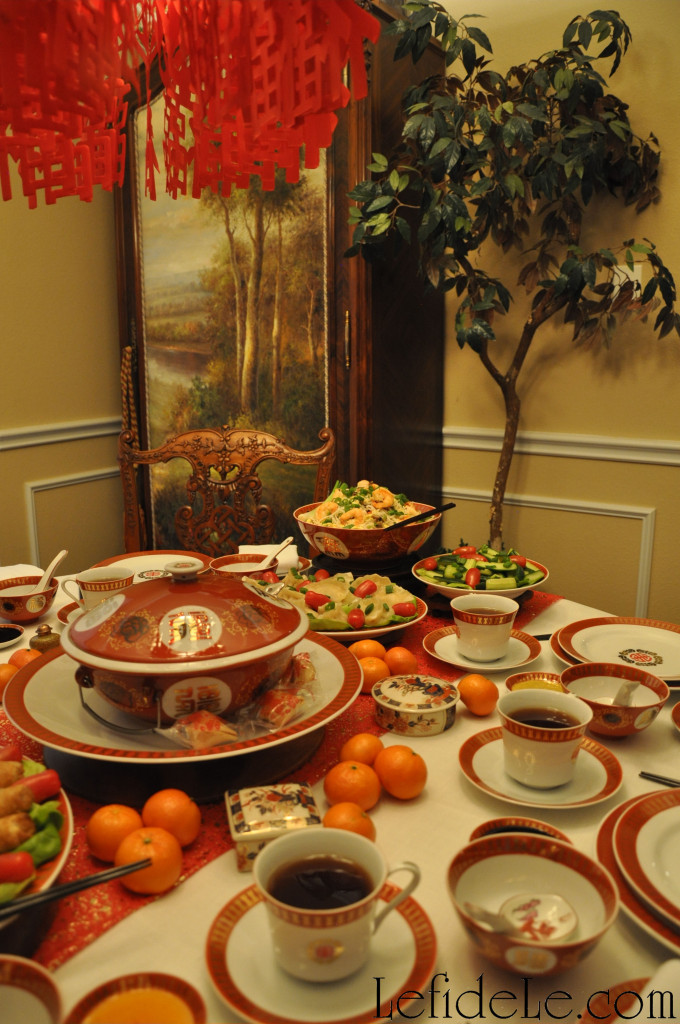
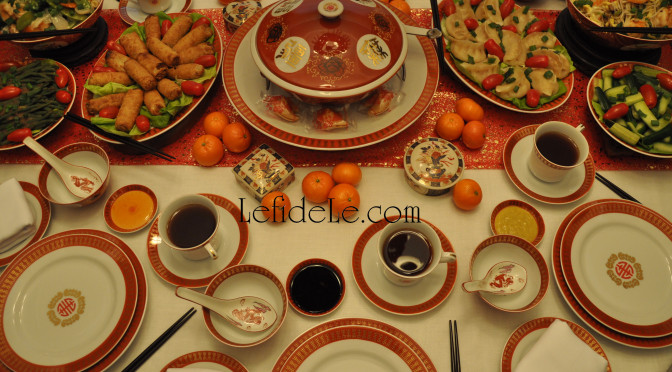
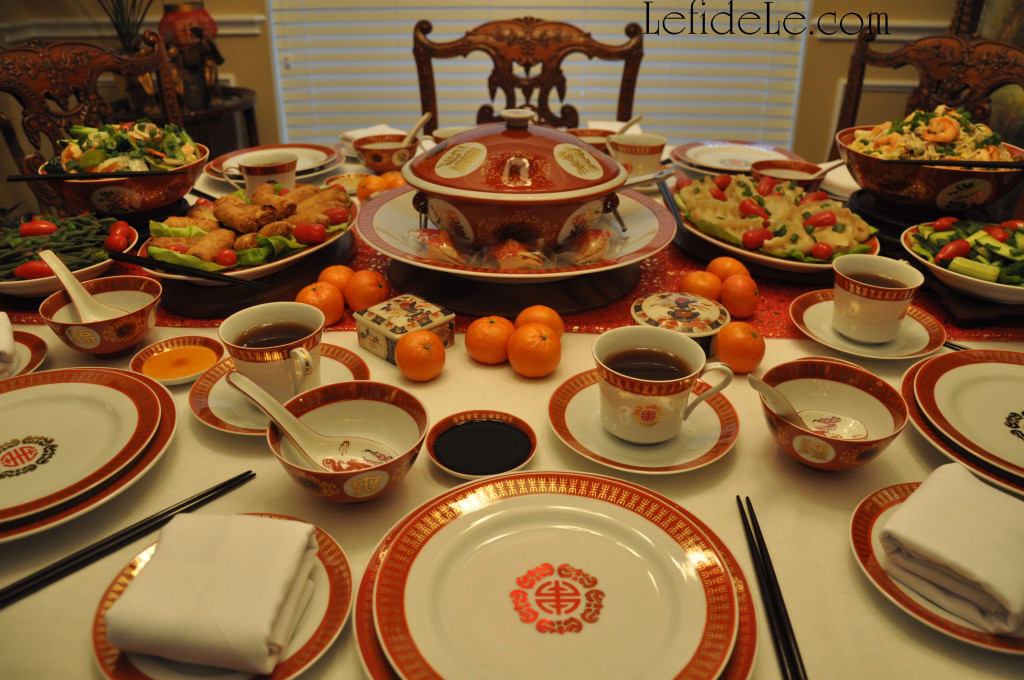
Many Chinese tables are fitted with “lazy susan” turntables at the center so that everyone can reach each dish. I have a couple of these, but opted for a different style of arrangement this year. Hanging in a circle from the chandelier, was another red banner like the one in the other room.
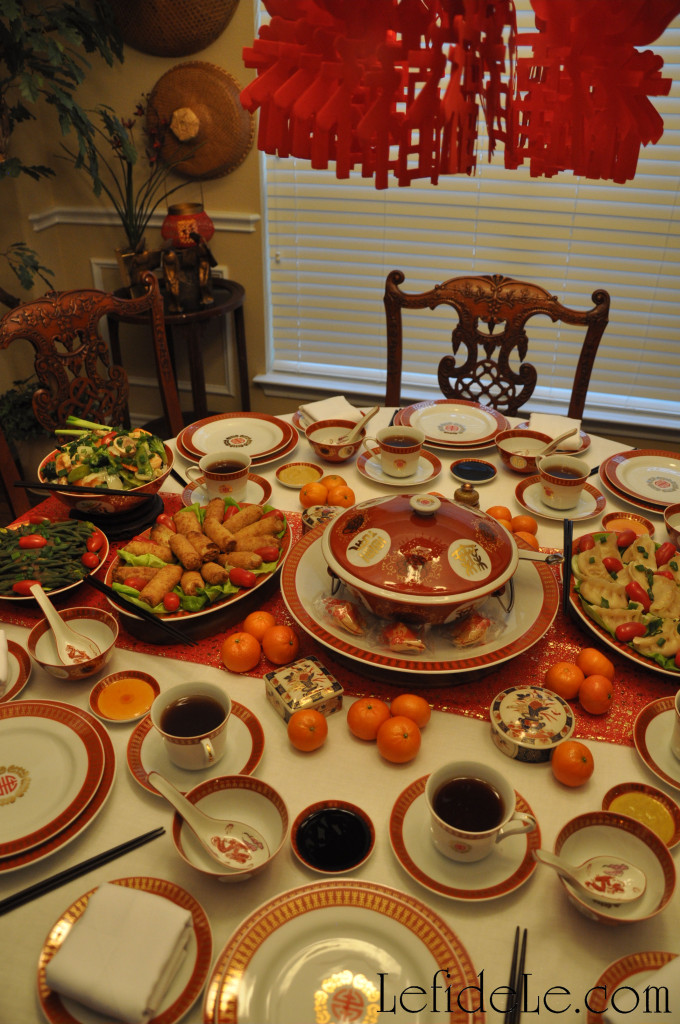
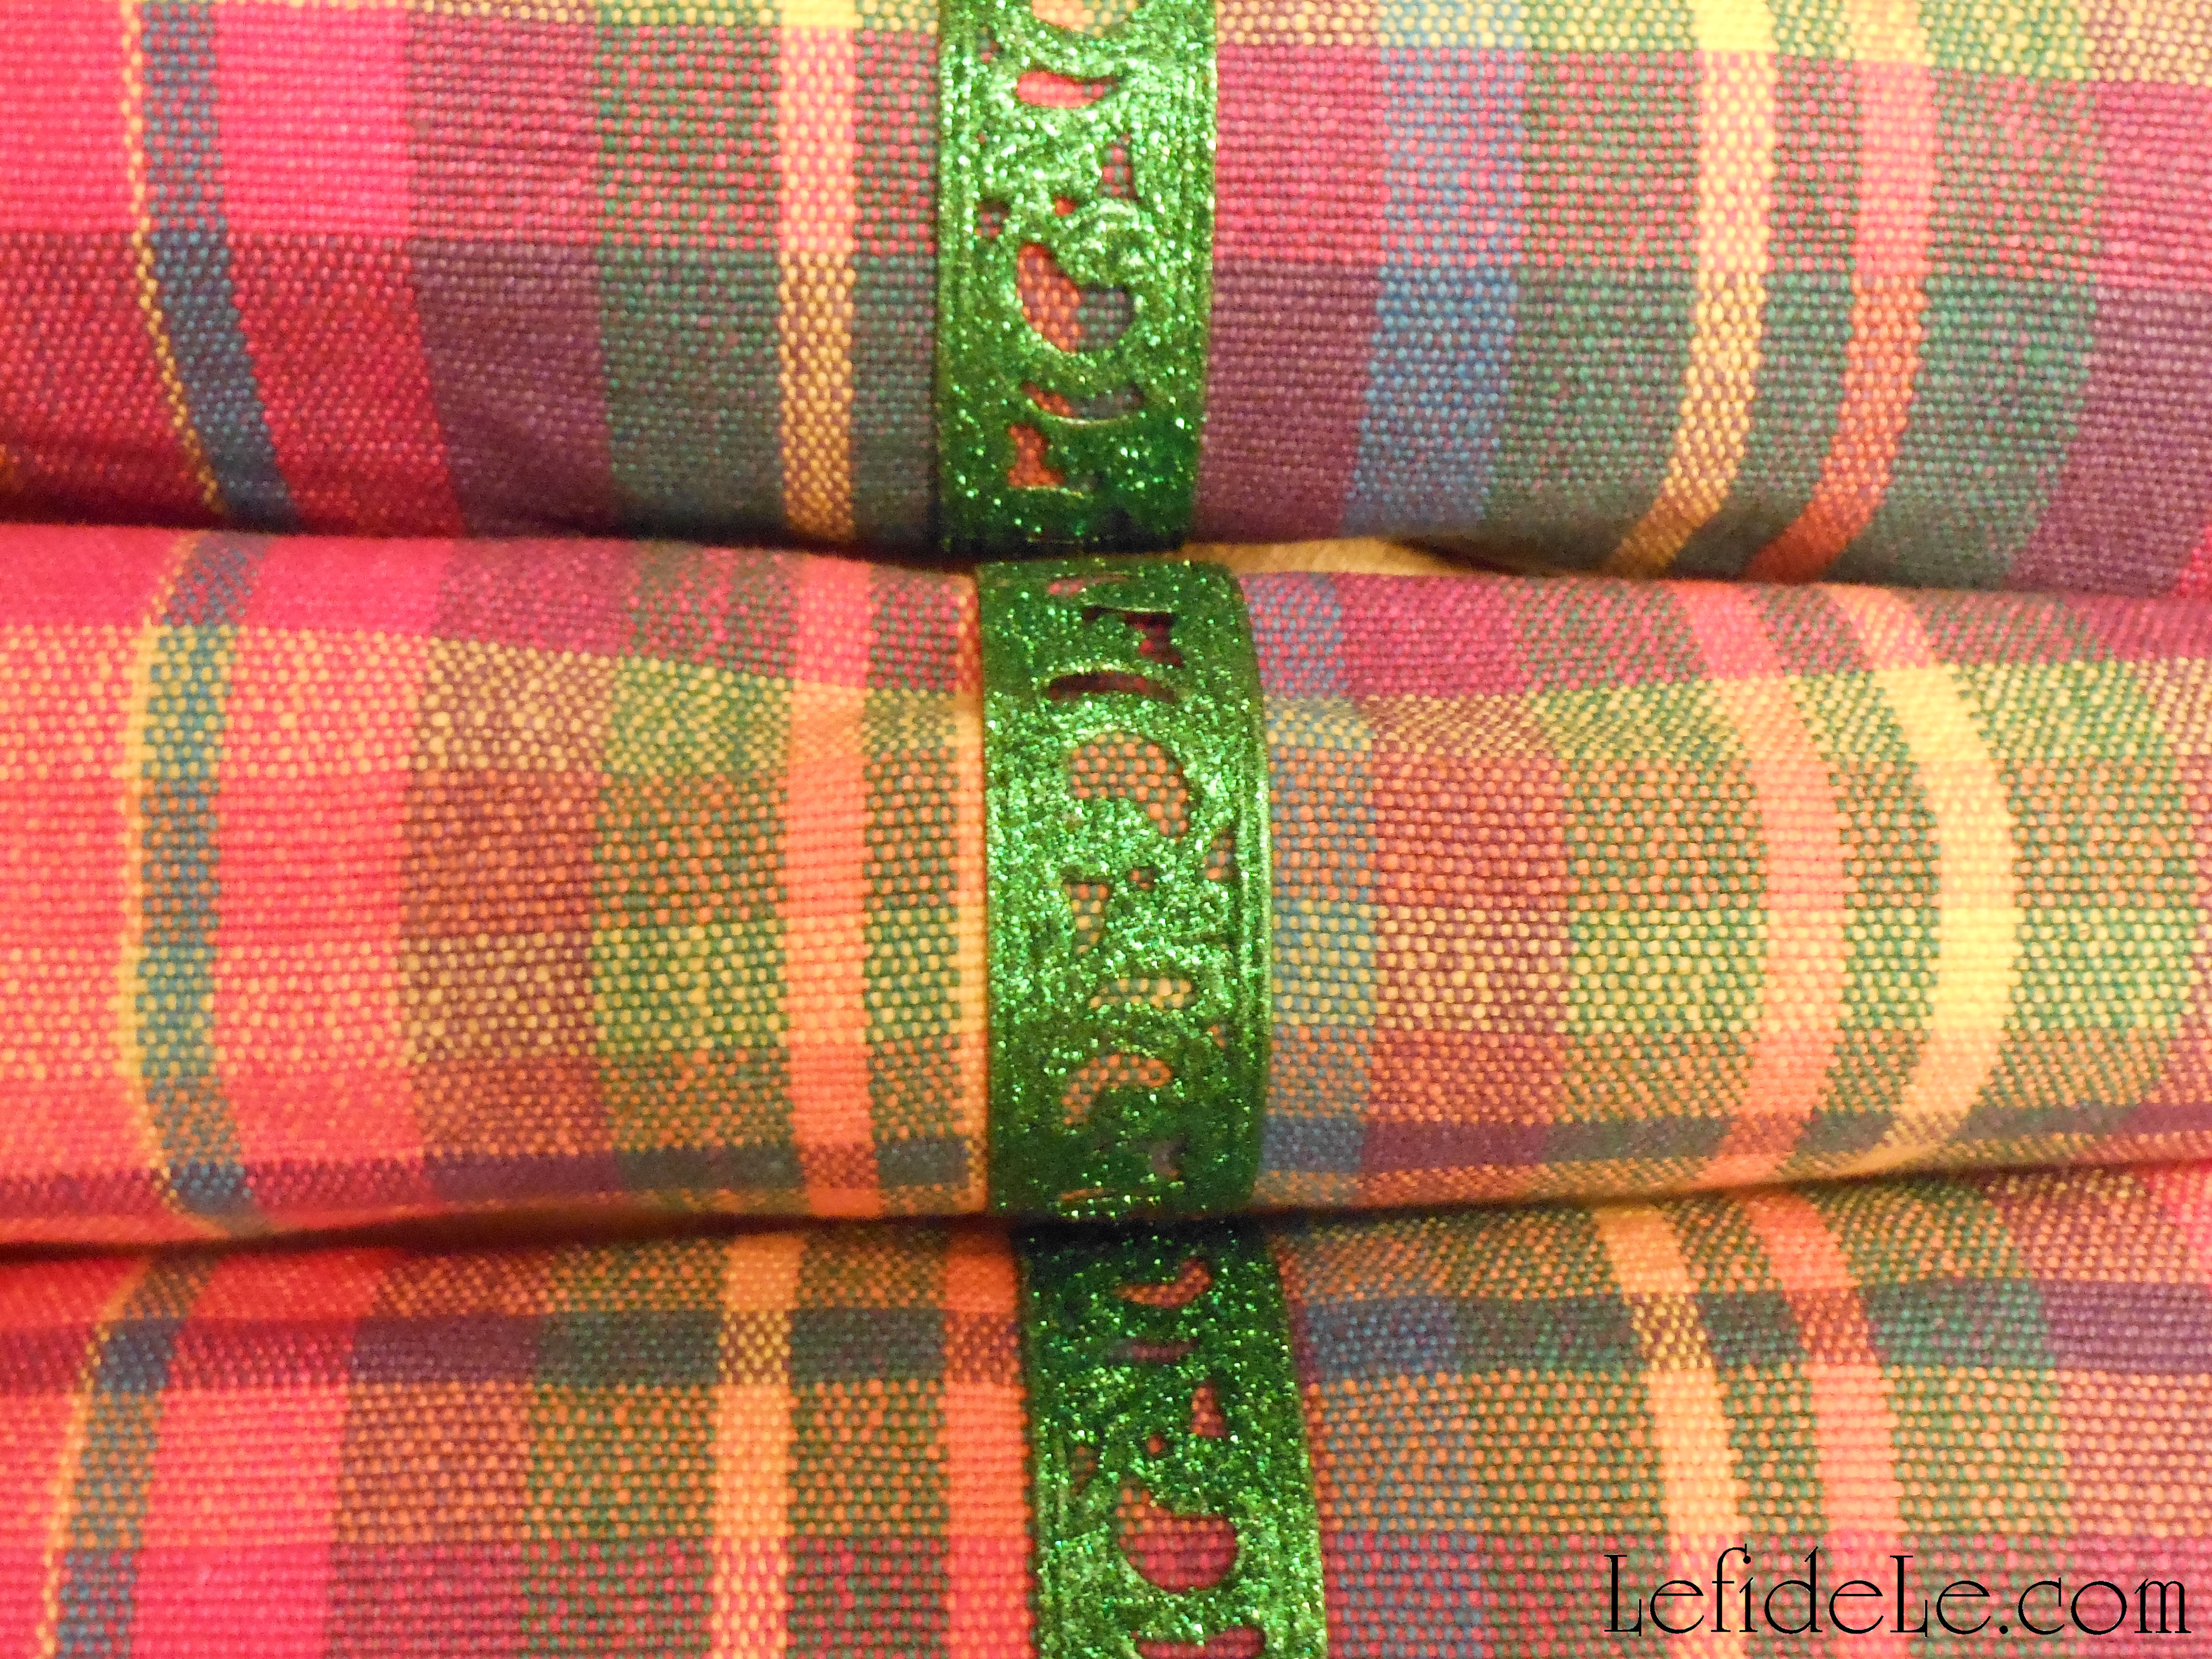
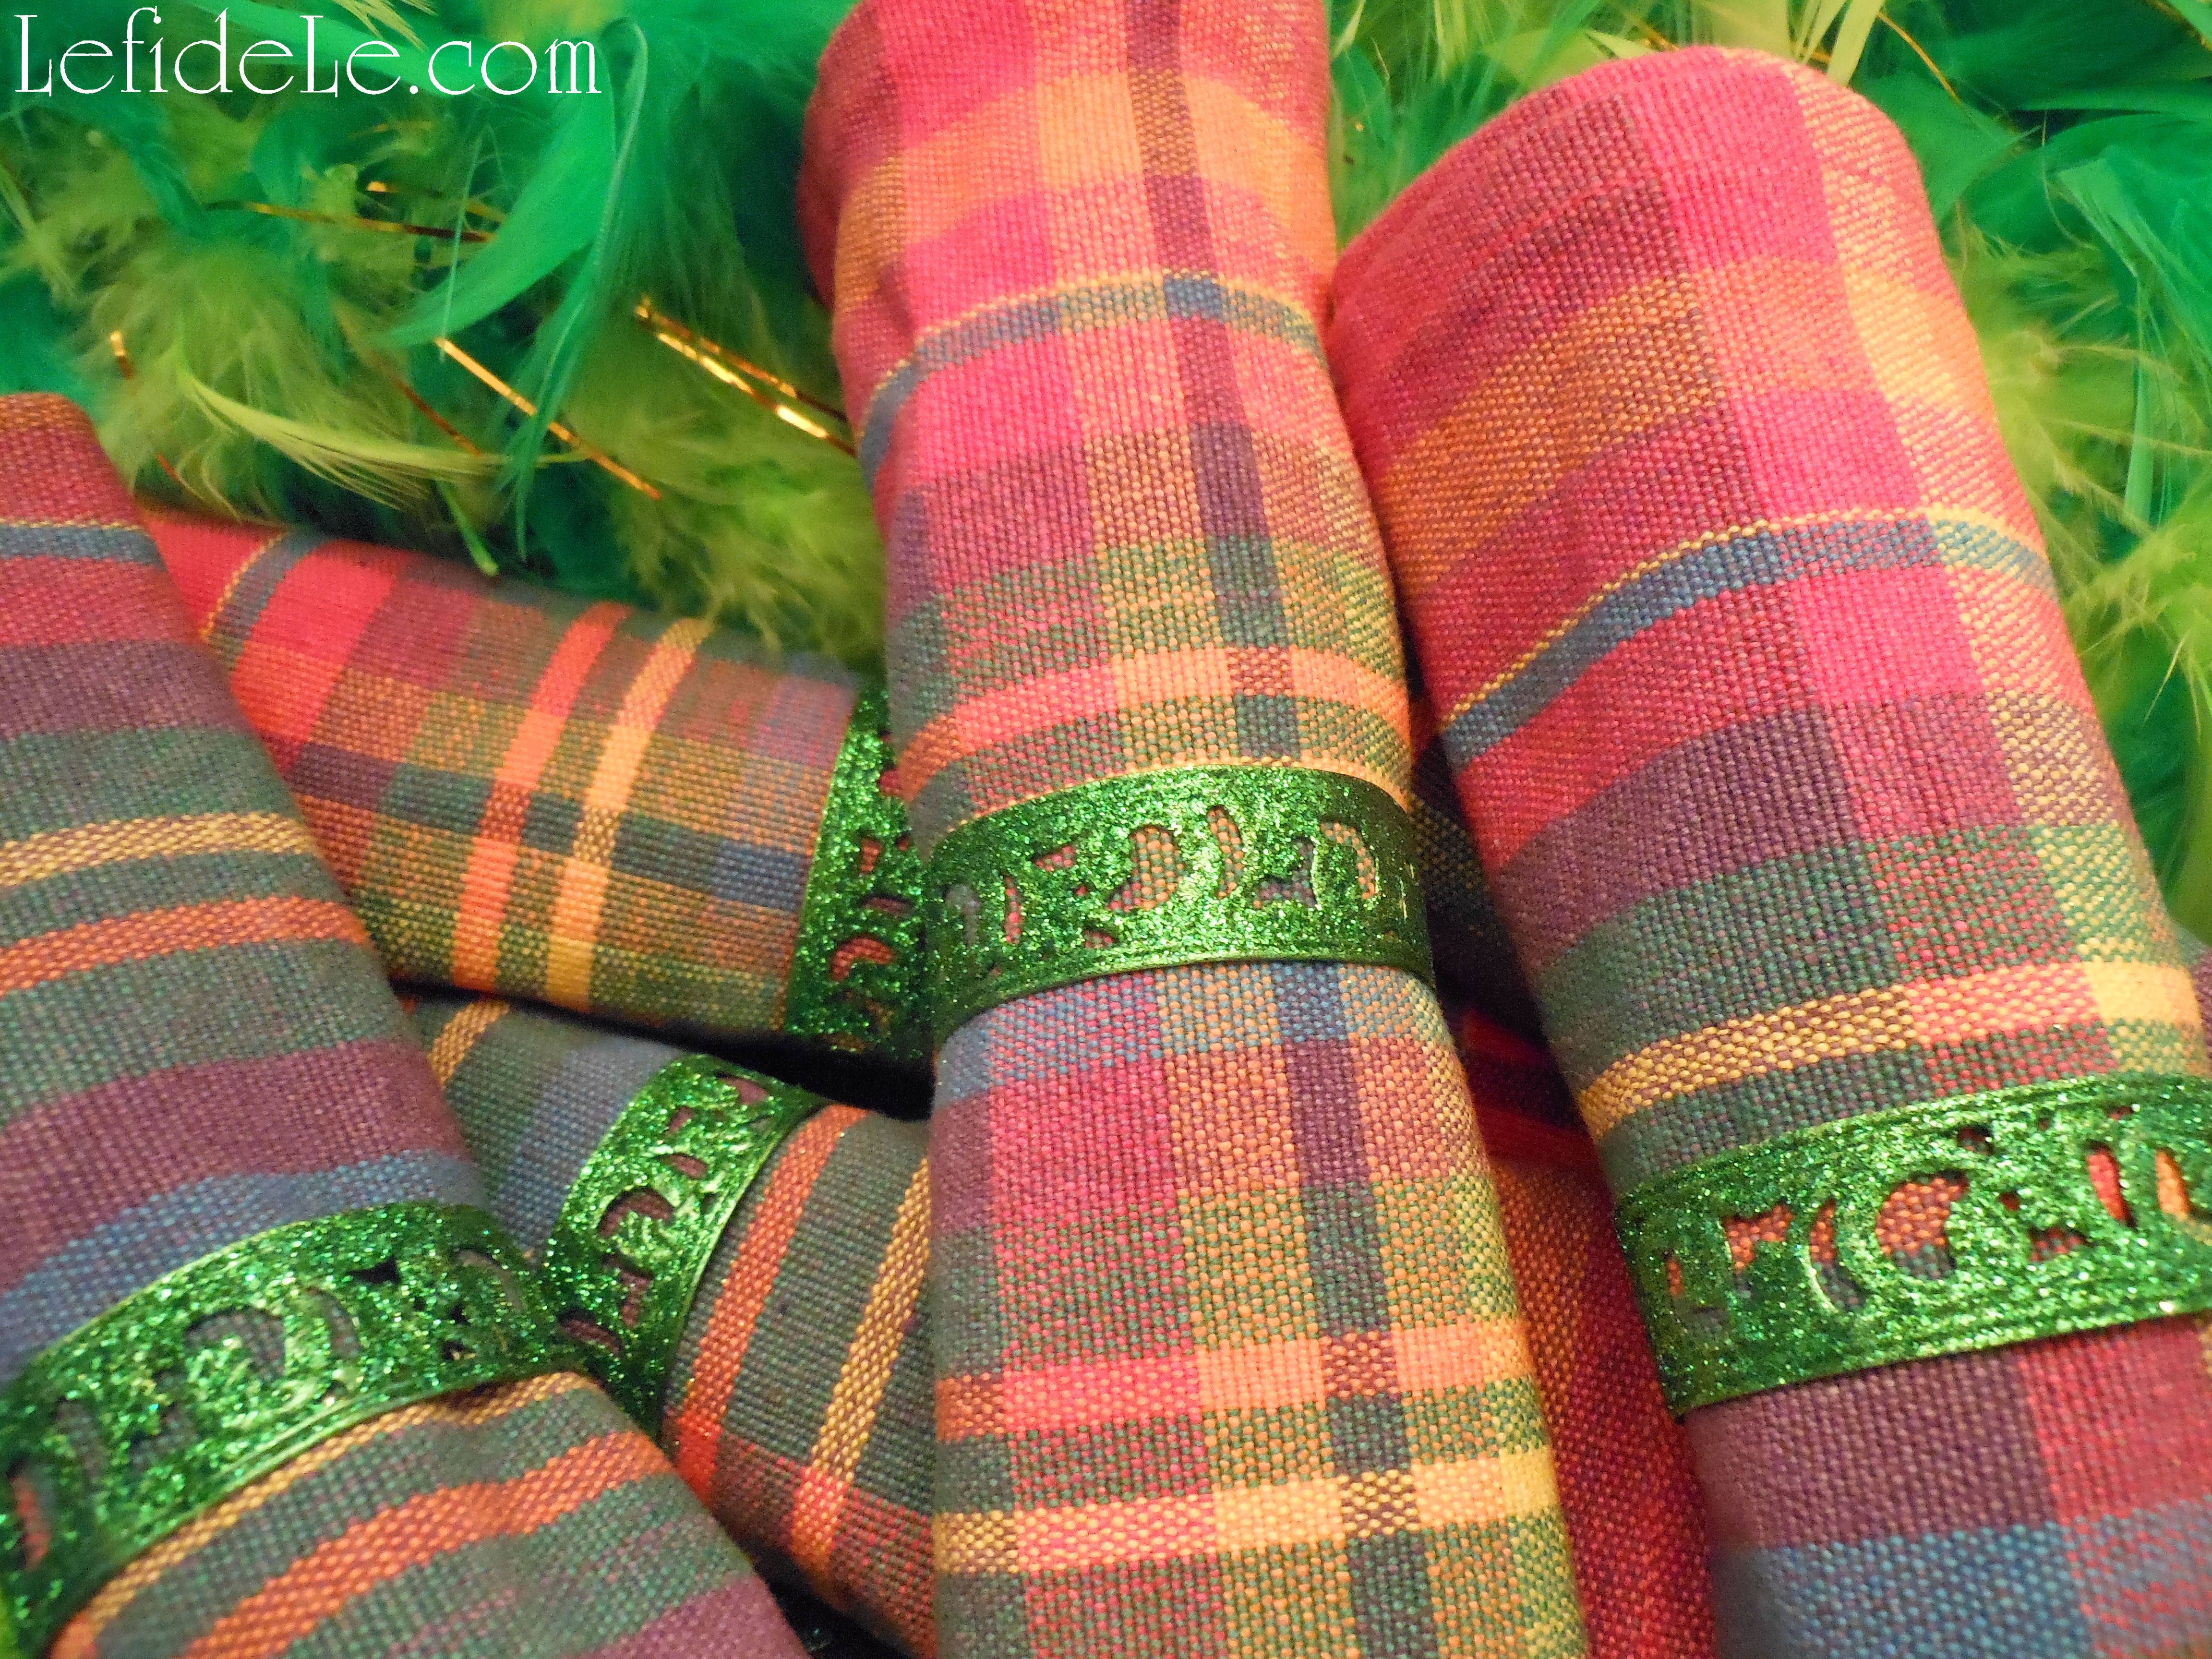
Down the center of table ran a length of metallic sprayed mesh fabric to coordinate with my grandmother’s china. She actually purchased the tableware when she lived in Taiwan for a time. A simple white tablecloth anchored it all. I was hesitant to use white, because it can be considered a funerary color (yikes), but it was the only thing I had that suited the china… which was incidentally made the year of a ruler’s death, thus the color of the teacups were made white instead of the normal red (according to my grandmother).
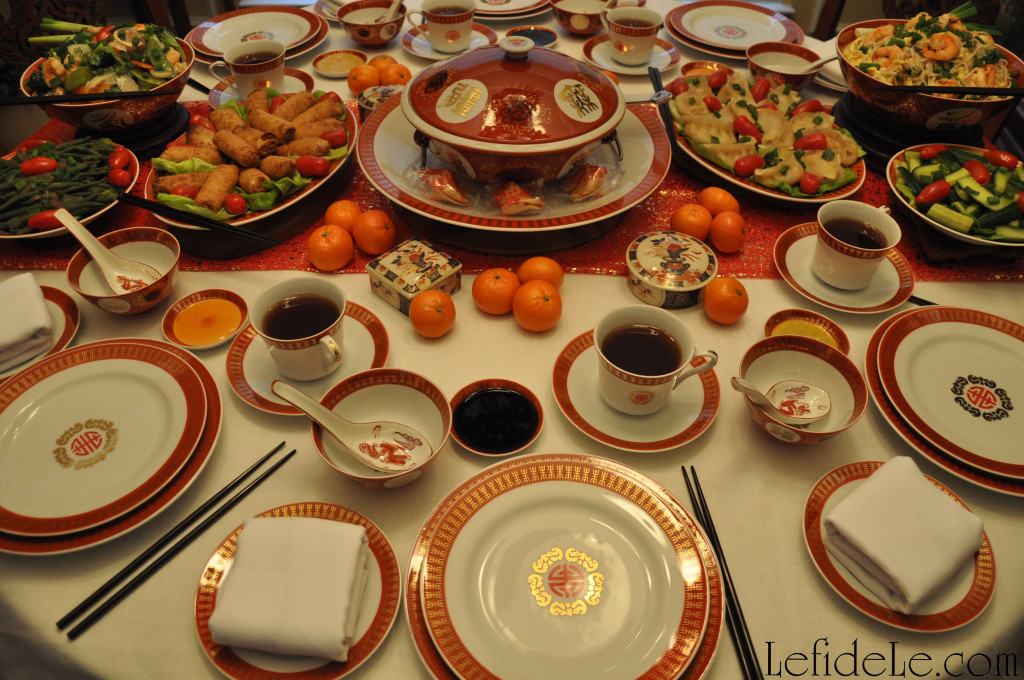
Tea is the drink of choice for such a celebration, and its cup is placed to the right just as in a Western table setting. The bowl for soup or rice goes to the left where a Western bread plate would sit. The flat bottomed spoon is set into that if there is no double rest for spoon and chopsticks. At the top and center is a small rimmed plate for dipping sauce. Usually only one variety is served universally, but I served 3 kinds from which guests could choose from.

Seated on the side table in the background were three of my grandmother’s dancing statues, an orchid, and one of my painted lanterns.
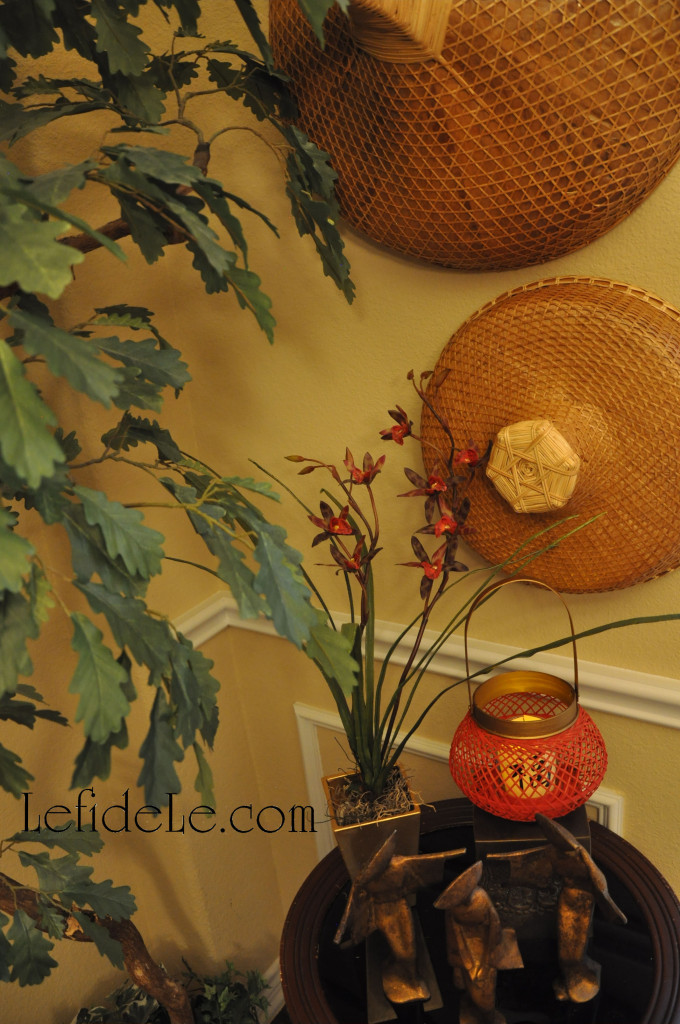
Above that were two of her woven hats that she requested I hang on the wall as décor. There really was something here for everyone.

In celebrating this Chinese New Year (slightly early so that I could post it for y’all), I tried to incorporate traditions and symbols while adding some playful American touches. In this way, I believe we can pay special recognition to the beauty of our blended cultures.

Faithfully Yours,
Leigh
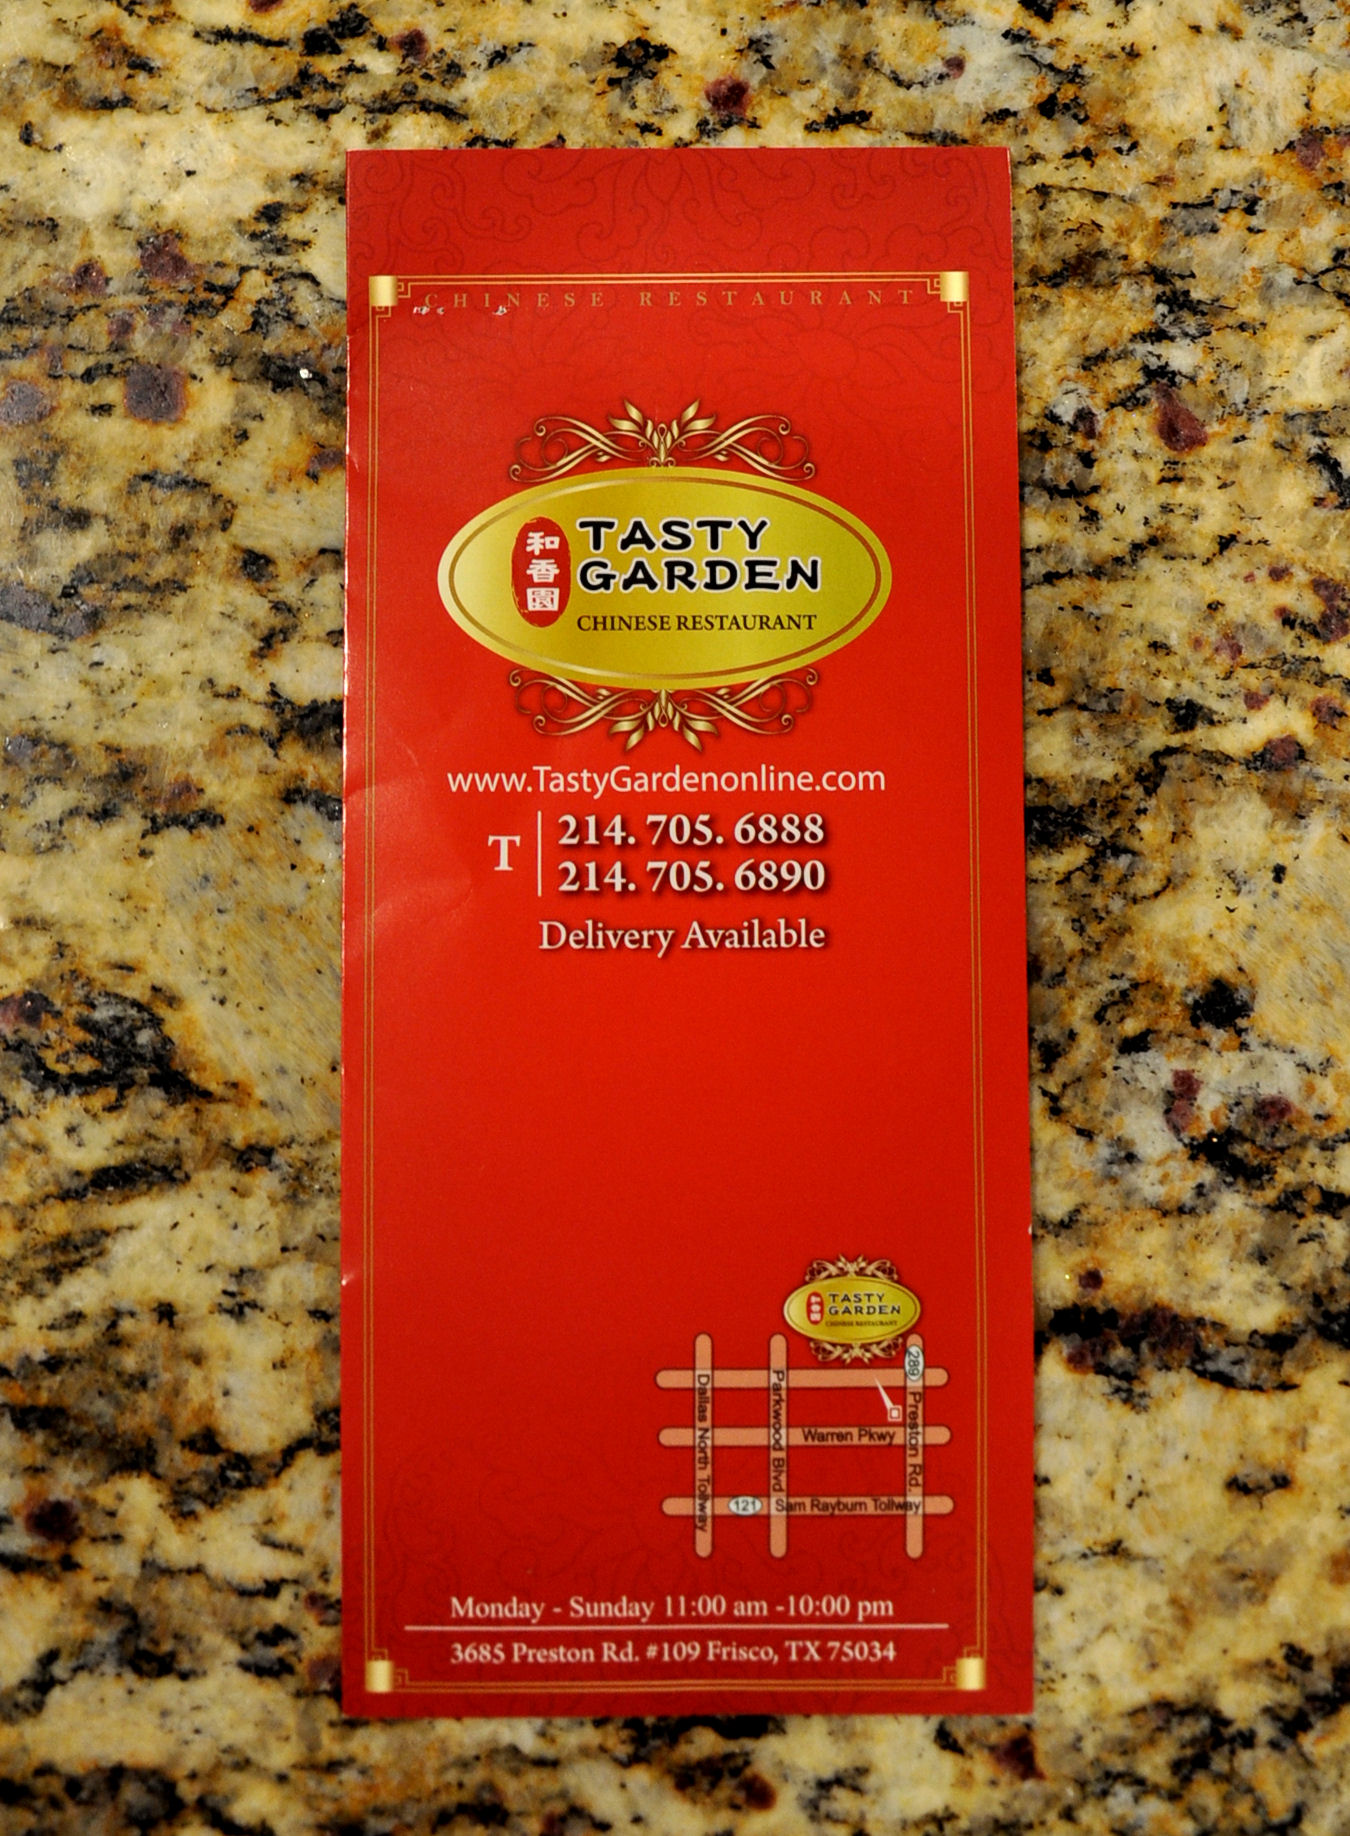
P.S. If any of you live near Frisco, Texas… be sure to check out “Tasty Garden Chinese Restaurant” whose kind individuals would love to make your party preparations easier by adding a beautiful dish or two to complete the setting. Who says you have to make every recipe at the table? They’ve said they would be happy to work with individuals to avoid allergens… which is always appreciated! http://www.tastygardenonline.com/