Tag Archives: Green

Whimsical Fairyland Tablescape Décor Ideas for a Birthday Party or Mother’s Day Celebration

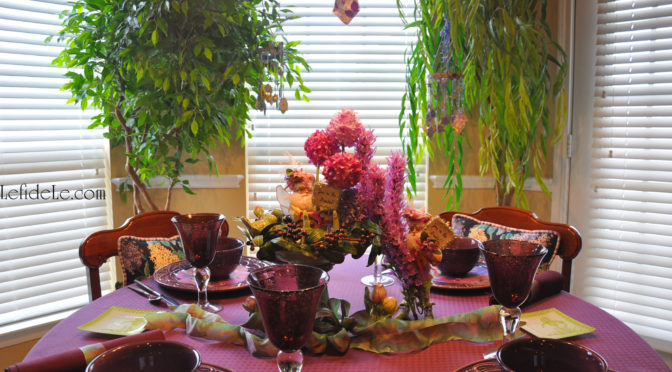
Welcome to a whimsical fairyland with tablescape décor ideas perfect for a birthday party or Mother’s Day celebration. This is a venue where fantastical flower bearing fairies evoke Irish proverbs that will fill your mind with conviviality as joy fills your soul.

133Leigh

“Your feet will bring you where your heart is.”

Take a seat next to a dear loved one whose smile is lit by the glistening light reflected by the chandelier’s découpaged crystals.

140Leigh

“What fills the eye fills the heart.”

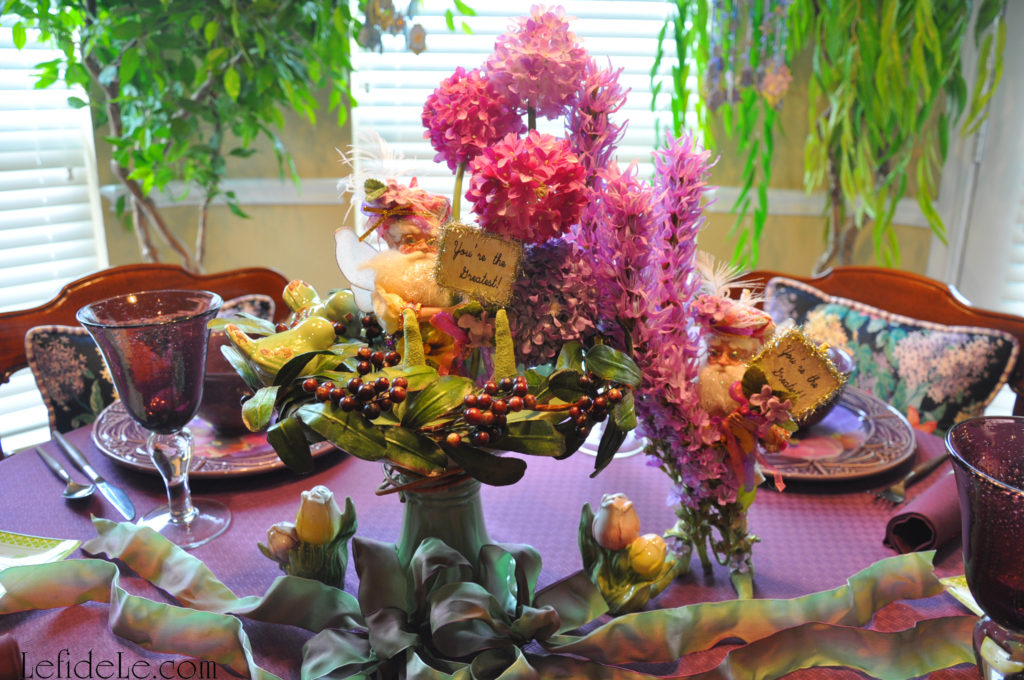
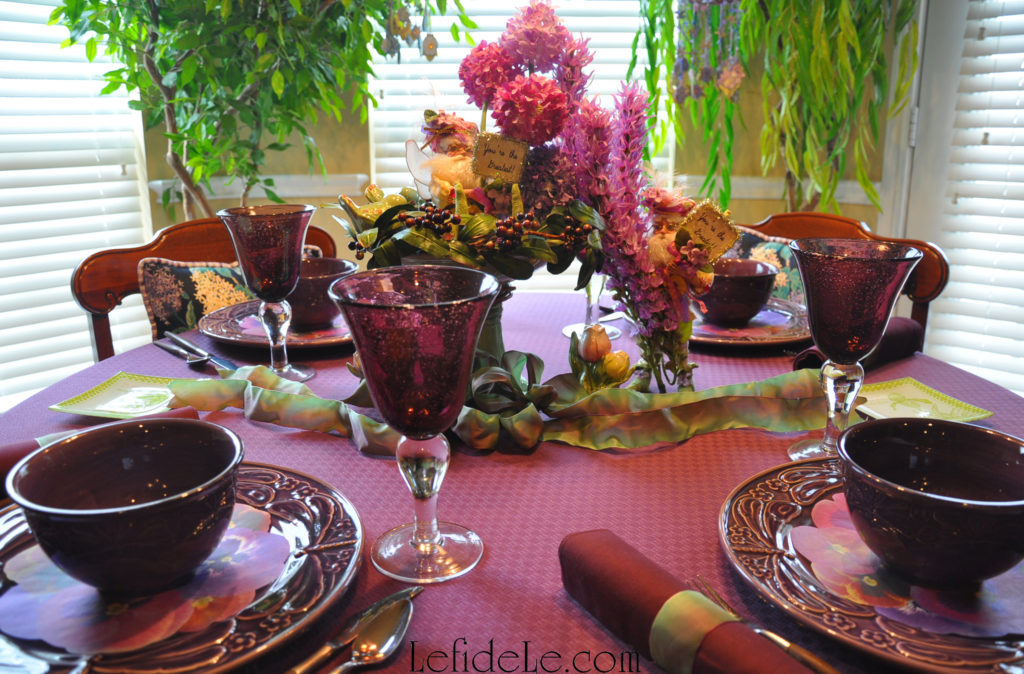
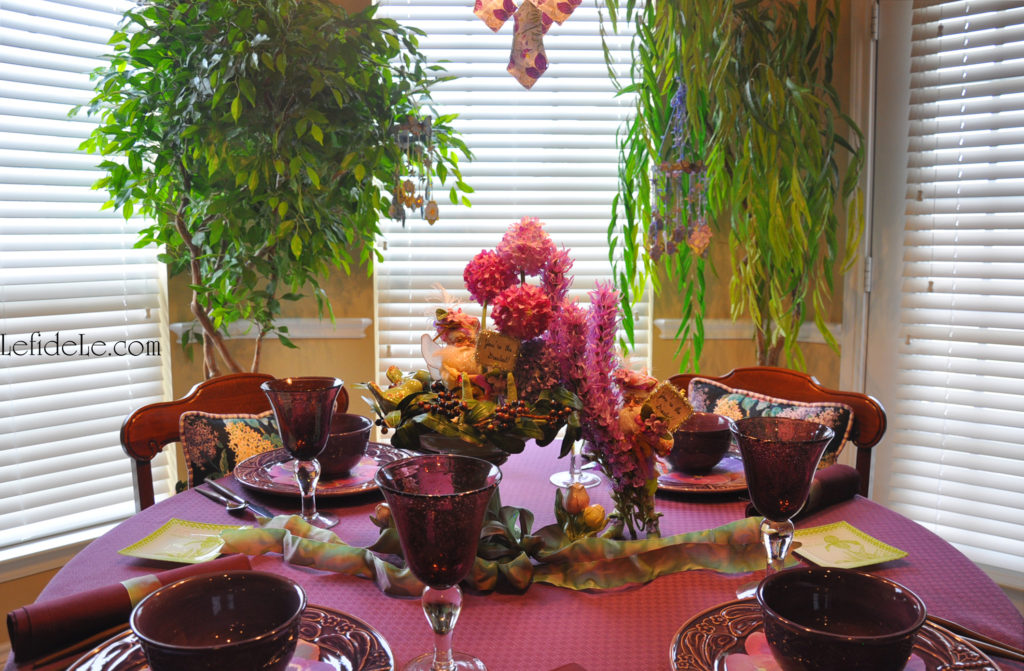
Feast your eyes upon a table festooned with watercolor ribbon bows and a berry clustered birdbath centerpiece framed by ceramic tulip salt and pepper shakers.

150Leigh

“A word is more enduring than worldly wealth.”

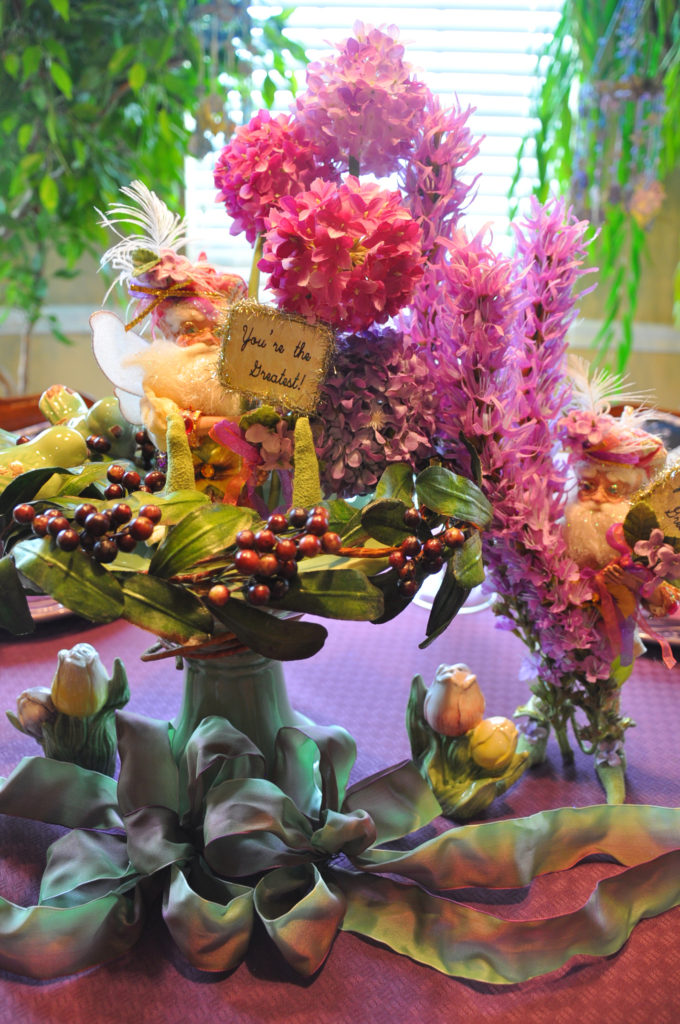
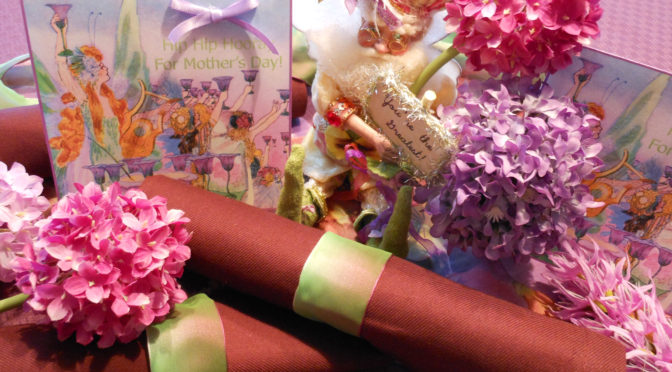
Meadow fairies present you with purple flowers and signs declaring, “You’re the Greatest!”

182Leigh

“People live in each other’s shelter.”

Rest upon floral cushions as you bask in the serenity of good company sheltering beneath trees adorned with handcrafted paper flower mobiles.

184Leigh

“Time is a good storyteller.”

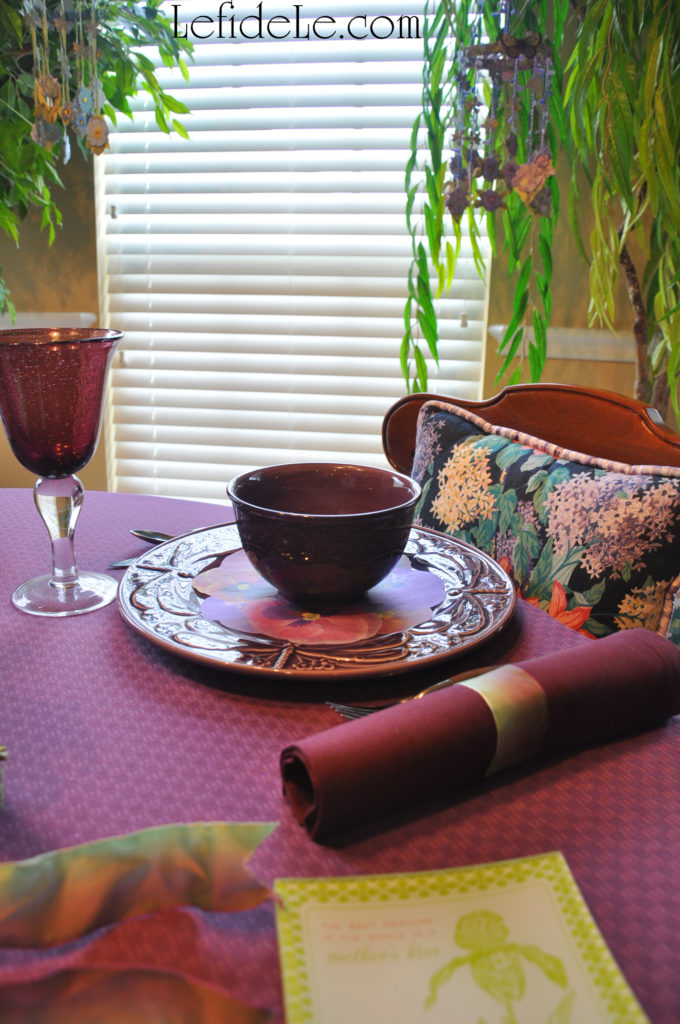
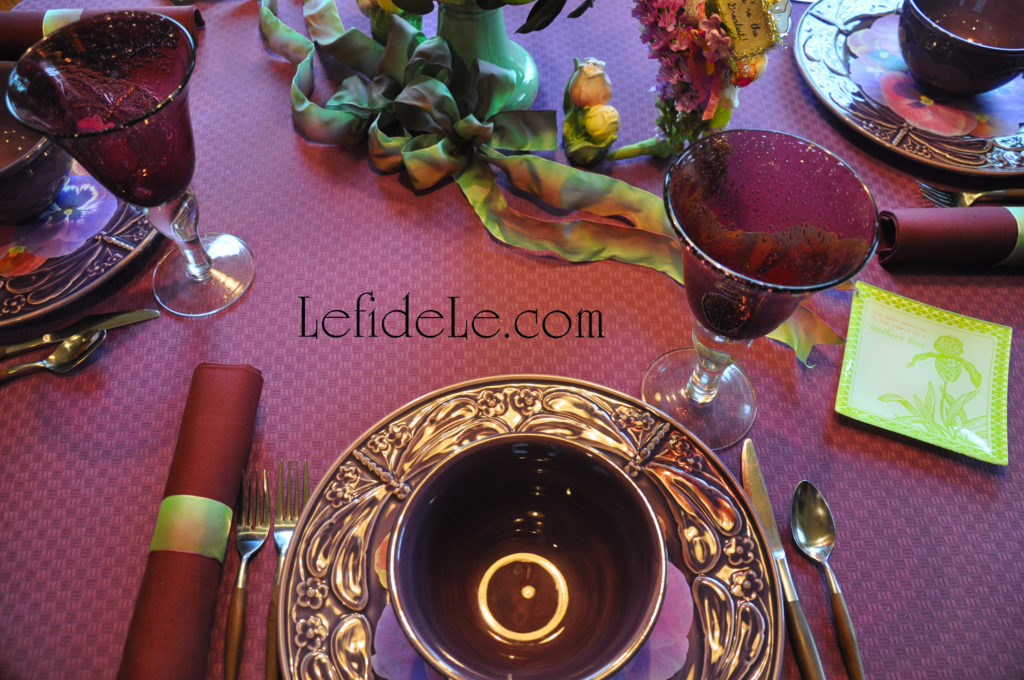
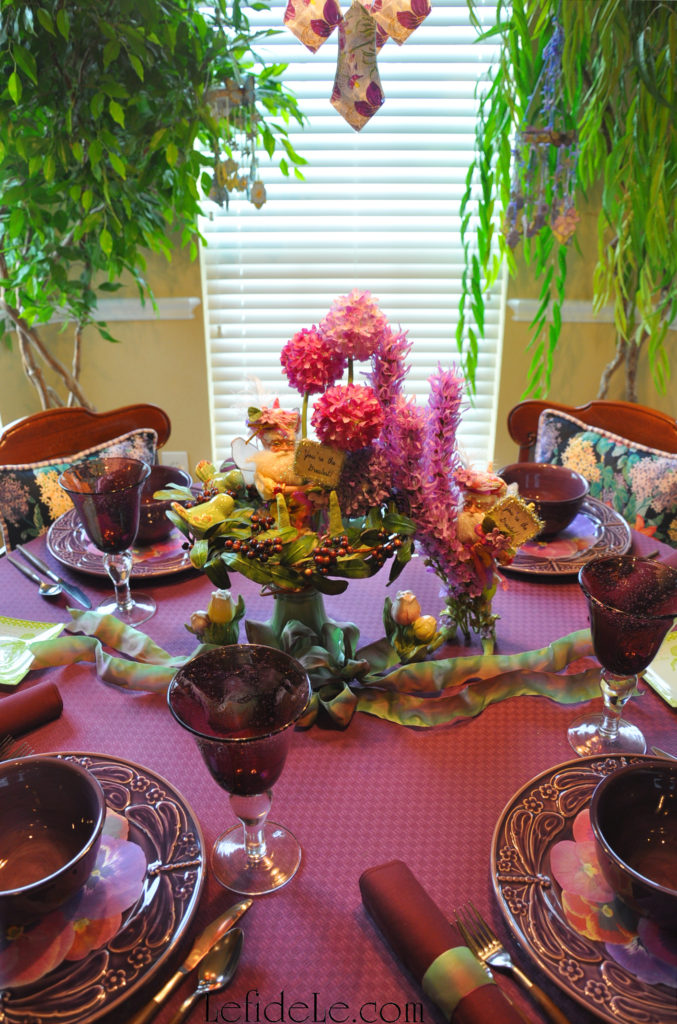
Raise a toast with violet bubble goblets in celebration of time shared as you dine upon ceramic dishware of purple dragonflies twirling around parchment paper pansies.

136Leigh

“A light heart lives long.”

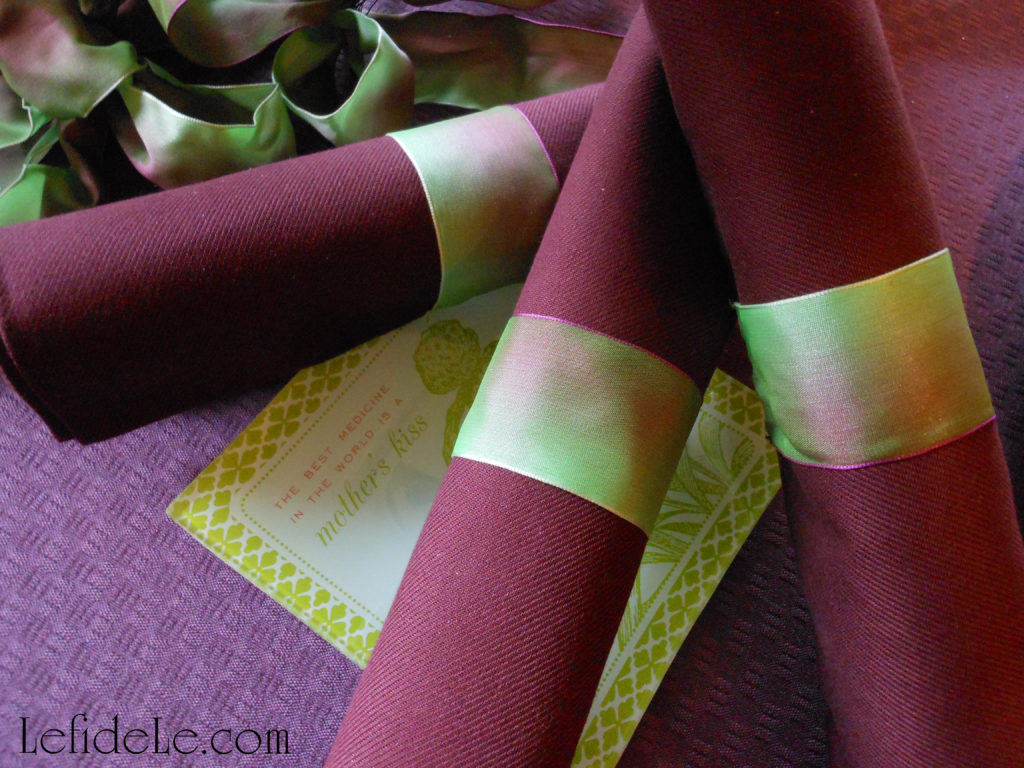
A lavender tablecloth of basket-weave patterning glides across a lighthearted tablescape with wood handled flatware and eggplant napkins rolled into handmade watercolor ribbon napkin rings.

215Leigh

Remember that “Mothers hold their children’s hands for just a little while… and their hearts forever.”

And as the small serving plates say, “The best medicine in the world is a mother’s kiss,”… remembered and cherished. Love you Mom!

Faithfully Yours,

Leigh

P.S. The flower laden fellows are Mark Roberts Fairies, and the lovely quotes are old Irish proverbs!

P.P.S. Learn how to make your own paper flower mobiles by clicking HERE.

And read how to easily make the ribbon napkin rings HERE.

Get my free printable Birthday & Mother’s Day cards HERE.

Get the perfect Macadamia Nut Cake Recipe (Gluten-free Vegan) to serve at your gathering HERE.

Free Printable Fairyland Mother’s Day & Birthday Cards + Super Easy DIY Ribbon Napkin Rings Craft Tutorials

022Leigh

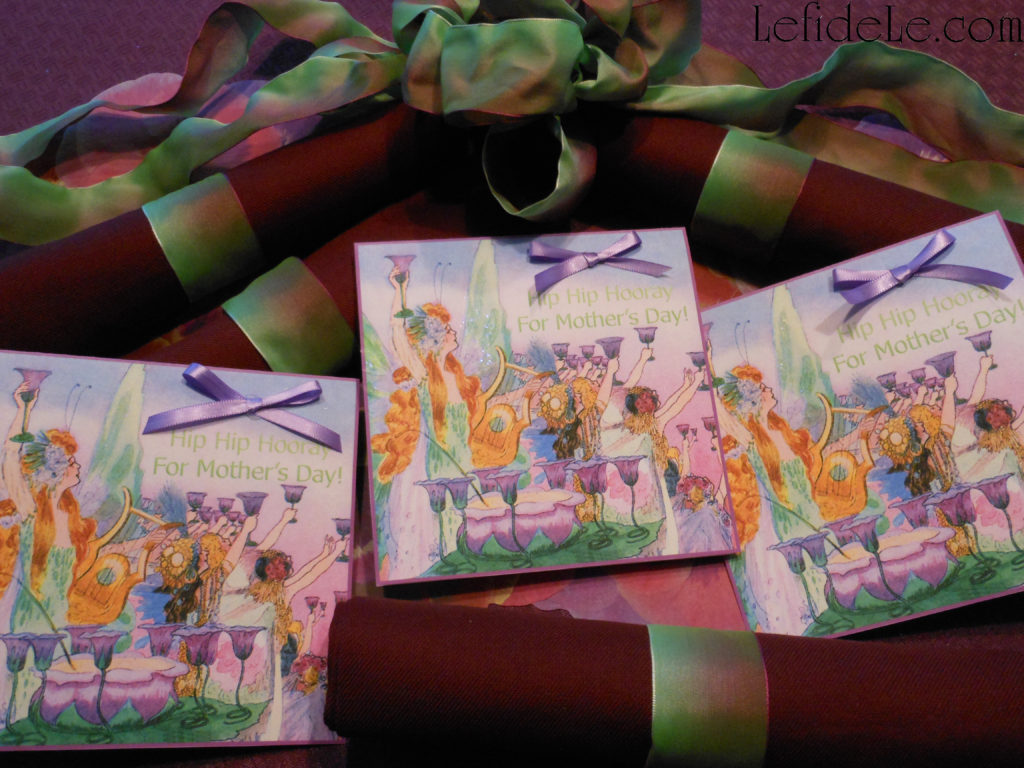
Craft a fantastic fairyland tablescape with this tutorial for super easy DIY ribbon napkin rings, and make fairyland cards for birthdays and Mother’s Day with my free printables. With four examples of napkin rings, using watercolor ribbon and paper gift wrapping ribbon… you’re sure to get all the inspiration you need to easily and inexpensively create the same magic for your own party. There you can raise a toast, as the fairies do in the cards, saying “Hip Hip Hooray” on celebration day!

2347Leigh

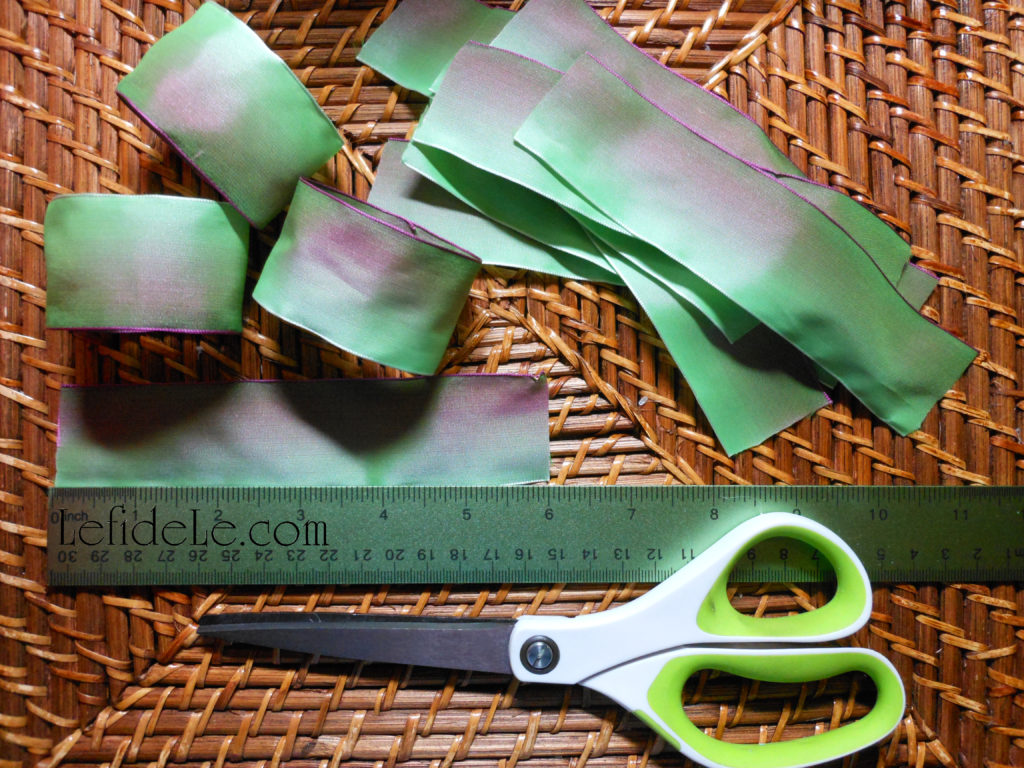
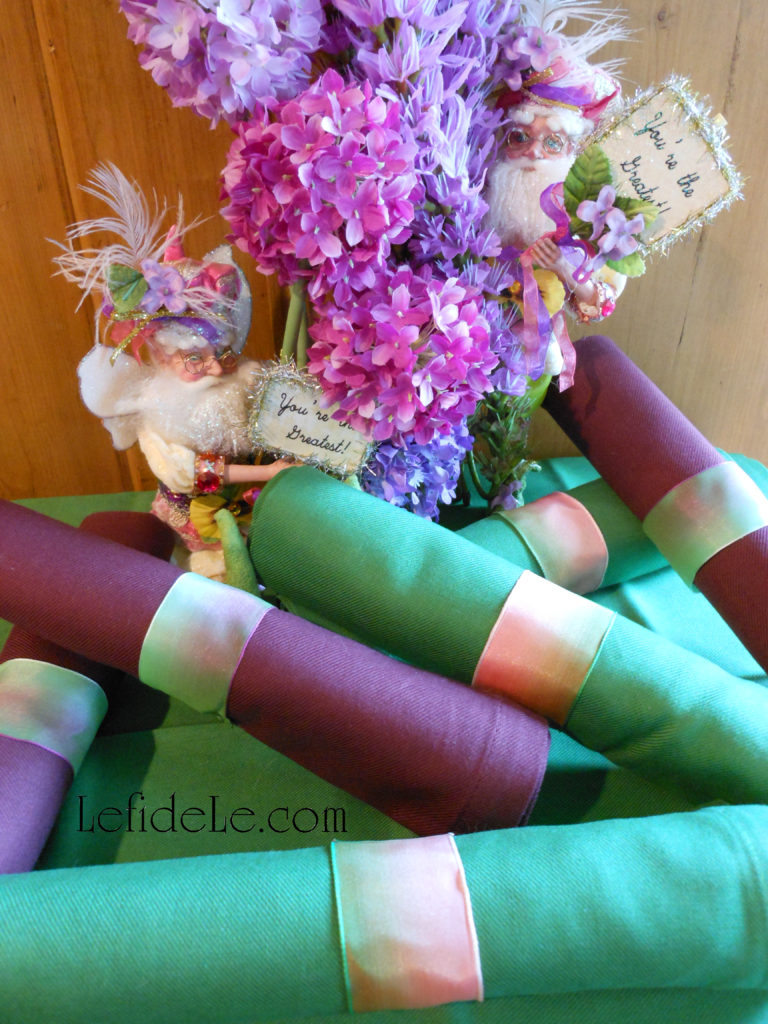
Make the napkin rings using absolutely any kind of ribbon you like to coordinate with your linens and decorations. (Here, I’ve used different varieties of Offray brand watercolor ribbon to resemble the petals in my fairyland tablescape.)

1921Leigh

Simply cut 6 inch lengths of it, and hot glue the edges (overlapping the short ends).

1924Leigh

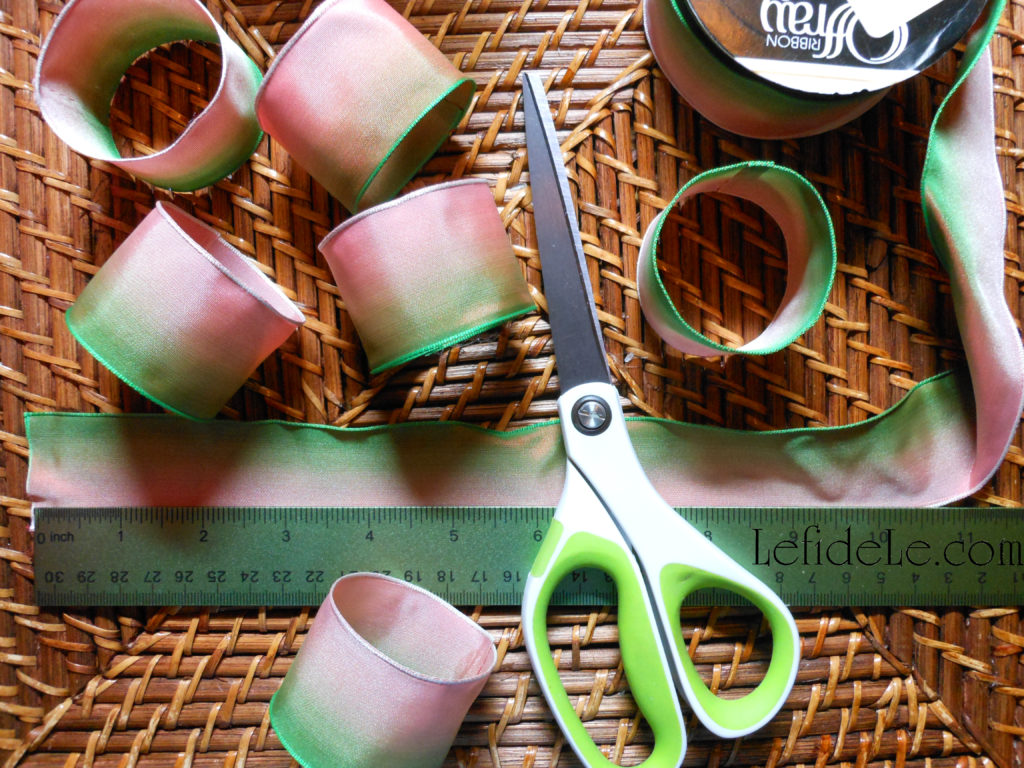
Here is another example of the watercolor ribbon turned into rings.

2427Leigh

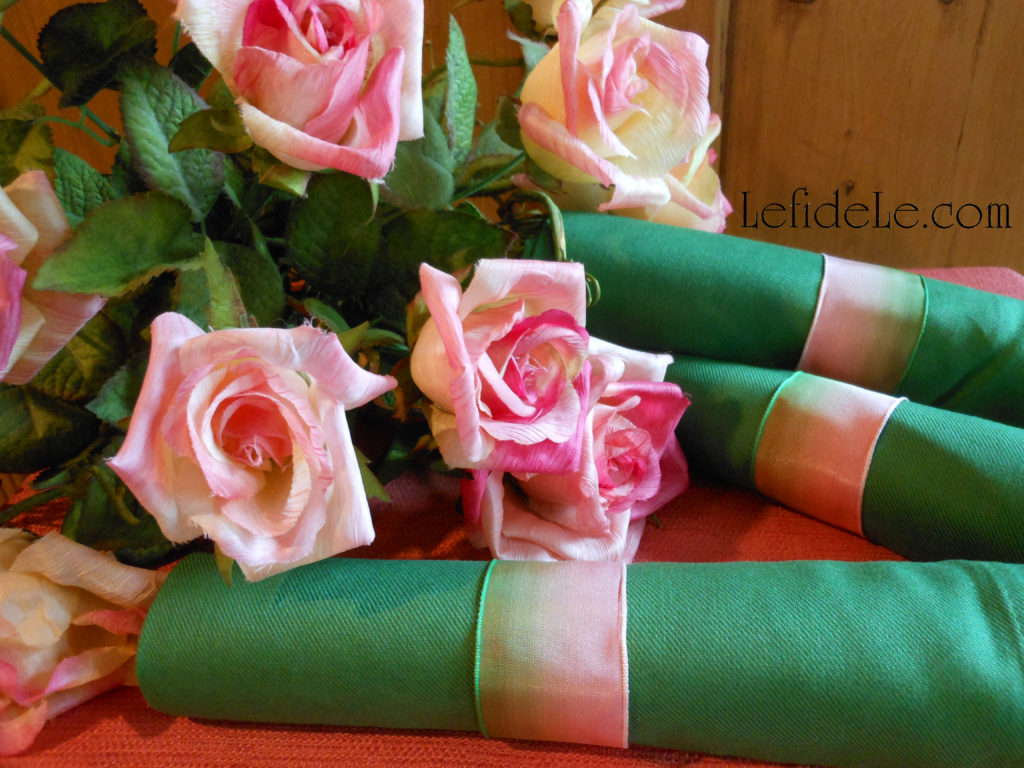
I made these pink and green rings to coordinate with my grandmother’s vintage ribbon rosettes.

2309Leigh

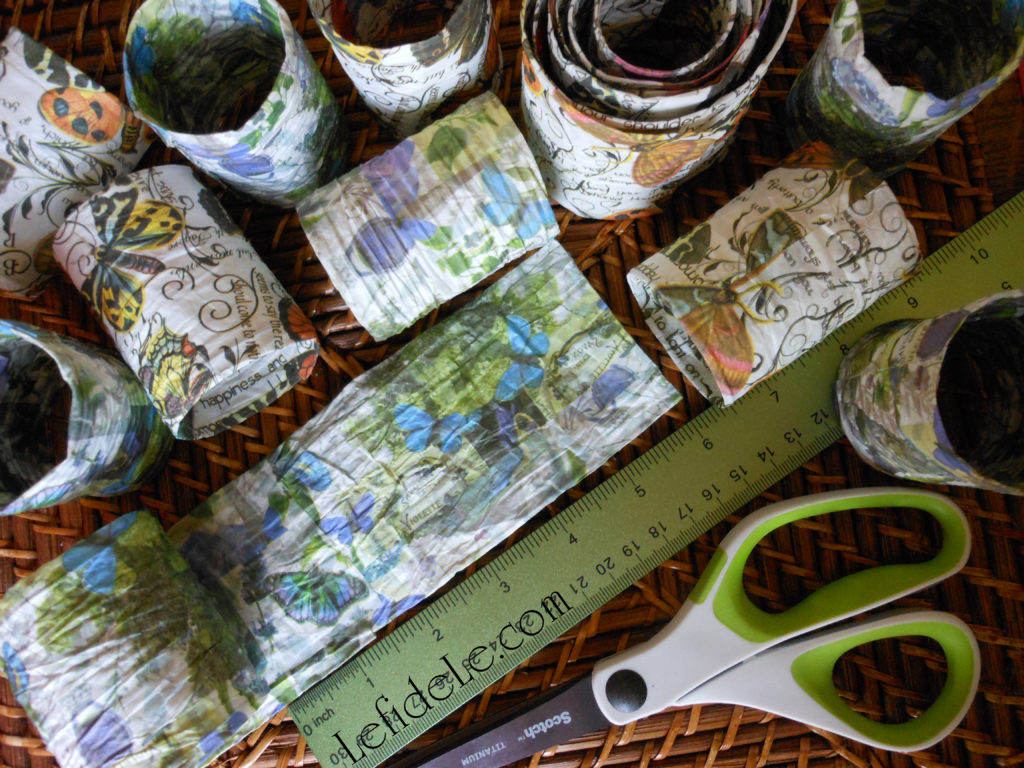
Here, the same super easy technique is used with simple gift wrapping paper ribbon.

2465Leigh

These would be equally lovely when paired with either fabric or paper napkins.

2449Leigh

This is the same wired paper ribbon that I used to make the rings for my scrapbooking paper flower mobiles (click here for the craft tutorial).

012Leigh

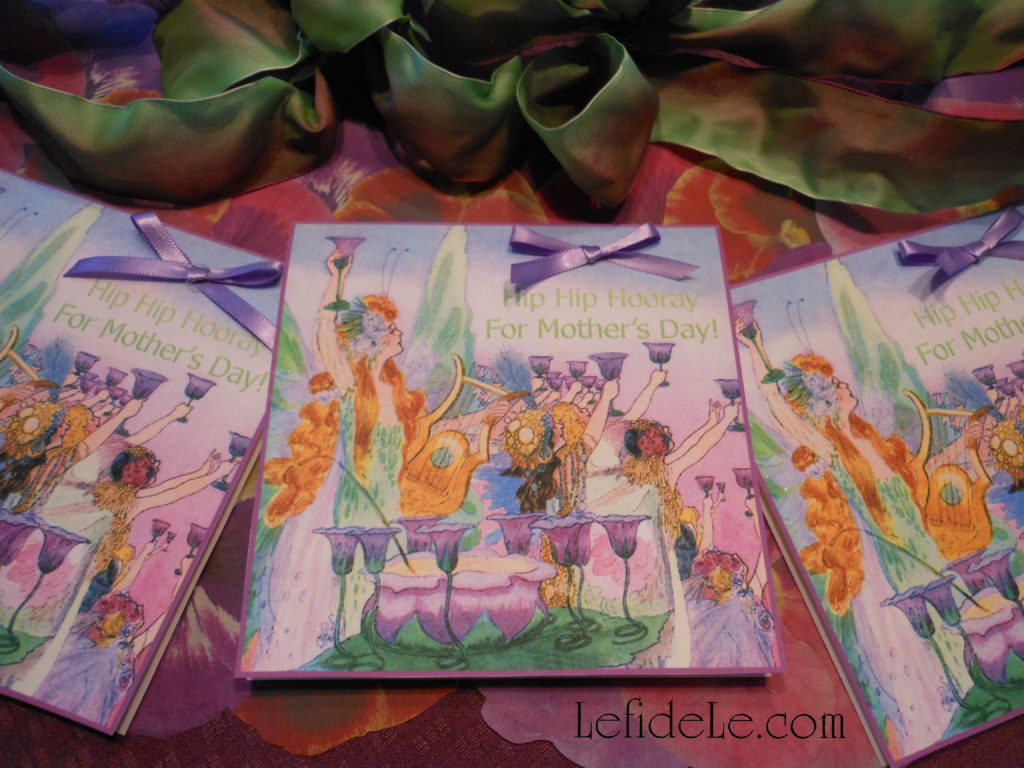
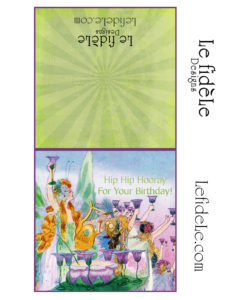
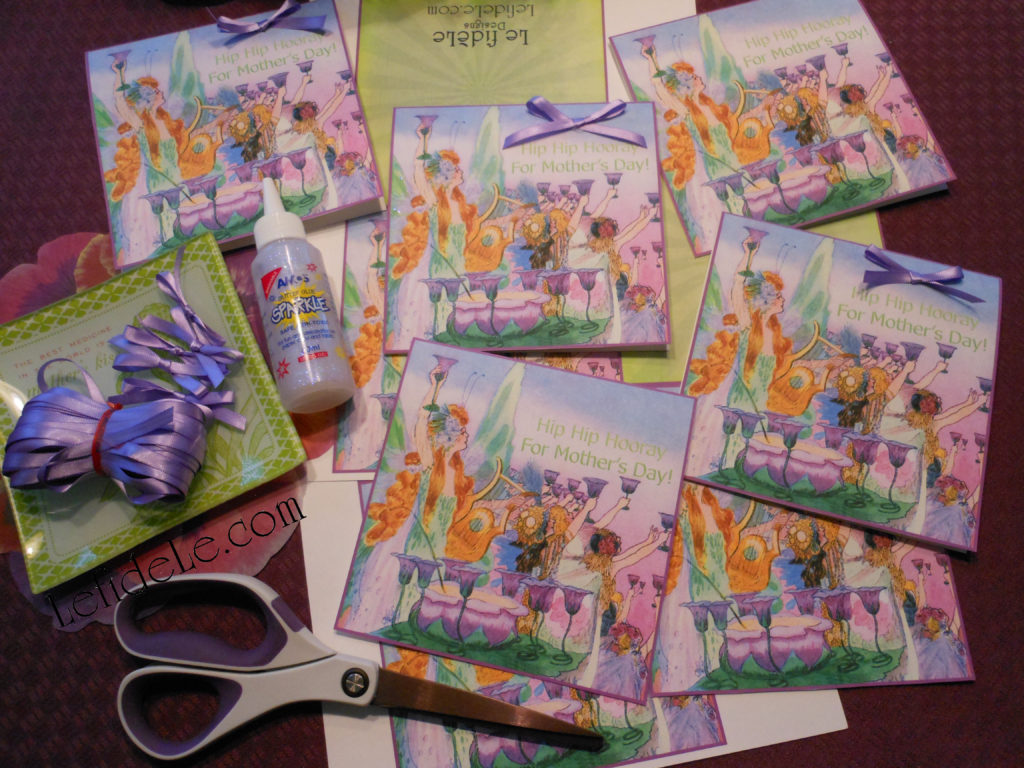
Make these Mother’s Day or Birthday cards using my free printables (for personal use only). They only need to be printed, cut out, and folded over. (Find square envelopes in many colors to send these in at Paper Source, whose affiliate link is in the sidebar.)

FairyToastingMothersDayCardLeighFairyToastingBirthdayCardLeigh

Right click on one of the small images above and select print. (The left is Mother’s Day & the right is Birthday.) Print these on heavy cardstock paper using the photo setting.

005Leigh

To further embellish the cards as I’ve done here, you can brush on opalescent glitter glue over the fairy wings. A small ribbon bow hot glued above the words really adds dimension to the cards.

037Leigh

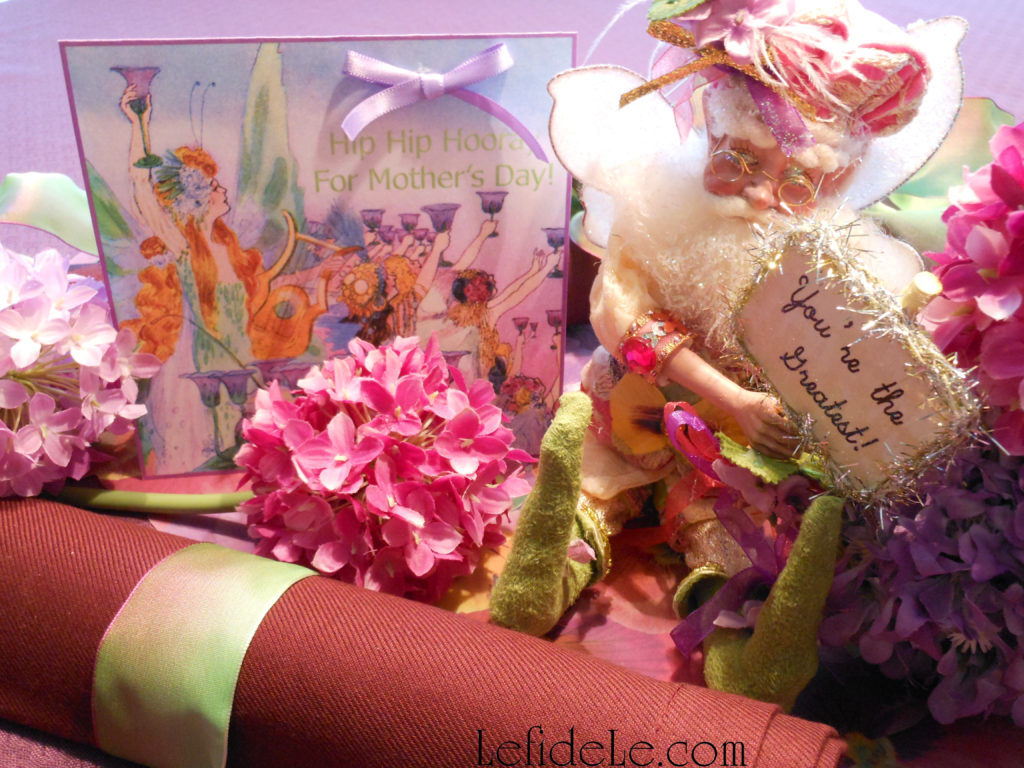
The flower fairies seen here are from the Mark Roberts collection. They really add a whimsical touch to the centerpiece in my fairyland tablescape (see it all put together by clicking here).

2435Leigh

Hip Hip Hooray… we’re crafting today!

Faithfully Yours,

Leigh

Easy DIY Leaping Bunny Topiary Craft Tutorials with Free Banner, Wreath, Place-card, Invitation, & Thank You Note Printables (for Easter, Showers, Luncheons, & Brunches)

253Leigh

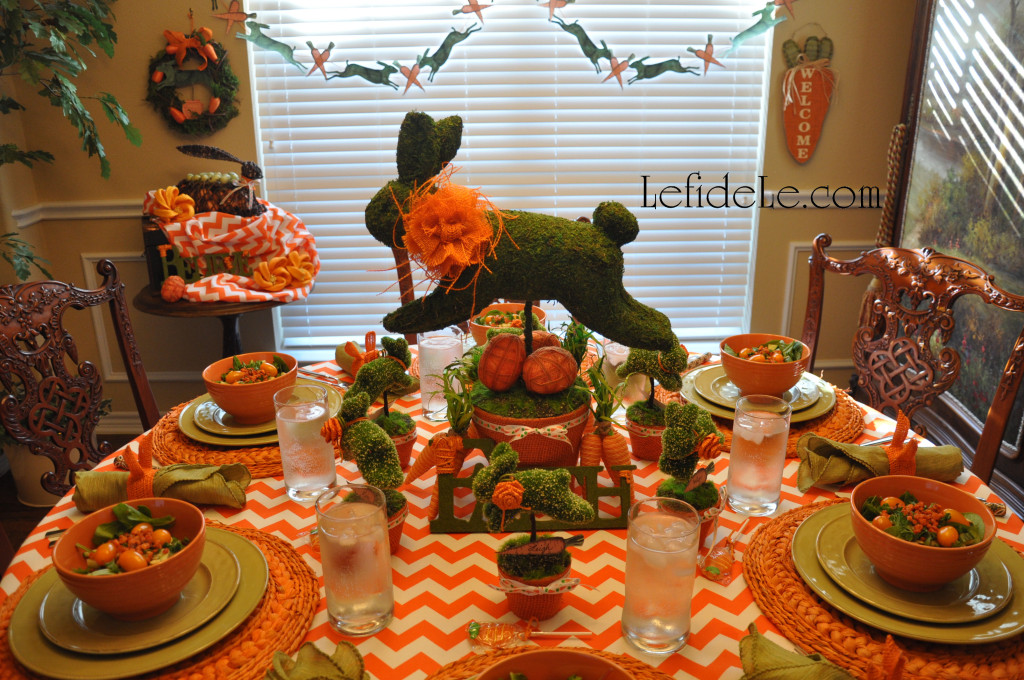
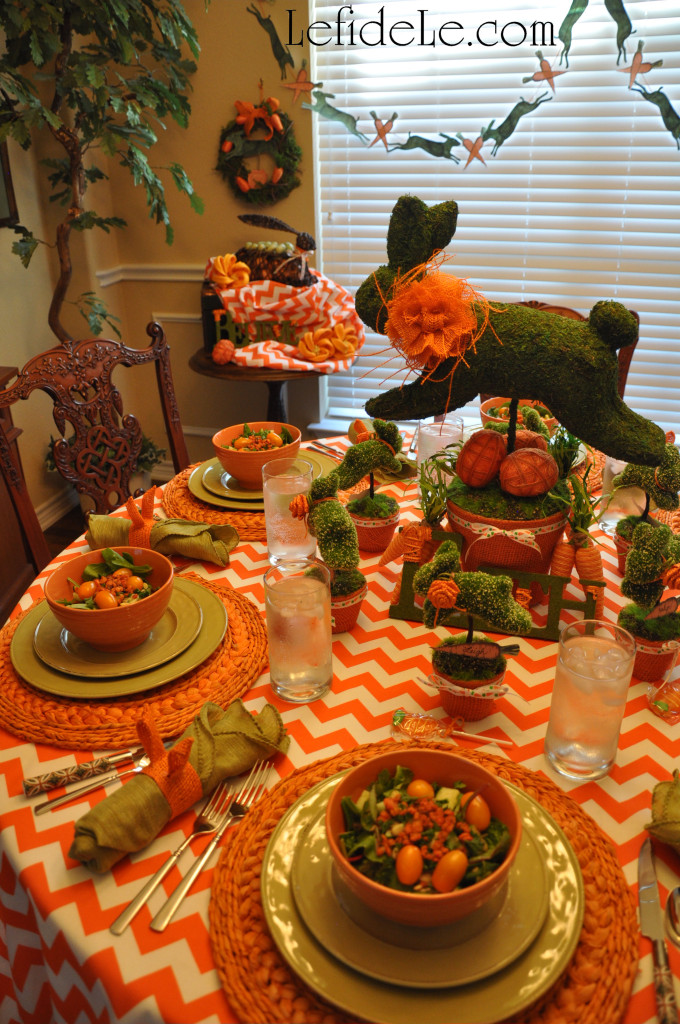
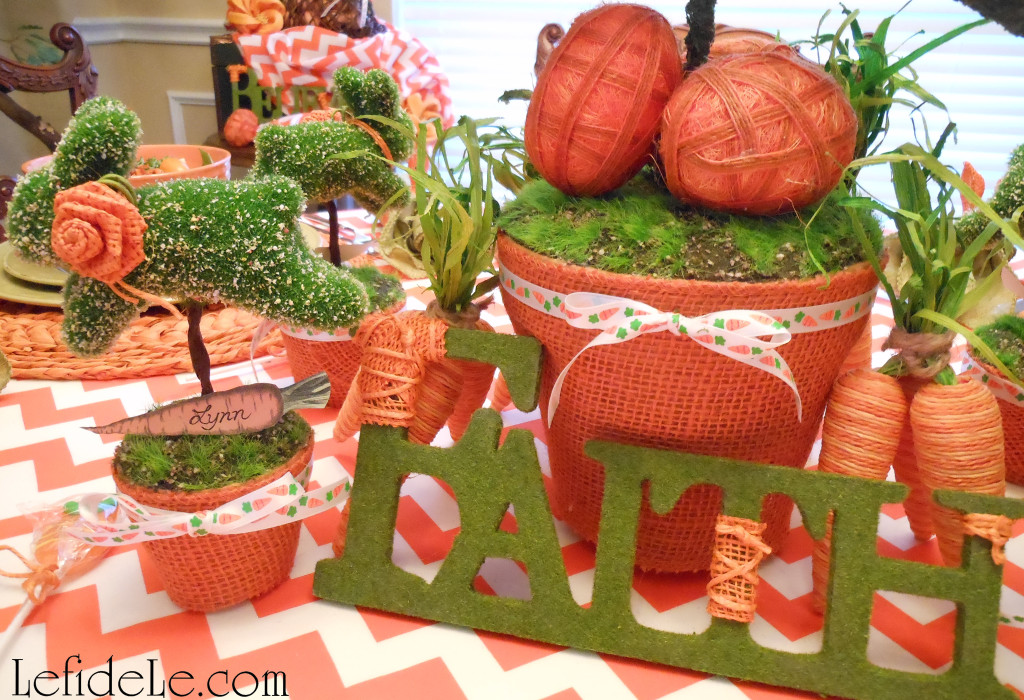
Make your own tabletop garden full of leaping bunnies for your next indoor garden party. DIY these easy projects 3-dimensionally or with my free printables… or mix and match the crafts as I’ve done here. Choose your own color and theme to embellish the bunnies with, or follow my lead and make burlap carrot pots to sprout your menagerie from. Better yet, keep the wraps, rosettes, and ribbons nonpermanent so the bunnies may be used again for another theme. Let these rascally rabbits transform your spring fling into a colossal cute –fest today!
256Leigh

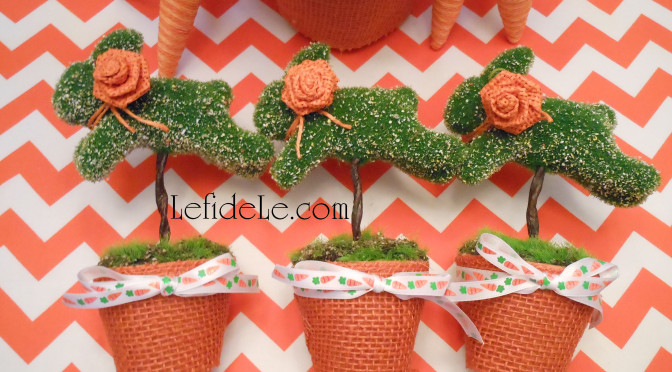
I’ve seen faux foliage covered bunny and bird ornaments as well as topiary picks at several stores locally, and online the choices are endless. Using one of these ready-mades is the quickest way to craft a 3-dimensional creature topiary. (I’ll tell you how to make 2 other types later.)
020Leigh

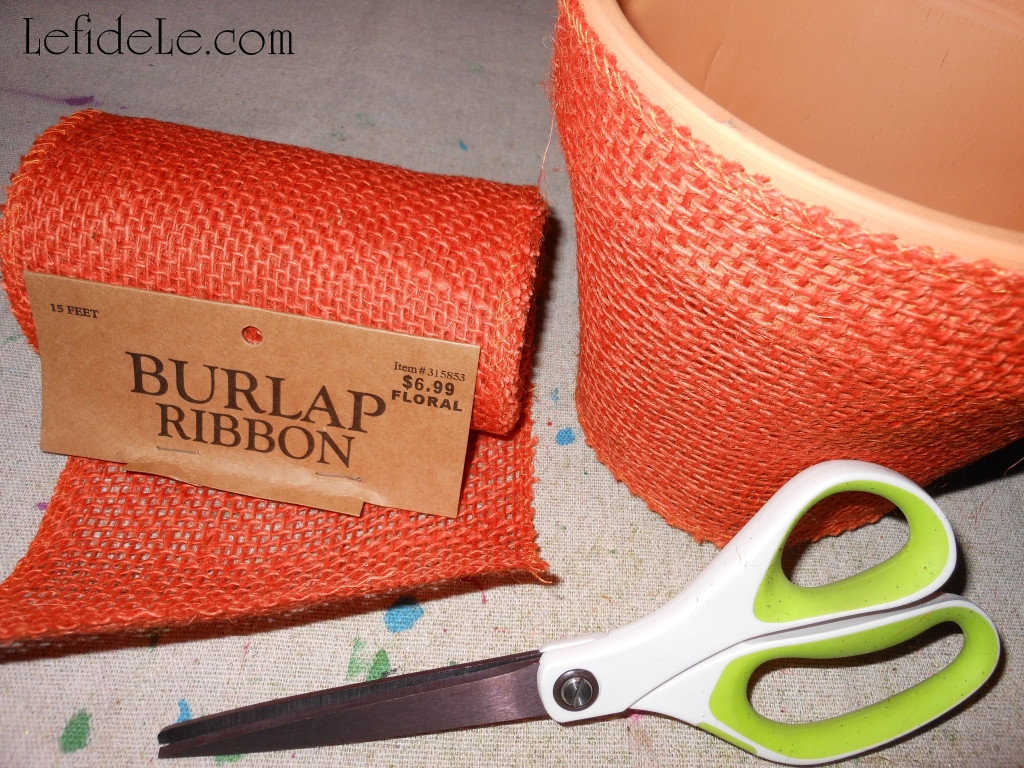
Wrap small terra cotta pots with burlap fabric or ribbon, and cut after the overlap. Use dots of hot glue to adhere one side to the other. Avoid gluing the burlap to the pot if you’d like to reuse these with another theme, as I’ll be sure to do in the future. Trim the excess length off with scissors so that the pots sit flat on the table.
023Leigh

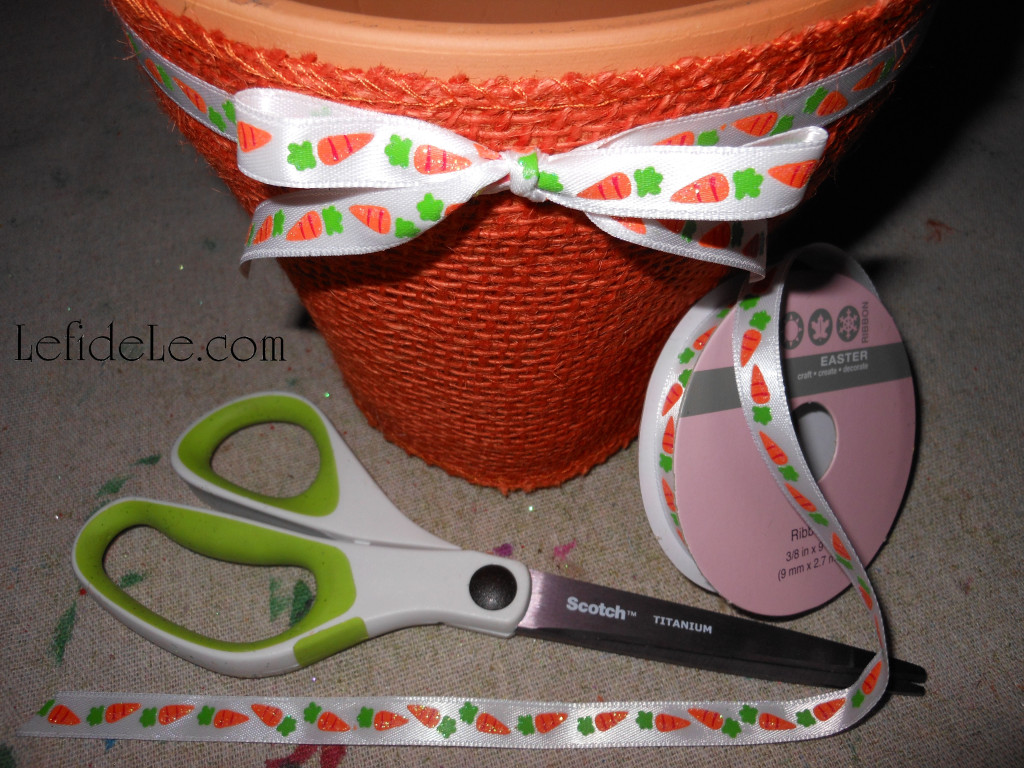
Add a length of ribbon around the top and tie it in a taut bow. This is not only decorative, but is a trick to keep the burlap securely in place without having to glue it permanently.
005Leigh

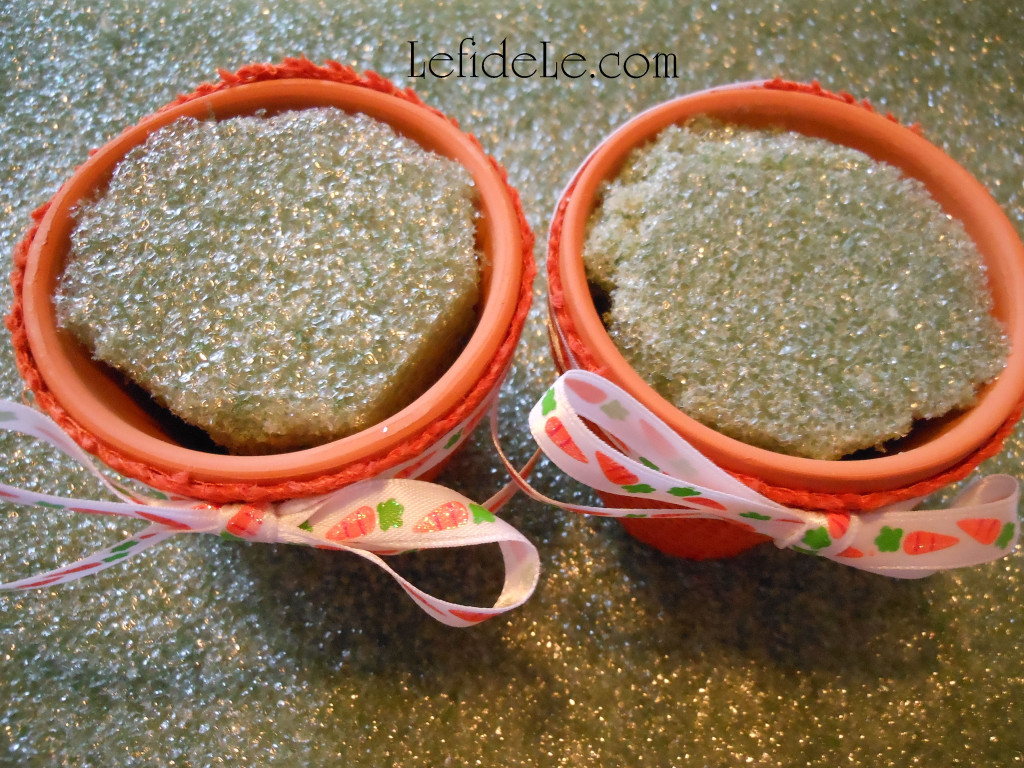
Fill each pot with a chunk cut to fit, from a large block of stryofoam. Wedge little chunks of stryofoam in between the large block and the wall of the pot until the large block has no wiggle room. This keeps your creation from drooping later.
006Leigh

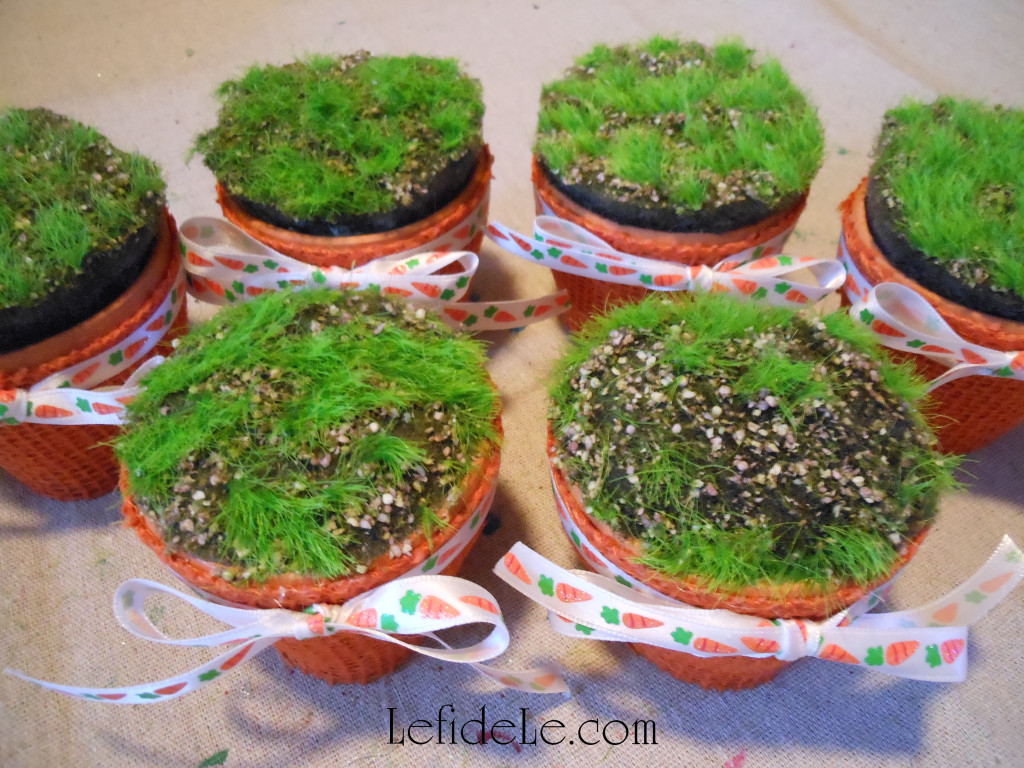
Glue ground cover to the top of your moss. Do this by cutting the green edges to fit the pot, and gluing those edges to the rim. I used faux earth meant for a table runner, but I’ve seen similar stuff in the form of placemats as well. Other options are faux Easter grass, moss ribbon, Astroturf, green burlap, or grass printed scrapbook paper (for the printable topiary).
010(2)Leigh

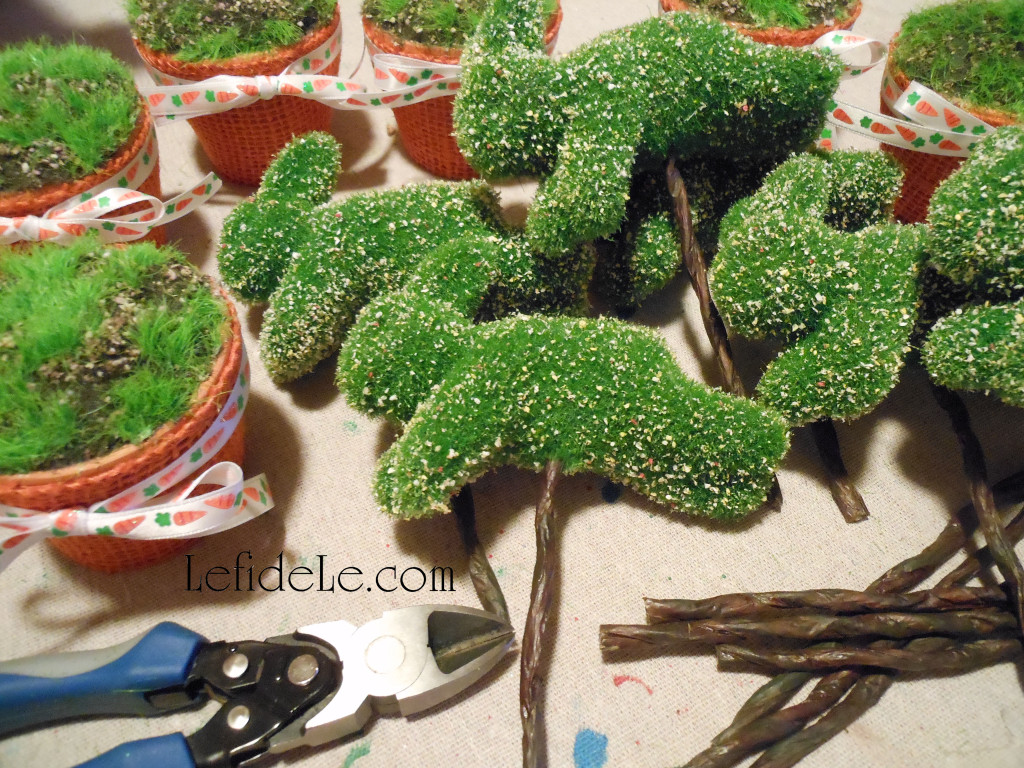
Cut stems, sticks, or dowels to jab into your ornaments, and wrap them with brown floral tape. If your animals are already on sticks, simply cut them to size with good sheers.
013 (2)Leigh

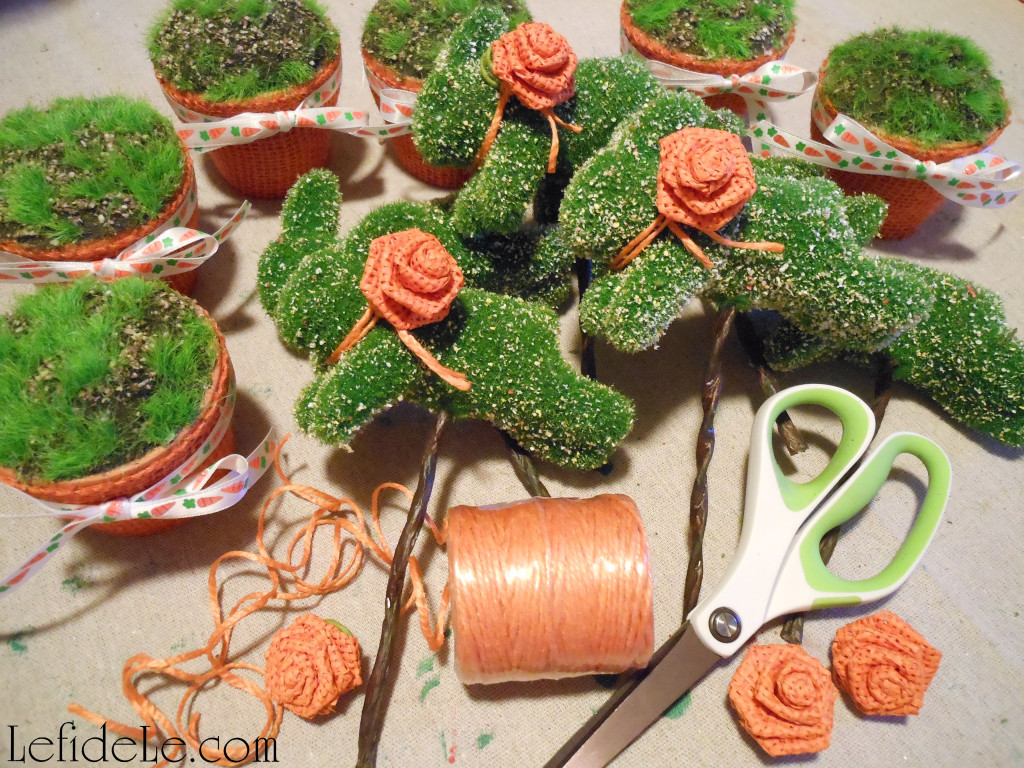
It’s easier to embellish your bunnies before potting them. Double-wrapped a length of jute (or yarn, ribbon, twine) around each bunny neck and knot it loosely. Slip a burlap rosette under the jute so that it sits securely without glue.
014 (2)Leigh

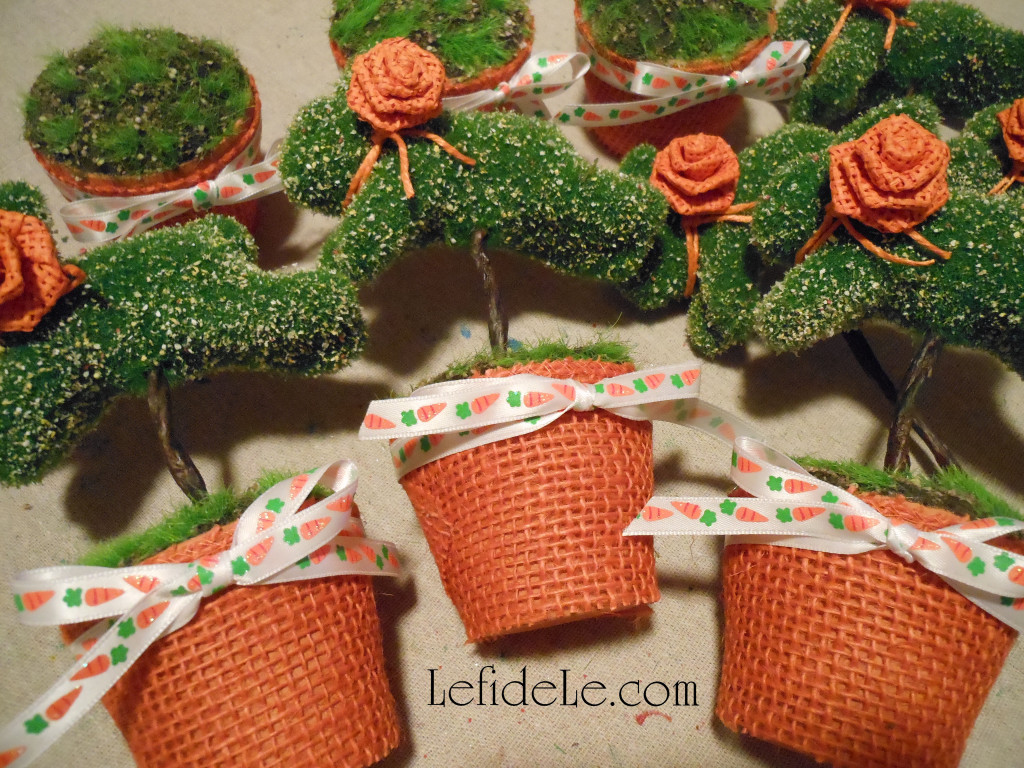
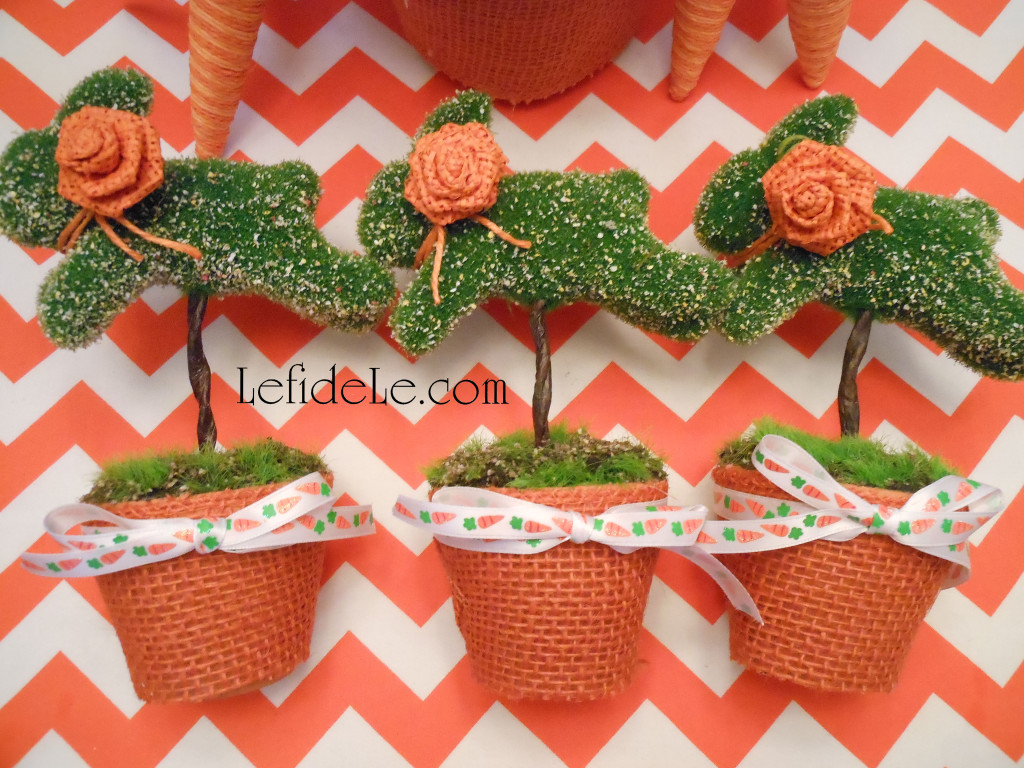
Make a pilot hole into the center of the green stuff. Do this carefully with any sharp point from an awl to a screwdriver. (I used a scissor side… but I have a tendency toward crafting dangerously.) Lastly, jab the bunny stick into the pilot hole.
134Leigh

Continue crafting the rest of your rascally rabbits.
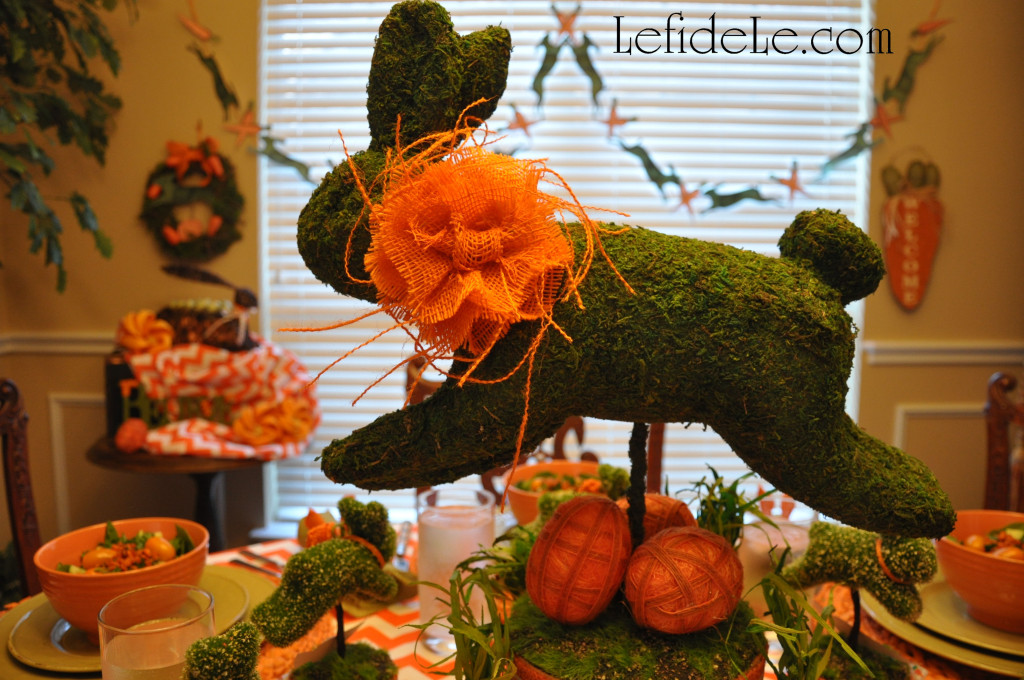
287Leigh

Another option is cover a carved styrofoam shape with moss, as I have done with the larger bunny centerpiece. I’m not going to cover that in detail here because it took a lot more time, energy, and patience. If you choose to go that route, you can either purchase a ready-made animal shape, or carve one from a block of stryofoam yourself. Foam cutting knives are available that will make the job slightly easier.
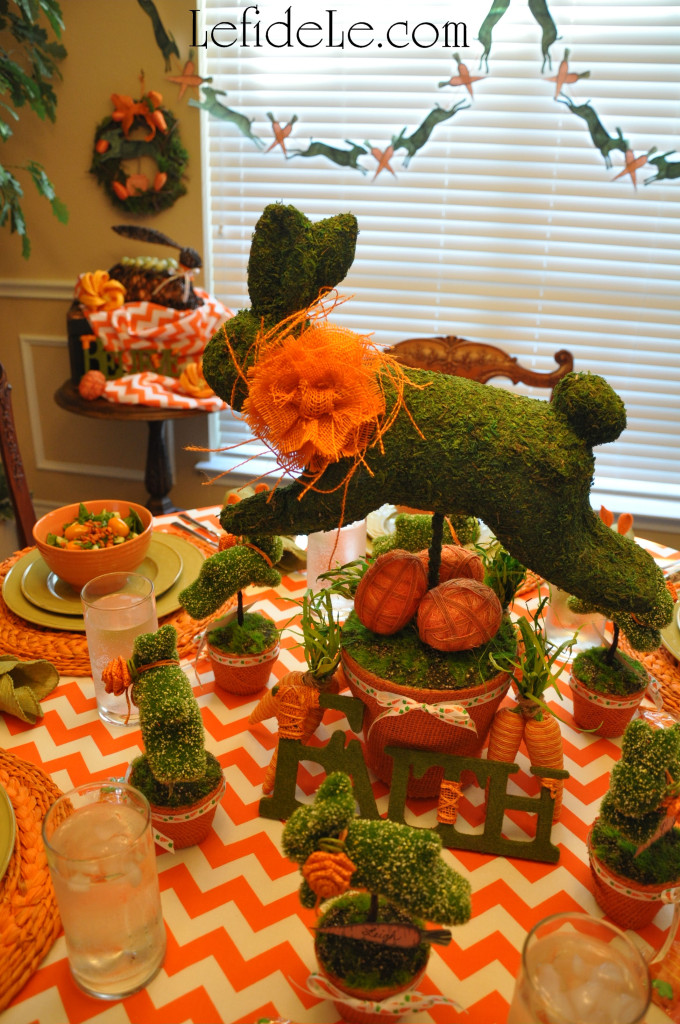
257Leigh

One way to add foliage is to cover your creation with moss ribbon as I have done. This is a kind of moss covered carpet tape. Cut it into pieces and round the edges, so that the animal shape may be completed in an unseen patchwork. Adhere the patches with hot glue, pressing firmly.
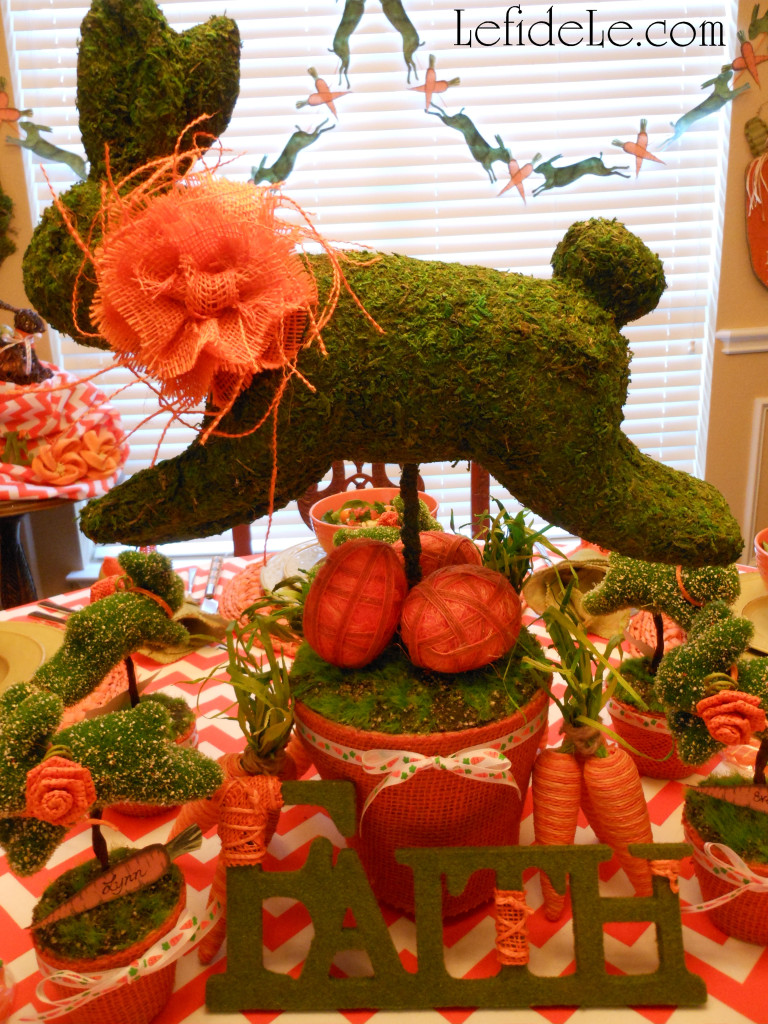
130Leigh

 Embellish it with a burlap ribbon collar and flower, and pot it in the same way as I showed you earlier. I wanted to reuse the bunny topiary again for future themes, so I did not glue the collar to the bunny. I simply glued the flower to one end of a length of ribbon, and then wrapped the ribbon around the neck. I began with the blank end and looped it underneath. The weight of the flower resting on top of the opposite ribbon end kept it firmly in place. It will look completely different with a another color of base wrap and type of collar embellishment.
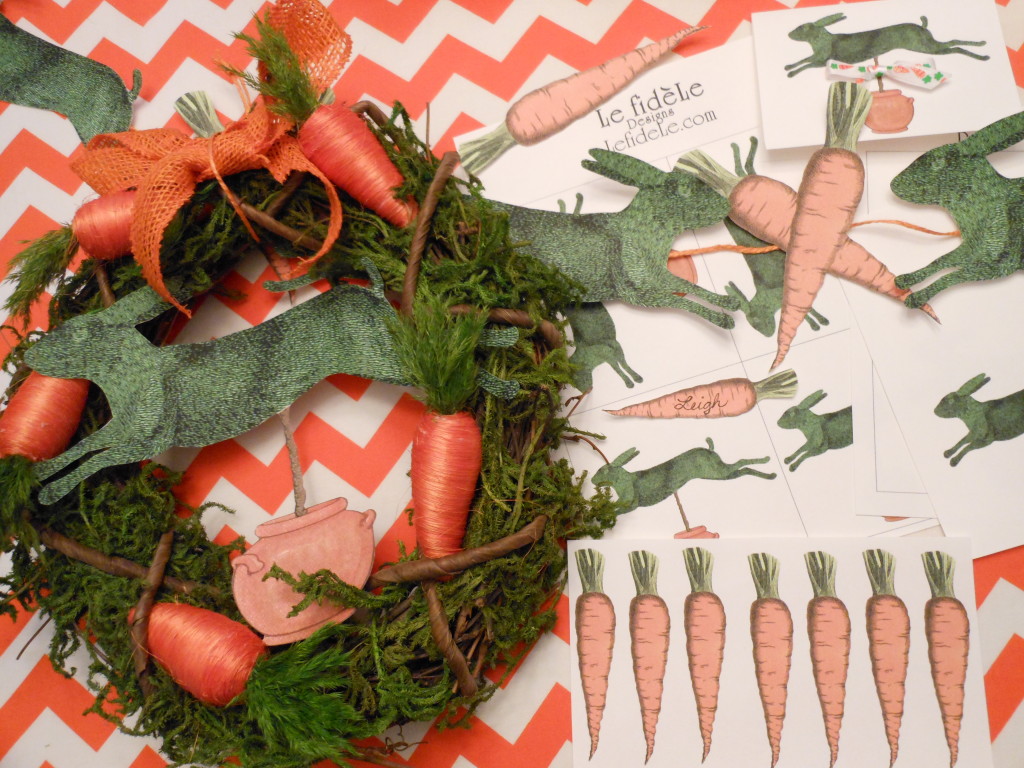
183Leigh

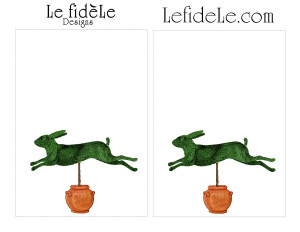
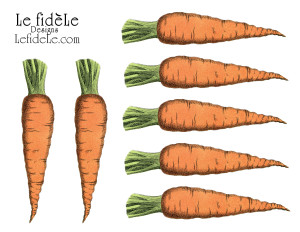
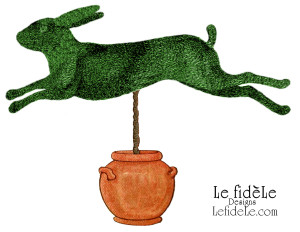
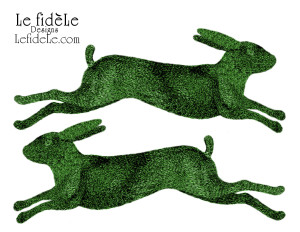
The following are my leaping bunny printables (free for noncommercial use). Right click on the image you want to use, and select print. Choose color and photo settings for your printer, and print them on sturdy white cardstock.
BigBunnyTopiaryCraftLeighBunnyTopiaryCraftLeigh2BunnyTopiary5x7LeighCarrotsCraftLeigh


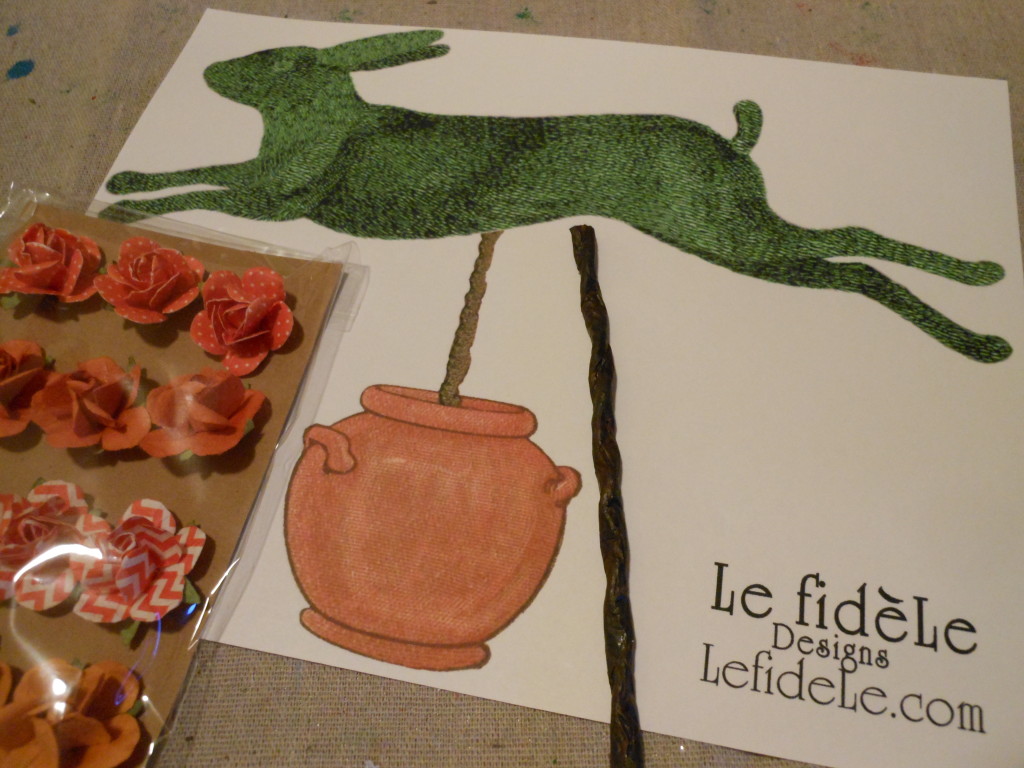
To make a paper topiary from my printables, begin by printing and cutting out the two opposite facing bunnies.
034Leigh

Glue them together, back to back with a stick or popsicle stick in between. Pot the stick, as shown previously, and embellish it further with paper rosettes and ribbons.
129Leigh

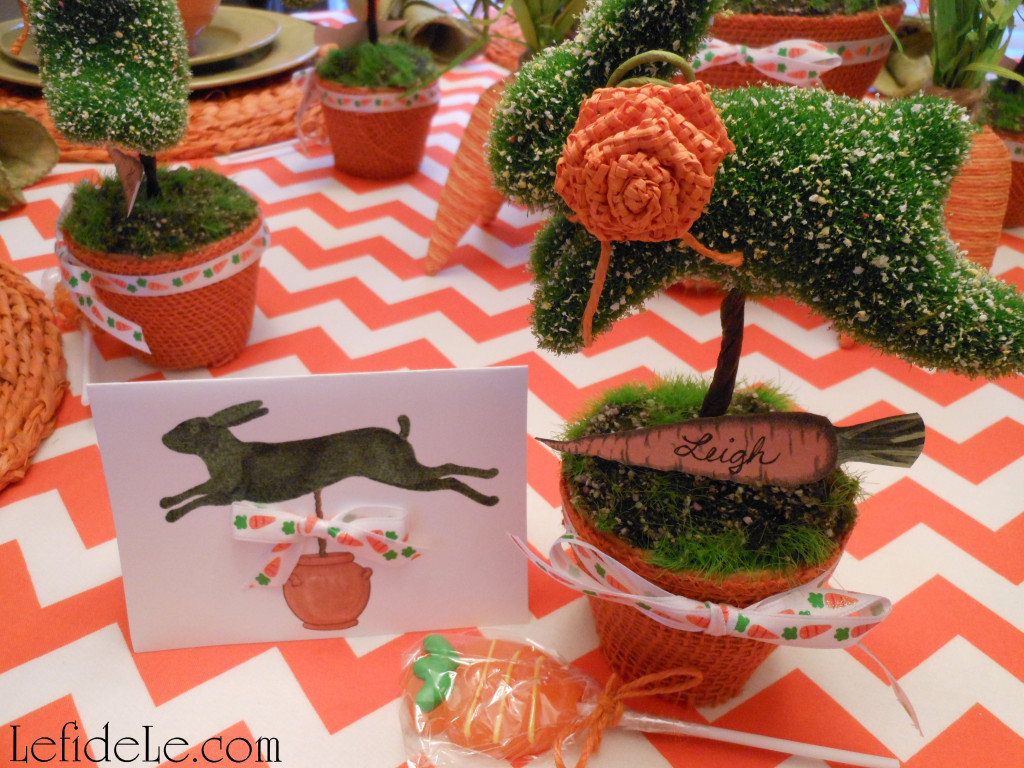
Cut out the carrots to use as place-cards that rest on your newly crafted topiaries. I printed mine, 2 sheets to a piece of cardstock, so that they would be smaller than the banner carrots.
158Leigh

Another option for folded place-cards, is to print out the 5×7 invitations / thank you cards and fold them in half. Embellish them with tiny bows or paper flowers, and write guests’ names on them.
198Leigh

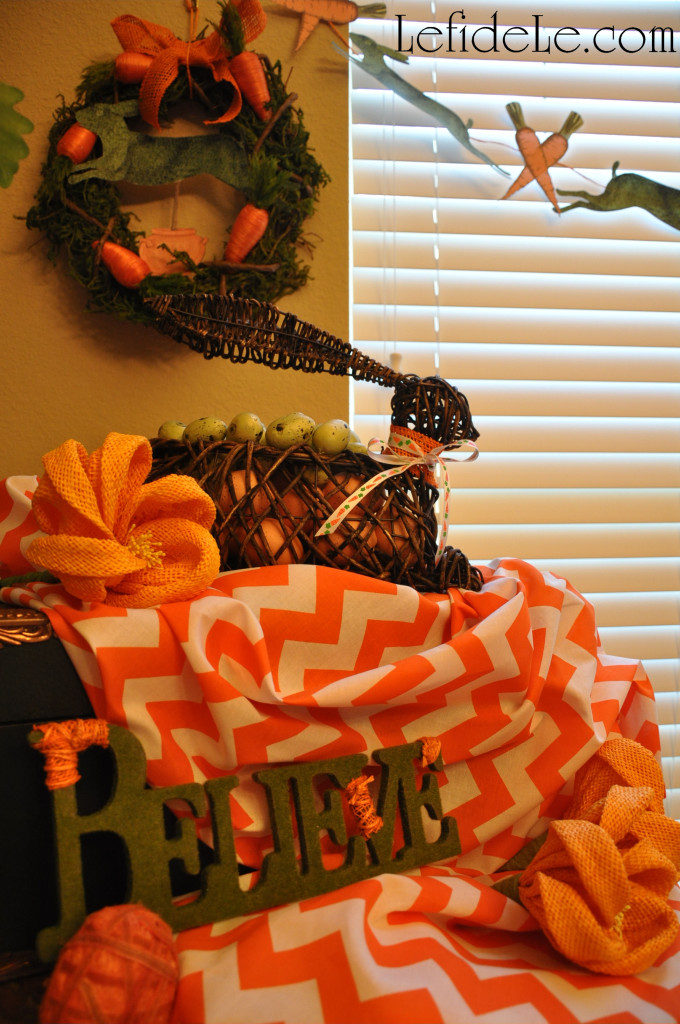
Adding my leaping bunny topiary printable to the center of an existing wreath is an easy way to update a piece you already own and make it fit perfectly to your theme. (This carrot wreath came from Le fidèLe Design’s affiliate Cost Plus World Market. Find a link to them with up to date coupons in the side bar.)
032Leigh

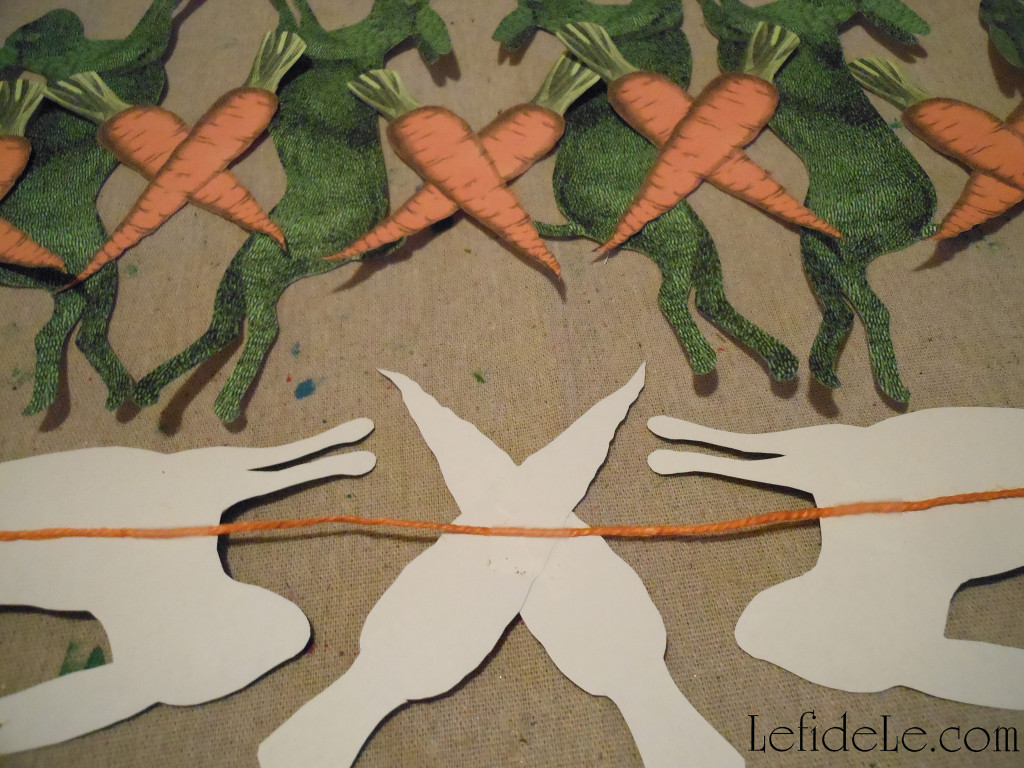
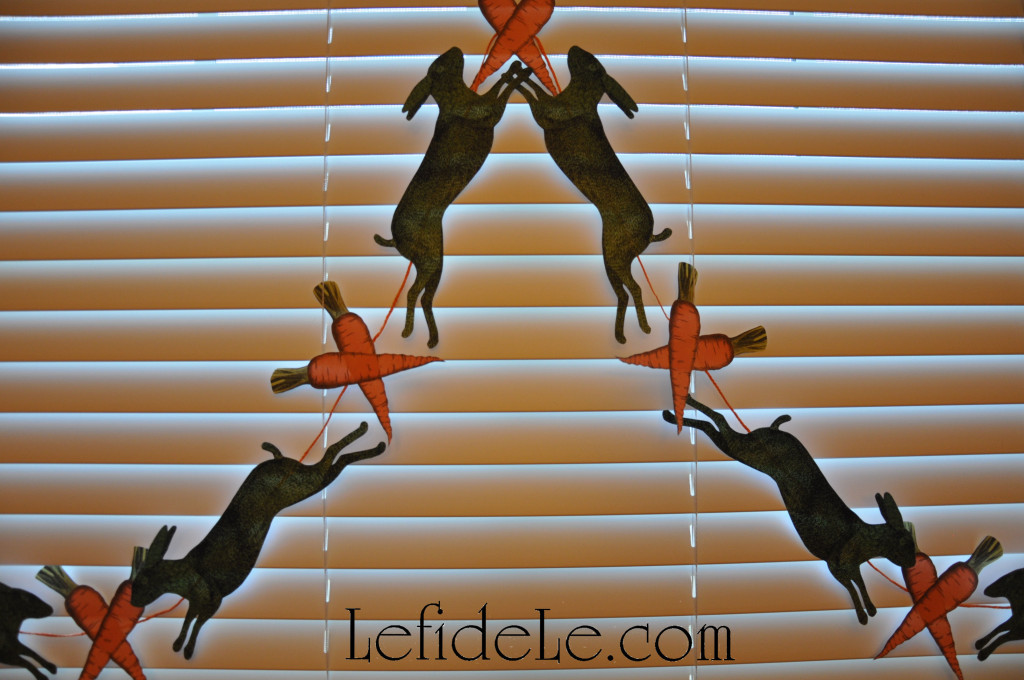
Make a banner with the bunnies and carrots by simply arranging them in a pleasing manner and taping the backs to jute, ribbon, twine, or yarn. I chose to criss-cross the carrots between the bunnies.
209Leigh

A loop at each end makes it easy to hang with clear thumbtacks.
113Leigh

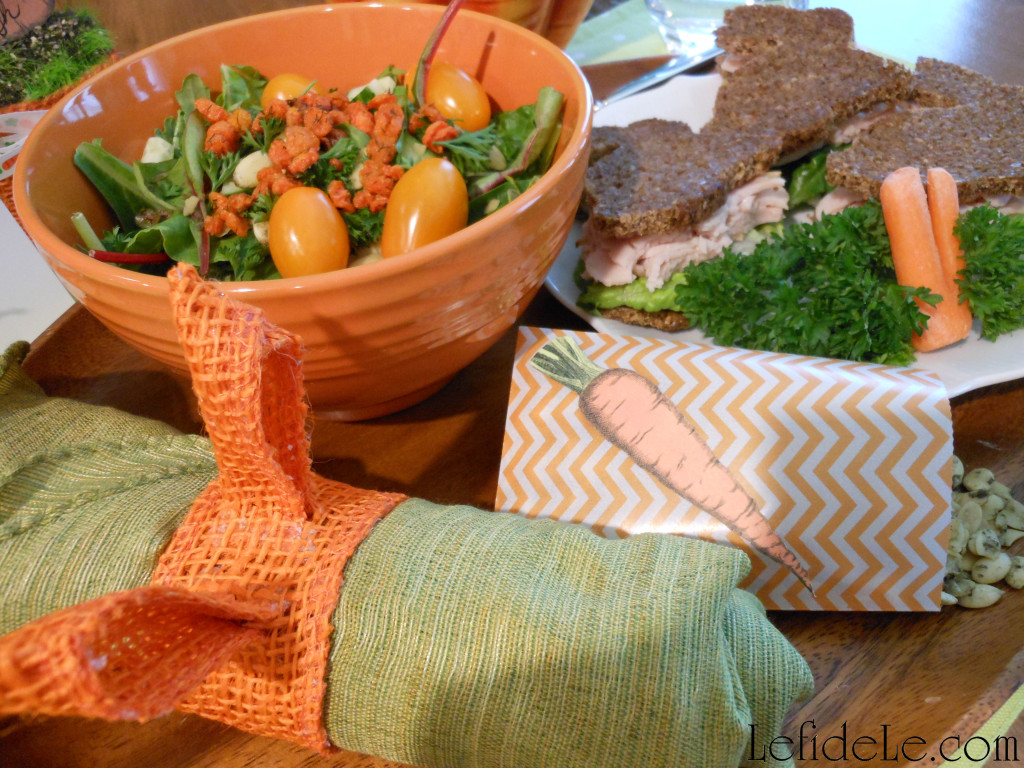
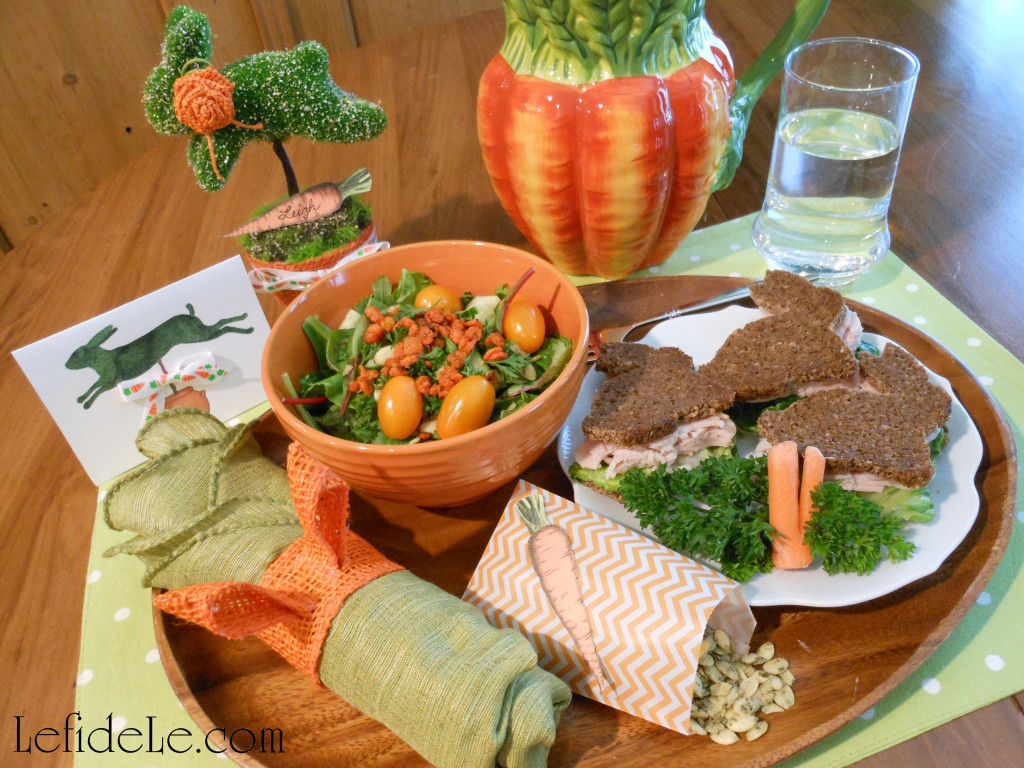
You can also attach the carrots to readymade treat bags like the orange chevron one here. It’s filled with sprouted pumpkin seeds as a part of a healthy and tasty lunch. (See more of this along with the recipe here.)
090Leigh

(Find the bunny ears napkin ring tutorial here.)

Faithfully Yours,

Leigh

P.S. The Easter Bunny approves this message.

WildBackyardBunnyLeigh

(This is one of the wild backyard bunnies visiting my porch!)
Spicy Guacamole Shooters / Avocado Appetizers Recipe (Allergy-Friendly & Nightshade Free = No Red Pepper or Tomatoes)

318 (2)Leigh

This allergy-friendly guacamole recipe has no nightshades like red pepper or tomatoes, but it still has a spicy kick which makes is the perfect party appetizer that everyone can enjoy. It contains my secret Tex-Mex trick for adding creaminess, which also serves to keep the avocado from browning during the festivities. Serve it rustically in chunky form or blend it into creamy perfection. I can be served with any variety of veggies, chips, or even as a sauce for a meal. Think beyond taco pairings, and embrace it as dressing for your veggies. The heart-healthy avocados make this a guilt-free food, even though it tastes like a special treat, so enjoy!

170Leigh


Ingredients:

  • 3 large avocados (add more if using small ones)
  • 3 tablespoons lemon juice (or lime juice)
  • 2 heaping tablespoons unsweetened coconut yogurt (or use plain yogurt, or mayonnaise, or veganaise)
  • 1 diced leek (or use onion or spring onions)
  • 2 teaspoons dried cilantro (add more if using fresh)
  • 1 teaspoon ground ginger
  • 2 teaspoons ground black peppercorns
  • 1½ teaspoons sea salt (or no salt seasoning)
  • Dipping Foods: veggies for crudité or chips (pictured are pomegranate potato chips)

Instructions:

144Leigh

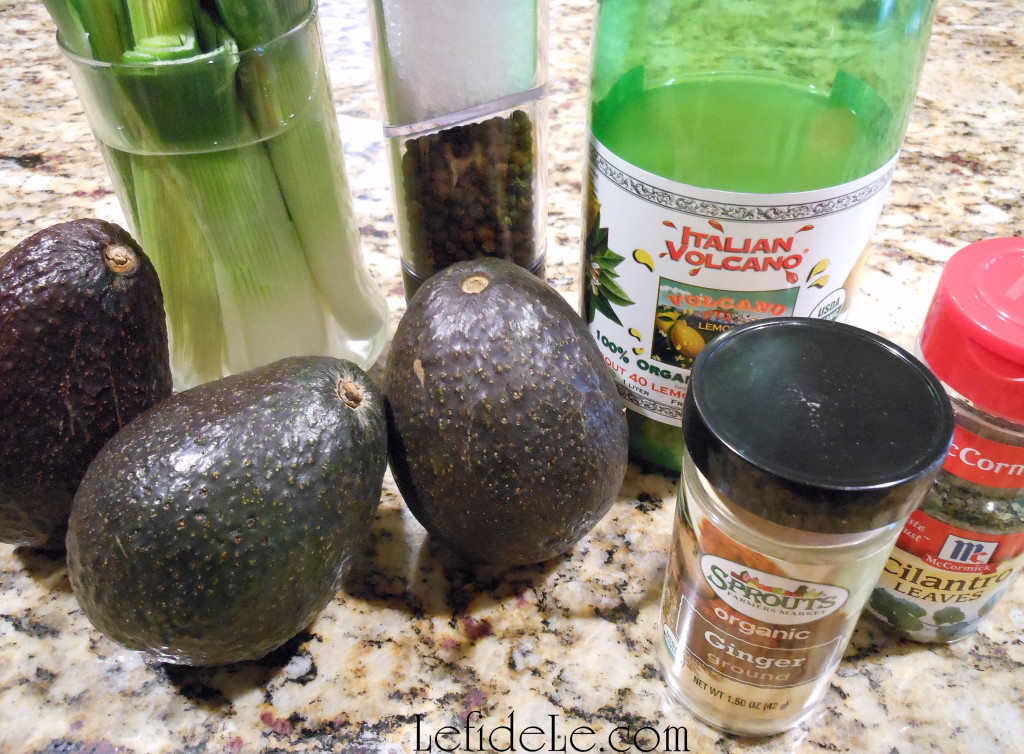
First, gather all your ingredients. Using bottled citrus juice is perfectly acceptable, just make sure that it is pure juice and not the fake variety… or else your guacamole will brown. I’ve used Haas avocados for this recipe. Ensure that they’re ripe by gently squeezing the outside. If they give in a bit, then they’re ready to eat. If not, then store them on the counter until they are.

078Leigh

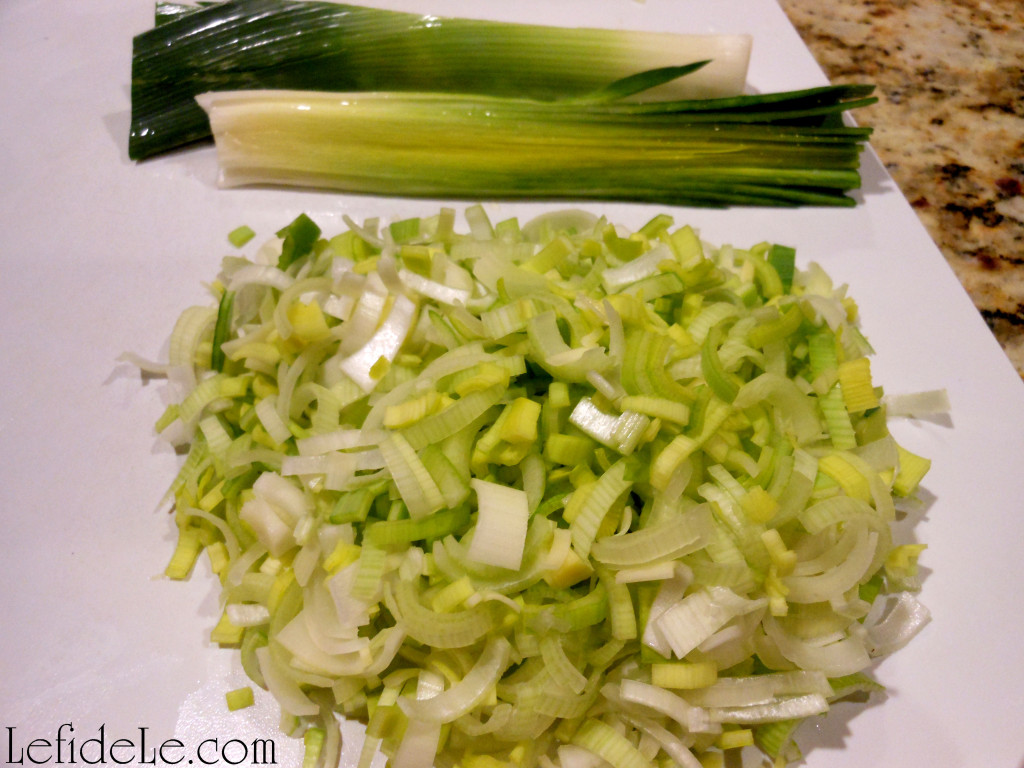
Wash the outside of the leeks, cut off the excess green tops, and then slice them in half. Wash the insides of the two halves, and then dice them. (I really like the flavor leeks add to the mixture, and they won’t make you cry!)

148Leigh

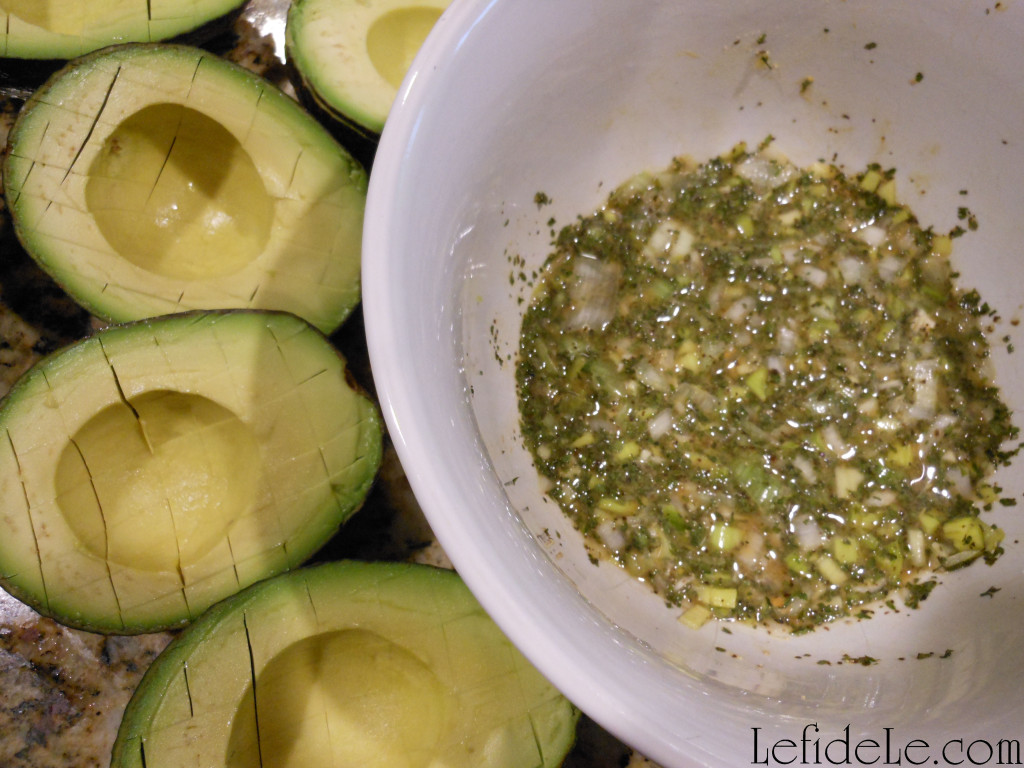
Mix all of the herbs into the lemon juice to allow them time to soften while preparing the avocados. Adding yogurt or mayo is the secret Tex-Mex trick to making smooth and creamy guacamole. Both this and the lemon juice will keep the guacamole a lovely shade of green during your party.

145Leigh

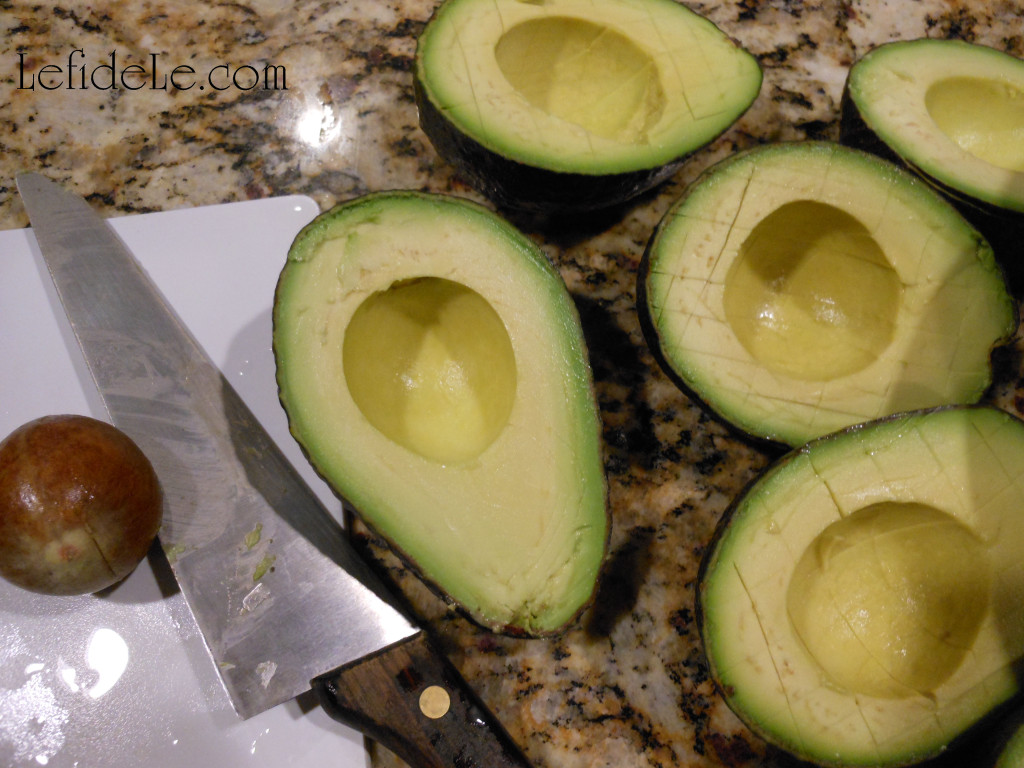
Wash the outsides of the avocados before cutting into them to avoid transferring bacteria. Whack the avocado seed with a knife, then twist it a half turn to remove it. Slice a grid pattern into the green flesh. Use a spoon to scoop out it out, or just squeeze the rind to squish it into the bowl.

150Leigh

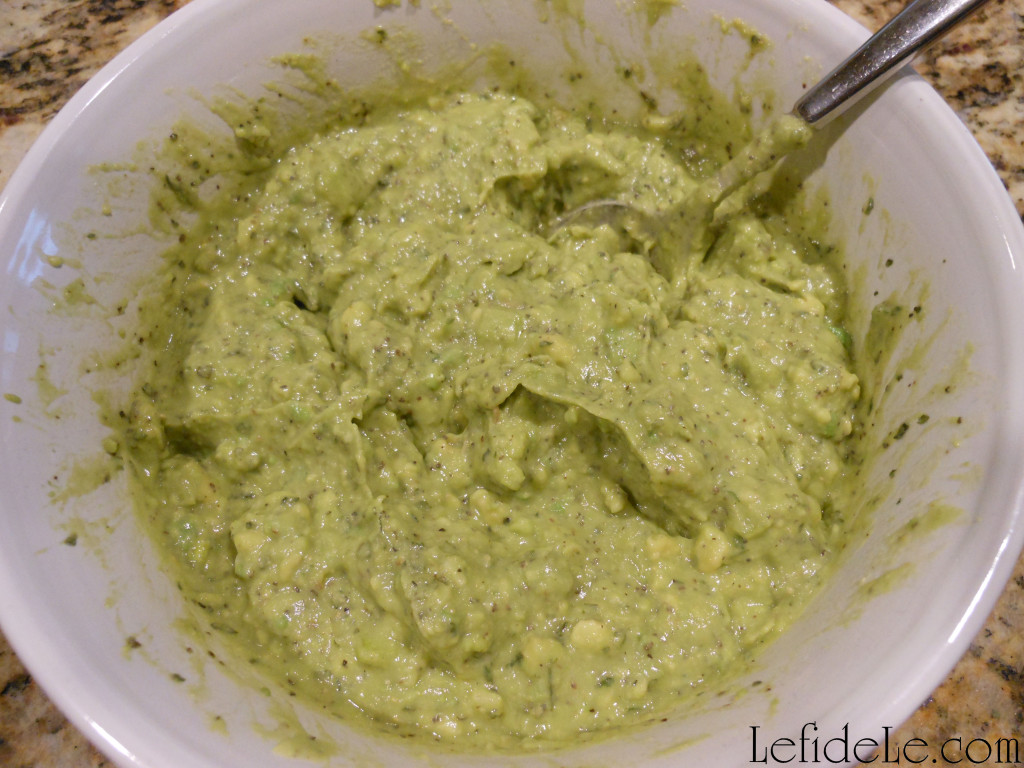
Mash and mix everything together. I use the back of a serving spoon to smash the avocado against the side of the bowl. You can serve it in a bowl rustically like this…

154Leigh

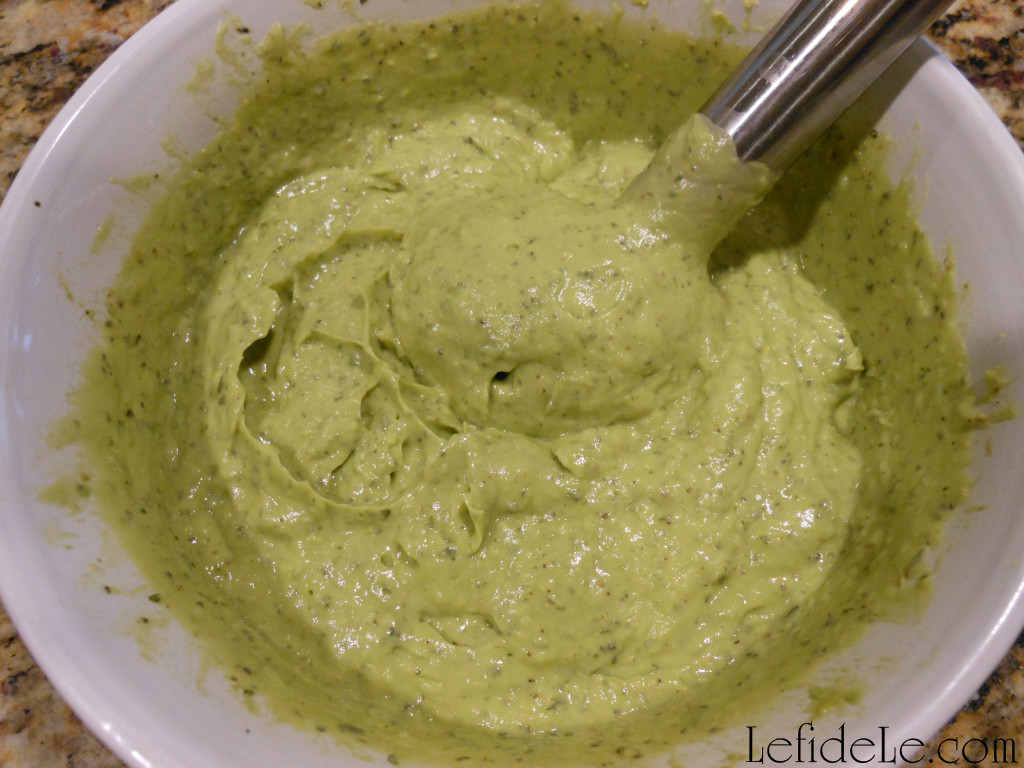
…or you can use a blender to smooth the guacamole into a perfect concoction. (Find a powerful one at Le fidèLe Design’s affiliate Blendtec at the link in the side bar.) Made in this way, there are no chunks of leeks or clumps of herbs, but all of the flavors are equally distributed. (I grew up making traditional guacamole with a molcajete, but I used an immersion blender here… which I admit is much faster and easier.)

157Leigh

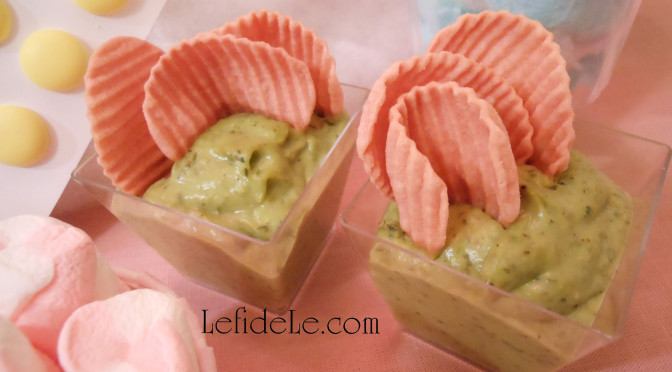
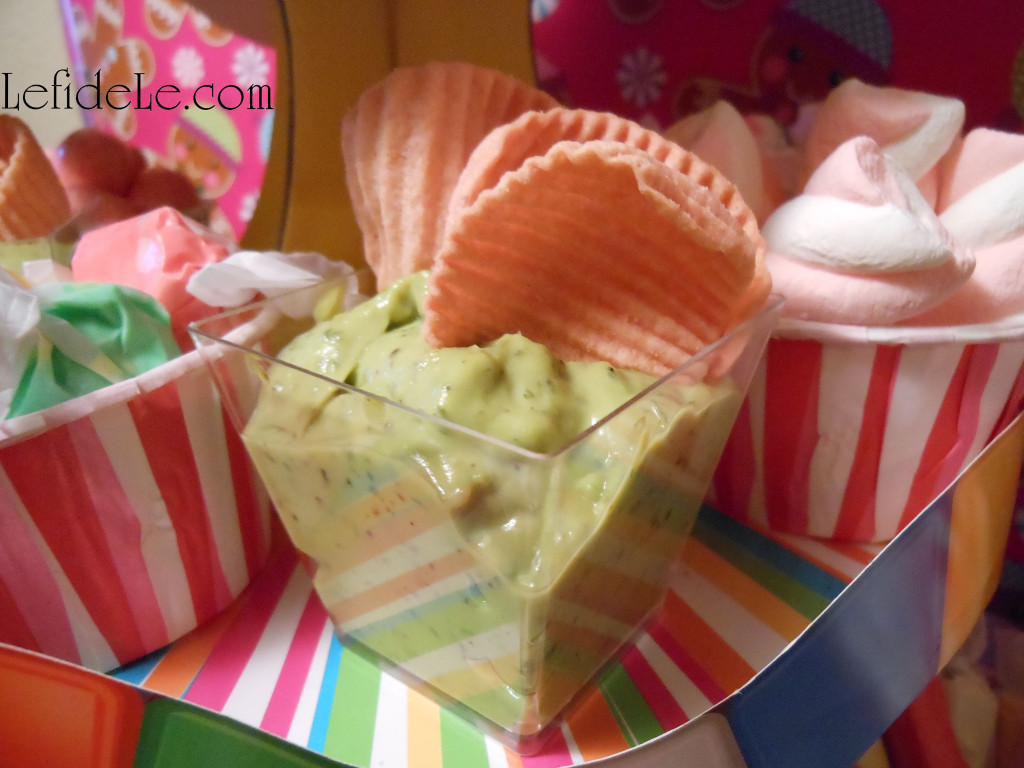
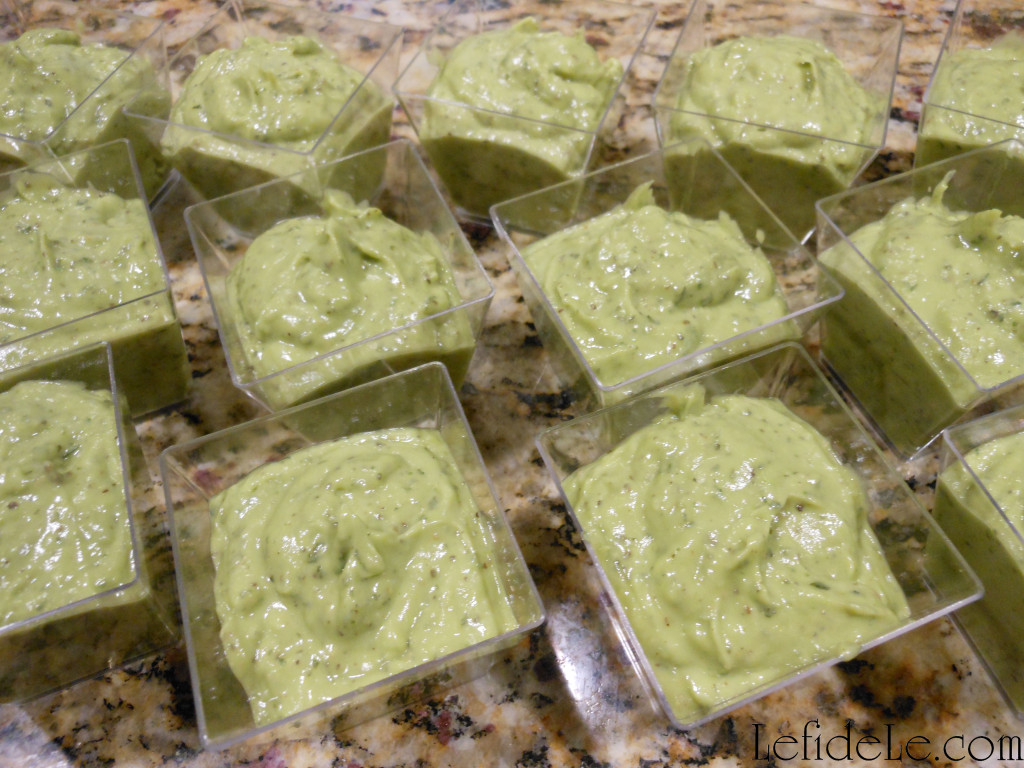
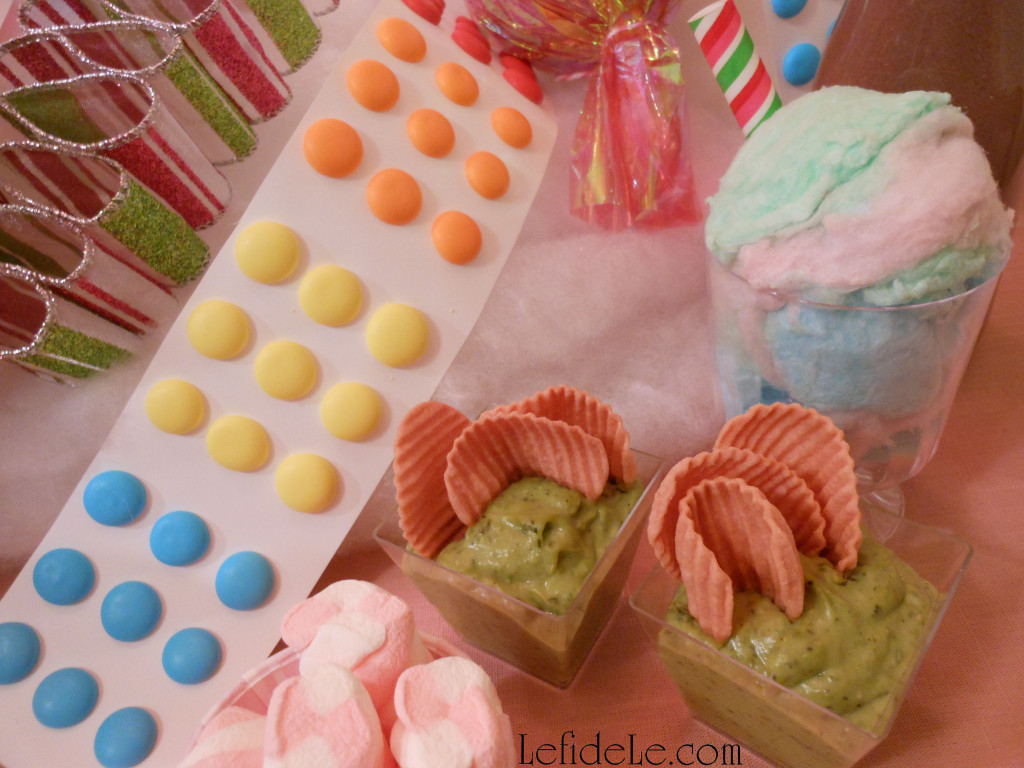
Spoon the spicy guac into shot glasses or individual serving cups.

196Leigh

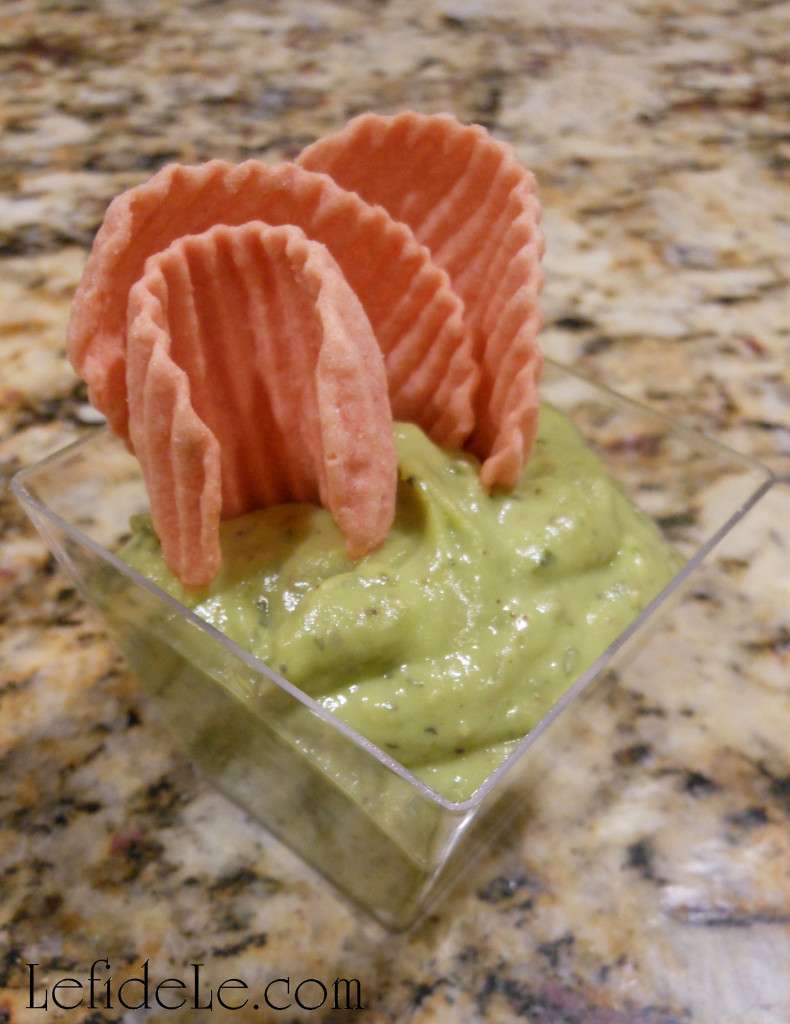
Add any variety of veggies or chips, from matchstick cut carrots (for Easter) to Fritos (for Cinco de Mayo).

214Leigh

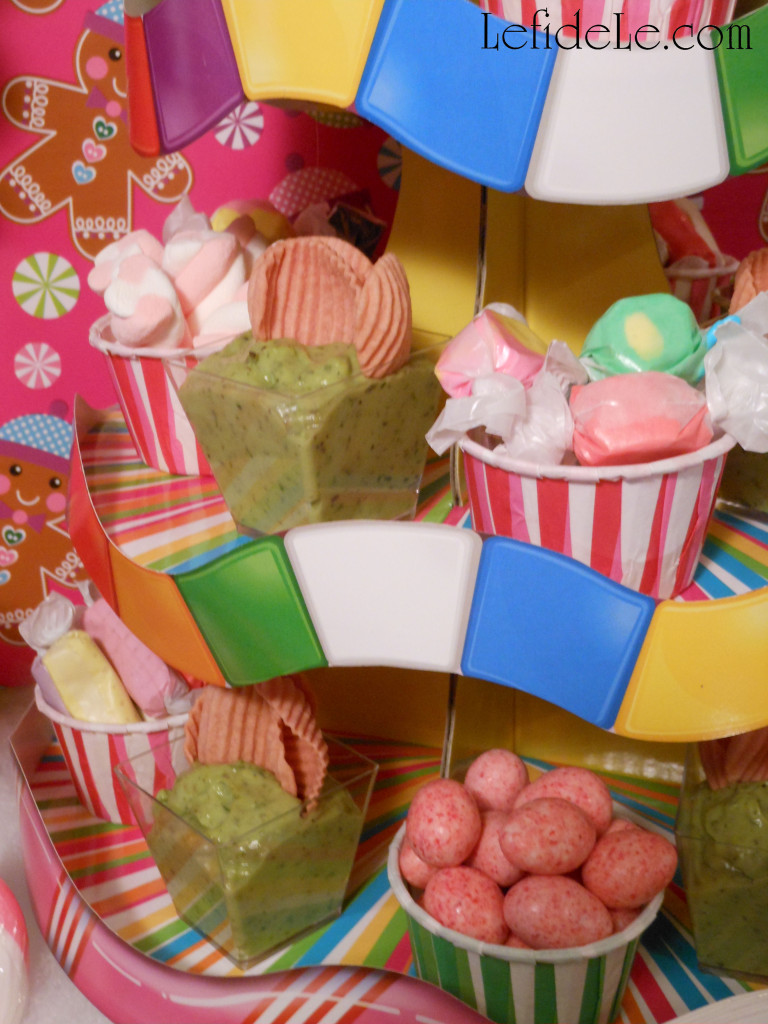
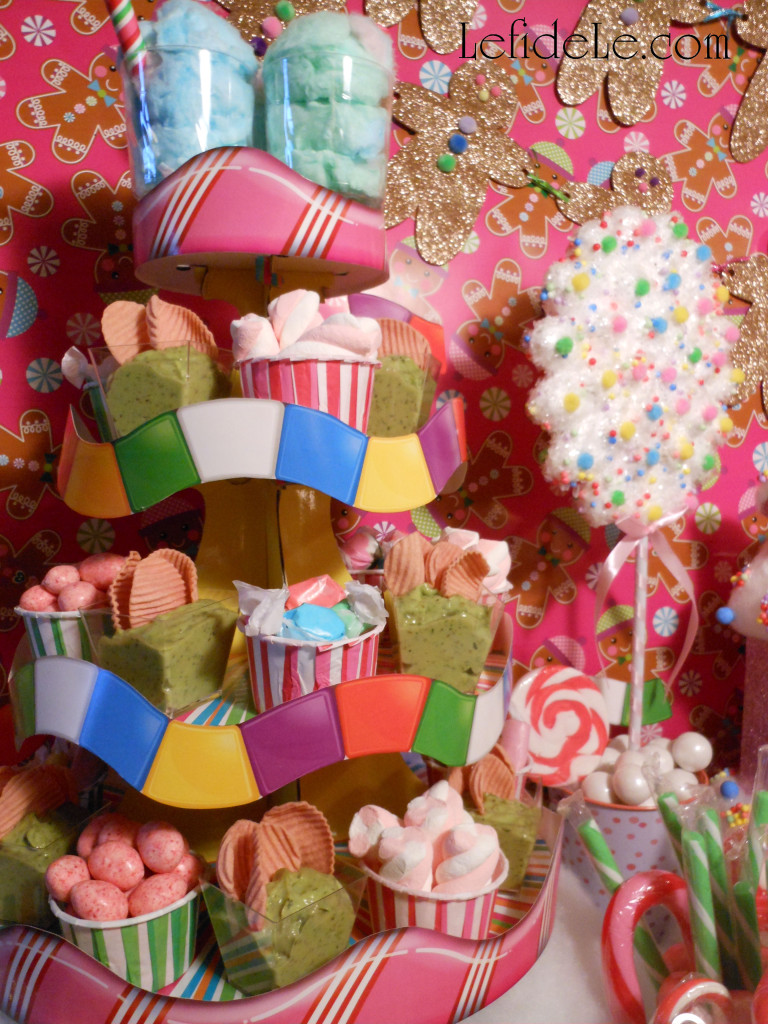
On this day, I used pink pomegranate potato chips from Simply 7 to coordinate with my Candyland party theme. They are so yummy by themselves, but are really amazing when combined with the spiciness of the guacamole.

188Leigh

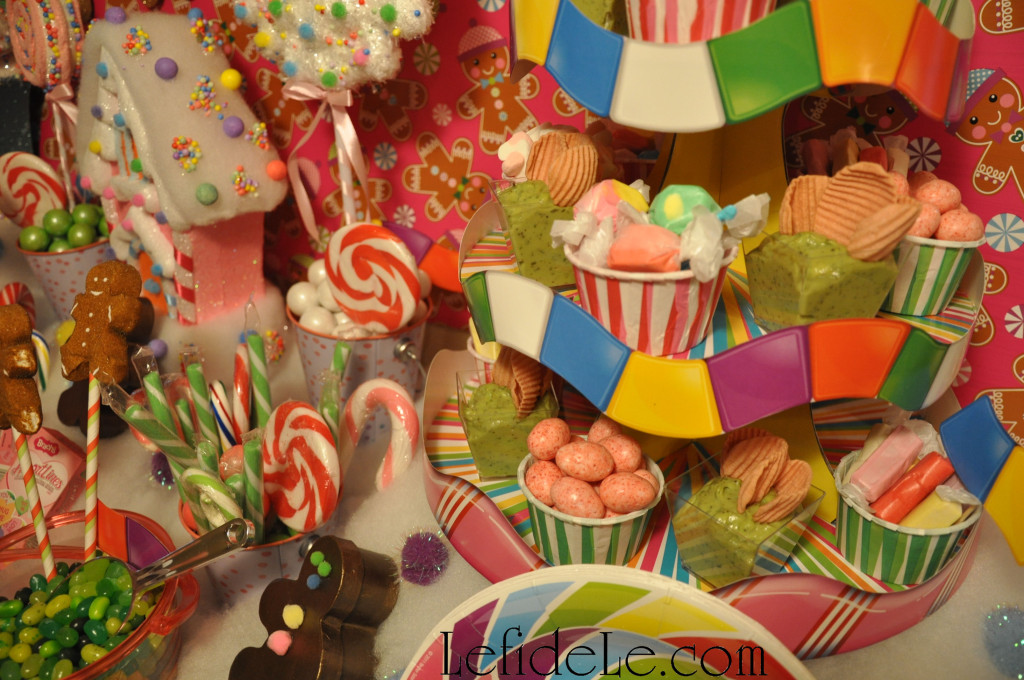
The little avocado shooters fit perfectly into the treat towers I crafted to match my theme. (I’ll be posting the tutorial on this very soon.)

183Leigh

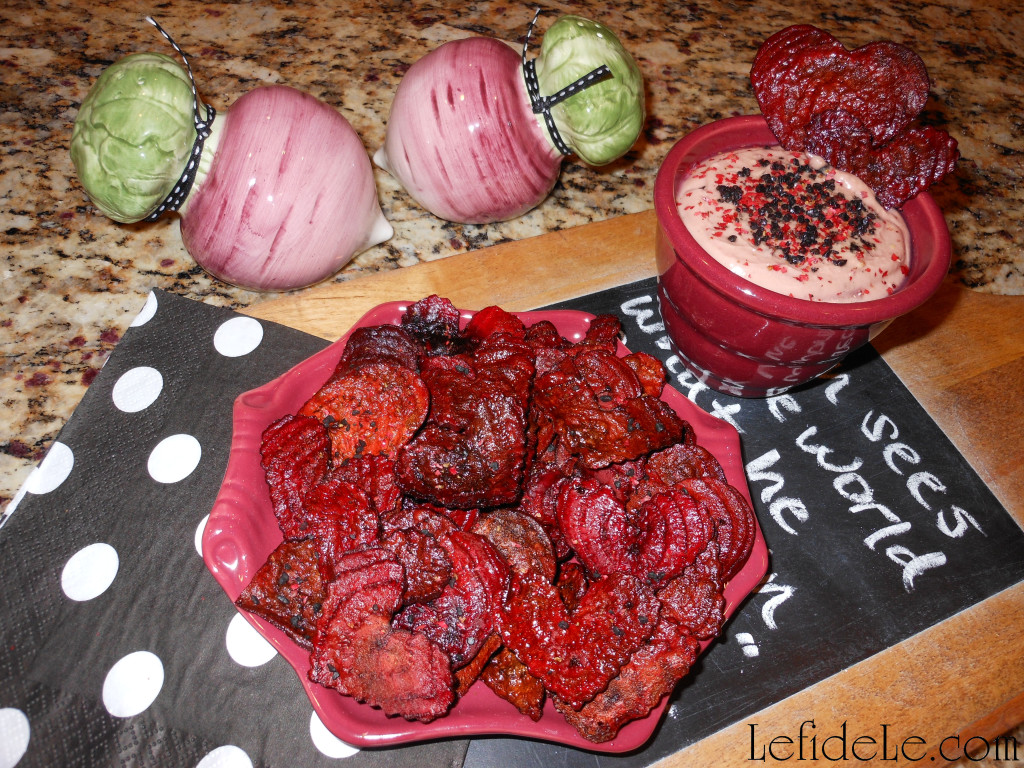
You can also serve my Heartbeats Veggie Chips made from beet root with the guacamole, or try the Lettuce Turnip the Beet Dip I made to accompany it. It is a pink savory herbed avocado dip that I made for Valentine’s.

42bLeigh

Faithfully Yours,

Leigh


Sautéed Kale, Spinach, Chard & Pine Nuts with Herb Roasted Chicken Option (Allergy-Friendly Recipe)

268Leigh

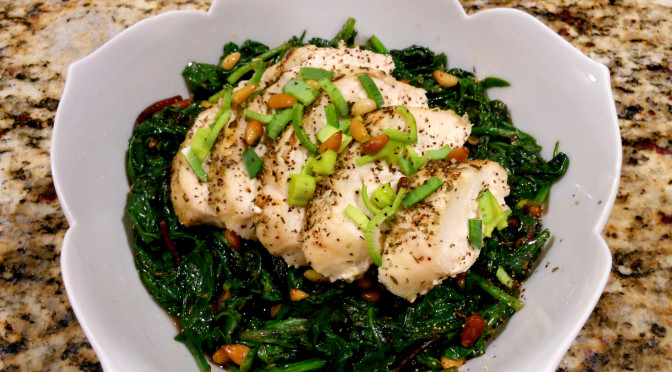
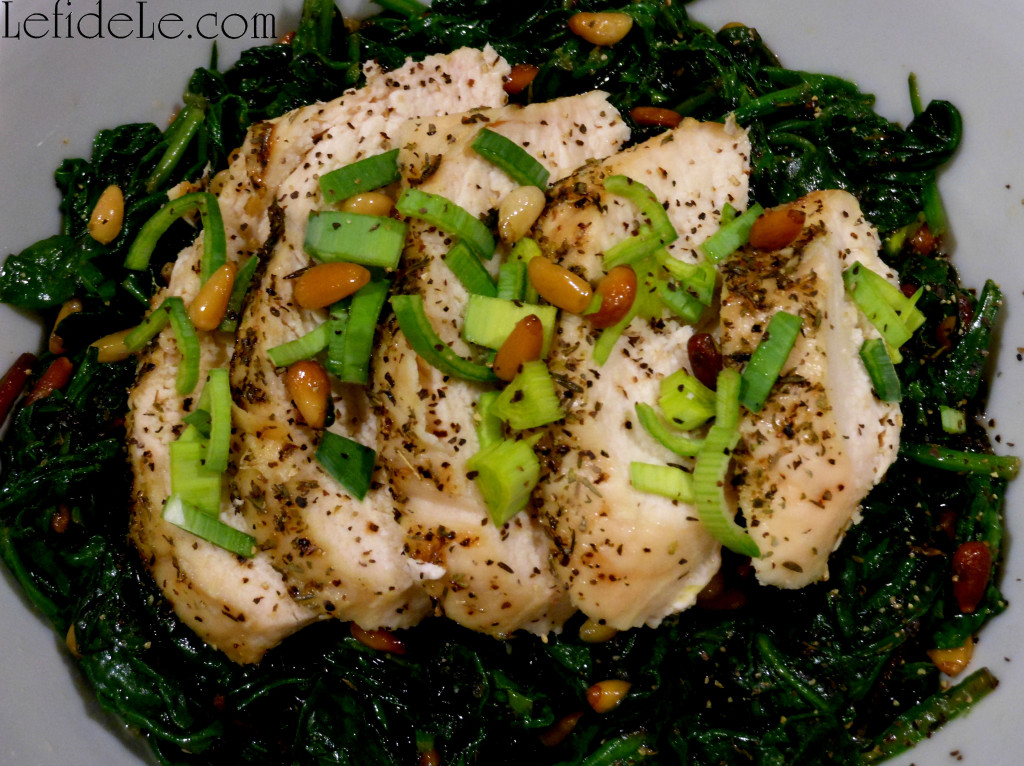
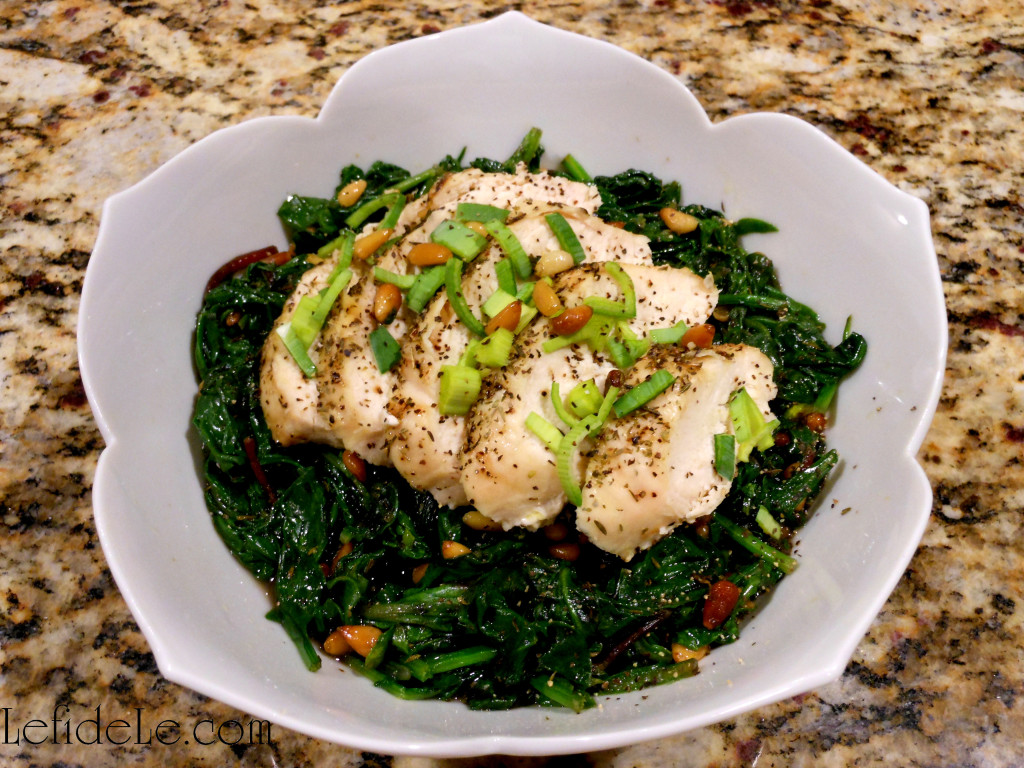
This sautéed greens with chicken recipe makes an easy but elegant weeknight meal, yet is worthy to set before a table full of guests. The kale, spinach, chard and protein packed pine nuts make a lovely side dish or even a delicious meal by themselves. Succulent herb roasted chicken may left off vegan plates and extra pine nuts added instead. This makes it easier for families of mixed preferences to adapt peaceably… and peace is the perfect ingredient for a family gathering!


Ingredients:

  • ~1 pound of greens (I used baby kale, baby spinach, & baby chard)
  • ½ cup pine nuts (or any nut you prefer)
  • ¼ cup olive oil (or another healthy flavorful oil, adjust amount as desired)
  • ½ orange (or use another citrus juice)
  • 1 teaspoon dried marjoram (add more if using fresh)
  • 1 teaspoon dried thyme (add more if using fresh)
  • sea salt & ground peppercorns (to taste, or use a salt substitute)
  • Optional: chicken breasts (1 for each person, + extra herbs & olive oil)

Instructions:

253Leigh

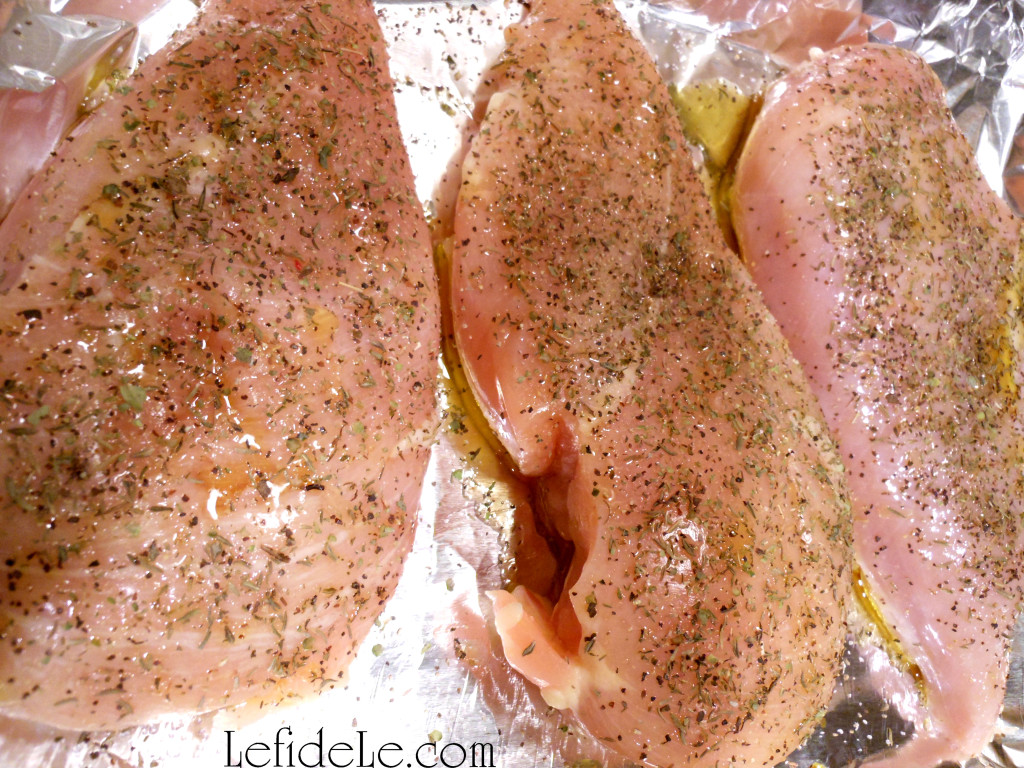
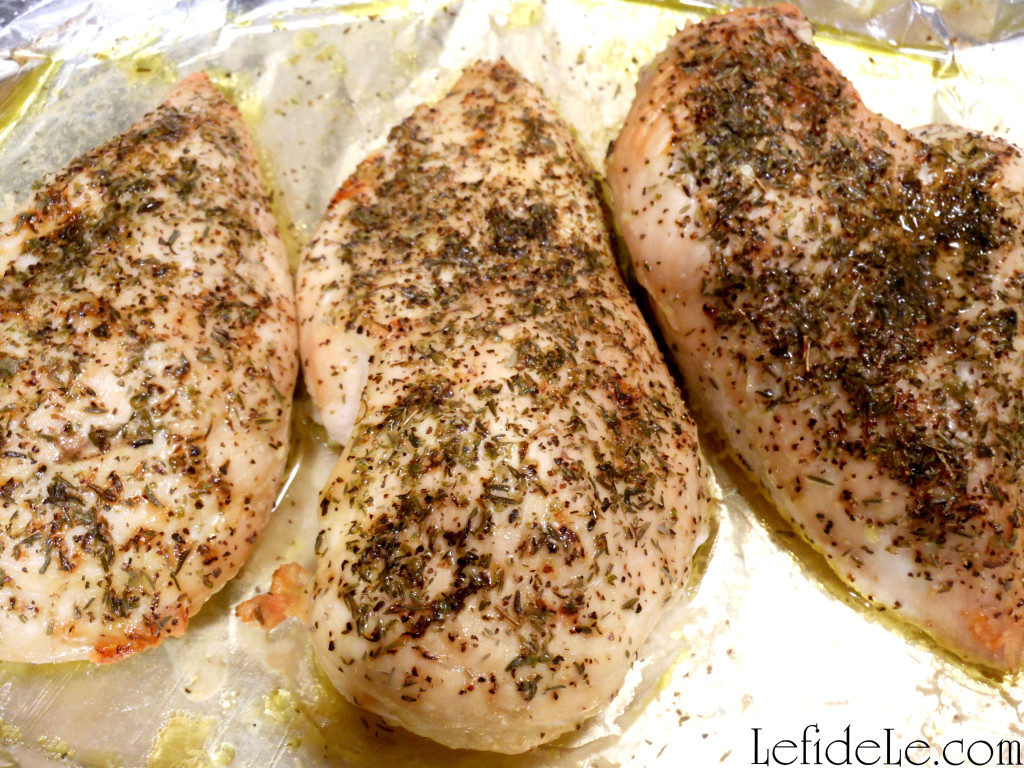
If opting for the roasted chicken, prepare that first so it may be cooking while you fix the greens. Drizzle olive oil over the chicken breasts and sprinkle marjoram, thyme, salt and pepper over them. Roast them in a 375ᵒ oven for about 45 minutes. (Adjust the cooking time to the size of your portions and your oven’s temperament… the pieces I cooked were huge!)

249Leigh

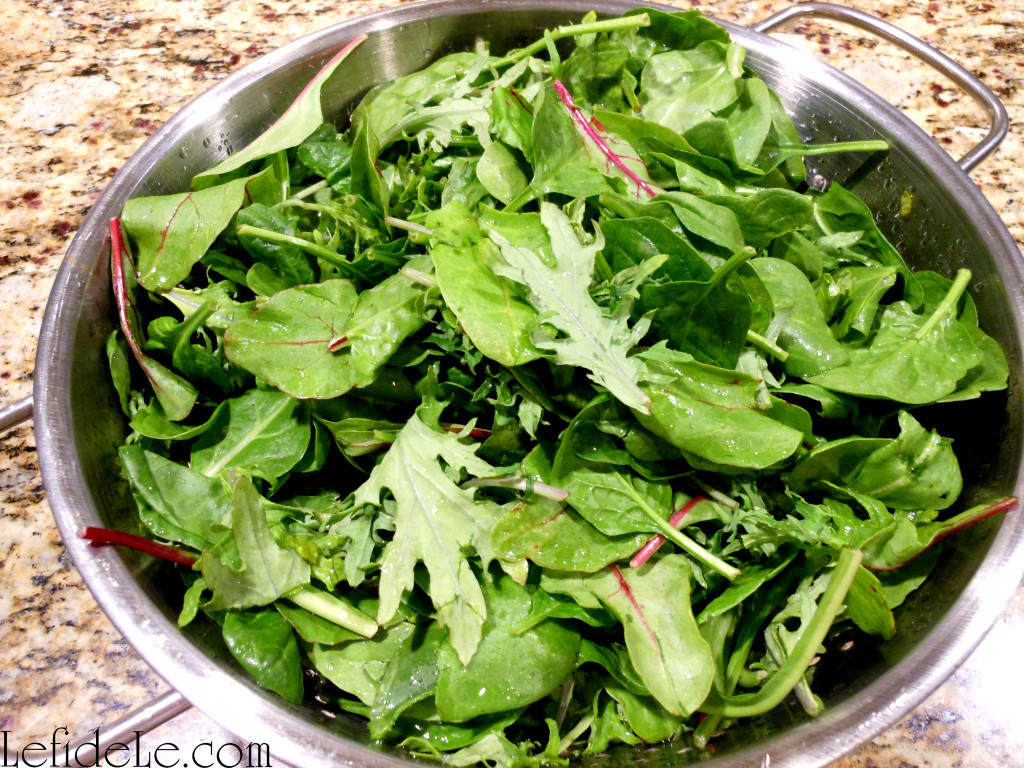
Wash your greens well in a colander. (I chose baby varieties not merely for their tenderness, but also to save time in preparation. They don’t need to be chopped or have hard core stems removed.)

255Leigh

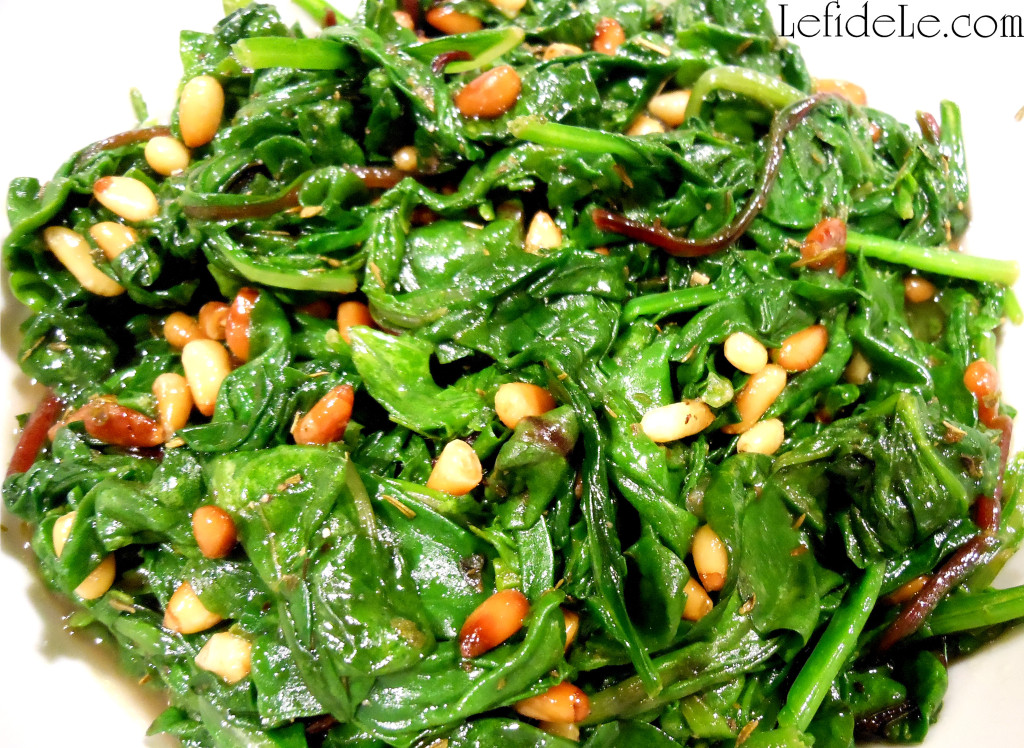
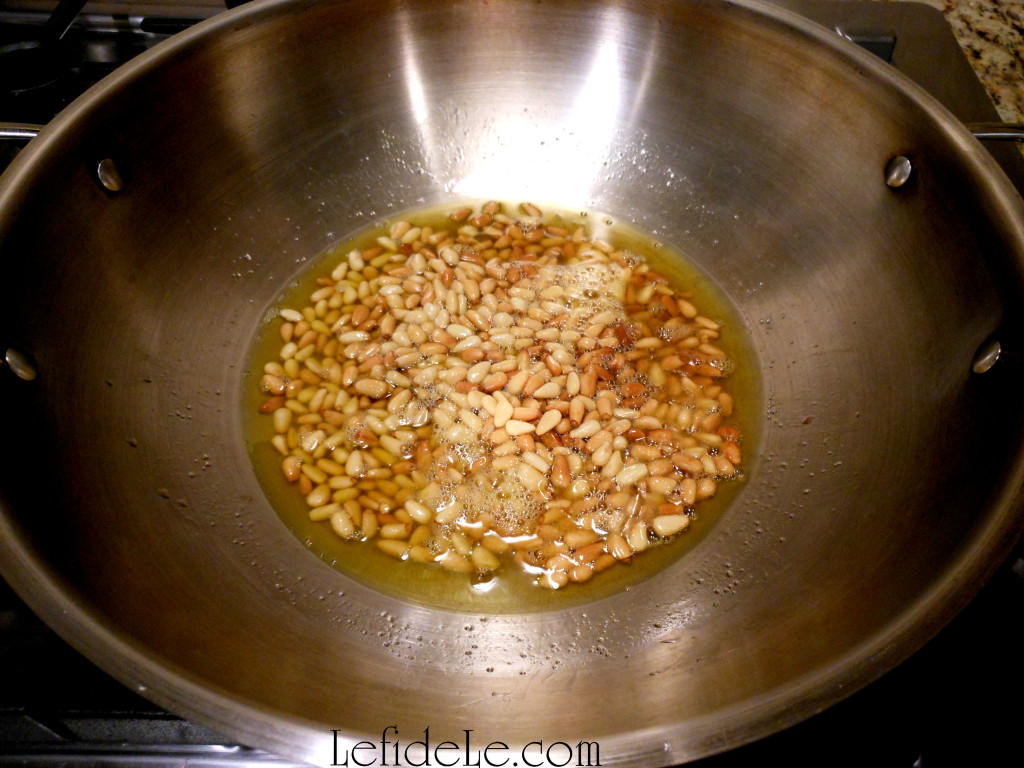
Heat the pine nuts and olive oil in a pan on the stove. (I actually used my big wok because the sloped sides prevent the greens from overcooking.) When they are bit browned, add the greens.

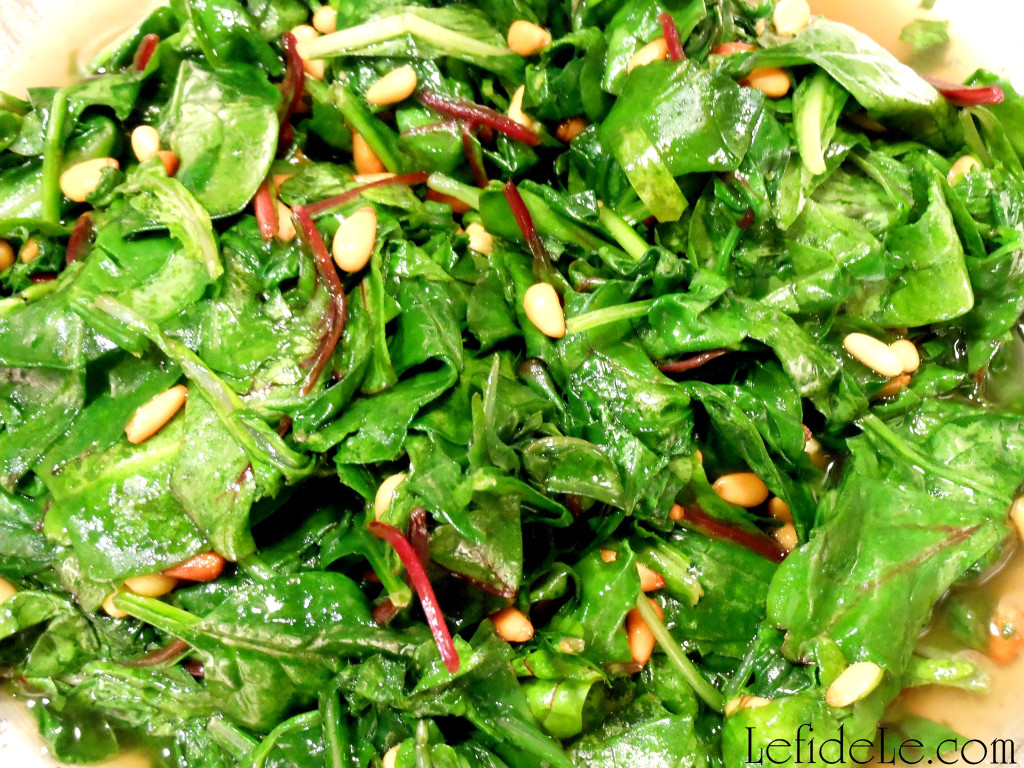
260Leigh

Also add in the herbs and seasoning, and toss to cook down. (The volume of the greens will shrink as it’s cooked, so you can add smaller portions a little at a time until all of it fits in.)

261Leigh

Off of the heat, squeeze in the citrus juice and mix well. (Heat negates the vitamin C benefit.)

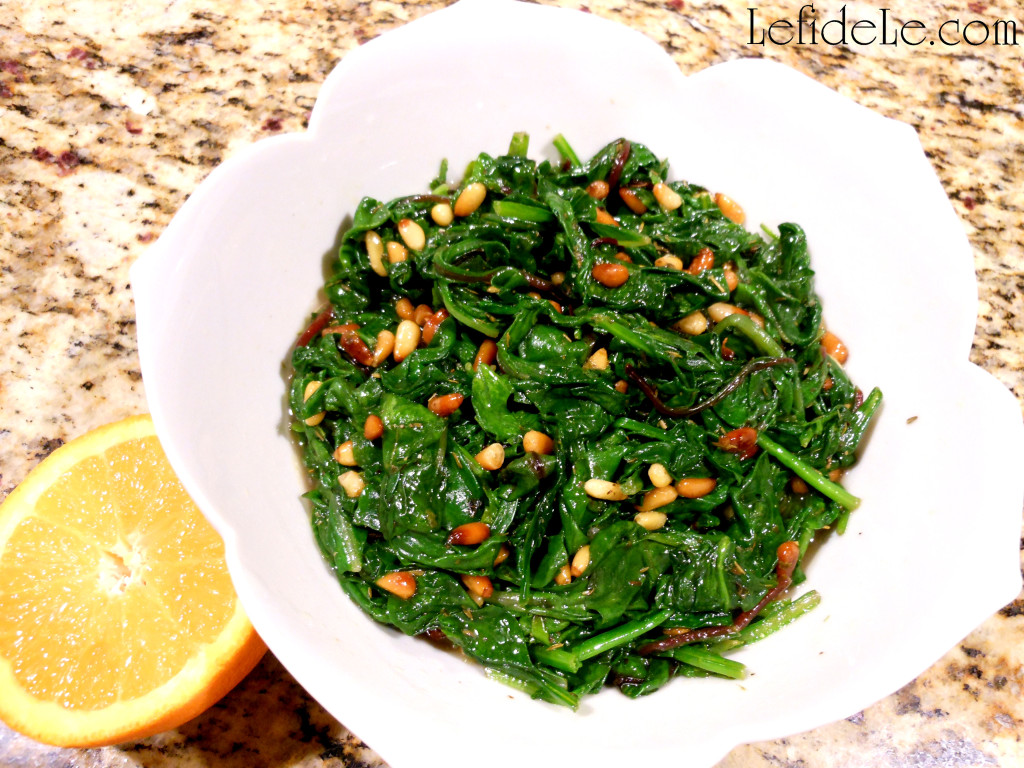
269Leigh

Serve them whole, or slice the roasted chicken breasts for presentation.

274Leigh

Add more herbs, pine nuts, or even a new element as garnish. (I used leeks in the pictured dish… because I adore them.)

280Leigh

Bon appétit y’all!

Faithfully Yours,

Leigh

P.S. If you like kale, check out my Irish Colcannon / Herbed Kale Mashed Potatoes St. Patrick’s Day Recipe (Allergy-Friendly, Gluten-Free, Dairy-Free, Vegan).

111Leigh

Quick & Easy Metal Napkin Rings, Money Tree, + Rainbow & Shamrock Crafts for St. Patrick’s Day Party Décor

058Leigh

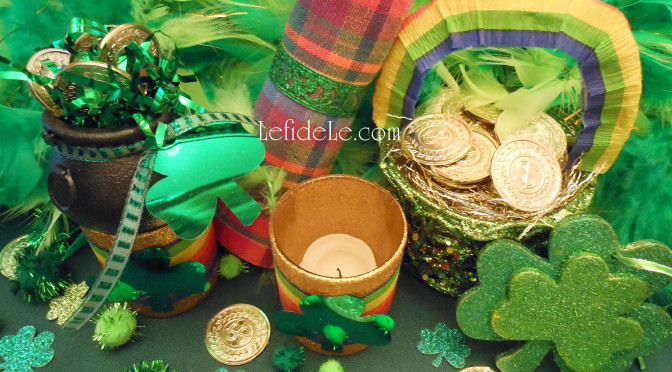
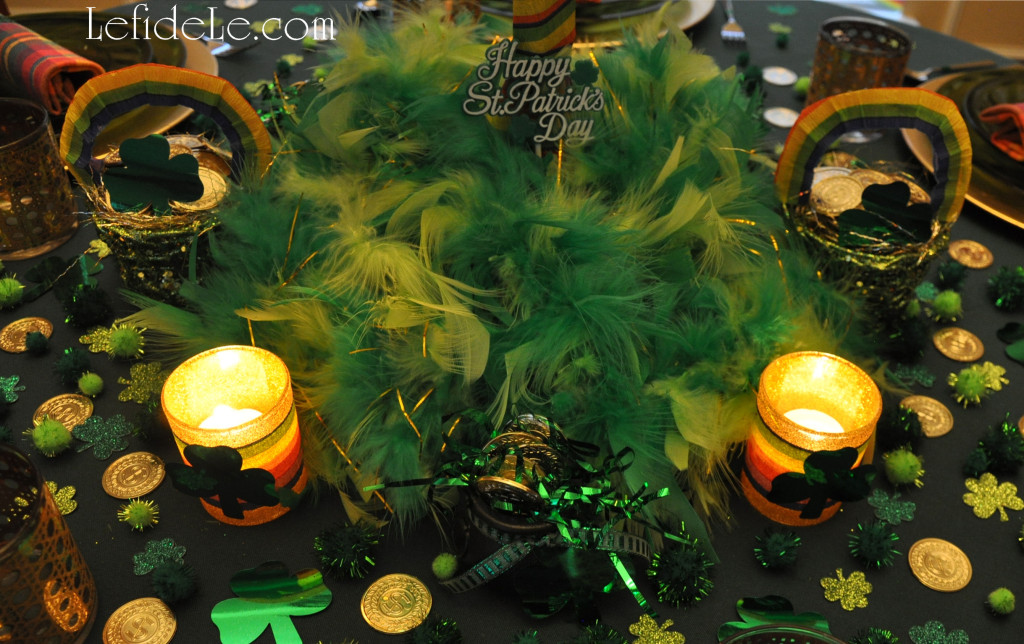
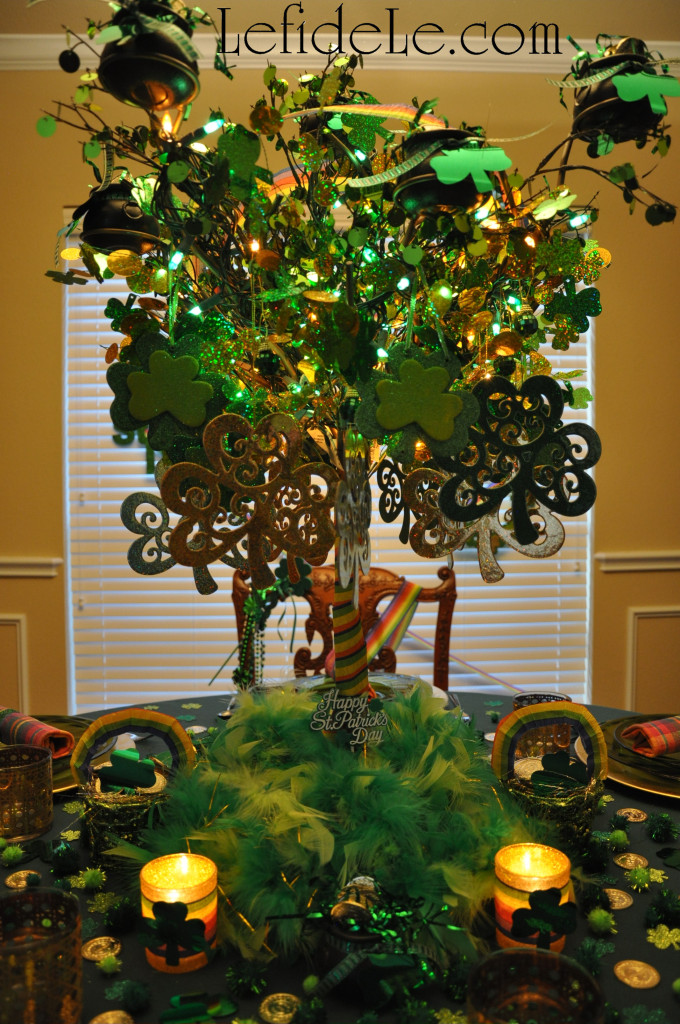
Celebrate St. Patrick’s Day with rainbow filled party décor. Make pots of gold for a centerpiece to prove that money does grow on shamrock laden trees! These colorful crafts are quick and easy to achieve with inexpensive materials like metal ribbon for napkin rings and crepe paper for rainbow arches and votive holders. Find my free printable card & invite at the article for St. Patrick’s Day Party Tablescape Décor Ideas, along with how to complete the rest of the celebration.

133Leigh

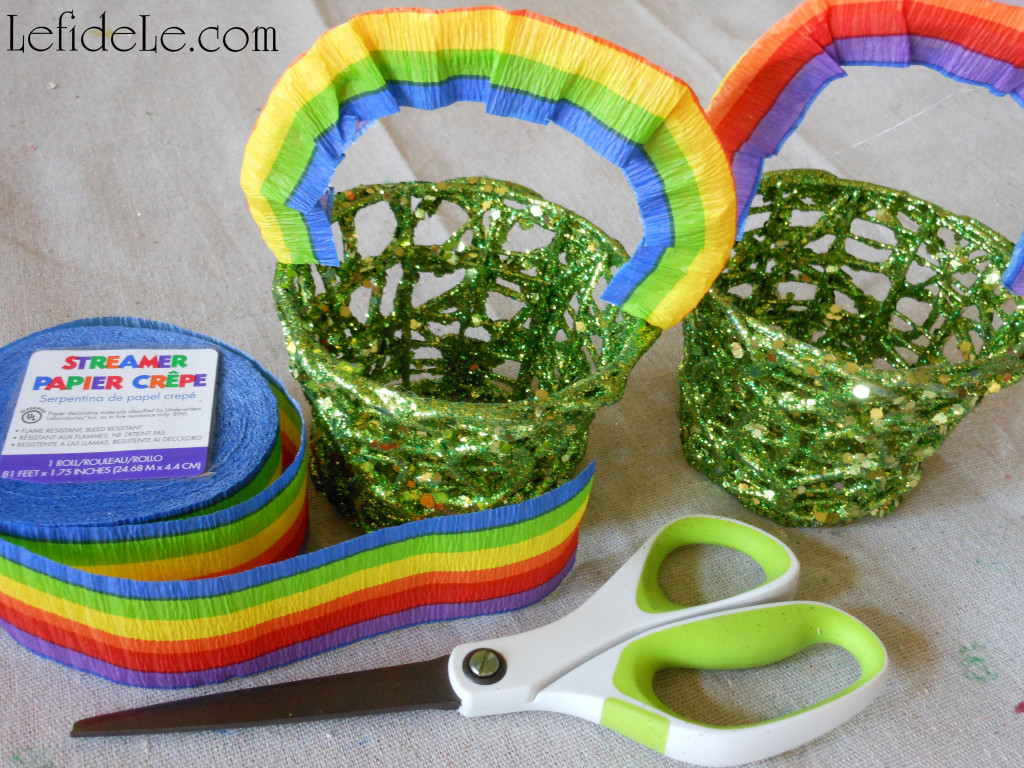
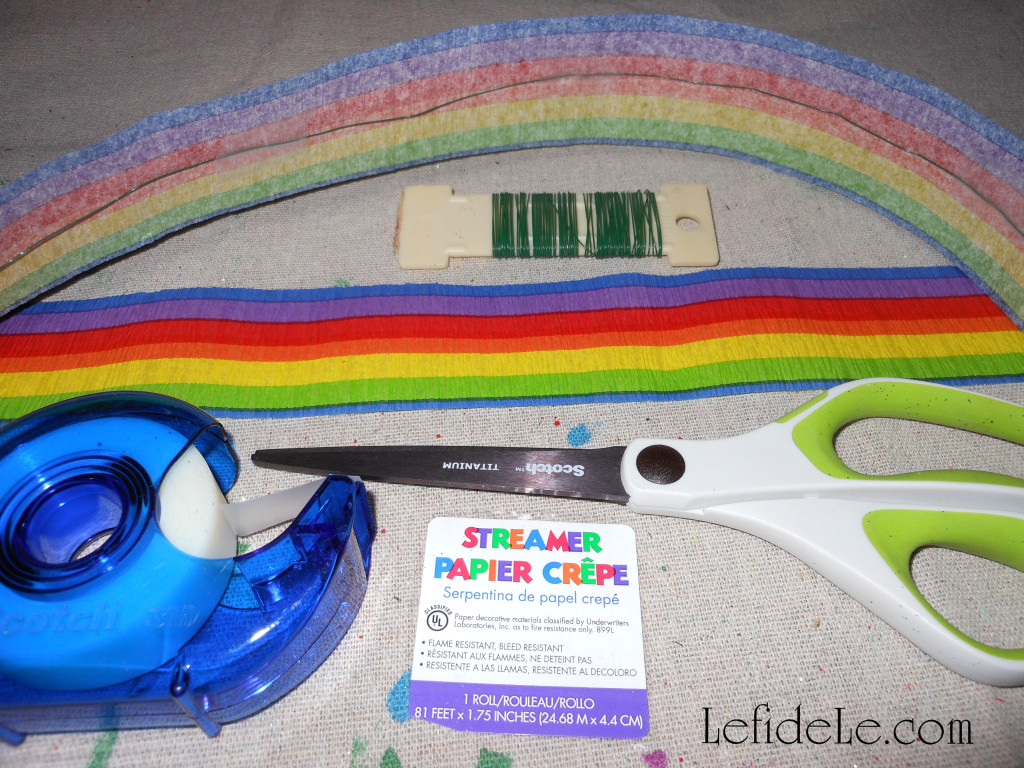
Top o’ this morning’s question is how to fill a party with rainbows without breaking the bank. The answer is with crepe paper streamers in a rainbow print… 2 dollars will purchase 81 feet of decorating power! The trick is to use it in the same way you would utilize ribbon.

140Leigh

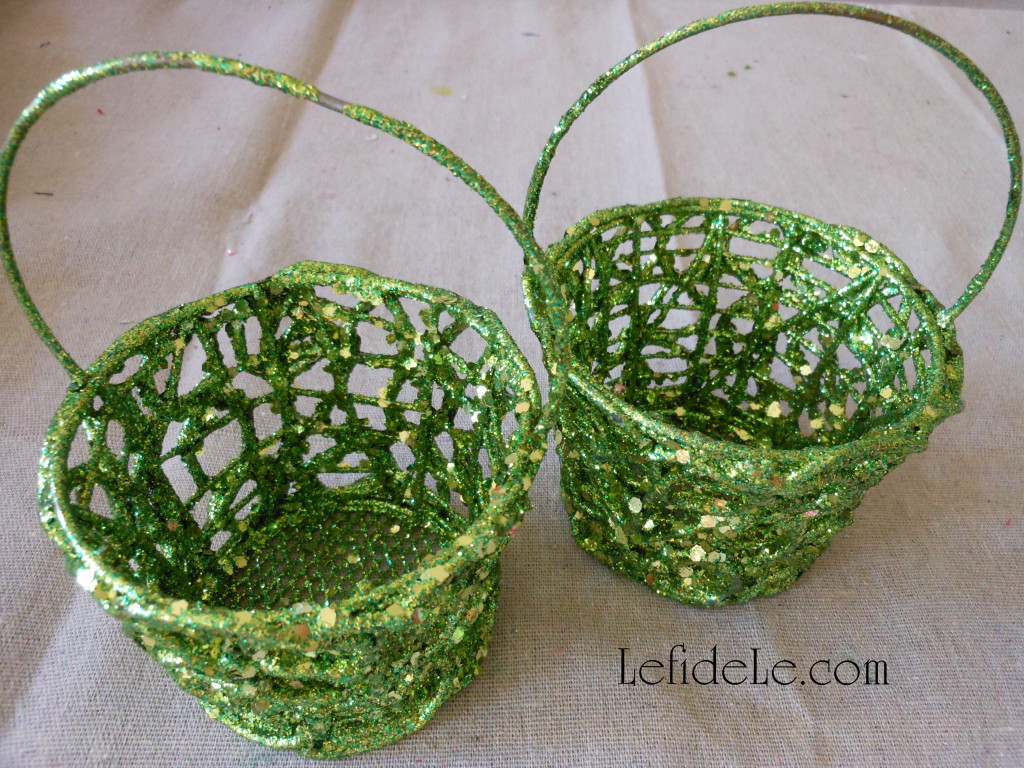
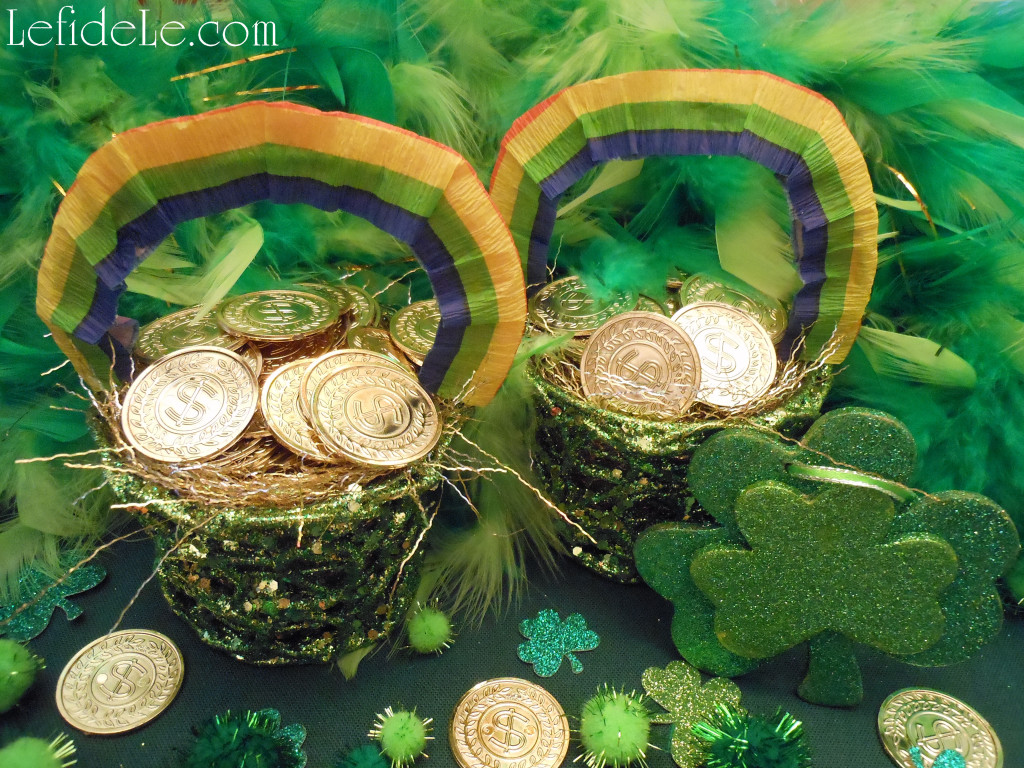
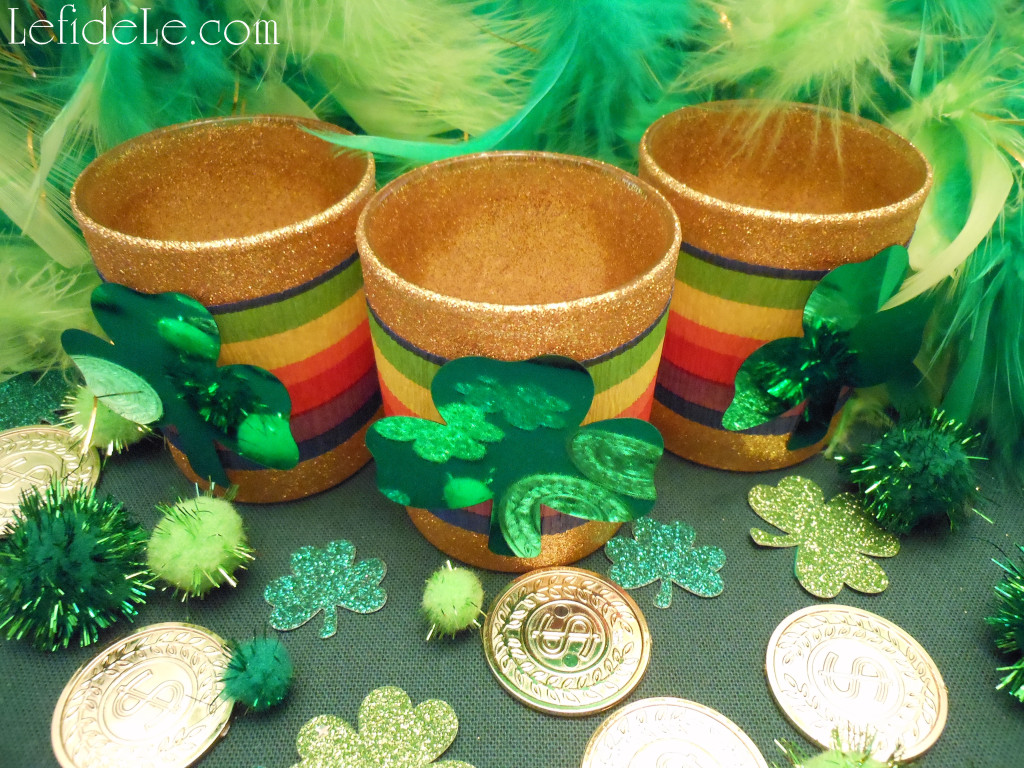
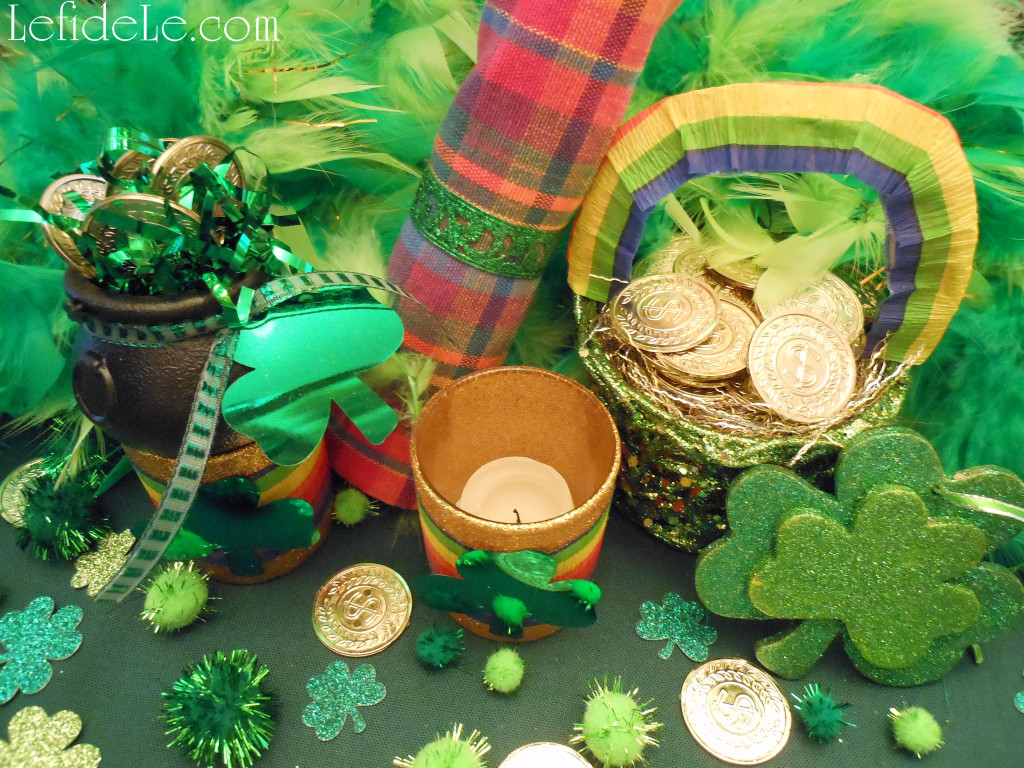
It only took a few inches of crepe streamer to adorn each of the slim handles of glittered baskets, taking them from Christmas to St. Pat’s in a flash. They only needed a few dots of glue to adhere each underside edge to the other, and it only takes a tug to remove the paper and reuse the baskets for the next theme. “Gold” coins atop gold gift bag stuffing complete the pots at the ends of the rainbow.

146Leigh

Some of you may have seen my last Mardi Gras Party article where I wrapped gold glitter votive holders with an amazing tri-color tinsel ribbon. I used those very same glittered holders and wrapped them with crepe rainbows for St. Pat’s. A tiny piece of transparent tape makes them reusable for another celebration, because nothing is attached that will pull the glitter off. A final touch is to add a piece of shamrock confetti using tape that’s been doubled over.

155Leigh

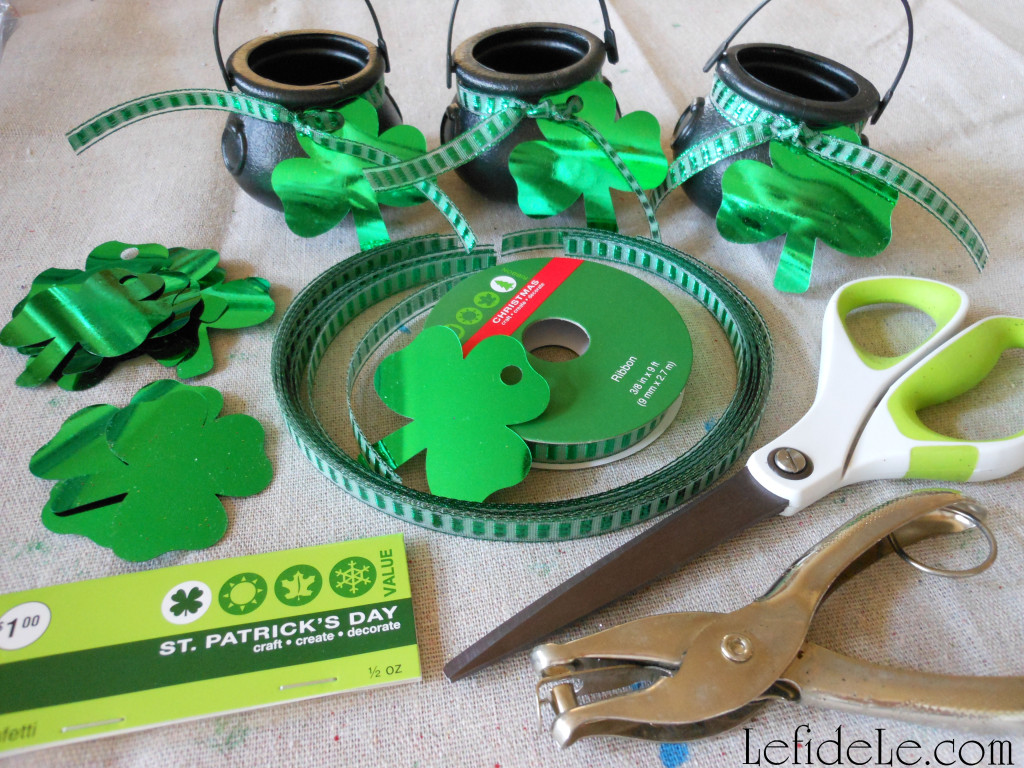
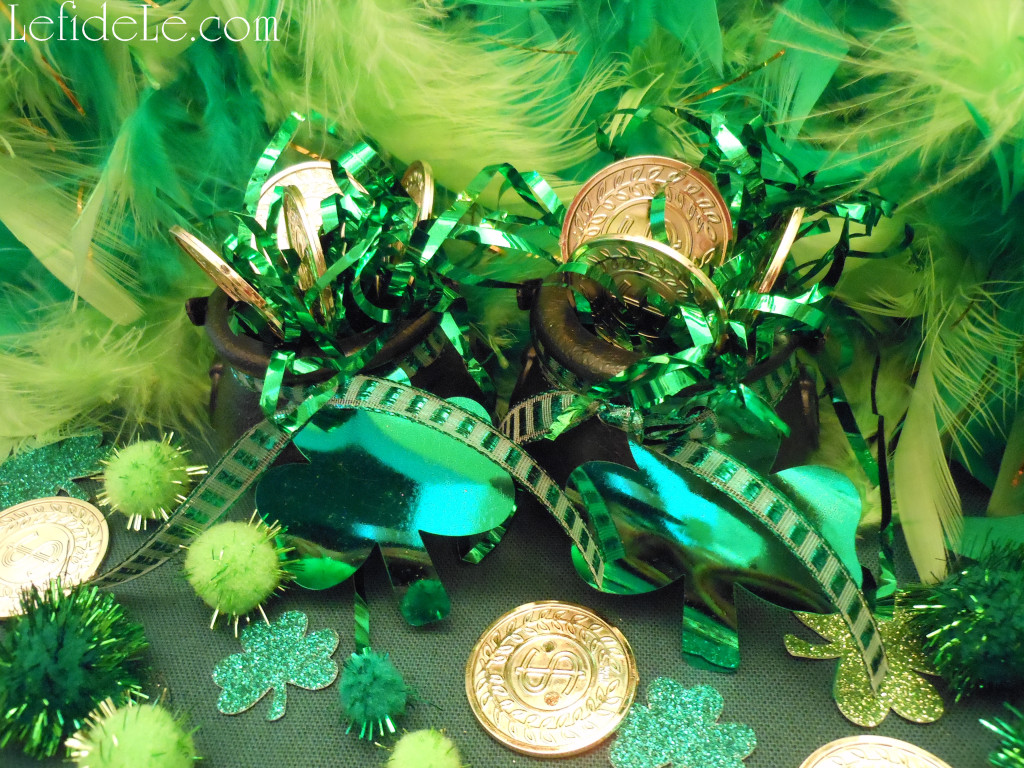
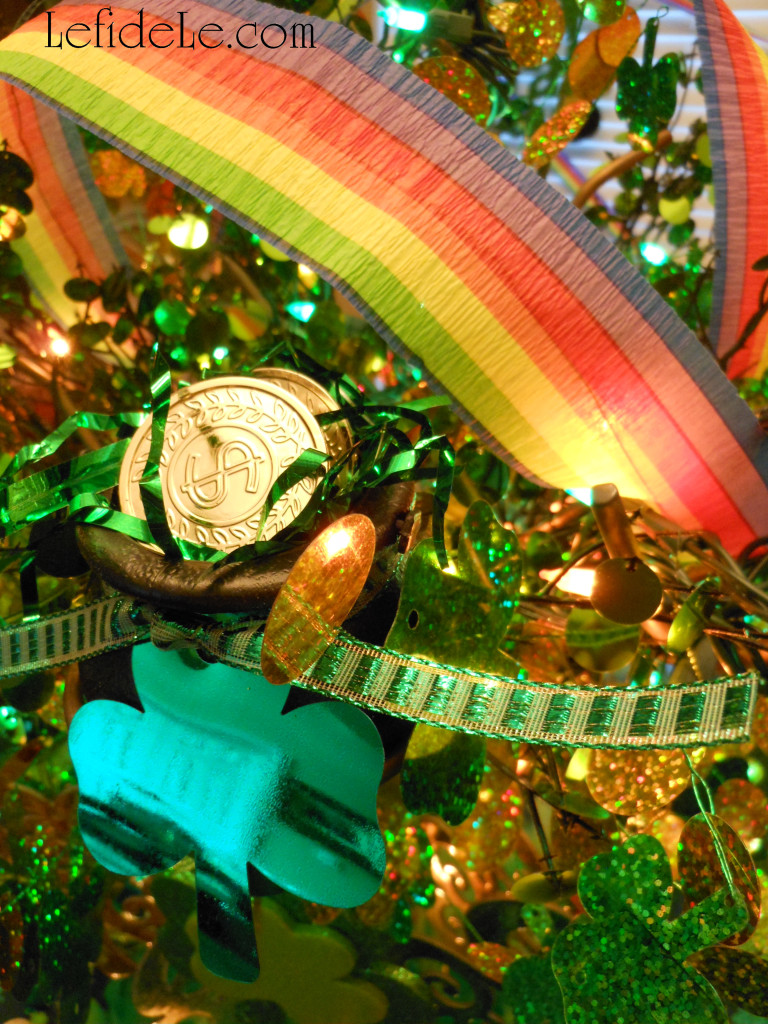
I purchased the confetti at half-off for 50 cents, and had more than enough to spread around, so I decided to decorate little Halloween cauldrons as pots of gold. I took a hole-punch to the shamrocks, and then I attached them with strips of two-toned green Christmas clearance ribbon. All they needed to complete them was a bit of green gift bag stuffing and some more gold coins… yes, those are the same ones that functioned as doubloon décor at Mardi Gras.

142Leigh

Some of these little pots dotted the table, and some sat perched in the shamrock leaved money tree.

152Leigh

Also gracing the glowing tree were rainbow arches made with the same crepe paper used earlier. I just cut a corresponding length of floral wire and taped it to the center of the underside. This provided a posable structure with which to bend the rainbow to my decorating will… which happened to be filling in some empty space between the branches.

156Leigh

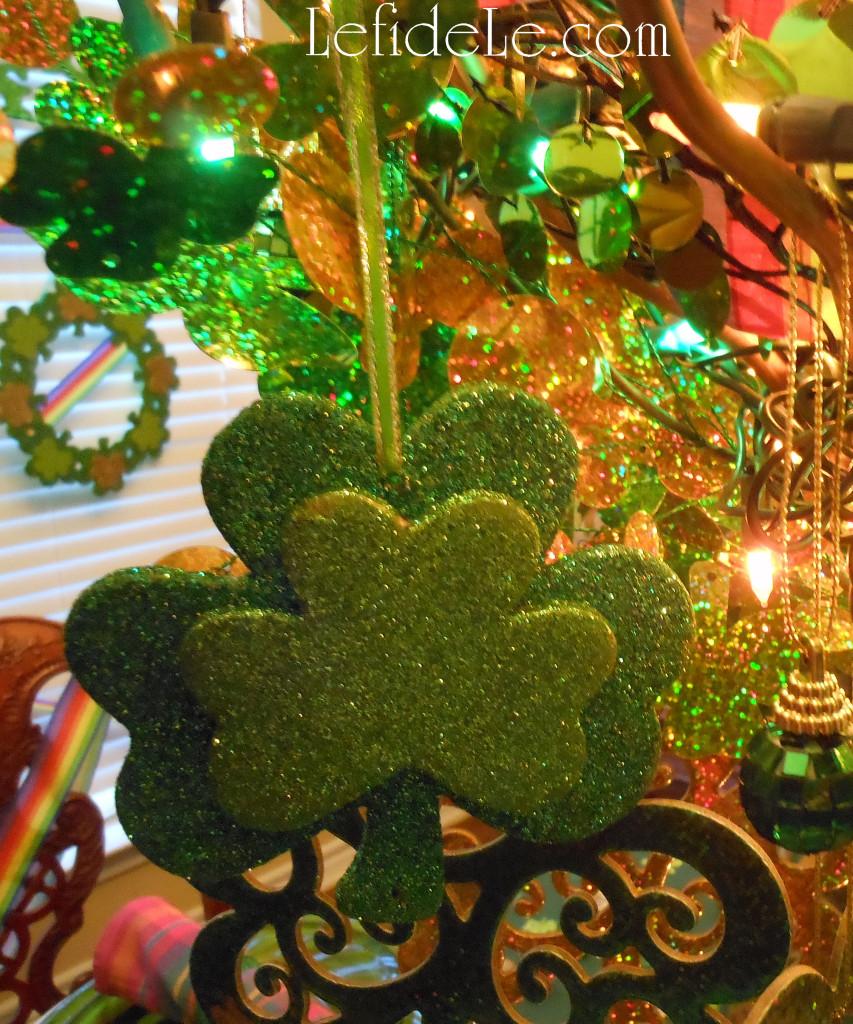
The tree is the same gilded metal one I used for Mardi Gras, but was filled this time with different branches, lights, and shamrock ornaments. I used holographic branches that were 34 cents each, from last year’s St. Pat’s clearance sale. I filled in with a mylar leaf studded vine that I cut into sections. I found it along with the gold and green lights after Christmas for 90% off.

116Leigh

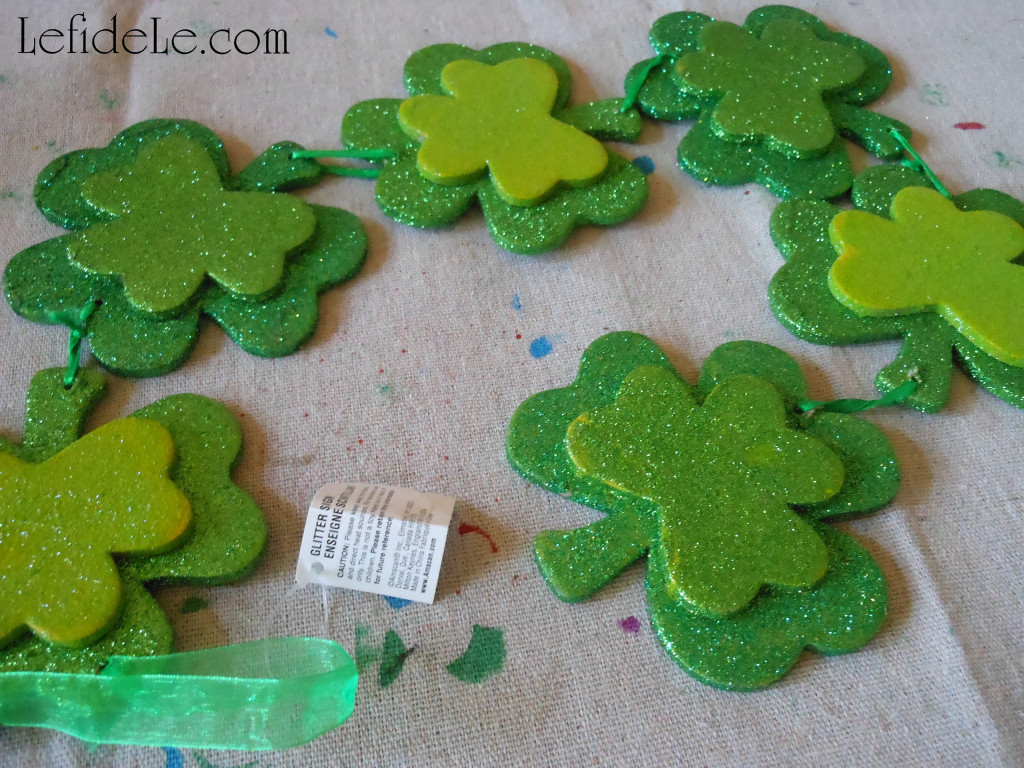
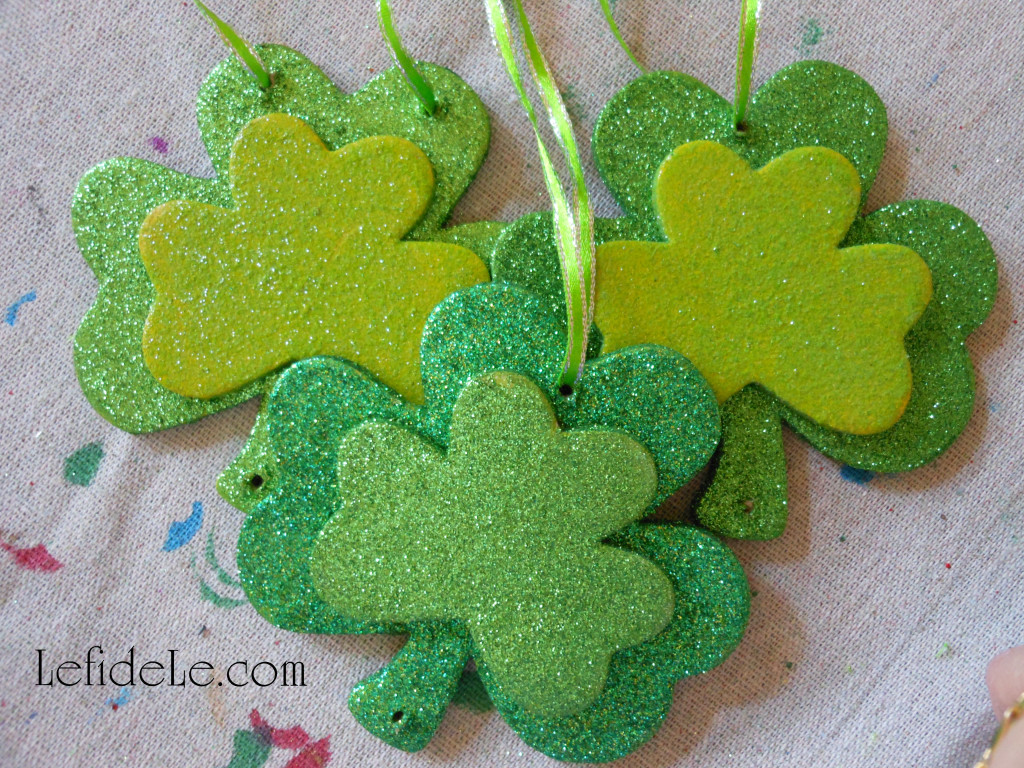
The holographic shamrock ornaments were dollar bin finds, but the glittered wooden varieties were made from a party store sign for a few dollars.

151Leigh

All I needed to do was cut them apart and add ribbon loops as hangers. For a future holiday, I can add rainbows or coins for a completely new look.

154Leigh

This metal tree has been painted different colors and adorned with a complete range of décor to suit every holiday.

121Leigh

For this one, I just wrapped the trunk in more rainbows and laid a green feather boa at its base. This too was found post St. Pat’s for less than 2 dollars.

067Leigh

If you plan your theme a year ahead, it’s easy to gather all the material you need for the cost a burger out. Then you can spend your cash on quality ingredients for a fabulous dinner menu!

208Leigh

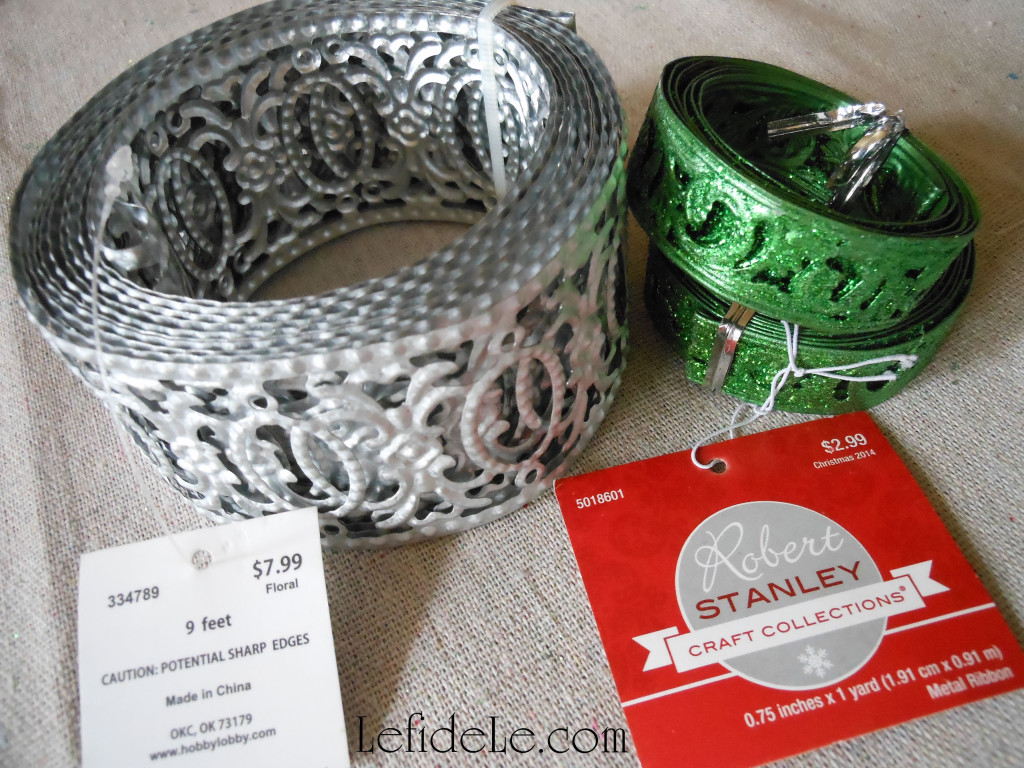
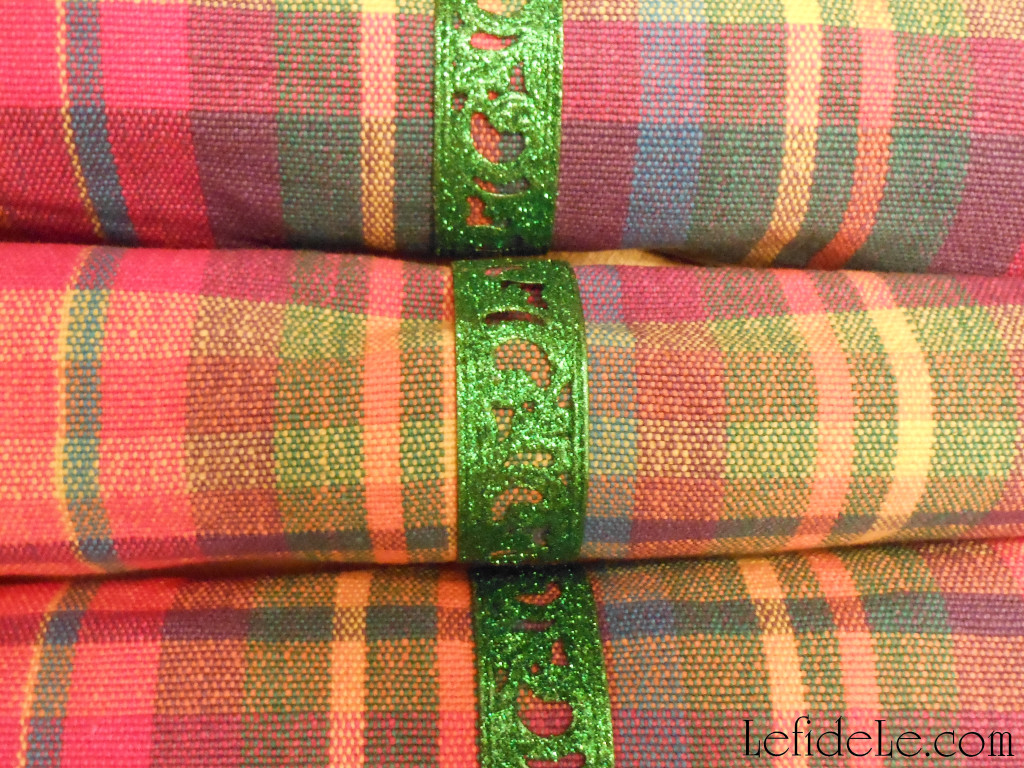
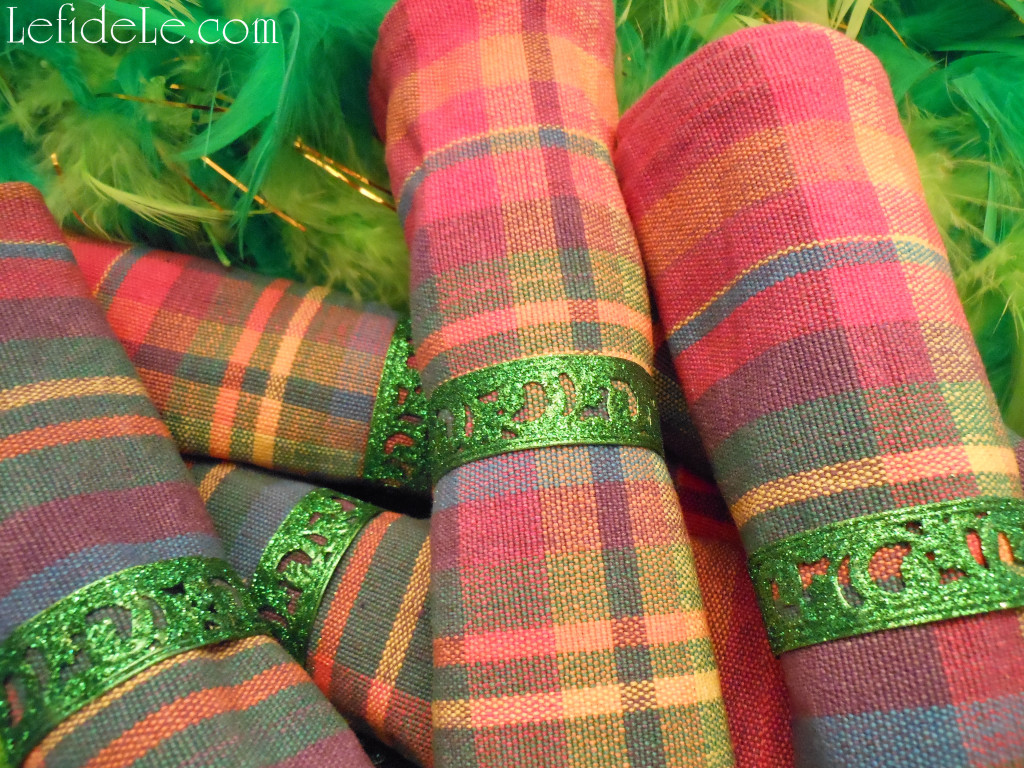
The last, and most fabulous, craft is how to make your own metal napkin rings. These aren’t just for St. Pat’s but will work beautifully for any occasion. This is because you can find its base of decorative metal ribbon in a wide variety of styles and colors. For this party, I wanted to use the green glittered variety to encircle my rainbow colored napkins. Because I found the material on clearance, I made all 6 of them for only 50 cents.

149Leigh

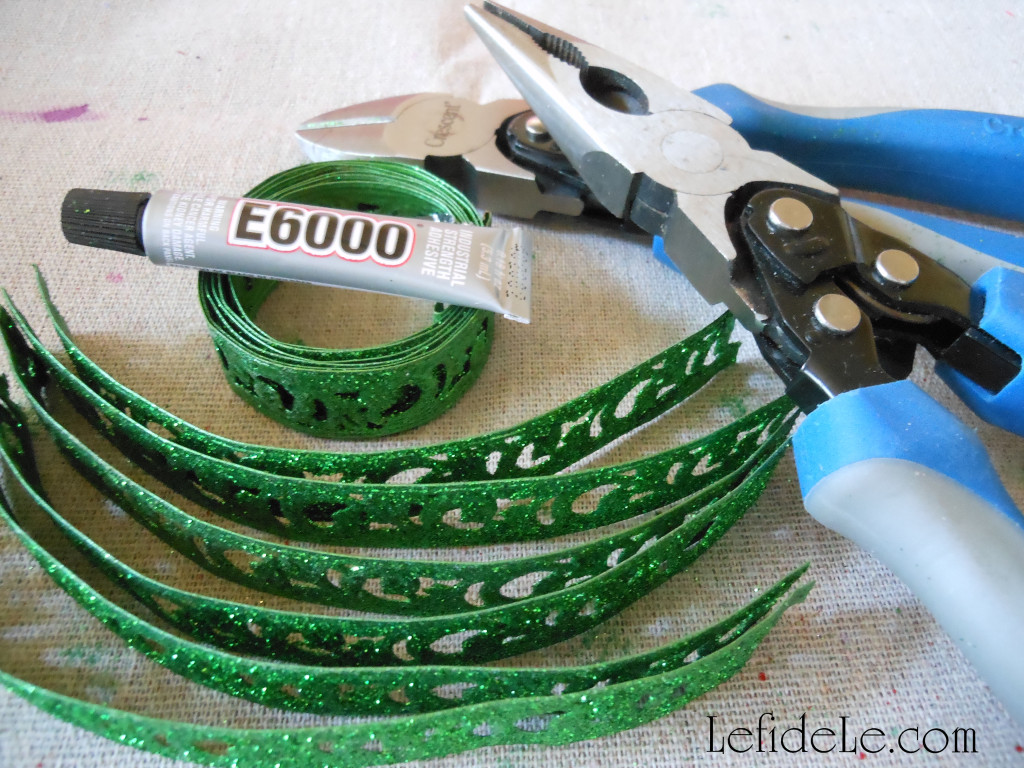
First I needed to cut 6 inch metal strips. If you have any trouble cutting though yours, just cut a line into the metal with clippers, and then bend each side of it back and forth until it breaks free. This is much easier on the wrists than brute force. Then bend each strip into as much of a rounded circle as you can get it, and overlap the 2 edges a wee bit. Then glue those edges with E6000 in a well ventilated space.

095Leigh

Just let them cure a couple of days before sliding your pretty little napkins through them!

163Leigh

May all your crafting days be filled with the luck of the Irish!

135Leigh

Faithfully Yours,

Leigh