Tag Archives: Floral

DIY Scrapbooking Paper Flower Mobile Craft Tutorial for Decorations & Gifts (Birthdays, Baby Showers, Mother’s Day, & Get Well Wishes)

2280Leigh

Craft your own DIY mobile from scrapbooking paper flowers with this tutorial for making decorations and gifts for birthdays, baby showers, Mother’s Day, and get well wishes. They’re great to hang up as party decorations, and then let your guests take them home as gifts. They also inexpensively make sweet craft room décor, and because they’re so lightweight they can be placed nearly everywhere… even suspended over a small workspace in a tiny craft closet to bring the magic of a lush fairy garden inside.

2113Leigh

The most important elements of the mobile are the paper flowers that hang from it. Try walking through the scrapbooking aisle at your local craft store, and choose the collection that really catches your eye. (Here, I’m using K & Company layered accents that were on sale.) Be sure to buy 2 matching sets, so that you can glue them back to back later.

2061Leigh

It looks much prettier to add a wash of color to the backs of the floral elements, so that when they’re glued they appear as additional petals. (The easiest way to do this is with a sheer colored marker like these Prismacolor markers in limepeel and lilac.) You can also easily modify the front of the designs by adding a wash of color to them. (In this way, I made blue flowers violet and white flowers lavender… who needs “Bibbidy Bobbidy Boo” when you have markers?!)

2103Leigh

Also, find a package of smaller floral elements to further embellish your piece with. (Here, I’m using a package of flower confetti that I found on the clearance aisle last year.) Remember that it’s so easy to alter the colors of these elements by simply coloring over them with a marker. (This lilac Prismacolor marker added a translucent layer turning my baby blue confetti into lavender… Flora, Fauna, & Merriweather can eat their hearts out!)

2066Leigh

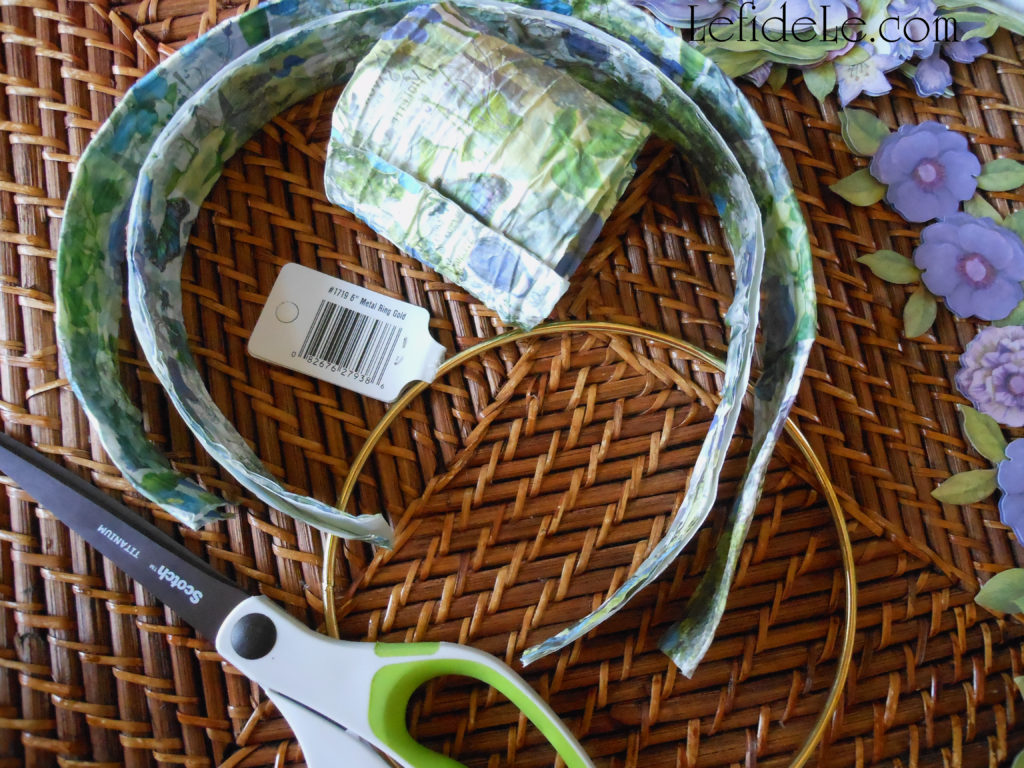
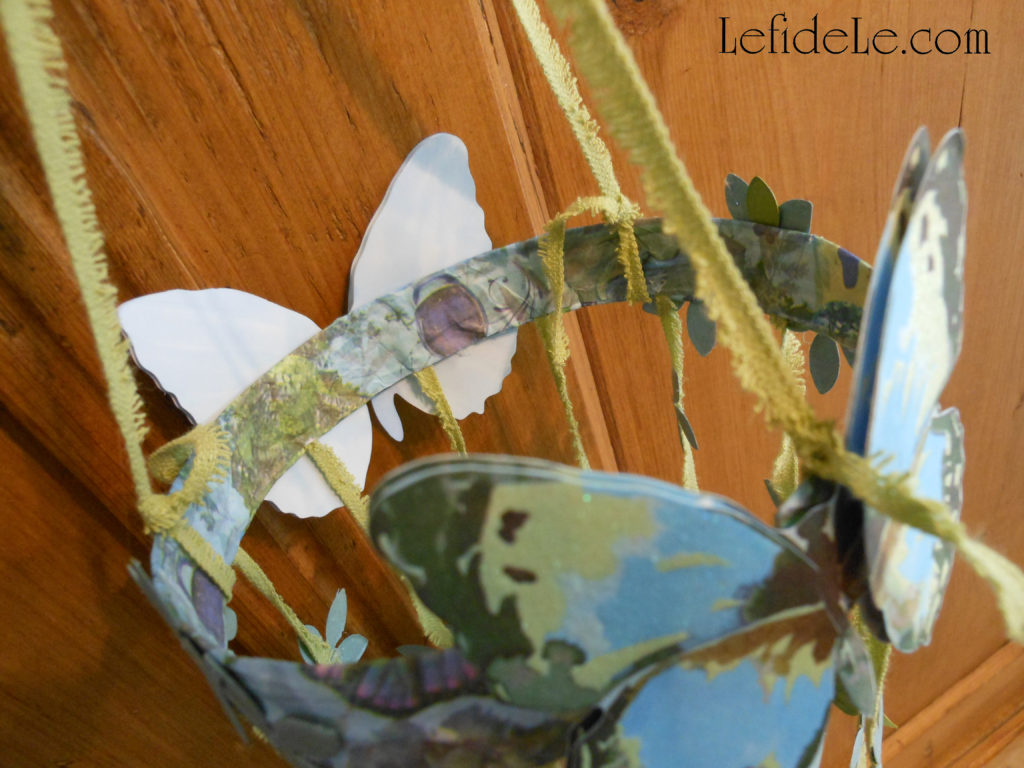
You have several options for the ring the elements will hang from. You can use a 6 inch metal ring (like this golden one from Joann) and wrap it with ribbon… or simply use it as is. You can also opt to use a coordinating wired paper ribbon (as the one I’m using here, which came from my gift wrapping supplies). To do this simply cut a length of ribbon long enough to form approximately half a foot diameter (exact measurements aren’t necessary), and then cut that in half lengthwise.

2072Leigh

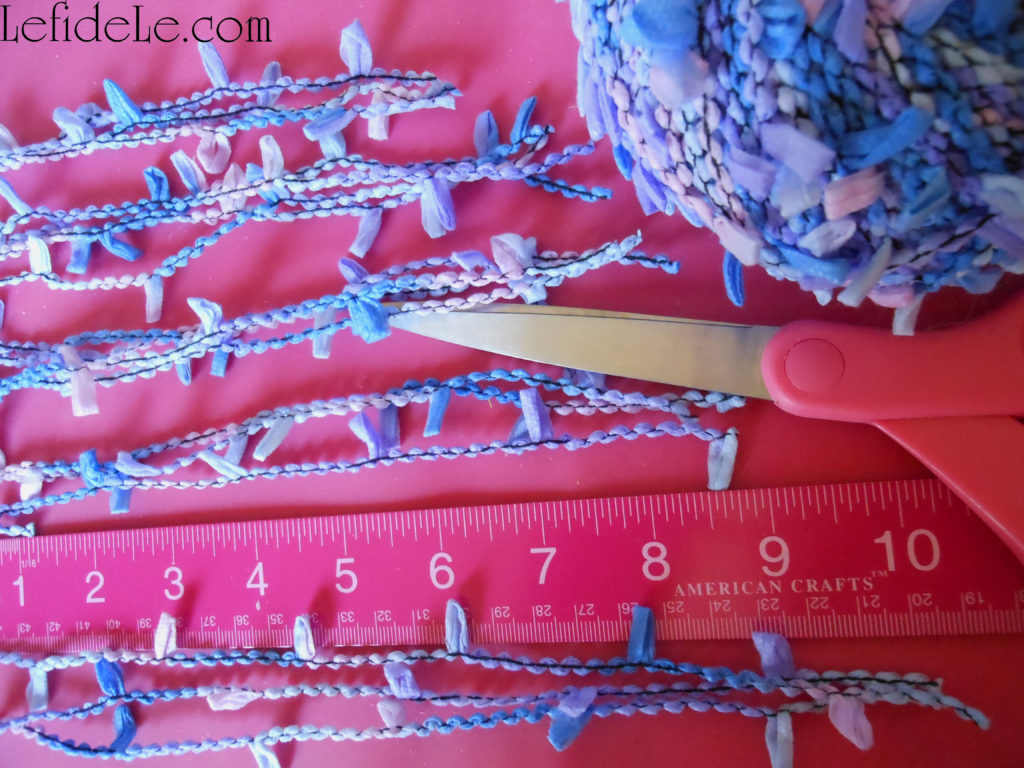
Next, you’ll need to cut 1 strand of yarn/ribbon for each floral element. Try cutting them in various lengths from 6 to 10 inches. (I used clearance yarns that matched my paper flowers.)

2075Leigh

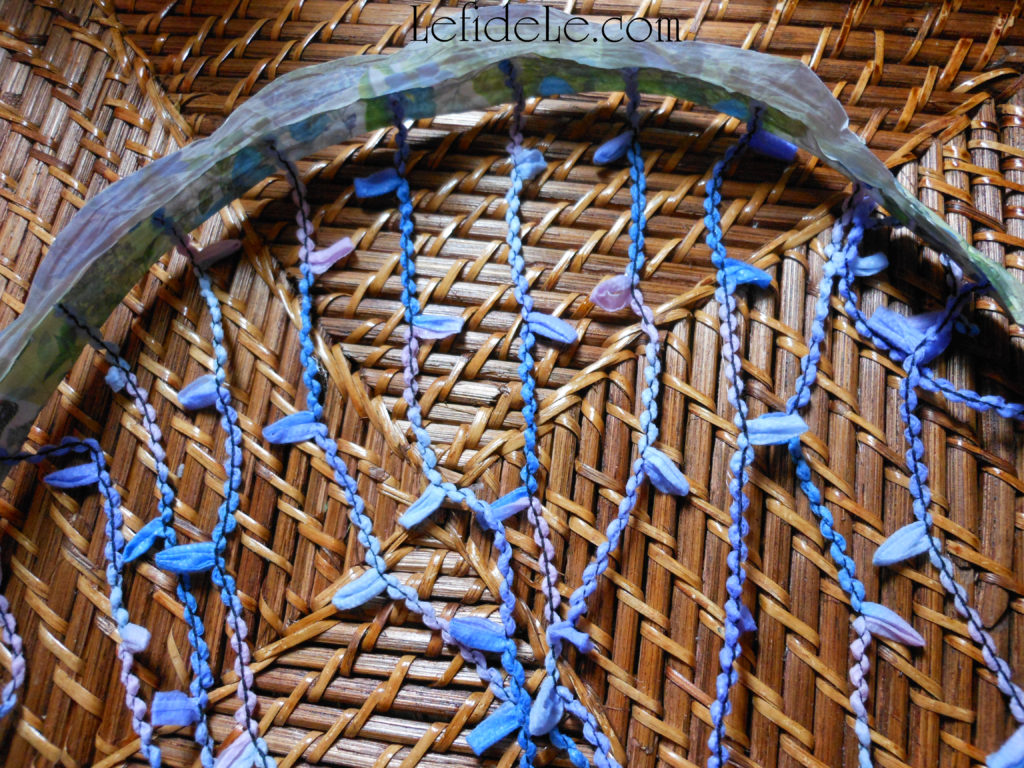
Hot glue the yarn/ribbon pieces (staggered in lengths) to the inside curve of the wired ribbon piece.

2079Leigh

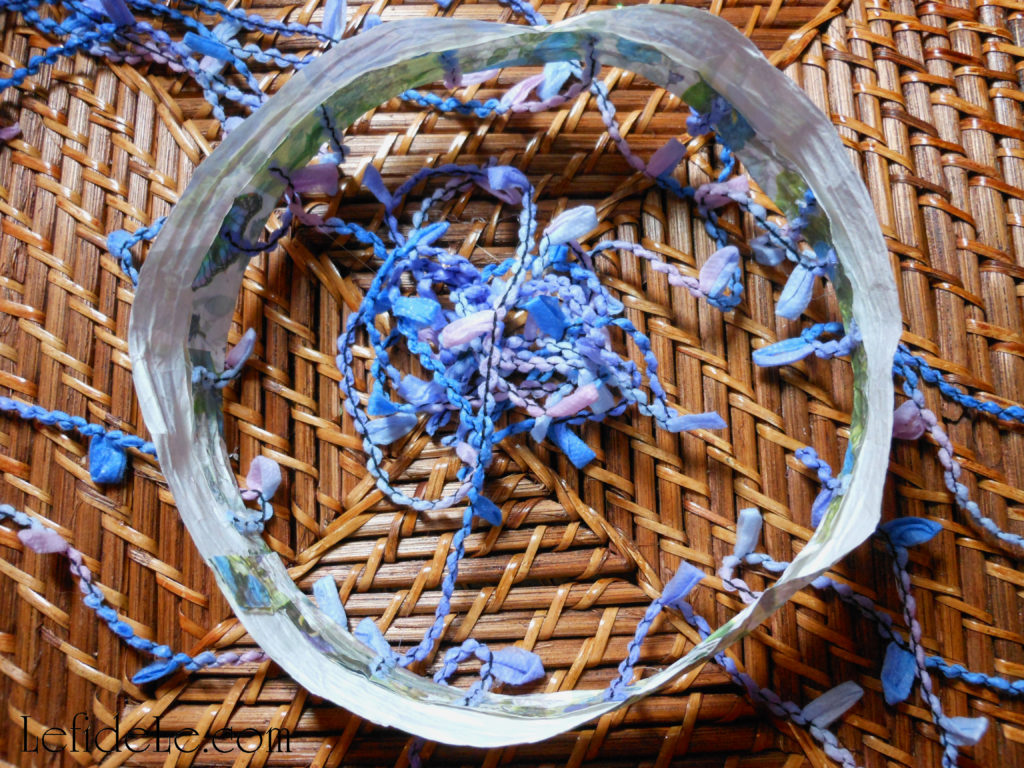
Now glue the ends together to form a complete circle, and then glue the top flap (of the wired ribbon) down over the glued strands.

2284Leigh

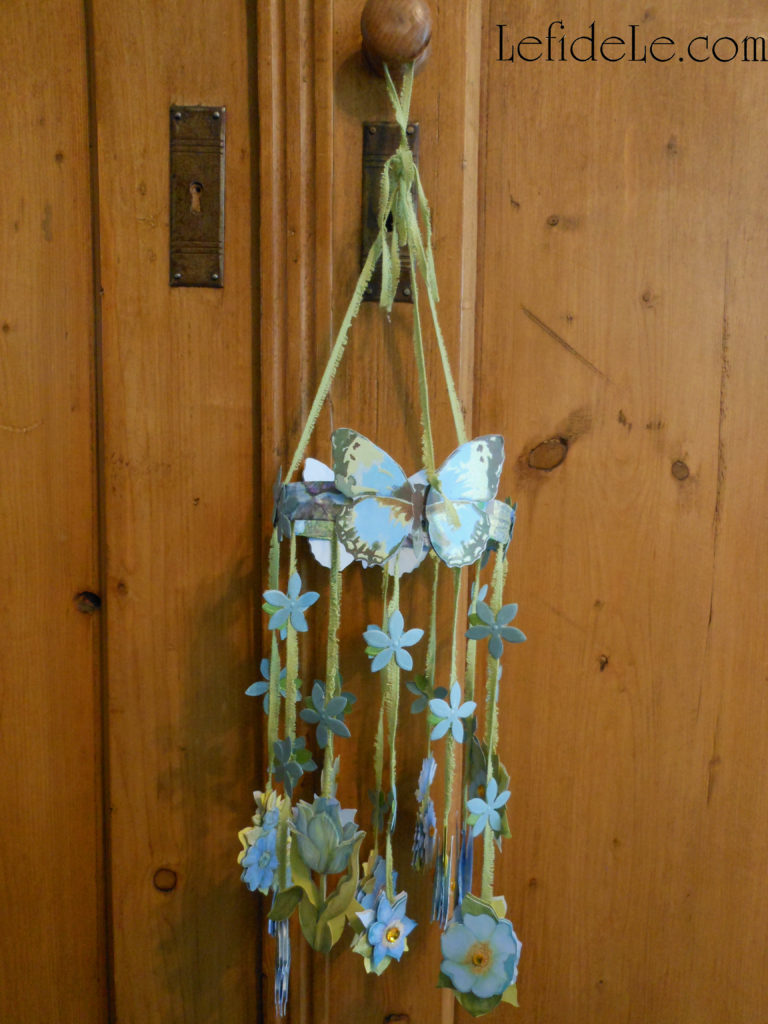
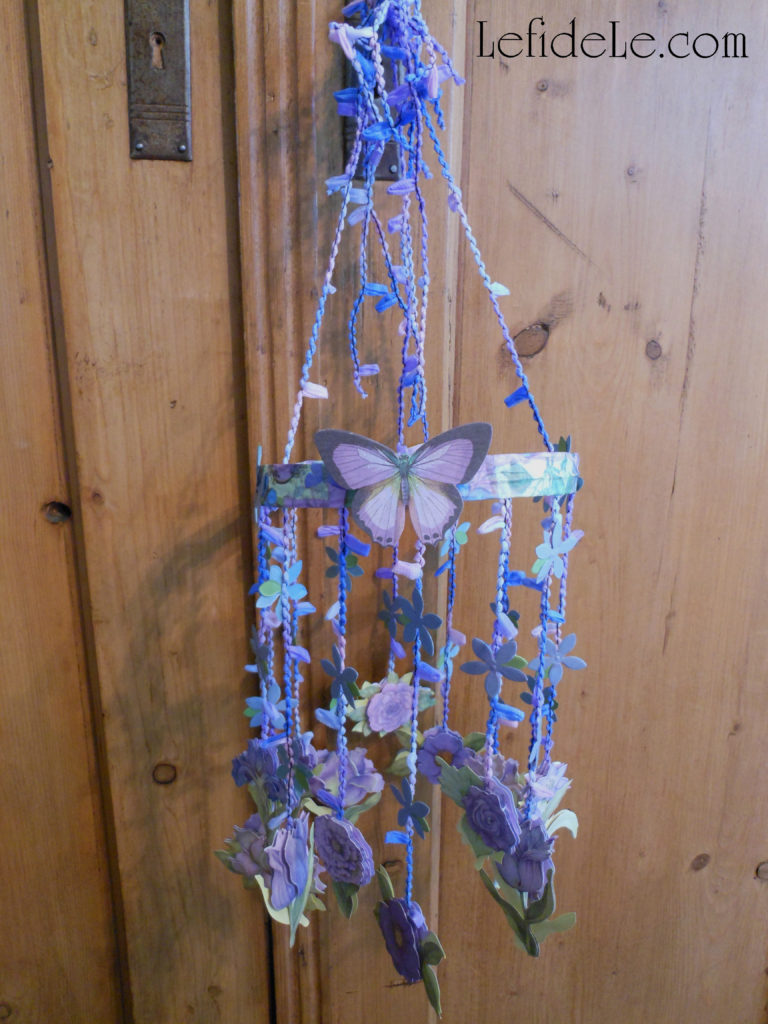
Next, you need to add 3 additional pieces of yarn/ribbon to make a hanging “tripod”. You can either glue them as you did with the strands earlier, or you can simply tie some on. Then, gather the loose ends at the top, and form a knotted loop to hang them by. (If you like, tie more pieces of yarn onto the loop to decorate it a bit.)

2100Leigh

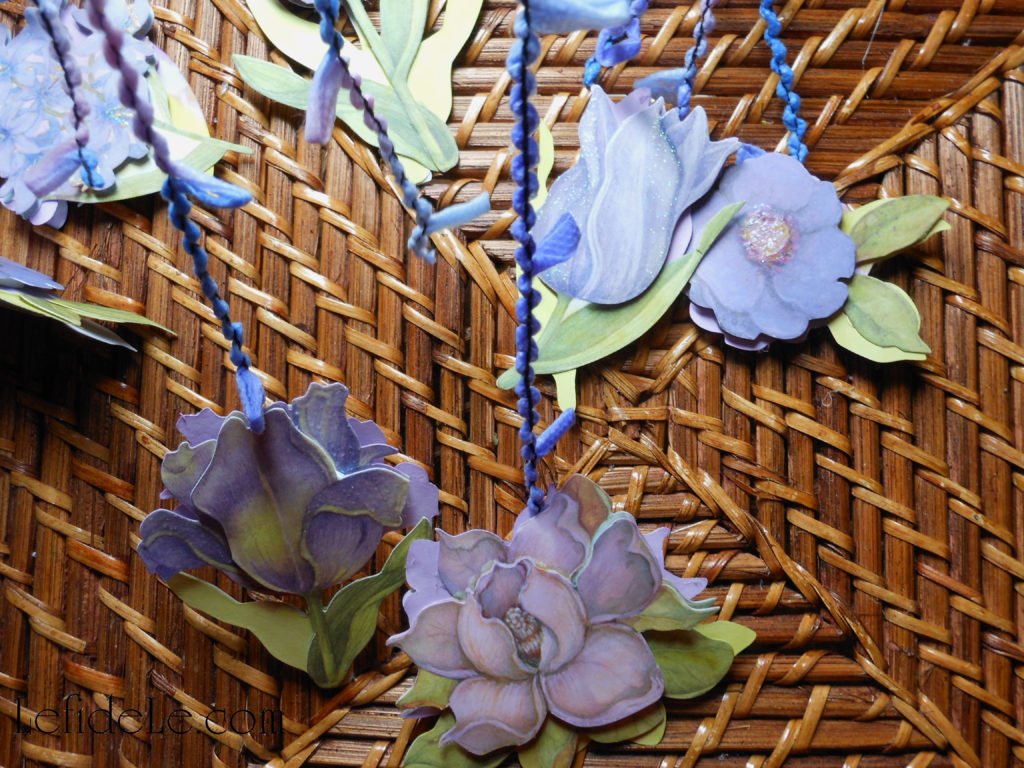
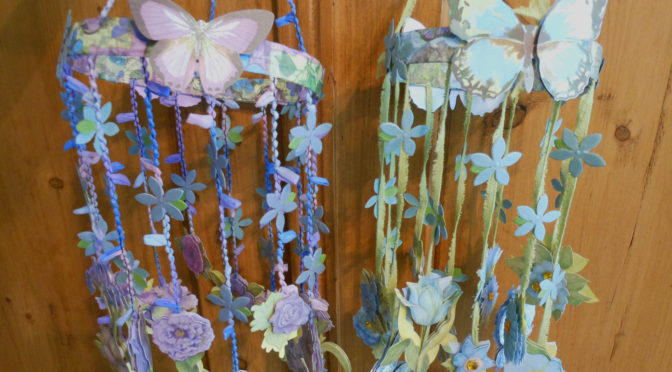
Now it’s time to glue on the big flowers. (It’s easiest to do this by hanging the mobile up, so that you can see how you’re arranging the elements.) Hot glue them back to back with the yarn/ribbon sandwiched in between them. (Even though they have foam stickers, it’s best to use a little glue so that the yarn/ribbon stays put… because every fairy godmother knows it mortifying when your creation falls apart.)

2110Leigh

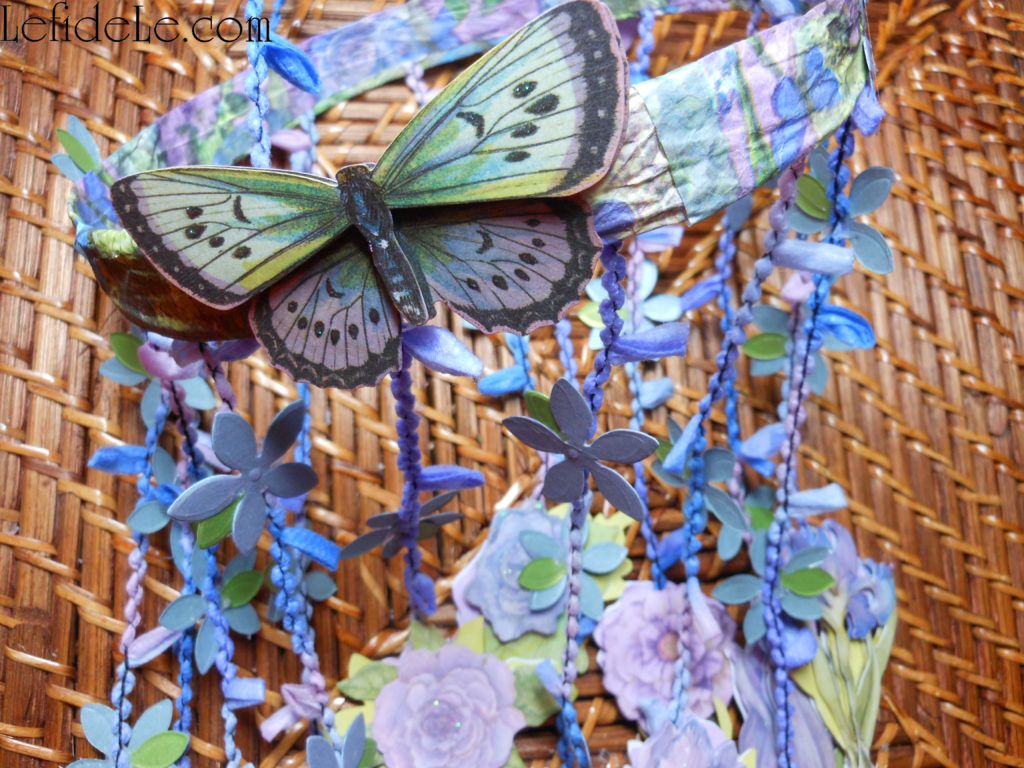
Hot glue the smaller floral pieces (confetti) in a staggered formation along the yarn/ribbon strands. (I also used torn off petals from the green floral confetti as leaves.) To the ring, add a few of the smaller flowers and a couple of larger elements (like these butterflies that were the K & Co. package… which I also tinkered with by adding color).

2111Leigh

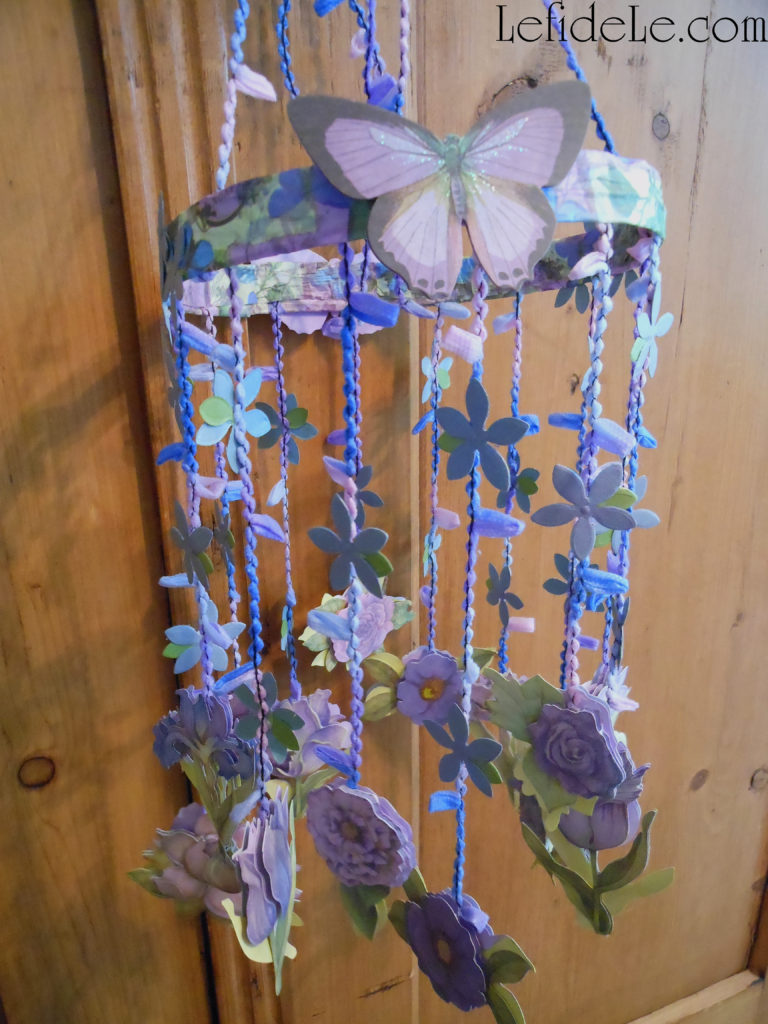
I wanted the dominantly purple mobile to have more of a purple toned ring, so I used a lilac Prismacolor to color in the white portions of the paper ribbon. (I did the same using a blue marker on the dominantly blue mobile… the blue fairy herself couldn’t do this any easier.) It’s the little touches like that which really make mobile a visually cohesive structure… in other words, it’s prettier that way.

2277Leigh

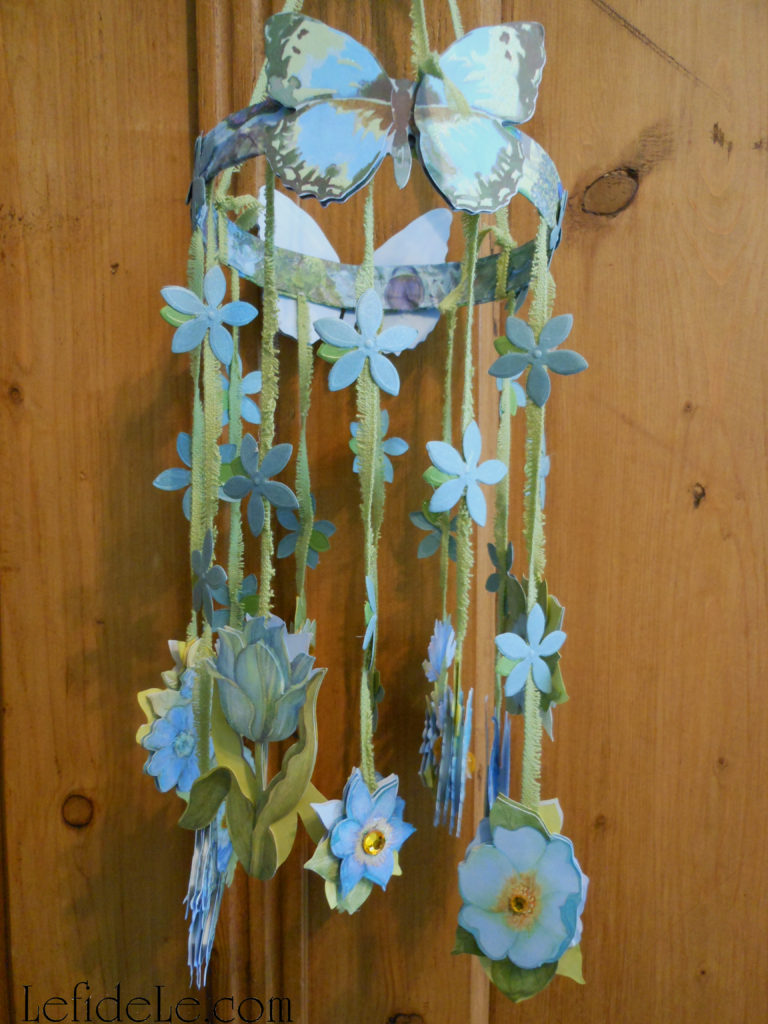
If you feel like it needs more sparkle, attach crystals as flower centers and sprinkle glitter… then tell Tinkerbell to eat your pixie dust!

Faithfully Yours,

Leigh

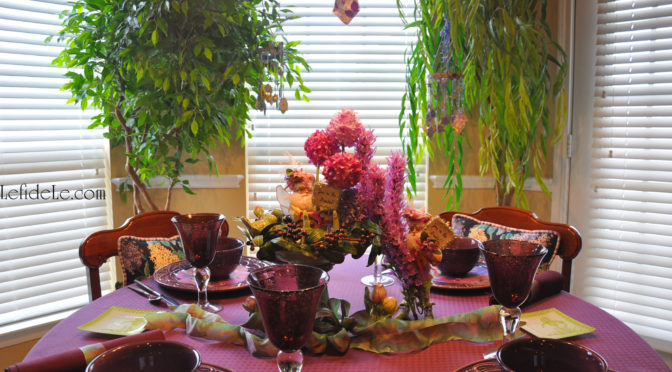
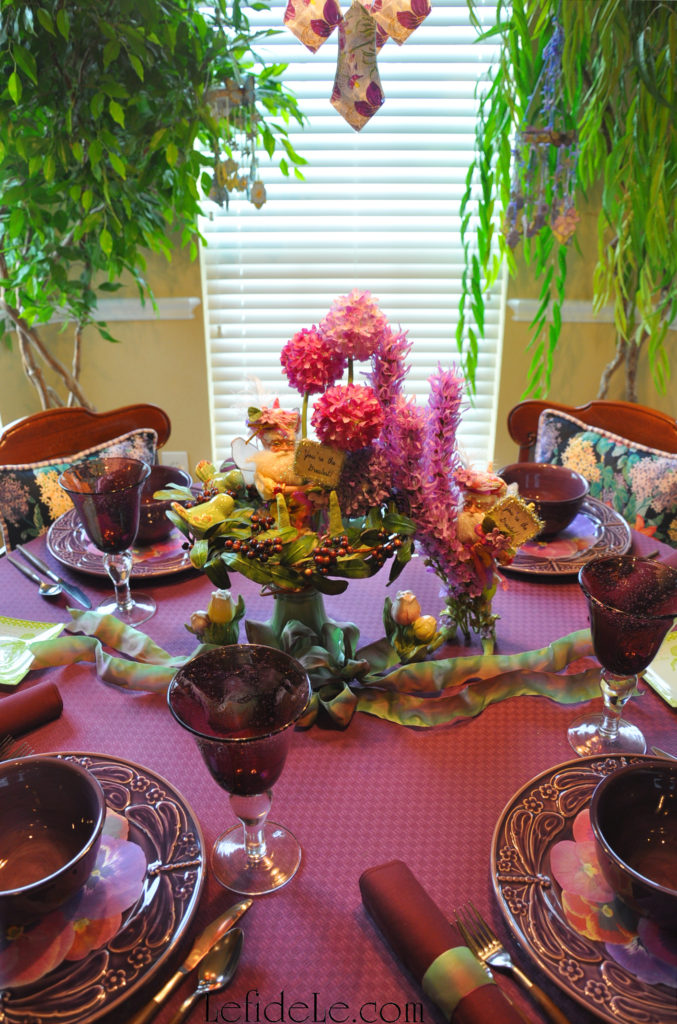
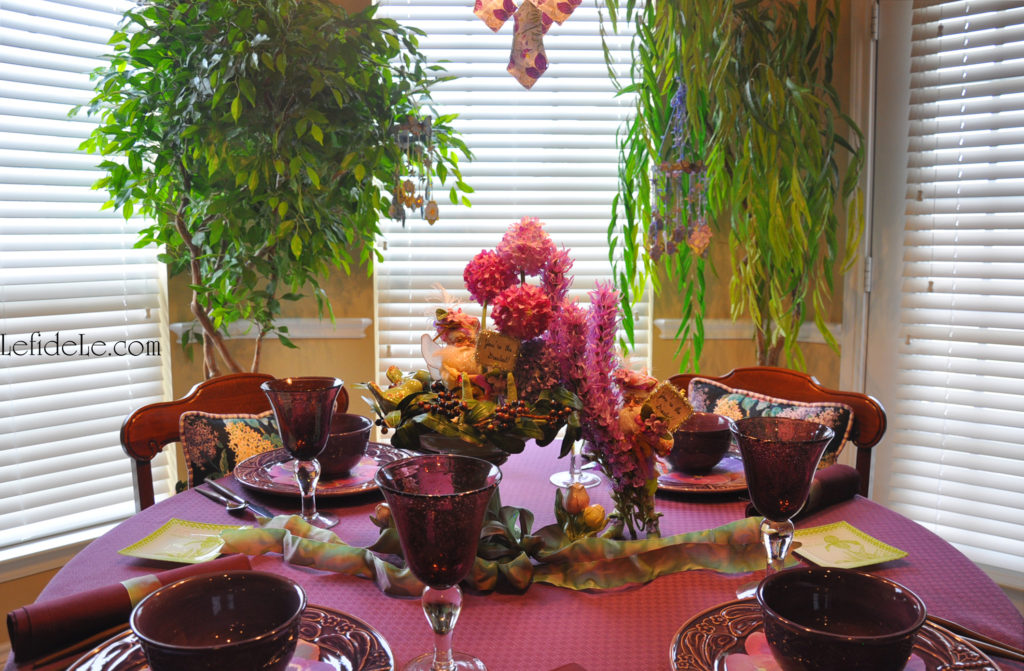
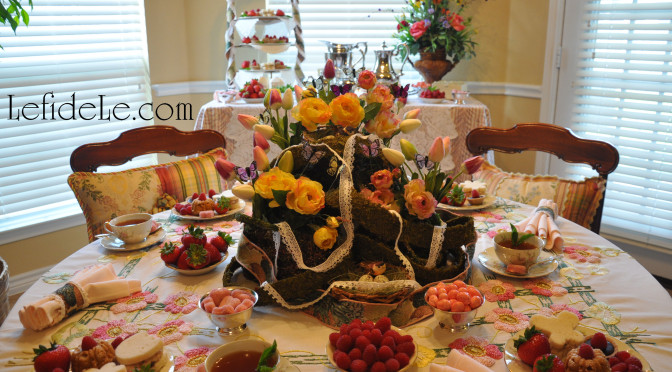
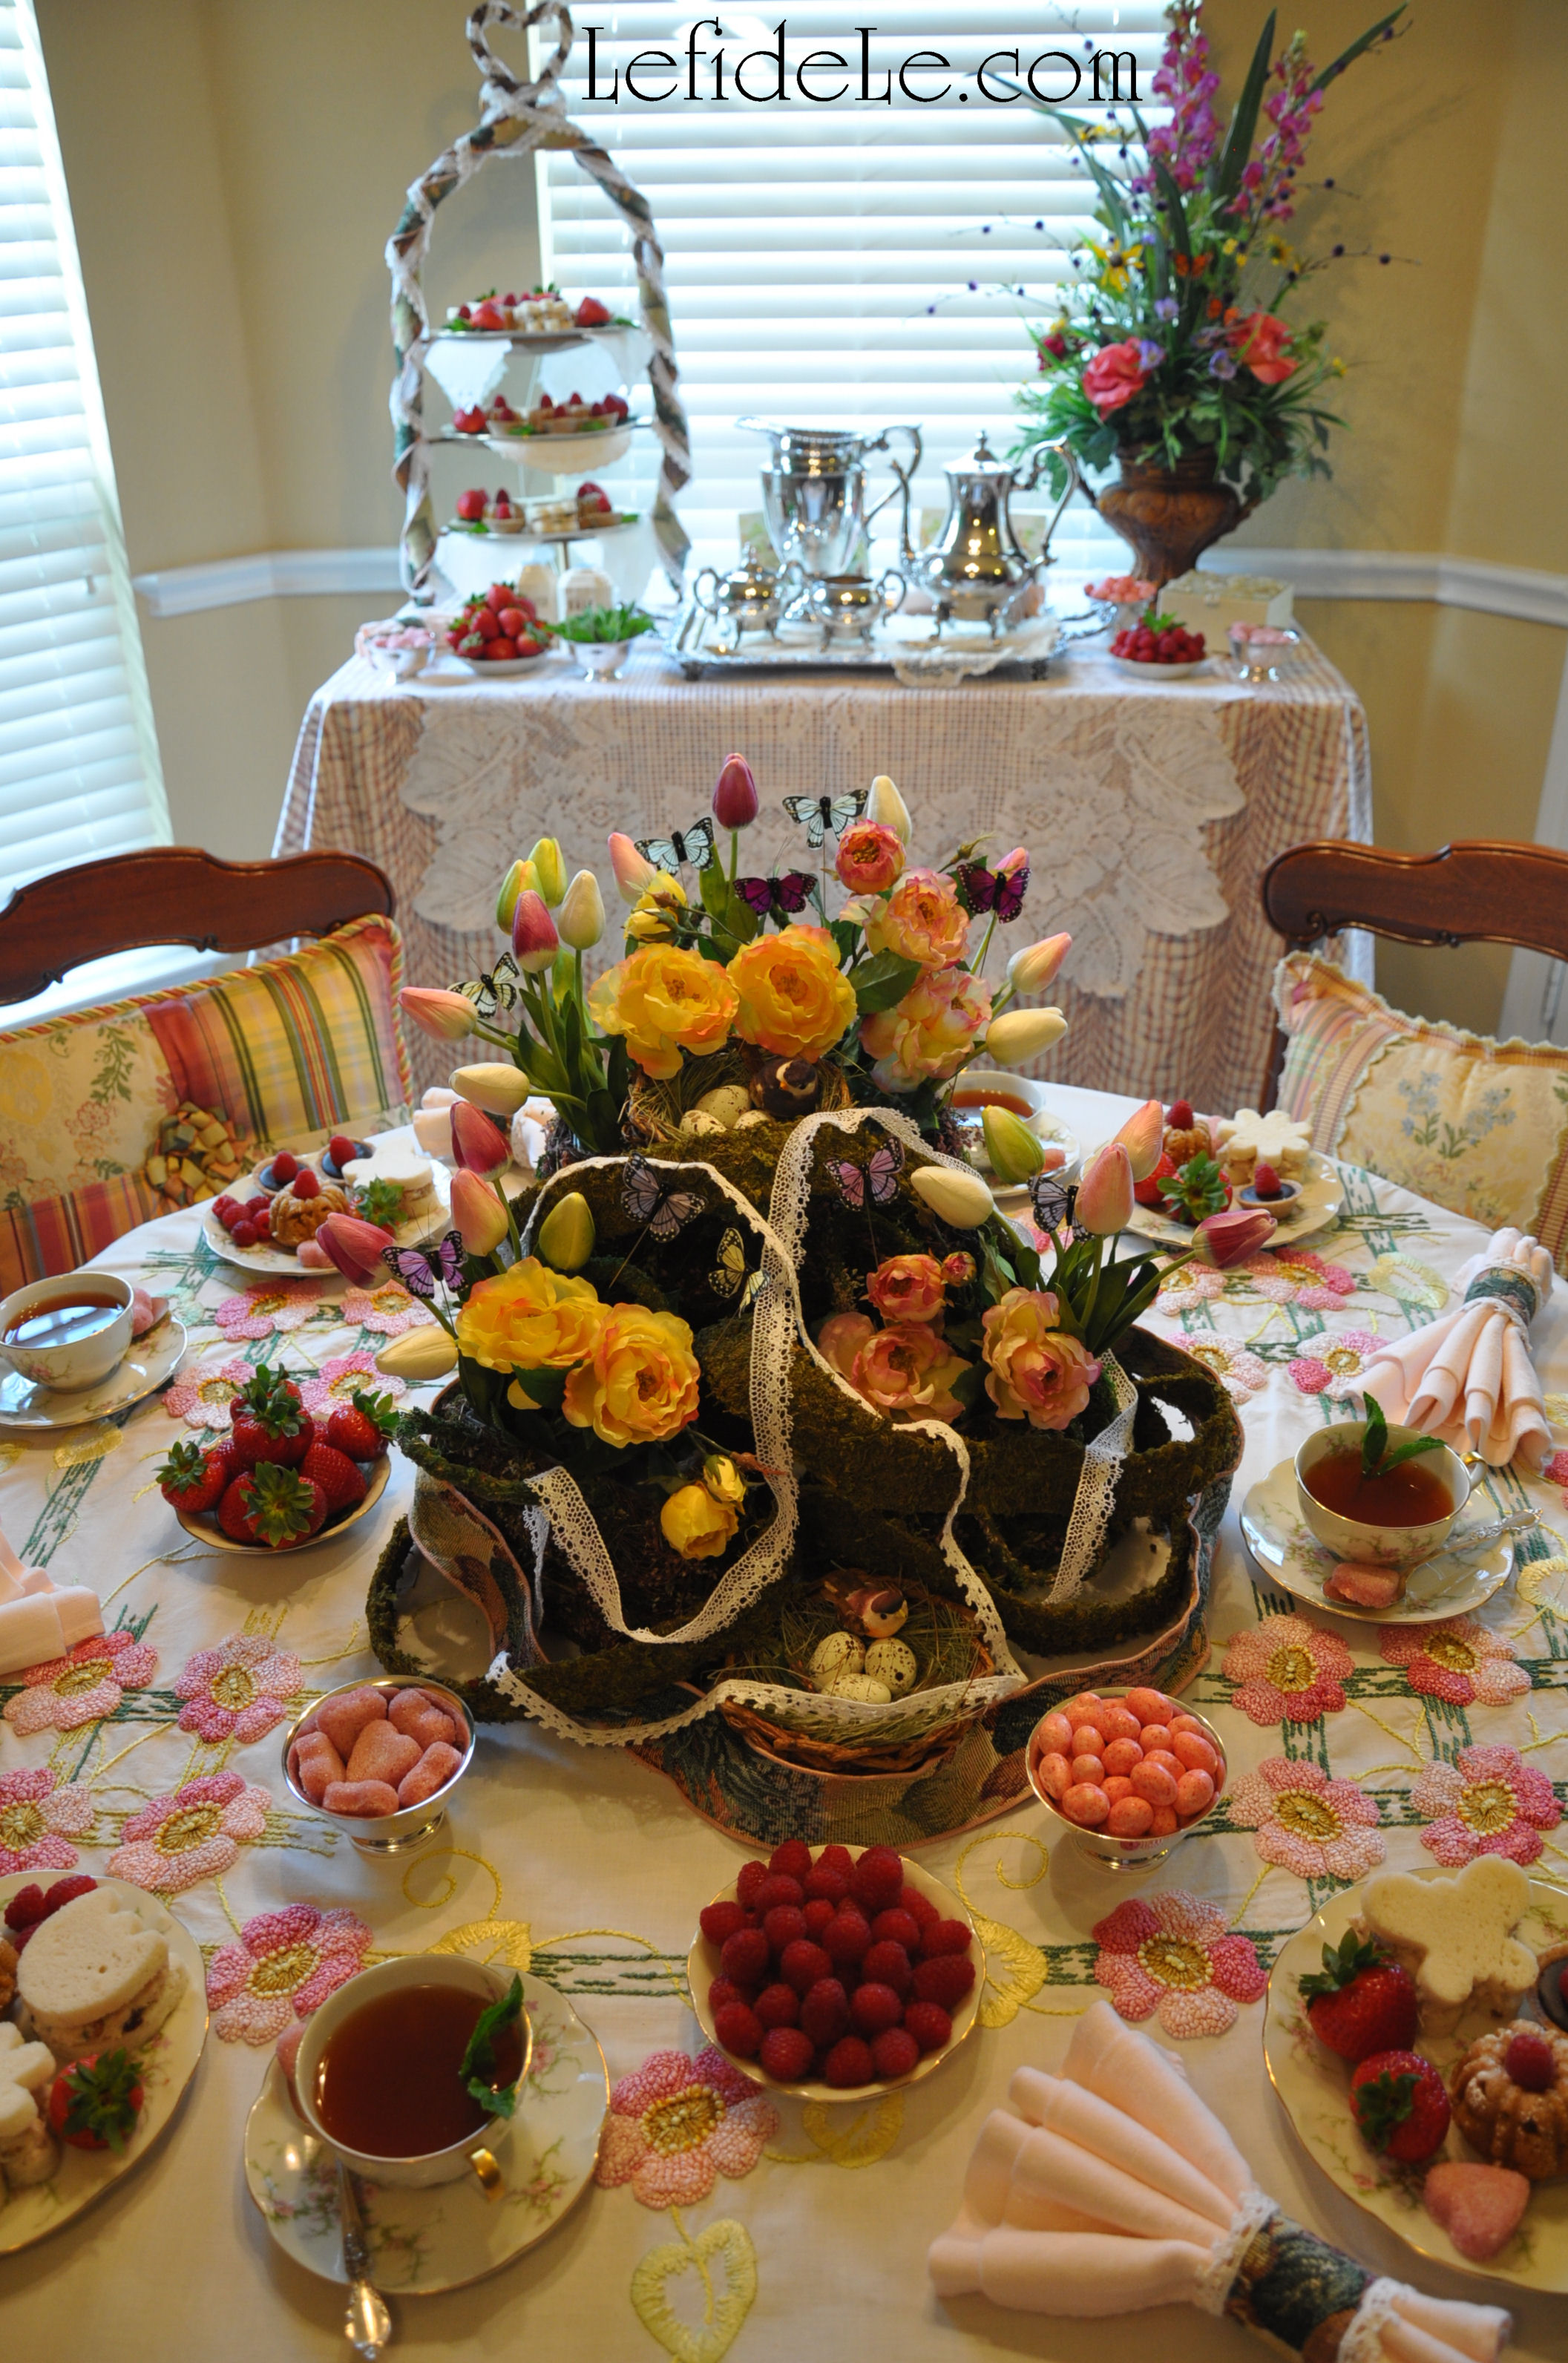
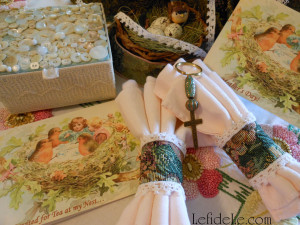
P.S. Check out these mobiles HERE in my Fairyland Tablescape hanging from the trees in the background.

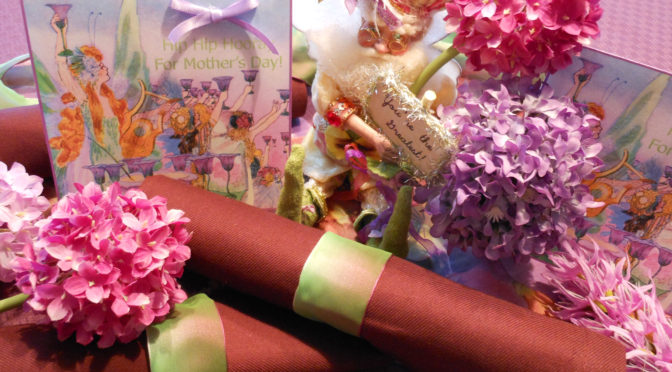
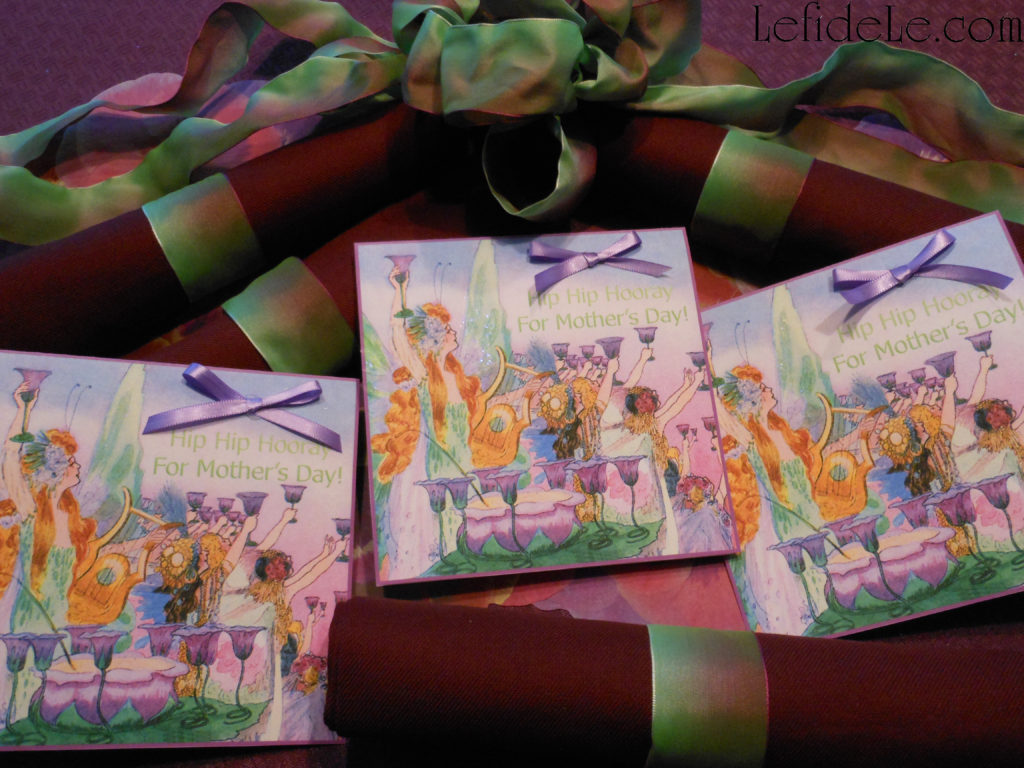
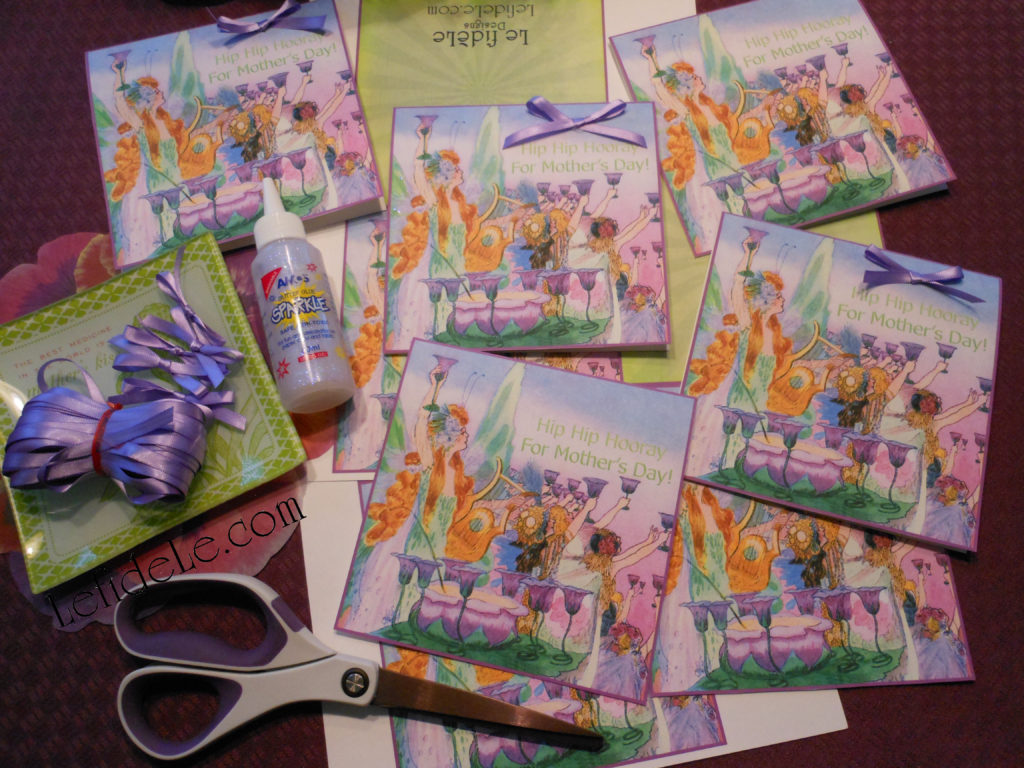
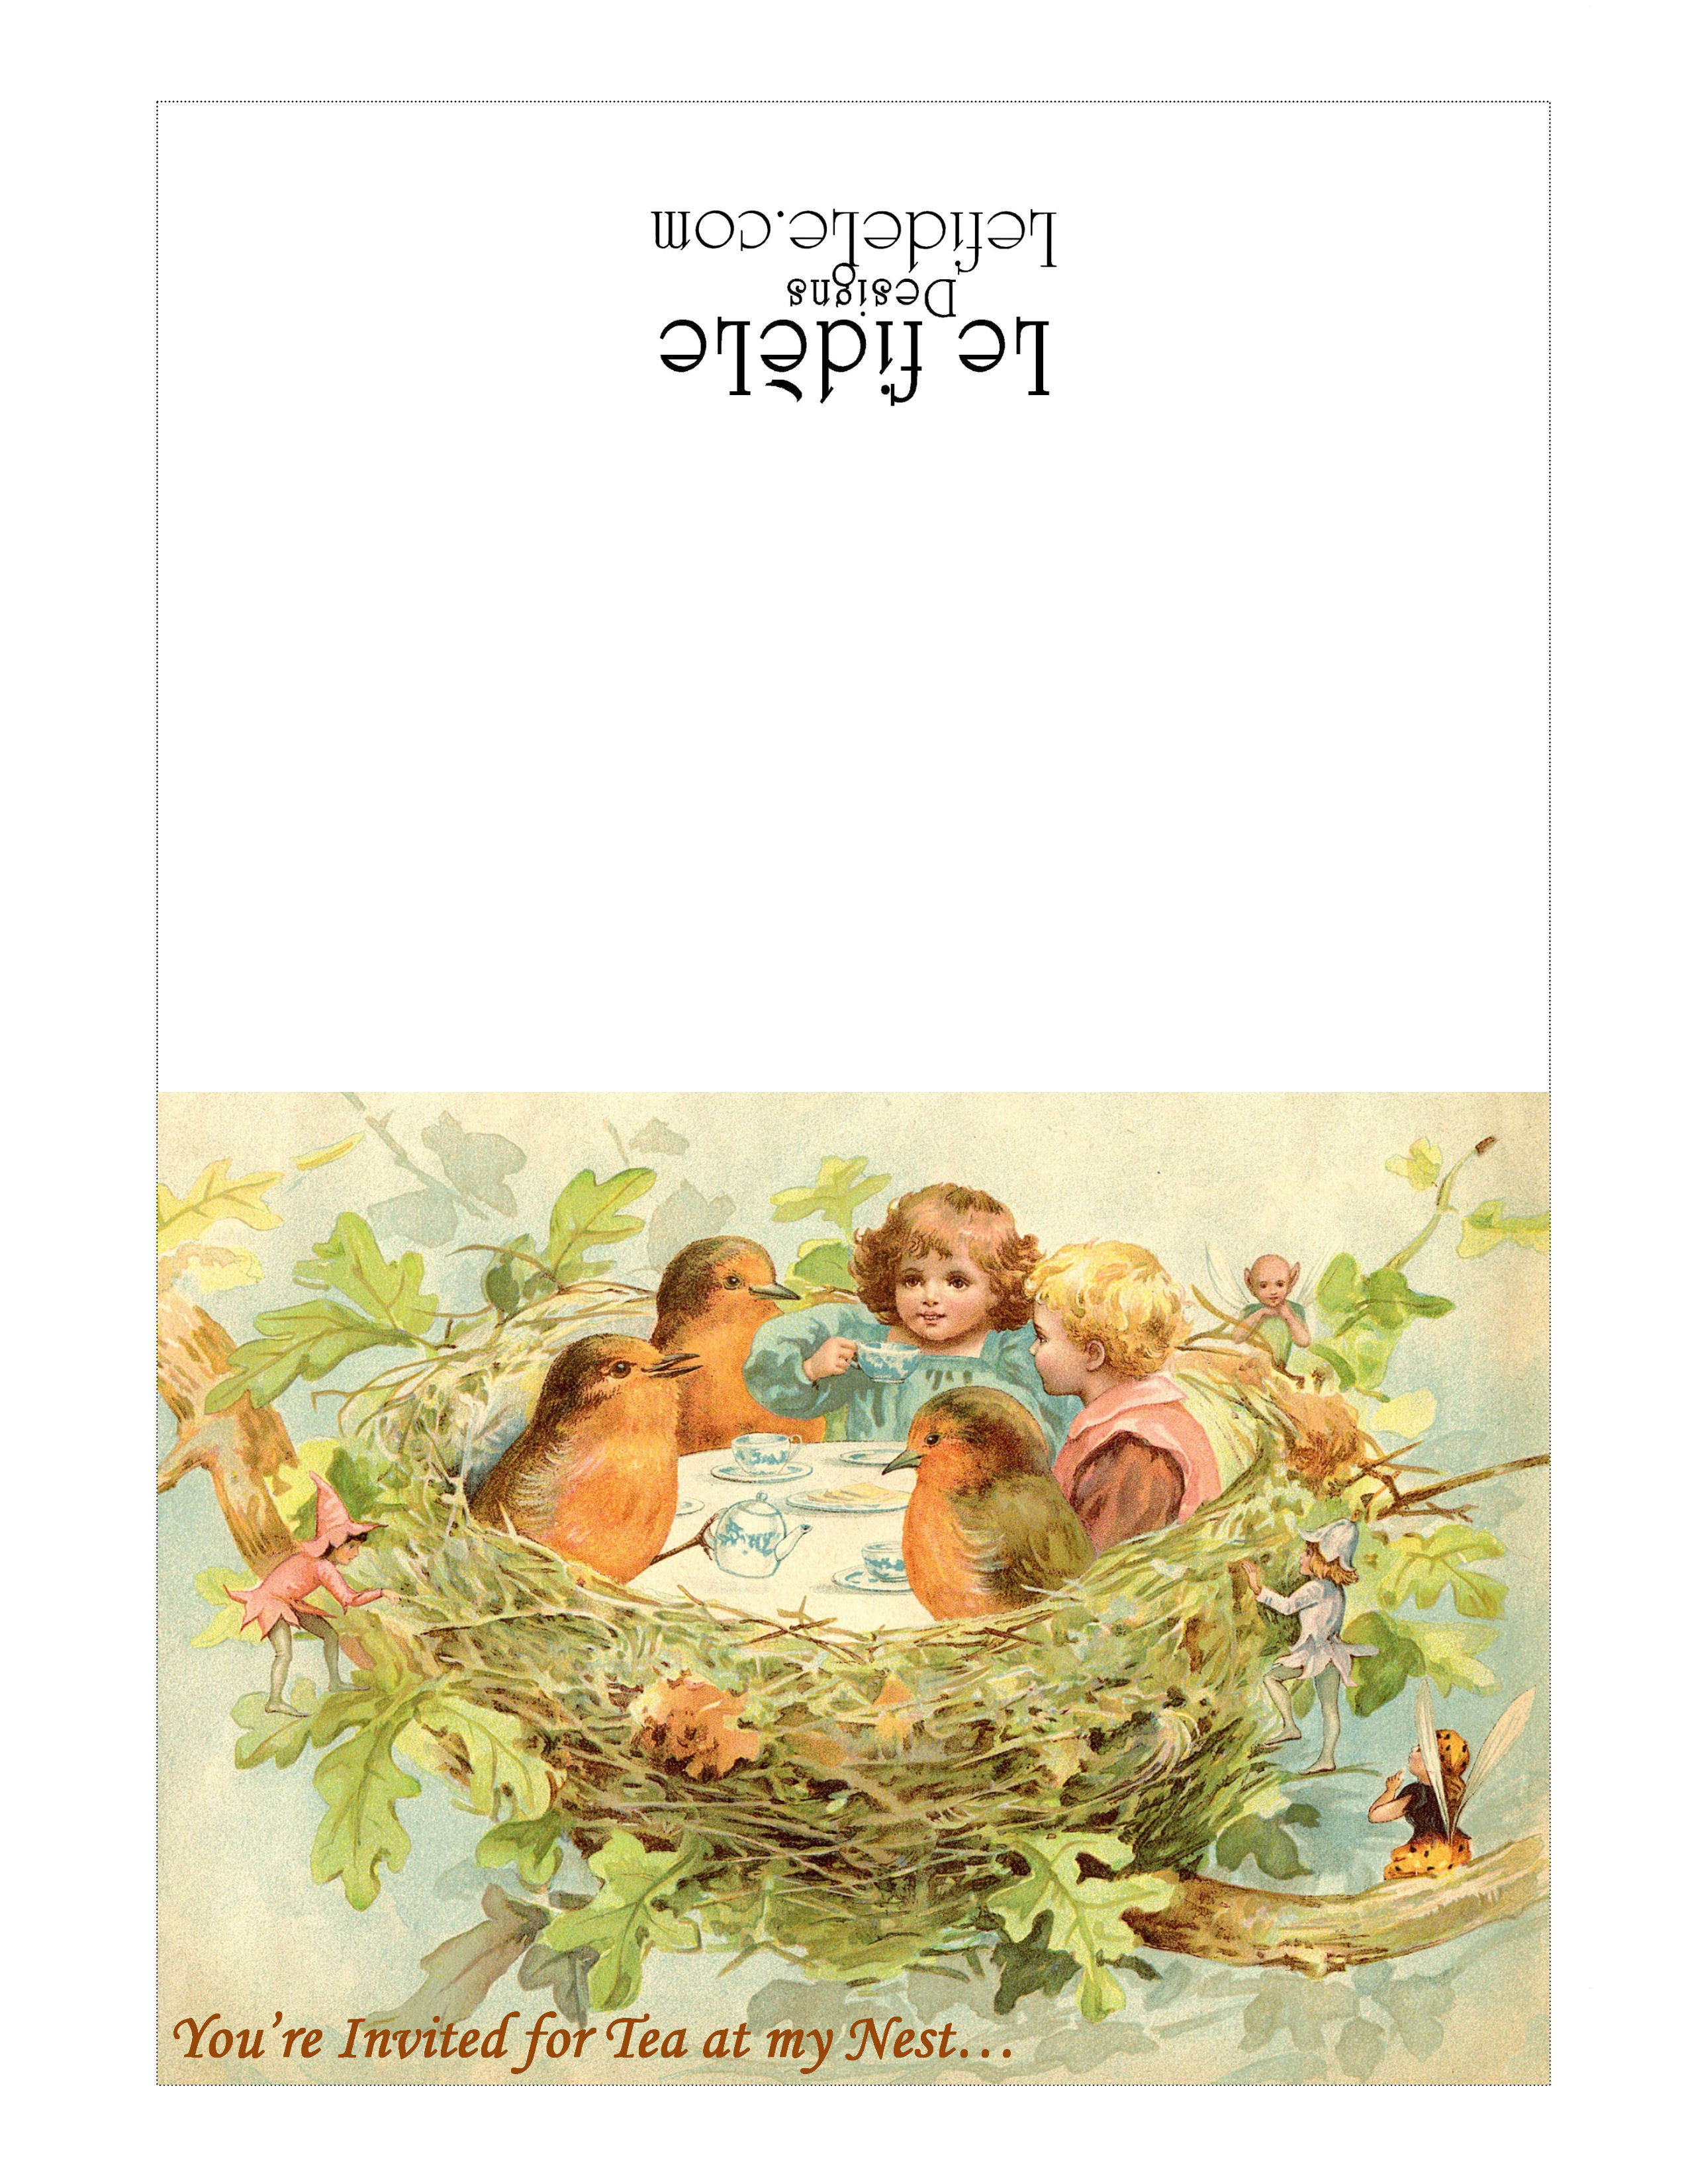
Then get my free printable fairy cards HERE to gift with the mobiles you just created.

037Leigh

Whimsical Fairyland Tablescape Décor Ideas for a Birthday Party or Mother’s Day Celebration

Welcome to a whimsical fairyland with tablescape décor ideas perfect for a birthday party or Mother’s Day celebration. This is a venue where fantastical flower bearing fairies evoke Irish proverbs that will fill your mind with conviviality as joy fills your soul.

133Leigh

“Your feet will bring you where your heart is.”

Take a seat next to a dear loved one whose smile is lit by the glistening light reflected by the chandelier’s découpaged crystals.

140Leigh

“What fills the eye fills the heart.”

Feast your eyes upon a table festooned with watercolor ribbon bows and a berry clustered birdbath centerpiece framed by ceramic tulip salt and pepper shakers.

150Leigh

“A word is more enduring than worldly wealth.”

Meadow fairies present you with purple flowers and signs declaring, “You’re the Greatest!”

182Leigh

“People live in each other’s shelter.”

Rest upon floral cushions as you bask in the serenity of good company sheltering beneath trees adorned with handcrafted paper flower mobiles.

184Leigh

“Time is a good storyteller.”

Raise a toast with violet bubble goblets in celebration of time shared as you dine upon ceramic dishware of purple dragonflies twirling around parchment paper pansies.

136Leigh

“A light heart lives long.”

A lavender tablecloth of basket-weave patterning glides across a lighthearted tablescape with wood handled flatware and eggplant napkins rolled into handmade watercolor ribbon napkin rings.

215Leigh

Remember that “Mothers hold their children’s hands for just a little while… and their hearts forever.”

And as the small serving plates say, “The best medicine in the world is a mother’s kiss,”… remembered and cherished. Love you Mom!

Faithfully Yours,

Leigh

P.S. The flower laden fellows are Mark Roberts Fairies, and the lovely quotes are old Irish proverbs!

P.P.S. Learn how to make your own paper flower mobiles by clicking HERE.

And read how to easily make the ribbon napkin rings HERE.

Get my free printable Birthday & Mother’s Day cards HERE.

Get the perfect Macadamia Nut Cake Recipe (Gluten-free Vegan) to serve at your gathering HERE.

Free Printable Fairyland Mother’s Day & Birthday Cards + Super Easy DIY Ribbon Napkin Rings Craft Tutorials

022Leigh

Craft a fantastic fairyland tablescape with this tutorial for super easy DIY ribbon napkin rings, and make fairyland cards for birthdays and Mother’s Day with my free printables. With four examples of napkin rings, using watercolor ribbon and paper gift wrapping ribbon… you’re sure to get all the inspiration you need to easily and inexpensively create the same magic for your own party. There you can raise a toast, as the fairies do in the cards, saying “Hip Hip Hooray” on celebration day!

2347Leigh

Make the napkin rings using absolutely any kind of ribbon you like to coordinate with your linens and decorations. (Here, I’ve used different varieties of Offray brand watercolor ribbon to resemble the petals in my fairyland tablescape.)

1921Leigh

Simply cut 6 inch lengths of it, and hot glue the edges (overlapping the short ends).

1924Leigh

Here is another example of the watercolor ribbon turned into rings.

2427Leigh

I made these pink and green rings to coordinate with my grandmother’s vintage ribbon rosettes.

2309Leigh

Here, the same super easy technique is used with simple gift wrapping paper ribbon.

2465Leigh

These would be equally lovely when paired with either fabric or paper napkins.

2449Leigh

This is the same wired paper ribbon that I used to make the rings for my scrapbooking paper flower mobiles (click here for the craft tutorial).

012Leigh

Make these Mother’s Day or Birthday cards using my free printables (for personal use only). They only need to be printed, cut out, and folded over. (Find square envelopes in many colors to send these in at Paper Source, whose affiliate link is in the sidebar.)

FairyToastingMothersDayCardLeighFairyToastingBirthdayCardLeigh

Right click on one of the small images above and select print. (The left is Mother’s Day & the right is Birthday.) Print these on heavy cardstock paper using the photo setting.

005Leigh

To further embellish the cards as I’ve done here, you can brush on opalescent glitter glue over the fairy wings. A small ribbon bow hot glued above the words really adds dimension to the cards.

037Leigh

The flower fairies seen here are from the Mark Roberts collection. They really add a whimsical touch to the centerpiece in my fairyland tablescape (see it all put together by clicking here).

2435Leigh

Hip Hip Hooray… we’re crafting today!

Faithfully Yours,

Leigh

Spring Garden Mother’s Day Tea Party Tablescape Décor Ideas (+ Free Printable Card & Invitation)

002Leigh

You’re invited for tea at my nest where enchanting tablescape décor awaits, where butterflies will carry you to a flower filled spring garden complete with the melody of birdsong. Delight upon delectable teacakes, treats, tarts, and tea sandwiches while sipping mint scented tea sweetened with pink sugar sweethearts. Celebrate with handmade gift crafts conveying heartfelt sentiments along with free printable invitations and cards sending your warmest wishes for a beautiful Mother’s Day!

022Leigh

Harken your ears to the call of birds whistling a merry tune of invitation to the spring garden. Two nests double the blessings bestowed upon the day as finding even one is said to be the harbinger of prosperity.

036Leigh

Notice the greeting of butterflies rising from moss laden purses filled with the yellow roses of friendship and tulips representing strength and life itself.

035Leigh

Take a seat cushioned with pastel patchwork pillows provided for your comfort.

028Leigh

Touch the threaded texture of a tablecloth hand embroidered generations ago.

380Leigh

Release baby pink vintage napkins from their handcrafted tapestry and lacework rings.

125Leigh

Sip mint scented tea from delicate vintage china teacups ornamented with floral motif.

136Leigh

Sweeten your tea with pink sugar sweethearts delivering a spoonful of sugar in the perfect dose.

122LeighStir in flavor with silver tea spoons that have been lovingly held by previous generations.

082Leigh

Sup on tea sandwiches packed with cherry pecan chicken salad, whose butterfly and floral shapes echo the garden’s delights.

130Leigh

Try almond crusted chocolate tarts balanced with healthy red raspberry fruit.

128Leigh

Taste pumpkin pear teacakes dripping with lemon icing, dusted with confectioner’s sugar, and topped with more fruit.

029Leigh

Cleanse your palette with pink peppermint almonds held in small antique silver bowls.

105Leigh

Sink your teeth into juicy plump strawberries offered amid vintage salt and pepper shakers.

051Leigh

Replenish your china plate from a grapevine heart topped tower of treats wrapped in lengths of tapestry and lace.

064Leigh

Gaze upon sunlight reflected from gleaming antique silver service layered with vintage doilies atop layers of vintage lace and patterned cloth.

097Leigh

Feel the impressions of vintage buttons encrusting a jewelry box gift sheltered by a lofty spring floral arrangement.

004fLeigh

And at last, read the Mother’s Day card that will hold the memory of the cherished event for years to come.

Sincerely wishing you the happiest of Mother’s Days!

Faithfully Yours,

Leigh

6FreePrintCardLeigh

P.S. Right click on the small image below, and select print to make your own invitations (at the left) and cards (at the right) free (for personal use only). Print them on photo and color settings for the best results.

5x7NestTeaInviteLeigh5x7MothersNestCardLeigh

P.P.S. Click on the links below for teacake, chicken salad, and sweetheart recipes as well as crafting instructions for the jewelry box, keychain, and napkin rings.

001Leigh

Quick & Easy Tapestry Napkin Rings, Upcycled Button Jewelry Box, & Keychain Gift Crafts Tutorial (for Mother’s Day Tea)

118Leigh

Easy to Mold Naturally Colored Pink Sugar Shapes Sweethearts Recipe = a Spoonful of Sugar for Your Mother’s Day Tea

47cakelette-Leigh

Lemon Glazed Pumpkin Pear Teacakes (Gluten-Free Vegan, Dairy-Free, Egg- Free) for Mother’s Day Tea

017Leigh

Cherry Pecan Chicken Salad (Soy-Free / Egg-Free with Stuffed Tomato & Gluten-Free Shaped Finger Sandwich Options) for Mother’s Day Tea

Fabulous Fall Leaf & Pumpkin Décor Crafts (Place-card Holders & Easy Remade Basket)

354PumpkinBasket-Leigh

I’m combining what are essentially two projects, because they entail exactly the same easy process of hot gluing your way to a fabulous fall! With so many beautiful options in faux foliage available, you can keep your creations to display again. The pumpkin topiaries may be placed throughout your home or office as small floral elements, or used as place-card holders as I have for my Fall Leaves & Pumpkins Themed Thanksgiving Tablescape. And though I used a vintage pumpkin shaped basket, I’ve seen similar variations of it at several craft and party stores that are just begging for embellishment.

314Leigh

For those of you who are brand new to this kind of thing… always buy fall foliage on sale (and there is always a sale somewhere). There are a plethora of leaves, sunflowers, berries, twigs, and mini-pumpkins available in fall colors. Rip off (or cut) the pretty bits from the largest stem.

313Leigh

Make curlicue vines by first wrapping brown floral tape around wire (pulling as you go). Then take that and twirl it around a pen. Pull the pen out, and you’re ready to use your newly made vine.

316Leigh

Now glue, glue, glue to your heart’s content. For the basket, start with leaves in order to form a base platform (at the junction between the handle and bowl of the basket). Then glue the larger elements on top of that blanket of leaves (without covering them completely).

317Leigh

Add smaller elements like berries, by dropping glue onto the stem ends, then tucking them in behind the biggest center element. Lastly, glue the vine ends (in the same way as the berries) and tuck those in wherever you see empty spaces.

320Leigh

It’s just that easy! You may now fill your creation with anything from candy to potpourri. To see it action, check out my “Glitter-Ween” Halloween Party Theme Decorating Ideas (With DIY Links).

194Leigh

As for the pumpkin topiaries… simply start with small terra cotta rose pots (because they are taller than regular pots). Fill these with floral styrofoam cut to size (not squishy “oasis” as that is made for wet arrangements). Next, hot glue a stack of tiny pumpkins (with a leaf in-between each) onto the top’s center. Cover the styrofoam with a layer of green moss. Then add a leaf or stem of berries here and there. Voila!

01Leigh

If you’d like to turn these into place-card holders… simply make flags out of toothpicks and washi tape, by using a ruler as a guide to cutting similar lengths.

75PumpkinTopiaries-Leigh

Or… you can use floral tape, like I did, so long as you stretch it as you smash it between your fingers. A permanent marker writes the name well. You can also do this for your décor, to add a message like, “Happy Fall Y’all!”

76Leigh

See more of these here: Fall Leaves & Pumpkins Themed Thanksgiving Tablescape Décor Ideas.

Faithfully Yours,

Leigh