Tag Archives: Paint

Faux Metal Stars Paper Mache Craft Tutorial & DIY Napkin Rings for Memorial Day, Veterans Day, or Independence Day

539Leigh

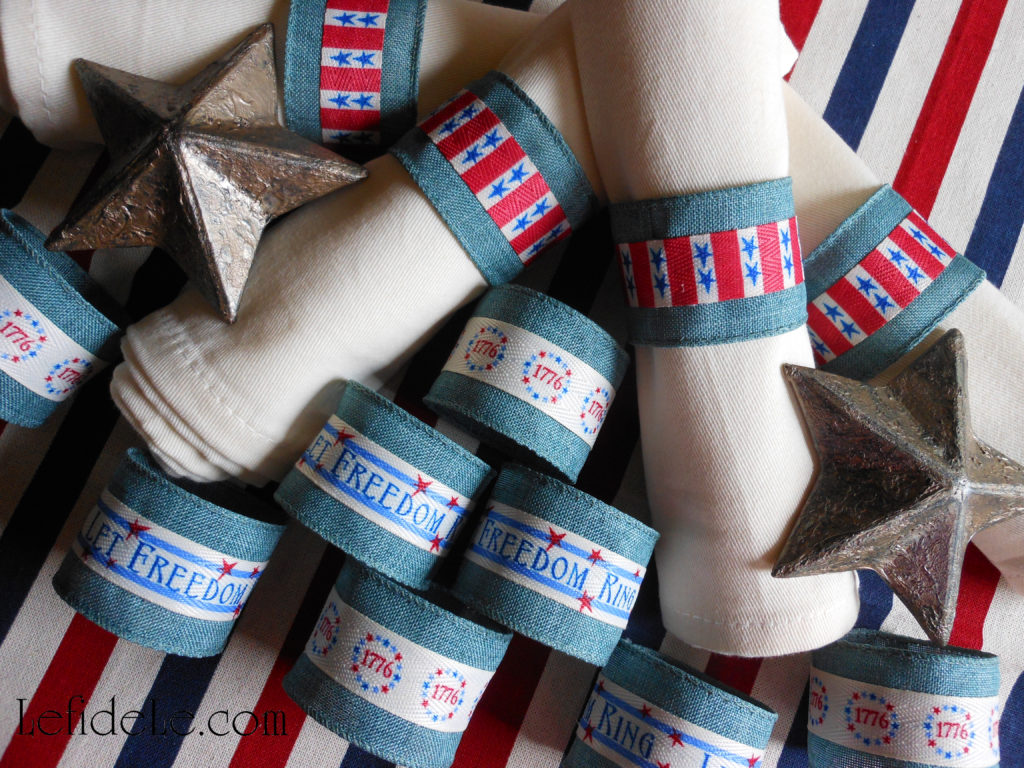
Make your own faux metal stars inexpensively out of paper maché ornaments with this craft tutorial, and then easily DIY custom patriotic napkin rings for Memorial Day, Veterans Day, or Independence Day. Use these to perfectly coordinate with your existing holiday décor for a high end look on a shoestring budget. These hefty appearing textured “metal” stars are actually lightweight enough to be used in so many more applications. And they really do fool everyone… until they’re touched!

545Leigh

It’s astonishingly easy to turn inexpensive paper maché ornament stars (found in craft stores nearly year round) into expensive looking one-of-a-kind textured metallic pieces to embellish any project you can think of.

510Leigh

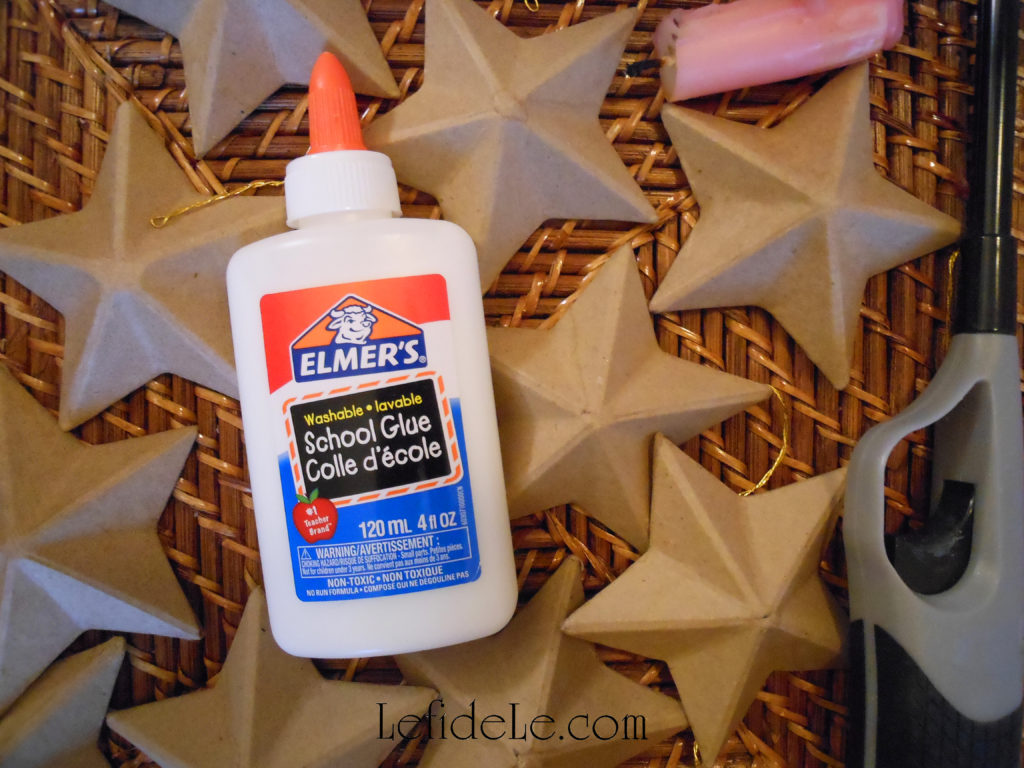
Grab a bag of star ornaments, some cheap white school glue, a lighter or match, and a candle. (I like to use up the last chunks of tall or broken candles to use on these kinds of projects, because candles flames do work better than lighter flames… just don’t ask me why. I stuck this pink leftover into an empty glass soda bottle to hold it in place… as is necessary to prevent wax drip burns.)

513Leigh

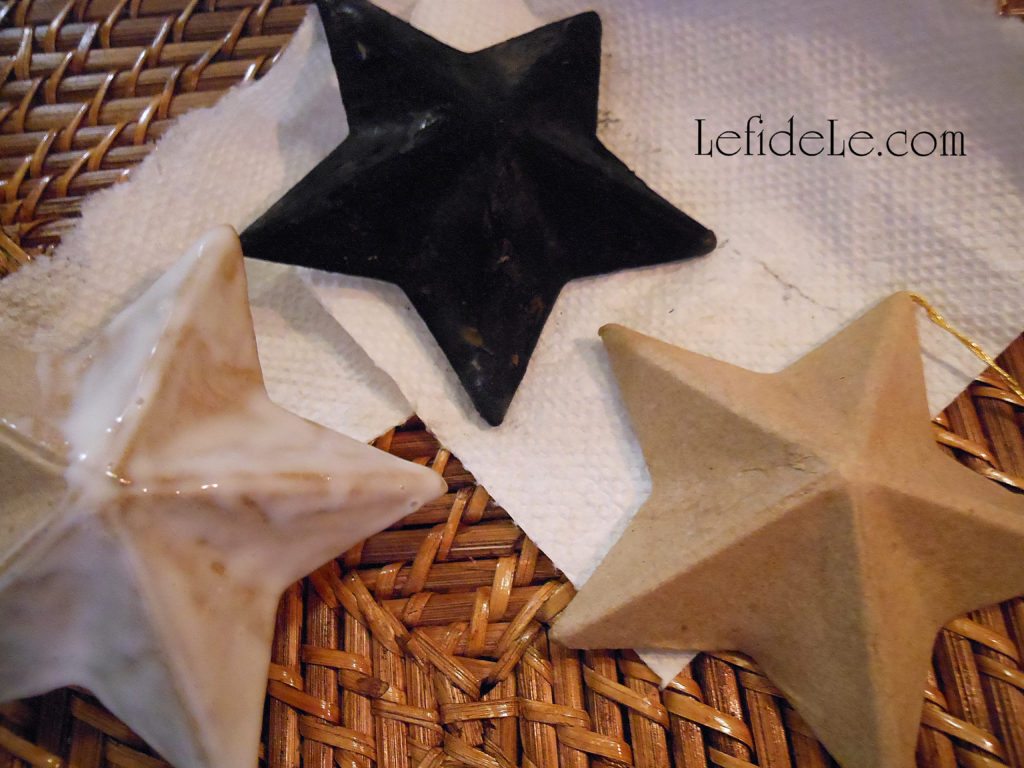
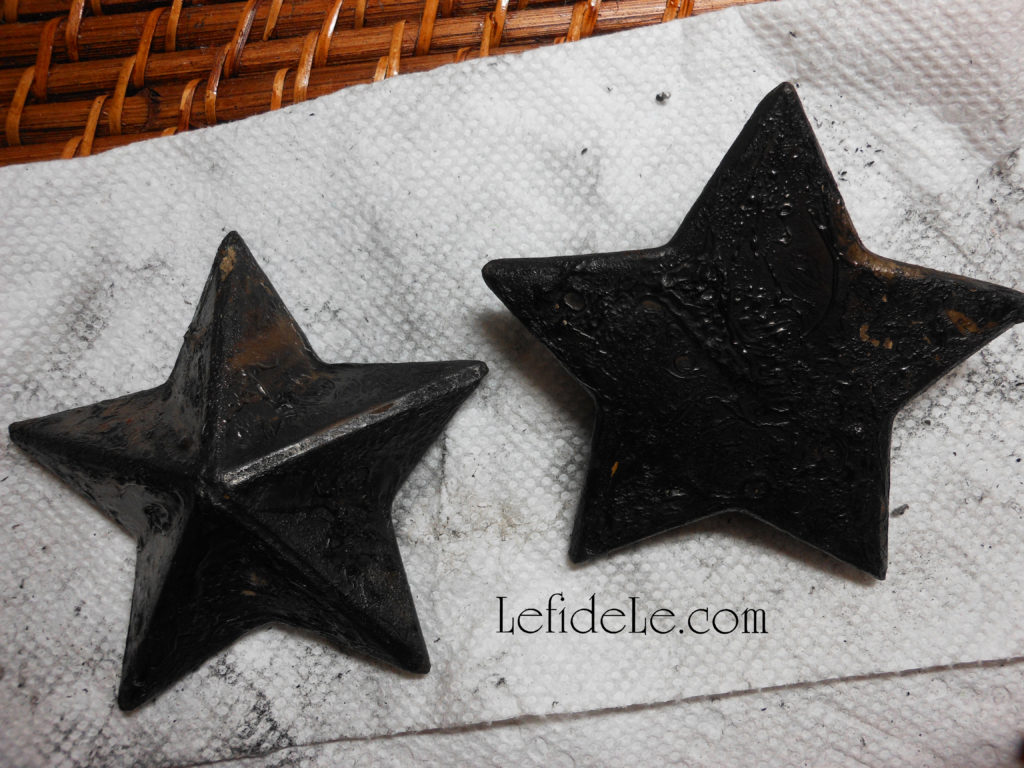
Cover a portion of a star completely in white glue. Hold it into the flame until the glue becomes hard with a dusty charcoal layer over it. (Don’t hold it over the bare paper because it will burn! If a flame does spark, just blow it out like a candle. Cover that area with more glue, and then burn on.)

521Leigh

Rub off the dirty charcoal layer with a clean rag or paper towel. (You’ll start seeing a smooth sheen appear.)

523Leigh

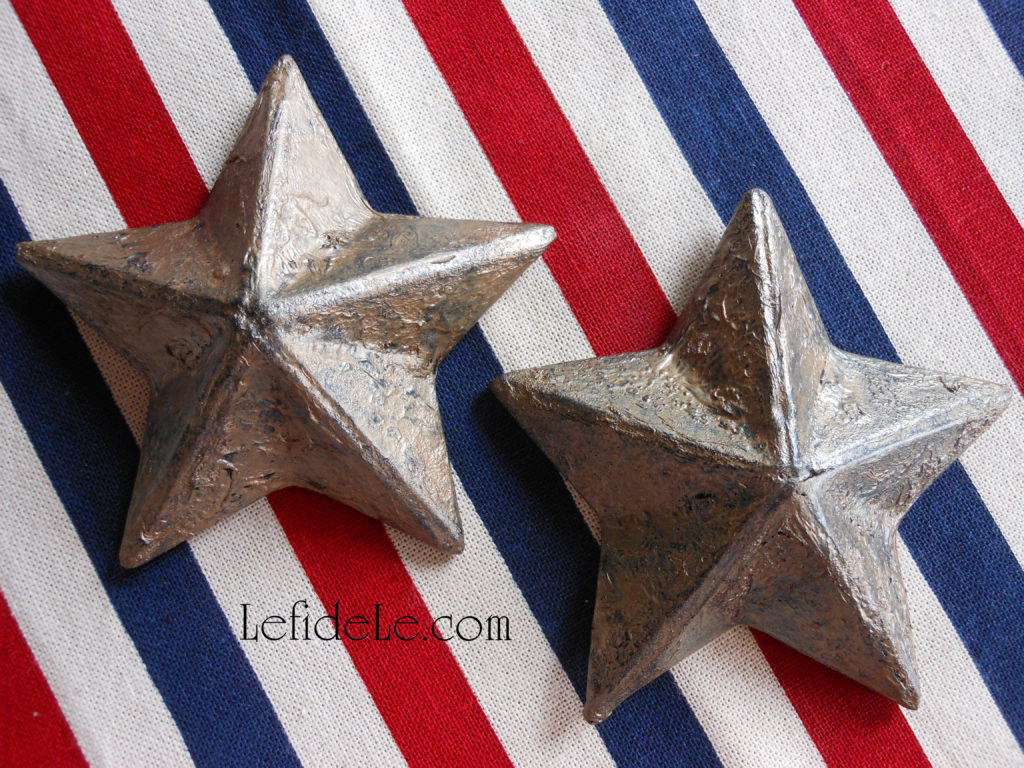
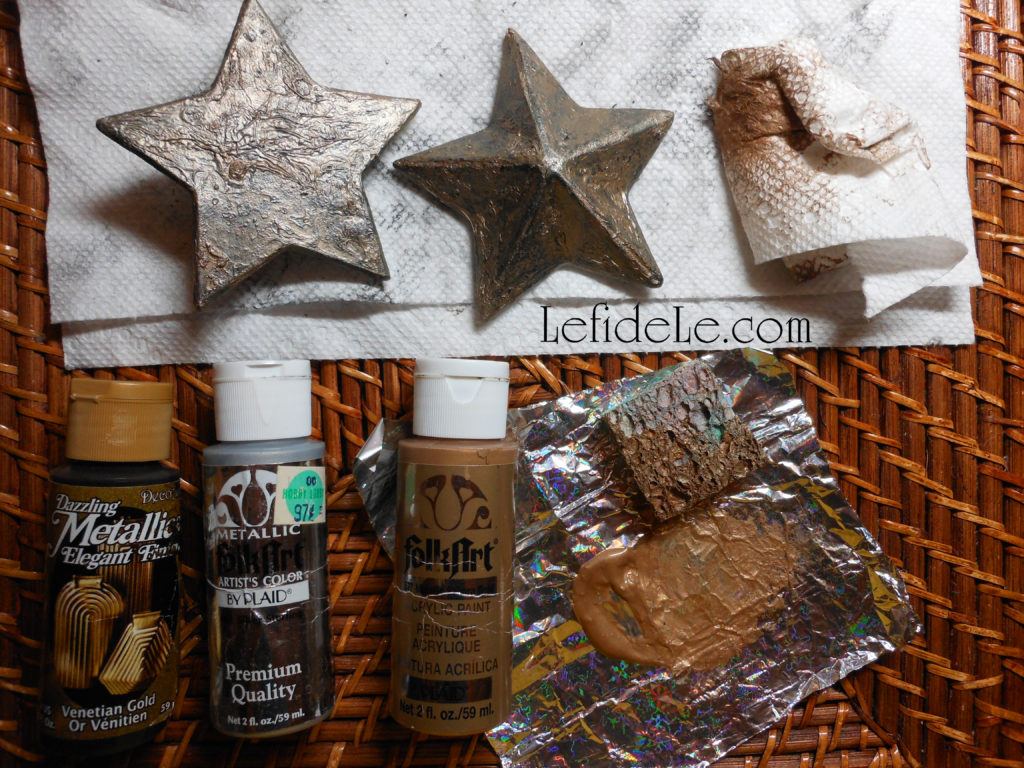
You can leave them as is or rub a light wash of metallic paint over them (cheap acrylic craft paint works well). It’s an easy way to add verdigris or to switch between silver and gold. I use a sponge square to dab on paint, and then quickly wipe some of it away (it does dry really fast).

549Leigh

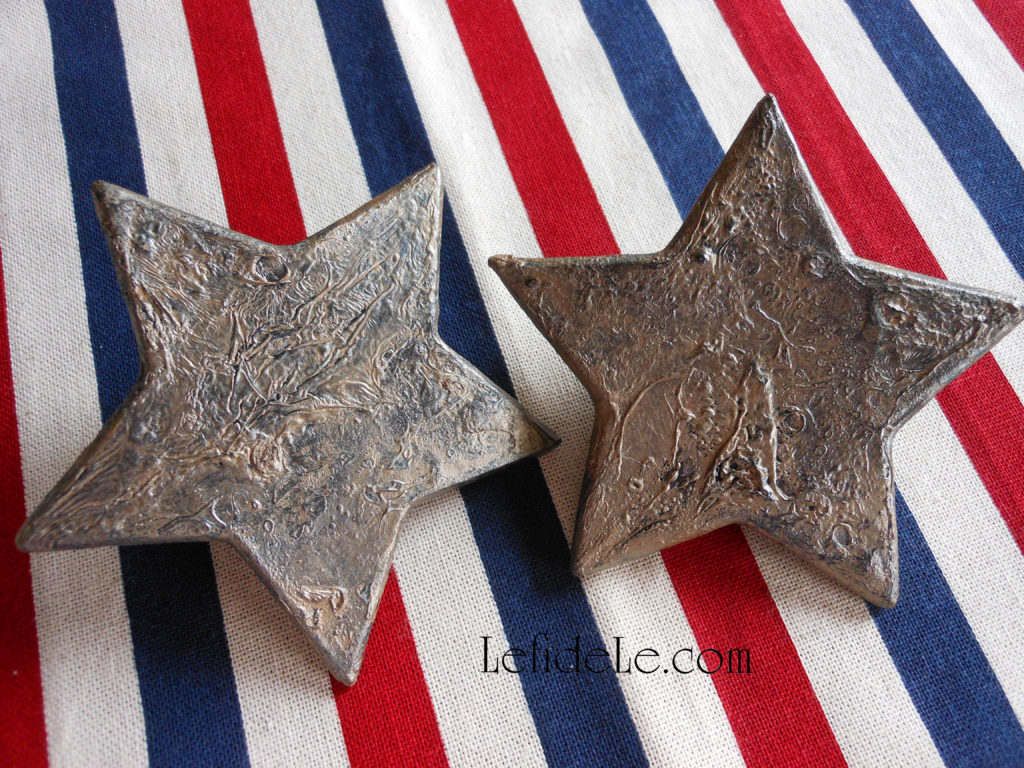
You can really see the detail of the texture on the star’s undersides. (There’s no need to finish the base if you plan on gluing them onto something else.)

501Leigh

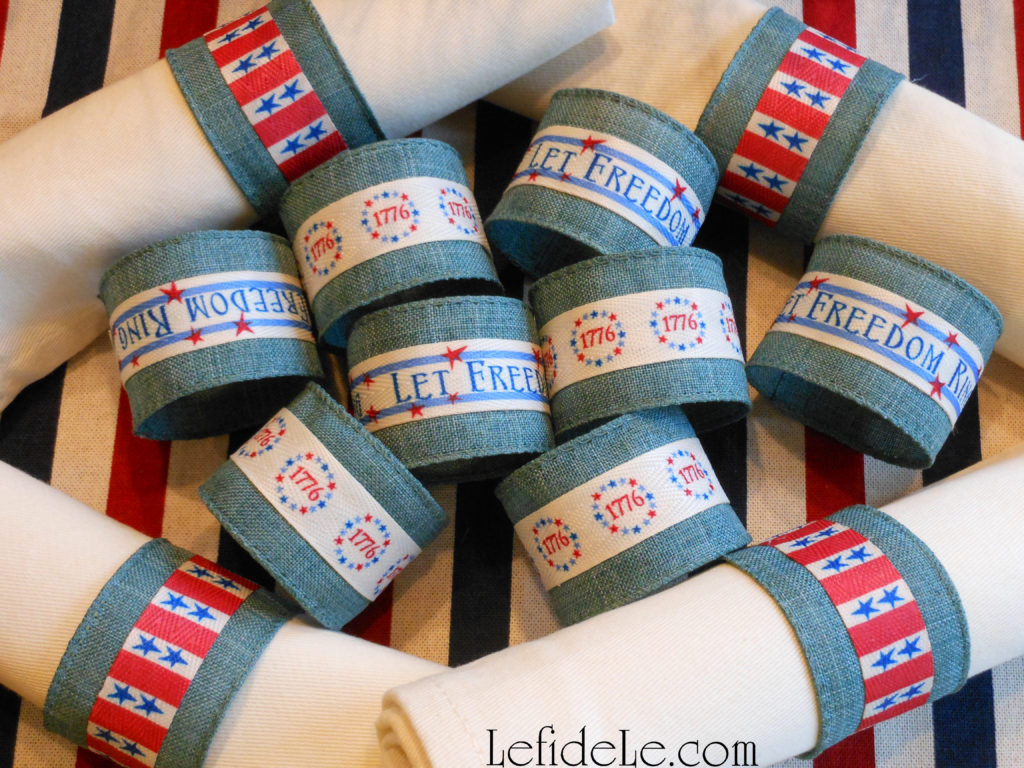
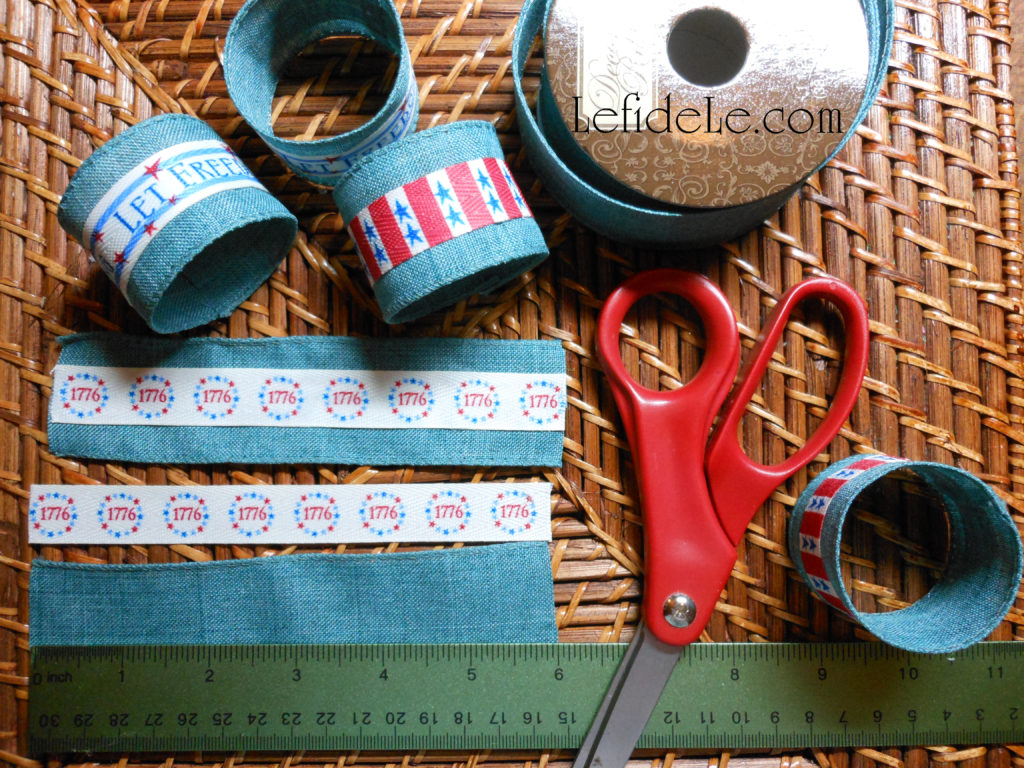
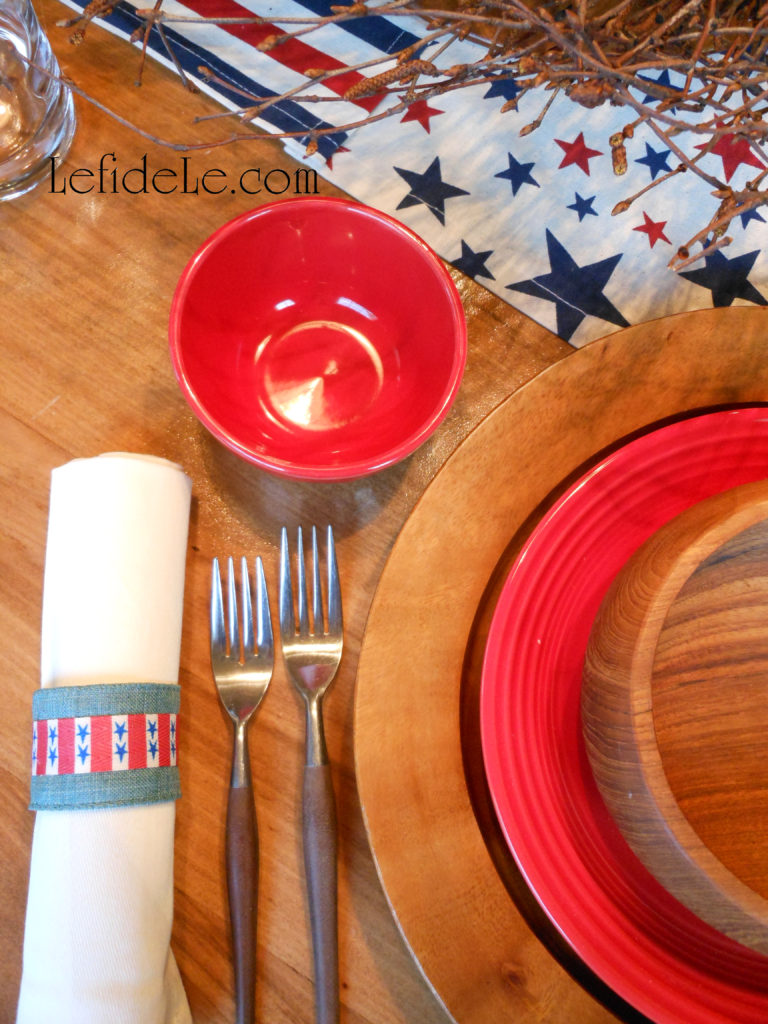
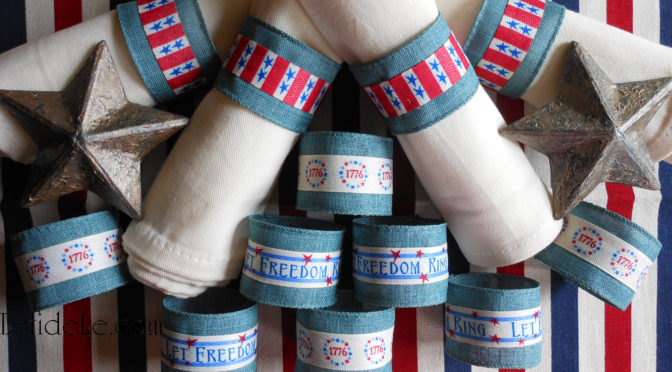
Now let’s make mix-and-match patriotic napkin rings using 1 roll of clearance chambray wired ribbon and some lengths of various American themed twill ribbon.

405Leigh

First, cut 6 inch lengths of ribbon (1 chambray and 1 twill for each ring). Then hot glue the twill across the center of the larger chambray. Next, glue one short end over the other, overlapping them slightly.

484Leigh

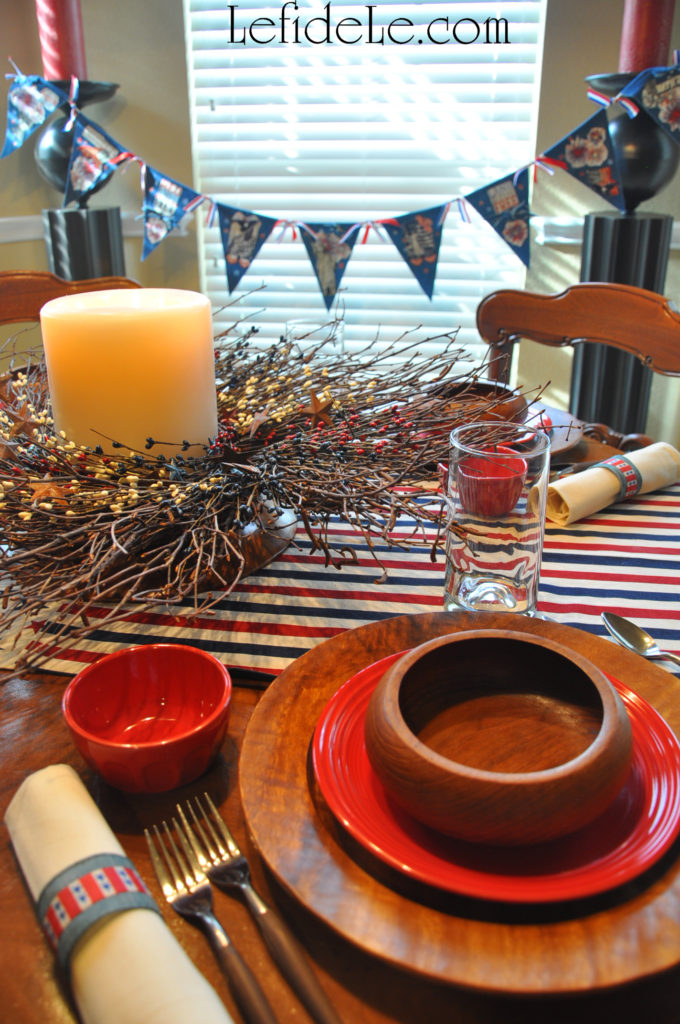
Check out the patriotic rings in action here: Reverential Memorial Day, Veterans Day, or Independence Day Tablescape Décor Ideas Honoring American Forces

111Leigh

Learn how to make a matching patriotic banner here: DIY July 4th Denim No-Sew Applique Collage Star-Spangled Banner Craft Tutorial for Independence Day

Happy 4th of July fire-working!

Faithfully Yours,

Leigh

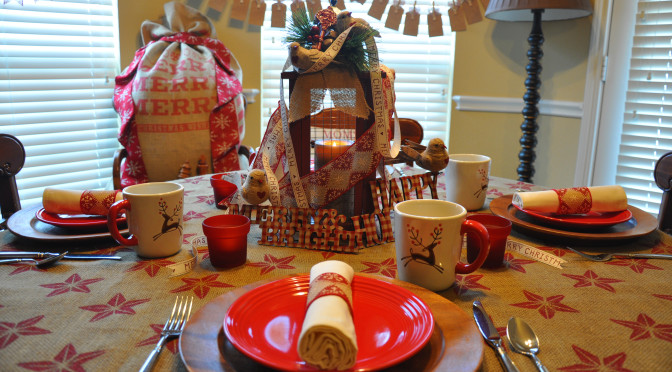
Create a Homespun Holiday of Barn Red & Burlap with Christmas Tablescape & Mantle Décor Ideas

917Leigh

Why prepare for Christmas by waiting in long lines at overcrowded stores when you can create heartfelt moments with loved ones while crafting a homespun holiday that harkens back to simpler times. Deck the halls without breaking the bank using my easy craft tutorials for DIY décor that harmonizes perfectly with the season’s traditional crafts of gingerbread houses and strung cranberries or popcorn. Have friends over for a cookie decorating or gift wrapping party, and then move the décor over to the mantel in time for a cozy Christmas. In this way, we can all celebrate togetherness in the real spirit of the season!

943Leigh

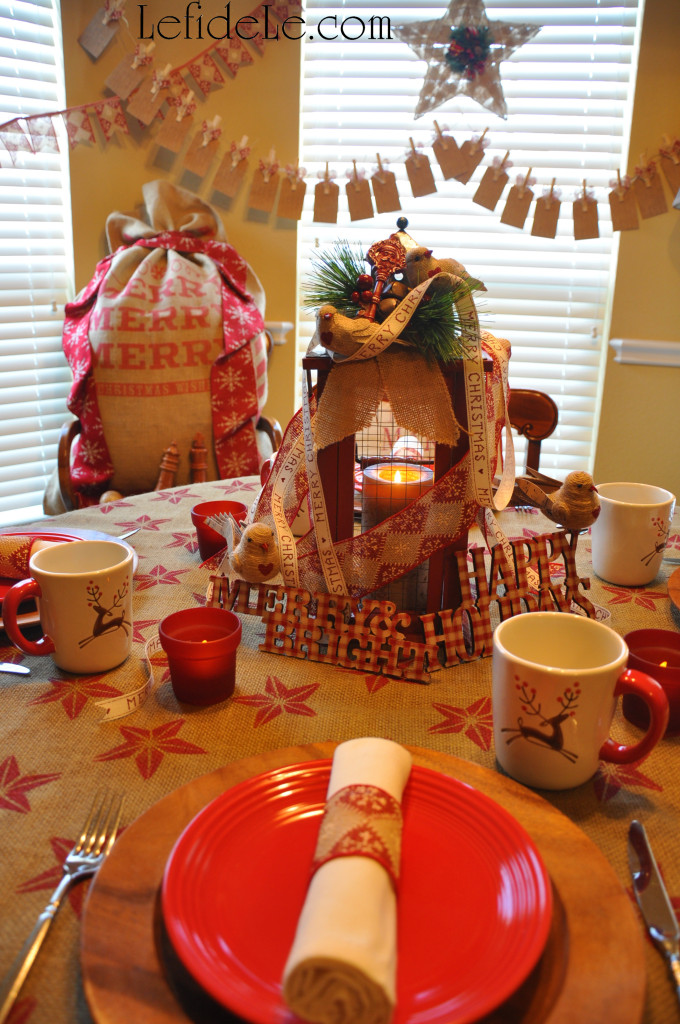
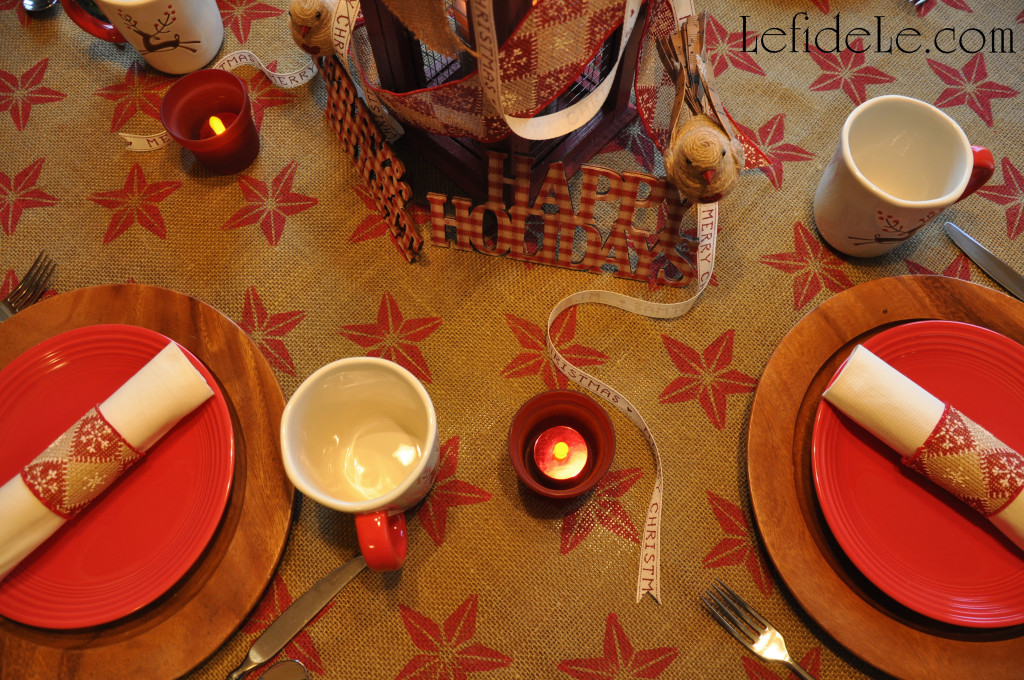
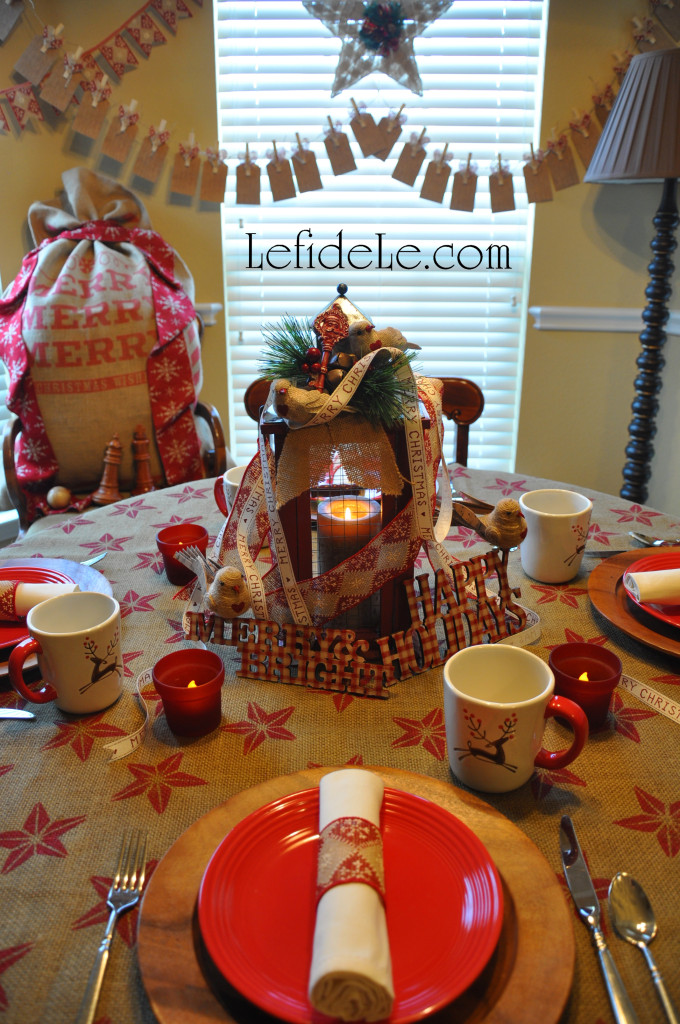
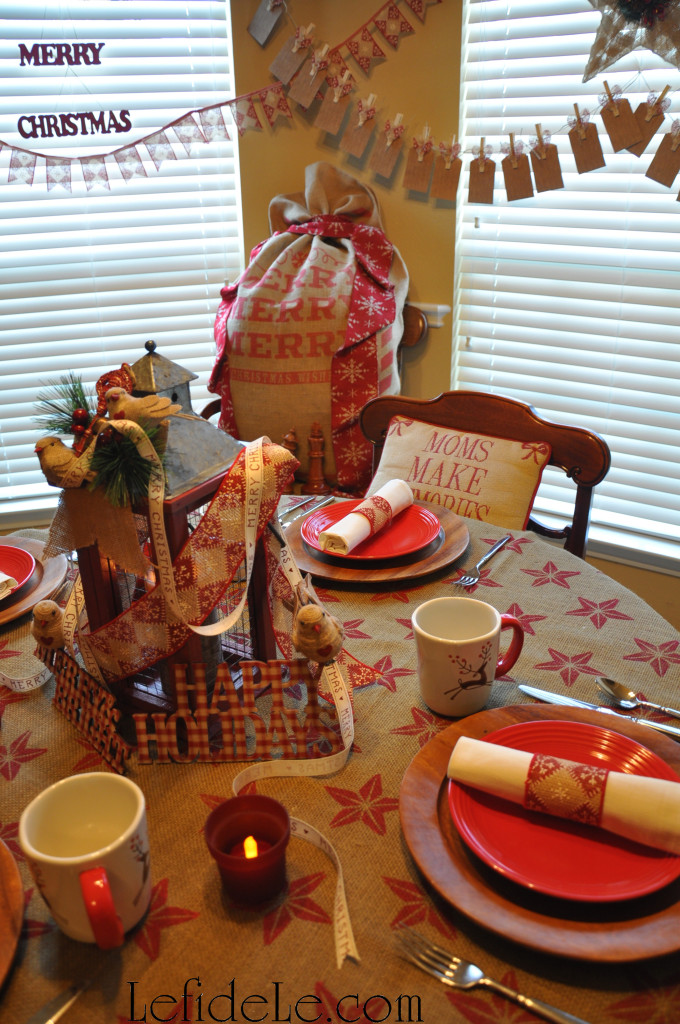
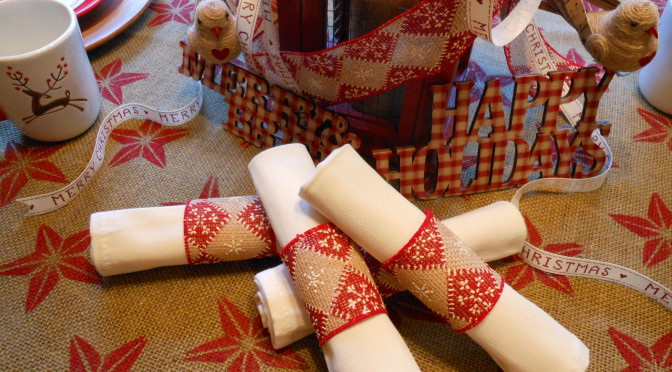
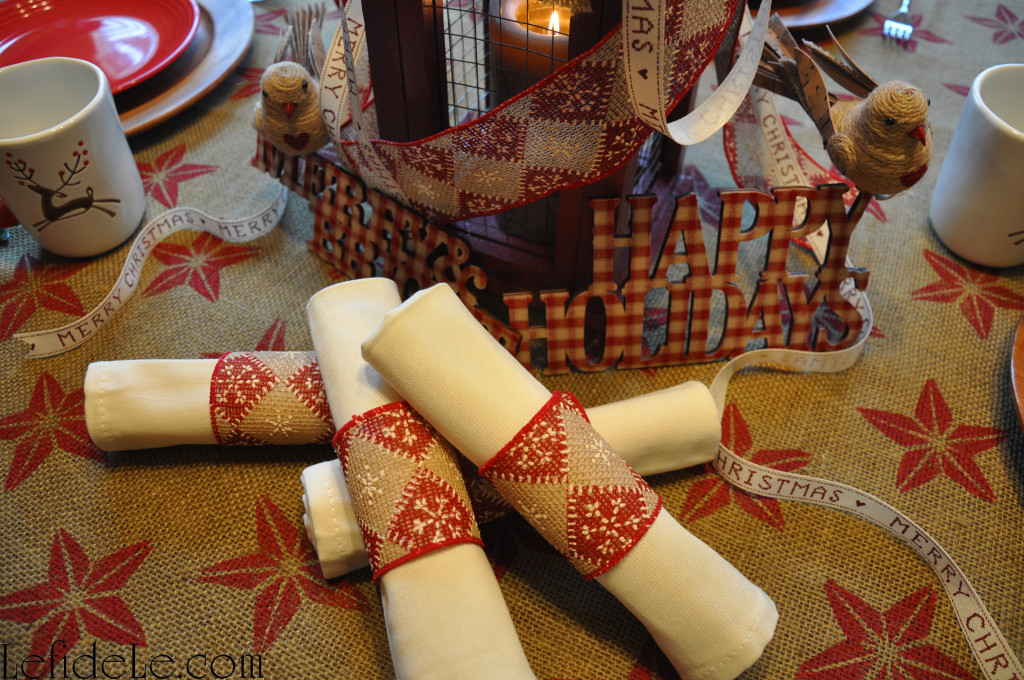
“Deck the halls with boughs of holly“ and a one-of-a-kind burlap tablecloth painted with stamps and matching napkin rings which set a delightful tone for a homespun holiday gathering. (Learn how easy it is to make these here!)

928Leigh

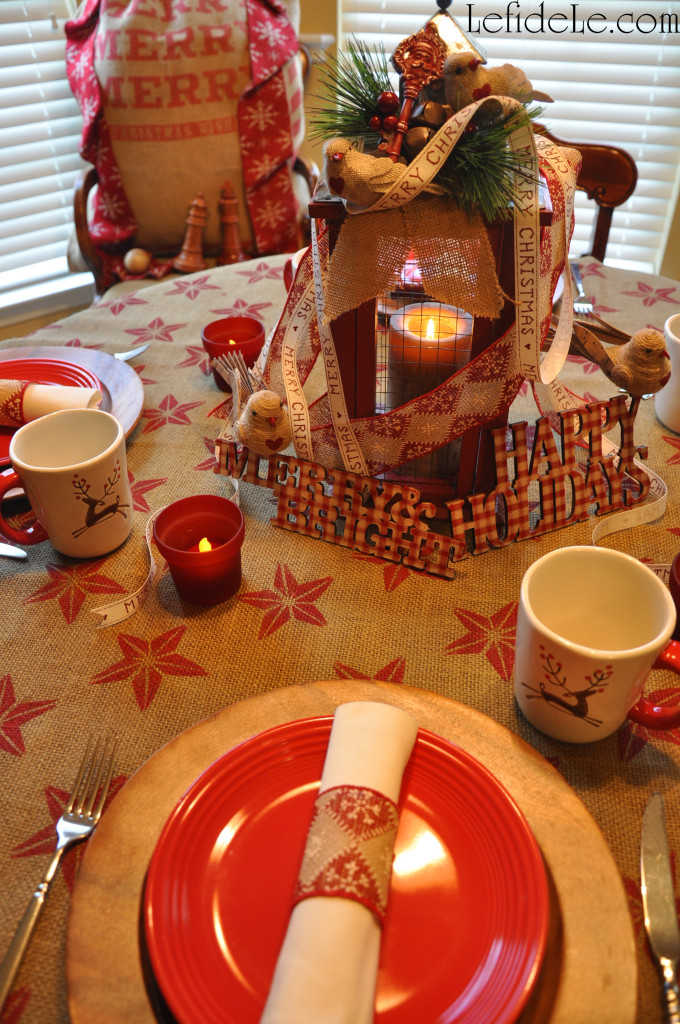
“’Tis the season to be jolly” and nosh on gluten-free vegan gingerbread cake served upon red ceramic plates over wooden chargers accompanied by holiday reindeer mugs filled with steaming cups of hot chocolate and homemade marshmallows.

936Leigh

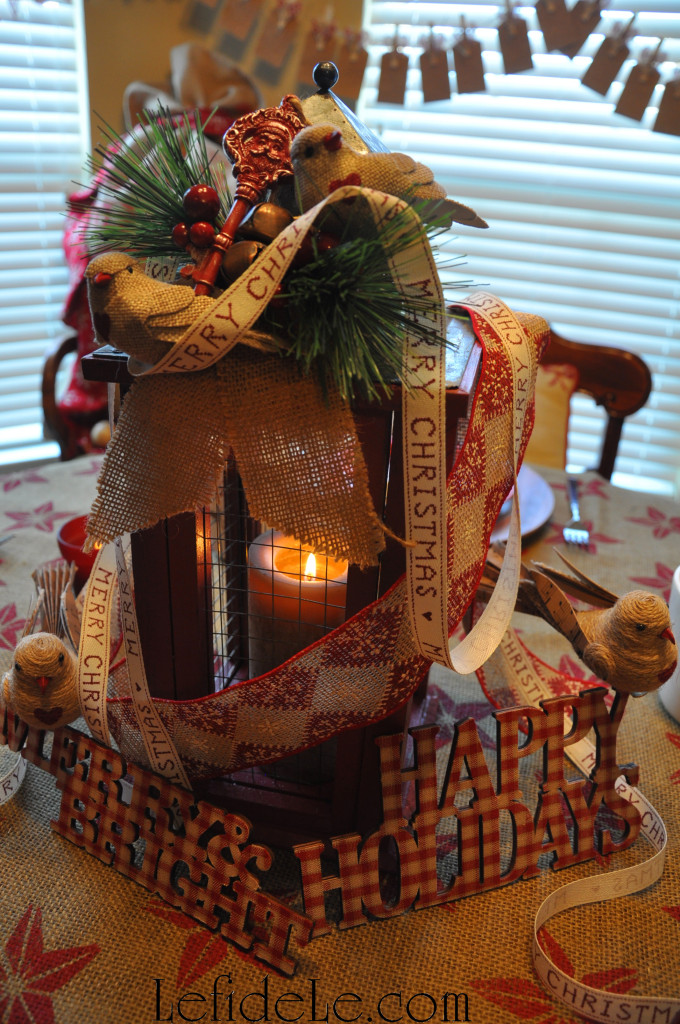
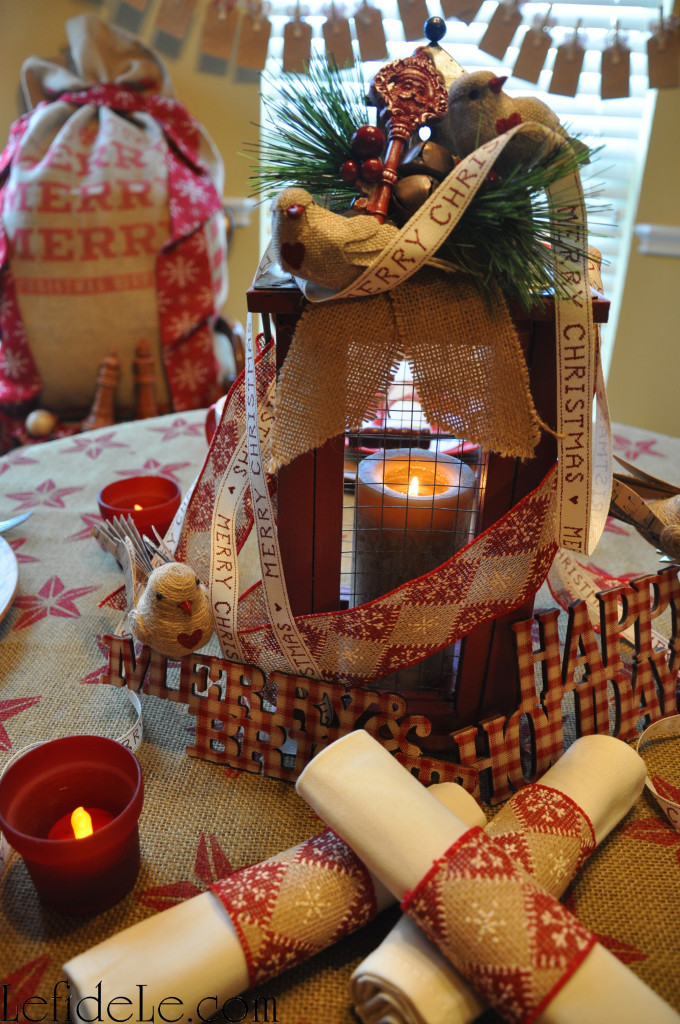
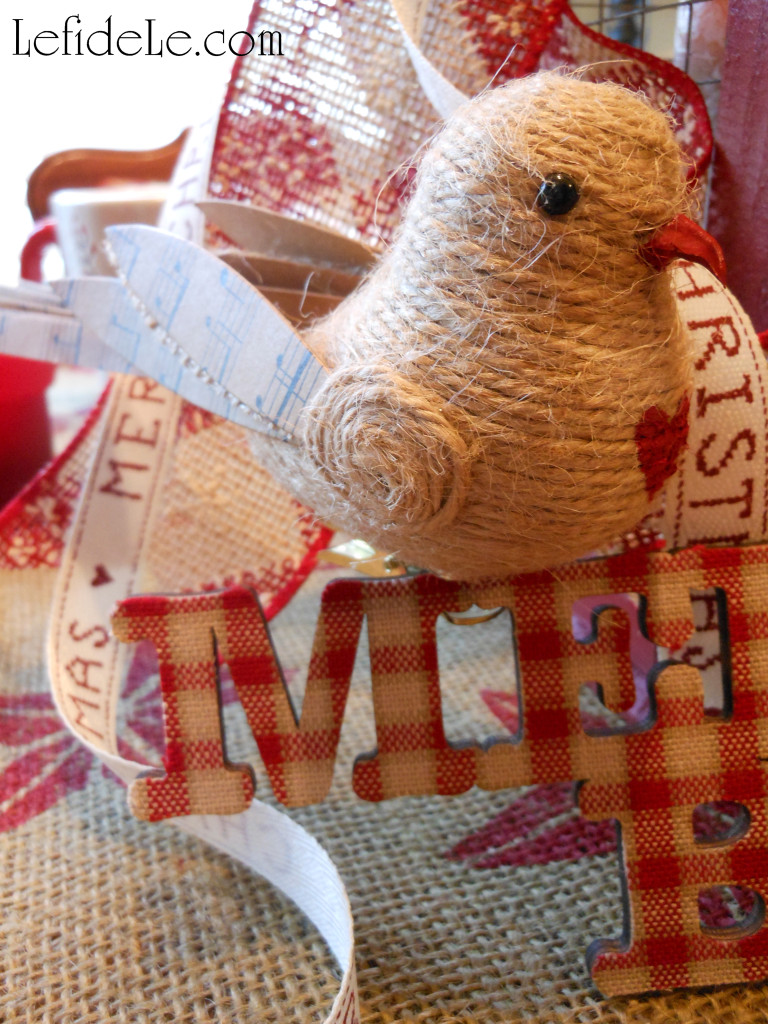
“Follow me in merry measure” to a table lit by barn red lantern bedecked with ribbons and merry-making birds. (See more about the birdies here!)

941Leigh

“While I tell of Yule-tide treasure” held in handcrafted advent calendars alongside festive banners and signs trimming the windows in the background. (Find out how to make these here!)

58Leigh

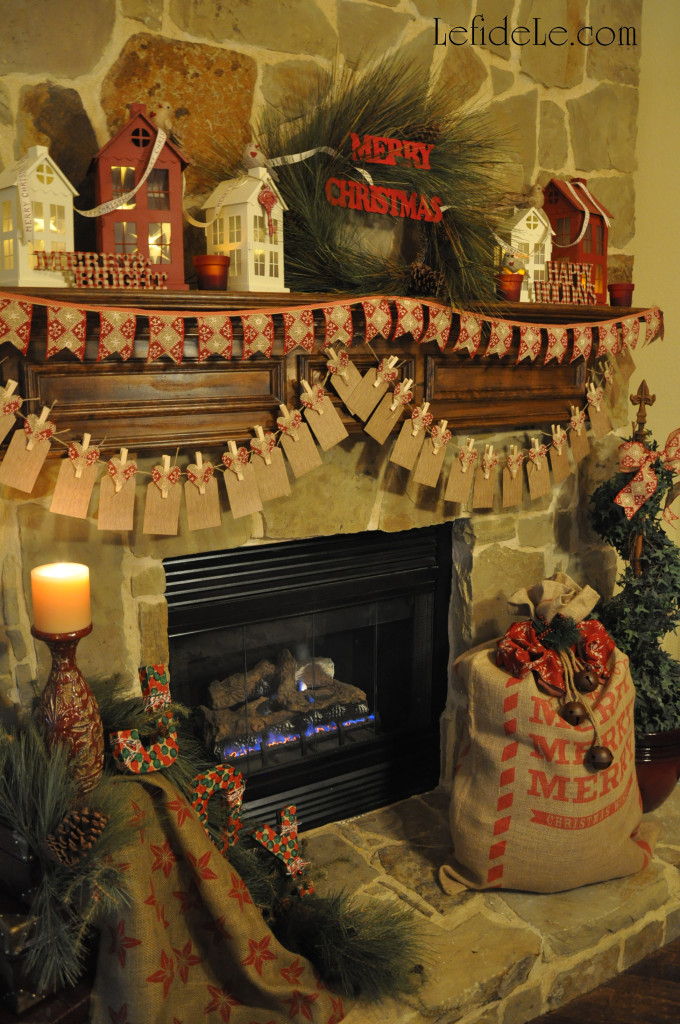
“See the blazing Yule before us” and the apropos message of J-O-Y spelling out the holiday sentiment. (Learn how easily these were made here!)

67Leigh

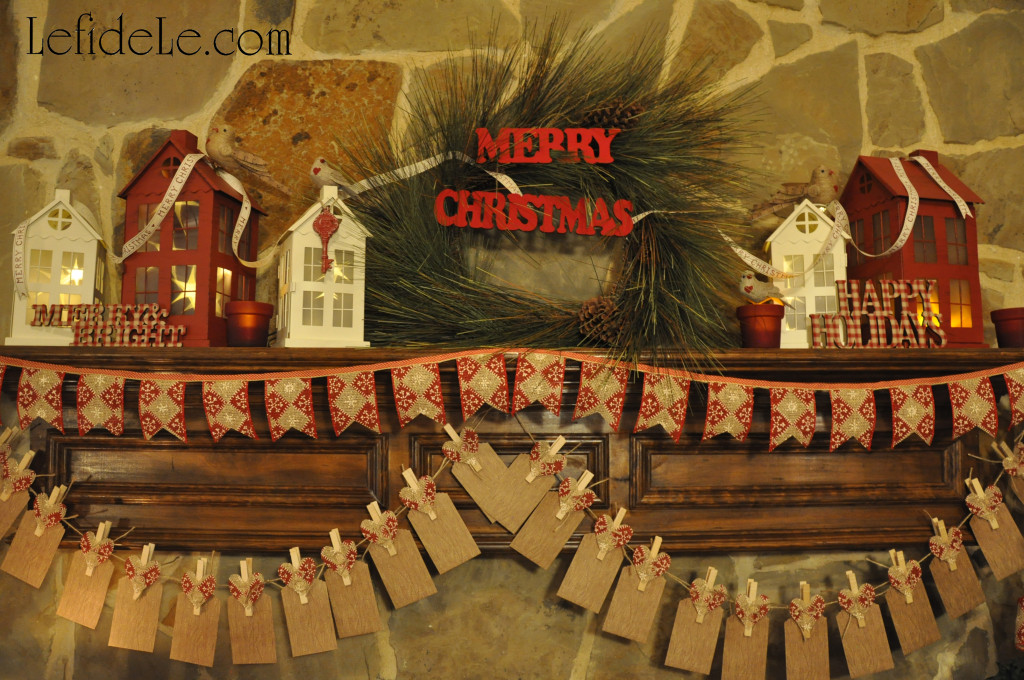
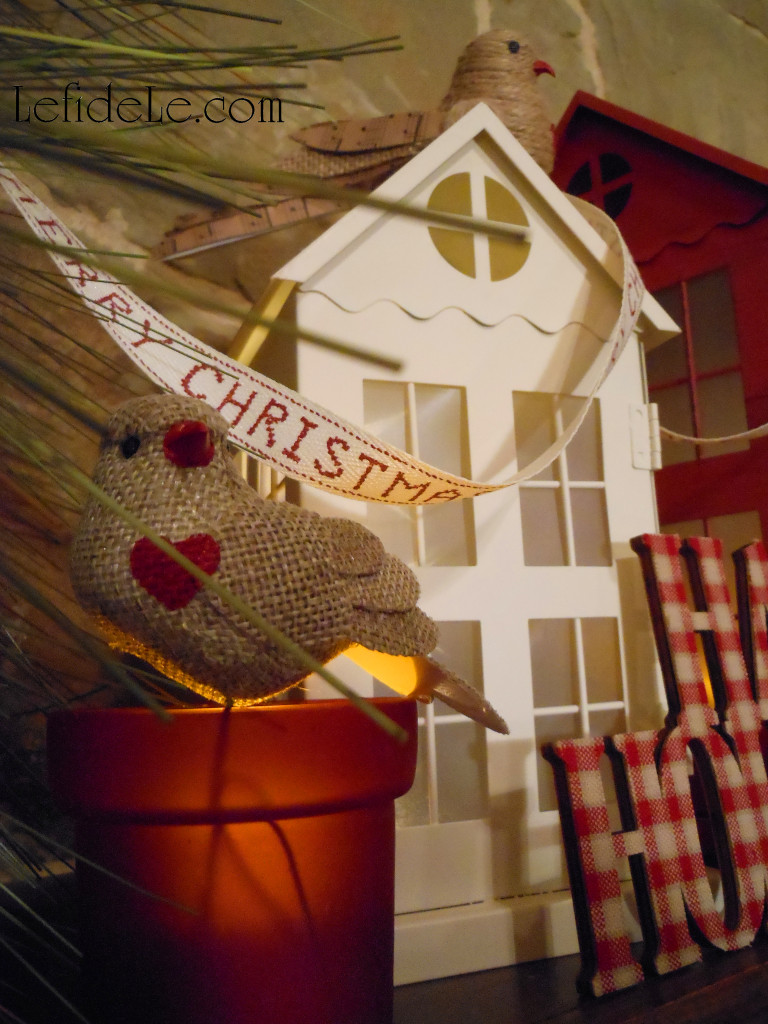
“Strike the harp and join the chorus” of pretty burlap birds perched perfectly upon tiny tin houses. (See this quick project here!)

918Leigh

“Sing we joyous, all together, heedless of the wind and weather.

Fa-La-La-La-La-La-La-La-La!”

Faithfully Yours,

Leigh

Easy DIY Stamp Painted Tablecloth & Holiday Ribbon Napkin Rings + Burlap Birds Craft Tutorials

953Leigh

Why prepare for Christmas by waiting in long lines at overcrowded stores when you can create heartfelt moments with loved ones while crafting a homespun holiday that harkens back to simpler times. Deck the halls without breaking the bank with an easy DIY burlap tablecloth painted with stamps to coordinate with ribbon crafted napkin rings. Then add a personal touch to ready-made burlap and jute bird ornaments with just a little paint and sentiment. In this way, we can all celebrate togetherness in the real spirit of the season!

958Leigh

To make the tablecloth, fold the burlap fabric onto itself forming a triangle. Cut alongside the raw edge to remove the extra footage. Unfold it to reveal a perfect square without having measured a thing. The raw edges add to its rustic appeal… so nothing needs to be sewn either! (Note that burlap is available in varying widths which in turn will affect your length… so purchase the widest variety you can find.)

644Leigh

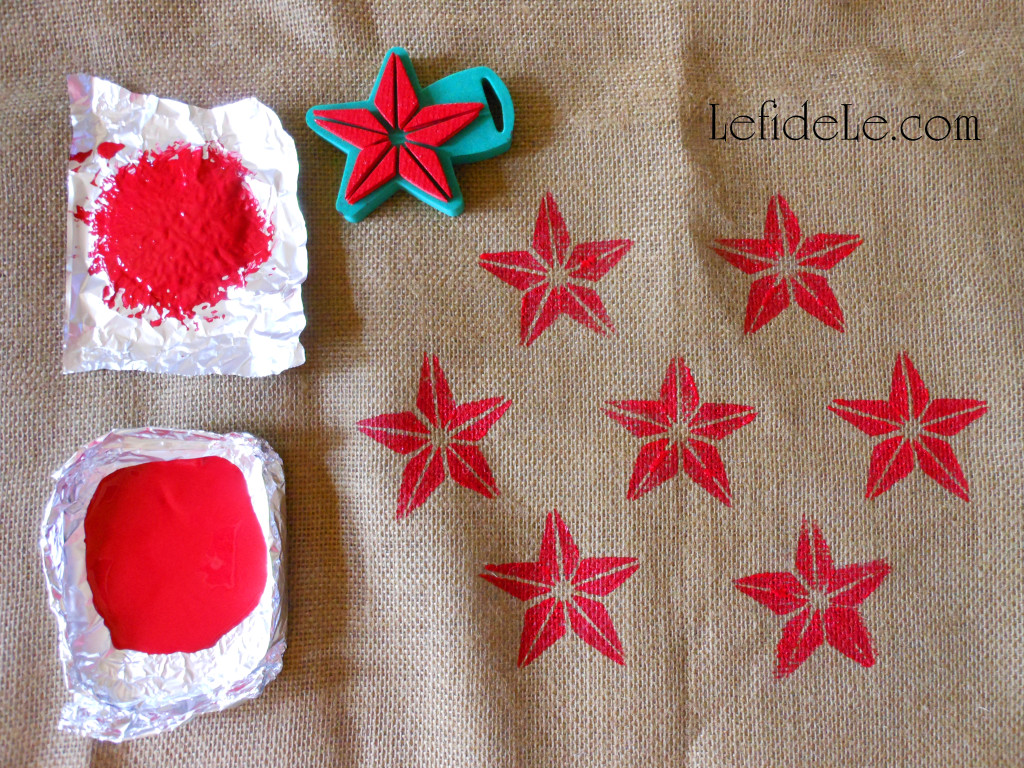
Spread the burlap over a cheap drop-cloth to protect your work surface from paint (because it will seep through). Add a holiday pattern to the cloth with a thick foam shape stamp. Dip it into cheap acrylic craft paint, and then stamp it onto a throw away piece to remove the excess paint before stamping your project.

943Leigh

I used a star shape for several reasons… I already owned the stamp, it symbolizes the star of wonder in the heavens, and the cloth can be used again on the fourth of July!

603Leigh

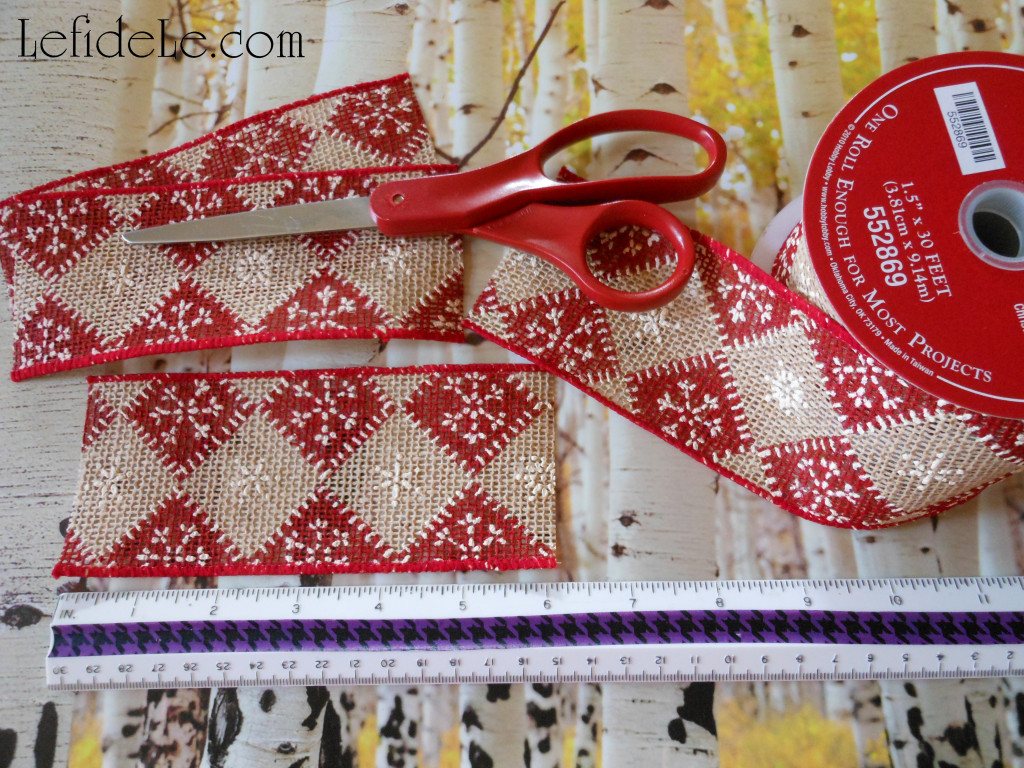
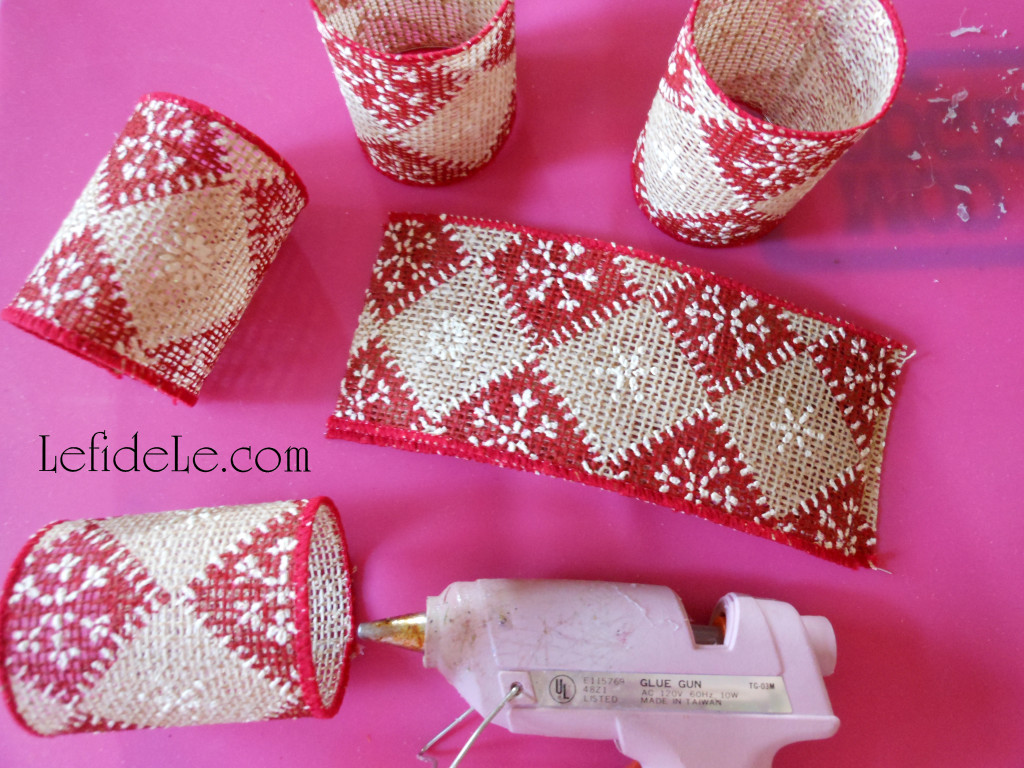
Make the matching napkin rings easily with wire edged burlap ribbon which is available in so many cute patterns. To do this, simply cut 6 inch lengths for each ring you’ll need.

615Leigh

Lay down a line of hot glue onto one end of a section of ribbon and fold it over to meet the other end. Press together firmly to ensure it forms a secure bond. One and done!

917Leigh

The rings coordinate perfectly with my advent calendar and banner crafts because they utilized the same roll of ribbon.

25Leigh

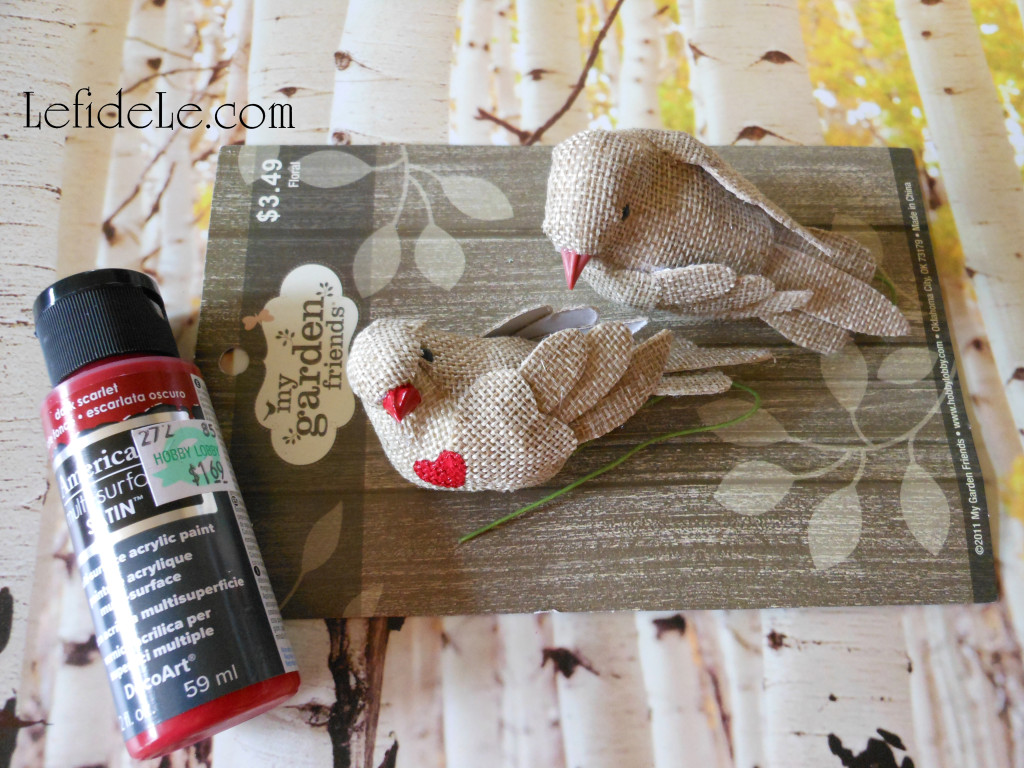
Saving the easiest for last… personalize any store bought ornament with a little paint for gifts or to make it match your décor perfectly.

635Leigh

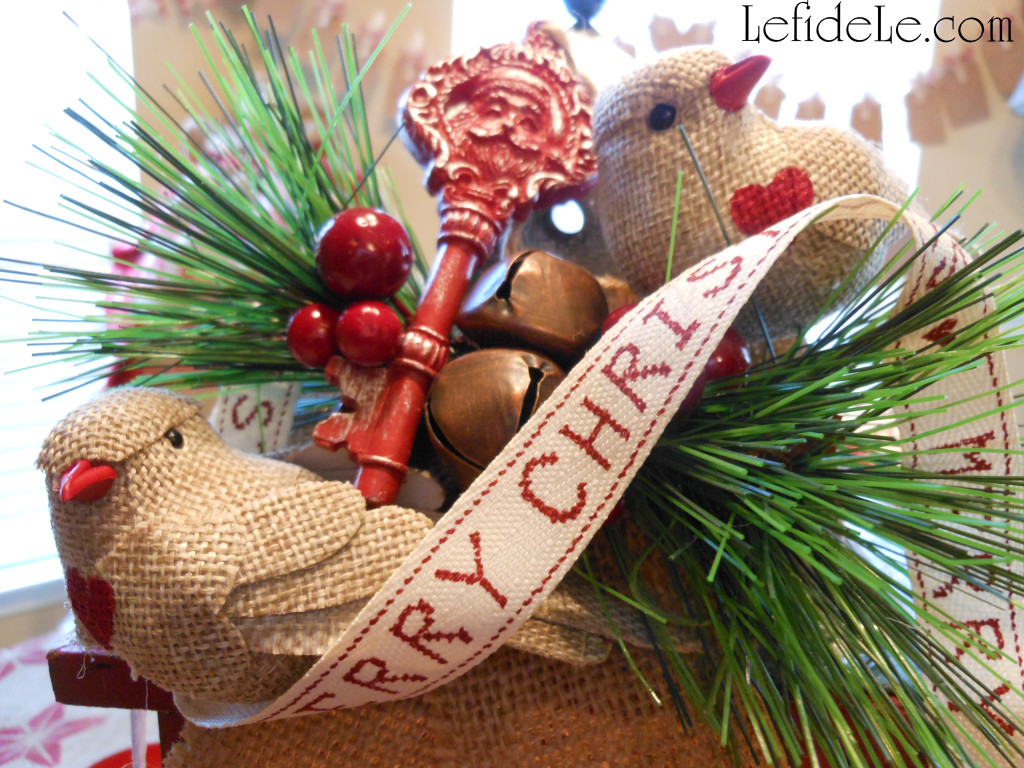
For these bird picks (from the floral department of a local craft store) I simply painted the black beaks and added hearts with a bit of the leftover tablecloth paint.

31Leigh

These clip ornament birds were found at an overstock supply store locally. (Now painted, they look like lipstick laden lady birds wearing their hearts on their sleeves!)

975Leigh

I started the whole ornament personalization thing many years ago when my godmother (not a fairy) asked me to paint a pennant bearing penguin to change its school affiliation. It was a really easy way to customize a small gift to turn it into a keepsake. (If you’re not at ease with a brush and paint, try a paint pen!)

936Leigh

Fa La La La La Y’all!

Faithfully Yours,

Leigh

P.S. Check out my other coordinating homespun holiday craft tutorial HERE, and the full results all of the heartfelt crafting HERE!


DIY La Calavera Catrina Costume Mask & Calaveras de Azucar (Sugar Skulls) Banner for a Dia de los Muertos (Day of the Dead) Themed Halloween

090Leigh

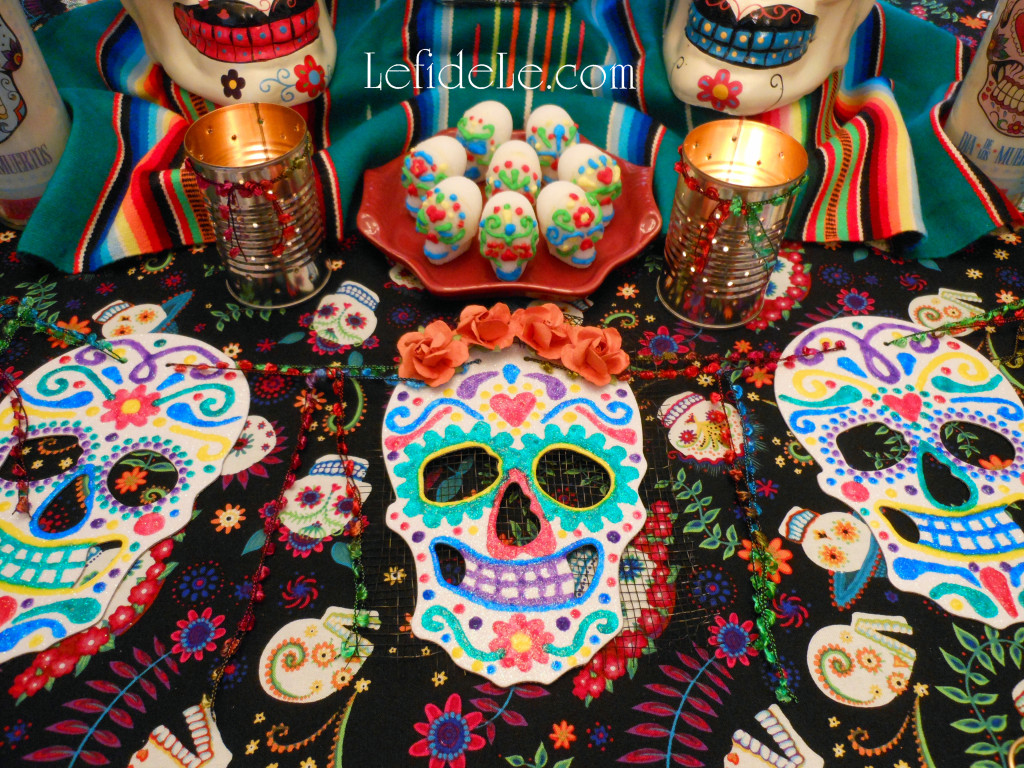
This tutorial will help you to inexpensively craft your own one-of-a-kind la calavera catrina costume mask in the Dia de los Muertos (Day of the Dead) style, and then easily DIY a Calaveras de Azucar (Sugar Skulls) banner to decorate your Halloween party. Sugar (azucar in Español) is said to balance the bitterness of death (muerte), and calaveras (skulls) are traditionally offered on All Saint’s Day (November 1) to departed loved ones as one would leave flowers graveside. These calacas (colloquial term for skeletons) have migrated north from Mexico into American Halloween celebrations as themed décor. In this same way, traditional parade skull masks have become party costumes. As Halloween serves to poke fun at all things scary, Dia de los Muertos is intended as a way to accept death as inevitable… and also to honor dearly departed loved ones. The Mexican ½ face parade masks symbolize this idea of life being inextricably linked with death. So when you don this half skull mask for Halloween, be sure to make up the lower half of your face as a beautiful representation of life… and poke a little fun at death as not being so scary!

1(2)Leigh

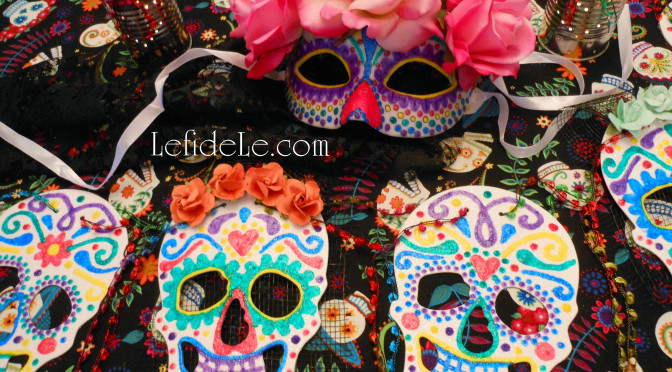
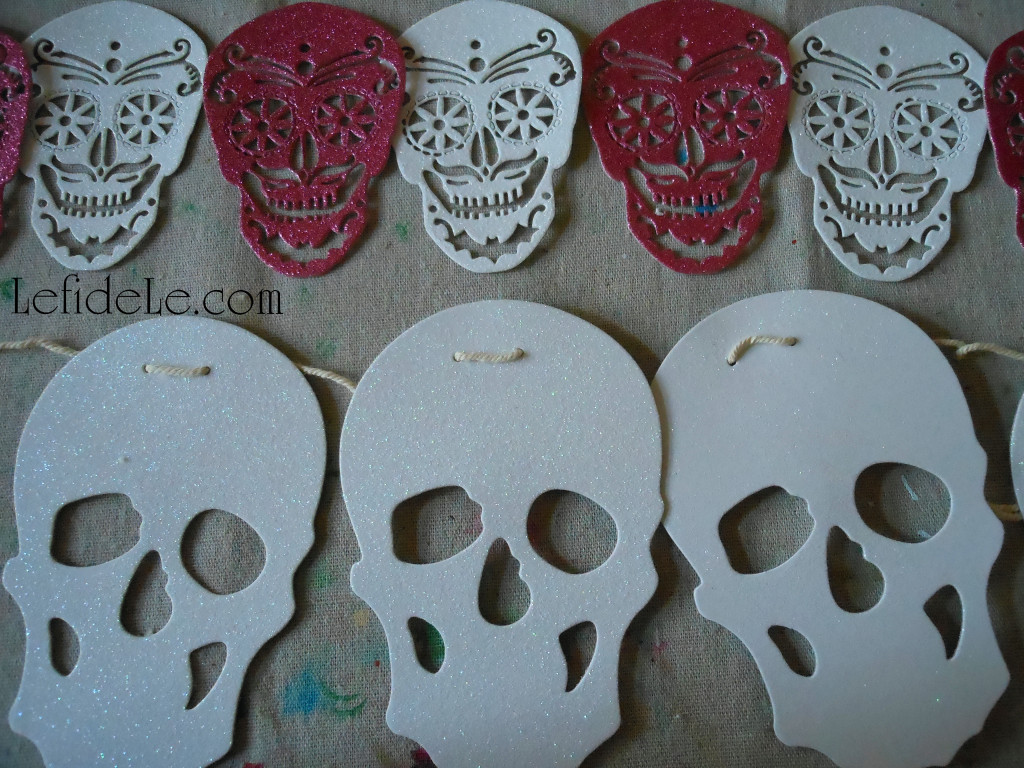
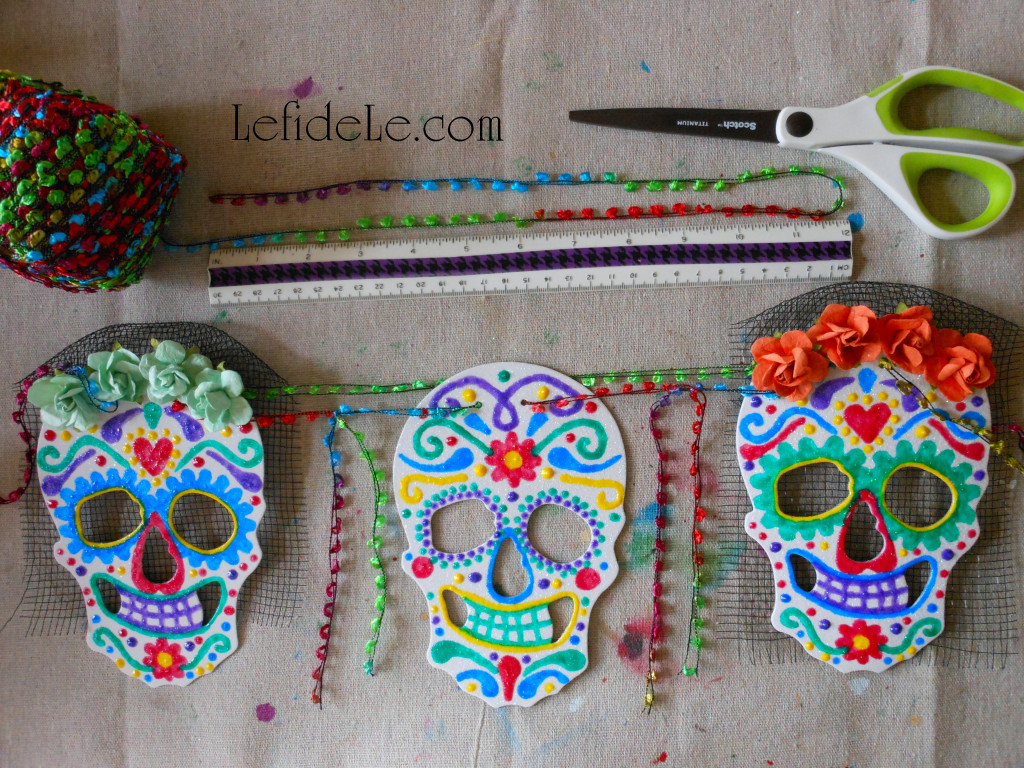
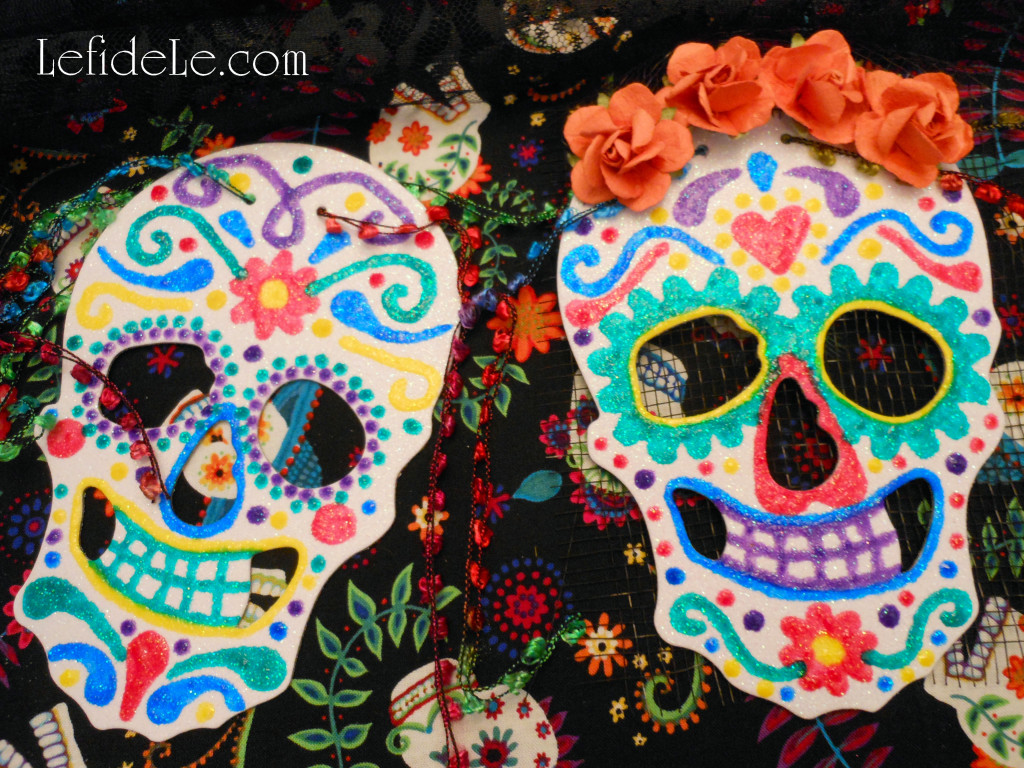
To craft the calaveras de azucar (sugar skulls) banner, begin with either a package of glittered skulls or cut your own shapes from glittered paper. Another option is upgrade a readymade skull banner. (All of these items are available at Le fidèLe Designs craft supply affiliates Michaels and/or Joann whose clickable ads may be found in the sidebar.)

6(2)Leigh

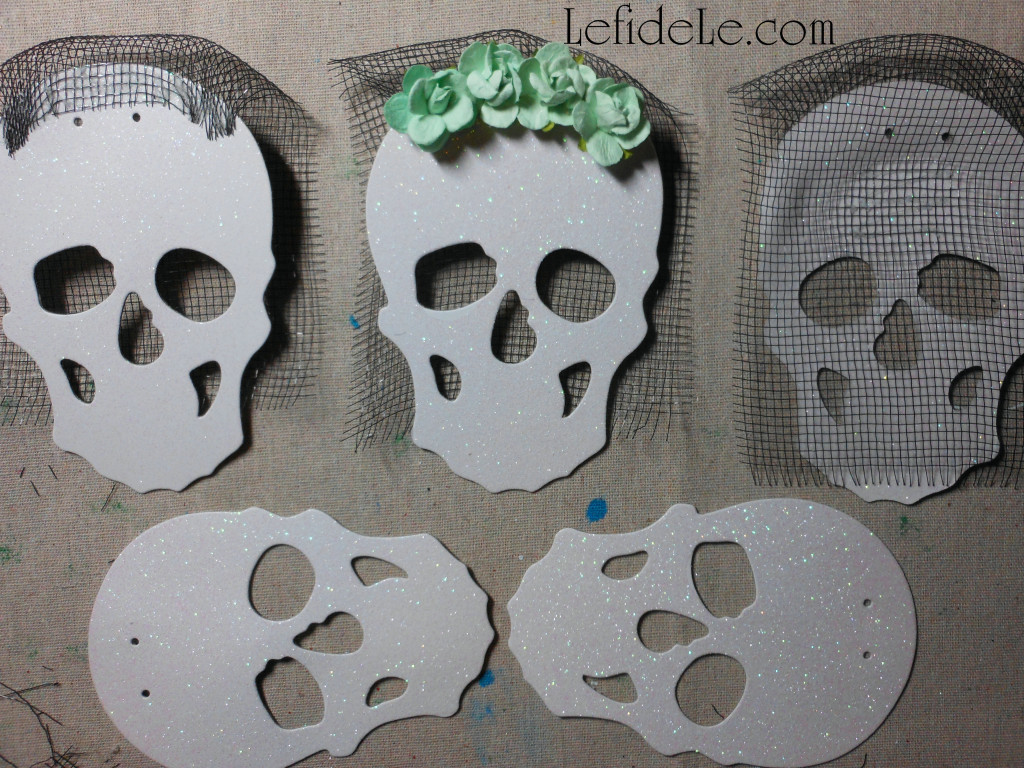
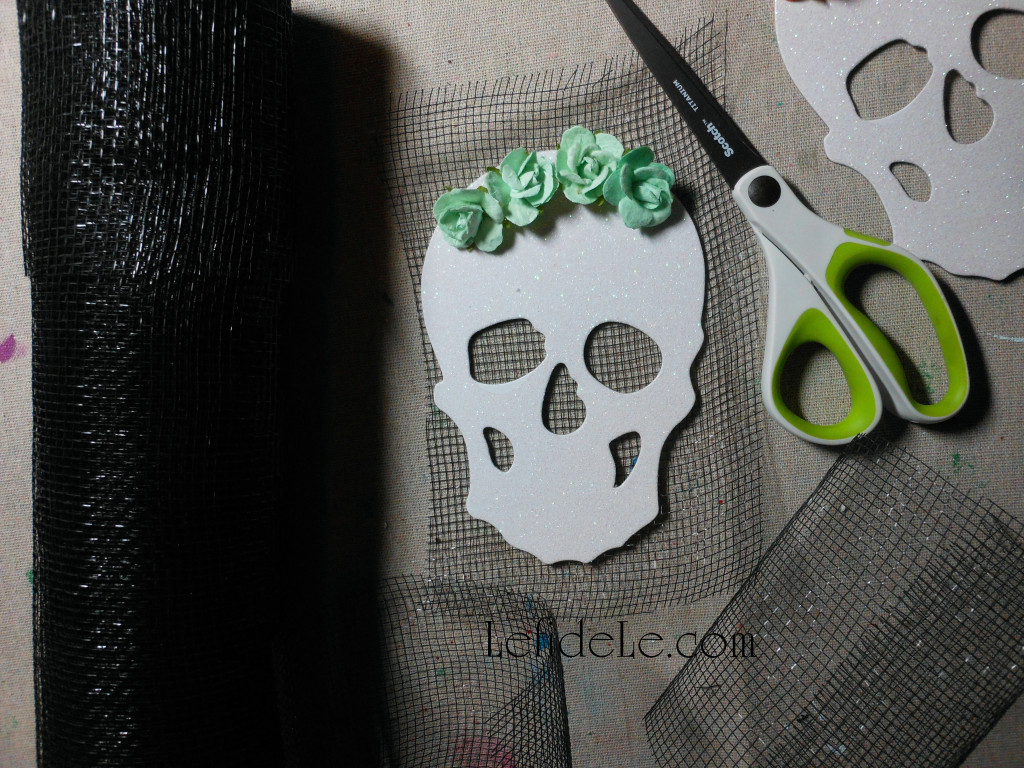
Attack black floral mesh squares to half of the skulls. Glue one end to the top of the front and the rest to the underside so that it looks like a lacy veil.

001Leigh

Next, glue paper rosettes to cover the front edge of the veils.

006Leigh

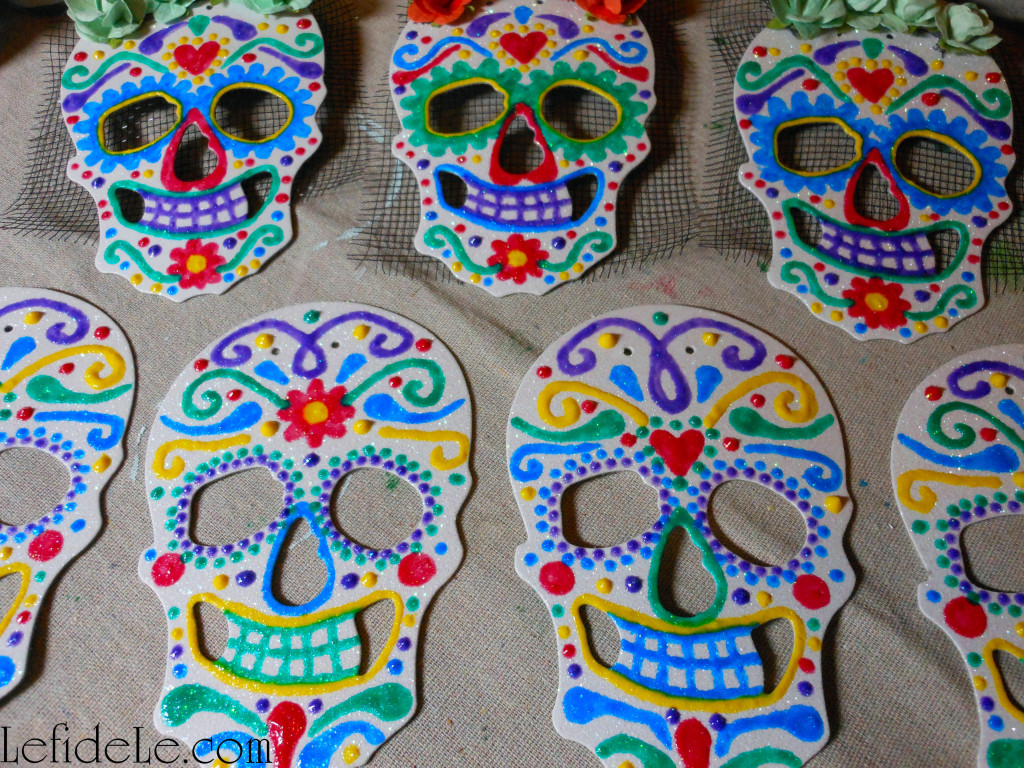
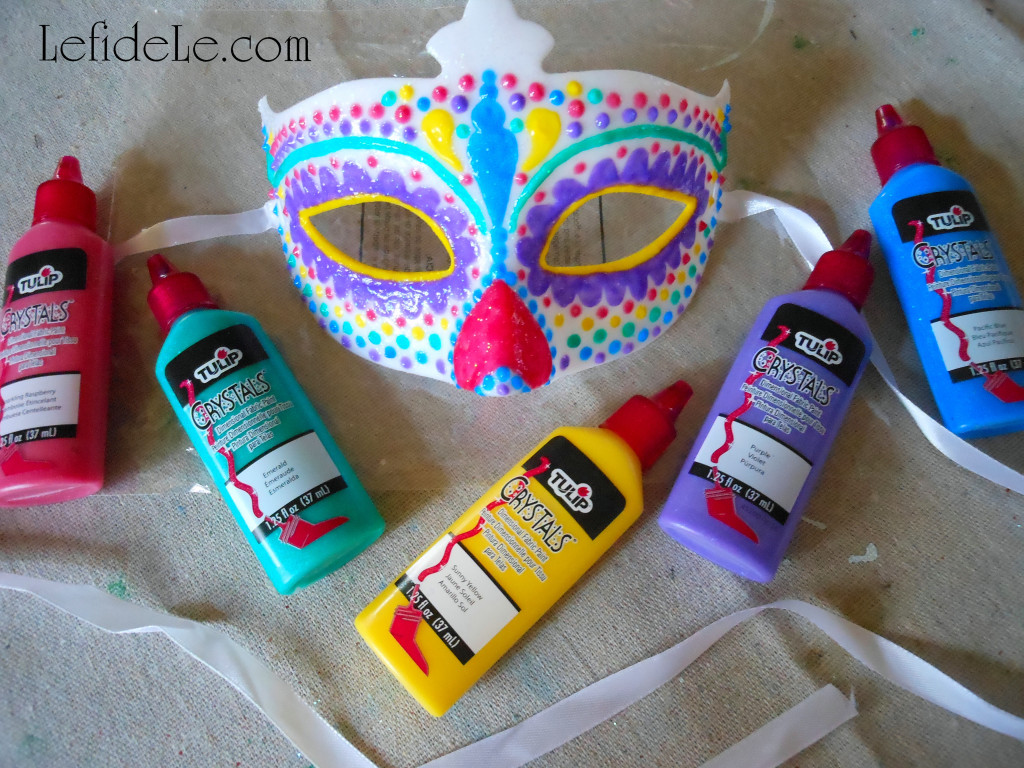
To decorate these with the traditional sugar skull designs of flowers, hearts, swirls, and apostrophe type marks, I utilized Tulip brand Crystals (= glittery like sugar) T-shirt paint. It works really well on many materials besides cotton. The small tips allow the paint to come out just like icing does on real sugar skulls. If you prefer the control of a paintbrush, just squeeze some out onto a paper plate to use as a palette. Let these dry overnight to cure.

015Leigh

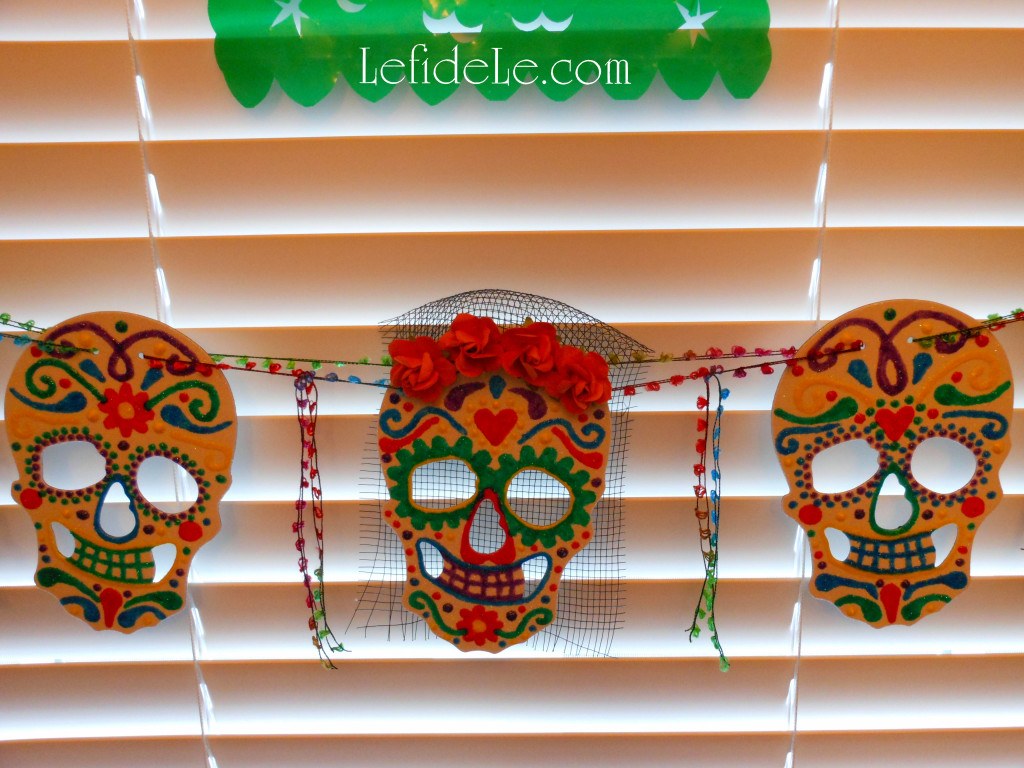
Next cut lengths of colorful yarn or ribbon to string the banner on. If your skulls don’t have the right holes to string them through, just use a hole punch… or even poke some with an ice pick!

082Leigh

Hang them in the background of a themed party or over a candy buffet.

004Leigh

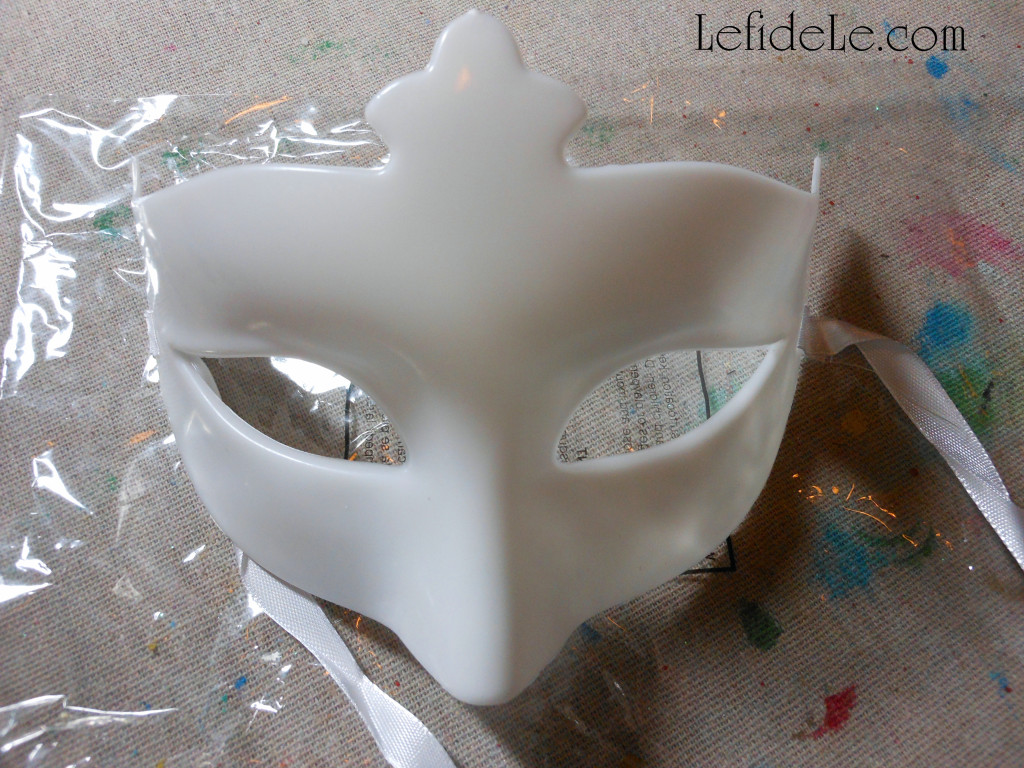
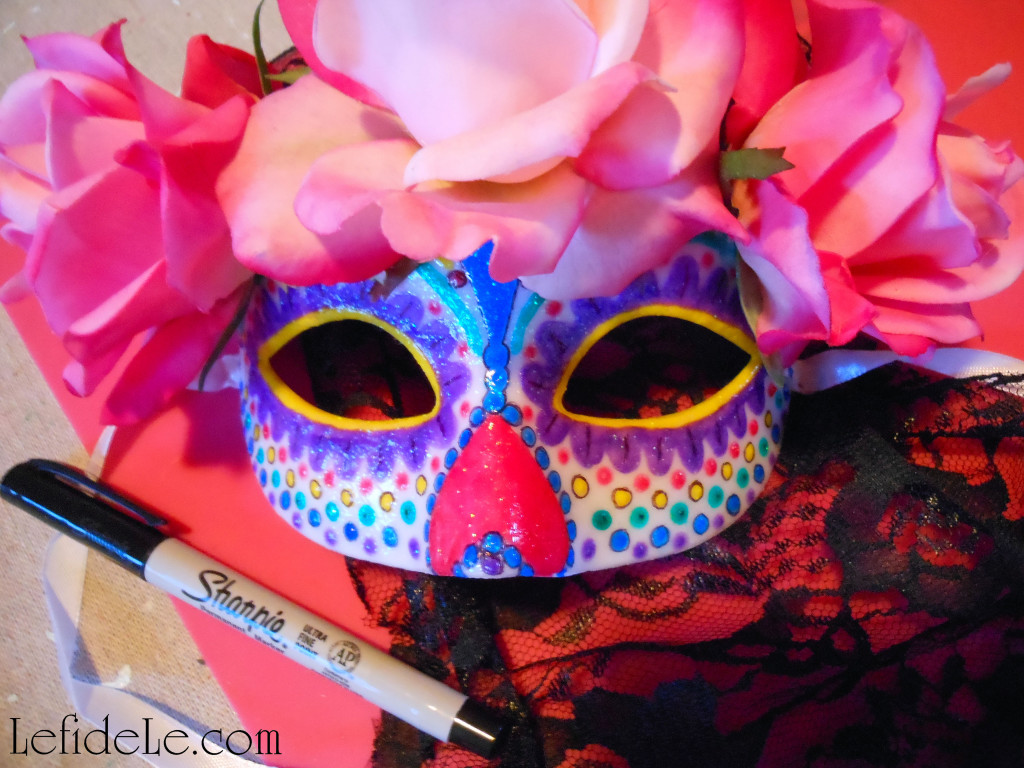
To make your own catrina mask, purchase a plain plastic one to embellish. (This Mardi Gras type can be found at Michaels for about $2, and Joann has some as well.)

011Leigh

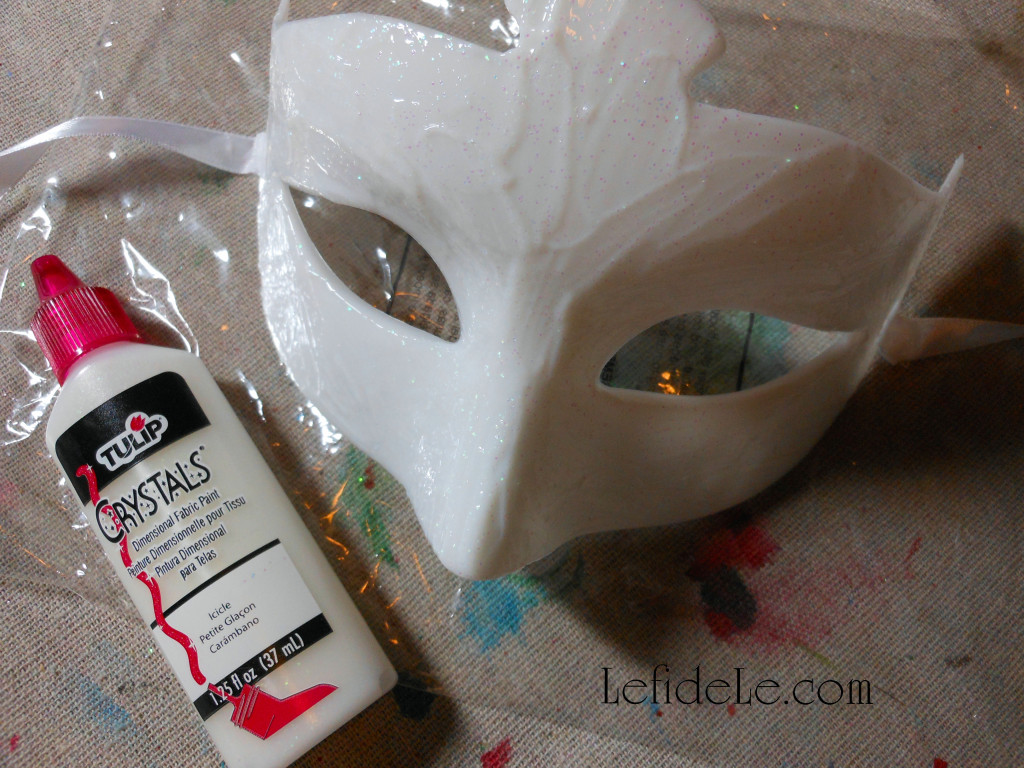
Use the same T-shirt paint leftover from the sugar skull banner to cover the mask with. (I just used my finger to smear it around.) Let this layer dry well.

016Leigh

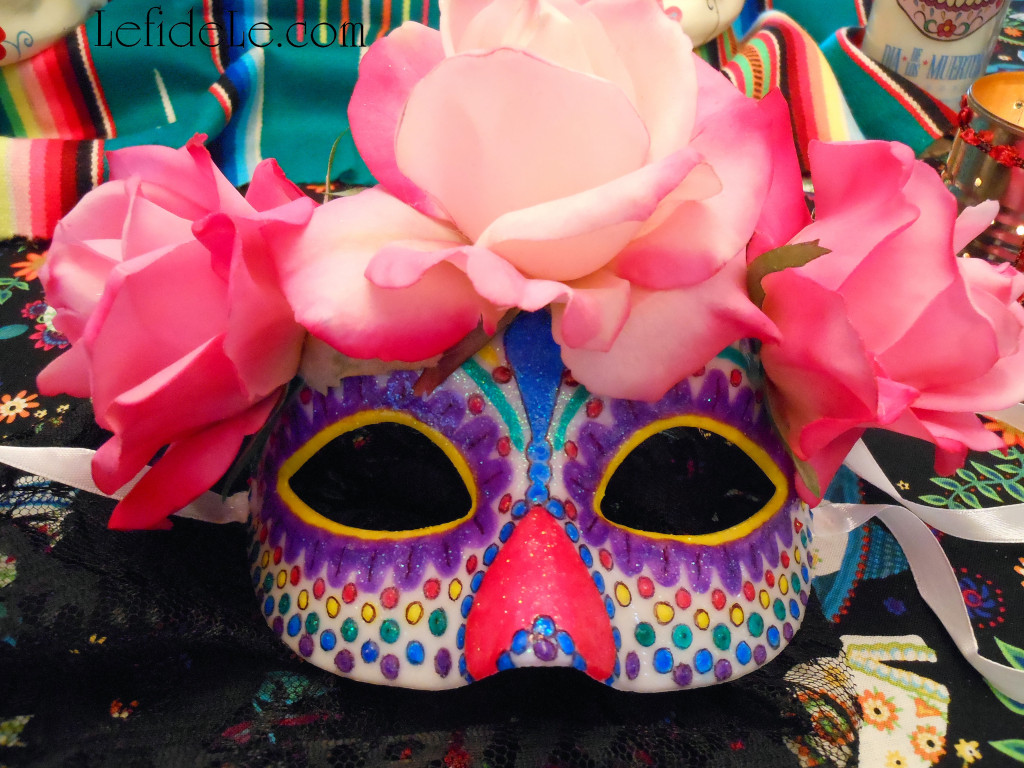
Begin using other colors to add designs to the mask. Dots are the easiest to make with these paints, but make an upside down heart for a nose decoration. (I made a girlier version than can be typically found at the Halloween stores by using softer colors than red and black and by making the eye sockets flowers instead of black rings.) Let this layer dry well too.

037Leigh

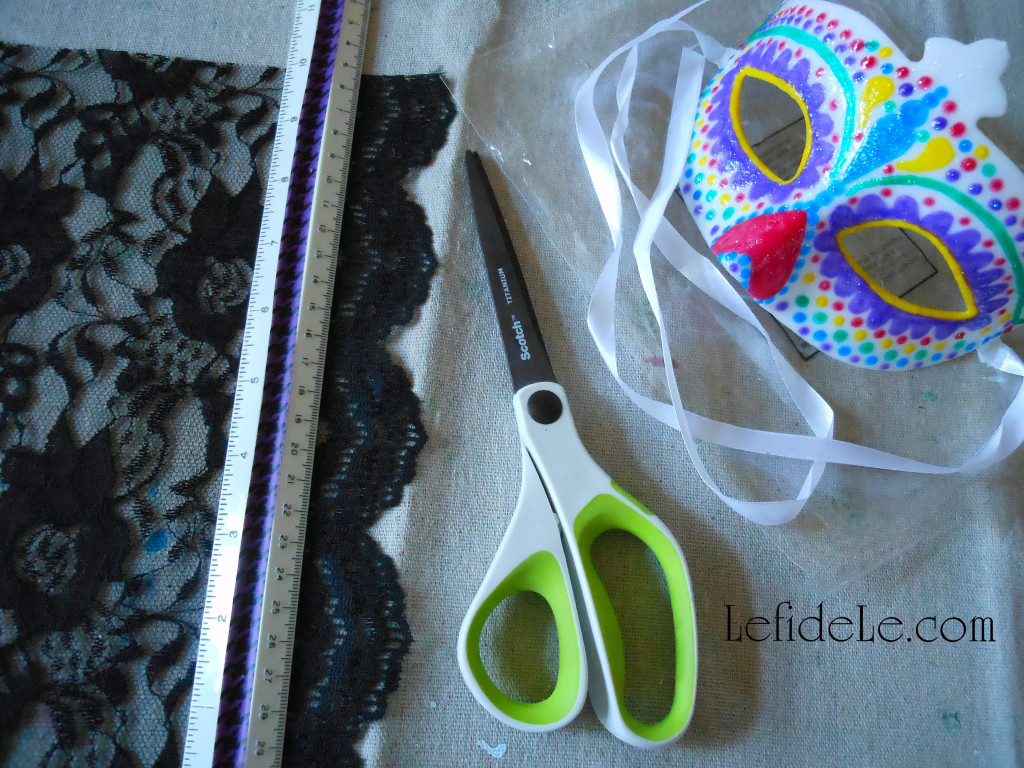
Cut a length of lace at about 10 inches across and at a length that will cover most of the hair of the recipient.

039Leigh

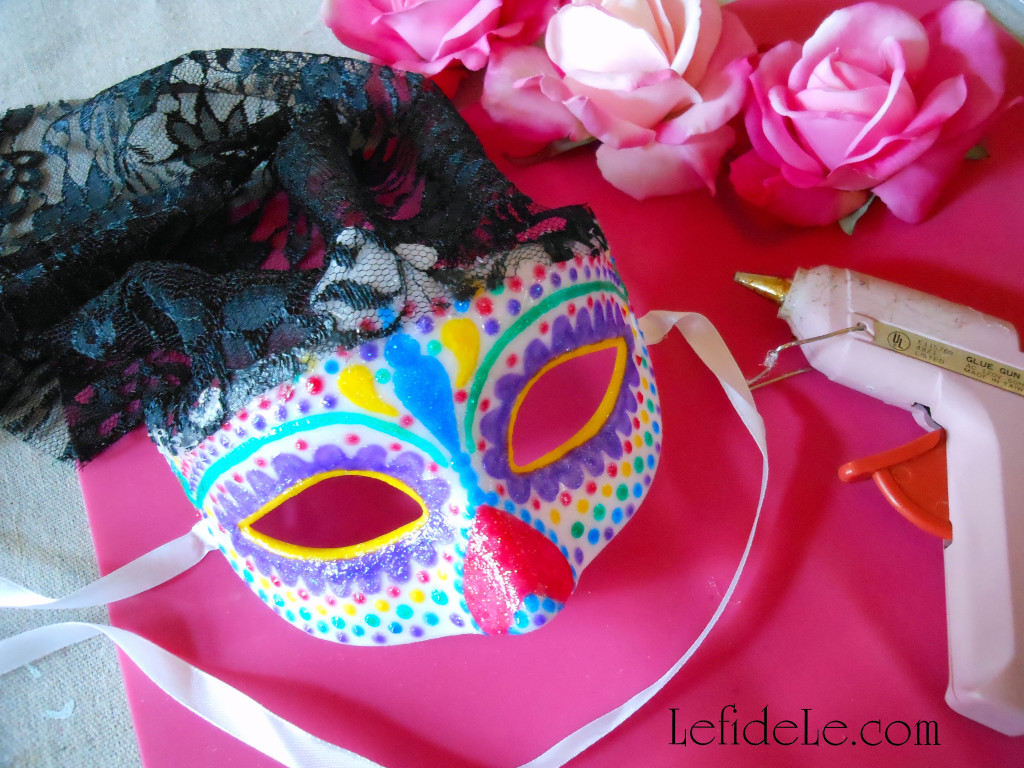
Glue the 10 inch edge to the top of the mask, pressing the fabric into the glue. Make small gathers to take up the width. This veil will expand over the head to better cover the hair.

042Leigh

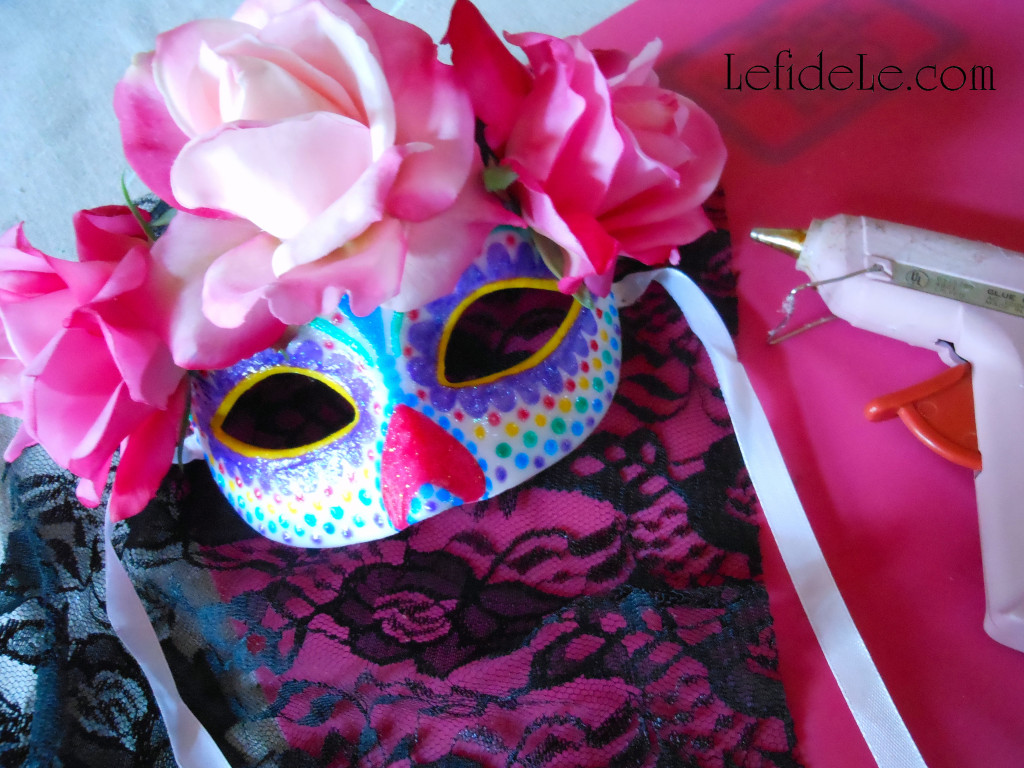
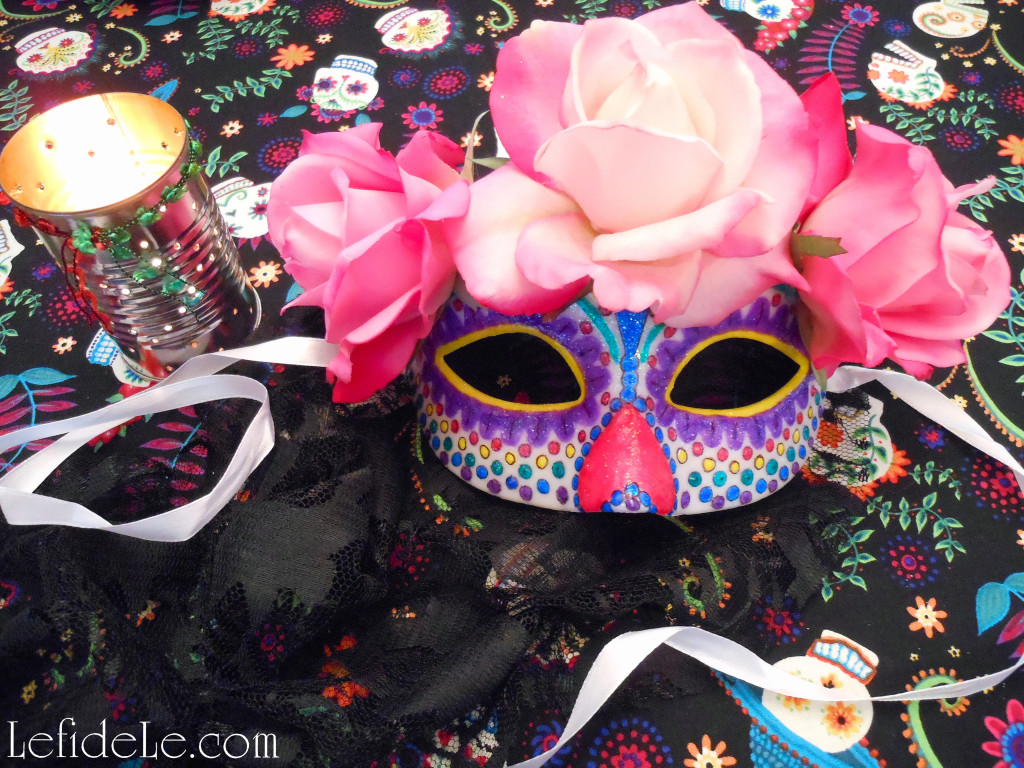
Now pull off faux rose heads from their stems. Glue these on top of the lace, and hold them down until they don’t feel like they will slip off.

44Leigh

Further definition may be added to the edges of the paint lines with a fine tip sharpie permanent marker. (I think a little black helps to tie in the veil’s color.)

103Leigh

Try wearing this with a traditionally embroidered Mexican dress and a black lace shawl.

113Leigh

It may also be used as décor for a themed Halloween celebration.

107Leigh

Viva la celebration!

Faithfully Yours,

Leigh

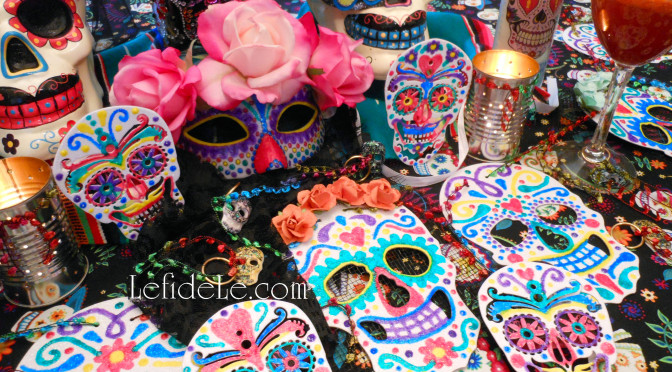
DIY Calaveras de Azucar (Sugar Skulls) Napkin Rings, Wine Glass Charms, & Vase Craft Tutorial for Dia de los Muertos (Day of the Dead) Themed Halloween Dinner Party Décor

079Leigh

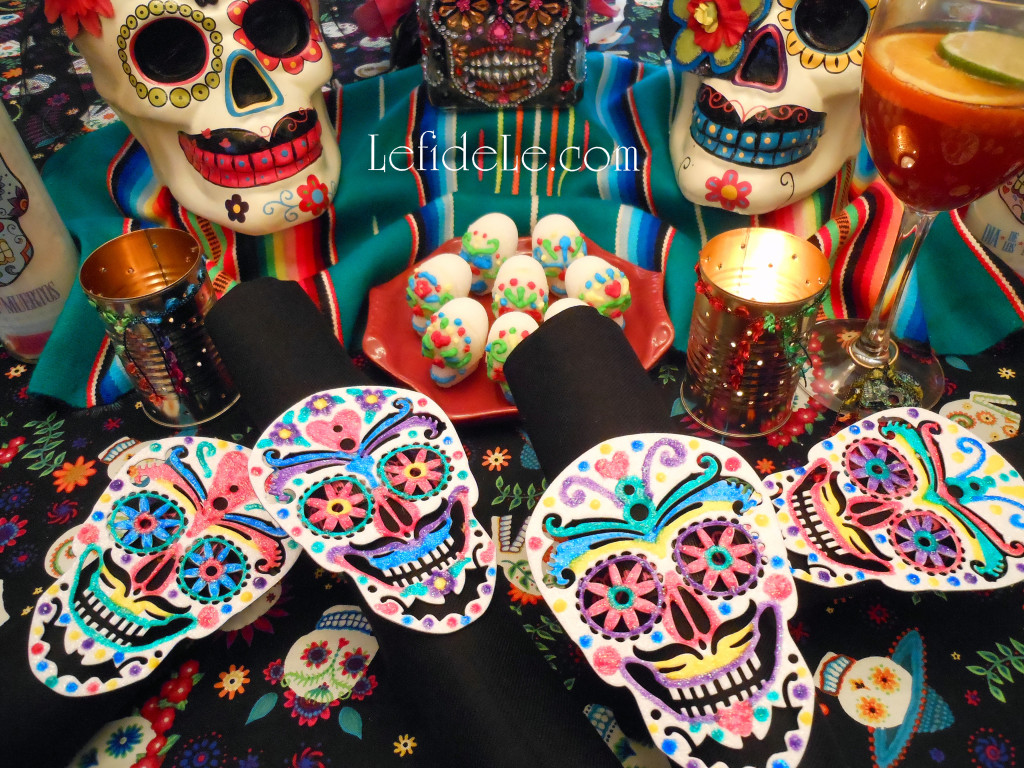
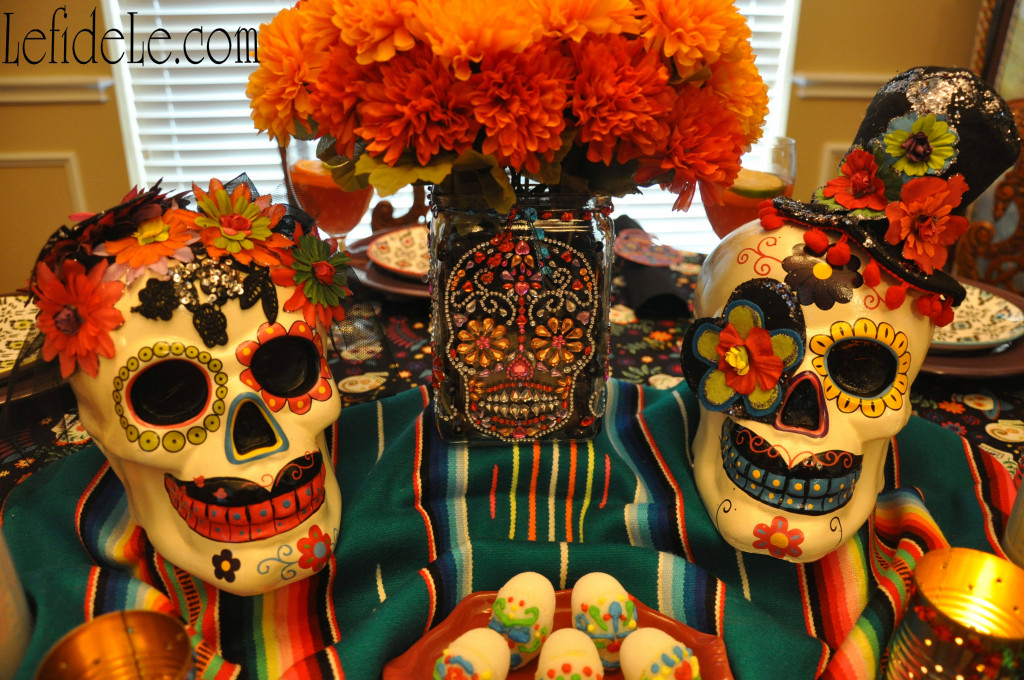
This tutorial will help you to inexpensively craft your own jeweled vase in the Dia de los Muertos (Day of the Dead) style to fill with traditional wild marigolds (cempasuchil), and then easily DIY calaveras de azucar (sugar skulls) napkin rings and wine glass charms to decorate your Halloween dinner party table with. Sugar (azucar in Español) is said to balance the bitterness of death (muerte), and calaveras (skulls) are traditionally offered on All Saint’s Day (November 1) to departed loved ones as one would leave flowers graveside. As Halloween serves to poke fun at all things scary, Dia de los Muertos is intended as a way to accept death as inevitable… and also to honor dearly departed loved ones. Representational calacas (colloquial term for skeletons) symbolize the idea of life being inextricably linked with death, and have migrated north from Mexico into American Halloween celebrations as themed décor. By using one celebration as a theme for the other, the two concepts combine to poke a little fun at death as not being so scary!

1(2)Leigh

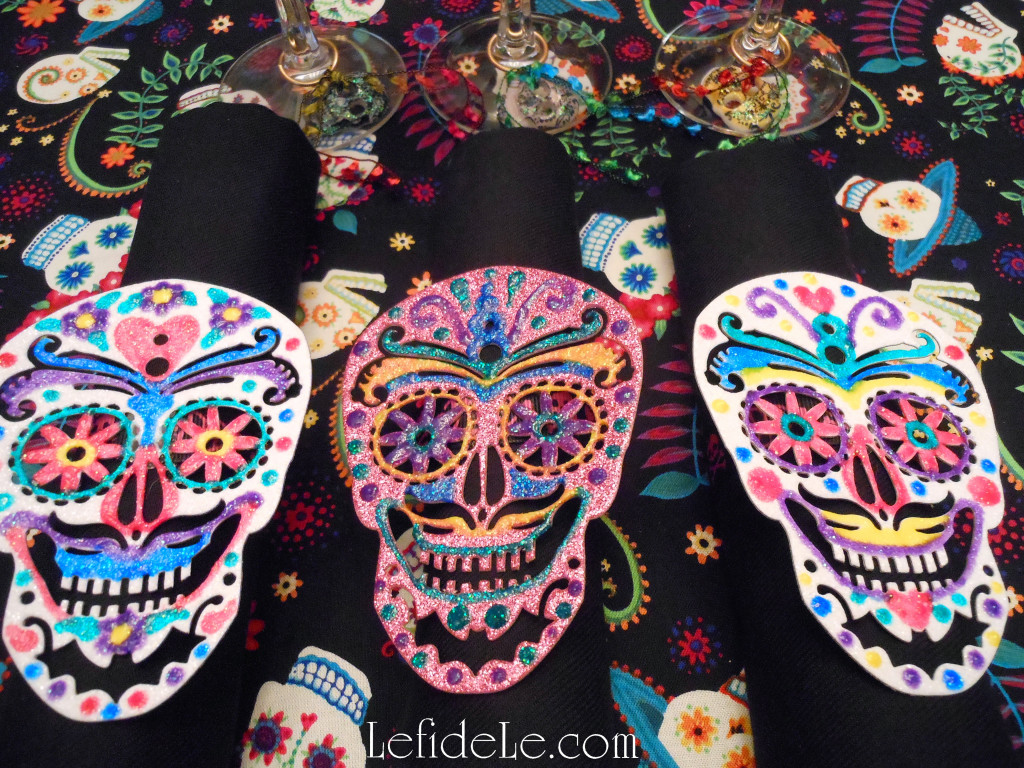
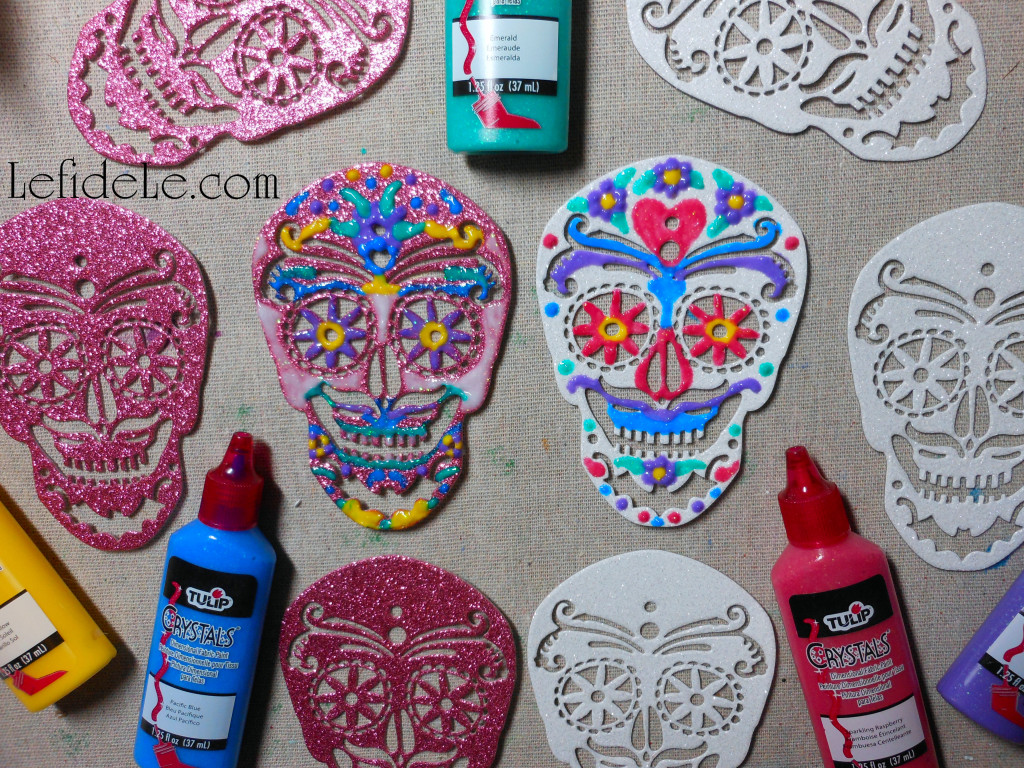
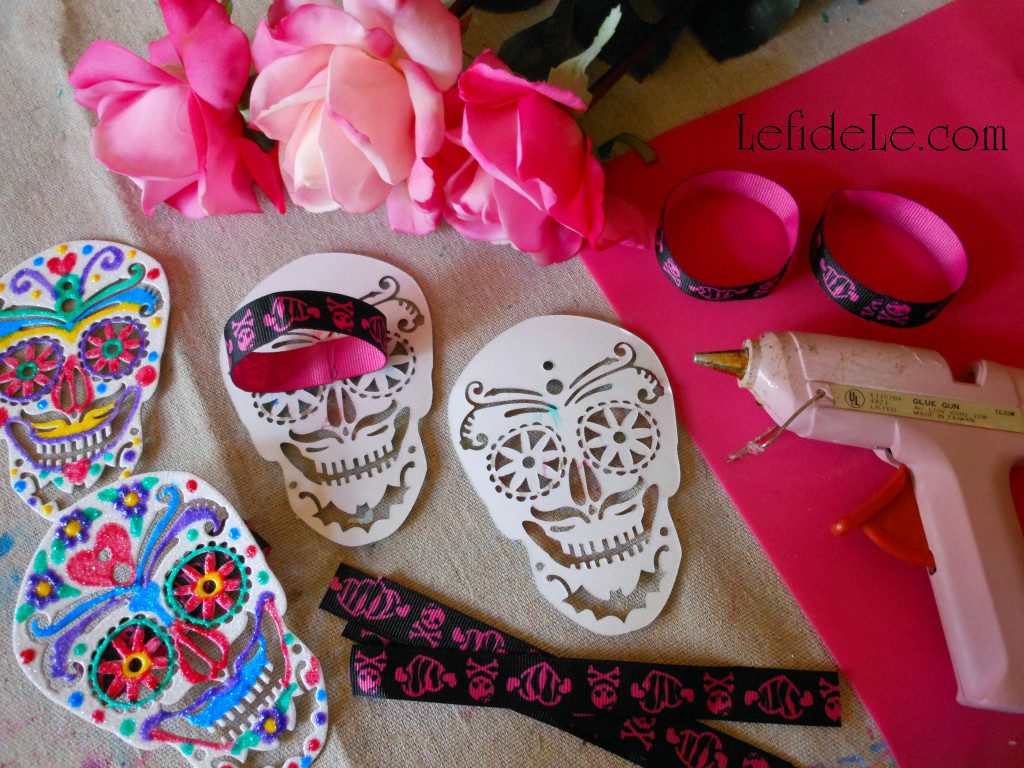
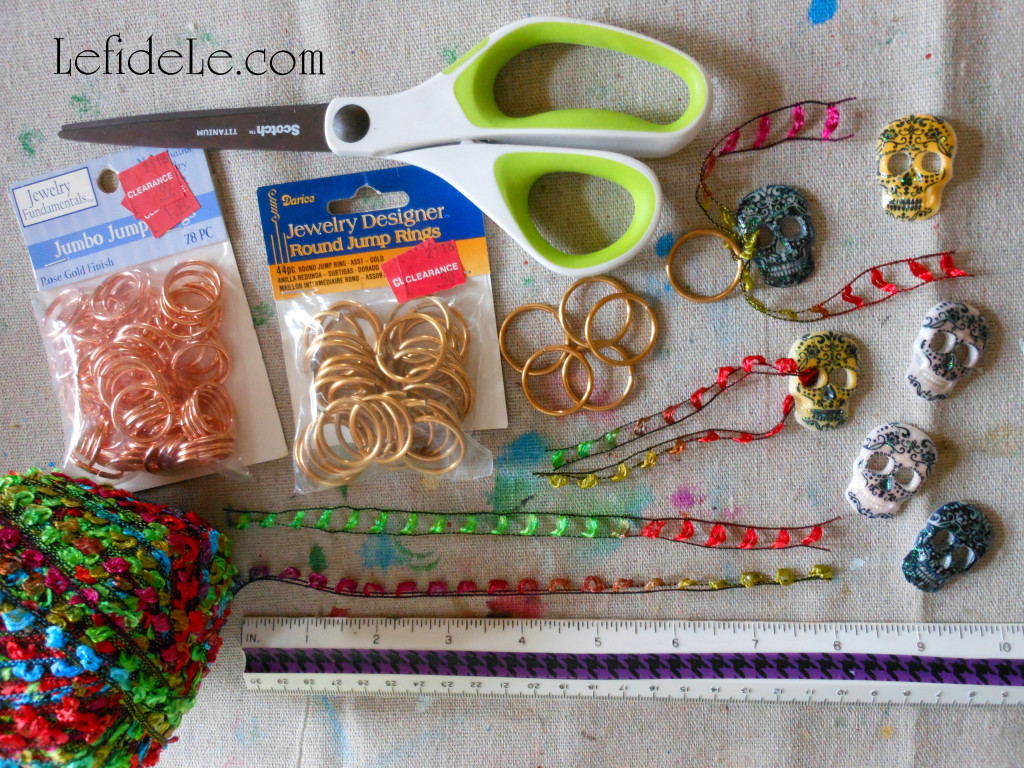
To craft the calaveras de azucar (sugar skulls) napkin rings, begin with either a package of glittered skulls or cut your own shapes from glittered paper. Another option is upgrade a readymade skull banner. (All of these items are available at Le fidèLe Designs craft supply affiliates Michaels and/or Joann whose clickable ads may be found in the sidebar.)

4(2)Leigh

To decorate these with the traditional sugar skull designs of flowers, hearts, swirls, and apostrophe type marks, I utilized Tulip brand Crystals (= glittery like sugar) T-shirt paint. It works really well on many materials besides cotton. The small tips allow the paint to come out just like icing does on real sugar skulls. If you prefer the control of a paintbrush, just squeeze some out onto a paper plate to use as a palette. Let these dry overnight to cure, and ensure that no unwanted marks are impressed into the paint.

034Leigh

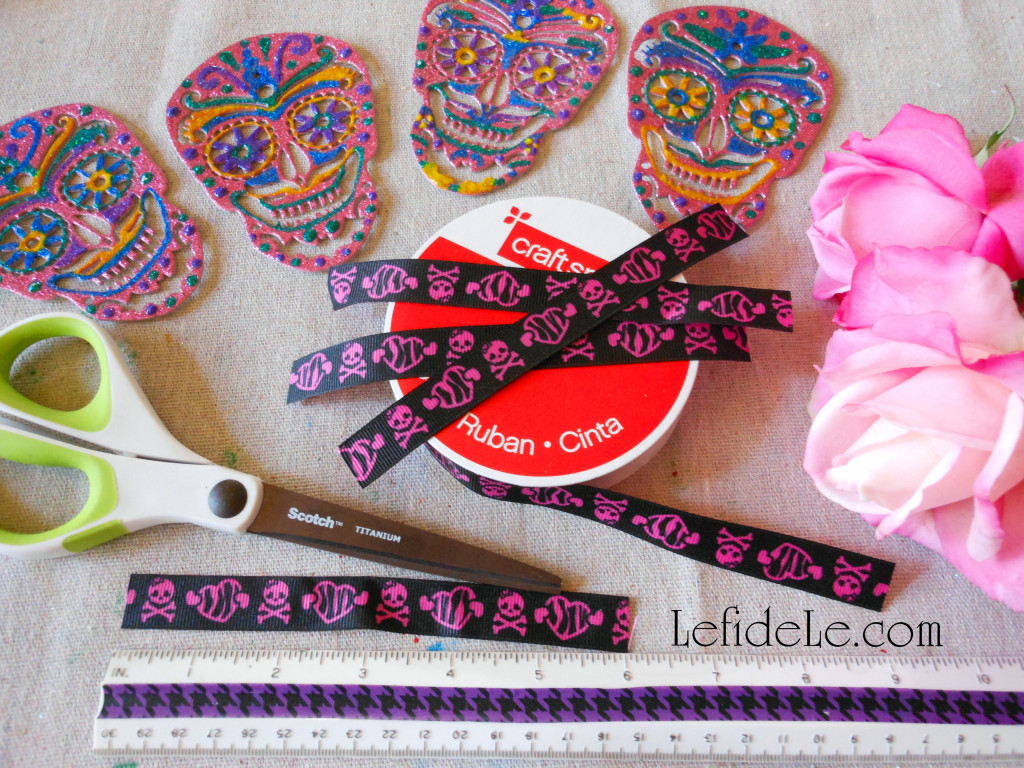
Cut 6 inch lengths of grosgrain ribbon to serve as the ring. (I found this skull printed roll on clearance, and didn’t find out until much later that it’s a “Monster High” motif. Oh well, it worked!)

036Leigh

Hot glue each end of a ribbon length onto the center underside of a skull.

085Leigh

Ring a ding ding, look who made a napkin ring!

003Leigh

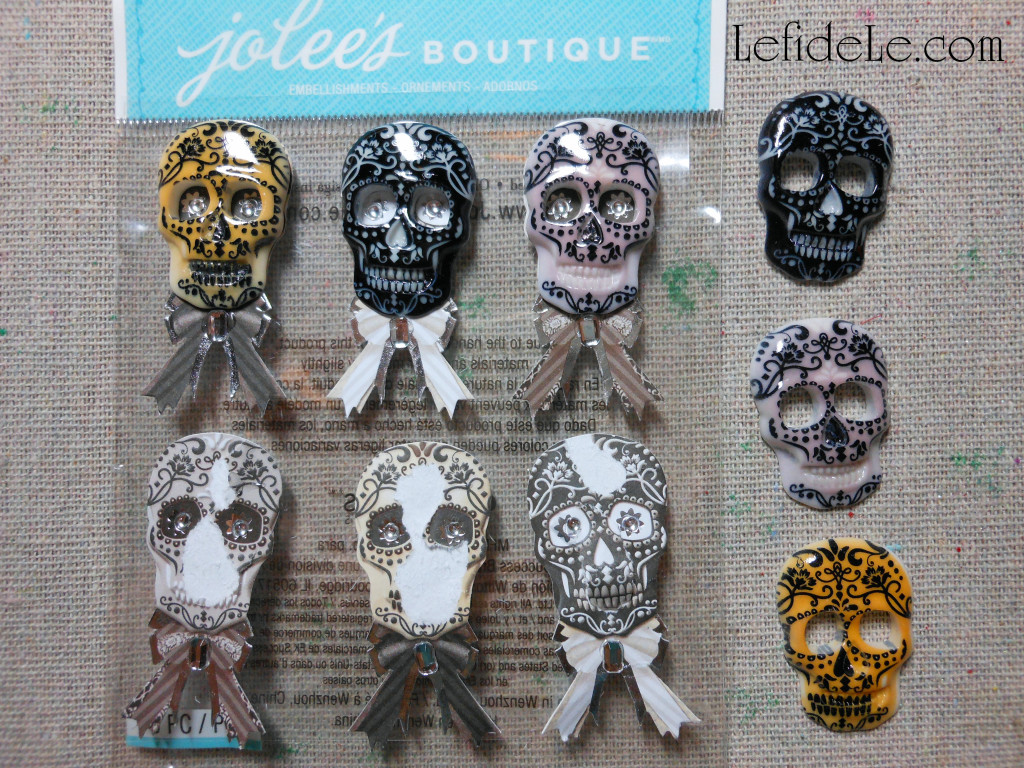
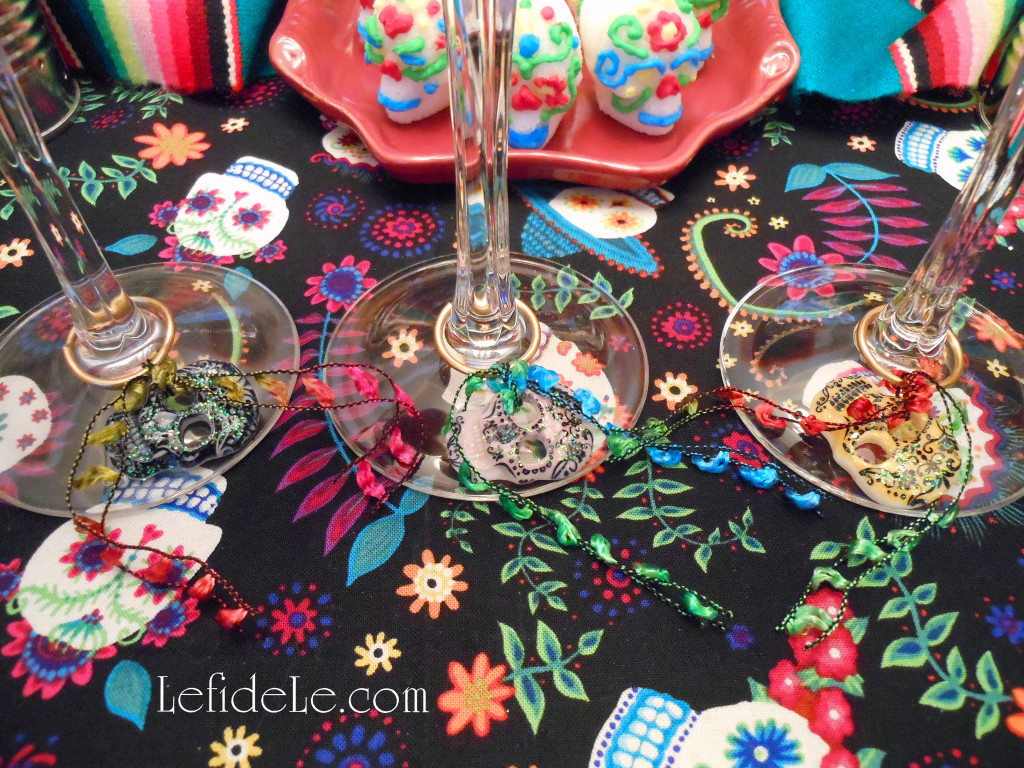
To create wine glass charms, begin with Jolee’s Boutique dimensional scrapbooking stickers. Pull the plastic fronts away from the flat backings.

009Leigh

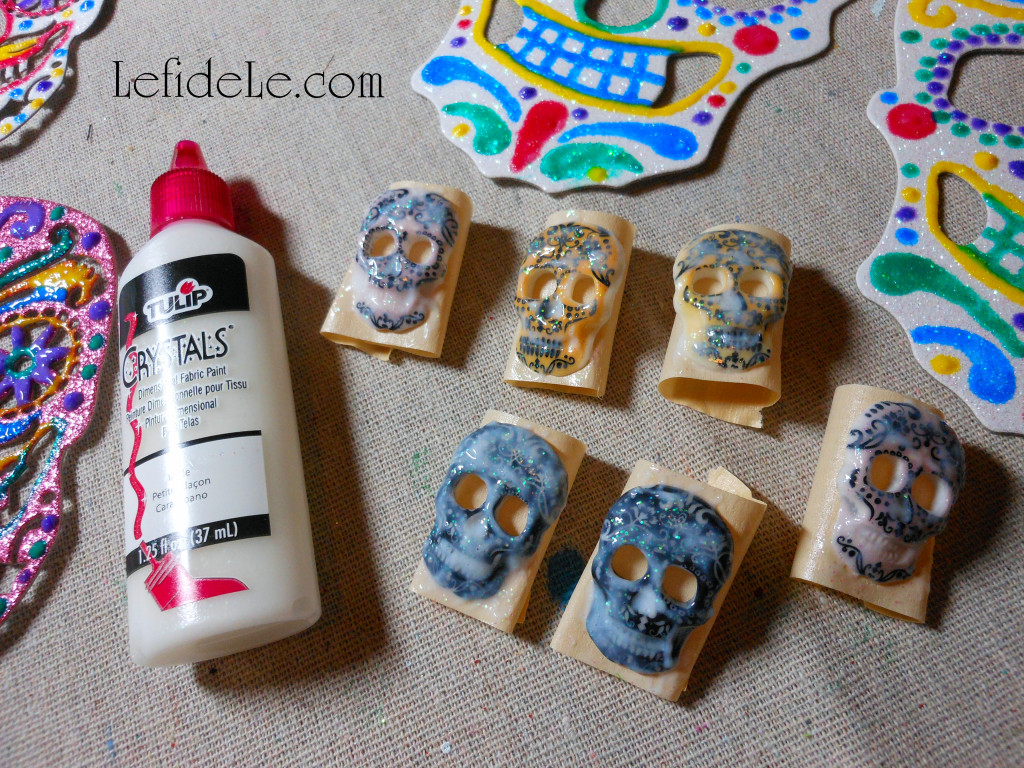
Use the same T-shirt paint in white to add a layer of sugary glitter to them. These will dry clear. (To make this easier, I made a finger loop of masking tape to hold them while I dotted on the paint, and then just slipped them off onto the table to dry overnight.)

013Leigh

Tie these onto jumbo jump rings with a strand of colorful yarn or ribbon. (I used the same yarn on all my Dia de los Muertos crafts for continuity.)

078Leigh

Since the skulls come in colored sets of 2, why not color-code the drinks by kissing couples!?

018Leigh

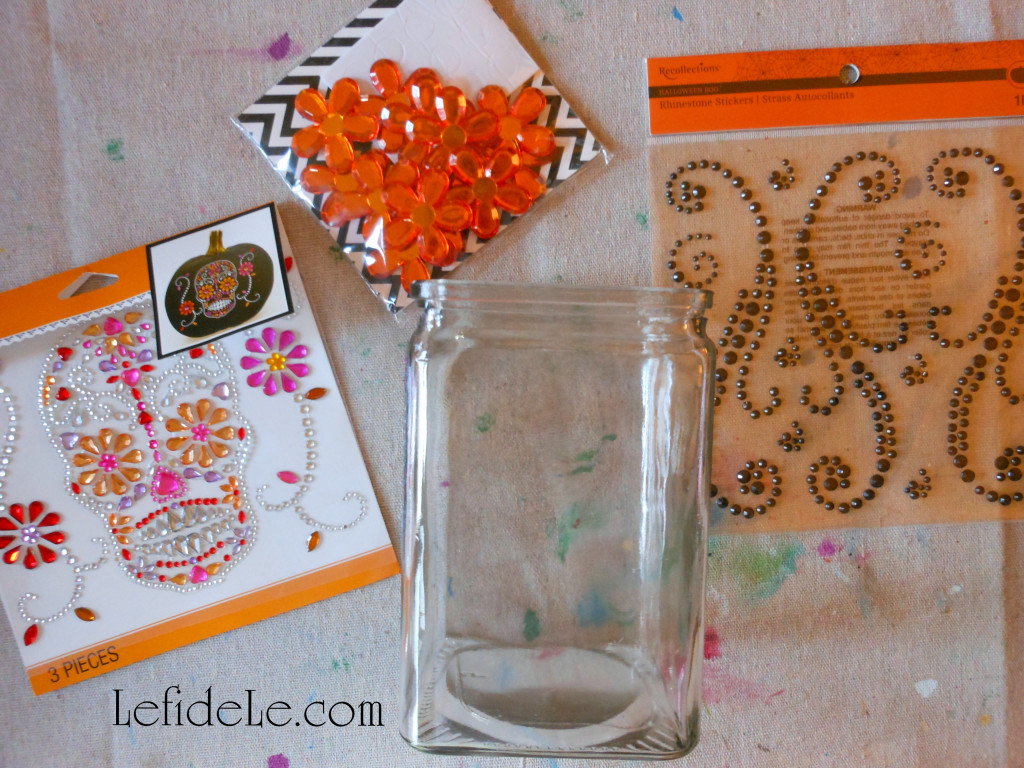
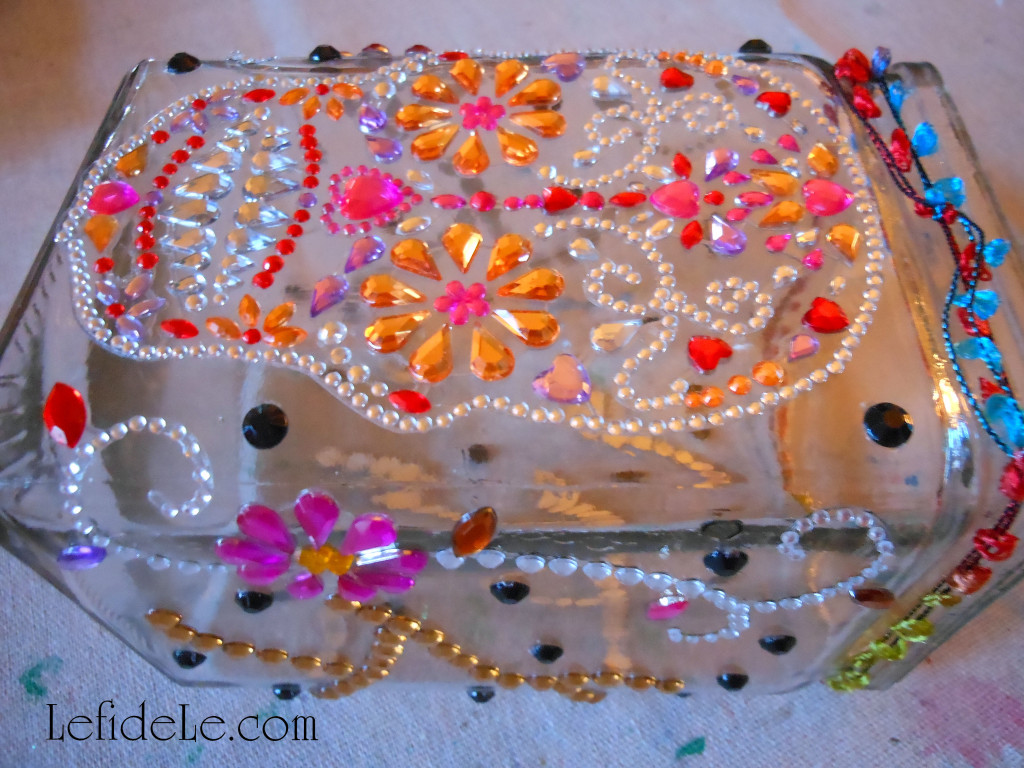
Quickly create a calavera vase by upcycling an old vase with crystal stickers or by gluing crystals on. You can use a complete picture, lay on crystals individually, or both. (If you need to use a pattern, just tape a coloring page to the inside of the vase and adhere crystals to the outside of it over the lines.)

020Leigh

Tie on a length of ribbon to coordinate with the other crafts, and fill the vase with black marbles.

67(2)Leigh

Fill it with traditional wild marigolds to use as a centerpiece surrounded by more calaveras.

Happy Day of the Dead!

Faithfully Yours,

Leigh

Take-Out Favor Box & Paper Lantern Craft Printable + Bamboo Lantern + Paint to Antique a Lion Fú-Dog (DIY Chinese New Year Party Décor Crafts)

059Leigh

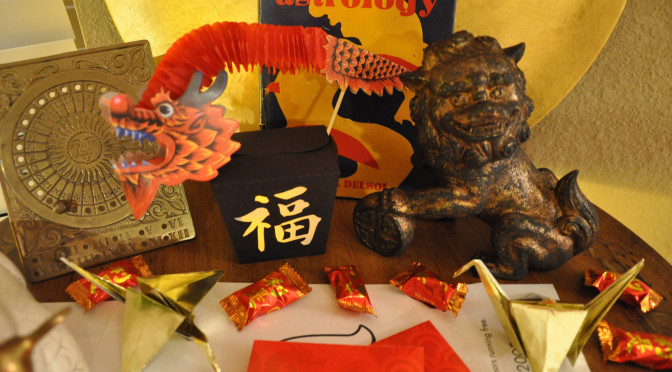
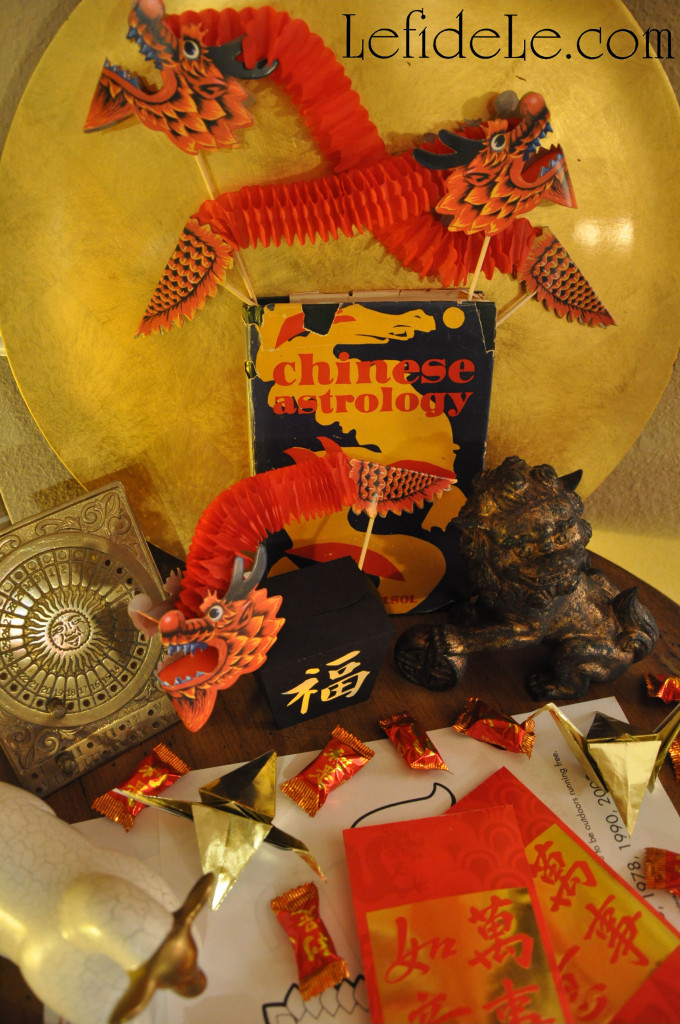
The “Fú” 福 character has graced the entrances of Chinese homes for many hundreds of New Year’s. It is said to have originated not just for its meaning of happiness and luck, but also because “upside down” and “to arrive” sound alike when spoken in Chinese, thus making an upside down Fú equate to “good luck arrives”. (For some, however, hanging the Fu upside down is bad luck, so I’ve decided to make the character right side up on my printable boxes!) Use them as favor containers, table crayon corrals, or cut out the character to make an LED lantern or luminaria. Use the cut-out character to easily embellish a bamboo lantern. I’ll demonstrate this along with how to paint a modern lion Fú-dog statuette to make it look like an antique.
HappinessBox-Leigh

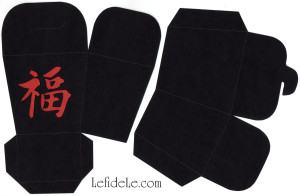
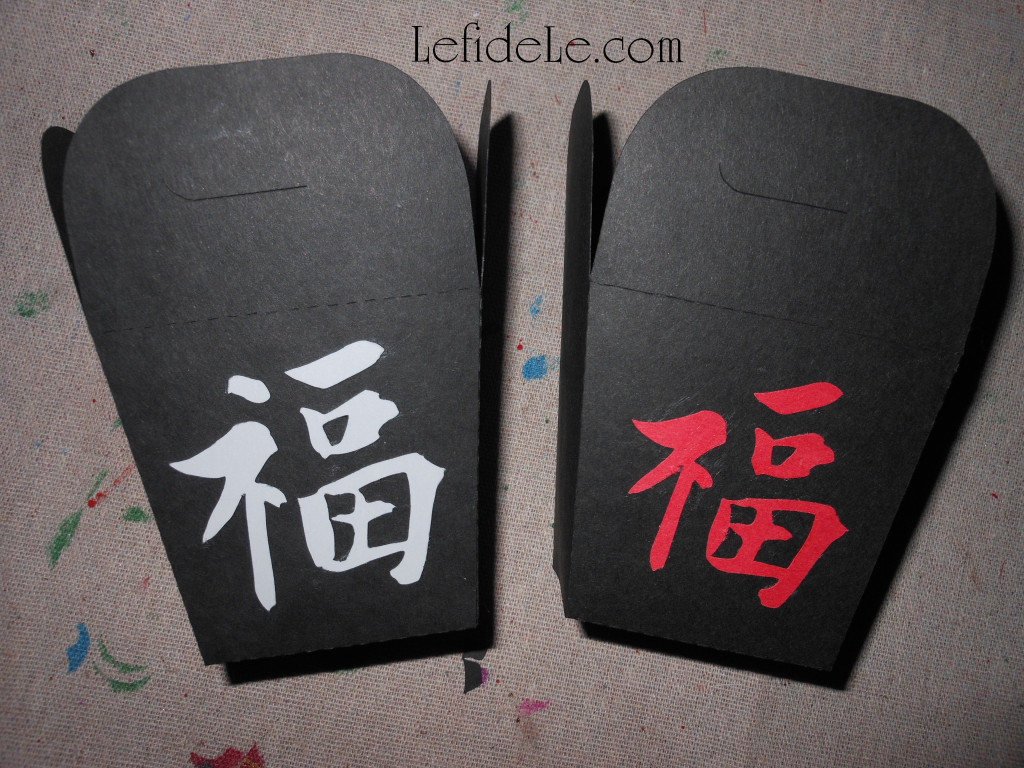
To make your own favor take out boxes or lanterns, simply right click on the small image and select print. Print them on a photo and color setting. One page makes one box, so just print as many copies as boxes you need.
267Leigh

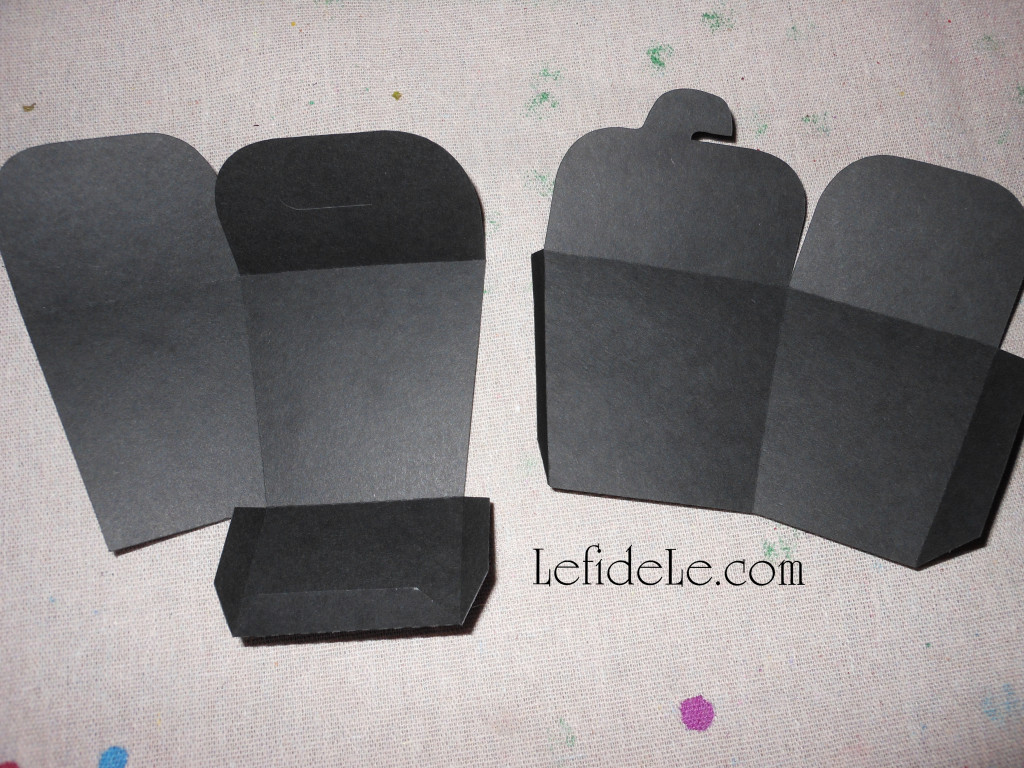
Next you need to cut out the black boxes… this is a great time to enlist help from the family!
269Leigh

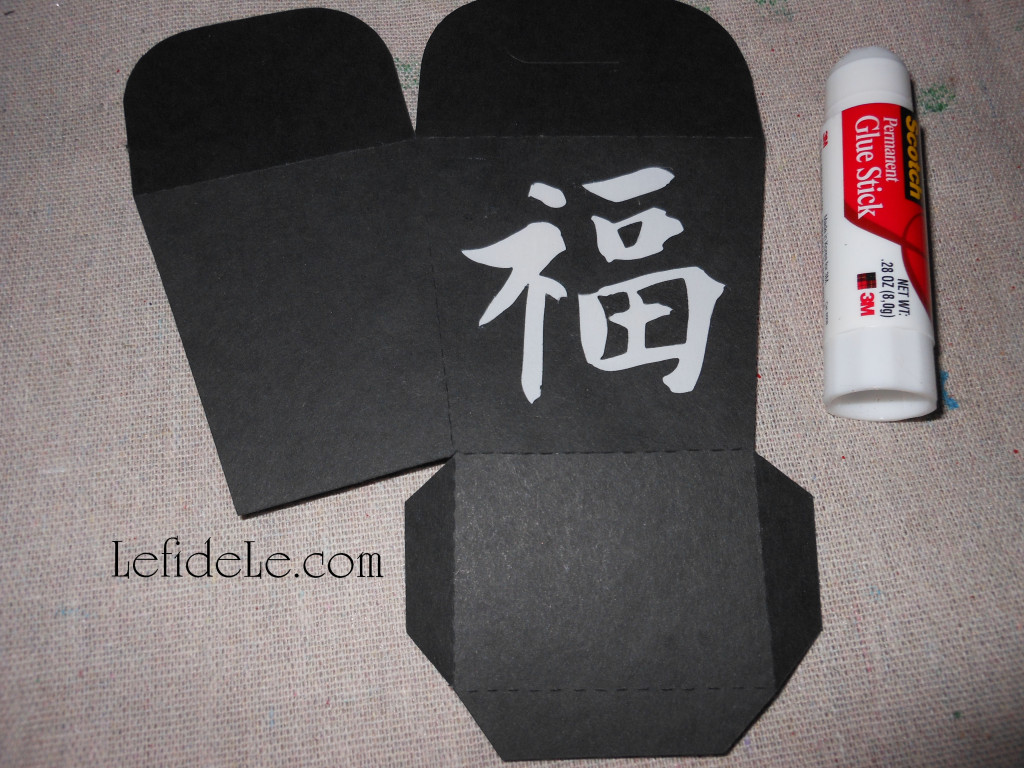
To make the paper lanterns, you will want to cut out the Chinese character before gluing the box together. Use an x-acto knife if you’re brave… I always seem to slice my thumb with these so I opt for rougher cuts using scissors. Simply poke a little hole with the pointy tip of a pen, compass point, or scissor tip then use it as a pilot hole to begin cutting each section of the character out. (If you’re short on time, just skip the cutting + vellum part and place an LED tea-light inside an open box. They still look adorable this way.)
268Leigh

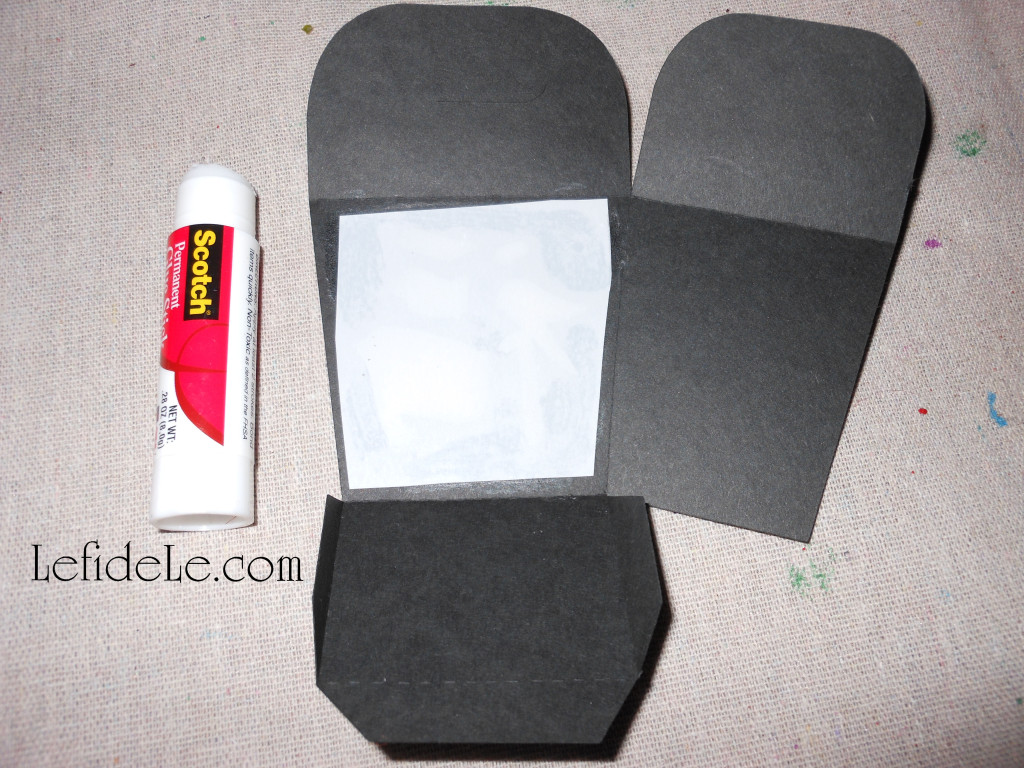
The paper lanterns, with the cut out characters, glow when little squares of vegan vellum are glued to the underside/inside of the boxes. Use the photo to check how the “Fú” 福 character is supposed to look like from the outside, and place that outside edge down onto your working surface. Cut a piece of vegan vellum to fit the box’s side and cover the character completely. Use a permanent glue stick along the edges of the vellum and place it over the character face down. Press it down flat to adhere it fully.
272Leigh

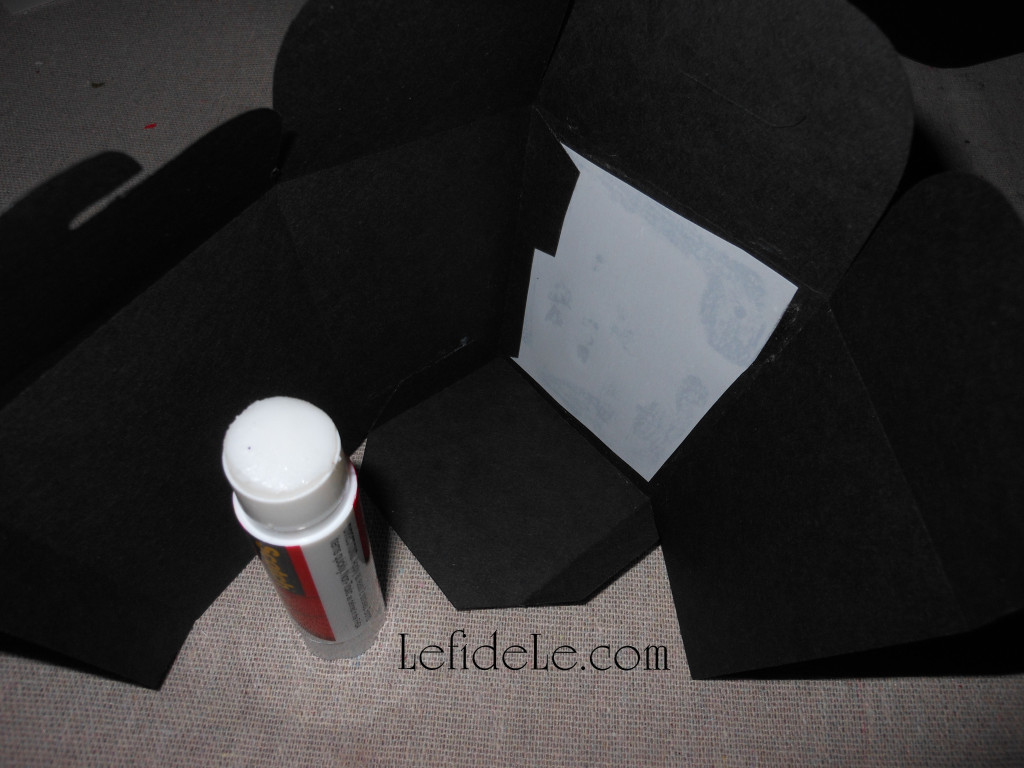
To make both the favor boxes and the paper lanterns, glue the tabs to the sides with a permanent glue stick. Use the photos as visual reference for how to do this. Note that 2 sides will be wider than the others. These should be glued opposite to each other, so that a narrow side is in between each.
279Leigh

Glue all of the sides, and leave the top free to be filled with crayons, good luck candies, fortune cookies, LED tea-lights, or even small condiment bowls for sauces… just let your creativity run with these! Just try to let them dry well before loading them up with goodies. I let mine sit overnight, and they became super sturdy.
096Leigh

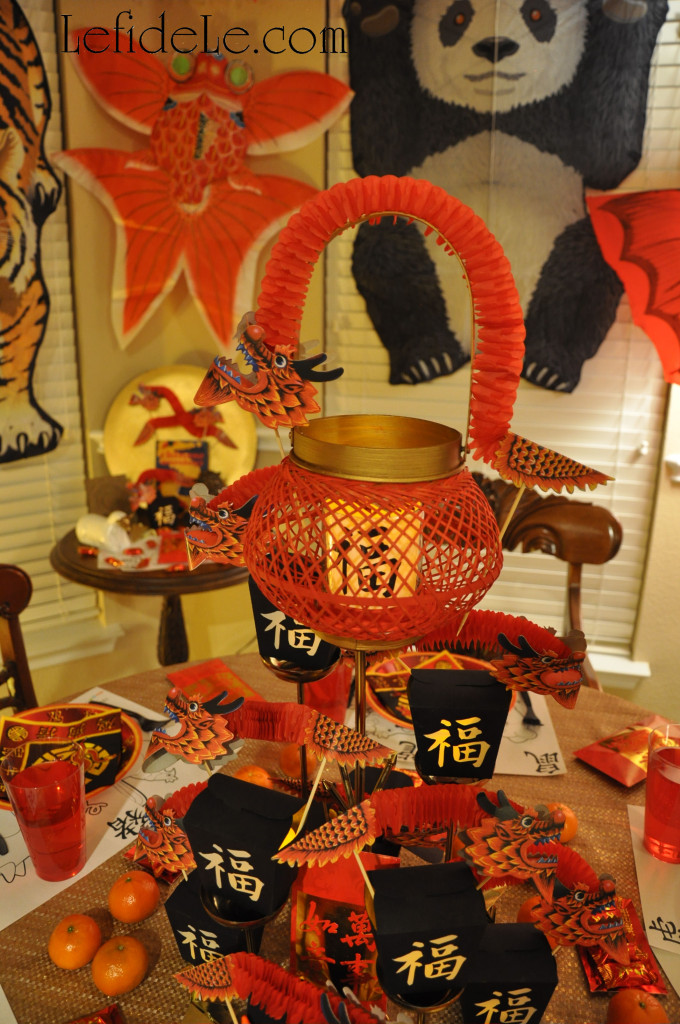
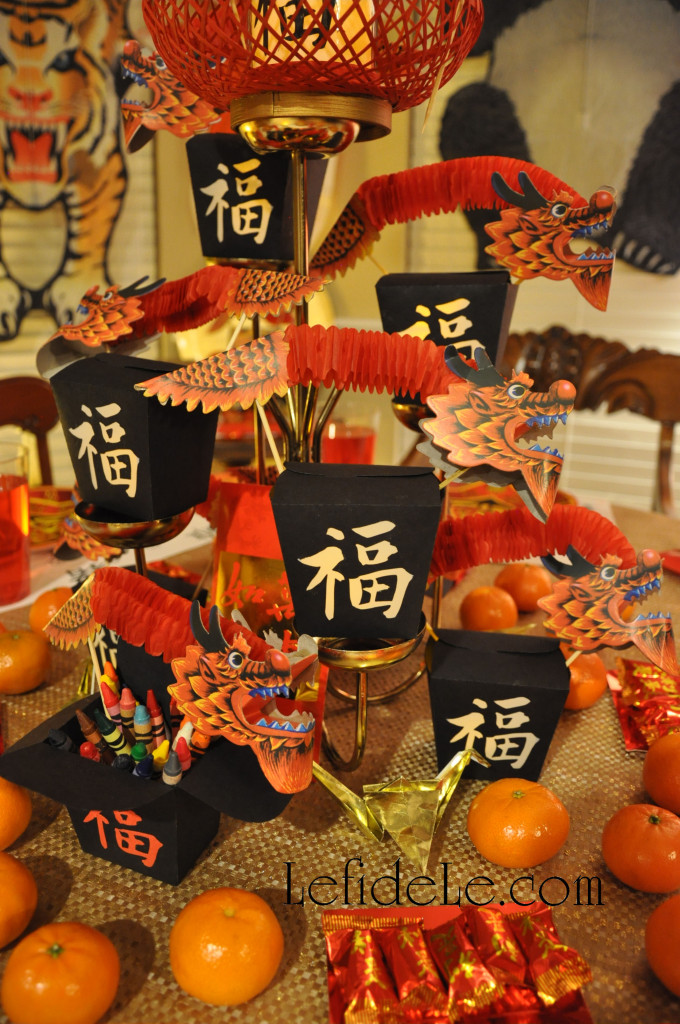
I stacked some of the paper lanterns onto a vintage brass tea-light holder and stuck in paper dragon favor puppets to heighten the spectacle… with no expectation that the centerpiece would stay intact long! Crayon filled favor boxes sat at the base of the structure to be used on Chinese New Year coloring pages. (See more from the Chinese New Year of the Sheep / Ram Party Décor Ideas (With Formal Table Setting & Kid’s Table.)
081Leigh

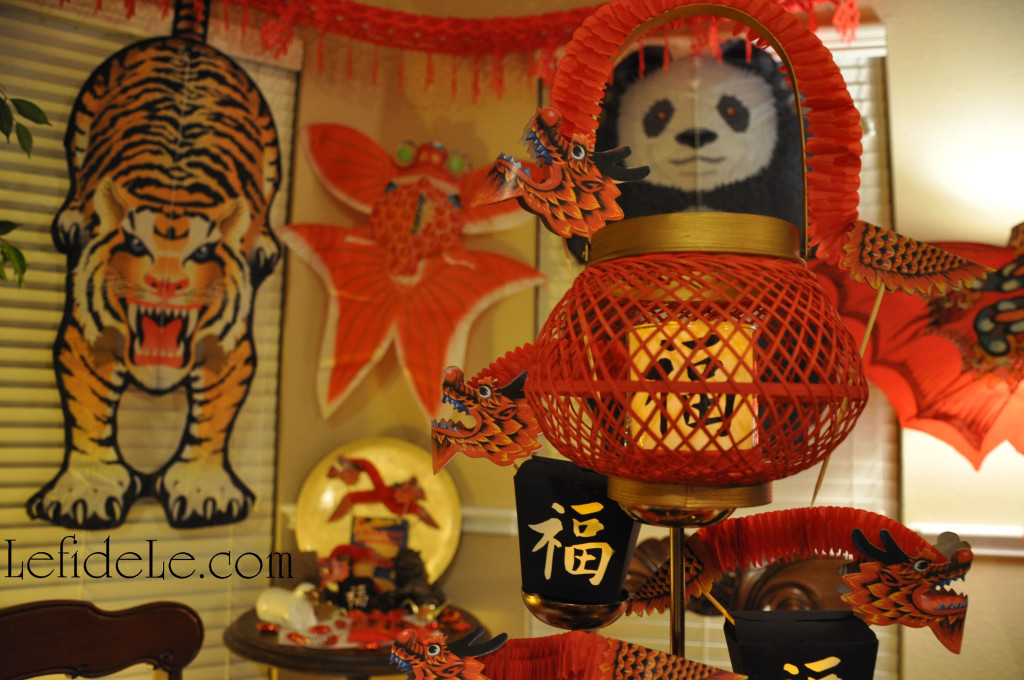
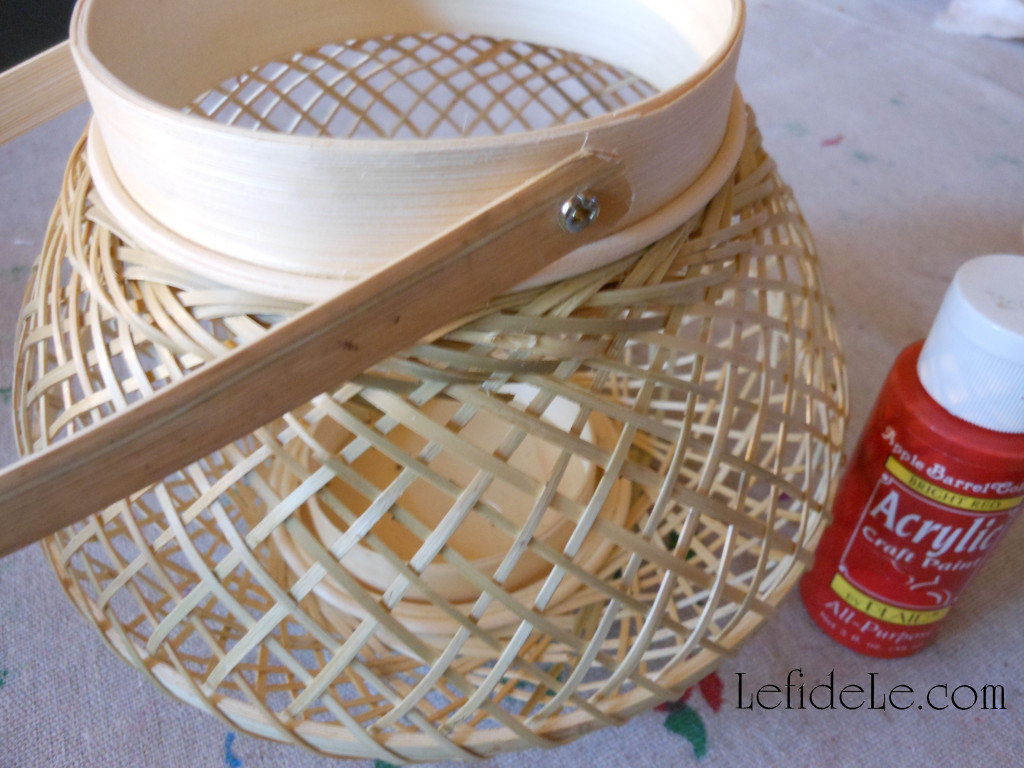
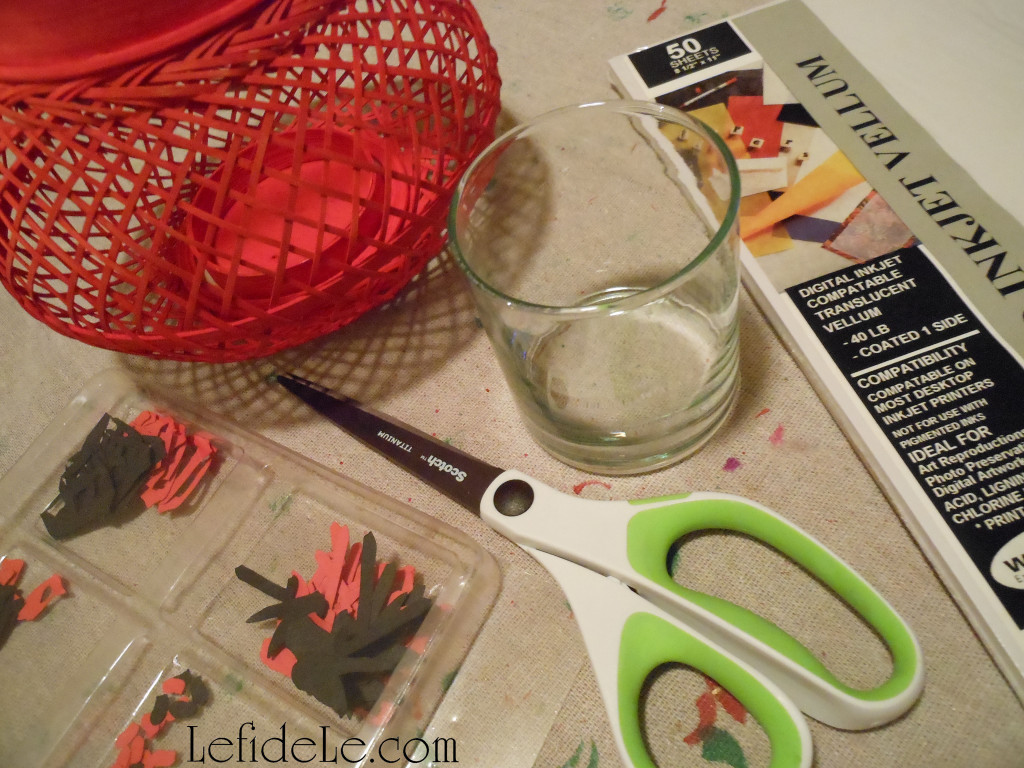
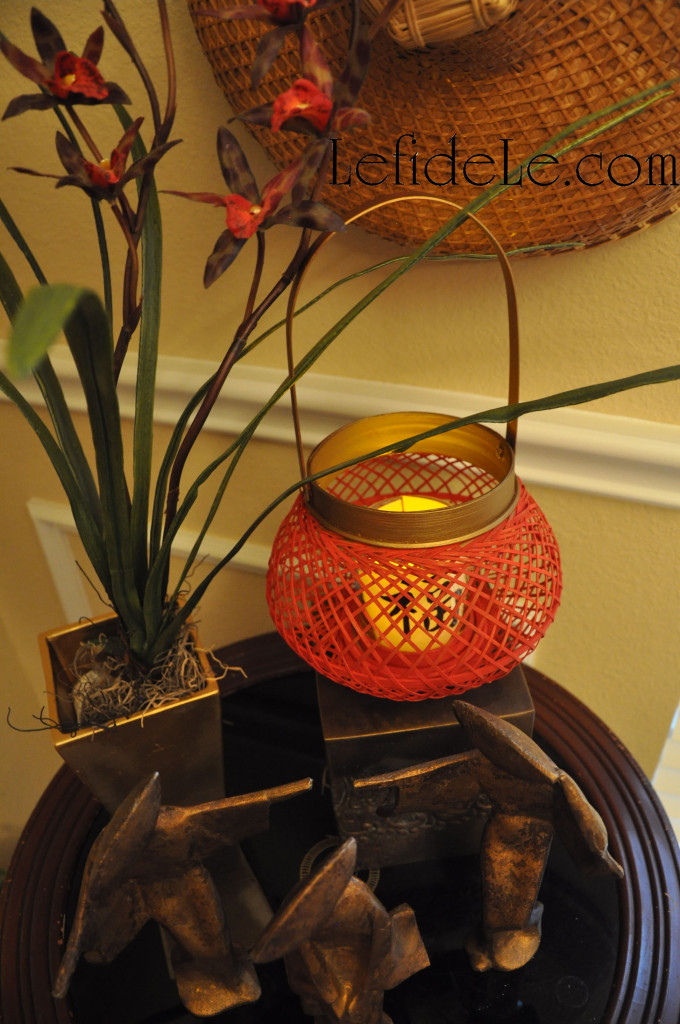
The top of the tower held an inexpensive bamboo lantern that I painted to coordinate with the theme’s colors.
246Leigh

Simple red acrylic craft paint covered the whole structure well.
250Leigh

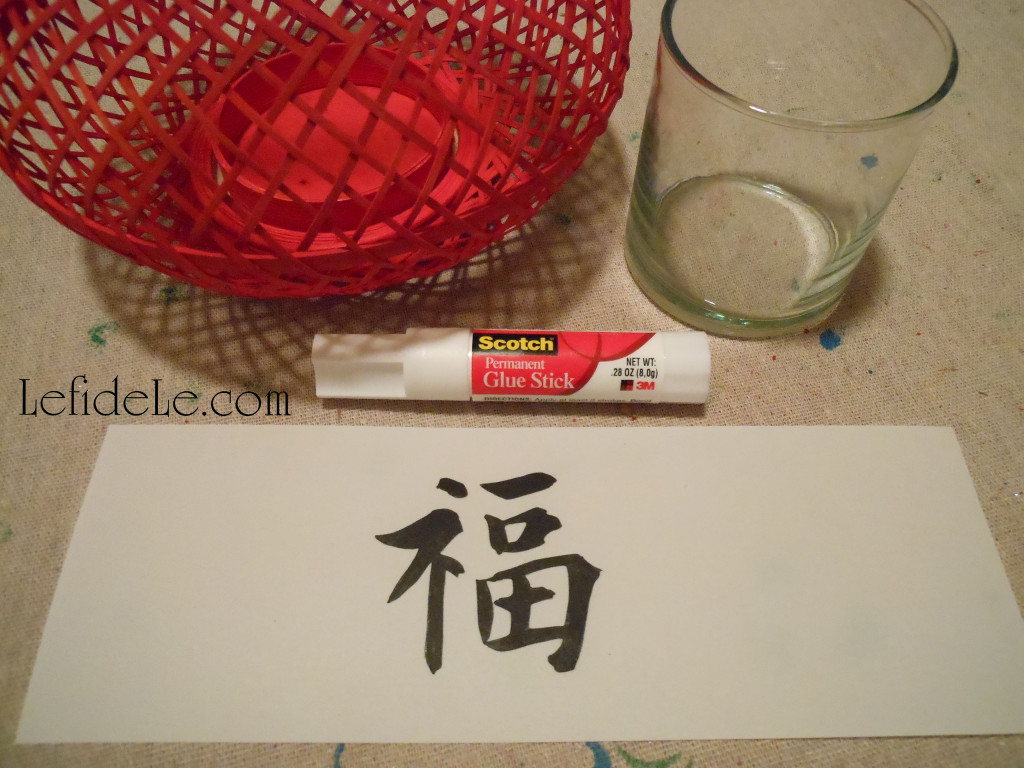
Gold paint made the handle and base appear as a richer metallic surface.
253Leigh

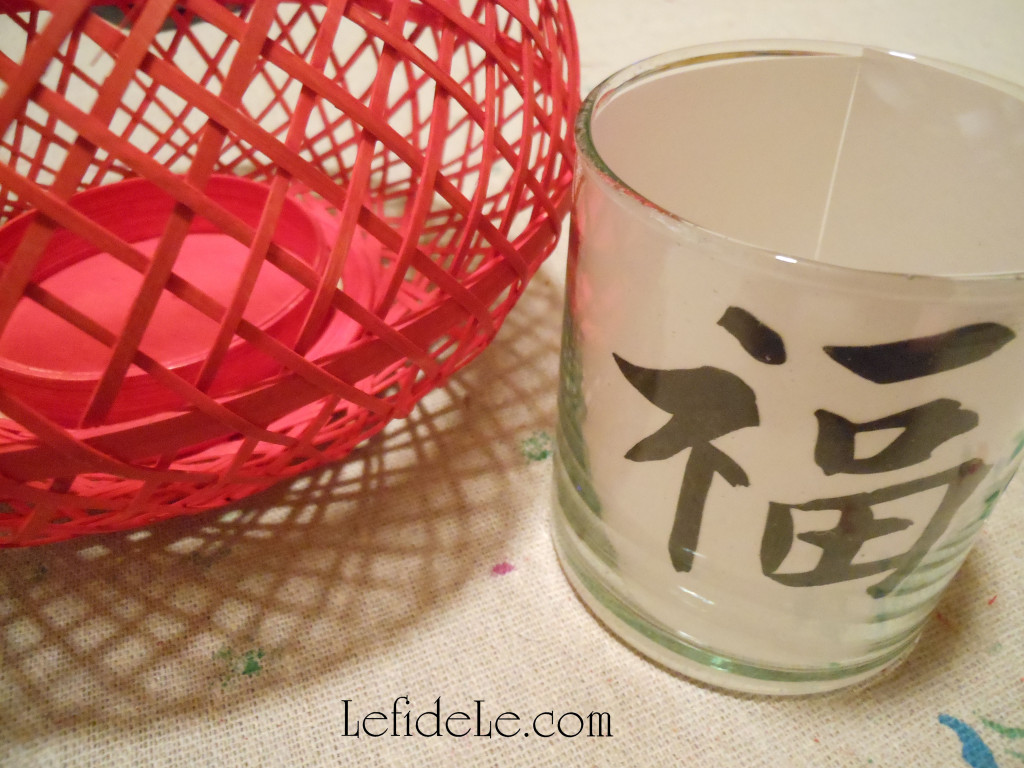
I glued a cut out “Fú” 福 character to a strip of vegan vellum with a permanent glue stick. You may use the red symbol cut from the printable, or just use it as a template to draw by with black marker, or cut out a black character from cardstock.
254Leigh

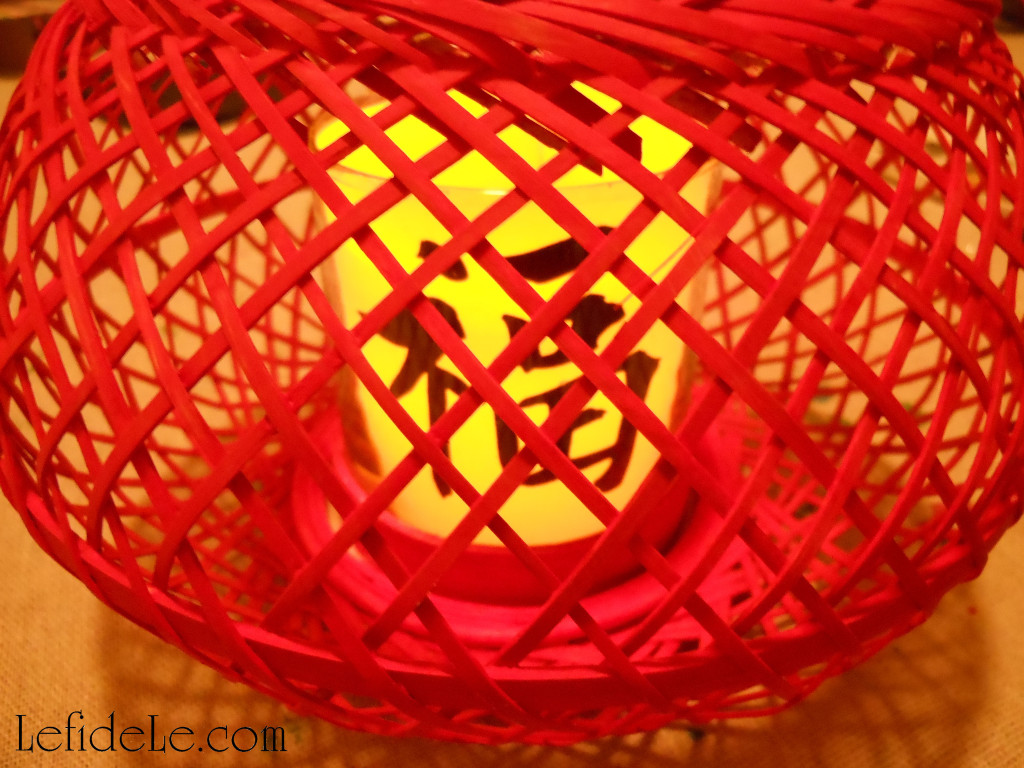
This strip can then be set into any clear votive cup… lantern or not! It doesn’t even need to be glued or taped. The vellum just expands to fit the glass securely. Using LED lights insures that no fire will catch the paper, even if knocked over… so it’s super kid and pet safe.
258Leigh

The best part is that I retain the option of removing the vellum strip and repainting the lanterns for a new color scheme in the future. I just love redoing and reusing… it’s so much better than merely recycling!
221Leigh

I also set a lantern onto the side table of the formal tablescape. (The bamboo lanterns originally came from Cost Plus World Market for a few dollars on clearance. See the sidebar for coupons and free shipping links.)
229Leigh

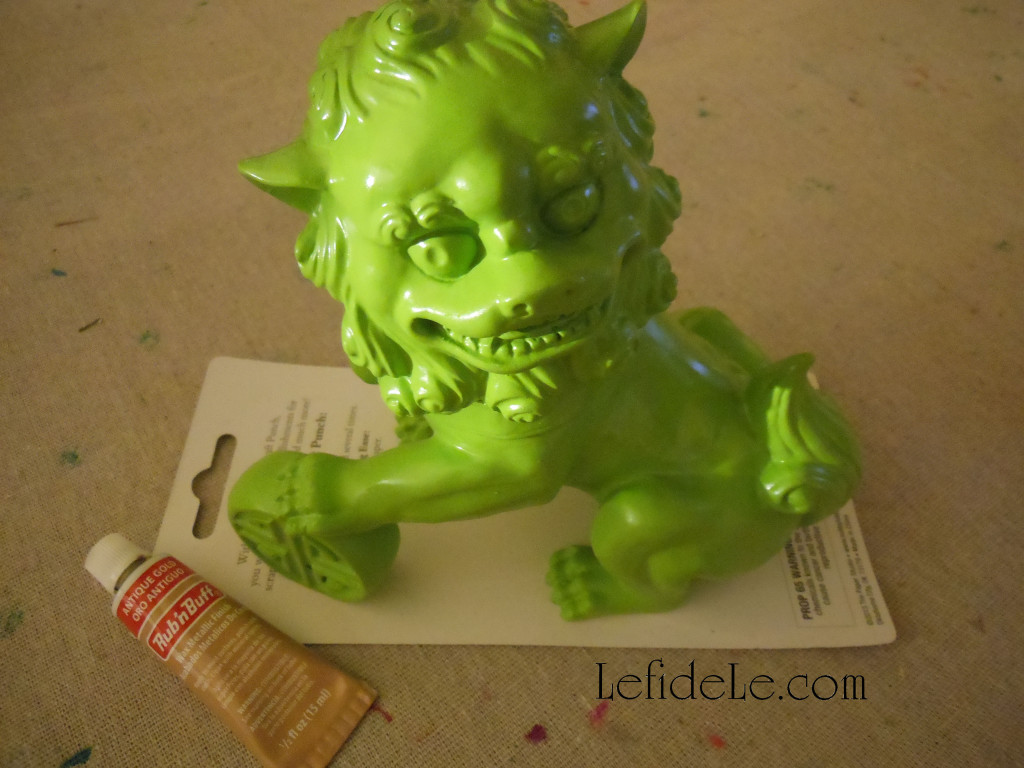
The powerful guardian lion Fú-dog is a traditional Chinese figure of protection. The one seen here is male because he’s resting a paw on a ball that represents the earth. Usually they are presented in pairs, but I only had one in a bright lime green color. I simply had to antique it!
231Leigh

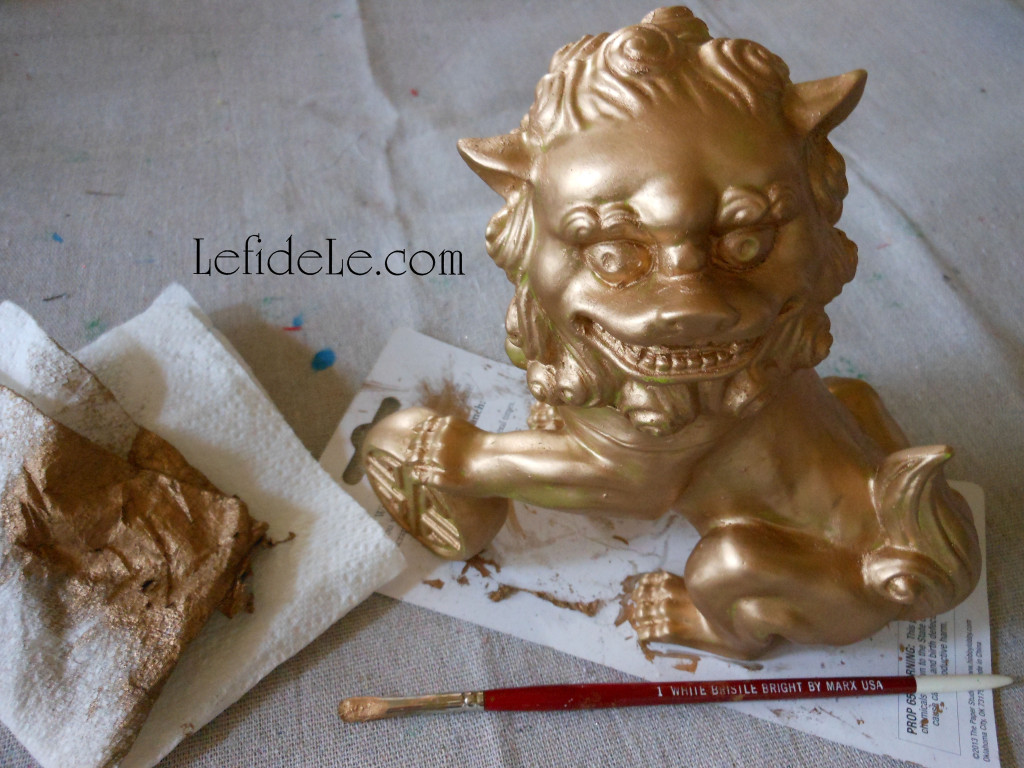
I began to turn the resin into metal by first using a gold Rub-n-Buff paint all over its surface. I gently wiped away the excess and let it set for a couple of days. Then I used a paper towel to rub/shine it up.
242Leigh

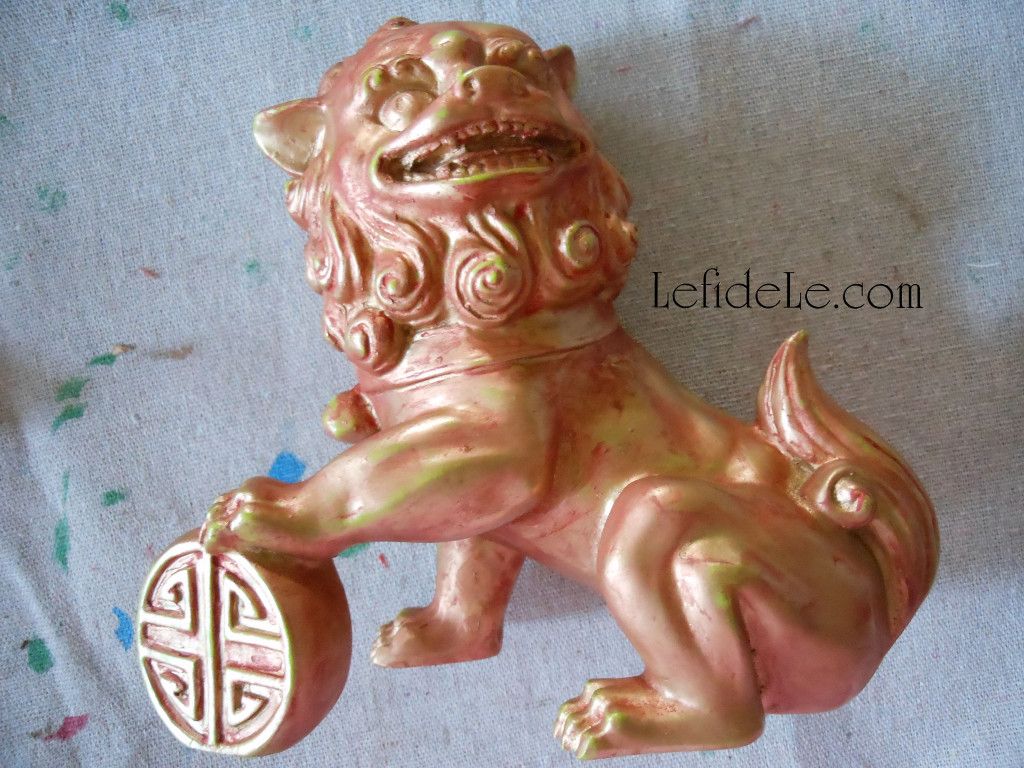
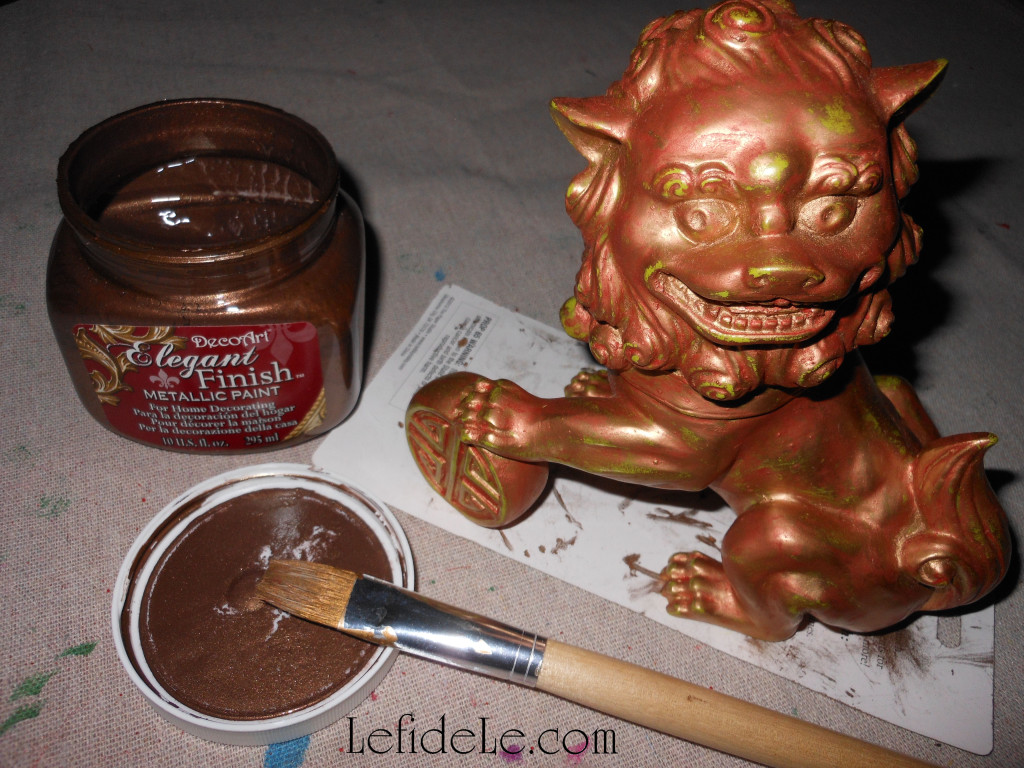
Next I coated that layer with the same red acrylic craft paint that I used on the lantern. I gently wiped off the excess, leaving an interesting pattern of color… green, gold, and red.
259Leigh

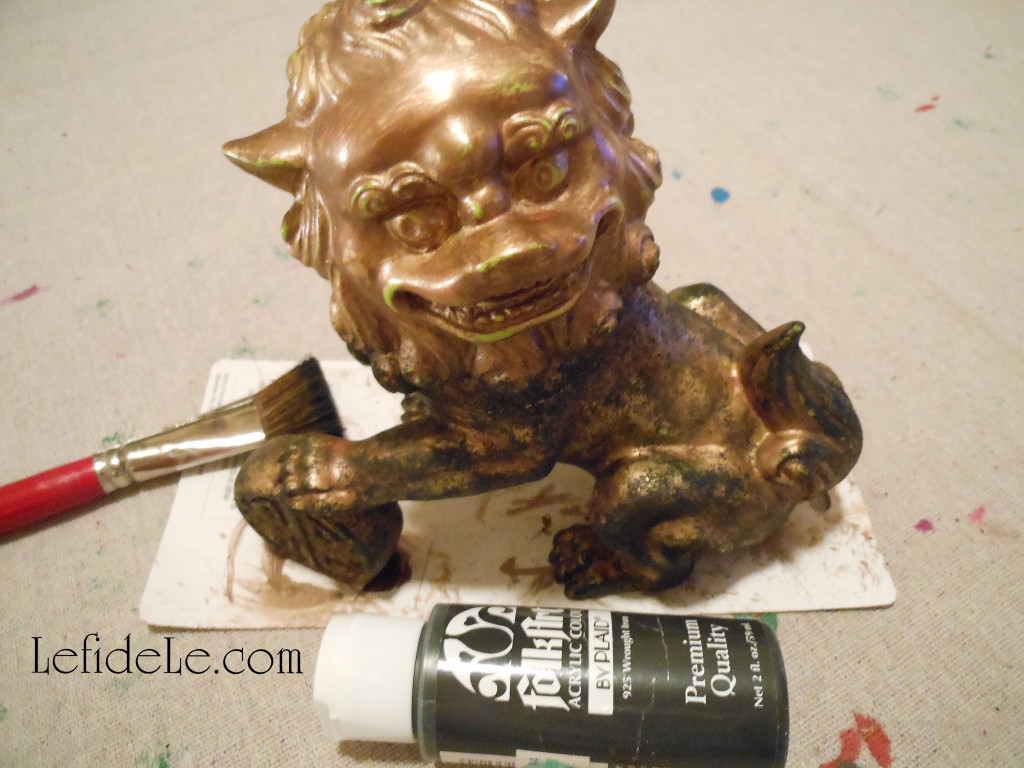
I let that dry overnight, then took some bronze glazing paint (called Elegant Finish by Deco Art) and coated the whole piece. I really gently dapped at the piece in spots to lightly remove some of the paint. For any of you who have ragged a wall, this is similar to that technique. I let that dry for another night.
284Leigh

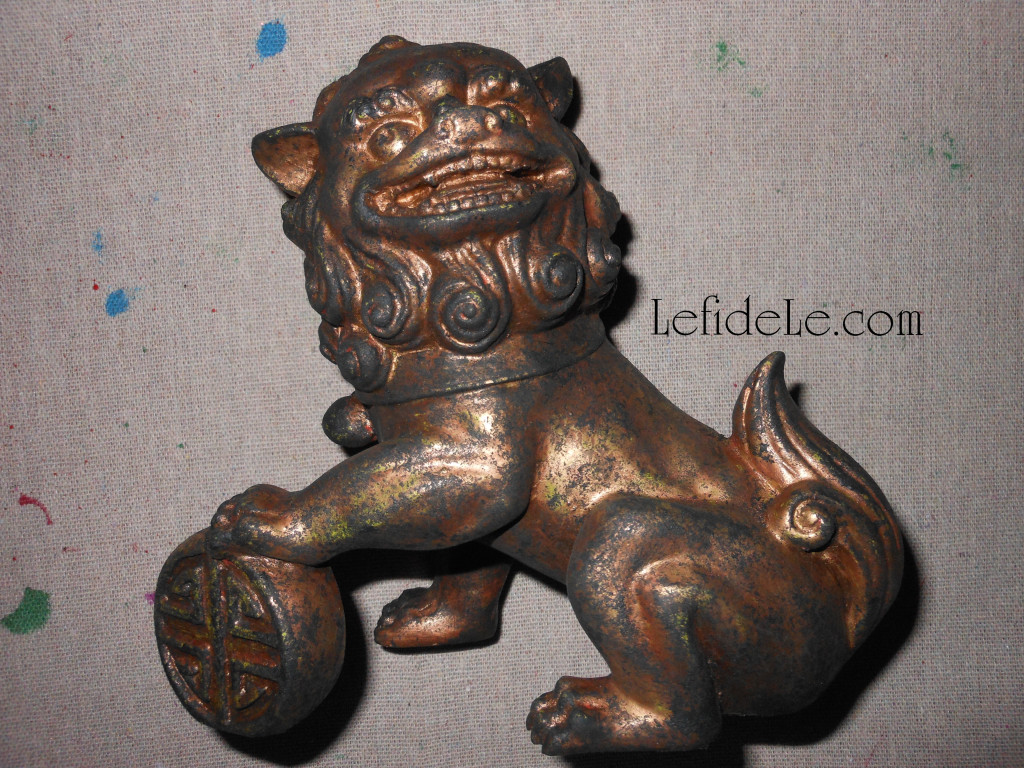
The last layer is the one you actually have to pay attention to. It requires plain old black acrylic craft paint and a really messed up “scruffy brush”. Never throw away those brushes that your loved ones mess up, don’t wash well, and leave in a horrible condition… they are your new besties. They’re great if you barely dip them into paint, pounce off the excess onto a paper towel, then “stipple” paint onto your surface. This is a sort of haphazard pouncing of the brush perpendicularly to the piece. It’s the easiest way to paint an antique looking surface… and it’s actually a lot of fun.
290Leigh

I took this statuette from lime lion to antique guardian in a few simple steps. You can do the same with any accessory that doesn’t quite match your décor, or looks a bit cheaper than you’d like. This is especially great to do when you see a fantastic find on clearance that just has a ding or two… paint it up! You will have created your own one-of-a-kind upcycled beauty that will have people thinking it’s an antique.
032Leigh
Happy crafting in the New Year!

Faithfully Yours,

Leigh