Tag Archives: Kid Friendly

Easy DIY Upcycled Can Tea-light Luminarias (+ Free Printable Template) & Tissue Paper Flowers Crafts (for Cinco de Mayo Fiesta Décor)

321Leigh

Light the Cinco de Mayo night by upcycling cans into tea-light luminarias (easy with the help of my free printable template), and adorn your tablescape with DIY fiesta tissue paper flowers. These crafts are perfect to bring the whole family in on, with luminarias for the strong folks and flowers for the kiddos. So hang on to your sombreros senoritas… we’re about to craft a fiesta!

300Leigh

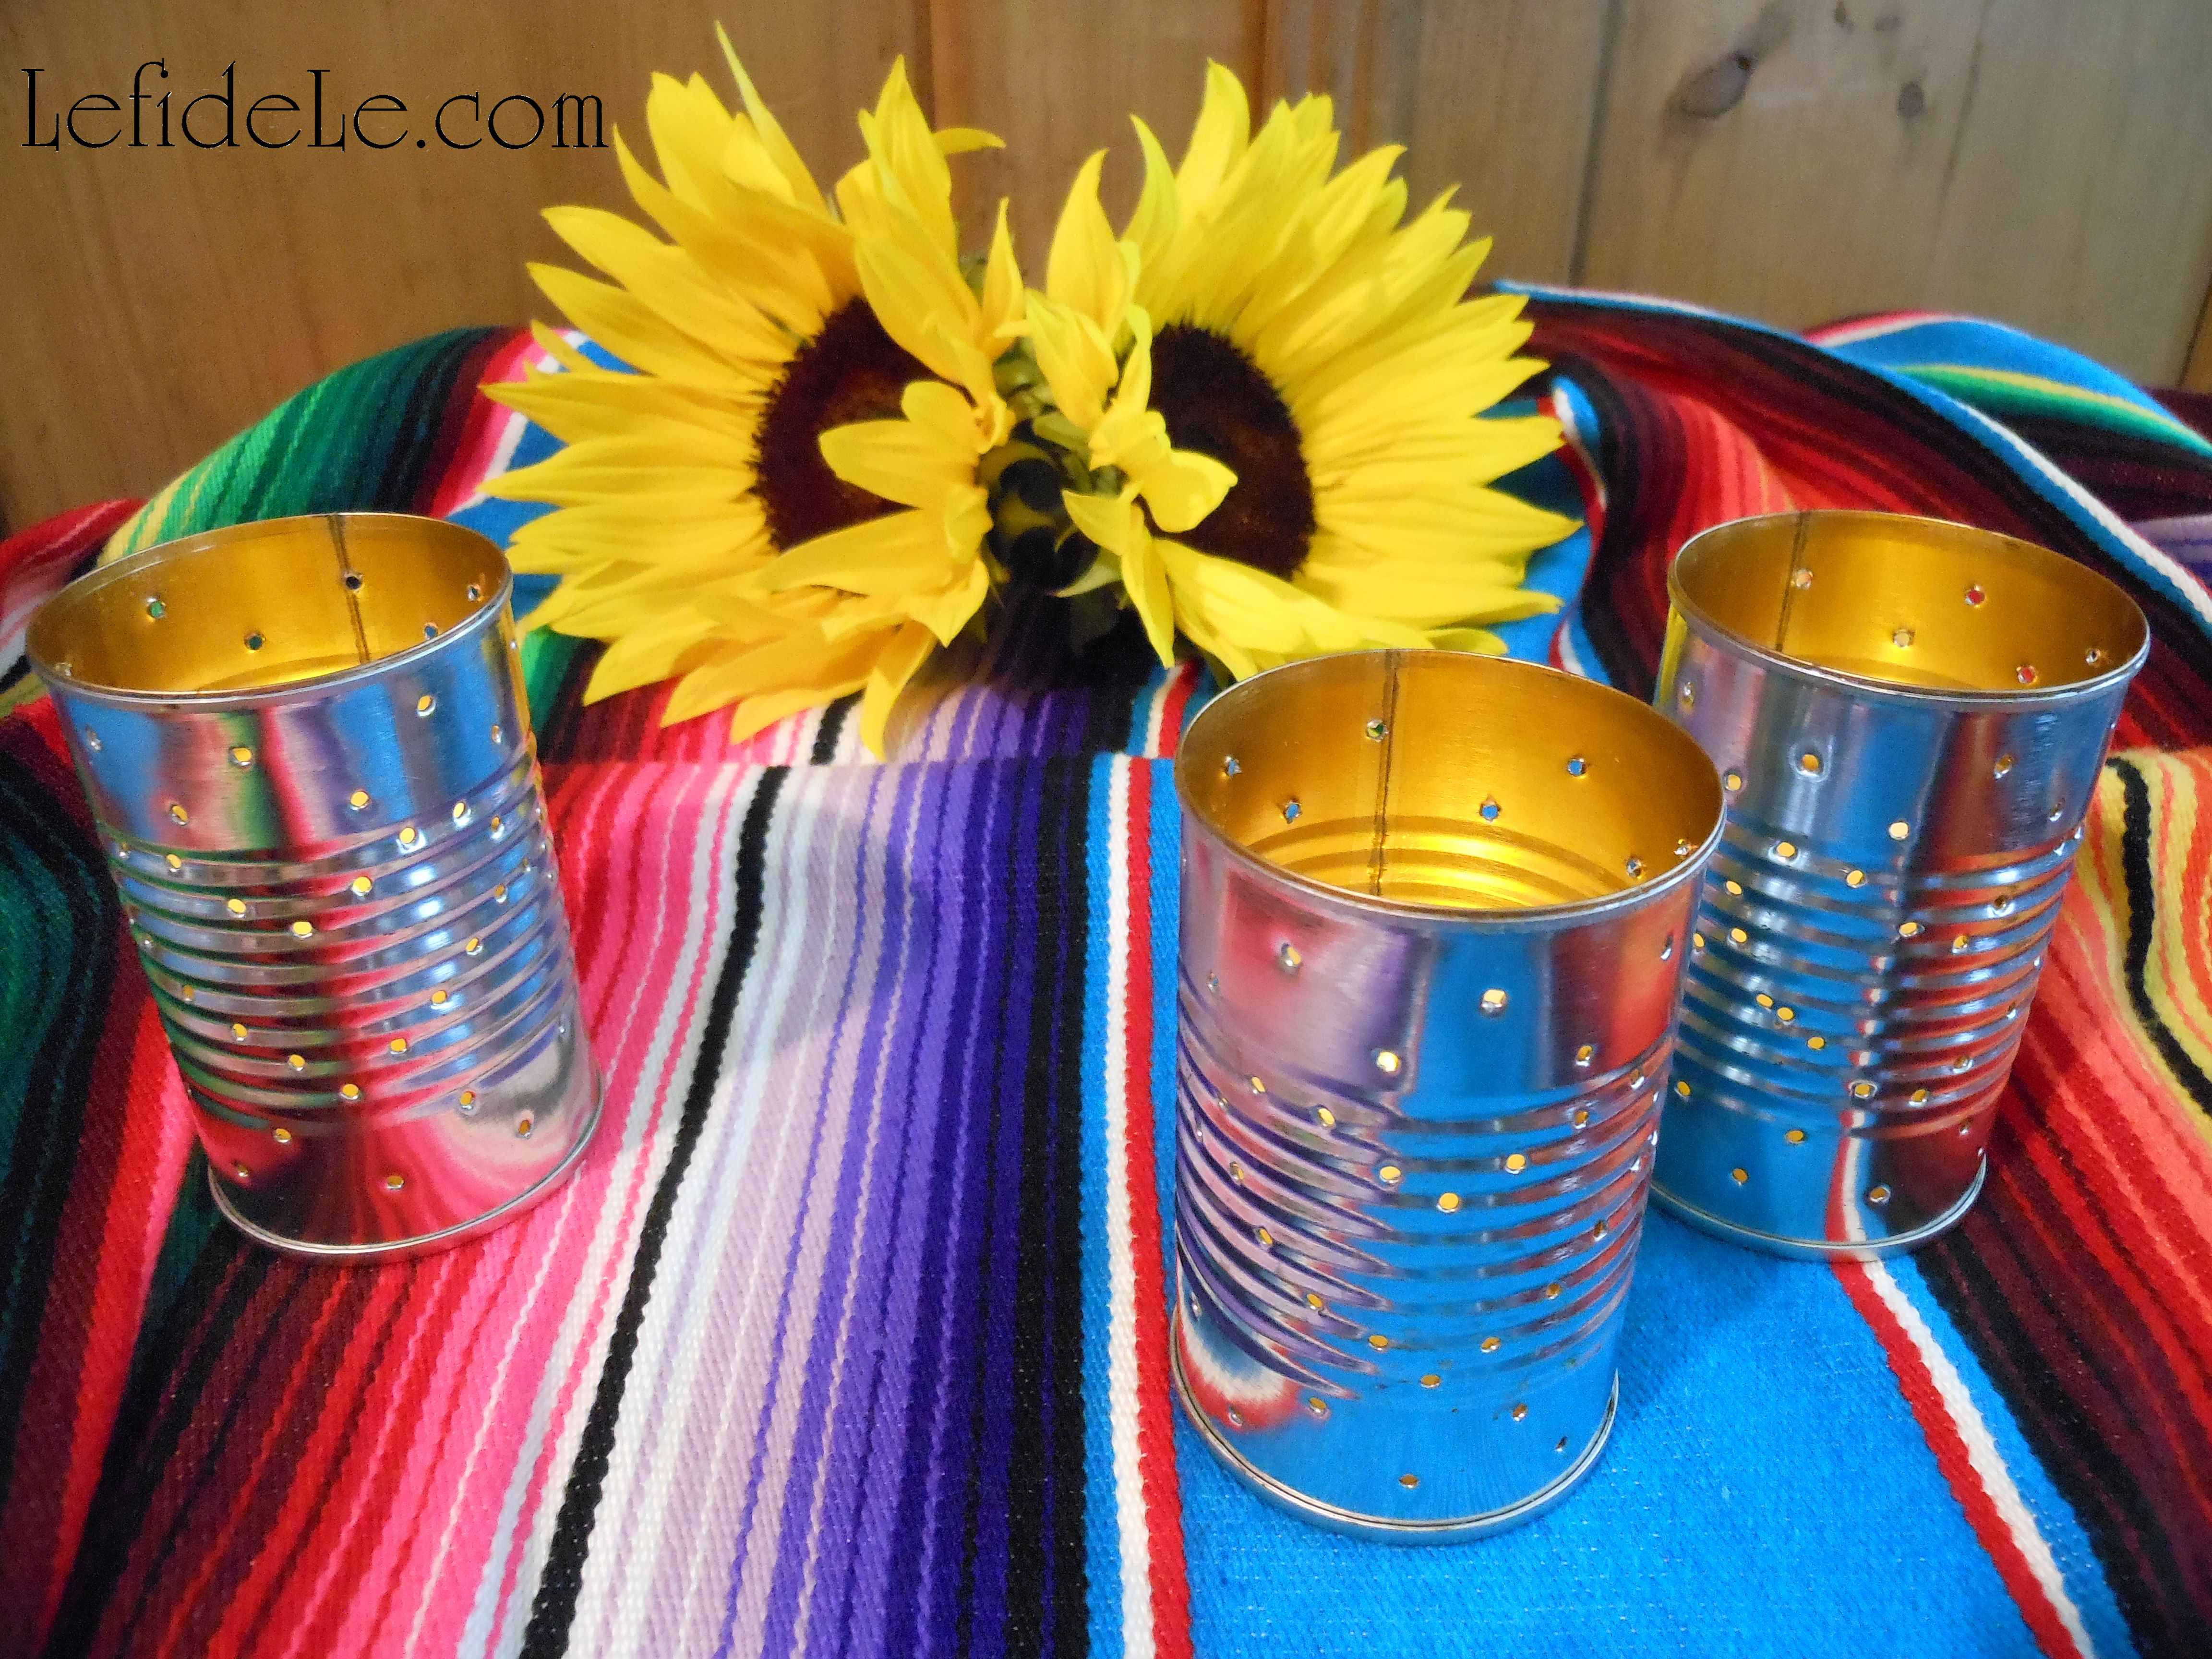
As a kid, I was delighted by long rows of luminarias lighting the way to fiestas. I wanted to bring some of that enchantment inside by making miniature versions with tea-lights for the table.

016bLeigh

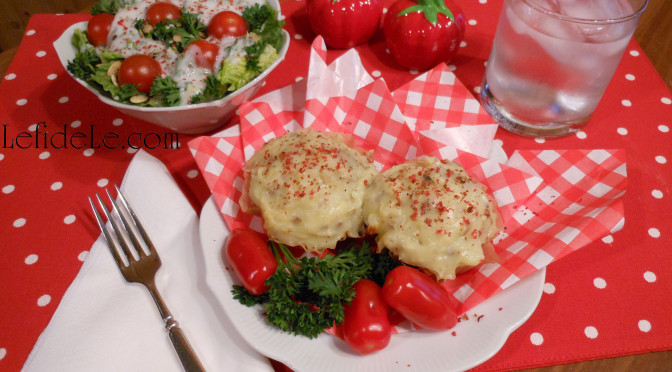
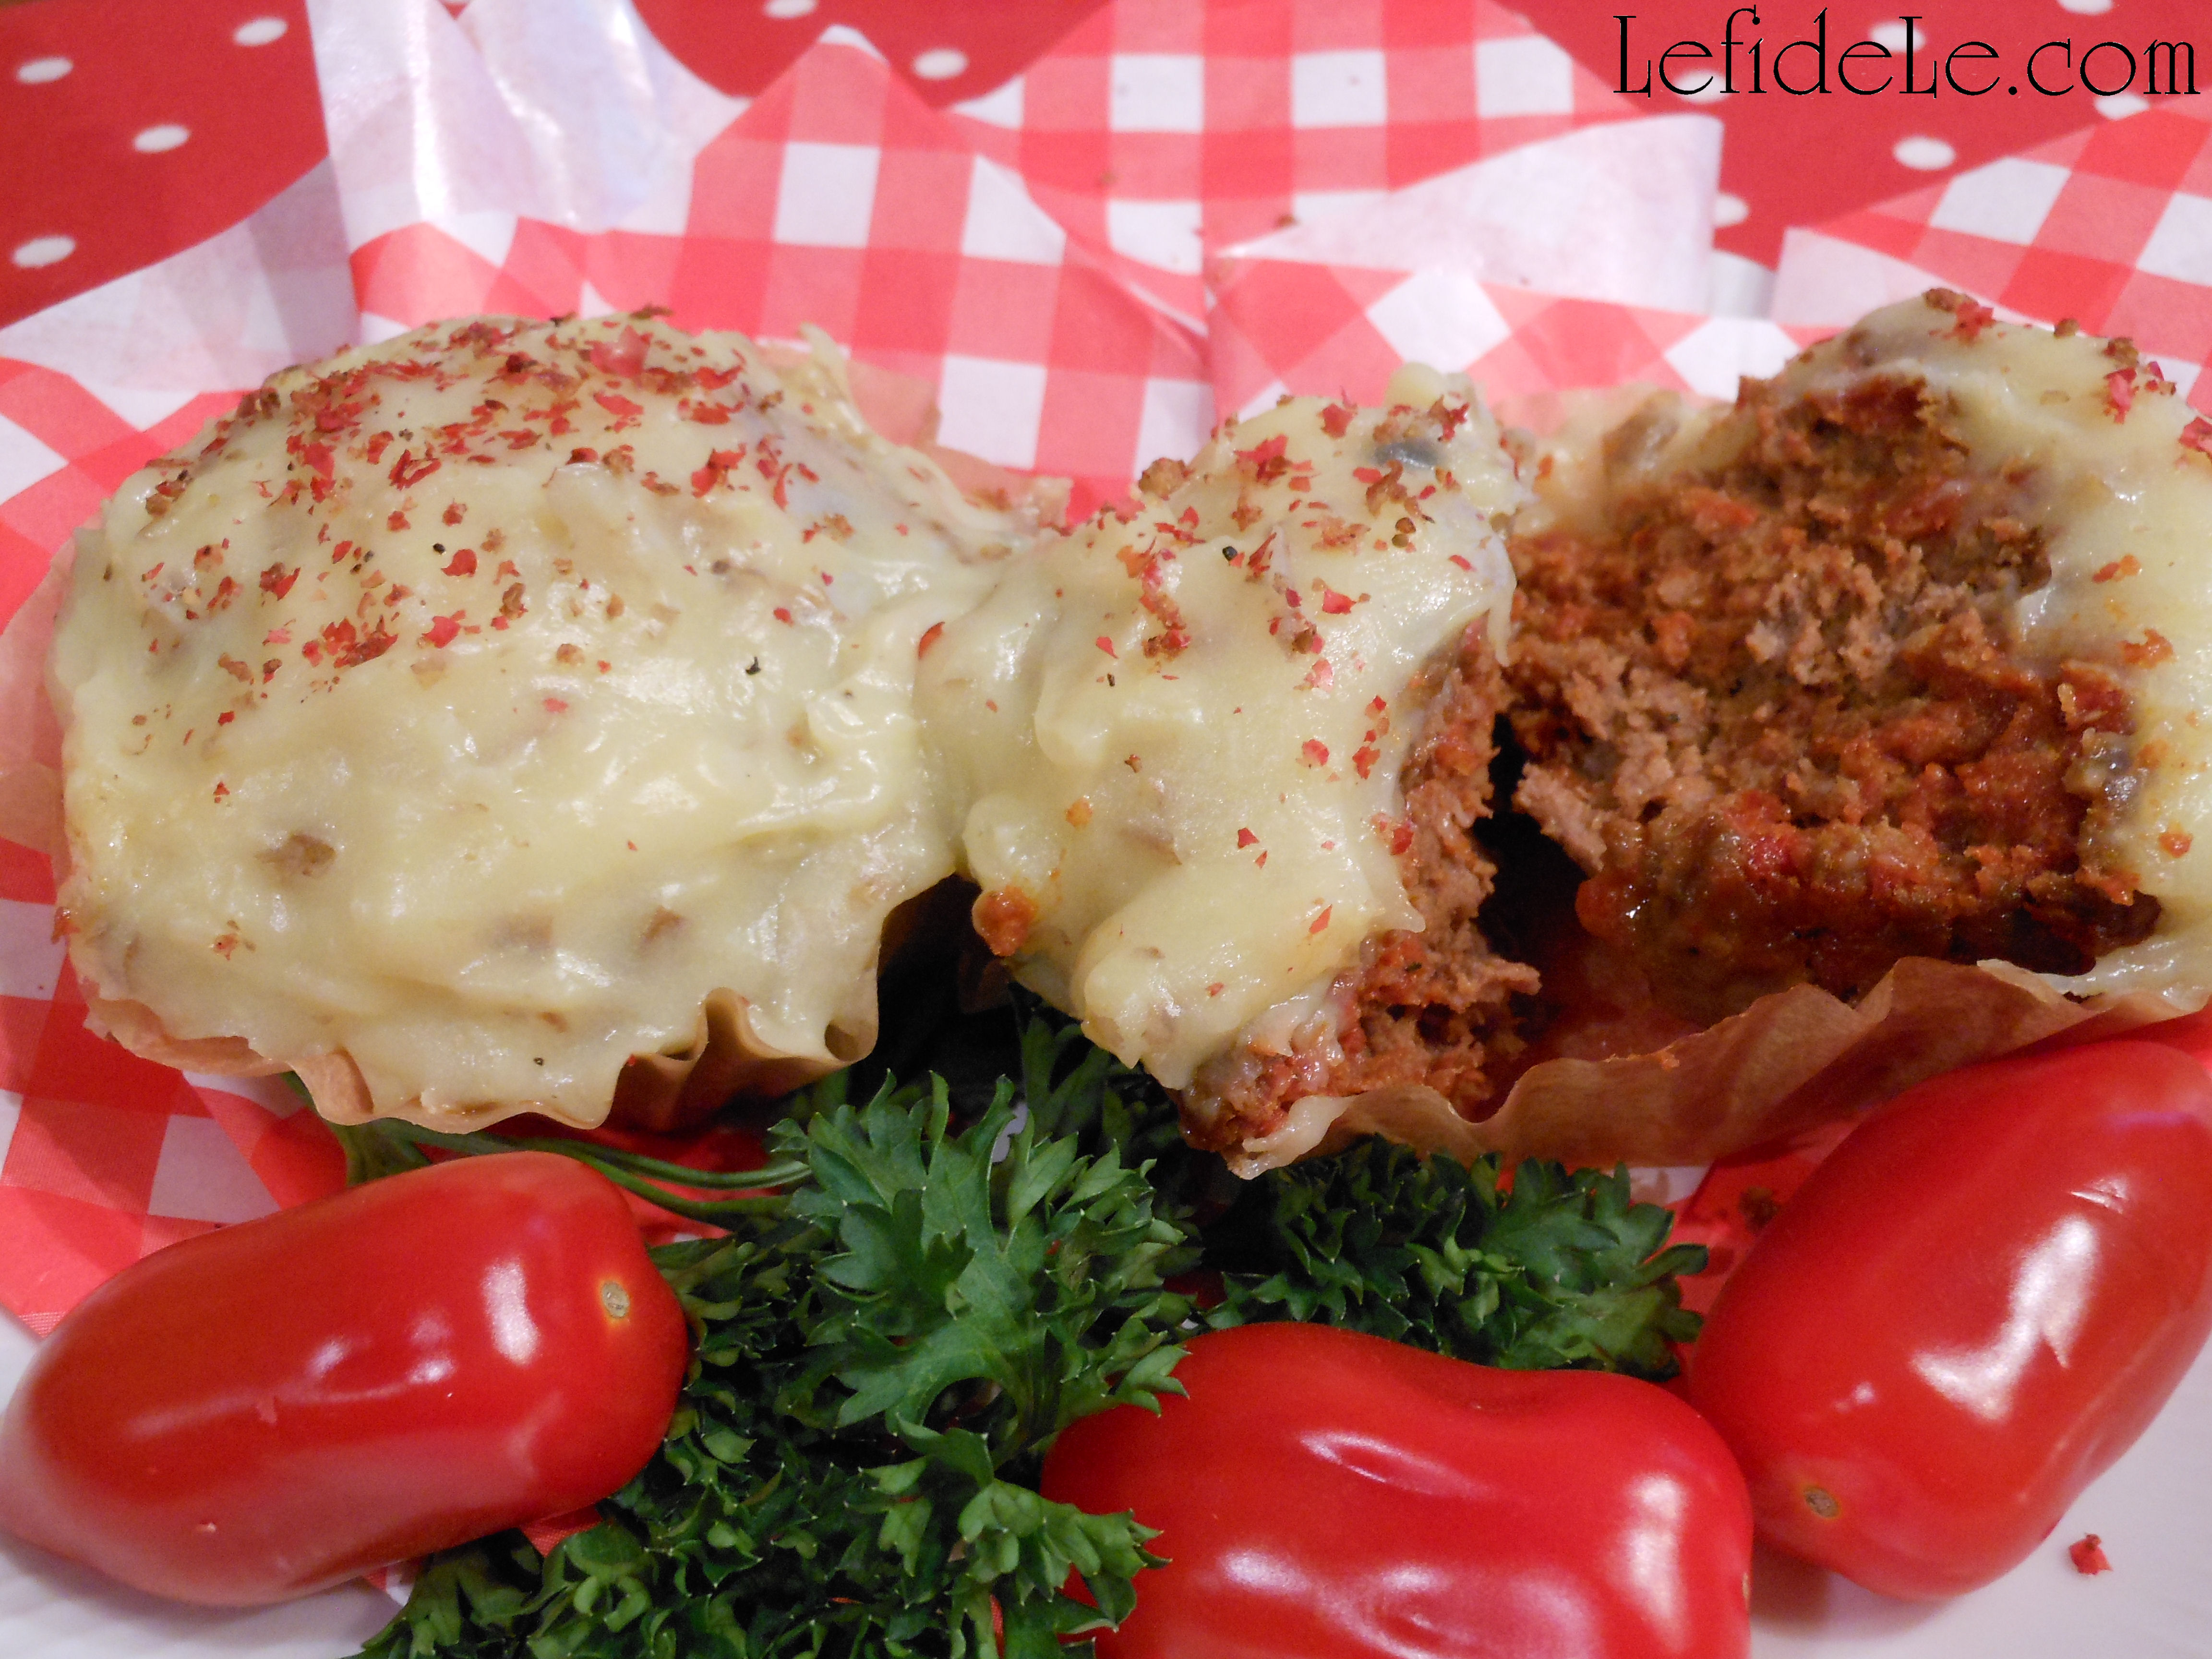
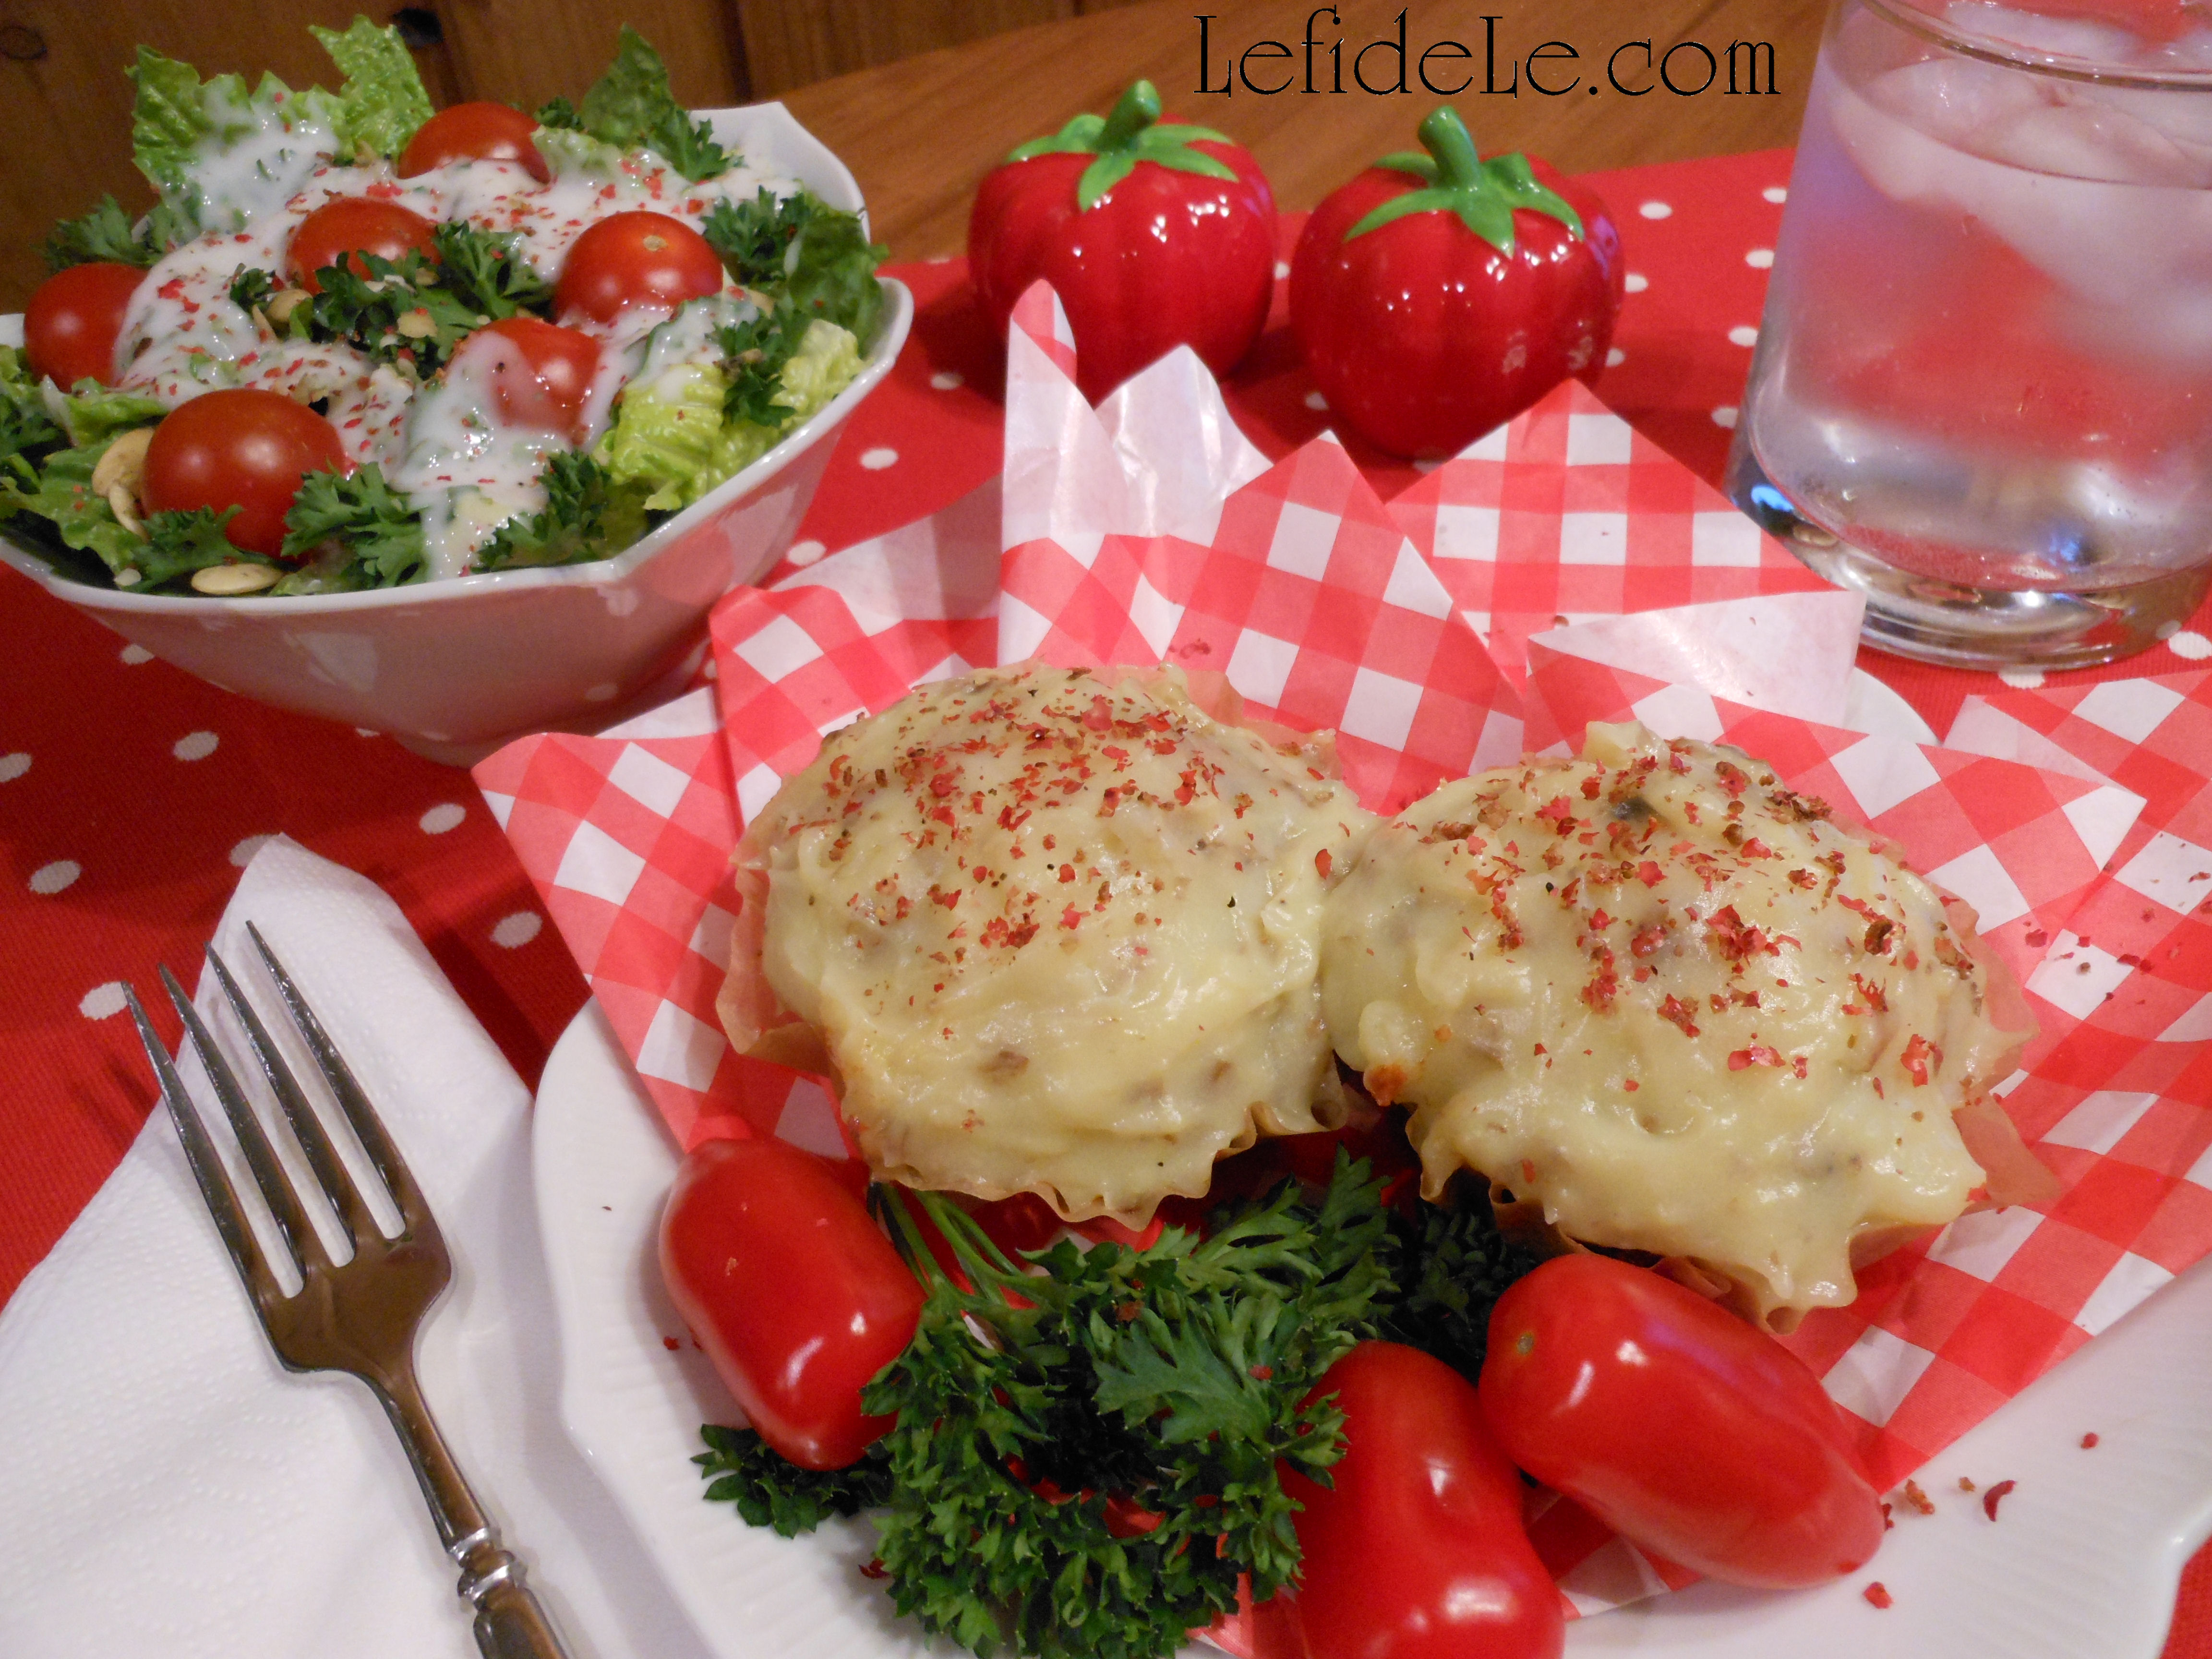
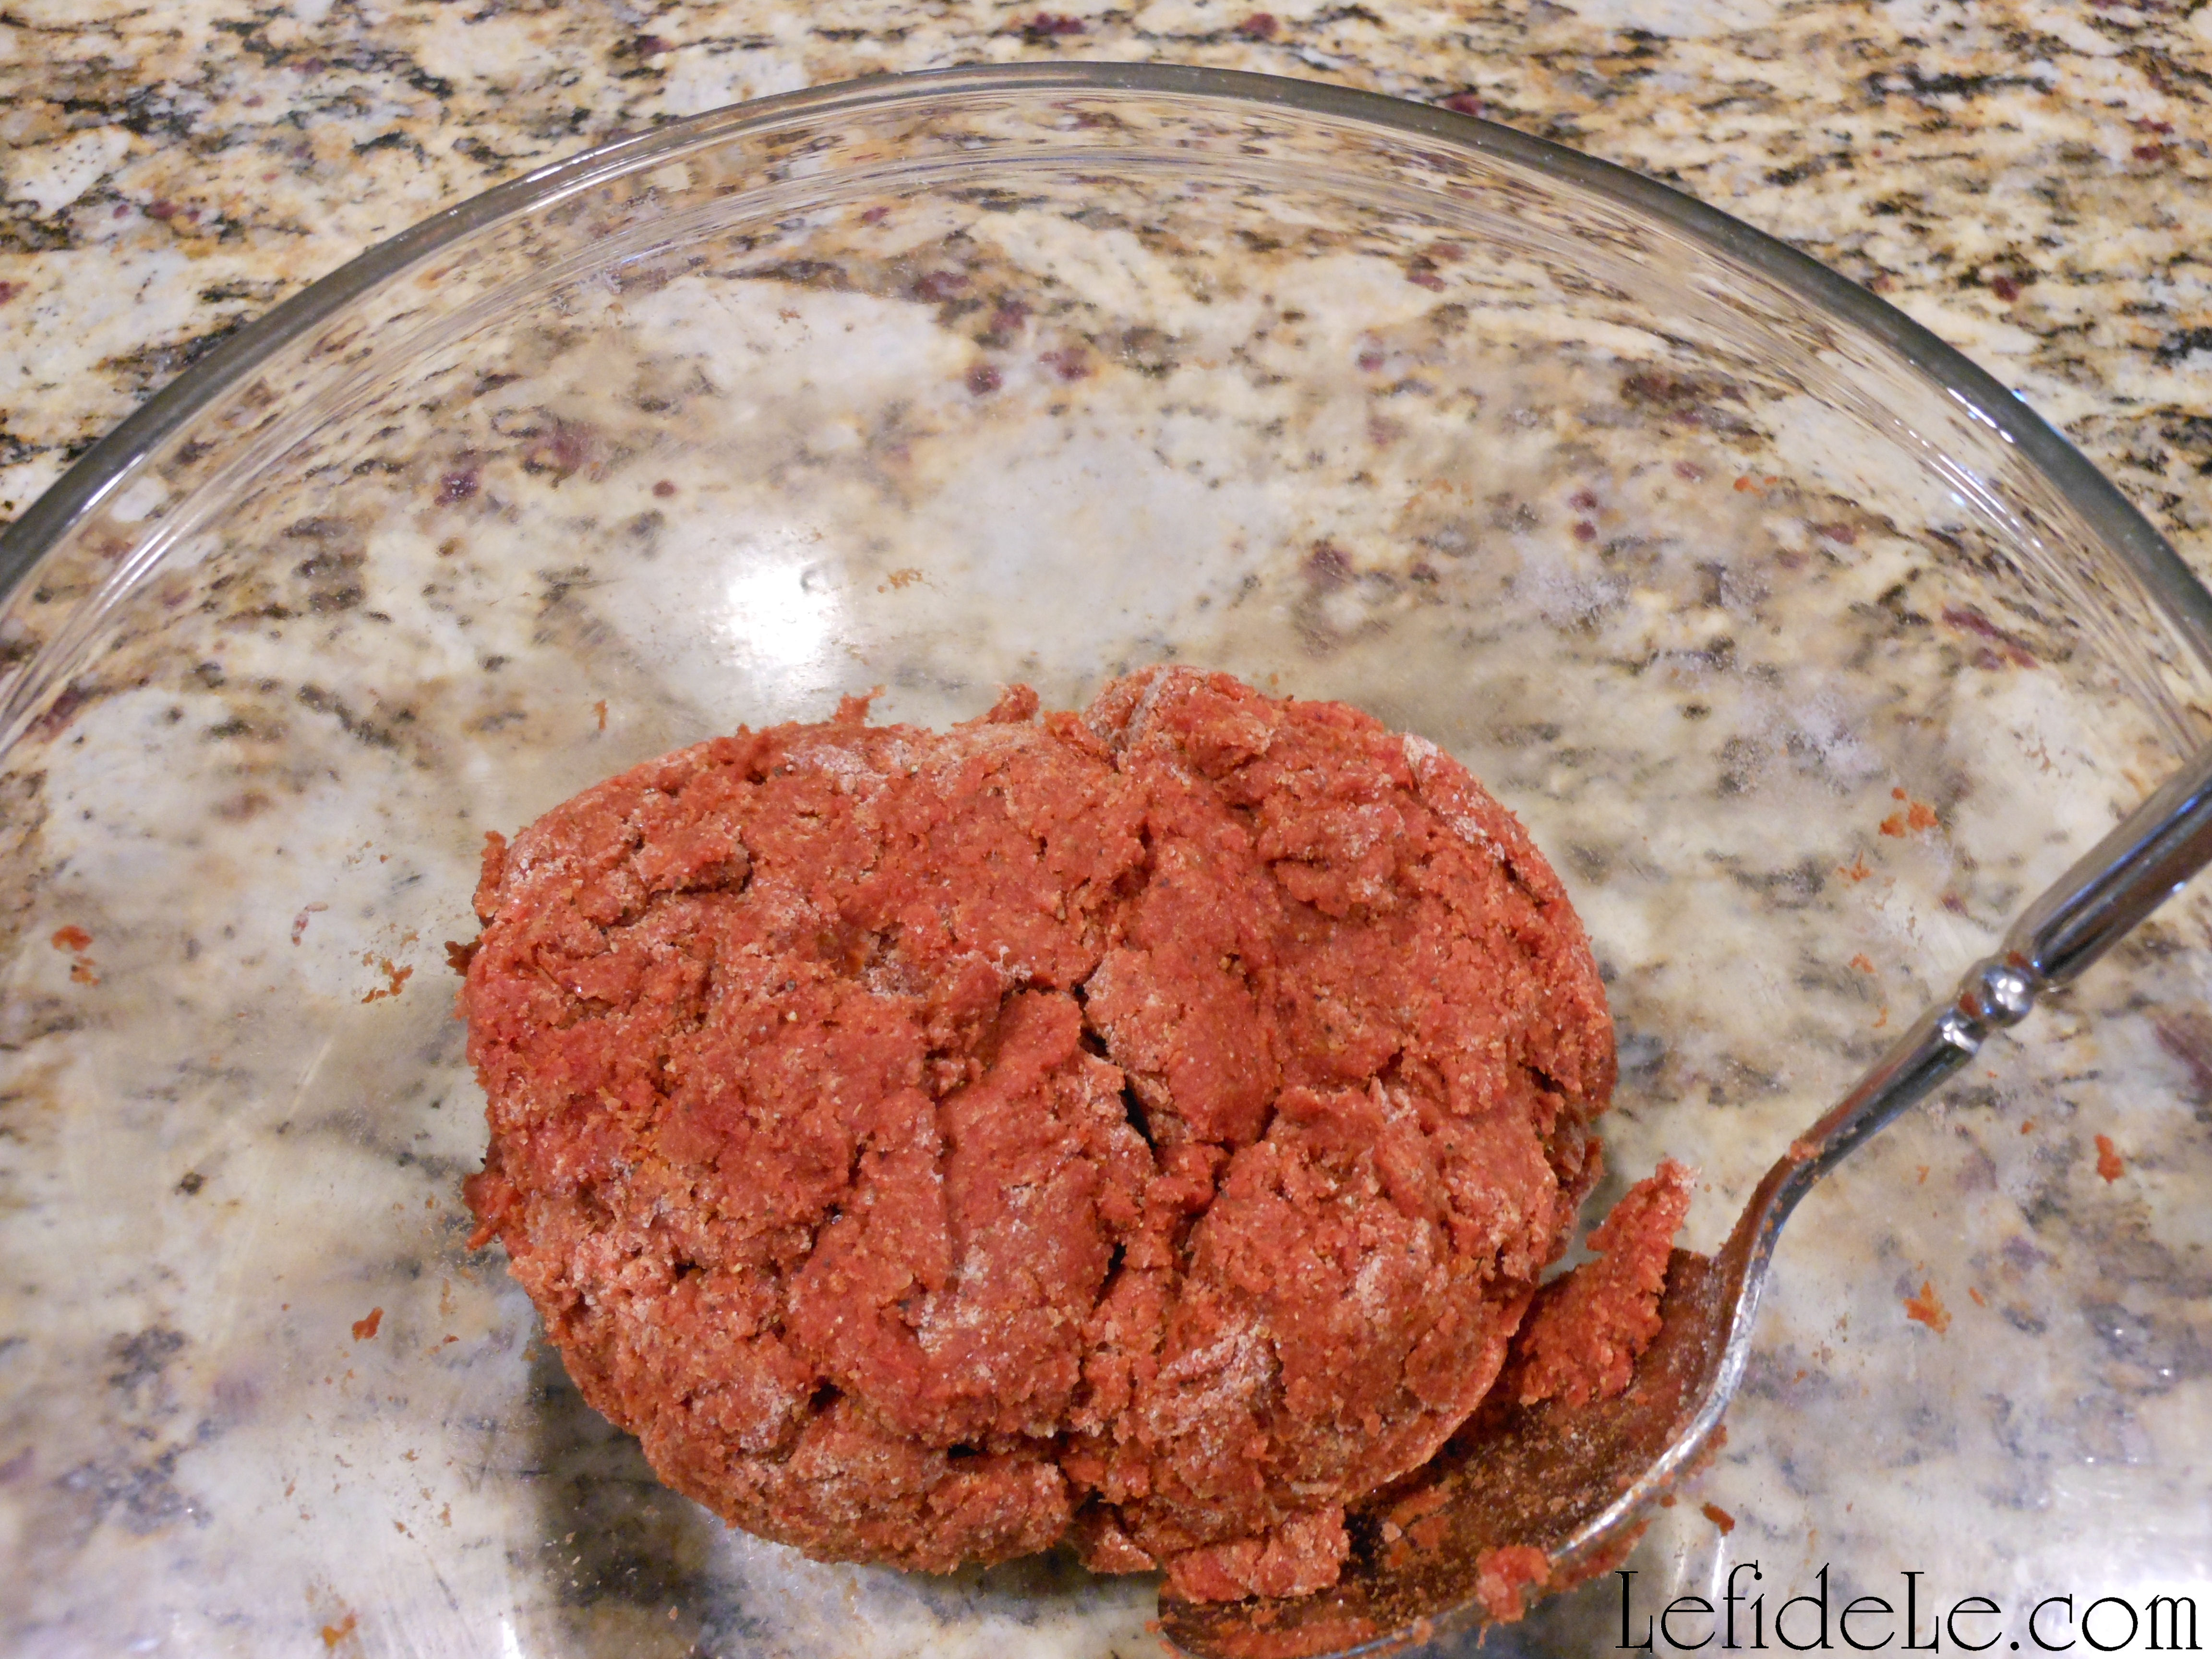
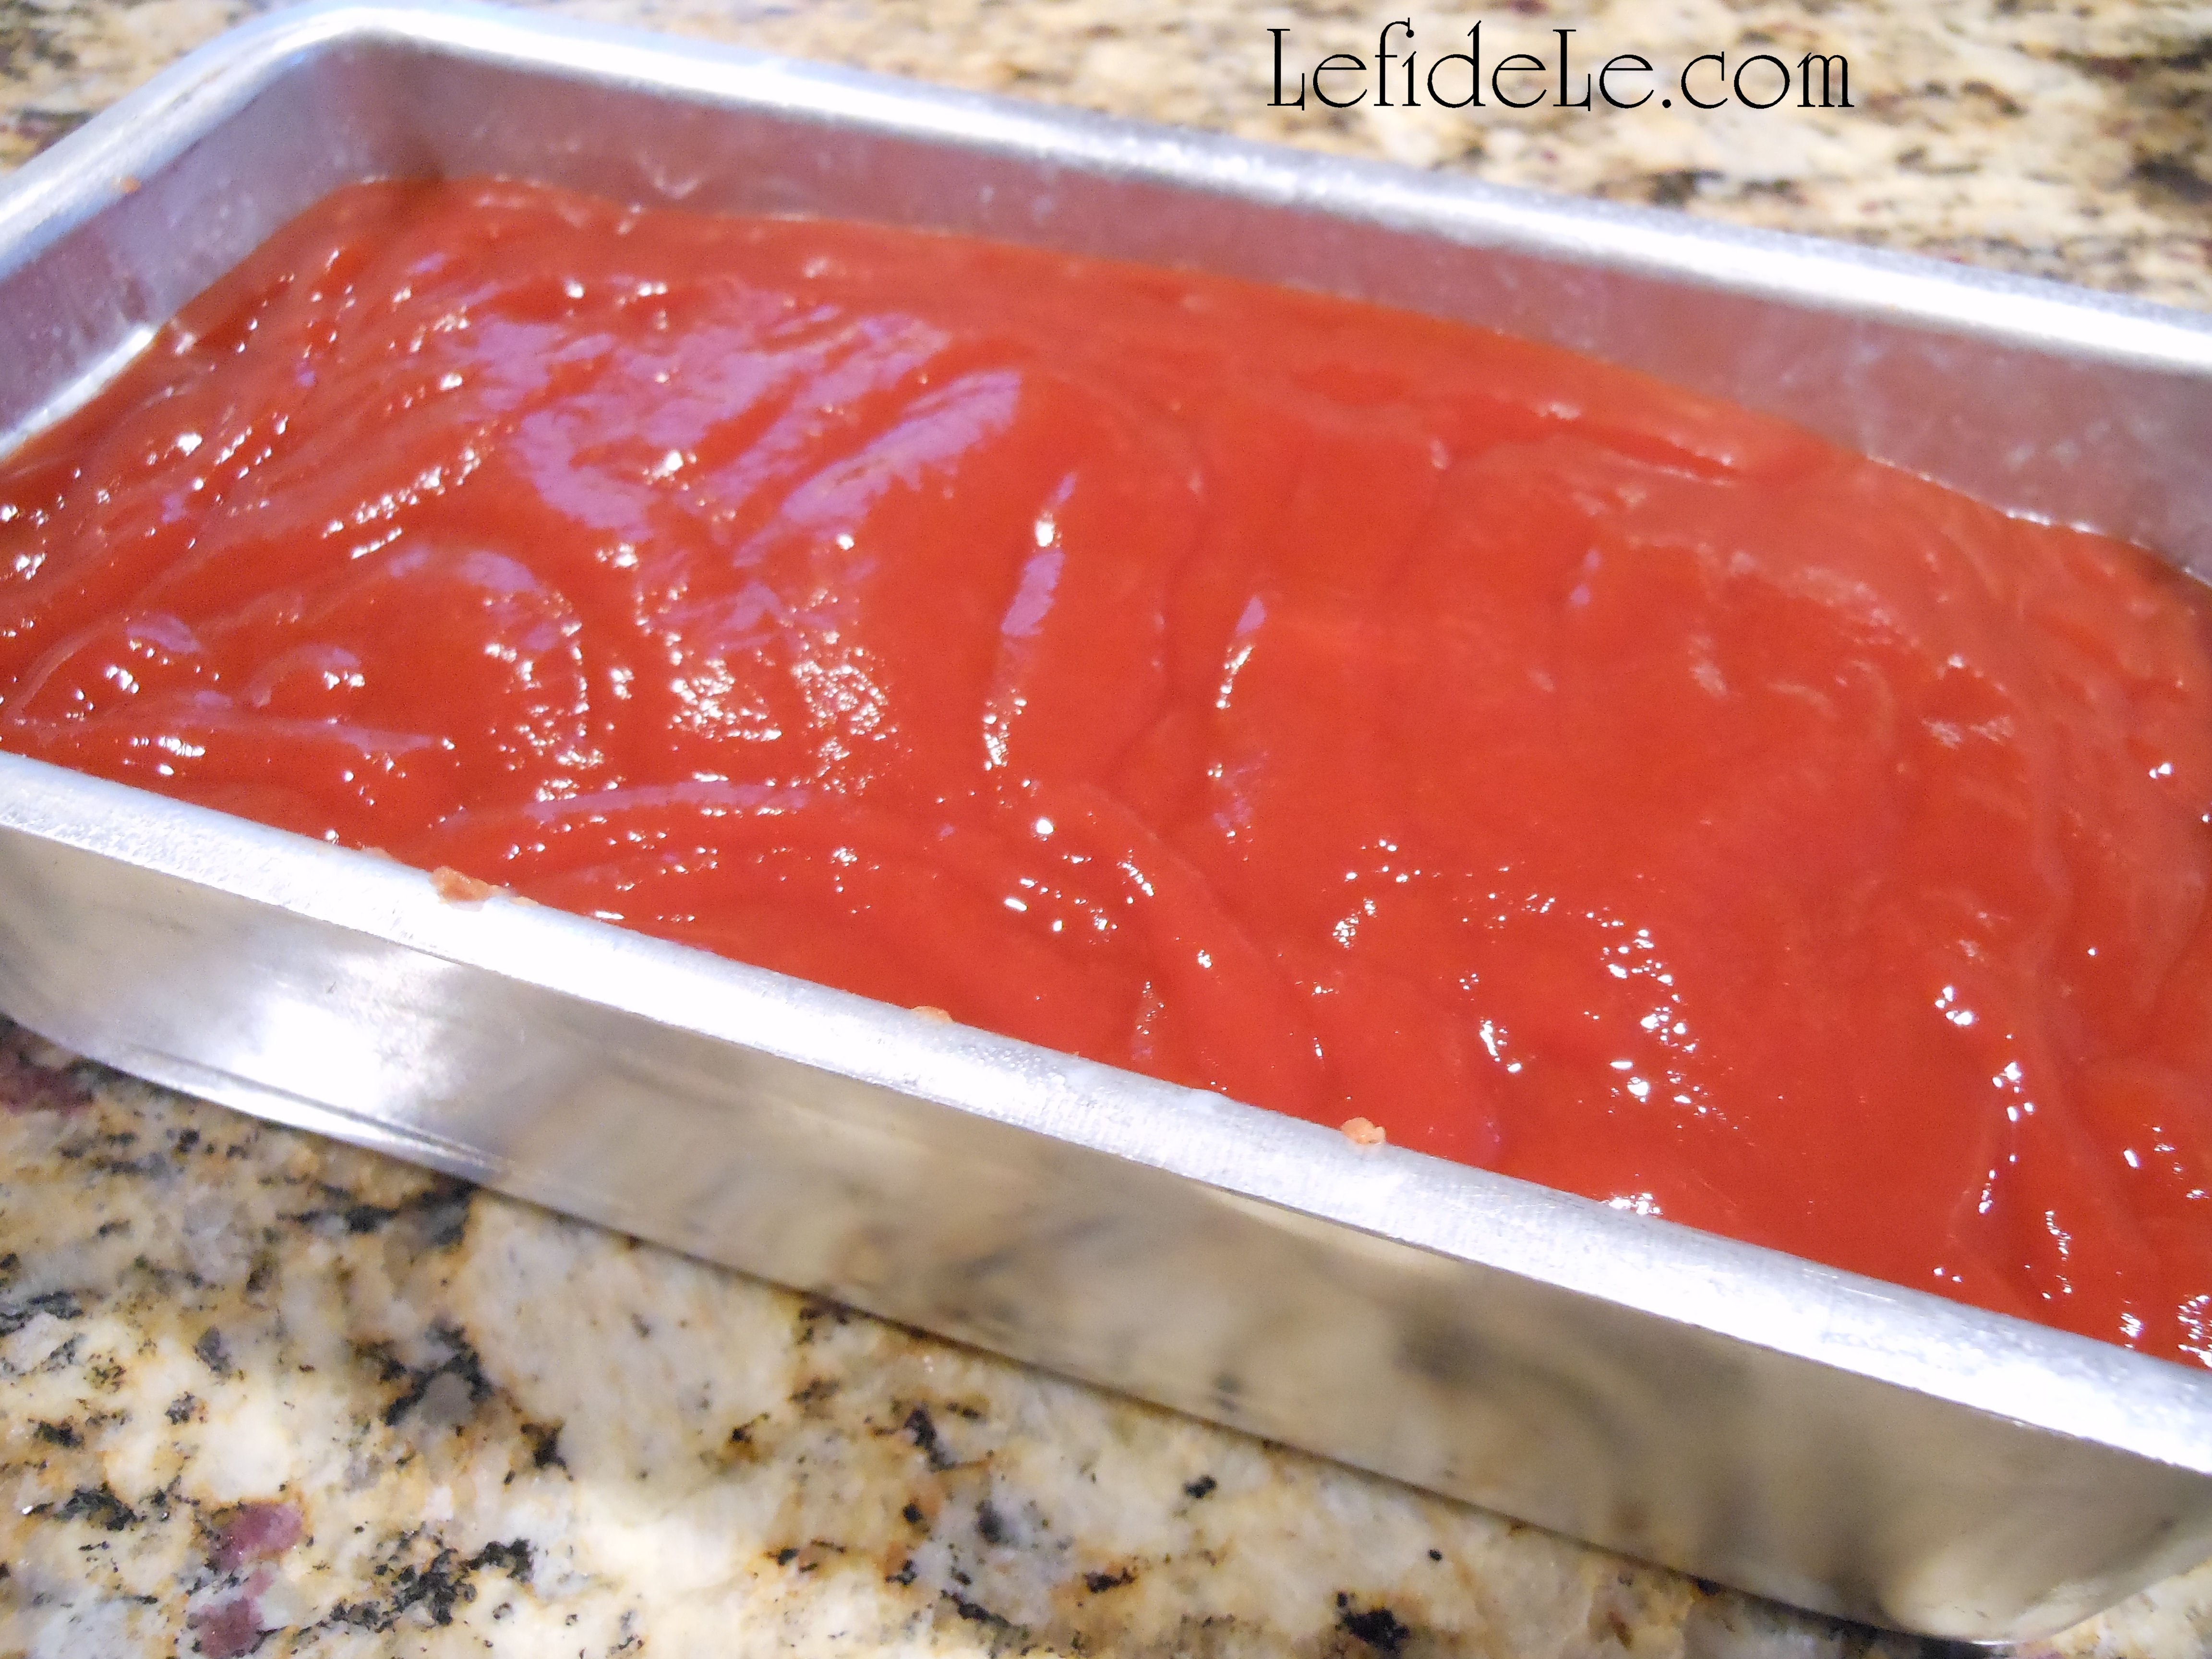
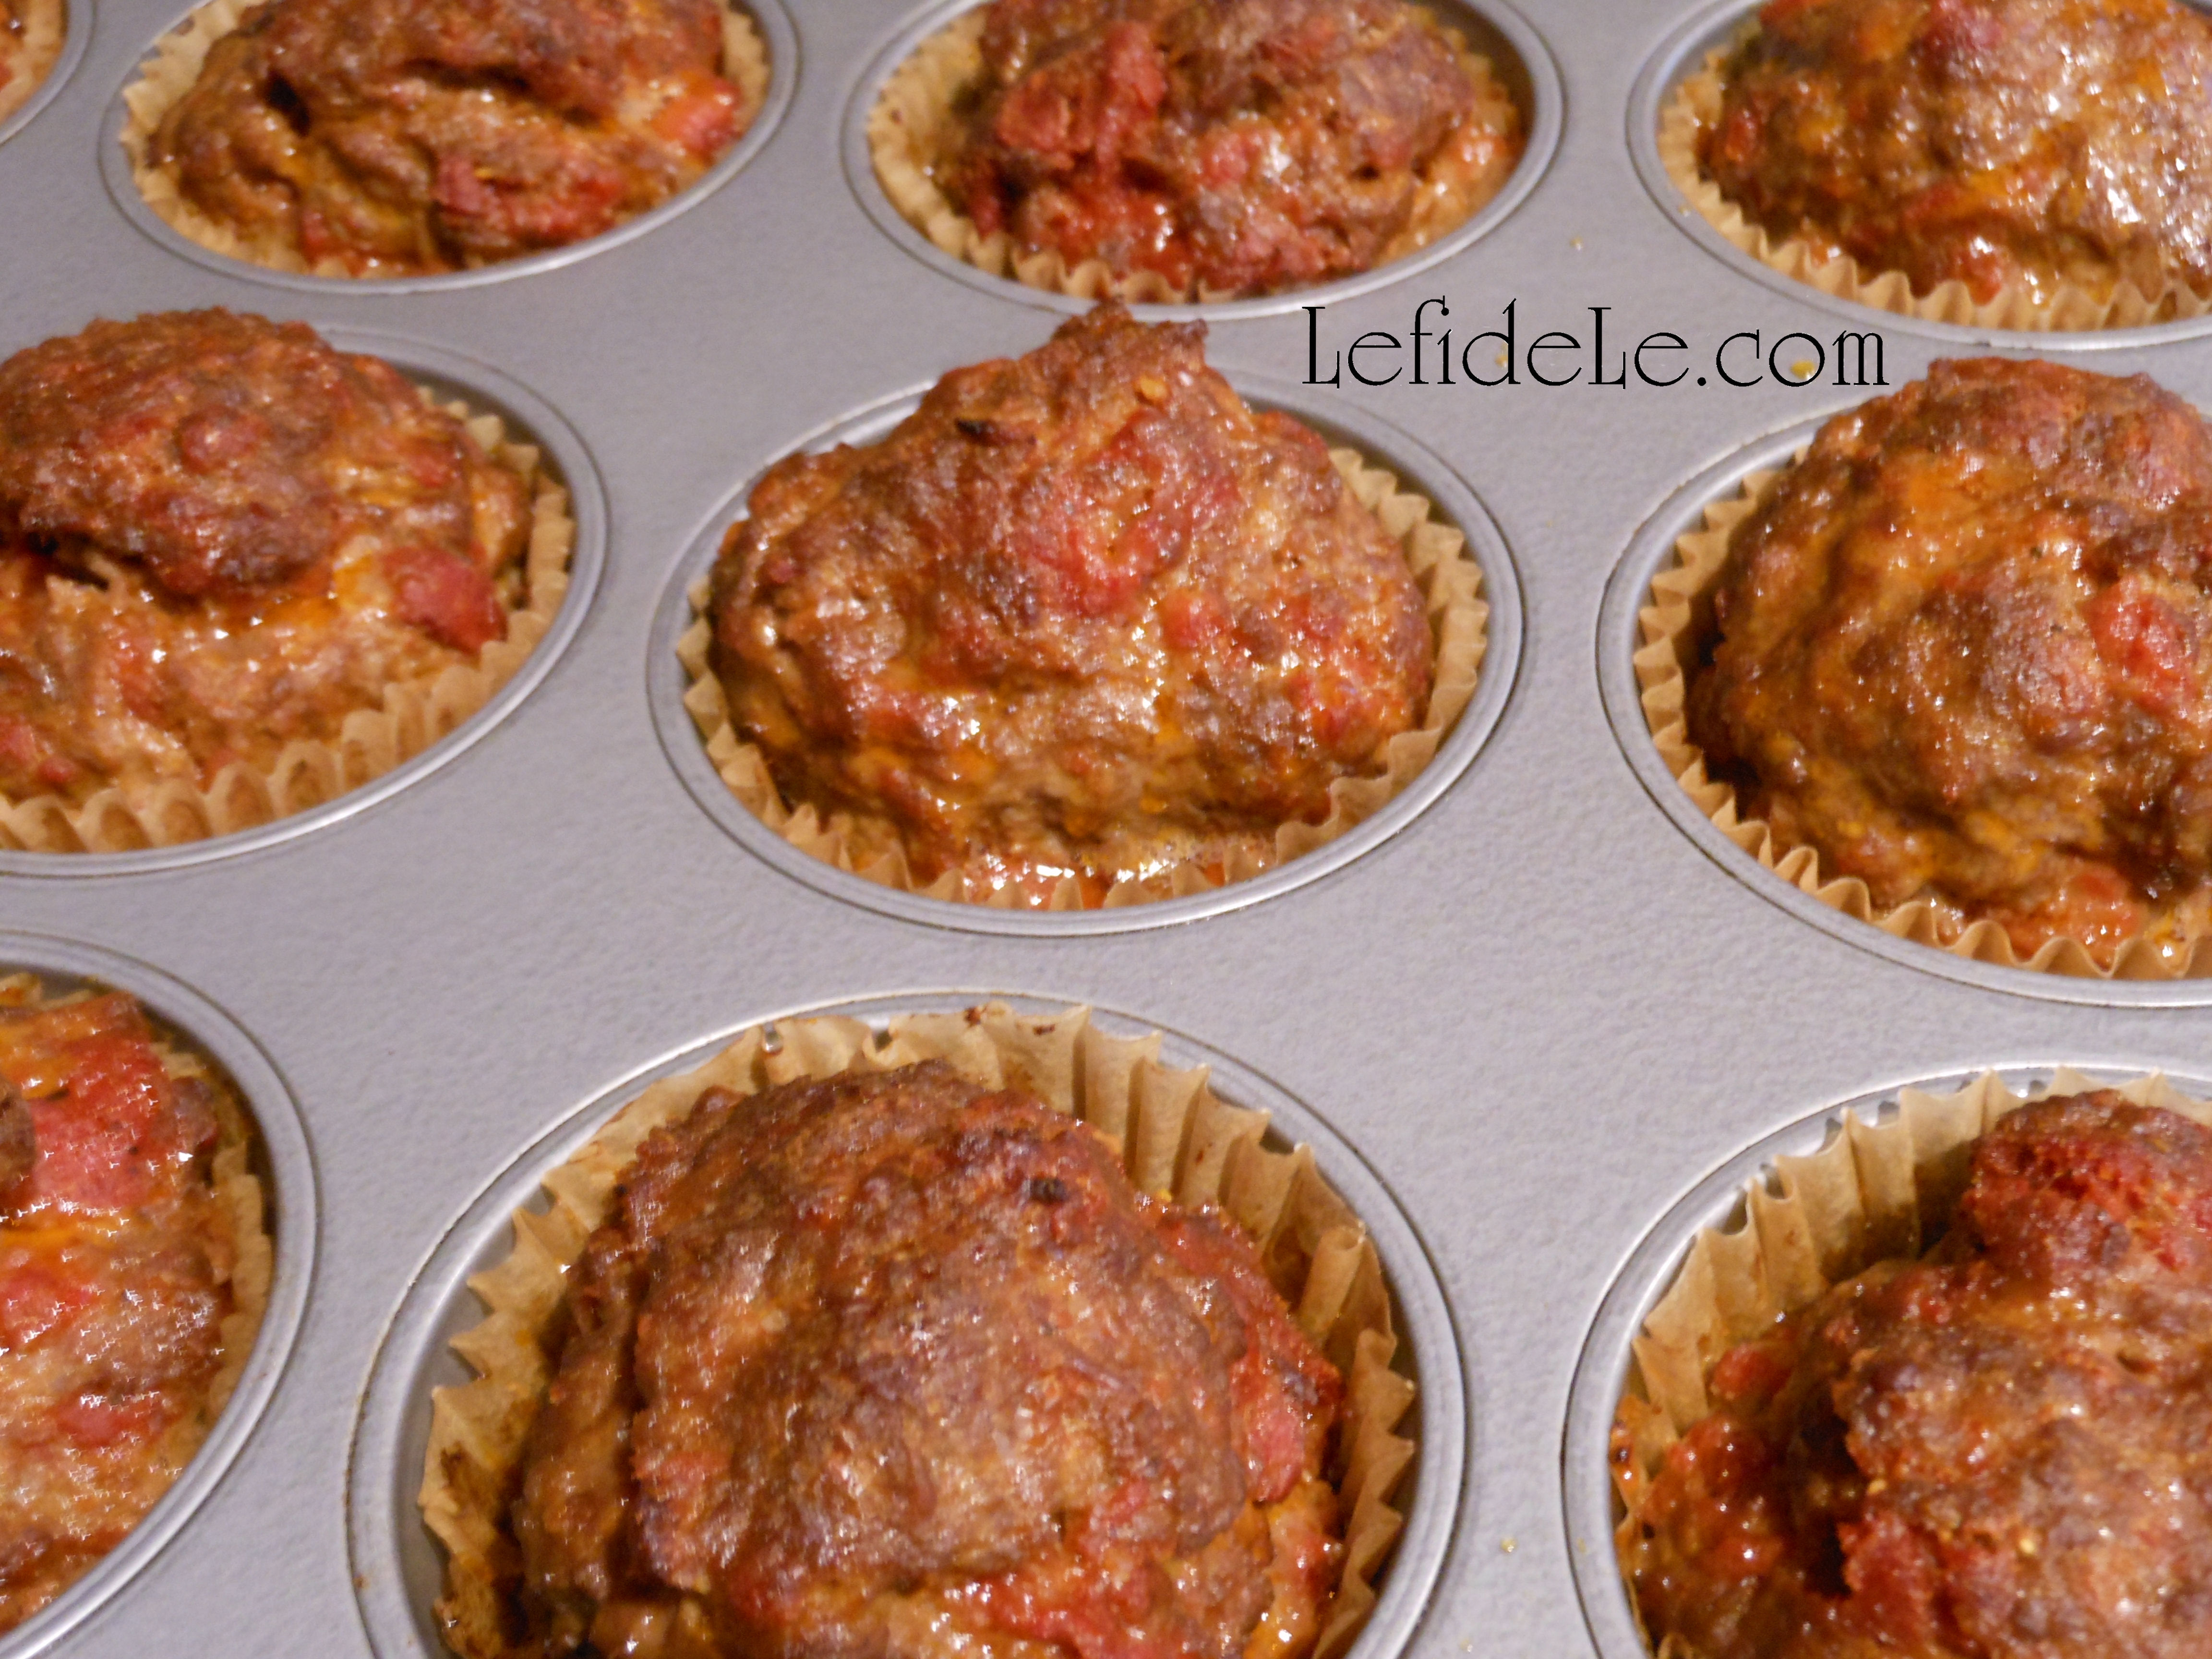
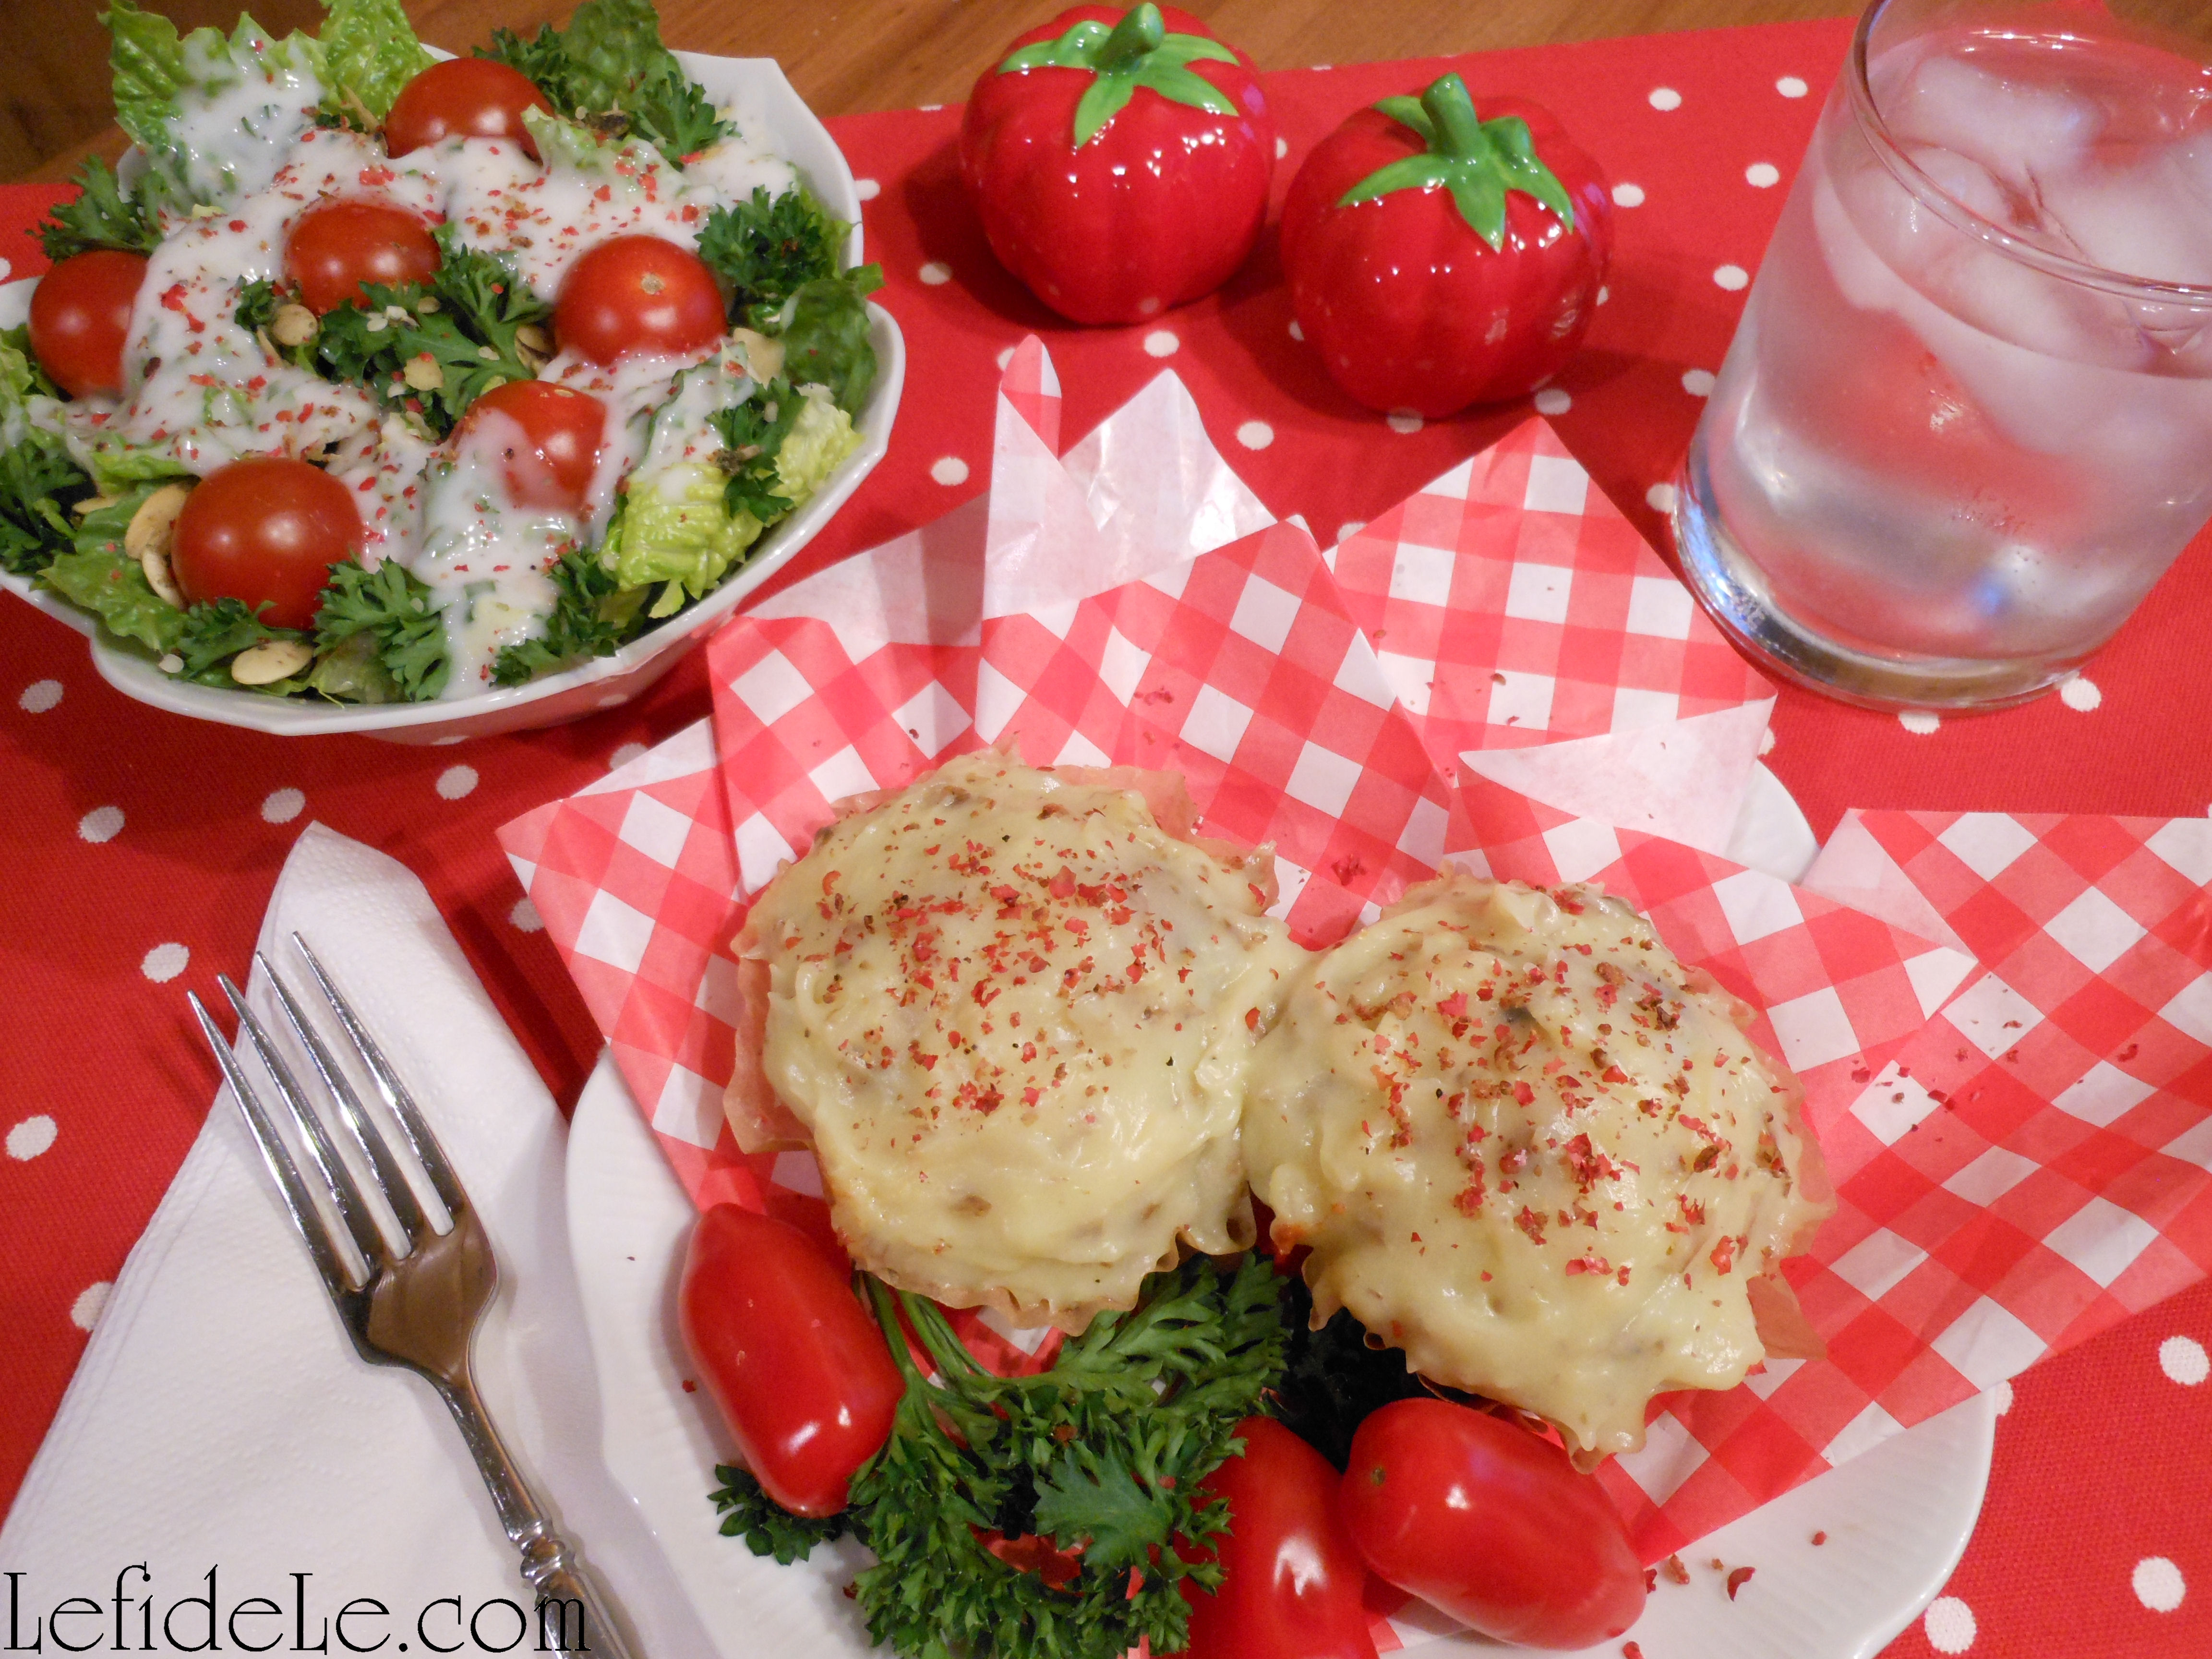
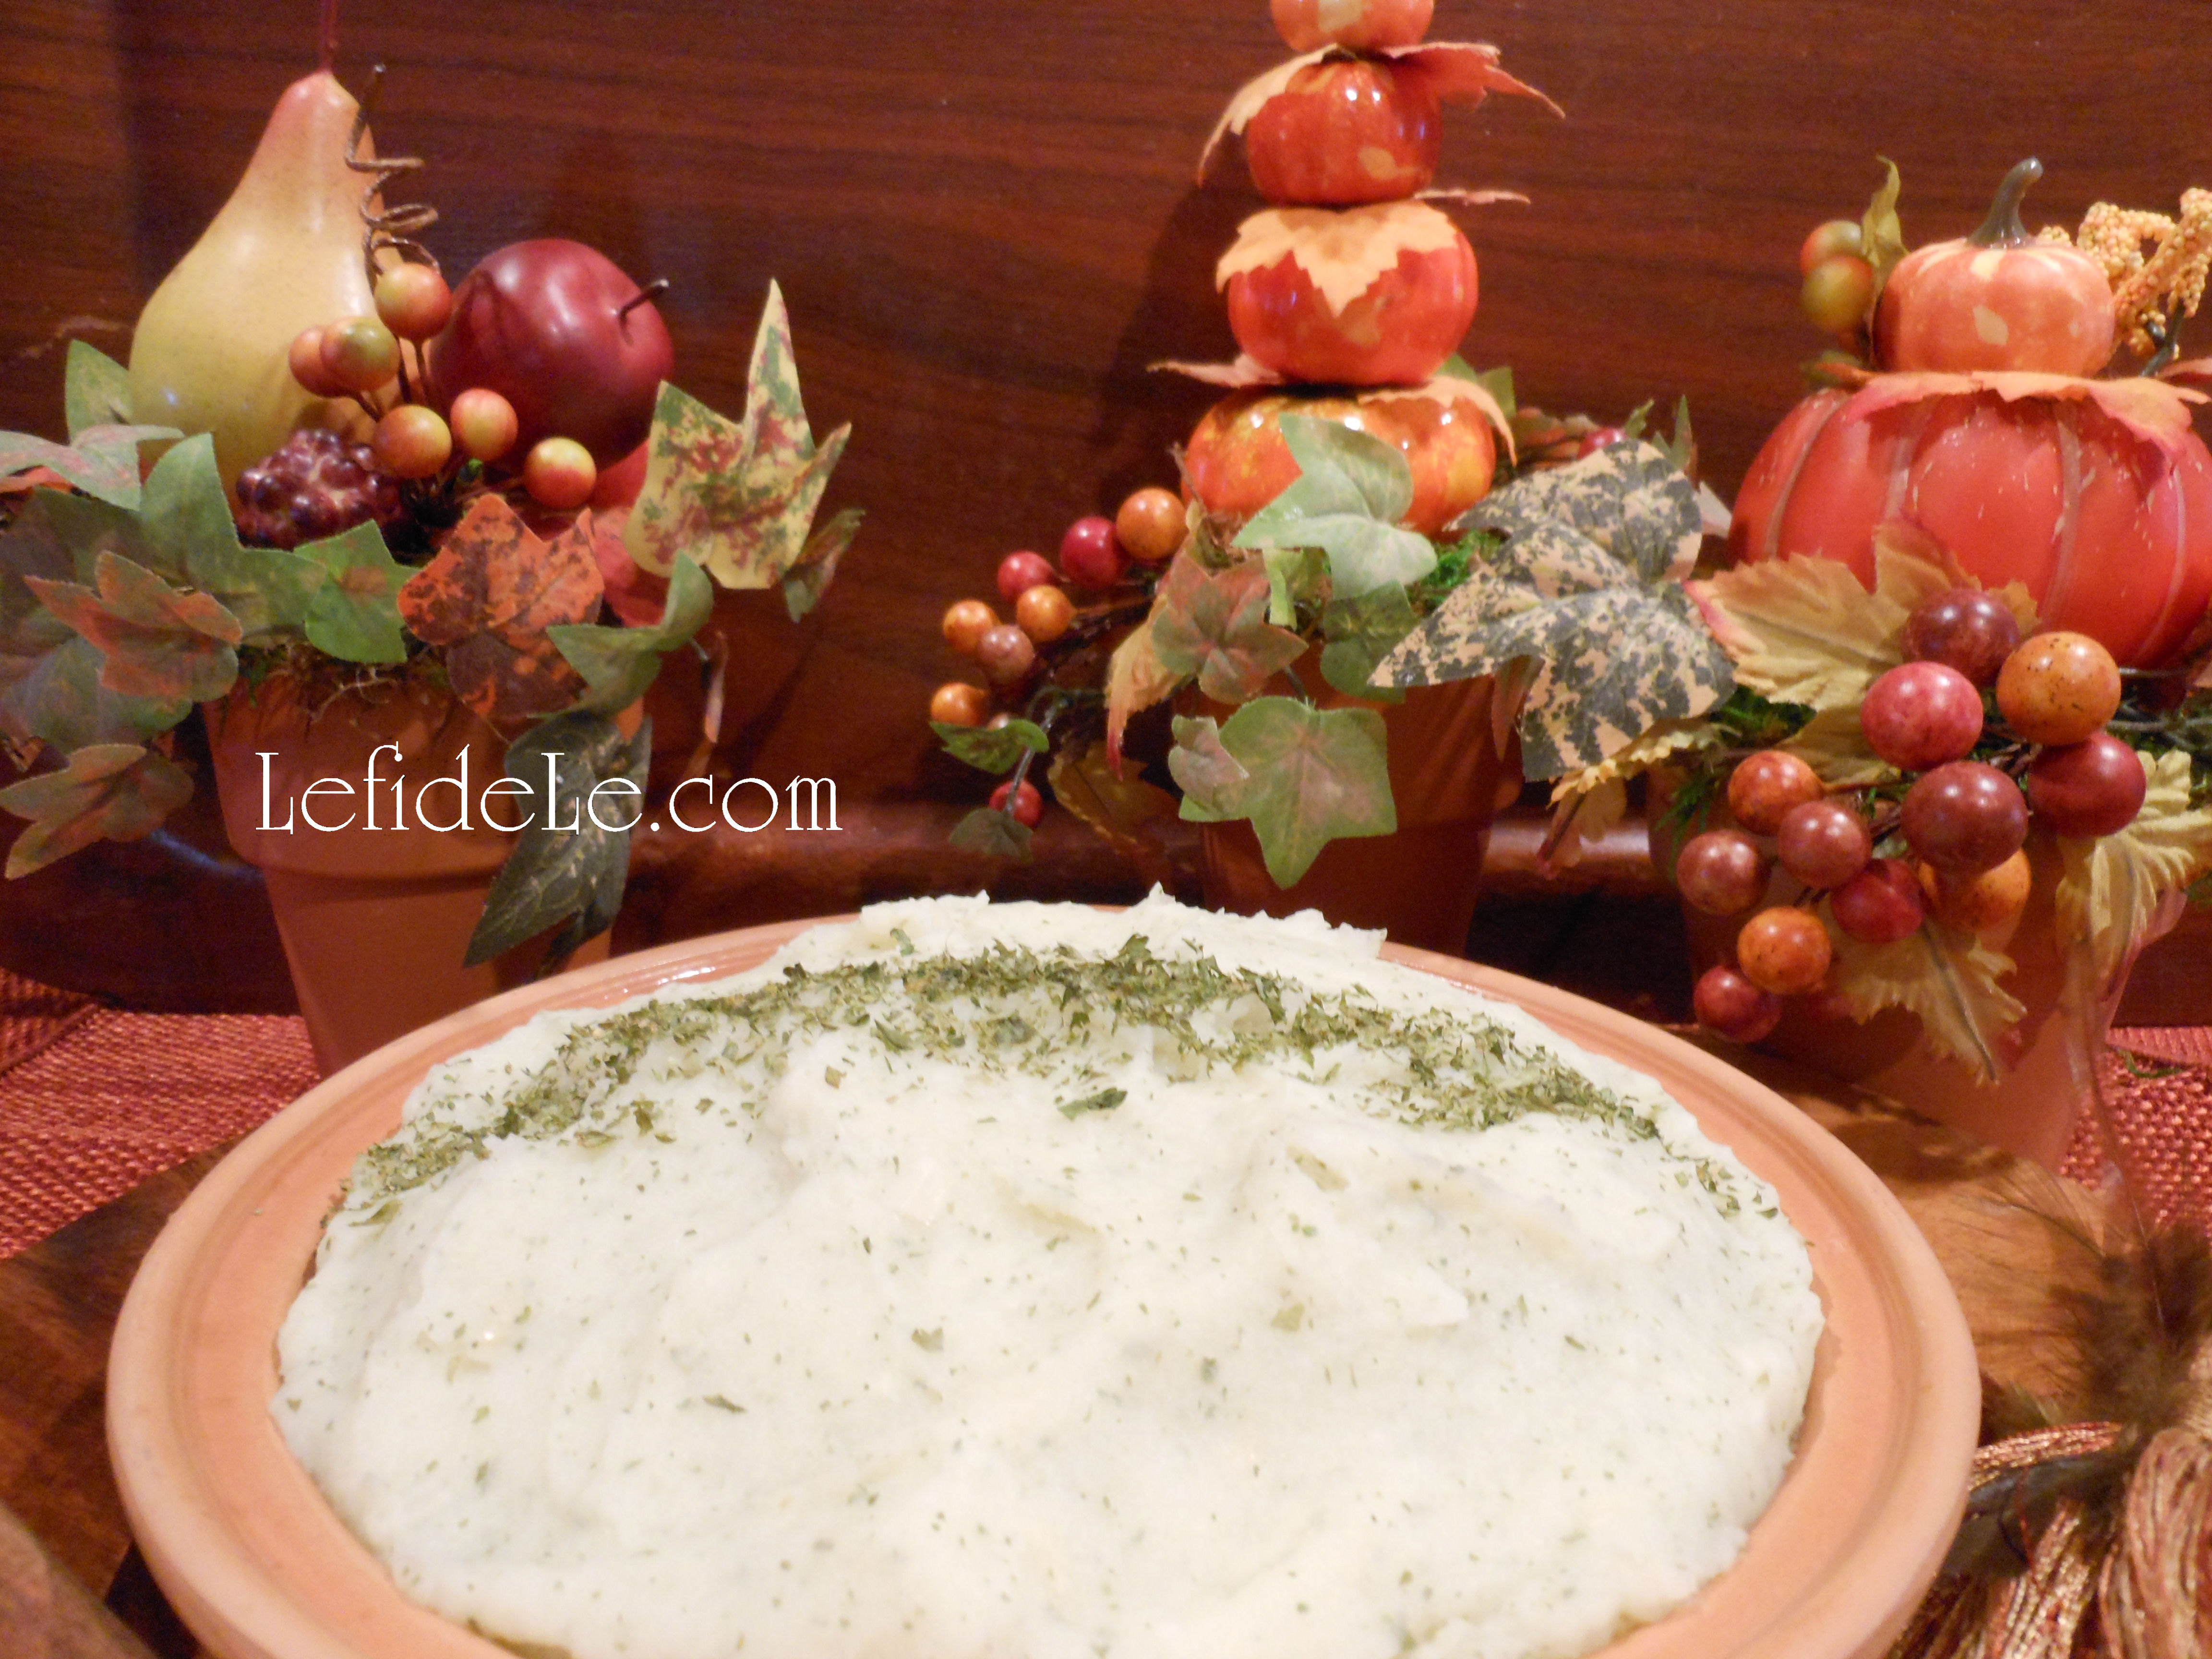
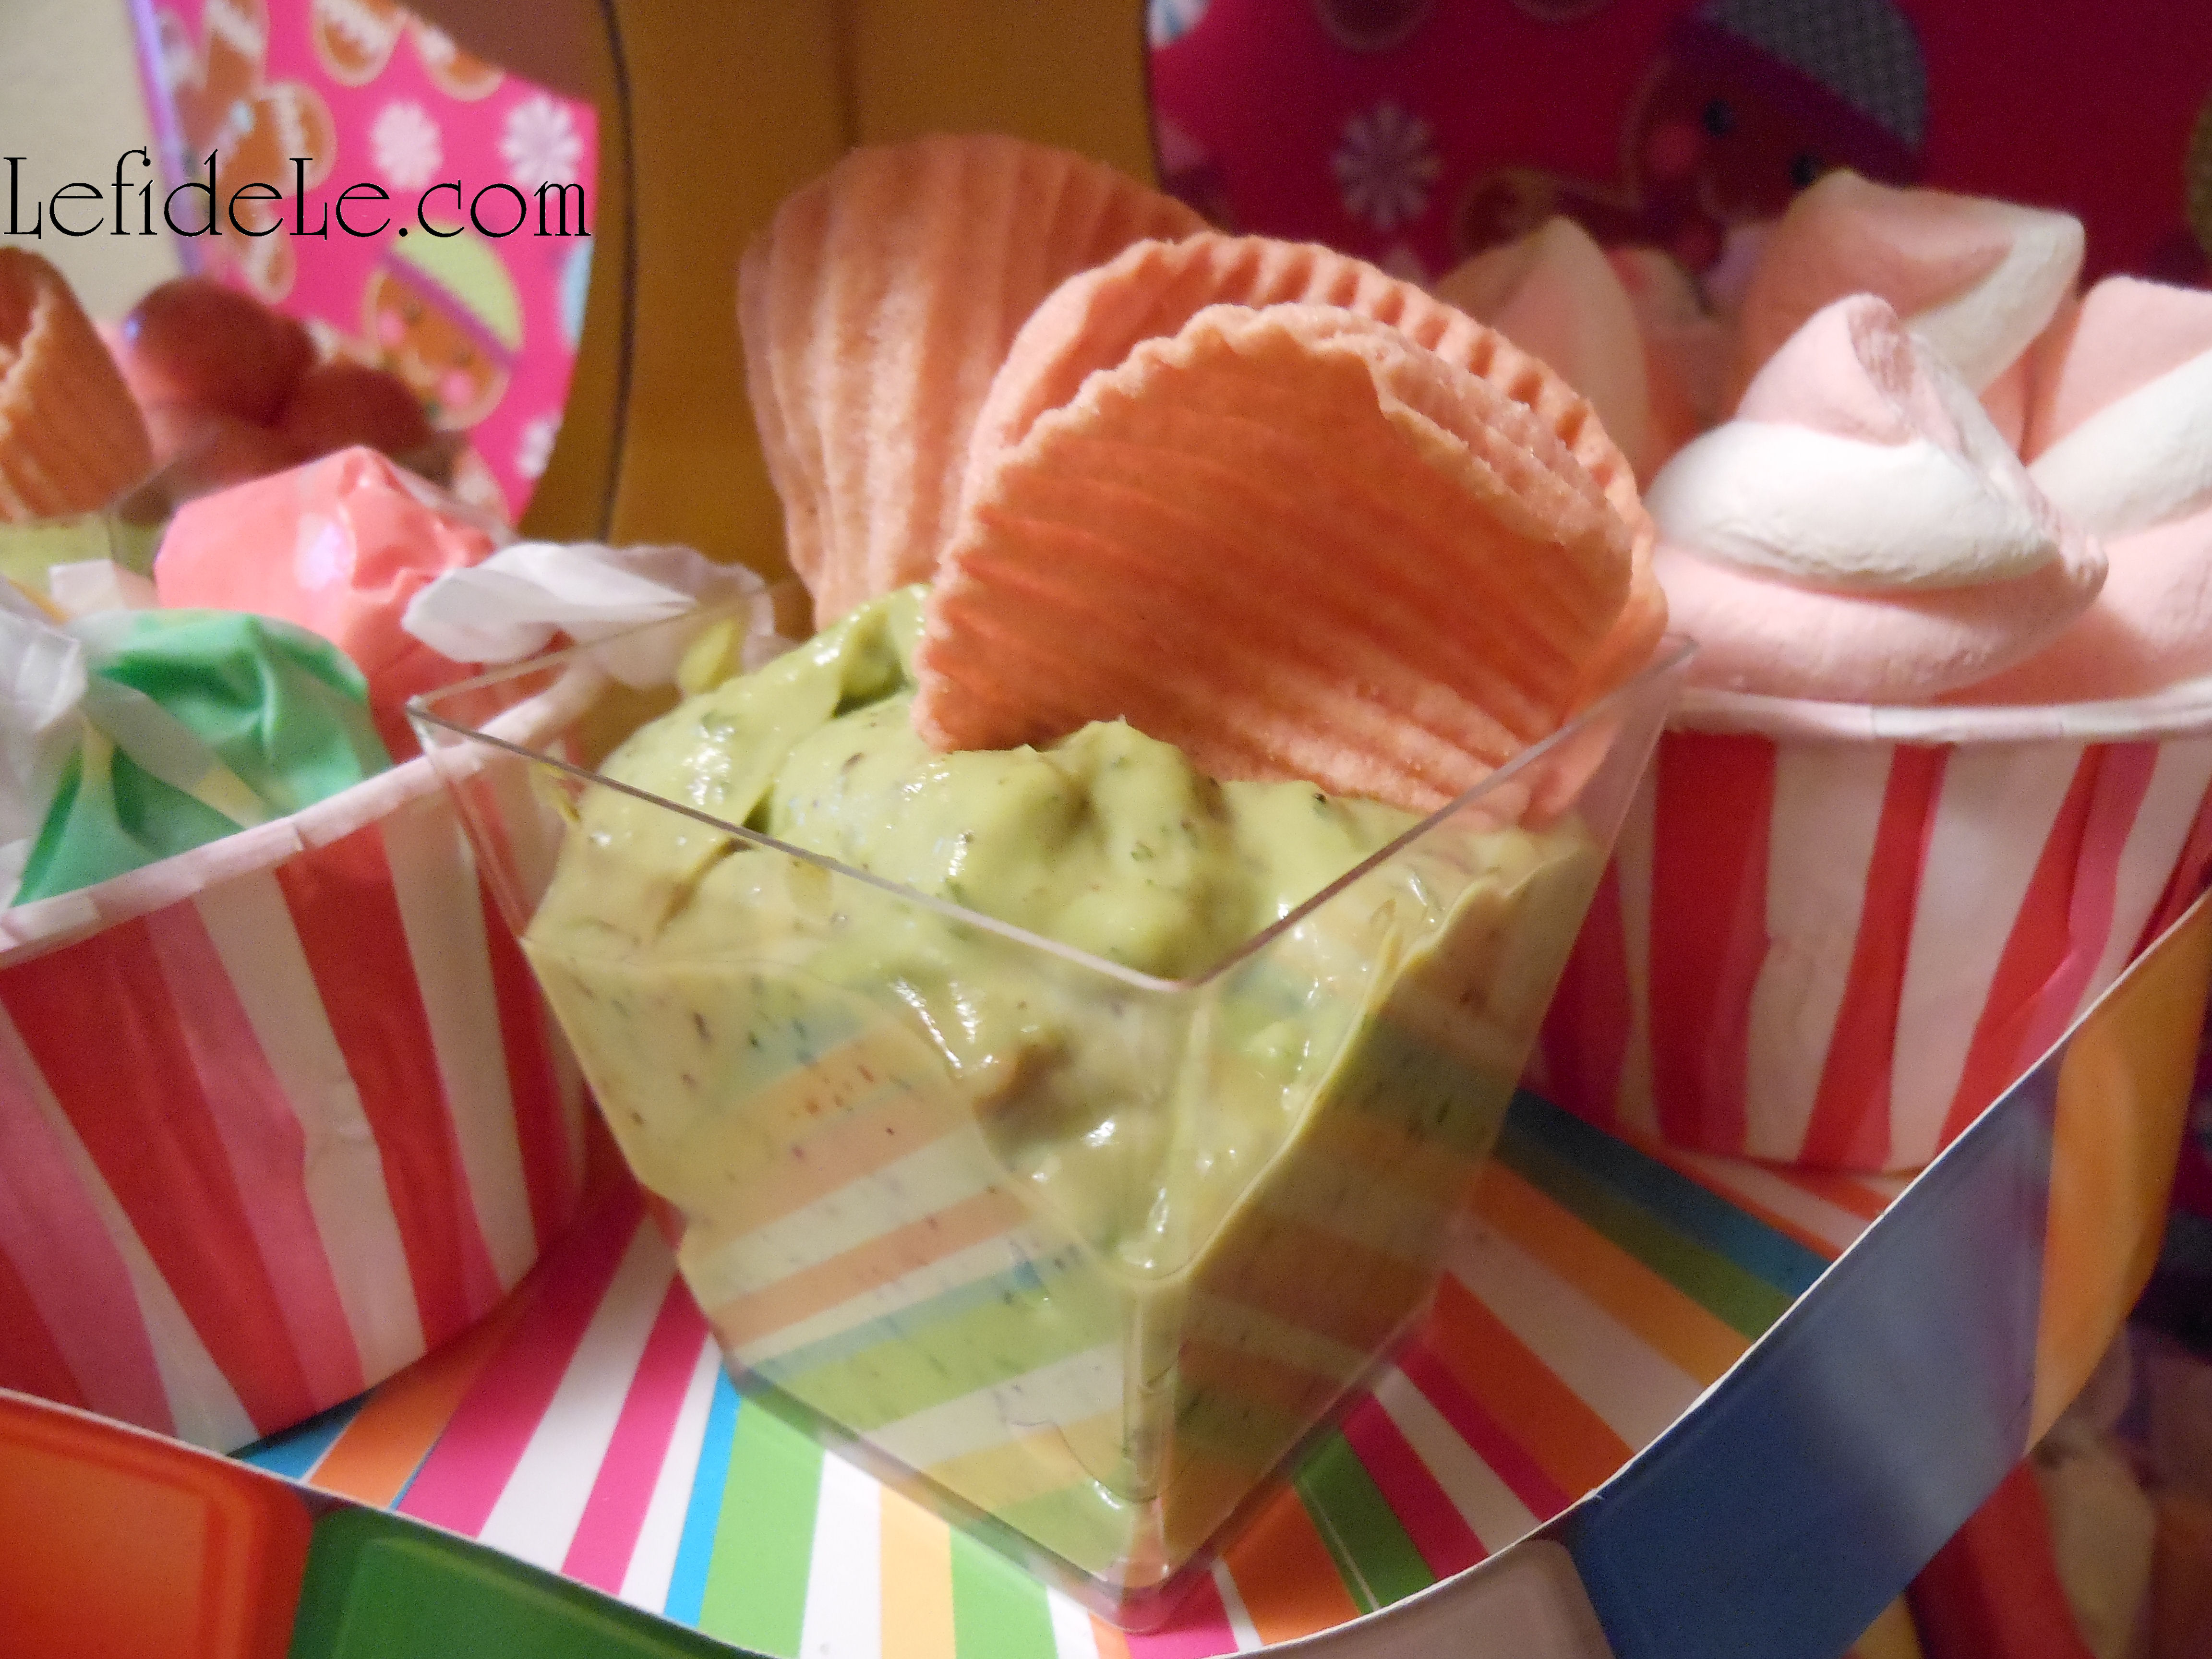
I love upcycling free elements into something useful… and I do mean free because this project cost me nothing as the cans were just a leftover bonus from my dinner menu. The project made perfect use of the small tomato paste cans used in my recipes. (See my Meatloaf Cupcakes here, and my Nacho Average Fiesta Dip Here.) Waste not, want not… right?!

186Leigh

The best way to open the cans is by using an opener that doesn’t create a sharp edge, but rather a smooth top separated from the sides. Several well known brands sell this type of safe can opener. After washing the cans well, fill them with water, and place in the freezer overnight. Yes, you read that correctly. The ice is so much easier to hammer into rather than the traditional wooden branch.

SmallLuminariaPatternsLeigh

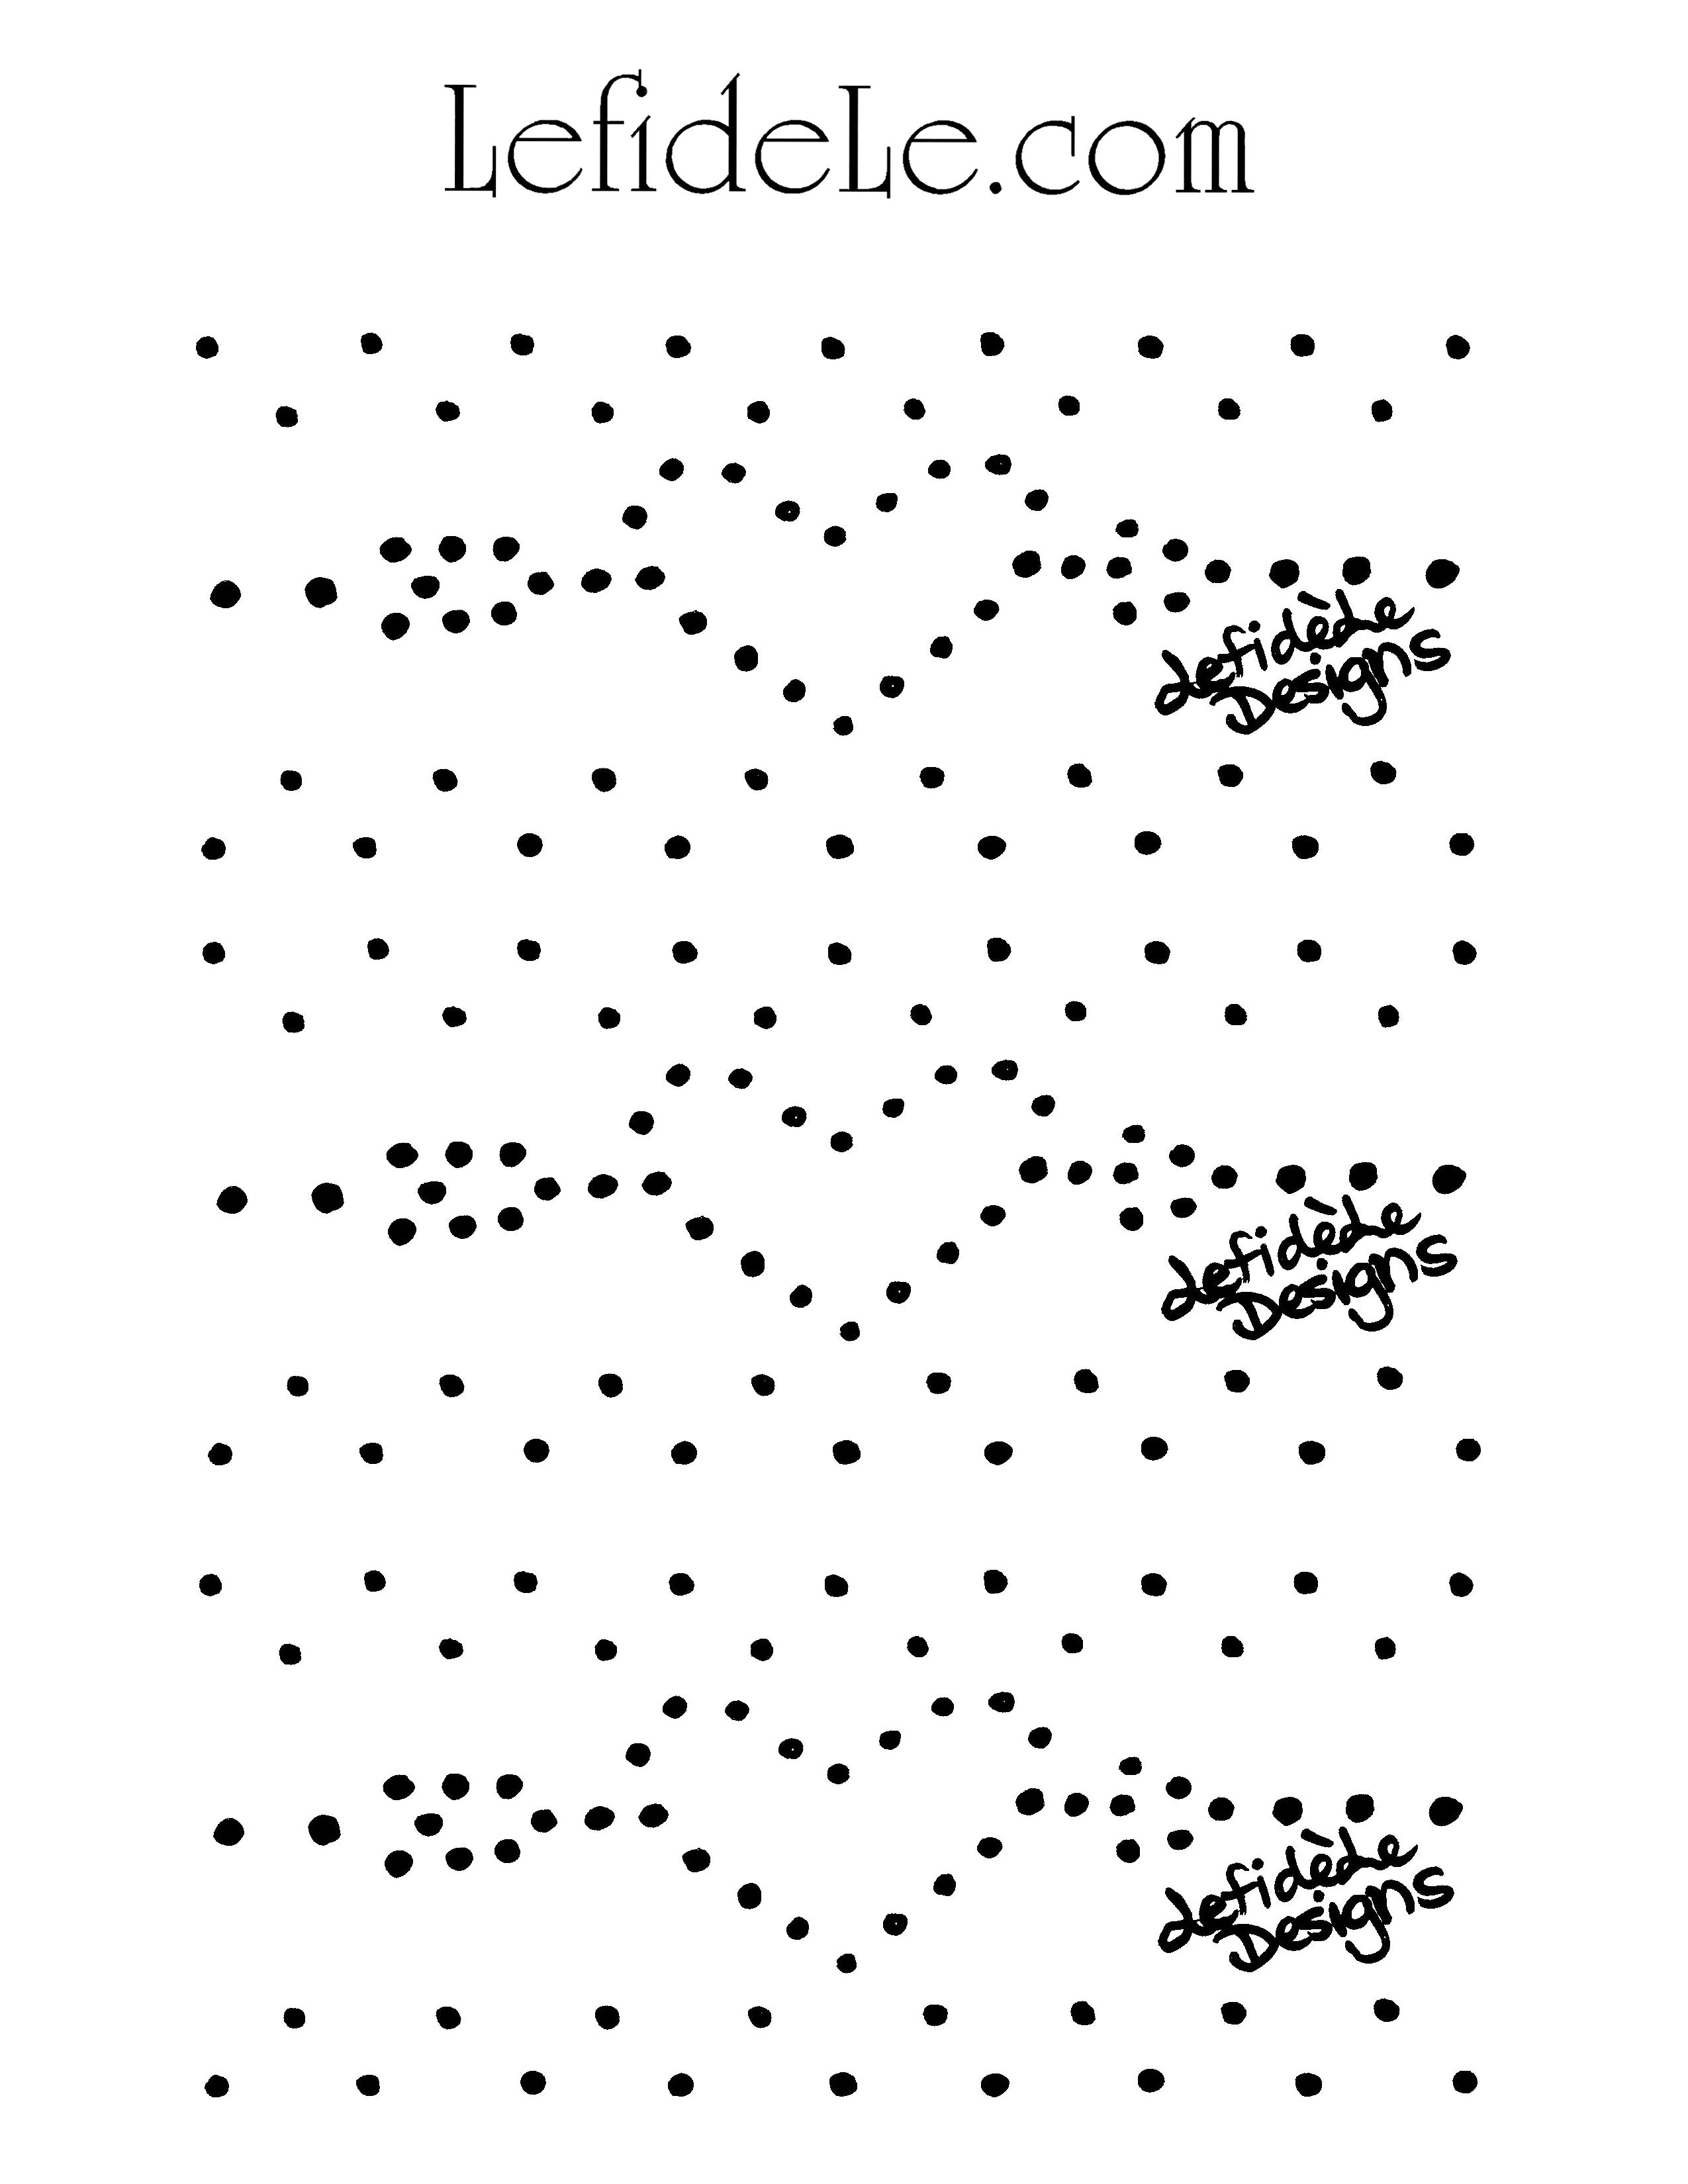
While they’re freezing, print my piercing template (free for personal use). To do this, right click on the small image and select print. (You can also forgo employing the template, and use a permanent marker to freehand draw your own shapes onto cans before the freezing step.)

183Leigh

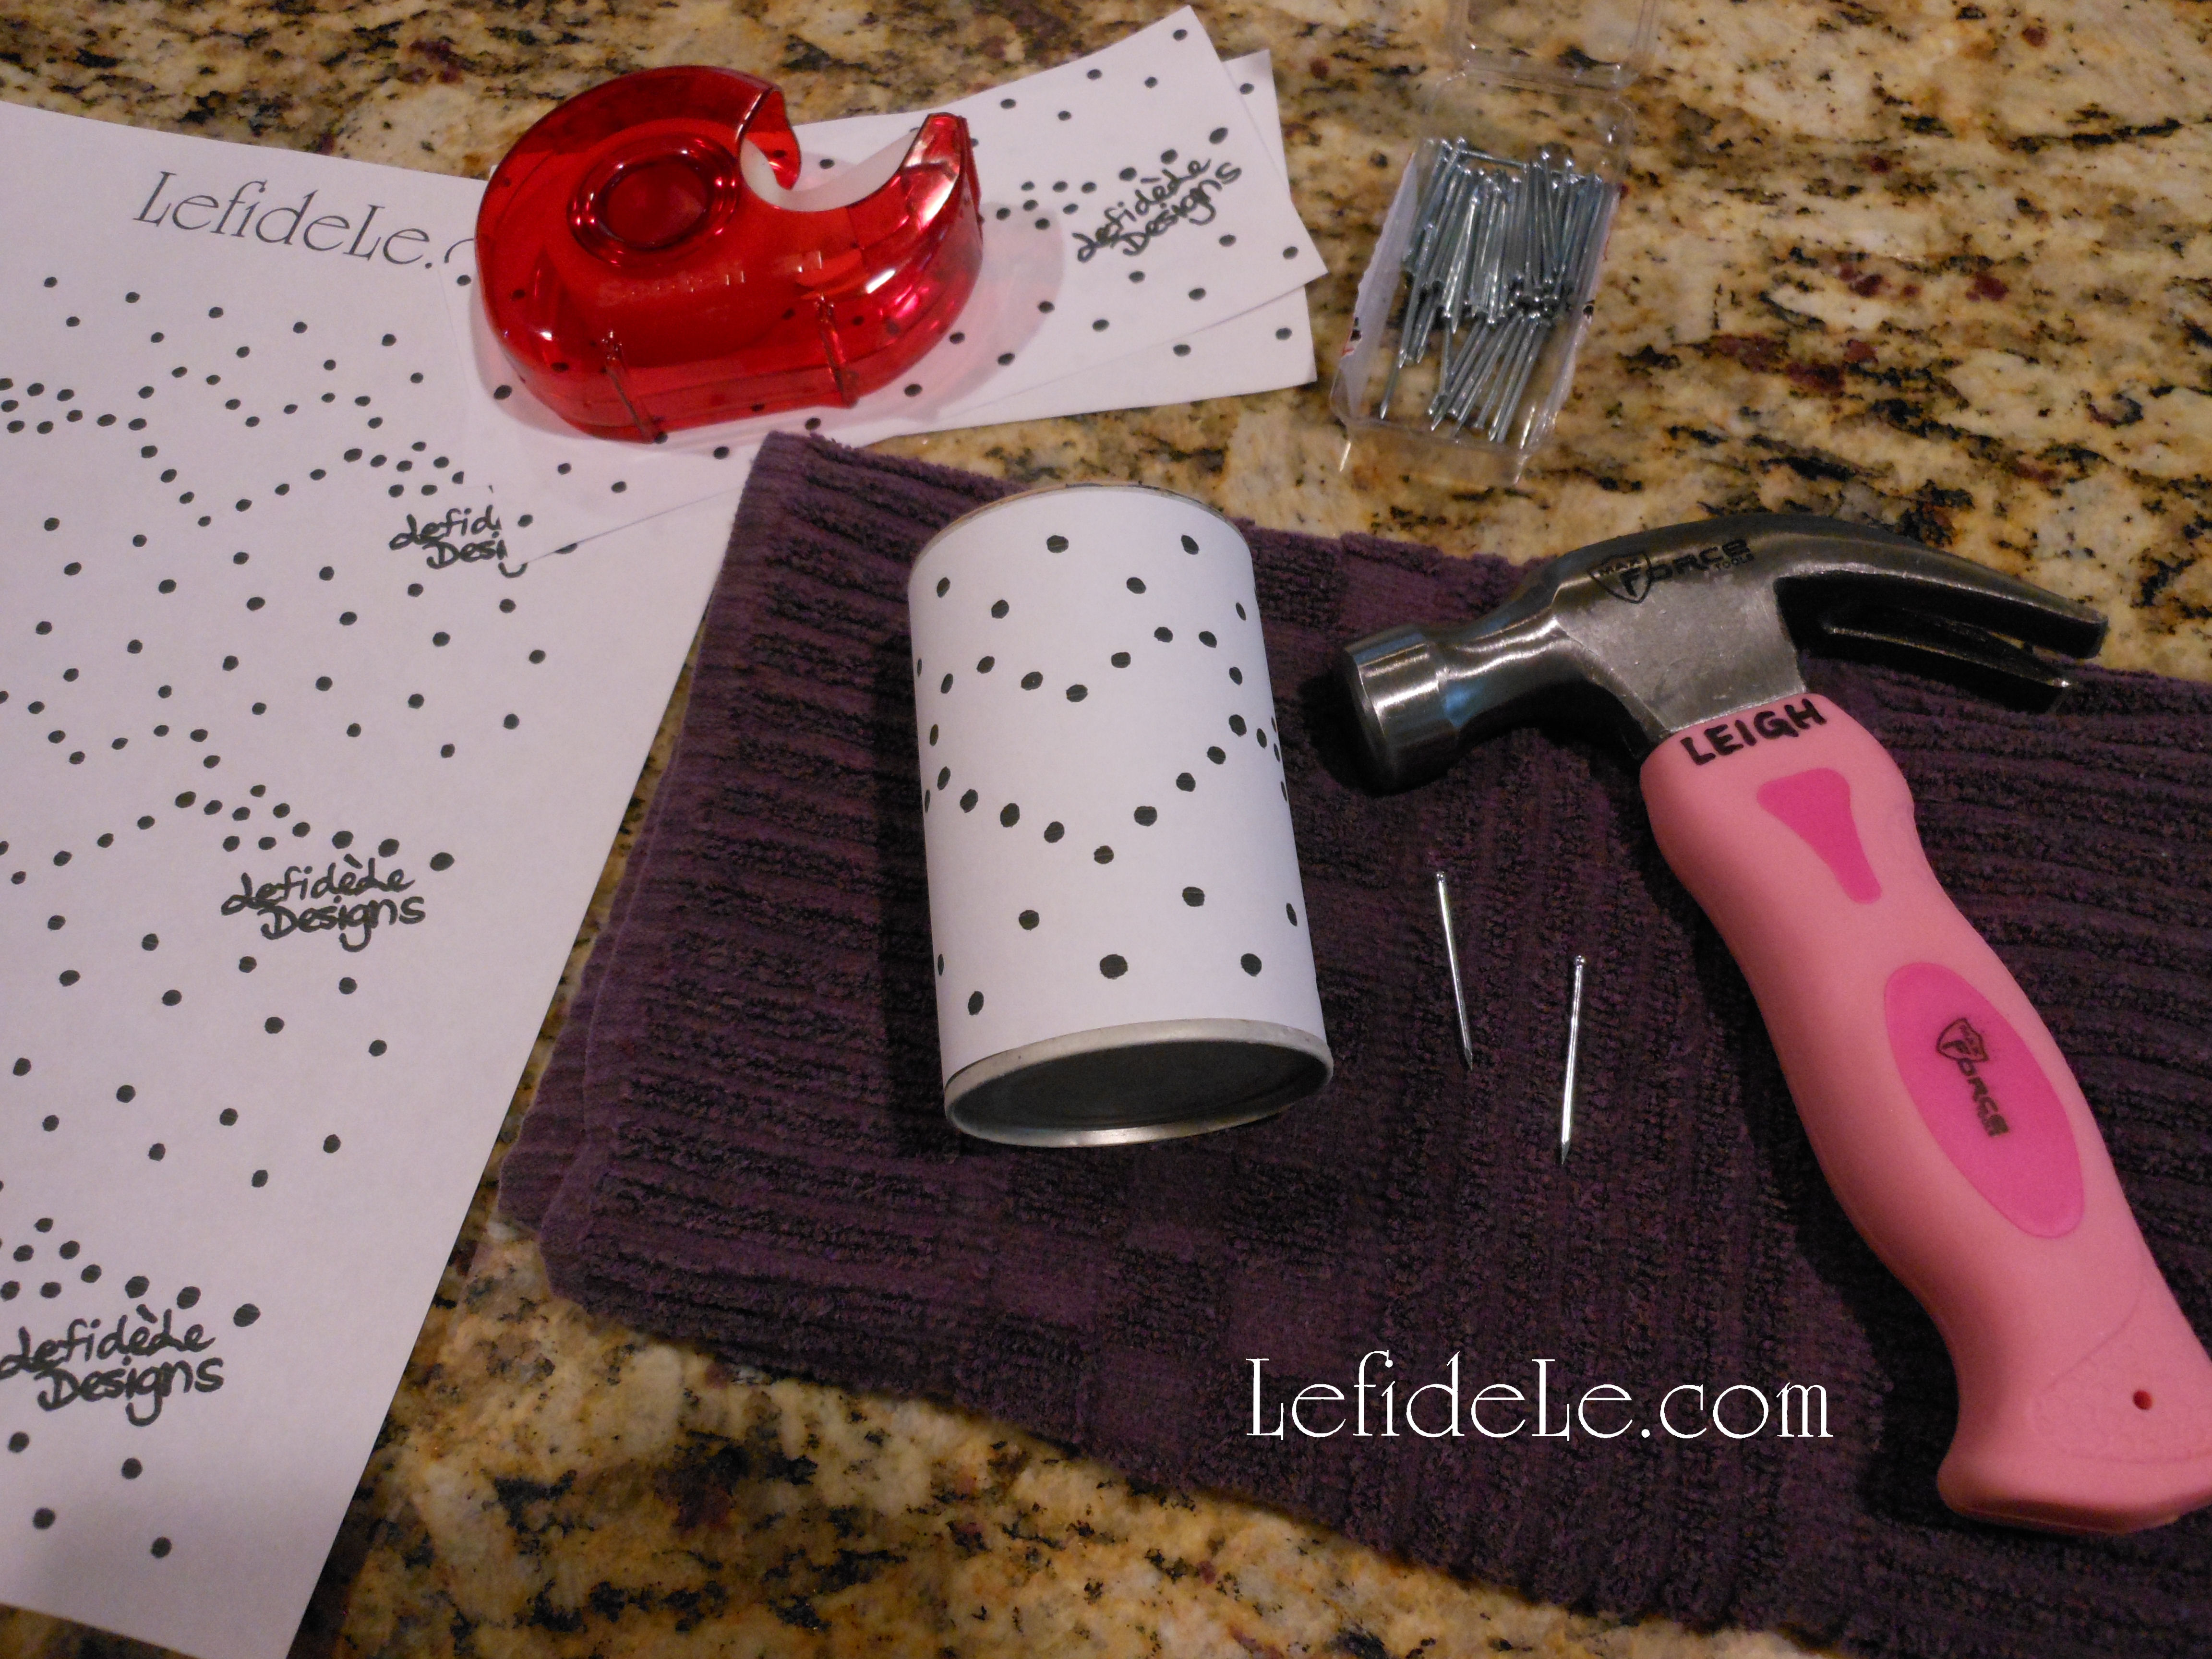
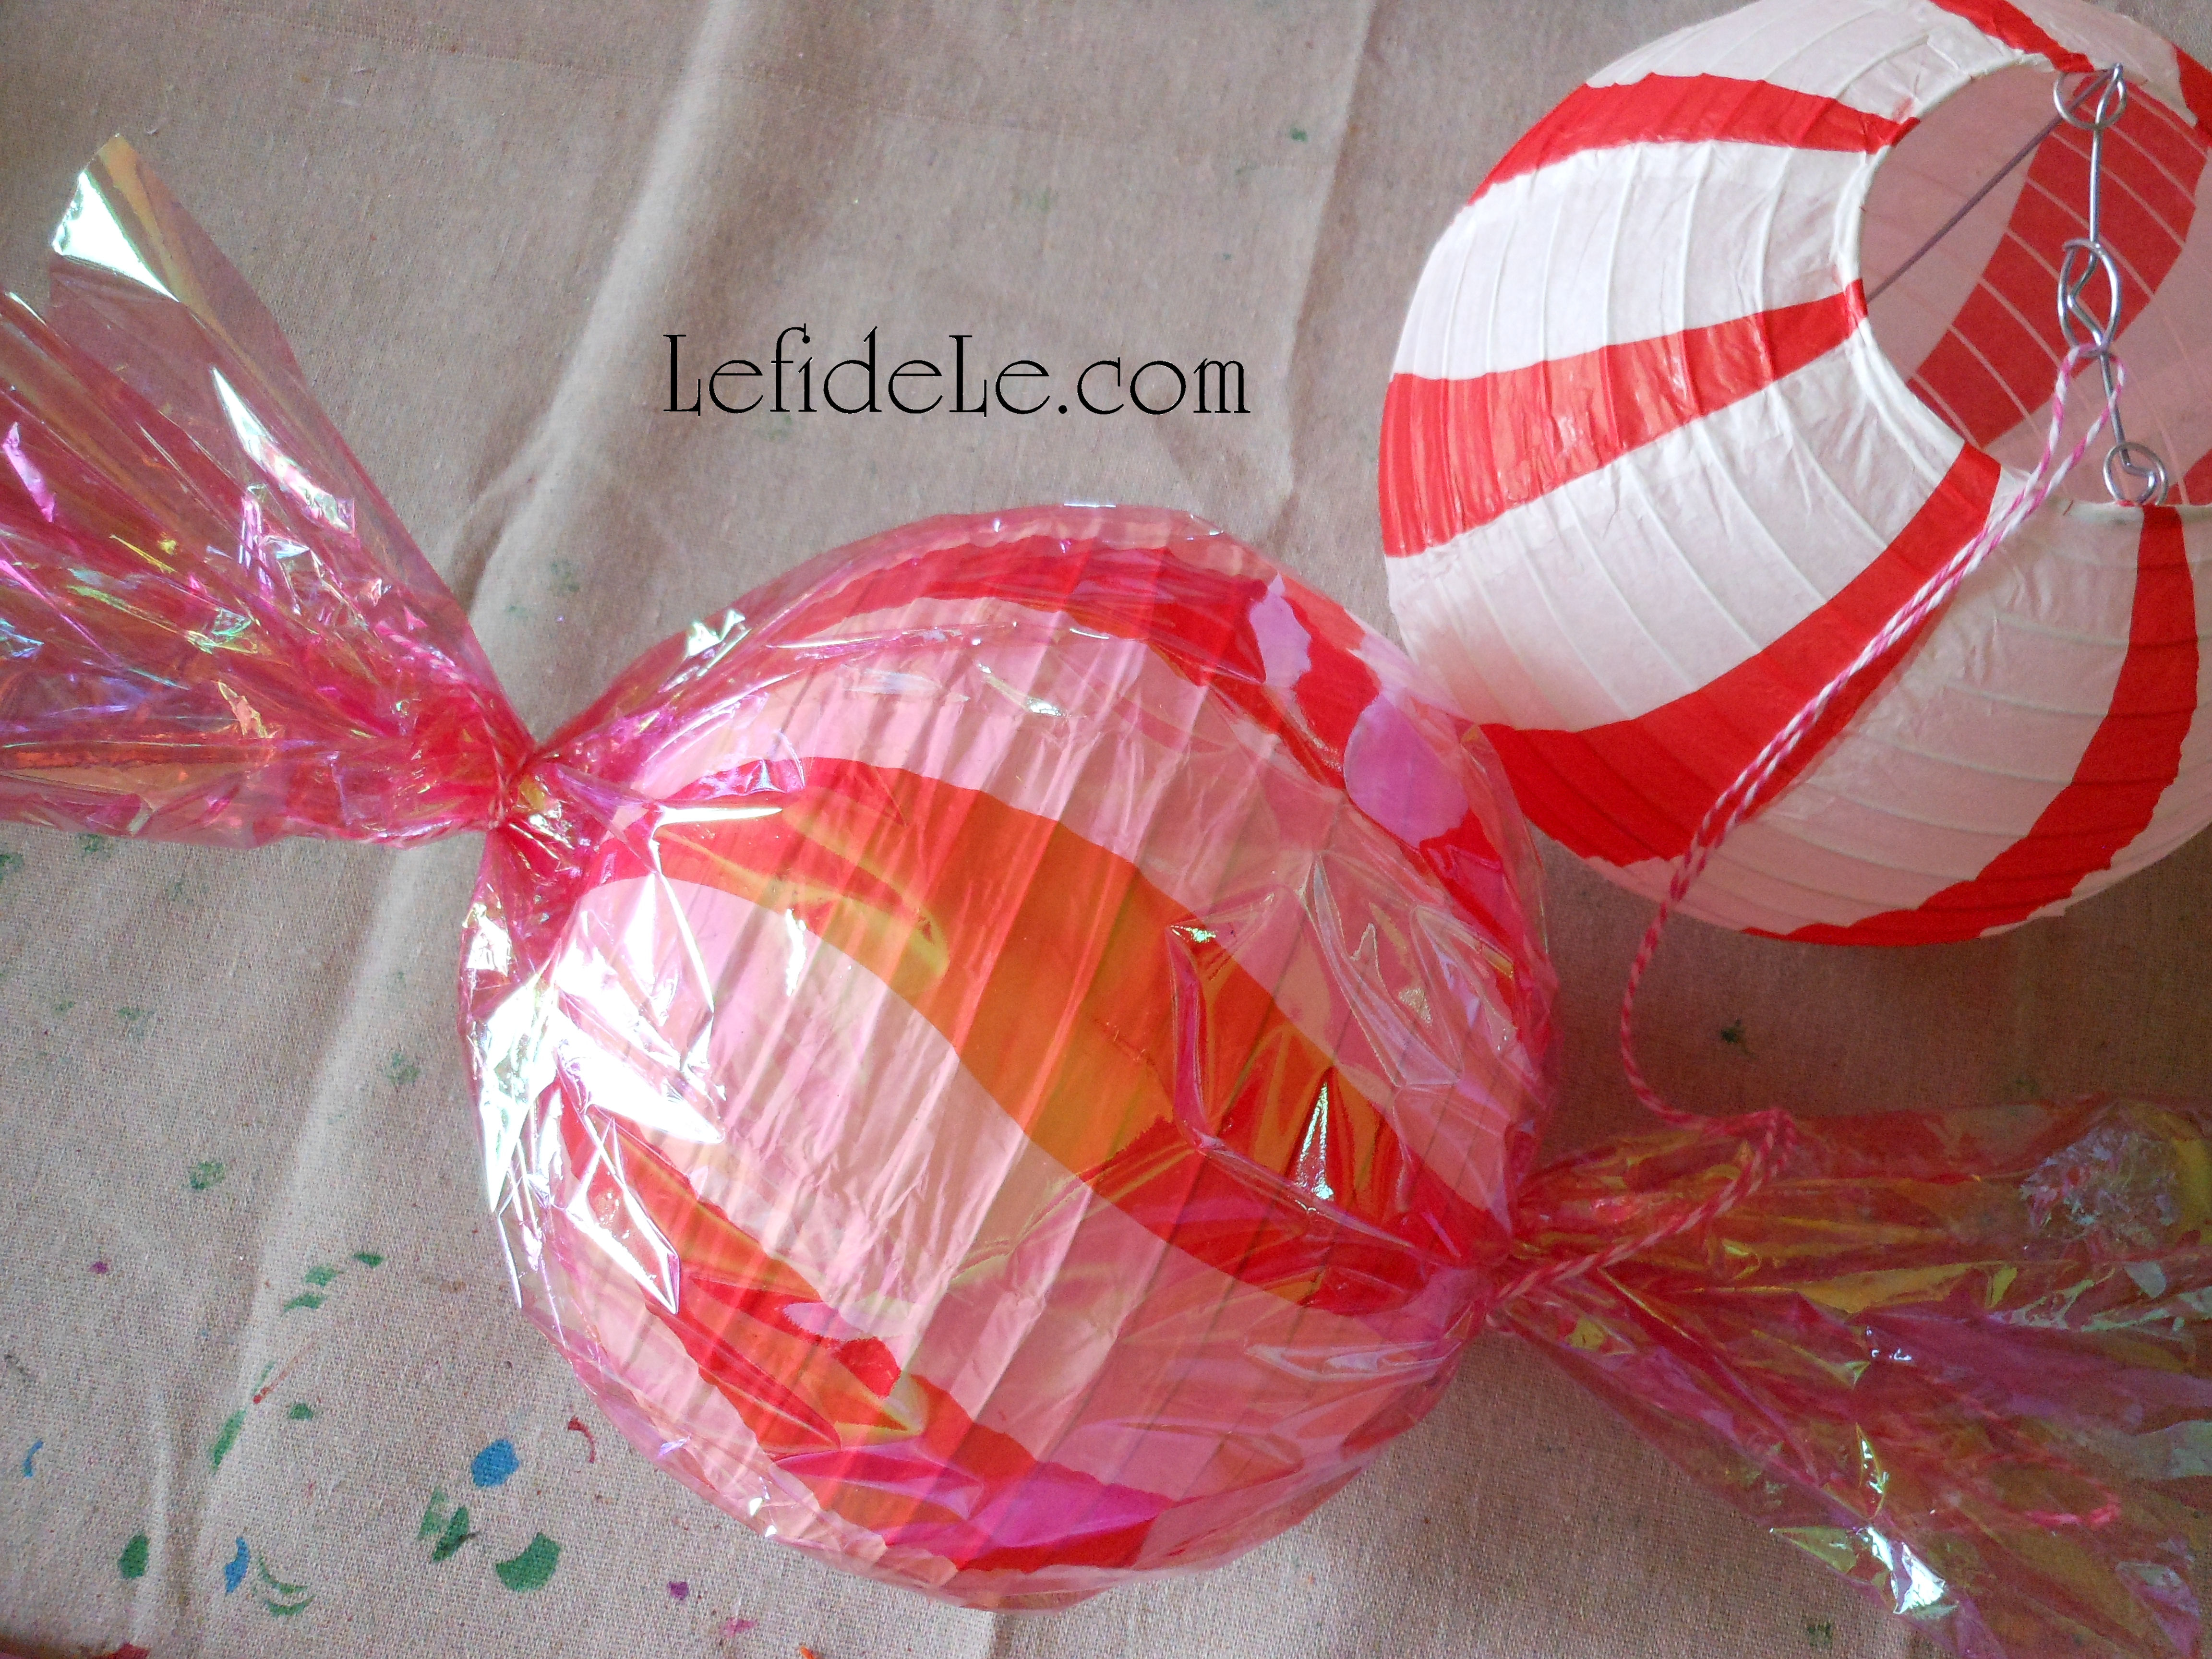
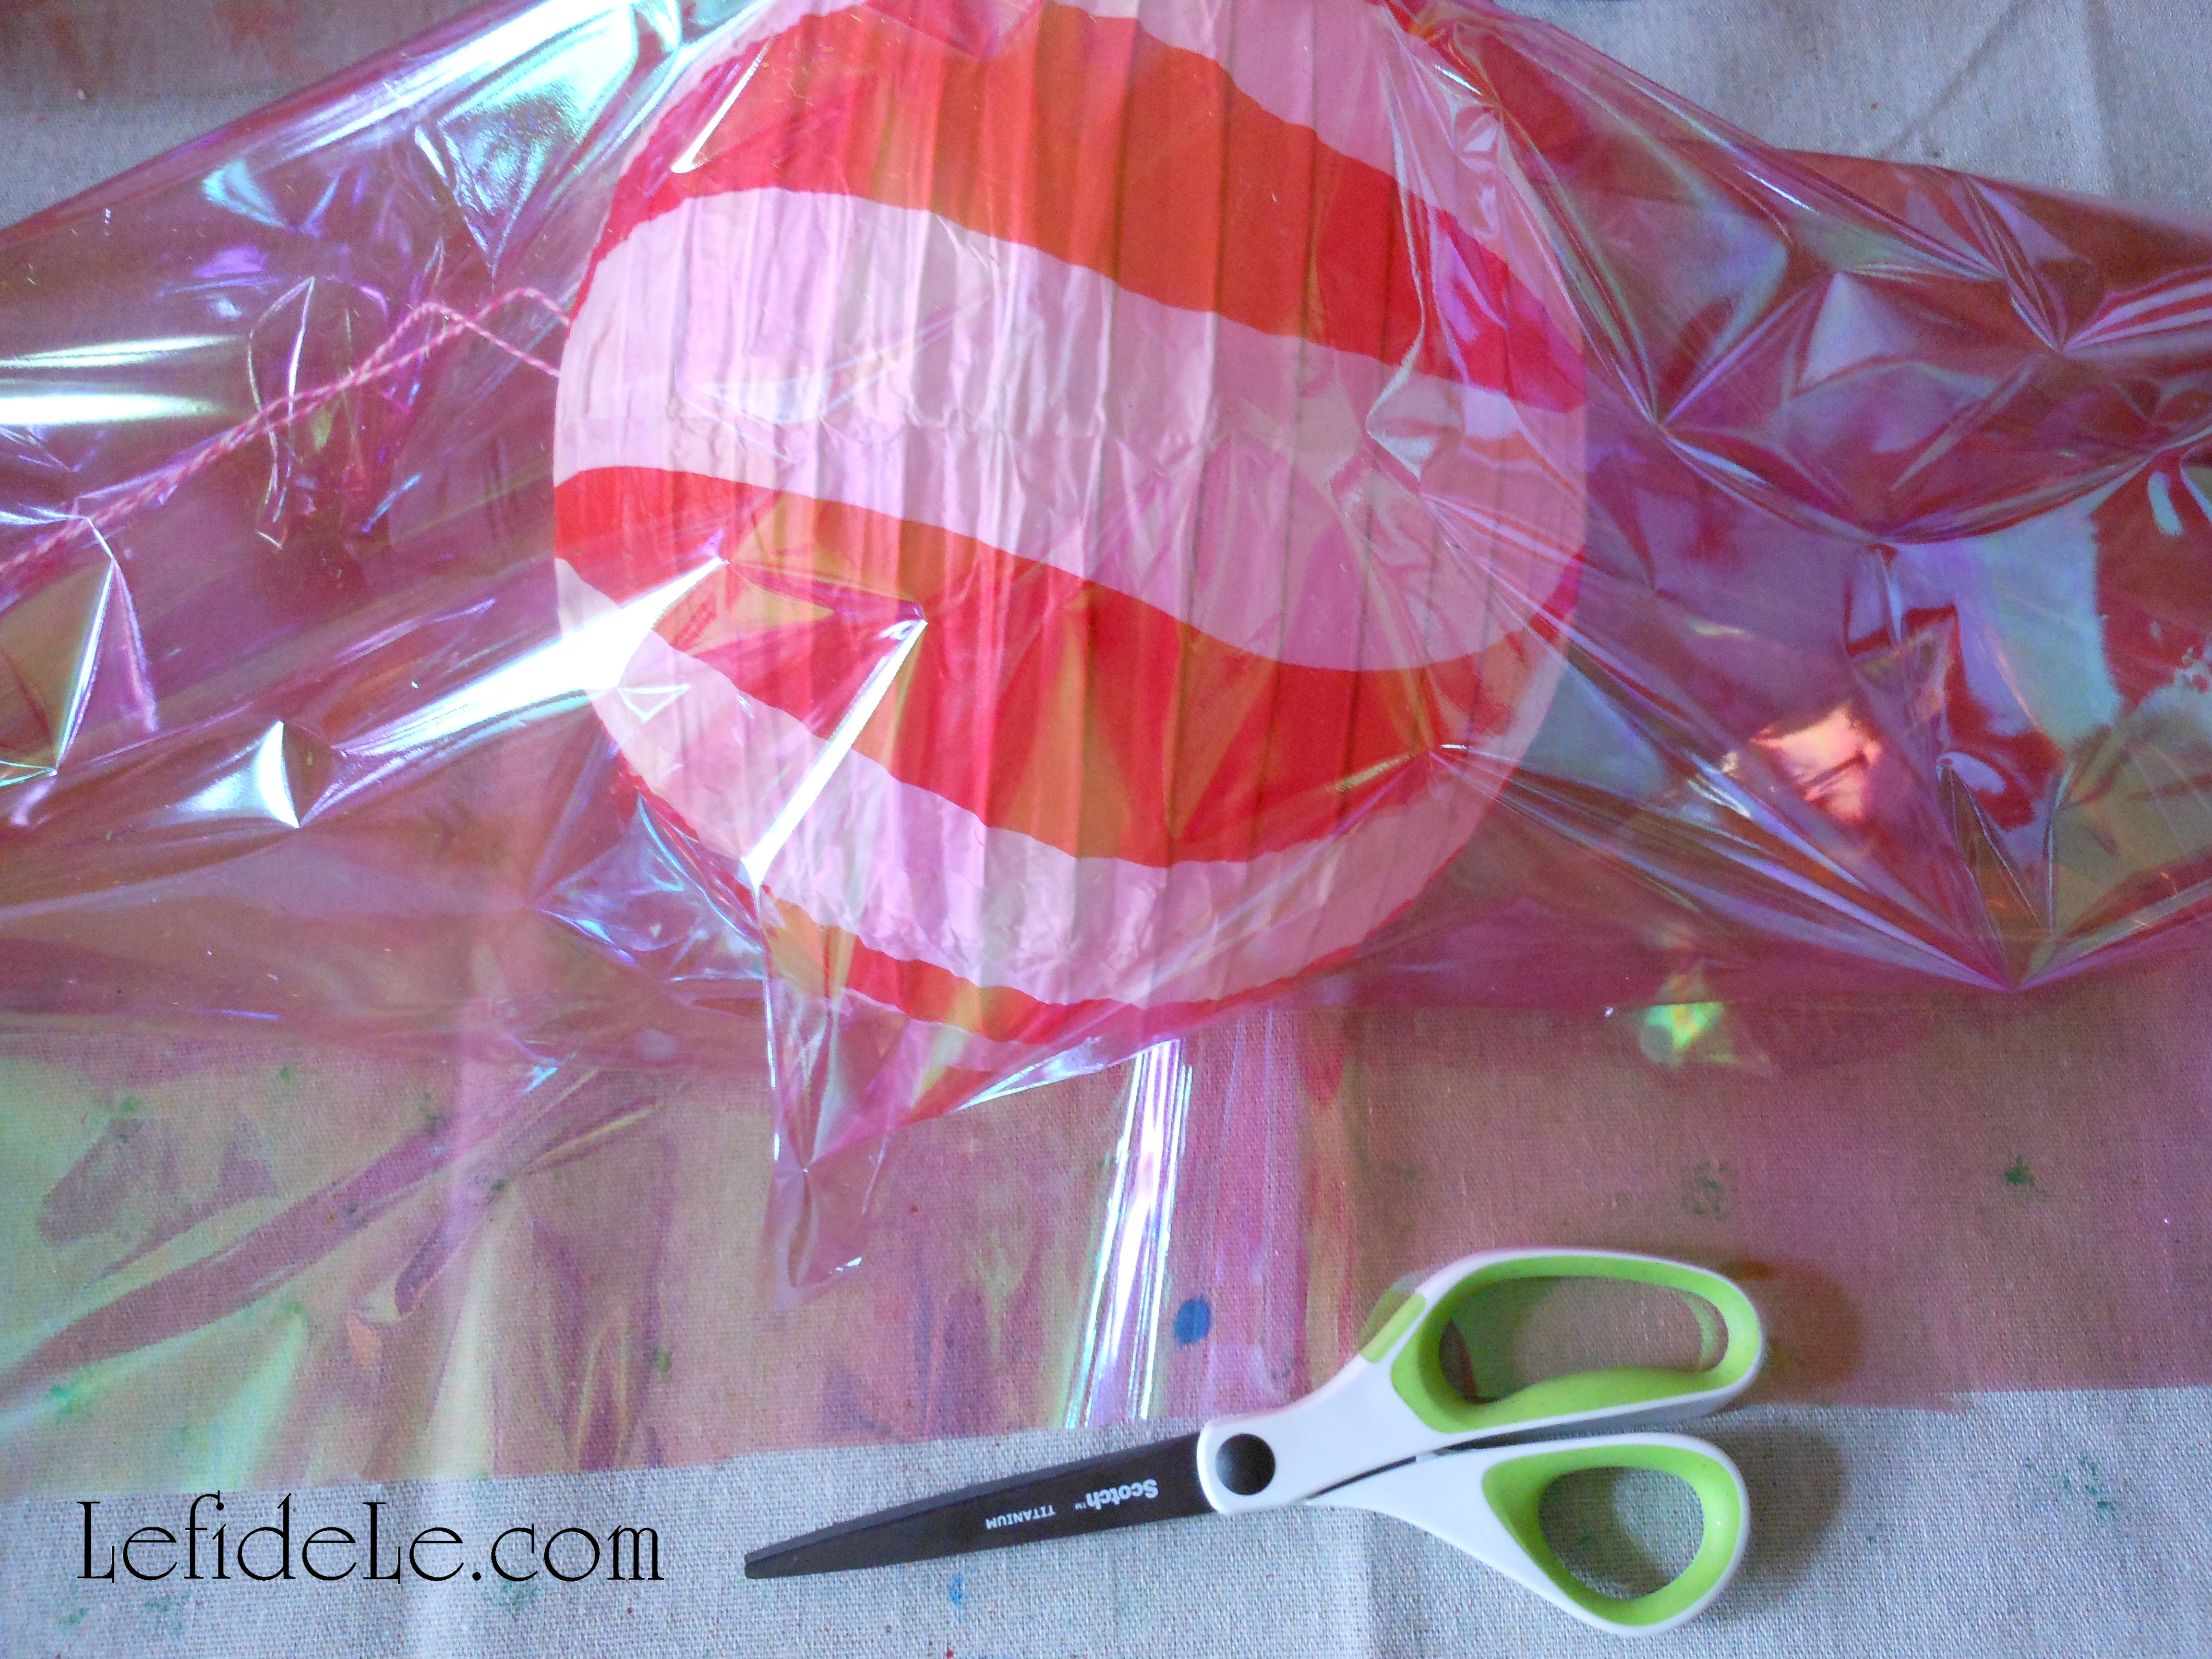
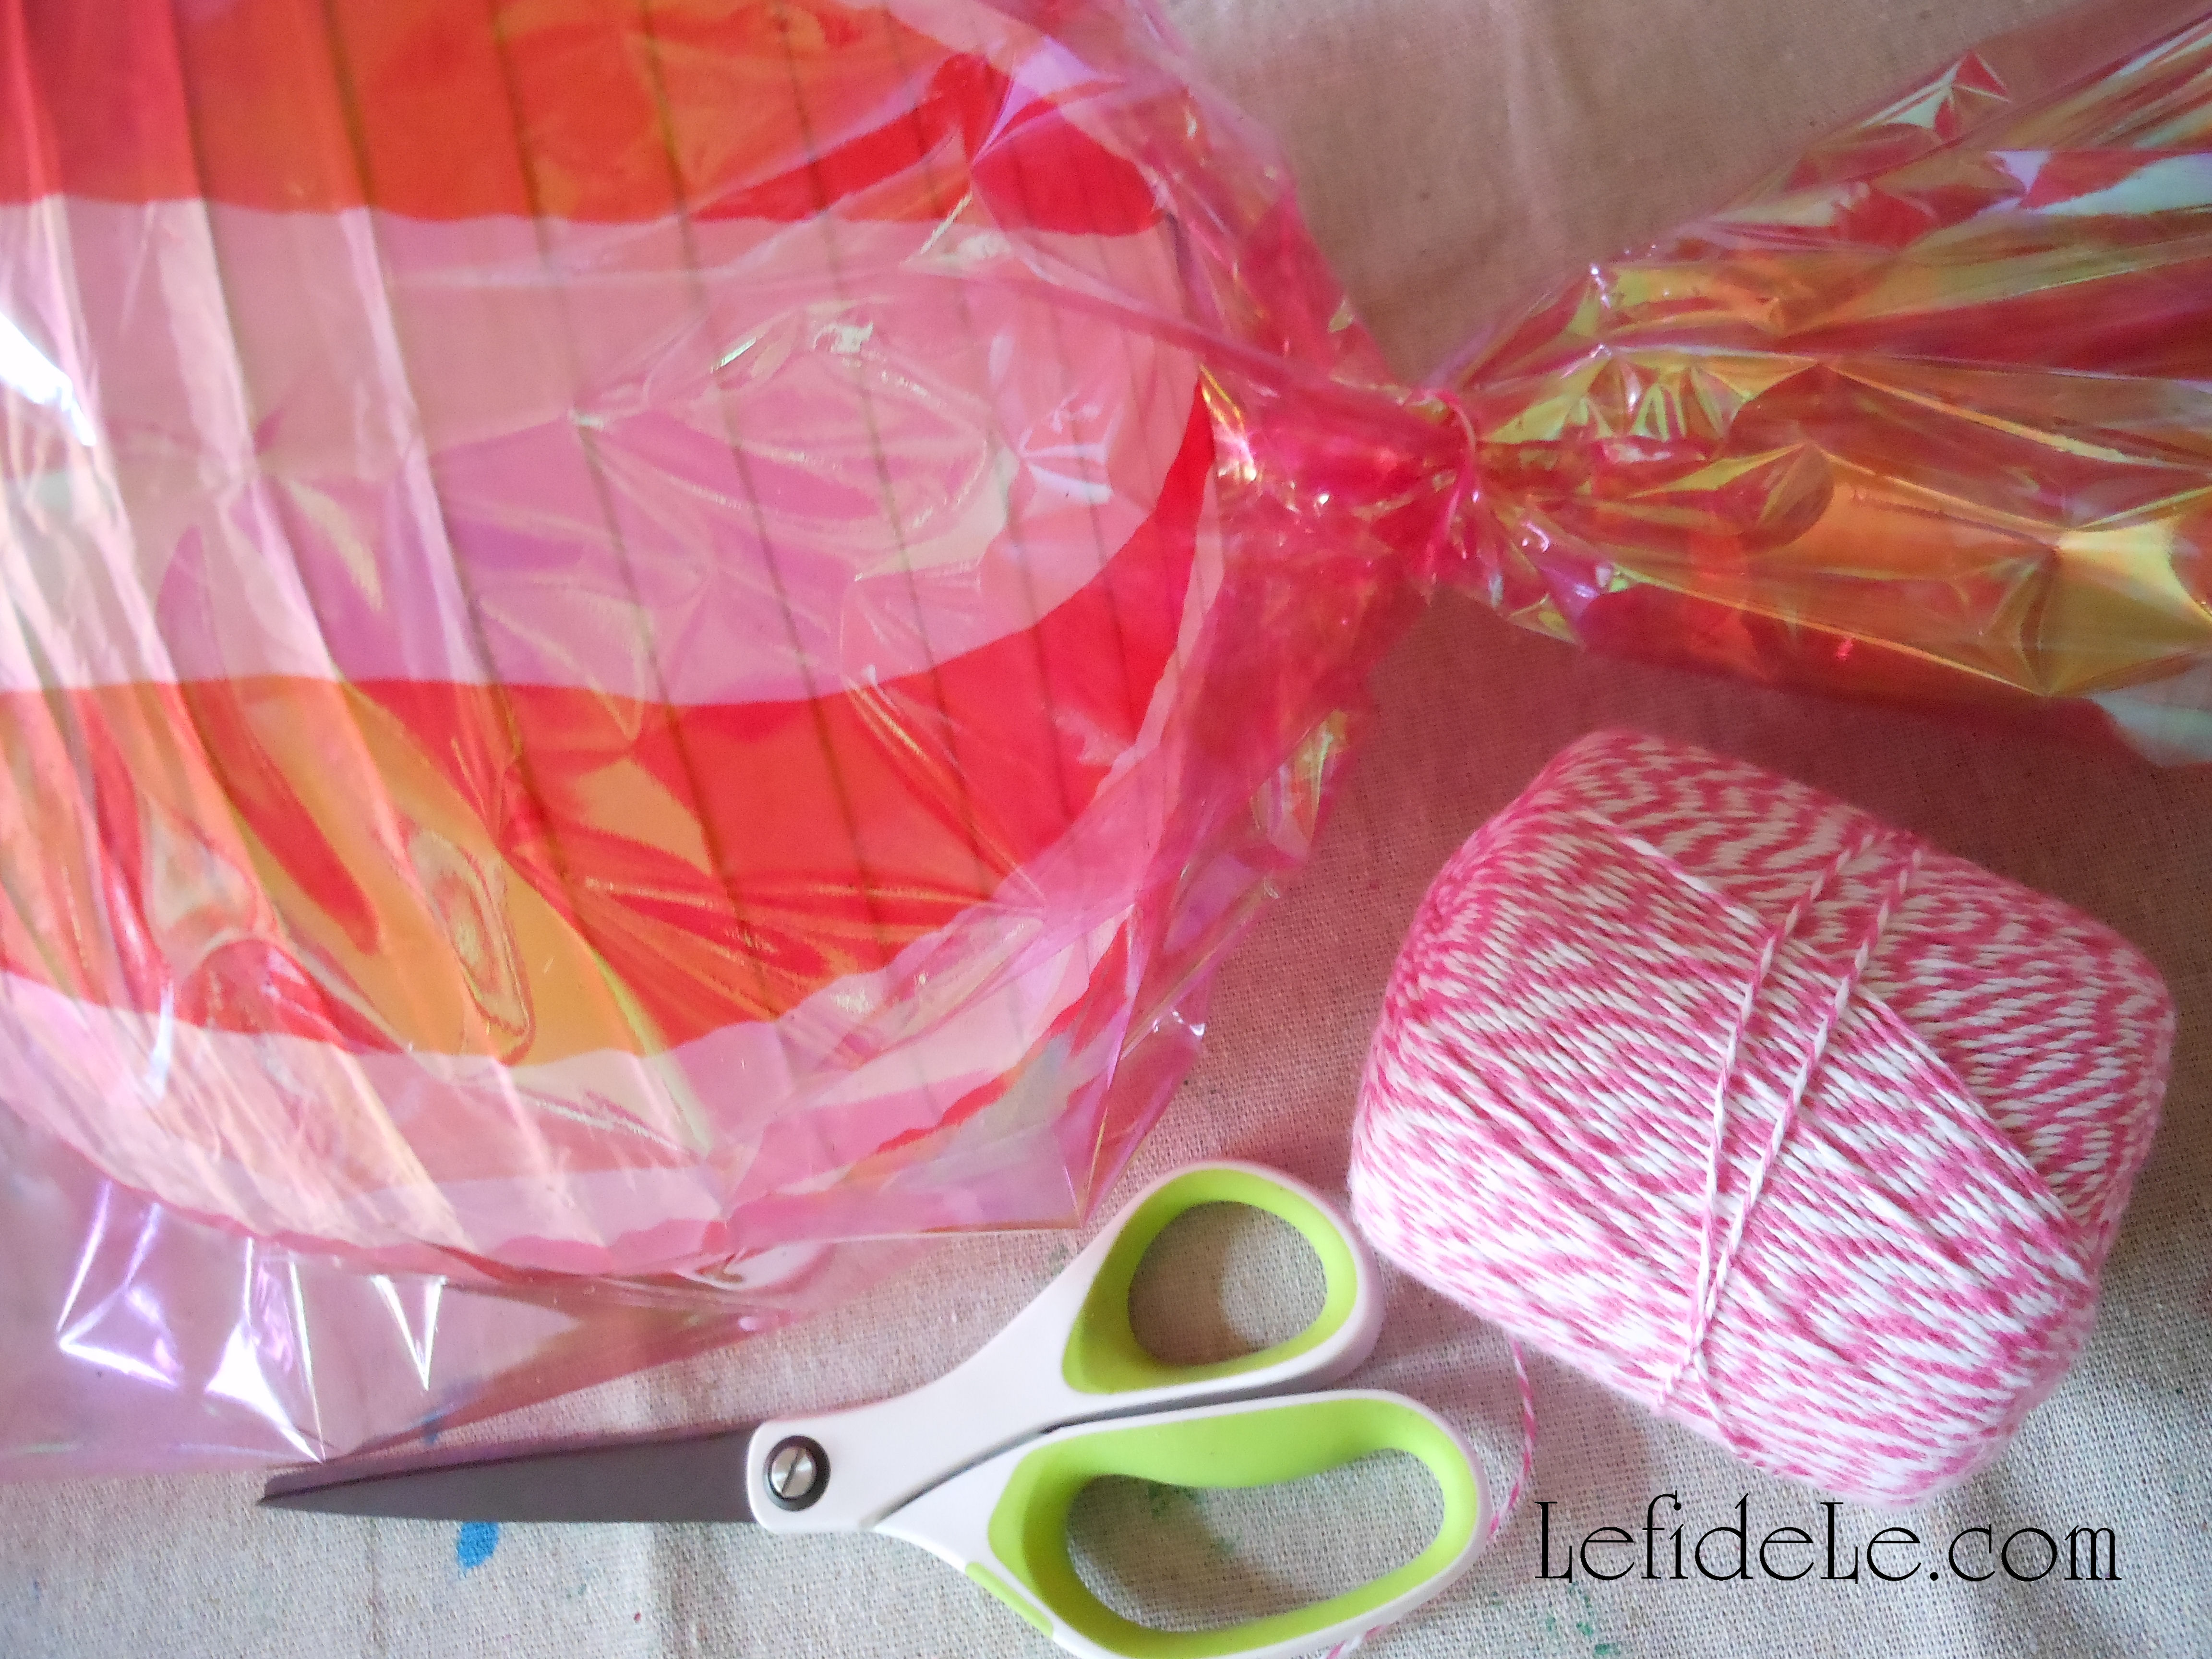
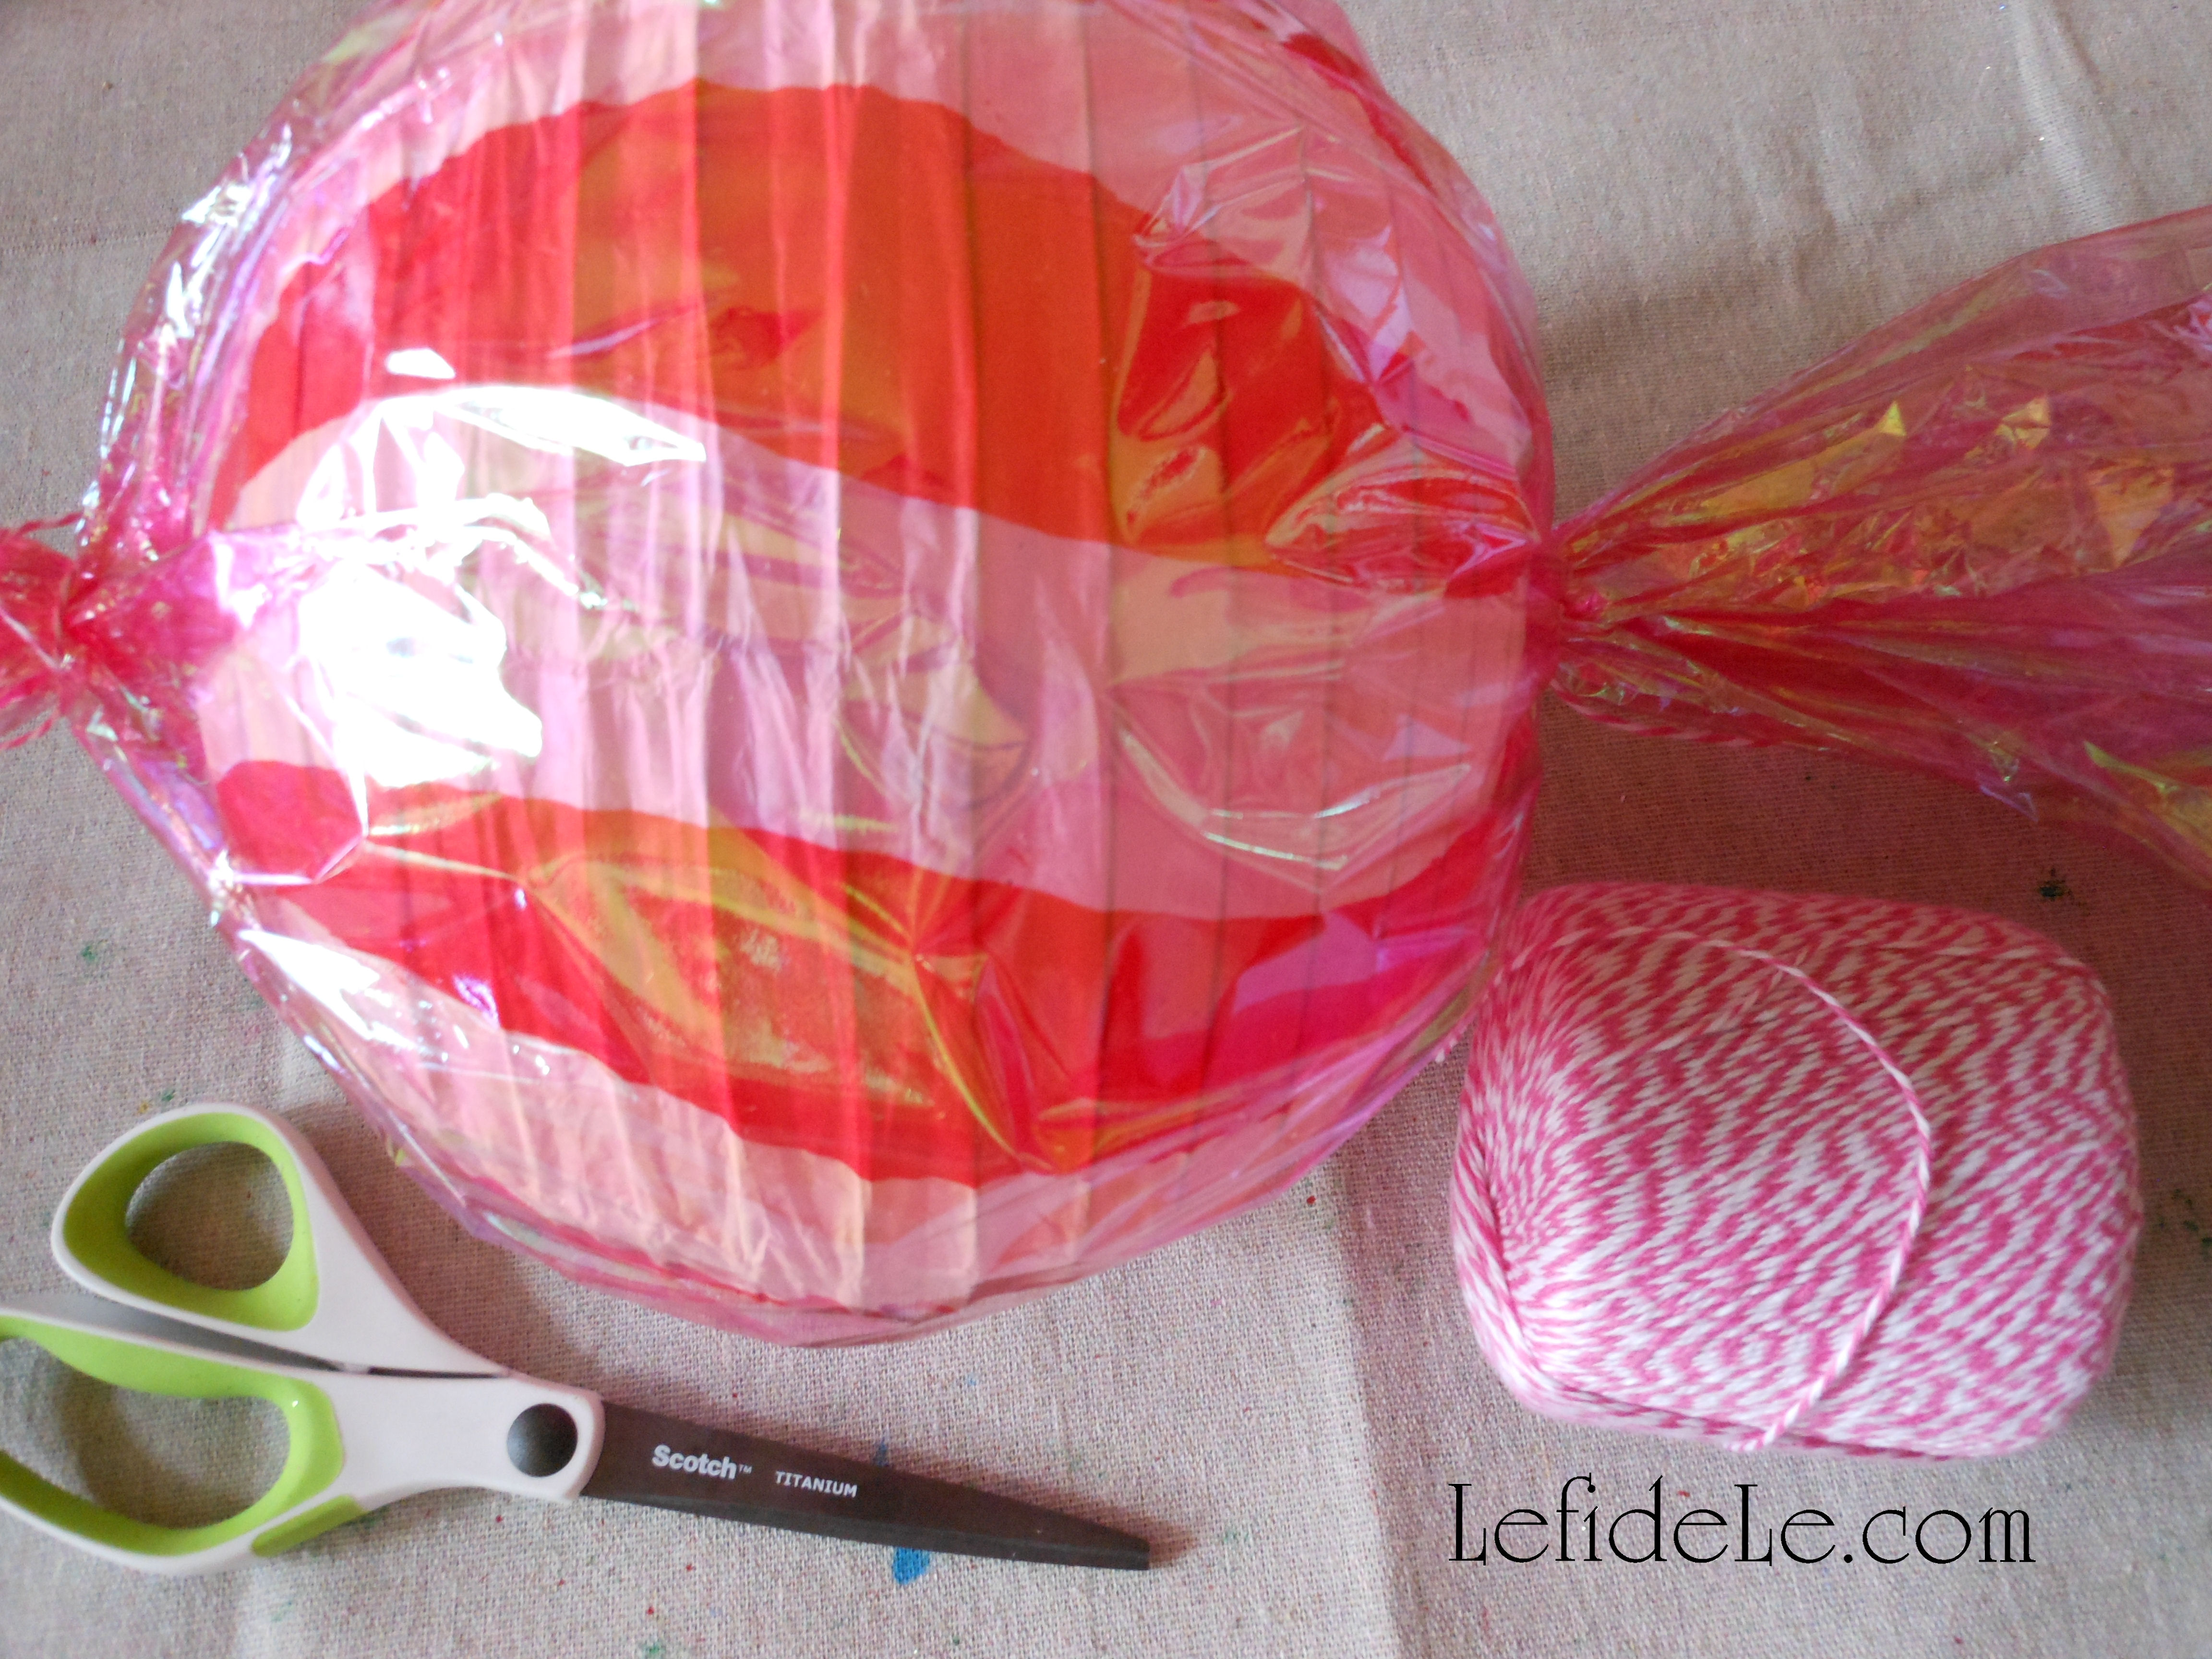
My mother actually came up a great tip for keeping your paper’s ink from getting soggy… try wrapping the iced can in clear plastic wrap before wrapping with the paper template. ¡Gracias Mamá!

152

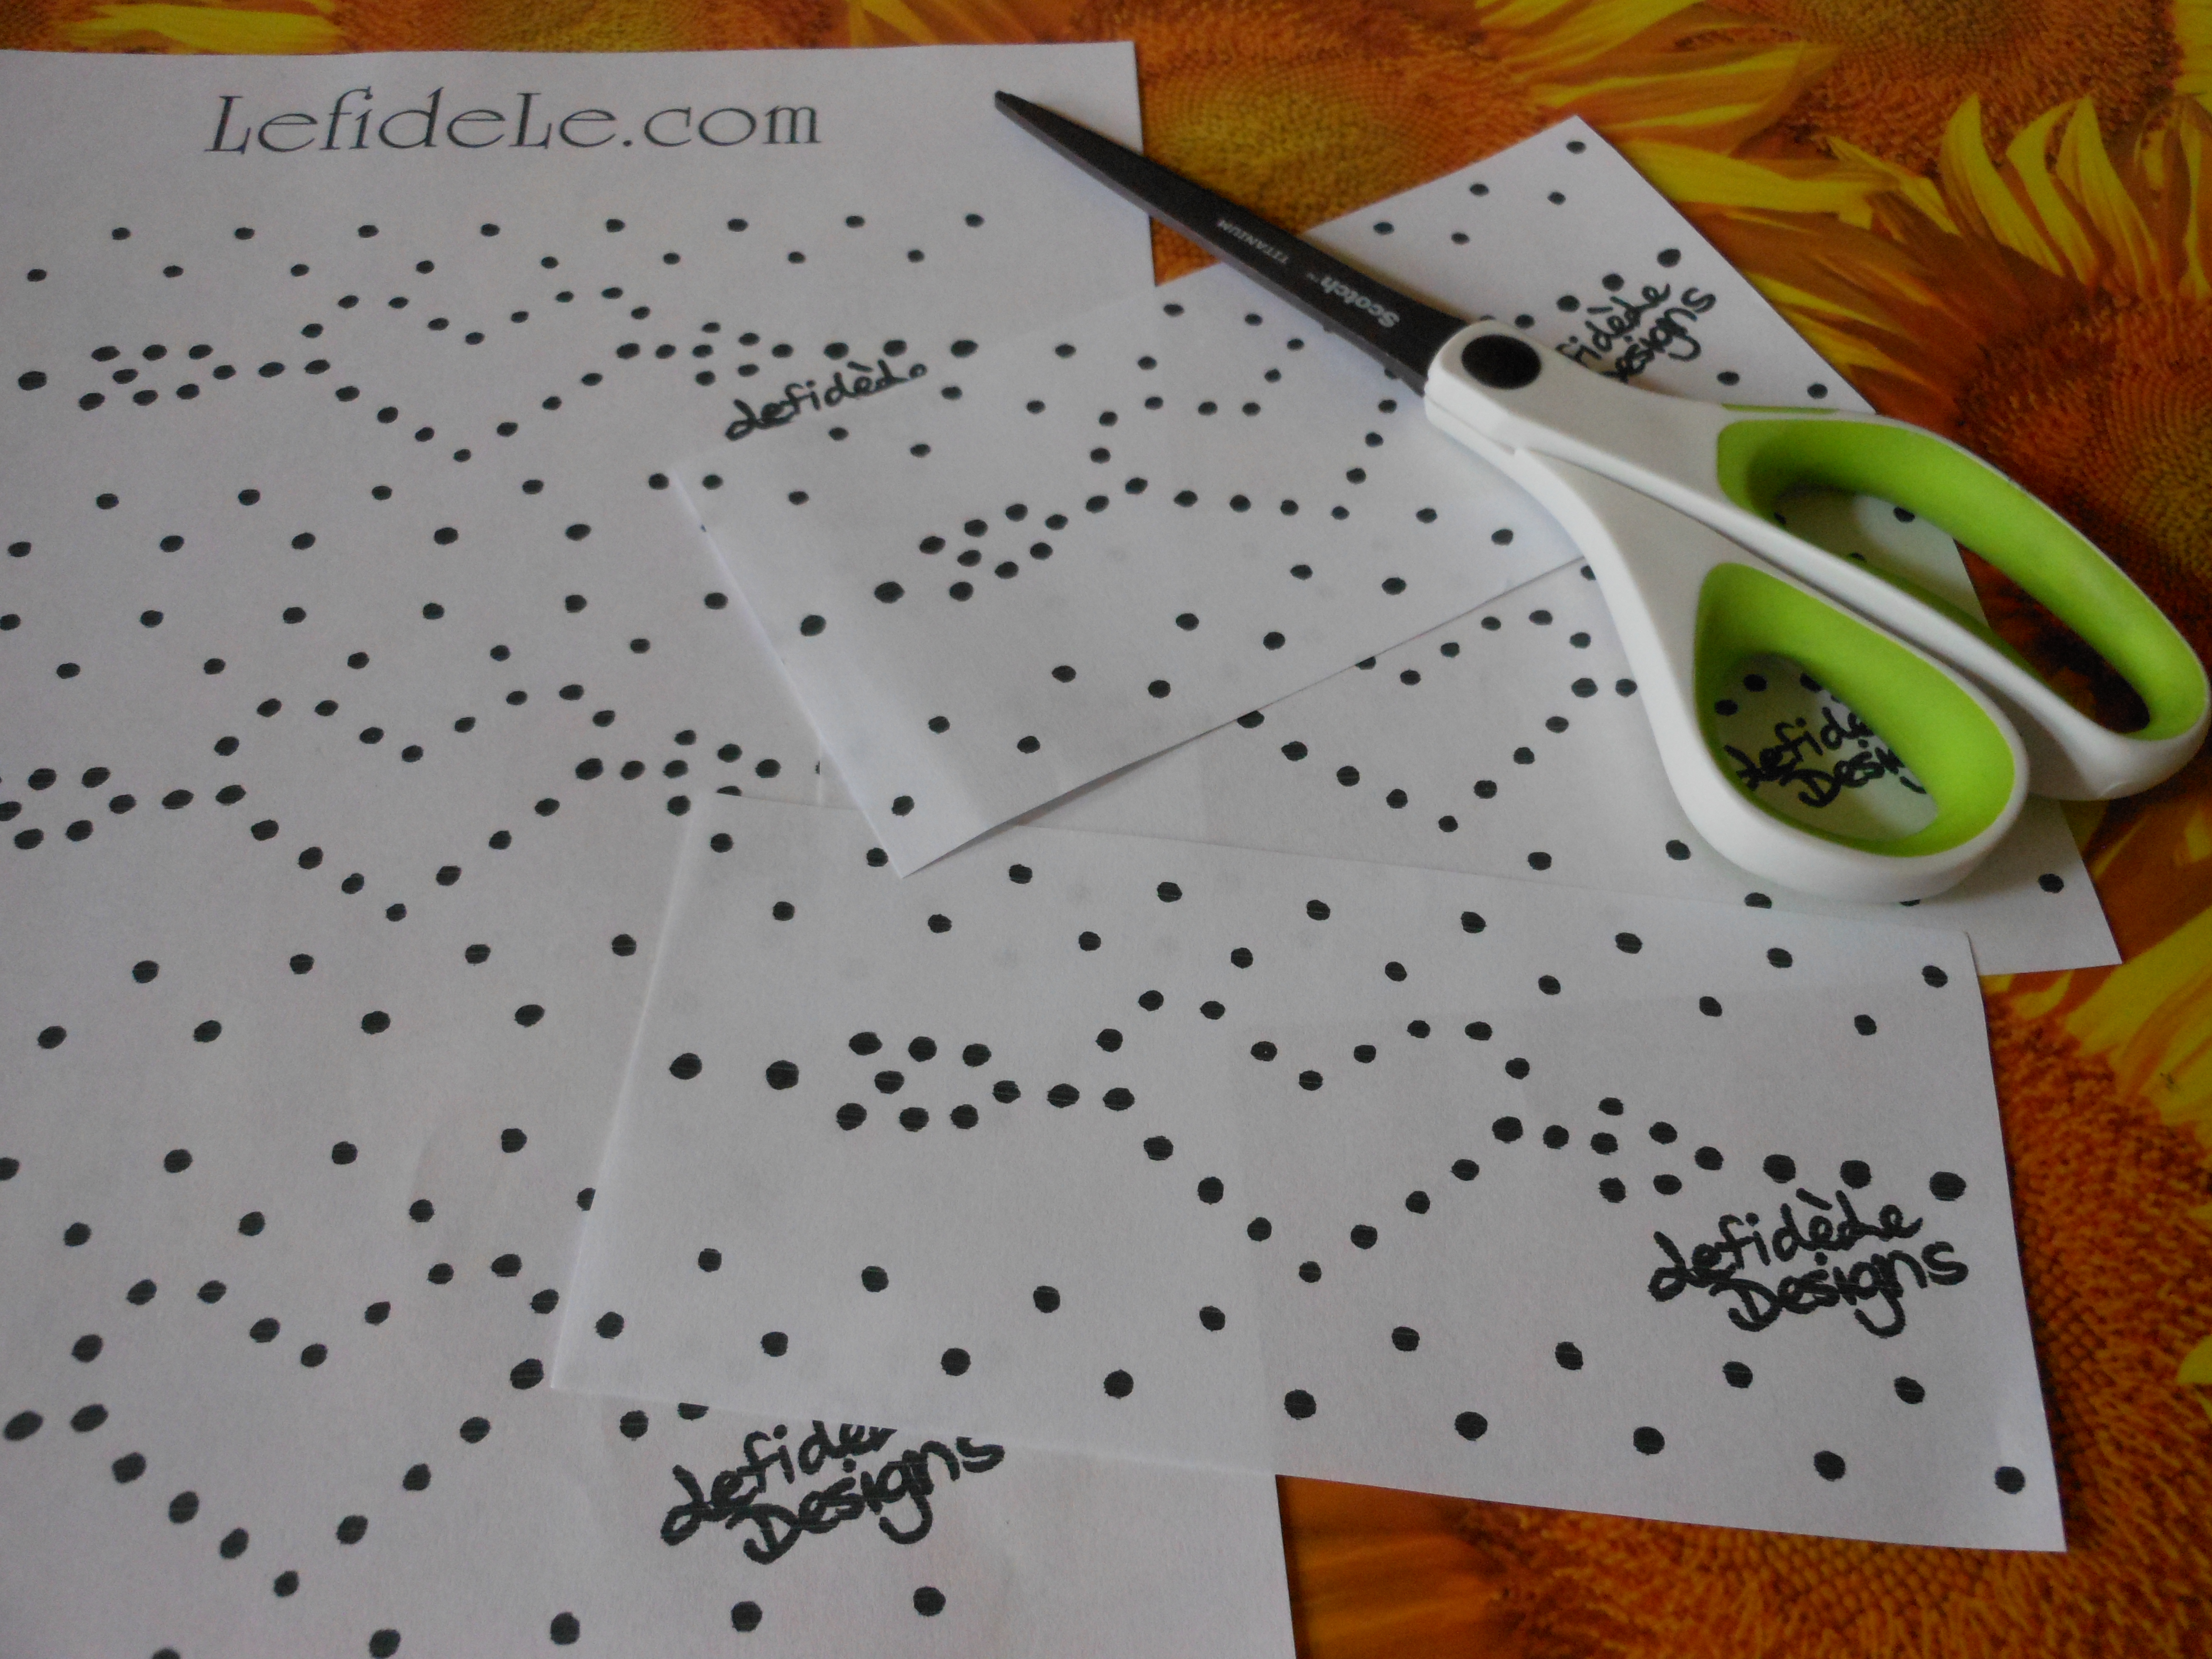
Cut out the 3 identical templates featuring arrow pierced hearts and festive zigzag patterns. Wrap each one around an ice filled can and tape the edge.

190Leigh

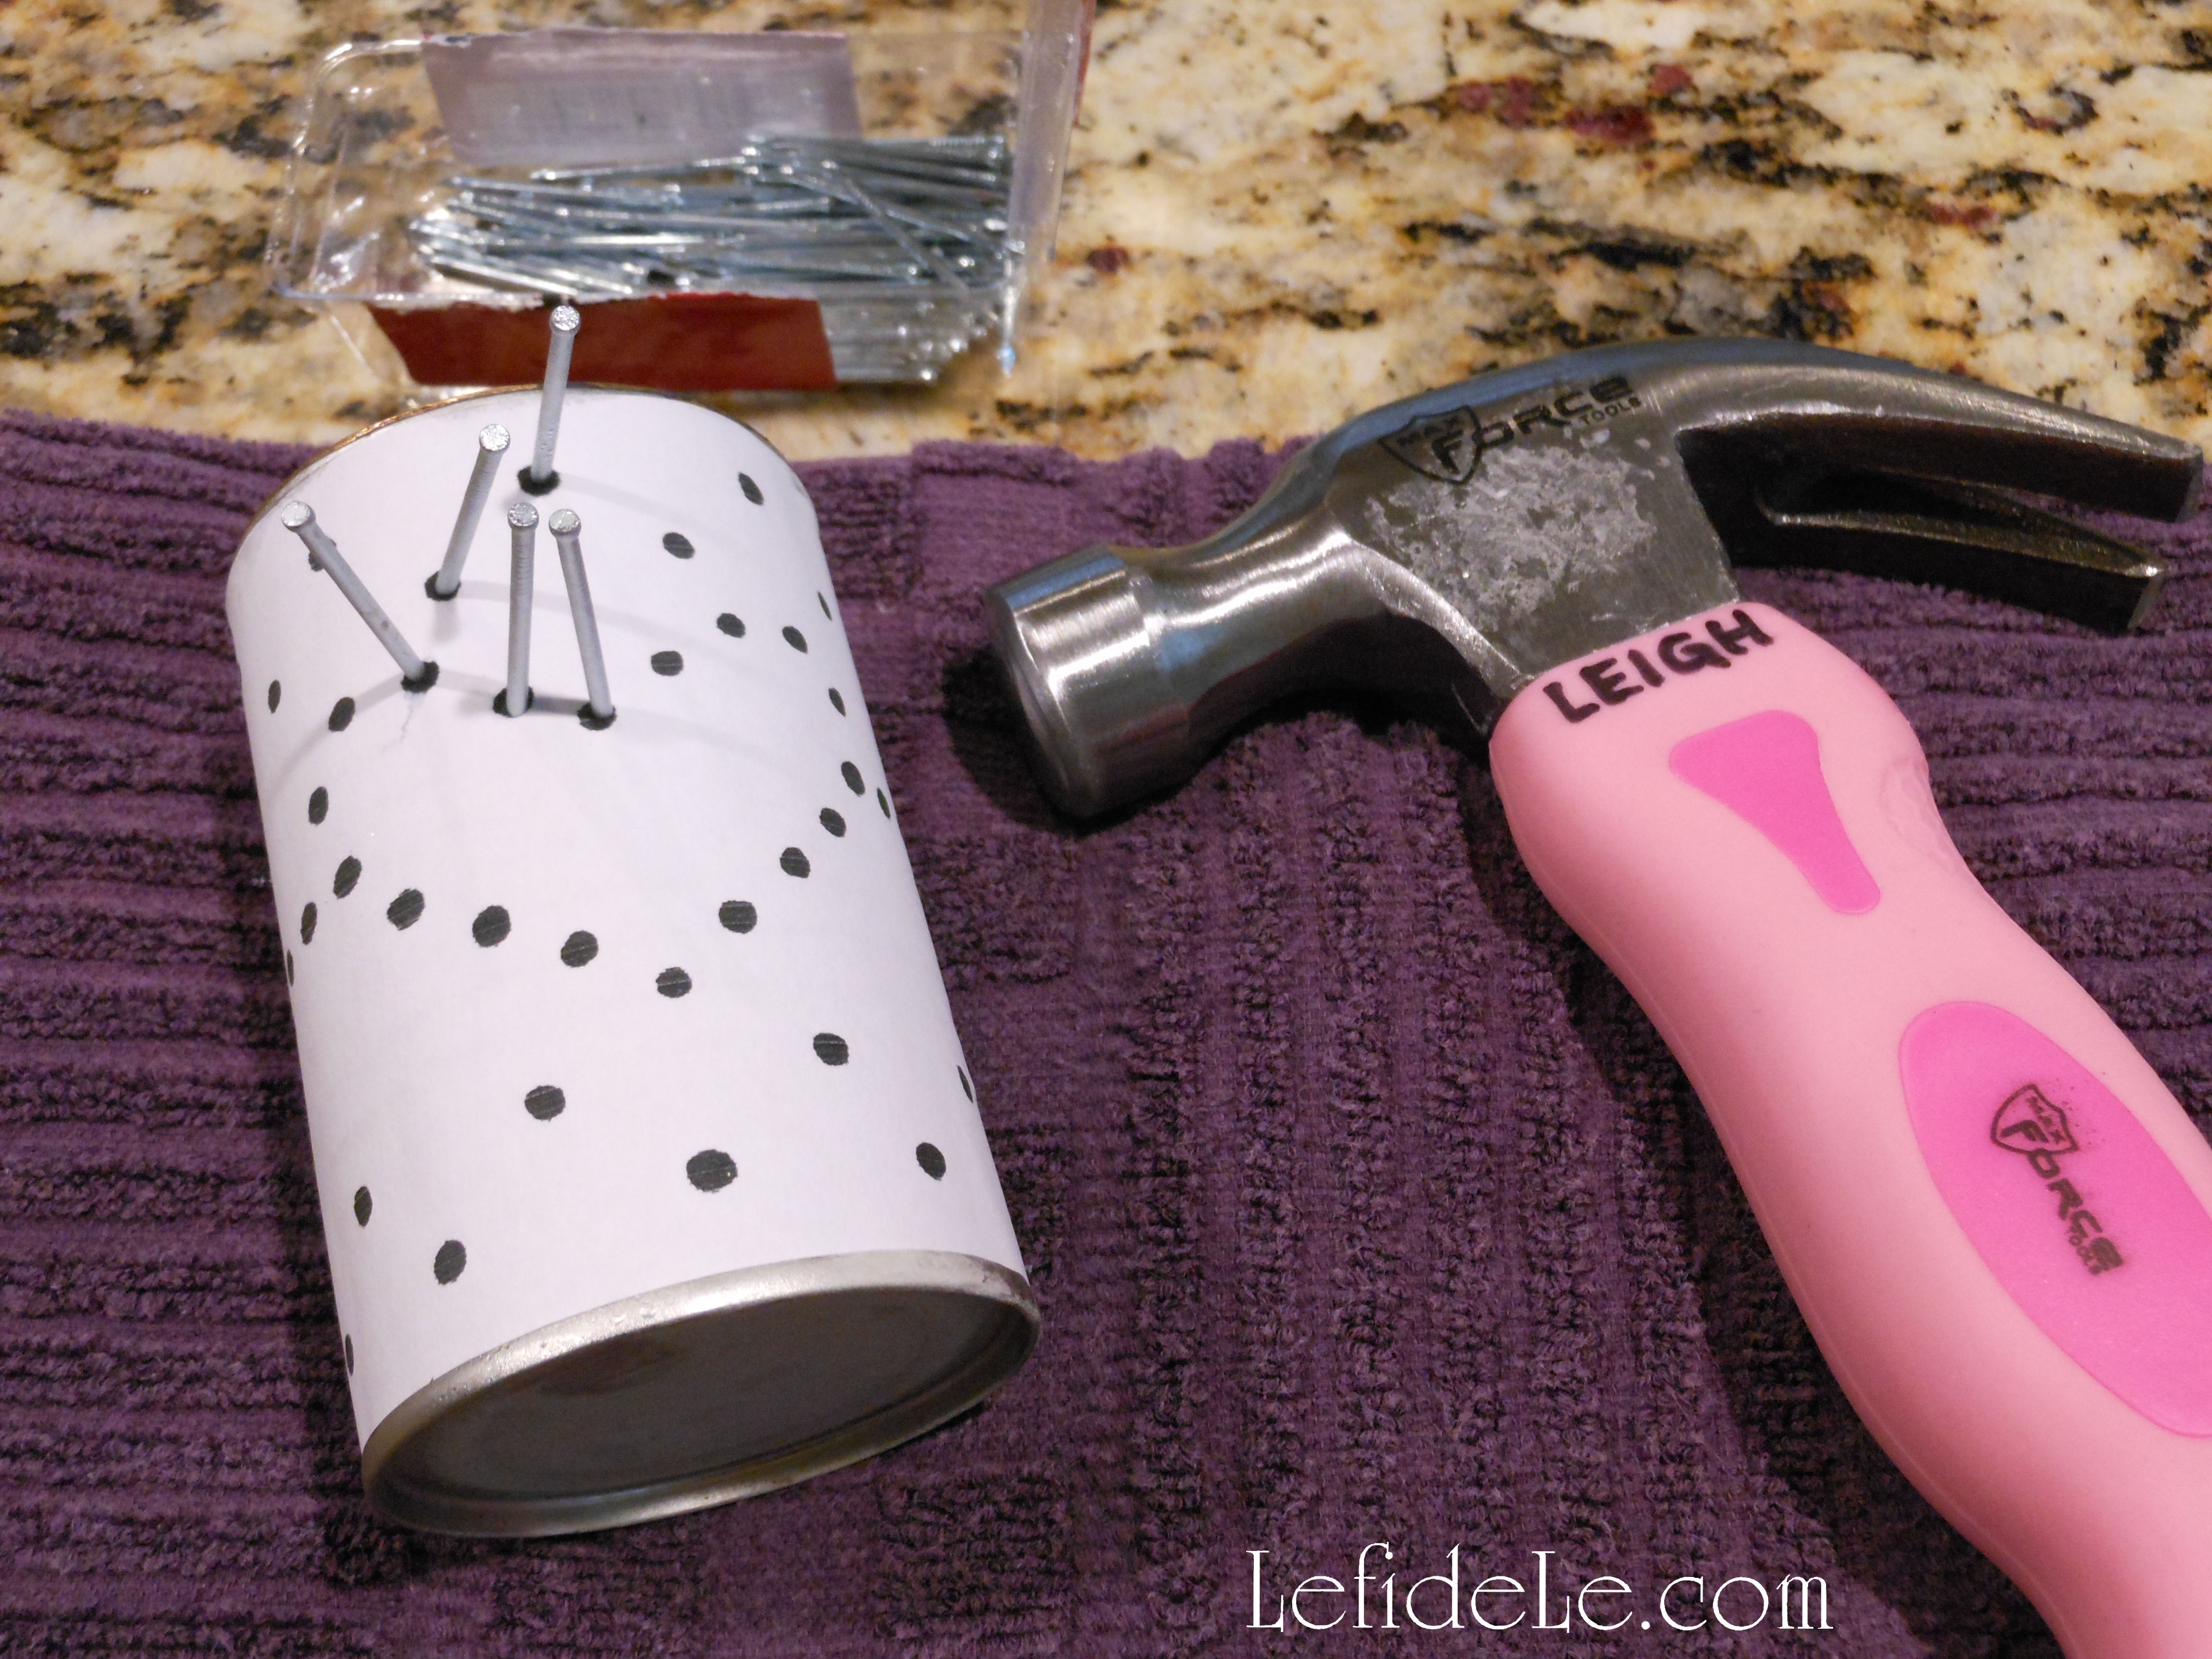
Use identically sized nails to hammer into each dot on the template. (This is what makes it a good craft for the hombres in your life!) You only need to hammer the nails in far enough to make a hole, leaving them in or pulling them out as you go. Begin with the top of the pattern, because ice will chip out as you work on it. If too much pops out, simply add water and refreeze.

193Leigh

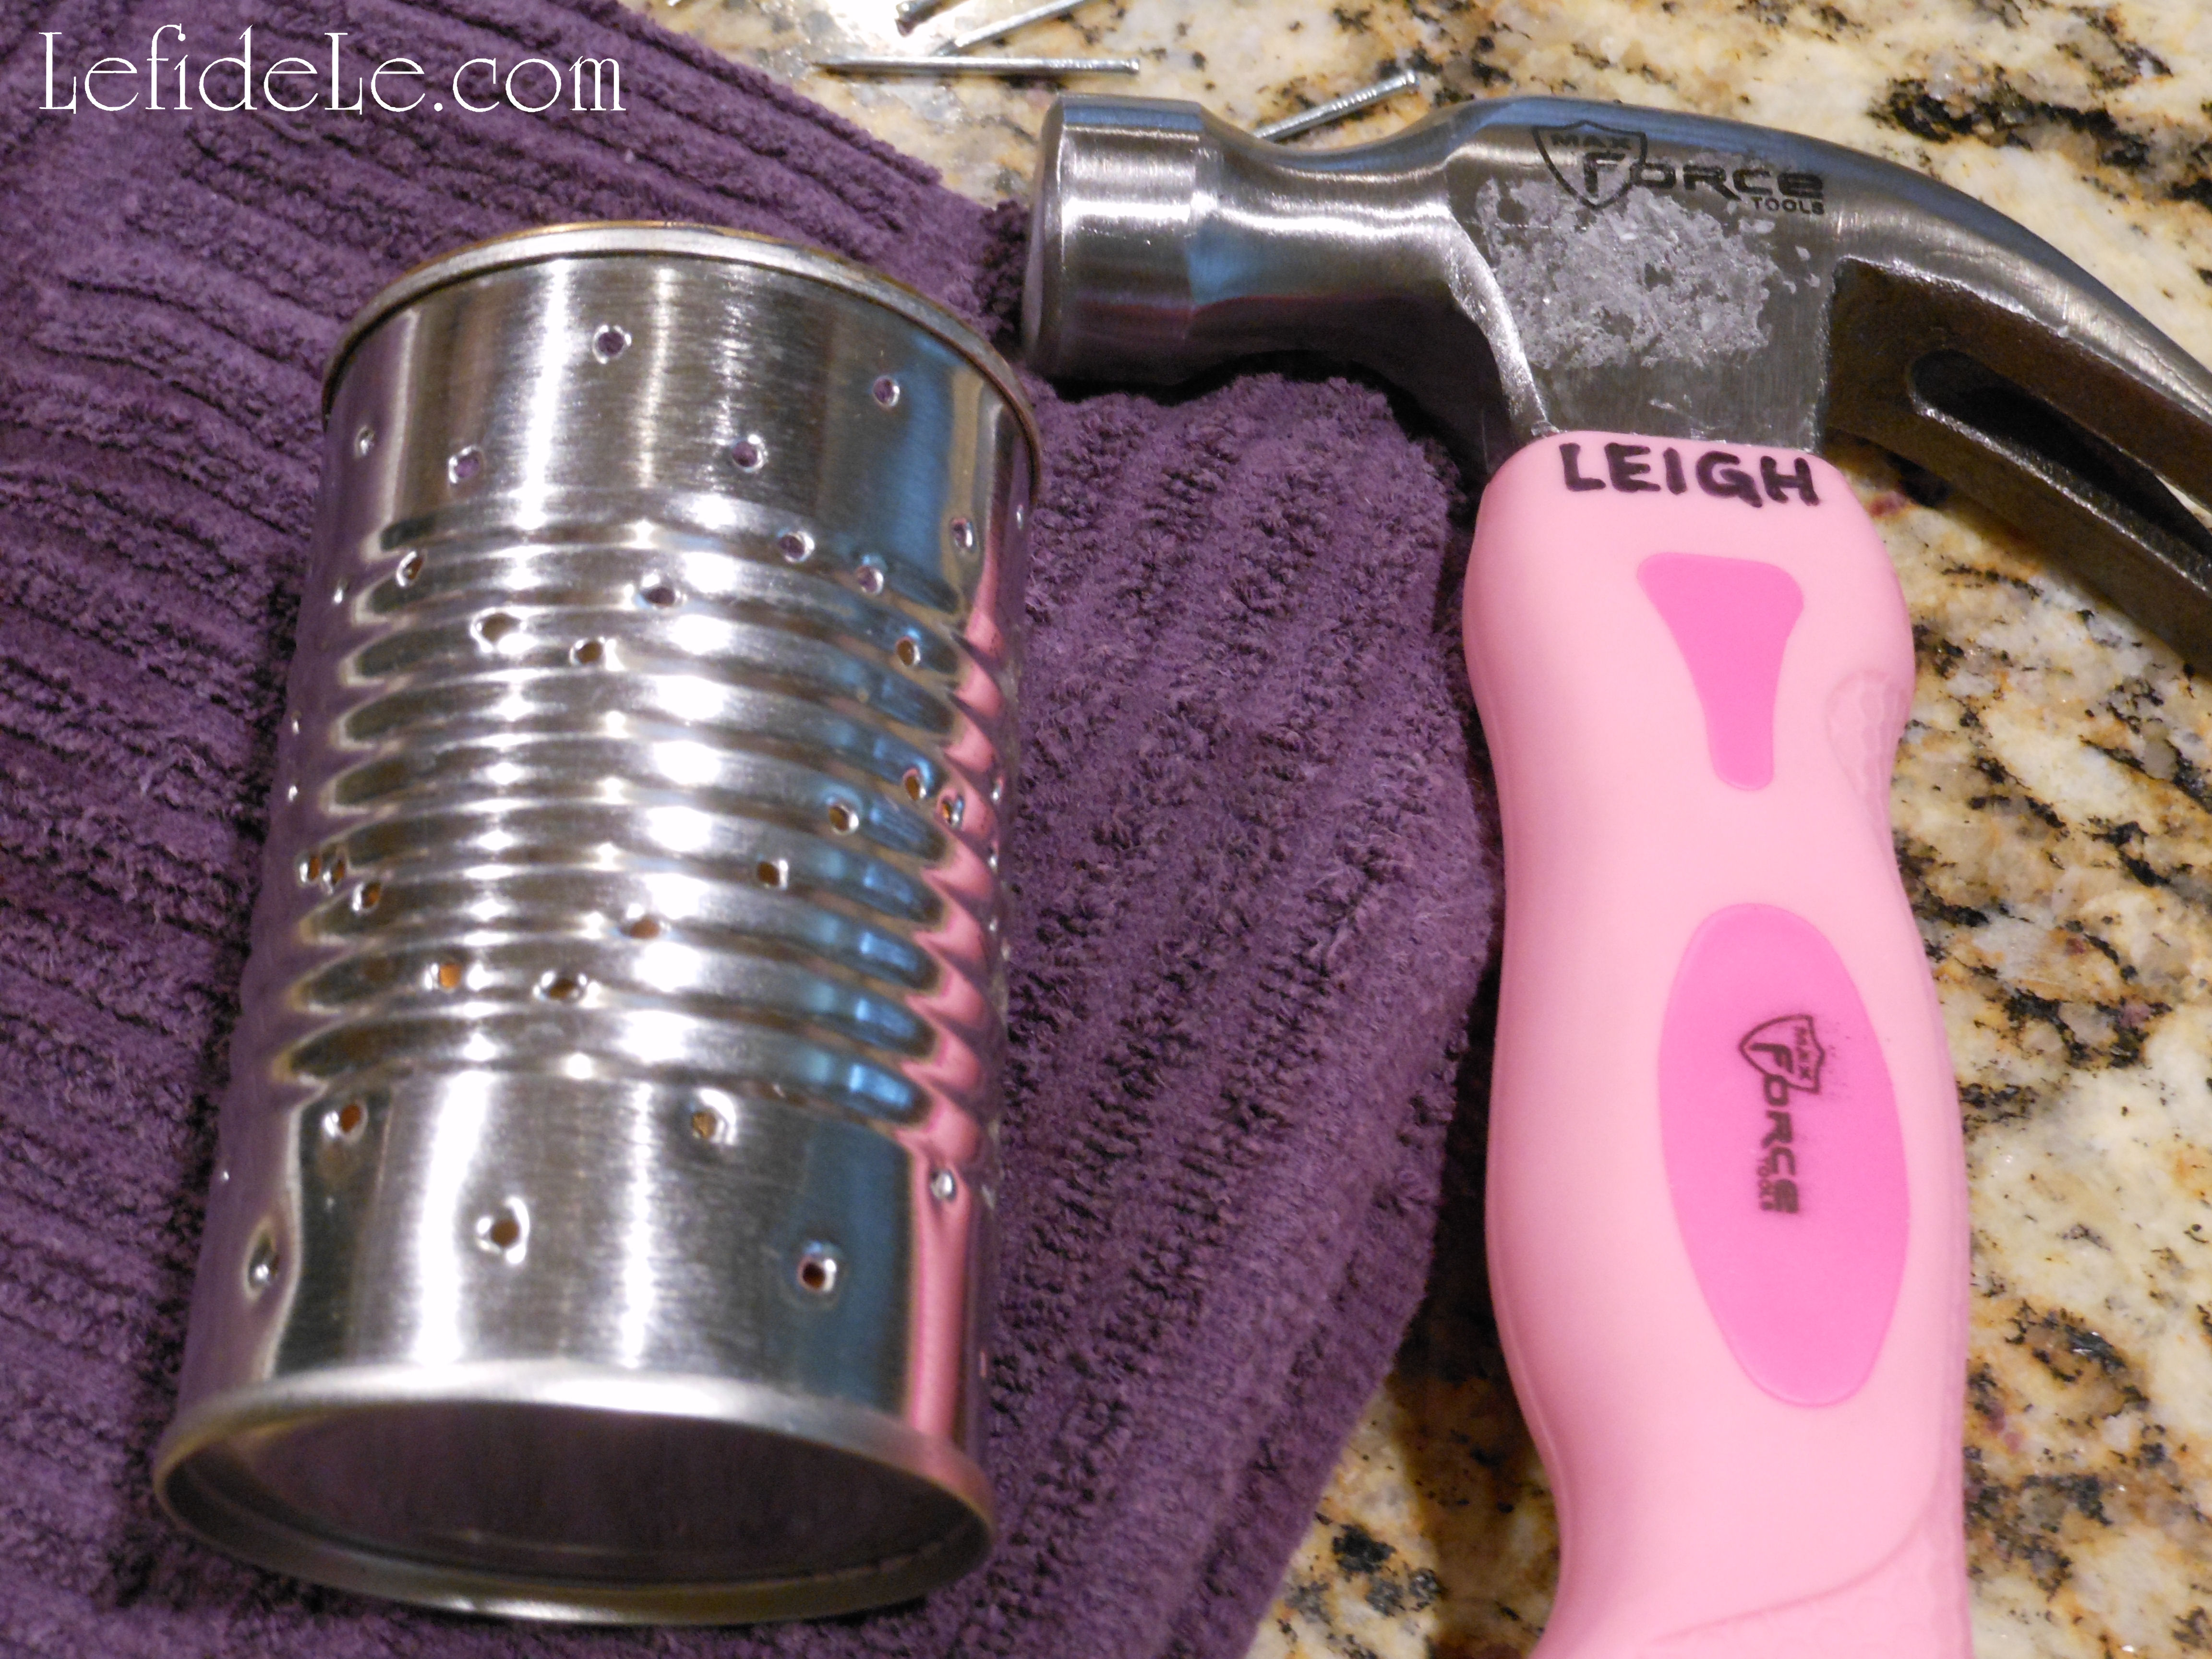
When the dots are done, so are you! Let the ice melt out into the sink then dry the can well. (Just be careful not to cut yourself on the sharp edges on the inside of the cans.) Now light them up compadre!

274Leigh

The luminarias add ambiance to a lunch of Tex-Mex Nachos made with my Nacho Average Fiesta Dip Recipe.

238Leigh

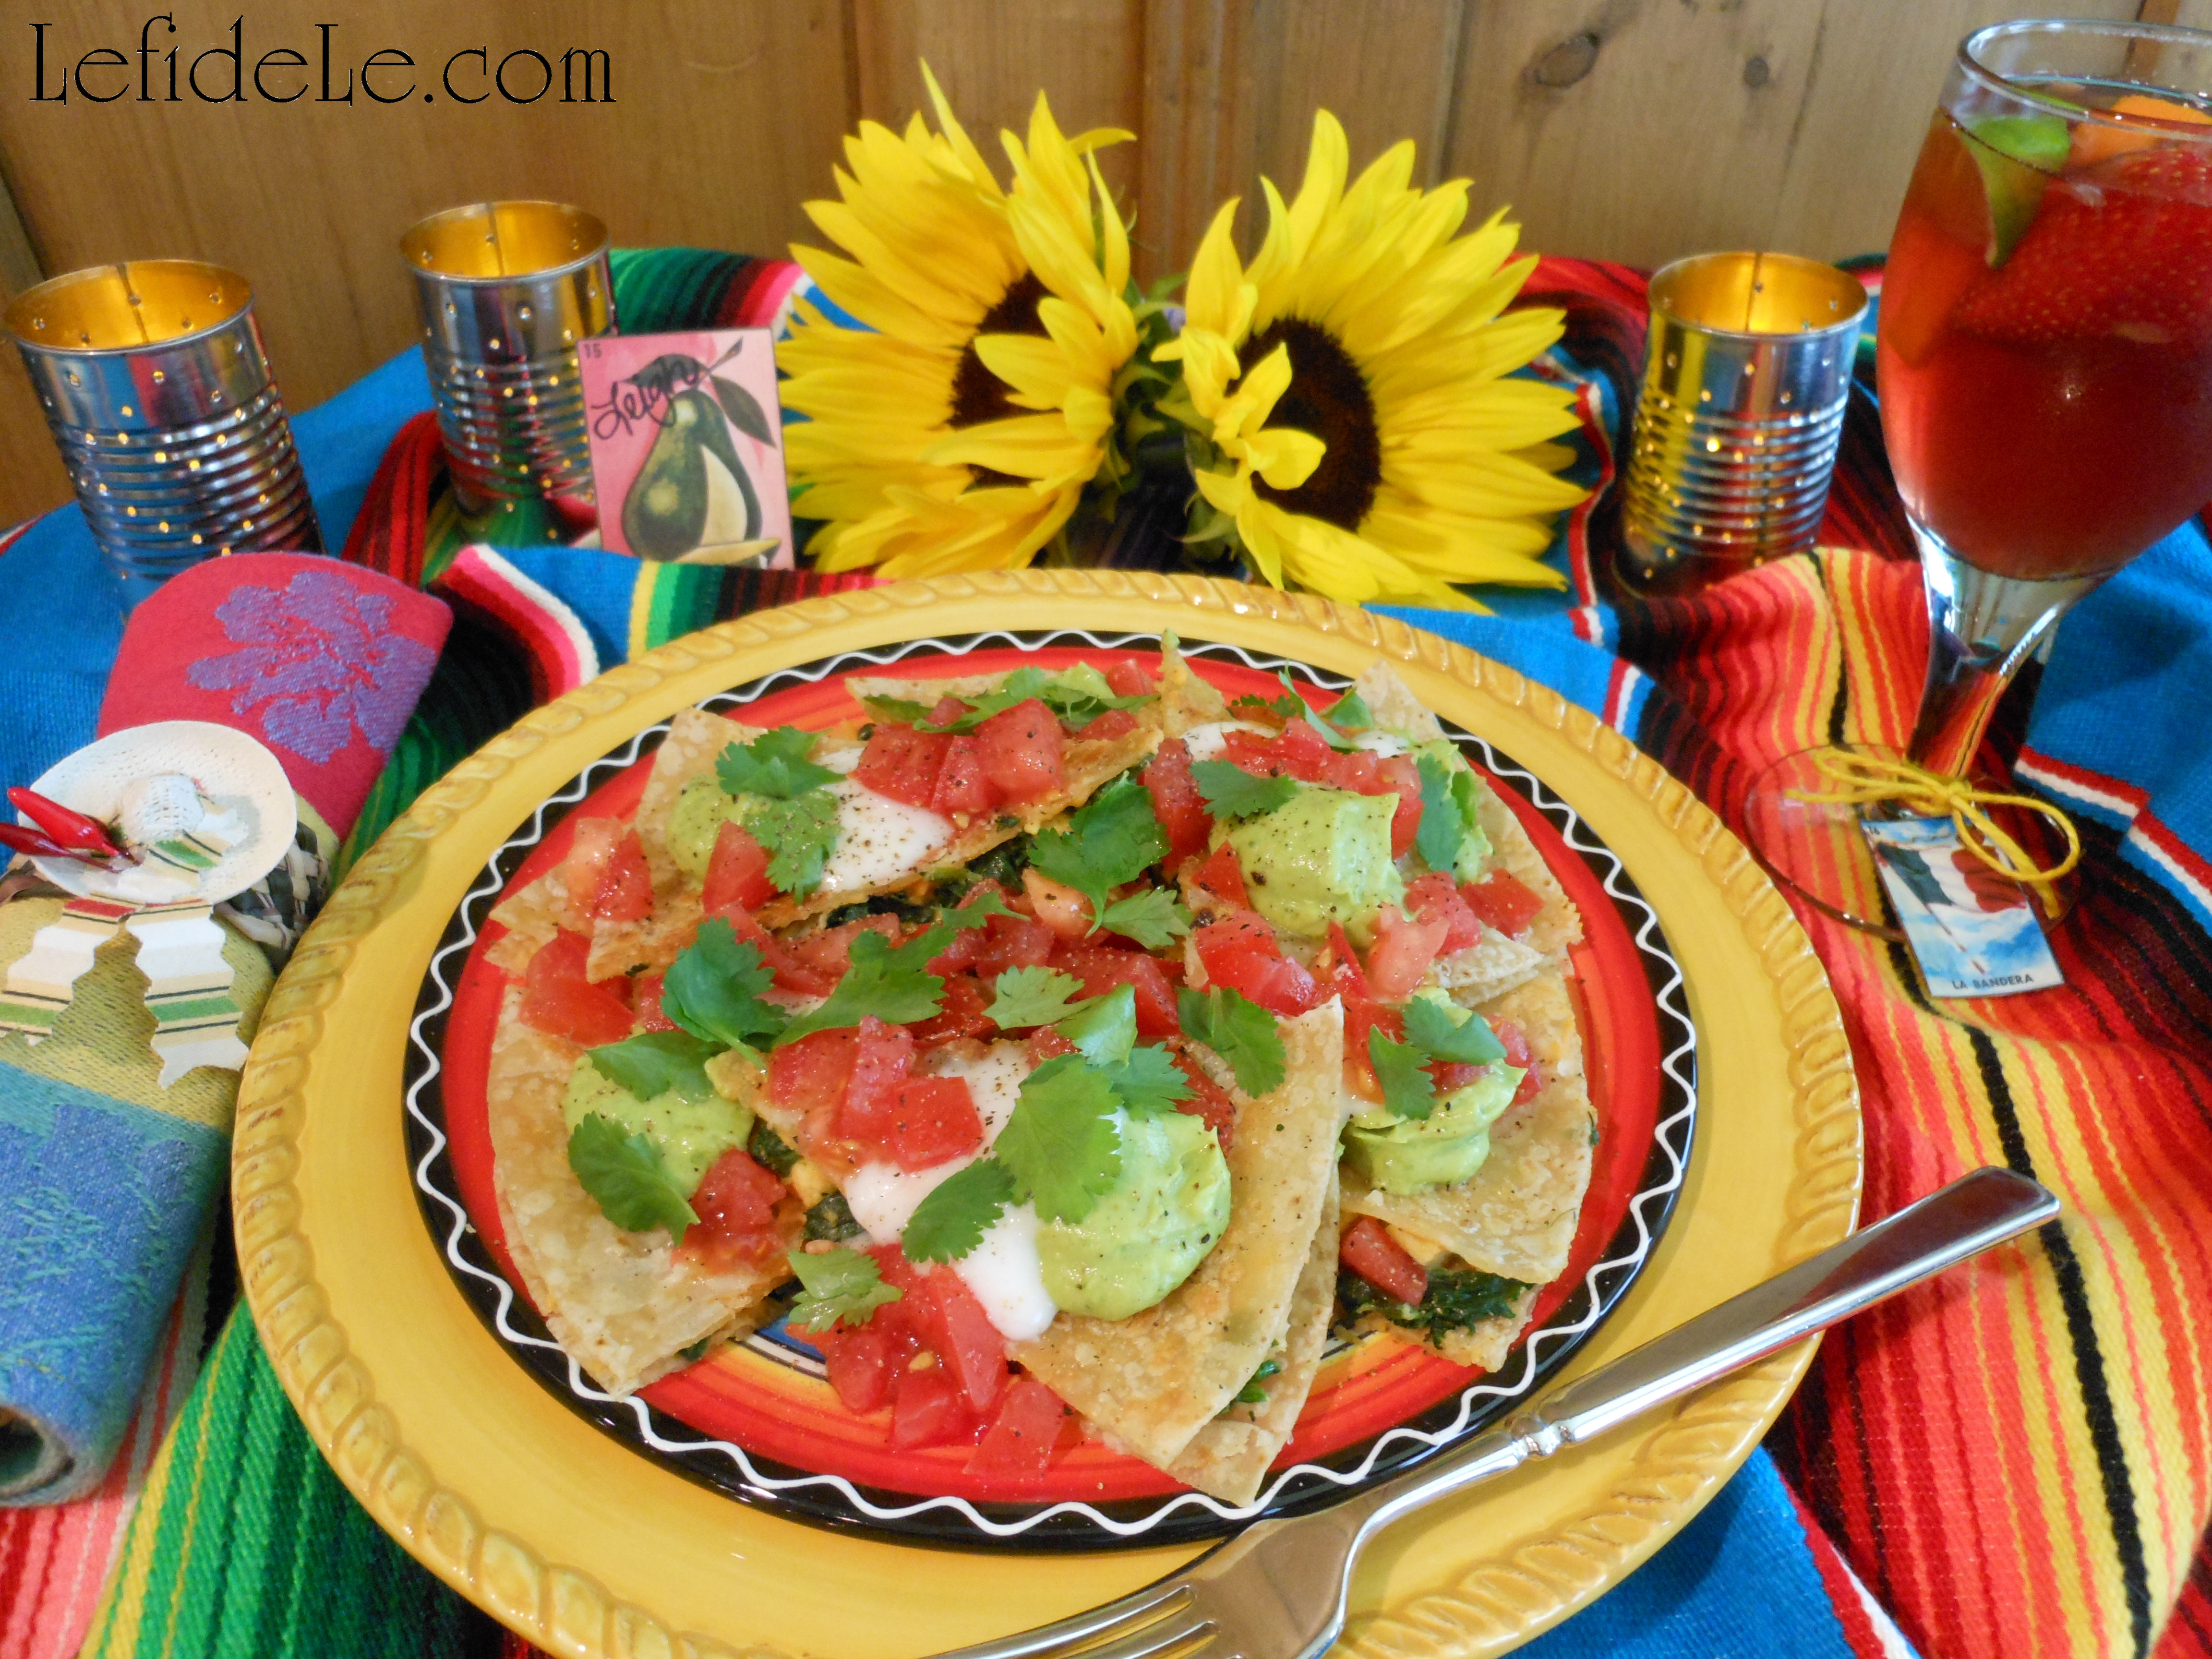
They also look lovely with another one of my recipes, Gluten & Dairy Free Chicken Spinach Quesadilla.

011Leigh

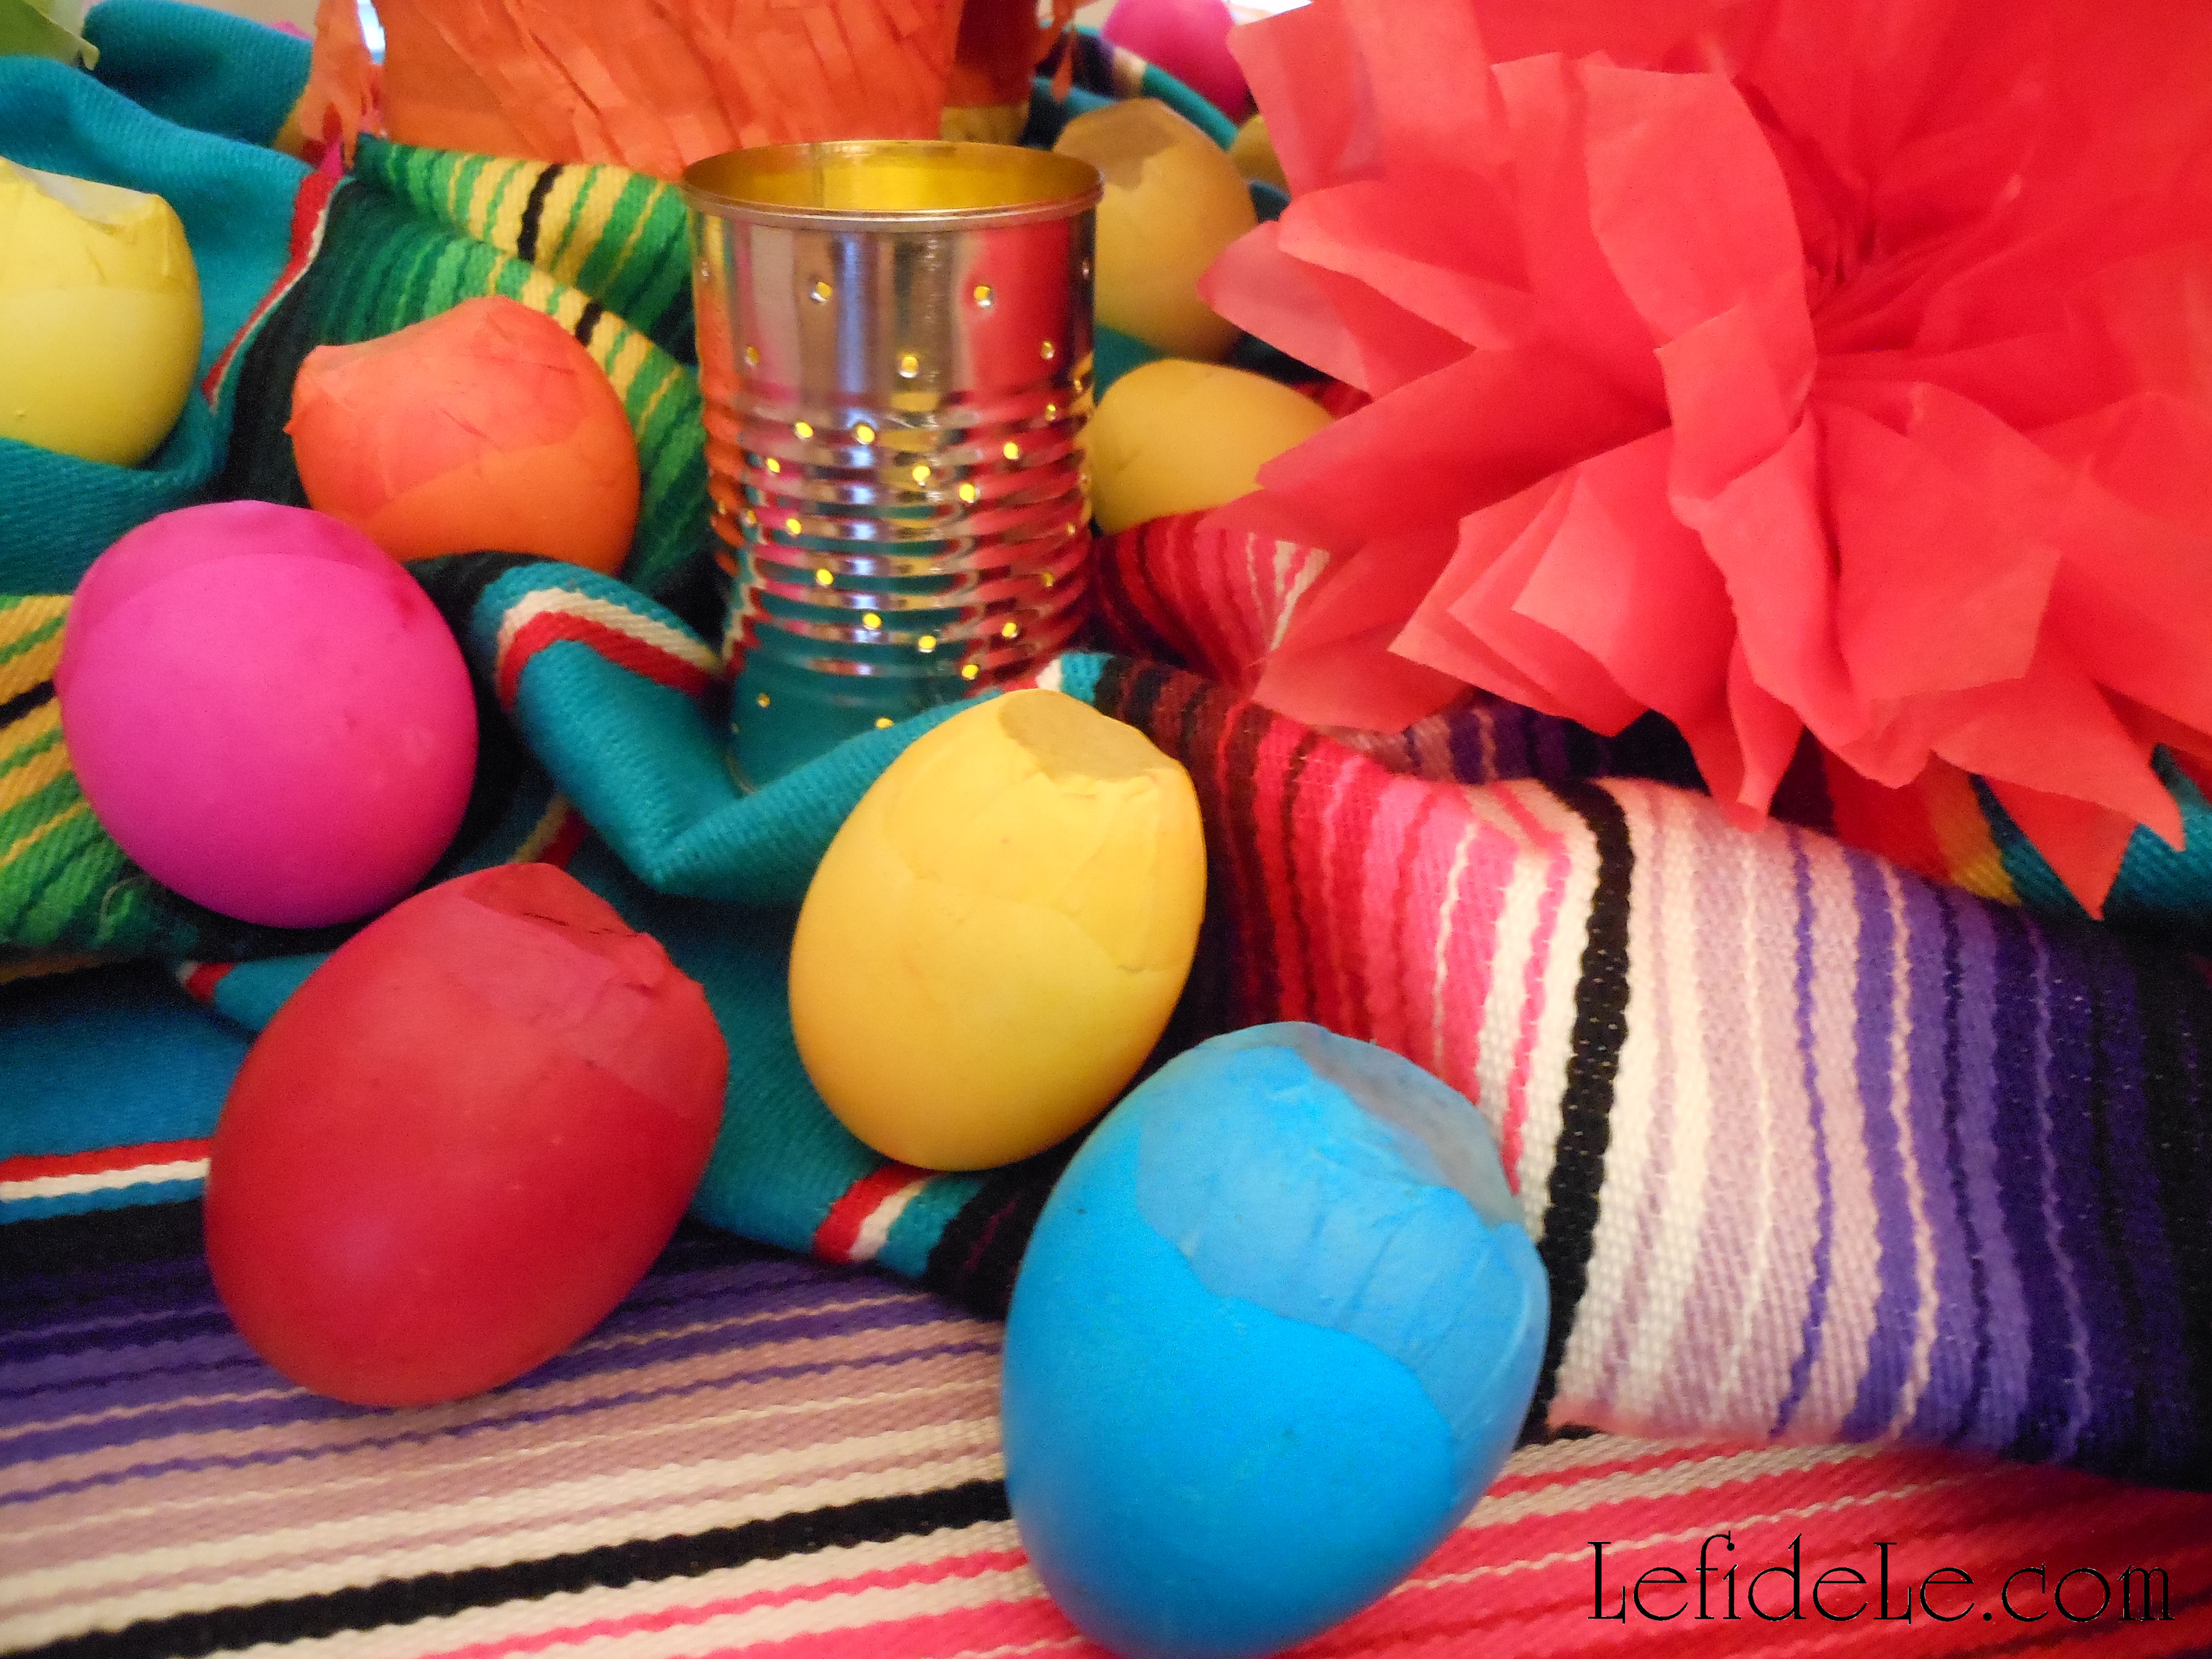
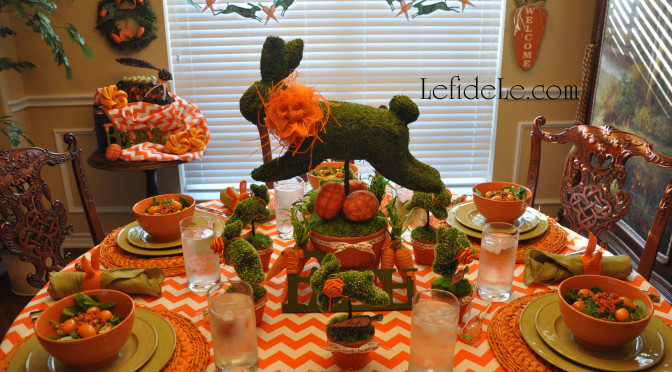
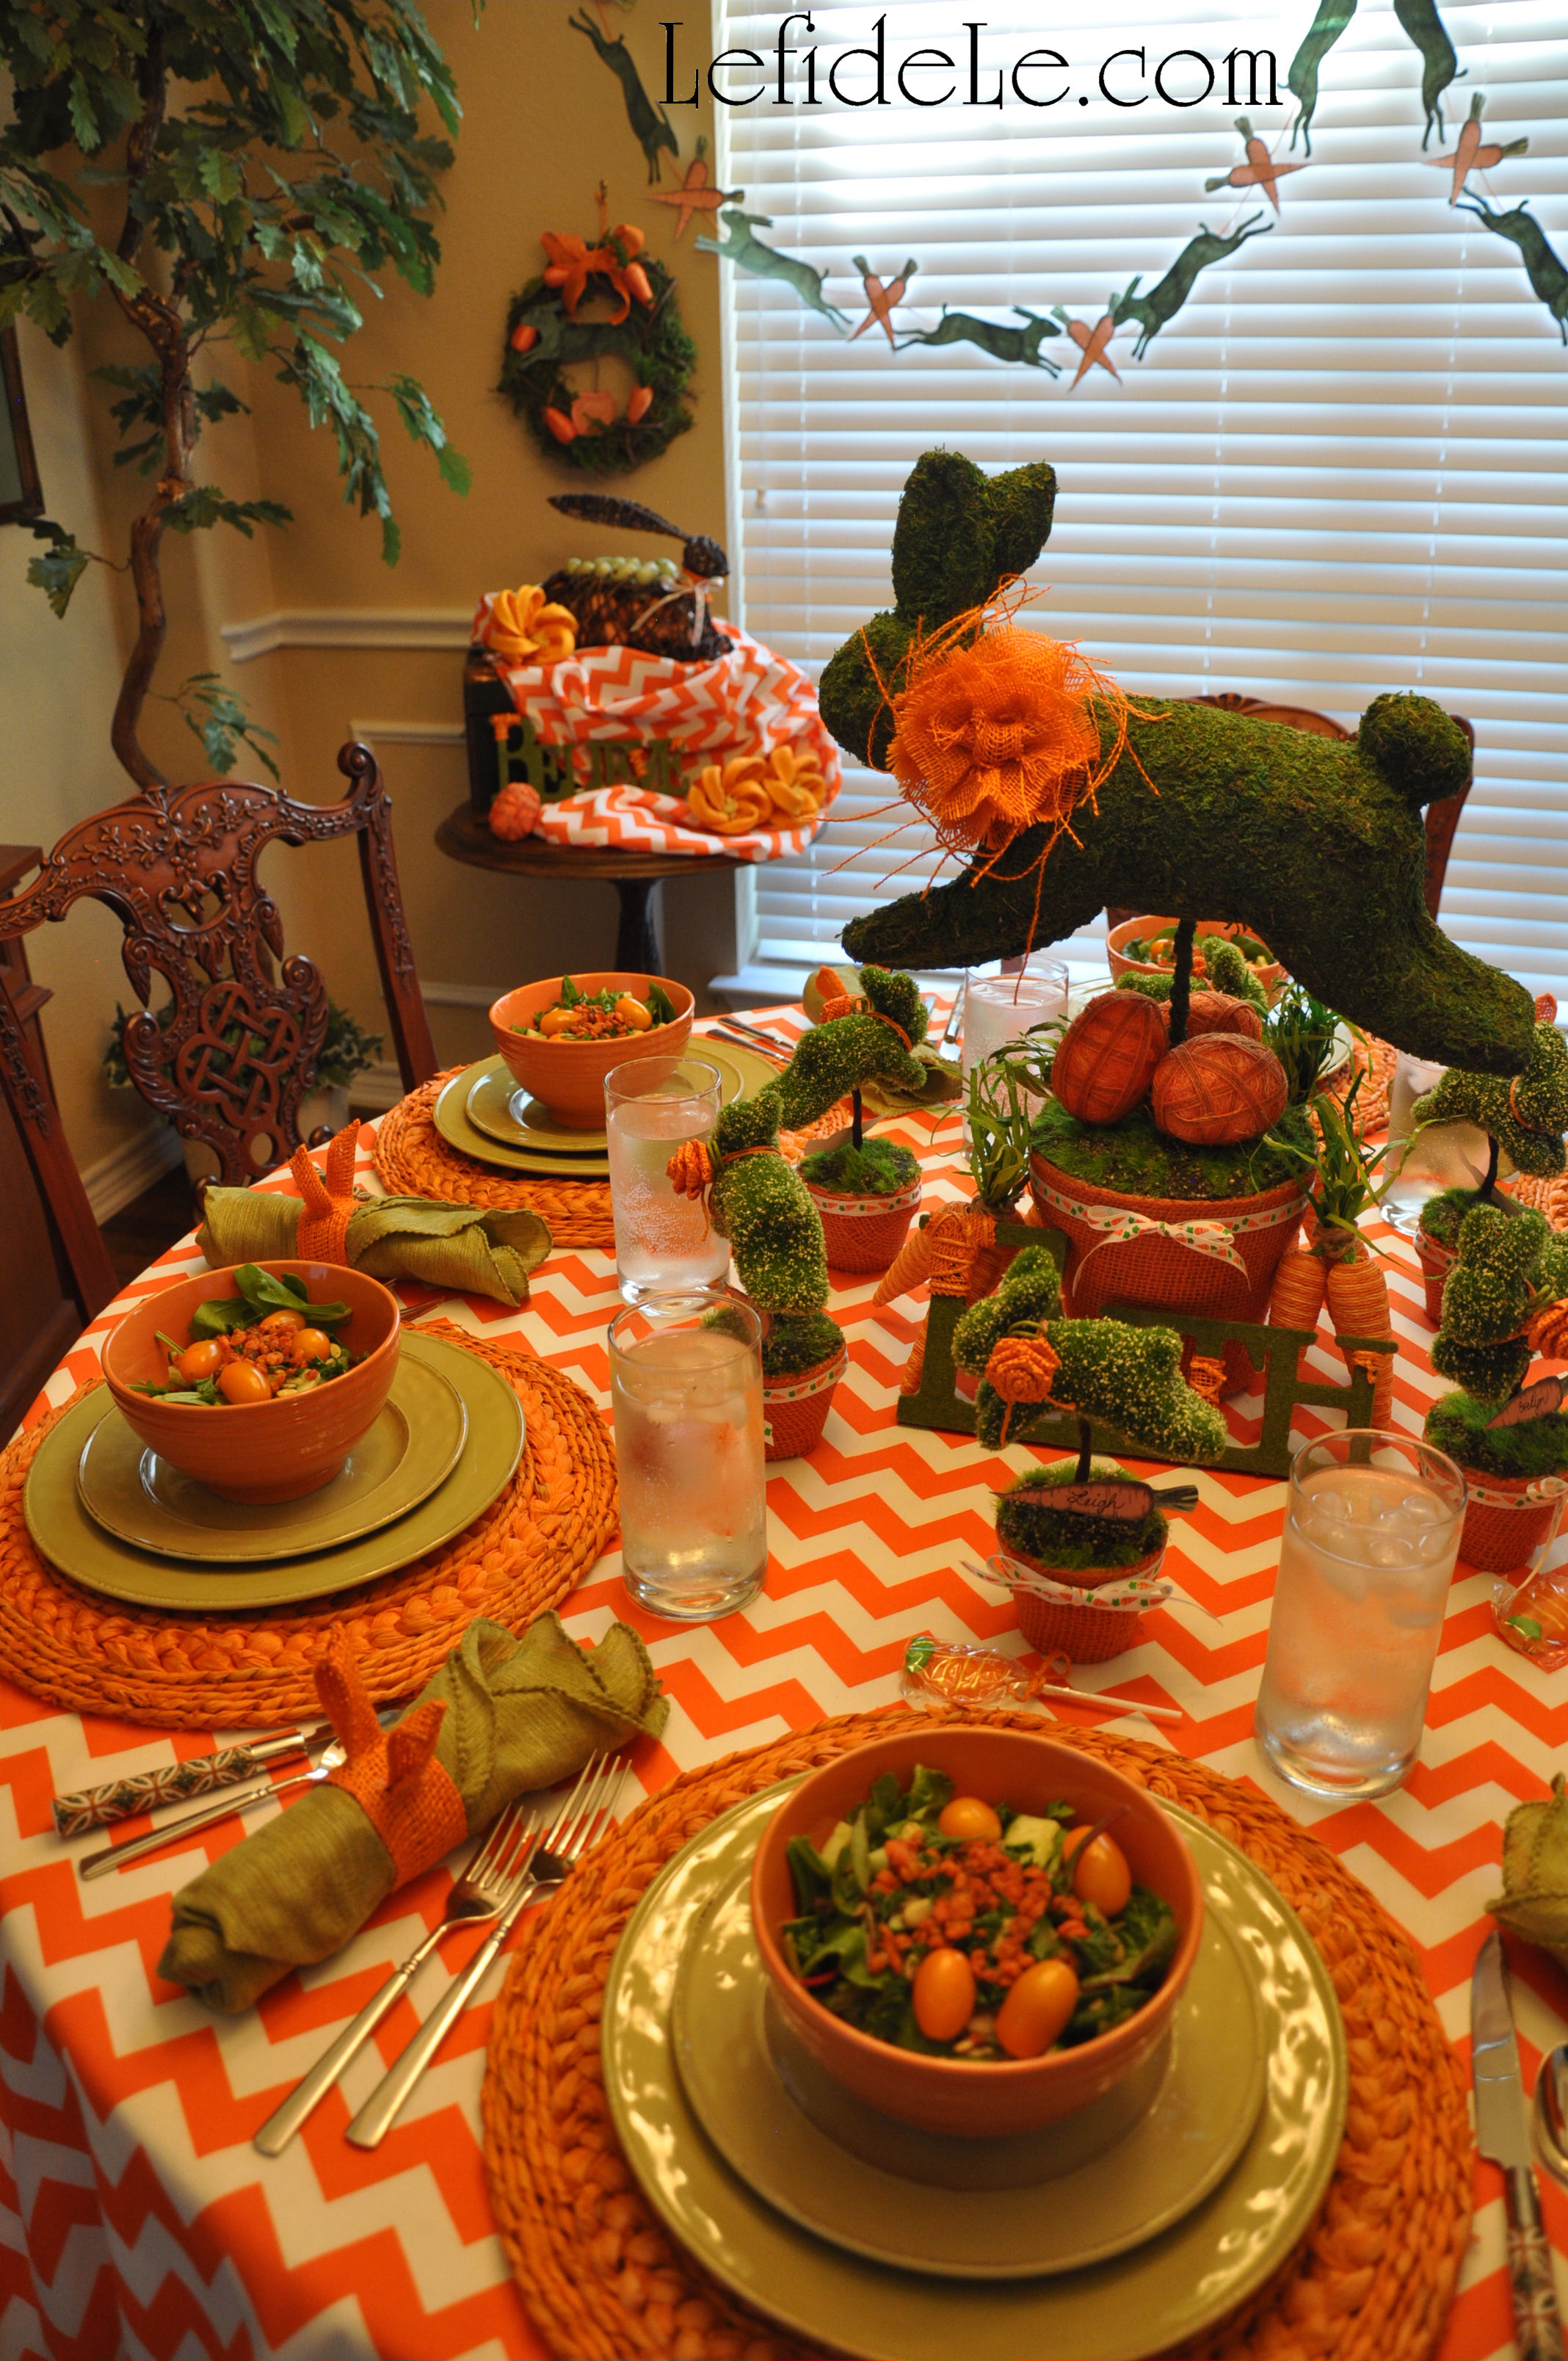
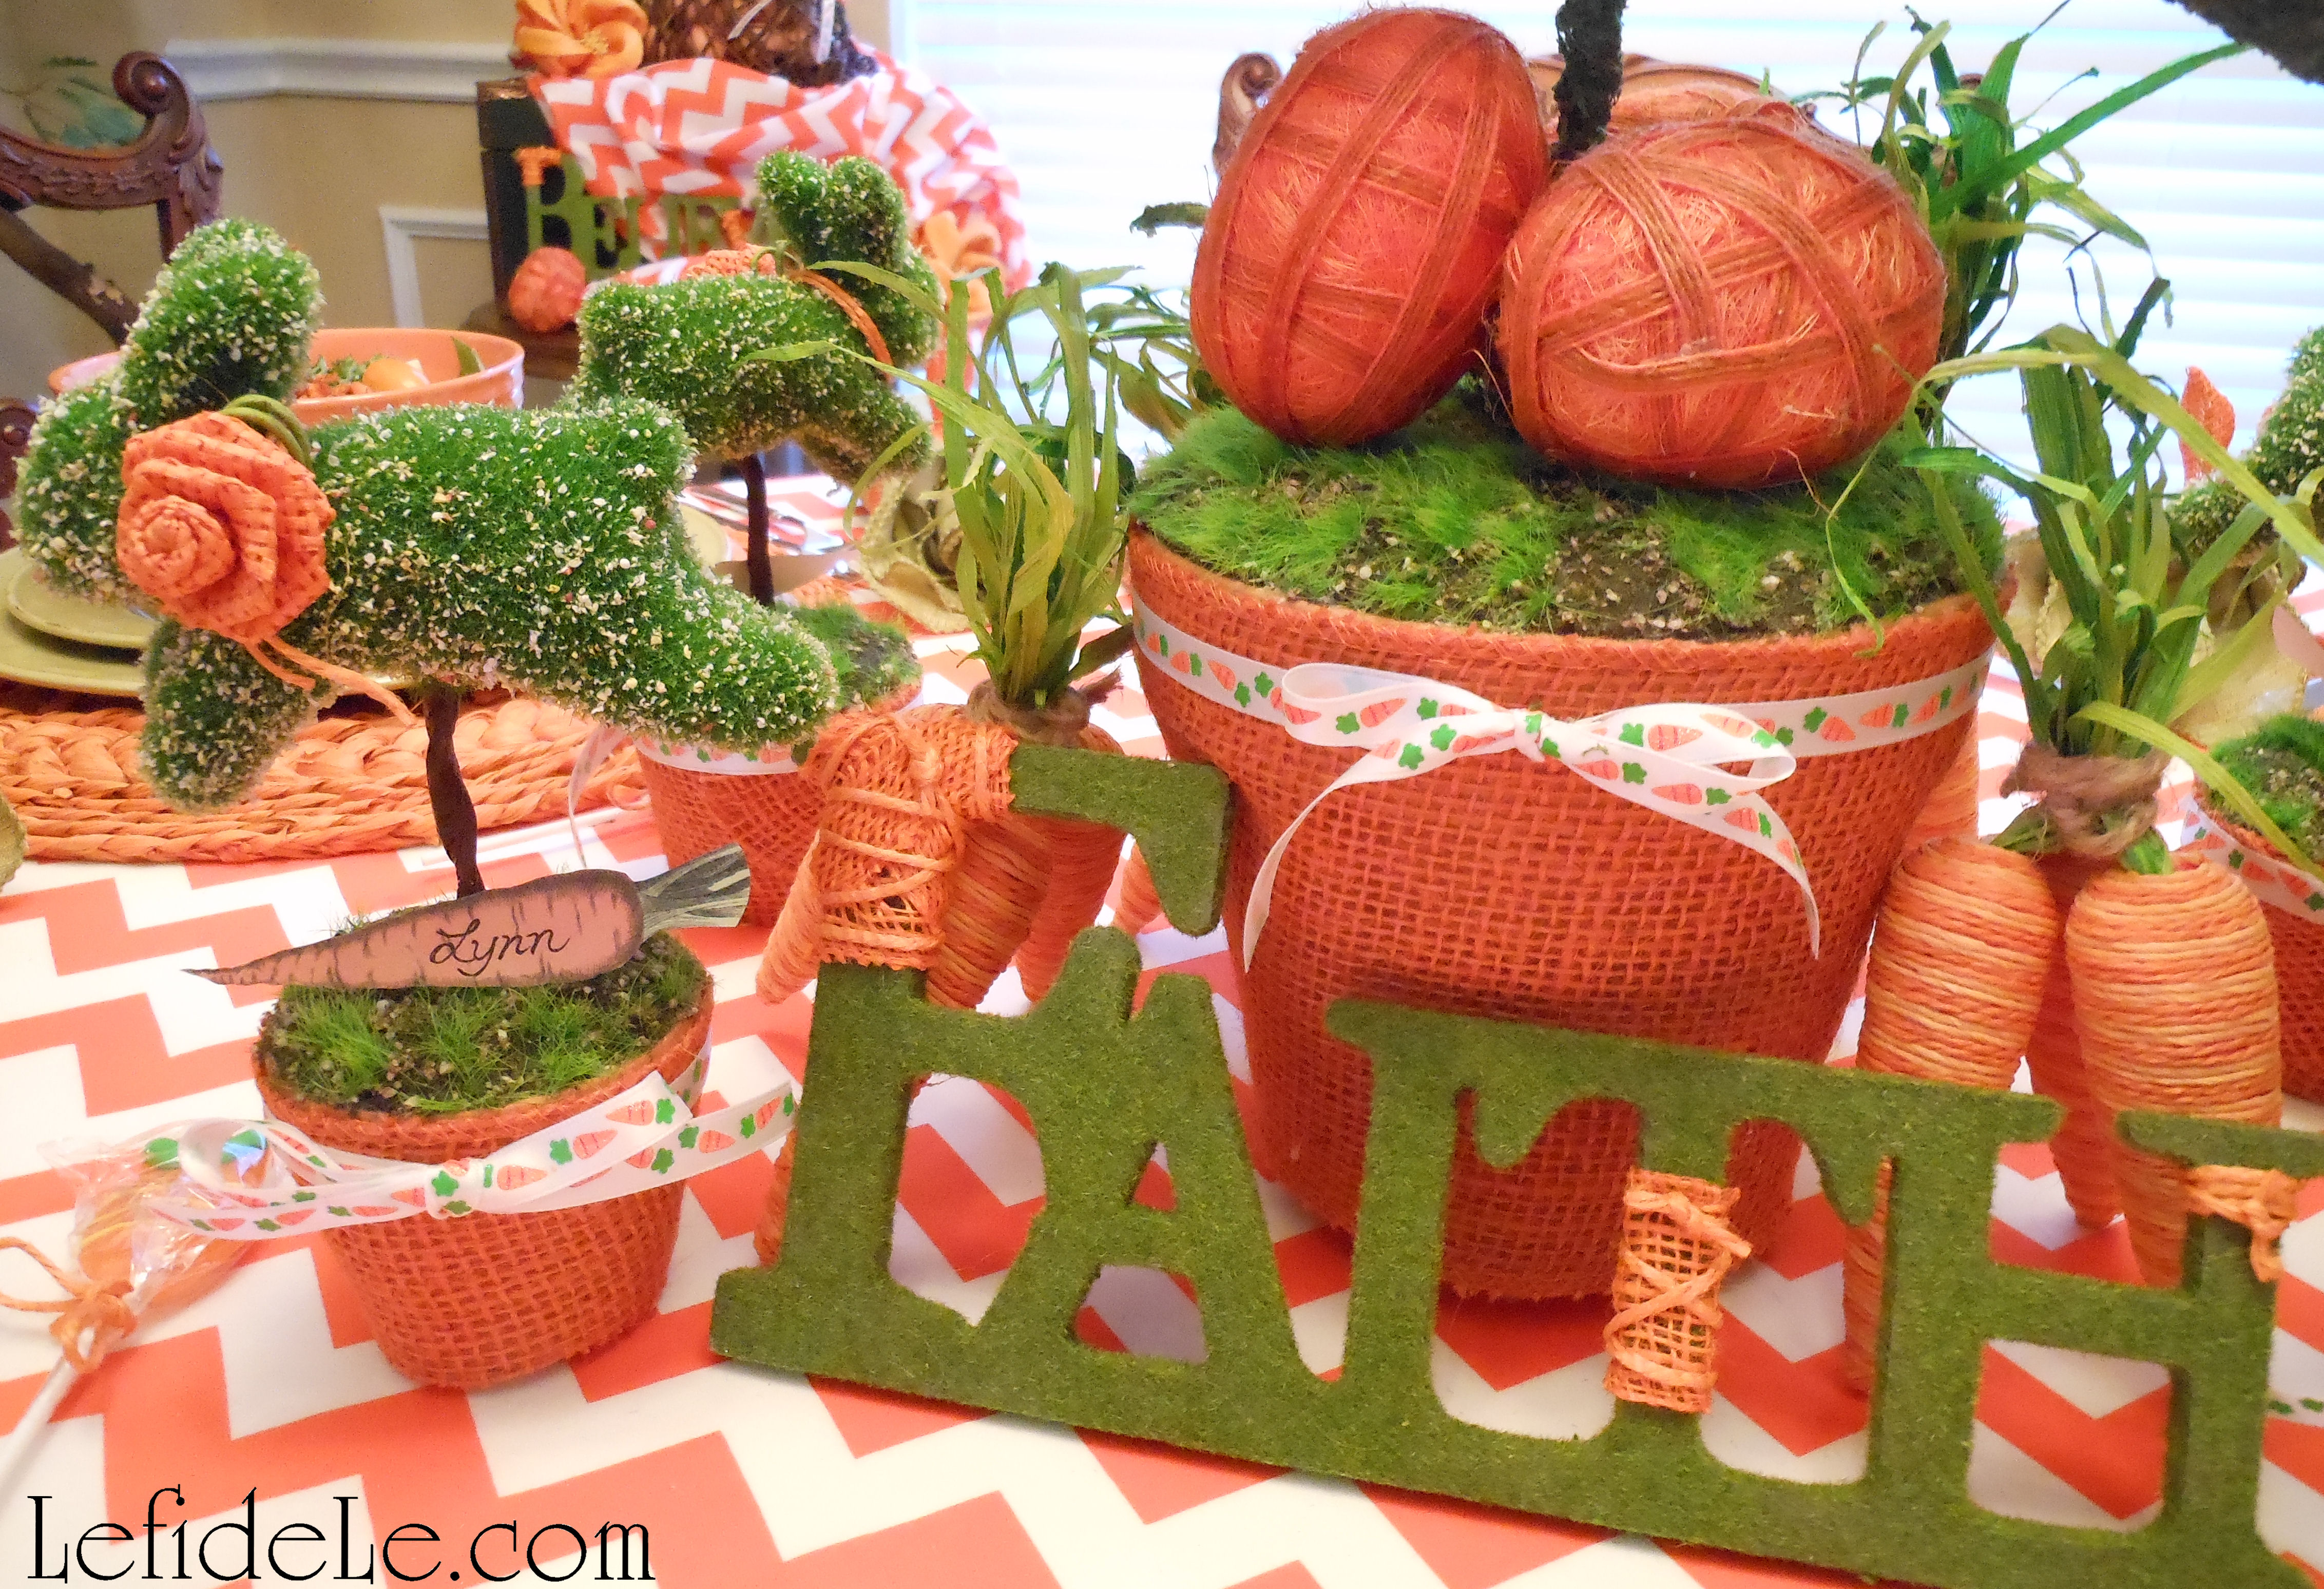
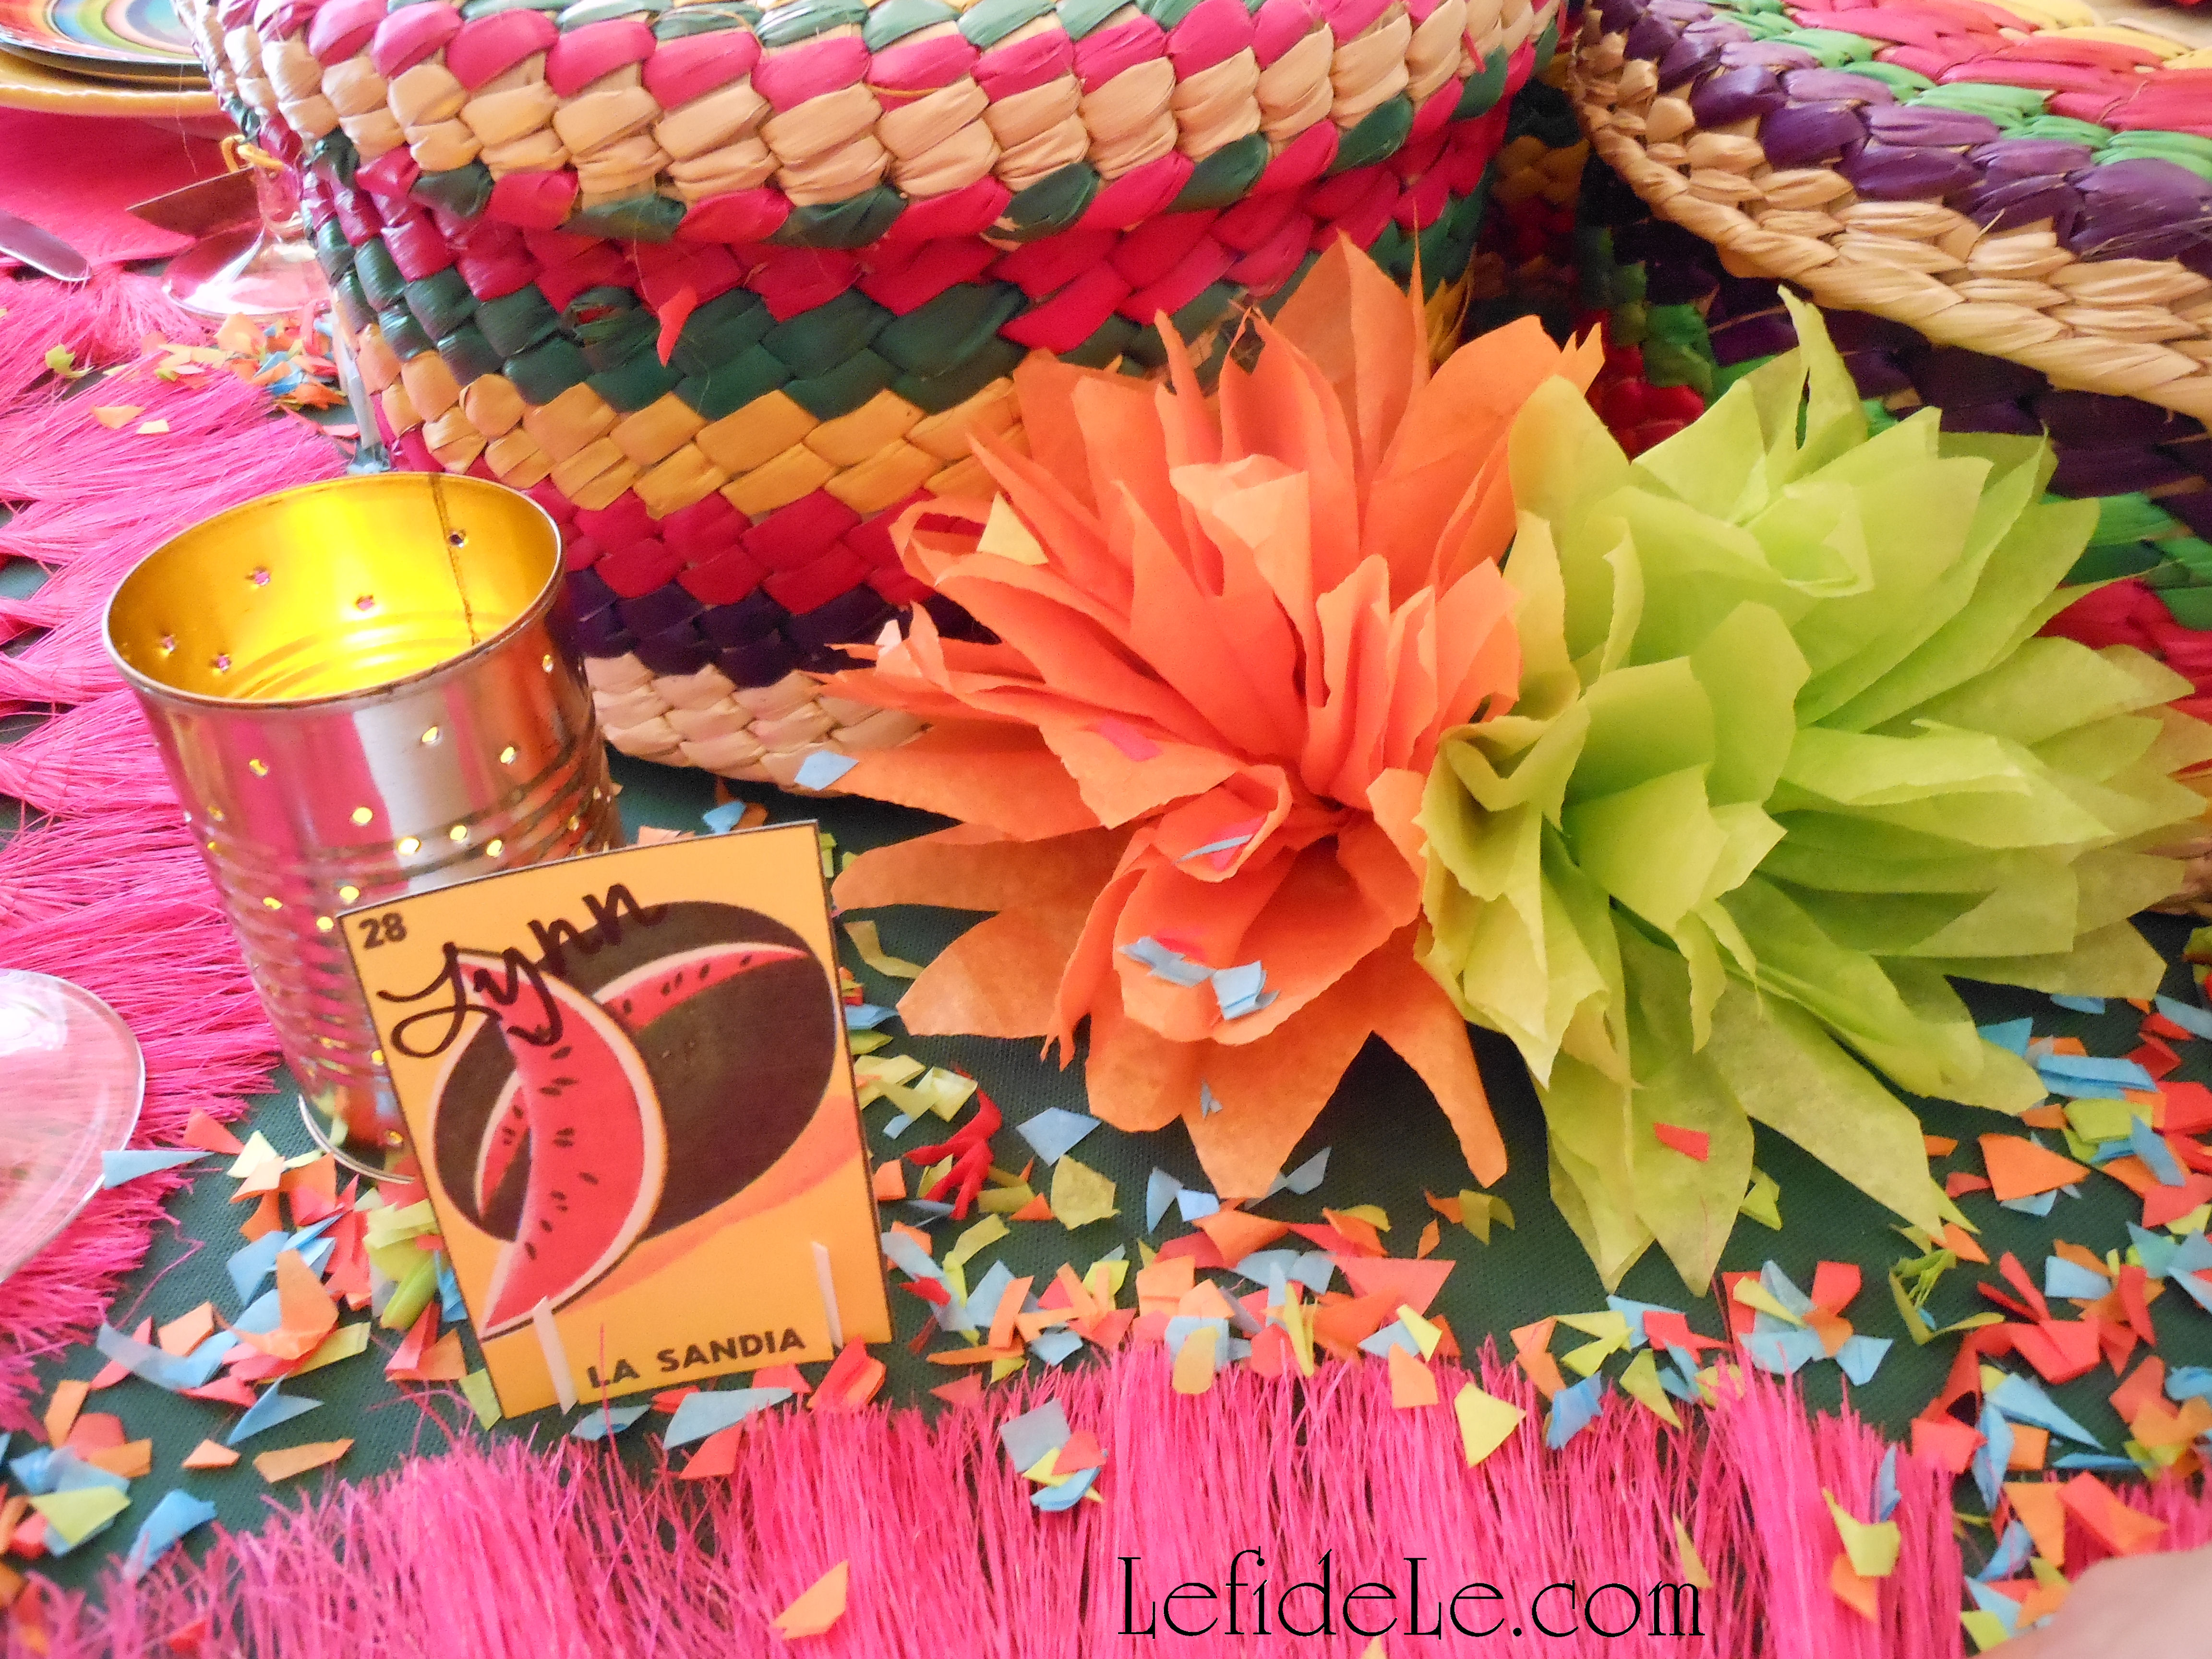
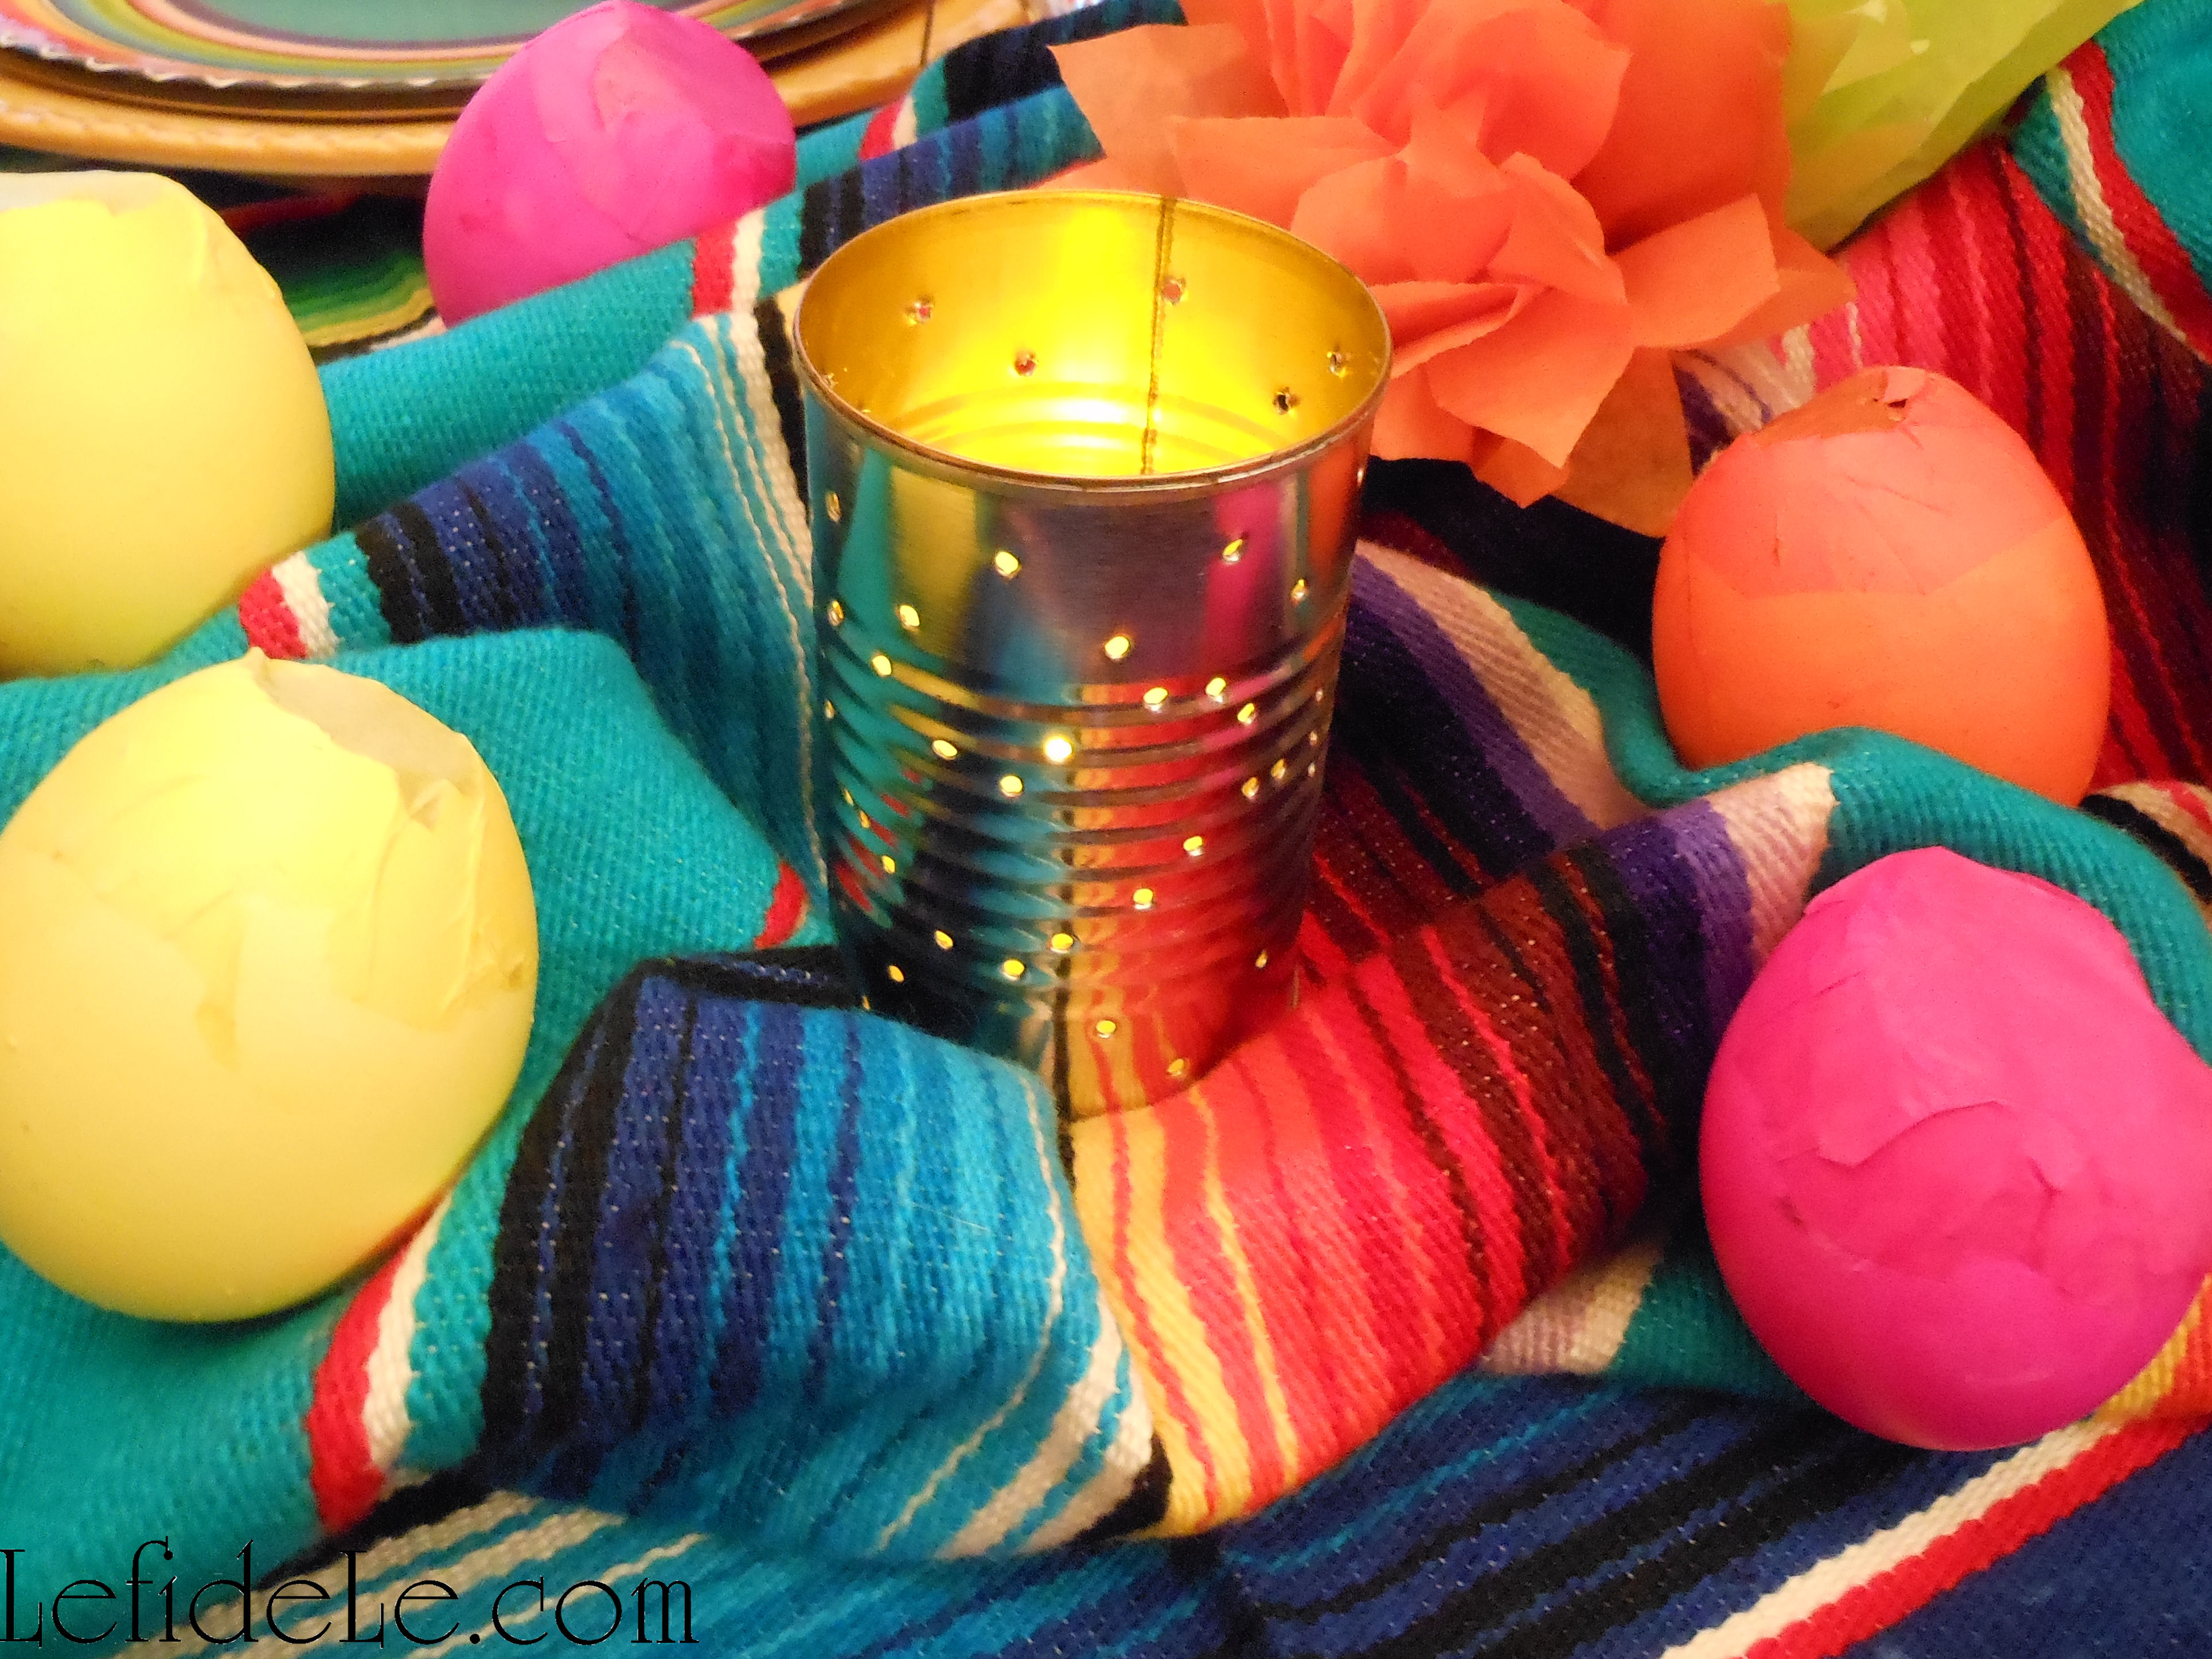
Here they’re featured in an upcoming San Antonio styled Fiesta tablescape next to some cascarones I’ll demonstrate how to make.

327Leigh

I think they look really lovely next to my fiesta flowers too… let’s make them together now!

094Leigh

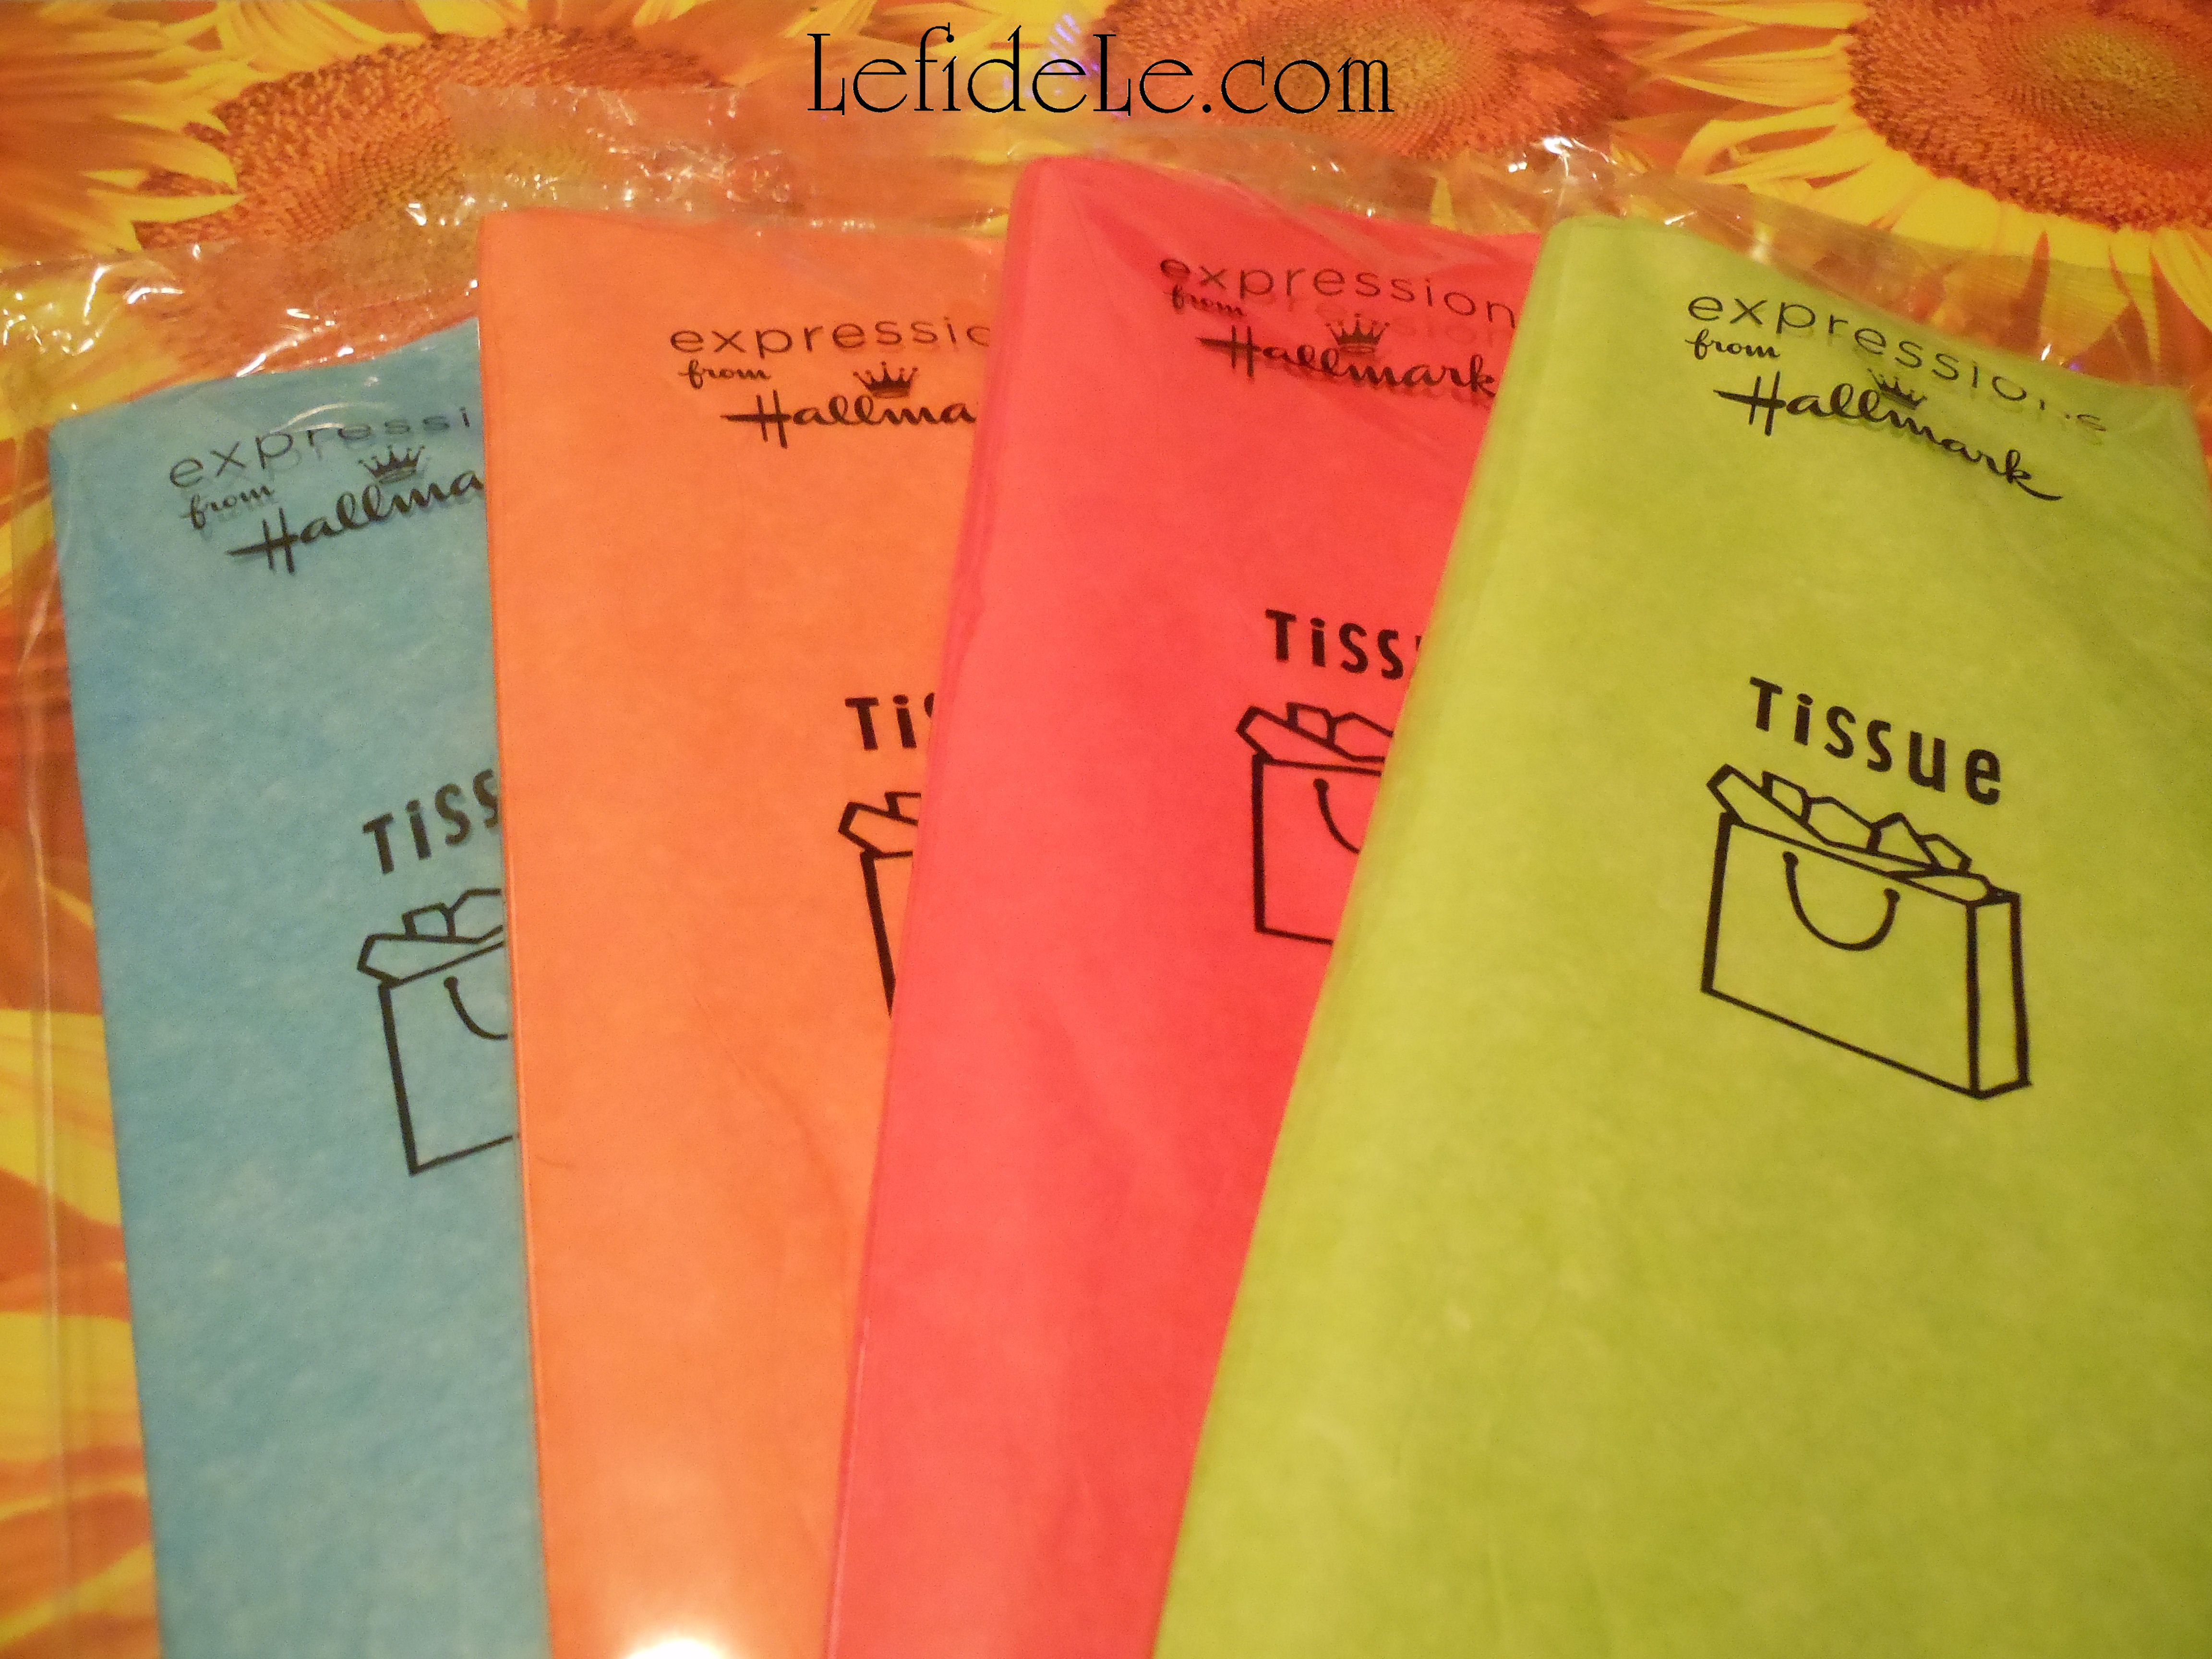
Use any new store bought tissue paper, or upcycle some former gift bag tissue into something spectacular.

127Leigh

The size of the sheet you use will equate to the size of the flower you end up with.

096Leigh

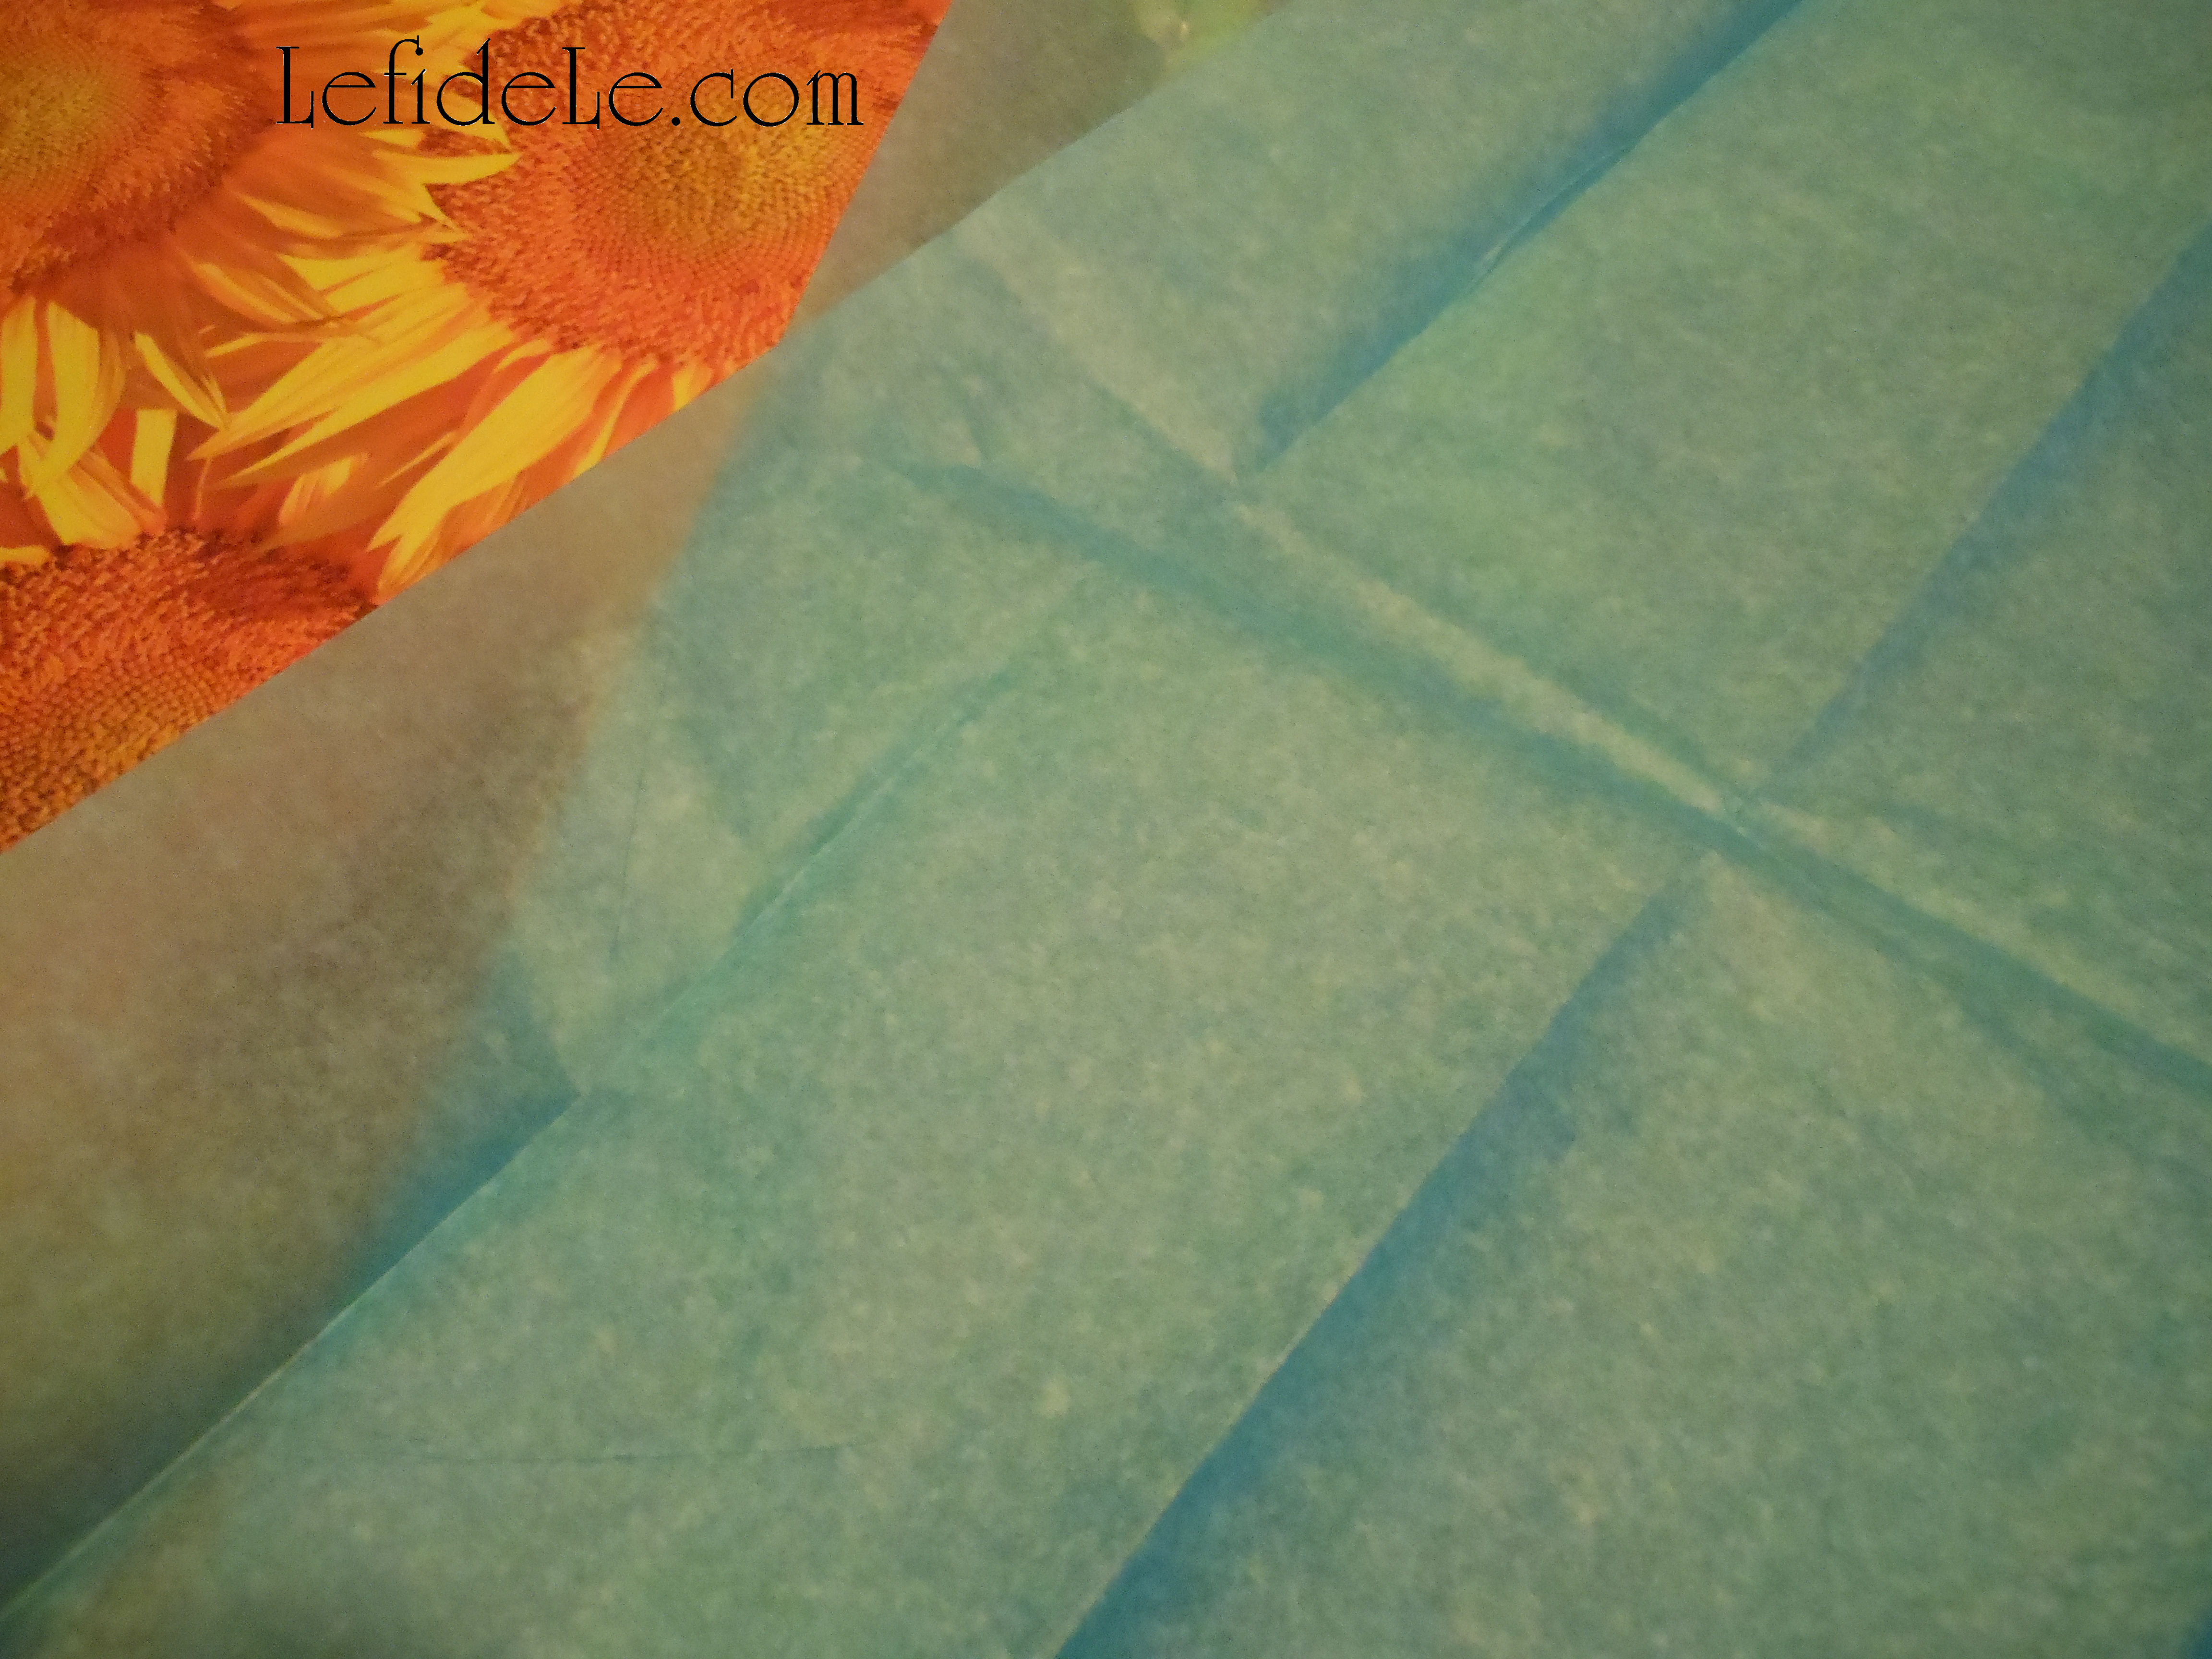
Here I’m beginning with one sheet cut into two halves, one placed over the other.

121Leigh

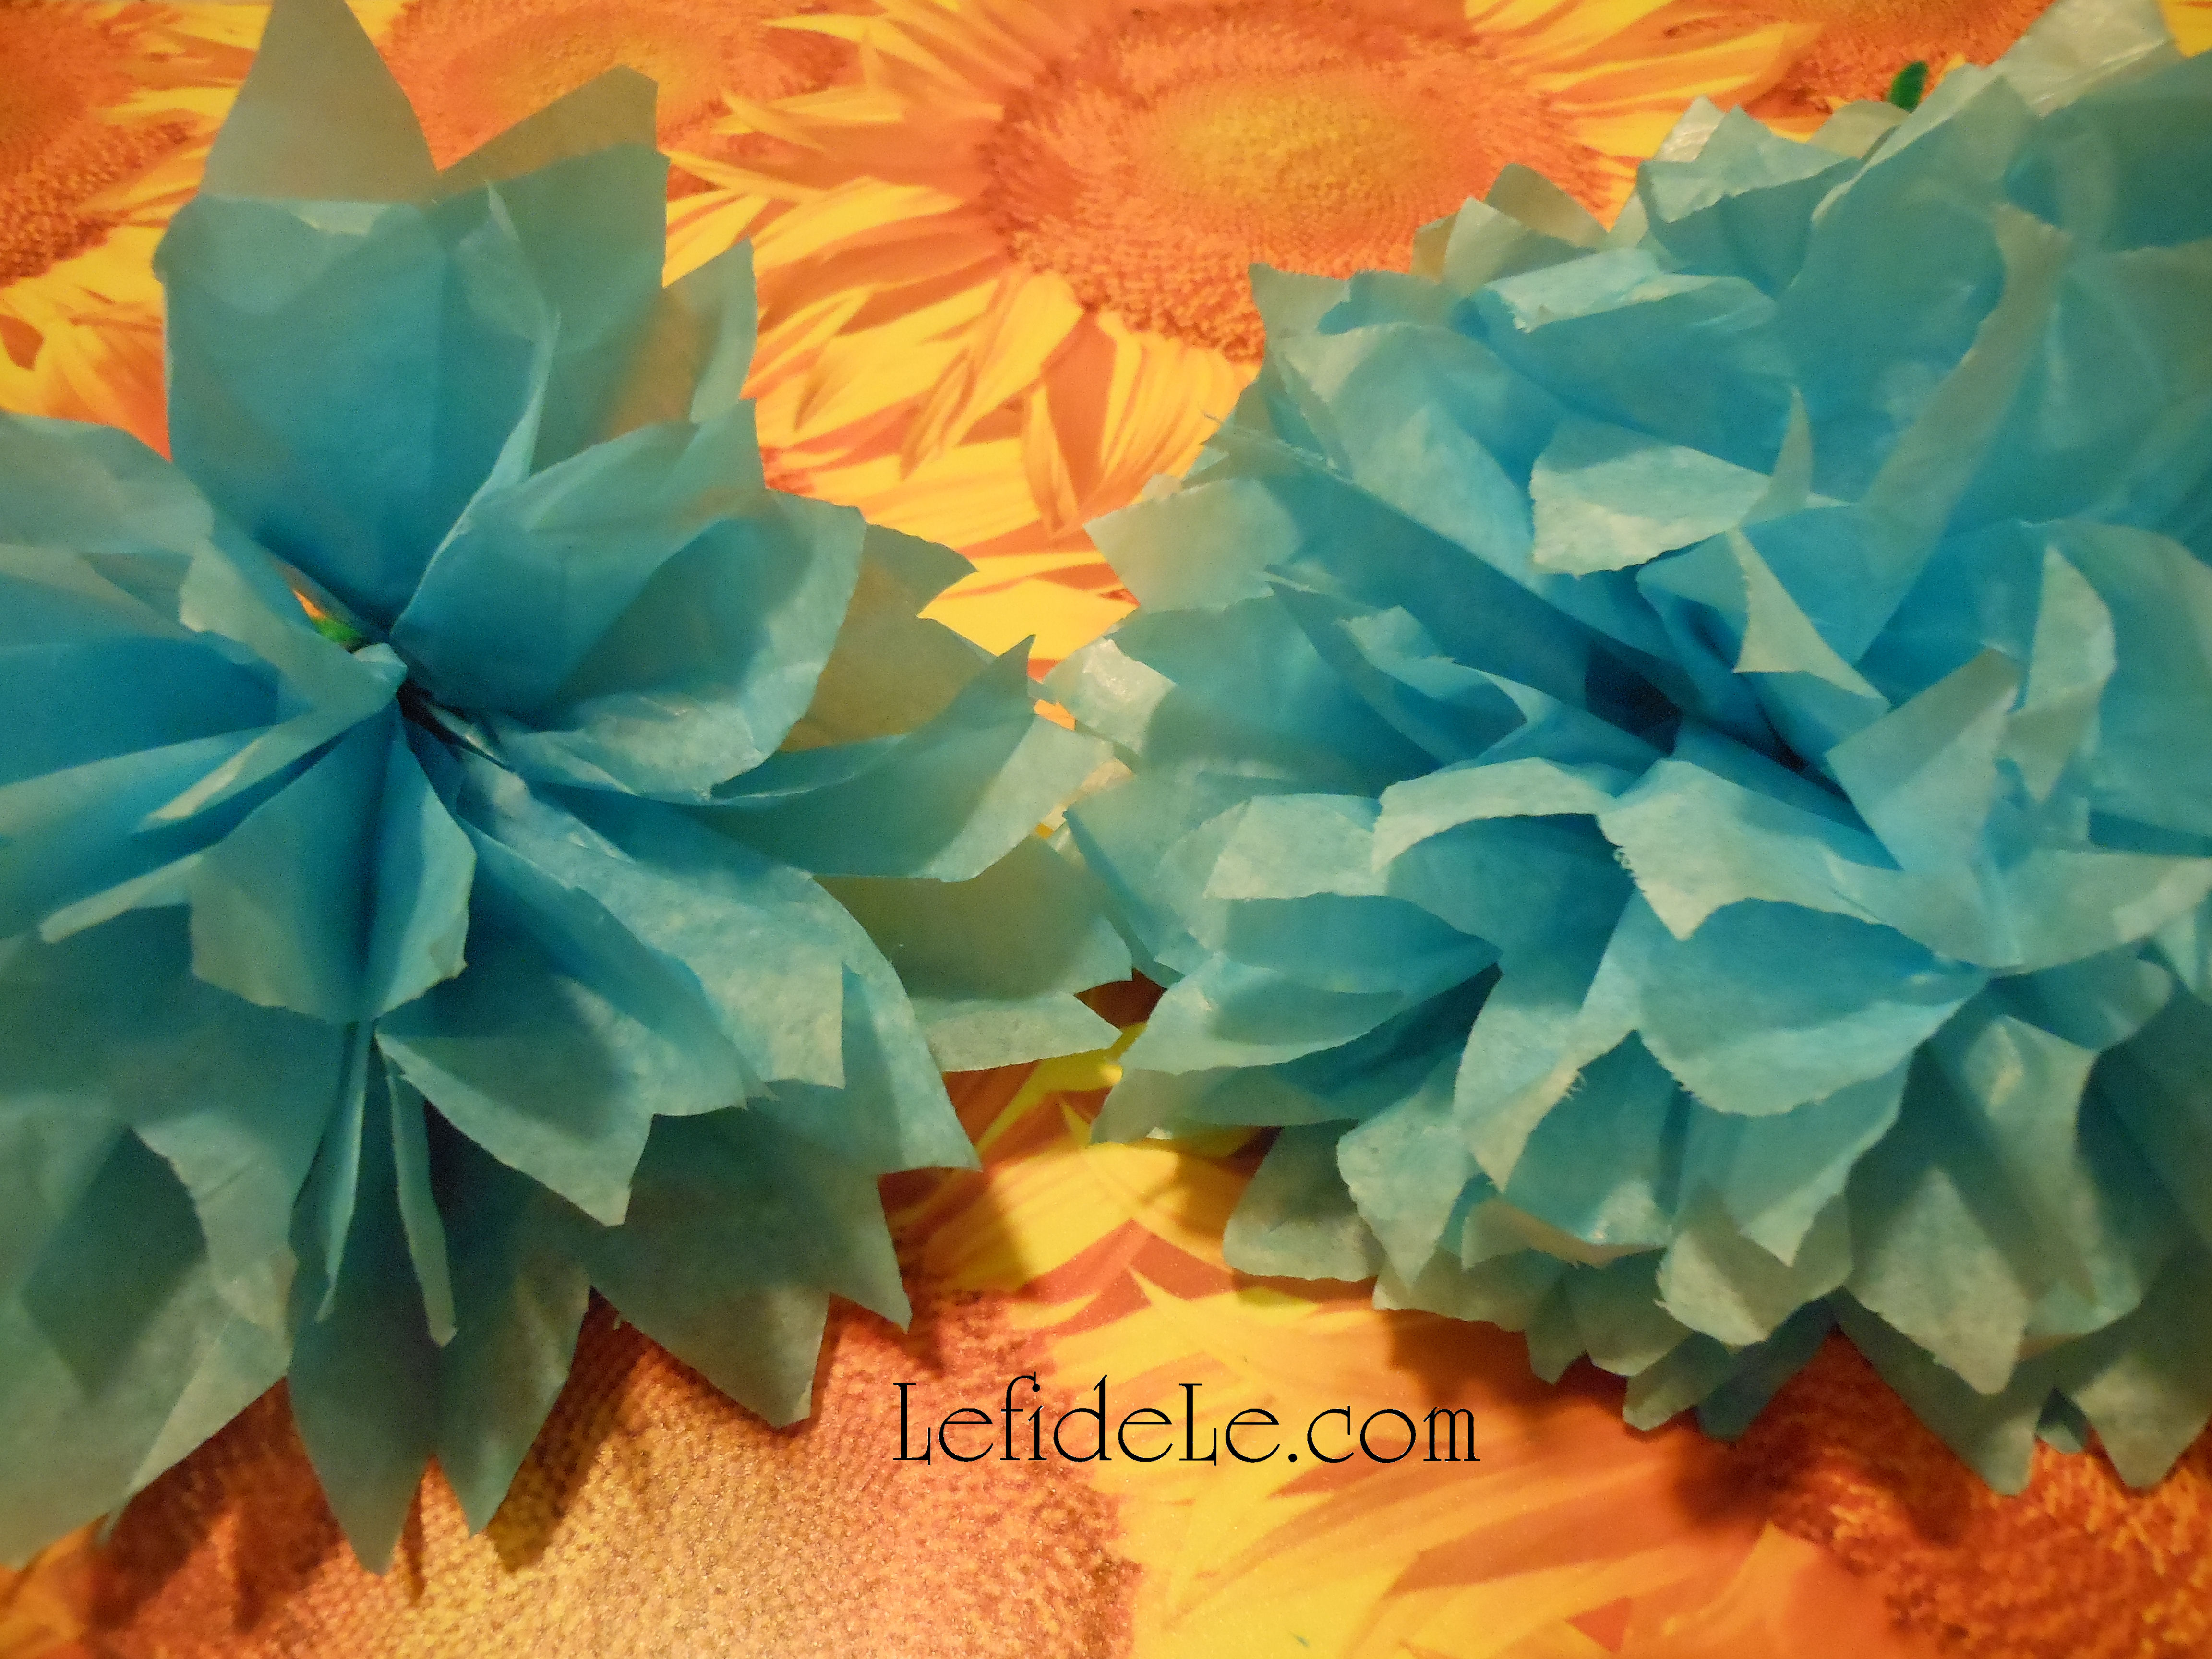
You can actually stack as many layers of tissue as you like to add fullness. Here is a fuller flower next to one made with less layers.

113Leigh

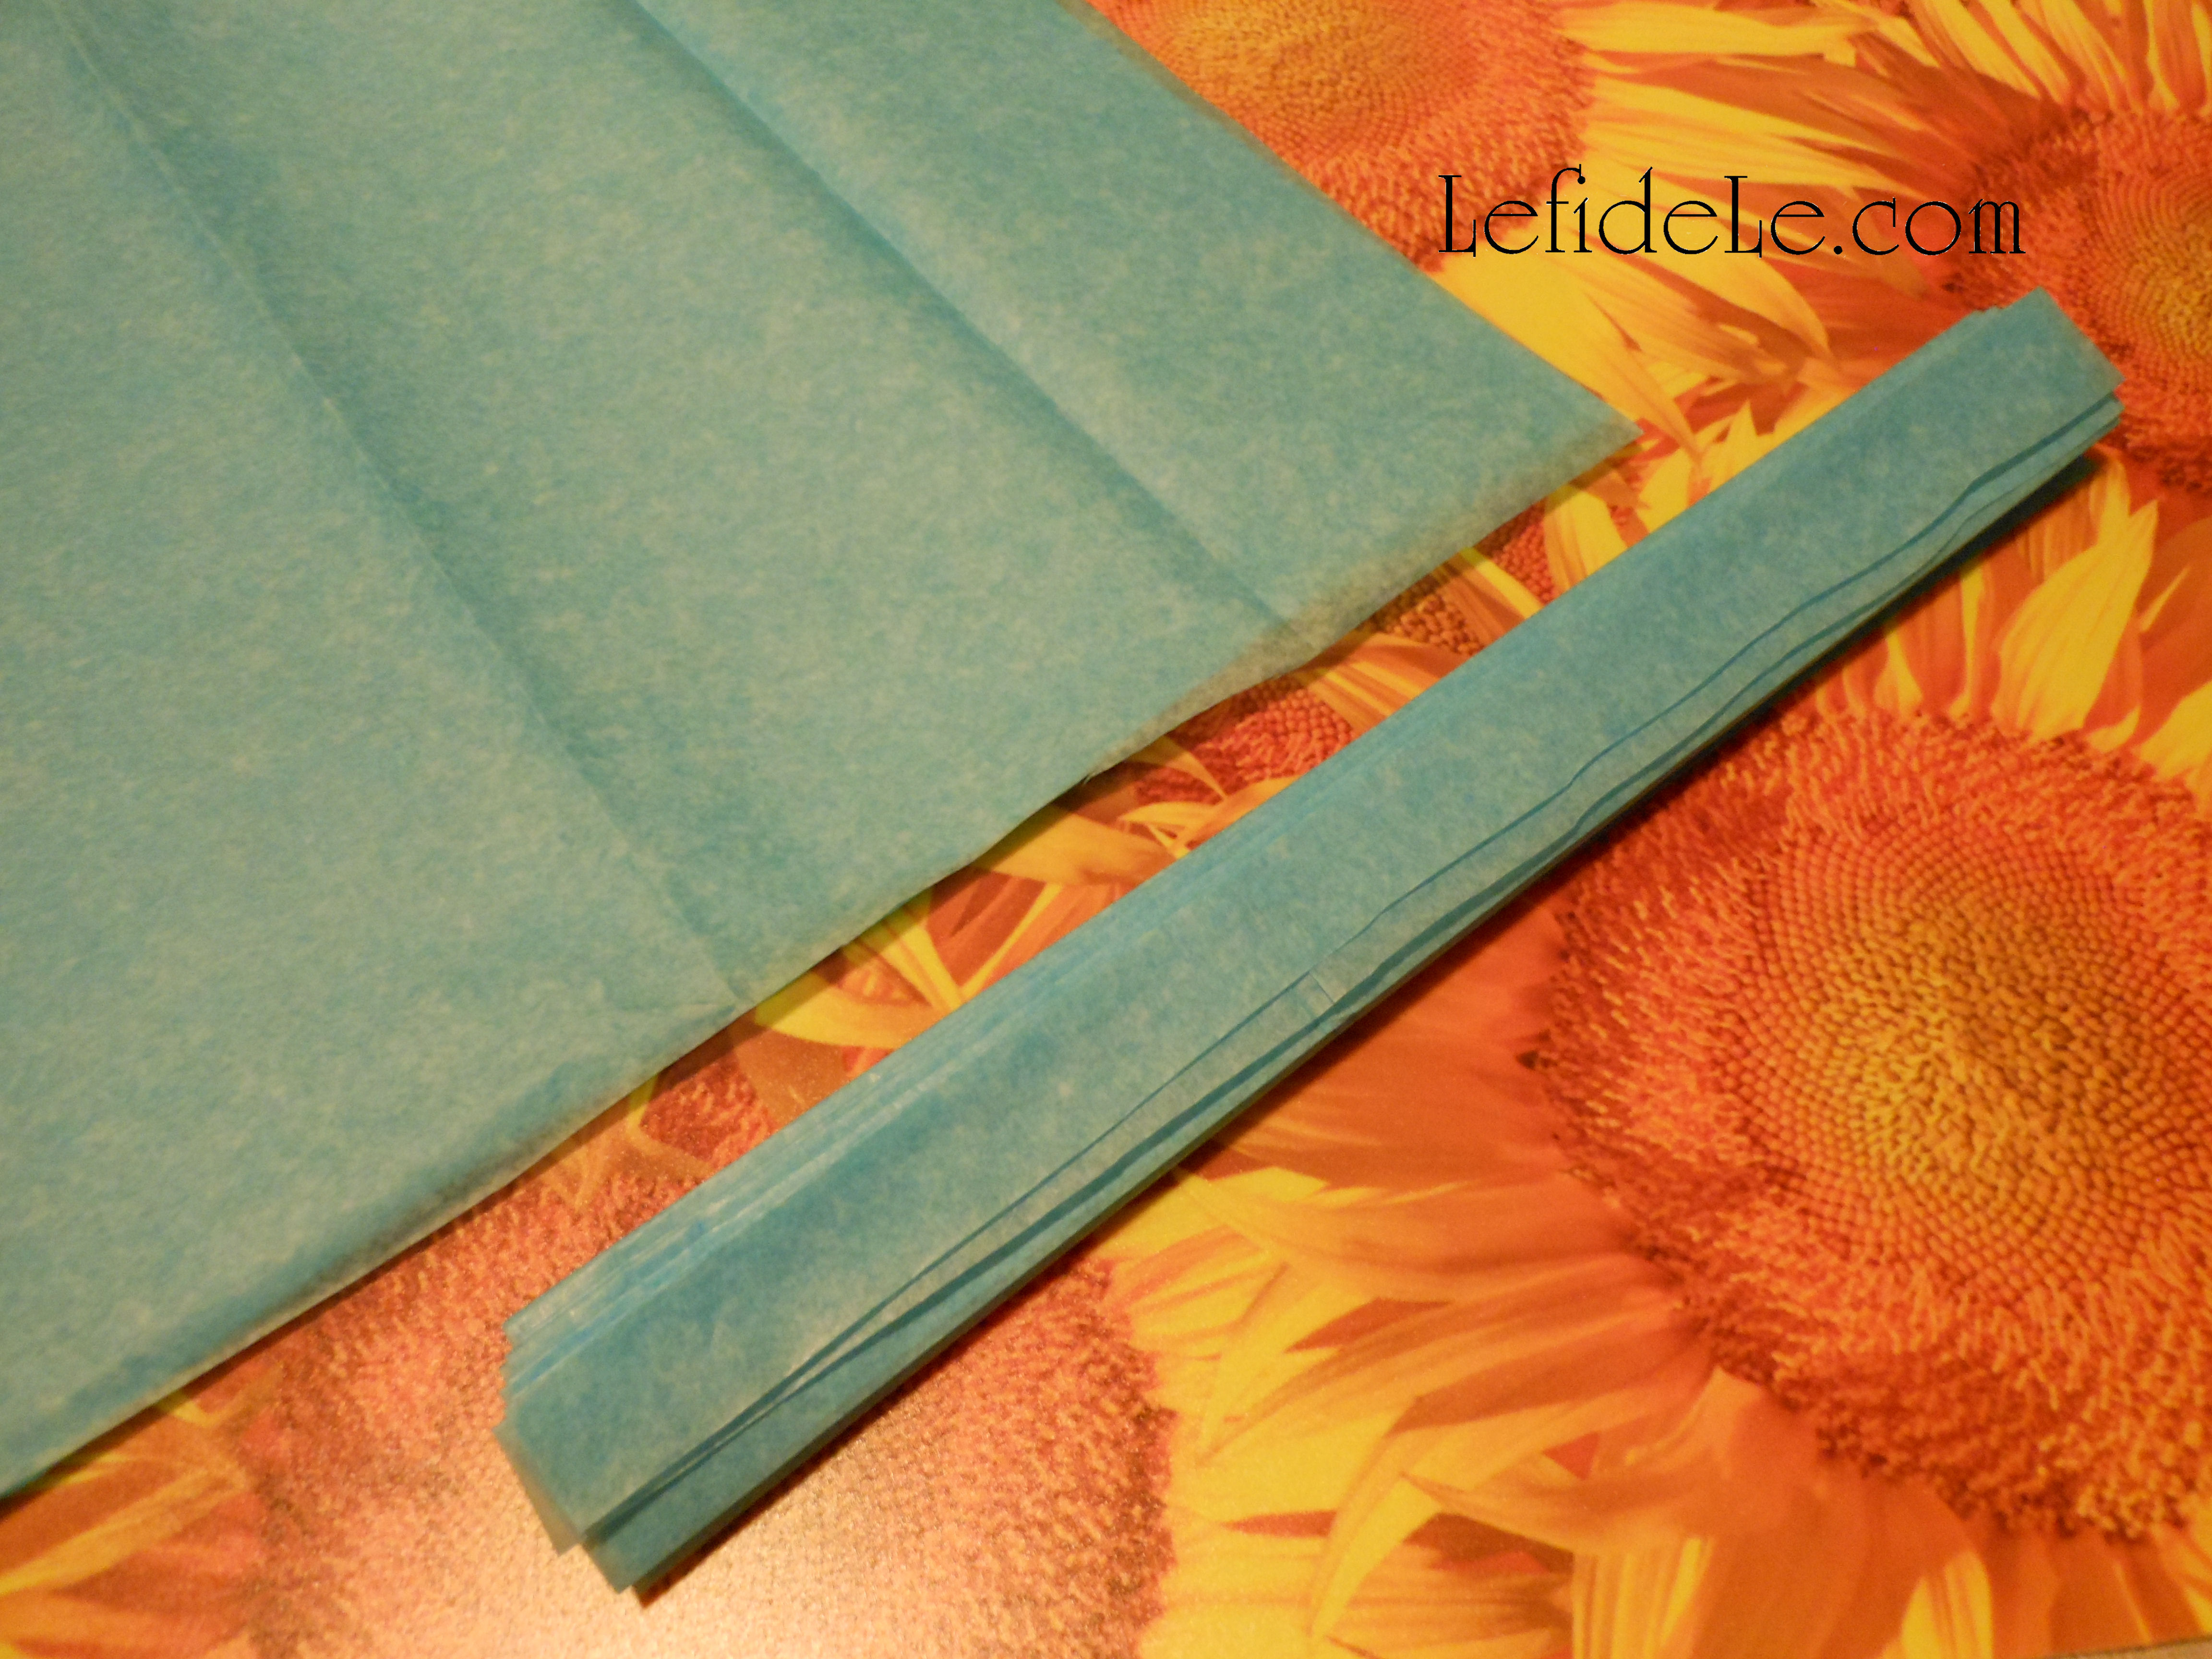
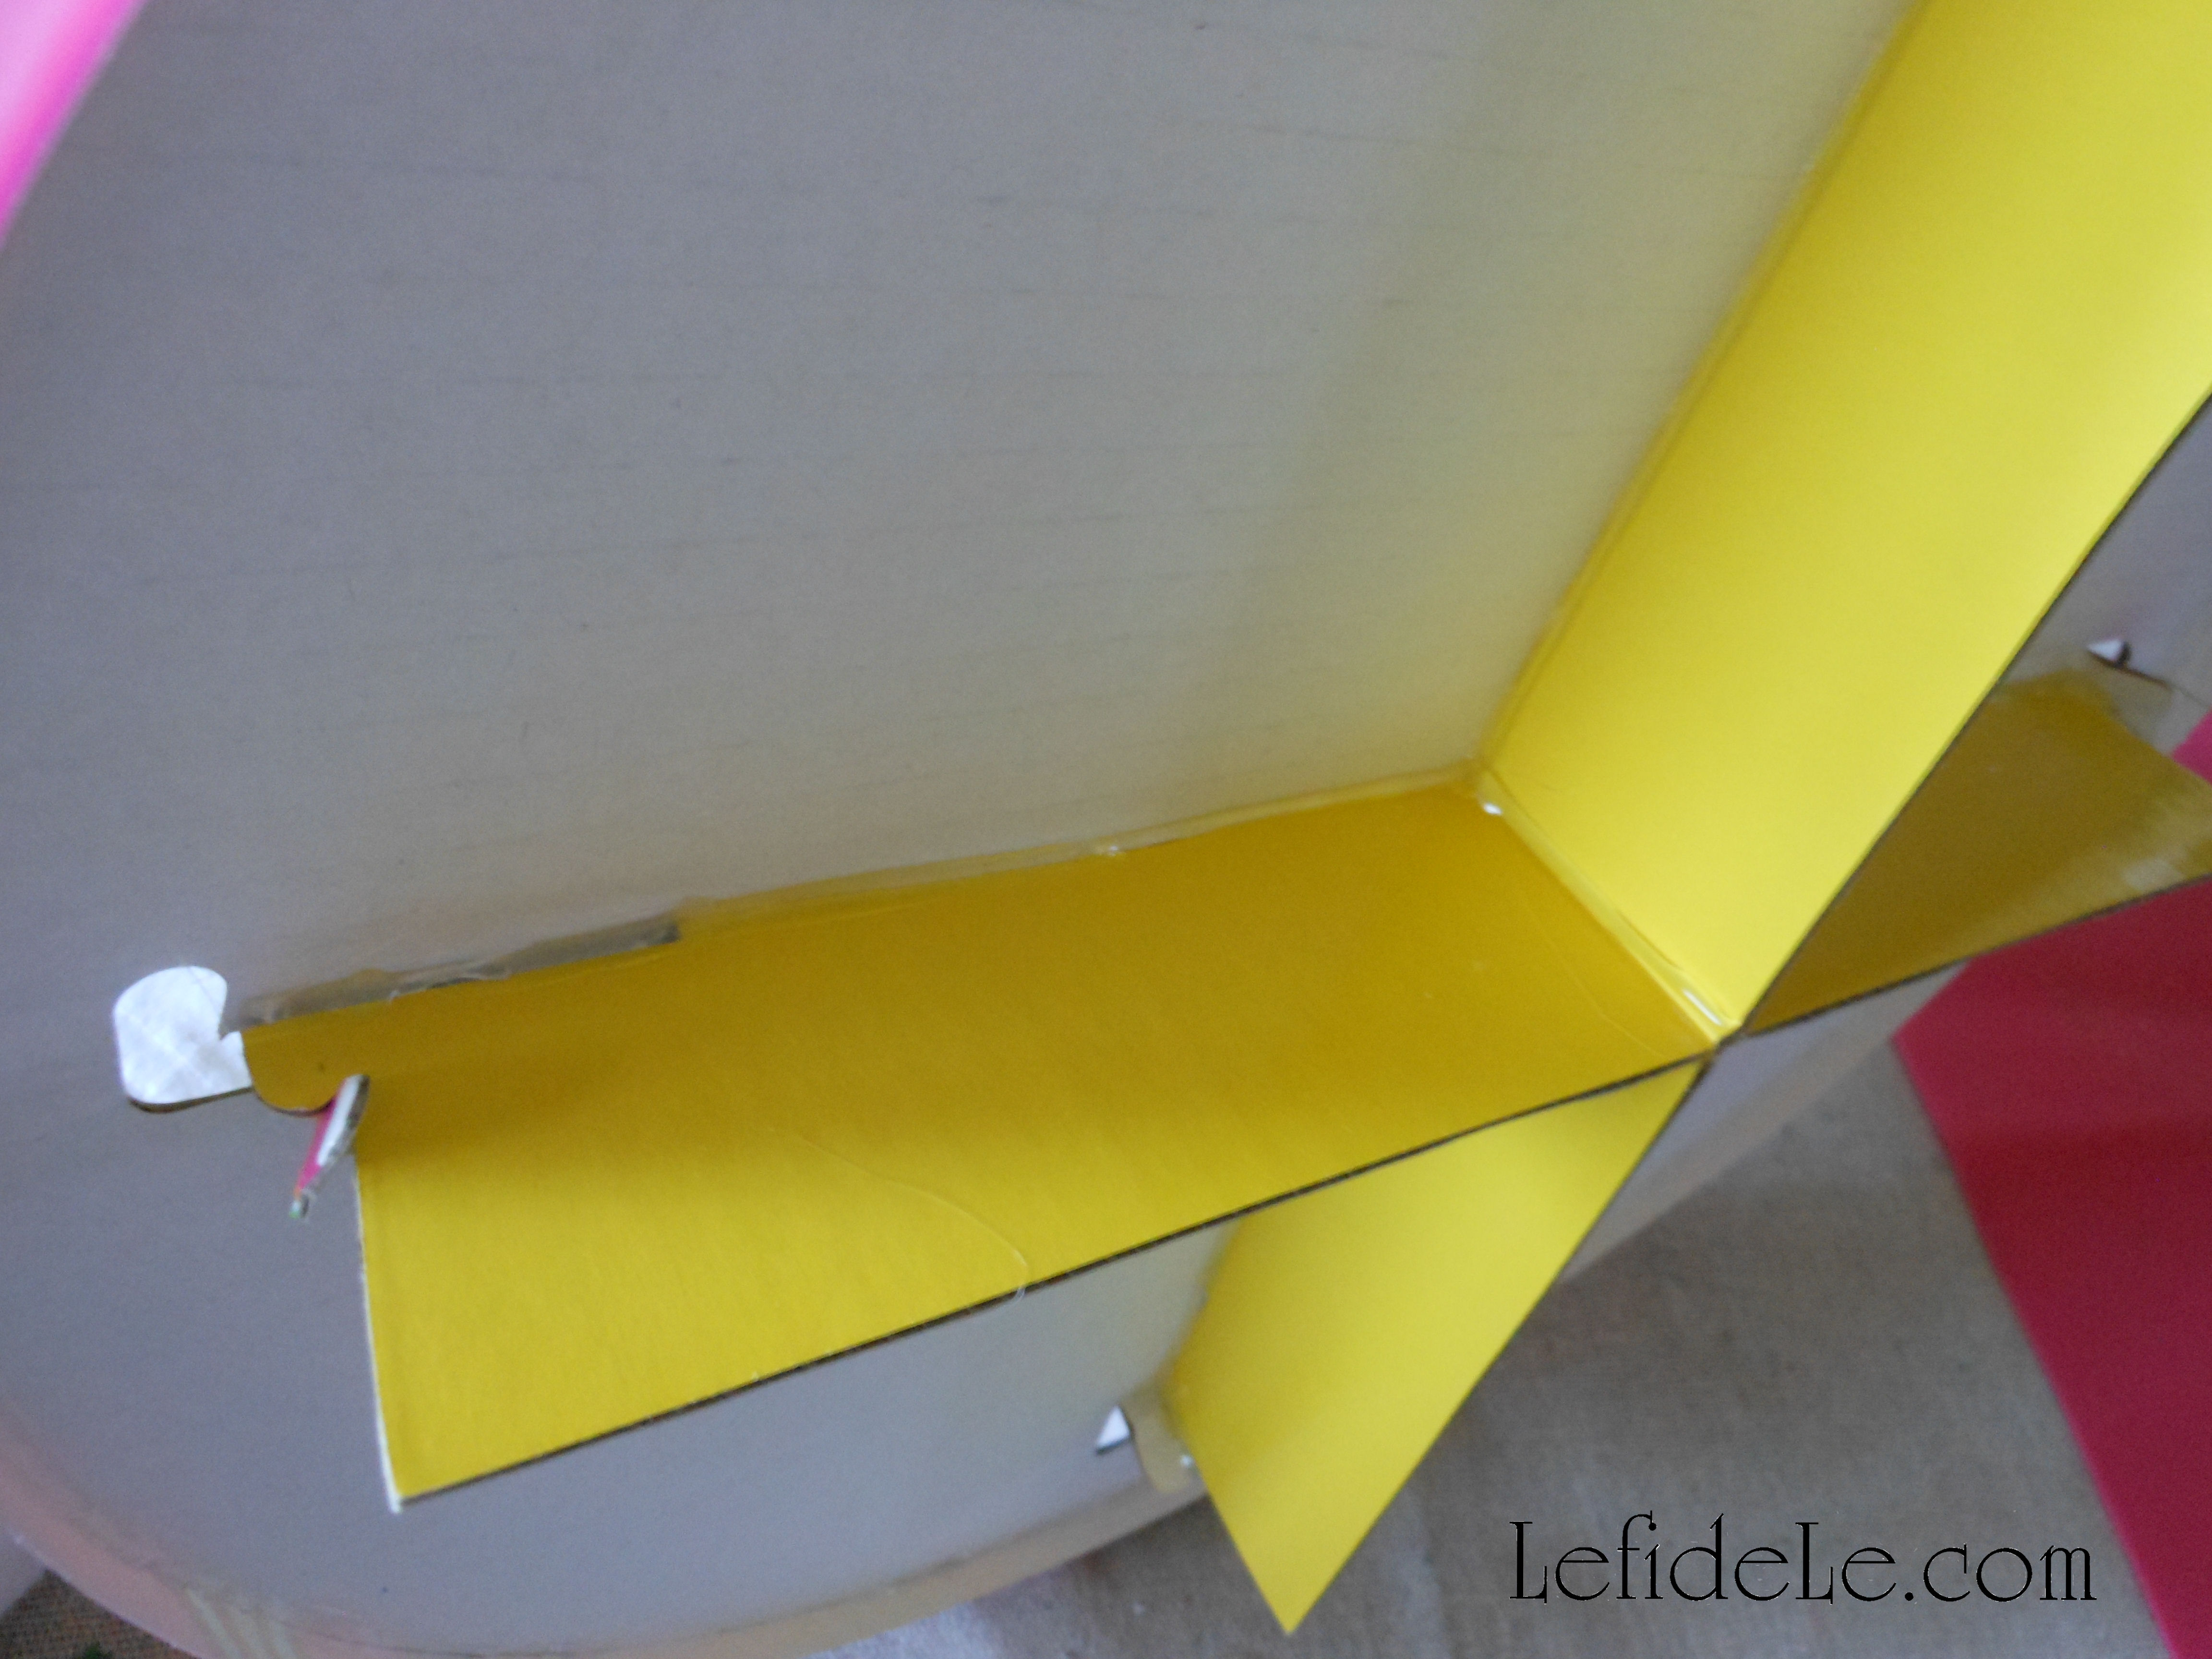
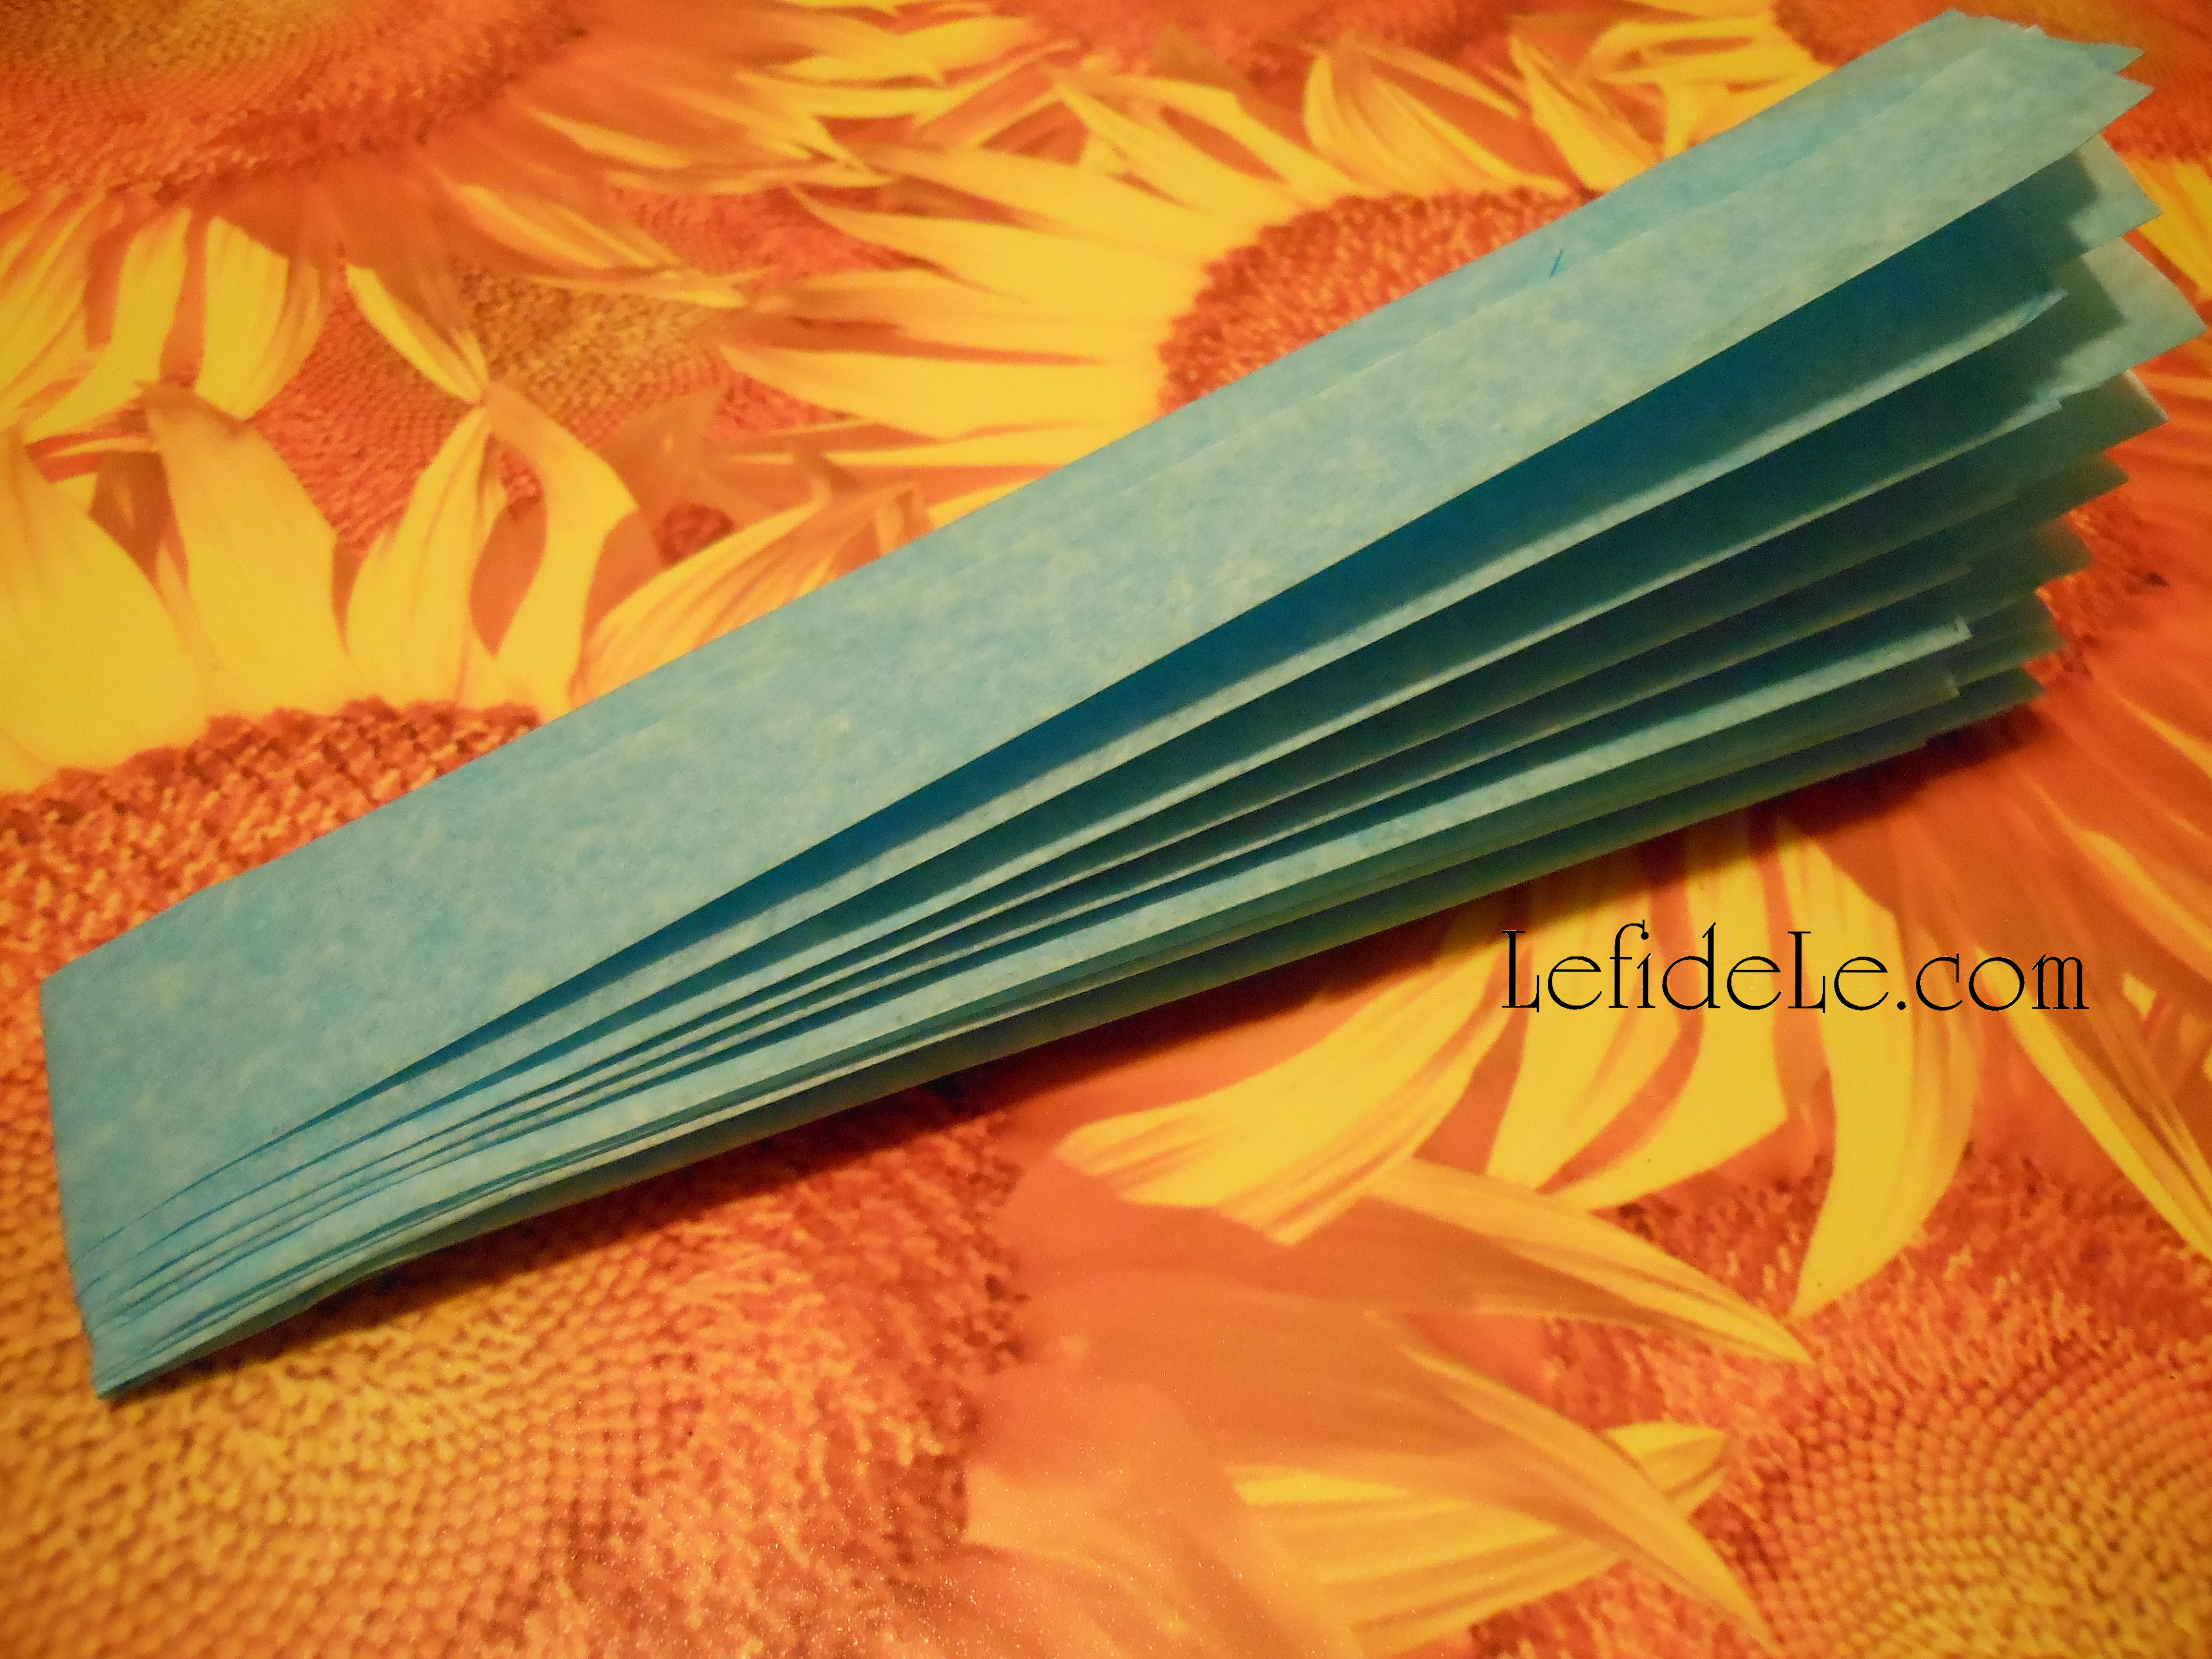
Accordion fold these into a fan, short side to short side. (This part is a great hand-eye craft for the kiddos!)

100Leigh

Next, fold the bar over in half.

102Leigh

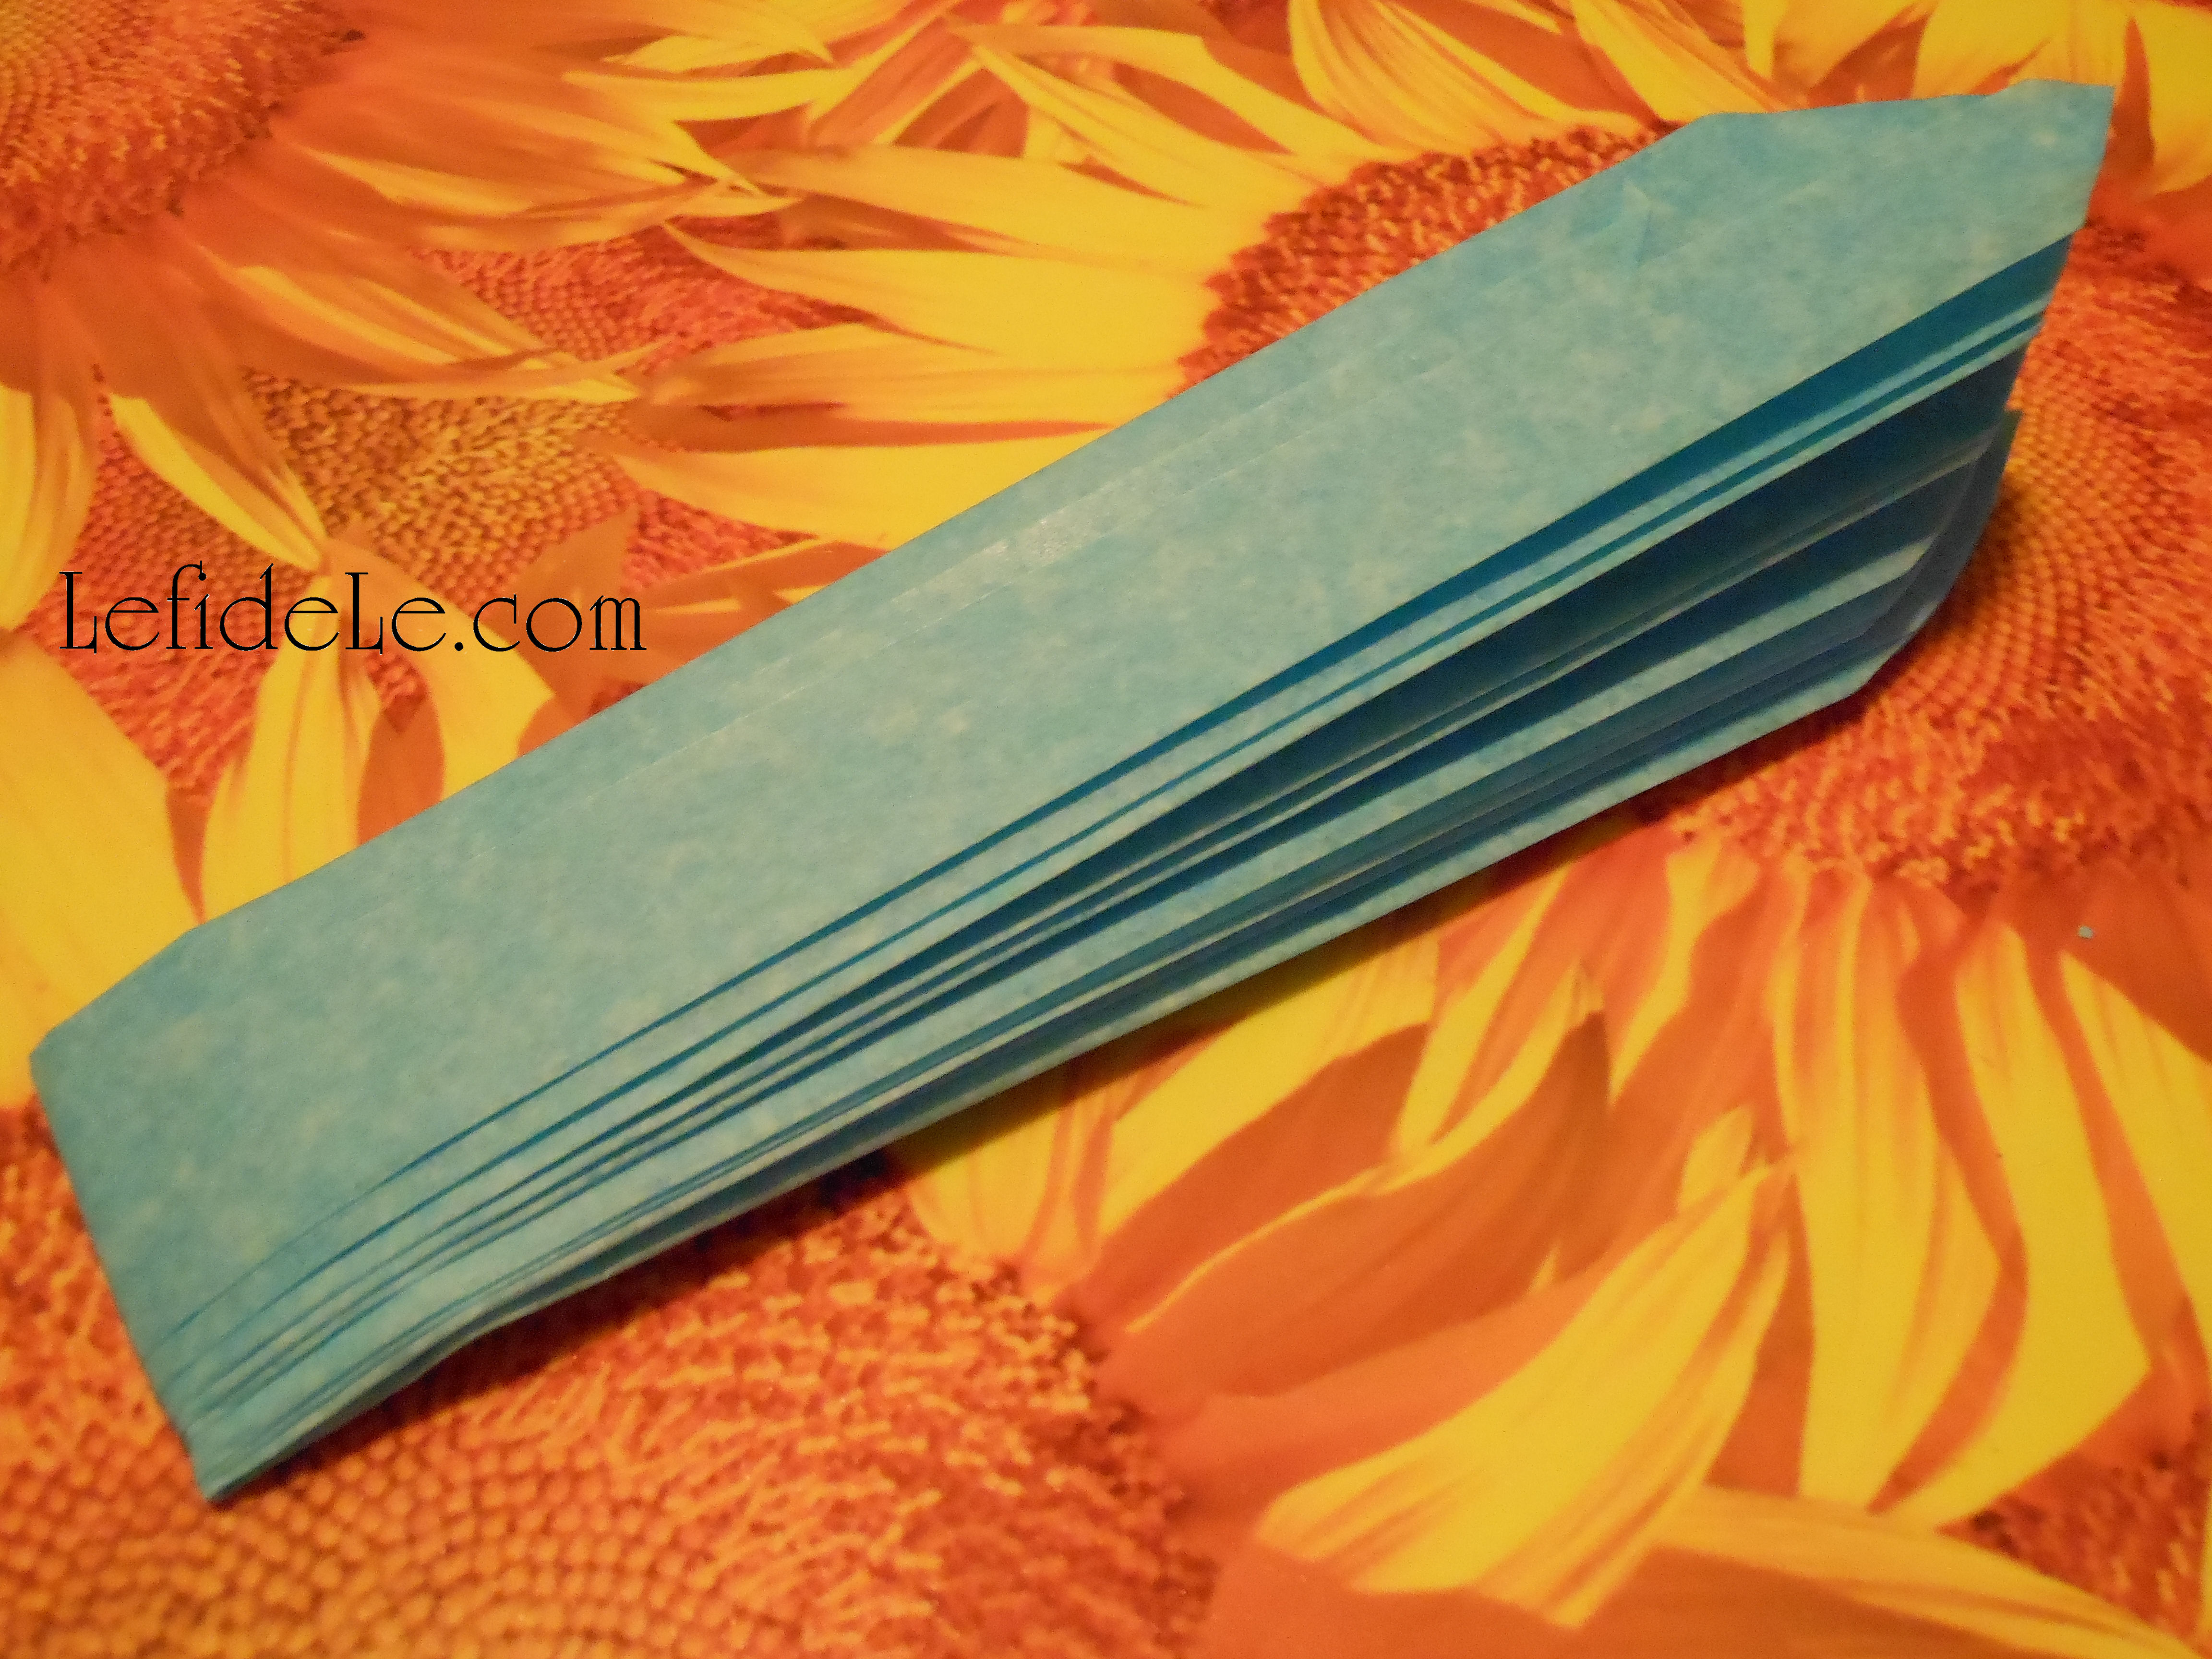
Cut an upside down V into the ends… this will make a prettier flower.

128Leigh

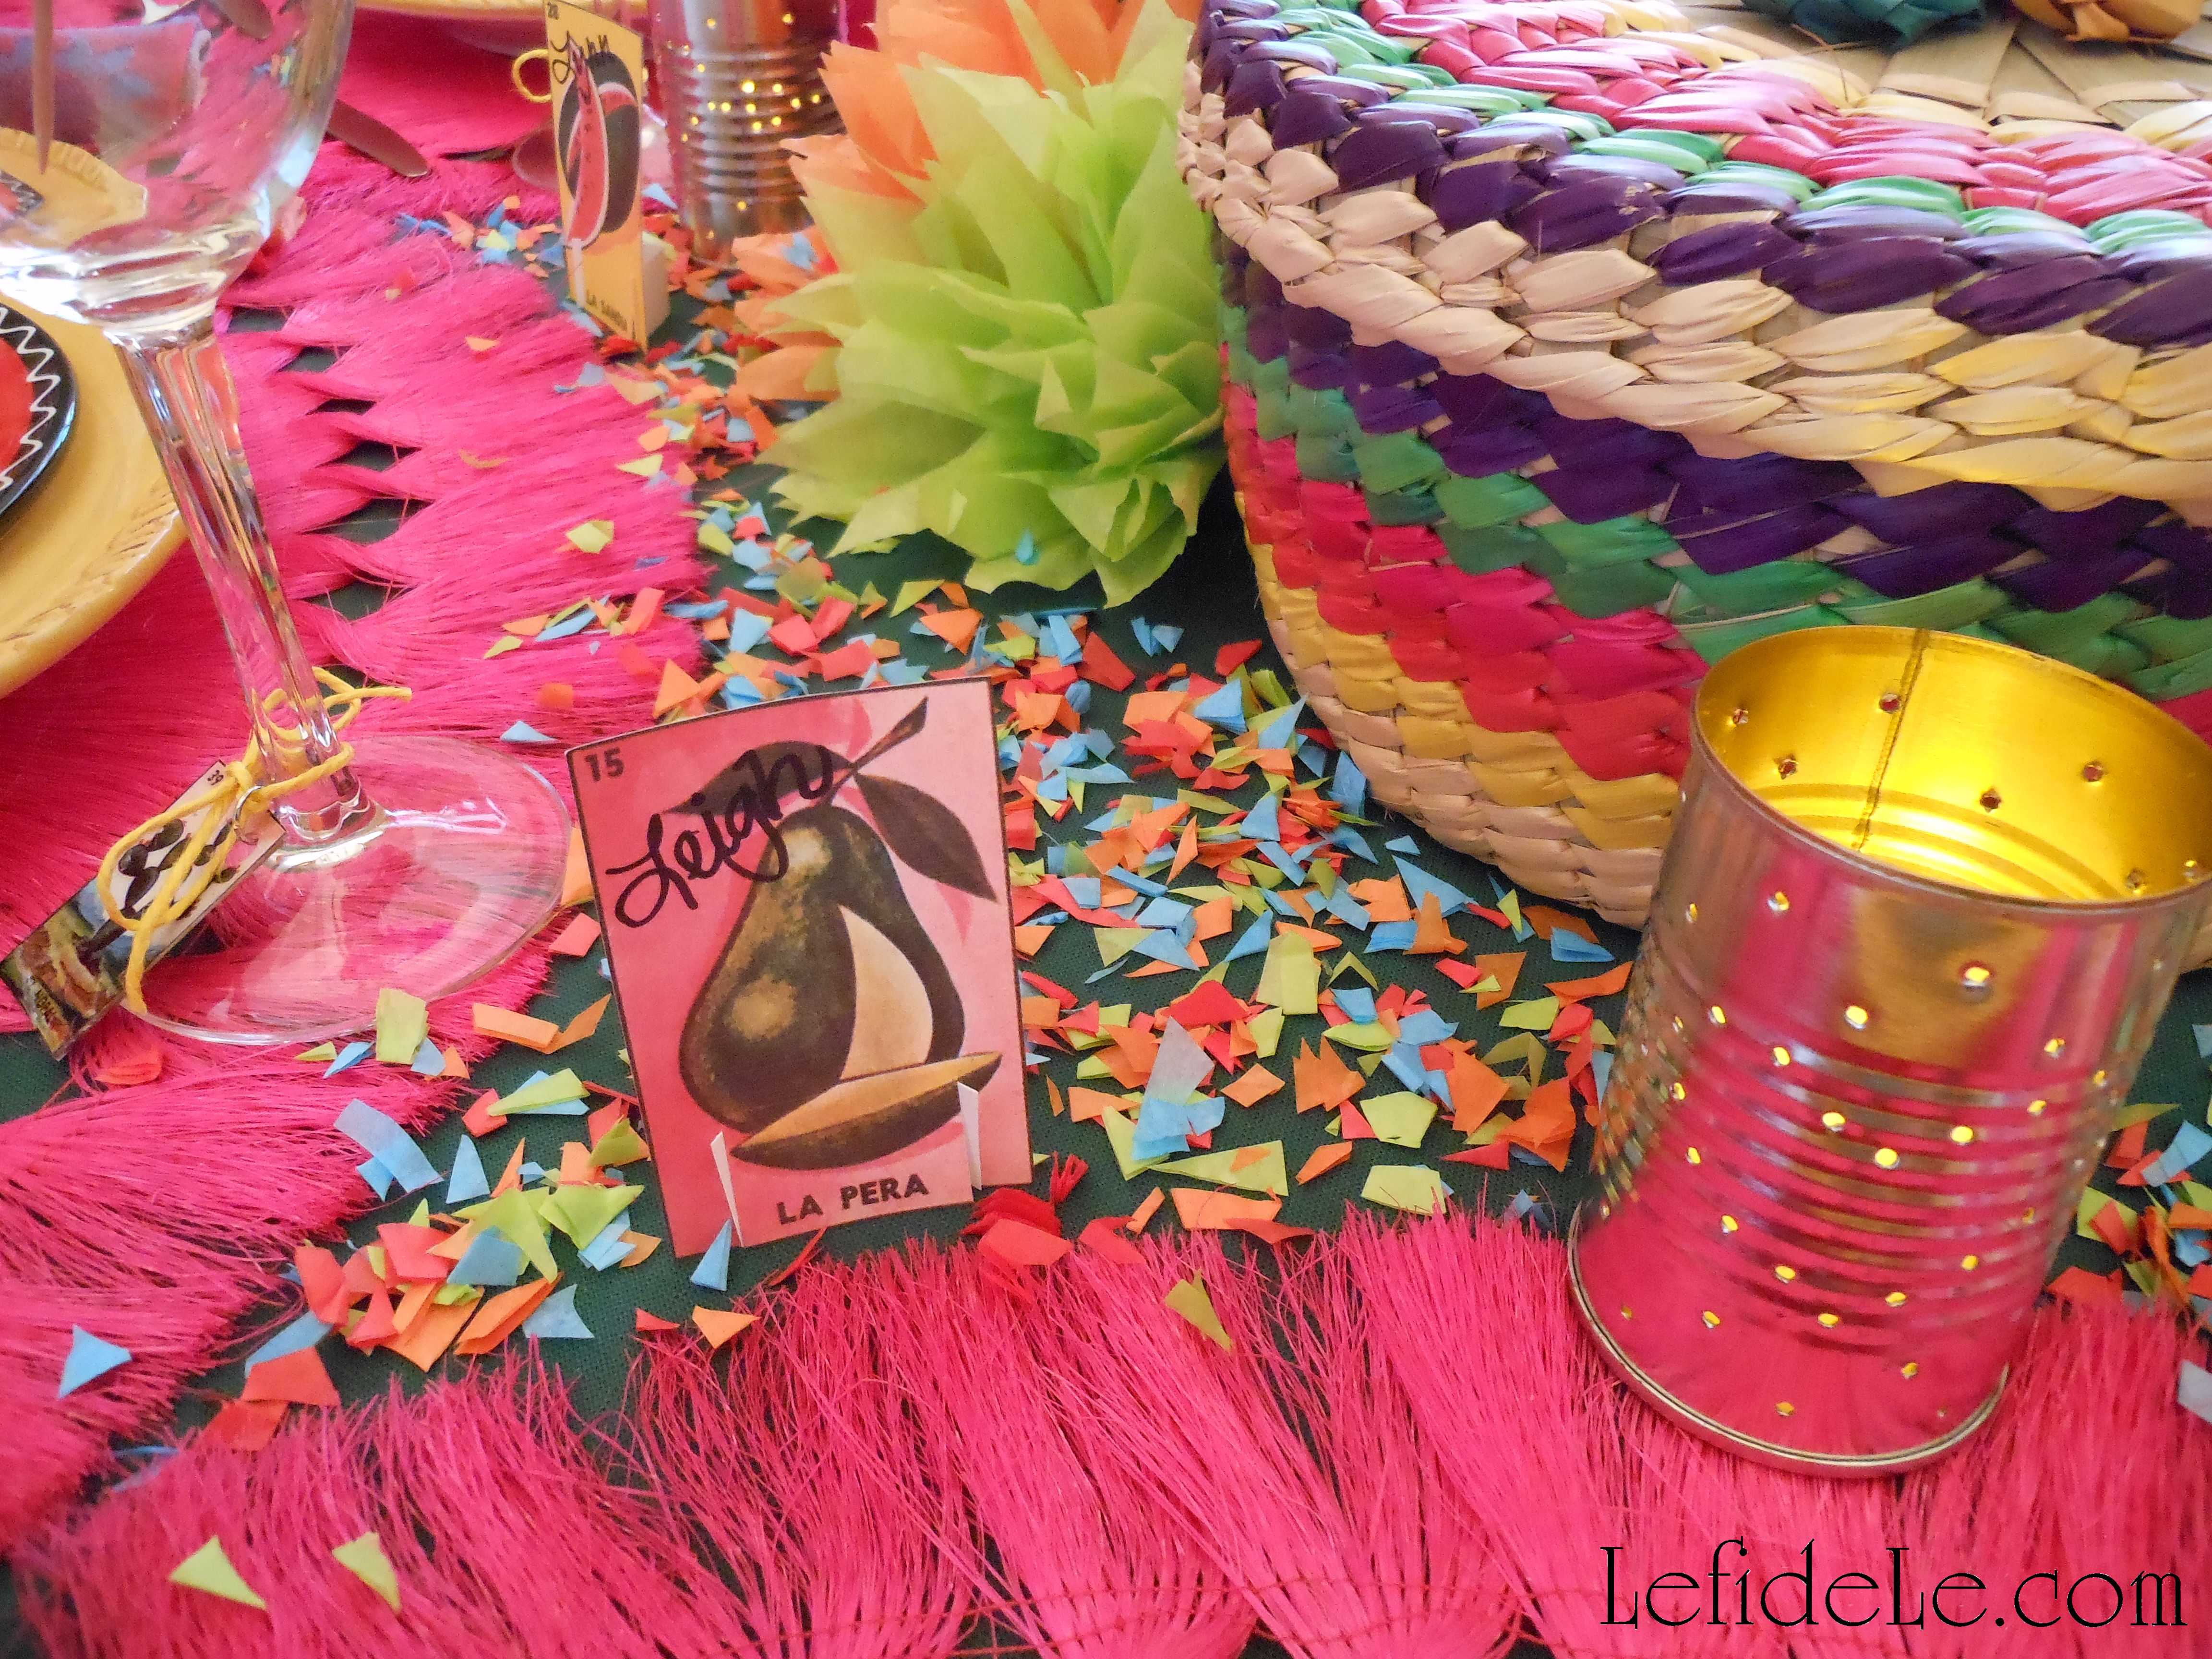
Take those trimmings and cut them into tiny pieces, then separate the layers. You just made matching confetti for the table… for free. You can also use this confetti for cascarones crafting in the future!

104Leigh

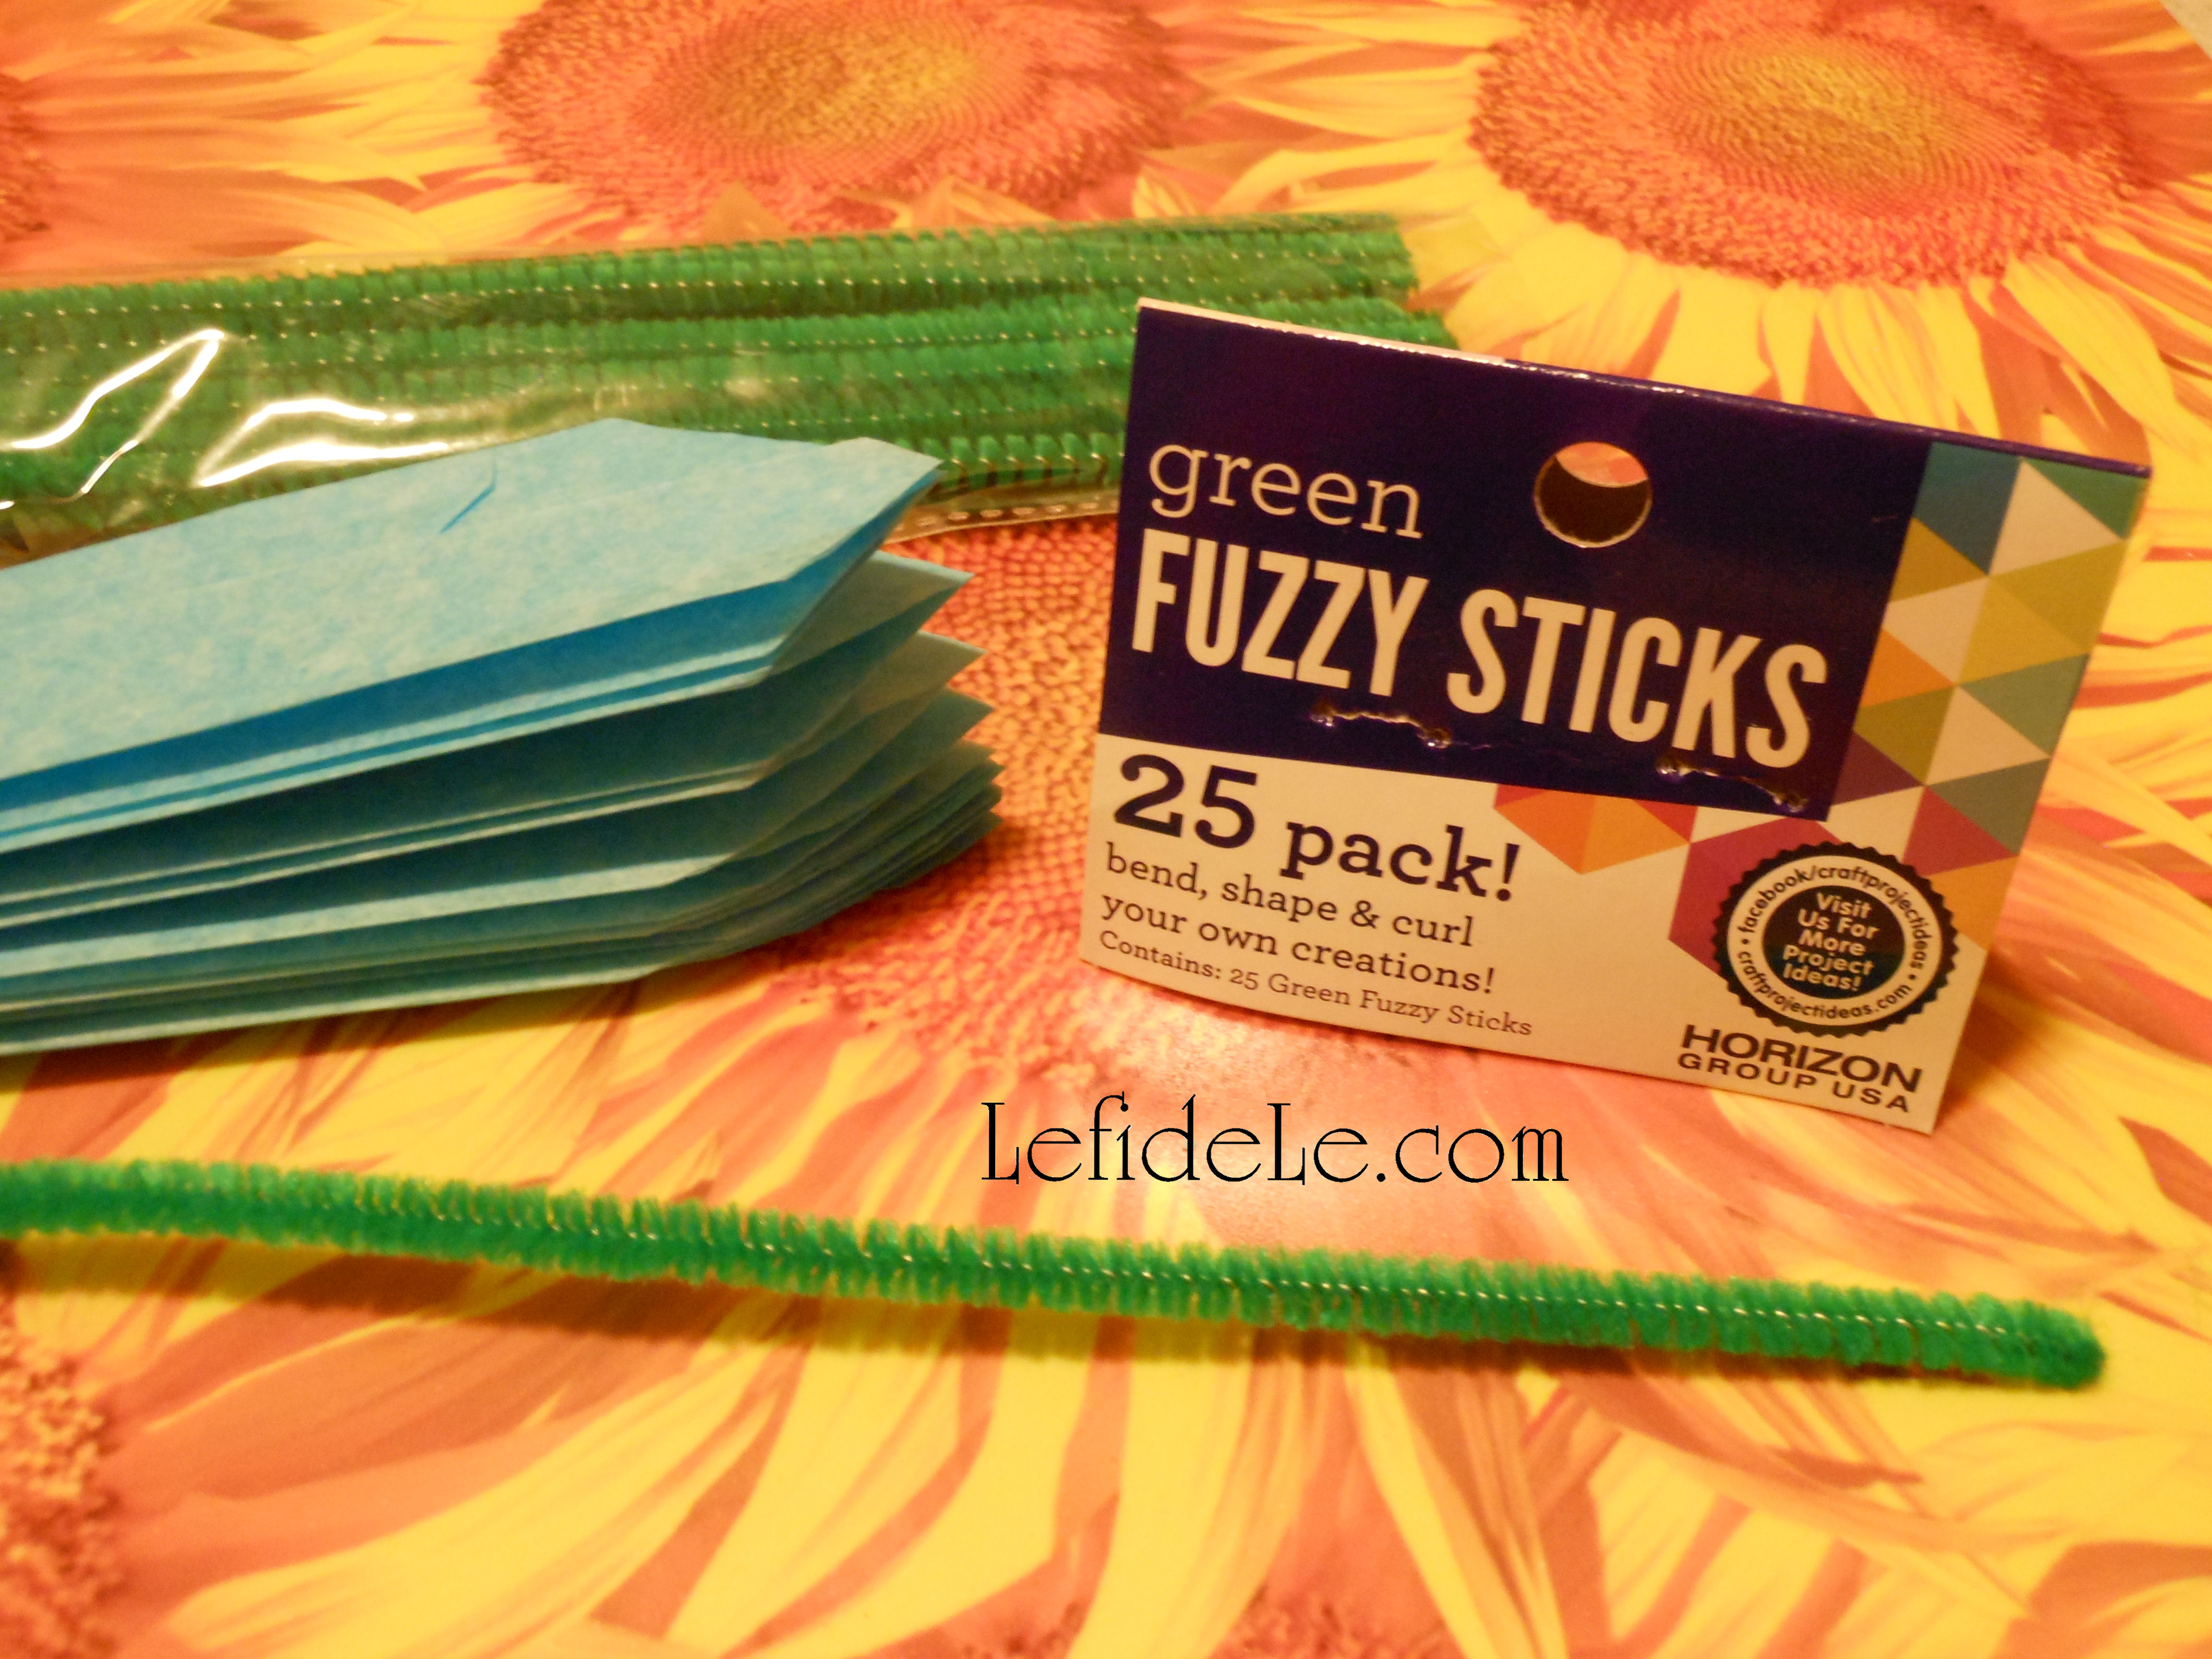
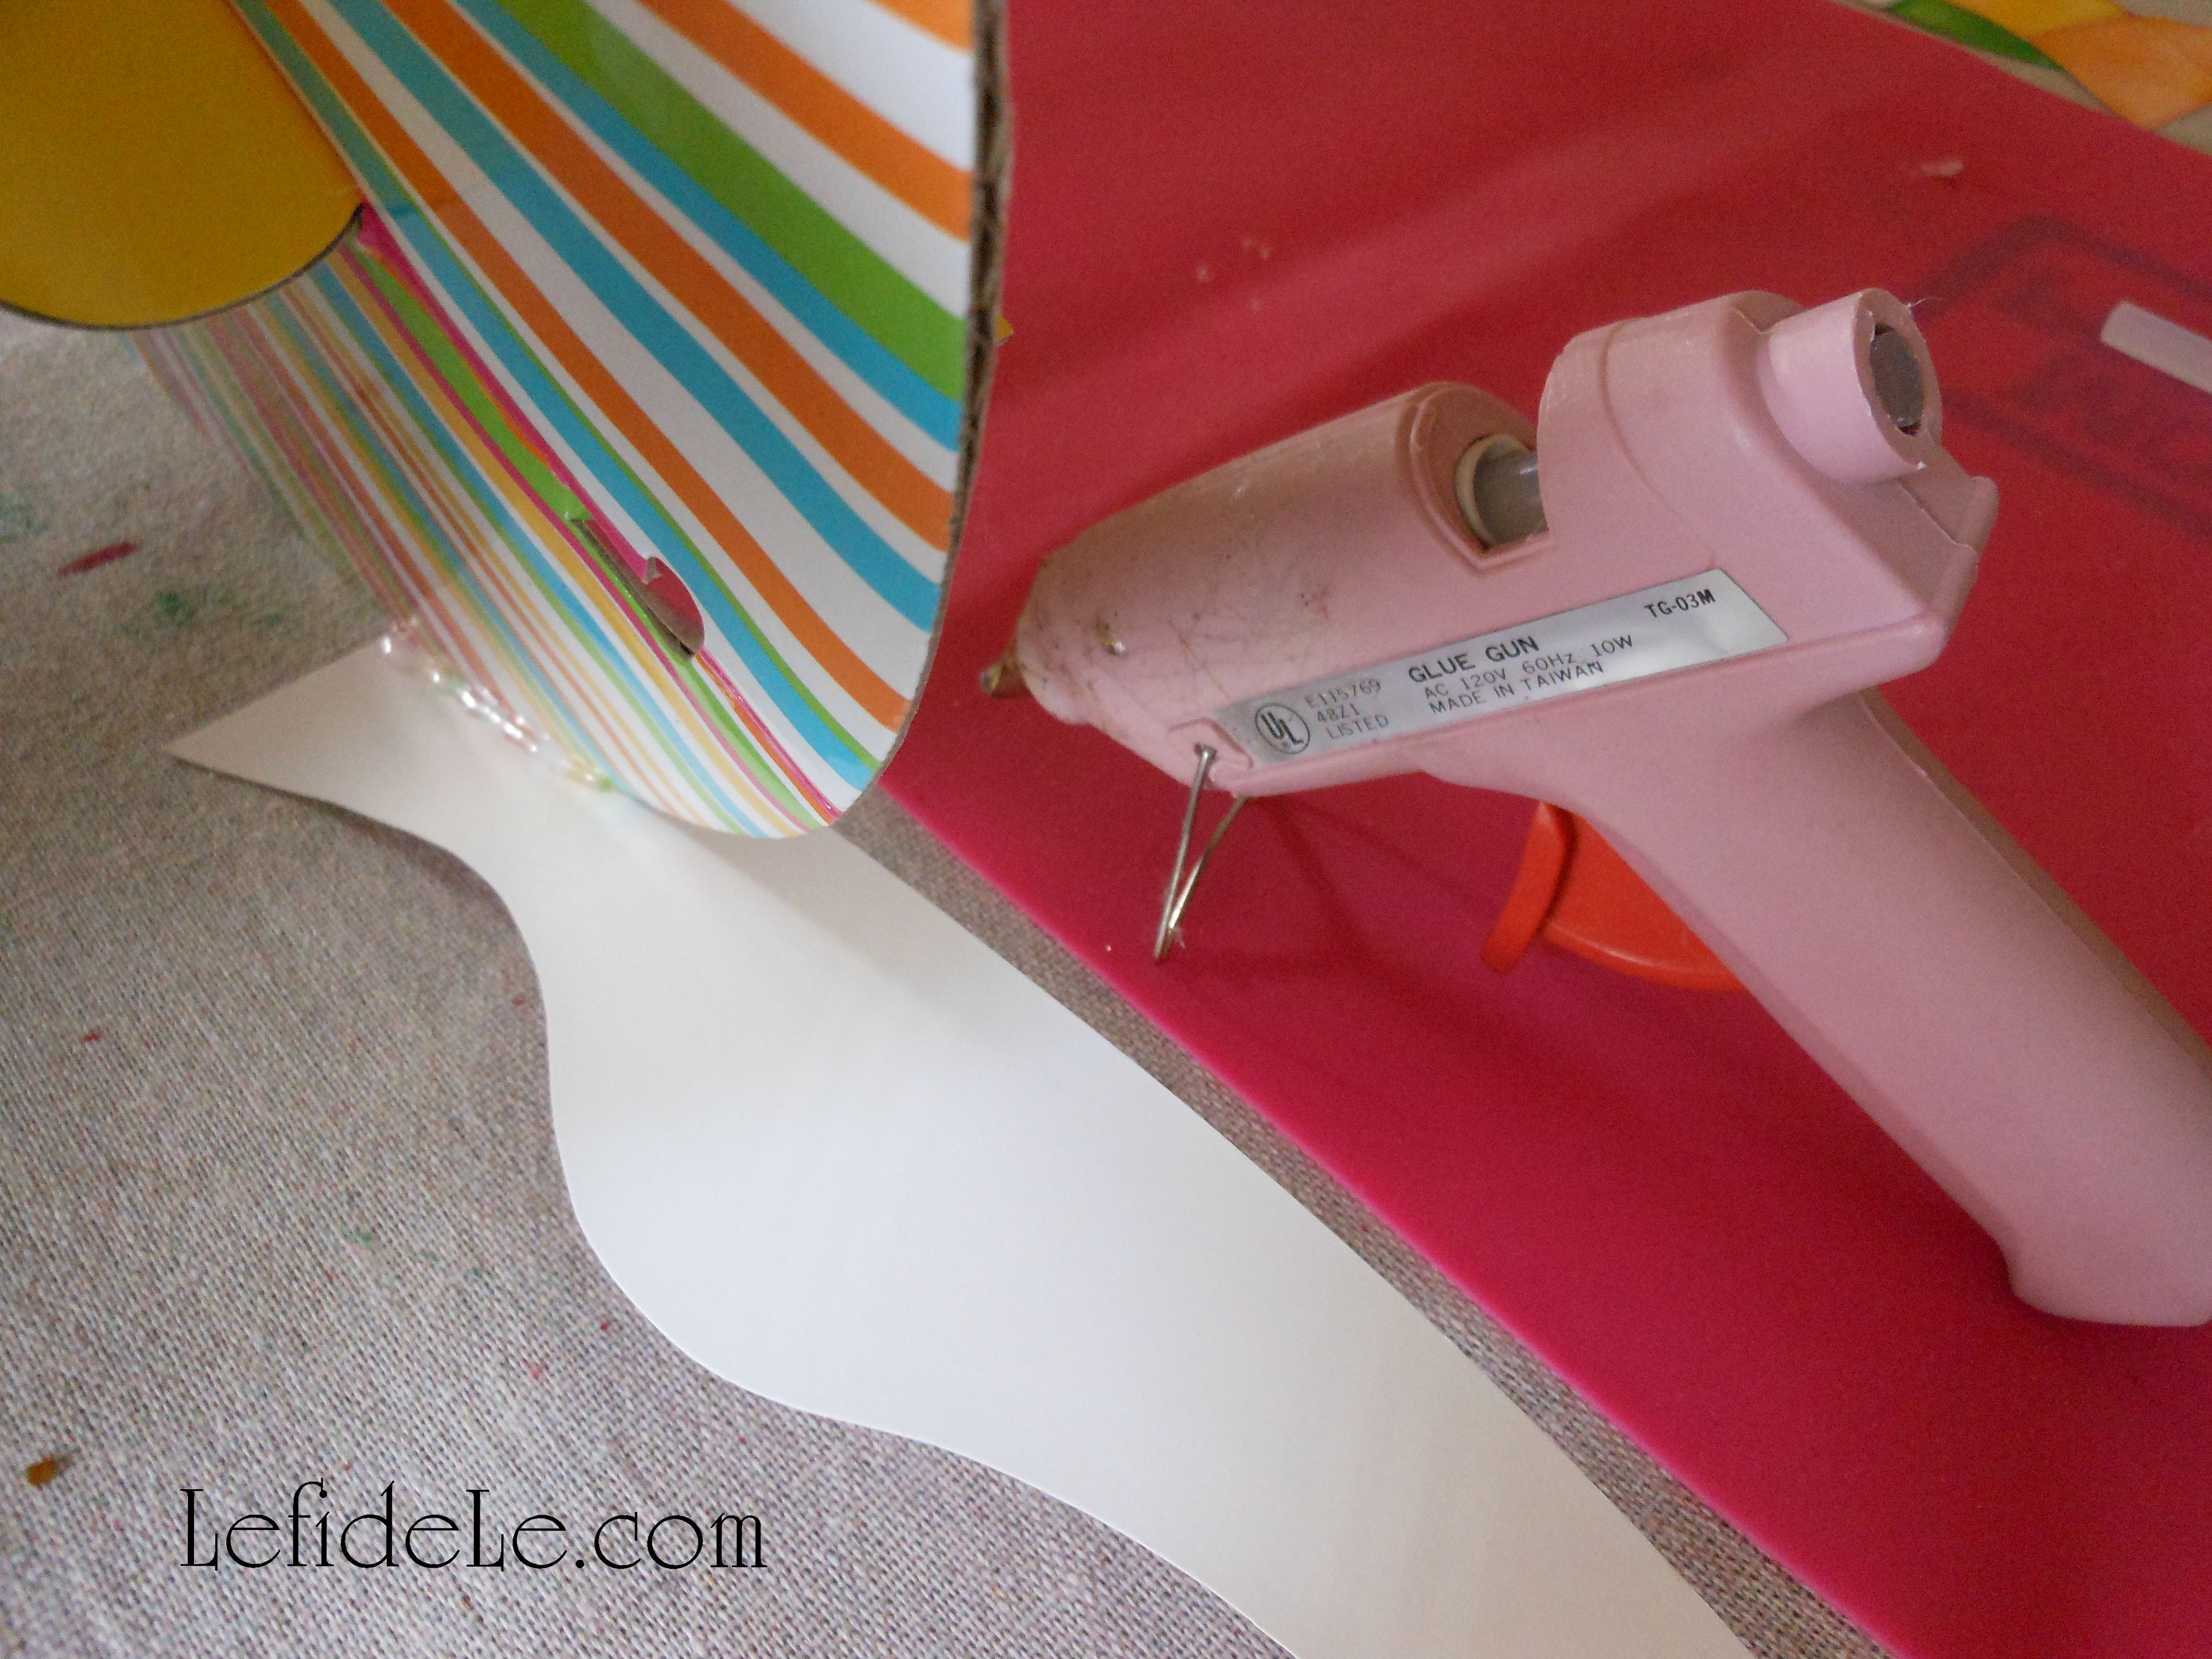
Green fuzzy pipe cleaner sticks make the perfect stems.

105Leigh

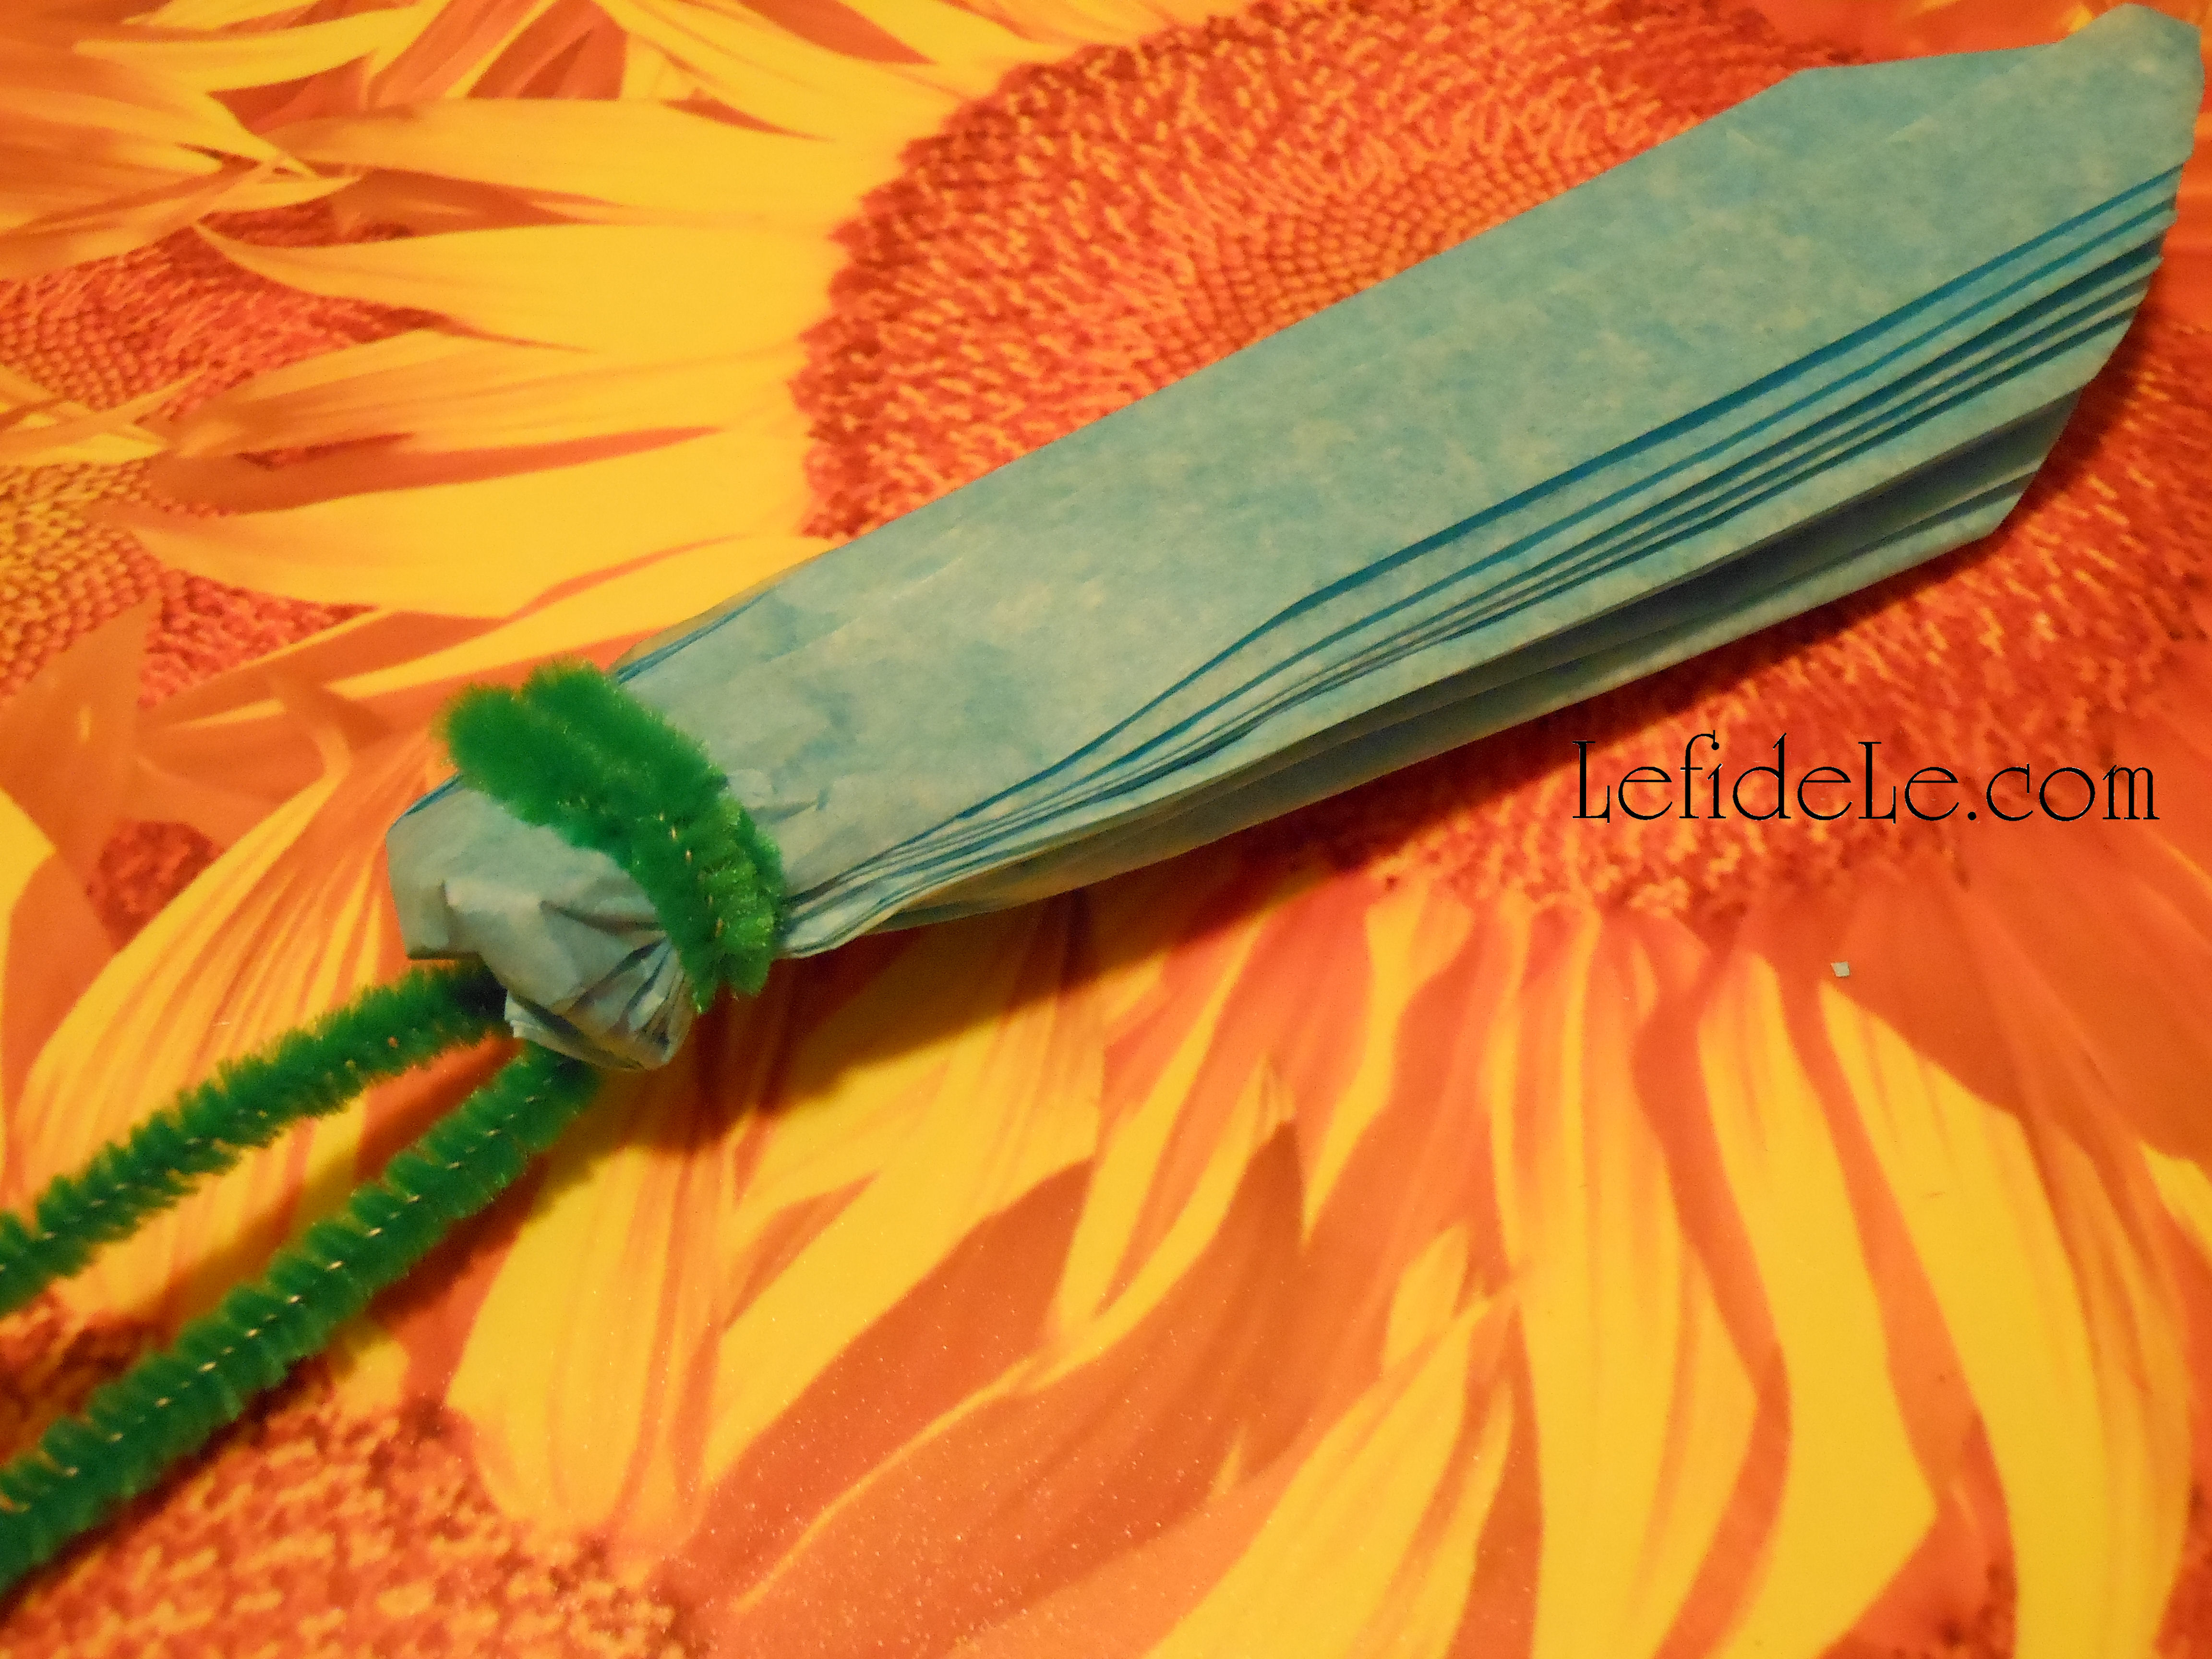
Wrap one around the folded portion and twist. You will be able to use the stem to hang the flowers with later.

108Leigh

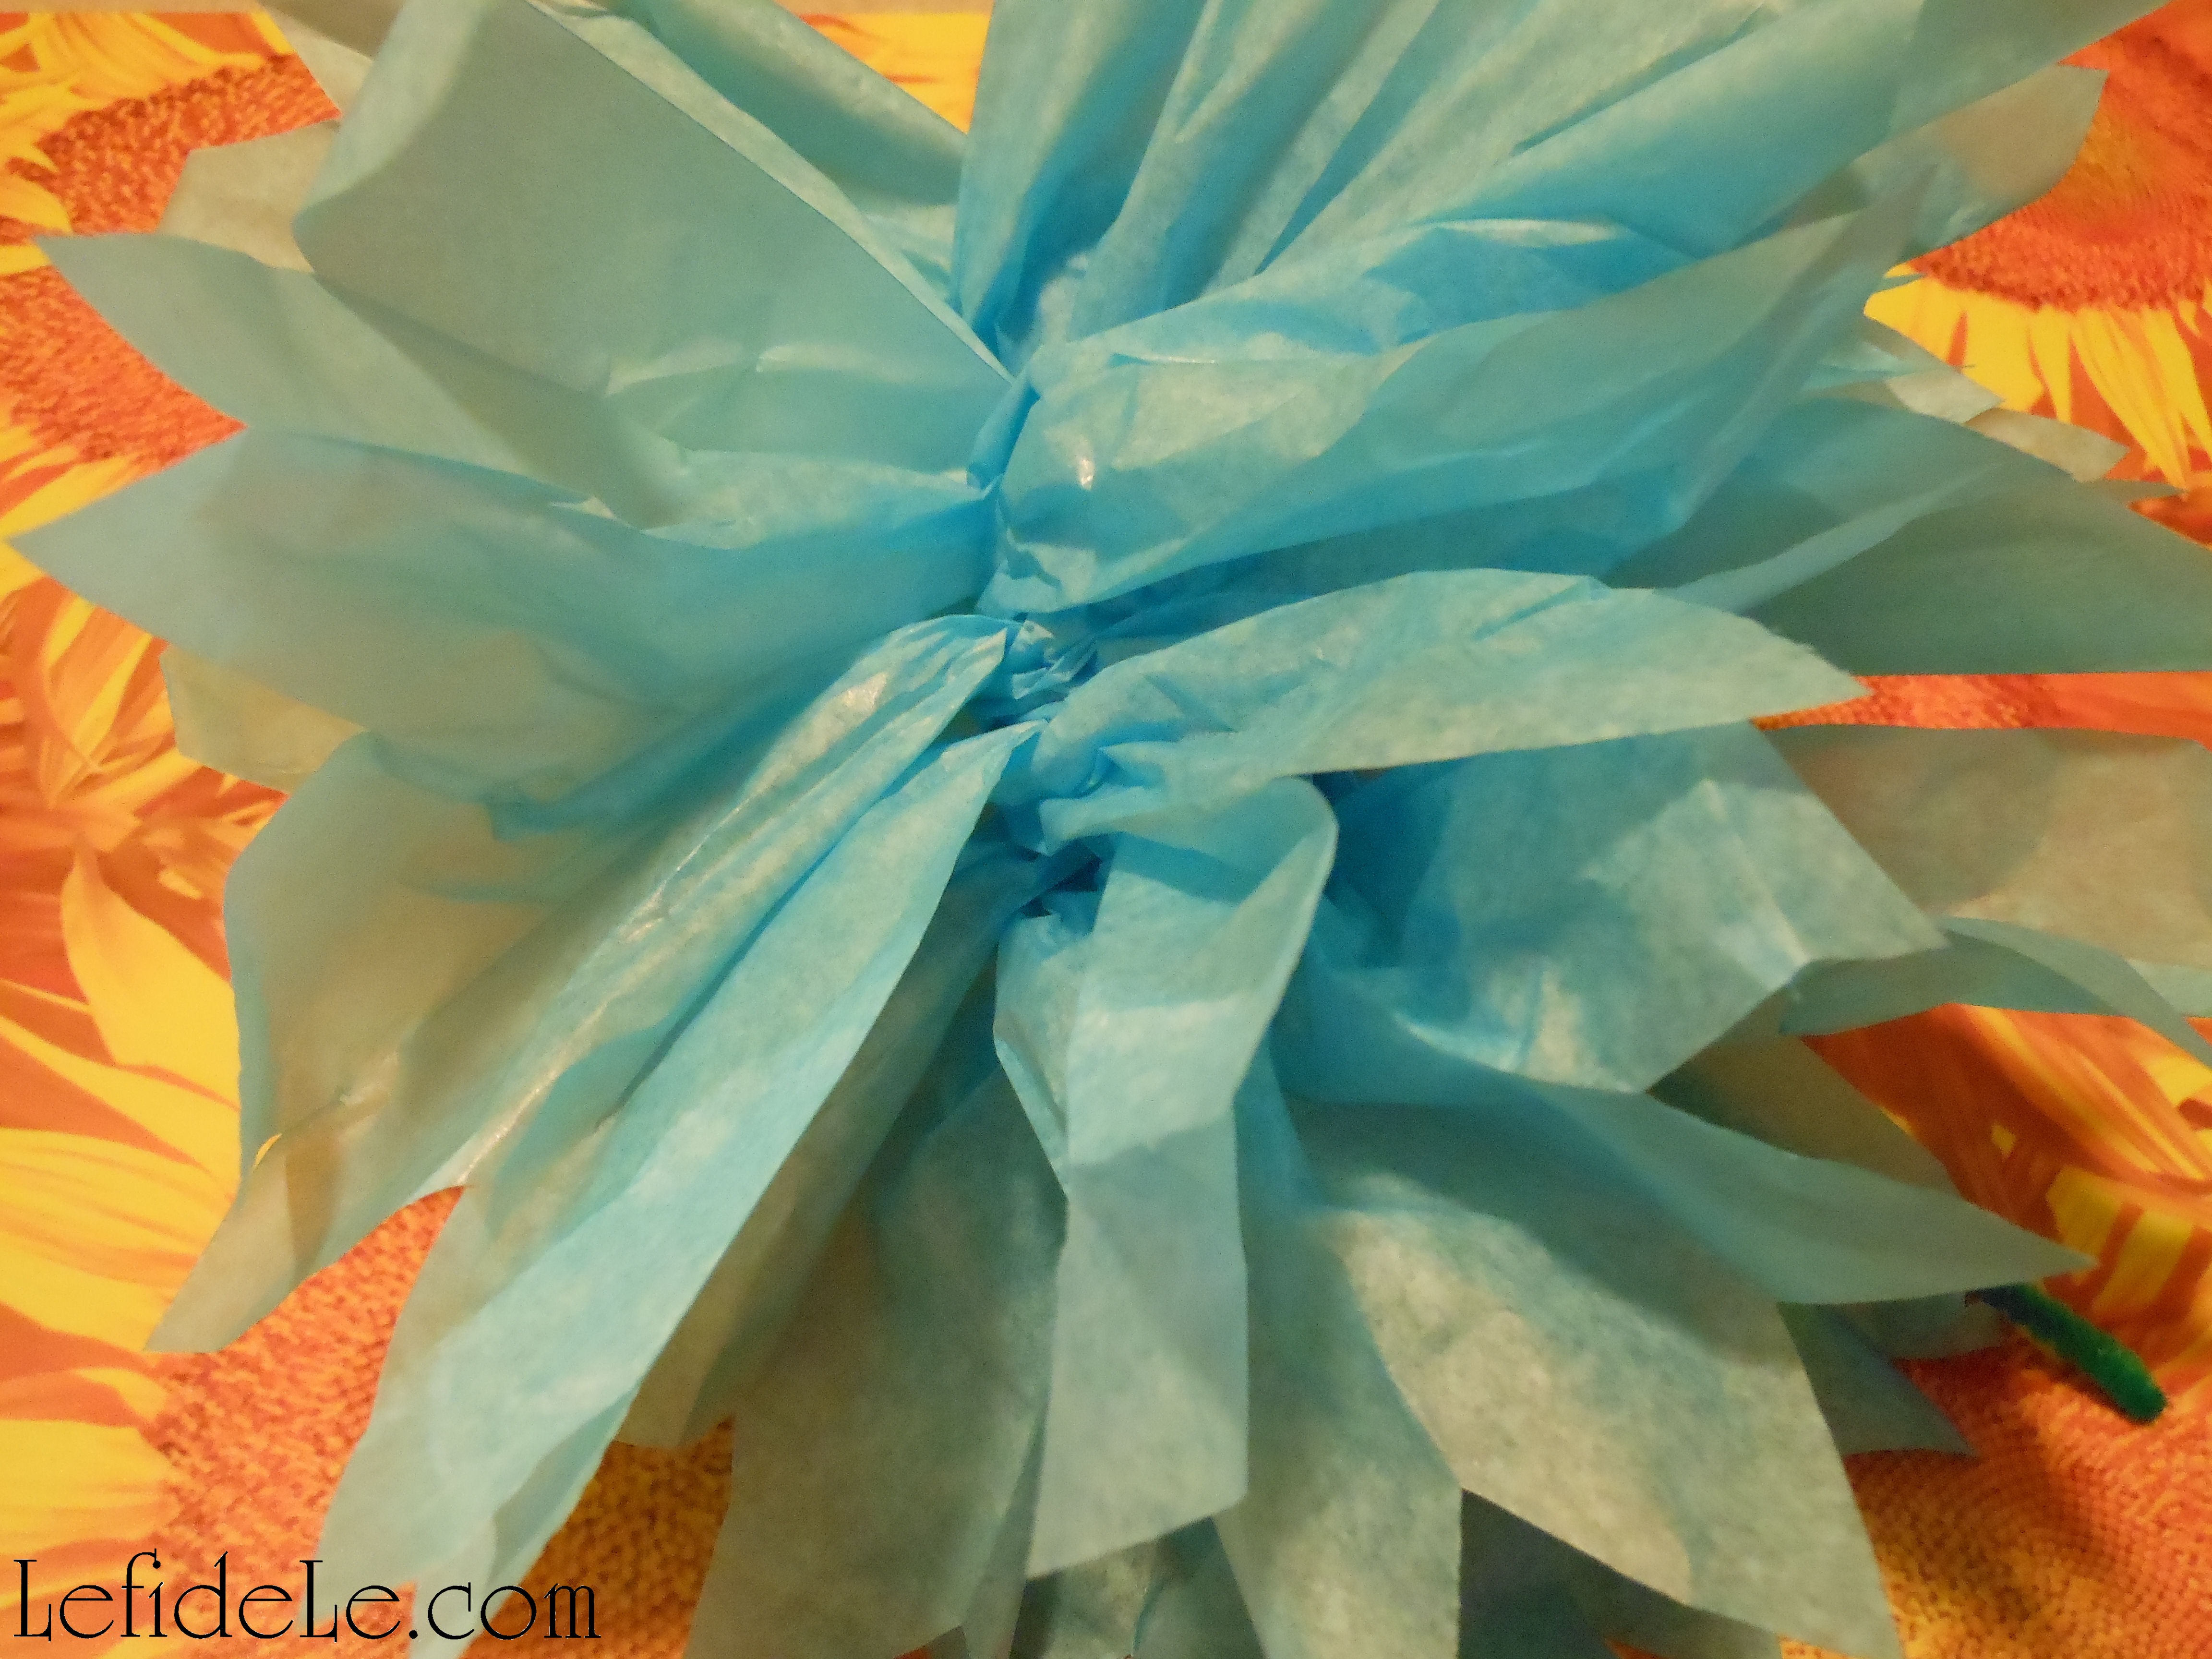
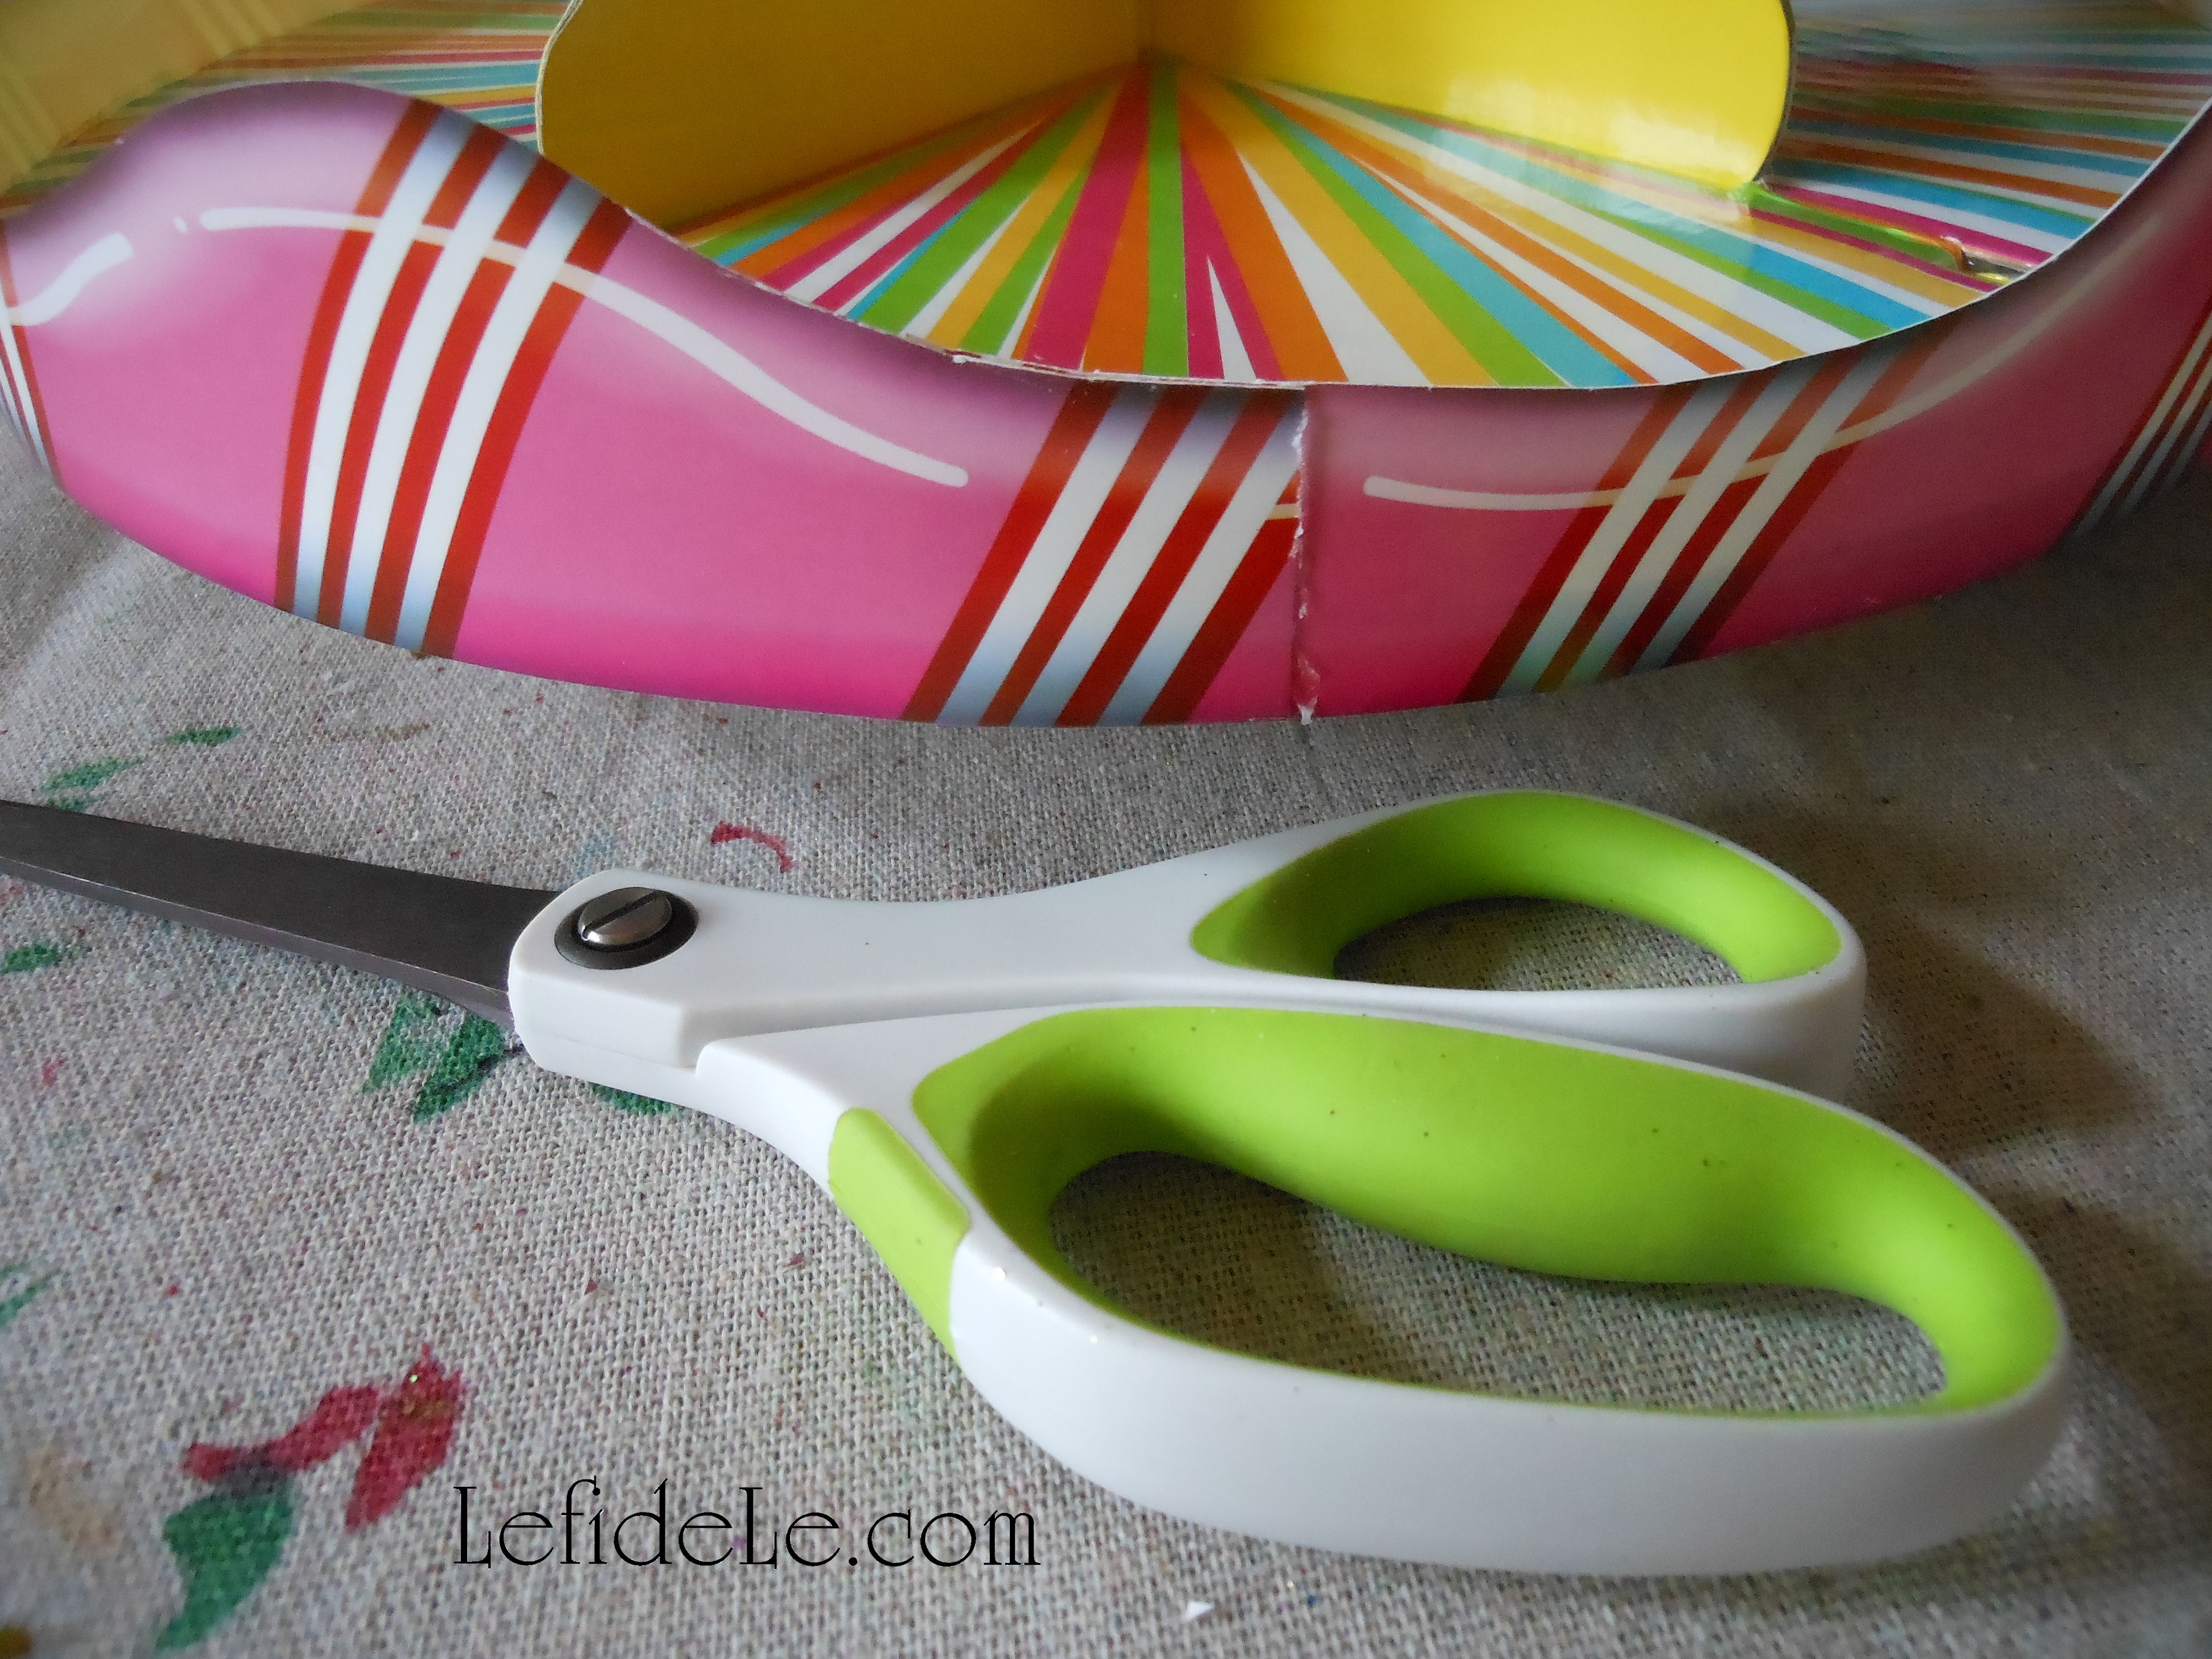
Next pull apart all the layers.

116Leigh

Pull these slightly taut, in an arrangement that appears pleasing to the eye.

123Leigh

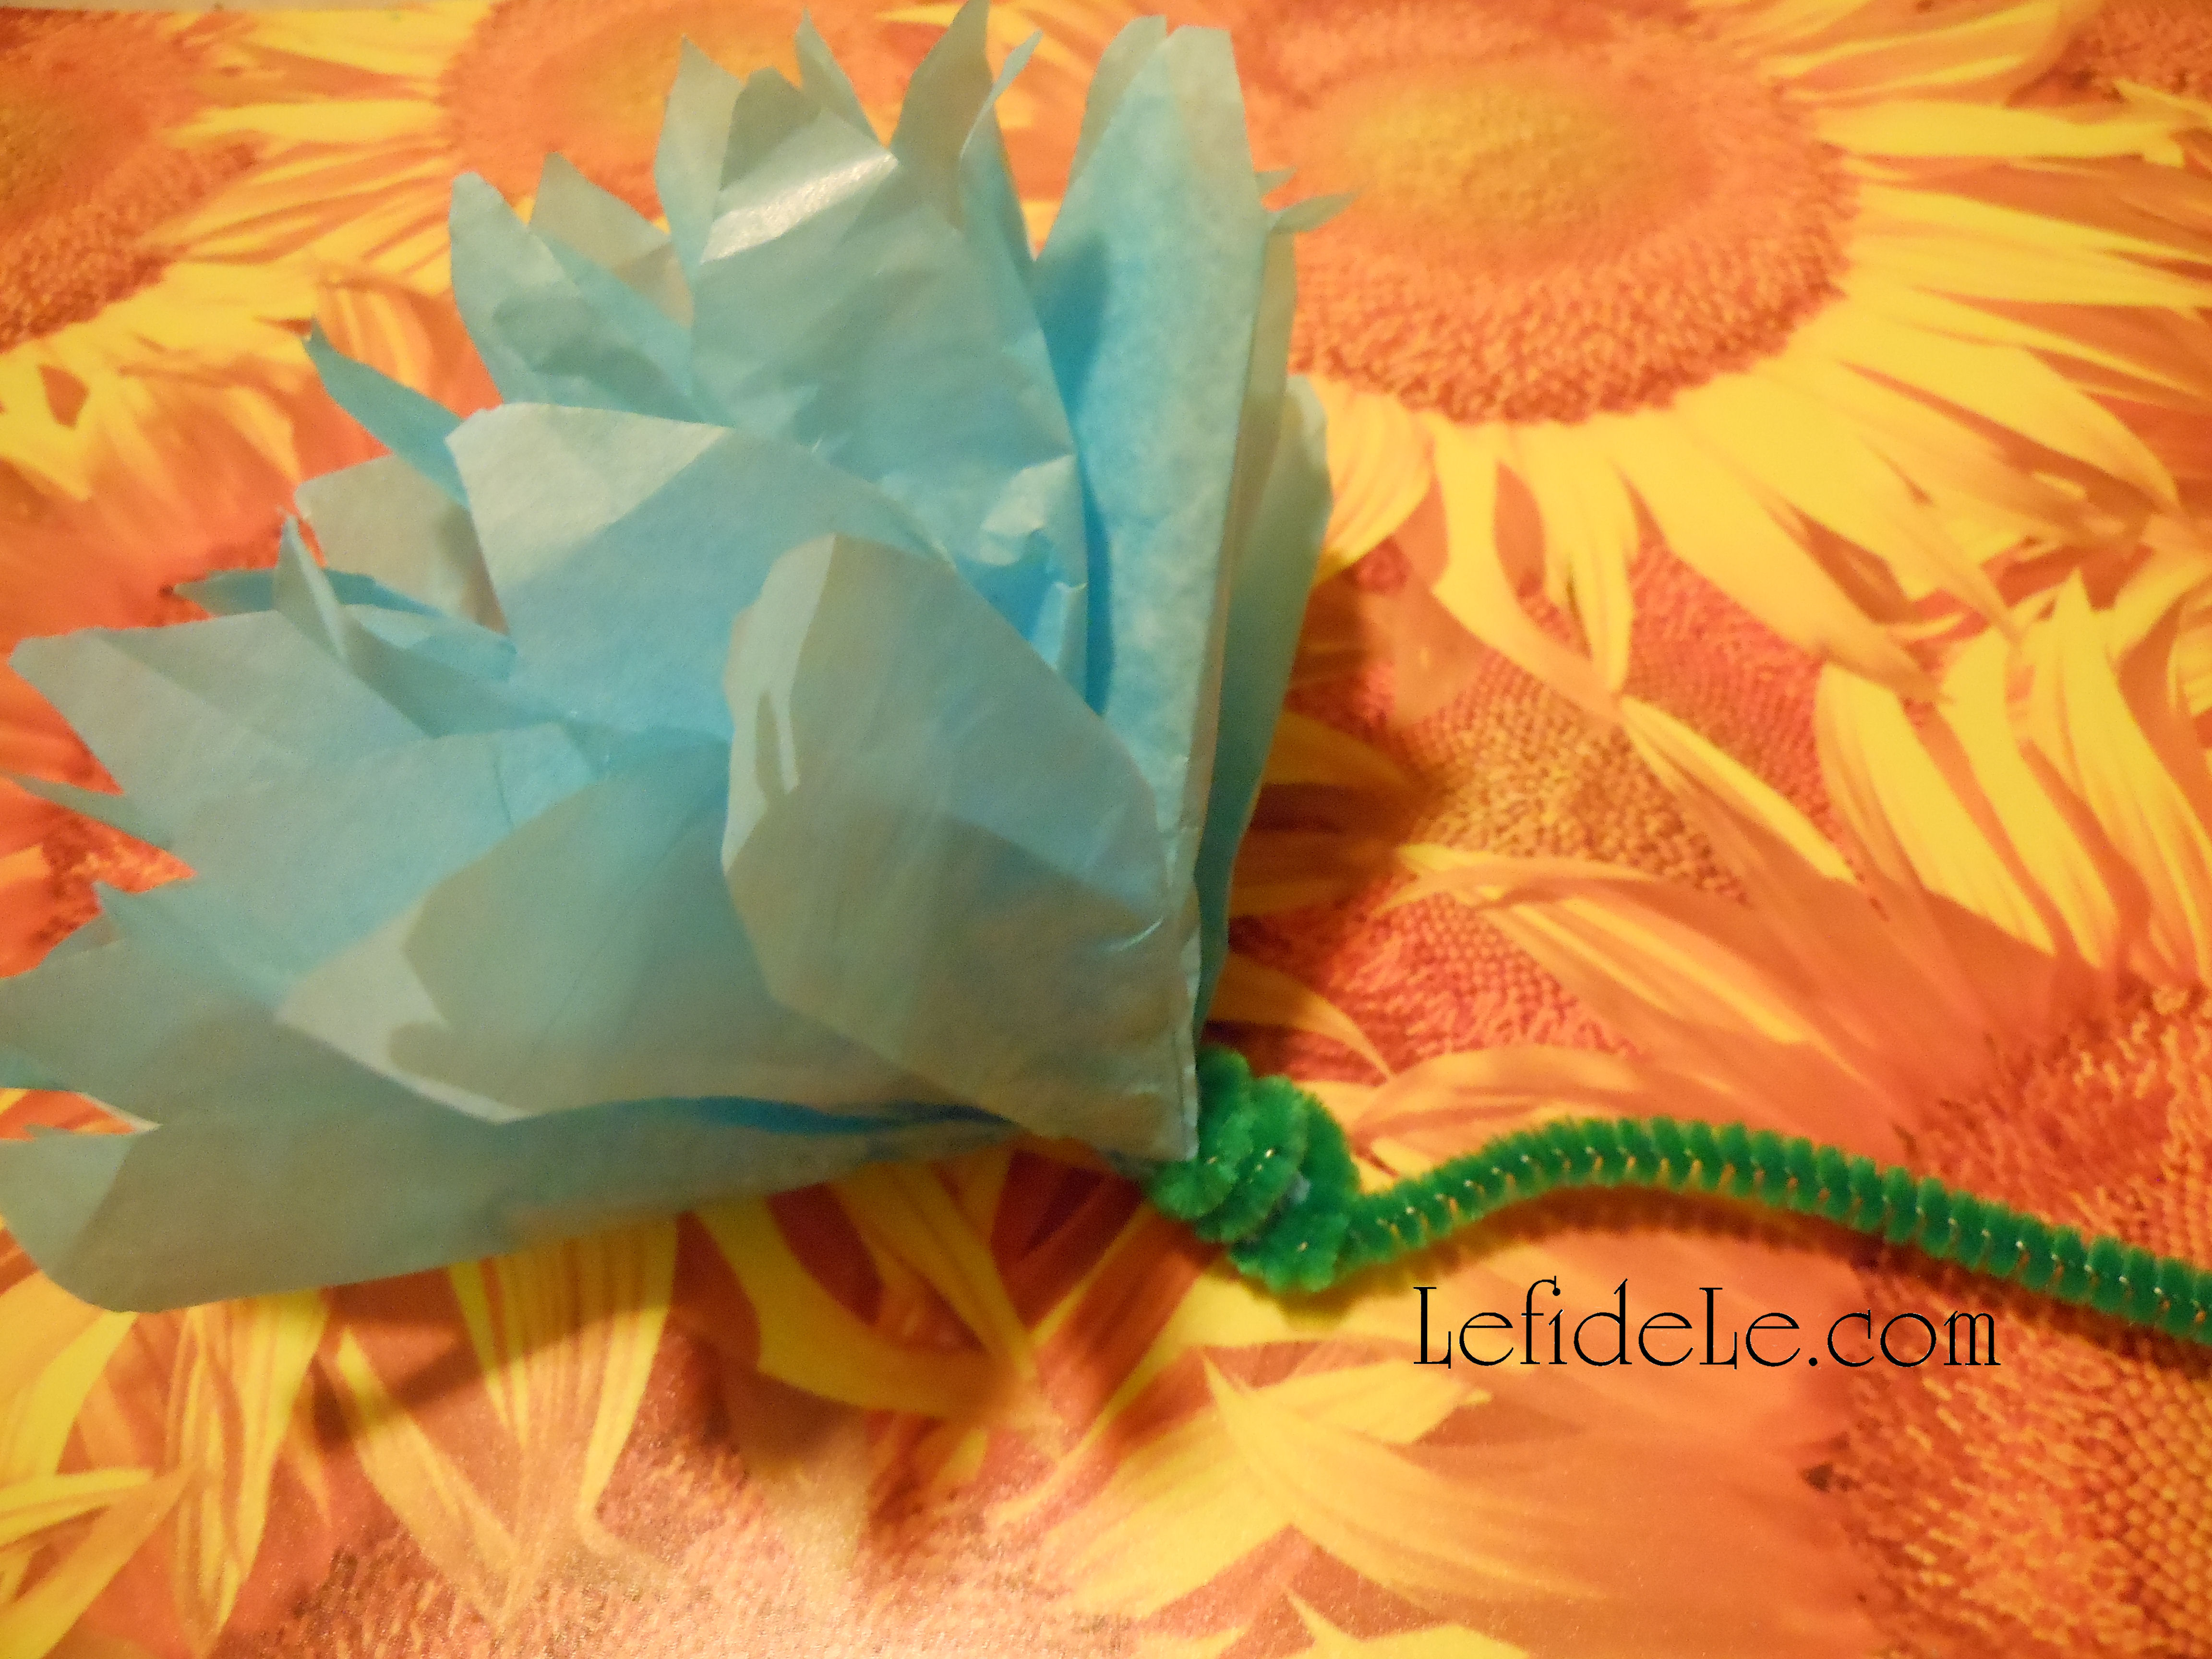
Wrap one end of the fuzzy stick around the base to secure your arrangement of the petals.

350Leigh

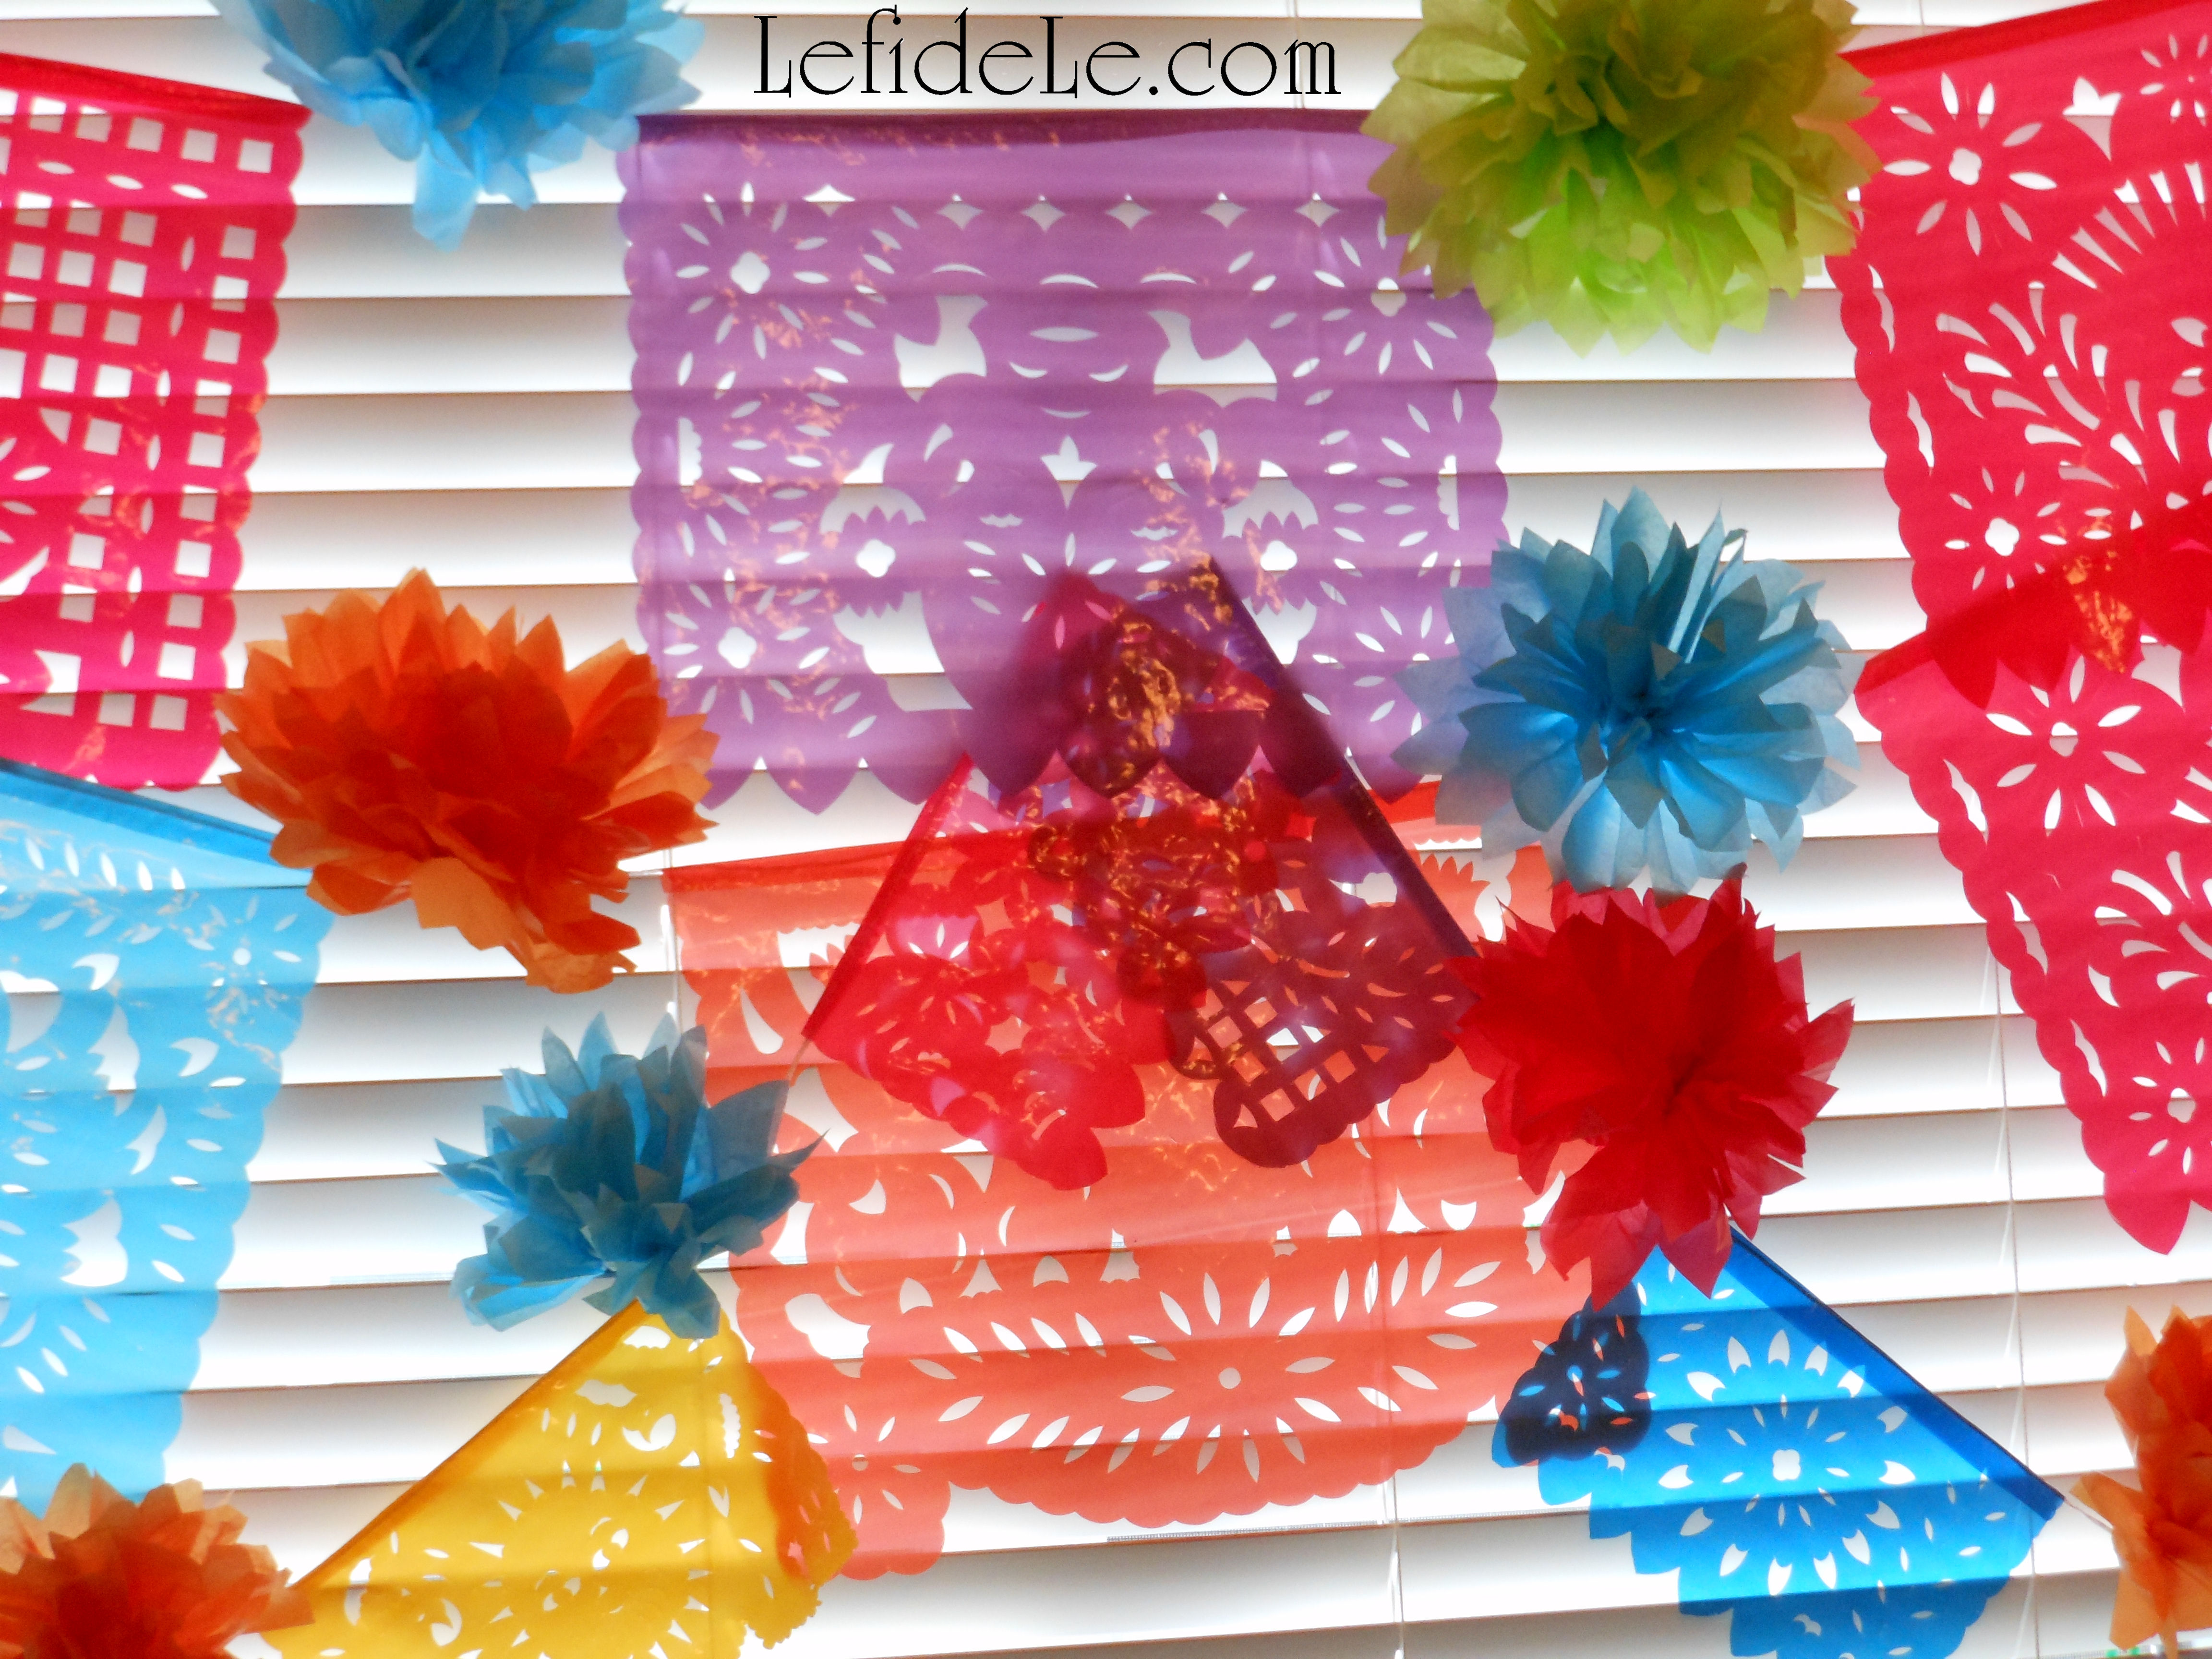
I tied some of them between panels of traditional papel picado in a fiesta banner for the window. The light streaming through them was much prettier in person.

029Leigh

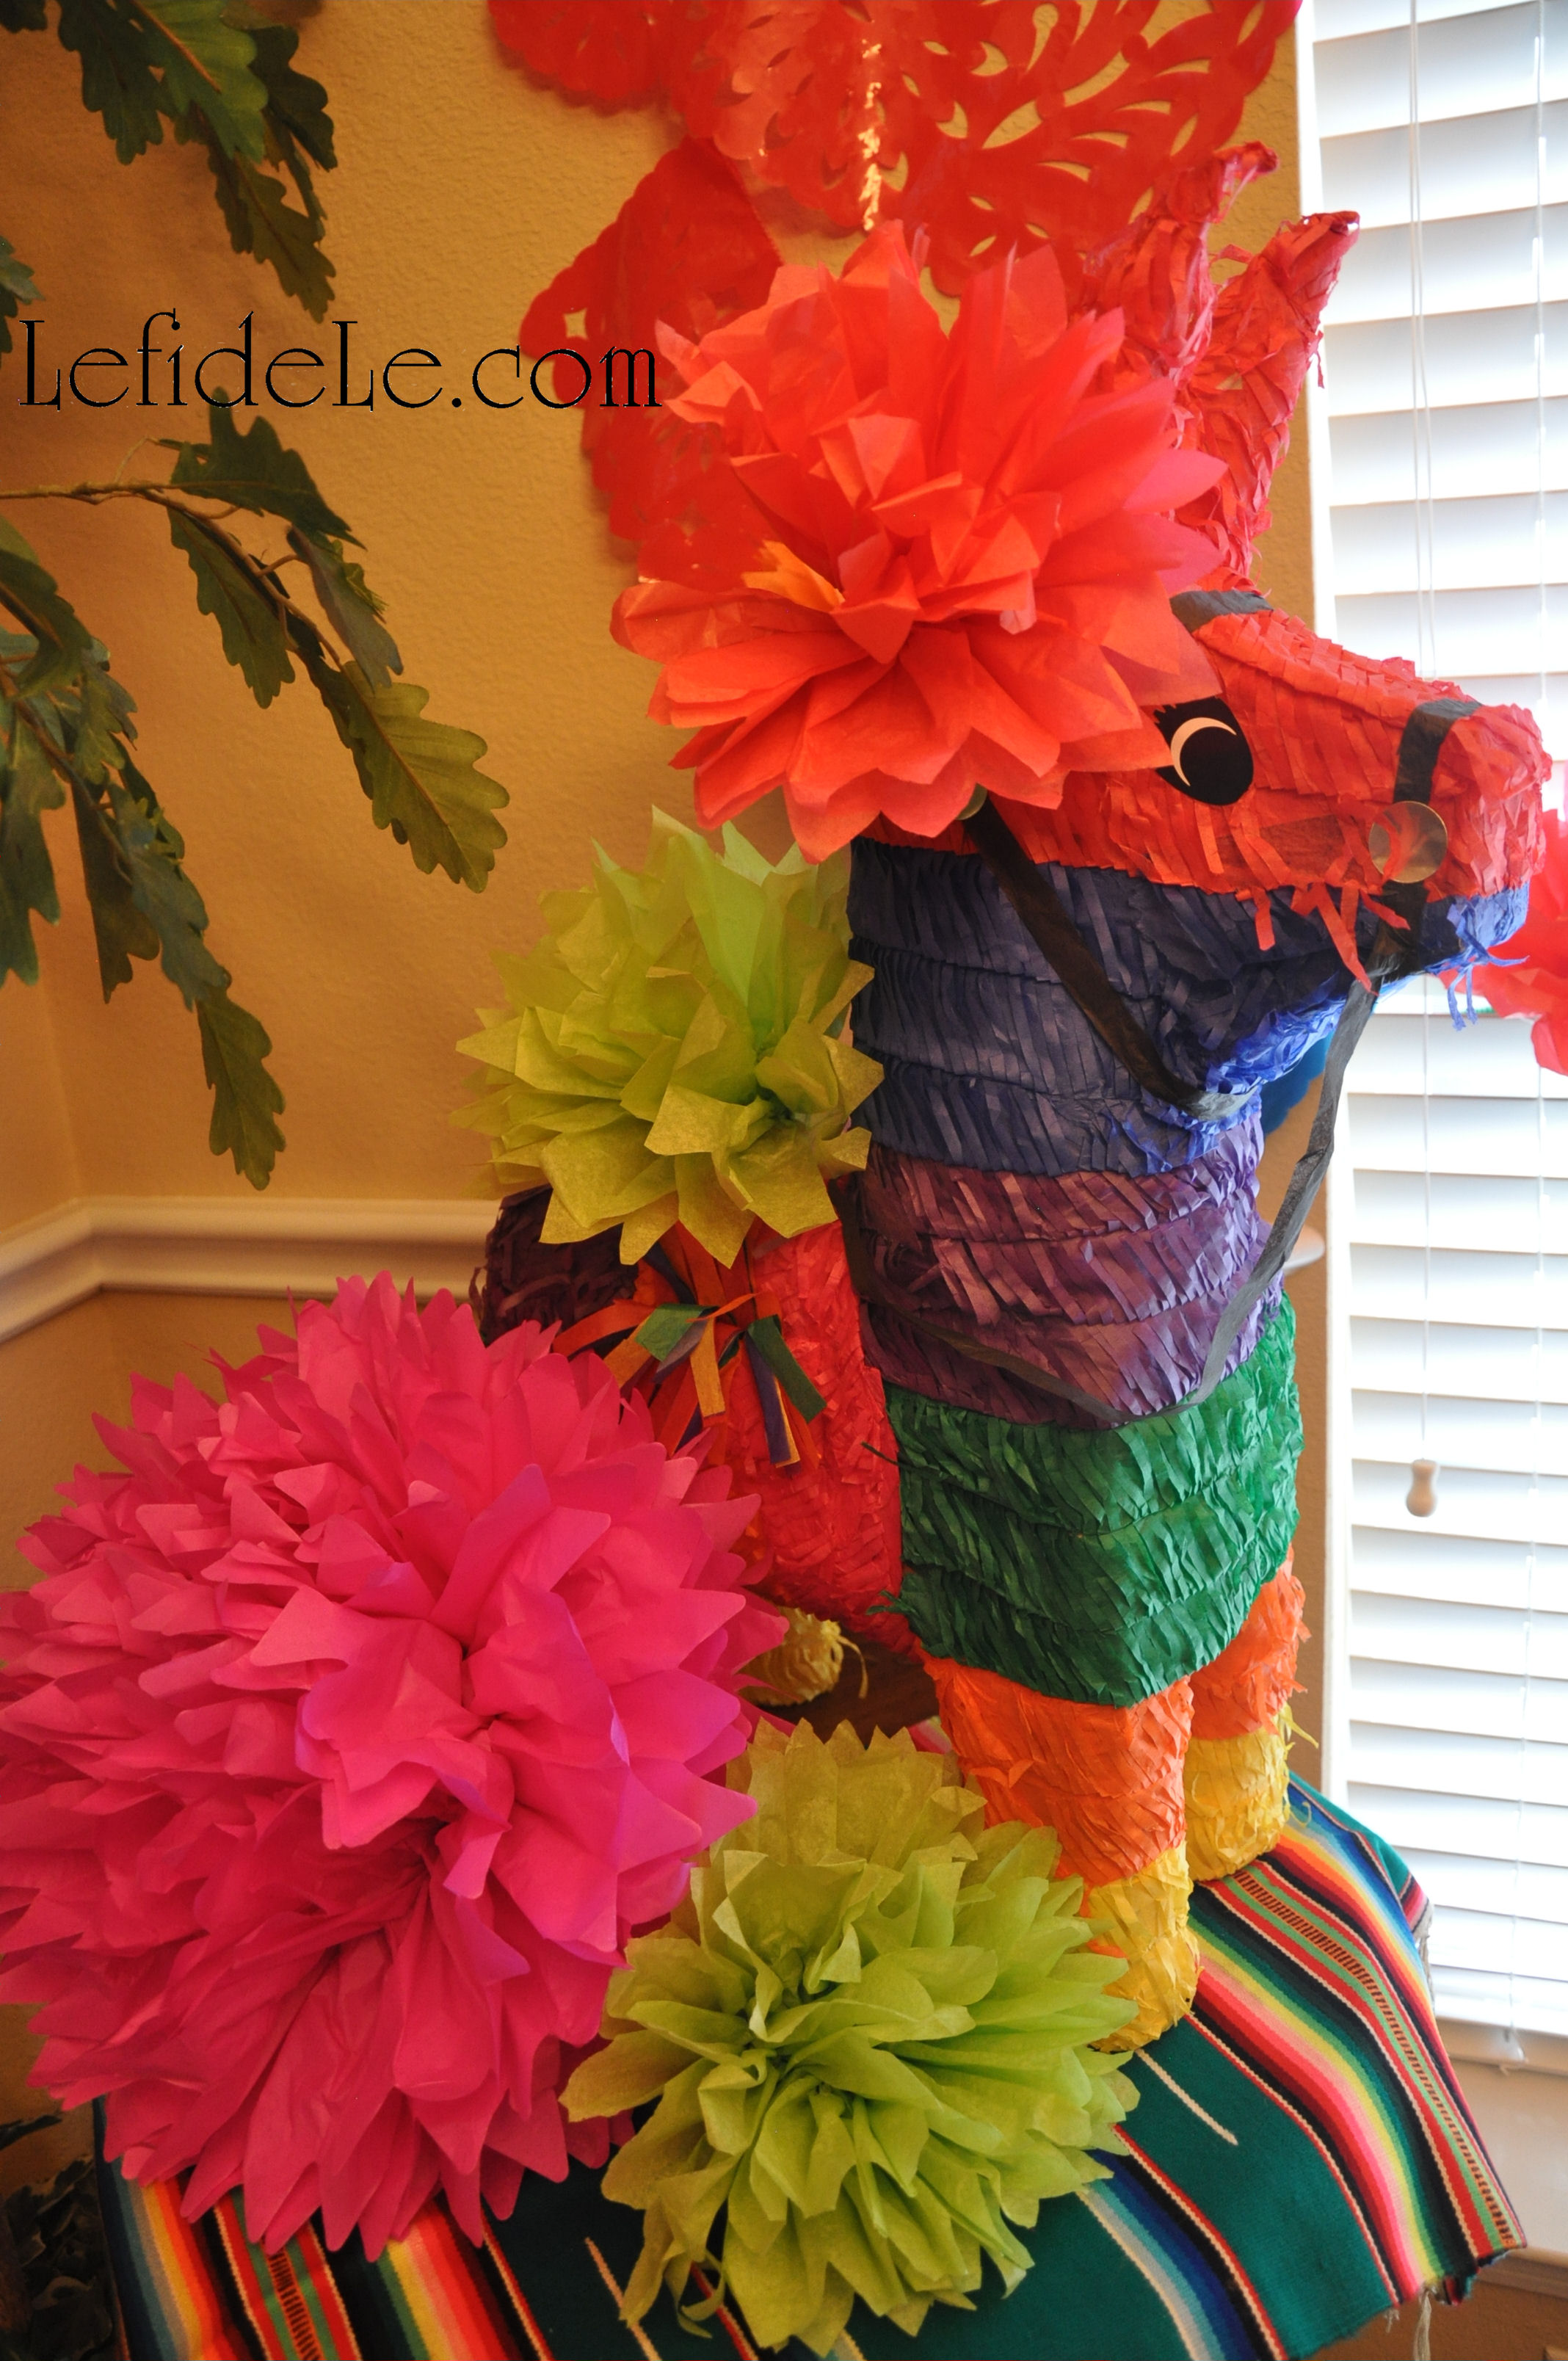
I also used them to further adorn a burro piñata decorating a side table.

053Leigh

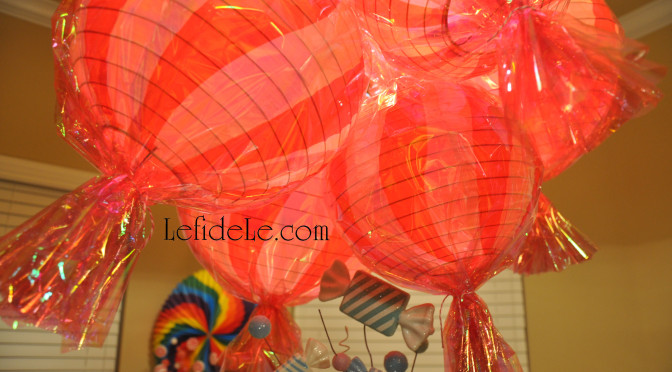
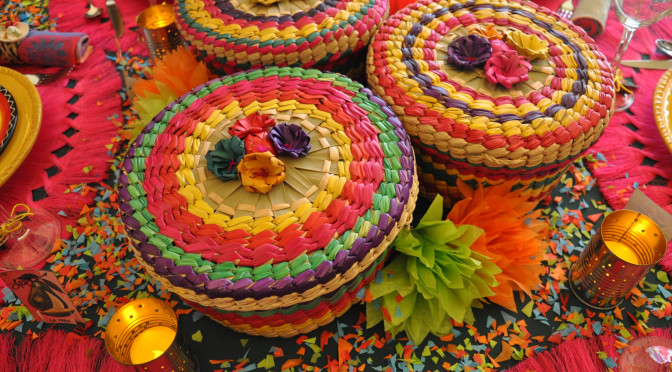
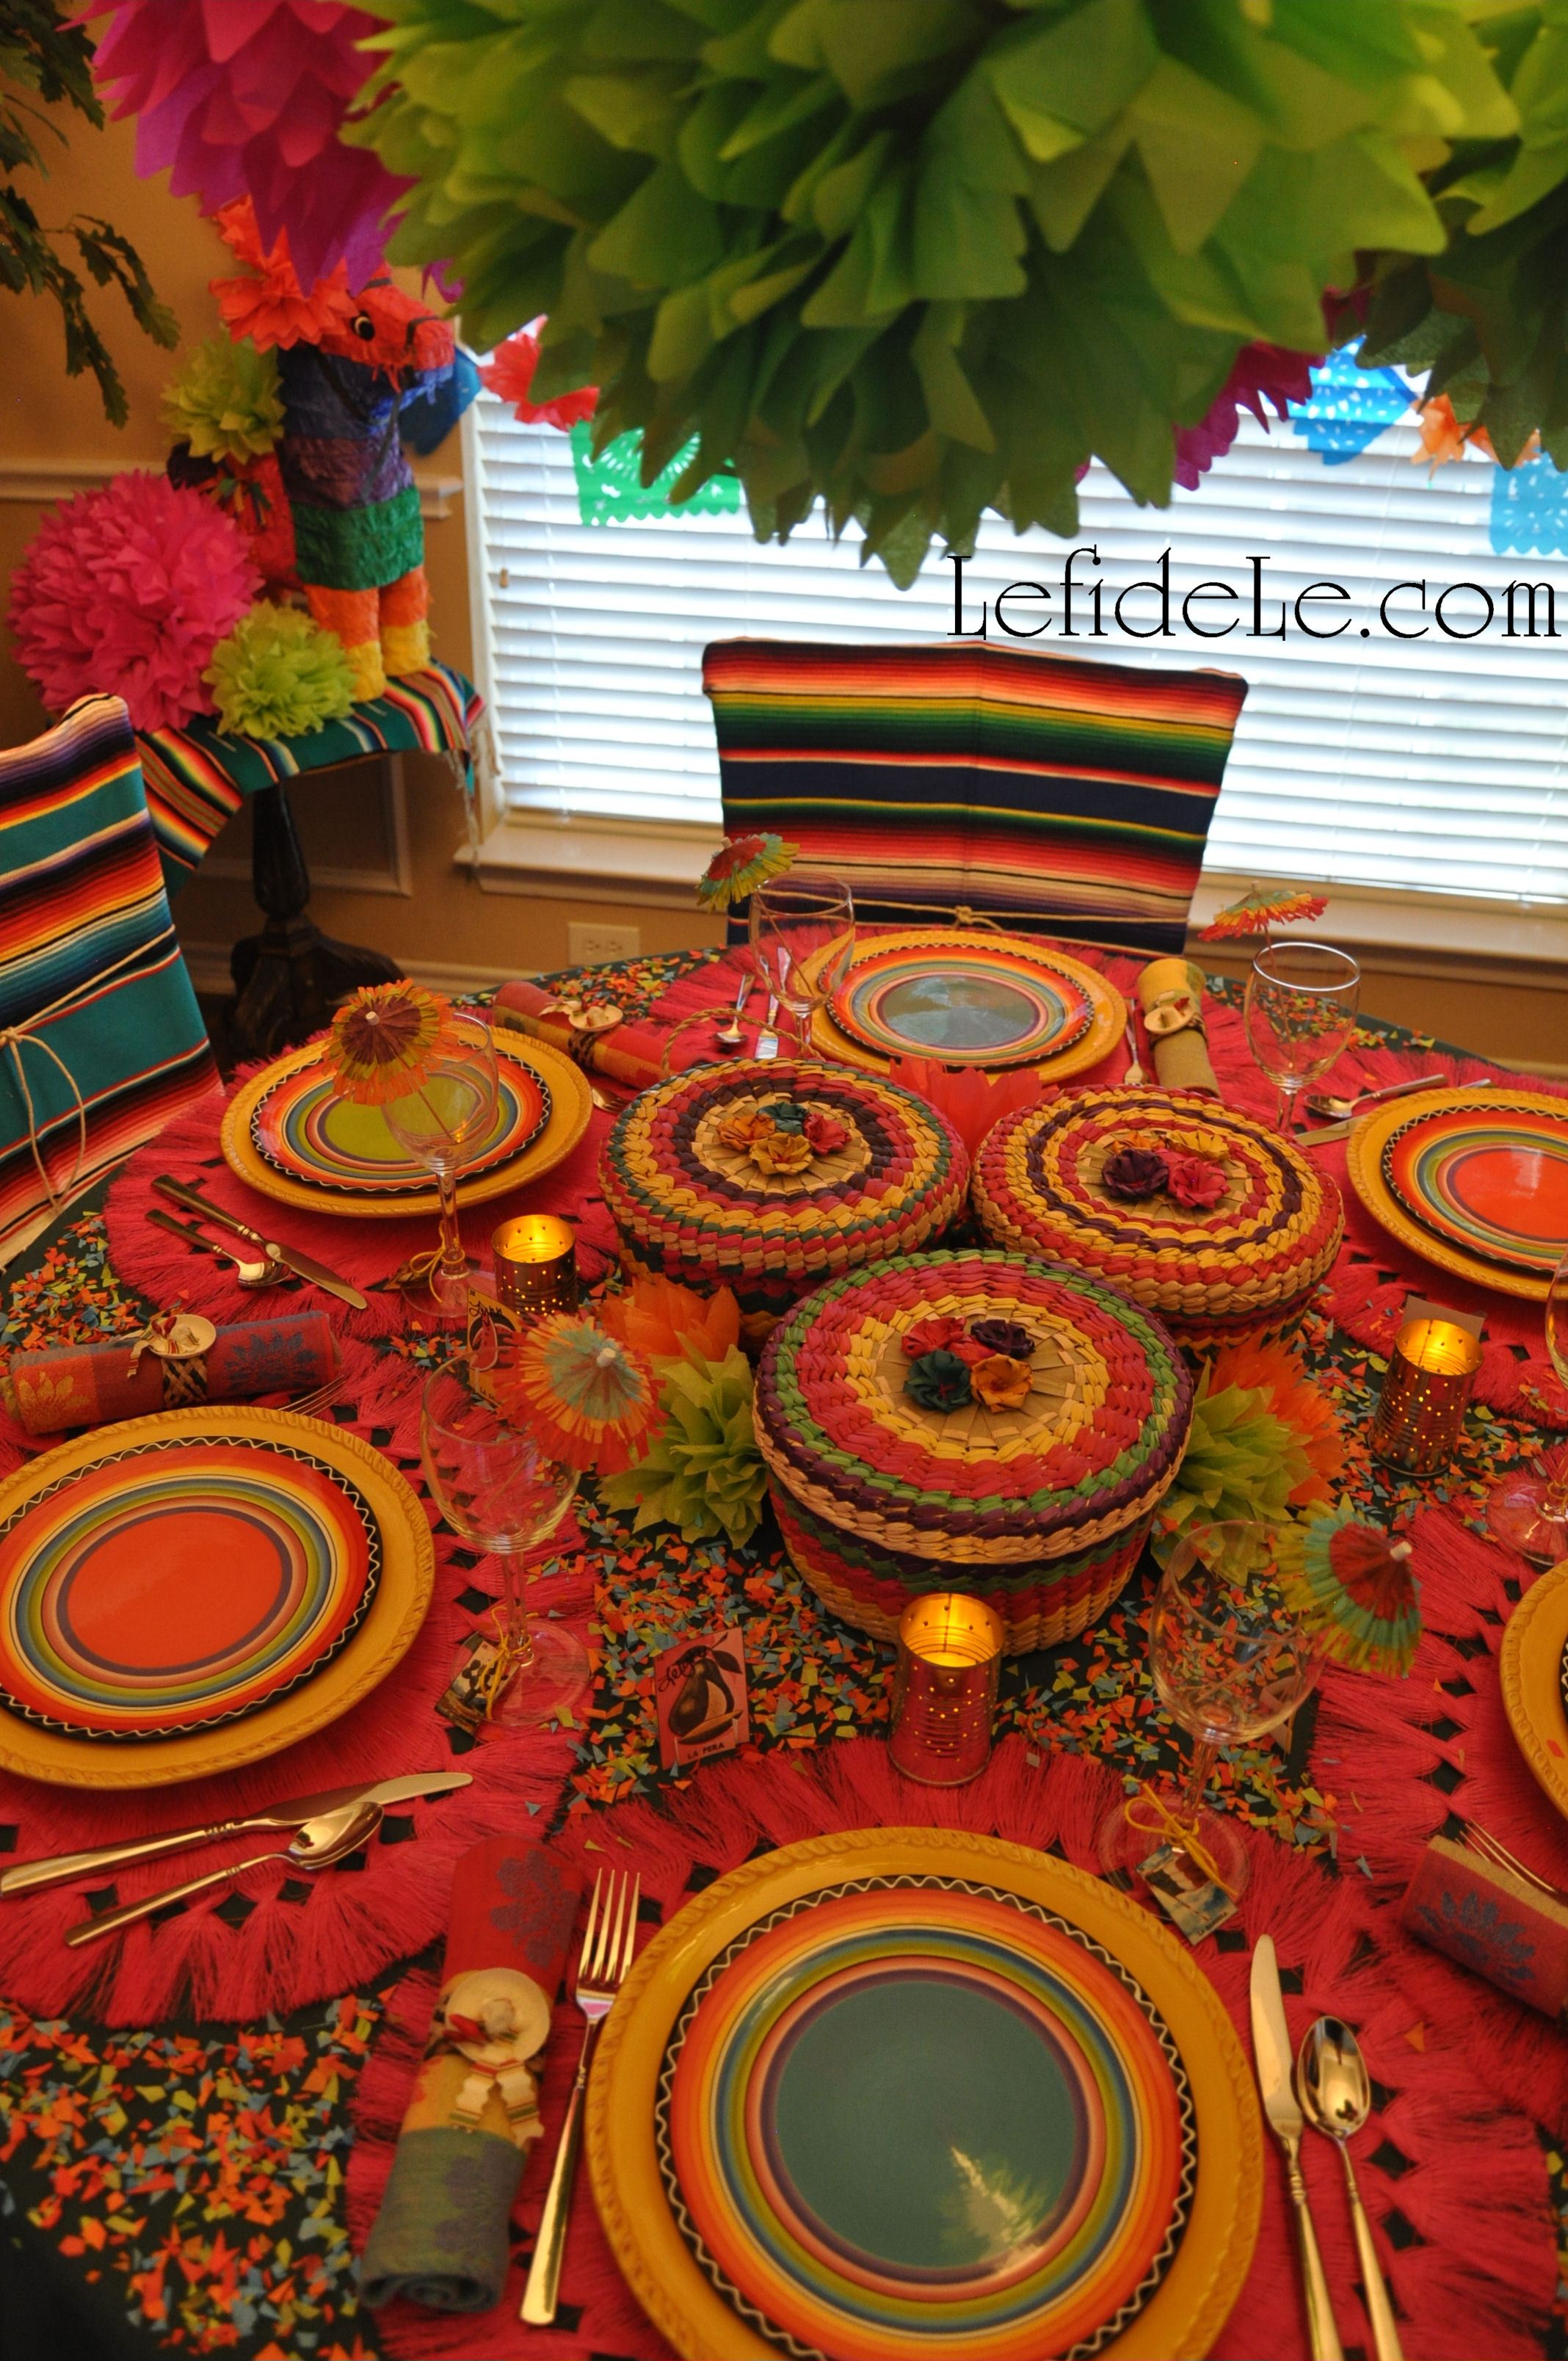
The larger flowers were easily strung onto a chandelier as an overhead centerpiece, leaving room for tortilla, chip, and buñuelo baskets on the table.

291Leigh

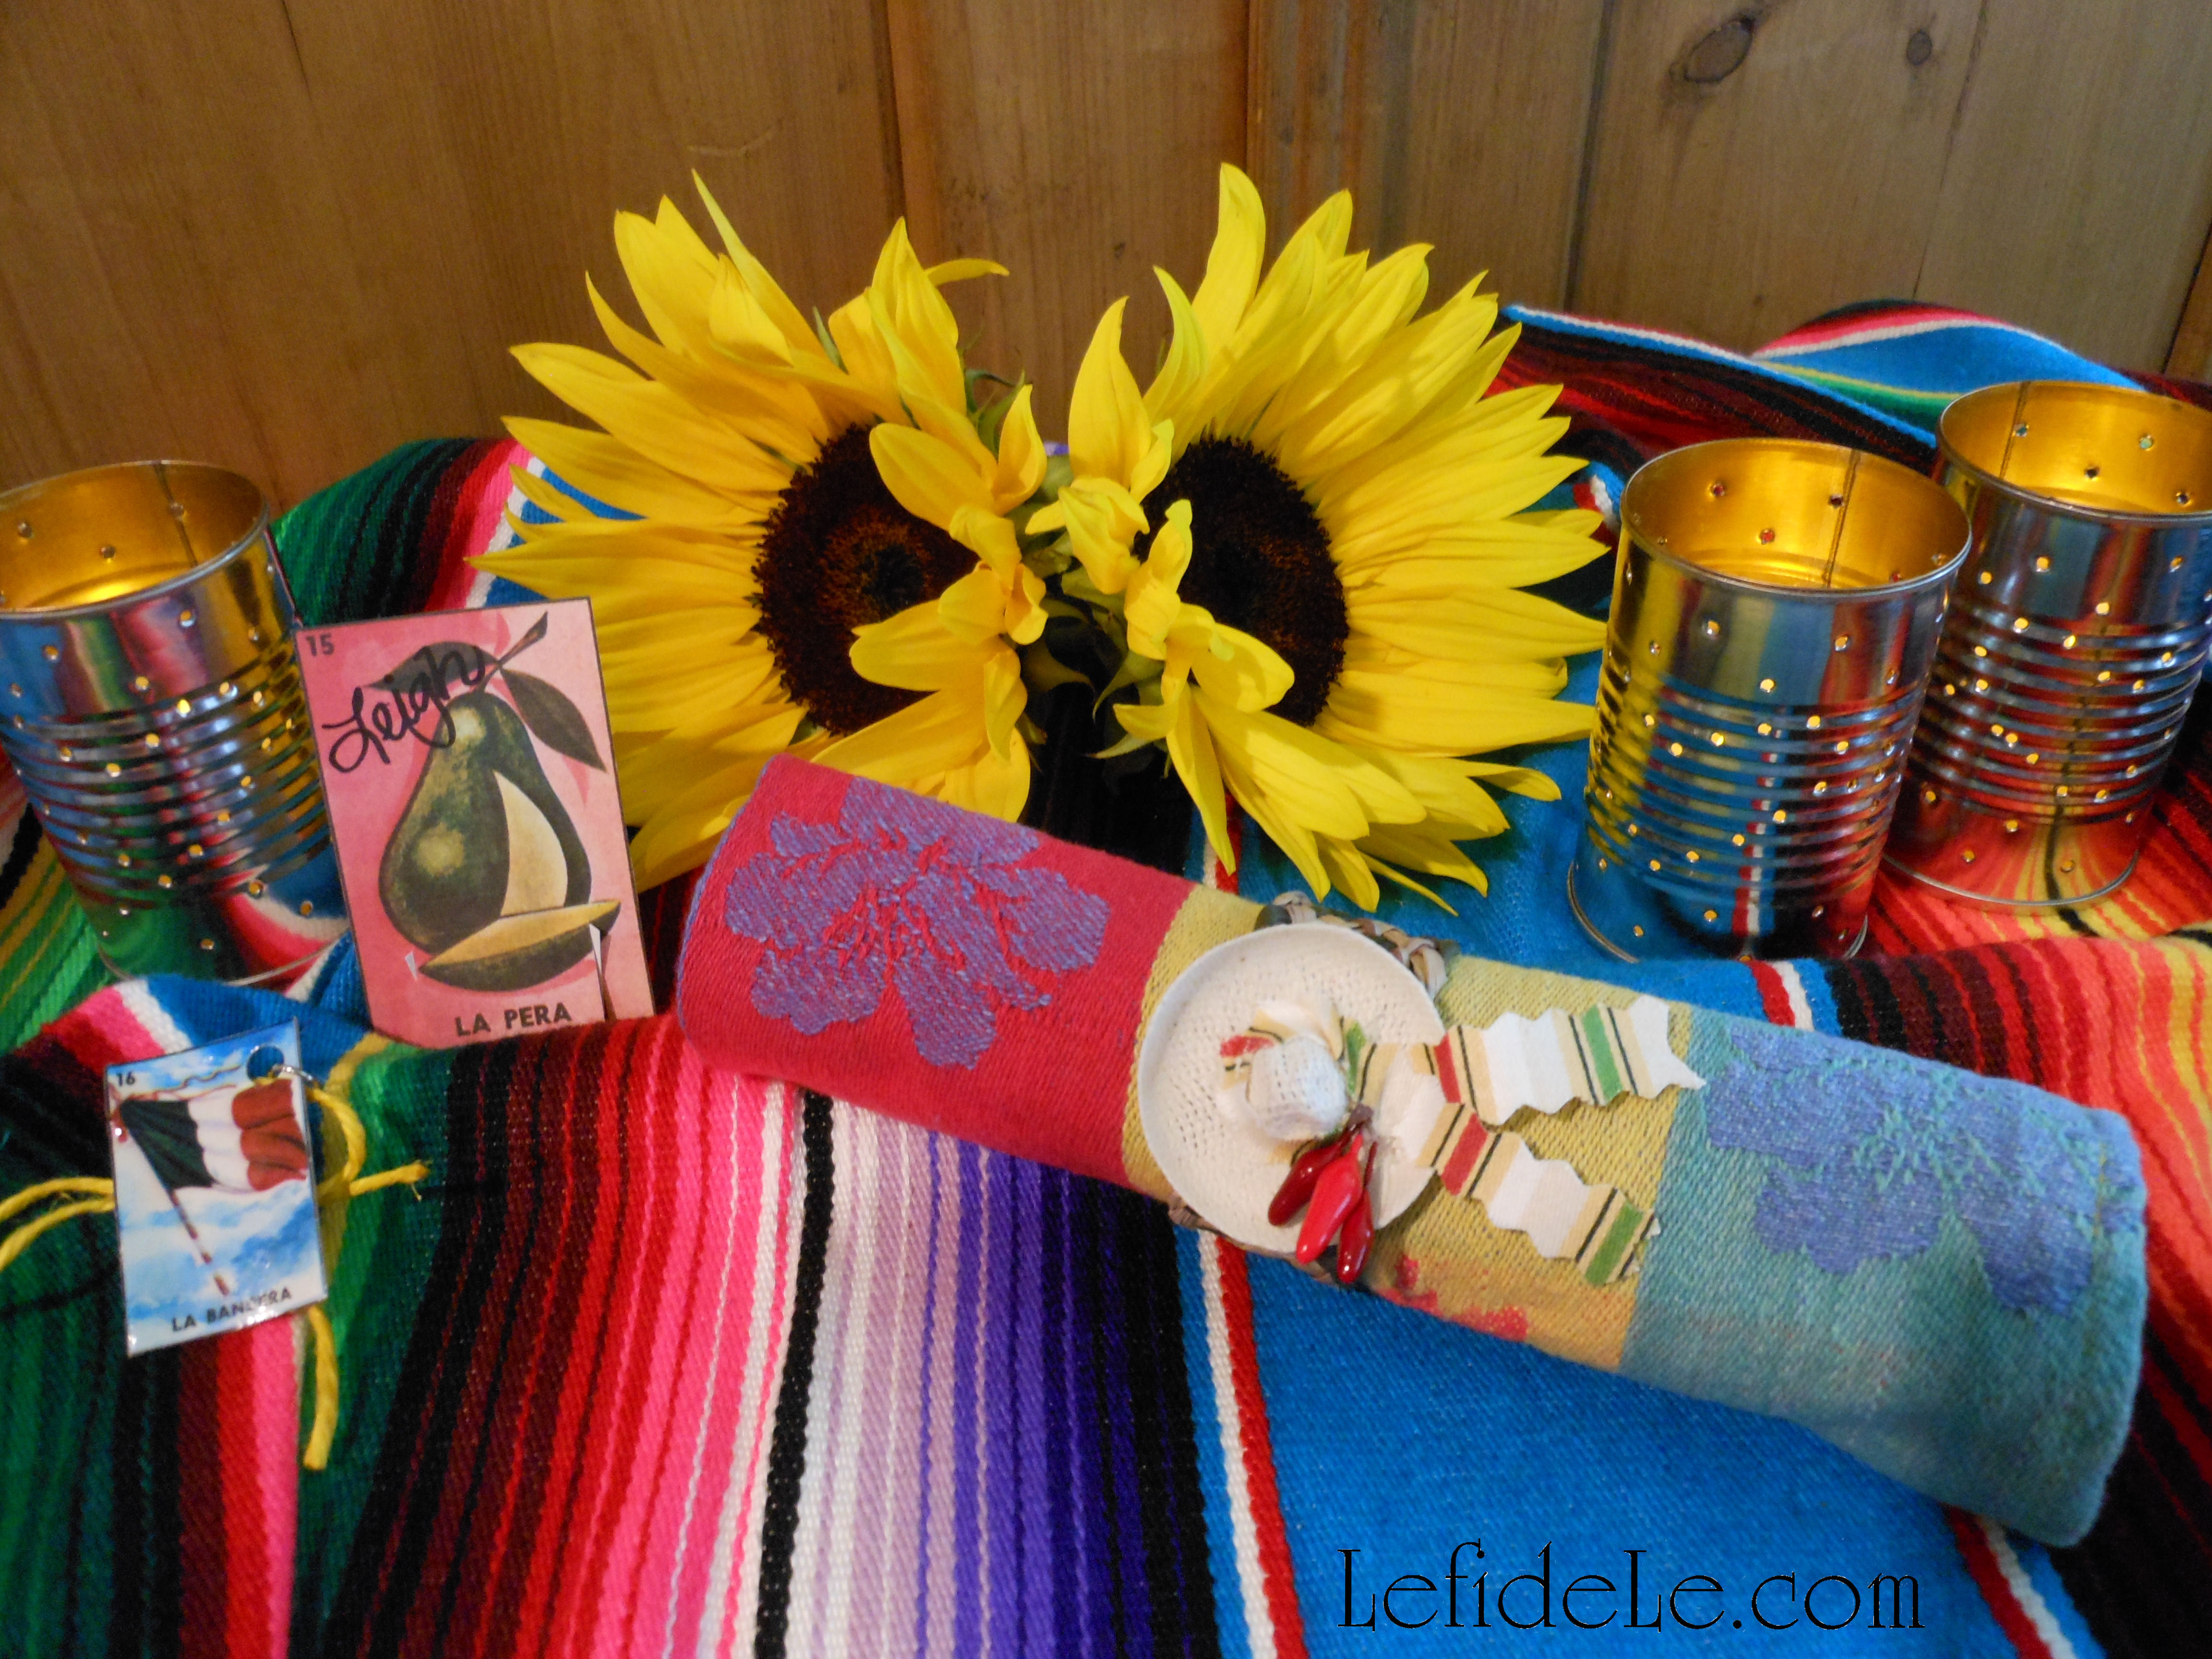
Now complete your tablescape with my Easy DIY Sombrero Napkin Rings & Serape Invitations + Loteria Sangria / Wine Glass Charms & Place Cards Crafts (for Cinco de Mayo Fiesta Tablescape).

041Leigh

Time to go ¡Fiesta! forever…

Faithfully Yours,

Leigh

Meatloaf “Cupcakes” & Mashed Potato “Frosting” April Fool’s Recipe (Allergy-Friendly, Gluten-Free, Egg-Free, Dairy-Free) + Traditional Loaf Option & Hearty Meatloaf Sandwich

054Leigh

Lay asunder mean-spirited pranks this April Fool’s Day, by celebrating with a merrymaking menu. Meatloaf “cupcakes” with mashed potato “frosting” are sure to bring smiles to the sourest of faces, but it can also be shaped into a traditional loaf… the way your grandma used to make it. This is the style that slices best into hearty meatloaf sandwiches, perfect for the next day’s lunch. And this allergy friendly recipe sticks together perfectly, without the need for egg, dairy, or gluten. Best of all, it’s sure to replace, “Are we really having meatloaf again?” with “When can we have meatloaf again?”

040Leigh


Meatloaf Ingredients:

  • 3 pounds ground beef (or ground turkey or chicken)
  • ½ almond milk (or any variety of milk)
  • 1½ cups brown rice breadcrumbs (or any variety crumbs)
  • 2 six ounce cans tomato paste (preferably organic)
  • 2 tablespoons golden flax meal (or ground seeds)
  • 1 teaspoon onion powder
  • 1 teaspoon garlic powder
  • 1 teaspoon ground oregano
  • 1 teaspoon ground black peppercorns
  • 1 teaspoon sea salt (or salt replacer)

◊ if making a traditional loaf… top with organic ketchup (which has sugar instead of corn syrup) before baking

◊ for meatloaf sandwiches… add gluten-free bread, lettuce, & veganaise to the ingredient list


Meatloaf Instructions:

018Leigh

Mix everything (except for the ground beef) together in a bowl well.

024Leigh

Add the ground beef, and mix it well with clean hands.

031Leigh

Fill a muffin tin with your meat mixture. I lined mine with naturally non-stick parchment baking cups, but use baking spray if placing directly in the tin. The easiest way to fill these is to make giant meat snowballs, and press them into each cup. This ensures no air pockets are included. Note that the meat will rise up and shrink in as it bakes.

035Leigh

If using traditional loaf pans, spray them with baking spray (like coconut oil spray) before filling with the meat mixture. Note that multiple small loaf pans cook more evenly than a single large loaf. Top the mounded mixture with a generous amount of ketchup. Bake in a 350ᵒ oven for about 30 minutes (depending on your oven’s temperament).

037Leigh

Remember to check the center of a large loaf, or the center of the innermost cupcake, for doneness. (I mention this because I’ve actually been served raw meatloaf at a dinner party… Yikes!)

058Leigh


Mashed Potato Ingredients:

  • 2½ pound Yukon Gold Potatoes (preferable because of viscosity & natural butter flavor)
  • 1 teaspoon sea salt (or salt replacer)
  • ½ teaspoon onion powder
  • ½ teaspoon garlic powder

◊ if not making this as a “frosting”… add ¼ cup extra virgin olive oil & ½ cup almond milk for creaminess

◊ for garnish “sprinkles”… fresh ground pink peppercorns (which look red to me)


Mashed Potato Instructions:

063Leigh

Wash the potatoes with a veggie brush and quarter cut them for speedy cooking. Peel them if you’d like the “frosting” to look more like real frosting, but I chose to leave mine on in order to preserve vitamin and fiber content. Bring them to a boil in salted water, and then simmer. (My mother insists on boiling them the entire time, and it works, so anything you do to cook them is fine so long as they’re well cooked… because raw white potatoes are actually toxic.)

092Leigh

The potatoes are done when they’re fork tender. Drain out the cooking water.

098Leigh

Add in your spices… and mash away, mash away, mash away all. (Or use the easiest and quickest method invented… the immersion blender!) Add oil and milk only if you are eating this by itself as a side dish, because it will prevent it from being as sticky… which is a good thing when you’re using it as faux frosting on a meaty cupcake. (Eaten together, you really don’t miss the oil and milk, because you’re tasting it with the flavor of the meatloaf.)


Optional Serving Instructions:

048Leigh

Meatloaf will leach liquid with cooking, so drain your cupcakes before serving. I actually replaced the parchment cups on mine before topping them with mashed potatoes, but they look great without the paper for a non-April Fool’s meal. Top your cupcakes with potato frosting using a silicone spoonula if you have one. (It’s a spoon-like spatula… I nicknamed mine the “Count”.)

062Leigh

Cut a traditional loaf into servable slices for dinner and tomorrow’s tasty lunch.

079Leigh

Ketchup, veganaise, and lettuce on gluten-free bread make a hearty meatloaf sandwich that will clean you out of leftovers in a hurry!

043Leigh

Serve these meals with a healthy dose of super-greens. This salad has romaine lettuce, fresh parsley, cherry tomatoes, sprouted pumpkin seeds, and sprouted hemp seeds. It has a creamy ranch-style dressing made of unsweetened vegan coconut yogurt seasoned with chives, marjoram, coriander, pink peppercorns and sea salt.

051Leigh

Unfaithfully Yours (April Fool’s Y’all!),

Leigh

P.S. For other healthy mashed tater recipes, check these out:

110Leigh

Irish Colcannon / Herbed Kale Mashed Potatoes St. Patrick’s Day Recipe (Allergy-Friendly, Gluten-Free, Dairy-Free, Vegan)

9fLeigh

Quick & Easy “Shortcut” Cauliflower Mashed Potatoes Recipe (Heart-Healthy & Dairy-Free)

Leaping Bunny Topiary Spring Indoor Garden Party Décor Ideas for Easter or even Showers, Luncheons, & Brunches

256Leigh

Say goodbye to winter storms and hello to spring splendor with a vivacious indoor garden party resplendent with leaping bunny topiaries! Put away the pastels and embrace vibrant carrot oranges and greens echoing this time of growth. Add apropos messages spelled out in hedgerow letters declaring the true reason for the Easter season. Give lettuce-edged napkins the bunny ear treatment as a tongue-in-cheek homage to all those cherished family photos. Layer chevron patterning with textural fibers to modernize the fête’s décor, forming an ensemble proclaiming, “Hello Spring!”

252Leigh

Crisp orange and white chevron fabric awakens the senses, making it the perfect underpinning for this little soiree. (My mother actually made this tablecloth, which is amazing for someone who has repeatedly stated, “I don’t sew.”)

255Leigh

Layered on that are round raffia mats placed as chargers. Rustic sage green plates are topped with orange salad bowls filled with fresh garden salads of baby greens like kale, spinach, and chard, with orange heirloom cherry tomatoes, English cucumbers, fresh parsley, sprouted pumpkin seeds, and crunchy carrot croutons. (Find the easy recipe for it here.)

149Leigh

Daily flatware is used, with the exception of the knives which have been exchanged with lovely patterned versions. (Mixing patterns is not only okay, but fantastic!)

139Leigh

Orange burlap bunny ears napkin rings hold lettuce-edge napkins matching the sage plates. (Learn how to easily make your own rings here.)

220Leigh

Understated water glasses were chosen as the only simple elements on the tablescape. Carrot lollipops with jute bows sit in place of dessert spoons. (Find them on sale at affiliate Oriental Trading Company. The link in the side bar adds a coupon with free shipping to your cart automatically.)

158Leigh

Baby leaping bunny topiaries sprout from burlap covered carrot pots above each place setting. (Learn how to craft them easily here.) Tiny printable carrots act as place-cards for each invitee. (Snag my free printables here.)

287Leigh

Big bunny mama springs from the center of the table in declaration of a beautiful life.

257Leigh

Orange twine wrapped Easter eggs sit on the grass beneath her. Twine and crepe carrots suggest growth of one’s soul.

294Leigh

Faith stands as the center of the celebration both literally and figuratively. (The hedgerow letters are bandaged with burlap and jute symbolizing that one may be battered, but not broken when one has such faith.)

063Leigh

The side table holds another hedgerow spelling Believe. It sits with an additional egg enmeshed in a swirl of vibrant chevrons and burlap lilies.

198Leigh

A green trunk elevates another bunny constructed of grapevines holding both faux farm eggs and green bird eggs.

183Leigh

Above that a carrot wreath with my topiary printable hangs next to my banner. (Find the carrot wreath at affiliate Cost Plus World Market whose sale link is in the sidebar.)

209Leigh

The end of my printable bunny and carrot banner sits close to a burlap carrot sign extending an honest welcome to all enter. (Get my free printables here.)

253Leigh

Take an idea or two, or use all of my craft tutorials and free printables for your own indoor garden party that declares, “Hello Spring!”

Faithfully Yours,

Leigh

P.S. The Easter Bunny approves this message.

WildBackyardBunnyLeigh

(This is one of the wild backyard bunnies visiting my porch!)

Easy DIY Leaping Bunny Topiary Craft Tutorials with Free Banner, Wreath, Place-card, Invitation, & Thank You Note Printables (for Easter, Showers, Luncheons, & Brunches)

253Leigh

Make your own tabletop garden full of leaping bunnies for your next indoor garden party. DIY these easy projects 3-dimensionally or with my free printables… or mix and match the crafts as I’ve done here. Choose your own color and theme to embellish the bunnies with, or follow my lead and make burlap carrot pots to sprout your menagerie from. Better yet, keep the wraps, rosettes, and ribbons nonpermanent so the bunnies may be used again for another theme. Let these rascally rabbits transform your spring fling into a colossal cute –fest today!

256Leigh

I’ve seen faux foliage covered bunny and bird ornaments as well as topiary picks at several stores locally, and online the choices are endless. Using one of these ready-mades is the quickest way to craft a 3-dimensional creature topiary. (I’ll tell you how to make 2 other types later.)

020Leigh

Wrap small terra cotta pots with burlap fabric or ribbon, and cut after the overlap. Use dots of hot glue to adhere one side to the other. Avoid gluing the burlap to the pot if you’d like to reuse these with another theme, as I’ll be sure to do in the future. Trim the excess length off with scissors so that the pots sit flat on the table.

023Leigh

Add a length of ribbon around the top and tie it in a taut bow. This is not only decorative, but is a trick to keep the burlap securely in place without having to glue it permanently.

005Leigh

Fill each pot with a chunk cut to fit, from a large block of stryofoam. Wedge little chunks of stryofoam in between the large block and the wall of the pot until the large block has no wiggle room. This keeps your creation from drooping later.

006Leigh

Glue ground cover to the top of your moss. Do this by cutting the green edges to fit the pot, and gluing those edges to the rim. I used faux earth meant for a table runner, but I’ve seen similar stuff in the form of placemats as well. Other options are faux Easter grass, moss ribbon, Astroturf, green burlap, or grass printed scrapbook paper (for the printable topiary).

010(2)Leigh

Cut stems, sticks, or dowels to jab into your ornaments, and wrap them with brown floral tape. If your animals are already on sticks, simply cut them to size with good sheers.

013 (2)Leigh

It’s easier to embellish your bunnies before potting them. Double-wrapped a length of jute (or yarn, ribbon, twine) around each bunny neck and knot it loosely. Slip a burlap rosette under the jute so that it sits securely without glue.

014 (2)Leigh

Make a pilot hole into the center of the green stuff. Do this carefully with any sharp point from an awl to a screwdriver. (I used a scissor side… but I have a tendency toward crafting dangerously.) Lastly, jab the bunny stick into the pilot hole.

134Leigh

Continue crafting the rest of your rascally rabbits.

287Leigh

Another option is cover a carved styrofoam shape with moss, as I have done with the larger bunny centerpiece. I’m not going to cover that in detail here because it took a lot more time, energy, and patience. If you choose to go that route, you can either purchase a ready-made animal shape, or carve one from a block of stryofoam yourself. Foam cutting knives are available that will make the job slightly easier.

257Leigh

One way to add foliage is to cover your creation with moss ribbon as I have done. This is a kind of moss covered carpet tape. Cut it into pieces and round the edges, so that the animal shape may be completed in an unseen patchwork. Adhere the patches with hot glue, pressing firmly.

130Leigh

 Embellish it with a burlap ribbon collar and flower, and pot it in the same way as I showed you earlier. I wanted to reuse the bunny topiary again for future themes, so I did not glue the collar to the bunny. I simply glued the flower to one end of a length of ribbon, and then wrapped the ribbon around the neck. I began with the blank end and looped it underneath. The weight of the flower resting on top of the opposite ribbon end kept it firmly in place. It will look completely different with a another color of base wrap and type of collar embellishment.

183Leigh

The following are my leaping bunny printables (free for noncommercial use). Right click on the image you want to use, and select print. Choose color and photo settings for your printer, and print them on sturdy white cardstock.

BigBunnyTopiaryCraftLeighBunnyTopiaryCraftLeigh2BunnyTopiary5x7LeighCarrotsCraftLeigh


To make a paper topiary from my printables, begin by printing and cutting out the two opposite facing bunnies.

034Leigh

Glue them together, back to back with a stick or popsicle stick in between. Pot the stick, as shown previously, and embellish it further with paper rosettes and ribbons.

129Leigh

Cut out the carrots to use as place-cards that rest on your newly crafted topiaries. I printed mine, 2 sheets to a piece of cardstock, so that they would be smaller than the banner carrots.

158Leigh

Another option for folded place-cards, is to print out the 5×7 invitations / thank you cards and fold them in half. Embellish them with tiny bows or paper flowers, and write guests’ names on them.

198Leigh

Adding my leaping bunny topiary printable to the center of an existing wreath is an easy way to update a piece you already own and make it fit perfectly to your theme. (This carrot wreath came from Le fidèLe Design’s affiliate Cost Plus World Market. Find a link to them with up to date coupons in the side bar.)

032Leigh

Make a banner with the bunnies and carrots by simply arranging them in a pleasing manner and taping the backs to jute, ribbon, twine, or yarn. I chose to criss-cross the carrots between the bunnies.

209Leigh

A loop at each end makes it easy to hang with clear thumbtacks.

113Leigh

You can also attach the carrots to readymade treat bags like the orange chevron one here. It’s filled with sprouted pumpkin seeds as a part of a healthy and tasty lunch. (See more of this along with the recipe here.)

090Leigh

(Find the bunny ears napkin ring tutorial here.)

Faithfully Yours,

Leigh

P.S. The Easter Bunny approves this message.

WildBackyardBunnyLeigh

(This is one of the wild backyard bunnies visiting my porch!)

Fast & Easy DIY Burlap Ribbon Bunny Ears Napkin Rings Craft Tutorial (Perfect for Easter, Showers, Luncheons, & Brunches)

139Leigh

Why buy a set of bunny ears napkin rings when you can make your own for a fraction of the cost that suits your décor perfectly? This was the thought that sparked one of my cutest projects. 12 feet of 1 inch wide orange burlap ribbon was enough to make 6 rascally rabbit rings for my leaping bunny topiary theme, but many other ribbons would have worked just fine. Hot glue, scissors, and a ruler were the only tools needed to finish the napkin creatures in half an hour. What a perfect project for a spring “crafternoon”!

017 (2)Leigh

Each bunny will use about 2 feet of ribbon, so plan accordingly. Note that one inch wide ribbon is the perfect size for this project. Cut 2 lengths of 7 inch strips for each ring… or 12 strips for a half dozen rings.

019 (2)Leigh

Cut 2 lengths of 5 inch strips for each set of ears… or 12 strips for a half dozen rings.

020 (2)Leigh

Fold each 5 inch strip in half, and press a crease into the folded edge. Lay down a thin strip of hot glue along each vertical side edge, in order to glue the fold into place permanently. (Try using a cool temp hot glue gun to avoid burning your fingers with the hole-filled burlap.) Leave the bottom non-folded edges unglued, forming a tiny sack. At the top folded edge, take the right corner and fold it over toward the center. Then take the top left corner, and fold it over the right one. It will make the top of each ear. Glue the folds into place with a dot of glue, under the left corner and over the right.

023 (2)Leigh

With all your ears made, assembly line fashion, get started on attaching them to the rings. Take one of the 7 inch strips and fold it in half to locate its center. Cut centimeter length slits, about a centimeter away from that fold, perpendicular to the fold. (You just made two ear canals.) Fold the bottom open edge of an ear in half, and slip it into a slit opening. You should see about a half centimeter sticking out.

024 (2)Leigh

Glue the outside of this protruding portion to the 7 inch ring strip. It should fan outward. Repeat with the other ear, making sure they’re facing the same direction.

026Leigh

Take another 7 in strip of ribbon and glue it to the flat side of the bunny eared strip. The easiest way to begin is by gluing one end and tapping it into place. Continue on until the whole strip is joined. Make sure the ribbons are curved the same direction for a less troublesome experience.

037Leigh

Form the ring by gluing one end of the long strip to the other, by slightly overlapping the edges. (You just made a bunny face.)

170Leigh

Repeat this process until your rabbit warren is complete. (Know that they get easier after making the first one.)

149Leigh

I used sage green cloth napkins with a seam that is actually called a lettuce edge. These folded beautifully into a roll with a top that resembled a small head of lettuce.

252Leigh

These are perfect for an Easter party. (See more of the leaping bunny garden party here.)

090Leigh

They’re also great to pull out for a spring lunch. (Find the carrot croutons / “bacon” bits recipe here.)

166Leigh

I wanted orange bunnies to coordinate with my carrot décor, which no one even sells, so I made them with fall clearance ribbon… making the grand total for this project a whopping buck fifty!

220Leigh

The best part of all, was receiving the genuine compliment that they were so much cuter than the stores’ versions. I hope you think so too. (Get the topiary craft tutorial and printables here.)

073Leigh

Faithfully Yours,

Leigh

P.S. The Easter Bunny approves this message.

WildBackyardBunnyLeigh

(This is one of the wild backyard bunnies visiting my porch!)

Healthy Gluten-Free Carrot Croutons / Vegan “Bacon” Bits Recipe for Spring Garden Salads (Perfect for Easter, Showers, Luncheons, & Brunches)

150bLeigh

This easy recipe for colorful carrot croutons transforms any spring garden salad into a healthy gluten-free creation. Roasting carrot slices enhances their inherent sweetness while herbs and olive oil impart crouton flavor. Use baby carrot slices for healthy vegan “bacon” bit crunch with no cholesterol. This modern twist on old favorites is a continuation of the undercover veggie series, which makes it simple to get your little bunny to eat her carrots!

113Leigh


Ingredients:

  • sliced carrots (large carrots make crouton chips, while baby carrots make bits)
  • extra virgin olive oil (to drizzle over carrot slices before roasting)
  • your favorite dried herbs & seasoning (to sprinkle before roasting, I used sea salt and dill, but try grilling spices for bits)
  • fresh garden salad (I used baby kale, baby chard, baby spinach, diced English cucumber, orange heirloom cherry tomatoes, sprouted pumpkin seeds, & chopped fresh parsley)
  • dressing of choice (try a lemon vinaigrette with a 3 to 1 ratio of extra virgin olive oil to lemon juice plus herbs like dill & parsley)

126Leigh


Instructions:

078Leigh

Wash the carrots, and peel the large varieties. These baby carrots are a peel-free shortcut to orange vegan “bacon” bits. Slice as many as you like, keeping in mind that they will shrink with roasting. (A cookie sheet full is enough to top 6 side salads.)

082Leigh

Disperse the sliced carrots over a parchment lined cookie sheet. Drizzle them with olive oil, or generously spray them with a Misto. Sprinkle dried herbs and seasoning over them. (I chose sea salt with dill for a light garden fresh taste, but grilling spices with black pepper would be more bacon bit like.)

087leigh

Roast in a 350ᵒ oven for about half an hour… this will vary greatly depending on carrot size and oven temperament! Just keep an eye on them once the edges brown, with the oven light on. (If utilizing a dehydrator, cook them at 145ᵒ for 30 minutes, and then reduce heat to 115ᵒ for 24 hours until crunchy.)

149Leigh

Spoon the crunchy carrot bits over any variety of fresh garden salad.

124Leigh

Roasting makes them more flavorful than regular old carrot slices. (Find the bunny ears napkin ring craft tutorial here.)

109Leigh

Bunny sandwiches are the perfect accompaniment for a carrot topped garden salad. (Cut the bread shapes with a cookie cutter before filling them.)

220Leigh

The colorful carrots are a beautiful way to coordinate with any existing orange elements in your menu or décor. (See more from the leaping bunny garden party here.)

122Leigh

These are not only gluten-free, but also guilt-free… because no pigs or waist lines are harmed by consumption!

103Leigh

For more undercover veggies and a creamy dressing, see my Heartbeats Recipe here.

42bLeigh

Faithfully Yours,

Leigh

P.S. The Easter Bunny approves this message.

WildBackyardBunnyLeigh

(This is one of the wild backyard bunnies visiting my porch!)

Candyland Themed Party Décor Ideas (for Baby Showers, Children’s Birthdays, or Christmas Decorating)

409Leigh

This Candyland theme was inspired by Mary, a dear lady who passed on long ago, but left her inimitable words of wisdom with me, “life is uncertain, eat dessert first,”…and she always did! So it is with her spirit of joie de vivre, that I unbound that creative kid within me that clamored for a sensory sugar high. To release your inner child, follow my 3 part DIY party decorating series (with easy project tutorials and free printables) as it’s a sure path to crafting your way to classic Candyland cuteness! Using some or all of the décor ideas (befitting kid’s birthdays, baby showers, and Christmas parties), you’ll be sure to delight the inner-child in your guests as well! While you’re at it, use my allergy friendly recipes and serving suggestions to fill your candy buffet quickly and easily. For now, let us escape to Candyland…

338Leigh

A Candyland village of (glittered) gingerbread houses sits nestled atop an icing laden hillside (of buffalo snow batting) dotted with (pom-pom) sprinkles.

308Leigh

(Faux) lollipop trees spring forth from gumball forest floors (in speckled metal pails) and (real) candy-cane thickets abound.

302Leigh

Gingerbread people (treat boxes) populate the village, travelling amongst the wellsprings of jellybean pools (in pink plastic pails).

321fLeigh

A few “gingies” guard a fenced supply of the village’s juice-milk stores.

361Leigh

Gingerbread (banner) clouds float high amid skyscraping treat towers holding abundant soirees offering peppermint candied almonds, twisty marshmallows, pastel taffy, and (healthy) spicy guacamole shooters with pink pomegranate potato chips.

317 (2)Leigh

The towers’ penthouse floors encircle trios of cotton candy “cream” sodas with peppermint striped straws.

295Leigh

Round rainbow swirled plates and napkins stand by to serve Candyland visitors.

318 (2)Leigh

Boxed and wrapped candies sit ready for shipment to their final destinations.

356Leigh

Gingerbread peep billboards pop up to signal the way to gastronomical paradise.

351Leigh

Gingerbread (cookie) ladies and gentlemen hold snowball (cookie) fights in the village round, whist the tiniest of “gingie” tots toddle home with gumball treats over candy-cane cobblestones lain over pink velvet (cupcake) roads.

341Leigh

A low gingerbread fog sinks below the sugary iced hills perched above a pink (cloth) cliffside.

381Leigh

Around the bend, pink hard candy (lanterns) shine high above big rock candy mountains.

366Leigh

Glowing with hard candy (ornaments), they burst forth with pyroclastic explosions of candy treats spilling over pillowy white icing.

393Leigh

Hard candy (ornament) boulders tumble amid (faux) ribbon candy bushes and flowing streams of (real mega) candy buttons.

395 (2)Leigh

(LED) peppermint light posts illuminate the scene.

370Leigh(Real) candy-cane thickets and (faux) cupcake bushes dot the camping site where gingerbread residents roast marshmallows in the midst of the pink (tablecloth) countryside.

386Leigh

A rainbow lollipop (lantern) arcs above the distant rock candy mountain (tree).

388Leigh

A lone home defiantly stands amidst the candy (ornament) strewn mountainside adjacent to a fallen (faux) ice cream cone log.

384Leigh

Waterfall (faux mega) candy buttons stream down the embankments whose vistas shout, “Welcome to Candyland!”

333Leigh

Wishing you a sweet life of seized moments in eating desserts first!

Faithfully Yours,

Leigh

P.S. Learn how easy it is to construct your very own Candyland village in these 5 articles:

182Leigh

DIY Candyland Party Themed Craft Tutorial: Gingerbread People Banner, Treat Gifts Boxes, & Printable

380Leigh

DIY Candyland Party Themed Craft Tutorial: Hard Candy Lanterns, Candy Ornaments, & Conversation Heart Garland

179Leigh

DIY Candyland Party Themed Craft Tutorial: Game Board Treat Tower & Easy Buffet Display

231Leigh

Quick & Easy Candyland Confection Ideas: Pink Almond Milk Juice “Recipe”, Cotton Candy “Cream” Sodas, & Gingerbread Peep Pops

170Leigh

Spicy Guacamole Shooters / Avocado Appetizers Recipe (Allergy-Friendly & Nightshade Free = No Red Pepper or Tomatoes)

DIY Candyland Party Themed Craft Tutorial: Game Board Treat Tower & Easy Buffet Display

308Leigh

Craft your way to classic Candyland cuteness befitting birthdays, baby showers, and Christmas décor.  This tutorial for a game board treat tower and easy buffet display are part three of a DIY party decorating series with easy projects and free printables. Using some or all of the ideas, you’ll be sure to delight the inner-child in all of your guests. Sweet!

179Leigh

These simple crafts all utilize the same teacher’s bulletin board banner strips in a licensed Candyland board-game pattern. I made two towers, wrapped six pots, covered two milk corrals and a bunch of food picks… and I still have many strips left over! All of this is from one package of super-cute and inexpensive banners that could not fit my theme more perfectly.

7(2)Leigh

To cover food crates, all you need to do is measure the front width and cut a length off. Double a piece of tape onto itself to hold the cardstock in place during the party. Remove it to reuse later for another craft. One idea is to let the kiddos make thank you cards out of it.

6(2)Leigh

Wrap a length of the banner to coordinate a plain metal bucket to your theme. Simply cut and tape the ends together.

351Leigh

These can be used to hold candy and prop up Gingerbread Peep Pops (see the Candyland Confections article here).

120Leigh

Make food picks by simply cutting the leftover banner end bits into colored squares.

122Leigh

Tape toothpicks or popsicle sticks behind them. These can also be used for place-cards if you like.

109Leigh

My treat towers begin with ordinary cupcake stands that are transformed into darling 3-D gaming creations.

069Leigh

To make your own, first find a commercially packaged stand in a matching color palette.

394Leigh

Cut the teacher’s border into two sections (so that they’re small enough to allow food to be placed once it’s completed).

117Leigh

I just followed the natural curve of the game path pattern.

072Leigh

Put the stand together as per the package instructions.

105Leigh

Hot glue the underside if you really want it to be super-sturdy.

095Leigh

Hot glue a strip to the outside rim of each level. Cut off the excess length.

099Leigh

If your ends don’t match up perfectly, just trim off the top edge to make them appear seamlessly adjoined.

101Leigh

These are what the towering creations look like when laden with sweet treats galore! (See my allergy-friendly Spicy Guacamole Shooters Recipe here.)

317 (2)Leigh

Check out the rest of my Candyland craft series: Gingerbread People Banner, Treat Gift Boxes, & Printables and Hard Candy Lanterns, Candy Ornaments, & Conversation Heart Garland as well as the final party post on Candyland Themed Party Décor Ideas.

302Leigh

Faithfully Yours,

Leigh

DIY Candyland Party Themed Craft Tutorial: Hard Candy Lanterns, Candy Ornaments, & Conversation Heart Garlands

409Leigh

Craft your way to classic Candyland cuteness befitting birthdays, baby showers, and Christmas décor.  This tutorial for hard candy lanterns, candy ornaments, and conversation heart garlands are part two of a DIY party decorating series with easy projects and free printables. Using some or all of the ideas, you’ll be sure to delight the inner-child in all of your guests. Sweet!

049Leigh

Old-school paper lanterns may easily evolve into supersized hard candy confections with a few simple steps. Begin with any variety of sizes and colors (but choose lighter versions if you wish to light them). You can even find some in a candy swirl pattern like these red and white striped kinds in graduated sizes… or just start with white and add your own stripes. Craft paint is quicker, but marker works as well. Tie a loop of twine, ribbon, or fishing line to the top of each lantern to hang them by later.

039Leigh

Use a theme coordinating color of gift basket cellophane to wrap around each lantern. Be sure the ends overlap before cutting. I used opalescent pink so that the red stripes would show through as hot pink. This way I can reuse the lanterns later with a clear wrap as peppermint candies or without wrapping as striped beach balls in summer.

042Leigh

Tie a length of twine or ribbon to gather the cellophane at the lantern’s base. I actually used a pink and white yarn that mimics baker’s twine but is less expensive.

043Leigh

Pull the hanging cord straight out from the top of the lantern, and gather the cellophane around it. Pull the wrap taut around the sphere (like you would make a ponytail). Tie another bow around this end to secure it. (Note that you can now throw in some lit LED tea-light candles before closing it, but read on to find an easier way to light them.)

045Leigh

Cut off the excess cellophane from the “candy” ends so that it appears to be the right proportion.

381Leigh

You can set these on a table, integrate them into a display, or hang a grouping of various sizes to make a hanging centerpiece. I opted to hike up the chain of my chandelier with an S-hook to shorten it. (See a picture of how to do this here: Frozen Winter Wonderland Themed Christmas & New Year’s Eve Dinner Parties.) Then I attached the twine loops with a couple inches of wire to the chandelier at different levels. I turned the light on, and was immediately awash in a pink candy glow as the light filtered through the lanterns and cellophane. A plug-in up-light aimed squared at the lanterns will also cause them to glow in any location of your choosing. It’s much easier to do this rather than wait to light, close, and then hang your lanterns at the last minute. Of course, another option would be to purchase a light kit for each lantern then plug all those cords in… but who needs more trouble and expense?

232fLeigh

The exact same method was employed to craft the hard candy ornaments using, well… ball ornaments.

062Leigh

The only difference was that I didn’t tie on twine hangers, because I elected to use them for table display instead. They would have been lovely hanging though. I can always add twine to string them on a tree or centerpiece later, because I intentionally left the round hanging eye stick out of the gathered wrap. It’s visually concealed by the cellophane.

384Leigh

I made “big rock candy mountains” out of lit white Christmas trees that appeared to glow from within. I then placed the “candy”ornaments on and around them.

393Leigh

Ribbon candy ornaments are another simple décor craft that can utilize bits of leftover ribbon or even old package wrapping for an eclectic mix. I used a portion of a giant roll from Costco that is actually reserved for another project. Real ribbon candy doesn’t have glitter and has stripes facing the other way, but I thought they were adorable anyway.

124Leigh

To make these, just hot glue a line onto the ribbon’s end, and tap it down to form a loop.

130Leigh

Keep repeating this action, forming more and more loops, until you reach a size that seems proportionate to a candy dimension.

126Leigh

Cut off the end, and glue it down to form the last loop.

137Leigh

Next, add a hanger if you’d like to. I used the same thin ribbon as the banner in part one of the Candyland craft series. Make a loop through one loop end of the “candy” and tie a knot. (This seems to be a much safer option, than metal hooks, around small children and pets.)

388Leigh

Hang these from Christmas trees, add them to a candy lantern display, or set them around a centerpiece like my “big rock candy mountains”. The “icing” bases in the picture were comprised of blankets of buffalo snow batting.

057fLeigh

The last craft for the tree is a conversation heart garland that would serve equally as well as a banner for a Valentine’s celebration.

054Leigh

It’s so simple and inexpensive because it utilizes foam craft hearts and yarn (or thin ribbon, or baker’s twine if you like).

064Leigh

Begin by simply setting out your hearts according to color, so that you can string them in a pleasing order.

067Leigh

Use a ruler (or just “eyeball” it) in order to hot glue them back to back spaced 3 inches apart, sandwiching the yarn in-between.

386Leigh

Cut the yarn after the last “foamie”, and knot the ends to prevent fraying. (Click here to see the same method used on my kid-friendly “Glitter-ween” garland.)

395 (2)Leigh

Check out the rest of my Candyland craft series: Gingerbread People Banner, Treat Gift Boxes, & Printables and Game Board Treat Tower & Easy Buffet Display as well as the final party post on Candyland Themed Party Décor Ideas.

Faithfully Yours,

Leigh

DIY Candyland Party Themed Craft Tutorial: Gingerbread People Banner, Treat Gift Boxes, & Printables

295Leigh

Craft your way to classic Candyland cuteness befitting birthdays, baby showers, and Christmas décor.  This tutorial for gingerbread people banners and treat gift boxes are part one of a DIY party decorating series with easy projects and free printables. Using some or all of the ideas, you’ll be sure to delight the inner-child in all of your guests. Sweet!

179Leigh

Every Candyland village needs to be populated with gingerbread people, and it can be accomplished by more than just the menu. Gift your guests with take-home treat boxes that also serve to decorate your buffet.

260Leigh

Begin with readymade gingerbread people shaped paper maché boxes. These are widely available in stores beginning in the fall, and may be purchased online the remainder of the year. (Find discounts for online craft merchants in the side bar from Le fidèLe Design’s affiliates.) I found mine on sale at half off, making them 50 cents each. Use an acrylic paint color in a shimmery brown so that a top coat is unnecessary. (I used DecoArt’s elegant finish espresso metallic paint, because I already owned it, and it coordinated with my banner.)

277Leigh

Separate the tops from the bases, and paint the little guys. I set them rim side down onto a plastic bag, so that I could just peel them off when they dried. (On other surfaces, the paint sometimes acts as glue.)

318Leigh

Allow them to dry overnight, then use hot glue to adhere tiny pom-poms. They make the cutest dimensional eyes, nose, and buttons! I chose colors that would coordinate with my other décor elements, and tried to intentionally randomize the combinations on each “gingie”.

356Leigh

Fill your goodie boxes with candy, tiny toys, or even candy flavored lip gloss and intersperse them in your treat town.182Leigh

Another idea is to fill them with numbered papers that correspond to larger gifts or game elements.

353Leigh

Make a banner of gingerbread people adjoined in jubilant Candyland solidarity, using one of the two following methods.

2Leigh

Foam gingerbread people shapes may be located at just about every craft store in the fall and winter, and may be purchased online the rest of the year. You can choose from many sizes in matte and glitter. I wanted to use the glitter guys to match my houses.

3Leigh

Glue on tiny pom-poms that coordinate with your décor. Use hot glue in the same eyes, nose, and button pattern with which you made the treat boxes.

6Leigh

Punch a hole in each hand of the “gingies” in order to string it into a banner.

9Leigh

Make a loop of thin ribbon through holes in two “gingies”, and tie a knot to connect them. I alternated between three different colors from the same spool of clearance ribbon.

193LeighWM


The second method is to right click on my printable image above (free for noncommercial use), and select print. Then print them in color and photo settings on sturdy cardstock (so that they don’t curl when strung). Cut them out, and punch holes into the white circles in the arms. Choose to leave them as is, or add more glitter to the images. Then tie on ribbons to join them (as in the previous method). You can also glue pom-poms over the images in the prints to add dimension to your project.

193singleWMLeigh


Use the gingerbread person image without white holes for other décor or signage. Simply adjust your printing sizes to make smaller “gingies”. Do this by printing at a smaller percentage (i.e. at 50%) or by printing them as photos (i.e. wallet size). Or… you can get Kinko’s to do it for you! These little guys also make cute kid’s craft puppets when taped to a popsicle stick, so you can utilize them as a party activity for the little ones.

361Leigh

Check out the rest of my Candyland craft series: Hard Candy Lanterns, Candy Ornaments, & Conversation Heart Garlands and Game Board Treat Tower & Easy Buffet Display as well as the final party post on Candyland Themed Party Décor Ideas.

341Leigh

Faithfully Yours,

Leigh