Tag Archives: Gluten Free

Quick & Easy Candyland Confection Ideas: Pink Almond Milk Juice “Recipe”, Cotton Candy “Cream” Sodas, & Gingerbread Peep Pops

219Leigh

These Candyland party confections are so simple that I thought I’d just combine them into one article… if only to pass along a few easy ideas that can be prepped at the last minute. The versatile juice milk is a great way to colorize and disguise calcium while adding a flavorful kick, which is great for anyone with a picky eater. While sugary cotton candy isn’t known for its health benefits, it is a yummy once in while party-treat that looks adorable when served as ice cream sodas. And Peep pops are the fastest pop you can prop into a candy buffet! Just look for the sugar-free varieties if diabetic or avoiding corn syrup. They’re still just as yummy and cute!

341Leigh


Pink Almond Milk Juice Ingredients:

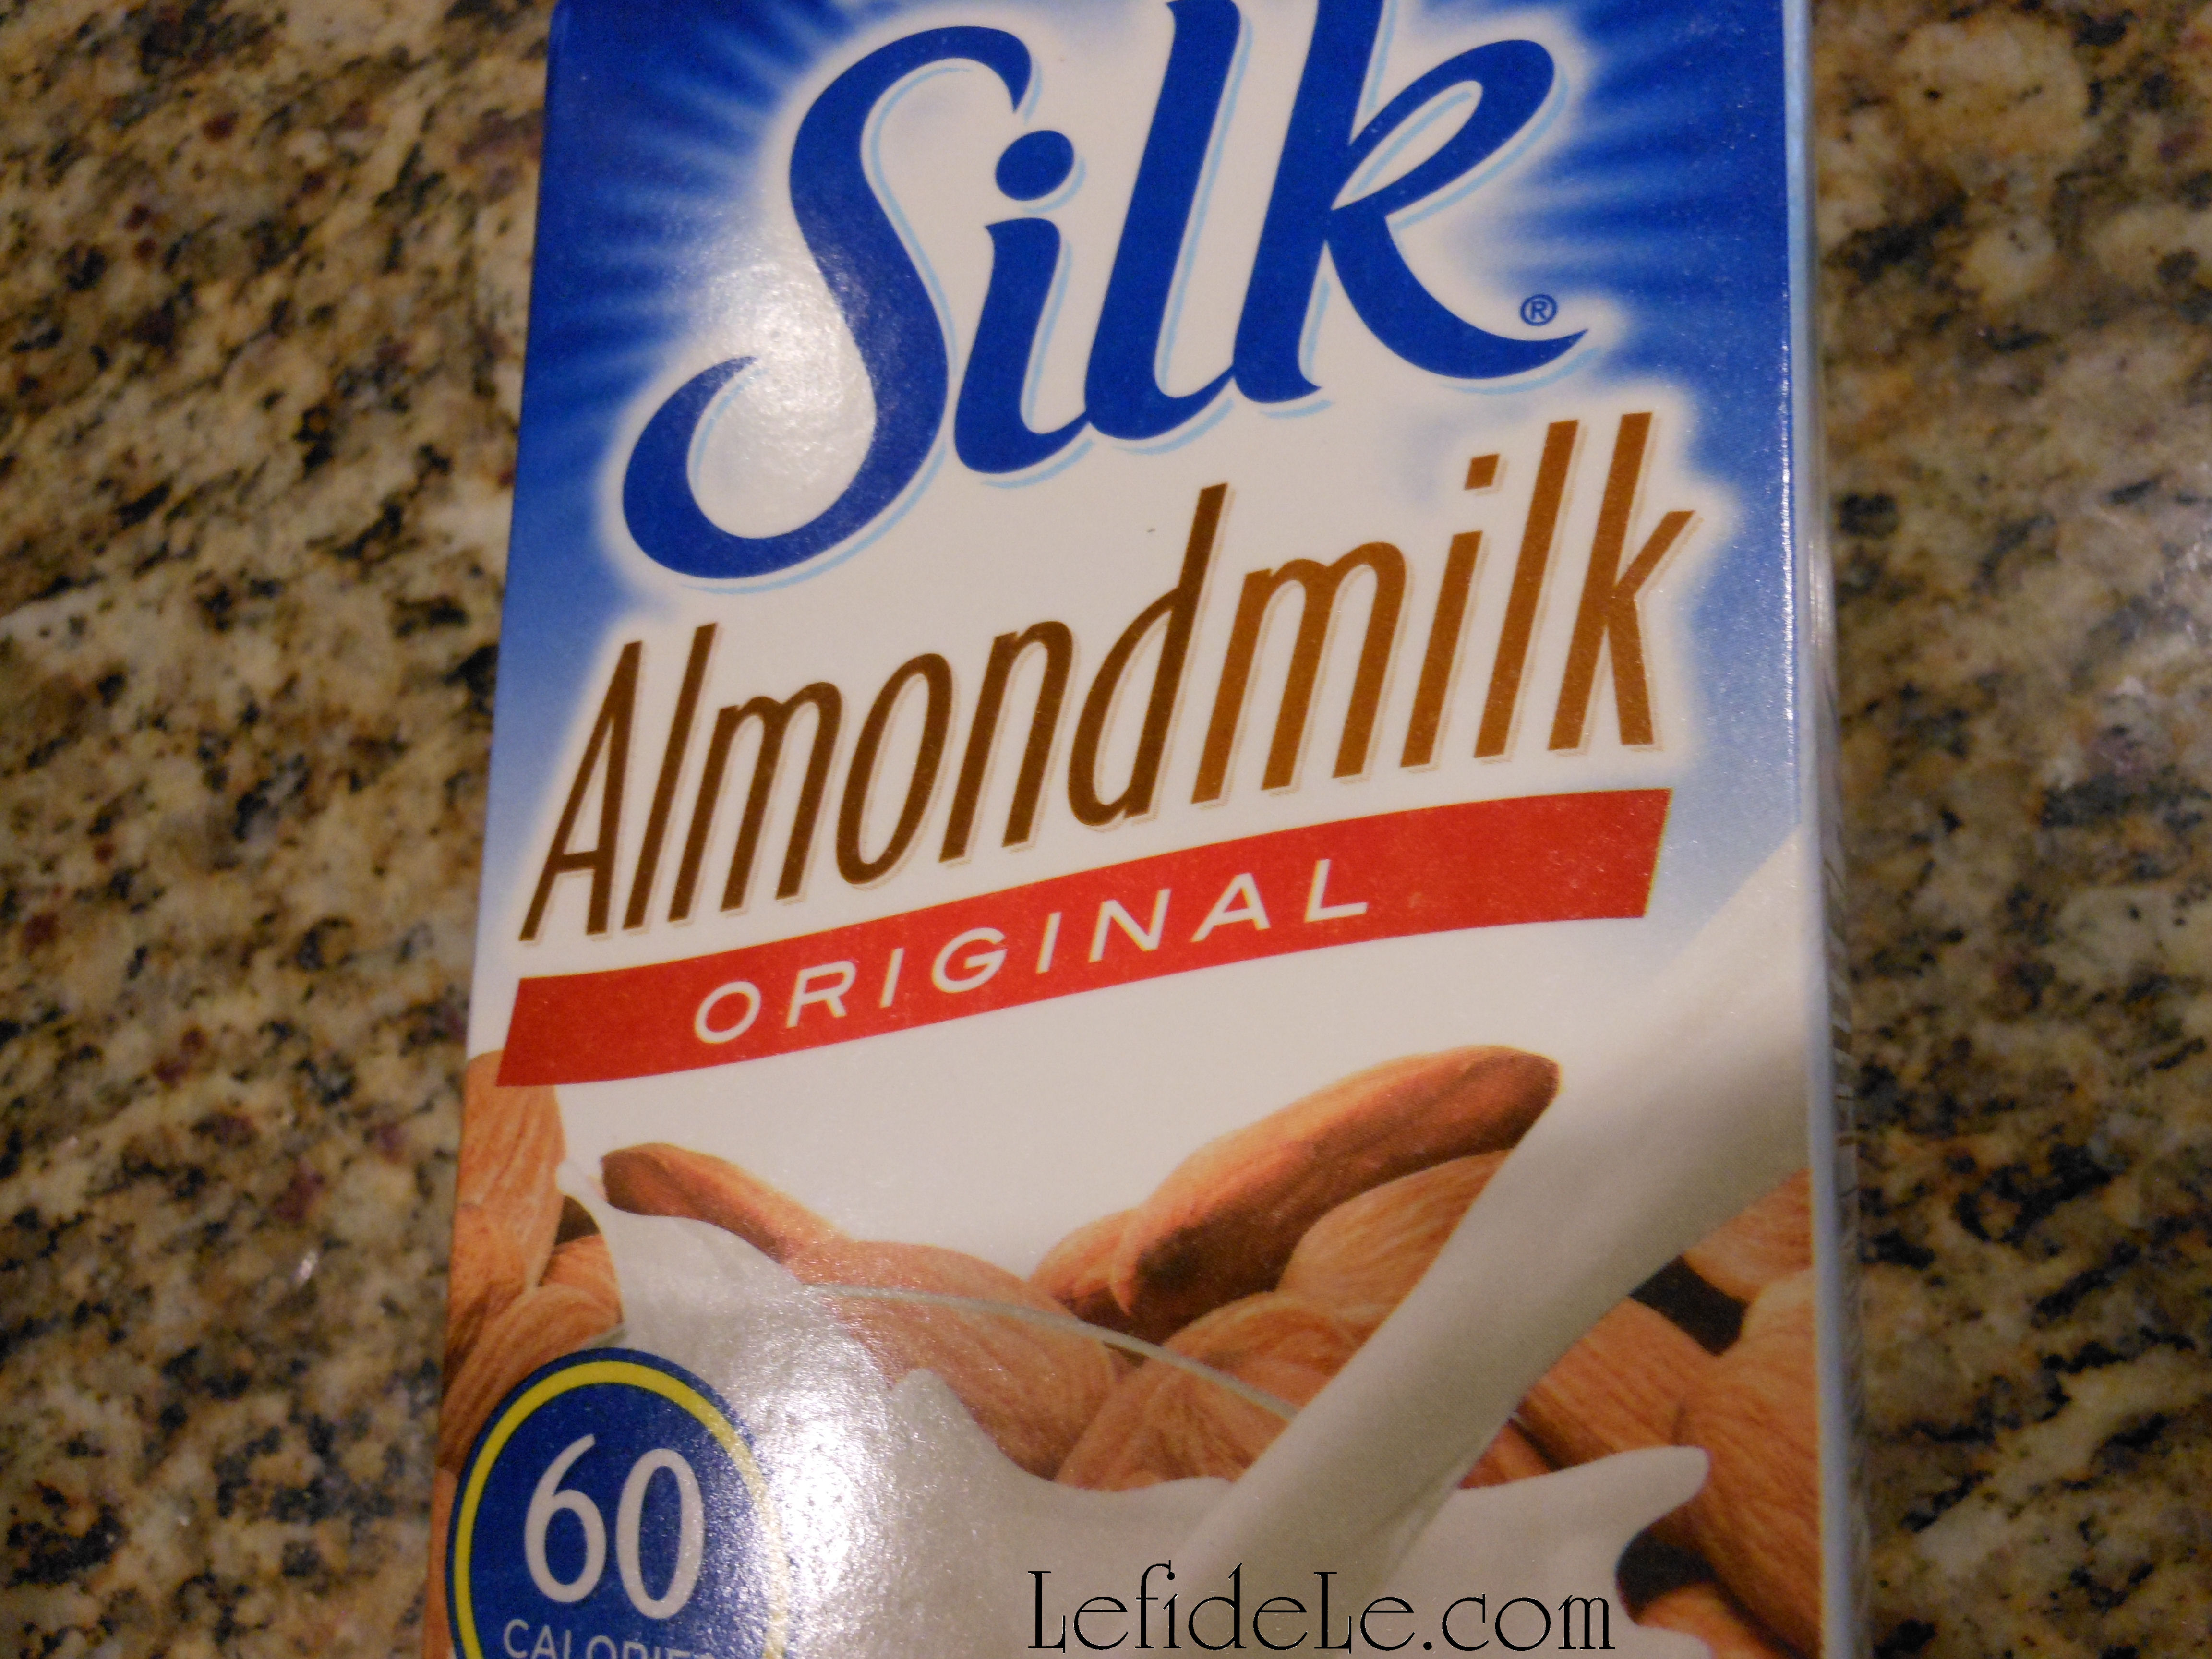
  • ½ gallon Silk almond milk (or any variety of milk like cashew, hemp, rice, oat, soy, or even cow’s)
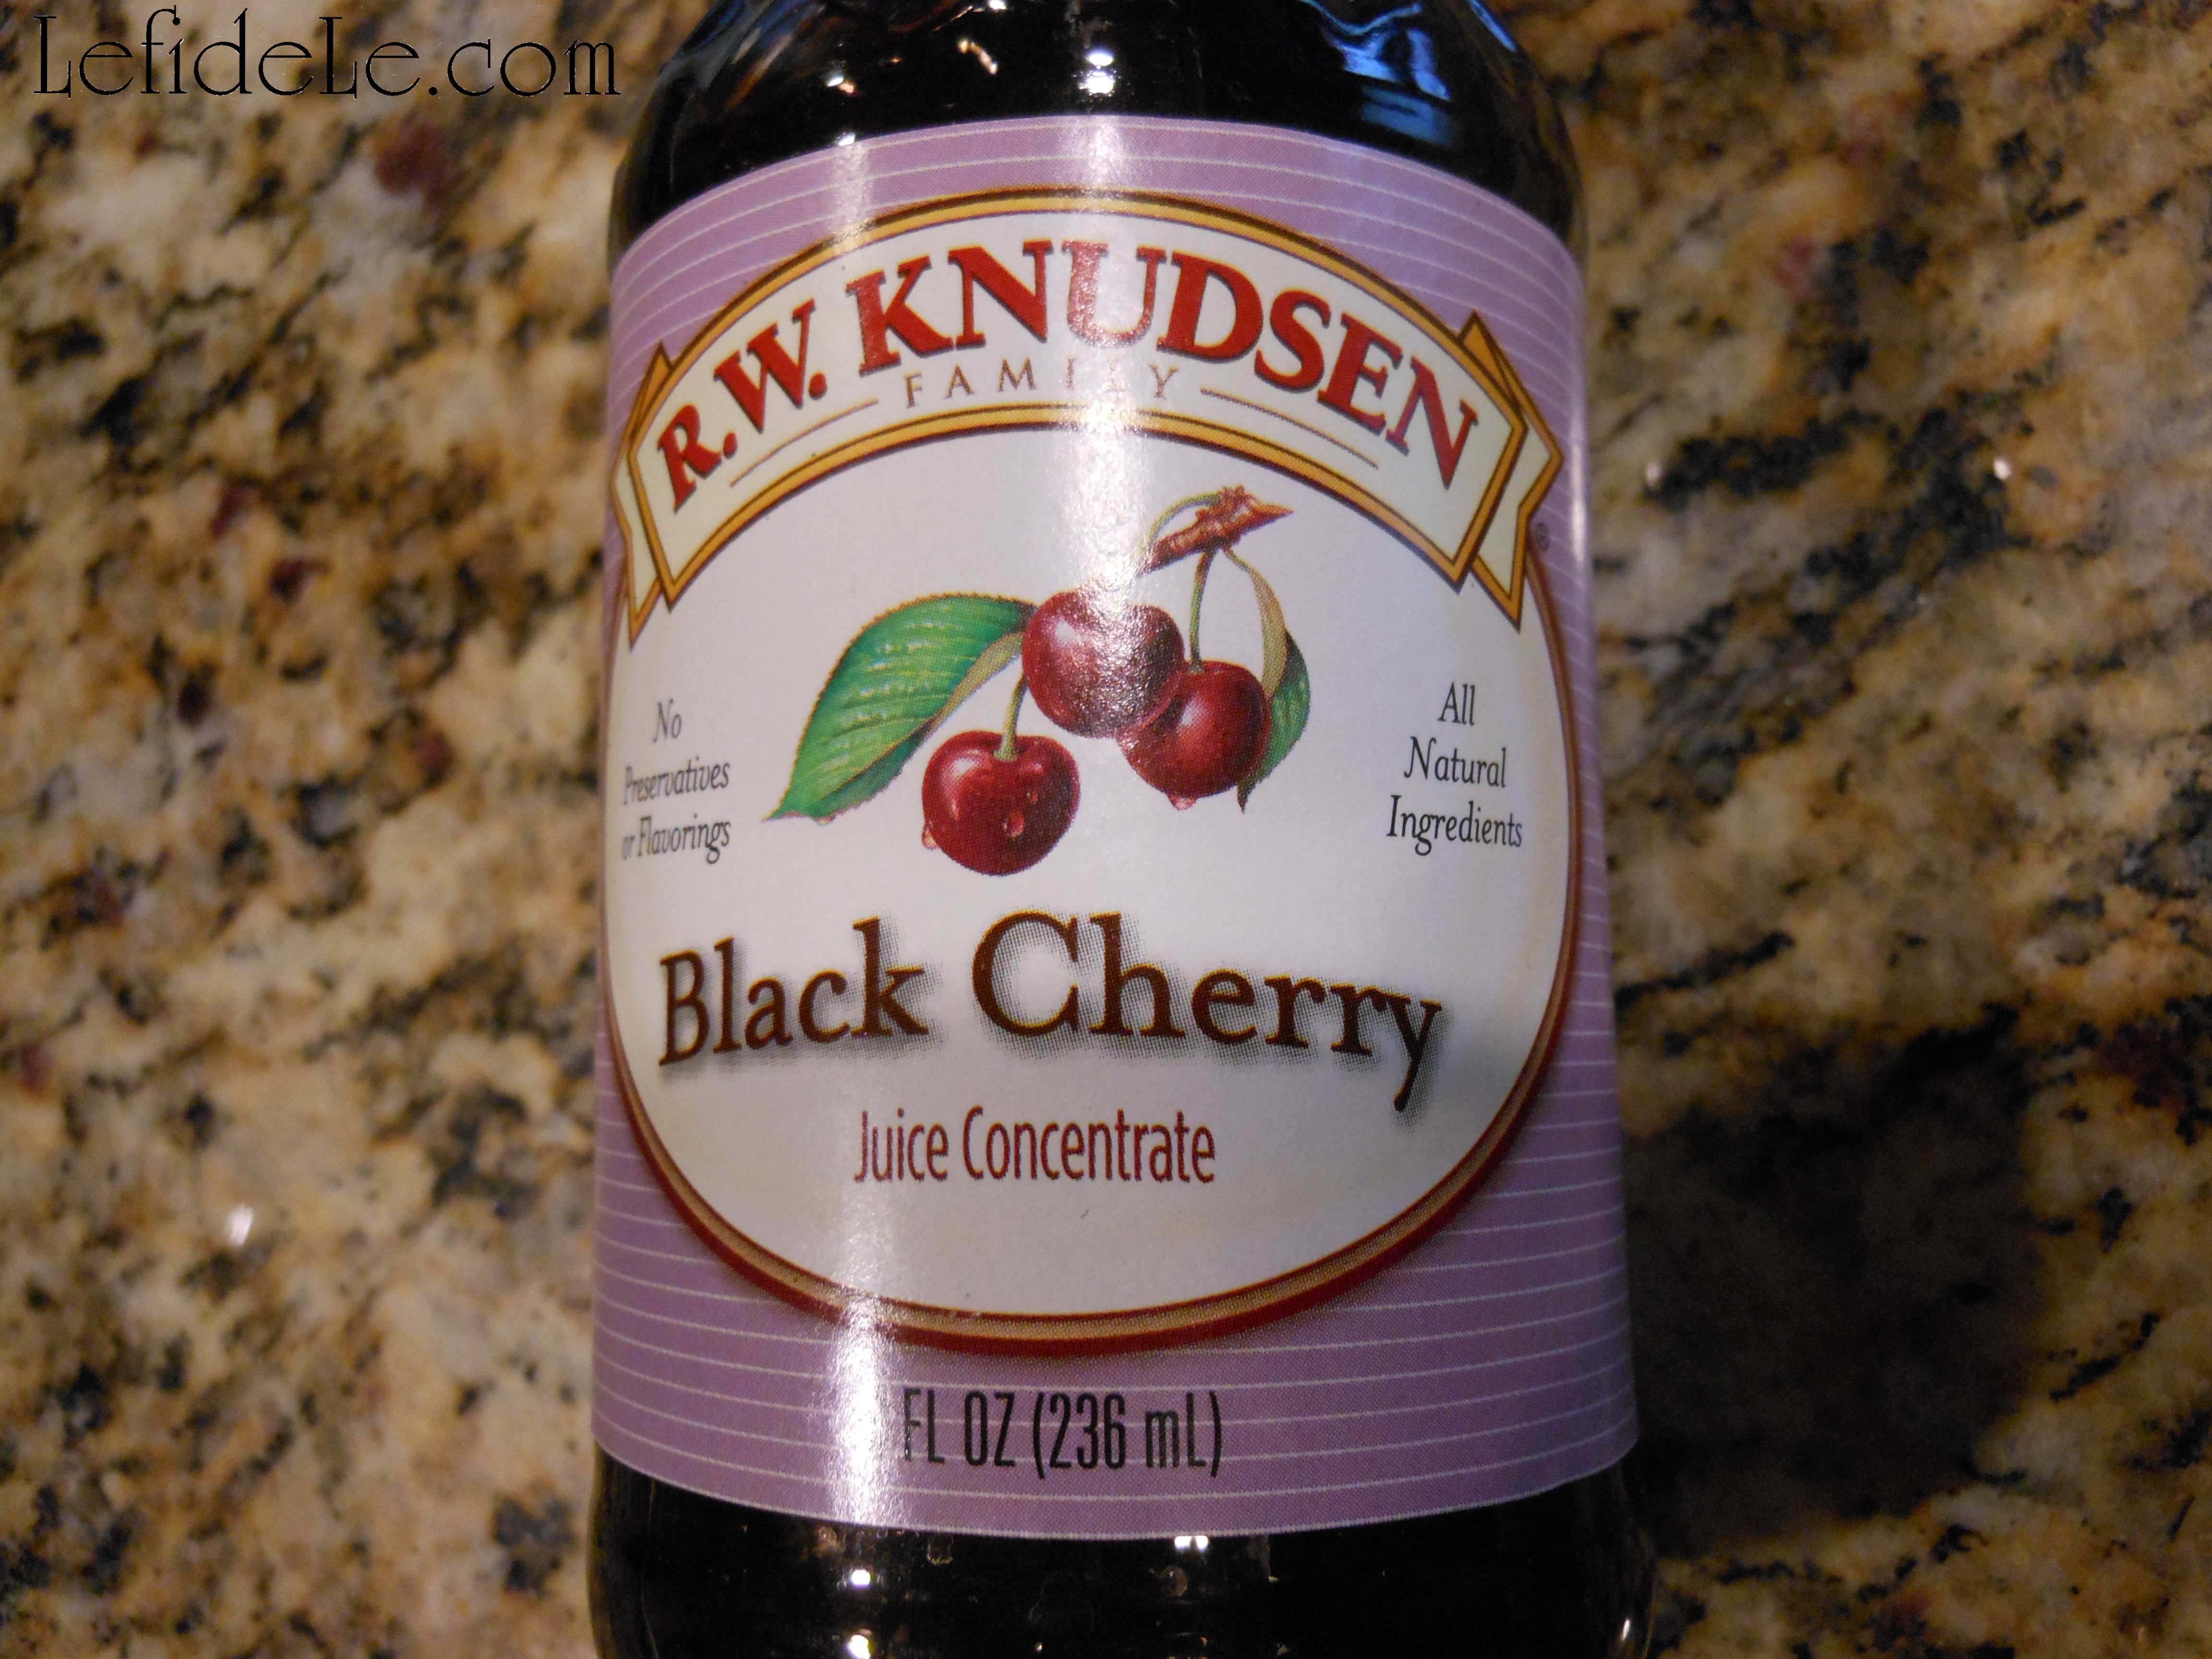
  • 17 ounce bottle lingonberry juice concentrate (or any pink juice like pomegranate, black cherry, raspberry, cranberry, etc… or try blueberry, grape, or even orange for a liquid creamscicle!)
  • Optional: agave to taste… if needed to sweeten the more acidic juices, because it mixes well into cold liquids & is low glycemic

136Leigh135Leigh133Leigh127Leigh

Pink Almond Milk Juice Instructions:

Gather any variety of pink juices and your choice of milk to test which combination you like best in a small glass. I quickly realized that I preferred the lingonberry and pomegranate juices with the original 60 calorie per cup Silk almond milk. Though I typically love the black cherry concentrate, I did not care for it when combined with milk. I also didn’t care for the combo with the 30 calorie Silk, but it’s a fantastic option if you’re looking to cut the numbers. Use your own taste buds to discern your favorite, and let me know what you came up with!

137Leigh

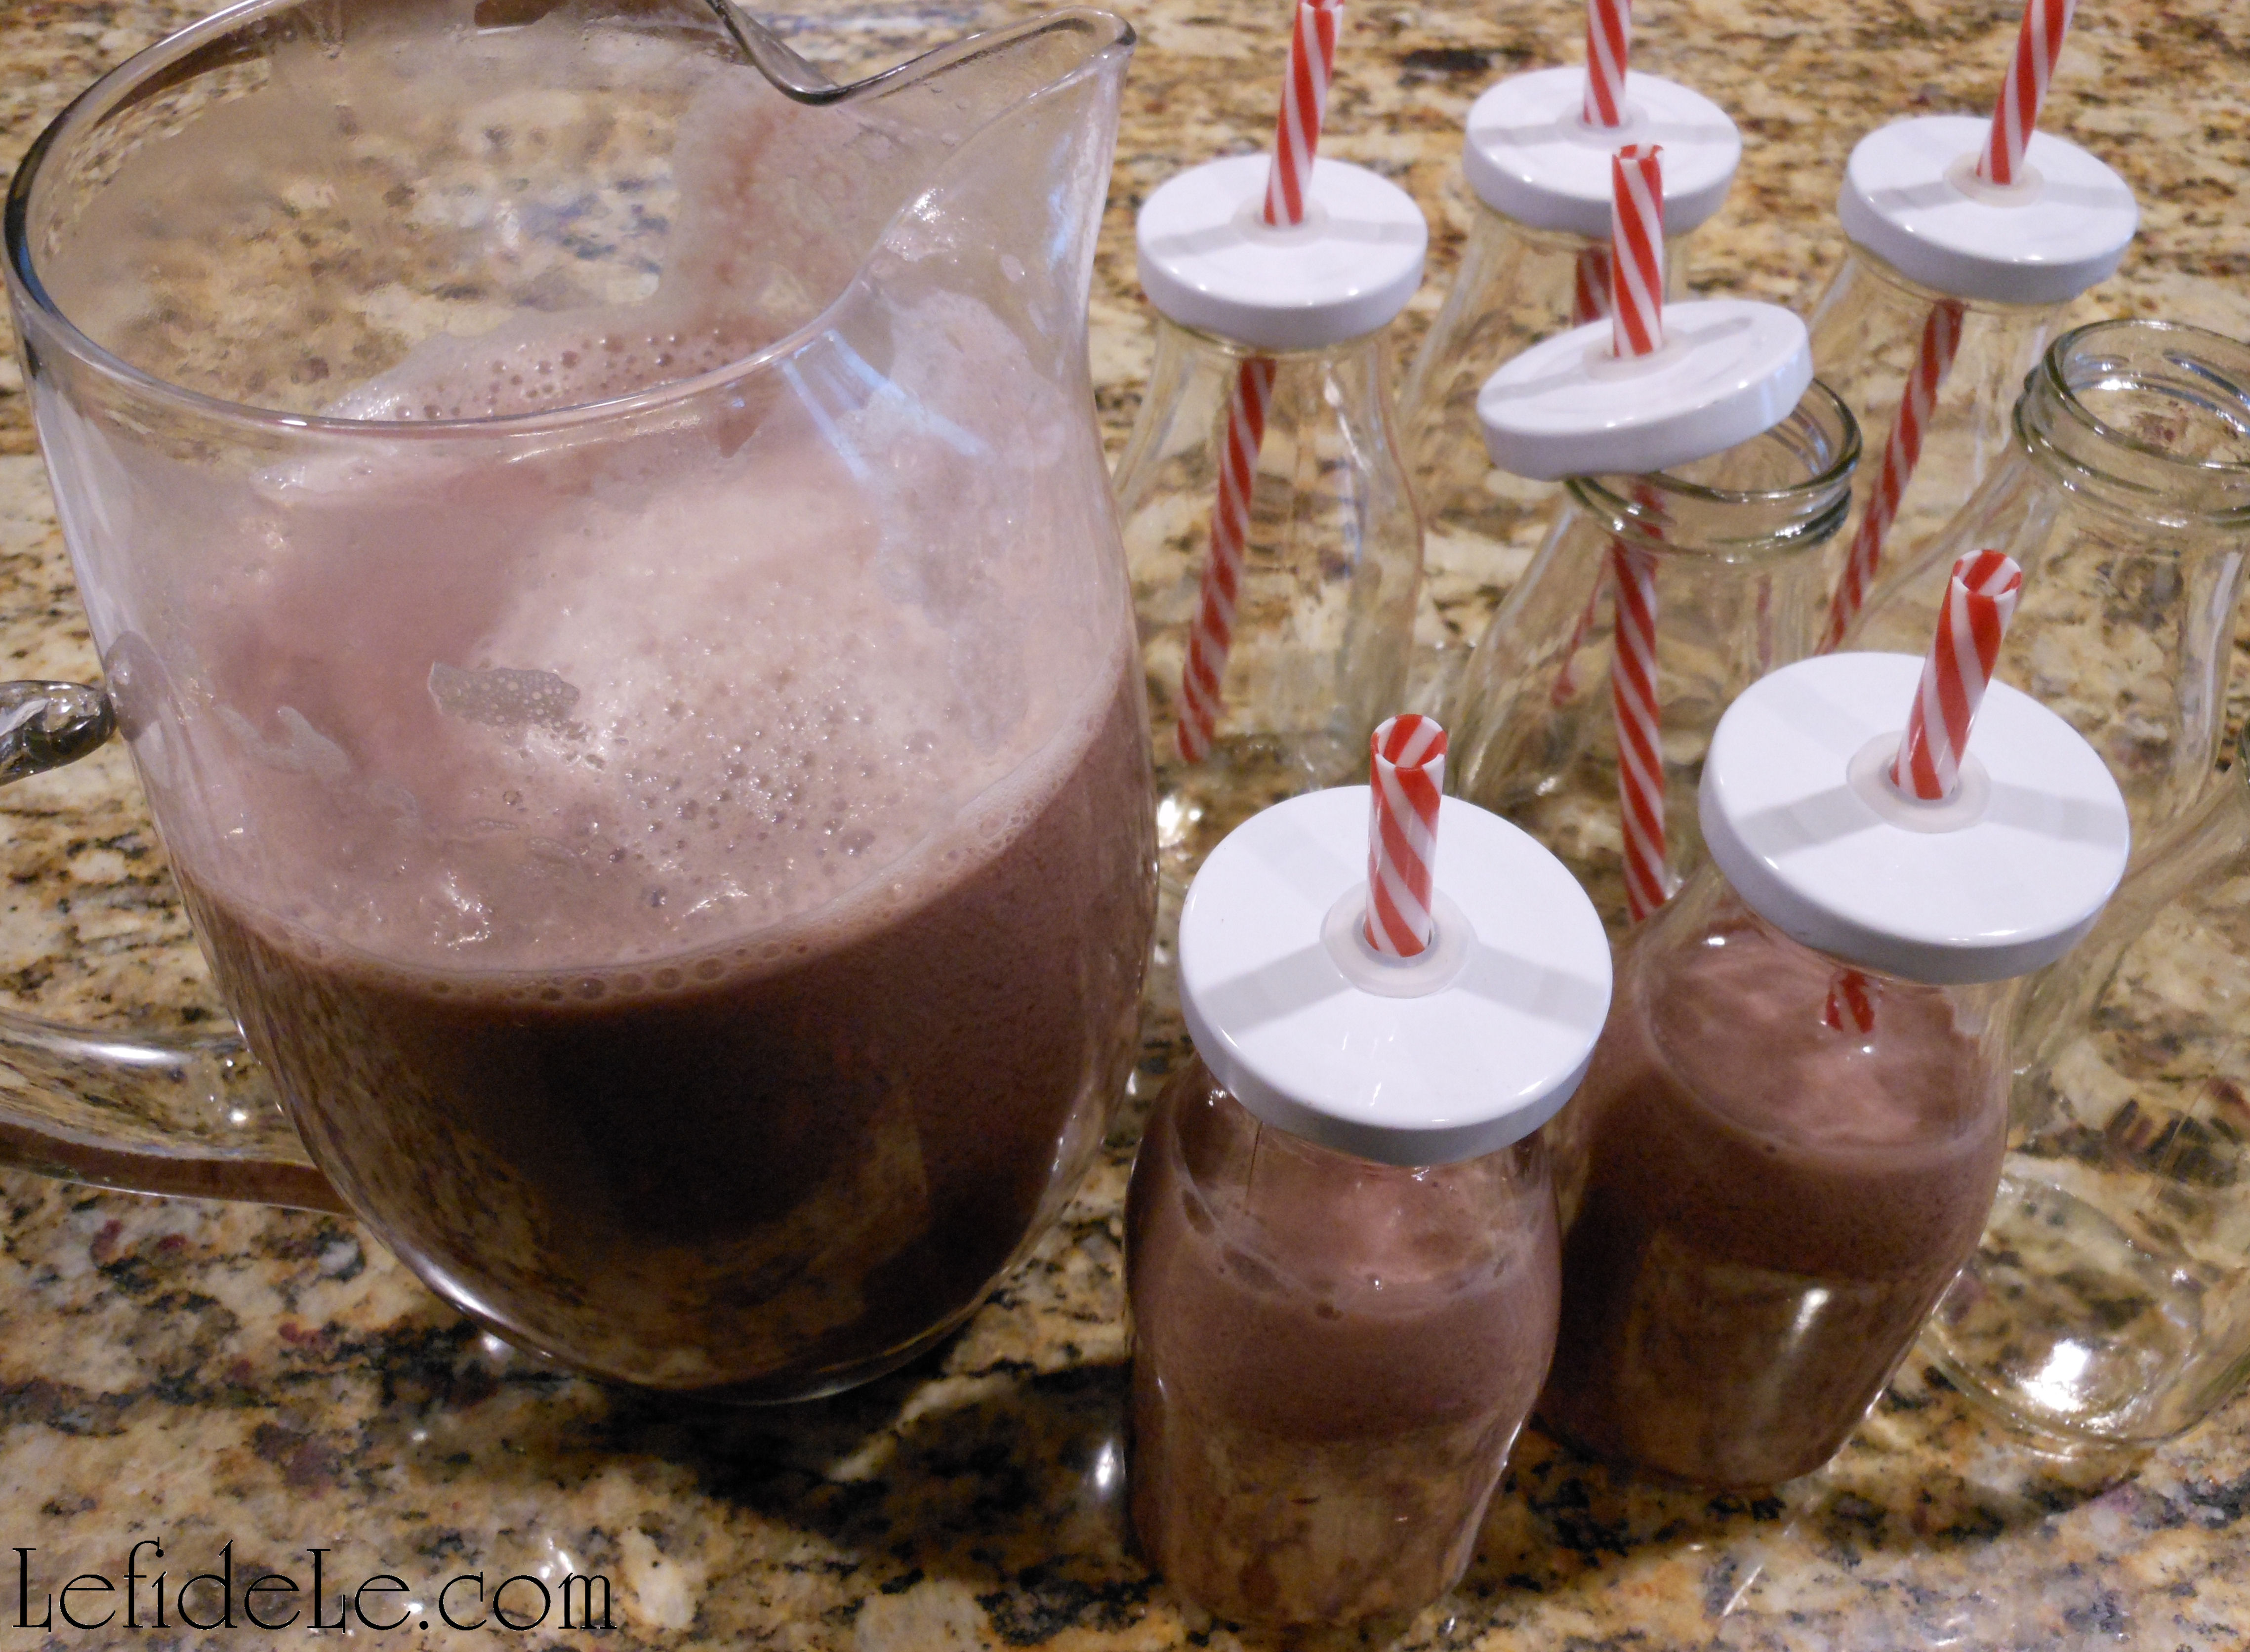
Mix a crowd sized amount in a jug, and test the flavor before pouring into individual servings. The easiest one to one ratio was the Silk’s half gallon and Ikea’s 17 ounce lingonberry concentrate, but I realize this taste profile isn’t for everyone. The most liked version does seem to be the orange creamscicle.

179Leigh

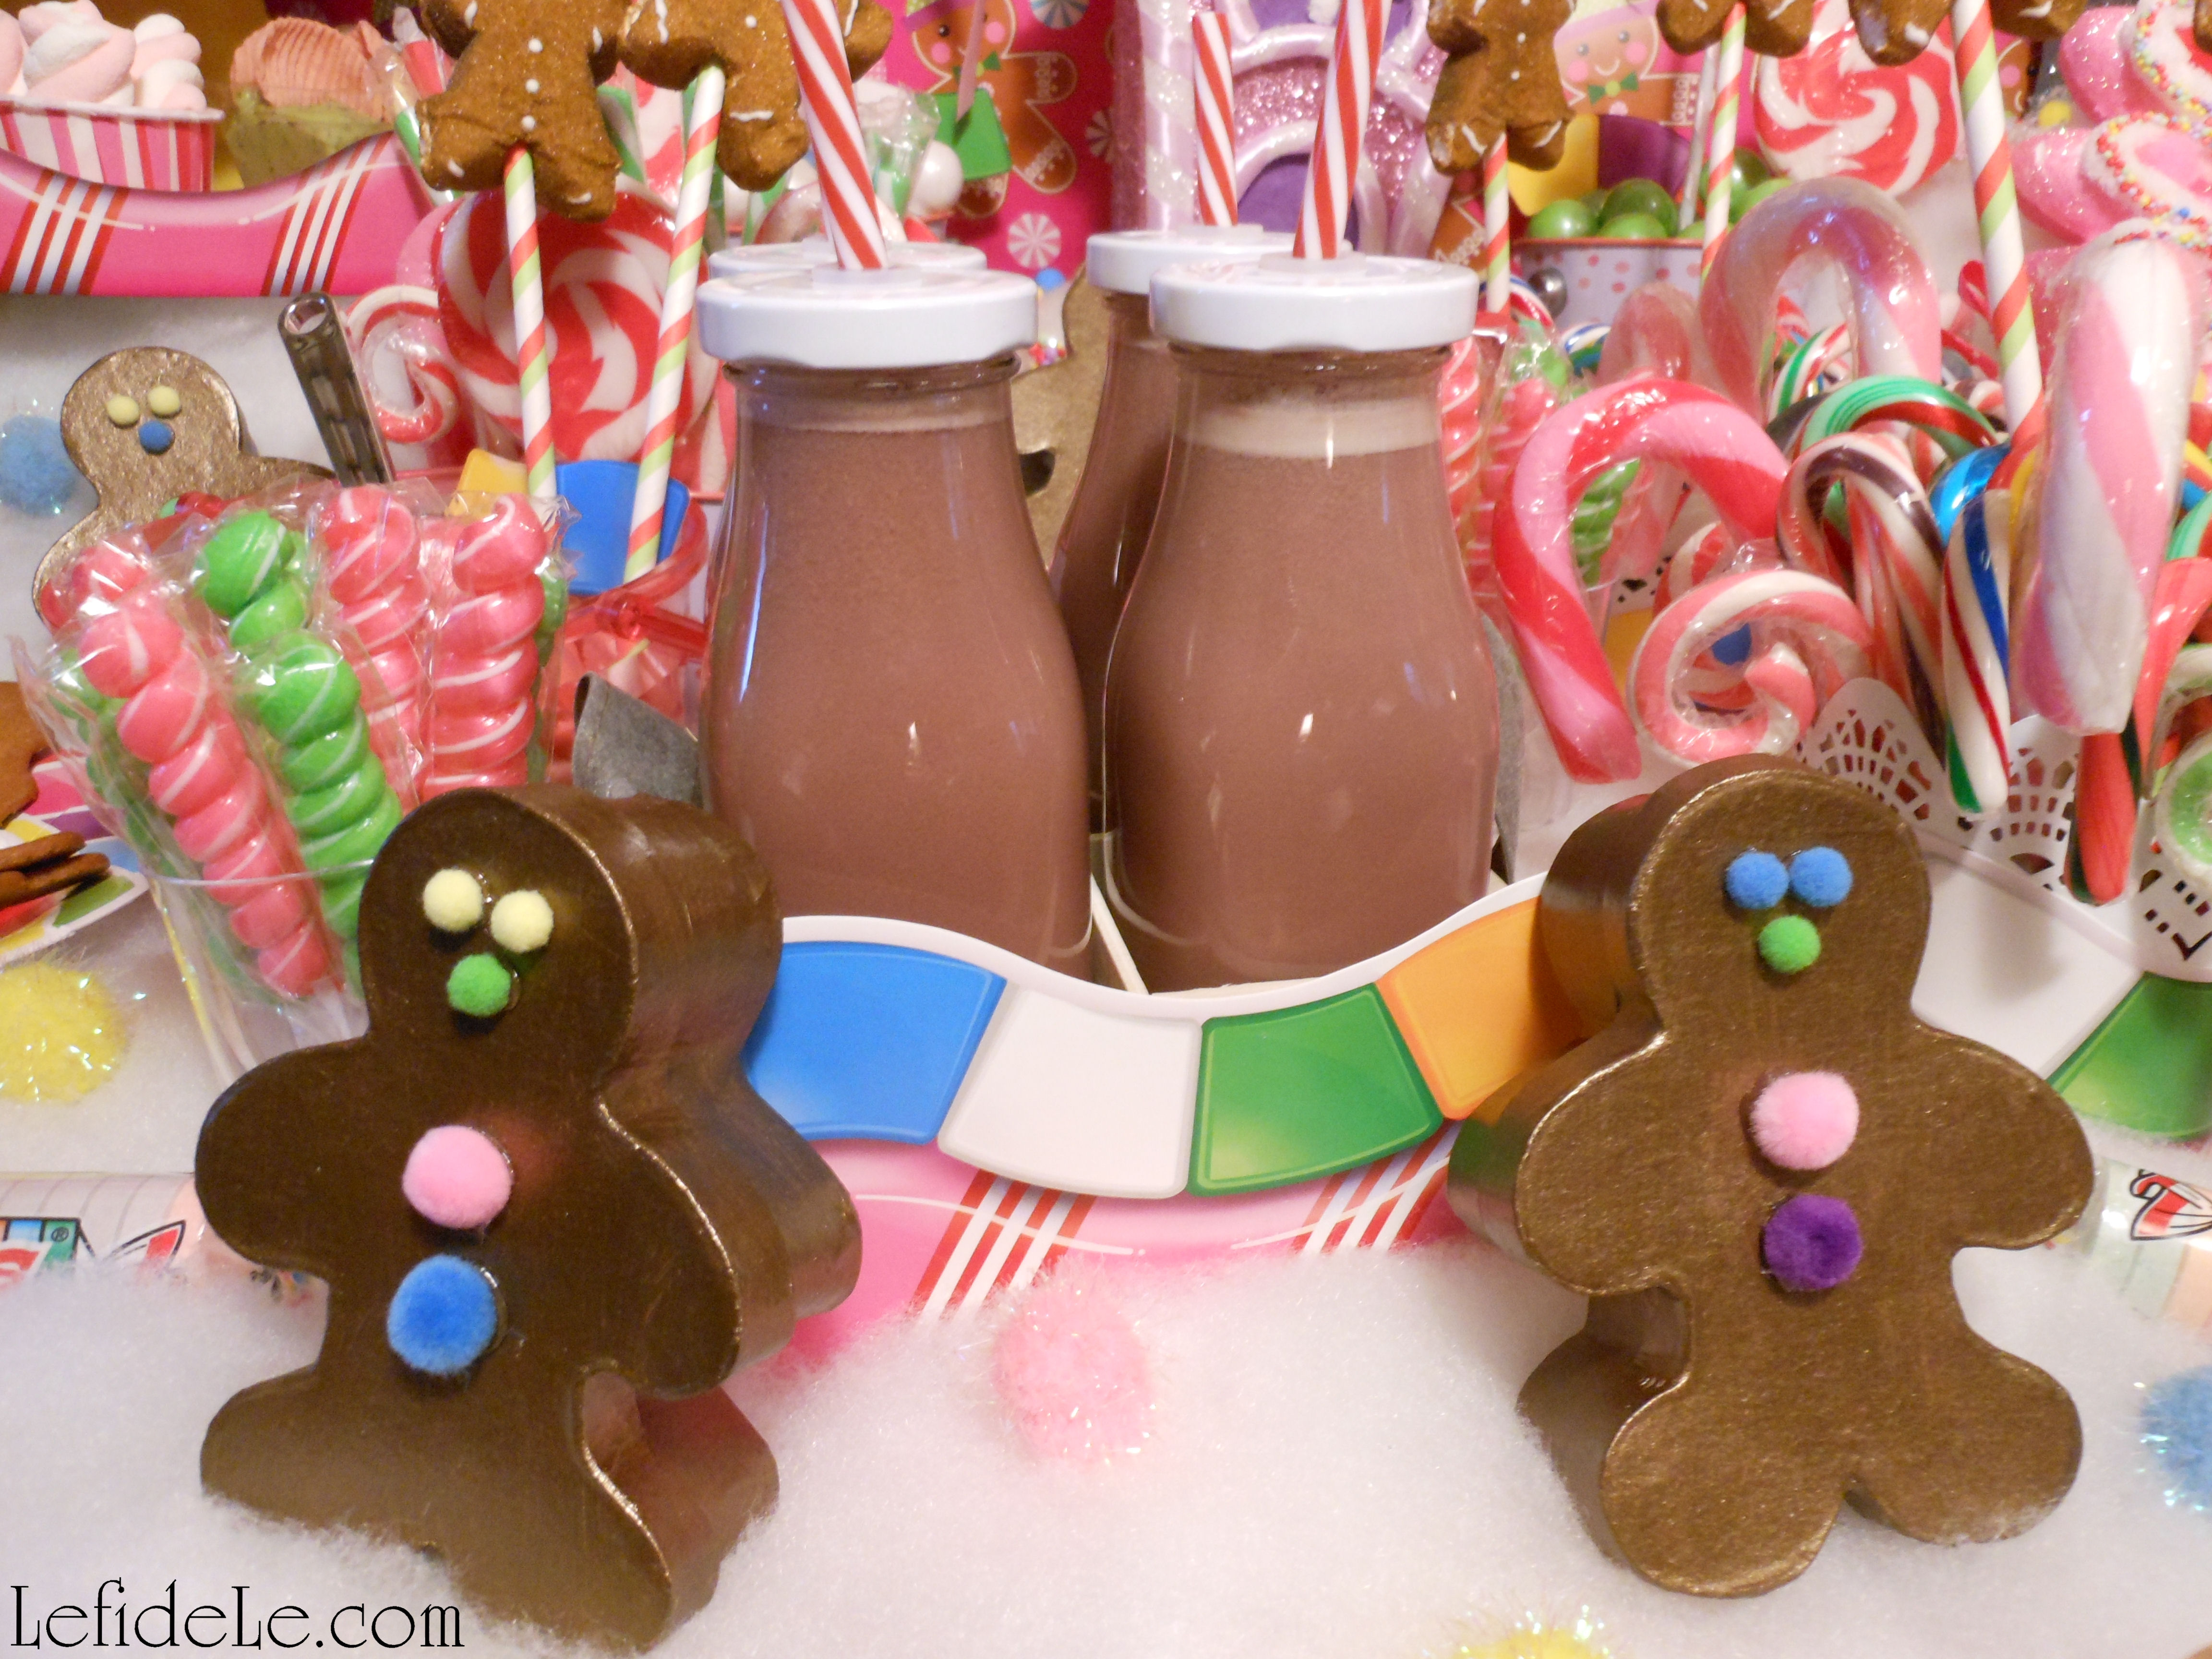
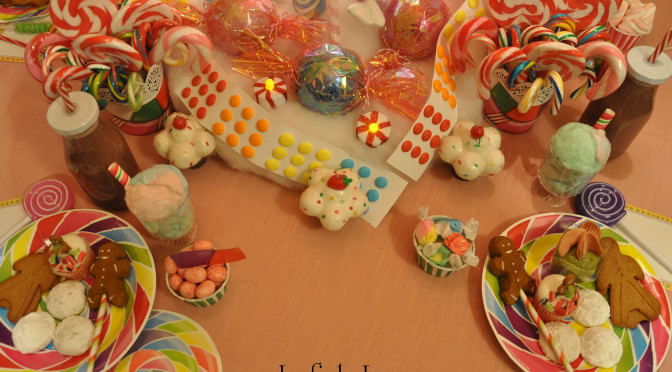
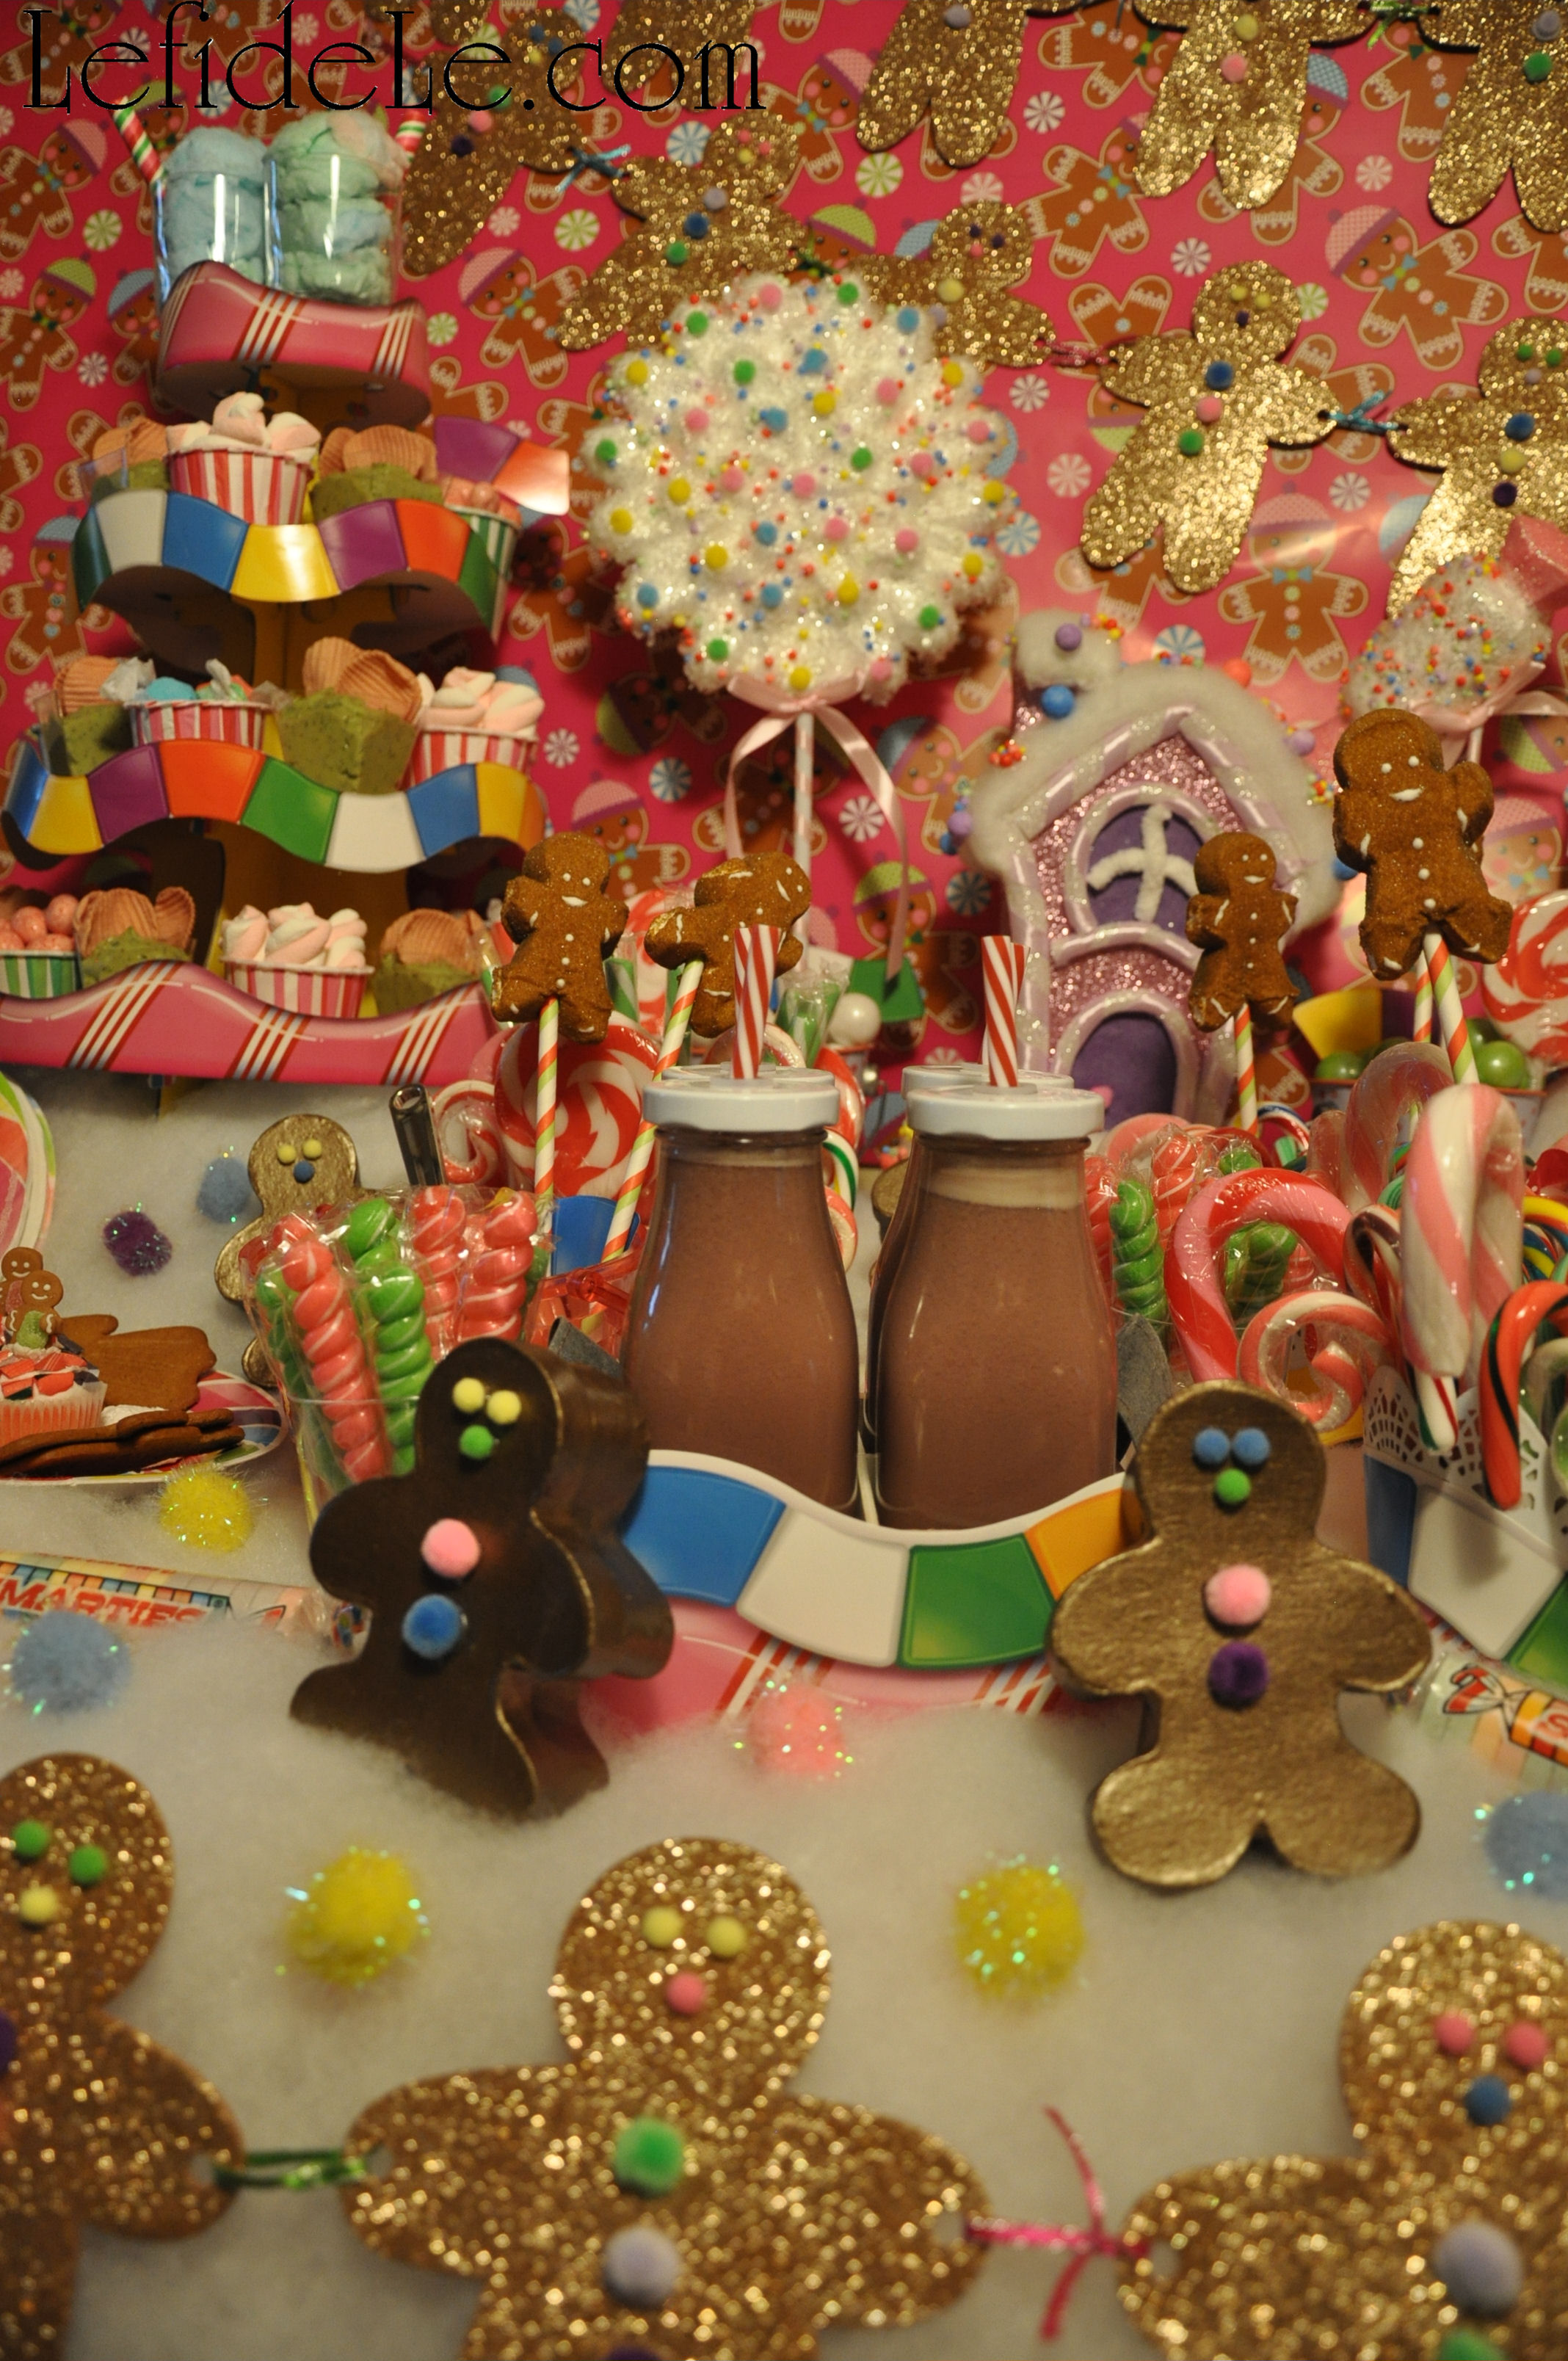
For the Candyland theme, I served the juiced milk in these super cute jugs with washable reusable straws. Another adorable option would be to use trendy jars as drinking vessels. (Find some at Le fidèLe Design’s affiliate Ball Fresh Preserving Store at the link in the side bar.)


Cotton Candy “Cream” Sodas Ingredients:

  • 1 package of readymade cotton candy (with sugar & not corn syrup that color coordinates with your theme)
  • small vessels that resemble soda glasses or ice cream dishes
  • 1 package of theme coordinating paper straws (or thick half straws as pictured)

366Leigh

Cotton Candy “Cream” Sodas Instructions:

This is the cutest and easiest way to serve cotton candy to a crowd… which is the perfect last minute fill-in for a Candyland theme. Find the yummy stuff packaged anywhere from convenience stores to grocery marts. (You can even find some at Le fidèLe Design’s affiliate Cost Plus World Market at the link in the side bar, they even have solid colors like a green in watermelon flavor.)

159CottonCandySodasLeigh

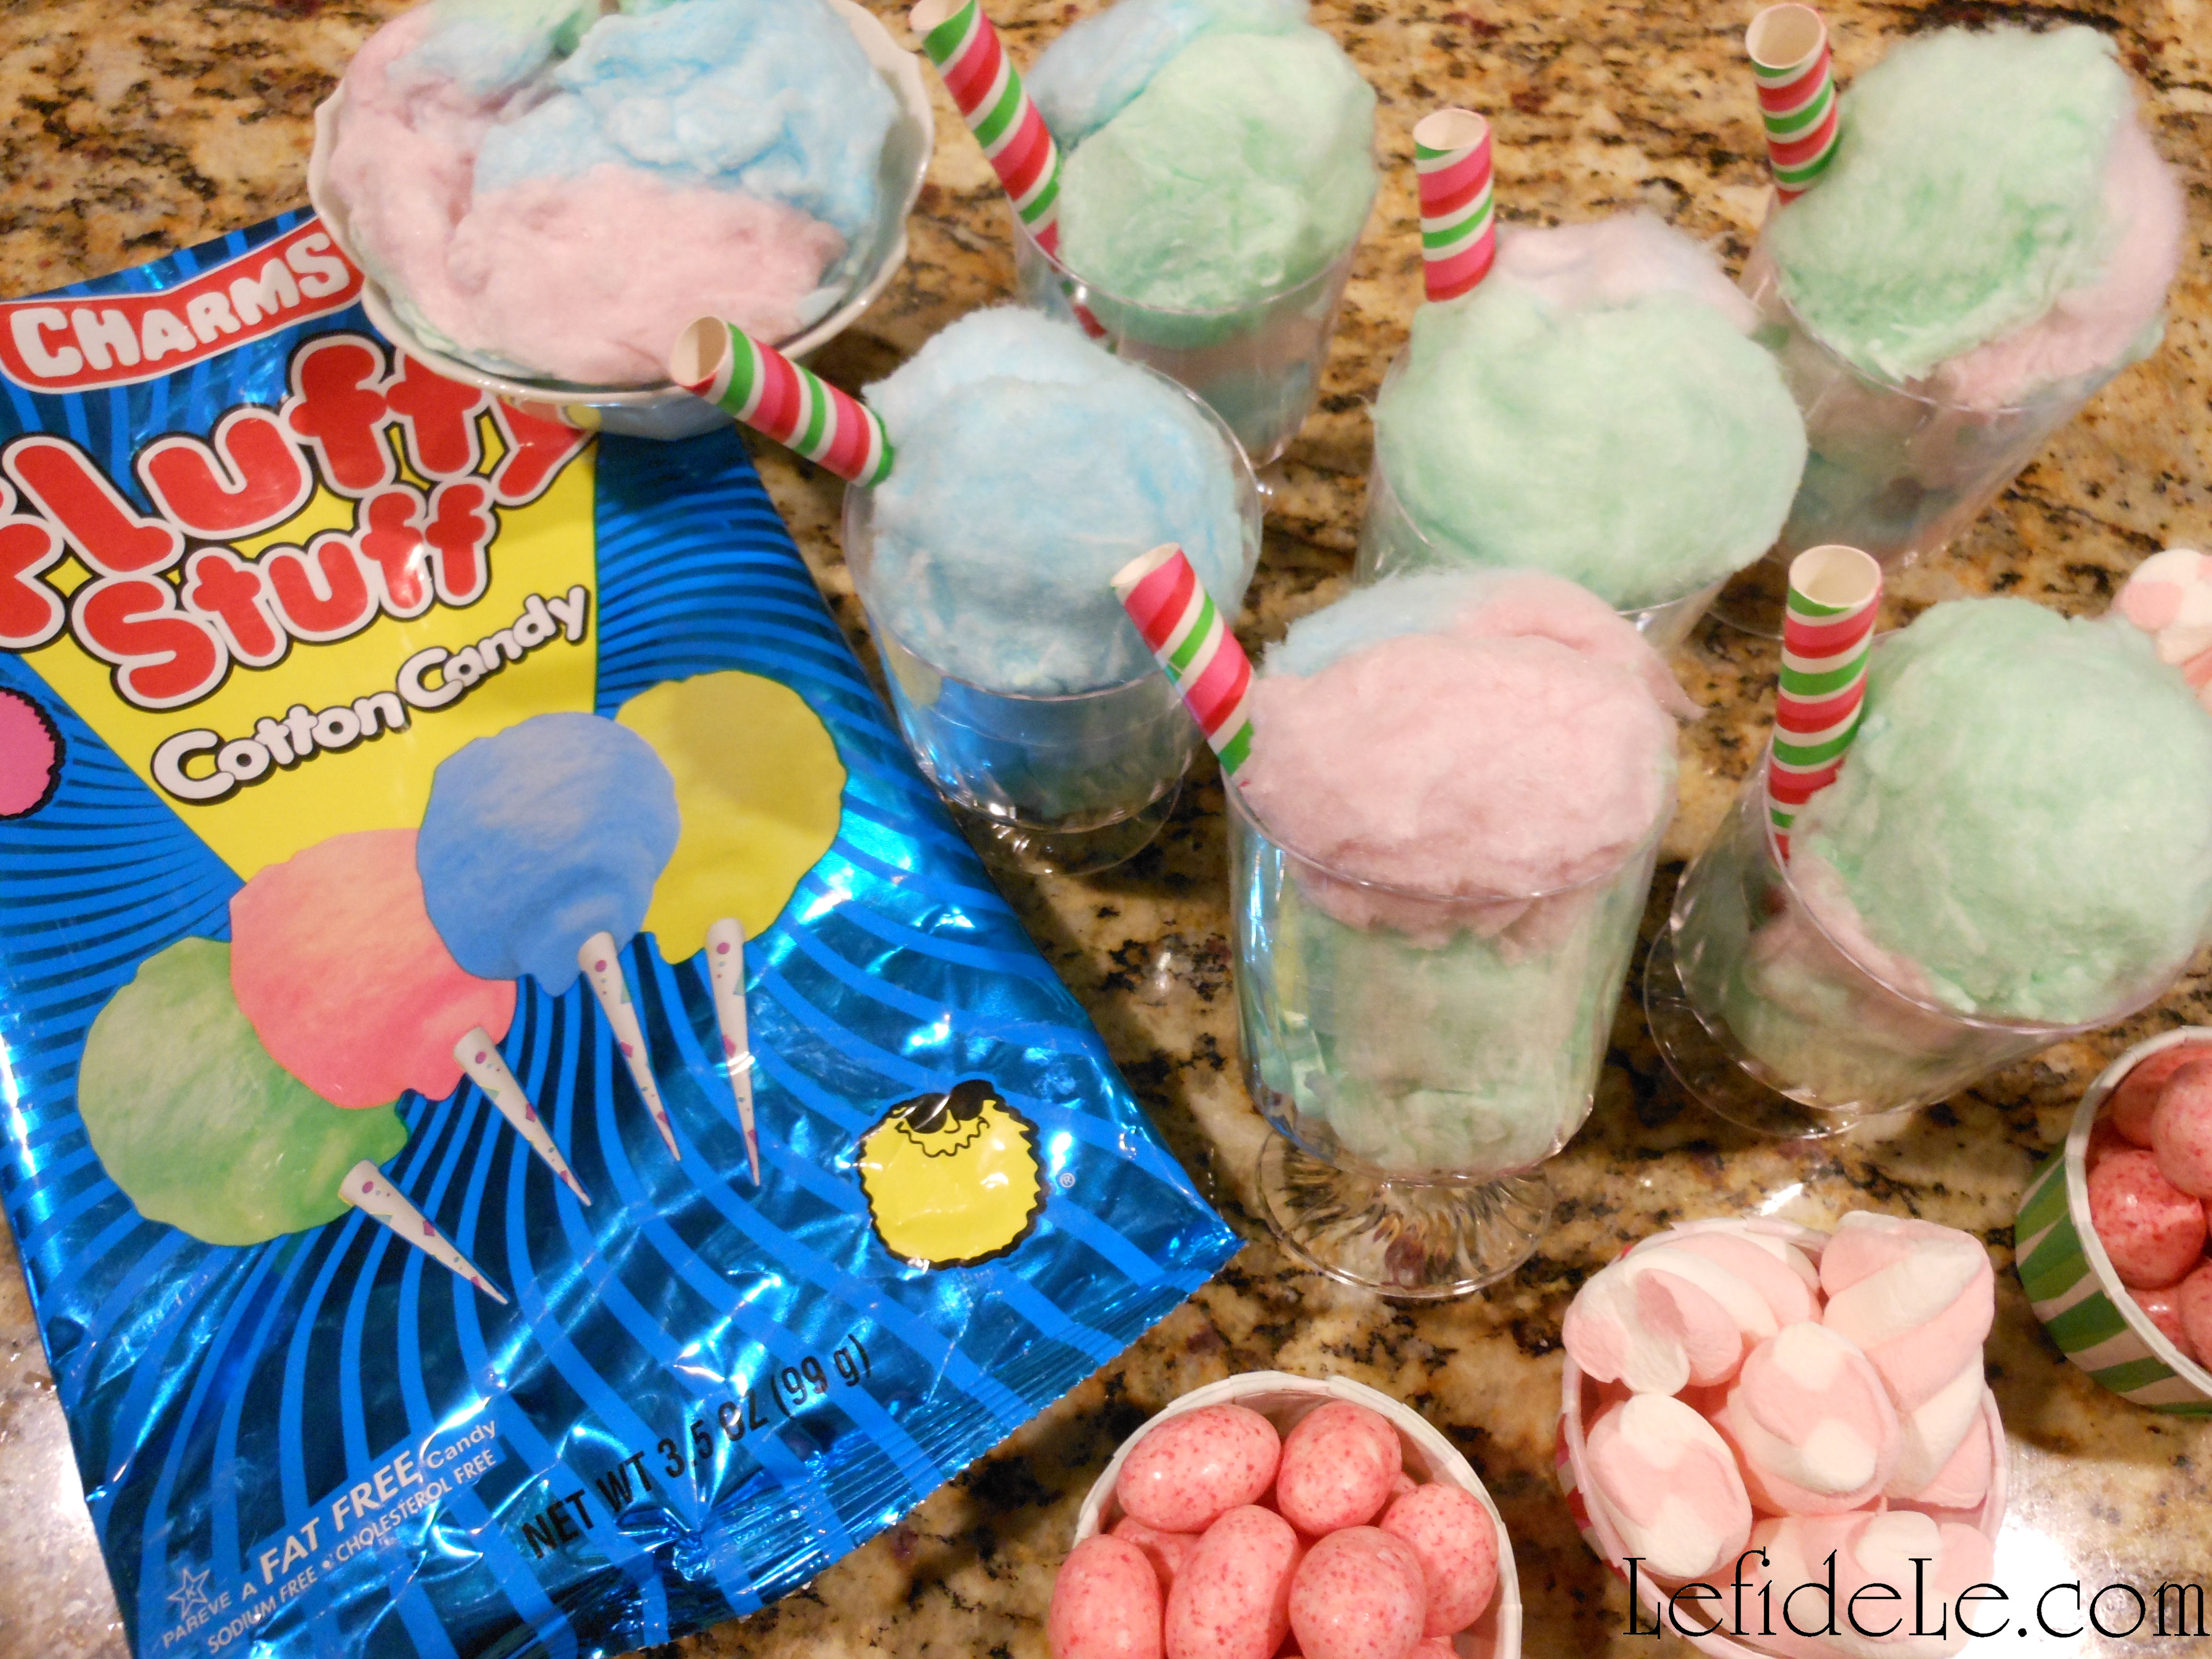
Starting with clean and well dried hands, pinch sections of cotton candy large enough to fit into the base of each dish. Keep layering until you reach the top, and stick a straw (or one cut in half) into the side of it. Take a section of cotton candy and gently ball it into a rounded mound to set on top. Gently tap it into place. (Your hands will be coated in spun sugar… but I’m thinking that’s where the phrase “finger lickin’ good” came from!)

183Leigh

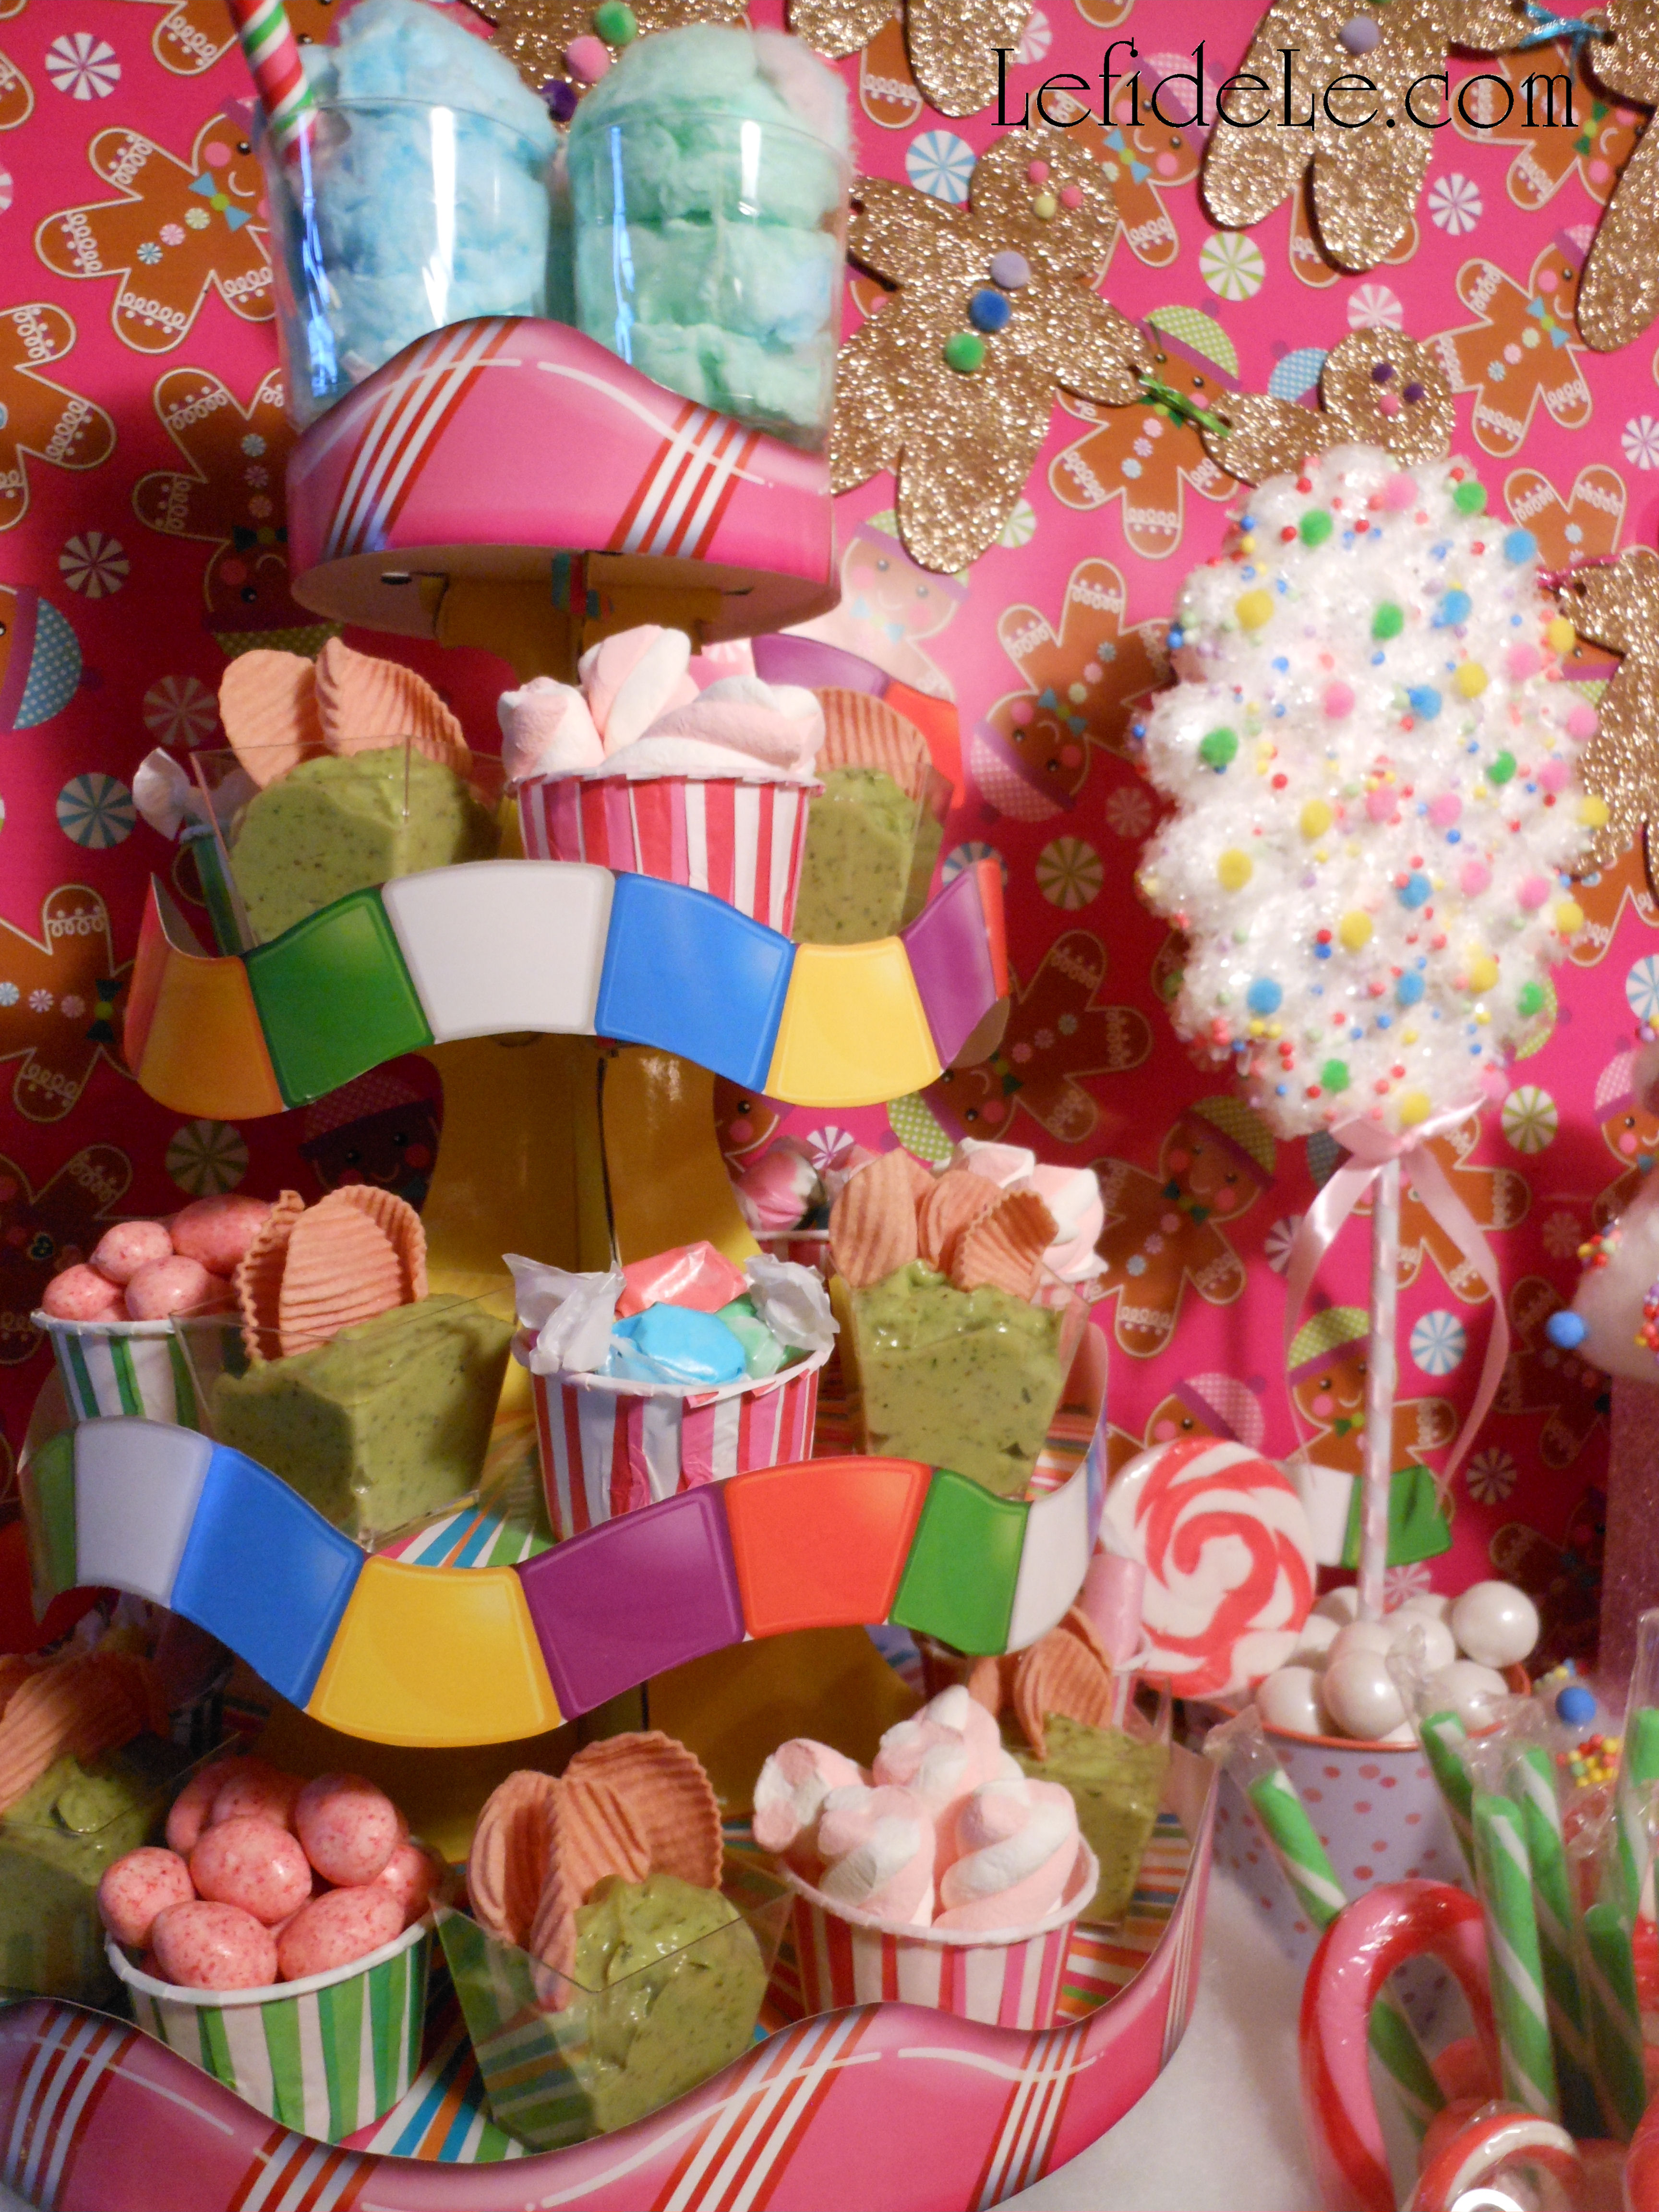
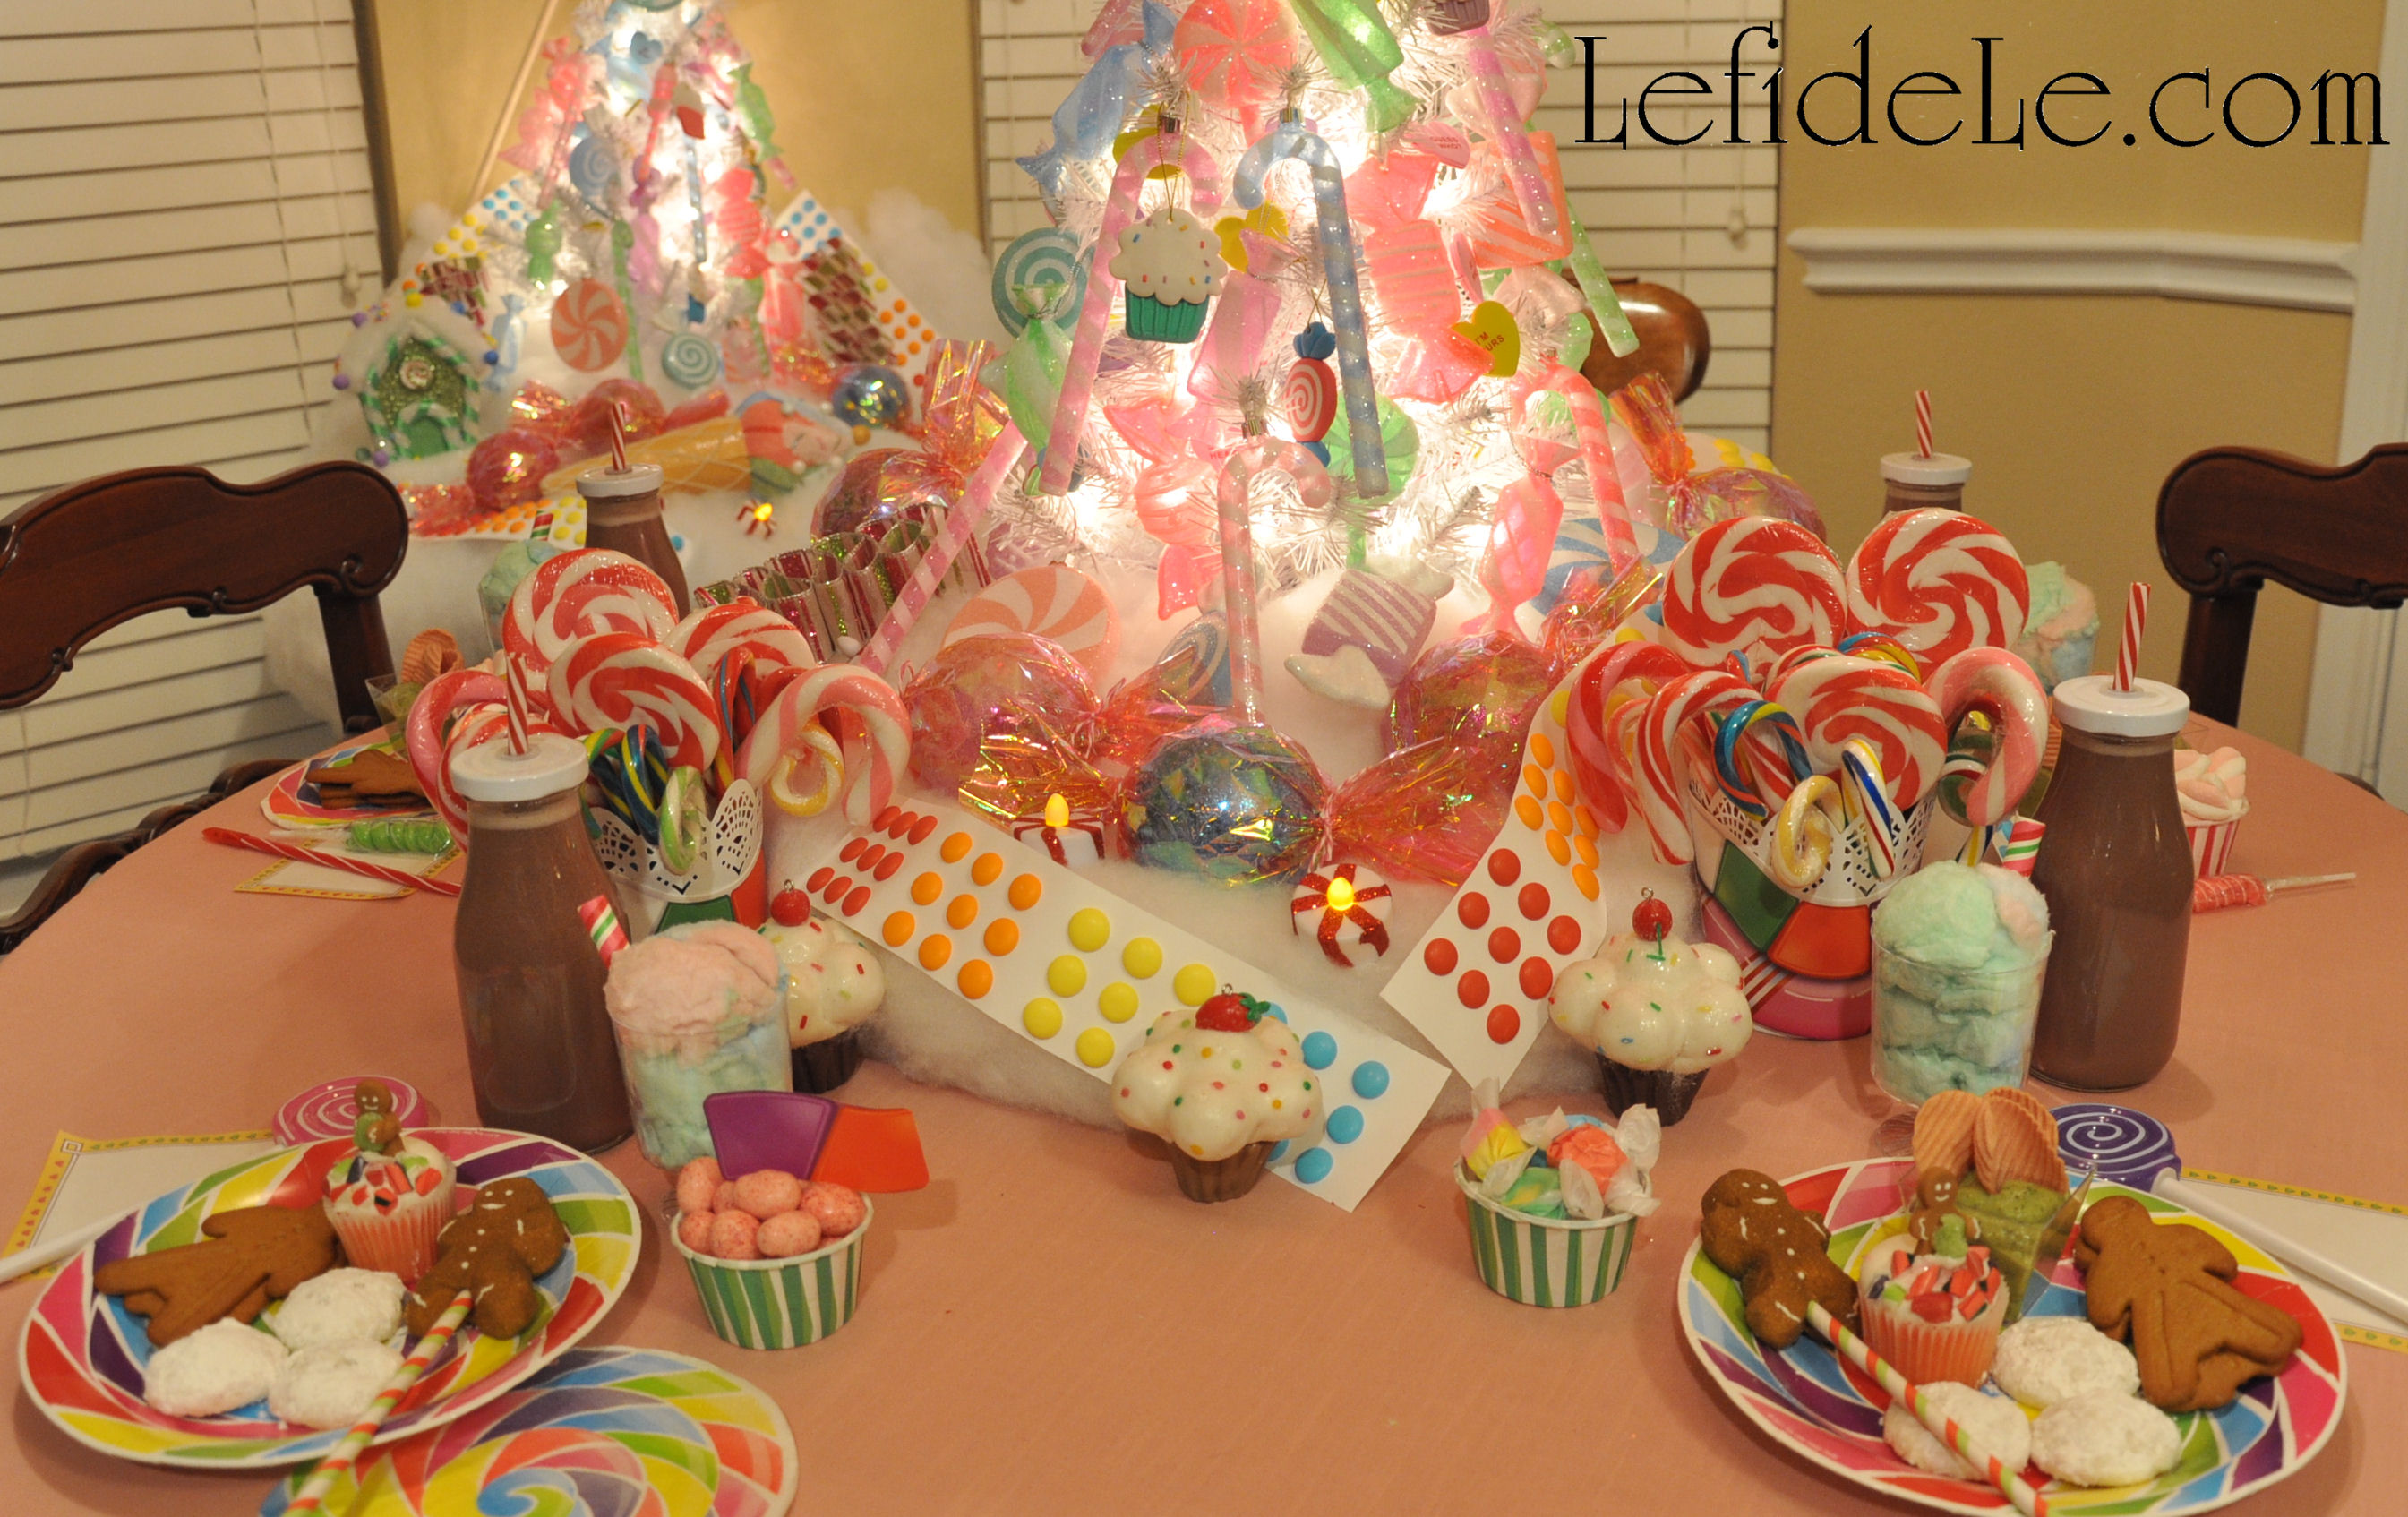
These are especially adorable when perched atop a treat tower, like this one I crafted for the Candyland theme.


Gingerbread Peep Pops Ingredients:

  • 1 package of gingerbread peeps (or any theme coordinating variety, note that the sugar-free varieties don’t have corn syrup)
  • 1 package of color coordinated paper straws

338Leigh

Gingerbread Peep Pops Instructions:

It literally takes 2 seconds to make a Peep Pop, so it’s a last minute treat that looks absolutely precious. You can find so many varieties of the darling confections just about anywhere (and online year round), so it’s easy to add them to any candy buffet.

77Leigh

Simply poke a hole in each peep base with a skewer or toothpick, and wiggle it side to side to widen that hole. Slowly push in a straw until it feels securely held, yet doesn’t disfigure the peep.

356Leigh

Prop it into a cake pop holder or vessel filled with non-sticky candy like gumballs or jellybeans.

209Leigh

See more Peep Pops in action from another themes by clicking the following link: Chalkboard & Glitter Hearts Themed Valentine’s Day Party Buffet Décor Ideas (+ DIY & Printable Links)

214Leigh

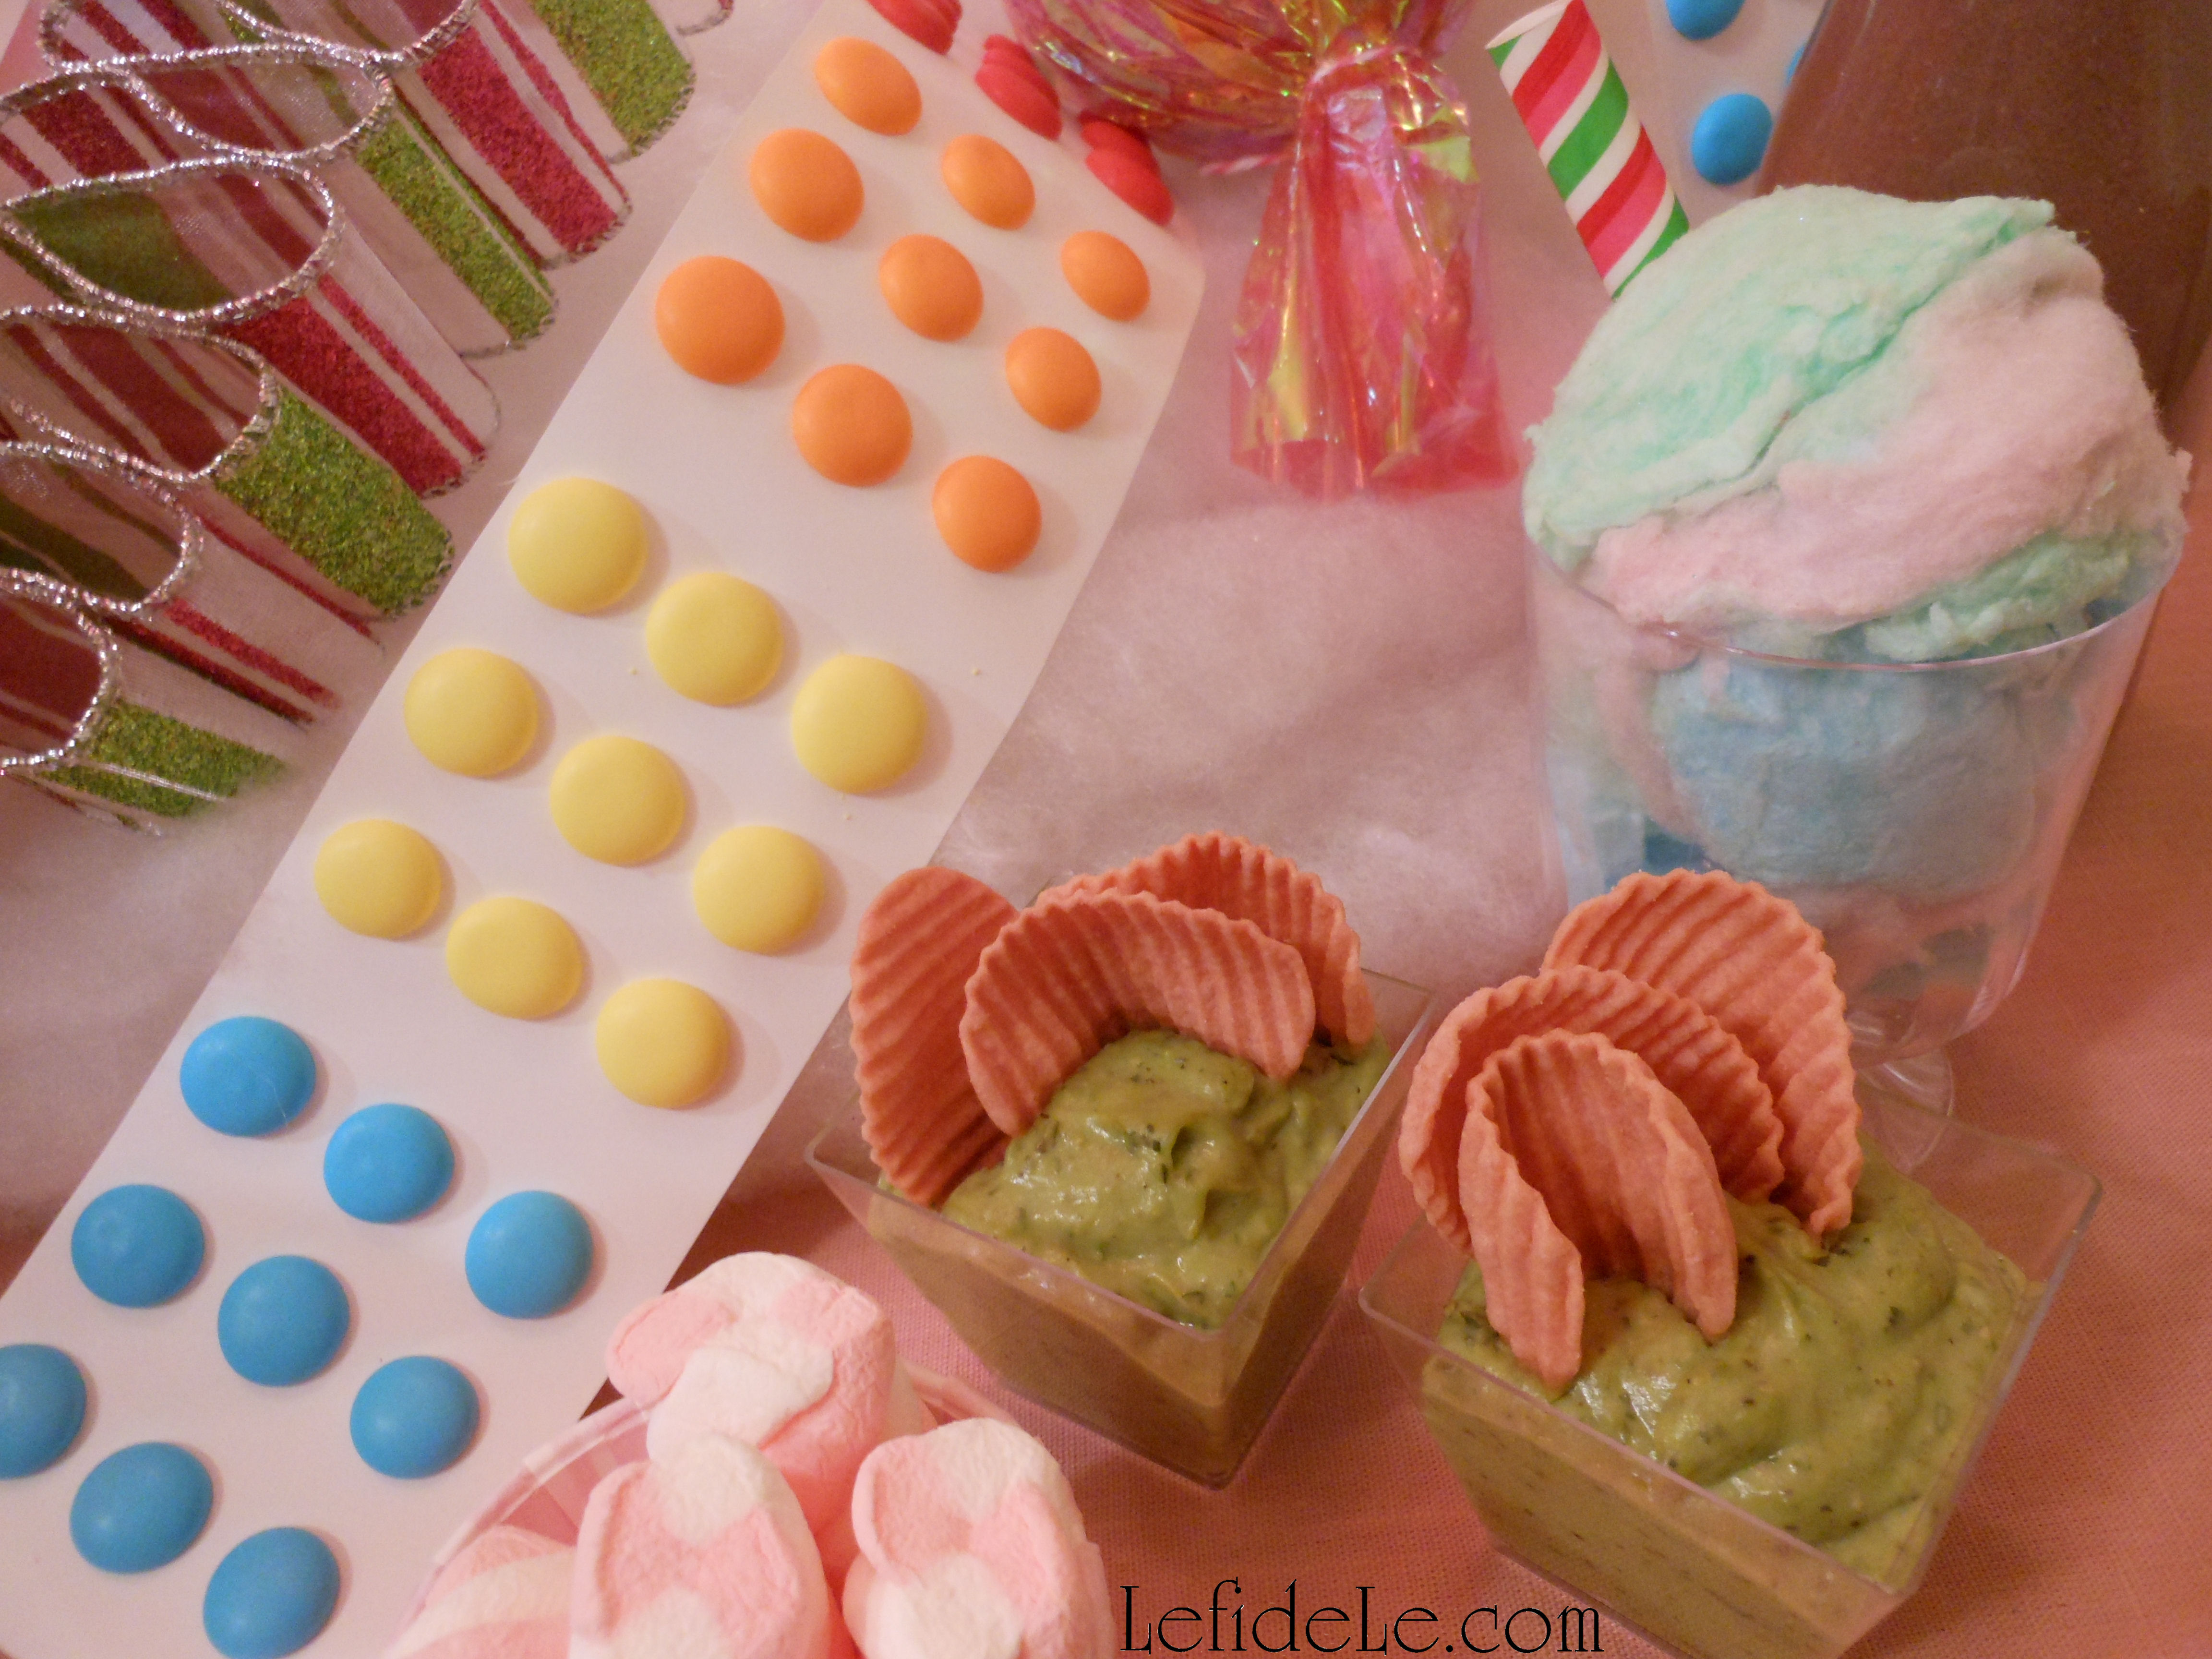
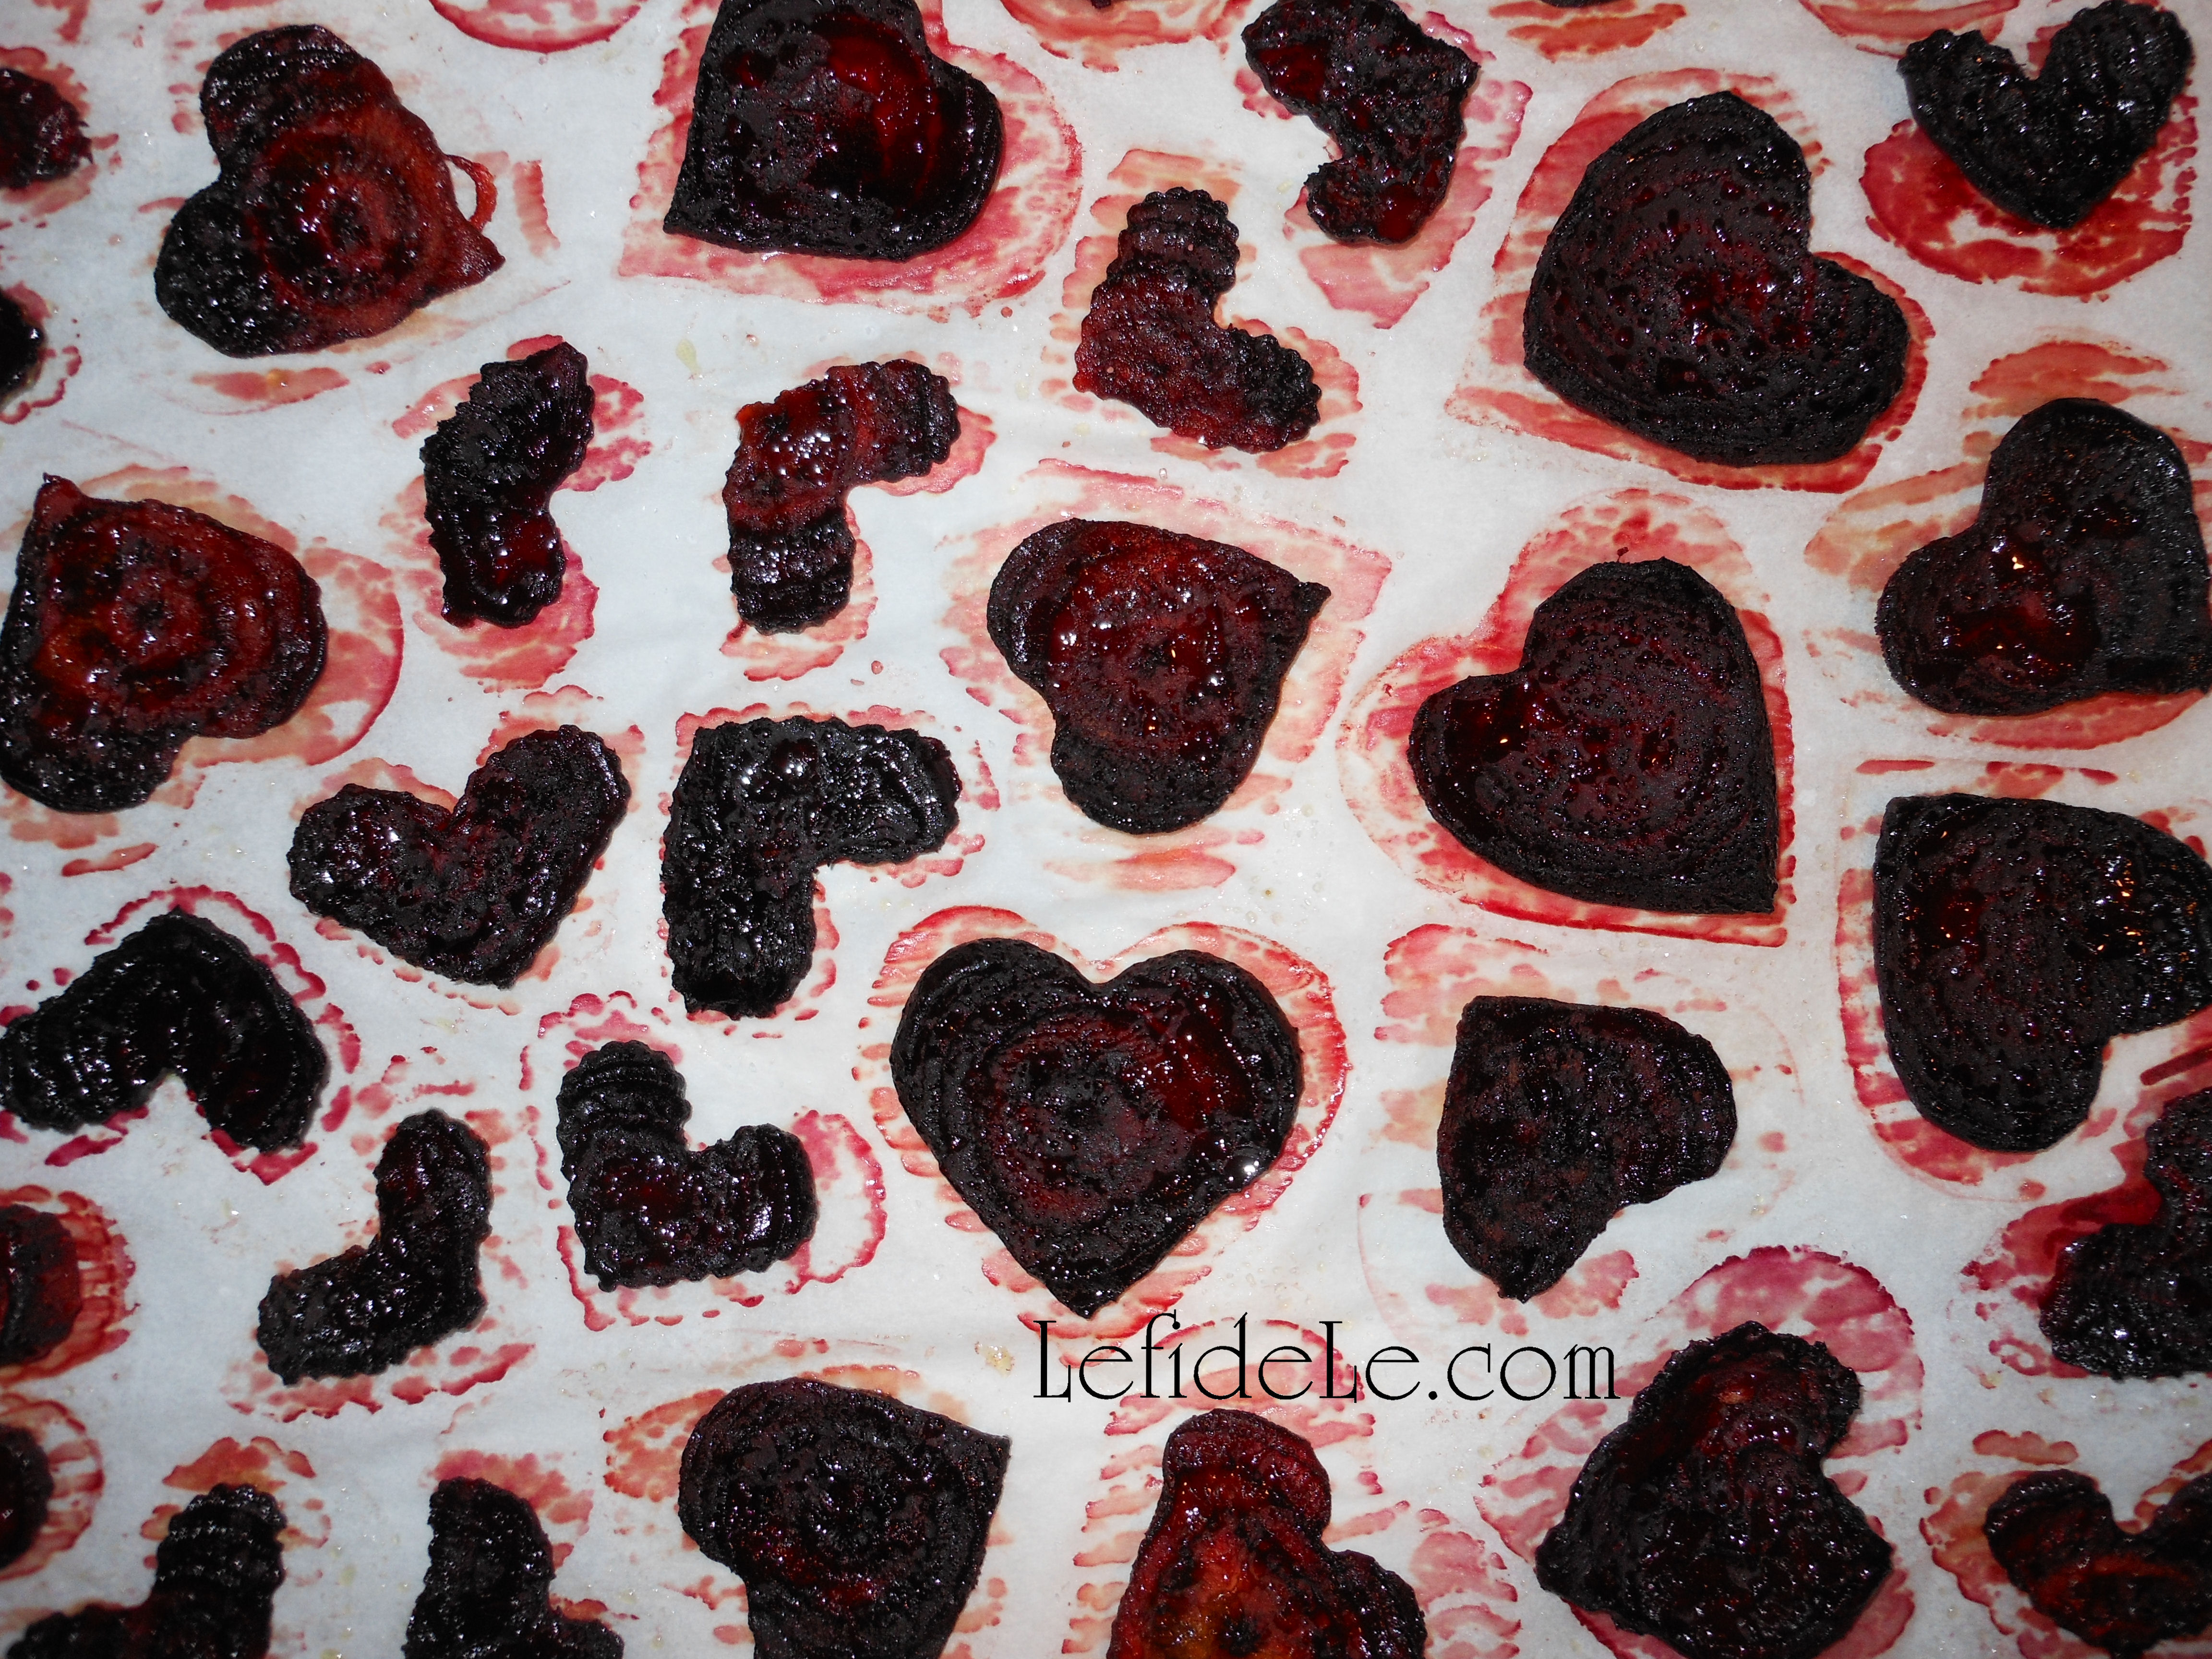
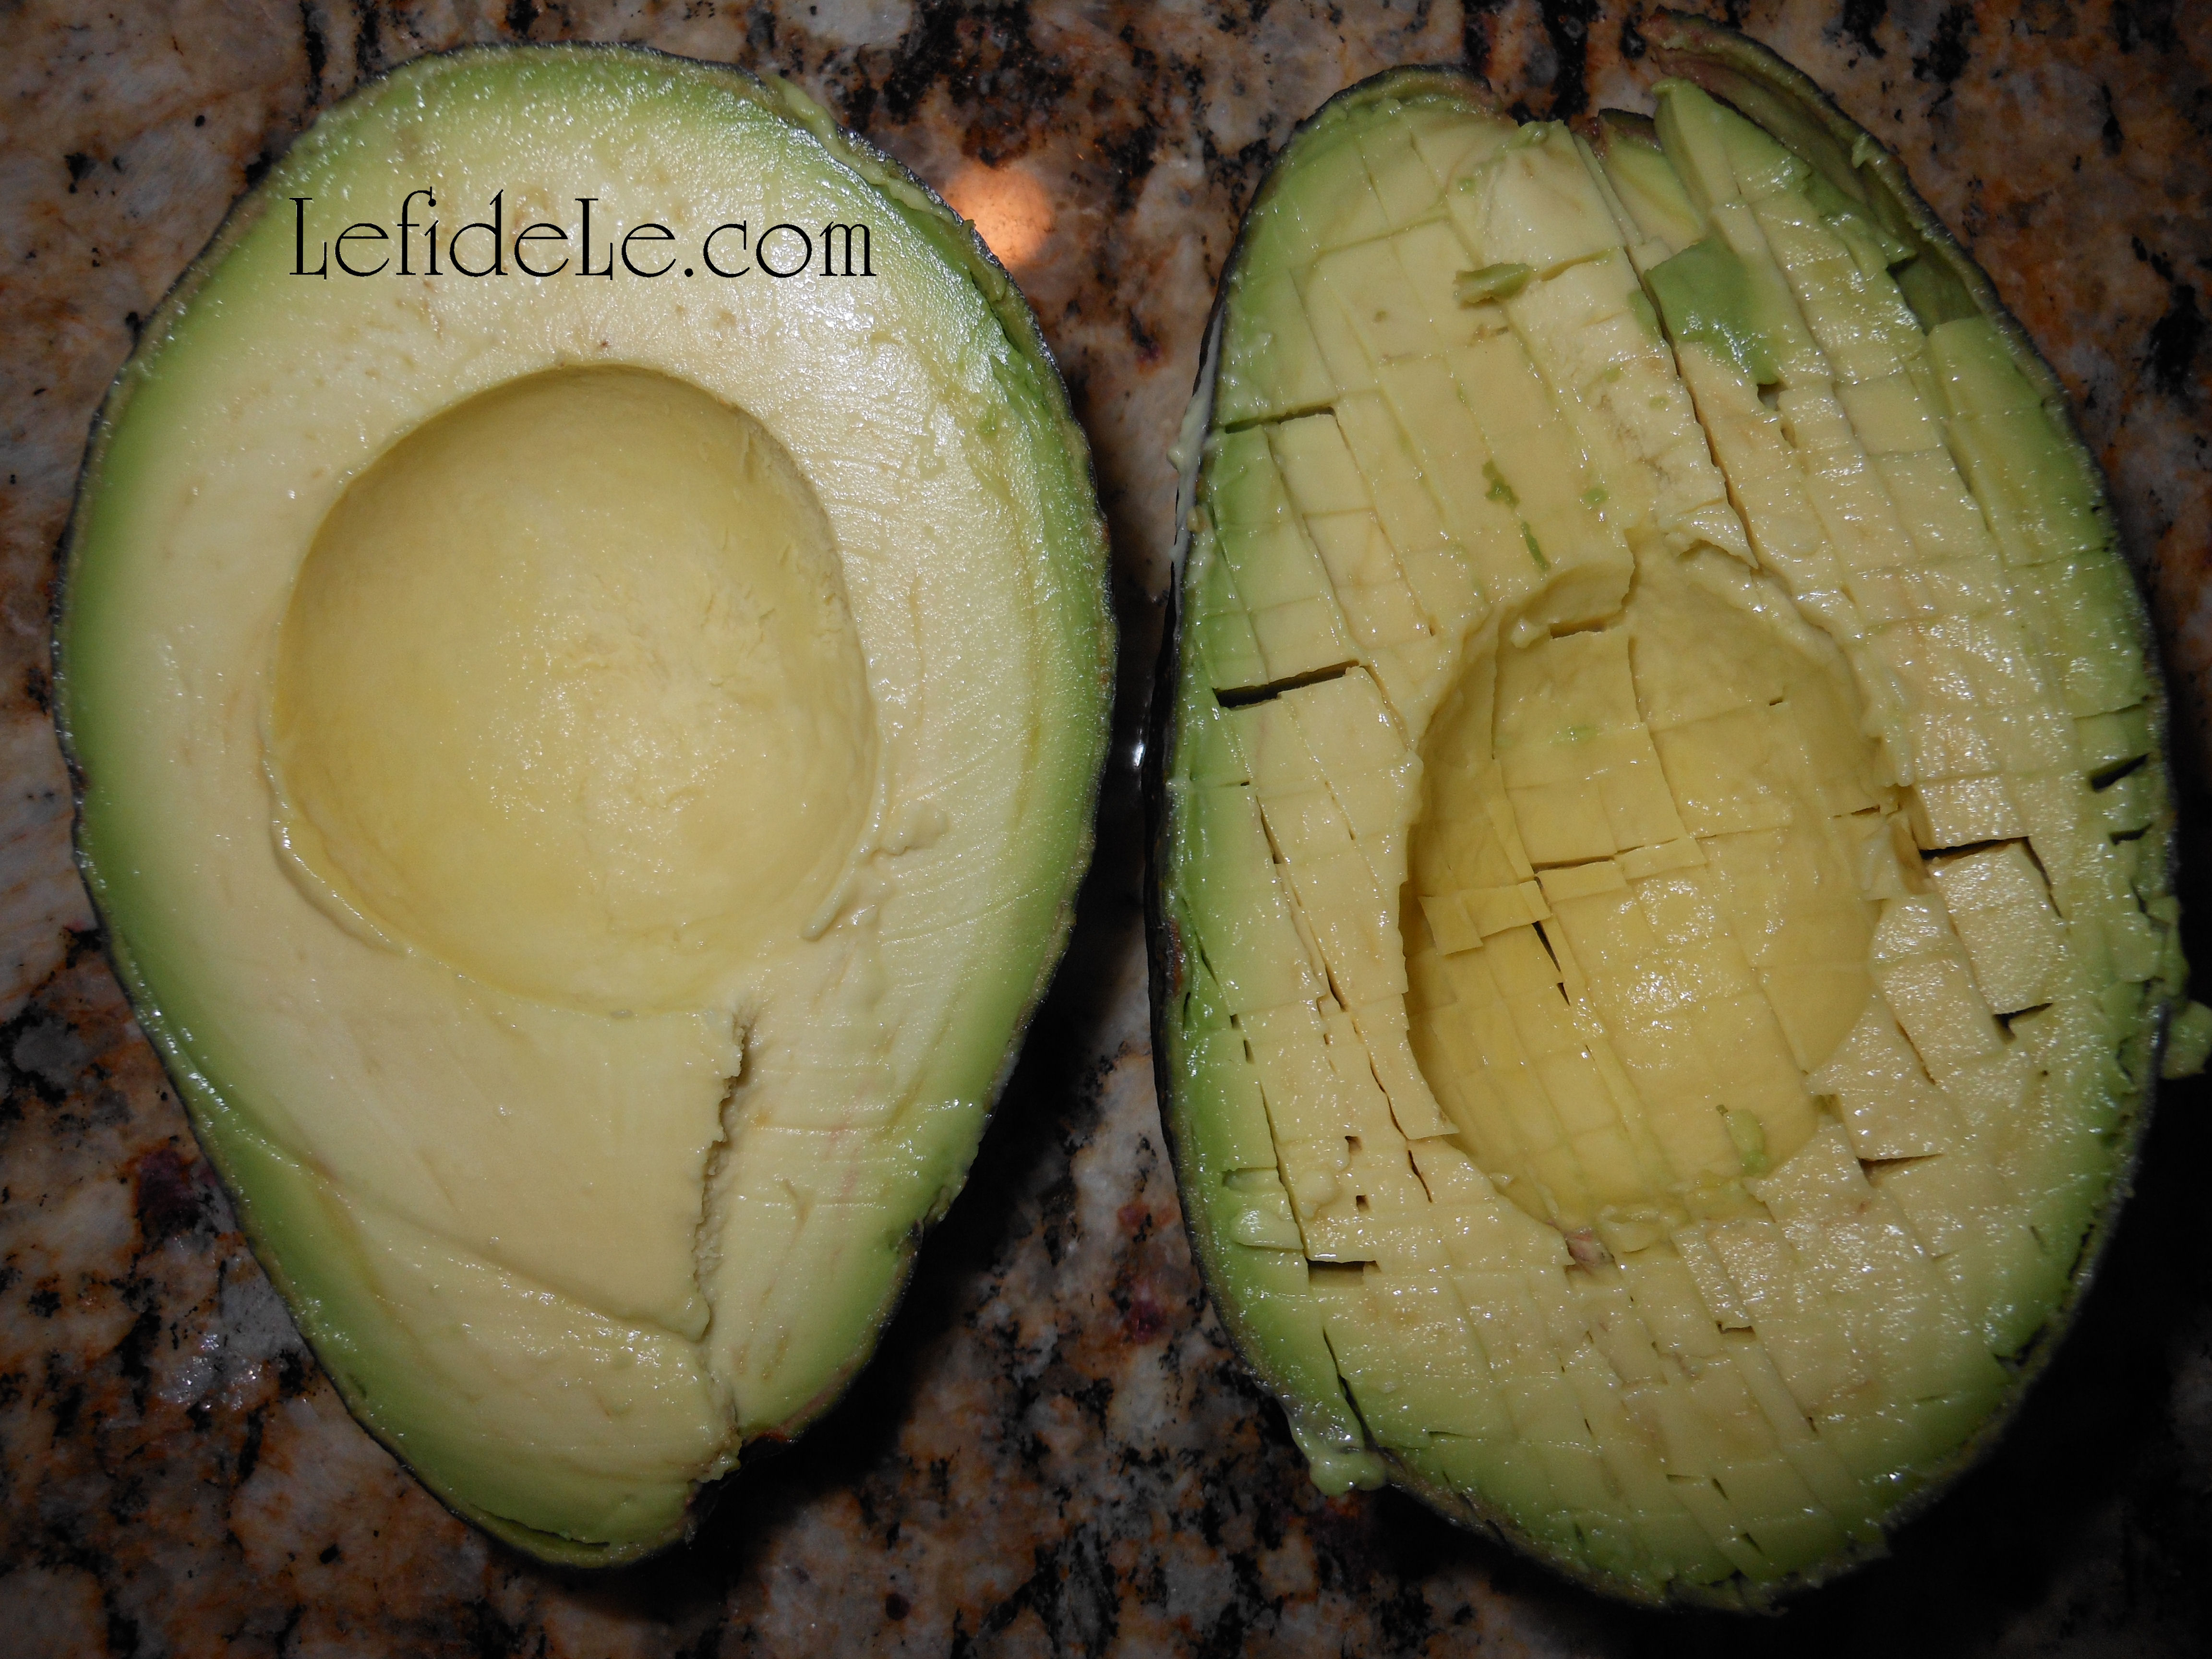
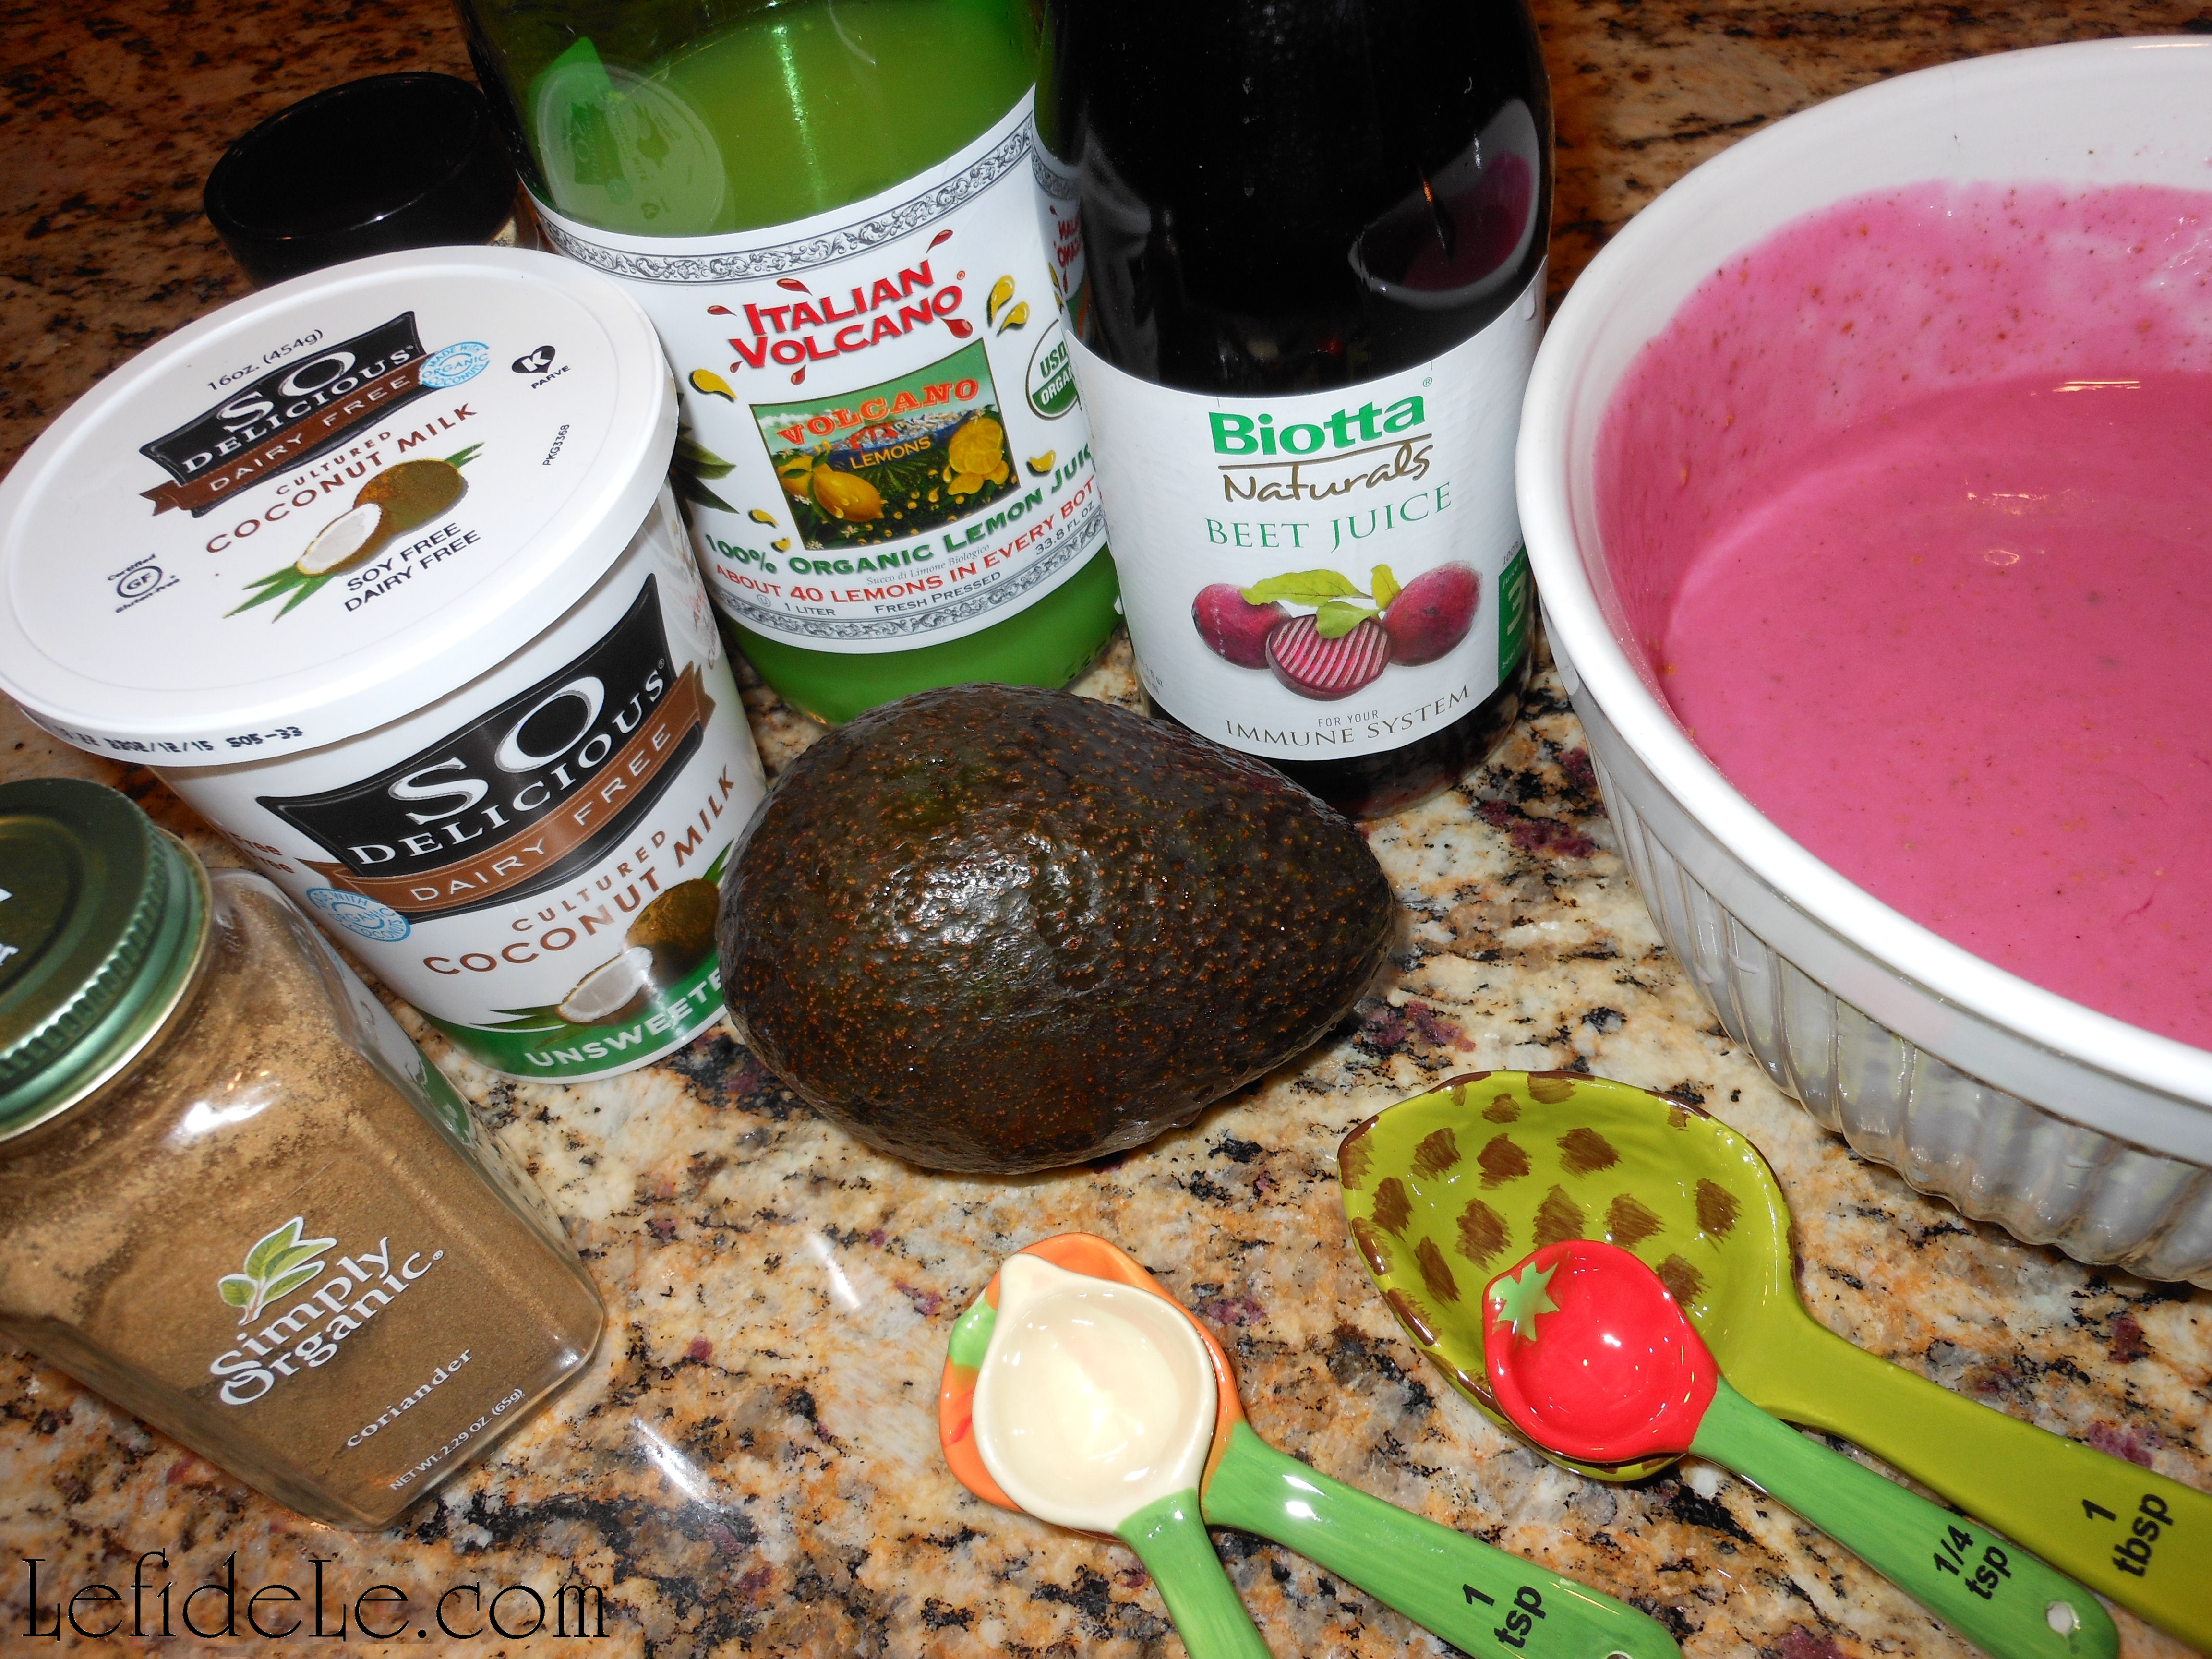
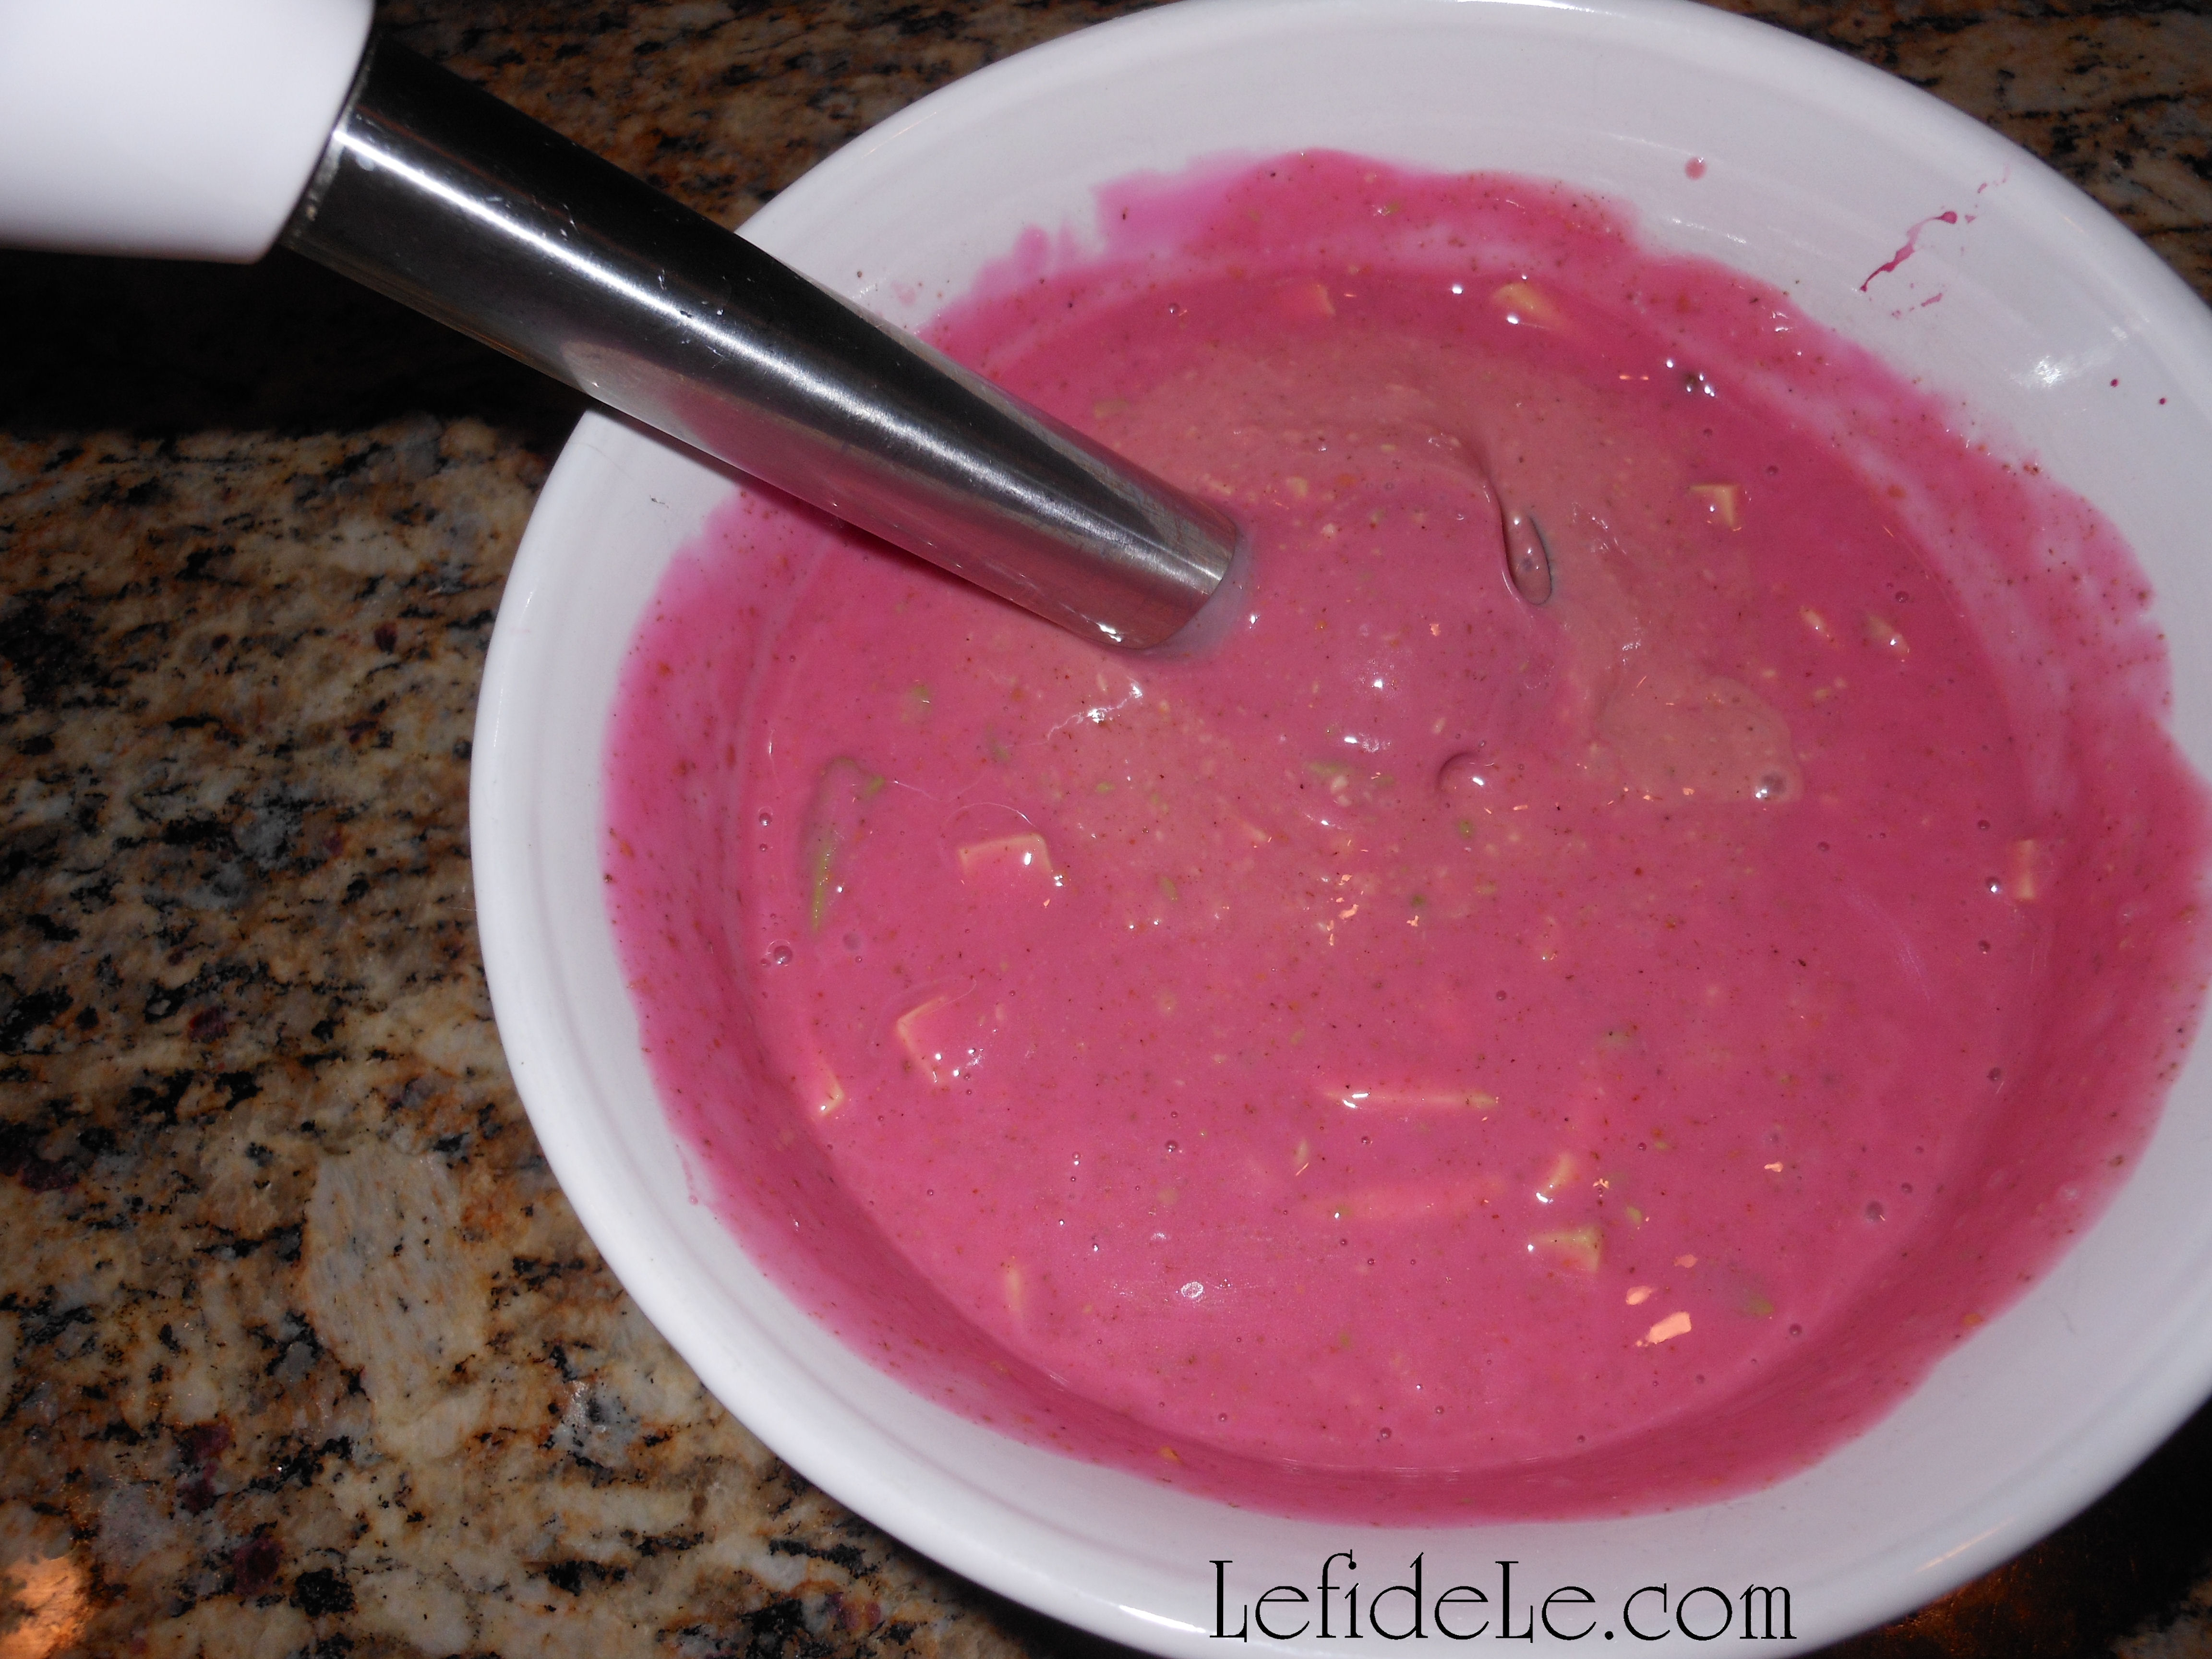
For a tasty yet healthy snack to add to your Candyland theme, try my Spicy Guacamole Shooters / Avocado Appetizers Recipe (Allergy-Friendly & Nightshade Free = No Red Pepper or Tomatoes).

Faithfully Yours,

Leigh

Sautéed Kale, Spinach, Chard & Pine Nuts with Herb Roasted Chicken Option (Allergy-Friendly Recipe)

268Leigh

This sautéed greens with chicken recipe makes an easy but elegant weeknight meal, yet is worthy to set before a table full of guests. The kale, spinach, chard and protein packed pine nuts make a lovely side dish or even a delicious meal by themselves. Succulent herb roasted chicken may left off vegan plates and extra pine nuts added instead. This makes it easier for families of mixed preferences to adapt peaceably… and peace is the perfect ingredient for a family gathering!


Ingredients:

  • ~1 pound of greens (I used baby kale, baby spinach, & baby chard)
  • ½ cup pine nuts (or any nut you prefer)
  • ¼ cup olive oil (or another healthy flavorful oil, adjust amount as desired)
  • ½ orange (or use another citrus juice)
  • 1 teaspoon dried marjoram (add more if using fresh)
  • 1 teaspoon dried thyme (add more if using fresh)
  • sea salt & ground peppercorns (to taste, or use a salt substitute)
  • Optional: chicken breasts (1 for each person, + extra herbs & olive oil)

Instructions:

253Leigh

If opting for the roasted chicken, prepare that first so it may be cooking while you fix the greens. Drizzle olive oil over the chicken breasts and sprinkle marjoram, thyme, salt and pepper over them. Roast them in a 375ᵒ oven for about 45 minutes. (Adjust the cooking time to the size of your portions and your oven’s temperament… the pieces I cooked were huge!)

249Leigh

Wash your greens well in a colander. (I chose baby varieties not merely for their tenderness, but also to save time in preparation. They don’t need to be chopped or have hard core stems removed.)

255Leigh

Heat the pine nuts and olive oil in a pan on the stove. (I actually used my big wok because the sloped sides prevent the greens from overcooking.) When they are bit browned, add the greens.

260Leigh

Also add in the herbs and seasoning, and toss to cook down. (The volume of the greens will shrink as it’s cooked, so you can add smaller portions a little at a time until all of it fits in.)

261Leigh

Off of the heat, squeeze in the citrus juice and mix well. (Heat negates the vitamin C benefit.)

269Leigh

Serve them whole, or slice the roasted chicken breasts for presentation.

274Leigh

Add more herbs, pine nuts, or even a new element as garnish. (I used leeks in the pictured dish… because I adore them.)

280Leigh

Bon appétit y’all!

Faithfully Yours,

Leigh

P.S. If you like kale, check out my Irish Colcannon / Herbed Kale Mashed Potatoes St. Patrick’s Day Recipe (Allergy-Friendly, Gluten-Free, Dairy-Free, Vegan).

111Leigh

Irish Colcannon / Herbed Kale Mashed Potatoes St. Patrick’s Day Recipe (Allergy-Friendly, Gluten-Free, Dairy-Free, Vegan)

202Leigh

Most traditional preparations and modern recipes for Irish Colcannon call for ingredients like cream and butter. Tasty as they may be, these ingredients aren’t as healthy as their dairy-free counterparts. Making them vegan also ensures that every St. Patrick’s Day guest may be served without worry. I’ve also switched out cabbage for the superfood kale, and added some amazing herbs. This healthy recipe transformation allows it to be enjoyed as an everyday food, while still tasting like a comfort food. So use it to feed your holiday guests, or just divide the recipe to indulge in it yourself!


Ingredients:

  • 5 pound bag Yukon Gold Potatoes (these have a natural buttery flavor, but use what you like)
  • 1 cup unsweetened almond milk (or any other variety of milk)
  • ½ cup extra virgin olive oil (you can reduce the amount, or try another healthy flavorful oil)
  • 1 big bunch of kale chopped (use any variety, just remove the core stems)
  • 1⅓ cup diced leeks (or onions, scallions, green onions…)
  • ⅔ cup minced fresh parsley (I used curly but flat leaf is great too, cut back if using dried)
  • ½ cup diced fresh chives (= ⅔ ounce organic package, or ¼ cup dried)
  • 1 teaspoon ground black peppercorns
  • 2 teaspoons sea salt (you can always use less, or try a no salt seasoning)
  • Optional: turkey bacon pieces to mix in and gluten-free breadcrumbs to top it with… Yummy!

Instructions:

063Leigh

Wash and scrub the potatoes with a brush, and then cut them into quadrants for faster cooking. (I intentionally don’t peel mine because the skins contain most of the vitamins and fiber… plus they add a lovely rustic texture!) Bring them to a boil in salted water over high heat, and then reduce to a simmer.

080Leigh

While the potatoes are cooking… wash the kale, chives, parsley, and leeks.

078Leigh

Leeks tend to get dirt stuck inside them, so it’s best to wash the outside first then cut them in half before washing the insides.

084Leigh

Dice those leeks and chives. (I love that leeks won’t make you cry like onions!)

087Leigh

Mince the parsley. (The right side is the before, and the left is the after.)

093Leigh

Trim off the hard core stems of the kale and chop up the leaves.

092Leigh

When the potatoes are tender enough to pierce with a fork, drain the cooking water out. (Check out my quick and easy recipe for cauli-potatoes here.)

098Leigh

Mash them in the same cooking vessel with a masher, use a potato ricer, or do what I did and use an immersion blender. (Yes, I use that baby on everything!) Keeping the vessel heated, stir in the almond milk, olive oil, salt and pepper.

099Leigh

Mix in the veggies and herbs then heat them through. These can all be safely eaten raw, so the amount of time you cook them is a matter of taste. (I prefer to just wilt mine a good bit to preserve the vitamins and texture.)

111Leigh

You can plate these directly from the stove…

202Leigh

…Or you can serve them in a casserole dish. The traditional look is to make a well of butter in the middle, but I elected to top ours with browned gluten-free breadcrumbs. (= yummier & healthier!)

112Leigh

Colcannon is traditionally served with ham or bacon, but we went with slow-cooked stew beef and carrots here. (I will so be mixing in turkey bacon pieces next time!)

110Leigh

This recipe earned “Wows” from my non-vegan picky eaters and did not last long at all… and I’m hoping it won’t with your family either!

Faithfully Yours,

Leigh

090Leigh

P.S. I love buying like a locavore! If you can’t take advantage of area farmer’s markets, look for your states labeling like the one on my leeks that said “Go Texan.”

Chinese Steamed Dumplings Recipe (Allergy Friendly, Gluten-Free, & Soy-Free)

184Leigh

Steamed Dumplings are an absolute must serve “lucky” dish for the Chinese New Year, but unfortunately they were also a dish I must not have… and I know I wasn’t the only unlucky one. Different restaurants have varied recipes for them, but nearly all make them with allergens. So I decided to make my own recipe that played on the basics but omitted the soy sauce, pig lard, pork, shellfish, mushrooms, etc. Plus, by using my optional substitutions, just about everyone can enjoy these delightfully delicious dumplings!


Shell Ingredients: (note that ~ means approximately)

  • ~ 3½ cups sweet rice flour + a good bit more for rolling (a.k.a. glutinous rice flour… that is 100% gluten free!)
  • ~ ⅔ cup boiling water
  • ~ ⅓ cold water

Filling Ingredients:

  • ~ ¾ pound ground chicken (or turkey… or minced water chestnuts/mushrooms/tofu for vegan)
  • 3 tablespoons sesame oil (or another flavored oil of your choice)
  • 2 tablespoons Coconut Aminos (a.k.a. soy sauce that is 100% soy free… or soyu if you like)
  • 2 teaspoons minced ginger root (or garlic)
  • ¼ cup minced leeks (or spring onions, bamboo shoots, shredded cabbage, etc.)

Filling Seasoning: (I used these, but add whatever you like adapting it to your tastes.)

  • 2 teaspoons sea salt
  • 1 teaspoon ground coriander (try adding 1 tsp. ground ginger if not using minced)
  • 3 teaspoons of Eden Shake + more for garnish (a.k.a. black & white sesame seeds plus pickled redshiso leaf… Anyone with sesame allergies can use hemp seeds which are the perfect high protein substitute.)

162Leigh

↑ This is a picture from my grandmother’s old recipe book that called for pig lard, soy, and the other things I spoke of earlier. I’m sure it was a tasty recipe, but I changed every ingredient but the rice flour… which I increased the portion of because the dough was too sticky to roll as it was. Note that even more flour than this will be needed as you roll.


Instructions:

168Leigh

First mince the ginger and leeks. Then mix all of the filling ingredients well.

172Leigh

The ground meat will absorb all of the liquids, but you can tell when it is well mixed when the minced ingredients seem well dispersed. Let this marinate in the refrigerator until you’re ready to fill the dough.

174Leigh

Place your measured rice flour into a larger mixing bowl.

177Leigh

Boil about a cup of water then use just a ⅔ cup of it. This is the easiest way to ensure the right amount. Mix it into the flour well, making a gooey paste. Then add the other portion of water, and mix it well. Let this sit about 15 minutes while you get everything else ready for your dumpling preparation… rolling pin, pastry mat, steamer, dumpling mold if you have one, etc.

180Leigh

Mix the dough again by hand and see if it’s the right consistency for rolling. Note that it will be much stickier than any wheat based dough, but you should be able to dust your hands with sticky rice flour and roll little 1 inch balls of dough in your palms. Mix in more flour if you need to. Take each ball and smash it flat with a floured palm into a floured surface. You will be making little pancakes. Then roll them out with a floured rolling pin into about 3 inch diameter circles, like tiny tortillas. In fact, this is exactly how I would make wheat based tortillas growing up. Working gluten-free is admittedly a bit trickier though.

192Leigh

Use the smallest size dumpling mold, if you have one. Molds are a speedy way to make perfect portions, but don’t fret if you don’t own one. Either way, you just spoon about a teaspoons worth of filling into the center of the circle. Close the mold tightly and remove the excess dough… or close the circle by hand into a half moon shape over the filling, and pinch pleat the rounded edges together. You could even use a fork to press the edges like you would a pie crust.

184Leigh

Inexpensive bamboo steamers are widely available, but here I’ve used a stainless one that sets onto my wok base. I love this thing! I actually made enough dumplings to fill it twice with this recipe. If using metal, use cooking spray on the top portion that the dough will rest on. If using bamboo, the Chinese recipe advises lining the bottom with a cloth.

194Leigh

Place the dumpling portion over already boiling water set on high. The Chinese recipe advises 15 minutes steaming, but I intentionally overcooked mine because I left the chicken filling out a good while during rolling… and no one wants salmonella. I actually left the second group on almost 30 minutes and they were fine, so just use your judgment.

189Leigh

Any leftover dough and filling can be combined into meatballs (like these that are uncooked), and baked at 325° for about 30 minutes.

197Leigh

Use two forks to plate your dumplings, or just bring a bamboo steamer to the table. Next time, I think I’ll roll mine out thicker and use a bit less filling. They seemed to expand as they cooked. I garnished these with more Eden shake because I love the flavor, but you can serve them with any sauce.

201Leigh

Here are the leftovers reheated in the microwave with marinara to morph them into an Italian ravioli fusion! They were fantastic this way! I just garnished them with parsley. You can even try adding rice based parmesan if you avoid dairy.

132Leigh

See more pictures of dumplings from my Chinese New Year of the Sheep / Ram Party here. Those I garnished with diced spring onion and small tomatoes and set over a bed of Bibb lettuce. The Quick Pickled Cucumber Recipe can be seen here.

175Leigh

Though more work than an everyday food, these little dumplings are worth the effort… especially when other family members help by making a chatty assembly line. It’s a great way to gather for a holiday!

Faithfully Yours,

Leigh

Chinese New Year of the Sheep / Ram Party Décor Ideas (With Formal Table Setting & Kid’s Table)

063Leigh

Celebrating Chinese New Year is always fun as each year comes with a new built-in theme to accompany the vibrant traditional colors and motifs. In this way, it’s easy to build on the previous event by adding a few new décor elements each year. Use the elegant formal table setting or the fun and playful Kid’s Table… or a combination as ideas for your own celebration. Spend as much or as little as you like, making the evening a complete spectacle or a simple affair. It’s a wonderful opportunity to celebrate the beauty of another culture, and the Year of the Ram will only return in twelve years… and well, it’s a really good excuse for having a great time!

039Leigh

The kids table utilized printables and crafts from my recent articles (Origami Crane Paper Folding Instructions -for Get Well Wishes or Chinese New Year Décor) & (Take-Out Favor Box & Paper Lantern Craft Printable + Bamboo Lantern + Paint to Antique a Lion Fú-Dog -DIY Chinese New Year Party Décor Crafts). The projects are a quick and easy way to decorate while leaving your budget available for all the wonderful food.

066Leigh

Lanterns are a traditional element of the Chinese New Year because the last day of it is the start of the lantern festival. My printables are an easy way to employ that tradition in your own home. They only need printing, cutting, and gluing. The “Fú” 福 characters, decorating the boxes, have graced the entrances of Chinese homes for many hundreds of New Year’s. It is said to have originated, not just for its meaning of happiness and luck, but also because “upside down” and “to arrive” sound alike when spoken in Chinese, thus making an upside down Fú equate to “good luck arrives”. (For some, however, hanging the Fu upside down is bad luck, so I’ve decided to make the character right side up on my printable boxes!)

096Leigh

Use the printables as favor containers, table crayon corrals, or cut out the character to make an LED lantern or luminaria. I stacked some of them onto a vintage brass tea-light holder and stuck in paper dragon favor puppets to heighten the spectacle… with no expectation that the centerpiece would stay intact long! Using LED lights insures that no fire will catch the paper, even if knocked over… so they are super kid and pet safe. It’s also easy to use the cut-out character to embellish a bamboo lantern like those I’ve painted in the pictures. (See my tutorial for the instructions on how to complete your own.)

031Leigh

Origami cranes are a lovely way to bring the kiddos into the party planning while teaching a timeless art to another generation. The historically traditional crane figure is an apropos symbol of hope for the coming year. The Japanese tradition of the “Senbazuru” folding of 1000 paper cranes is said to grant the maker a wish, such as healing for a loved one. The “Tsuru” (crane) is also said to denote happiness and luck, which is the same meaning of the “Fú” 福 character. These can easily be made with anything from wrapping paper to typing paper (see my tutorial for instructions with a picture for each step).

032Leigh

The powerful guardian lion Fú-dog is a traditional Chinese figure of protection. The one seen here is male because he’s resting a paw on a ball that represents the earth. Usually they are presented in pairs, but I only had one in a bright lime green color. I took this statuette from modern lime lion to antique guardian in a few simple steps (detailed in my tutorial). You can do the same with any accessory that doesn’t quite match your décor. Also set on the side table was a small sheep figure as a traditional way to represent the year. The gilded platter (non-breakable) symbolized the land of the rising sun. A book with more dragon puppets (from Oriental Trading Company, see the side bar for discount links) extra coloring pages, and lucky candy completed the picture.

025Leigh

Decorating the background were a mix of traditionally made bamboo kites (red phoenix bird and orange karp / goldfish) and modern kites (tiger and panda). Extend the New Year’s celebration to the weekend by letting your decorations fly freely. Having something else to look forward to is a nice way to ease the post-party let down that kiddos sometimes feel. (All of these were found on clearance for a few dollars each at Cost Plus World Market.) Above them hung an inexpensive yet lovely Chinese banner (again from Oriental Trading Company) suspended on simple pushpins.

052Leigh

Decorative paper plates and napkins were set onto printed coloring pages depicting all of the animals in the Chinese zodiac. Red envelopes containing coin money in even numbers are a traditional gift for children. Colorful punch, lucky candy, paper cranes, crayons, and mandarin oranges completed the setting.

183Leigh

Orange fruit is another traditional element of the Chinese New Year, so I included them in both tablescapes. It’s an easy way to add color without the trouble or expense of a formal centerpiece. It allows the gorgeous food to remain the center of attention.

132Leigh

My Quick & Easy Overnight Pickled Cucumbers Recipe was another colorful element to complement the other traditional dishes. (I will be posting more Asian inspired recipes from time to time in the future.)

175Leigh

Next to it were longevity noodles which symbolize long life when uncut. The dish was topped with prawns because seafood is a Chinese New Year must have. (Just make sure no guest has a shellfish allergy.) A whole fish pointed in the direction of the guest of honor would have been more traditional, but I was out-voted on that menu choice.

161Leigh

Half-moon shaped steamed dumplings are another necessity for the year’s celebration. (The round shaped variety depicts a life that goes around in circles never completing any goals, so those are considered bad luck!) Check out my allergy-friendly recipe for steamed dumplings here.

211Leigh

Fried springs rolls are practically required New Year’s fare! Adjacent to those were long beans with a black bean sauce and a prawn vegetable dish served over rice.

162Leigh

Some of the dishes were set onto wooden stands to both protect the table and elevate the vessels to different heights.

179Leigh

Each platter should have its own set of chopsticks or spoon. Serving chopsticks are typically longer and more decorative than those one eats with, but I only had one set of that type.

200Leigh

A lovely soup tureen was set into another platter to catch spills. This also contained a serving spoon and a few fortune cookies… an American tradition only, but why not celebrate the blending of beautiful cultures. Scattered around the center were some vintage boxes containing lucky candy.

210Leigh

Many Chinese tables are fitted with “lazy susan” turntables at the center so that everyone can reach each dish. I have a couple of these, but opted for a different style of arrangement this year. Hanging in a circle from the chandelier, was another red banner like the one in the other room.

189Leigh

Down the center of table ran a length of metallic sprayed mesh fabric to coordinate with my grandmother’s china. She actually purchased the tableware when she lived in Taiwan for a time. A simple white tablecloth anchored it all. I was hesitant to use white, because it can be considered a funerary color (yikes), but it was the only thing I had that suited the china… which was incidentally made the year of a ruler’s death, thus the color of the teacups were made white instead of the normal red (according to my grandmother).

122Leigh

Tea is the drink of choice for such a celebration, and its cup is placed to the right just as in a Western table setting. The bowl for soup or rice goes to the left where a Western bread plate would sit. The flat bottomed spoon is set into that if there is no double rest for spoon and chopsticks. At the top and center is a small rimmed plate for dipping sauce. Usually only one variety is served universally, but I served 3 kinds from which guests could choose from.

221Leigh

Seated on the side table in the background were three of my grandmother’s dancing statues, an orchid, and one of my painted lanterns.

212Leigh

Above that were two of her woven hats that she requested I hang on the wall as décor. There really was something here for everyone.

180Leigh

In celebrating this Chinese New Year (slightly early so that I could post it for y’all), I tried to incorporate traditions and symbols while adding some playful American touches. In this way, I believe we can pay special recognition to the beauty of our blended cultures.

059Leigh

Faithfully Yours,

Leigh

P.S. If any of you live near Frisco, Texas… be sure to check out “Tasty Garden Chinese Restaurant” whose kind individuals would love to make your party preparations easier by adding a beautiful dish or two to complete the setting. Who says you have to make every recipe at the table? They’ve said they would be happy to work with individuals to avoid allergens… which is always appreciated! http://www.tastygardenonline.com/

121Leigh


Quick & Easy Overnight Pickled Cucumbers Recipe (for Chinese New Year or Anytime)

This quick and easy recipe was inspired by a Chinese Travel Website that described the traditional foods of various regions. I was delighted to see that pickled cucumbers were listed… because who in the world doesn’t love a good pickle? Quick pickling makes this a great side dish for any occasion because it can be prepped overnight, and everyone really needs a good last minute dish. Just change up the spices, acids, and sweetener to suit your taste or event theme. It’s perfect for a Chinese New Year Celebration because it’s a light and green food to add to all the traditionally starchy New Year’s foods like longevity noodles, moon cakes, spring rolls, and dumplings. What’s more is that you can control the amount of sodium and sugar you put into it… so that family member with high blood pressure can still enjoy a good pickle without cheating with the jarred stuff!

132Leigh


Ingredients:

  • 2 cucumbers (I used the English hothouse variety because no peeling is needed.)
  • 1 tablespoon sea salt (Adjust the amount according to taste & dietary needs.)
  • 3 tablespoons Ume plum vinegar (Use any type of vinegar or lemon juice.)
  • 1 tablespoon turbinado sugar (Use any sweetener such as honey, agave, stevia, etc.)
  • ~ 1 teaspoon each of various spices (Try ground peppercorns, coriander, marjoram, ginger, etc.)

Instructions:

101Leigh

Wash your cucumbers well. There is no need to peel English Cucumbers, as pictured here, but the traditional waxed variety can have a bitter peel so it’s better to remove it. (The hothouse types are prettier with the 2 green tones, and we are making quick pickles… so the quicker the better, right?) A traditional looking dish has “cukes” that are split down the middle twice, so that you’re left with 4 long sections. Then cut these into approximately 2 inch chunks.

105Leigh

Salt the cucumber chunks, and stir them well. Refrigerate them covered overnight.

109Leigh

Rinse the cucumber chunks several times in water to remove excess sodium. (I just run water right into the casserole dish they’re already in, and place the top back on. I hold the top and bottom together, and turn them to the side letting the water drain out, leaving the washed cucumbers behind. Not having to wash a colander makes quick pickles even quicker!)

116Leigh

Add your acidic liquid such as lemon juice or vinegar. (I chose Ume plum vinegar because its flavor was a perfect complement for the other Chinese New Year dishes being served.) Also mix in your choice of spices. (After reading through about a dozen of my grandmother’s vintage Chinese cookbooks, I’ve come to the conclusion that there is no such thing as a traditional recipe. Everyone has their own spin, which means that you should feel free to make up your own concoction too!)

175Leigh

Mix your flavored cukes well, and refrigerate until it’s time to plate and garnish for serving. (The pickles pictured here are garnished with diced spring onions and whole roma tomatoes. Click here to see more of the Chinese New Year Party of the Sheep/Ram.)

161Leigh

I hereby confess that I don’t actually measure anything when preparing these little gems. I just go with my creative cooking instincts and prevailing mood to judge the flavor… which is exactly what is fun about this. They always seem to turn out just right. I do, of course, use less salt when making them for my grandmother, and less spice for my mother’s bland preferences. So, those pictured here were decidedly less flavorful than what I typically produce, yet they still tasted fantastic. The take home message is this, don’t be afraid to experiment with flavor. Have fun and enjoy not only the end result but the process as well!

Faithfully Yours,

Leigh

“Heartbeats” (Heart Shaped Beet Root Chips / Croutons) & “Lettuce Turnip the Beet” (Pink Savory Herbed Avocado Yogurt Dip / Salad Dressing) Recipe (Healthy, Gluten-Free, Dairy-Free, Vegan) AKA- Undercover Valentine Veggies!

056Leigh

This is the perfect Valentine savory snack for the picky eater who turns away from anything green or labeled as a healthy vegetable. Who can turn down trying an adorable hot pink heart chip, even if it is an undercover veggie! The avocado’s green is also disguised as pink and creamy yumminess thanks to a couple of healthy secrets, and the seasoning can be adjusted to any taste. It’s also easy to spoon out a bit of the dip into another bowl then turn up the flavor in the first one (hence the “let us turn up the beat” veggie pun in the title). Enjoy them as a healthy chip and dip combo, or make smaller “heartbeats” to use as croutons in a salad flavored by the dip as creamy dressing!

66Leigh


Heartbeat Chip Ingredients:

  • 3 beet roots (or as many as you’d like to make)
  • olive oil (enough to drizzle, & try any oil you prefer)
  • salt & pepper to sprinkle atop (or garlic salt, lemon pepper, no-salt seasoning, cinnamon & sugar, etc.)

Lettuce Turnip the Beet Dip Ingredients:

  • 1 ripe avocado
  • 8 ounces unsweetened vegan coconut yogurt (or any unflavored yogurt, but note that “unsweetened” is less sweet than “plain”)
  • 1 ⅟₂ teaspoons lemon juice
  • 1 tablespoon beet juice (or pomegranate juice)
  • herbs & spices according to taste, on this particular day I chose…

♥ ⅟₂ teaspoon ground white pepper

♥ ⅓ ground ginger

♥ ⅓ teaspoon ground coriander

♥ ⅓ teaspoon ground thyme

♥ 1 teaspoon granulated garlic

♥ ⅓ teaspoon salt

♥ + lots of cracked red peppercorns & black carbon sea salt for fiery garnish

… but you might want to omit the ginger, coriander, & thyme for a more traditional taste experience J


“Heartbeats” Chip Instructions:

1Leigh

First wash the beets roots thoroughly, and cut off the plant tops.

8Leigh

Then remove the tough outer part with a veggie peeler.

12Leigh

The best way to prepare beet chips is to use a mandolin kitchen tool to cut really thin slices. I have a beautiful stainless steel one that can be cleaned in the dishwasher, but I wanted to make sure that you could make these at home using a knife, cutting board, and old fashioned elbow-grease! It does take a little longer, but as you can see they turned out beautifully. They also took longer to bake because the slices were thicker. If you’re trying it this way, try to cut them as thin and uniformly as possible. You can also try cutting them with a food processor.

14Leigh

Once you have those cut, you can use cookie cutters to press shapes into the slices. I wanted hearts for Valentine’s Day, but you can choose any shape that will fit. Tiny flowers would make delightful pink chips and look lovely atop a spring salad like healthy croutons!Take the leftover bits and dice them further to spike another meal with vitamins. You can bake these into croutons for soup or salad, or steam them with some olive oil and seasoning to add to a pilaf or veggie mix.

26Leigh

Toss your cut out shapes (or plain slices) with olive oil in a bowl. Then spread out your lovelies on a parchment lined cookie sheet. Bake these in a 375ᵒ oven, to preserve the vitamins in your veggies, for 45 minutes to an hour. If you’ve cut these thicker, by hand, add cooking time. Thinner mandolin cuts will of course finish faster. Either way, I would advise checking on them often (by turning on the oven light, not opening the door).

33Leigh

About halfway through the cooking time, when the top side looks fairly done like this picture, take out the tray and flip them over before returning it to continue baking. If utilizing a dehydrator, cook them at 145ᵒ for 45 minutes then reduce heat to 115ᵒ for 24 hours until crunchy.

36Leigh

They’re done when crispy but not brittle. Blot these with a paper towel and sprinkle with your preferred seasonings. I used the same ones (cracked red peppercorns in a mill and black carbon sea salt) that I garnished the dip with. These not only showed up beautifully on the chips but also gave them an amazing fiery zing. You can even make sweet chips by sprinkling with cinnamon and sugar like a pink veggie buñuelo!

056Leigh

Enjoy the heartbeat chips by themselves or prepare this Avocado yogurt dip while they’re baking…


“Lettuce Turnip the Beet” Dip Instructions:

23Leigh

Wash and cut open a lovely ripe avocado. They’re best when just slightly softened to the touch. The easiest way to get the seed out is to whack it with a knife, twist, and pull it out in one motion. Slice the flesh into tiny crosshatch squares right in the shell, and then squeeze it into the bowl. (I do this all the time when making my “minute guacamole”, because it can then be smashed with a spoon into the side of the bowl very easily and quickly.)

18Leigh

Add the lemon juice and plain yogurt into the bowl along with your favorite mix of spices… or try my crazy combination. I love to cook by adding different flavors until it just tastes right… just remember to use different spoons with each tasting. No double dipping people! J If making this into a salad dressing, just add more yogurt, lemon juice… or both.

25Leigh

I used an immersion blender to completely emulsify and thicken the dip, but any good blender should be fine. Of course the “smash-against-the-side-of-the-bowl-with-the-back-of-a-big-spoon” method also works… it just burns more calories.

31Leigh

Spoon into a pretty dish and refrigerate until ready to eat. Garnish with a contrasting seasoning like these (cracked red peppercorns in a mill and black carbon sea salt) that also serve to turn up the flavor.

64Leigh

I have to admit that I enjoyed this recipe so much that I would have eaten the whole thing by myself (guilt-free) had I been alone. Next time, I will be making so much more!

42bLeigh

Happy Heartbeating!

Faithfully Yours,

Leigh

P.S. What are your favorite seasonings to add to dips & dressings? Tell me how you like to “turn up the flavor” in the comments section, and I may use them in a future recipe!

Quick & Easy Chocolate Bark & Dipped Strawberries with Toppings Recipe for Your Valentine (Gluten-Free, Vegan)

161Leigh

If you’re looking to make some sweets for your sweetheart but haven’t got a lot a time to get organized for a complicated recipe, then these Valentine concoctions are a sure bet. The fool-proof process is so quick and easy, that it really needs no hard-fast formula in order to turn out so delicioso! I tend to make both of the confections at the same time because they use identical shelf-stable ingredients (save one), but make two very different desserts that coordinate beautifully.  (If trying this, simply make the strawberries first then make bark out of the leftover ingredients.) Best of all, these are simple enough to be prepared by little ones, and can be made gluten-free and allergy-friendly for everyone to enjoy!

151Leigh


Ingredients:

  • 1 bag of semi-sweet or dark chocolate chips- preferably gluten-free vegan (or candy coating chips in any color)
  • 1 basket of fresh strawberries to dip (or try dried pieces to place into bark)
  • any toppings you like (oven-toasted coconut, chopped pistachios or walnuts, sugar sprinkles, dried fruit, crushed peppermints, even a contrasting colored chocolate chip, etc…)

Instructions:

77Leigh

Fill a heat-proof vessel with the chocolate chips of your choice. (Candy coating turns out a bit smoother, but isn’t as healthy or allergy-friendly as gluten-free vegan chocolate morsels. It really is a matter of personal preference.)

78Leigh

Either stir the chips in a pot on the stove (as I did at this link for Quick & Easy Chocolate Coconut Fondue Recipe (Vegan, Gluten-Free, Dairy-Free) where I write more about the available forms of chocolate) or microwave the chips in a bowl in 30 second bursts, stirring in between each.

83Leigh

I used the stove for the fondue and the microwave for the bark… again it’s up to you and how much time you have.


For the Chocolate Bark:

152Leigh

When the chips are completely melted to a liquid state, pour onto an aluminum lined cookie sheet.

154Leigh

Sprinkle your choice of toppings onto the still warm chocolate.

155Leigh

Gently press the larger toppings like coconut into the chocolate with the back of your fingers. (Smaller bits like sprinkles don’t need any pressing.) Either allow this to harden on the counter or in the refrigerator.

157Leigh

This is the fun part… when it’s solid to the touch, take one end and break it by attempting to fold it in half.

161Leigh

Repeat this with all sections until you’re left with decent sized chunks of yumminess then plate it for company… after reserving a few bites for immediate consumption!


For the Chocolate-Dipped Strawberries:

108Leigh

Wash the strawberries well, then let them air dry on a paper towel, or pat them dry completely before dipping.

148Leigh

When the chips are melted thoroughly with no chucky bits left, merely hold your strawberries by the green tops and dip into the chocolate. After completely enrobing it, turn the wrist to let the last drip catch back onto the fruit.

114Leigh

Then spoon chopped toppings or sprinkles over the still warm chocolate. Gently press any large chunks into place, and then set it aside to dry and harden.

139Leigh

You can either place the completed strawberries onto aluminum foil and transfer them to a pretty plate later, or do as I’ve done and save a step by dishing them immediately to dry on the platter they will be served on. I always begin with the prettiest of the berries, and when I find that the platter is full… eat the rest!

151Leigh


🙂 Happy Chocolate err… Valentine’s Day!

Faithfully Yours,

Leigh

P.S. A personal note on washing strawberries to dispel any old-fashioned notions regarding such… I promise that cleansing them of dirt and germs will in no way injure the fruit. In fact, they look even lovelier when truly clean. Wiping them with a towel only serves to redistribute bacteria. (The same can be said of mushrooms, which are often grown in actual manure.) For those of you who are thinking, “Well of course I wash my produce”… I’ve actually had this disagreement with a chef from a very popular up-scale restaurant that only reuses a towel on strawberries and mushrooms. (I hear they don’t wash the salad greens either, and never the lemons before cutting them.) So please forgive me, but with the recent listeria outbreak on caramel apples, I felt compelled to write a little about this now. Here are a few links for anyone who doesn’t want to take my word for it:

http://www.foodsafety.gov/keep/types/fruits/tipsfreshprodsafety.html

http://www.fsis.usda.gov/wps/portal/fsis/topics/food-safety-education/get-answers/food-safety-fact-sheets/safe-food-handling/washing-food-does-it-promote-food-safety/washing-food

http://www.fsis.usda.gov/wps/portal/fsis/topics/food-safety-education/get-answers/food-safety-fact-sheets/safe-food-handling/washing-food-does-it-promote-food-safety/washing-food

Last Minute Cocorico Rooster Theme Dinner Party Décor Ideas (+ Free Printables)

175Leigh With the winter season so turkey saturated for the holidays, I thought I’d utilize my overabundance of rooster décor and host a cozy dinner party by the fire. I used my Healthy “One-Pot” Cocorico Roasted Chicken (or Turkey) & Root Vegetables Recipe as a family-style centerpiece of food. And with my printable place-cards, it’s an easily emulated dinner party that offers a warm welcome for out-of-towners in for the holidays! 157Leigh I love the idea of taking dinner out of the dining room, especially in winter when there is a cozy fire available. So, my first task was to move the couches into a dining configuration. I have a large round antique coffee table that is mechanized to pop up to dining height. To accommodate more guests, I topped it with a $12 precut 4’ x 4’ plywood square from a chain hardware store. The edges of this were taped to avoid snagging the tablecloth. A card table is another easy option. 65Leigh Layering fabrics is a quick and easy way to add warmth to a gathering, so I draped layers of tablecloths over the square. The first layer was chocolate brown, then beige burlap with added trim, and a fall paisley print over the top. 106Leigh I exchanged the usual living room décor with various bits of rooster ephemera. I set a ceramic chicken on a side table next to cranberry colored candlesticks, and tucked feather tassels under the large candles. 49Leigh By the fireplace, I placed a rooster painting on an easel atop an old burgundy leather suitcase. Another served as a base for a spiral topiary. It was housed in an inexpensive and lightweight cranberry pot meant to simulate glazed pottery. In front of that, I positioned a small vintage brass rooster doorstop. I actually have many more roosters, but I was able to (somewhat) contain myself. 158Leigh I gathered sage and chocolate colored throw pillows to coordinate with the linens and dishes. These softened the deep chocolate leather sofas. Switching out small elements of your décor for an evening is an easy way to experience a change of scenery without breaking the bank. 143Leigh I set the table with wood-handled flatware and layers of dishware in various patterns. This included wooden plates as chargers, sage green bordered dinner plates, and a selection of chicken and rooster plates. Though completely untraditional, I figured these could be set to the side for bread later… they just looked too cute stacked this way! I actually found these little gems for $3 clearance at Dillards. Now they’re a part of my last minute rooster dinner party arsenal. 156Leigh My other go-to elements are antique chicken salt and pepper shakers from my grandmother, and vintage multicolor rooster stemmed glassware from my mother. 45Leigh It’s really great to have coordinating pieces that can be thrown together without much forethought, while having the appearance of effort. In this way, a simple chicken dinner is elevated to a special evening. Make a point of collecting what you like, and pull it out for your get-togethers. 44Leigh Another component which you can make for yourself is my DIY Rusted Rooster Chicken Wire Votive Holder Craft. Because they were so easy, I actually made many more than I used in the pictures. (These can be made with any shape you like, fall leaves for example.) They really added a beautiful glow to the table. 32Leigh I transformed, recolored, combined, and resized vintage images to make 3 free printables for invitations, labels, signs, menus, food tents, name place-cards, recipe cards, etc… (These are free for personal use only.)

  24Leigh These are available at the end of the article (simply right click on each image, and print in color and on photo settings on cardstock). Then just cut out your place-cards as needed… or enlist a significant other or kiddo to do it while you prep for dinner! 25Leigh The last step was to add the food… artisanal rosemary bread in terra cotta to compliment the Cocorico, compound butter in a rooster dish, mixed olives seasoned in flavored oil and spices, and the off-center centerpiece of roasted chicken and multi-colored root vegetables of carrots, beets, parsnips, radishes, and fingerling potatoes. 125Leigh Cocorico roasters are perfect “one-pot” wonders that deliver beautifully from oven-to-table. Root veggies may be peeled and seasoned the day prior to an after-work gathering if need be. Simply pick up bread and dessert to accompany your meal. Or, try out my Easy No Cook Layered (N)ice-Cream Pie with Nut Crust (Vegan, Dairy-Free, Gluten-Free) which may also be made with traditional ice cream, and can be made and frozen well in advance. 160Leigh Happy Fall Y’all! (…I couldn’t resist.) 168Cocorico-Leigh Faithfully Yours,

Leigh

Cocorico3x3labels-flatcards

Cocorico5x5cards-labelsLeigh

CocoricoTent-PlacecardsLeigh

Healthy “One-Pot” Cocorico Roasted Chicken (or Turkey) & Root Vegetables Recipe

Making healthy roasted chicken and root vegetables is so easy with a Cocorico Roaster. I love to use mine as an easy “one-pot” wonder that presents beautifully from oven-to table. The night before a long day, I can peel the veggies and add herbs so it only needs to put it in the oven for a hardy home-cooked meal. Larger roasters will also accommodate a small turkey for the holidays.

125Leigh


Ingredients:
  • 1 roasting chicken (or turkey, in a size that will fit your Cocorico roaster)
  • 2 teaspoons thyme
  • 2 teaspoons rosemary
  • 1 fresh lemon
  • 1 teaspoon sea salt (or to taste)
  • Olive oil (enough to coat chicken & drizzle a little over veggies)

Multicolored root vegetables in season (enough to fill the cocorico base):

  • ~1 pound carrots
  • ~3 beets
  • ~2 parsnips
  • ~1 bunch radishes
  • ~1 or 2 pounds fingerling (or new) potatoes
  • (& turnips if you have better luck than I did finding good ones)

Instructions:

Cocorico roasters in glazed terra cotta are available locally and online. I ordered mine from Napa Style because it was the biggest I’ve seen, and also had a larger turkey cone that fit over the chicken cone. Soak the whole thing under water at least 30 minutes before cooking. This prevents any heat damage to the vessel. I saturate mine in a bleached clean sink.

2Leigh

Preheat your oven to 400ᵒ, while you soak the roaster and prep your veggies. There are a beautiful variety of purple, orange, red, and white root vegetables available. Peel and cut them into about 2 inch chunks to ensure even cooking. Some recipes will advise you boil potatoes ahead of roasting, but I’ve found that to be completely unnecessary if you buy small fingerlings. They roast just like baked fries. They’re prettier, easier, and quicker… so save the big ones for baked potatoes. Radishes may seem like an odd choice for roasting, but they completely change character after cooking. They mellow out, losing their sharpness and spicy heat. I really do prefer them this way.

4Leigh

Place these in a bowl with herbs and add just the smallest drizzle of olive oil. (The chicken juices will flow over the veggies while cooking thus providing more flavor.) Squeeze a little of your lemon over the veggies, and save the rest to place inside the chicken cavity before setting over the roasting cone. Add sea salt and toss to coat everything well. This may be done ahead of time, just cover the bowl and refrigerate it until needed.

13Leigh

Many recipes will also instruct you to wash chicken inside and out before cooking, but I read a study that found it only served to spread dangerous bacteria all over your kitchen. Thorough cooking will kill bacteria while rinsing will not. Drain the fluid and remove any extra gifts left in the cavity (neck, gizzard, giblets). Then set the chicken onto the soaked Cocorico. Other recipes will also say to do this with the legs up and trussed, but this is really subjective to the size of your roasting cone versus the size of your bird. I used a smaller chicken in the pictures, which would have been physically impossible to set upside down. It cooked beautifully and tasted great. Just place the chicken whichever way you can get it onto the cone. It’s really hard to mess up dinner with a Cocorico!

21Leigh

Roast in the oven at 400ᵒ for about 15 minutes, and then reduce it to 375ᵒ for an hour longer (for ~4 lb chicken). Because every oven heats differently, the safest way to cook is with a meat thermometer. Place it in the thickest part of the thigh, but not to the bone. www.foodsafety.gov says 165ᵒ is poultry’s magic number! I’ve also read to rotate the Cocorico every 15 minutes. Thinking of how heavy it was, how that would let heat escape, what else I could spend my time accomplishing, and burn potential… I decided to forgo that. Once again, the simplest way proved itself. The chickens turned out exactly the same.

127Leigh

Use a serving spoon to gently toss the roasted veggies, so that the juices are fully distributed. It’s easiest to serve the veggies first and then carve into the meat, using the newly empty well to hold the pieces. Or it can all be transferred to other serving dishes… but I prefer to avoid washing extra tableware, and the filled Cocorico looks so lovely. If trying this, be sure to use adequate hot pads beneath it.

35RoosterVotive-Leigh

In the past, I’ve saved time by omitting the oil and placing the roots directly into the Cocorico. When it finished cooking, I would sprinkle fresh herbs and orange juice over the top, stirring it right in the roaster. Whichever way you chose to prepare it, with whatever vegetables, with either chicken or turkey, and legs cooked up or down… Cocorico roasters make it all turn out so beautifully! (See this for yourself at the link: Last Minute Cocorico Rooster Theme Dinner Party Décor Ideas.) So think about getting one for yourself, and leave the “beer-can chicken” to the tailgaters! 🙂

157Leigh

Faithfully Yours,

Leigh