Tag Archives: Burlap

Create a Homespun Holiday of Barn Red & Burlap with Christmas Tablescape & Mantle Décor Ideas

917Leigh

Why prepare for Christmas by waiting in long lines at overcrowded stores when you can create heartfelt moments with loved ones while crafting a homespun holiday that harkens back to simpler times. Deck the halls without breaking the bank using my easy craft tutorials for DIY décor that harmonizes perfectly with the season’s traditional crafts of gingerbread houses and strung cranberries or popcorn. Have friends over for a cookie decorating or gift wrapping party, and then move the décor over to the mantel in time for a cozy Christmas. In this way, we can all celebrate togetherness in the real spirit of the season!

943Leigh

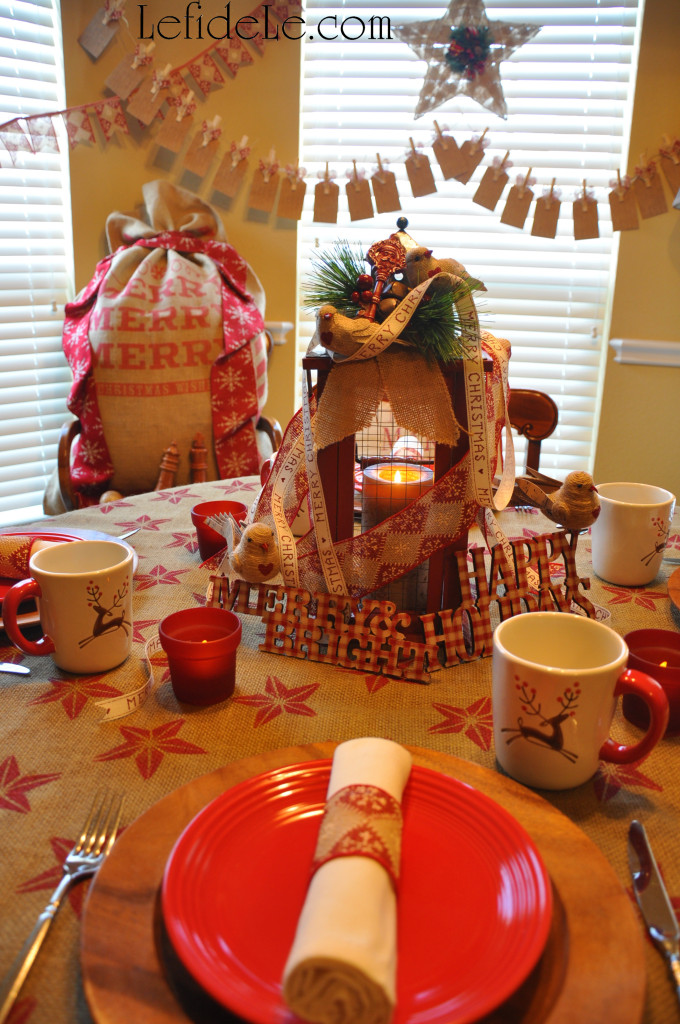
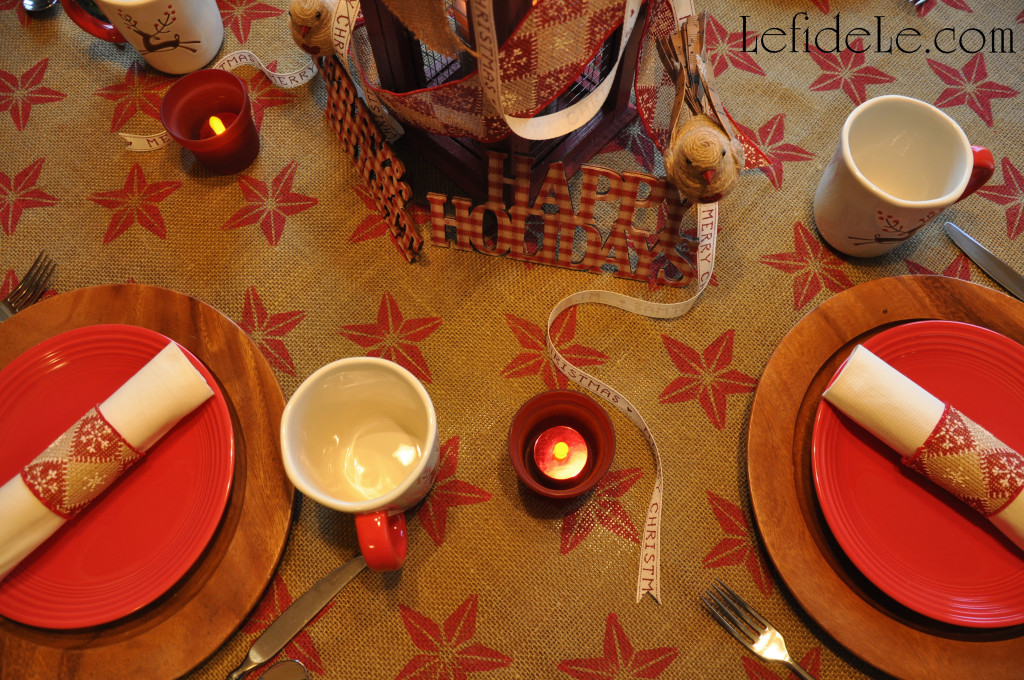
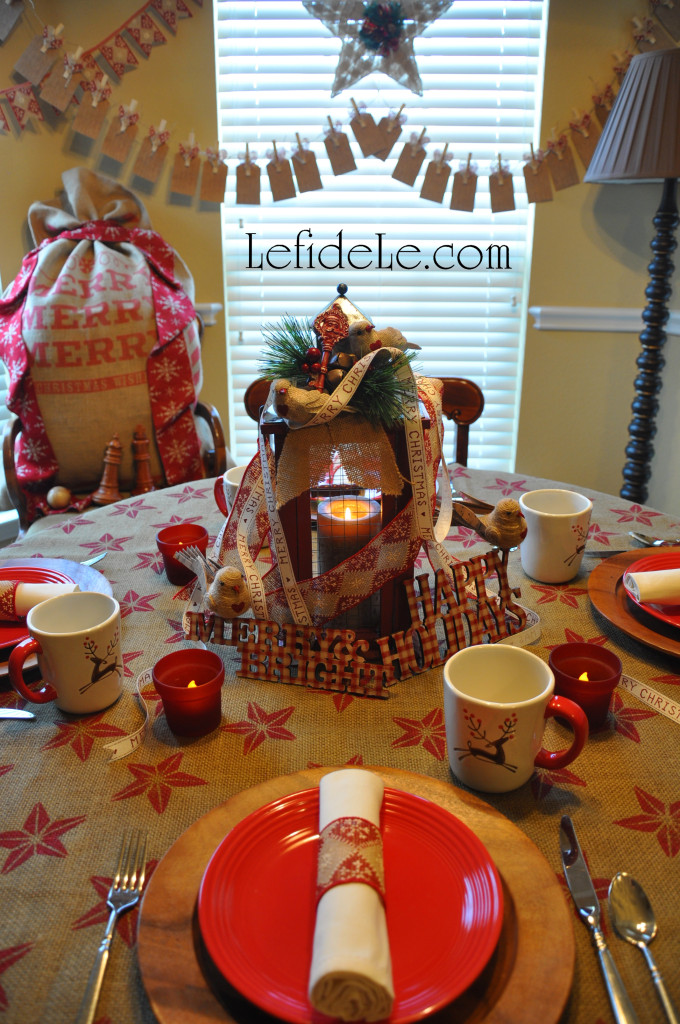
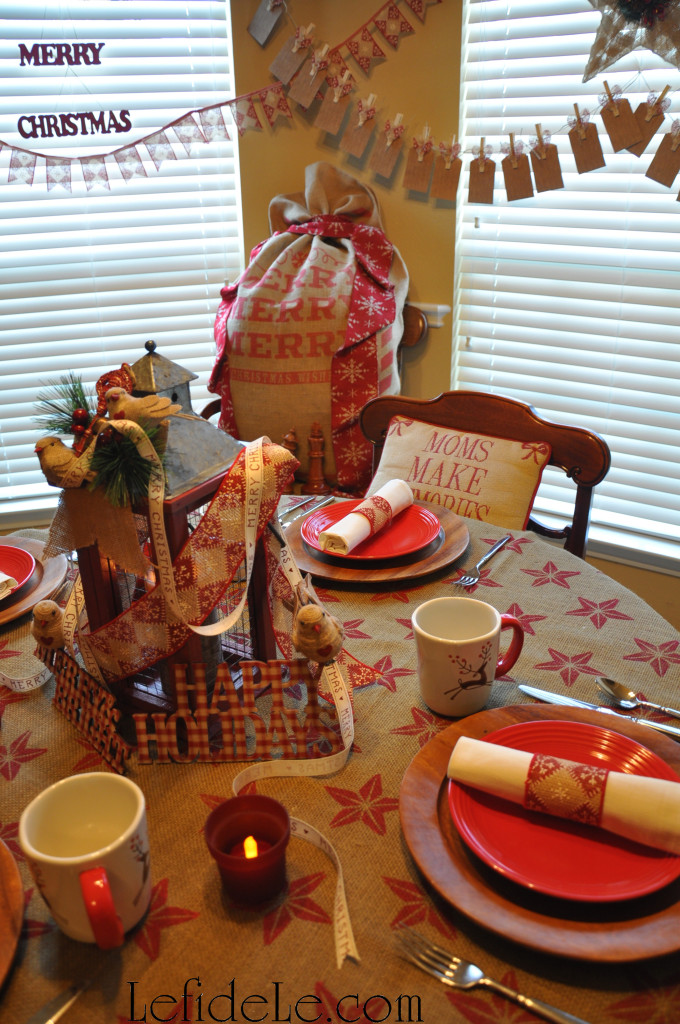
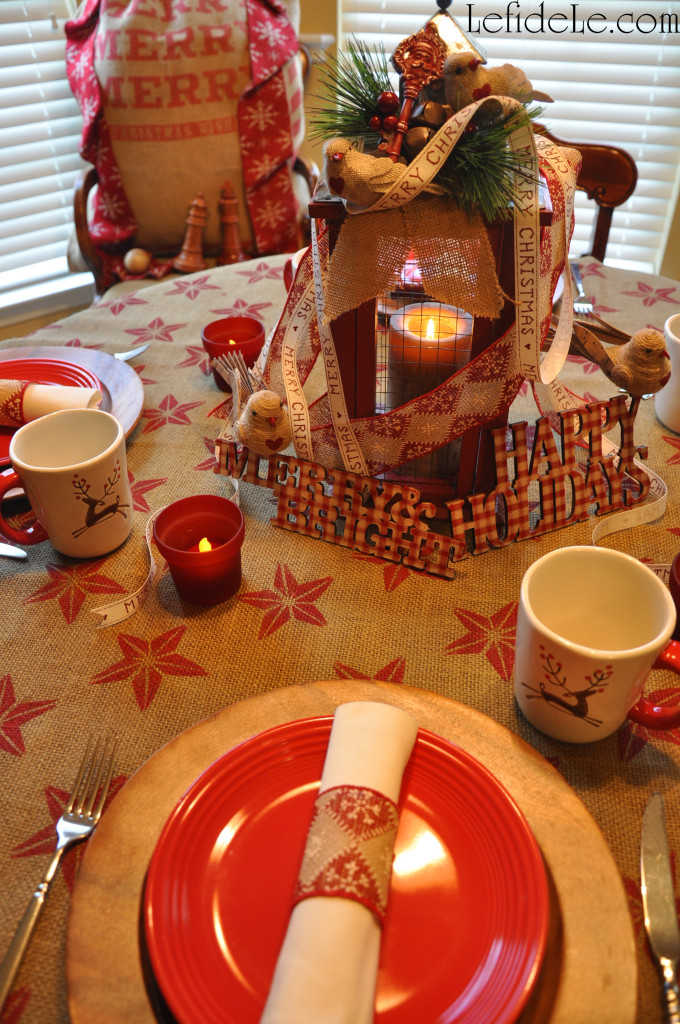
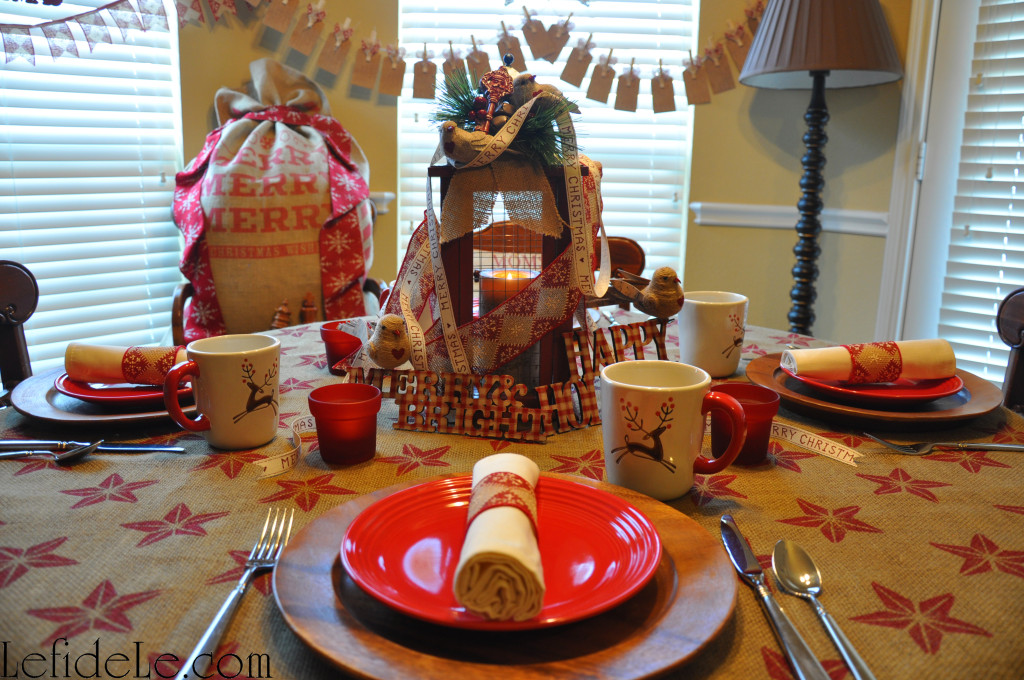
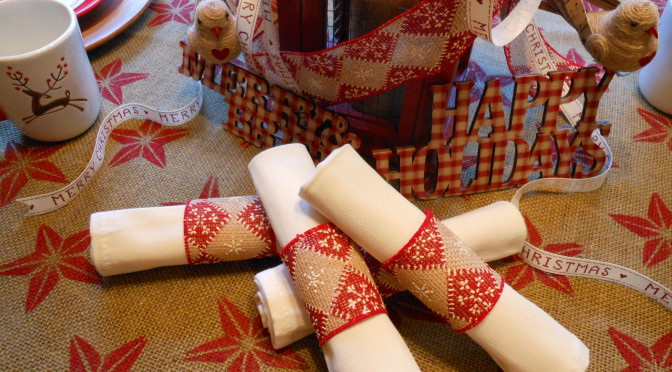
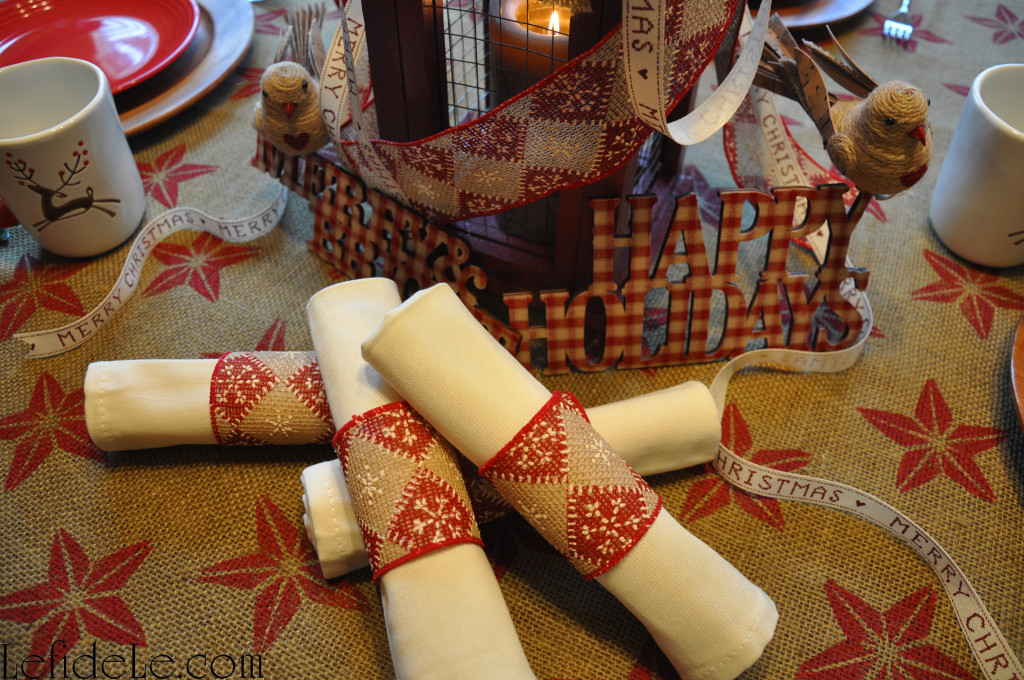
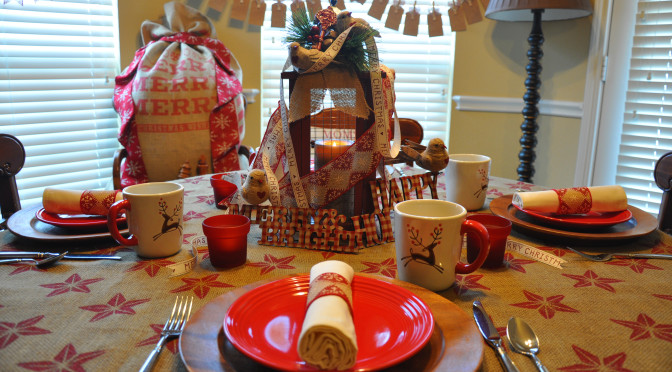
“Deck the halls with boughs of holly“ and a one-of-a-kind burlap tablecloth painted with stamps and matching napkin rings which set a delightful tone for a homespun holiday gathering. (Learn how easy it is to make these here!)

928Leigh

“’Tis the season to be jolly” and nosh on gluten-free vegan gingerbread cake served upon red ceramic plates over wooden chargers accompanied by holiday reindeer mugs filled with steaming cups of hot chocolate and homemade marshmallows.

936Leigh

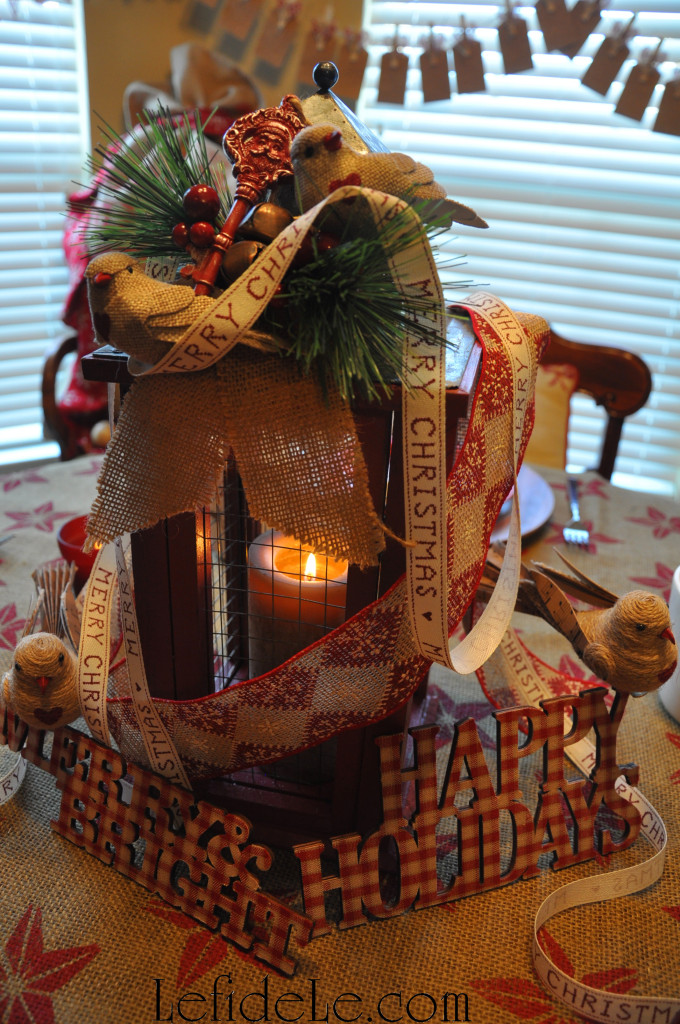
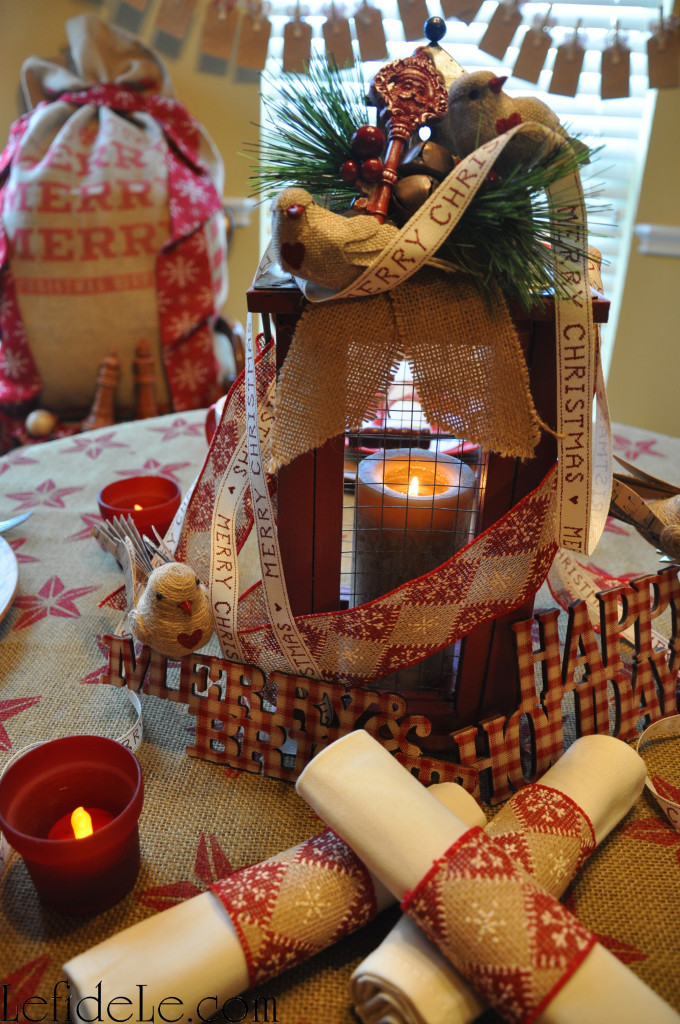
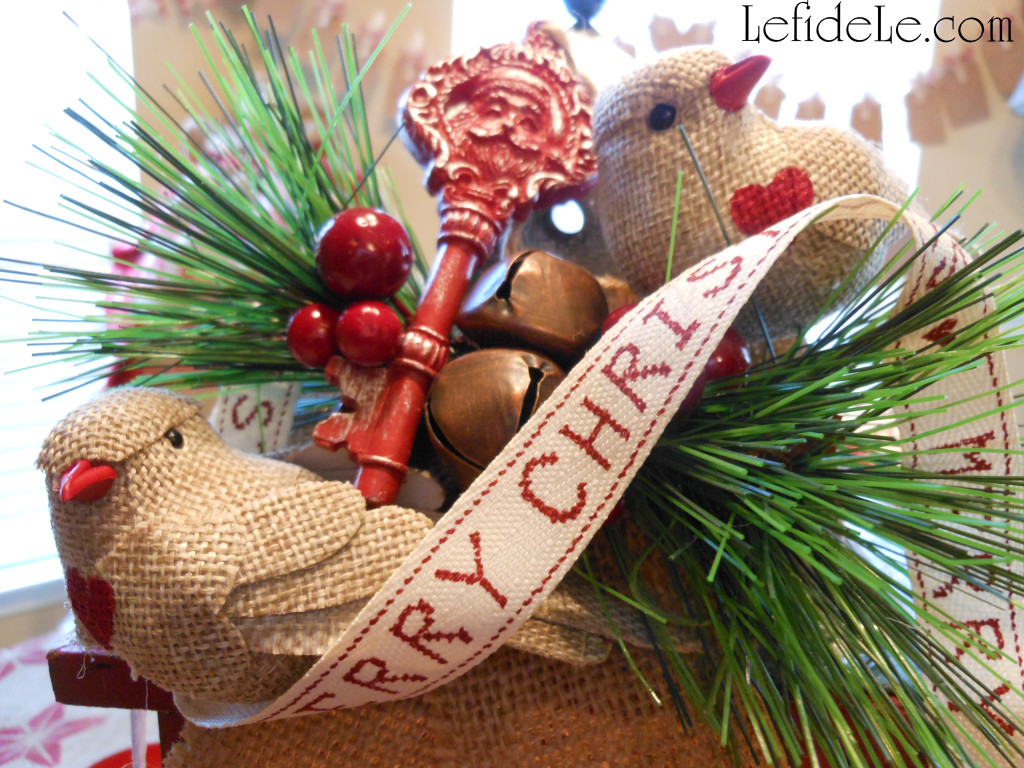
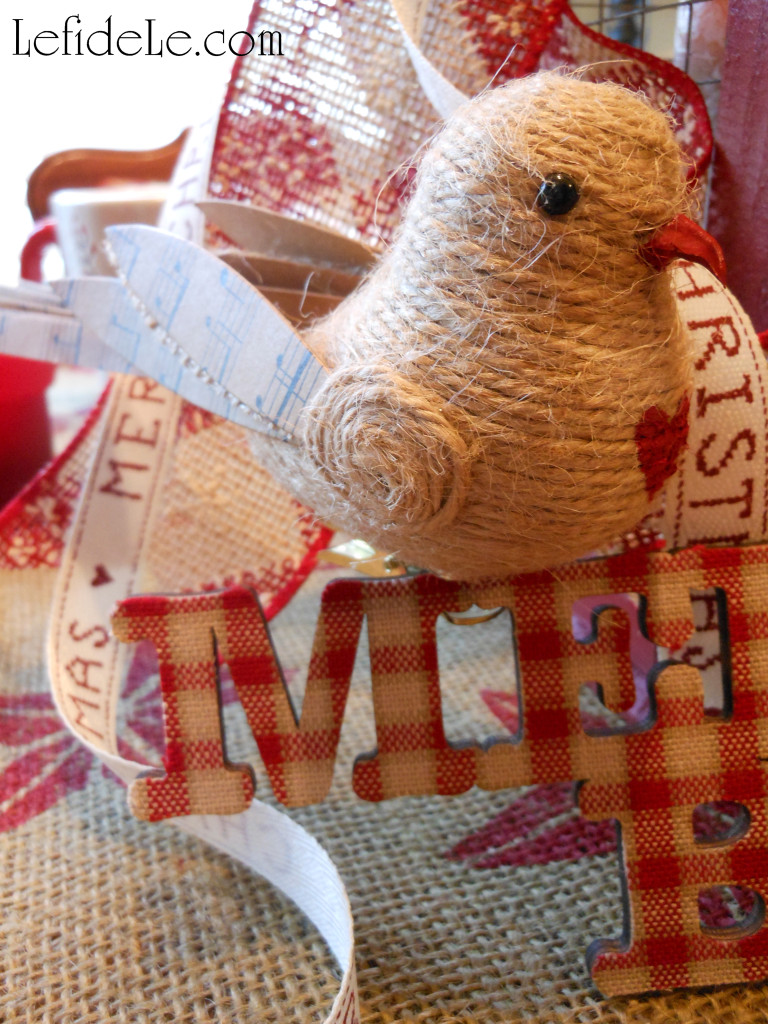
“Follow me in merry measure” to a table lit by barn red lantern bedecked with ribbons and merry-making birds. (See more about the birdies here!)

941Leigh

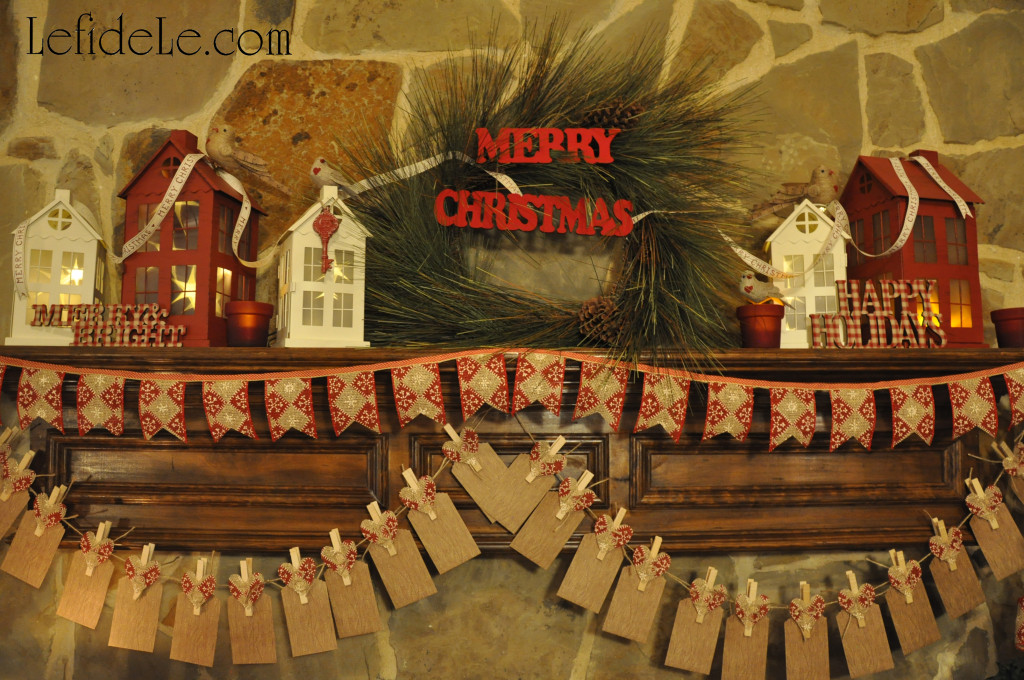
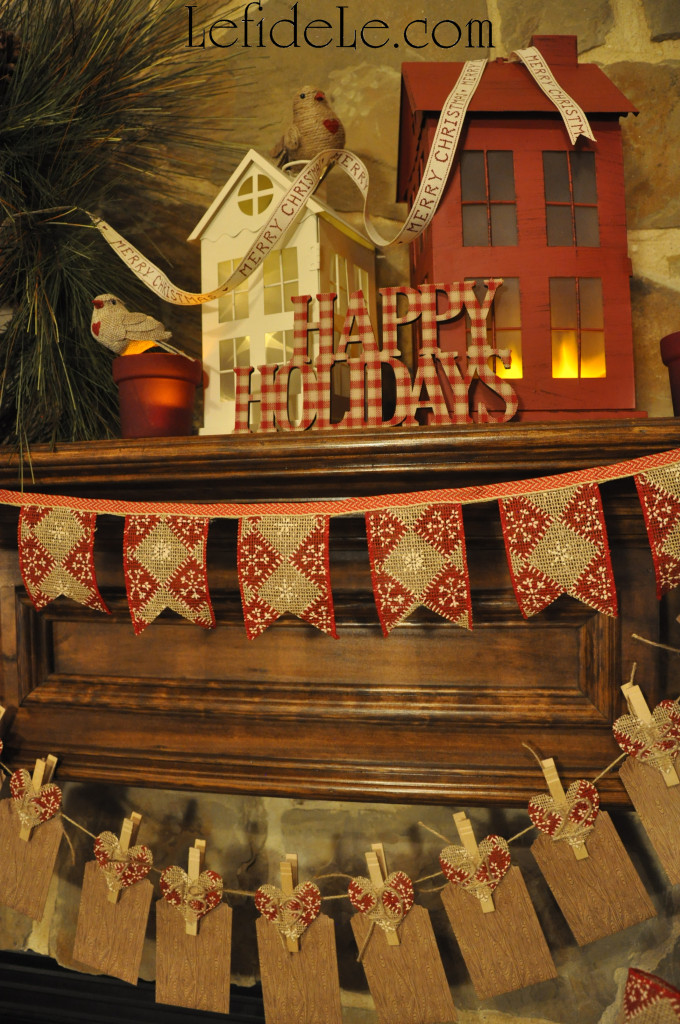
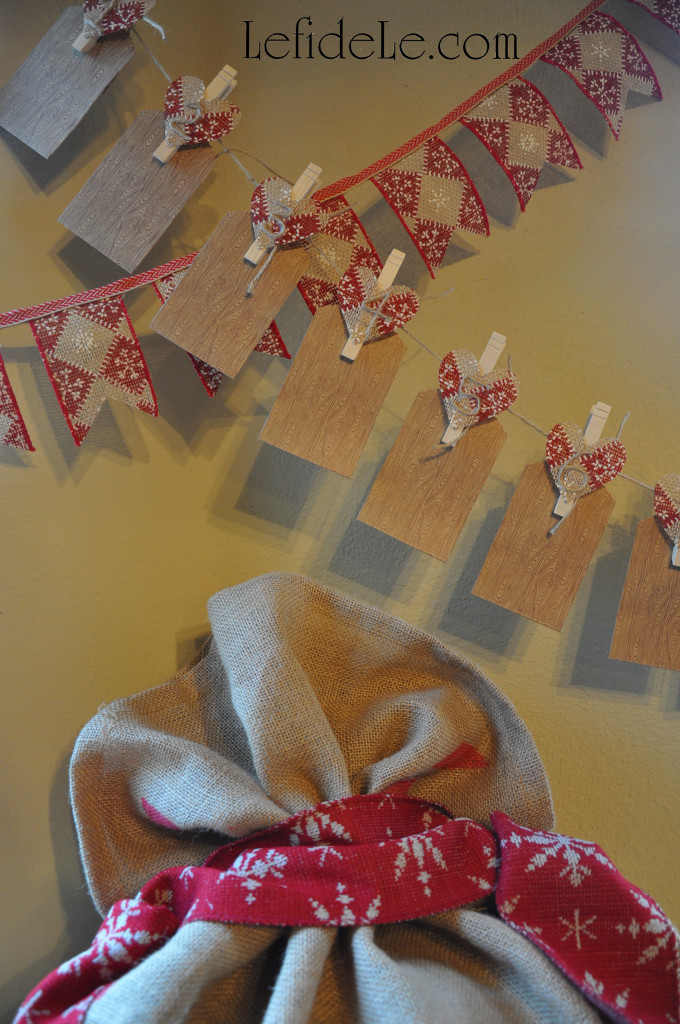
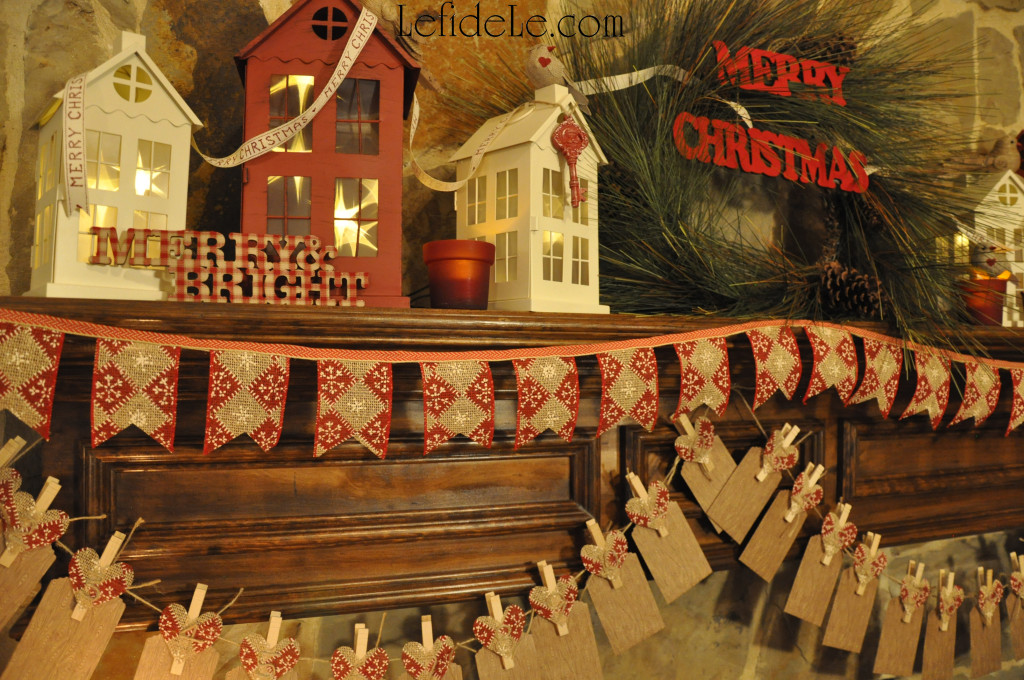
“While I tell of Yule-tide treasure” held in handcrafted advent calendars alongside festive banners and signs trimming the windows in the background. (Find out how to make these here!)

58Leigh

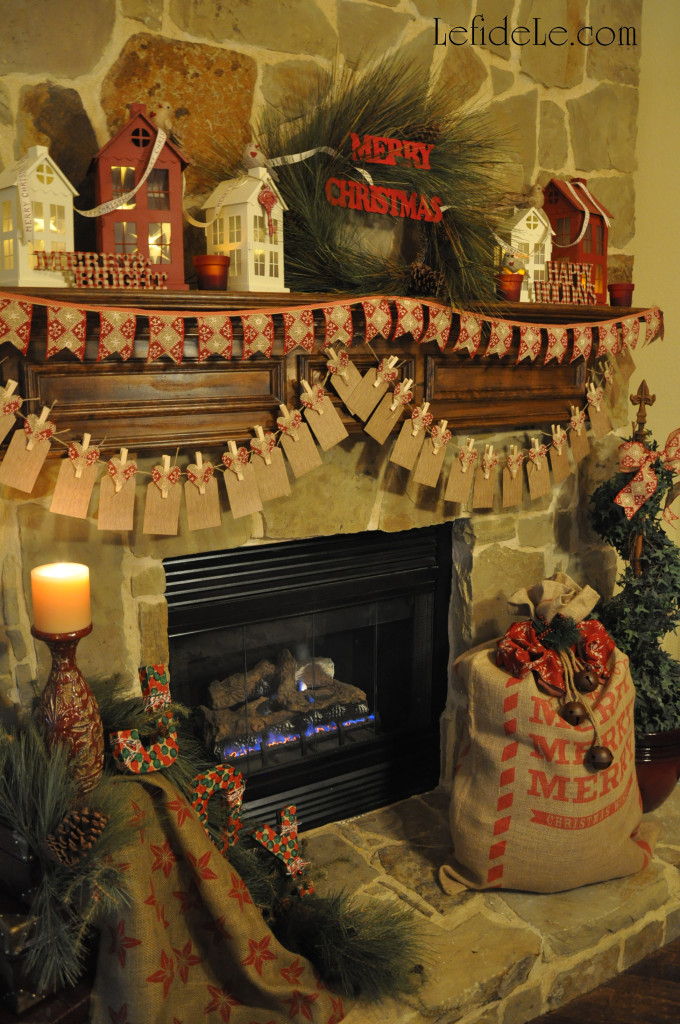
“See the blazing Yule before us” and the apropos message of J-O-Y spelling out the holiday sentiment. (Learn how easily these were made here!)

67Leigh

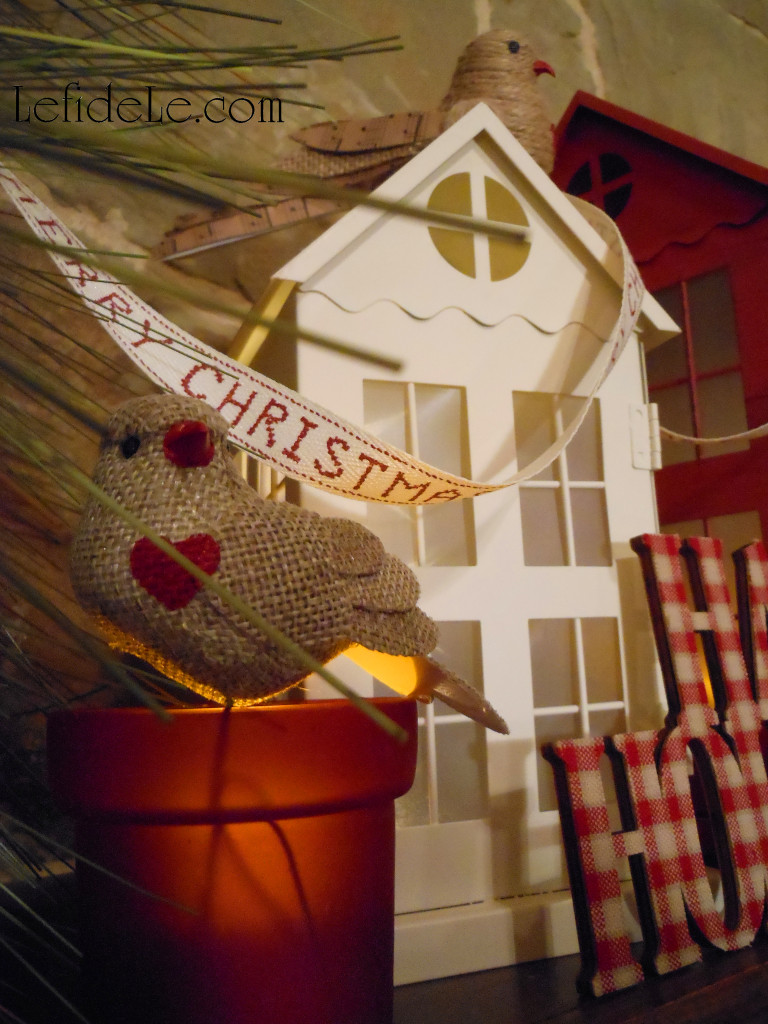
“Strike the harp and join the chorus” of pretty burlap birds perched perfectly upon tiny tin houses. (See this quick project here!)

918Leigh

“Sing we joyous, all together, heedless of the wind and weather.

Fa-La-La-La-La-La-La-La-La!”

Faithfully Yours,

Leigh

Easy DIY Burlap Ribbon Holiday Banner & Christmas Countdown Advent Calendar Craft Tutorials (+ Free Printable Heart Template)

75Leigh Why prepare for Christmas by waiting in long lines at overcrowded stores when you can create heartfelt moments with loved ones while crafting a homespun holiday that harkens back to simpler times. Deck the halls without breaking the bank with easy DIY advent calendars and holiday banners made from burlap, ribbon, jute or twine, and clothes pins. Nothing is more festive than a banner, and the countdown to Christmas is even more exiting when it’s accompanied with a daily treat. In this way, we can all celebrate togetherness in the real spirit of the season!

946Leigh

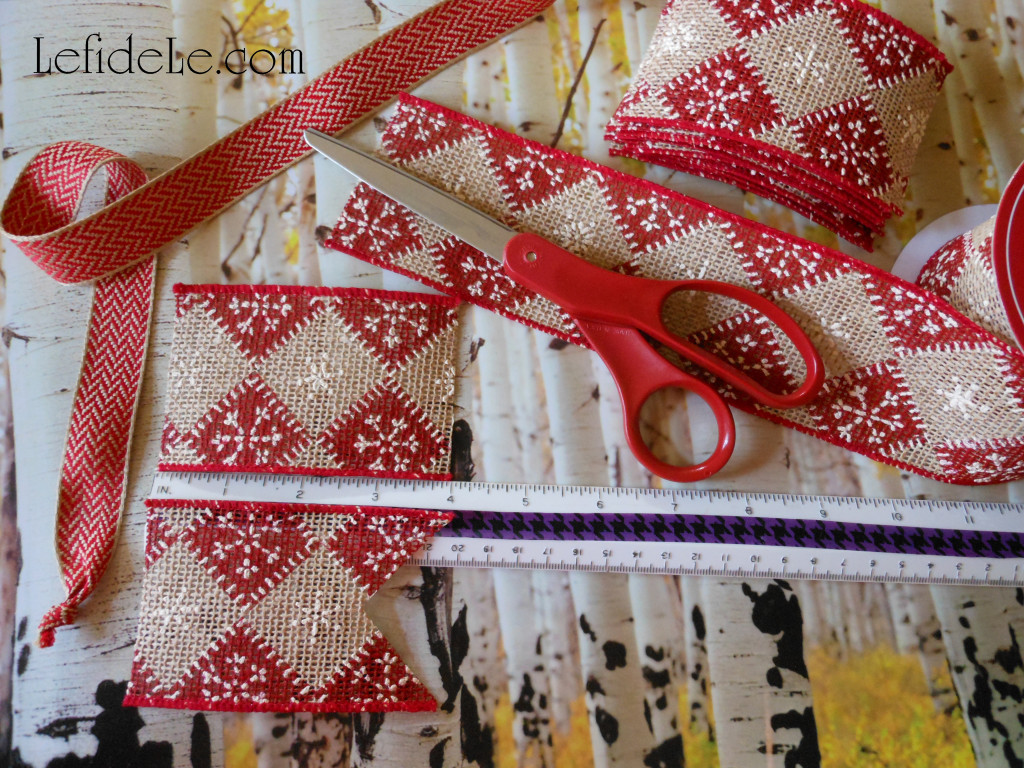
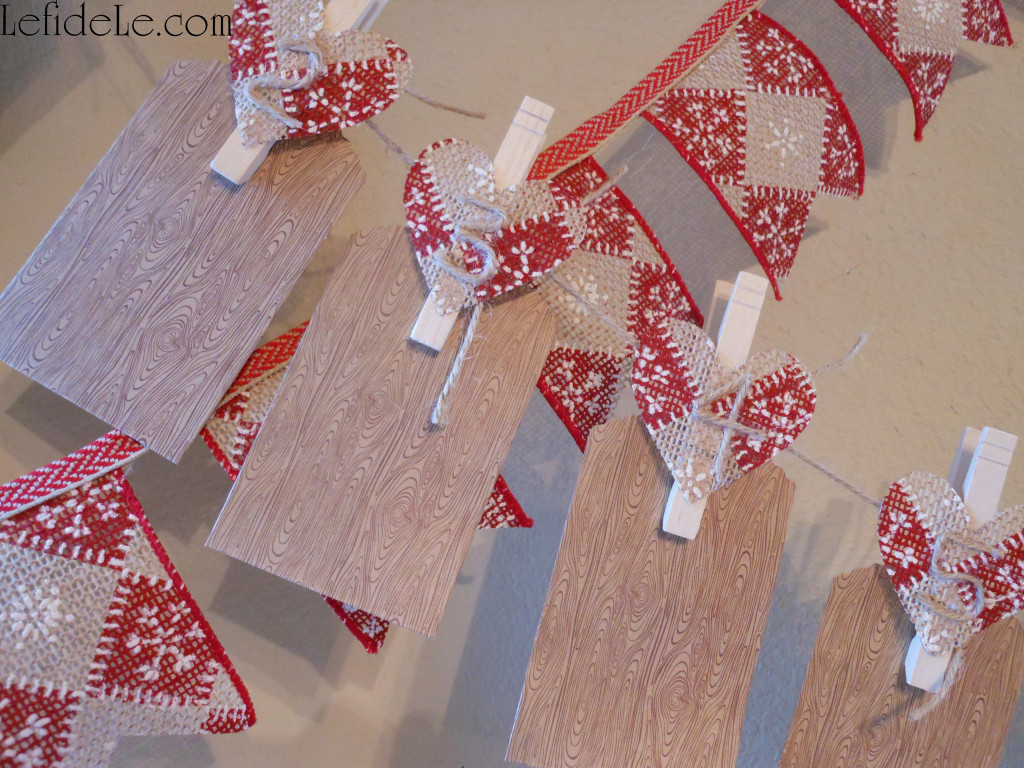
To make a simple yet adorable Christmas banner, use a wired ribbon (like patterned burlap) and a thinner flat woven ribbon. Cut the woven ribbon as long as you want your banner to be (like the length of your mantel).

624Leigh

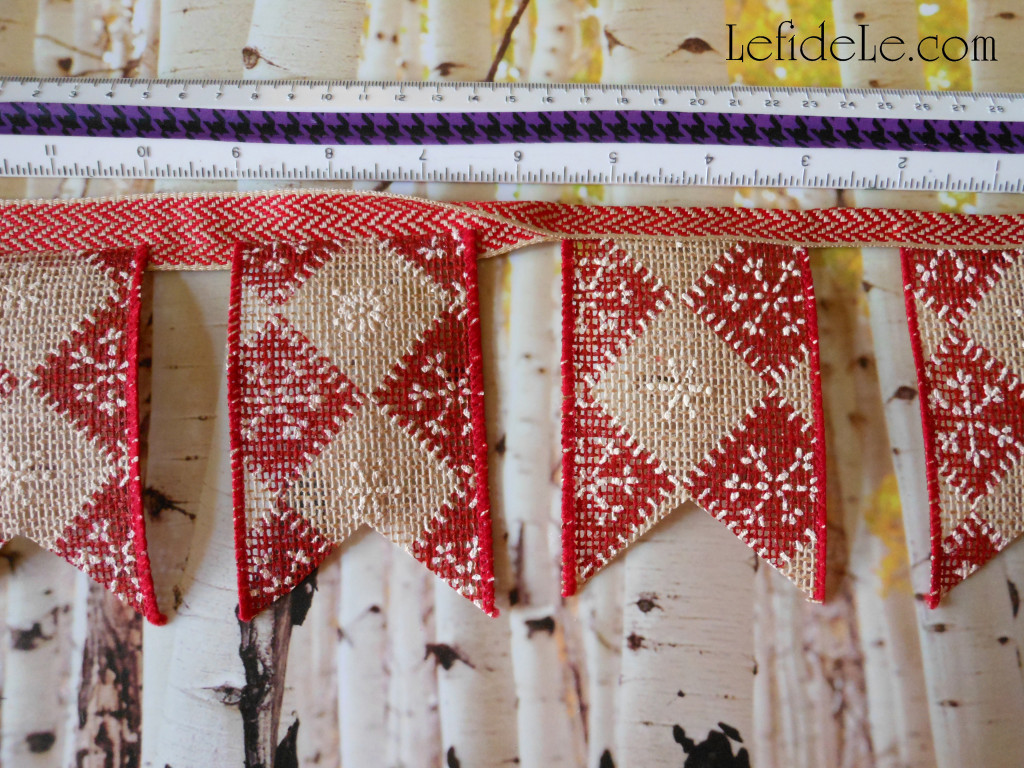
To make the little flags, cut enough 4 inch lengths of the wired ribbon to fill the length of the banner. Next cut 1 inch V-notches out of one end of each (by folding in half lengthwise and making a straight cut at a diagonal angle).

628Leigh

Hot glue the straight sides of the cut flags to the center of the long woven strand (spacing them a little apart). Now add a line of glue to the top of the long ribbon and fold in half over the cut ribbons. (Press this down for better adherence.) Do this in sections of a few flags at a time (so the hot glue doesn’t have time to cool before pressing).

923Leigh

Try hanging it on a stairway or as a festive backdrop in your breakfast room. (I even have one hanging across my spice racks as I write this.)

84Leigh

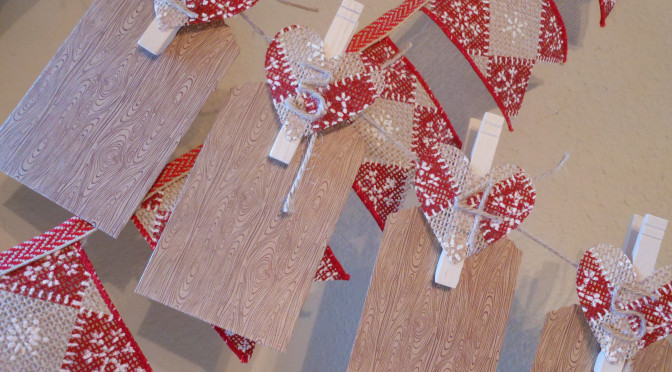
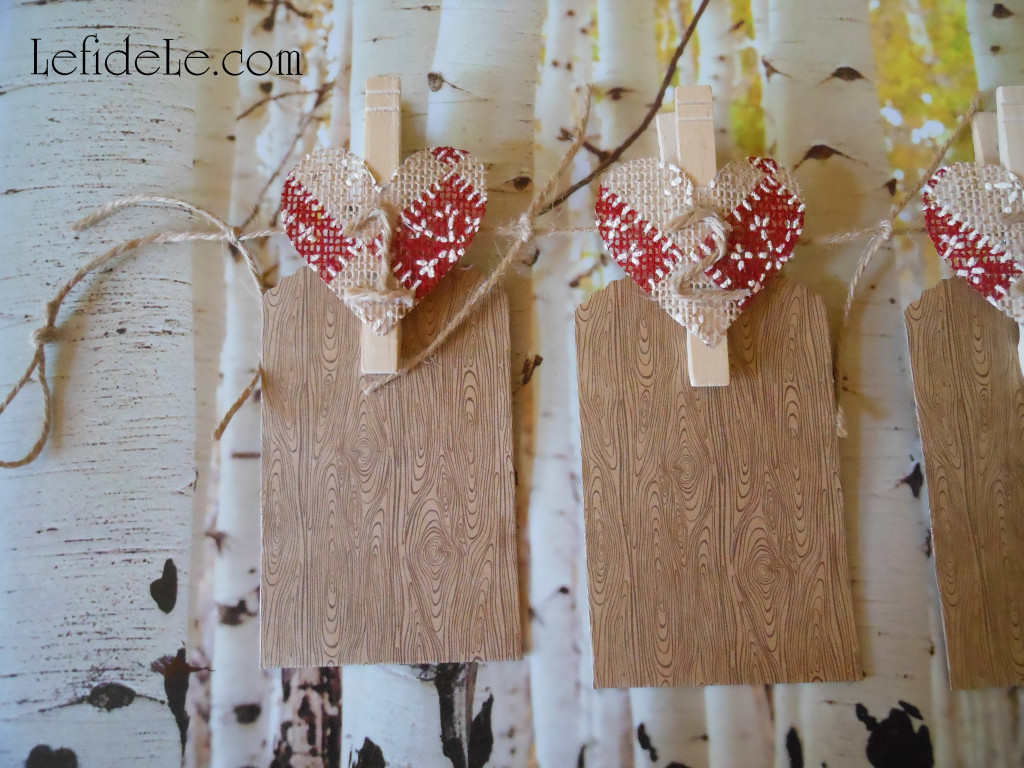
To make an original yet inexpensive advent calendar use 25 clothespins, 25 tiny paper bags, jute or twine, and some leftover ribbon or burlap.

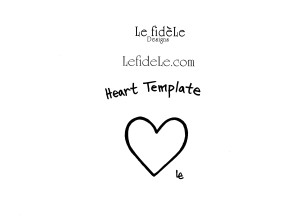
heart template

Print my heart stencil, and cut it out to use as an easy template to trace uniform shapes quickly. (Just right click on the image above, and select print.)

653Leigh

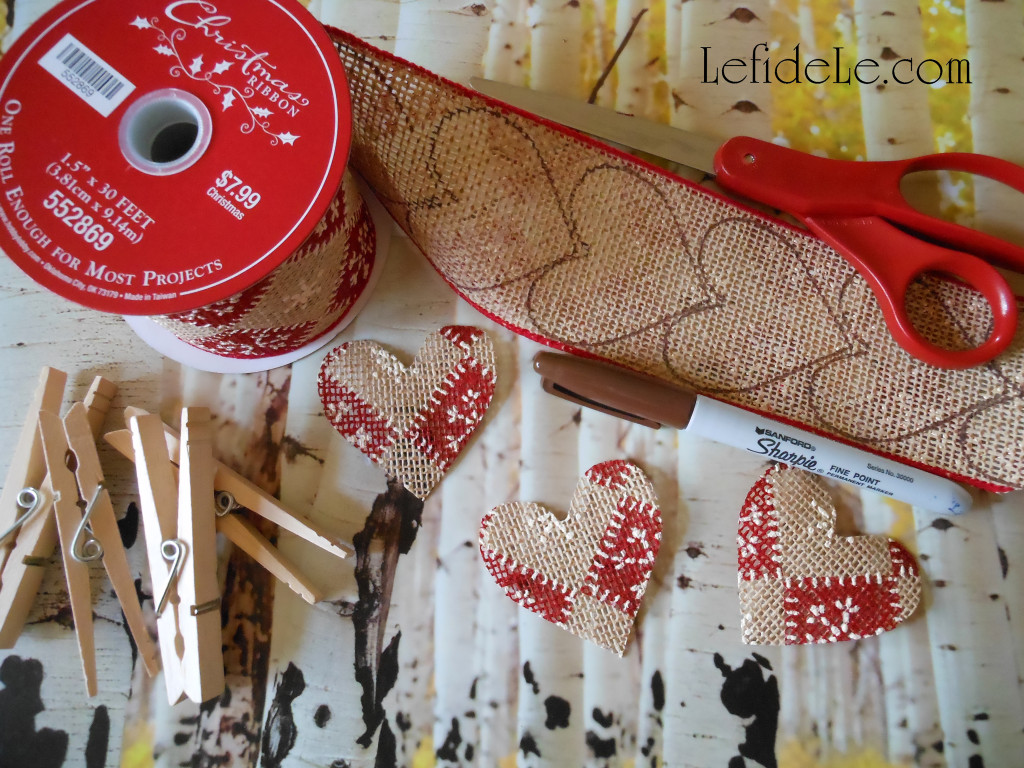
Trace the hearts (or make stars, trees, circles, etc.) onto the underside of your choice of ribbon, fabric, paper, or burlap. Cut 25 of the shapes out.

663Leigh

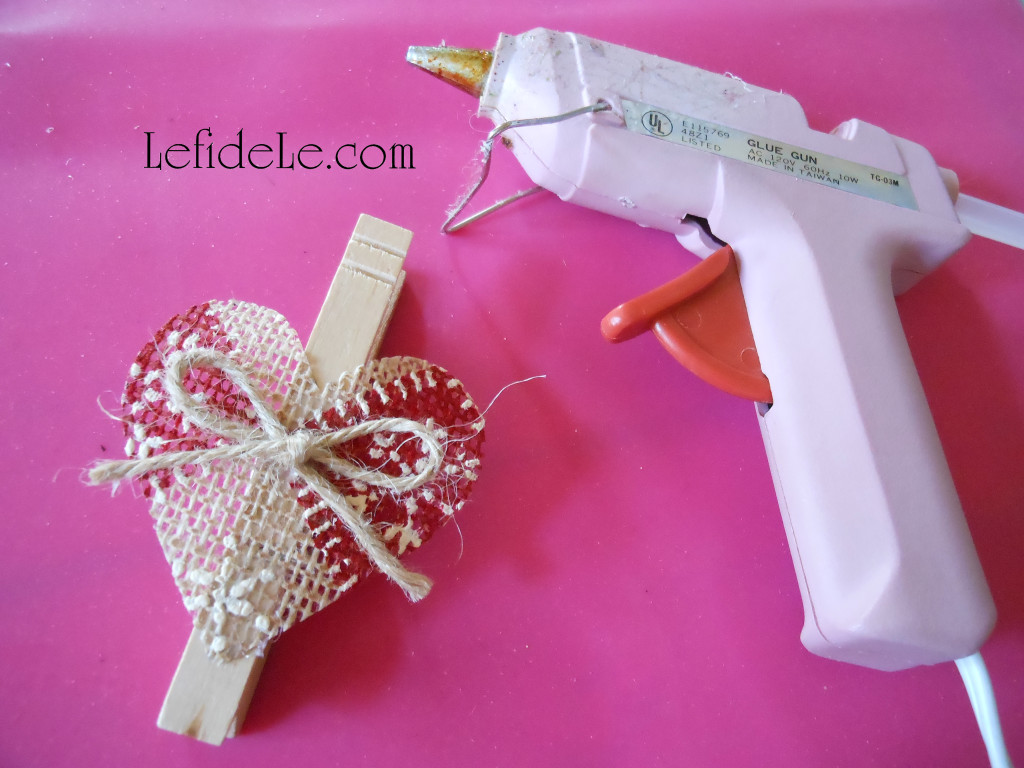
Then hot glue a shape to each clothespin. Next, you have the choice of gluing a ready-made number onto each heart, or simply adding a bow. (This is really cute when using them as a mantle-less stocking holder line. You can also add a strong magnet to the back, and stick it on the fridge.)

2Leigh

I chose to hot glue jute in the shape of numbers onto each heart. (It is easier than it looks, but it was a bit more time consuming.)

706Leigh

Be sure to knot small lengths of twine in between each clothespin at regular intervals (so that they don’t all end up in the center once they’re hung up).

58Leigh

A few ideas for daily treats are… gum or candy, jewelry or cufflinks, holiday fortunes without the cookies, gift cards from favorite stores, love notes or poetry, cash or coins, seasonal jokes, flash drives loaded with holiday movies or music, sewing goods like thimbles or embroidery floss, special recipes with a promise to make, barrettes or keyrings, homemade certificates for things like breakfast in bed or car-washing, lip gloss or chap-stick, scavenger hunt clues for large items, scrapbooking stickers or components, and tickets for movies, concerts, events, or travel. Or for the crafty person… try putting one piece of a crafting kit into each packet which can be completed when the holiday’s over. You can even assign odd and even days to different family members.

67Leigh

Why have one day of a filled stocking that competes with big presents, when you spread the joy of Christmas into 25 days of surprises!

Fa La La La La Lovin’ It!

Faithfully Yours,

Leigh

P.S. Check out my other coordinating homespun holiday craft tutorial HERE, and the full results all of the heartfelt crafting HERE!


Easy DIY Stamp Painted Tablecloth & Holiday Ribbon Napkin Rings + Burlap Birds Craft Tutorials

953Leigh

Why prepare for Christmas by waiting in long lines at overcrowded stores when you can create heartfelt moments with loved ones while crafting a homespun holiday that harkens back to simpler times. Deck the halls without breaking the bank with an easy DIY burlap tablecloth painted with stamps to coordinate with ribbon crafted napkin rings. Then add a personal touch to ready-made burlap and jute bird ornaments with just a little paint and sentiment. In this way, we can all celebrate togetherness in the real spirit of the season!

958Leigh

To make the tablecloth, fold the burlap fabric onto itself forming a triangle. Cut alongside the raw edge to remove the extra footage. Unfold it to reveal a perfect square without having measured a thing. The raw edges add to its rustic appeal… so nothing needs to be sewn either! (Note that burlap is available in varying widths which in turn will affect your length… so purchase the widest variety you can find.)

644Leigh

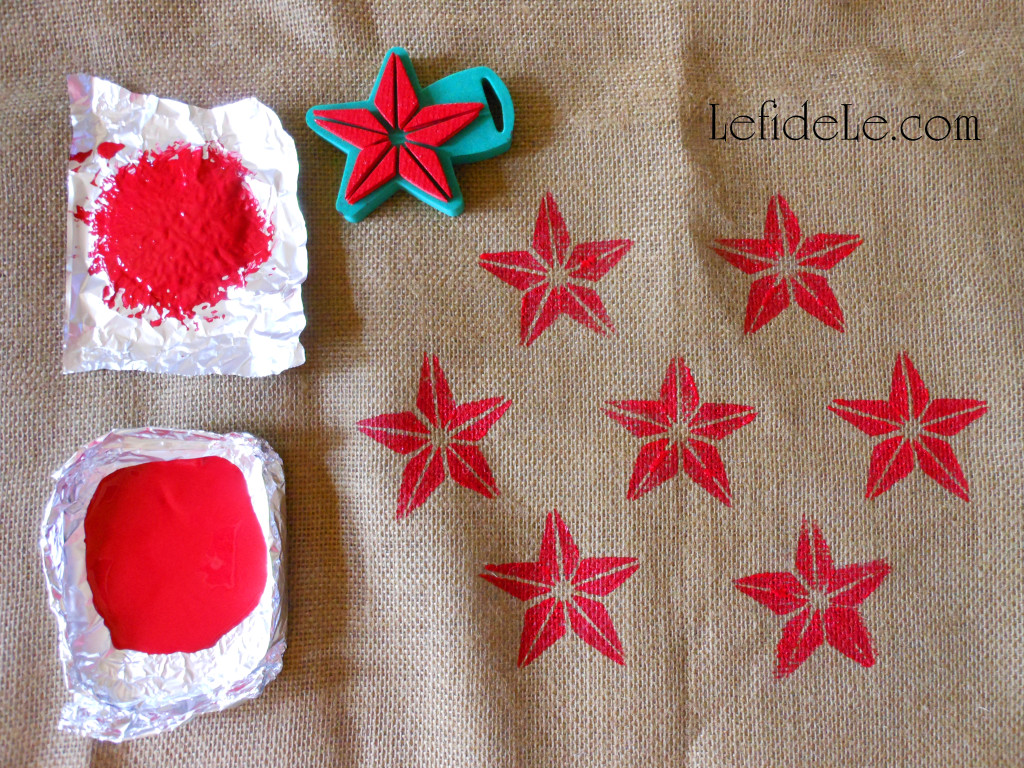
Spread the burlap over a cheap drop-cloth to protect your work surface from paint (because it will seep through). Add a holiday pattern to the cloth with a thick foam shape stamp. Dip it into cheap acrylic craft paint, and then stamp it onto a throw away piece to remove the excess paint before stamping your project.

943Leigh

I used a star shape for several reasons… I already owned the stamp, it symbolizes the star of wonder in the heavens, and the cloth can be used again on the fourth of July!

603Leigh

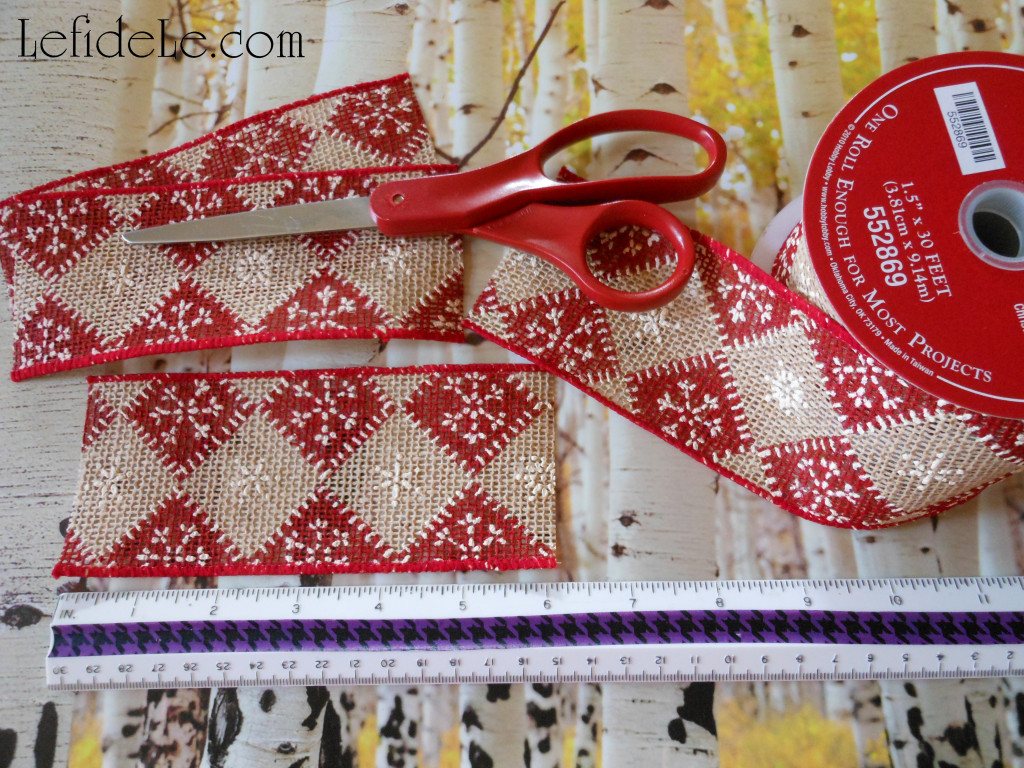
Make the matching napkin rings easily with wire edged burlap ribbon which is available in so many cute patterns. To do this, simply cut 6 inch lengths for each ring you’ll need.

615Leigh

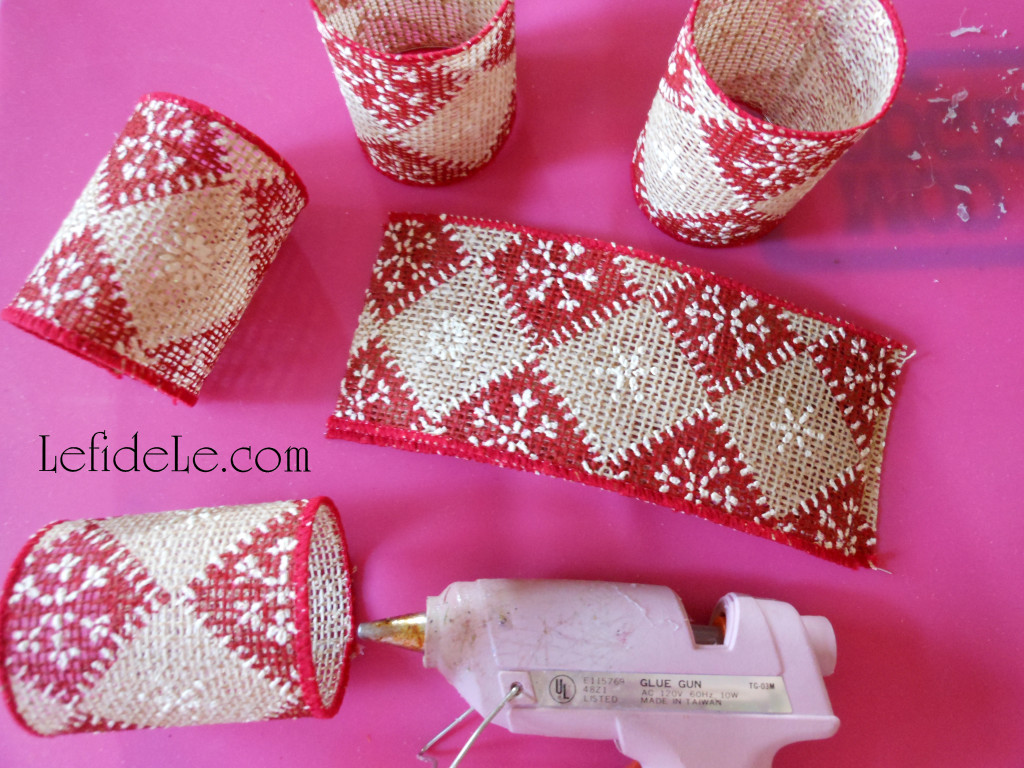
Lay down a line of hot glue onto one end of a section of ribbon and fold it over to meet the other end. Press together firmly to ensure it forms a secure bond. One and done!

917Leigh

The rings coordinate perfectly with my advent calendar and banner crafts because they utilized the same roll of ribbon.

25Leigh

Saving the easiest for last… personalize any store bought ornament with a little paint for gifts or to make it match your décor perfectly.

635Leigh

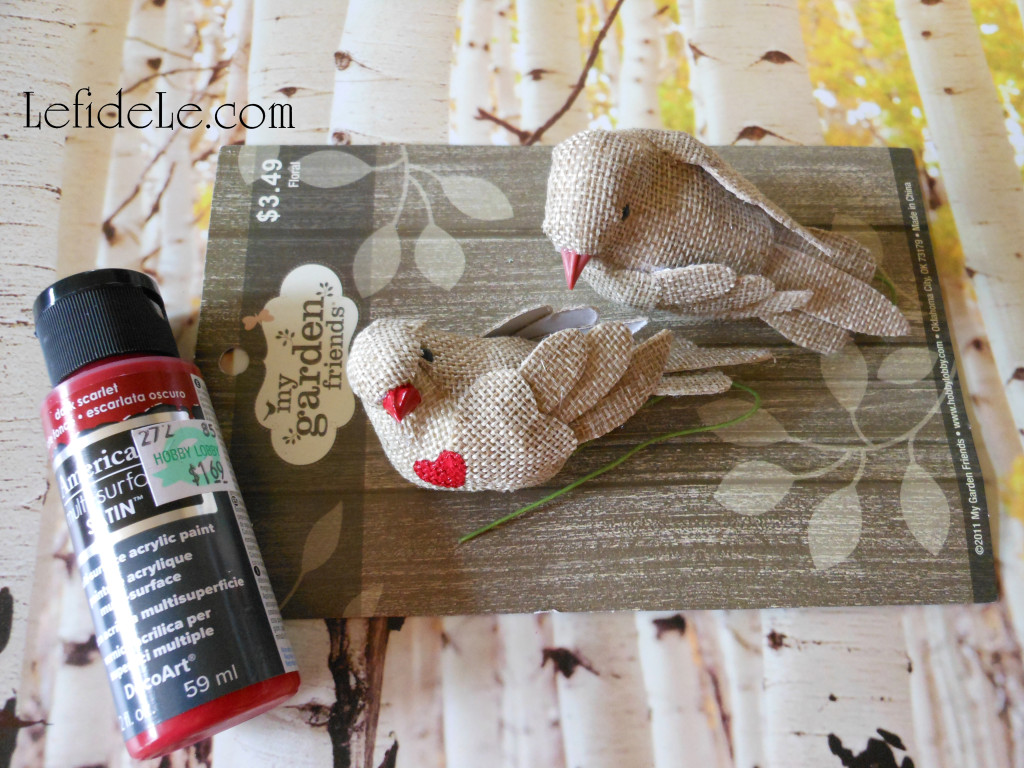
For these bird picks (from the floral department of a local craft store) I simply painted the black beaks and added hearts with a bit of the leftover tablecloth paint.

31Leigh

These clip ornament birds were found at an overstock supply store locally. (Now painted, they look like lipstick laden lady birds wearing their hearts on their sleeves!)

975Leigh

I started the whole ornament personalization thing many years ago when my godmother (not a fairy) asked me to paint a pennant bearing penguin to change its school affiliation. It was a really easy way to customize a small gift to turn it into a keepsake. (If you’re not at ease with a brush and paint, try a paint pen!)

936Leigh

Fa La La La La Y’all!

Faithfully Yours,

Leigh

P.S. Check out my other coordinating homespun holiday craft tutorial HERE, and the full results all of the heartfelt crafting HERE!


Easy DIY Leaping Bunny Topiary Craft Tutorials with Free Banner, Wreath, Place-card, Invitation, & Thank You Note Printables (for Easter, Showers, Luncheons, & Brunches)

253Leigh

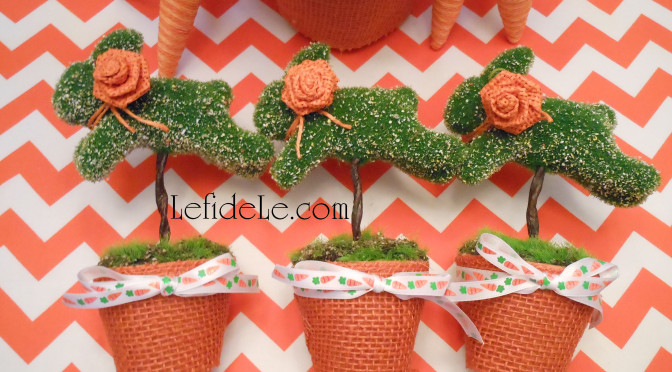
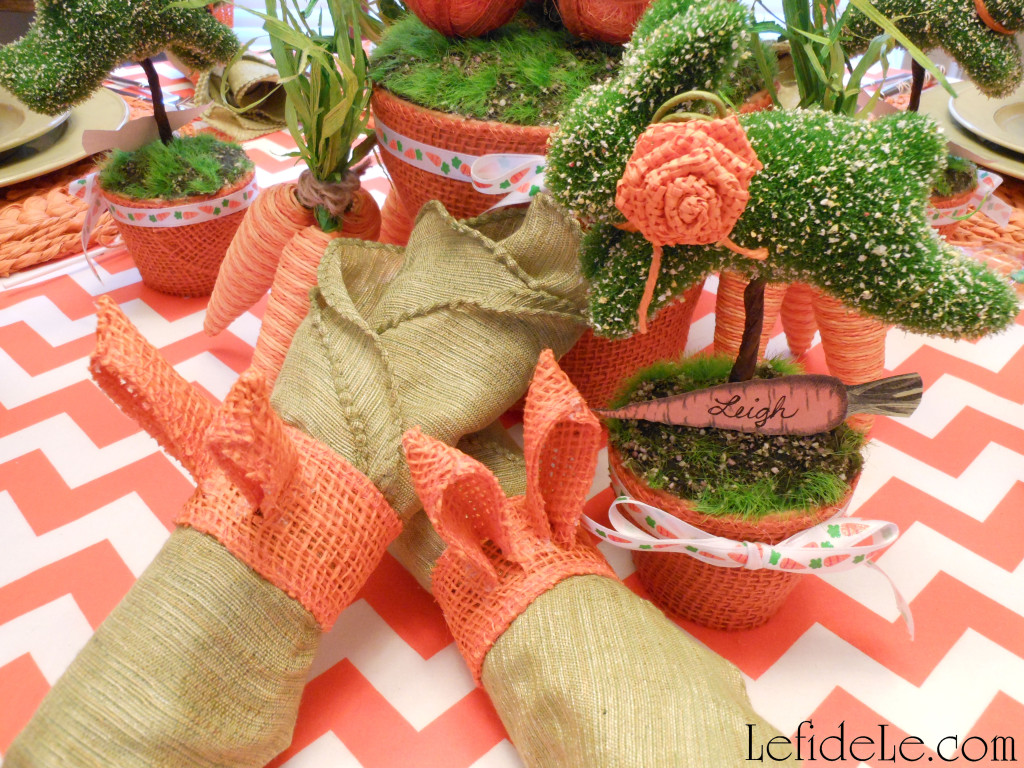
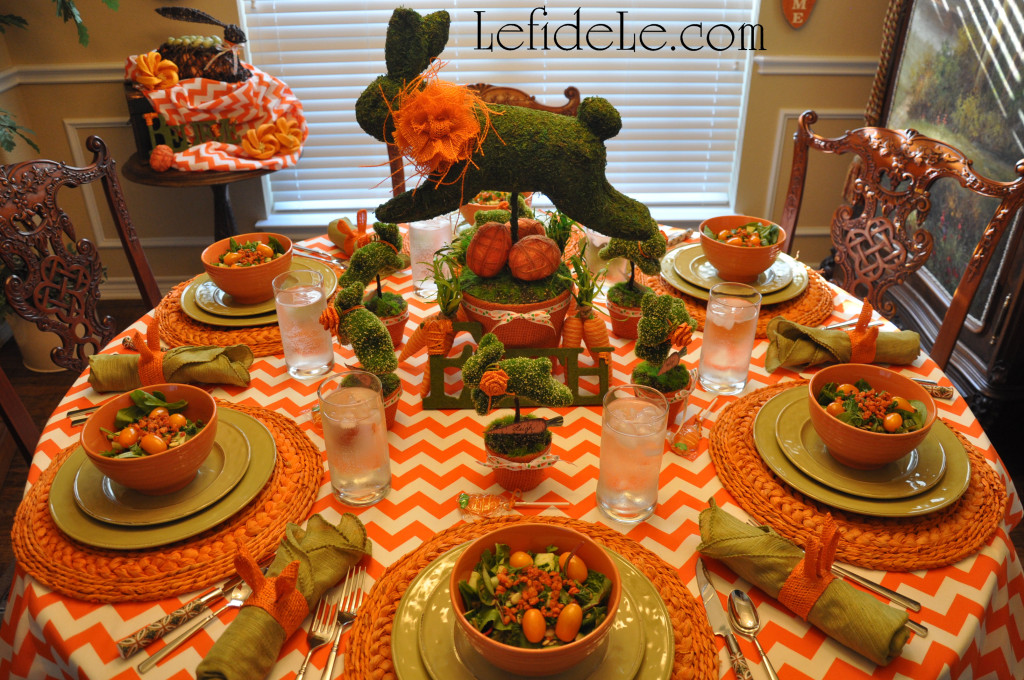
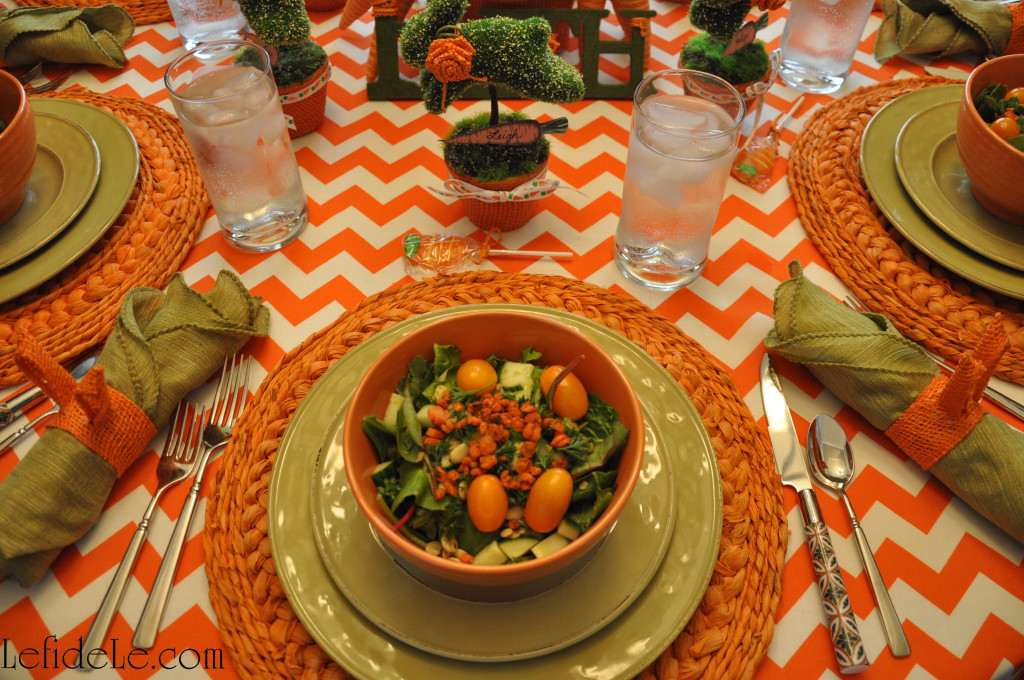
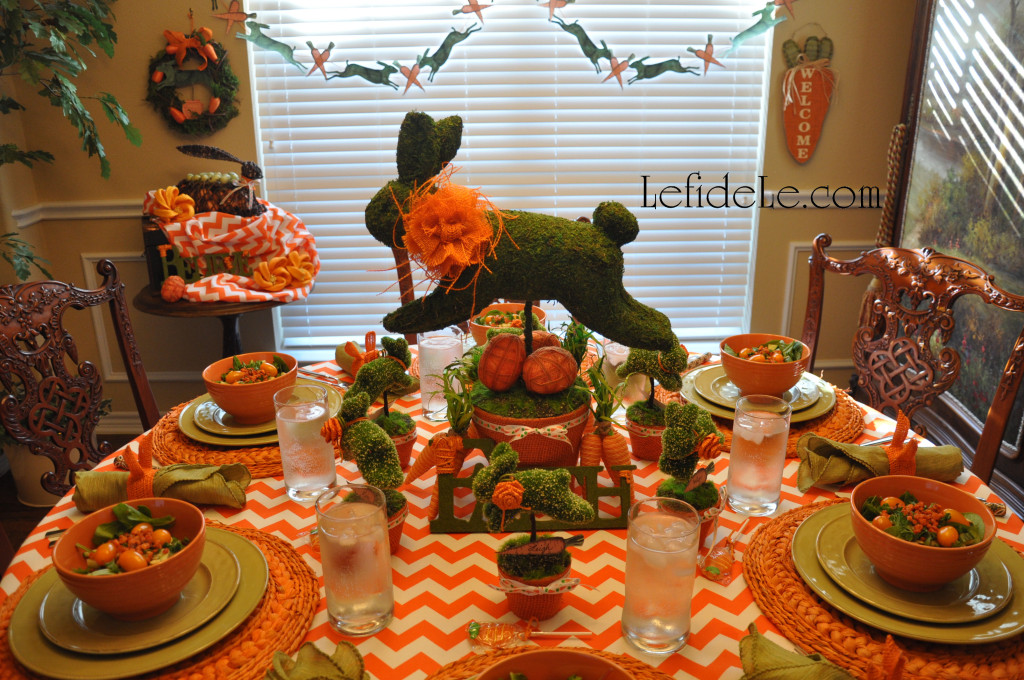
Make your own tabletop garden full of leaping bunnies for your next indoor garden party. DIY these easy projects 3-dimensionally or with my free printables… or mix and match the crafts as I’ve done here. Choose your own color and theme to embellish the bunnies with, or follow my lead and make burlap carrot pots to sprout your menagerie from. Better yet, keep the wraps, rosettes, and ribbons nonpermanent so the bunnies may be used again for another theme. Let these rascally rabbits transform your spring fling into a colossal cute –fest today!
256Leigh

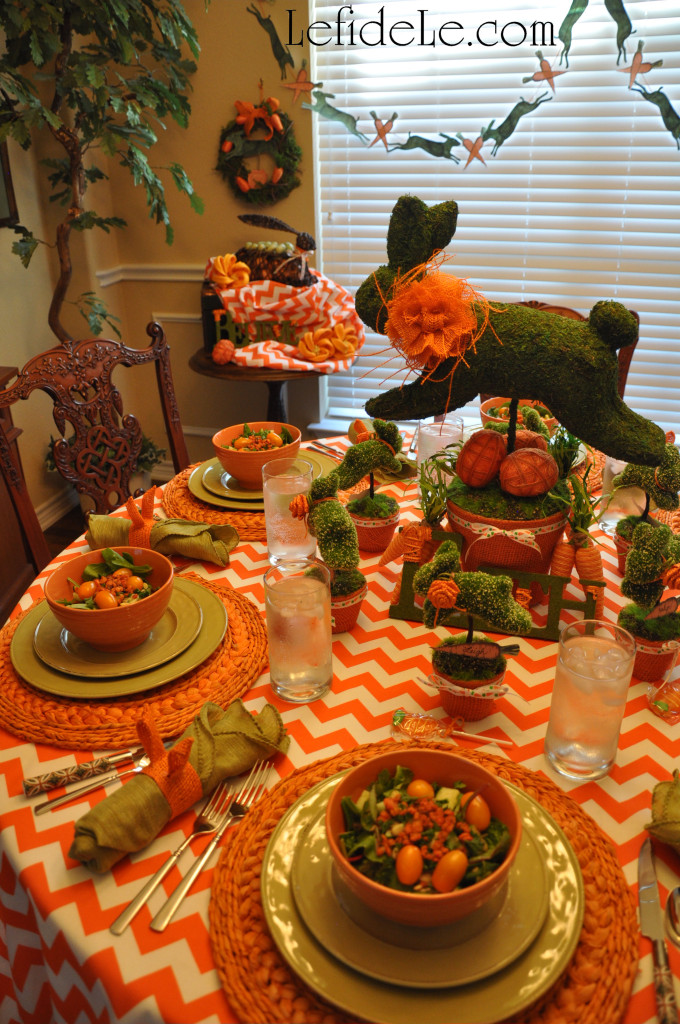
I’ve seen faux foliage covered bunny and bird ornaments as well as topiary picks at several stores locally, and online the choices are endless. Using one of these ready-mades is the quickest way to craft a 3-dimensional creature topiary. (I’ll tell you how to make 2 other types later.)
020Leigh

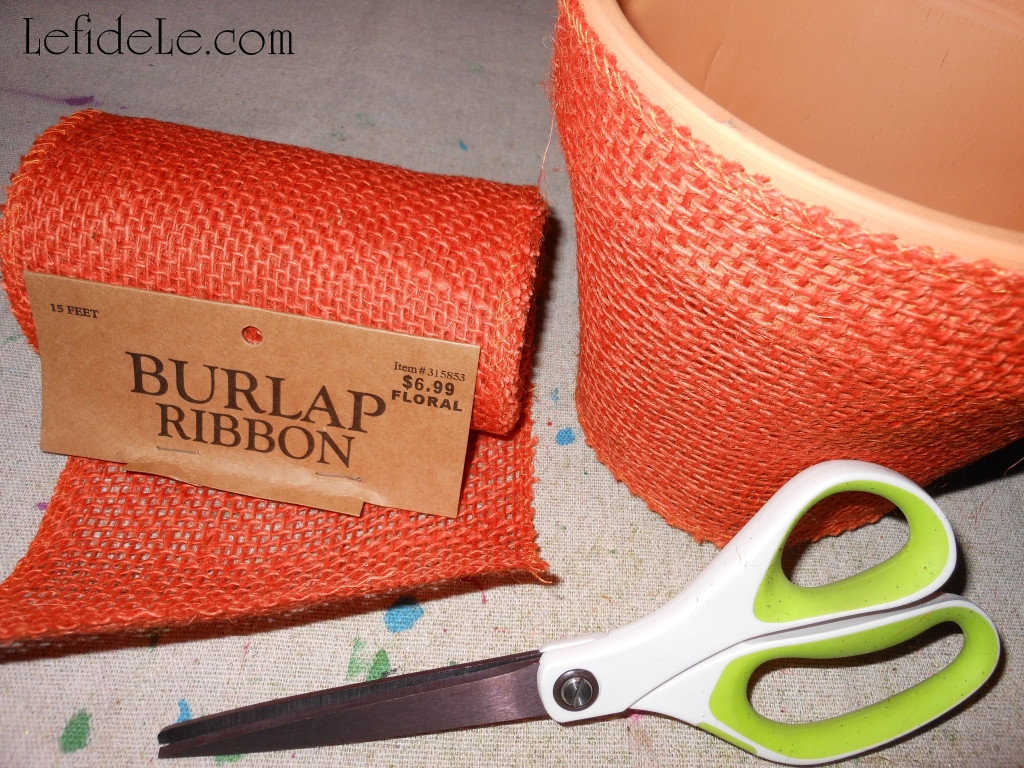
Wrap small terra cotta pots with burlap fabric or ribbon, and cut after the overlap. Use dots of hot glue to adhere one side to the other. Avoid gluing the burlap to the pot if you’d like to reuse these with another theme, as I’ll be sure to do in the future. Trim the excess length off with scissors so that the pots sit flat on the table.
023Leigh

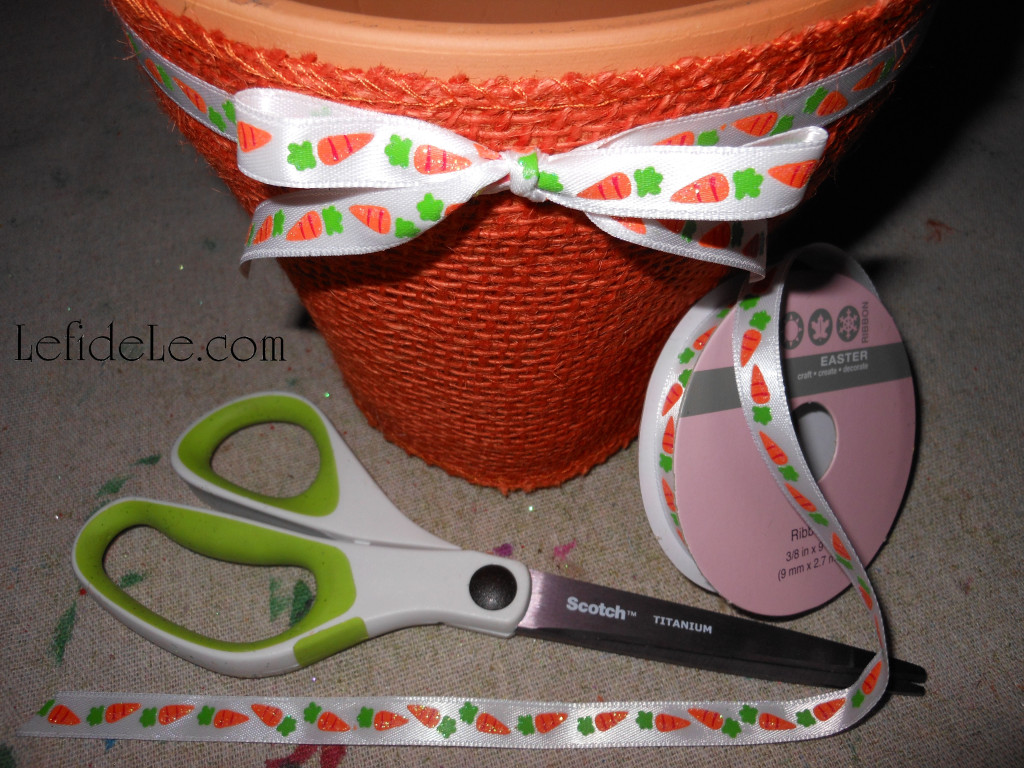
Add a length of ribbon around the top and tie it in a taut bow. This is not only decorative, but is a trick to keep the burlap securely in place without having to glue it permanently.
005Leigh

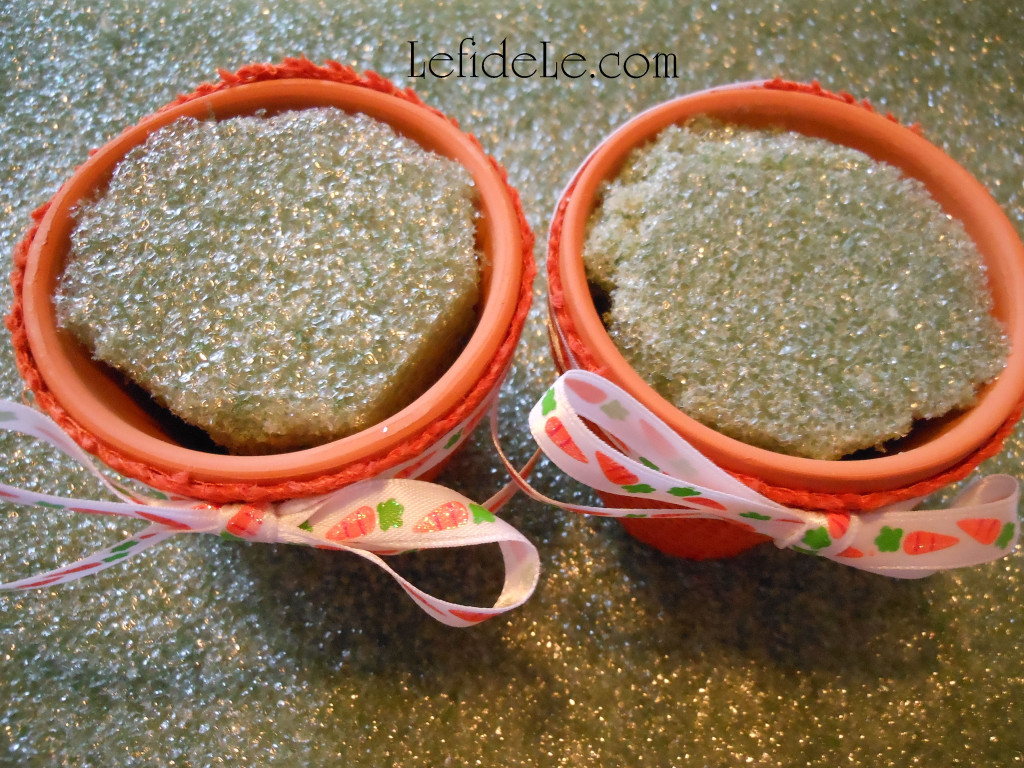
Fill each pot with a chunk cut to fit, from a large block of stryofoam. Wedge little chunks of stryofoam in between the large block and the wall of the pot until the large block has no wiggle room. This keeps your creation from drooping later.
006Leigh

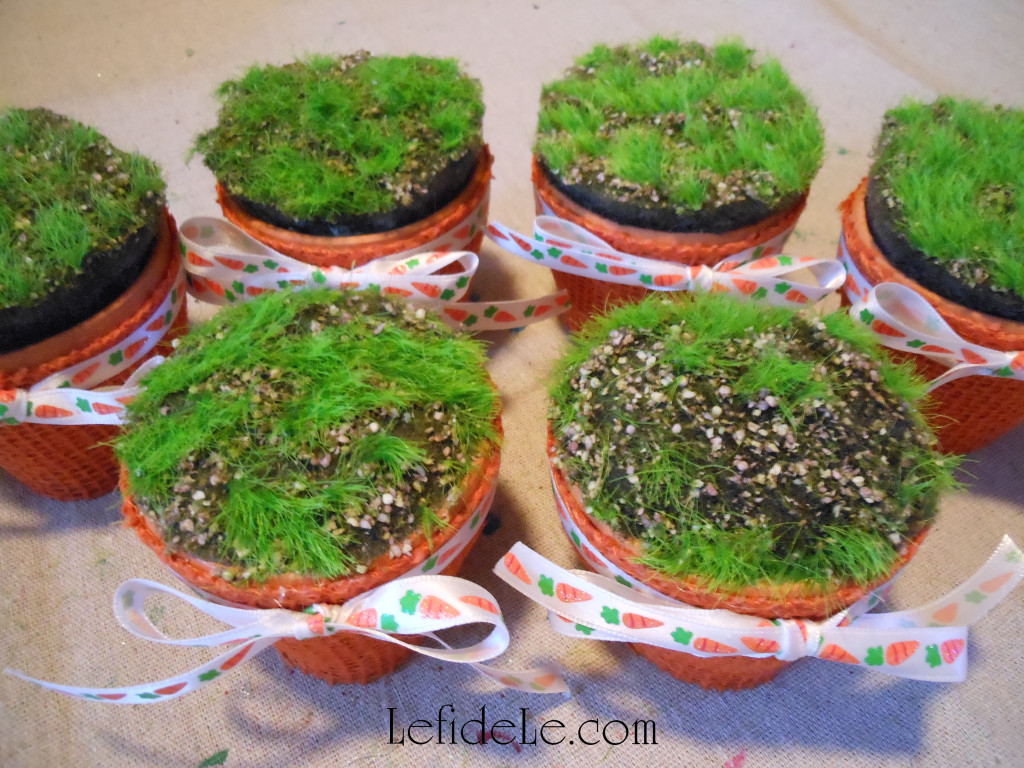
Glue ground cover to the top of your moss. Do this by cutting the green edges to fit the pot, and gluing those edges to the rim. I used faux earth meant for a table runner, but I’ve seen similar stuff in the form of placemats as well. Other options are faux Easter grass, moss ribbon, Astroturf, green burlap, or grass printed scrapbook paper (for the printable topiary).
010(2)Leigh

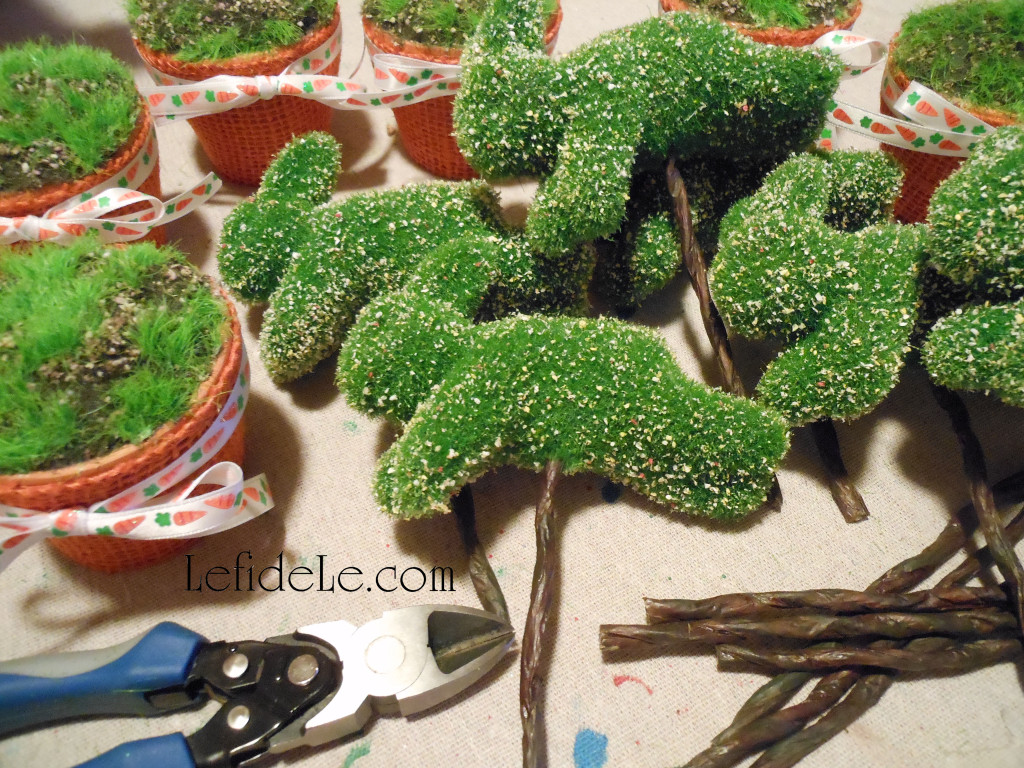
Cut stems, sticks, or dowels to jab into your ornaments, and wrap them with brown floral tape. If your animals are already on sticks, simply cut them to size with good sheers.
013 (2)Leigh

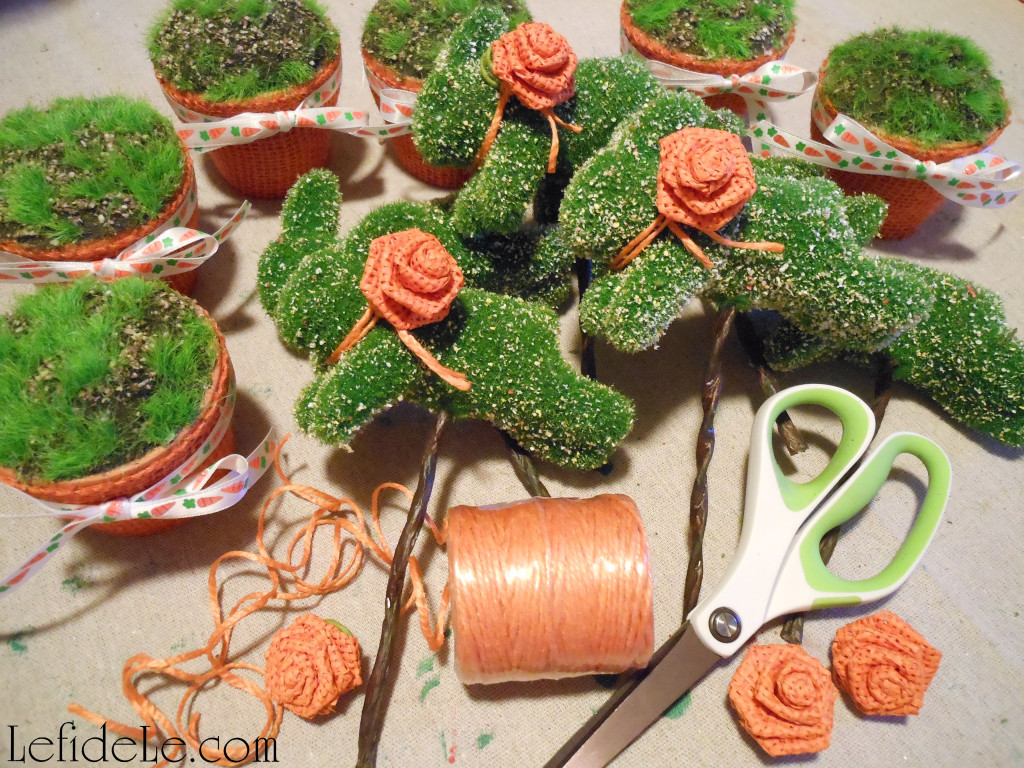
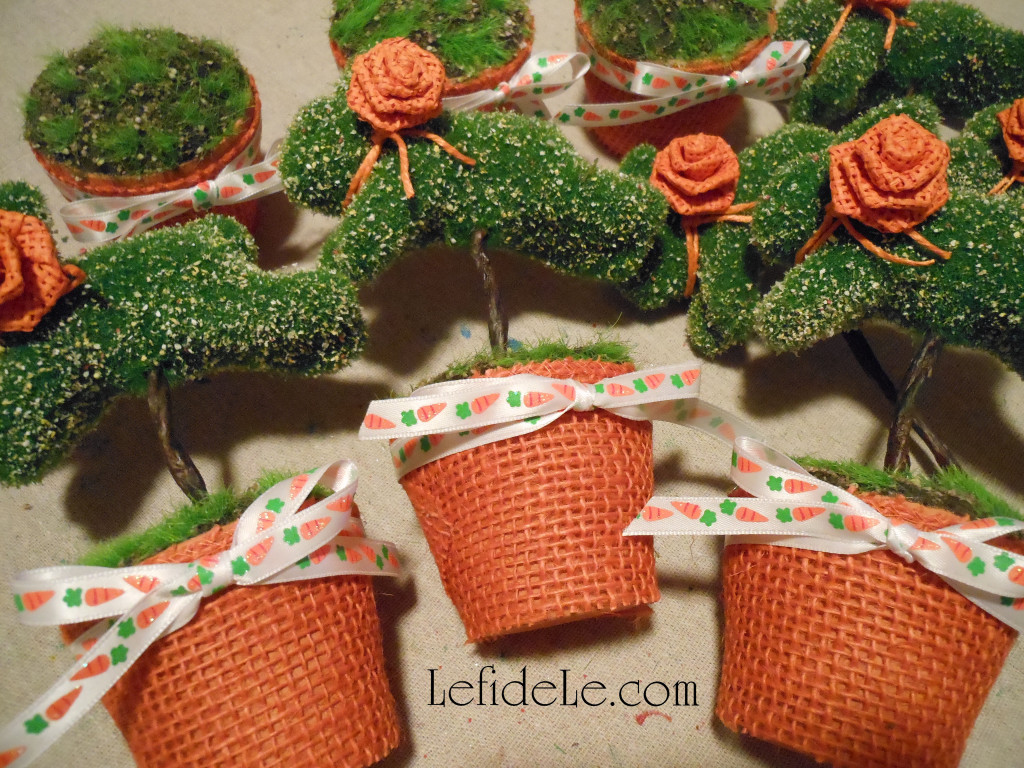
It’s easier to embellish your bunnies before potting them. Double-wrapped a length of jute (or yarn, ribbon, twine) around each bunny neck and knot it loosely. Slip a burlap rosette under the jute so that it sits securely without glue.
014 (2)Leigh

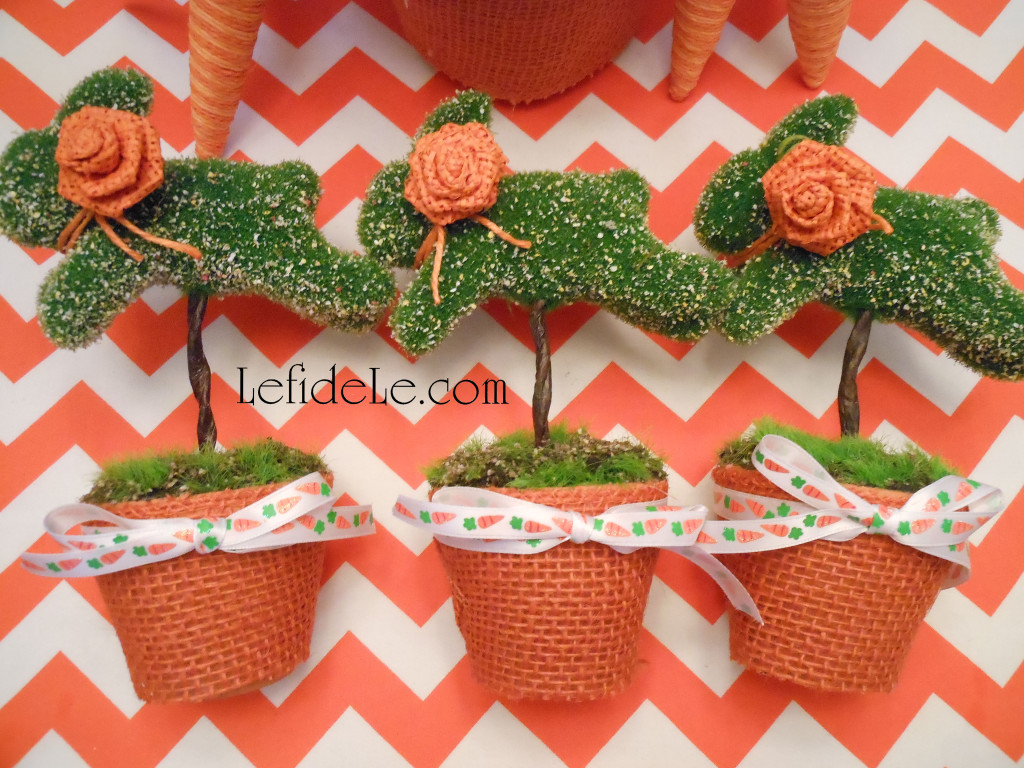
Make a pilot hole into the center of the green stuff. Do this carefully with any sharp point from an awl to a screwdriver. (I used a scissor side… but I have a tendency toward crafting dangerously.) Lastly, jab the bunny stick into the pilot hole.
134Leigh

Continue crafting the rest of your rascally rabbits.
287Leigh

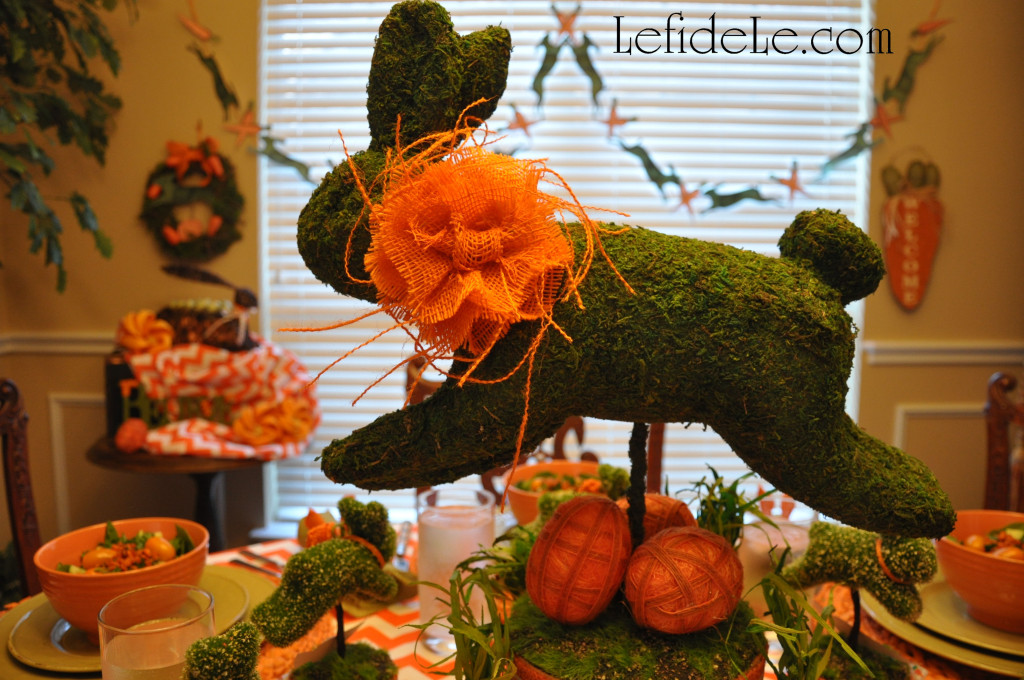
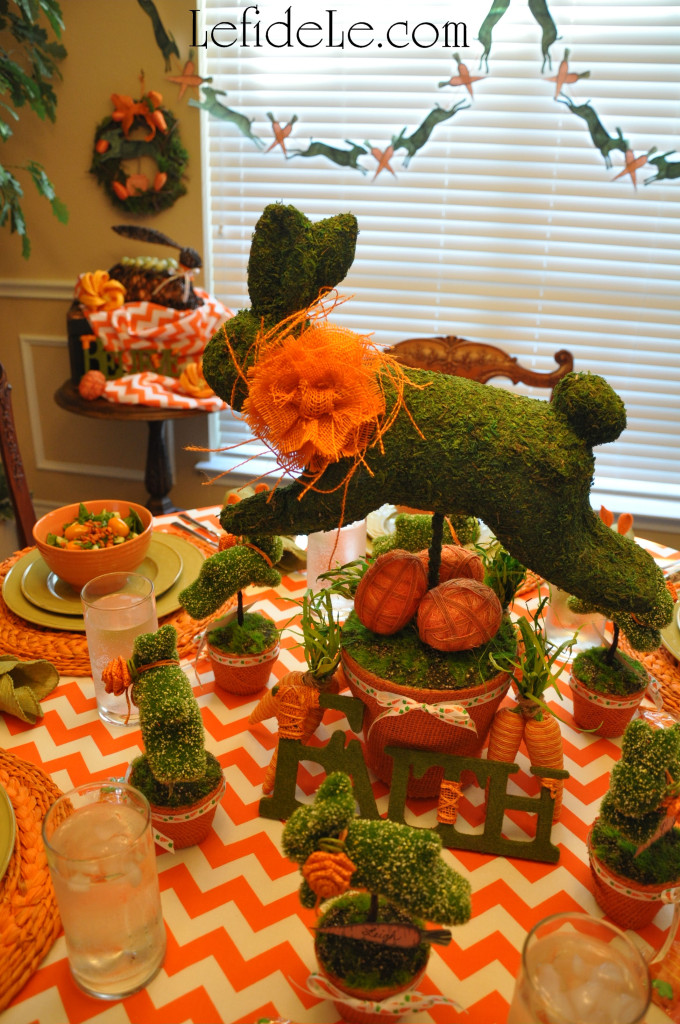
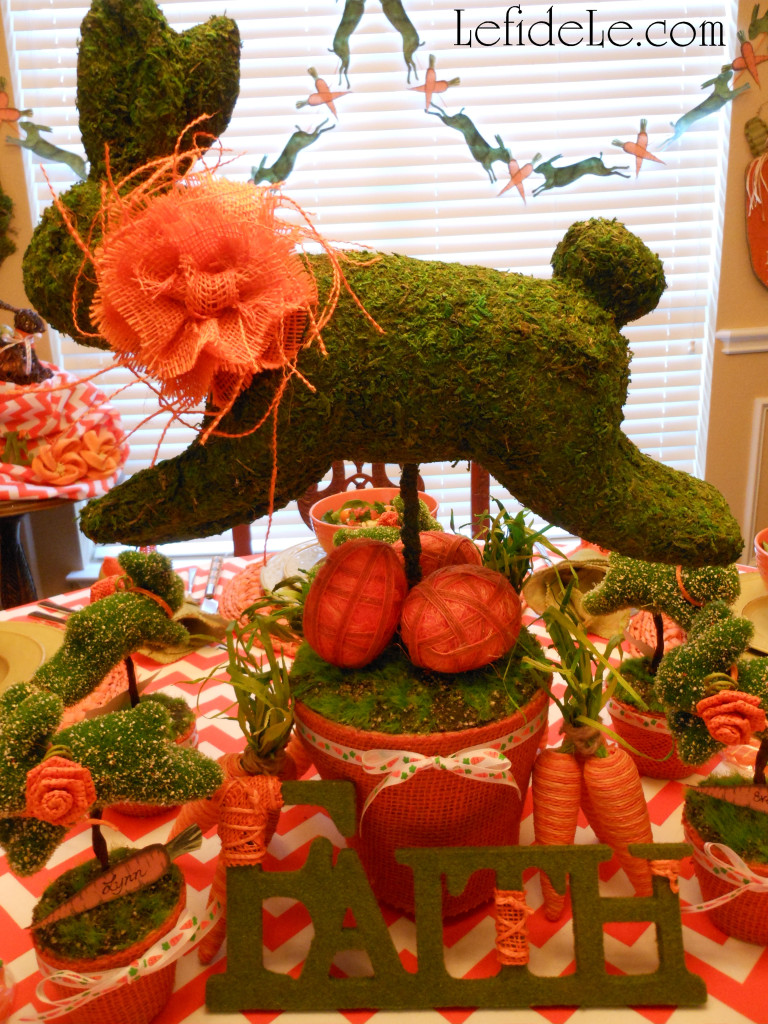
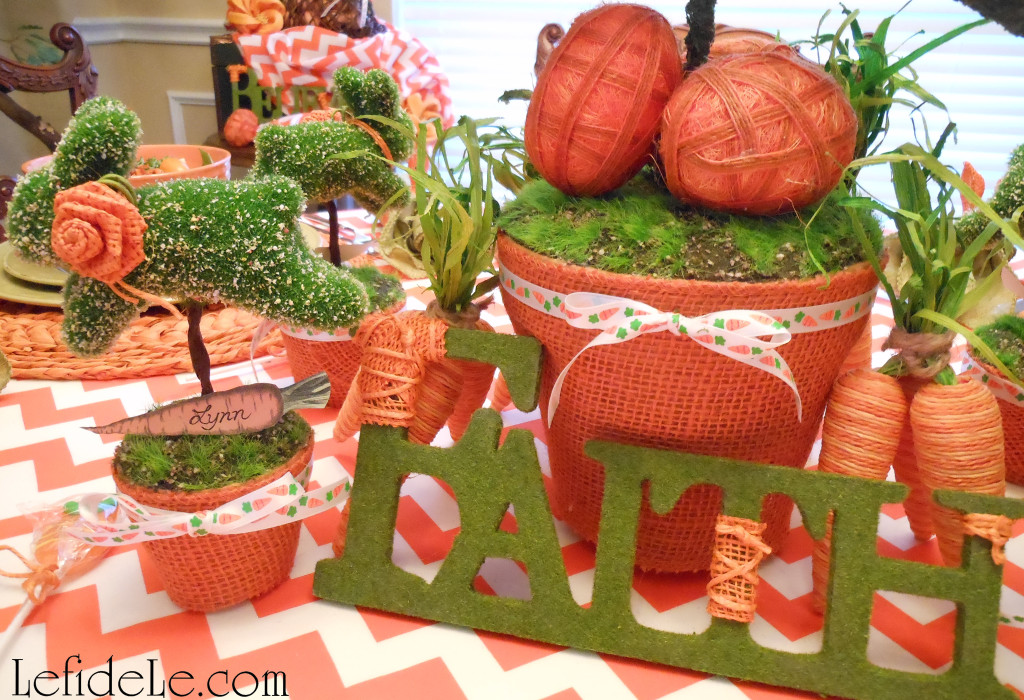
Another option is cover a carved styrofoam shape with moss, as I have done with the larger bunny centerpiece. I’m not going to cover that in detail here because it took a lot more time, energy, and patience. If you choose to go that route, you can either purchase a ready-made animal shape, or carve one from a block of stryofoam yourself. Foam cutting knives are available that will make the job slightly easier.
257Leigh

One way to add foliage is to cover your creation with moss ribbon as I have done. This is a kind of moss covered carpet tape. Cut it into pieces and round the edges, so that the animal shape may be completed in an unseen patchwork. Adhere the patches with hot glue, pressing firmly.
130Leigh

 Embellish it with a burlap ribbon collar and flower, and pot it in the same way as I showed you earlier. I wanted to reuse the bunny topiary again for future themes, so I did not glue the collar to the bunny. I simply glued the flower to one end of a length of ribbon, and then wrapped the ribbon around the neck. I began with the blank end and looped it underneath. The weight of the flower resting on top of the opposite ribbon end kept it firmly in place. It will look completely different with a another color of base wrap and type of collar embellishment.
183Leigh

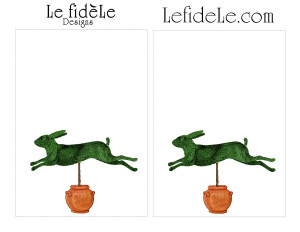
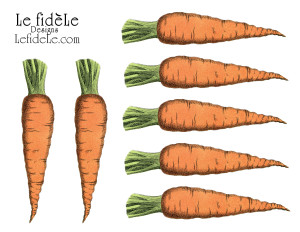
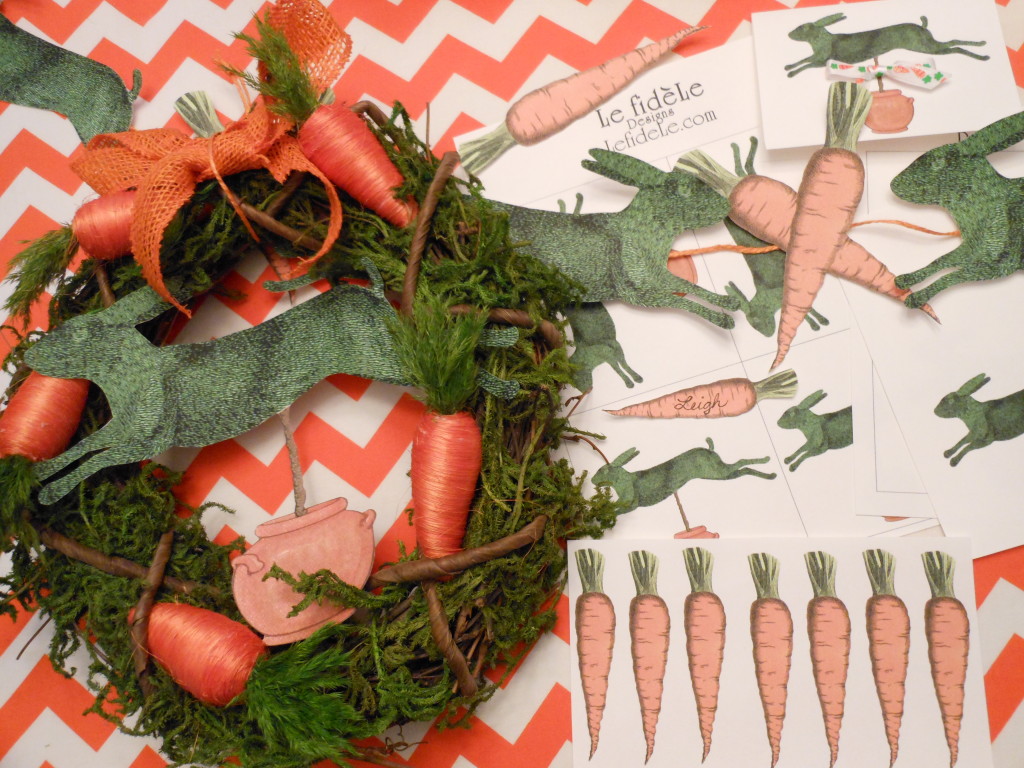
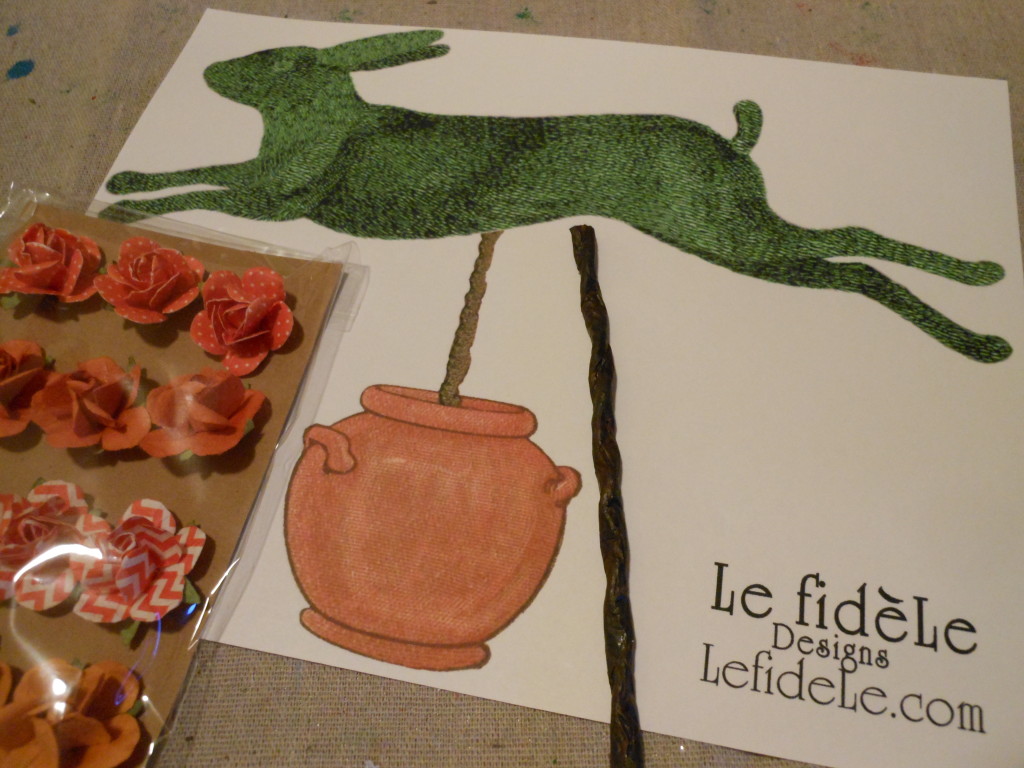
The following are my leaping bunny printables (free for noncommercial use). Right click on the image you want to use, and select print. Choose color and photo settings for your printer, and print them on sturdy white cardstock.
BigBunnyTopiaryCraftLeighBunnyTopiaryCraftLeigh2BunnyTopiary5x7LeighCarrotsCraftLeigh


To make a paper topiary from my printables, begin by printing and cutting out the two opposite facing bunnies.
034Leigh

Glue them together, back to back with a stick or popsicle stick in between. Pot the stick, as shown previously, and embellish it further with paper rosettes and ribbons.
129Leigh

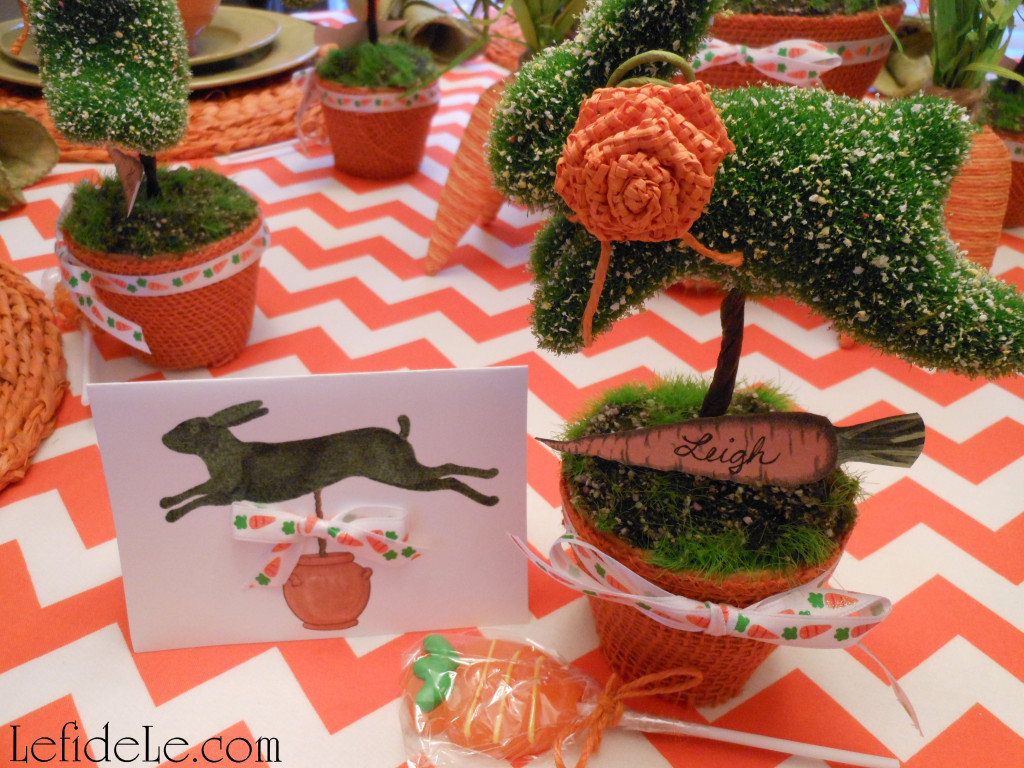
Cut out the carrots to use as place-cards that rest on your newly crafted topiaries. I printed mine, 2 sheets to a piece of cardstock, so that they would be smaller than the banner carrots.
158Leigh

Another option for folded place-cards, is to print out the 5×7 invitations / thank you cards and fold them in half. Embellish them with tiny bows or paper flowers, and write guests’ names on them.
198Leigh

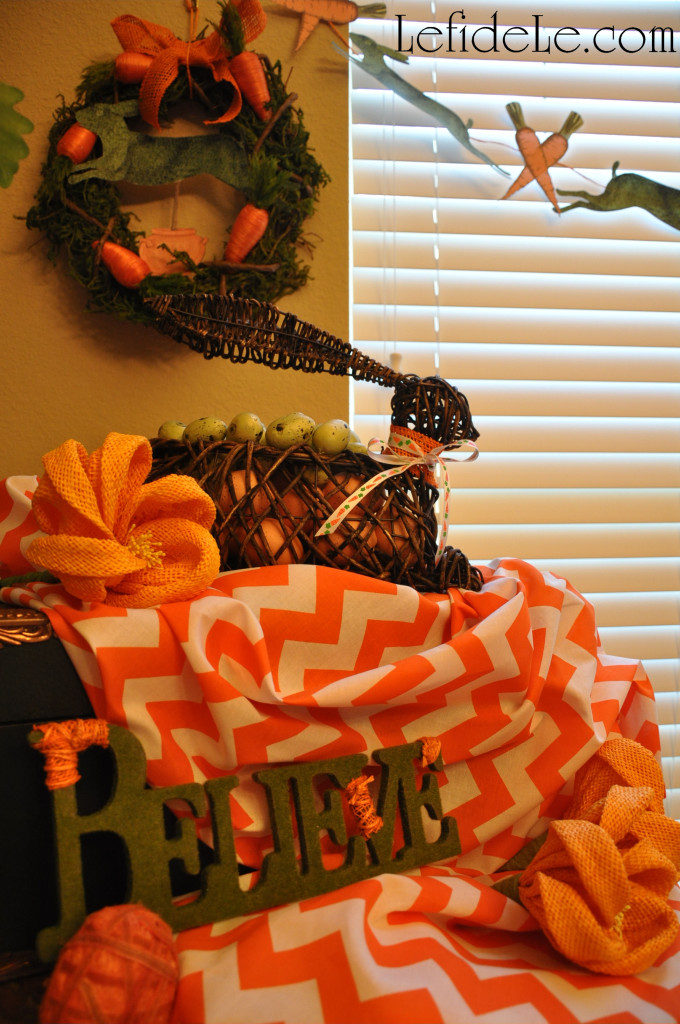
Adding my leaping bunny topiary printable to the center of an existing wreath is an easy way to update a piece you already own and make it fit perfectly to your theme. (This carrot wreath came from Le fidèLe Design’s affiliate Cost Plus World Market. Find a link to them with up to date coupons in the side bar.)
032Leigh

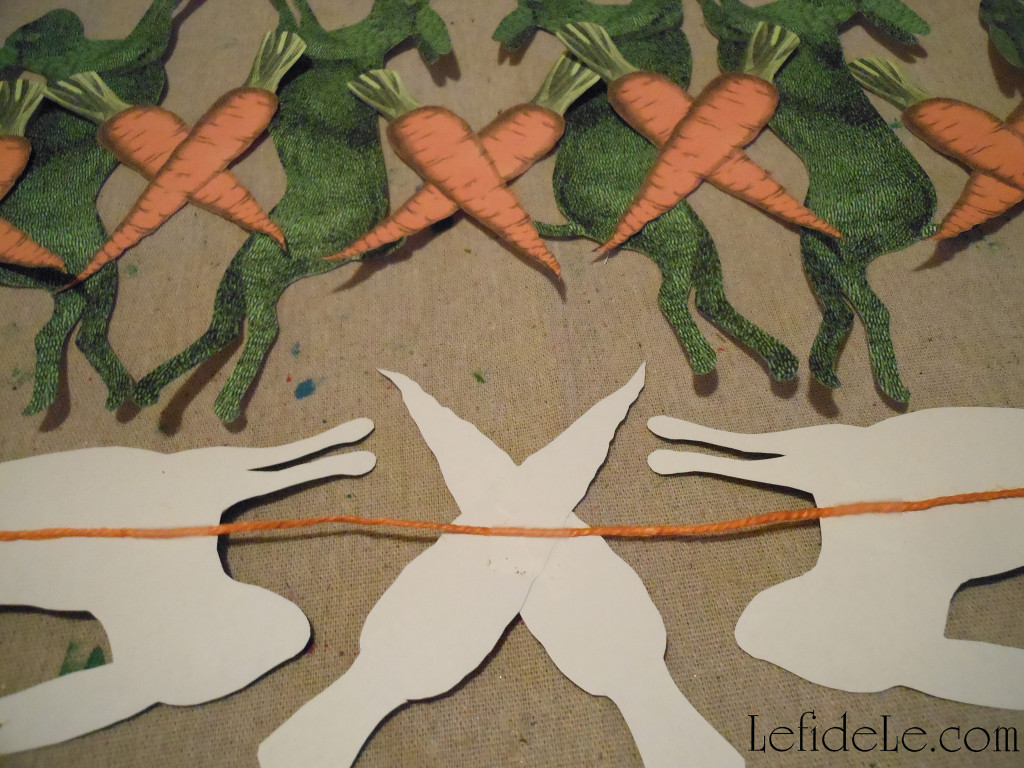
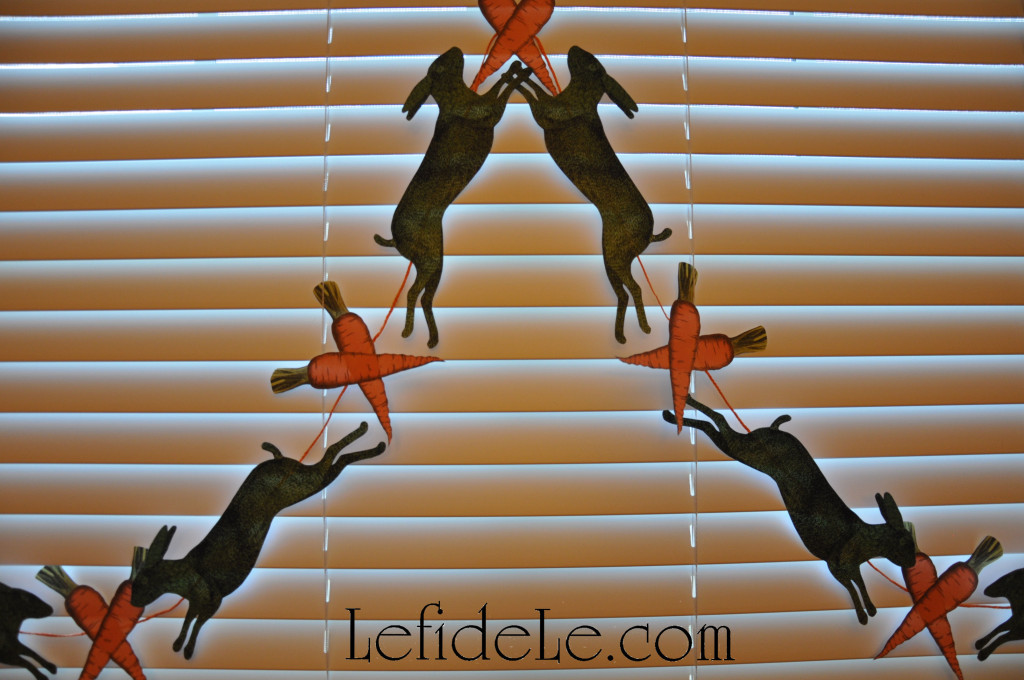
Make a banner with the bunnies and carrots by simply arranging them in a pleasing manner and taping the backs to jute, ribbon, twine, or yarn. I chose to criss-cross the carrots between the bunnies.
209Leigh

A loop at each end makes it easy to hang with clear thumbtacks.
113Leigh

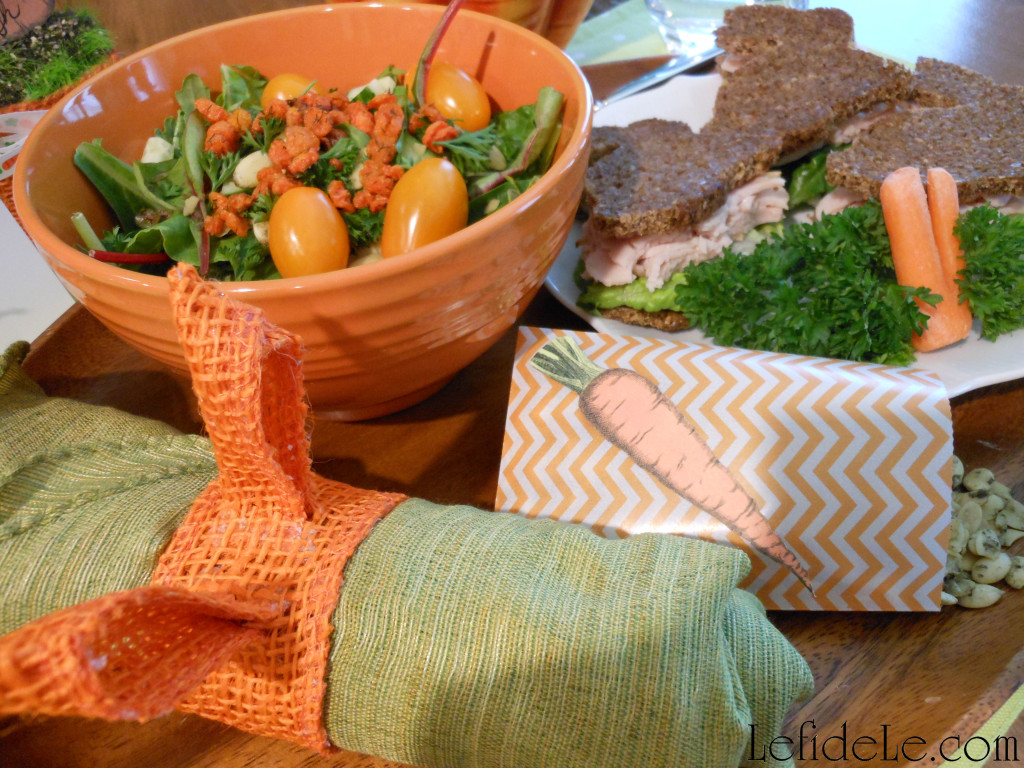
You can also attach the carrots to readymade treat bags like the orange chevron one here. It’s filled with sprouted pumpkin seeds as a part of a healthy and tasty lunch. (See more of this along with the recipe here.)
090Leigh

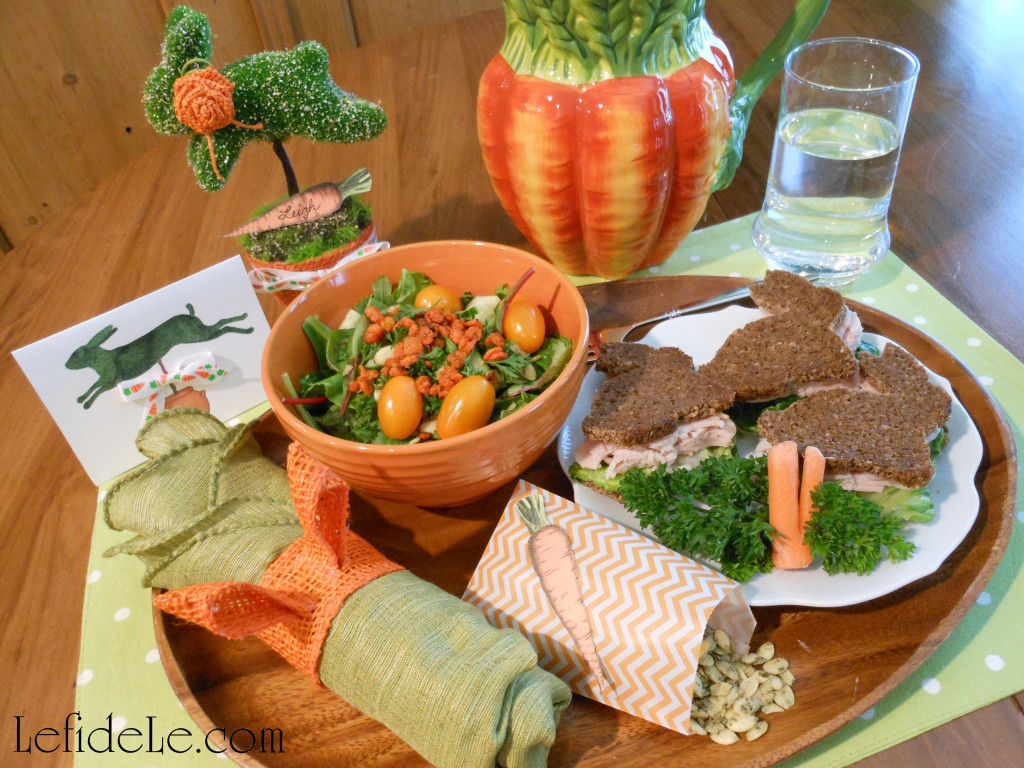
(Find the bunny ears napkin ring tutorial here.)

Faithfully Yours,

Leigh

P.S. The Easter Bunny approves this message.
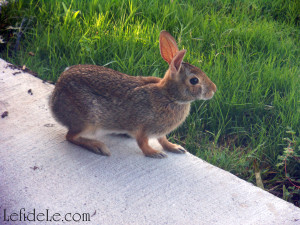
WildBackyardBunnyLeigh

(This is one of the wild backyard bunnies visiting my porch!)
Fast & Easy DIY Burlap Ribbon Bunny Ears Napkin Rings Craft Tutorial (Perfect for Easter, Showers, Luncheons, & Brunches)

139Leigh

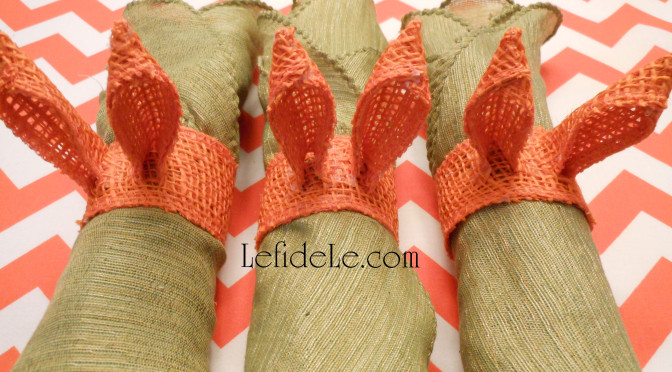
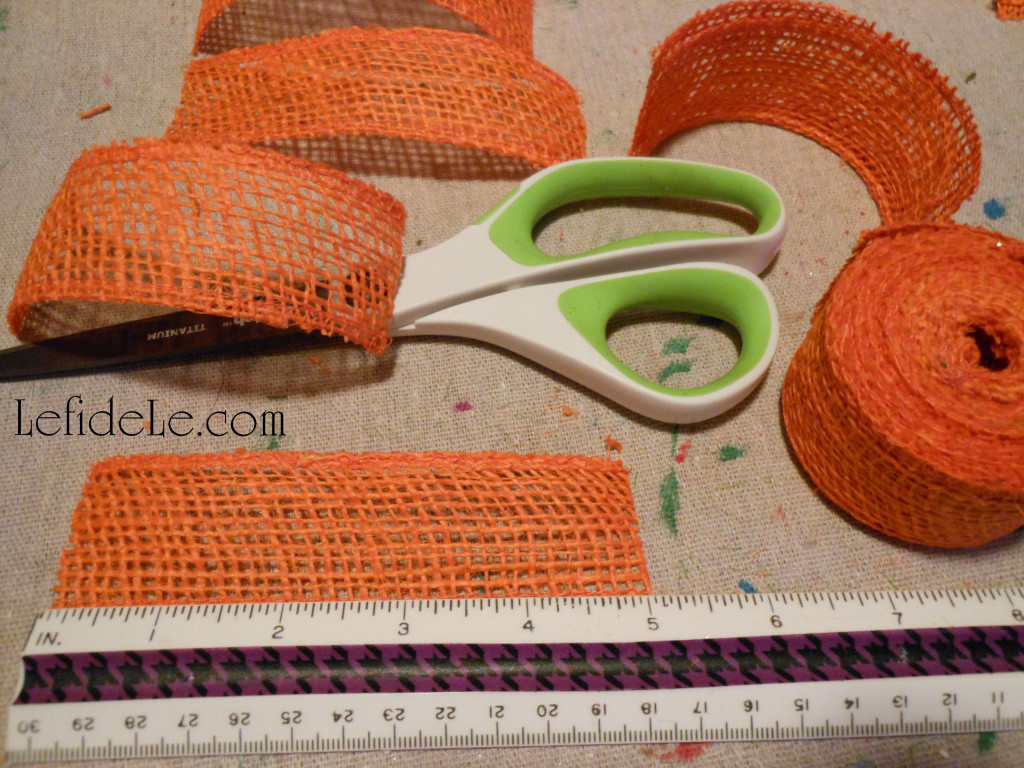
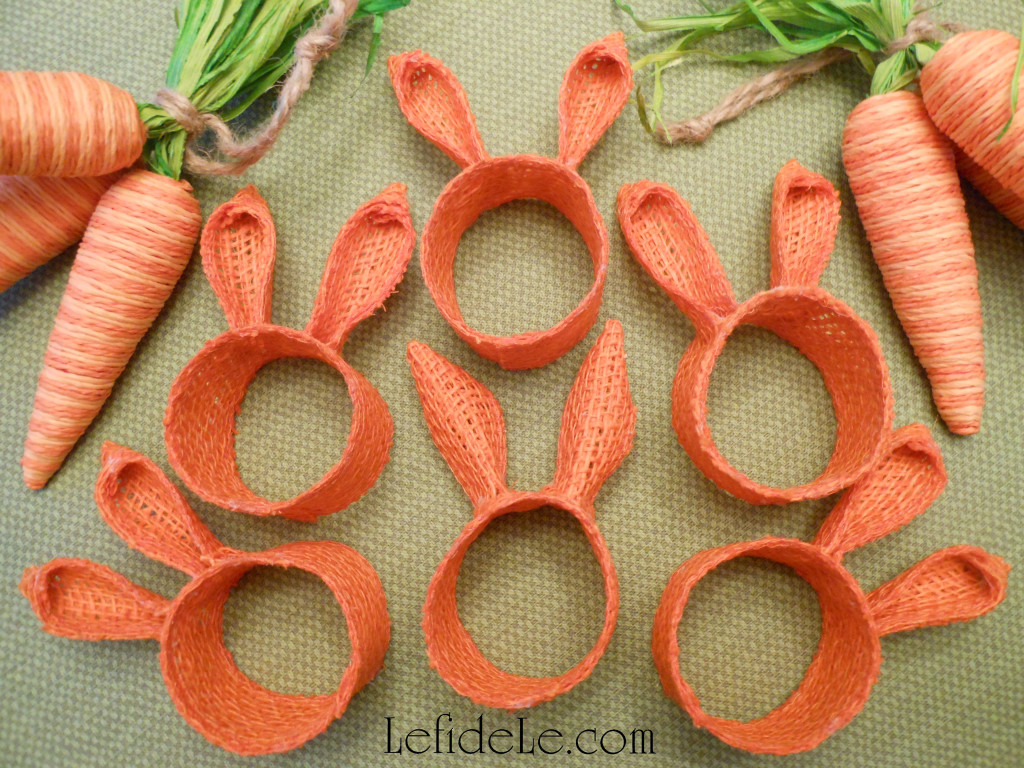
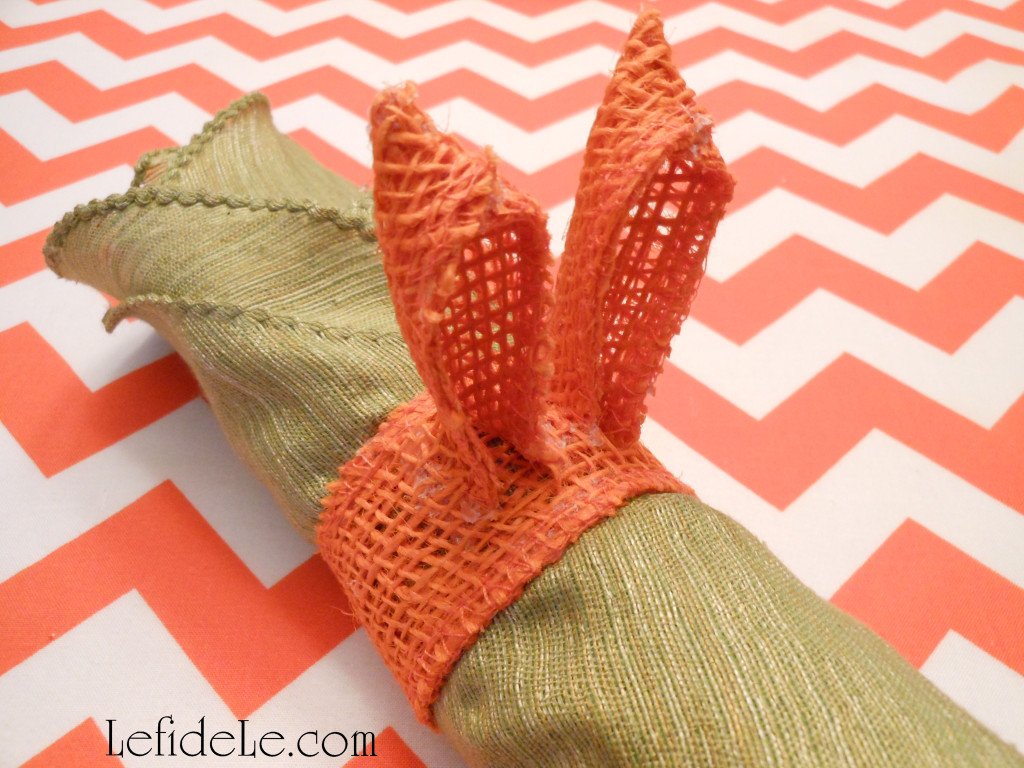
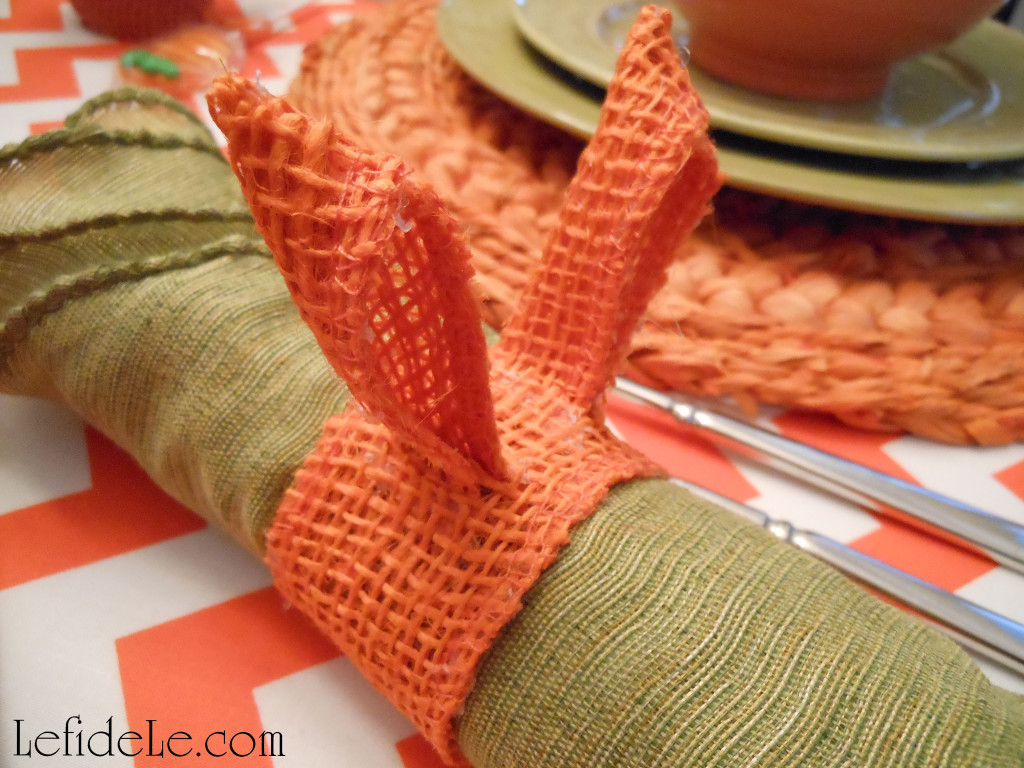
Why buy a set of bunny ears napkin rings when you can make your own for a fraction of the cost that suits your décor perfectly? This was the thought that sparked one of my cutest projects. 12 feet of 1 inch wide orange burlap ribbon was enough to make 6 rascally rabbit rings for my leaping bunny topiary theme, but many other ribbons would have worked just fine. Hot glue, scissors, and a ruler were the only tools needed to finish the napkin creatures in half an hour. What a perfect project for a spring “crafternoon”!

017 (2)Leigh

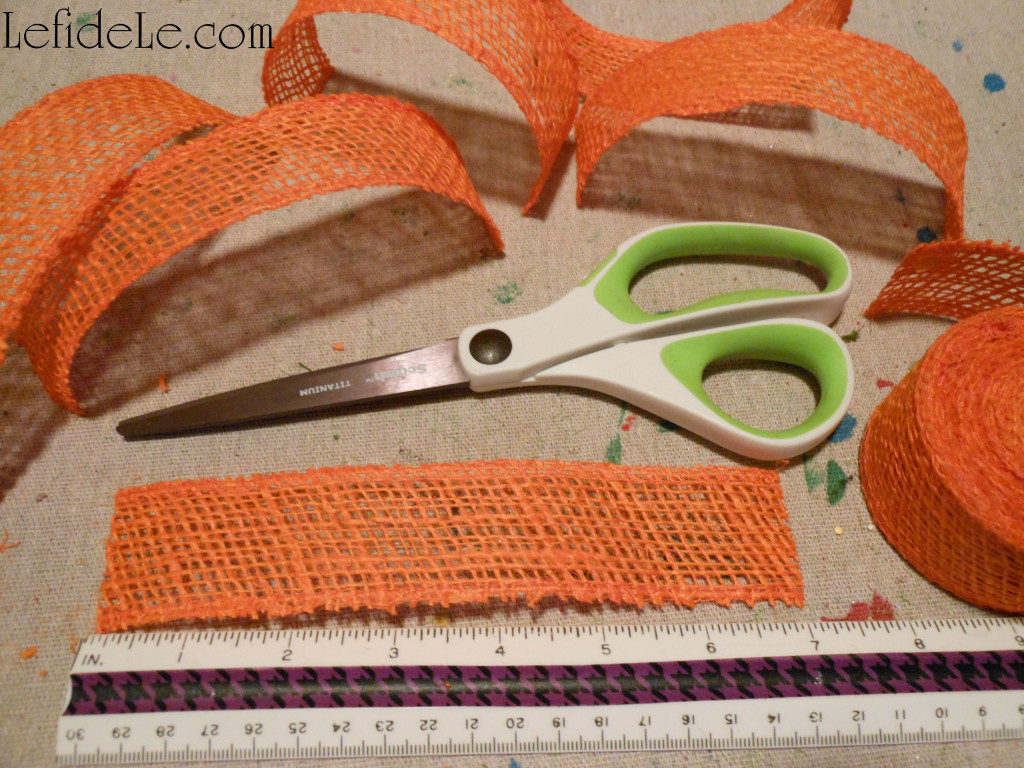
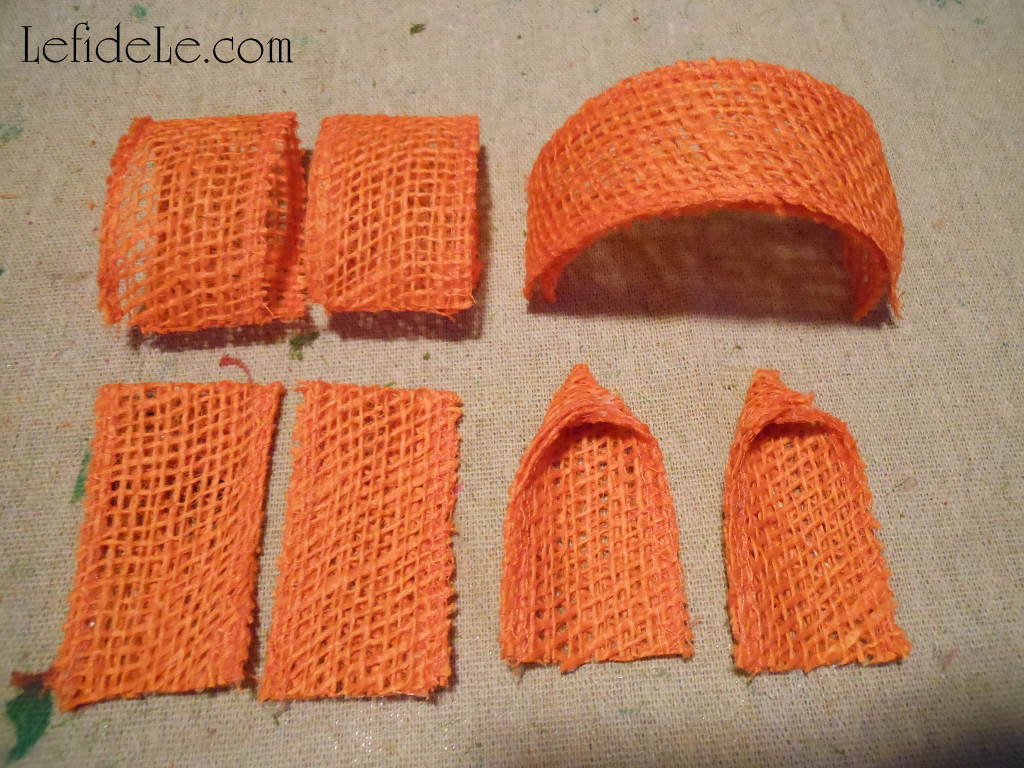
Each bunny will use about 2 feet of ribbon, so plan accordingly. Note that one inch wide ribbon is the perfect size for this project. Cut 2 lengths of 7 inch strips for each ring… or 12 strips for a half dozen rings.

019 (2)Leigh

Cut 2 lengths of 5 inch strips for each set of ears… or 12 strips for a half dozen rings.

020 (2)Leigh

Fold each 5 inch strip in half, and press a crease into the folded edge. Lay down a thin strip of hot glue along each vertical side edge, in order to glue the fold into place permanently. (Try using a cool temp hot glue gun to avoid burning your fingers with the hole-filled burlap.) Leave the bottom non-folded edges unglued, forming a tiny sack. At the top folded edge, take the right corner and fold it over toward the center. Then take the top left corner, and fold it over the right one. It will make the top of each ear. Glue the folds into place with a dot of glue, under the left corner and over the right.

023 (2)Leigh

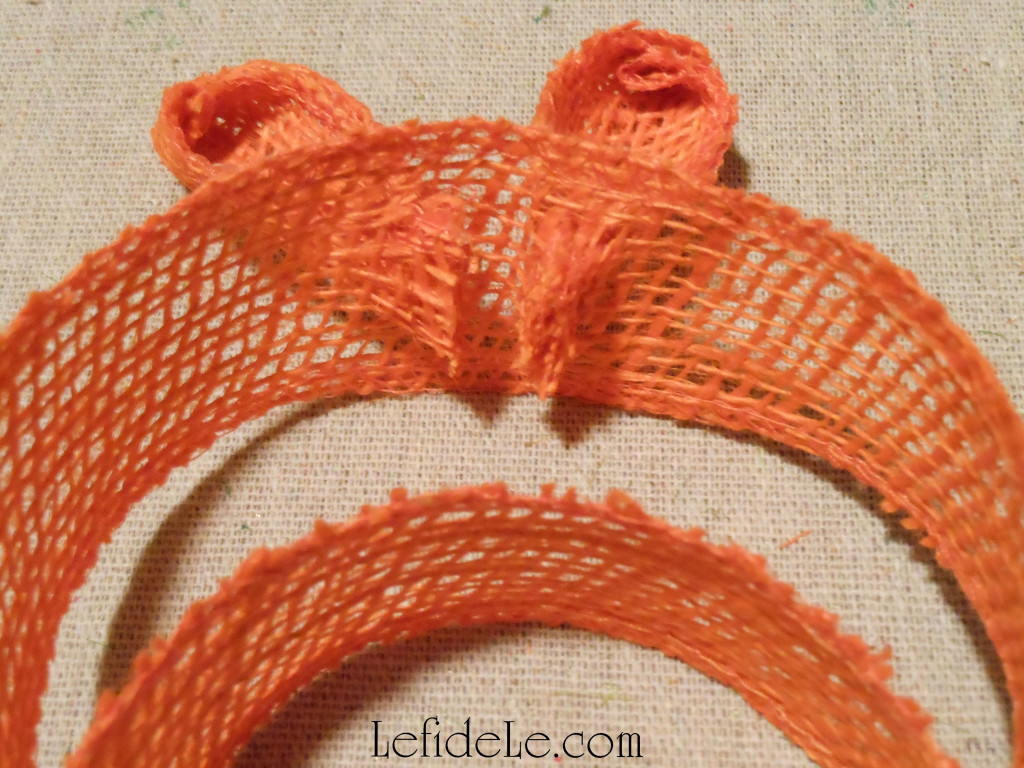
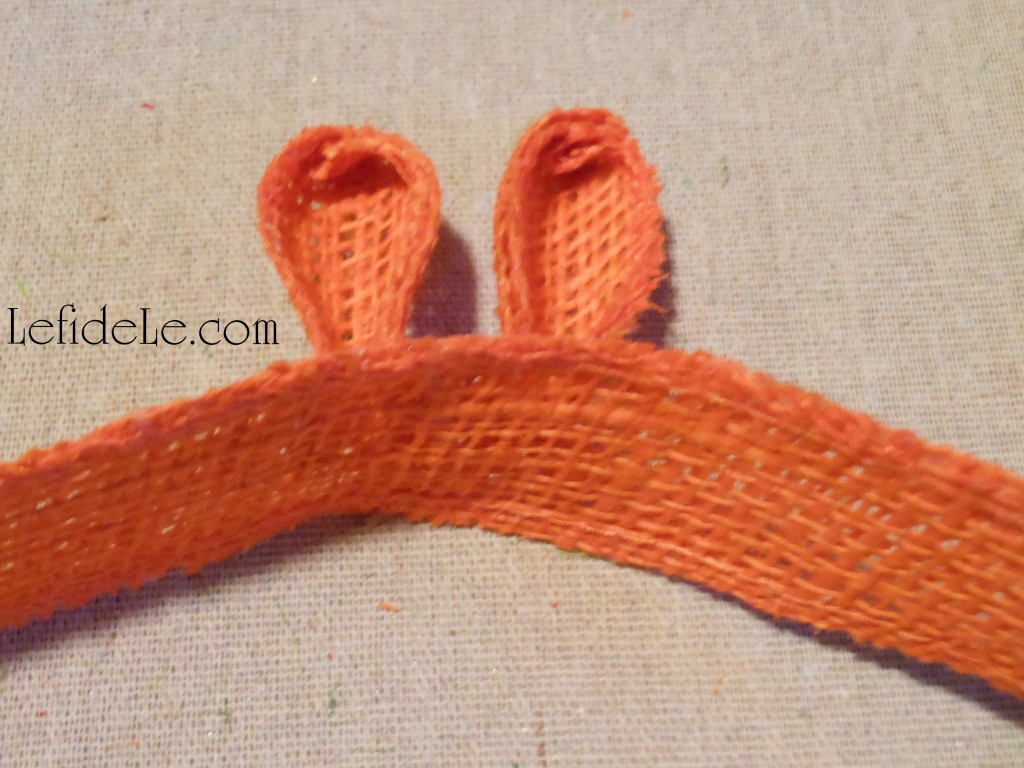
With all your ears made, assembly line fashion, get started on attaching them to the rings. Take one of the 7 inch strips and fold it in half to locate its center. Cut centimeter length slits, about a centimeter away from that fold, perpendicular to the fold. (You just made two ear canals.) Fold the bottom open edge of an ear in half, and slip it into a slit opening. You should see about a half centimeter sticking out.

024 (2)Leigh

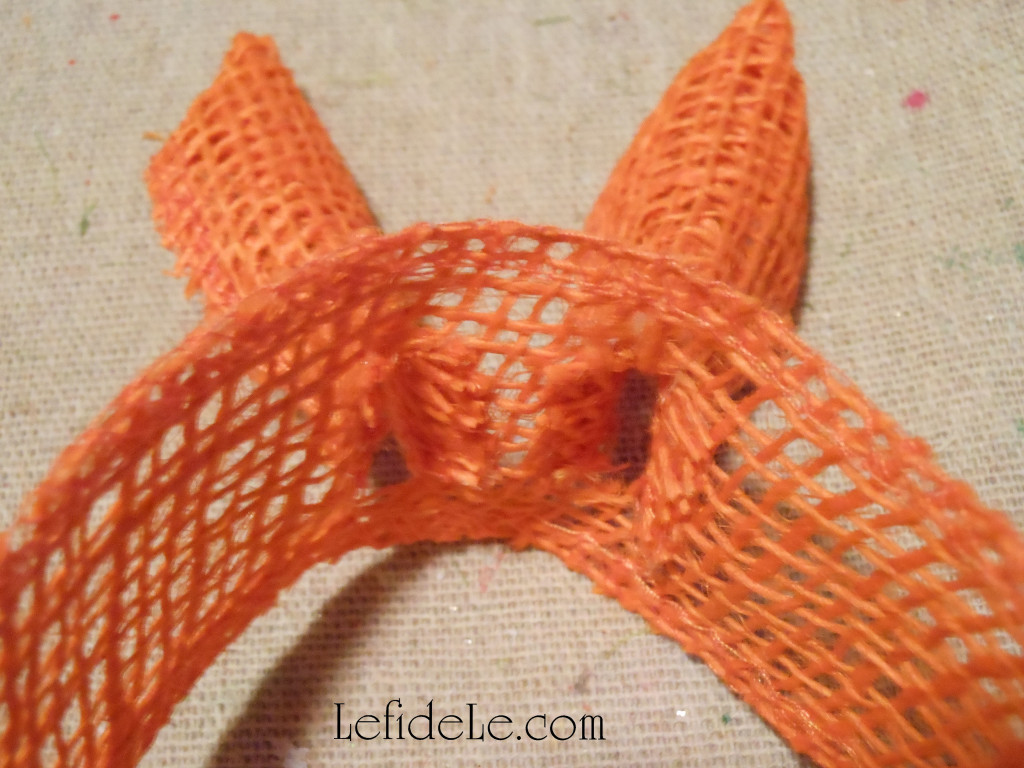
Glue the outside of this protruding portion to the 7 inch ring strip. It should fan outward. Repeat with the other ear, making sure they’re facing the same direction.

026Leigh

Take another 7 in strip of ribbon and glue it to the flat side of the bunny eared strip. The easiest way to begin is by gluing one end and tapping it into place. Continue on until the whole strip is joined. Make sure the ribbons are curved the same direction for a less troublesome experience.

037Leigh

Form the ring by gluing one end of the long strip to the other, by slightly overlapping the edges. (You just made a bunny face.)

170Leigh

Repeat this process until your rabbit warren is complete. (Know that they get easier after making the first one.)

149Leigh

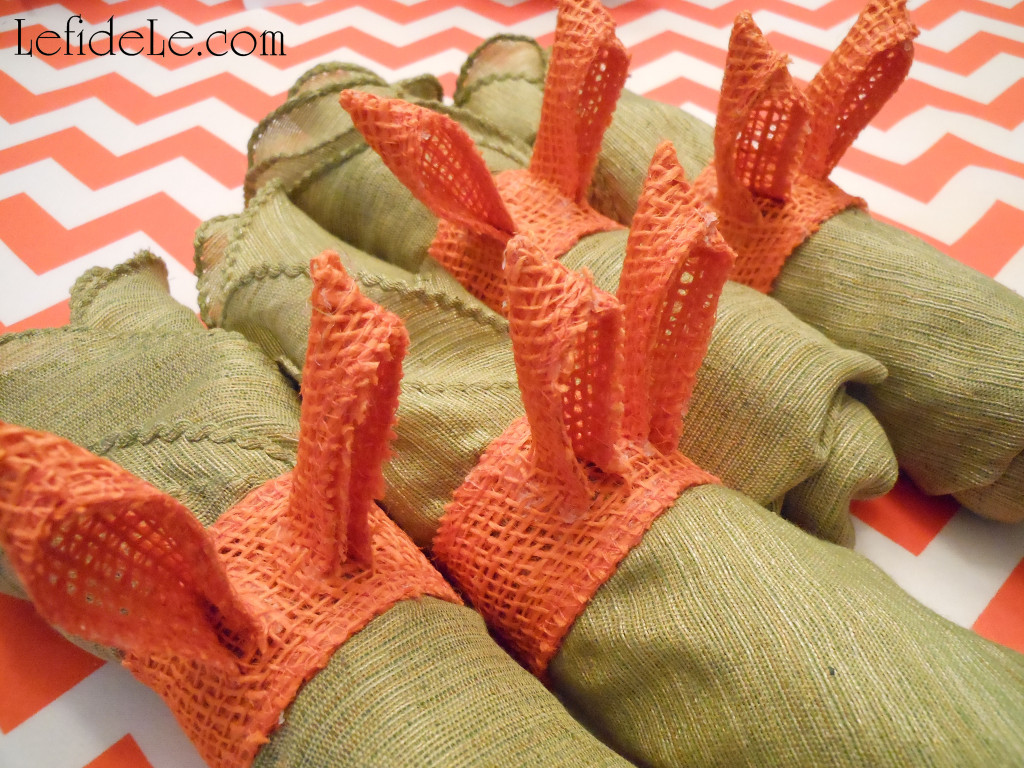
I used sage green cloth napkins with a seam that is actually called a lettuce edge. These folded beautifully into a roll with a top that resembled a small head of lettuce.

252Leigh

These are perfect for an Easter party. (See more of the leaping bunny garden party here.)

090Leigh

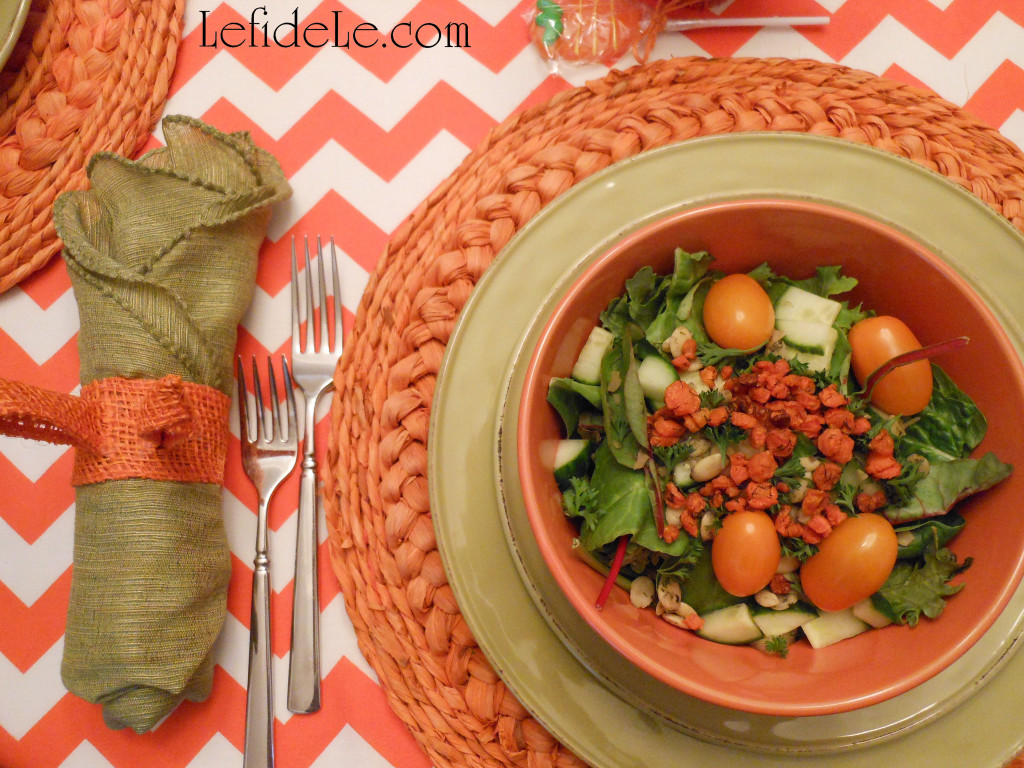
They’re also great to pull out for a spring lunch. (Find the carrot croutons / “bacon” bits recipe here.)

166Leigh

I wanted orange bunnies to coordinate with my carrot décor, which no one even sells, so I made them with fall clearance ribbon… making the grand total for this project a whopping buck fifty!

220Leigh

The best part of all, was receiving the genuine compliment that they were so much cuter than the stores’ versions. I hope you think so too. (Get the topiary craft tutorial and printables here.)

073Leigh

Faithfully Yours,

Leigh

P.S. The Easter Bunny approves this message.

WildBackyardBunnyLeigh

(This is one of the wild backyard bunnies visiting my porch!)