Tag Archives: Chalkboard

Tex-Mex Dinner Fiesta Forever Tablescape Décor Ideas (for San Antonio Fiesta or Cinco de Mayo Party)

220Leigh

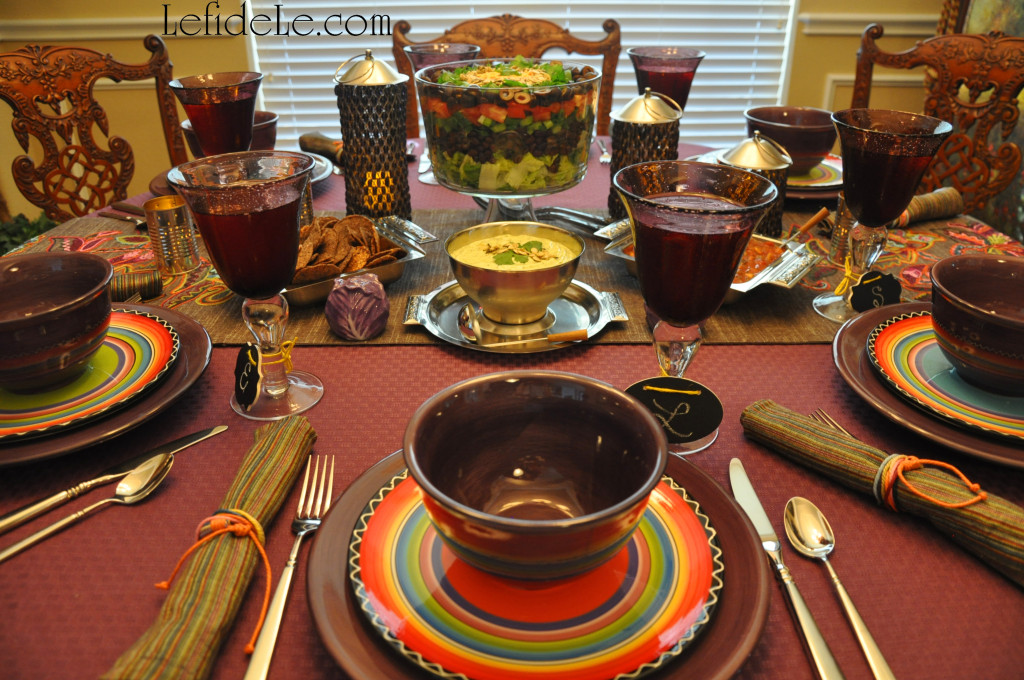
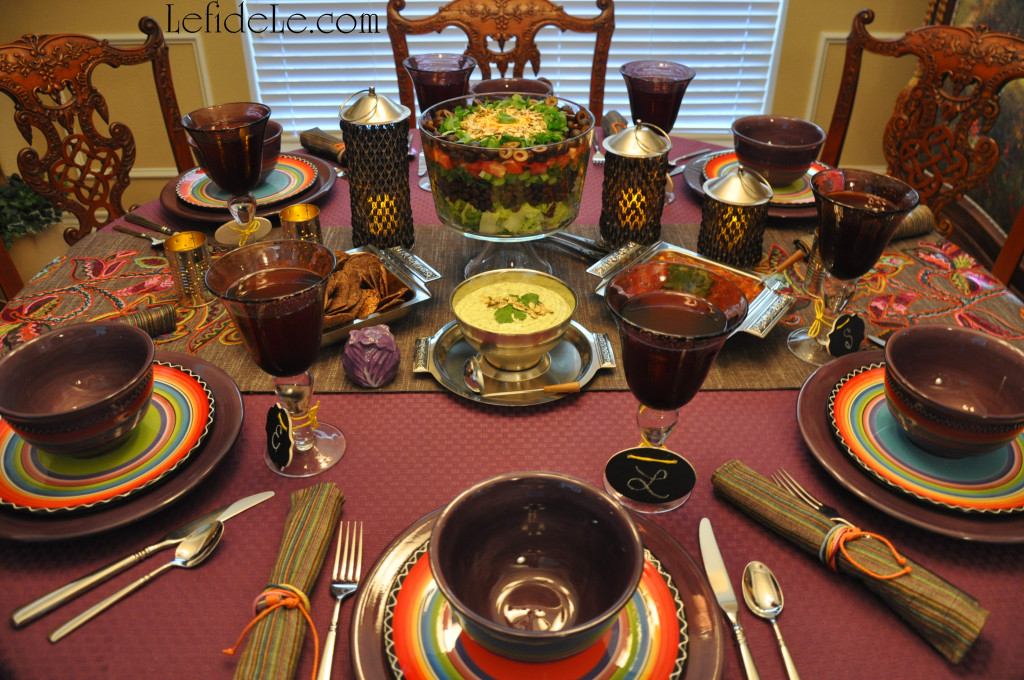
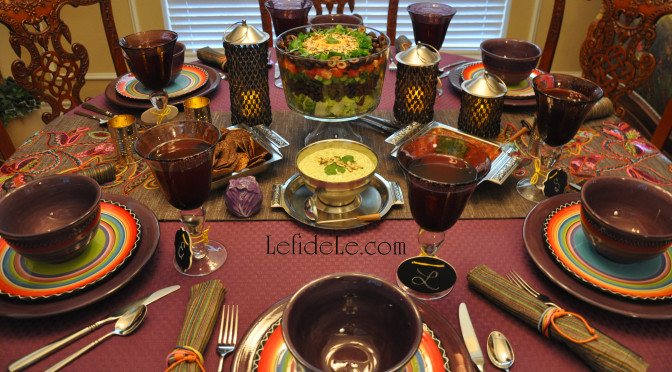
Fiesta forever with Tex-Mex dinner party tablescape décor ideas perfectamente for celebrating San Antonio’s Fiesta or Cinco de Mayo. Raise the roof and raise a glass in cheers for the celebratíon. Let the mariachi music play on in your heart as you feast. Throw your work aside and troubles away as you lose yourself in the rhythm of the beat. Come on and join our fiesta!

217Leigh

“Well, my friends, the time has come, To raise the roof and have some fun, Throw away the work to be done, Let the music play on…”

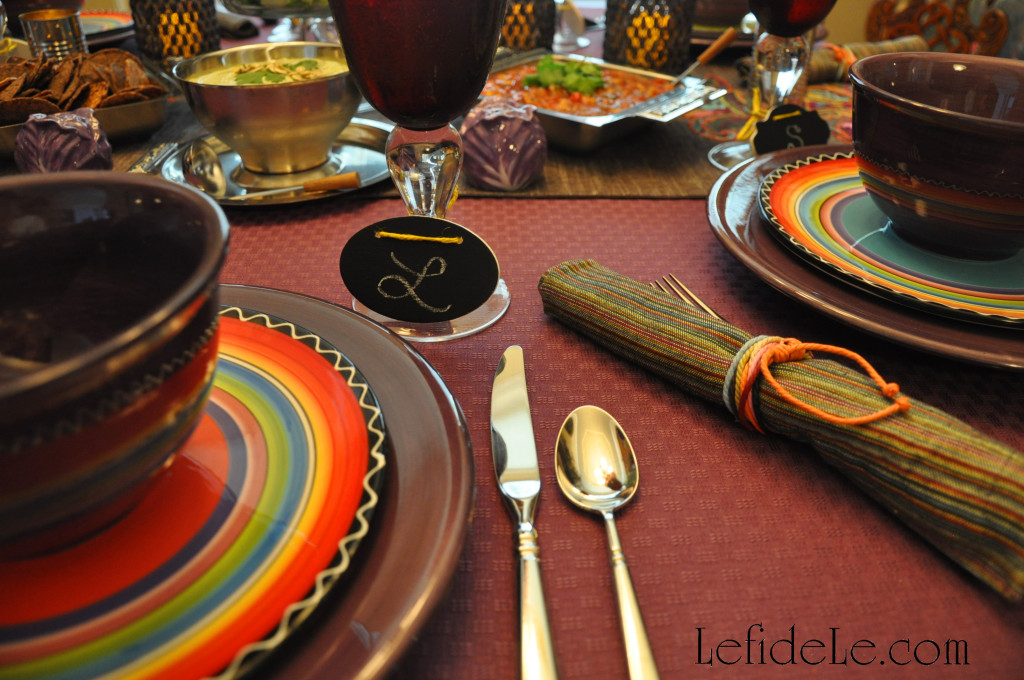
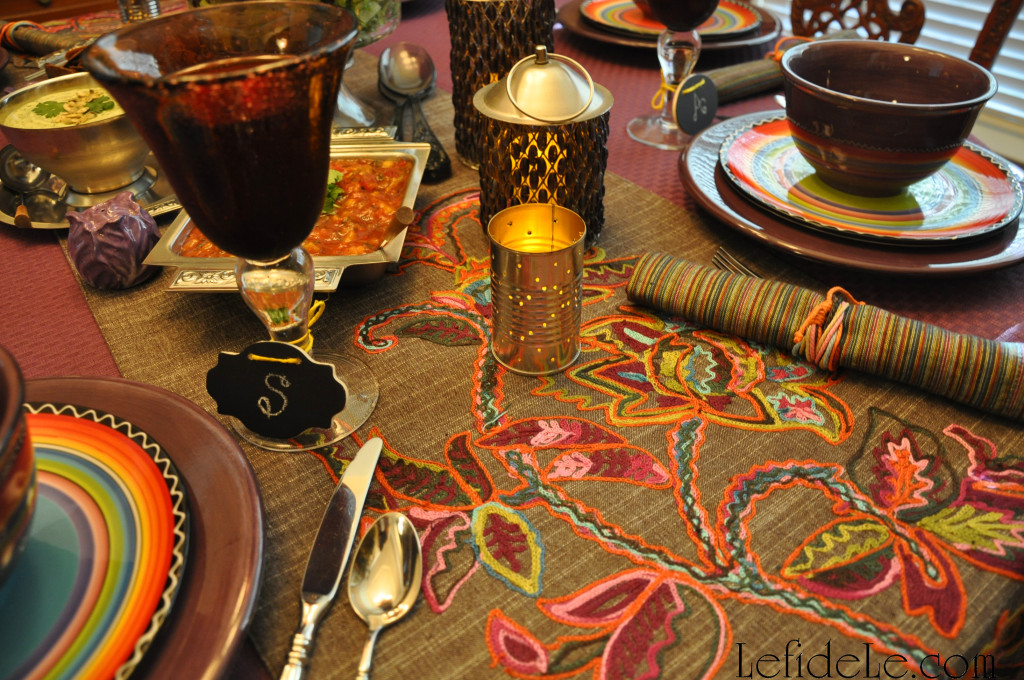
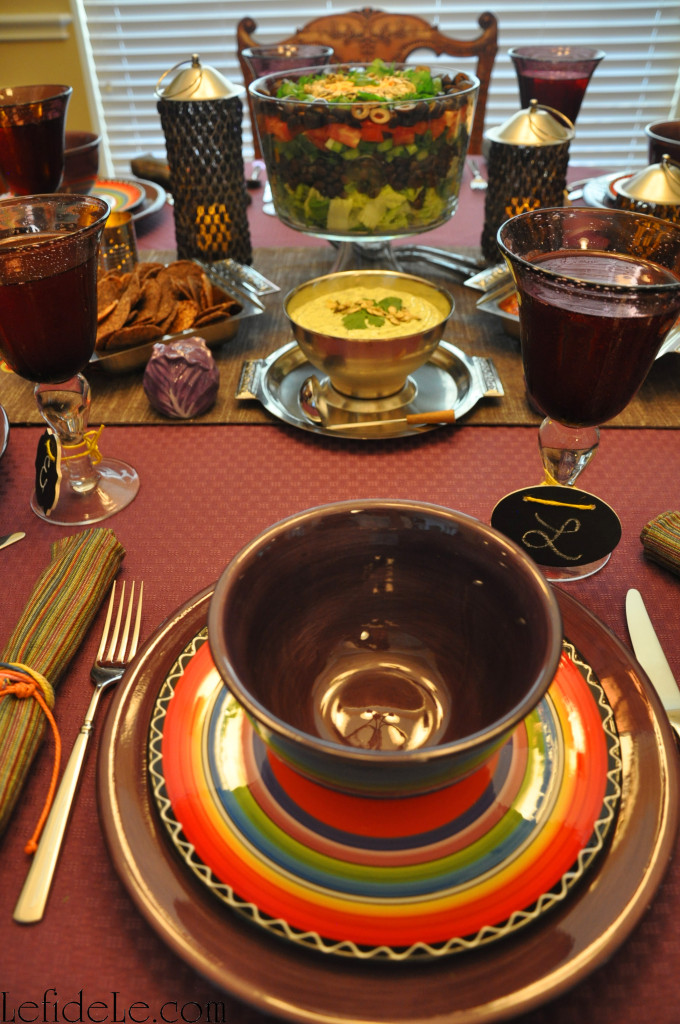
Mexican purple bubble glass goblets are playfully adorned with initialed wooden chalkboard signs serving as both place-card and drink minder as the party plays on. Casual yet elegant flatware are just some of the stainless steel elements bouncing around the tablescape.

225Leigh

“Everybody sing, everybody dance, Lose yourself in wild romance, We’re going to party, Karamu, fiesta, forever, Come on and sing along!…”

A colorful soutache decorated table-runner dances across the table. Coordinating striped cloth napkins are rolled into polychromatic jute bracelets masquerading as napkin rings. Vintage steel lanterns bedecked in purple beads light up the night as do upcycled luminarias.

223Leigh

“All night long! People dancing all in the street, See the rhythm all in their feet, Life is good wild and sweet. Let the music play on, Feel it in your heart, And feel it in your soul, Let the music take control, We’re going to party, Liming, fiesta, forever, Come on and sing my song!…”

Stacked upon a vintage purple basket-weave tablecloth are vintage purple glazed ceramic dishes sandwiching borrowed Mexican serape styled plates.

196Leigh

“All night long! Yeah, once you get started, You can’t sit down, Come join the fun, It’s a merry go round, Everyone’s dancing, Their troubles away, Come join our party, See how we play! Oh, yes, We’re going to have a party!…”

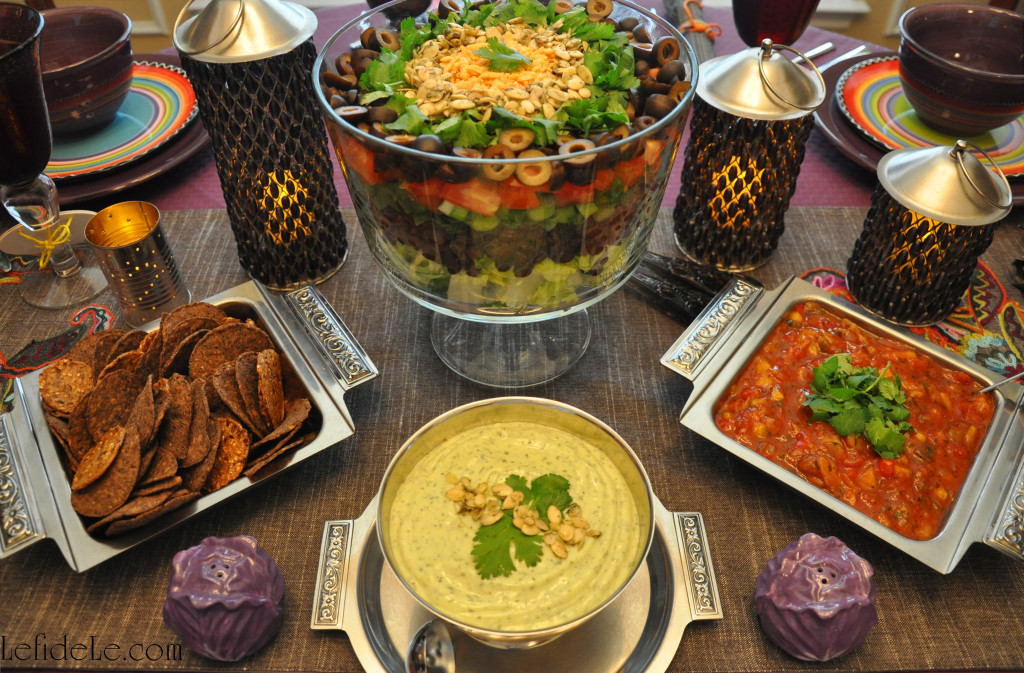
A fun Tex-Mex trifle bowl layered dinner salad centerpiece is joined by creamy vegan cilantro citrus avocado dressing, Texas peach salsa, and a medley of gluten-free chips held in vintage serving pieces. Salt and pepper shakers of purple cabbages are ready to spice up the fiesta.

251Leigh

“All night long! Everyone you meet, They’re jamming in the street, All night long! Feel good!”

¡Fiesta Forever!

Faithfully Yours,

Leigh

P.S. The party song quoted is “All Night Long (All Night)” by Lionel Richie.

P.P.S. Buy your own adjustable jute bracelets to double over as napkin rings inexpensively at Fire Mountain Gems, whose affiliate discount link is in the left side panel (or below on a tablet).

P.P.P.S. Find my healthy Tex-Mex trifle salad and dressing recipe by clicking HERE. Find a similar salad in a crunchy baked tortilla bowl HERE, and a Tex-Mex salad taco HERE. Learn how to easily upcycle your own DIY luminarias HERE!

Easy DIY Valentine’s Day Countdown Calendar / Treat Bag Banner & Love Letter Napkin Rings Craft Tutorials

1661Leigh

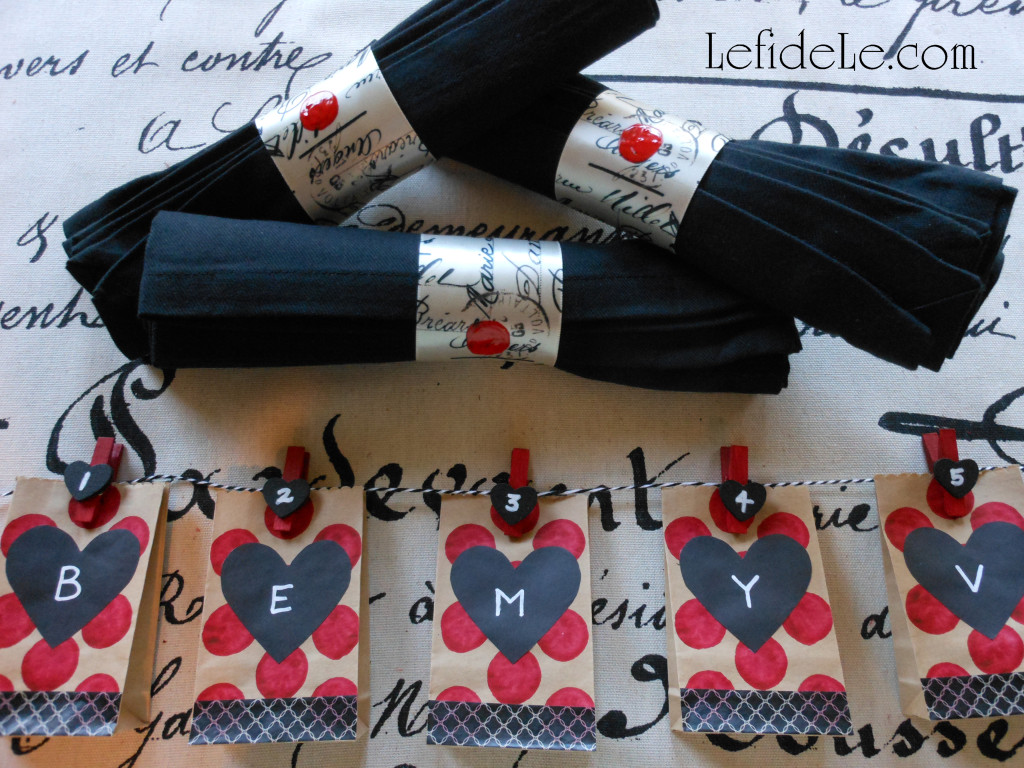
This easy DIY Valentine’s Day countdown calendar plus treat bag banner and love letter napkin rings craft tutorial comprises three of my favorite things to make… banners, napkin rings, and advent calendars. The latter project arose from the questions, “Why are countdown calendars typically made for Christmas advent and not for other holidays?” and, “Why not expand the celebration with 2 weeks of excitement leading up to Valentine’s Day?” This works well for either children or adults depending on what’s placed inside the bags. As for the love letter themed napkin rings, they perfectly fit a romantic Valentine’s theme… though this one is for adults only!
1638Leigh

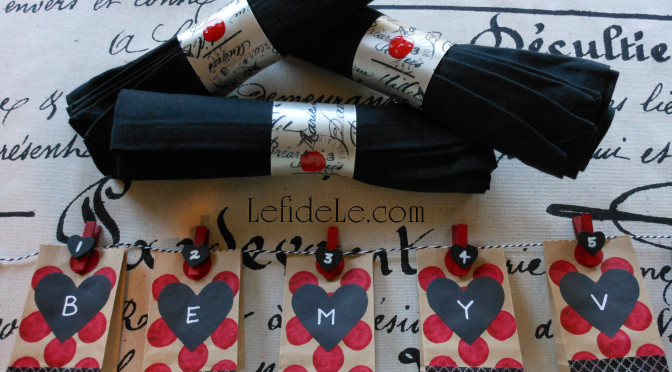
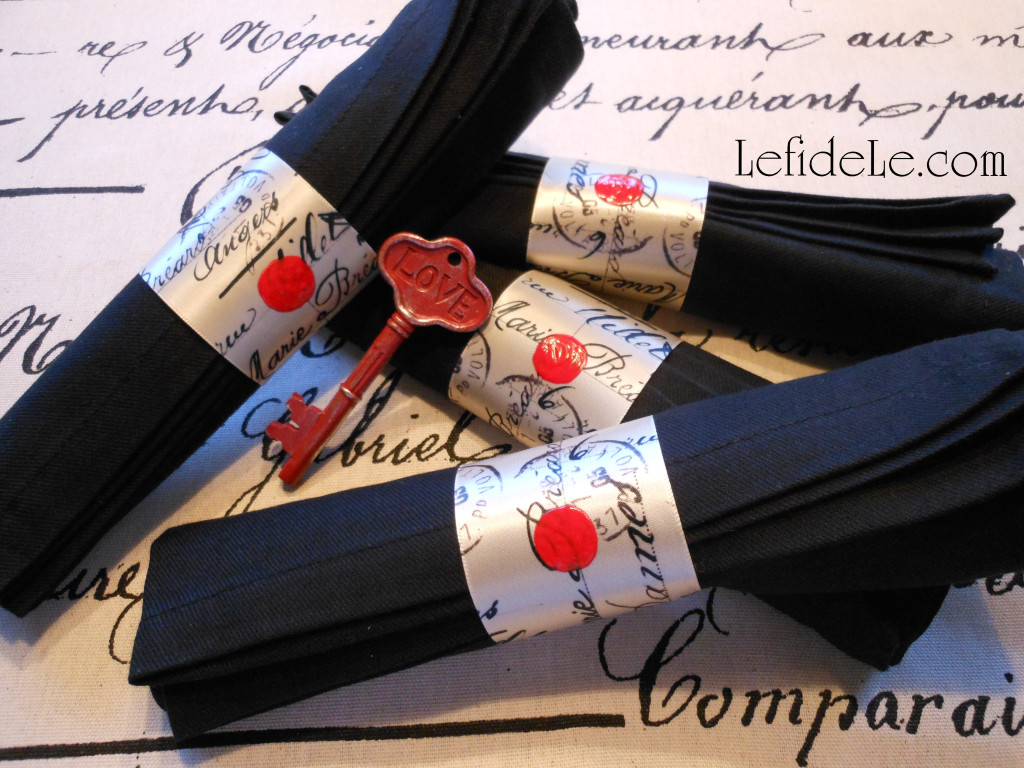
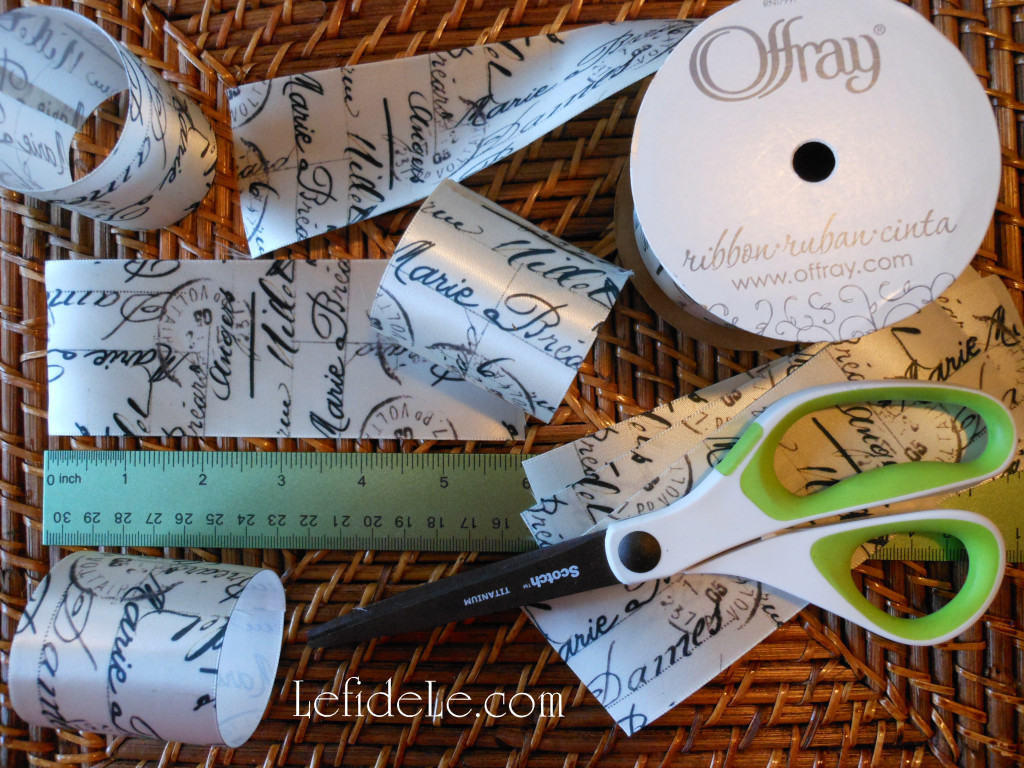
Let’s begin with the napkin rings. You’ll need a roll of Offray Brand Ribbon in a script pattern. (I purchased this ½ price with a coupon from Joann Craft & Fabric Stores. There’s a link for them in the sidebar.)
1647Leigh

You can make 12 rings and still have enough left over for a gift package bow if you like. You’ll also need either hot glue or liquid fabric glue and fabric paint in red (because it works on so much more than just T-shirts).
1216Leigh

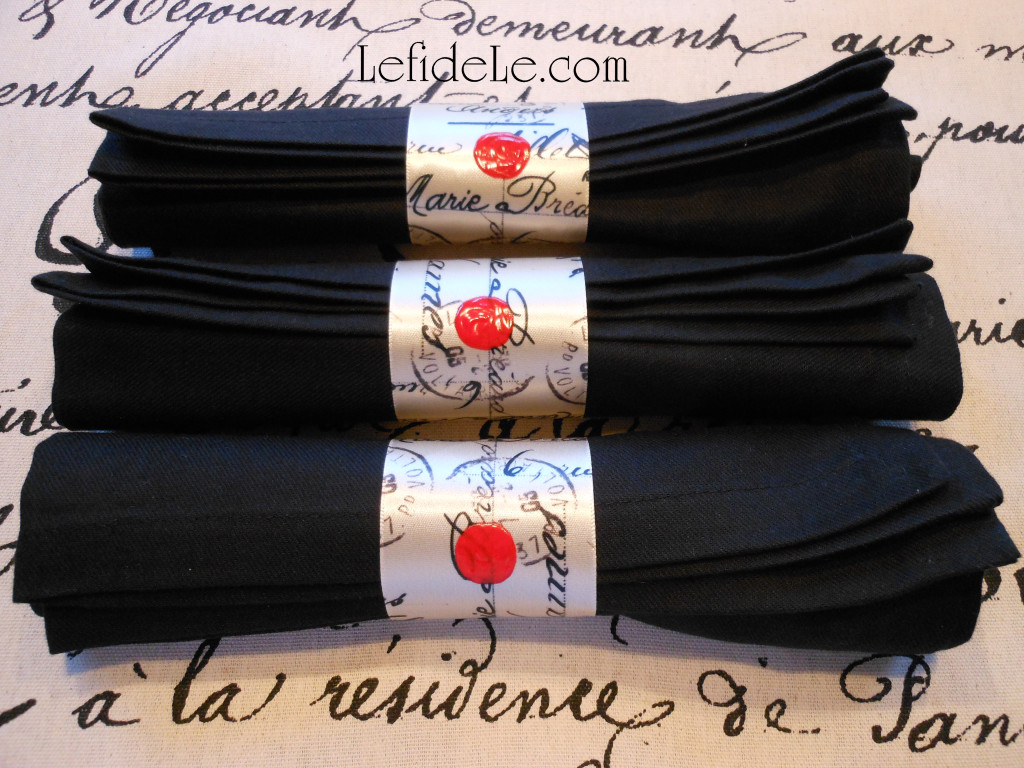
Measure and cut a 6 inch length of ribbon for each ring you wish to make (use sharp sewing scissors to prevent fraying ends). If using hot glue, bond the ends with one side overlapping the other and press them together tightly. For liquid fabric glue, use a plastic clothes pin as a clamp or secure with a straight pin… and allow them to dry completely.
1243Leigh

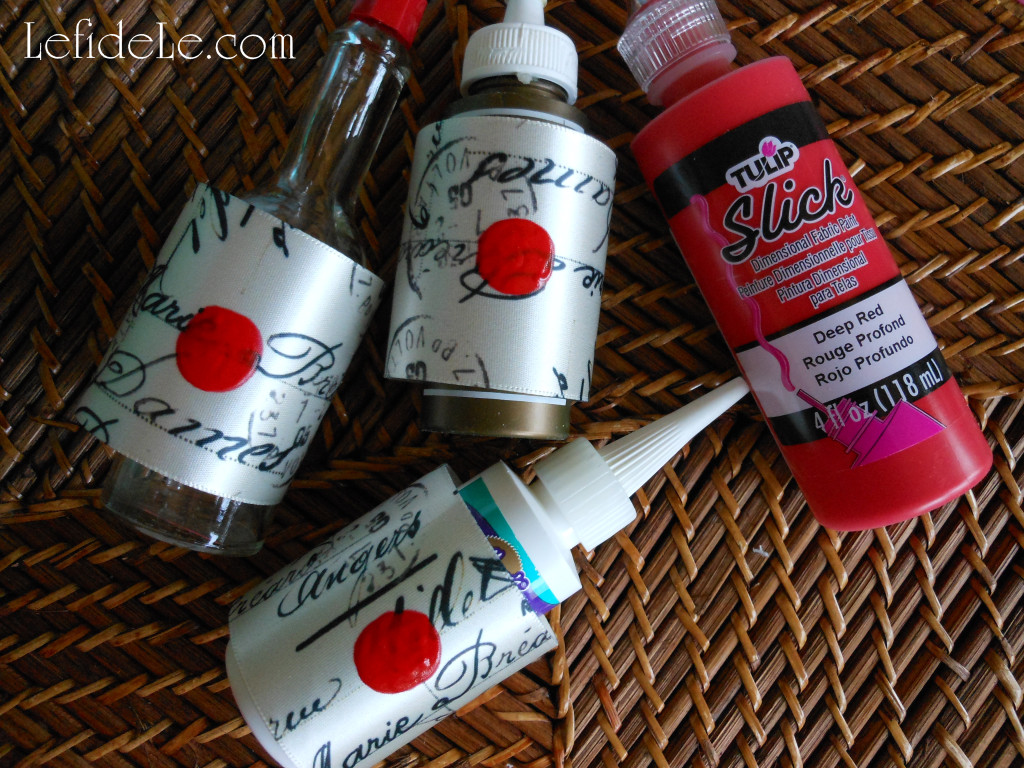
Next, make a faux sealing wax impression with the red paint. Either use the fabric paint tip to draw a circle and fill it in, or just squeeze some onto a plate and use a brush. Allow these to dry completely before handling. (Hot sauce bottles, glue bottles, and paint tubes placed inside the rings will prevent rolling and paint smears.)
83Leigh

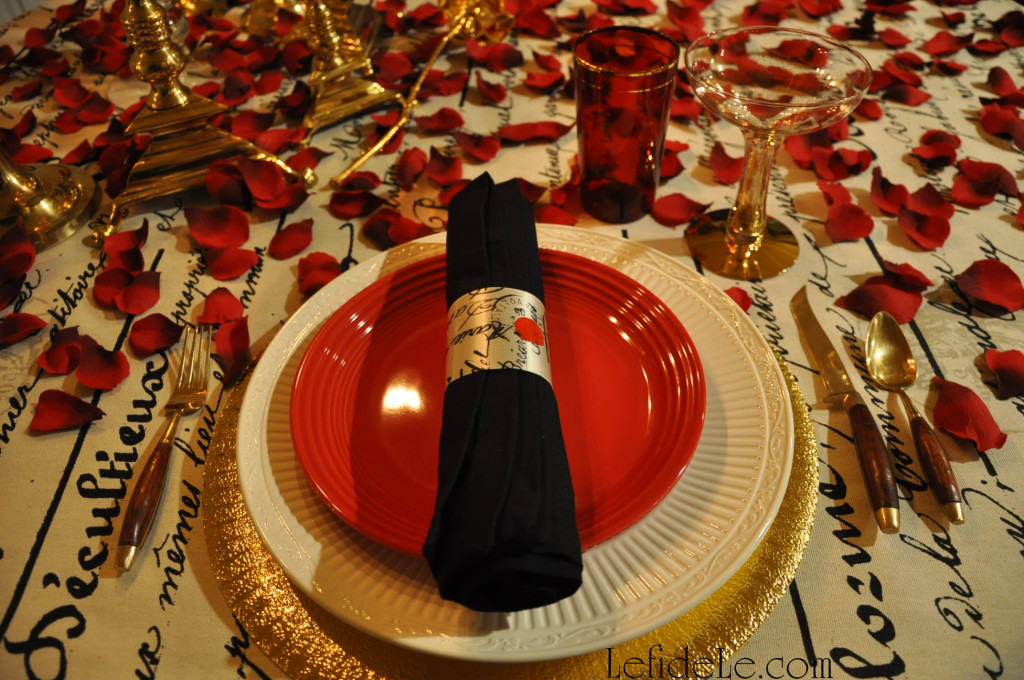
These napkin rings were so quick and easy to craft, and they were a great little touch to add to the Love Letter Themed Tablescape (Perfect for Valentine’s Day, Romantic Date Night, or Anniversary Dinner).

1617Leigh

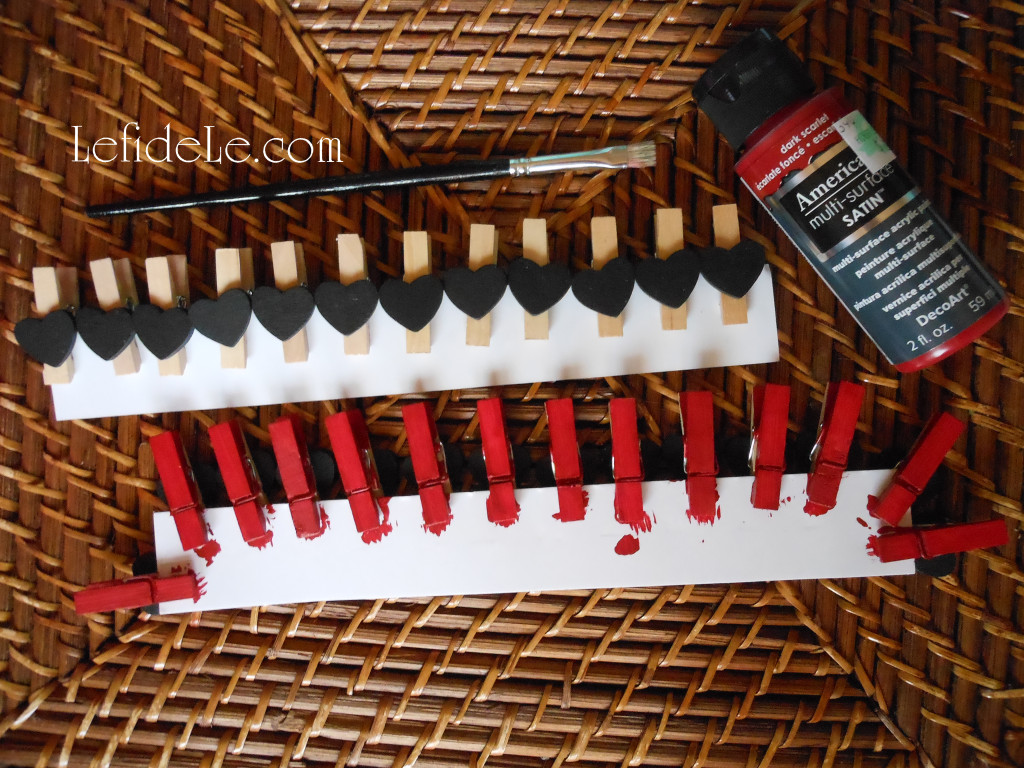
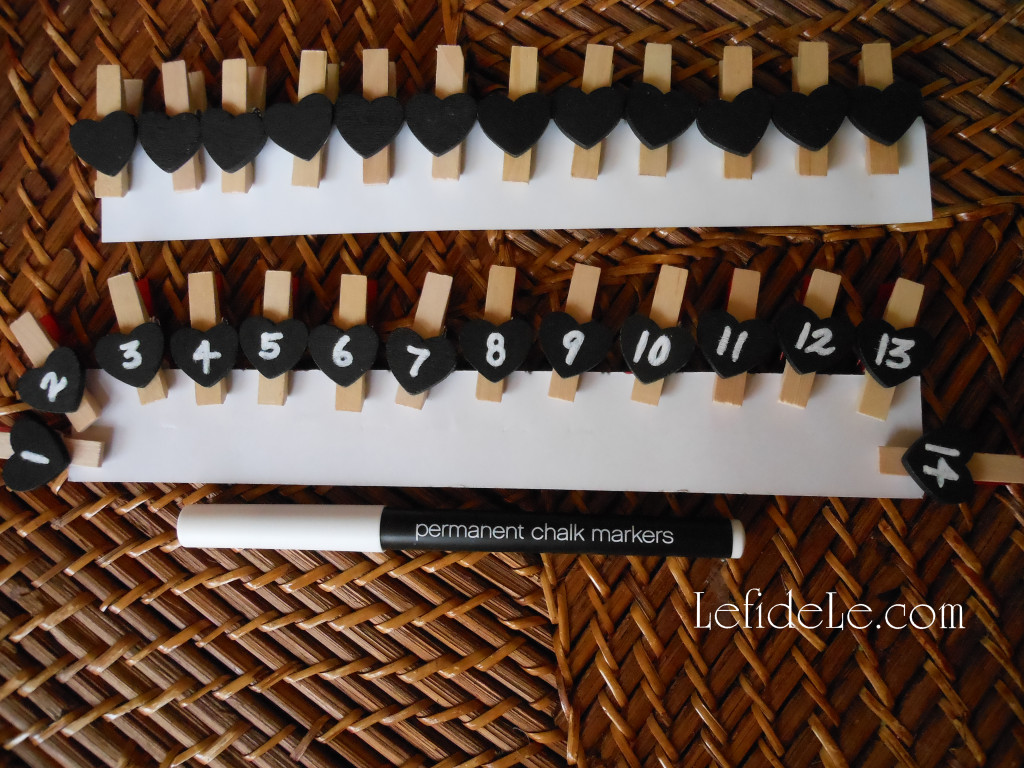
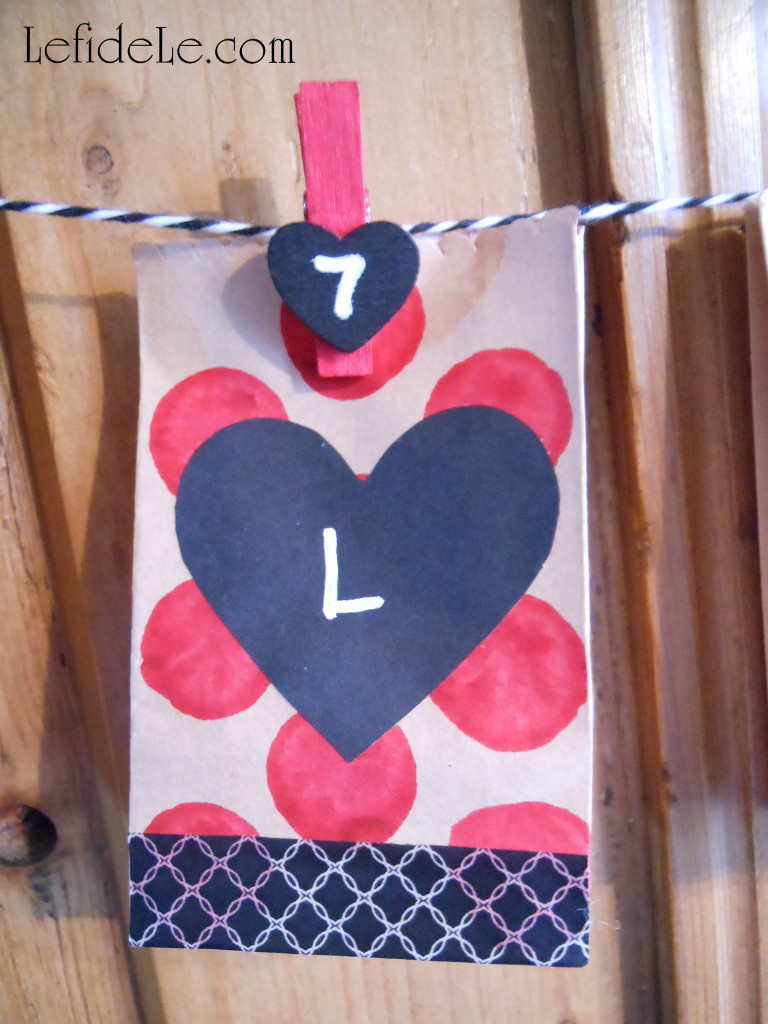
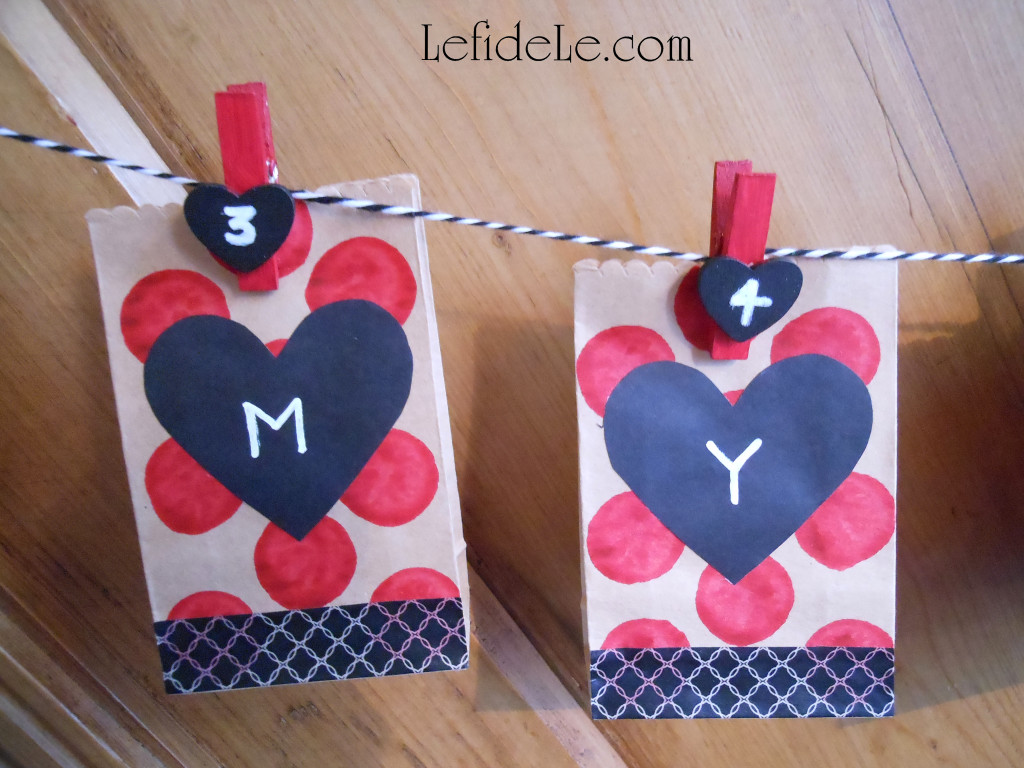
Now let’s make a Valentine’s Day countdown calendar and treat bag banner. (This is an easy enough project for the kiddos in your life to make too.) Begin by purchasing 14 mini clothespins complete with chalkboard hearts (these were 12 for $1 at the Target bargain bins). You can also buy the clothespins plainly and easily attach small flat wooden hearts with wood glue or hot glue… yes, hot glue does work on wood. Then all you need to do is paint the hearts with chalkboard paint. (All of the major craft stores carry the hearts. There are sidebar links for my favorite stores that carry coupon codes with them!)
1547Leigh

If you like, paint the remaining portion of the clothespins in your choice of red or pink… though the natural wood tone would look fine with the paper bags if you’re short on time. (I used dark scarlet multi-surface acrylic paint from DecoArt, because it matches my spice racks.) It’s easiest to clip them onto cardboard and just paint one side, leaving them to dry before flipping them over and completing the opposite side.
1552Leigh

You have the option of writing the 14 day numbered countdown with actual chalk (so that they may utilized in another capacity after the holiday) or with a permanent chalk marker that can’t be rubbed off.
1555Leigh

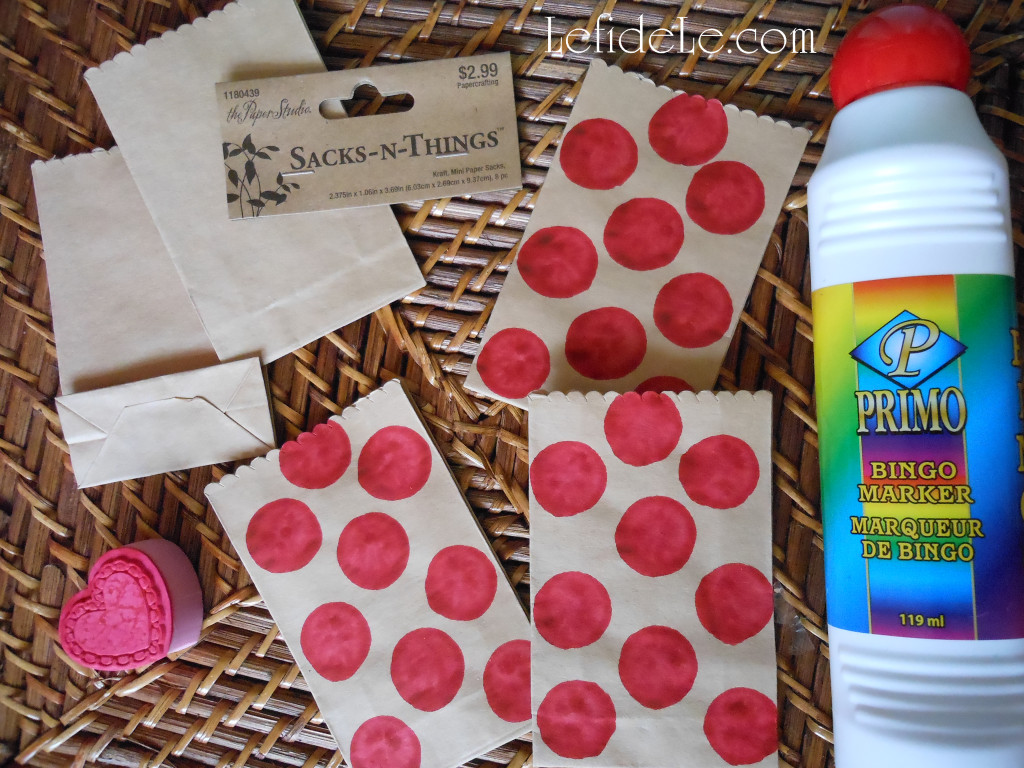
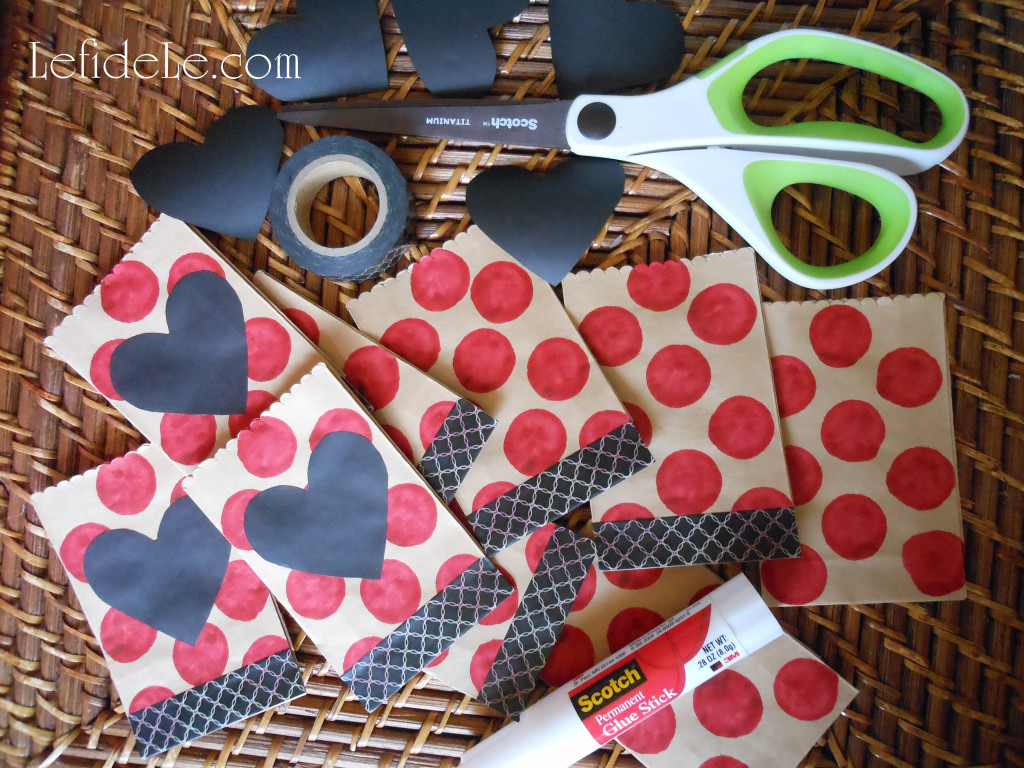
While those are drying, decorate your treat bags. (These plain little sacks were purchased cheaply for ½ off, but you can purchase printed ones if you’d like to speed up the process.) I used a red bingo marker to stamp dots in a polka dot pattern. (See more about this, along with other project ideas in my article on Fast & Easy DIY Hand-stamped Polka-dot Gift Wrap & Matching Gift Crafts.)Let these dry completely before the next step. (You also have the option of stamping a pattern onto the bags with ink or paint.)
1560Leigh

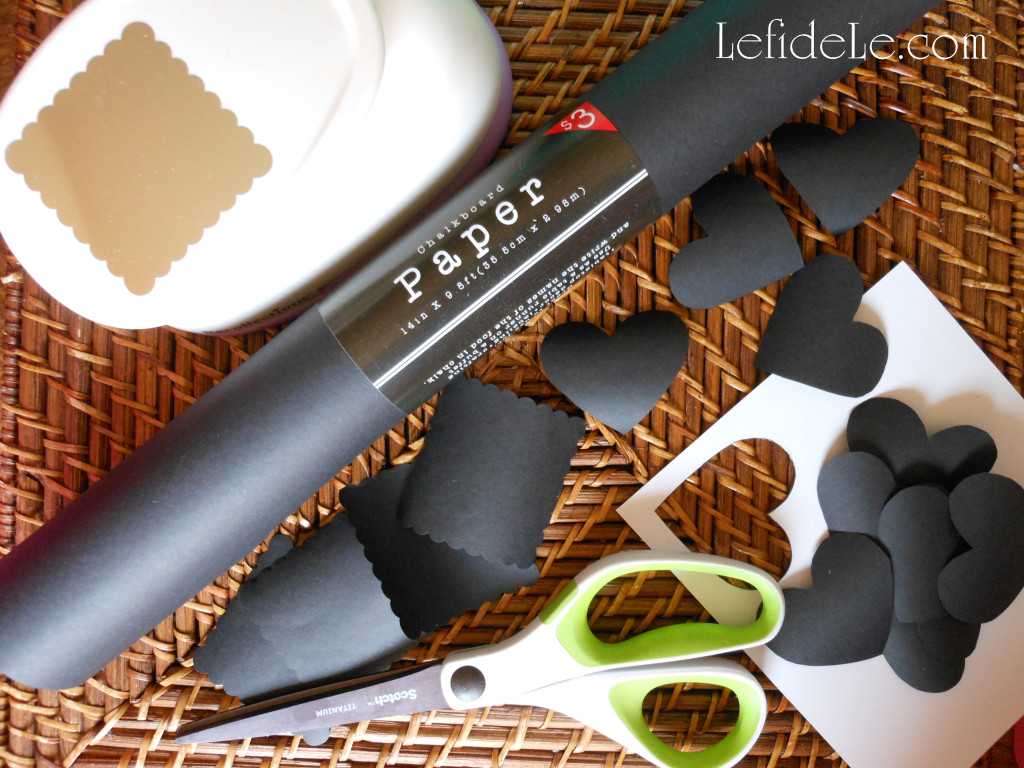
Next, cut out hearts from black chalkboard paper, or use a paper punch in any shape you like, or speedily use readymade chalkboard sticker labels.
heart template

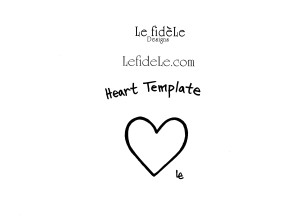
Here is my handy little template to print free at home then cut out to trace around. It’s an easy way to make the same exact heart shape repeatedly. (Just right click the small image above and select print.)
1564Leigh


Adhere the paper hearts onto the bags with a permanent glue stick. Then run a strip of matching washi tape along the base for easily added flair.
1571Leigh

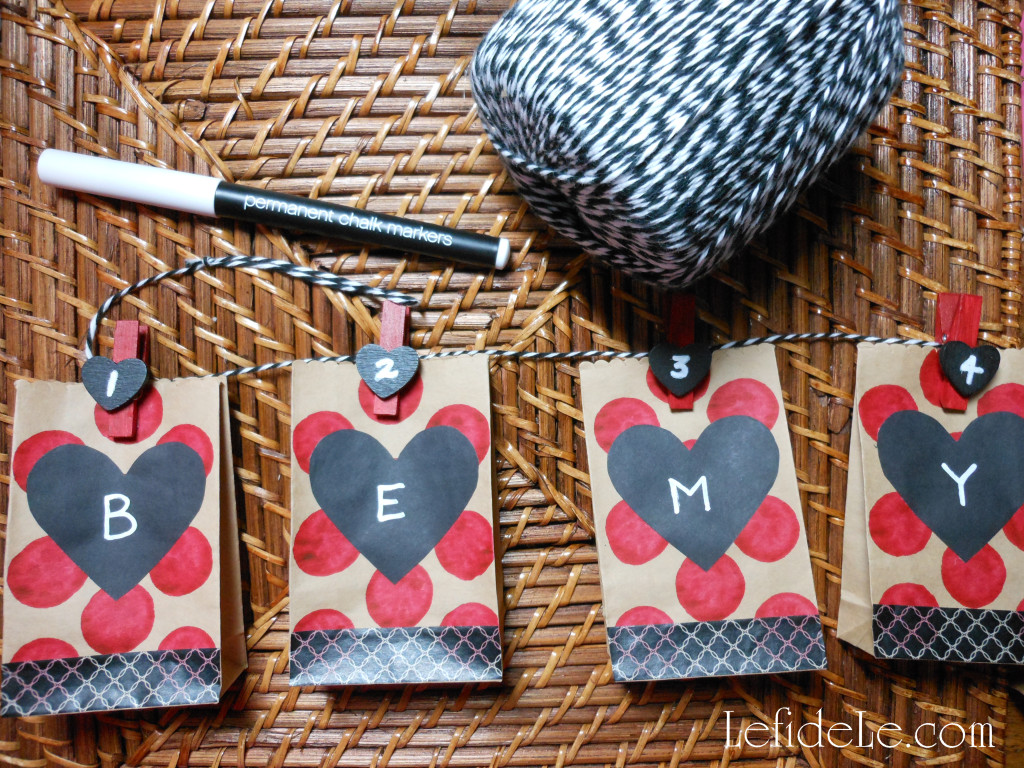
String the dry clothespins onto ribbon, string, jute, cording, twine, or yarn. (I used yarn that looks like twine because three times the amount can be purchased for ⅓of the price.) Once again, use either permanent white marker or actual chalk to write on each heart.
1623Leigh

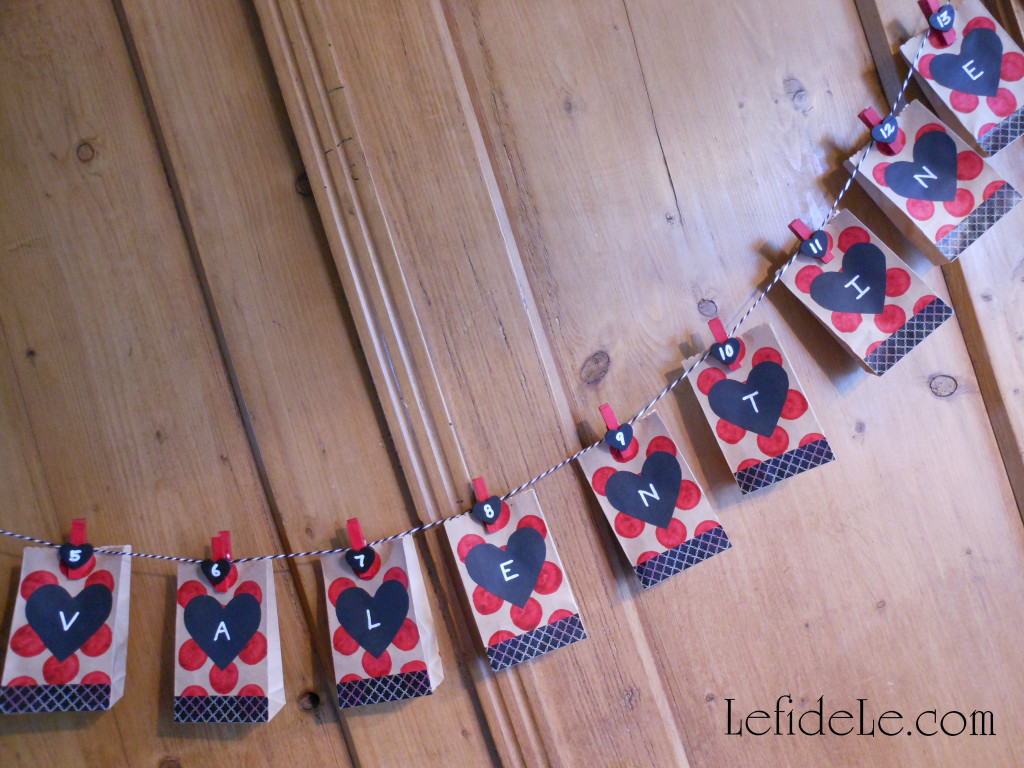
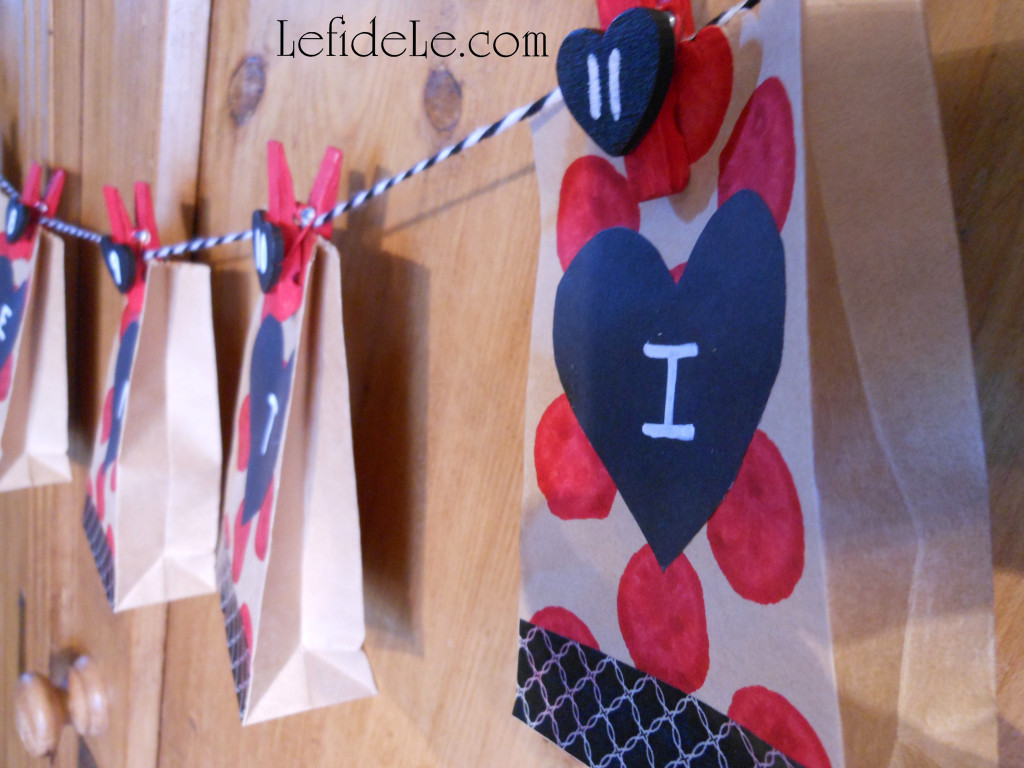
I chose to write “Be my Valentine!” but “Valentines Day!” or “Happy Hearts Day” would also have fit on the 14 bags. You can also write the names of individual recipients like friends, classmates, or even alternate the names of family members.
1635Leigh

Fill the little bags with anything you like… you can make it as inexpensive or extravagant as you like.
1629Leigh

For kiddos: try candy, stickers, stamps, tiny toys, erasers, inexpensive jewelry… or silly printed jokes you won’t mind hearing over and over again. On the 14th day, think about directions leading to a larger gift like a stuffed animal.
1628Leigh

For adults: try printing faux fortunes, poems, romantic quotes, movie or event tickets, or even homemade coupons for “honey-do” chores or special treats. On the 14th day, think about directions leading to a larger gift like a dozen roses, box of chocolates… or something uber masculine like the latest power tool at home depot.

1661Leigh

This makes a super cute banner decoration as well, and it can be strung just about anywhere using either tape, 2 extra clothespins, or by tying knotted loops at each end of the string.

I ♥ Crafting… Don’t you?!

Faithfully Yours,

Leigh
Chalkboard & Glitter Hearts Themed Valentine’s Day Party Buffet Décor Ideas (+ DIY & Printable Links)

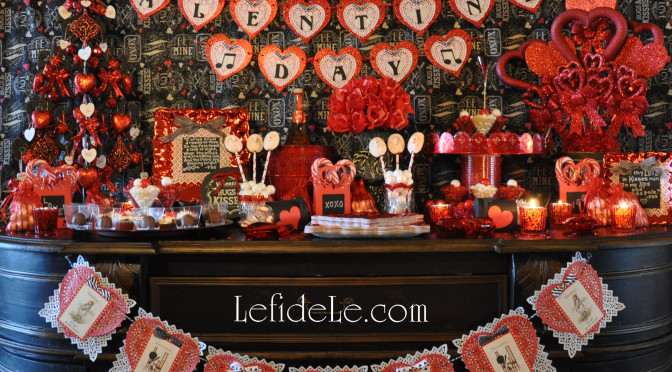
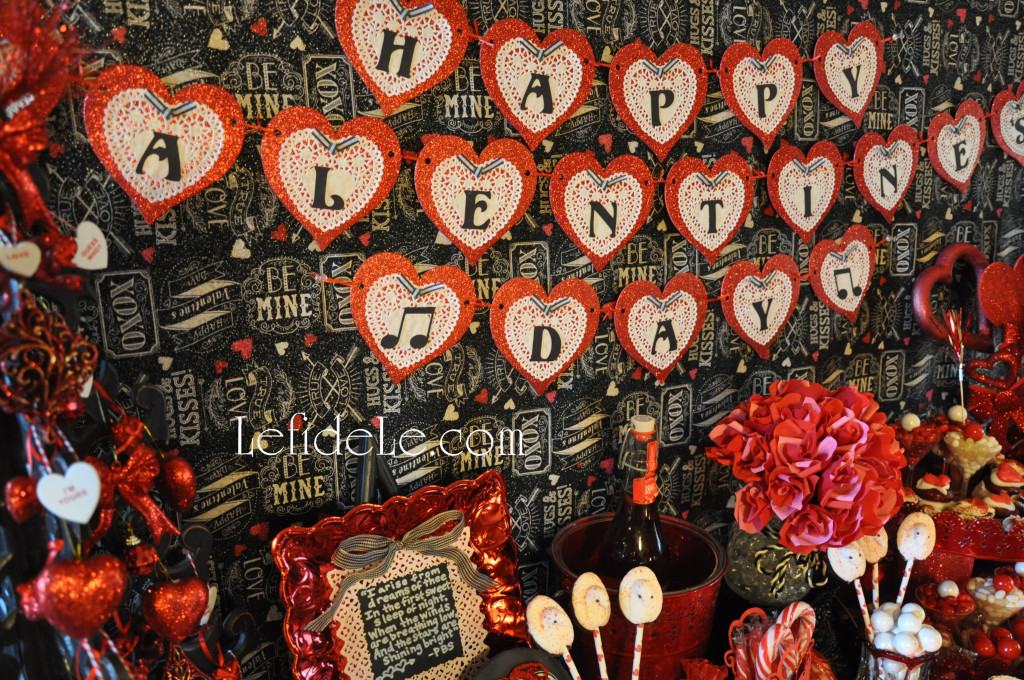
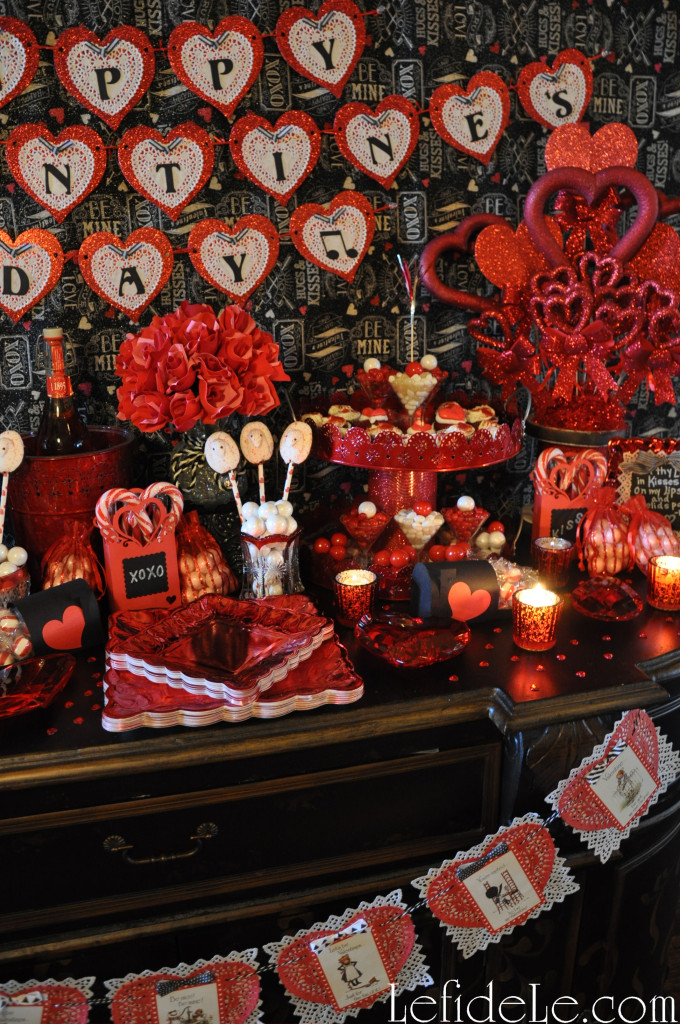
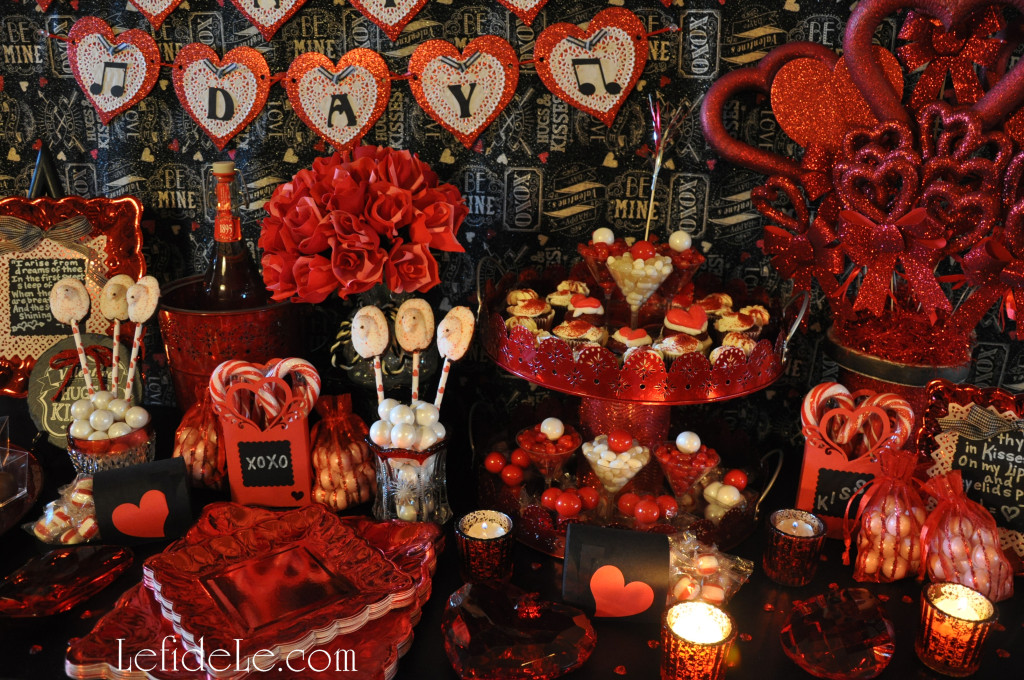
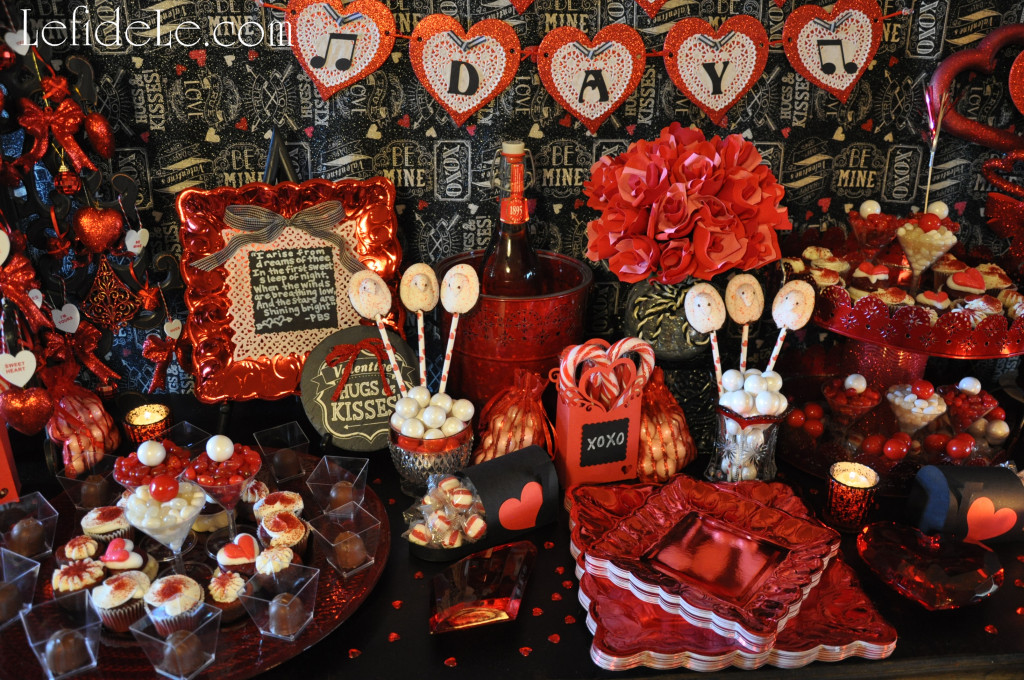
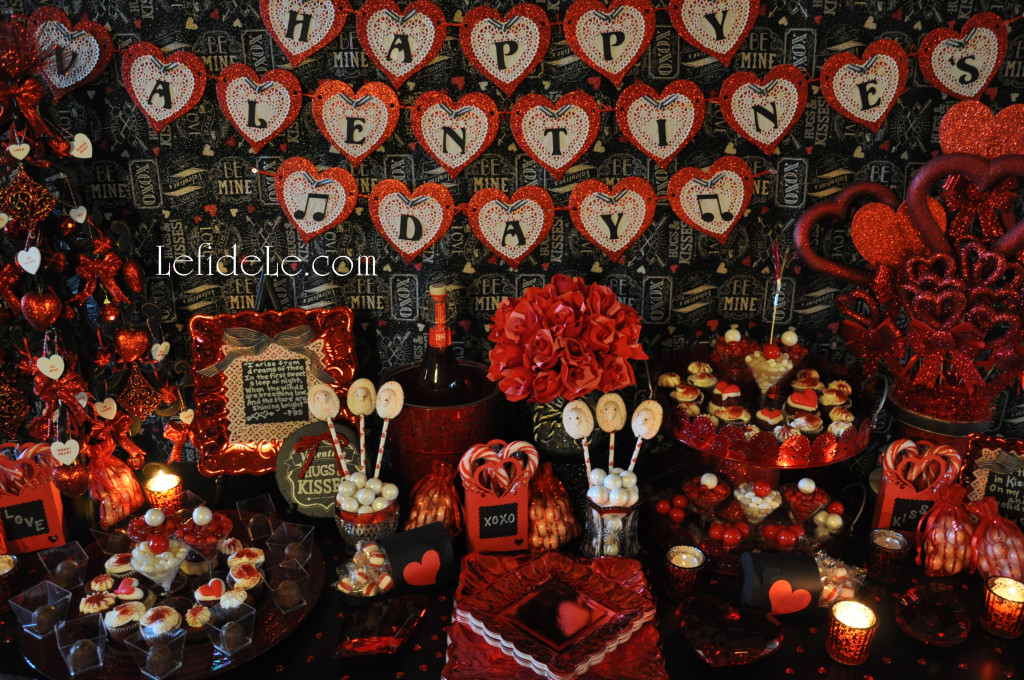
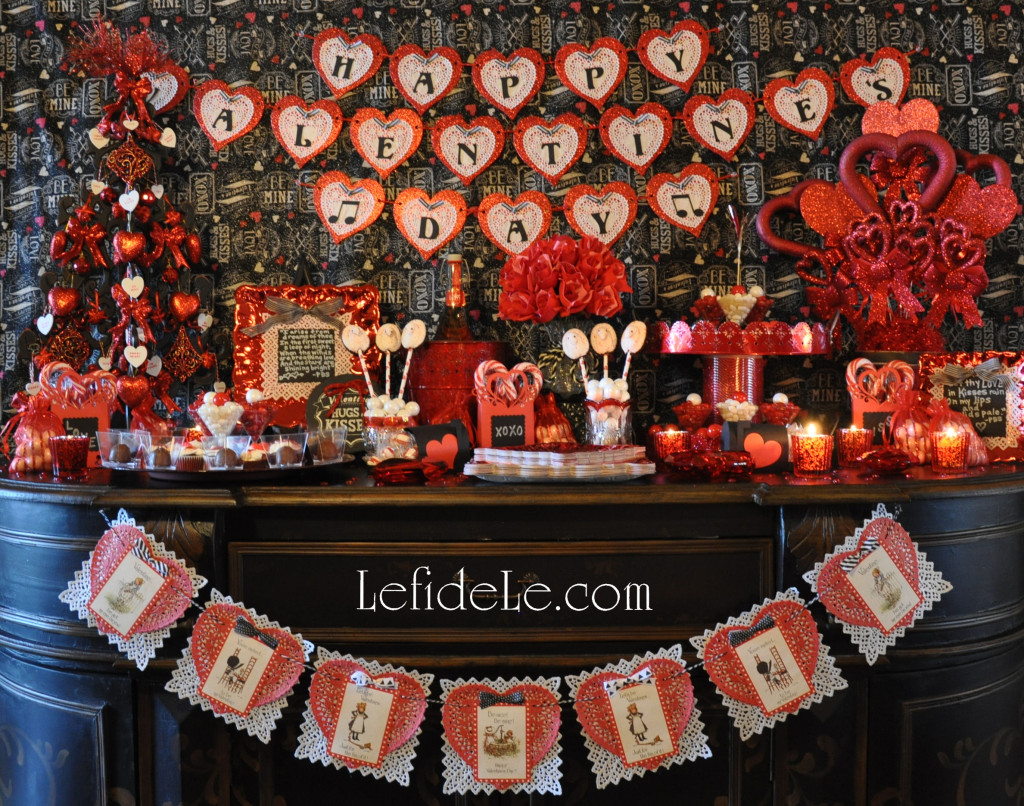
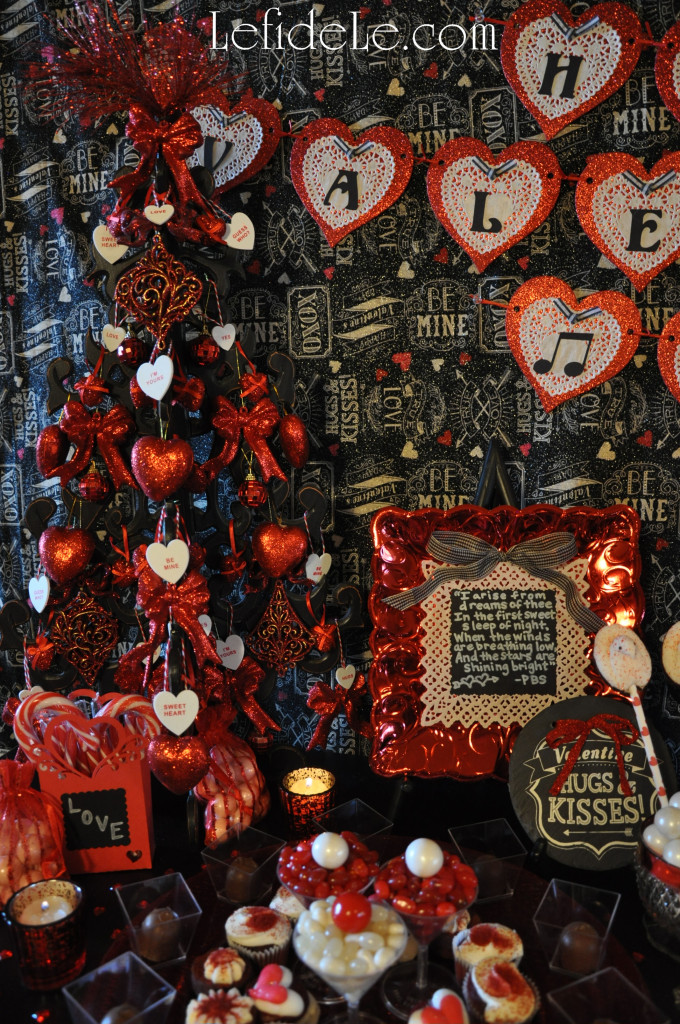
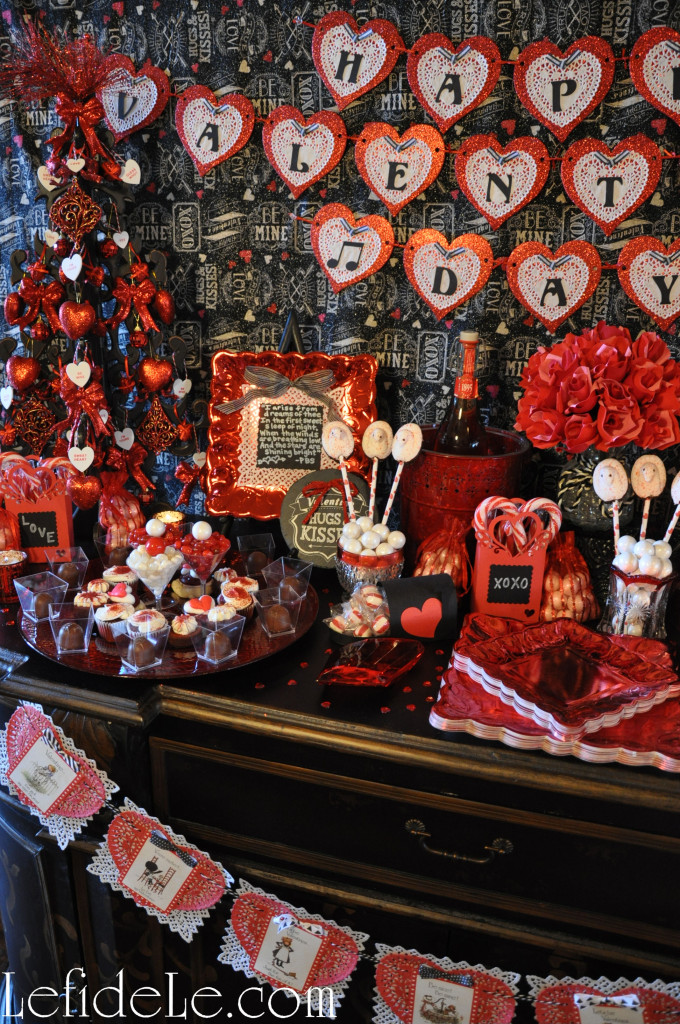
Running with the idea that opposites attract, I decided to make a Valentine’s Day Party theme that incorporated both matte black chalkboard and glittery red hearts. The elements actually coordinated beautifully for a party theme that would suit a variety of age groups, or even just serve as a surprise for that special someone. The whole shebang was actually quite inexpensive to pull off, though happily I believe that doesn’t appear to be the case. You can either follow the links to make the fast and easy crafts yourself, or go shopping with the theme in mind.

229Leigh

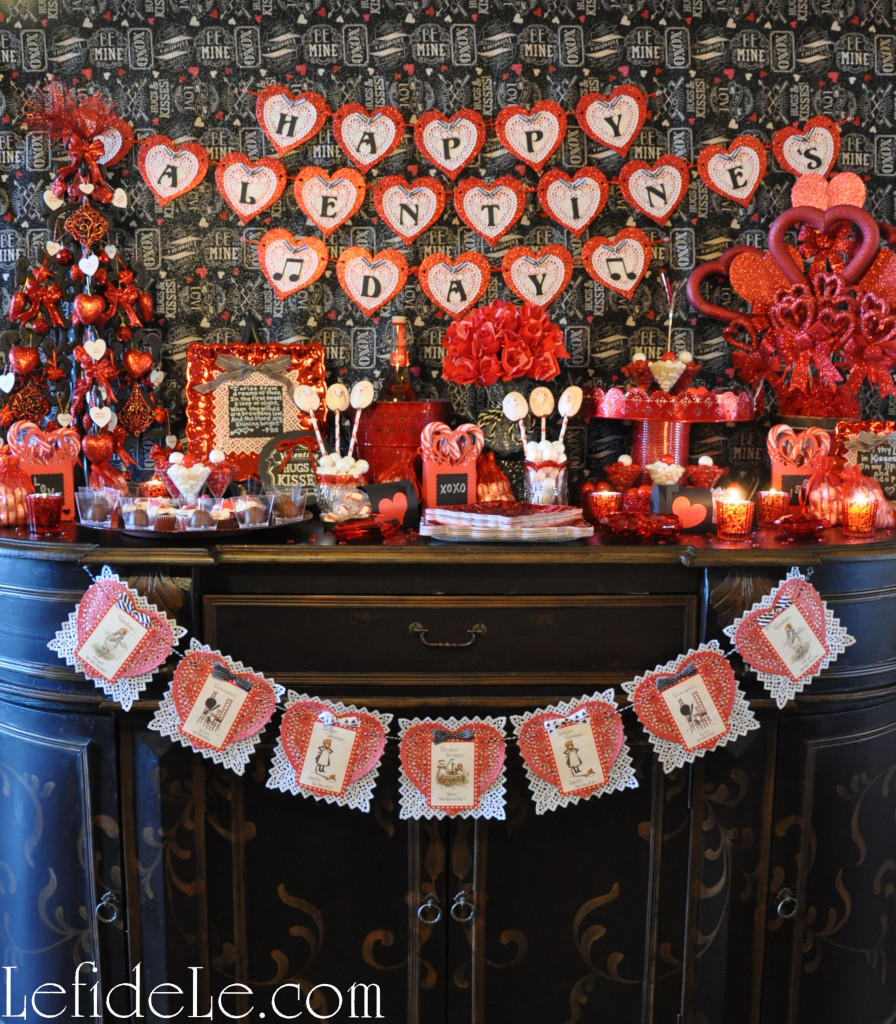
After deciding on my theme, I actually found this adorable chalkboard Valentine fabric that also had glitter hearts. (You can find some for yourself at Hancock Fabrics or Fabric.com using coupons from the affiliate links in the sidebar.) I hung this up with clear thumbtacks.

204cLeigh

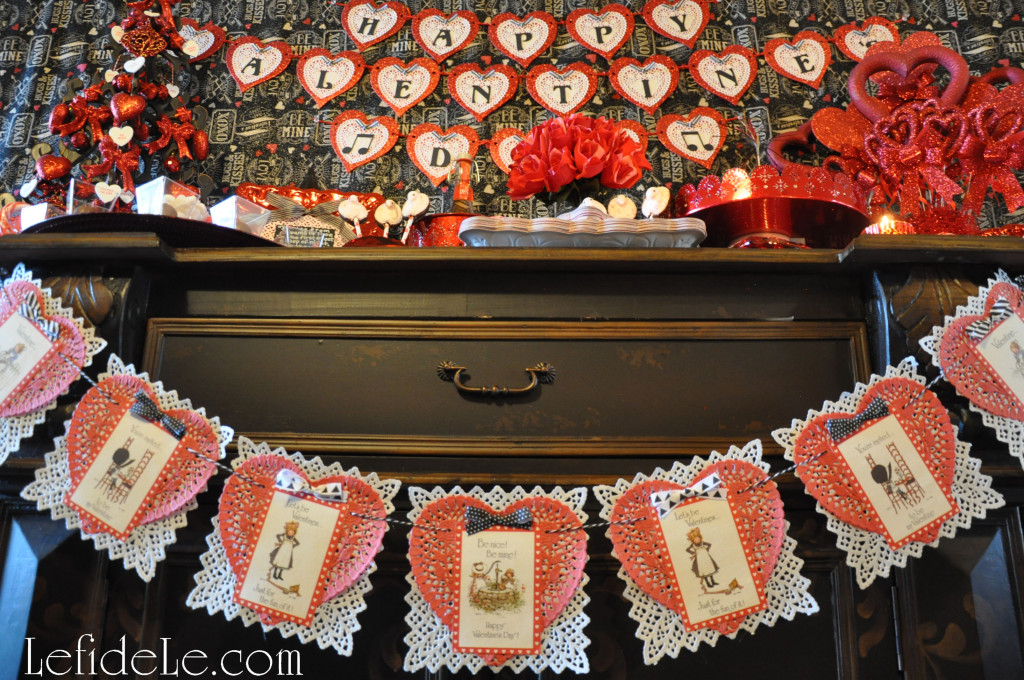
I then strung my glitter hearts Valentine’s banner atop of this. I also attached another doily banner to the credenza itself with tiny tack nails. (The printable and instructions for both banners may be found by clicking here.)

213Leigh

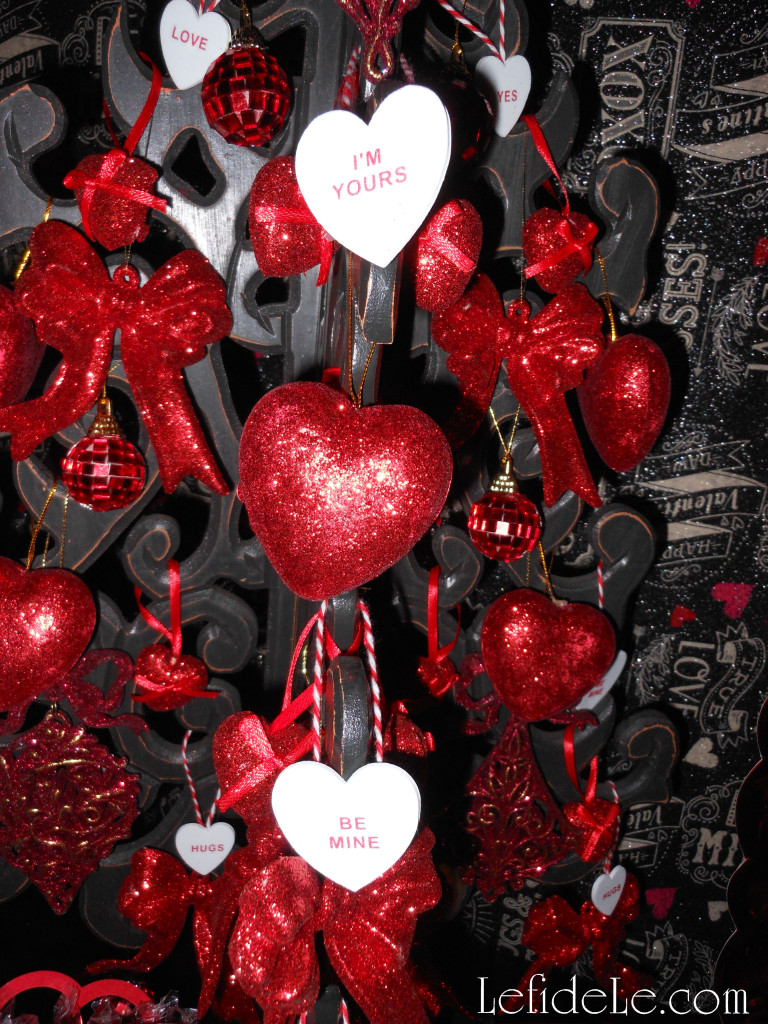
I love incorporating ornament filled trees into holidays besides Christmas. Valentine’s Day is especially easy to do this with because it falls so quickly after on the calendar so that one may really take advantage of all those deep after-Christmas clearance sales. Some of the baubles on this tree were marked 90% off which left the cost at mere cents. The topper is a glittered sprig of holiday pine.

205Leigh

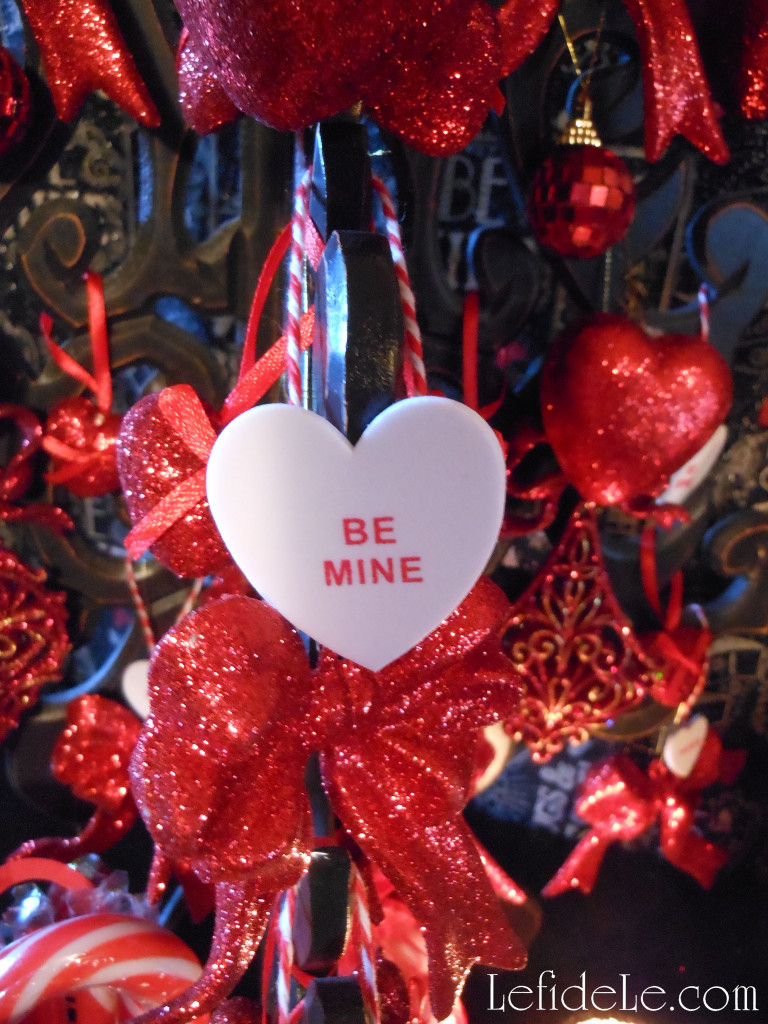
Some of you may recognize the black wooden tree from the Halloween Party. It looks really different when trimmed according to another theme. The conversation heart ornaments were made from white foam shapes (whose craft tutorial may be found here).

215Leigh

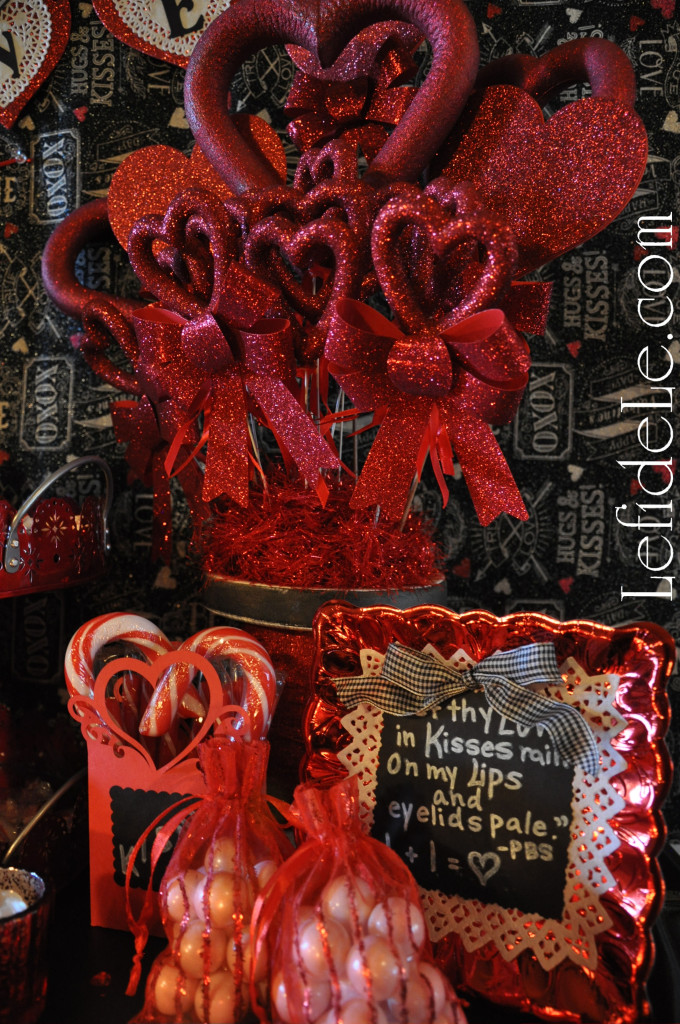
On the opposite side of the buffet, I made an arrangement that can be disassembled one heart wand at a time, to be given away as favors to departing guests. This is especially sweet when given as scepters to little Valentines princess party goers. (See the tutorial at the link here.)

206Leigh

I set all of these into a vase shaped like a thread spool twinned with glittery red flat yarn. It symbolizes the ties the bind… and is filled with hearts. Glass marbles contain the arranged wands yet allow for easy removal. These are topped with another variety of glittery yarn to conceal the marbles.

214Leigh

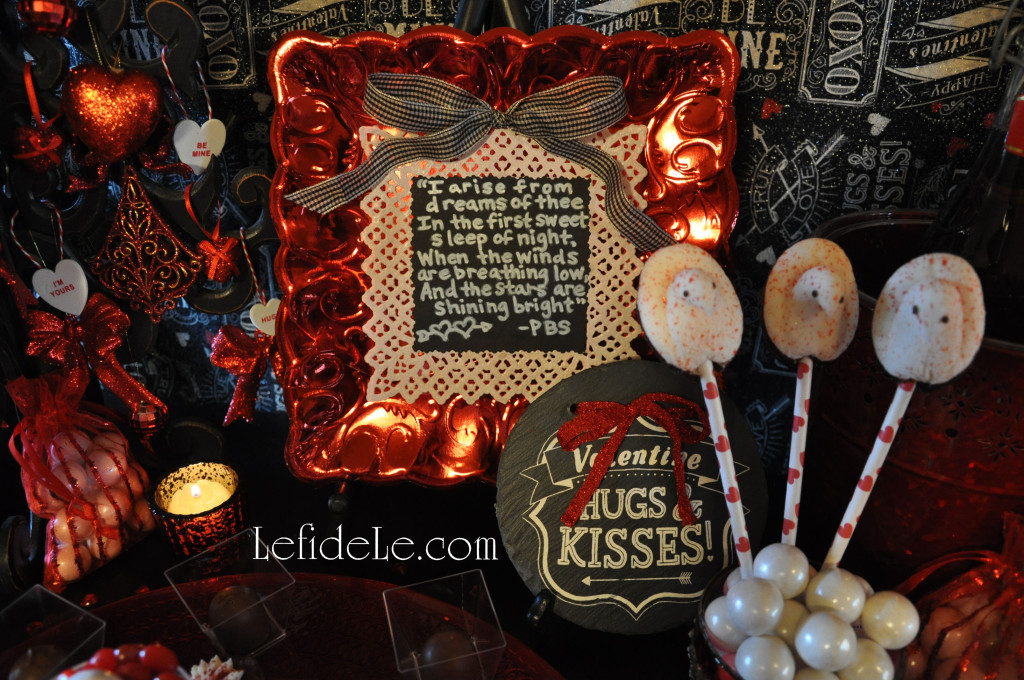
Other décor elements are the chalkboard sign crafts set onto easels (find tutorial here) alongside a store-bought slate that I was gifted with early. (Thanks Mom!)

209Leigh

A variety of gift bags and boxes overflowing with candy were nestled into the ensemble. The heart bags and mail boxes were machine cut from construction paper.

238Leigh

I included both oversized gems and tiny crystal hearts to fill in the empty spaces. I borrowed a bouquet of crepe paper roses that I had actually made for my mother years ago, and set these into a marble filled vase. I wrapped it with some leftover rope trim that coordinated with the theme, and set it atop an upturned boxy metal vessel. It’s really easy to create lifts and levels when one starts to think out-of-the-box and repurpose items for that other than which they were intended for.

219Leigh

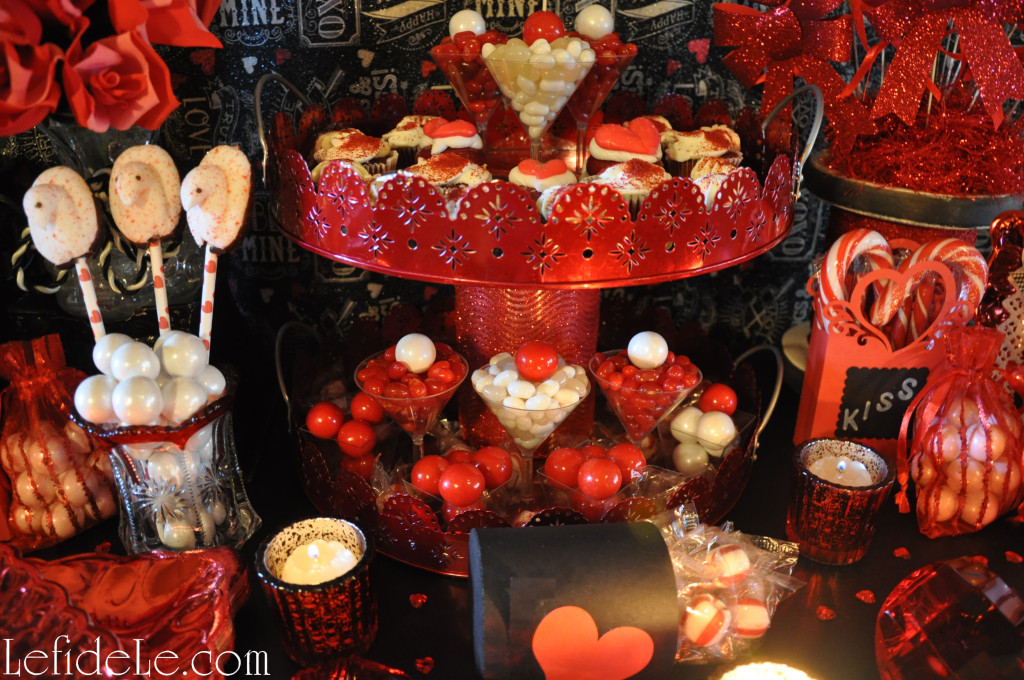
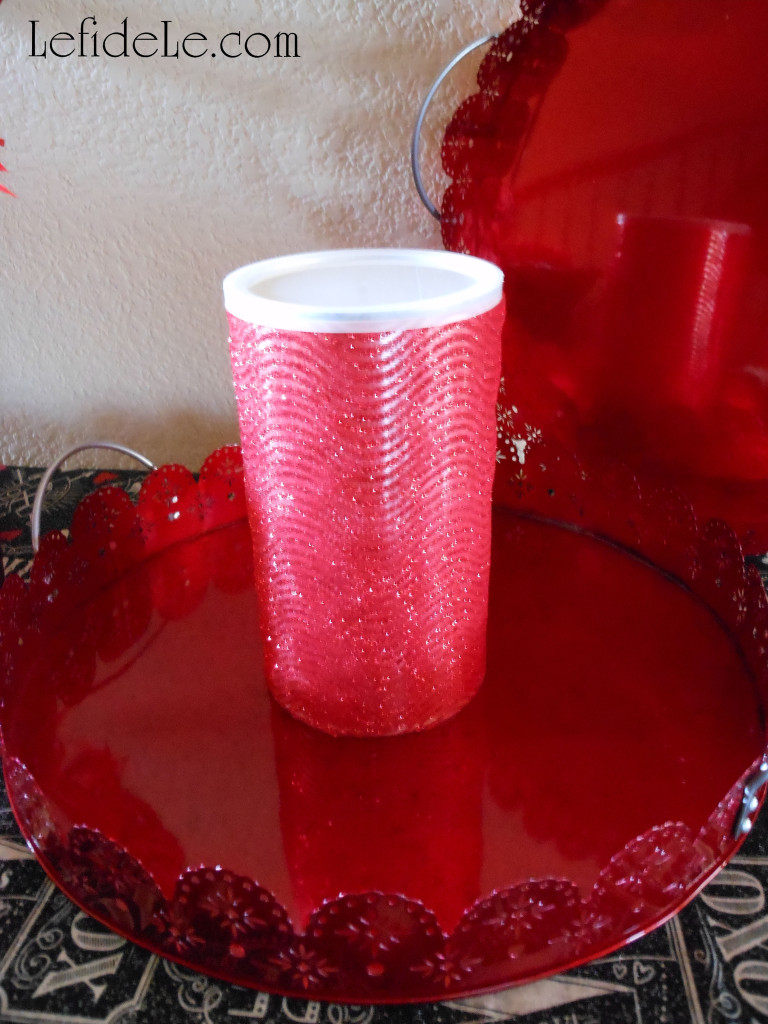
The treat tower is actually comprised of two metal trays that I found on after Christmas clearance years ago. I simply stacked these by using an empty drink mix container wrapped with glittery fabric.

17Leigh

It was surprisingly stable, but you can add further assurance by hot gluing these for a temporary bond. A stronger adhesive would make the bond permanent. I stocked the tower with icing laden cookies, cupcakes, and candy cocktails.

208Leigh

The other platter was another clearance gem from over a decade ago. It’s a lovely red metallic reverse painted glass. You can mimic this with a lovely red charger in either acrylic or glass. More of the same sweet treats topped the dish plus some delectable chocolate covered cherries set into their own treat cups. Try this with truffles or even upside down cake pops.

77Leigh

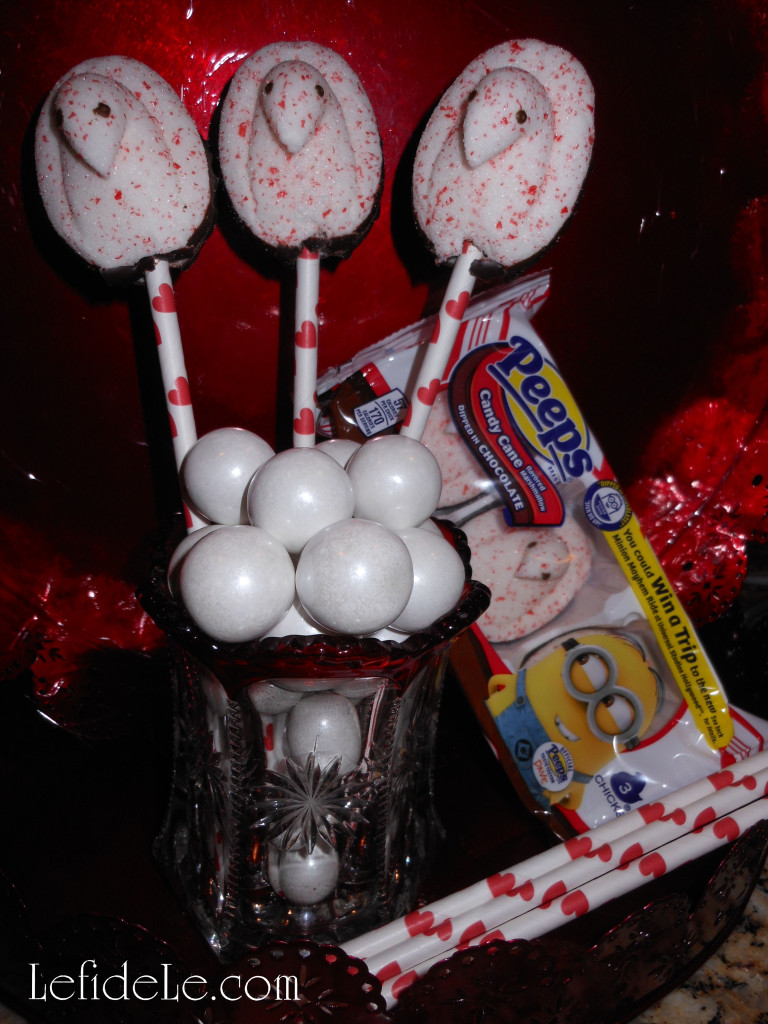
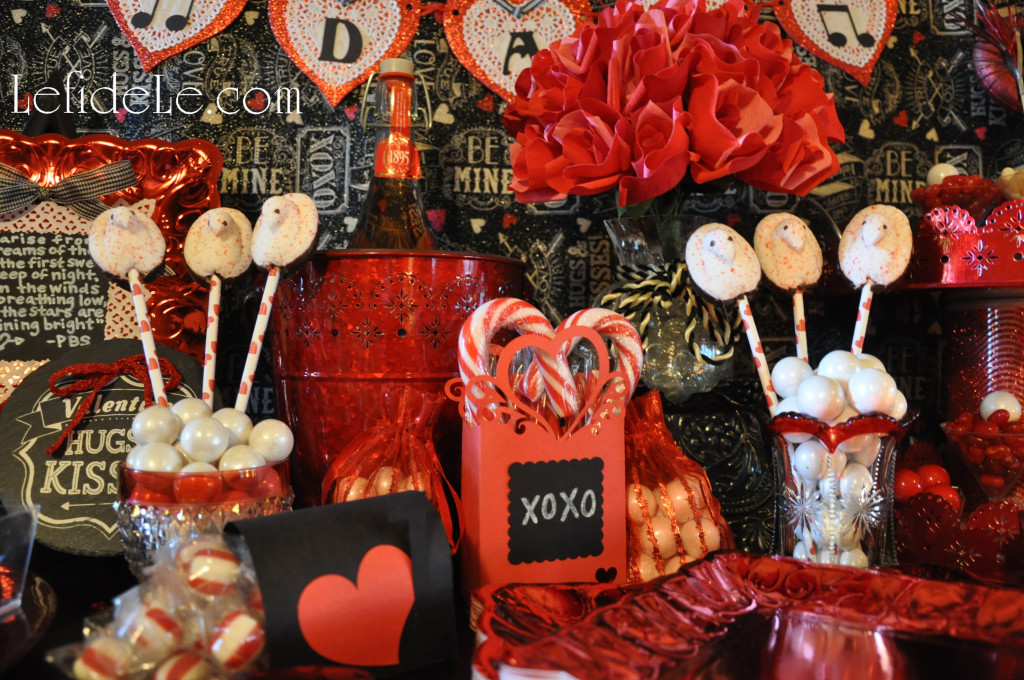
I made my own treat pops with Peeps red speckled white “love birds” with chocolate bases. To make your own, simply poke a pilot hole with a skewer or tooth pick then jab in a paper straw. I chose adorable heart covered ones, and then set these into gumball packed vintage crystal vessels. Any solid candy would serve as well.

250fLeigh

A non-alcoholic berry soda set into an ice bucket serves as equal-opportunity refreshment. The same red metallic plates that appear in the chalkboard sign crafts were placed front and center. Last but not least to complete the sweet buffet was the addition of candlelight. (Use LEDs if you fear sleeves catching fire or if you have young guests attending.) Red mercury glass votives were, you guessed it, purchased for mere cents post-Christmas. They really added to the ambiance of the whole setting.

202Leigh

♥ As you prepare for your own Valentine’s celebration… just remember to, “Keep calm & party on!”

Faithfully yours,

Leigh
Fast & Easy Glitter Heart Wand Centerpiece, Foam Ornaments, & Faux Chalkboard Valentine’s Day Décor Craft Tutorials (+ Printable)

205Leigh

This mélange of fast and easy crafts were made to decorate a Valentine’s Day Party, but you can adapt them for any purpose you like. The faux chalkboard craft is an inexpensive way to decorate for the holiday, but also makes a quick Valentine for a love one. The chalkboard idea can also be extended to other favors quite easily. The glitter heart wands effortlessly gather into a dramatic centerpiece, and can be taken home as favors by each Valentine princess at the party. (Make these with foam hearts or my free printable from the Valentine’s Day banner craft.) Also, make Valentine ornaments with the kiddos in your life using foam Conversation hearts in a matter of minutes.

61Leigh

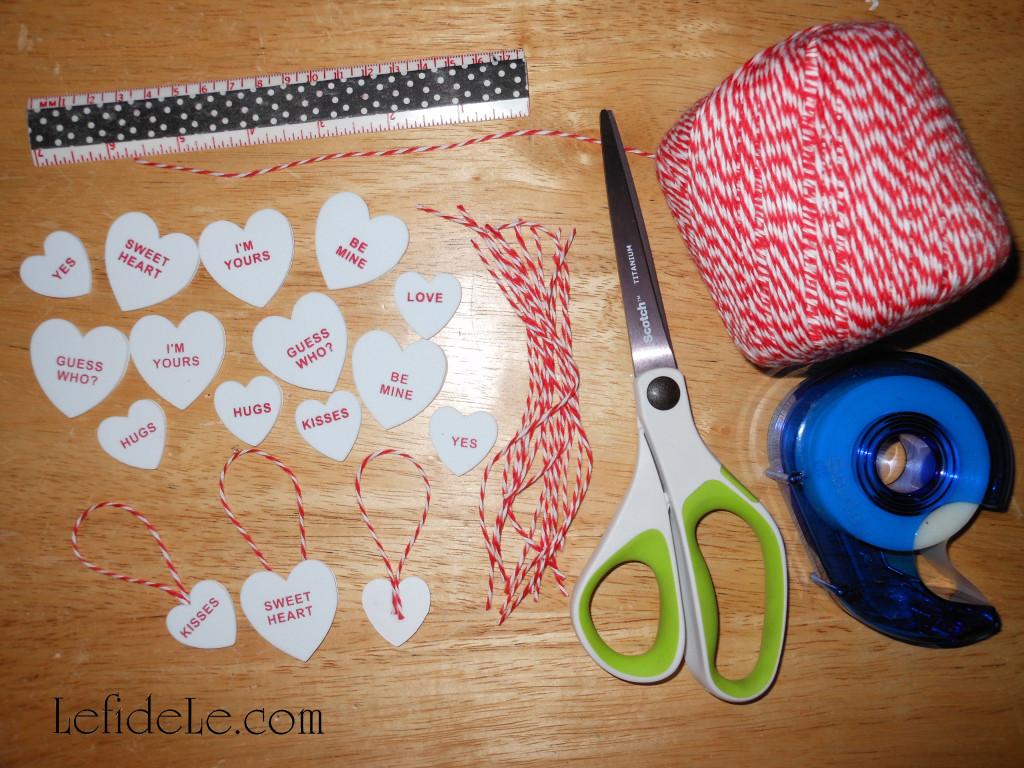
Let’s begin with the simplest project first, making Valentine ornaments out of foam conversation hearts from the craft store. (I used the white ones only, so as to coordinate with my theme colors, and reserved the other pastels for the candy-land themed party which will appear in an upcoming article.)

81Leigh

You can either glue the hearts back to back, sandwiching twine or thin ribbon between them, or simply tape twine loops to the heart backs. The latter is the quickest way to make them, and the easiest for a little one to help with.

80Leigh

(See these similarly on the How to Make an Assemblage Sculpture (= 3D Collage) for Your Valentine (Art Instruction / Craft Tutorial).)

168Leigh

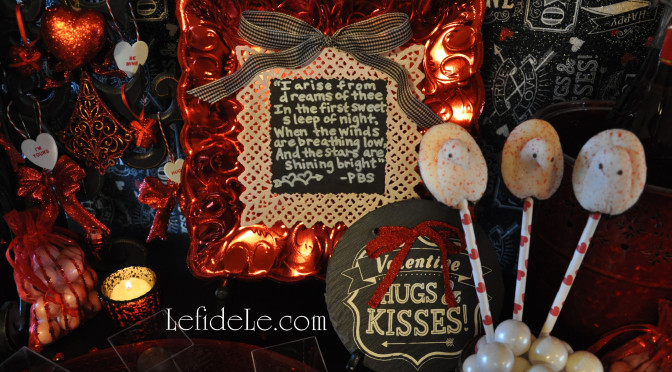
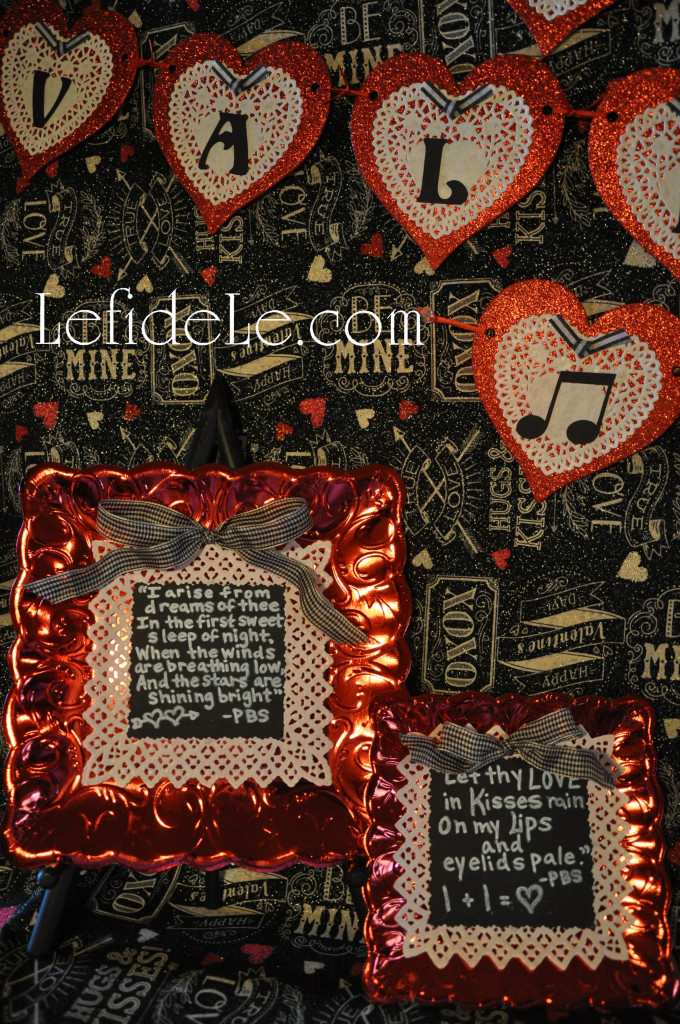
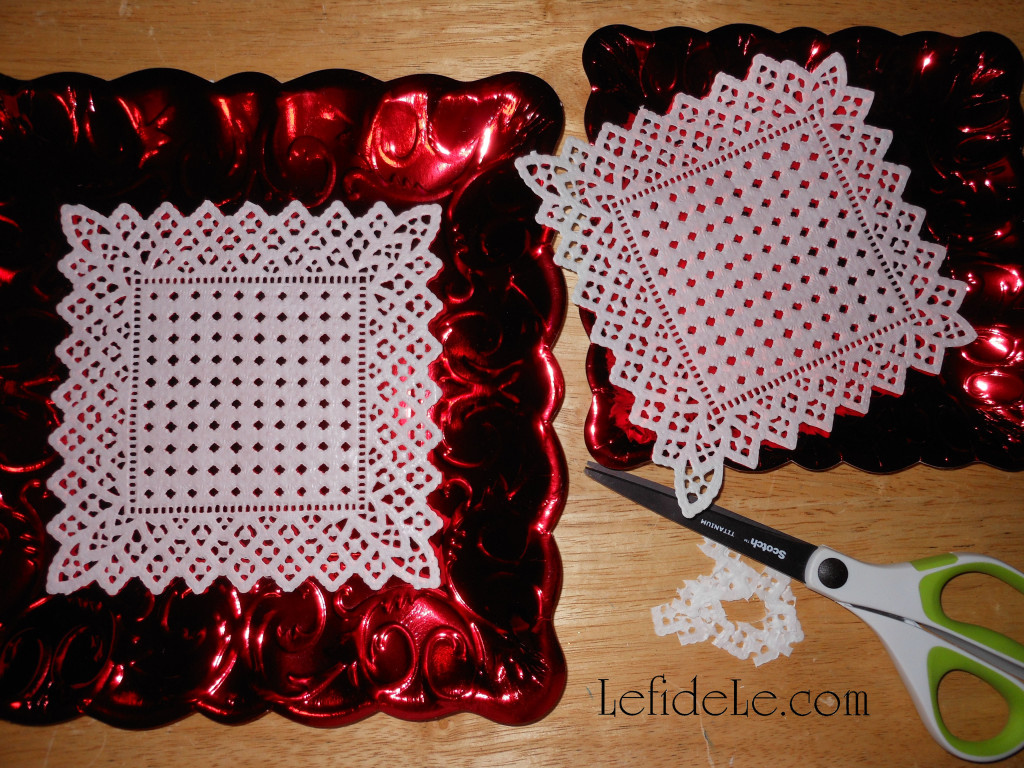
The next project is a faux chalkboard sign, that also makes an inexpensive Valentine, using the unexpected material of a paper party plate. The square metallic disposable plates are lovely yet extremely budget friendly. Why not pick some up for the party and reserve one or two to fill in as décor.

45Leigh

Merely use dots of glue to layer square doilies onto the plates. Simply trim down the doilies to fit the smaller plate sizes.

47Leigh

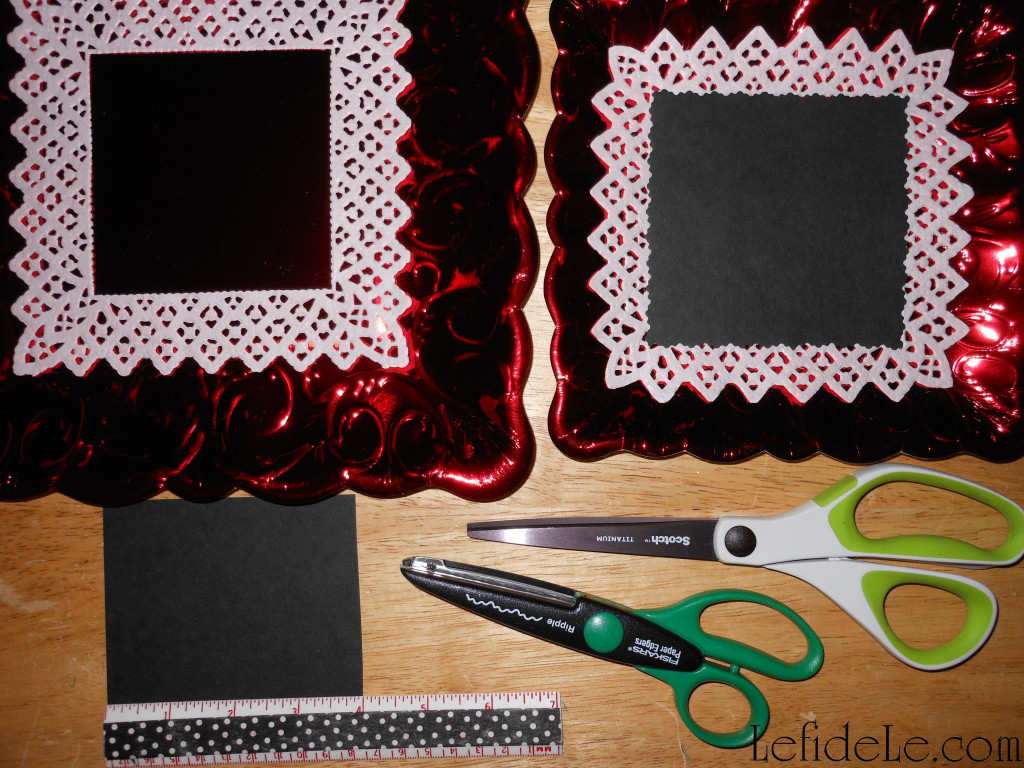
Then cut a square of matte black cardstock to size, and glue atop the doily.

50Leigh

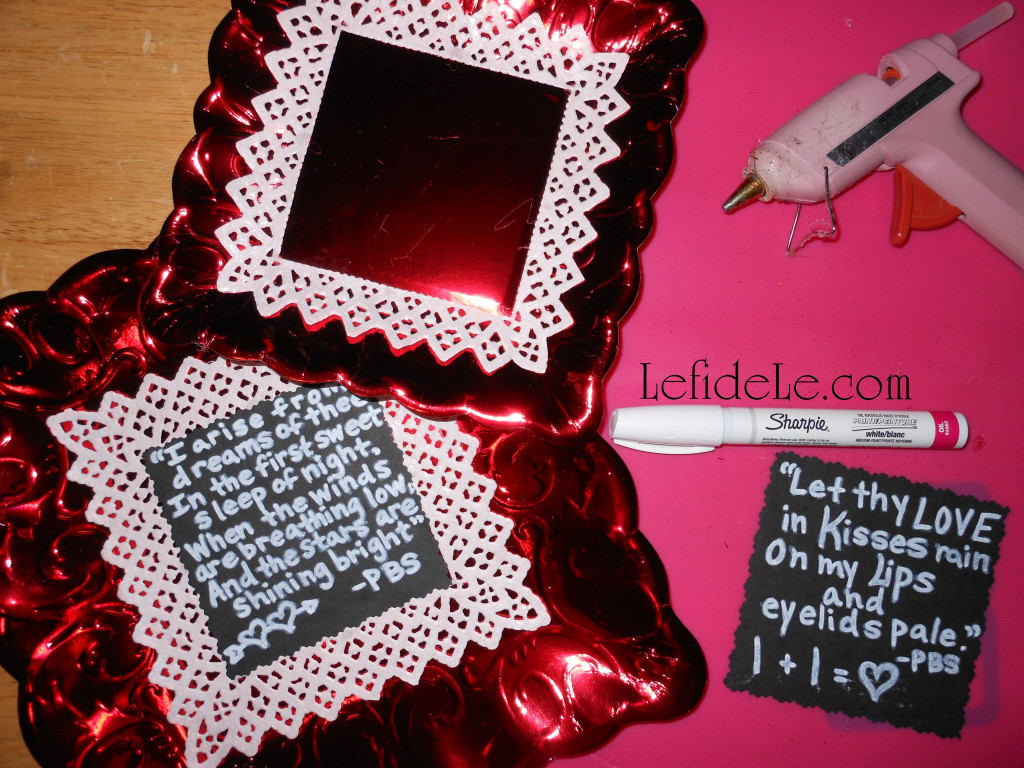
Use a white paint marker to write whichever sentiment, poem, or quote you wish.

55Leigh

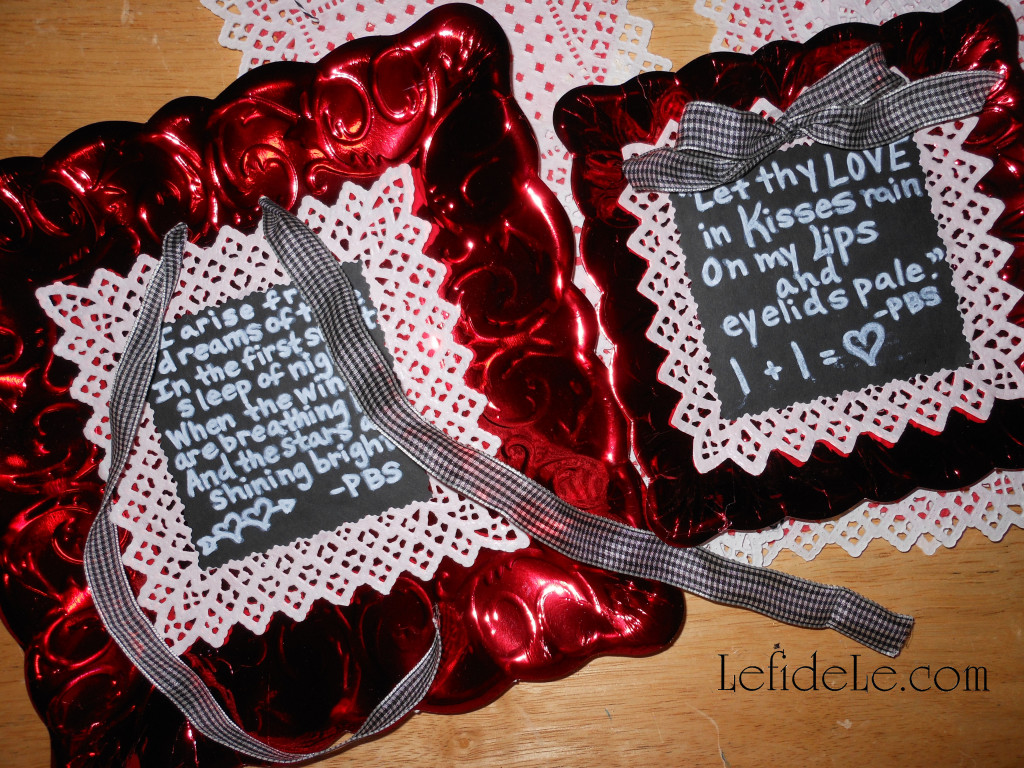
Use a hole-punch to add 2 openings with which to slip a strand of coordinating ribbon through. Simply tie the two ends in a bow, which also serves to further decorate the sign.

21Leigh

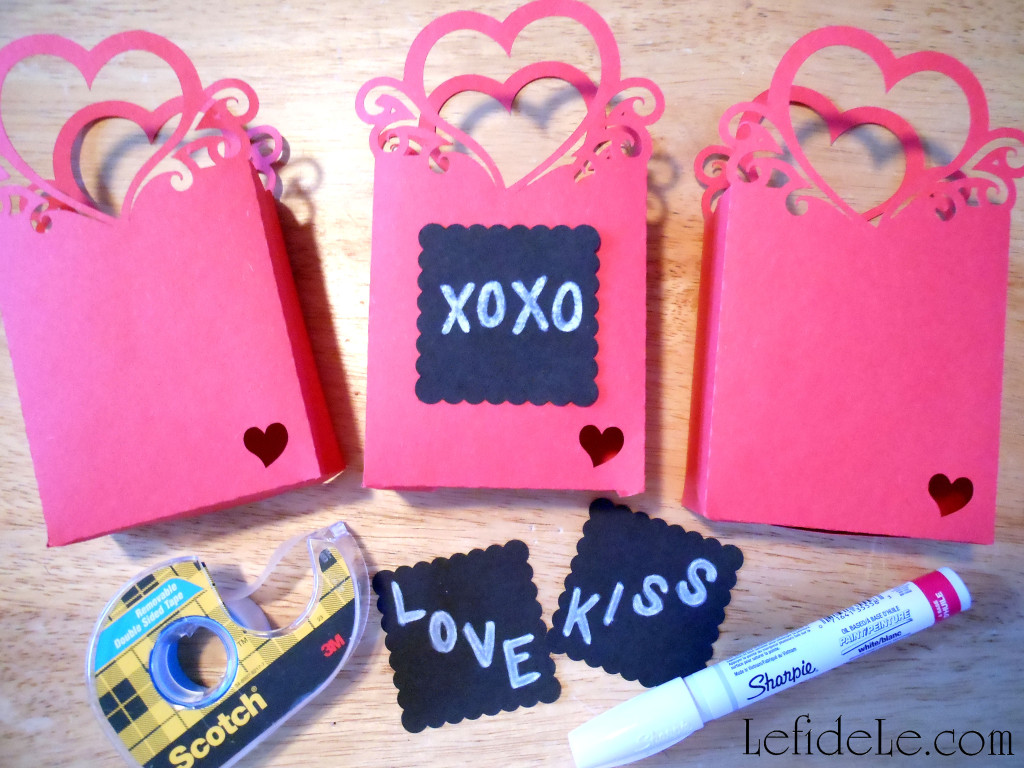
Similarly, cut squares of black cardstock to adorn gift bags and boxes, using the same white paint marker to write your sentiment in “chalk”.  If the writing doesn’t seem clear enough, simply go over the letters until they do. The uneven edges make them look even more like chalk, but won’t come off on your clothing while delivering them to your recipient.

208Leigh

Moreover, in this way you can ride the chalkboard trend without spending as much on readymade tags, stickers, or chalkboard paint. (The bags I made were machine cut from construction paper then adorned.)

215Leigh

The last project is a centerpiece of glittery hearts meant to be taken home as party favors at the end of an event. You can even print, cut, and glue these onto tiny wooden dowels using my free printable at the end of the article.

34Leigh

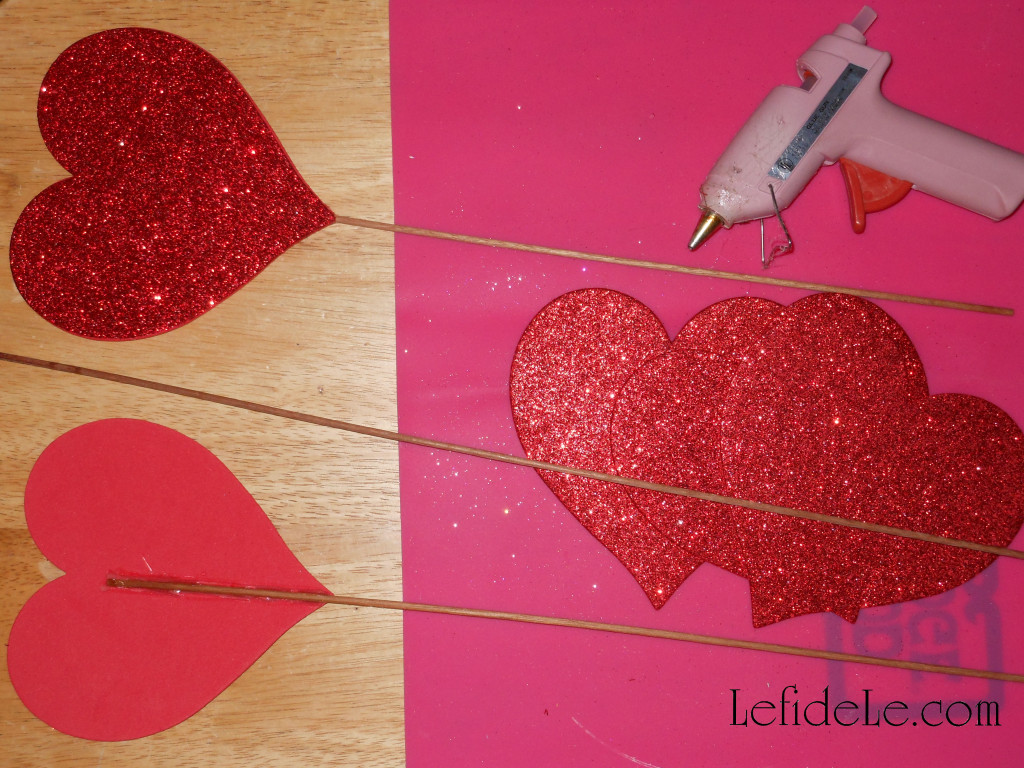
I sandwiched a thin dowel between 2 glittered foam hearts with the aid of hot glue. The thinnest dowels are really easy to just snap in half where you want to section them. Trim with a bow of glitzy ribbon if you like. I used readymade glittered bows from an after Christmas clearance sale.

10Leigh

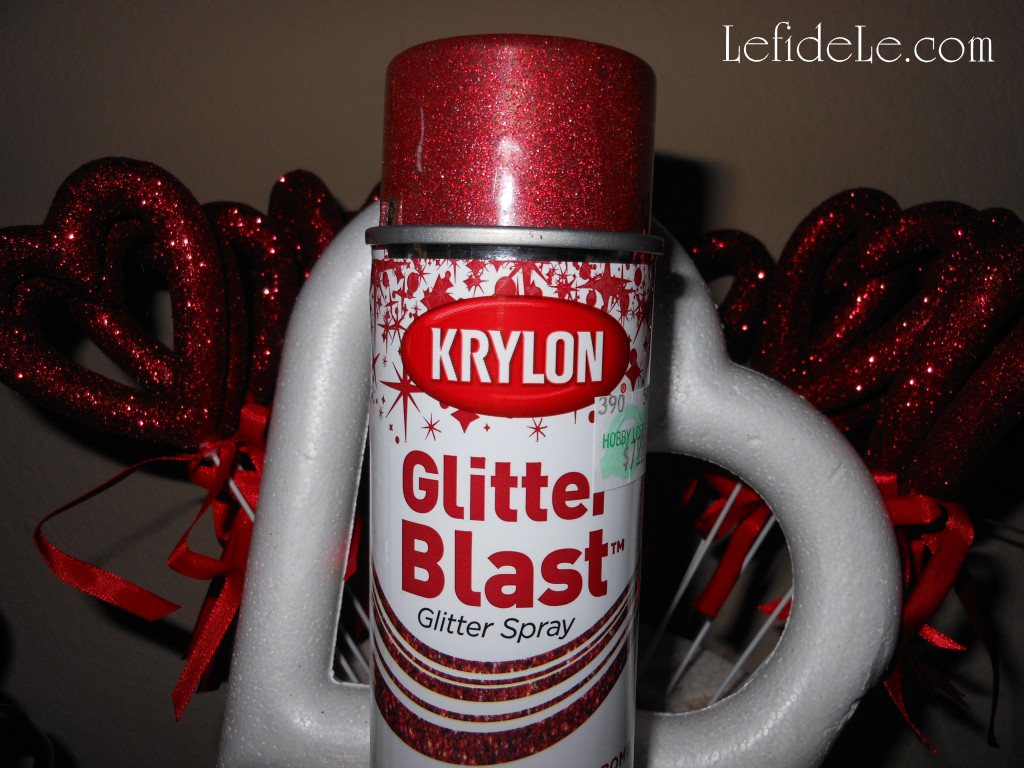
The open hearts were made from inexpensive styrofoam and red glitter blast spray. For the largest ones, I simply jabbed in a cut section of wire hanger as a handle, but a thin dowel would be better if gifting them. I added glittery bows to some of these as well. All of them will sit securely arranged in a vase filled with marbles. This way they can be easily pulled out one by one at the end of the celebration as favors. I just pilled on an unraveled skein of glittery red yarn atop the marbles to hide them.

206Leigh

♥ Happy Sweetheart’s Day!

213Leigh

Faithfully yours,

Leigh
V-dayHearts-Leigh

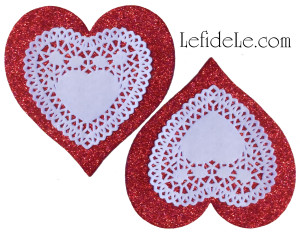
P.S. Here is the Glitter-Doily Heart Printable. Simply right click on the image and select Print. Print them in the best color photo setting.

2 Fast & Easy Valentine’s Day Banner Décor Craft Tutorials (Doily & Glitter Hearts + Printable)

229Leigh

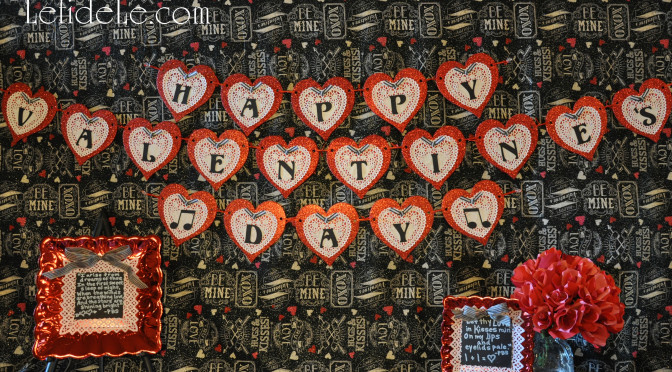
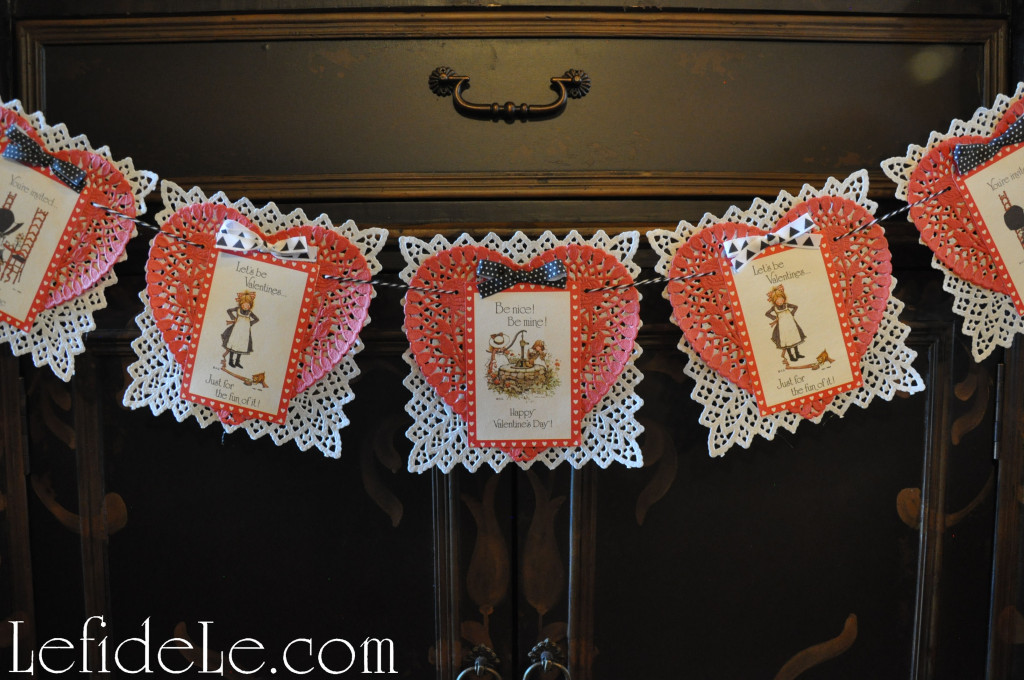
These Valentine’s Day banner crafts are so fast and easy that even the busiest mama can make them with her little ones. The glitter heart and doily printable only needs the addition of letters to spell out any message you wish. The second banner is comprised of layered doilies and extra valentines. Both are so inexpensive yet add a lot of heartfelt sentiment and party atmosphere. Plus, they’re lightweight enough to stick in a big envelope and send to a loved one whose away for the holiday. You can even use the printables as stand-alone Valentine Cards!

176Leigh

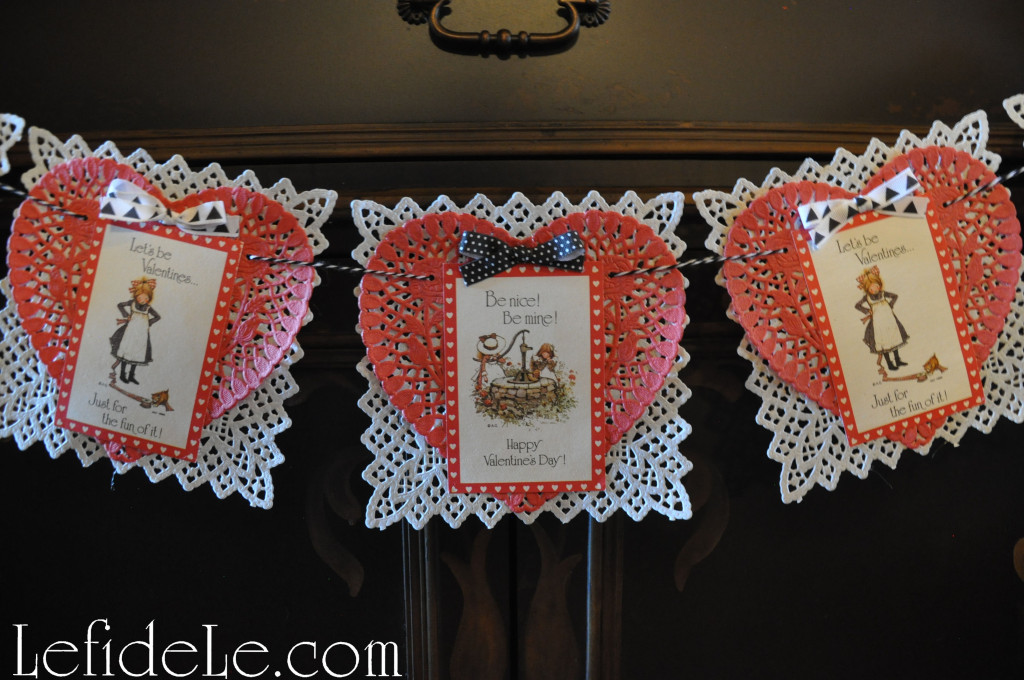
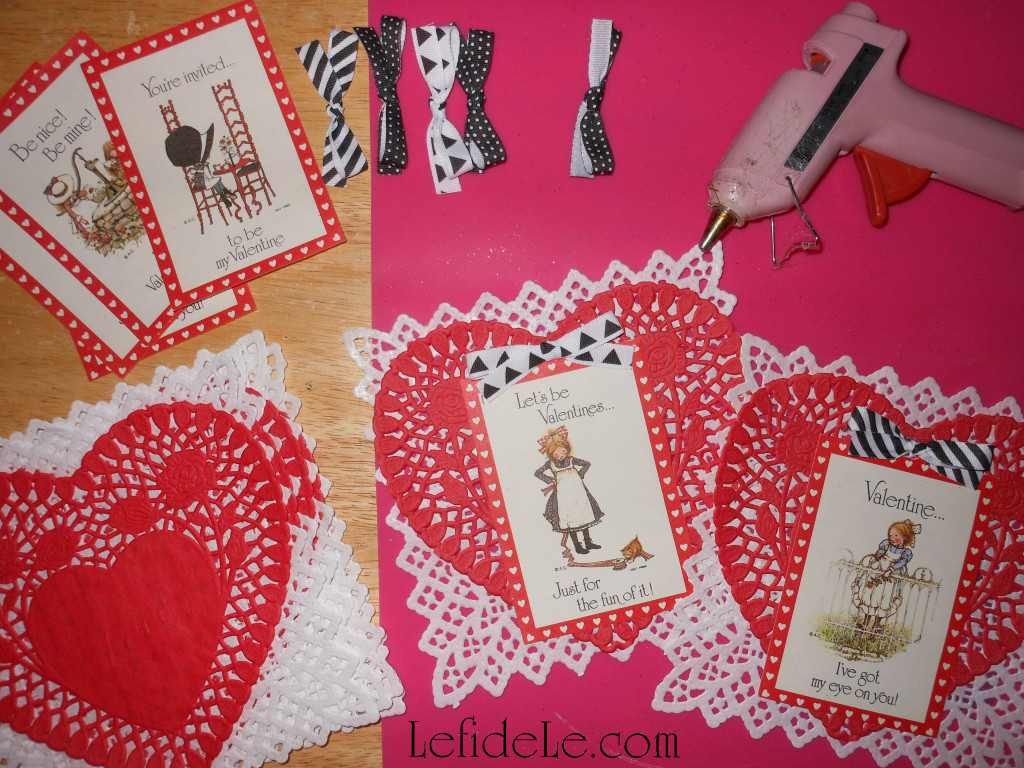
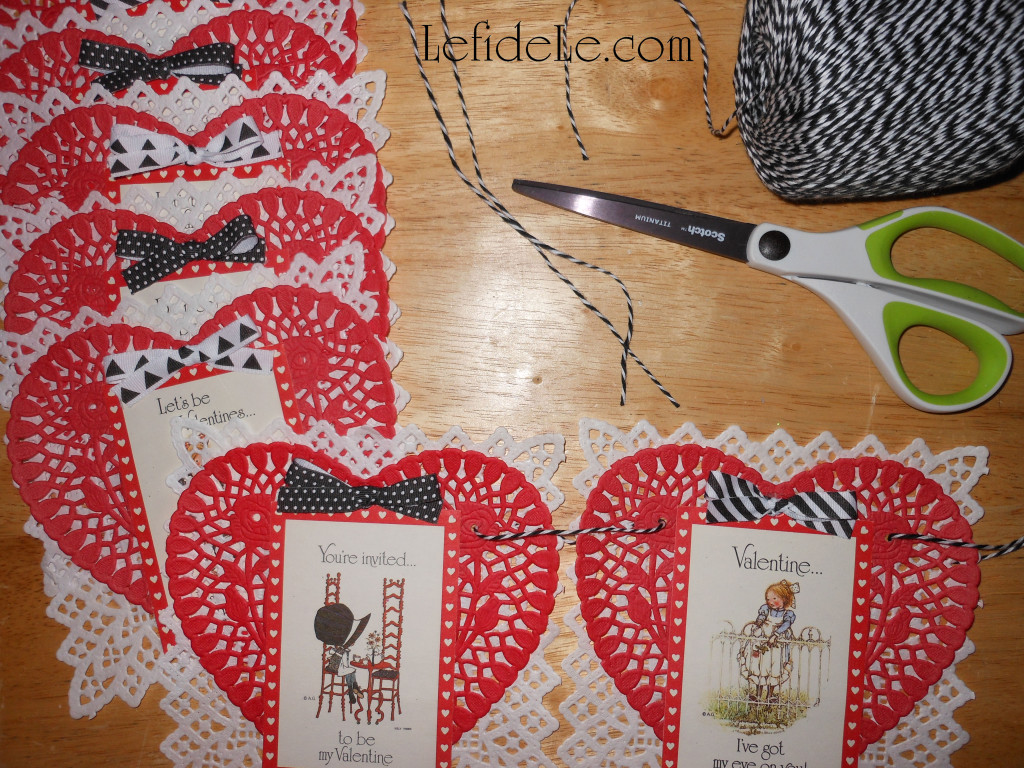
First let’s make the doily valentine banner. This is a great project to use up any leftover schoolroom Valentine cards from your kiddo’s class. You can even save the received ones to make banners for next year’s celebration.

175Leigh

One only needs to add some low-cost paper doilies in varying sizes. I used leftovers from last year along with some Holly-Hobby Valentine Cards from my childhood.

51Leigh

Merely use dots of glue to layer the doilies and Valentines. Then add a ribbon bow for dimension.

54Leigh

Tie circles of twine, yarn, or ribbon through the holes in the doilies and knot together. Hang it up and enjoy!

171Leigh

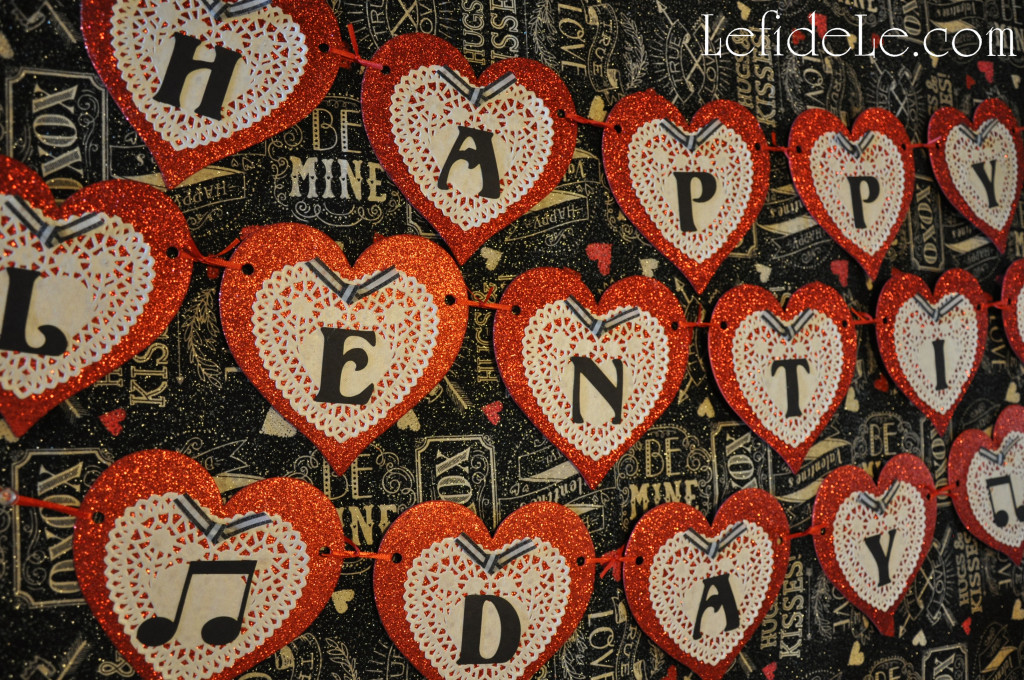
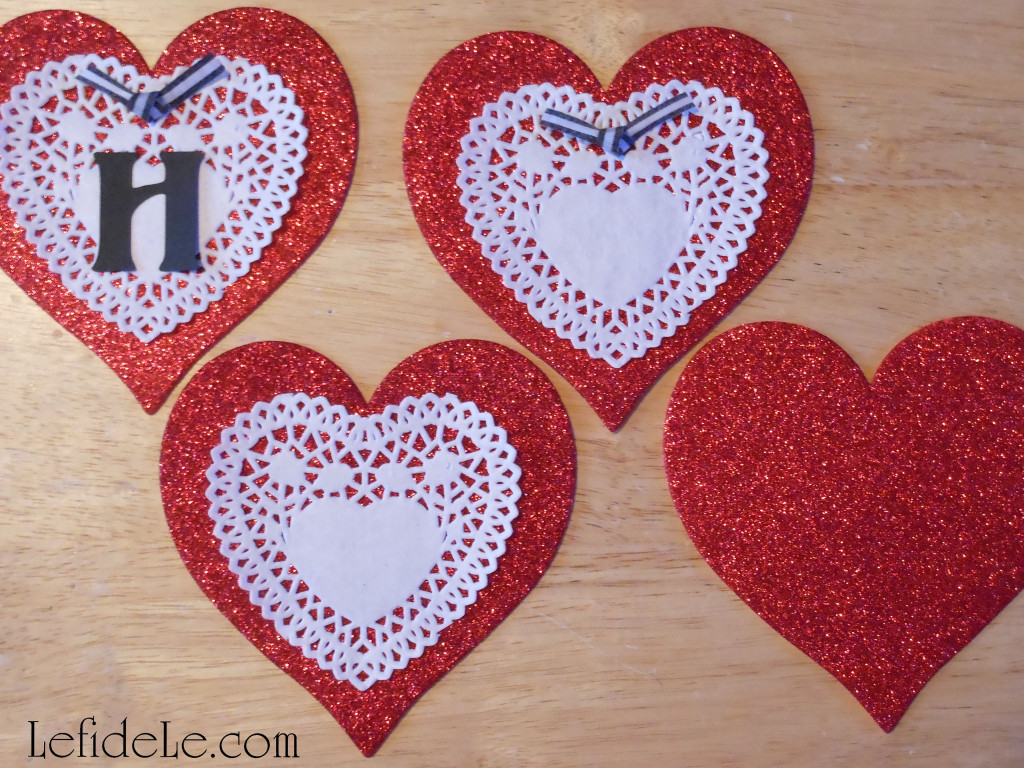
The glitter heart and doily banner is one that can be easily made by two different methods. You can print and cut out all the glitter doily hearts you need, using my printable at the end of the article. You can also use inexpensive glittered foam hearts from the craft store, and use hot glue to layer white doily hearts onto them.

26Leigh

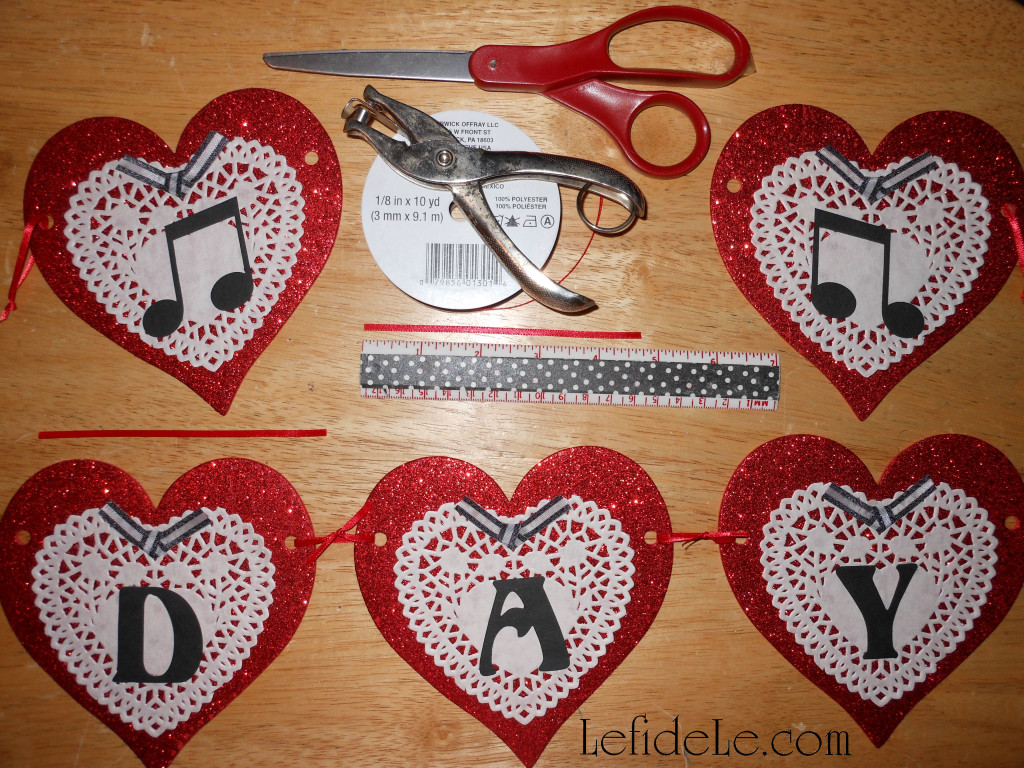
Either way, the next step is add letters spelling out any sentiment you’d like. I cut out letters with a machine from black card stock to coordinate with my chalkboard theme. You can also use a stencil to trace and hand cut them, or buy them readymade at the craft store. (Michaels has them in every color and texture you can think of. Click on the affiliate link in the side bar to snatch the latest coupons.) I added a knot of ribbon to each dip in the heart to further tie in with my theme’s color palette. Feel free to add any other elements you’d like from paper roses to stickers. (You can even skip the letters and let a kiddo color in pictures to use the printables as Valentine Cards.)

38Leigh

Next add holes to both sides of each heart with a hole-punch. Then use ribbon or twine to string them together. Add a loop at each end to hang the banners by. Voila!

224Leigh

♥ Happy Heart’s Day!

Faithfully yours,

Leigh
V-dayHearts-Leigh
P.S. Here is the Glitter-Doily Heart Printable. Simply right click on the image and select Print. Print them in the best color photo setting.