Tag Archives: Halloween

Easy DIY Kid Friendly Bat Halloween Décor Craft

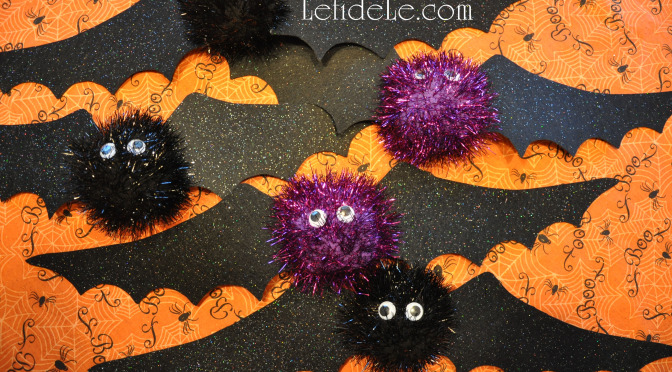
This super easy DIY Halloween décor craft makes kid friendly bats that are lightweight enough to hang anywhere you like. All you need to make them are glue, google eyes, stiff felt sheets (or craft foam), and big pompoms. In fact, the idea came from my mother bringing me a bag full of sparkly pompoms saying, “They were on clearance, and I thought you could make something out of them.” Challenge accepted. I already had some giant friendly spiders, but couldn’t find any similar looking not-so-scary bats. The pompoms would be perfect for constructing my own.

336Leigh

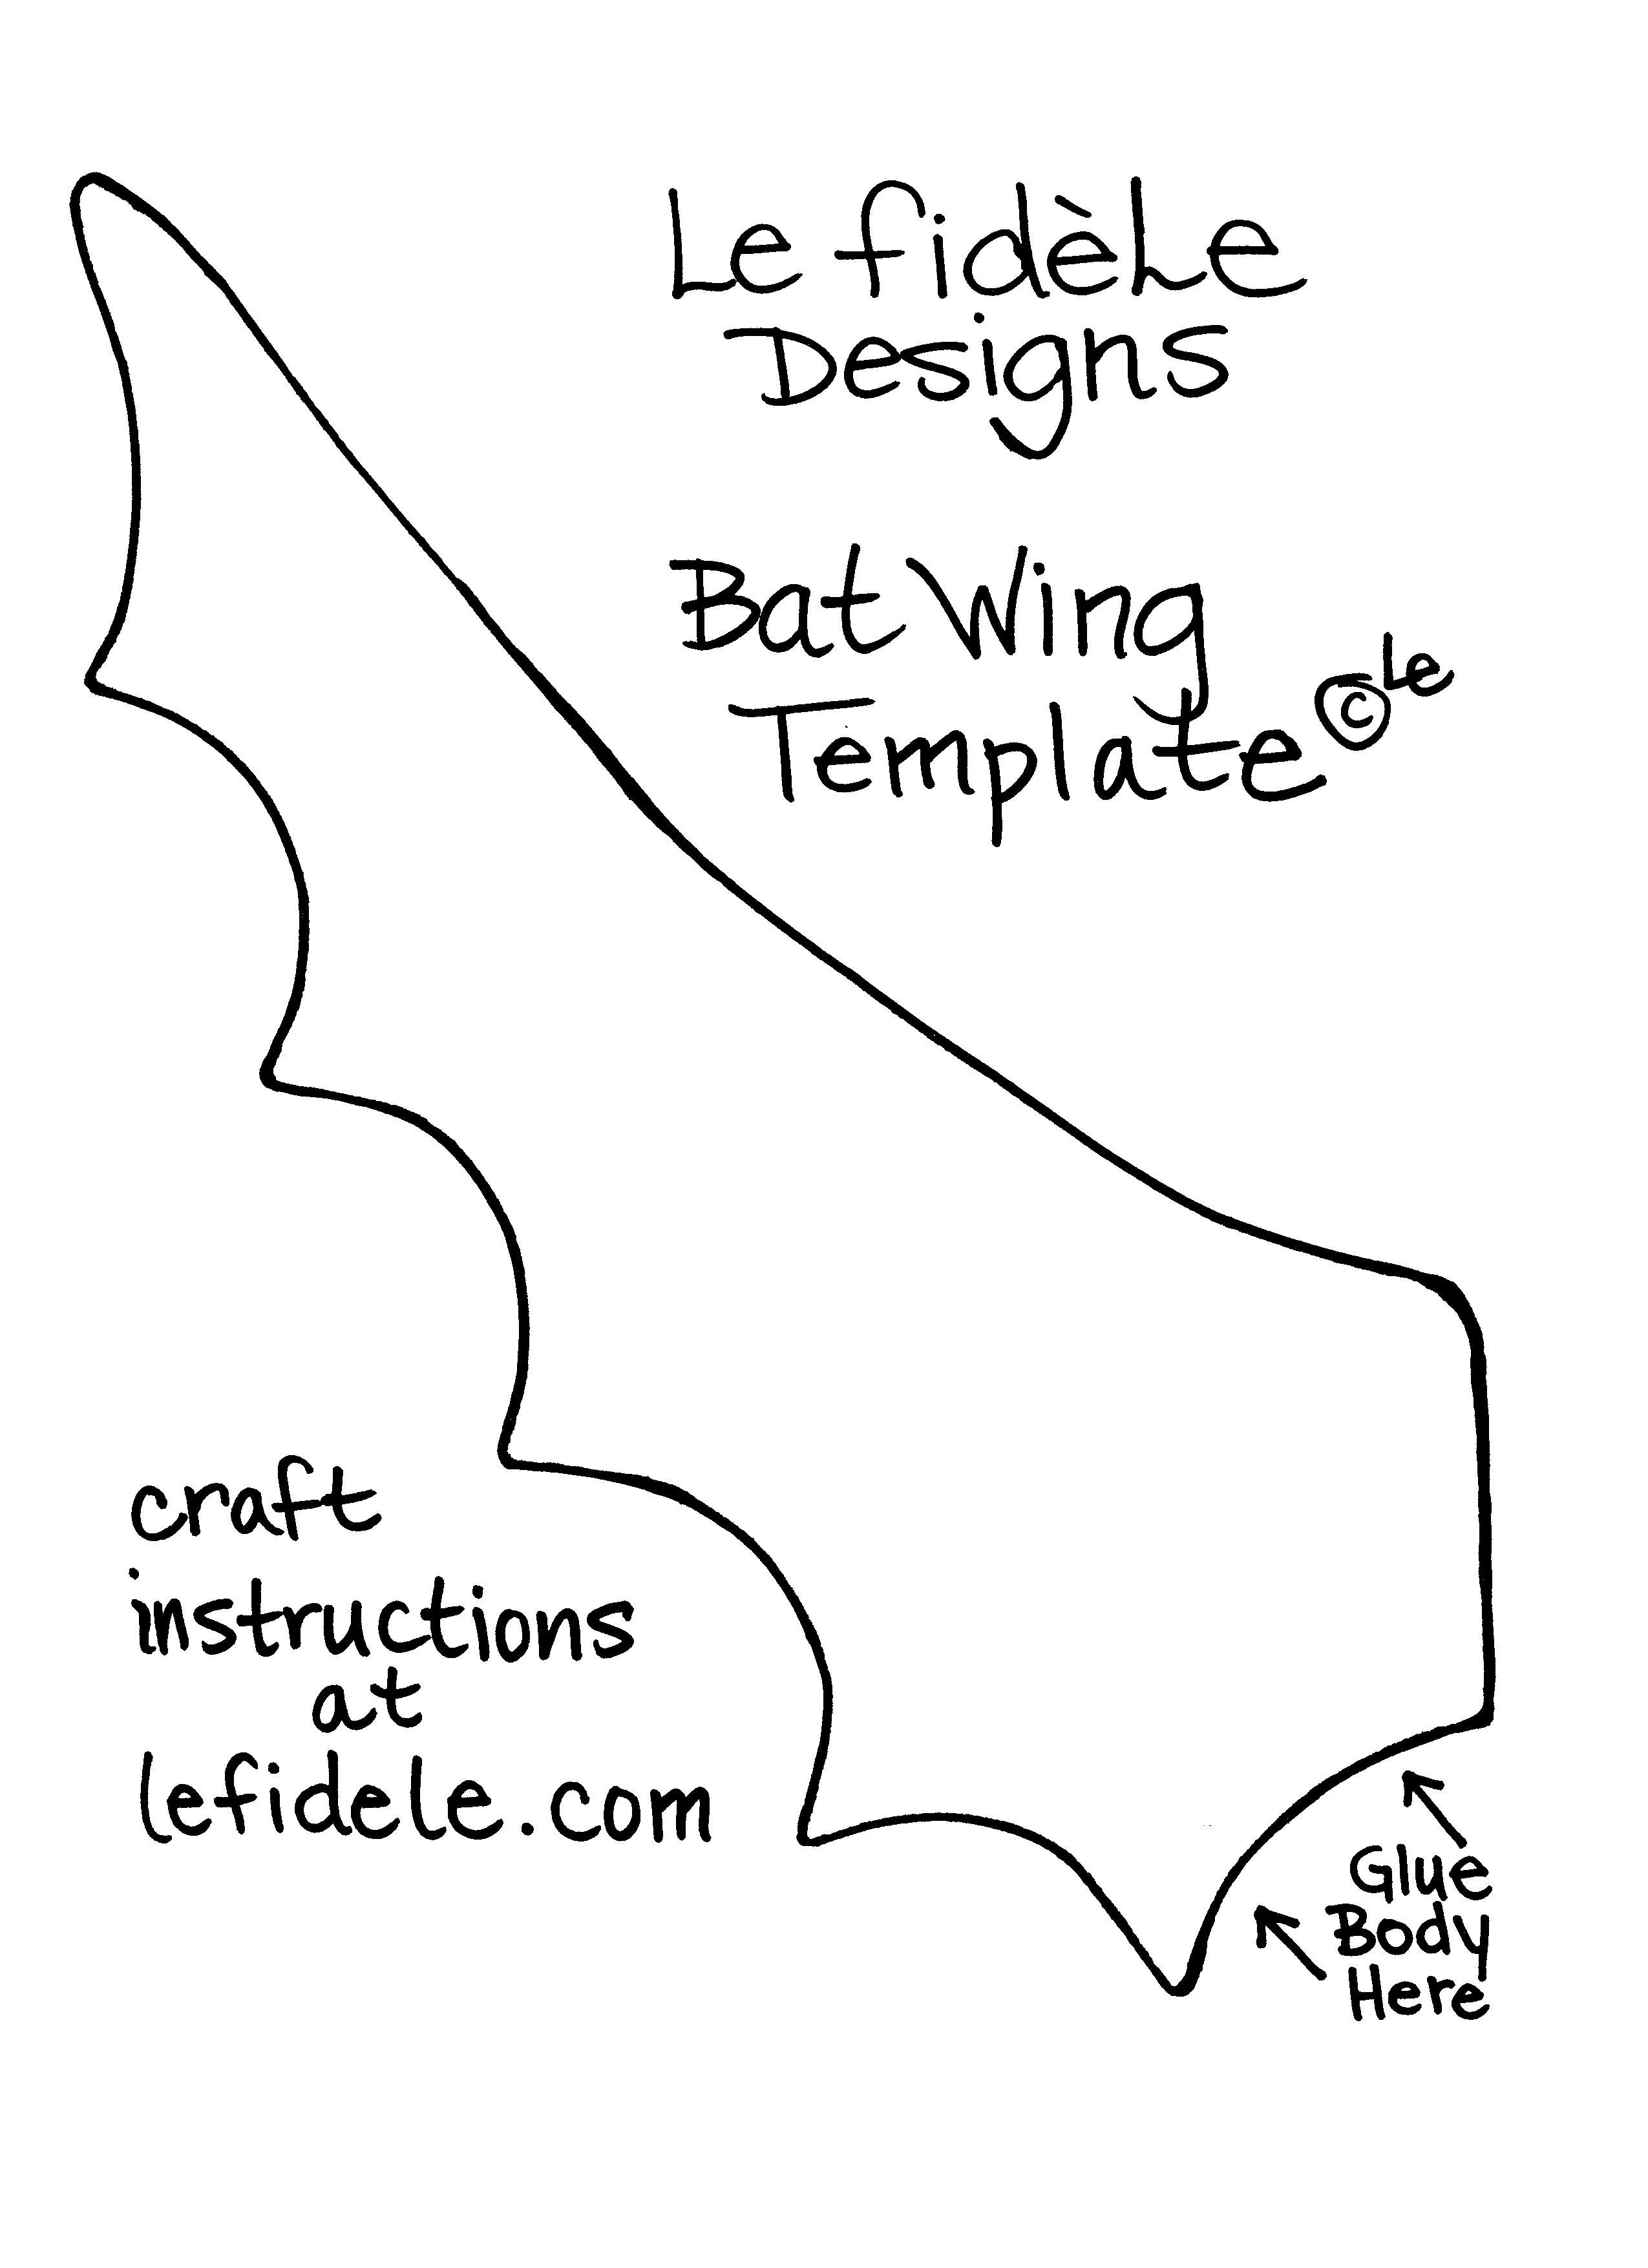
To create your own, first print out the template image at the end of the article. (Simply right click the template image on your computer then select print.) You can even set your printer to a different scale if you are using different sized pompom centers.

322Leigh

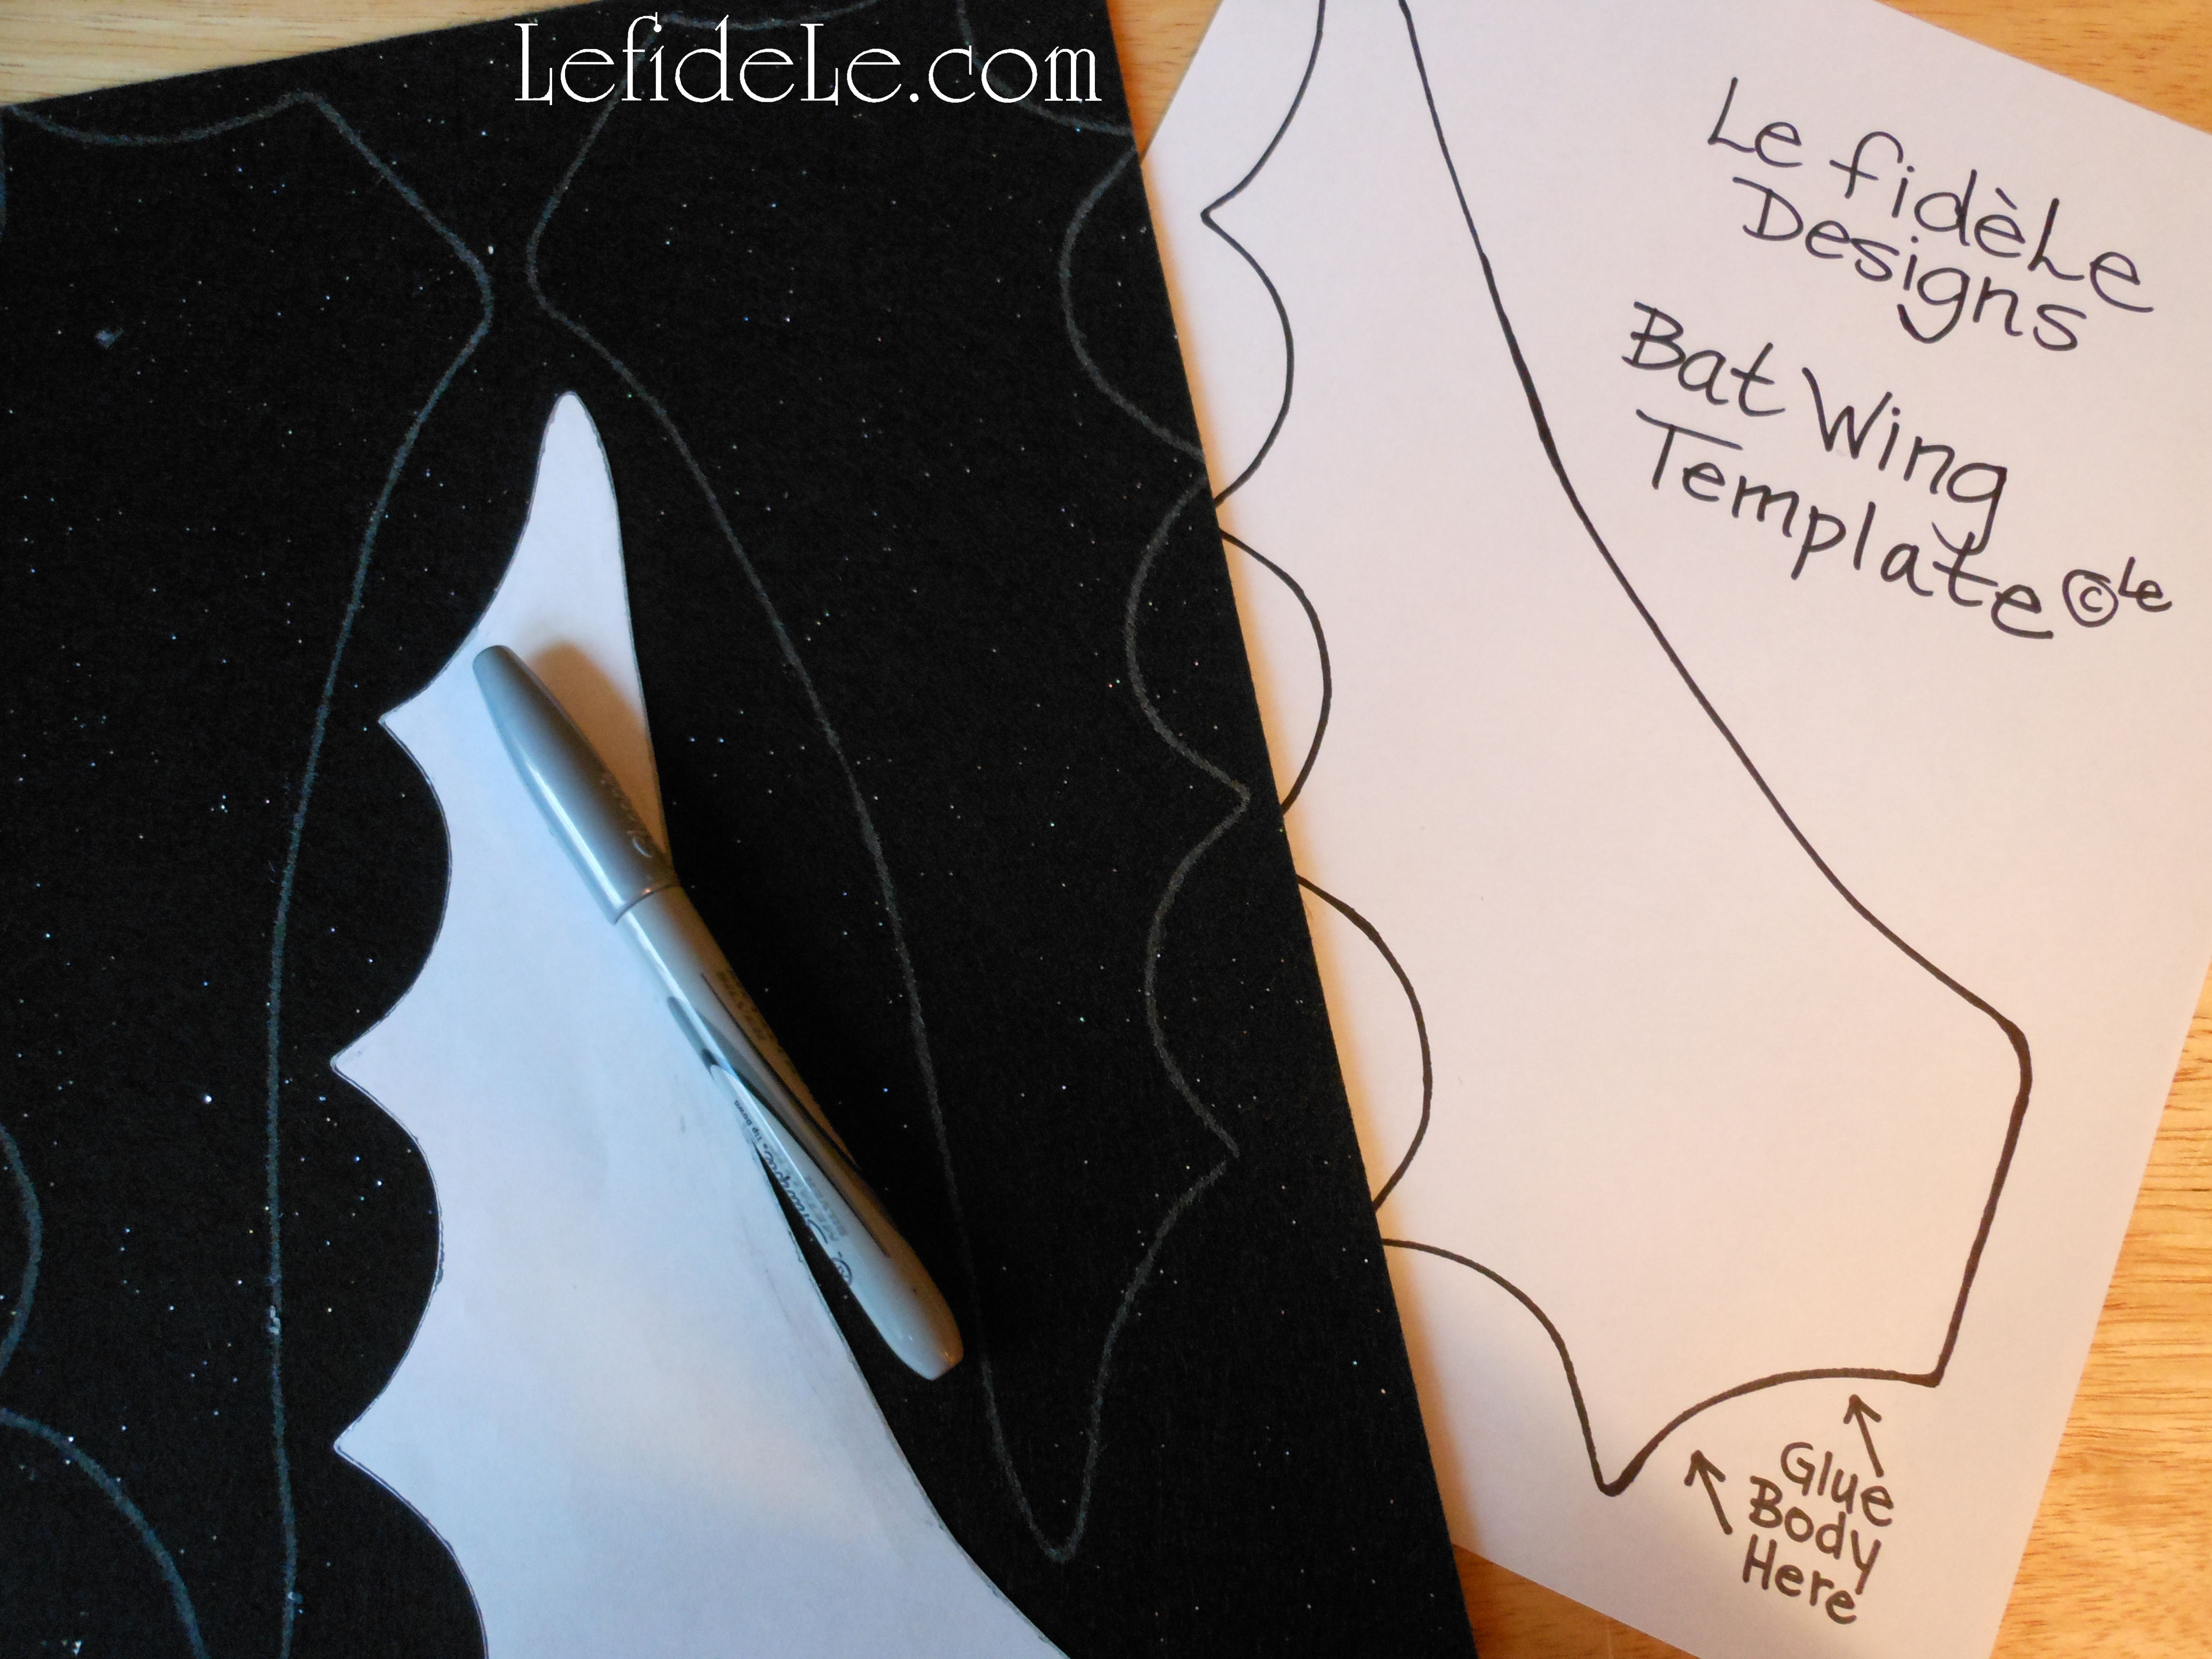
Cut out the template and trace the image onto the felt. I used a silver Sharpie marker so that I could see the lines later. This is a great time to get the kiddos involved.

323Leigh

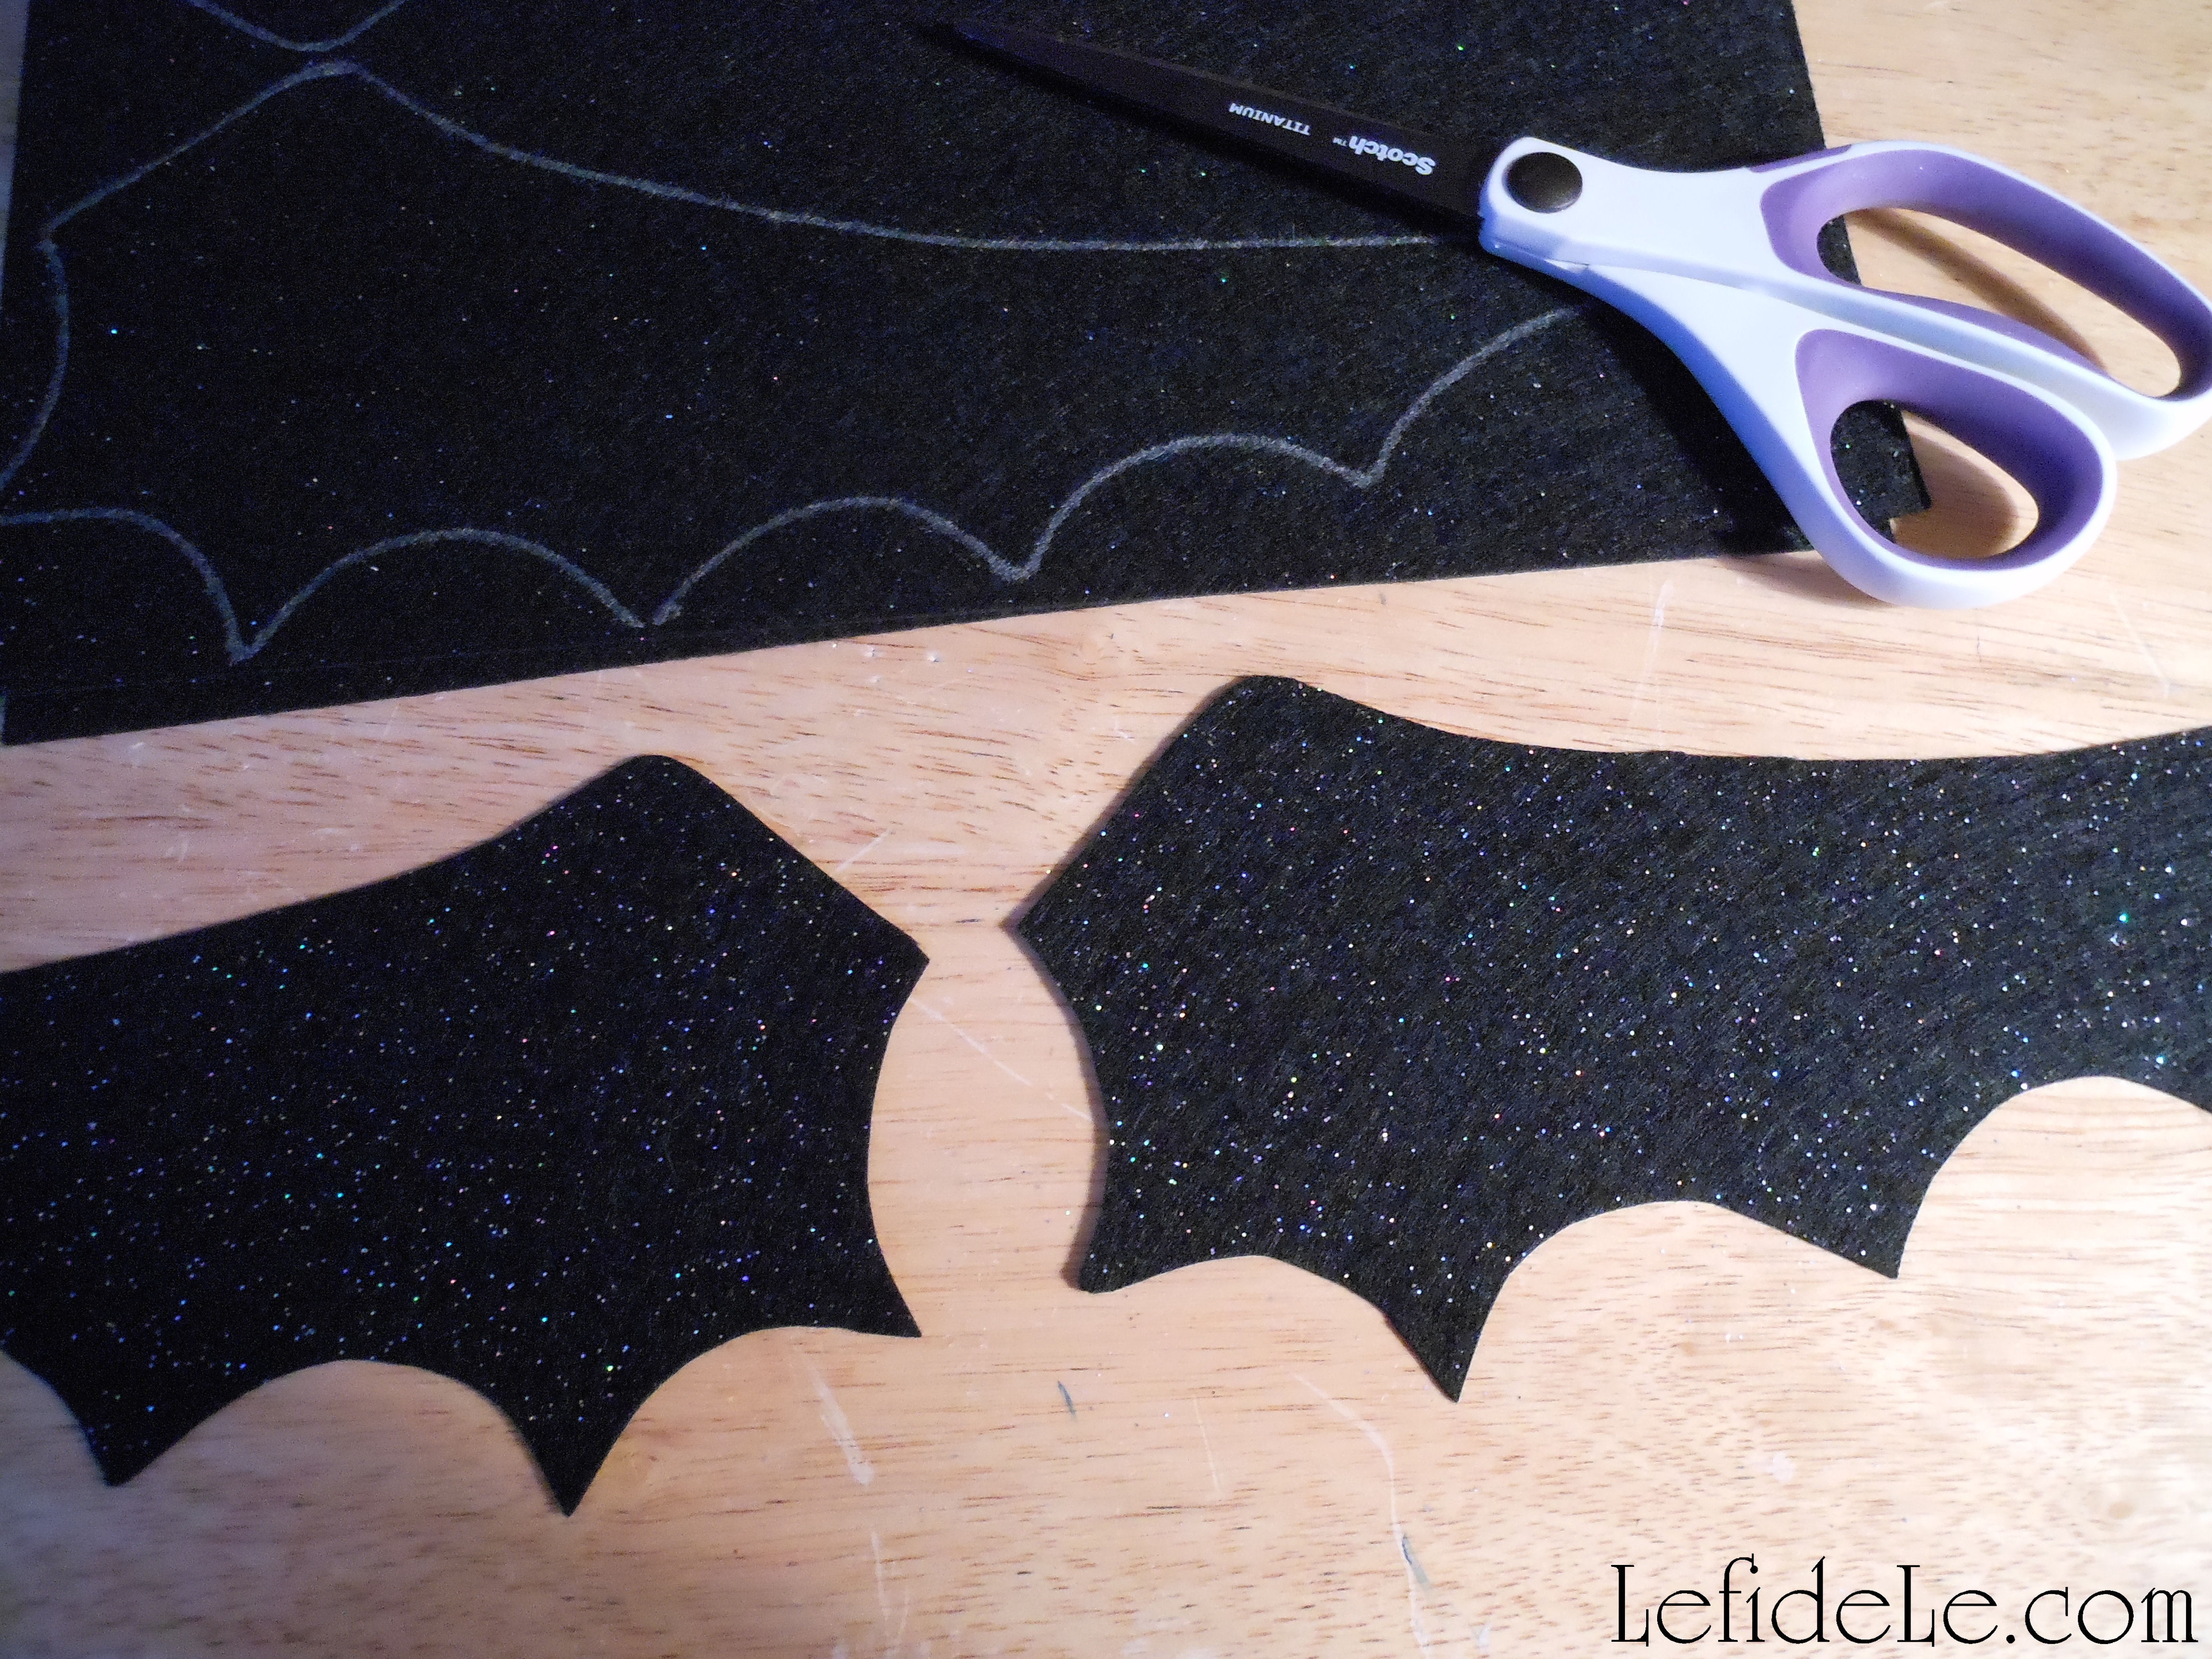
Cut just inside the lines, unless you prefer an outlined look.

329Leigh

Glue on the google eyes and wings. Try doing this at different angles to simulate various stages of flight. I used hot glue because it bonds immediately, but you should use something else if little ones are helping. Cheap clothespins make great clamps to hold items while glue dries.

330Leigh

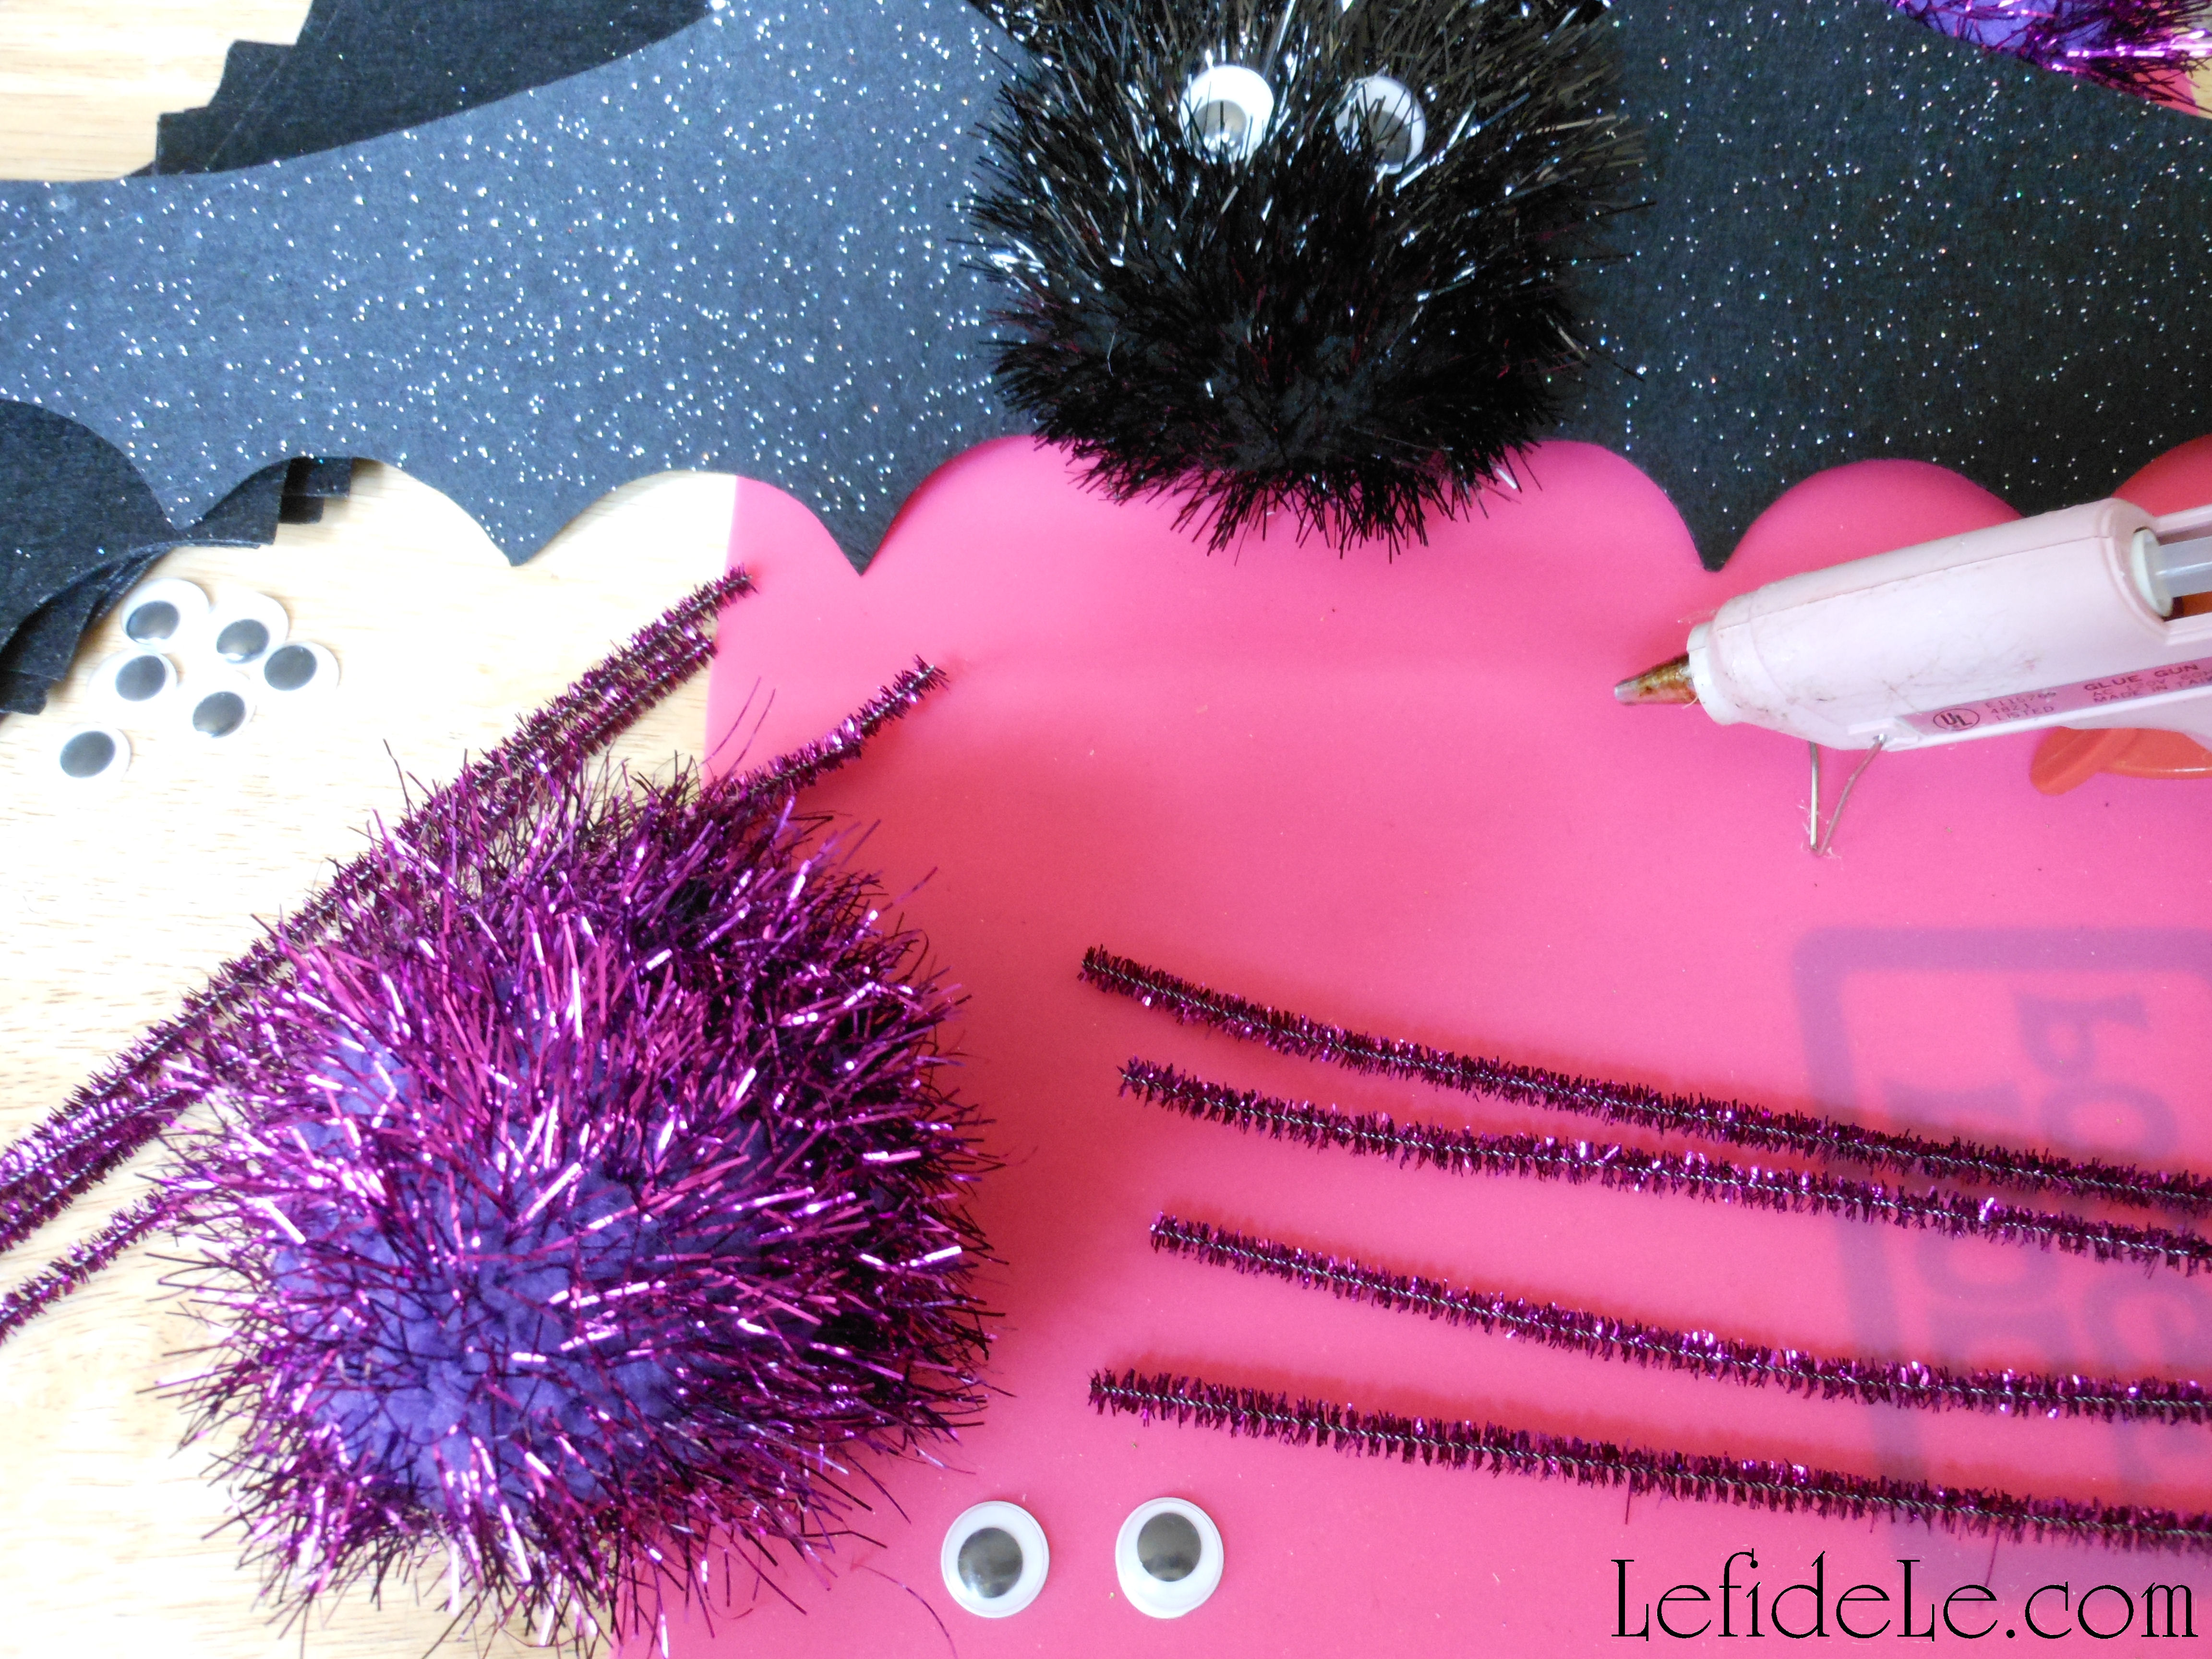
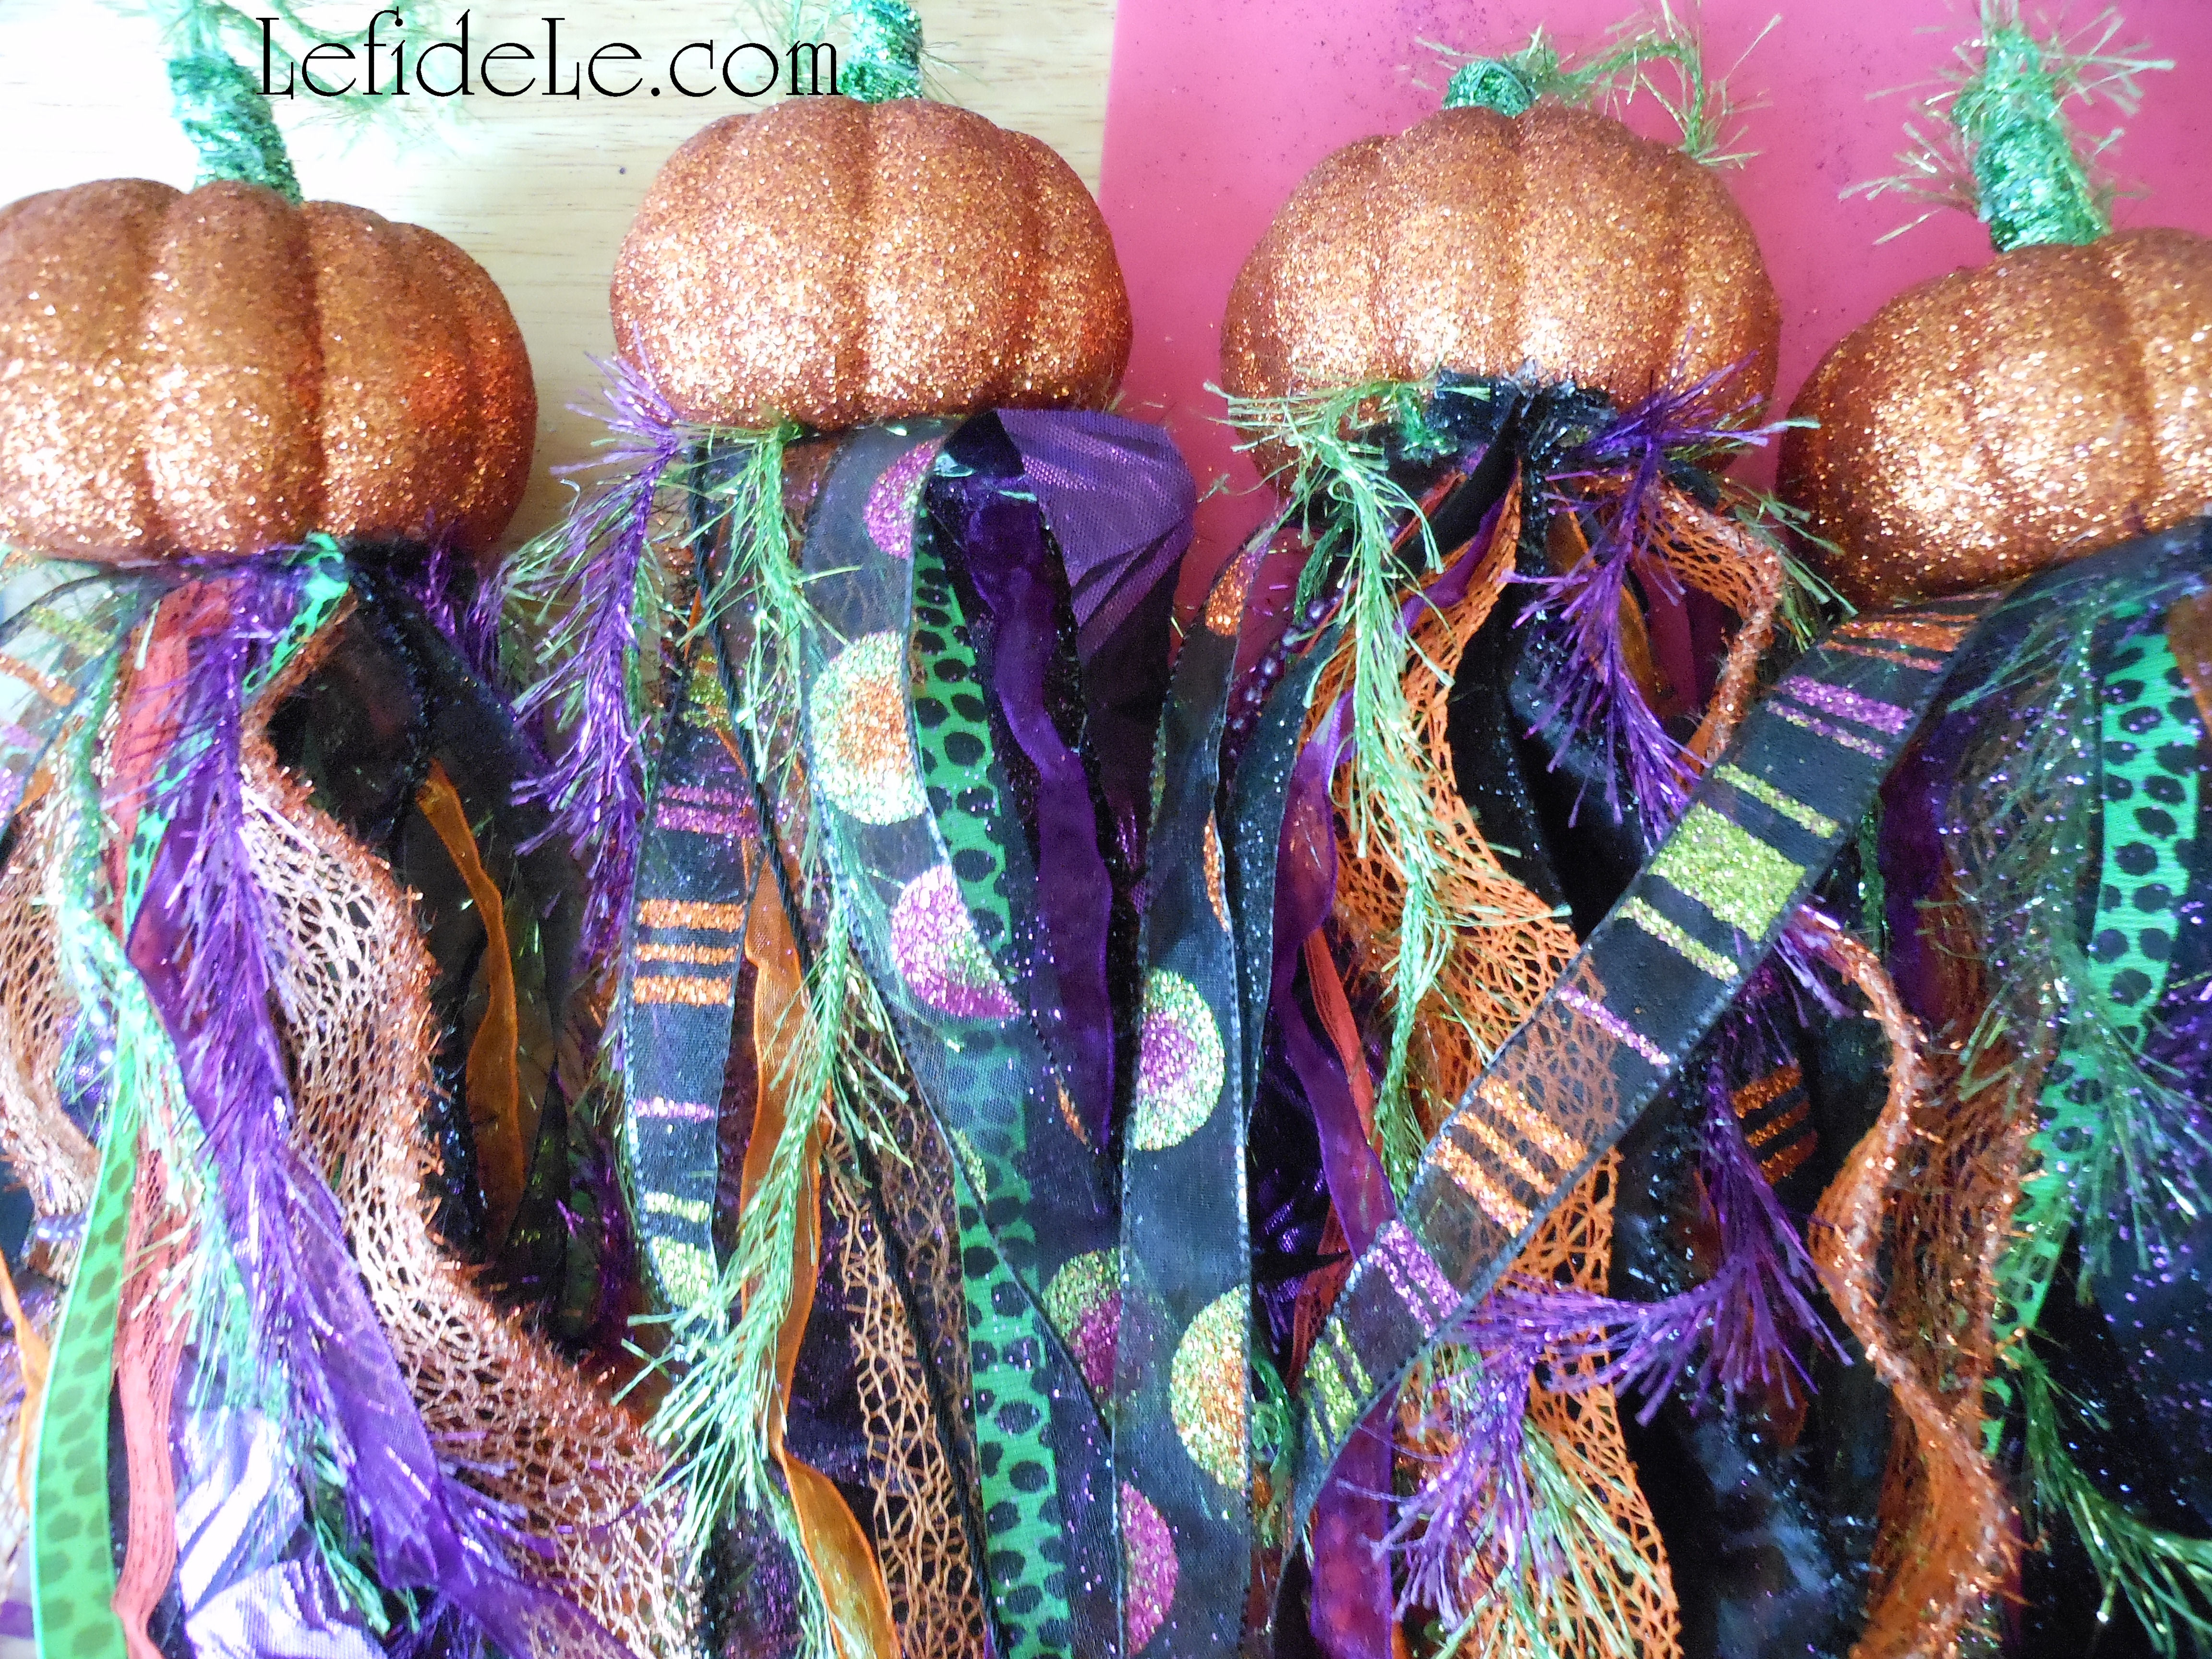
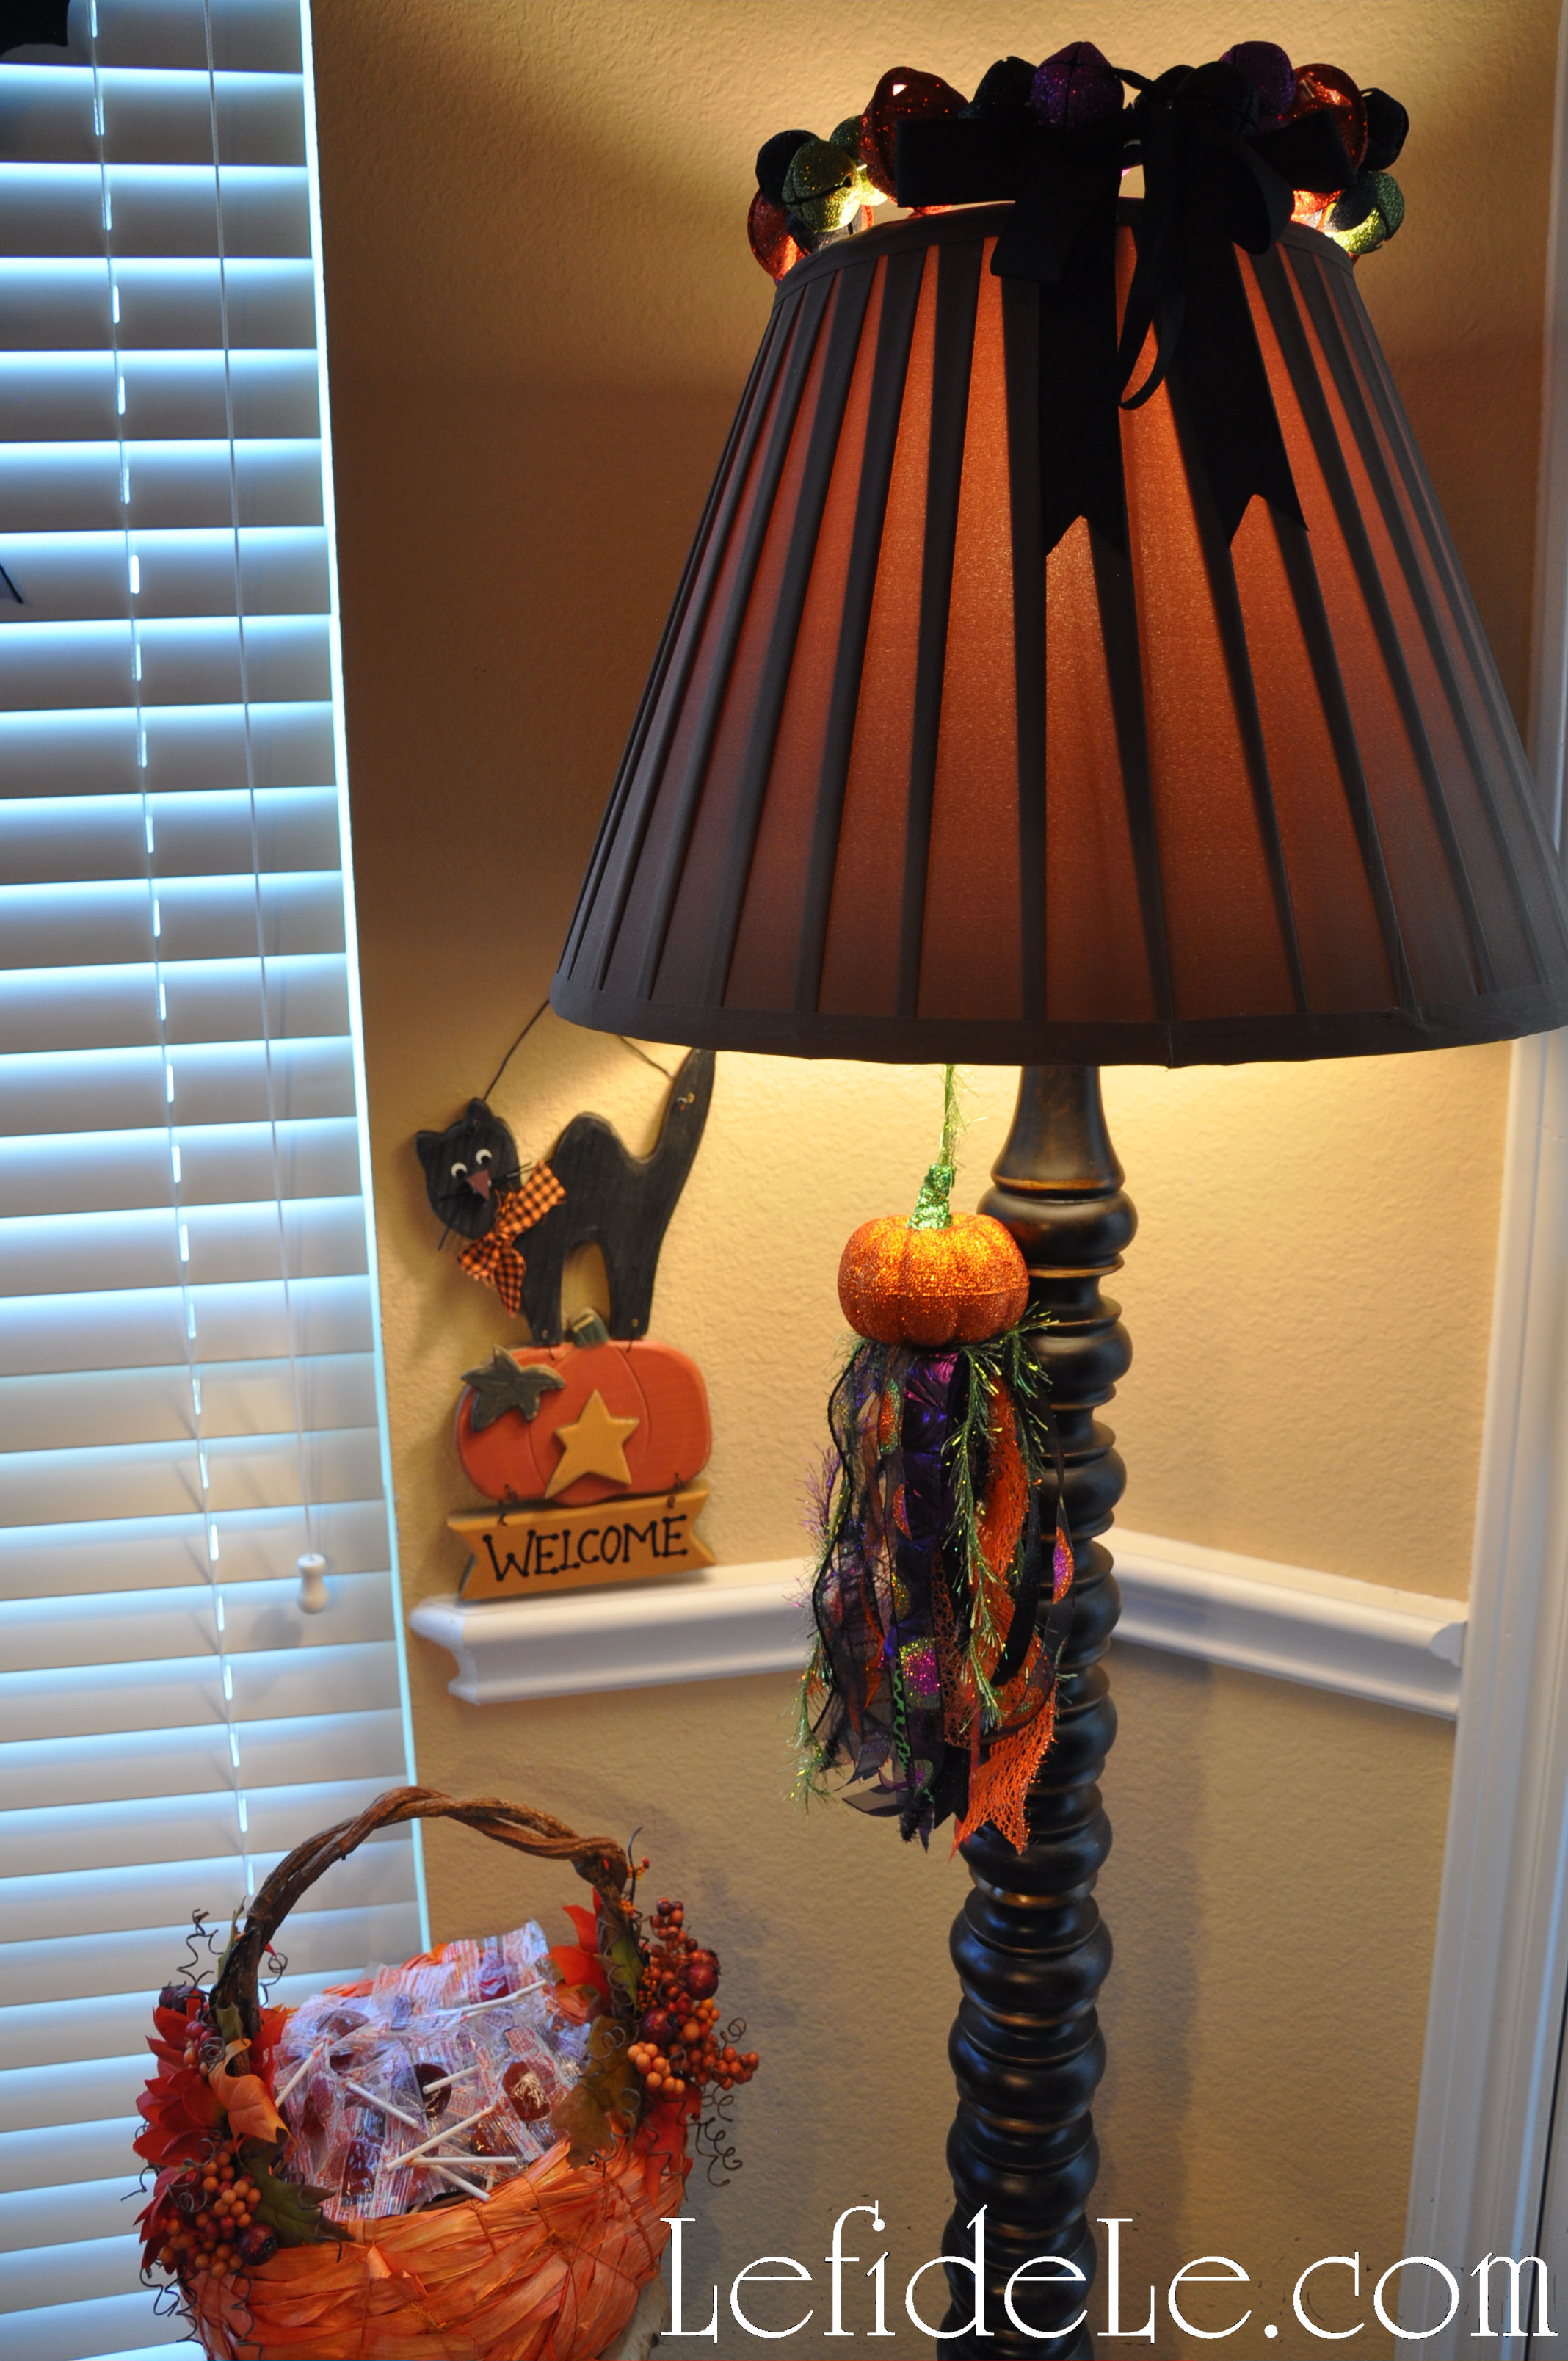
I already had spiders, but it’s easy to make your own by simply gluing the ends of pipe cleaners to the pompoms. Those are purple tinsel ones in the picture. You can also find them in a thicker variety that would look better on the larger centers. See pictures of them “crawling” over my tablescapes and staircase in the upcoming “Glitter-ween” party article.

335bLeigh

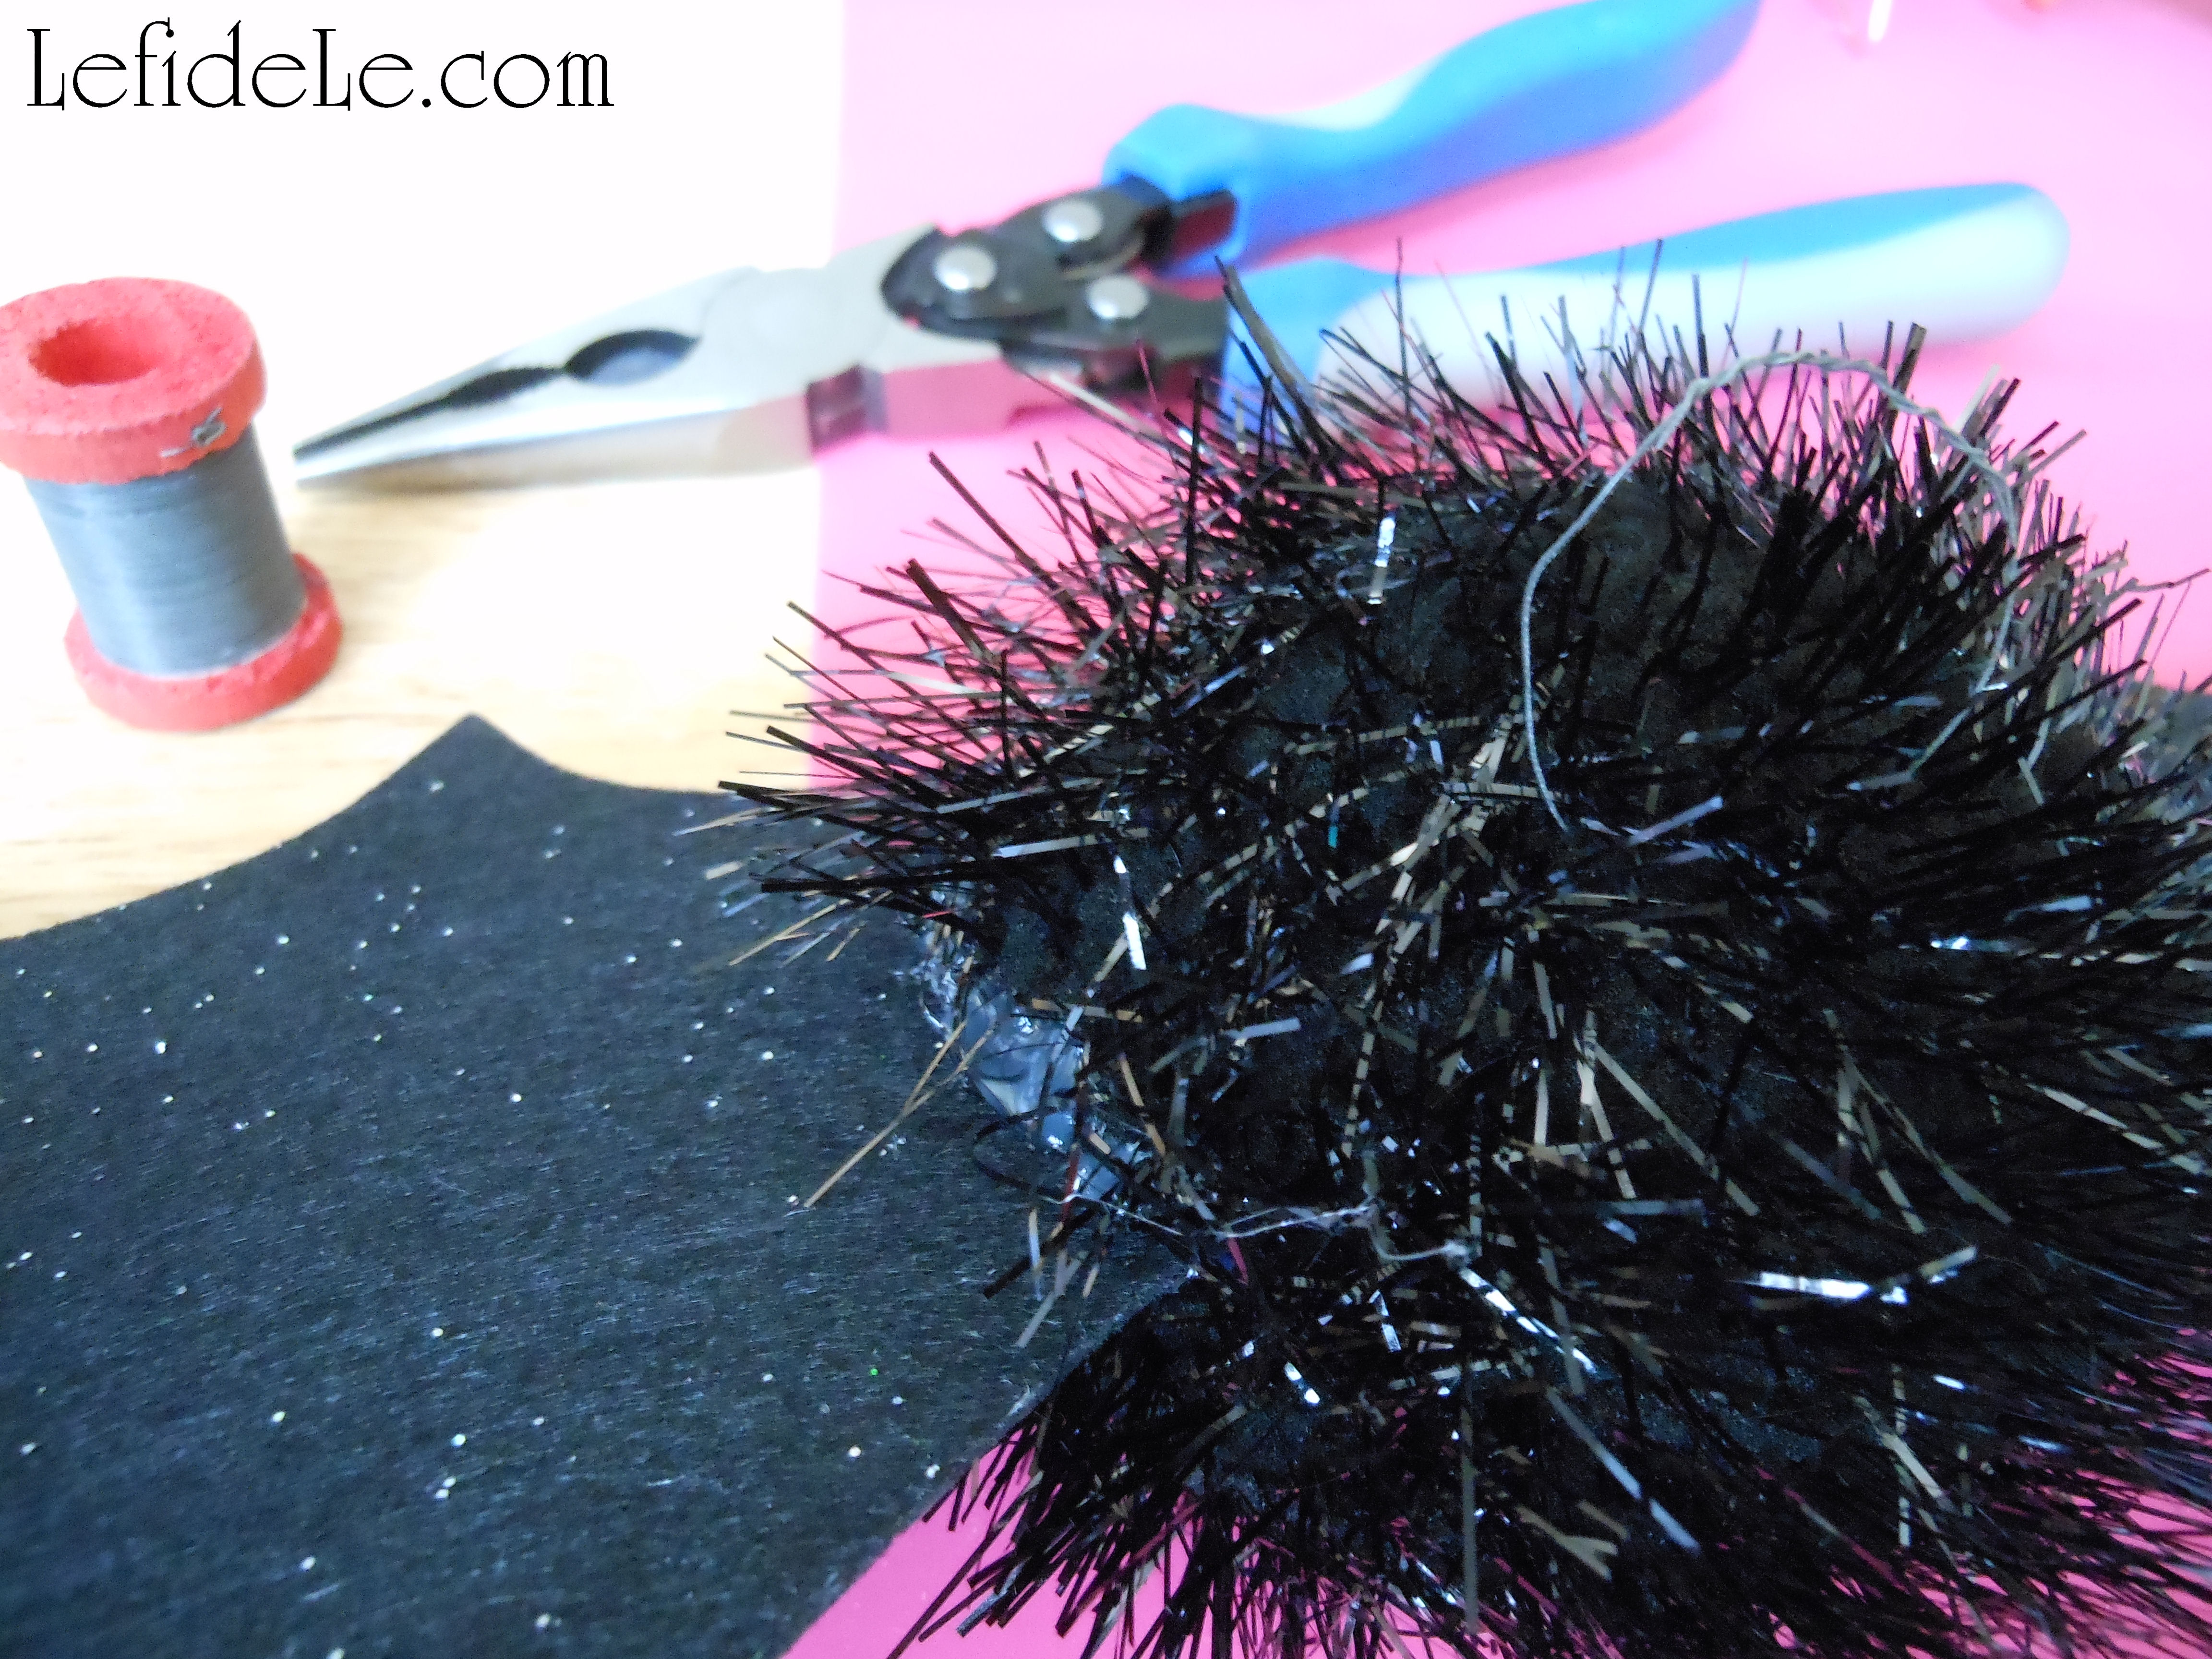
In order to hang the little guys later, slide a piece of thin wire through the back of the pompom and twist the ends together. If you’re using a different type of pompom, you can always glue a loop on. I prefer enclosed circles rather than hooks to prevent anyone from getting their fingers stuck. Also, they pack better after the holidays without sticking into each other.

139Leigh

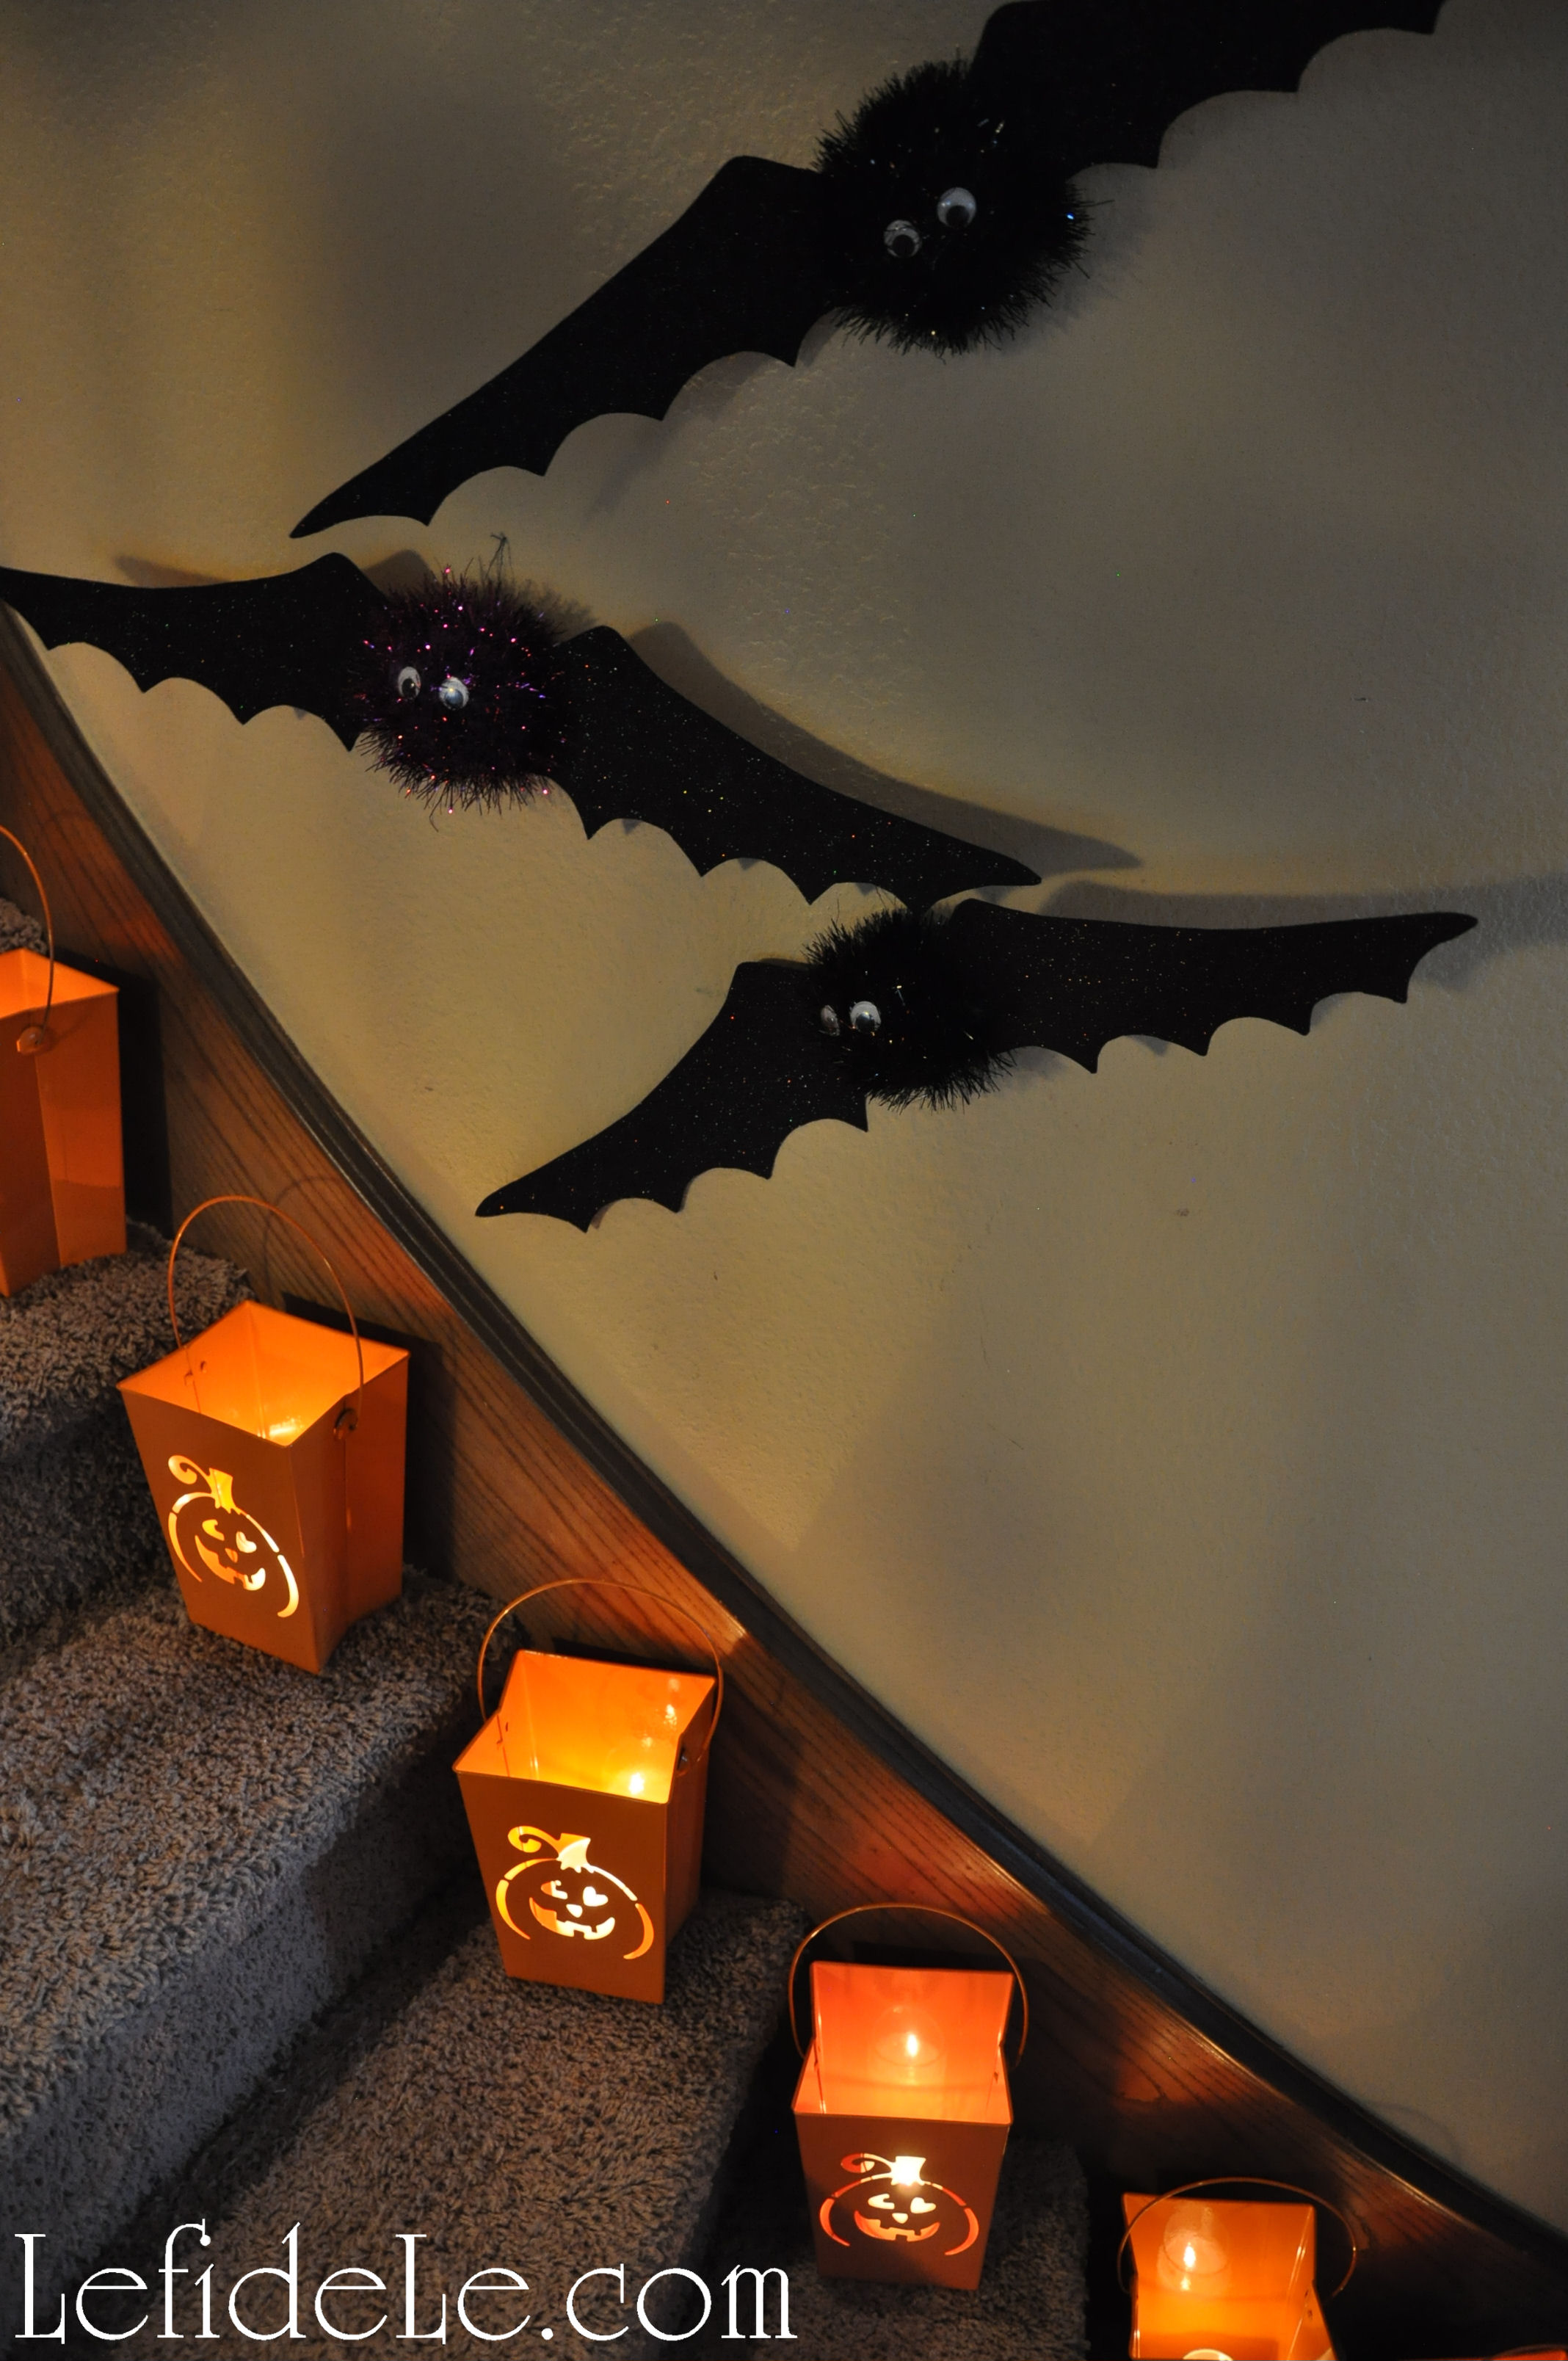
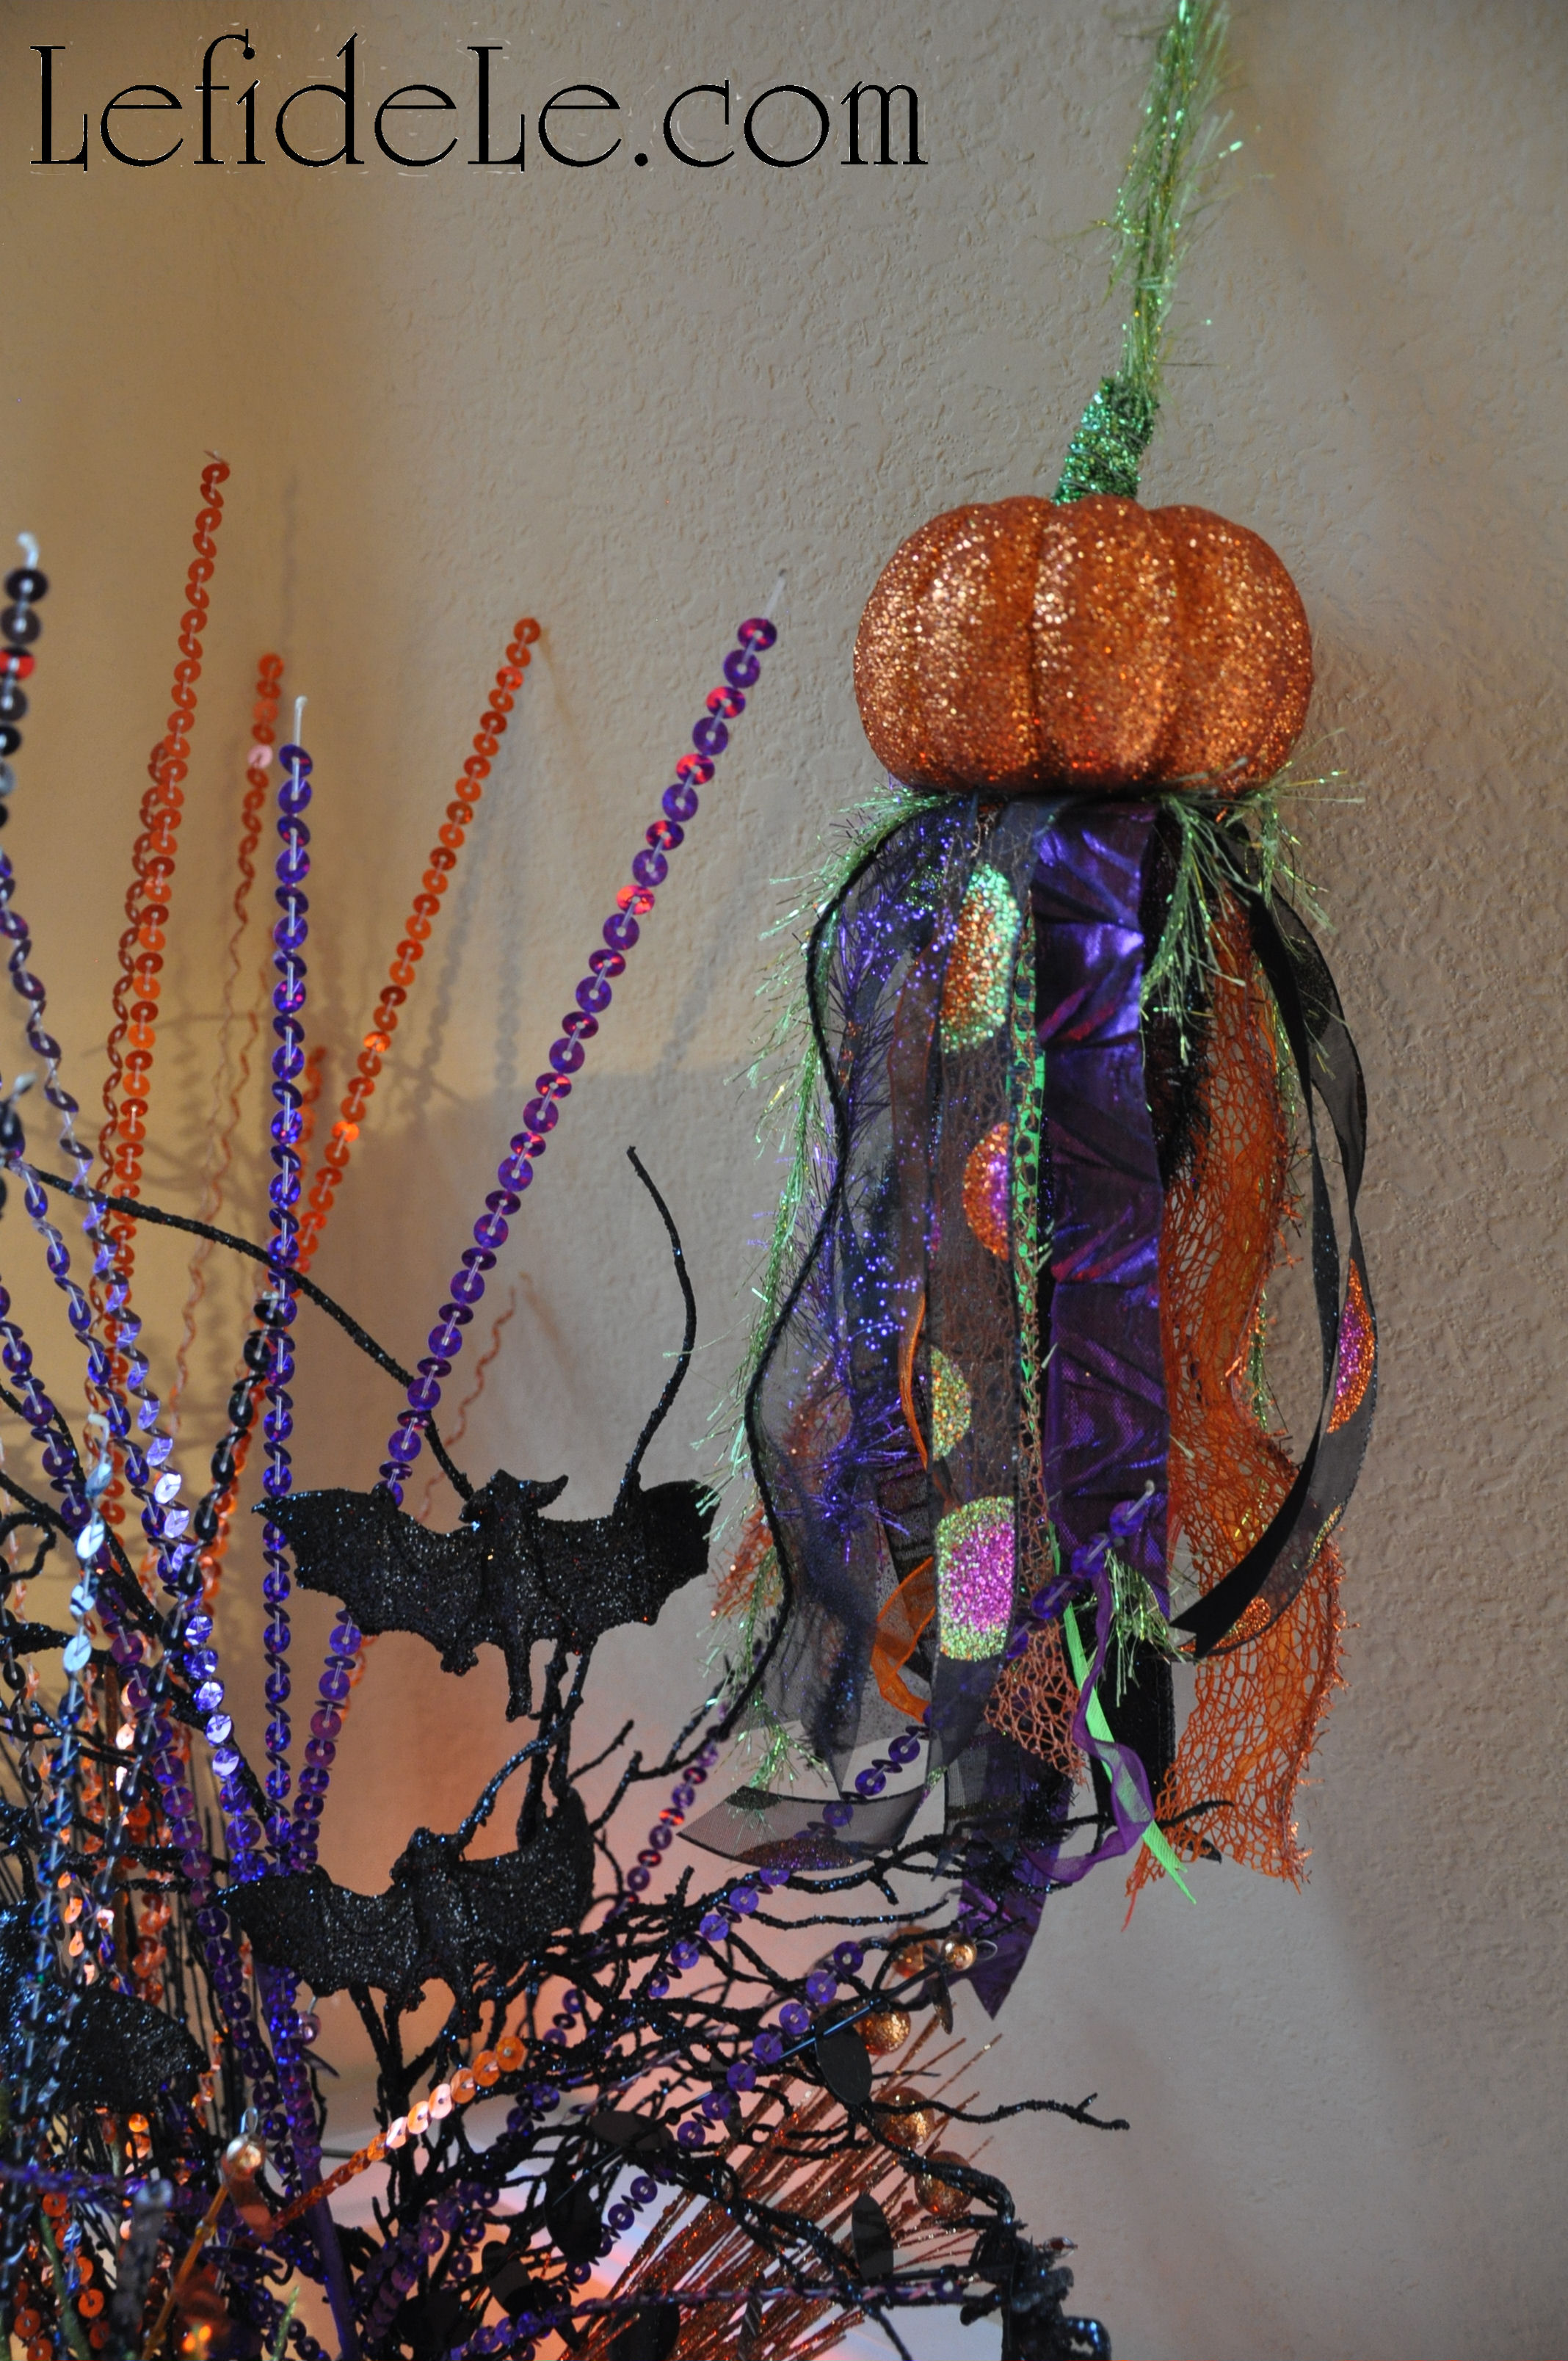
These hung really well from the round wall of my spiral staircase. They looked like they were flying to the second floor. Spooky shadows were created by luminarias beneath them on the stairs.

88Leigh

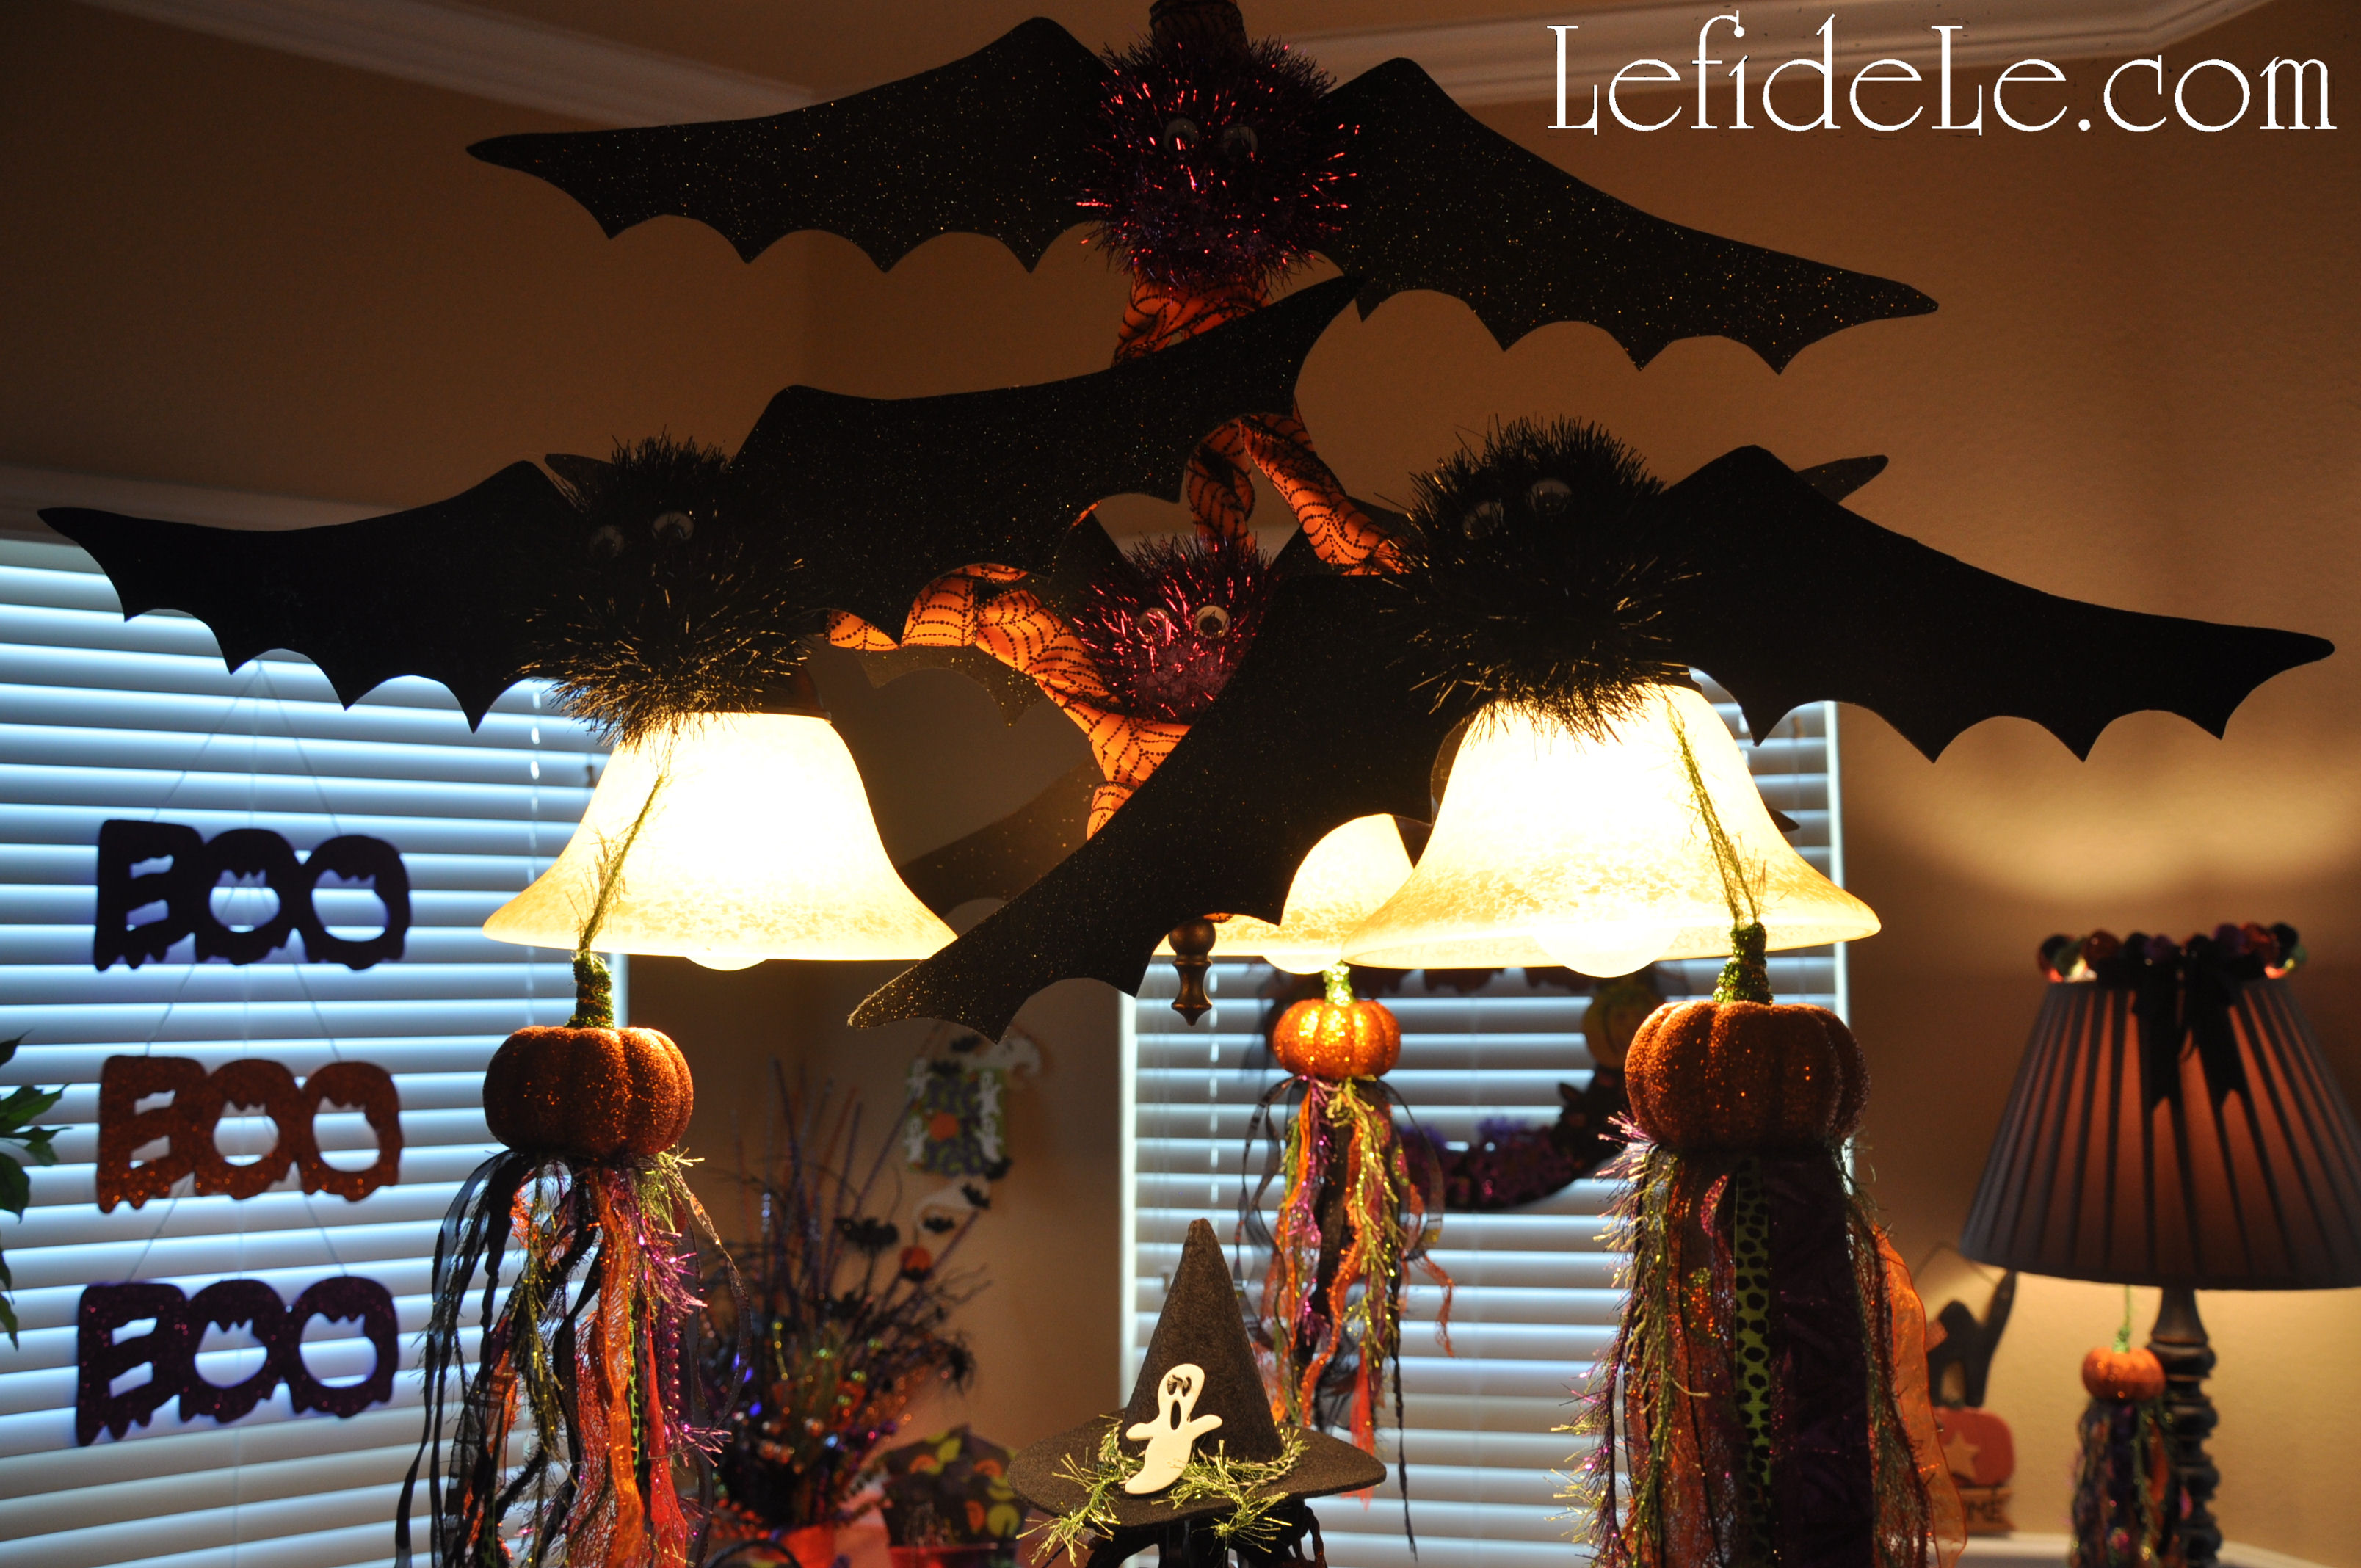
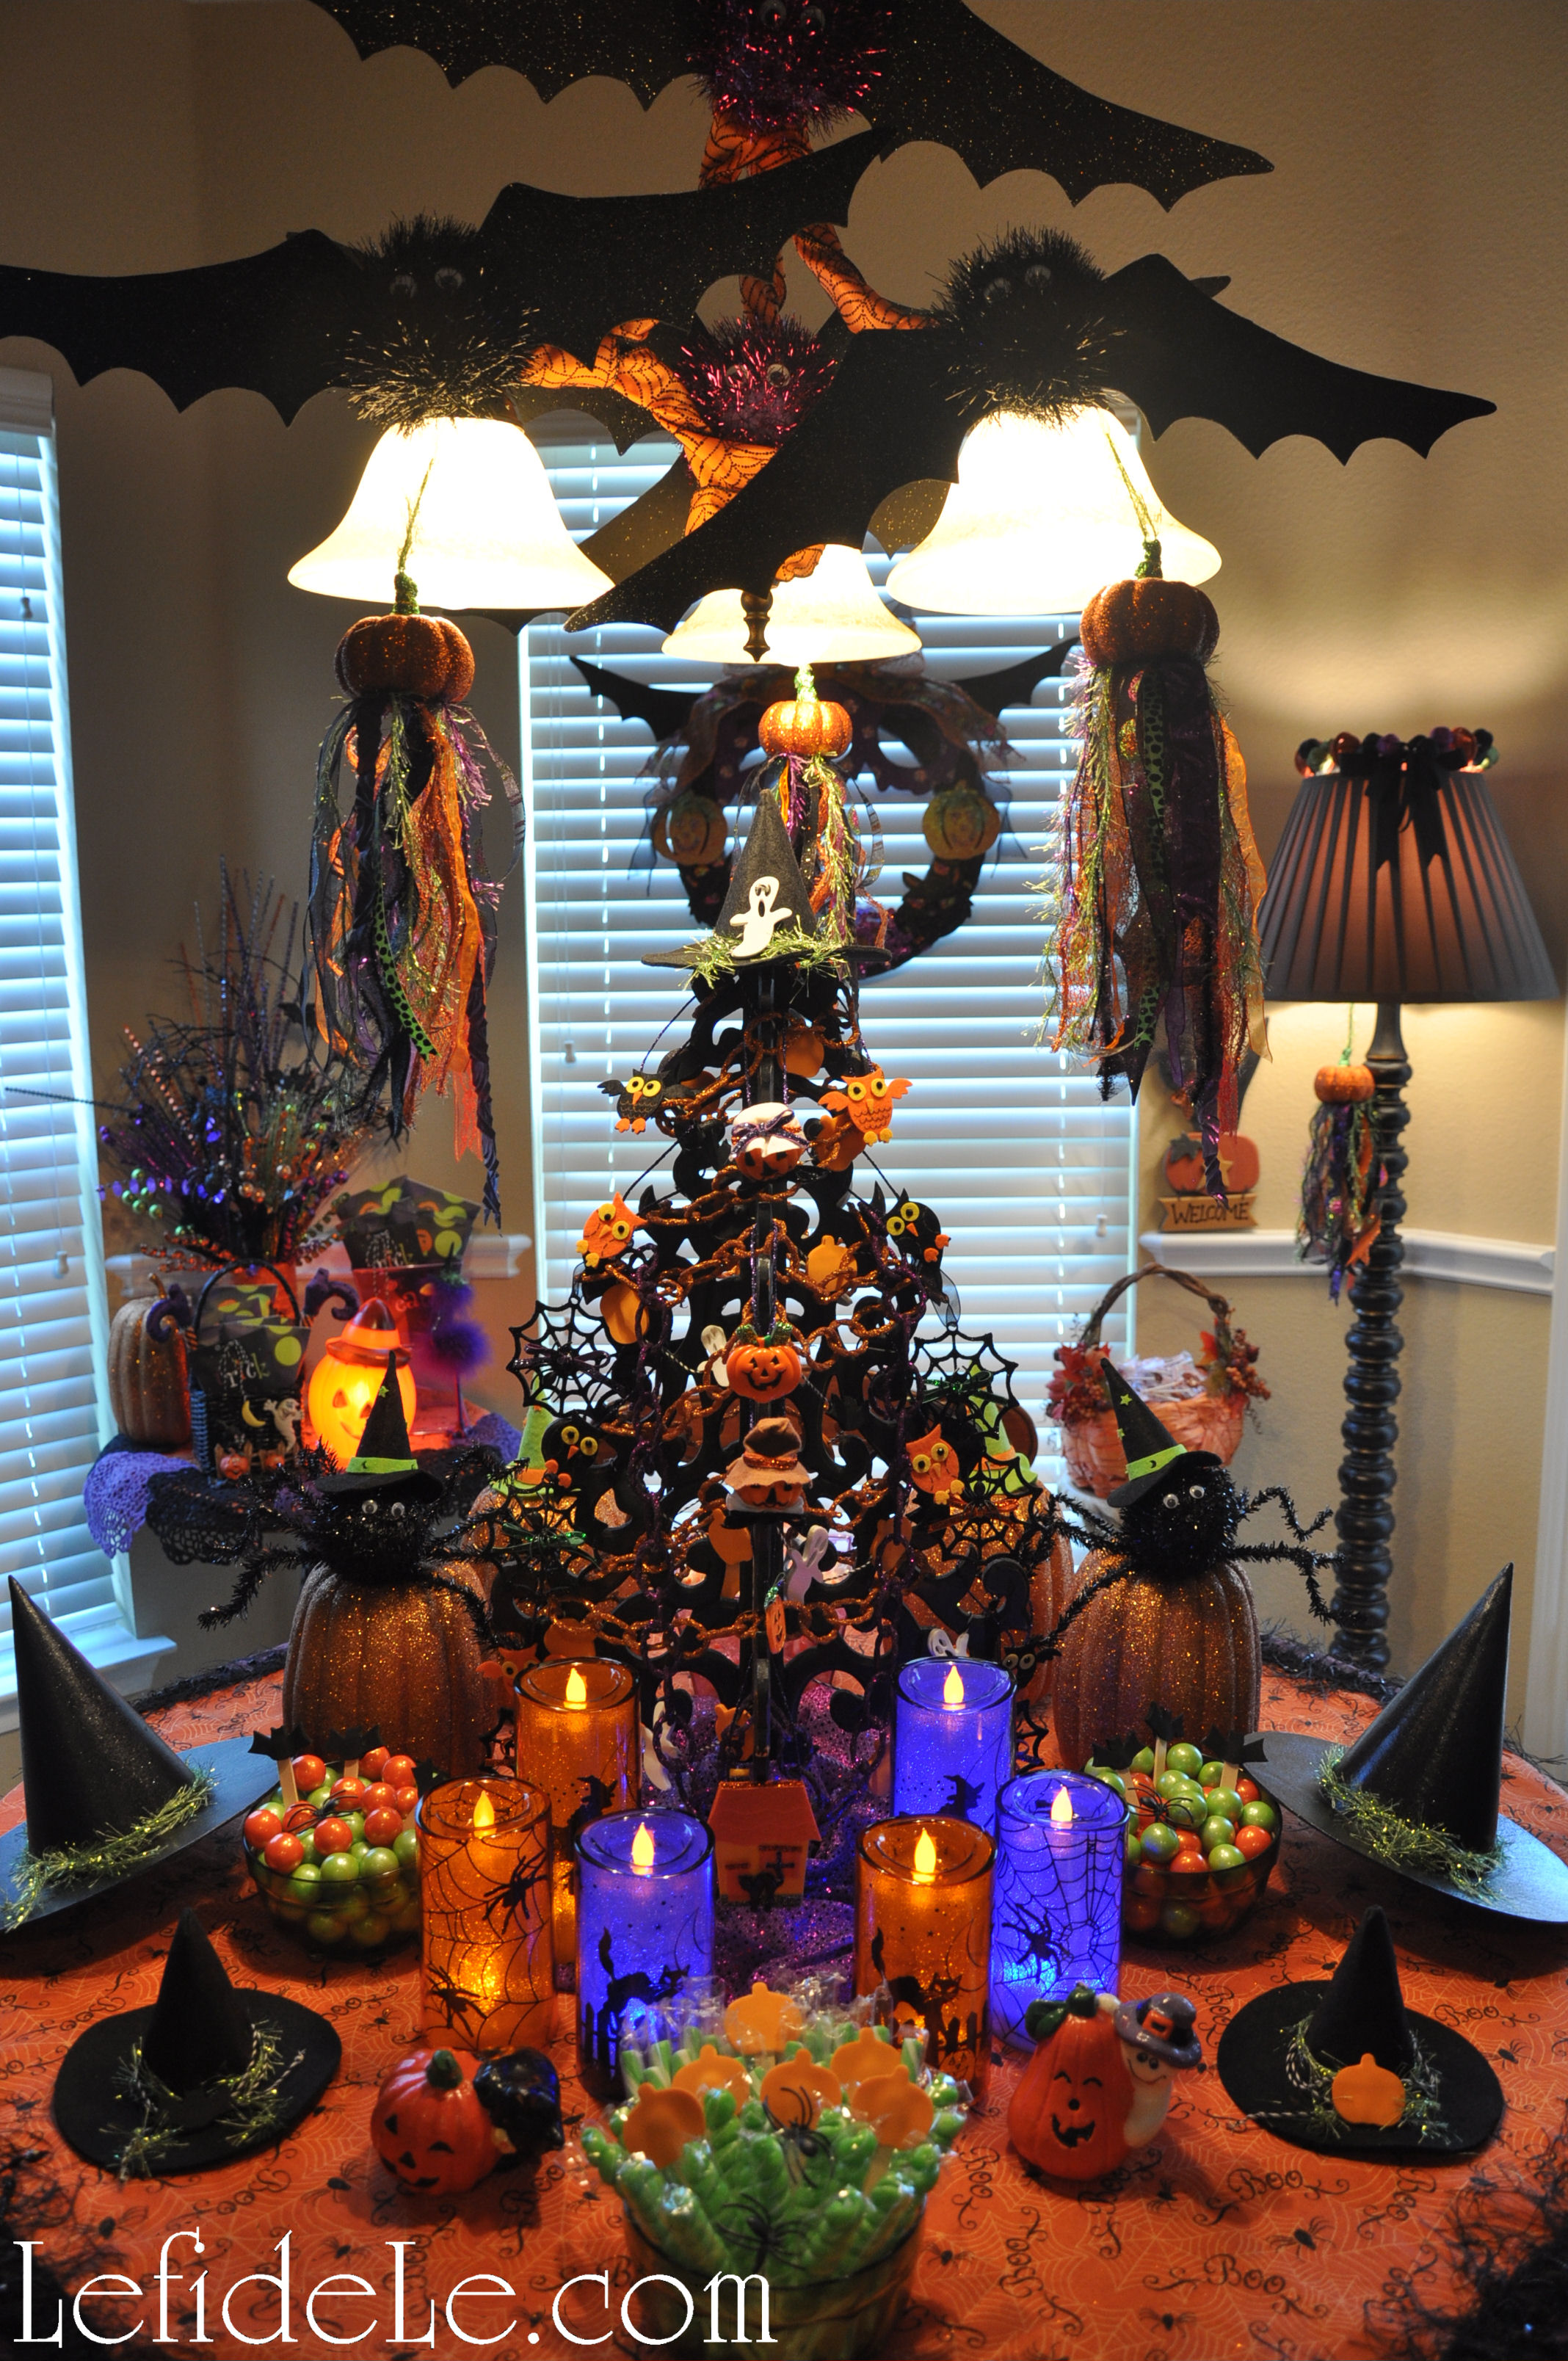
I wrapped a chandelier in spider-web ribbon, then added the bats. One set down right in the center, another three looped right onto the metal tops holding the light shades, and only one needed to be wired onto the chain.

223Glitterween-Leigh

Hang them anywhere and everywhere, and have a Happy Halloween!

Faithfully yours,

Leigh

lefideledesignsbatwingtemplate


DIY Mixed Media Wicked Witch Halloween Statement Necklace

010Leigh

This craft originated from an invitation to a huge Halloween costumed charity ball that I donated some artwork to. I wanted to wear an ‘80’s era green velvet frock with princess sleeves and a full skirt, but I just didn’t feel like wearing a crown. So I decided to toughen up the look with black leather boots and a corset belt. Then I ordered a wicked witch hat straight out of “Oz the Great and Powerful”, which I haven’t even seen yet. I even added a beaded black broom, but all of that still couldn’t counteract the sweetness of the dress and my Glinda-the-good-witch curls. What I needed was a wicked witch statement necklace!

01Leigh

Making mixed media jewelry is a fun process that really unleashes the creative spirit because there are really no rules to follow, so there’s no messing it up. One begins with the gathering of any and all material that could possibly coordinate. I used vintage pendants, earrings, and beads alongside newer elements. Craft stores sell many items that have a vintage look if you don’t have any at hand. You can always lay out a design at home and then return anything unused.

9Leigh

I filled a corked glass bottle with fine black glitter to simulate magic potion. Then I placed black and clear seed beads onto eyepins (= short hard wires with a crook at one end) and added shell star beads. (In future articles, I will explain more about beading for those of you who haven’t tried this rewarding activity.) I also added stars to other elements like moon and spider-web pendants with jumprings (= metal circles with single cuts).

4Leigh

Next I cut out 2 spooky pictures from a Spanish bingo game. They would soon become beads.

6Leigh

I placed clear and black crystals on the tiny game cards and squeezed on “Plaid Mod Podge Dimensional Magic”. The liquid dries clear and to the touch in a few hours, and cures by the next day.

12Leigh

Adding crystals and liquid “magic” seemed appropriate for the project, so I continued with other elements that needed further embellishment.

10Leigh

I even used it in lieu of glue to add crystals and seal the top of the glitter vial. I then attached the beaded eyepins and a jumpring to a strand of leather wrapped around the vial. (This alone could have been attached to a chain as a necklace in its own right.)

11Leigh

I glued more crystals onto tiny black doilies with Elmer’s Ultra Stix-all (which dries clear). This symbolizes spiders on their webs. Jumprings then turned them into beads.

14Leigh

Again, I used Stix-all in the hope that it would indeed stick all materials. I added two clear seed beads to each eyepin then coiled the rest of the length of it. The skinny black feathers were glued inside of that. The following day, I was thrilled to find my feather bead idea had worked!

021Leigh

To determine the necklace’s length, I draped chain around my neck, pulled it to the right size, and then cut the length I wanted. There are standard necklace lengths, but this time I winged it because this was my own custom piece. I wove leather cording through every fifth link, and repeated with silk cording in the links preceding those. The ends can then be cut without even having to measure anything.

22Leigh

I slid a jumpring onto each end, folding over the strands, and wrapped it all in metal wire. An eyepin may also be used if you cut off the looped end. Attach any closure you like. I used a “lobster” clasp.

20Leigh

This is perfect place to use any pretty little ribbons from leftover projects. I cut four inch lengths of new velvet and metallic ribbons. I also cut a couple of roses from some black netted fabric trim. I had never tried this before either, but it worked beautifully to slide jumprings through the netting. I also bent the posts (of a pair of vintage black rose earrings) to make loops to slide onto those same jumprings. They made a kind of baby rosette bead for additional decoration. Remember that statement necklaces are supposed to be over-the-top!

23Leigh

I tied ribbons over the wired cord ends to keep them from snagging my hair. This worked so well that I’m considering wrapping ribbon onto some of my old necklaces.

27Leigh

With all of the elements now ready, I laid out my construction scheme. I played with the look, moving items around until they seemed balanced yet still asymmetrical.

67Leigh

I attached my largest and heaviest items toward the bottom first (like a small carved quartz crystal skull). I worked my way down in element size from there.

075Leigh

After that, I closed jumprings into vintage crystal buttons to make fabulous beads. I filled any gaps with shell stars. This helped to maintain continuity throughout the piece.

65Leigh

Lastly, I added the feather beads with the direction of their natural curves following the drape of the necklace.

61HalloweenNecklace-Leigh

You can use these ideas to make any genre of mixed media necklace… even a girly pink princess one, but this year, I made mine wicked!

Faithfully Yours,

Leigh


DIY Glitter Pumpkin Tassels for Halloween Decorating


339-Leigh

This DIY Halloween project makes perfect use of all those leftover ribbon scraps that are just too pretty to throw away, but are too short to do much else with. There are many kinds of tiny pumpkins available at craft stores, and they don’t have to be glittered like these. I love to mix various textures and finishes of materials because it produces more visually compelling creations.

133-Leigh

I used some of the scatter pumpkins that were decorating my living room console. I really don’t know what sparked the idea, but I just had to turn some of them into tassels. The conundrum was how to accomplish this, but as one of my studio art professors said, “Art is about problem solving.” My answer came in the form of a hot glue gun.

152-Leigh


I first glued the ends of a few inches of shimmering green yarn onto the plastic stem of the pumpkins, in order to form a hanging loop. Then I glued matching flat ribbon, as I coiled it around the stem, until it was covered completely. Clearance and dollar bin ribbon are great for projects like this, when you need just a few lengths to complete the job.

160-Leigh

I gathered up all my coordinating ribbon scraps, and then cut additional lengths off new rolls that I had set aside for this year’s “Glitter-ween” Party theme. In that way, the finished product would harmonize with the other crafts I had already completed. I cut the wired ribbon into longer lengths to purposely be able to bend it into waves later. That would add dimension and separation by introducing “negative space” into the piece. Sometimes the empty places are as important to the composition as the materials themselves are. The wider ribbons, I either cut in half or folded in half and glued together. Cutting the gluing ends flat and the trailing ends pointed, into a V or W depending on the width, adds a touch of polish.

164-Leigh

I began gluing bent tips of the darkest and thickest ribbons to the center of the pumpkin bases. From there I just kept turning and gluing until I got to the thin ribbons and yarns. Those I added to the outside areas where it seemed like some color was needed to fill to the space.

165-Leigh

This is where to just keep adding intuitively until it looks finished. I always say that I work on a project until I’m afraid that I’ll mess it up if I add any more. Then and only then, is it finished. If you feel like something’s missing, take a break and come back to it later with a fresh perspective. If you still feel that it’s just not quite right, ask a creative friend for their opinion. Sometimes a conversation about a design is enough to generate even more of your own ideas.

278-Leigh

Laying out all the pumpkins helps to see if any errant lengths need to be trimmed down. Then it’s time decorate with them.

288-Leigh

They look fanciful hanging from lamp switches where light can reflect on them. That’s a glittered bell wreath perched atop the lampshade.

319-Leigh

They make great ornaments for indoor trees. Adding a Happy Halloween sign helped too.

239-Leigh

They connect the space between table and chandelier when suspended from the lights. The bats are an easy craft that will come with a PDF template in a future posting.

312-Leigh

If the loops are made large enough, they’ll hang on any doorknob, even an armoire.

323-Leigh

They can even hang from a tack nail on the wall where a bit of empty space needs decorative filling.

339-Leigh

Best of all, they’re one-of-a-kind handmade in the USA creations that not everyone on the block has seen in a store’s ad, and I had fun making them. Here’s hoping you do too!

Faithfully Yours,

Leigh