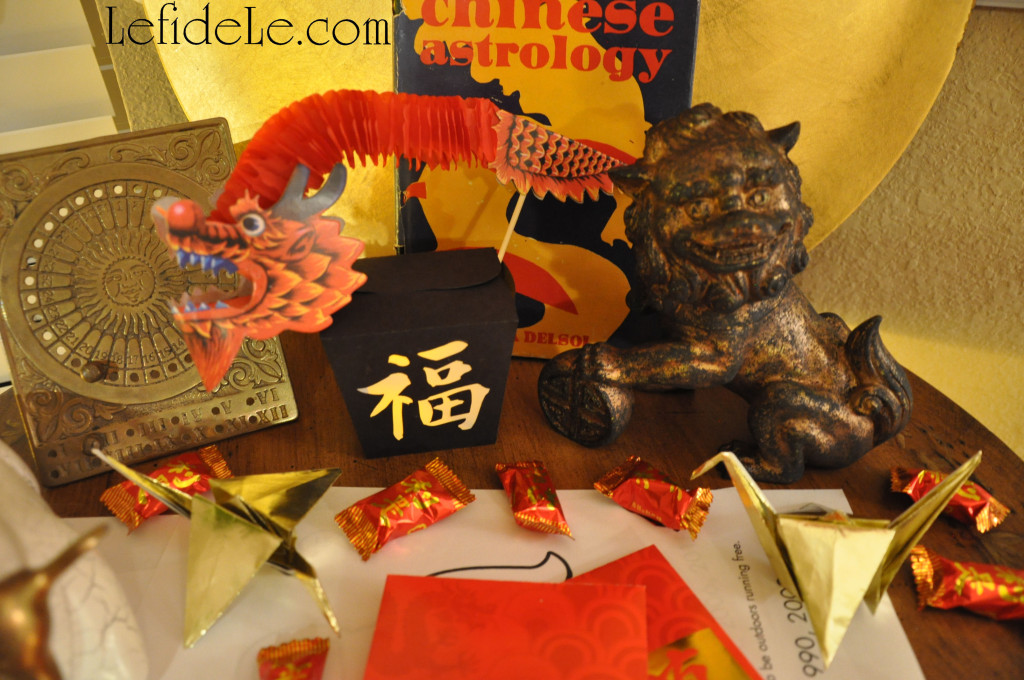
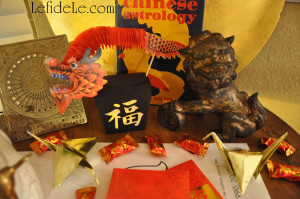
The timeless art of origami paper folding is an easy and inexpensive way to decorate for a Chinese New Year Celebration. The project also provides a means for quality time in generational bonding. This tutorial for the historically traditional crane figure is an apropos symbol of hope for the coming year. The Japanese tradition of the Senbazuru folding of 1000 paper cranes is said to grant the maker a wish, such as healing for a loved one. (Why not fold and send one in lieu of a get well card?) The “Tsuru” (crane) is also said to denote happiness and luck, which is the same meaning of the “Fú” 福character of the Chinese New Year. My Take-Out Favor Box & Paper Lantern Craft Printable (Chinese New Year Party Décor) also utilizes the symbol which has graced the entrances of Chinese homes for many hundreds of New Year’s.
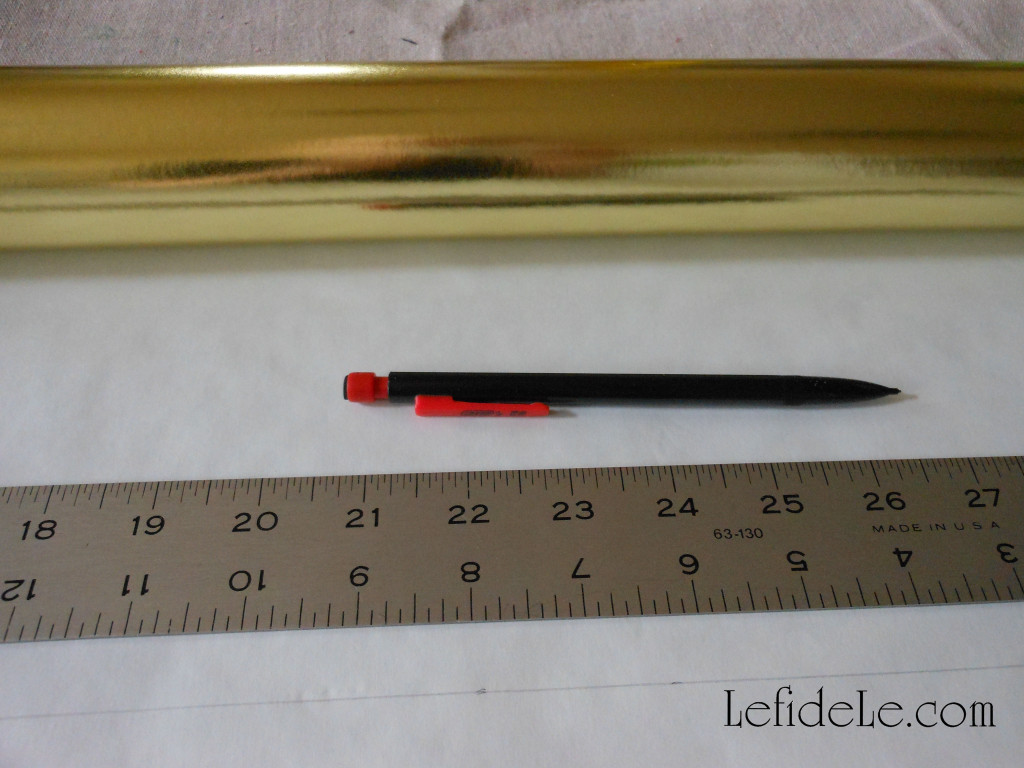
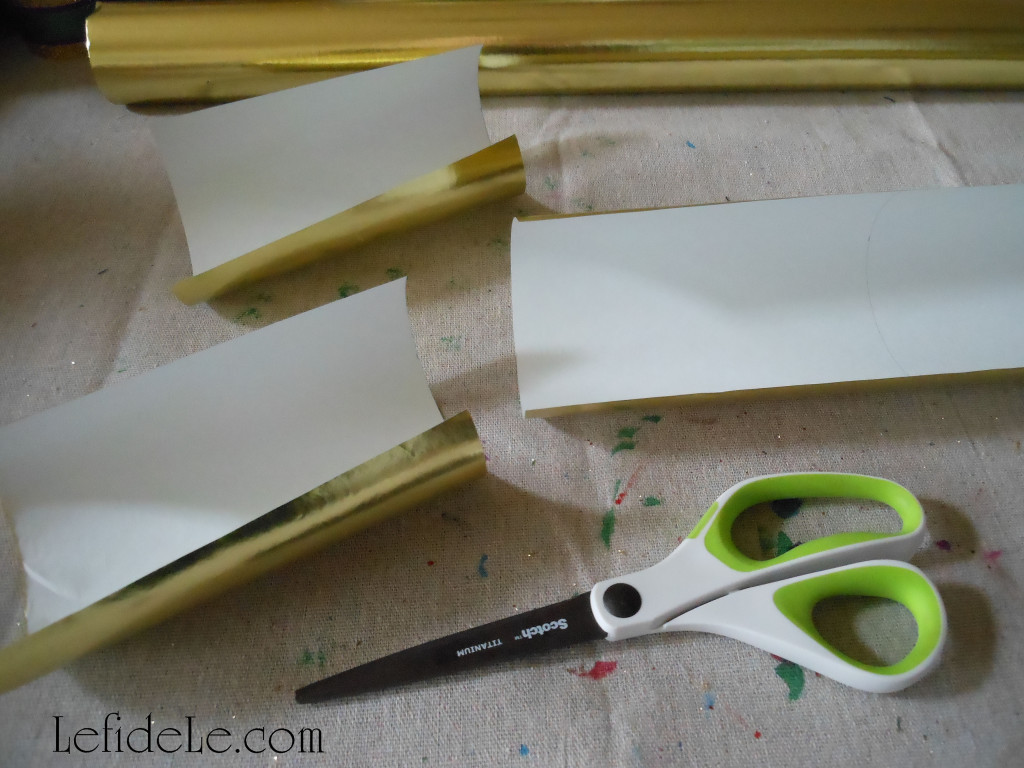
There are beautiful origami papers available, but it’s easy to make your own from any inexpensive paper. By cutting them yourself, you can make any sized piece you like… and if you’re a beginner, it’s much easier to fold a larger sheet. Here I’ve chosen gold metallic wrapping paper purchased at an after clearance sale years ago. I used a large T-square ruler to mark 6 x 6 inch sections, and then cut them out.
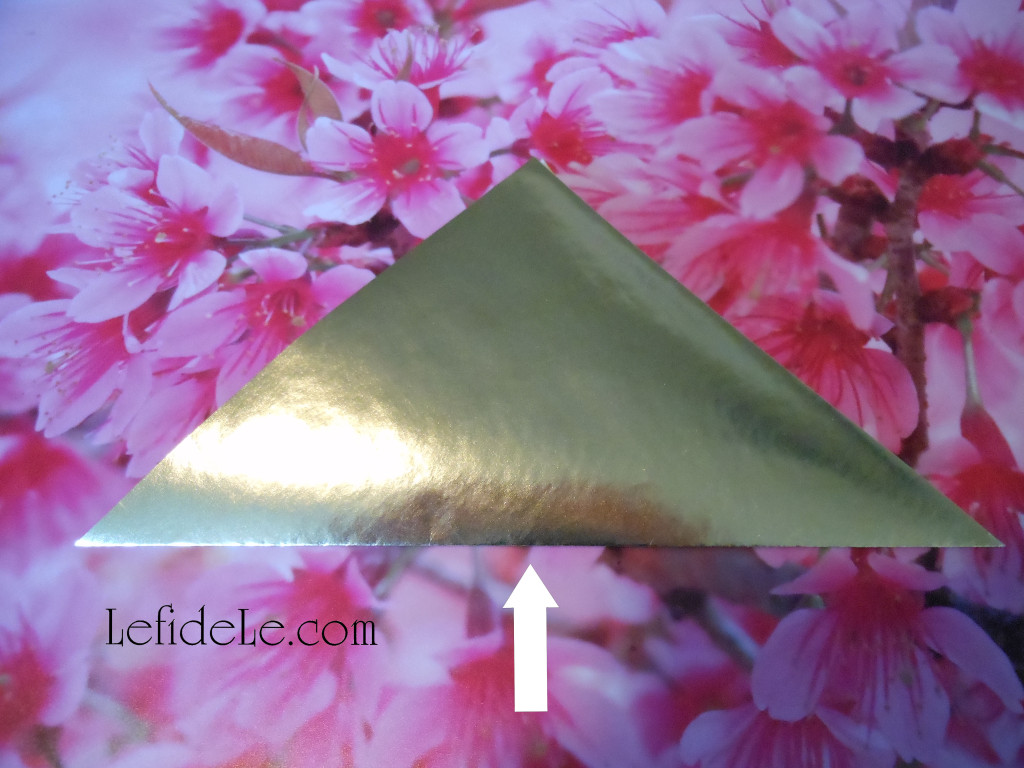
Begin by folding the paper in half diagonally then unfold it.
Repeat this on the other diagonal, thereby creating an X crease on the paper.
Next fold the paper in half, creating a rectangle, then unfold it.
Repeat this fold, of a half rectangle, to complete another X crease.
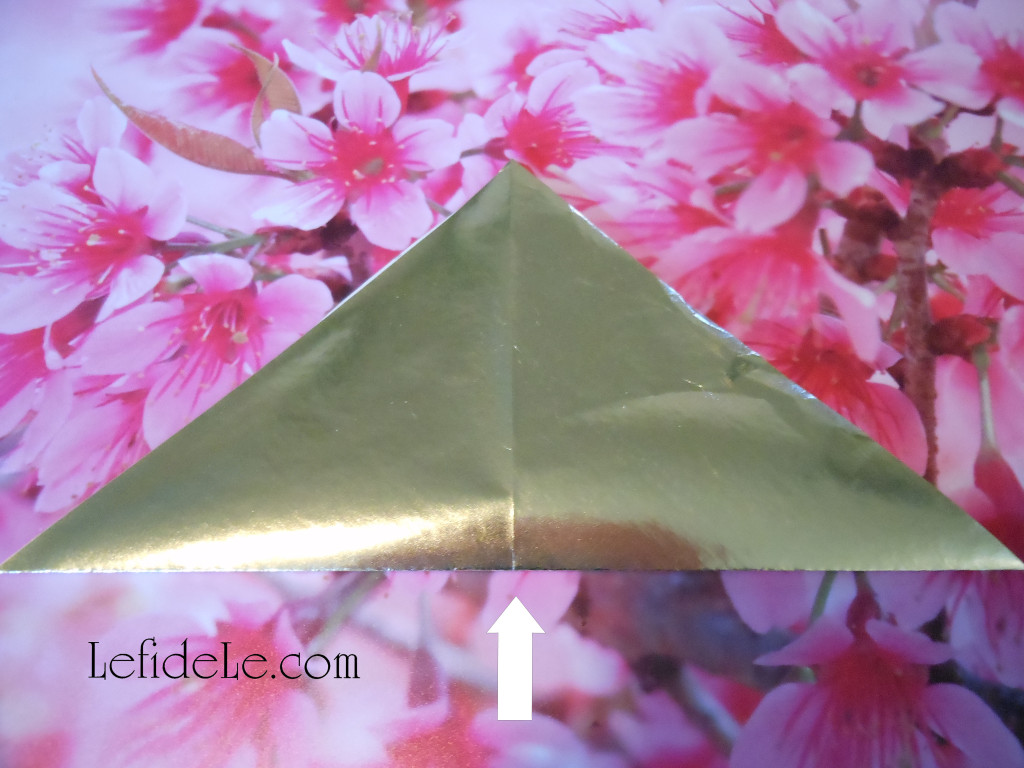
Now that you’ve made an asterisk * shape mark on the paper, turn a tip to point directly towards you. Take the remaining 3 tips, and pull them over the closest one. The 2 side points will meet in the middle, and the farthest tip will close over those.
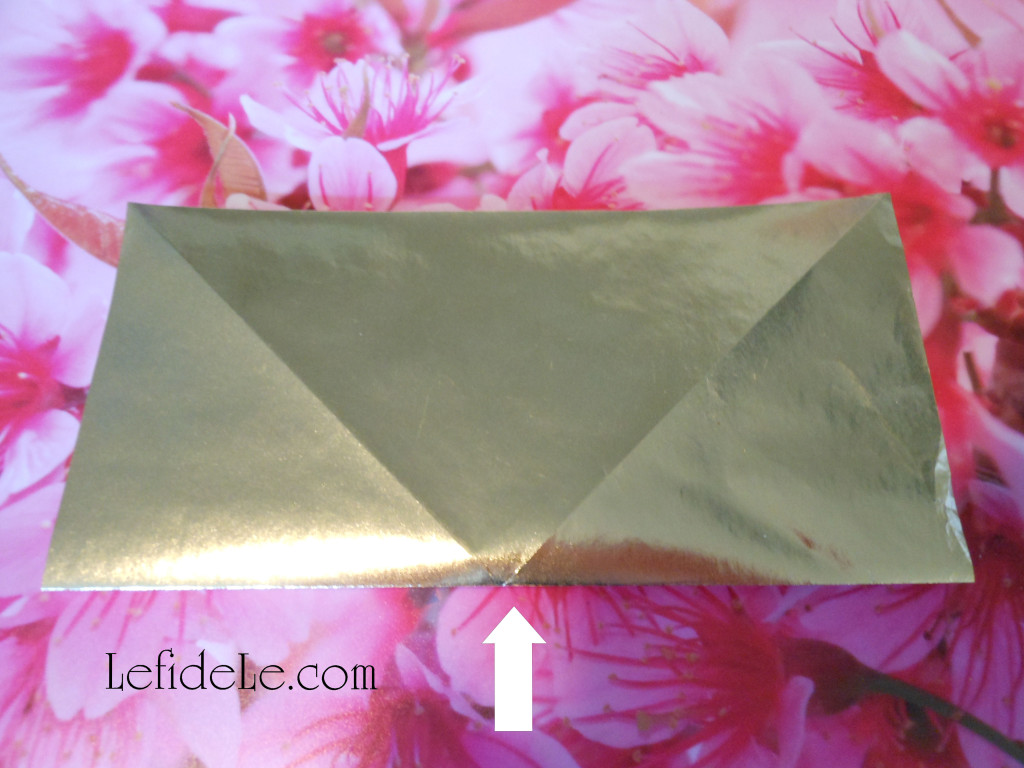
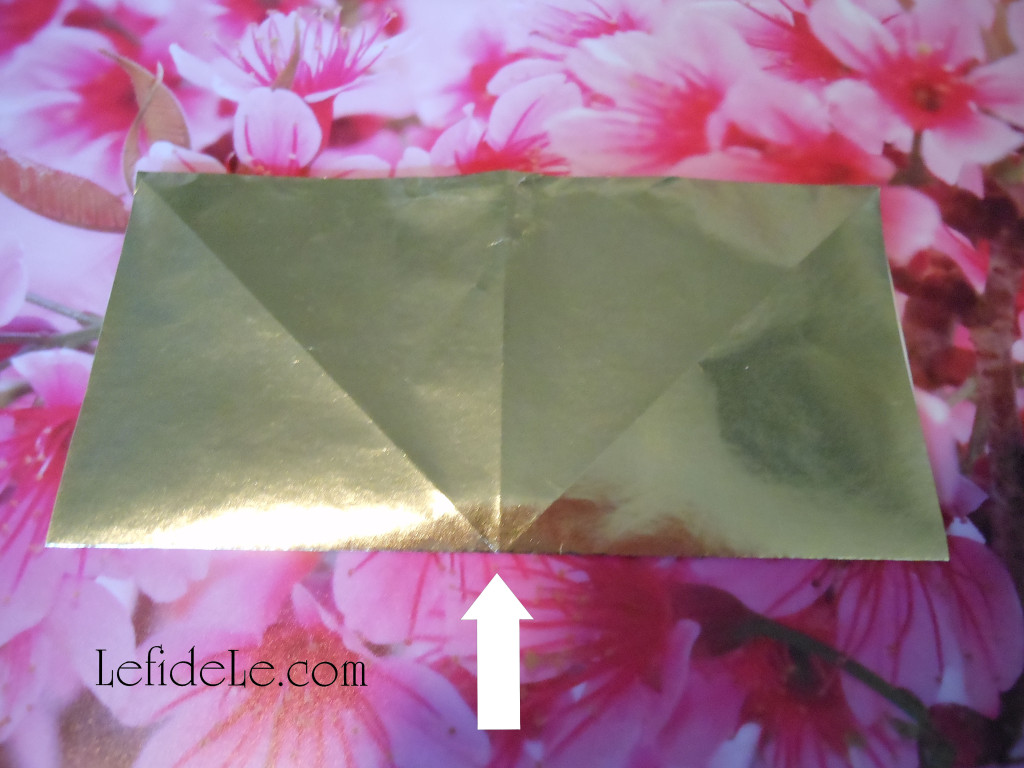
Next take the 2 side points and fold them to meet in a line dissecting the middle of the piece, then unfold it.
Take the farthest point and pull it toward you to form a triangle, and then unfold it also.
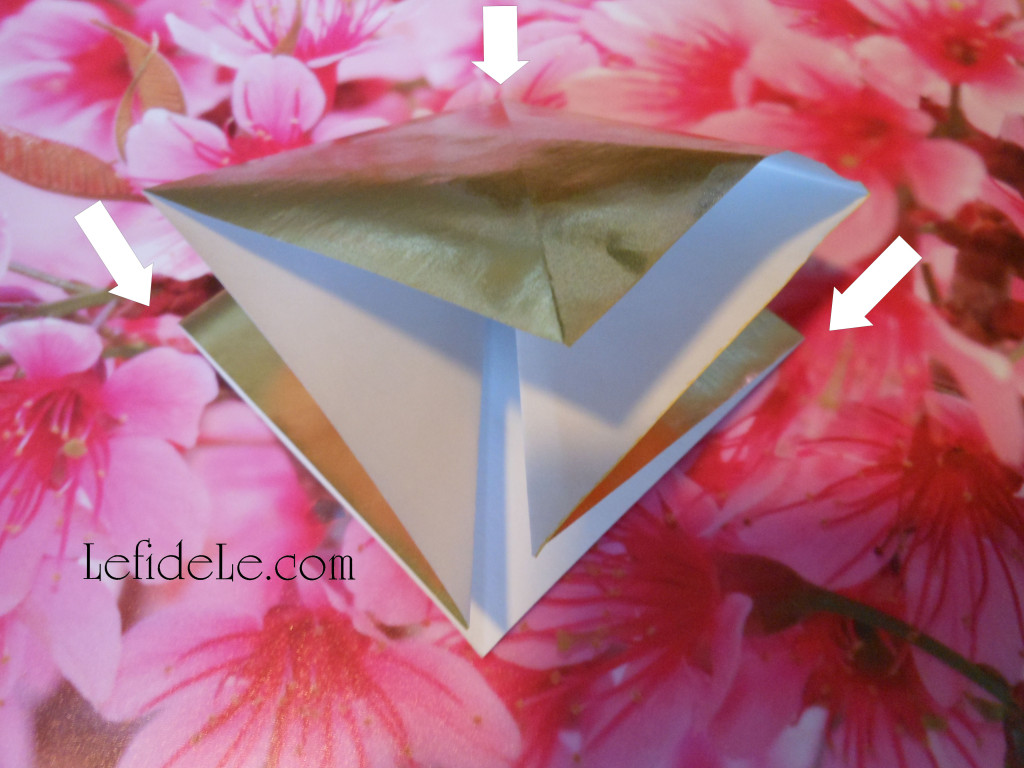
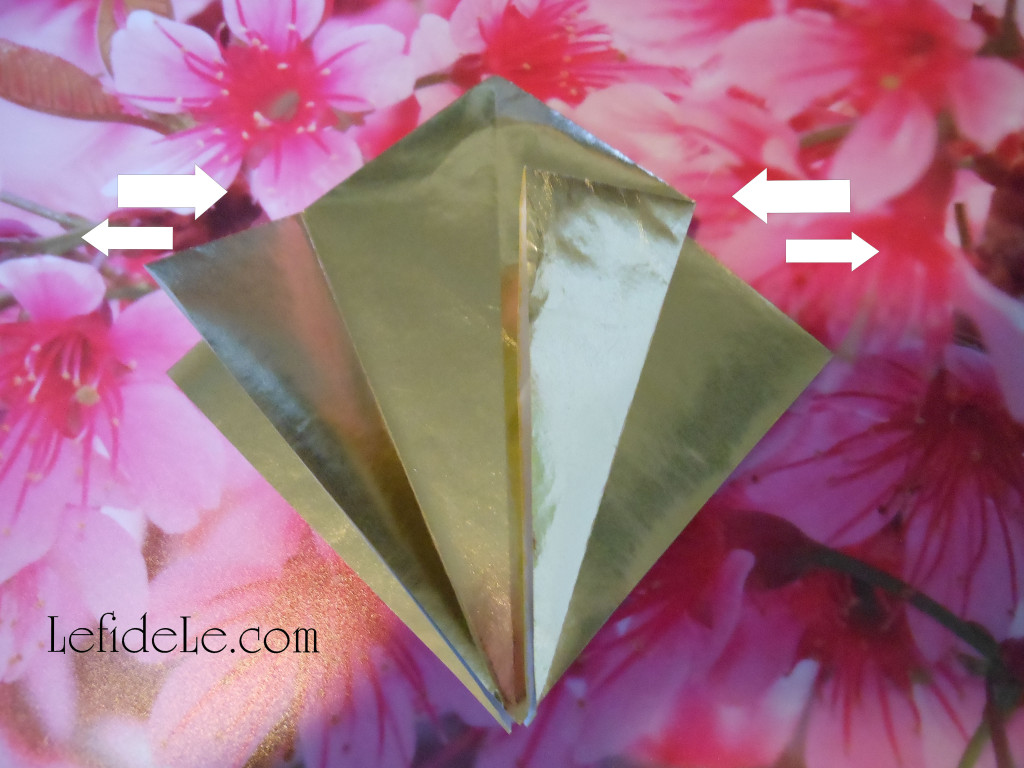
Pull the upper point away from you while pushing in the 2 side points so that they meet in the middle.
Push it all down to crease it flat.
Flip the piece over, and repeat the last step to form a diamond shape.
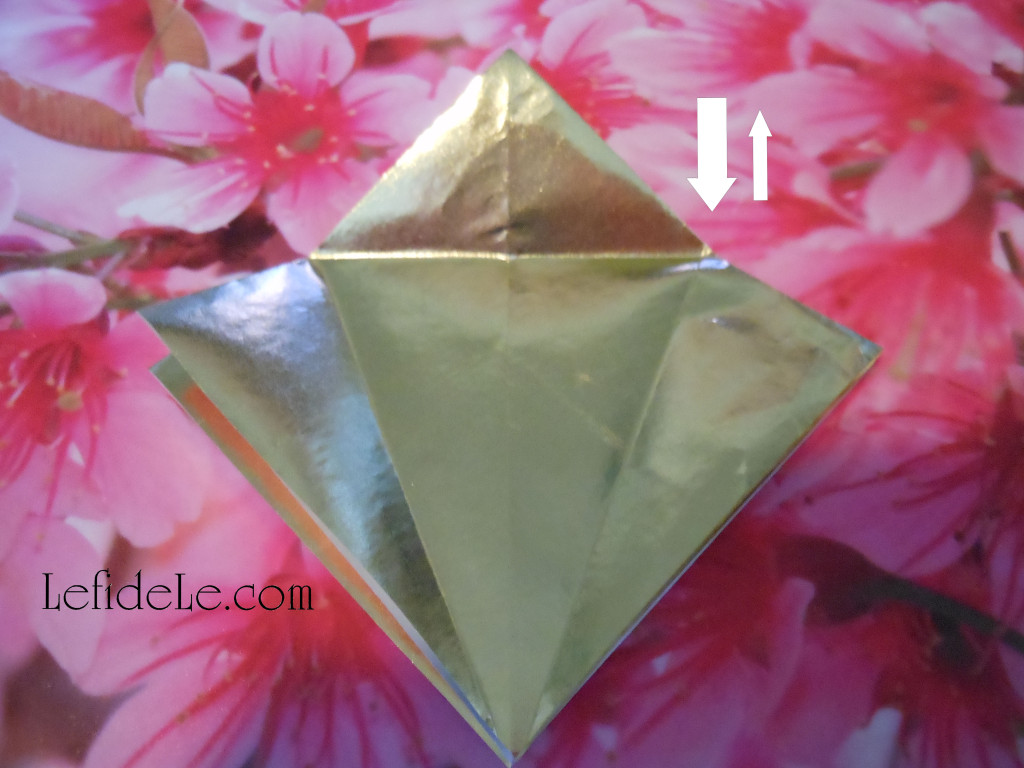
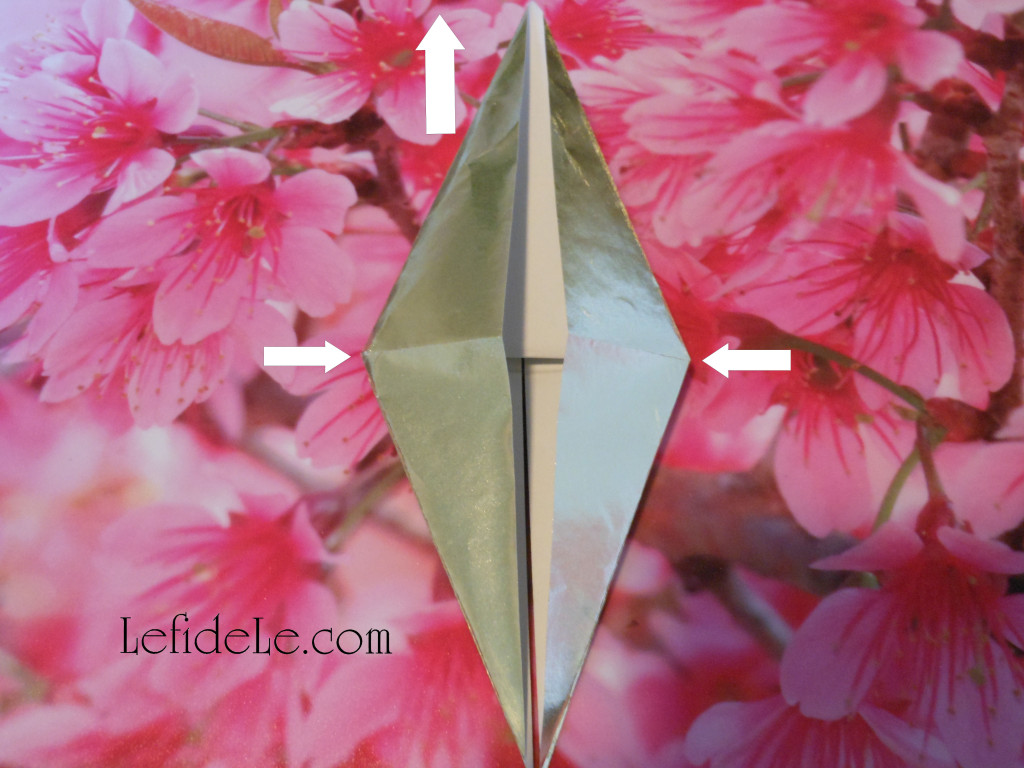
Once again, fold the 2 side points inward to meet in the center.
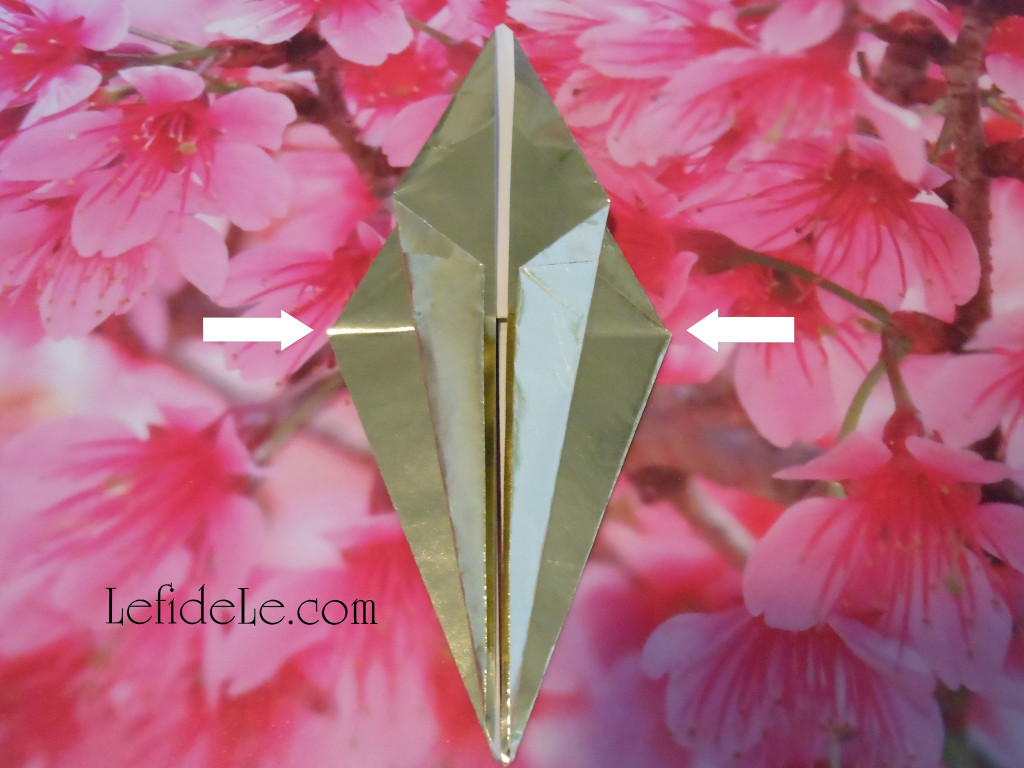
Flip it over, and repeat the last step to form a much pointier diamond.
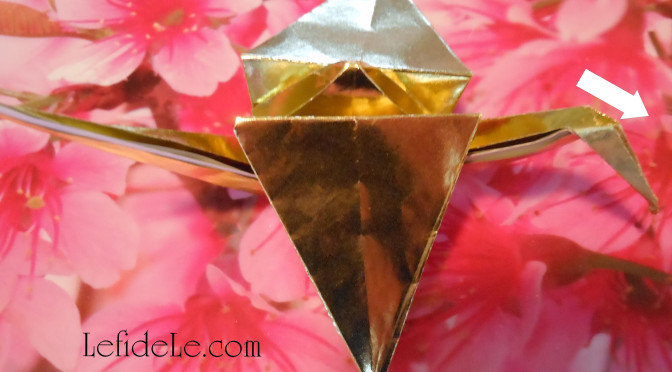
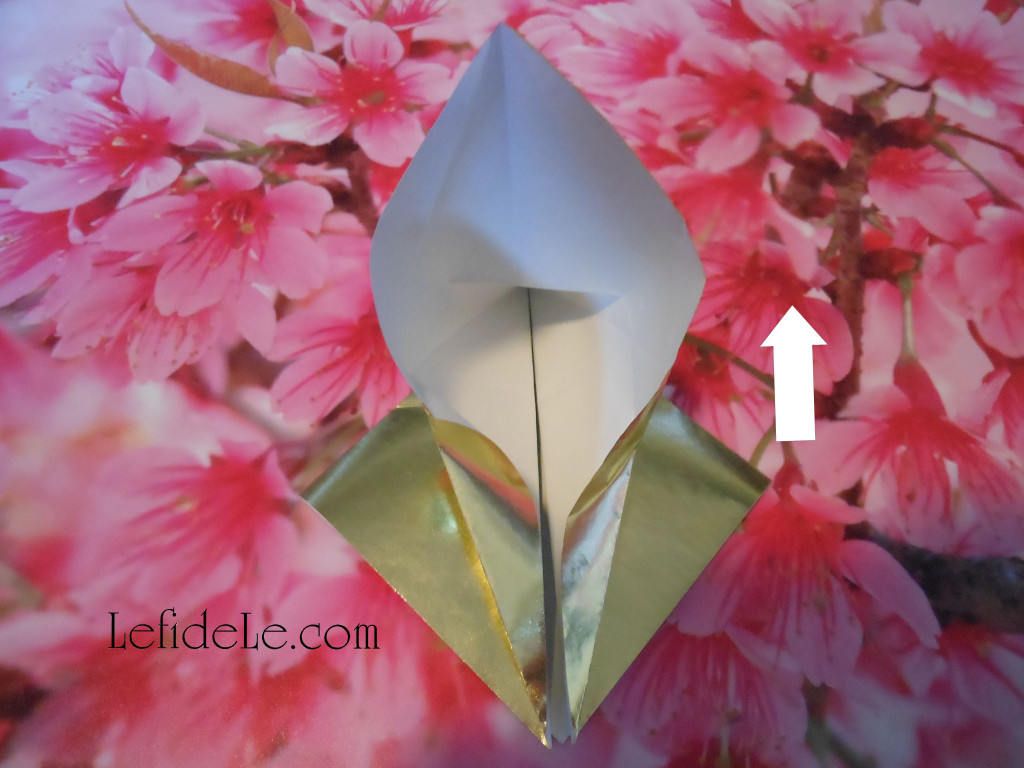
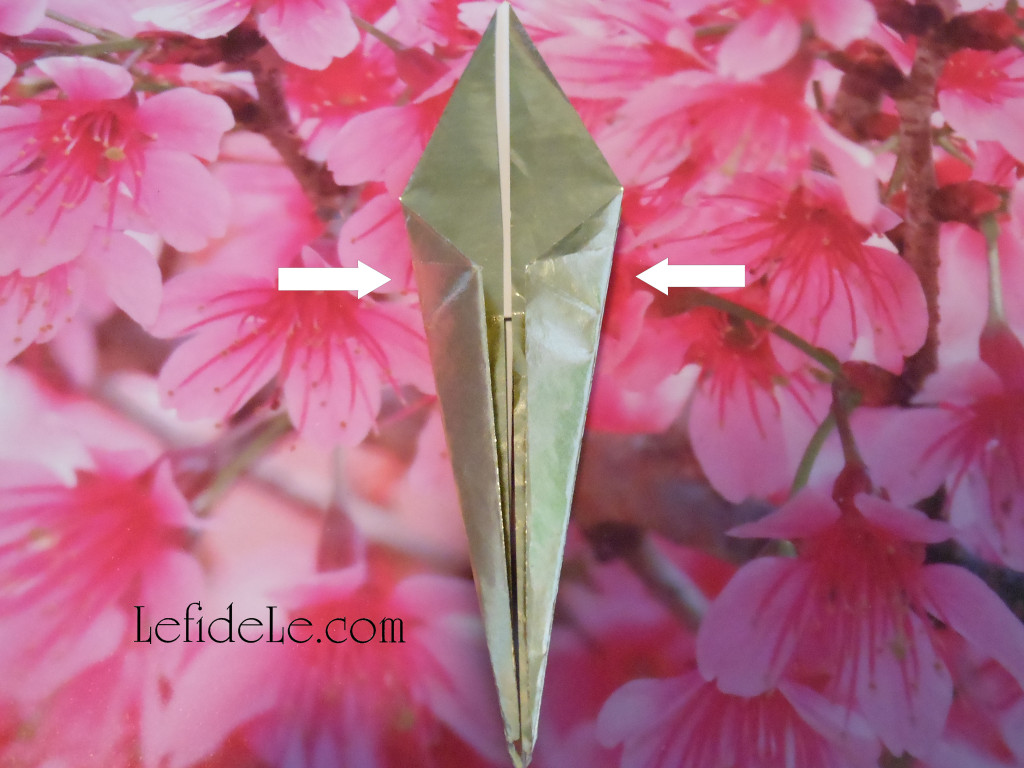
There will be 2 pieces resembling legs that comprise the portion closest to you, take one and bend it up and out on a diagonal… as if it’s making a high kick. Do the same with the other leg then crease both well. Unfold them straight again.
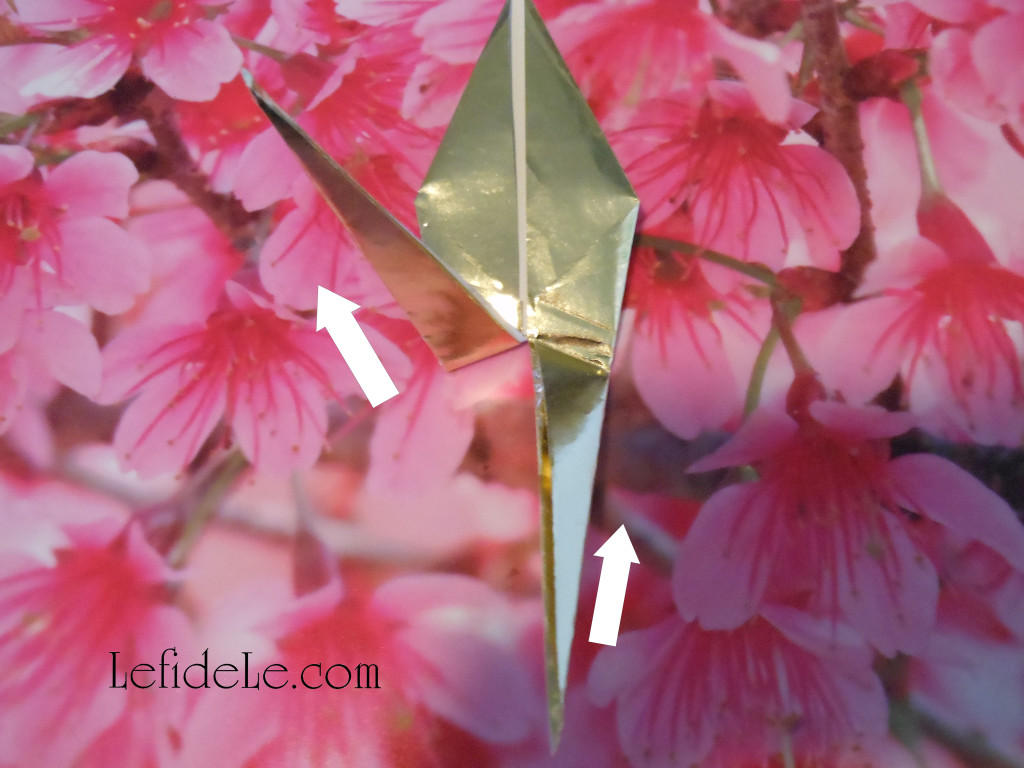
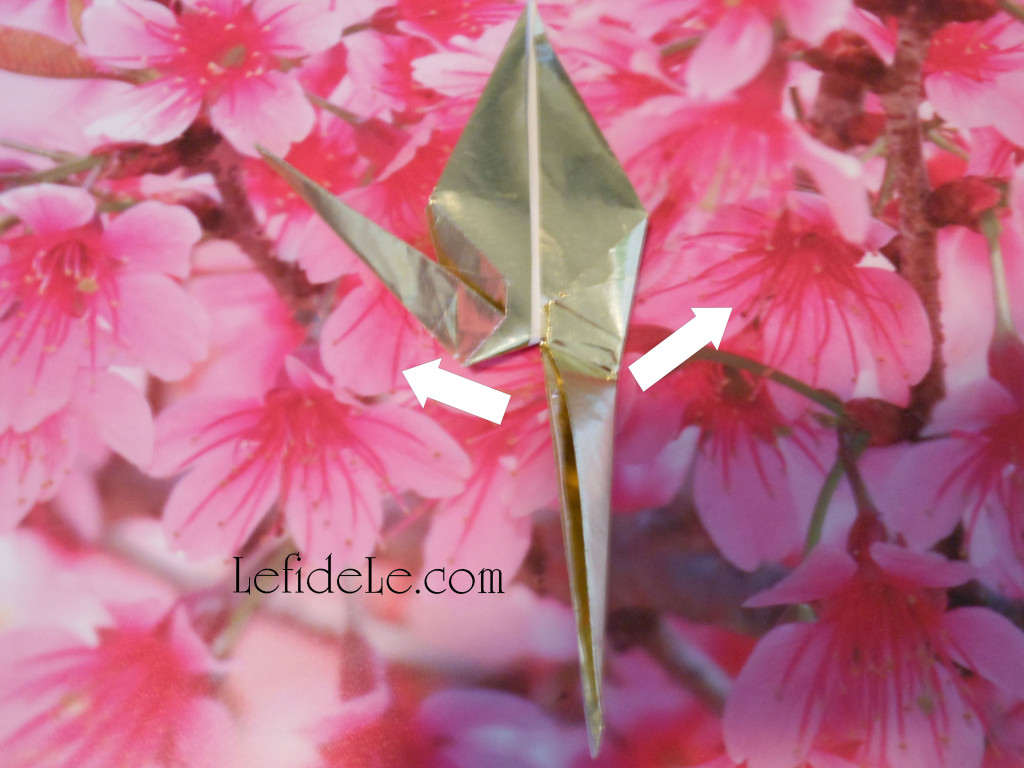
The next step is the trickiest part, but it can be unfolded and retried until it works out. The legs need to be bent inward in what is called a “reverse fold”. The easiest way that I’ve found to do this is to use your thumbs to sort of pop in the center of the leg toward the center of the piece. The crease you made earlier will be the line it folds according to. Just study the picture and play with your piece until they look similar. Crease it flat once it’s in the correct position. Do this with both legs of the piece which will form the head and tail/feet of the crane.
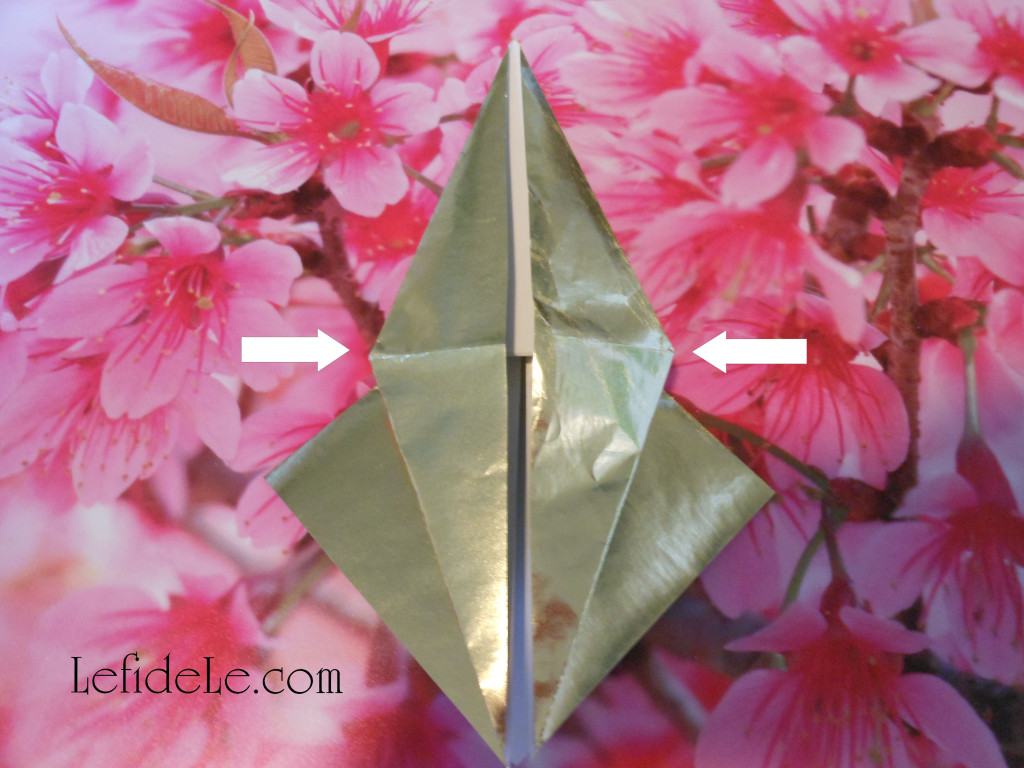
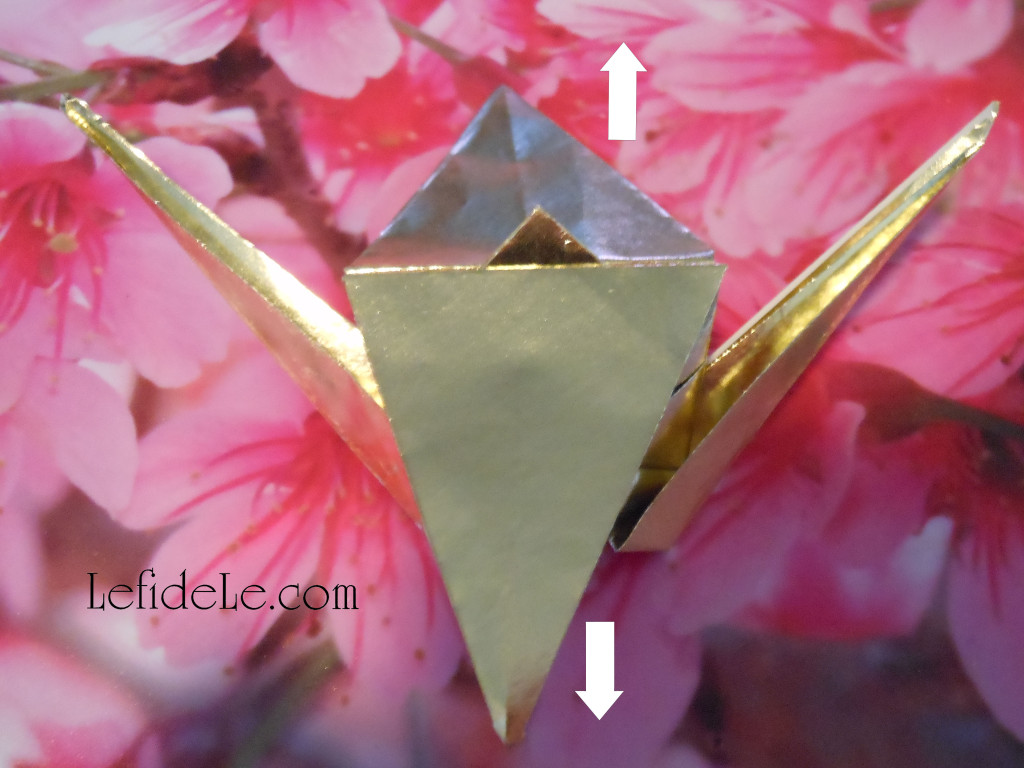
Make the wings flap down by folding the farthest point of the upper flap towards you. Flip over and repeat for the other wing.
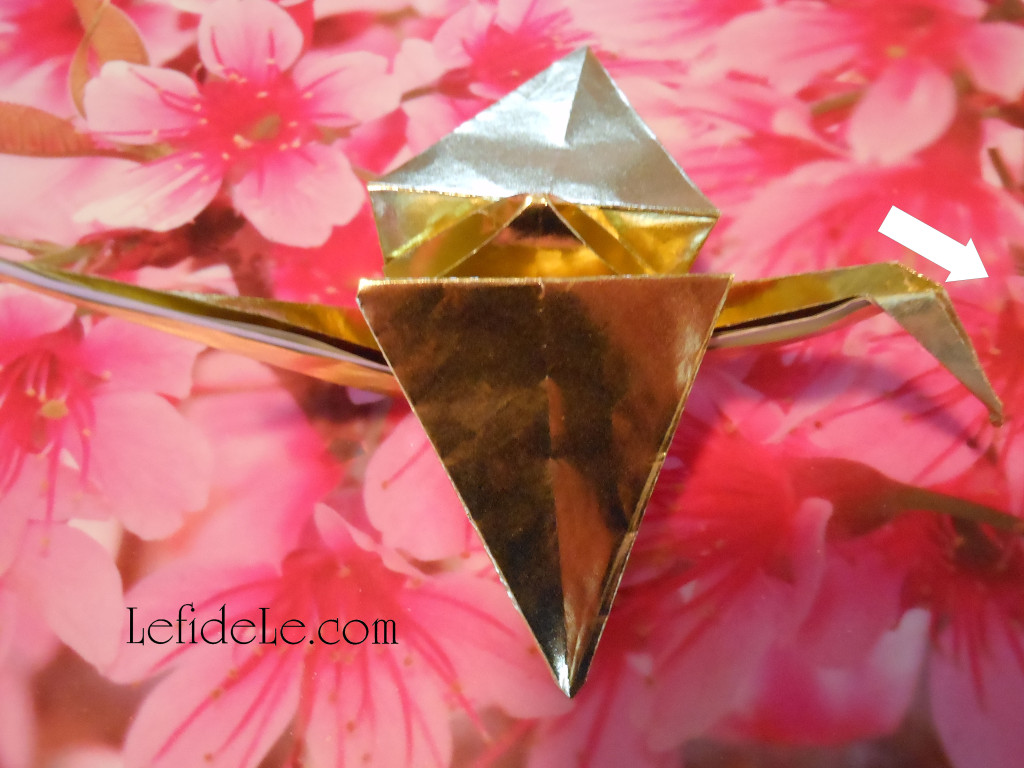
The last step is to form the bird’s head by performing a “reverse fold” downward on one of the former legs. Adjust it, if need be, by strengthening your creases and pushing up on the center portion until it sits upright on its own.
Now what to do with it… write a “Get Well Soon” or “Happy New Year” message on one of the wings and push the crane flat to enclose in an envelope, use a needle and thread to string and hang it, or just set it out on your table for an easy décor element.
May all your dearest wishes be granted this year!
Faithfully Yours,
Leigh
