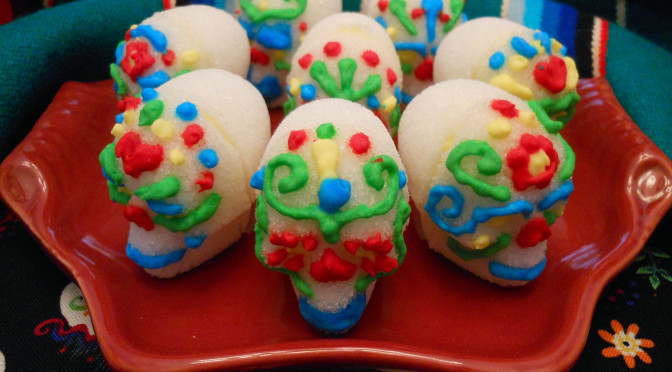
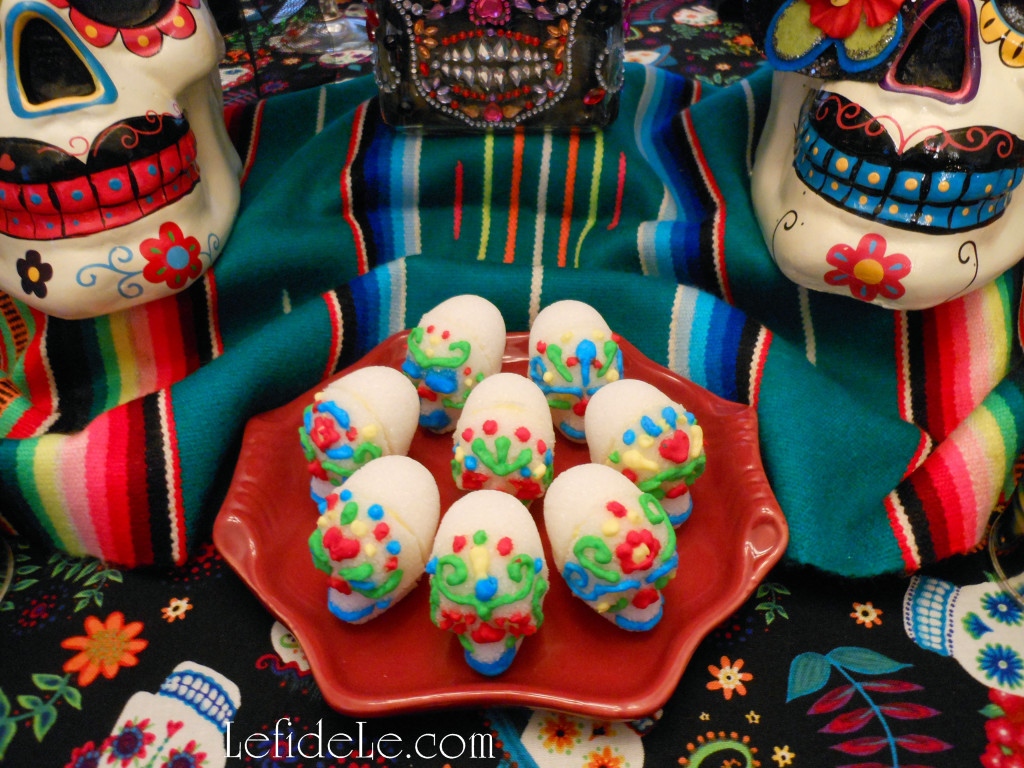
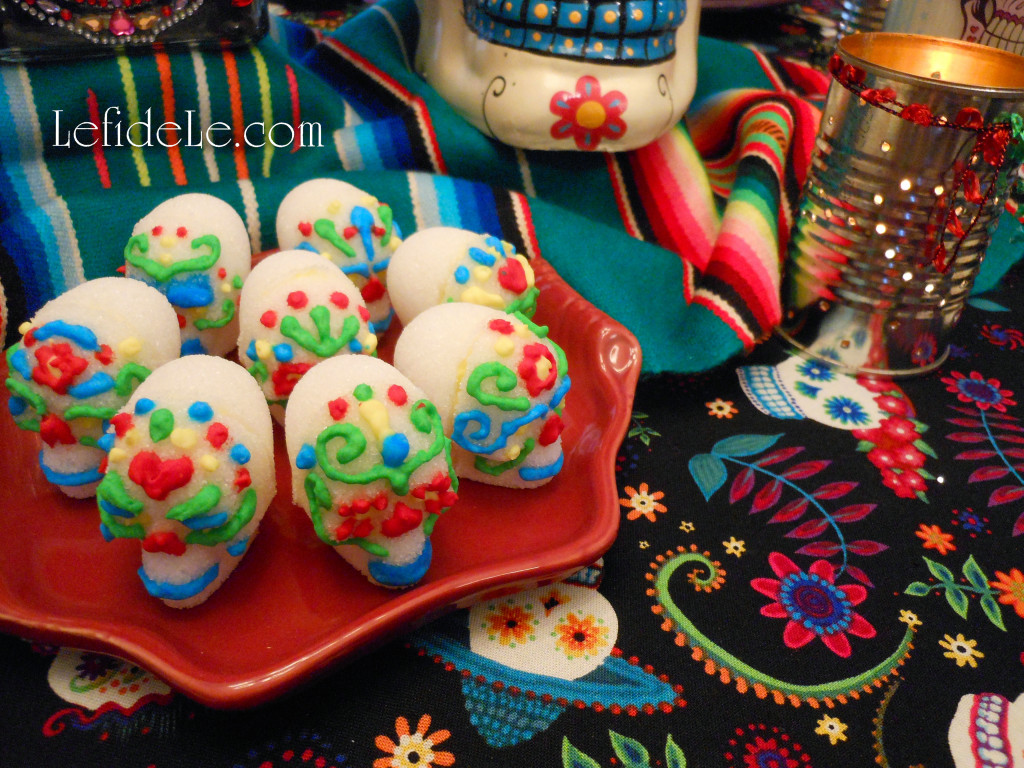
Calaveras de azucar (sugar skulls) are a folk art originating from southern Mexico for Dia de los Muertos (Day of the Dead). The sugar (azucar in Español) is said to balance the bitterness of death (muerte), and the small calaveras (skulls) are traditionally offered on All Saint’s Day (November 1) to beloved departed children (angelitos / inocentes) as one would leave flowers graveside. Because this recipe is an egg-free edible version that doesn’t use meringue powder or royal icing, it makes the perfect allergy-friendly, vegan, and low-calorie candy for a themed Halloween celebration!
Ingredients:
- 2 cups granulated white sugar
- 4 teaspoons water
- Wilton ready-to-use icing multi-pack of 4 primary colors (not gel)
- Wilton 3D skulls candy mold
Instructions:
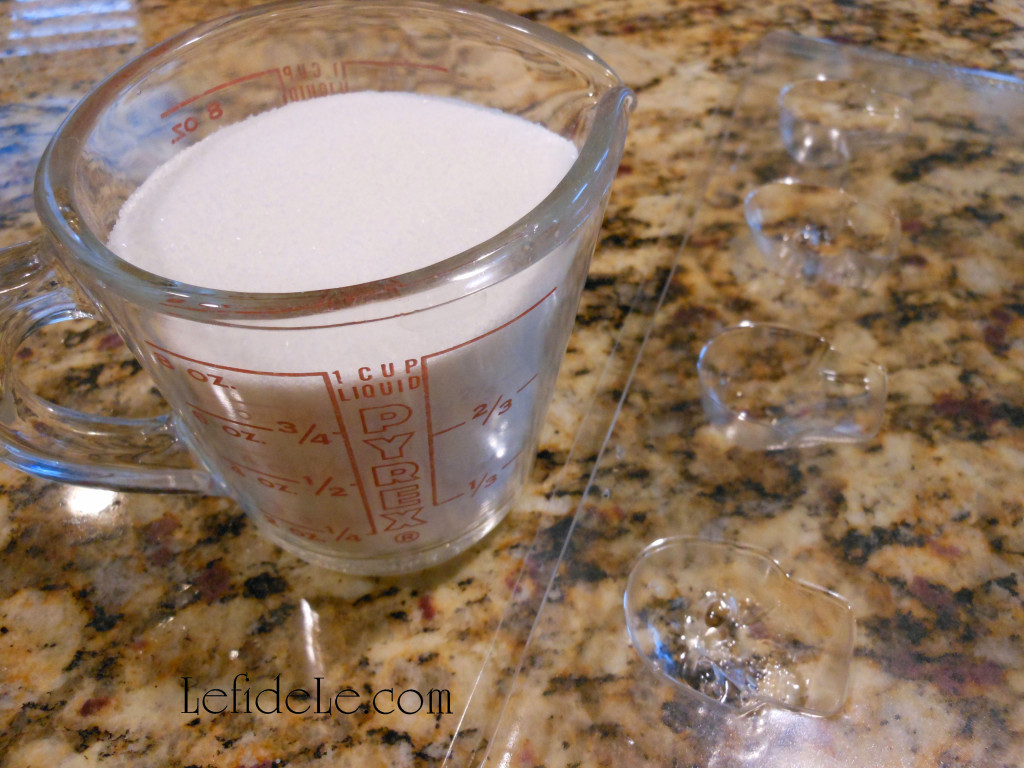
Wash and dry the plastic mold. Measure a perfect cup of glistening white sugar (azucar in Español).
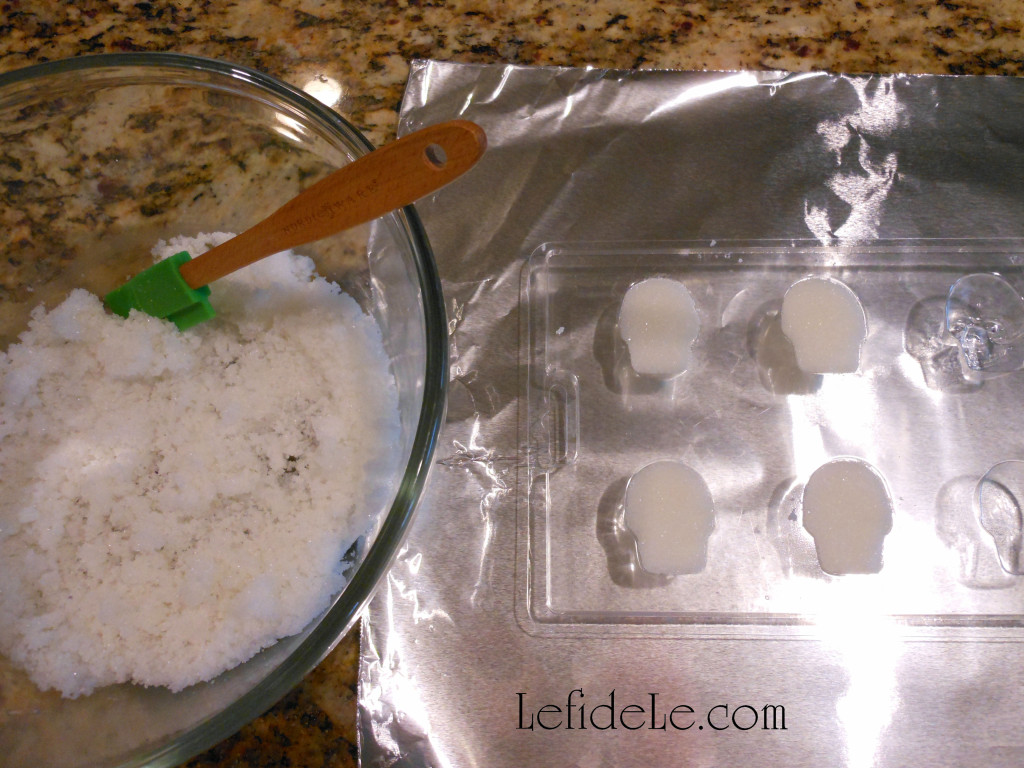
Use a small silicone spatula to mix 4 teaspoons of water (agua) into a bowl filled with the white sugar. (The key to sugar skull success is patient and thorough mixing to yield slightly damp sugar the consistency of sand.) Use the spatula to scoop globs of damp sugar into the mold, and also to pat it down compactly into each cavity. Smooth the top of each to flatten the sugar to sit evenly with the mold. (This helps later when combining the pieces to make 3D skull shapes.)
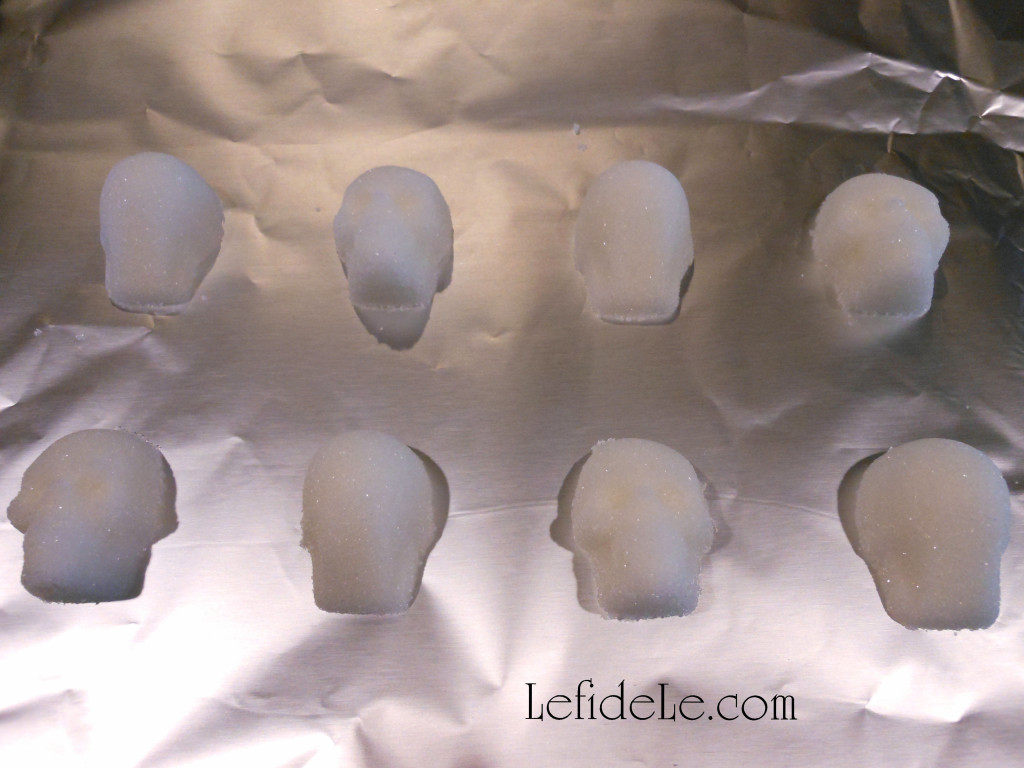
Place a cookie sheet on top of the mold. Flip them over while holding them together. The mold will now sit inverted on the cookie sheet. Carefully lift the plastic mold off to leave the sugar shapes on the sheet. (If some of them stick, gently flex two opposite corners of the mold in different directions. The remaining sugar shapes should pop out without breaking if you hover right over the sheet.) Make a second set of sugar shapes the same way. Let these dry at least 5 hours. (I left mine overnight, and decorated them the next day.) Another option is to bake these 5 to 10 minutes in a 200ᵒ oven. (Make sure to observe them closely in case your oven’s temperature is off.)
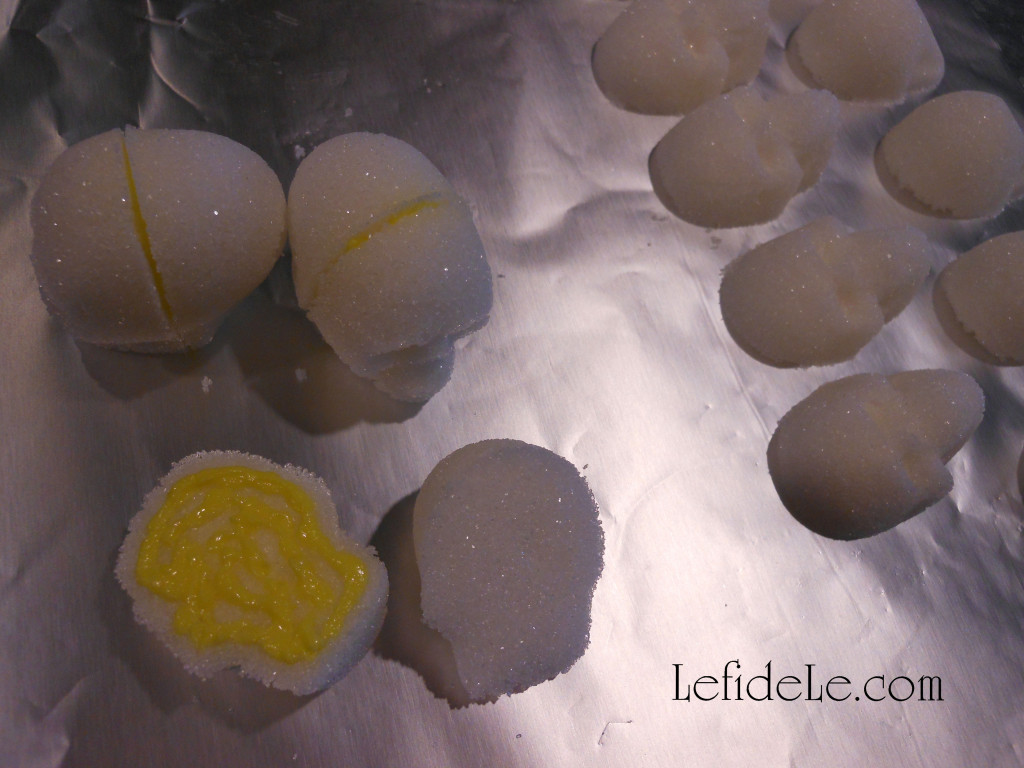
“Glue” a set of front and back skull (calavera) pieces together using Wilton ready to use icing. (This is an easy allergy-friendly egg-free alternative to a royal icing of meringue that hardens for the same traditional look, but note that they do contain corn. I found a 4 pack of primary colors in-store at Michaels that are the same size of a gel icing… but don’t use a gel because it doesn’t harden in the same way so that it may be handled when dry.) Press each shape together firmly and set aside.
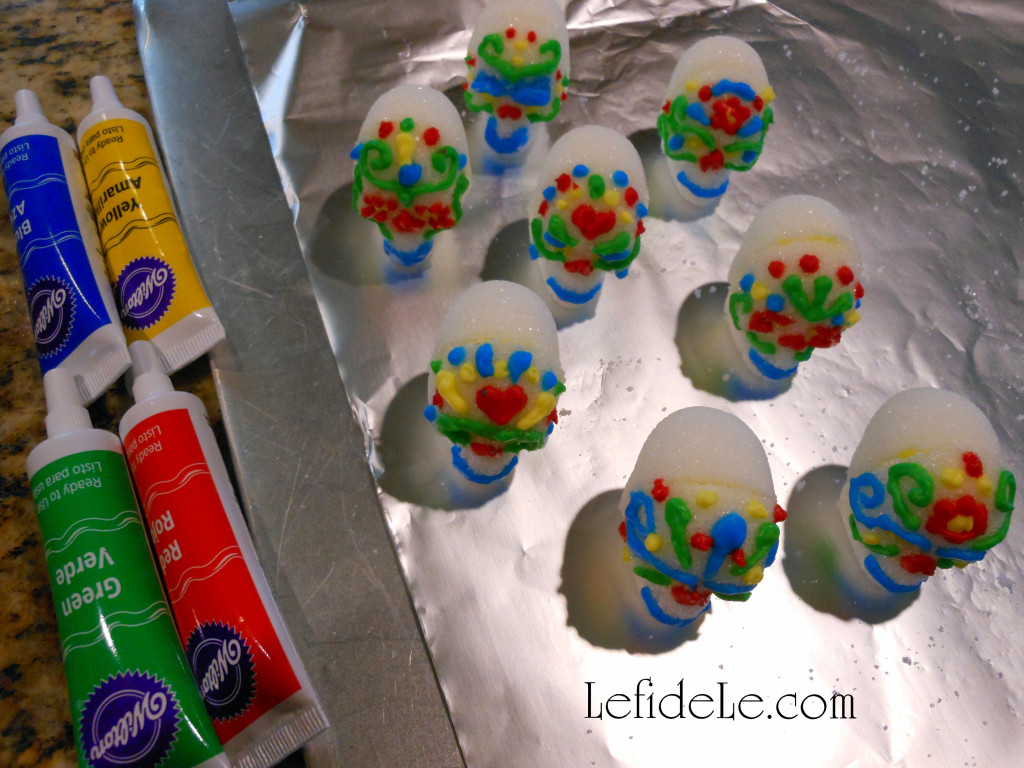
You may leave these as Halloween skull candies or decorate them as a Mexican folk art. Add traditional decorative icing (glaseado) details like smile lines, hearts, flowers, swirls, dots, and marks that look like apostrophes. (The small icing tubes have a small tip built in that’s perfect adding small details to the skulls.) Let these sit overnight to harden thoroughly.
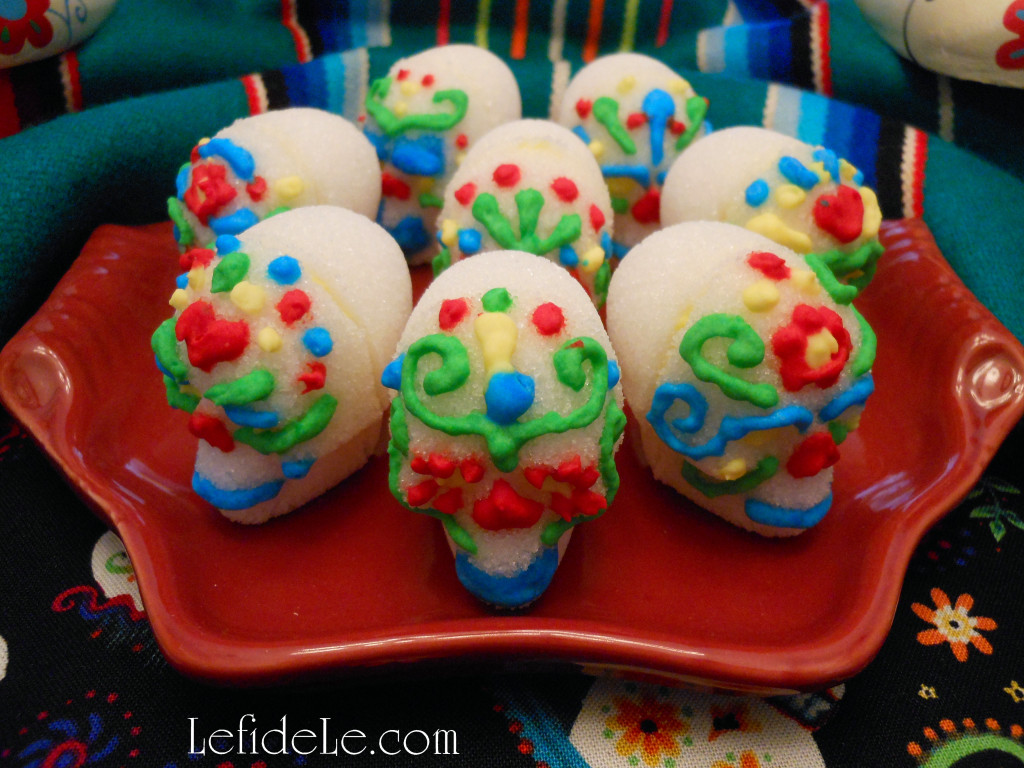
Wilton’s helpful hotline declared that the icing never really goes bad and may be used years later if capped tightly after use… good to know, but I doubt the small tubes will last long! Once dry, the sugar skulls (calaveras de azucar) may be handled without damaging them.
They may even be eaten as candy, which is wonderful considering most sugar skulls are inedible. (And so are the most popular recipes for them.) Since sugar is only 15 calories per teaspoon… I’m guessing that these are only about 35 calories each!
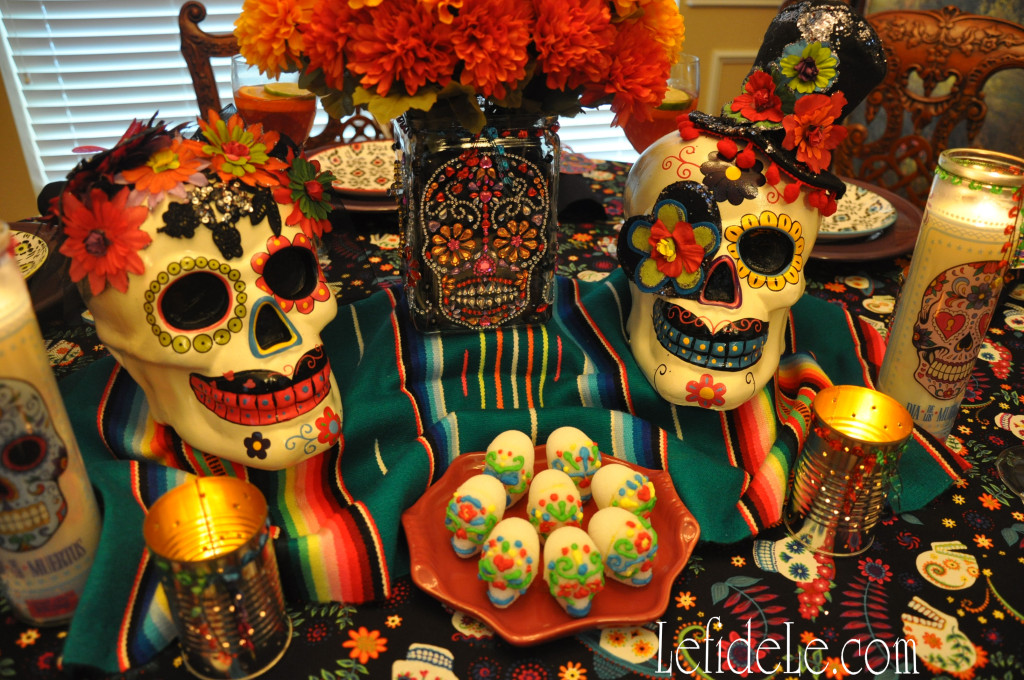
Set these sugar skulls out in a traditional Day of the Dead (Dia de los Muertos) offrenda, Halloween candy buffet, in the center of a October dinner table as edible decoration in lieu of after dinner mints!
Be sure to check out my article on Dia de los Muertos (Day of the Dead) Themed Halloween Dinner Party Décor and the 2 on DIY sugar skull crafts… costume mask, banner, vase, napkin rings, and wine glass charms!
Ahora, comer con gusto!
Faithfully Yours,
Leigh
