Tag Archives: lefidele

Healthy Tex-Mex Cilantro Chicken Spinach Quesadilla Recipe (Dairy, Red Pepper, Corn, & Gluten-Free) Easy Appetizer for Cinco de Mayo Fiesta

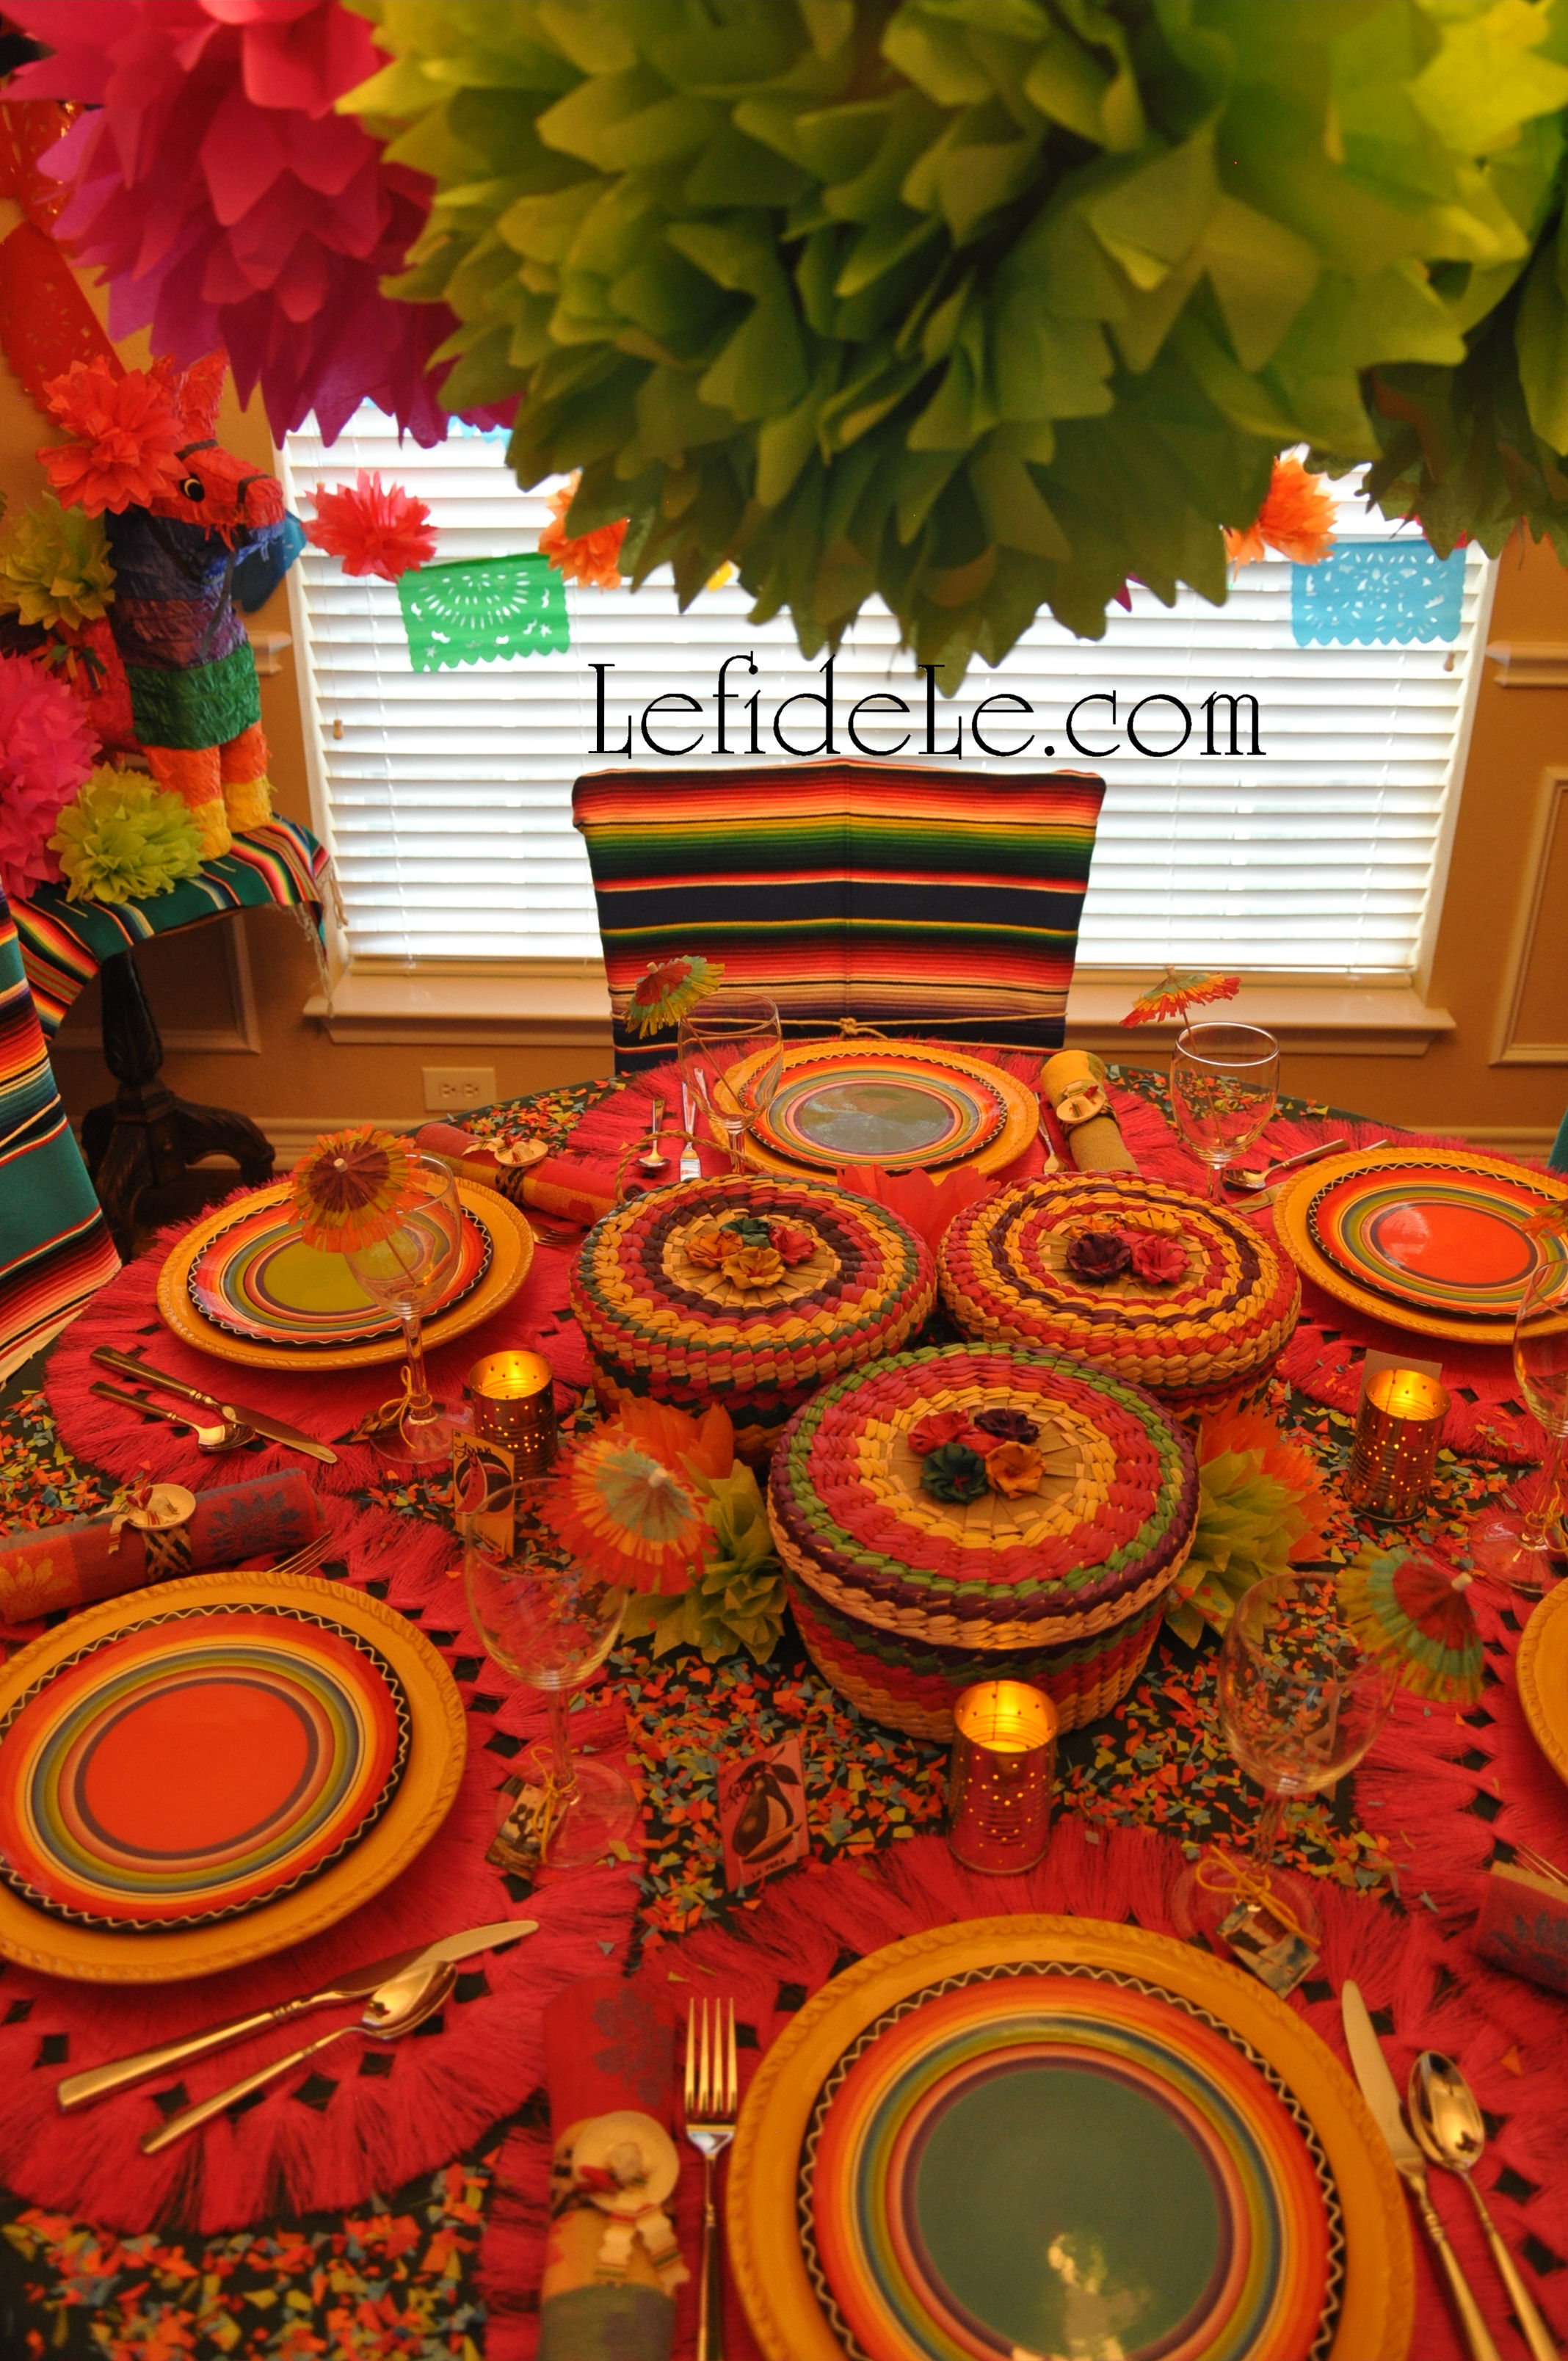
This cilantro chicken quesadilla is the latest in my healthy undercover veggie series because it gets spinach haters to eat like Pop-eye. And you don’t have to strong-hold the recipe to make it gluten-free and dairy-free… just switch out a few simple ingredients so that everyone may enjoy it. This makes it the perfecto appetizer for a fabuloso Cinco de Mayo Fiesta. It’s one of my favorite delicioso lunches because it’s so quick and easy to make. So let this recipe send you to Tex-Mex heaven too… guilt free!

232Leigh


Ingredients (for each quesadilla)

  • 2 brown rice tortillas (or any variety of wrap you like)
  • a few ounces gourmet vegan soy-free cheddar shreds (this kind doesn’t have canola, soy, or milk casein protein… but try any variety of cheese you like)
  • ½ sliced baked chicken breast (see my sautéed greens with chicken recipe for instructions, or use any ground meat)
  • 1 ounce thawed frozen spinach (or use less fresh spinach)
  • ⅛ of a diced onion (or use green onion, leeks, dried onion…)
  • a few sprigs of fresh cilantro (or dried, to sprinkle with the onion or top as garnish)
  • optional spices: sea salt, ground peppercorns, garlic powder (to sprinkle inside the quesadilla)
  • ½ diced tomato (or salsa to top the finished quesadilla with)
  • optional: vegan unsweetened yogurt or sour cream topping
  • optional: guacamole topping (try my spicy recipe that’s free of red pepper here)

Instructions:

195Leigh

First gather all the ingredients then wash and chop the veggies. (I’ve used frozen spinach here because it’s easy to keep on hand for impromptu meals, being frozen means it’s retained all of its nutrients, more quantity may be added than if using fresh, and it doesn’t need to be washed and dried before cooking. Microwave it if you like, but definitely chop it into smaller bits.)

198Leigh

Lightly spray a skillet with oil and place it over medium heat. (Here I’ve used a ceramic variety, but the non-stick types work well.) Line it with your first layer of tortilla, and then sprinkle half of the cheese evenly over it.

200Leigh

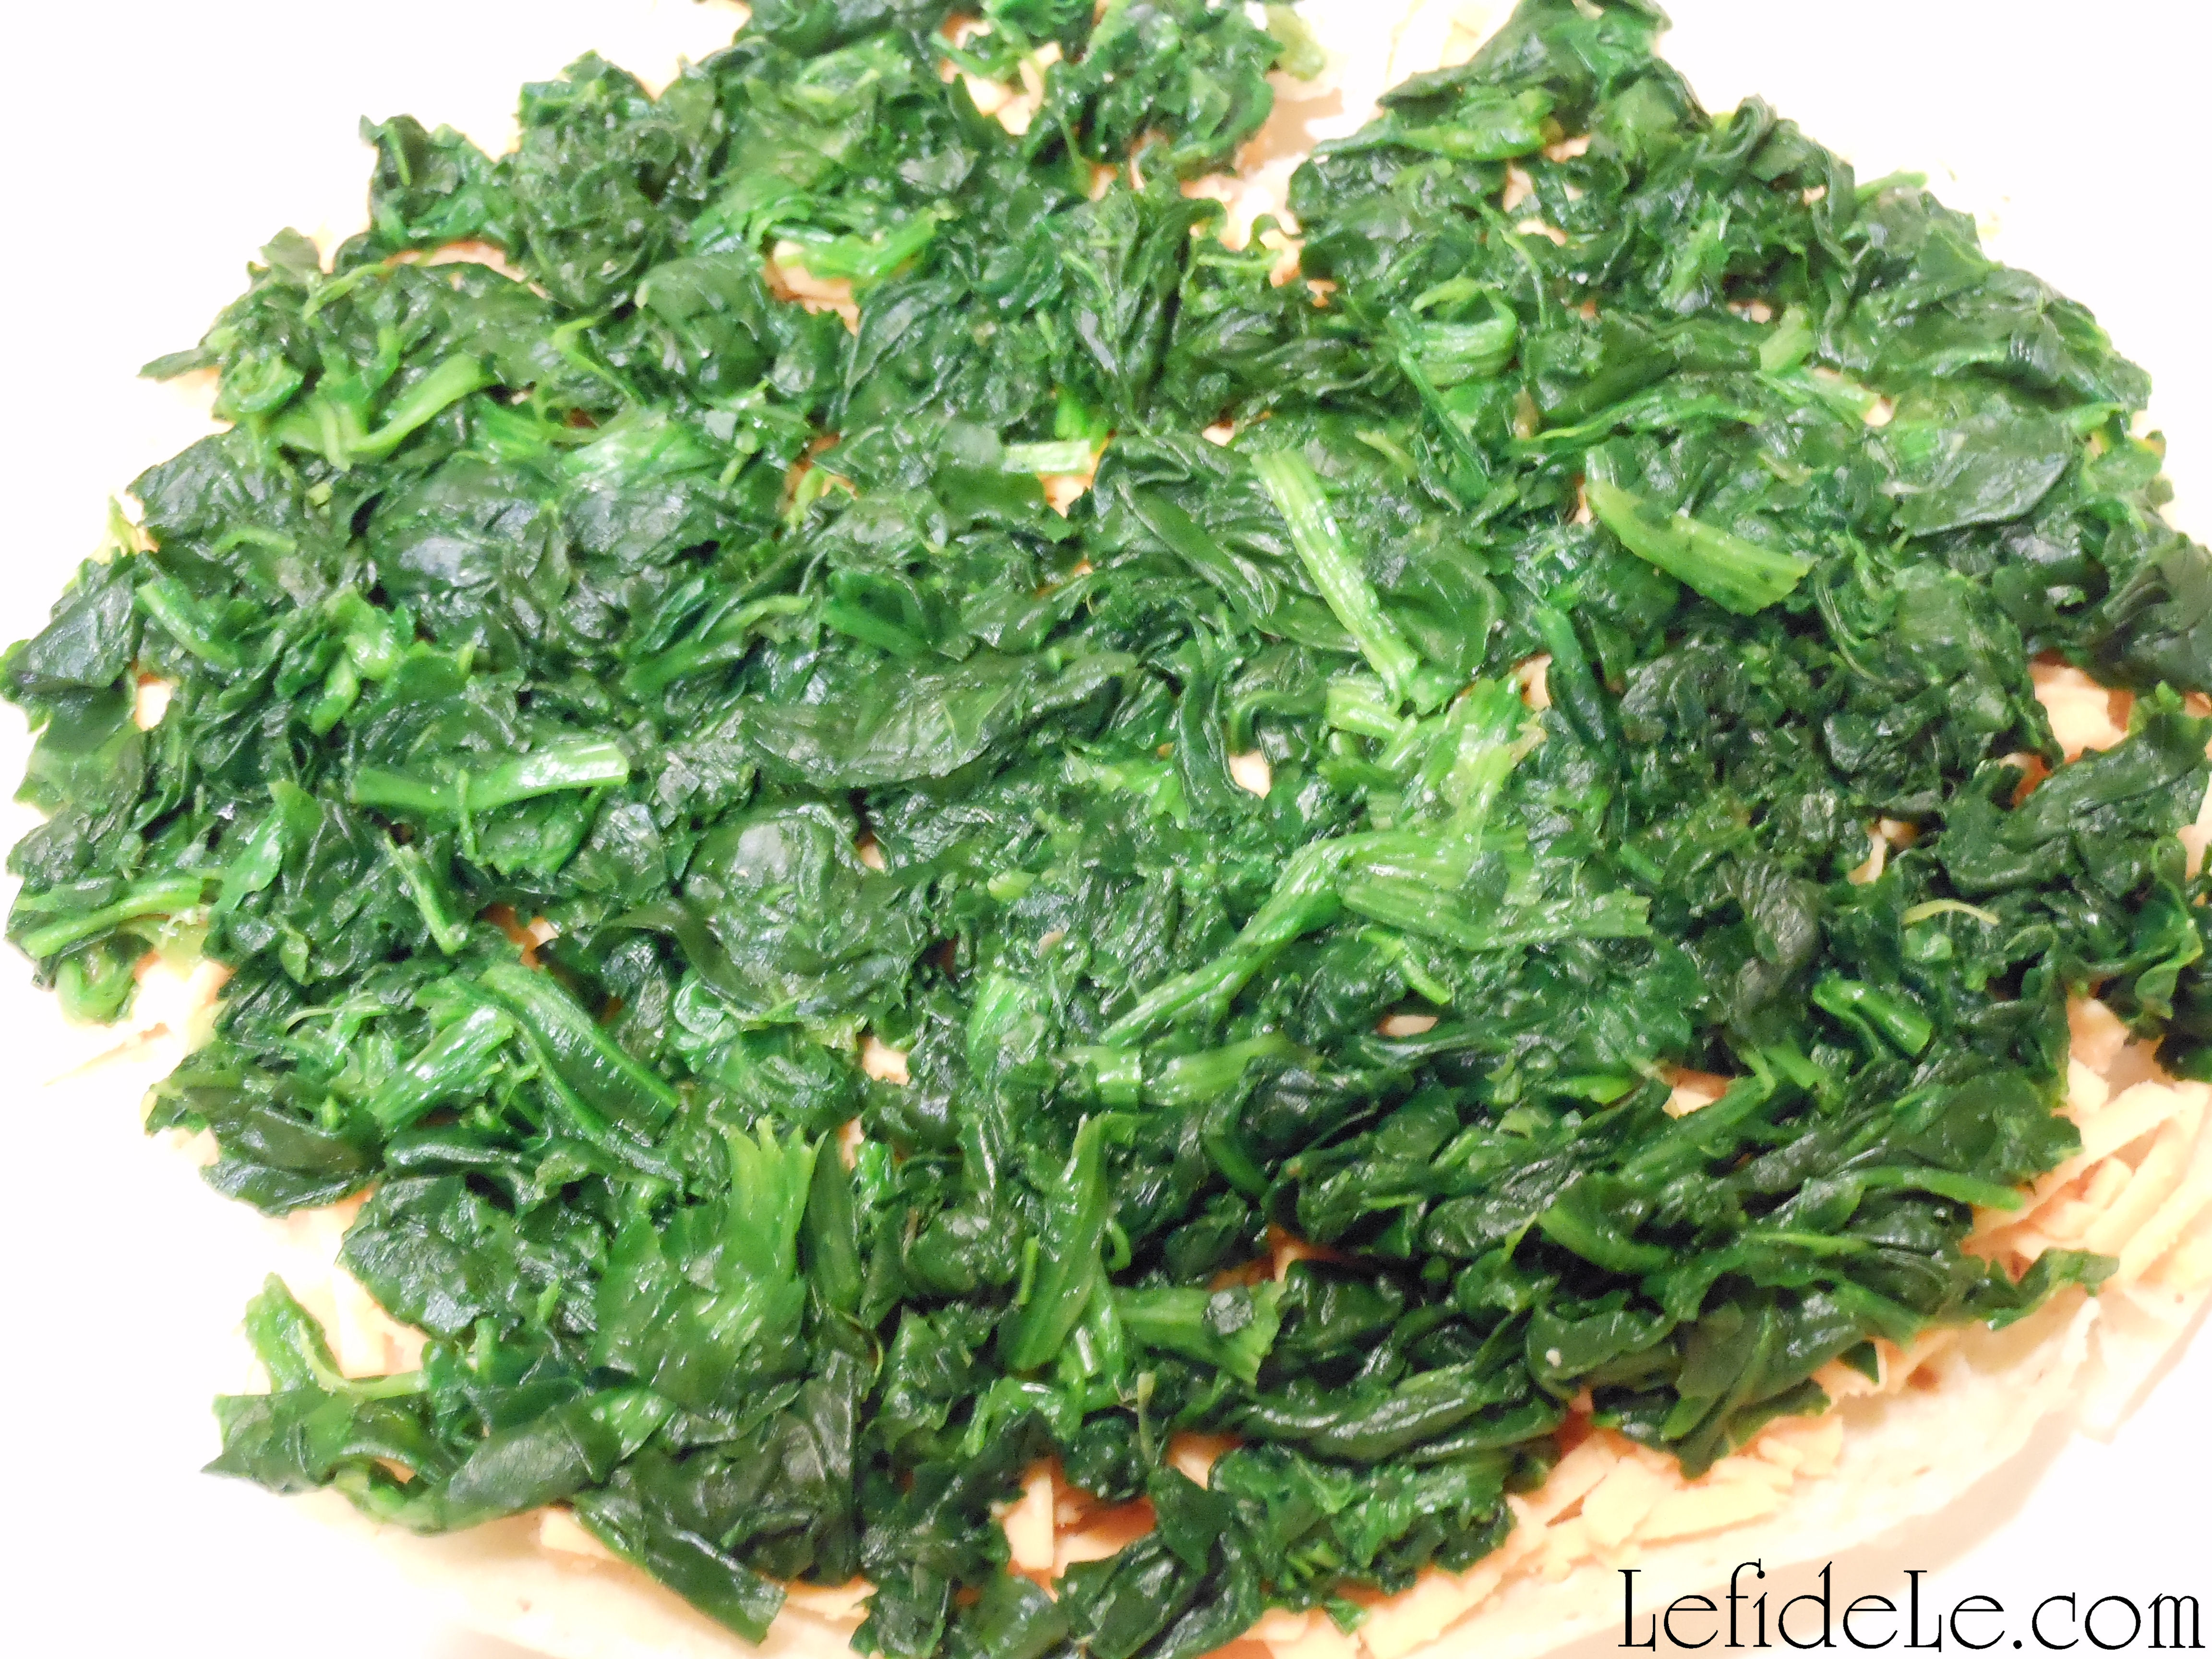
Layer the chopped spinach over the cheese. Then dust it with spices according to your preferences.

202Leigh

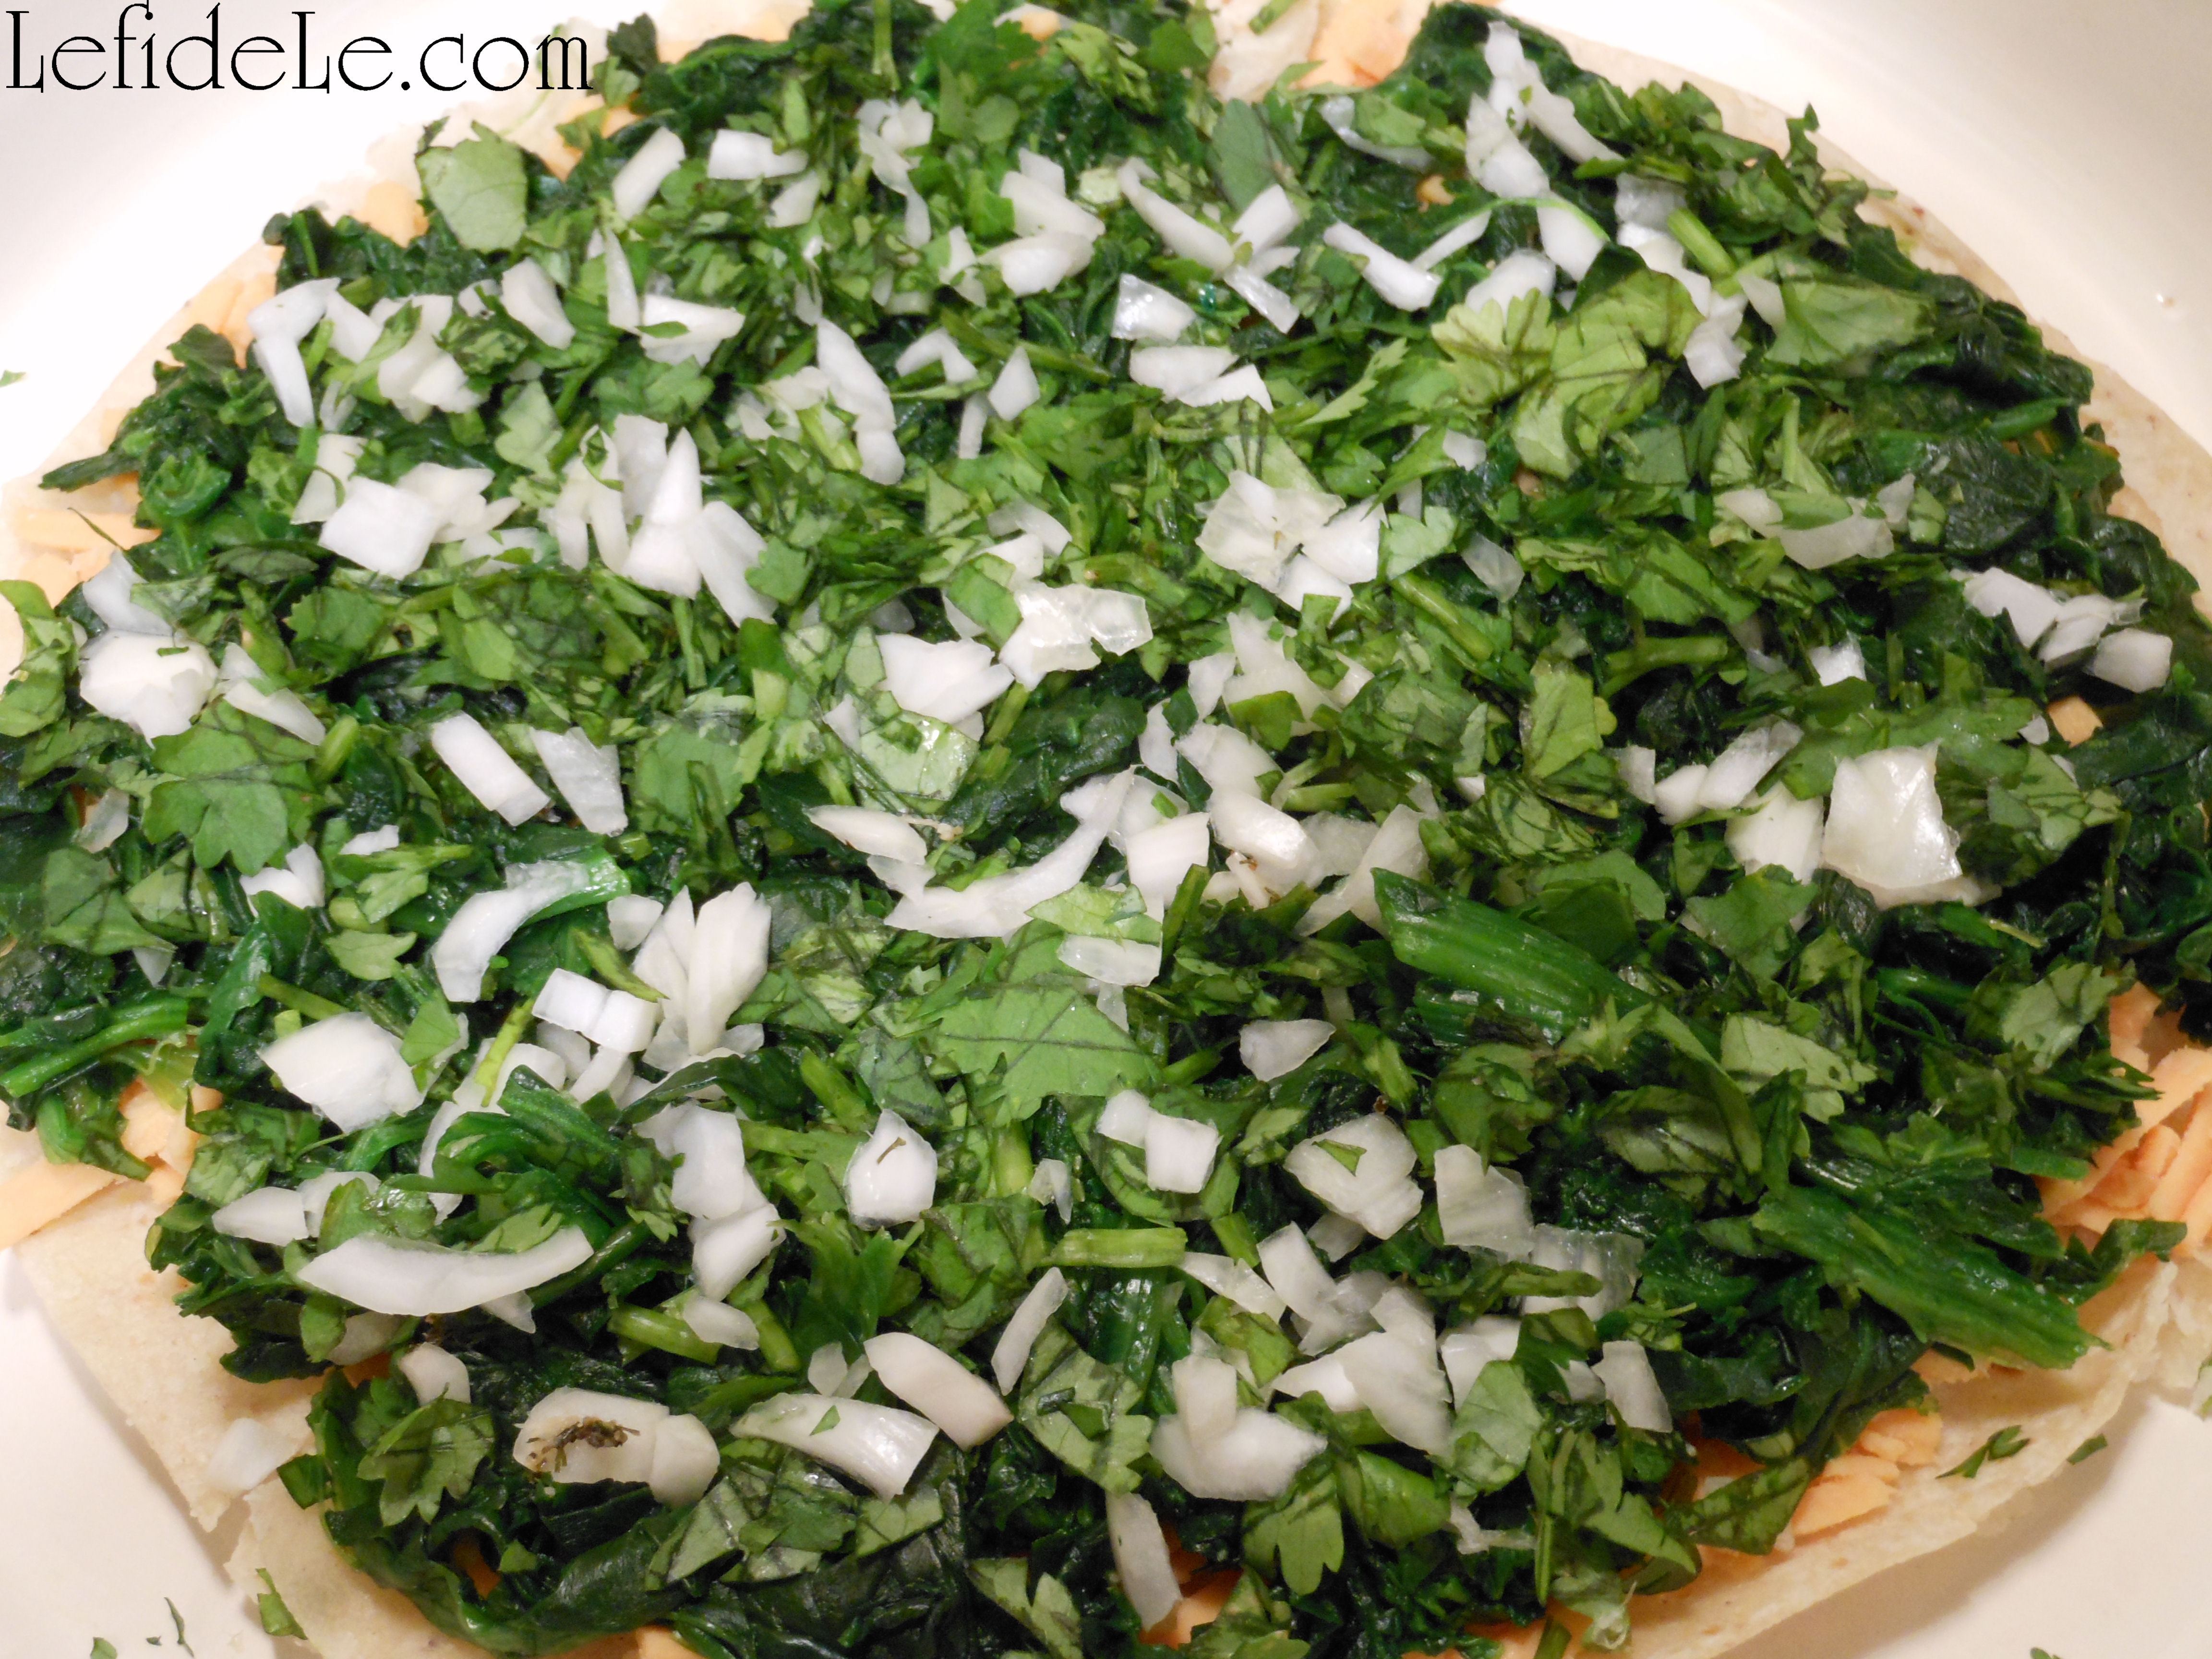
Scatter the diced onion across the spinach layer. Add cilantro if not using it as garnish… or do both!

203Leigh

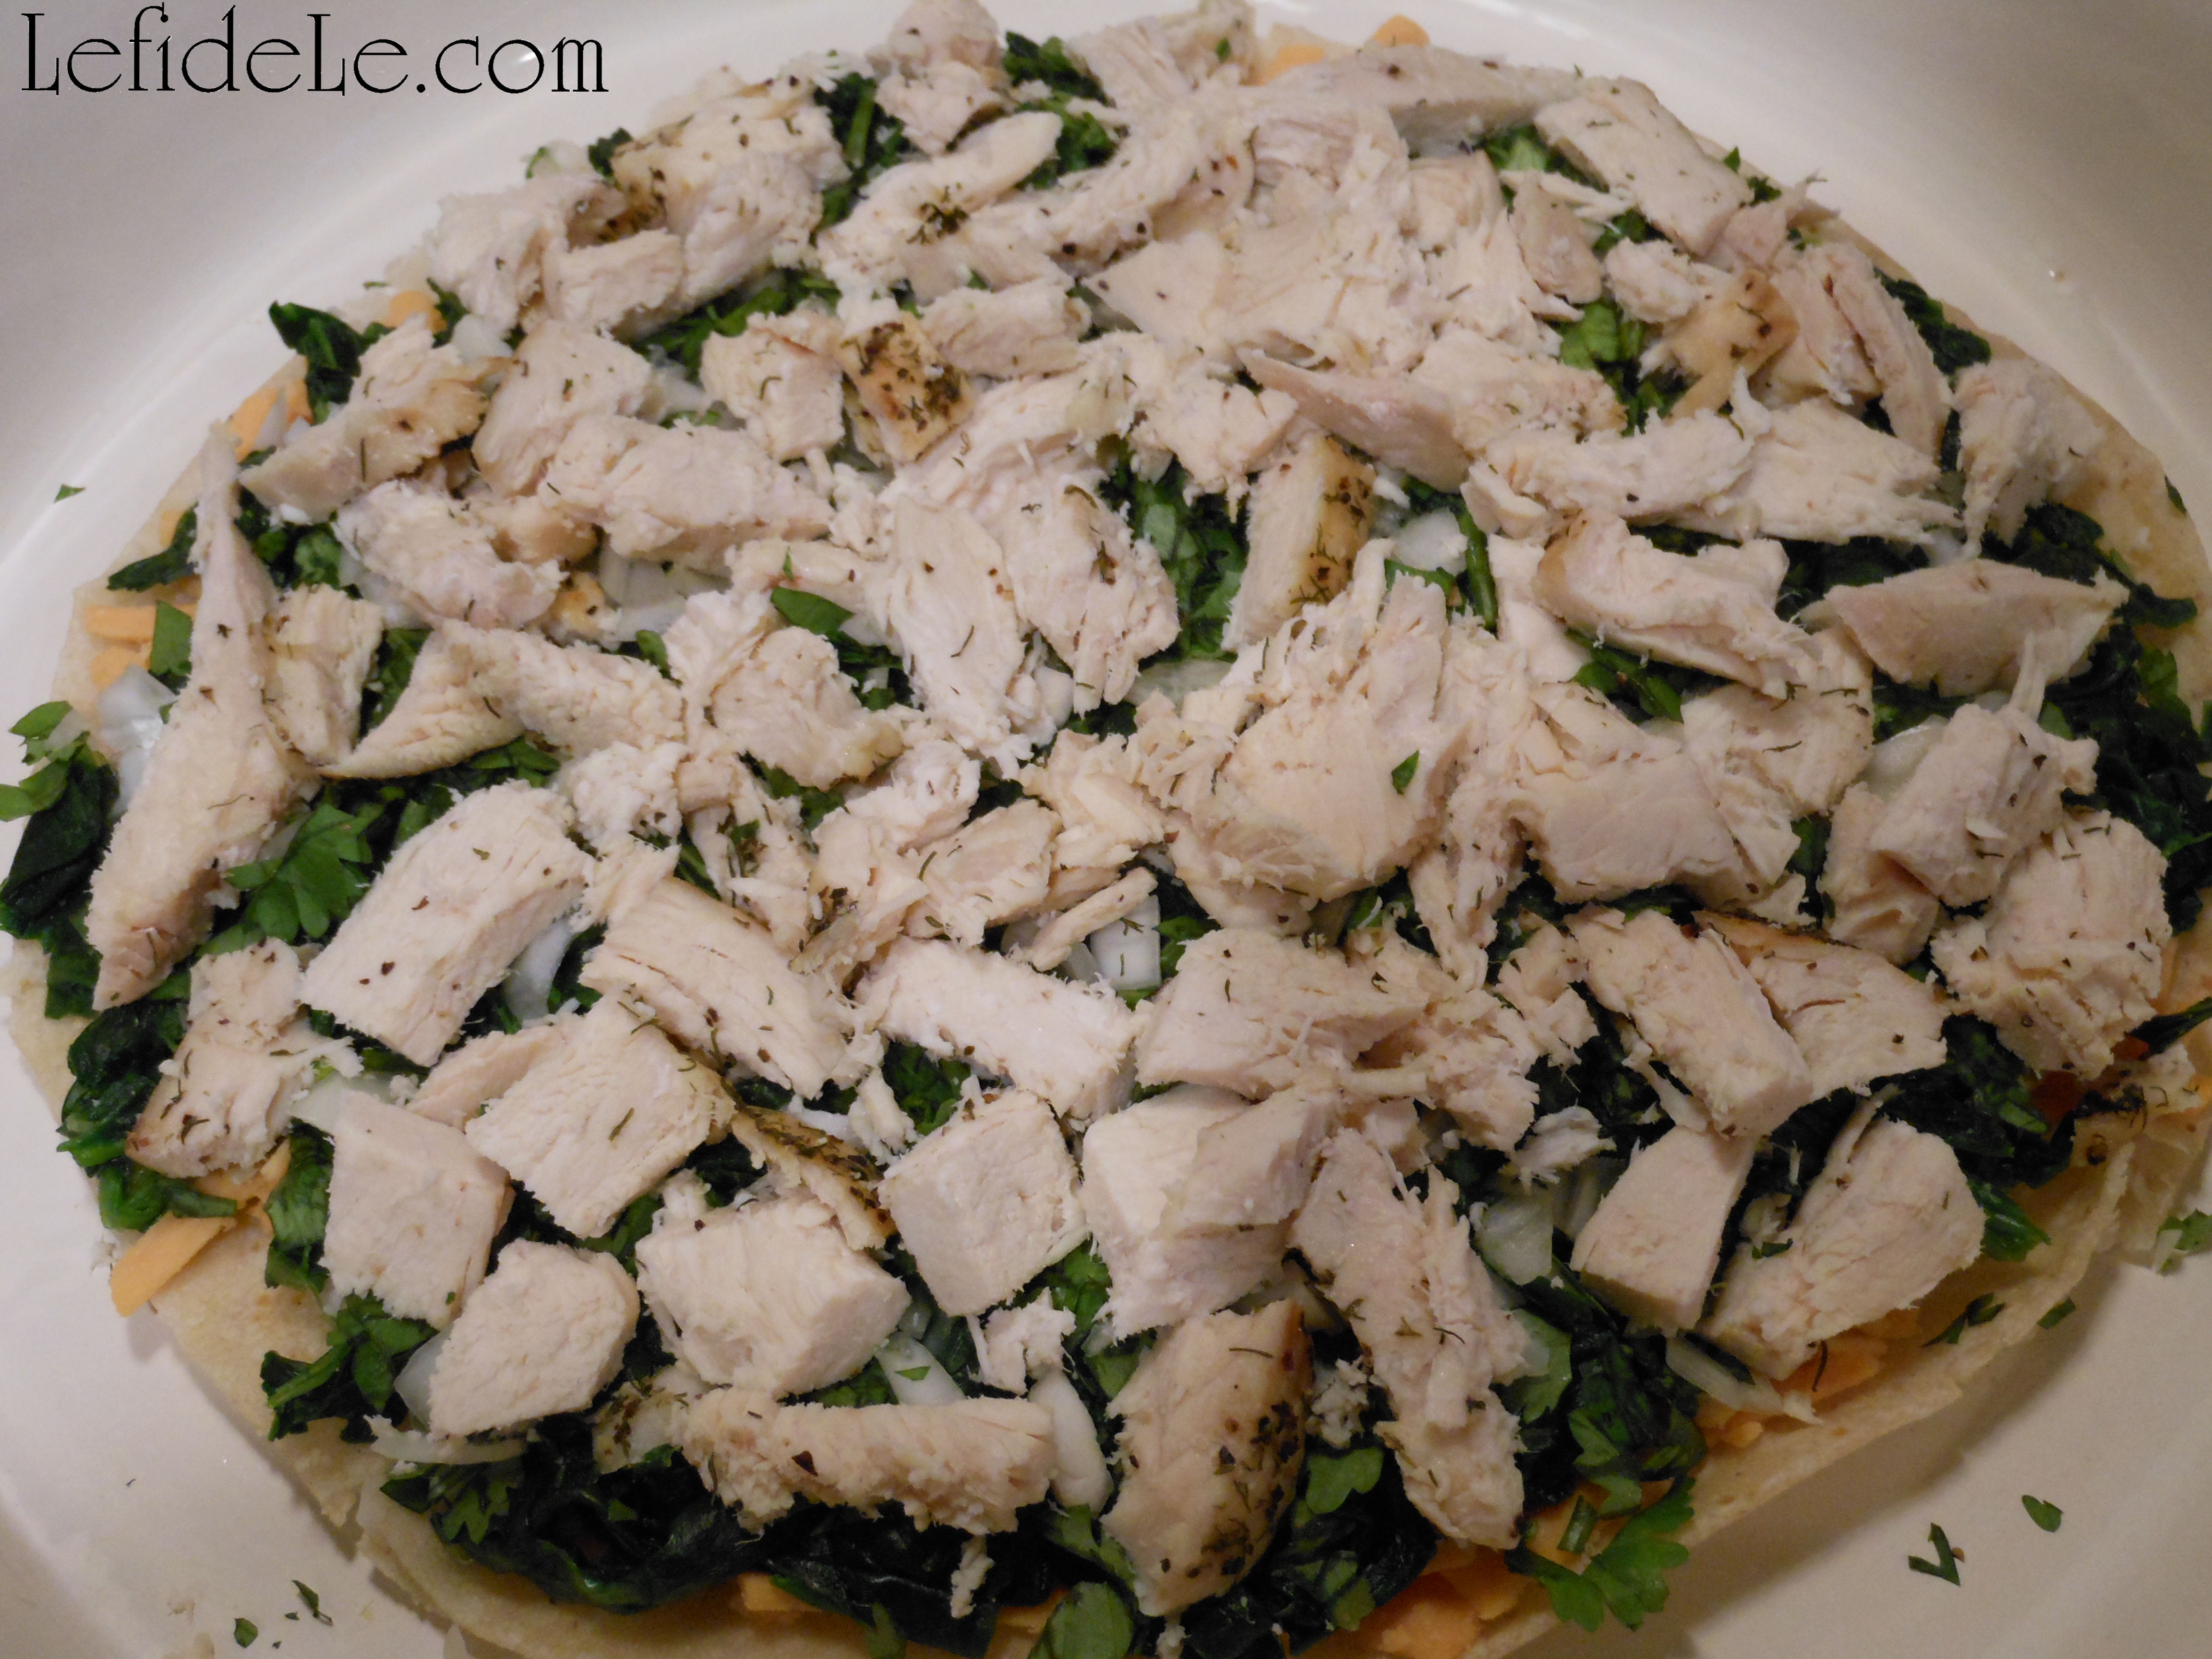
Then distribute the chicken over the onion. (Think about cooking extra chicken to slice and freeze for easy last minute lunches like this one.)

205Leigh

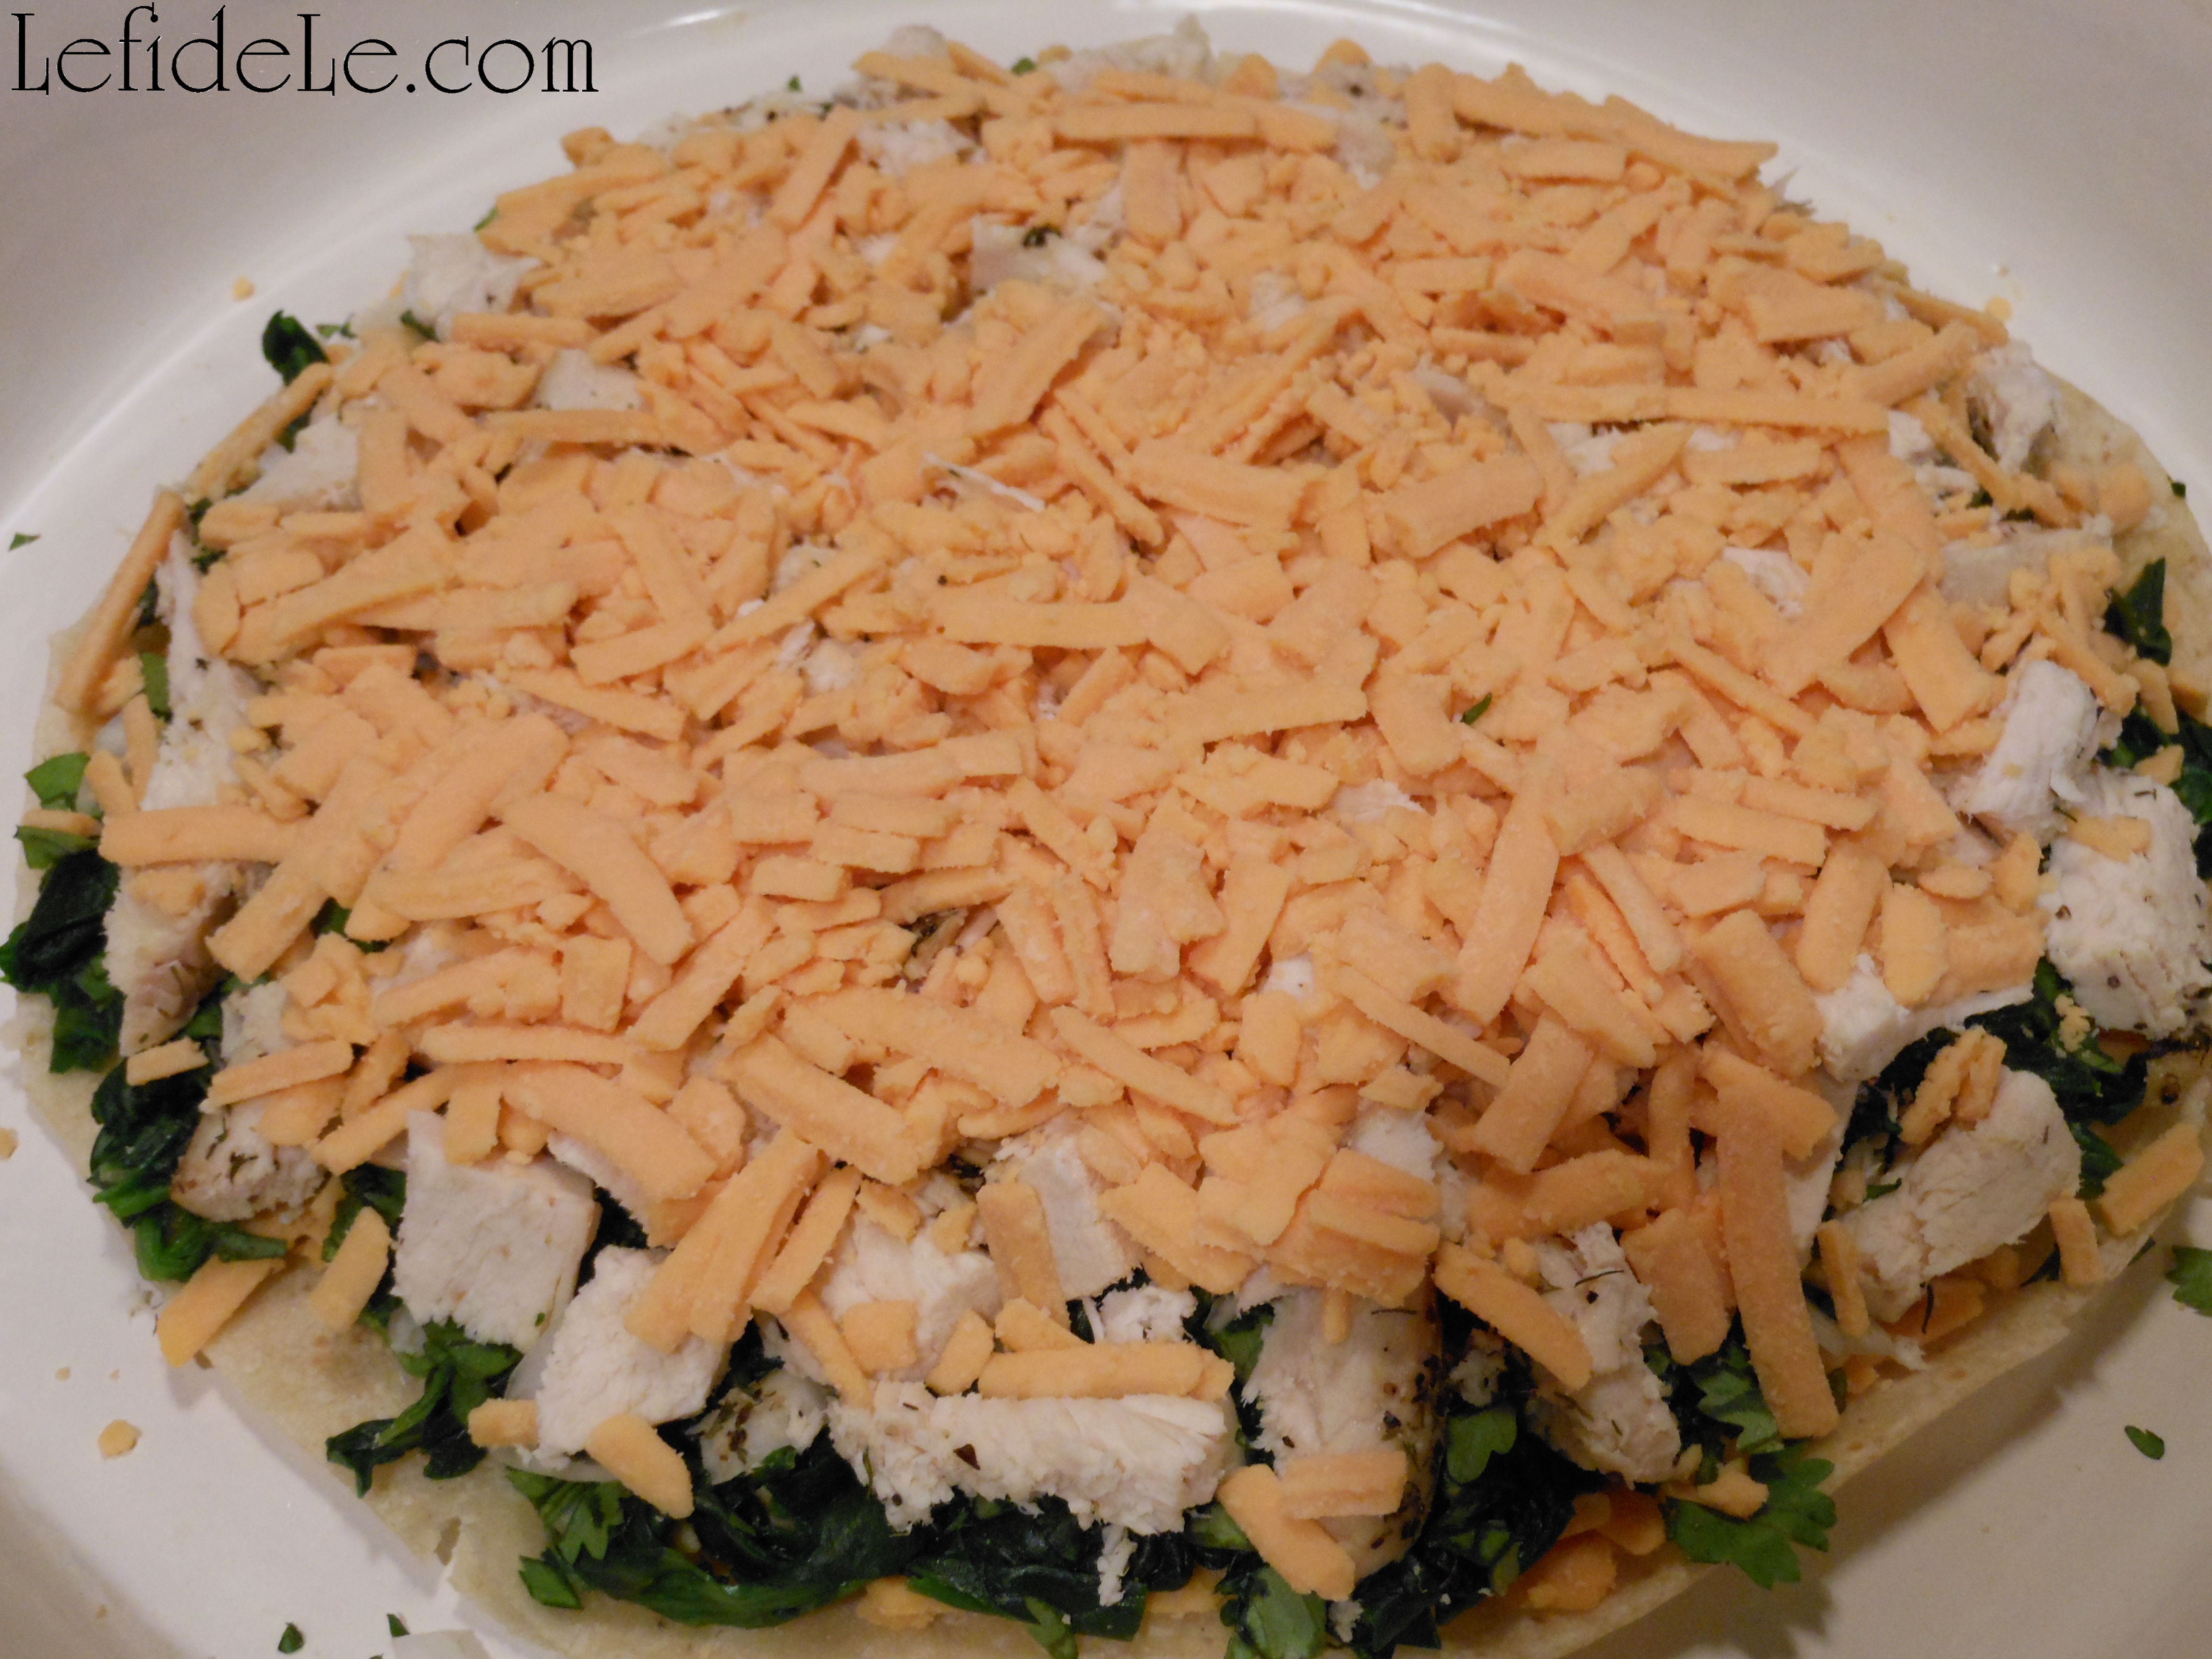
Add the remainder of the cheese. (An even layer acts like a glue for the tortilla.)

208Leigh

Top with the last tortilla and press it down with a large spatula as it cooks through. (Using a cast iron press is another option.) When the quesadilla has heated thoroughly enough to stick together, flip it over quickly with a large spatula. This side won’t take as long to cook… it will be done when it has browned nicely.

240Leigh

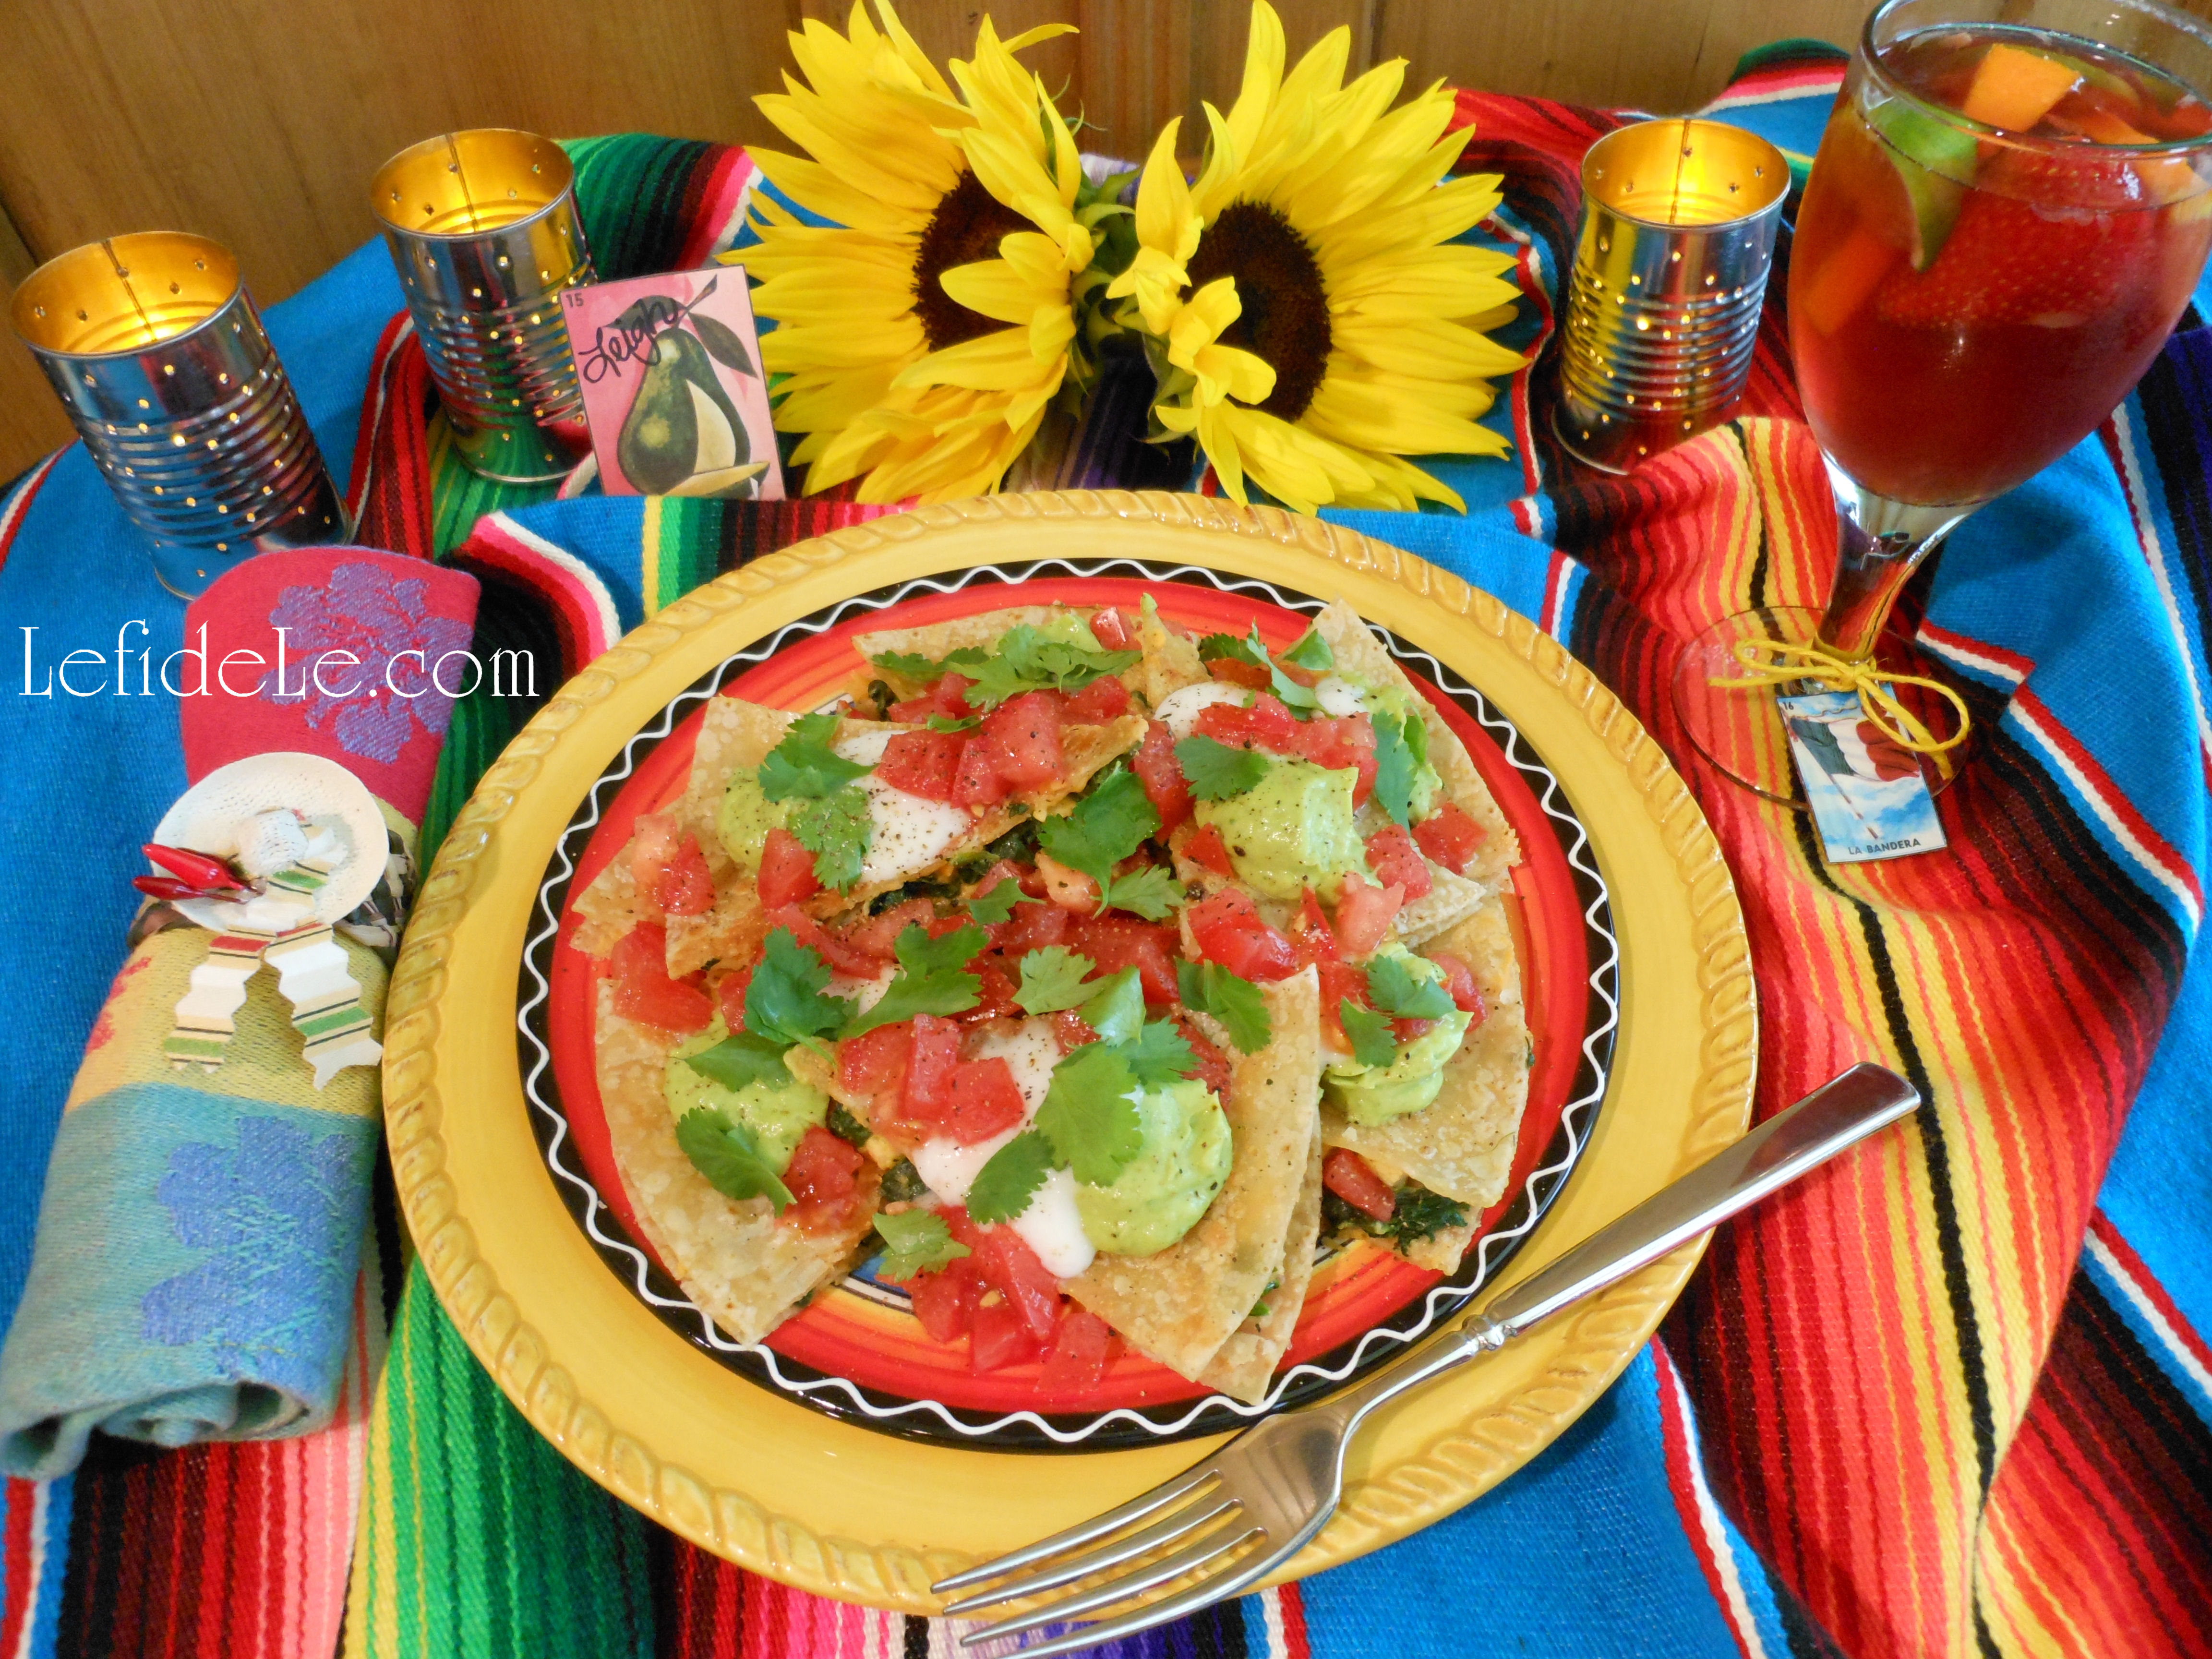
Transfer the finished quesadilla to a cutting plate and slice into equal triangles like a pizza. Serve it in the round or stacked in a pretty arrangement like this.

232Leigh

Offer bowls of toppings like guacamole, yogurt, sour cream, salsa, diced tomatoes, and fresh cilantro… or add dollops and sprinkles to each slice.

238Leigh

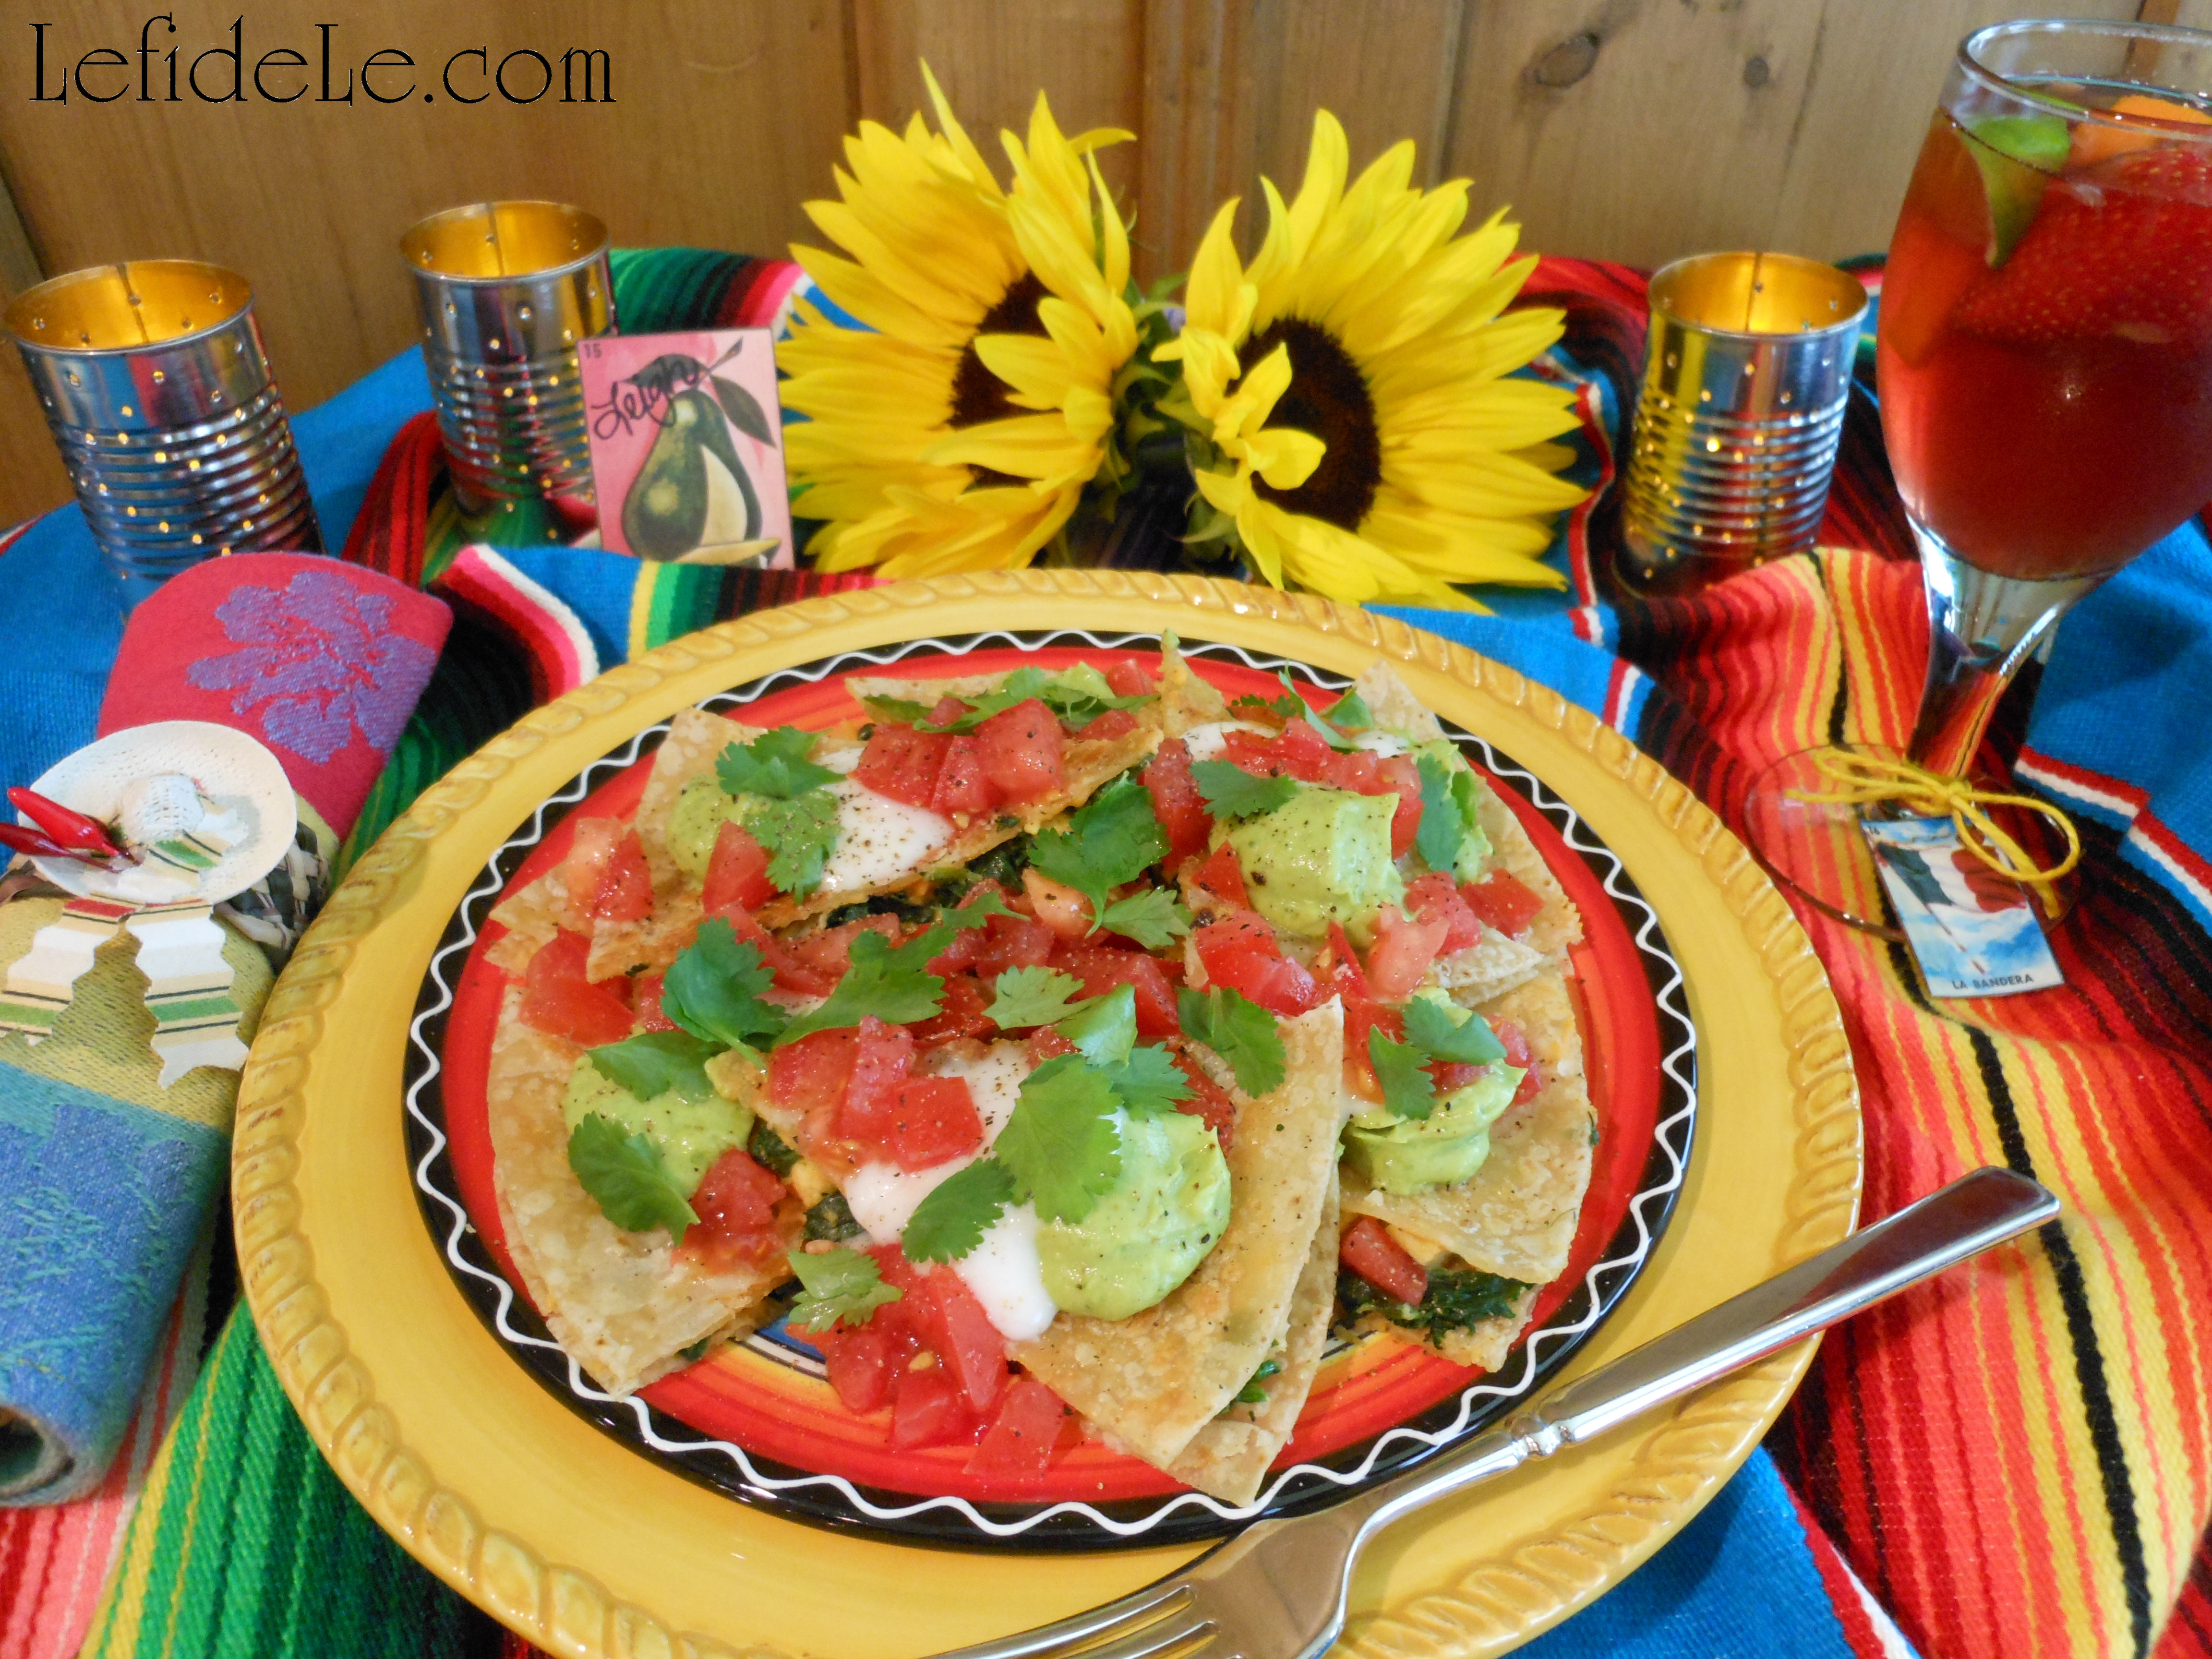
I like to smother flavor toppings onto each triangle then grind fresh peppercorns over the top… and the cilantro is not only a pretty garnish but adds a distinct burst of flavor.

219fLeigh

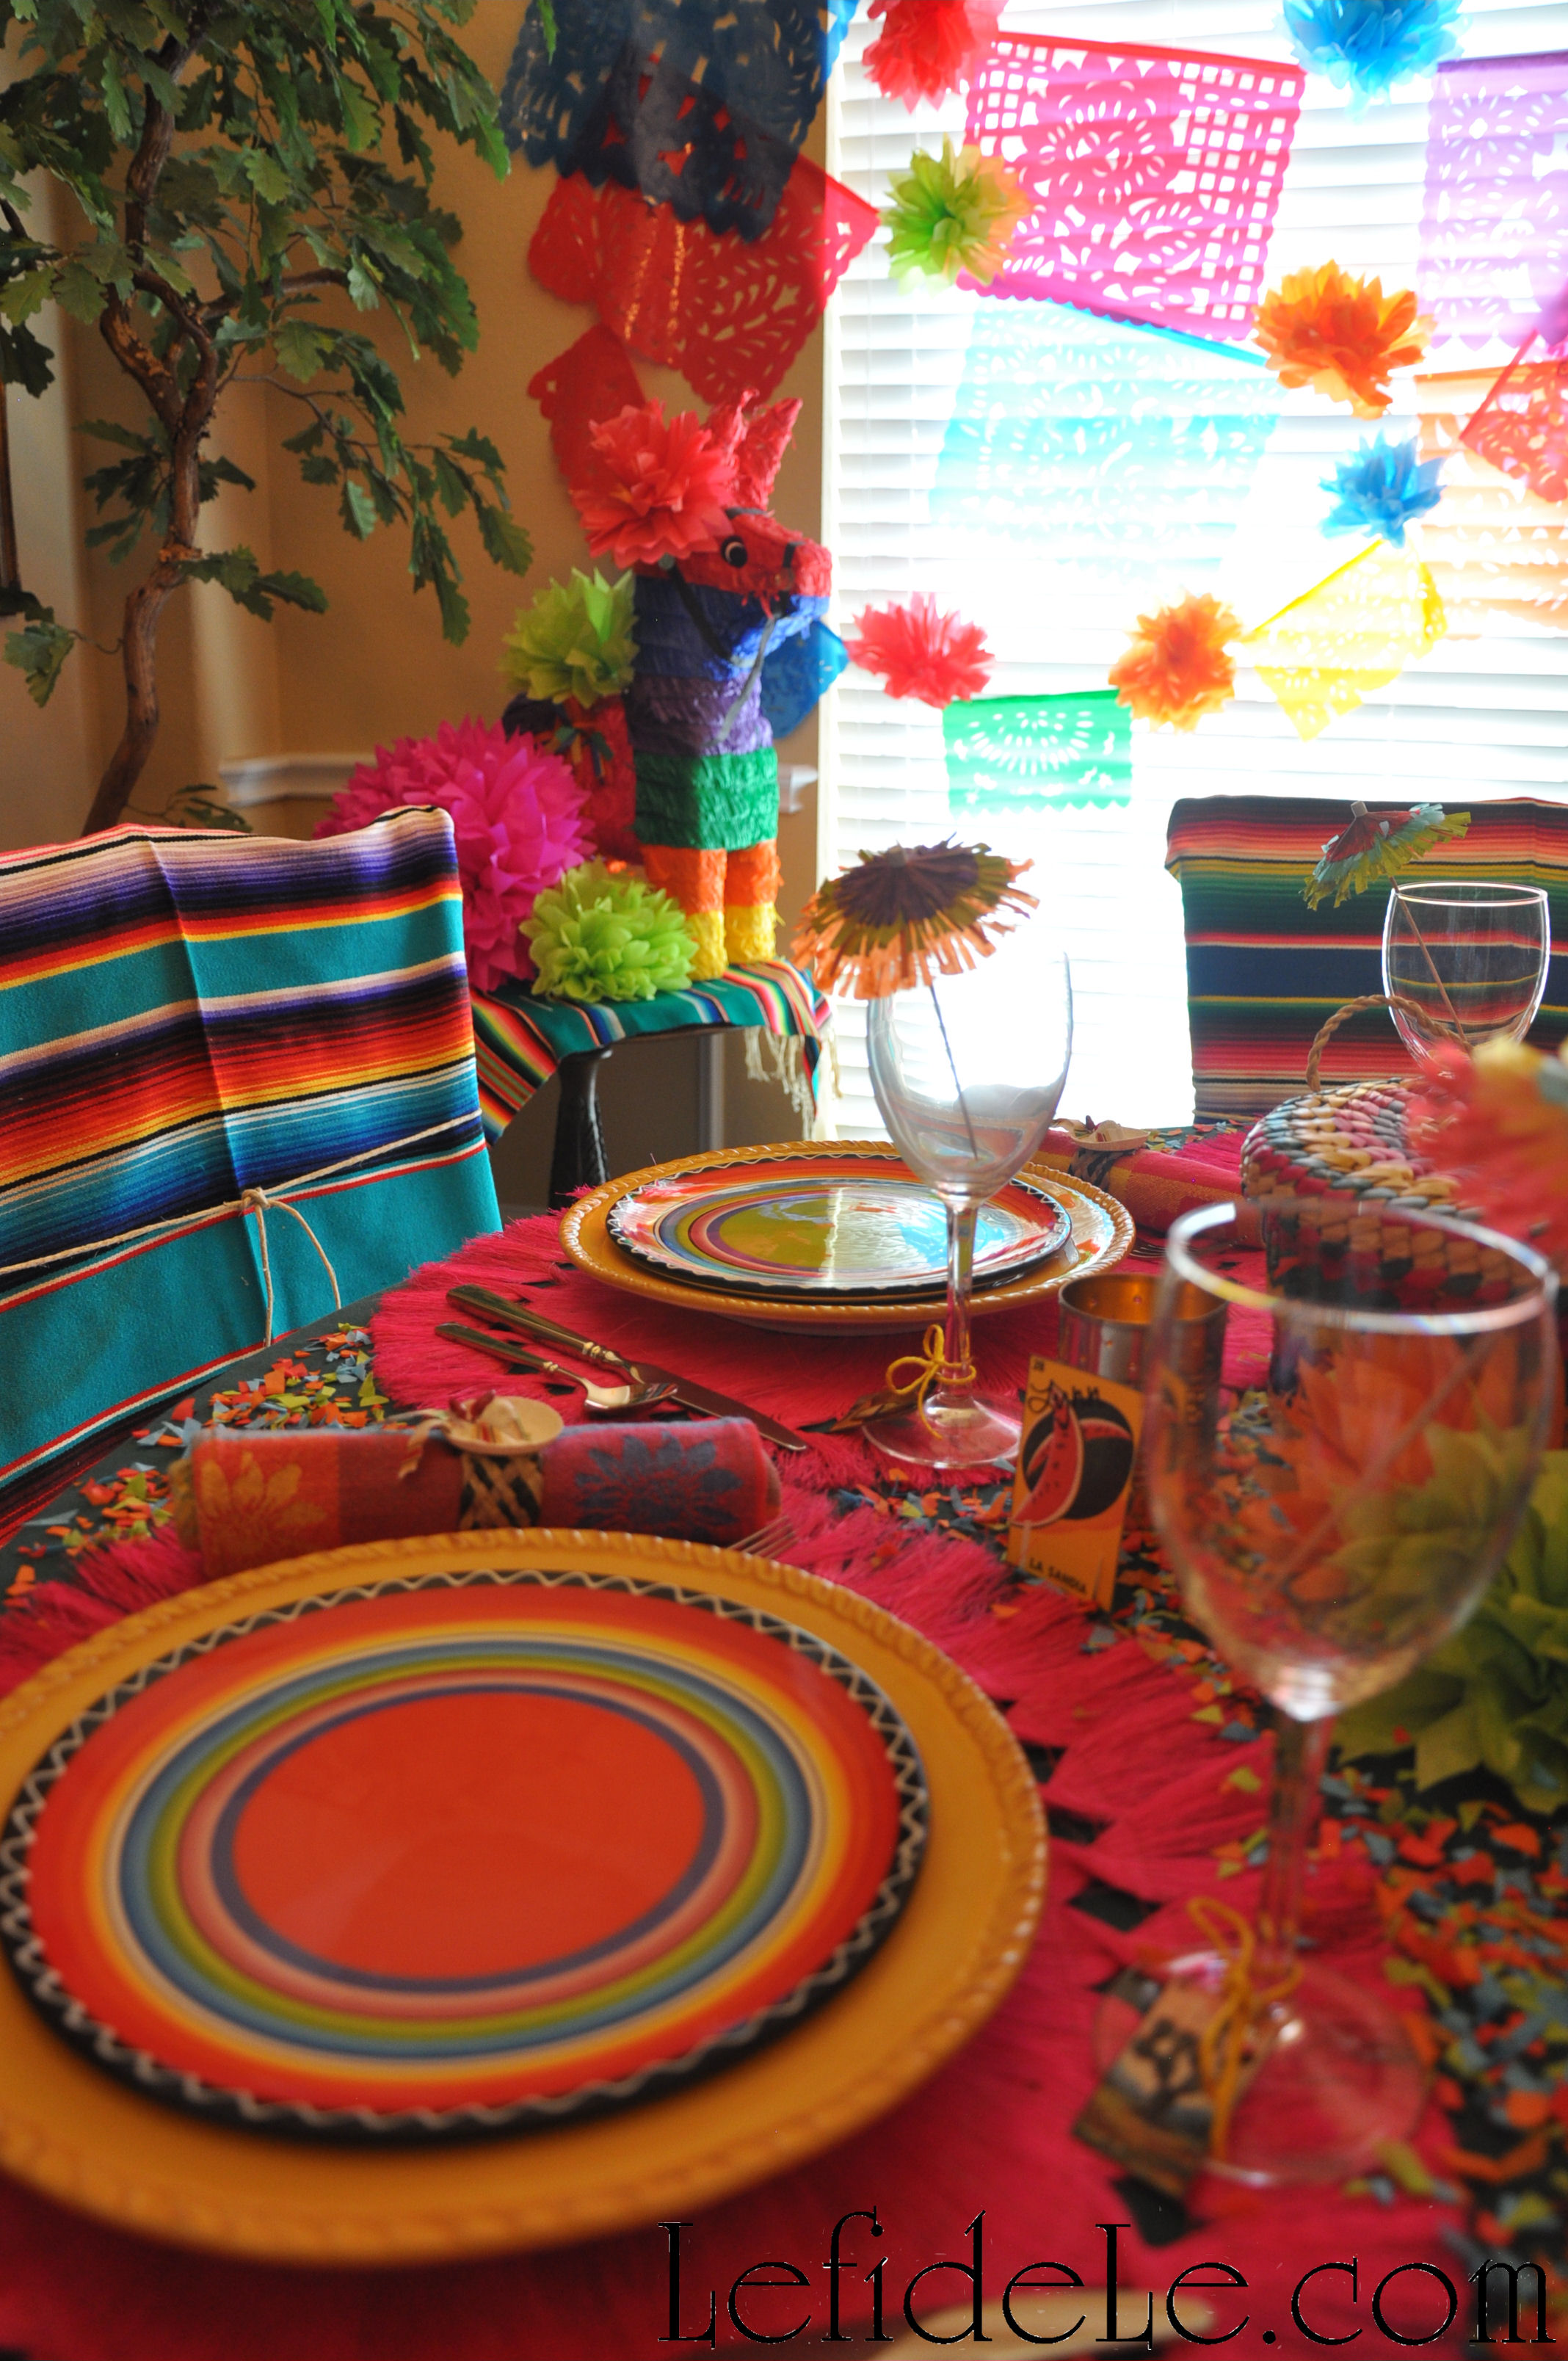
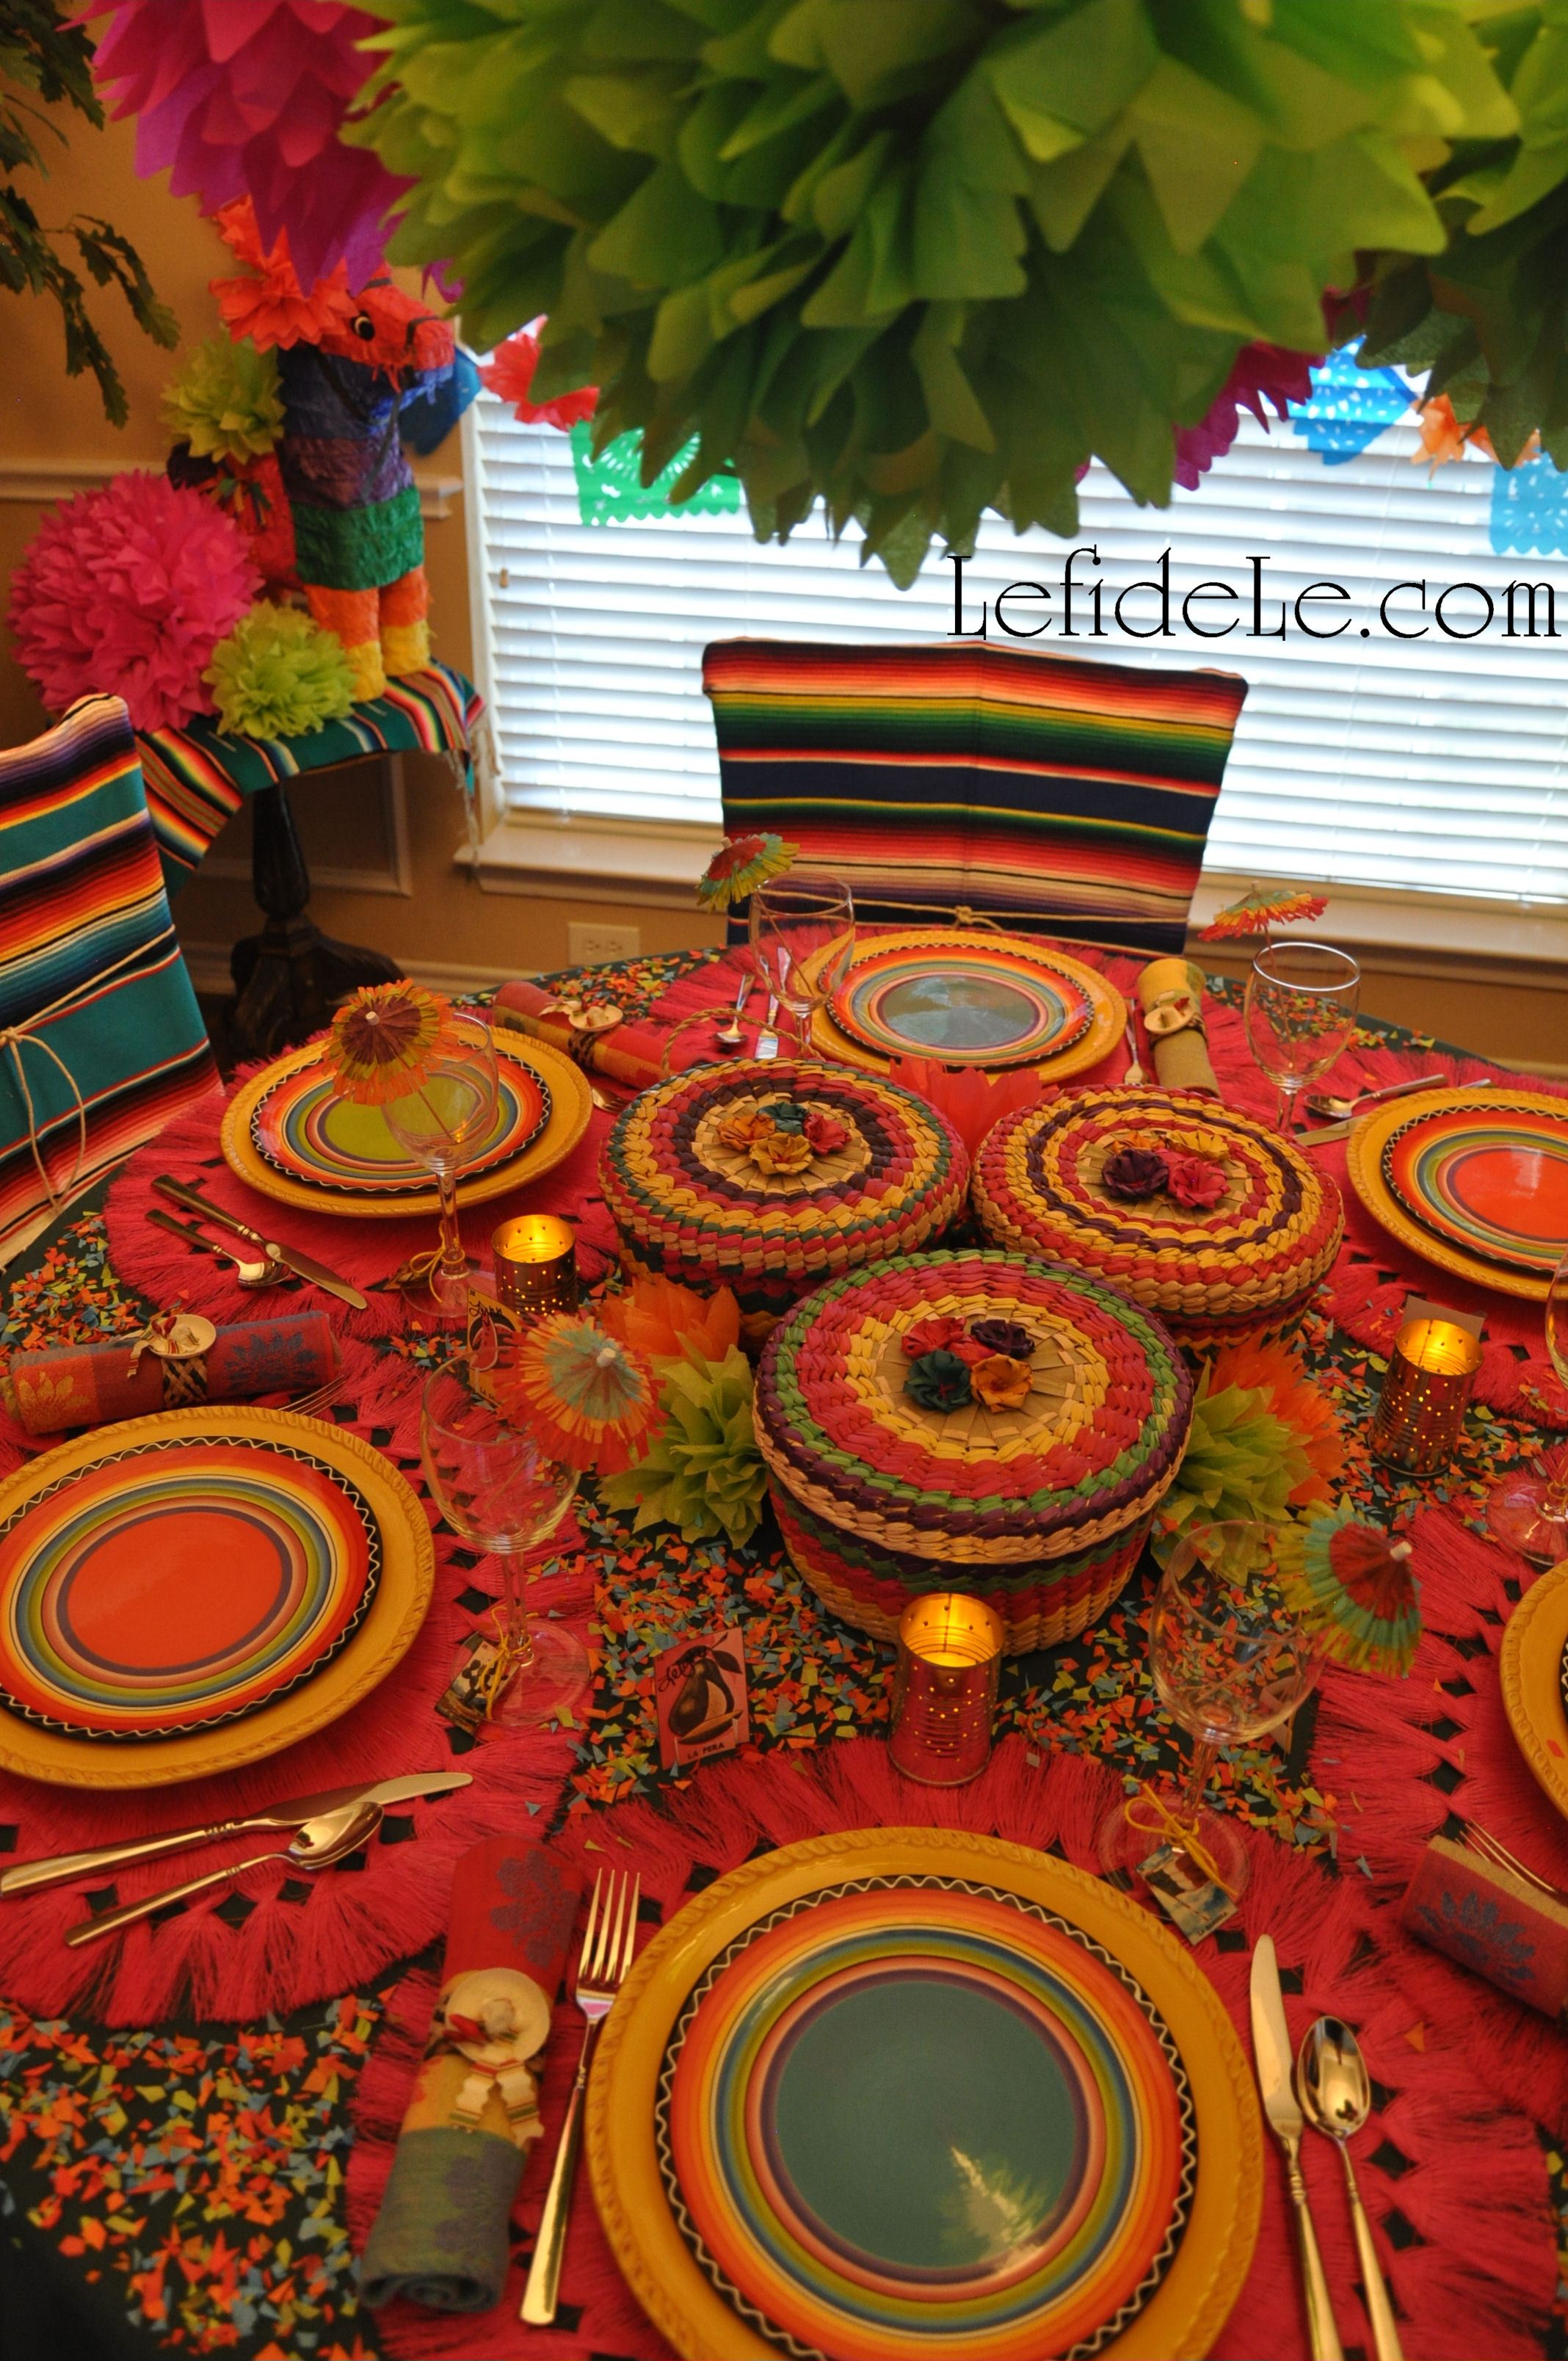
Keep a bunch of these warm in a low temp oven to serve all at once for your Cinco de Mayo Fiesta… or just make them for yourself as mouthwatering meal that only seems indulgent!

Faithfully Yours,

Leigh

P.S. Holy guacamole! I’ve been seeing a new commercial that erringly pronounces the G in that green goodness over and over and over. If any of you out there are now wondering which way is right way to say it… think Fozzie Bear and begin the word with “wocca”. “Muchas gracias amigos!” on behalf of my Texan ears. 🙂

274Leigh

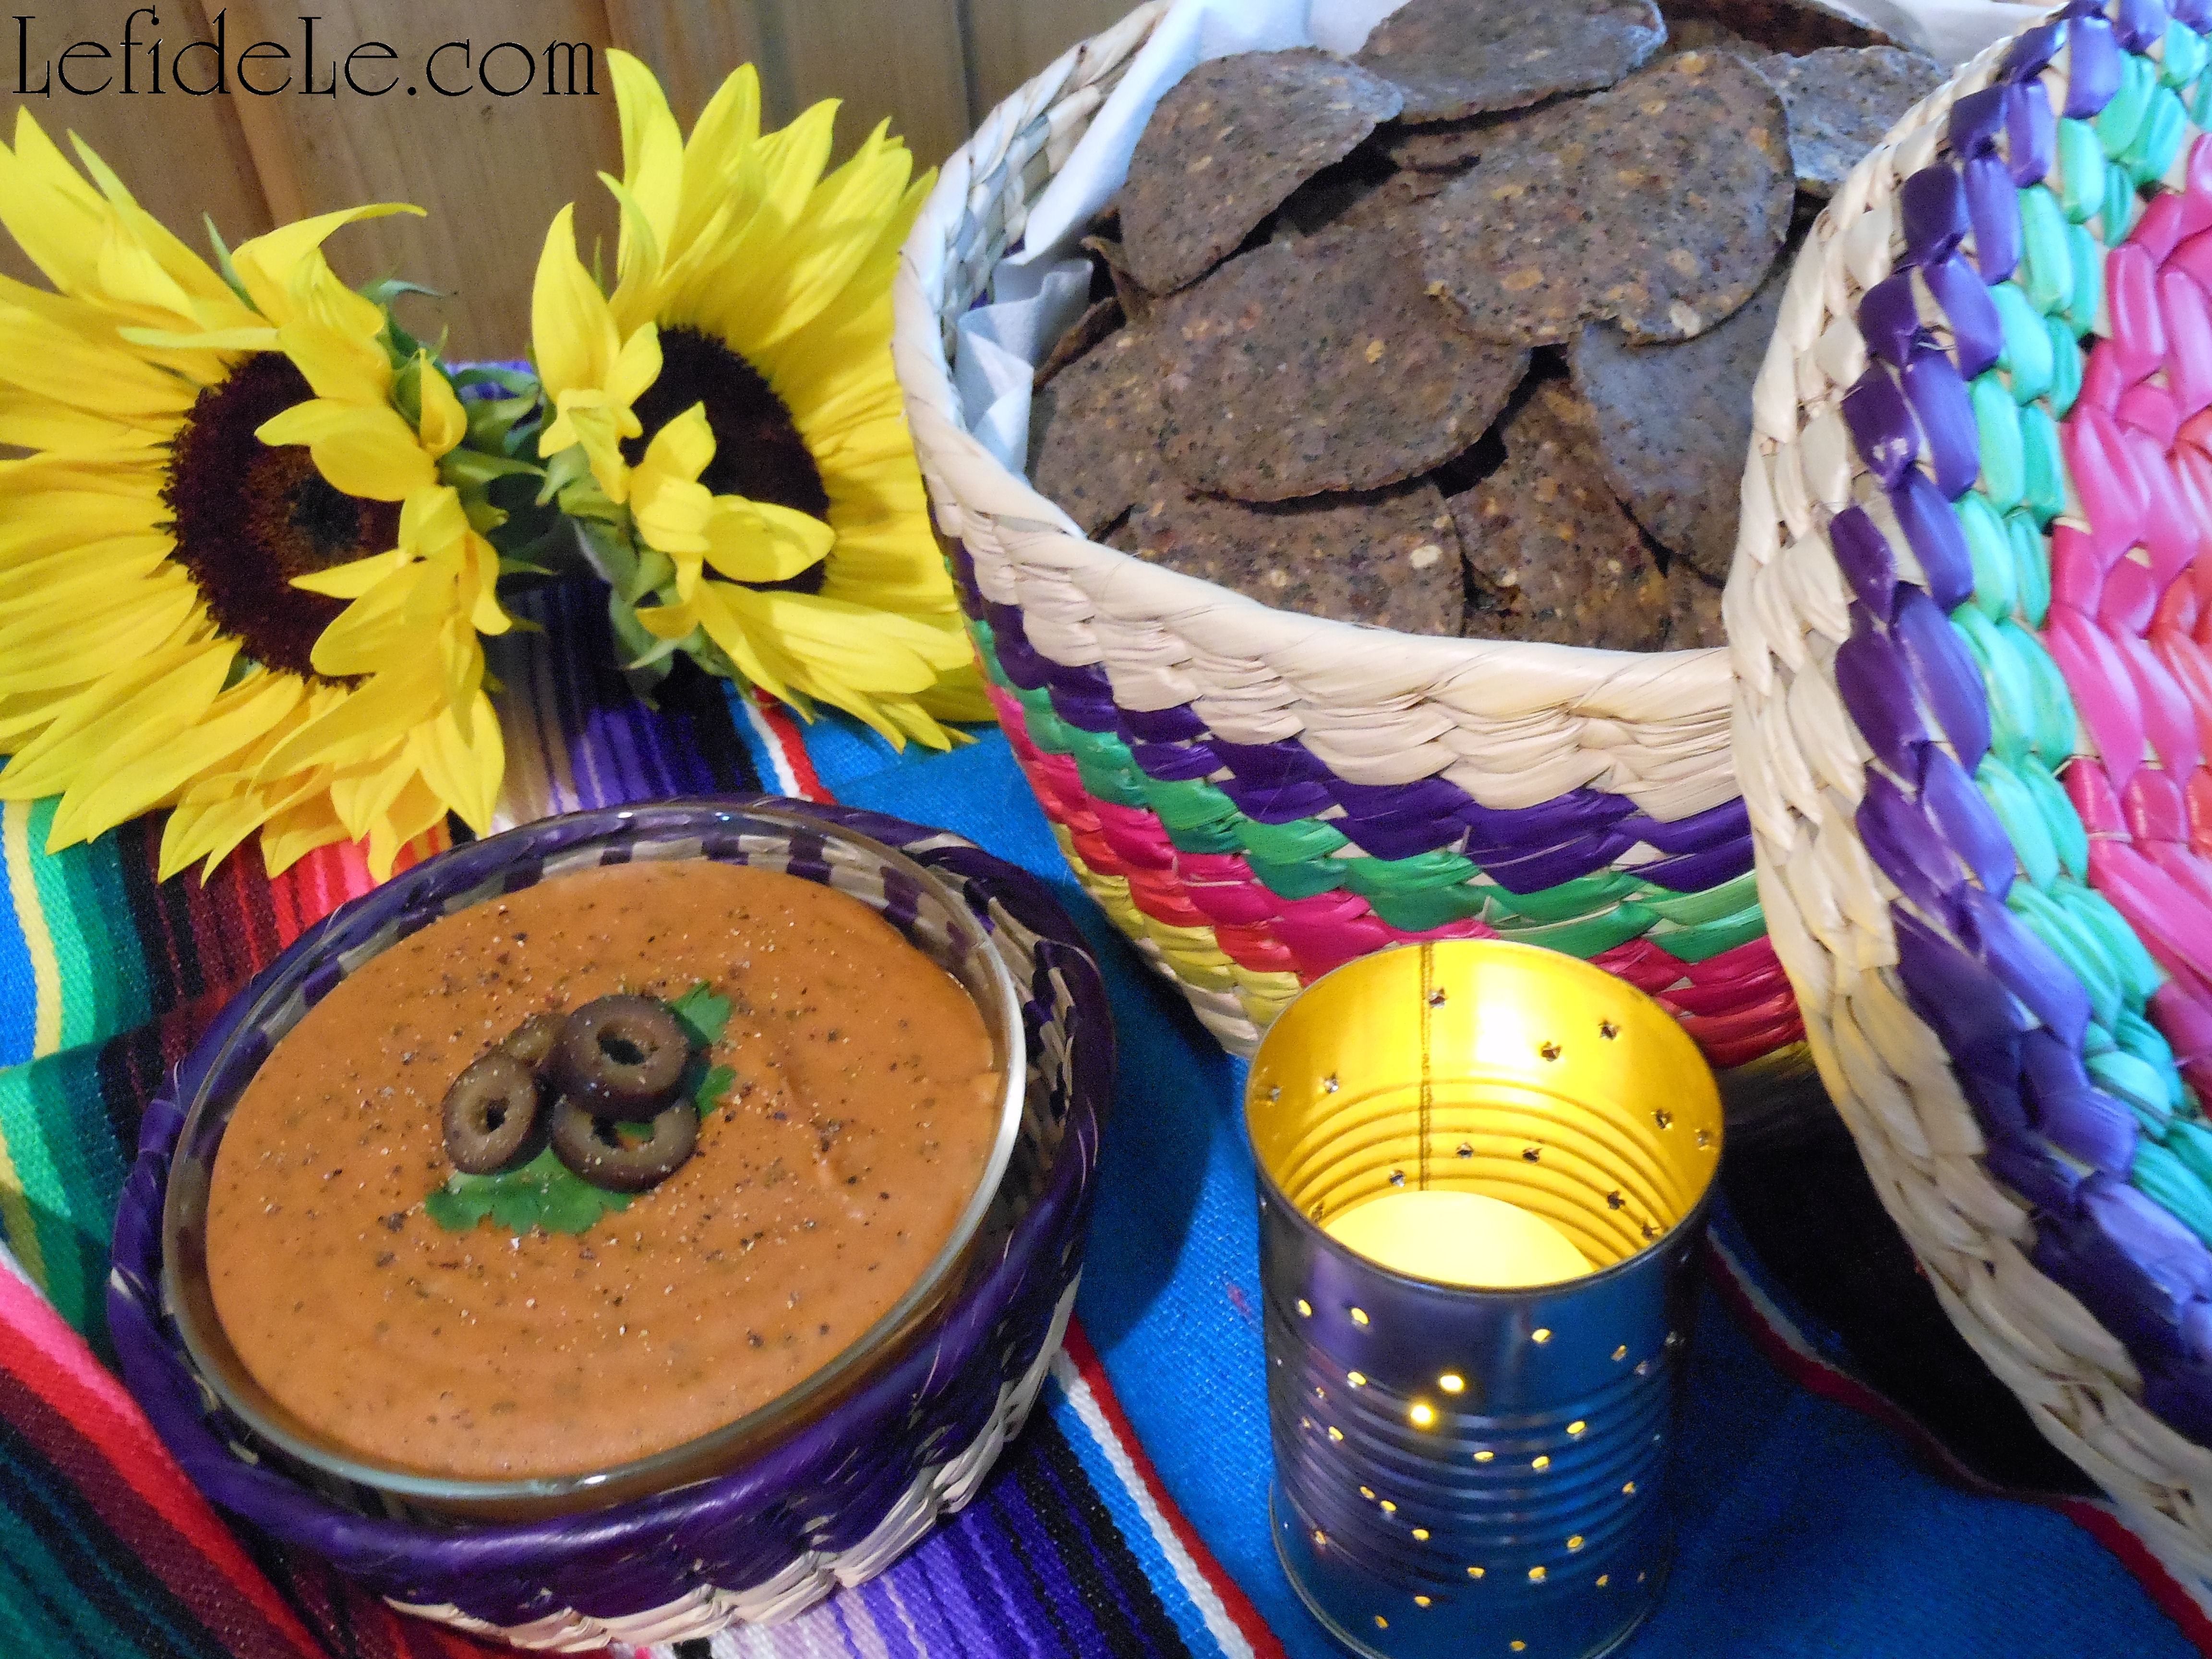
P.P.S. And if you crave more Tex-Mex… try my “Nacho Average Fiesta Dip” & Spicy Nachos Compuesto (Dairy, Corn, Red Pepper, & Gluten-Free) Easy Appetizer for Cinco de Mayo Fiesta.

254Leigh

Cinco de Mayo Fiesta Tablescape Party Décor Ideas (with Easy DIY Craft Links)

Take an armchair vacation to Texas and join me for a Cinco de Mayo celebración exploding with color. Then recreate the fabuloso fiesta in your own home for any occasion calling for mirth and margaritas! So slip on your serapes and sombreros ‘cause we’re gonna have a hot time in the old town tonight!

020Leigh

Sunlight streams through the vibrant papel picado banners crisscrossing the window. Handmade tissue paper flowers hang between each cut panel.

029Leigh

A burro piñata presides over the extravagancia, standing atop a small serape adorned with its own bouquet.

021Leigh

Extrema pink and green fiesta flowers drip from the chandelier in an overhead centerpiece that leaves room on the table for brillante woven baskets.

073Leigh

Tortilla, chip, and buñuelo baskets sit squarely at the center of the celebración flanked by paper flower buds and upcycled luminarias providing illuminación.

030Leigh

Vivid confetti outlines the fringed caliente pink placemats bordered with Mexican Lotería game place-cards.

044Leigh

Paper parasol toting wine glasses, tied with yellow jute and Lotería charms, await sangria sipping.

357Leigh

Exuberante cloth napkins are ringed with handcrafted sombrero capped raffia rings ornamented with red chilis.

045Leigh

Brillantes yellow plates evoking the sun are topped with multi-hued dishes suggesting serape patterns.

064Leigh

Even the chairs participate in the festividad by wearing their own serapes belted with rope.

041Leigh

Now tie a serape on yourself and sip some sangria for your own dose of party perfección!

046Leigh

¡Feliz fiesta ya’ll!

Faithfully Yours,

Leigh

P.S. For details on just how to fuel your own fabuloso fiesta, see my other Cinco de Mayo articles:

DIY Upcycled Can Tea-light Luminarias (+ Free Printable Template) & Tissue Paper Flowers Crafts (for Cinco de Mayo Fiesta Décor)

291Leigh

DIY Sombrero Napkin Rings & Serape Invitations + Loteria Wine Glass Charms & Place Cards Crafts (for Cinco de Mayo Fiesta Tablescape)

238Leigh

Healthy Tex-Mex Cilantro Chicken Spinach Quesadilla Recipe (Dairy, Red Pepper, Corn, & Gluten-Free) Easy Appetizer for Cinco de Mayo Fiesta

274Leigh

“Nacho Average Fiesta Dip” & Spicy Nachos Compuesto (Dairy, Corn, Red Pepper, & Gluten-Free) Easy Appetizer for Cinco de Mayo Fiesta

254Leigh

Easy DIY Upcycled Can Tea-light Luminarias (+ Free Printable Template) & Tissue Paper Flowers Crafts (for Cinco de Mayo Fiesta Décor)

321Leigh

Light the Cinco de Mayo night by upcycling cans into tea-light luminarias (easy with the help of my free printable template), and adorn your tablescape with DIY fiesta tissue paper flowers. These crafts are perfect to bring the whole family in on, with luminarias for the strong folks and flowers for the kiddos. So hang on to your sombreros senoritas… we’re about to craft a fiesta!

300Leigh

As a kid, I was delighted by long rows of luminarias lighting the way to fiestas. I wanted to bring some of that enchantment inside by making miniature versions with tea-lights for the table.

016bLeigh

I love upcycling free elements into something useful… and I do mean free because this project cost me nothing as the cans were just a leftover bonus from my dinner menu. The project made perfect use of the small tomato paste cans used in my recipes. (See my Meatloaf Cupcakes here, and my Nacho Average Fiesta Dip Here.) Waste not, want not… right?!

186Leigh

The best way to open the cans is by using an opener that doesn’t create a sharp edge, but rather a smooth top separated from the sides. Several well known brands sell this type of safe can opener. After washing the cans well, fill them with water, and place in the freezer overnight. Yes, you read that correctly. The ice is so much easier to hammer into rather than the traditional wooden branch.

SmallLuminariaPatternsLeigh

While they’re freezing, print my piercing template (free for personal use). To do this, right click on the small image and select print. (You can also forgo employing the template, and use a permanent marker to freehand draw your own shapes onto cans before the freezing step.)

183Leigh

My mother actually came up a great tip for keeping your paper’s ink from getting soggy… try wrapping the iced can in clear plastic wrap before wrapping with the paper template. ¡Gracias Mamá!

152

Cut out the 3 identical templates featuring arrow pierced hearts and festive zigzag patterns. Wrap each one around an ice filled can and tape the edge.

190Leigh

Use identically sized nails to hammer into each dot on the template. (This is what makes it a good craft for the hombres in your life!) You only need to hammer the nails in far enough to make a hole, leaving them in or pulling them out as you go. Begin with the top of the pattern, because ice will chip out as you work on it. If too much pops out, simply add water and refreeze.

193Leigh

When the dots are done, so are you! Let the ice melt out into the sink then dry the can well. (Just be careful not to cut yourself on the sharp edges on the inside of the cans.) Now light them up compadre!

274Leigh

The luminarias add ambiance to a lunch of Tex-Mex Nachos made with my Nacho Average Fiesta Dip Recipe.

238Leigh

They also look lovely with another one of my recipes, Gluten & Dairy Free Chicken Spinach Quesadilla.

011Leigh

Here they’re featured in an upcoming San Antonio styled Fiesta tablescape next to some cascarones I’ll demonstrate how to make.

327Leigh

I think they look really lovely next to my fiesta flowers too… let’s make them together now!

094Leigh

Use any new store bought tissue paper, or upcycle some former gift bag tissue into something spectacular.

127Leigh

The size of the sheet you use will equate to the size of the flower you end up with.

096Leigh

Here I’m beginning with one sheet cut into two halves, one placed over the other.

121Leigh

You can actually stack as many layers of tissue as you like to add fullness. Here is a fuller flower next to one made with less layers.

113Leigh

Accordion fold these into a fan, short side to short side. (This part is a great hand-eye craft for the kiddos!)

100Leigh

Next, fold the bar over in half.

102Leigh

Cut an upside down V into the ends… this will make a prettier flower.

128Leigh

Take those trimmings and cut them into tiny pieces, then separate the layers. You just made matching confetti for the table… for free. You can also use this confetti for cascarones crafting in the future!

104Leigh

Green fuzzy pipe cleaner sticks make the perfect stems.

105Leigh

Wrap one around the folded portion and twist. You will be able to use the stem to hang the flowers with later.

108Leigh

Next pull apart all the layers.

116Leigh

Pull these slightly taut, in an arrangement that appears pleasing to the eye.

123Leigh

Wrap one end of the fuzzy stick around the base to secure your arrangement of the petals.

350Leigh

I tied some of them between panels of traditional papel picado in a fiesta banner for the window. The light streaming through them was much prettier in person.

029Leigh

I also used them to further adorn a burro piñata decorating a side table.

053Leigh

The larger flowers were easily strung onto a chandelier as an overhead centerpiece, leaving room for tortilla, chip, and buñuelo baskets on the table.

291Leigh

Now complete your tablescape with my Easy DIY Sombrero Napkin Rings & Serape Invitations + Loteria Sangria / Wine Glass Charms & Place Cards Crafts (for Cinco de Mayo Fiesta Tablescape).

041Leigh

Time to go ¡Fiesta! forever…

Faithfully Yours,

Leigh

Easy DIY Sombrero Napkin Rings & Serape Invitations + Loteria Sangria / Wine Glass Charms & Place Cards Crafts (for Cinco de Mayo Fiesta Tablescape)

¡Fiesta! Forever… or for at least one fantastic evening with easy décor crafts for your Cinco de Mayo tablescape. Toast the party with sangria filled glasses fitted with DIY wine glass charms featuring traditional Mexican Loteria images. Then, use those same images to make place-cards for the table. Dress colorful cloth napkins with handmade sombrero napkin rings, and craft matching serape invitations that shout, “Grab your sombreros for a Cinco de Mayo that’s nacho average fiesta!”

357Leigh

One inexpensive Mexican Loteria game will provide you with loads of craft material for the future. I’ve previously made beads with them (see how to do this here in my Halloween Necklace Craft)… glued them into collages and assemblages (see how to do this here in my Valentine Gift Assemblage Art Tutorial)… and I have some easy crafts up my sleeve to demonstrate in the future.

130Leigh

All you need to begin is a single game card sheet, scissors, a hole-punch, and Plaid Mod Podge Dimensional Magic. Cut the game card into single images as pictured.

134Leigh

Punch holes into a top corner of each piece.

137Leigh

Drizzle the Magic stuff over one side of all the pieces, then let it dry overnight. (Set it on some form of plastic to keep it from adhering to your surface.)

140Leigh

Flip them over and drizzle the other side, then dry overnight.

180Leigh

If needed, trim off any dripped over edges, and attach small metal rings to the holes.

314Leigh

Instead of using a jumbo jump ring to attach the charms to the glasses, I simply tied them on with jute bows. You can also skip the first metal ring, and just tie these if you’d like less dangling.

030Leigh

Here they are featured on a clear glass vessel topped with a paper umbrella.

106Leigh

The same charm and umbrella look different when placed on a purple goblet (from my upcoming San Antonio styled Fiesta tablescape).

219fLeigh

The charm is an easy addition for a charming lunch of my Gluten & Dairy Free Chicken Spinach Quesadilla Recipe.

298Leigh

Matching Loteria place-cards for the table are really quick and easy to make.

141Leigh

Use the actual game cards or make a color copy of a set of them to cut out. I chose the latter so that I can remake them whenever I like… without buying a new game.

143Leigh

Cut paper cardstock strips to use as easel supports, and fold in half to make a V.

146Leigh

Then cut two slits to either side of the Spanish words. Slip a V strip into the slots you cut.

316Leigh

Then simply write your guests names on them with a marker. These would also make great food labeling cards for a buffet.

327Leigh

The Loteria cards add extra pops of color to the tablescape… and you can never have too much color at a fiesta!

294Leigh

The sombrero napkin rings are some of the cutest in my collection, yet were some of the quickest to make. Craft them yourself with braided raffia ribbon and tiny doll straw hats.

154Leigh

Transform the hats into sombreros with strips of fabric and dollhouse chili peppers. (I never use chilis in my recipes, but they do make delightful décor.) Use hot glue to attach a few peppers, and then wrap a fabric strip as a band.

158Leigh

Cut a six inch length of raffia ribbon for each ring. Slightly overlap the edges then hot glue them.

160Leigh

Glue the sombrero over the seam covering it completely.

063Leigh

Fill the rings with colorful fabric napkins.

044Leigh

I think they look really adorable on the tablescape… if I do say so myself!

274Leigh

Here the card and napkin ring add color to a lunch of Tex-Mex Nachos made with my Nacho Average Fiesta Dip Recipe.

223Leigh

They bring additional ambiance to another meal with my Gluten & Dairy Free Chicken Spinach Quesadilla Recipe.

164Leigh

Make fiesta invitations to match your napkin rings easily by following the earlier steps to turn a straw doll hat into a sombrero. Cut a 5.5 x 8.5 inch piece of textured cardstock and a 4.5 x 7.5 size of serape scrapbook paper. Print or write invitation instructions on vellum, then cut it to a size smaller than the scrapbook paper (like 4 x 7).

004Leigh

Hot glue the layers at the center of the top, and then glue the sombrero over it. I made some of these for a bridal shower years ago, and they mailed just fine. I got such a glowing response from the project that I decided to show you how to craft them yourself.

321Leigh

Next, bring more light and color to the celebración with my Easy DIY Upcycled Can Tea-light Luminarias (+ Free Printable Template) & Tissue Paper Flowers Crafts (for Cinco de Mayo Fiesta Décor).

041Leigh

¡Viva la fiesta!

Faithfully Yours,

Leigh


DIY Mixed Media Wicked Witch Halloween Statement Necklace

010Leigh

This craft originated from an invitation to a huge Halloween costumed charity ball that I donated some artwork to. I wanted to wear an ‘80’s era green velvet frock with princess sleeves and a full skirt, but I just didn’t feel like wearing a crown. So I decided to toughen up the look with black leather boots and a corset belt. Then I ordered a wicked witch hat straight out of “Oz the Great and Powerful”, which I haven’t even seen yet. I even added a beaded black broom, but all of that still couldn’t counteract the sweetness of the dress and my Glinda-the-good-witch curls. What I needed was a wicked witch statement necklace!

01Leigh

Making mixed media jewelry is a fun process that really unleashes the creative spirit because there are really no rules to follow, so there’s no messing it up. One begins with the gathering of any and all material that could possibly coordinate. I used vintage pendants, earrings, and beads alongside newer elements. Craft stores sell many items that have a vintage look if you don’t have any at hand. You can always lay out a design at home and then return anything unused.

9Leigh

I filled a corked glass bottle with fine black glitter to simulate magic potion. Then I placed black and clear seed beads onto eyepins (= short hard wires with a crook at one end) and added shell star beads. (In future articles, I will explain more about beading for those of you who haven’t tried this rewarding activity.) I also added stars to other elements like moon and spider-web pendants with jumprings (= metal circles with single cuts).

4Leigh

Next I cut out 2 spooky pictures from a Spanish bingo game. They would soon become beads.

6Leigh

I placed clear and black crystals on the tiny game cards and squeezed on “Plaid Mod Podge Dimensional Magic”. The liquid dries clear and to the touch in a few hours, and cures by the next day.

12Leigh

Adding crystals and liquid “magic” seemed appropriate for the project, so I continued with other elements that needed further embellishment.

10Leigh

I even used it in lieu of glue to add crystals and seal the top of the glitter vial. I then attached the beaded eyepins and a jumpring to a strand of leather wrapped around the vial. (This alone could have been attached to a chain as a necklace in its own right.)

11Leigh

I glued more crystals onto tiny black doilies with Elmer’s Ultra Stix-all (which dries clear). This symbolizes spiders on their webs. Jumprings then turned them into beads.

14Leigh

Again, I used Stix-all in the hope that it would indeed stick all materials. I added two clear seed beads to each eyepin then coiled the rest of the length of it. The skinny black feathers were glued inside of that. The following day, I was thrilled to find my feather bead idea had worked!

021Leigh

To determine the necklace’s length, I draped chain around my neck, pulled it to the right size, and then cut the length I wanted. There are standard necklace lengths, but this time I winged it because this was my own custom piece. I wove leather cording through every fifth link, and repeated with silk cording in the links preceding those. The ends can then be cut without even having to measure anything.

22Leigh

I slid a jumpring onto each end, folding over the strands, and wrapped it all in metal wire. An eyepin may also be used if you cut off the looped end. Attach any closure you like. I used a “lobster” clasp.

20Leigh

This is perfect place to use any pretty little ribbons from leftover projects. I cut four inch lengths of new velvet and metallic ribbons. I also cut a couple of roses from some black netted fabric trim. I had never tried this before either, but it worked beautifully to slide jumprings through the netting. I also bent the posts (of a pair of vintage black rose earrings) to make loops to slide onto those same jumprings. They made a kind of baby rosette bead for additional decoration. Remember that statement necklaces are supposed to be over-the-top!

23Leigh

I tied ribbons over the wired cord ends to keep them from snagging my hair. This worked so well that I’m considering wrapping ribbon onto some of my old necklaces.

27Leigh

With all of the elements now ready, I laid out my construction scheme. I played with the look, moving items around until they seemed balanced yet still asymmetrical.

67Leigh

I attached my largest and heaviest items toward the bottom first (like a small carved quartz crystal skull). I worked my way down in element size from there.

075Leigh

After that, I closed jumprings into vintage crystal buttons to make fabulous beads. I filled any gaps with shell stars. This helped to maintain continuity throughout the piece.

65Leigh

Lastly, I added the feather beads with the direction of their natural curves following the drape of the necklace.

61HalloweenNecklace-Leigh

You can use these ideas to make any genre of mixed media necklace… even a girly pink princess one, but this year, I made mine wicked!

Faithfully Yours,

Leigh