Tag Archives: Witch

“Glitter-Ween” Halloween Party Theme Decorating Ideas (With DIY Links)

This year’s Halloween party theme was “Glitter-Ween”! This gave me a plausible excuse to paint, spray, or glue… orange, purple, green, and black glitter to my heart’s content… at least until February that is. Here are some decorating ideas from my glitter-splosion event!

192cLeigh

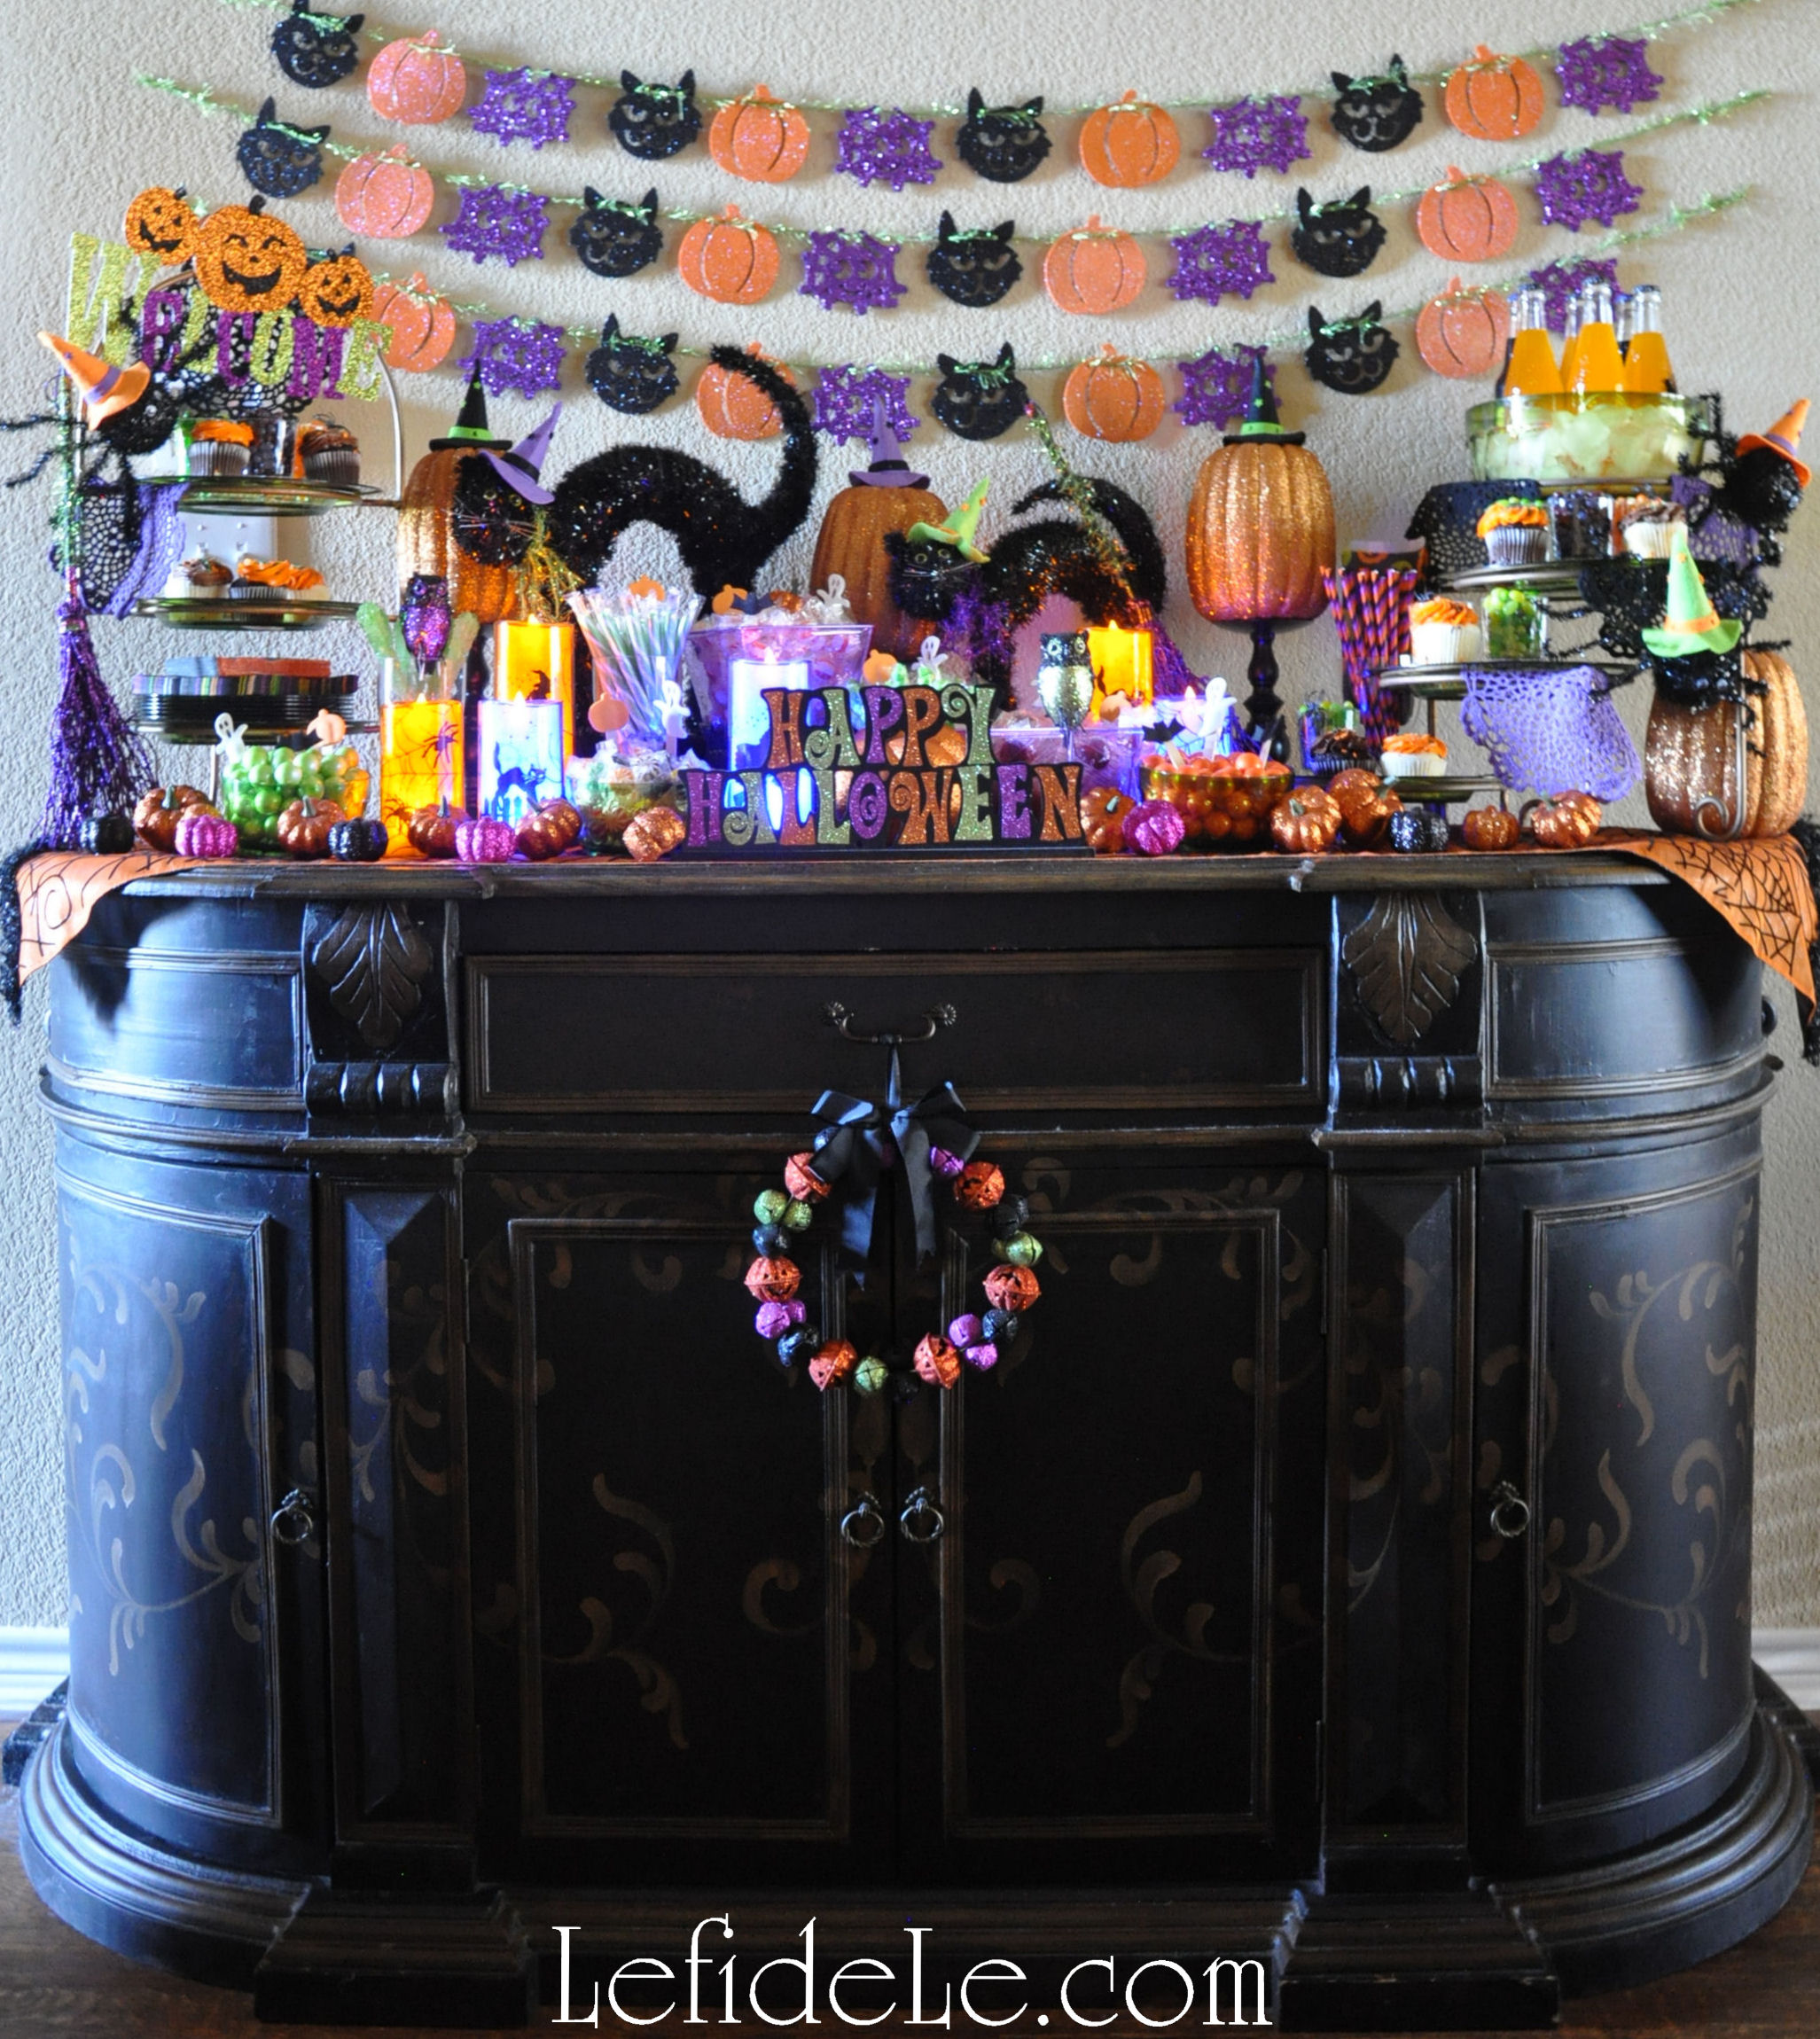
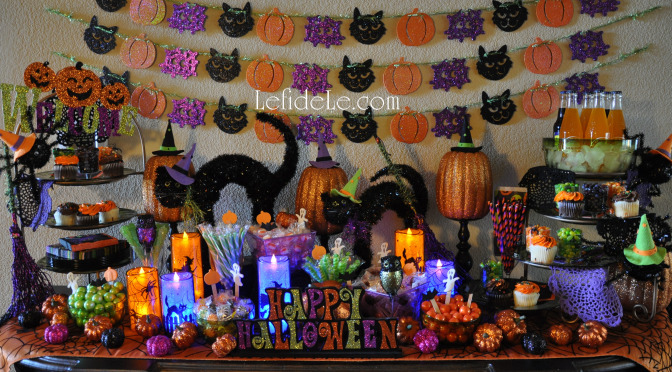
The black painted console was the perfect stage for the “candy-bar” buffet. One small glittered bell wreath kept it from appearing too top heavy. An orange spider-web runner lined and protected the painted top.

202cGlitterween-Leigh

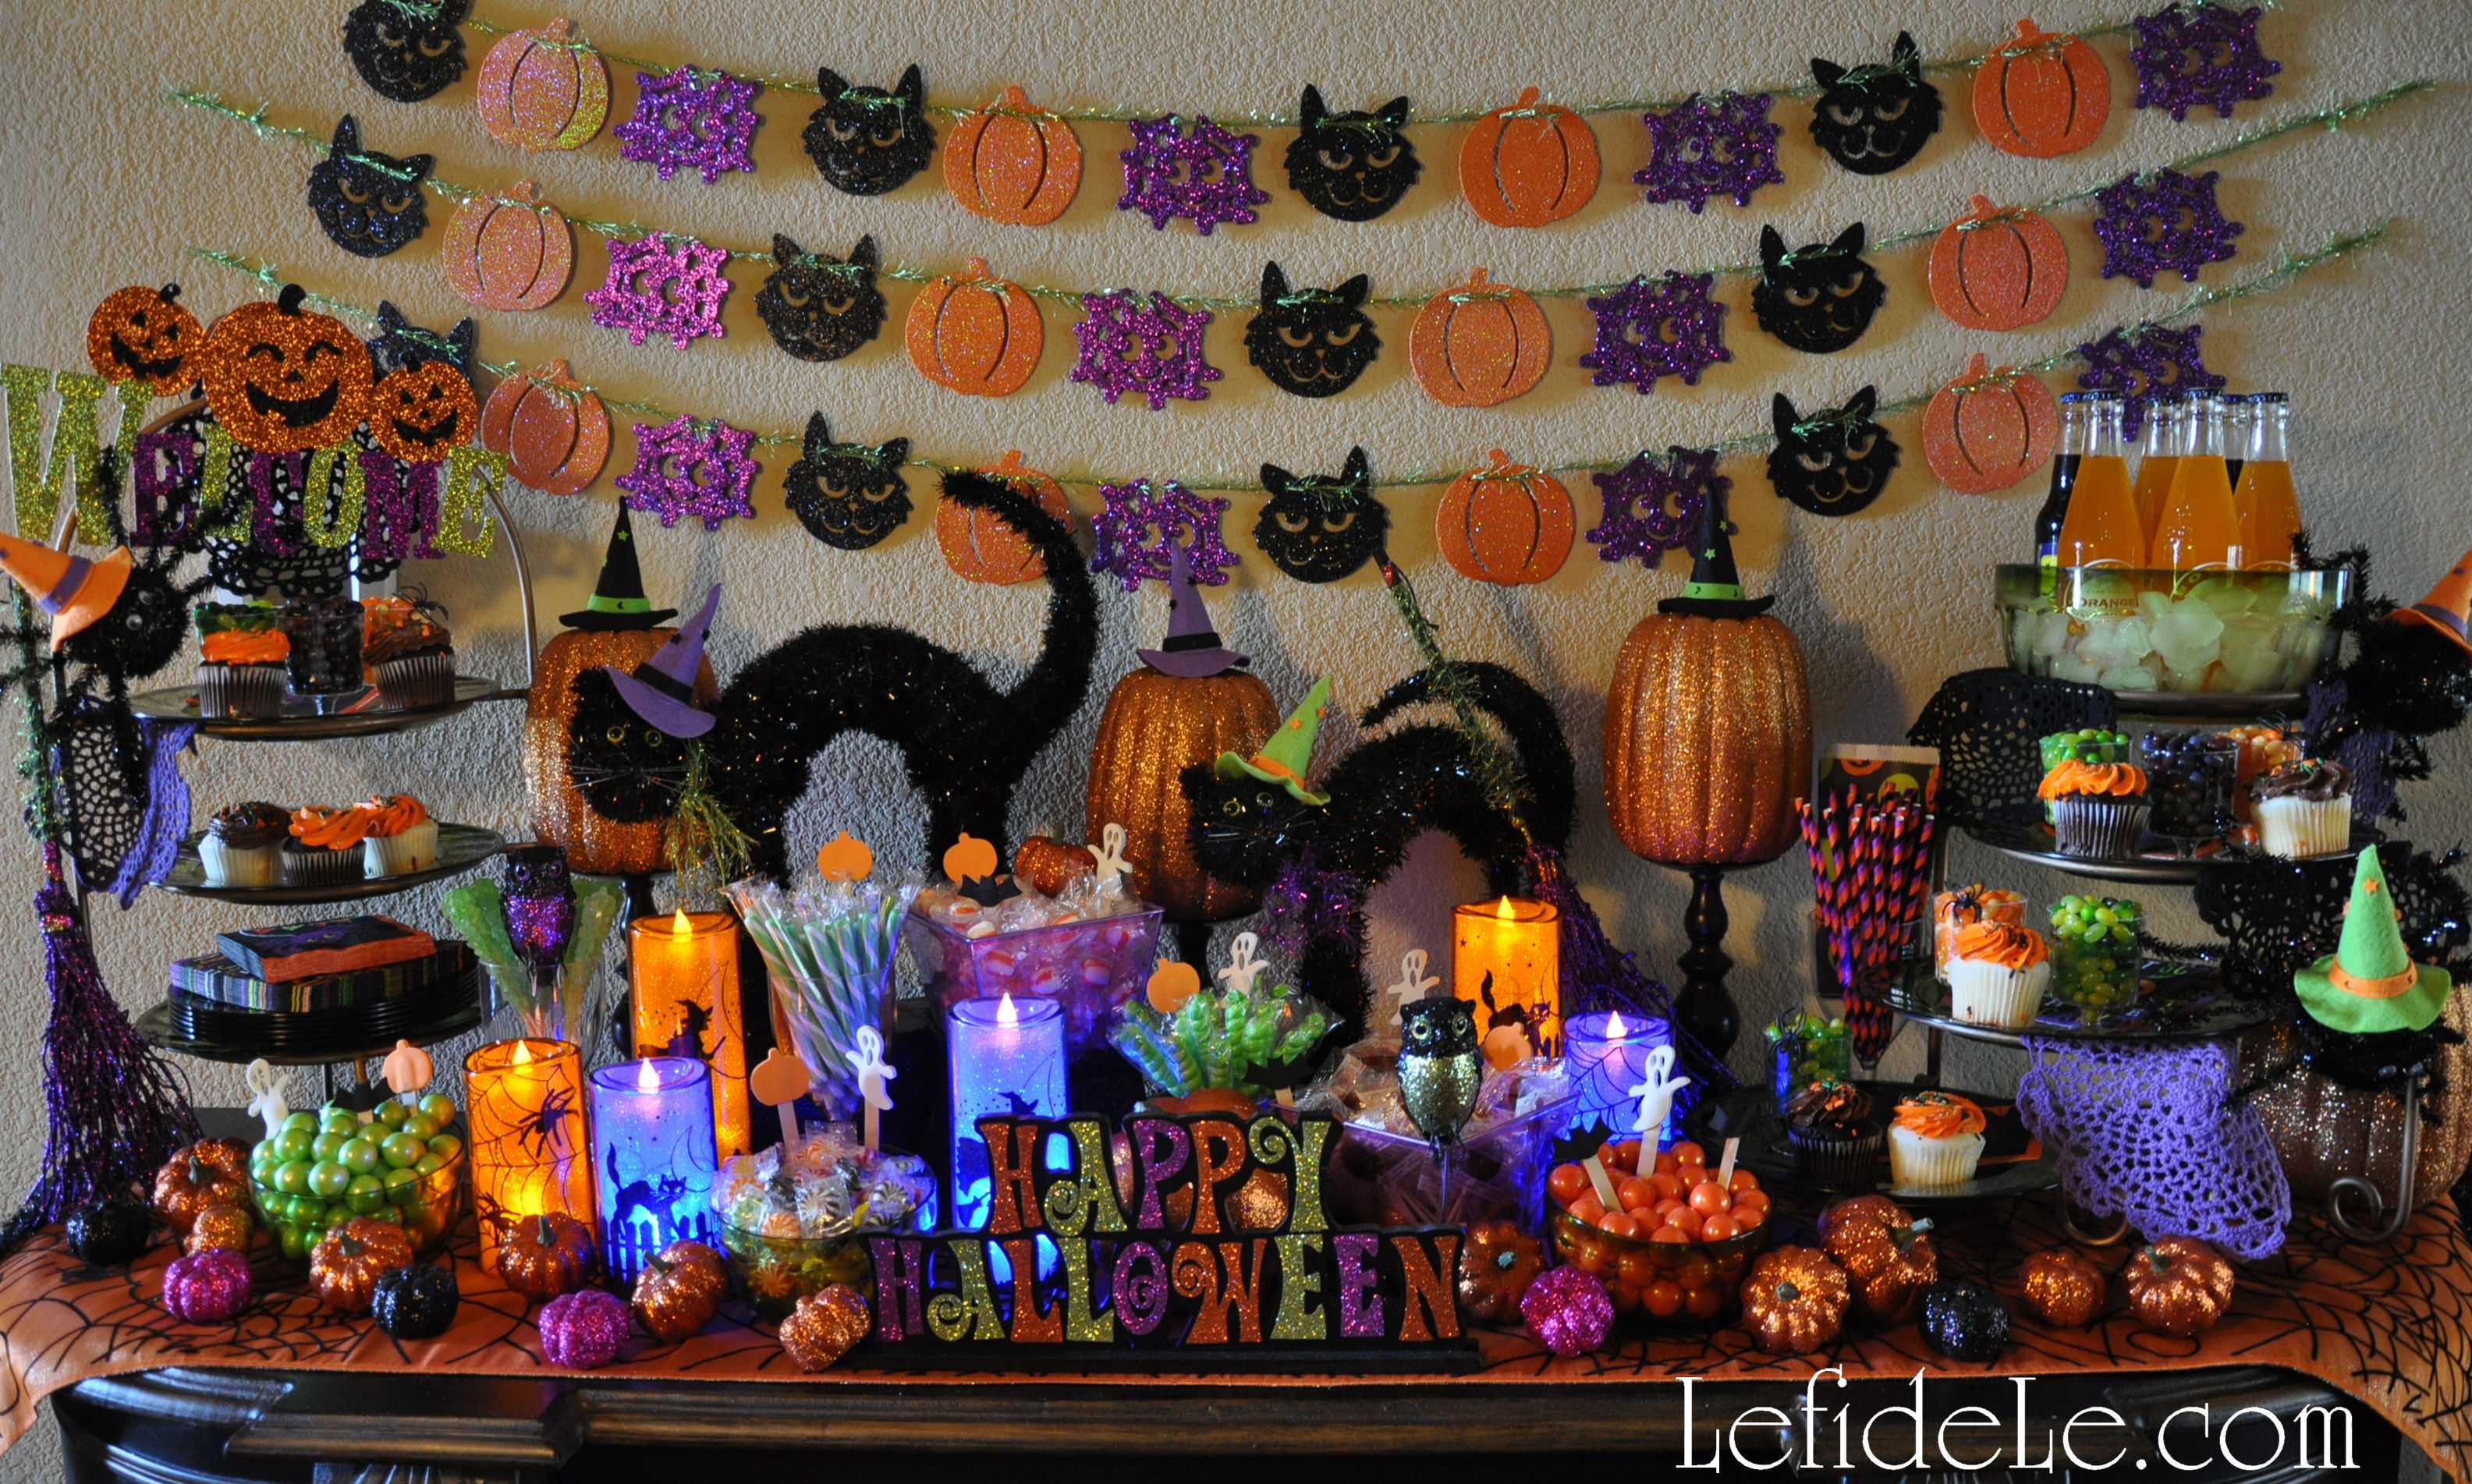
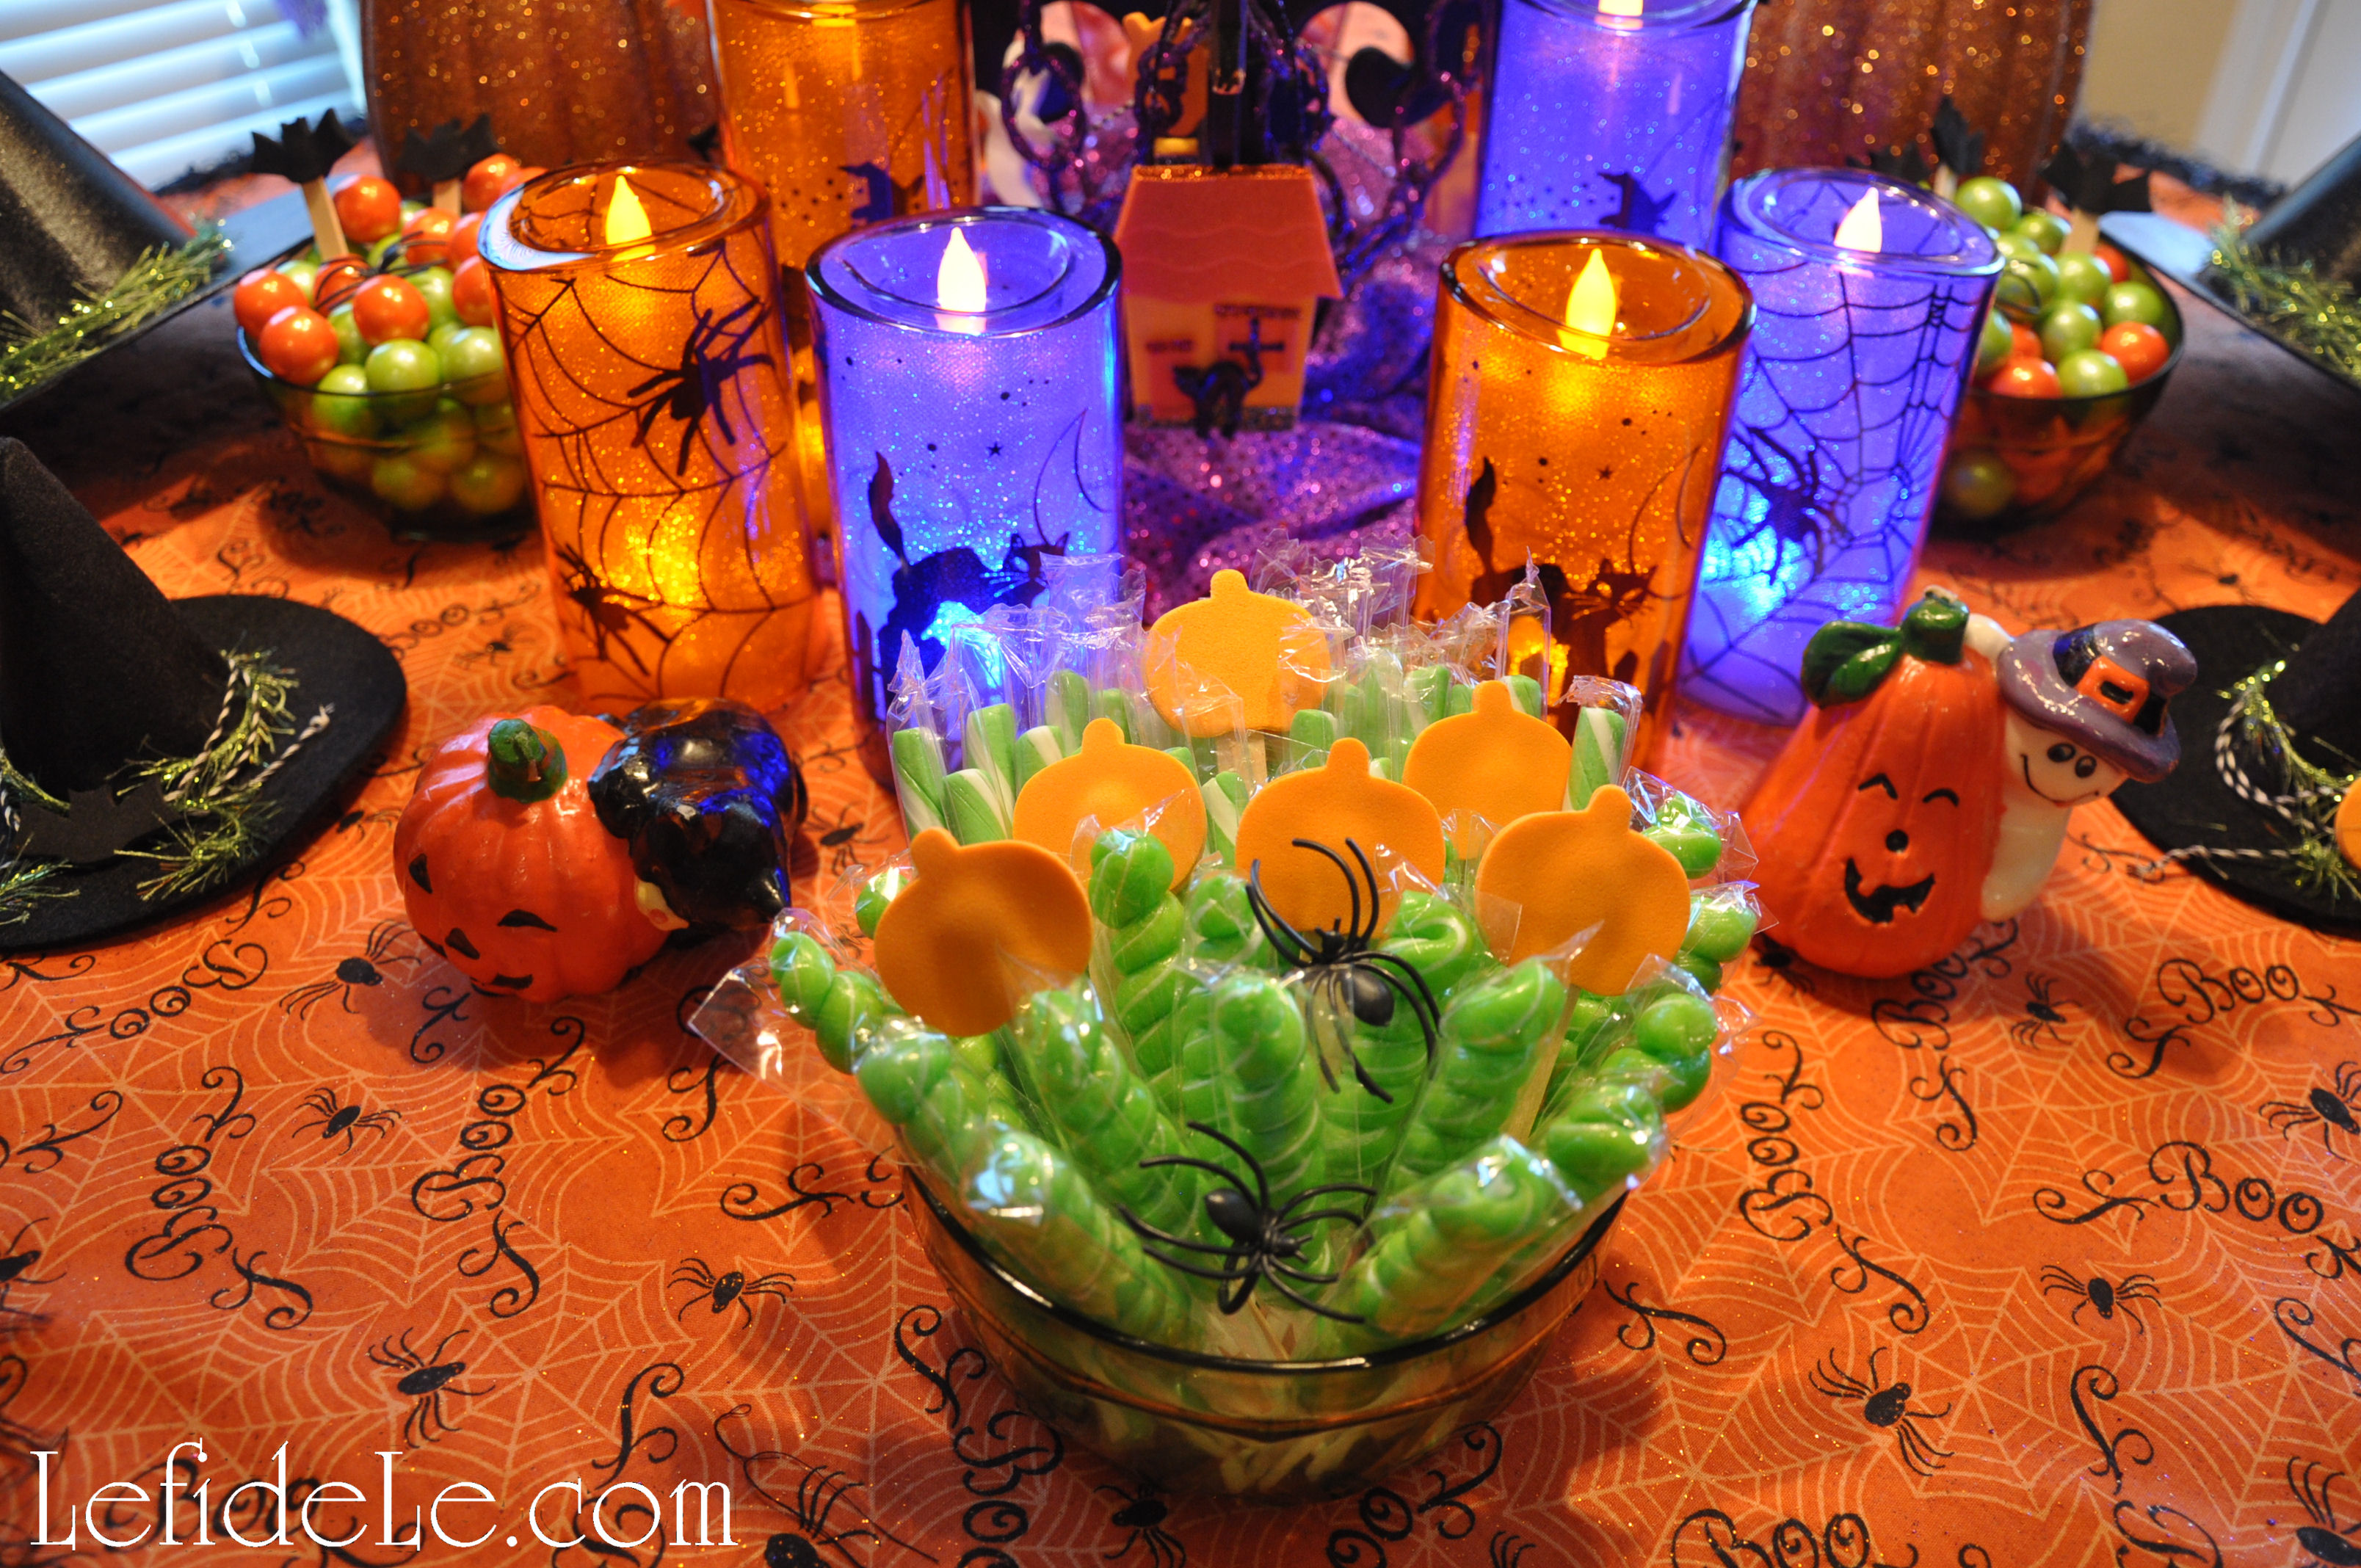
My glitter garland remade craft filled in the background of the smorgasbord. Candlesticks held glittered pumpkins at visible heights behind witch-cats who guarded the sweets.

110Leigh

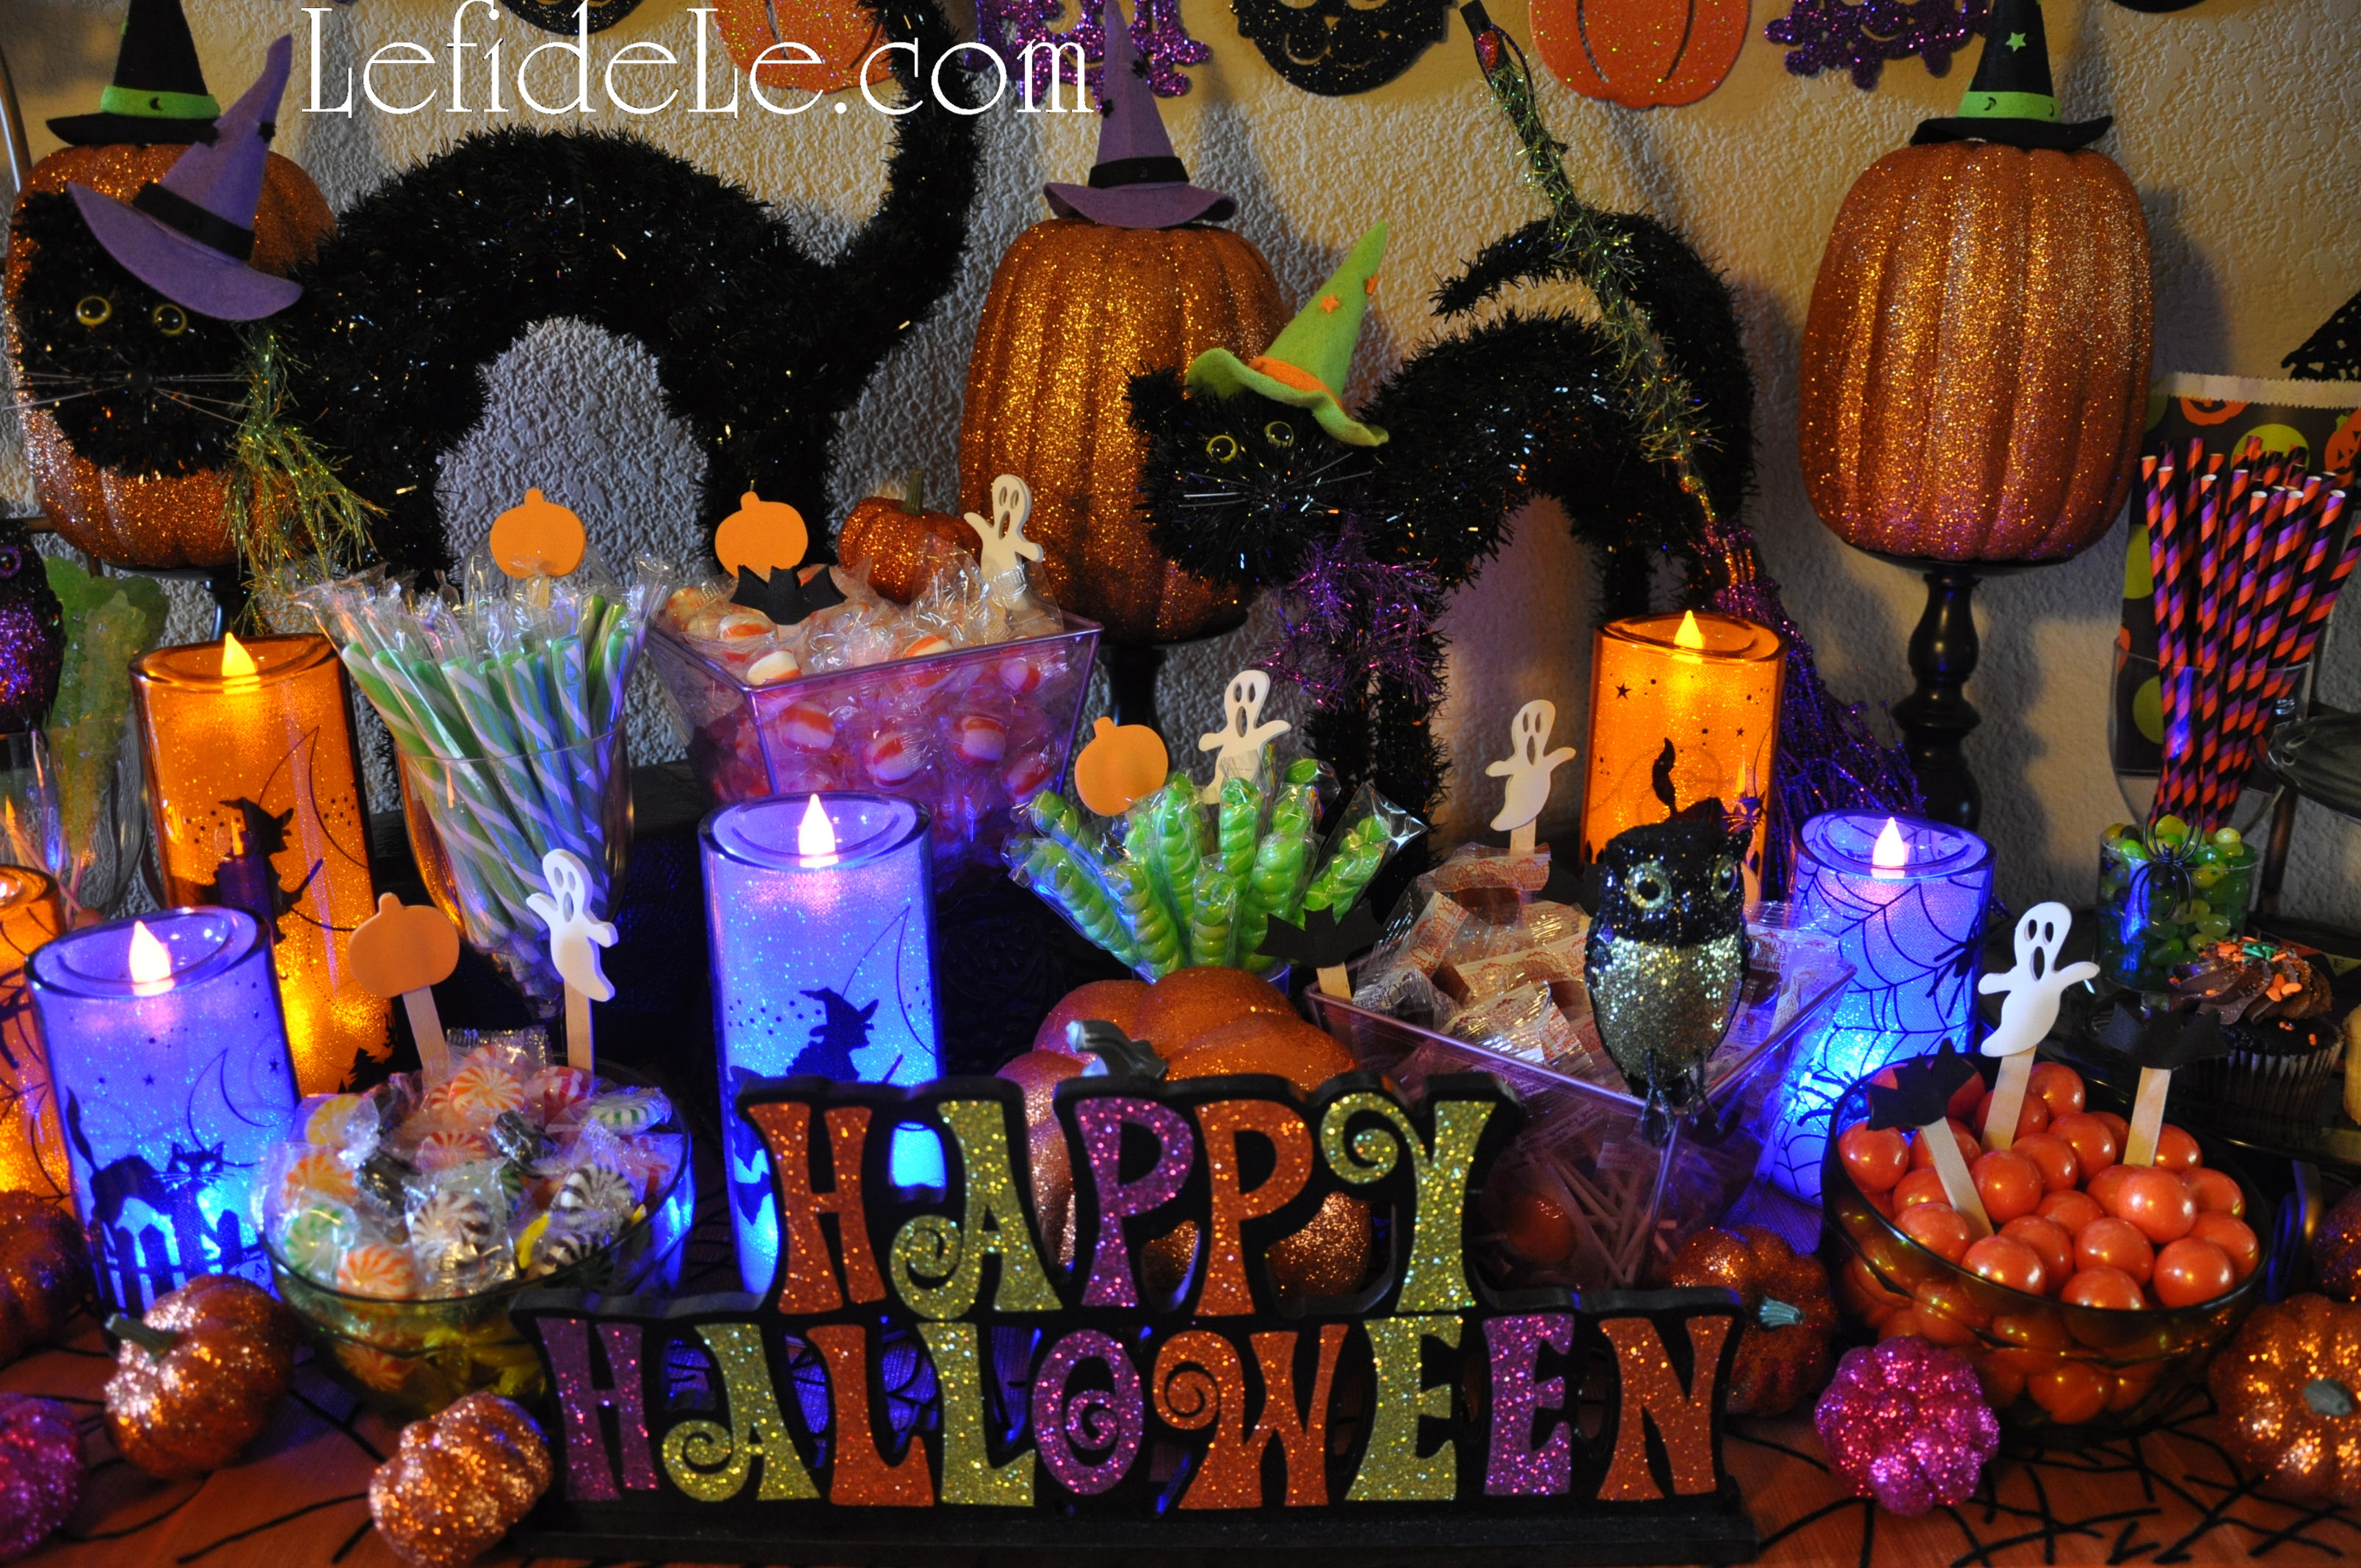
Theme colored candy filled bowls were accented with pumpkins, ghosts, and bats from my foam puppet / food pick craft. LED candles eerily lit the scene safely, where no normal candle would have dared been set.

108Leigh

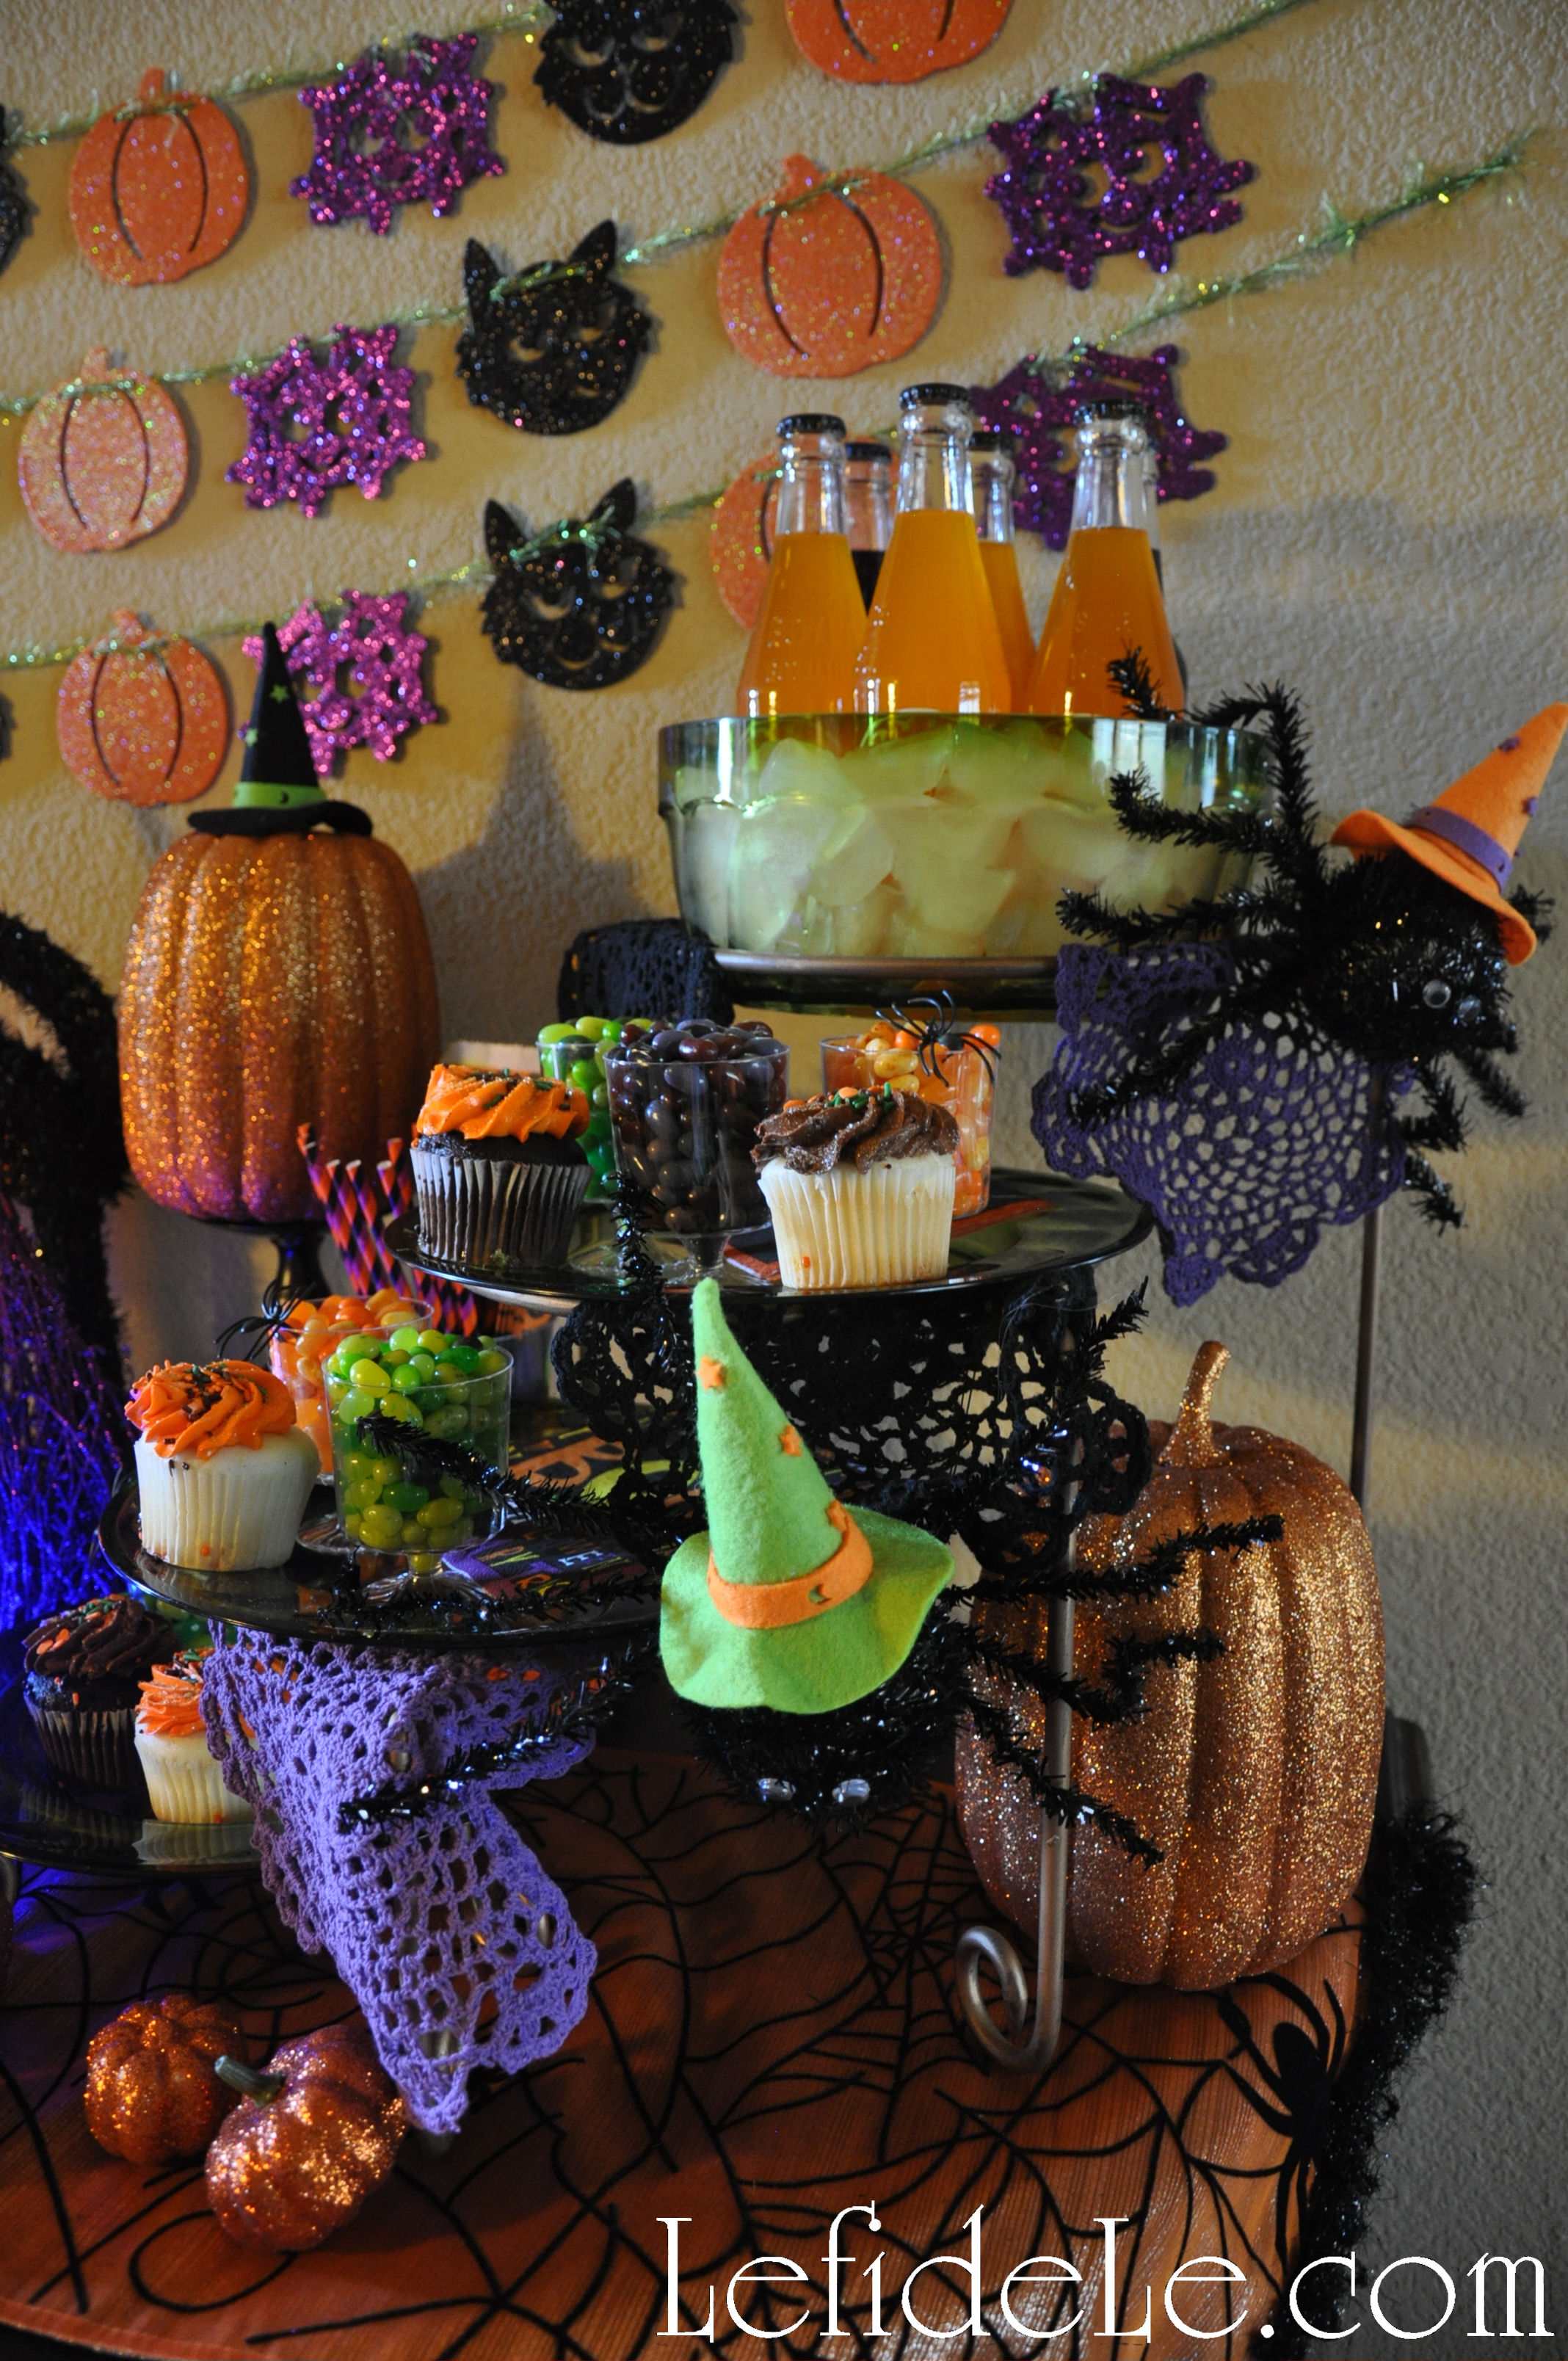
Spiders climbed the treat tower hung with their “spider-web” doilies.

32Leigh

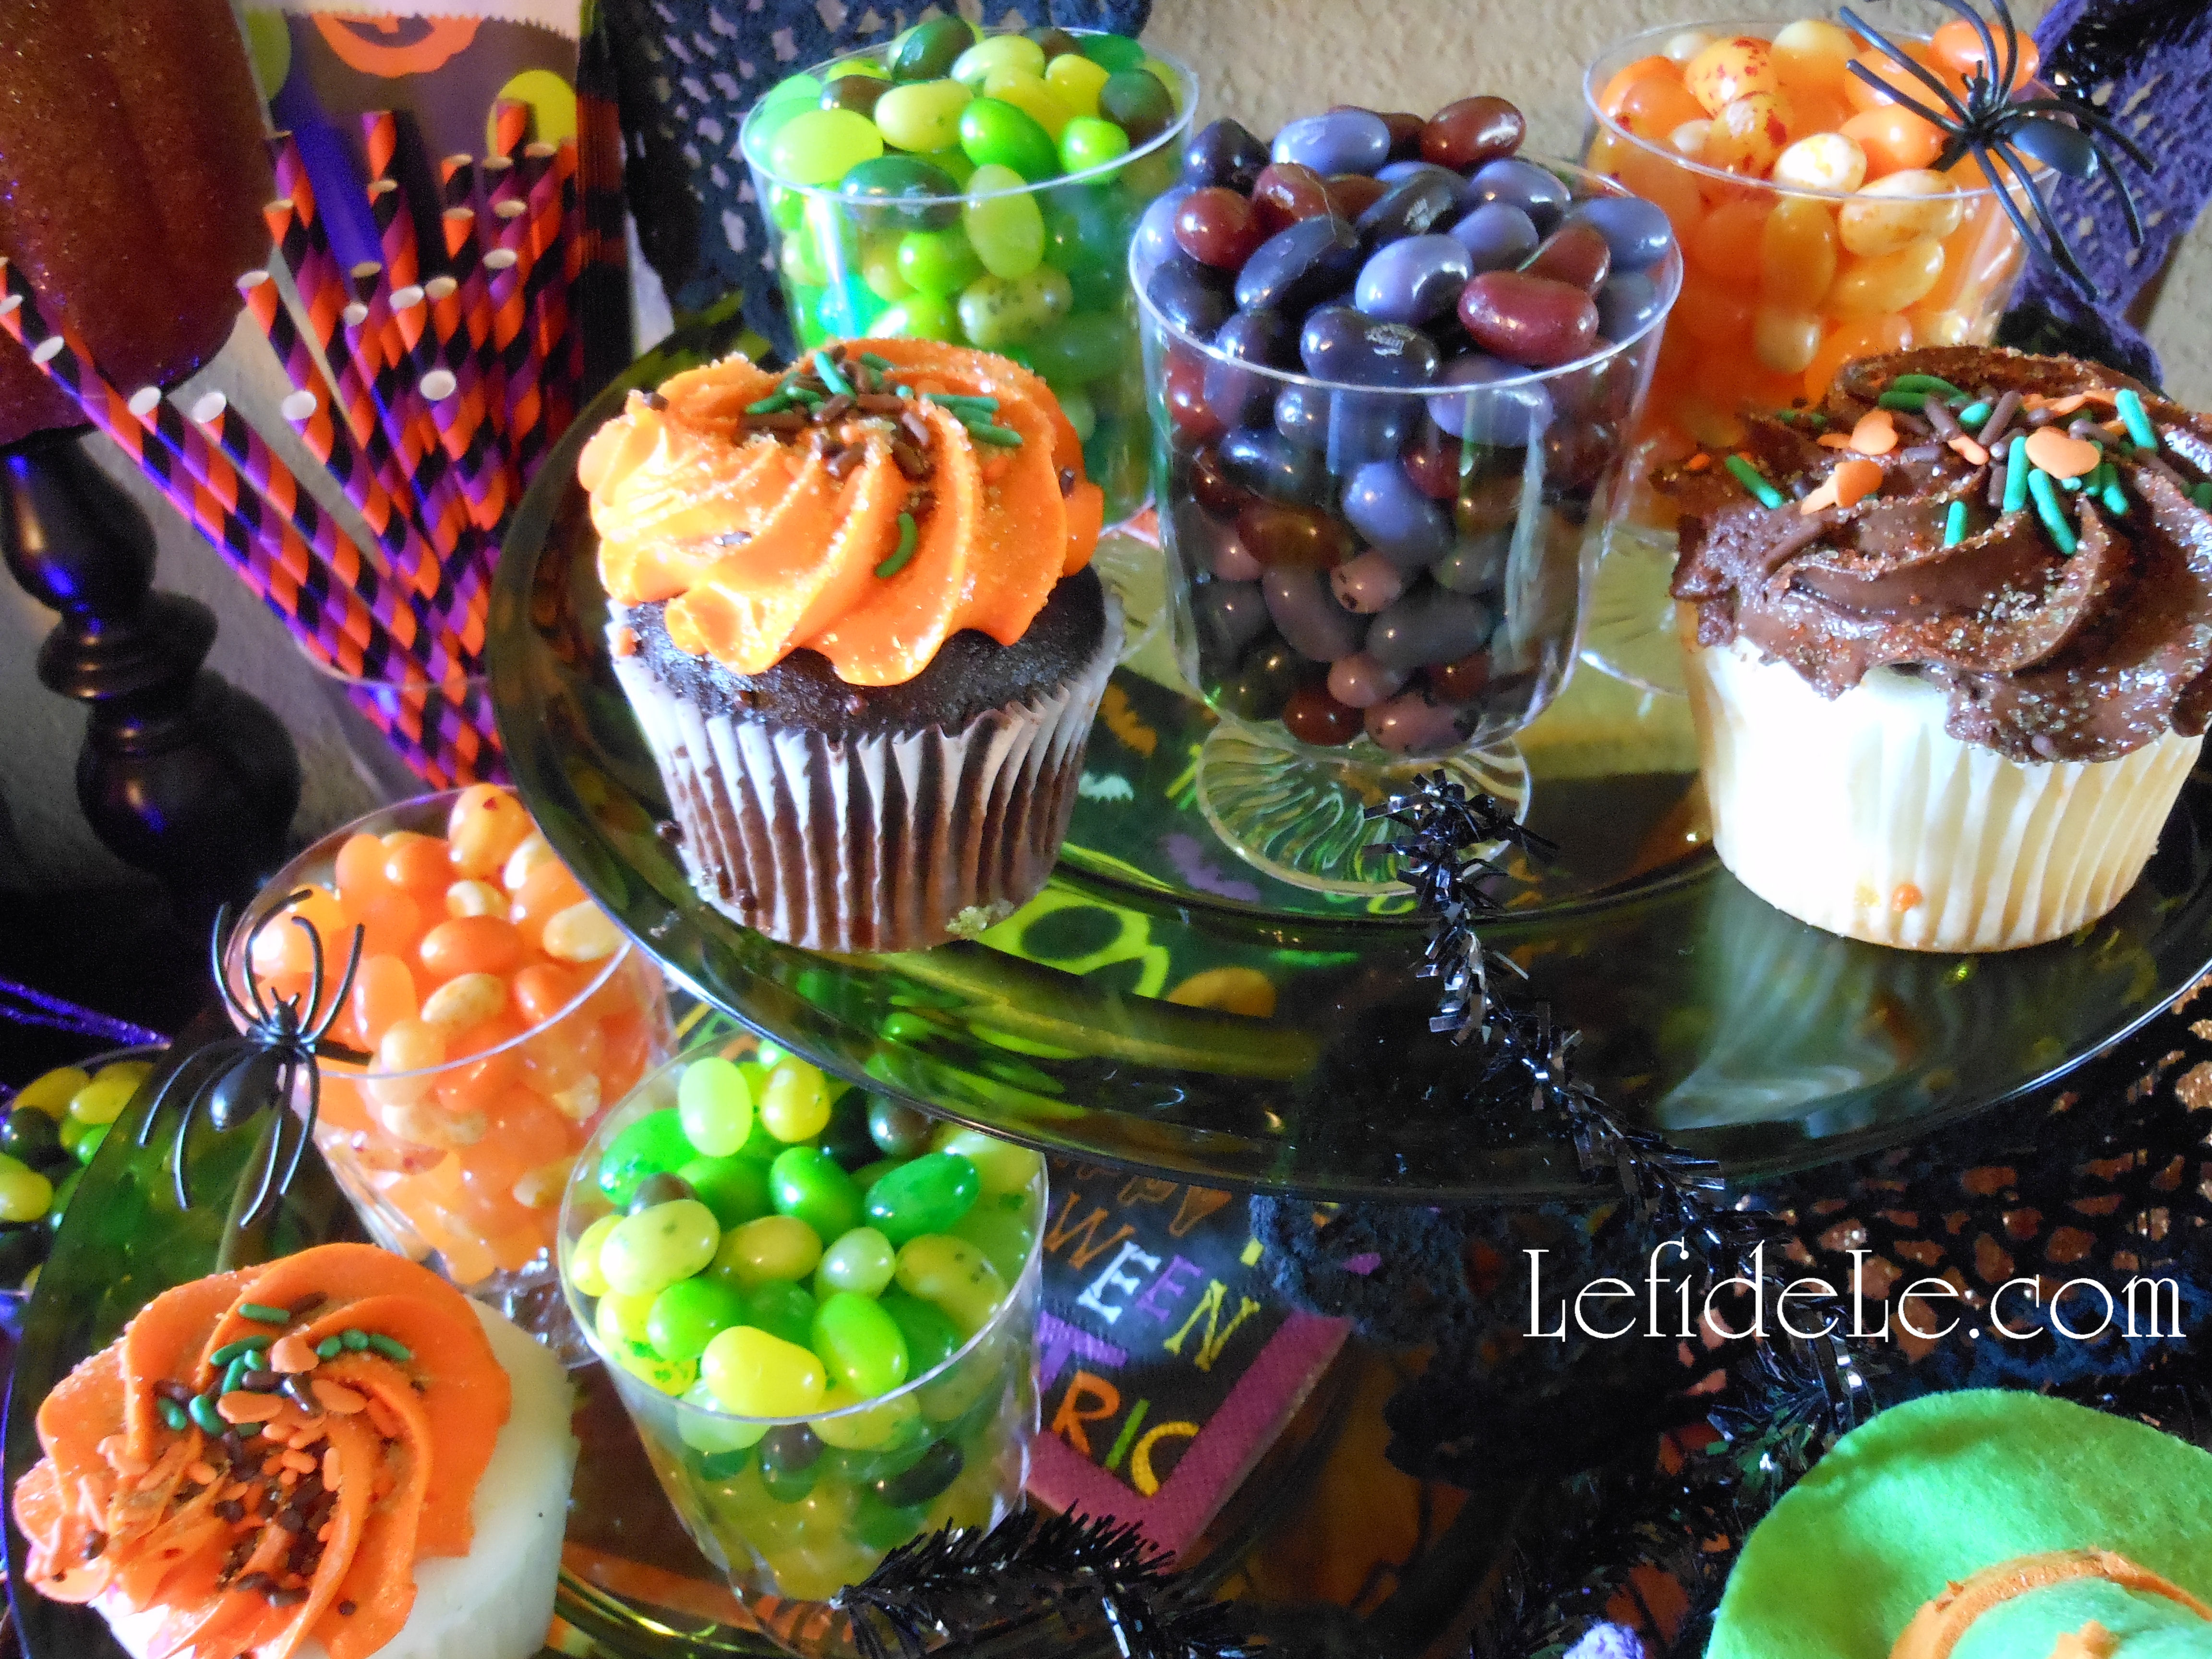
Monochromatic jelly bean cups sat next to a variety of cupcakes on various lifts and levels.

157Leigh

Glittered brooms camouflaged another treat tower’s sides while a shimmering welcome beckoned at the top.

253Leigh

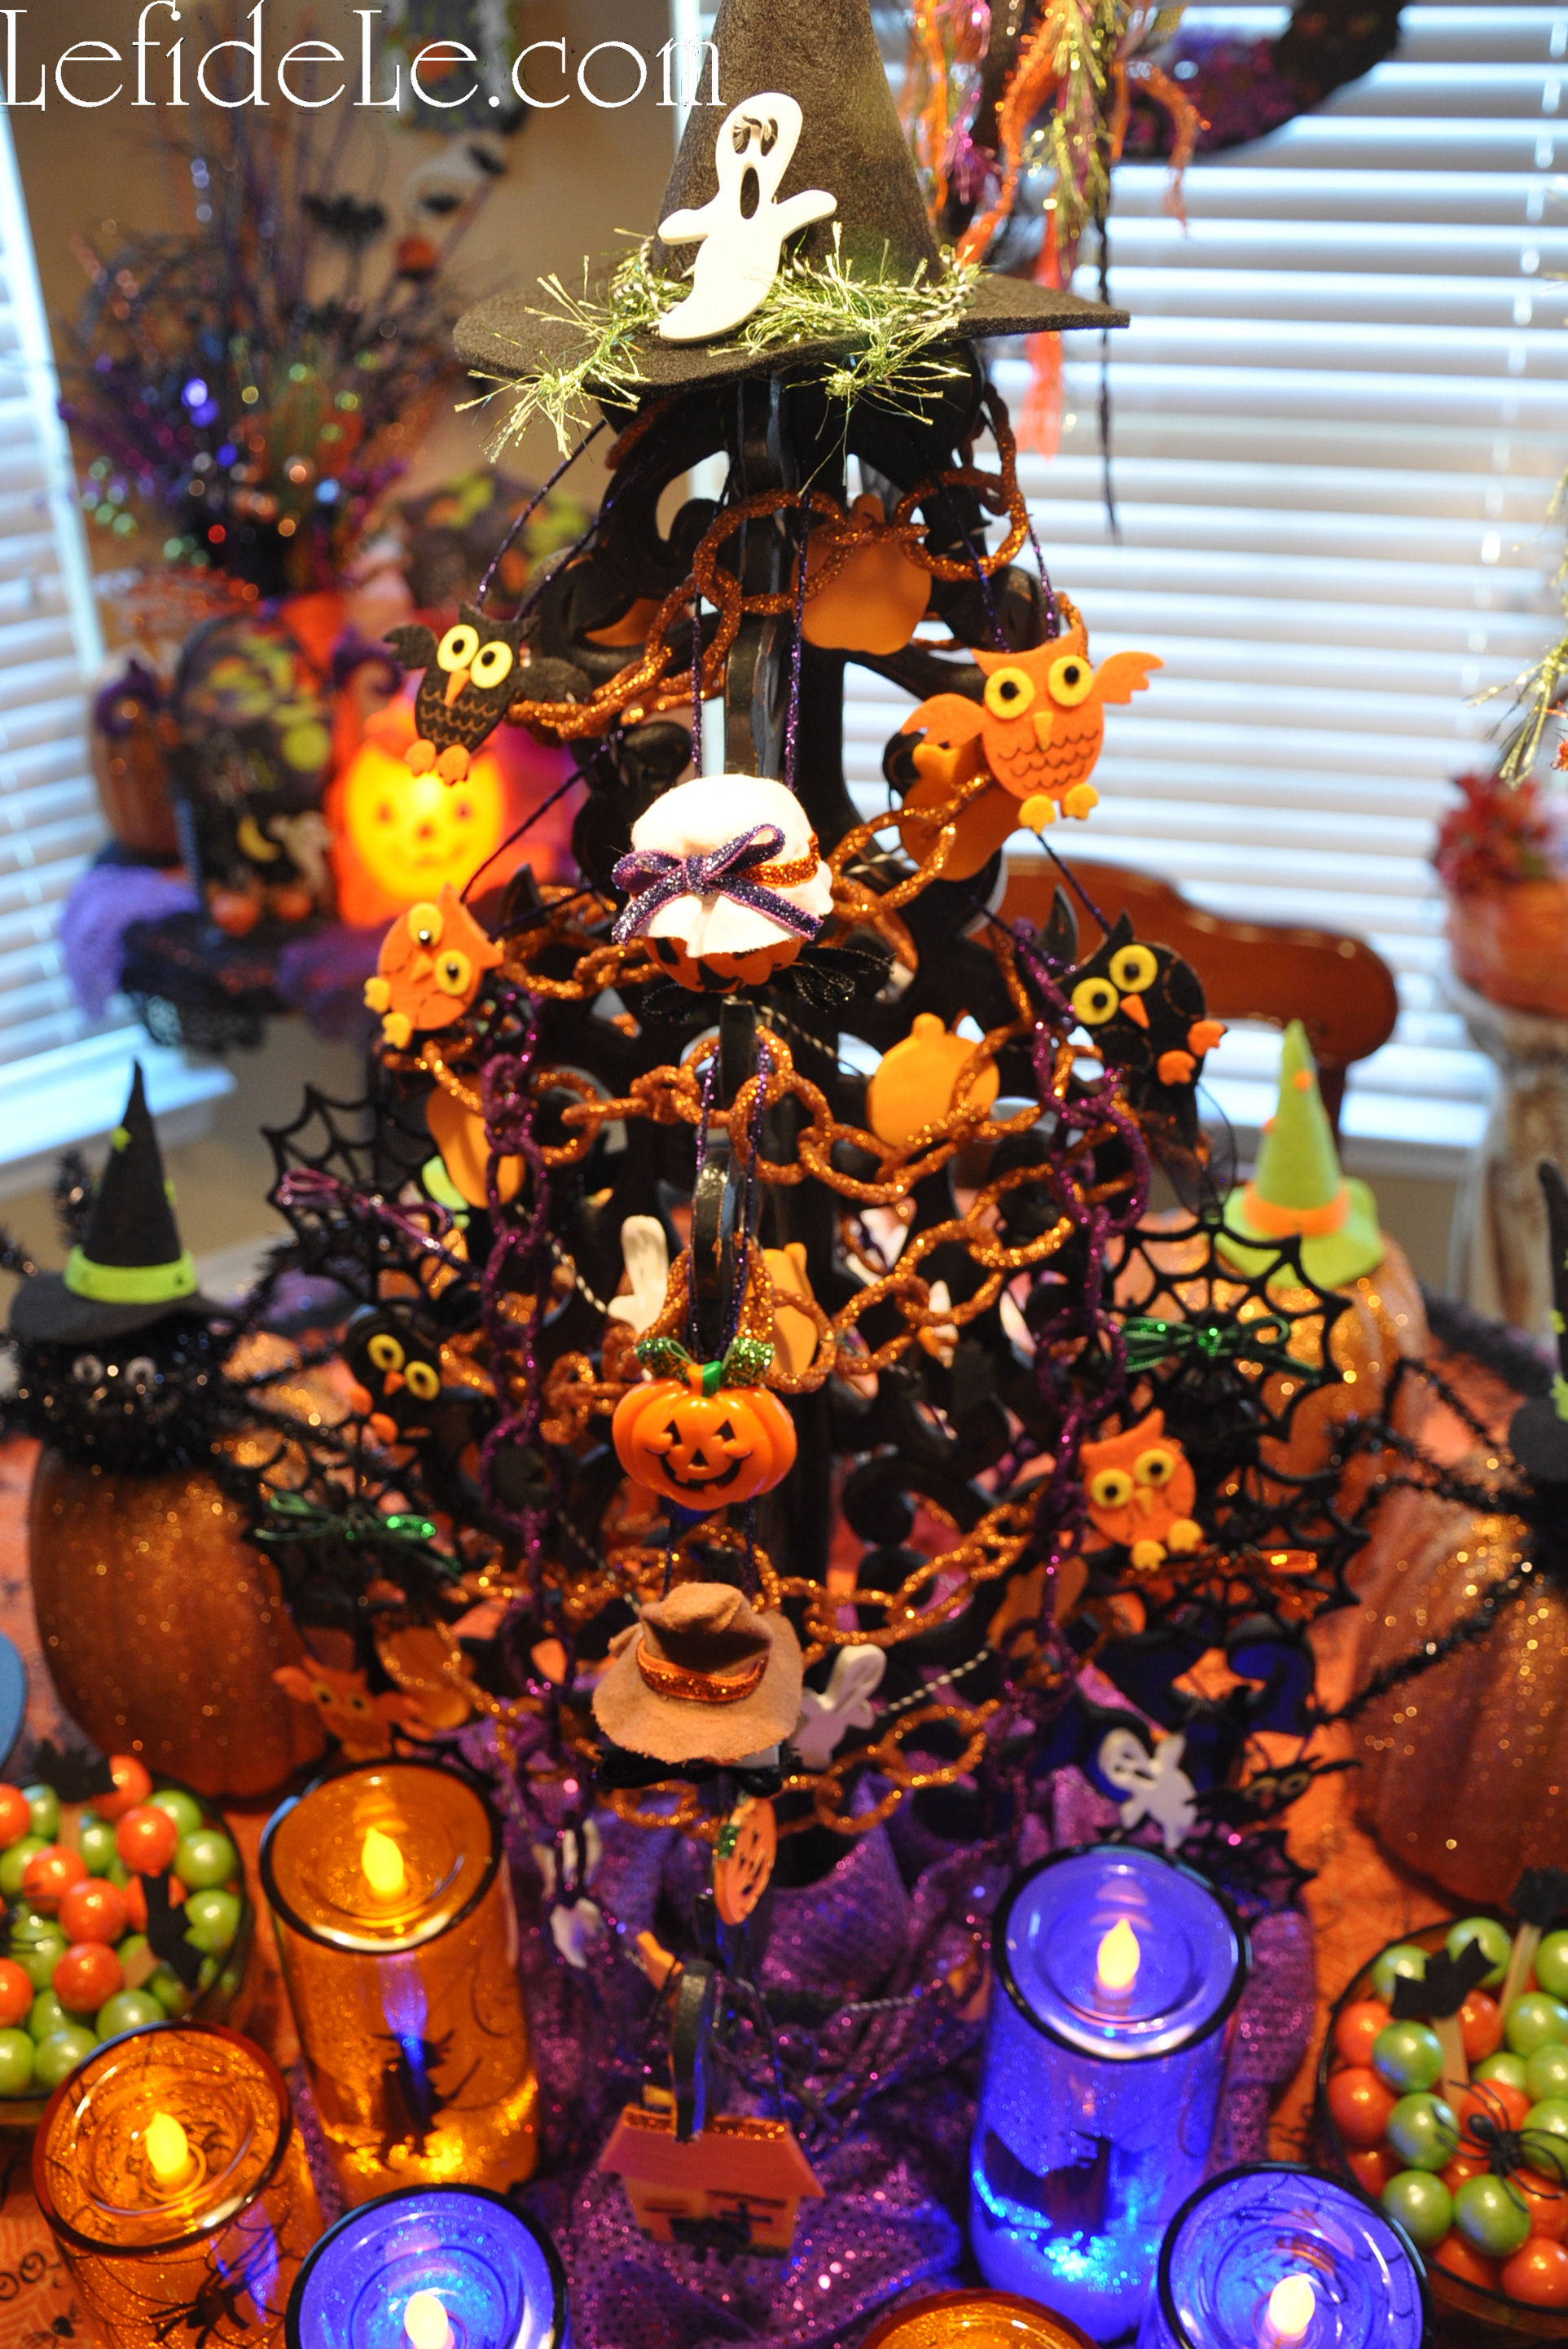
In the breakfast room, a wooden tree painted black, was trimmed with my garlands craft and my ornaments from scraps craft. The tree skirt of shimmering purple fabric was repurposed from Mardi-Gras. The tablecloth had hand-sewn bead and fringe trimming.

231Leigh

The centerpiece tree was flanked with hand-painted papier-mâché witch hats, and the felt ones featured favors from my foam shapes craft.

223Glitterween-Leigh

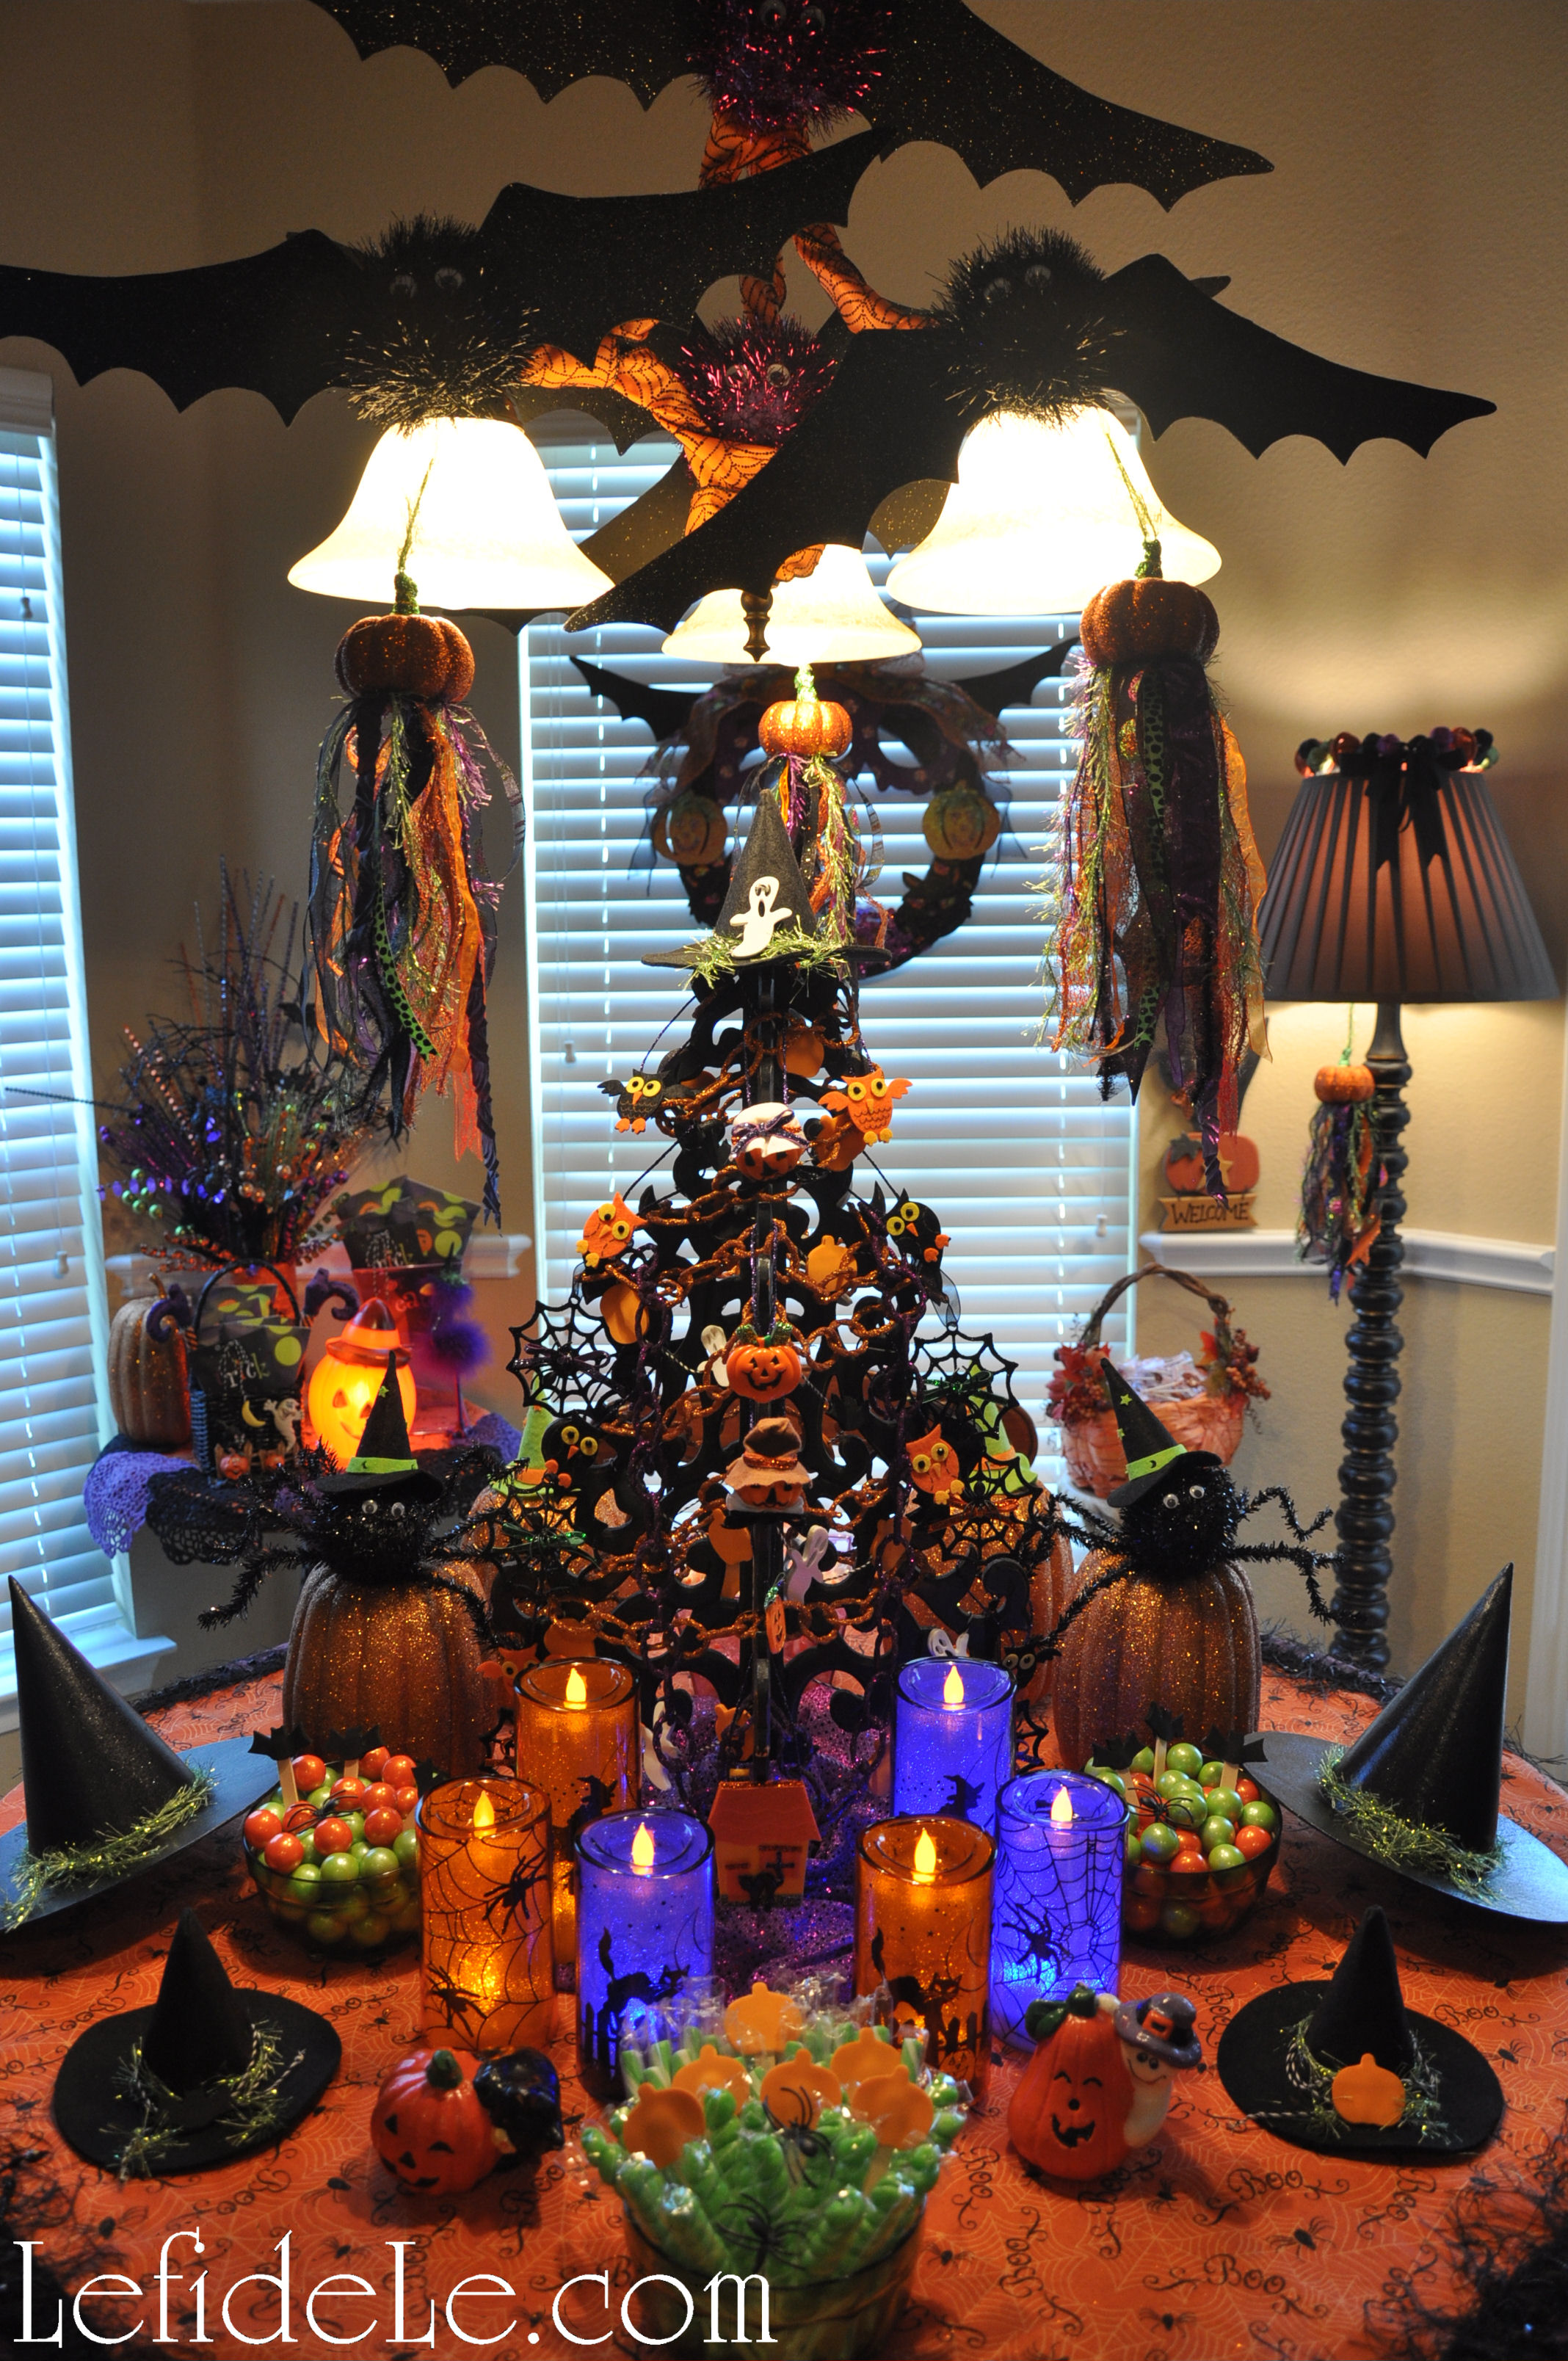
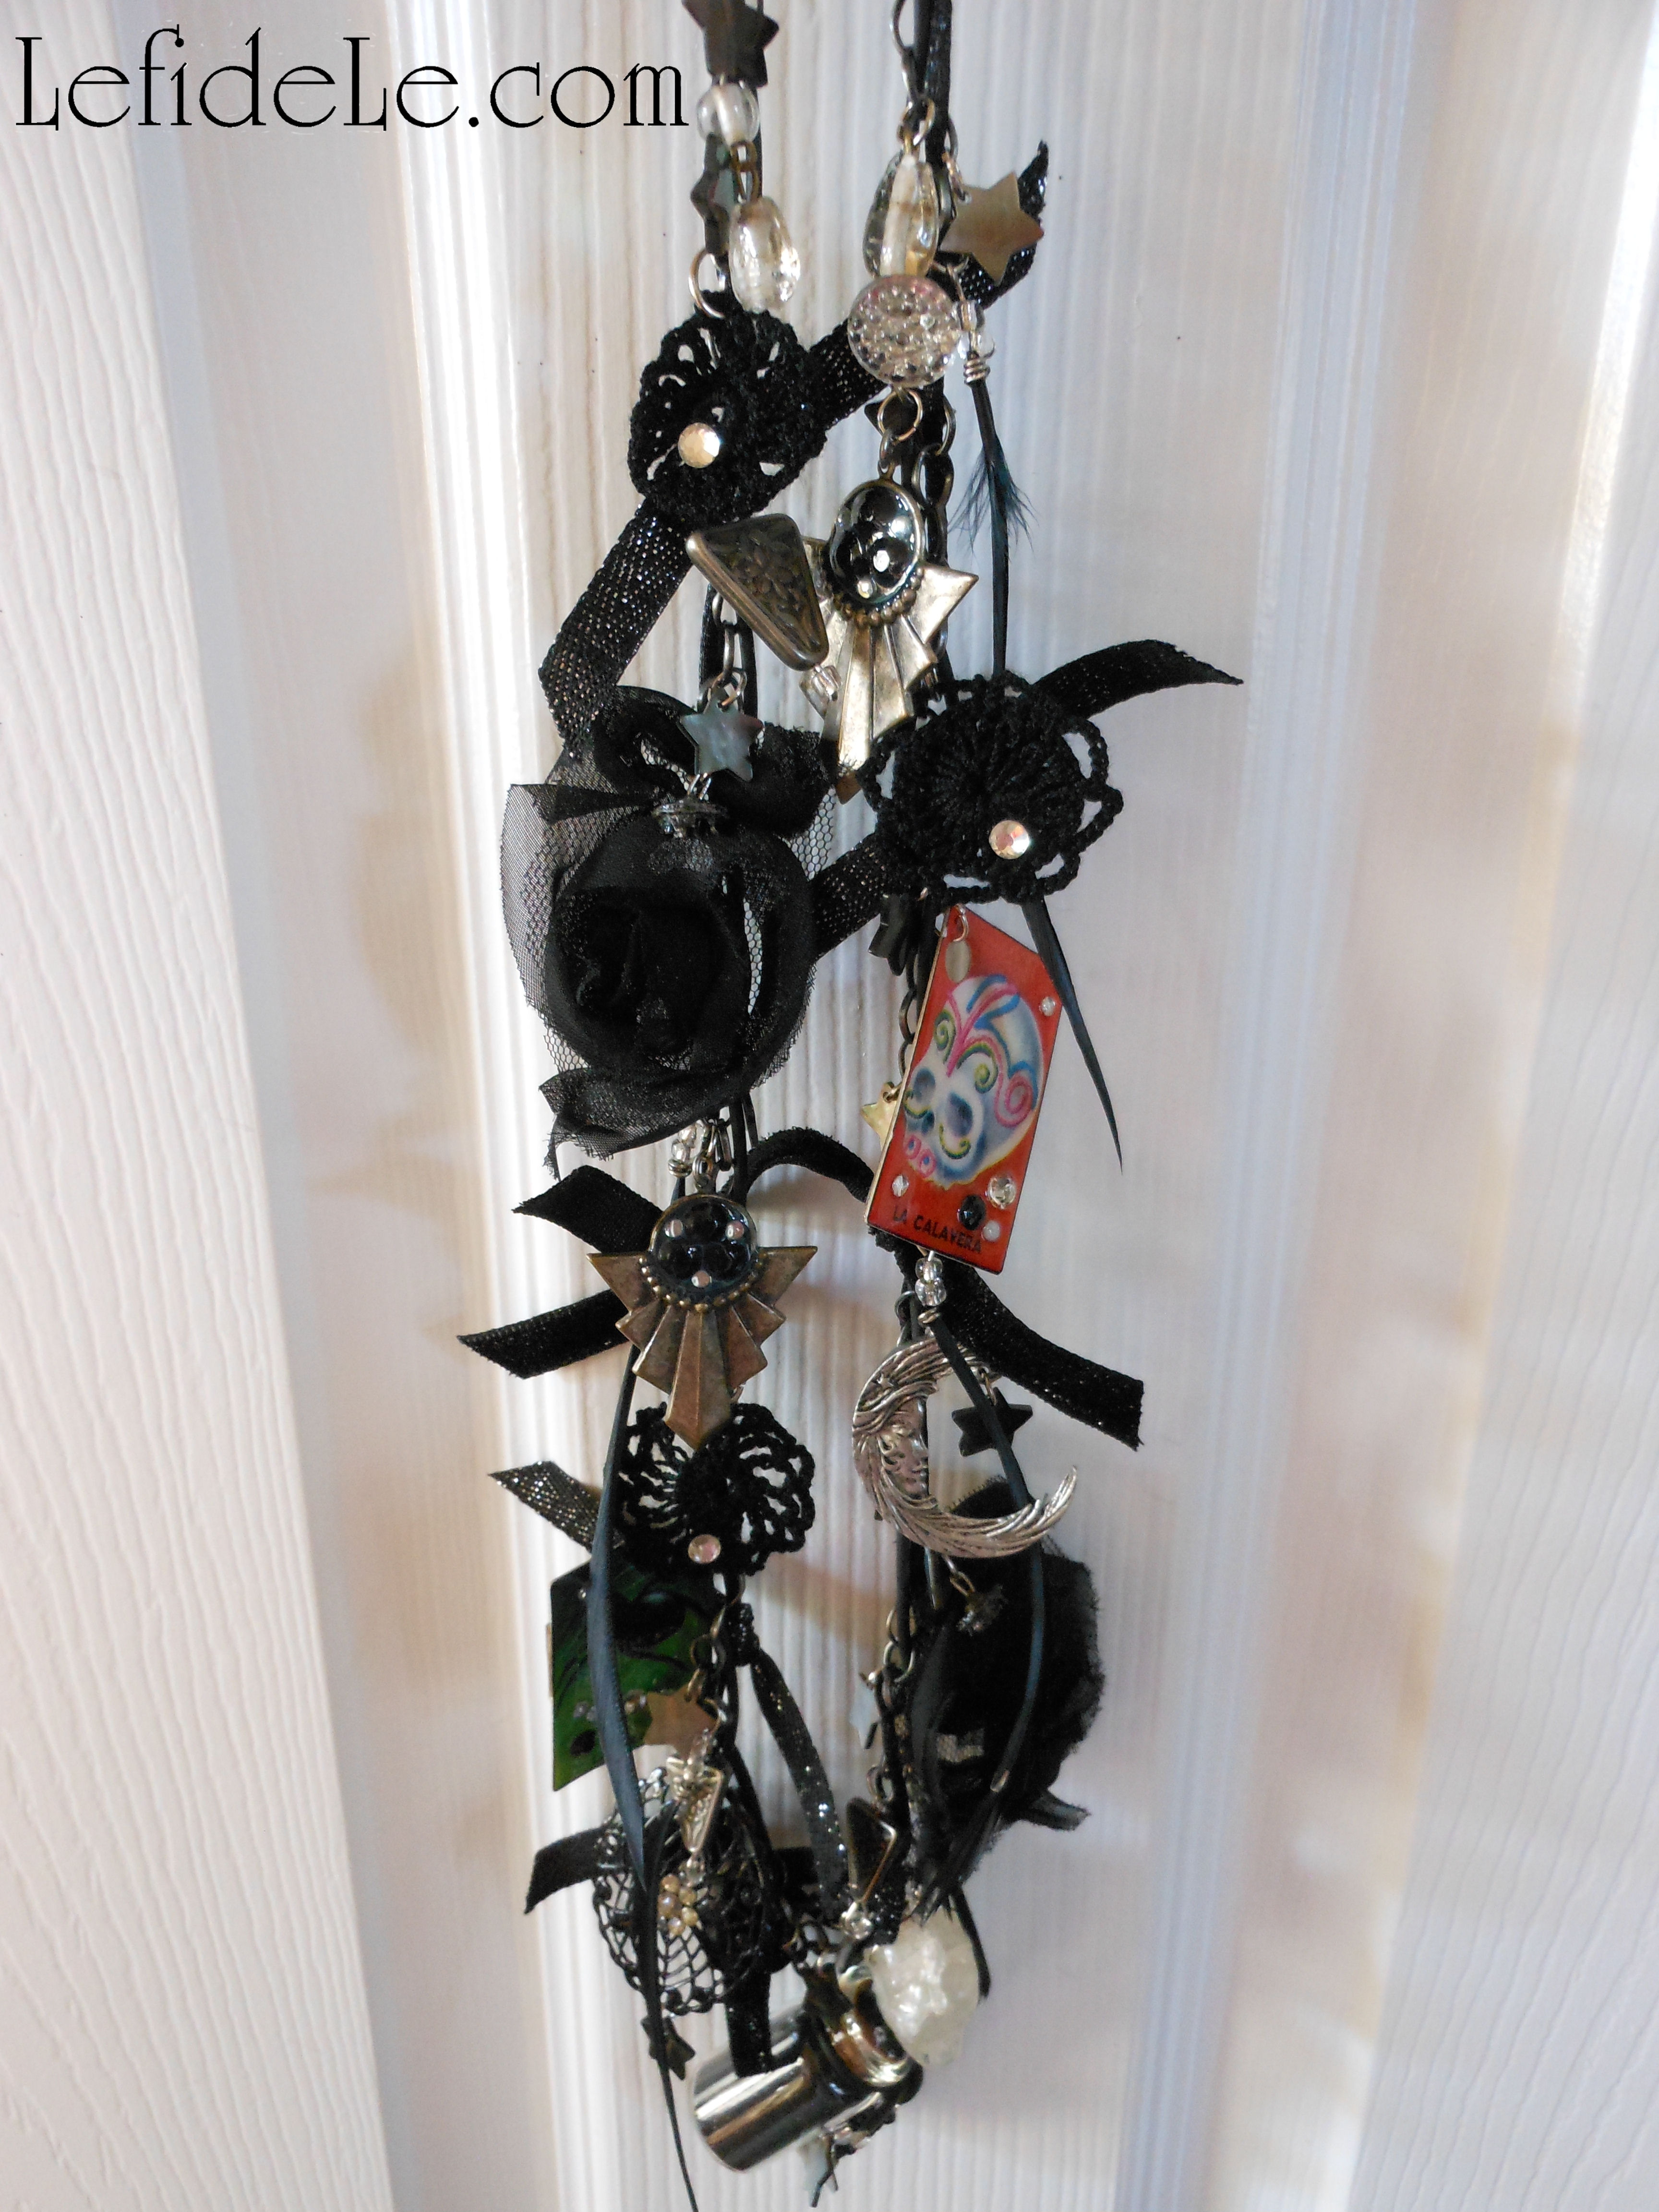
The chandelier was trimmed with ribbon and my friendly bats craft, and then draped with my pumpkin tassels craft.

288-Leigh

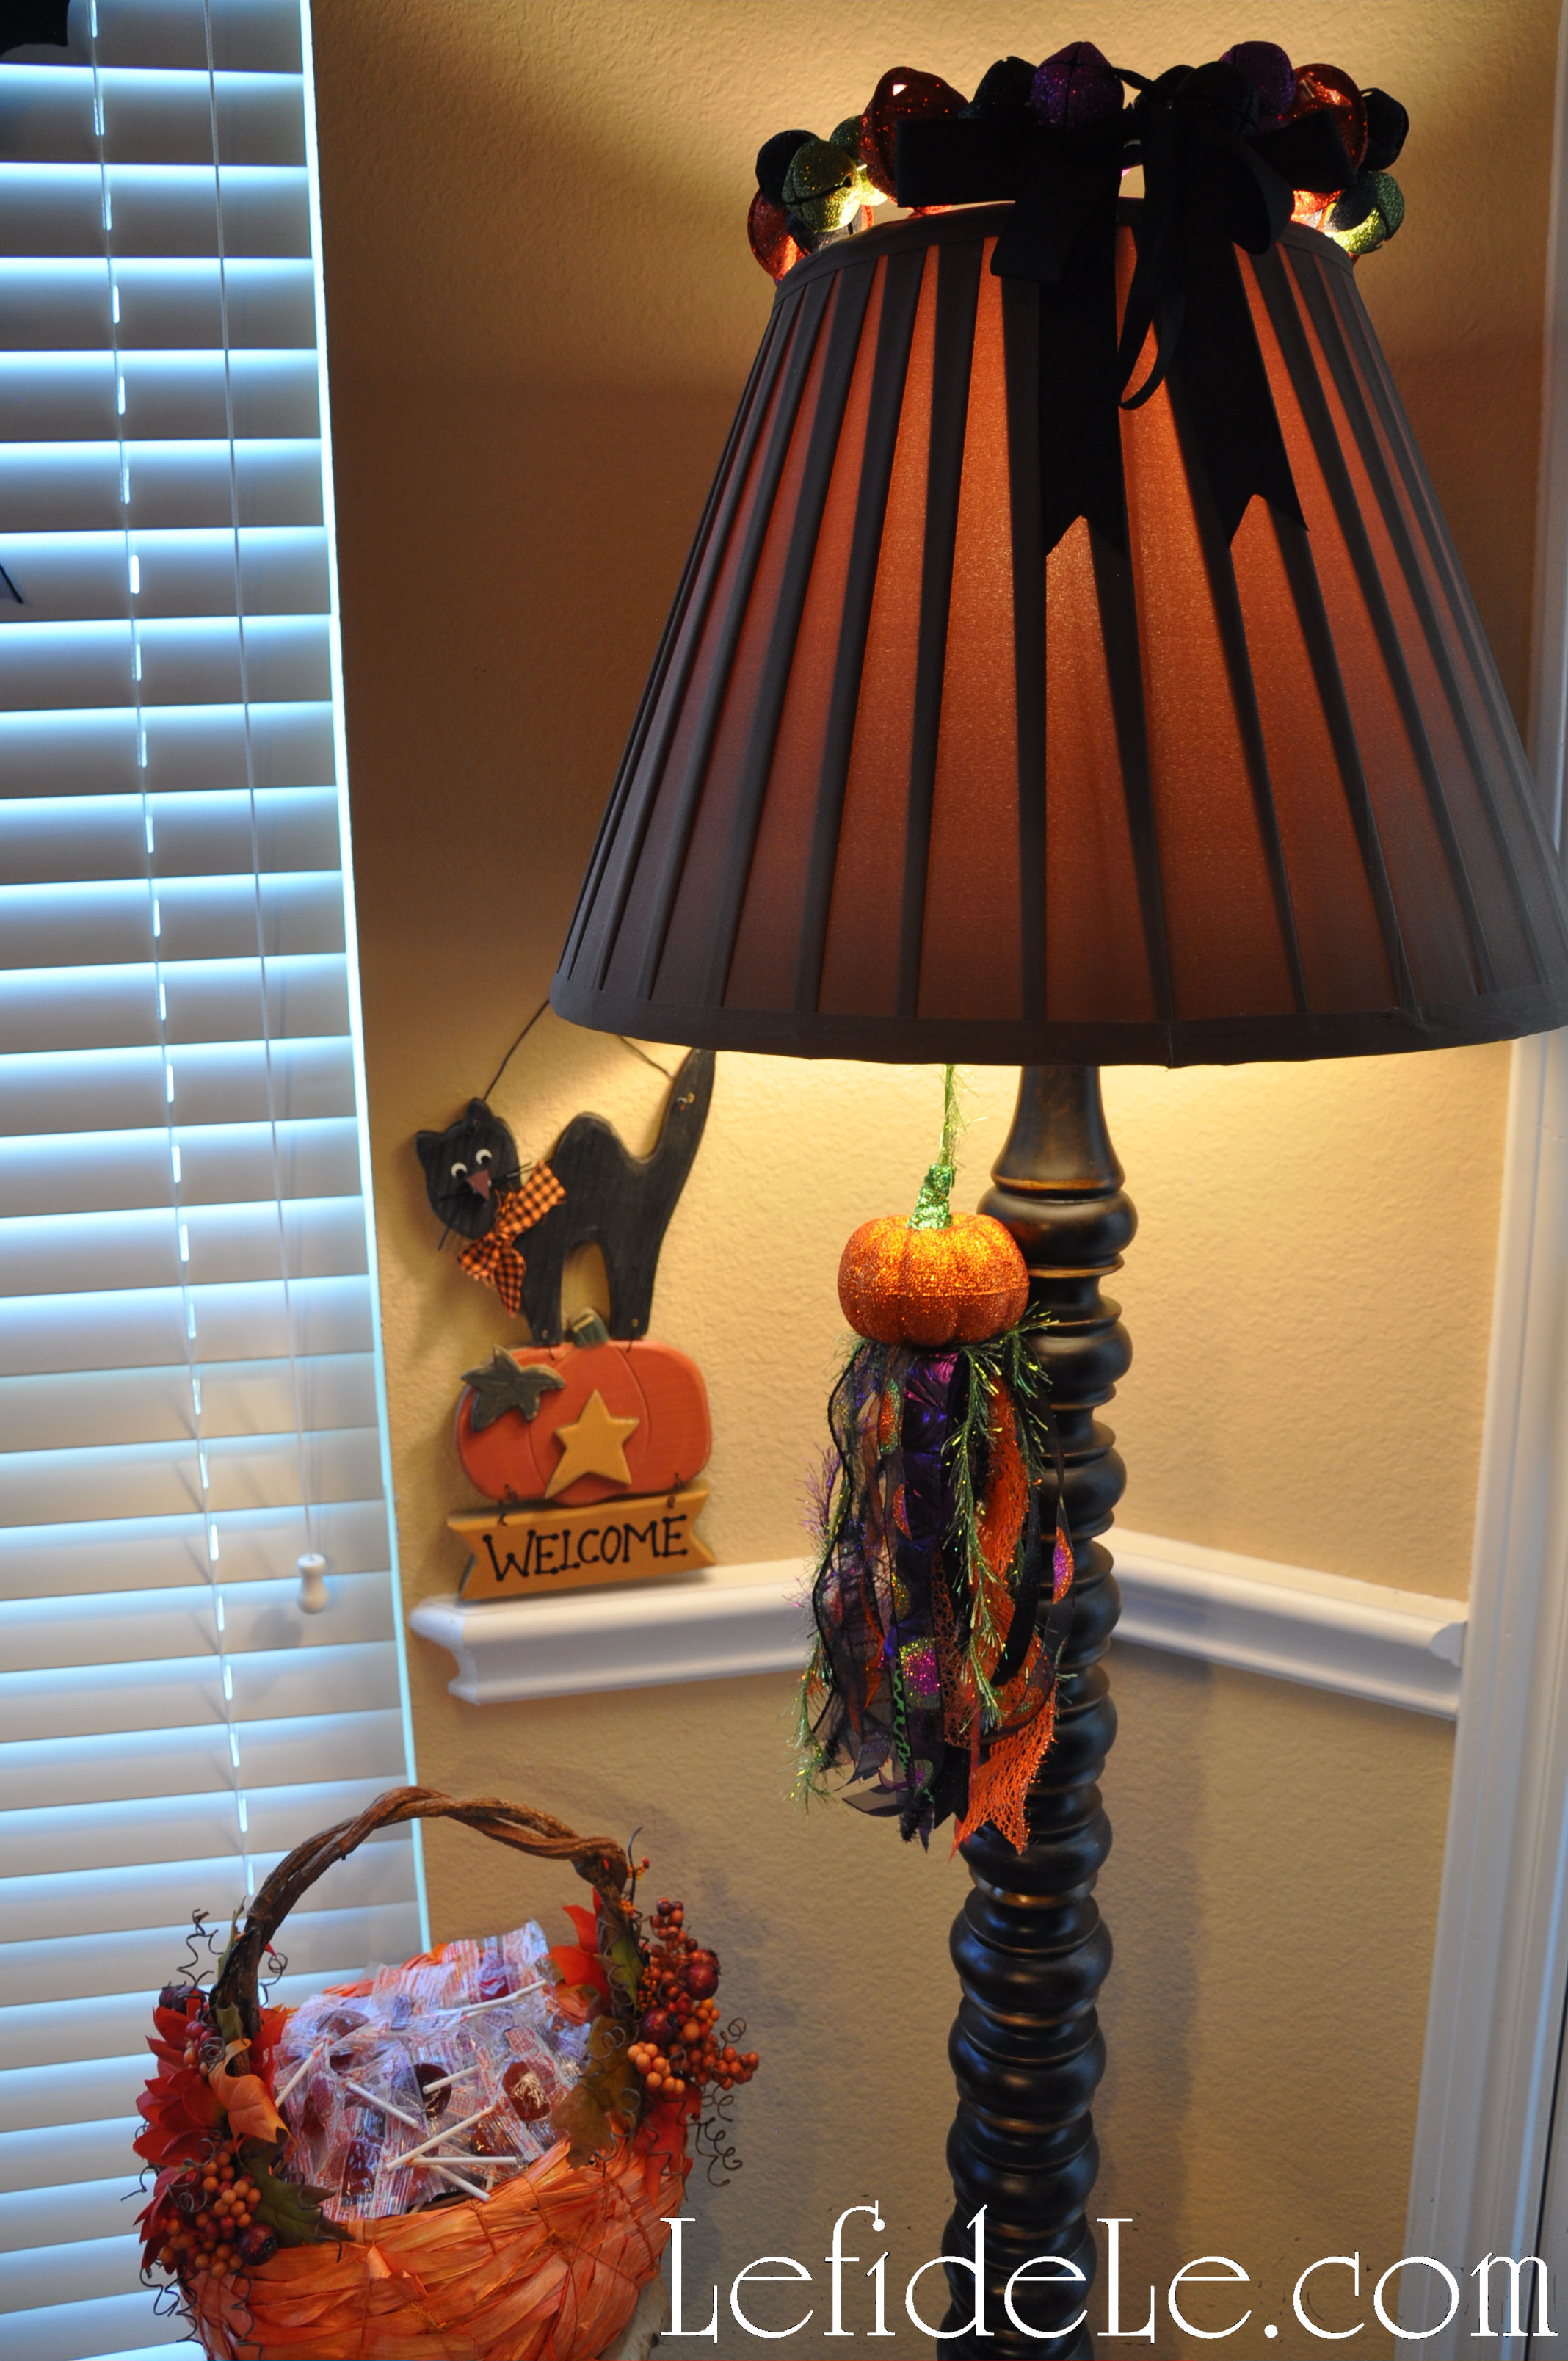
Another pumpkin tassel dangled from lamp. The pictured pumpkin basket will be featured in an article very soon.

260Leigh

Glittered pumpkins sat snugly in a ficus tree, next to a window hung with glittered “BOO” signs.

349Leigh

Another window framed my suspended “BOO” wreath craft that featured some of the same glittered shapes as the garland in the living room. (It was merely outlined in the photos due to conditional backlighting which is why this picture is here.)

263Leigh

A side table held a glitter pick arrangement and pumpkin lamp that’s been glowing since my childhood. Fabric witch feet were tucked into a vintage basket held with treats. My foam shape sign craft hung in the background.

209Leigh

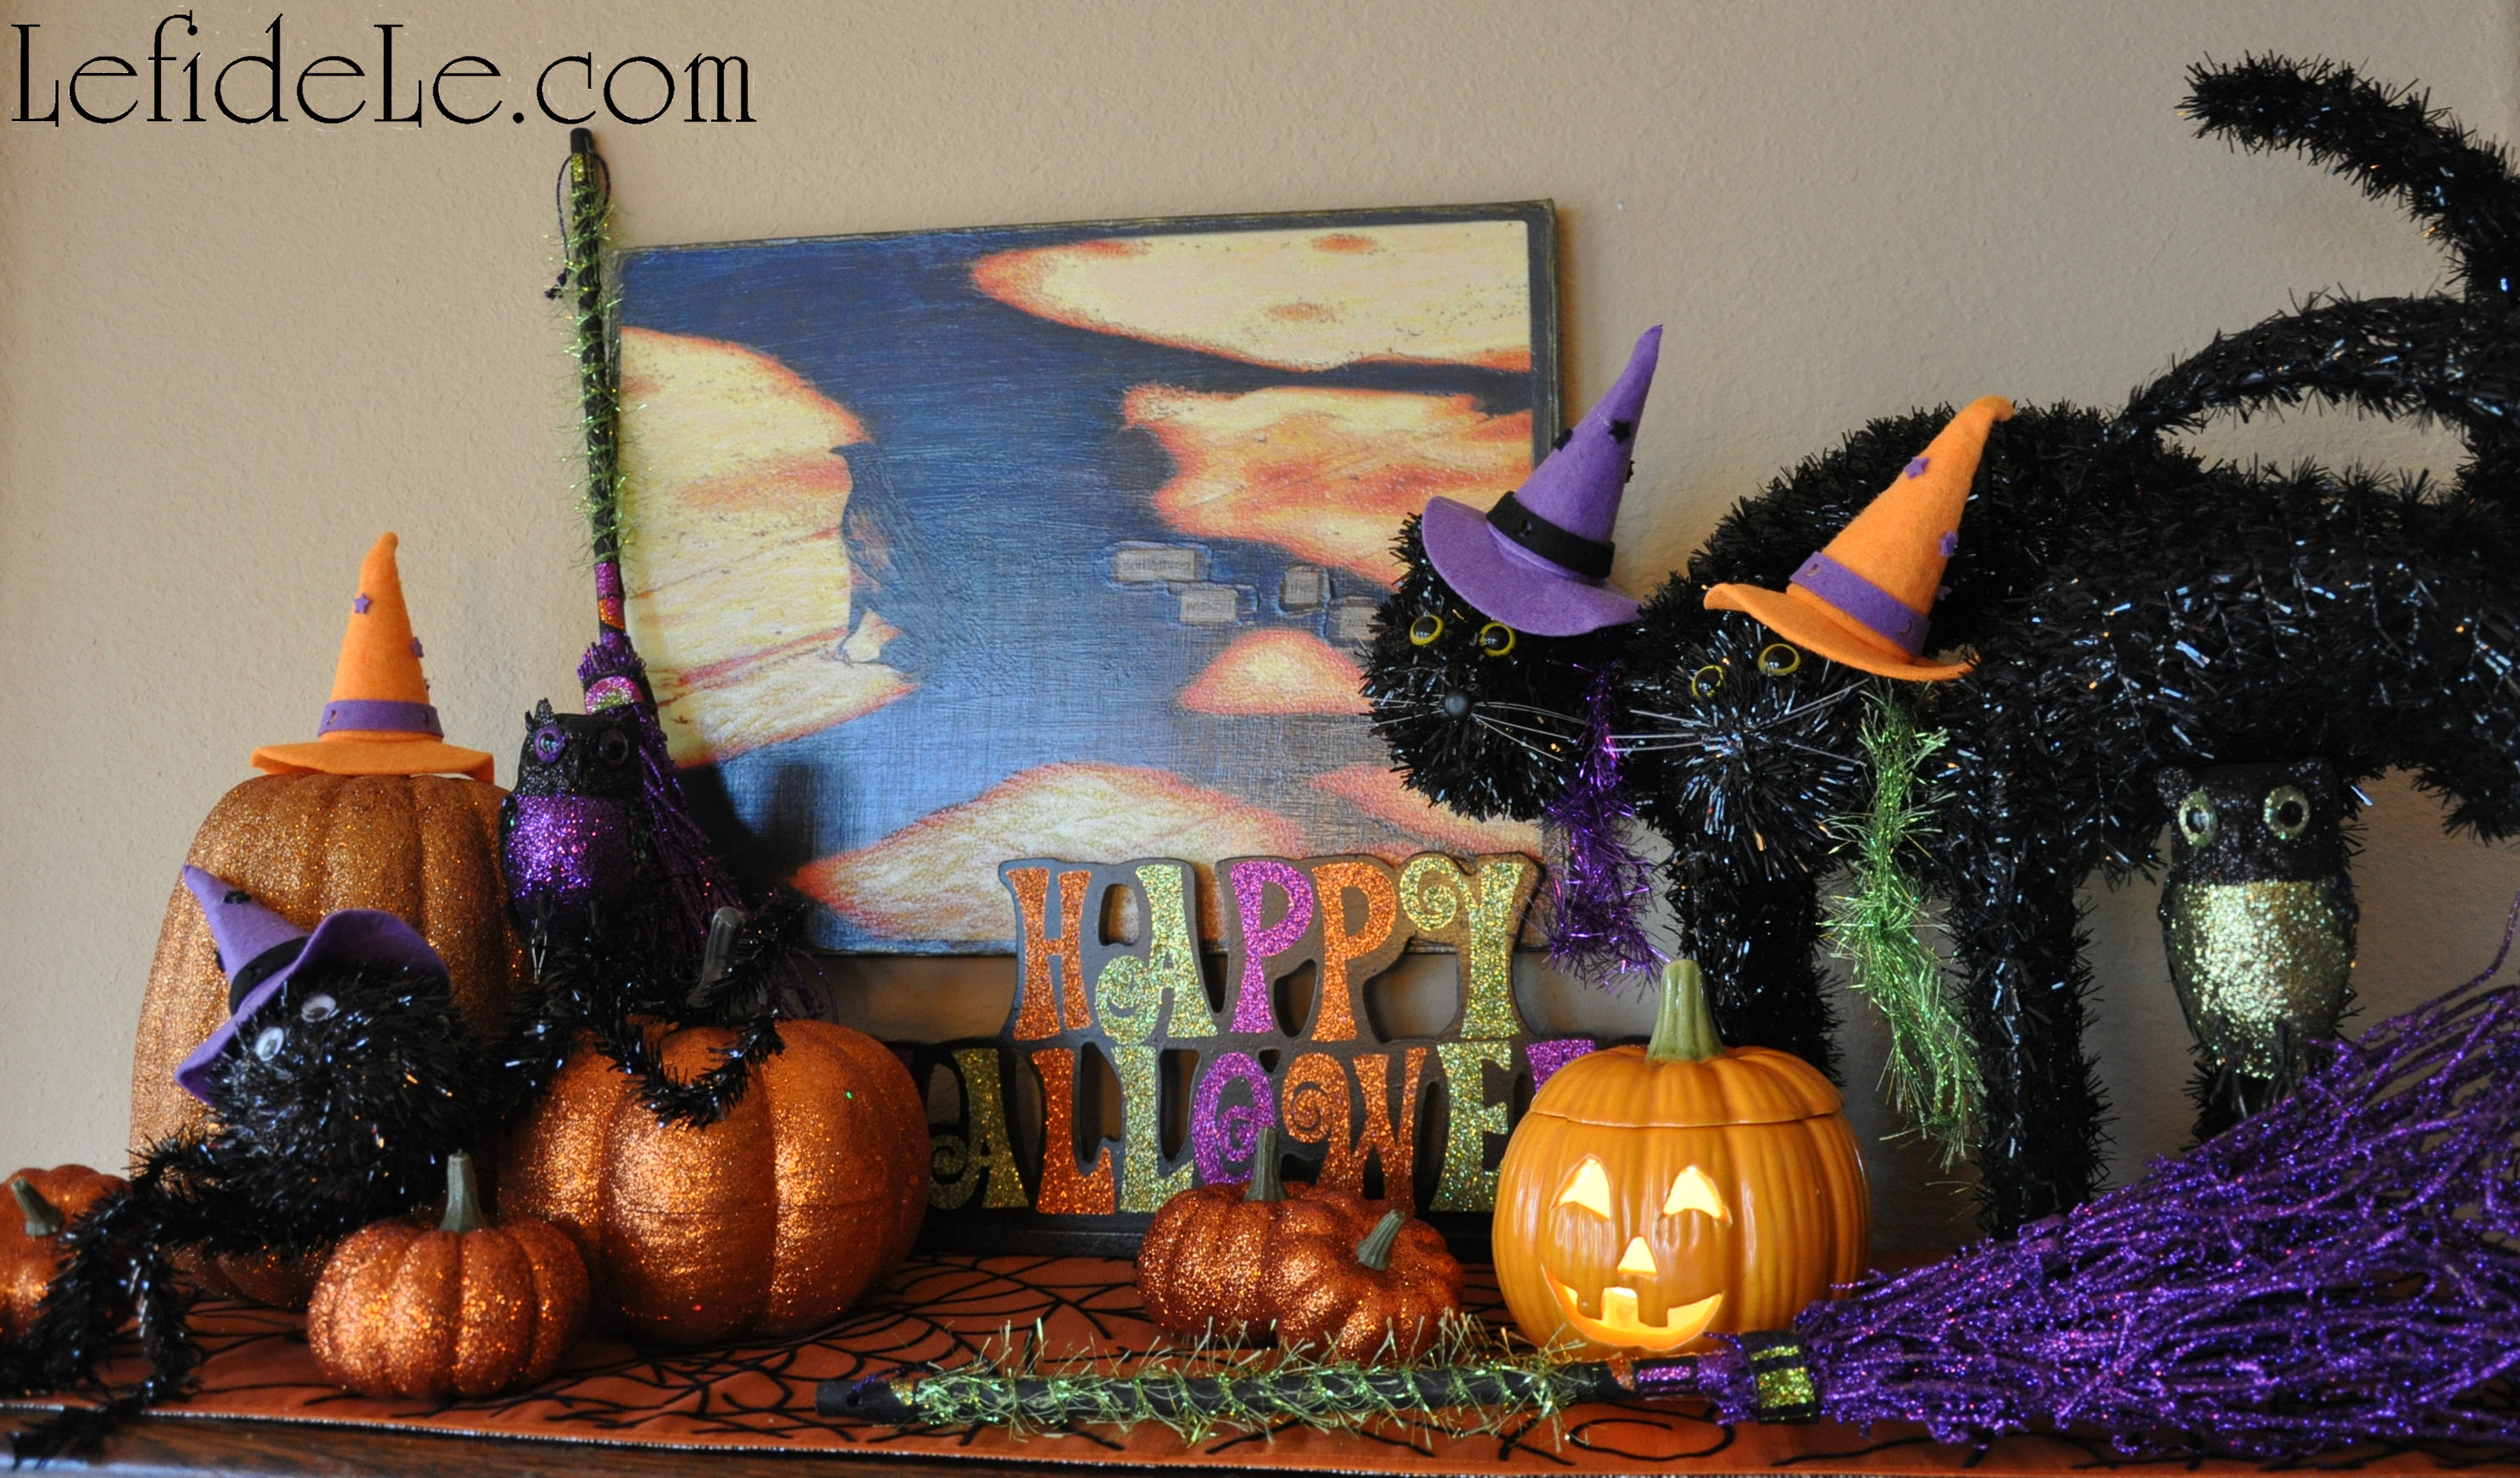
Another surface in the room featured more of the friendly witch menagerie guarding one of my mixed media paintings. Changing up your artwork seasonally is a great way to feature your whimsical creations.

42Leigh

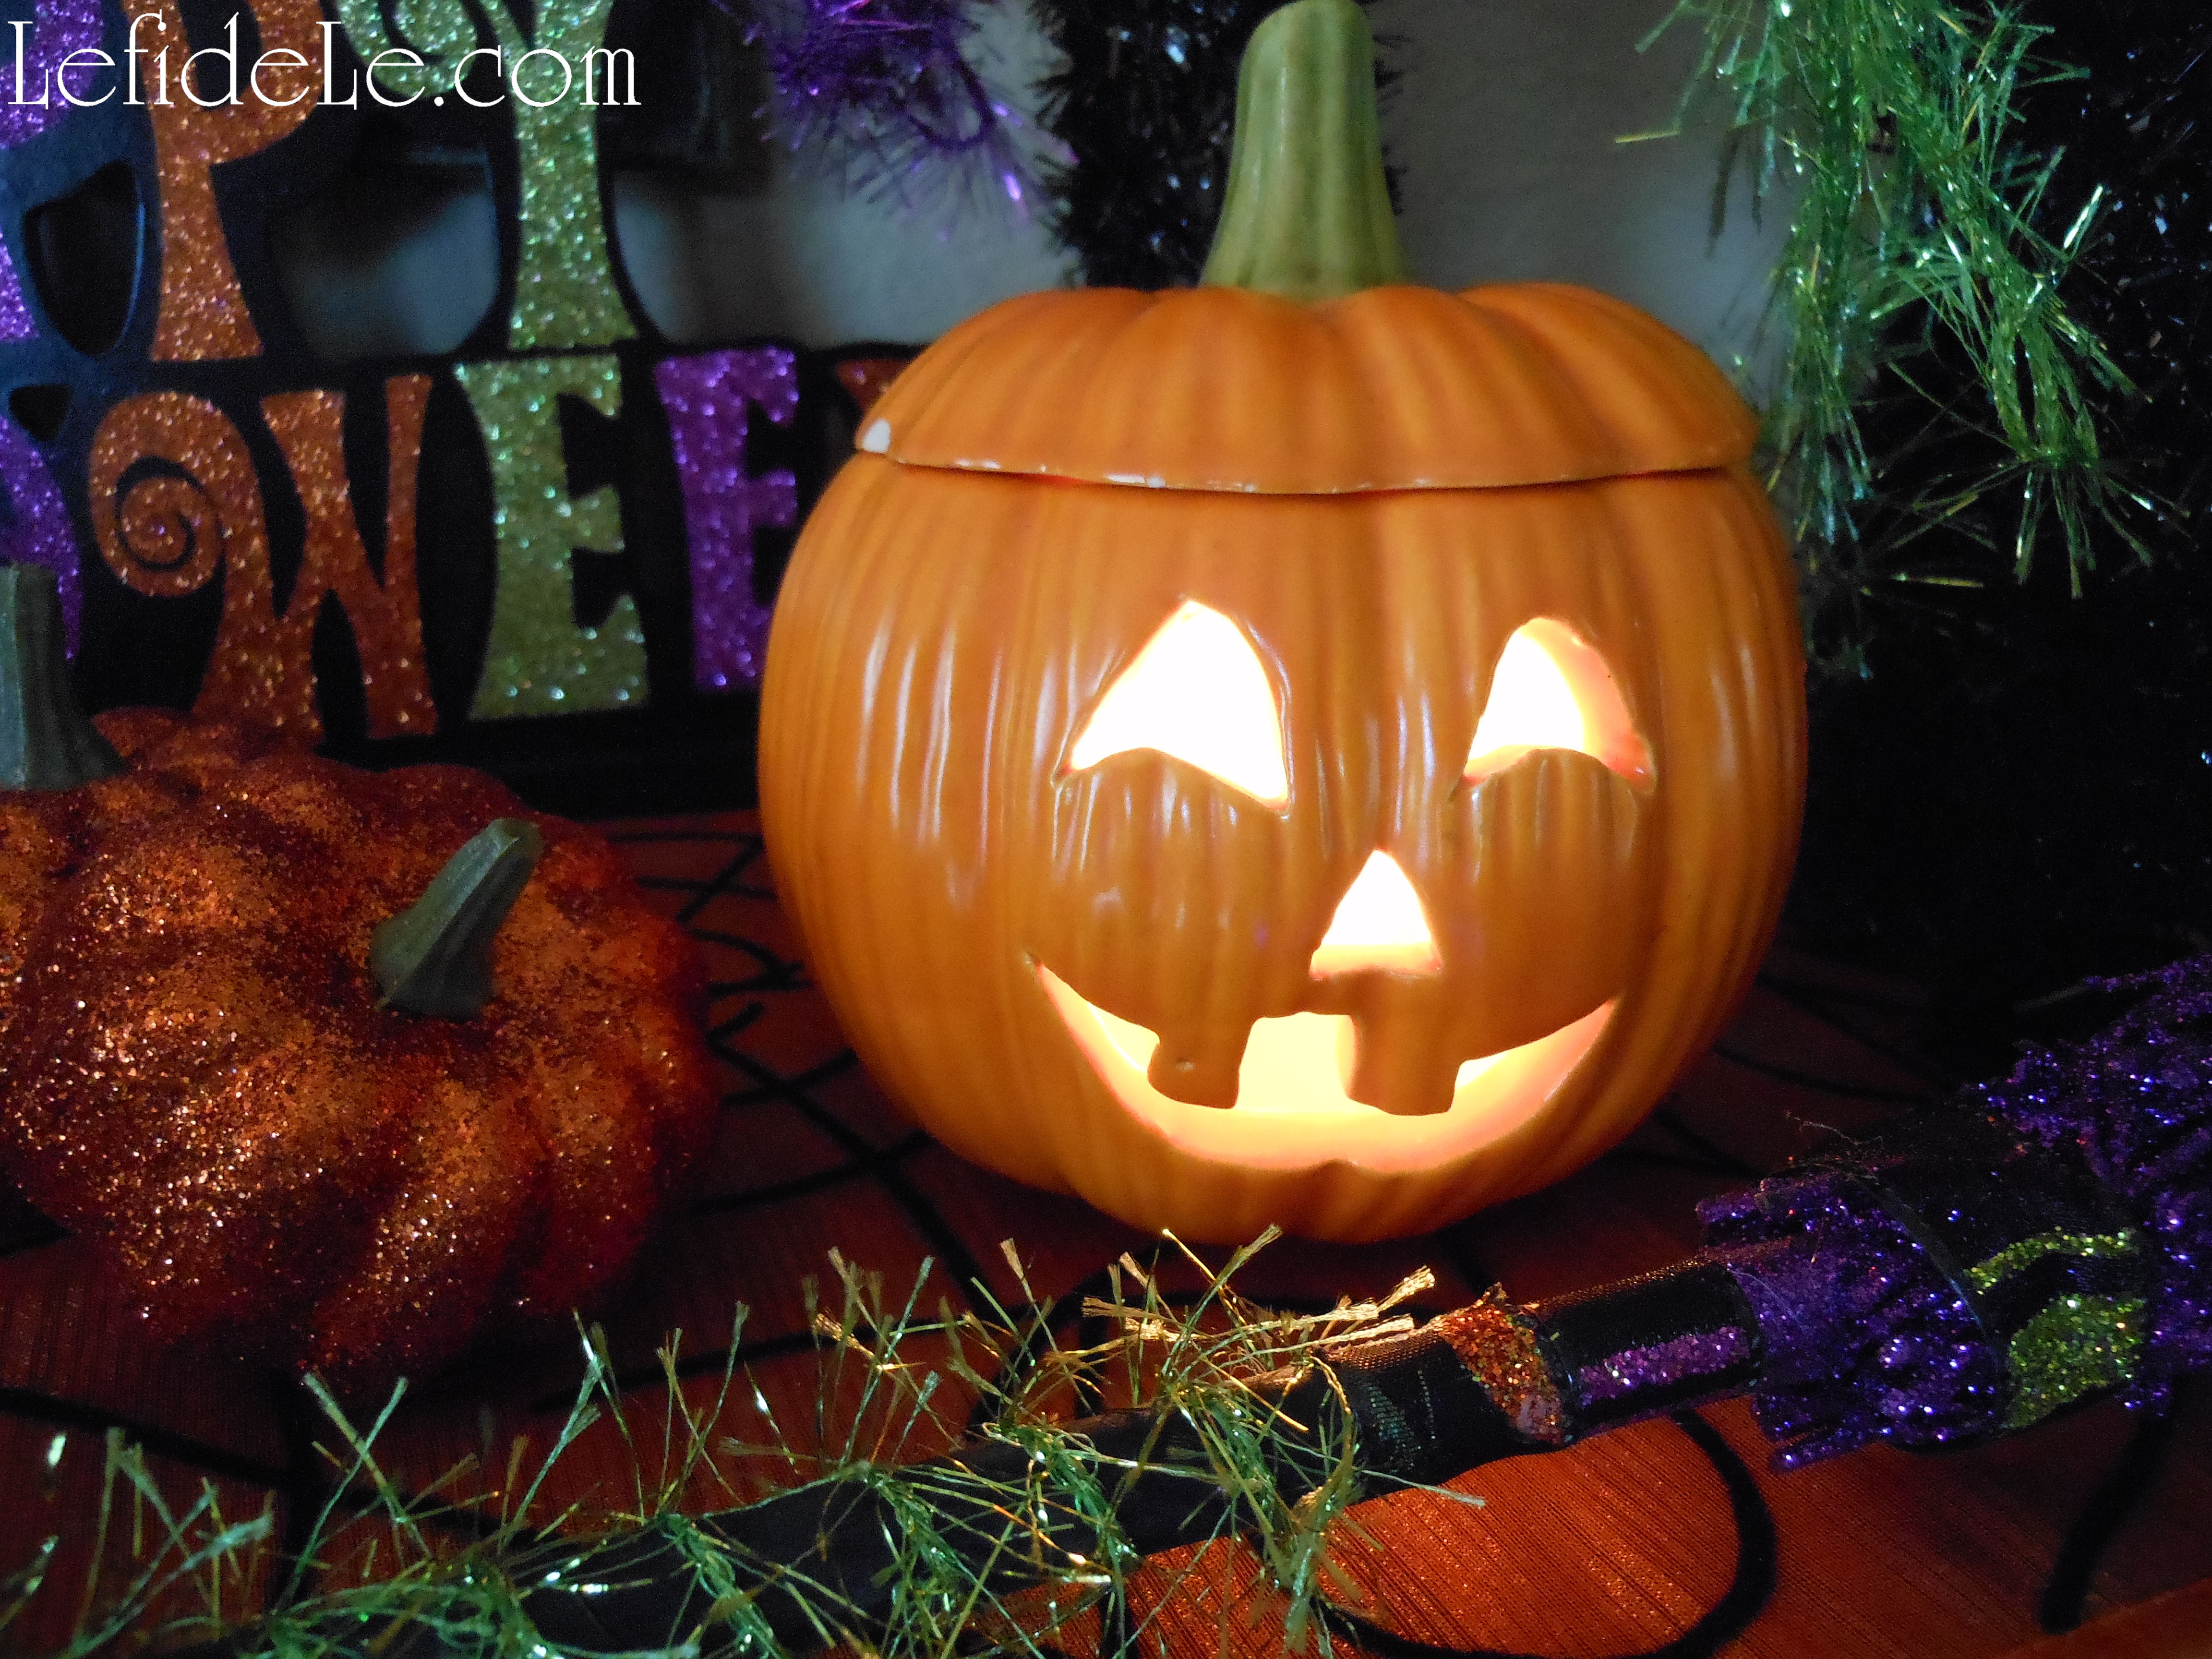
The ceramic pumpkin was made before I was born. It’s easy to add personal touches with mementos by nestling them into your themed décor.

105HalloweenStairs-Leigh

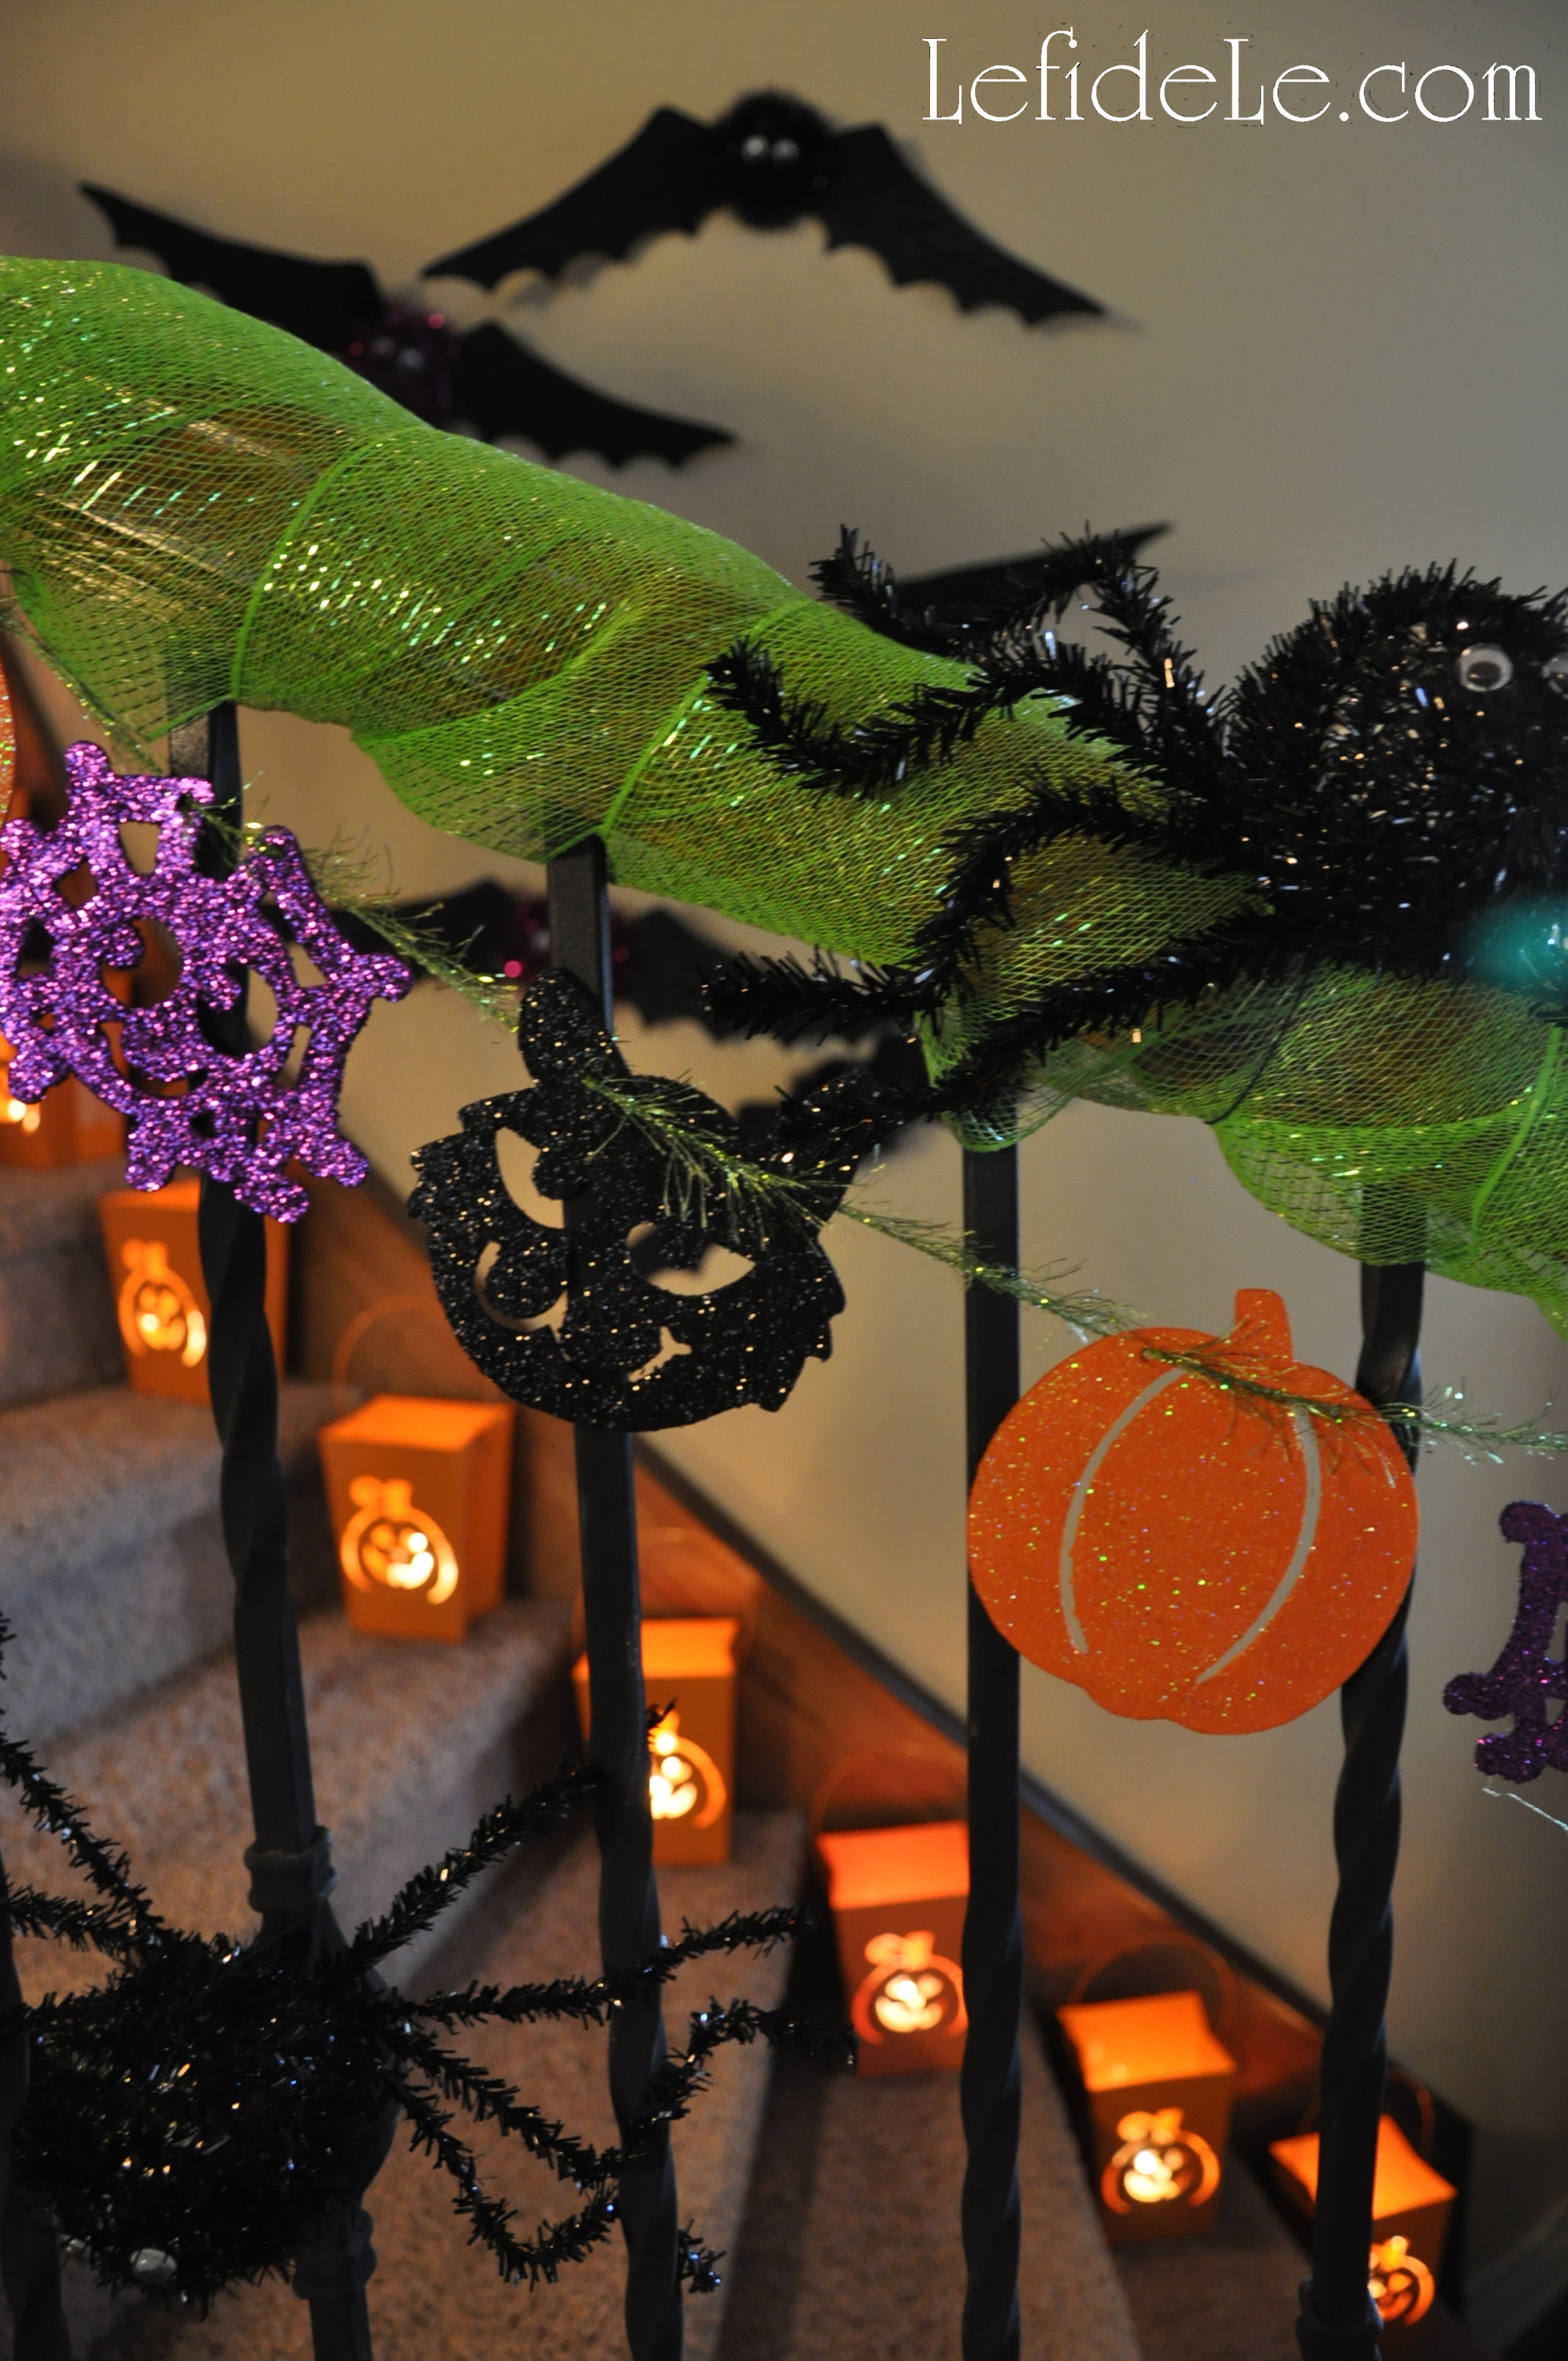
Even the staircase was decorated with foot wide green mesh ribbon, more glittered garlands, glowing luminarias, flying bats, and crawling spiders.

137cLeigh


Have a Safe and Happy “Glitter-Ween”!

Faithfully Yours,

Leigh


DIY Mixed Media Wicked Witch Halloween Statement Necklace

010Leigh

This craft originated from an invitation to a huge Halloween costumed charity ball that I donated some artwork to. I wanted to wear an ‘80’s era green velvet frock with princess sleeves and a full skirt, but I just didn’t feel like wearing a crown. So I decided to toughen up the look with black leather boots and a corset belt. Then I ordered a wicked witch hat straight out of “Oz the Great and Powerful”, which I haven’t even seen yet. I even added a beaded black broom, but all of that still couldn’t counteract the sweetness of the dress and my Glinda-the-good-witch curls. What I needed was a wicked witch statement necklace!

01Leigh

Making mixed media jewelry is a fun process that really unleashes the creative spirit because there are really no rules to follow, so there’s no messing it up. One begins with the gathering of any and all material that could possibly coordinate. I used vintage pendants, earrings, and beads alongside newer elements. Craft stores sell many items that have a vintage look if you don’t have any at hand. You can always lay out a design at home and then return anything unused.

9Leigh

I filled a corked glass bottle with fine black glitter to simulate magic potion. Then I placed black and clear seed beads onto eyepins (= short hard wires with a crook at one end) and added shell star beads. (In future articles, I will explain more about beading for those of you who haven’t tried this rewarding activity.) I also added stars to other elements like moon and spider-web pendants with jumprings (= metal circles with single cuts).

4Leigh

Next I cut out 2 spooky pictures from a Spanish bingo game. They would soon become beads.

6Leigh

I placed clear and black crystals on the tiny game cards and squeezed on “Plaid Mod Podge Dimensional Magic”. The liquid dries clear and to the touch in a few hours, and cures by the next day.

12Leigh

Adding crystals and liquid “magic” seemed appropriate for the project, so I continued with other elements that needed further embellishment.

10Leigh

I even used it in lieu of glue to add crystals and seal the top of the glitter vial. I then attached the beaded eyepins and a jumpring to a strand of leather wrapped around the vial. (This alone could have been attached to a chain as a necklace in its own right.)

11Leigh

I glued more crystals onto tiny black doilies with Elmer’s Ultra Stix-all (which dries clear). This symbolizes spiders on their webs. Jumprings then turned them into beads.

14Leigh

Again, I used Stix-all in the hope that it would indeed stick all materials. I added two clear seed beads to each eyepin then coiled the rest of the length of it. The skinny black feathers were glued inside of that. The following day, I was thrilled to find my feather bead idea had worked!

021Leigh

To determine the necklace’s length, I draped chain around my neck, pulled it to the right size, and then cut the length I wanted. There are standard necklace lengths, but this time I winged it because this was my own custom piece. I wove leather cording through every fifth link, and repeated with silk cording in the links preceding those. The ends can then be cut without even having to measure anything.

22Leigh

I slid a jumpring onto each end, folding over the strands, and wrapped it all in metal wire. An eyepin may also be used if you cut off the looped end. Attach any closure you like. I used a “lobster” clasp.

20Leigh

This is perfect place to use any pretty little ribbons from leftover projects. I cut four inch lengths of new velvet and metallic ribbons. I also cut a couple of roses from some black netted fabric trim. I had never tried this before either, but it worked beautifully to slide jumprings through the netting. I also bent the posts (of a pair of vintage black rose earrings) to make loops to slide onto those same jumprings. They made a kind of baby rosette bead for additional decoration. Remember that statement necklaces are supposed to be over-the-top!

23Leigh

I tied ribbons over the wired cord ends to keep them from snagging my hair. This worked so well that I’m considering wrapping ribbon onto some of my old necklaces.

27Leigh

With all of the elements now ready, I laid out my construction scheme. I played with the look, moving items around until they seemed balanced yet still asymmetrical.

67Leigh

I attached my largest and heaviest items toward the bottom first (like a small carved quartz crystal skull). I worked my way down in element size from there.

075Leigh

After that, I closed jumprings into vintage crystal buttons to make fabulous beads. I filled any gaps with shell stars. This helped to maintain continuity throughout the piece.

65Leigh

Lastly, I added the feather beads with the direction of their natural curves following the drape of the necklace.

61HalloweenNecklace-Leigh

You can use these ideas to make any genre of mixed media necklace… even a girly pink princess one, but this year, I made mine wicked!

Faithfully Yours,

Leigh