With all of the miles of commercially produced wrapping paper that stores seem to stock at every corner… why make your own? Well, it can be made super-fast and super-easy without looking like it! With my simple repurposing trick, you can make handcrafted gift wrap inexpensively in a matter of minutes. It’s really easy to stamp any type of package, paper, tag, card or box… even one that gets addressed and sent in the mail! It looks even more adorable on matching notebooks, craft letters, or any other gift that would accept inking. With stamping, you can match the colors to your décor for a catalog worthy Christmas, and delight loved ones with one-of-a-kind gifts at the same time. And, I don’t know about you, but I really love it when someone has cared enough to make something just for me.
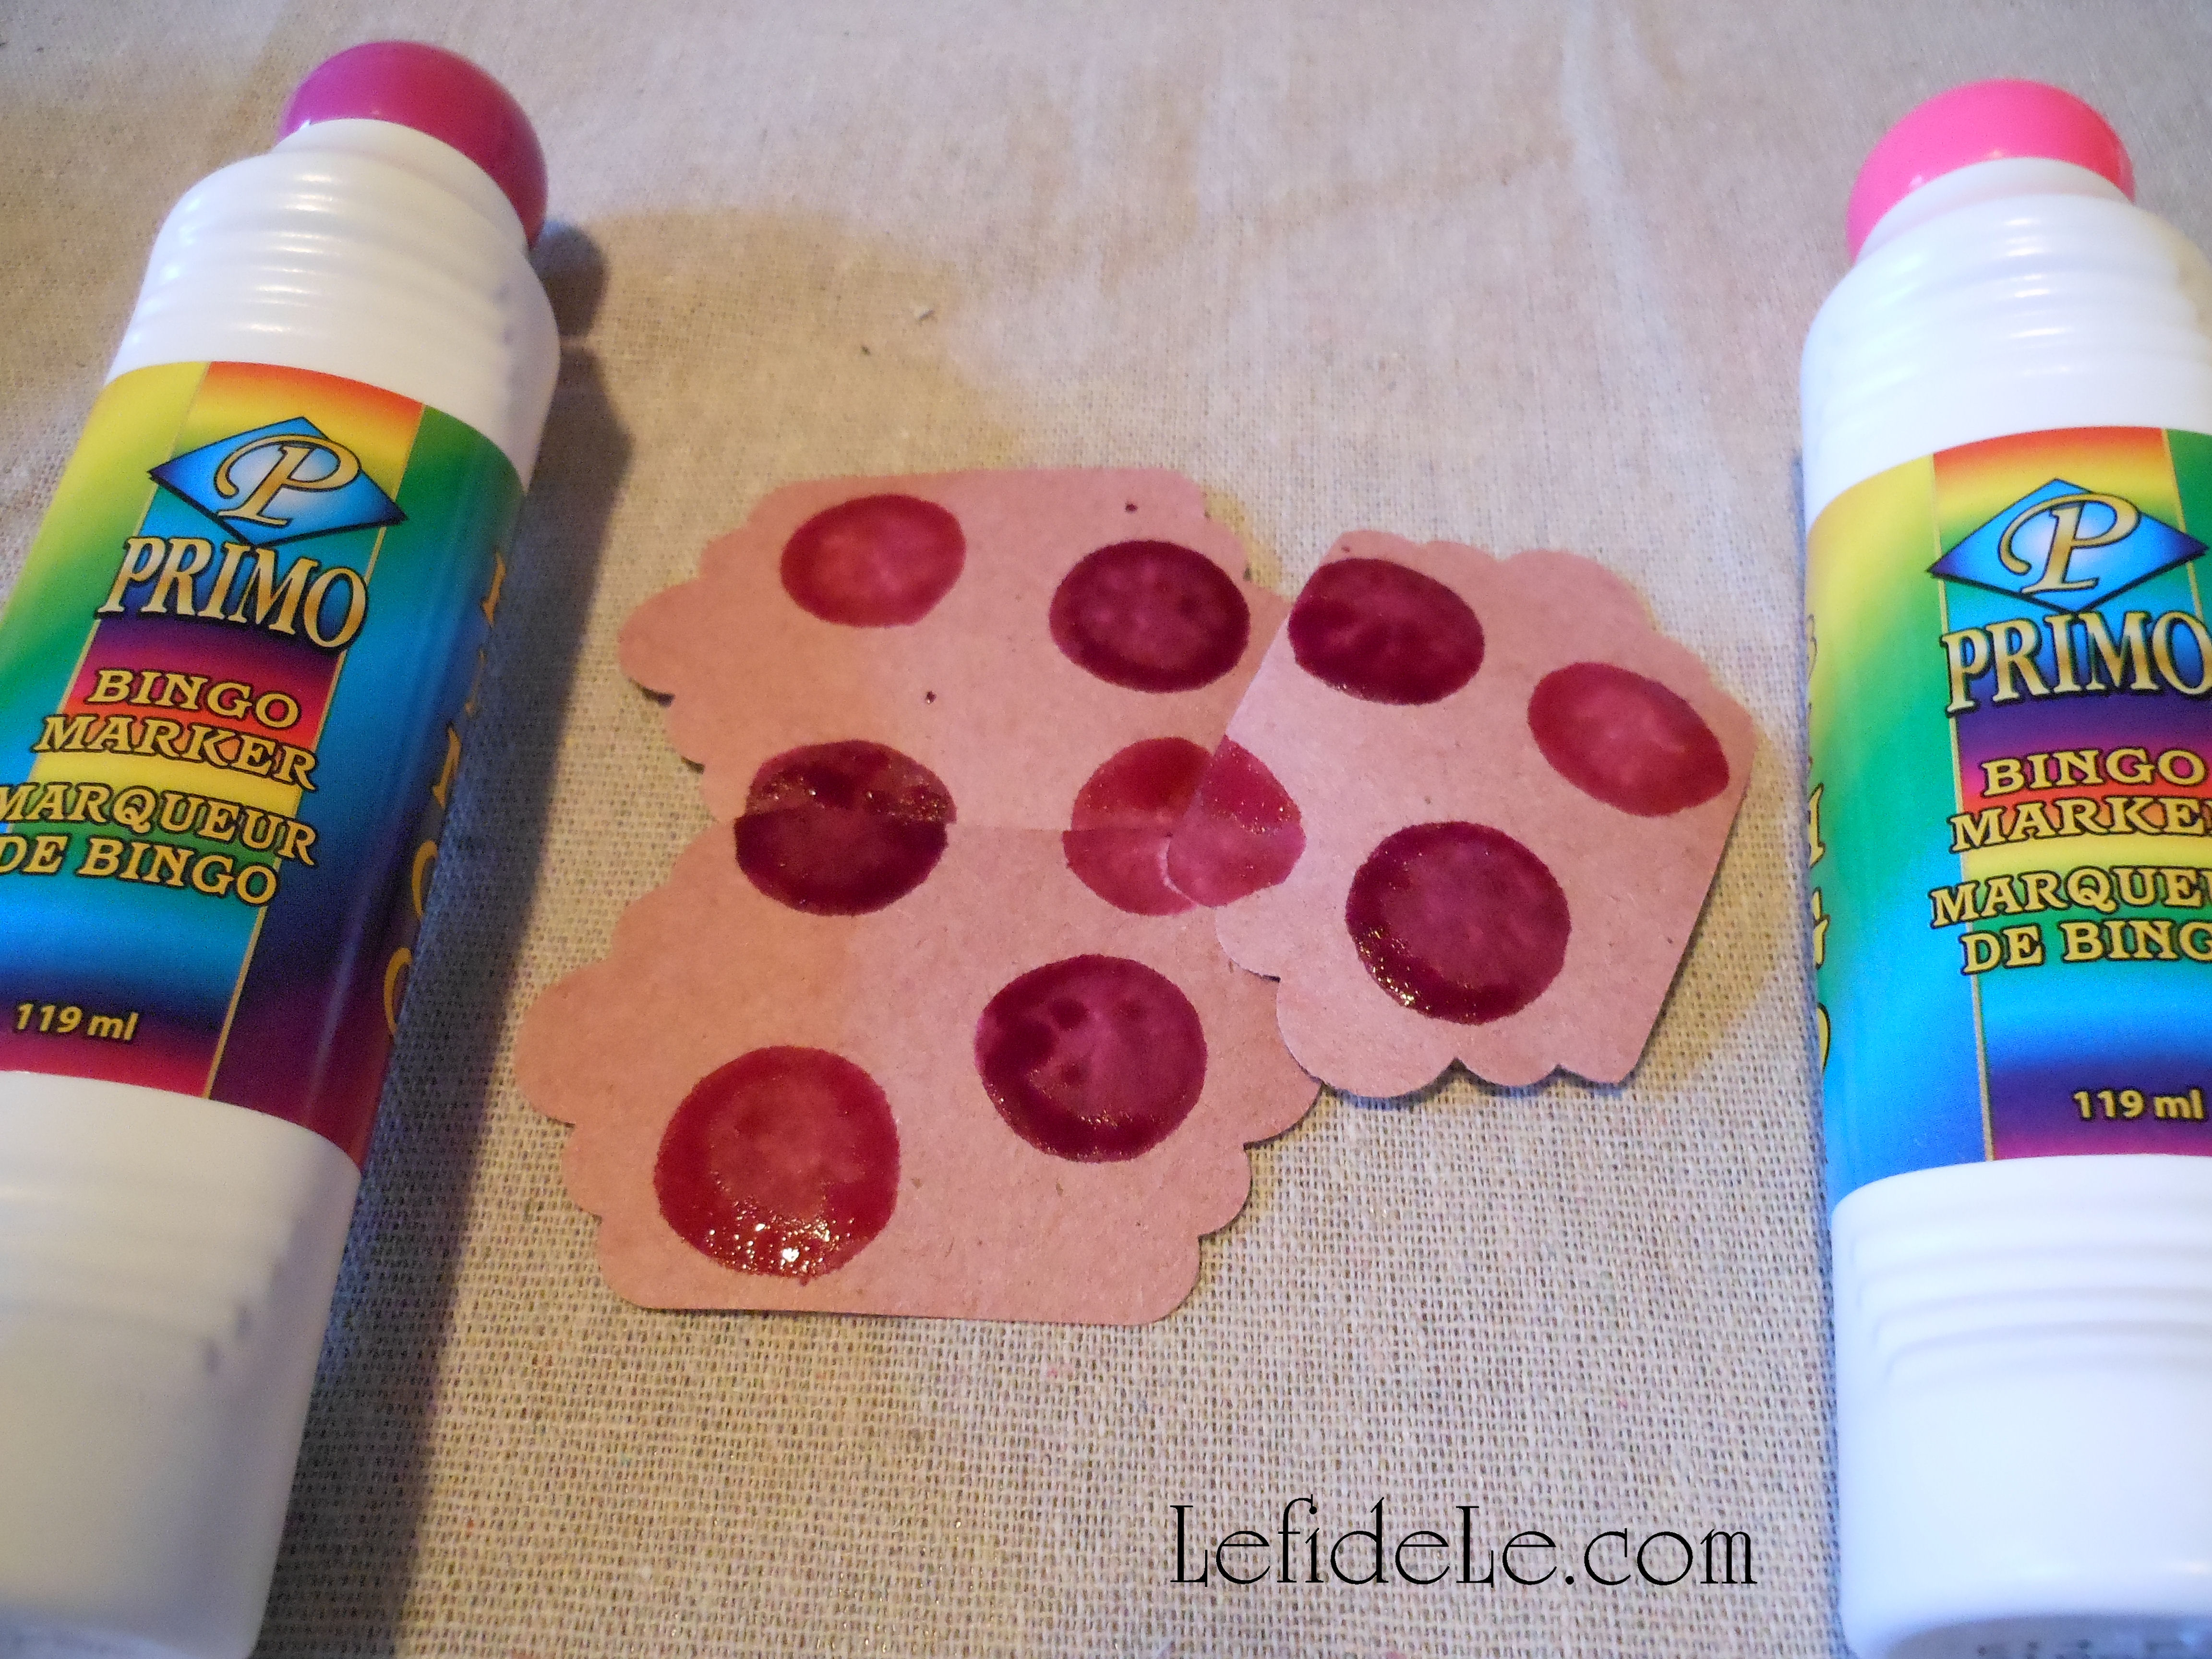
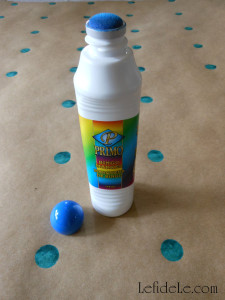
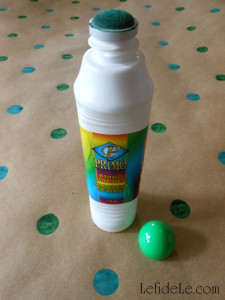
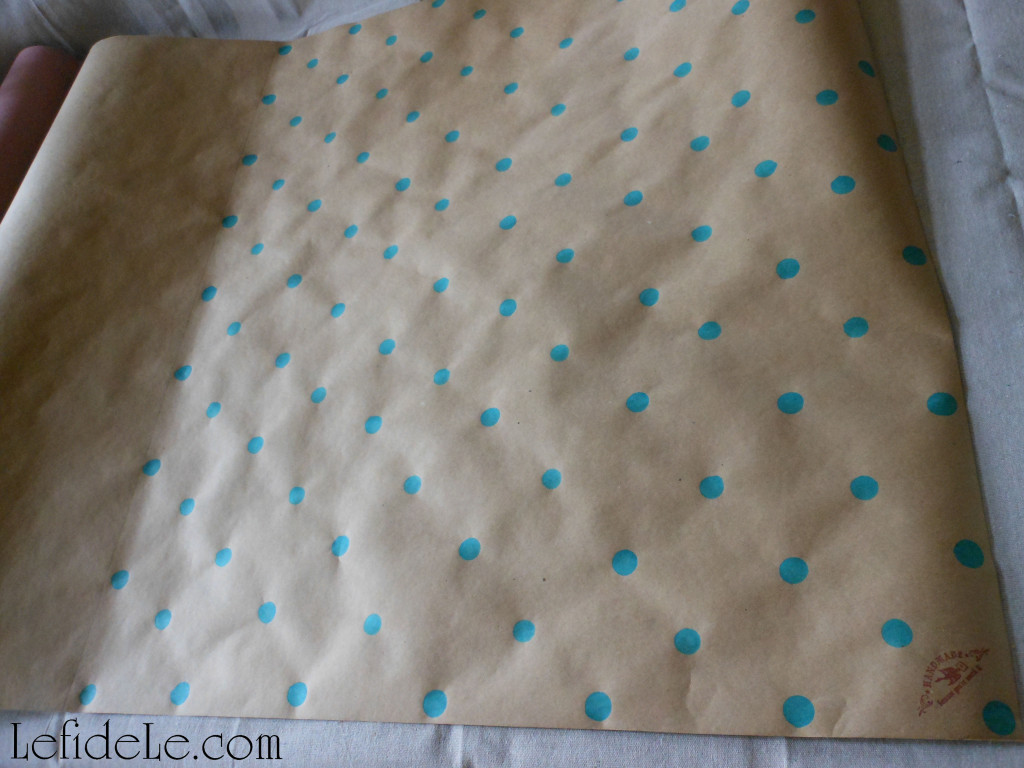
My simple trick to easy and fast polka-dot making (ahem, drumroll please)… bingo markers! The idea was sparked about 15 years ago when someone gave me a few of these because she thought I might want the ink in them. Let me tell you, I made so many spotted cards with them! Everyone was always surprised when I told them what I had used.
You can find them in so many colors. I’ve used pink, green, blue, red, and purple as examples here. They even come in shapes like shamrocks or hearts, but I’m sticking with polka-dots for now because they are just so classic and chic!

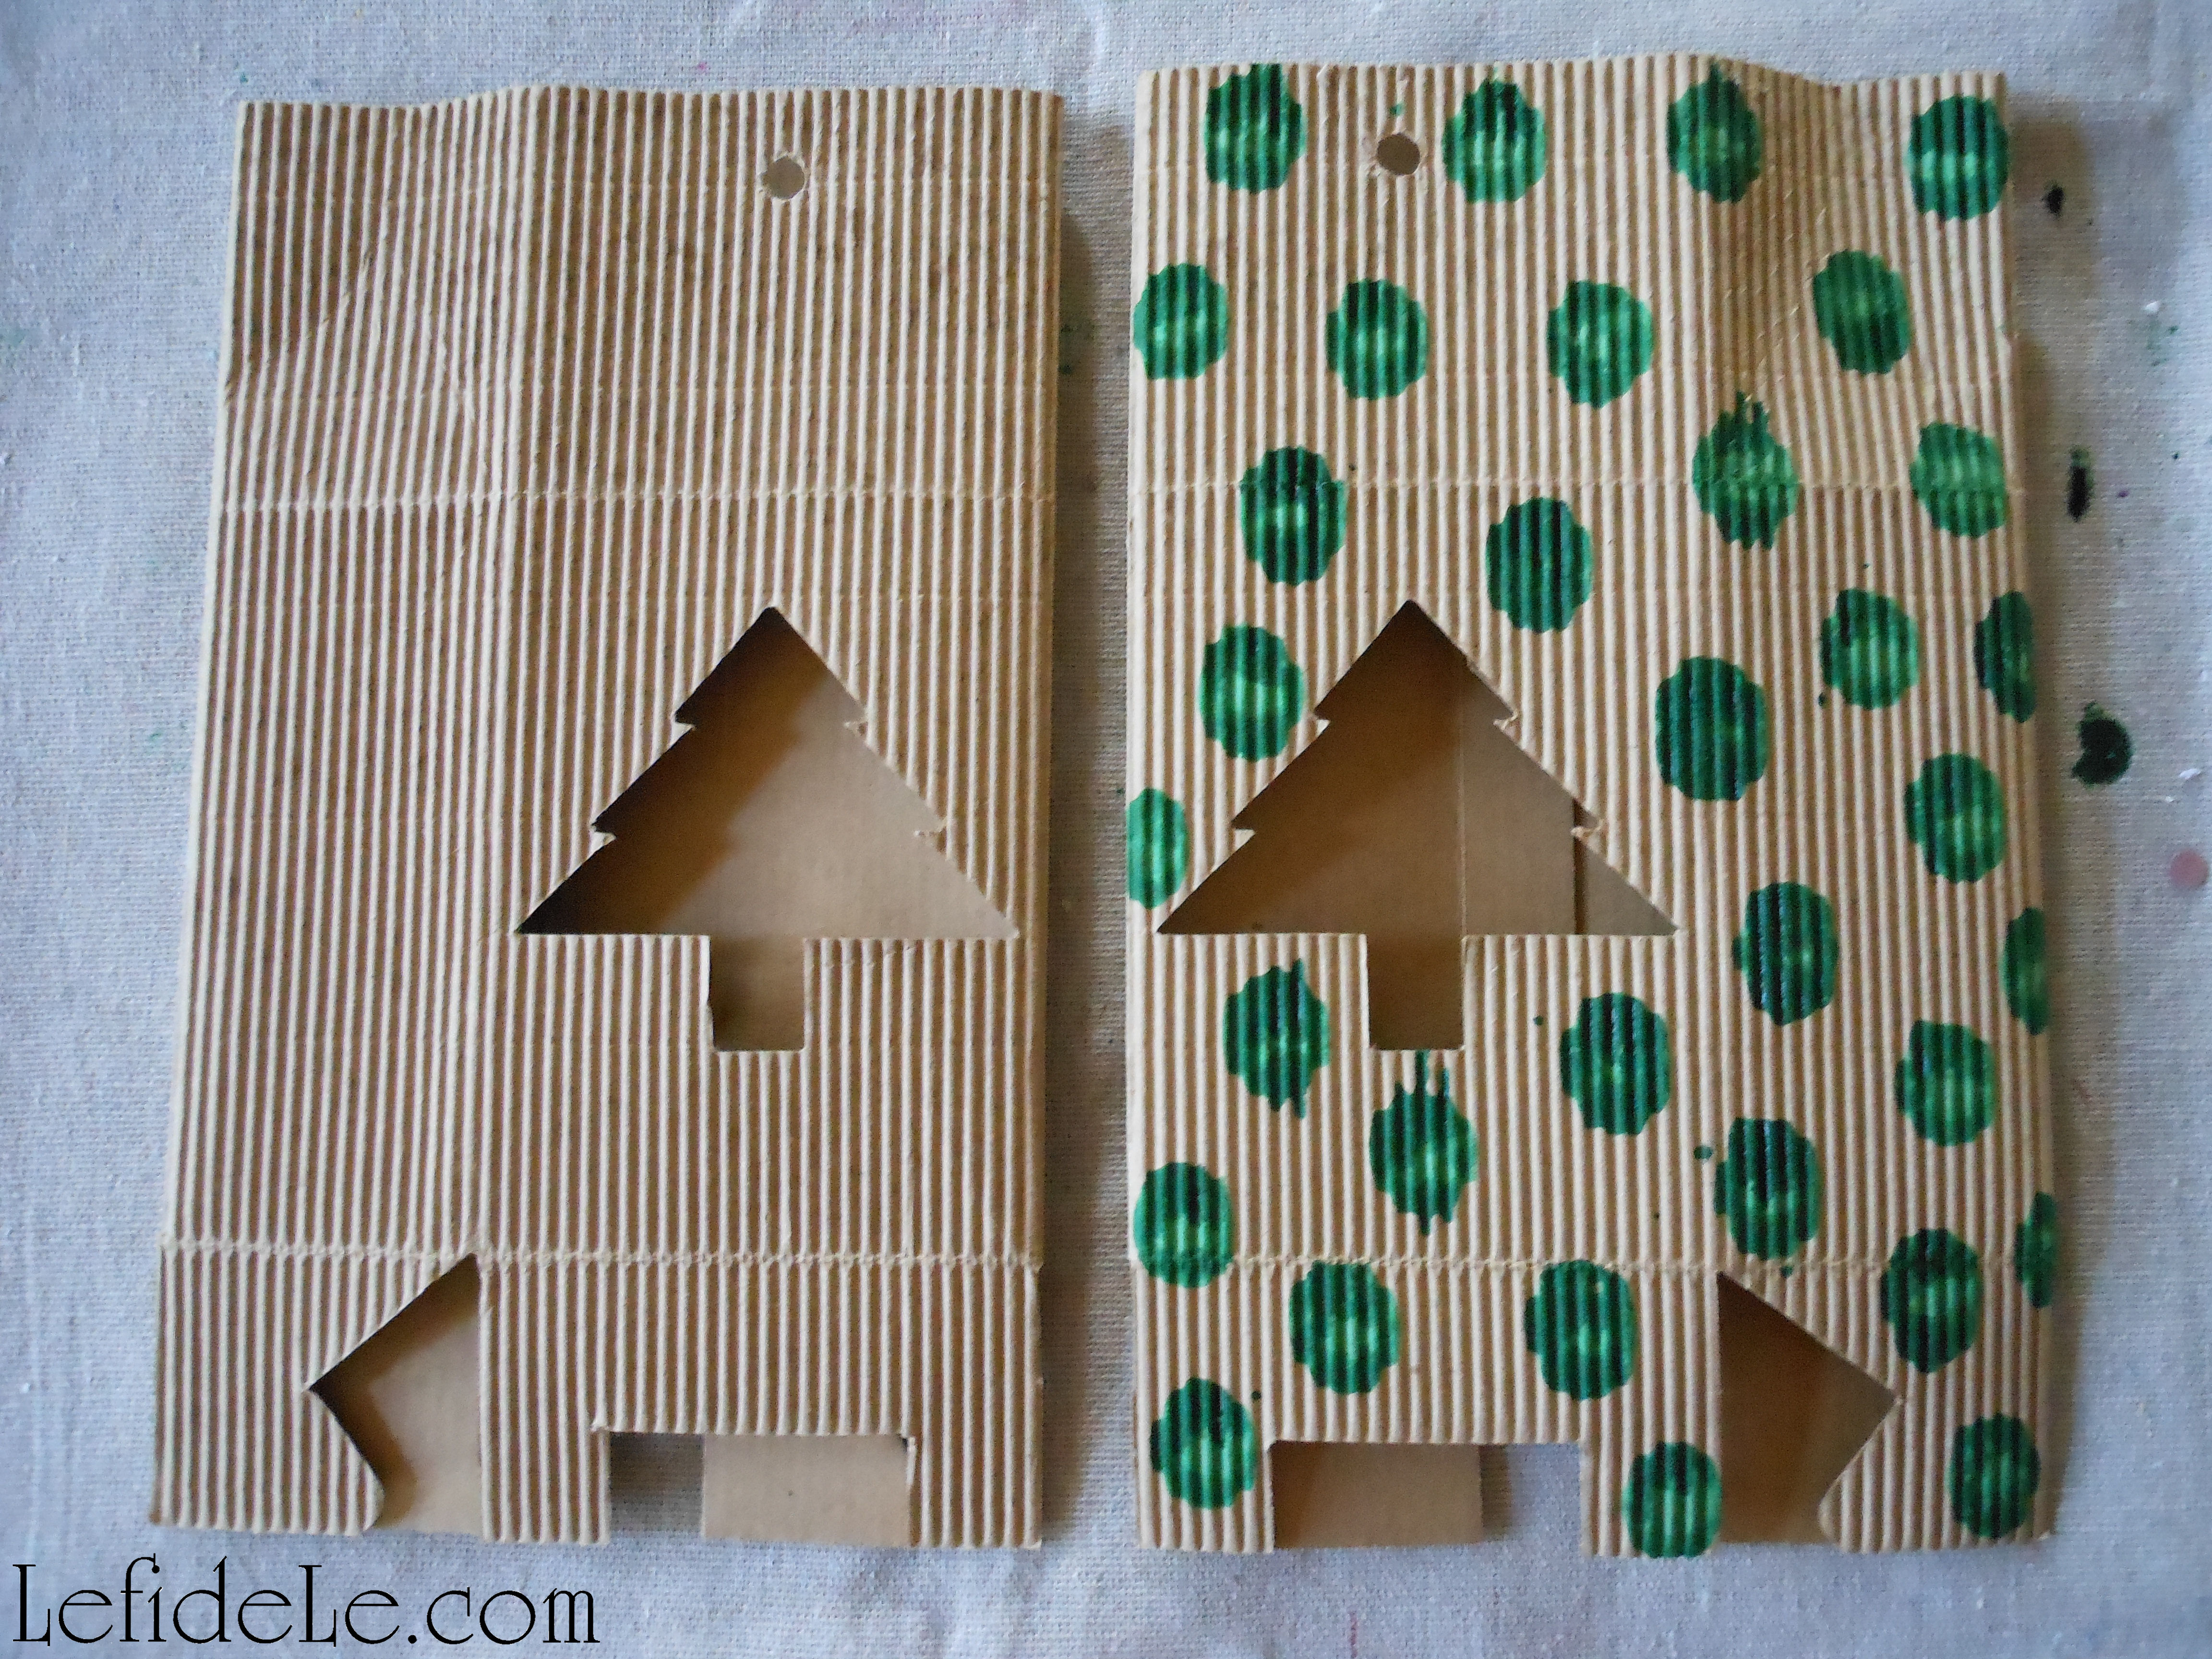
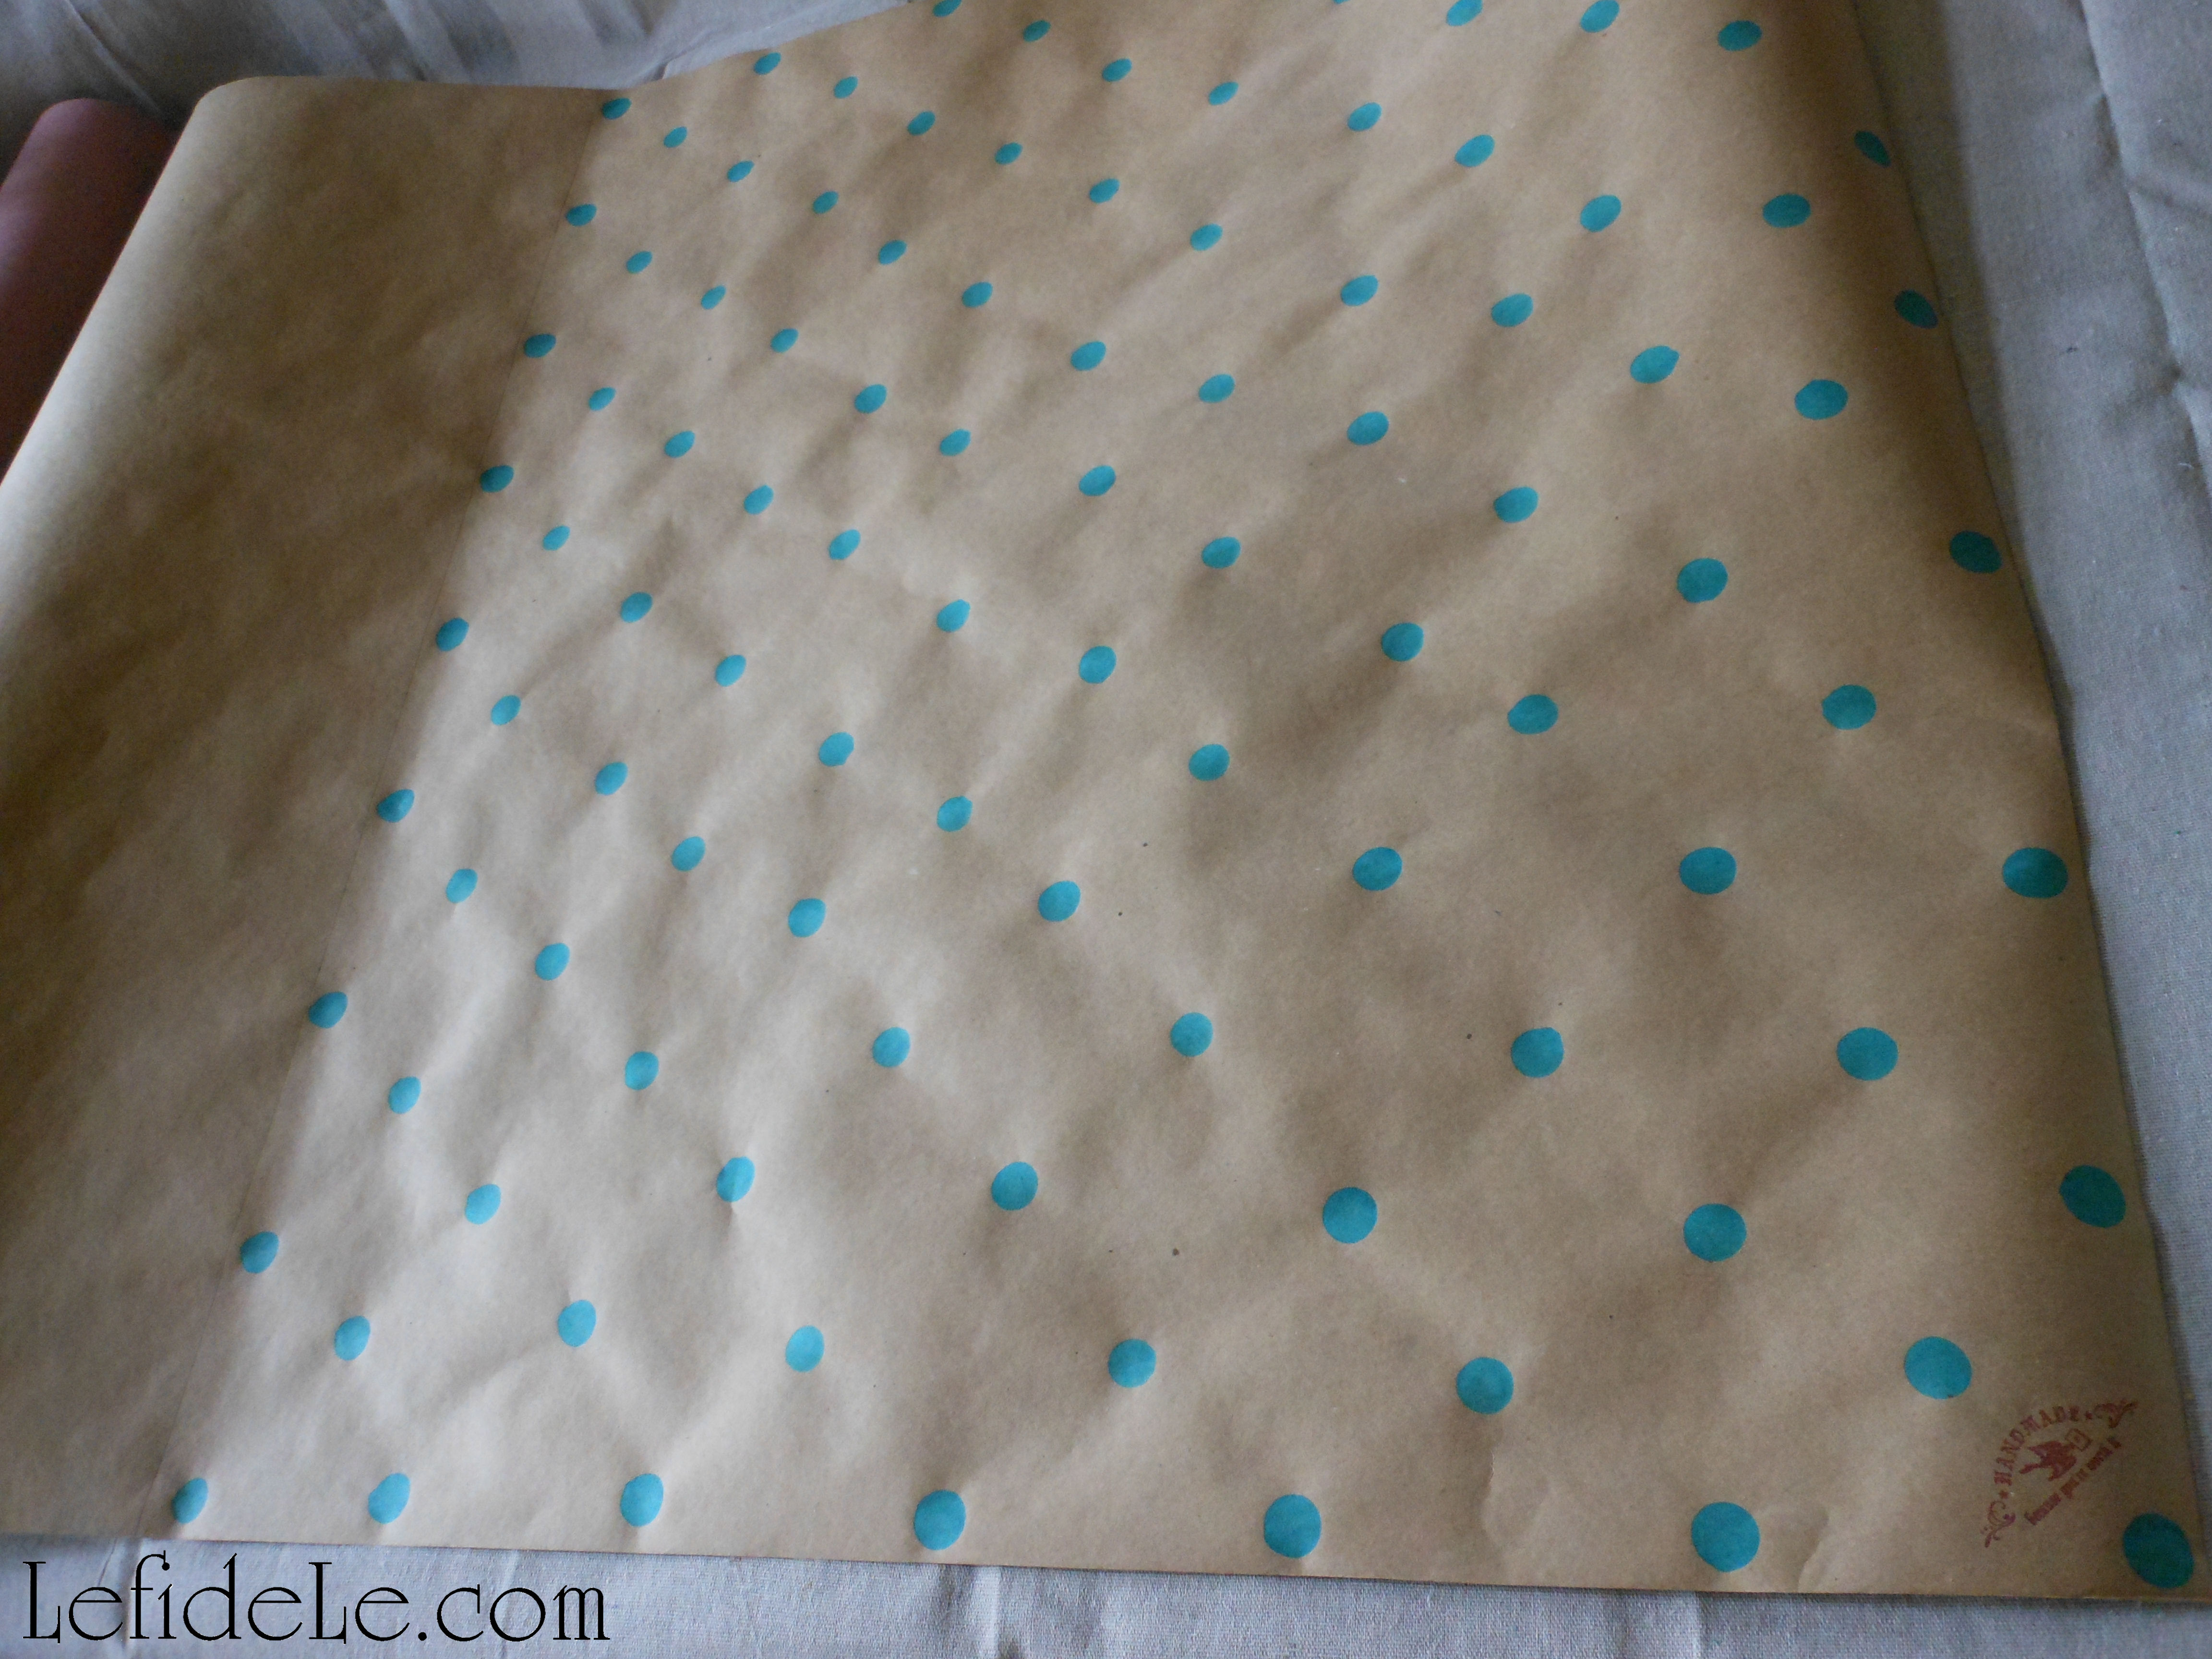
You can use any kind of paper for the gift wrap or bags. Glossy paper will leave more of a watercolor look, while matte paper will dry to a solid flat color. Both have their merits. Just know that glossy surfaces take much longer to dry. It’s great to buy neutral colored bags in white or kraft paper color, and then stamp them into personalized colors as needed.
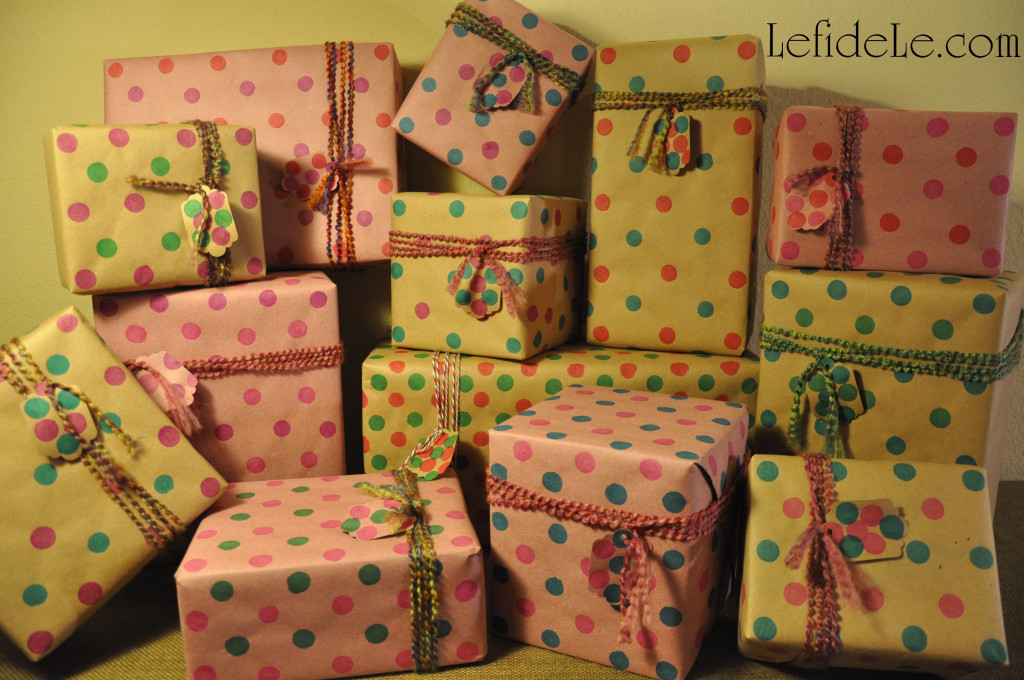
You can match your décors theme, go with traditional colors, or even pick a different color combo for each family member. Pink is my grandmother’s favorite color, so that’s just what she gets!

Blue and pink polka-dots are perfect for gender-neutral baby showers.
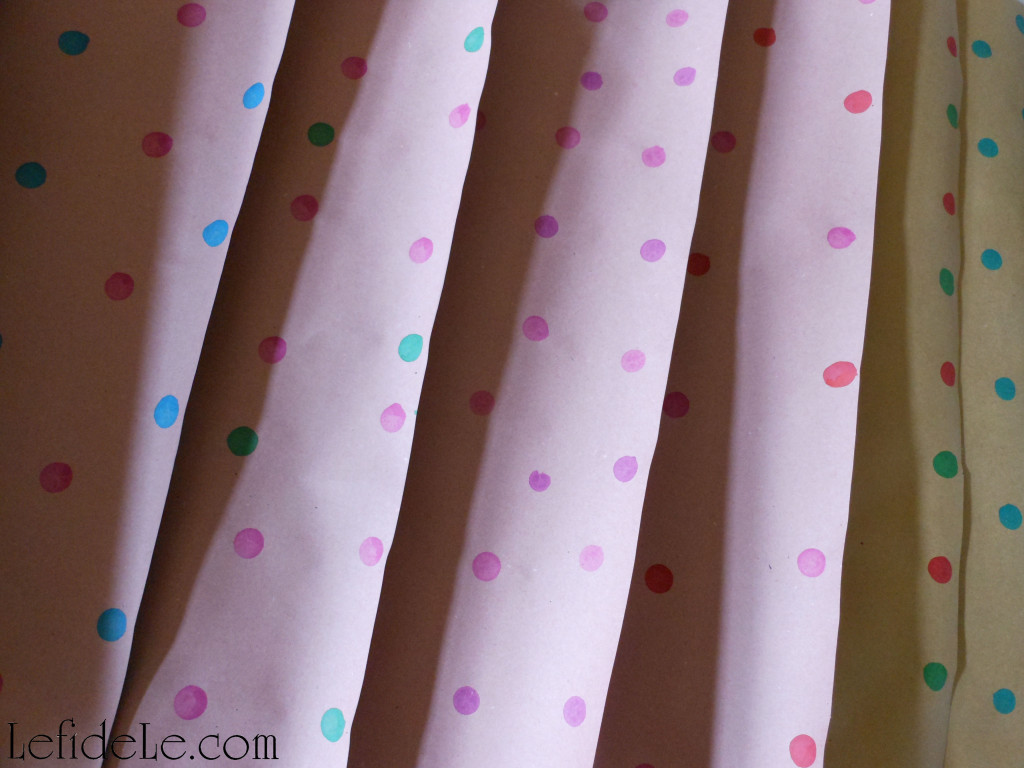
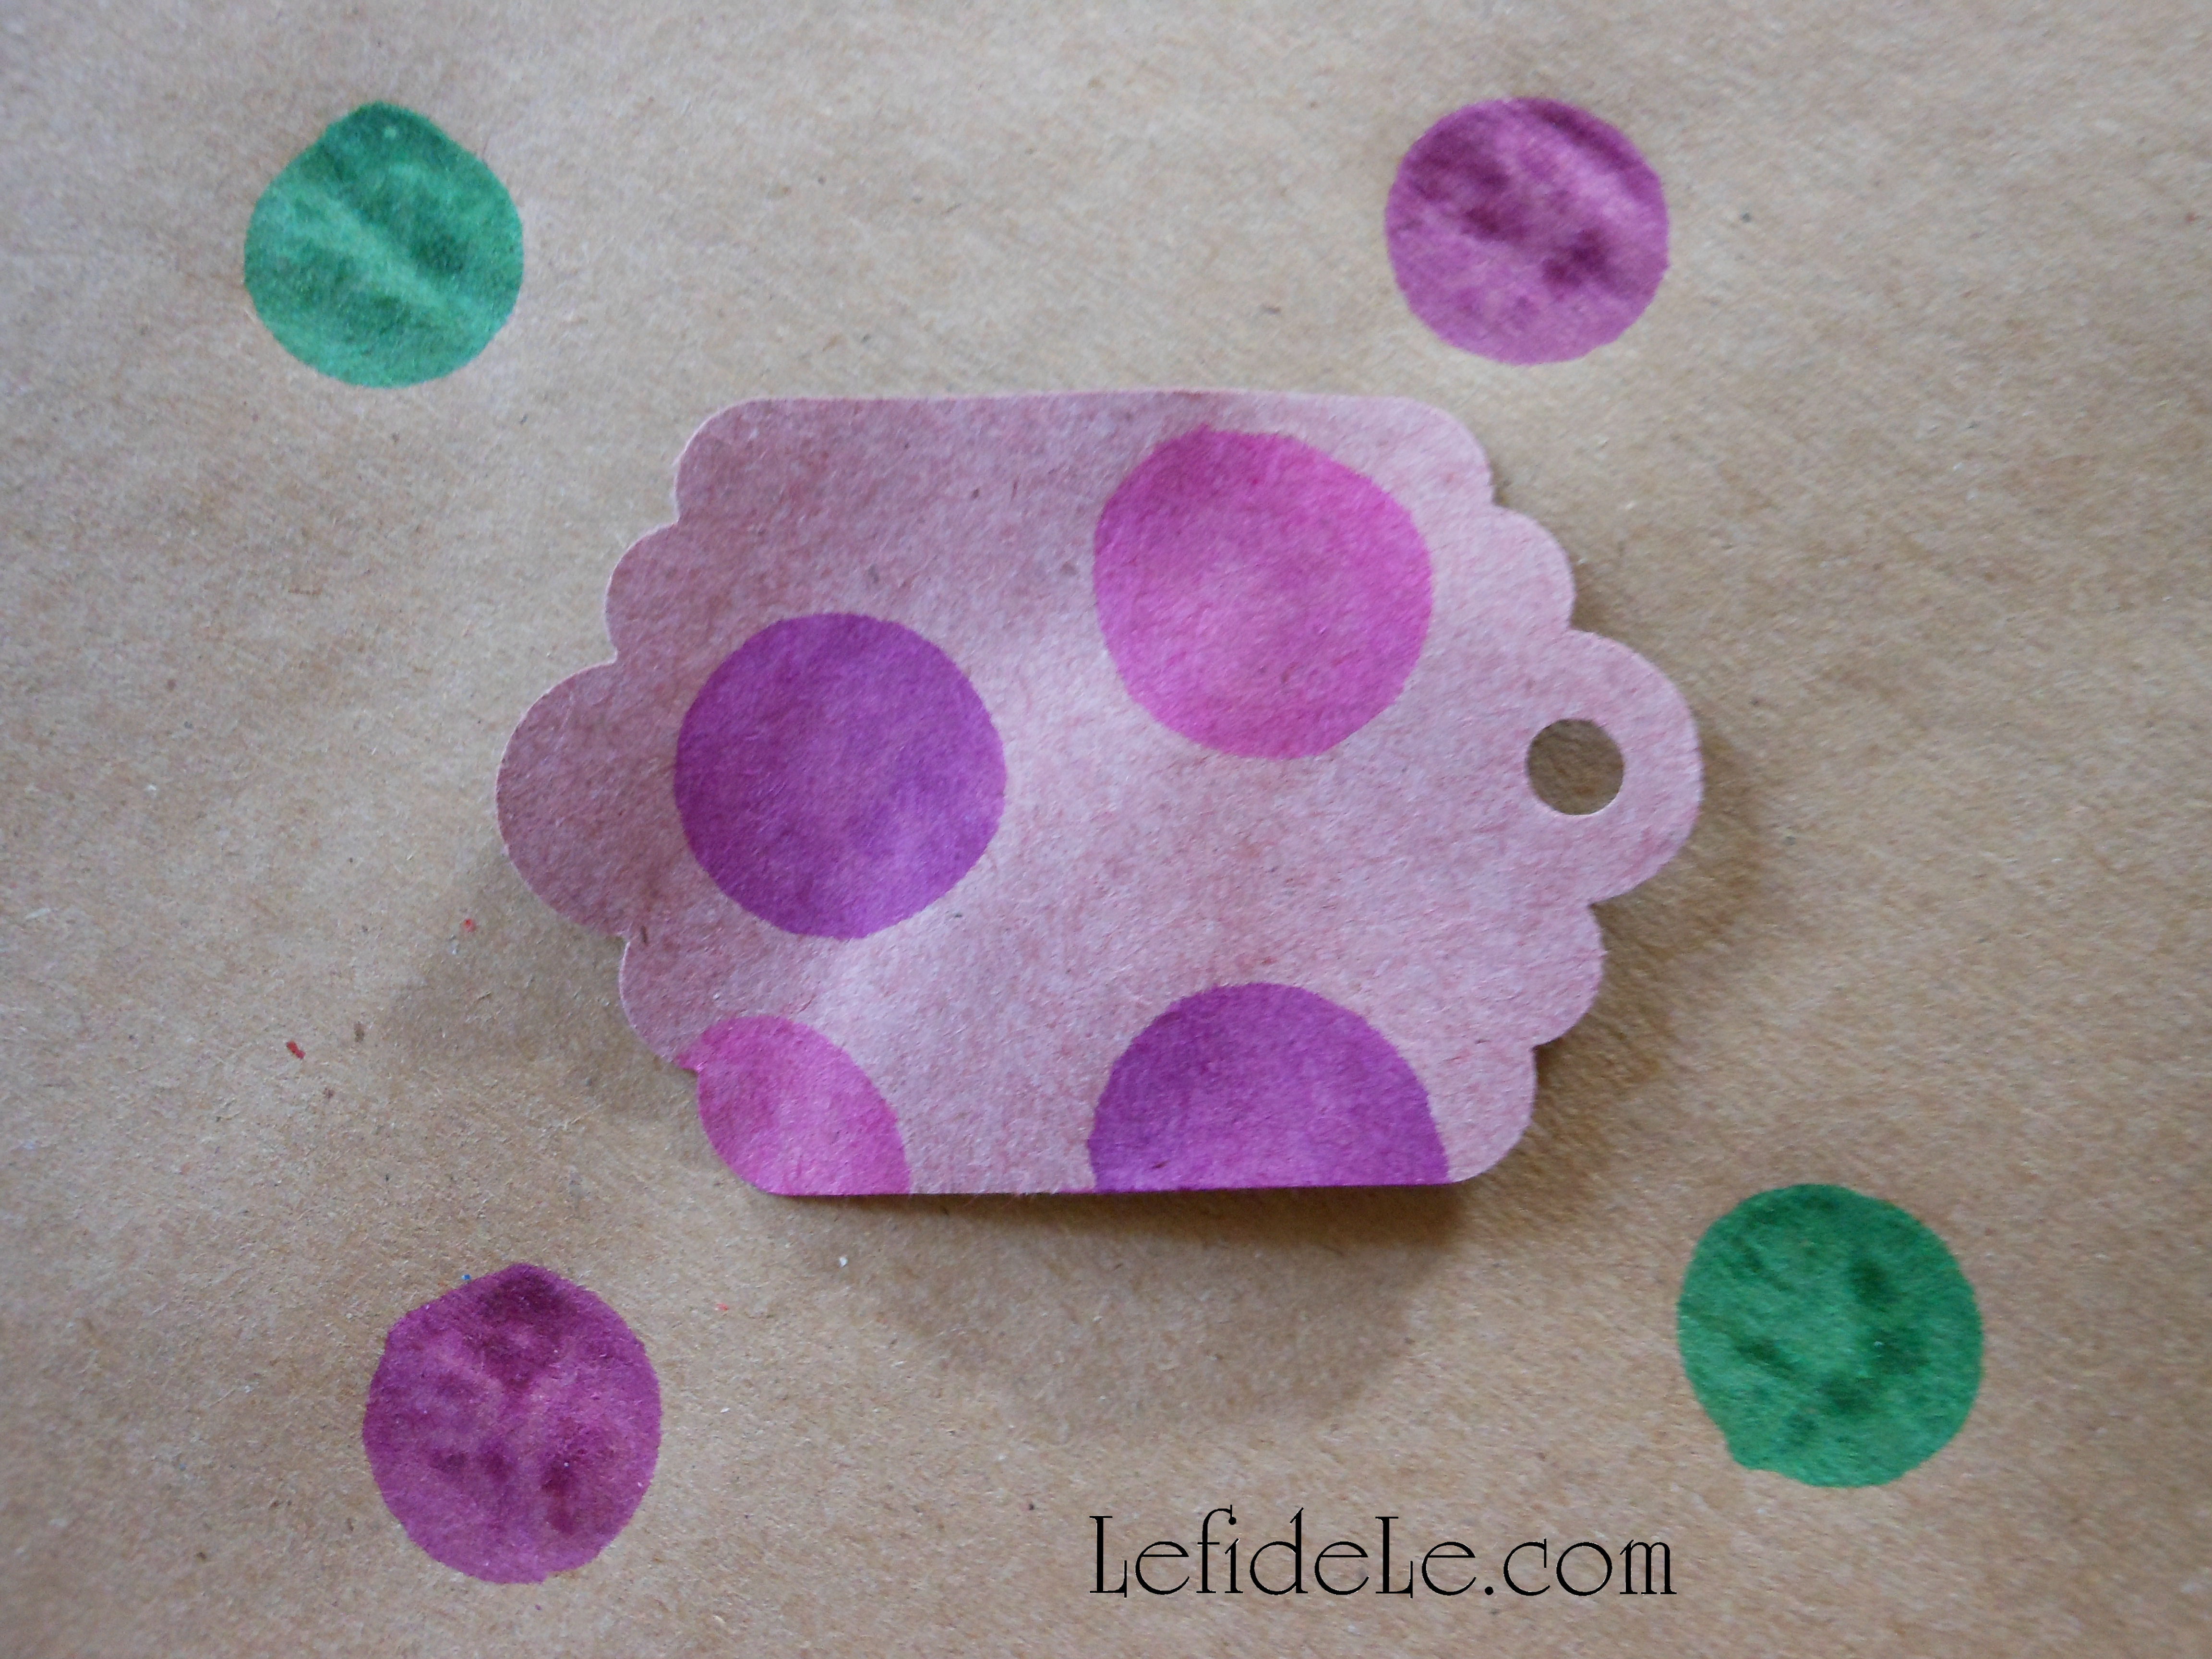
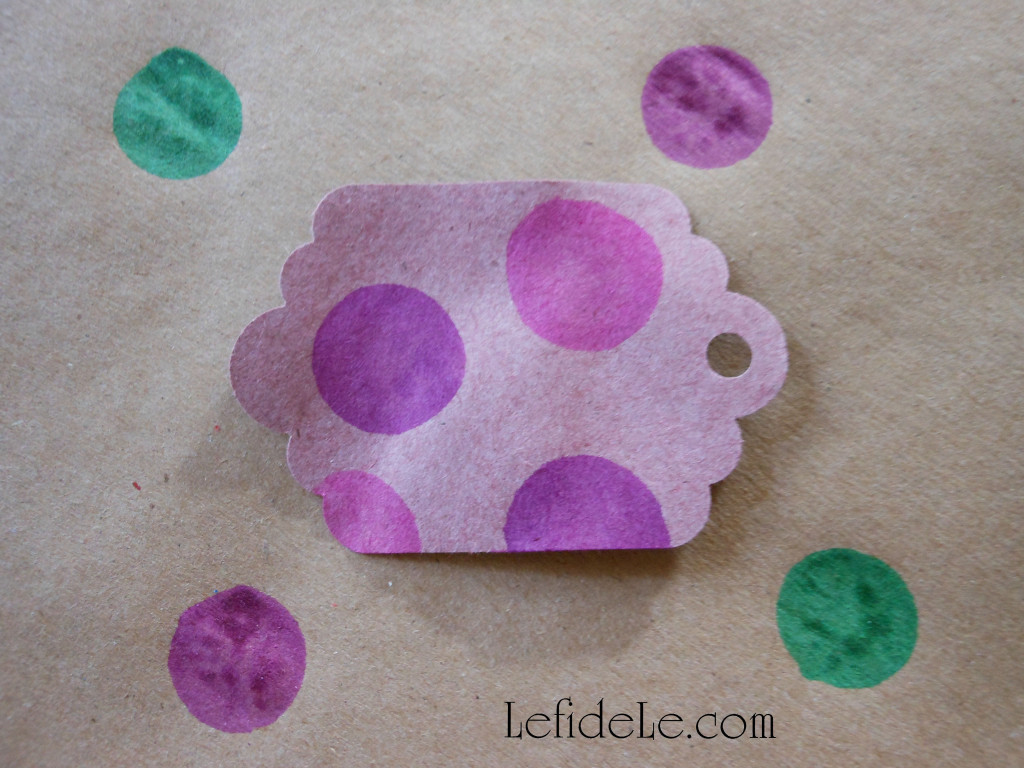
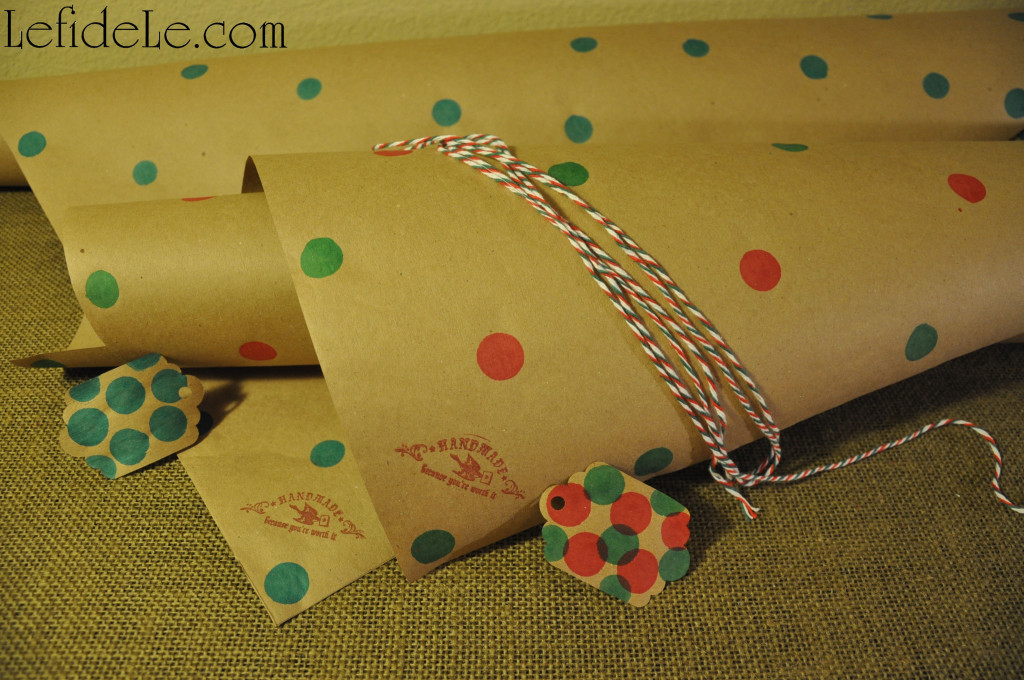
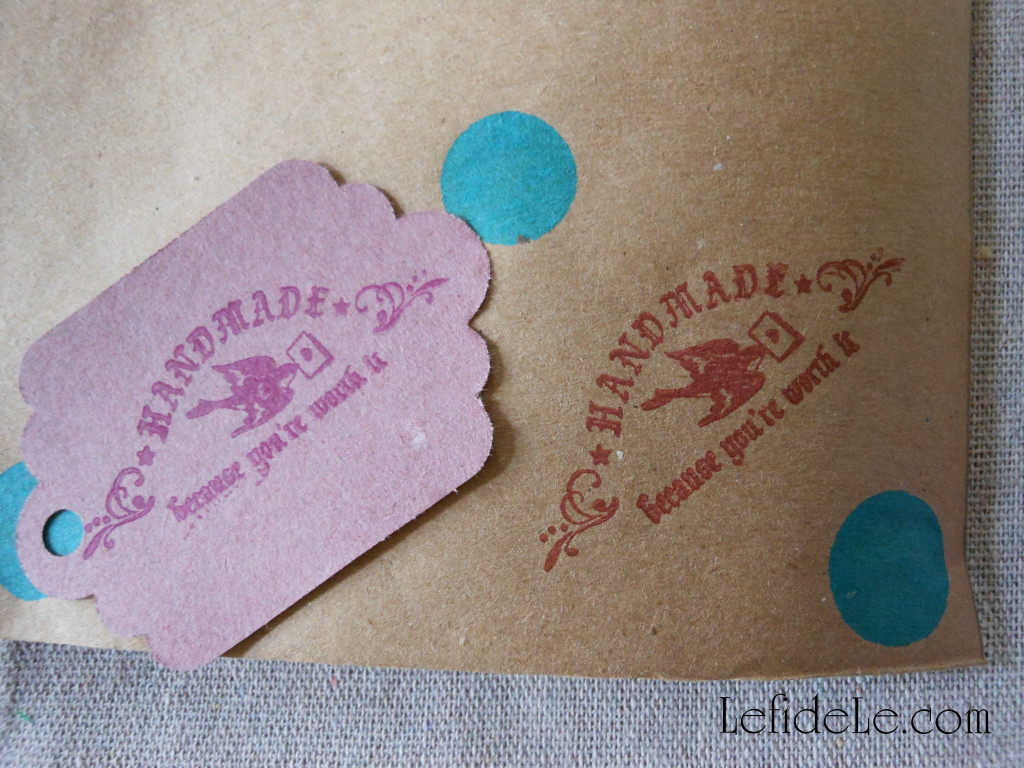
The paper I’m showing here is the best I’ve found for wrapping. It’s thick enough to hide the contents well. It won’t tear like the commercial variety in transit or mailing. It dries quickly and evenly so you can make a ton of it and just roll it back up. The tag in the picture has dry ink on pink paper, and it’s sitting atop tan with freshly applied ink.
The roll is really inexpensive for quite a lot, so it fits everyone’s budget. It’s so versatile because you can do anything with it (spray paint it, paint a scene on it, write messages on it, have kiddos draw on it, make gift tags or cards out of it, etc…) What is this amazing product? (Another drumroll please)… rosin paper from a hardware store! It’s actually used in homes during construction. I learned about it from my interior designer mother of course. It’s available in pink, green, white and tan like kraft paper in rolls that will last for years. I even use this stuff for covering the backs of framed artwork. (I’ll do a DIY tutorial for this in the future. It’s really easy and will save you so much money.)
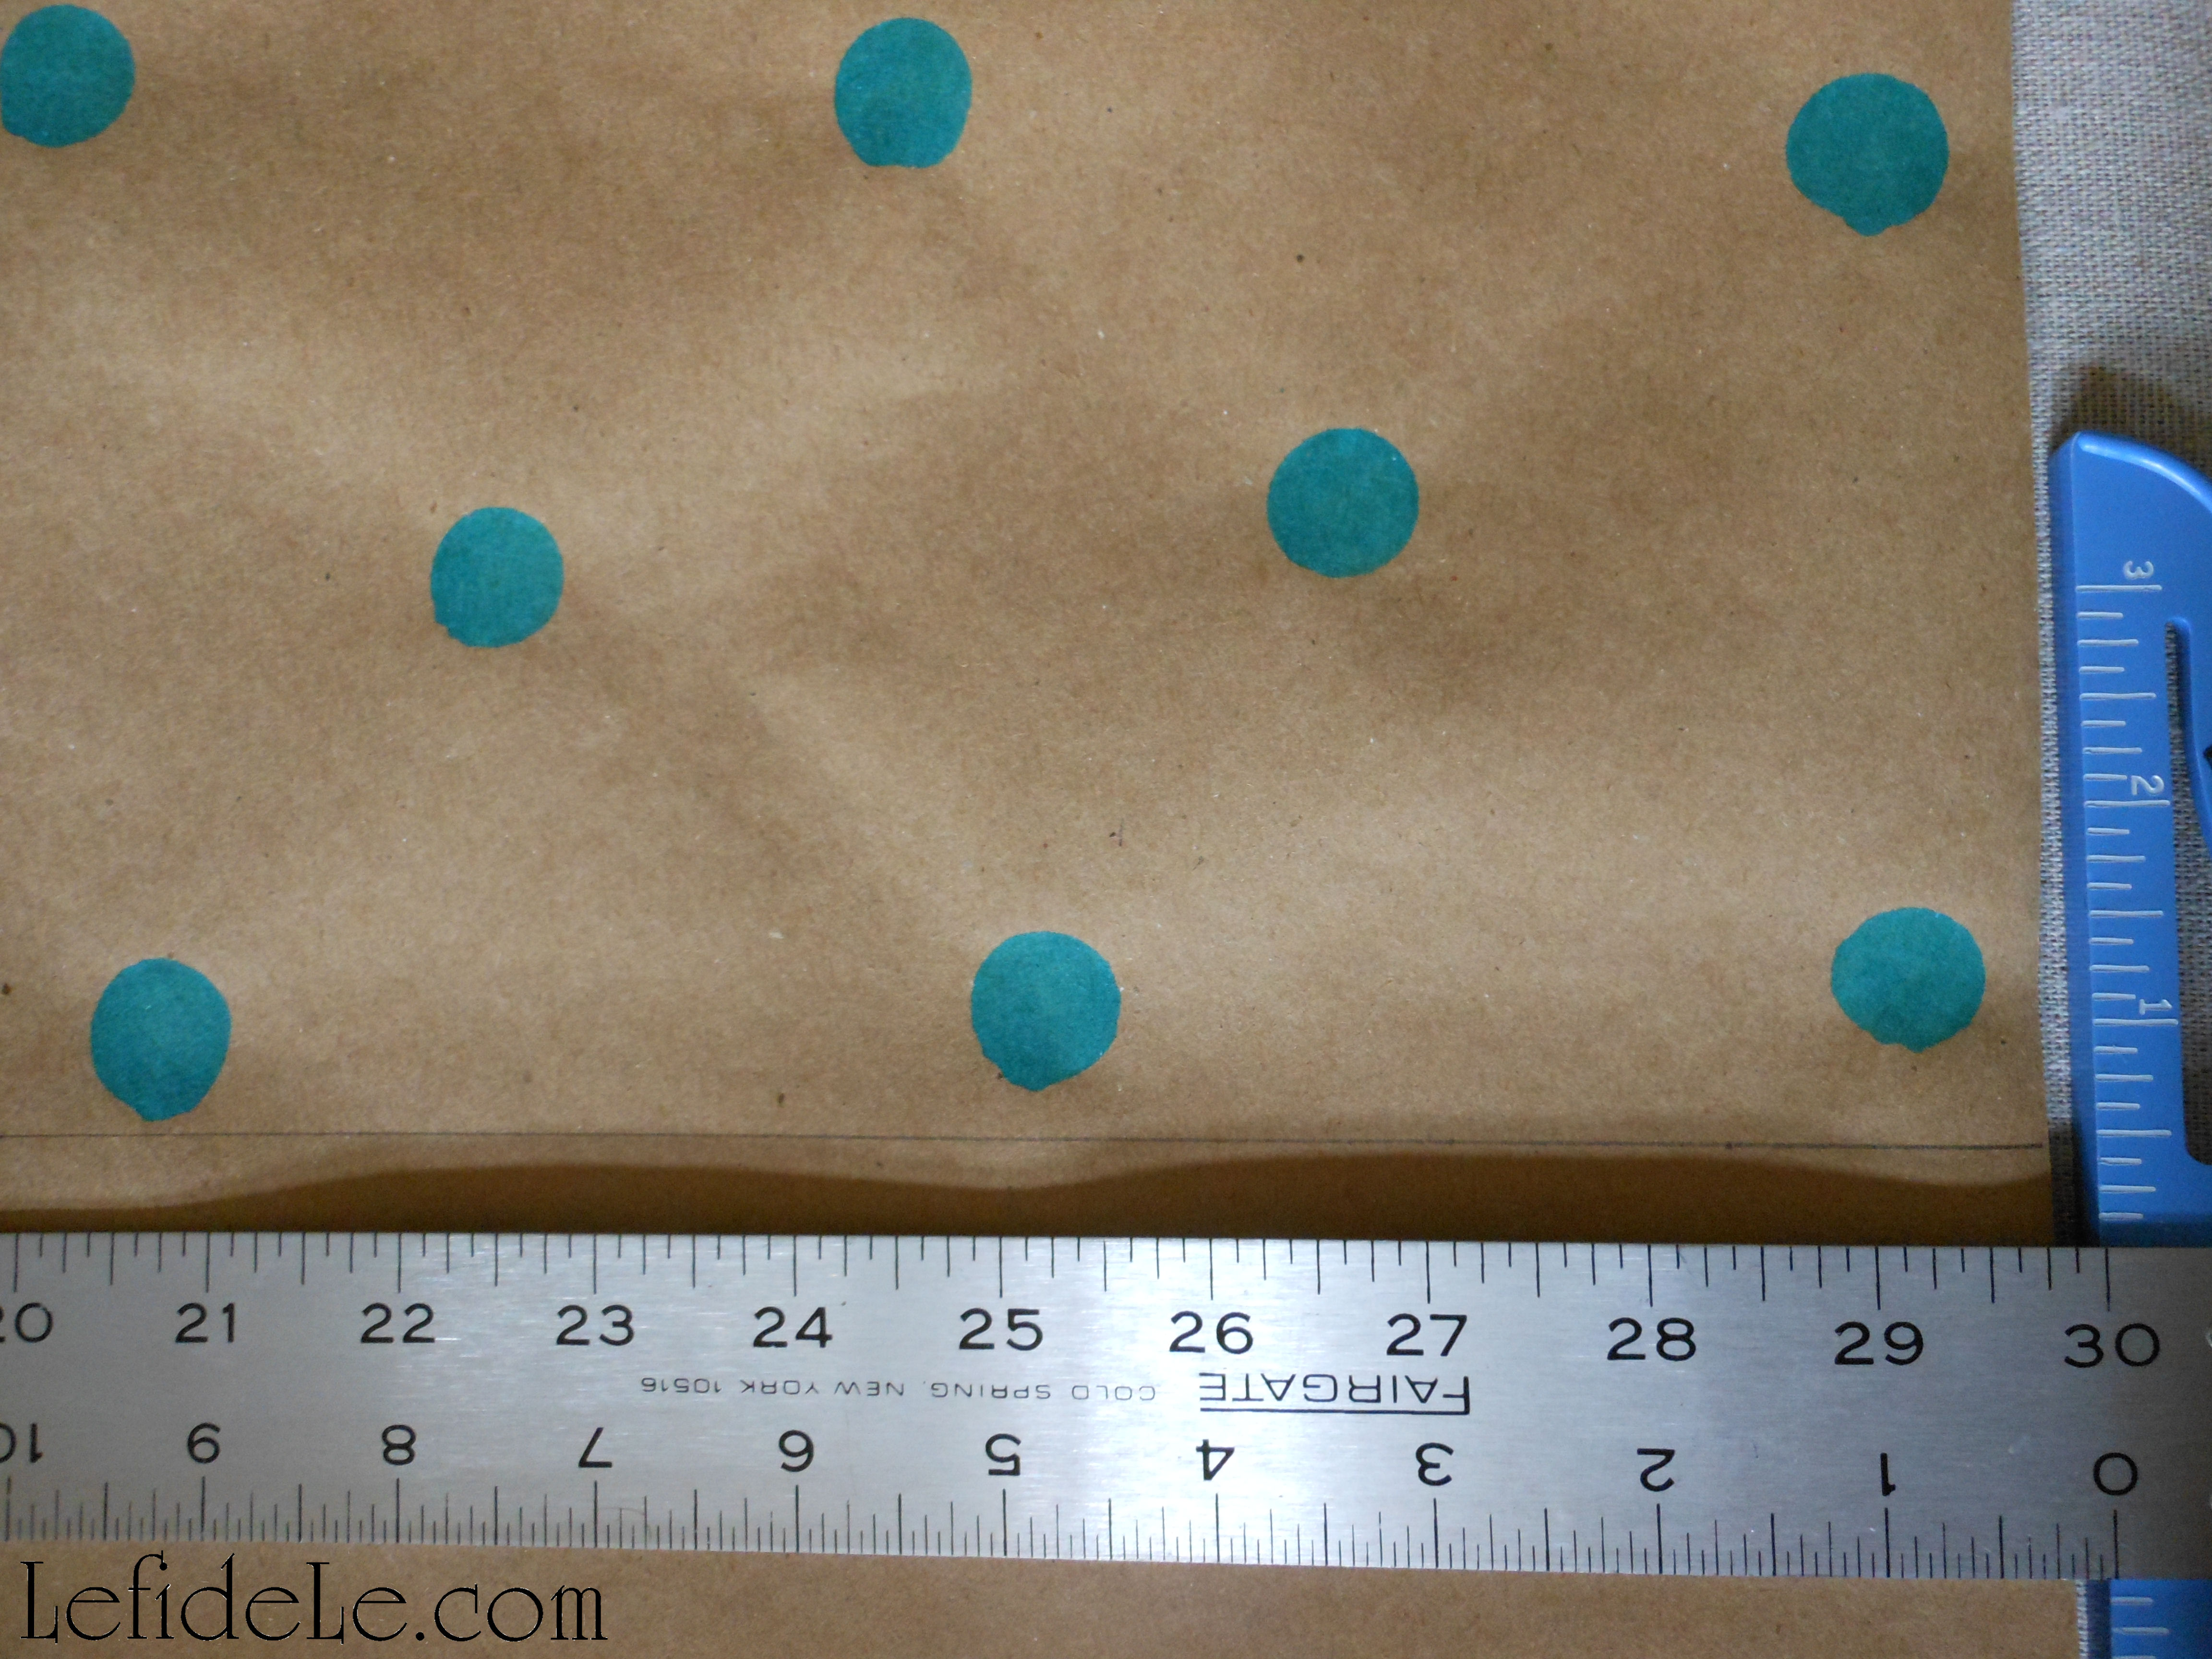
I try to stamp one color in a grid-like pattern, and then follow up in between those with a contrasting color. I have to admit though… sometimes it’s fun to just get stamp-happy all over the place! Do expect this when kiddos are involved. It’s fun to see the creations they come up with.
When making hand-stamped giftwrap for my Etsy store, I make long sections for wrapping purchased goods, and also package making kits complete with tag and twine.
I make my individual sheets much larger (36 x 30 inches) than others typically offer (20 x 30 inches) so as to fit larger packages. Each kit will definitely cover several small boxes.
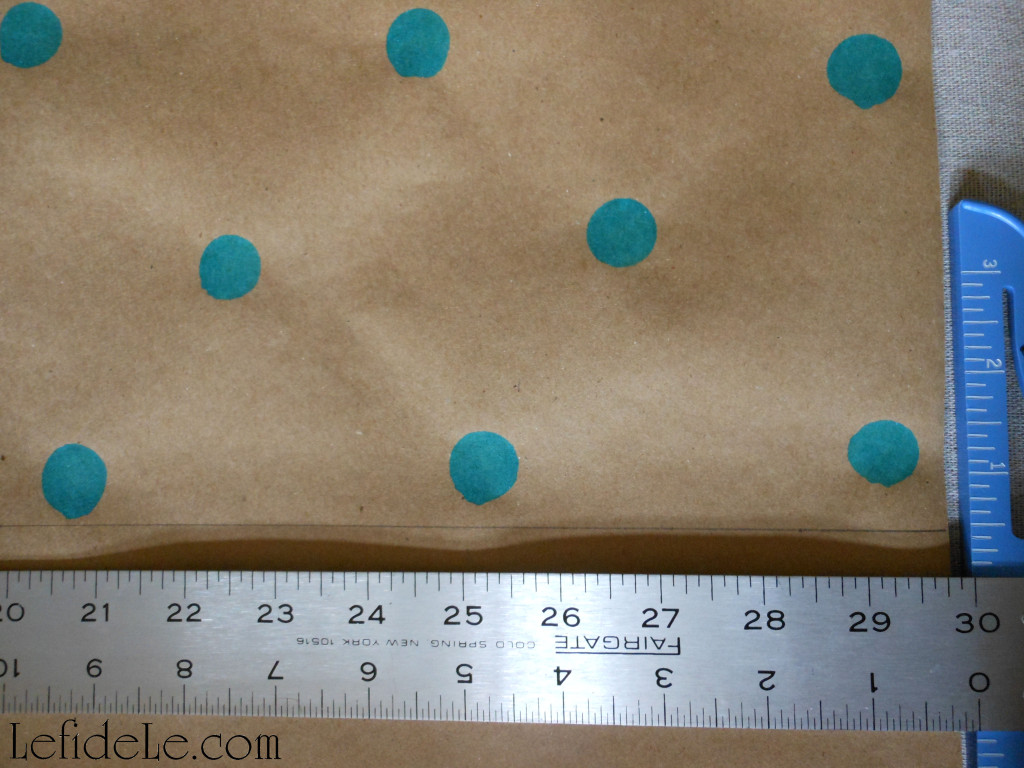
If you want to make individual wrapping paper sheets for yourself, just use a T-square ruler to measure and mark straight distances before cutting.
Another idea, how fun would it be to have a holiday stamping and wrapping craft party with the gal-pals!
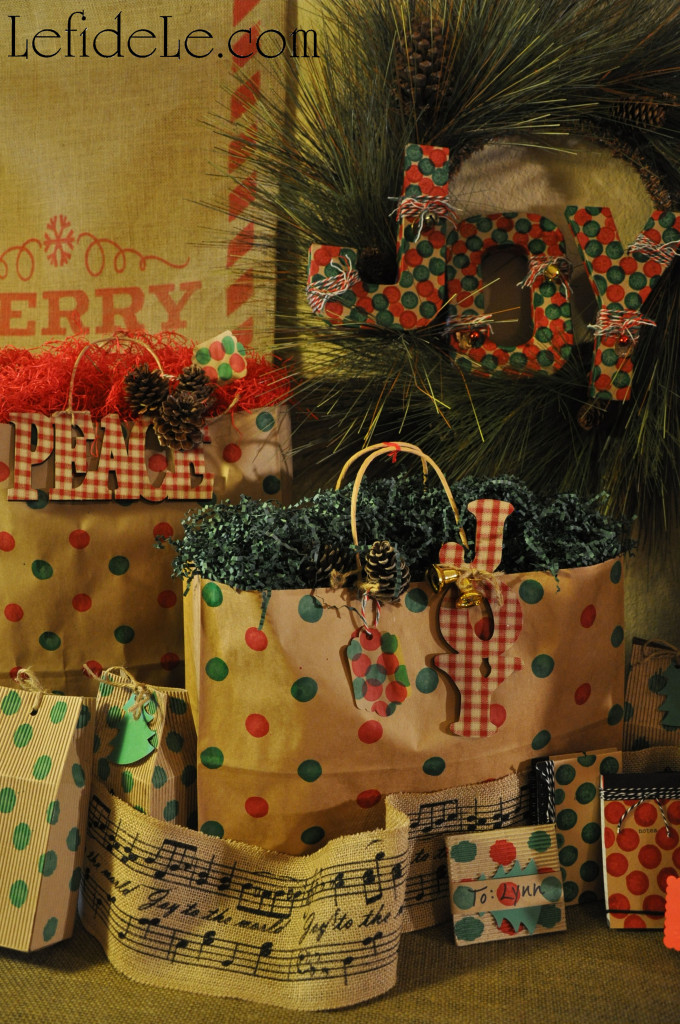
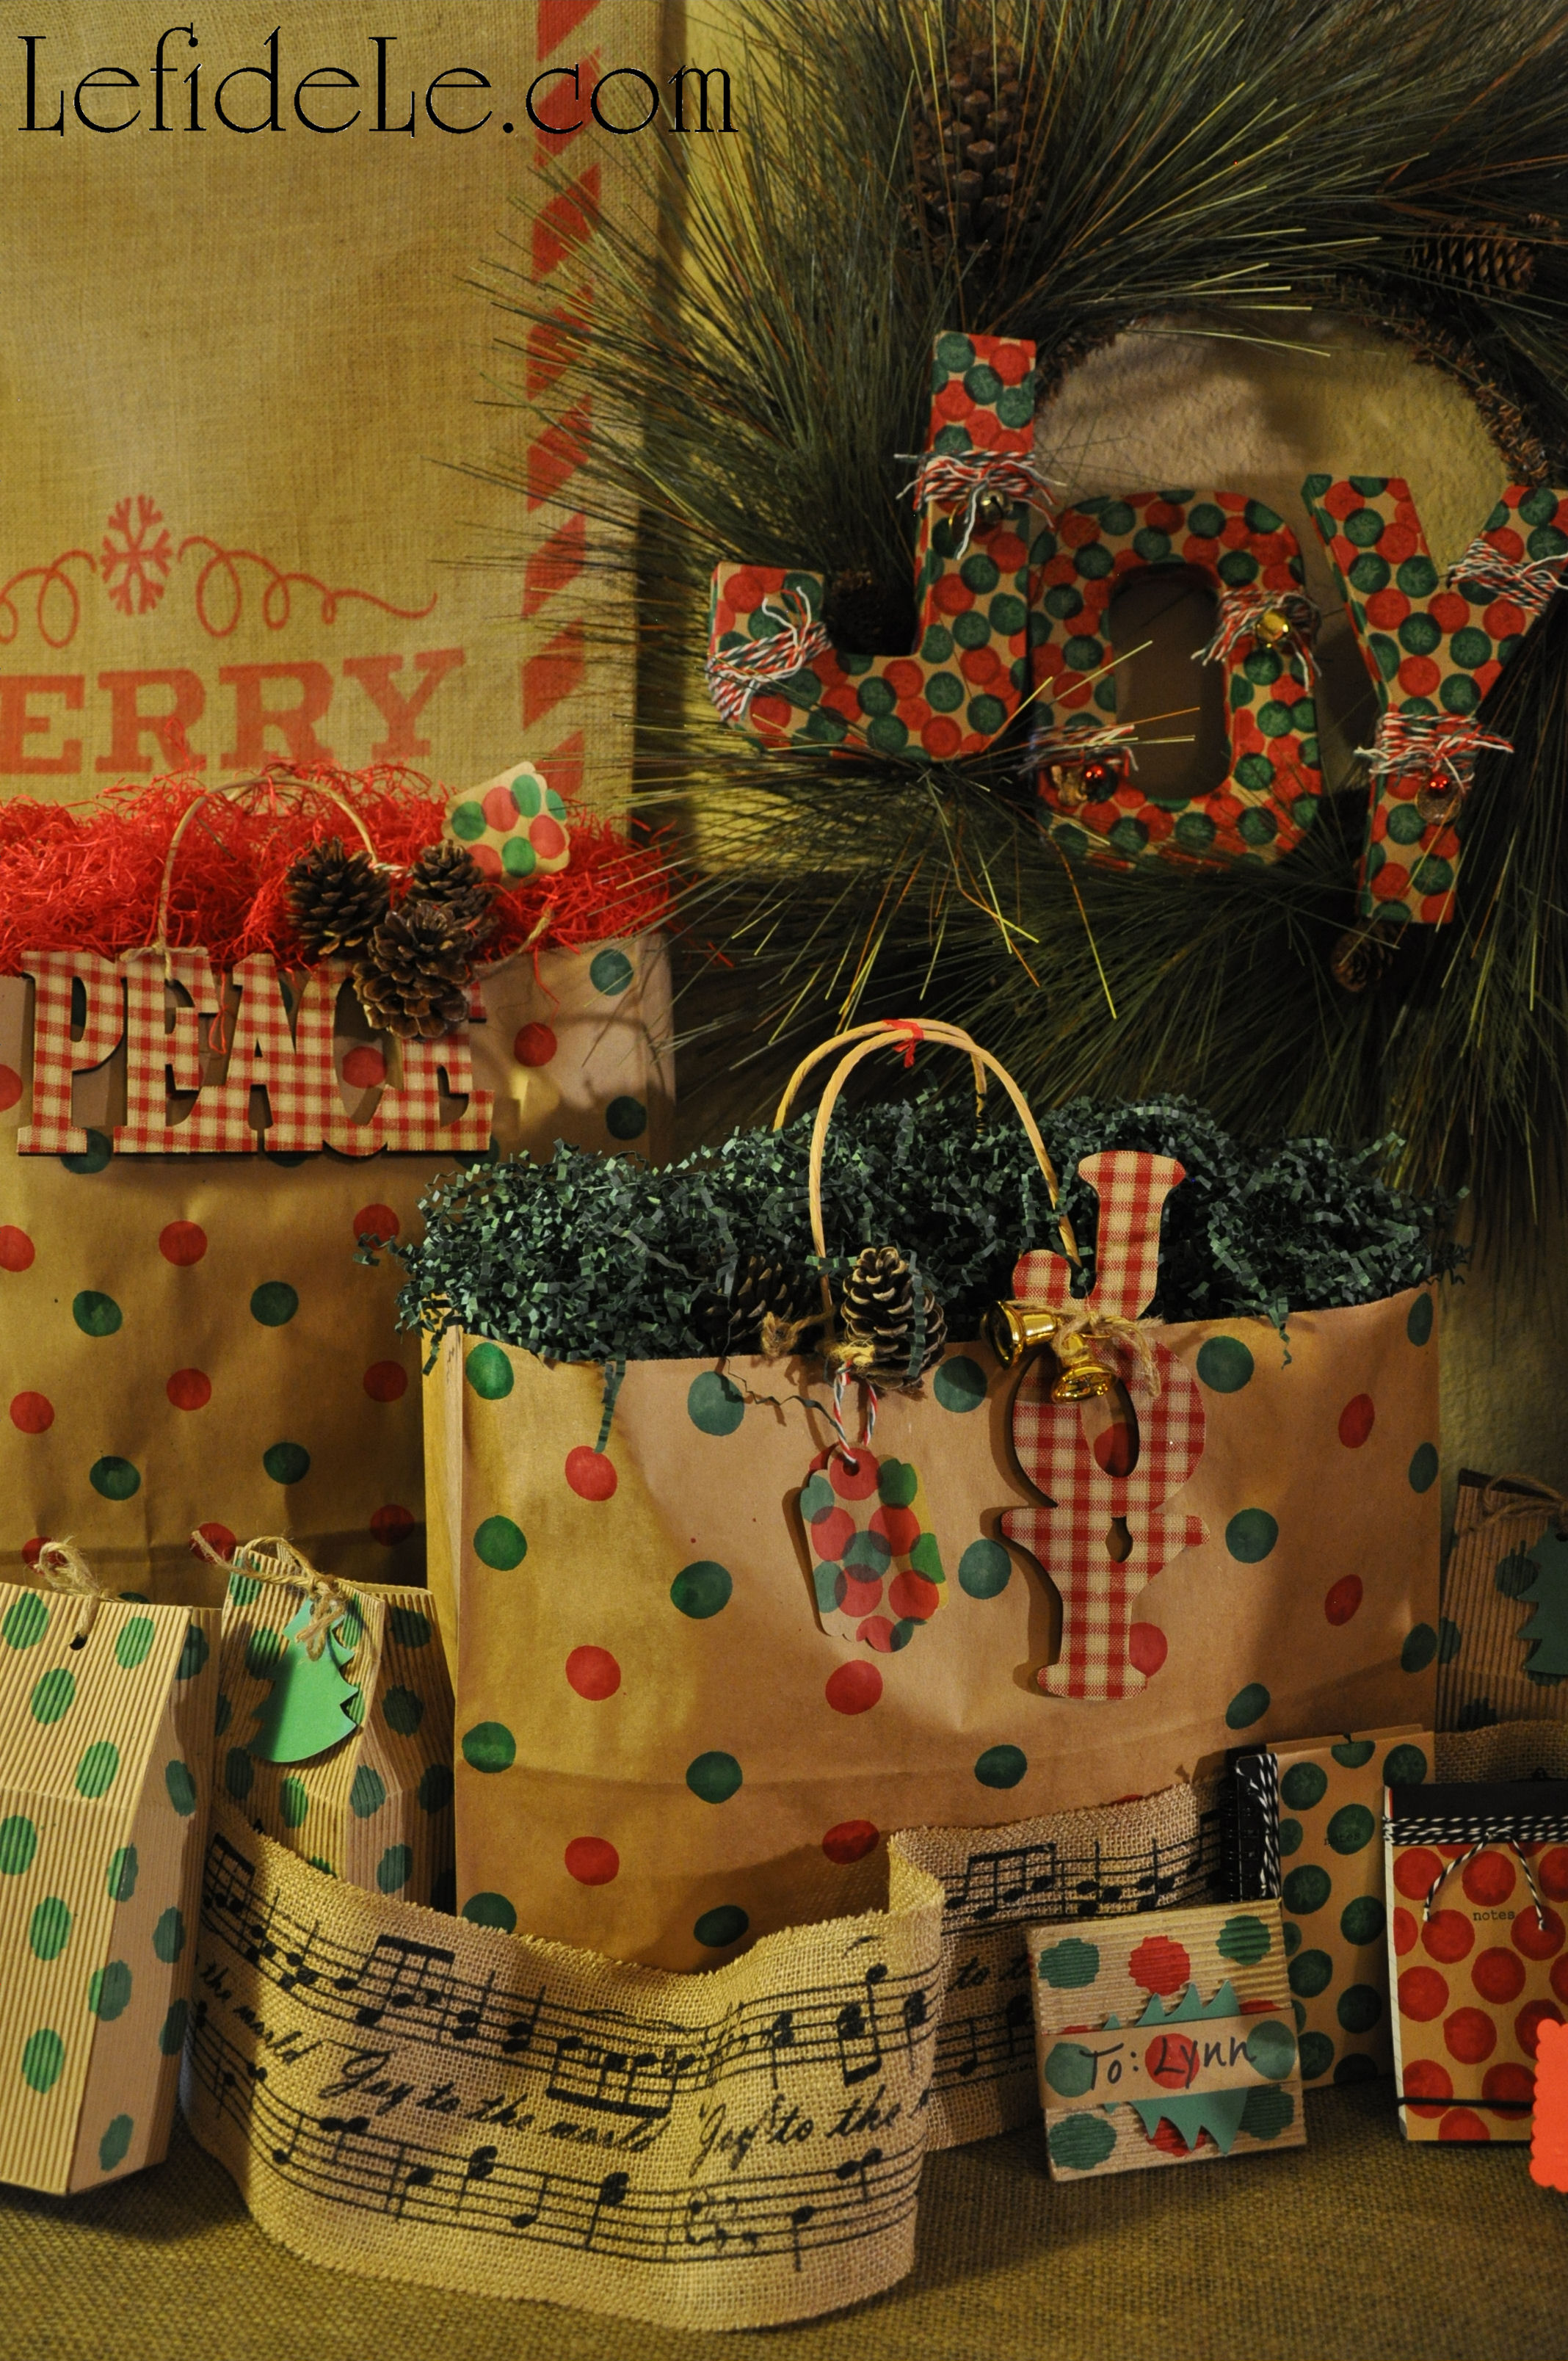
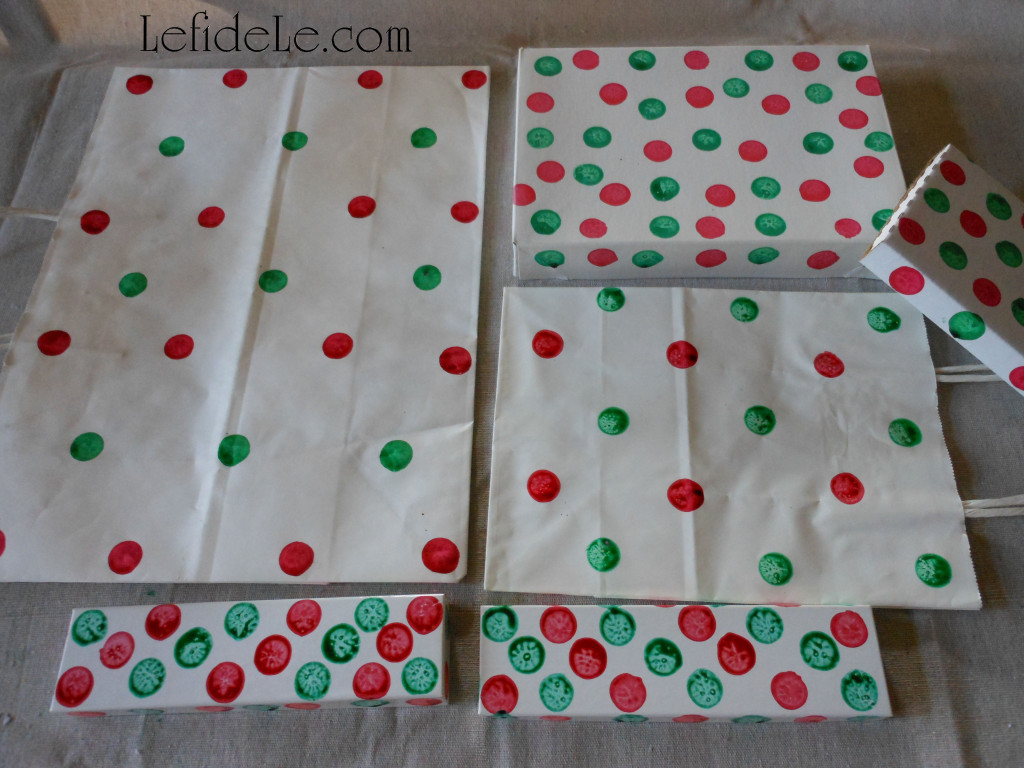
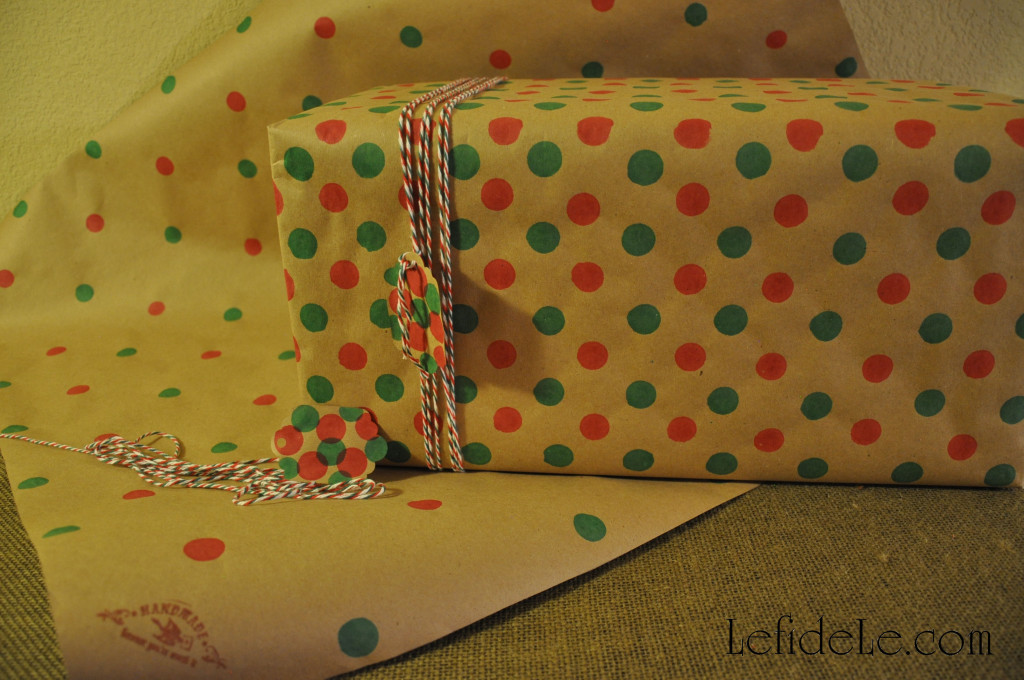
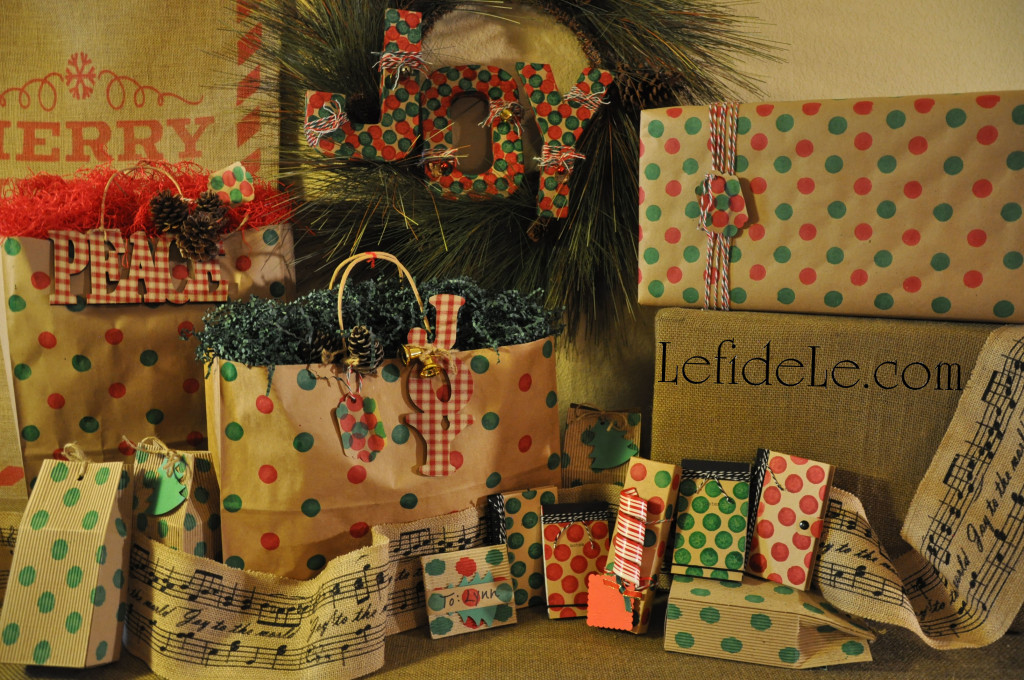
Here are traditional red and green packages for Christmas with added ornament decorations. You can see for yourself the differences between glossy, matte, box, bag, and wrapping paper.
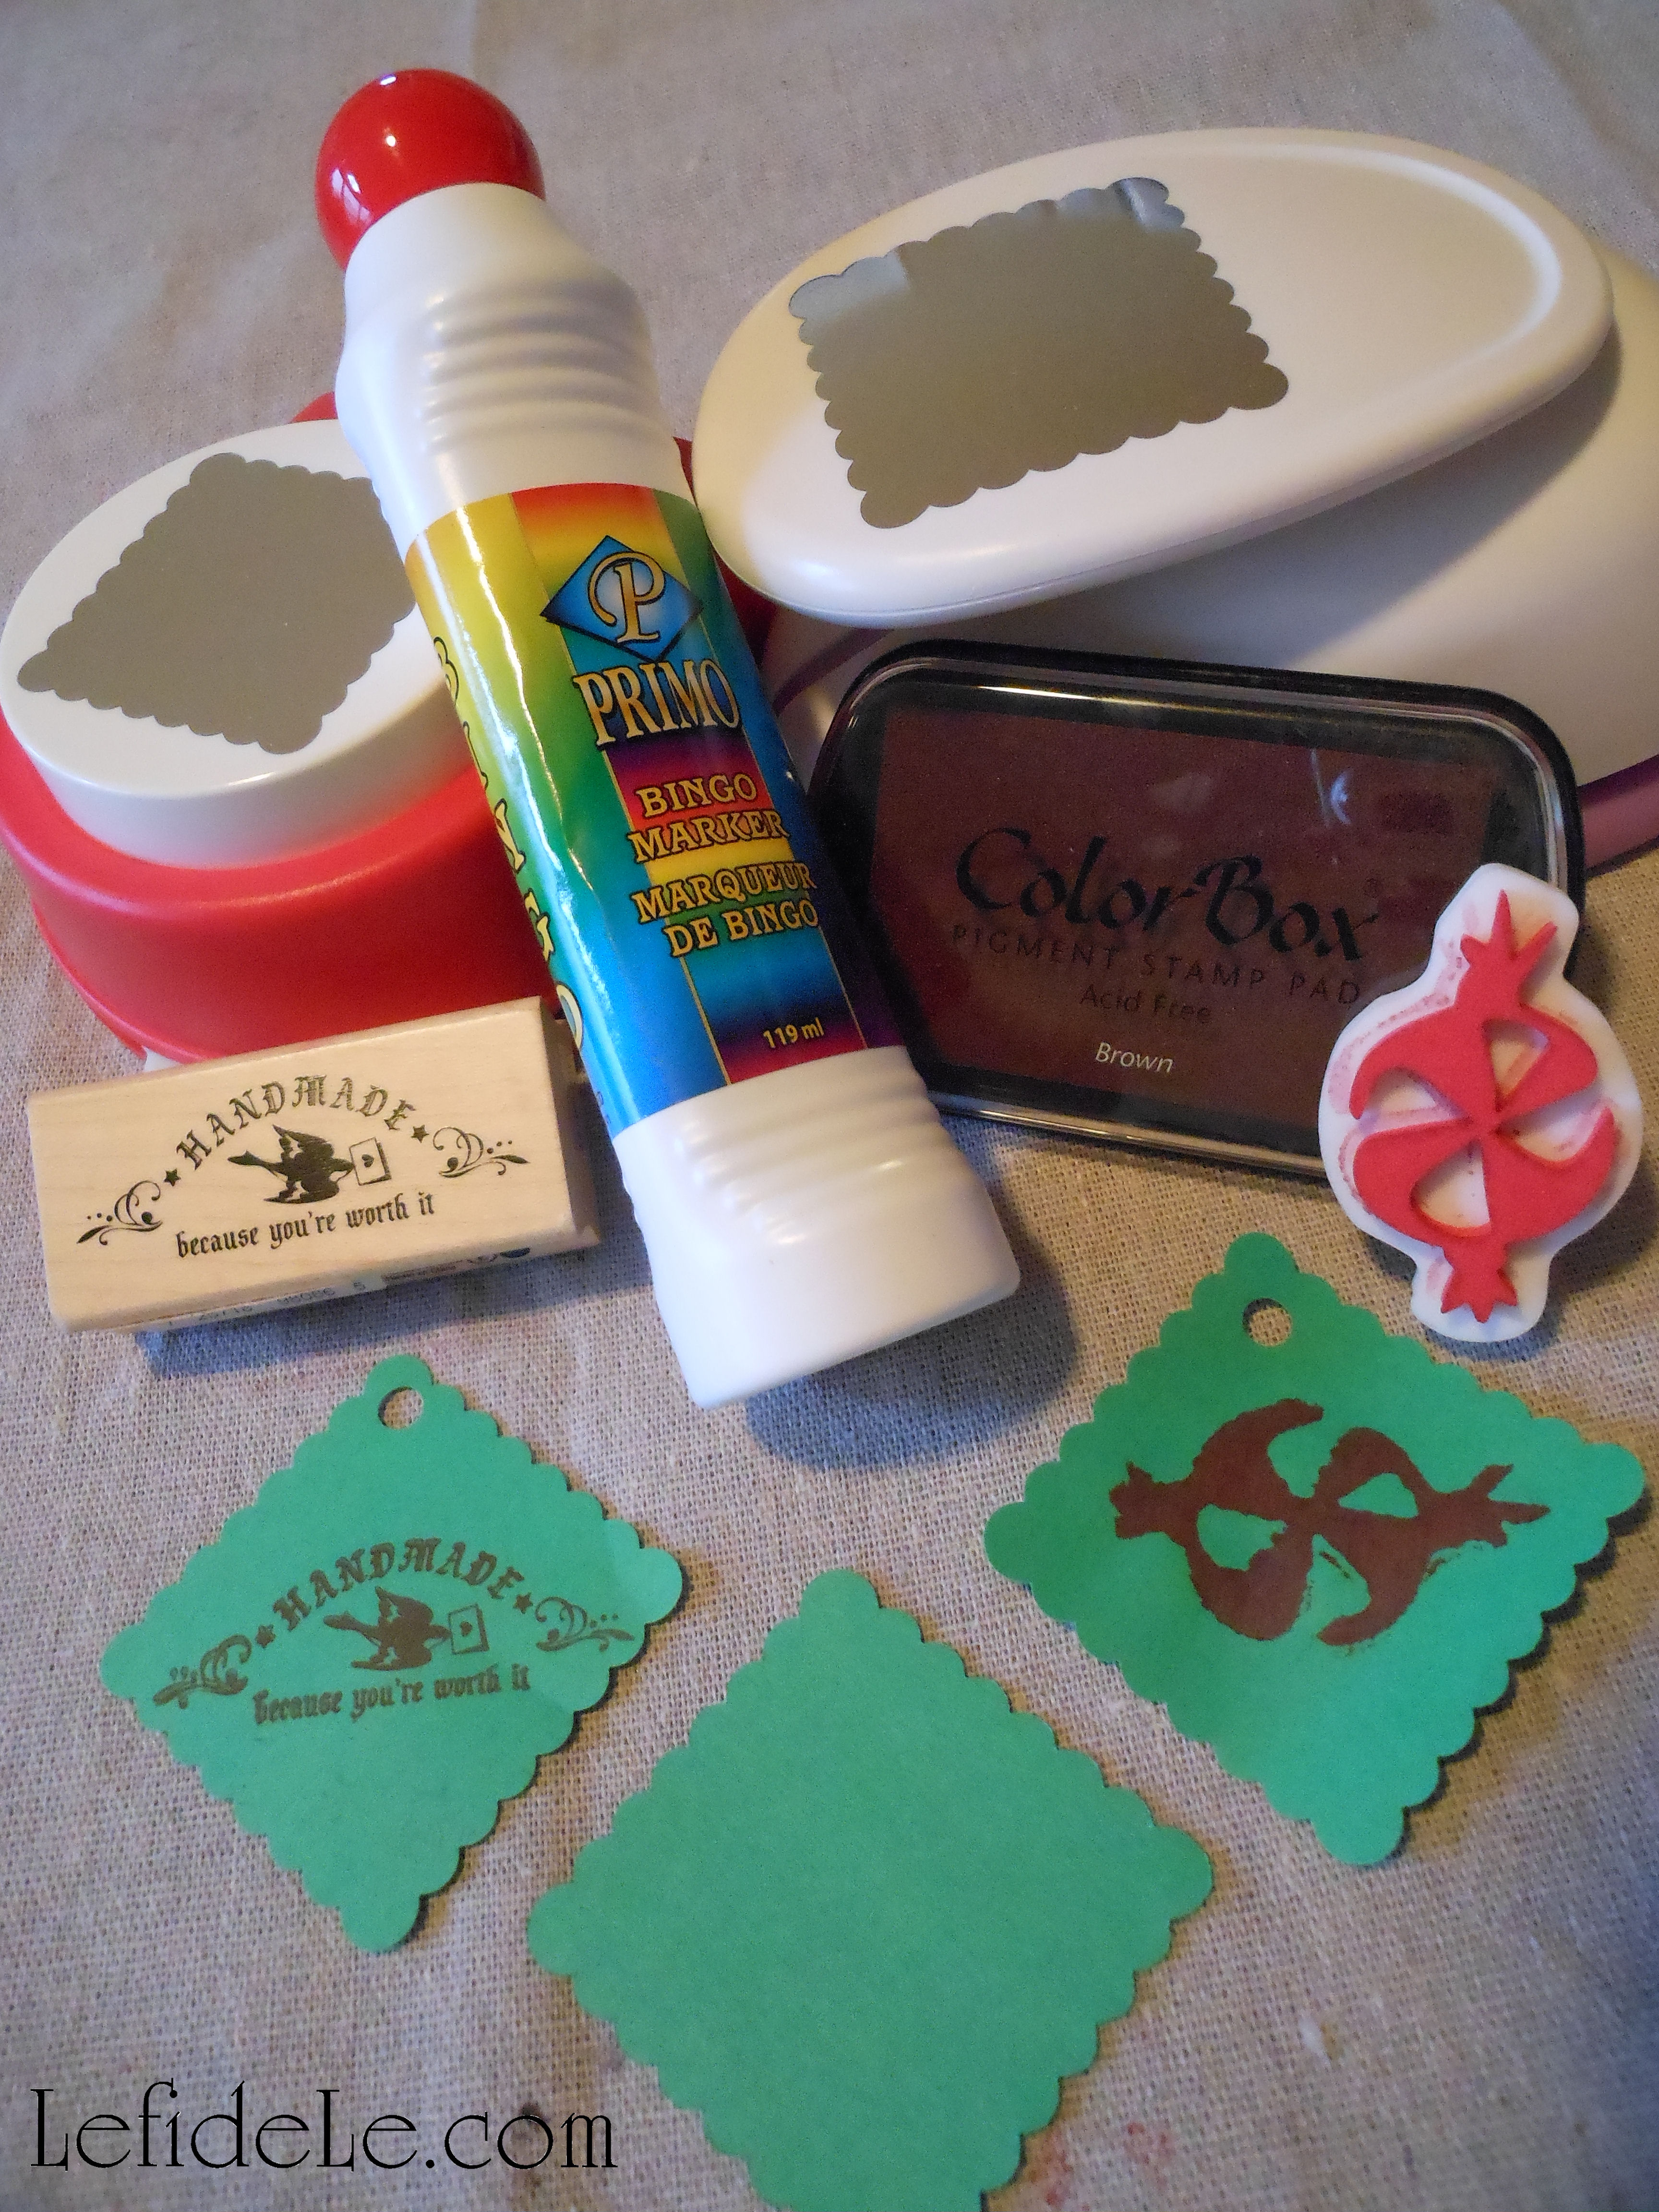
I also used a stamp on them that says, “handmade for you, because you’re worth it,” as it really exemplifies what I’m trying to do… show that I care!
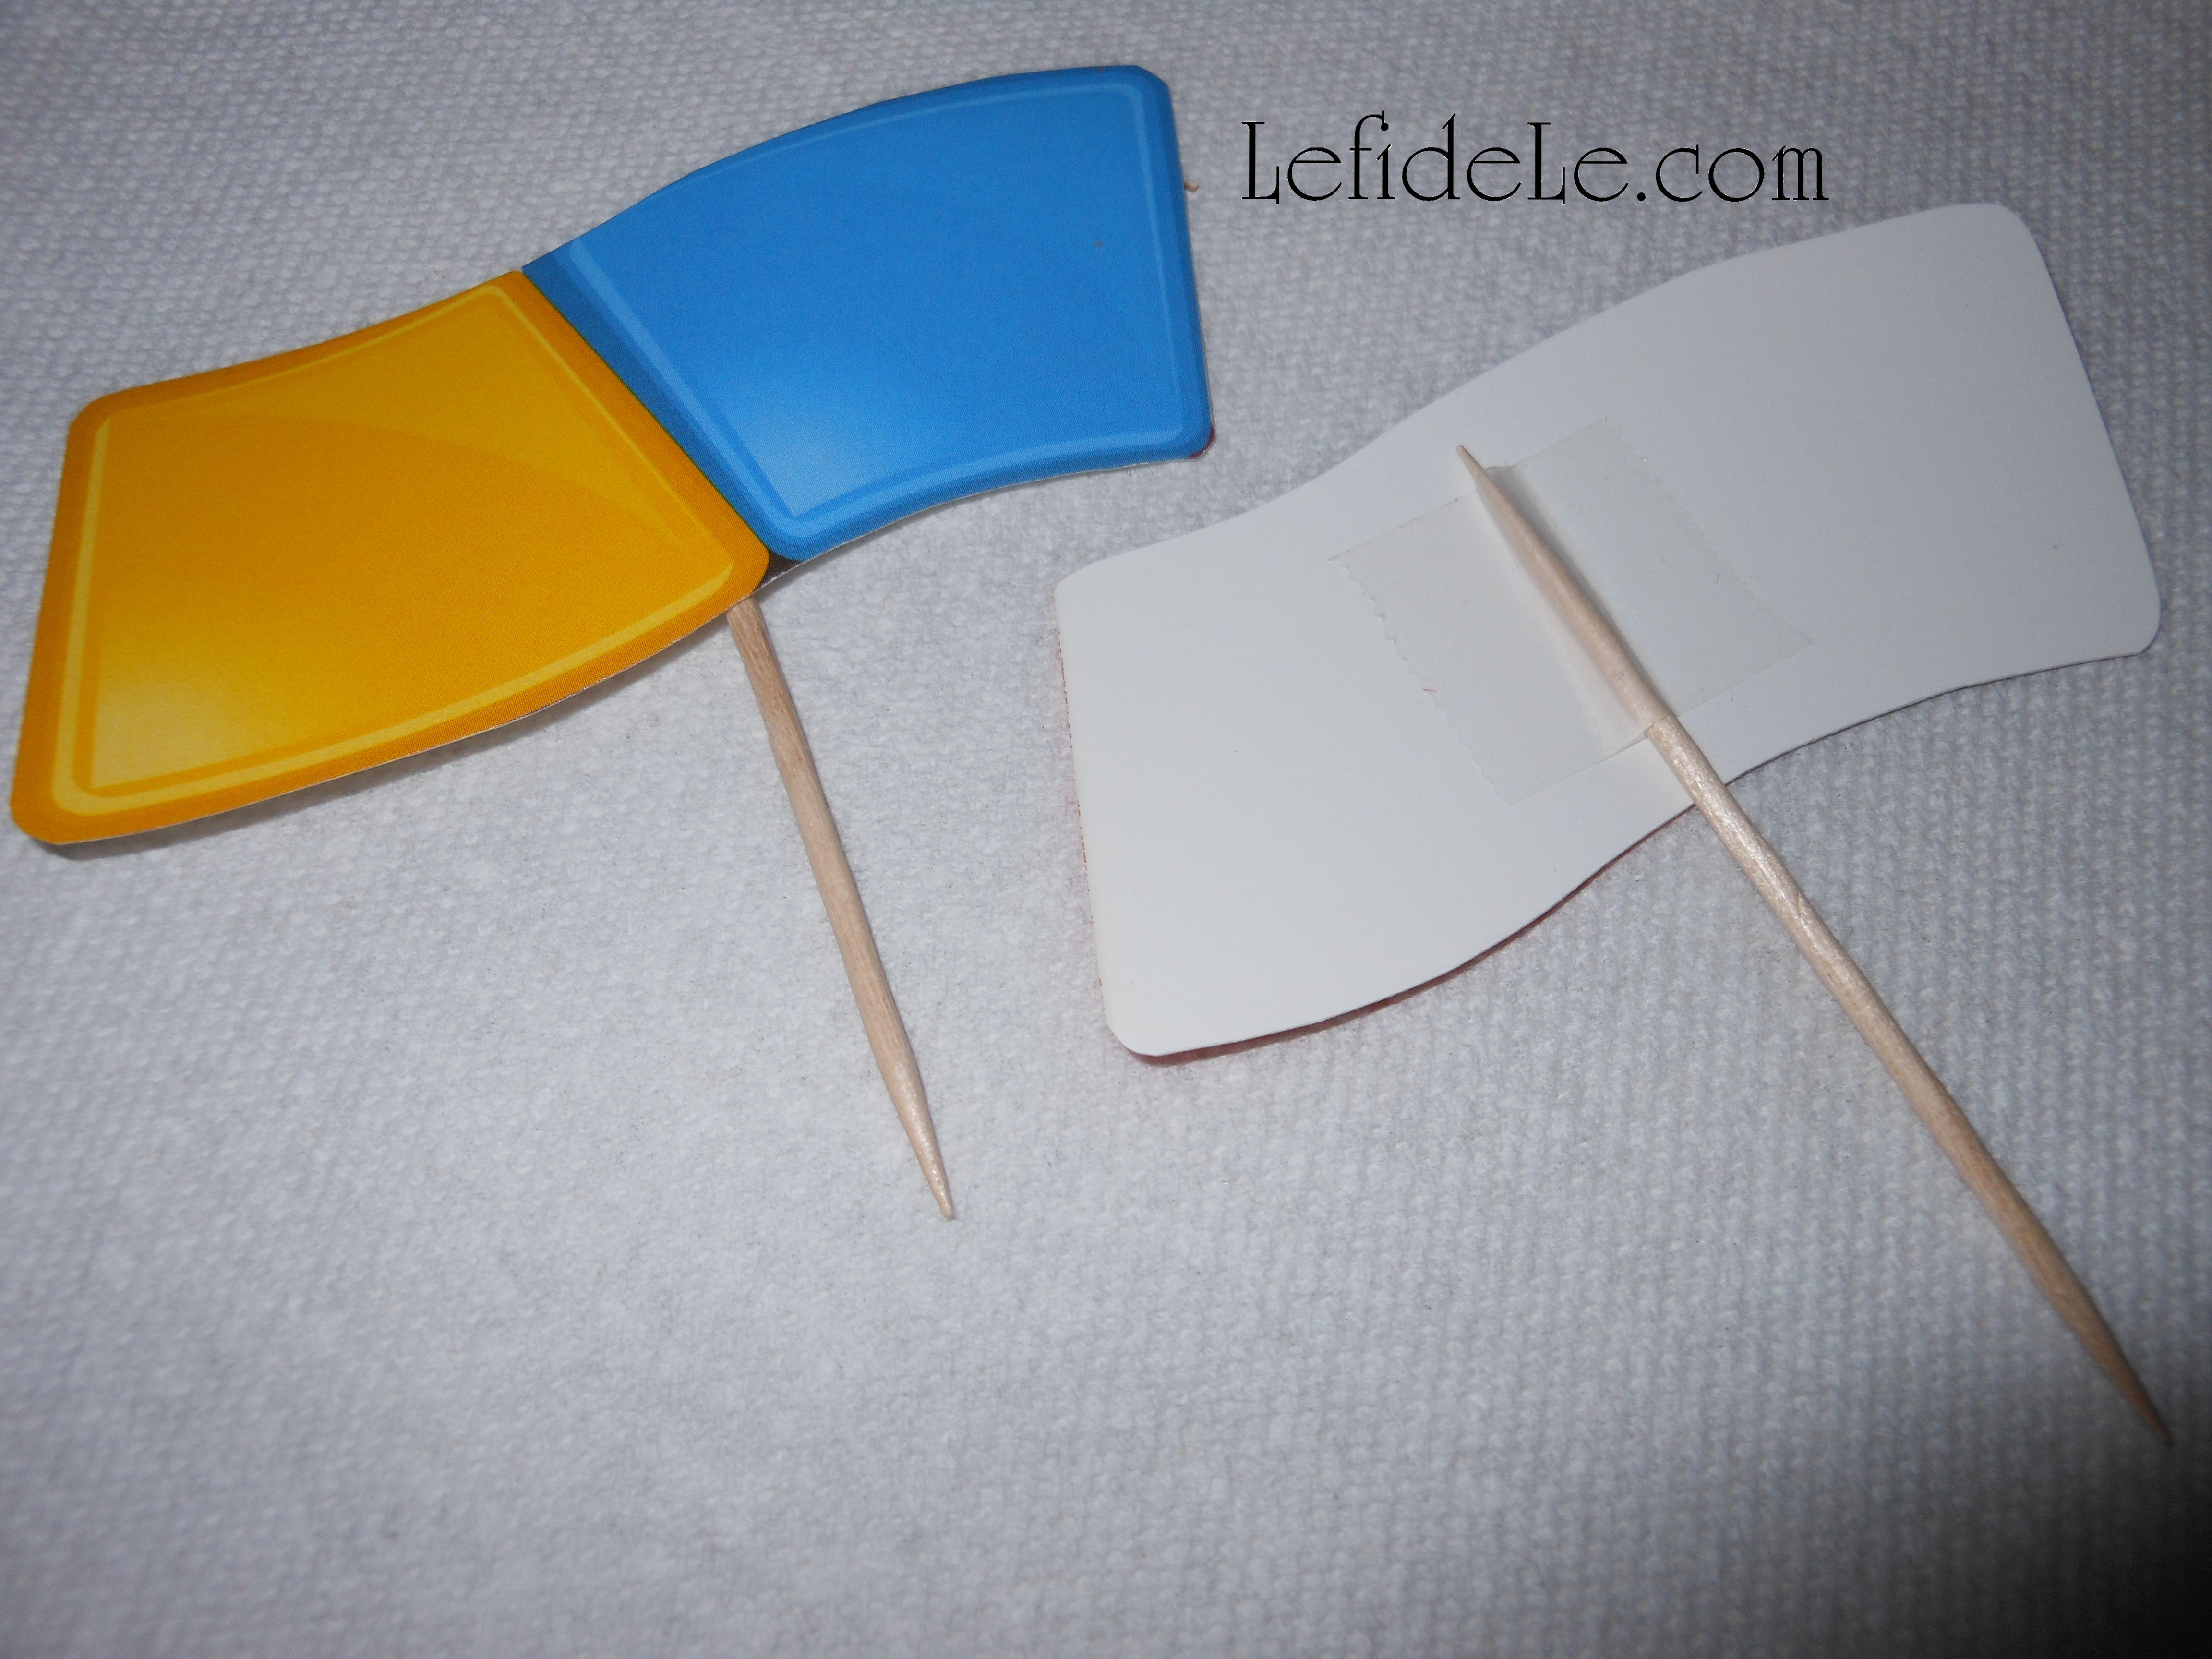
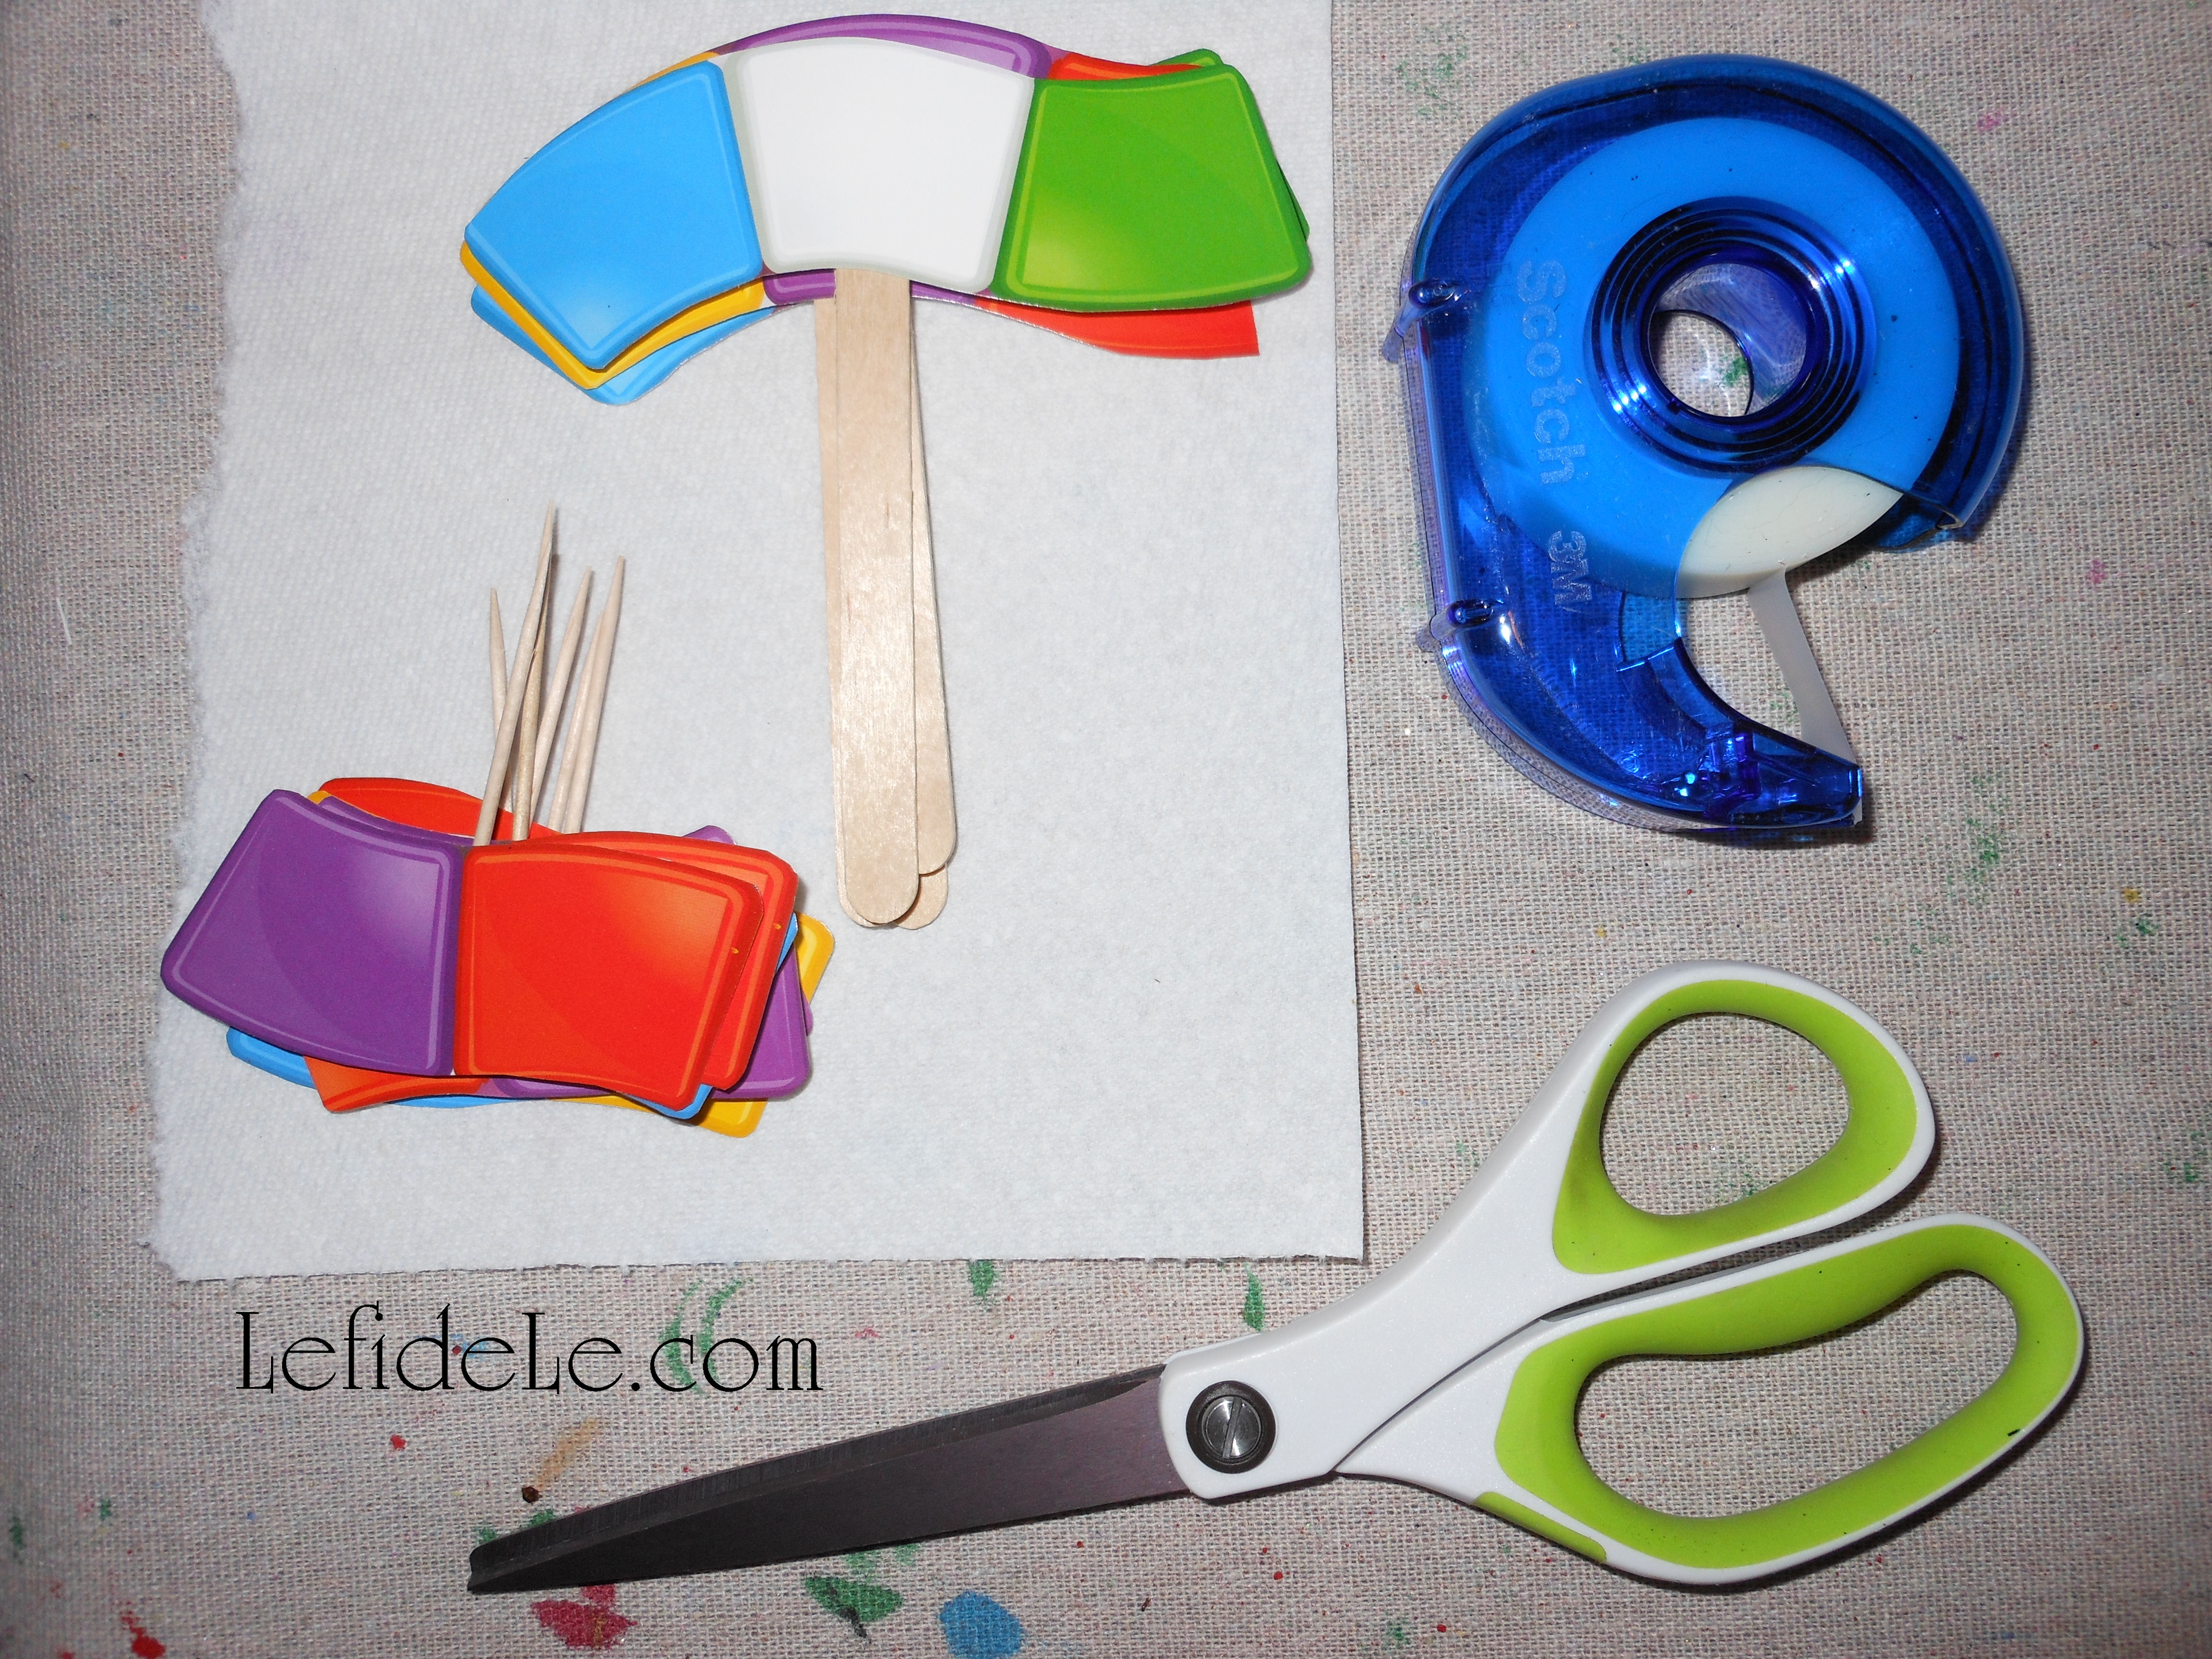
This is an idea for a friend celebrating Hanukkah. I realized I had no appropriate bag decoration for it, so I took a couple of minutes to make one. To make your own, run the matching bingo marker over 6 popsicle sticks to stain them. After they’re dry, hot glue 3 into a triangle. Repeat this with the last three, then glue one triangle on top of the other. Tie on with coordinating twine, yarn, or ribbon.
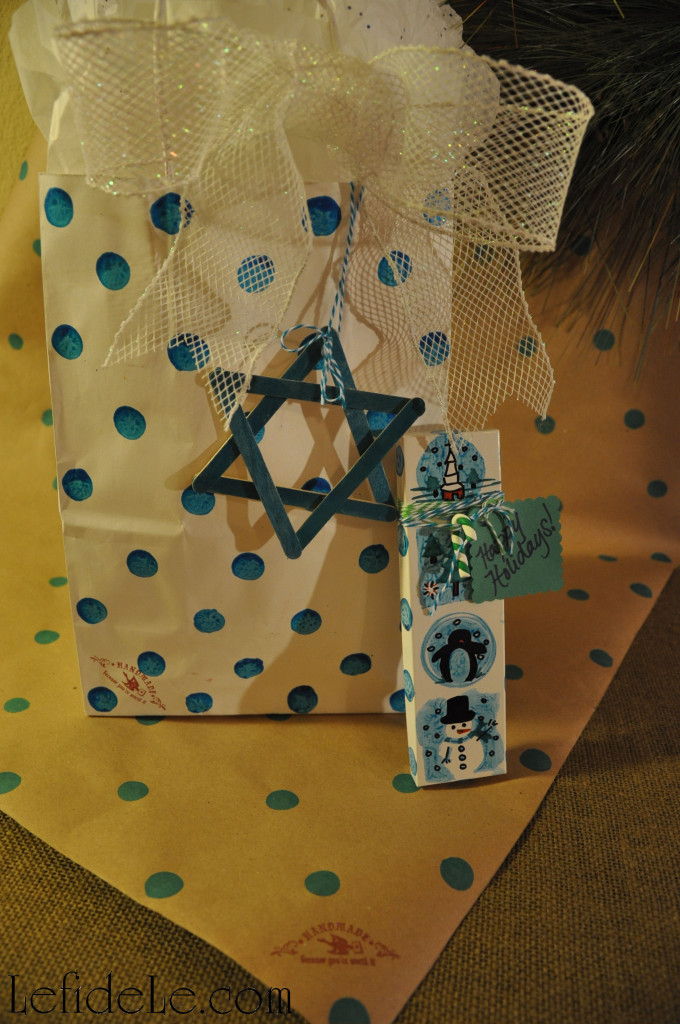
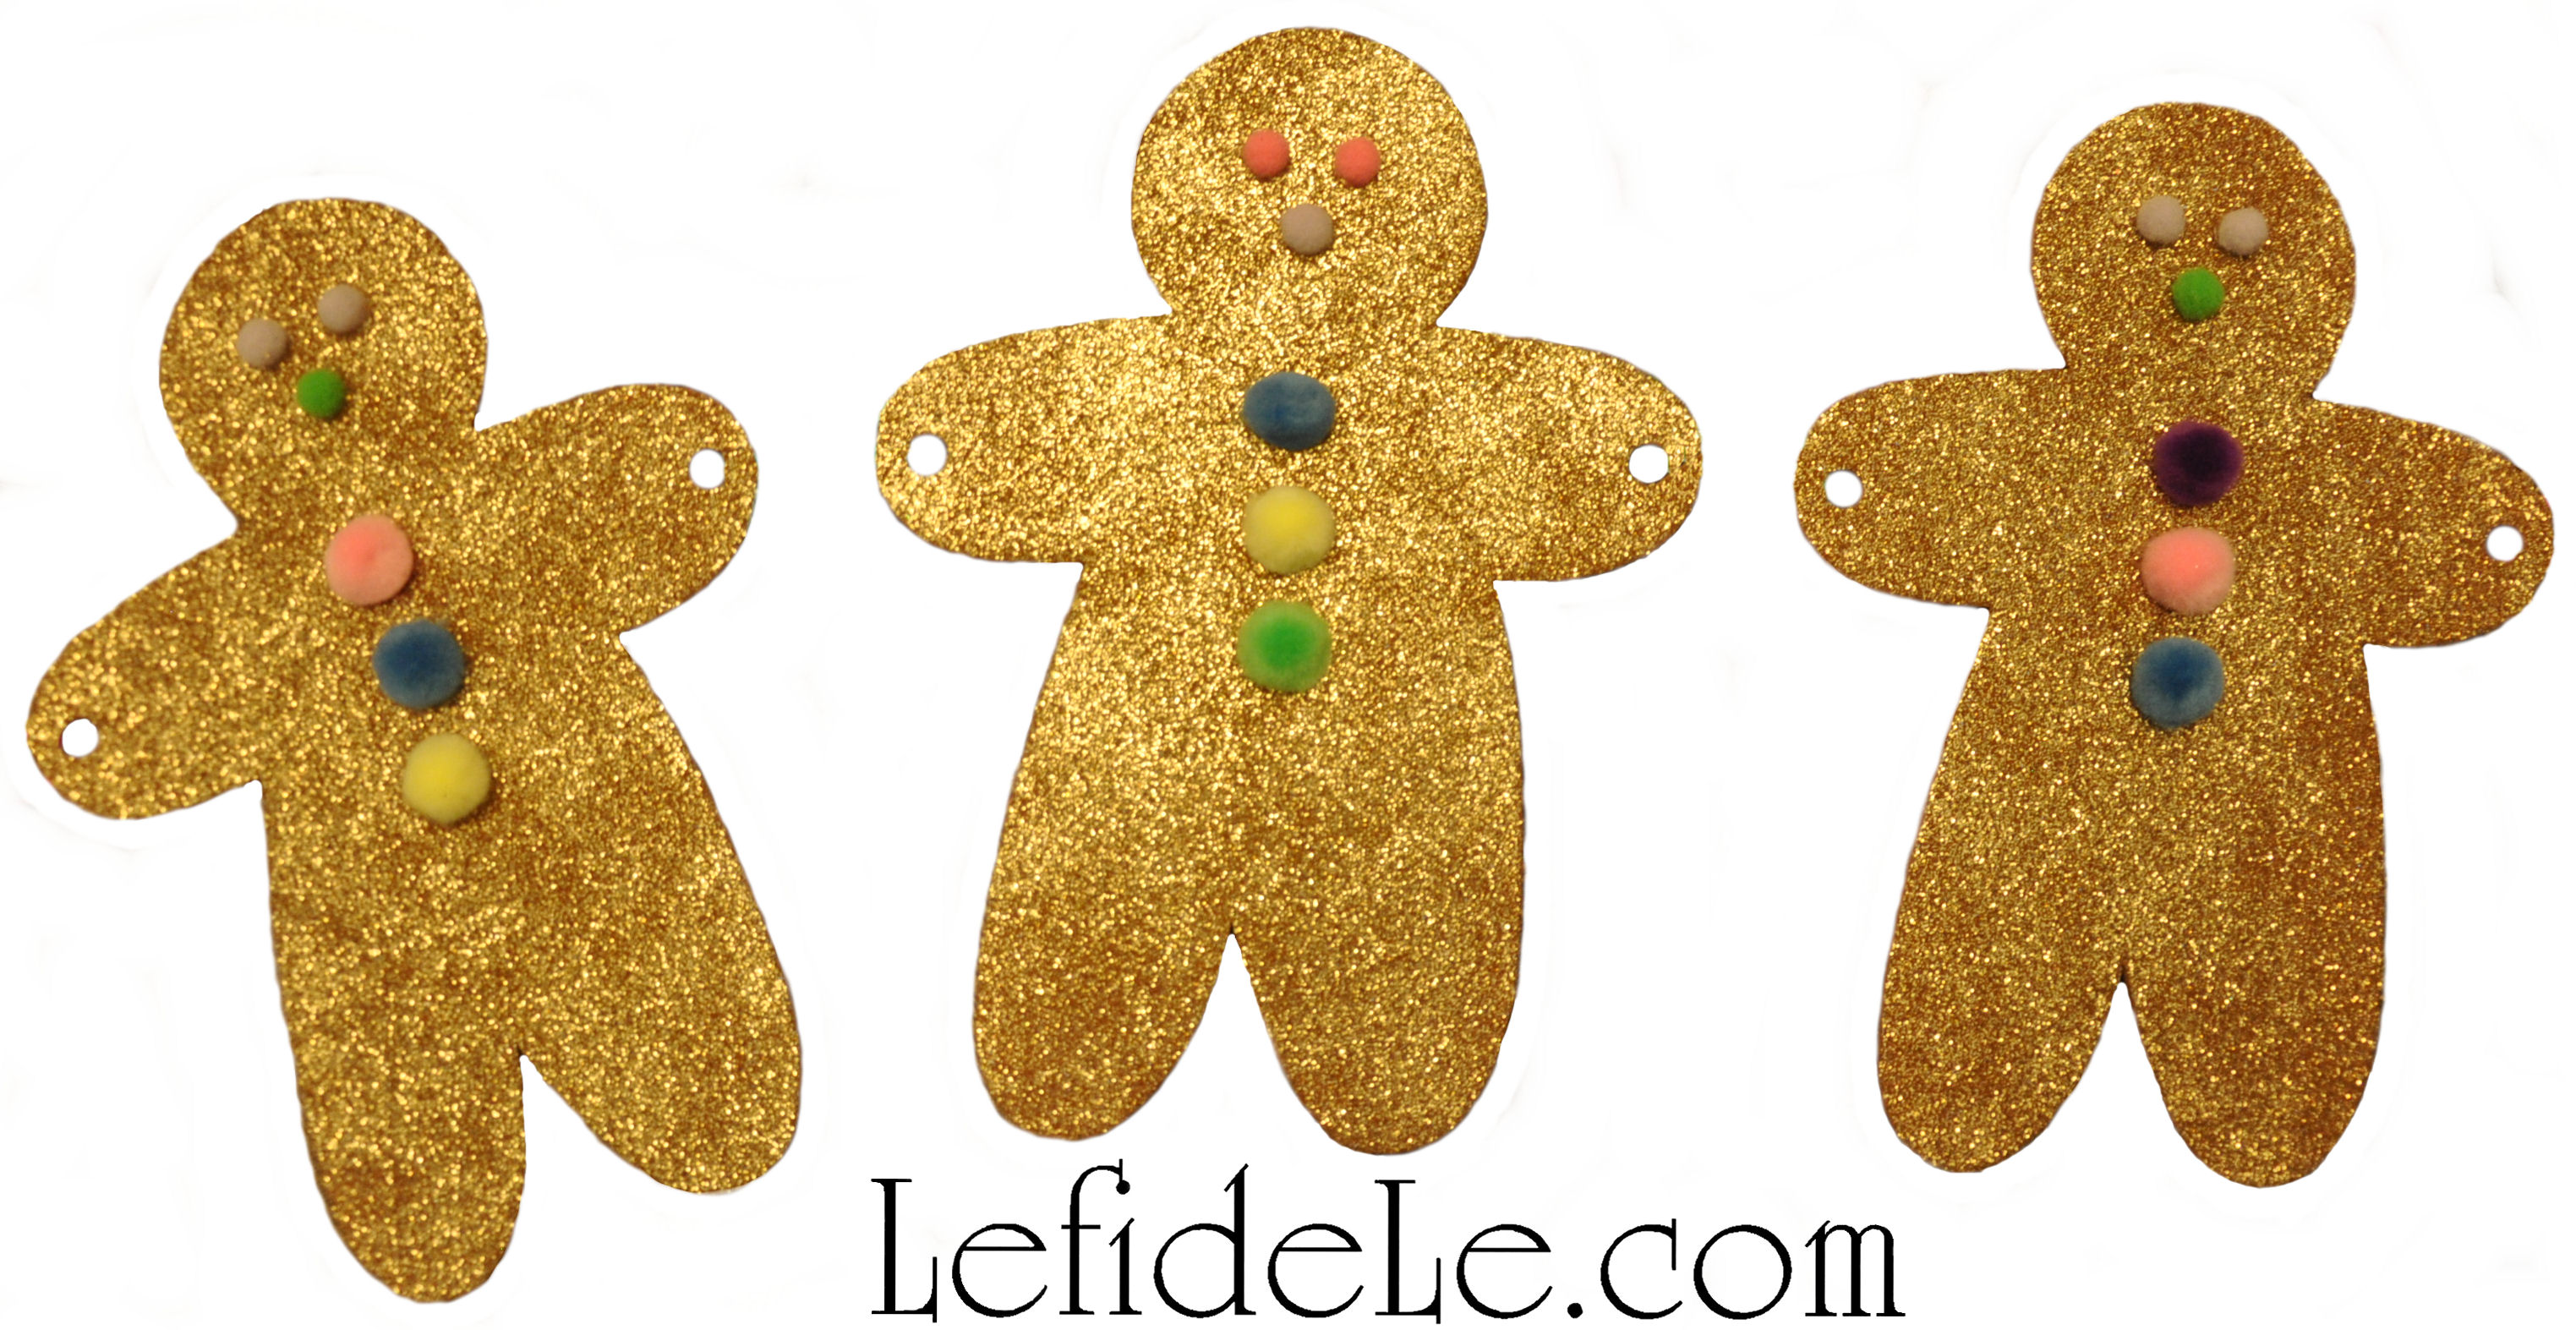
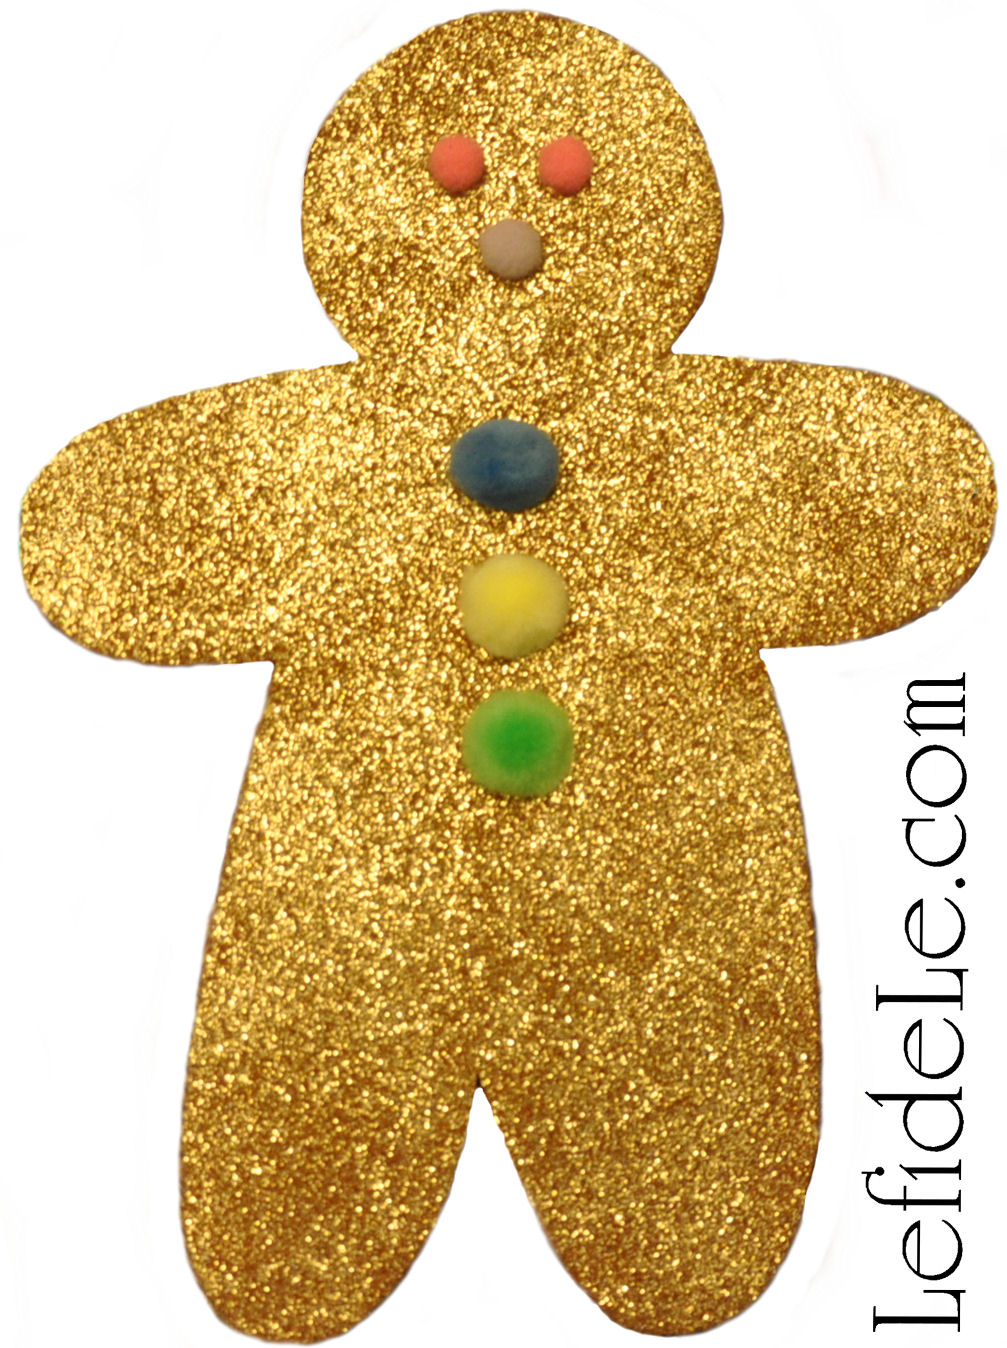
This would be a great type of Christmas craft for the little ones making ornaments for the family. The bingo markers don’t make a big mess and the ink washes off of skin. Adding a year and a name in permanent marker would make it even more precious.
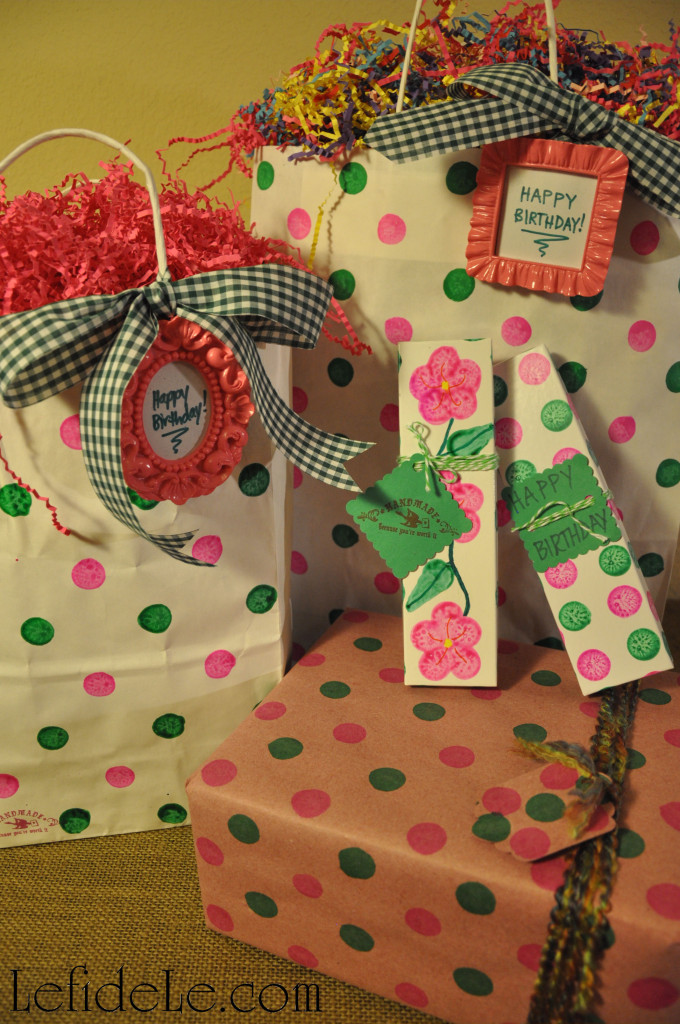
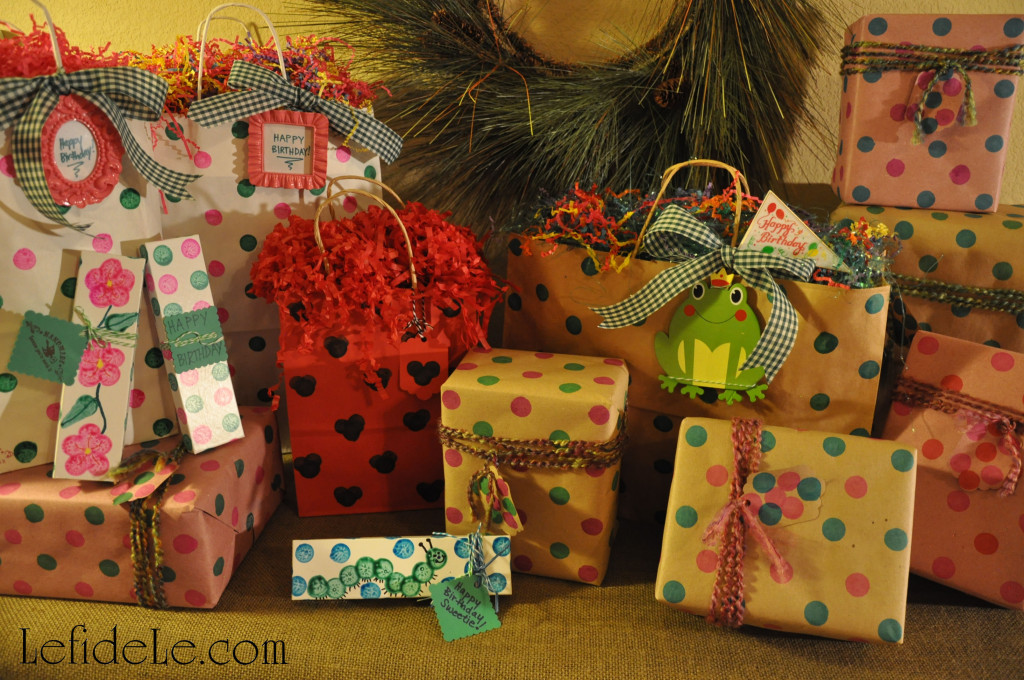
Here are some birthday gift packages with tiny frames as bag décor.
I went ahead and stamped them ahead of time because I already had everything out, and I’m planning an upcoming green and pink polka-dot theme birthday party. It fit just too perfectly!
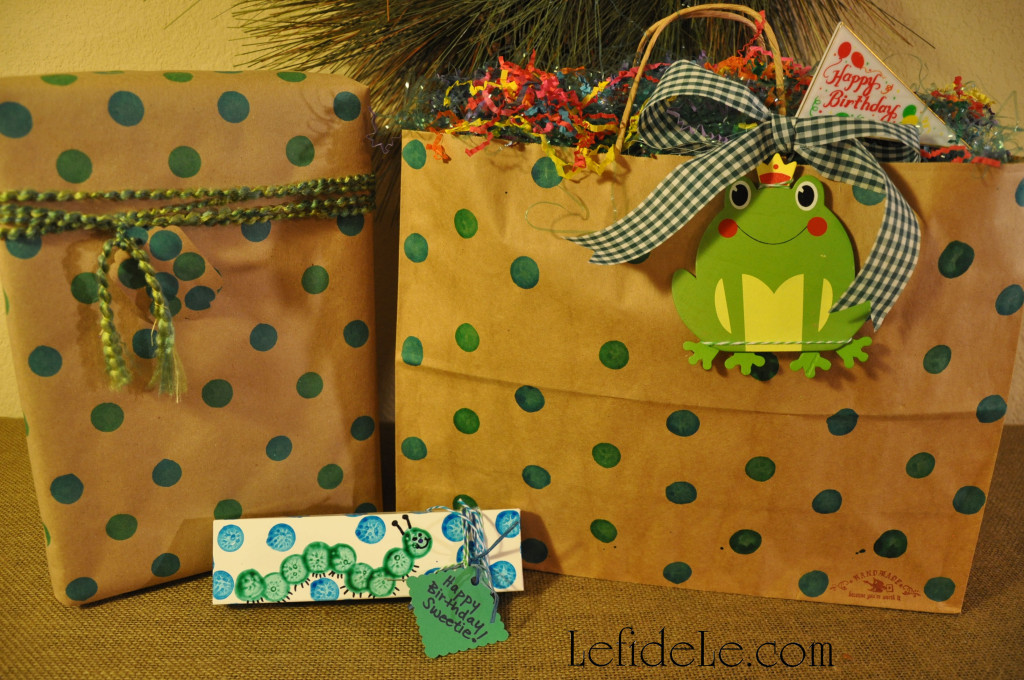
Also, I’ve made some critter themed wrap in blue and green. It seems like there is always a little one being born or having a birthday, so I make a point of finding theme items throughout the year for gift baskets. I can always find cute things in ducks, frogs, and ladybugs.
Here are some attempts at making shapes with the bingo markers. I’m sure it probably would have been smarter to practice before doing this on the bag and boxes. Oh well, at least you can get the idea.
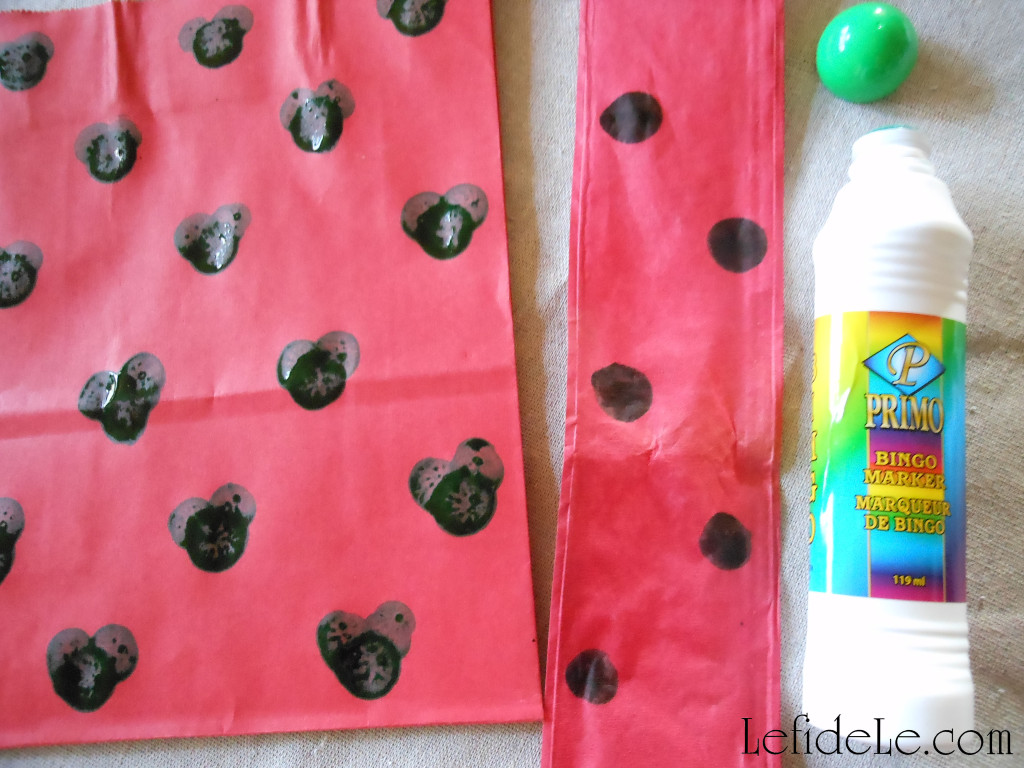
The Mickey / Minnie Mouse bag appears to have black ink on it because green ink appears black on the red paper. I also stamped polka dots onto a length of red paper ribbon to demonstrate the endless possibilities of decorating with ink. The green Hungry Caterpillar box just as easily could have featured a blue Alice in Wonderland Caterpillar.
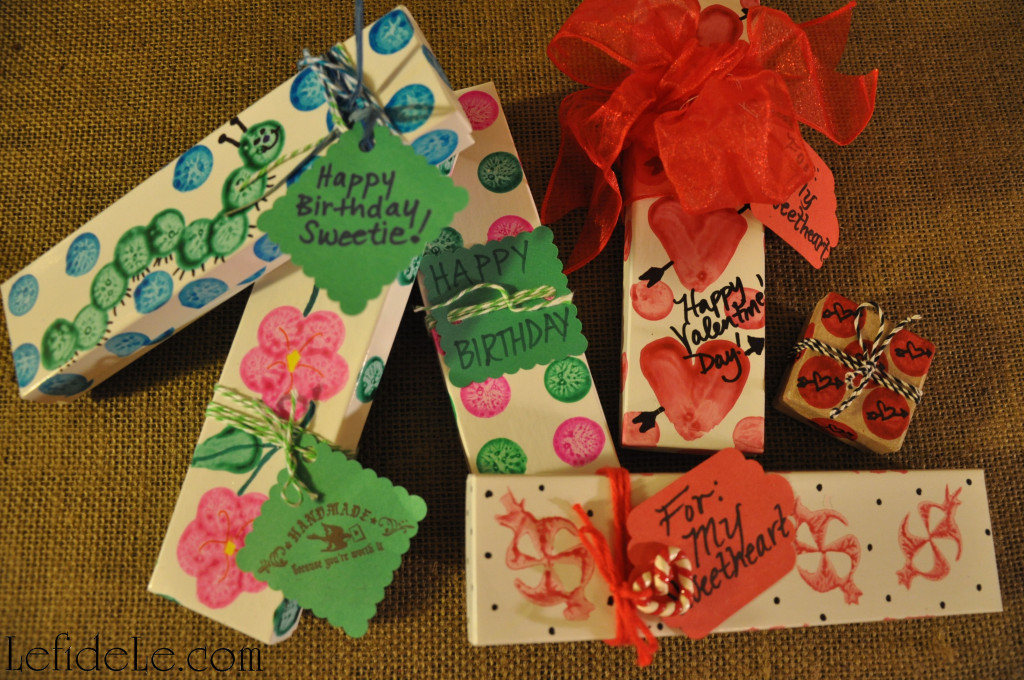
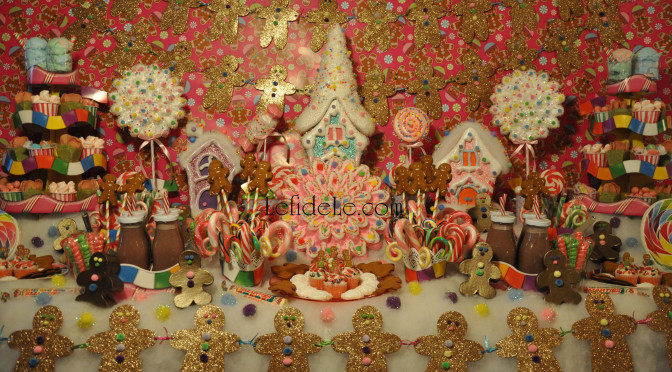
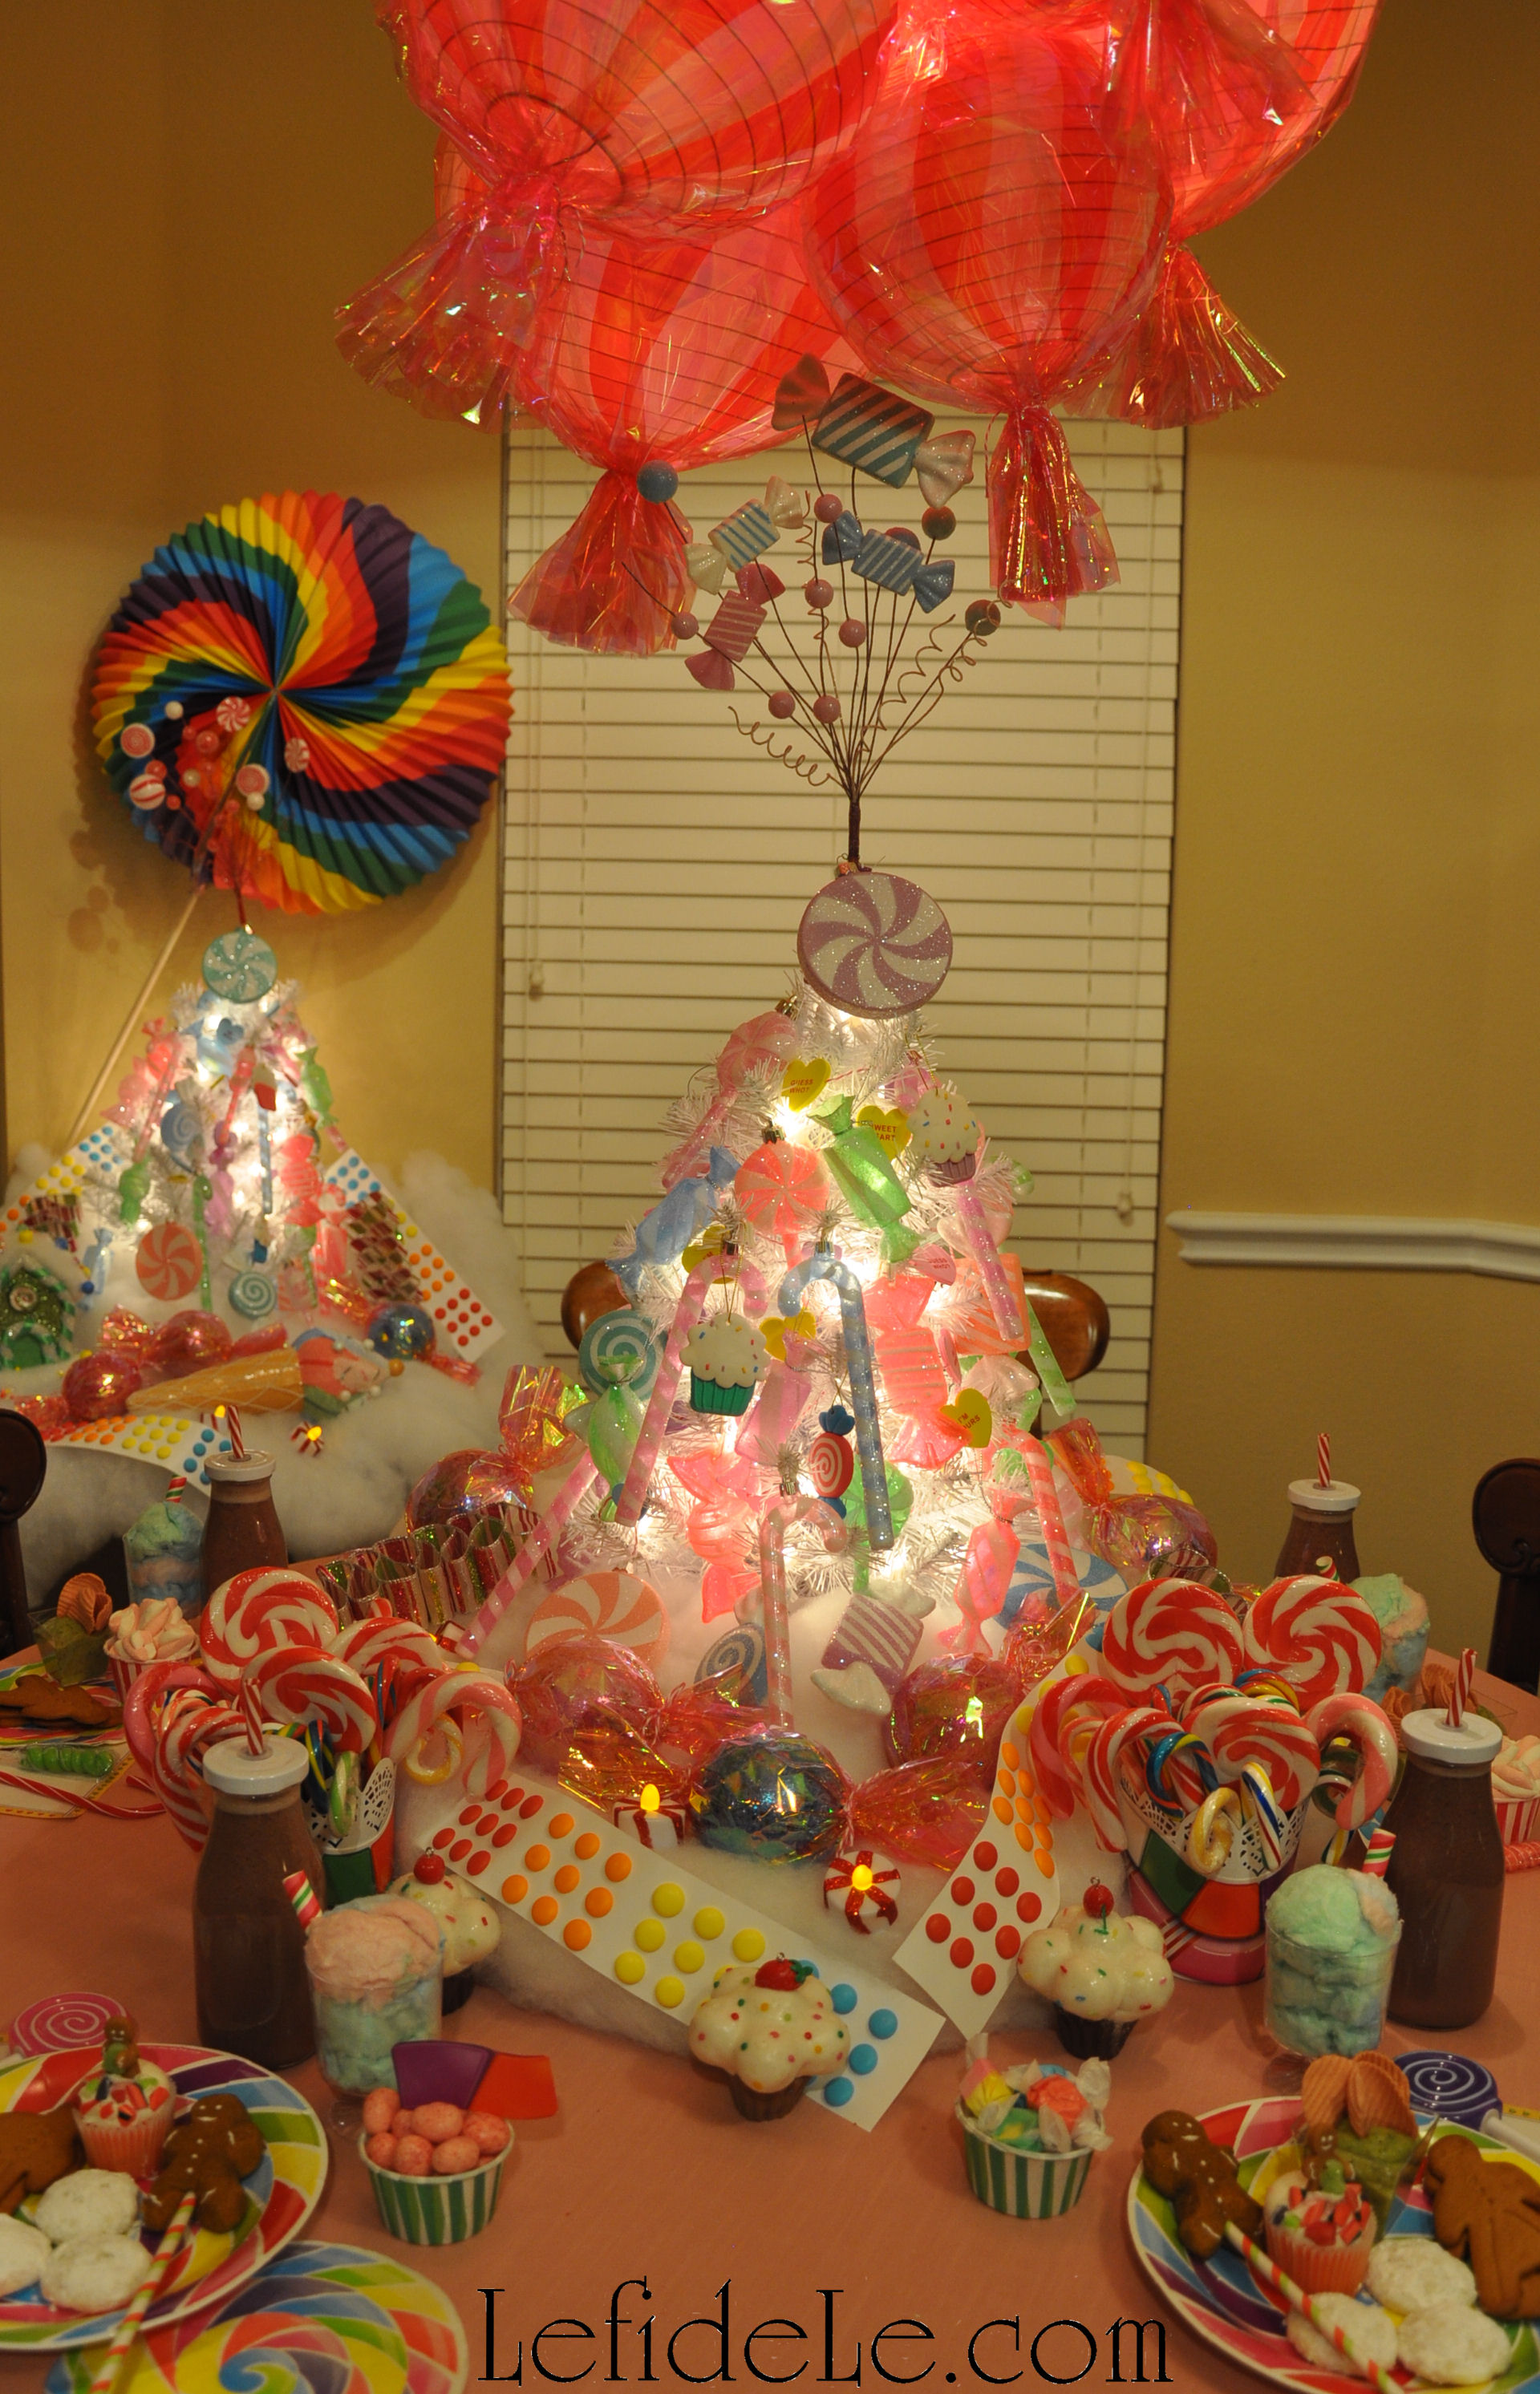
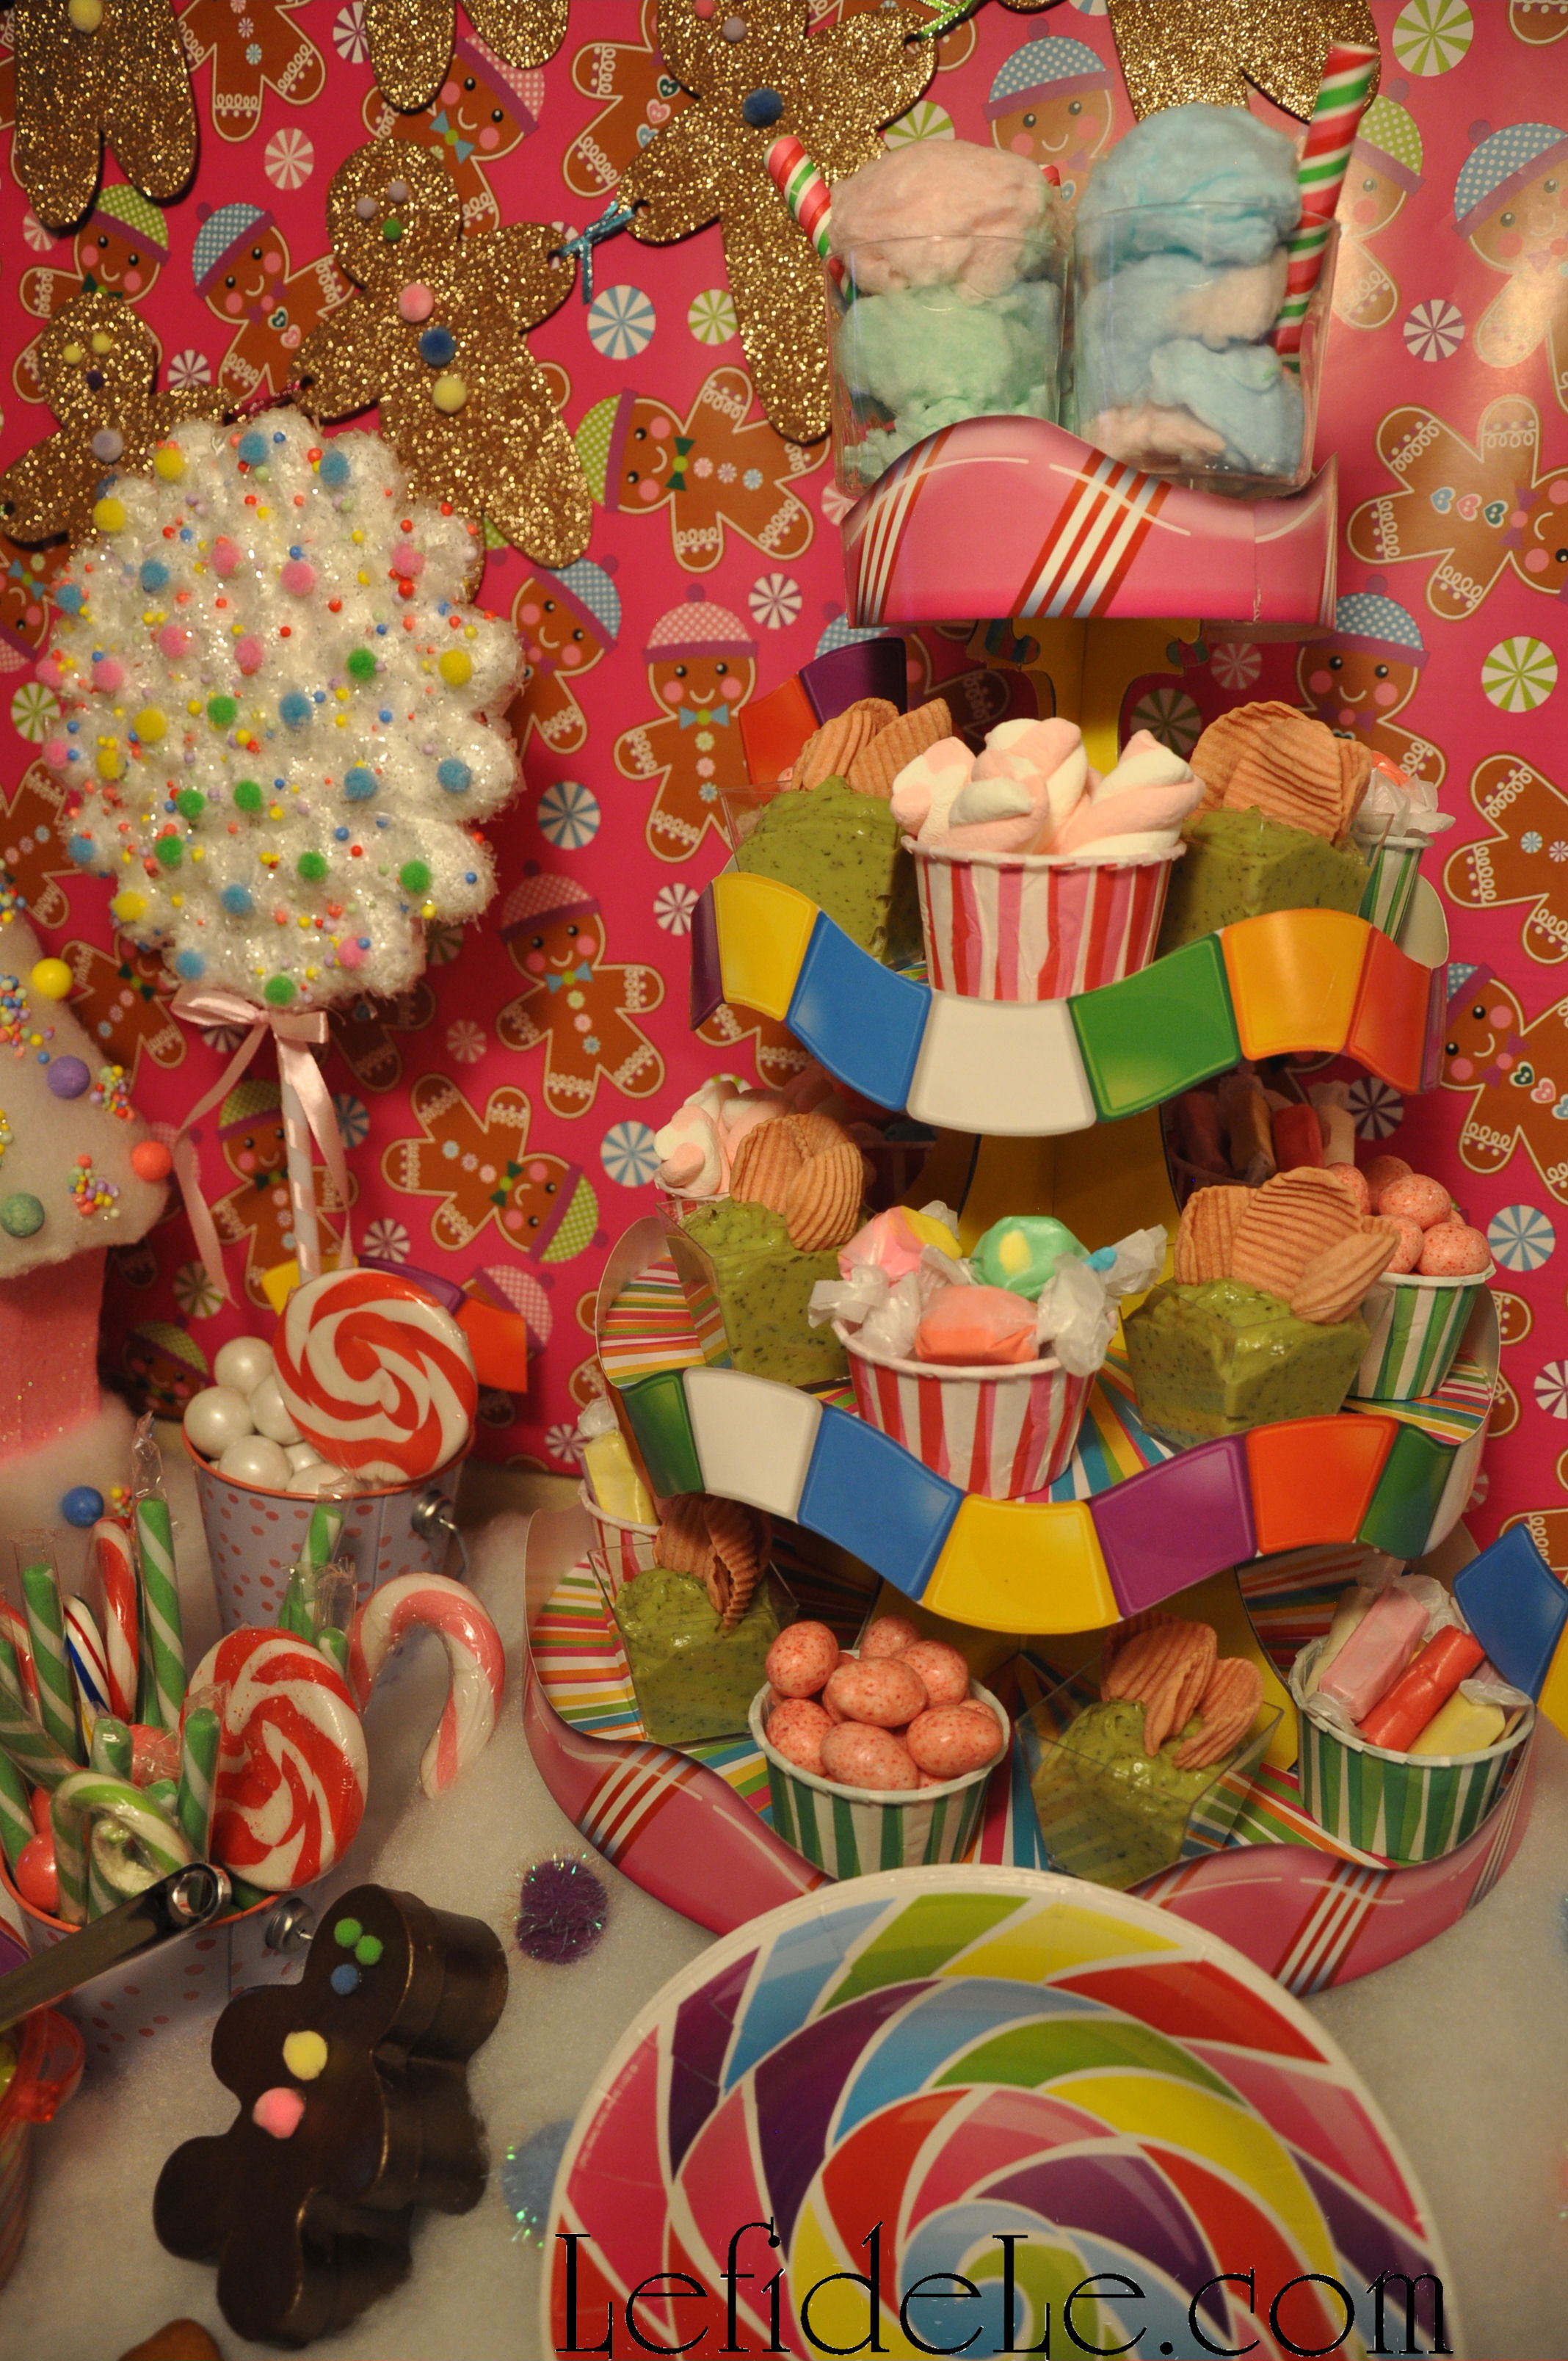
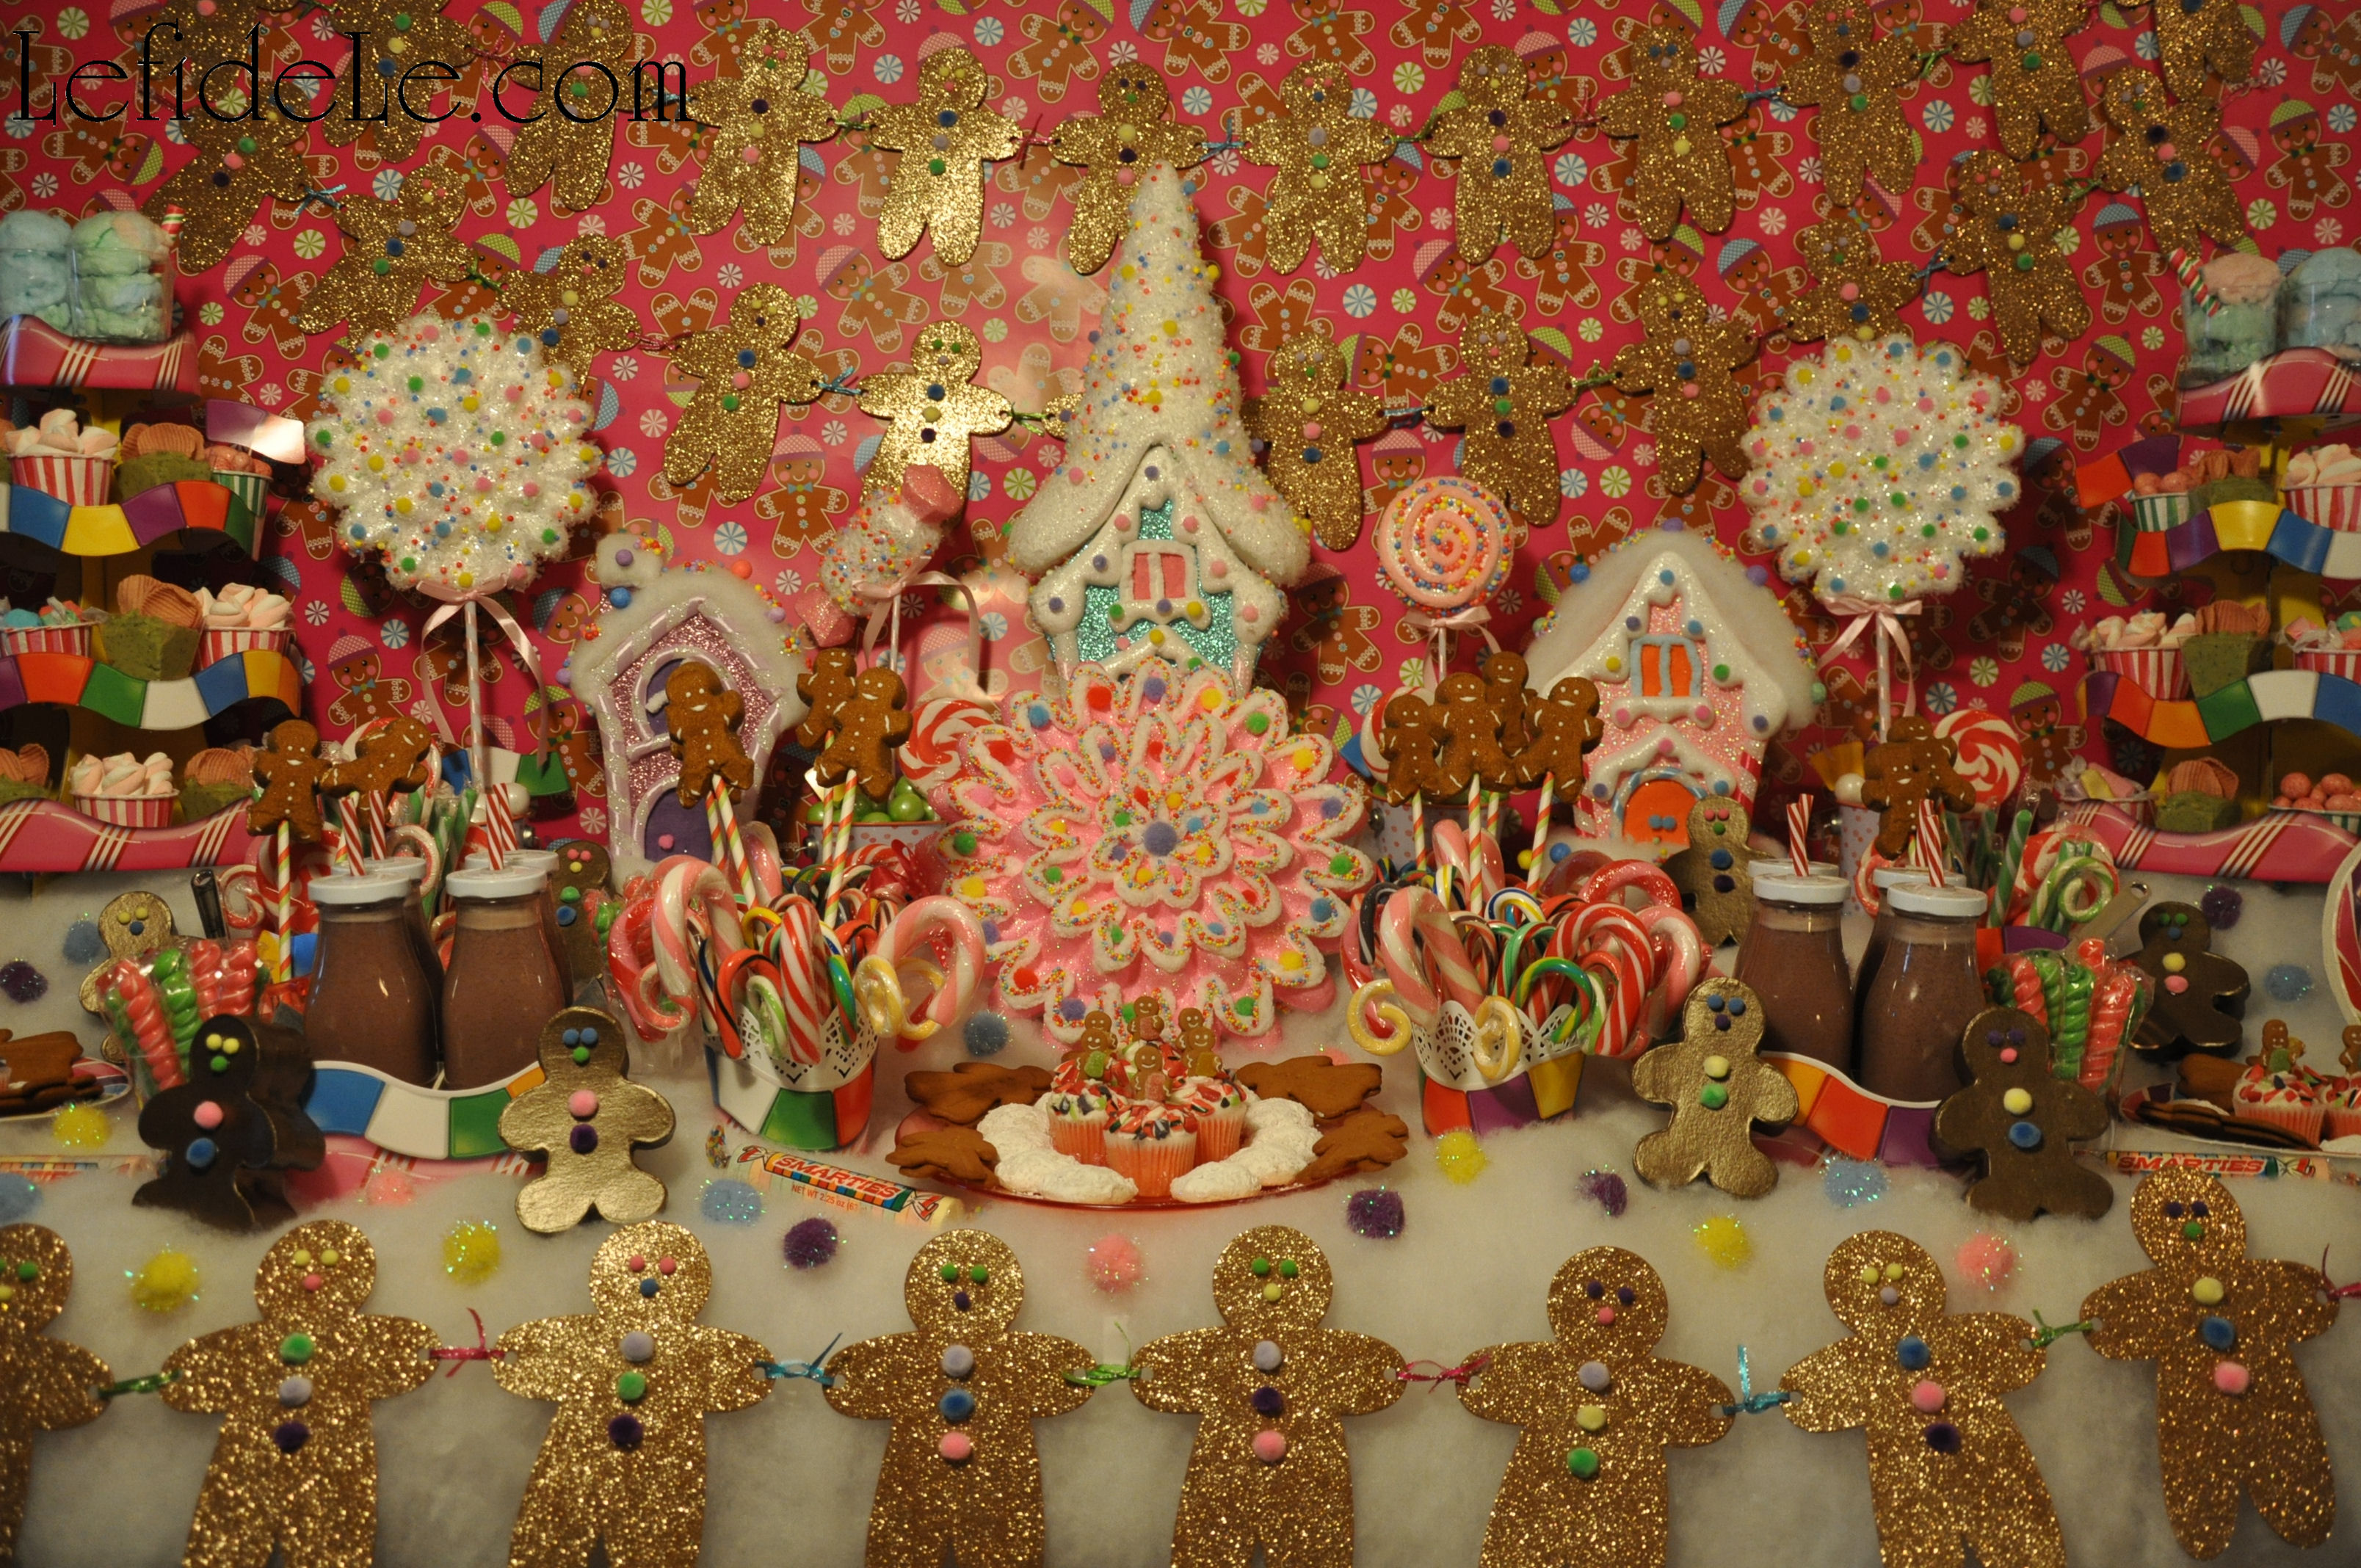
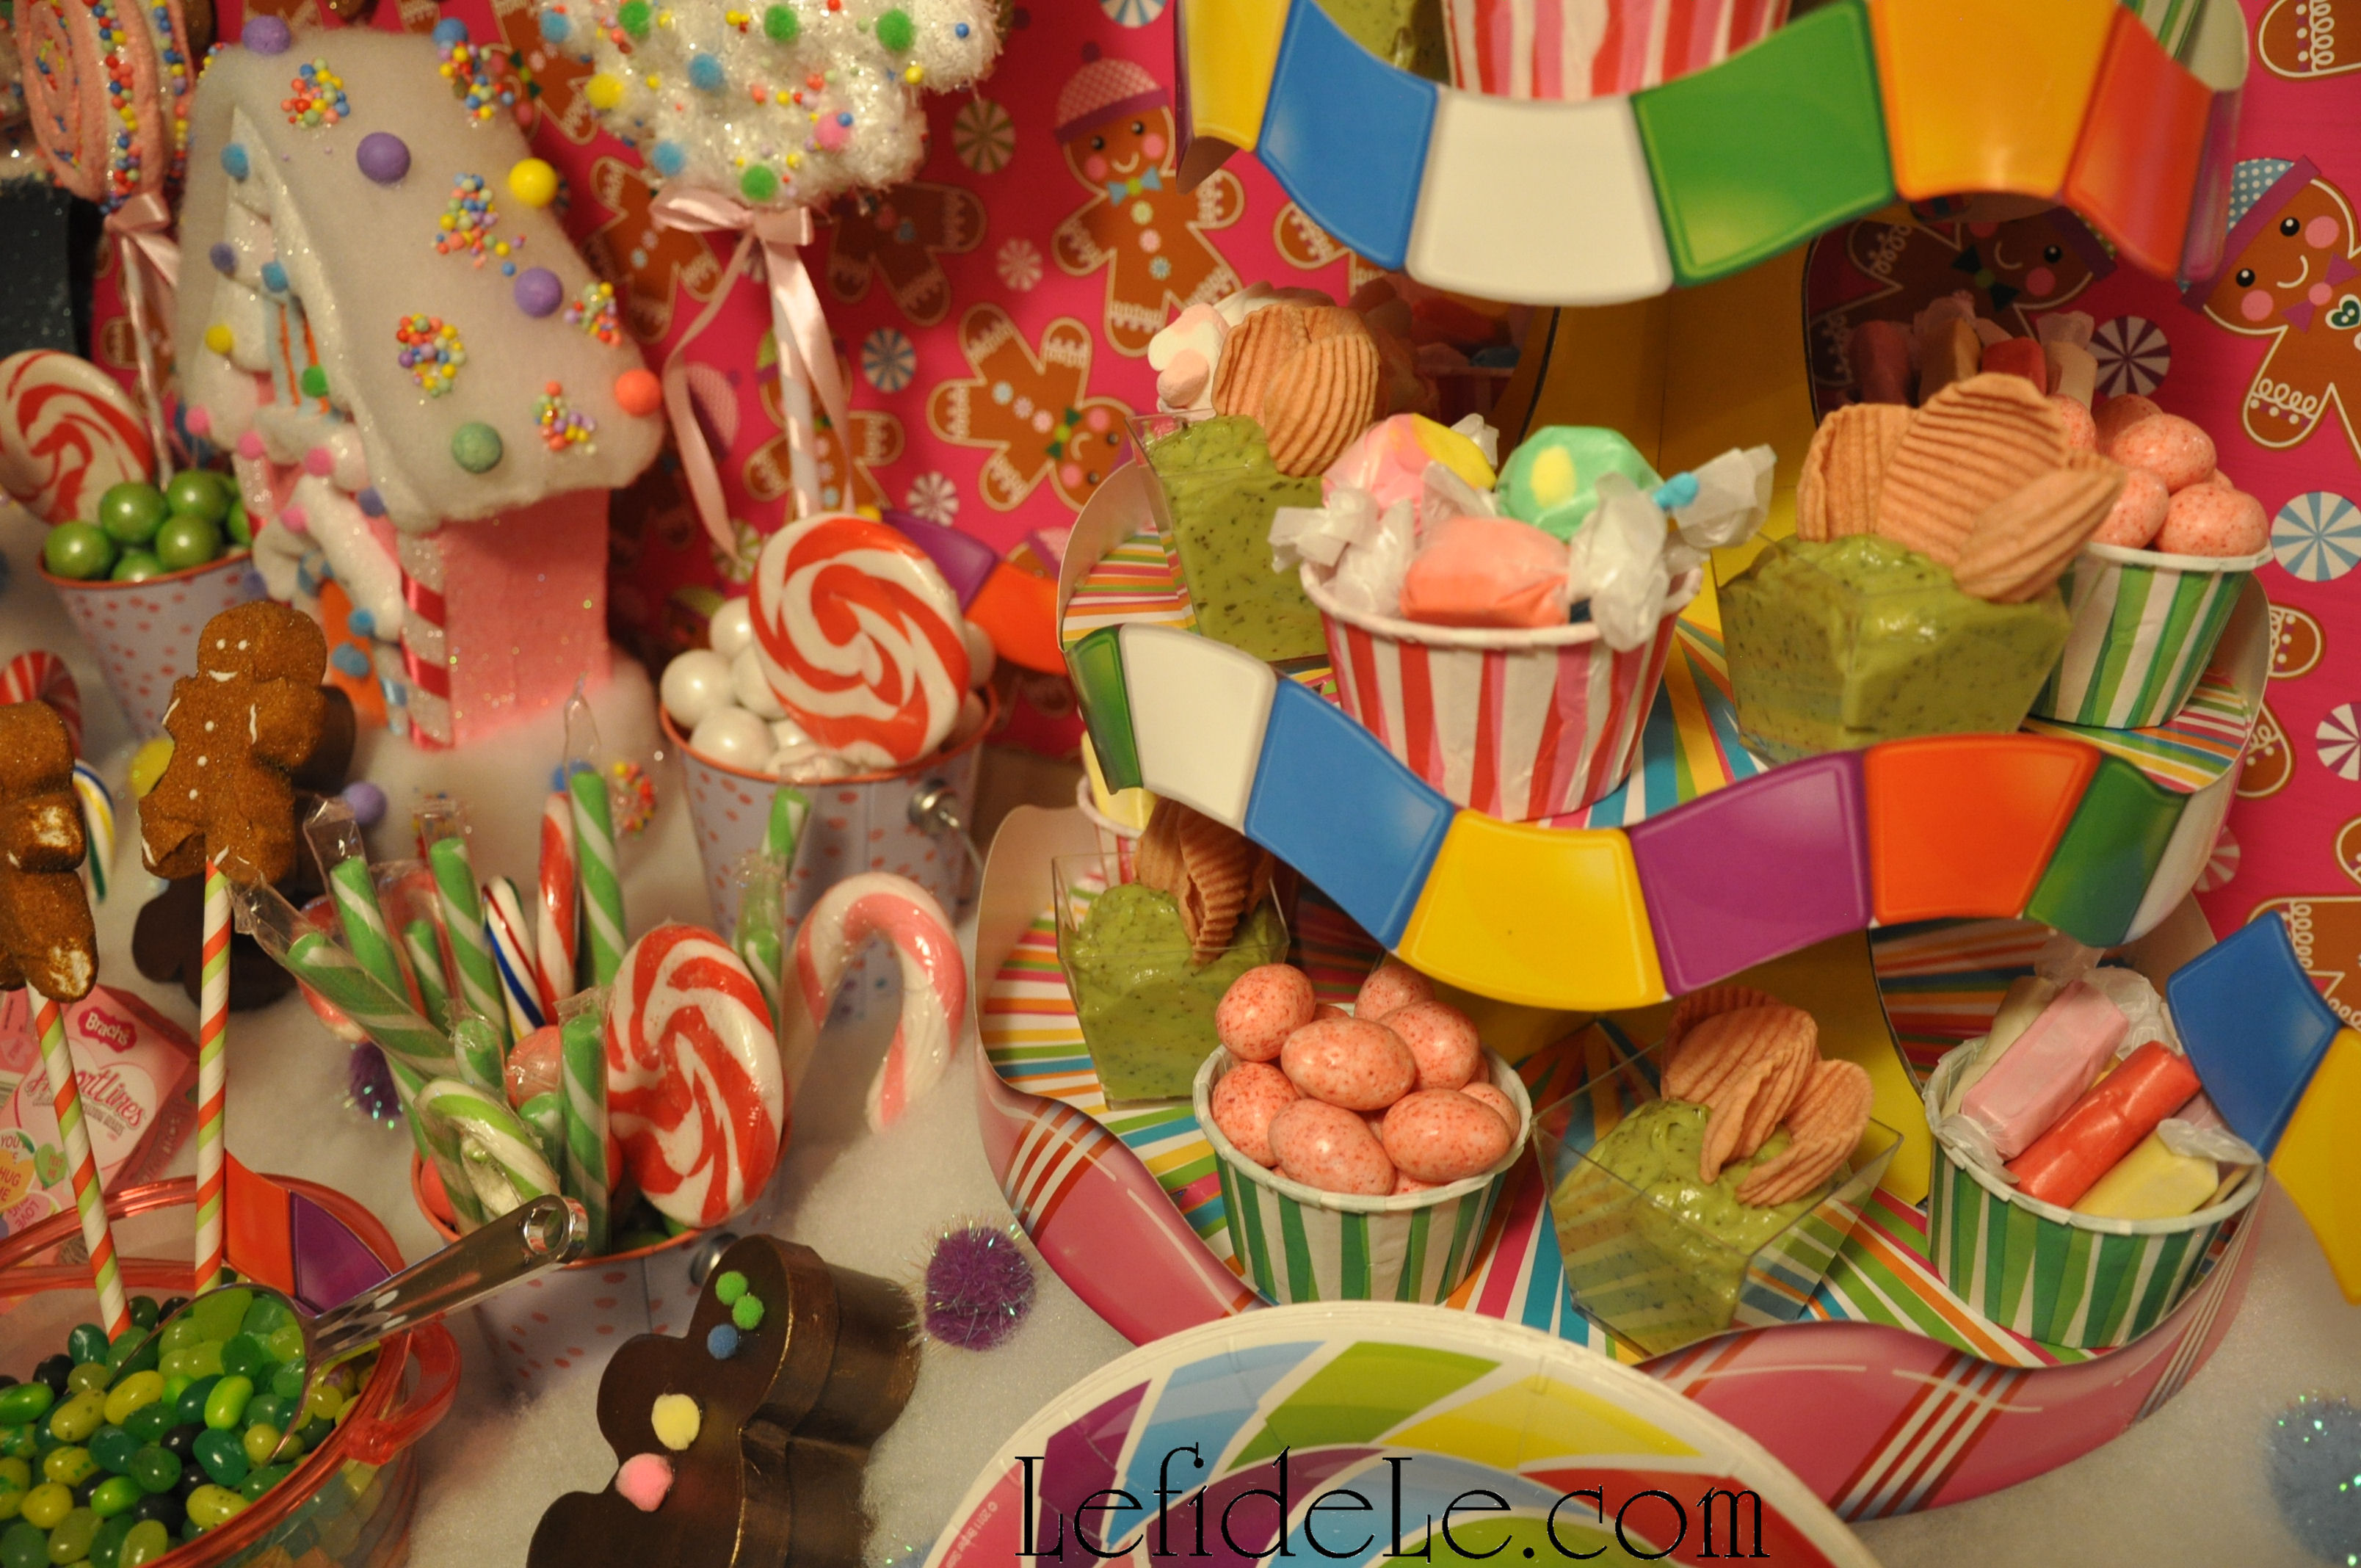
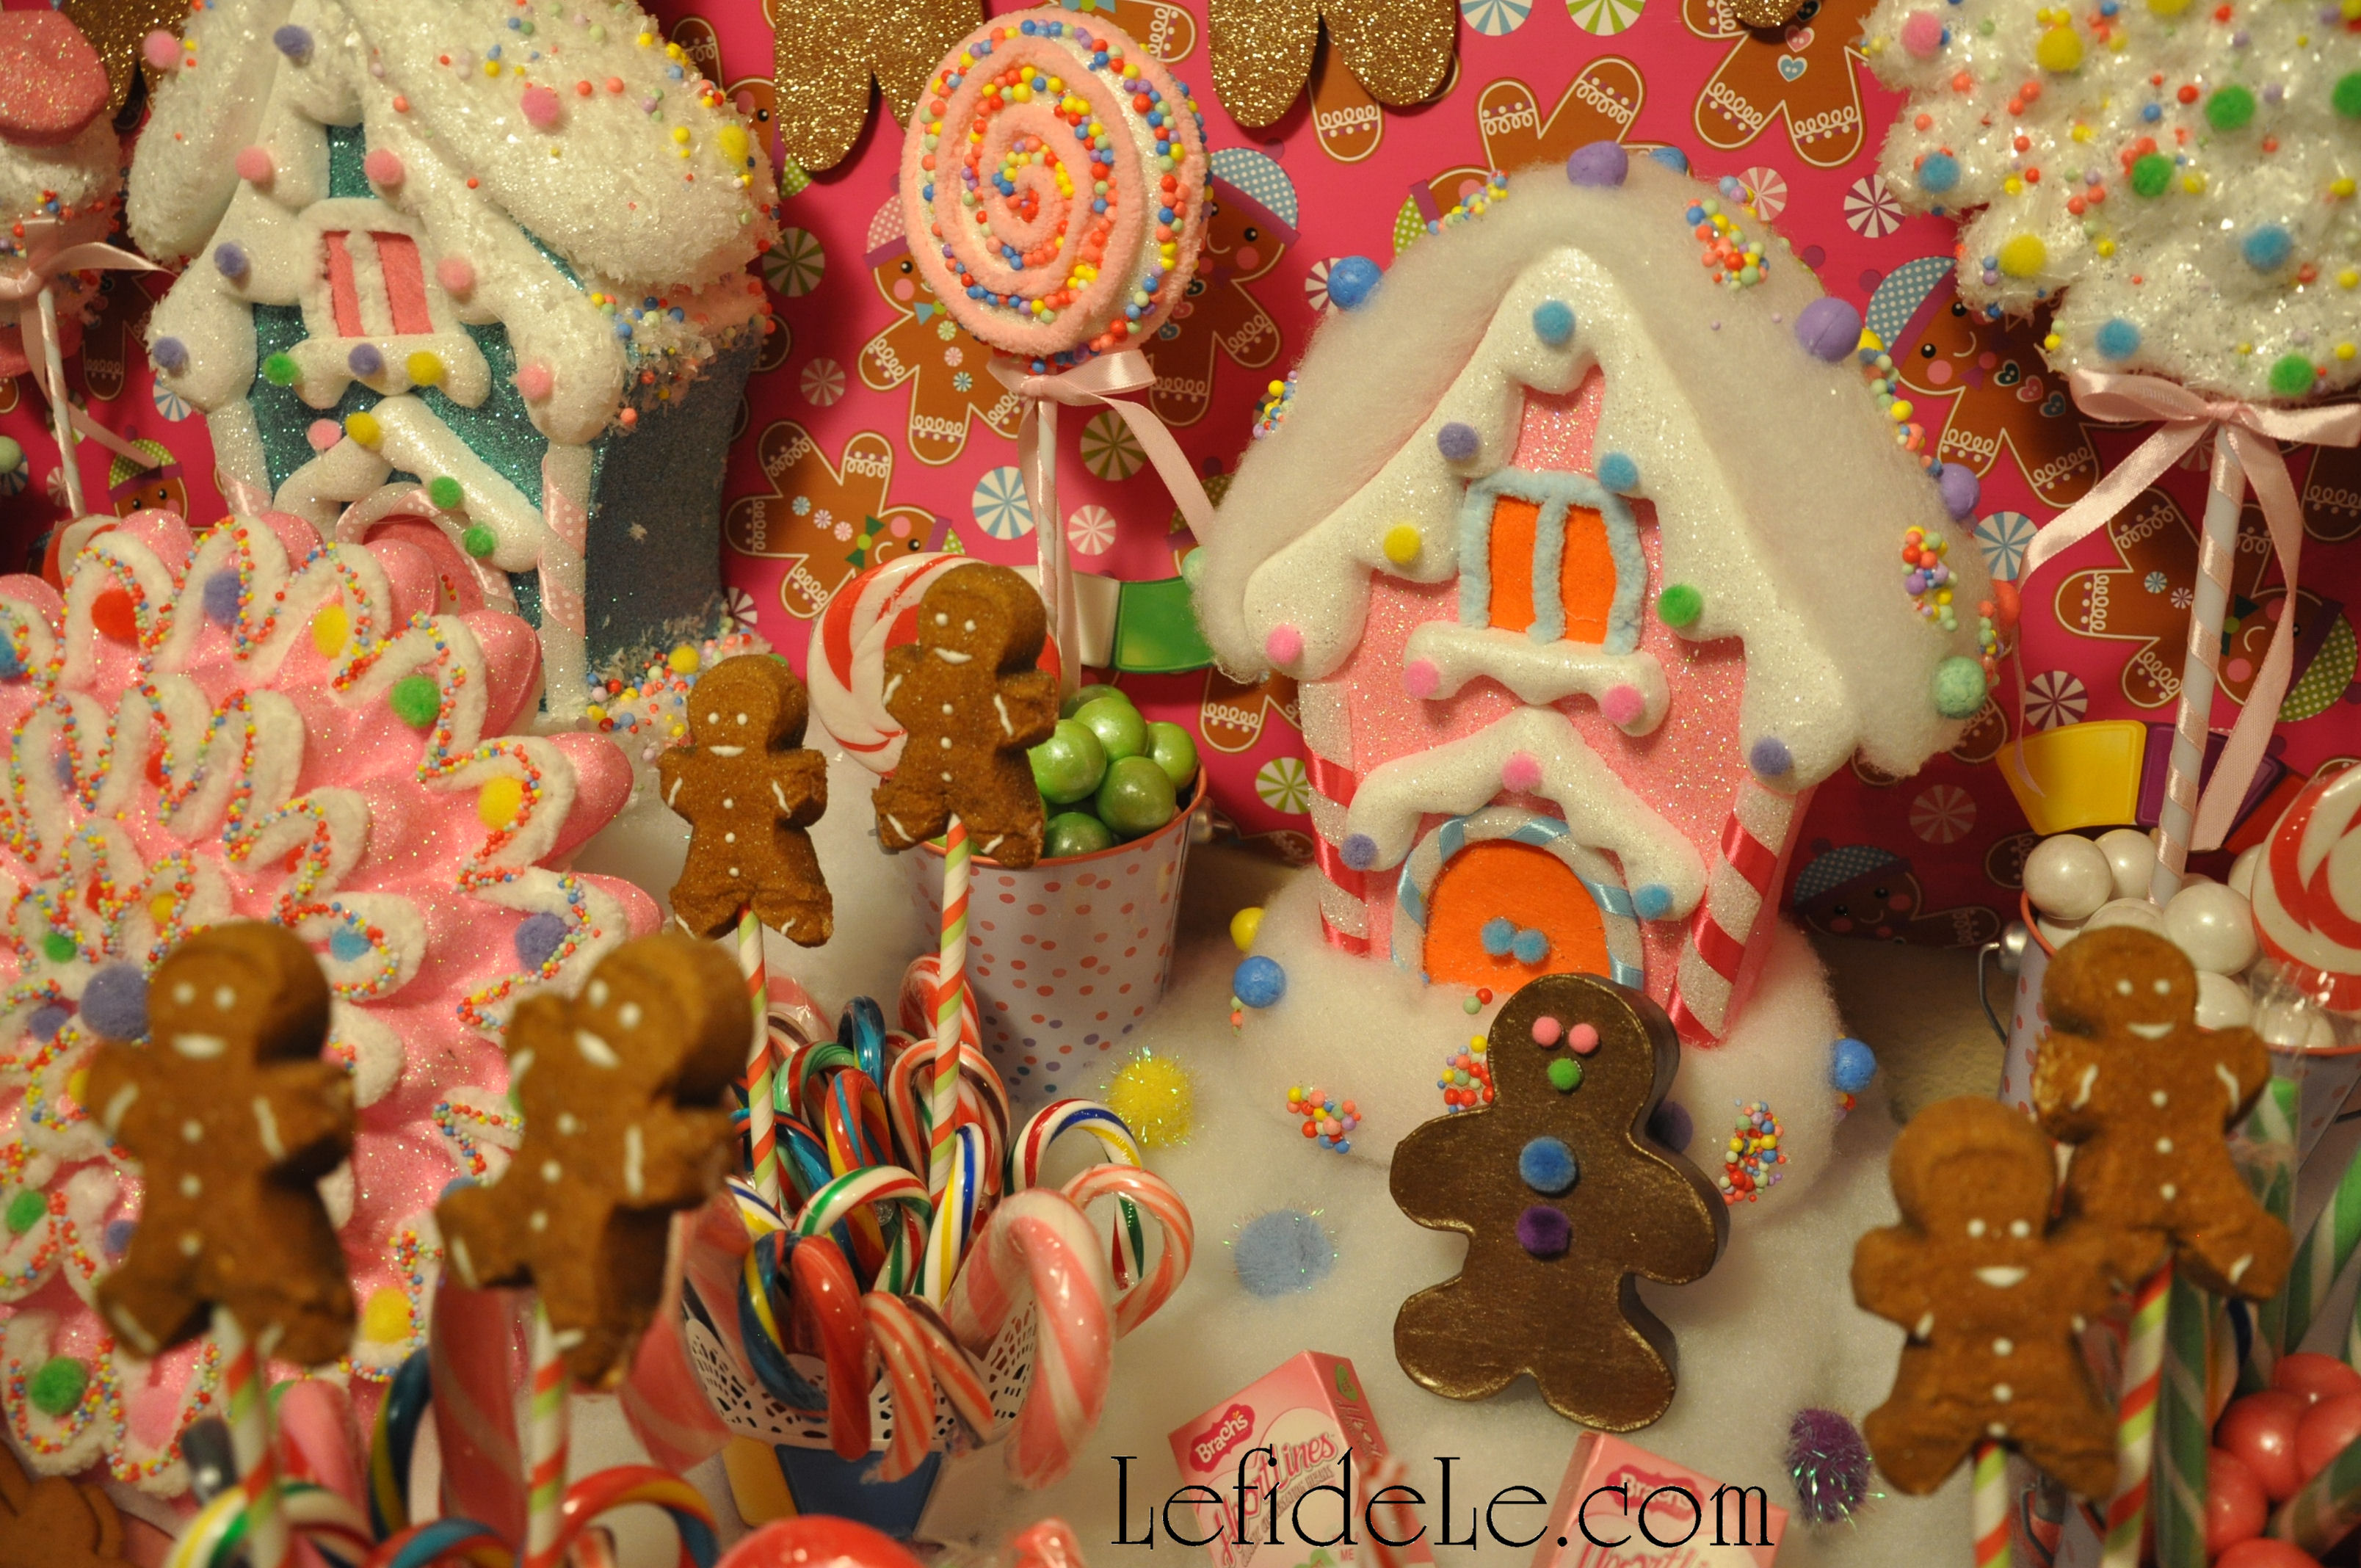
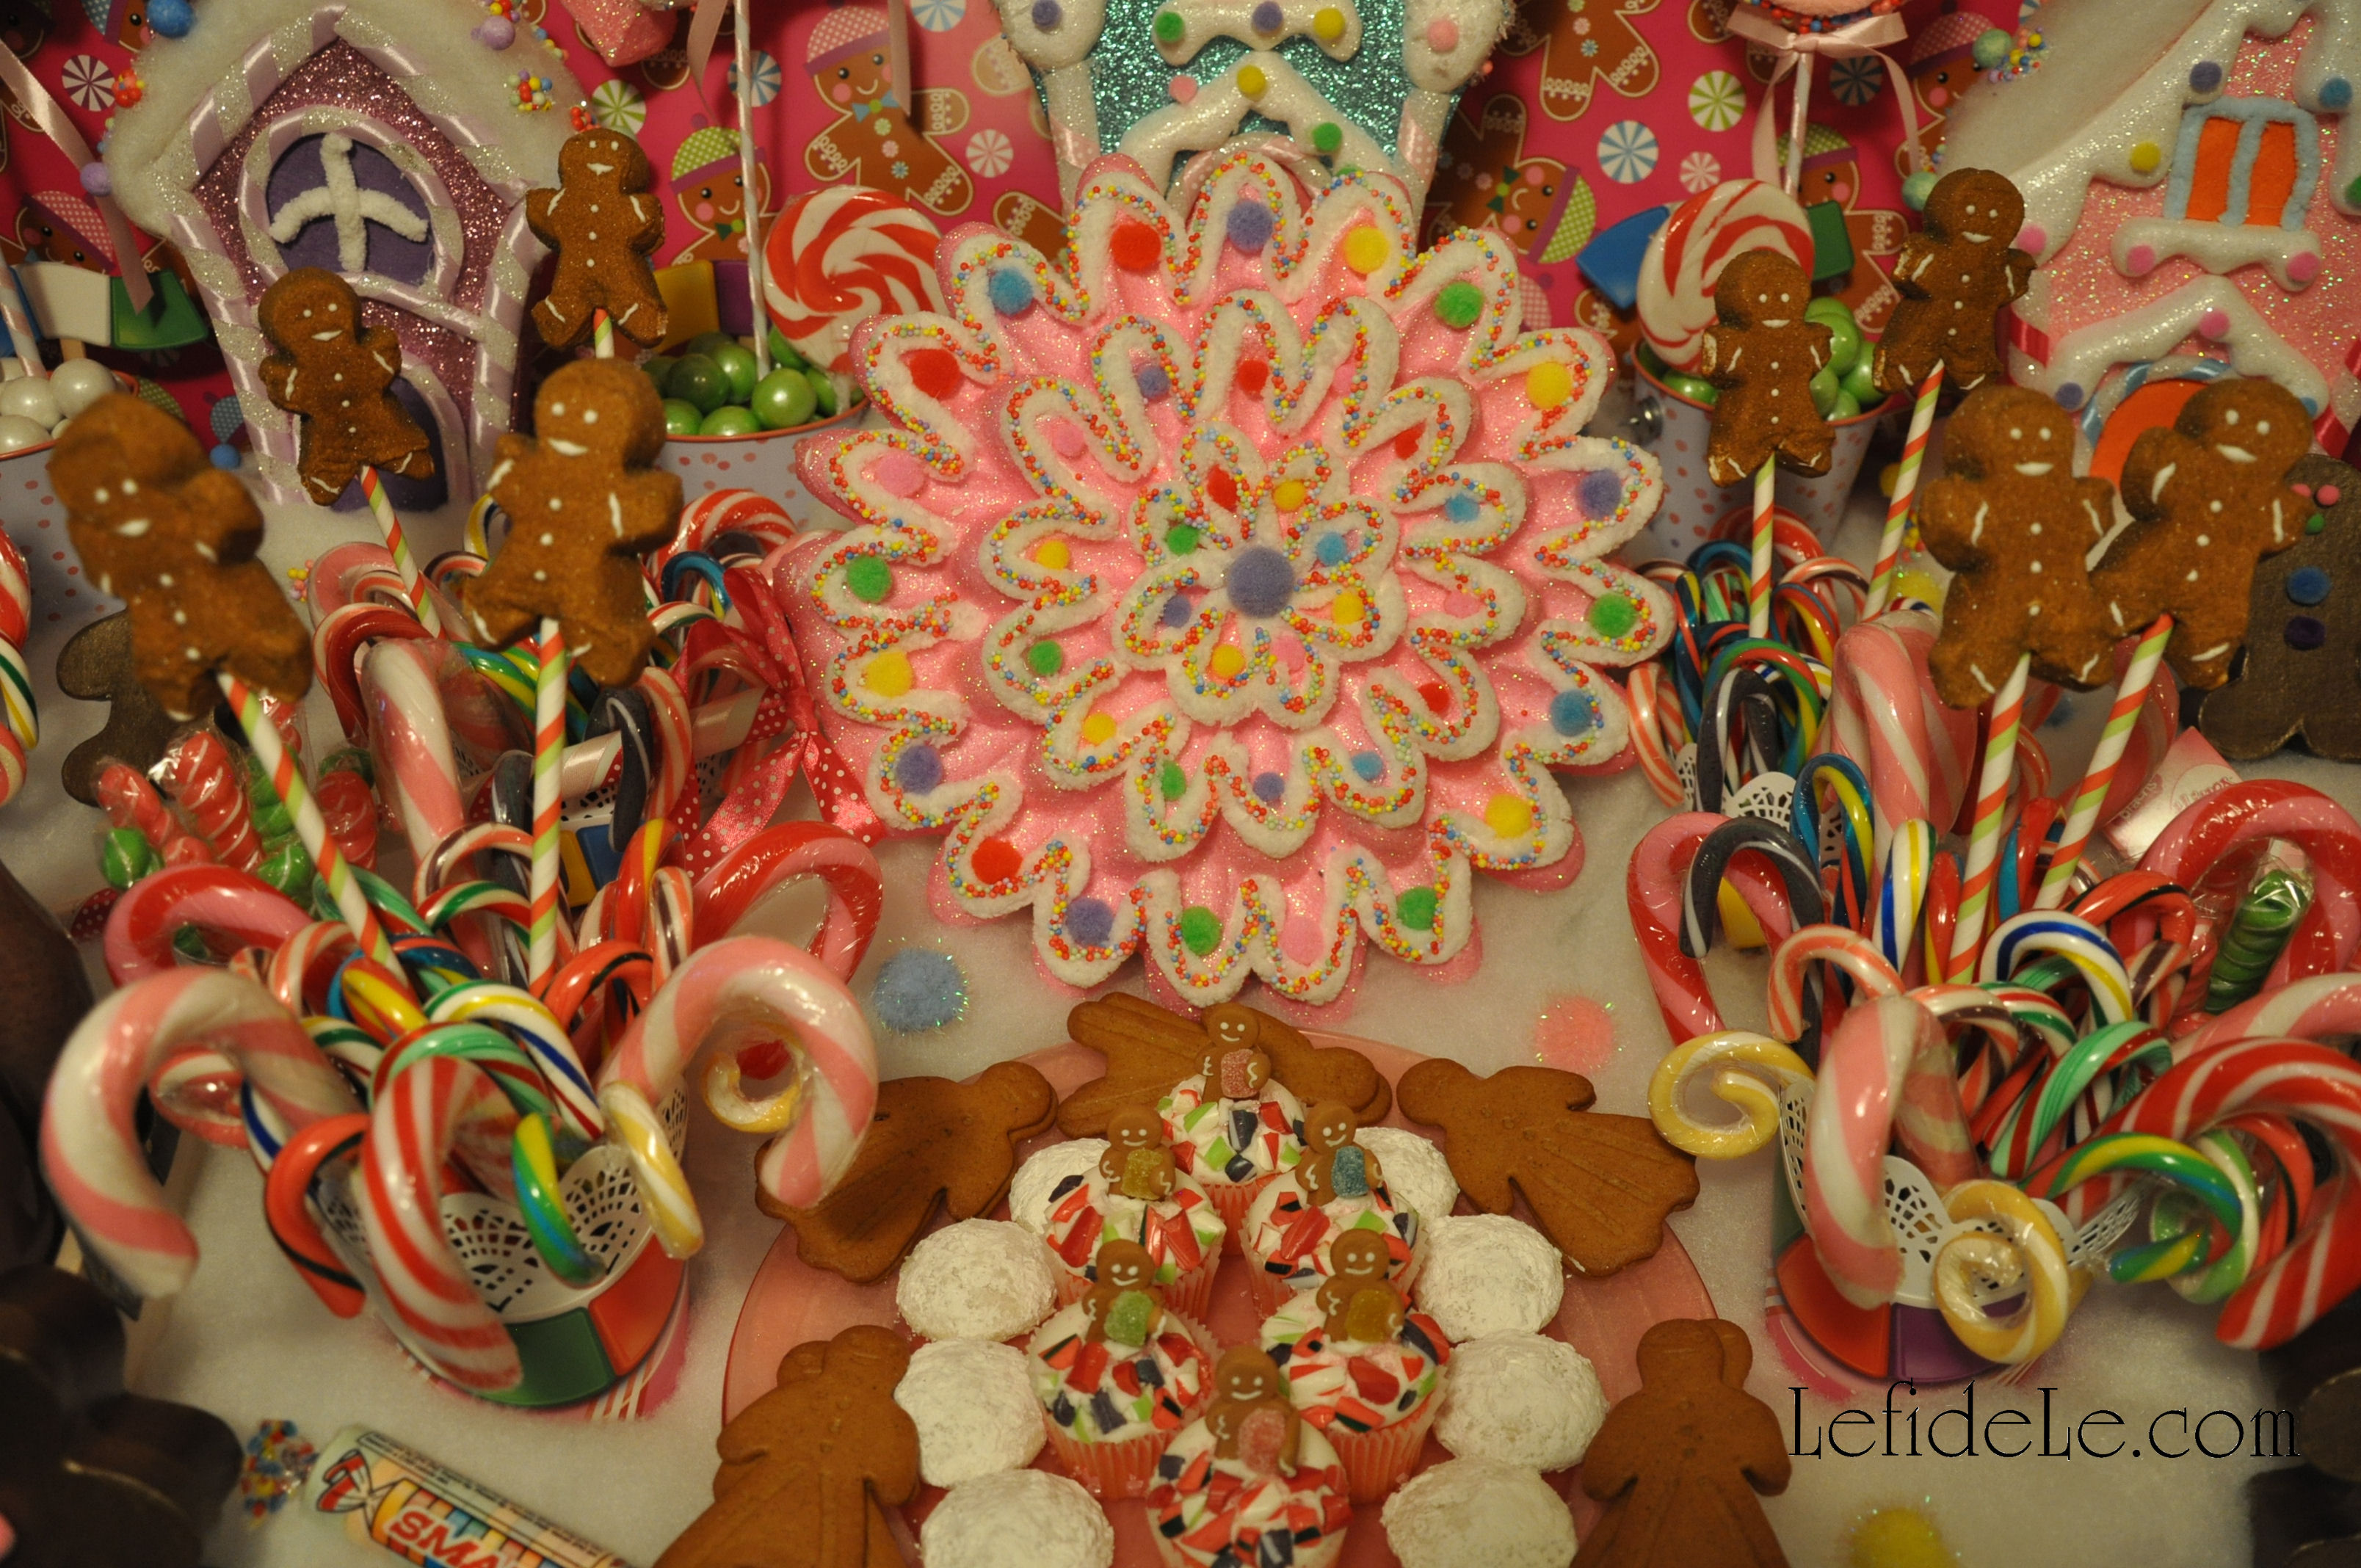
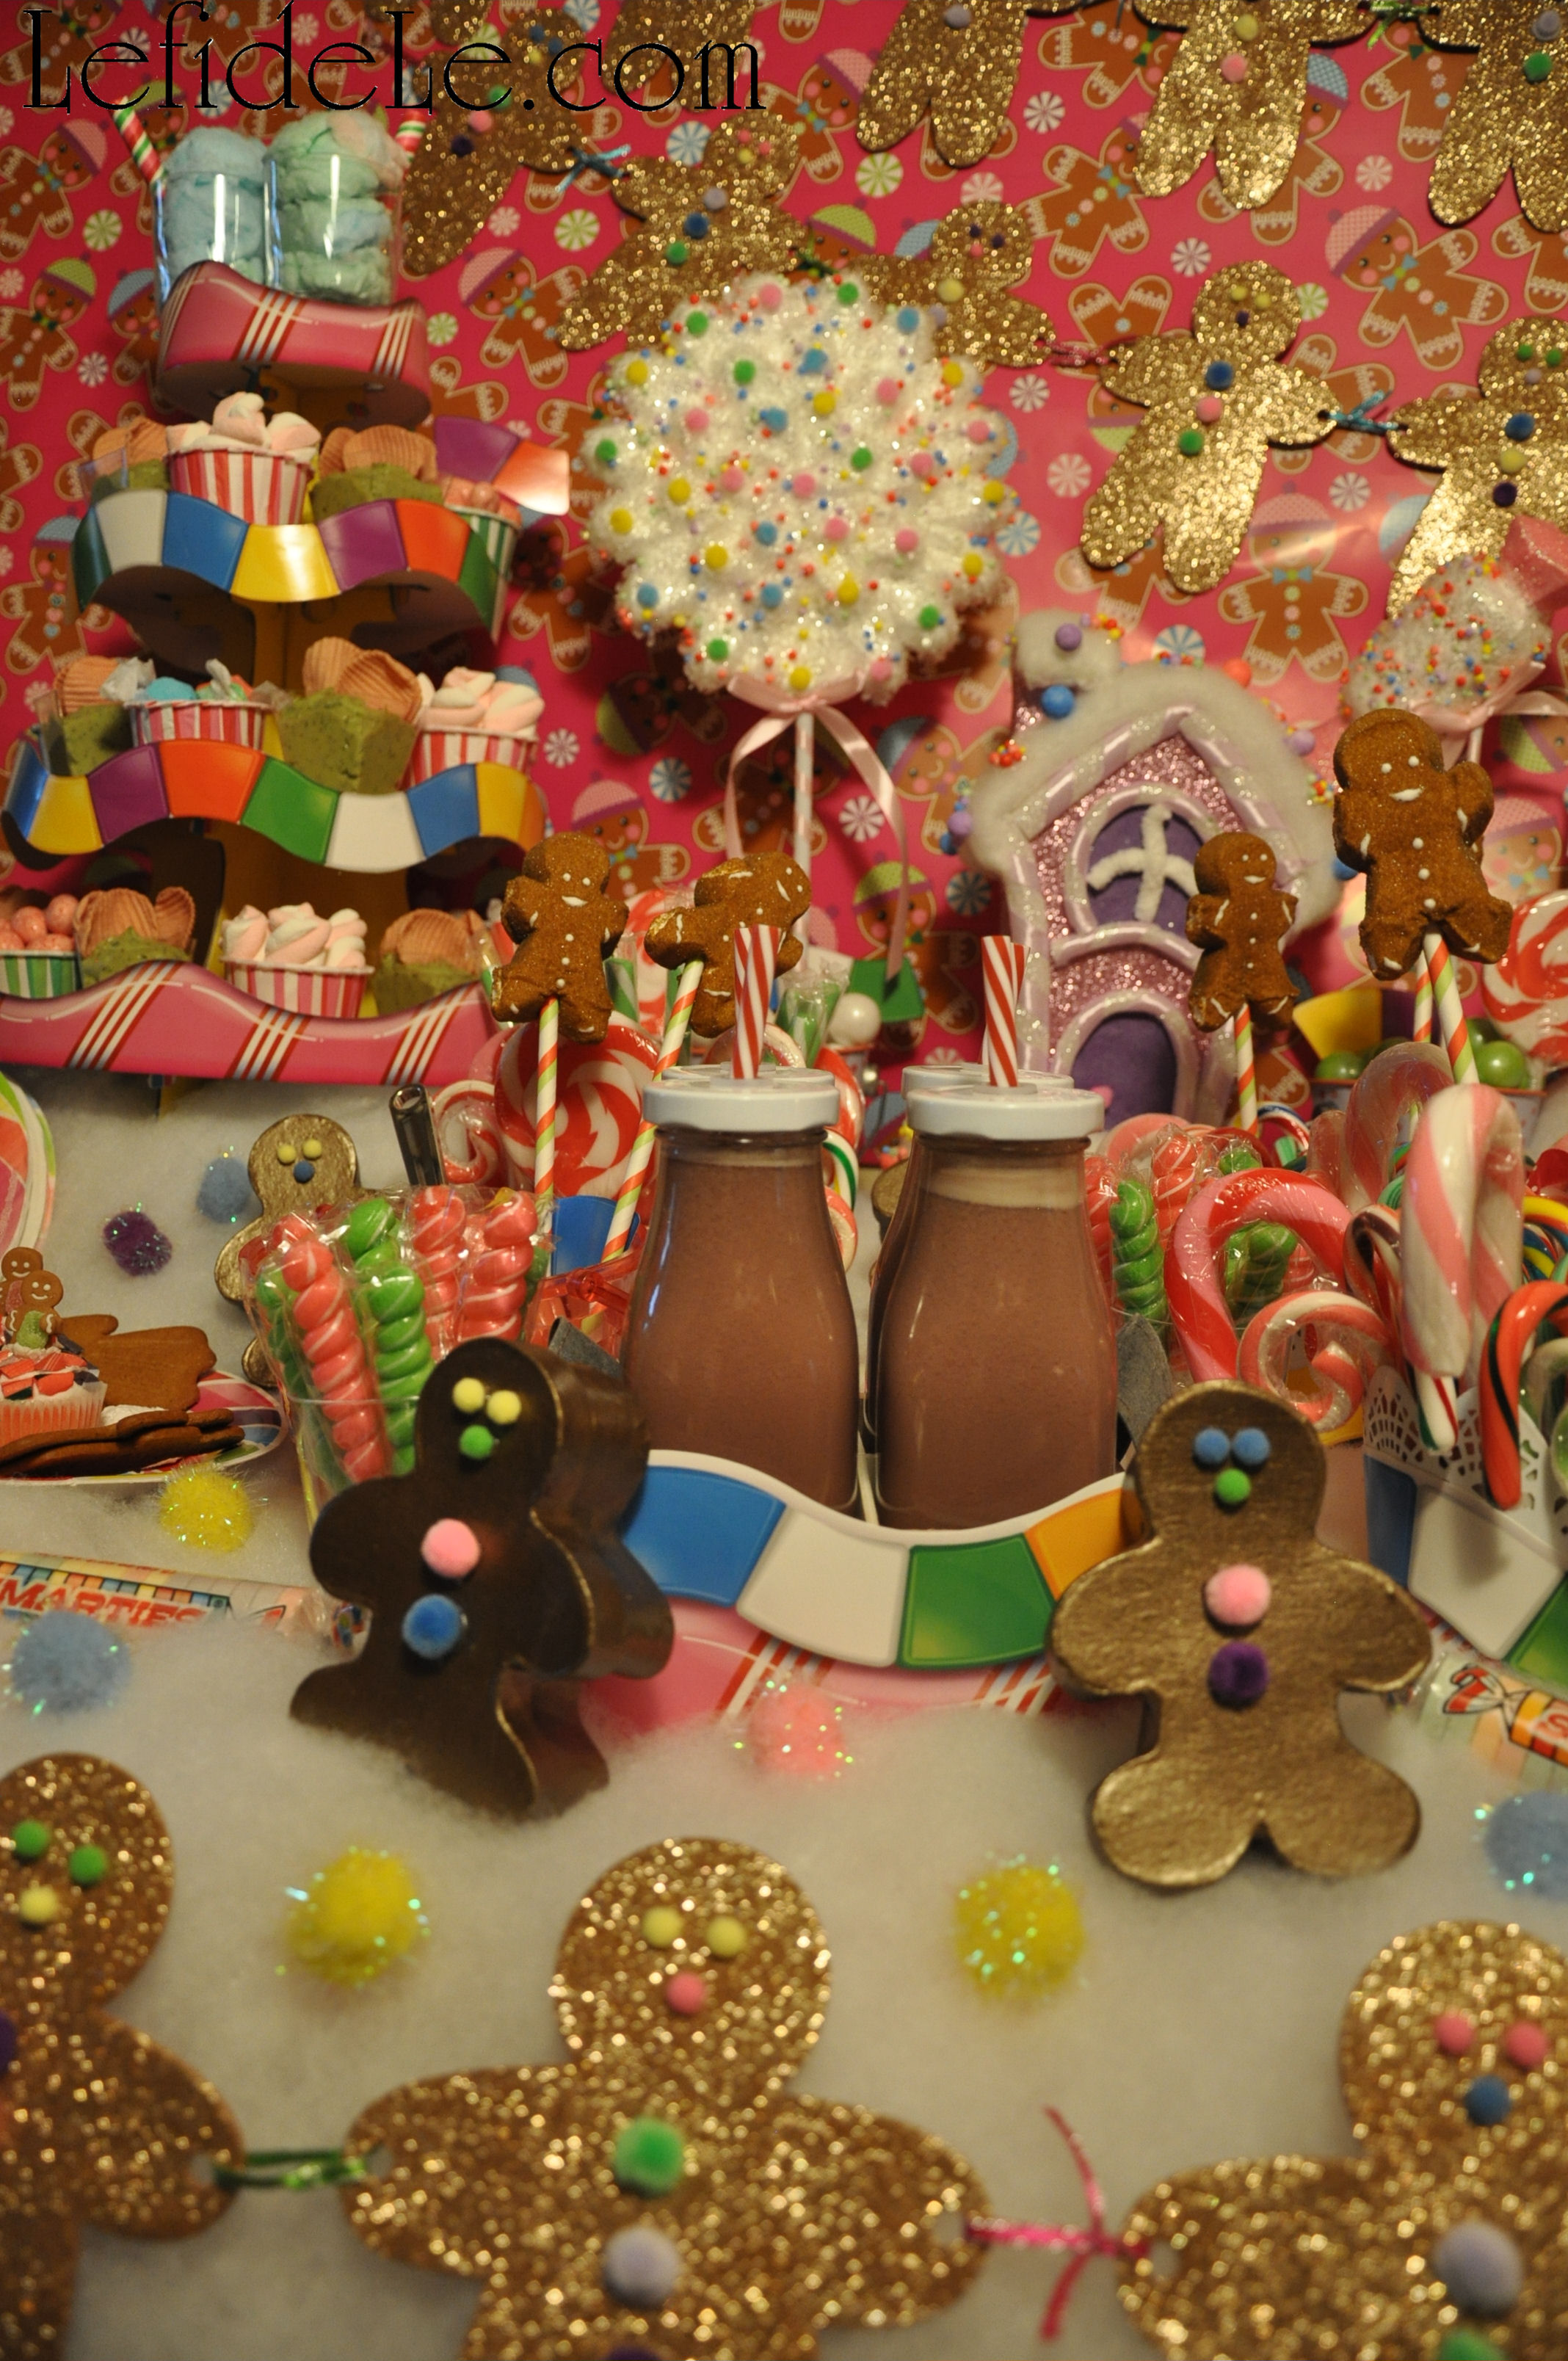
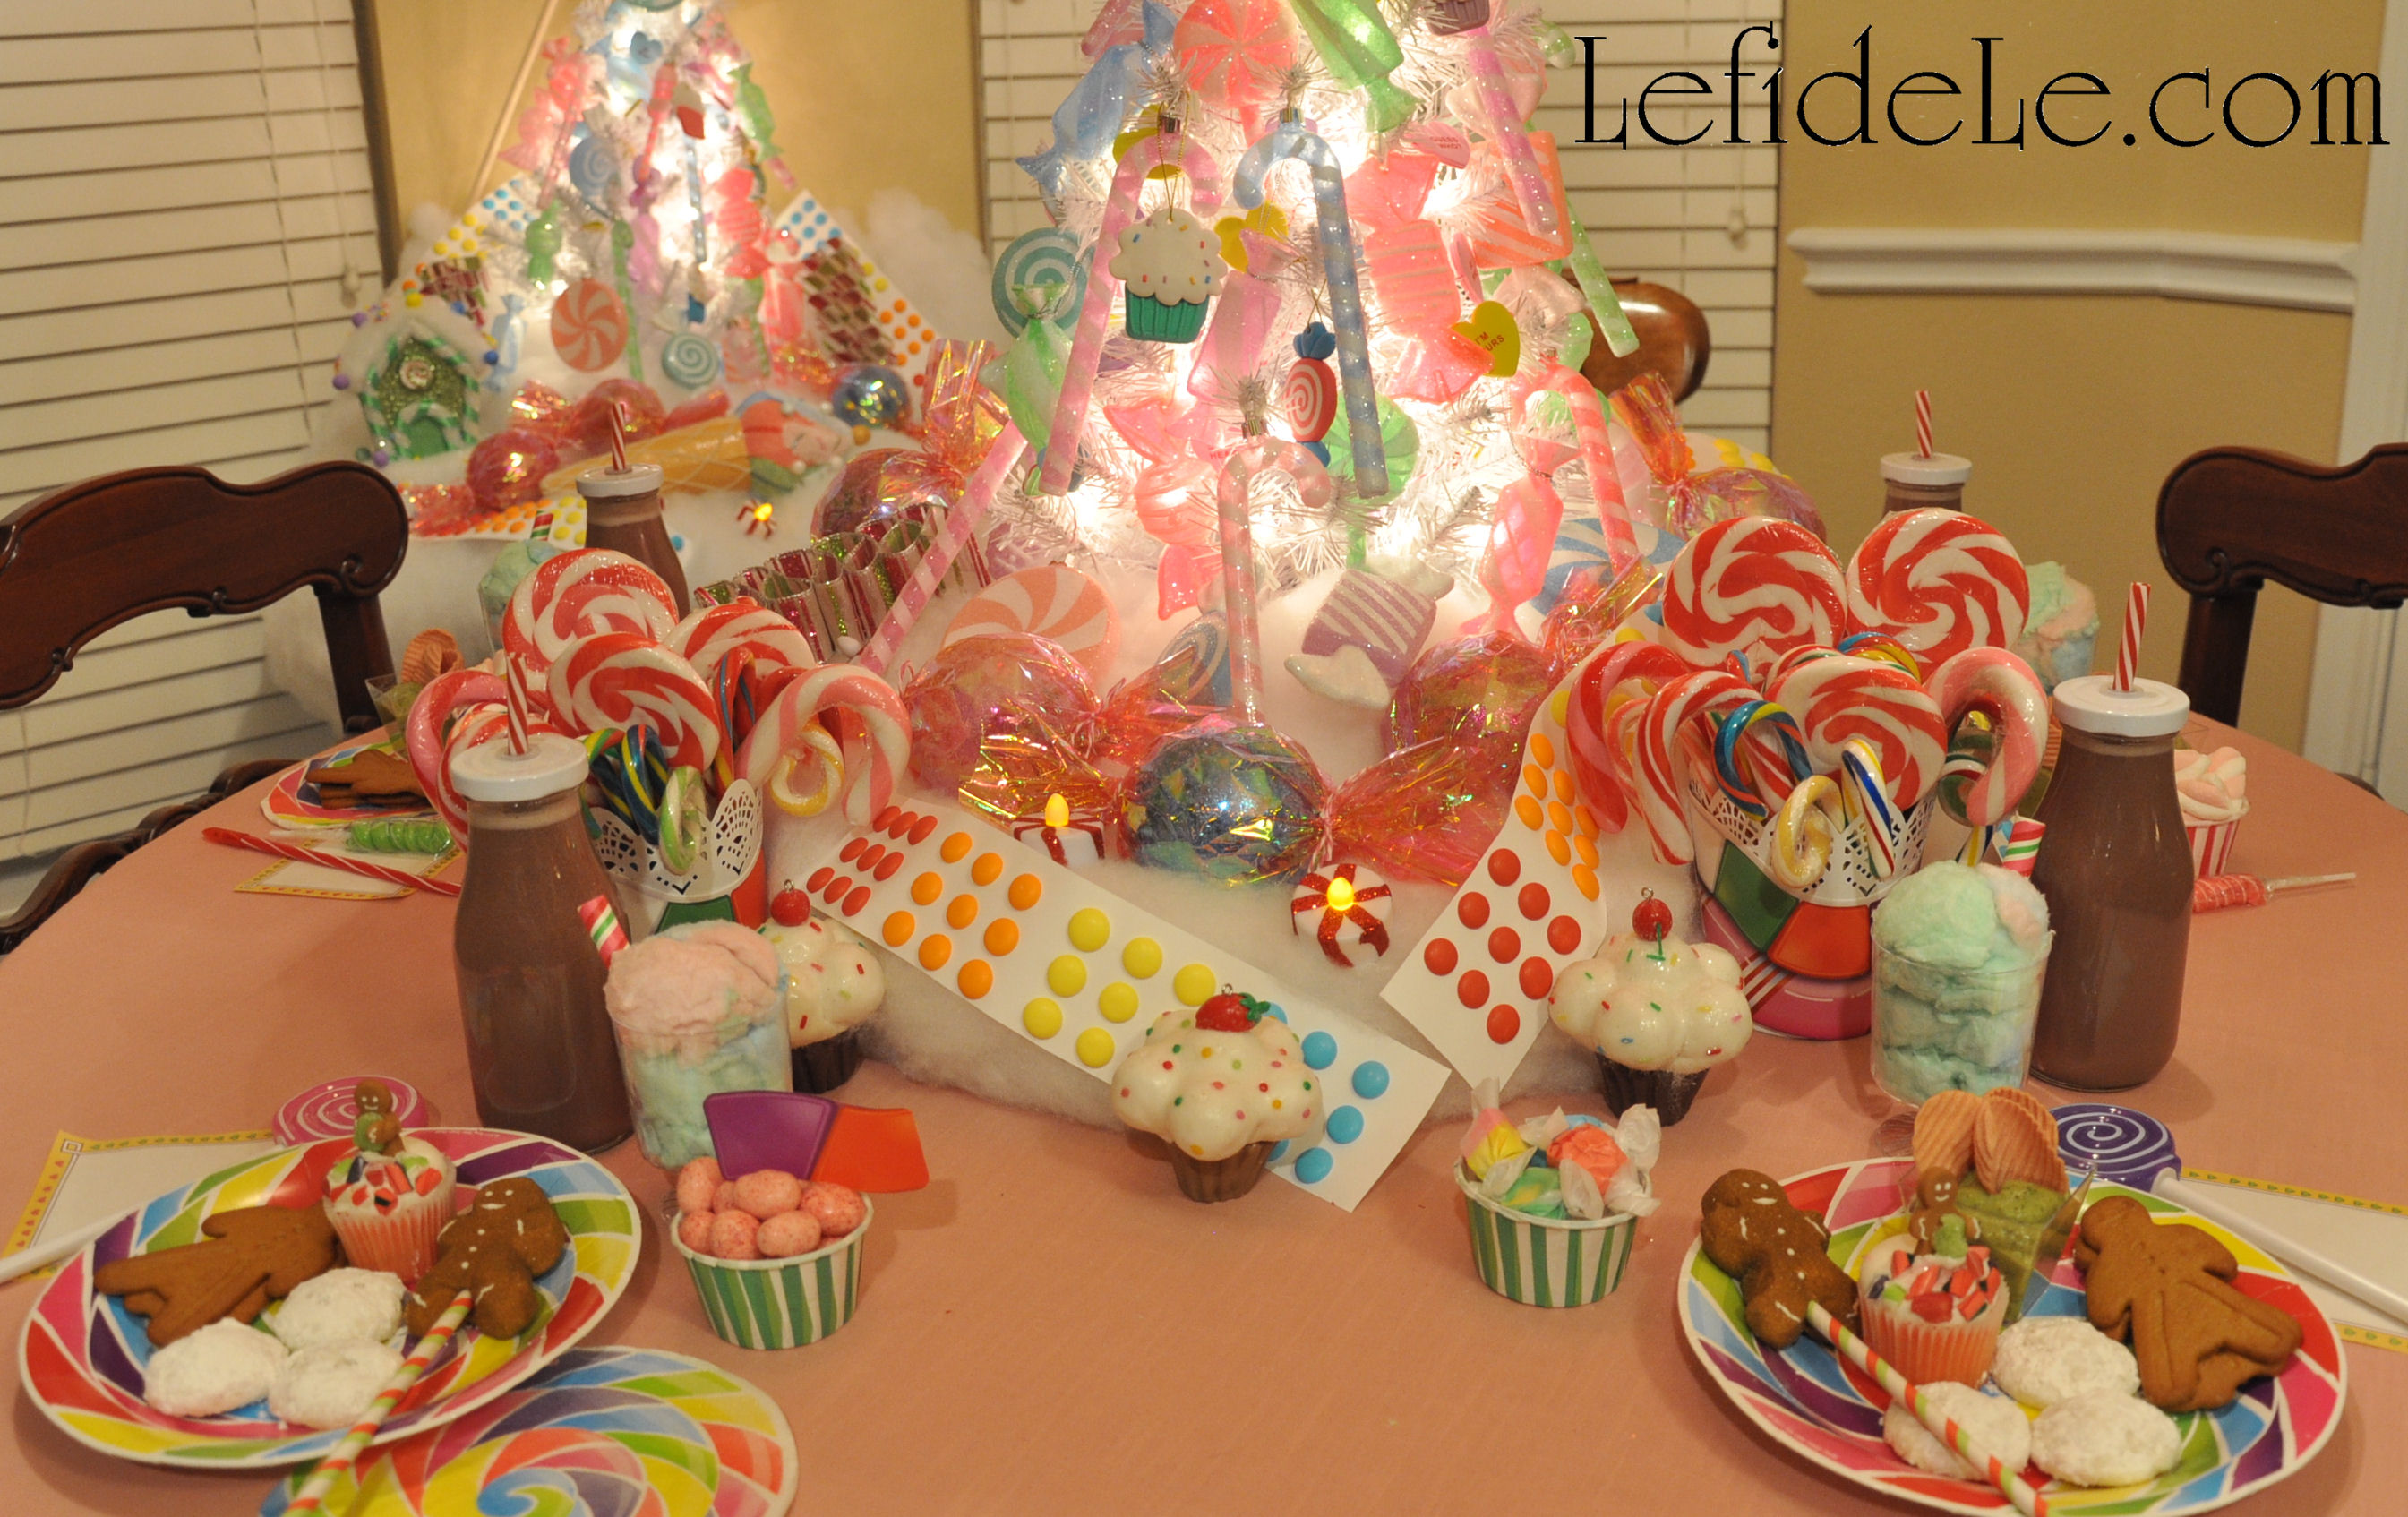
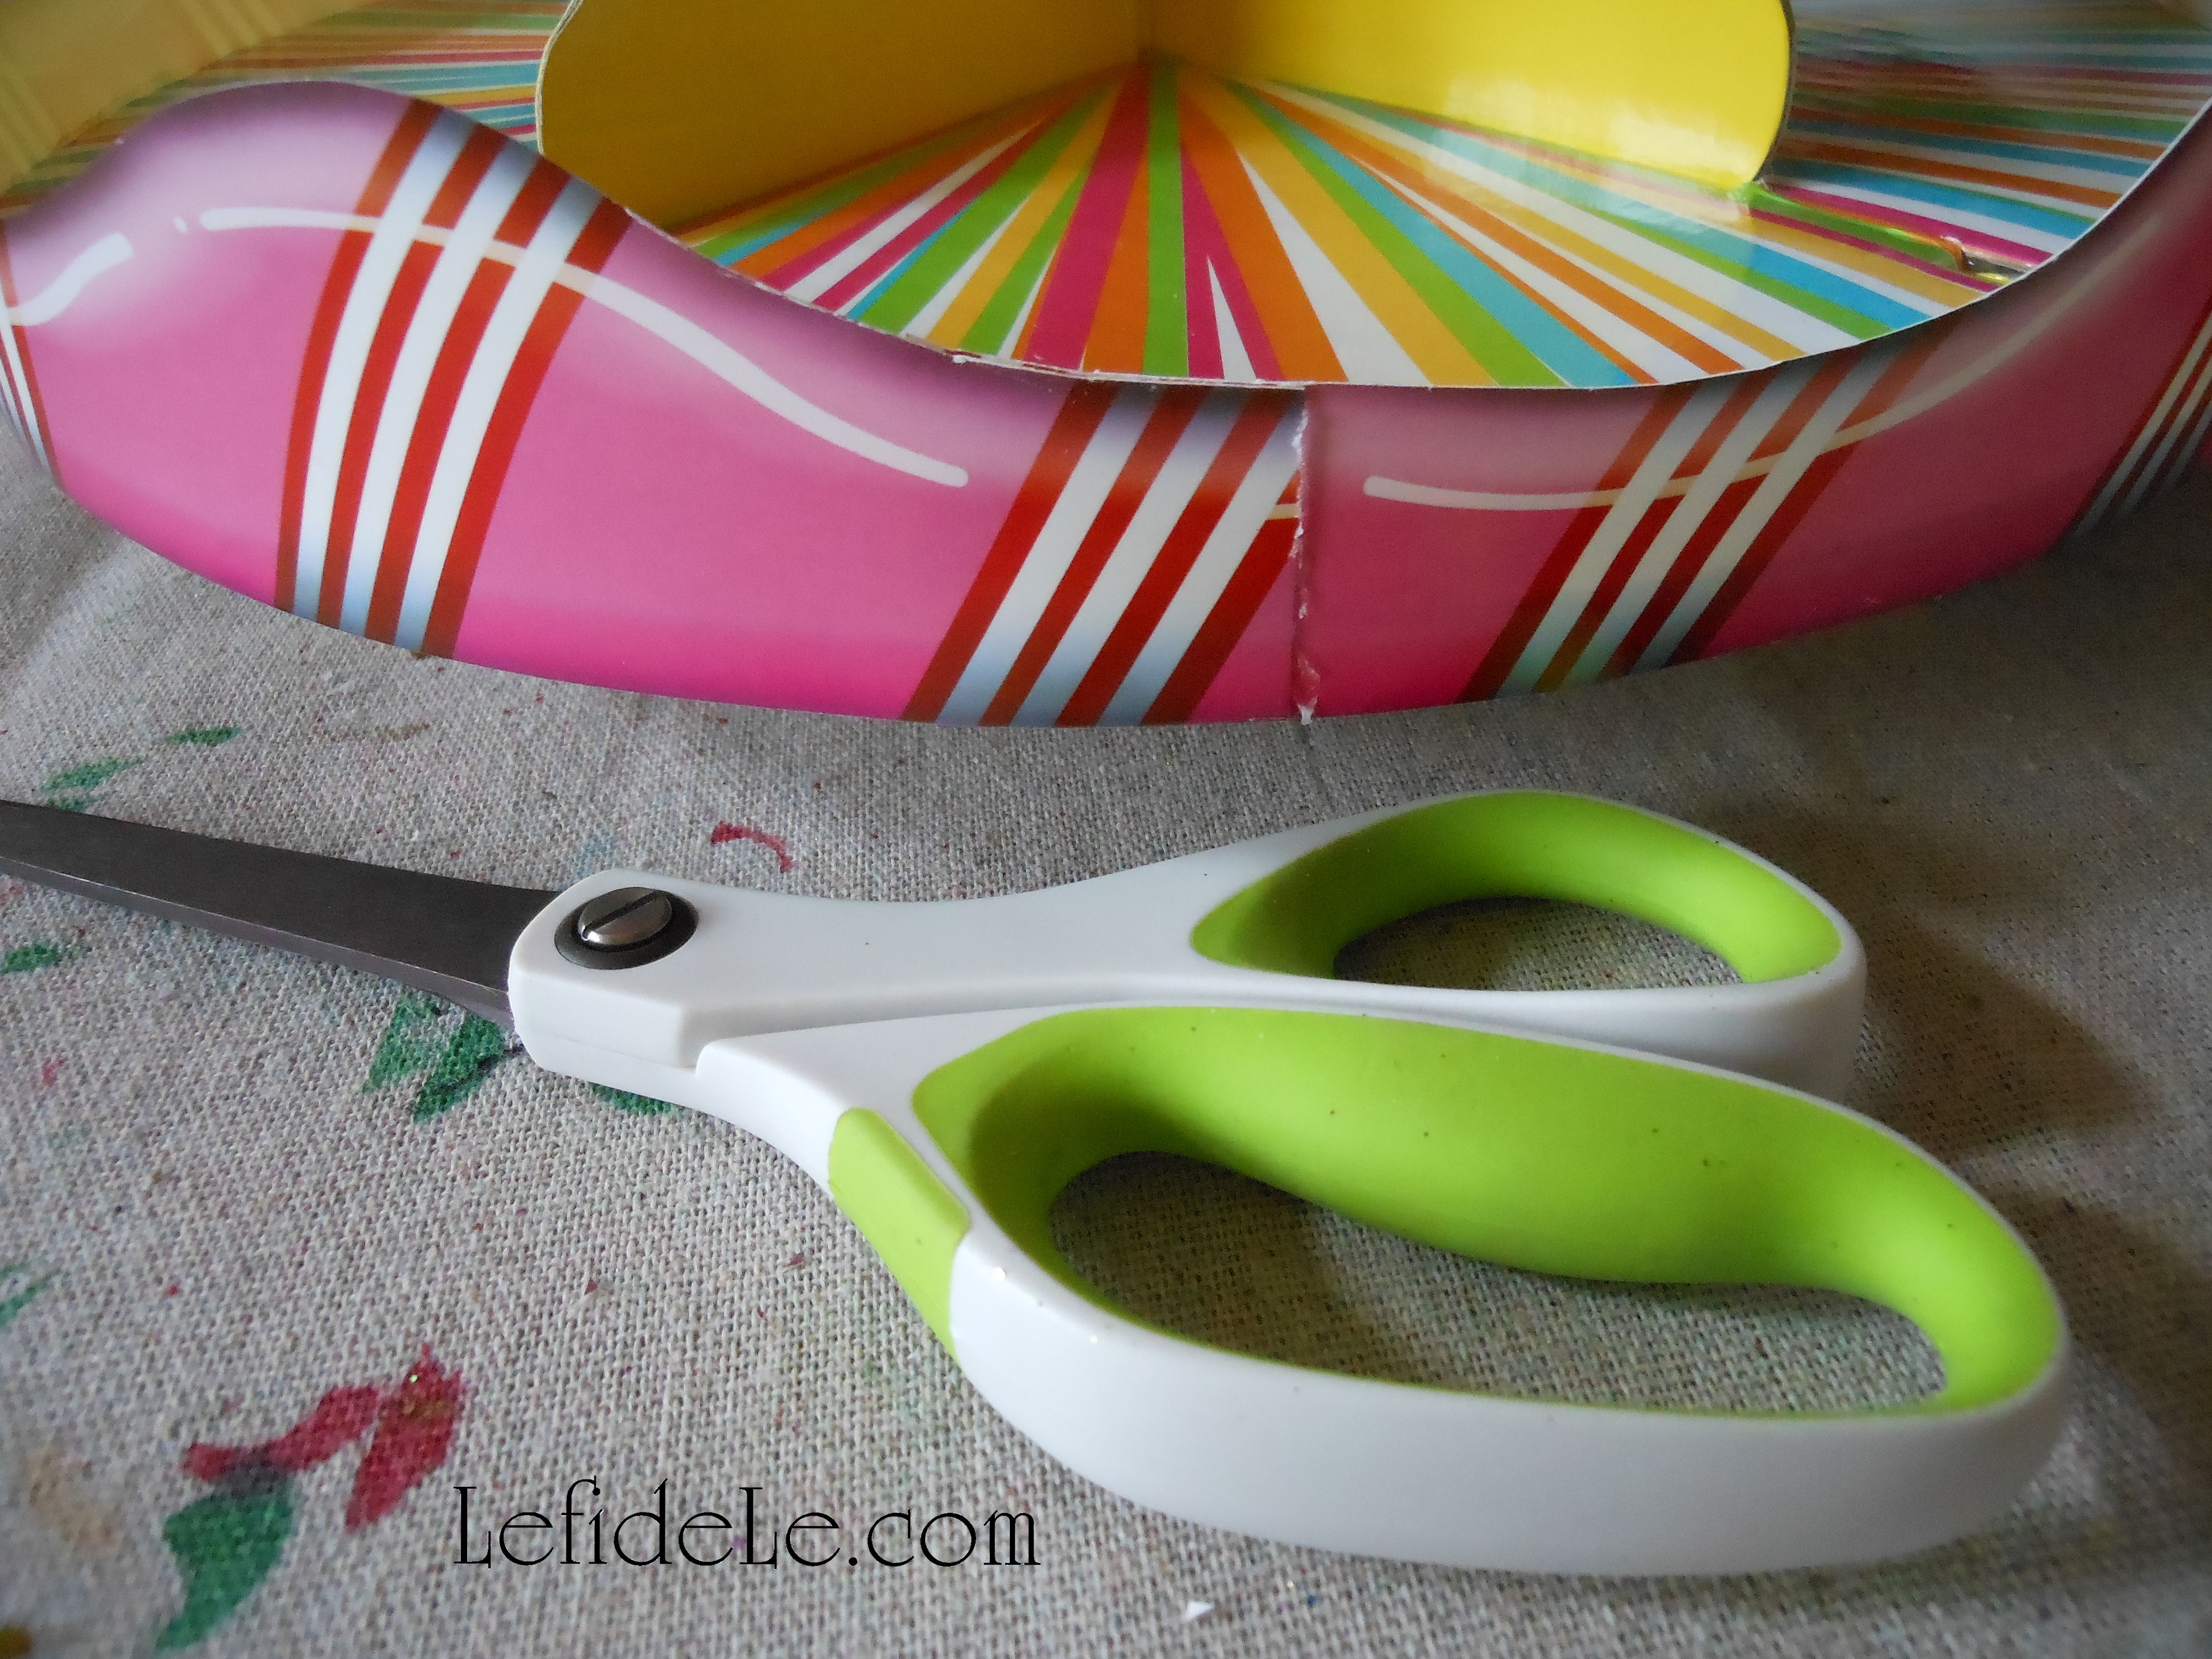
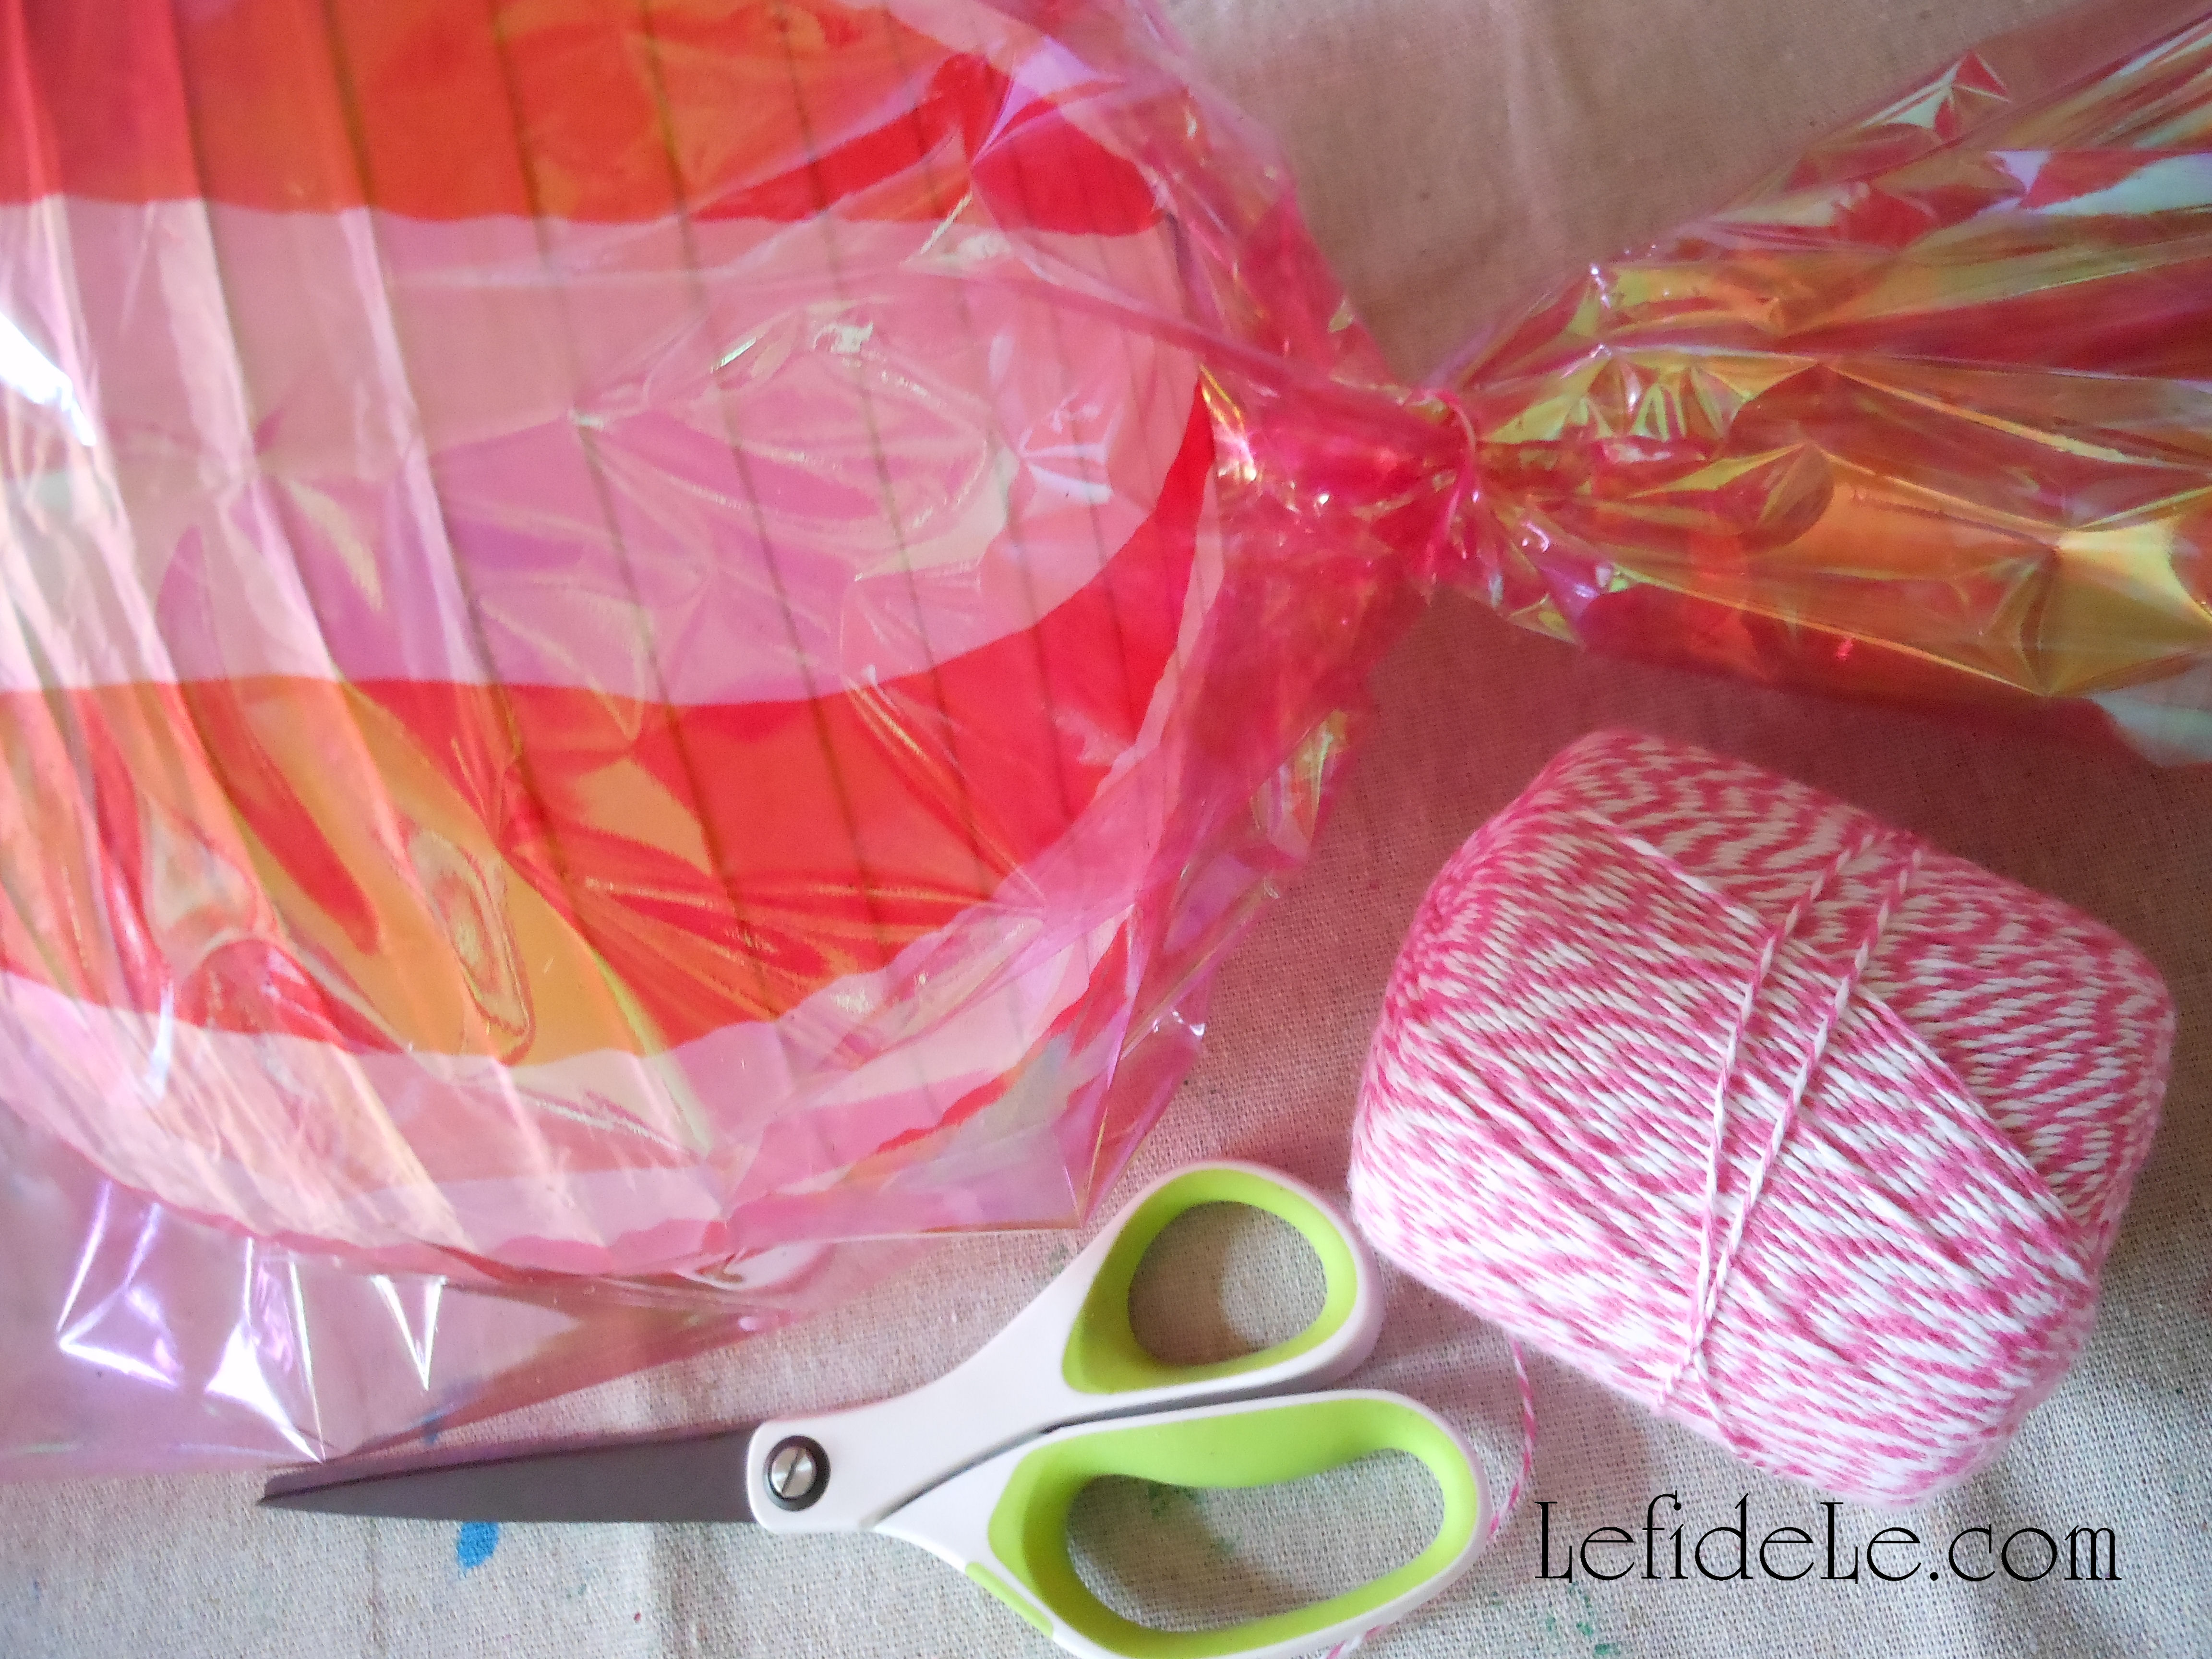
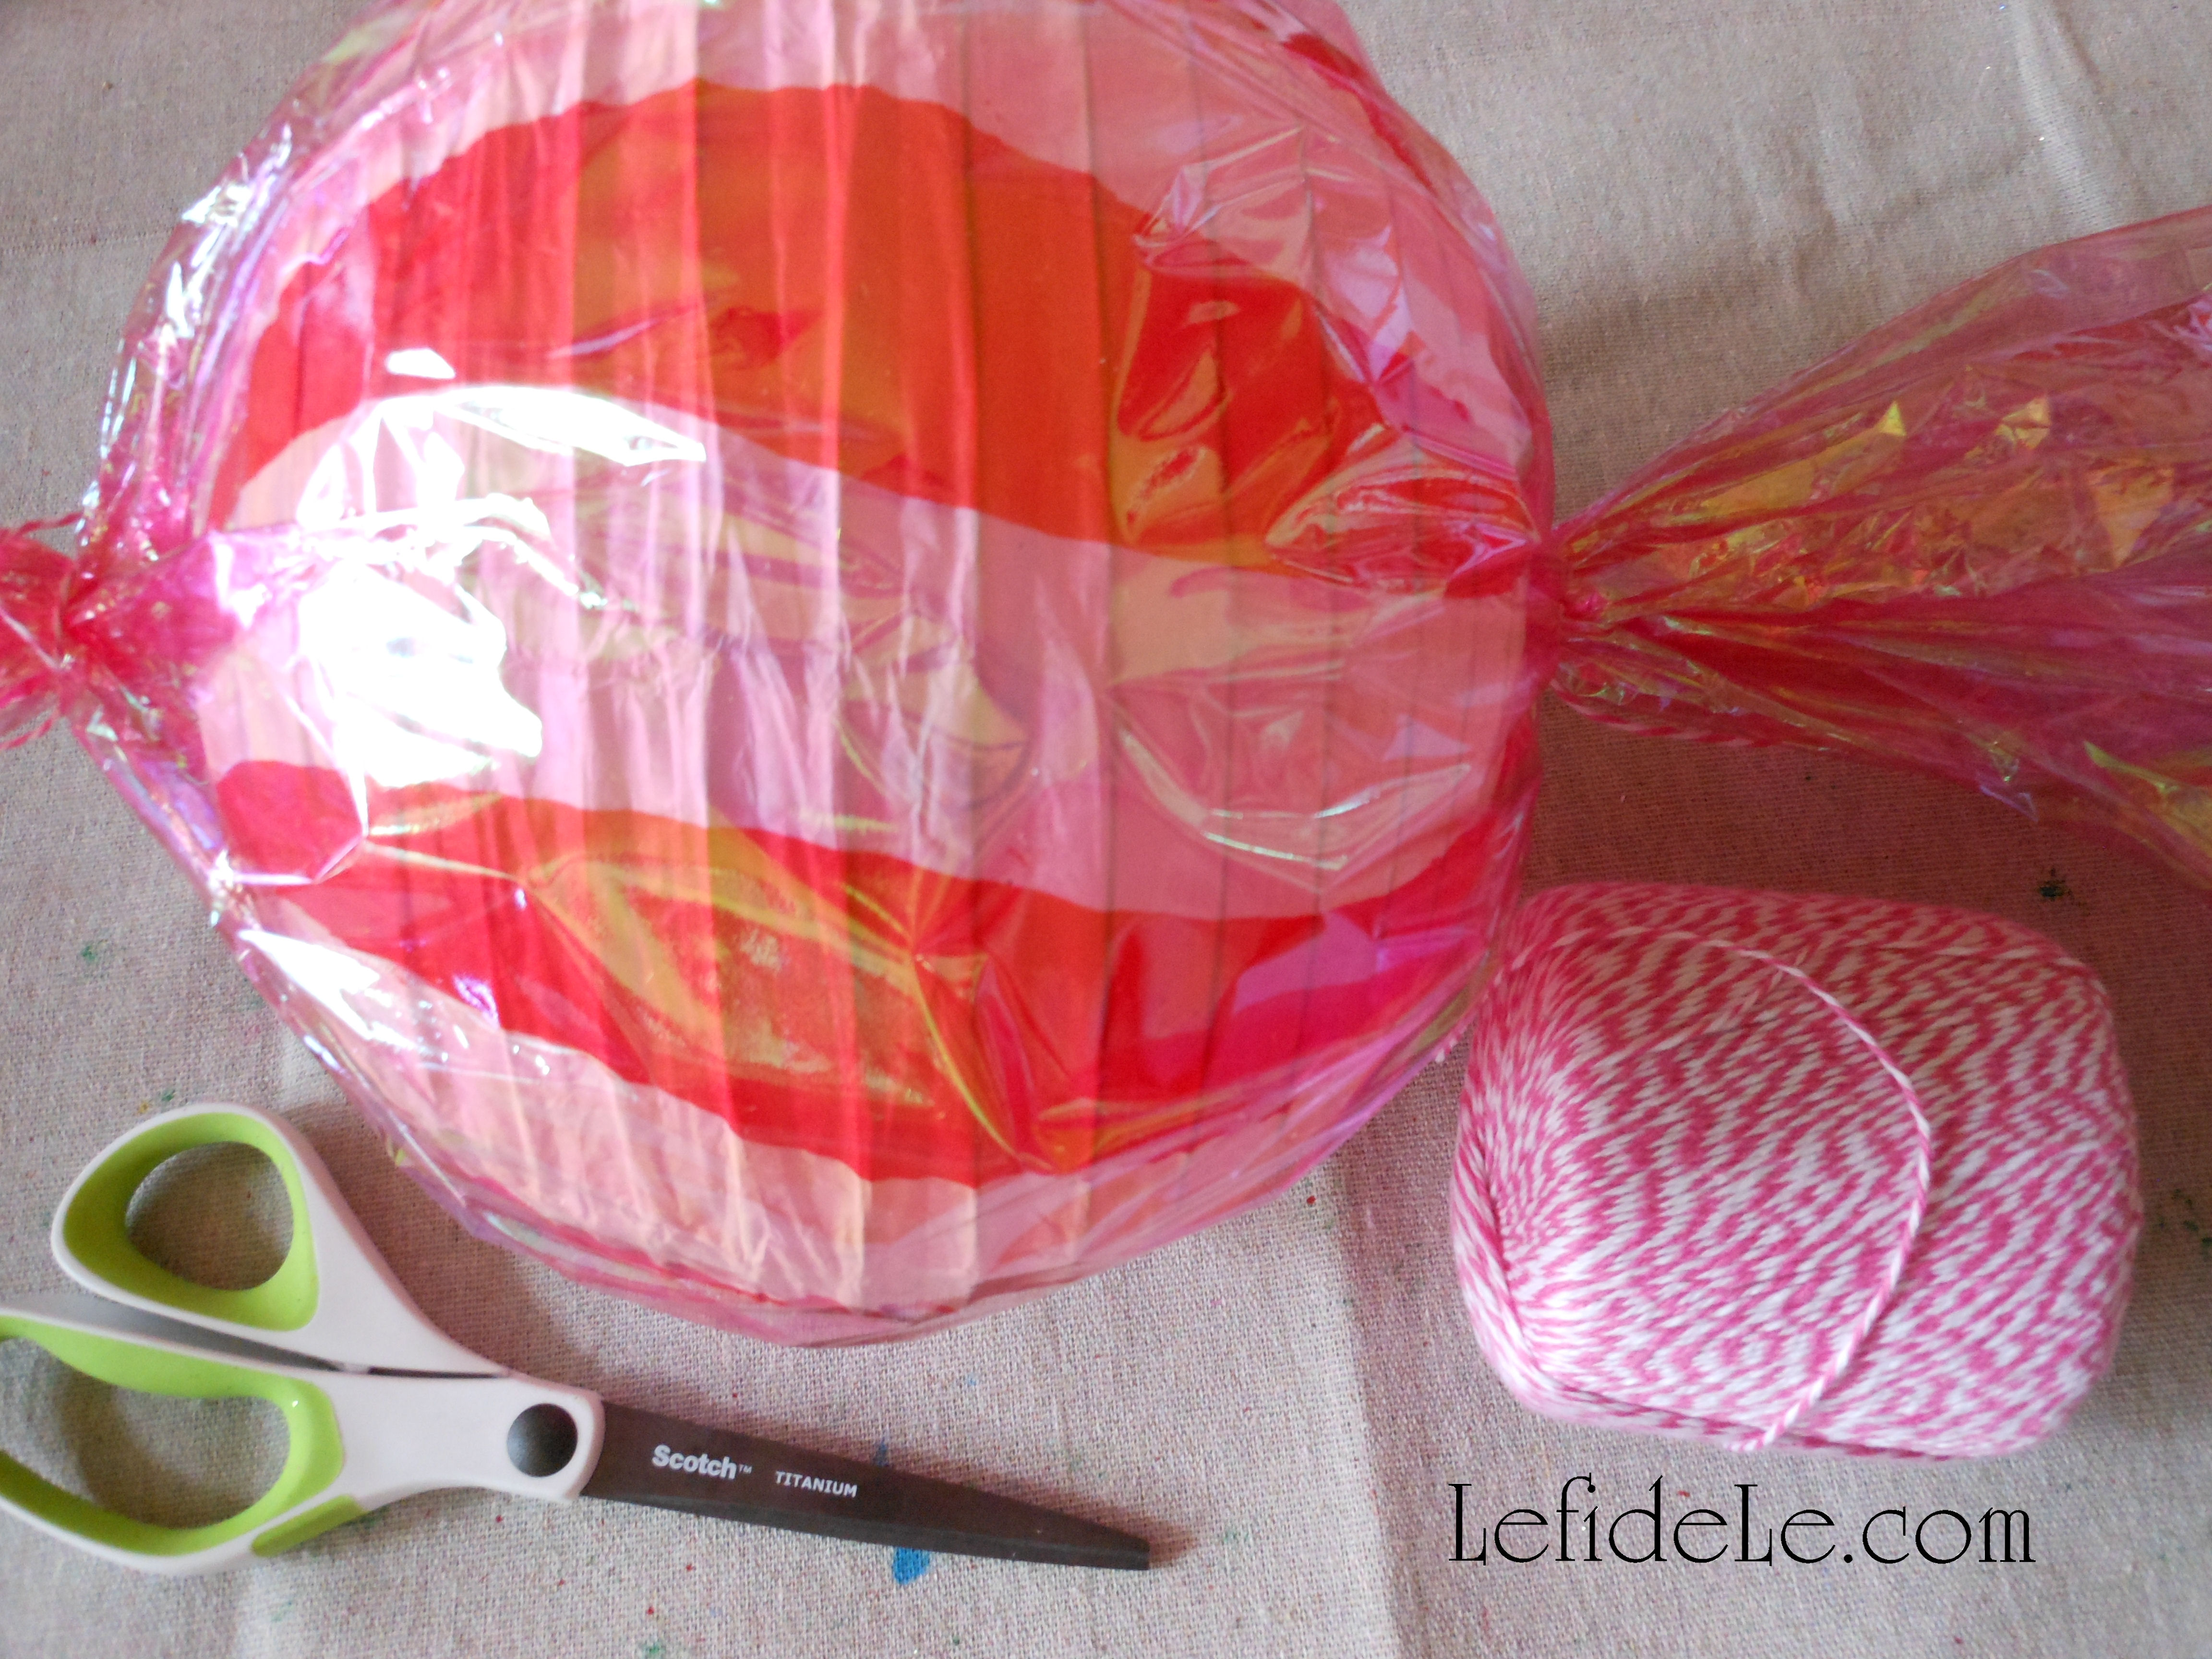
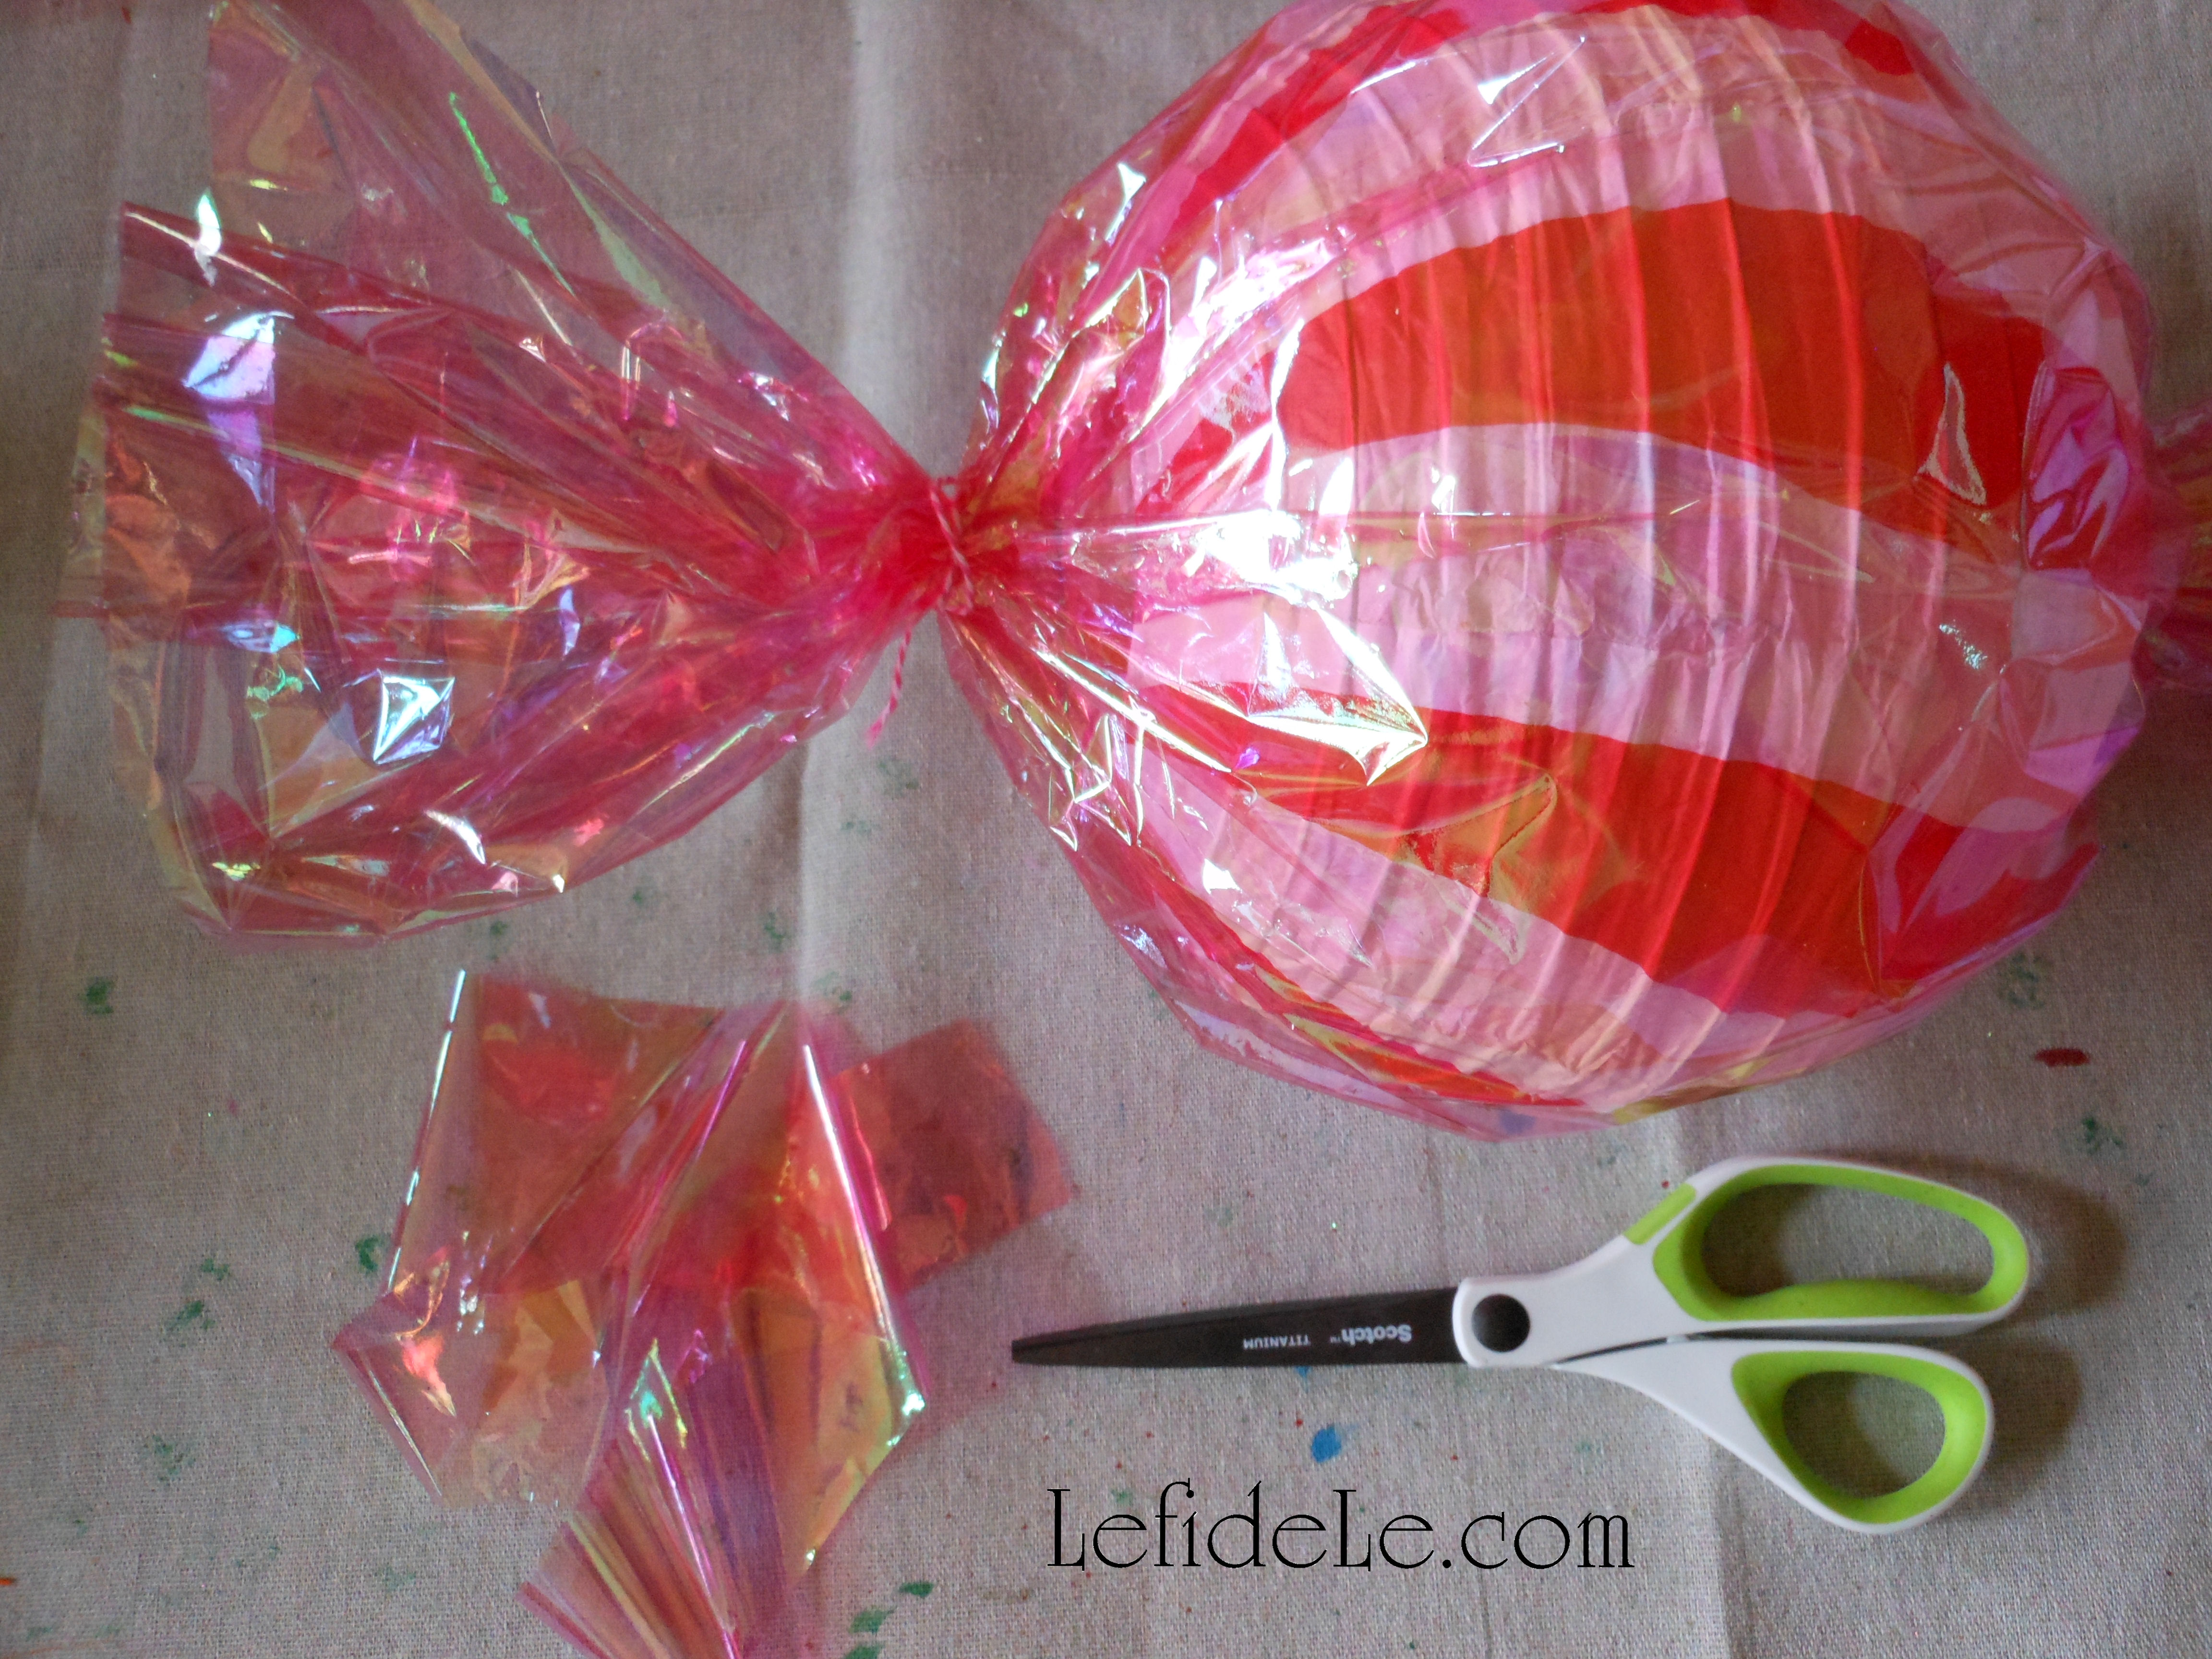
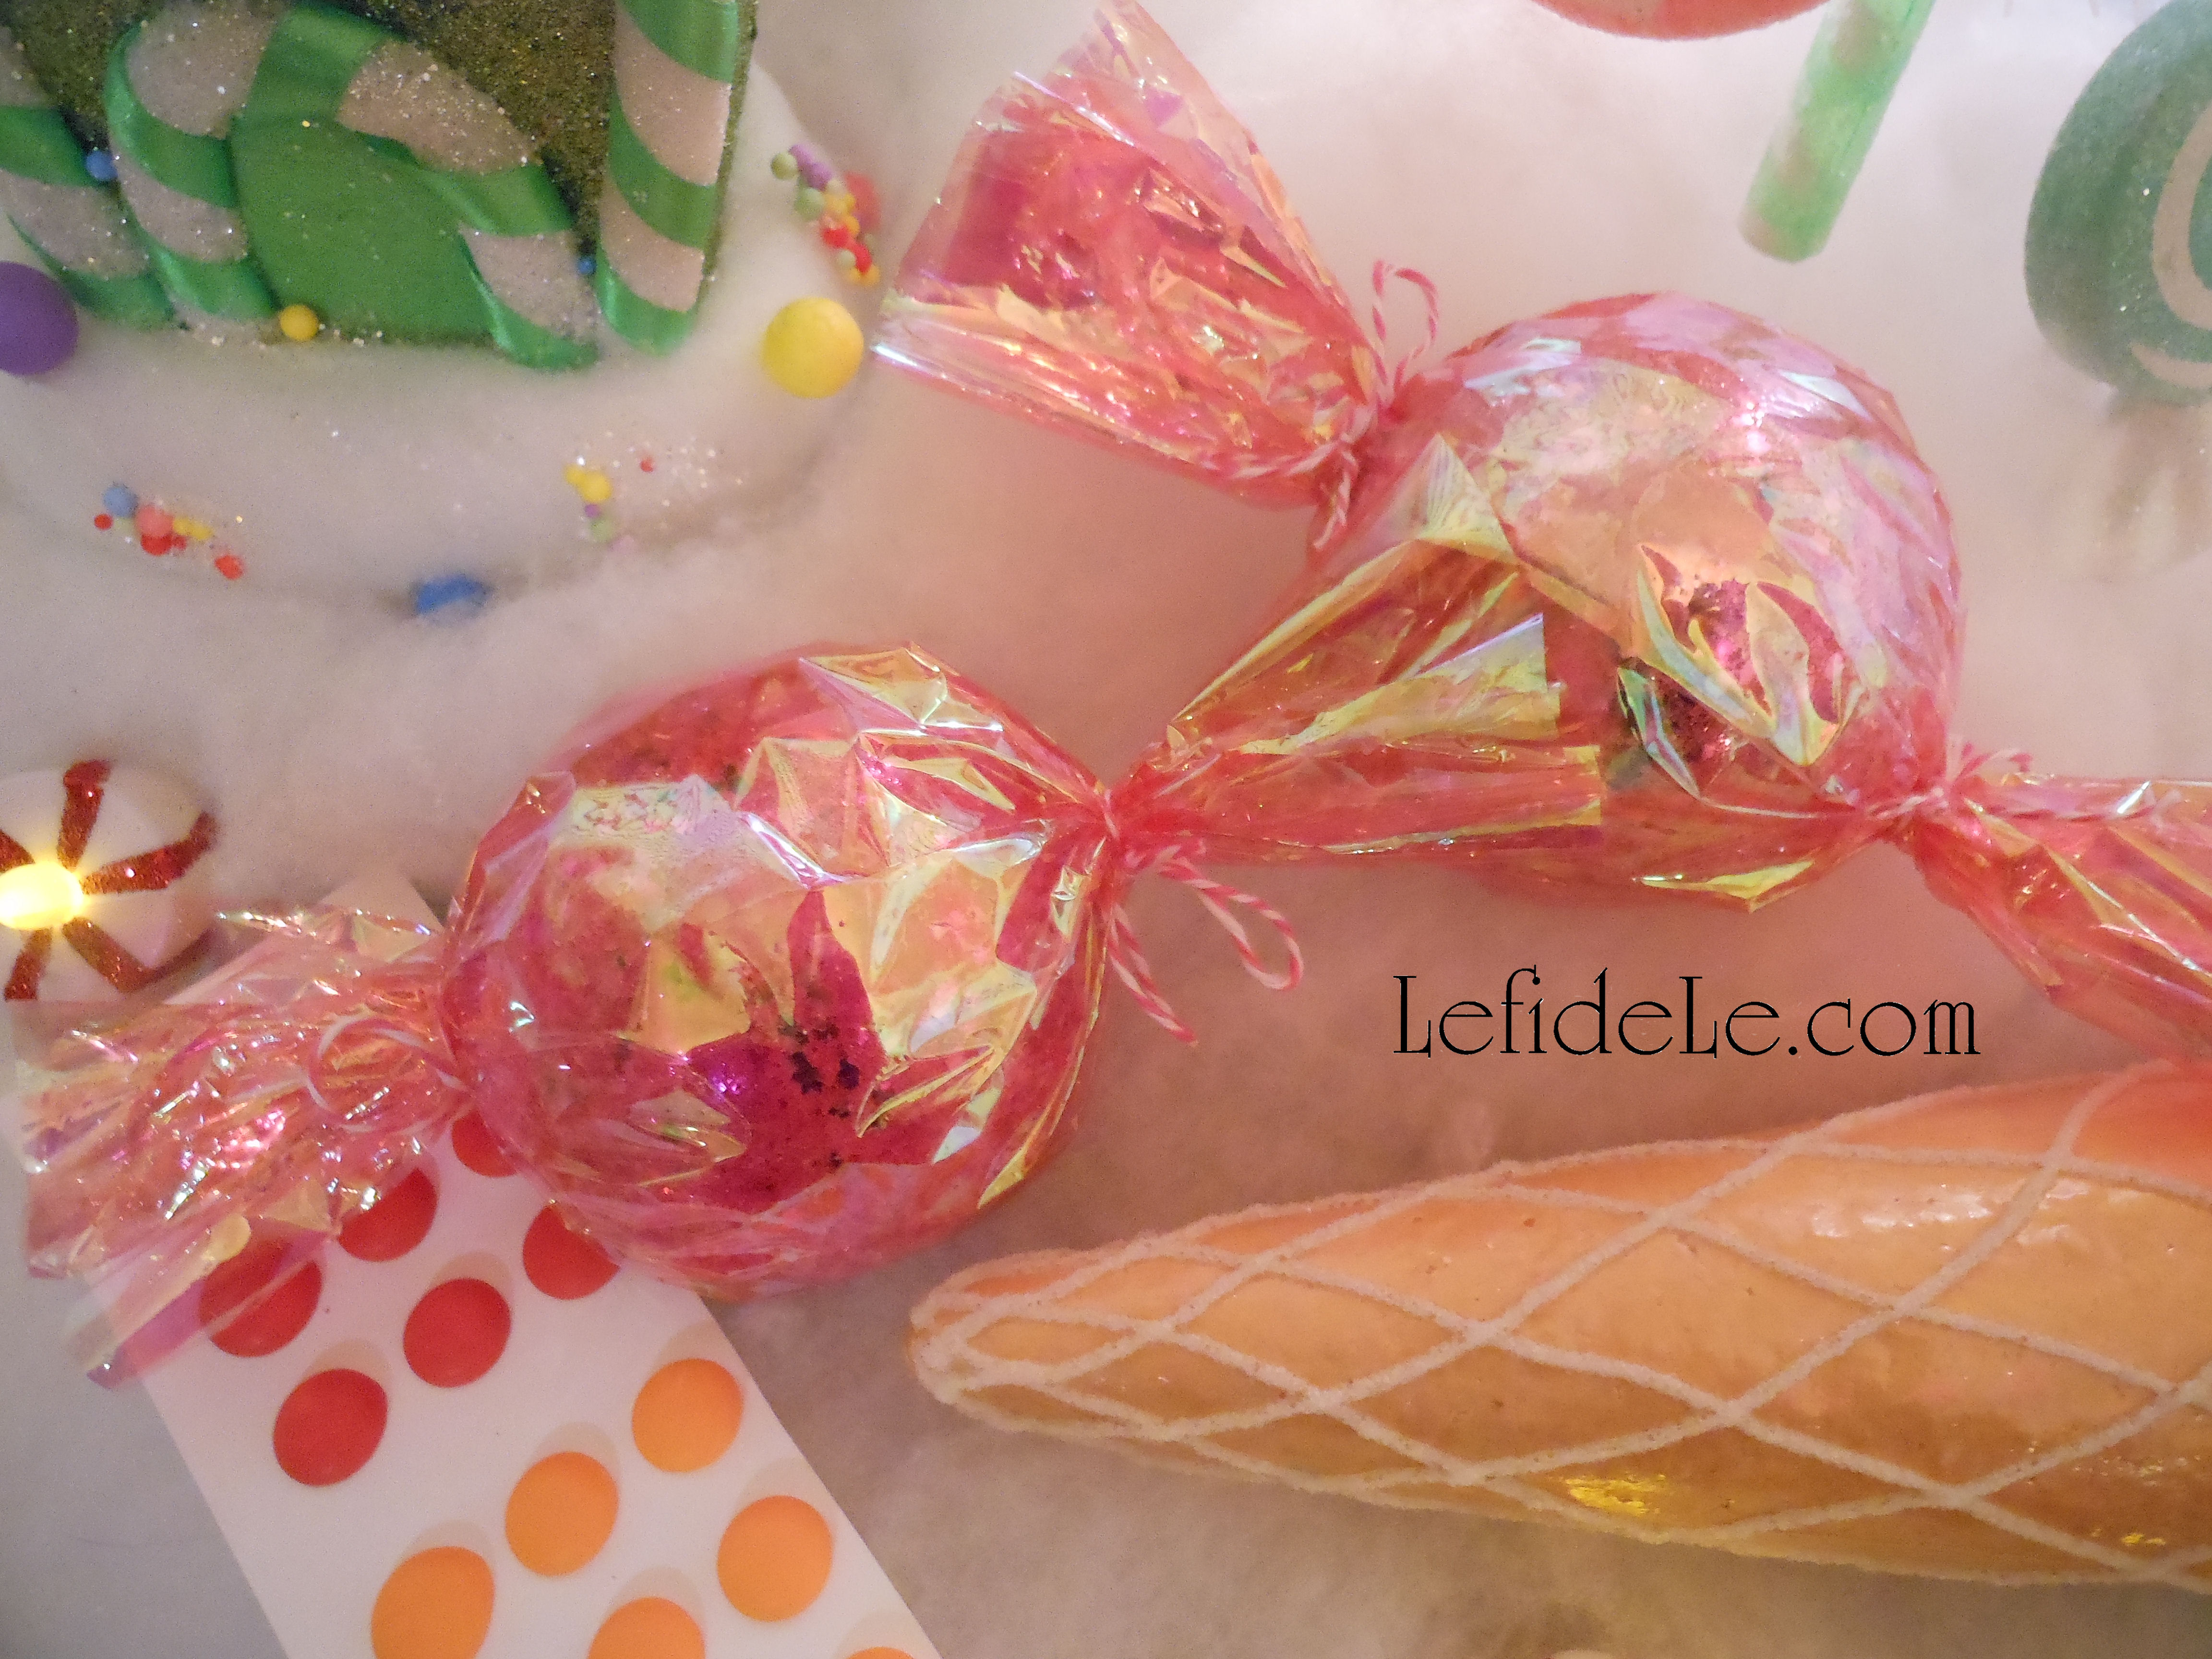
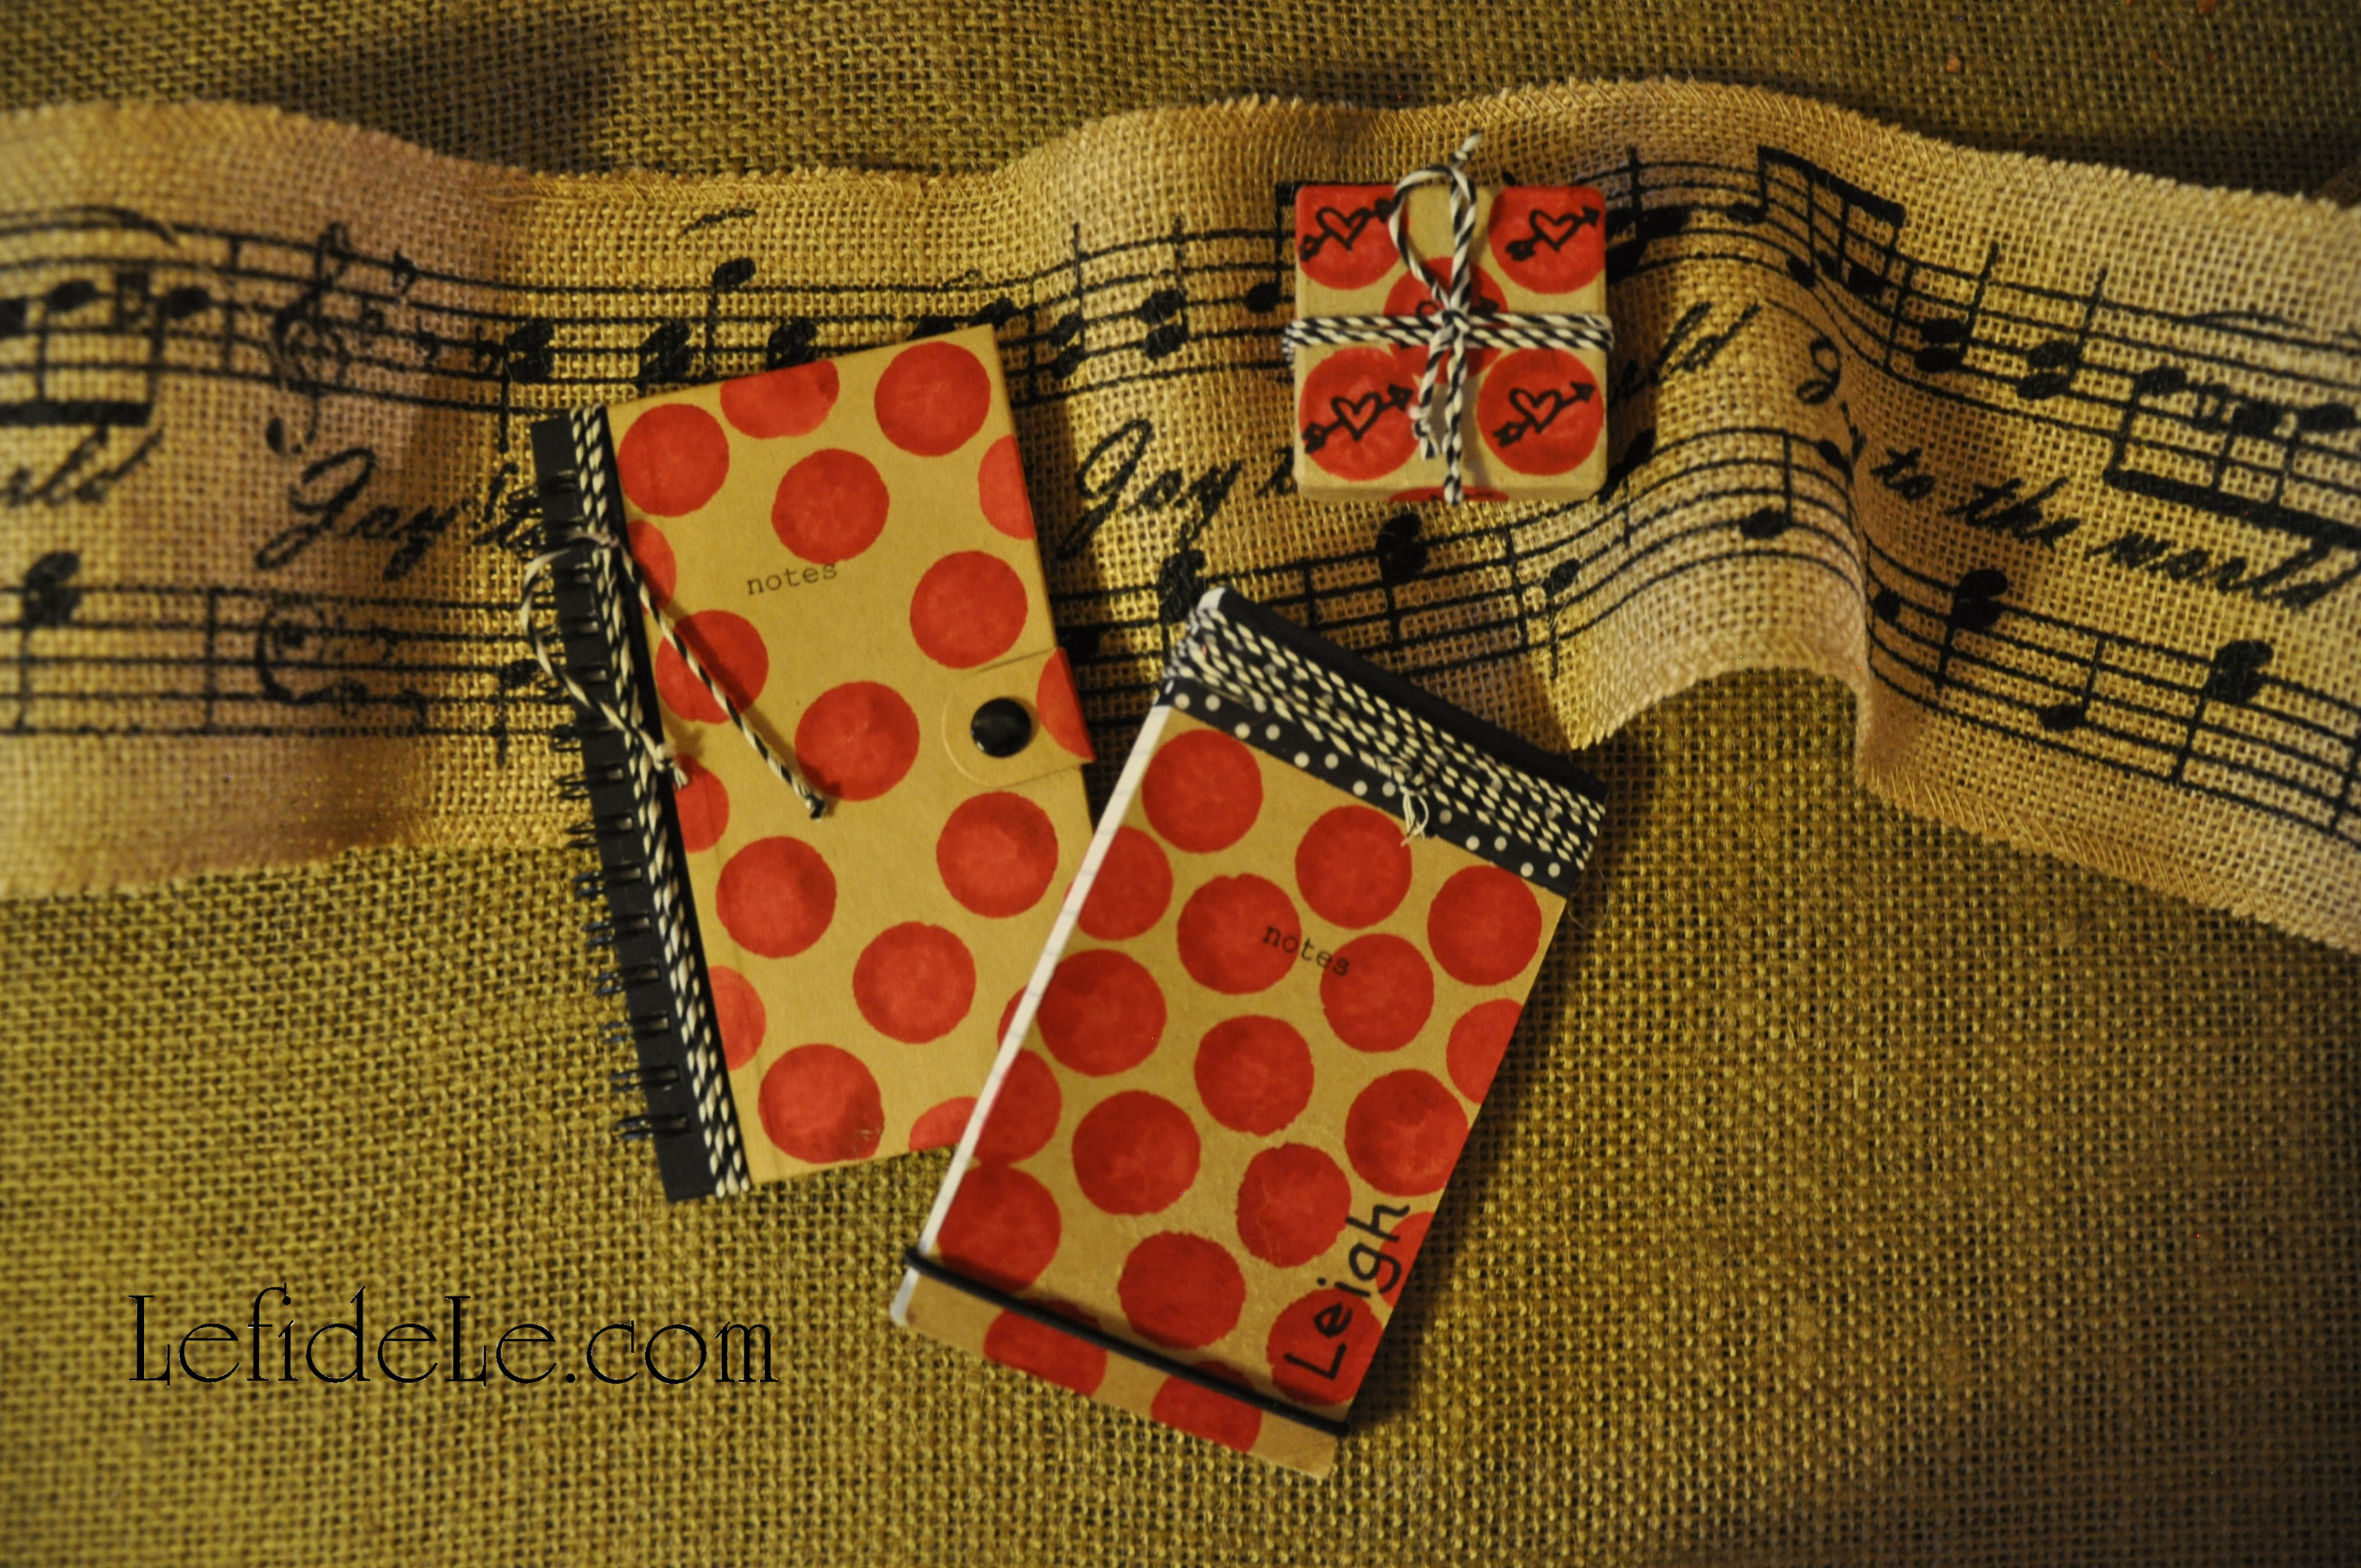
The hearts on the box aren’t great because it isn’t easy to make a V-point with a round stamp. Although I did get better at it by the time I made the leaves for the flowers. Just use a Sharpie to draw in details like arrows or a wavy lined stem. The peppermint candies were made by a foam stamp inked with the bingo marker. I thought it might work, and was delighted to find that it did! I will soon be posting a Winter Candyland Party that this type of stamp is perfect for, but here it’s used for a “sweetheart” gift box.

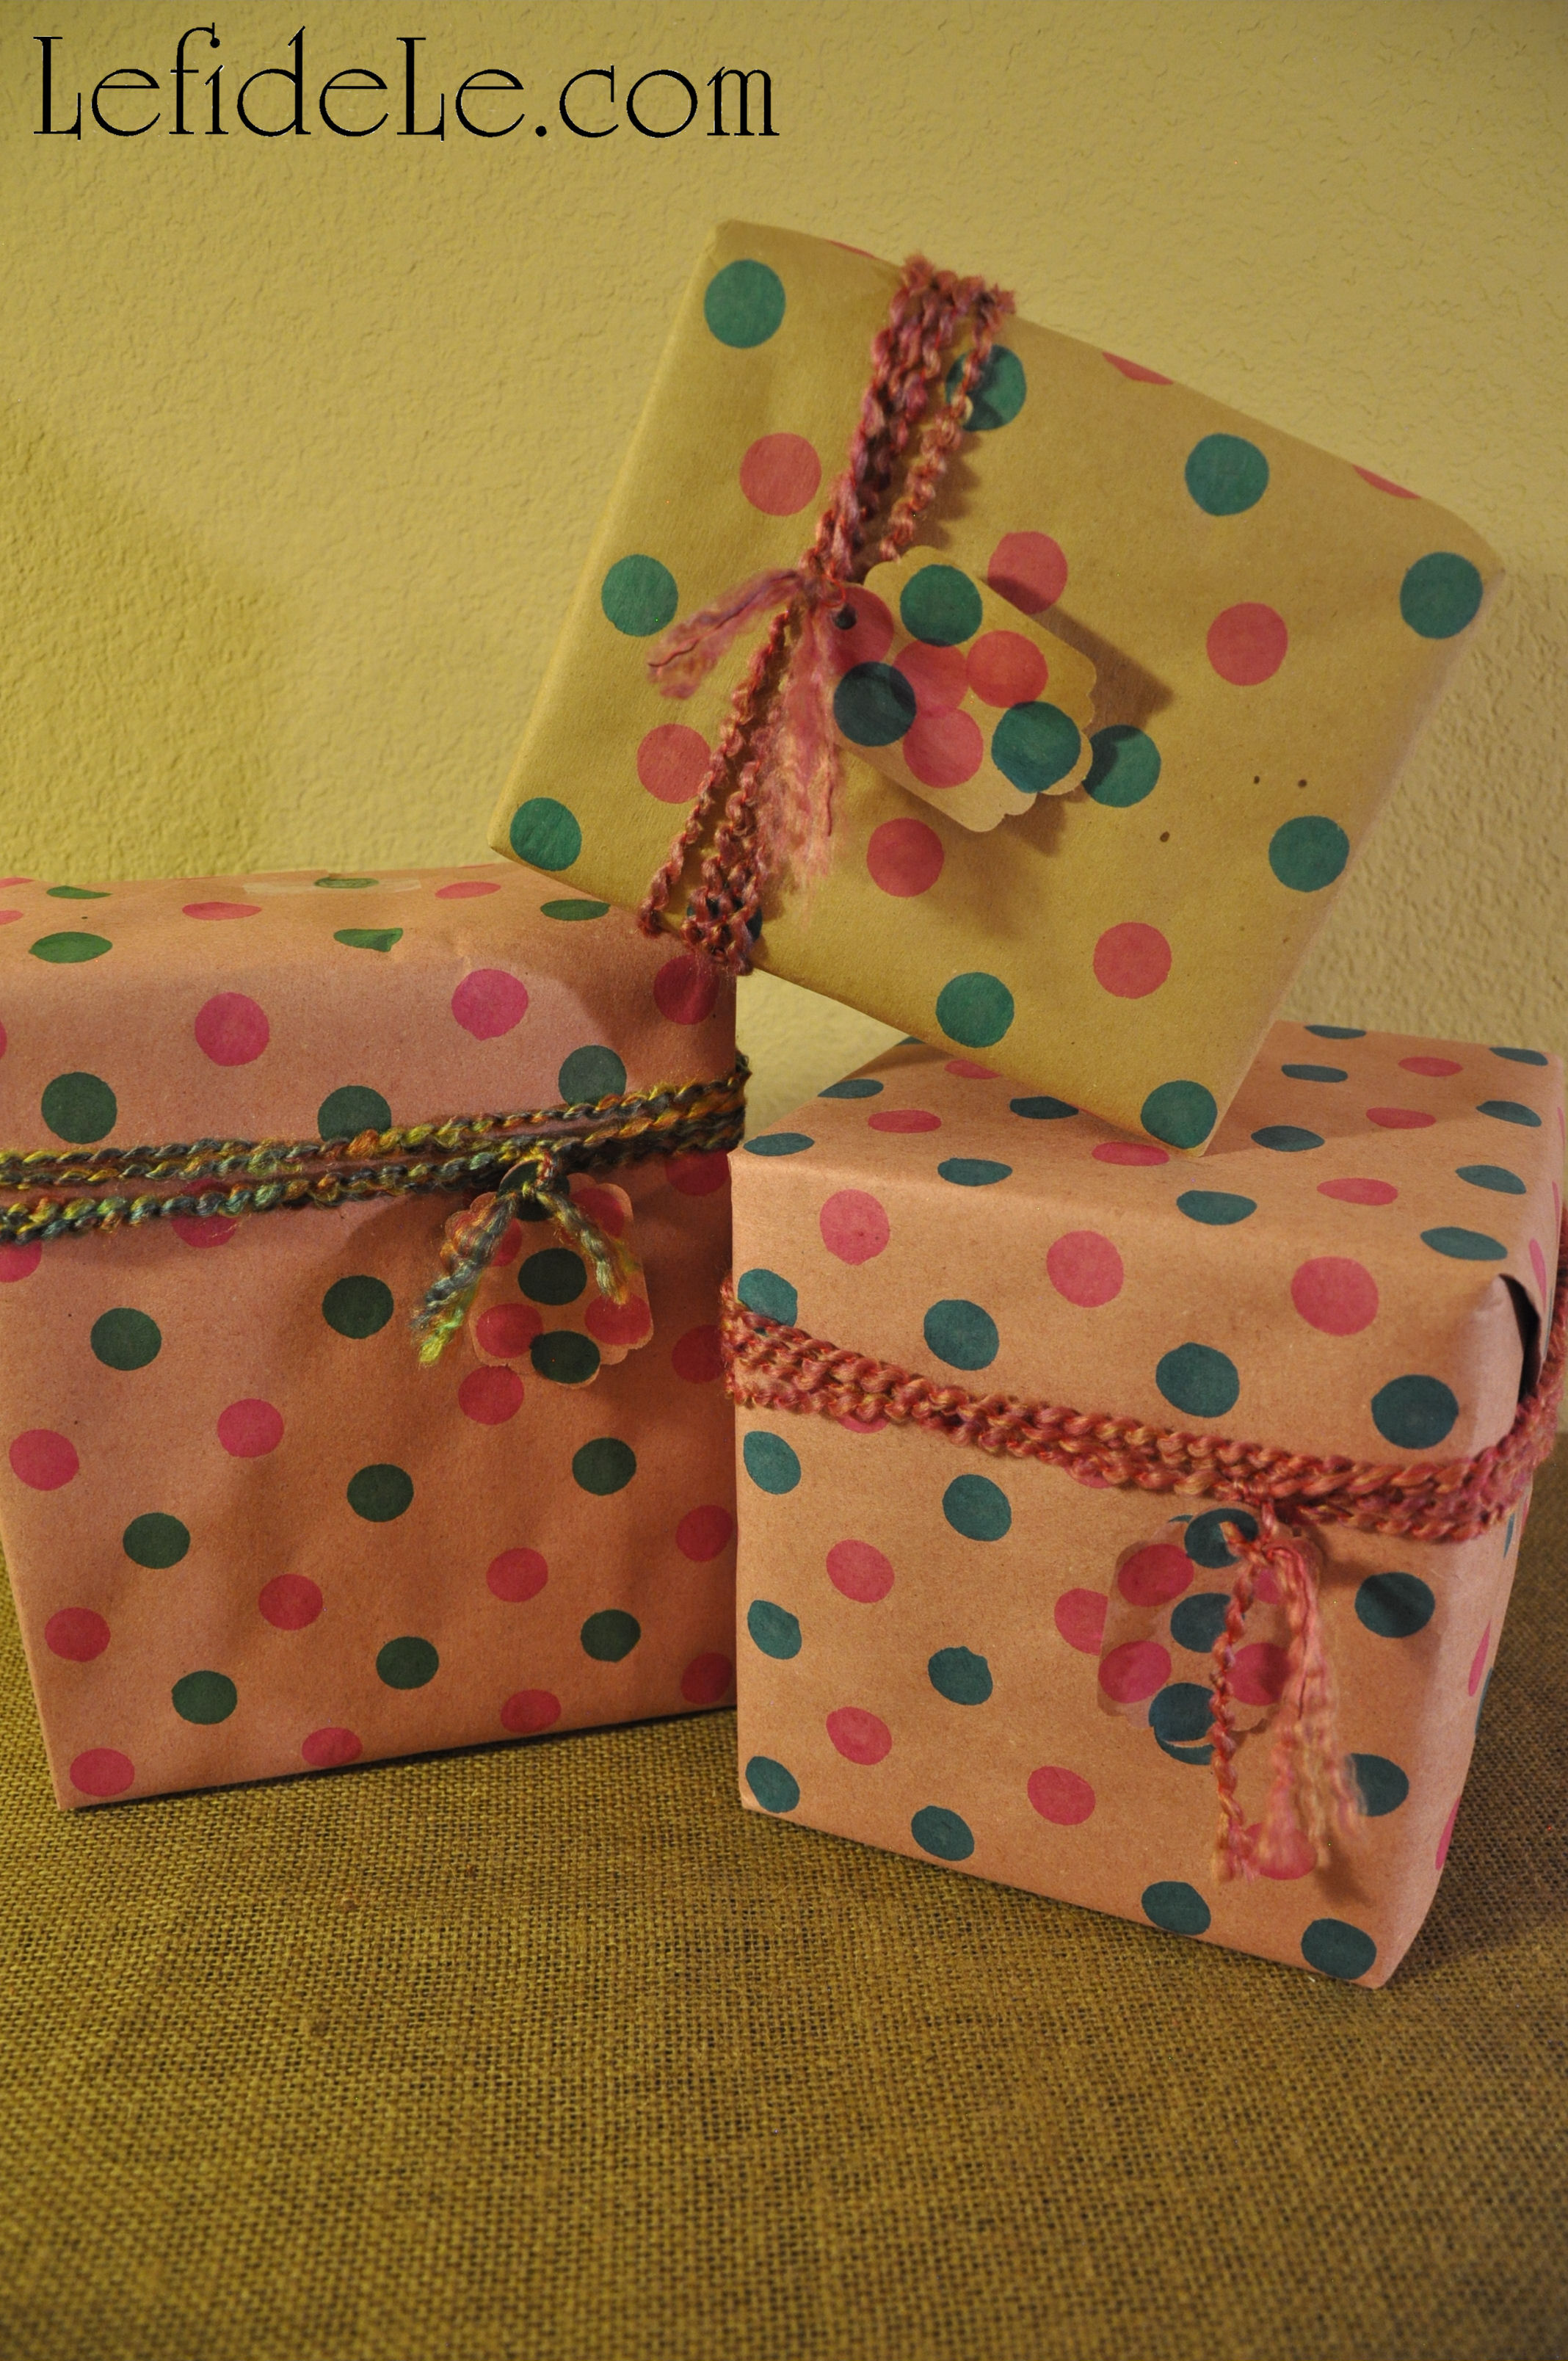
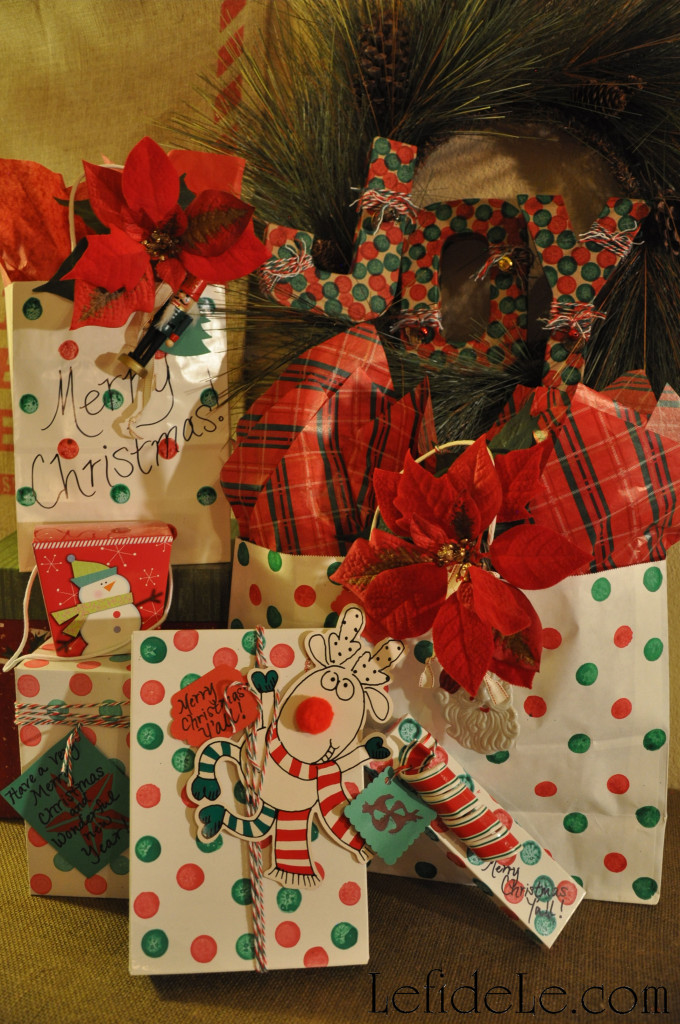
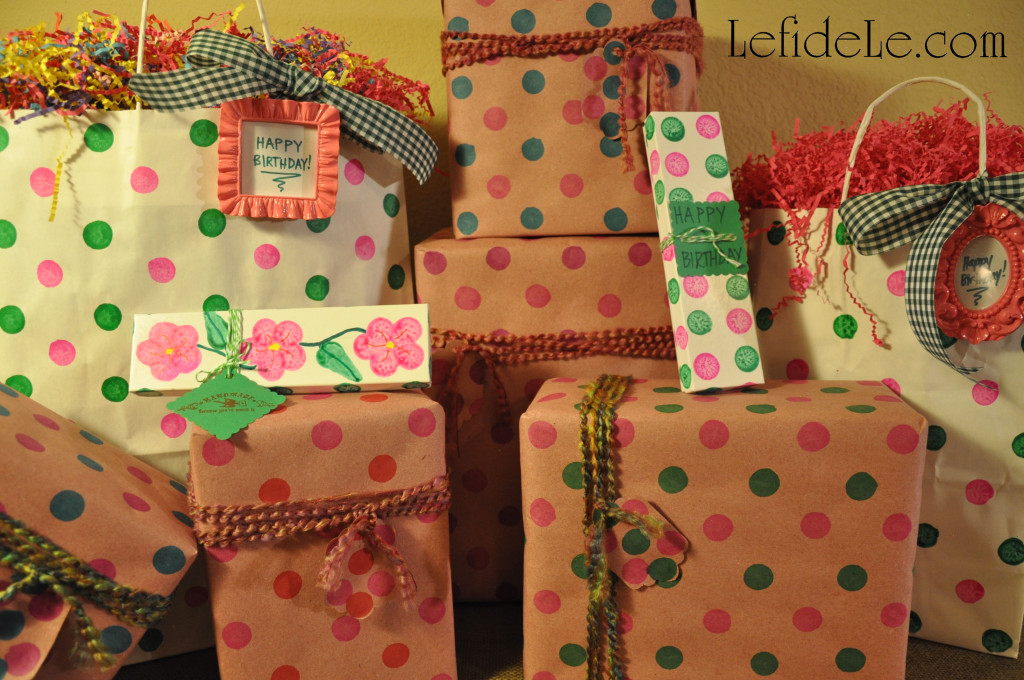
It’s really great to just stamp the outside of gift boxes, and not worry about wrapping at all! Here I’ve use some Christmas yarn… purchased with a coupon so that it was a fraction of the price of baker’s twine. I have enough quantity to be generous with it without worrying about running out… and it’s just really cute.
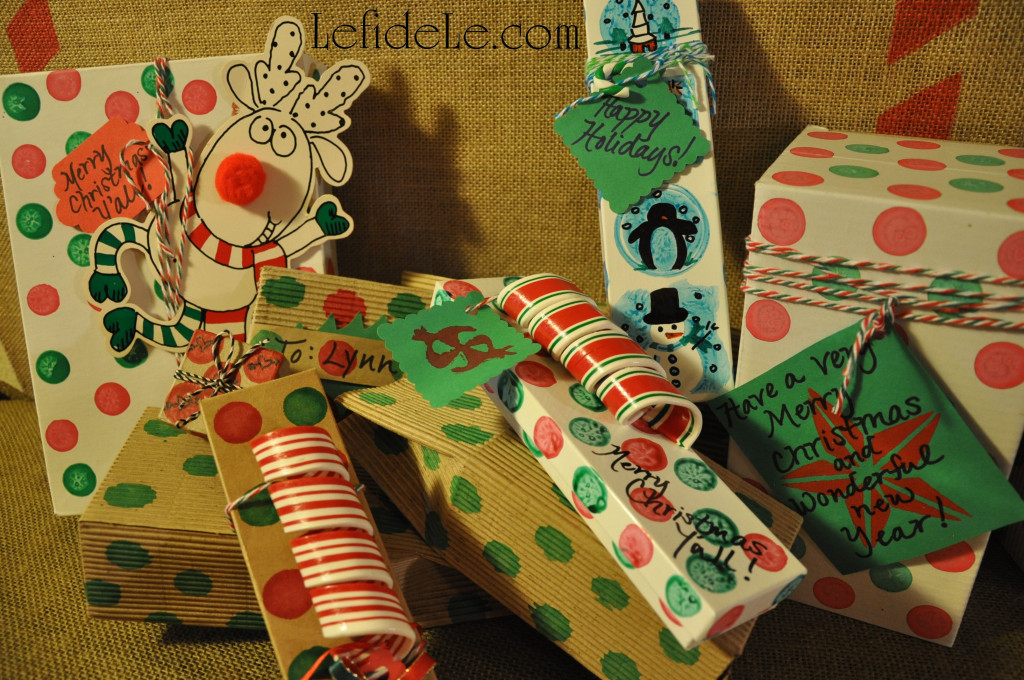
The Rudolph decoration was manufactured, but it would be really easy to draw a silly character on poster board in Sharpie markers and glue on a red pom-pom nose. That could be a fun way to get the kids involved as well. Another festive idea is to stamp the outside of a mailing parcel then write the recipient’s address in black Sharpie.
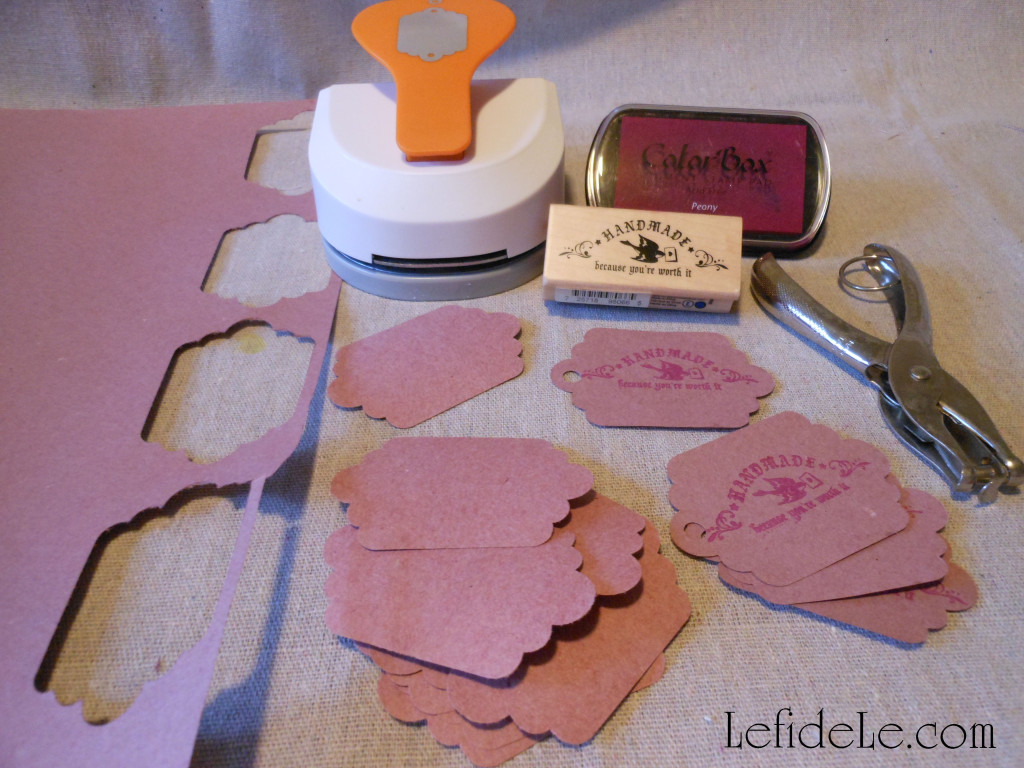
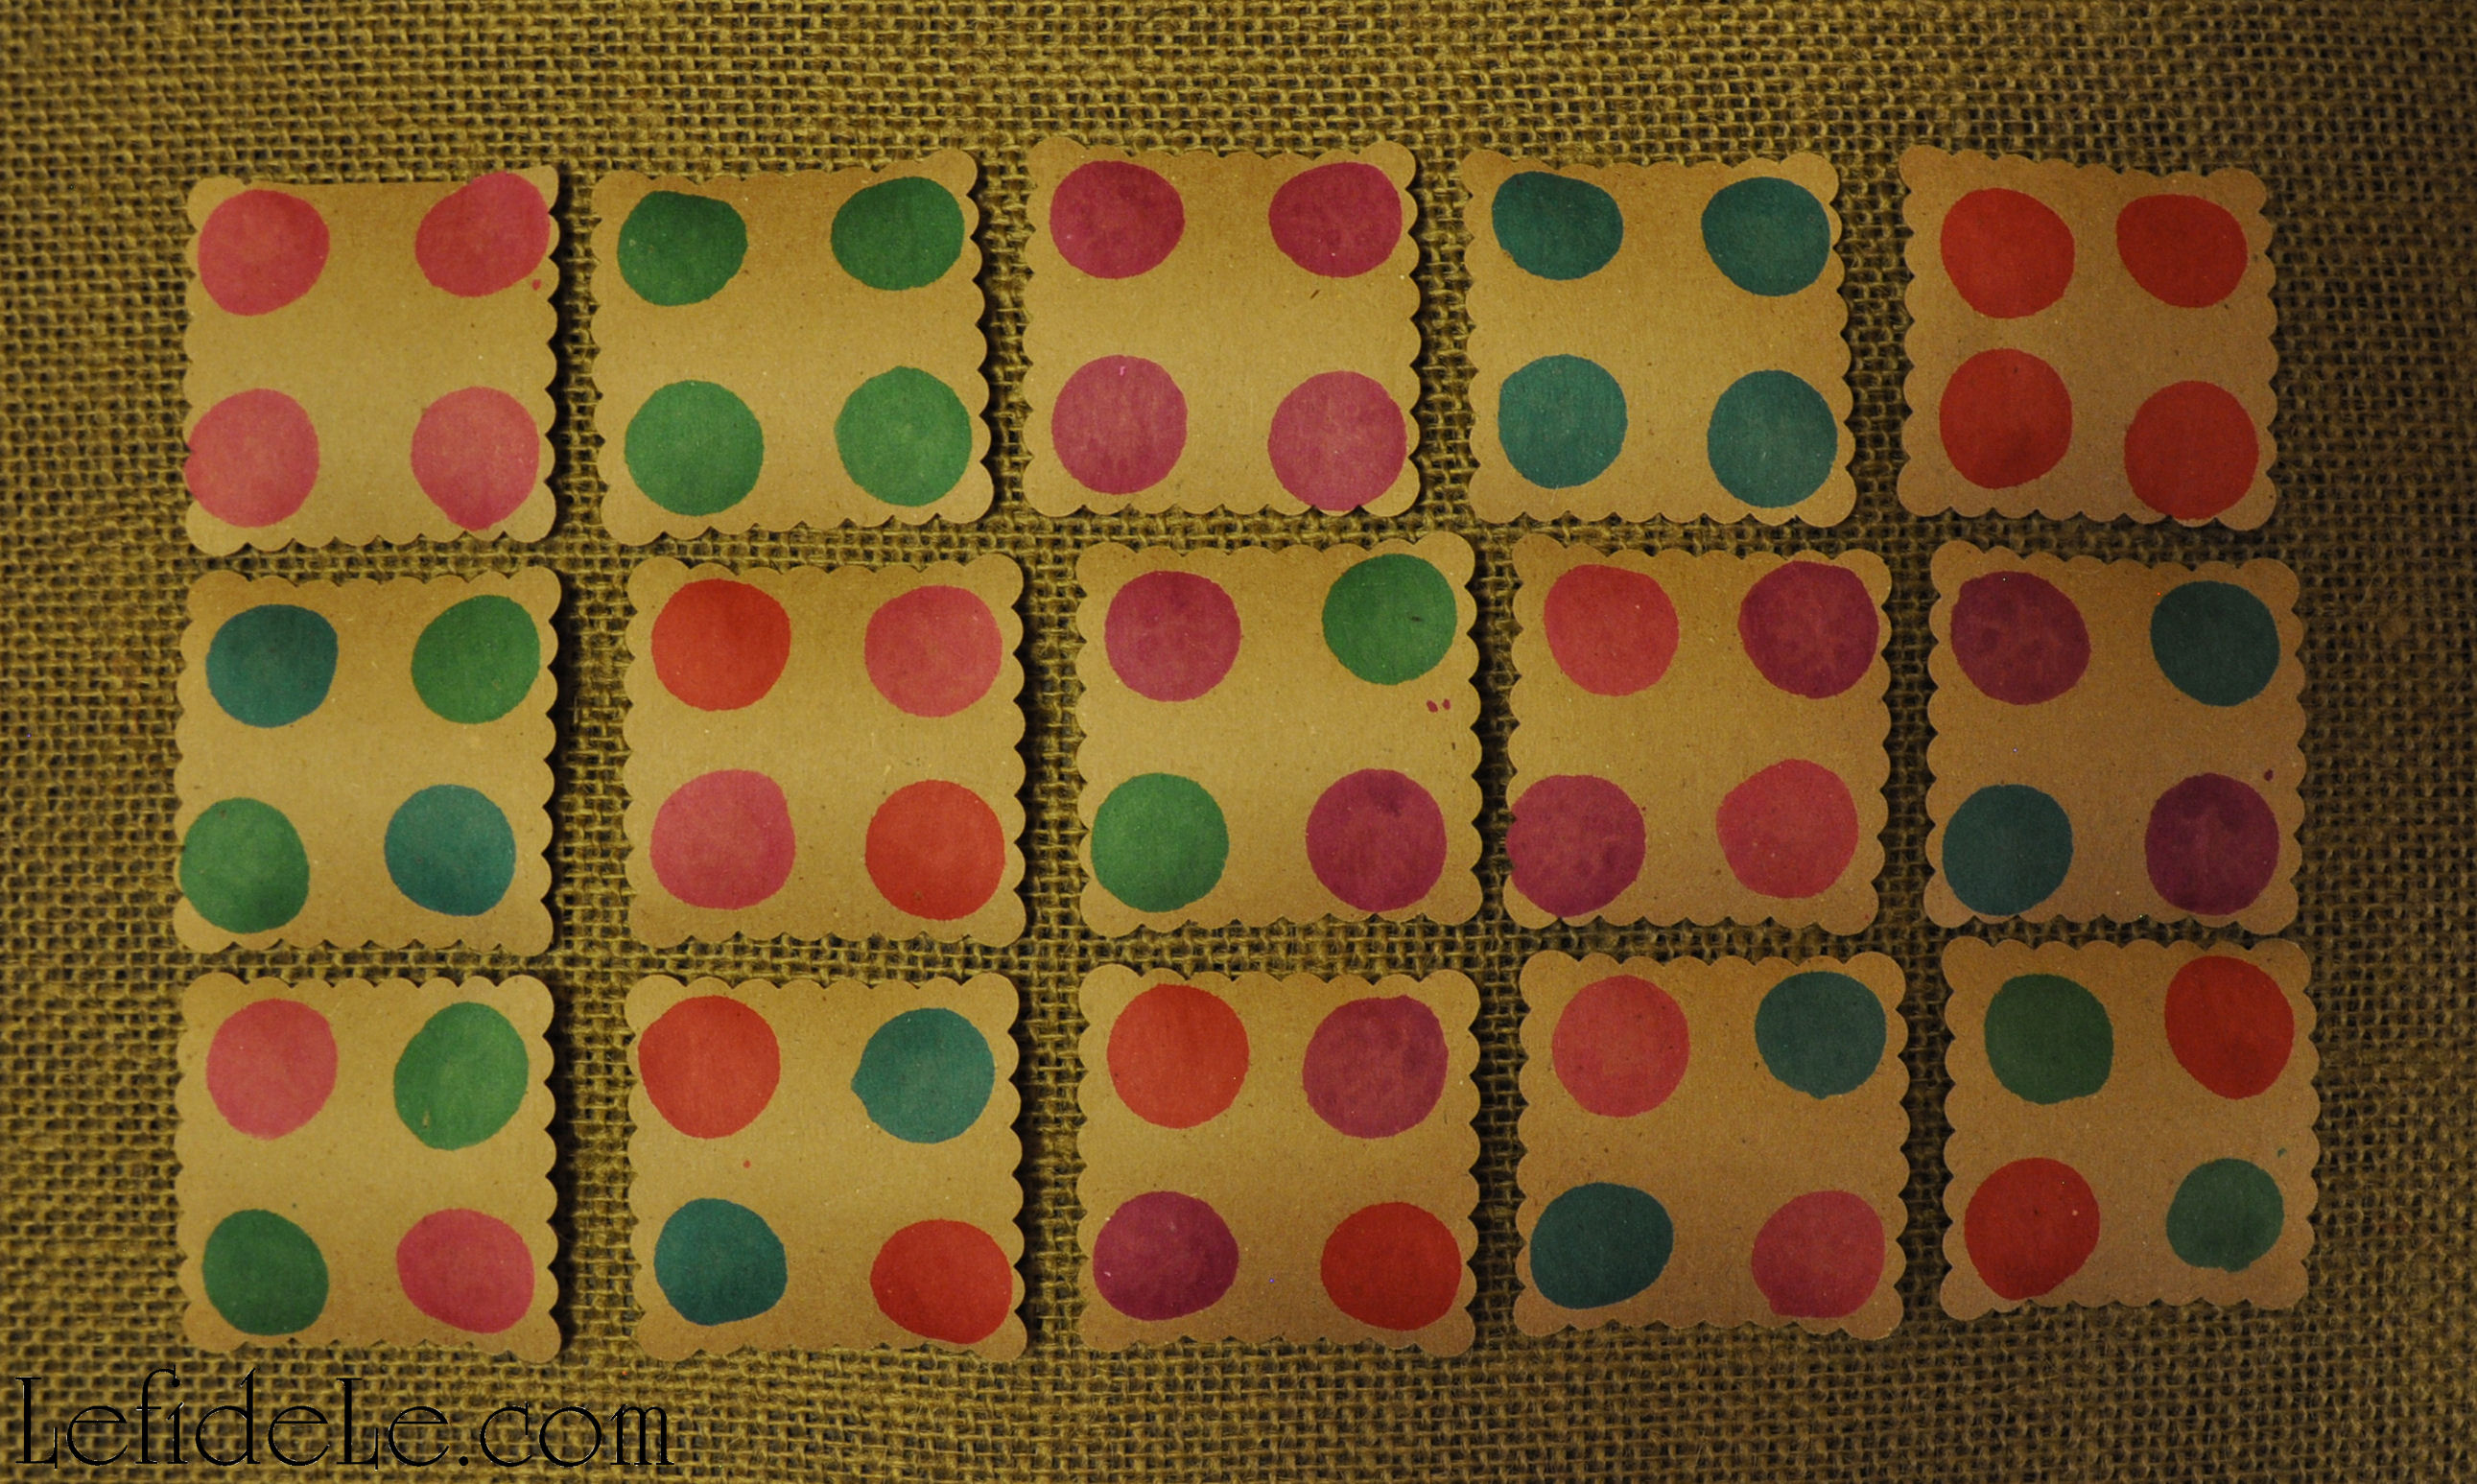
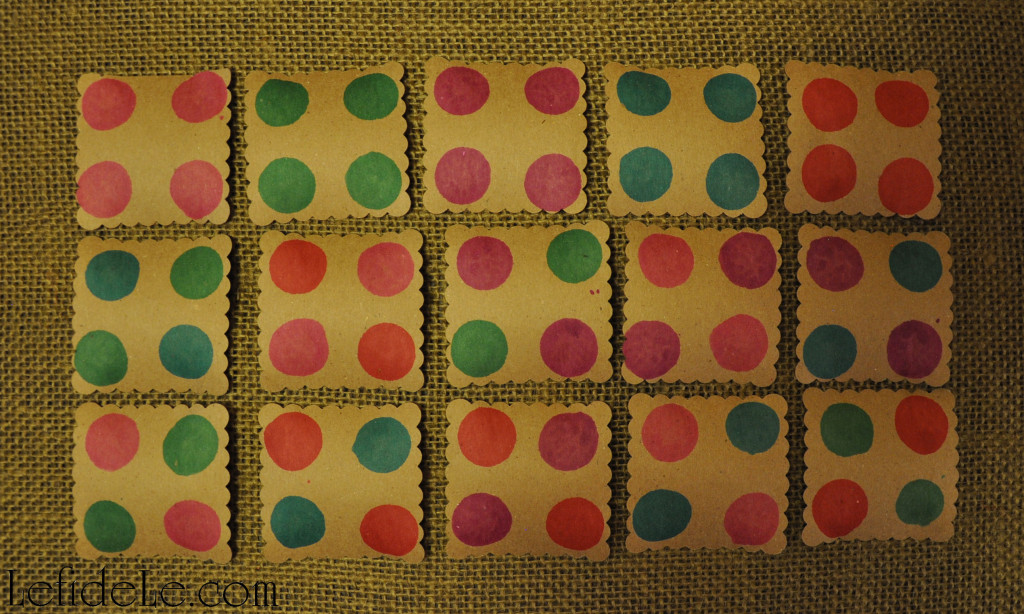
Don’t forget to make tags for your “presies”. I just used several large punches to cut them out of the same paper.

I then stamped them in assembly line fashion… proof positive that quick can be cute!

I used the handmade stamp and candy stamp on some. The star tag was stamped with a foam star and acrylic craft paint. This way you can see the difference between how ink and paint look. Use a Sharpie marker to write messages on any of these as pens just don’t show up well.
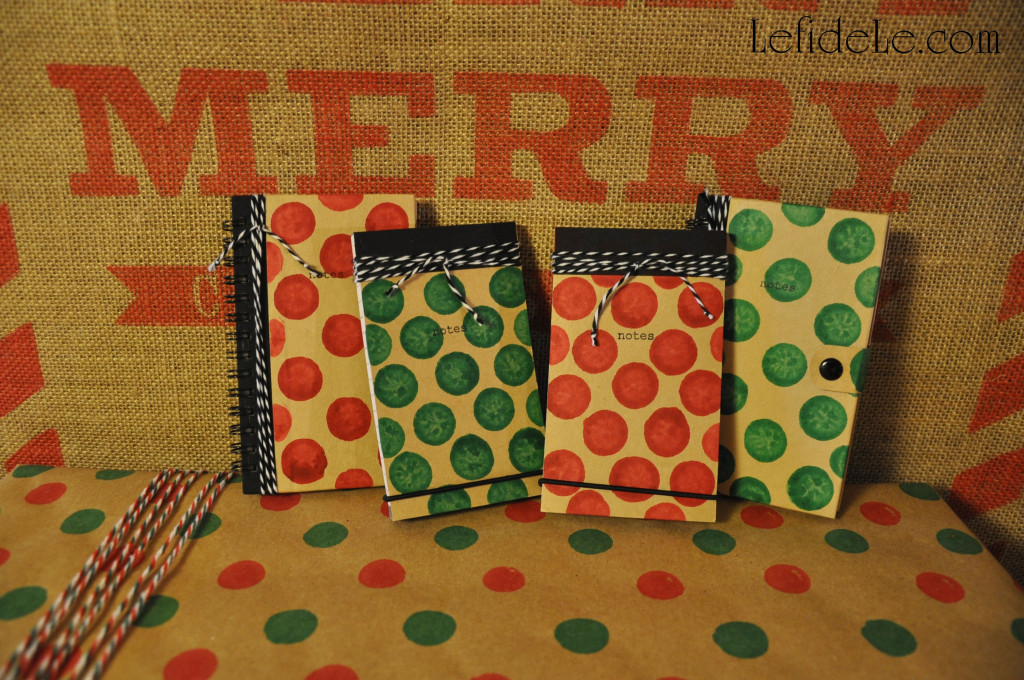
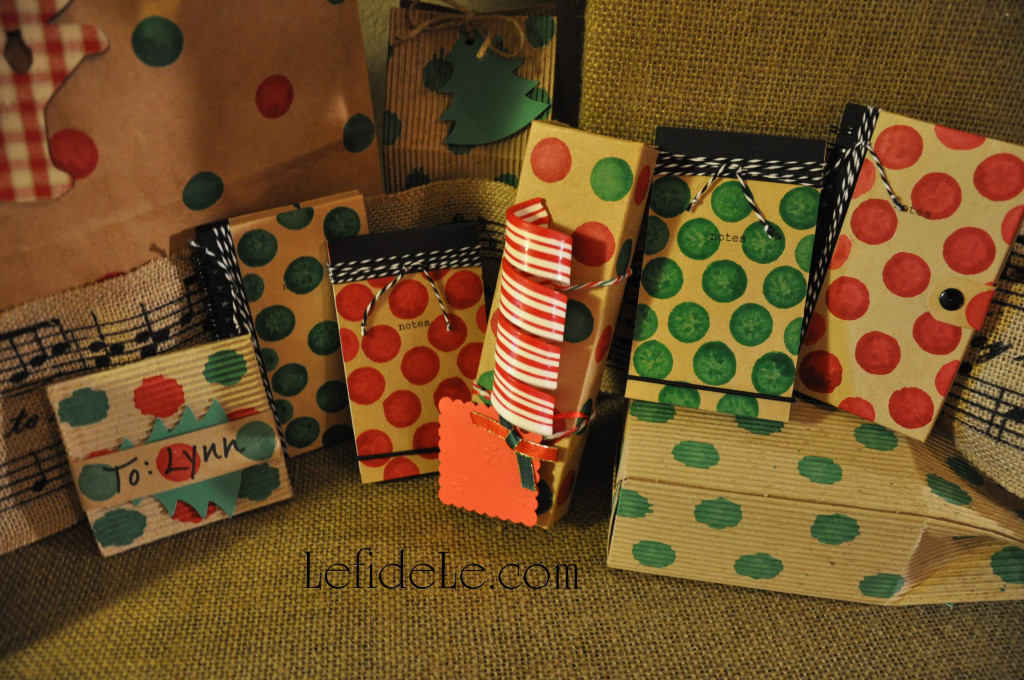
As for the gifts themselves, why not make super-quick stocking stuffers with matching polka-dots?
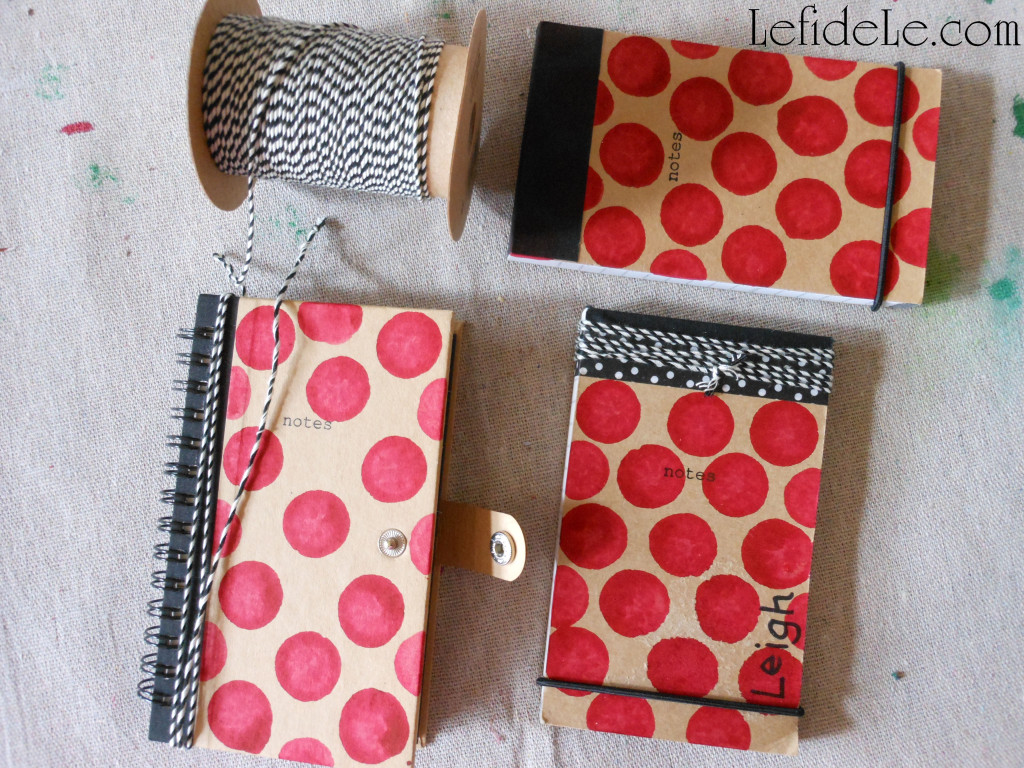
I took boring kraft paper notebooks, and raised the cuteness factor exponentially with a little ink stamping and twine wrapping.
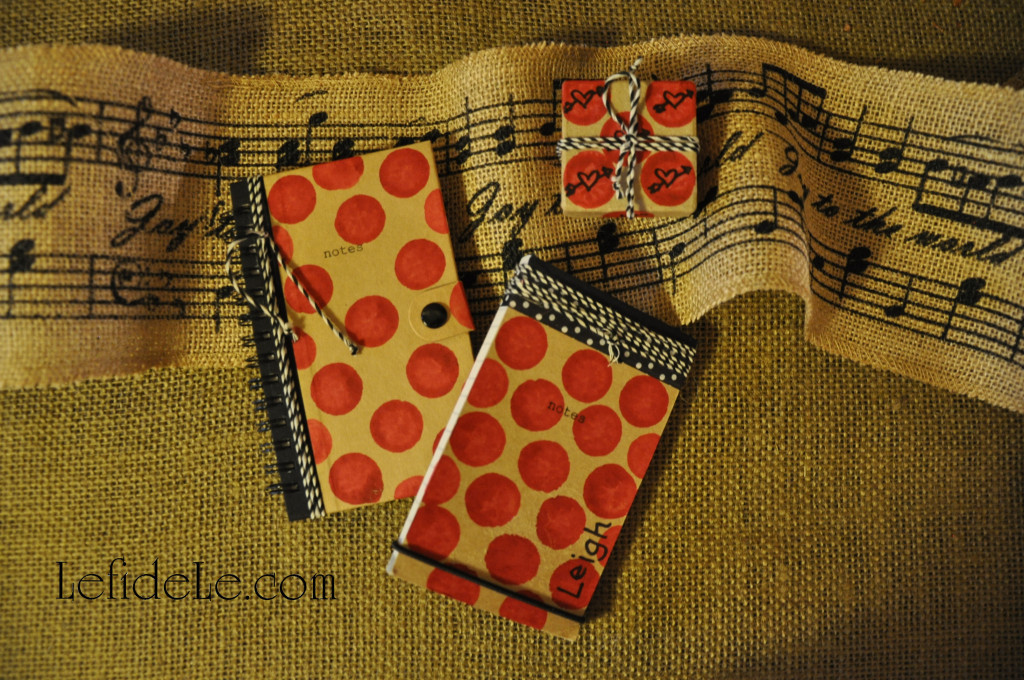
I also added some washi tape to one whose top was peeling slightly. I personalized that one with my name in Sharpie.
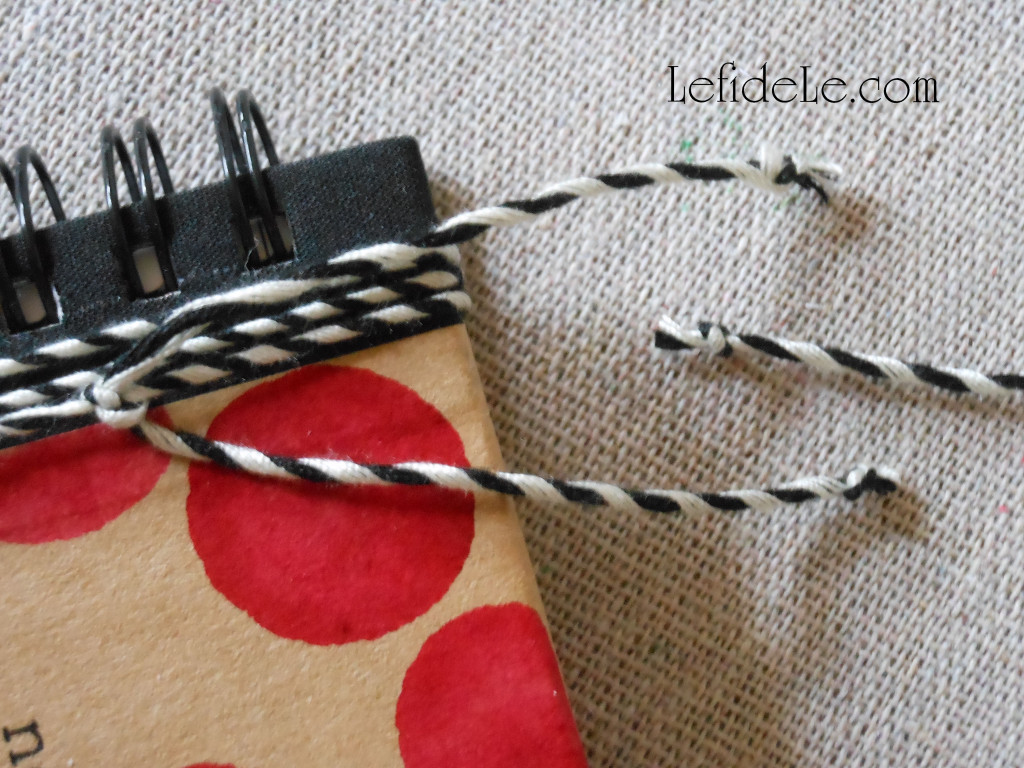
There is one thing which will save you some length on twine brands that have a tendency to unravel easily… tie two knots before cutting in between them. I found that the yarn that looks like twine actually unravels less.
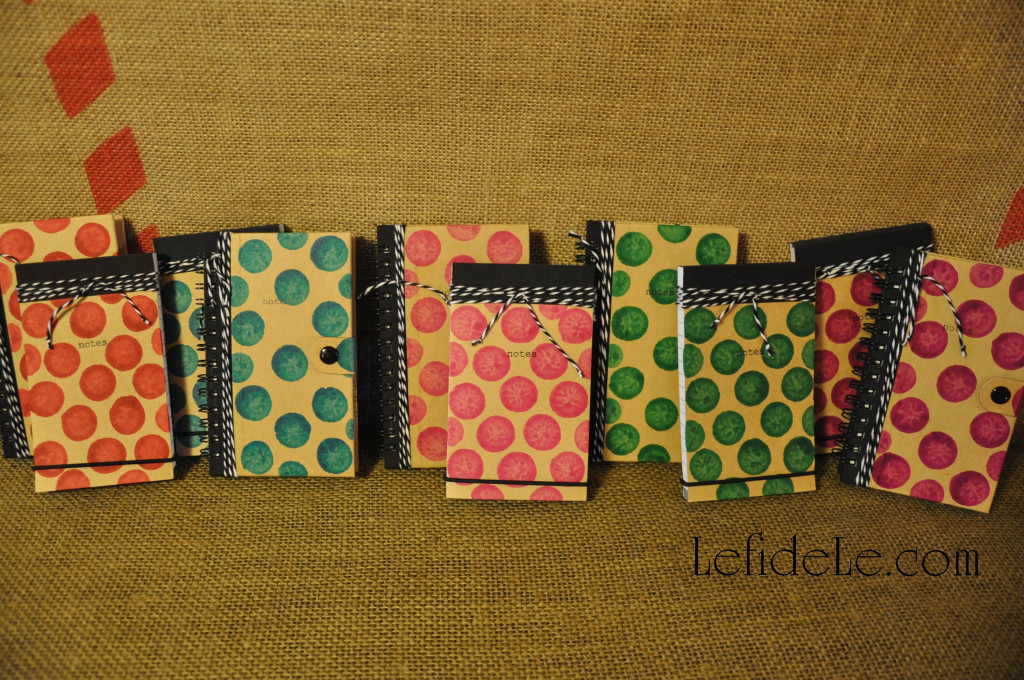
Here is a collection of my various colors of notebooks that will be made available at Le fidèLe Designs Etsy store.
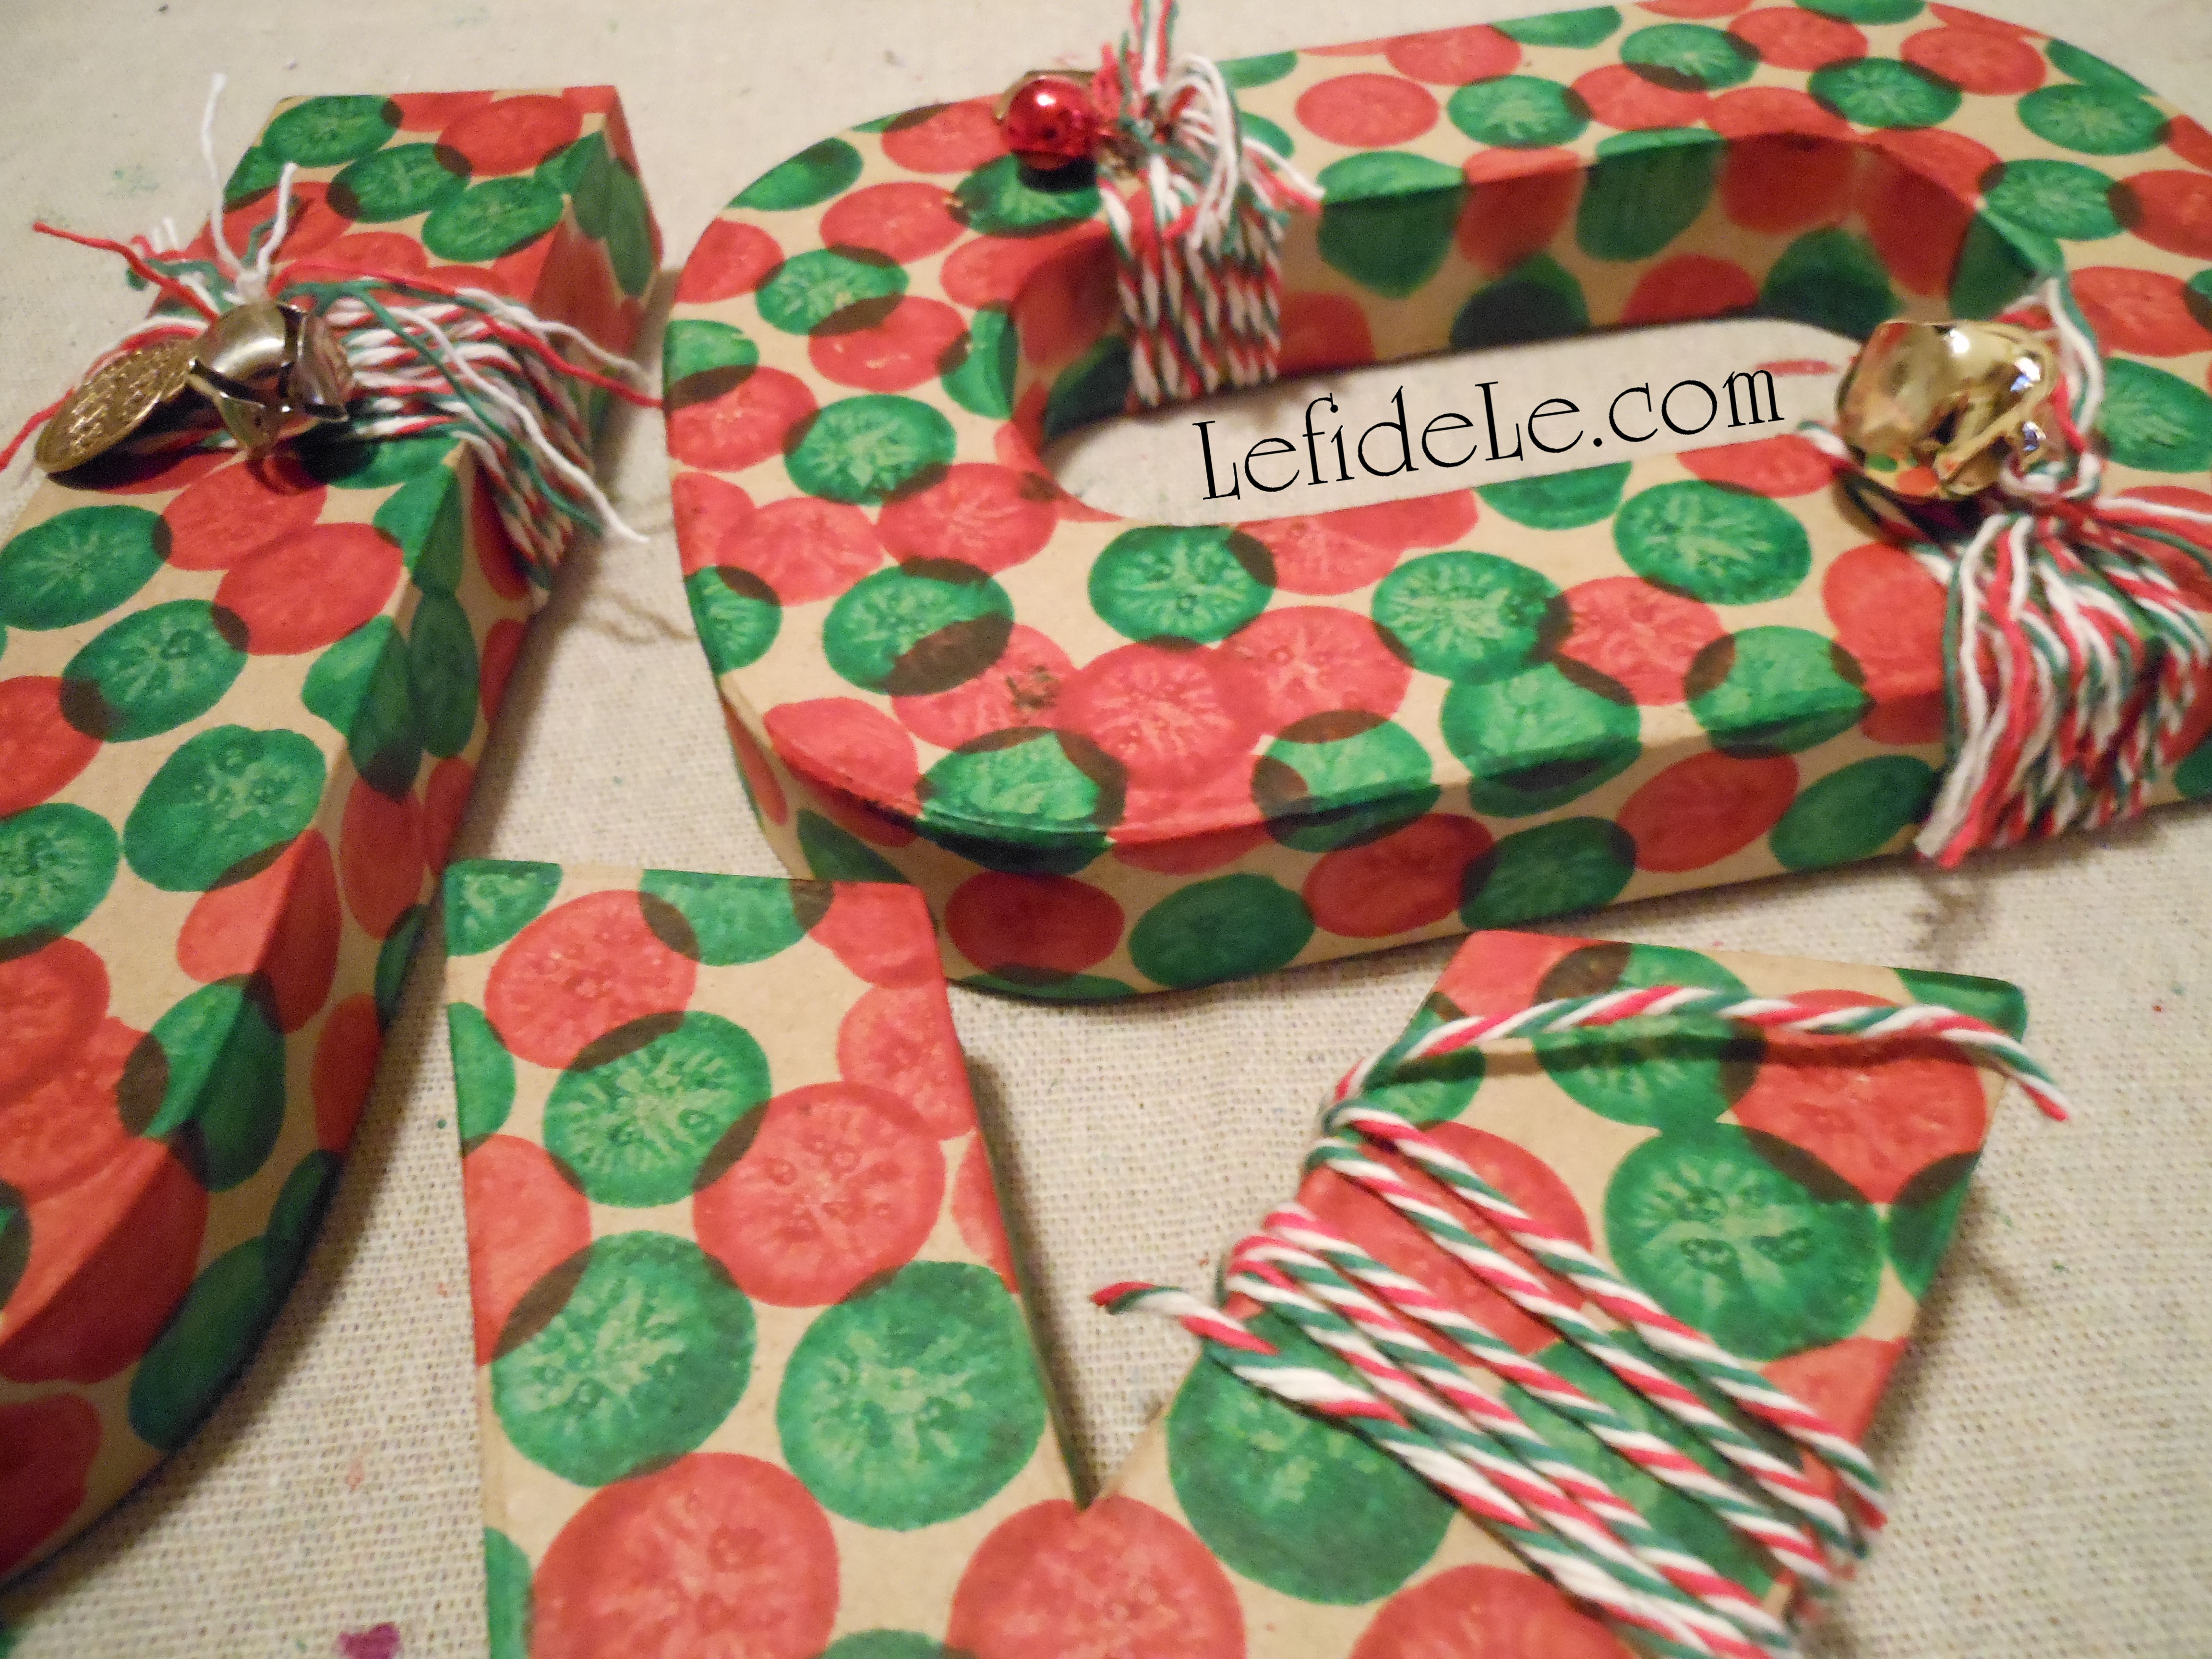
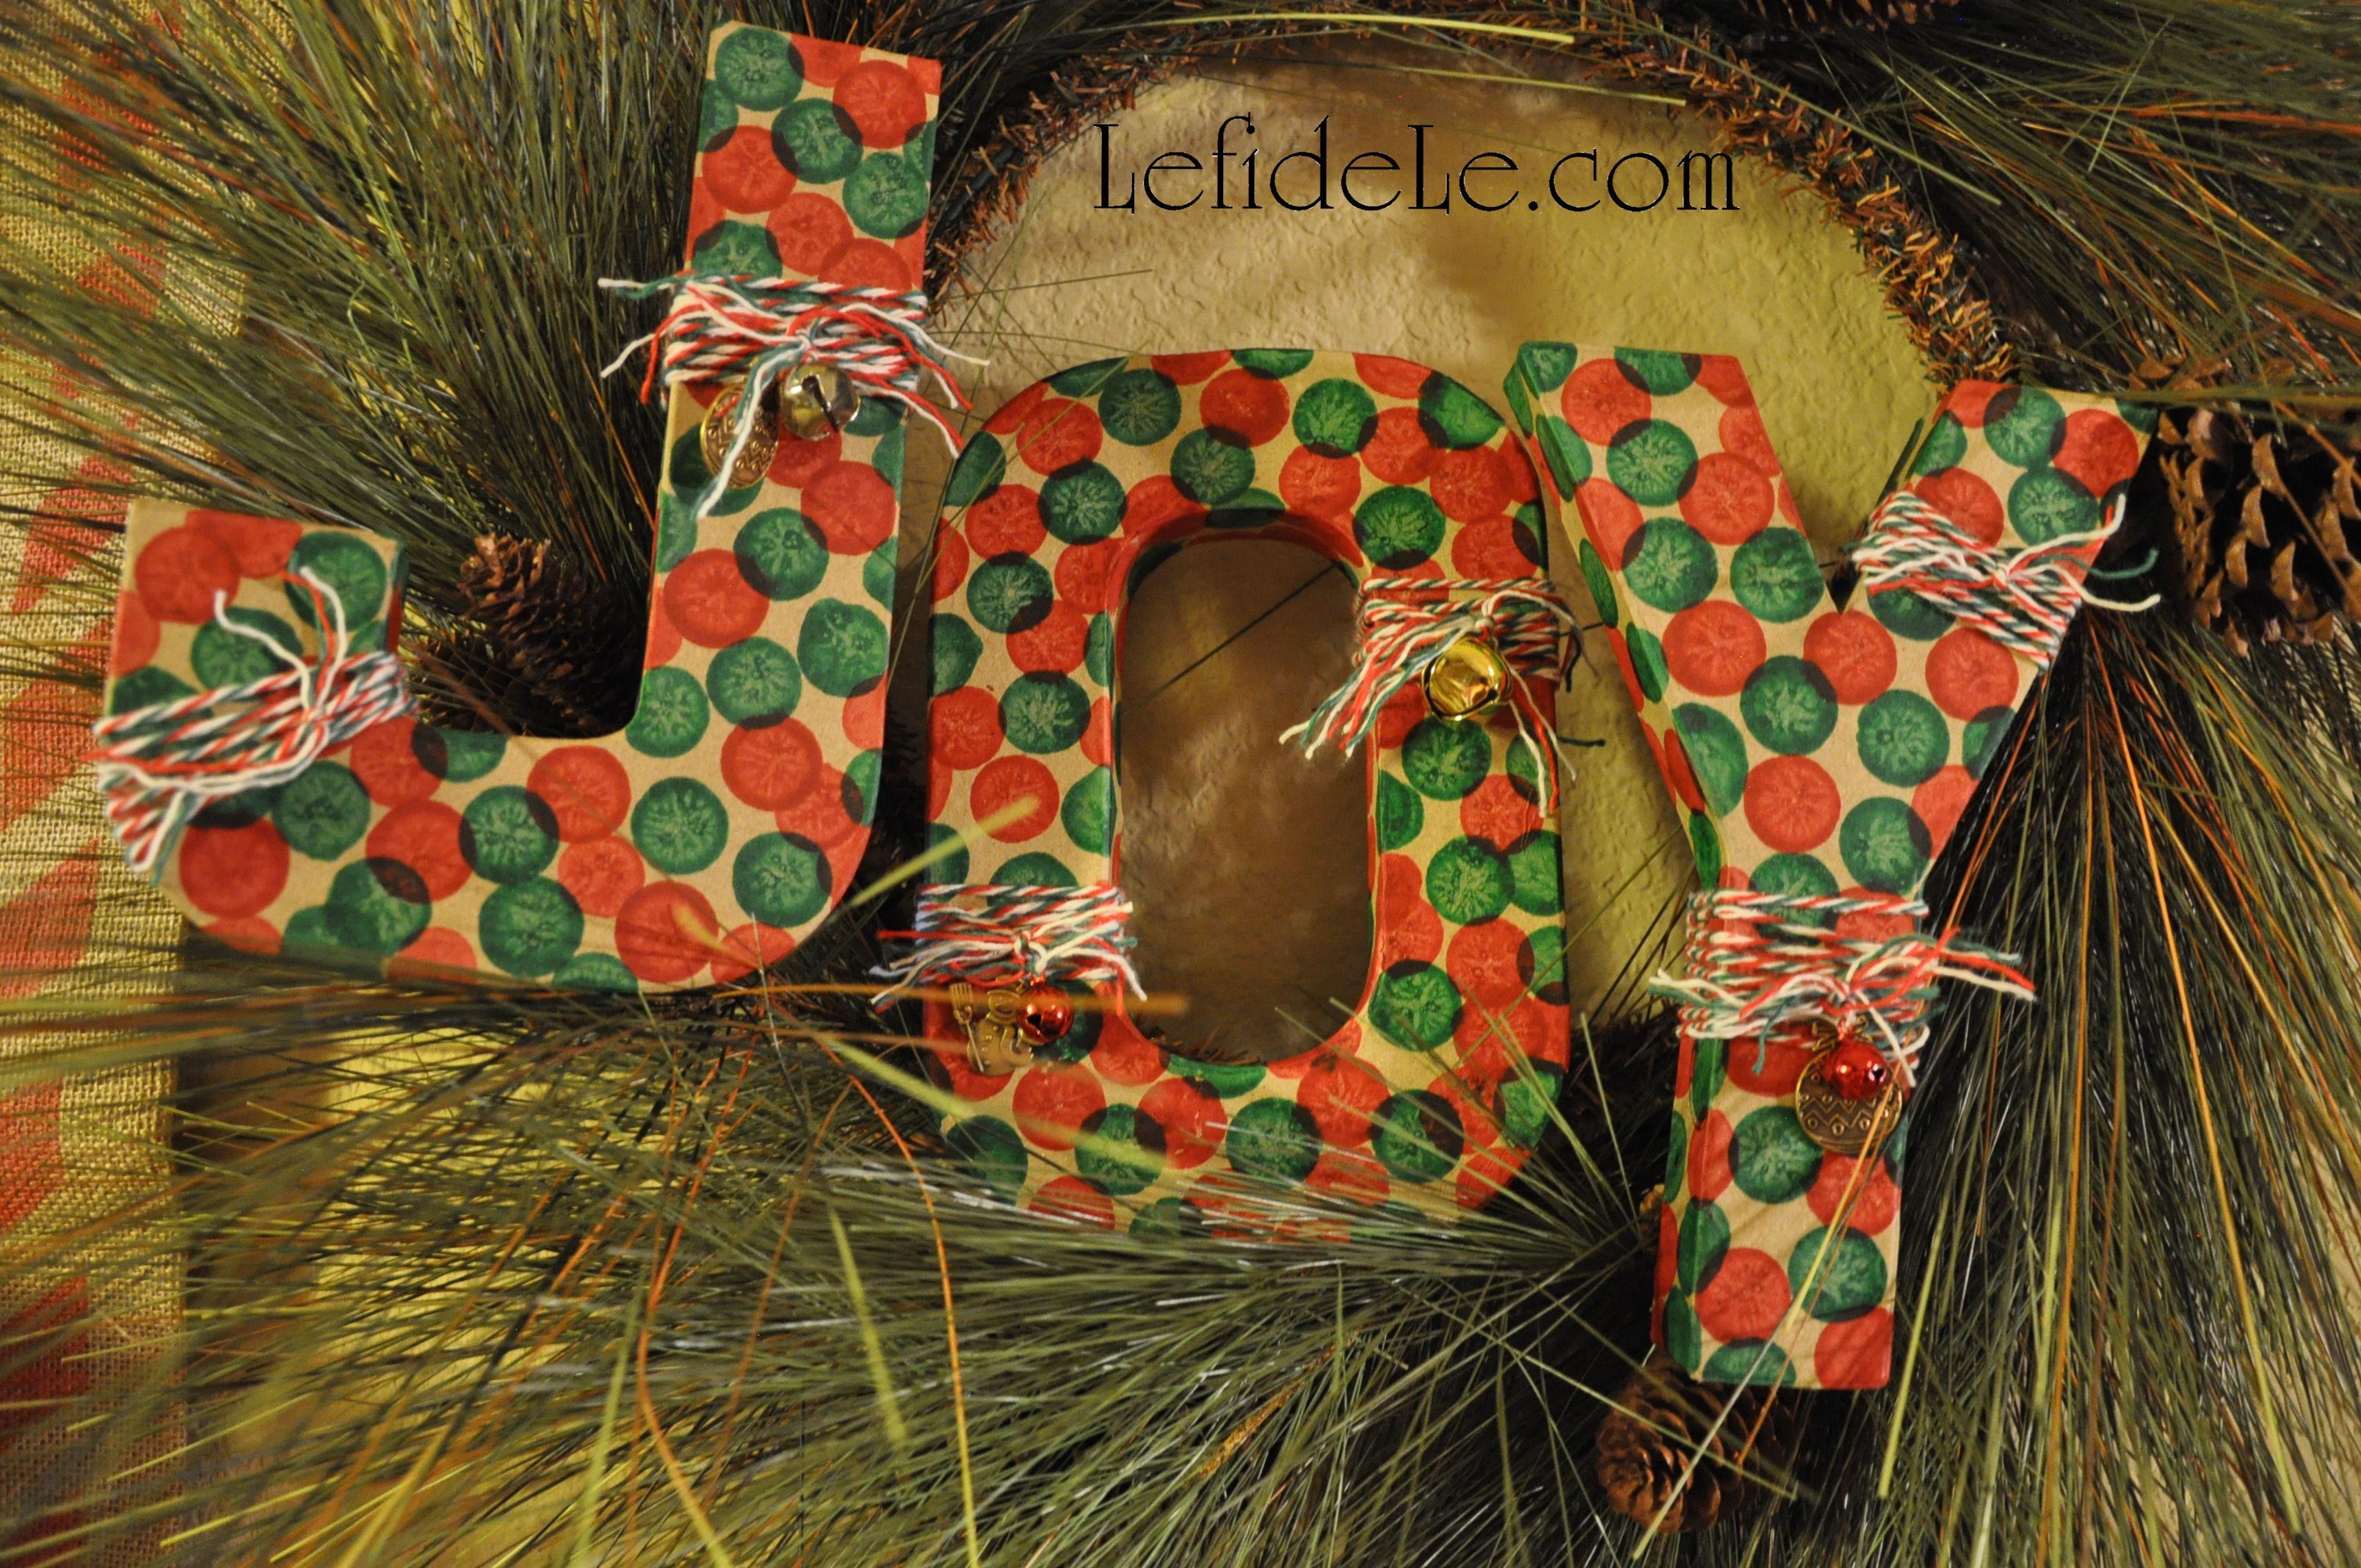
Another stamping idea that’s super-easy and fast is making message holiday décor. I bought the only “J” left in 3 stores, so JOY must be popular for the holidays. Really, any letters using different colors can be made year-round. A name would make a terrific personalized gift for a little one’s nursery.
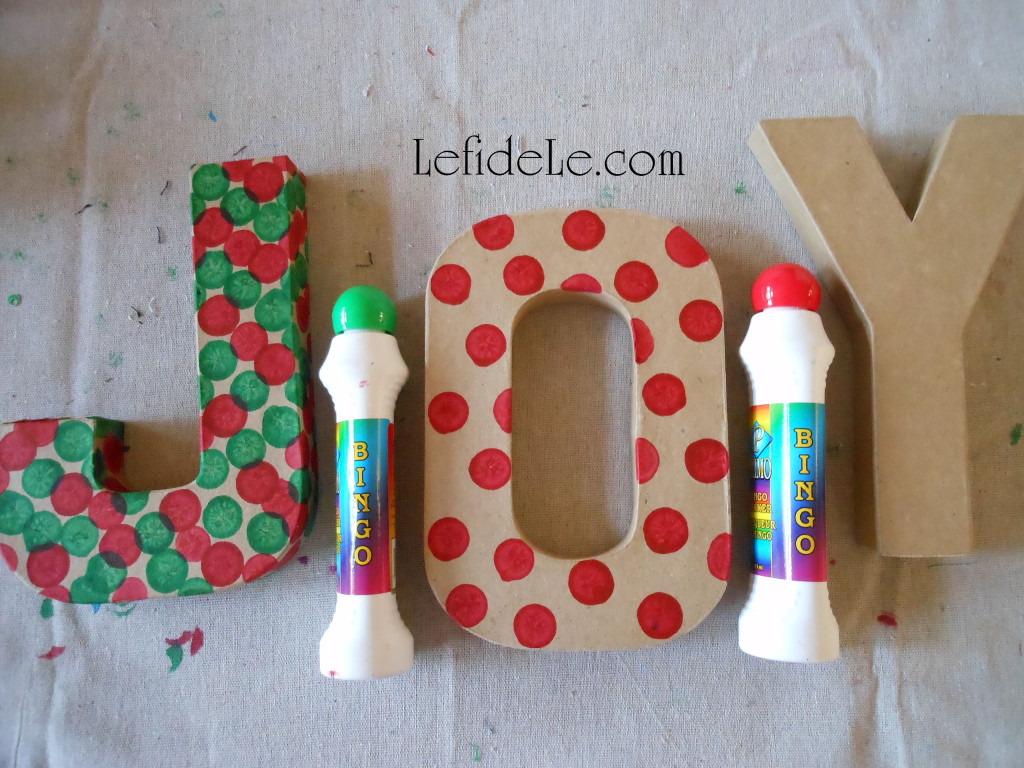
I simply stamped haphazardly with the red and green, because it was more fun that way!
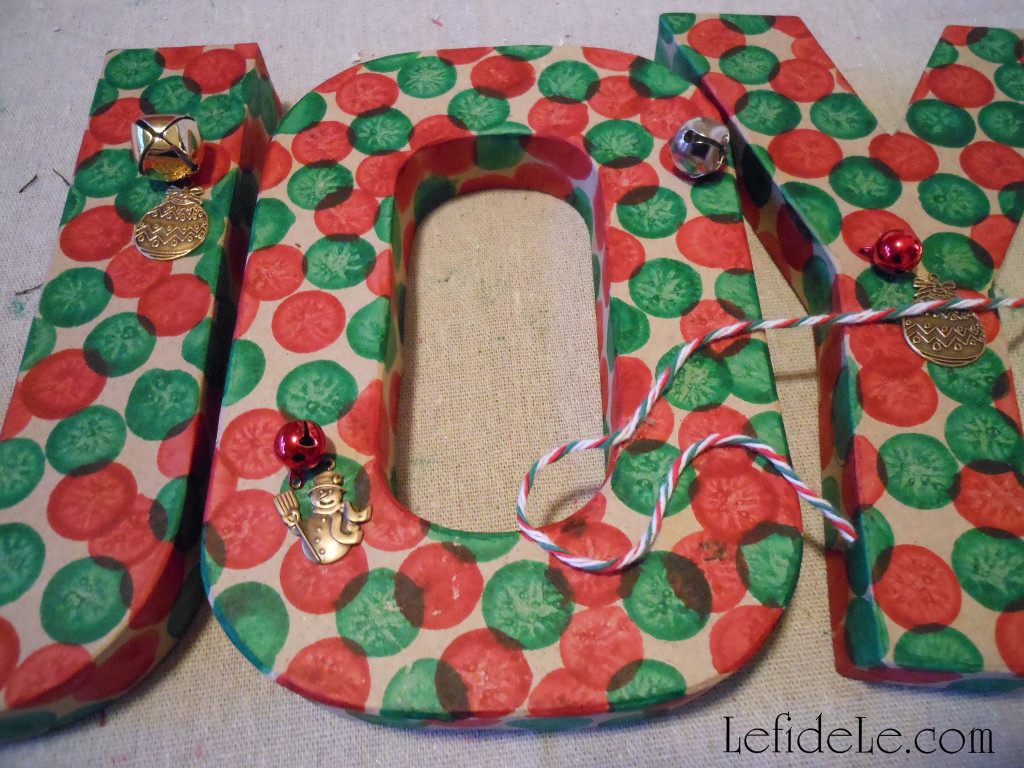
I went ahead and inked the back as well, for versatility. In this way I can set them anywhere, even freestanding in the bar area.

Lastly, I found some holiday charms and bells to tie on with Christmas yarn. It was easy and done in a few minutes.

The best part of all of these projects is that I found people really want to reuse some of the stamped wrap. (I even had one request that I not to write on the tag next time, so that she could send it forward… not the gift, just the bag and tag!) By hand-making your own wrapping, you are not only demonstrating that you really cared enough to go that extra mile, but it’s also beneficial to the environment when others want to continue passing it along. Reusing is even better than recycling! It’s yet another way to give when we are good stewards for His majestic creation.
Faithfully Yours,
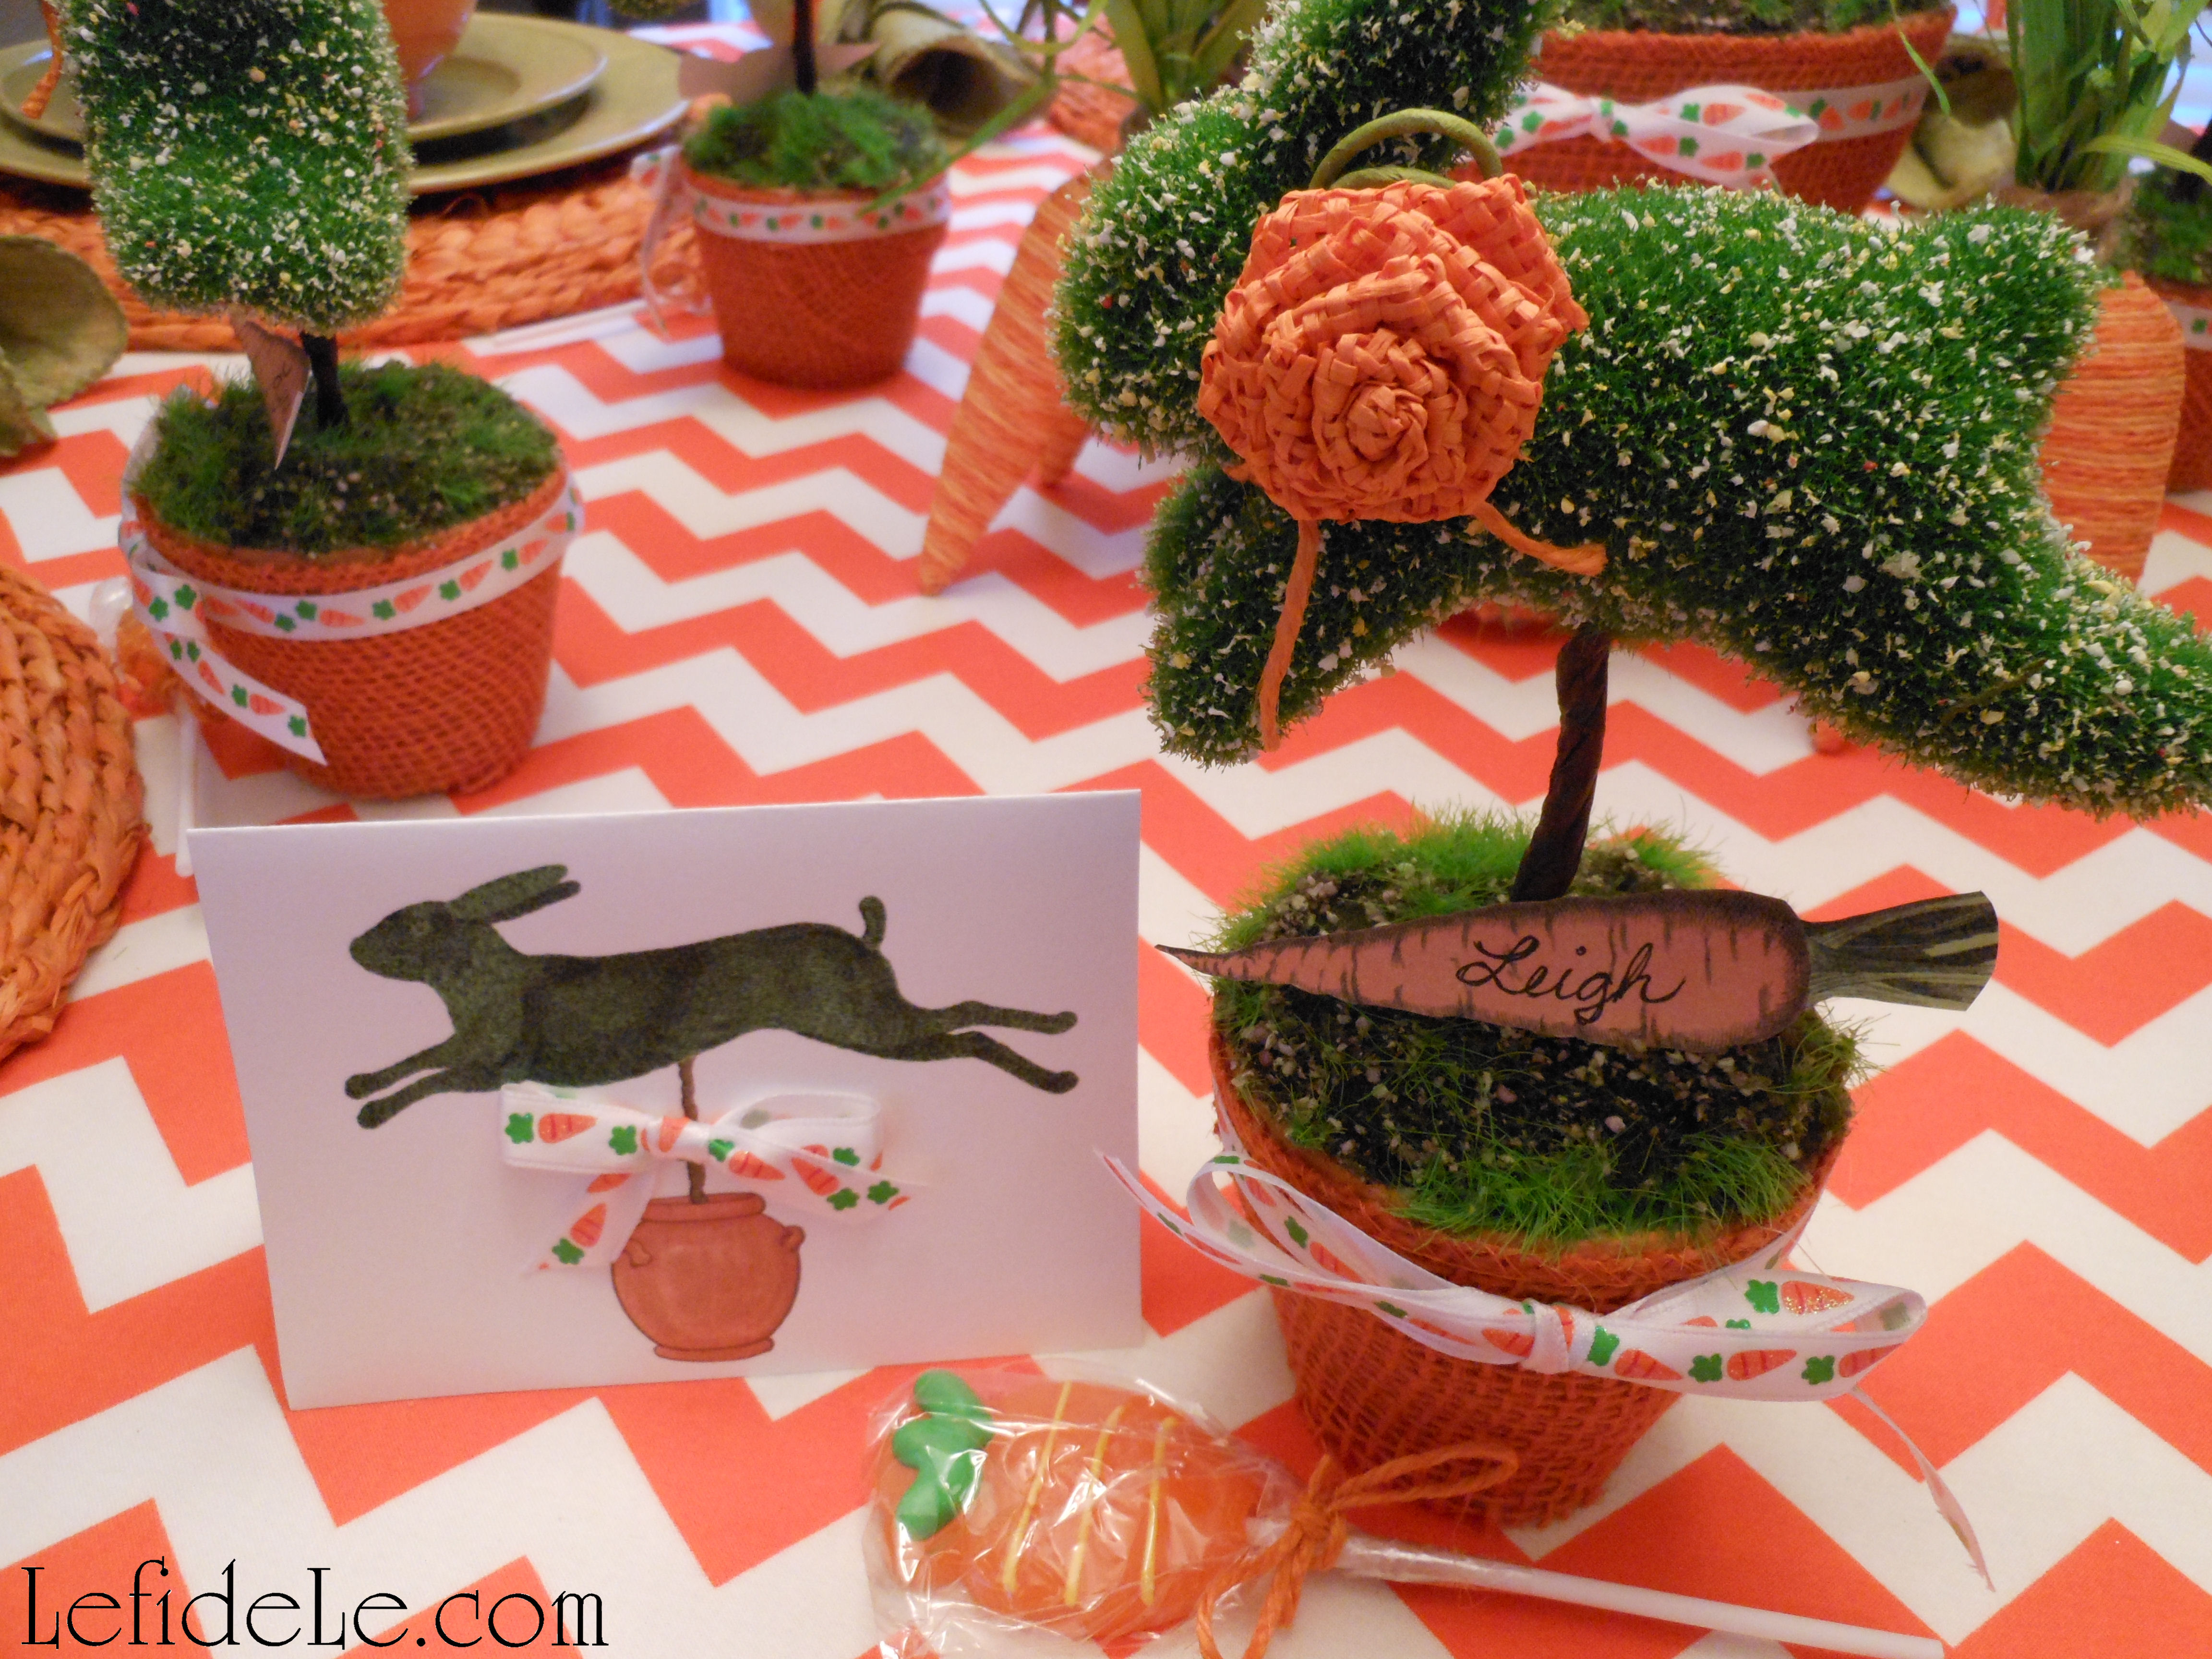
Leigh