Tag Archives: Wreath

Reverential Memorial Day, Veterans Day, or Independence Day Tablescape Décor Ideas Honoring American Forces

075Leigh

These reverential Memorial Day, Veterans Day, or Independence Day tablescape décor ideas are a tangible manner for honoring American forces by setting aside a time to remember the sacrifices made for our collective freedom. This carries on a fine tradition dating to just after the civil war when families would gather with picnics upon hallowed cemetery grounds. Our ancestors and loved ones may be gone but are never forgotten so long as we continue to commemorate the dear price they paid for our united peace.
072Leigh

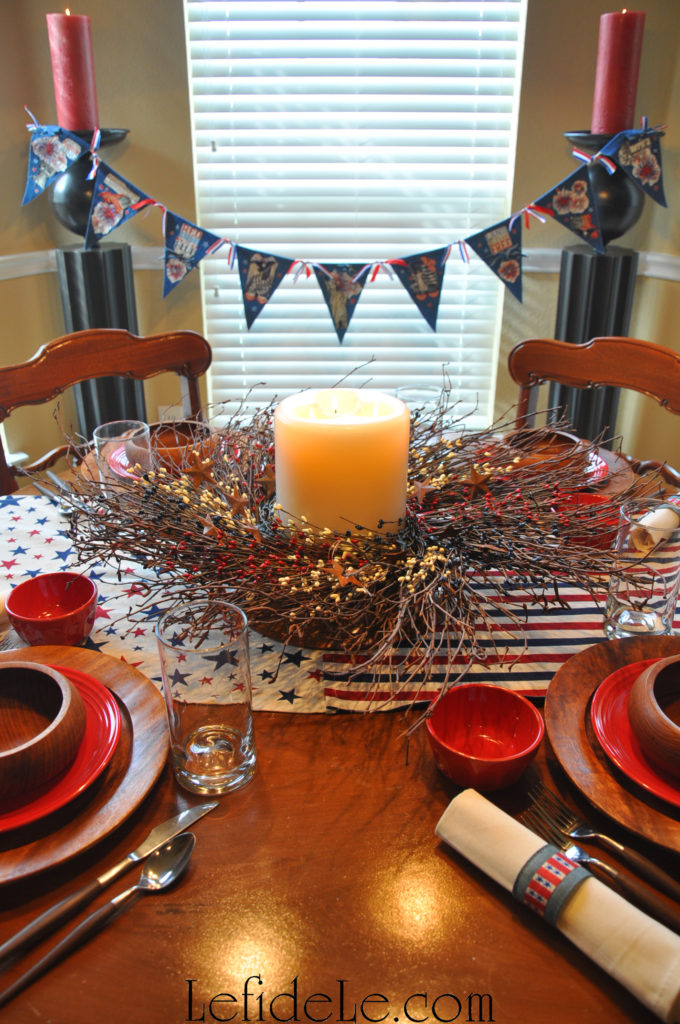
“Sleep, comrades, sleep and rest On this Field of the Grounded Arms, Where foes no more molest, Nor sentry’s shot alarms!“

A bare wooden table denotes the now barren fields of battles past.
089Leigh

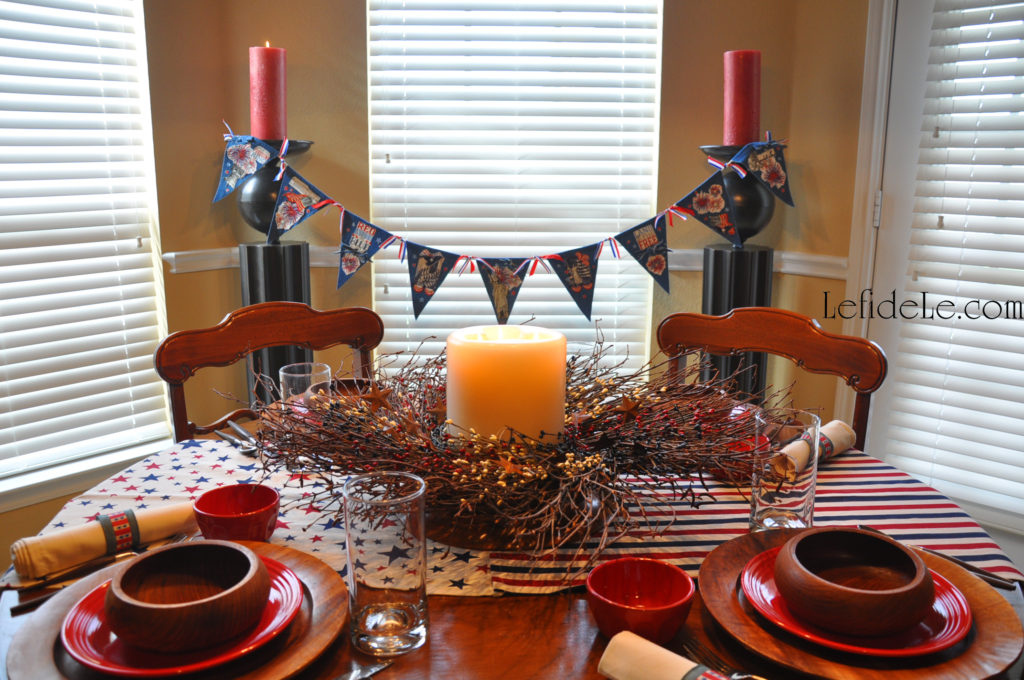
“Ye have slept on the ground before, And started to your feet At the cannon’s sudden roar, Or the drum’s redoubling beat.”

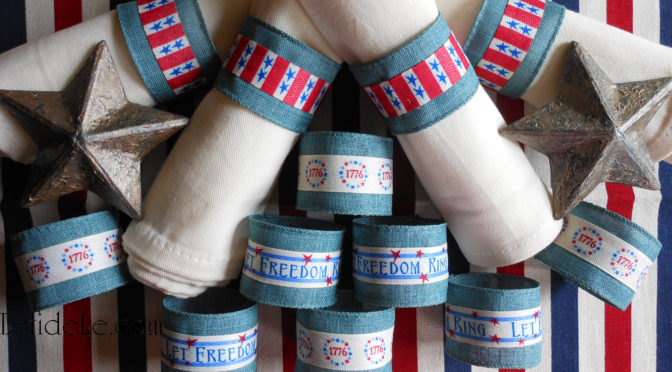
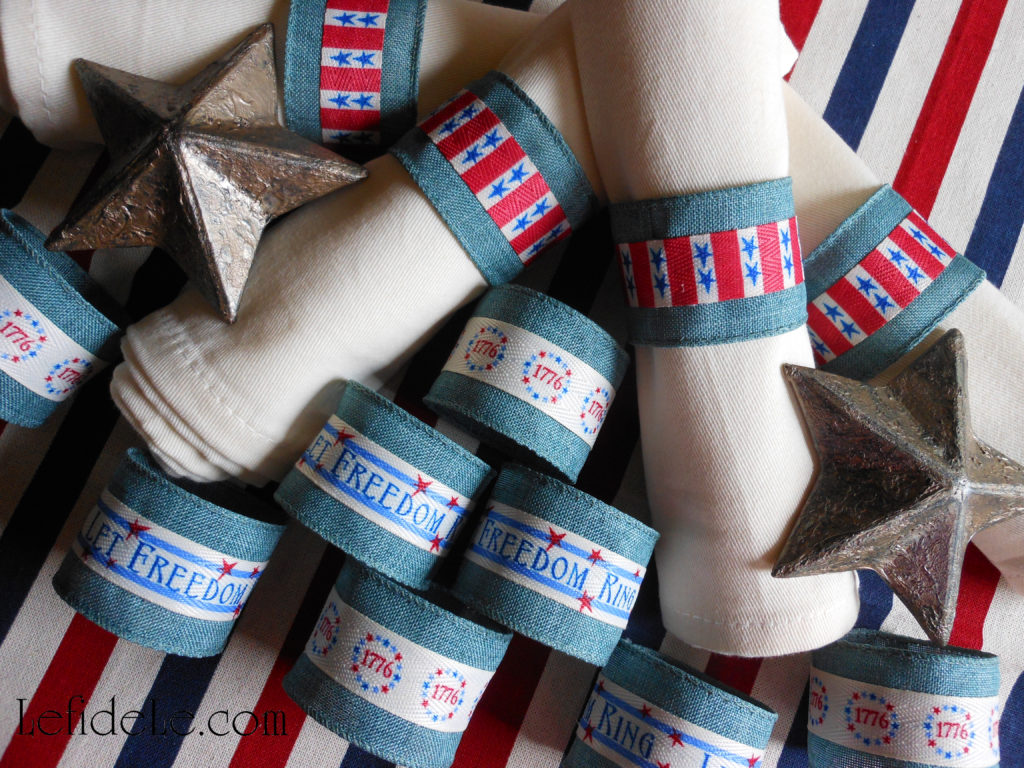
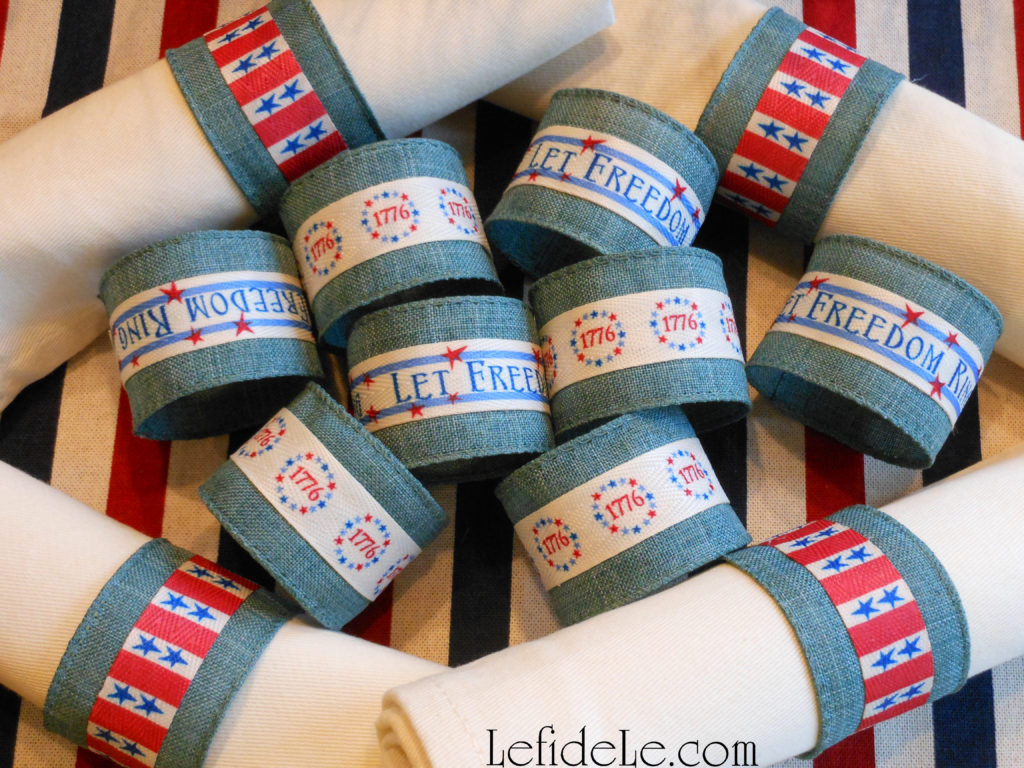
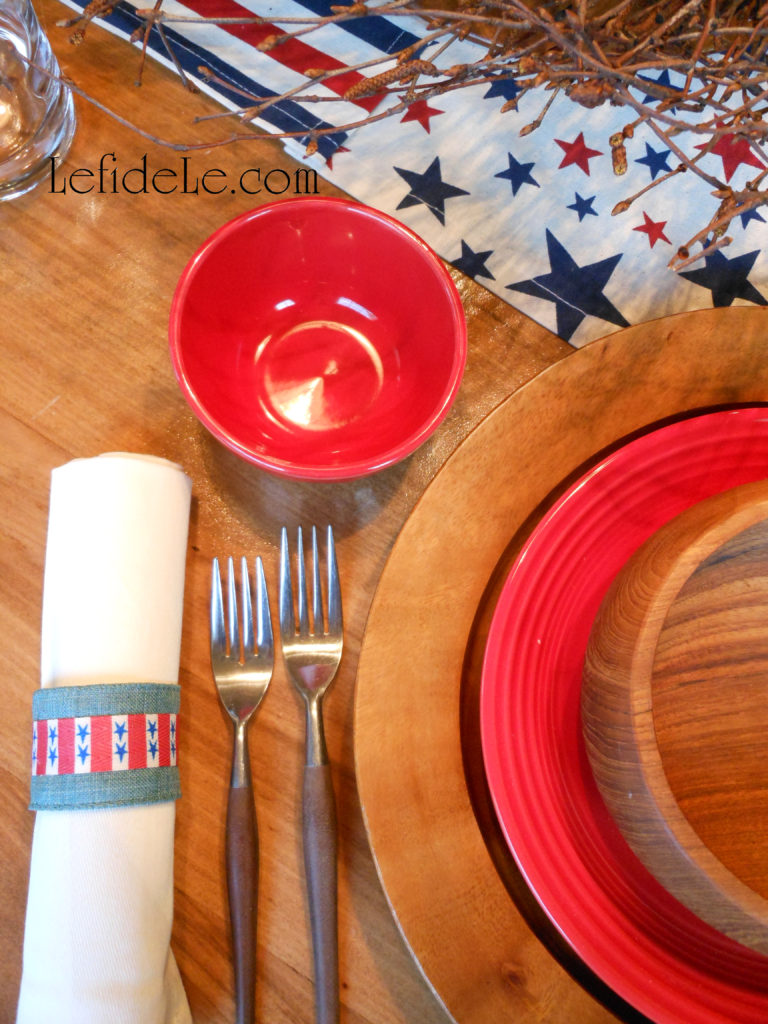
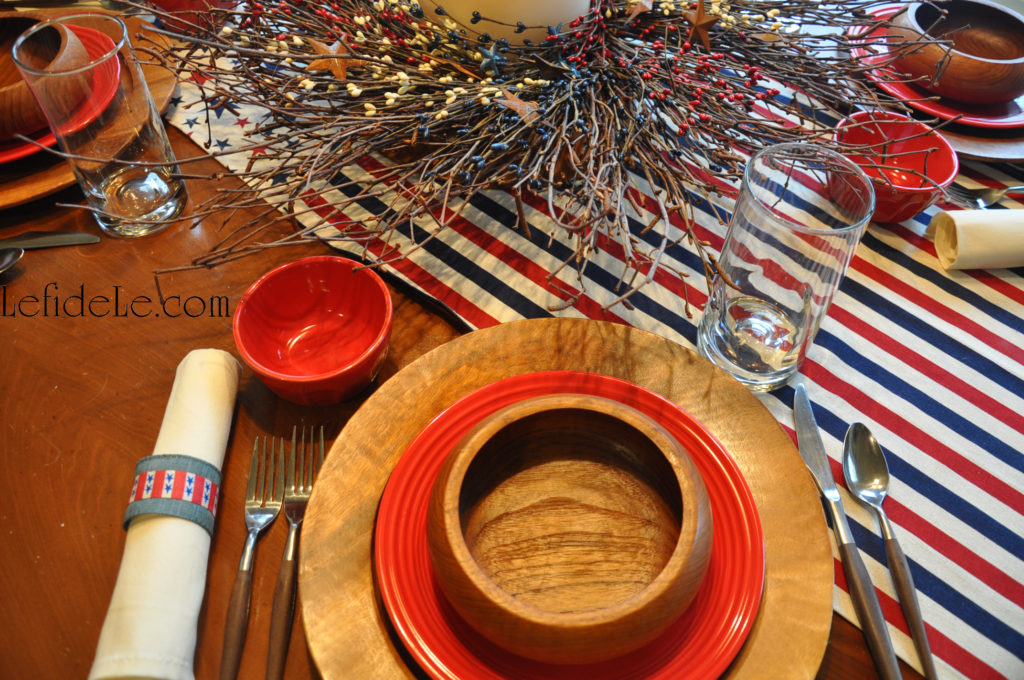
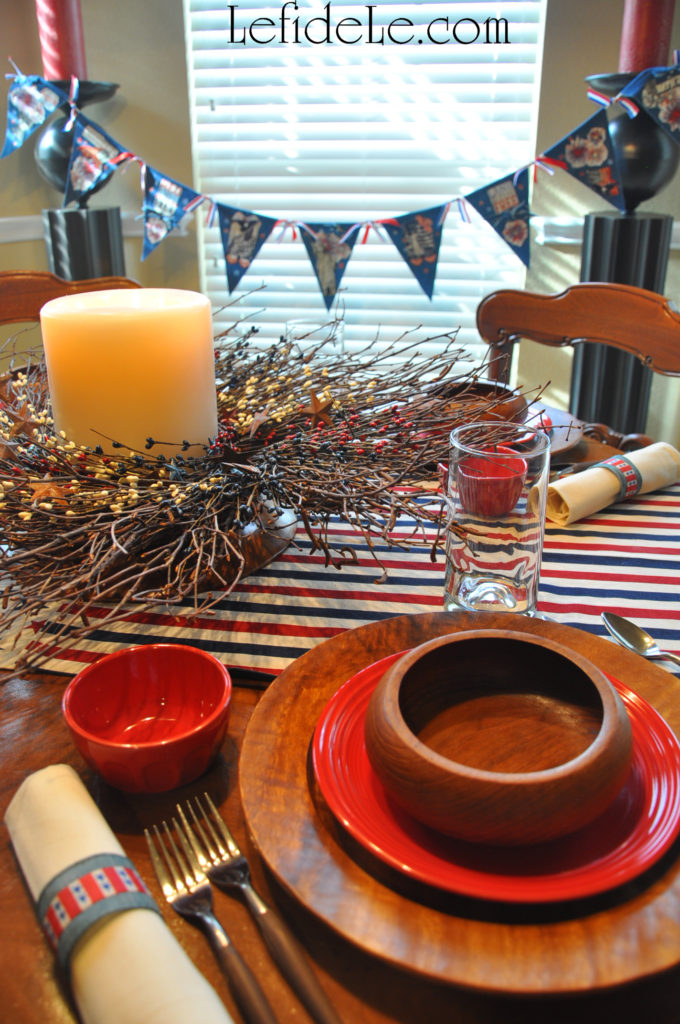
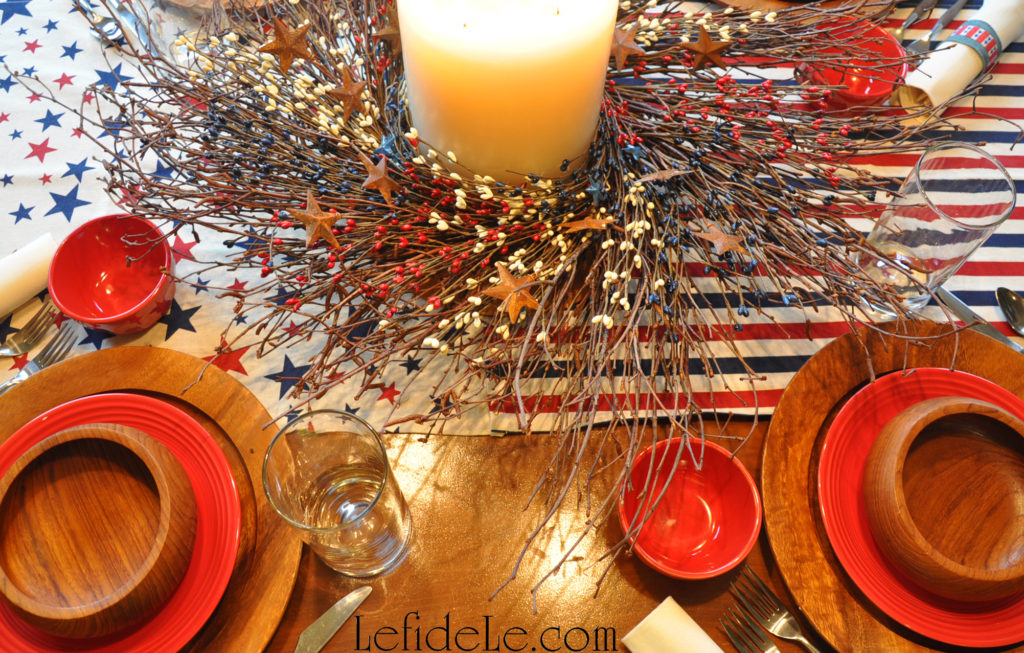
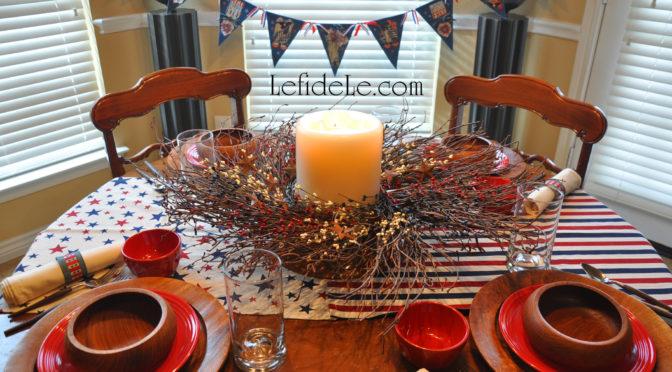
Canvas cloth stars and stripes lay the groundwork for the start of a serene supper. Handcrafted ribbon napkin rings encompass cloth napkins rolled as bandages once were.
106Leigh

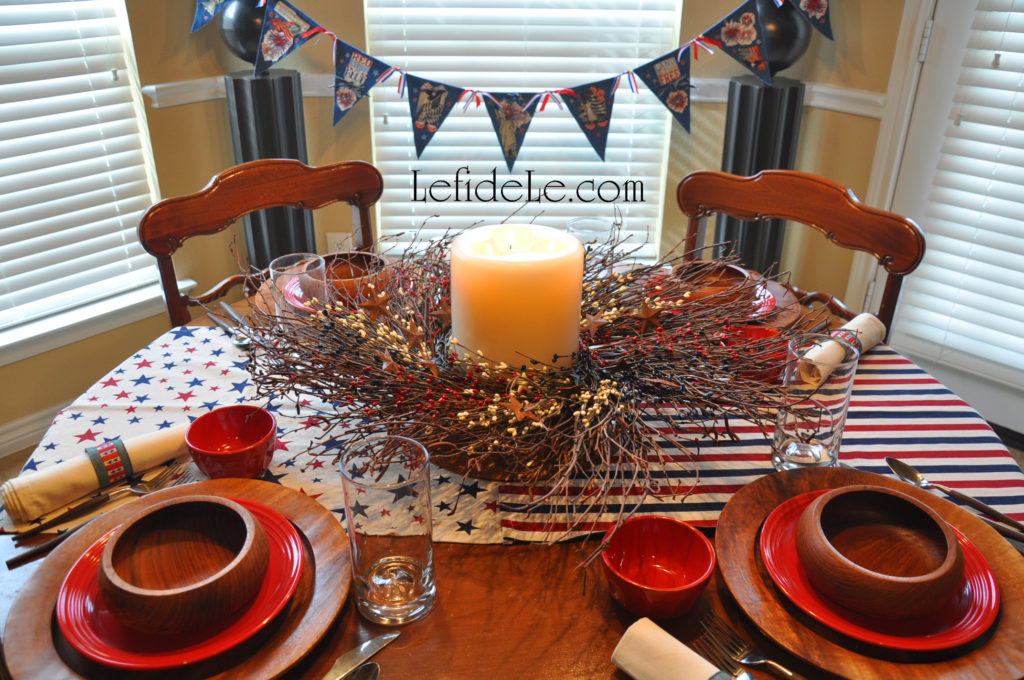
“But in this camp of Death No sound your slumber breaks; Here is no fevered breath, No wound that bleeds and aches.”

A seat at the table of peace procures red merely with ceramic vessels set among wooden ones, as wood handled metal flatware convey the firearms of yore.
133Leigh

“All is repose and peace, Untrampled lies the sod; The shouts of battle cease, It is the Truce of God!”

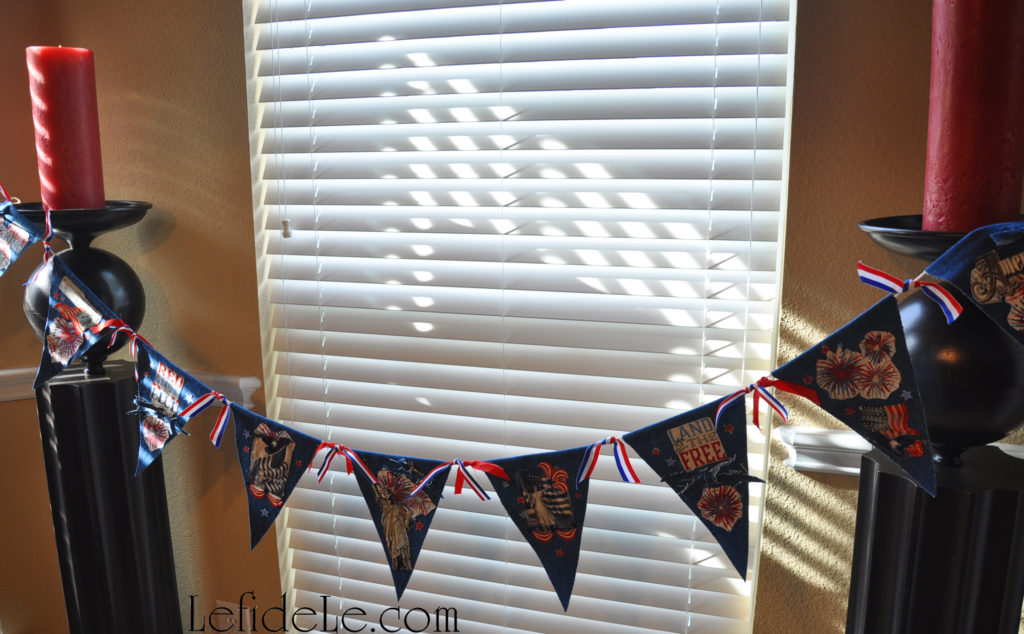
This day’s flag of peace is a handmade banner of fabric collage celebrating the triumphal peace of war’s cessation.
111Leigh

“Rest, comrades, rest and sleep! The thoughts of men shall be As sentinels to keep Your rest from danger free.”

Flag bearing bronze columns hold pillar candles aflame while standing as the evening’s sentinels.
103Leigh

“Your silent tents of green We deck with fragrant flowers; Yours has the suffering been, The memory shall be ours.”

A memorial wreath encircling a solemn flame rests at the table’s focal point as our minds focus with somber reverence.

Faithfully Yours,

Leigh

P.S. The poem quoted is “Decoration Day” written in 1882 by Henry Wadsworth Longfellow. (Memorial Day has evolved from post-civil war’s Decoration Day.)

P.P.S. ⇓ Learn how to make your own patriotic banner here:

DIY July 4th Denim No-Sew Applique Collage Star-Spangled Banner Craft Tutorial for Independence Day

⇓ Find the patriotic ring tutorial plus more crafting here:
Faux Metal Stars Paper Mache Craft Tutorial & DIY Napkin Rings for Memorial Day, Veterans Day, or Independence Day

Faux Metal Stars Paper Mache Craft Tutorial & DIY Napkin Rings for Memorial Day, Veterans Day, or Independence Day

539Leigh

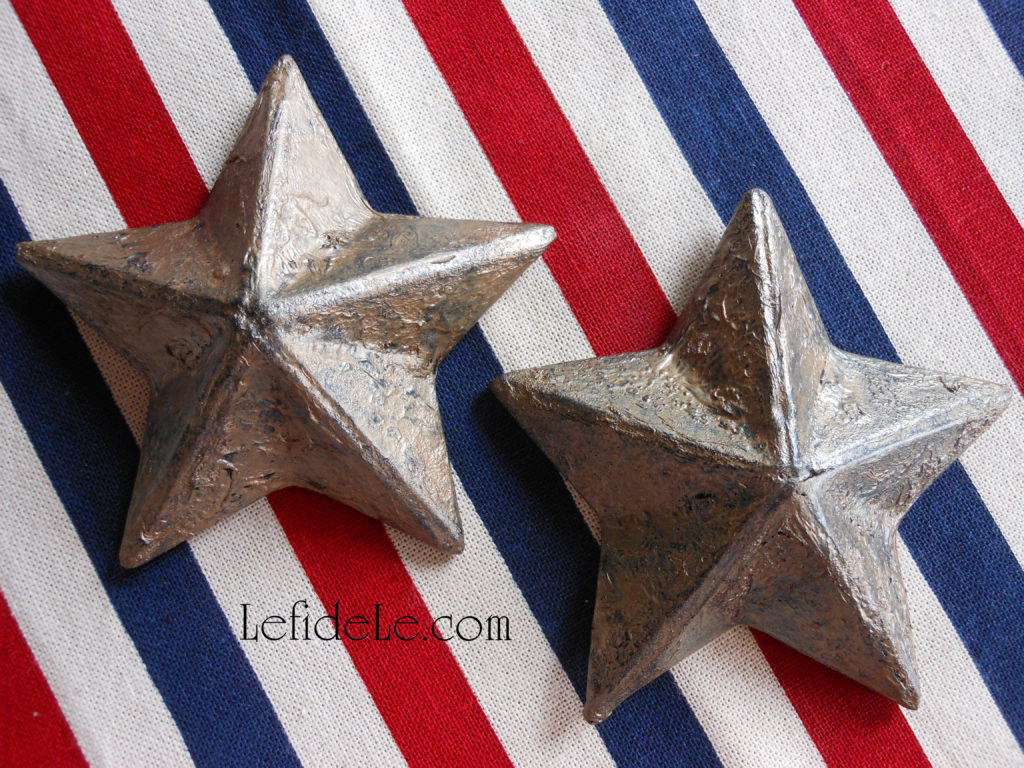
Make your own faux metal stars inexpensively out of paper maché ornaments with this craft tutorial, and then easily DIY custom patriotic napkin rings for Memorial Day, Veterans Day, or Independence Day. Use these to perfectly coordinate with your existing holiday décor for a high end look on a shoestring budget. These hefty appearing textured “metal” stars are actually lightweight enough to be used in so many more applications. And they really do fool everyone… until they’re touched!

545Leigh

It’s astonishingly easy to turn inexpensive paper maché ornament stars (found in craft stores nearly year round) into expensive looking one-of-a-kind textured metallic pieces to embellish any project you can think of.

510Leigh

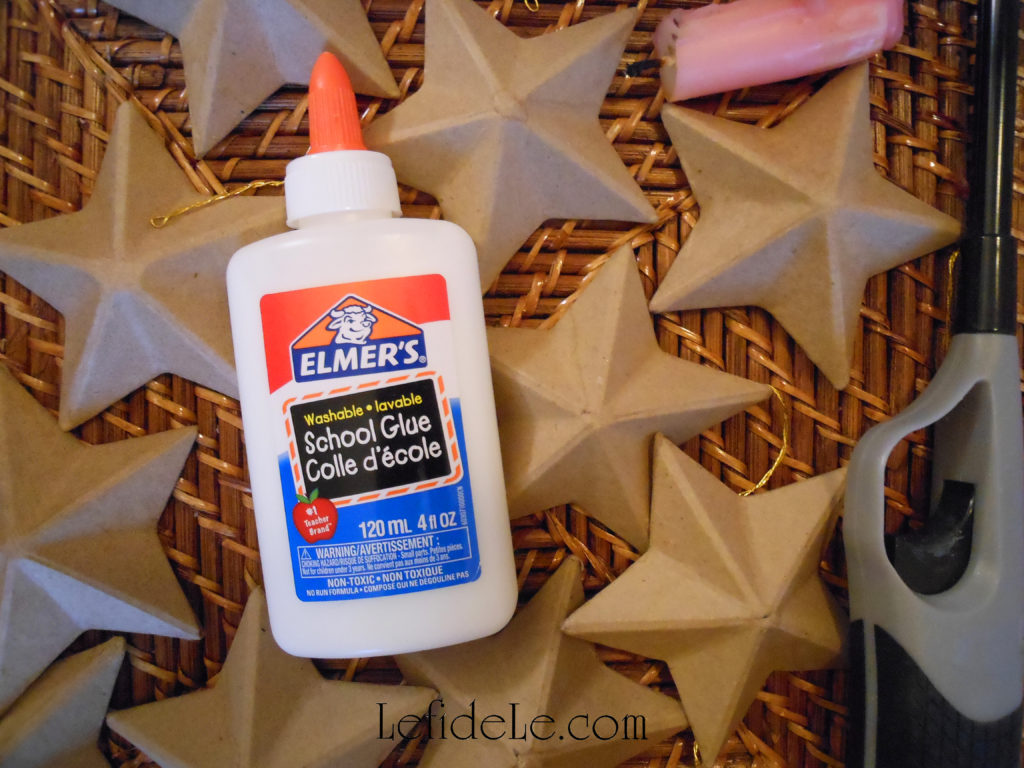
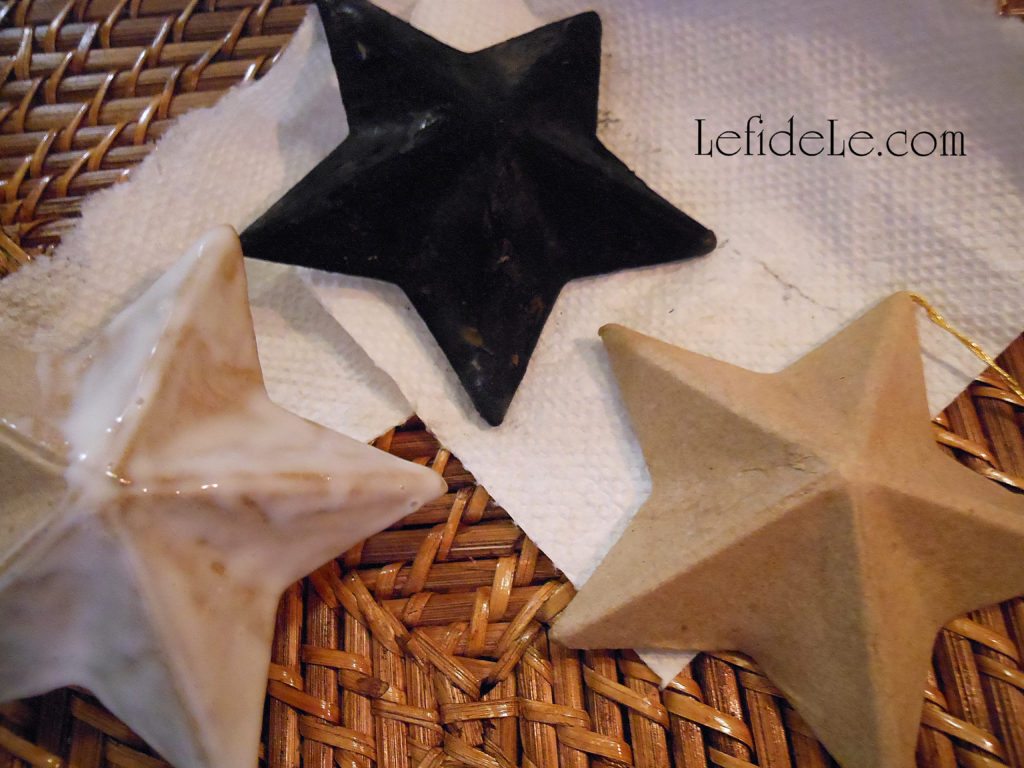
Grab a bag of star ornaments, some cheap white school glue, a lighter or match, and a candle. (I like to use up the last chunks of tall or broken candles to use on these kinds of projects, because candles flames do work better than lighter flames… just don’t ask me why. I stuck this pink leftover into an empty glass soda bottle to hold it in place… as is necessary to prevent wax drip burns.)

513Leigh

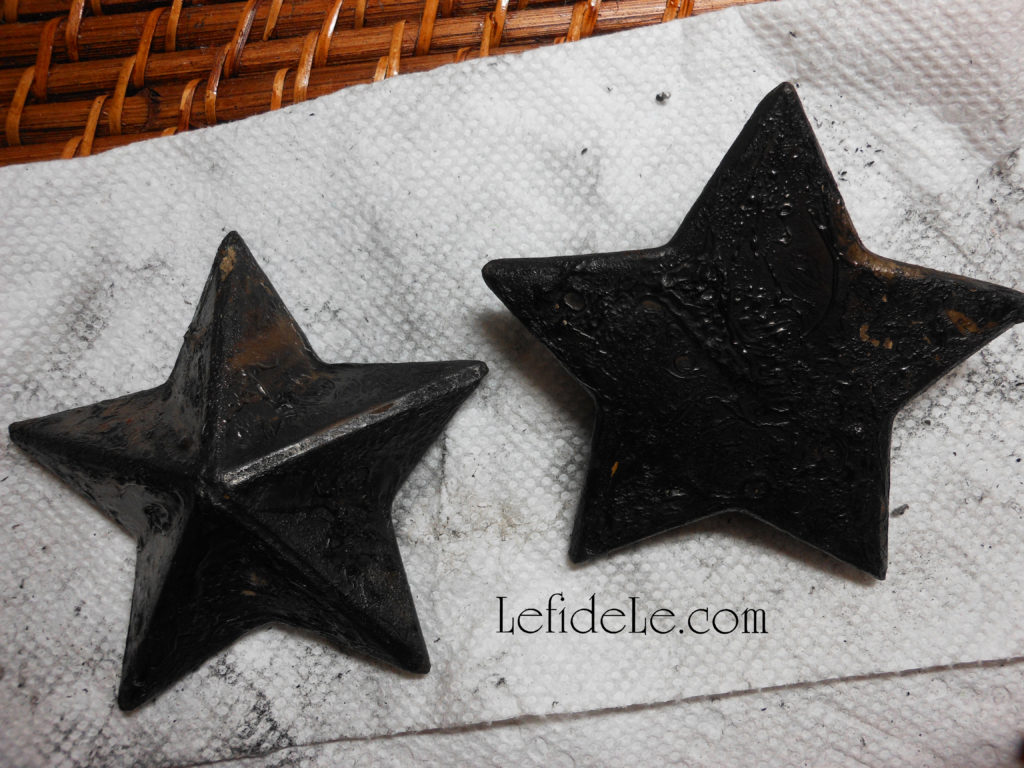
Cover a portion of a star completely in white glue. Hold it into the flame until the glue becomes hard with a dusty charcoal layer over it. (Don’t hold it over the bare paper because it will burn! If a flame does spark, just blow it out like a candle. Cover that area with more glue, and then burn on.)

521Leigh

Rub off the dirty charcoal layer with a clean rag or paper towel. (You’ll start seeing a smooth sheen appear.)

523Leigh

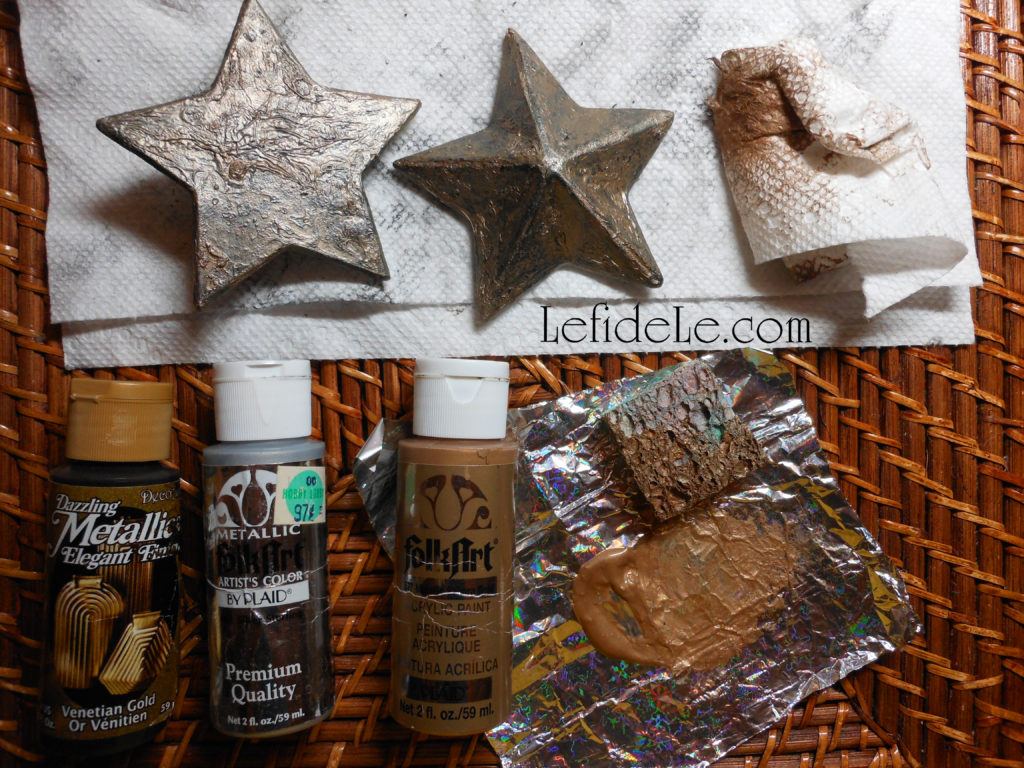
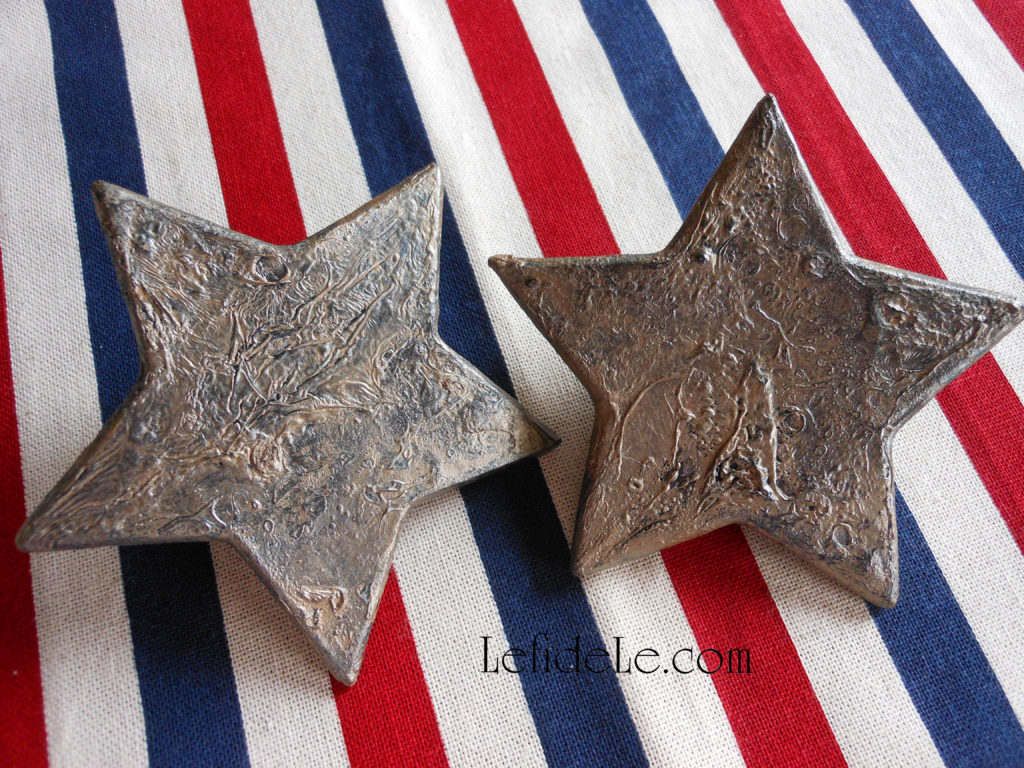
You can leave them as is or rub a light wash of metallic paint over them (cheap acrylic craft paint works well). It’s an easy way to add verdigris or to switch between silver and gold. I use a sponge square to dab on paint, and then quickly wipe some of it away (it does dry really fast).

549Leigh

You can really see the detail of the texture on the star’s undersides. (There’s no need to finish the base if you plan on gluing them onto something else.)

501Leigh

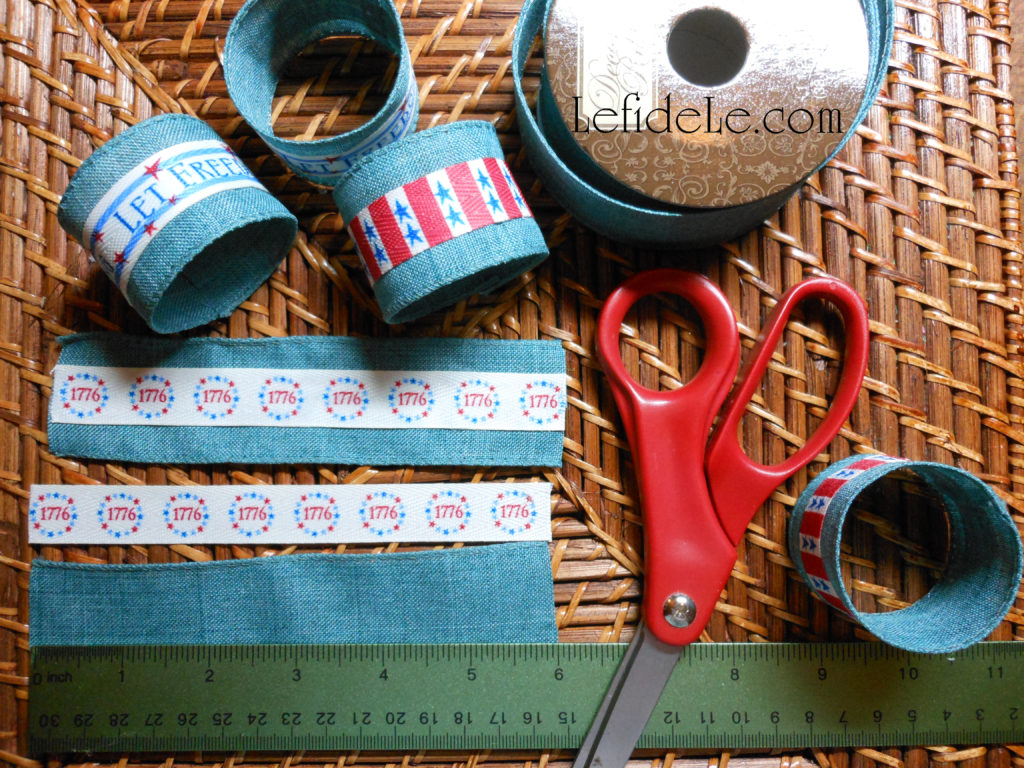
Now let’s make mix-and-match patriotic napkin rings using 1 roll of clearance chambray wired ribbon and some lengths of various American themed twill ribbon.

405Leigh

First, cut 6 inch lengths of ribbon (1 chambray and 1 twill for each ring). Then hot glue the twill across the center of the larger chambray. Next, glue one short end over the other, overlapping them slightly.

484Leigh

Check out the patriotic rings in action here: Reverential Memorial Day, Veterans Day, or Independence Day Tablescape Décor Ideas Honoring American Forces

111Leigh

Learn how to make a matching patriotic banner here: DIY July 4th Denim No-Sew Applique Collage Star-Spangled Banner Craft Tutorial for Independence Day

Happy 4th of July fire-working!

Faithfully Yours,

Leigh

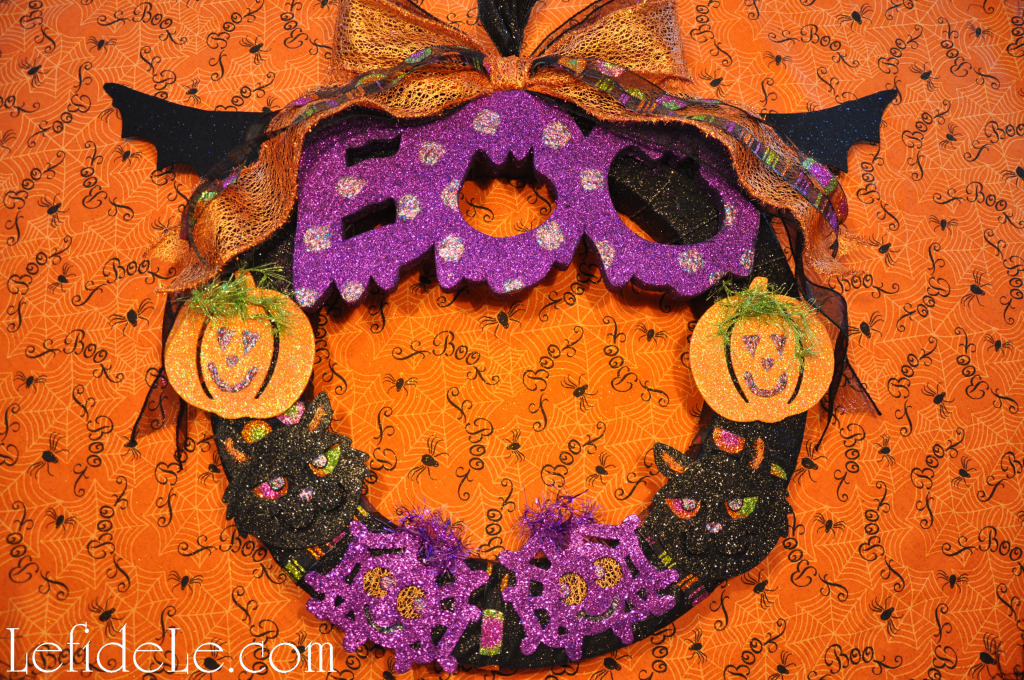
DIY Glitter “BOO” Wreath Halloween Decoration Craft

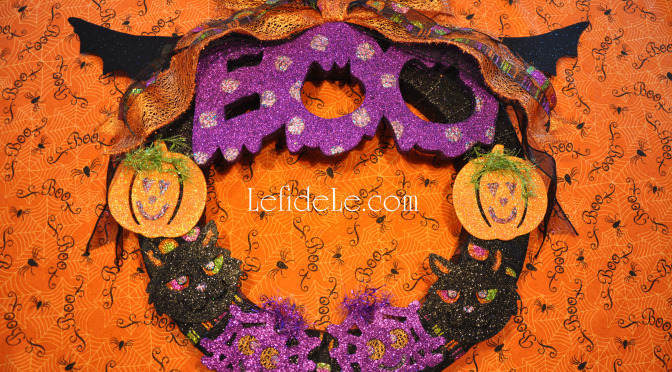
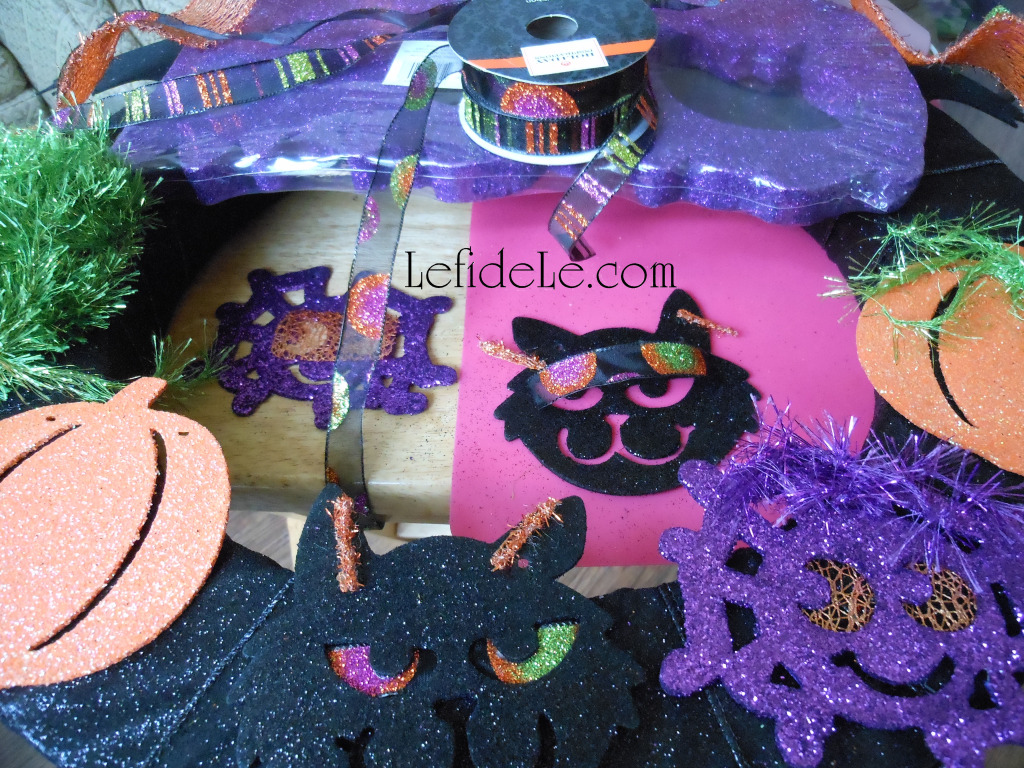
This year’s glitter explosion of kid-friendly Halloween party decorations needed an accompanying wreath, because every holiday deserves its own wreath… right?! I chose to make this one out of the same materials I had already been using. It contains a “BOO” sign, which you’ll see more of in my “Glitter-ween” Party article appearing soon. (You can find this type of thing at most craft stores.) I also used a pair of felt bat wings that were cut using my template from a previous craft, and some of the glitter shapes I set aside from my garland remade craft. (You can use any glitter shape made out of foam or wood.) Lastly, I used some of the same Halloween ribbon I had decorating various other elements in my home. This is why you should always buy extra rolls of matching ribbon. You never know when the crafting-bug will strike!

119Leigh

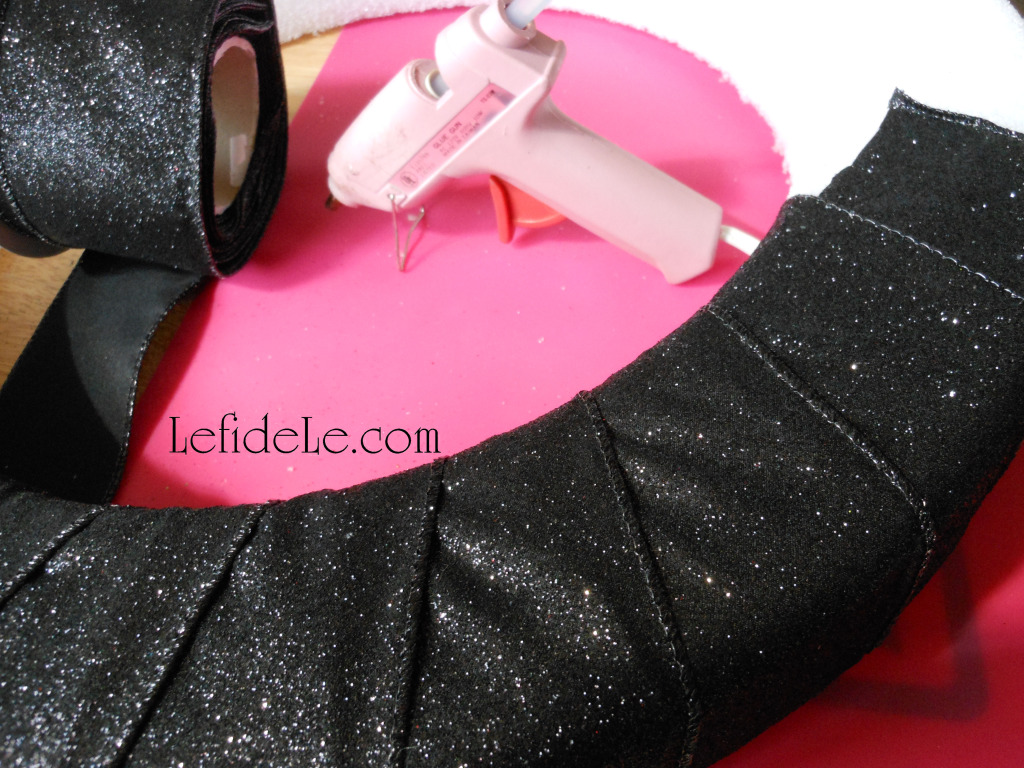
The best way to make a ribbon wreath is to use a hay or Styrofoam wreath form as a base. Just start by gluing the ribbon end at a 45 angle to the base. Then just pull tautly as you wrap the ribbon at the same angle around the form. I hot glue dots to the underside as I go, but that’s just because I’m a stickler for solid construction. It’s really not necessary until you reach the end of the underside. Then all you need to do is cut the ribbon and fold it over, for a clean finish, then glue it down. Though there’s no need to fold it over if you’re including a ribbon hanger.

0120Leigh

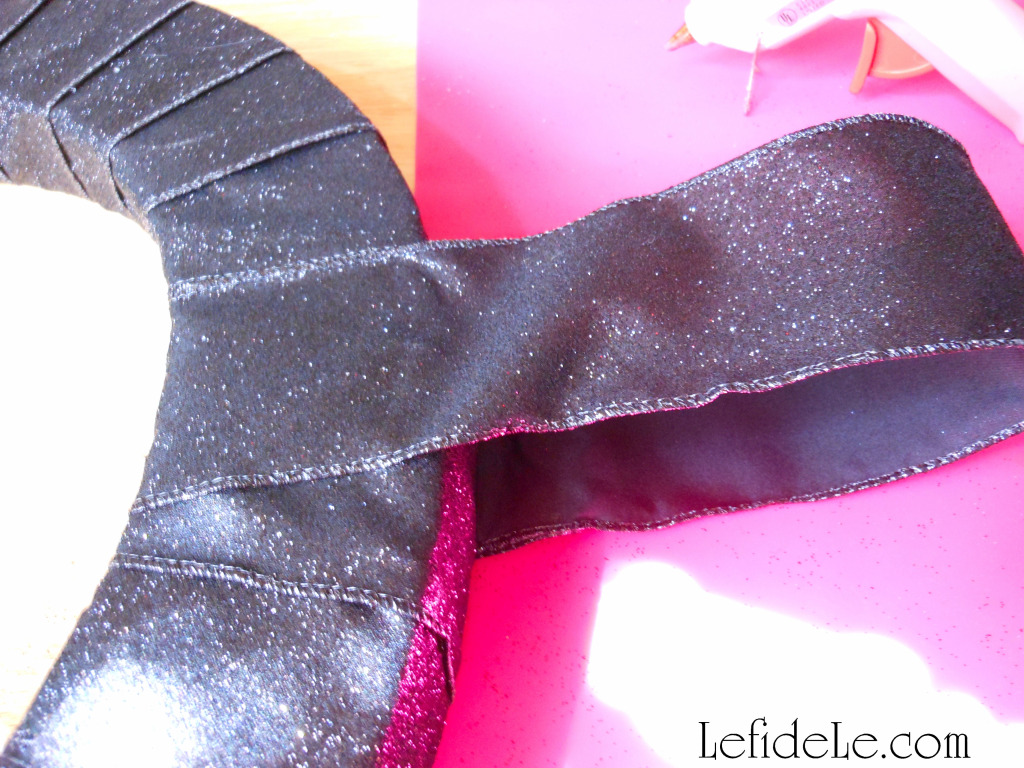
To add a convenient built in hanger, simply cut a length of ribbon in relation to the size of your wreath. (Use the photo as a visual guide.) Glue it well to the underside, forming a loop.

0121Leigh

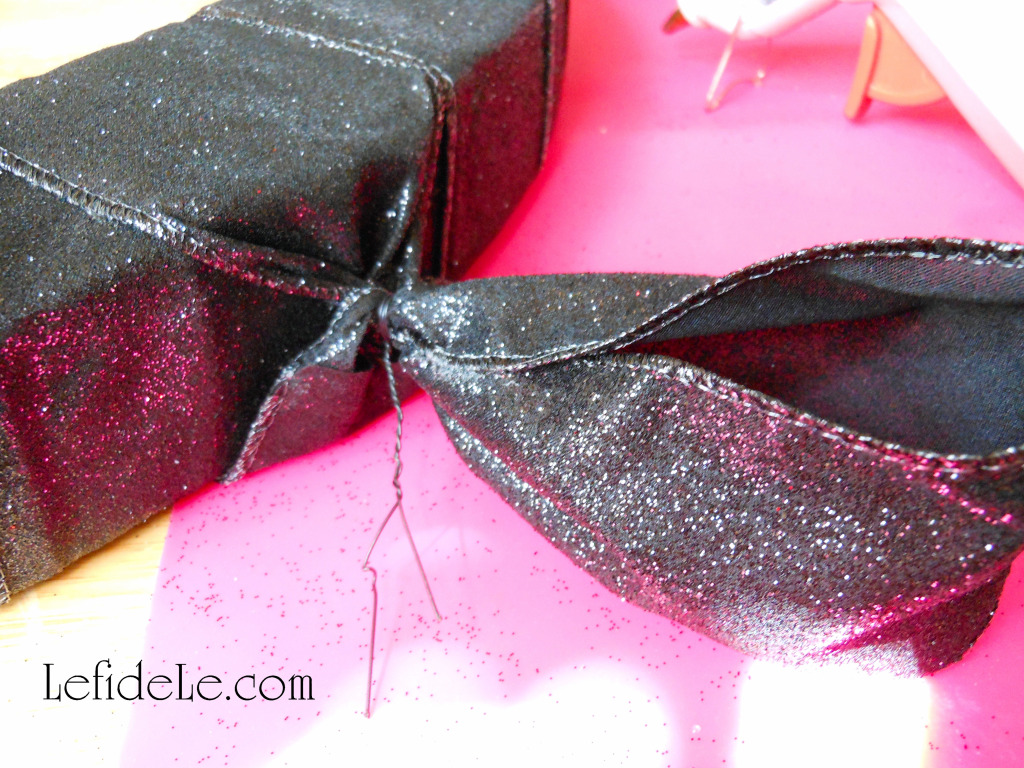
Cut a piece of floral wire, and then twist the loose section of ribbon. Give it a couple of turns, and tie it off with the wire (like you would a twist tie on a bag of chips). Don’t worry about how it looks as this will be covered by a bow later.

123Leigh

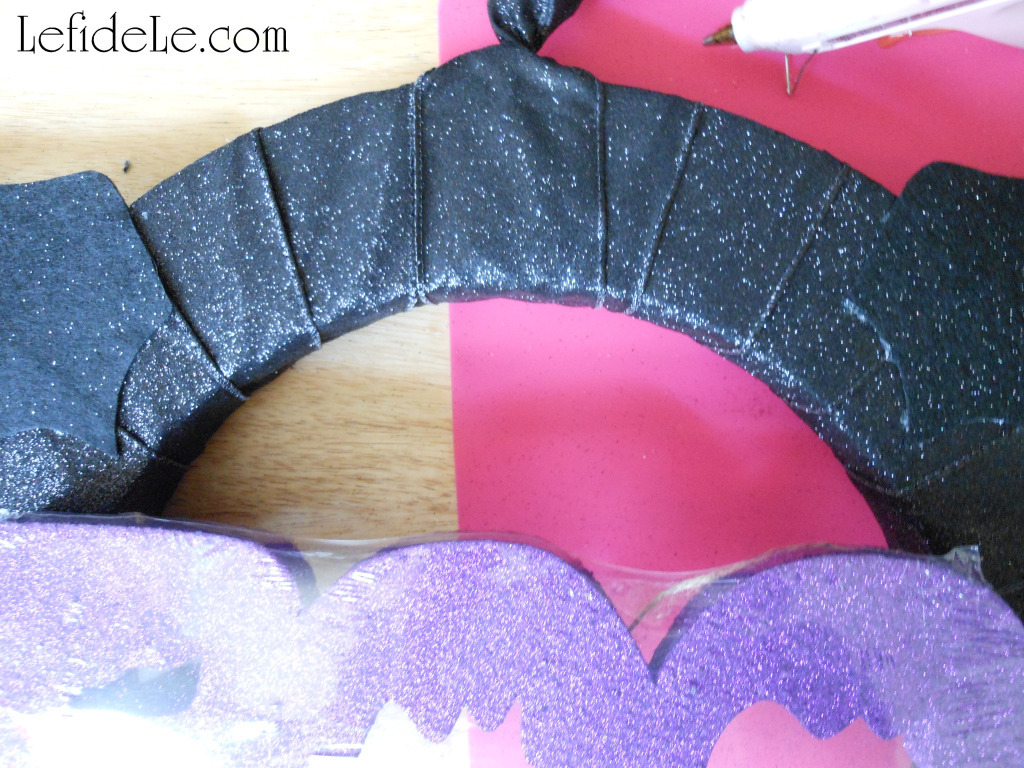
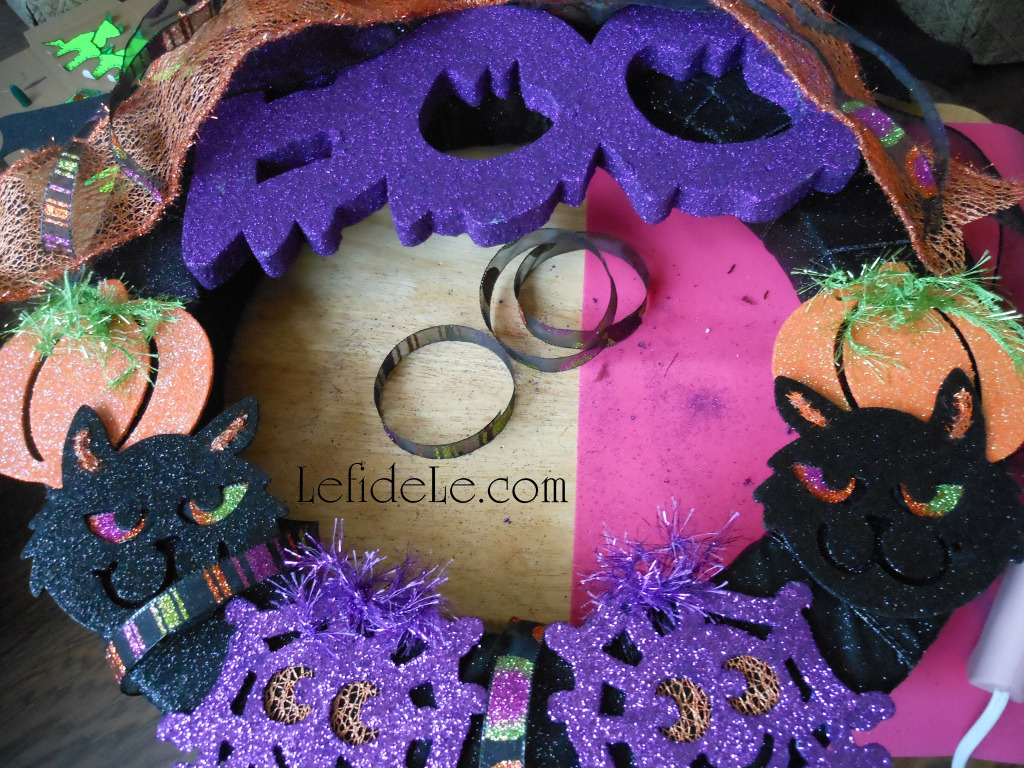
Now use my template to cut out bat wings from stiff felt or craft foam. Place your “BOO” sign (or individual letters) next to the top area… so it’s easier to judge where to place those wings. Once you’ve found your placement, glue them down.

124Leigh

Arrange your shapes in the way you like best, because enjoying your own creation is the most important part. Since the shape openings didn’t show up well on the black glittery ribbon, I made some “eyes” from brighter pieces. I merely glued the lengths onto the underside of the shapes.

127Leigh

To add more visual interest, glue more loops of bright ribbons around the base in between the shapes. Now make a bow and layer it with several types and colors of ribbon. You can either make it by tying several ribbons together at once, or by gluing additional ribbons to a bow. Glue all of that visual smorgasbord to the base then top it off with the “BOO” sign.

0130Leigh

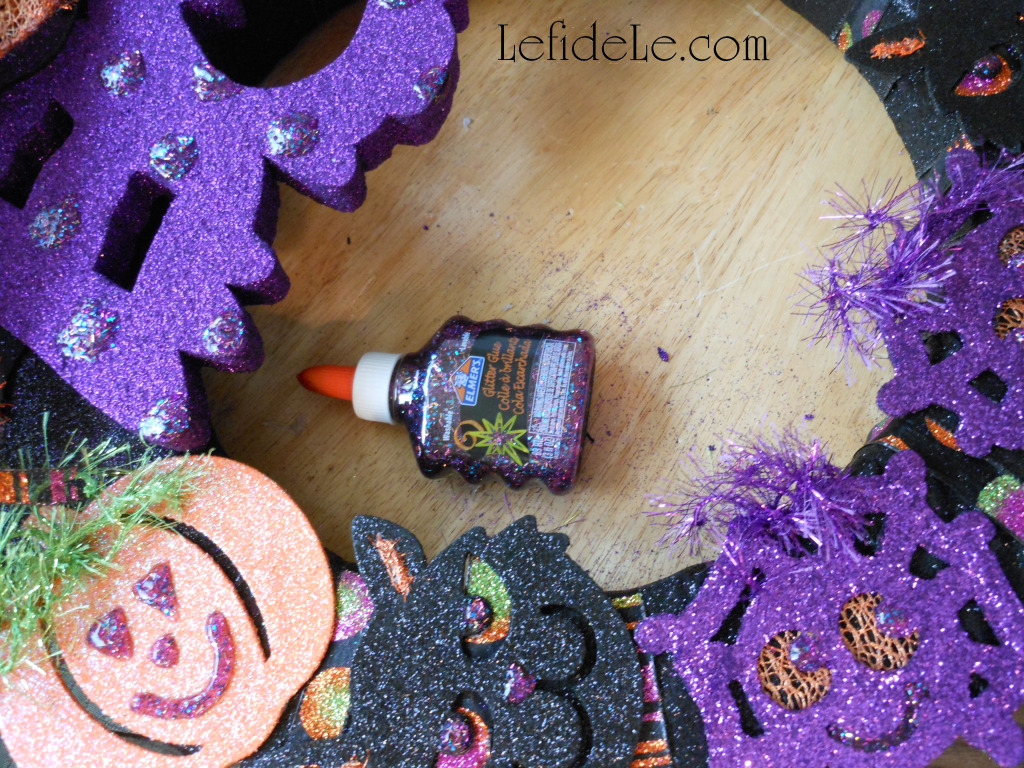
If you like, use coordinating glitter glue to add faces or fill in shape openings, but wait a day to hang it up. I added extra glitter dots to cover the sparse areas of the “BOO”.

349Leigh

The last step is to hang it up and enjoy your handiwork! Have a Happy Halloween!

Faithfully Yours,

Leigh