Tag Archives: Template

Easy DIY Valentine’s Day Countdown Calendar / Treat Bag Banner & Love Letter Napkin Rings Craft Tutorials

1661Leigh

This easy DIY Valentine’s Day countdown calendar plus treat bag banner and love letter napkin rings craft tutorial comprises three of my favorite things to make… banners, napkin rings, and advent calendars. The latter project arose from the questions, “Why are countdown calendars typically made for Christmas advent and not for other holidays?” and, “Why not expand the celebration with 2 weeks of excitement leading up to Valentine’s Day?” This works well for either children or adults depending on what’s placed inside the bags. As for the love letter themed napkin rings, they perfectly fit a romantic Valentine’s theme… though this one is for adults only!
1638Leigh

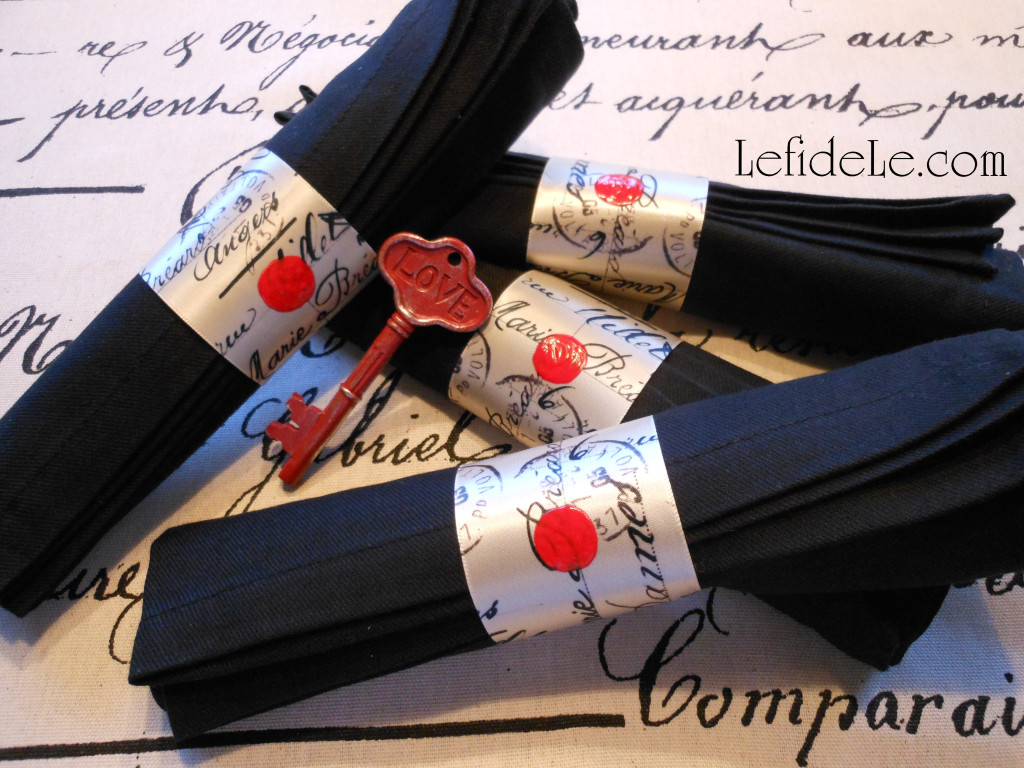
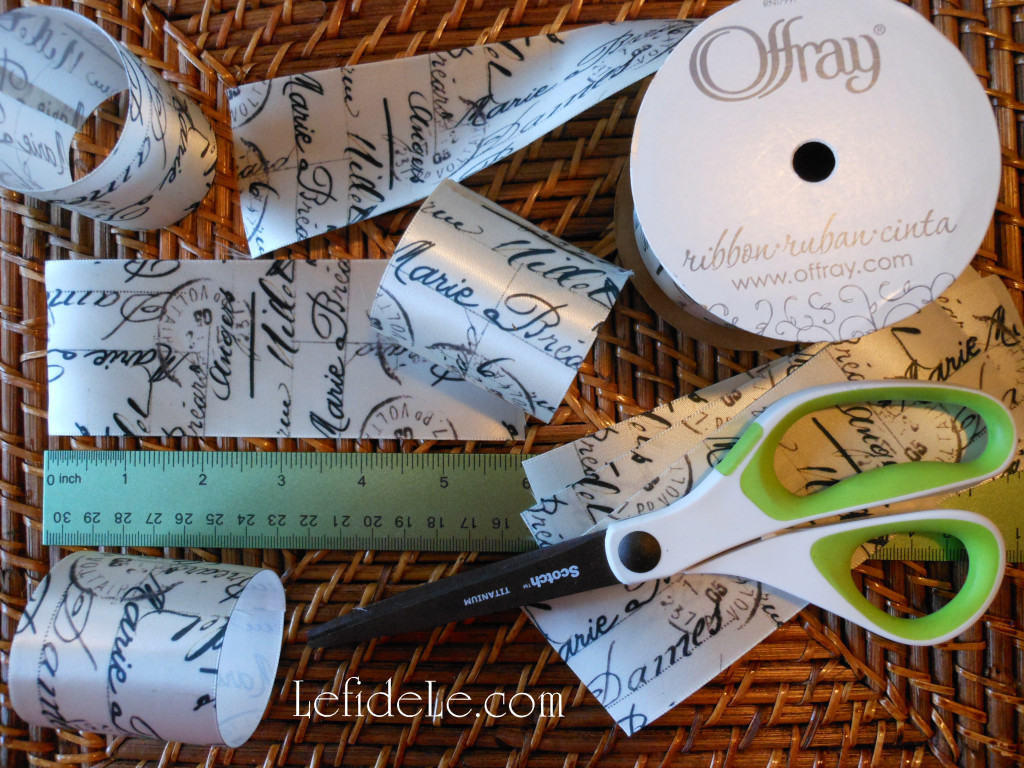
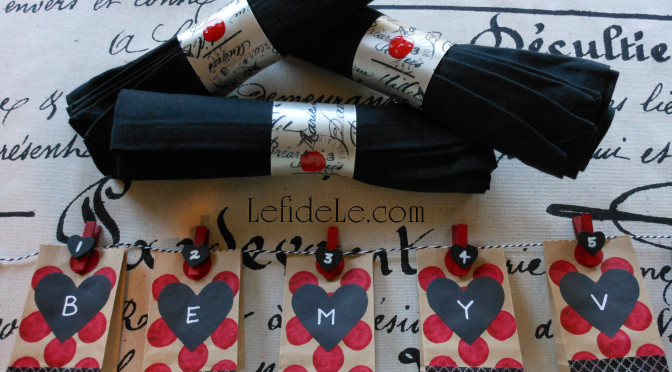
Let’s begin with the napkin rings. You’ll need a roll of Offray Brand Ribbon in a script pattern. (I purchased this ½ price with a coupon from Joann Craft & Fabric Stores. There’s a link for them in the sidebar.)
1647Leigh

You can make 12 rings and still have enough left over for a gift package bow if you like. You’ll also need either hot glue or liquid fabric glue and fabric paint in red (because it works on so much more than just T-shirts).
1216Leigh

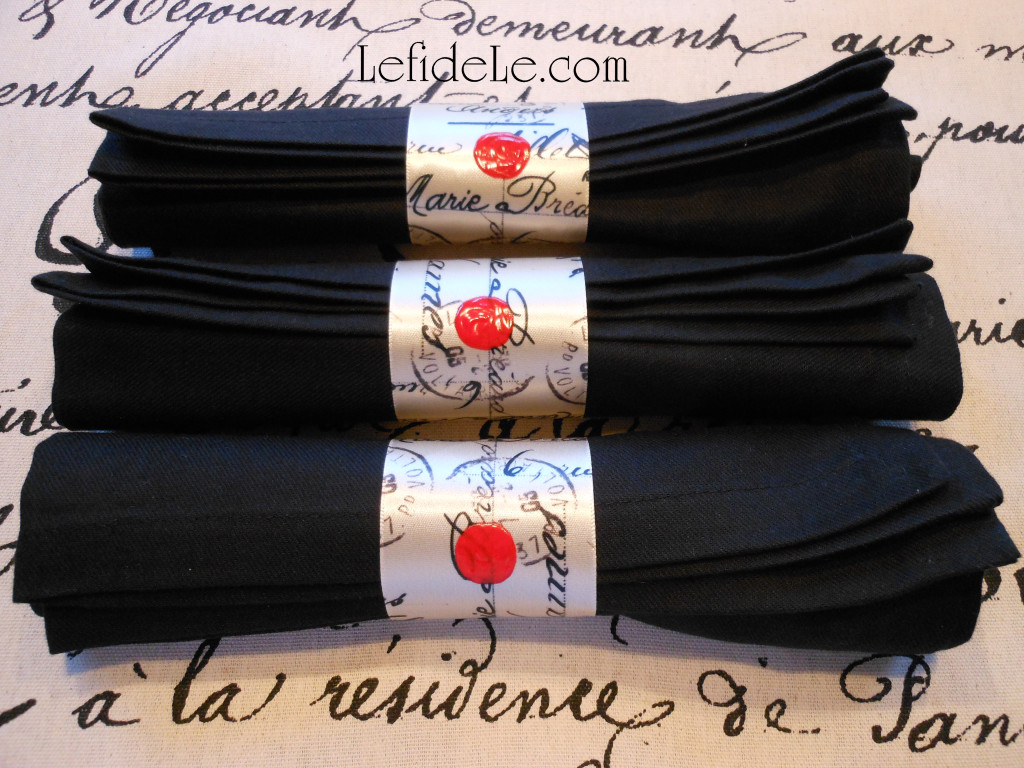
Measure and cut a 6 inch length of ribbon for each ring you wish to make (use sharp sewing scissors to prevent fraying ends). If using hot glue, bond the ends with one side overlapping the other and press them together tightly. For liquid fabric glue, use a plastic clothes pin as a clamp or secure with a straight pin… and allow them to dry completely.
1243Leigh

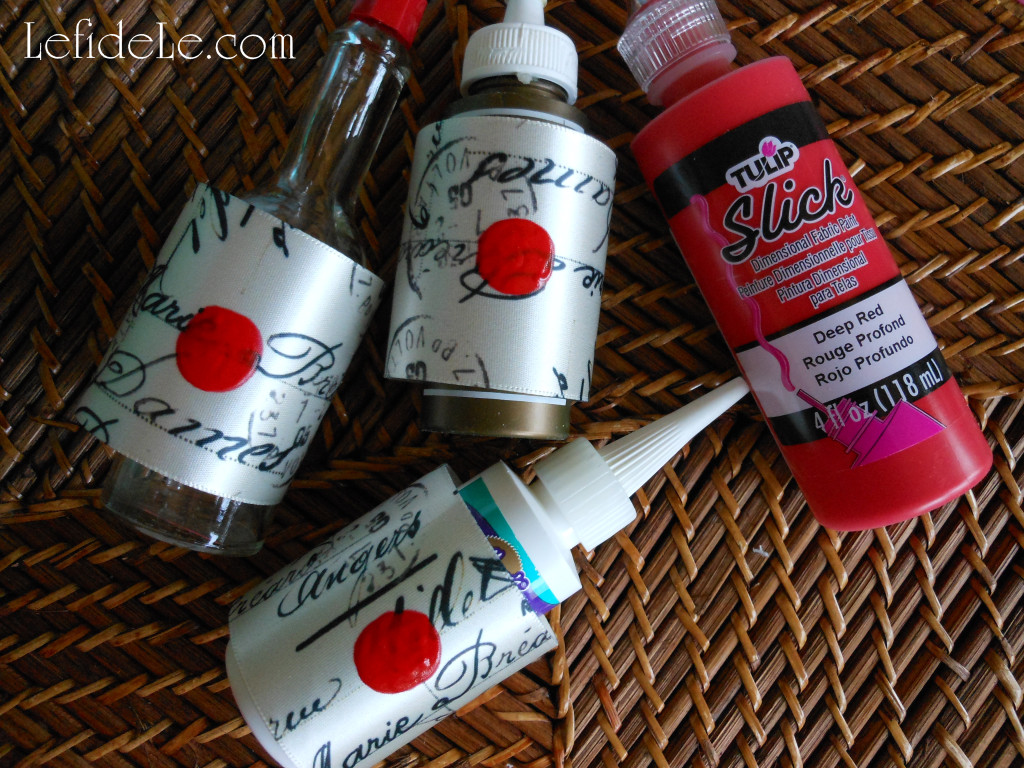
Next, make a faux sealing wax impression with the red paint. Either use the fabric paint tip to draw a circle and fill it in, or just squeeze some onto a plate and use a brush. Allow these to dry completely before handling. (Hot sauce bottles, glue bottles, and paint tubes placed inside the rings will prevent rolling and paint smears.)
83Leigh

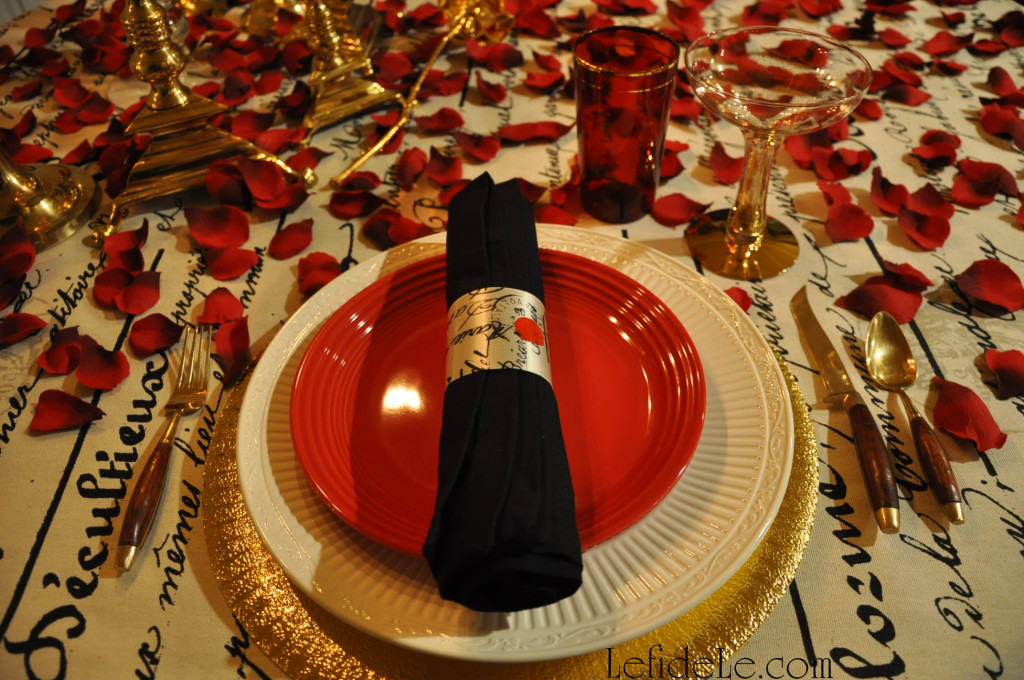
These napkin rings were so quick and easy to craft, and they were a great little touch to add to the Love Letter Themed Tablescape (Perfect for Valentine’s Day, Romantic Date Night, or Anniversary Dinner).

1617Leigh

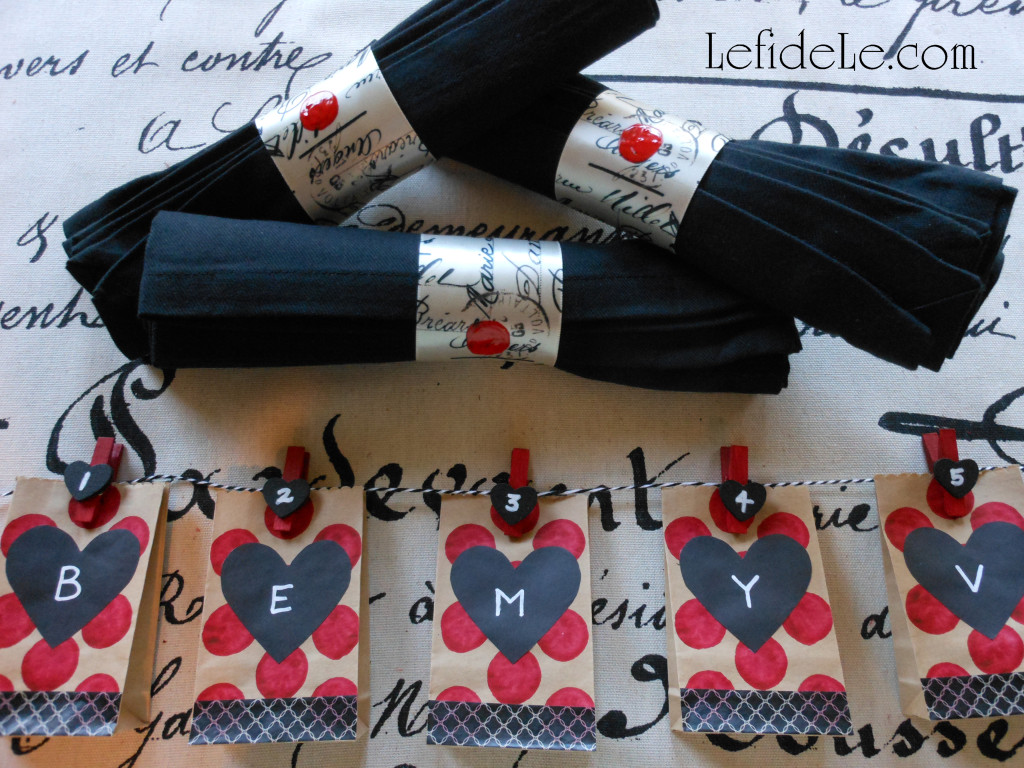
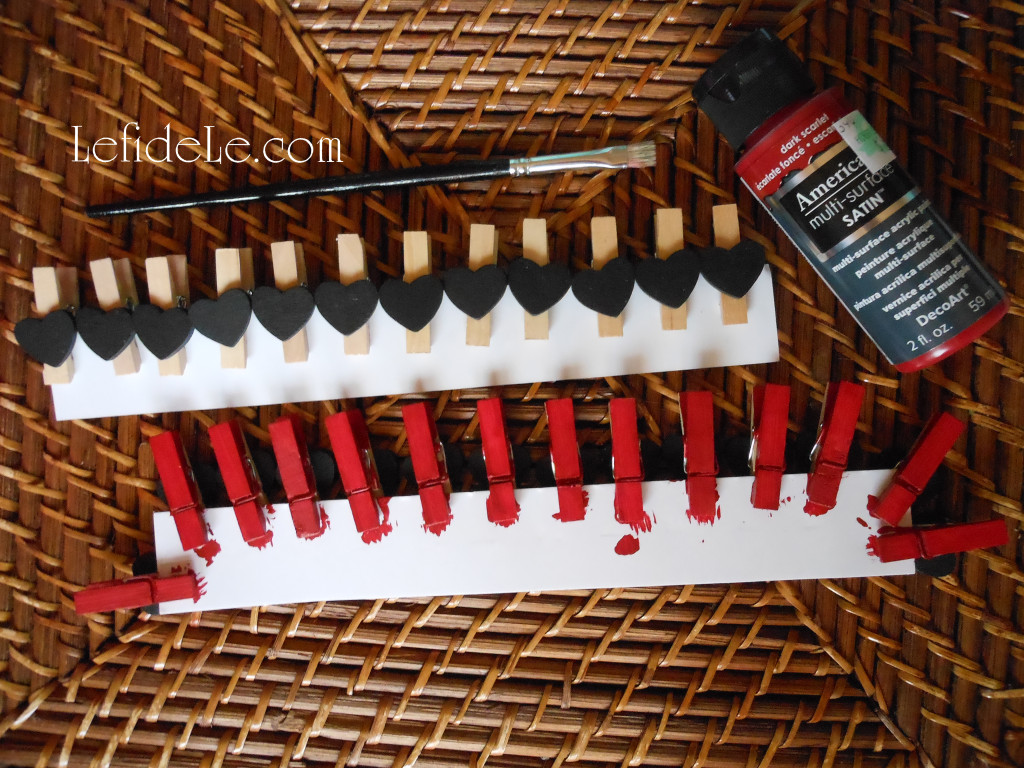
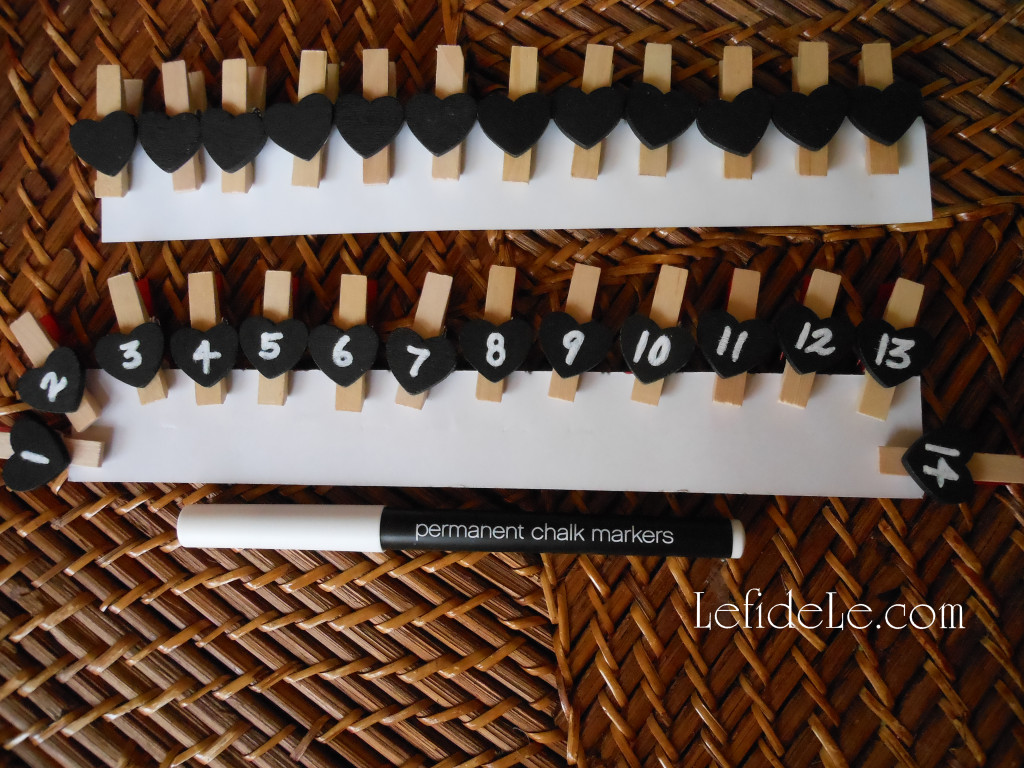
Now let’s make a Valentine’s Day countdown calendar and treat bag banner. (This is an easy enough project for the kiddos in your life to make too.) Begin by purchasing 14 mini clothespins complete with chalkboard hearts (these were 12 for $1 at the Target bargain bins). You can also buy the clothespins plainly and easily attach small flat wooden hearts with wood glue or hot glue… yes, hot glue does work on wood. Then all you need to do is paint the hearts with chalkboard paint. (All of the major craft stores carry the hearts. There are sidebar links for my favorite stores that carry coupon codes with them!)
1547Leigh

If you like, paint the remaining portion of the clothespins in your choice of red or pink… though the natural wood tone would look fine with the paper bags if you’re short on time. (I used dark scarlet multi-surface acrylic paint from DecoArt, because it matches my spice racks.) It’s easiest to clip them onto cardboard and just paint one side, leaving them to dry before flipping them over and completing the opposite side.
1552Leigh

You have the option of writing the 14 day numbered countdown with actual chalk (so that they may utilized in another capacity after the holiday) or with a permanent chalk marker that can’t be rubbed off.
1555Leigh

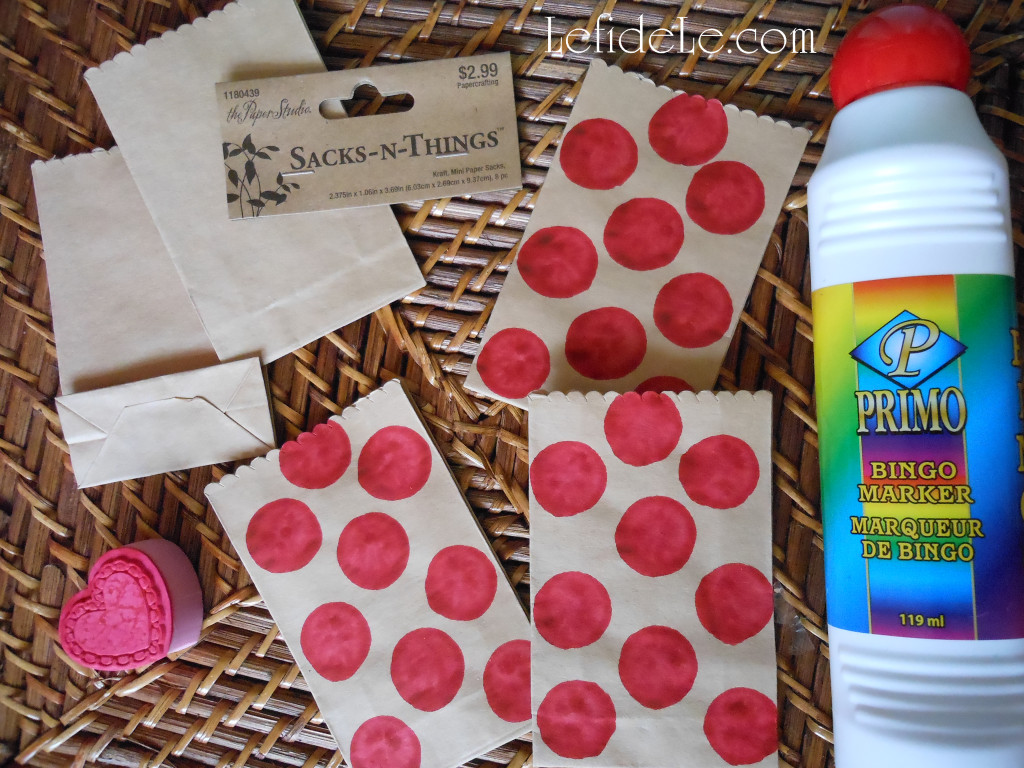
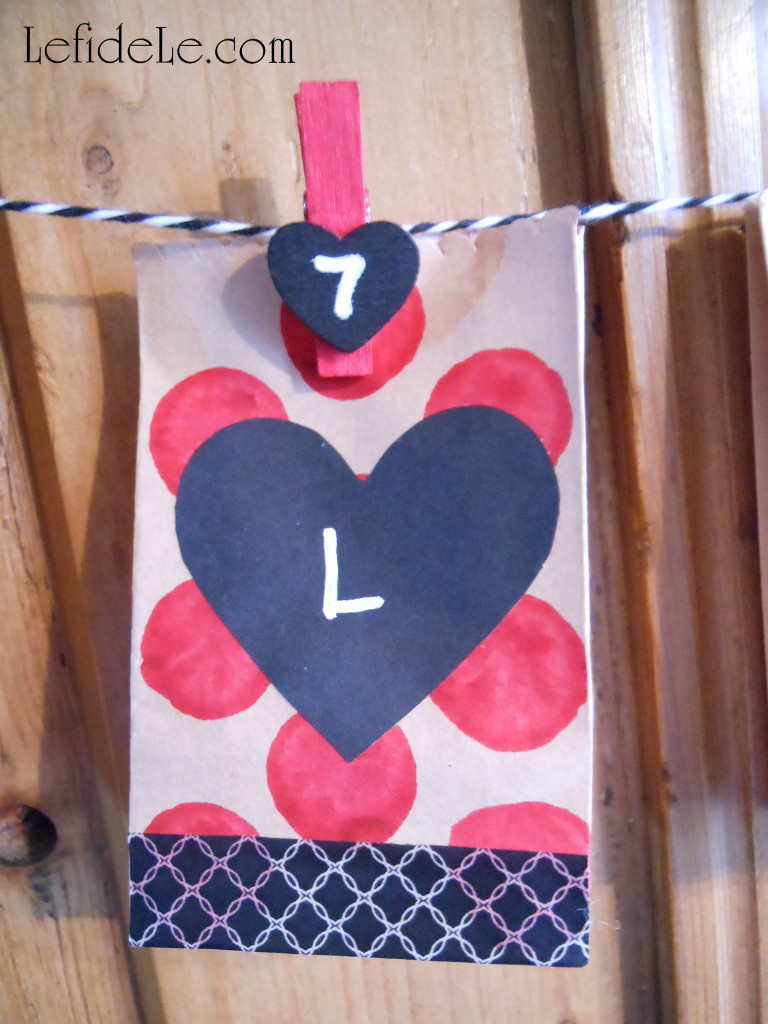
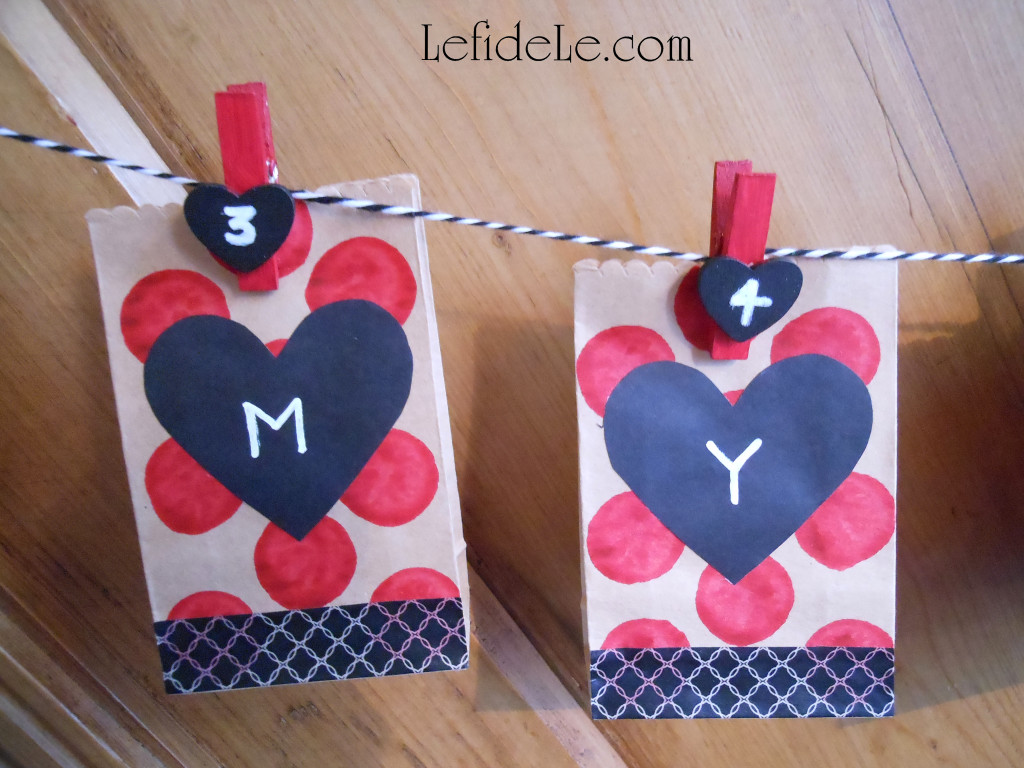
While those are drying, decorate your treat bags. (These plain little sacks were purchased cheaply for ½ off, but you can purchase printed ones if you’d like to speed up the process.) I used a red bingo marker to stamp dots in a polka dot pattern. (See more about this, along with other project ideas in my article on Fast & Easy DIY Hand-stamped Polka-dot Gift Wrap & Matching Gift Crafts.)Let these dry completely before the next step. (You also have the option of stamping a pattern onto the bags with ink or paint.)
1560Leigh

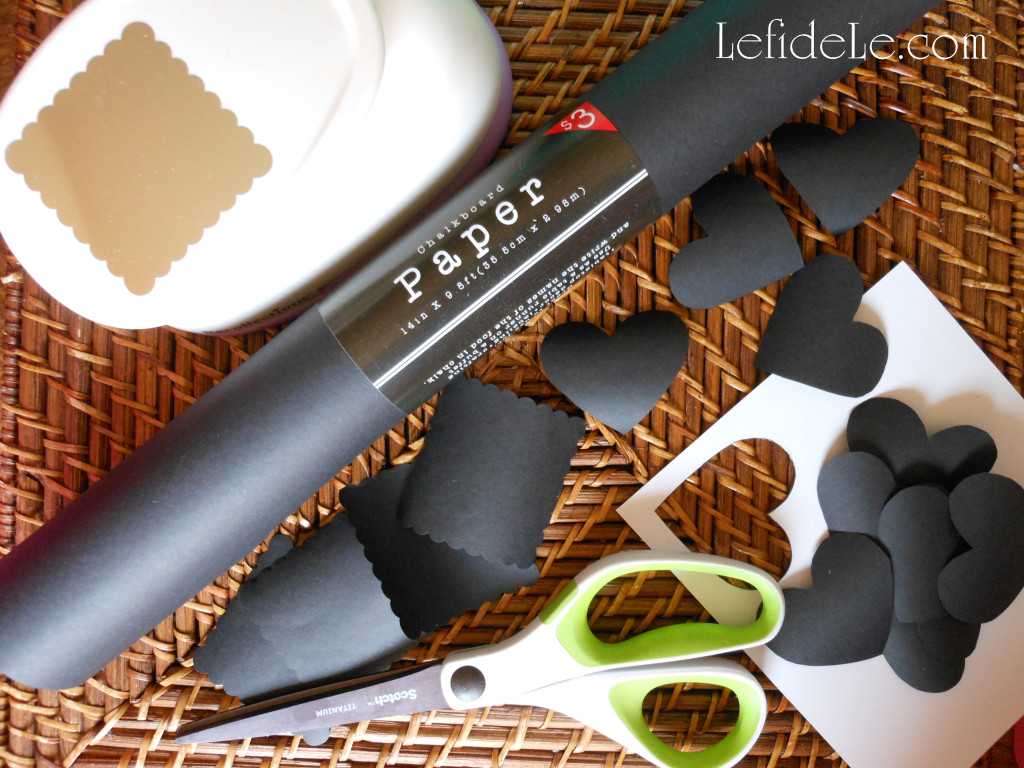
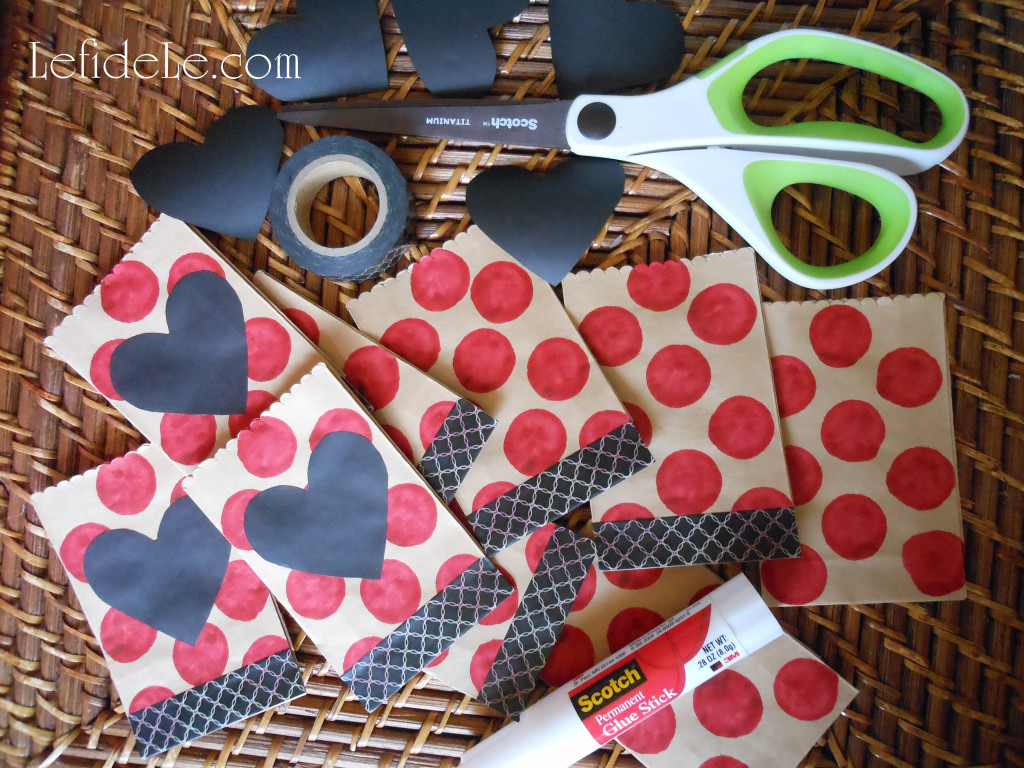
Next, cut out hearts from black chalkboard paper, or use a paper punch in any shape you like, or speedily use readymade chalkboard sticker labels.
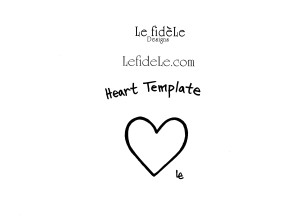
heart template

Here is my handy little template to print free at home then cut out to trace around. It’s an easy way to make the same exact heart shape repeatedly. (Just right click the small image above and select print.)
1564Leigh


Adhere the paper hearts onto the bags with a permanent glue stick. Then run a strip of matching washi tape along the base for easily added flair.
1571Leigh

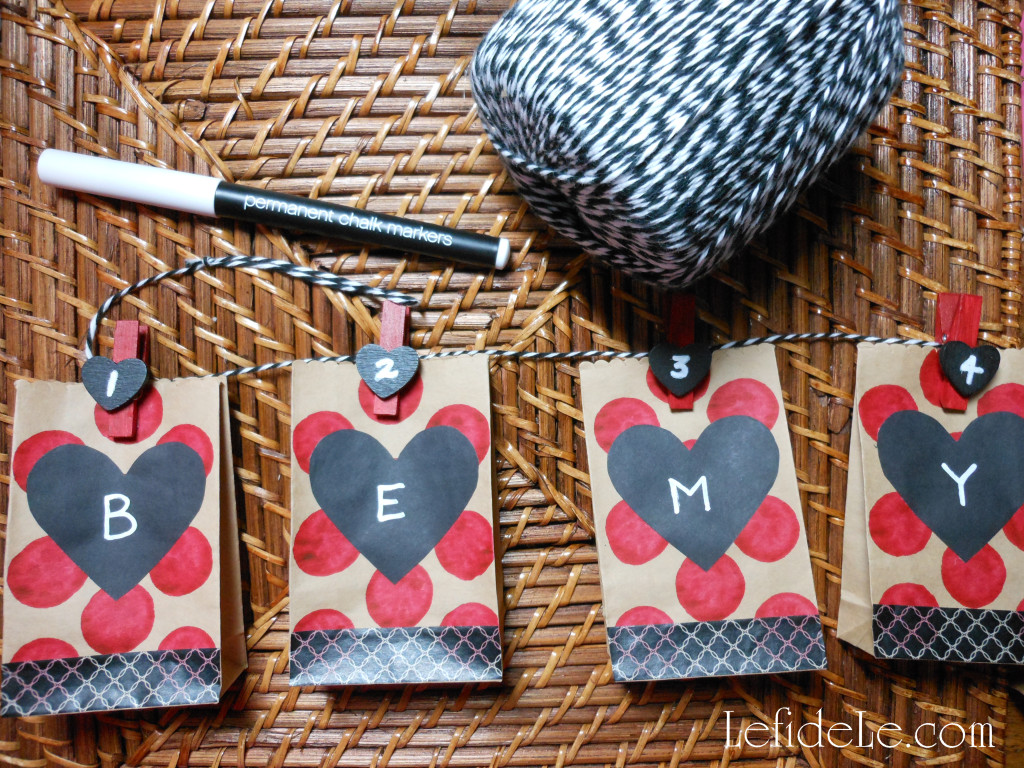
String the dry clothespins onto ribbon, string, jute, cording, twine, or yarn. (I used yarn that looks like twine because three times the amount can be purchased for ⅓of the price.) Once again, use either permanent white marker or actual chalk to write on each heart.
1623Leigh

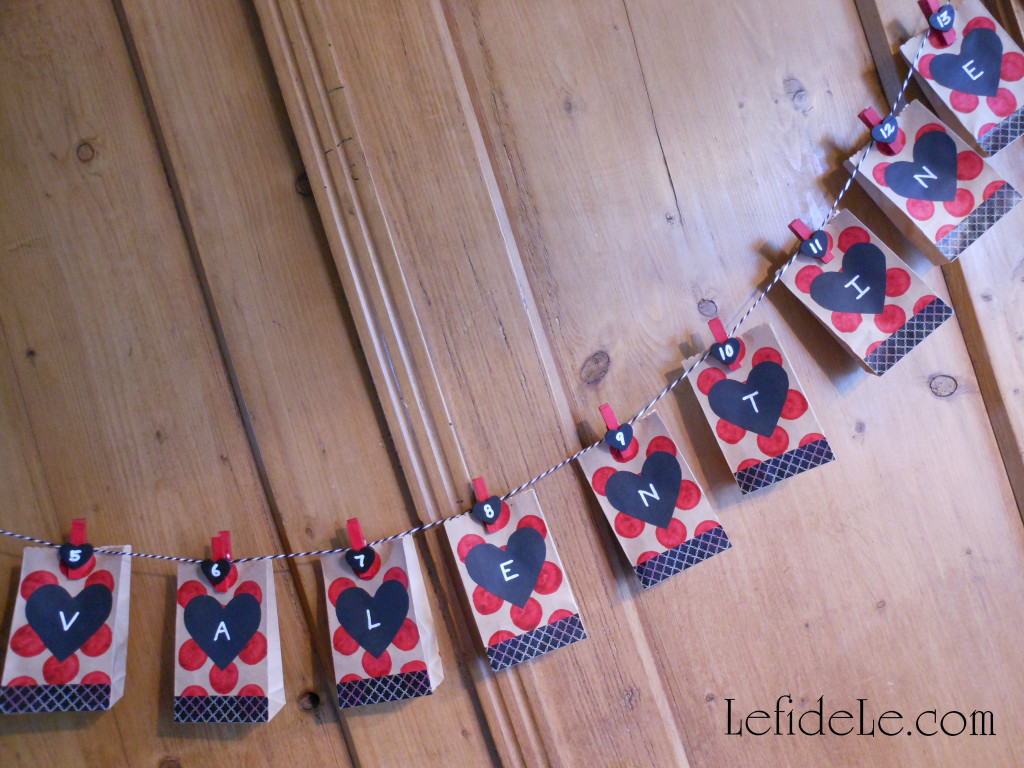
I chose to write “Be my Valentine!” but “Valentines Day!” or “Happy Hearts Day” would also have fit on the 14 bags. You can also write the names of individual recipients like friends, classmates, or even alternate the names of family members.
1635Leigh

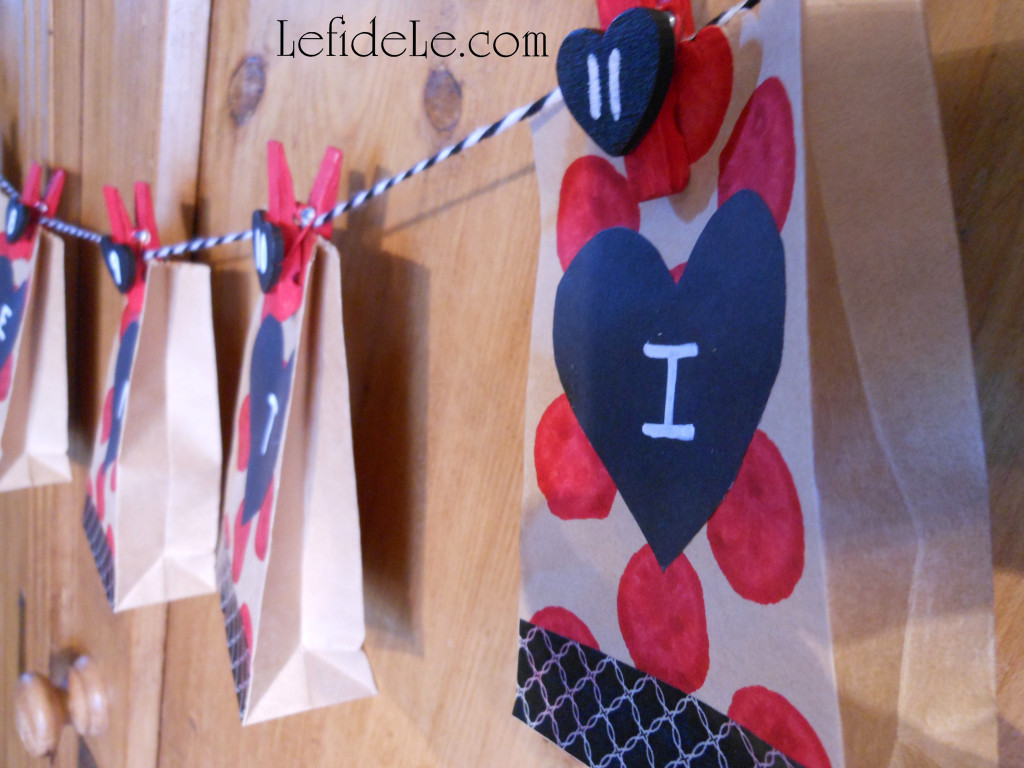
Fill the little bags with anything you like… you can make it as inexpensive or extravagant as you like.
1629Leigh

For kiddos: try candy, stickers, stamps, tiny toys, erasers, inexpensive jewelry… or silly printed jokes you won’t mind hearing over and over again. On the 14th day, think about directions leading to a larger gift like a stuffed animal.
1628Leigh

For adults: try printing faux fortunes, poems, romantic quotes, movie or event tickets, or even homemade coupons for “honey-do” chores or special treats. On the 14th day, think about directions leading to a larger gift like a dozen roses, box of chocolates… or something uber masculine like the latest power tool at home depot.

1661Leigh

This makes a super cute banner decoration as well, and it can be strung just about anywhere using either tape, 2 extra clothespins, or by tying knotted loops at each end of the string.

I ♥ Crafting… Don’t you?!

Faithfully Yours,

Leigh
Create a Homespun Holiday of Barn Red & Burlap with Christmas Tablescape & Mantle Décor Ideas

917Leigh

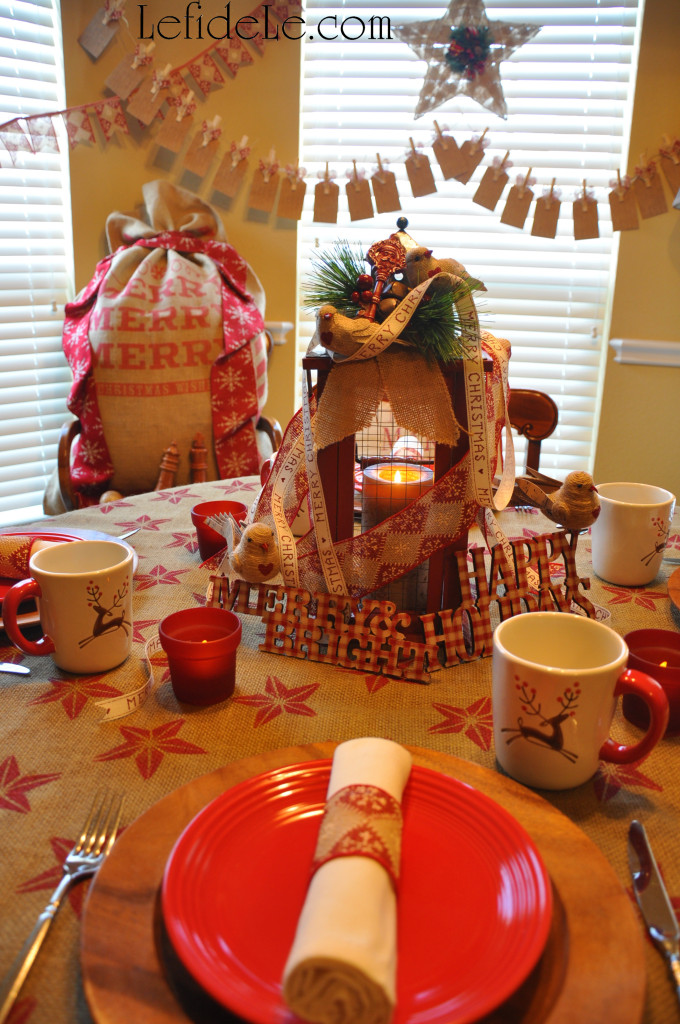
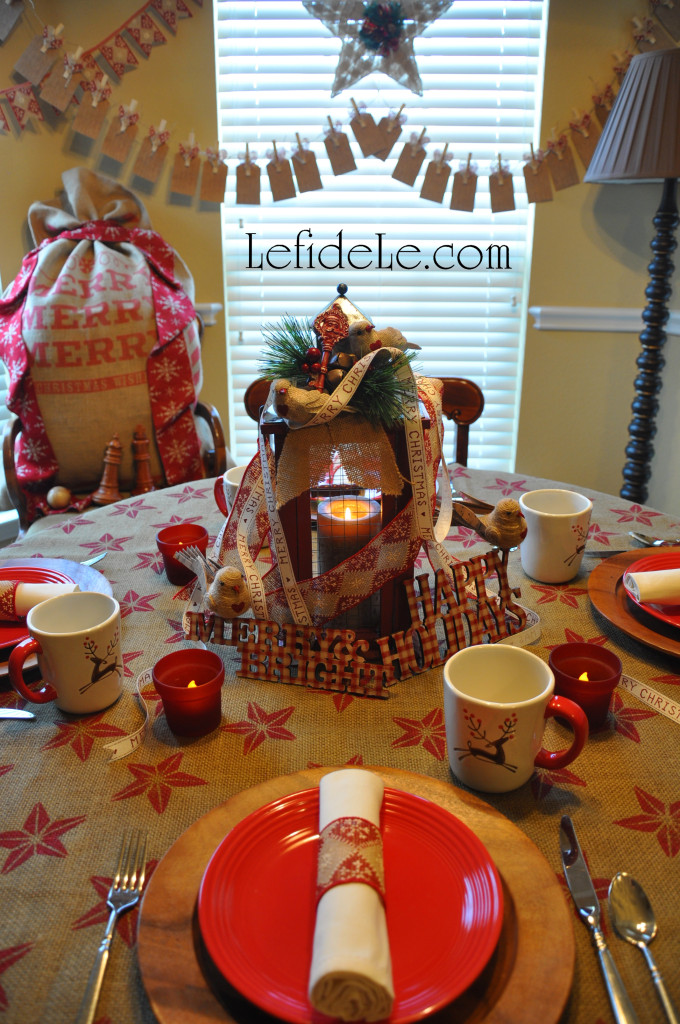
Why prepare for Christmas by waiting in long lines at overcrowded stores when you can create heartfelt moments with loved ones while crafting a homespun holiday that harkens back to simpler times. Deck the halls without breaking the bank using my easy craft tutorials for DIY décor that harmonizes perfectly with the season’s traditional crafts of gingerbread houses and strung cranberries or popcorn. Have friends over for a cookie decorating or gift wrapping party, and then move the décor over to the mantel in time for a cozy Christmas. In this way, we can all celebrate togetherness in the real spirit of the season!

943Leigh

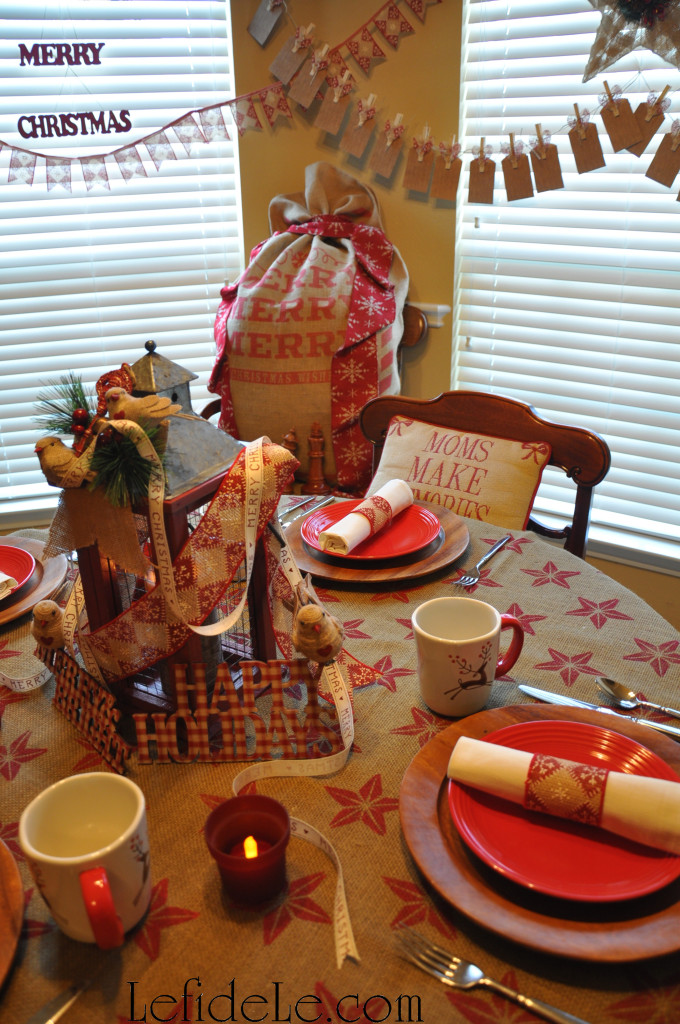
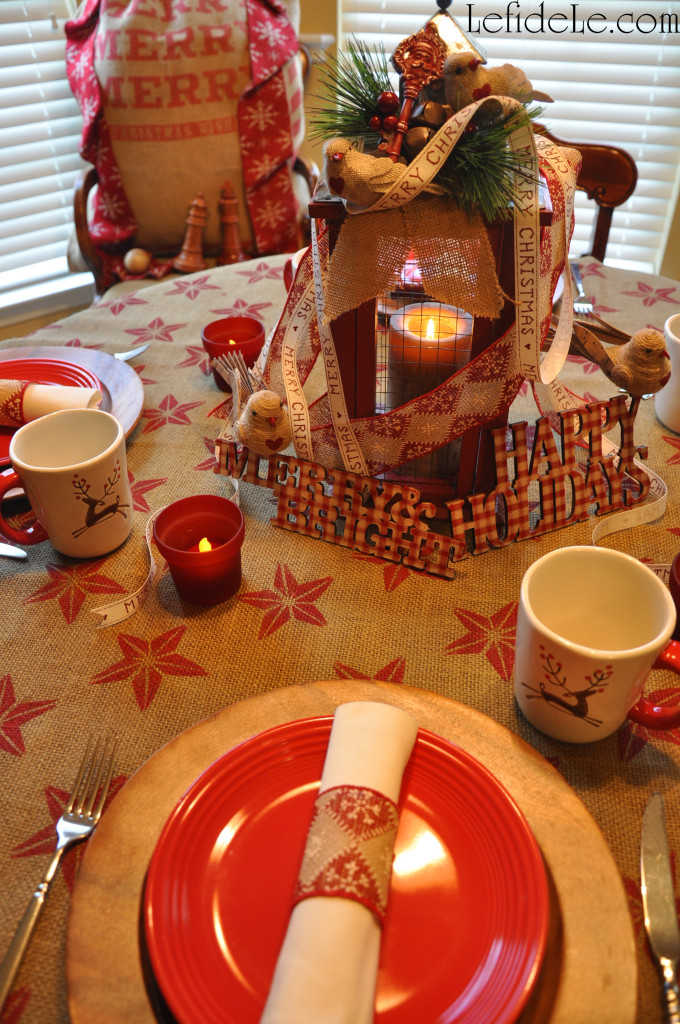
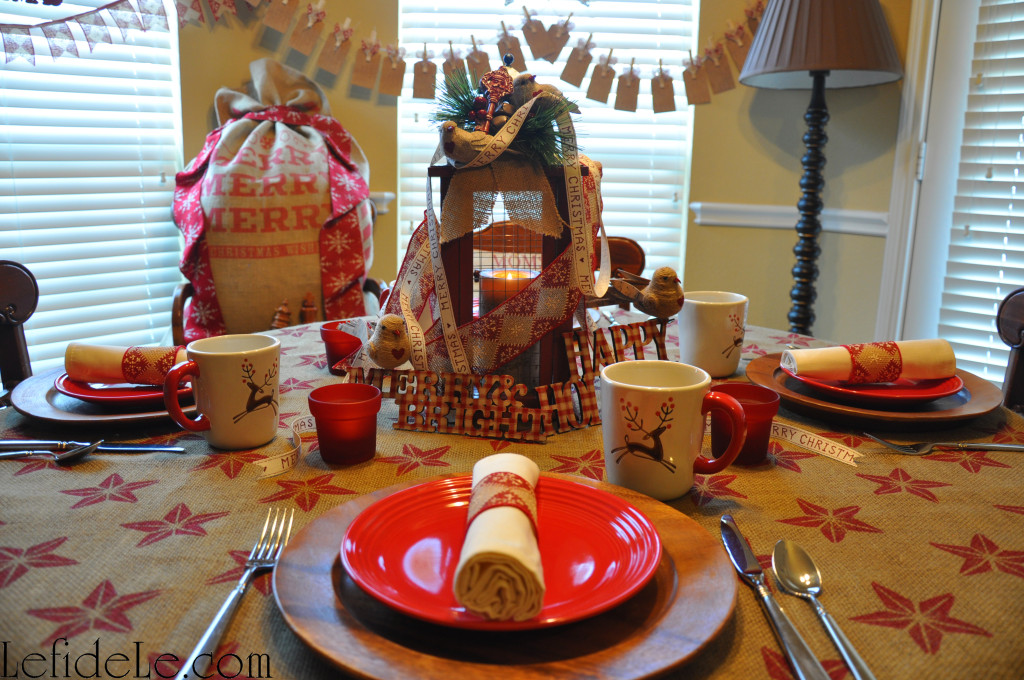
“Deck the halls with boughs of holly“ and a one-of-a-kind burlap tablecloth painted with stamps and matching napkin rings which set a delightful tone for a homespun holiday gathering. (Learn how easy it is to make these here!)

928Leigh

“’Tis the season to be jolly” and nosh on gluten-free vegan gingerbread cake served upon red ceramic plates over wooden chargers accompanied by holiday reindeer mugs filled with steaming cups of hot chocolate and homemade marshmallows.

936Leigh

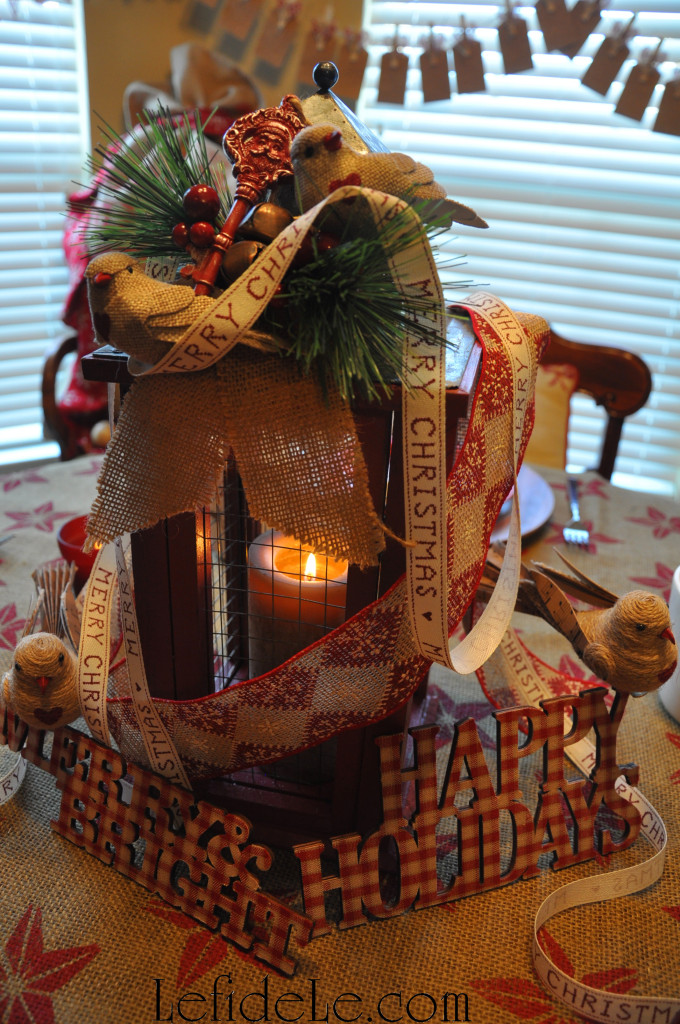
“Follow me in merry measure” to a table lit by barn red lantern bedecked with ribbons and merry-making birds. (See more about the birdies here!)

941Leigh

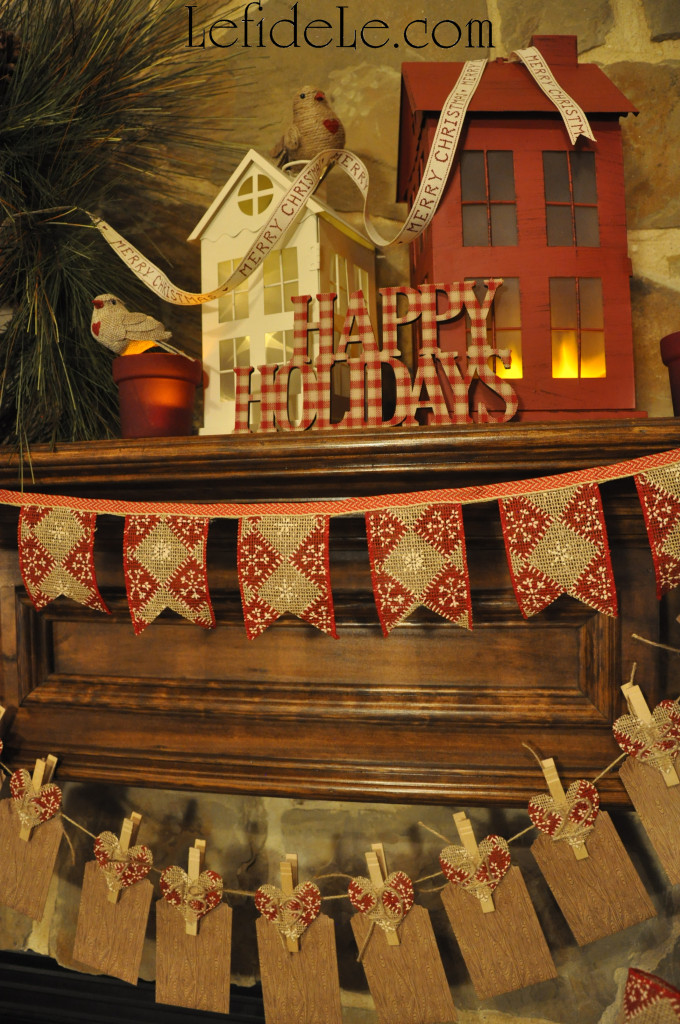
“While I tell of Yule-tide treasure” held in handcrafted advent calendars alongside festive banners and signs trimming the windows in the background. (Find out how to make these here!)

58Leigh

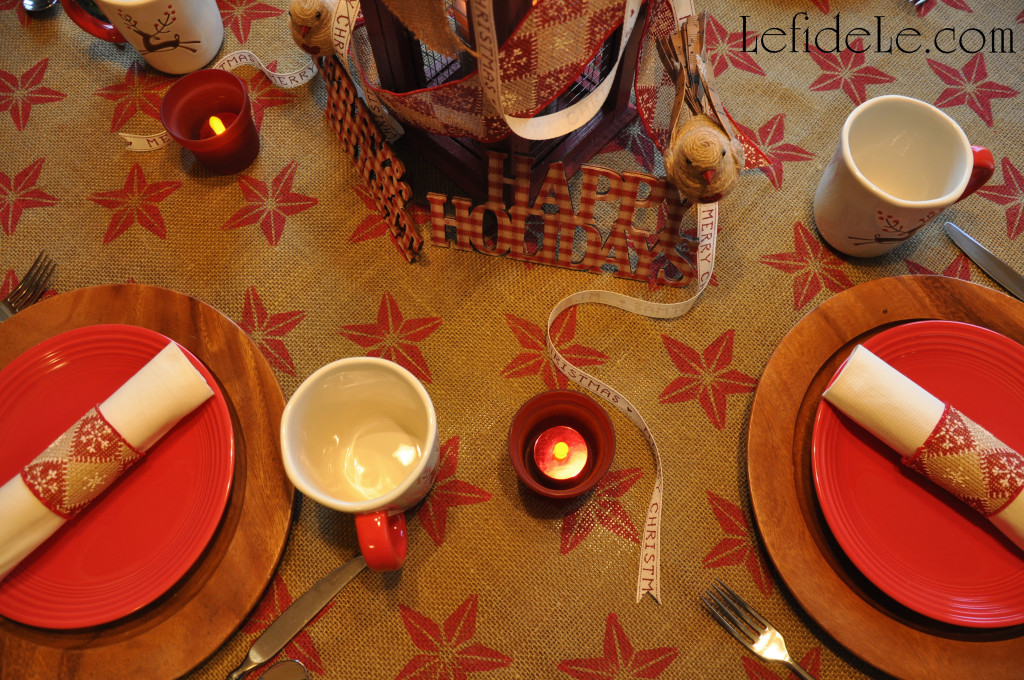
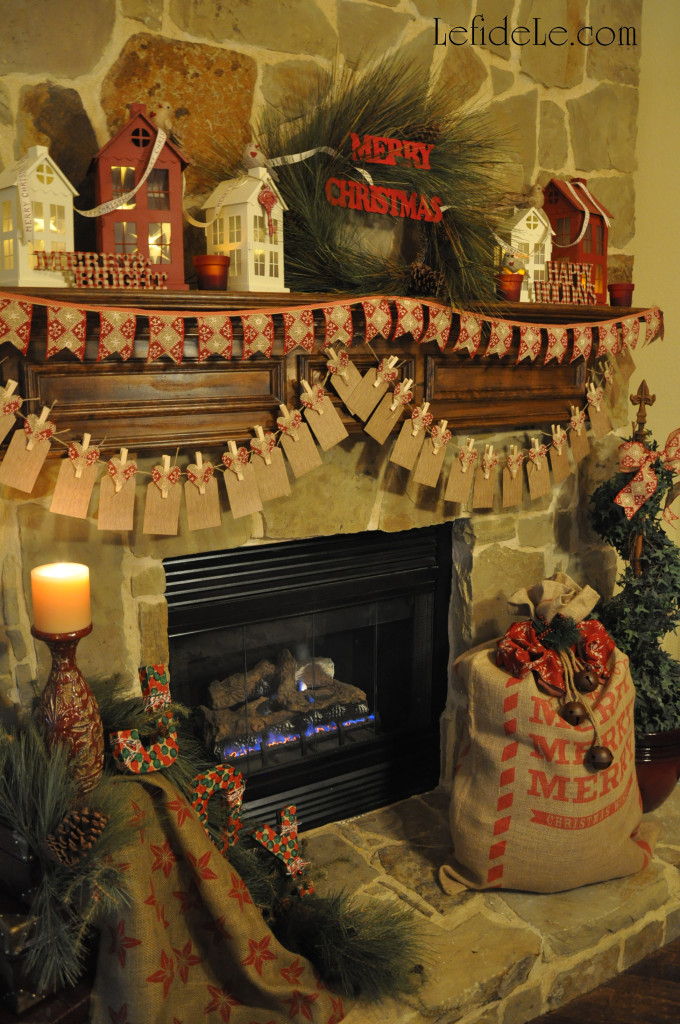
“See the blazing Yule before us” and the apropos message of J-O-Y spelling out the holiday sentiment. (Learn how easily these were made here!)

67Leigh

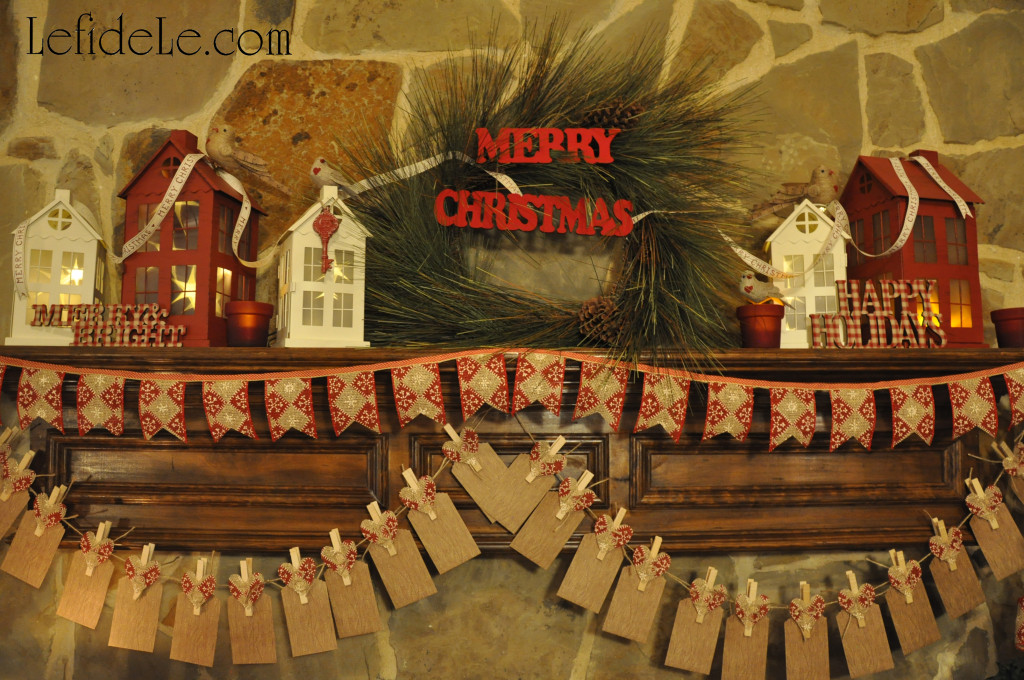
“Strike the harp and join the chorus” of pretty burlap birds perched perfectly upon tiny tin houses. (See this quick project here!)

918Leigh

“Sing we joyous, all together, heedless of the wind and weather.

Fa-La-La-La-La-La-La-La-La!”

Faithfully Yours,

Leigh

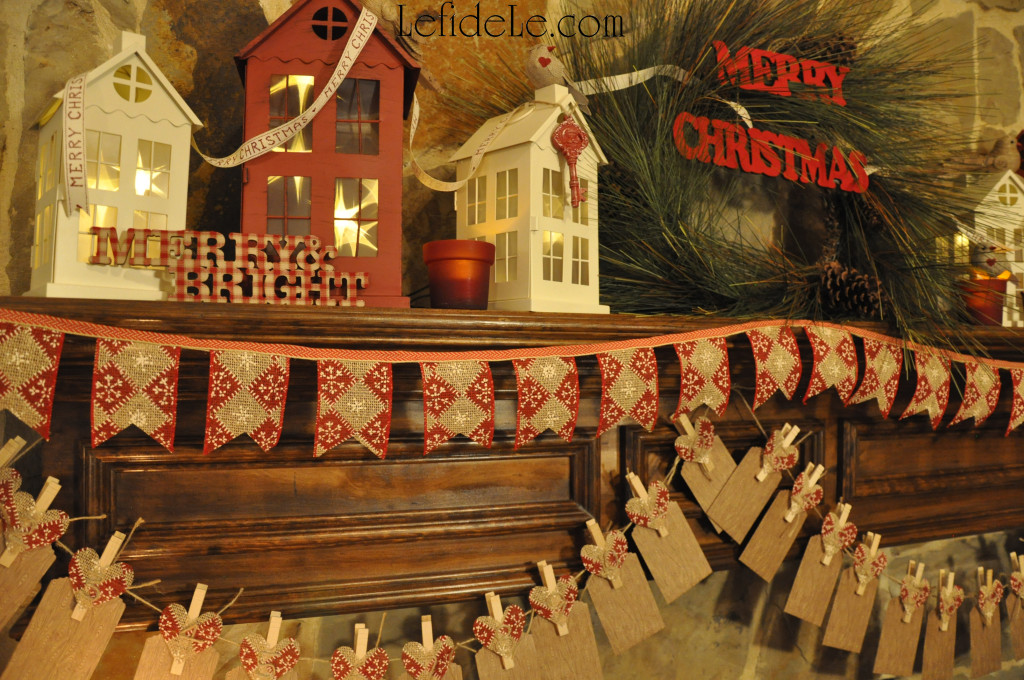
Easy DIY Burlap Ribbon Holiday Banner & Christmas Countdown Advent Calendar Craft Tutorials (+ Free Printable Heart Template)

75Leigh Why prepare for Christmas by waiting in long lines at overcrowded stores when you can create heartfelt moments with loved ones while crafting a homespun holiday that harkens back to simpler times. Deck the halls without breaking the bank with easy DIY advent calendars and holiday banners made from burlap, ribbon, jute or twine, and clothes pins. Nothing is more festive than a banner, and the countdown to Christmas is even more exiting when it’s accompanied with a daily treat. In this way, we can all celebrate togetherness in the real spirit of the season!

946Leigh

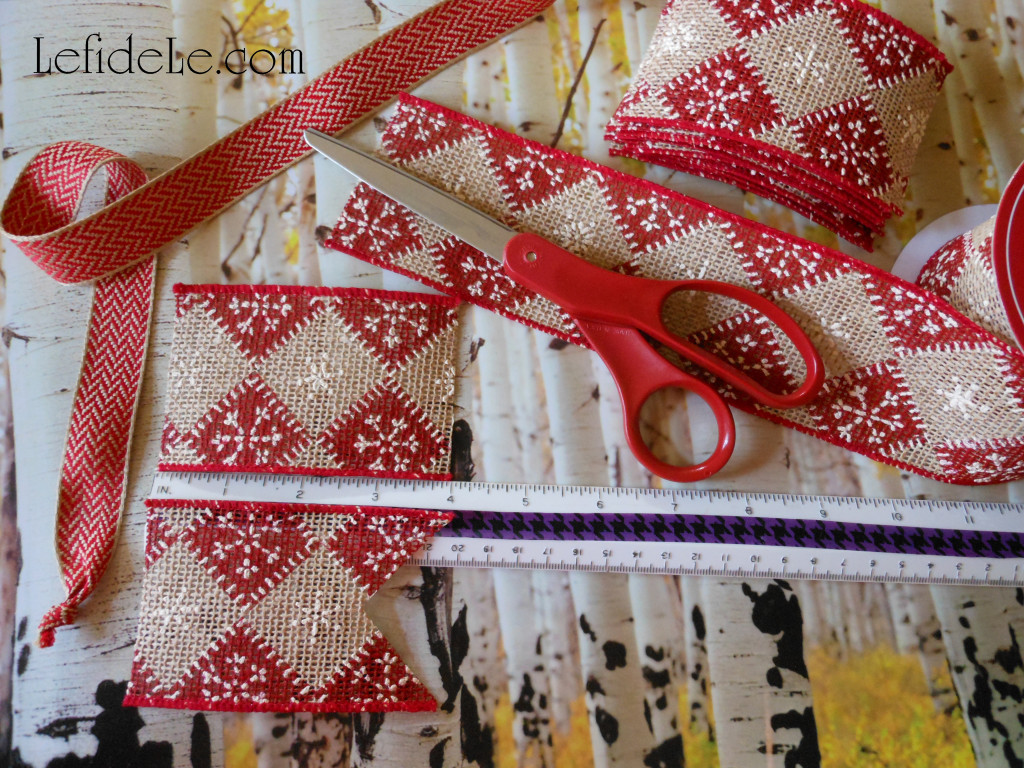
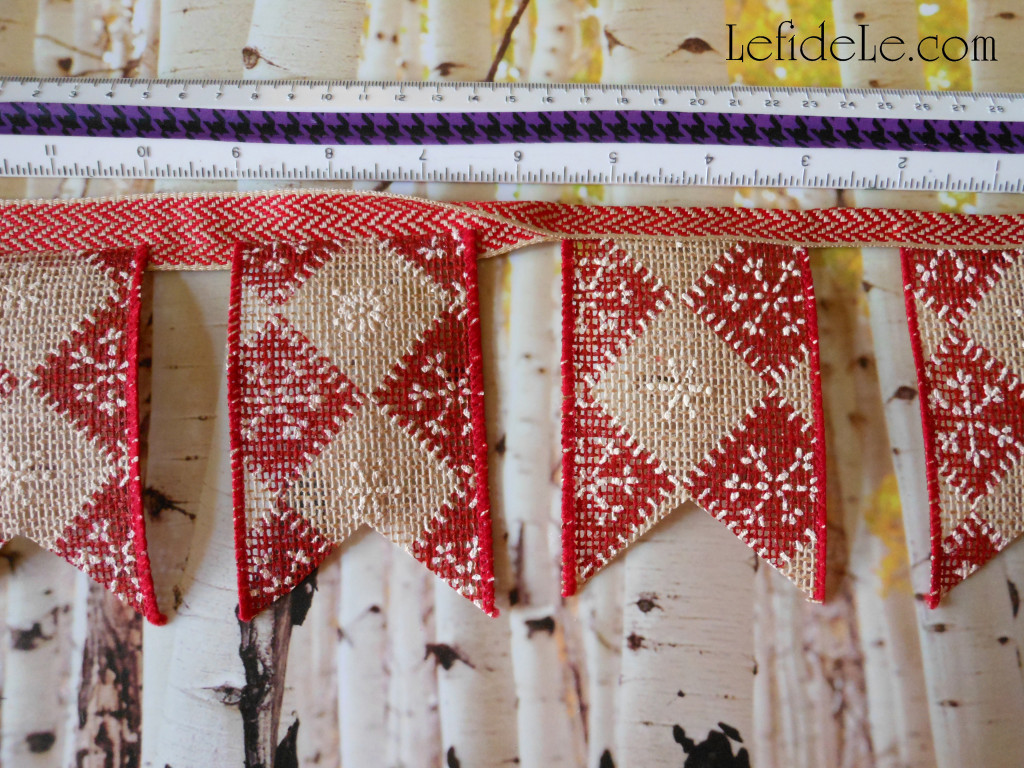
To make a simple yet adorable Christmas banner, use a wired ribbon (like patterned burlap) and a thinner flat woven ribbon. Cut the woven ribbon as long as you want your banner to be (like the length of your mantel).

624Leigh

To make the little flags, cut enough 4 inch lengths of the wired ribbon to fill the length of the banner. Next cut 1 inch V-notches out of one end of each (by folding in half lengthwise and making a straight cut at a diagonal angle).

628Leigh

Hot glue the straight sides of the cut flags to the center of the long woven strand (spacing them a little apart). Now add a line of glue to the top of the long ribbon and fold in half over the cut ribbons. (Press this down for better adherence.) Do this in sections of a few flags at a time (so the hot glue doesn’t have time to cool before pressing).

923Leigh

Try hanging it on a stairway or as a festive backdrop in your breakfast room. (I even have one hanging across my spice racks as I write this.)

84Leigh

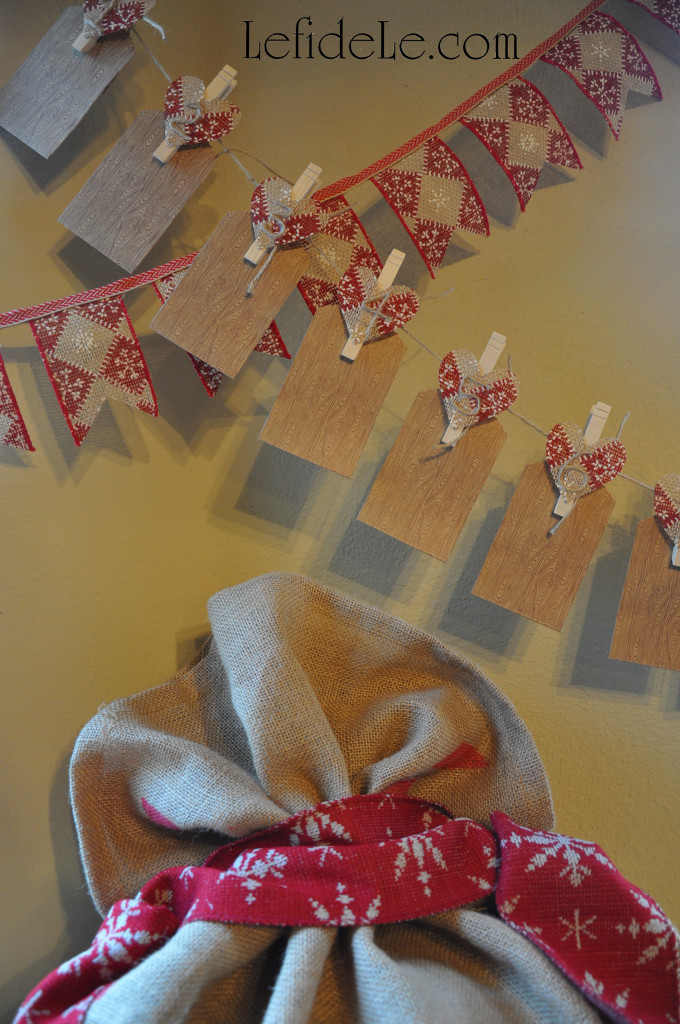
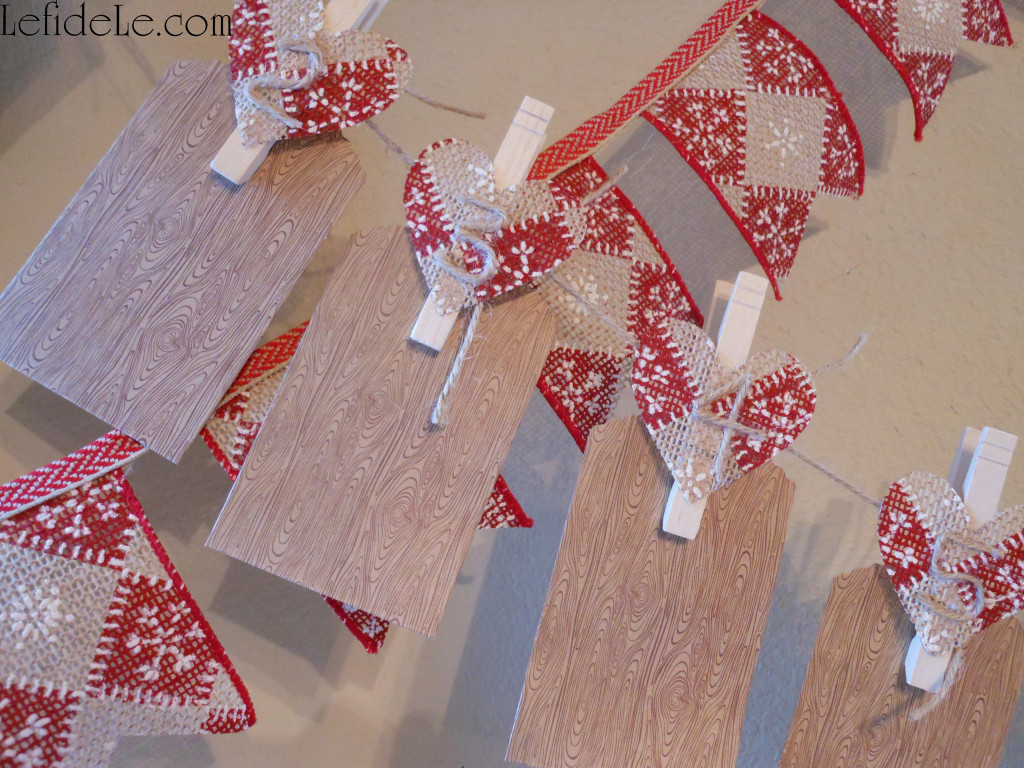
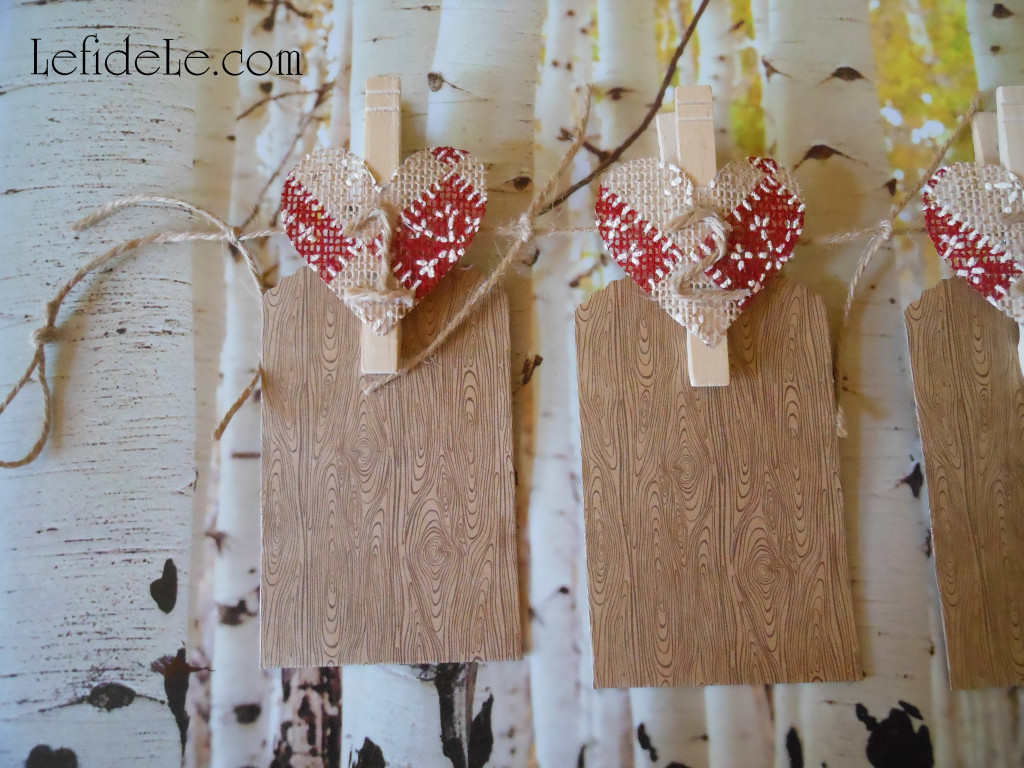
To make an original yet inexpensive advent calendar use 25 clothespins, 25 tiny paper bags, jute or twine, and some leftover ribbon or burlap.

heart template

Print my heart stencil, and cut it out to use as an easy template to trace uniform shapes quickly. (Just right click on the image above, and select print.)

653Leigh

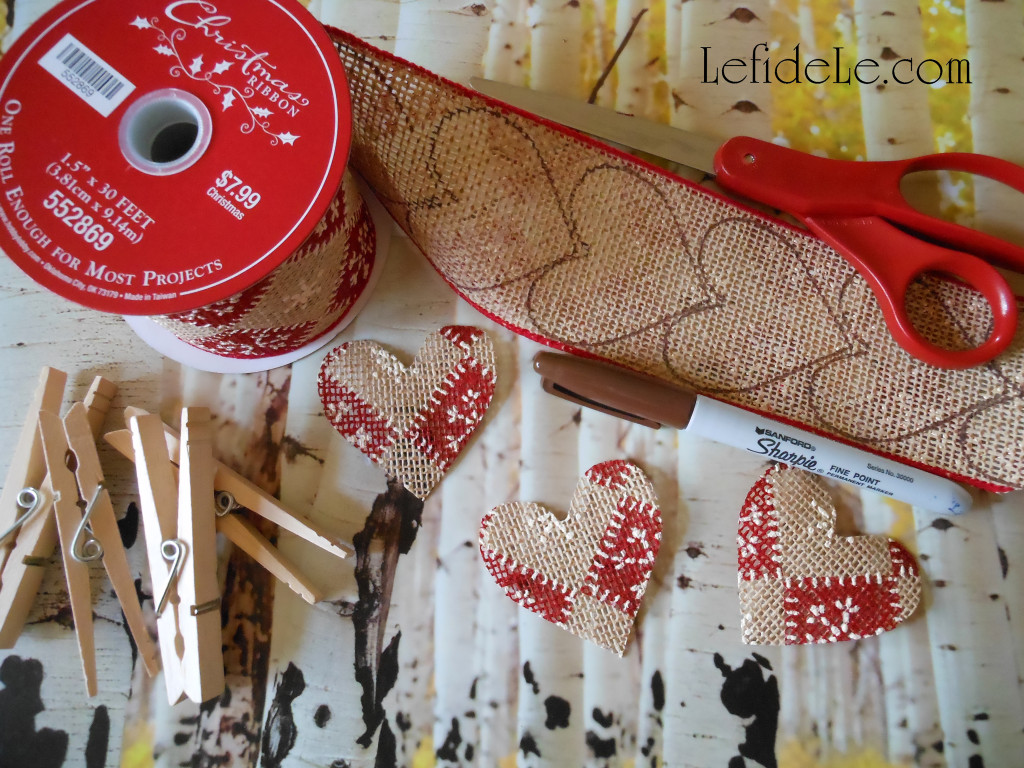
Trace the hearts (or make stars, trees, circles, etc.) onto the underside of your choice of ribbon, fabric, paper, or burlap. Cut 25 of the shapes out.

663Leigh

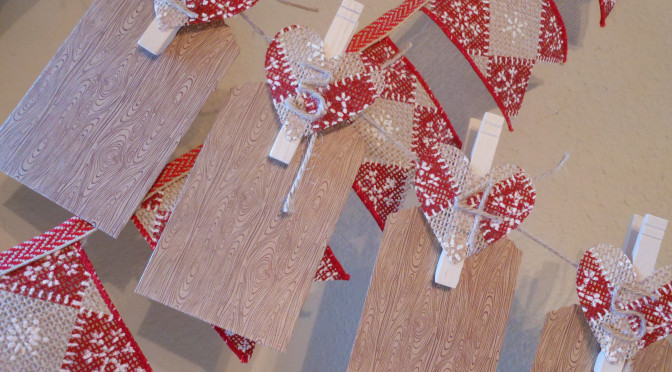
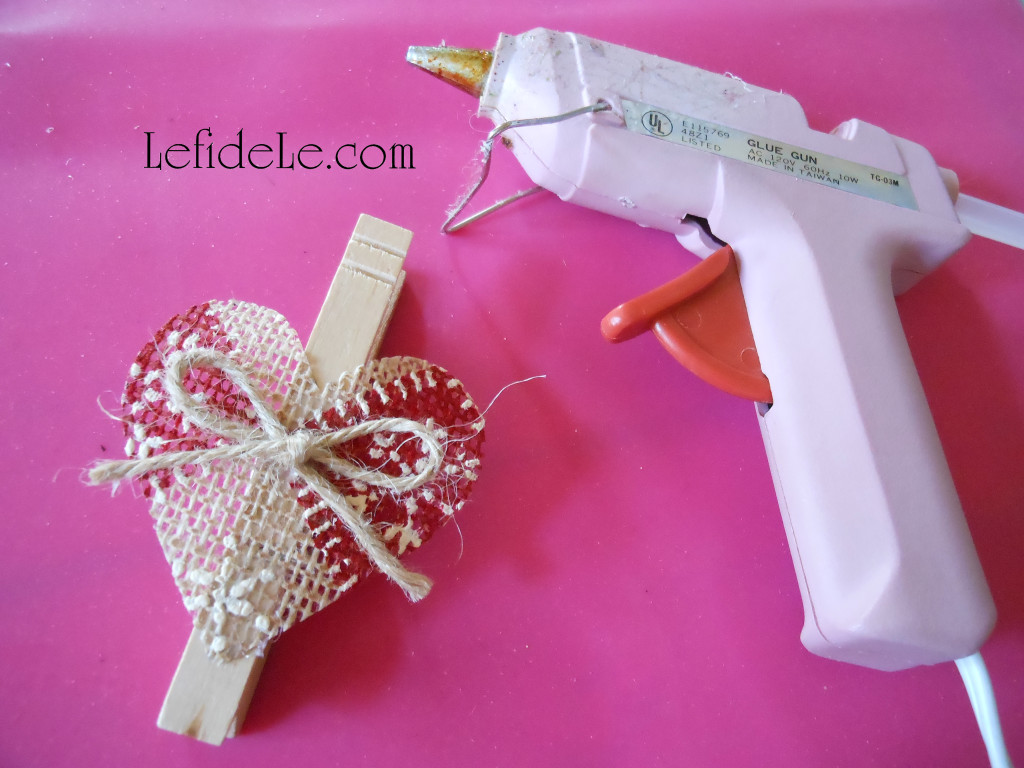
Then hot glue a shape to each clothespin. Next, you have the choice of gluing a ready-made number onto each heart, or simply adding a bow. (This is really cute when using them as a mantle-less stocking holder line. You can also add a strong magnet to the back, and stick it on the fridge.)

2Leigh

I chose to hot glue jute in the shape of numbers onto each heart. (It is easier than it looks, but it was a bit more time consuming.)

706Leigh

Be sure to knot small lengths of twine in between each clothespin at regular intervals (so that they don’t all end up in the center once they’re hung up).

58Leigh

A few ideas for daily treats are… gum or candy, jewelry or cufflinks, holiday fortunes without the cookies, gift cards from favorite stores, love notes or poetry, cash or coins, seasonal jokes, flash drives loaded with holiday movies or music, sewing goods like thimbles or embroidery floss, special recipes with a promise to make, barrettes or keyrings, homemade certificates for things like breakfast in bed or car-washing, lip gloss or chap-stick, scavenger hunt clues for large items, scrapbooking stickers or components, and tickets for movies, concerts, events, or travel. Or for the crafty person… try putting one piece of a crafting kit into each packet which can be completed when the holiday’s over. You can even assign odd and even days to different family members.

67Leigh

Why have one day of a filled stocking that competes with big presents, when you spread the joy of Christmas into 25 days of surprises!

Fa La La La La Lovin’ It!

Faithfully Yours,

Leigh
P.S. Check out my other coordinating homespun holiday craft tutorial HERE, and the full results all of the heartfelt crafting HERE!


DIY Picnic Heart Napkin Rings & Customizable Banner + Pinwheel Craft Tutorials (+ Free Printable Templates)

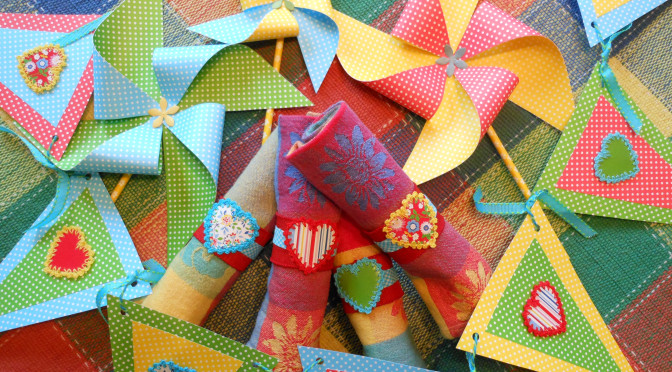
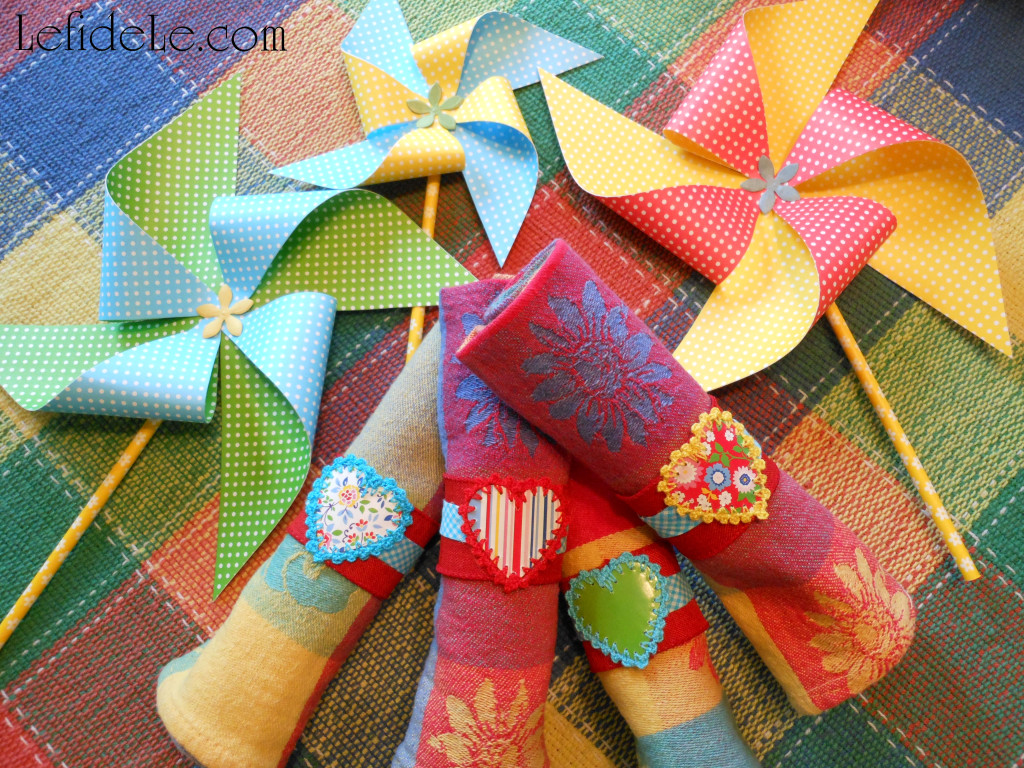
Craft your own colorful indoor picnic party quickly and inexpensively with scrapbooking paper, ribbon, and dimensional stickers! Use them to create your own customizable banner and pinwheels with my free printable templates, and then make DIY heart napkin rings to up the ante…. taking your picnic from average to outstanding!

091Leigh

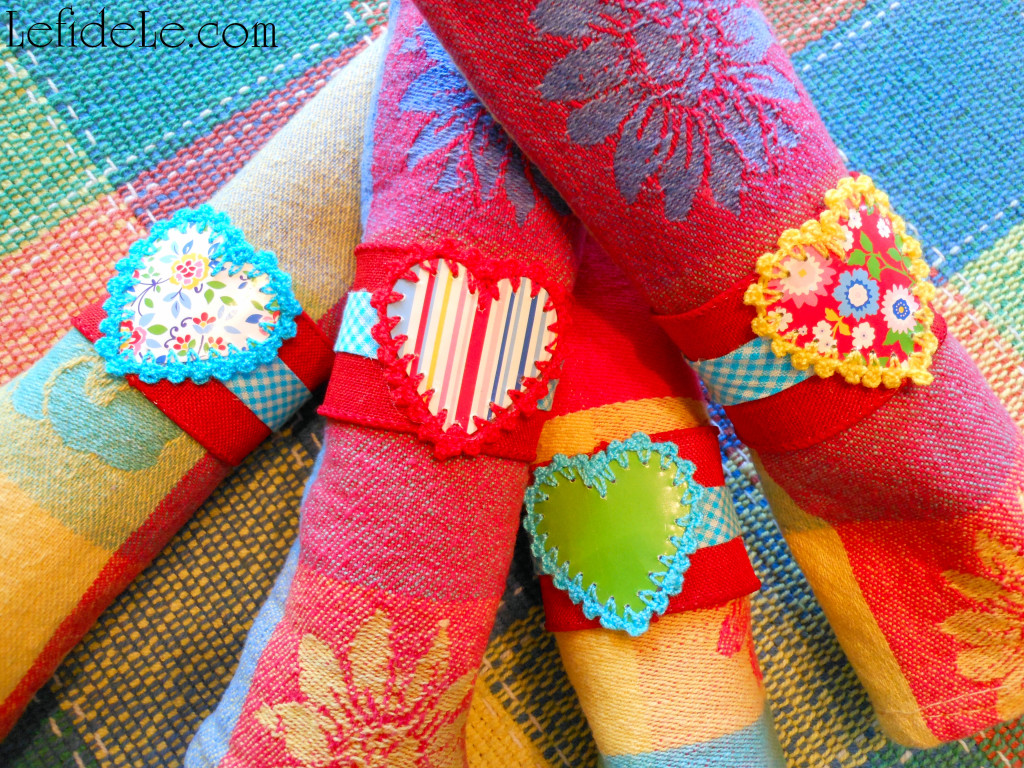
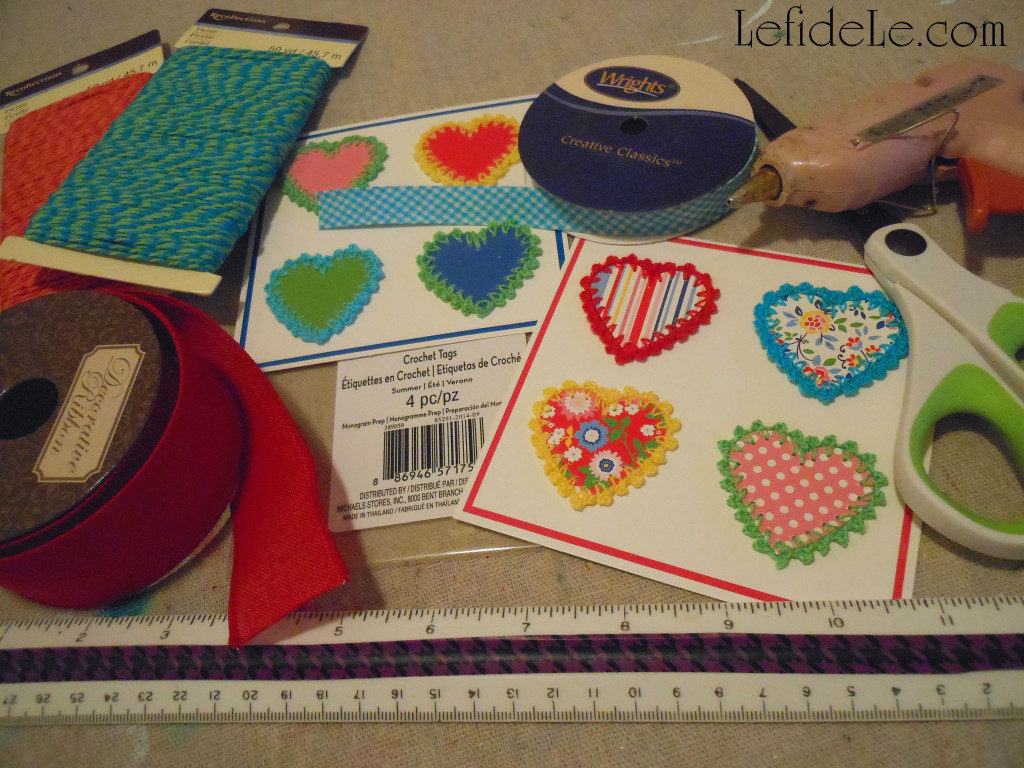
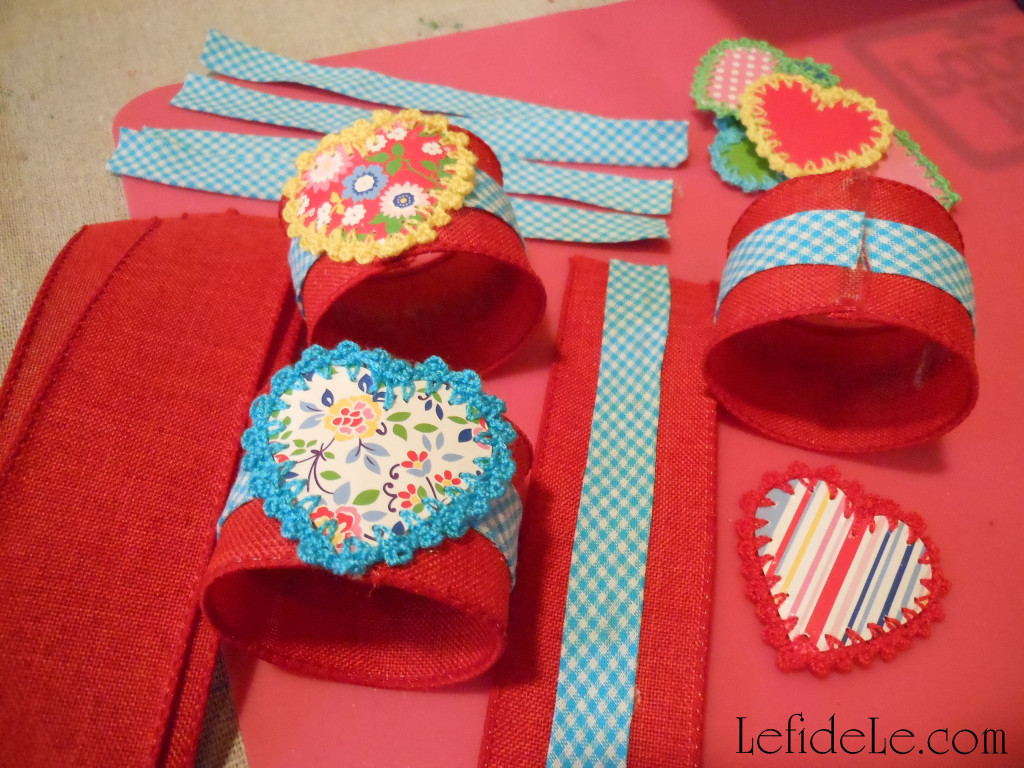
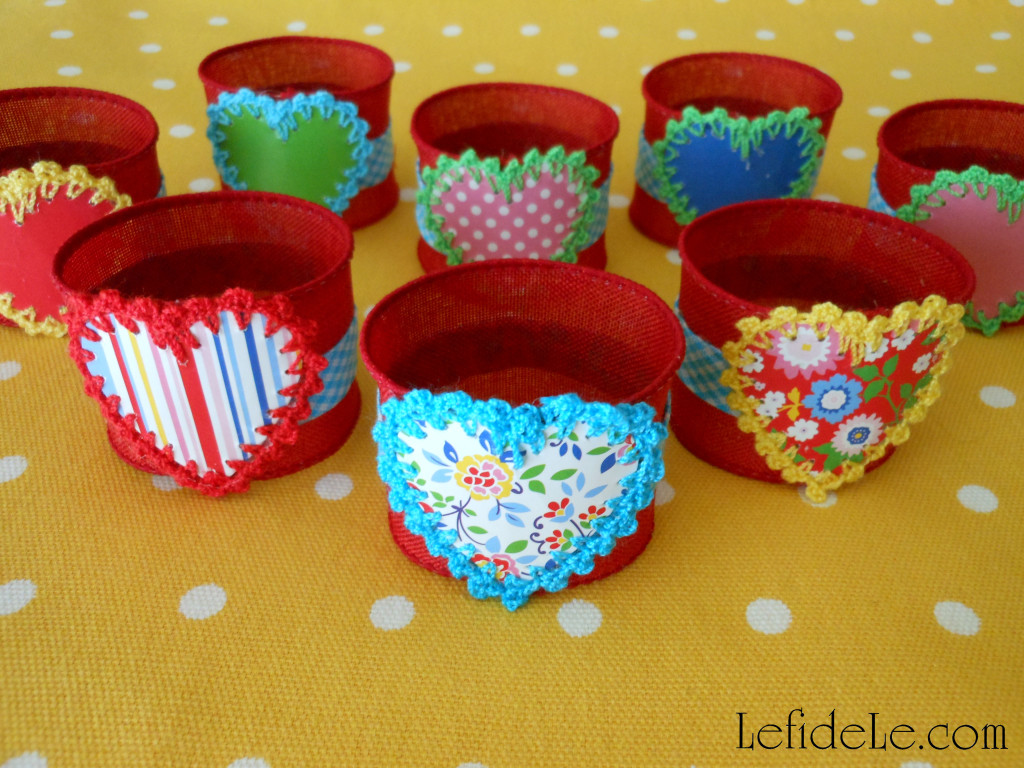
My heart napkin rings utilize dollar bin dimensional chipboard stickers that were decoratively crocheted (which I actually purchase half-price at Le fidèLe Design’s affiliate Michaels). The scrapbooking section of your local craft store always has items such as these which are made with sturdy materials, whose pretty looks belie their price points.

213Leigh

Find coordinating colors of wire ribbon and bias tape to tie together the set of differing stickers. (It’s like using different photos with matching frames to give a cohesive look to a home gallery.)

215Leigh

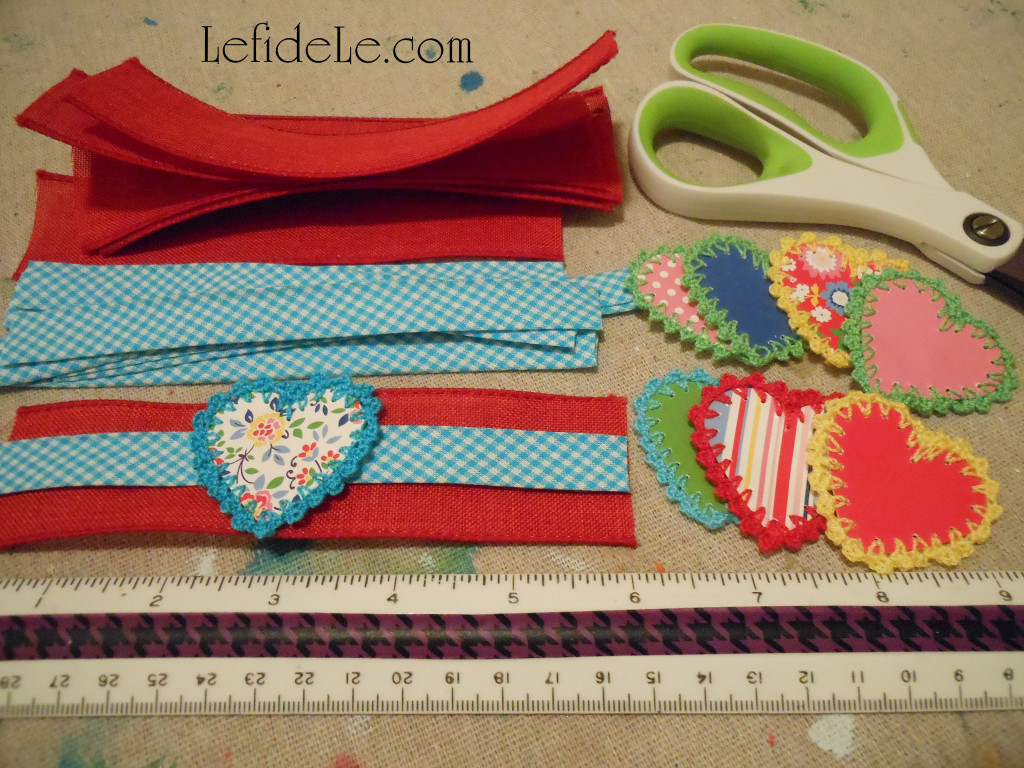
Cut 6 inch lengths of both the ribbon and bias tape. (Bias fabric tape is a sewing product, but makes a beautiful trim for this project. You can also use a thin ribbon in its place.) Pull the sticky dots off of the sticker backs. (Place them on plastic packaging to reuse for dimensional card-making later.)

219Leigh

Glue the bias tape across the center of each wired ribbon strip, making sure the tape doesn’t have a flap open… if so, glue it down too. Next, glue one end to the other by laying down a thin line of glue onto one short-side edge, and then press the other end onto it. (Press it down hard… using silicone finger cots if utilizing hot glue. I’ve use hot glue, fabric hot glue, fabric glue, tacky glue, universal glue… and it all worked beautifully.)

077Leigh

Take advantage of the wired ribbon’s staying power to form perfectly round circles for your rolled fabric napkins to slide right into. (Wired ribbon is the perfect base as it has a clean finished edge without needing to fold and glue.)

228Leigh

I made a set of 8 different heart napkin rings to mix and match according to my tablescapes (and it only cost me a few dollars).

233Leigh

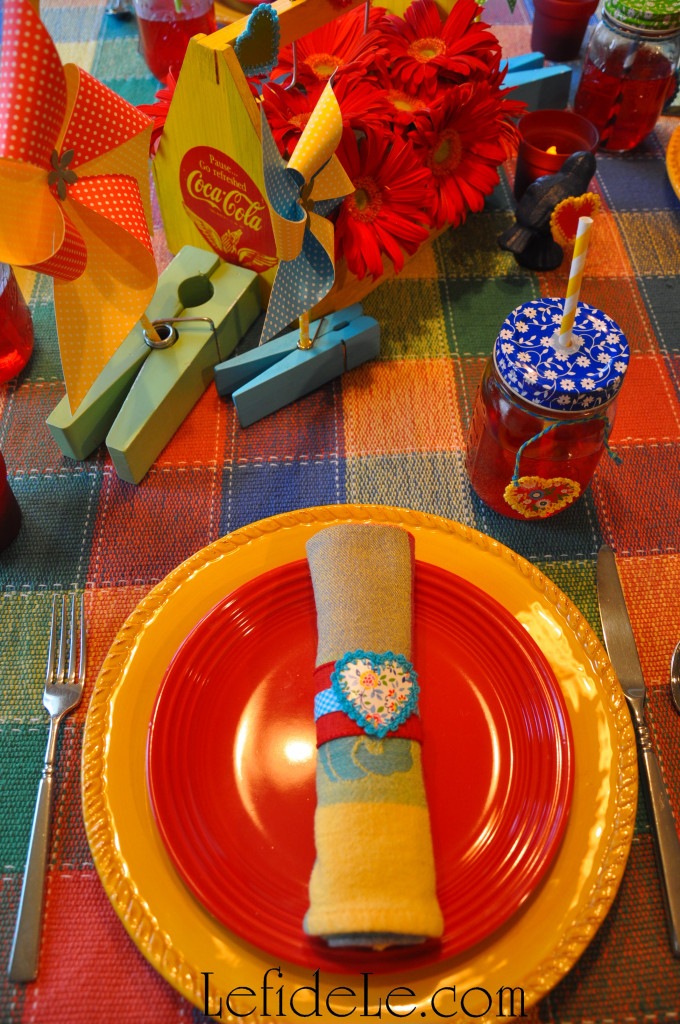
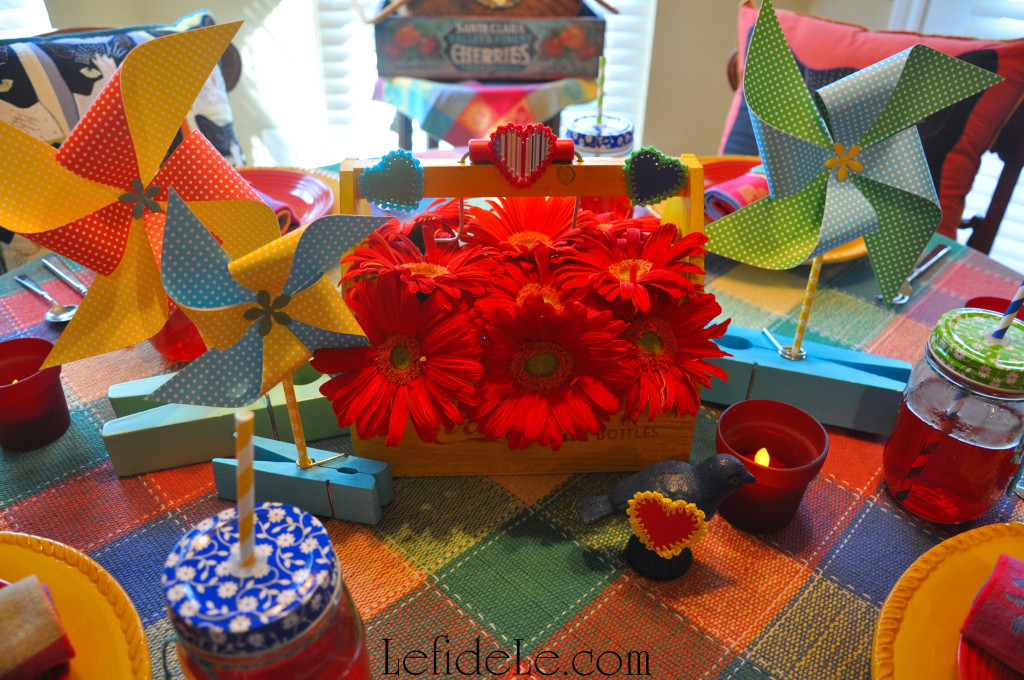
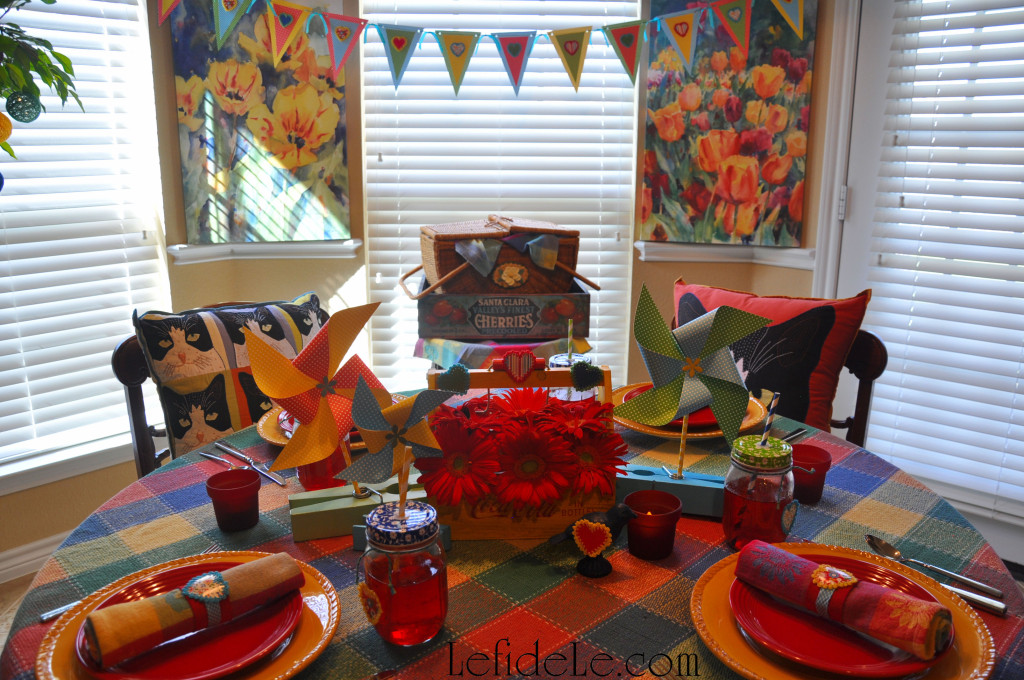
Here they are featured in my Colorful Indoor Picnic Party Tablescape Perfect for Rainy Days or Texas Temps, because in my world, a picnic is the perfect excuse for crafting! (Note the heart stickers were also placed on the drinking jars.)

274Leigh

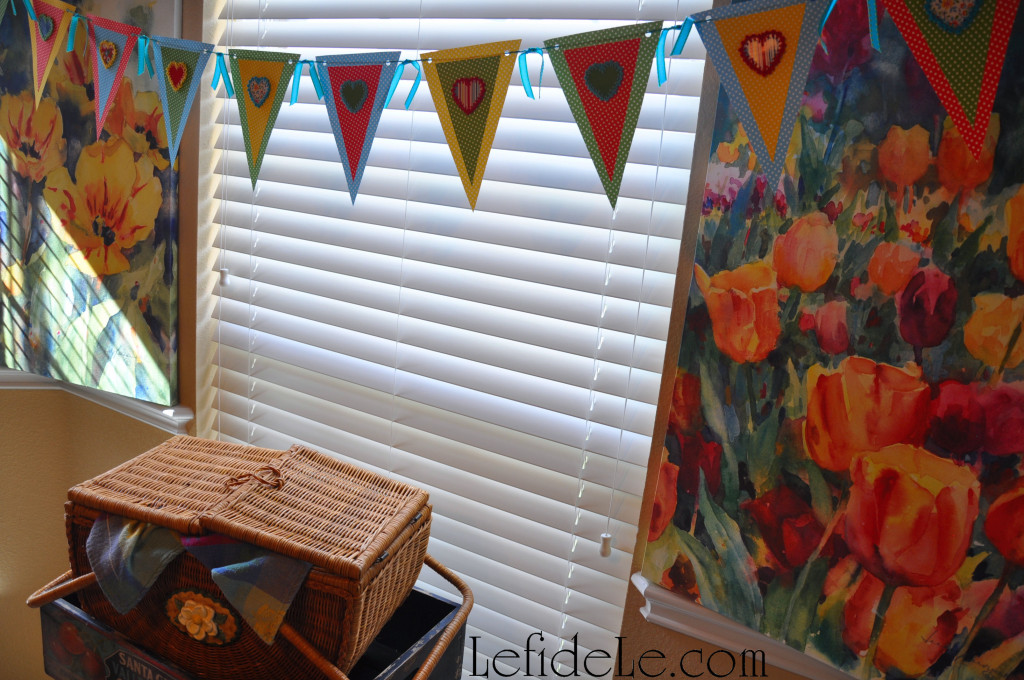
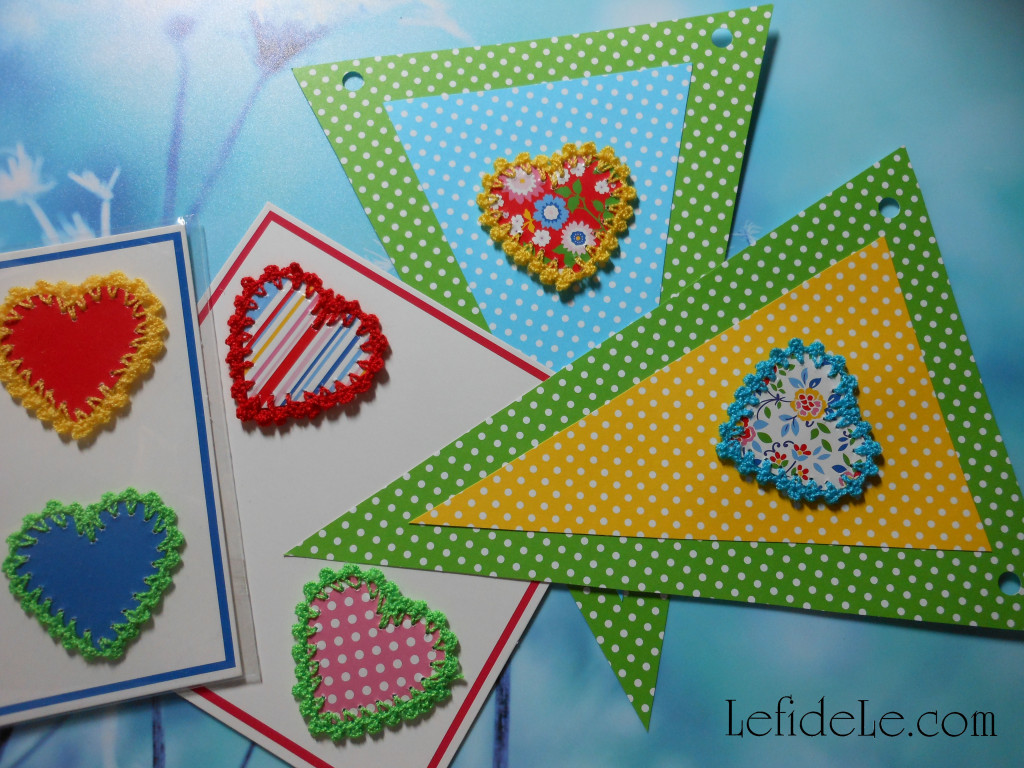
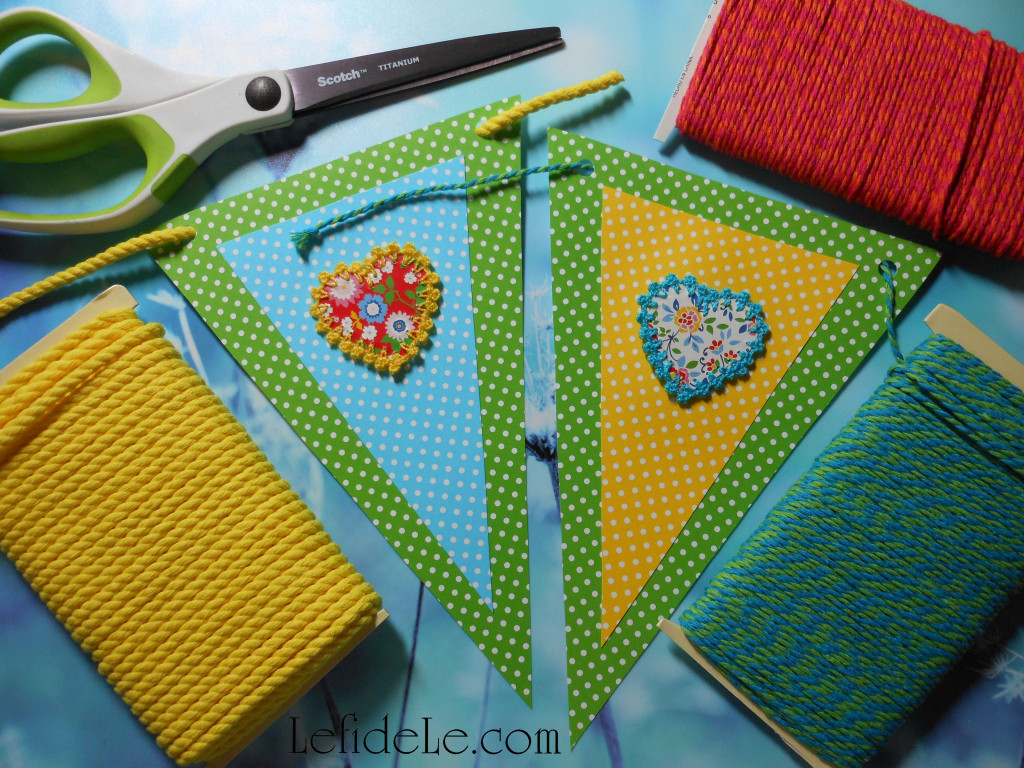
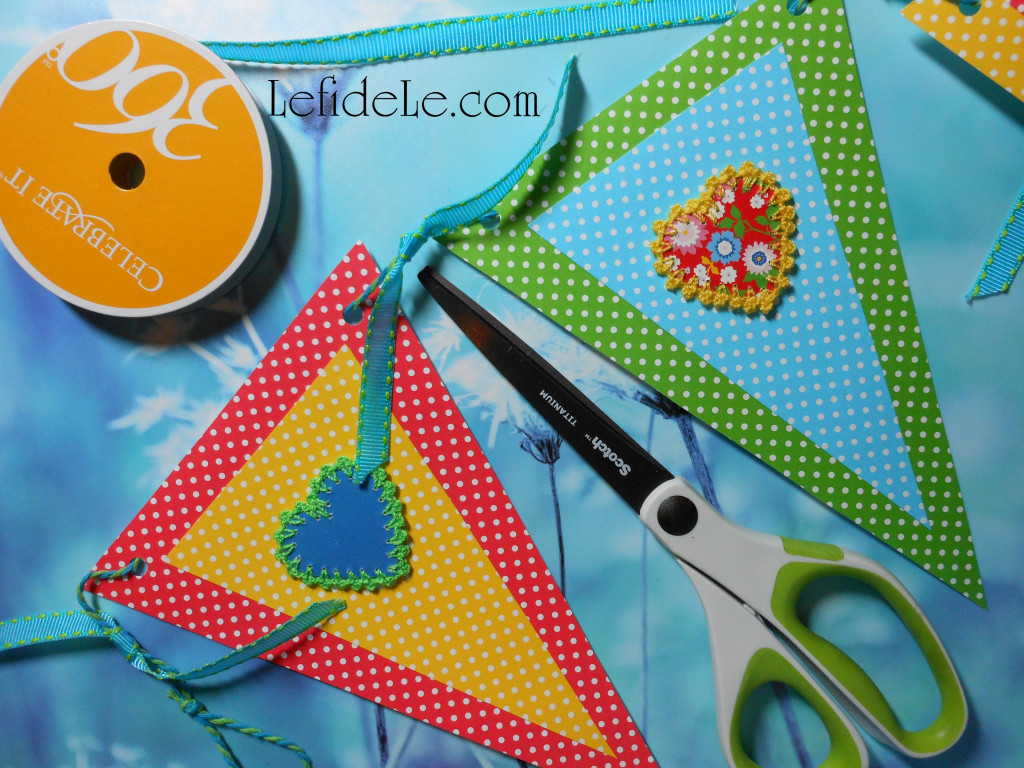
Make your own banners quickly using my free printable template to cut perfectly precise pennants from any scrapbook paper matching your theme décor. Finish them of with chipboard stickers like those I used on my heart napkin rings.

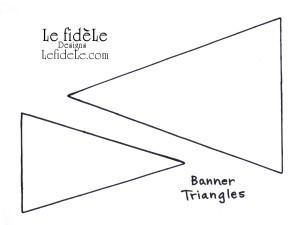
BannerTriangleTemplatesLeigh

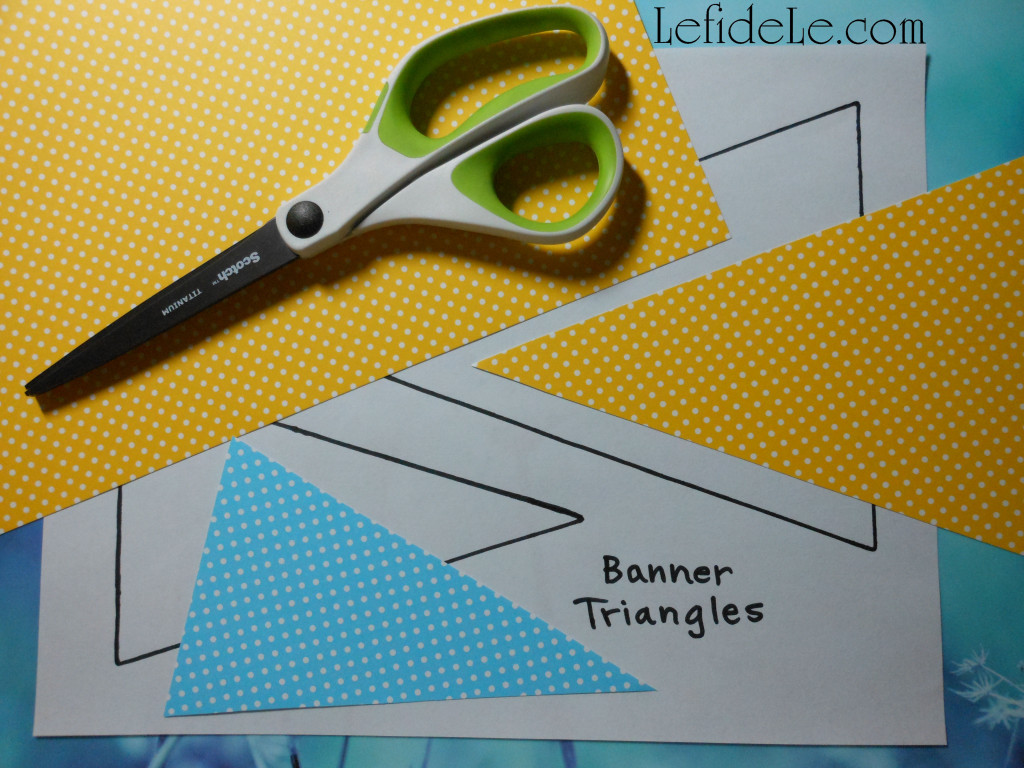
Print the template by first clicking on the picture above. Next right click on the image and select print. Choose a text or black and white setting to conserve ink. Cut out the two triangles.

001Leigh

Trace around the triangles with a pencil onto the back of the scrapbook paper. (Use them to conserve paper by flipping them until you maximize the number of triangles per sheet.) Now cut out these triangles. (Save the leftover bits for card-making later.)

003Leigh

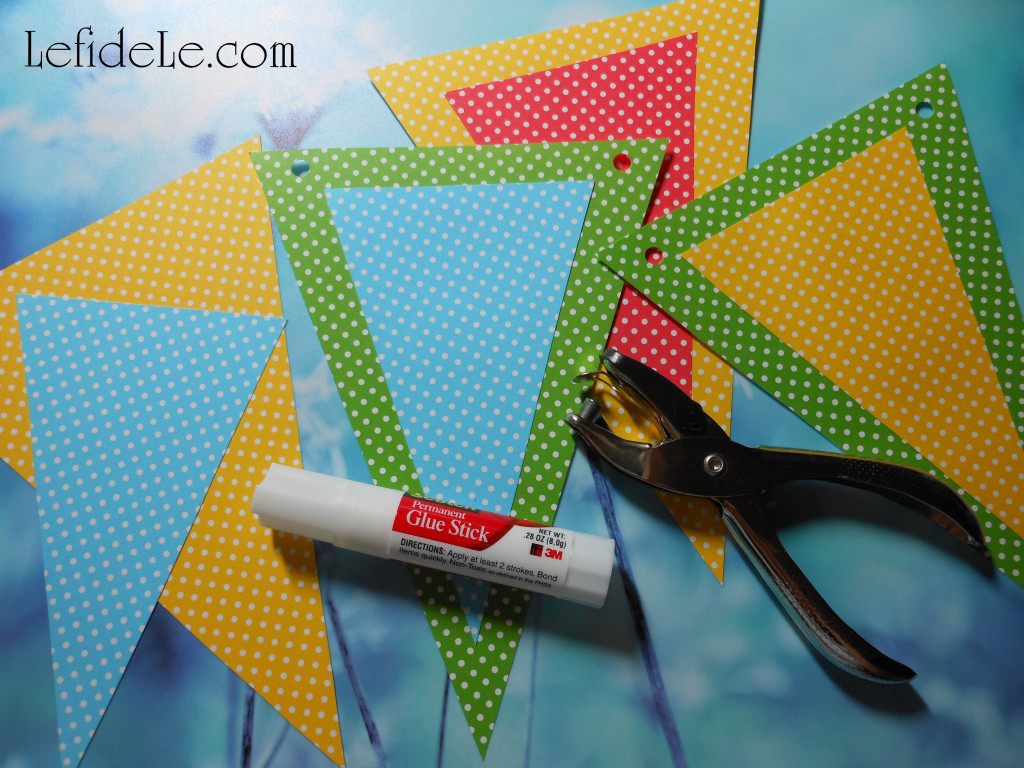
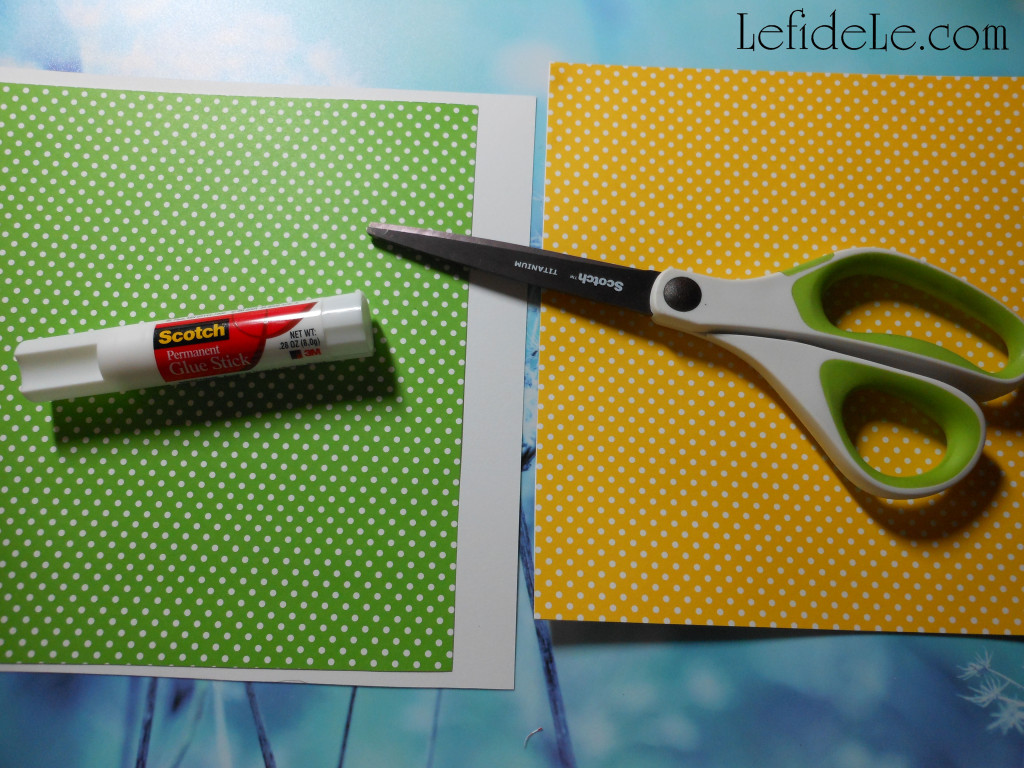
Glue a smaller triangle to the center of a larger one of a contrasting color. (A permanent glue stick works beautifully with less mess.) Punch a hole next to each top point of a glued pennant.

006Leigh

Place a dimensional sticker onto the center of each pennant. (Try to use contrasting colors to make a more visually interesting combination.)

010Leigh

Use any variety of string, twine, yarn, or ribbon to run through the punched holes. Knot each end into a loop to hang them by. (To do this, form a loop then make a simple overhand knot.)

019Leigh

For additional flair, tie small lengths of thin ribbon in between each pennant. Hang it up for an extra dose of cheerful festiveness!

096Leigh

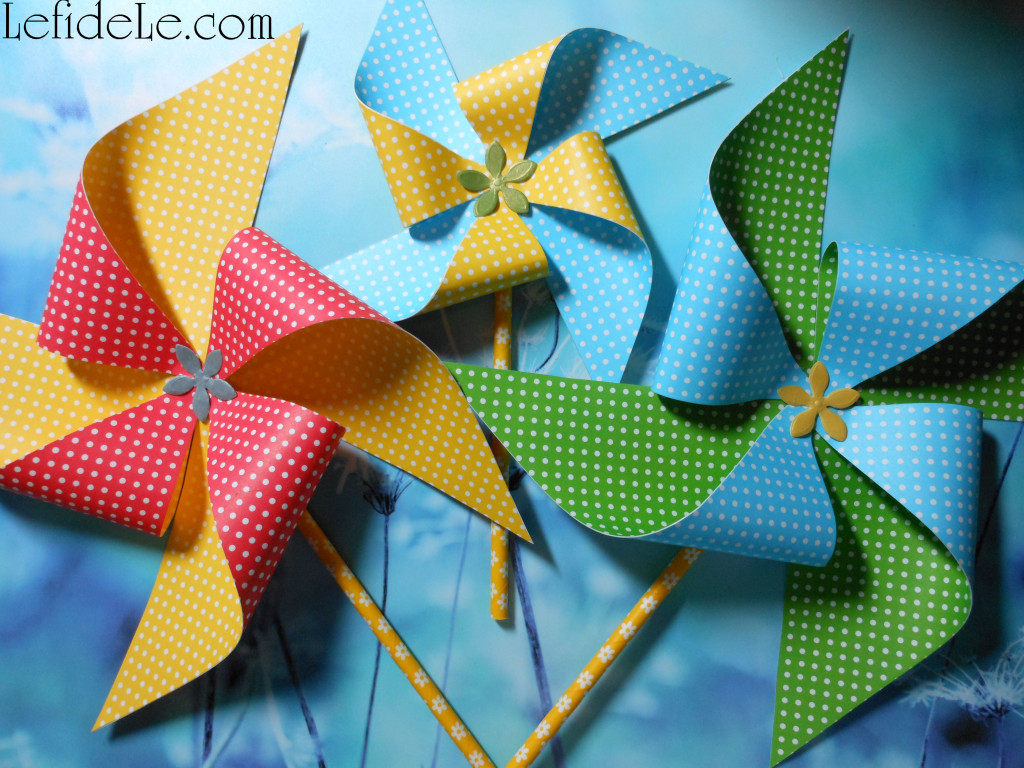
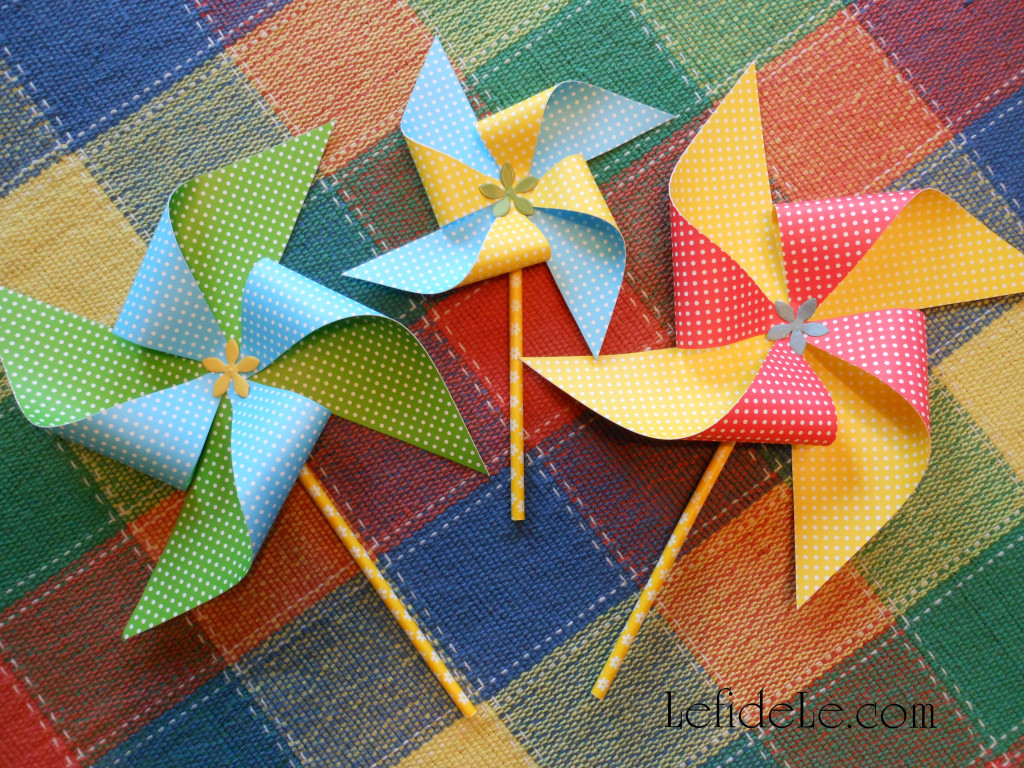
Next, let’s make matching pinwheels for décor or children’s play.

PinwheelTemplatesLeigh

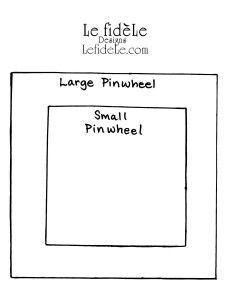
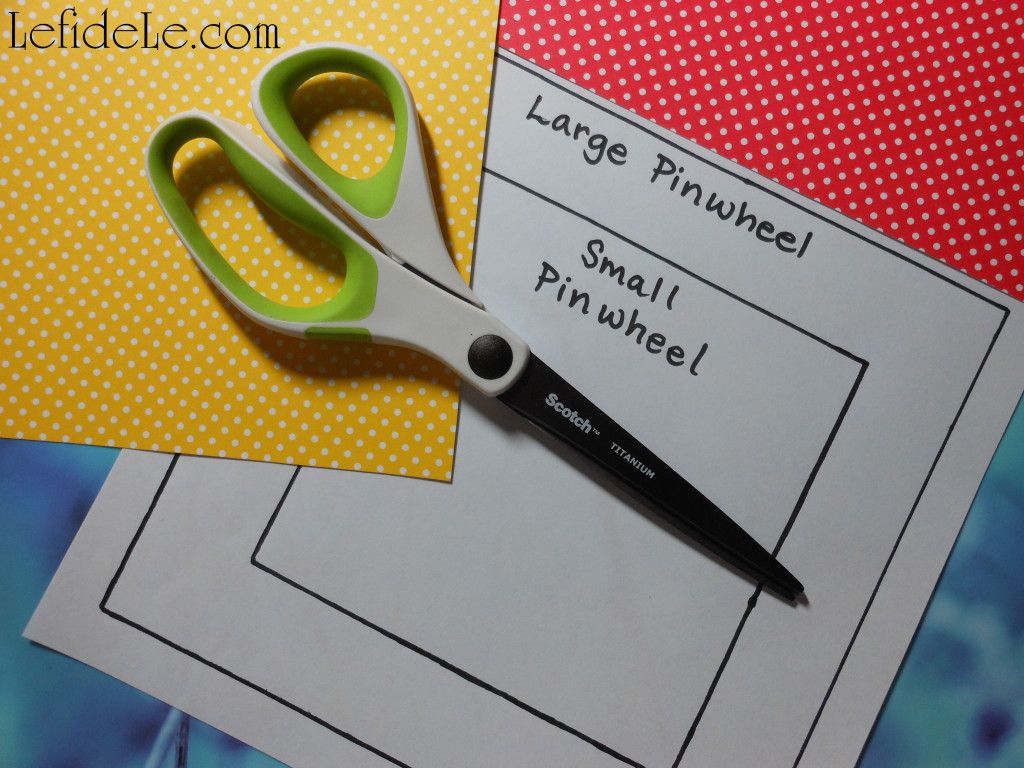
Either fold over an edge of scrapbook paper to form a box that can be cut out, or… print a template to quickly churn out pinwheel bases. (The templates are great to enhance a young kiddo’s tracing skills.) Click on the picture above, then right click on the resulting image and select print. Choose text or black and white settings to conserve ink.

012Leigh

Cut out a single square from double-sided paper, or cut 2 squares of the same size for single-sided paper.

015Leigh

If using single-sided scrapbooking paper, glue them back to back with a permanent glue stick. Or, you can do as I’ve done here by cutting one piece, gluing it to the plain side of another, and then cutting around the box… which I think is easier.

016Leigh

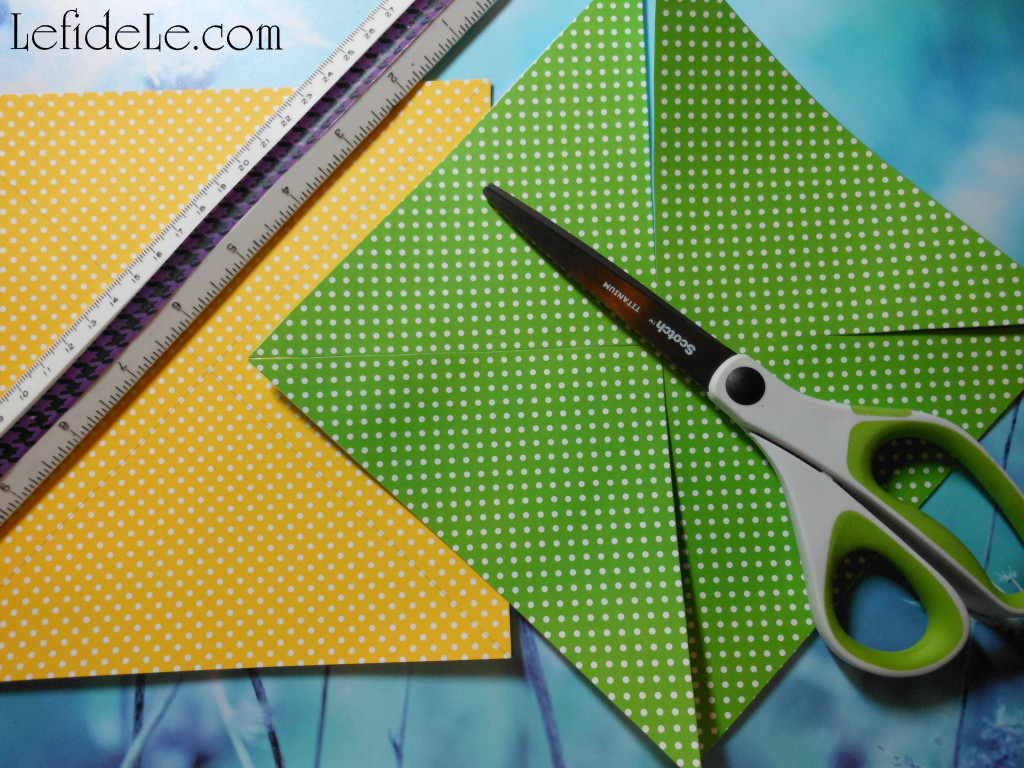
Next use a ruler to draw a line with a pencil, from one corner across to the other. Cut along this line, but leave a half inch or so at the center making 4 flaps.

020Leigh

Take the right corner of each flap and glue it onto the center. Decide if you want them to be functional or just décor. For décor, use cardstock and hot glue the whole thing onto a paper straw then glue a paper flower onto the center… and call it a day. For functional pinwheels, use thinner paper and weaker glue. Push a tack into a thin wooden dowel cut about a foot long… not pushing it in all the way in order to leave some room for the paper wheel to turn on.

237Leigh

‘Cause nothing says happy picnic like a pinwheel!

Faithfully Yours,

Leigh
263Leigh

P.S. See all of these projects in action in my Colorful Indoor Picnic Party Tablescape Perfect for Rainy Days or Texas Temps!

Cinco de Mayo Fiesta Tablescape Party Décor Ideas (with Easy DIY Craft Links)

Take an armchair vacation to Texas and join me for a Cinco de Mayo celebración exploding with color. Then recreate the fabuloso fiesta in your own home for any occasion calling for mirth and margaritas! So slip on your serapes and sombreros ‘cause we’re gonna have a hot time in the old town tonight!

020Leigh

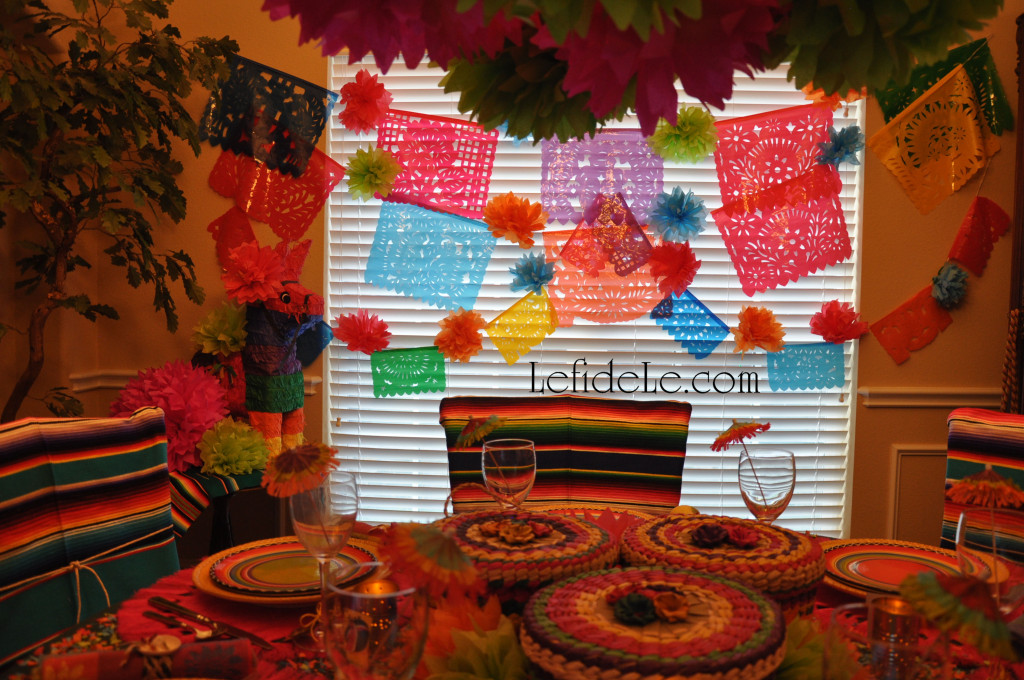
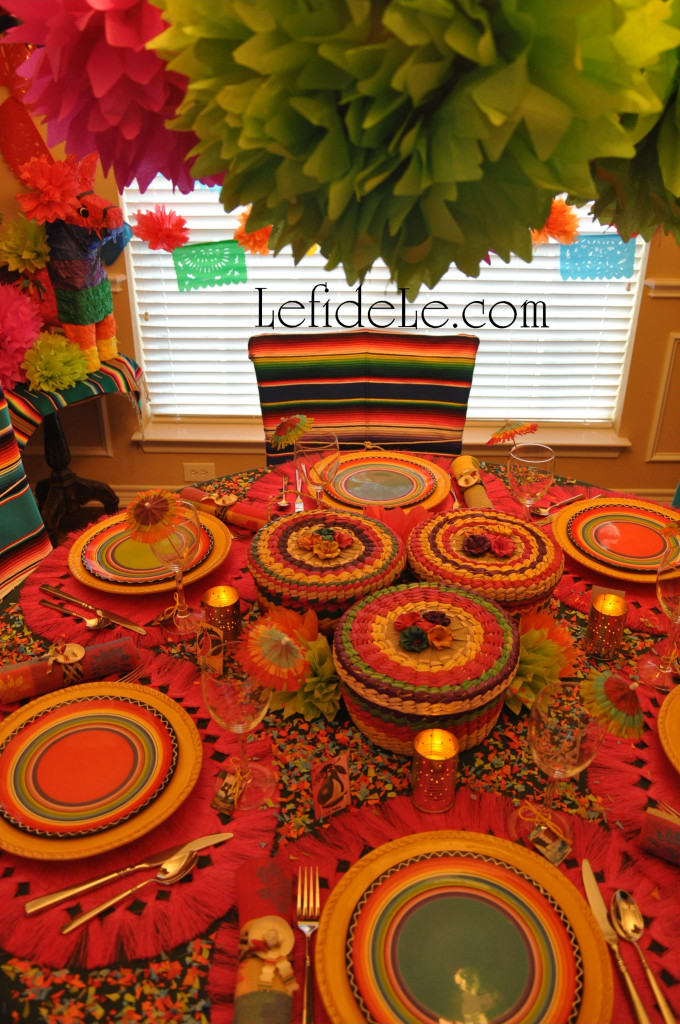
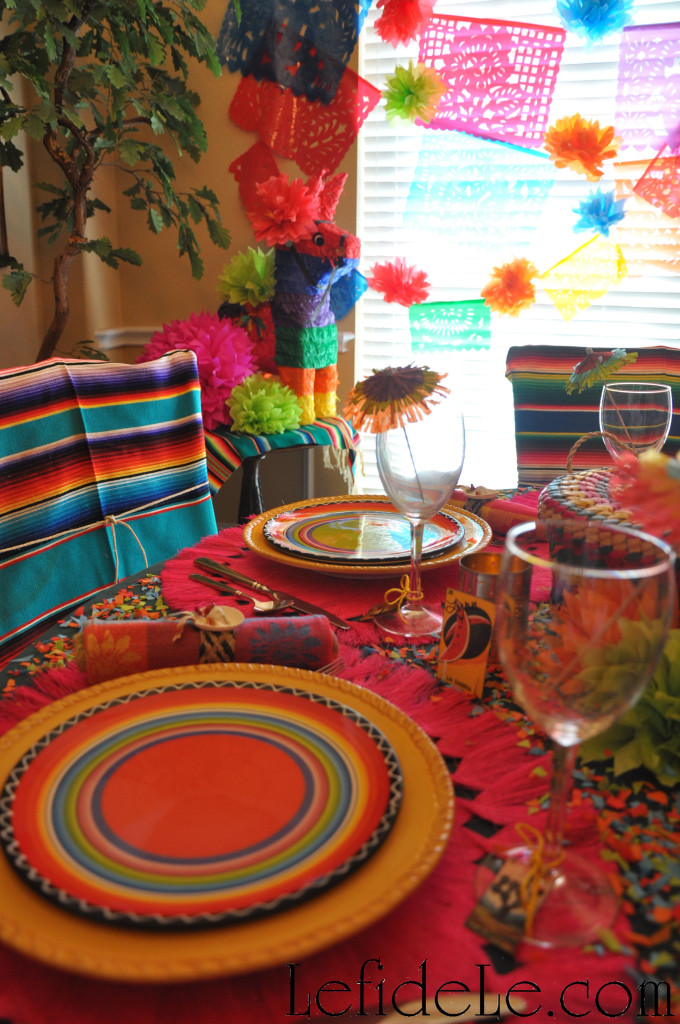
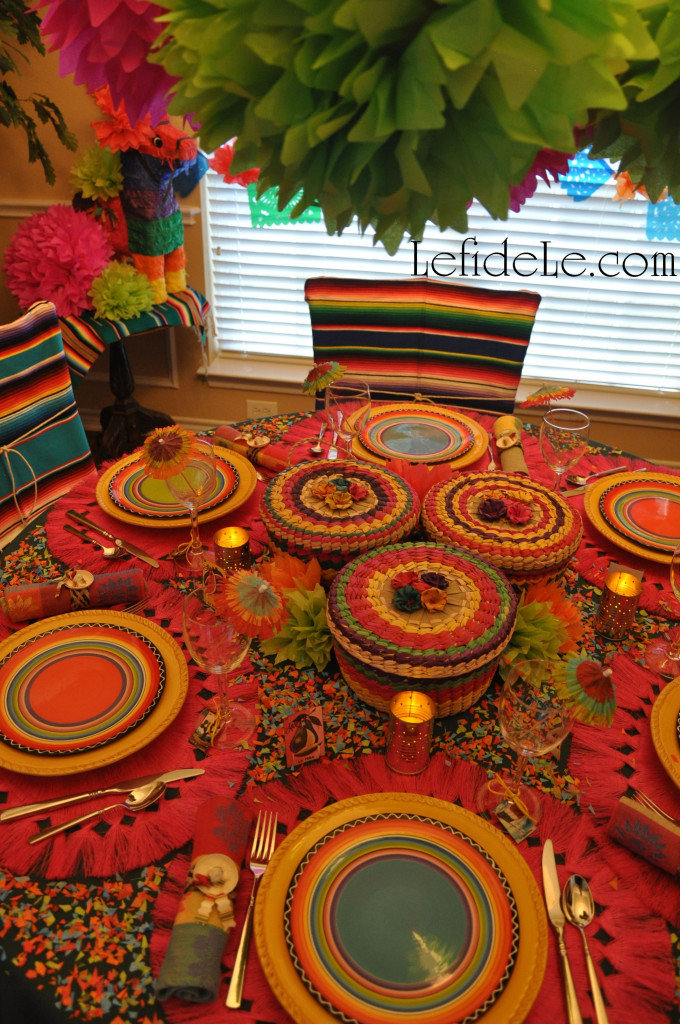
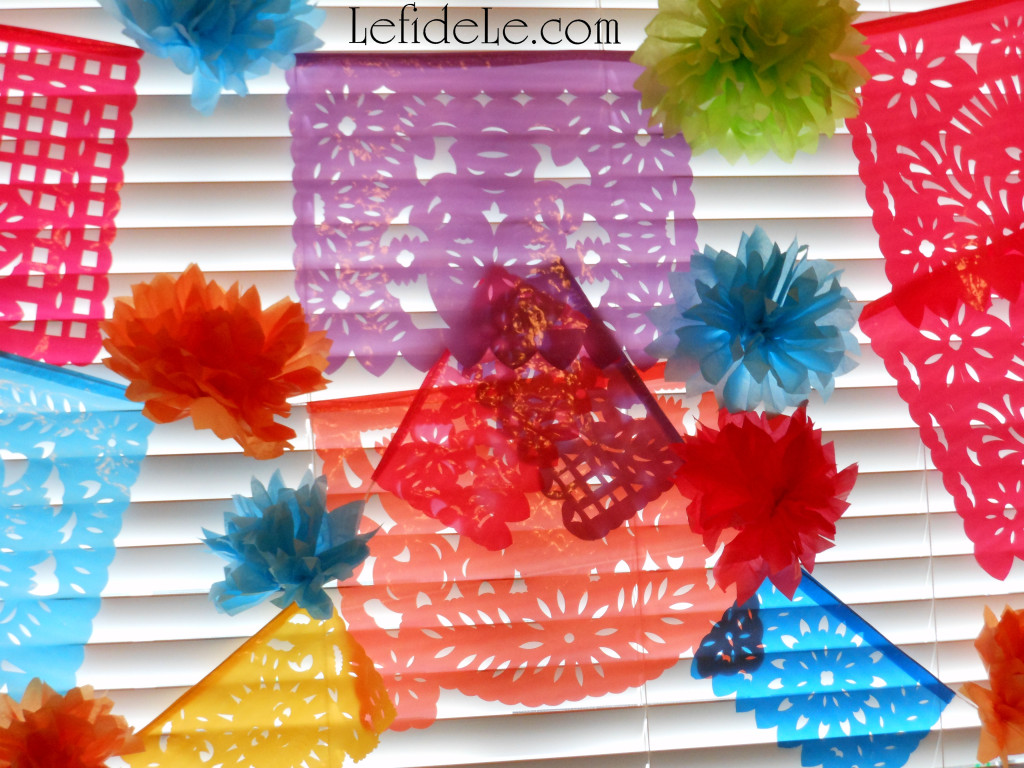
Sunlight streams through the vibrant papel picado banners crisscrossing the window. Handmade tissue paper flowers hang between each cut panel.

029Leigh

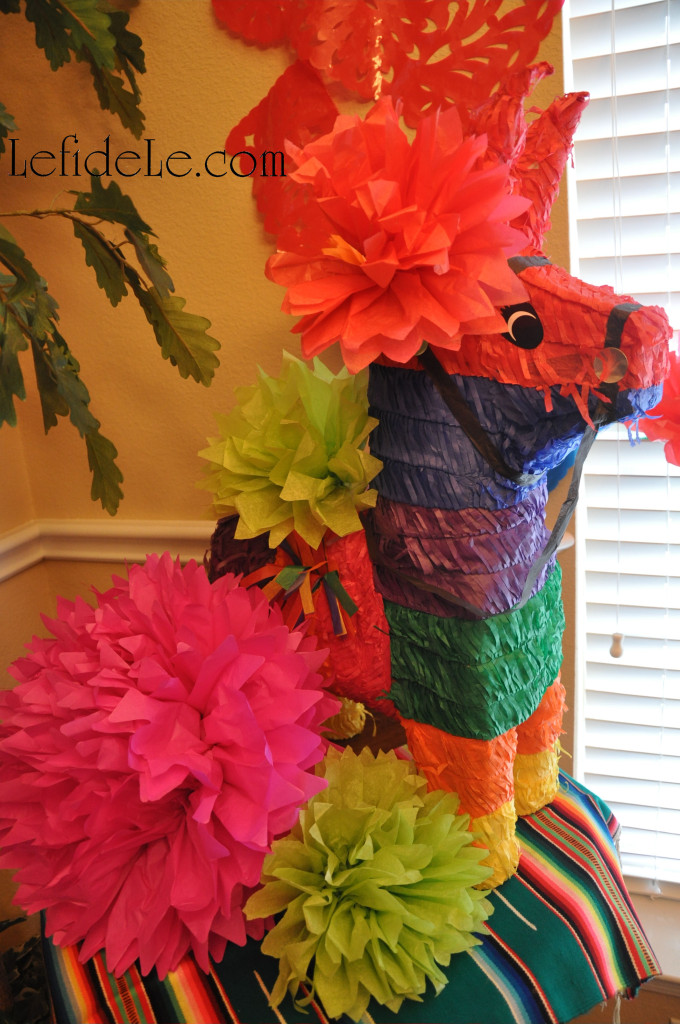
A burro piñata presides over the extravagancia, standing atop a small serape adorned with its own bouquet.

021Leigh

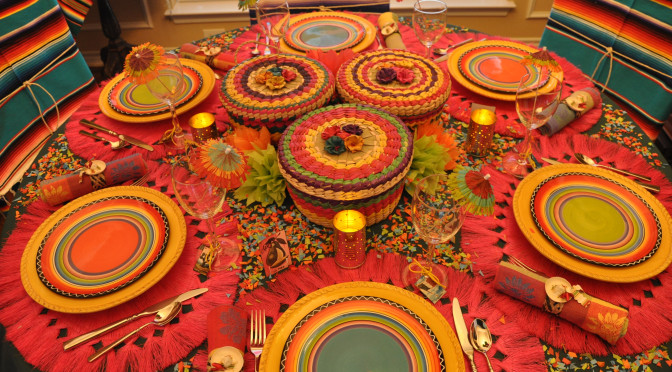
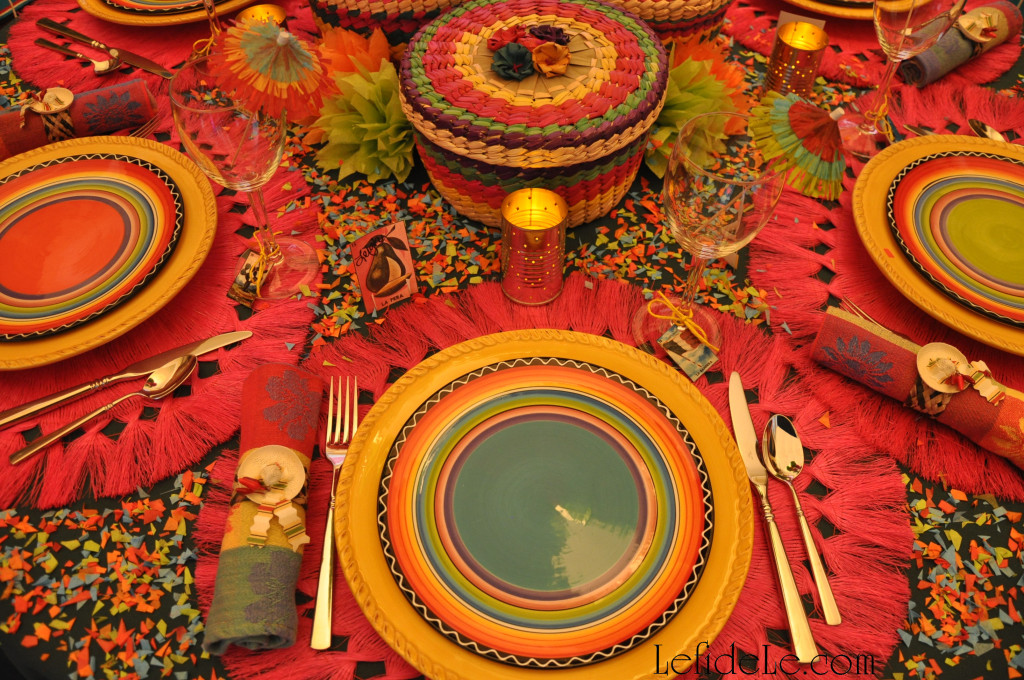
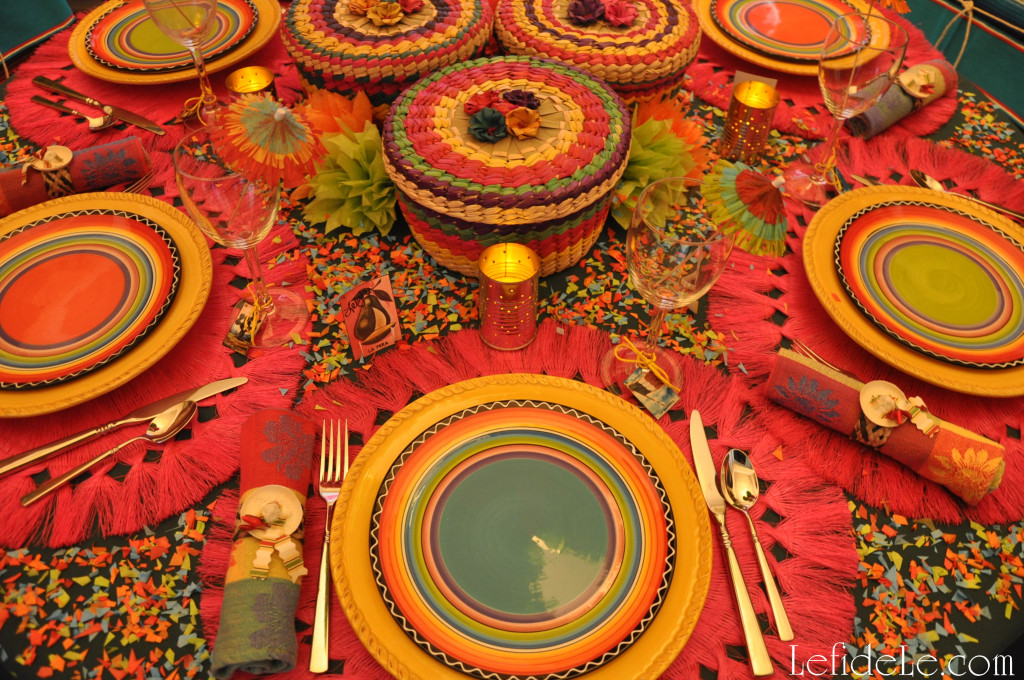
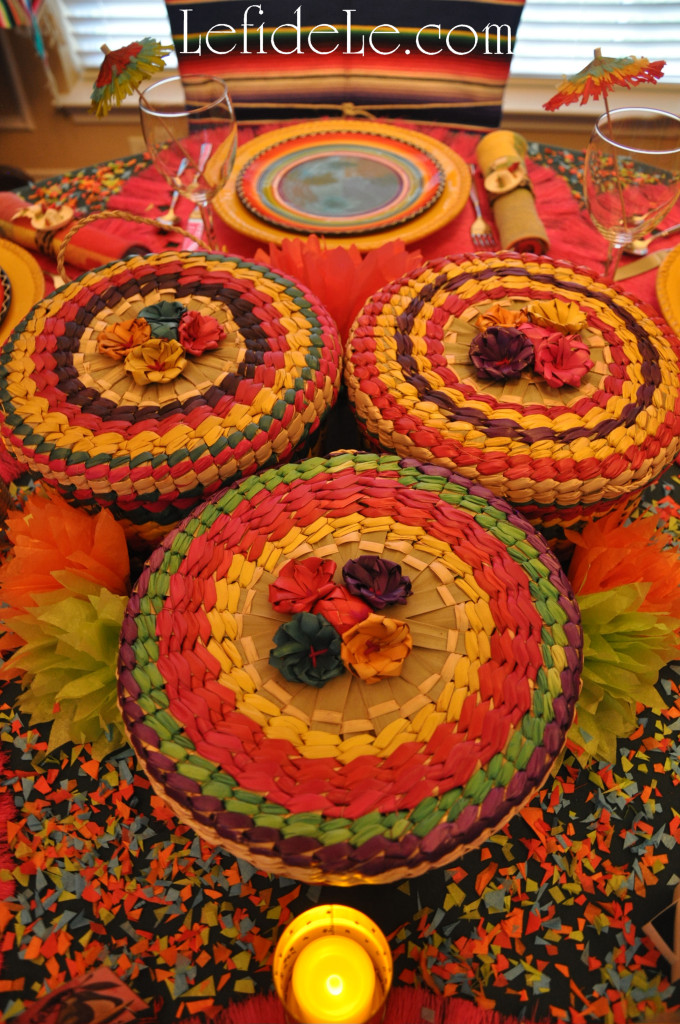
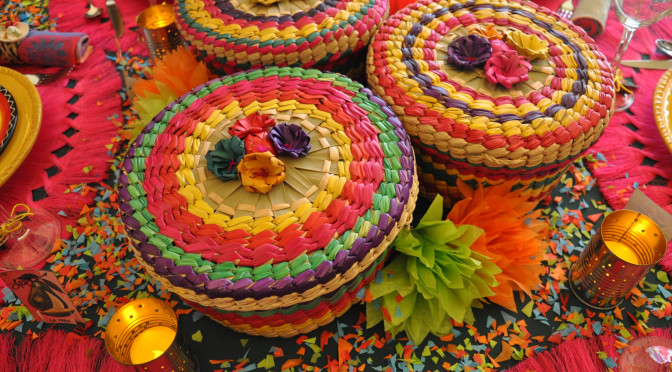
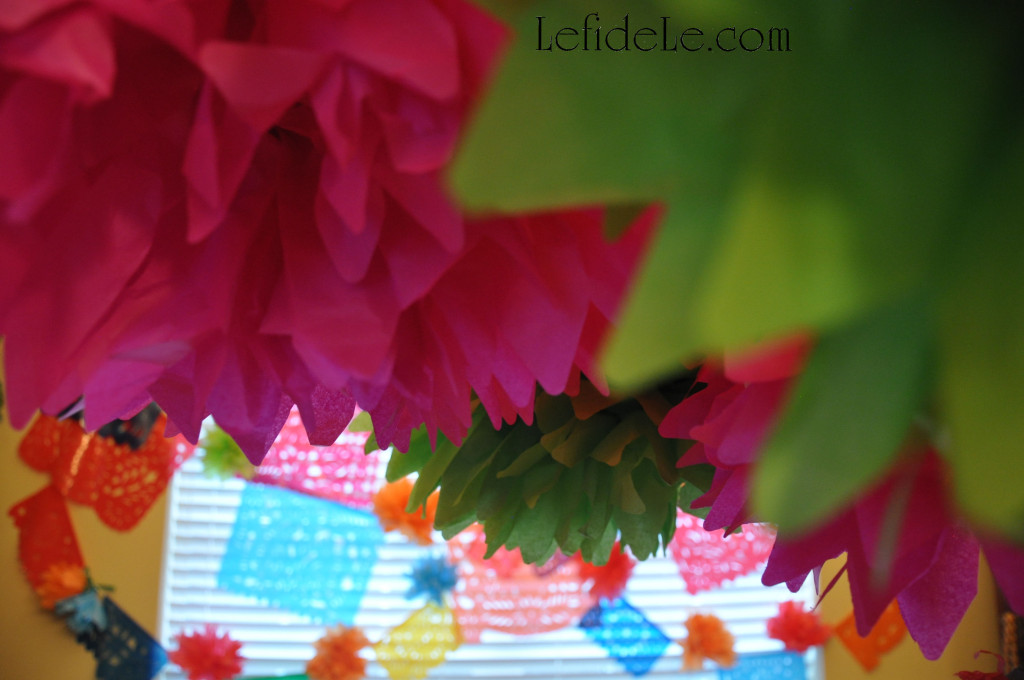
Extrema pink and green fiesta flowers drip from the chandelier in an overhead centerpiece that leaves room on the table for brillante woven baskets.

073Leigh

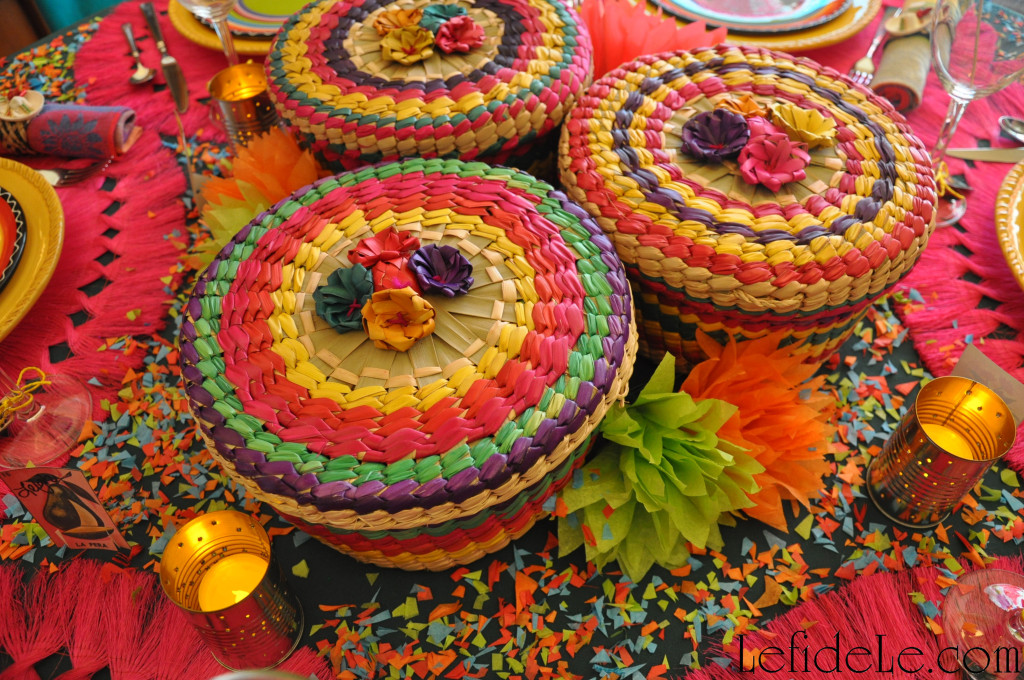
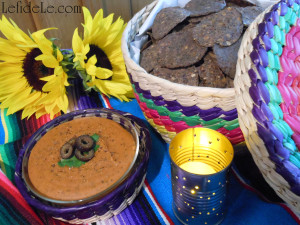
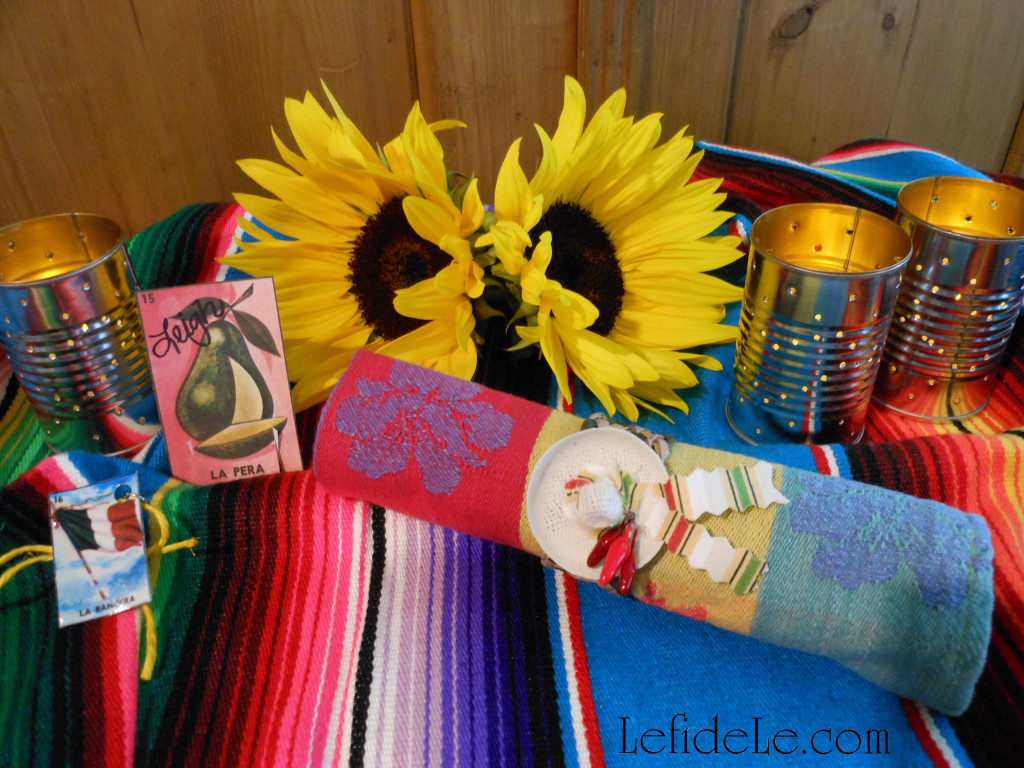
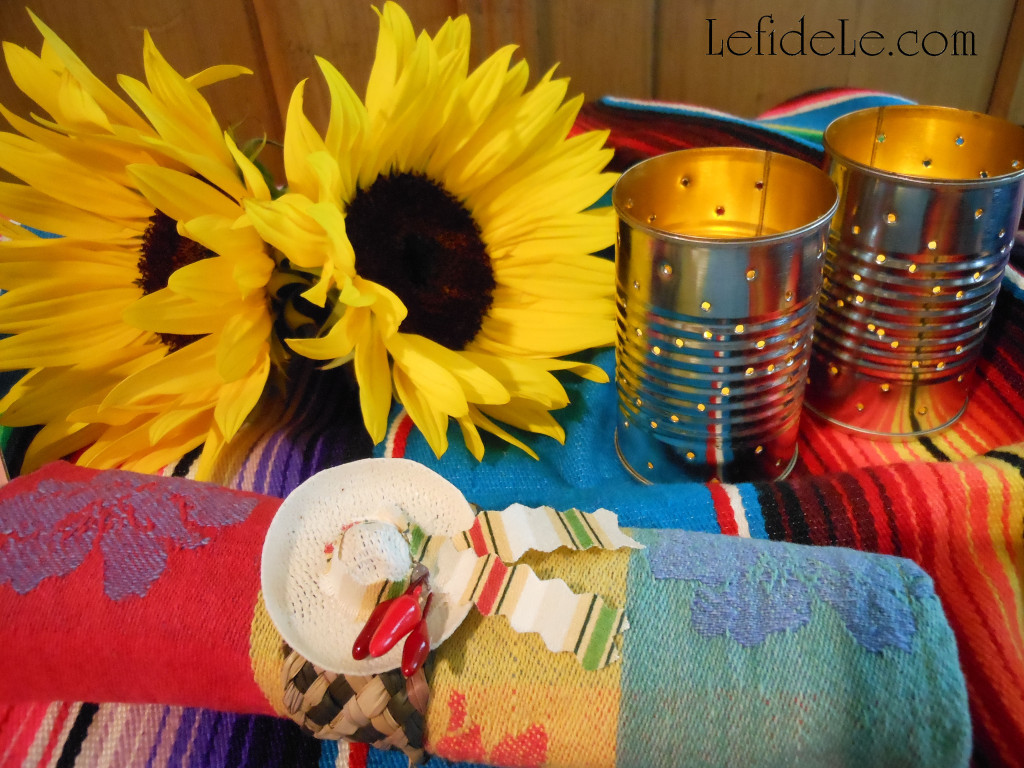
Tortilla, chip, and buñuelo baskets sit squarely at the center of the celebración flanked by paper flower buds and upcycled luminarias providing illuminación.

030Leigh

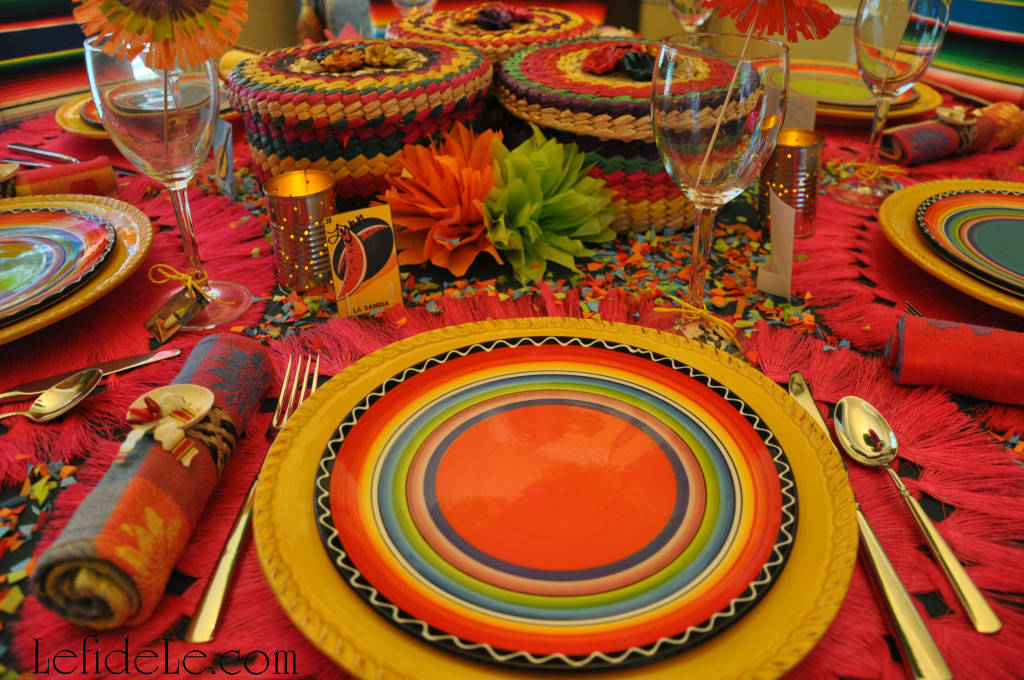
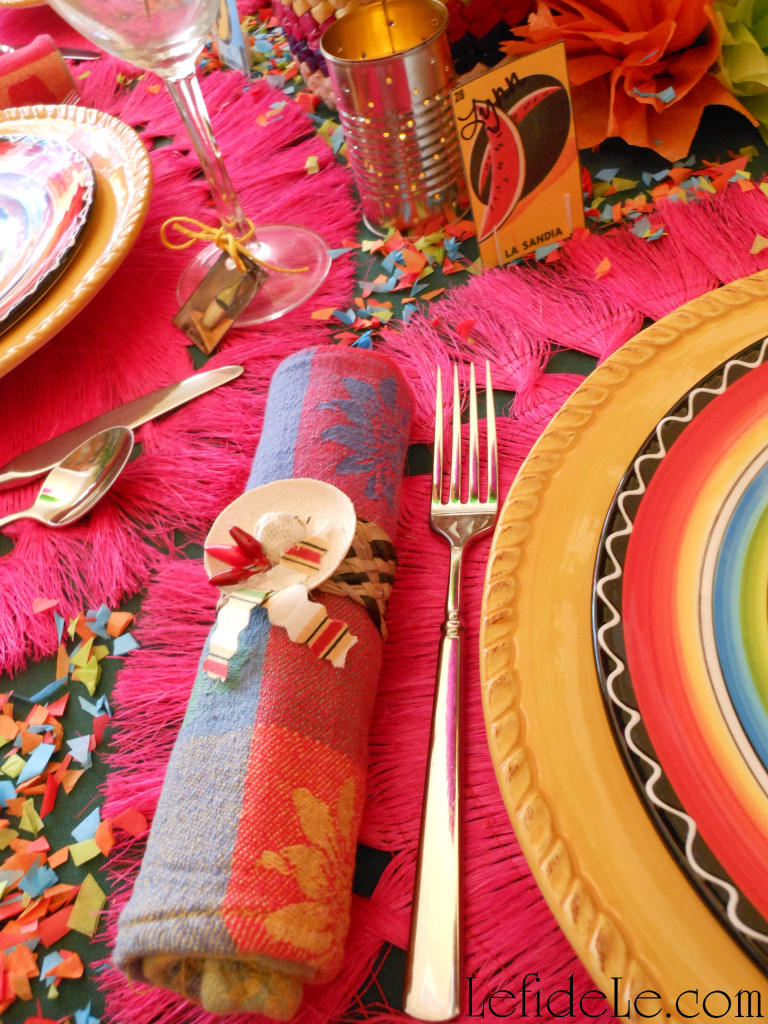
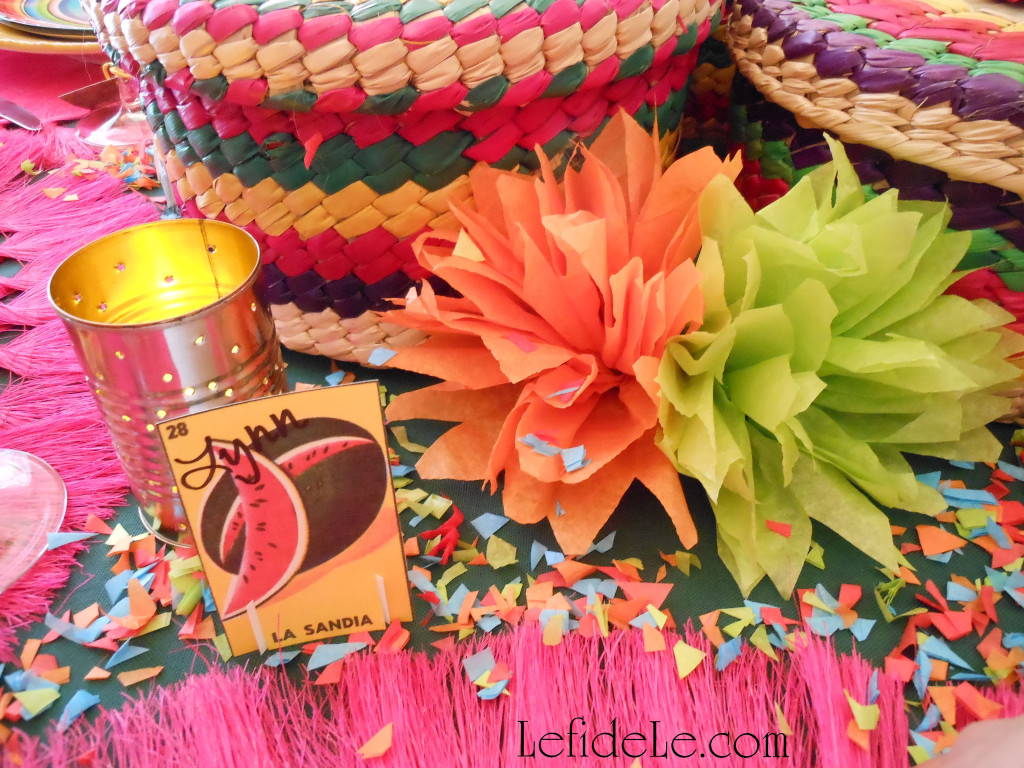
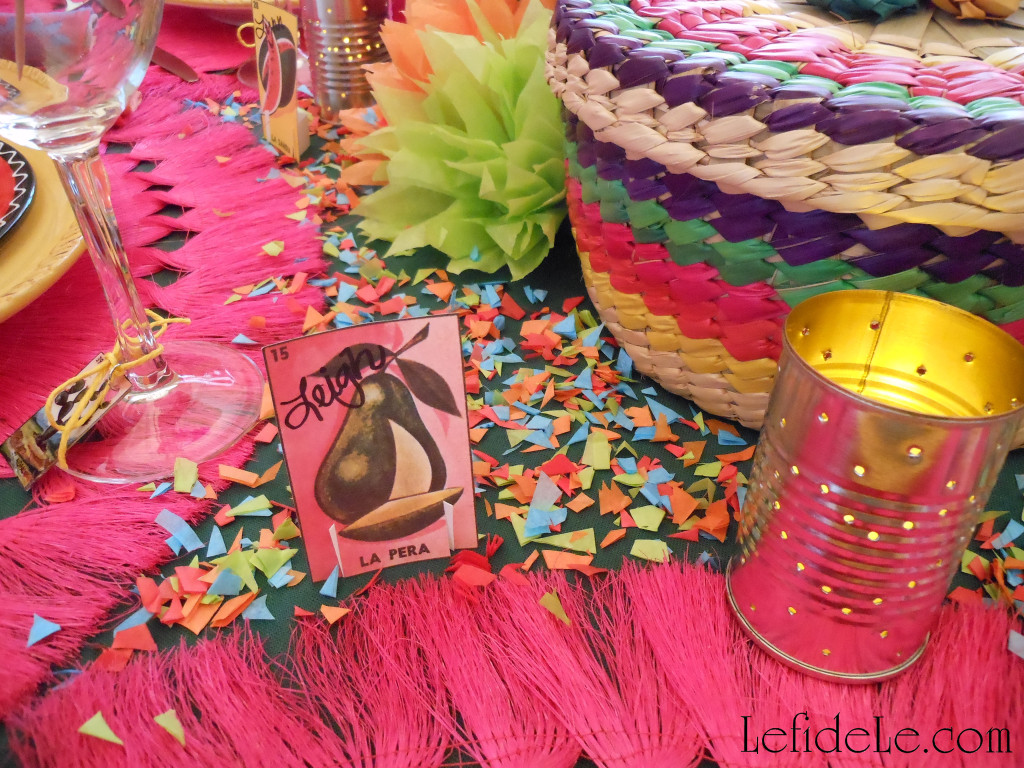
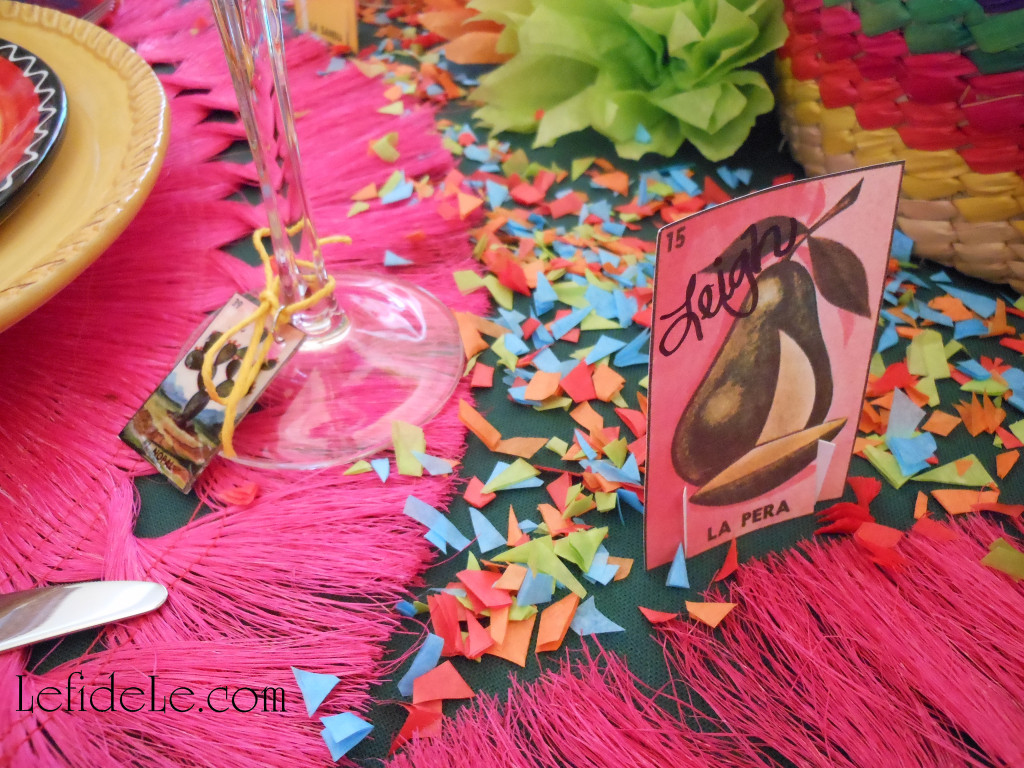
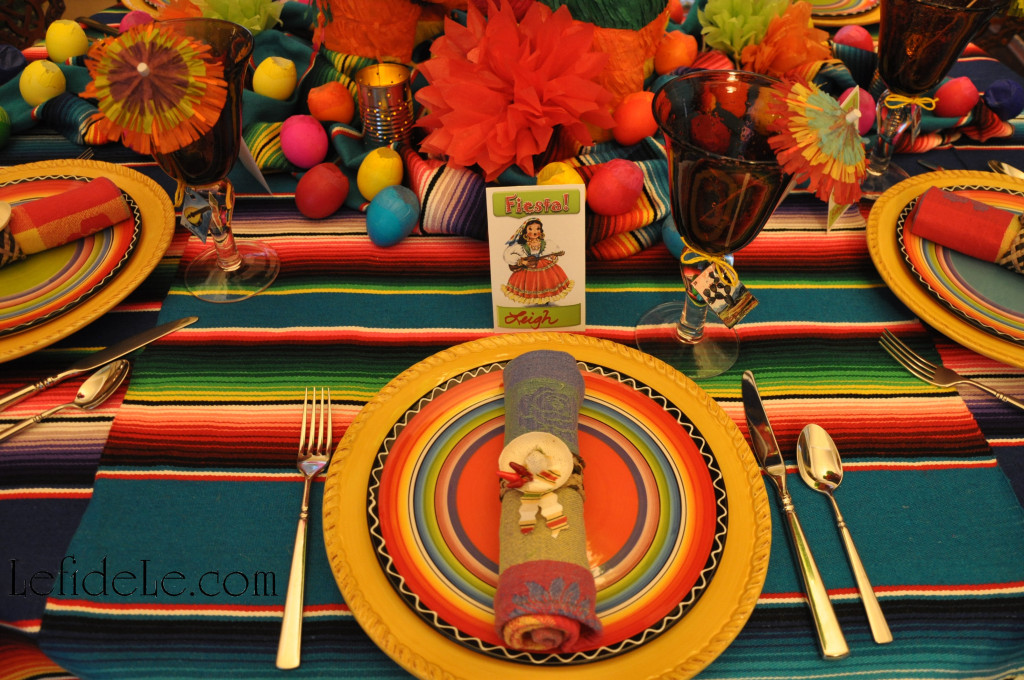
Vivid confetti outlines the fringed caliente pink placemats bordered with Mexican Lotería game place-cards.

044Leigh

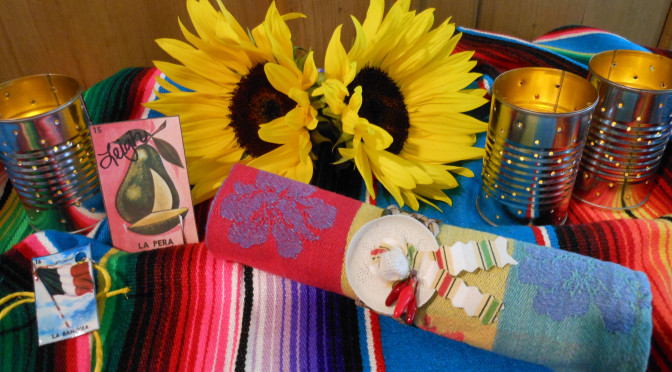
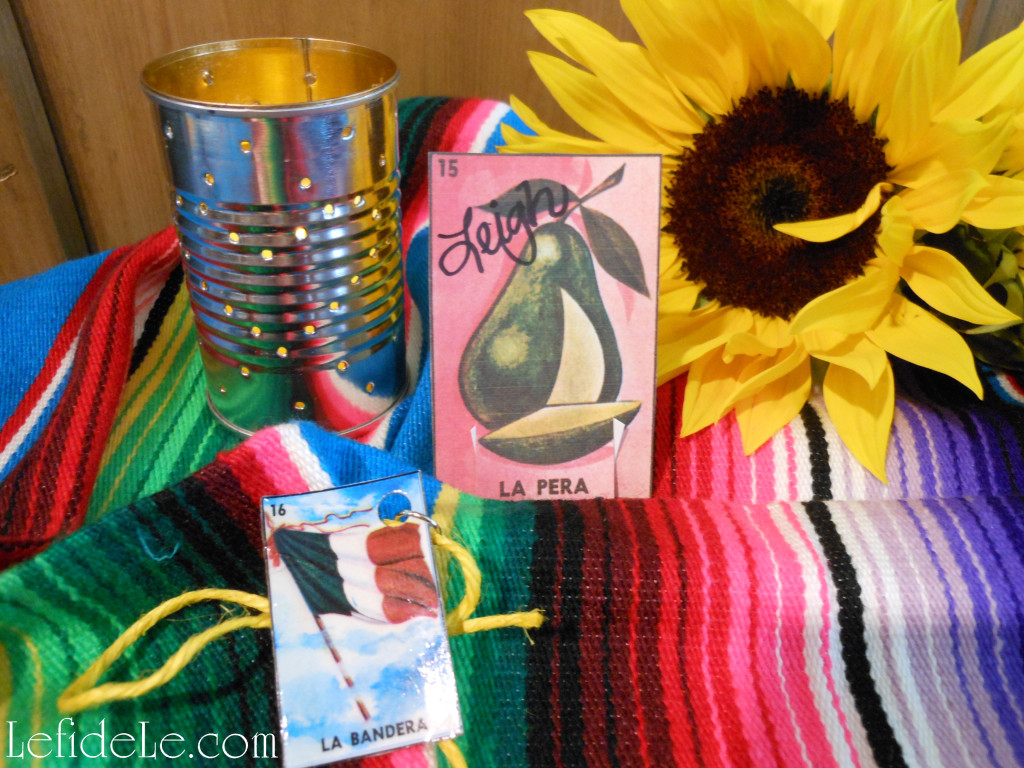
Paper parasol toting wine glasses, tied with yellow jute and Lotería charms, await sangria sipping.

357Leigh

Exuberante cloth napkins are ringed with handcrafted sombrero capped raffia rings ornamented with red chilis.

045Leigh

Brillantes yellow plates evoking the sun are topped with multi-hued dishes suggesting serape patterns.

064Leigh

Even the chairs participate in the festividad by wearing their own serapes belted with rope.

041Leigh

Now tie a serape on yourself and sip some sangria for your own dose of party perfección!

046Leigh

¡Feliz fiesta ya’ll!

Faithfully Yours,

Leigh
P.S. For details on just how to fuel your own fabuloso fiesta, see my other Cinco de Mayo articles:

DIY Upcycled Can Tea-light Luminarias (+ Free Printable Template) & Tissue Paper Flowers Crafts (for Cinco de Mayo Fiesta Décor)

291Leigh

DIY Sombrero Napkin Rings & Serape Invitations + Loteria Wine Glass Charms & Place Cards Crafts (for Cinco de Mayo Fiesta Tablescape)

238Leigh

Healthy Tex-Mex Cilantro Chicken Spinach Quesadilla Recipe (Dairy, Red Pepper, Corn, & Gluten-Free) Easy Appetizer for Cinco de Mayo Fiesta

274Leigh

“Nacho Average Fiesta Dip” & Spicy Nachos Compuesto (Dairy, Corn, Red Pepper, & Gluten-Free) Easy Appetizer for Cinco de Mayo Fiesta

254Leigh

Easy DIY Upcycled Can Tea-light Luminarias (+ Free Printable Template) & Tissue Paper Flowers Crafts (for Cinco de Mayo Fiesta Décor)

321Leigh

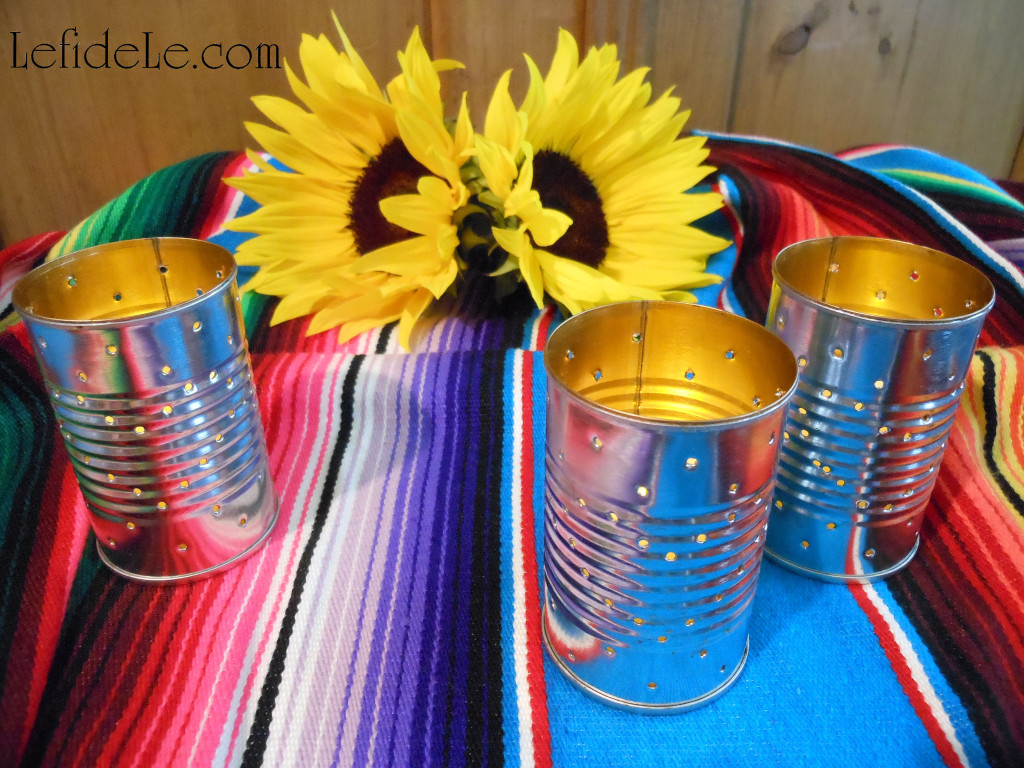
Light the Cinco de Mayo night by upcycling cans into tea-light luminarias (easy with the help of my free printable template), and adorn your tablescape with DIY fiesta tissue paper flowers. These crafts are perfect to bring the whole family in on, with luminarias for the strong folks and flowers for the kiddos. So hang on to your sombreros senoritas… we’re about to craft a fiesta!

300Leigh

As a kid, I was delighted by long rows of luminarias lighting the way to fiestas. I wanted to bring some of that enchantment inside by making miniature versions with tea-lights for the table.

016bLeigh

I love upcycling free elements into something useful… and I do mean free because this project cost me nothing as the cans were just a leftover bonus from my dinner menu. The project made perfect use of the small tomato paste cans used in my recipes. (See my Meatloaf Cupcakes here, and my Nacho Average Fiesta Dip Here.) Waste not, want not… right?!

186Leigh

The best way to open the cans is by using an opener that doesn’t create a sharp edge, but rather a smooth top separated from the sides. Several well known brands sell this type of safe can opener. After washing the cans well, fill them with water, and place in the freezer overnight. Yes, you read that correctly. The ice is so much easier to hammer into rather than the traditional wooden branch.

SmallLuminariaPatternsLeigh

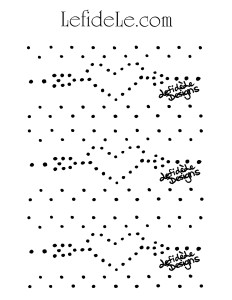
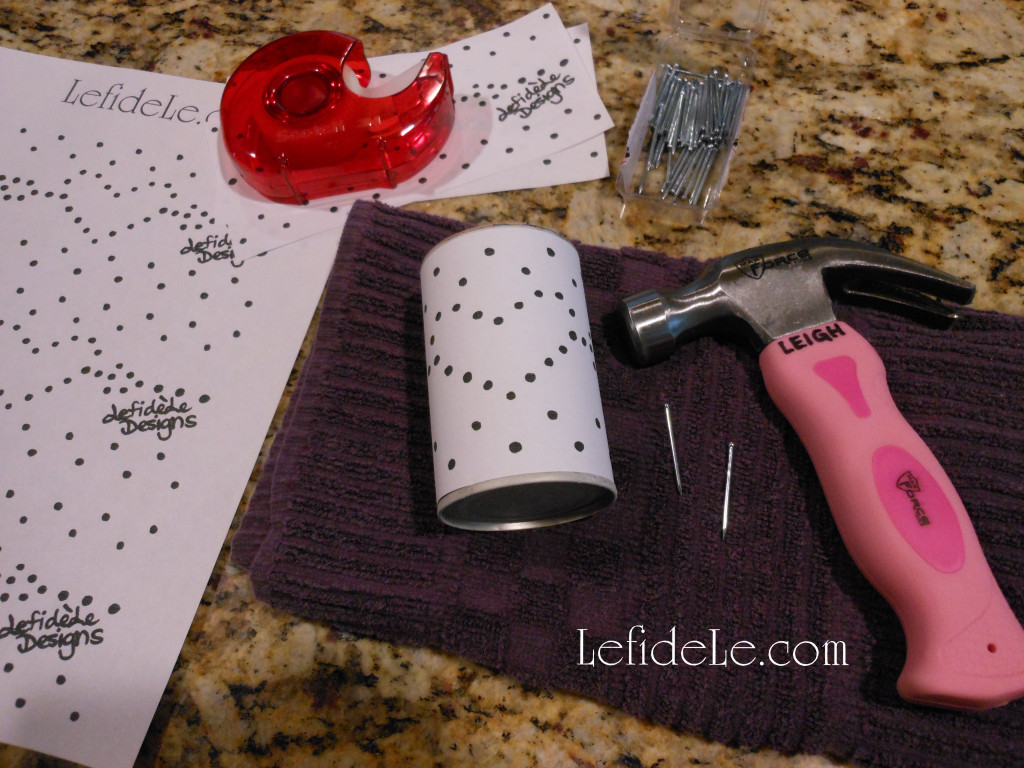
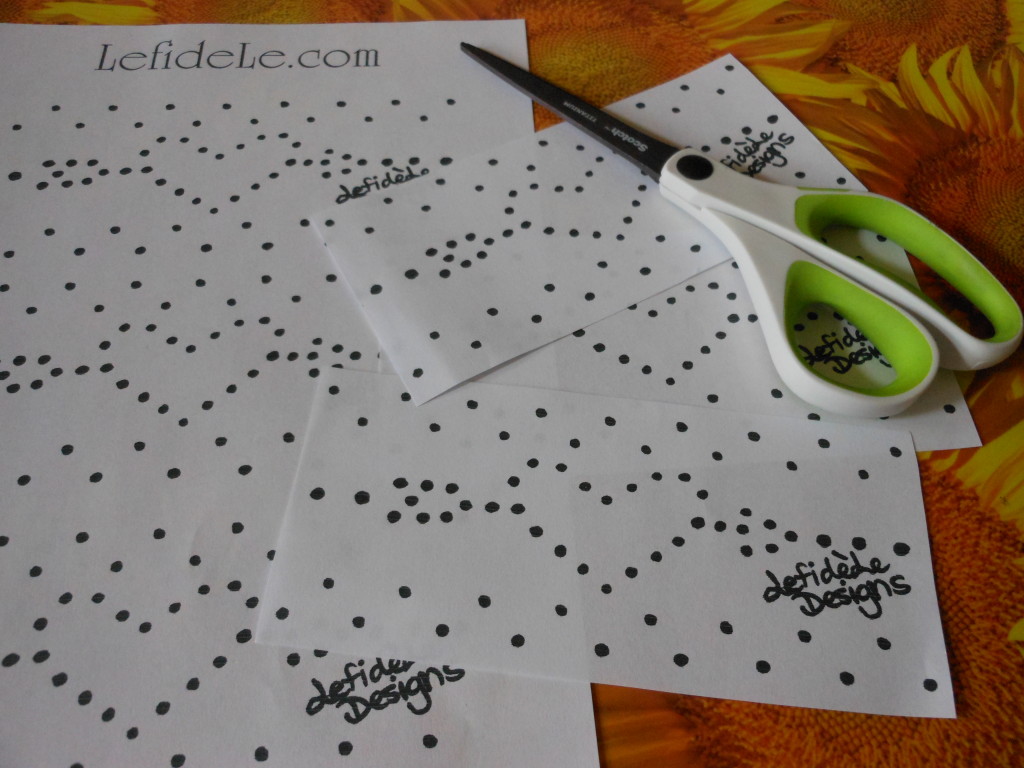
While they’re freezing, print my piercing template (free for personal use). To do this, right click on the small image and select print. (You can also forgo employing the template, and use a permanent marker to freehand draw your own shapes onto cans before the freezing step.)

183Leigh

My mother actually came up a great tip for keeping your paper’s ink from getting soggy… try wrapping the iced can in clear plastic wrap before wrapping with the paper template. ¡Gracias Mamá!

152

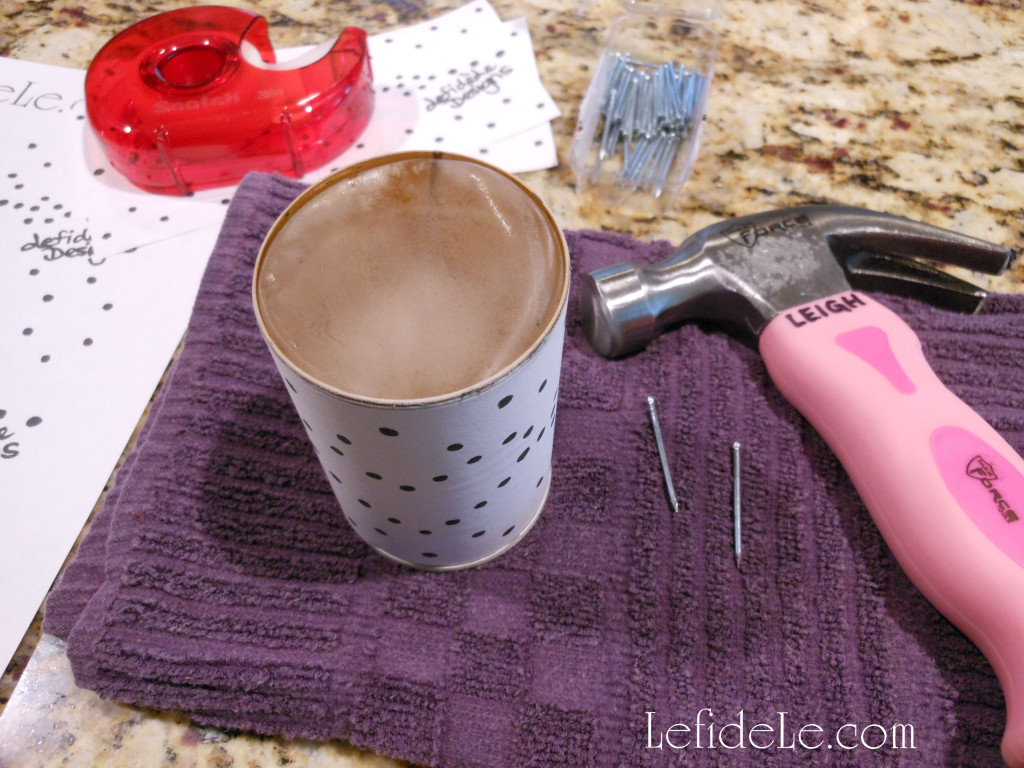
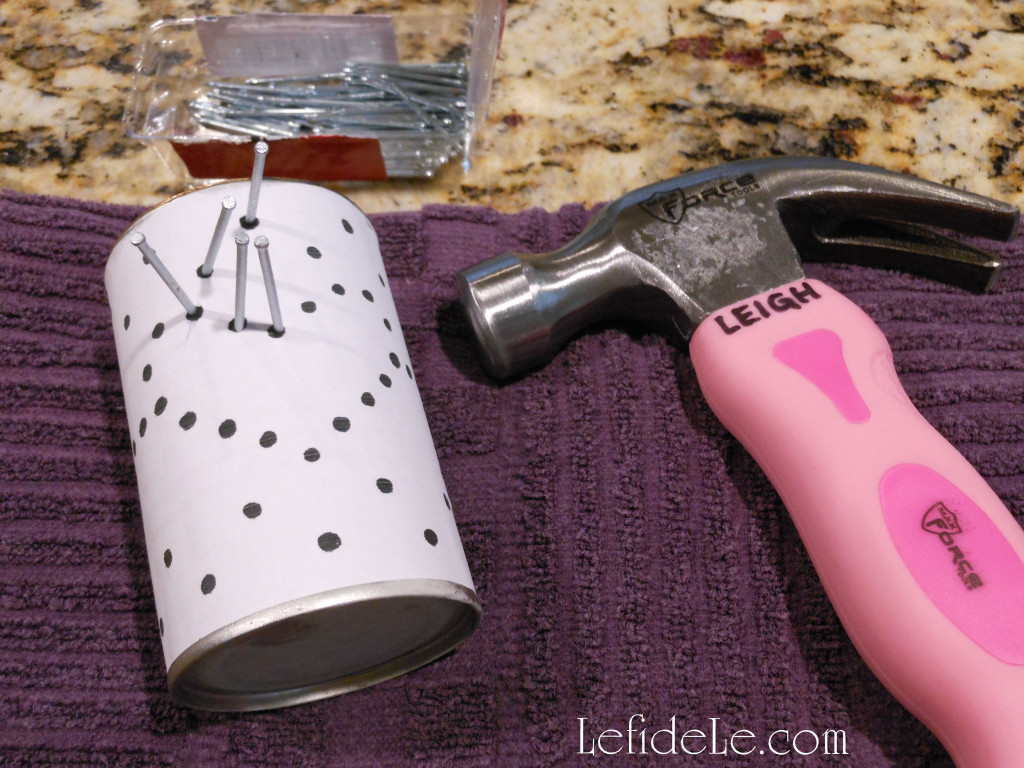
Cut out the 3 identical templates featuring arrow pierced hearts and festive zigzag patterns. Wrap each one around an ice filled can and tape the edge.

190Leigh

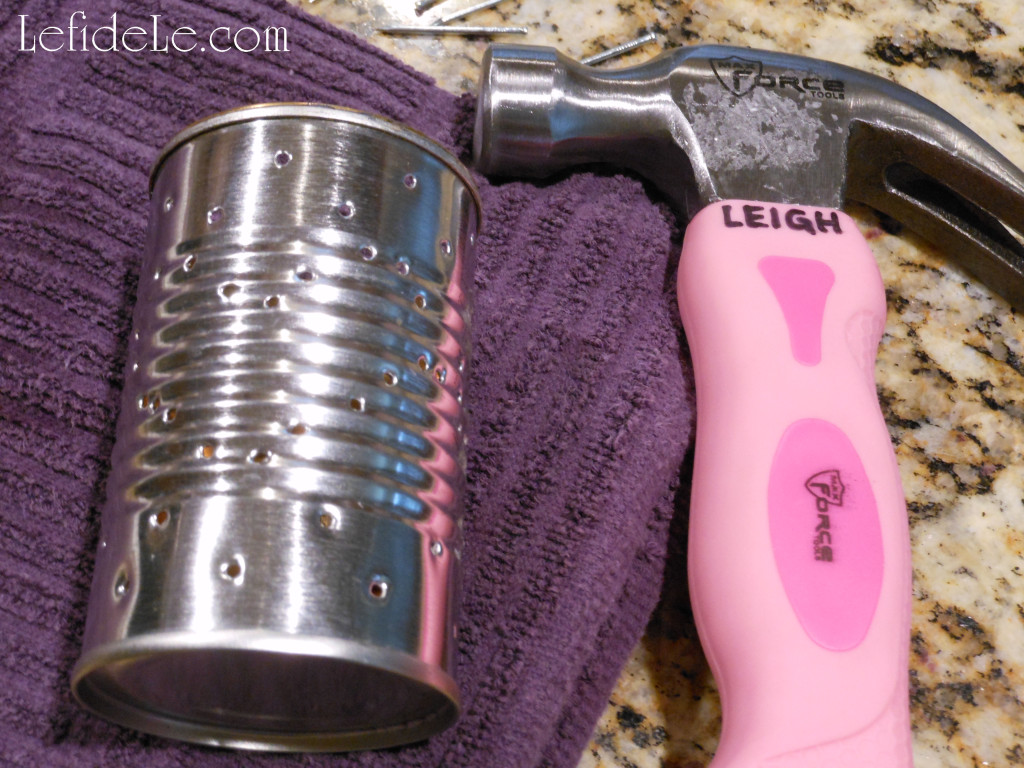
Use identically sized nails to hammer into each dot on the template. (This is what makes it a good craft for the hombres in your life!) You only need to hammer the nails in far enough to make a hole, leaving them in or pulling them out as you go. Begin with the top of the pattern, because ice will chip out as you work on it. If too much pops out, simply add water and refreeze.

193Leigh

When the dots are done, so are you! Let the ice melt out into the sink then dry the can well. (Just be careful not to cut yourself on the sharp edges on the inside of the cans.) Now light them up compadre!

274Leigh

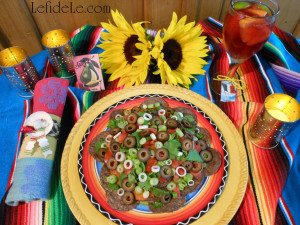
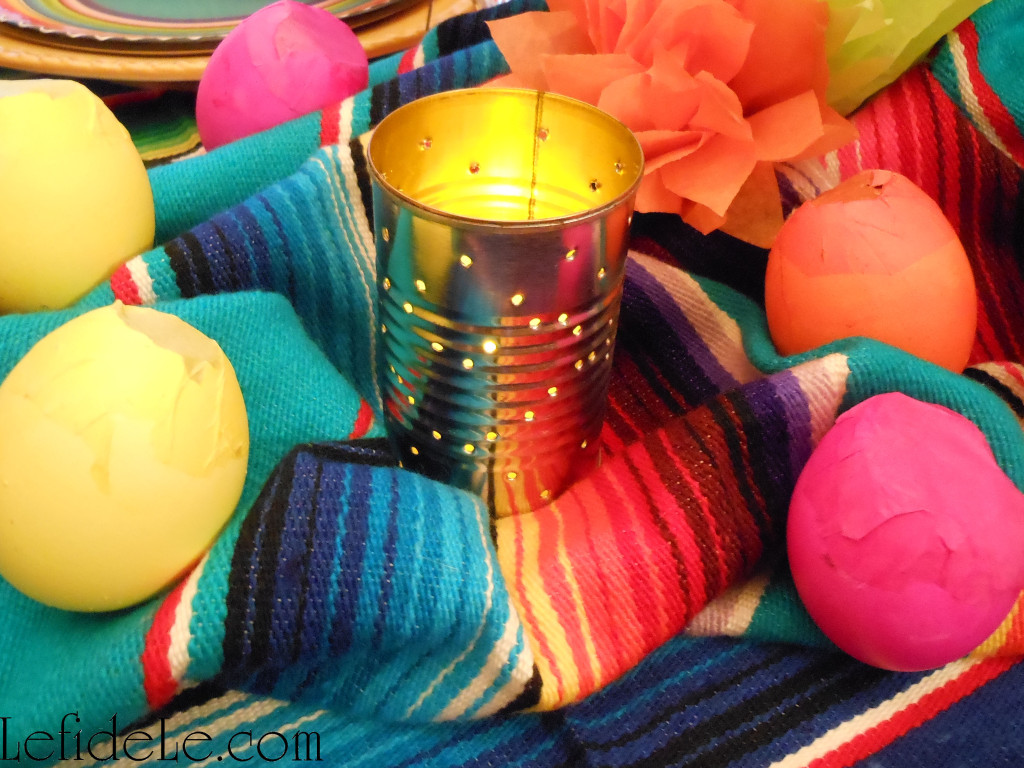
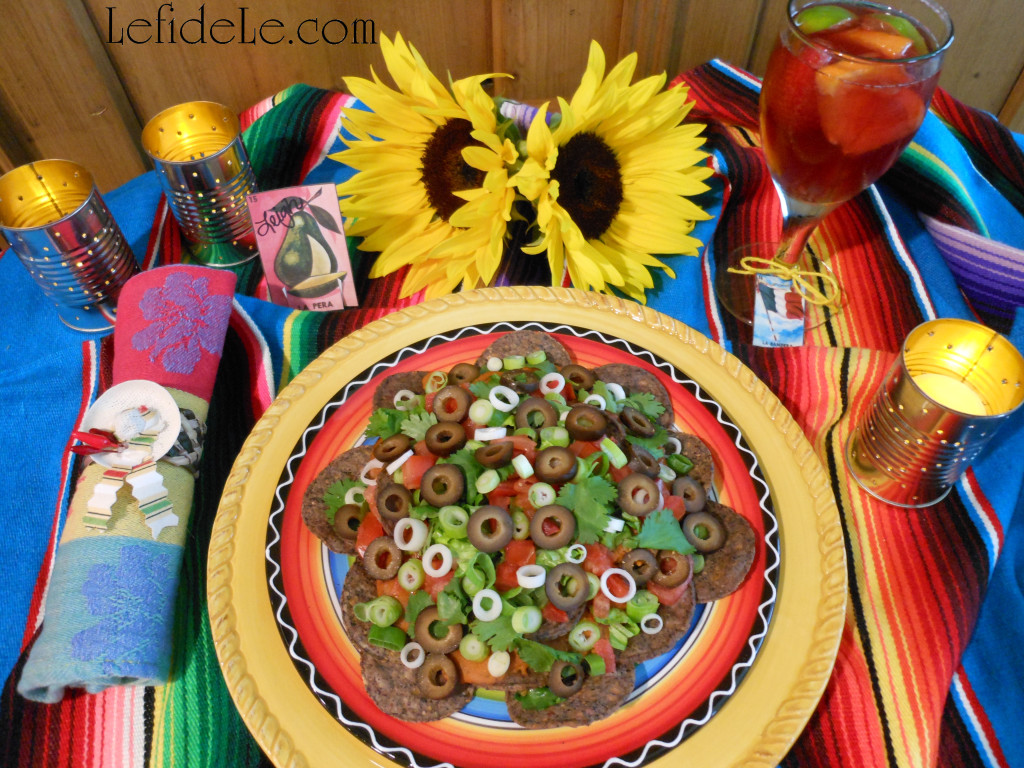
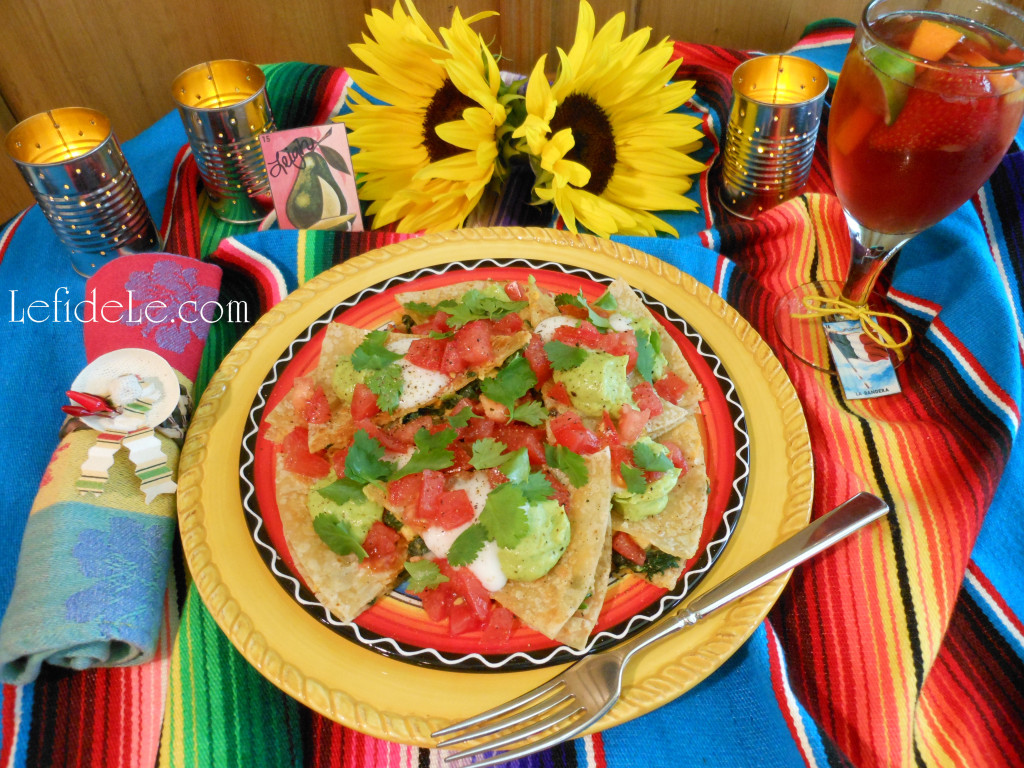
The luminarias add ambiance to a lunch of Tex-Mex Nachos made with my Nacho Average Fiesta Dip Recipe.

238Leigh

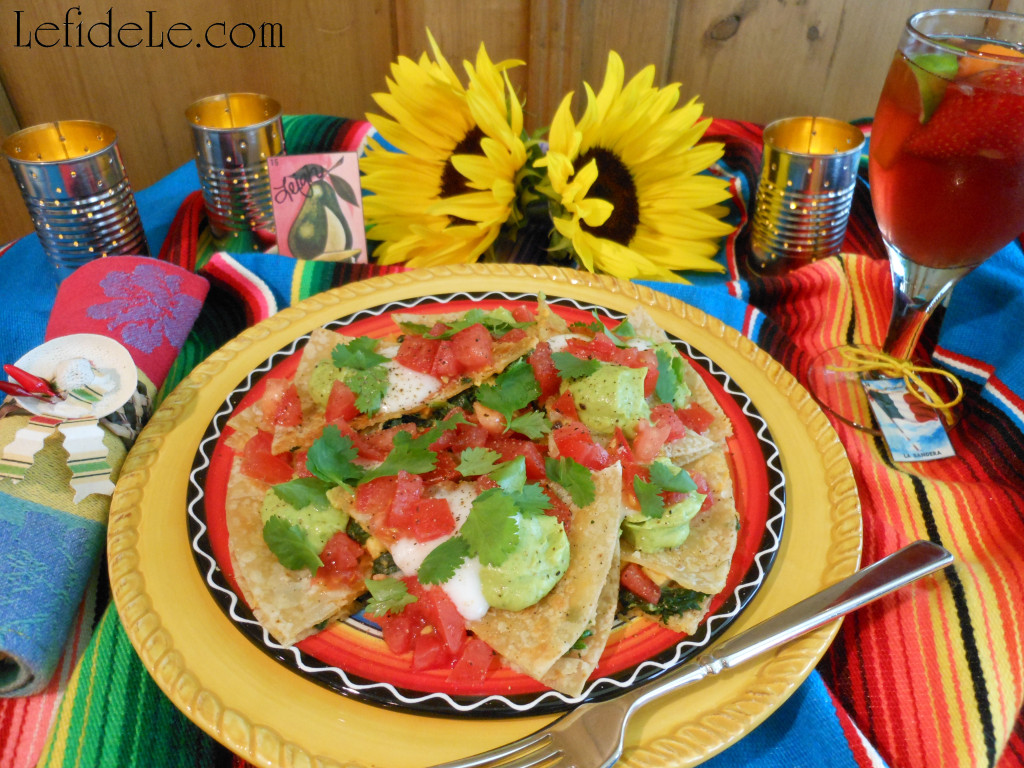
They also look lovely with another one of my recipes, Gluten & Dairy Free Chicken Spinach Quesadilla.

011Leigh

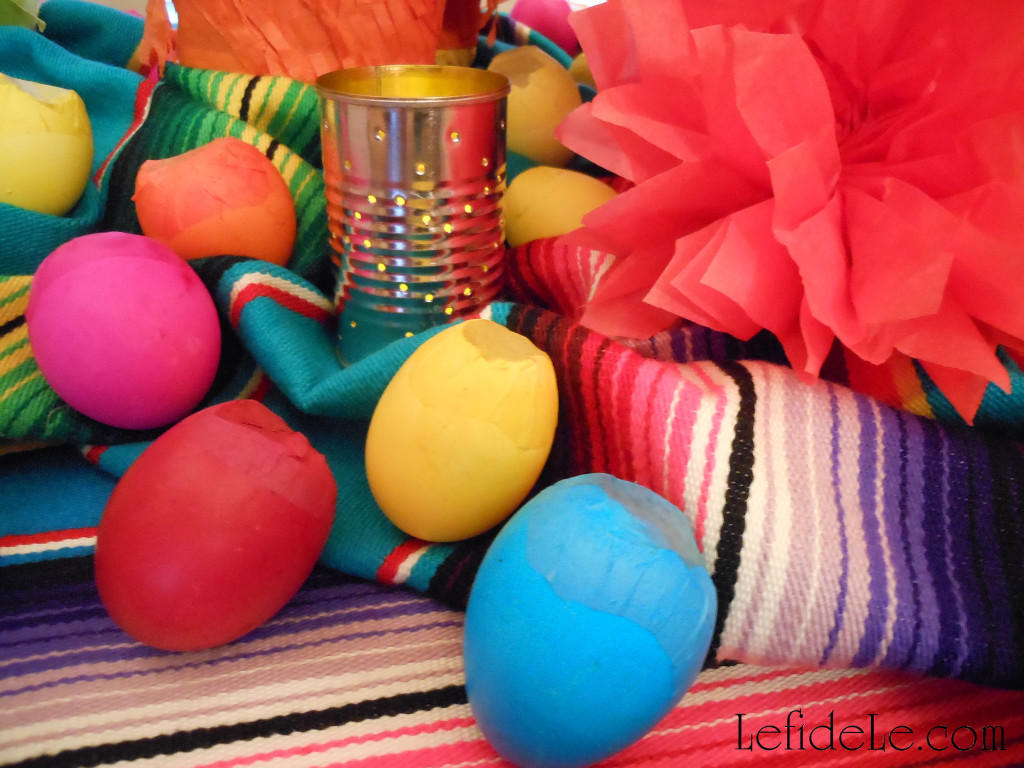
Here they’re featured in an upcoming San Antonio styled Fiesta tablescape next to some cascarones I’ll demonstrate how to make.

327Leigh

I think they look really lovely next to my fiesta flowers too… let’s make them together now!

094Leigh

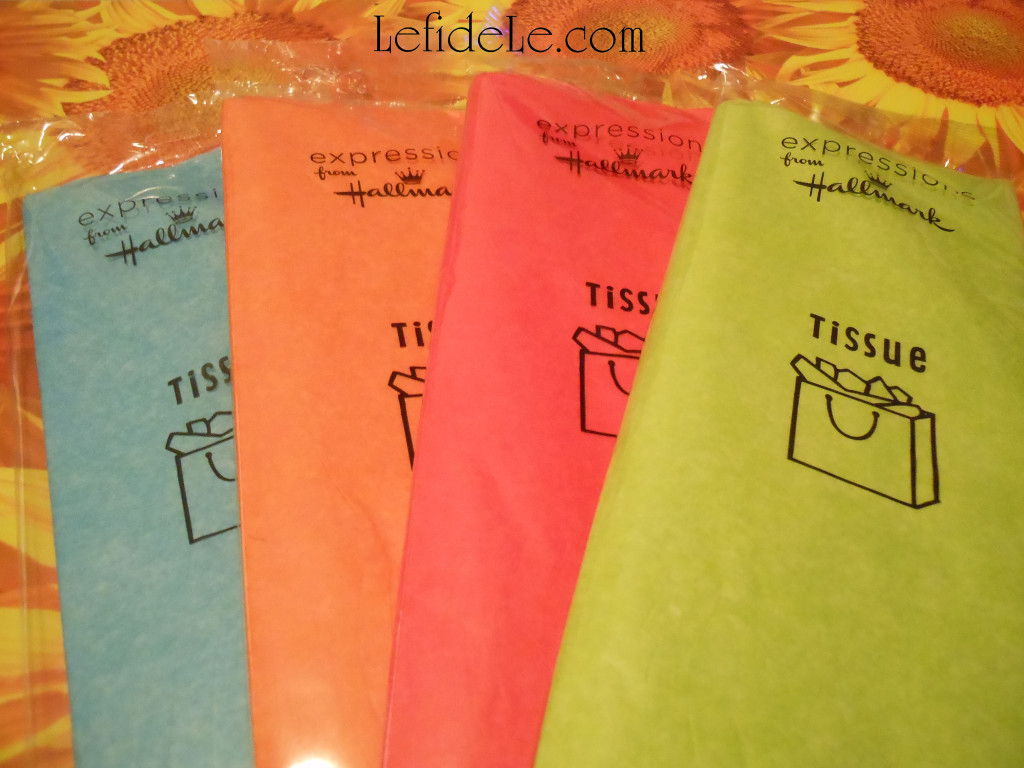
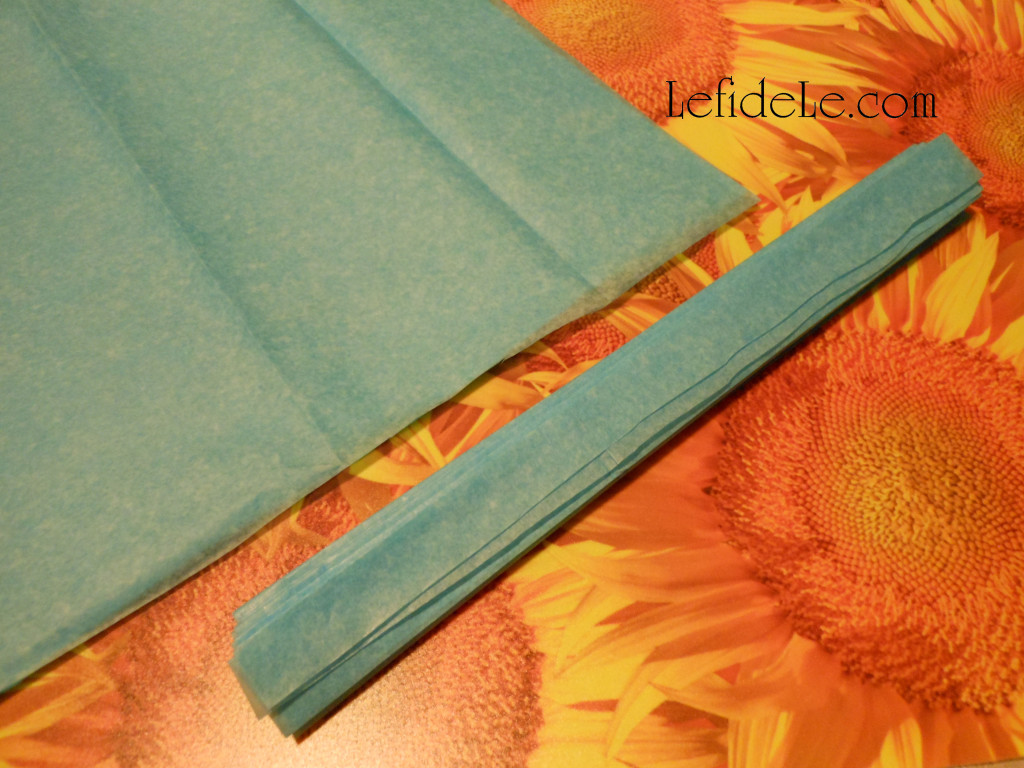
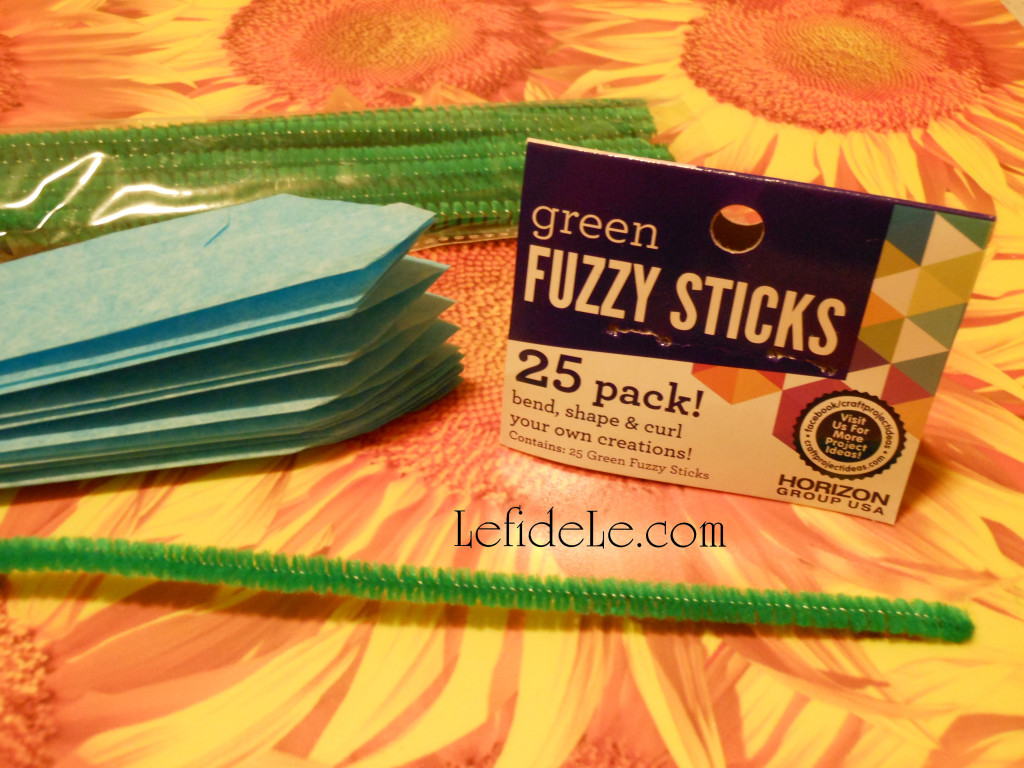
Use any new store bought tissue paper, or upcycle some former gift bag tissue into something spectacular.

127Leigh

The size of the sheet you use will equate to the size of the flower you end up with.

096Leigh

Here I’m beginning with one sheet cut into two halves, one placed over the other.

121Leigh

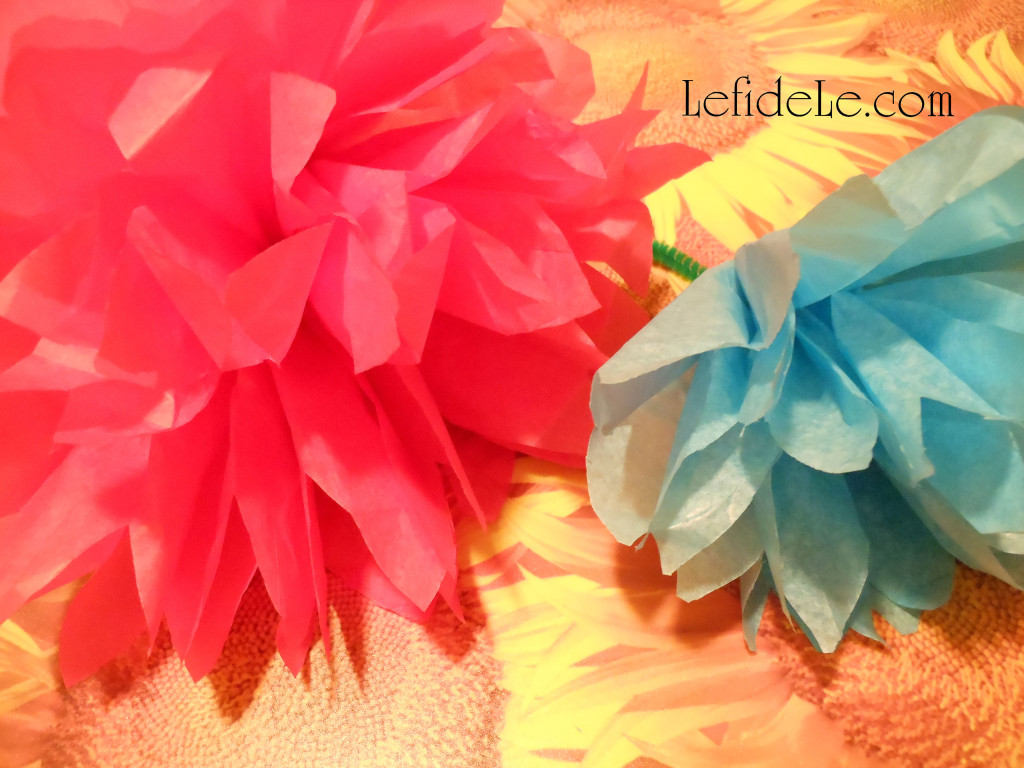
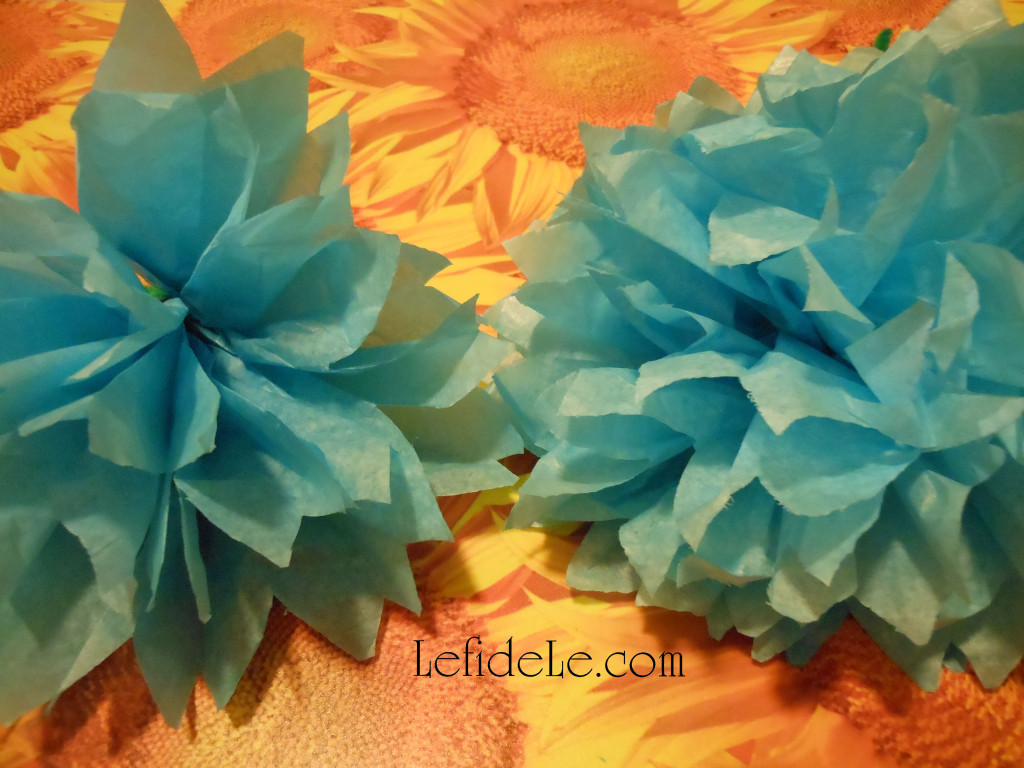
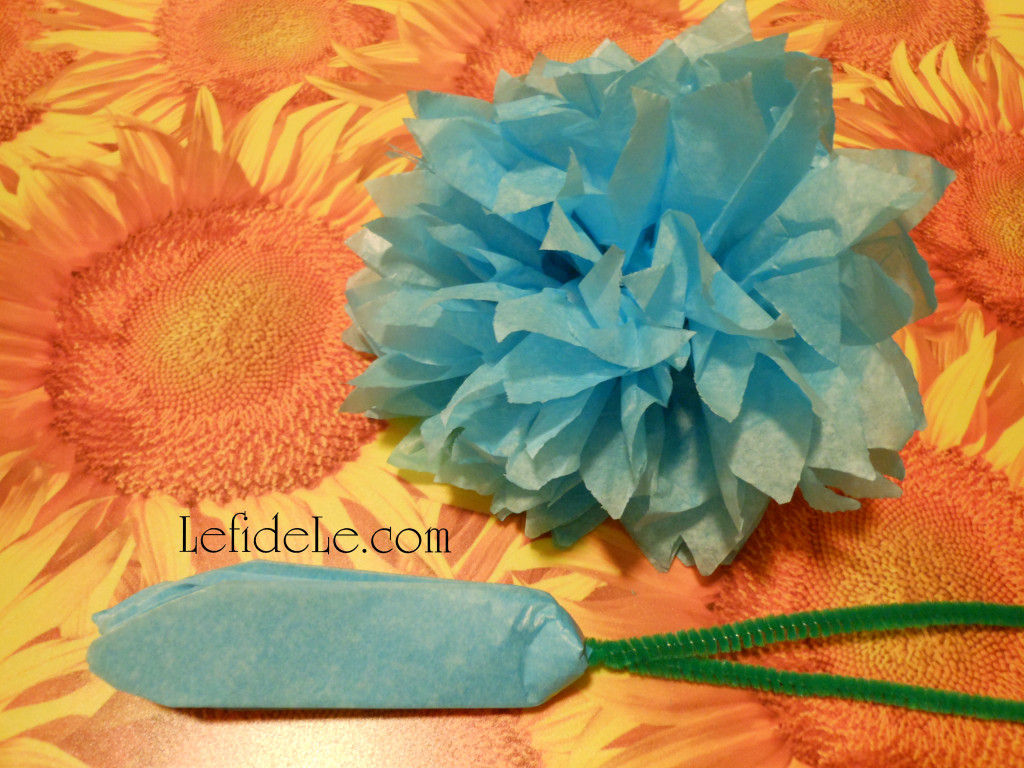
You can actually stack as many layers of tissue as you like to add fullness. Here is a fuller flower next to one made with less layers.

113Leigh

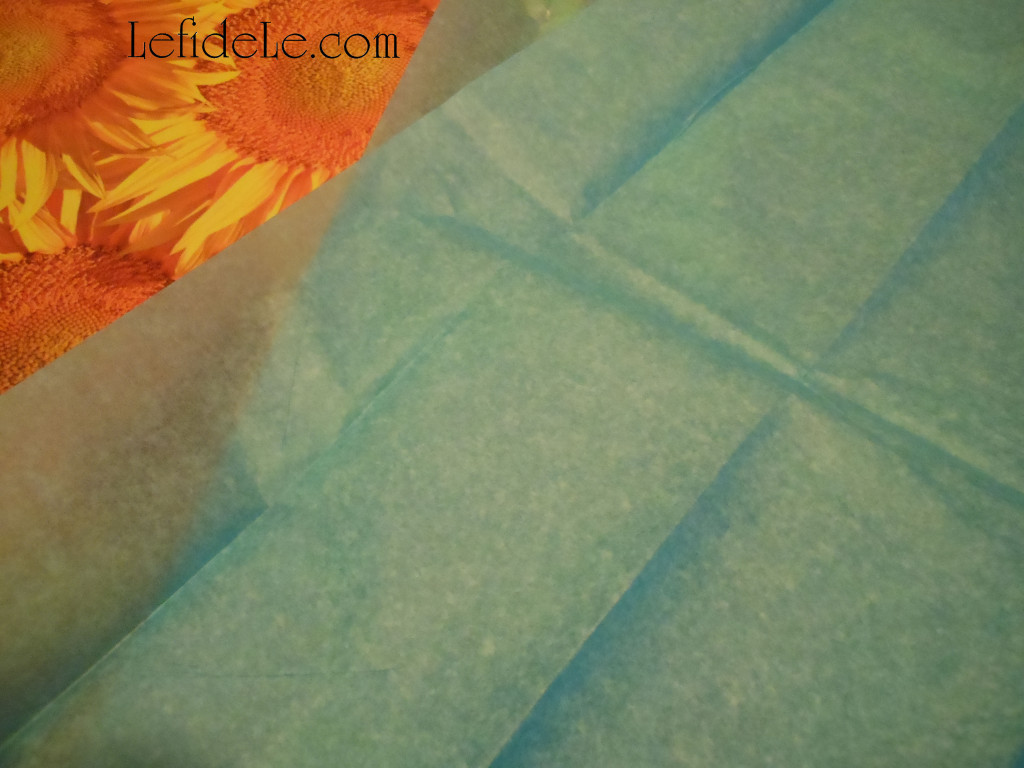
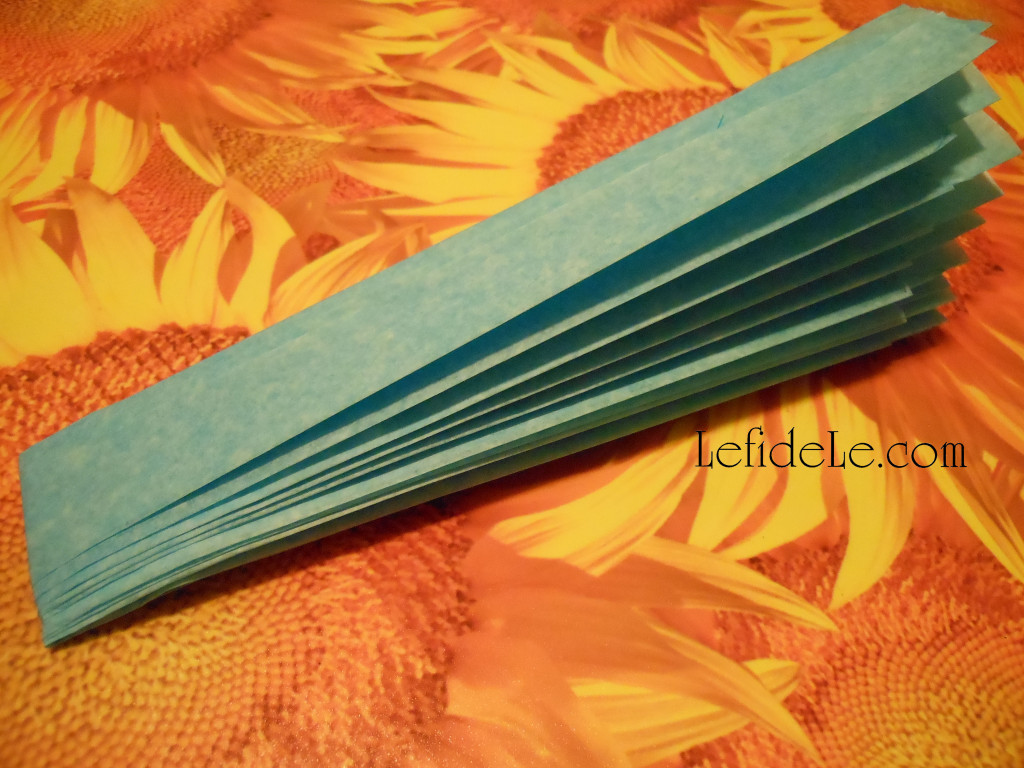
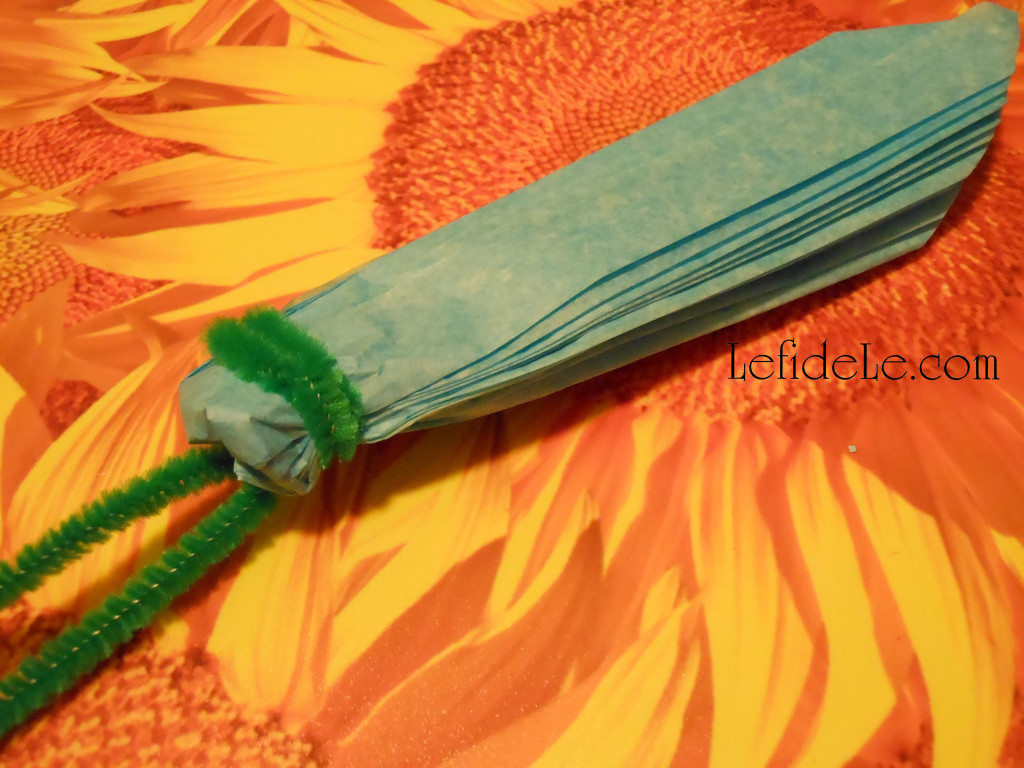
Accordion fold these into a fan, short side to short side. (This part is a great hand-eye craft for the kiddos!)

100Leigh

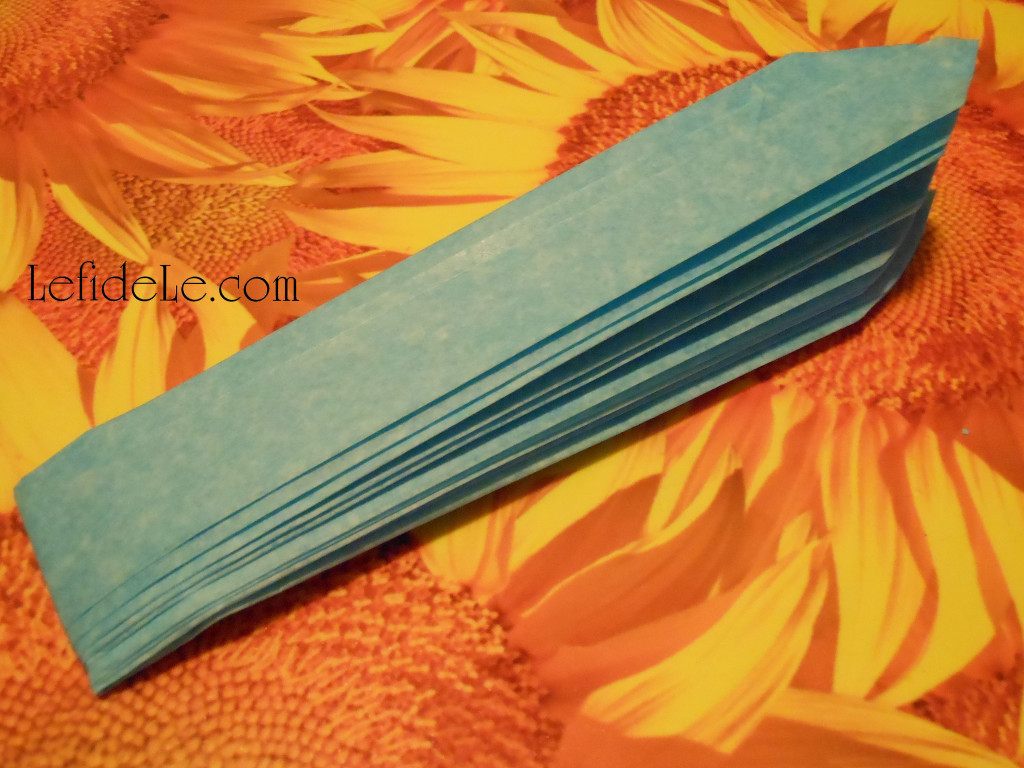
Next, fold the bar over in half.

102Leigh

Cut an upside down V into the ends… this will make a prettier flower.

128Leigh

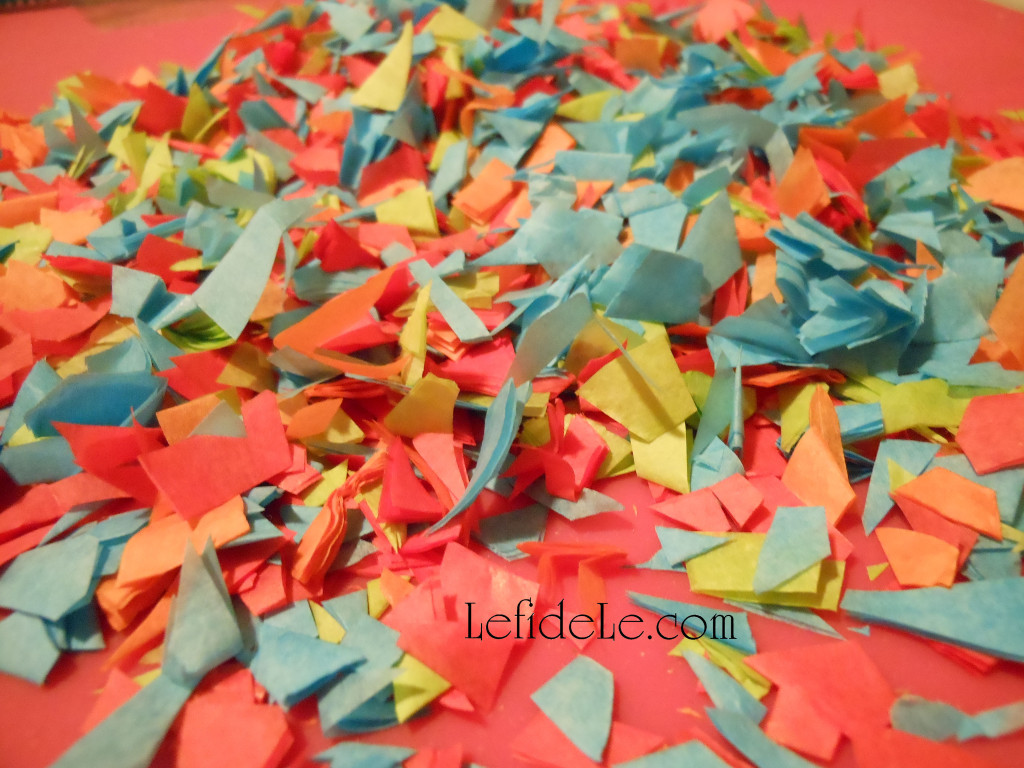
Take those trimmings and cut them into tiny pieces, then separate the layers. You just made matching confetti for the table… for free. You can also use this confetti for cascarones crafting in the future!

104Leigh

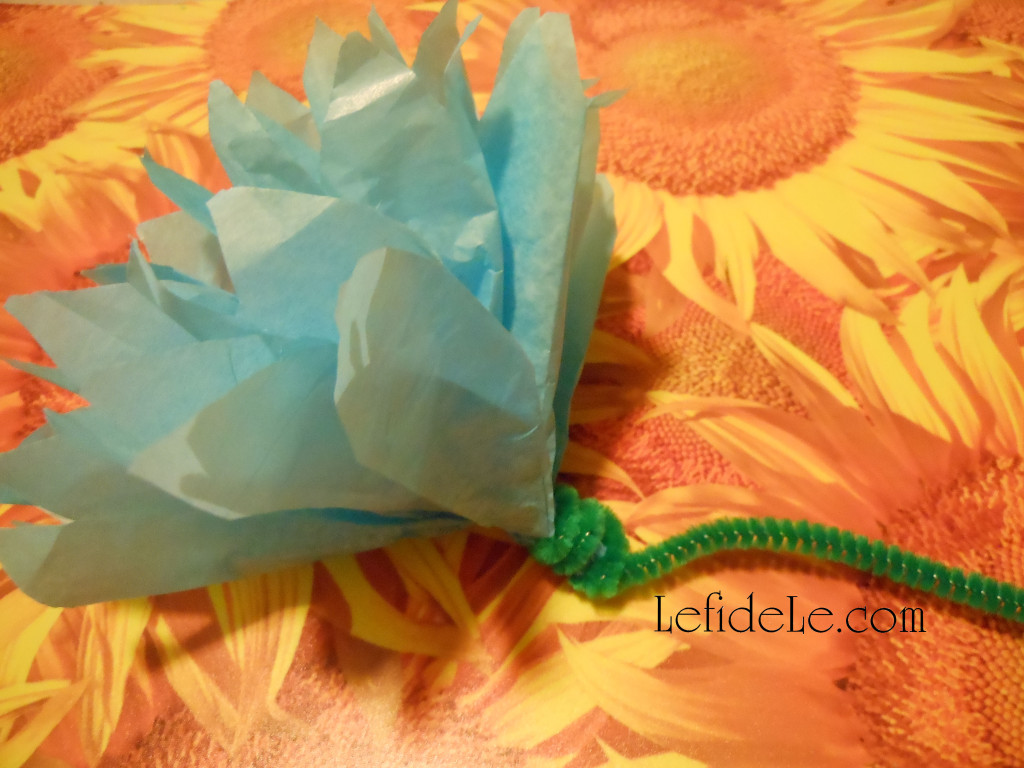
Green fuzzy pipe cleaner sticks make the perfect stems.

105Leigh

Wrap one around the folded portion and twist. You will be able to use the stem to hang the flowers with later.

108Leigh

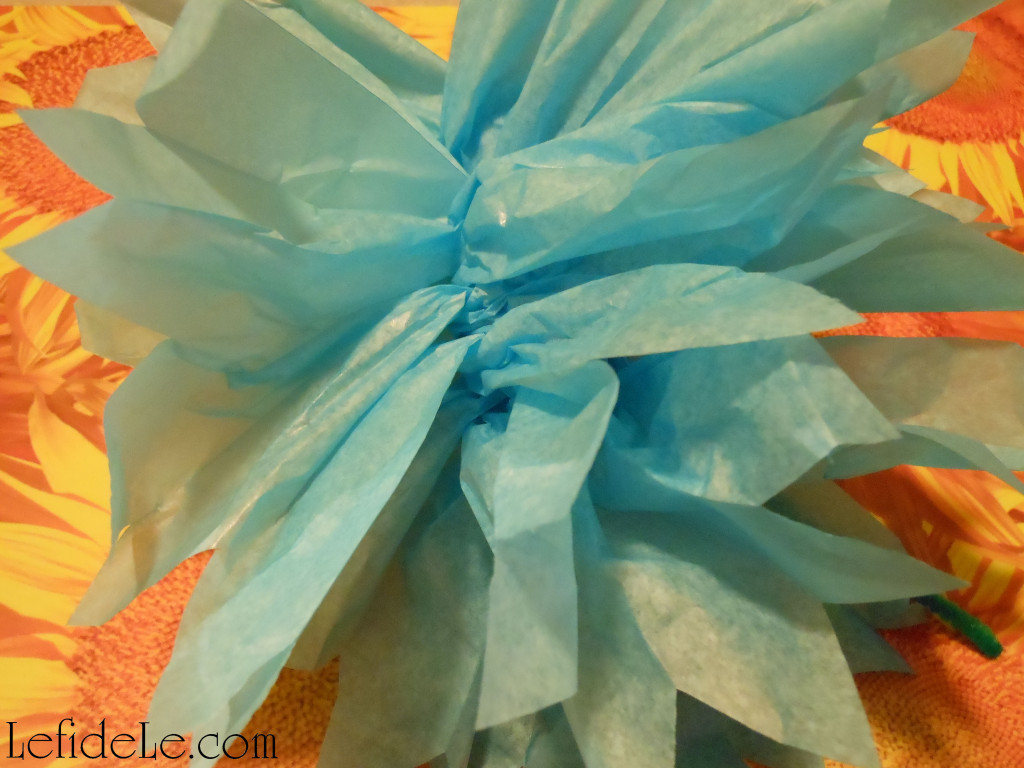
Next pull apart all the layers.

116Leigh

Pull these slightly taut, in an arrangement that appears pleasing to the eye.

123Leigh

Wrap one end of the fuzzy stick around the base to secure your arrangement of the petals.

350Leigh

I tied some of them between panels of traditional papel picado in a fiesta banner for the window. The light streaming through them was much prettier in person.

029Leigh

I also used them to further adorn a burro piñata decorating a side table.

053Leigh

The larger flowers were easily strung onto a chandelier as an overhead centerpiece, leaving room for tortilla, chip, and buñuelo baskets on the table.

291Leigh

Now complete your tablescape with my Easy DIY Sombrero Napkin Rings & Serape Invitations + Loteria Sangria / Wine Glass Charms & Place Cards Crafts (for Cinco de Mayo Fiesta Tablescape).

041Leigh

Time to go ¡Fiesta! forever…

Faithfully Yours,

Leigh
Easy DIY Sombrero Napkin Rings & Serape Invitations + Loteria Sangria / Wine Glass Charms & Place Cards Crafts (for Cinco de Mayo Fiesta Tablescape)

¡Fiesta! Forever… or for at least one fantastic evening with easy décor crafts for your Cinco de Mayo tablescape. Toast the party with sangria filled glasses fitted with DIY wine glass charms featuring traditional Mexican Loteria images. Then, use those same images to make place-cards for the table. Dress colorful cloth napkins with handmade sombrero napkin rings, and craft matching serape invitations that shout, “Grab your sombreros for a Cinco de Mayo that’s nacho average fiesta!”

357Leigh
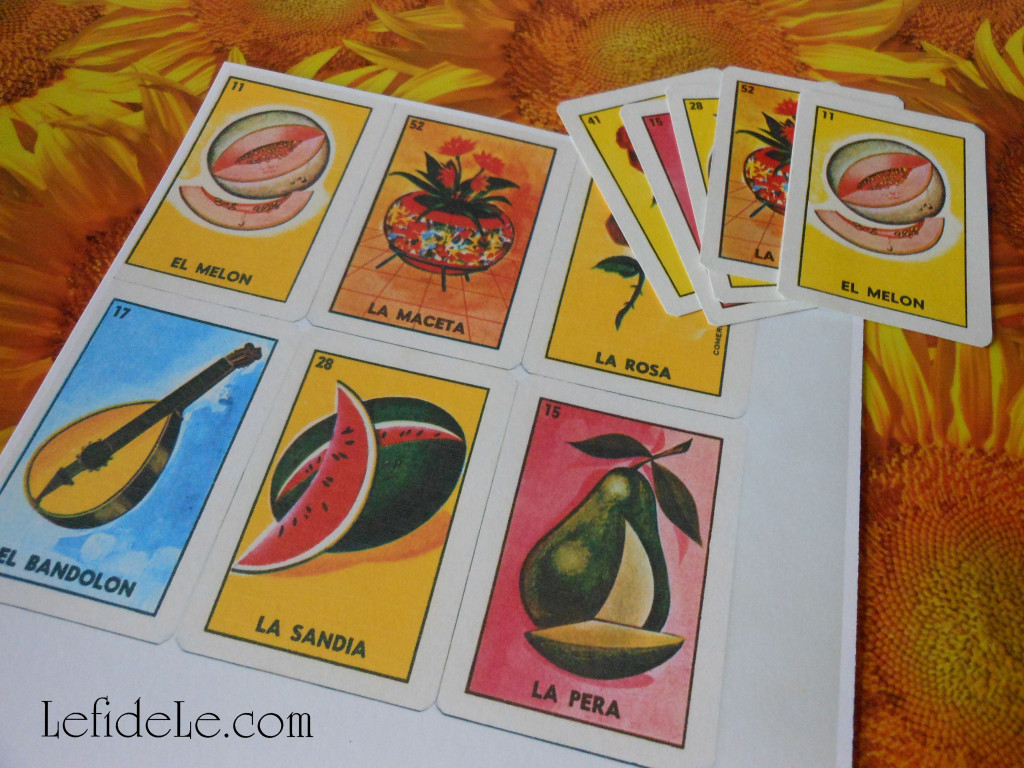
One inexpensive Mexican Loteria game will provide you with loads of craft material for the future. I’ve previously made beads with them (see how to do this here in my Halloween Necklace Craft)… glued them into collages and assemblages (see how to do this here in my Valentine Gift Assemblage Art Tutorial)… and I have some easy crafts up my sleeve to demonstrate in the future.

130Leigh
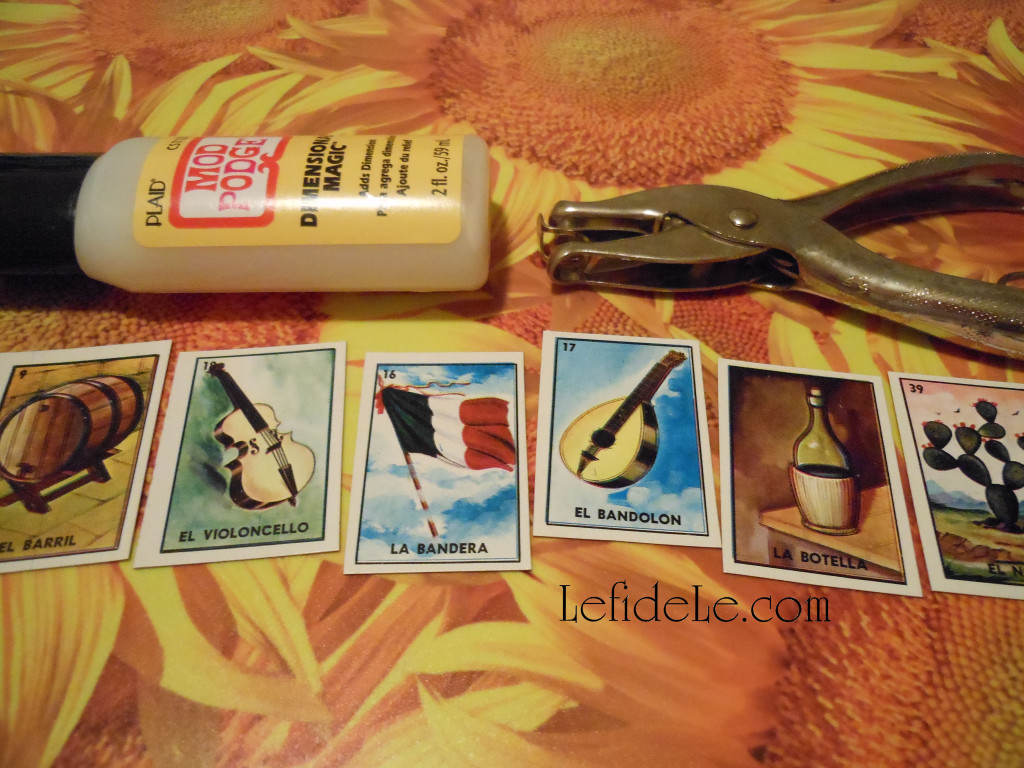
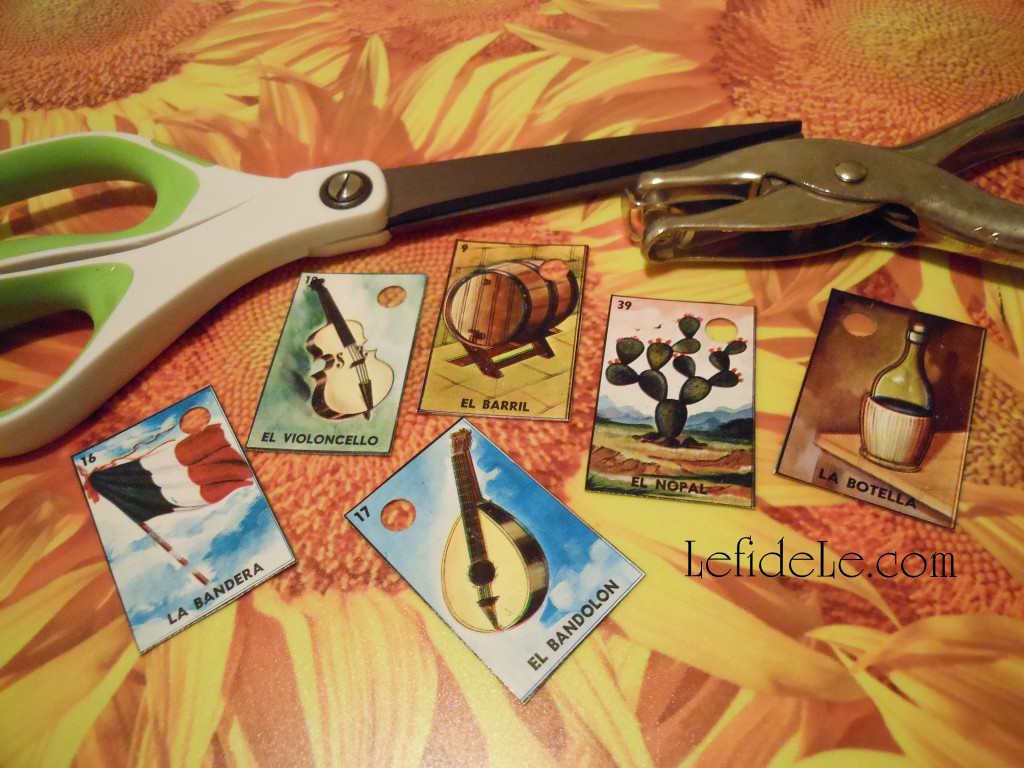
All you need to begin is a single game card sheet, scissors, a hole-punch, and Plaid Mod Podge Dimensional Magic. Cut the game card into single images as pictured.

134Leigh
Punch holes into a top corner of each piece.

137Leigh
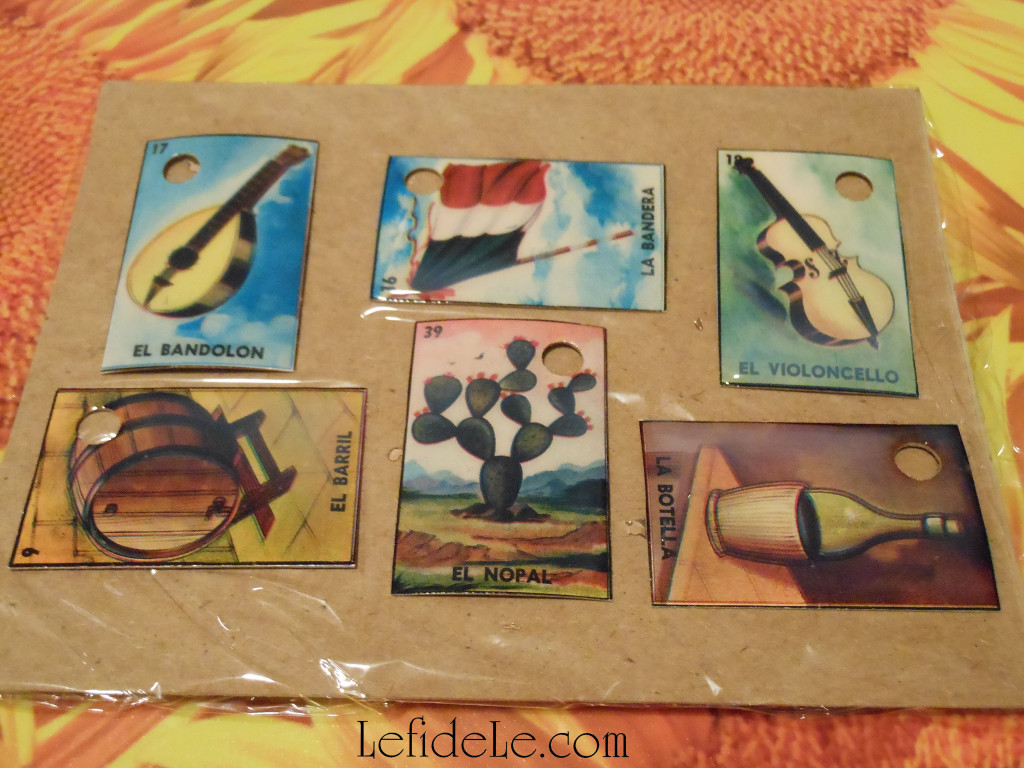
Drizzle the Magic stuff over one side of all the pieces, then let it dry overnight. (Set it on some form of plastic to keep it from adhering to your surface.)

140Leigh
Flip them over and drizzle the other side, then dry overnight.

180Leigh
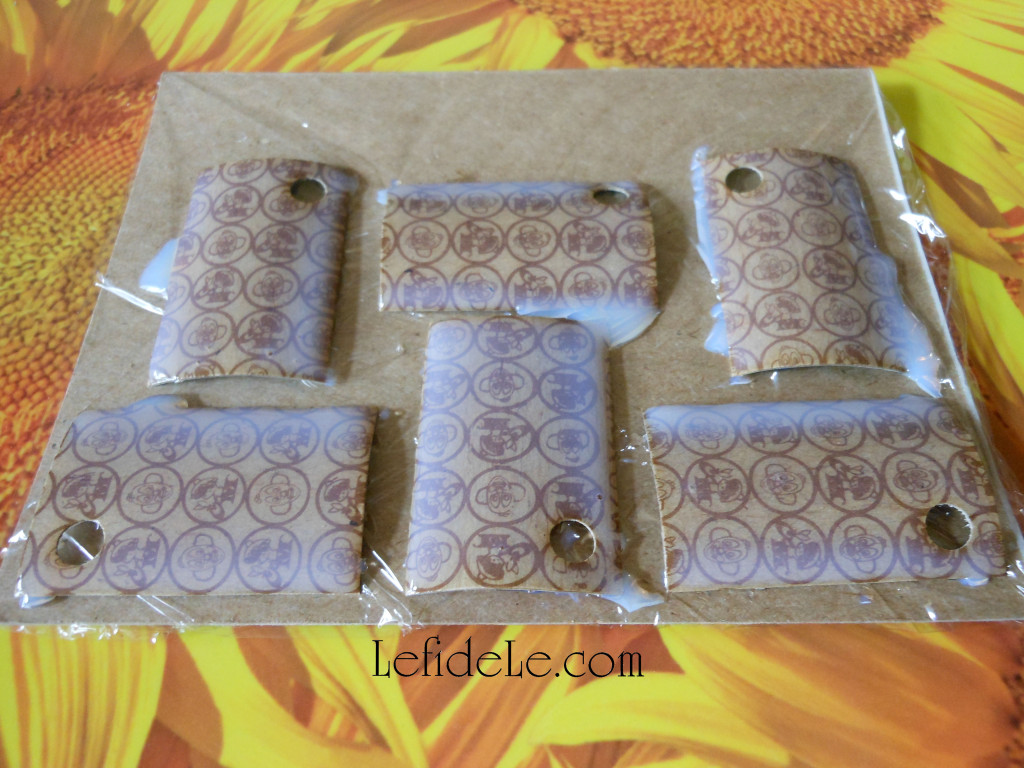
If needed, trim off any dripped over edges, and attach small metal rings to the holes.

314Leigh
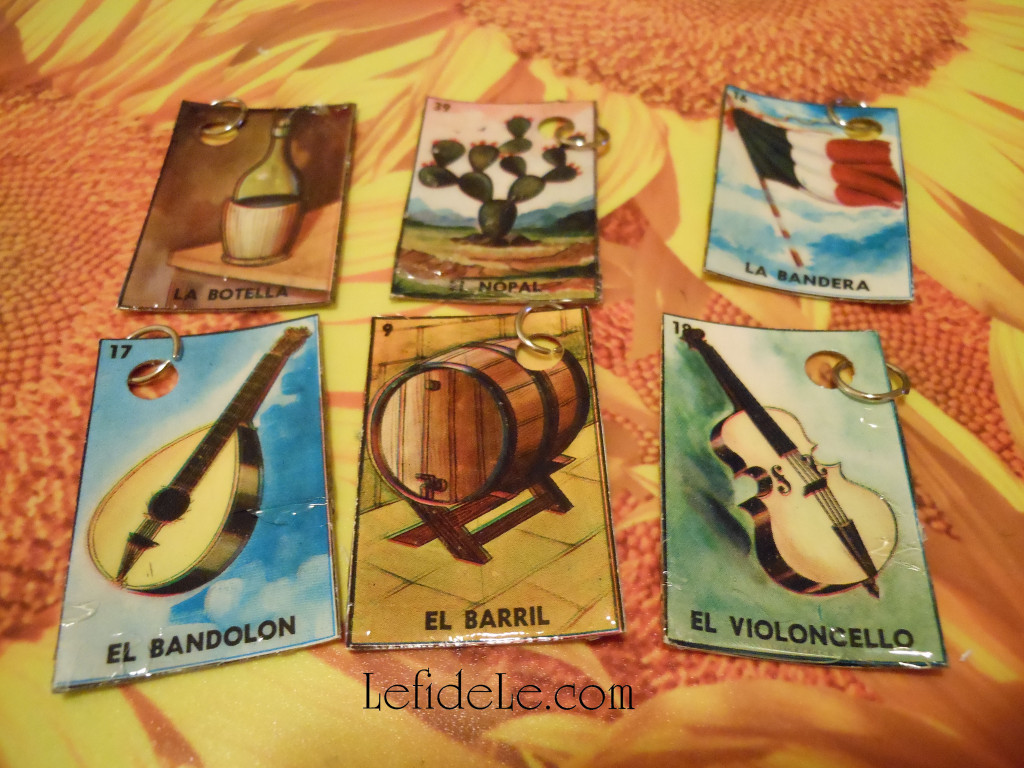
Instead of using a jumbo jump ring to attach the charms to the glasses, I simply tied them on with jute bows. You can also skip the first metal ring, and just tie these if you’d like less dangling.

030Leigh
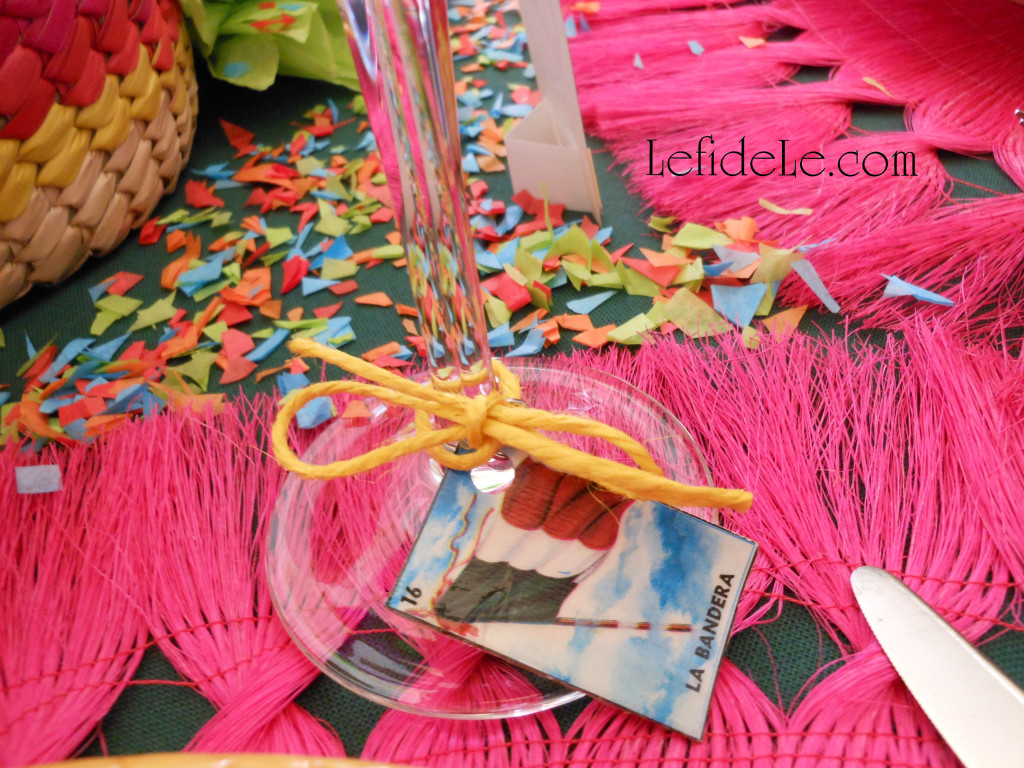
Here they are featured on a clear glass vessel topped with a paper umbrella.

106Leigh
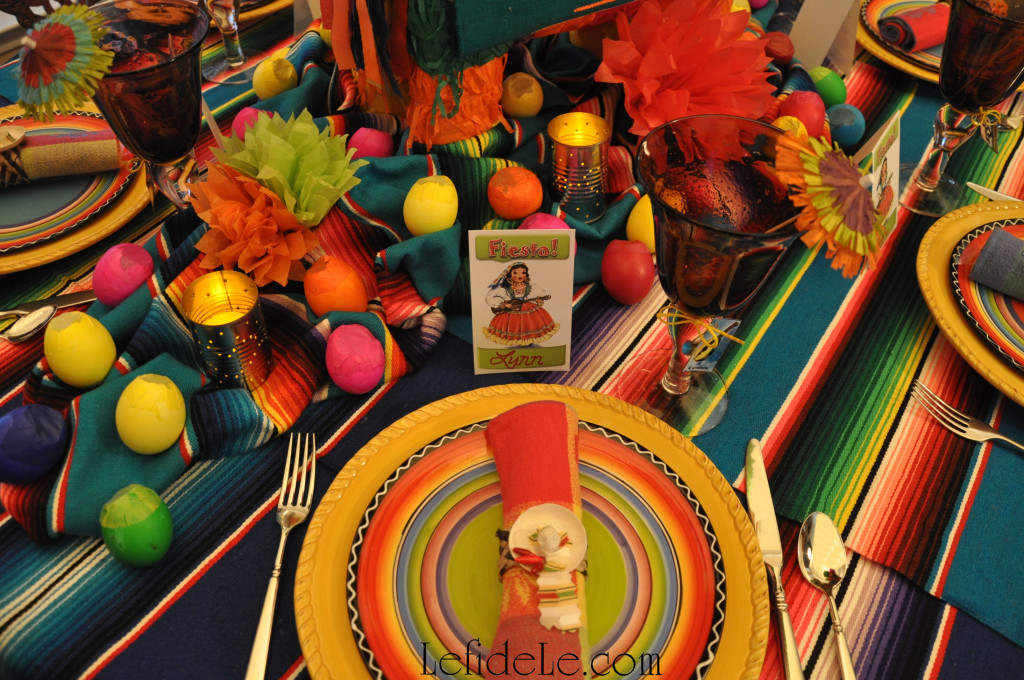
The same charm and umbrella look different when placed on a purple goblet (from my upcoming San Antonio styled Fiesta tablescape).

219fLeigh
The charm is an easy addition for a charming lunch of my Gluten & Dairy Free Chicken Spinach Quesadilla Recipe.

298Leigh

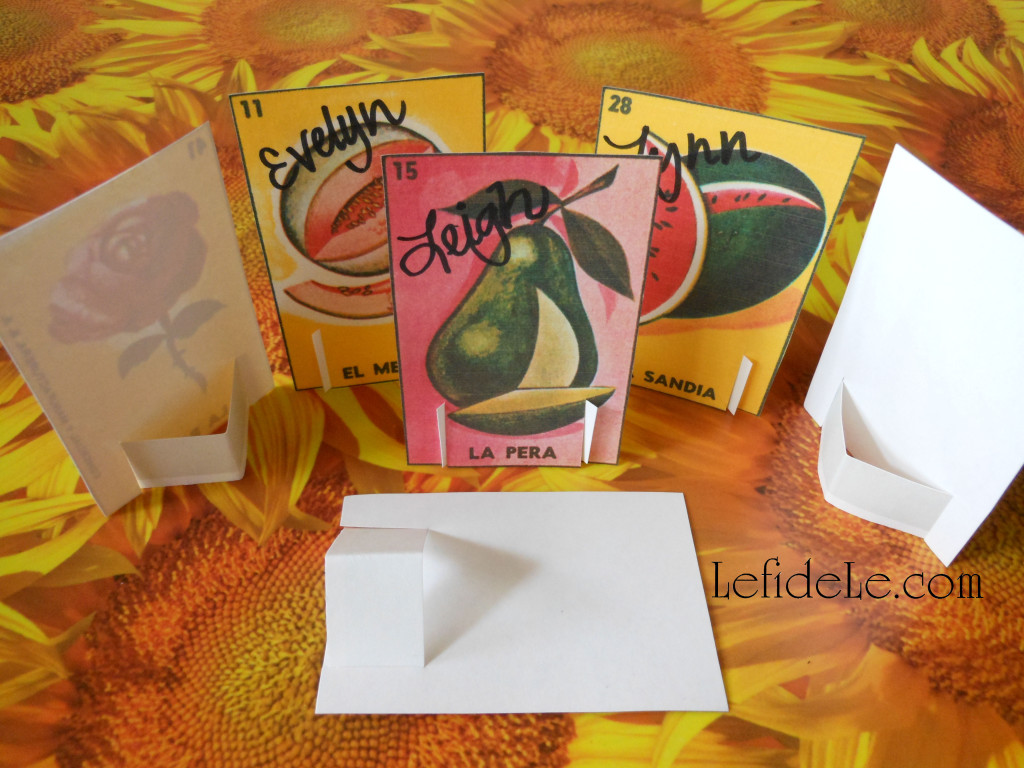
Matching Loteria place-cards for the table are really quick and easy to make.

141Leigh

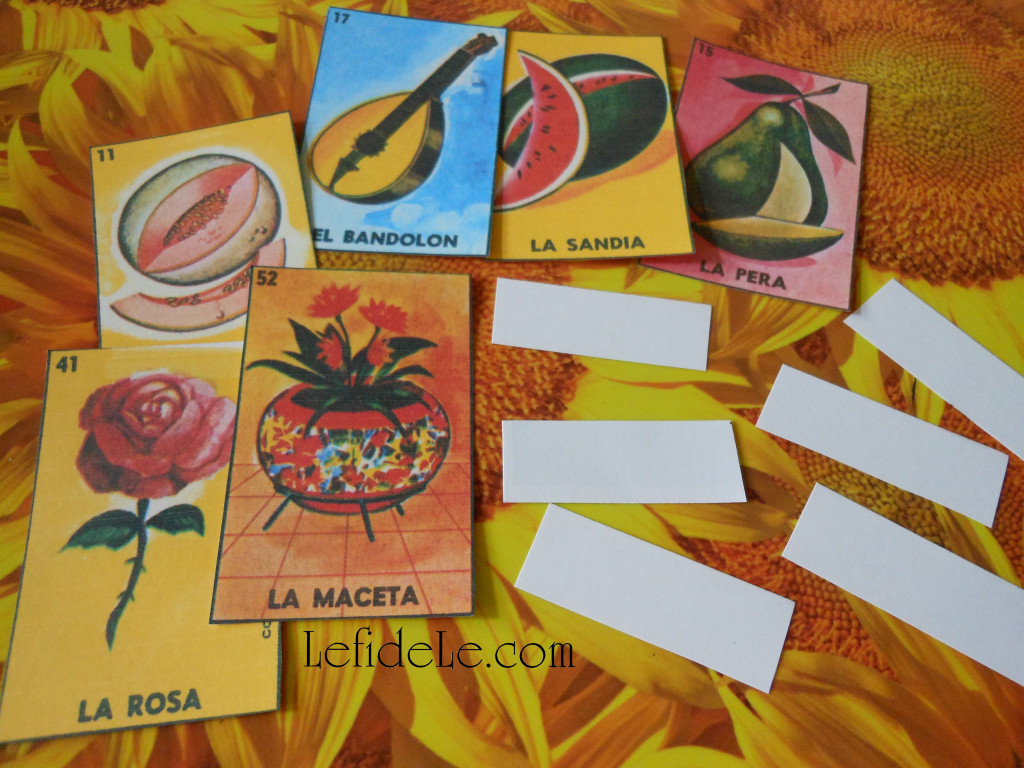
Use the actual game cards or make a color copy of a set of them to cut out. I chose the latter so that I can remake them whenever I like… without buying a new game.

143Leigh

Cut paper cardstock strips to use as easel supports, and fold in half to make a V.

146Leigh

Then cut two slits to either side of the Spanish words. Slip a V strip into the slots you cut.

316Leigh

Then simply write your guests names on them with a marker. These would also make great food labeling cards for a buffet.

327Leigh

The Loteria cards add extra pops of color to the tablescape… and you can never have too much color at a fiesta!

294Leigh

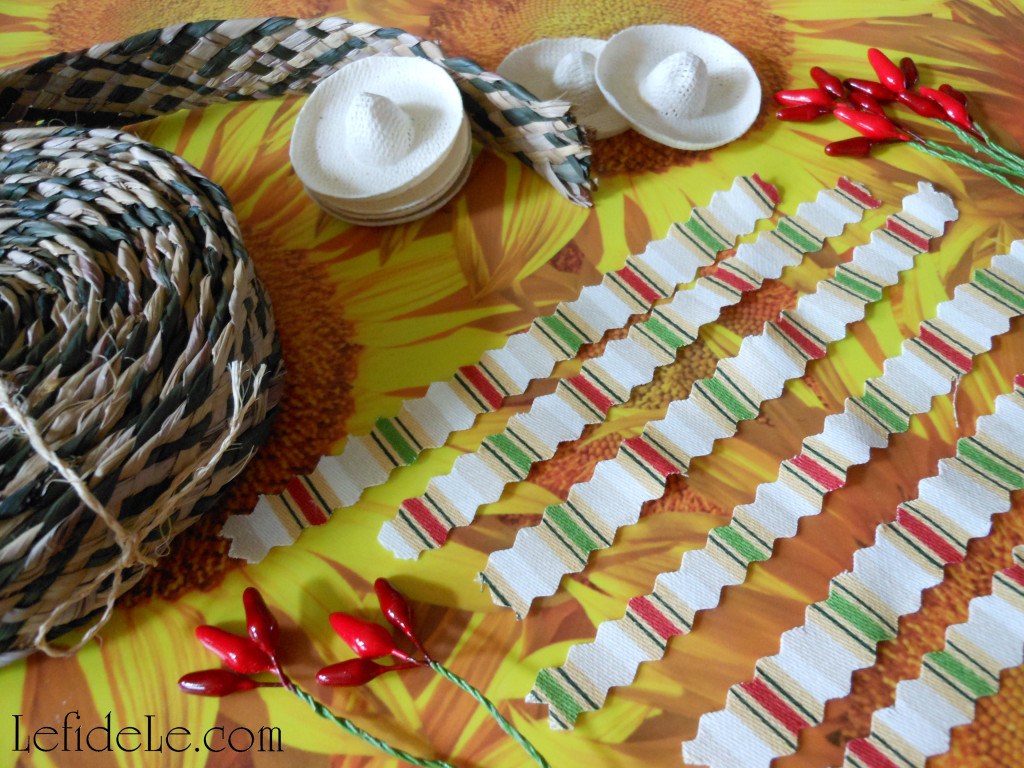
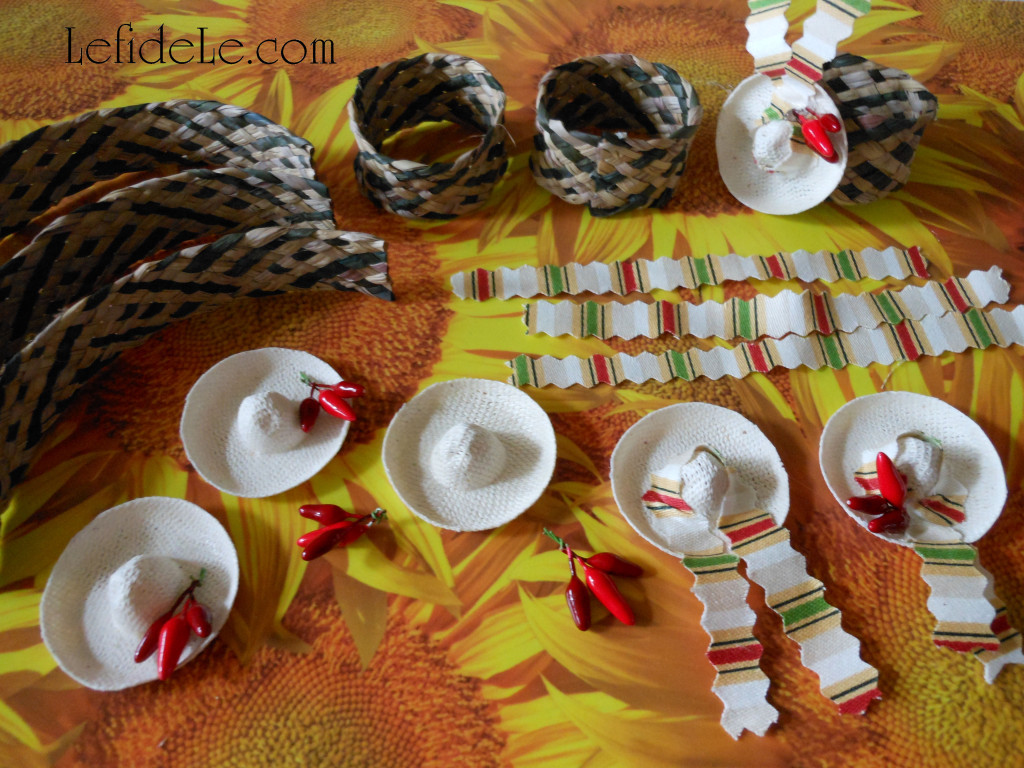
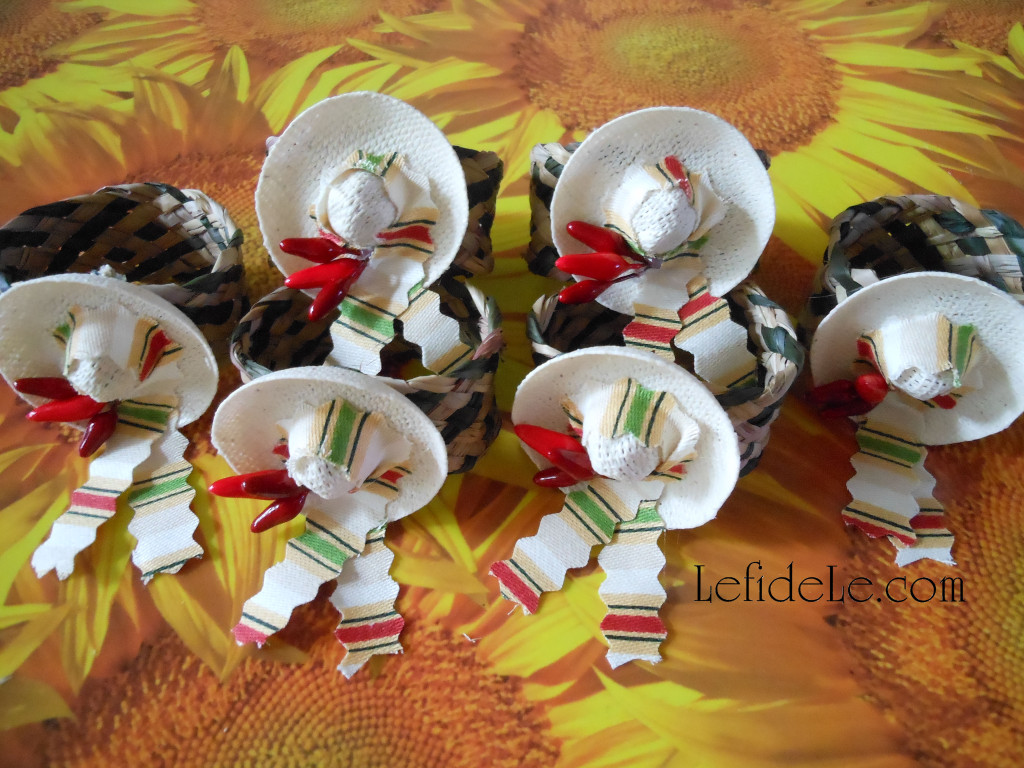
The sombrero napkin rings are some of the cutest in my collection, yet were some of the quickest to make. Craft them yourself with braided raffia ribbon and tiny doll straw hats.

154Leigh

Transform the hats into sombreros with strips of fabric and dollhouse chili peppers. (I never use chilis in my recipes, but they do make delightful décor.) Use hot glue to attach a few peppers, and then wrap a fabric strip as a band.

158Leigh

Cut a six inch length of raffia ribbon for each ring. Slightly overlap the edges then hot glue them.

160Leigh

Glue the sombrero over the seam covering it completely.

063Leigh

Fill the rings with colorful fabric napkins.

044Leigh

I think they look really adorable on the tablescape… if I do say so myself!

274Leigh

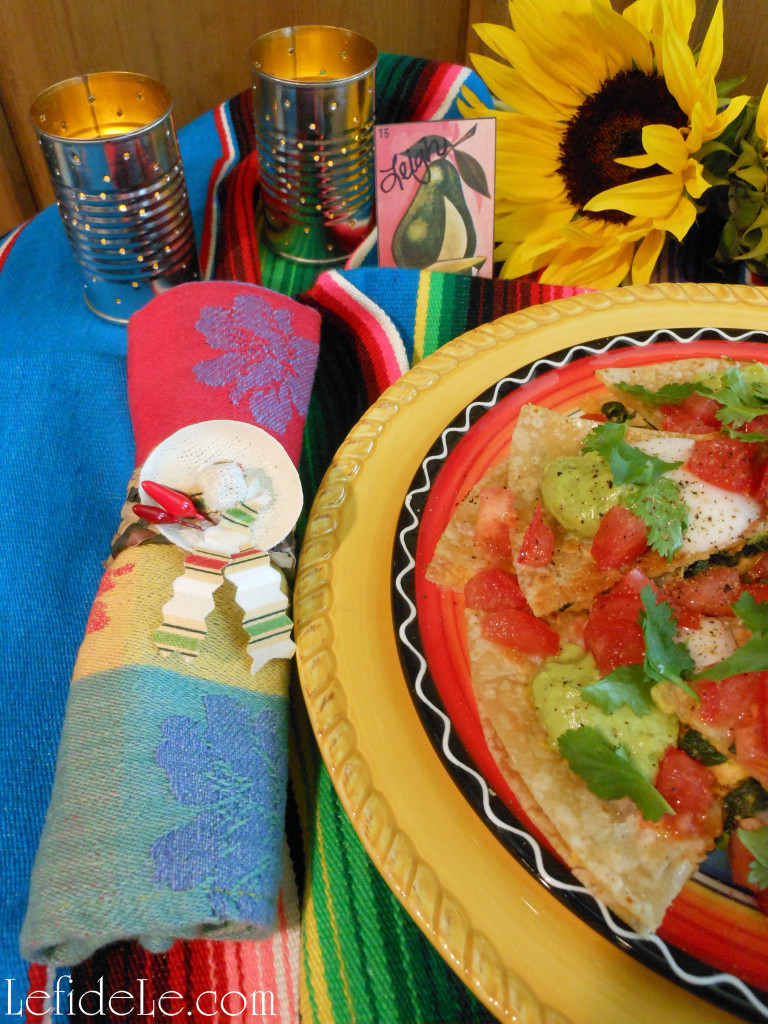
Here the card and napkin ring add color to a lunch of Tex-Mex Nachos made with my Nacho Average Fiesta Dip Recipe.

223Leigh

They bring additional ambiance to another meal with my Gluten & Dairy Free Chicken Spinach Quesadilla Recipe.

164Leigh

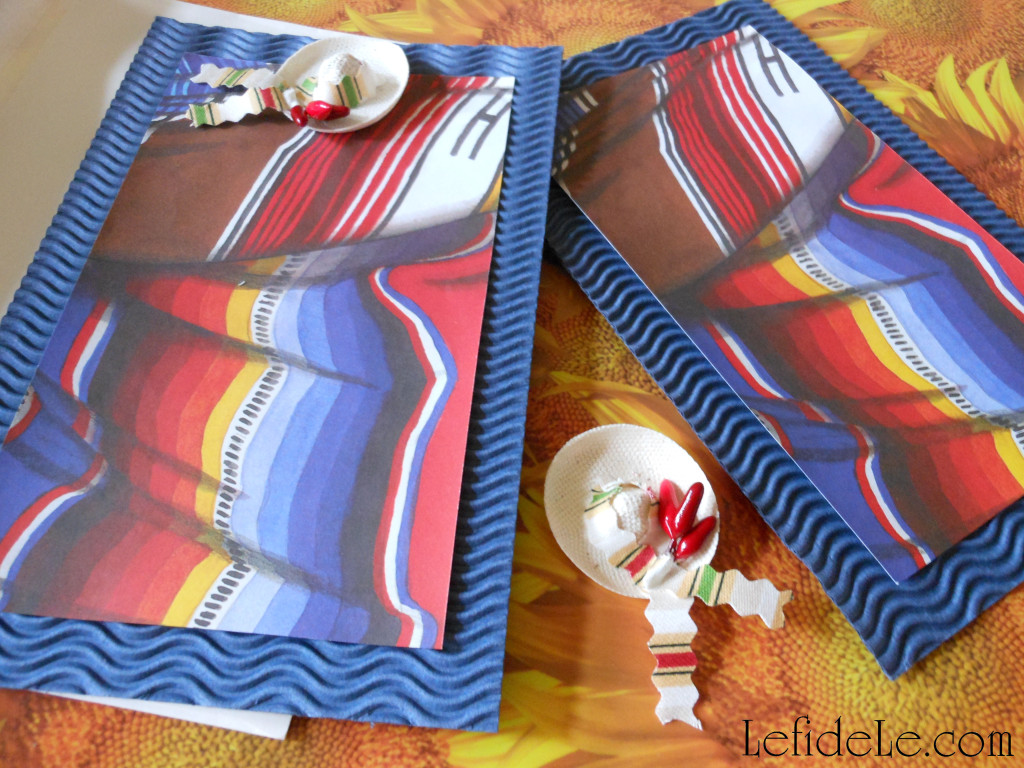
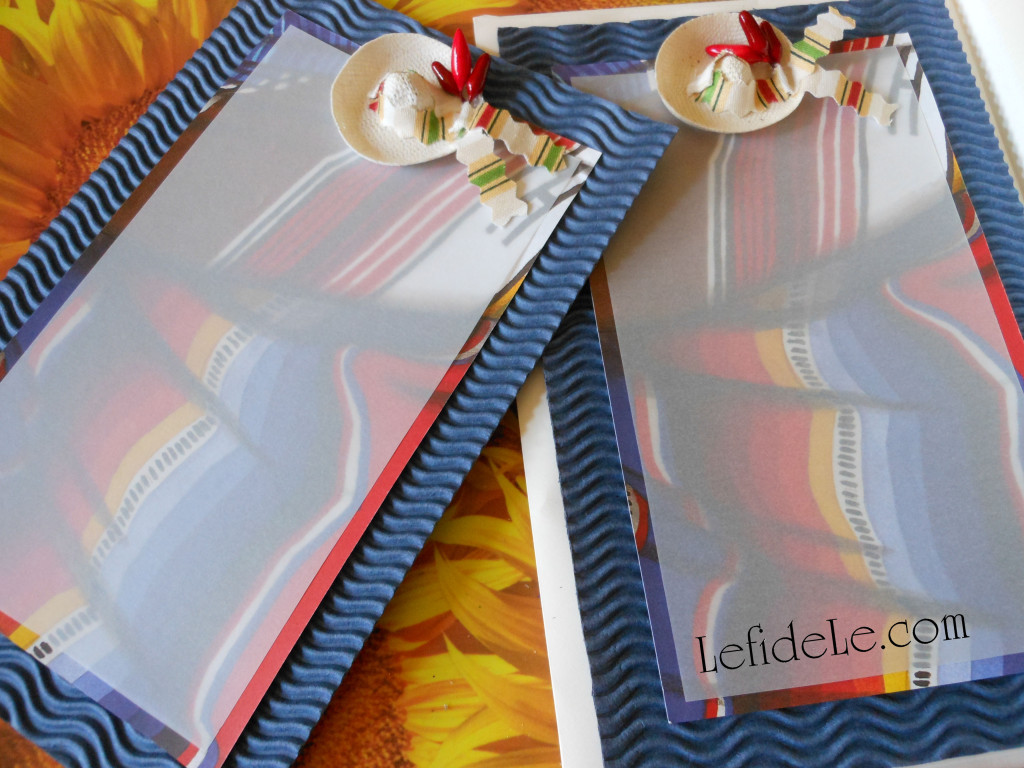
Make fiesta invitations to match your napkin rings easily by following the earlier steps to turn a straw doll hat into a sombrero. Cut a 5.5 x 8.5 inch piece of textured cardstock and a 4.5 x 7.5 size of serape scrapbook paper. Print or write invitation instructions on vellum, then cut it to a size smaller than the scrapbook paper (like 4 x 7).

004Leigh

Hot glue the layers at the center of the top, and then glue the sombrero over it. I made some of these for a bridal shower years ago, and they mailed just fine. I got such a glowing response from the project that I decided to show you how to craft them yourself.

321Leigh

Next, bring more light and color to the celebración with my Easy DIY Upcycled Can Tea-light Luminarias (+ Free Printable Template) & Tissue Paper Flowers Crafts (for Cinco de Mayo Fiesta Décor).

041Leigh

¡Viva la fiesta!

Faithfully Yours,

Leigh