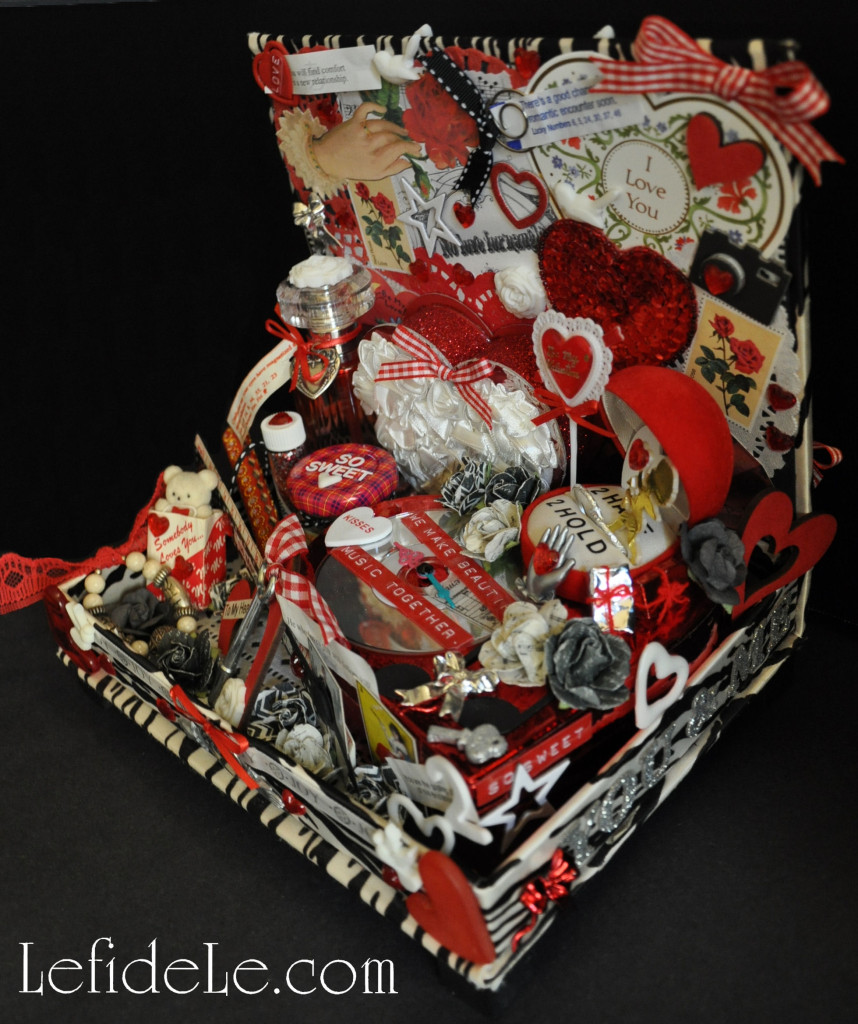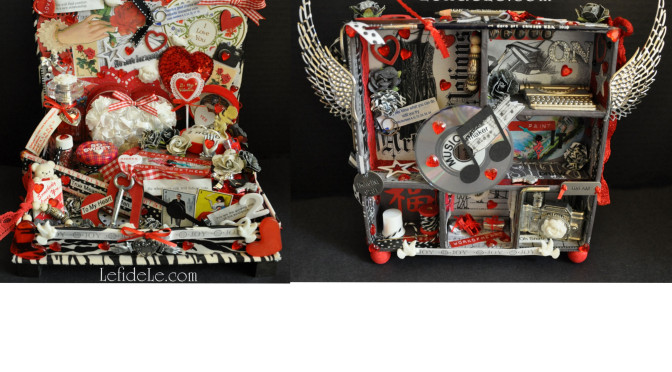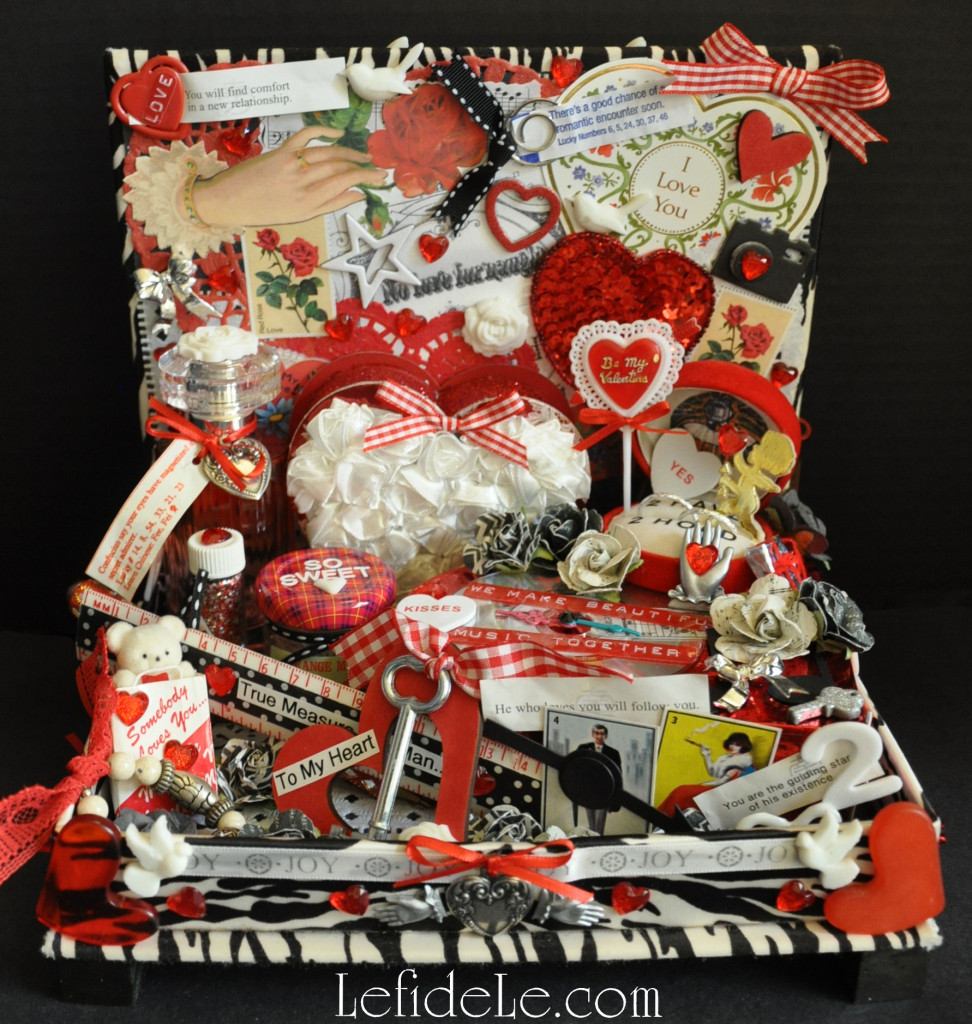
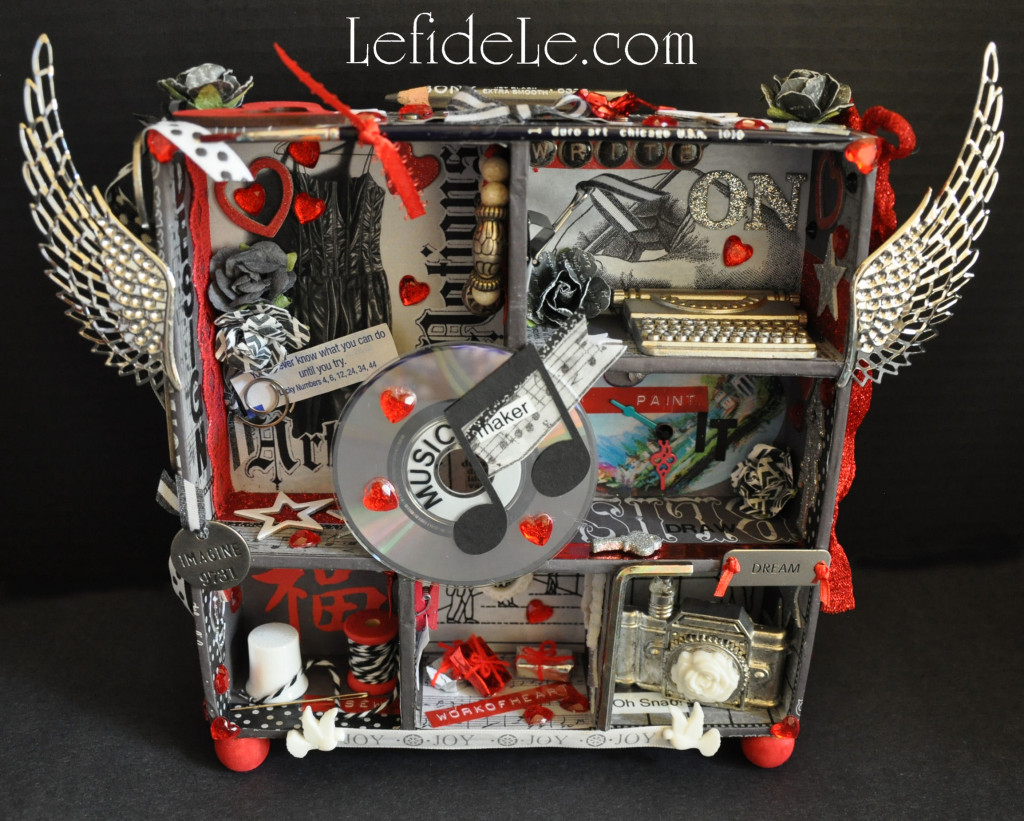
In honor of Valentine’s Day, I’ve made 2 assemblage sculptures (which are the 3-dimensional versions of collages), one honoring romantic spirits and the other creative kindred spirits. With photographic examples of the steps, along with some basic instruction, I’m sure you’ll be able to create your own. This project is the perfect Valentine gift because you can incorporate little bits of ephemera like ticket stubs and cards from your romance, or you can celebrate a creative spirit with little items that symbolize the recipient’s talents. It’s an inexpensive way to demonstrate affection in a memorable one-of-a-kind way… and they’re so much fun to make!
Let’s start with the basics… assemblage sculptures are really just 3D collages. Instead of merely cutting and gluing flat pieces of paper images to a larger sheet of paper, solid ephemera (like perfume bottles) are glued to a base (like a book box). As with any sculpture, they are viewed from 360ᵒ and so should be layered on all sides. In this way, they really are more challenging to make and more interesting to look at. Completed pieces are best viewed close up and in person like one would inspect the contents of a tiny dollhouse.
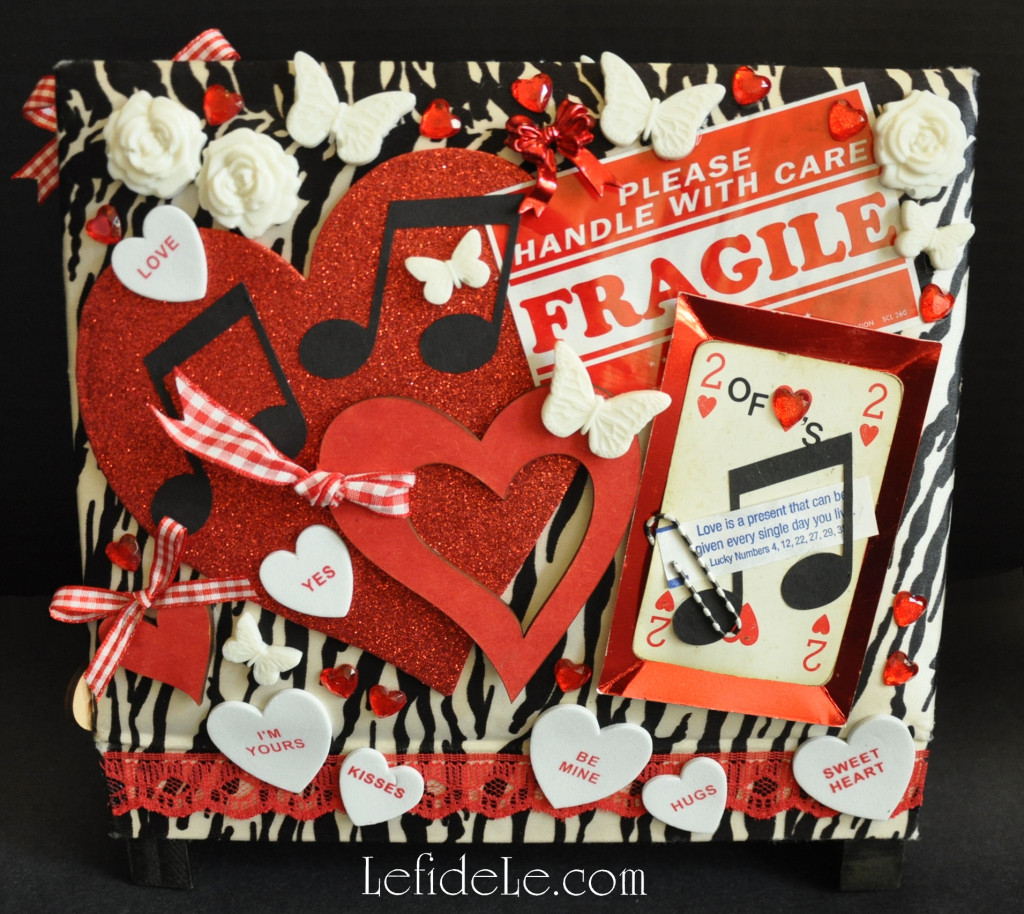
I’ve made two at the same time in order to demonstrate more fully just how to complete such a project. They have very different themes, but utilize the same color scheme and even some of the same items like crystal hearts. In one artwork these symbolize romantic affection while in the other representing the love of craft. Personally, I find that it’s best to begin by gathering all the important ephemera you’d like to use first.
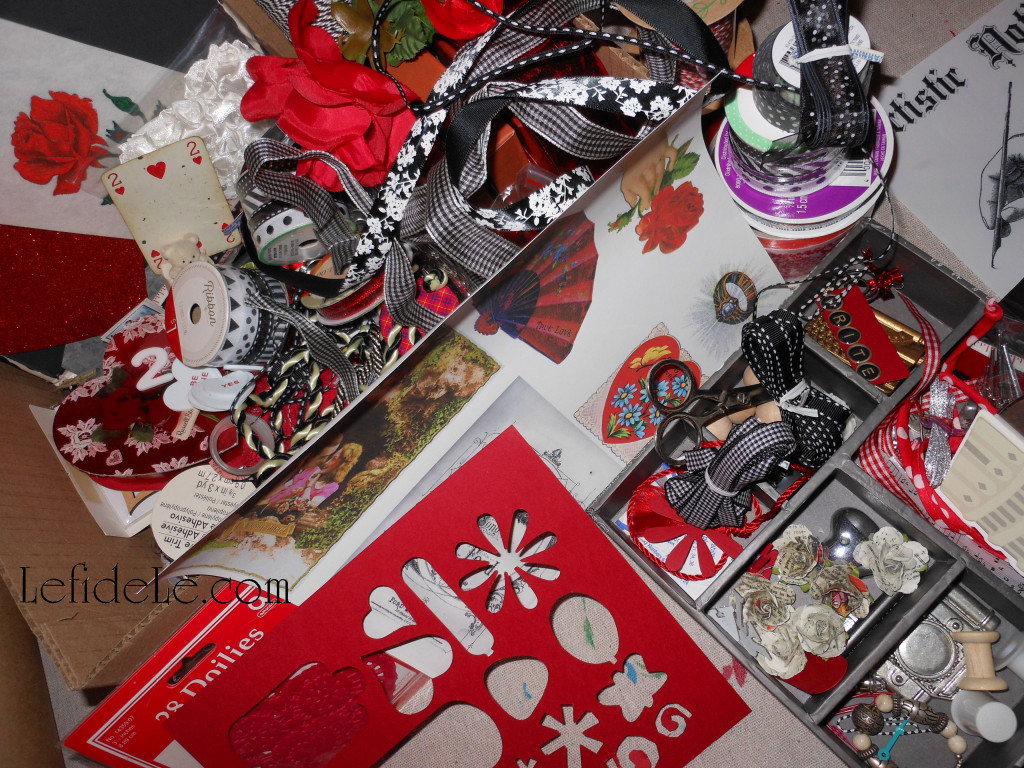
Think of it like an exaggerated version of scrapbooking. Add things that depict cherished memories or even inside jokes. Another way to begin is make a list of things you want to portray, and then look for elements that would render those. And, let’s just say that you don’t have the right memento from that beach trip… well, just go buy a lovely shell and write a date on it in permanent marker. It really is that simple.
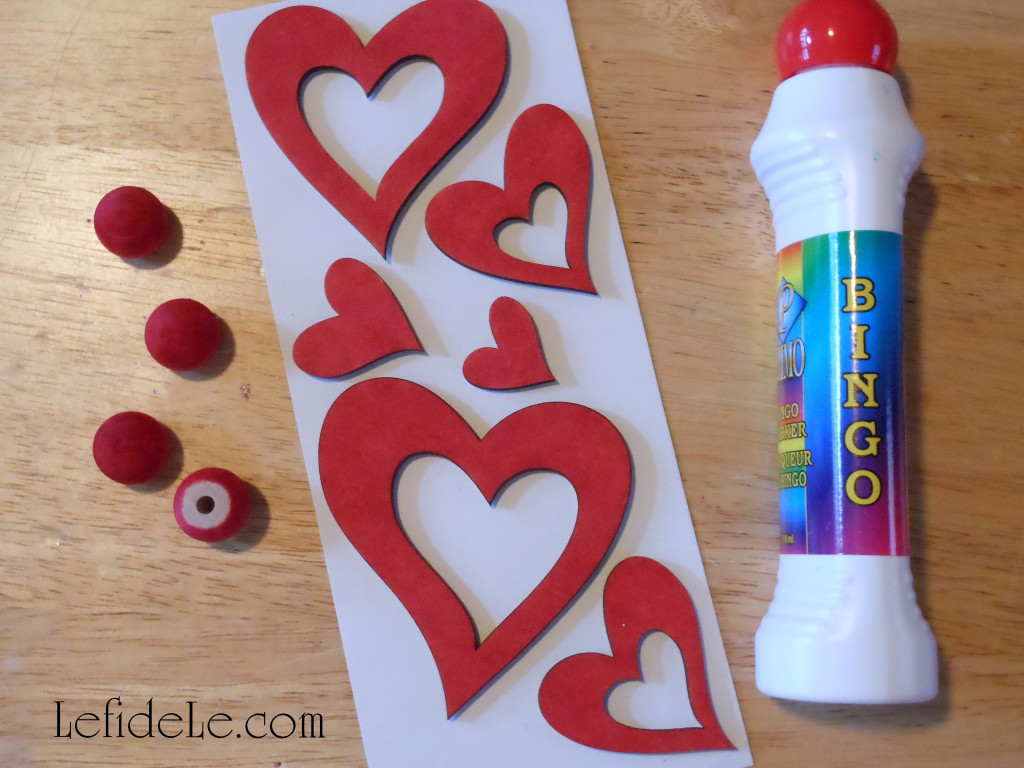
Observe the collected items to see which colors are repeated most. Allow this to dictate your color scheme. Any pieces that clash with that scheme can be altered to blend in seamlessly. Paint, stain, glitter, glue, ribbon, and tape can change a tchotchke to suit your palette. Here I’ve use a bingo marker to stain some pale wooden heart cutouts and potential base feet. (See more about the possibilities of bingo markers in my article: Fast & Easy DIY Hand-stamped Polka-dot Gift Wrap & Matching Gift Crafts.)
The next step is to go to your craft area, local craft store, or even online to search for coordinating bits of ribbon, washi tape, or even feathers to fill in the empty portions of your project. (A few of my affiliates offer great rotating discounts on art and craft supplies. Check them out in the sidebars and footer.) How much you use is a matter of personal artistic preference. I intentionally load some assemblages up to the hilt, while in others I designate empty voids as a design element in and of itself. (This is called “negative space” in “art-speak”.)
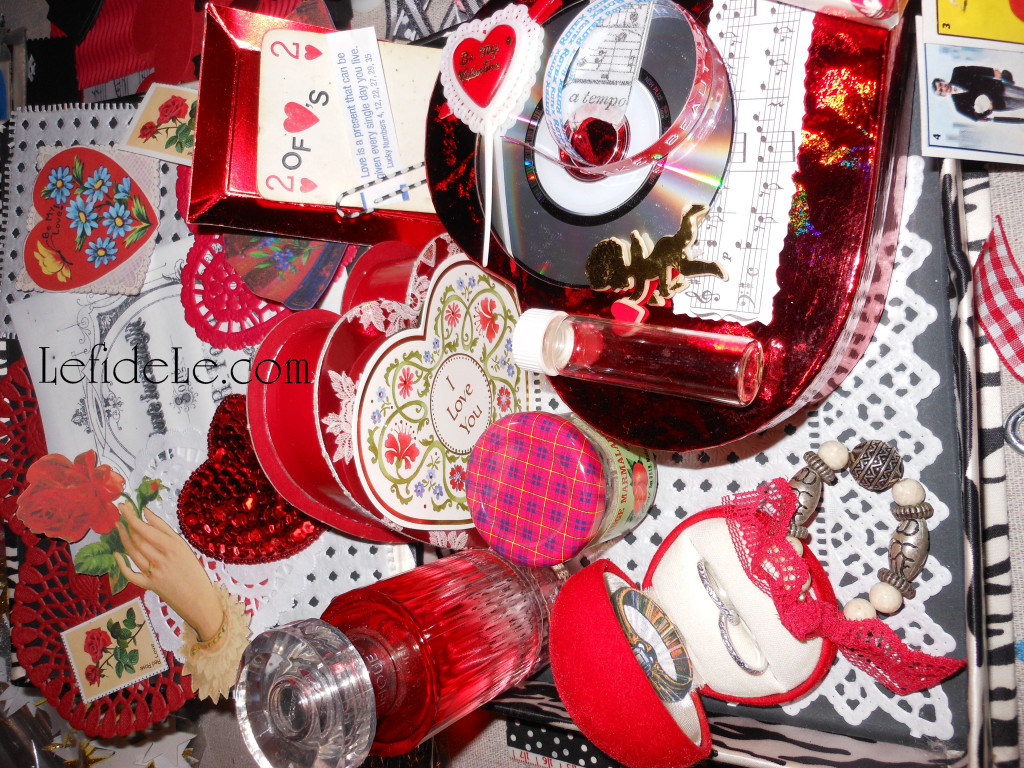
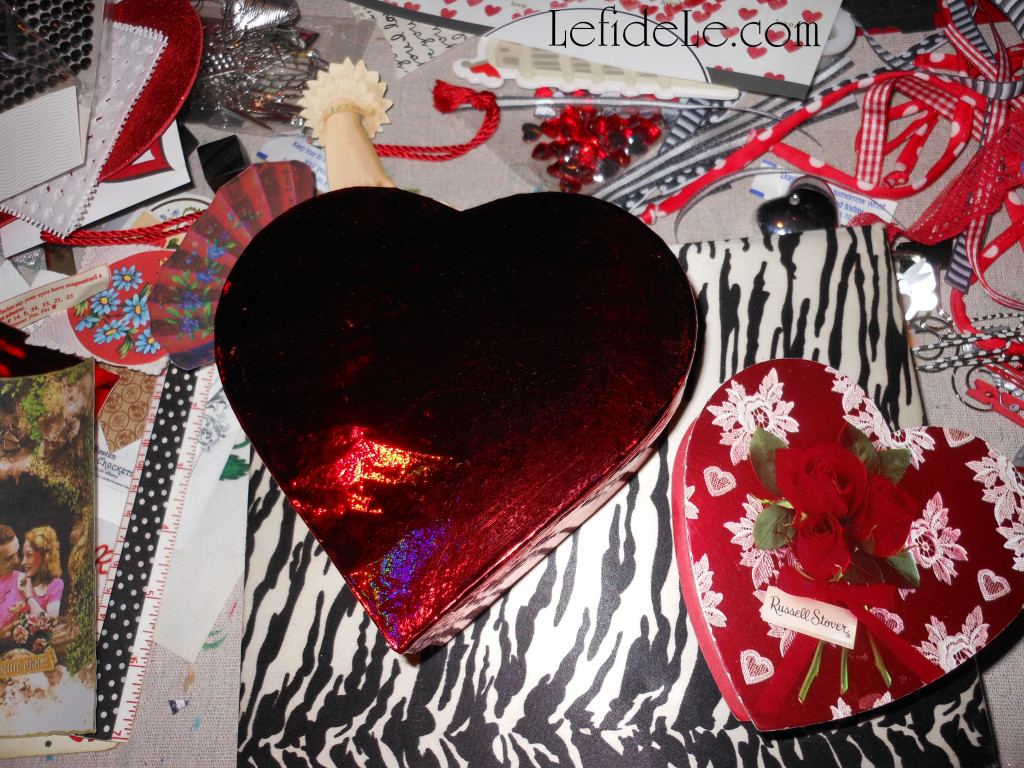
Choose an appropriate sized base object according to the size and amount of your collected ephemera, and by how you would like to display them. (Of course, I’ve also started with a really awesome base then collected items after. For a Valentine project though, the most important elements are the collected ones.) You can use a tiny chocolate box if you only have a few key items and are short on time. Or, you can use that chocolate box as a pedestal inside a bigger box (just remember to glue the little box together before adhering it to the base).
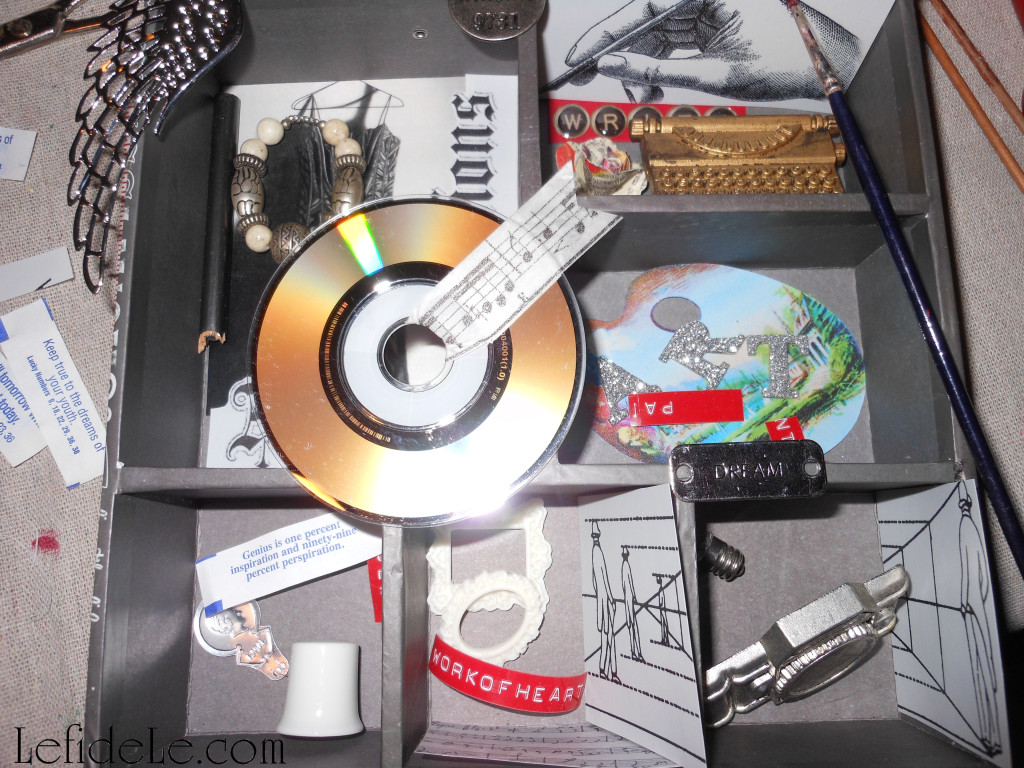
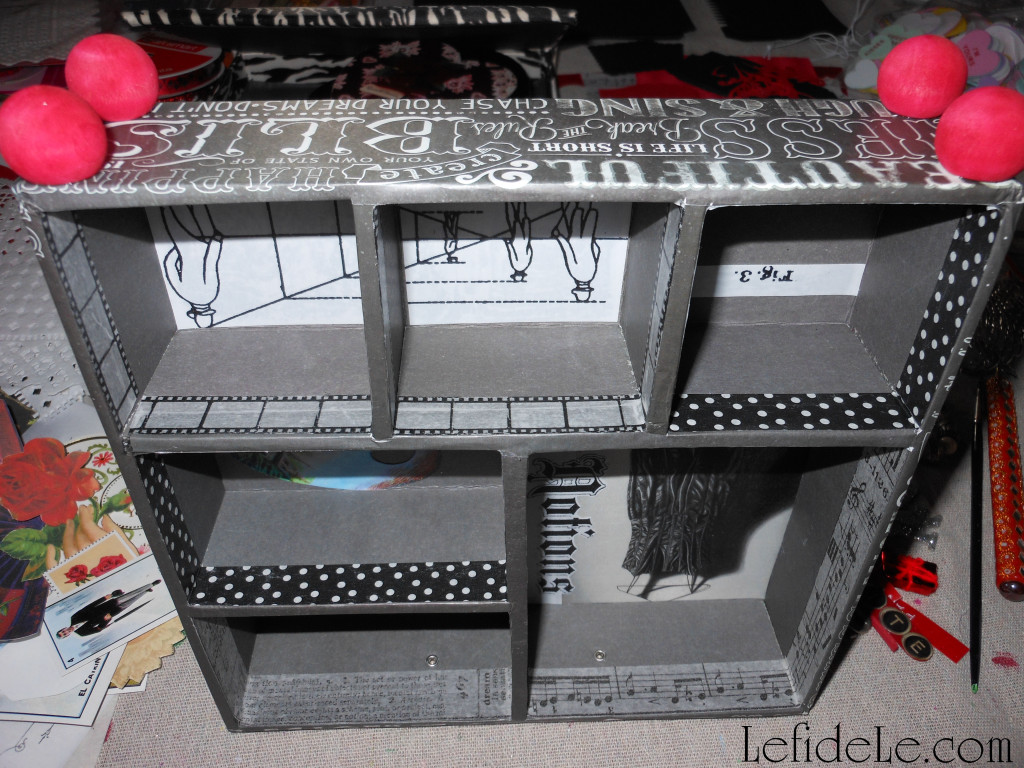
I used a vintage fabric covered book box for the “Sweet-Heart” assemblage. I love using old pieces off-book so to speak. I thought a drawer organizer box would be perfect for the “Creative-Heart” project. I just turned it on its side to make a kind of display case out of it. You can even use a plain paper-mache box, and decorate to suit your theme.
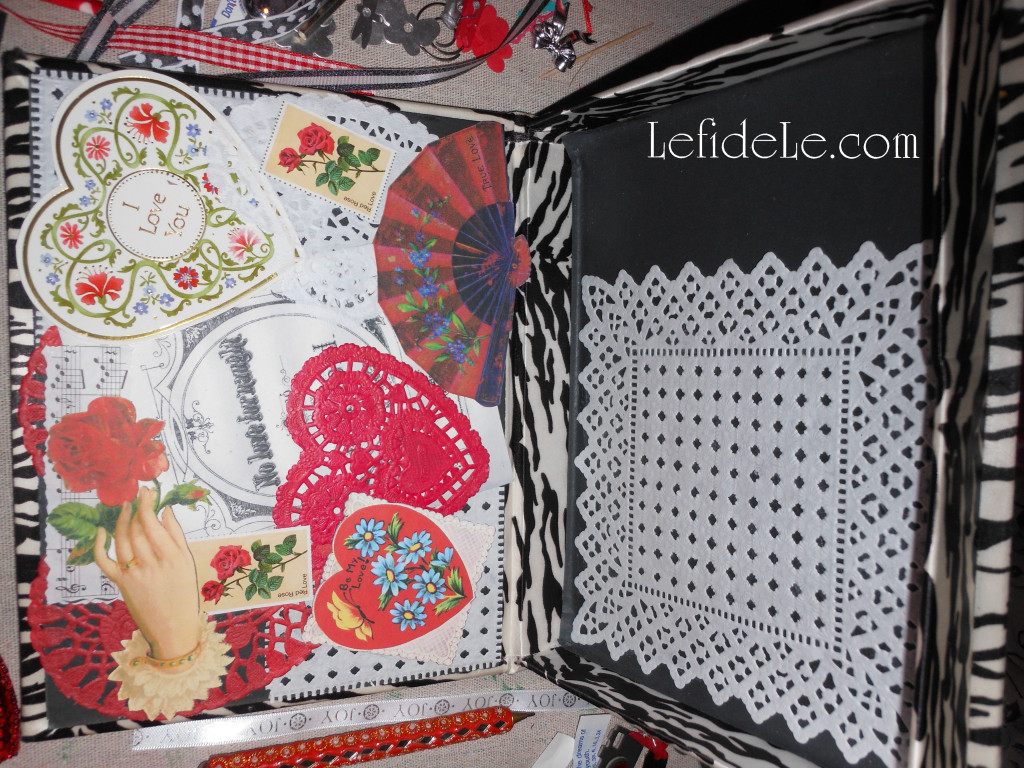
Lay out the items you’d like to use to see how it looks best arranged. Move things around until you find it visually appealing. Eventually it will just look right. You can lock this into your memory, or even take a photo to reference it while you glue things down. Use a permanent glue stick to adhere the paper pieces in layers to the base.
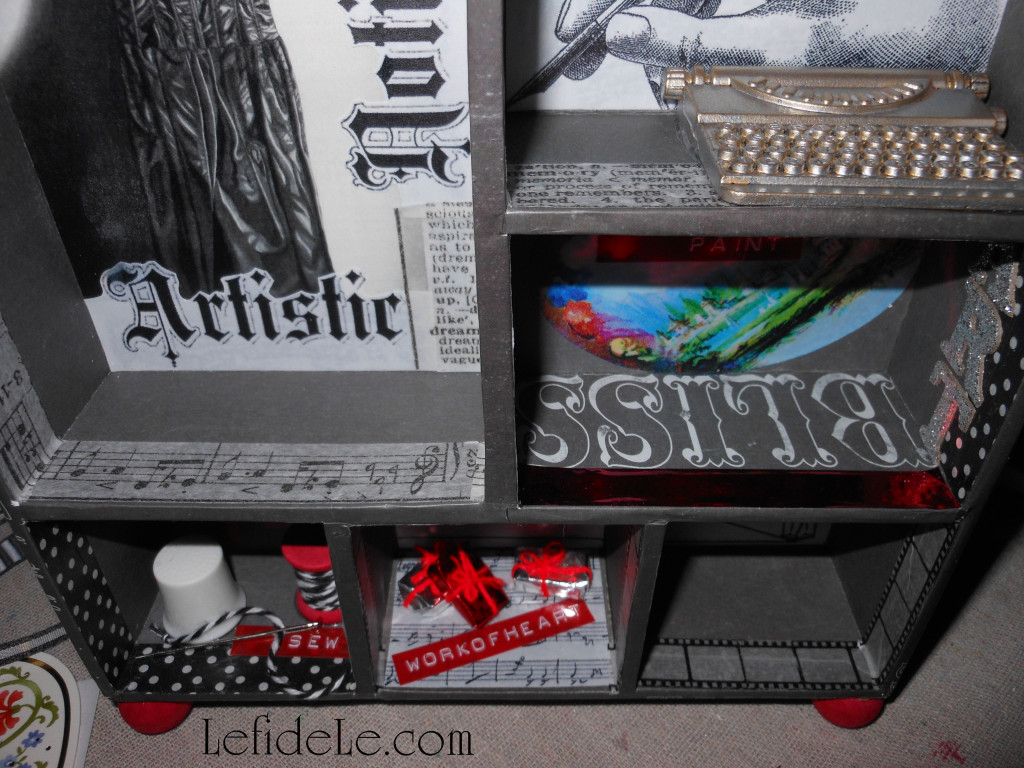
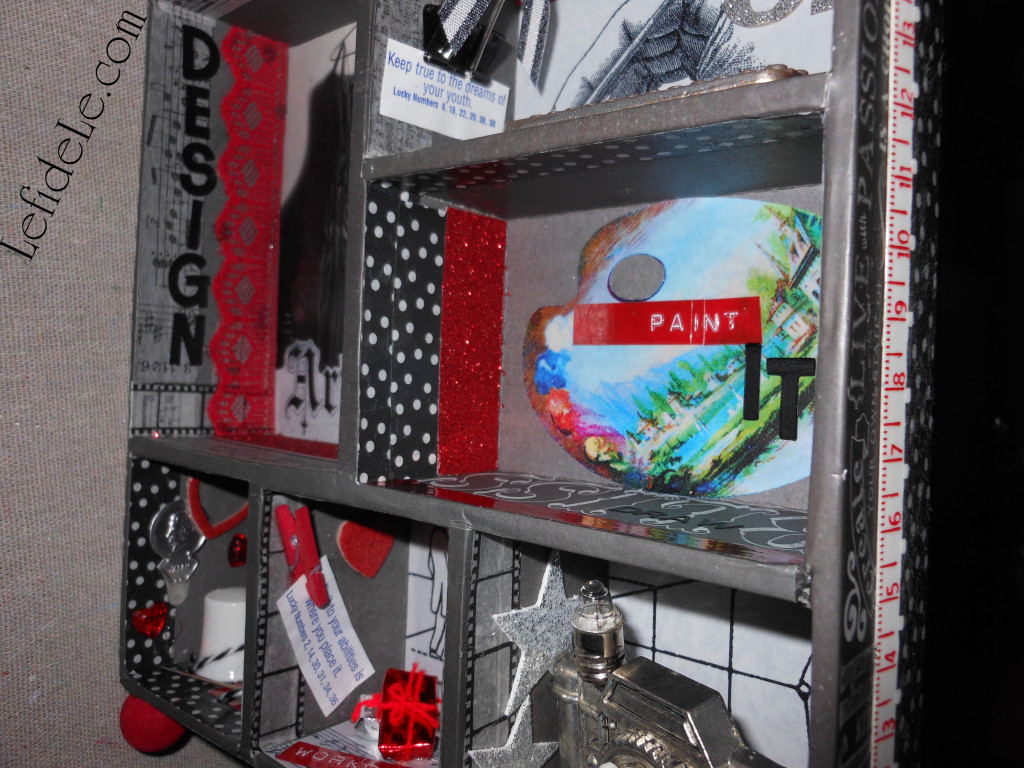
Here I’ve added washi, glitter, and foil tape to add visual interest to the plain centers of the “Creative-Heart” assemblage. Then I glued paper pieces to the backs like a papered wall.
Use a clear glue with more staying power for heftier pieces like glass bottles and metal pieces. (I placed some great glue varieties in the curated art supplies gallery box in the sidebar. Just click on them to read the specs.)
I glued small stained wooden shapes to the bases to serve as feet (those shown earlier). This is the most inexpensive way to both elevate and protect the artwork. You also use more ornate metal feet specifically made for assemblages or even small silicone stickers.
Rotate bases to glue all of the heavier objects onto that side, and then let them set to dry. Continue to rotate and glue various edges. Of course, try to position the bigger more important pieces before filling in with the tiny ones.
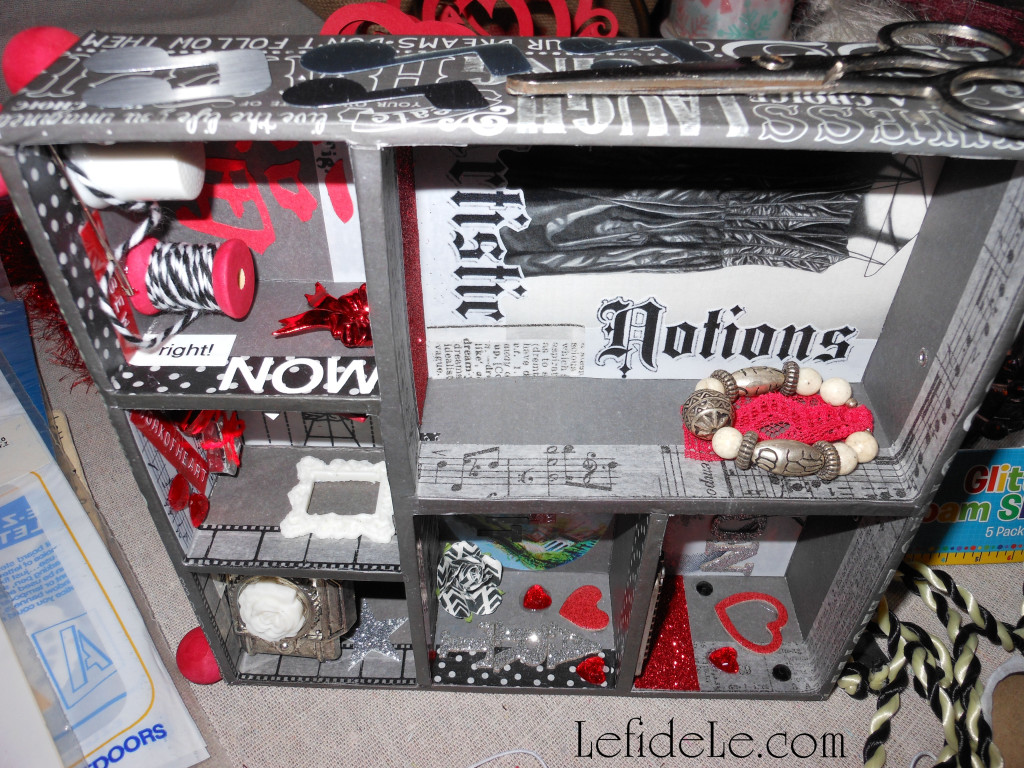
Think about adding meaningful words, phrases, questions, or quotes to impart further meaning to your elements. I added these using printed label tape, dymo tape, vinyl lettering, glittered chipboard letters, a Chinese character, and even fortune cookie papers. Apply these directly onto your pieces and to the base itself.
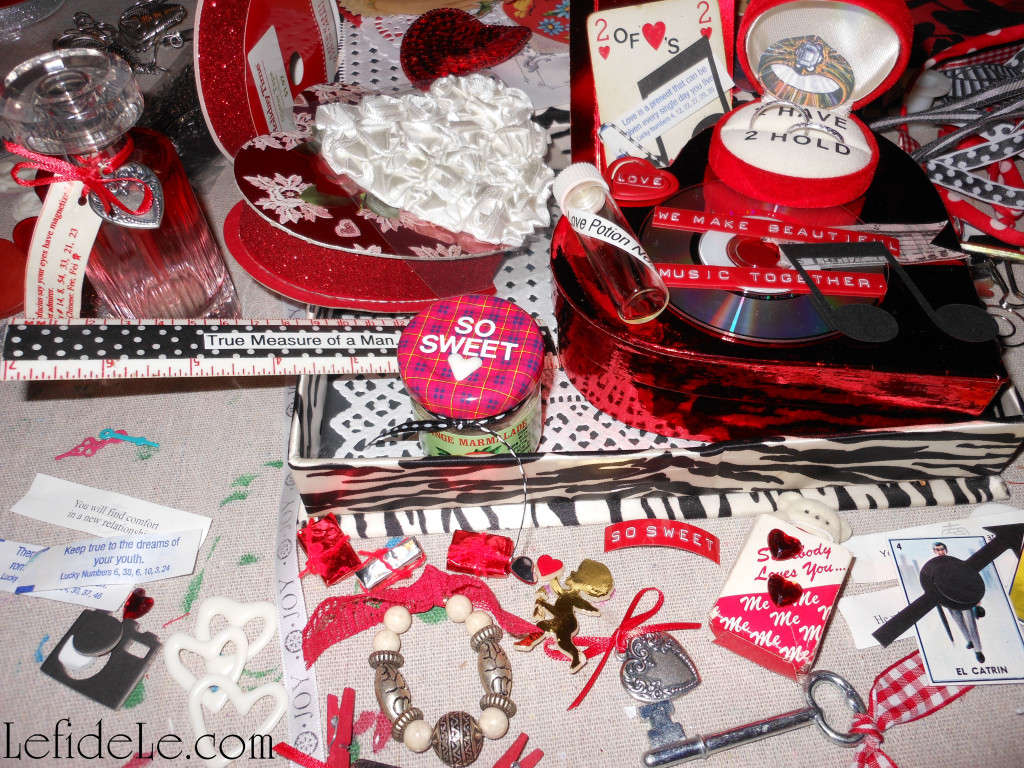
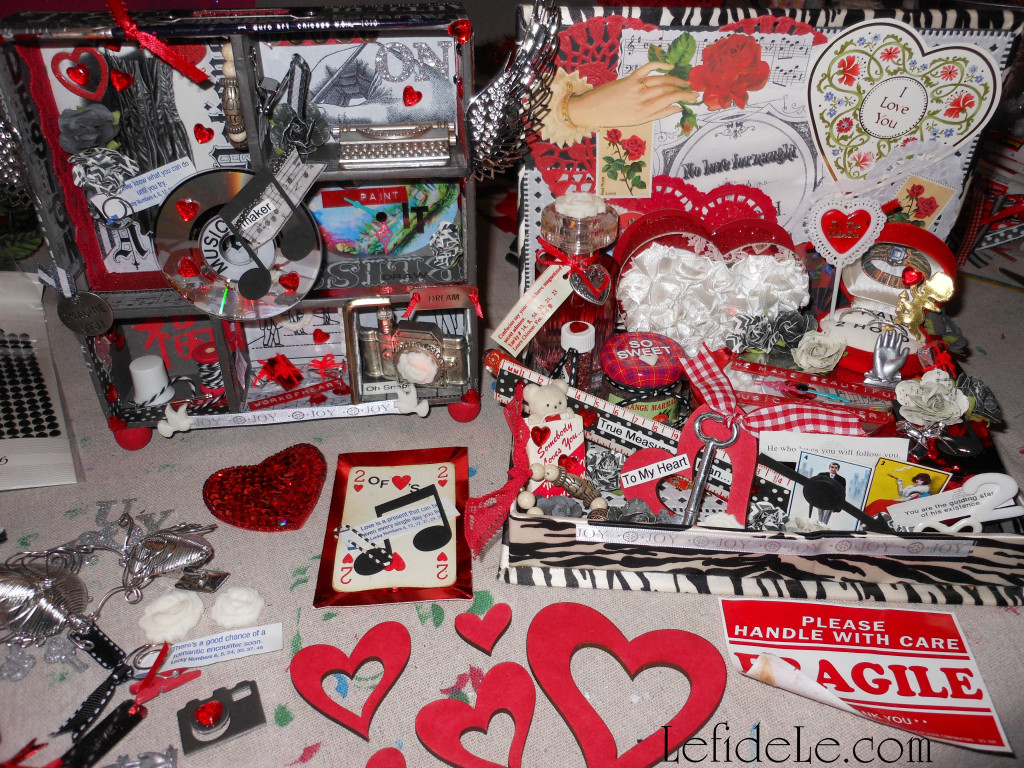
I also made ivory shapes using Plaid Mod Molds. (These have been added to the curated gallery too.) I love being able to quickly make whatever element I feel needs to be included. I included metal jewelry charms, painted paper clips, mini-CDs, Spanish bingo cards, old keys, rulers, scissors, paper rosettes, ornaments, cupcake picks, playing cards, spools, thimbles, magnets, paintbrushes, crystals, glass vials and jars, etc.
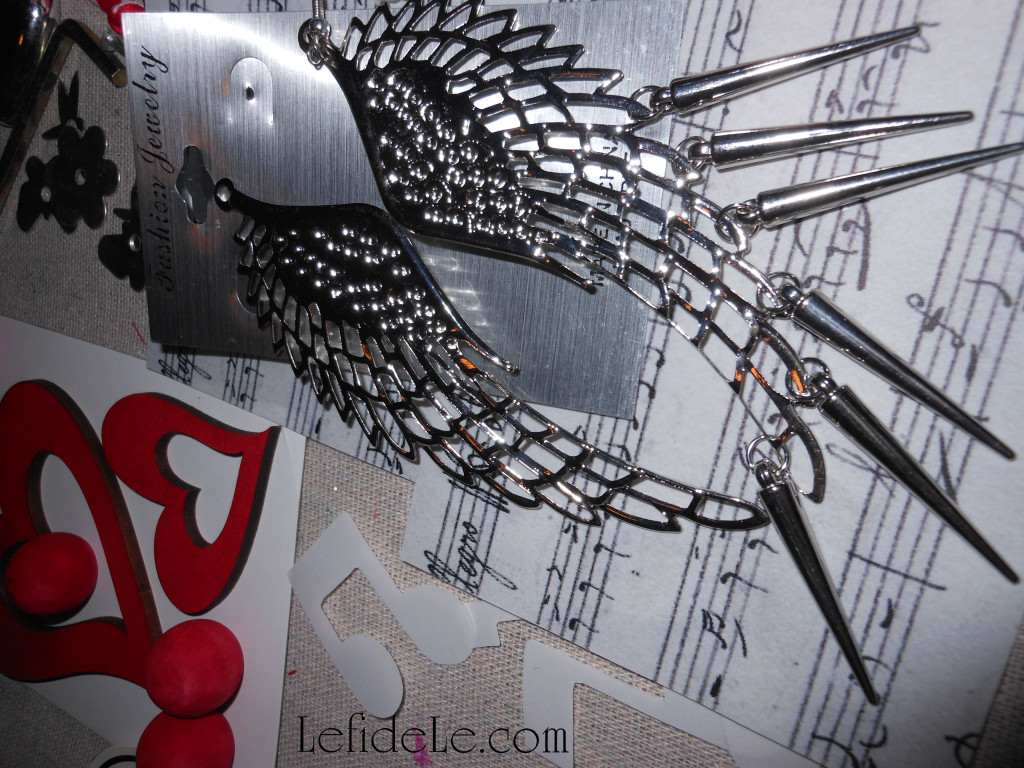
Here is a pair of giant winged earrings that I’ve modified for the project. I even cut out music notes from the shiny display card. You never really know where something’s come from in one of my pieces. I generally use a lot of vintage elements and scraps that I modify. I’m lucky enough to have a grandma that collected a lot of random stuff that I can now use, but you can find a lot of knickknacks both online and in antique shops. Let your creativity run wild and use anything that can be altered and glued down!
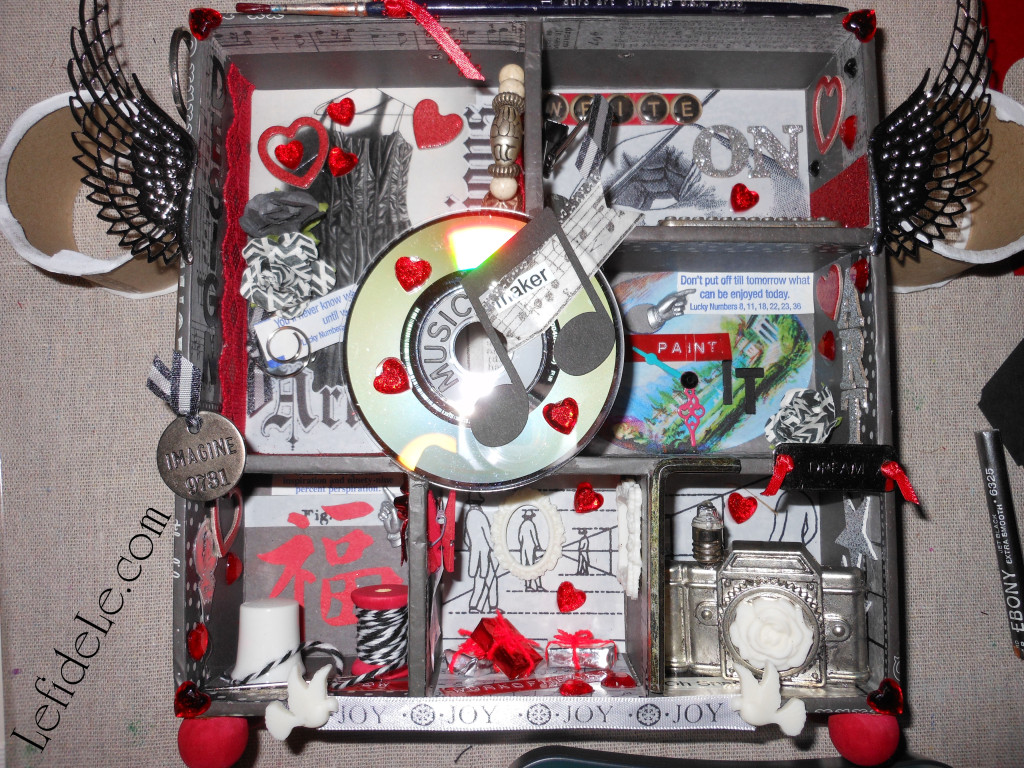
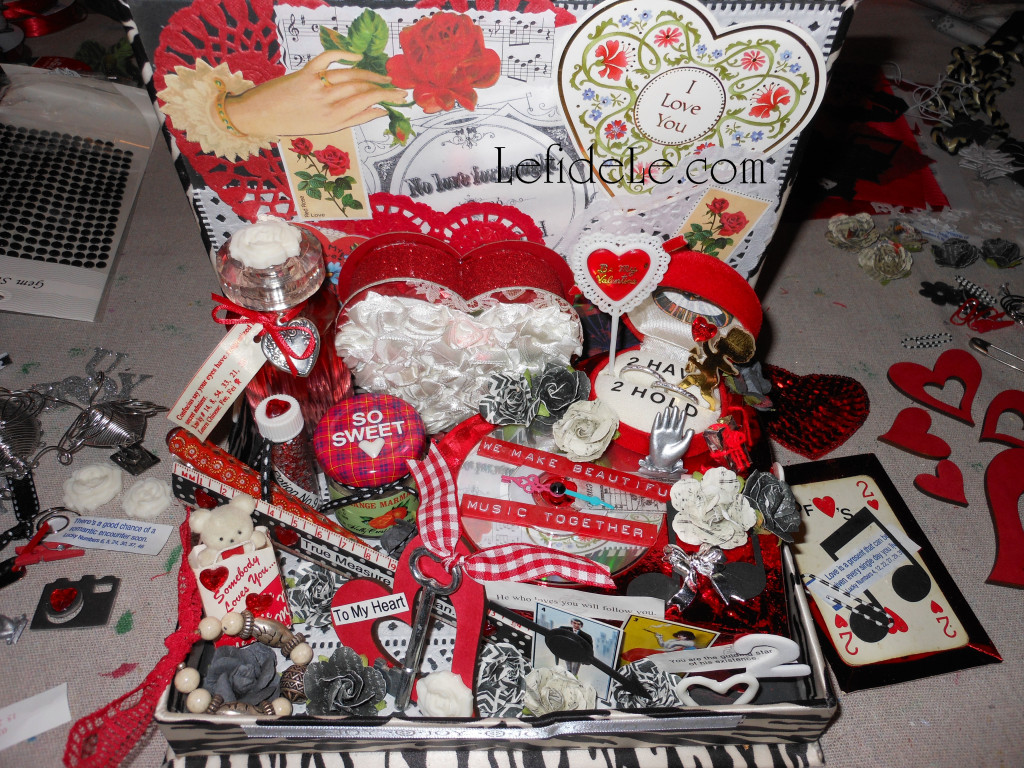
Just keep layering your pieces into the base like you would to complete a puzzle. It’s done when you think adding anything else will mess it up… the Goldilocks moment of when it’s just right. Of course, there will always be critics, but you didn’t make it for them. If your recipient appreciates the care that went into it, and if you enjoyed making it…. well, isn’t that just the point of making a homemade gift?
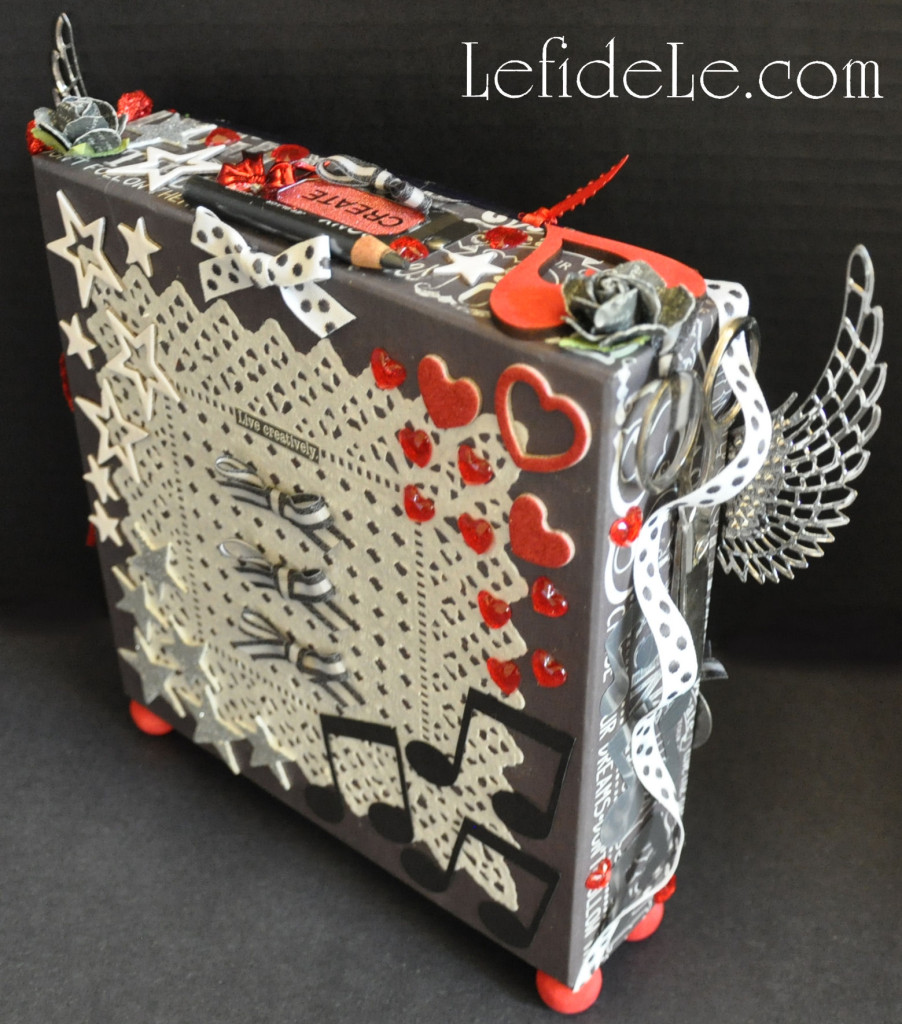
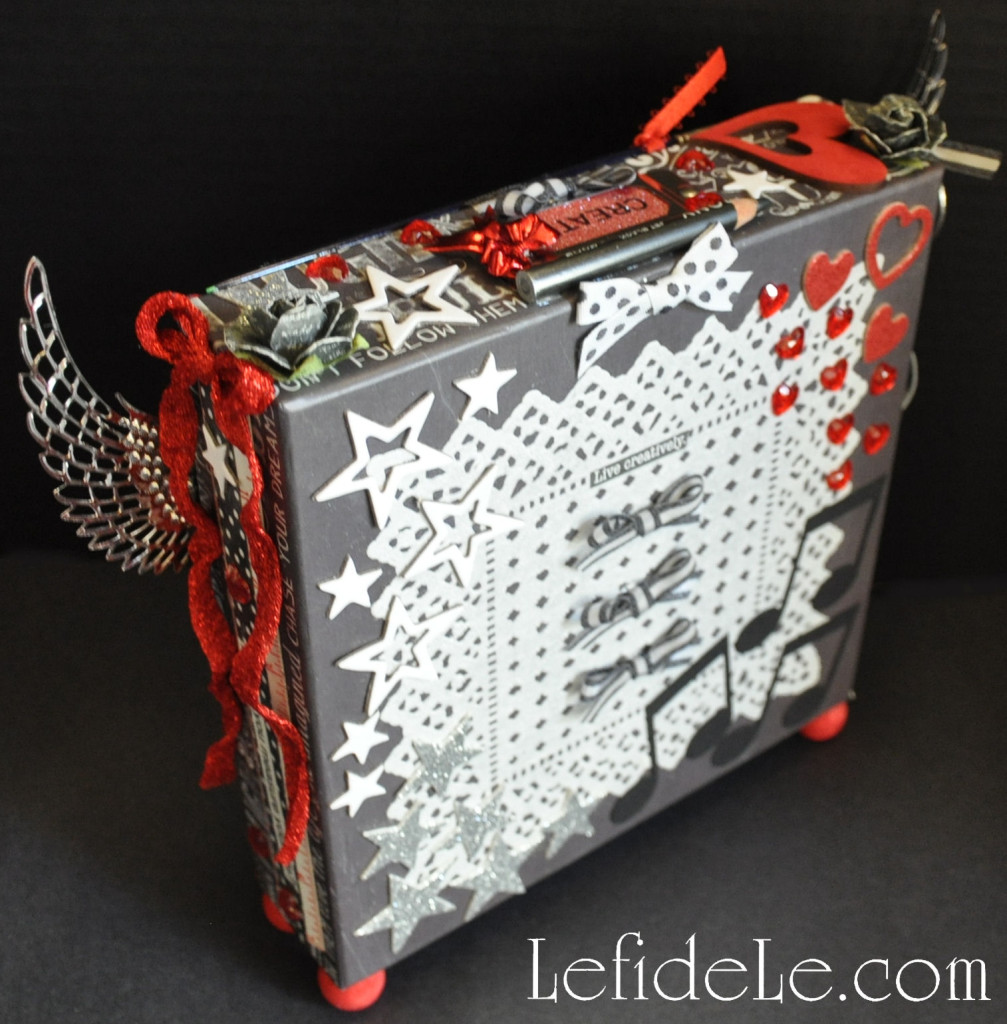
Have fun & tell stupid Cupid you’ve got it covered!
Faithfully Yours,
Leigh

