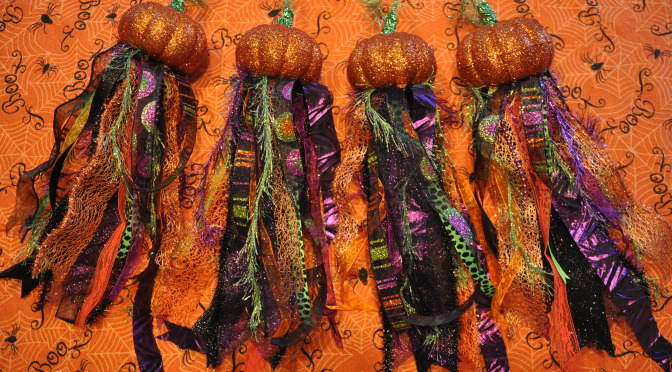
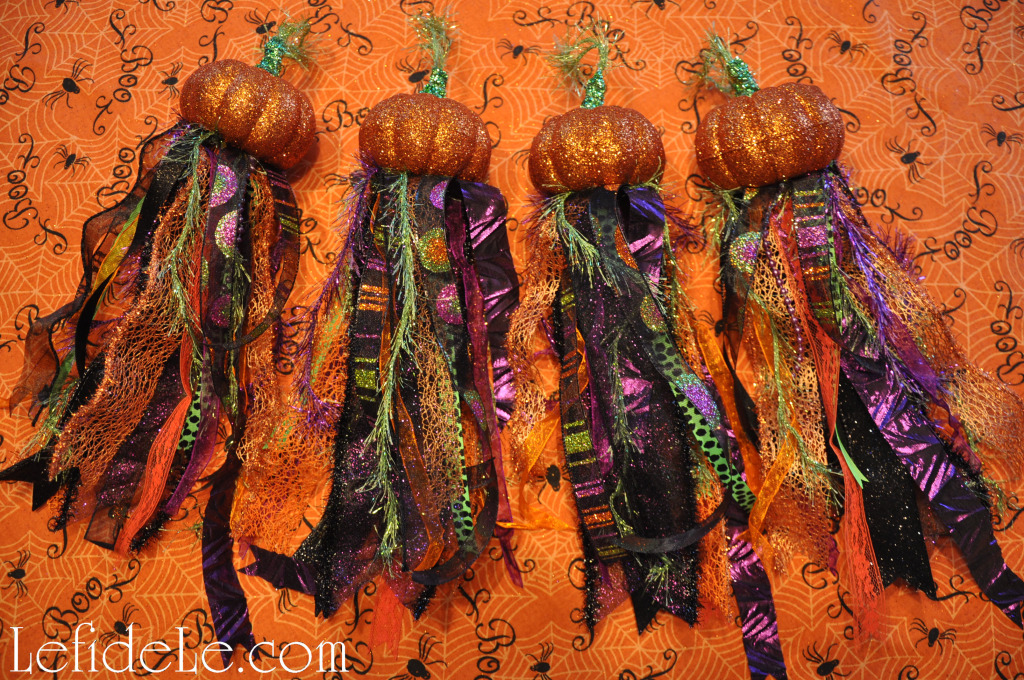
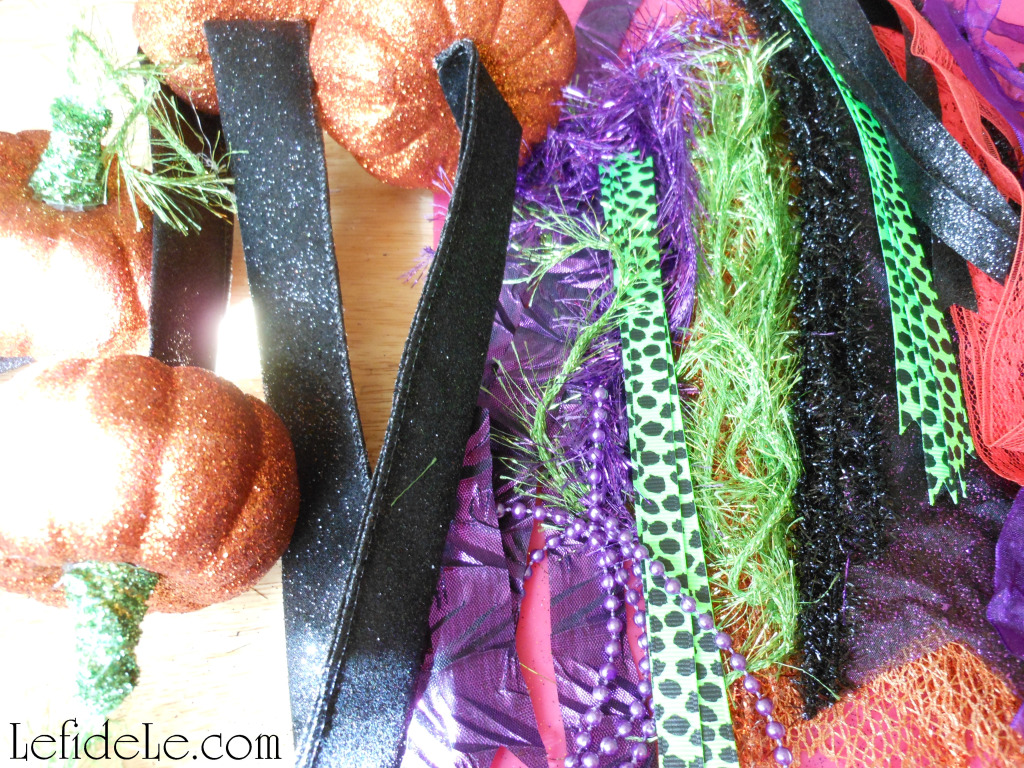
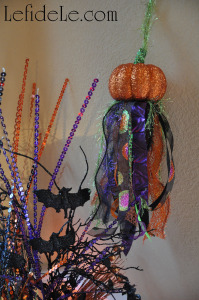
This DIY Halloween project makes perfect use of all those leftover ribbon scraps that are just too pretty to throw away, but are too short to do much else with. There are many kinds of tiny pumpkins available at craft stores, and they don’t have to be glittered like these. I love to mix various textures and finishes of materials because it produces more visually compelling creations.
I used some of the scatter pumpkins that were decorating my living room console. I really don’t know what sparked the idea, but I just had to turn some of them into tassels. The conundrum was how to accomplish this, but as one of my studio art professors said, “Art is about problem solving.” My answer came in the form of a hot glue gun.
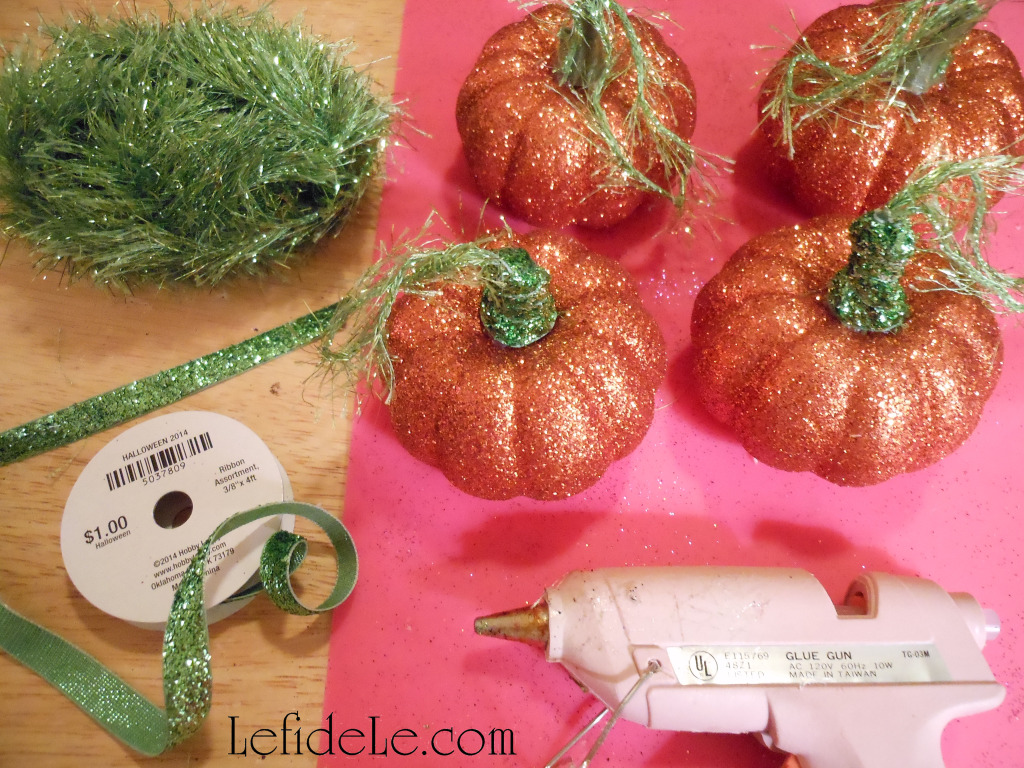
I first glued the ends of a few inches of shimmering green yarn onto the plastic stem of the pumpkins, in order to form a hanging loop. Then I glued matching flat ribbon, as I coiled it around the stem, until it was covered completely. Clearance and dollar bin ribbon are great for projects like this, when you need just a few lengths to complete the job.
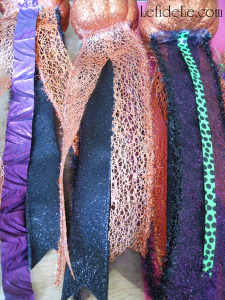
I gathered up all my coordinating ribbon scraps, and then cut additional lengths off new rolls that I had set aside for this year’s “Glitter-ween” Party theme. In that way, the finished product would harmonize with the other crafts I had already completed. I cut the wired ribbon into longer lengths to purposely be able to bend it into waves later. That would add dimension and separation by introducing “negative space” into the piece. Sometimes the empty places are as important to the composition as the materials themselves are. The wider ribbons, I either cut in half or folded in half and glued together. Cutting the gluing ends flat and the trailing ends pointed, into a V or W depending on the width, adds a touch of polish.
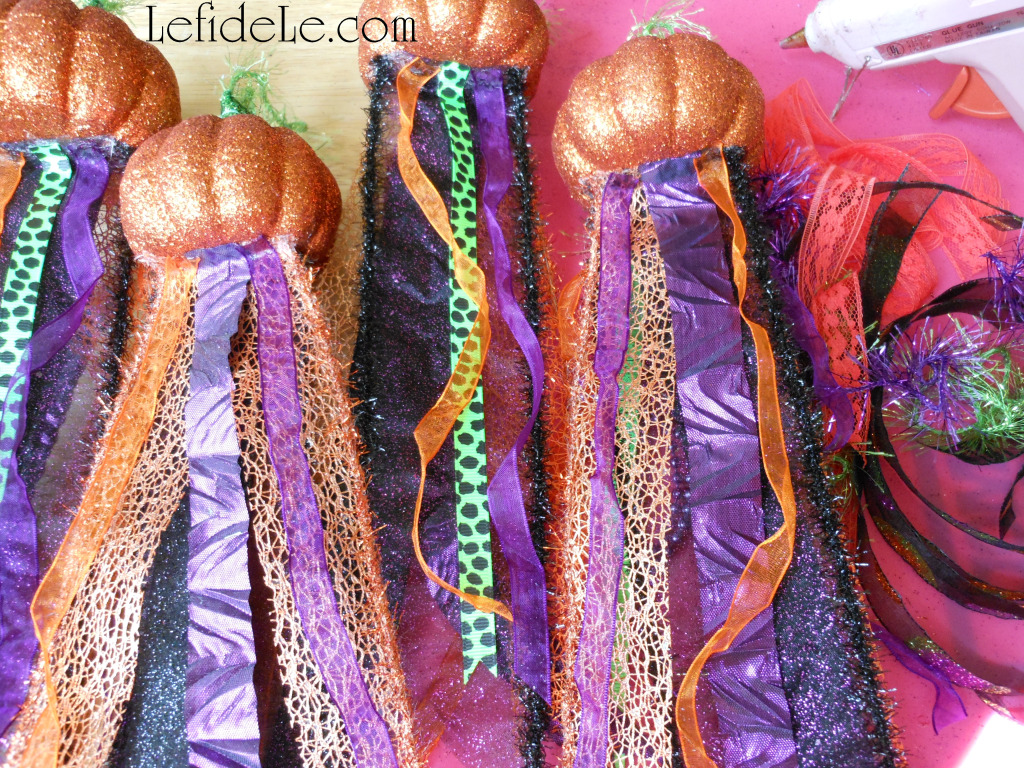
I began gluing bent tips of the darkest and thickest ribbons to the center of the pumpkin bases. From there I just kept turning and gluing until I got to the thin ribbons and yarns. Those I added to the outside areas where it seemed like some color was needed to fill to the space.
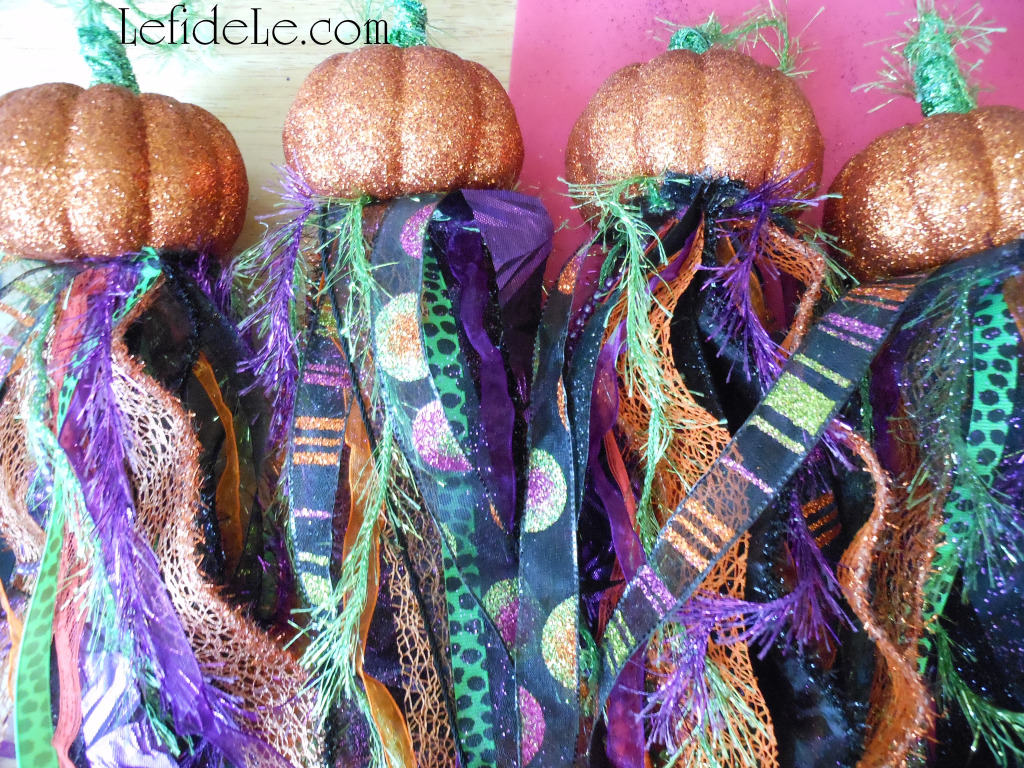
This is where to just keep adding intuitively until it looks finished. I always say that I work on a project until I’m afraid that I’ll mess it up if I add any more. Then and only then, is it finished. If you feel like something’s missing, take a break and come back to it later with a fresh perspective. If you still feel that it’s just not quite right, ask a creative friend for their opinion. Sometimes a conversation about a design is enough to generate even more of your own ideas.
Laying out all the pumpkins helps to see if any errant lengths need to be trimmed down. Then it’s time decorate with them.
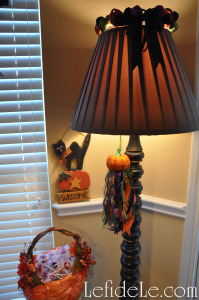
They look fanciful hanging from lamp switches where light can reflect on them. That’s a glittered bell wreath perched atop the lampshade.
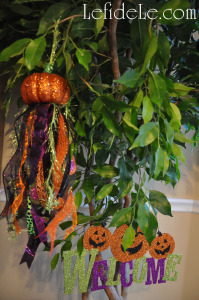
They make great ornaments for indoor trees. Adding a Happy Halloween sign helped too.
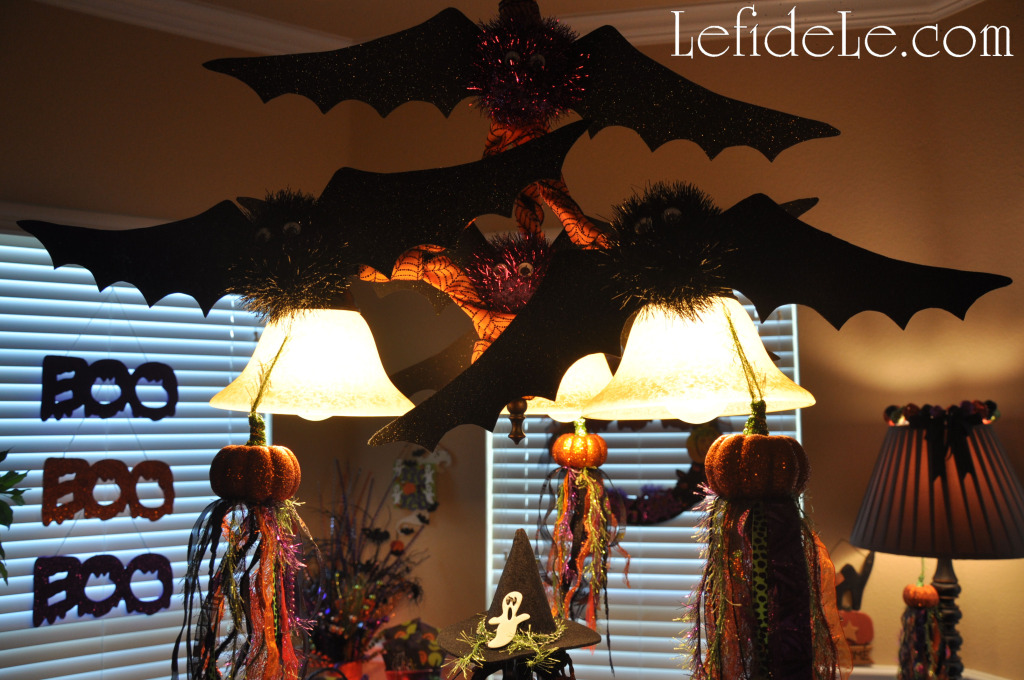
They connect the space between table and chandelier when suspended from the lights. The bats are an easy craft that will come with a PDF template in a future posting.
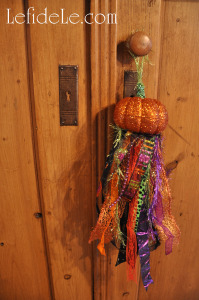
If the loops are made large enough, they’ll hang on any doorknob, even an armoire.
They can even hang from a tack nail on the wall where a bit of empty space needs decorative filling.
Best of all, they’re one-of-a-kind handmade in the USA creations that not everyone on the block has seen in a store’s ad, and I had fun making them. Here’s hoping you do too!
Faithfully Yours,
Leigh
