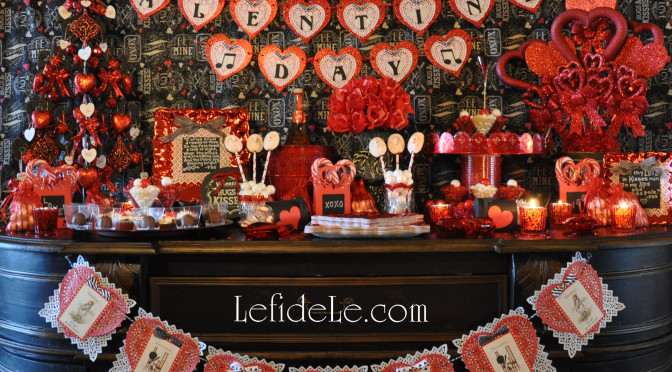
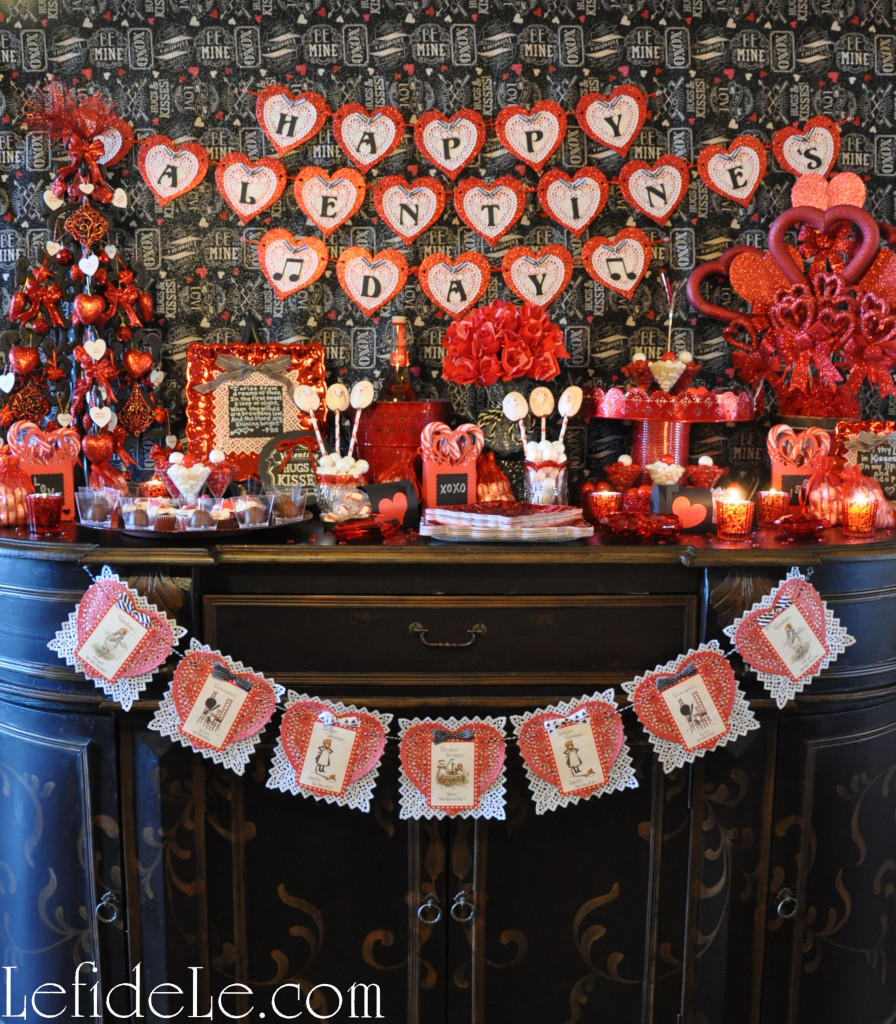
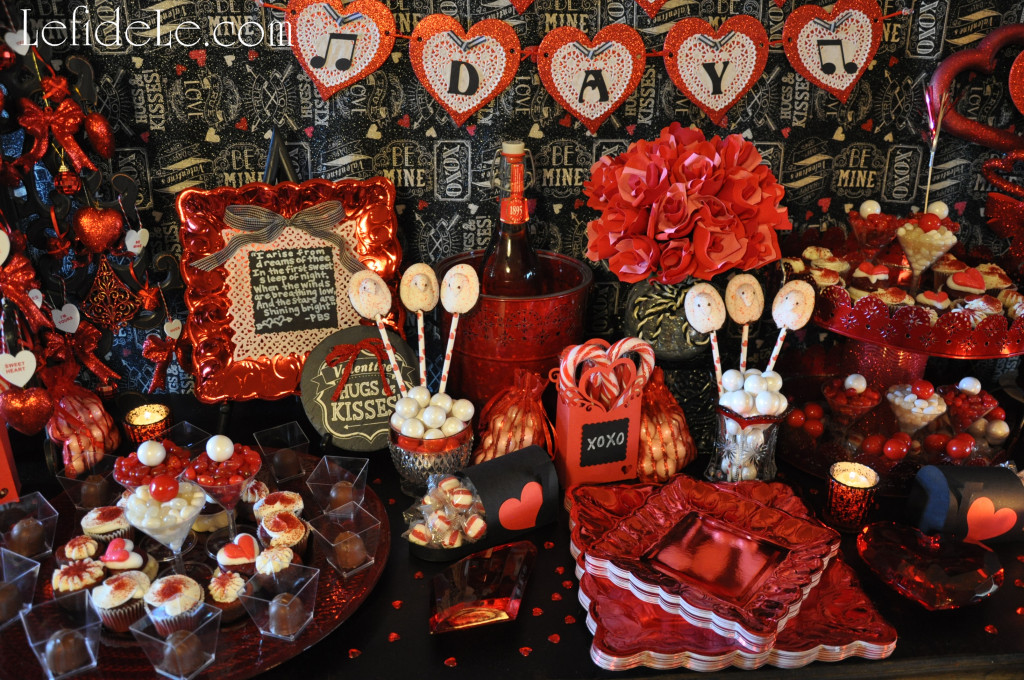
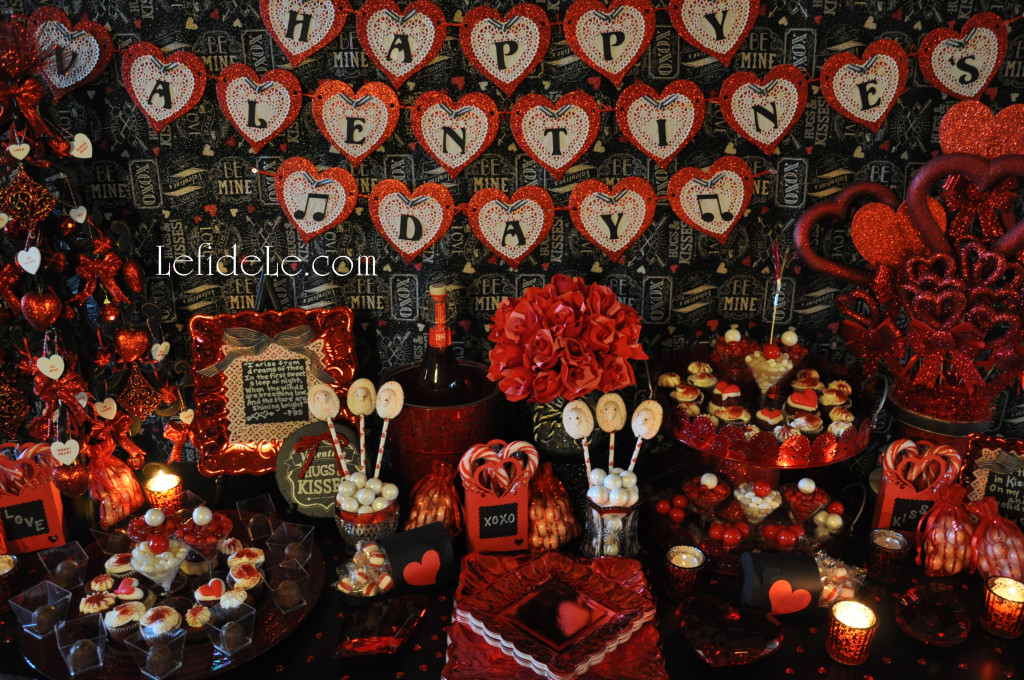
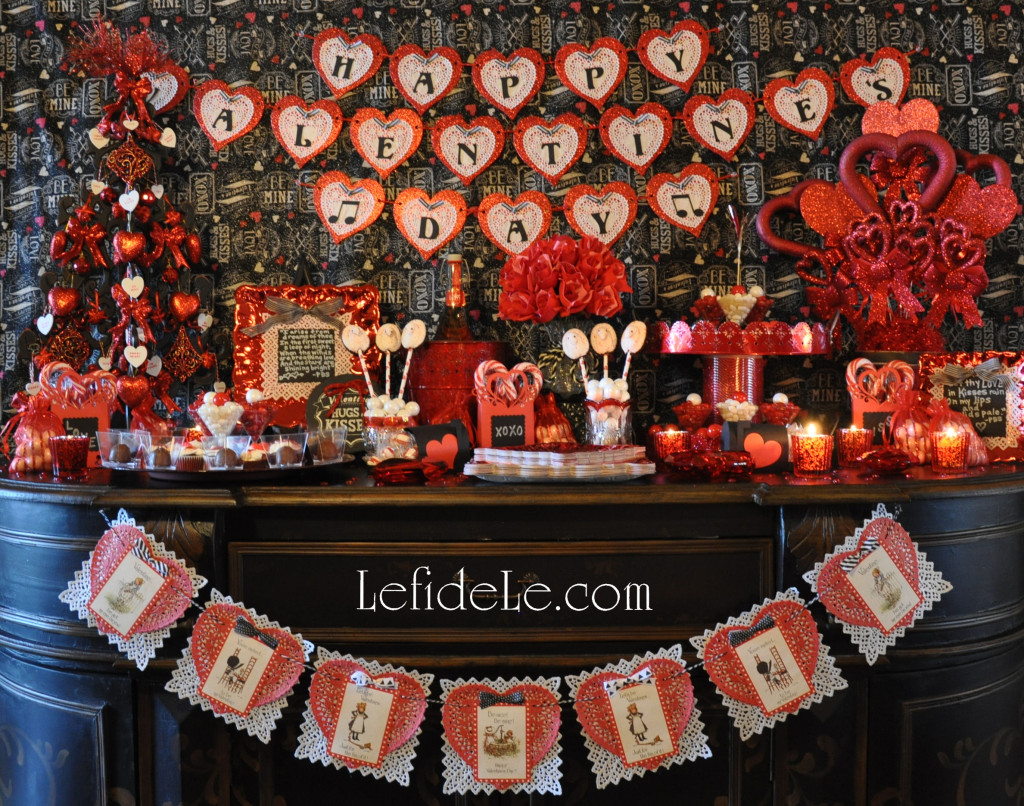
Running with the idea that opposites attract, I decided to make a Valentine’s Day Party theme that incorporated both matte black chalkboard and glittery red hearts. The elements actually coordinated beautifully for a party theme that would suit a variety of age groups, or even just serve as a surprise for that special someone. The whole shebang was actually quite inexpensive to pull off, though happily I believe that doesn’t appear to be the case. You can either follow the links to make the fast and easy crafts yourself, or go shopping with the theme in mind.
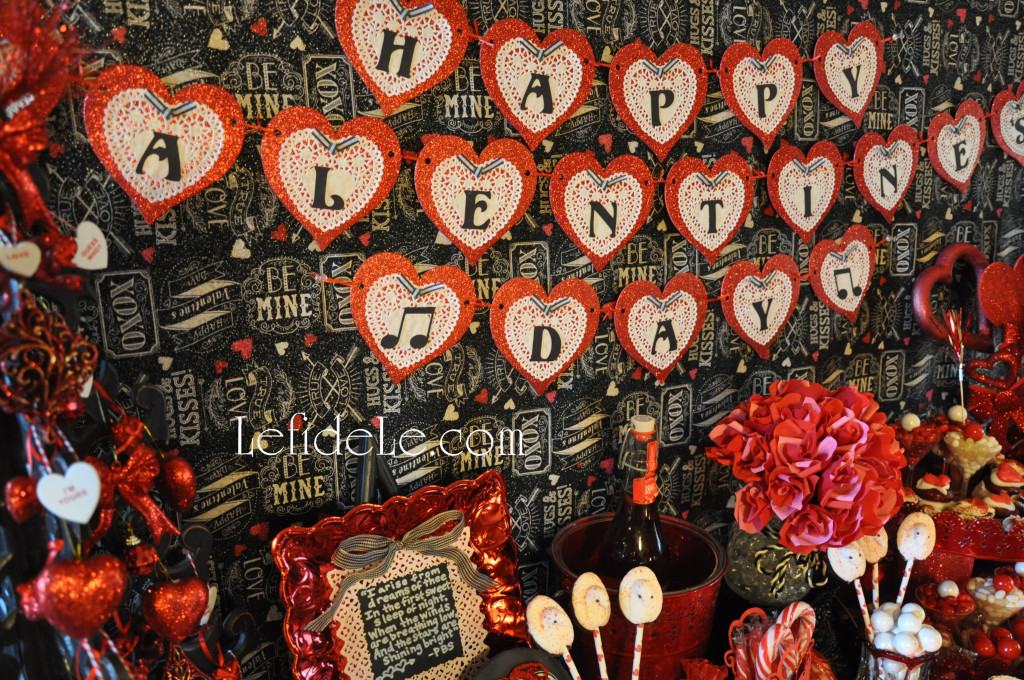
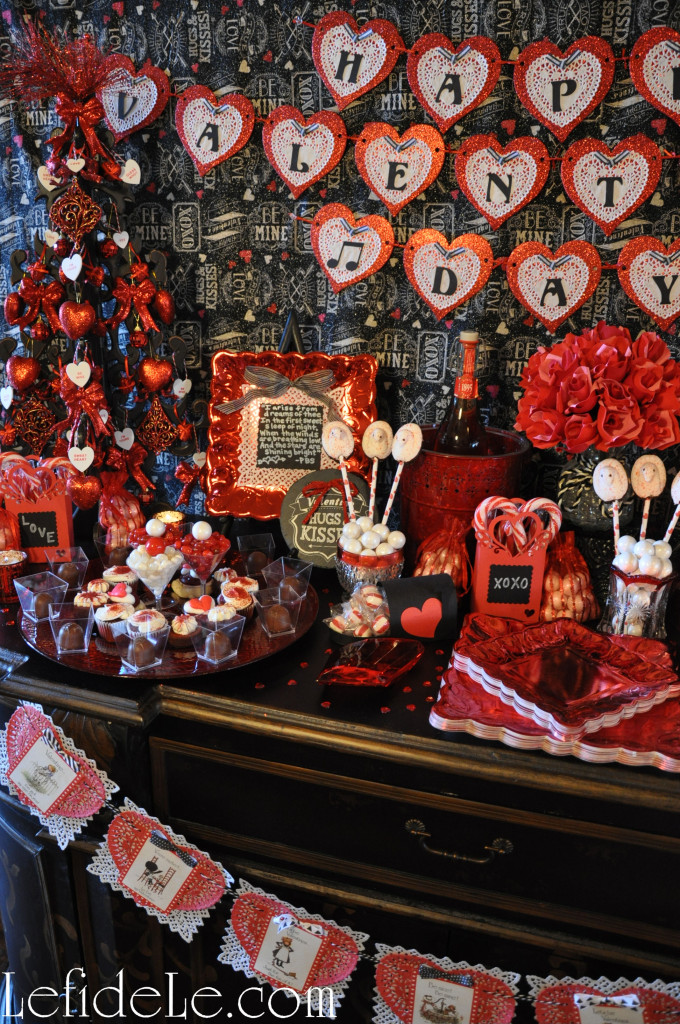
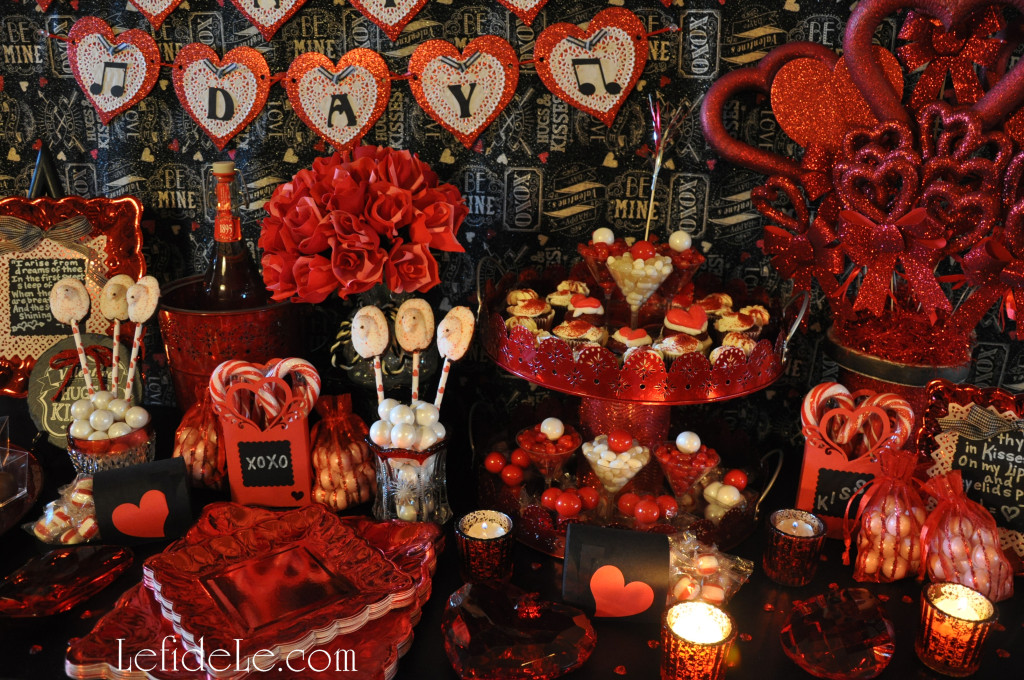
After deciding on my theme, I actually found this adorable chalkboard Valentine fabric that also had glitter hearts. (You can find some for yourself at Hancock Fabrics or Fabric.com using coupons from the affiliate links in the sidebar.) I hung this up with clear thumbtacks.
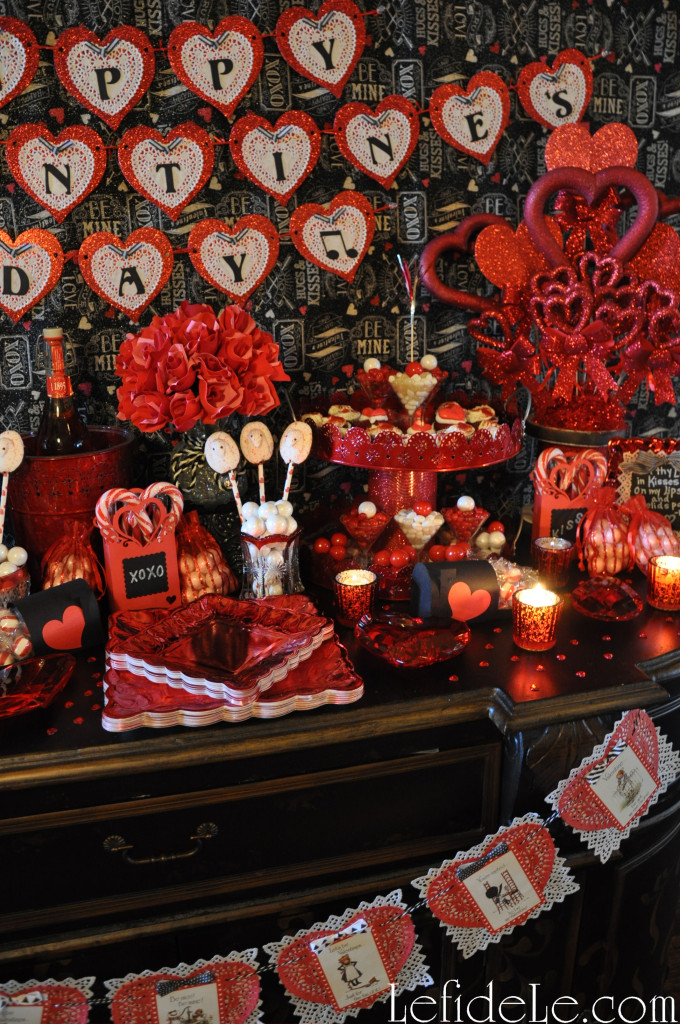
I then strung my glitter hearts Valentine’s banner atop of this. I also attached another doily banner to the credenza itself with tiny tack nails. (The printable and instructions for both banners may be found by clicking here.)
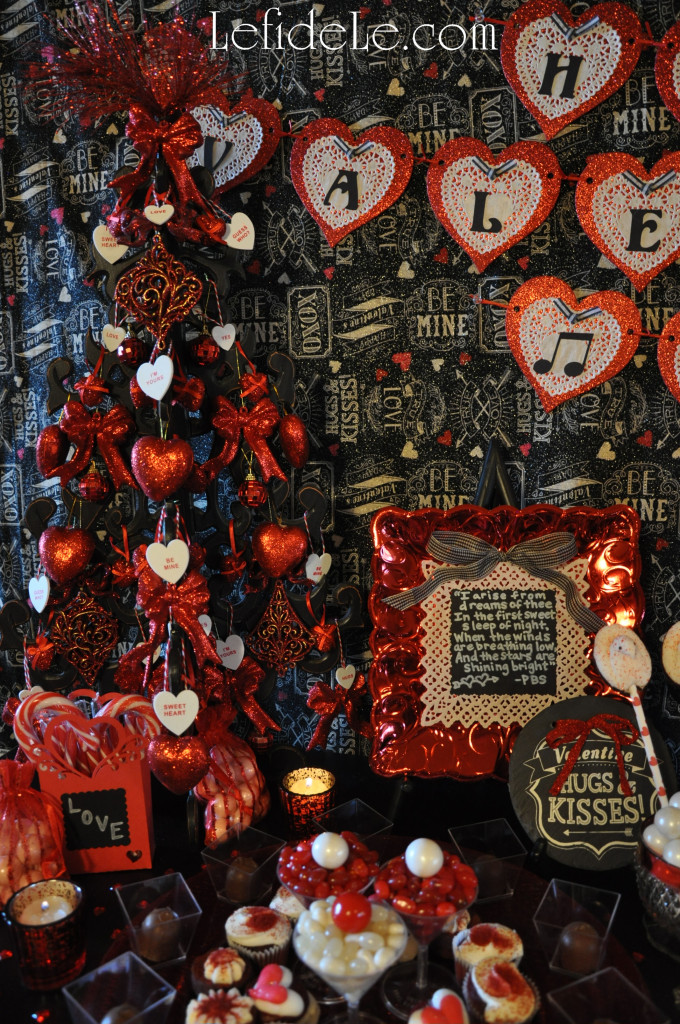
I love incorporating ornament filled trees into holidays besides Christmas. Valentine’s Day is especially easy to do this with because it falls so quickly after on the calendar so that one may really take advantage of all those deep after-Christmas clearance sales. Some of the baubles on this tree were marked 90% off which left the cost at mere cents. The topper is a glittered sprig of holiday pine.
Some of you may recognize the black wooden tree from the Halloween Party. It looks really different when trimmed according to another theme. The conversation heart ornaments were made from white foam shapes (whose craft tutorial may be found here).
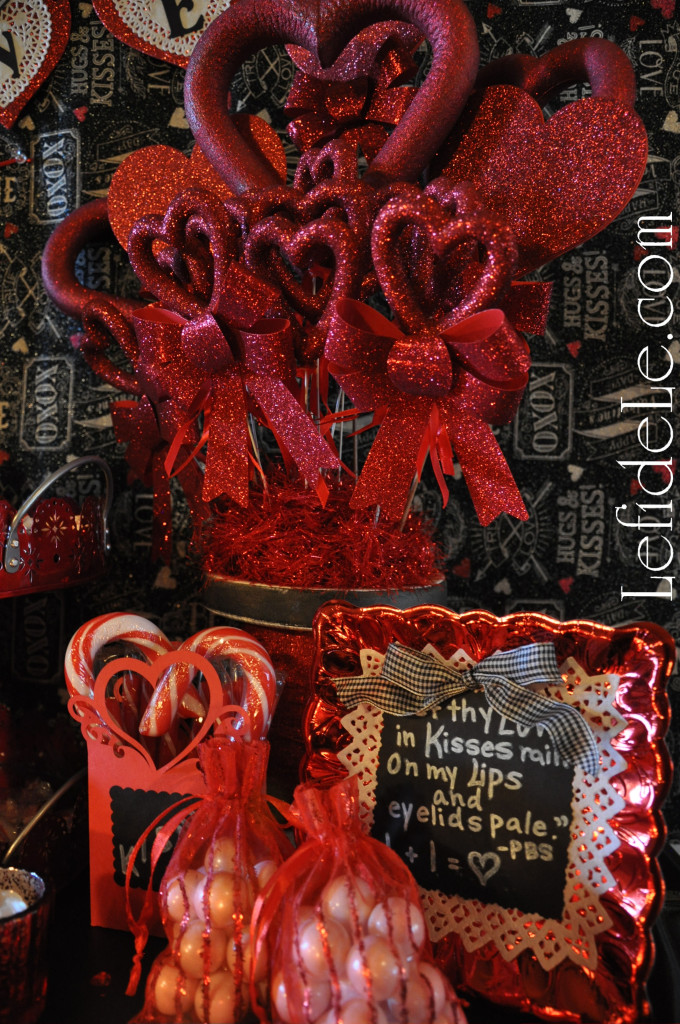
On the opposite side of the buffet, I made an arrangement that can be disassembled one heart wand at a time, to be given away as favors to departing guests. This is especially sweet when given as scepters to little Valentines princess party goers. (See the tutorial at the link here.)
I set all of these into a vase shaped like a thread spool twinned with glittery red flat yarn. It symbolizes the ties the bind… and is filled with hearts. Glass marbles contain the arranged wands yet allow for easy removal. These are topped with another variety of glittery yarn to conceal the marbles.
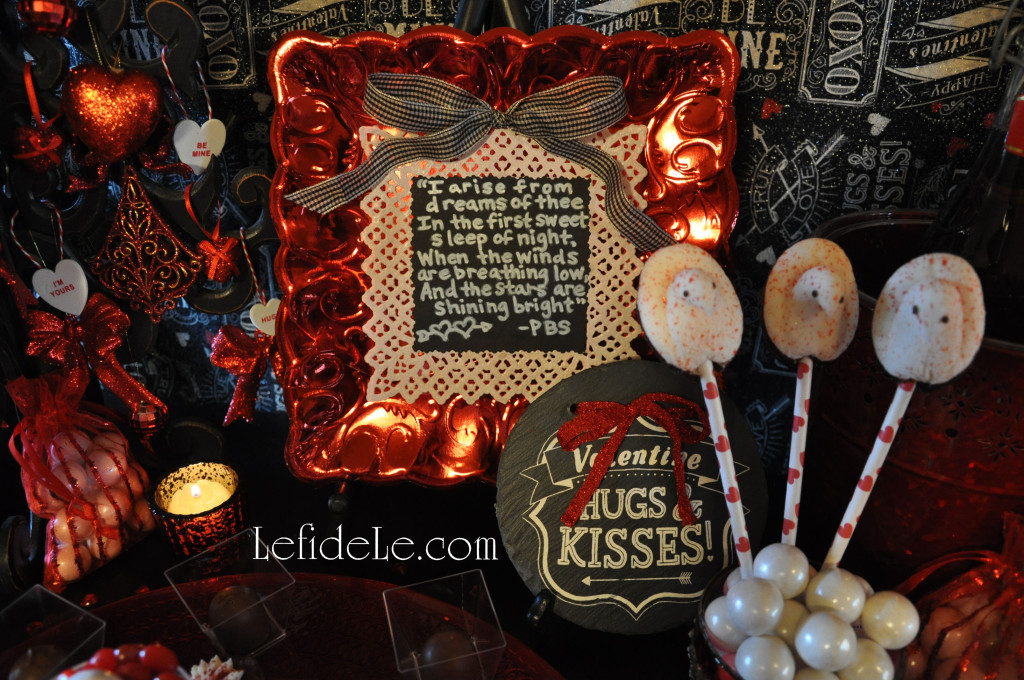
Other décor elements are the chalkboard sign crafts set onto easels (find tutorial here) alongside a store-bought slate that I was gifted with early. (Thanks Mom!)
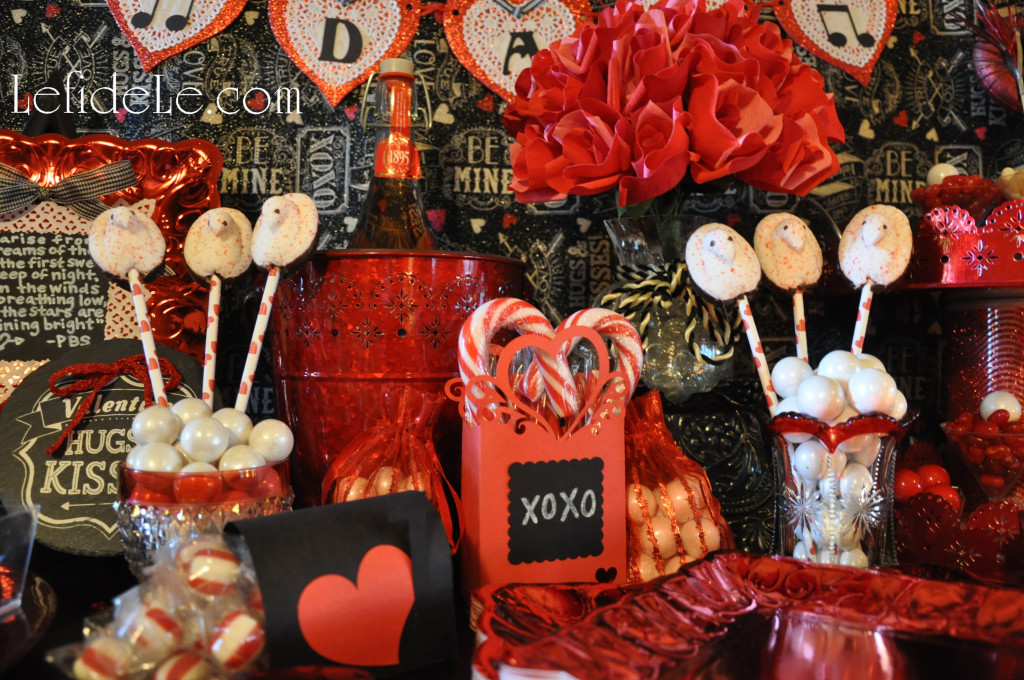
A variety of gift bags and boxes overflowing with candy were nestled into the ensemble. The heart bags and mail boxes were machine cut from construction paper.
I included both oversized gems and tiny crystal hearts to fill in the empty spaces. I borrowed a bouquet of crepe paper roses that I had actually made for my mother years ago, and set these into a marble filled vase. I wrapped it with some leftover rope trim that coordinated with the theme, and set it atop an upturned boxy metal vessel. It’s really easy to create lifts and levels when one starts to think out-of-the-box and repurpose items for that other than which they were intended for.
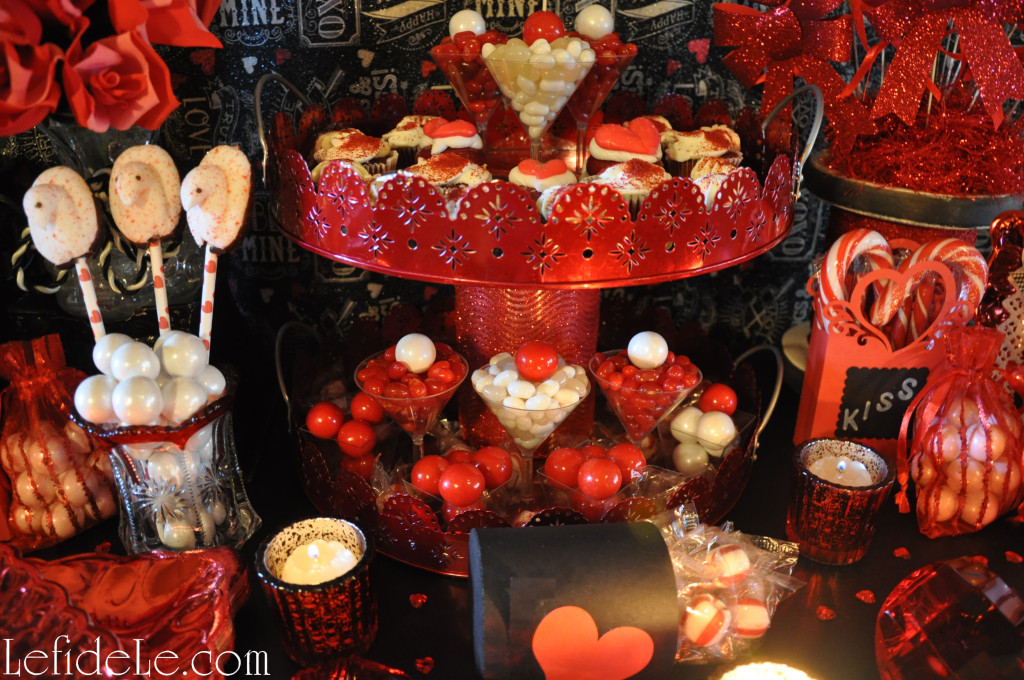
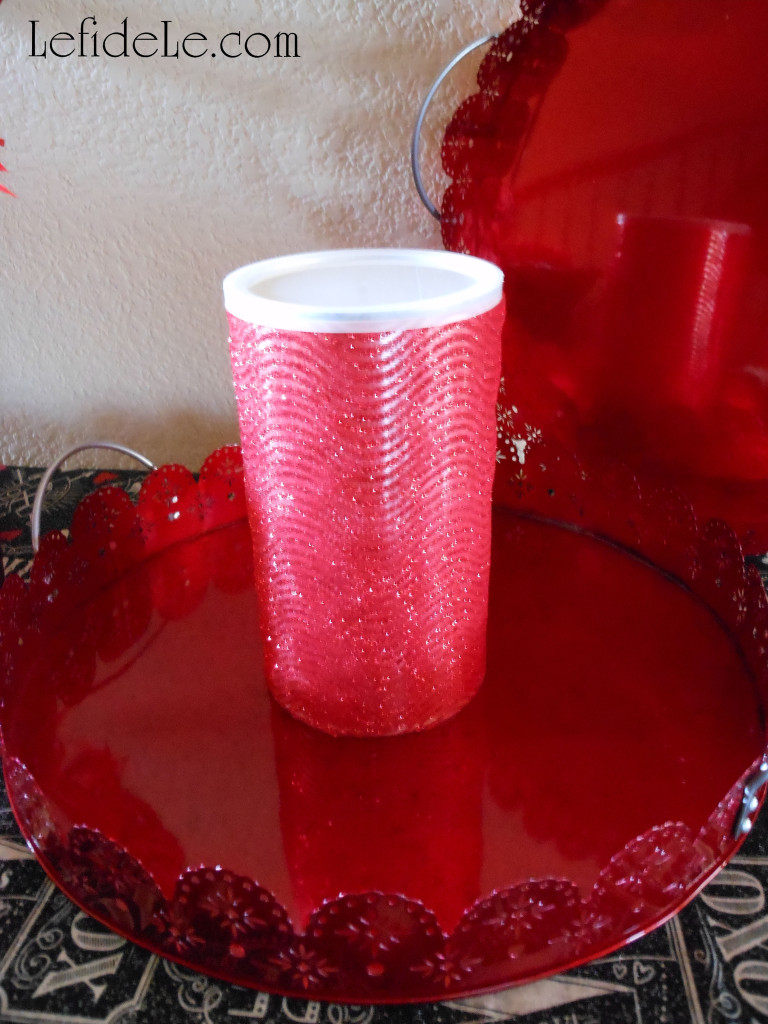
The treat tower is actually comprised of two metal trays that I found on after Christmas clearance years ago. I simply stacked these by using an empty drink mix container wrapped with glittery fabric.
It was surprisingly stable, but you can add further assurance by hot gluing these for a temporary bond. A stronger adhesive would make the bond permanent. I stocked the tower with icing laden cookies, cupcakes, and candy cocktails.
The other platter was another clearance gem from over a decade ago. It’s a lovely red metallic reverse painted glass. You can mimic this with a lovely red charger in either acrylic or glass. More of the same sweet treats topped the dish plus some delectable chocolate covered cherries set into their own treat cups. Try this with truffles or even upside down cake pops.
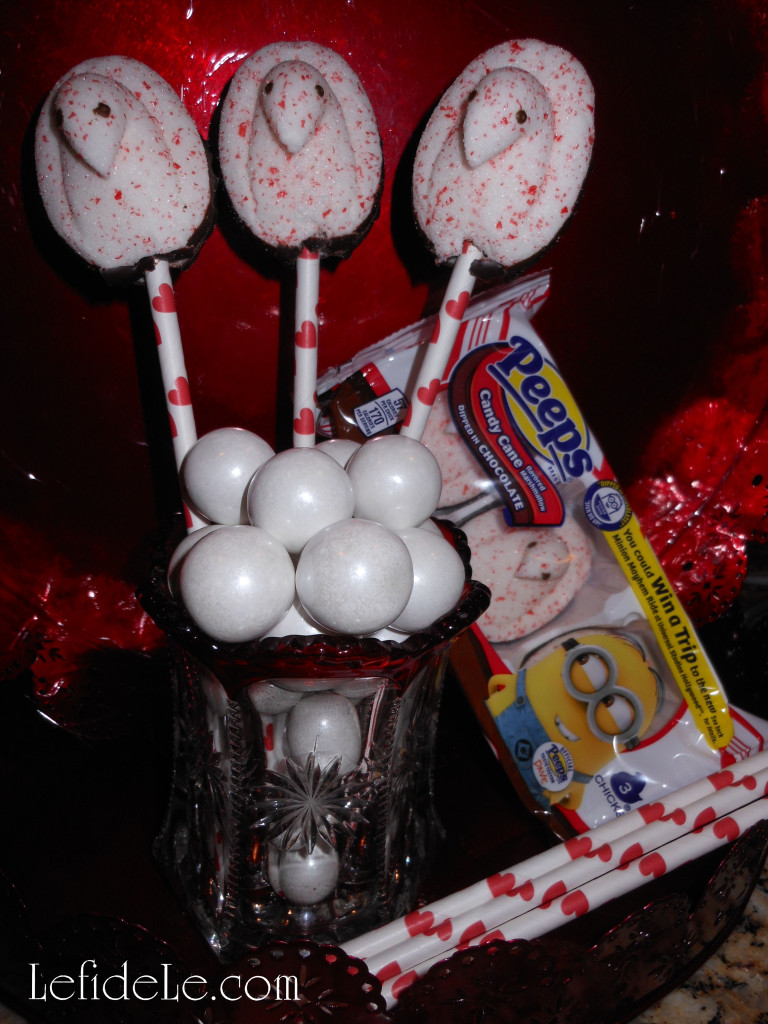
I made my own treat pops with Peeps red speckled white “love birds” with chocolate bases. To make your own, simply poke a pilot hole with a skewer or tooth pick then jab in a paper straw. I chose adorable heart covered ones, and then set these into gumball packed vintage crystal vessels. Any solid candy would serve as well.
A non-alcoholic berry soda set into an ice bucket serves as equal-opportunity refreshment. The same red metallic plates that appear in the chalkboard sign crafts were placed front and center. Last but not least to complete the sweet buffet was the addition of candlelight. (Use LEDs if you fear sleeves catching fire or if you have young guests attending.) Red mercury glass votives were, you guessed it, purchased for mere cents post-Christmas. They really added to the ambiance of the whole setting.
♥ As you prepare for your own Valentine’s celebration… just remember to, “Keep calm & party on!”
Faithfully yours,
Leigh
