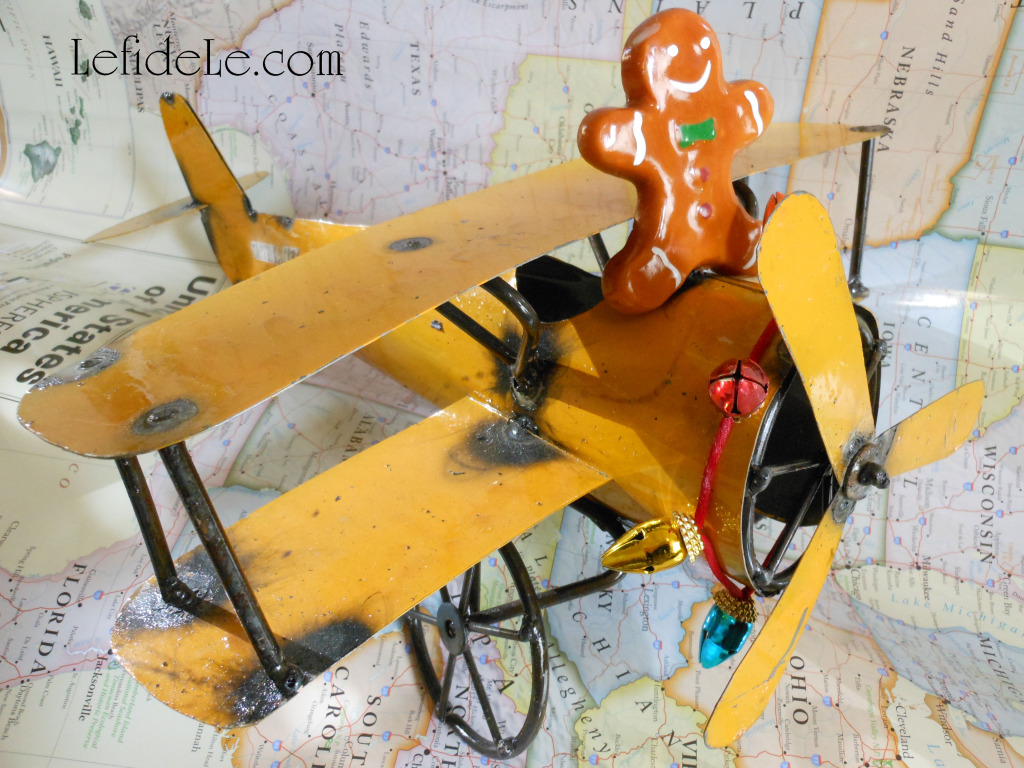
This DIY craft is a really easy way to personalize either a toy for a little one, or room décor for a love one using printable film. It can turn a lovely vintage find into something truly extraordinary, because of the care it takes to go that extra mile and upcycle a gift just to really suit someone. I think it’s that willingness to spend time and energy to deliver happiness is what makes crafting so special.
With all of that being said, I really must state that I can’t take the credit for the spark of this idea. My delightful neighbor and her daughter-in-law found a metal plane and wanted to personalize it for the piloting patriarch of the family. I was asked if I could help out… well of course I would!
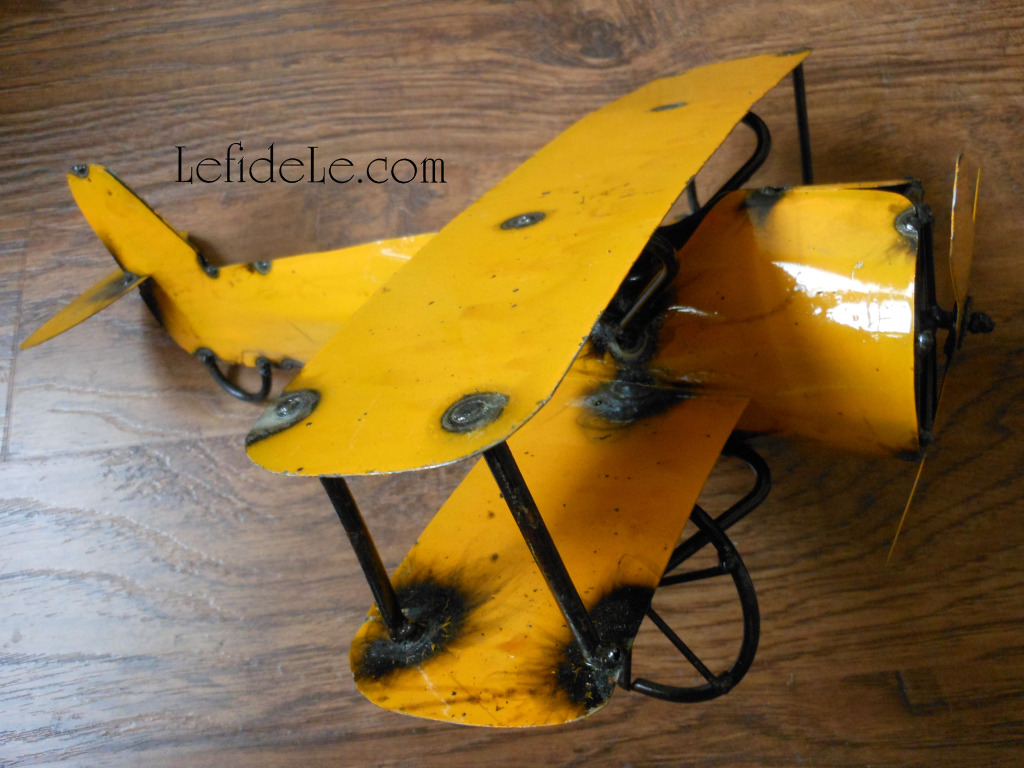
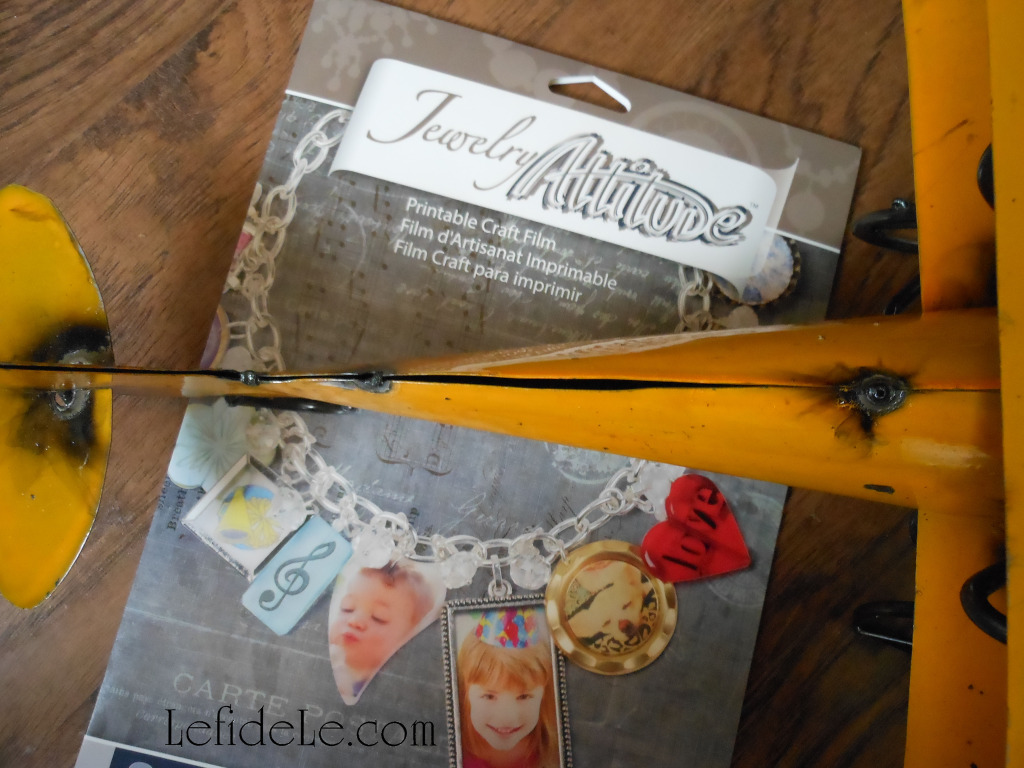
I just needed to find something that would adhere to what appeared to be lacquered looking high shine industrial enamel paint. After doing some useless internet research, I decided to wing it. (Sorry, I couldn’t resist the pun.) I thought I’d try “Jewelry Attitude” which claims to adhere to a plethora of surfaces including metal. If it works on smooth shiny metal, why wouldn’t it stick to shiny paint?
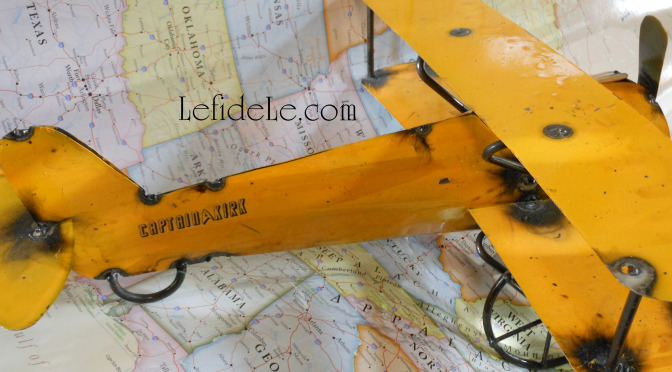
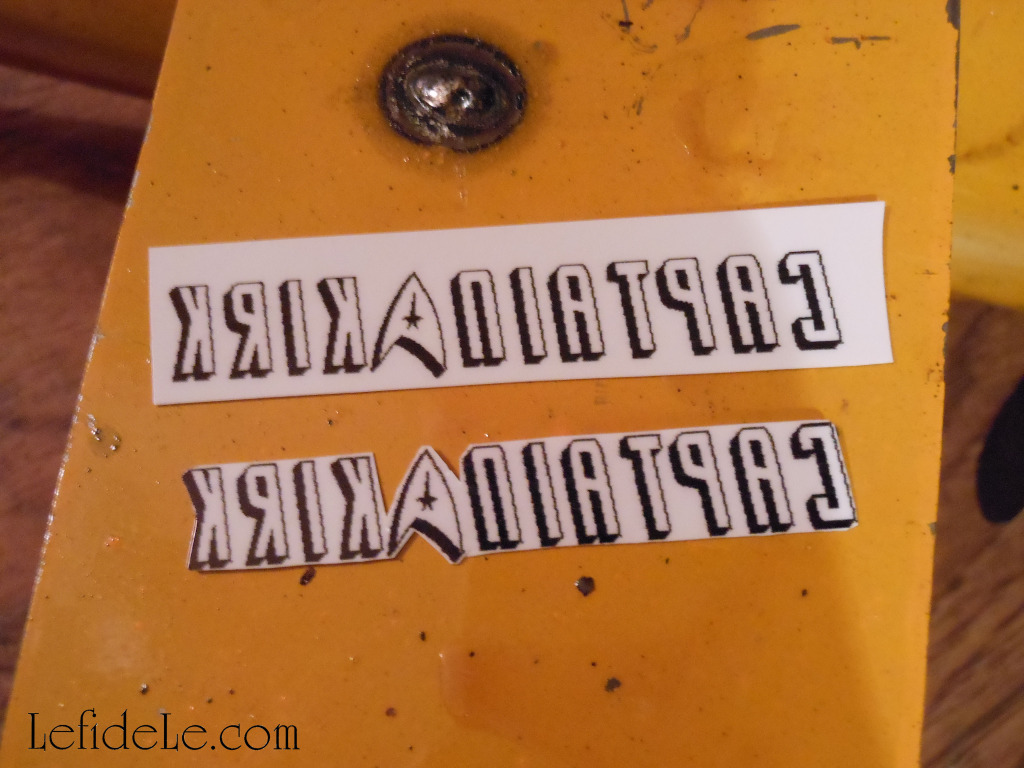
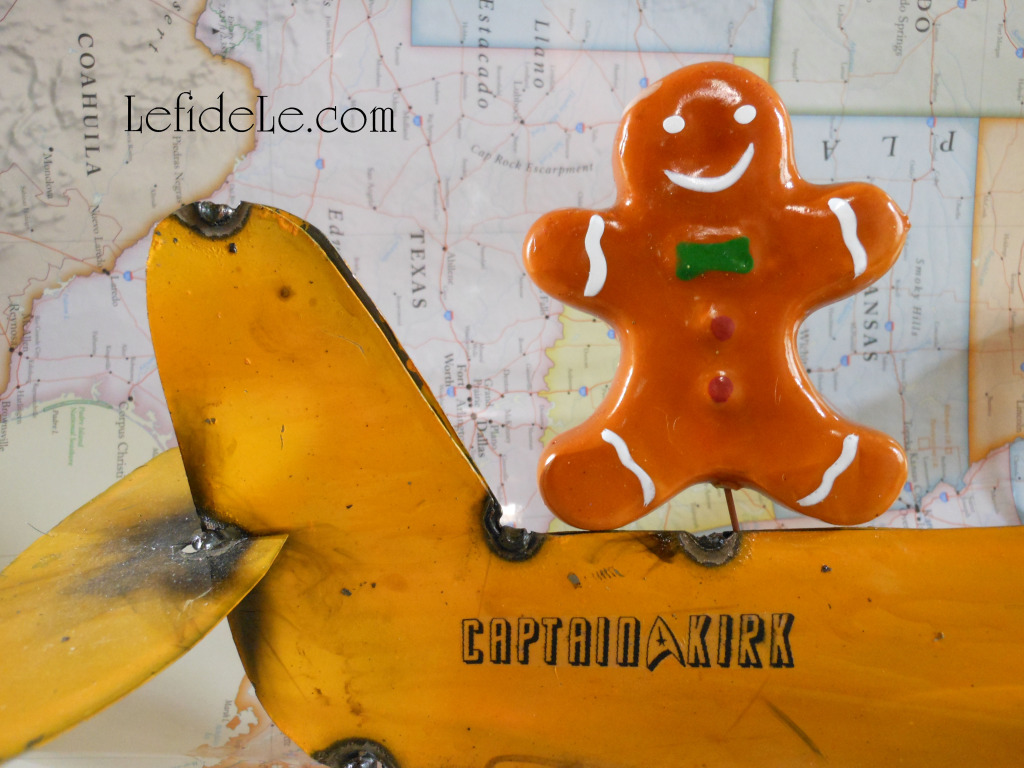
I ordered a package online, and went to work on producing the requested moniker in a suitable typeface. I actually found a Star Trek font (at daFont) online for free. I typed out what I needed on a Word Document, imported it to a Corel Program to resize, and then mirror flip it so as to print in reverse. This is only necessary when printing words, in order to keep them legible after completion.
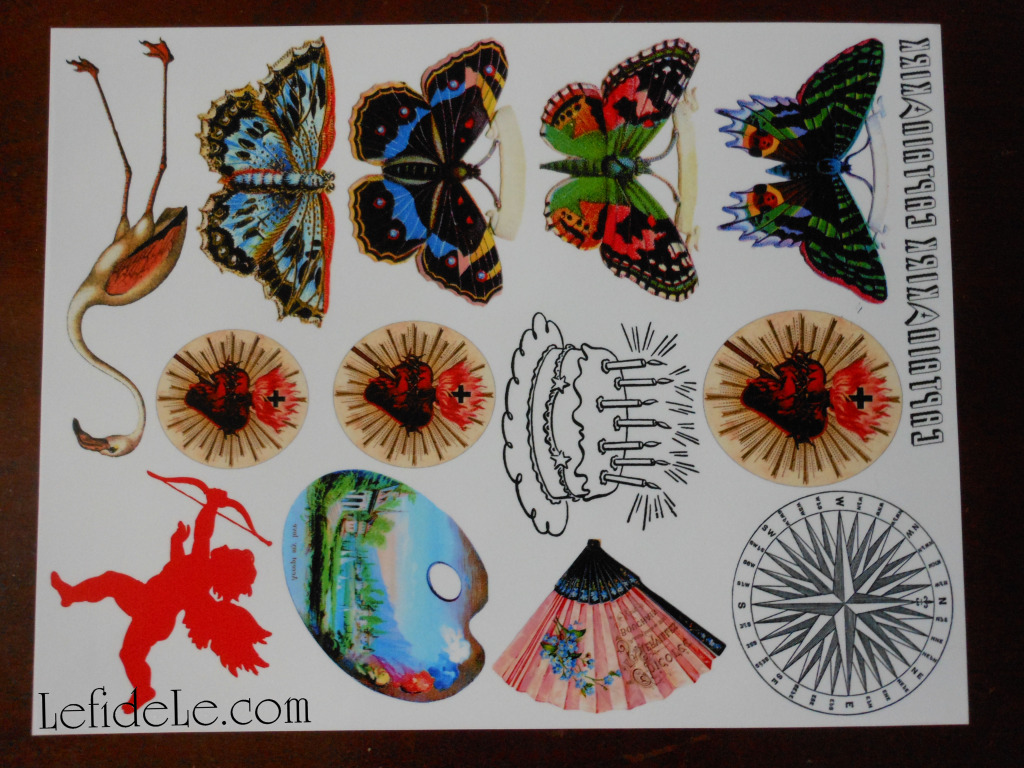
I also imported other images to print with it. There is no need to waste money by only printing one project at a time. Organize future projects and print them on the same sheet. You can just cut out the one you need now, and put aside the rest until you’re ready to undertake them. I have a bunch of fun jewelry projects planned with these which I’ll share with you in the future! I continued by organizing my images by moving them around on a print layout page so as to maximize every centimeter of space. I’m obviously big on getting big bang for my buck. I selected color photo printing on glossy paper. They suggest loading each sheet individually and also to avoid touching the glossy side. This is exactly what I did. It prints glossy side up, so I suppose lotion or oil from your hands might smear the inkjet ink being laid onto it. They also suggested doing a trial run by printing on paper before using up your film, which is actually a good idea if you’re unsure with your computer skills. I just didn’t want to waste any ink, so I flew by the seat of pants as usual. It looked great with all the words backwards. I was supposed to let it dry for 2 hours. I waited 4… just in case. I actually wished I had waited overnight because the ink appeared a tad smeared after I used the permanent glue-stick on it. That’s how you attach it, with a simple non-toxic glue-stick.
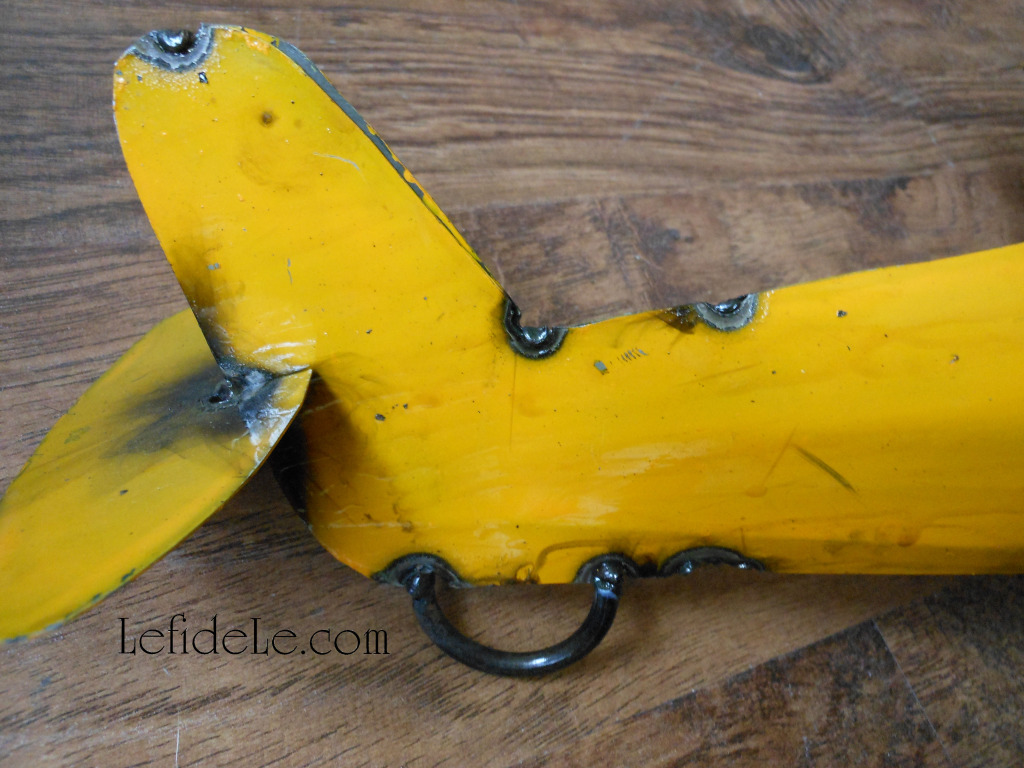
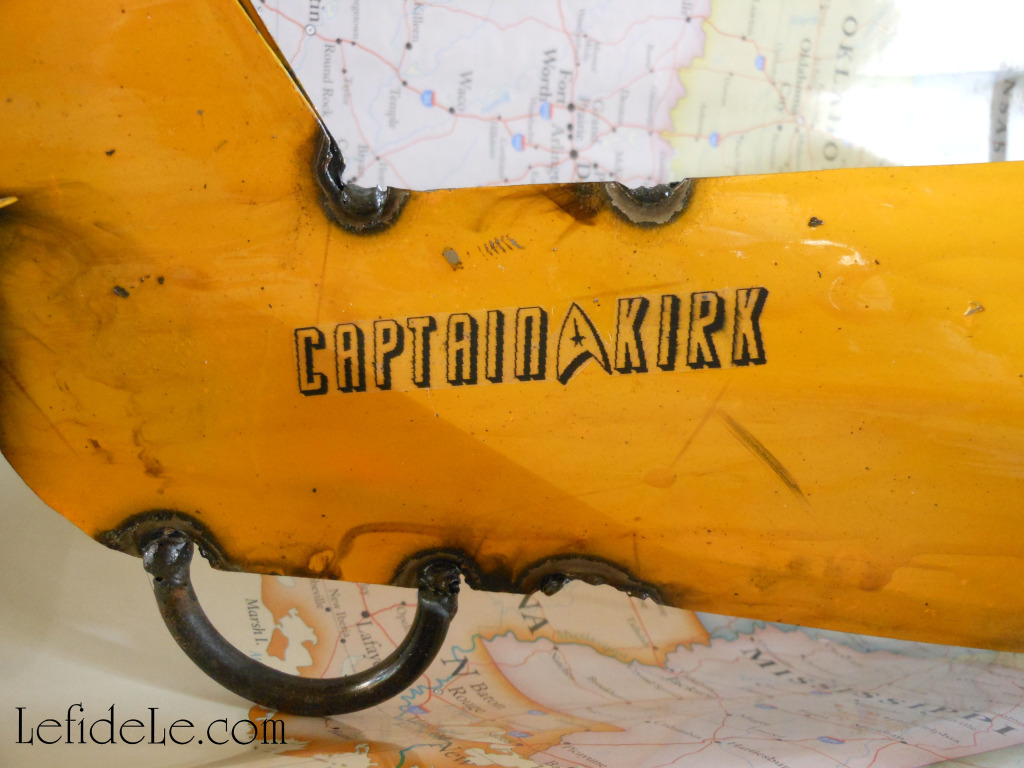
I cut out the words carefully, then applied glue to the ink side, and peeled off the backing as directed. I’m not sure why I couldn’t just peel it off after I stuck it the plane instead of before, but I did it the way it said since this was for someone else’s gift. Next time, I’m going to experiment a little… of course. If you try this yourself, be really careful not to let it flop onto itself. It really sticks hard! I smoothed them onto both sides of the tail section.
It sets immediately, so there is absolutely no repositioning. It stays where you put it whether you like it not. This actually reassured me that it wouldn’t get messed up later by handling. I decided to let it dry fully overnight before pronouncing my final judgment of the product though. And what do you know… it was successful!
Don’t be intimidated by the digital work, it really was easier than the directions make it seem. I’m sure my next try at it will surely be a breeze. And hey, if you do need help with the computer stuff… well, maybe you have a crafty neighbor too!
Merry Christmas to All Y’all!
Faithfully Yours,
Leigh
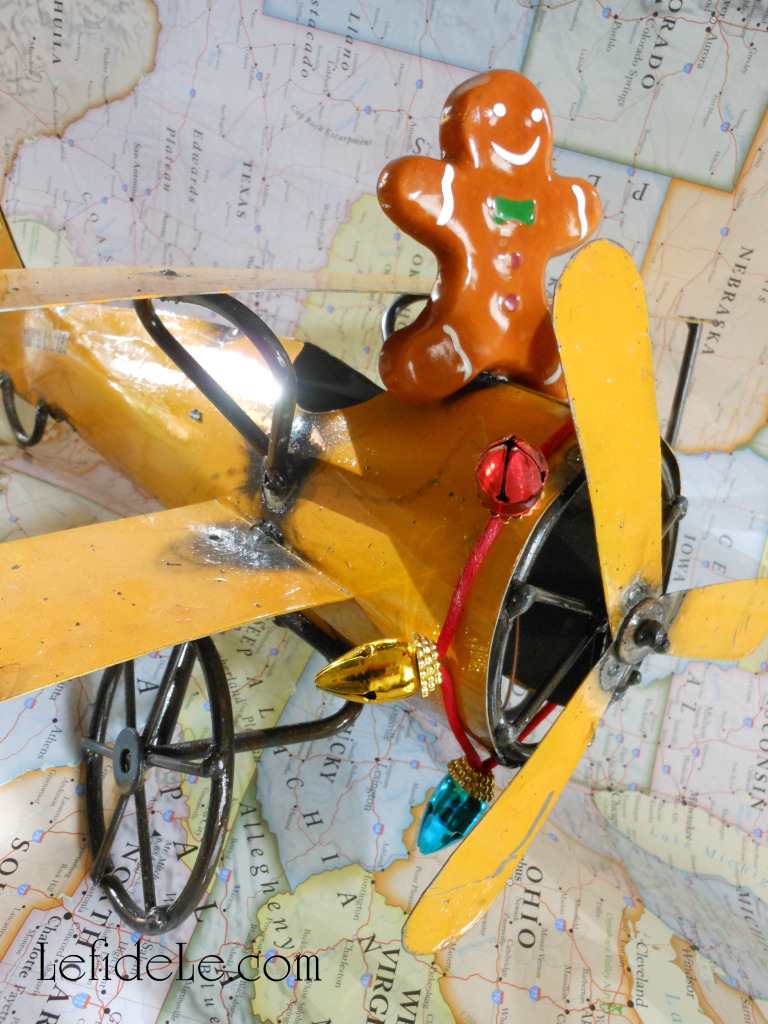
P.S. I just couldn’t resist dressing it up for Christmas and adding a gingerbread wing-walker for the photos.
