Tag Archives: Tutorial

Easy DIY Upcycle Décor or Personalized Toy Using Printable Craft Film

87Leigh

This DIY craft is a really easy way to personalize either a toy for a little one, or room décor for a love one using printable film. It can turn a lovely vintage find into something truly extraordinary, because of the care it takes to go that extra mile and upcycle a gift just to really suit someone. I think it’s that willingness to spend time and energy to deliver happiness is what makes crafting so special.

65Leigh

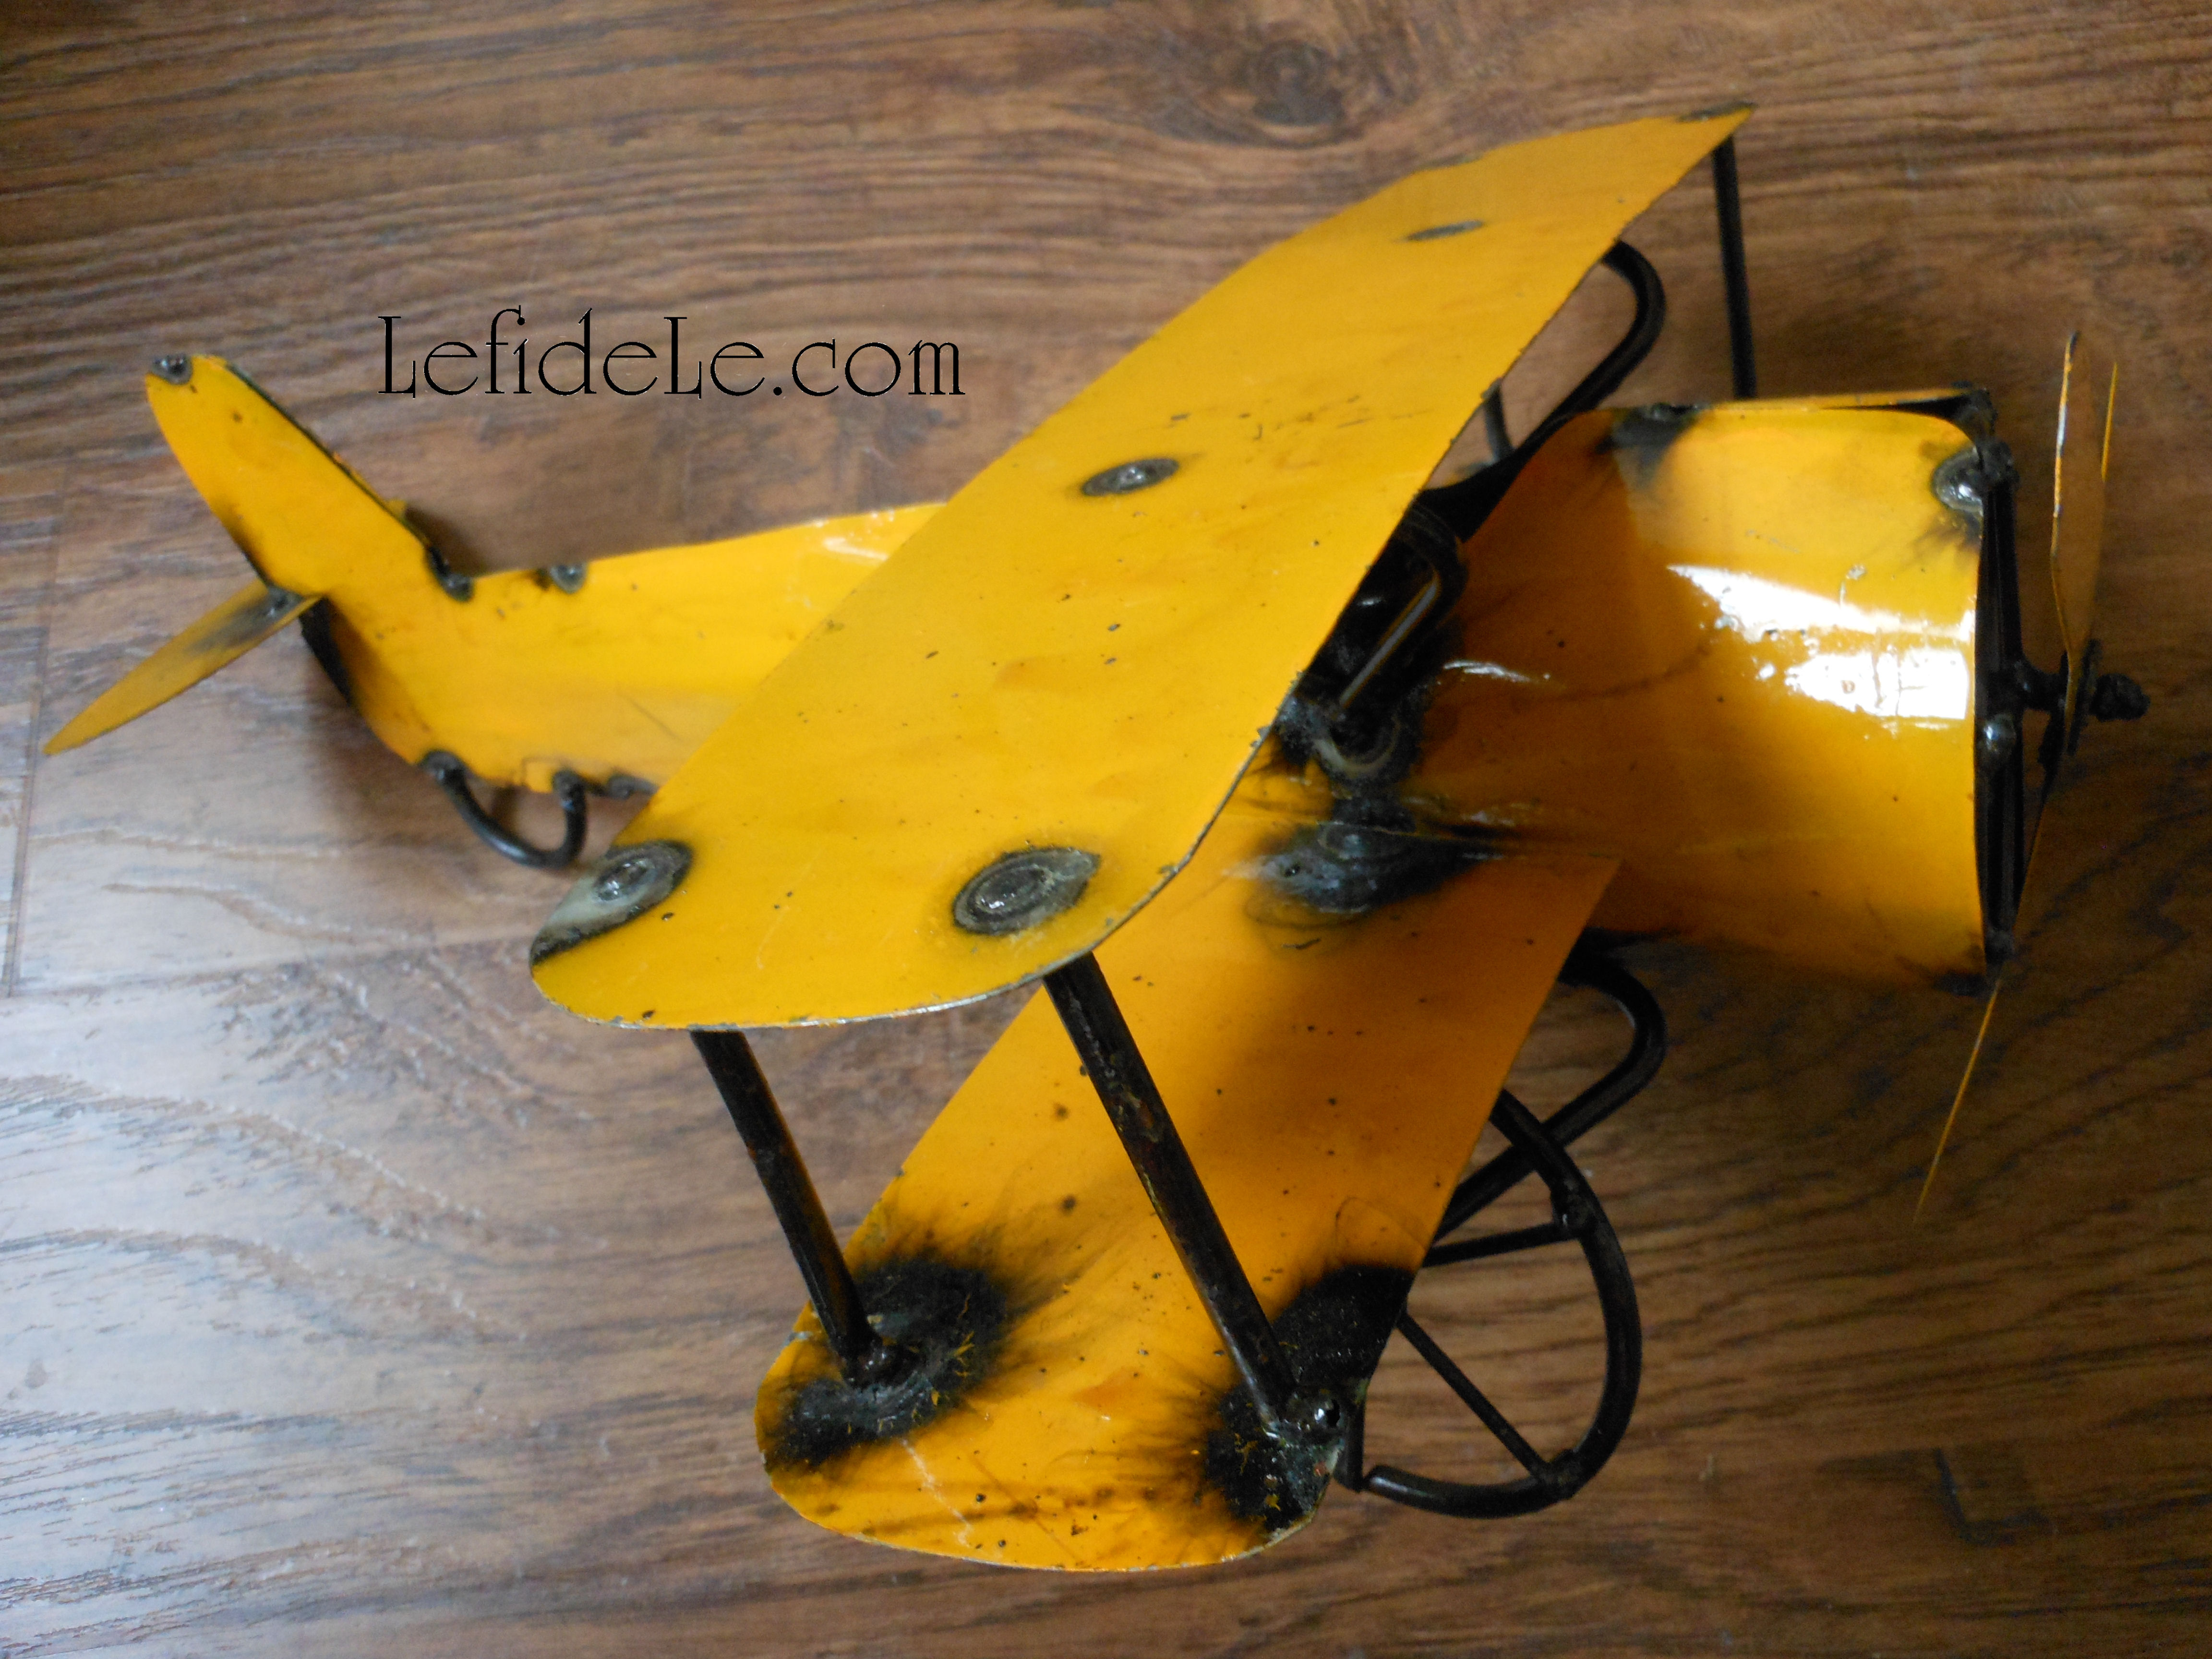
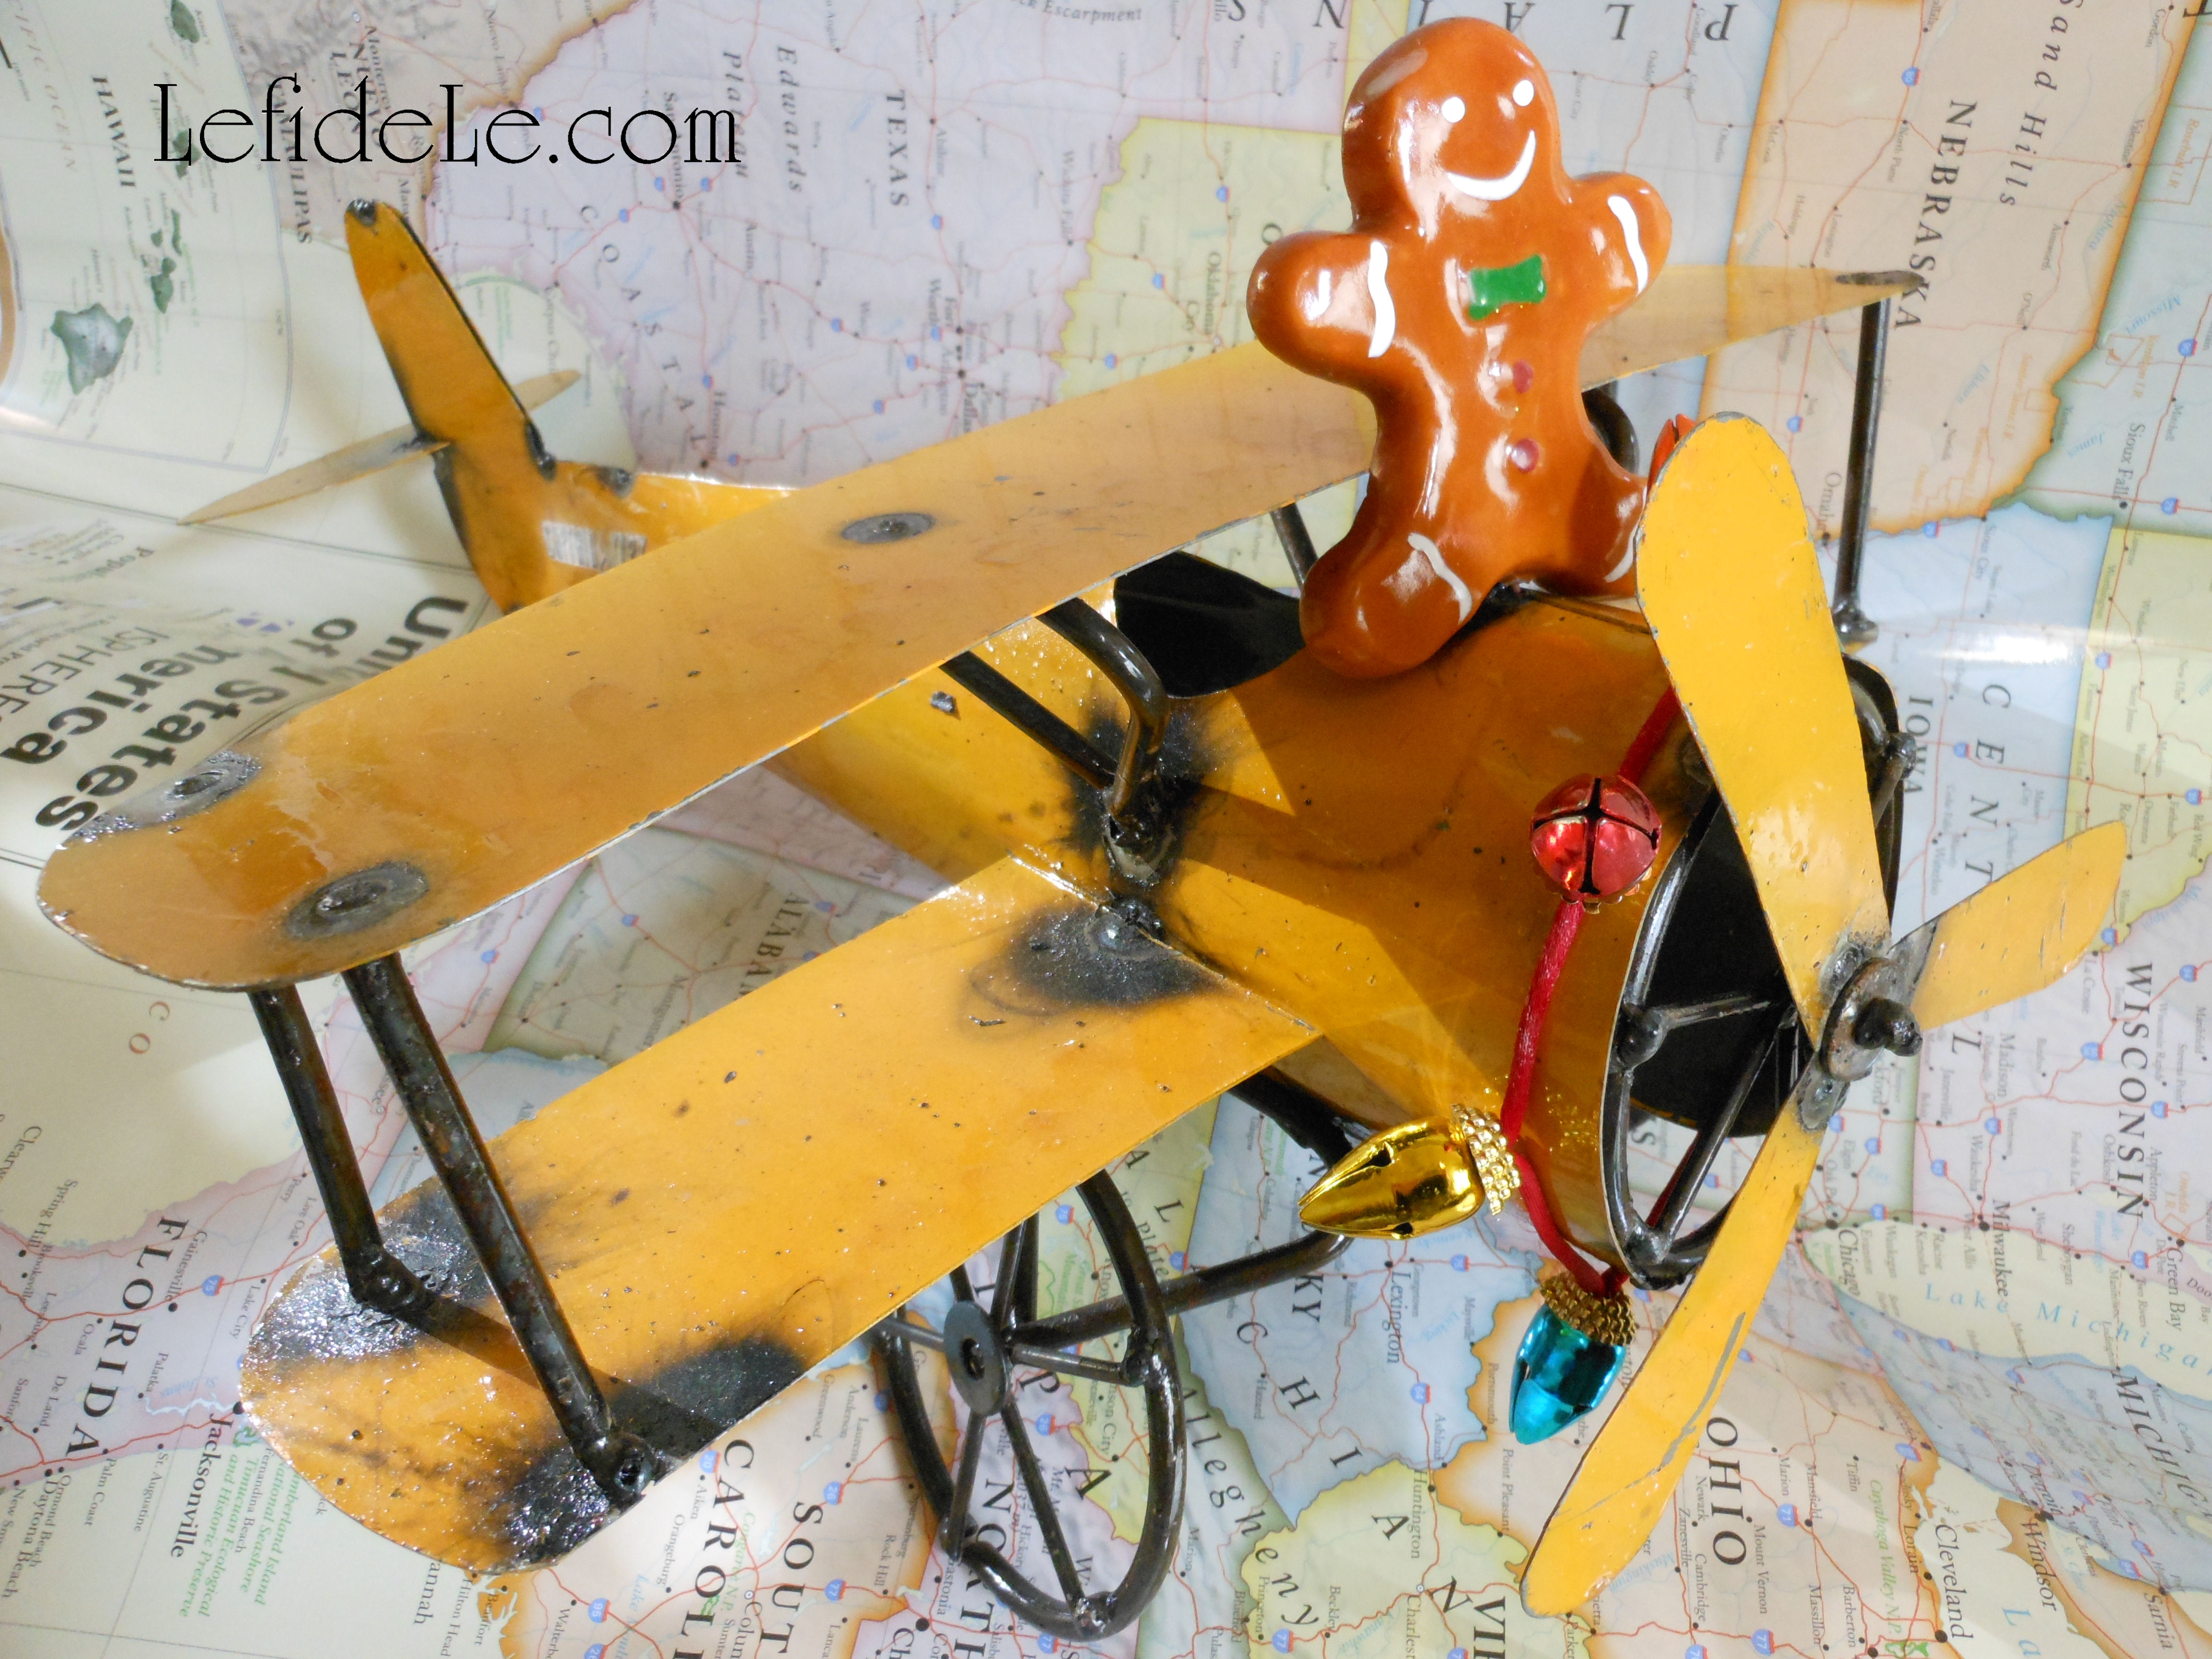
With all of that being said, I really must state that I can’t take the credit for the spark of this idea. My delightful neighbor and her daughter-in-law found a metal plane and wanted to personalize it for the piloting patriarch of the family. I was asked if I could help out… well of course I would!

66Leigh

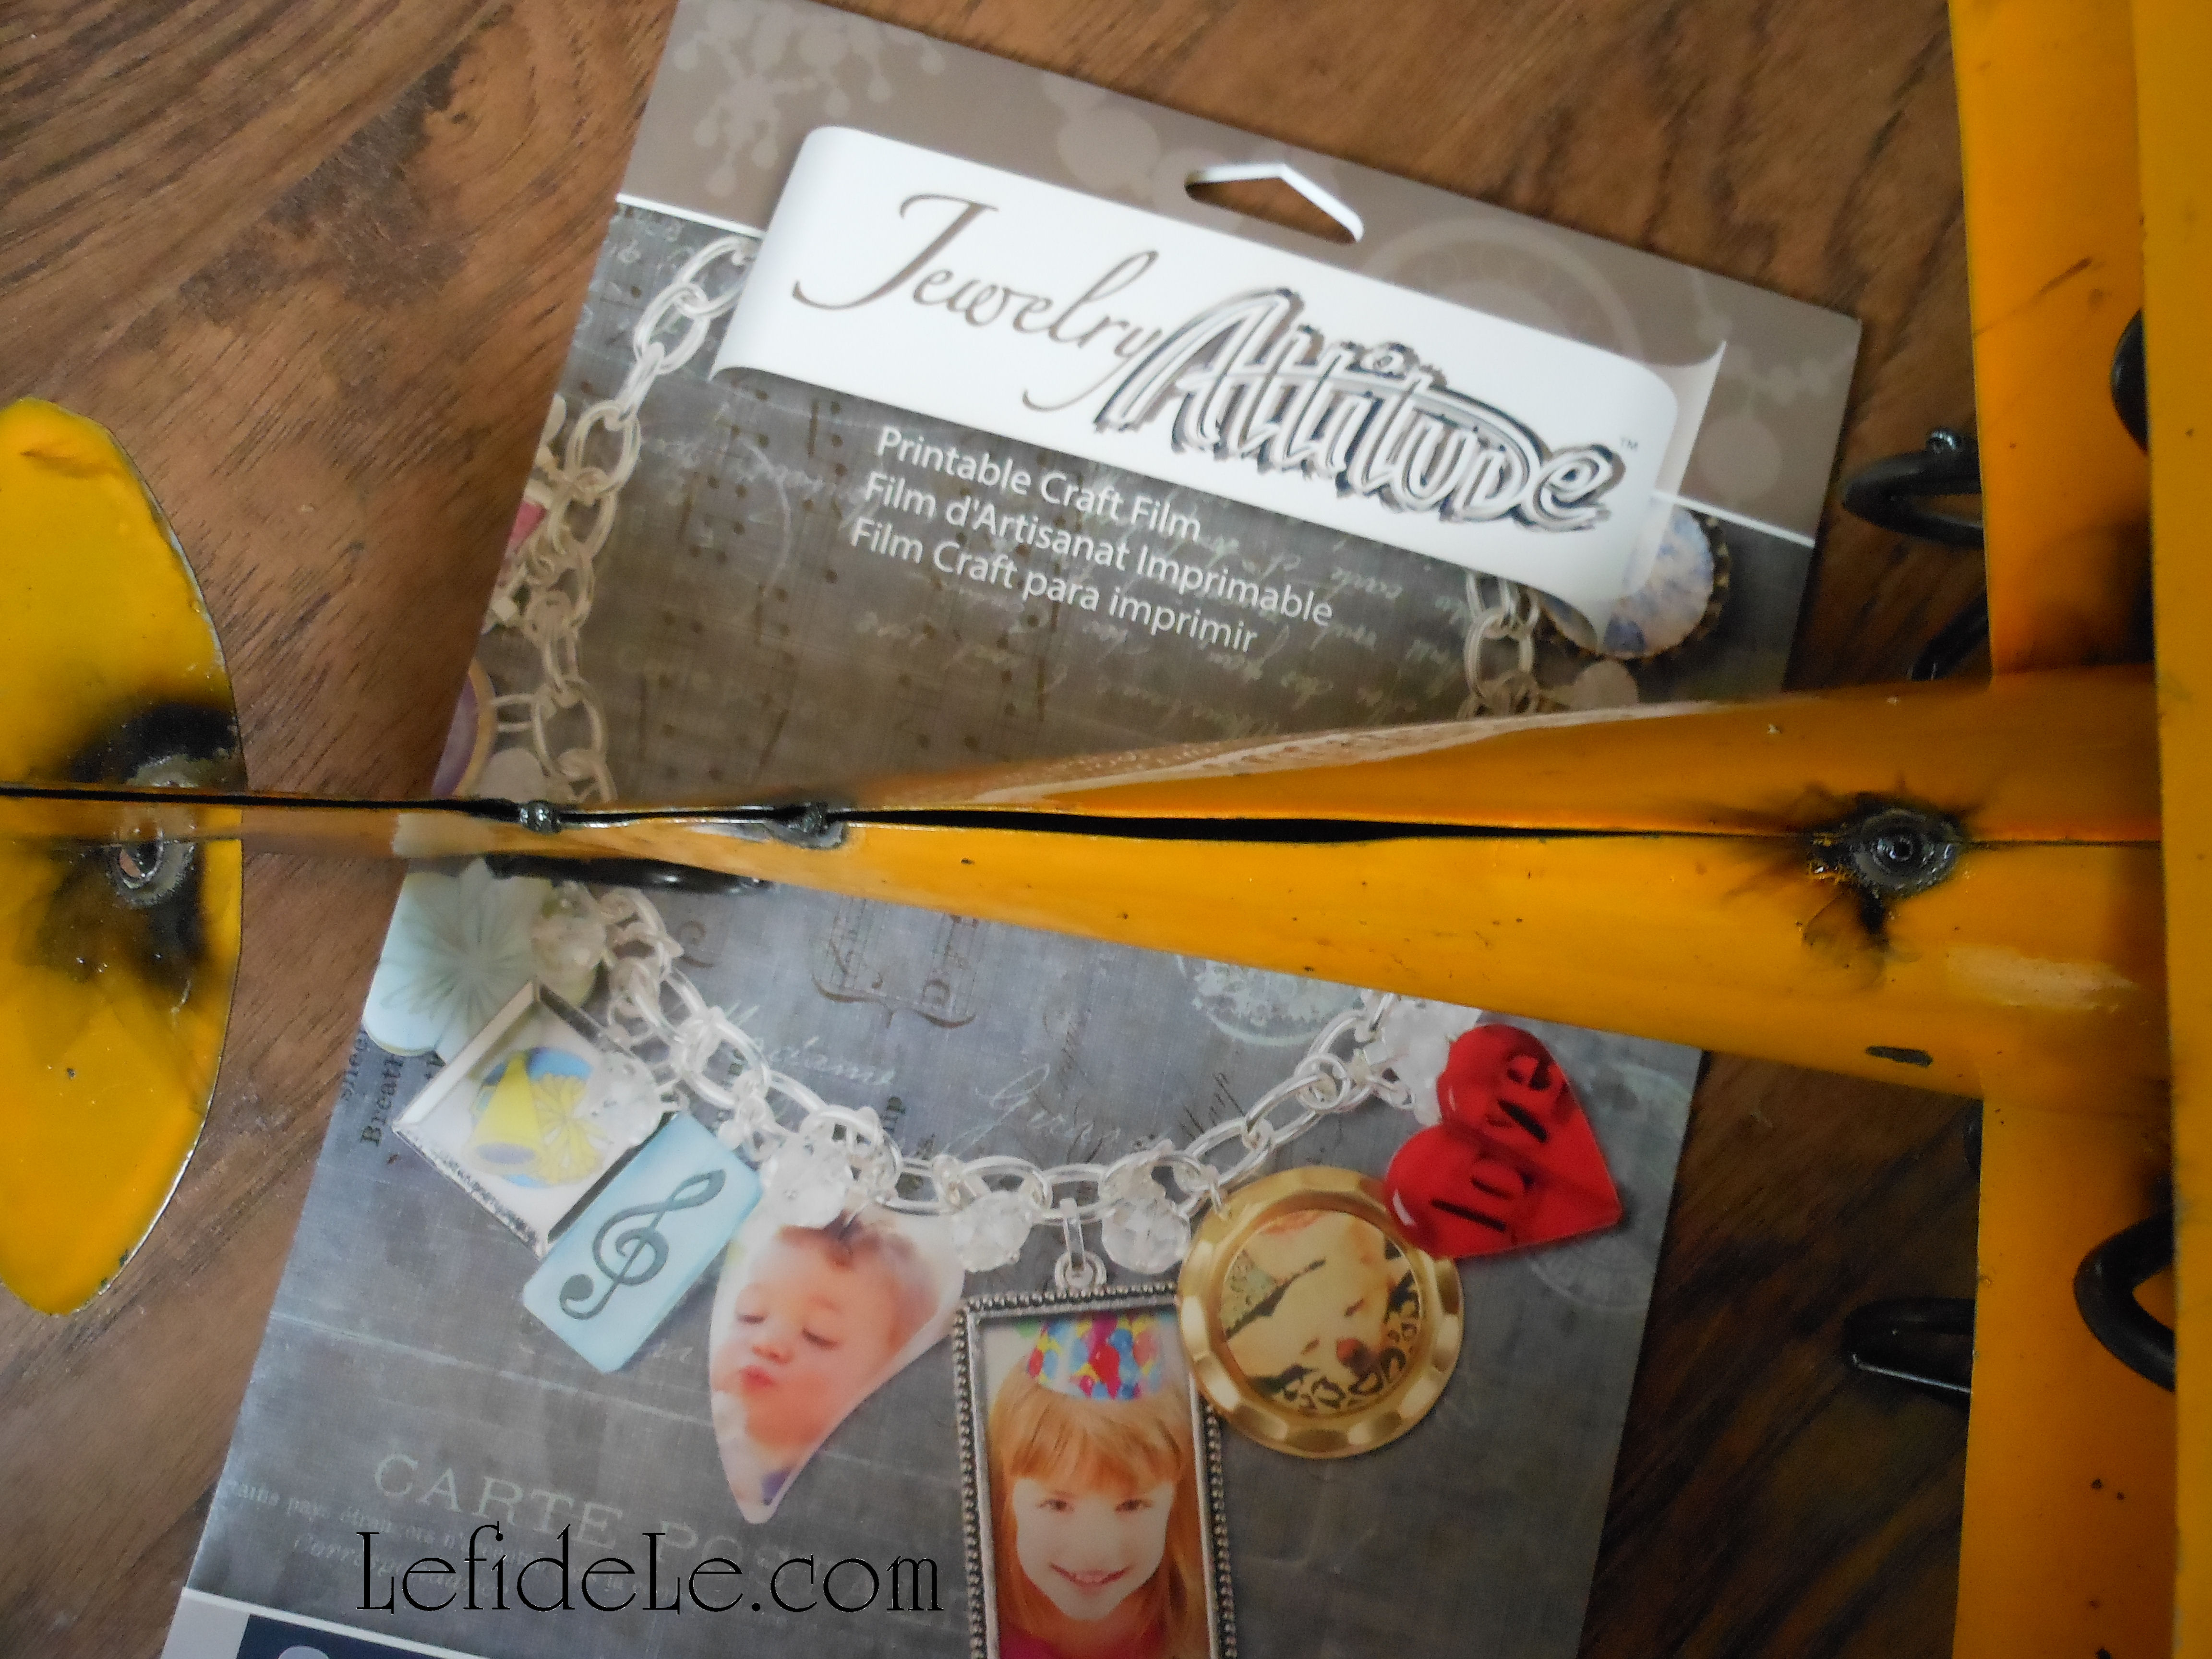
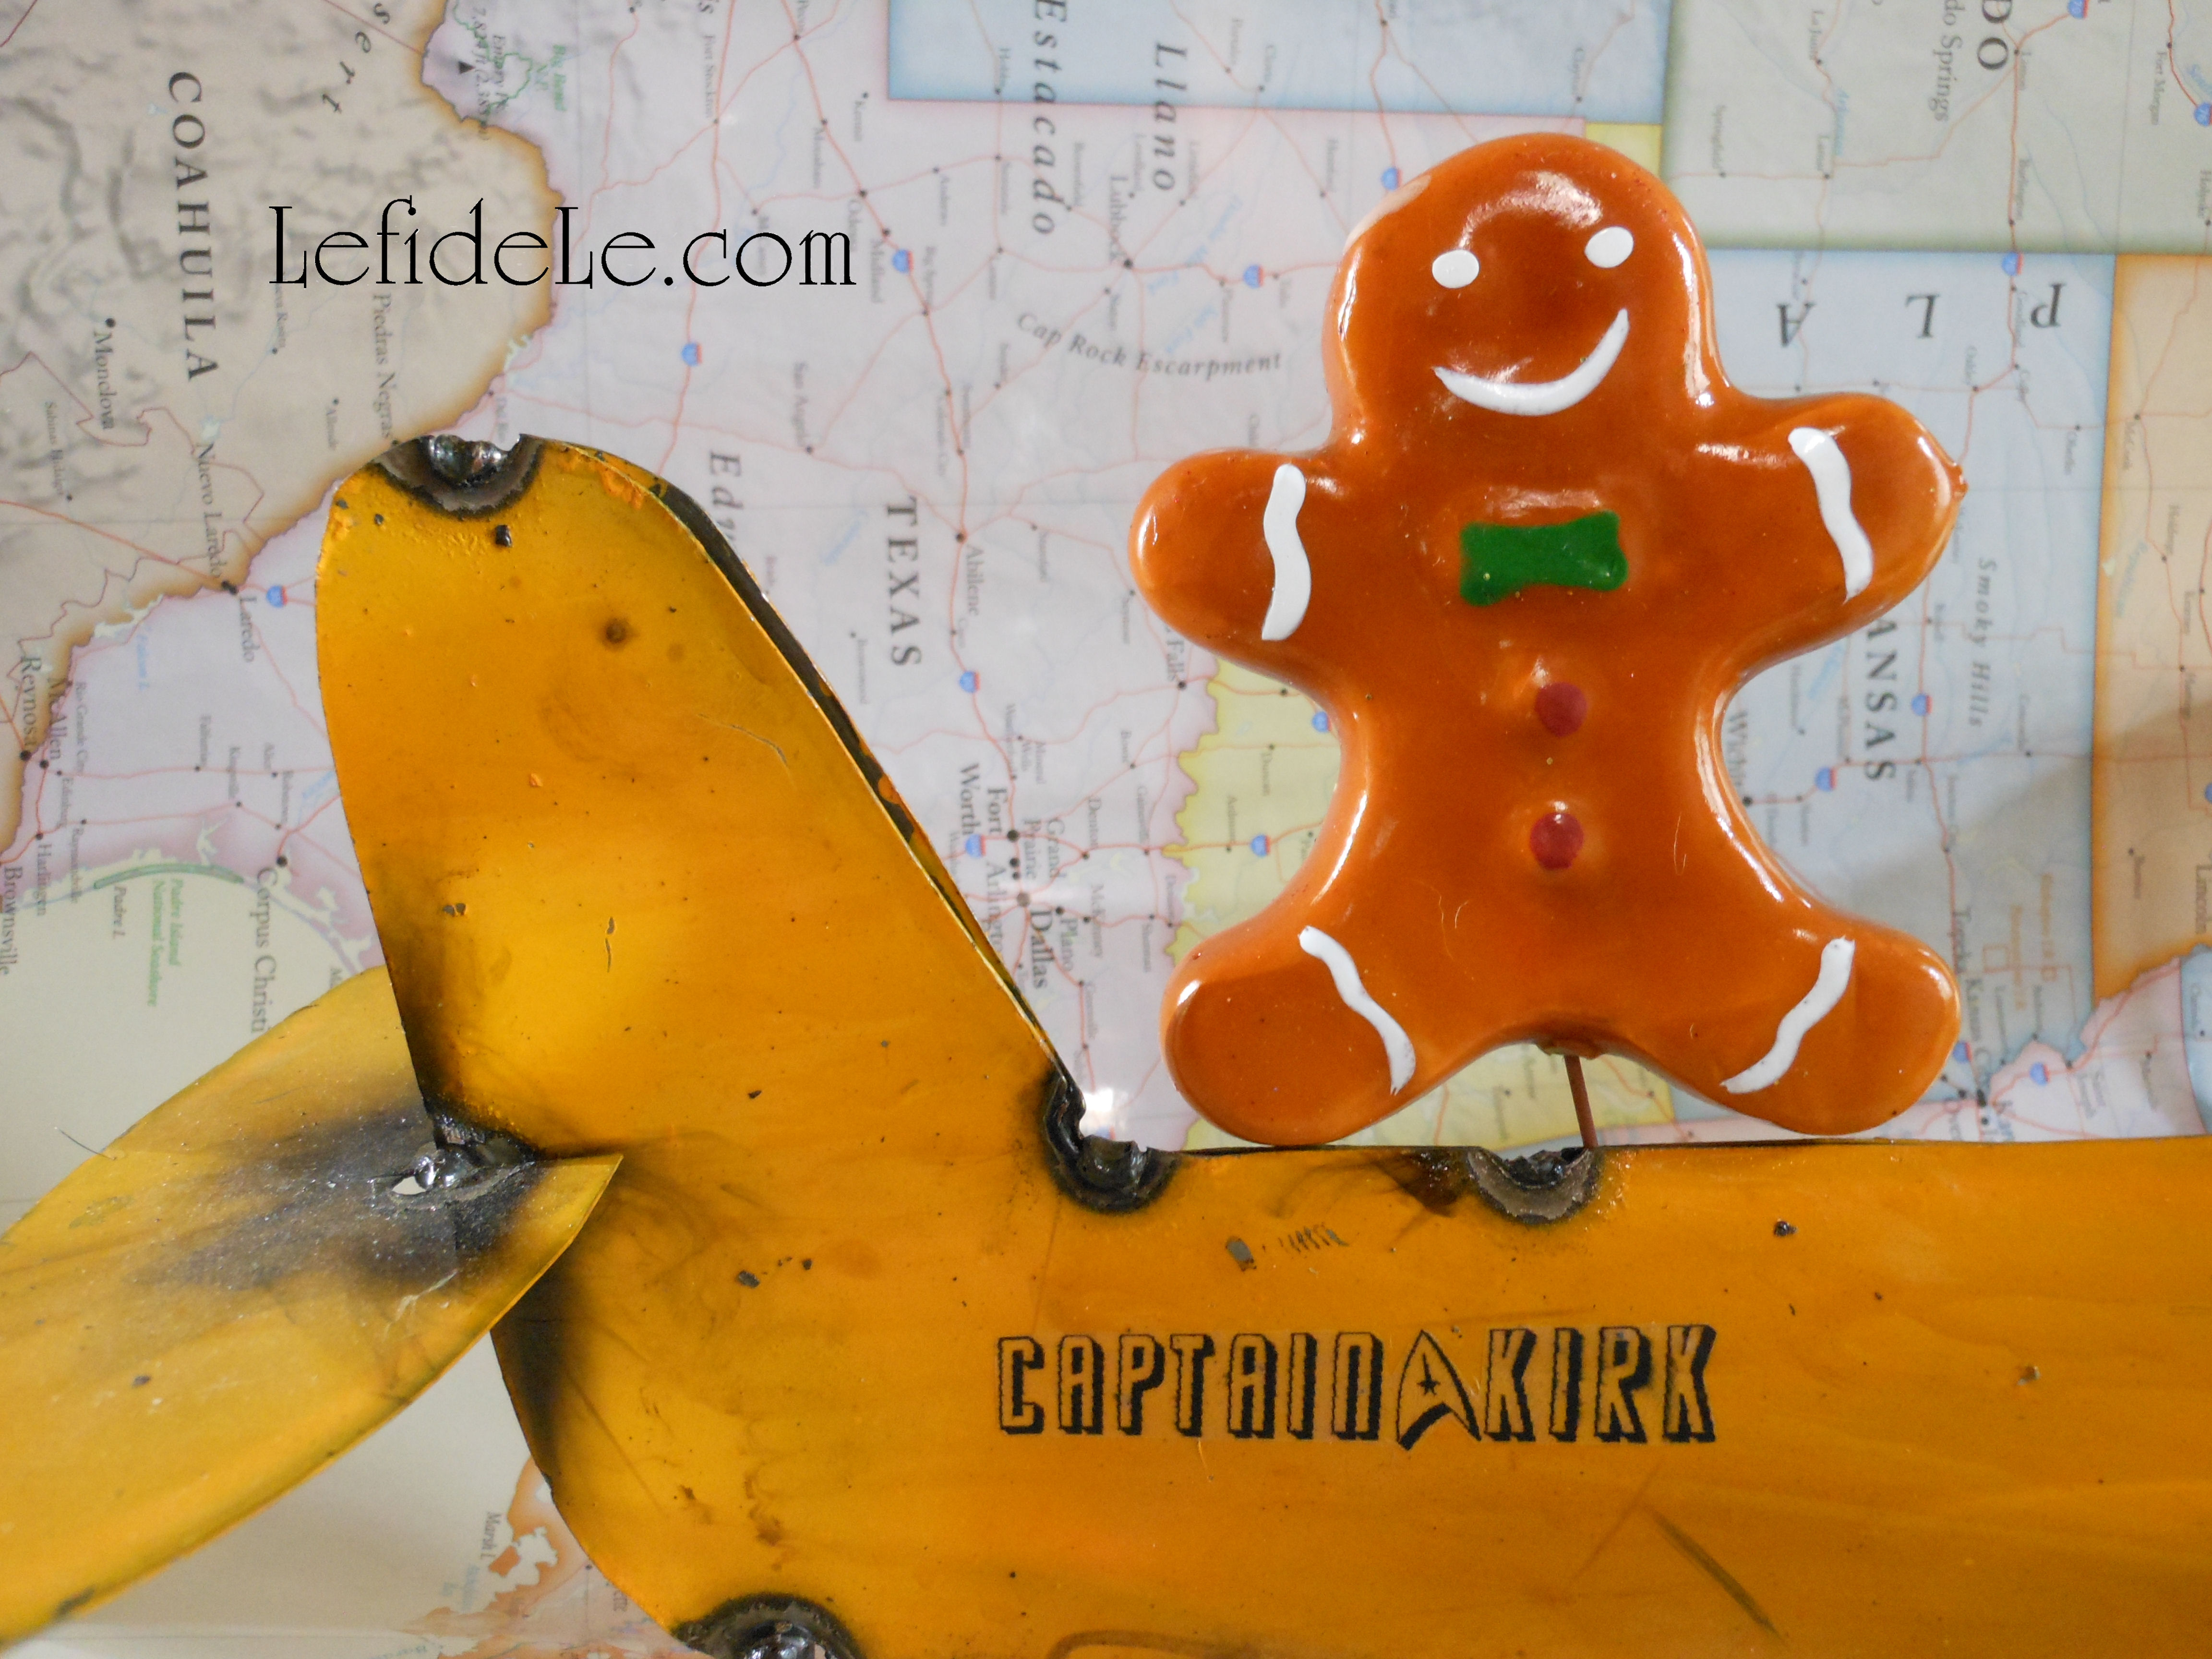
I just needed to find something that would adhere to what appeared to be lacquered looking high shine industrial enamel paint. After doing some useless internet research, I decided to wing it. (Sorry, I couldn’t resist the pun.) I thought I’d try “Jewelry Attitude” which claims to adhere to a plethora of surfaces including metal. If it works on smooth shiny metal, why wouldn’t it stick to shiny paint?

69Leigh

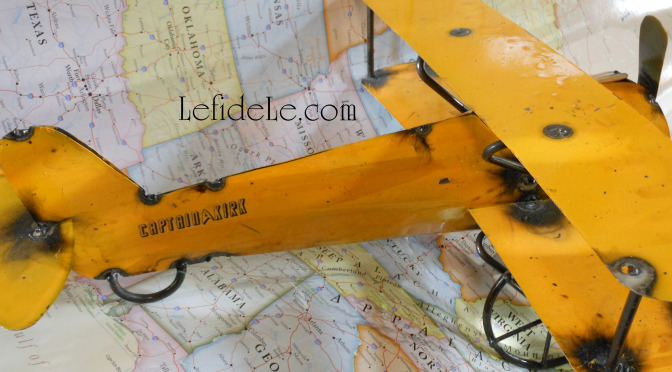
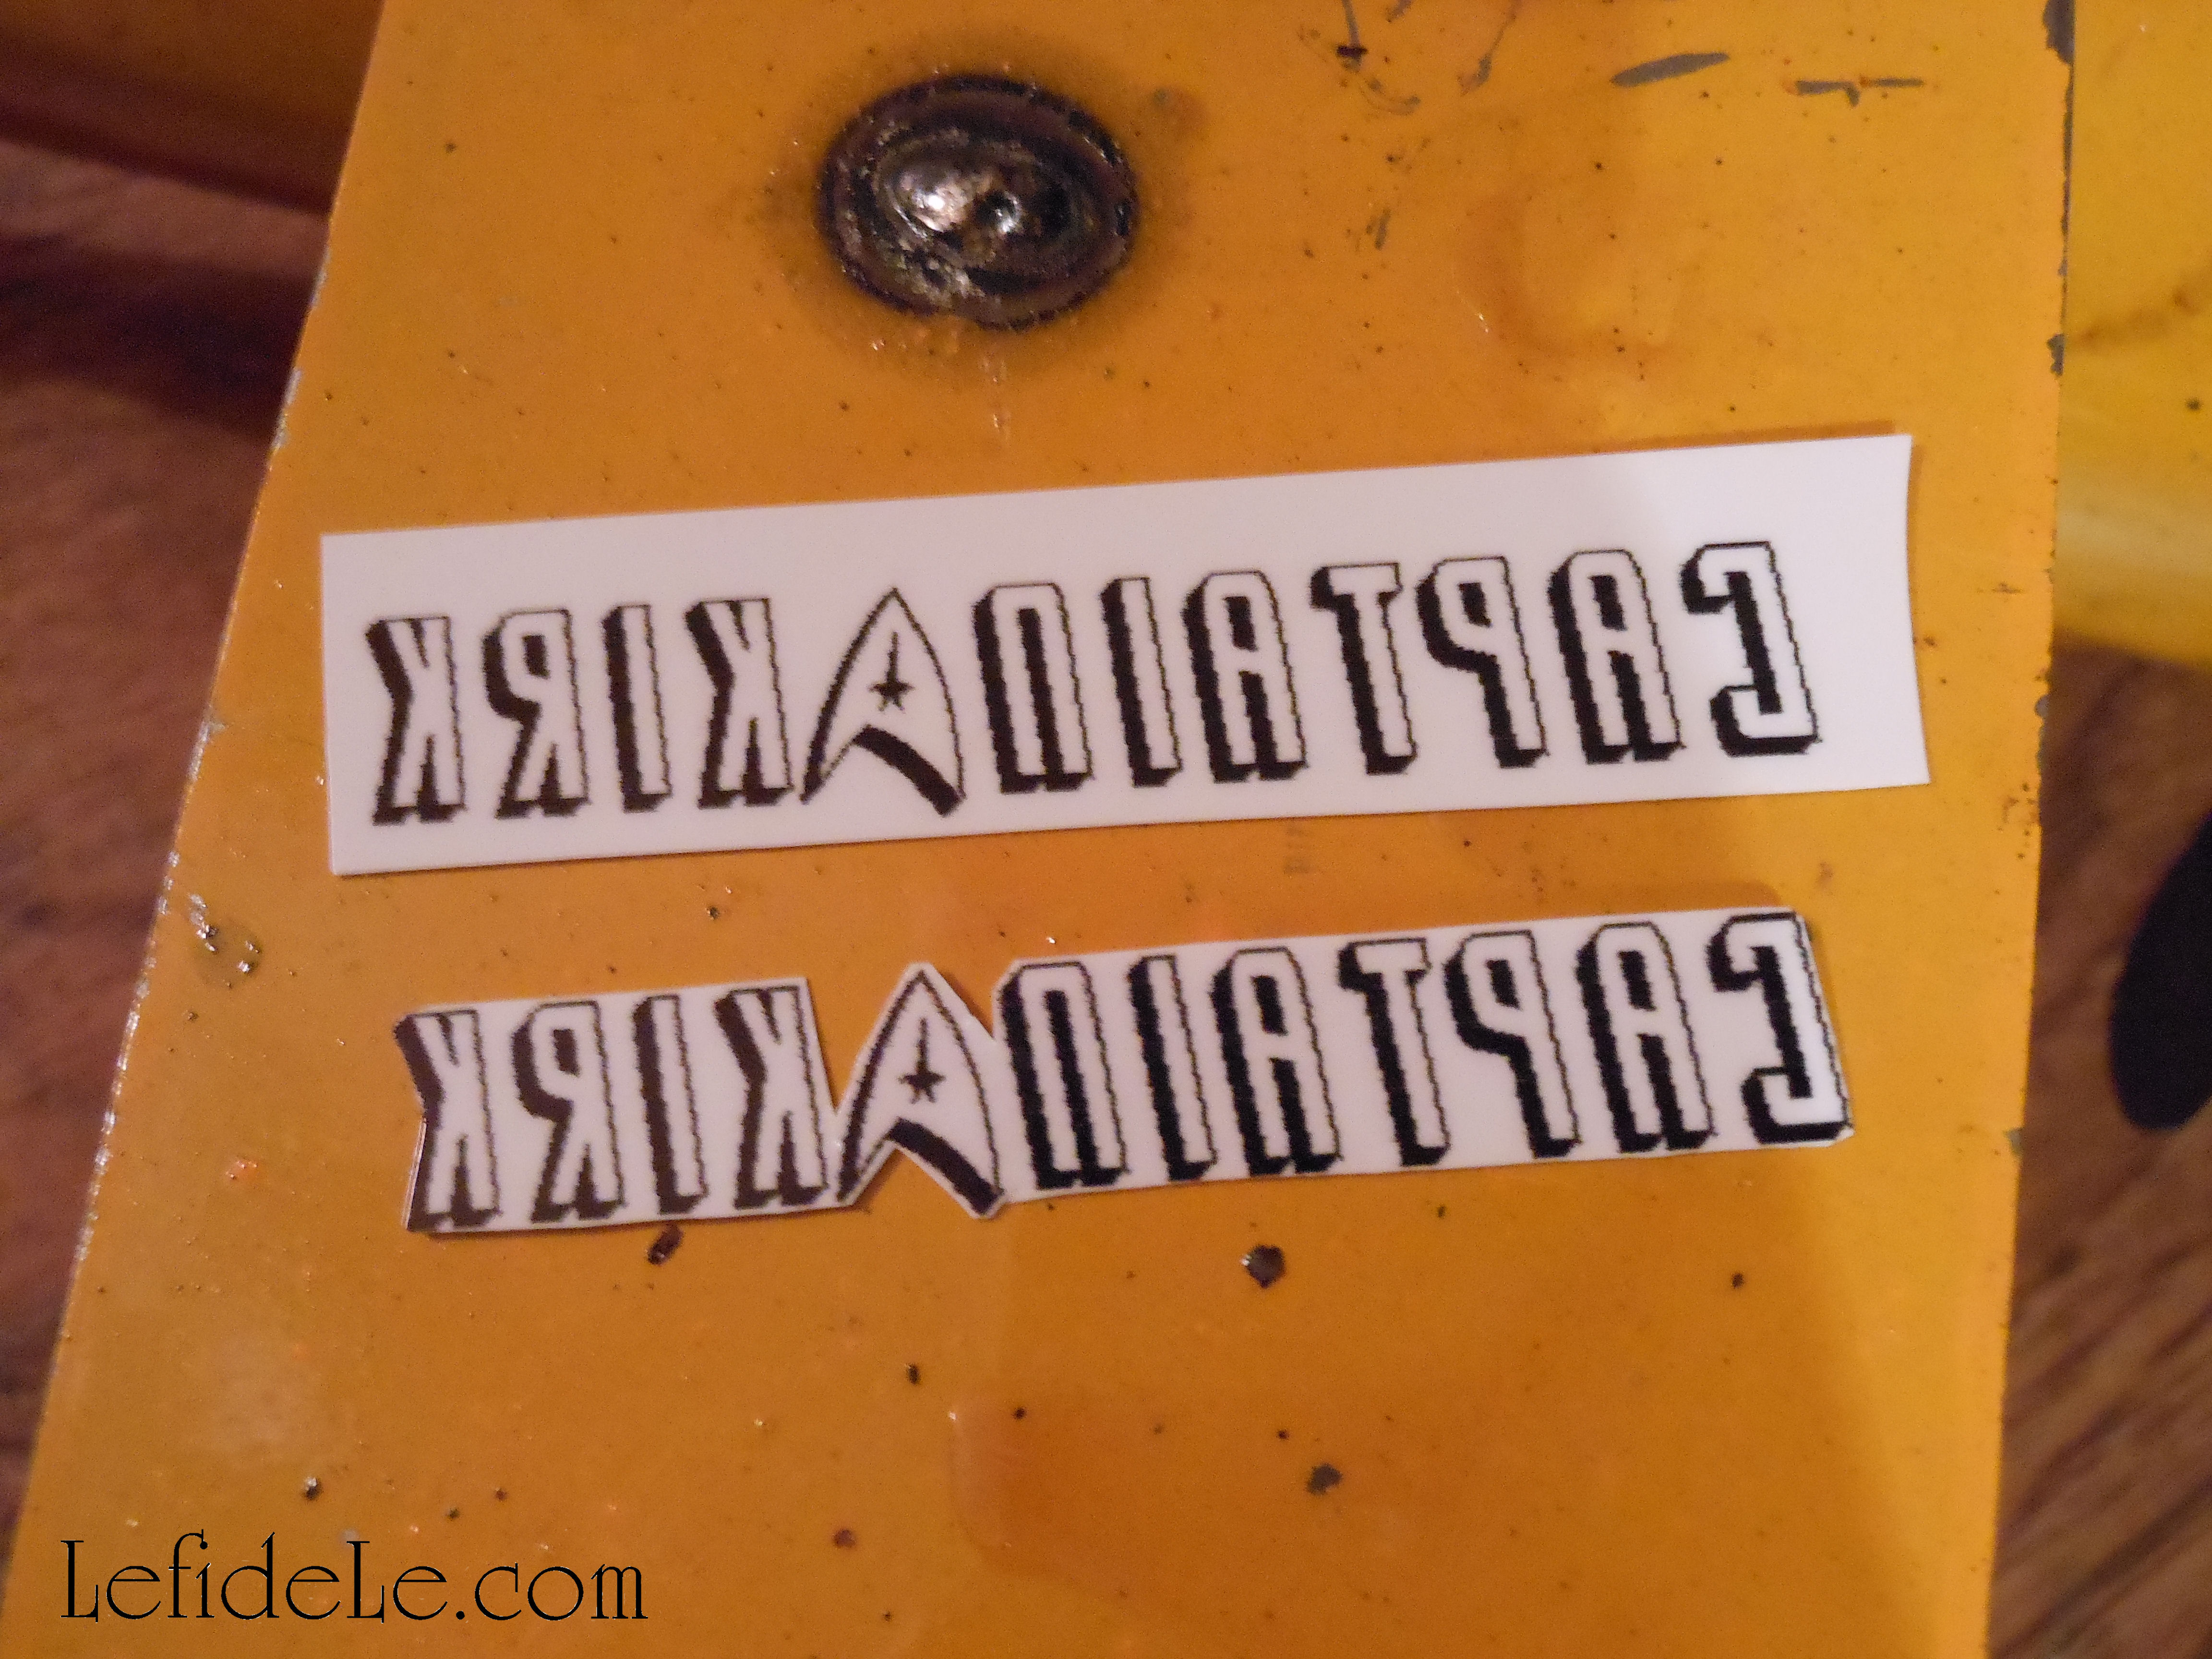
I ordered a package online, and went to work on producing the requested moniker in a suitable typeface. I actually found a Star Trek font (at daFont) online for free. I typed out what I needed on a Word Document, imported it to a Corel Program to resize, and then mirror flip it so as to print in reverse. This is only necessary when printing words, in order to keep them legible after completion.

70Leigh

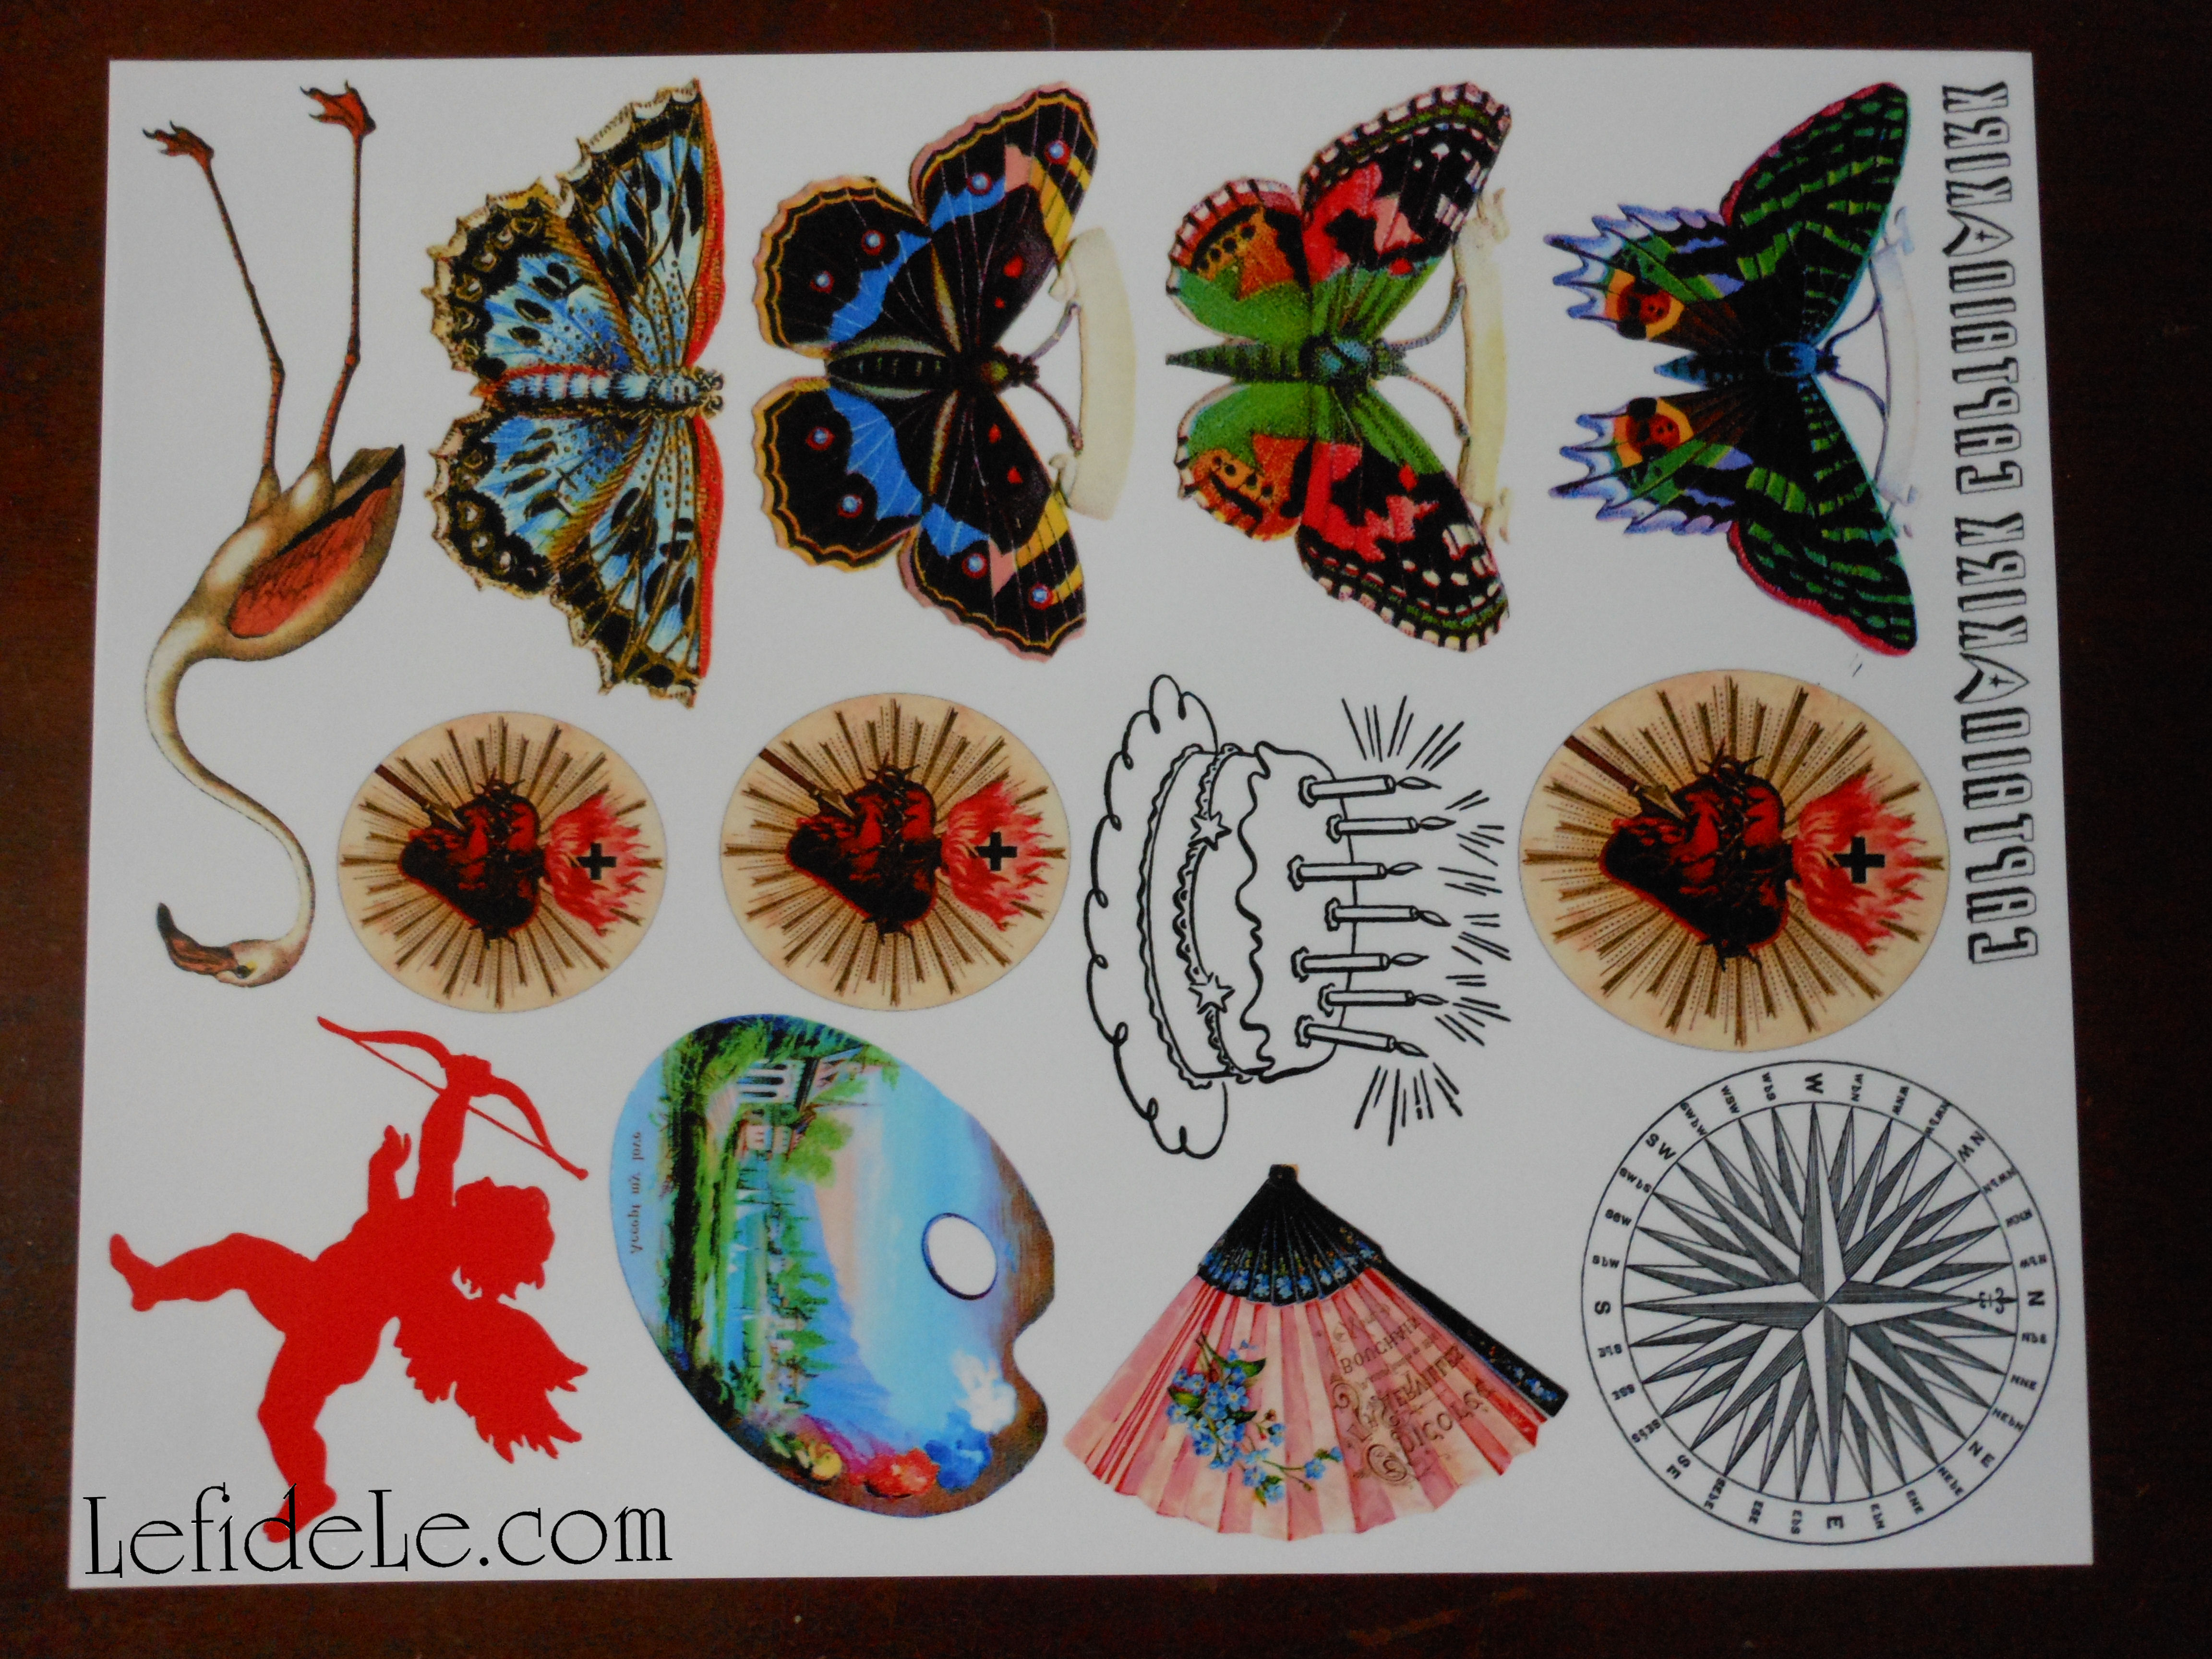
I also imported other images to print with it. There is no need to waste money by only printing one project at a time. Organize future projects and print them on the same sheet. You can just cut out the one you need now, and put aside the rest until you’re ready to undertake them. I have a bunch of fun jewelry projects planned with these which I’ll share with you in the future! I continued by organizing my images by moving them around on a print layout page so as to maximize every centimeter of space. I’m obviously big on getting big bang for my buck. I selected color photo printing on glossy paper. They suggest loading each sheet individually and also to avoid touching the glossy side. This is exactly what I did. It prints glossy side up, so I suppose lotion or oil from your hands might smear the inkjet ink being laid onto it. They also suggested doing a trial run by printing on paper before using up your film, which is actually a good idea if you’re unsure with your computer skills. I just didn’t want to waste any ink, so I flew by the seat of pants as usual. It looked great with all the words backwards. I was supposed to let it dry for 2 hours. I waited 4… just in case. I actually wished I had waited overnight because the ink appeared a tad smeared after I used the permanent glue-stick on it. That’s how you attach it, with a simple non-toxic glue-stick.

77Leigh

I cut out the words carefully, then applied glue to the ink side, and peeled off the backing as directed. I’m not sure why I couldn’t just peel it off after I stuck it the plane instead of before, but I did it the way it said since this was for someone else’s gift. Next time, I’m going to experiment a little… of course. If you try this yourself, be really careful not to let it flop onto itself. It really sticks hard! I smoothed them onto both sides of the tail section.

91Leigh

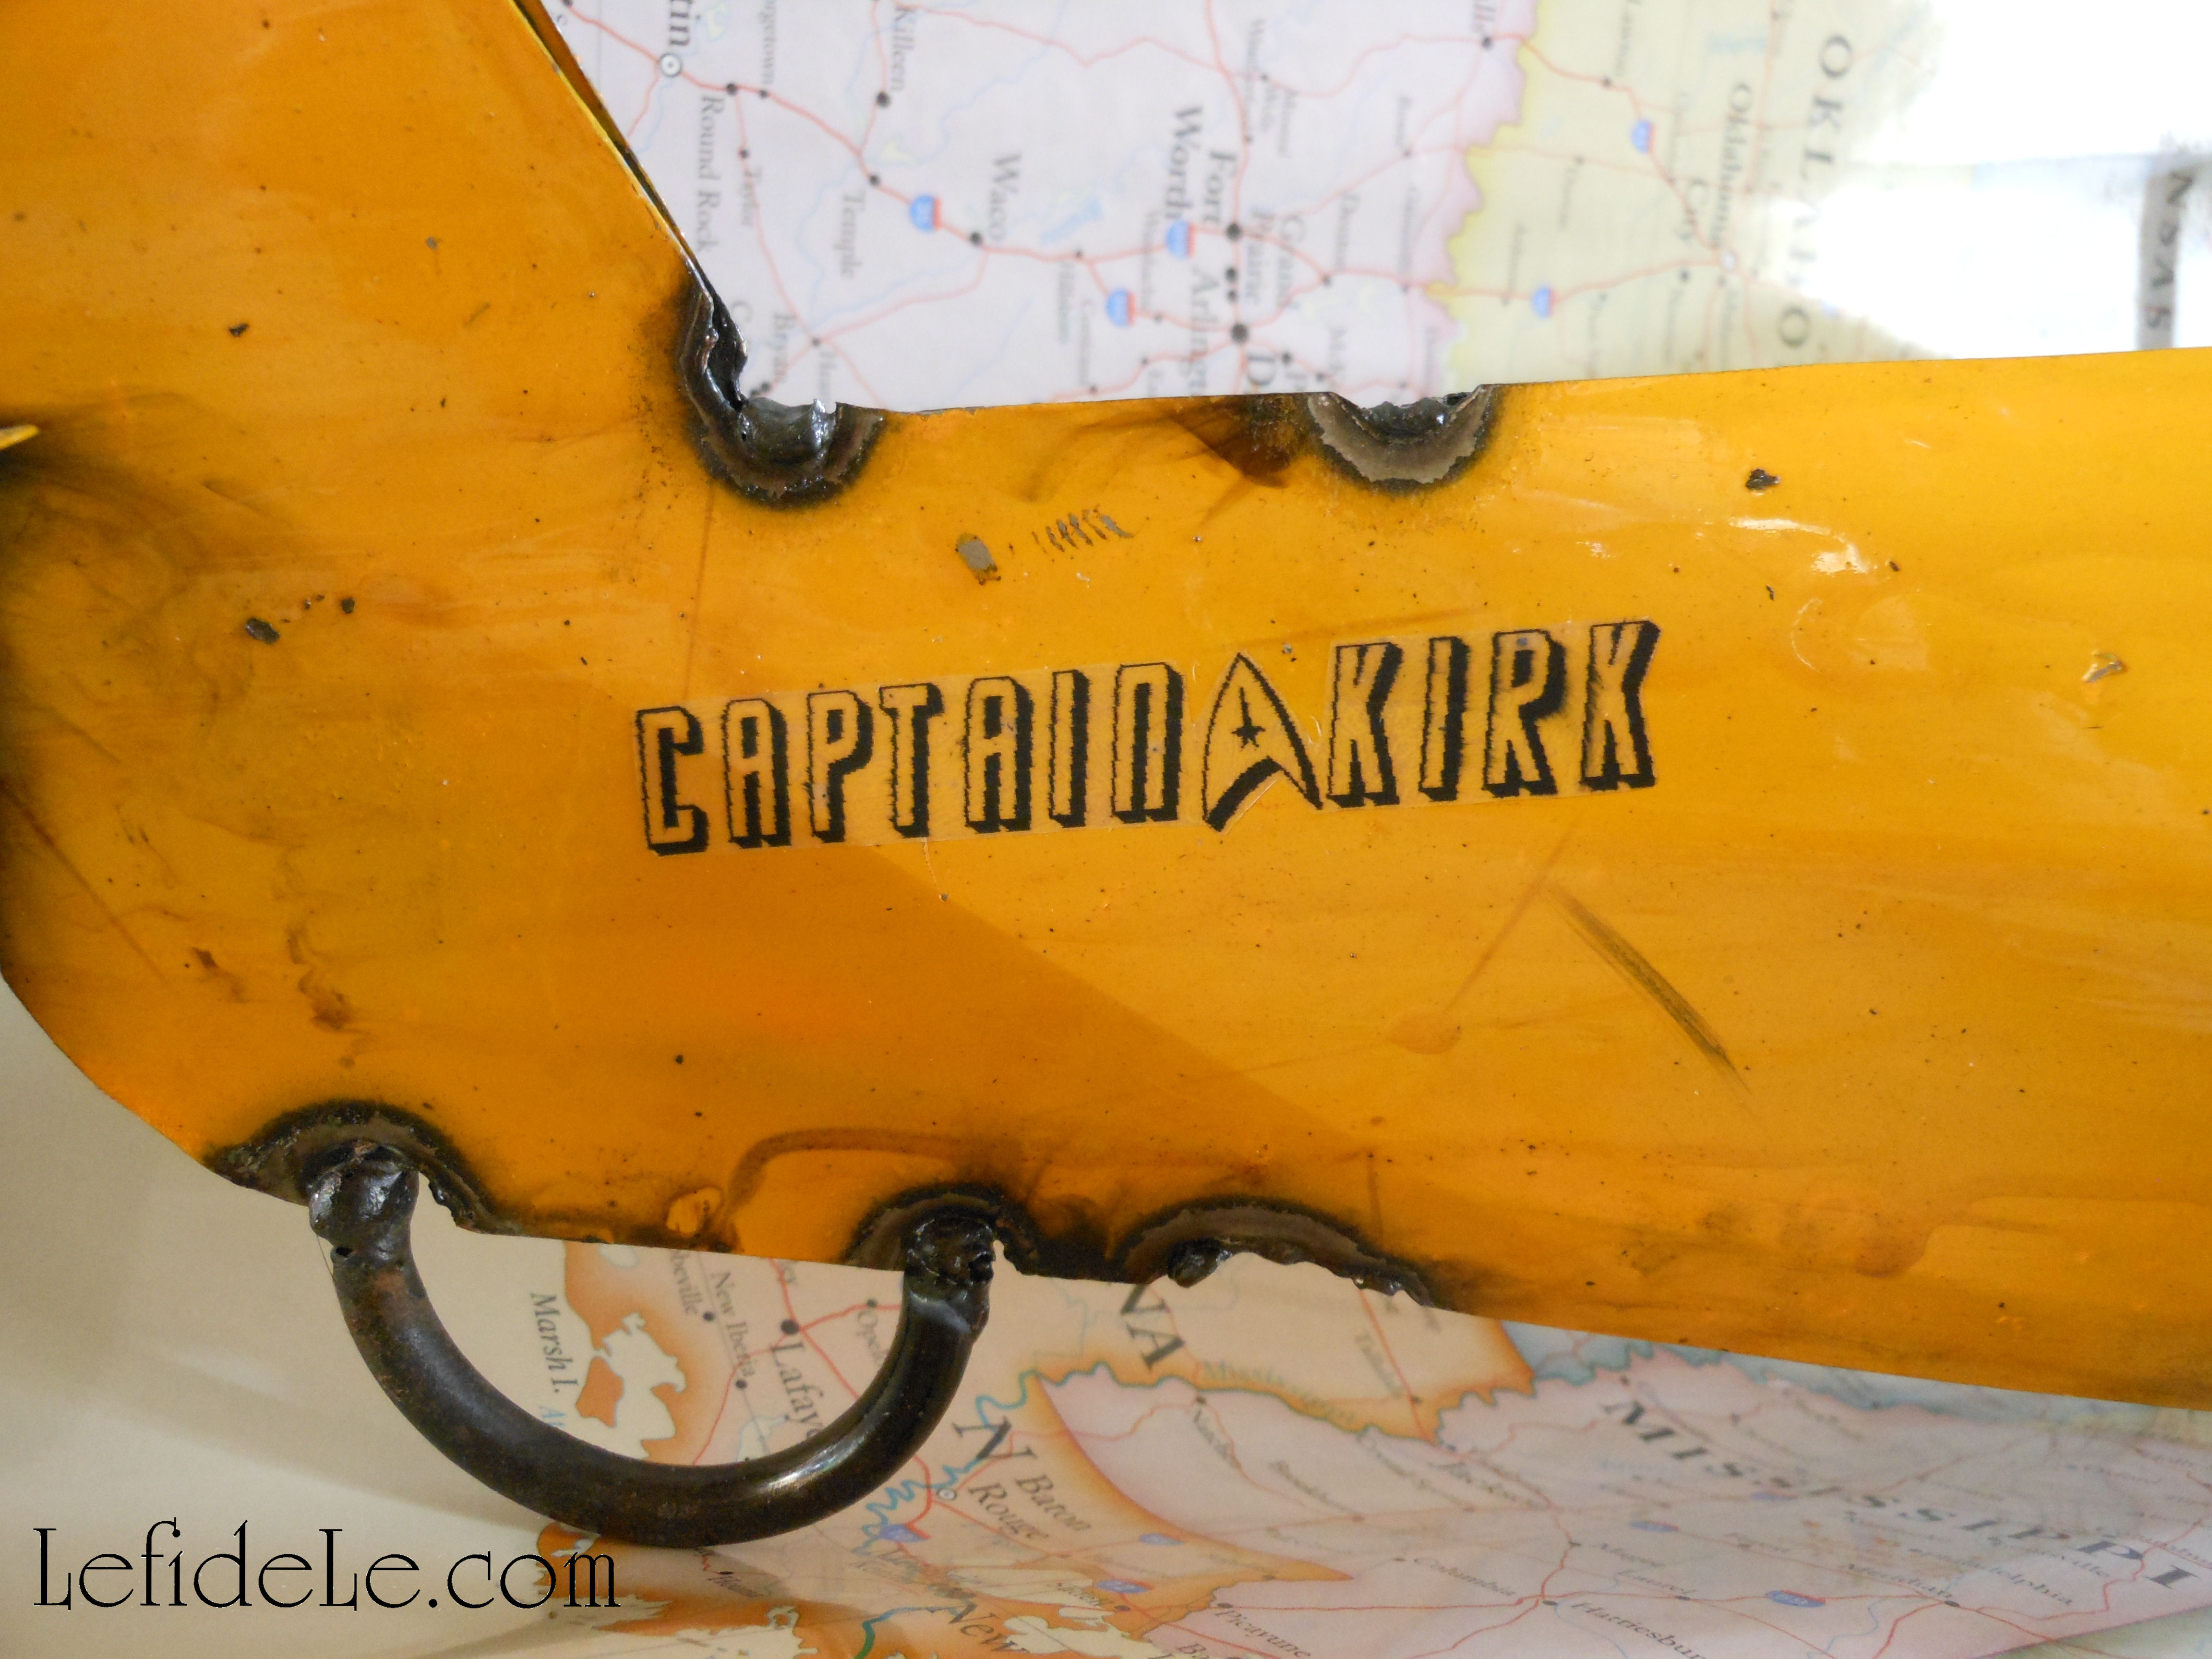
It sets immediately, so there is absolutely no repositioning. It stays where you put it whether you like it not. This actually reassured me that it wouldn’t get messed up later by handling. I decided to let it dry fully overnight before pronouncing my final judgment of the product though. And what do you know… it was successful!

99Leigh

Don’t be intimidated by the digital work, it really was easier than the directions make it seem. I’m sure my next try at it will surely be a breeze. And hey, if you do need help with the computer stuff… well, maybe you have a crafty neighbor too!

83Leigh

Merry Christmas to All Y’all!

Faithfully Yours,

Leigh

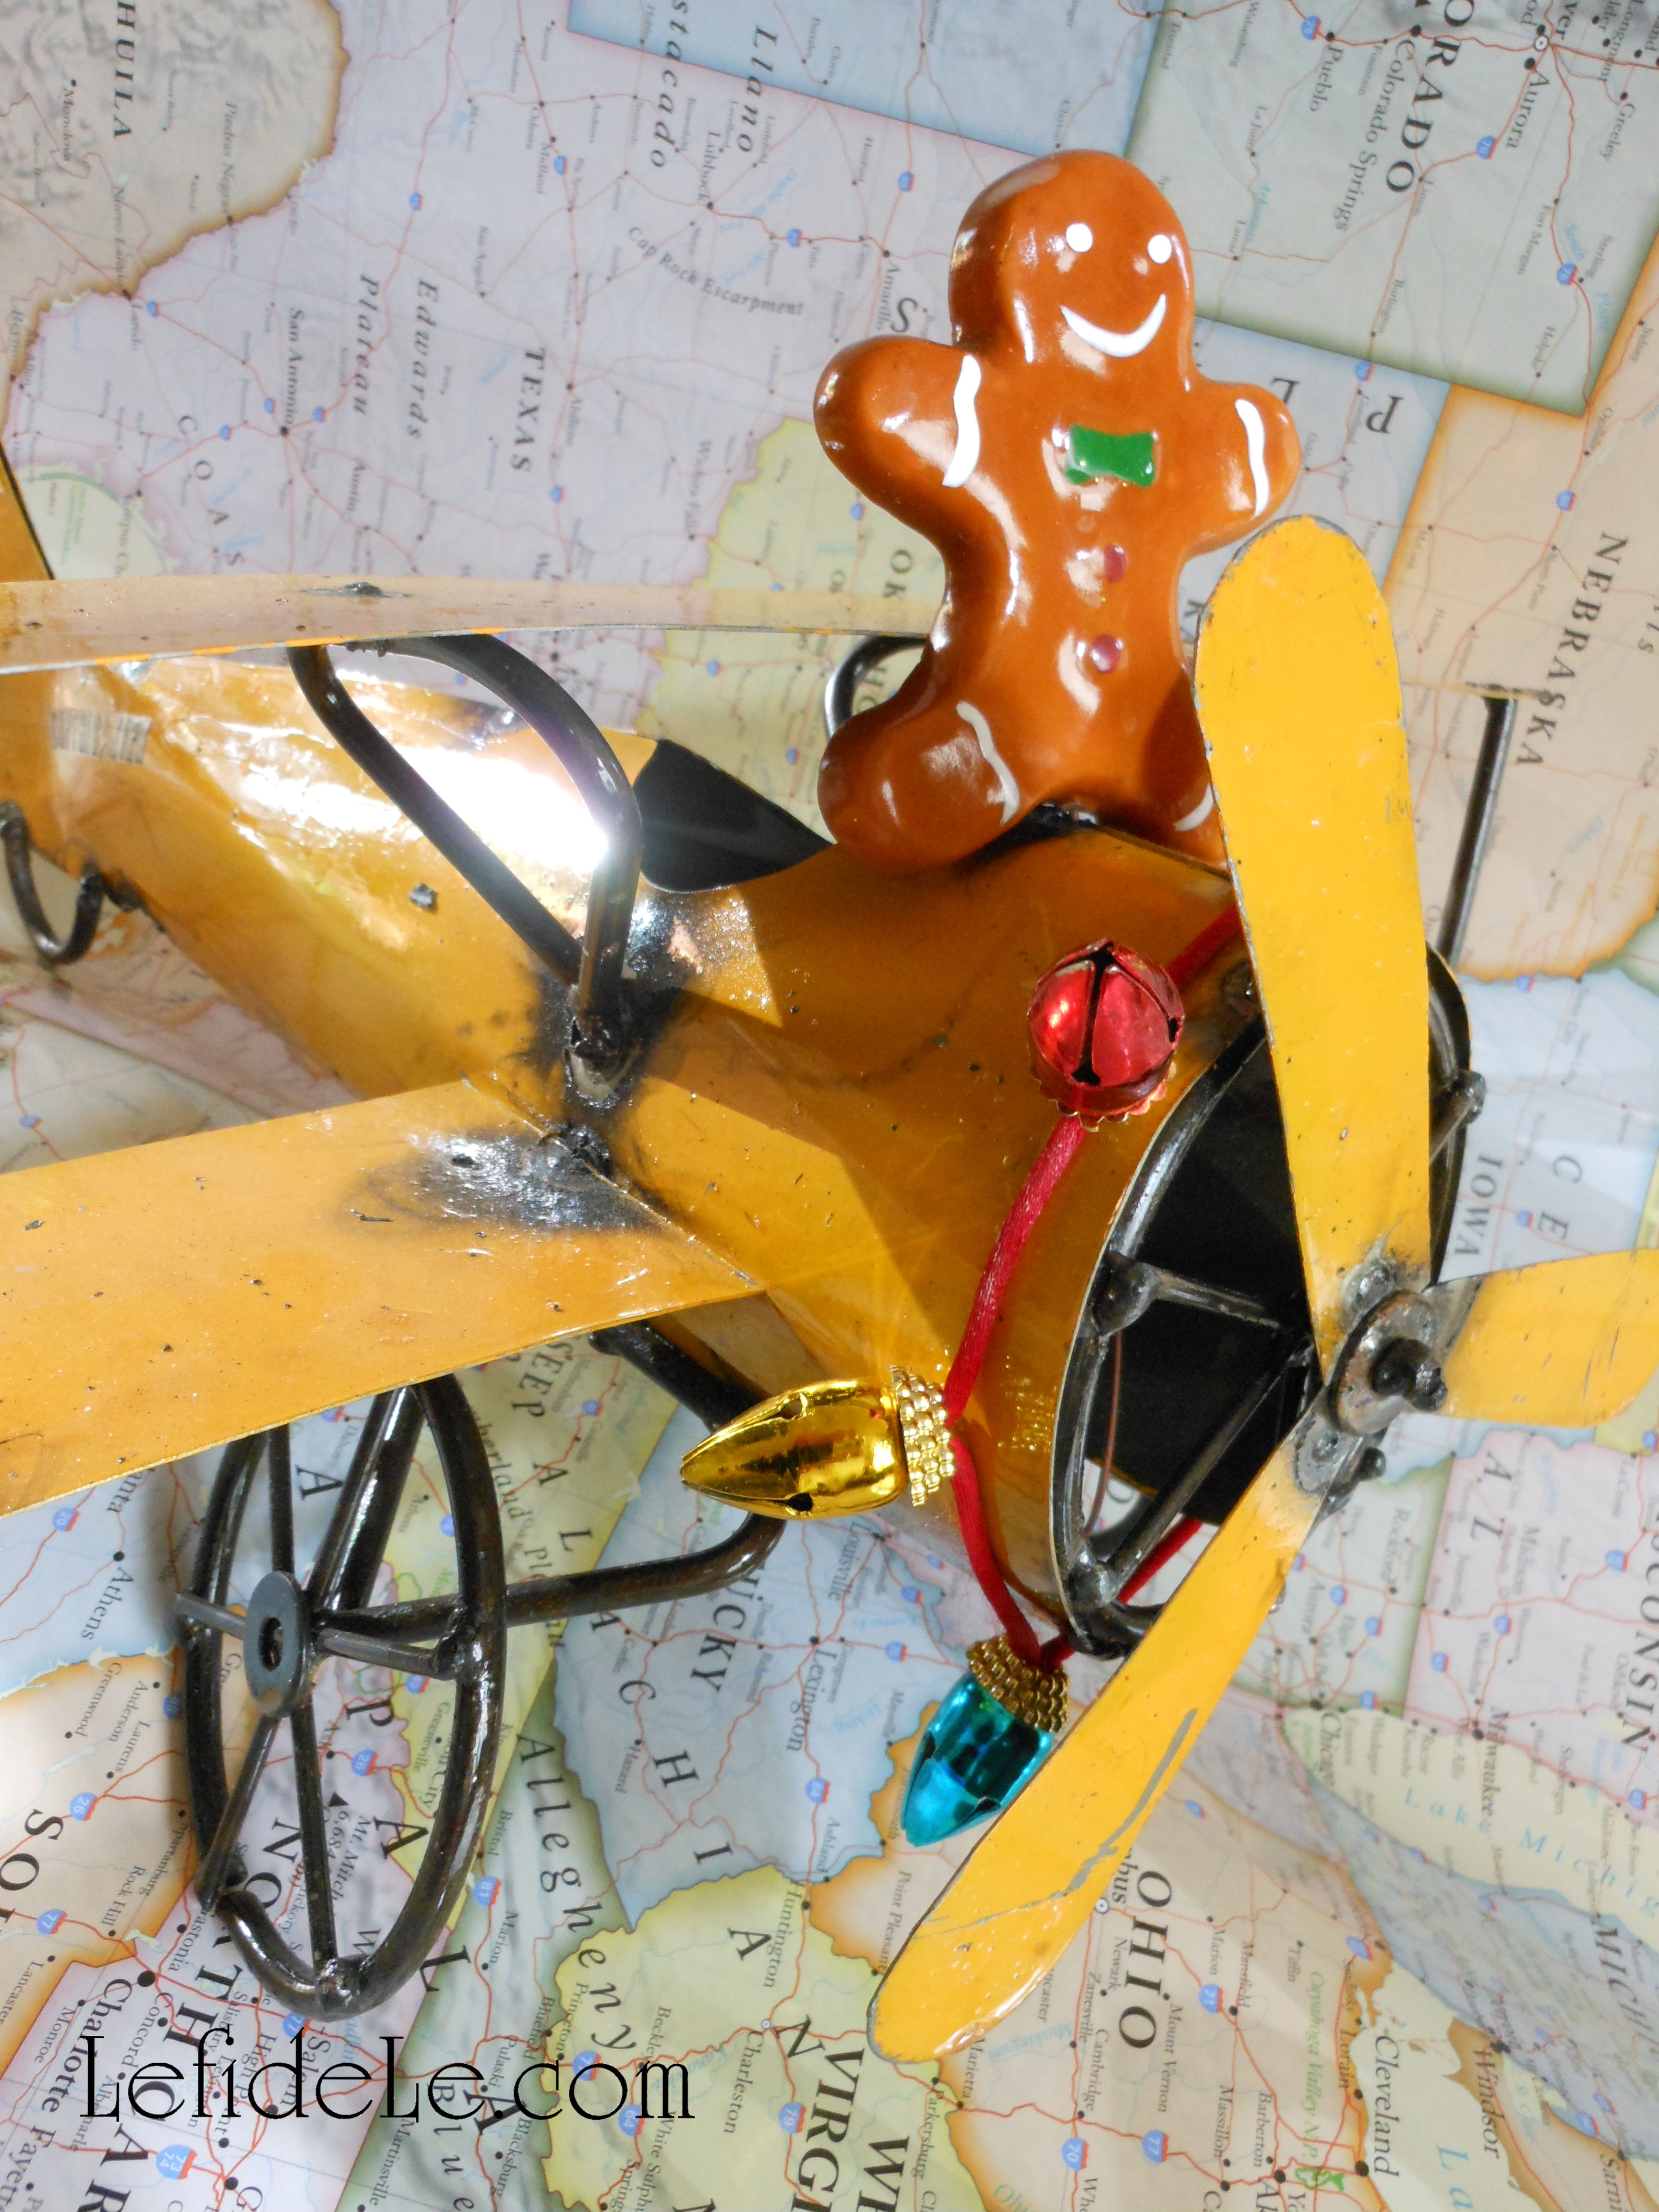
P.S. I just couldn’t resist dressing it up for Christmas and adding a gingerbread wing-walker for the photos.


Healthy “One-Pot” Cocorico Roasted Chicken (or Turkey) & Root Vegetables Recipe

Making healthy roasted chicken and root vegetables is so easy with a Cocorico Roaster. I love to use mine as an easy “one-pot” wonder that presents beautifully from oven-to table. The night before a long day, I can peel the veggies and add herbs so it only needs to put it in the oven for a hardy home-cooked meal. Larger roasters will also accommodate a small turkey for the holidays.

125Leigh


Ingredients:
  • 1 roasting chicken (or turkey, in a size that will fit your Cocorico roaster)
  • 2 teaspoons thyme
  • 2 teaspoons rosemary
  • 1 fresh lemon
  • 1 teaspoon sea salt (or to taste)
  • Olive oil (enough to coat chicken & drizzle a little over veggies)

Multicolored root vegetables in season (enough to fill the cocorico base):

  • ~1 pound carrots
  • ~3 beets
  • ~2 parsnips
  • ~1 bunch radishes
  • ~1 or 2 pounds fingerling (or new) potatoes
  • (& turnips if you have better luck than I did finding good ones)

Instructions:

Cocorico roasters in glazed terra cotta are available locally and online. I ordered mine from Napa Style because it was the biggest I’ve seen, and also had a larger turkey cone that fit over the chicken cone. Soak the whole thing under water at least 30 minutes before cooking. This prevents any heat damage to the vessel. I saturate mine in a bleached clean sink.

2Leigh

Preheat your oven to 400ᵒ, while you soak the roaster and prep your veggies. There are a beautiful variety of purple, orange, red, and white root vegetables available. Peel and cut them into about 2 inch chunks to ensure even cooking. Some recipes will advise you boil potatoes ahead of roasting, but I’ve found that to be completely unnecessary if you buy small fingerlings. They roast just like baked fries. They’re prettier, easier, and quicker… so save the big ones for baked potatoes. Radishes may seem like an odd choice for roasting, but they completely change character after cooking. They mellow out, losing their sharpness and spicy heat. I really do prefer them this way.

4Leigh

Place these in a bowl with herbs and add just the smallest drizzle of olive oil. (The chicken juices will flow over the veggies while cooking thus providing more flavor.) Squeeze a little of your lemon over the veggies, and save the rest to place inside the chicken cavity before setting over the roasting cone. Add sea salt and toss to coat everything well. This may be done ahead of time, just cover the bowl and refrigerate it until needed.

13Leigh

Many recipes will also instruct you to wash chicken inside and out before cooking, but I read a study that found it only served to spread dangerous bacteria all over your kitchen. Thorough cooking will kill bacteria while rinsing will not. Drain the fluid and remove any extra gifts left in the cavity (neck, gizzard, giblets). Then set the chicken onto the soaked Cocorico. Other recipes will also say to do this with the legs up and trussed, but this is really subjective to the size of your roasting cone versus the size of your bird. I used a smaller chicken in the pictures, which would have been physically impossible to set upside down. It cooked beautifully and tasted great. Just place the chicken whichever way you can get it onto the cone. It’s really hard to mess up dinner with a Cocorico!

21Leigh

Roast in the oven at 400ᵒ for about 15 minutes, and then reduce it to 375ᵒ for an hour longer (for ~4 lb chicken). Because every oven heats differently, the safest way to cook is with a meat thermometer. Place it in the thickest part of the thigh, but not to the bone. www.foodsafety.gov says 165ᵒ is poultry’s magic number! I’ve also read to rotate the Cocorico every 15 minutes. Thinking of how heavy it was, how that would let heat escape, what else I could spend my time accomplishing, and burn potential… I decided to forgo that. Once again, the simplest way proved itself. The chickens turned out exactly the same.

127Leigh

Use a serving spoon to gently toss the roasted veggies, so that the juices are fully distributed. It’s easiest to serve the veggies first and then carve into the meat, using the newly empty well to hold the pieces. Or it can all be transferred to other serving dishes… but I prefer to avoid washing extra tableware, and the filled Cocorico looks so lovely. If trying this, be sure to use adequate hot pads beneath it.

35RoosterVotive-Leigh

In the past, I’ve saved time by omitting the oil and placing the roots directly into the Cocorico. When it finished cooking, I would sprinkle fresh herbs and orange juice over the top, stirring it right in the roaster. Whichever way you chose to prepare it, with whatever vegetables, with either chicken or turkey, and legs cooked up or down… Cocorico roasters make it all turn out so beautifully! (See this for yourself at the link: Last Minute Cocorico Rooster Theme Dinner Party Décor Ideas.) So think about getting one for yourself, and leave the “beer-can chicken” to the tailgaters! 🙂

157Leigh

Faithfully Yours,

Leigh

DIY Rusted Rooster Chicken Wire Votive Holder Craft

157Leigh

These votive holders were made to complement my Last Minute Cocorico Rooster Theme Dinner Party Décor Ideas, but you can easily craft them with plier/cutters and glue. The base is made of pre-rusted chicken wire “ribbon” (which may be substituted with chicken wire from the hardware store). Atop that are rusted rooster shapes (which are available online and at local craft stores… or made from scratch if you’re feeling super crafty). They can be lit by candle filled glass votives or LED tea-lights. It’s actually a very easy DIY project that just takes a little patience and elbow grease. Once made, they are lovely elements that can be pulled out anytime you need last minute dinner party décor to complement a simple chicken dinner.

44Leigh

Using a single roll of pre-rusted chicken wire “ribbon” saves time, because it already has 2 smoothed edges. If you can’t find this, regular chicken wire may be cut and bent over (toward the inside) at the top and base. Keep it naturally gray metallic or rust it with a liquid chemical solution. (There are several brands of liquid rust that may be found online or at a craft store.)

095Leigh

Use a glass votive as a measuring guide for wire length. Loosely wrap the chicken wire around the glass, overlapping it, and then cut the wires in a straight line. The extra length is needed for the tightening that occurs when joining the ends together later. This cut section may be used as a guide for cutting the rest. (The process would be the same for an LED tea-light candle.)

0100Leigh

The next step is to twist the ends together, just as you would begin tying a shoelace, with one end over the other. Begin at one corner and continue the rest of the way, closing the cylinder like a zipper. (This was the part that took patience, so I “multi-tasked” by watching a movie while I twisted.) Pinch these joined ends together with pliers to completely tighten them.

0104Leigh

I found many dozens of reasonably priced pre-rusted shapes online. There is a shape to suit any theme. Also, feel free to cut your own out of thin metal. I’ve cut butterflies from various types of thin sheet metal and also up-cycled shapes from aluminum cans. These can be painted to mimic rust. In the future, I’ll show you how to make “metal” shapes from paper (these of course would need to be used with LEDs). If you need a rooster shape for a template, just cut it out of the free invitation PDF from my Cocorico dinner party.

0106Leigh Glue the joined section of a wire cylinder to the underside of your rooster. Let this sit face down overnight. I used E6000 glue, because I wanted to ensure that it stuck together despite the rust. This stuff has glued down everything I have ever tried it on, so it’s a go-to product where other glues have failed. It does have fumes though, so use it in a well-ventilated space.

35RoosterVotive-Leigh

Slide candles into your newly handcrafted wire cages, and set on your table. Then light to delight!

Faithfully yours,

Leigh

Fabulous Fall Leaf & Pumpkin Décor Crafts (Place-card Holders & Easy Remade Basket)

354PumpkinBasket-Leigh

I’m combining what are essentially two projects, because they entail exactly the same easy process of hot gluing your way to a fabulous fall! With so many beautiful options in faux foliage available, you can keep your creations to display again. The pumpkin topiaries may be placed throughout your home or office as small floral elements, or used as place-card holders as I have for my Fall Leaves & Pumpkins Themed Thanksgiving Tablescape. And though I used a vintage pumpkin shaped basket, I’ve seen similar variations of it at several craft and party stores that are just begging for embellishment.

314Leigh

For those of you who are brand new to this kind of thing… always buy fall foliage on sale (and there is always a sale somewhere). There are a plethora of leaves, sunflowers, berries, twigs, and mini-pumpkins available in fall colors. Rip off (or cut) the pretty bits from the largest stem.

313Leigh

Make curlicue vines by first wrapping brown floral tape around wire (pulling as you go). Then take that and twirl it around a pen. Pull the pen out, and you’re ready to use your newly made vine.

316Leigh

Now glue, glue, glue to your heart’s content. For the basket, start with leaves in order to form a base platform (at the junction between the handle and bowl of the basket). Then glue the larger elements on top of that blanket of leaves (without covering them completely).

317Leigh

Add smaller elements like berries, by dropping glue onto the stem ends, then tucking them in behind the biggest center element. Lastly, glue the vine ends (in the same way as the berries) and tuck those in wherever you see empty spaces.

320Leigh

It’s just that easy! You may now fill your creation with anything from candy to potpourri. To see it action, check out my “Glitter-Ween” Halloween Party Theme Decorating Ideas (With DIY Links).

194Leigh

As for the pumpkin topiaries… simply start with small terra cotta rose pots (because they are taller than regular pots). Fill these with floral styrofoam cut to size (not squishy “oasis” as that is made for wet arrangements). Next, hot glue a stack of tiny pumpkins (with a leaf in-between each) onto the top’s center. Cover the styrofoam with a layer of green moss. Then add a leaf or stem of berries here and there. Voila!

01Leigh

If you’d like to turn these into place-card holders… simply make flags out of toothpicks and washi tape, by using a ruler as a guide to cutting similar lengths.

75PumpkinTopiaries-Leigh

Or… you can use floral tape, like I did, so long as you stretch it as you smash it between your fingers. A permanent marker writes the name well. You can also do this for your décor, to add a message like, “Happy Fall Y’all!”

76Leigh

See more of these here: Fall Leaves & Pumpkins Themed Thanksgiving Tablescape Décor Ideas.

Faithfully Yours,

Leigh


DIY Easy Last Minute Halloween Ornament Décor Remade From Scraps Craft

Is your spooky Halloween tree décor looking a tad too bare, and your budget’s already blown on candy and costumes? Then do what I did and use ribbon scraps, felt stickers, plastic rings, $1 felt garland, cupcake picks, and felt from a card found around the house to craft cute ornaments! So easy that it can be done last minute, and it makes an interesting artistic scavenger hunt for the kiddos… “Find as many things as you can, in 10 minutes, to turn into ornaments.”

109Leigh

Take a dollar bin felt garland, and cut the ribbon joining the shapes into sections. Tie a knot to form a hanging loop. You can stop there, or add bows made from glittery ribbon (also from the dollar bin) or from leftover pieces from your other crafts. Cut the ring part off the plastic spiders (that outnumber those treat bags).

0112Leigh

Hot glue those elements, at various angles, onto your new one-of-a-kind ornaments.

0117Leigh

Remove felt decorations (in this case a house shape) from cards. Cut the spikes off of leftover plastic cupcake picks. Pull the sticks out of floral arrangement decorations (the pumpkin people in the picture). Cut lengths of ribbon or tinsel twine to serve as hanging loops. These don’t stick into tiny fingers like hooks would, and they pack better too!

206Leigh

Hot glue the ends of the ribbons to the back of the shapes to make loops. Glue any decorations to the front sides. Then take fabric or ribbon (or in this case the thick orange paper that came with a floral arrangement) and glue the ornaments onto it. (The stickers will obviously just stick to it.)This makes for a prettier back that hides the hanging loop ends.

207Leigh

Hang your newly crafted ornaments as proof positive that cute doesn’t have to mean expensive or time intensive!

75Leigh

Happy Halloween!

Faithfully Yours,

Leigh

DIY Glitter “BOO” Wreath Halloween Decoration Craft

This year’s glitter explosion of kid-friendly Halloween party decorations needed an accompanying wreath, because every holiday deserves its own wreath… right?! I chose to make this one out of the same materials I had already been using. It contains a “BOO” sign, which you’ll see more of in my “Glitter-ween” Party article appearing soon. (You can find this type of thing at most craft stores.) I also used a pair of felt bat wings that were cut using my template from a previous craft, and some of the glitter shapes I set aside from my garland remade craft. (You can use any glitter shape made out of foam or wood.) Lastly, I used some of the same Halloween ribbon I had decorating various other elements in my home. This is why you should always buy extra rolls of matching ribbon. You never know when the crafting-bug will strike!

119Leigh

The best way to make a ribbon wreath is to use a hay or Styrofoam wreath form as a base. Just start by gluing the ribbon end at a 45 angle to the base. Then just pull tautly as you wrap the ribbon at the same angle around the form. I hot glue dots to the underside as I go, but that’s just because I’m a stickler for solid construction. It’s really not necessary until you reach the end of the underside. Then all you need to do is cut the ribbon and fold it over, for a clean finish, then glue it down. Though there’s no need to fold it over if you’re including a ribbon hanger.

0120Leigh

To add a convenient built in hanger, simply cut a length of ribbon in relation to the size of your wreath. (Use the photo as a visual guide.) Glue it well to the underside, forming a loop.

0121Leigh

Cut a piece of floral wire, and then twist the loose section of ribbon. Give it a couple of turns, and tie it off with the wire (like you would a twist tie on a bag of chips). Don’t worry about how it looks as this will be covered by a bow later.

123Leigh

Now use my template to cut out bat wings from stiff felt or craft foam. Place your “BOO” sign (or individual letters) next to the top area… so it’s easier to judge where to place those wings. Once you’ve found your placement, glue them down.

124Leigh

Arrange your shapes in the way you like best, because enjoying your own creation is the most important part. Since the shape openings didn’t show up well on the black glittery ribbon, I made some “eyes” from brighter pieces. I merely glued the lengths onto the underside of the shapes.

127Leigh

To add more visual interest, glue more loops of bright ribbons around the base in between the shapes. Now make a bow and layer it with several types and colors of ribbon. You can either make it by tying several ribbons together at once, or by gluing additional ribbons to a bow. Glue all of that visual smorgasbord to the base then top it off with the “BOO” sign.

0130Leigh

If you like, use coordinating glitter glue to add faces or fill in shape openings, but wait a day to hang it up. I added extra glitter dots to cover the sparse areas of the “BOO”.

349Leigh

The last step is to hang it up and enjoy your handiwork! Have a Happy Halloween!

Faithfully Yours,

Leigh


Easy DIY Kid Friendly Bat Halloween Décor Craft

This super easy DIY Halloween décor craft makes kid friendly bats that are lightweight enough to hang anywhere you like. All you need to make them are glue, google eyes, stiff felt sheets (or craft foam), and big pompoms. In fact, the idea came from my mother bringing me a bag full of sparkly pompoms saying, “They were on clearance, and I thought you could make something out of them.” Challenge accepted. I already had some giant friendly spiders, but couldn’t find any similar looking not-so-scary bats. The pompoms would be perfect for constructing my own.

336Leigh

To create your own, first print out the template image at the end of the article. (Simply right click the template image on your computer then select print.) You can even set your printer to a different scale if you are using different sized pompom centers.

322Leigh

Cut out the template and trace the image onto the felt. I used a silver Sharpie marker so that I could see the lines later. This is a great time to get the kiddos involved.

323Leigh

Cut just inside the lines, unless you prefer an outlined look.

329Leigh

Glue on the google eyes and wings. Try doing this at different angles to simulate various stages of flight. I used hot glue because it bonds immediately, but you should use something else if little ones are helping. Cheap clothespins make great clamps to hold items while glue dries.

330Leigh

I already had spiders, but it’s easy to make your own by simply gluing the ends of pipe cleaners to the pompoms. Those are purple tinsel ones in the picture. You can also find them in a thicker variety that would look better on the larger centers. See pictures of them “crawling” over my tablescapes and staircase in the upcoming “Glitter-ween” party article.

335bLeigh

In order to hang the little guys later, slide a piece of thin wire through the back of the pompom and twist the ends together. If you’re using a different type of pompom, you can always glue a loop on. I prefer enclosed circles rather than hooks to prevent anyone from getting their fingers stuck. Also, they pack better after the holidays without sticking into each other.

139Leigh

These hung really well from the round wall of my spiral staircase. They looked like they were flying to the second floor. Spooky shadows were created by luminarias beneath them on the stairs.

88Leigh

I wrapped a chandelier in spider-web ribbon, then added the bats. One set down right in the center, another three looped right onto the metal tops holding the light shades, and only one needed to be wired onto the chain.

223Glitterween-Leigh

Hang them anywhere and everywhere, and have a Happy Halloween!

Faithfully yours,

Leigh

lefideledesignsbatwingtemplate


DIY Mixed Media Wicked Witch Halloween Statement Necklace

010Leigh

This craft originated from an invitation to a huge Halloween costumed charity ball that I donated some artwork to. I wanted to wear an ‘80’s era green velvet frock with princess sleeves and a full skirt, but I just didn’t feel like wearing a crown. So I decided to toughen up the look with black leather boots and a corset belt. Then I ordered a wicked witch hat straight out of “Oz the Great and Powerful”, which I haven’t even seen yet. I even added a beaded black broom, but all of that still couldn’t counteract the sweetness of the dress and my Glinda-the-good-witch curls. What I needed was a wicked witch statement necklace!

01Leigh

Making mixed media jewelry is a fun process that really unleashes the creative spirit because there are really no rules to follow, so there’s no messing it up. One begins with the gathering of any and all material that could possibly coordinate. I used vintage pendants, earrings, and beads alongside newer elements. Craft stores sell many items that have a vintage look if you don’t have any at hand. You can always lay out a design at home and then return anything unused.

9Leigh

I filled a corked glass bottle with fine black glitter to simulate magic potion. Then I placed black and clear seed beads onto eyepins (= short hard wires with a crook at one end) and added shell star beads. (In future articles, I will explain more about beading for those of you who haven’t tried this rewarding activity.) I also added stars to other elements like moon and spider-web pendants with jumprings (= metal circles with single cuts).

4Leigh

Next I cut out 2 spooky pictures from a Spanish bingo game. They would soon become beads.

6Leigh

I placed clear and black crystals on the tiny game cards and squeezed on “Plaid Mod Podge Dimensional Magic”. The liquid dries clear and to the touch in a few hours, and cures by the next day.

12Leigh

Adding crystals and liquid “magic” seemed appropriate for the project, so I continued with other elements that needed further embellishment.

10Leigh

I even used it in lieu of glue to add crystals and seal the top of the glitter vial. I then attached the beaded eyepins and a jumpring to a strand of leather wrapped around the vial. (This alone could have been attached to a chain as a necklace in its own right.)

11Leigh

I glued more crystals onto tiny black doilies with Elmer’s Ultra Stix-all (which dries clear). This symbolizes spiders on their webs. Jumprings then turned them into beads.

14Leigh

Again, I used Stix-all in the hope that it would indeed stick all materials. I added two clear seed beads to each eyepin then coiled the rest of the length of it. The skinny black feathers were glued inside of that. The following day, I was thrilled to find my feather bead idea had worked!

021Leigh

To determine the necklace’s length, I draped chain around my neck, pulled it to the right size, and then cut the length I wanted. There are standard necklace lengths, but this time I winged it because this was my own custom piece. I wove leather cording through every fifth link, and repeated with silk cording in the links preceding those. The ends can then be cut without even having to measure anything.

22Leigh

I slid a jumpring onto each end, folding over the strands, and wrapped it all in metal wire. An eyepin may also be used if you cut off the looped end. Attach any closure you like. I used a “lobster” clasp.

20Leigh

This is perfect place to use any pretty little ribbons from leftover projects. I cut four inch lengths of new velvet and metallic ribbons. I also cut a couple of roses from some black netted fabric trim. I had never tried this before either, but it worked beautifully to slide jumprings through the netting. I also bent the posts (of a pair of vintage black rose earrings) to make loops to slide onto those same jumprings. They made a kind of baby rosette bead for additional decoration. Remember that statement necklaces are supposed to be over-the-top!

23Leigh

I tied ribbons over the wired cord ends to keep them from snagging my hair. This worked so well that I’m considering wrapping ribbon onto some of my old necklaces.

27Leigh

With all of the elements now ready, I laid out my construction scheme. I played with the look, moving items around until they seemed balanced yet still asymmetrical.

67Leigh

I attached my largest and heaviest items toward the bottom first (like a small carved quartz crystal skull). I worked my way down in element size from there.

075Leigh

After that, I closed jumprings into vintage crystal buttons to make fabulous beads. I filled any gaps with shell stars. This helped to maintain continuity throughout the piece.

65Leigh

Lastly, I added the feather beads with the direction of their natural curves following the drape of the necklace.

61HalloweenNecklace-Leigh

You can use these ideas to make any genre of mixed media necklace… even a girly pink princess one, but this year, I made mine wicked!

Faithfully Yours,

Leigh


DIY Glitter Pumpkin Tassels for Halloween Decorating


339-Leigh

This DIY Halloween project makes perfect use of all those leftover ribbon scraps that are just too pretty to throw away, but are too short to do much else with. There are many kinds of tiny pumpkins available at craft stores, and they don’t have to be glittered like these. I love to mix various textures and finishes of materials because it produces more visually compelling creations.

133-Leigh

I used some of the scatter pumpkins that were decorating my living room console. I really don’t know what sparked the idea, but I just had to turn some of them into tassels. The conundrum was how to accomplish this, but as one of my studio art professors said, “Art is about problem solving.” My answer came in the form of a hot glue gun.

152-Leigh


I first glued the ends of a few inches of shimmering green yarn onto the plastic stem of the pumpkins, in order to form a hanging loop. Then I glued matching flat ribbon, as I coiled it around the stem, until it was covered completely. Clearance and dollar bin ribbon are great for projects like this, when you need just a few lengths to complete the job.

160-Leigh

I gathered up all my coordinating ribbon scraps, and then cut additional lengths off new rolls that I had set aside for this year’s “Glitter-ween” Party theme. In that way, the finished product would harmonize with the other crafts I had already completed. I cut the wired ribbon into longer lengths to purposely be able to bend it into waves later. That would add dimension and separation by introducing “negative space” into the piece. Sometimes the empty places are as important to the composition as the materials themselves are. The wider ribbons, I either cut in half or folded in half and glued together. Cutting the gluing ends flat and the trailing ends pointed, into a V or W depending on the width, adds a touch of polish.

164-Leigh

I began gluing bent tips of the darkest and thickest ribbons to the center of the pumpkin bases. From there I just kept turning and gluing until I got to the thin ribbons and yarns. Those I added to the outside areas where it seemed like some color was needed to fill to the space.

165-Leigh

This is where to just keep adding intuitively until it looks finished. I always say that I work on a project until I’m afraid that I’ll mess it up if I add any more. Then and only then, is it finished. If you feel like something’s missing, take a break and come back to it later with a fresh perspective. If you still feel that it’s just not quite right, ask a creative friend for their opinion. Sometimes a conversation about a design is enough to generate even more of your own ideas.

278-Leigh

Laying out all the pumpkins helps to see if any errant lengths need to be trimmed down. Then it’s time decorate with them.

288-Leigh

They look fanciful hanging from lamp switches where light can reflect on them. That’s a glittered bell wreath perched atop the lampshade.

319-Leigh

They make great ornaments for indoor trees. Adding a Happy Halloween sign helped too.

239-Leigh

They connect the space between table and chandelier when suspended from the lights. The bats are an easy craft that will come with a PDF template in a future posting.

312-Leigh

If the loops are made large enough, they’ll hang on any doorknob, even an armoire.

323-Leigh

They can even hang from a tack nail on the wall where a bit of empty space needs decorative filling.

339-Leigh

Best of all, they’re one-of-a-kind handmade in the USA creations that not everyone on the block has seen in a store’s ad, and I had fun making them. Here’s hoping you do too!

Faithfully Yours,

Leigh

Origins of Le fidèLe Designs

iconlogo

For those of you who don’t speak français, “Le fidèle” means “the faithful”. It’s pronounced Luh-Fee-Dell. I had originally chosen the name as a reflection of my intrinsic beliefs…

FAITHFUL to God who graces me with the purest form of love
FAITHFUL to the family who with dedication stand by me always
FAITHFUL to the friends who remain near in more than just fair weather
FAITHFUL to leading an authentic life of integrity
FAITHFUL to establishing ripples directed toward benevolence
FAITHFUL to utilizing and sharing the creative gifts with which I have been blessed

After countless requests for creative guidance and instruction, I have decided to heed the advice of sharing my projects with more than just those around me. I ask for your support as I explore this new medium of expression. I also invite you to make requests and share your suggestions (in the comments section following each post), so that I may improve as we move forward together in the spirit of embracing that creativity which I believe resides within us all.

Faithfully Yours,
Leigh