Tag Archives: Chain

Quick & Easy Tapestry Napkin Rings, Upcycled Button Jewelry Box, & Keychain Gift Crafts Tutorial (for Mother’s Day Tea)

105Leigh

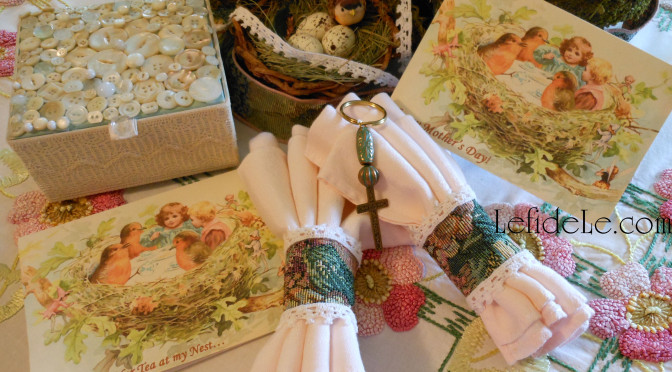
This tutorial will teach you how to quickly craft elegant tapestry and lacework napkin rings for your Spring Garden Mother’s Day Tea Party, then easily make cross keychain gifts and an upcycled jewelry box encrusted with vintage buttons. These are great last minute projects that are actually pretty inexpensive to produce, but would cost a pretty penny if purchased from a boutique. So craft along with me… the best is yet to be!

365Leigh

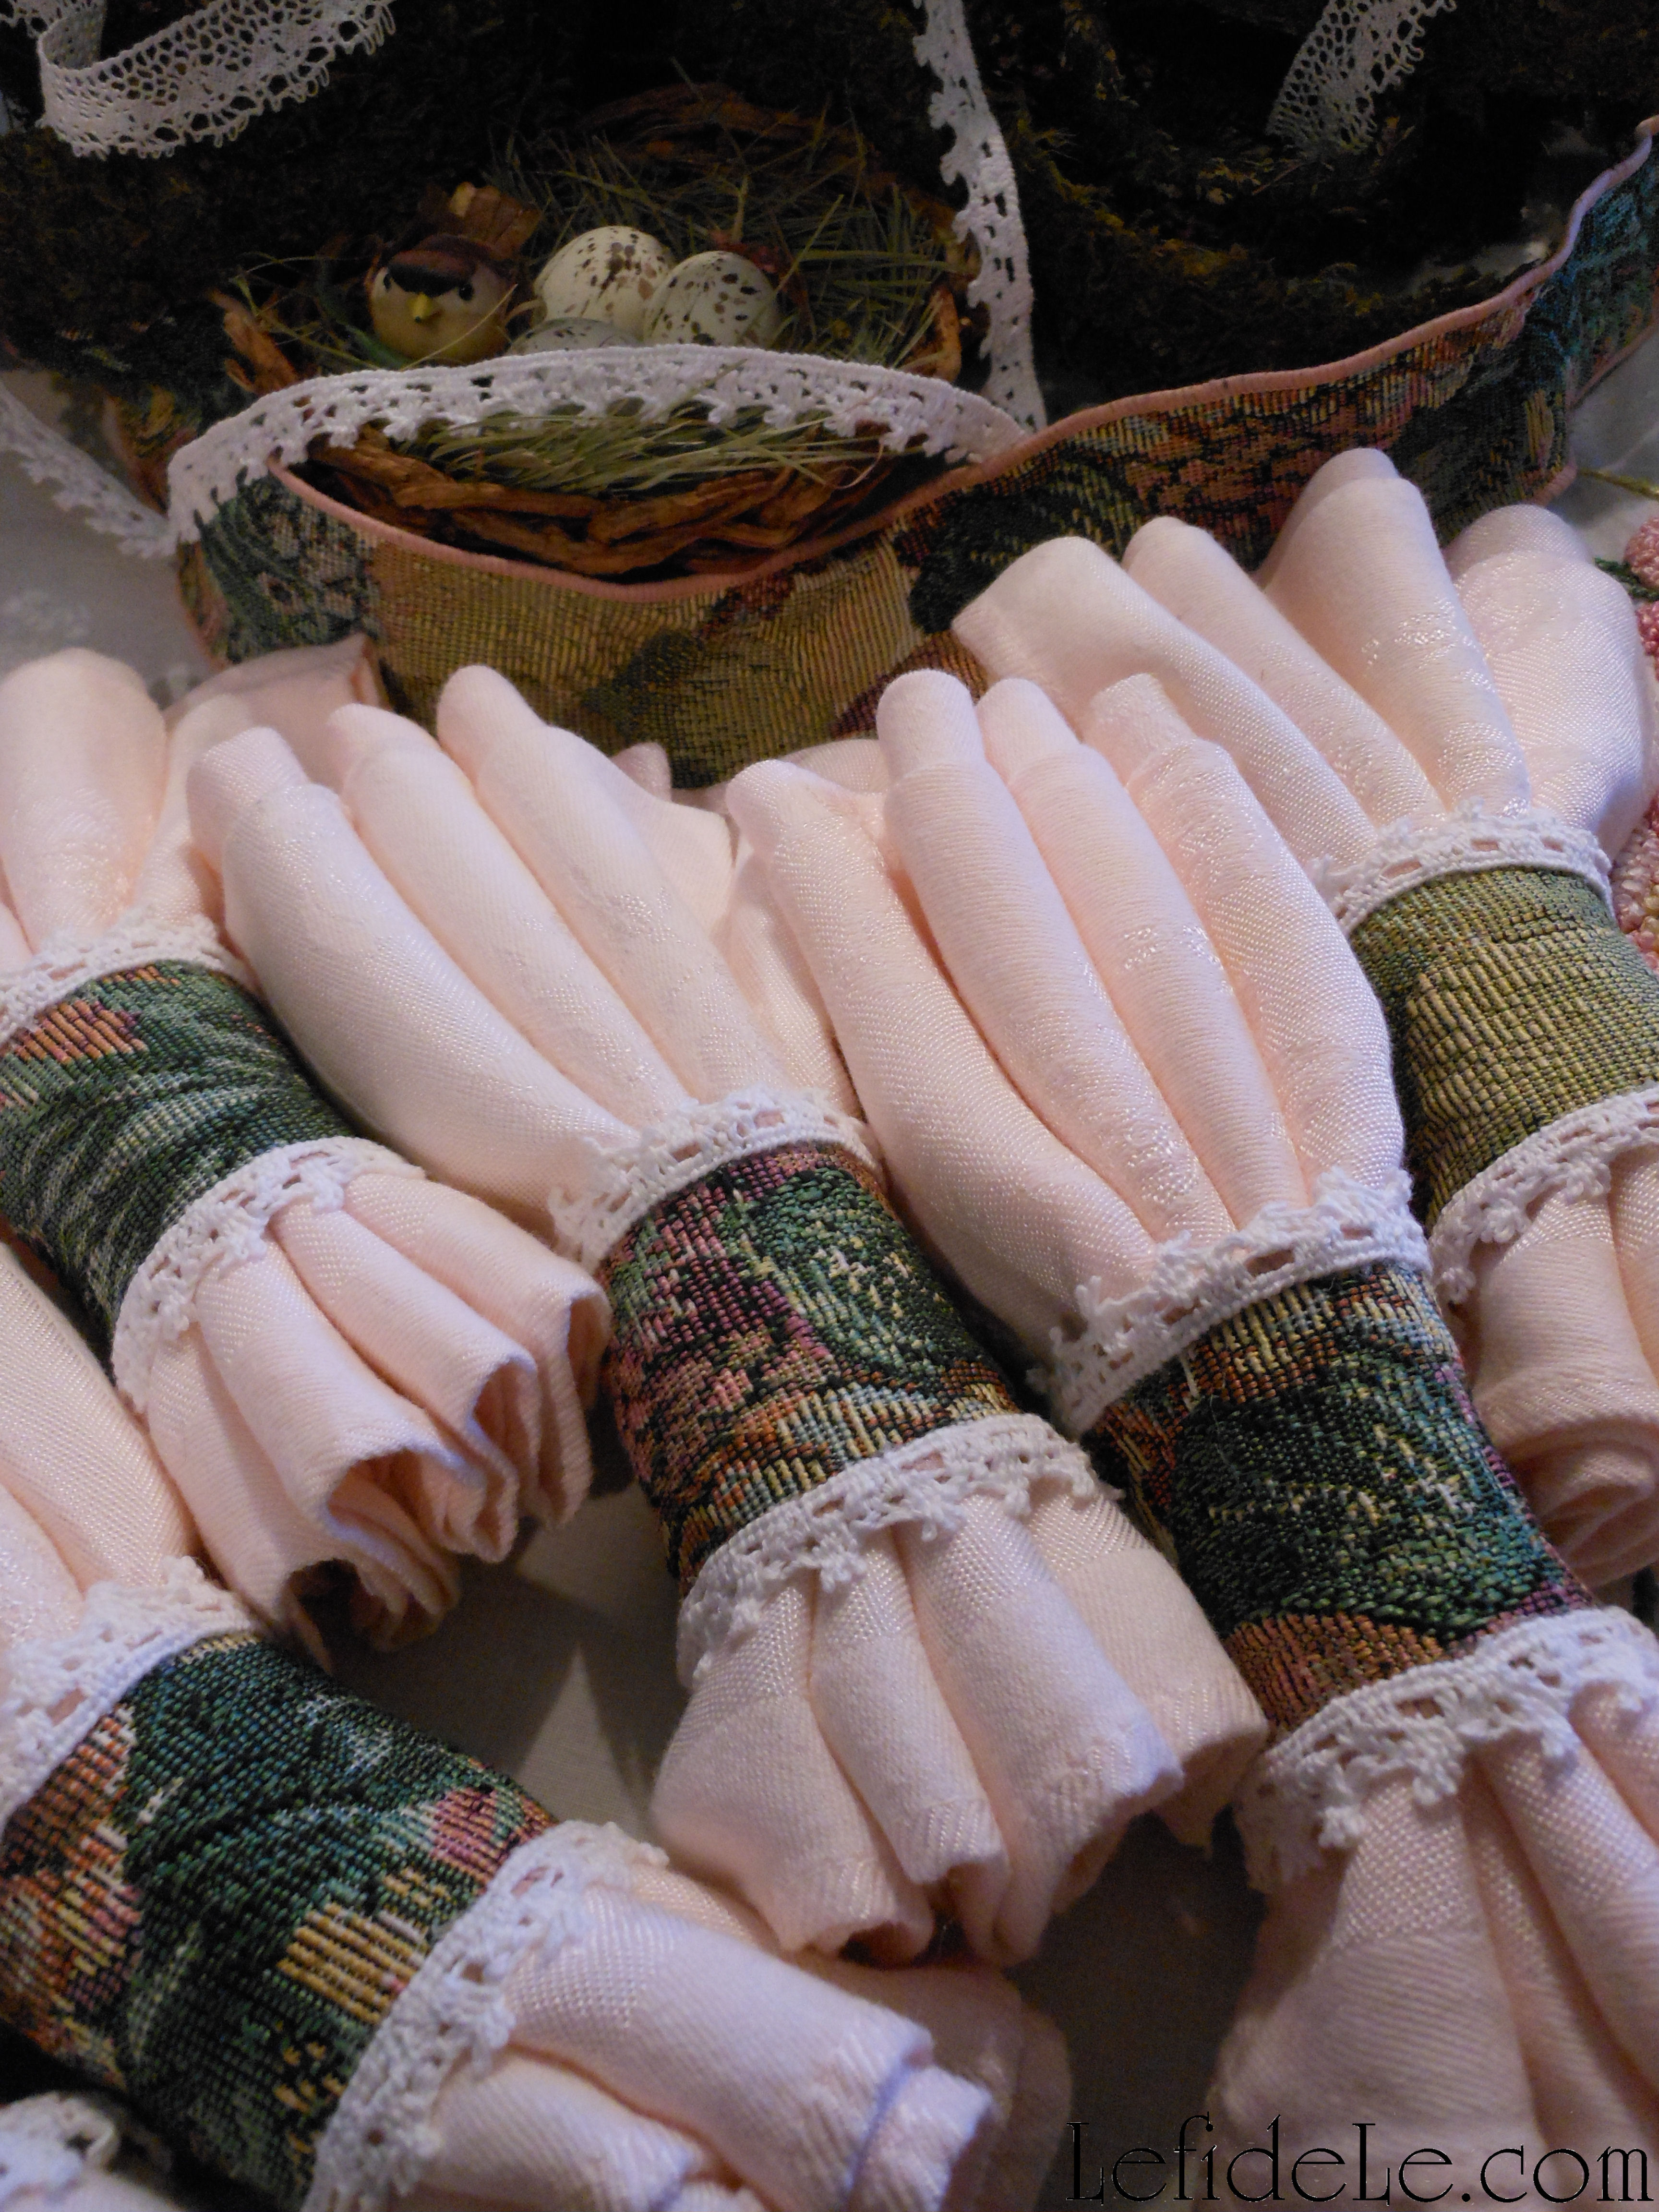
Let’s begin our crafternoon by making 6 napkin rings so that our tables may be set early.

380Leigh

Start with 3 feet of any variety of woven tapestry ribbon. (I always snatch these up when I find them on clearance, because they are just so versatile. I’ll show you more craft ideas to use it with in the future.) Also look for 6 feet of lovely lacework in a small width.

166Leigh

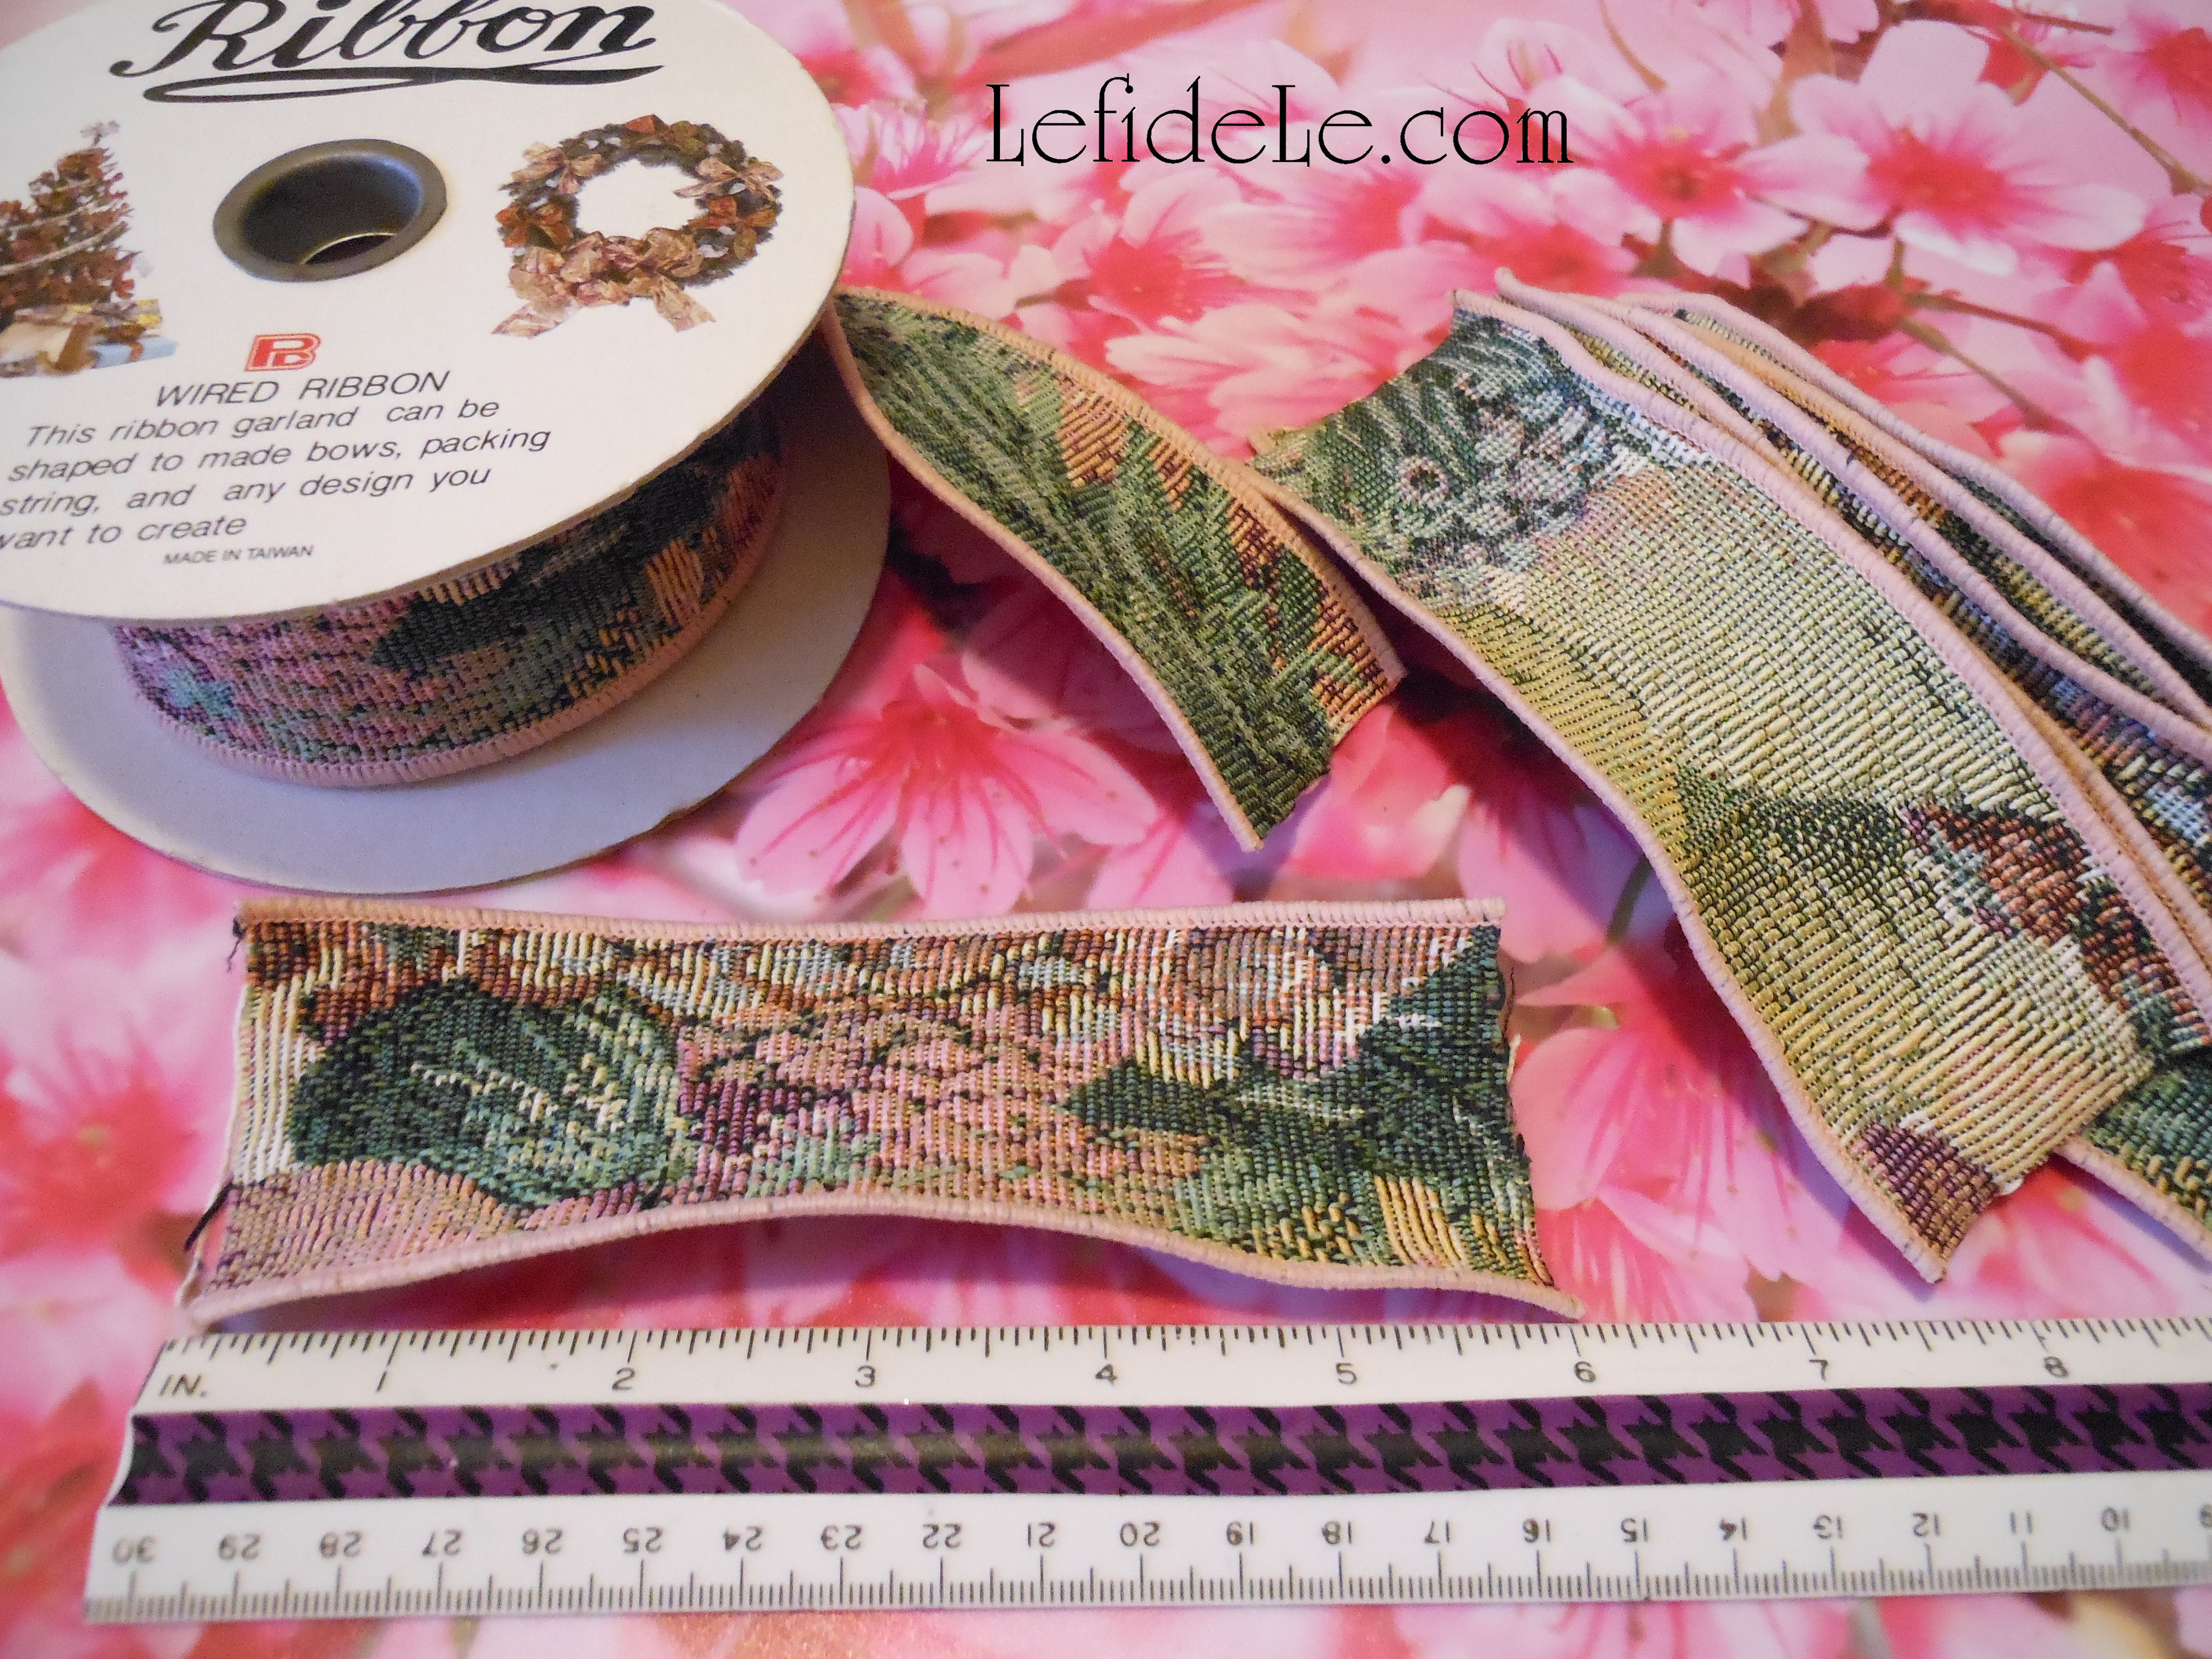
Cut all of your ribbon and lace into 6 inch lengths.

171Leigh

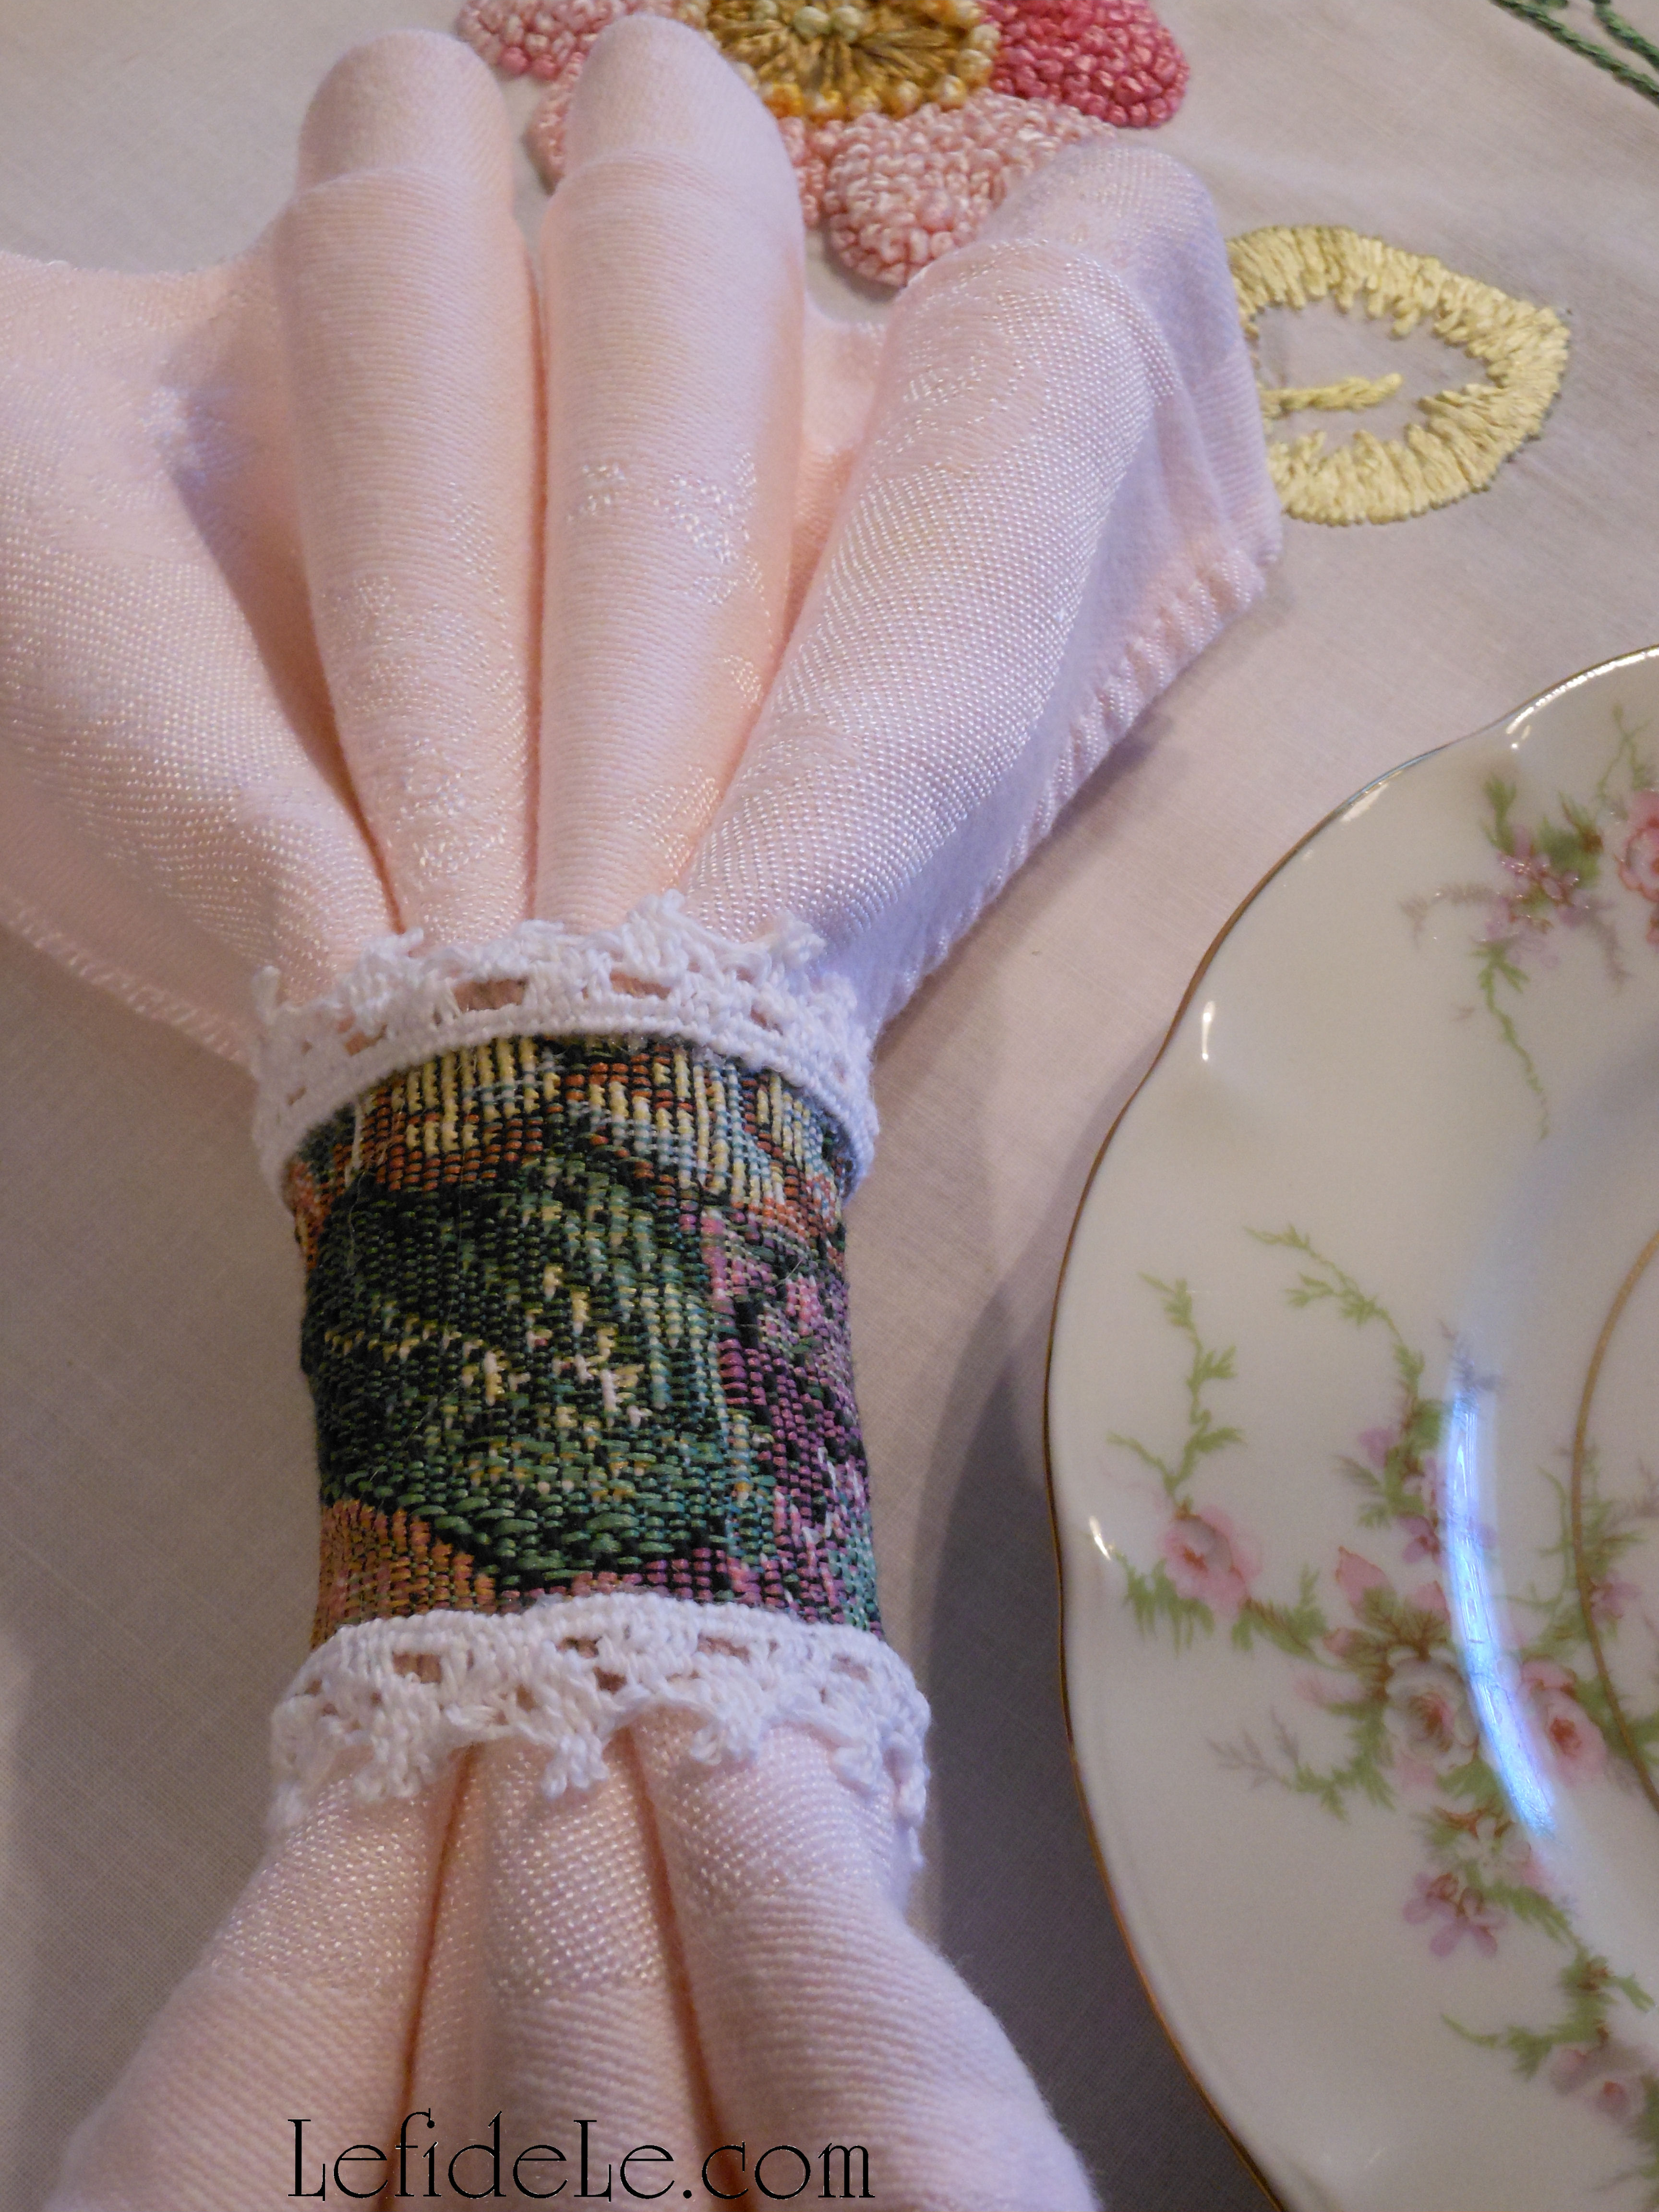
Glue the ends of the tapestry together overlapping them slightly. Use hot fabric glue or clamp a cold fabric glue to dry… or sew it if you’re so inclined.

177Leigh

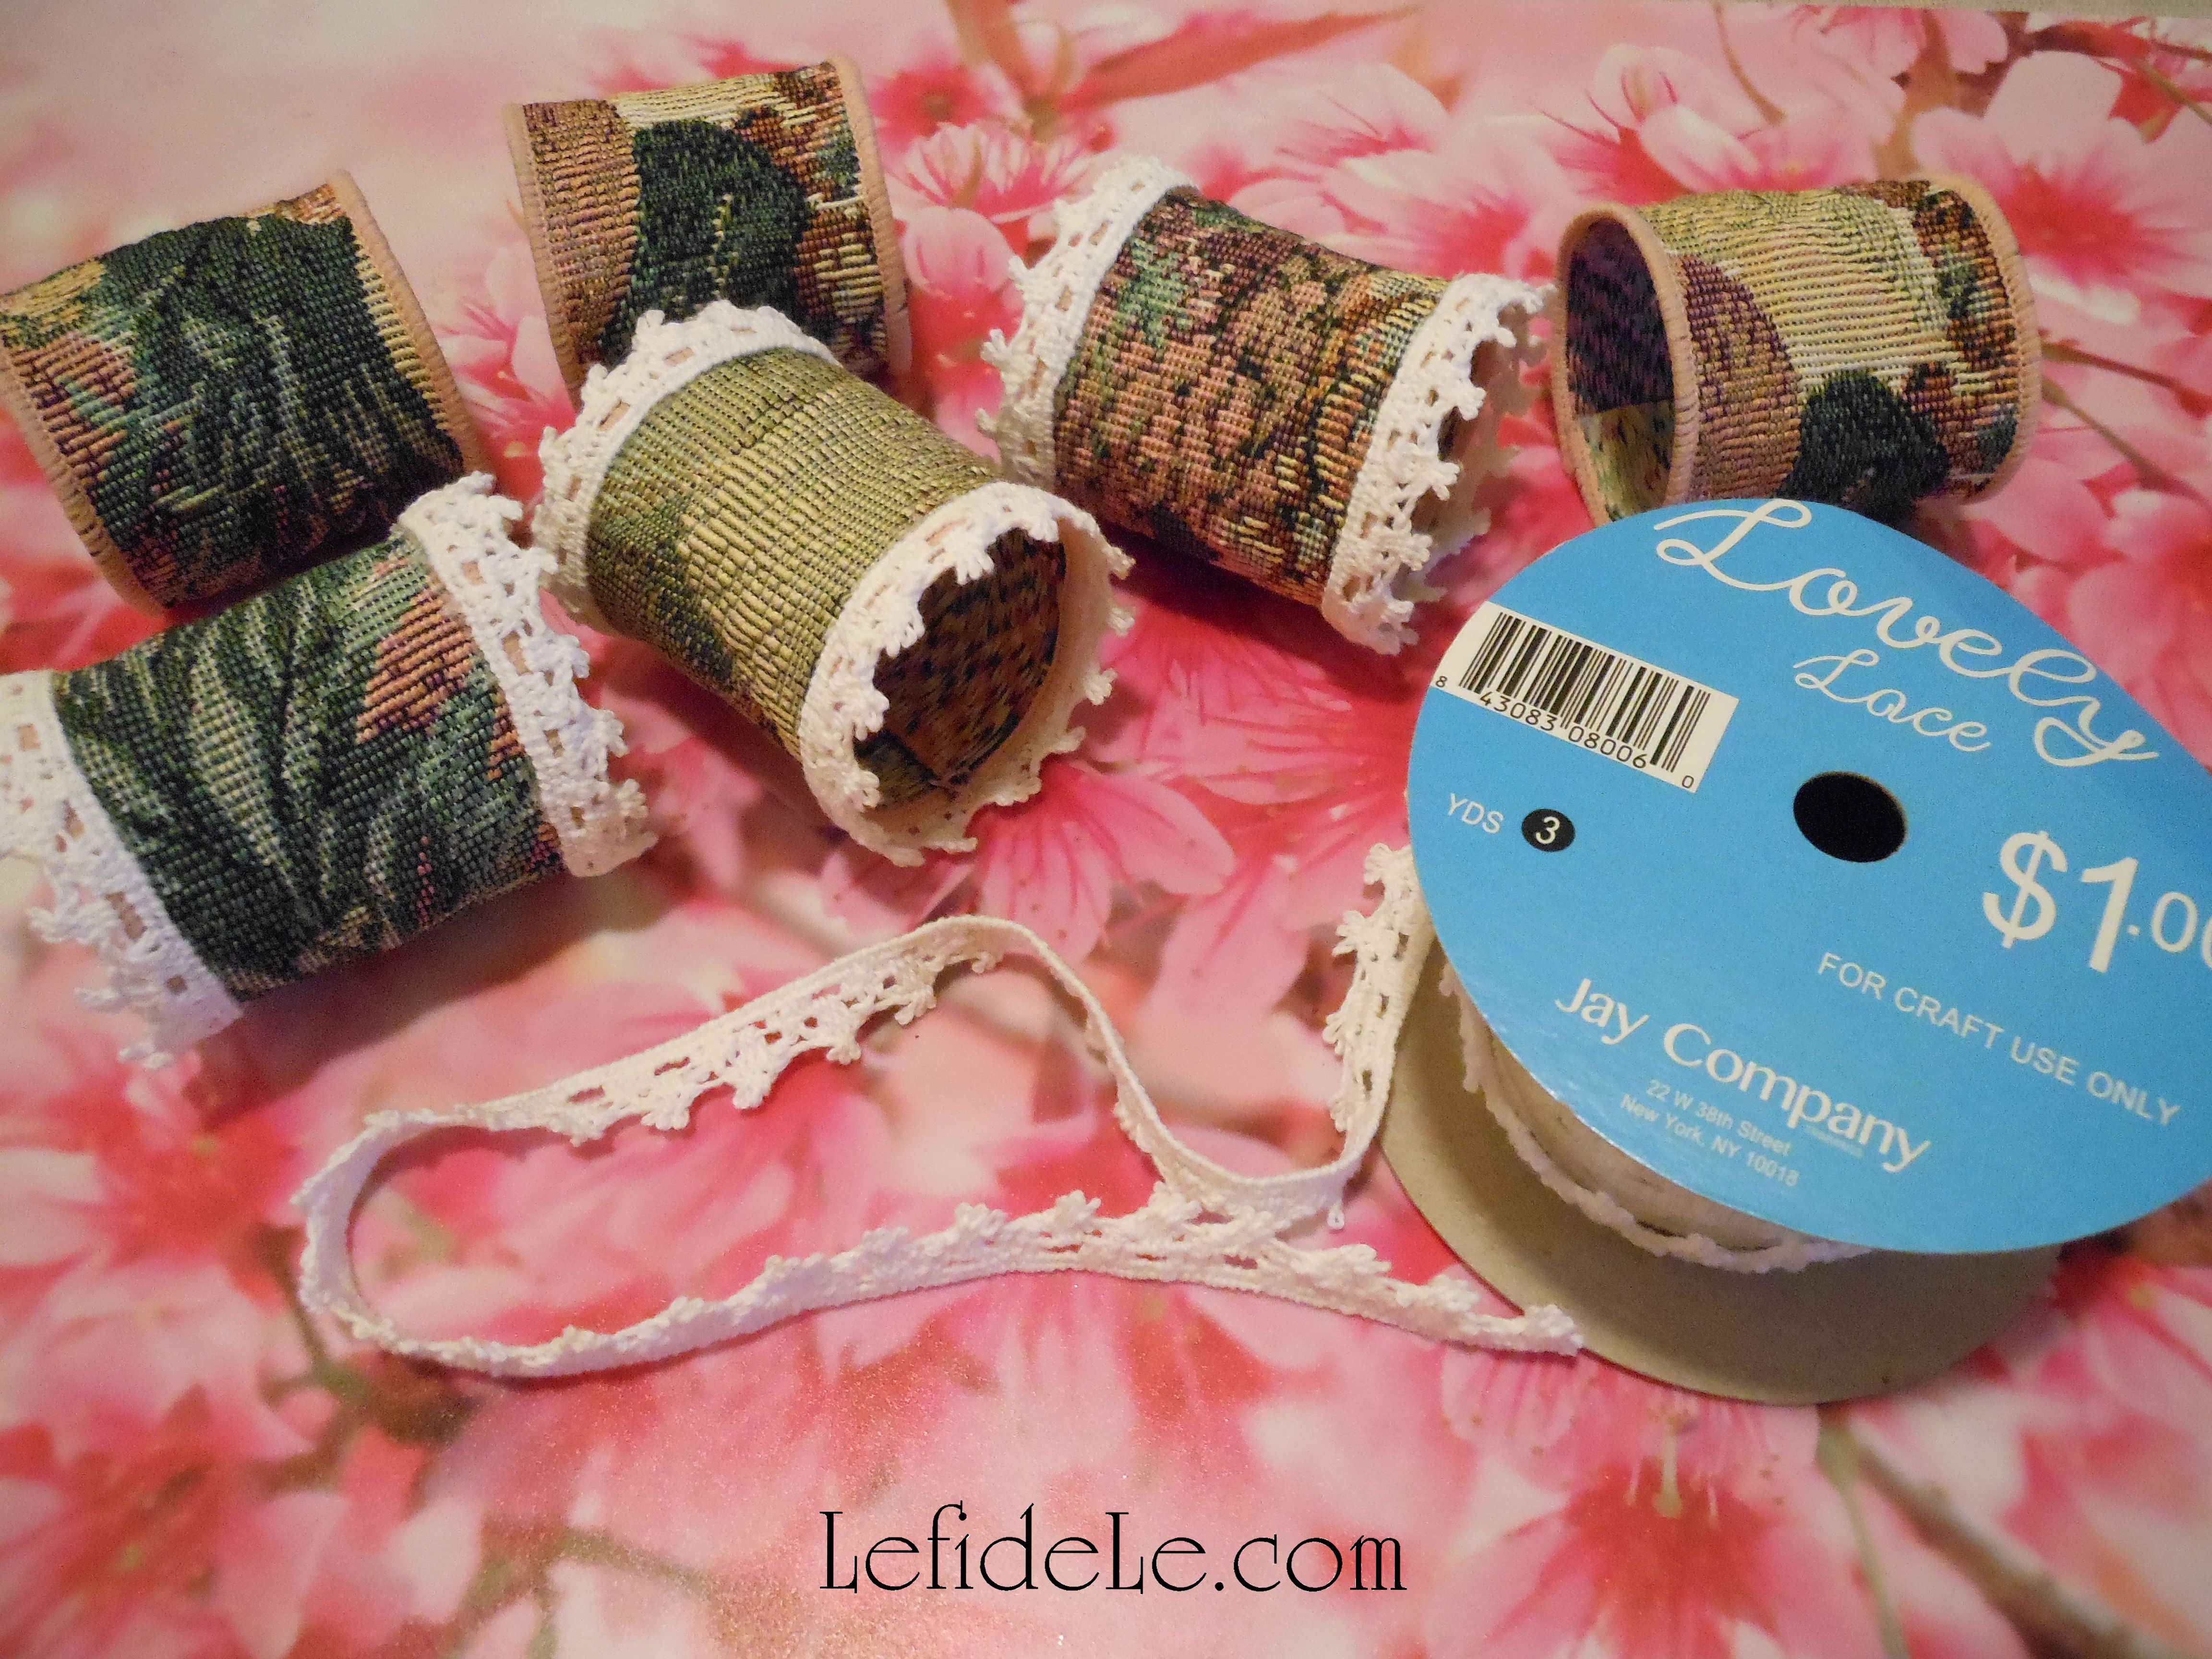
Glue one length of lace to either side of the ring, layering it over the serged seam of the ribbon to conceal it.

111Leigh

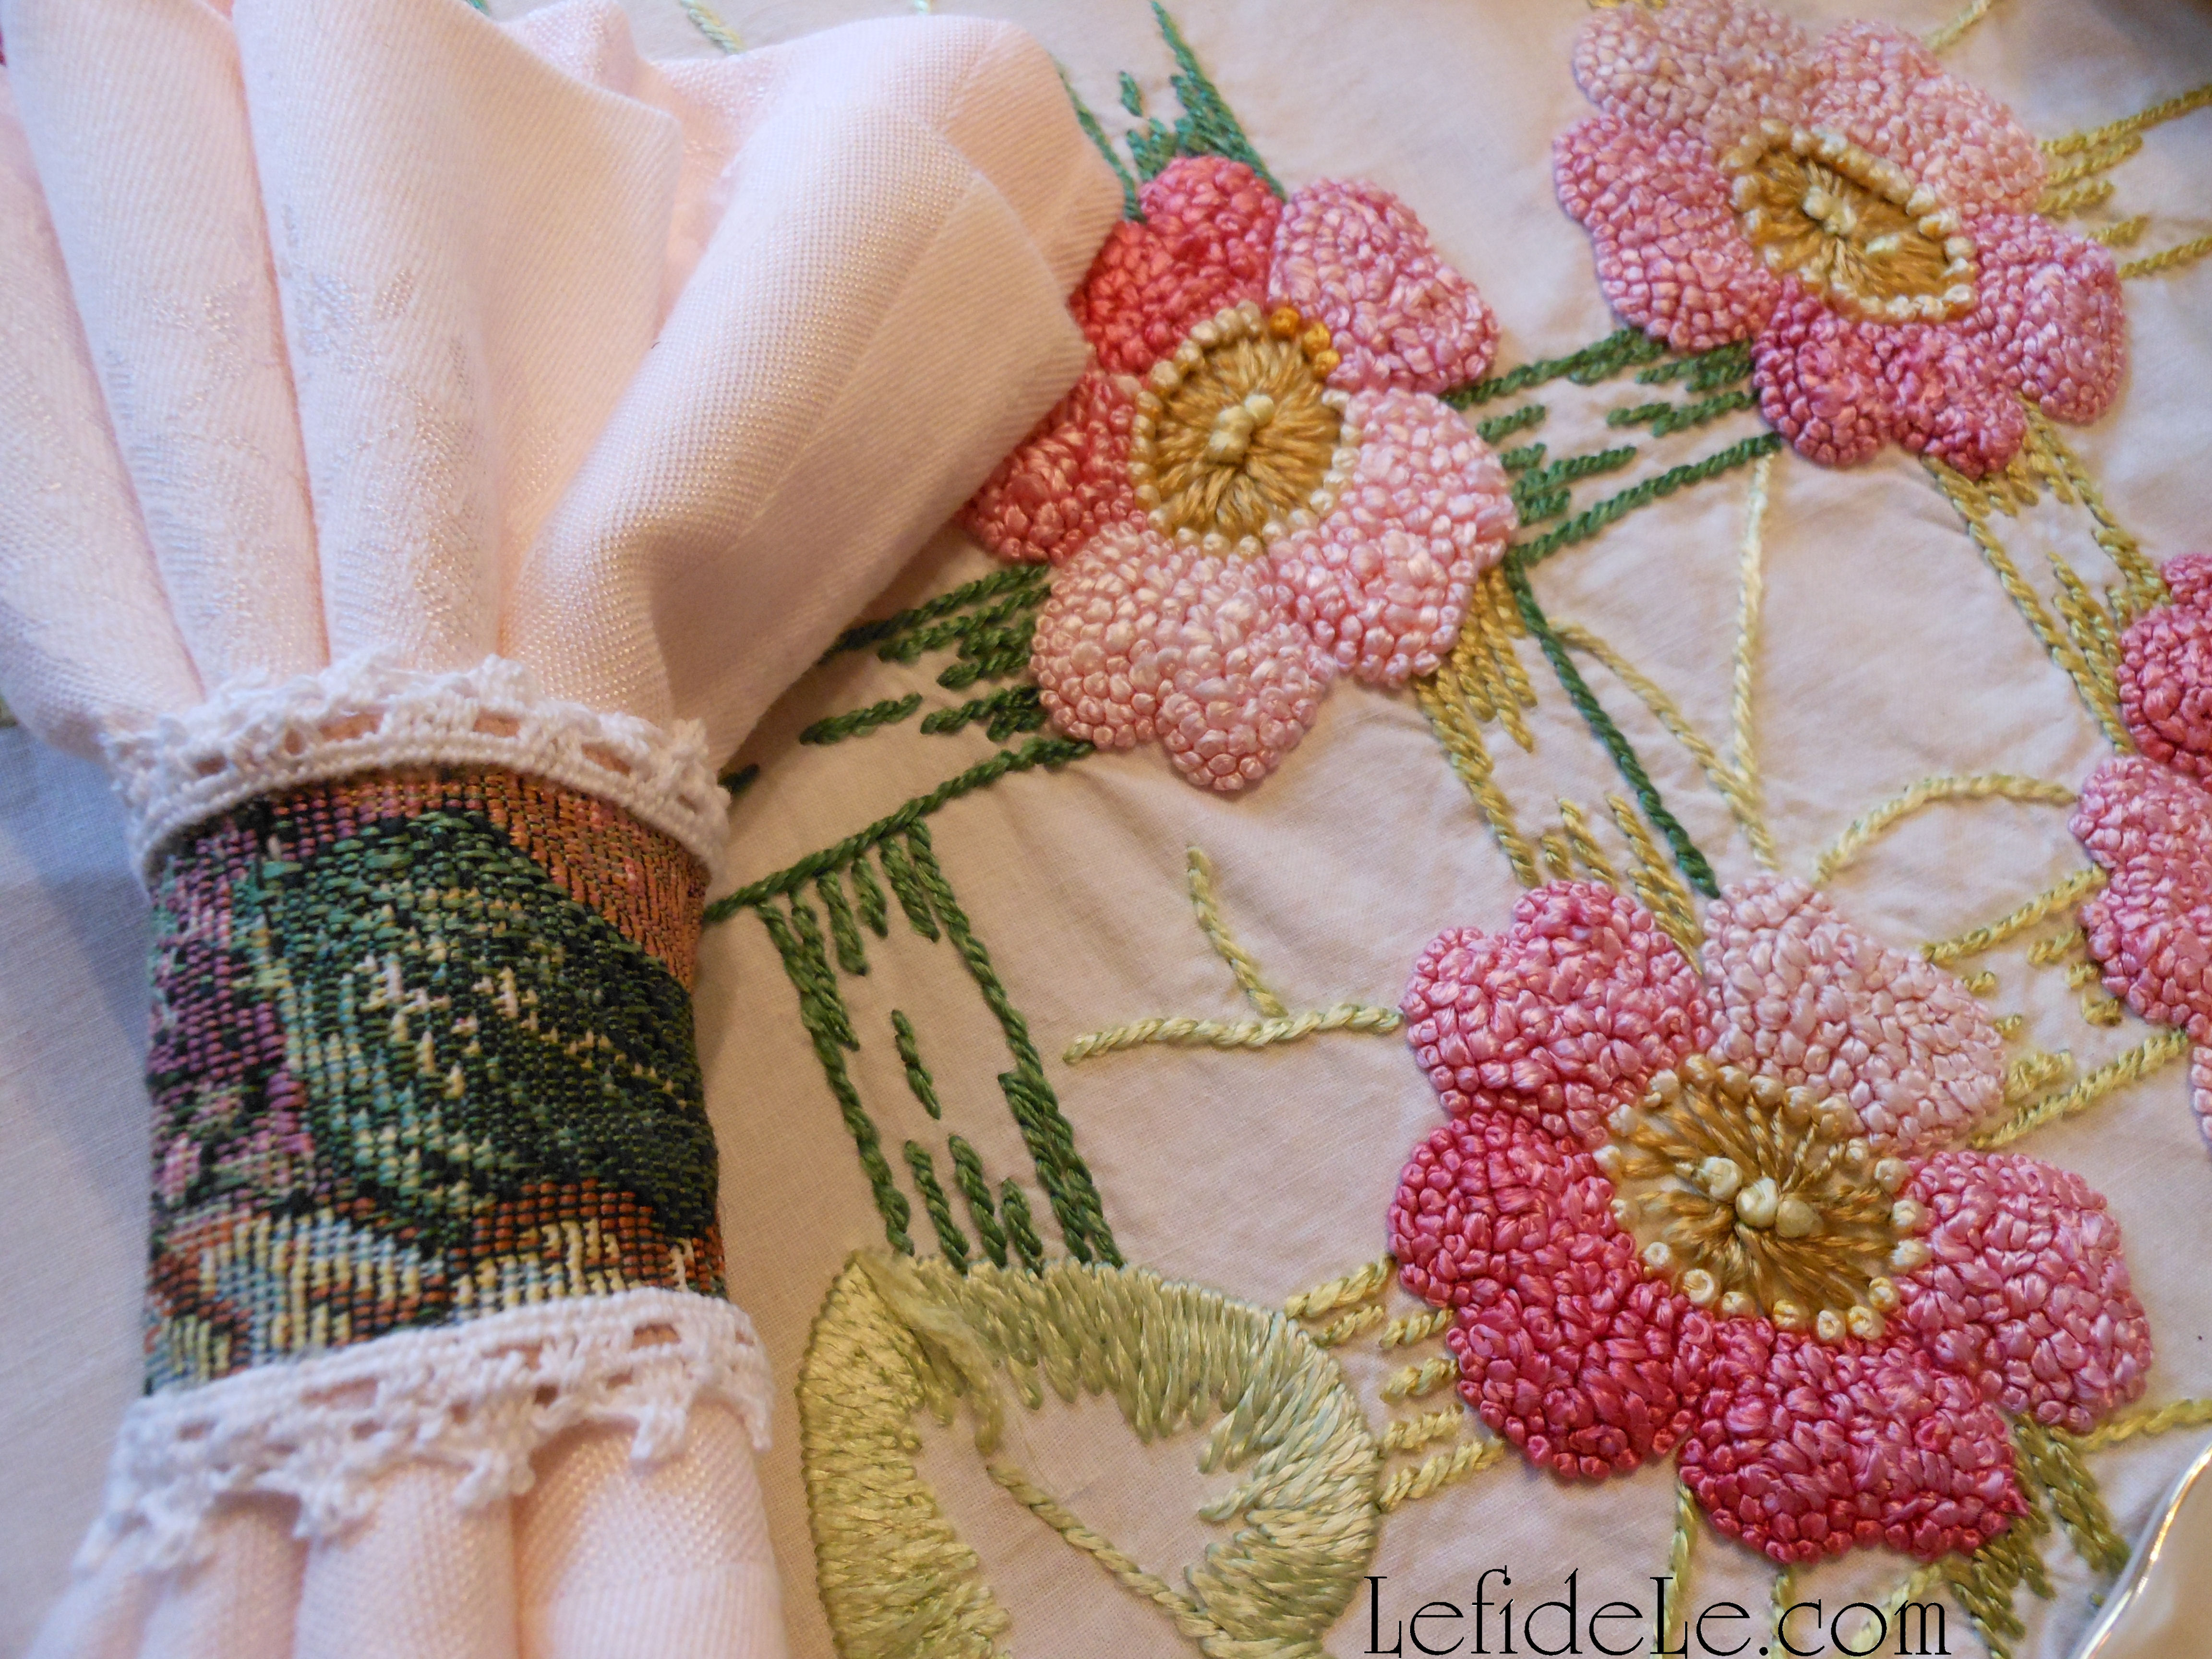
Fill with any coordinating cloth napkin to suit your event’s color scheme.

083aLeigh

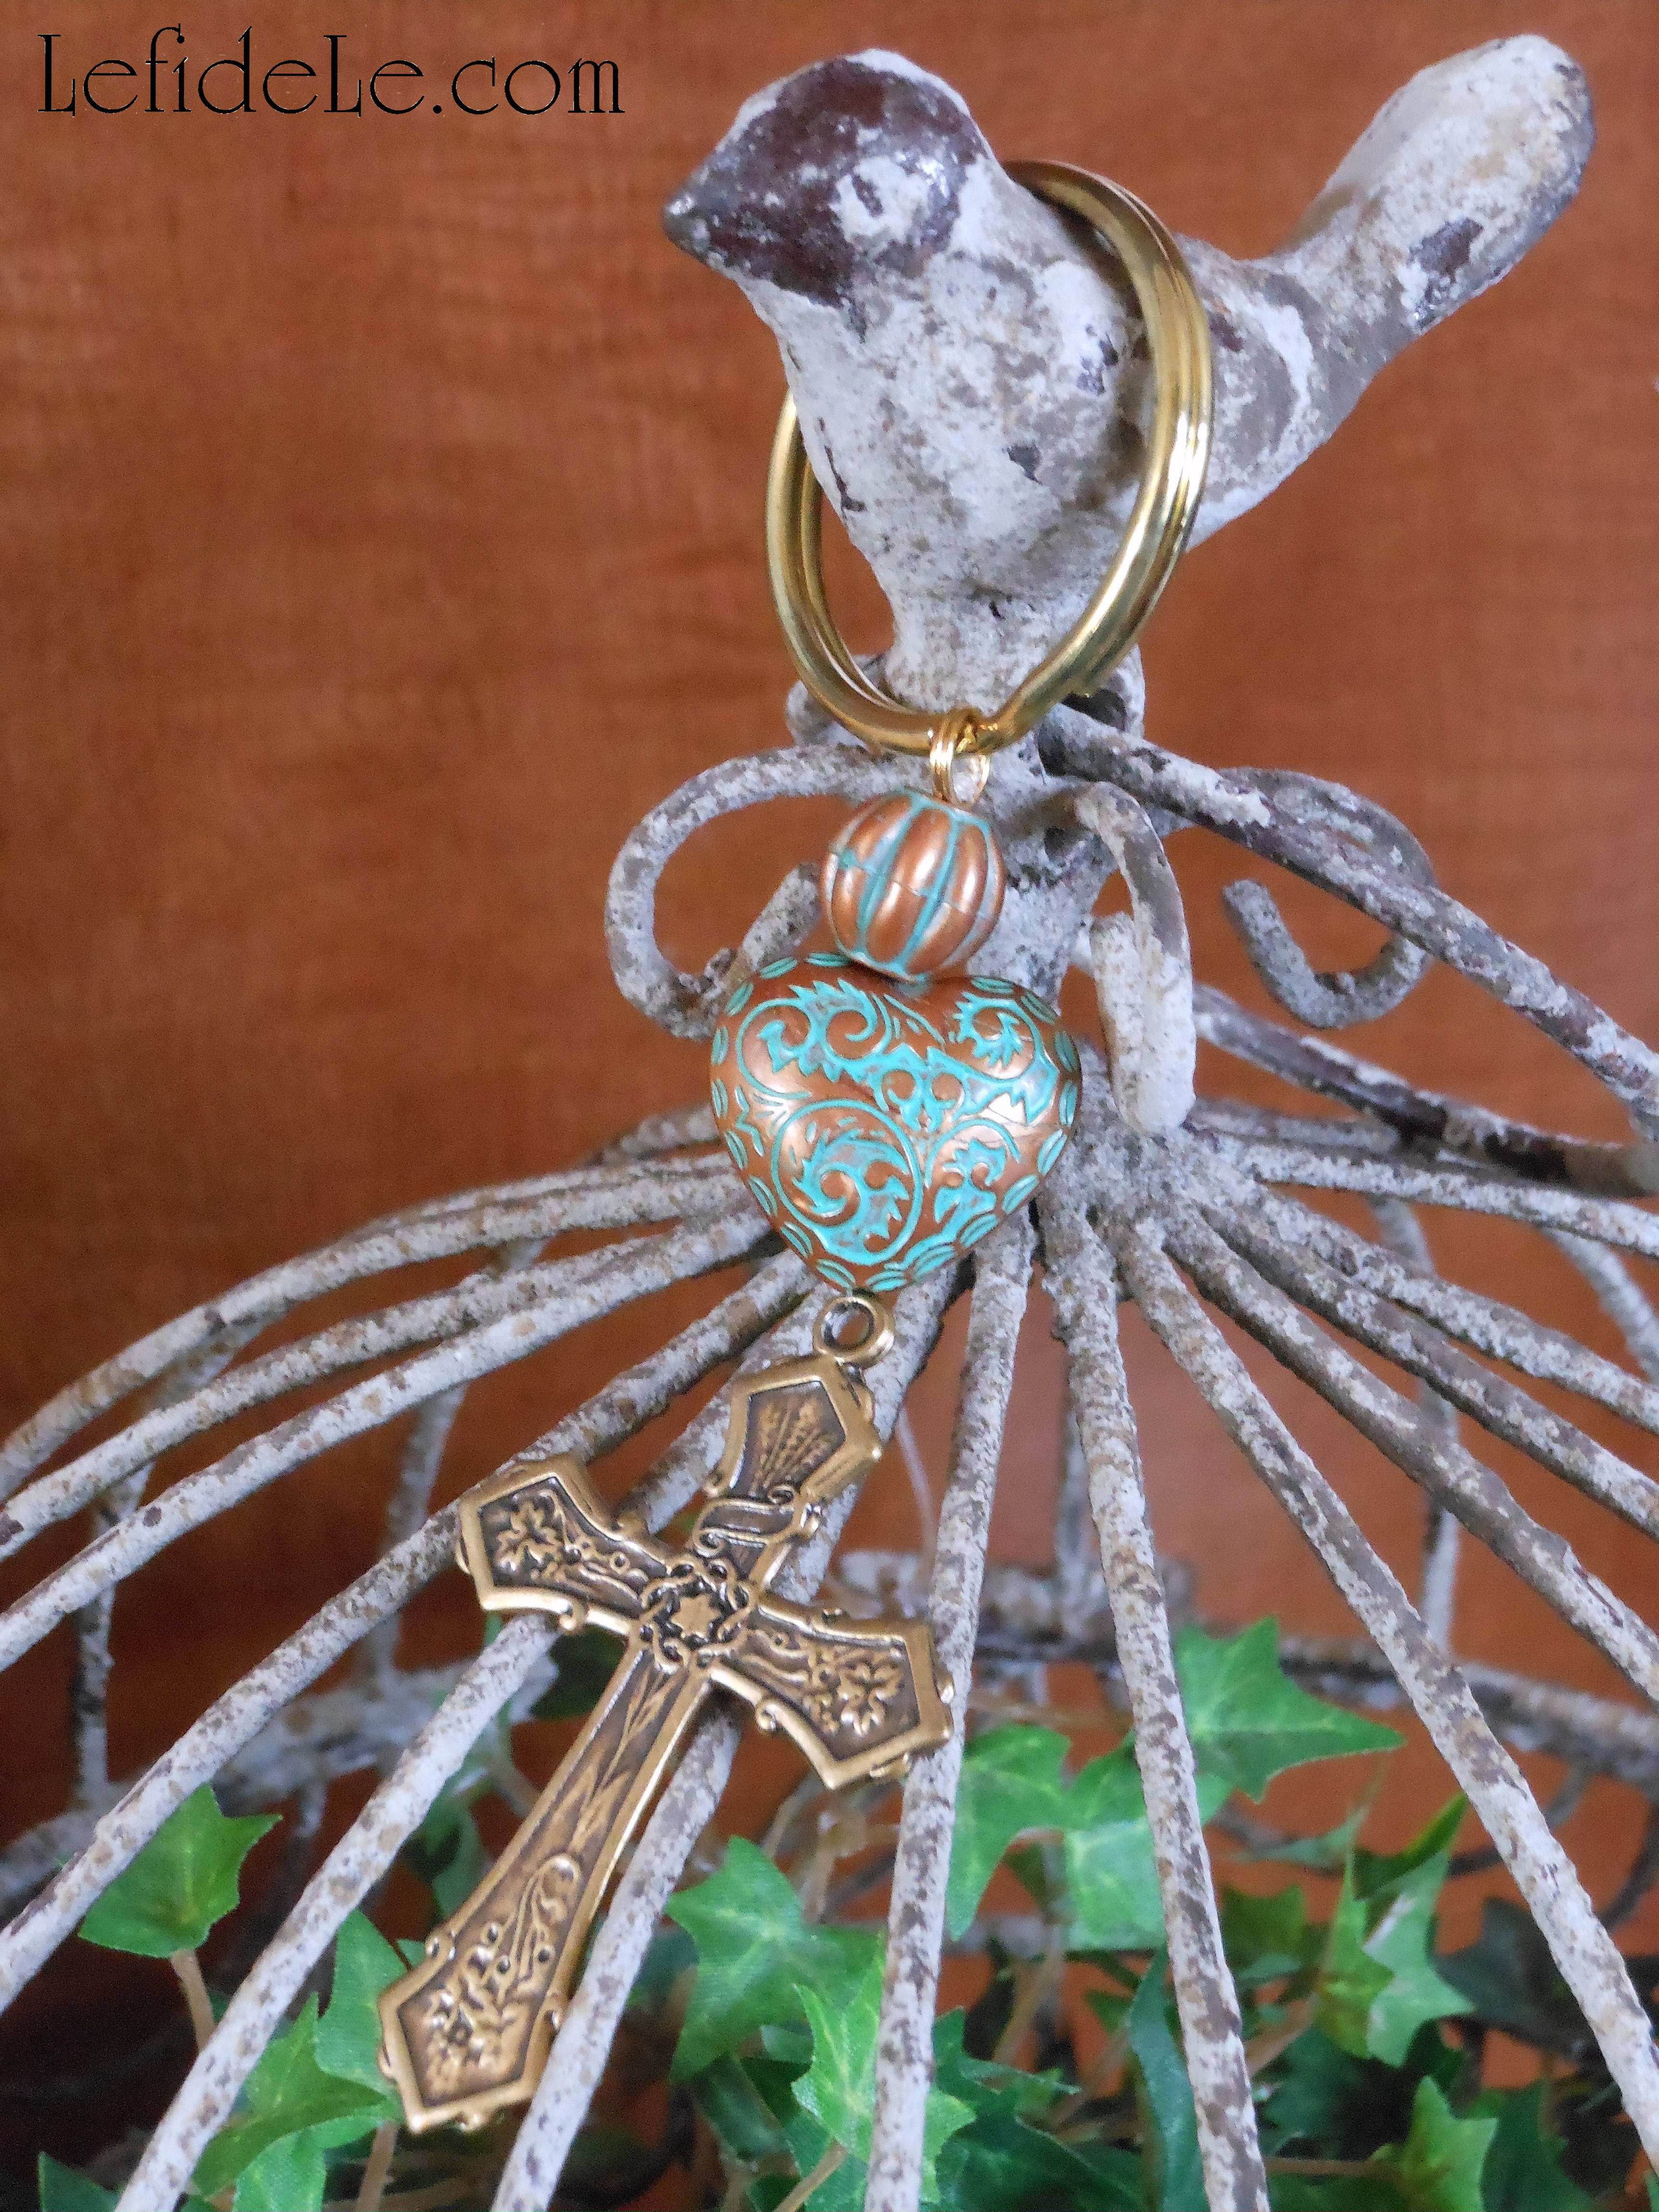
Next, let’s craft a cross keychain gift to extend our best wishes for a blessed life… or one with a heart full of loving-kindness.

080Leigh

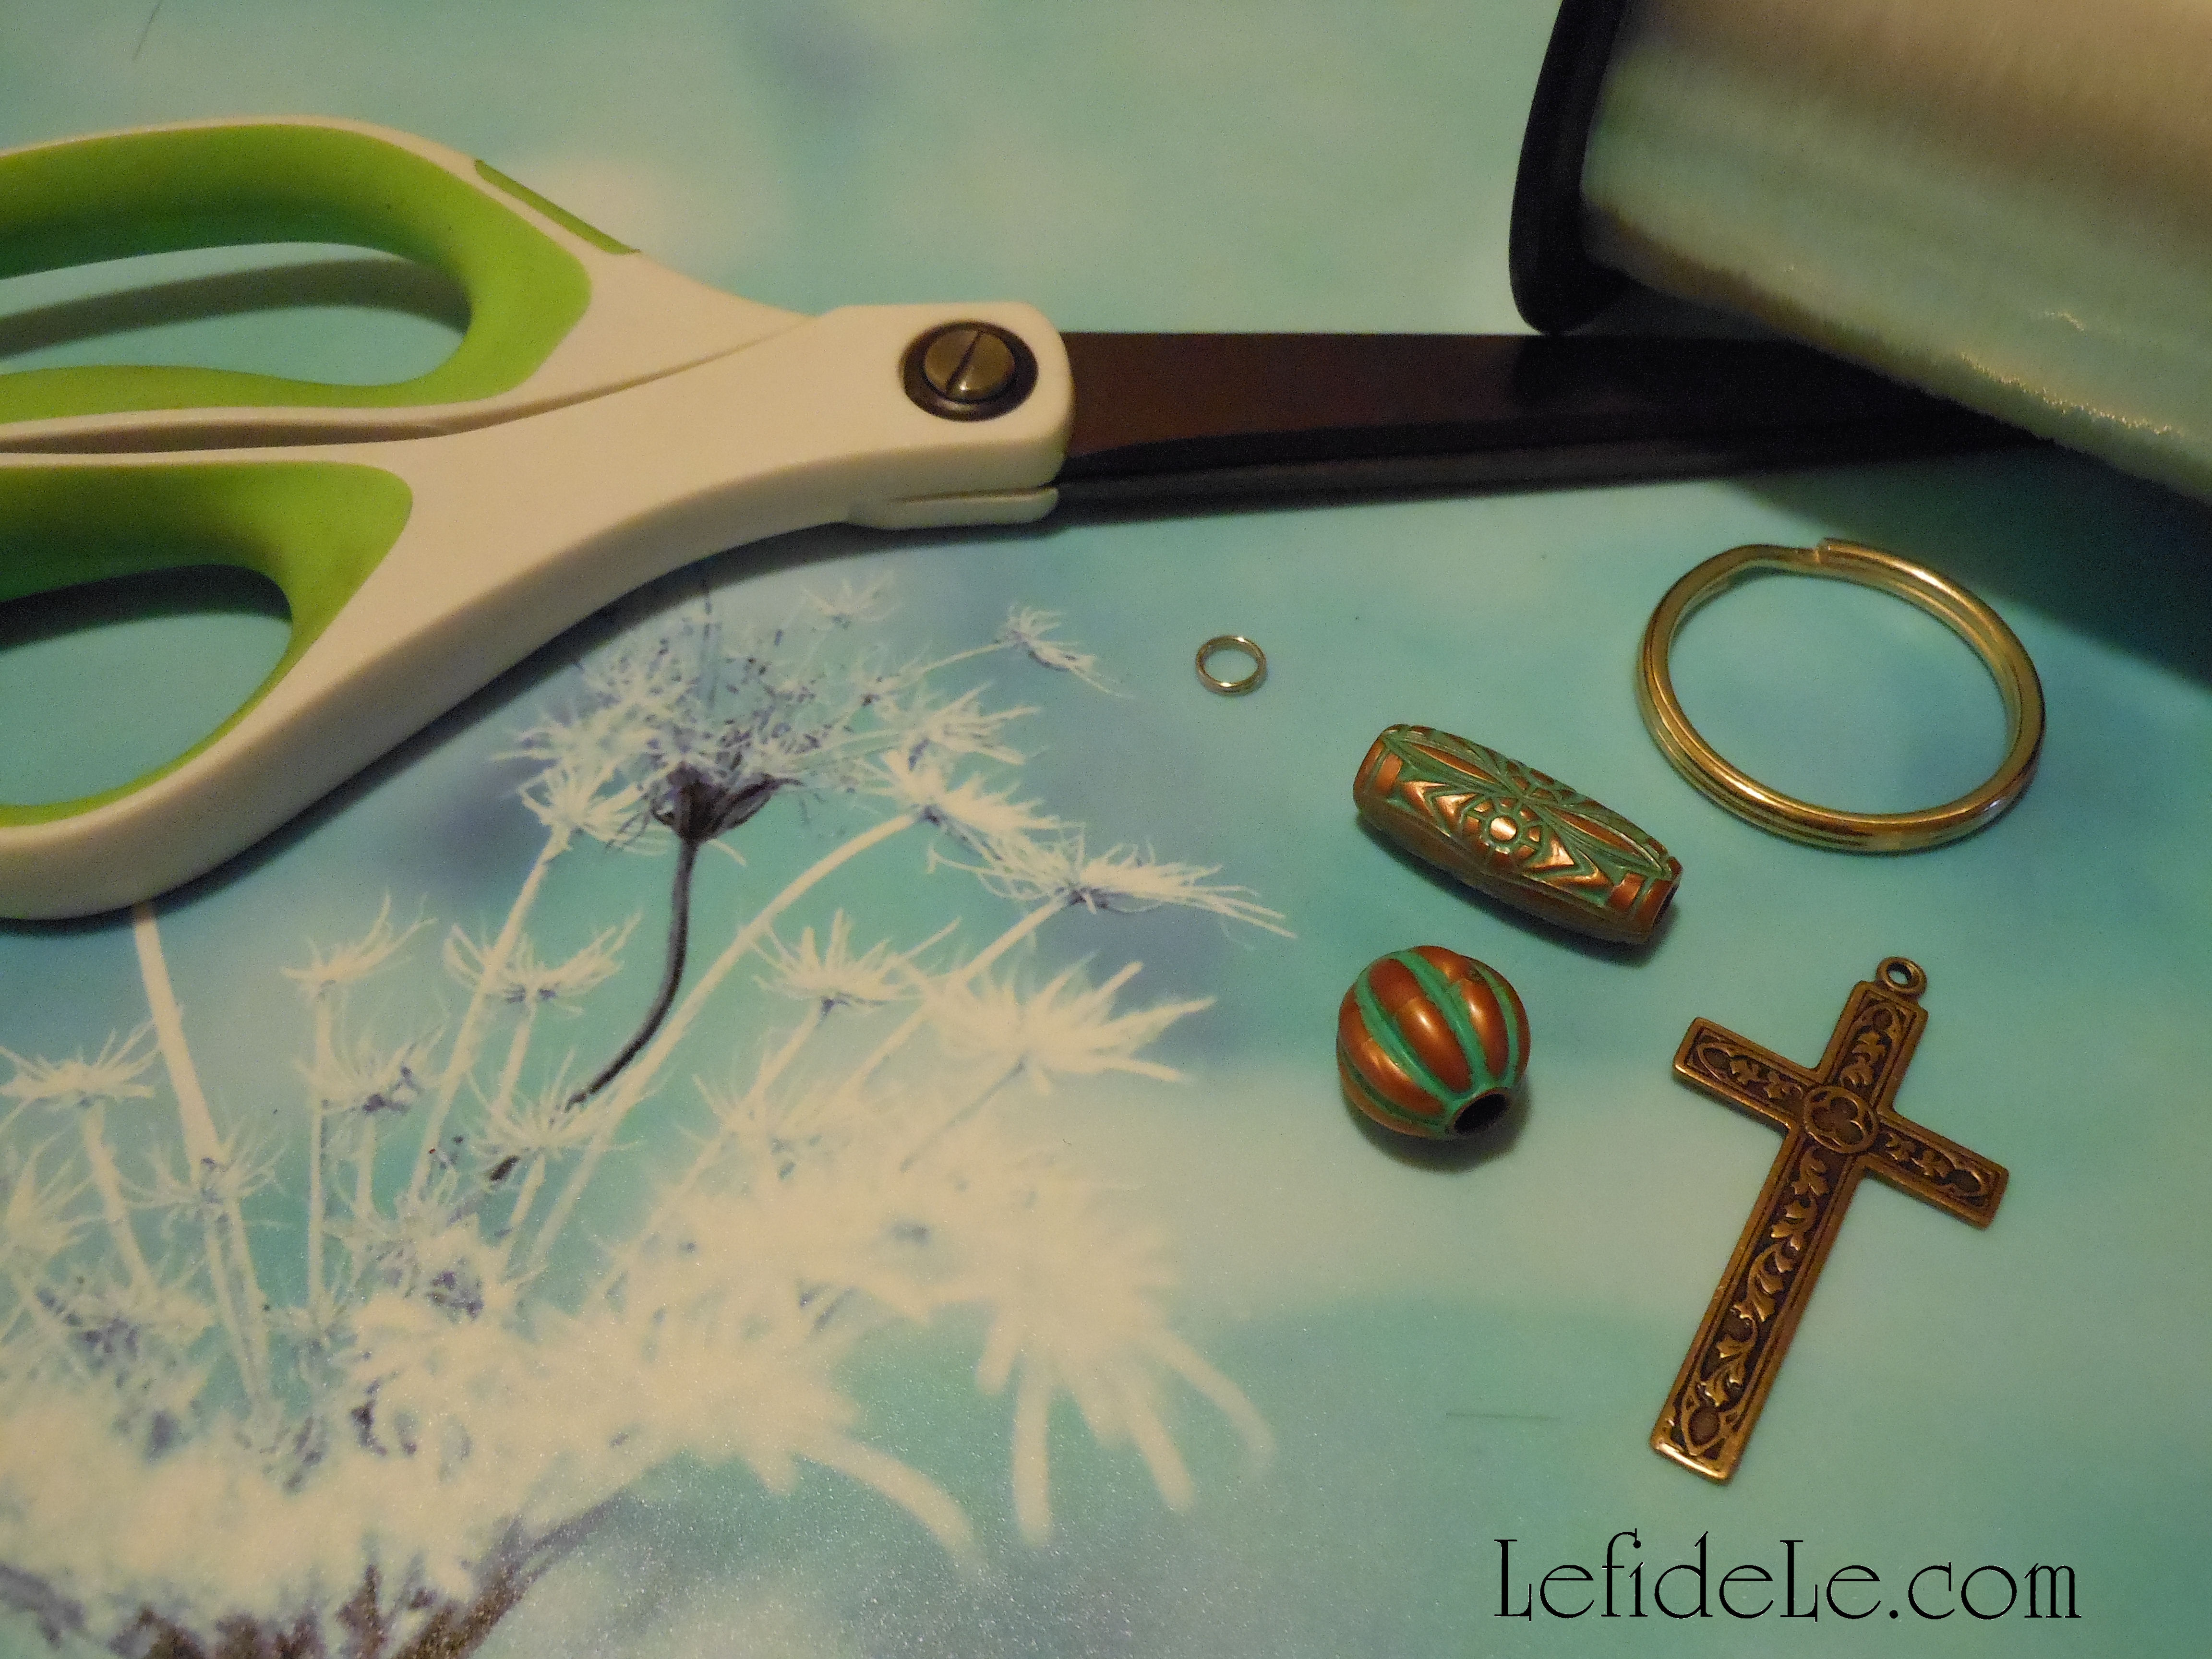
Begin with any variety of coordinating beads of various shapes, a shape pendant, a key ring, thin fishing line, and a small split ring. (These can almost always be purchased on sale or clearance.)

082Leigh

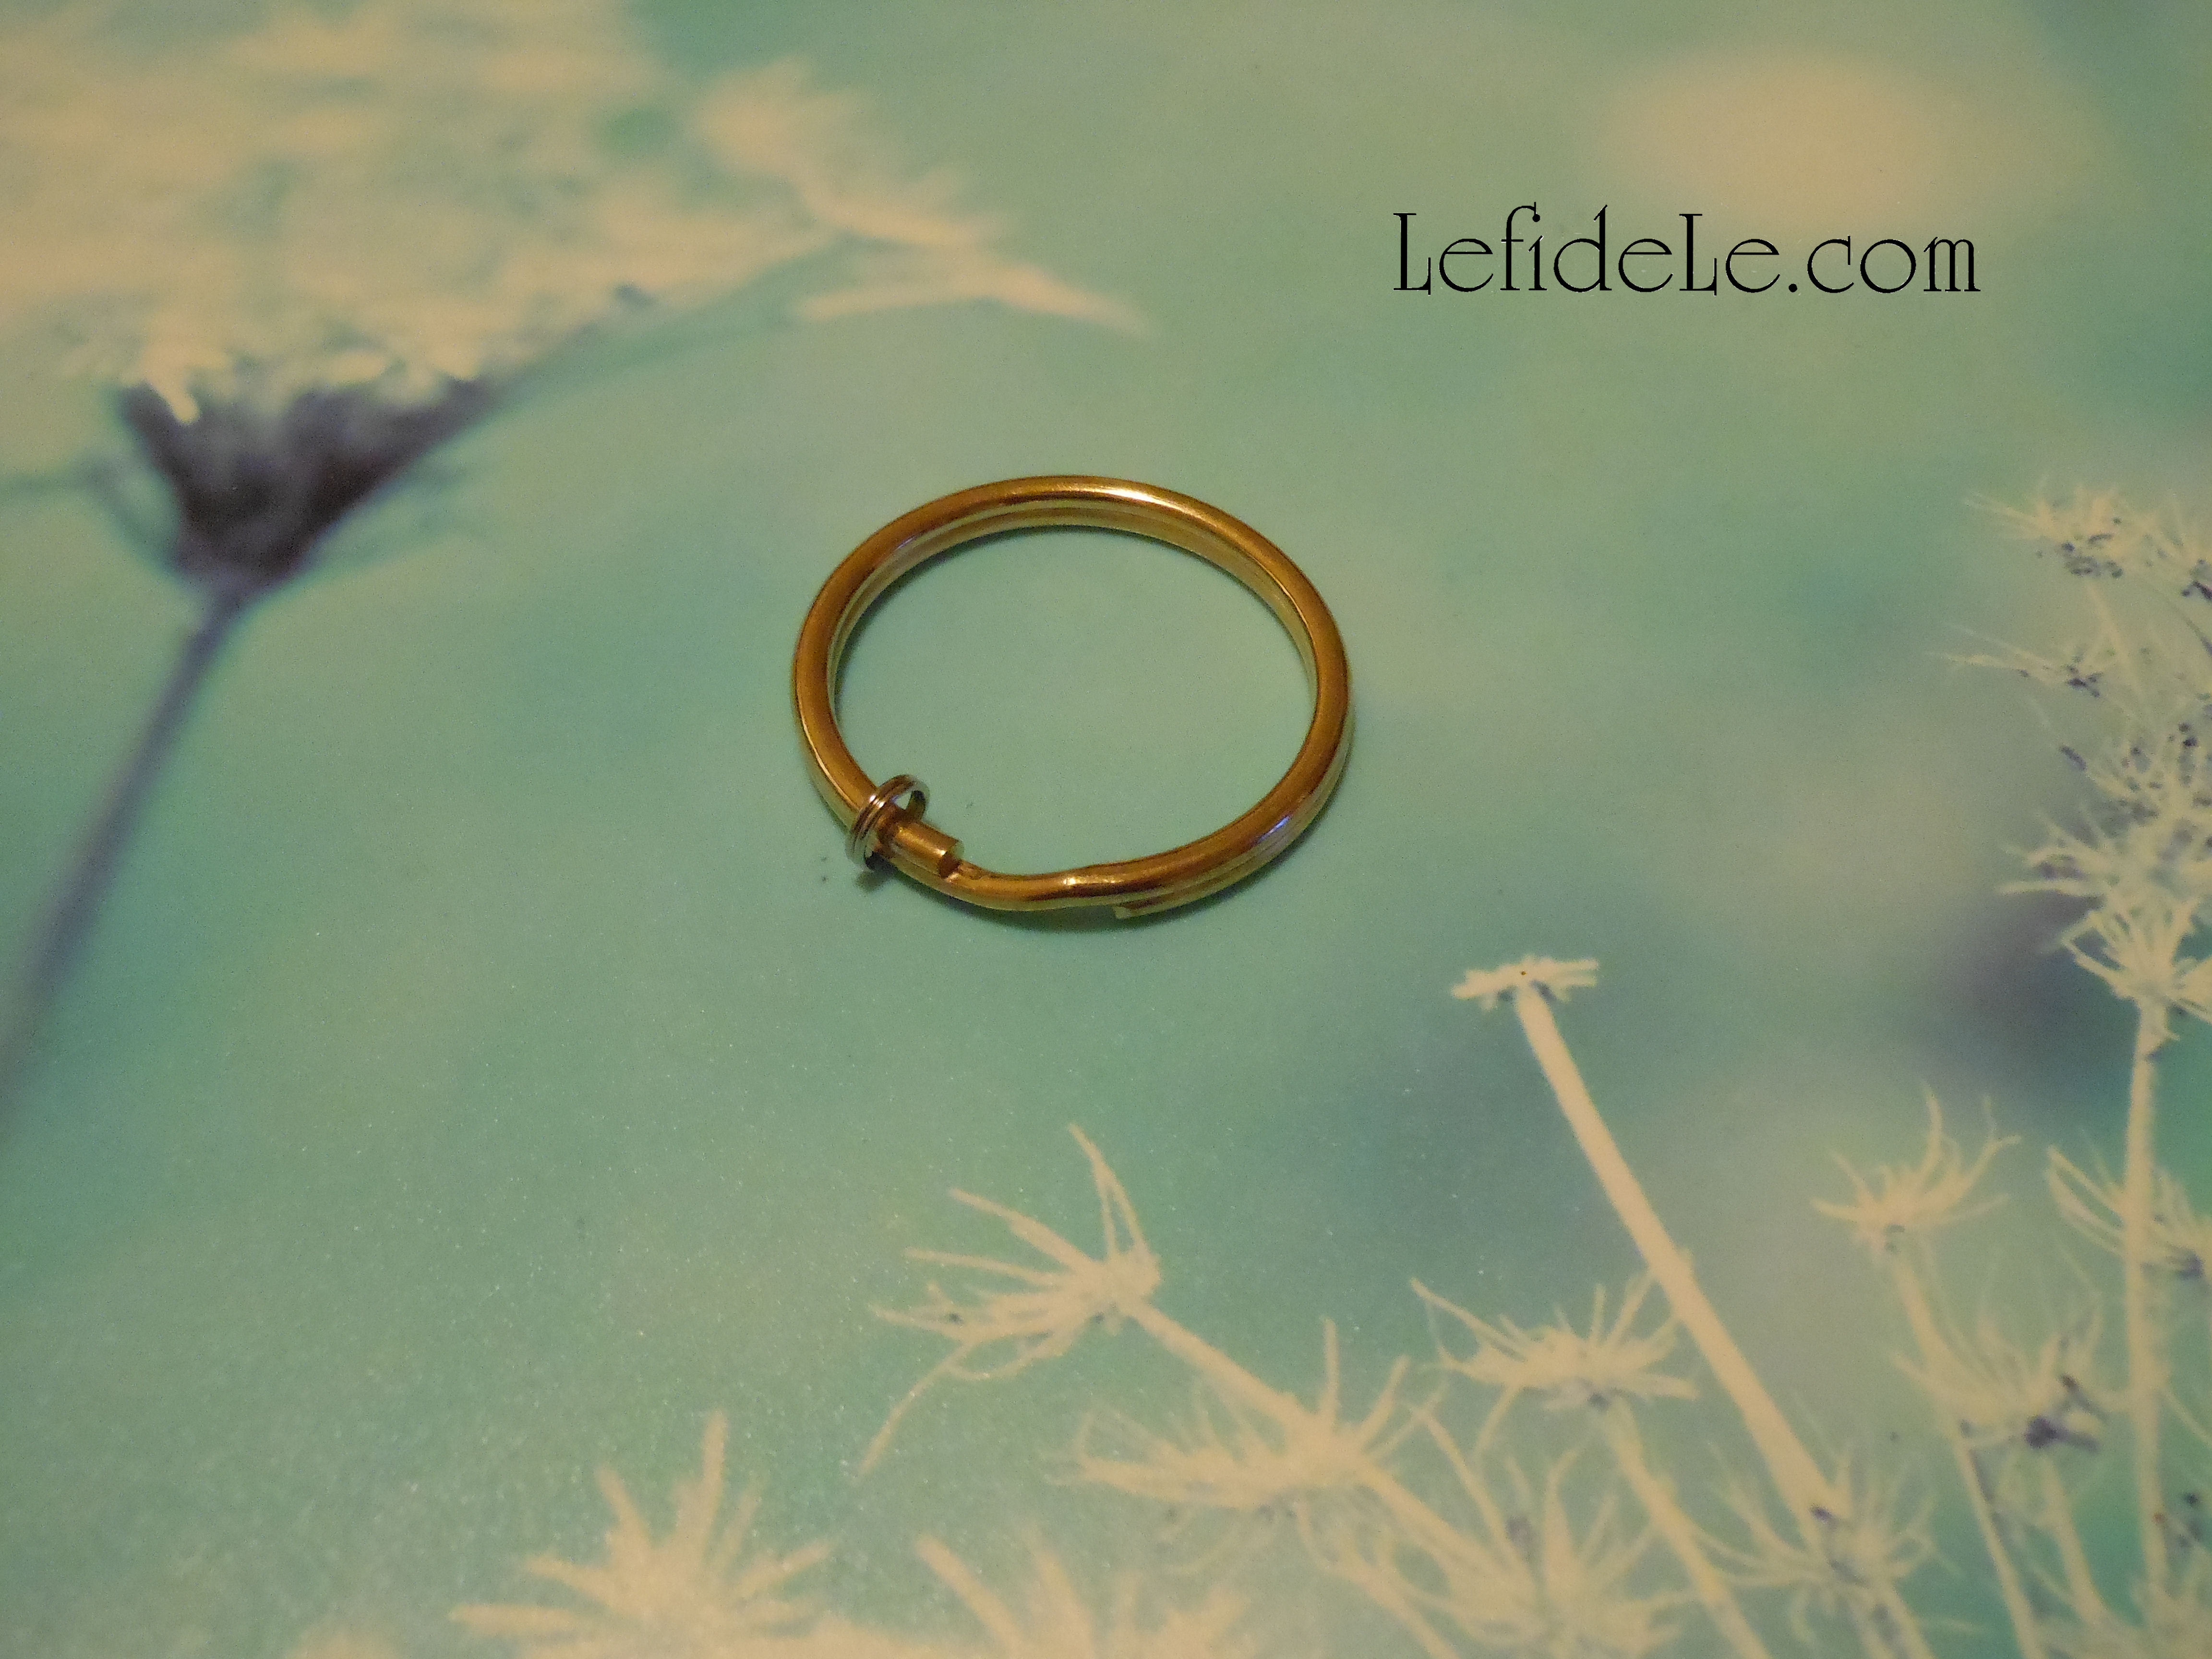
Slide the small ring onto the key ring. (This will enable keys to be added to the ring later.)

083Leigh

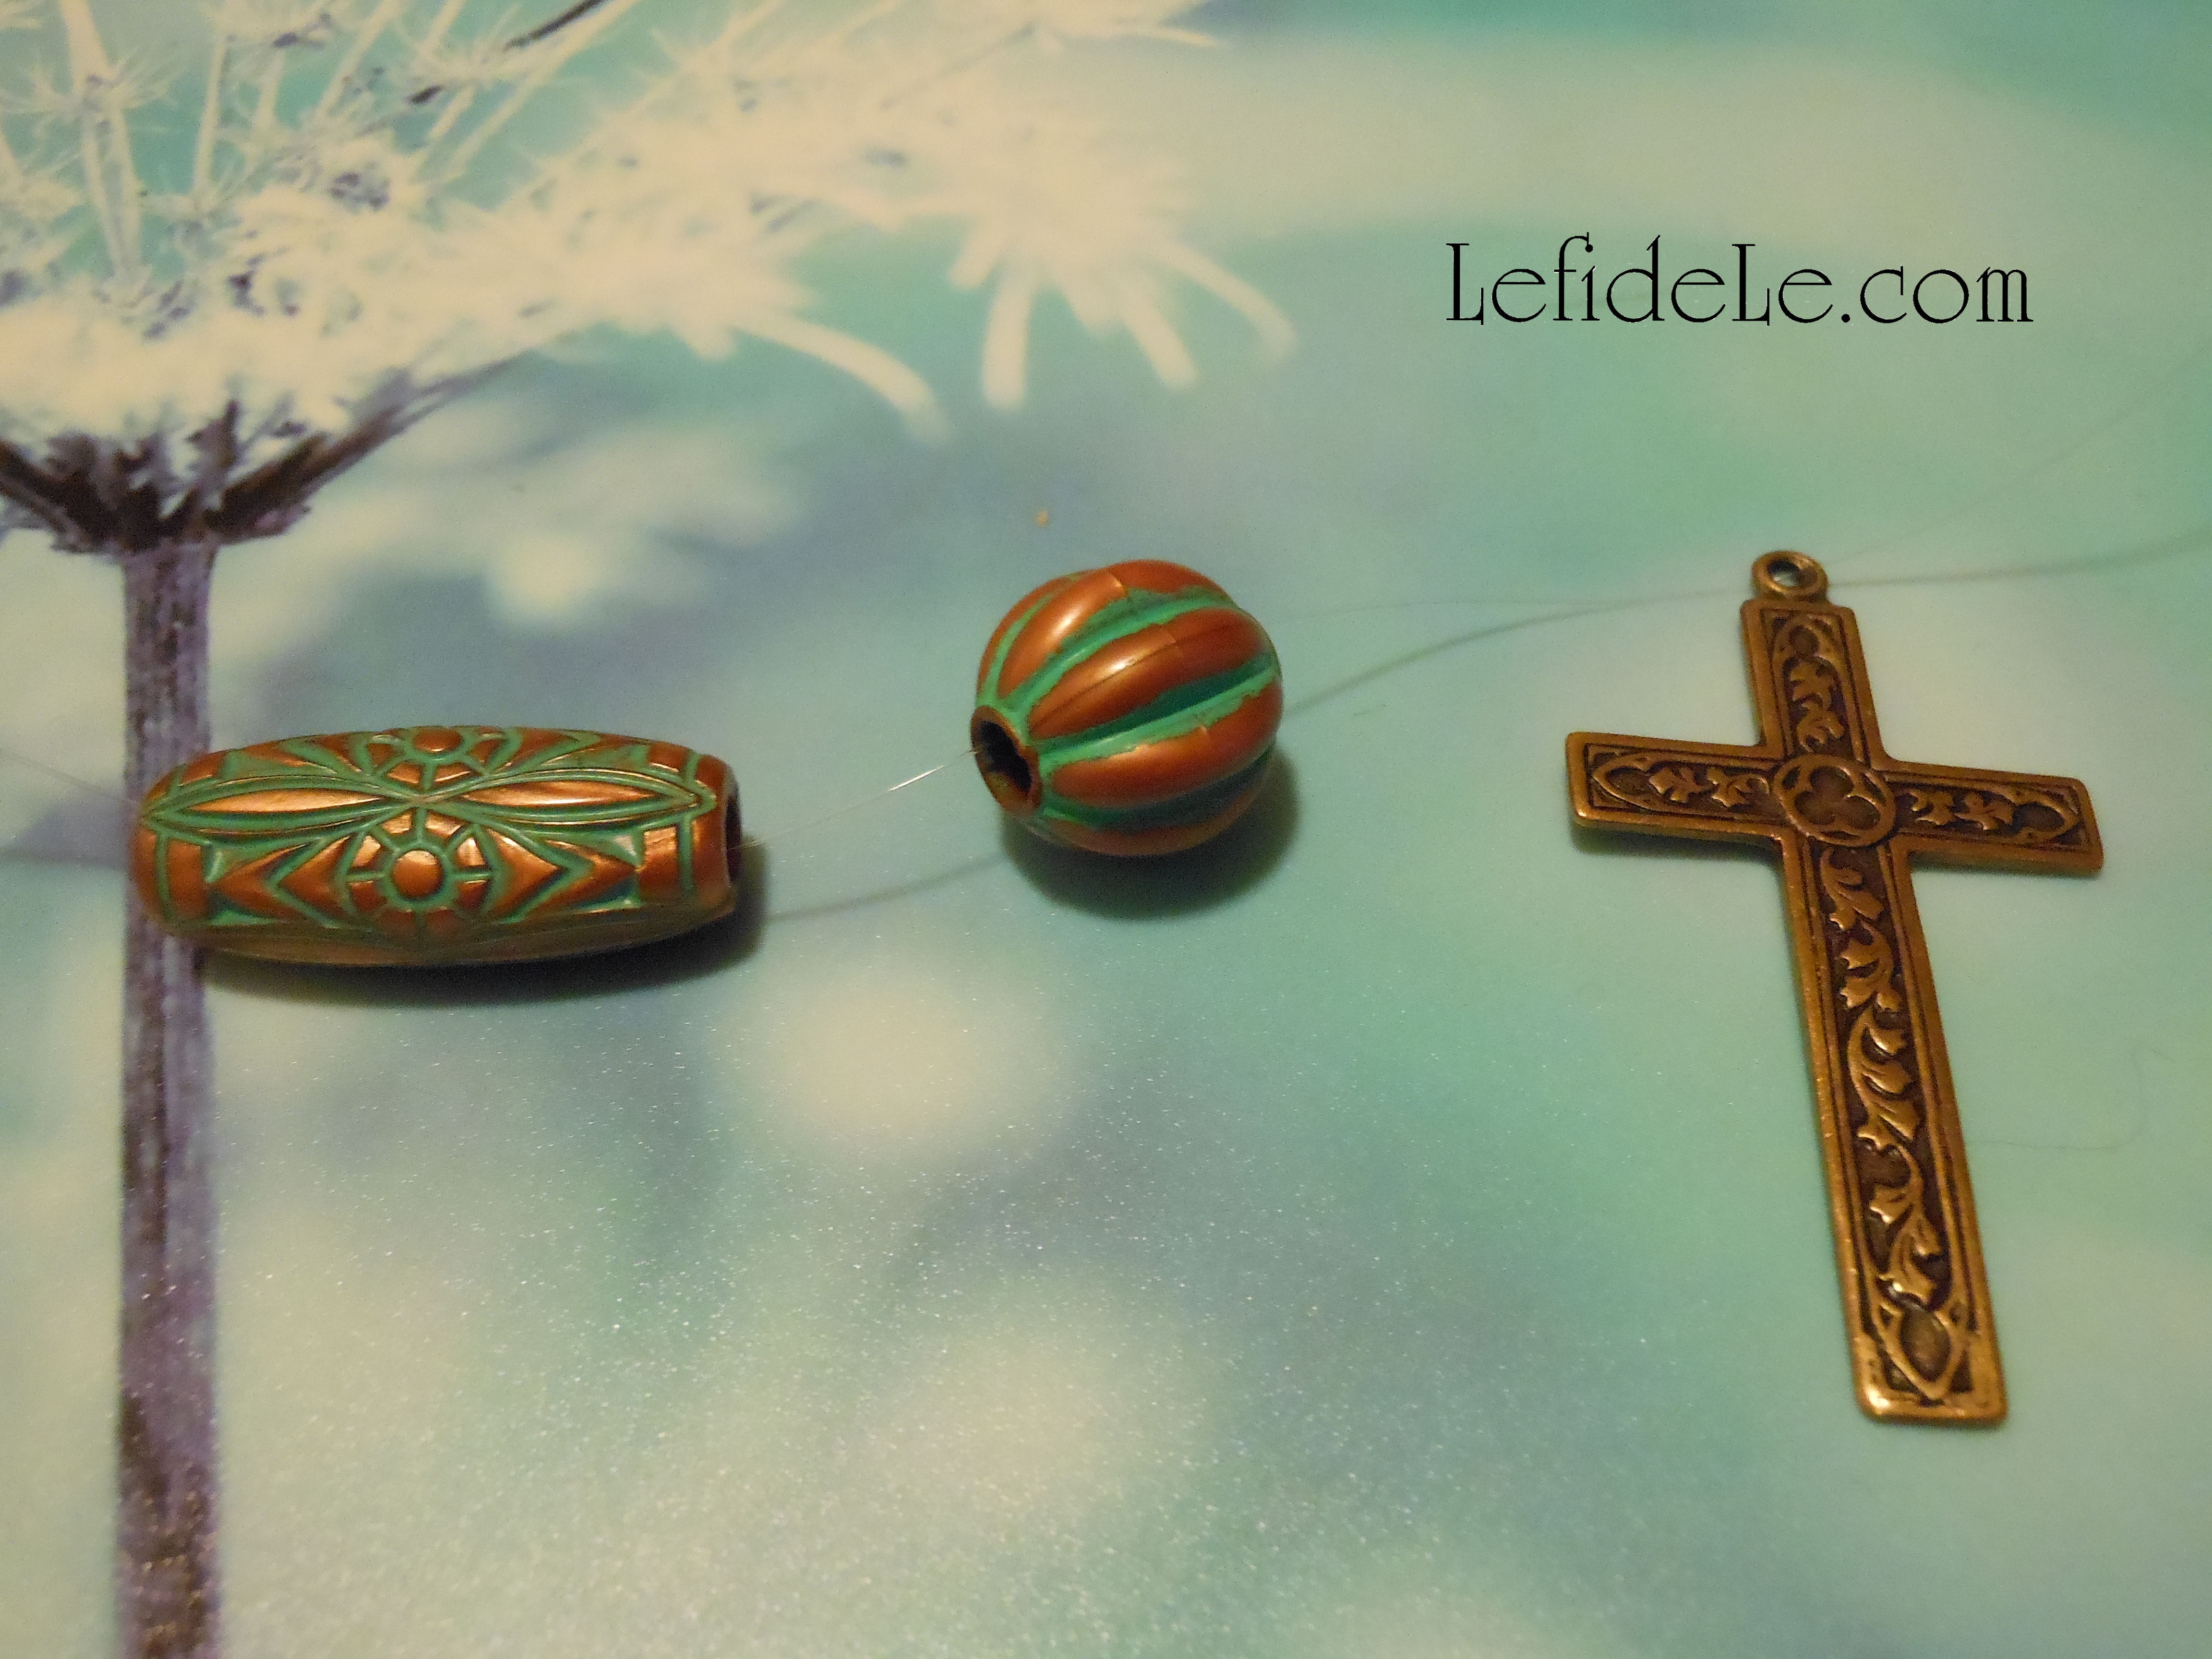
Slip one end of the fishing line into all the beads first then through the pendant.

085Leigh

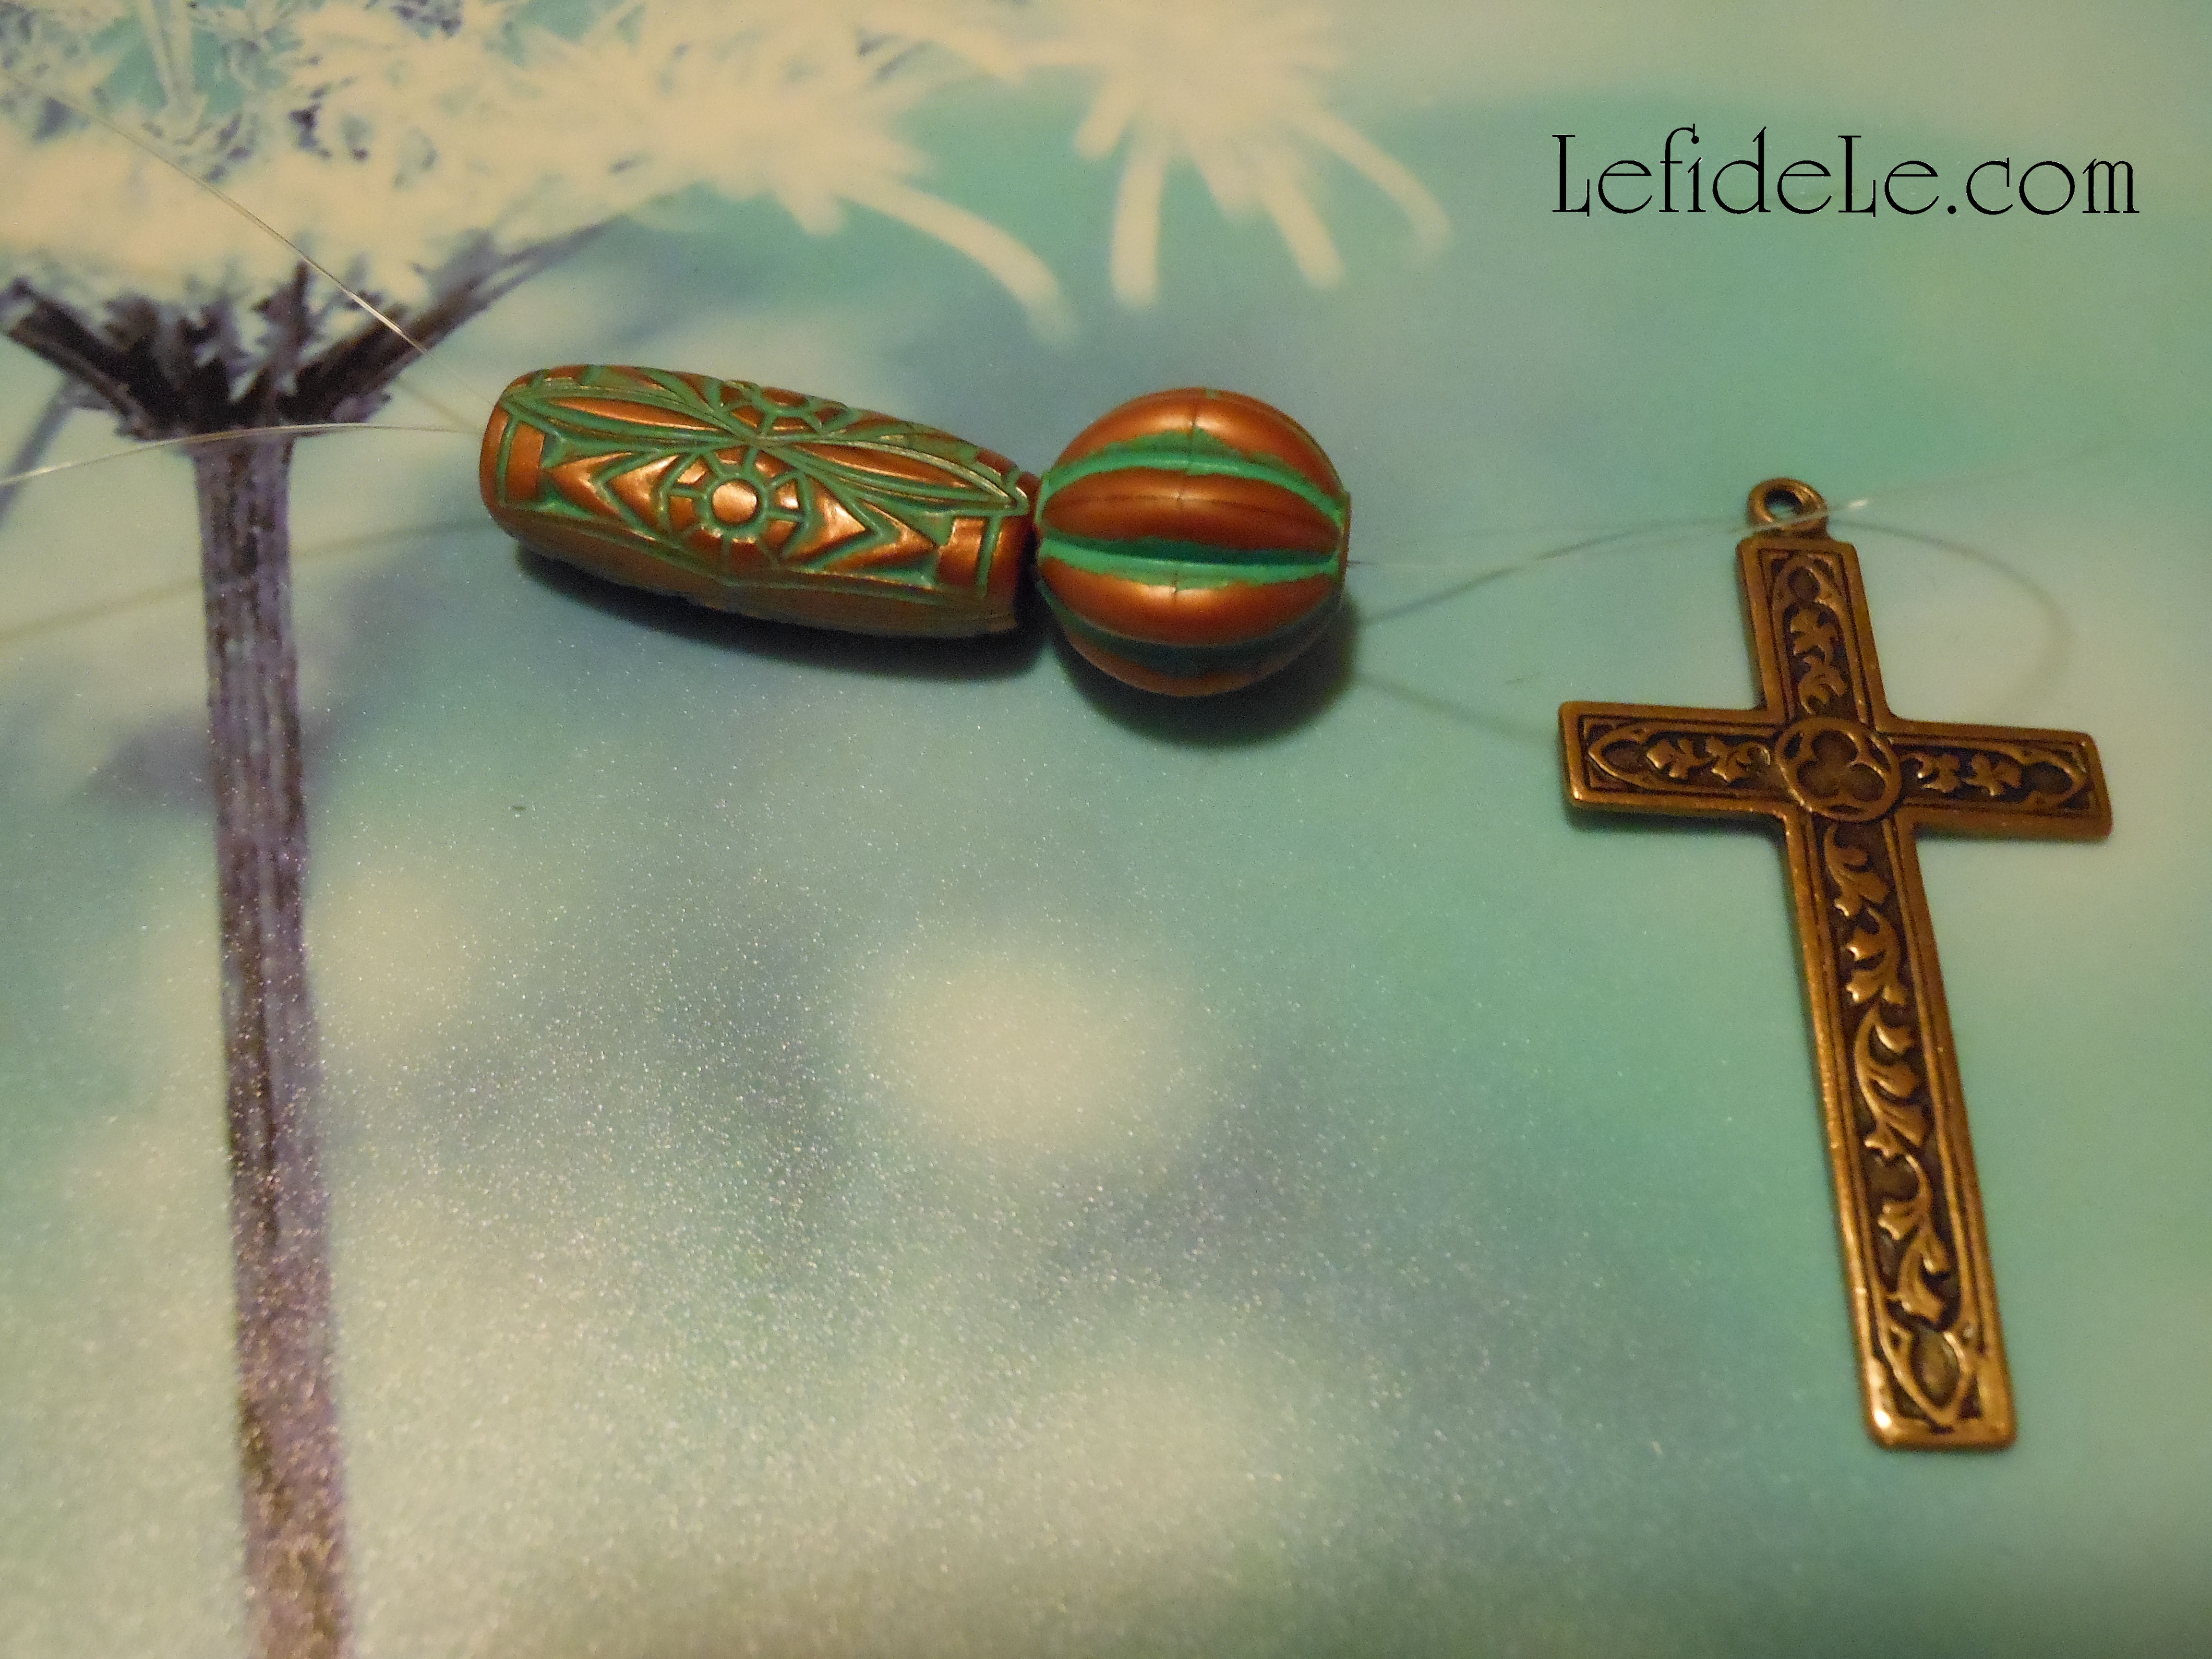
Now feed the line back up through those same beads.

087Leigh

Tie the two ends sticking up out of the beads onto the small ring with your choice of a double knot or surgeon’s knot. (Try triple looping the ends then triple looping them again in the opposite direction. Pull the ends really tight to bring it together. This is a great knot to keep keychains secure.)

090Leigh

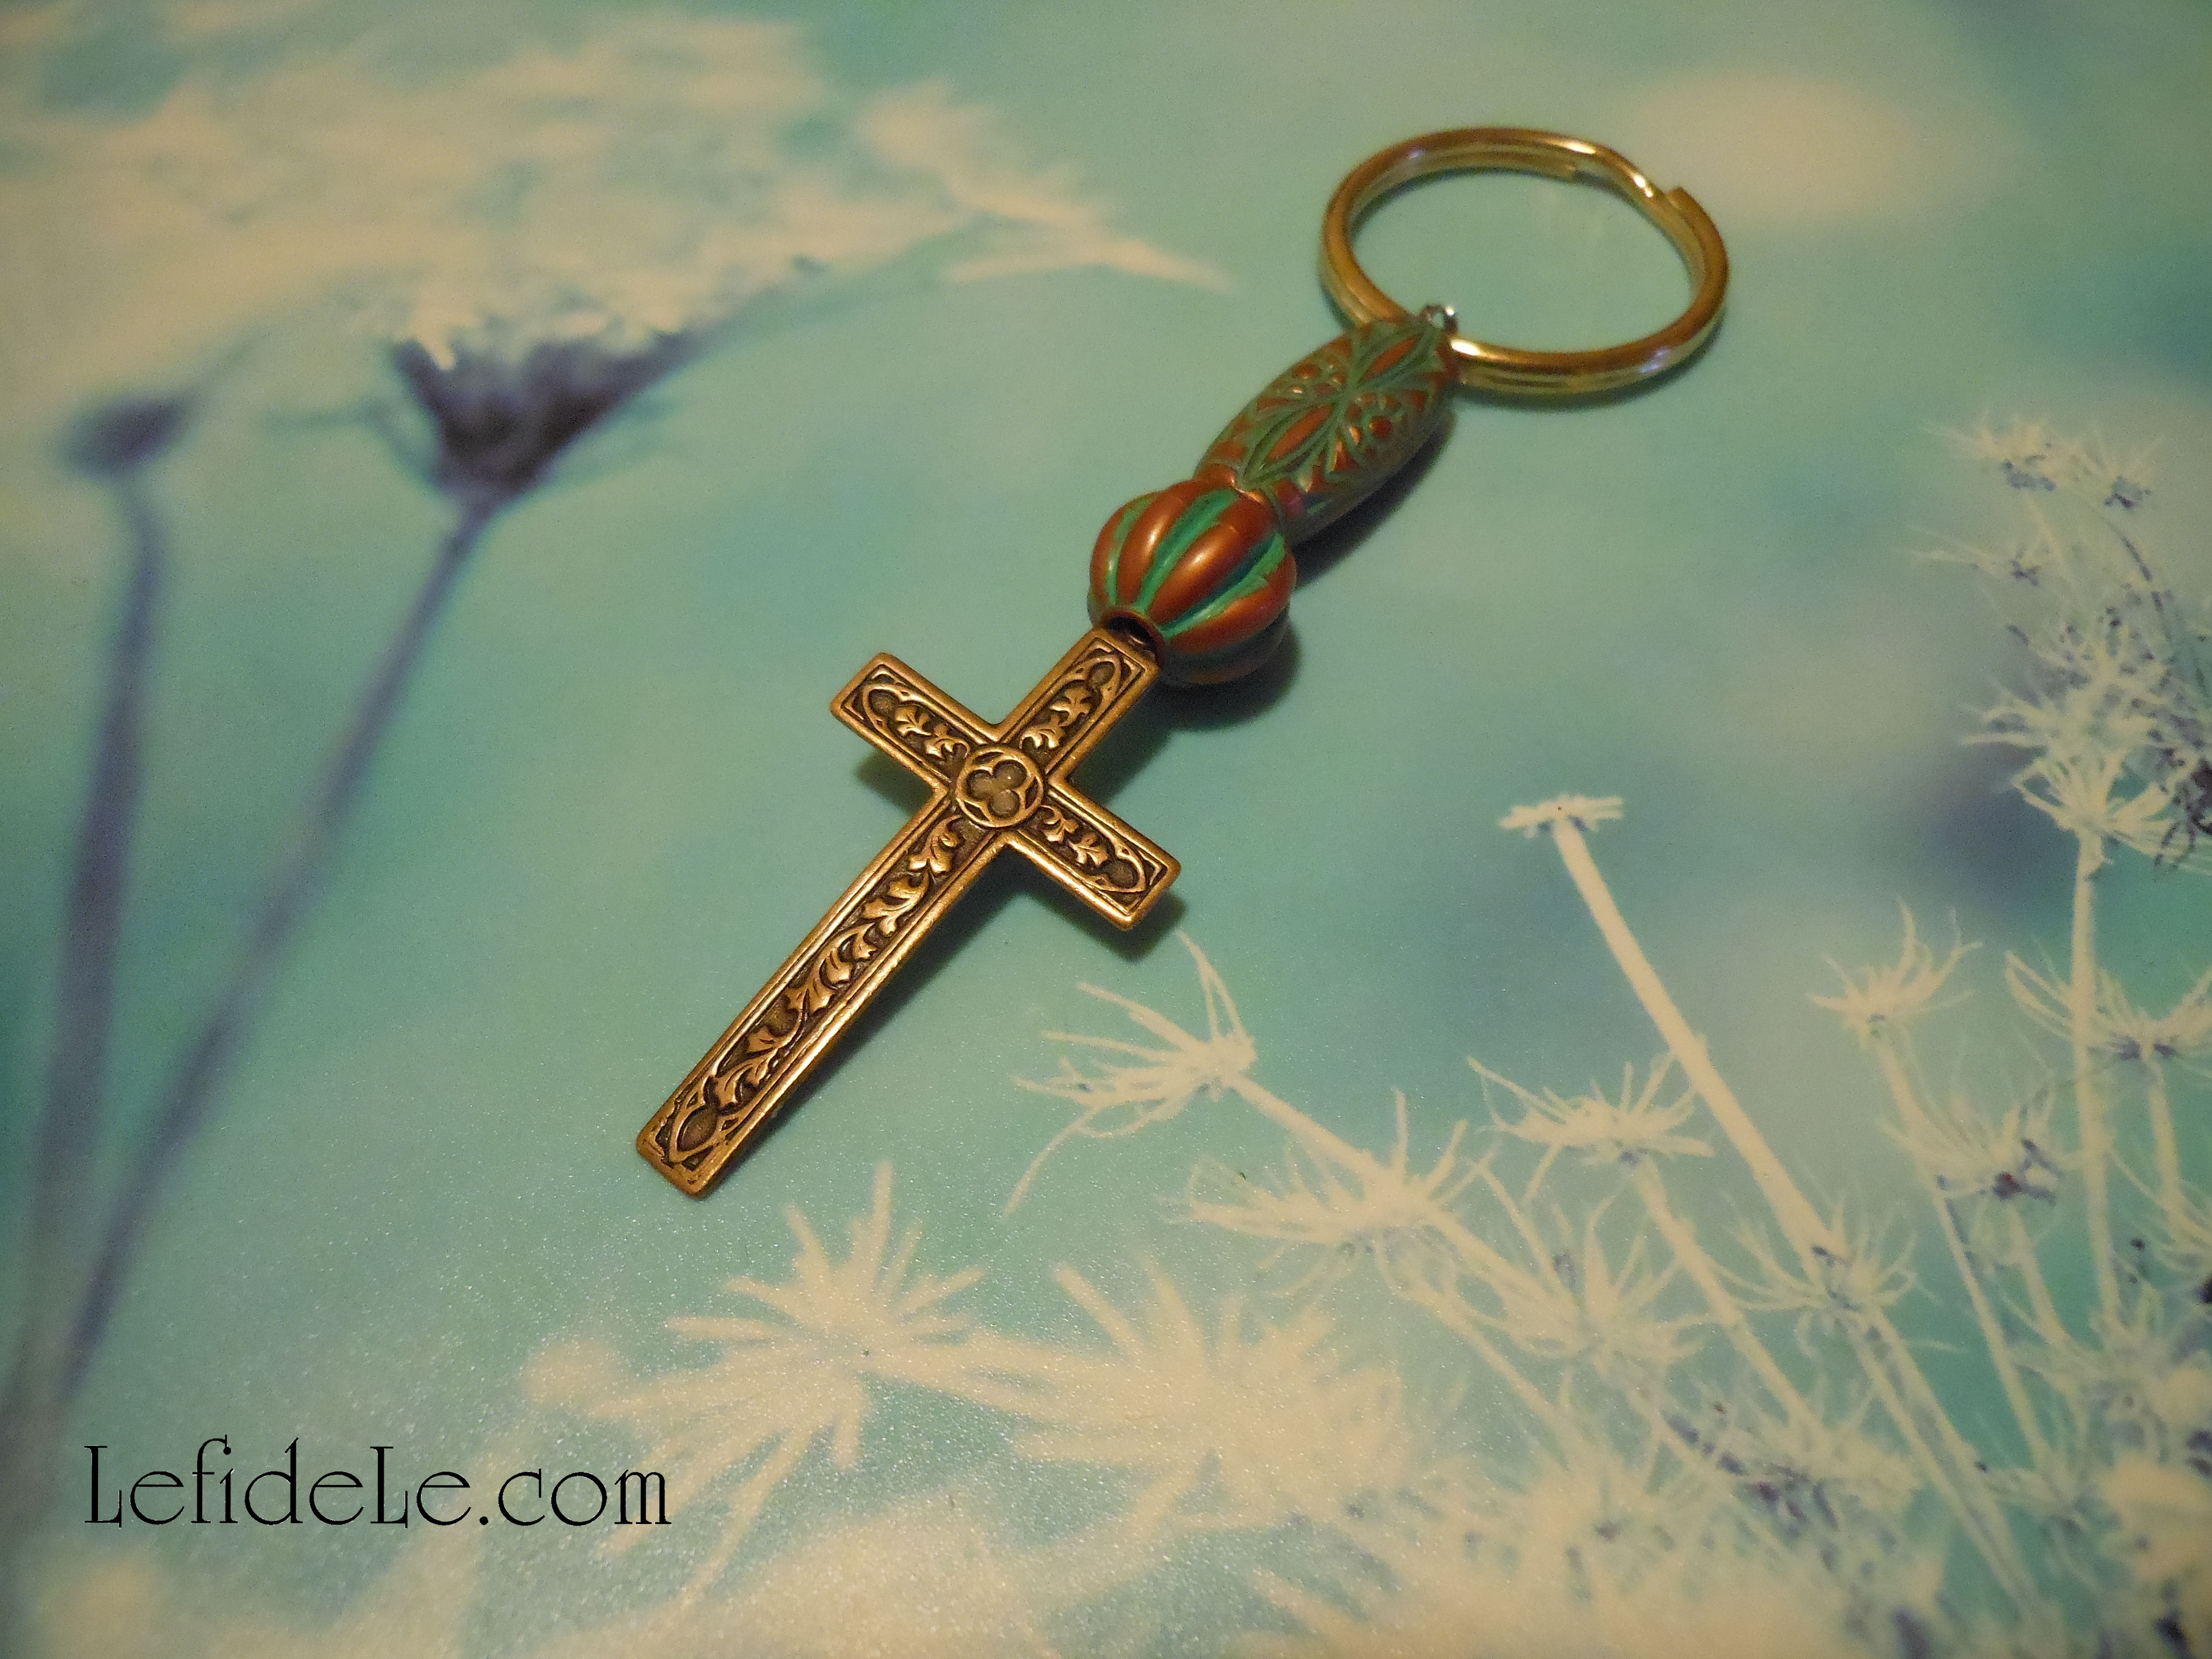
Cut the dangling ends close but with a little bit sticking out of the knot to keep it from unraveling.

092Leigh

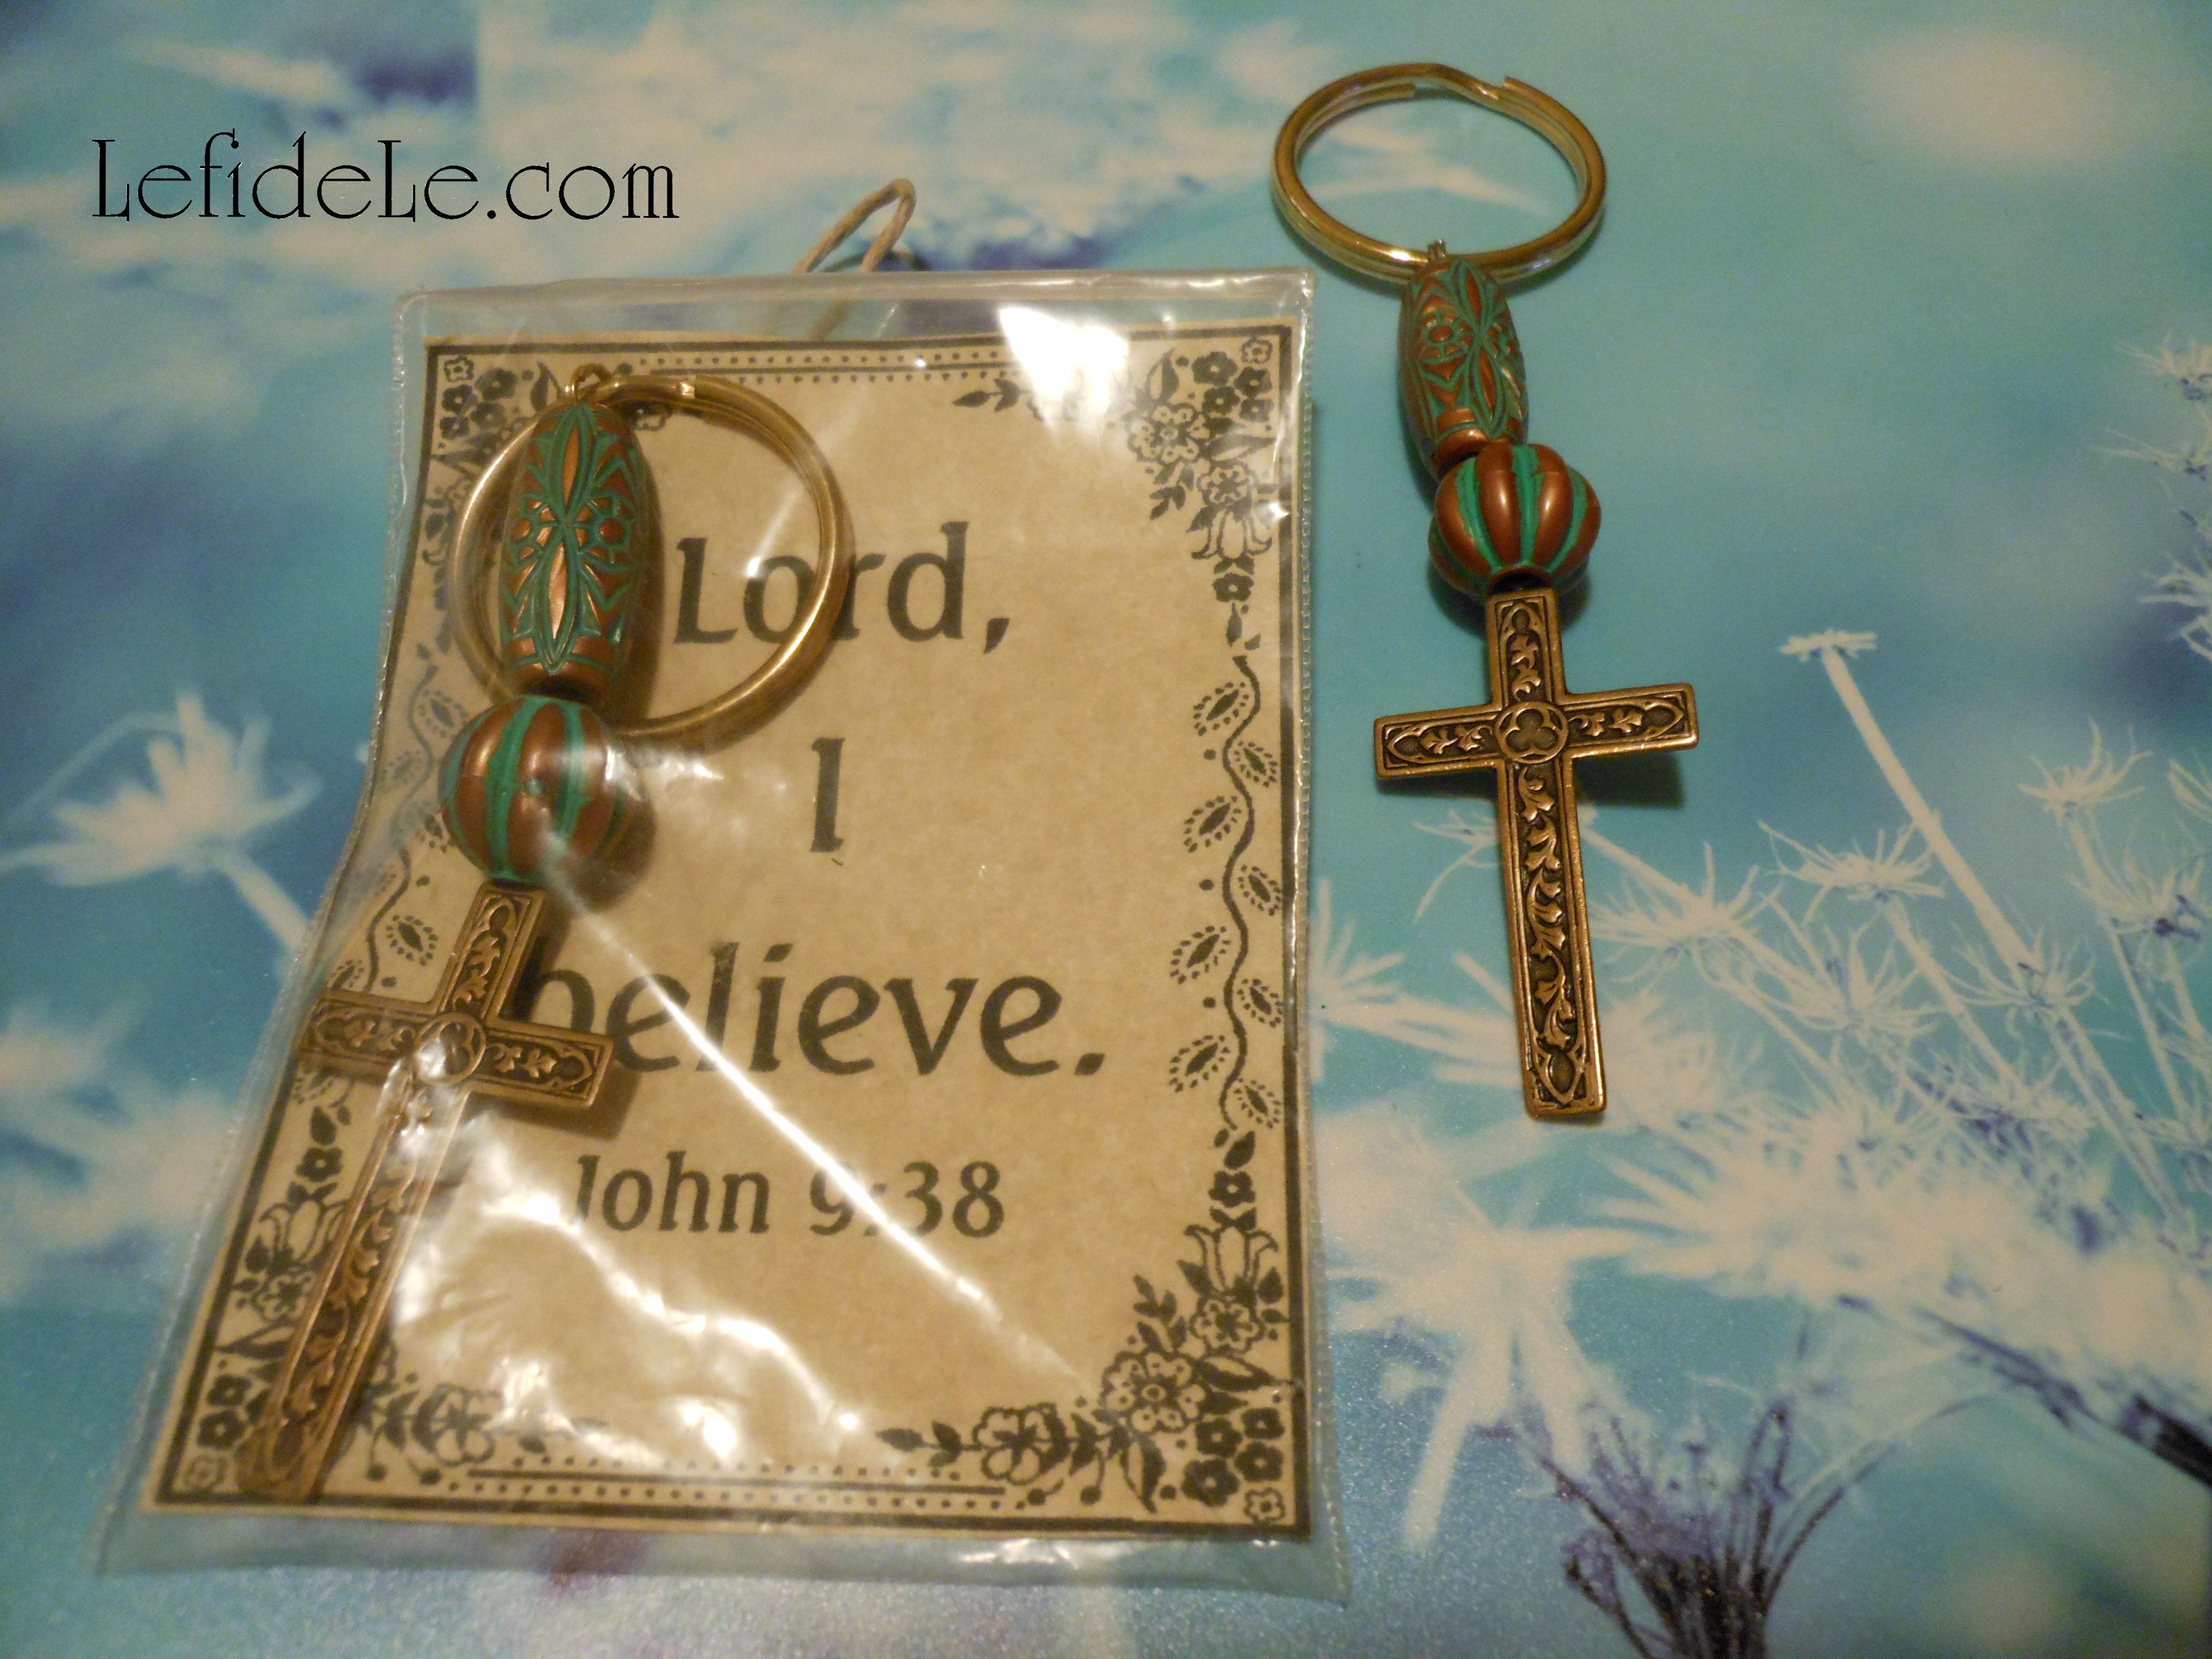
Package it with an apropos and sincere message.

94-2Leigh

Think about buying extra beads to make one for yourself as well!

371Leigh

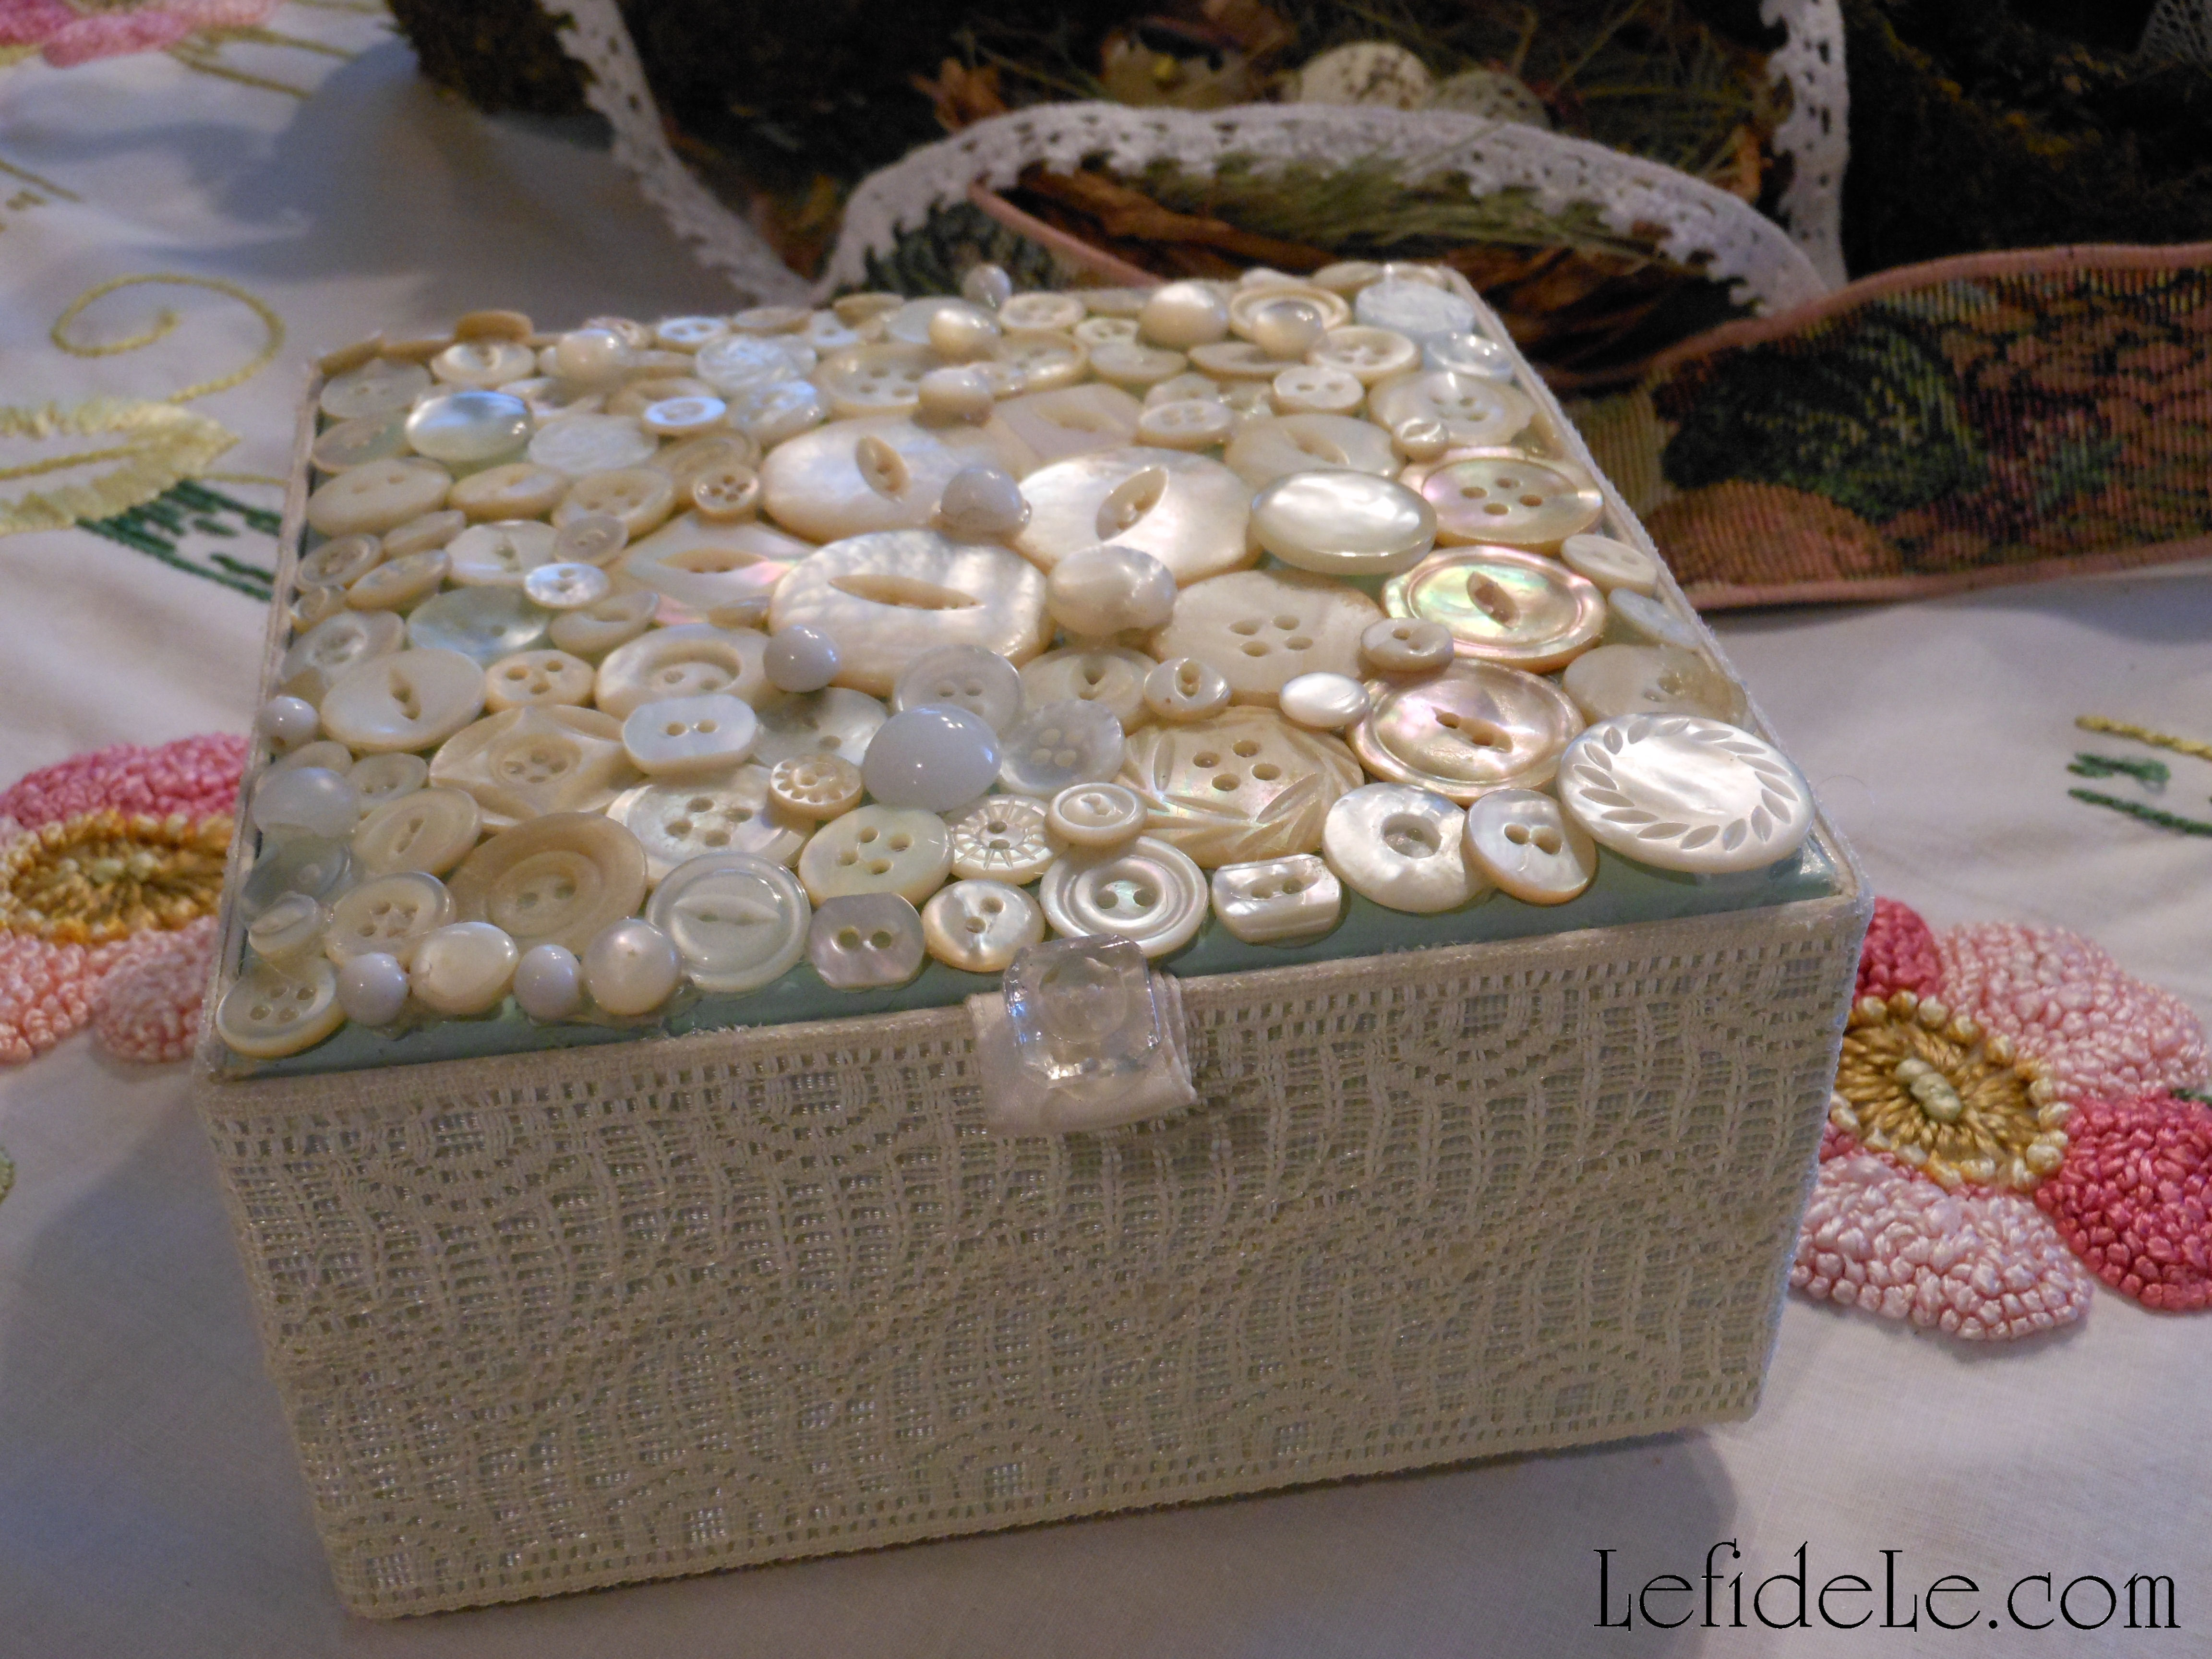
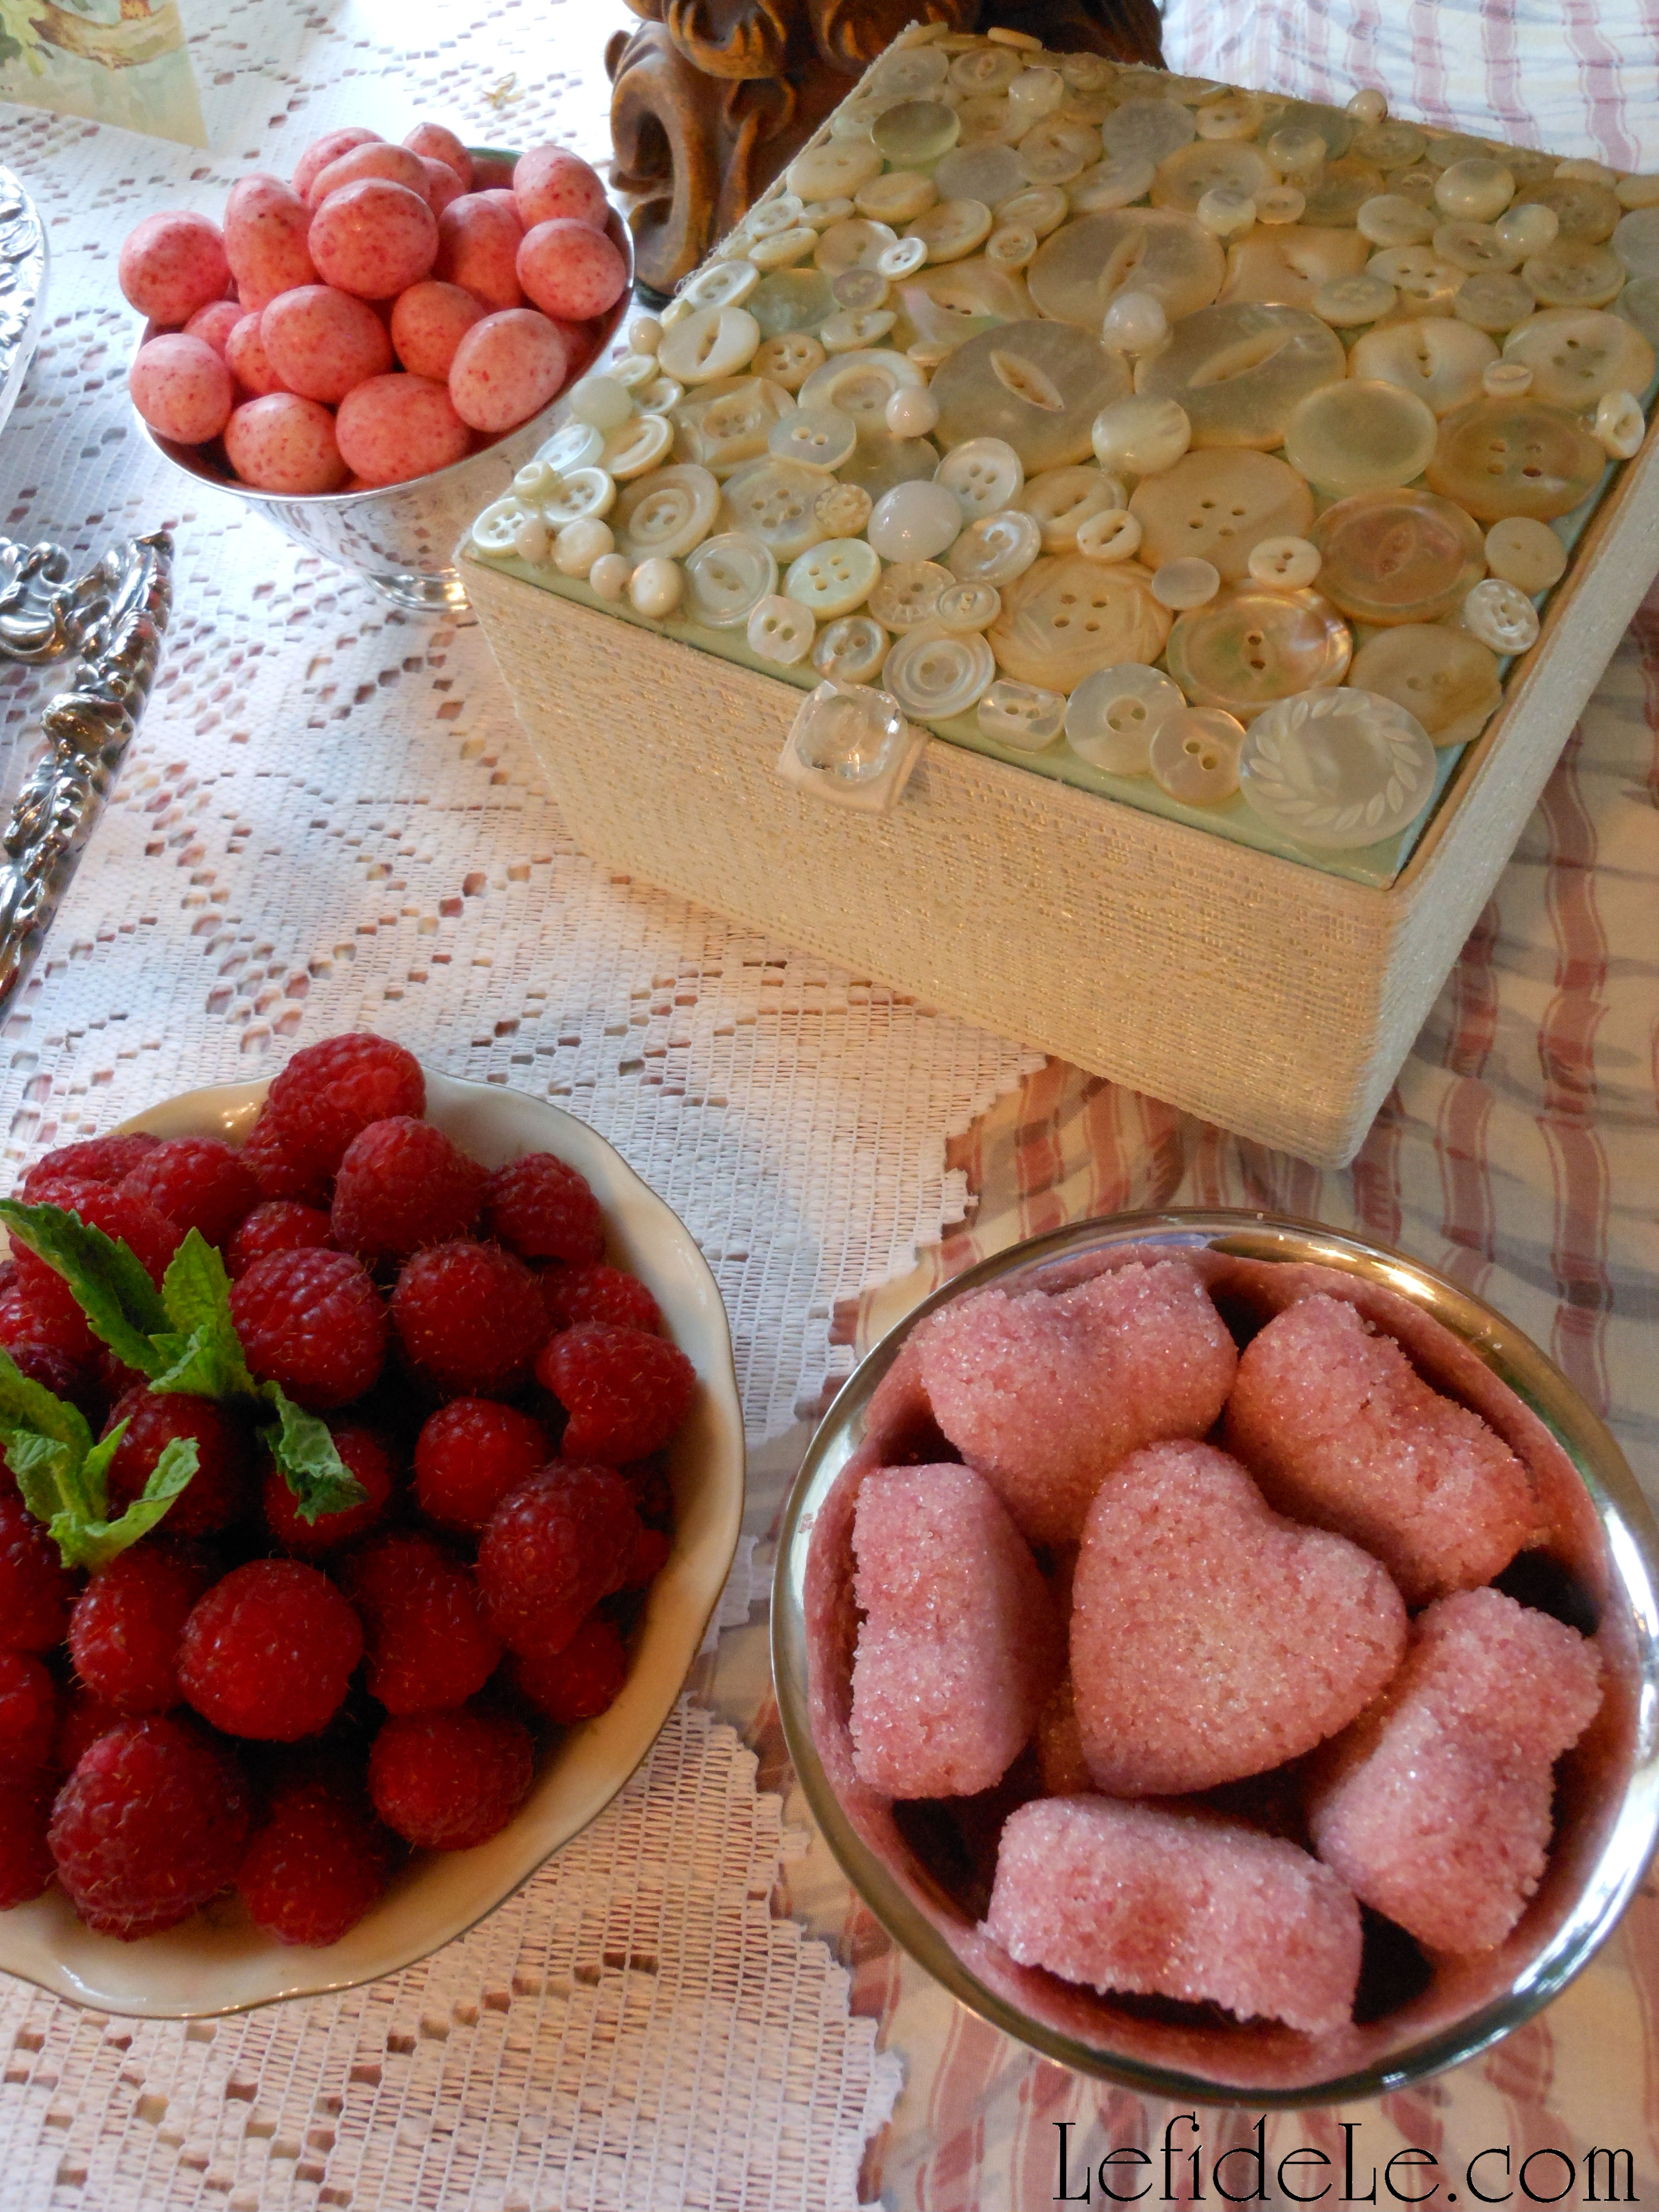
Now I’ll tell you how I made an upcycled jewelry box, so that you can think about making your own quickly and easily. It would be lovely to enclose that keychain in it as a complete gift… because it’s bad luck to give away an empty jewelry box.

097Leigh

I actually began this upcycled project many years ago as a gift for my grandmother. I hot glued vintage mother of pearl, glass, and pearl buttons to a vintage powder puff box. I then used tacky glue to adhere white grosgrain ribbon to the sides and inside of the box. I added silicone feet to prevent table scuffing along with a button closure.

168Leigh

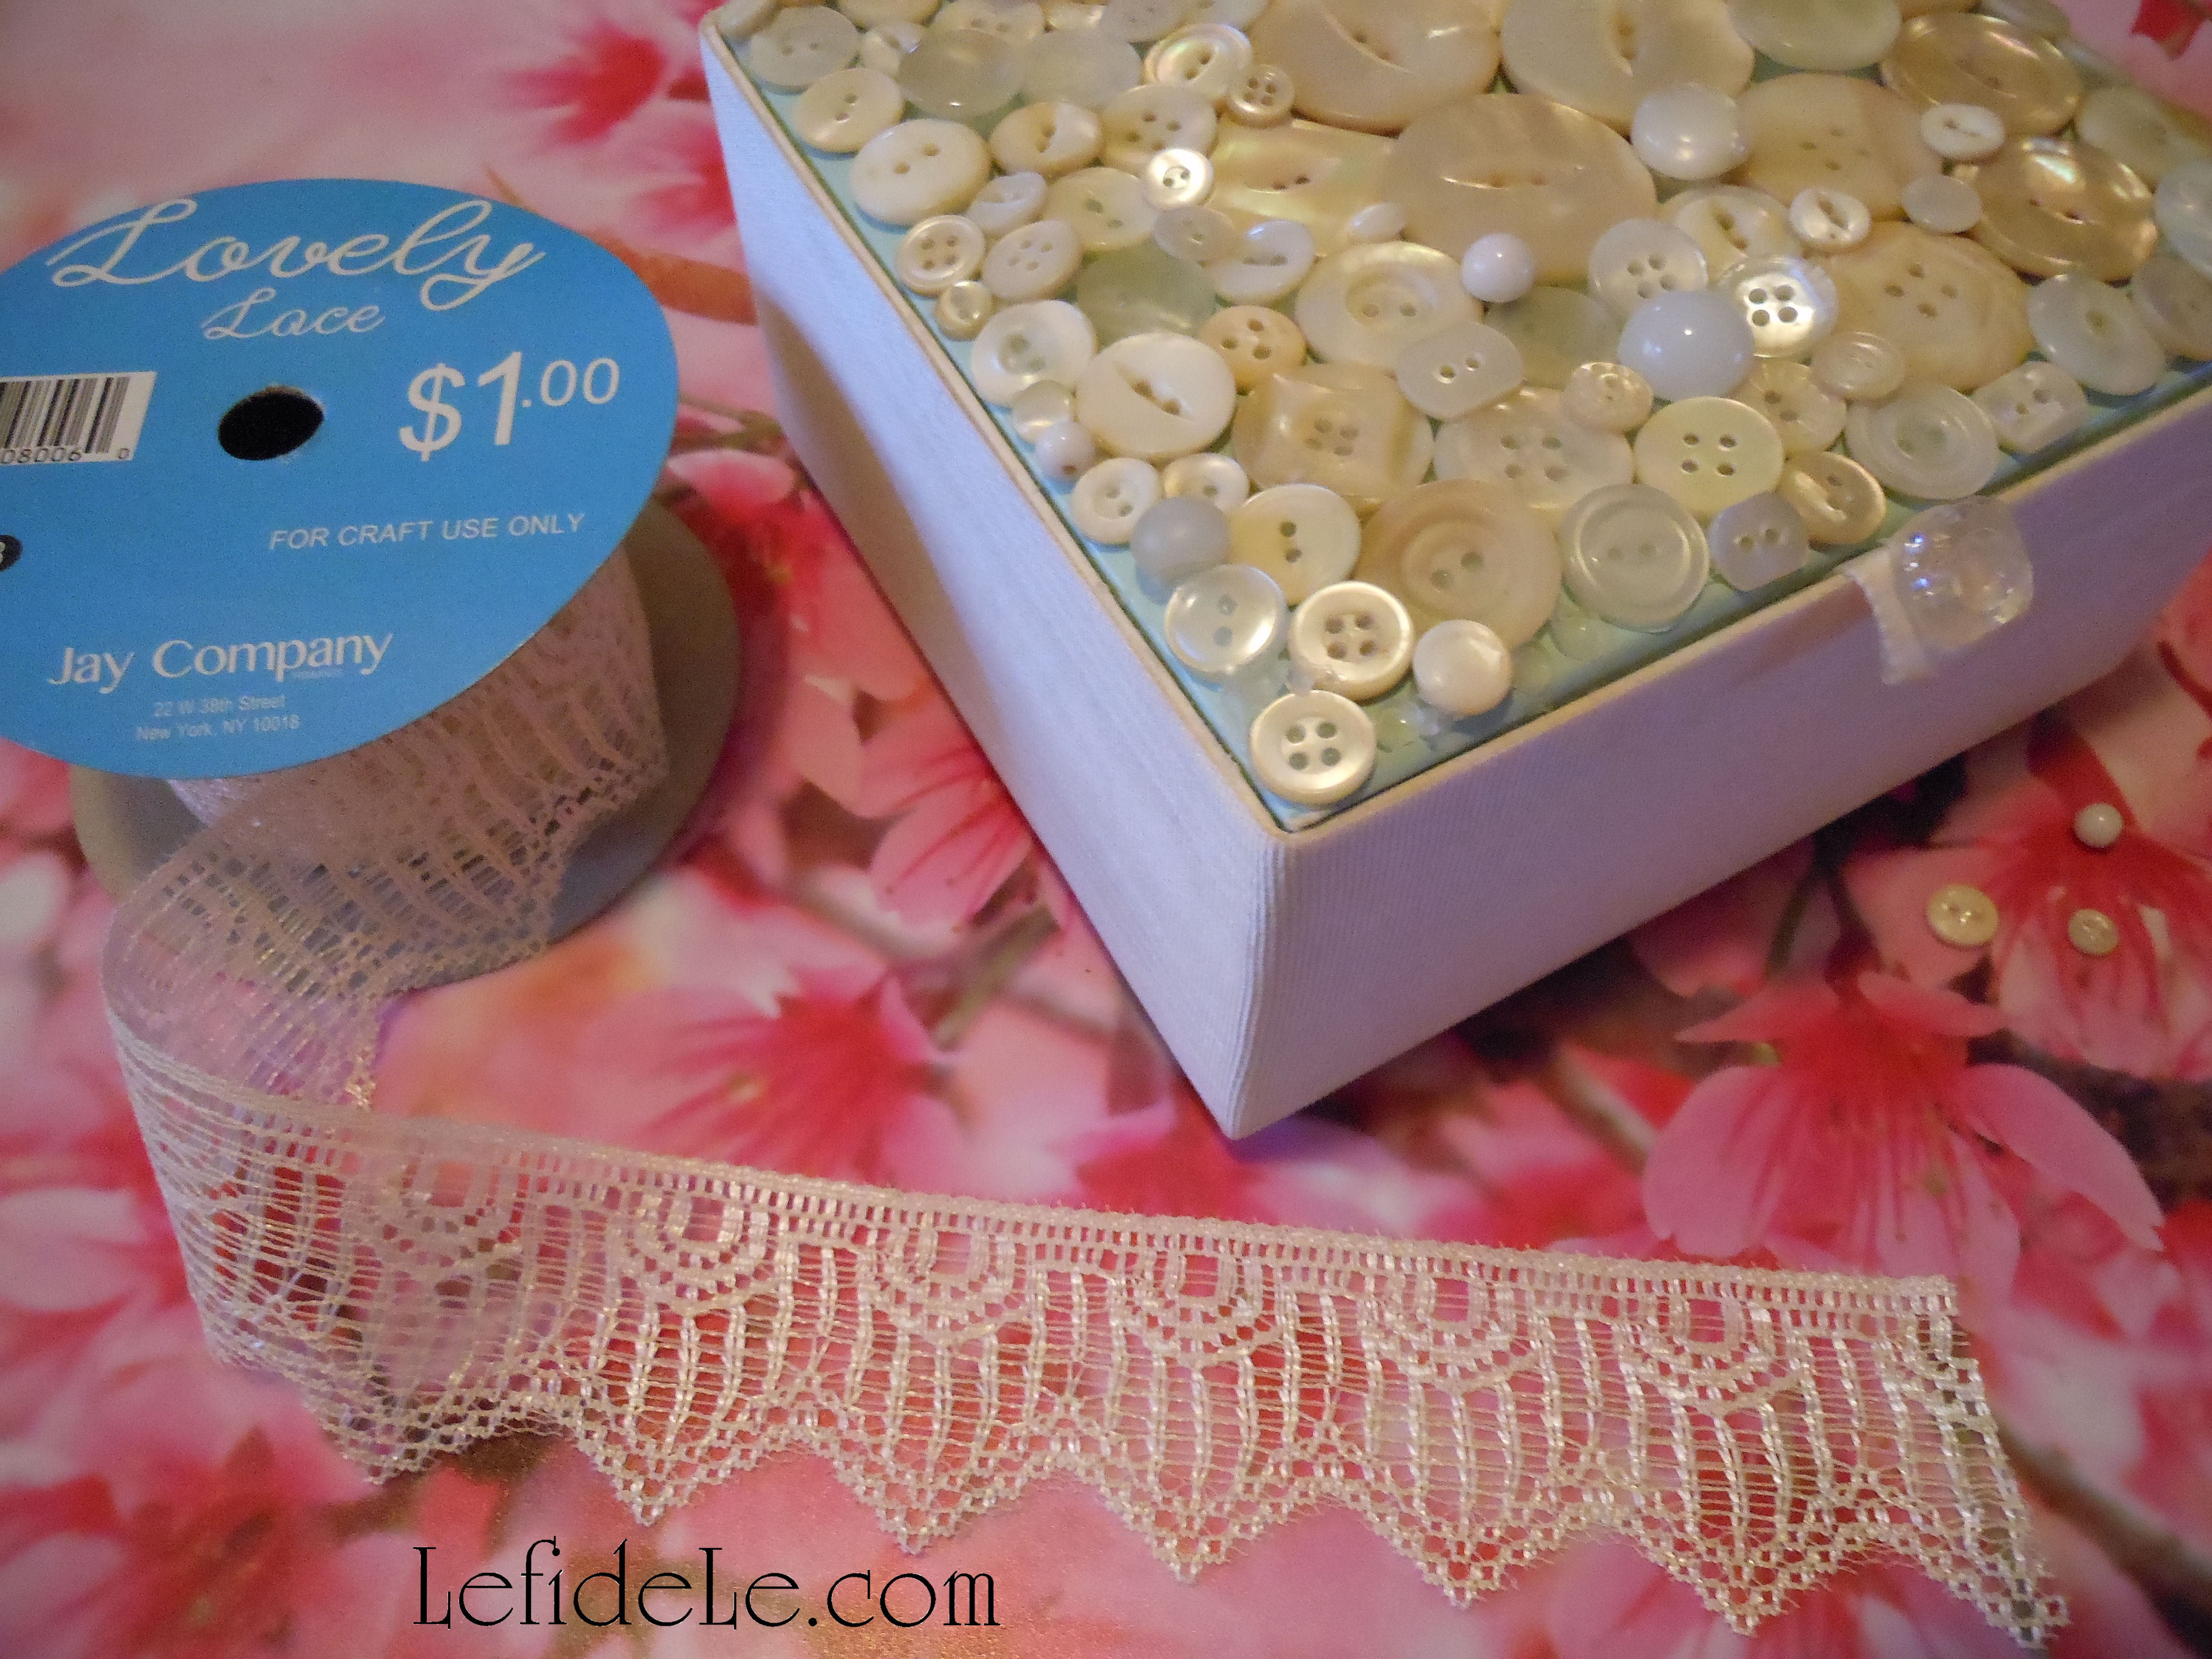
I never felt that it was quite good enough for my liking, so this year I decided to embellish it further with some ivory lace.

173Leigh

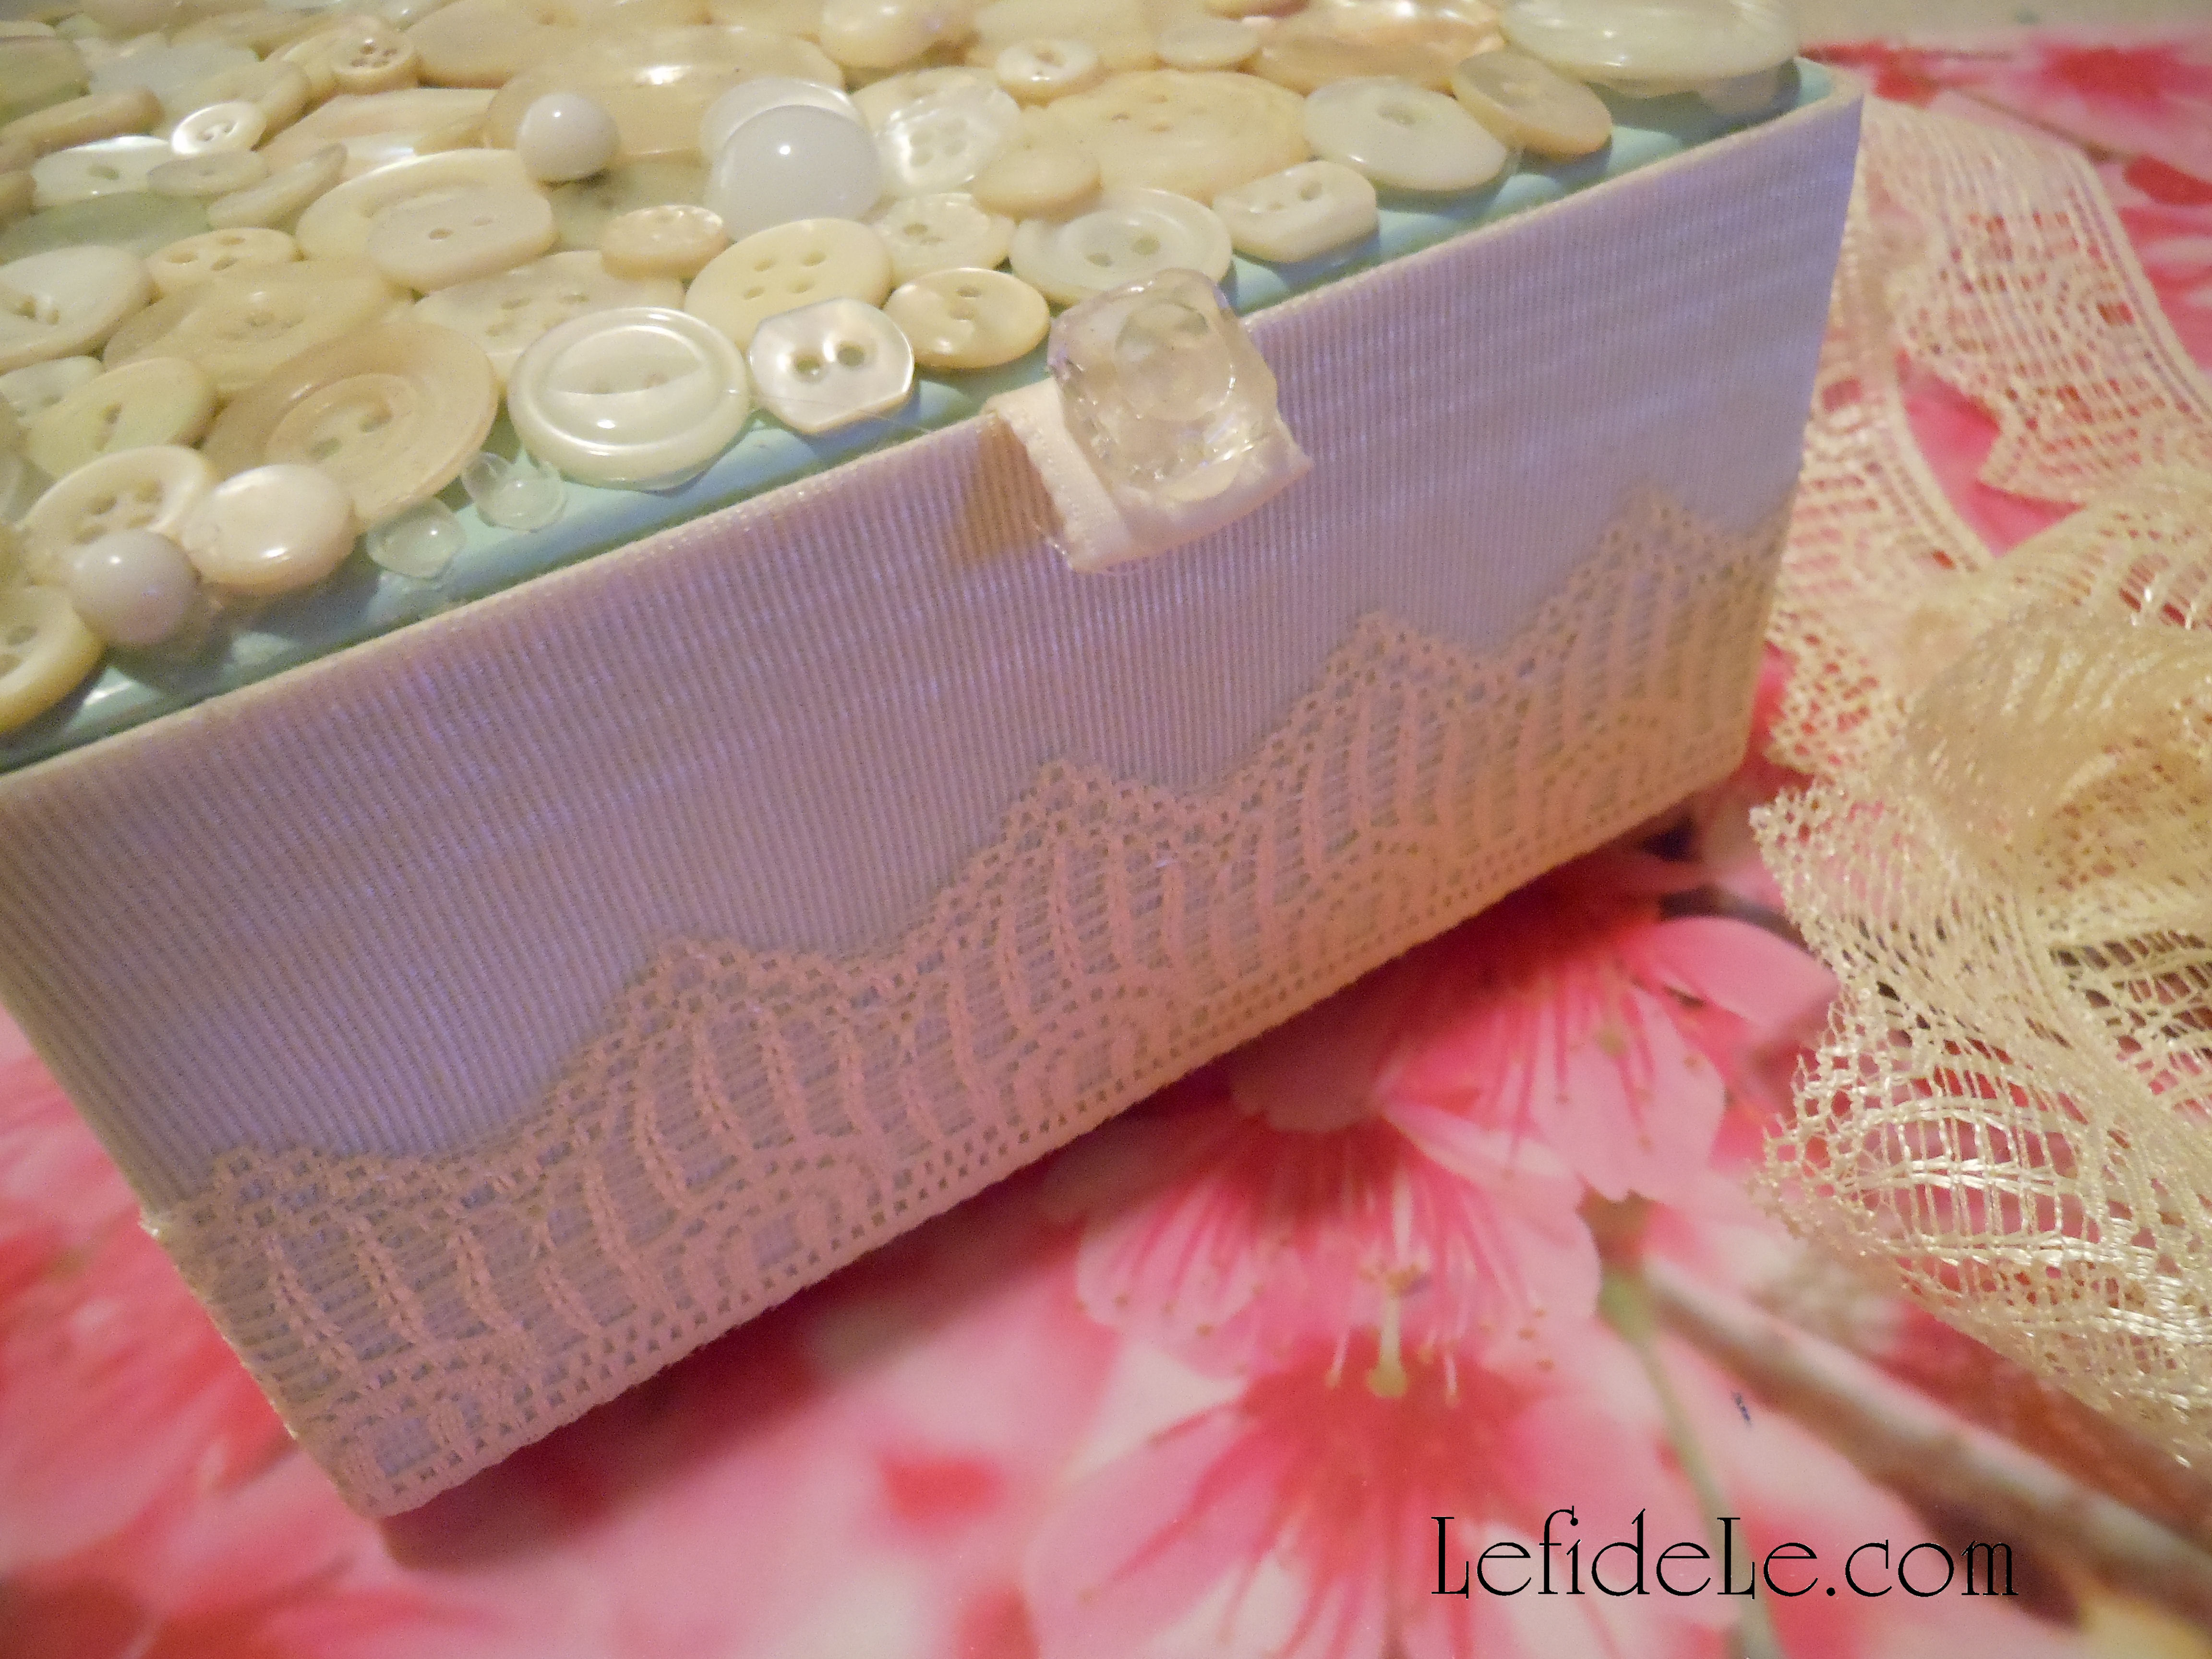
I simply hot glued dots onto the points of the lace then gently tapped them down onto the ribbon. I continued all around the box, and then cut and glued the end corner.

176Leigh

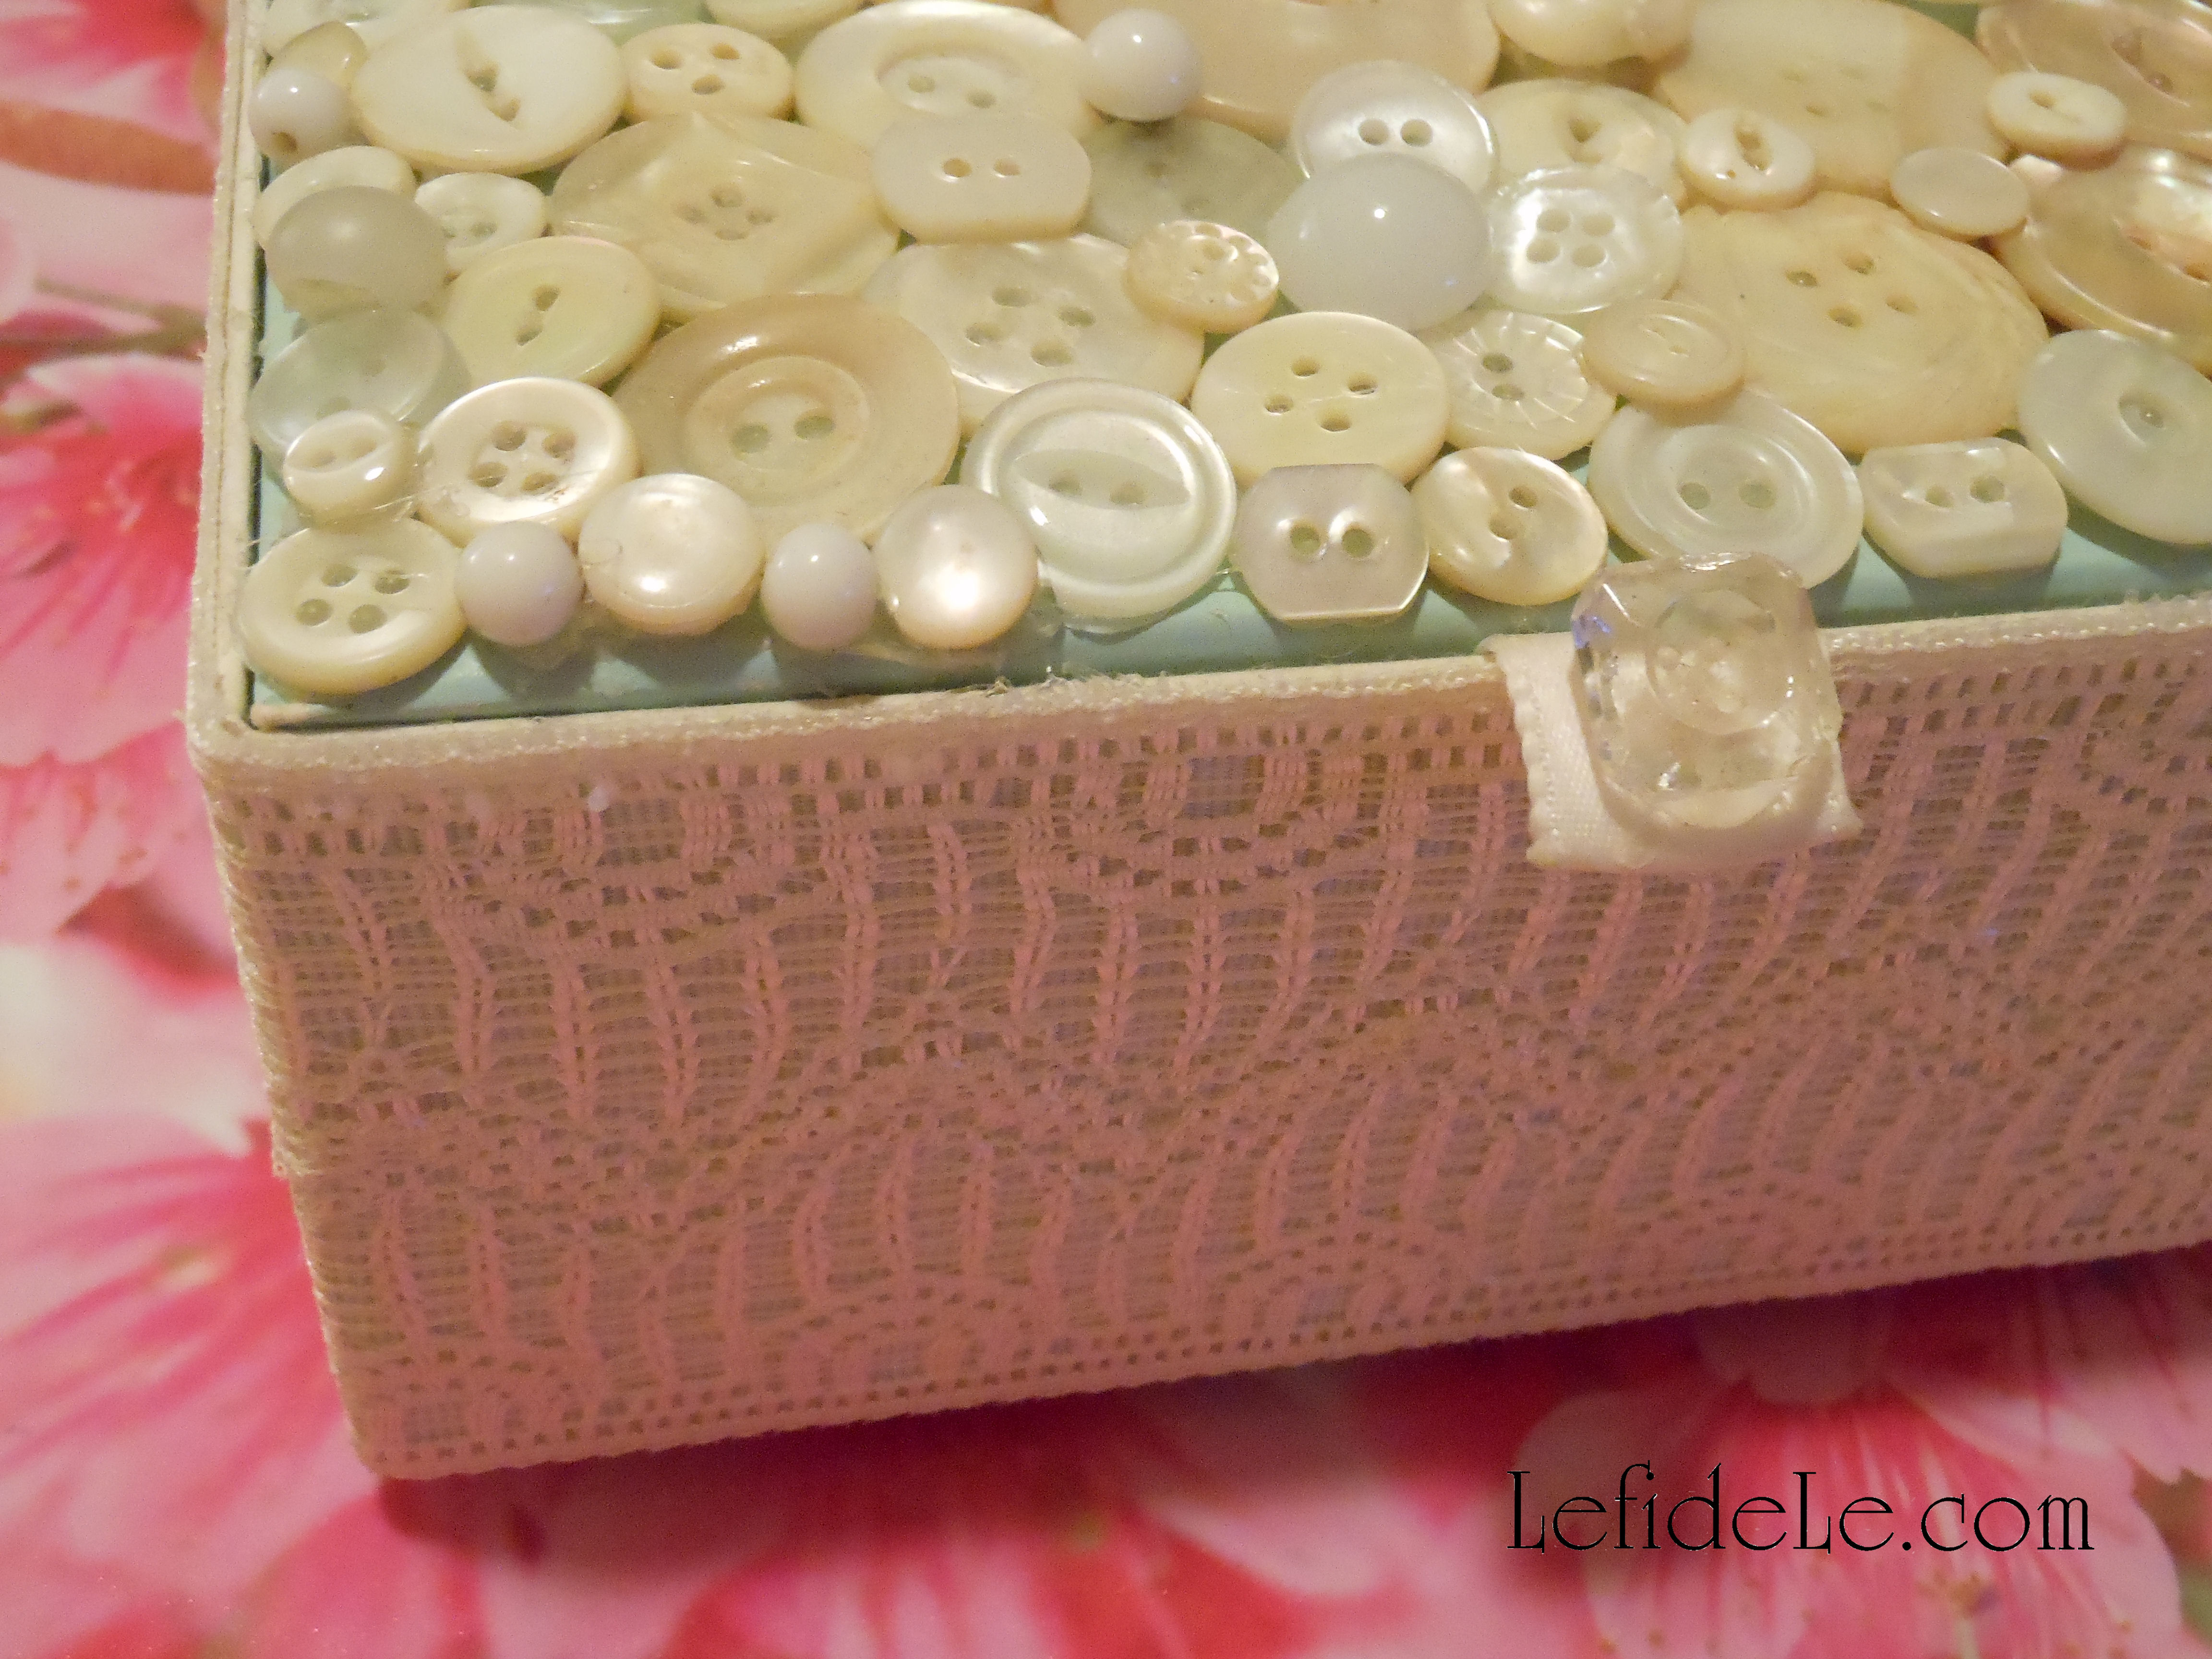
To finish it, I simply inverted another length of lace and glued it all the way around as well.

001Leigh

It looks so much more finished now, so I am happy to present the new and improved version back to my grandmother. To make your own, upcycle any old but pretty box or paint a new paper maché one. Cover it with vintage buttons or newly purchased ones. Glue on silicone or wooden feet. It’s an easy project that makes a beautiful gift.

128Leigh

Now you’re on your way to a fantastic Mother’s Day!

Faithfully Yours,

Leigh

P.S. Get free printable cards and invitations, plus see the napkin rings and box placed in the whole Tea here: Spring Garden Mother’s Day Tea Party Tablescape Décor Ideas (+ Free Printable Card & Invitation)

DIY Mixed Media Wicked Witch Halloween Statement Necklace

010Leigh

This craft originated from an invitation to a huge Halloween costumed charity ball that I donated some artwork to. I wanted to wear an ‘80’s era green velvet frock with princess sleeves and a full skirt, but I just didn’t feel like wearing a crown. So I decided to toughen up the look with black leather boots and a corset belt. Then I ordered a wicked witch hat straight out of “Oz the Great and Powerful”, which I haven’t even seen yet. I even added a beaded black broom, but all of that still couldn’t counteract the sweetness of the dress and my Glinda-the-good-witch curls. What I needed was a wicked witch statement necklace!

01Leigh

Making mixed media jewelry is a fun process that really unleashes the creative spirit because there are really no rules to follow, so there’s no messing it up. One begins with the gathering of any and all material that could possibly coordinate. I used vintage pendants, earrings, and beads alongside newer elements. Craft stores sell many items that have a vintage look if you don’t have any at hand. You can always lay out a design at home and then return anything unused.

9Leigh

I filled a corked glass bottle with fine black glitter to simulate magic potion. Then I placed black and clear seed beads onto eyepins (= short hard wires with a crook at one end) and added shell star beads. (In future articles, I will explain more about beading for those of you who haven’t tried this rewarding activity.) I also added stars to other elements like moon and spider-web pendants with jumprings (= metal circles with single cuts).

4Leigh

Next I cut out 2 spooky pictures from a Spanish bingo game. They would soon become beads.

6Leigh

I placed clear and black crystals on the tiny game cards and squeezed on “Plaid Mod Podge Dimensional Magic”. The liquid dries clear and to the touch in a few hours, and cures by the next day.

12Leigh

Adding crystals and liquid “magic” seemed appropriate for the project, so I continued with other elements that needed further embellishment.

10Leigh

I even used it in lieu of glue to add crystals and seal the top of the glitter vial. I then attached the beaded eyepins and a jumpring to a strand of leather wrapped around the vial. (This alone could have been attached to a chain as a necklace in its own right.)

11Leigh

I glued more crystals onto tiny black doilies with Elmer’s Ultra Stix-all (which dries clear). This symbolizes spiders on their webs. Jumprings then turned them into beads.

14Leigh

Again, I used Stix-all in the hope that it would indeed stick all materials. I added two clear seed beads to each eyepin then coiled the rest of the length of it. The skinny black feathers were glued inside of that. The following day, I was thrilled to find my feather bead idea had worked!

021Leigh

To determine the necklace’s length, I draped chain around my neck, pulled it to the right size, and then cut the length I wanted. There are standard necklace lengths, but this time I winged it because this was my own custom piece. I wove leather cording through every fifth link, and repeated with silk cording in the links preceding those. The ends can then be cut without even having to measure anything.

22Leigh

I slid a jumpring onto each end, folding over the strands, and wrapped it all in metal wire. An eyepin may also be used if you cut off the looped end. Attach any closure you like. I used a “lobster” clasp.

20Leigh

This is perfect place to use any pretty little ribbons from leftover projects. I cut four inch lengths of new velvet and metallic ribbons. I also cut a couple of roses from some black netted fabric trim. I had never tried this before either, but it worked beautifully to slide jumprings through the netting. I also bent the posts (of a pair of vintage black rose earrings) to make loops to slide onto those same jumprings. They made a kind of baby rosette bead for additional decoration. Remember that statement necklaces are supposed to be over-the-top!

23Leigh

I tied ribbons over the wired cord ends to keep them from snagging my hair. This worked so well that I’m considering wrapping ribbon onto some of my old necklaces.

27Leigh

With all of the elements now ready, I laid out my construction scheme. I played with the look, moving items around until they seemed balanced yet still asymmetrical.

67Leigh

I attached my largest and heaviest items toward the bottom first (like a small carved quartz crystal skull). I worked my way down in element size from there.

075Leigh

After that, I closed jumprings into vintage crystal buttons to make fabulous beads. I filled any gaps with shell stars. This helped to maintain continuity throughout the piece.

65Leigh

Lastly, I added the feather beads with the direction of their natural curves following the drape of the necklace.

61HalloweenNecklace-Leigh

You can use these ideas to make any genre of mixed media necklace… even a girly pink princess one, but this year, I made mine wicked!

Faithfully Yours,

Leigh