Tag Archives: Banner

DIY July 4th Denim No-Sew Appliqué Collage Star-Spangled Banner Craft Tutorial for Independence Day

163Leigh

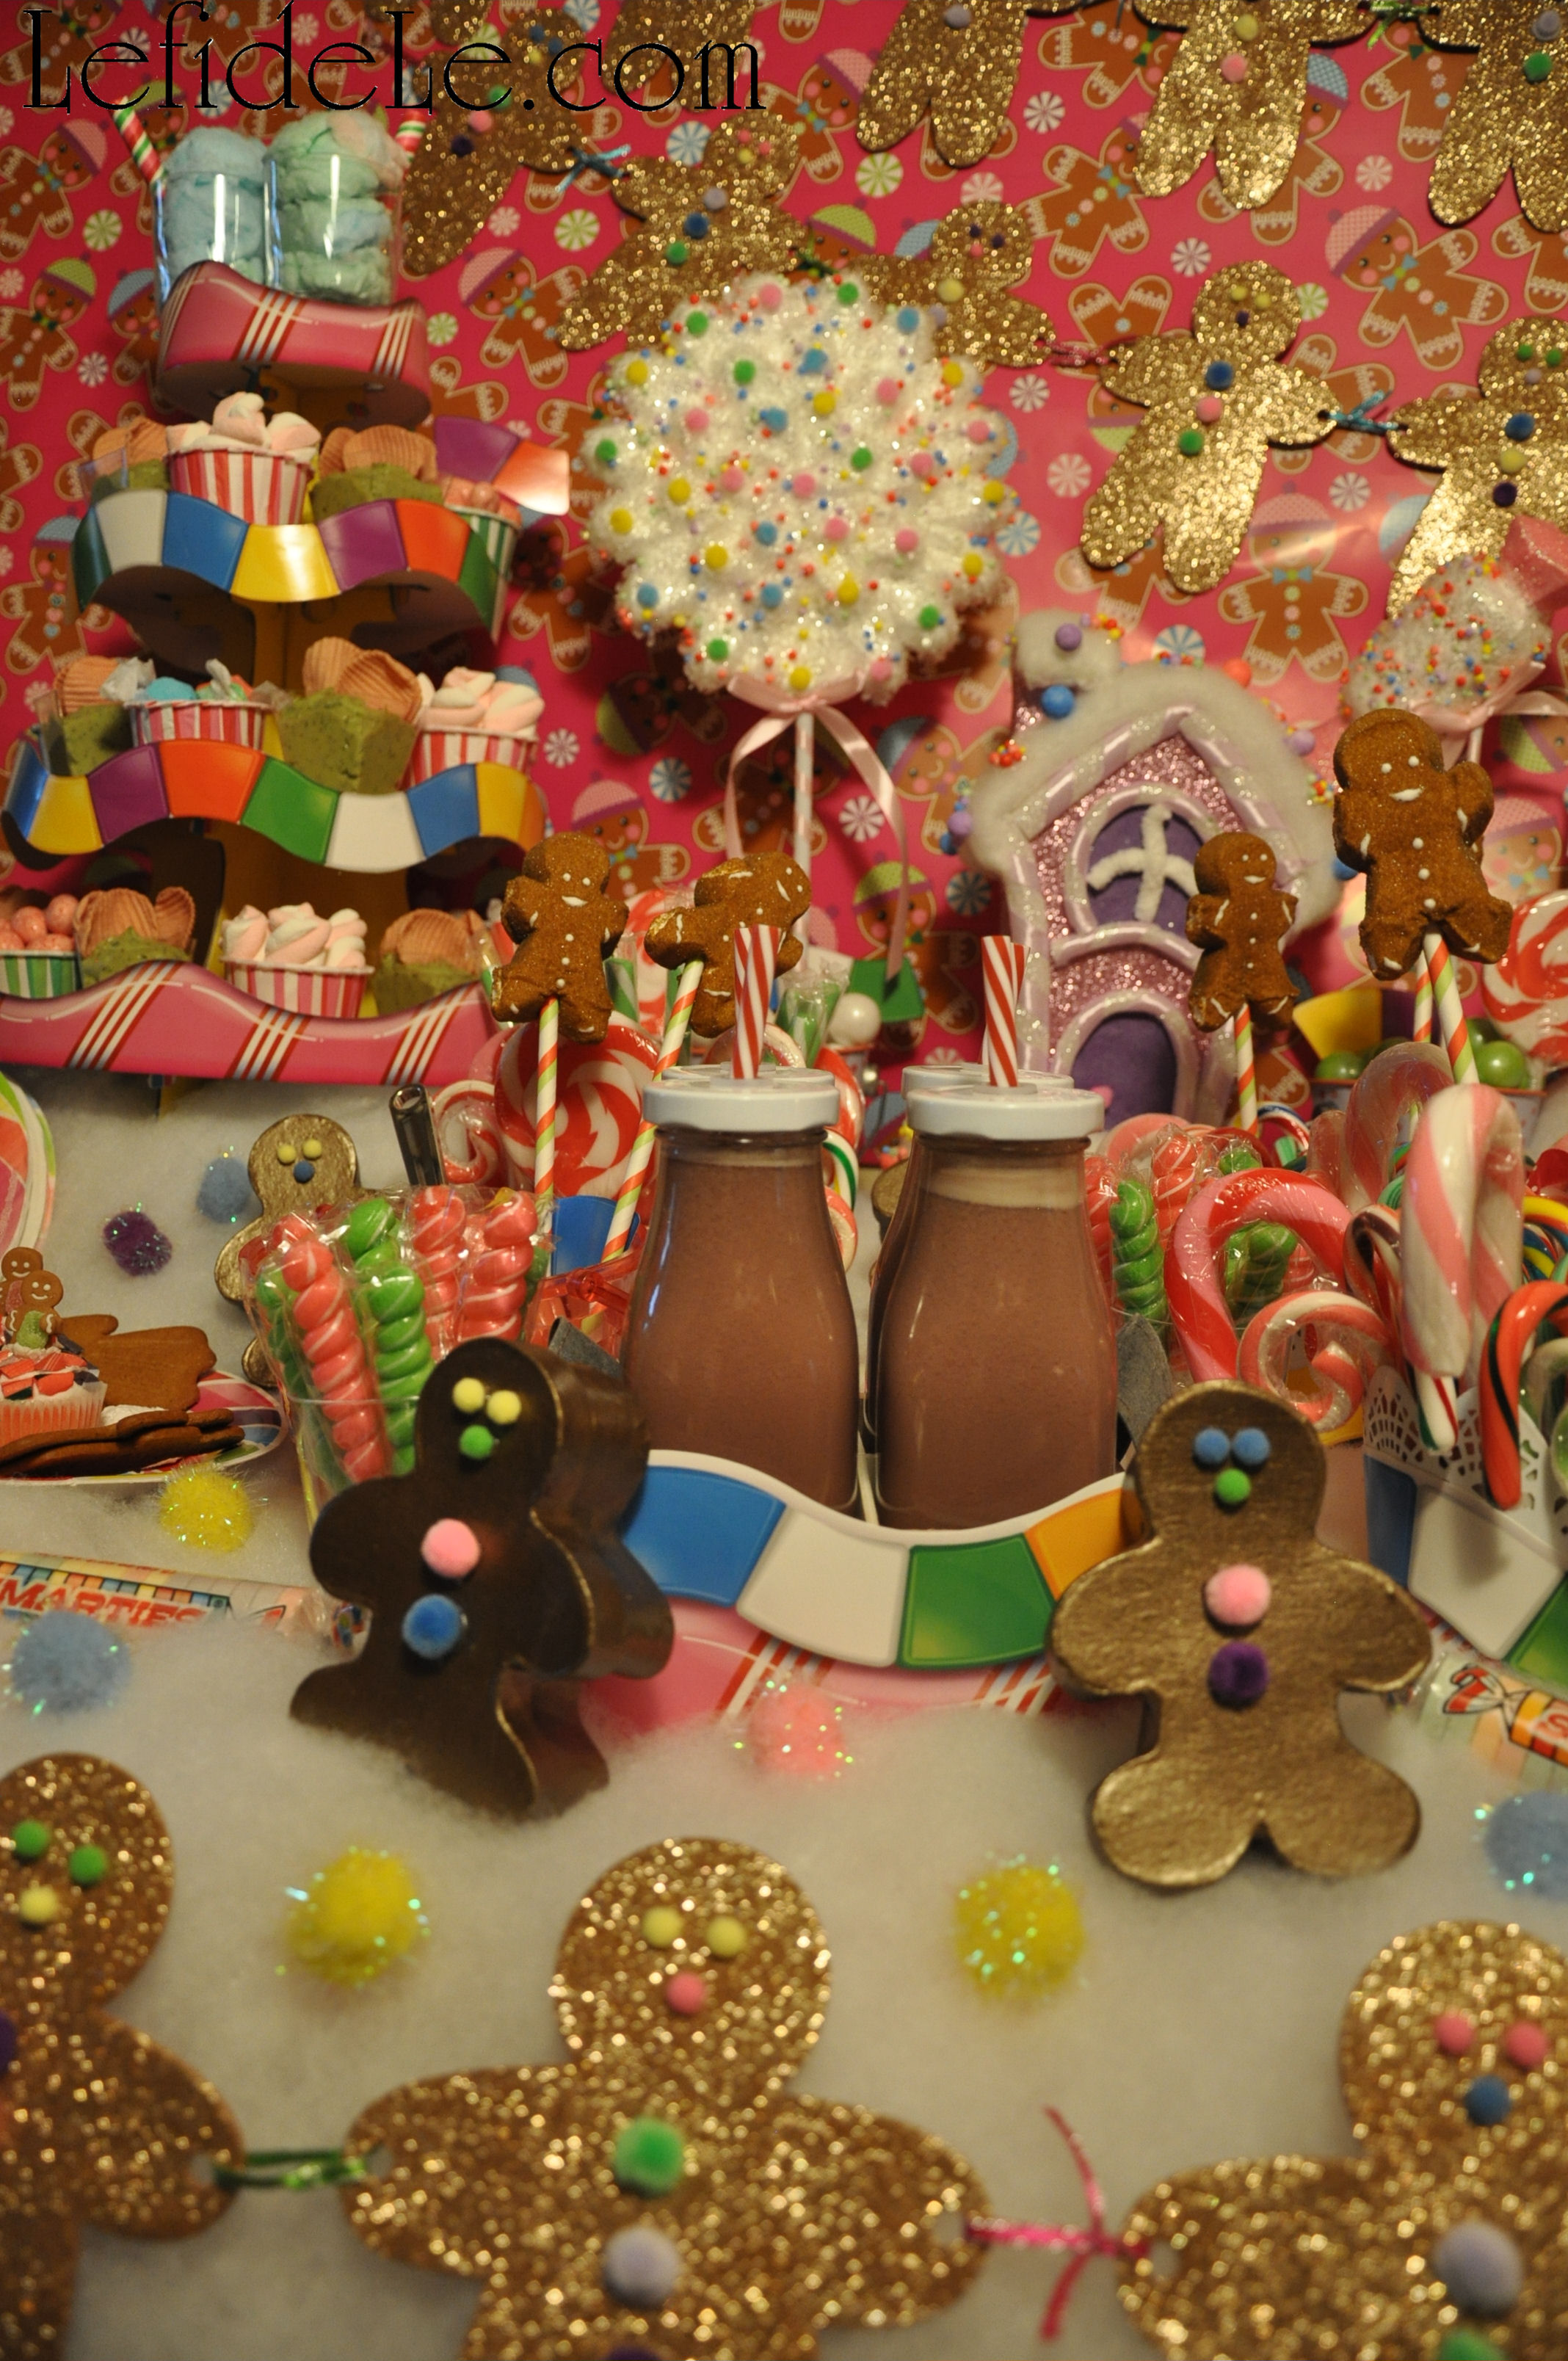
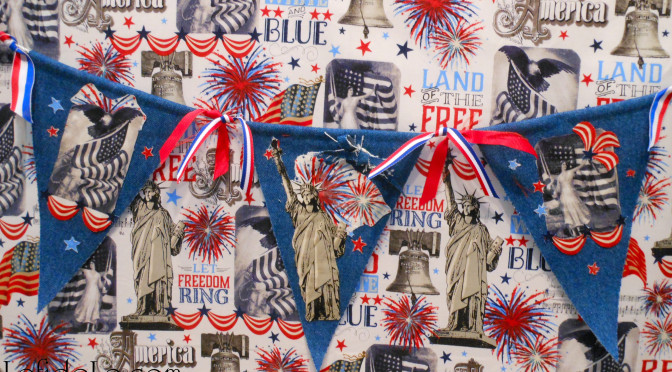
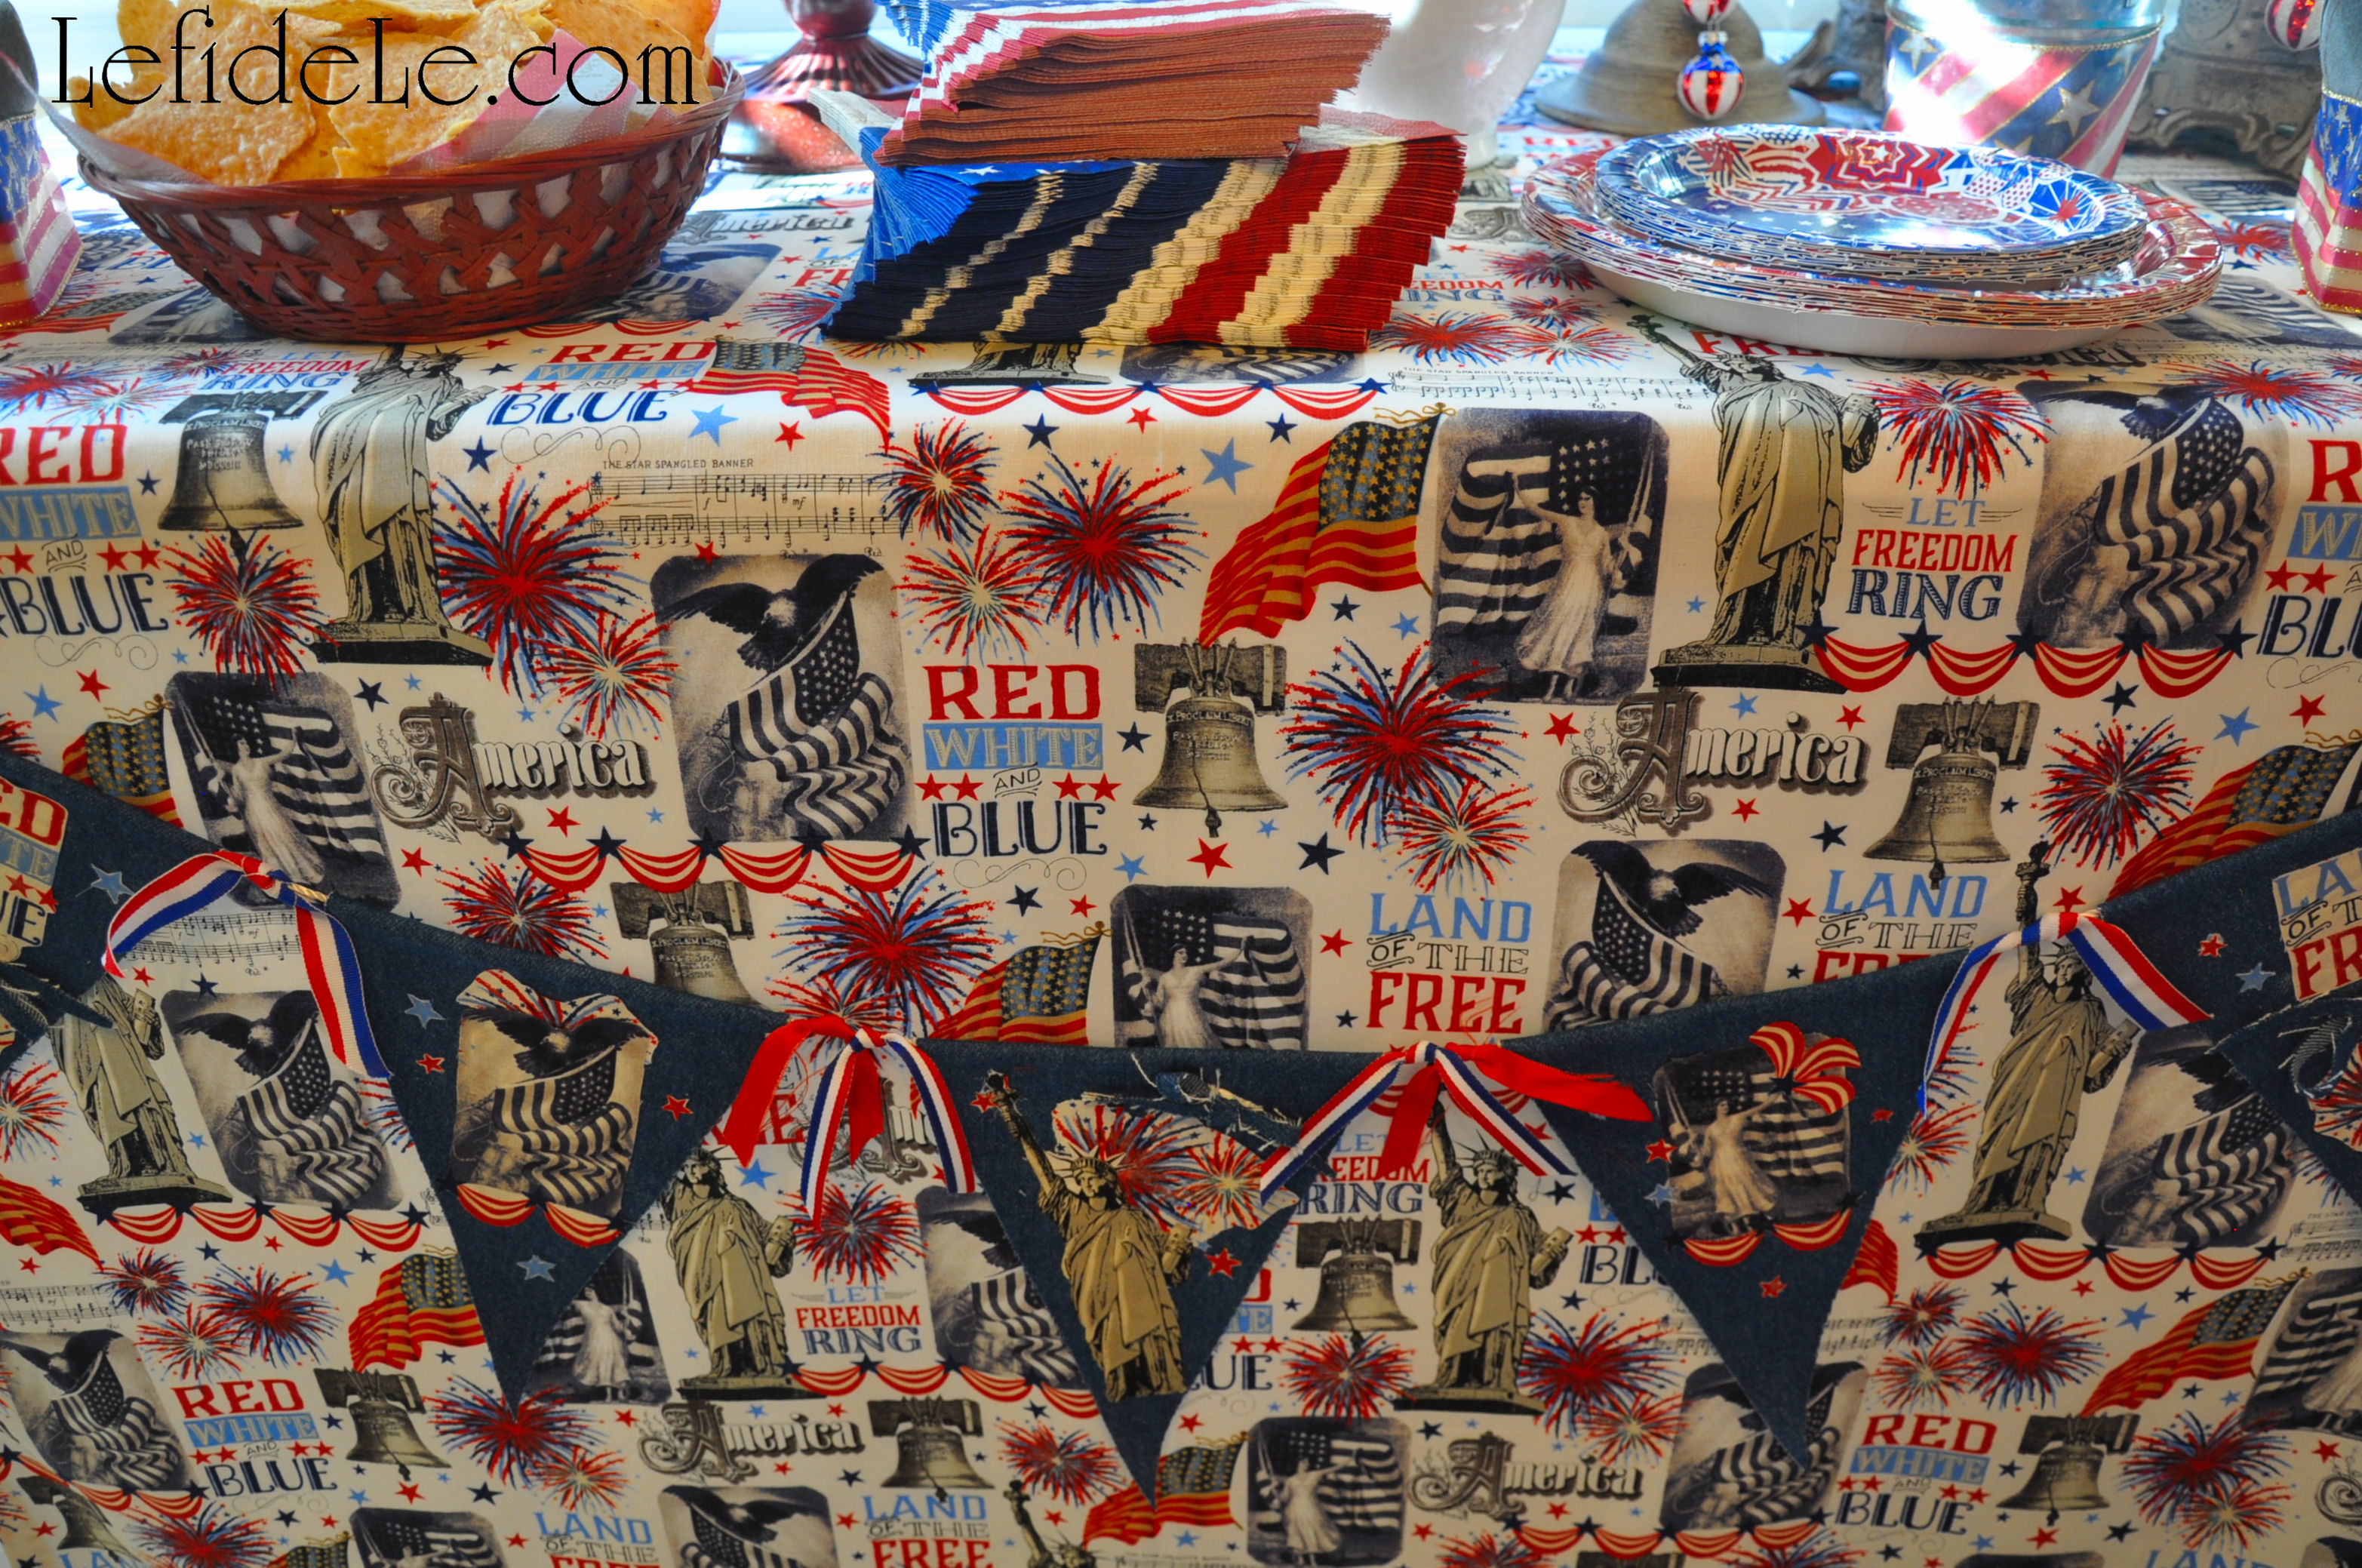
Inspired by our glorious national anthem, I set out to construct my own star-spangled banner (not old glory) to wave over a modern Independence Day celebration. Making a fabric appliqué collage banner is easier than it looks, and it’s easy on the budget because it only takes a little fabric, rope, ribbon, and hot fabric glue. That’s right, glue… no sewing skills are necessary! This makes it so quick to construct, that it can be made the day before a party. Even better, no one else will have anything like it, because it’s your own one-of-a-kind work of art!

125Leigh

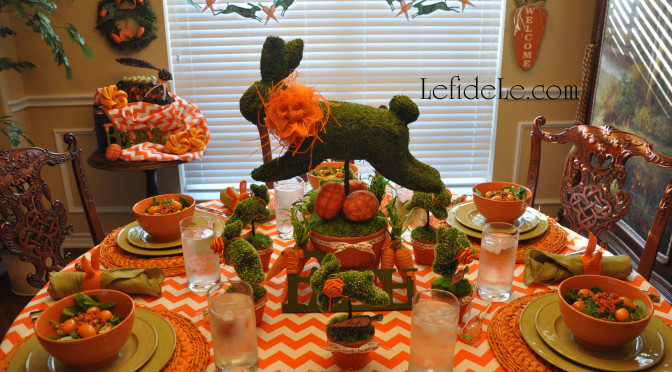
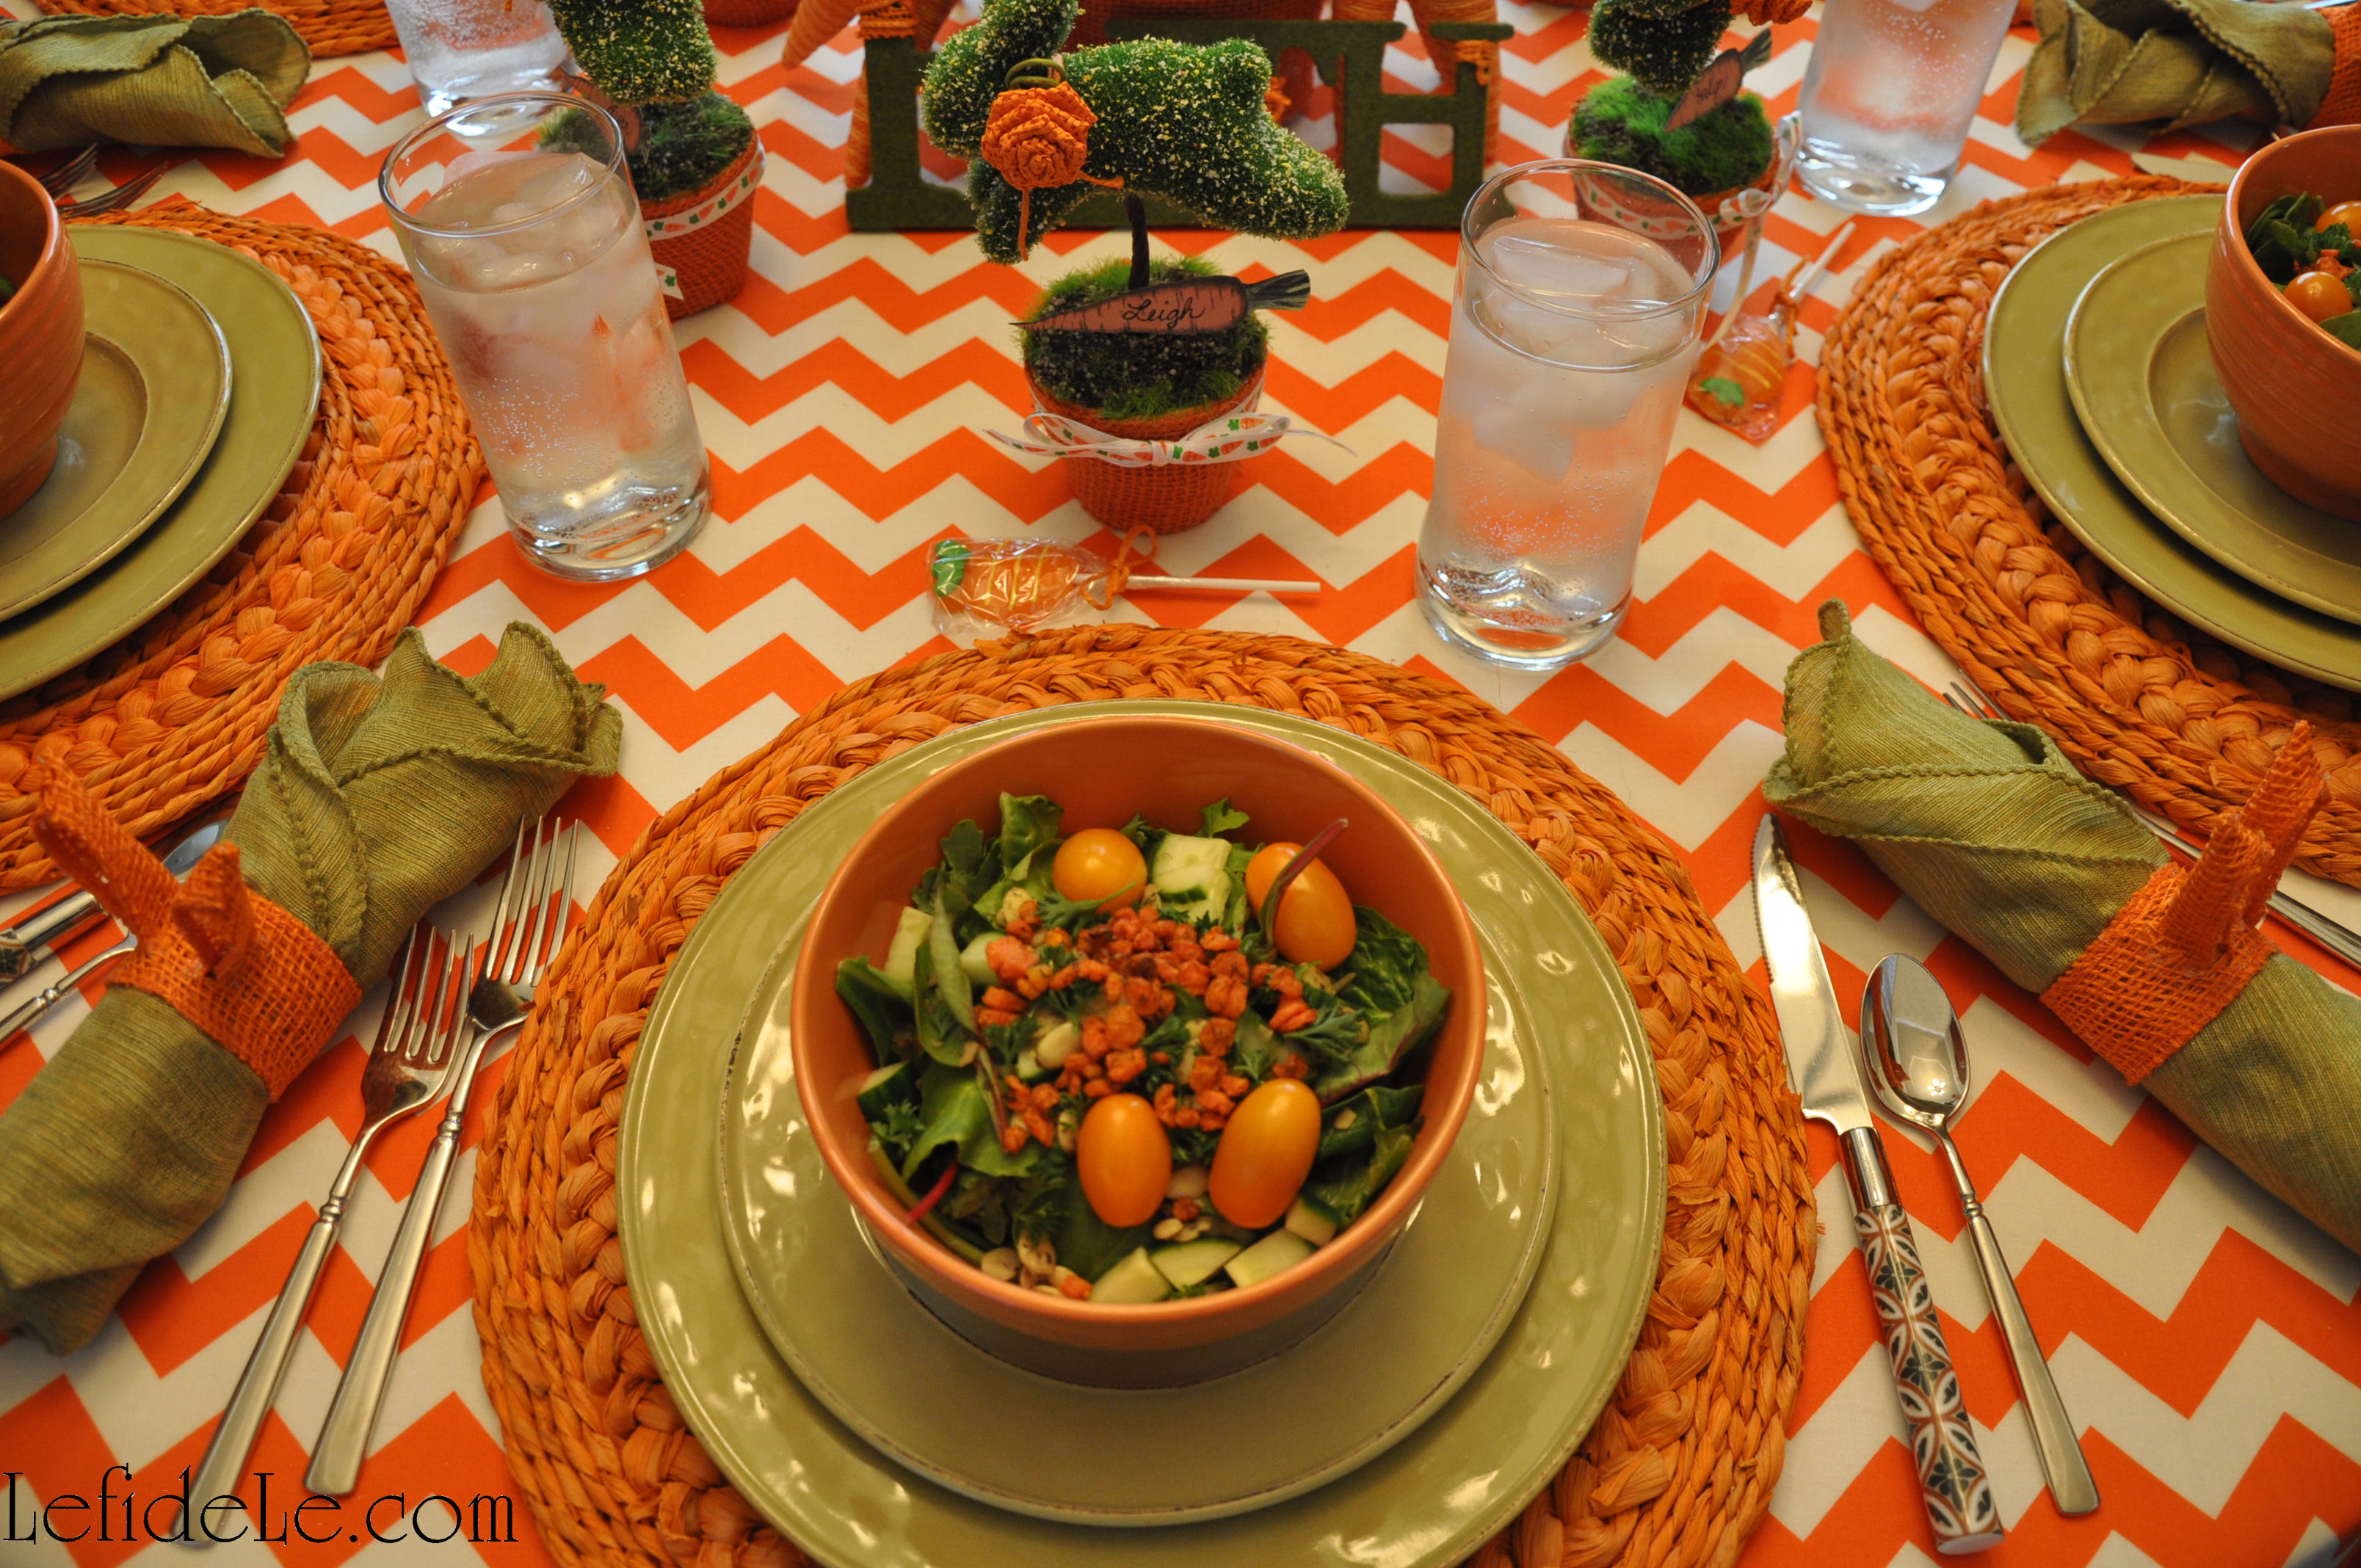
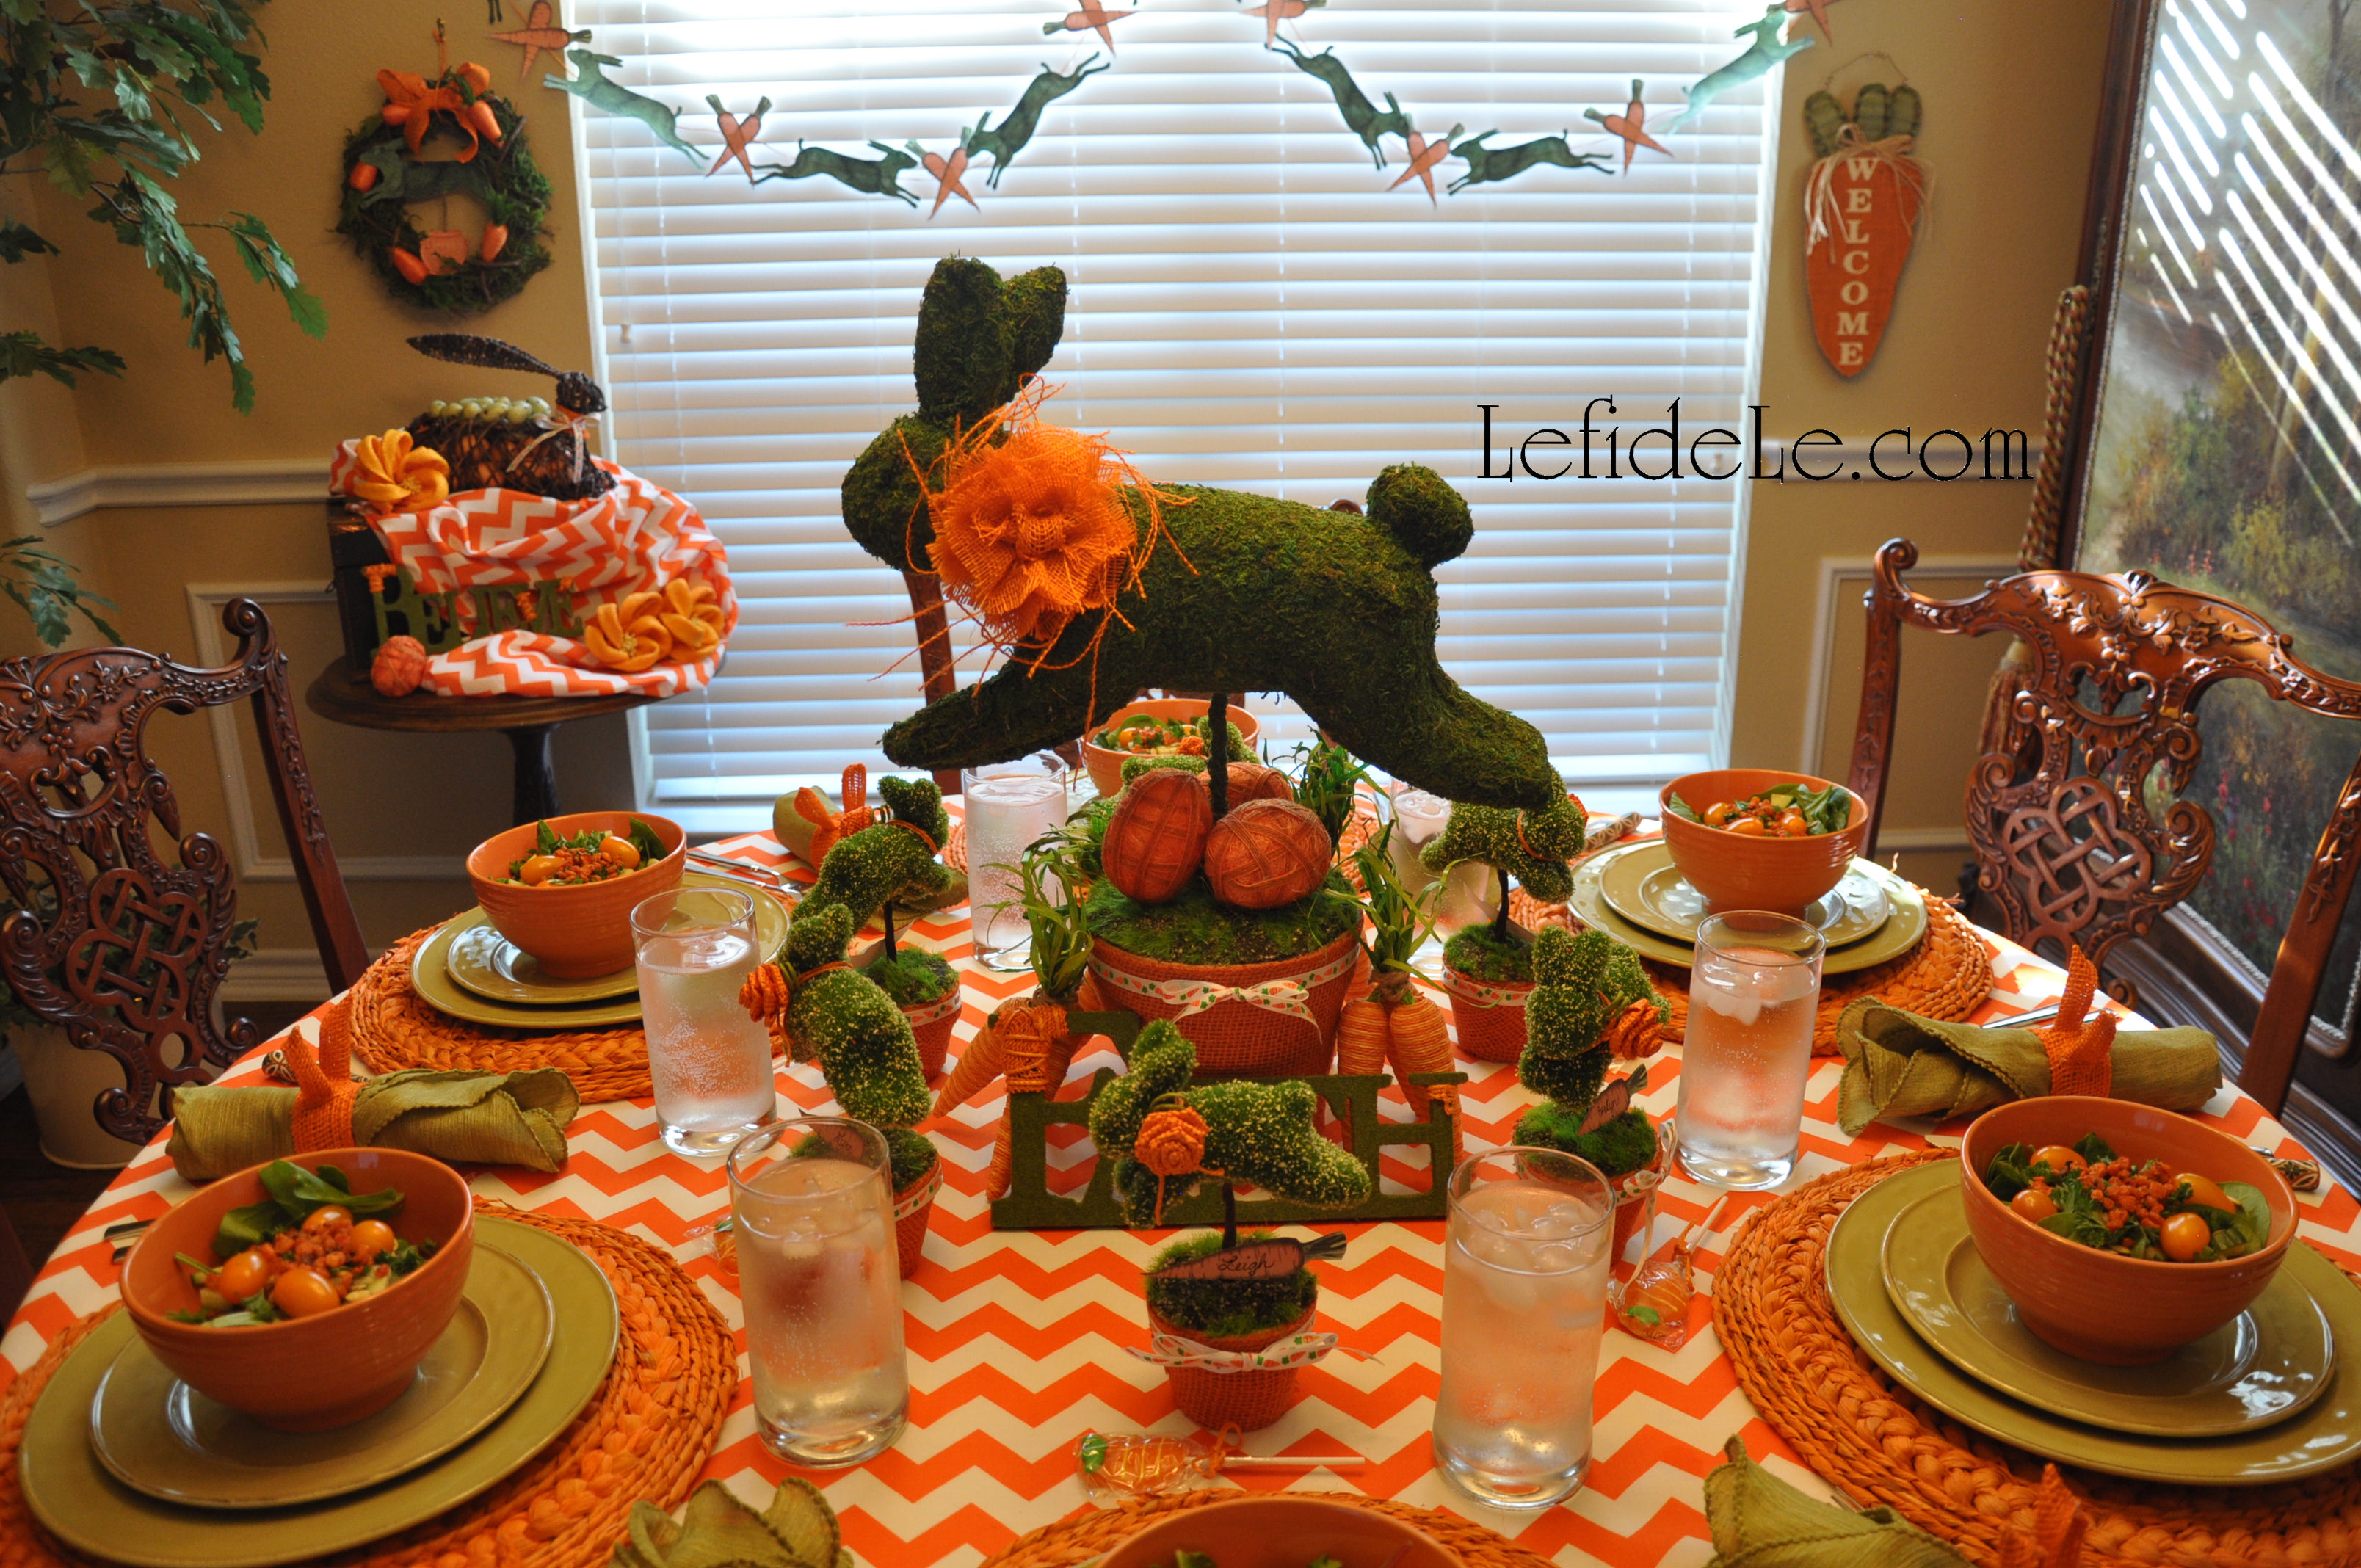
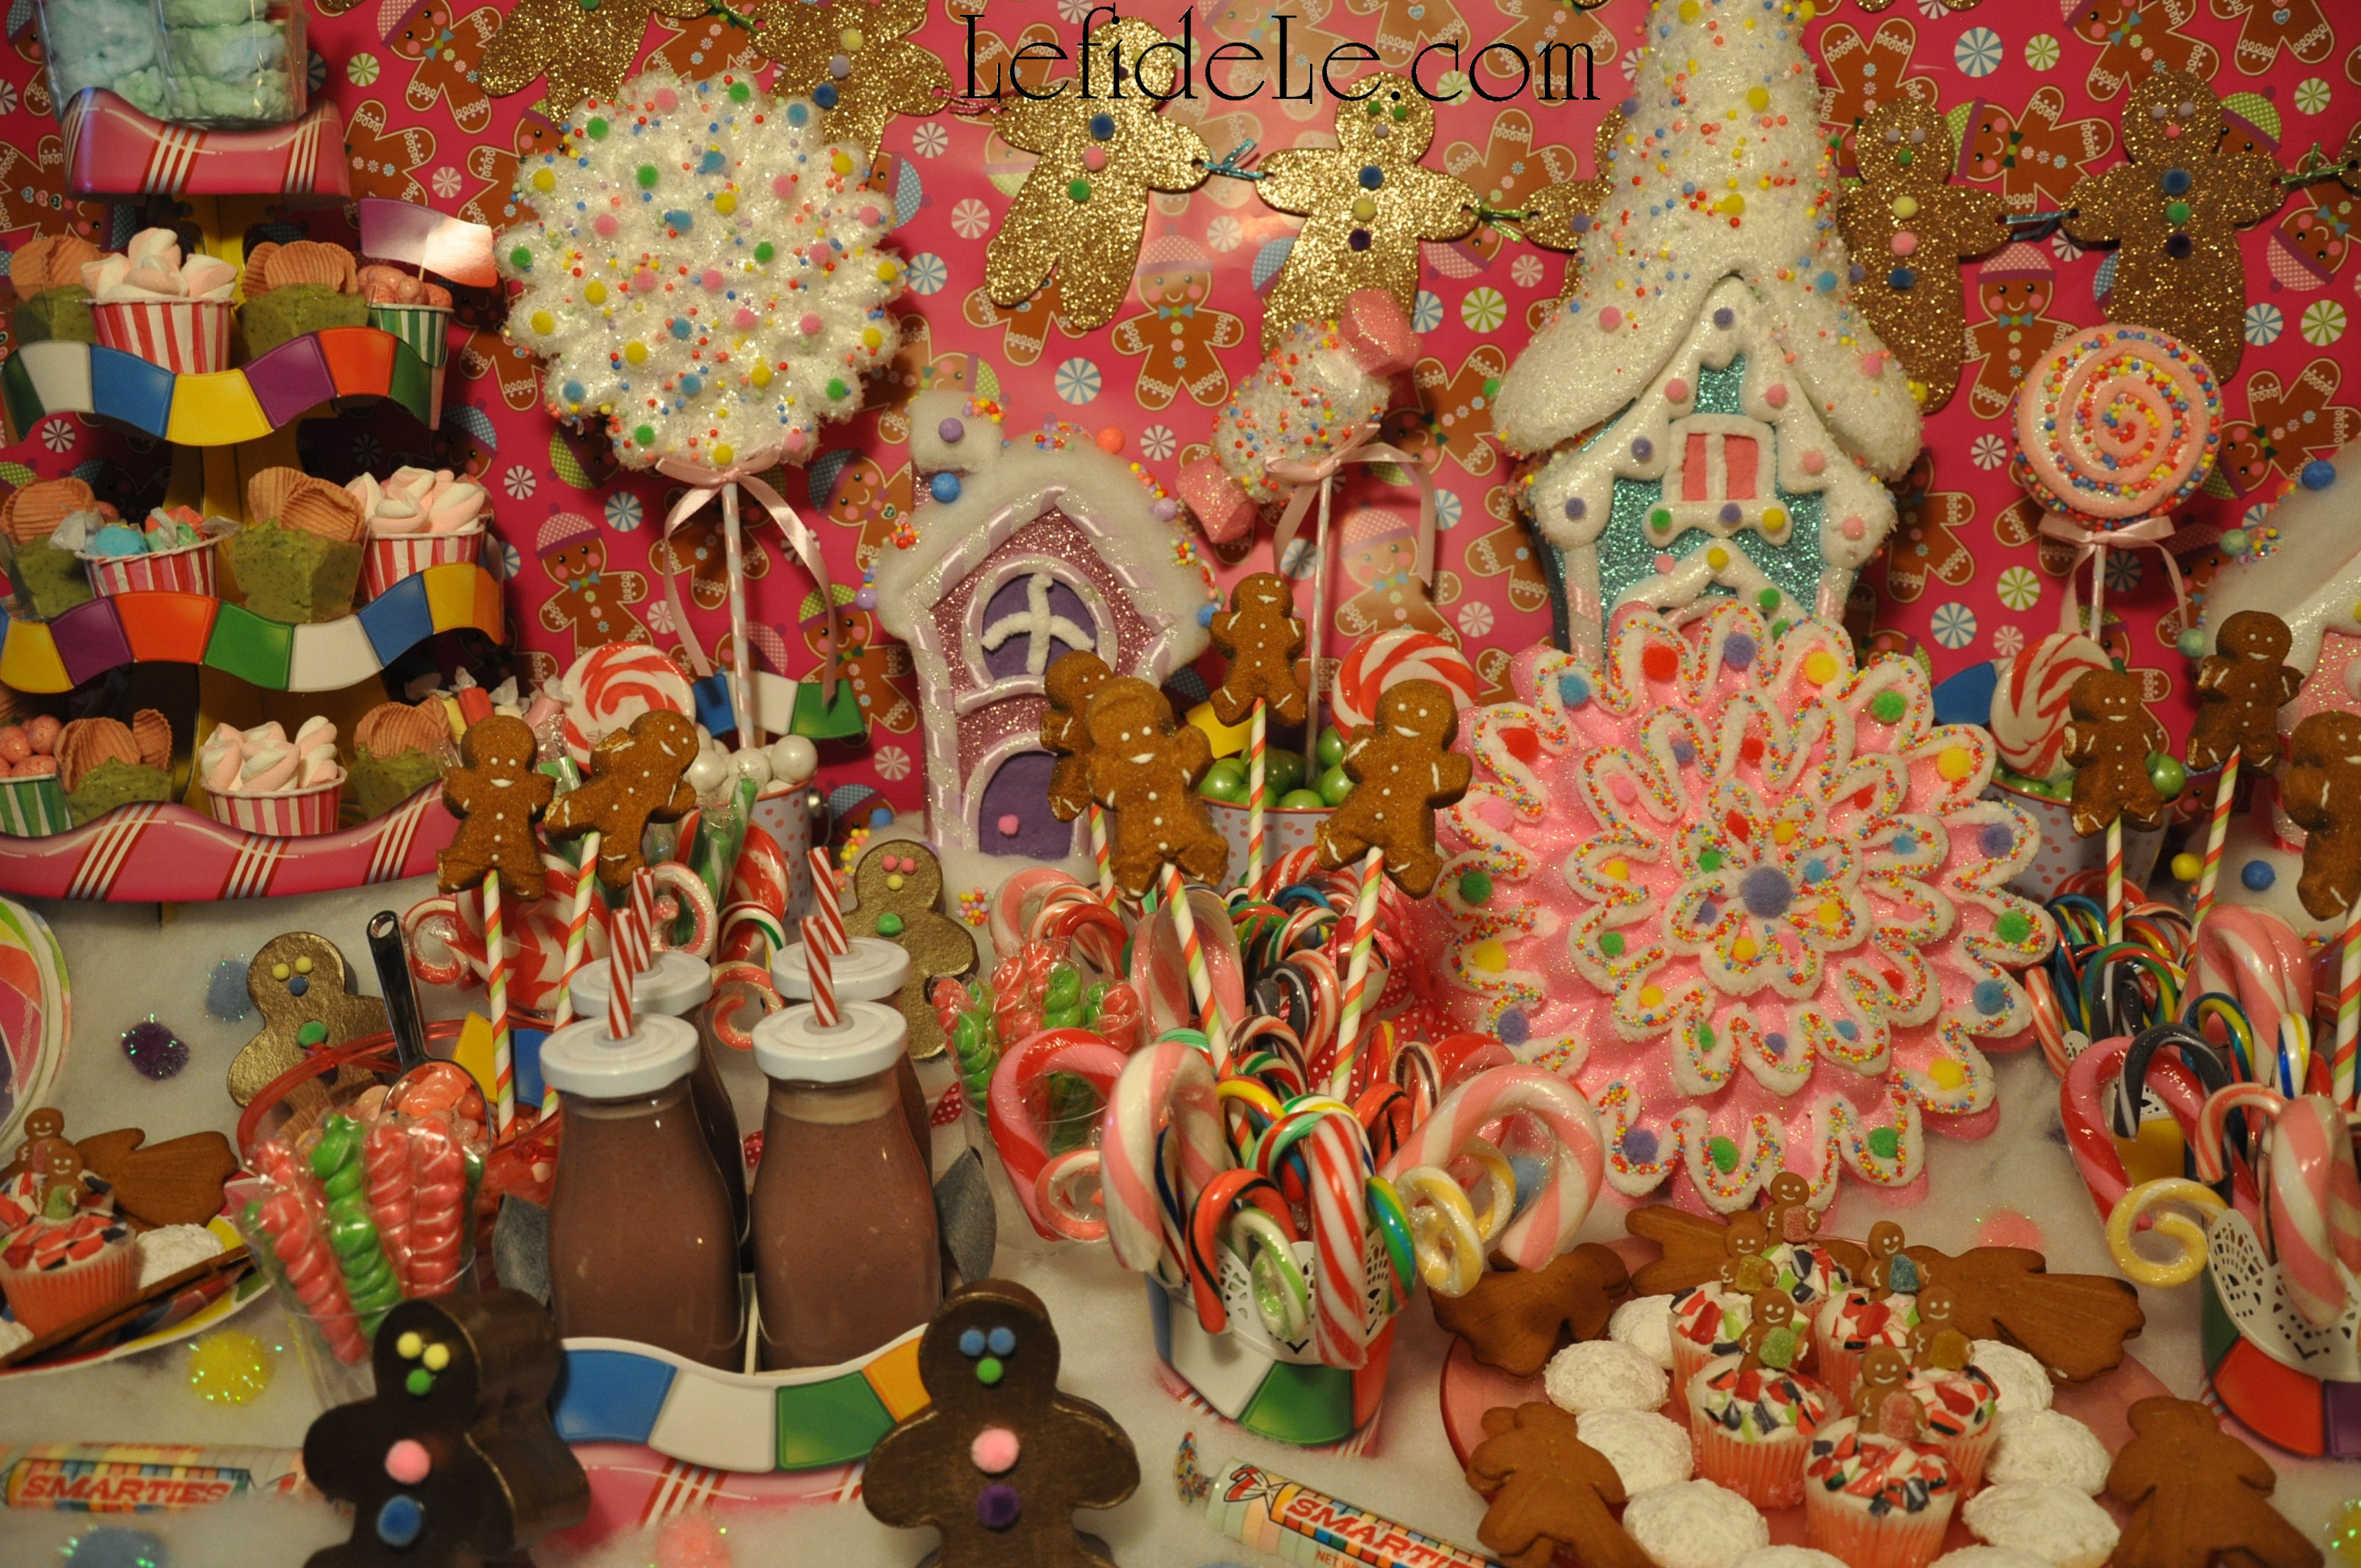
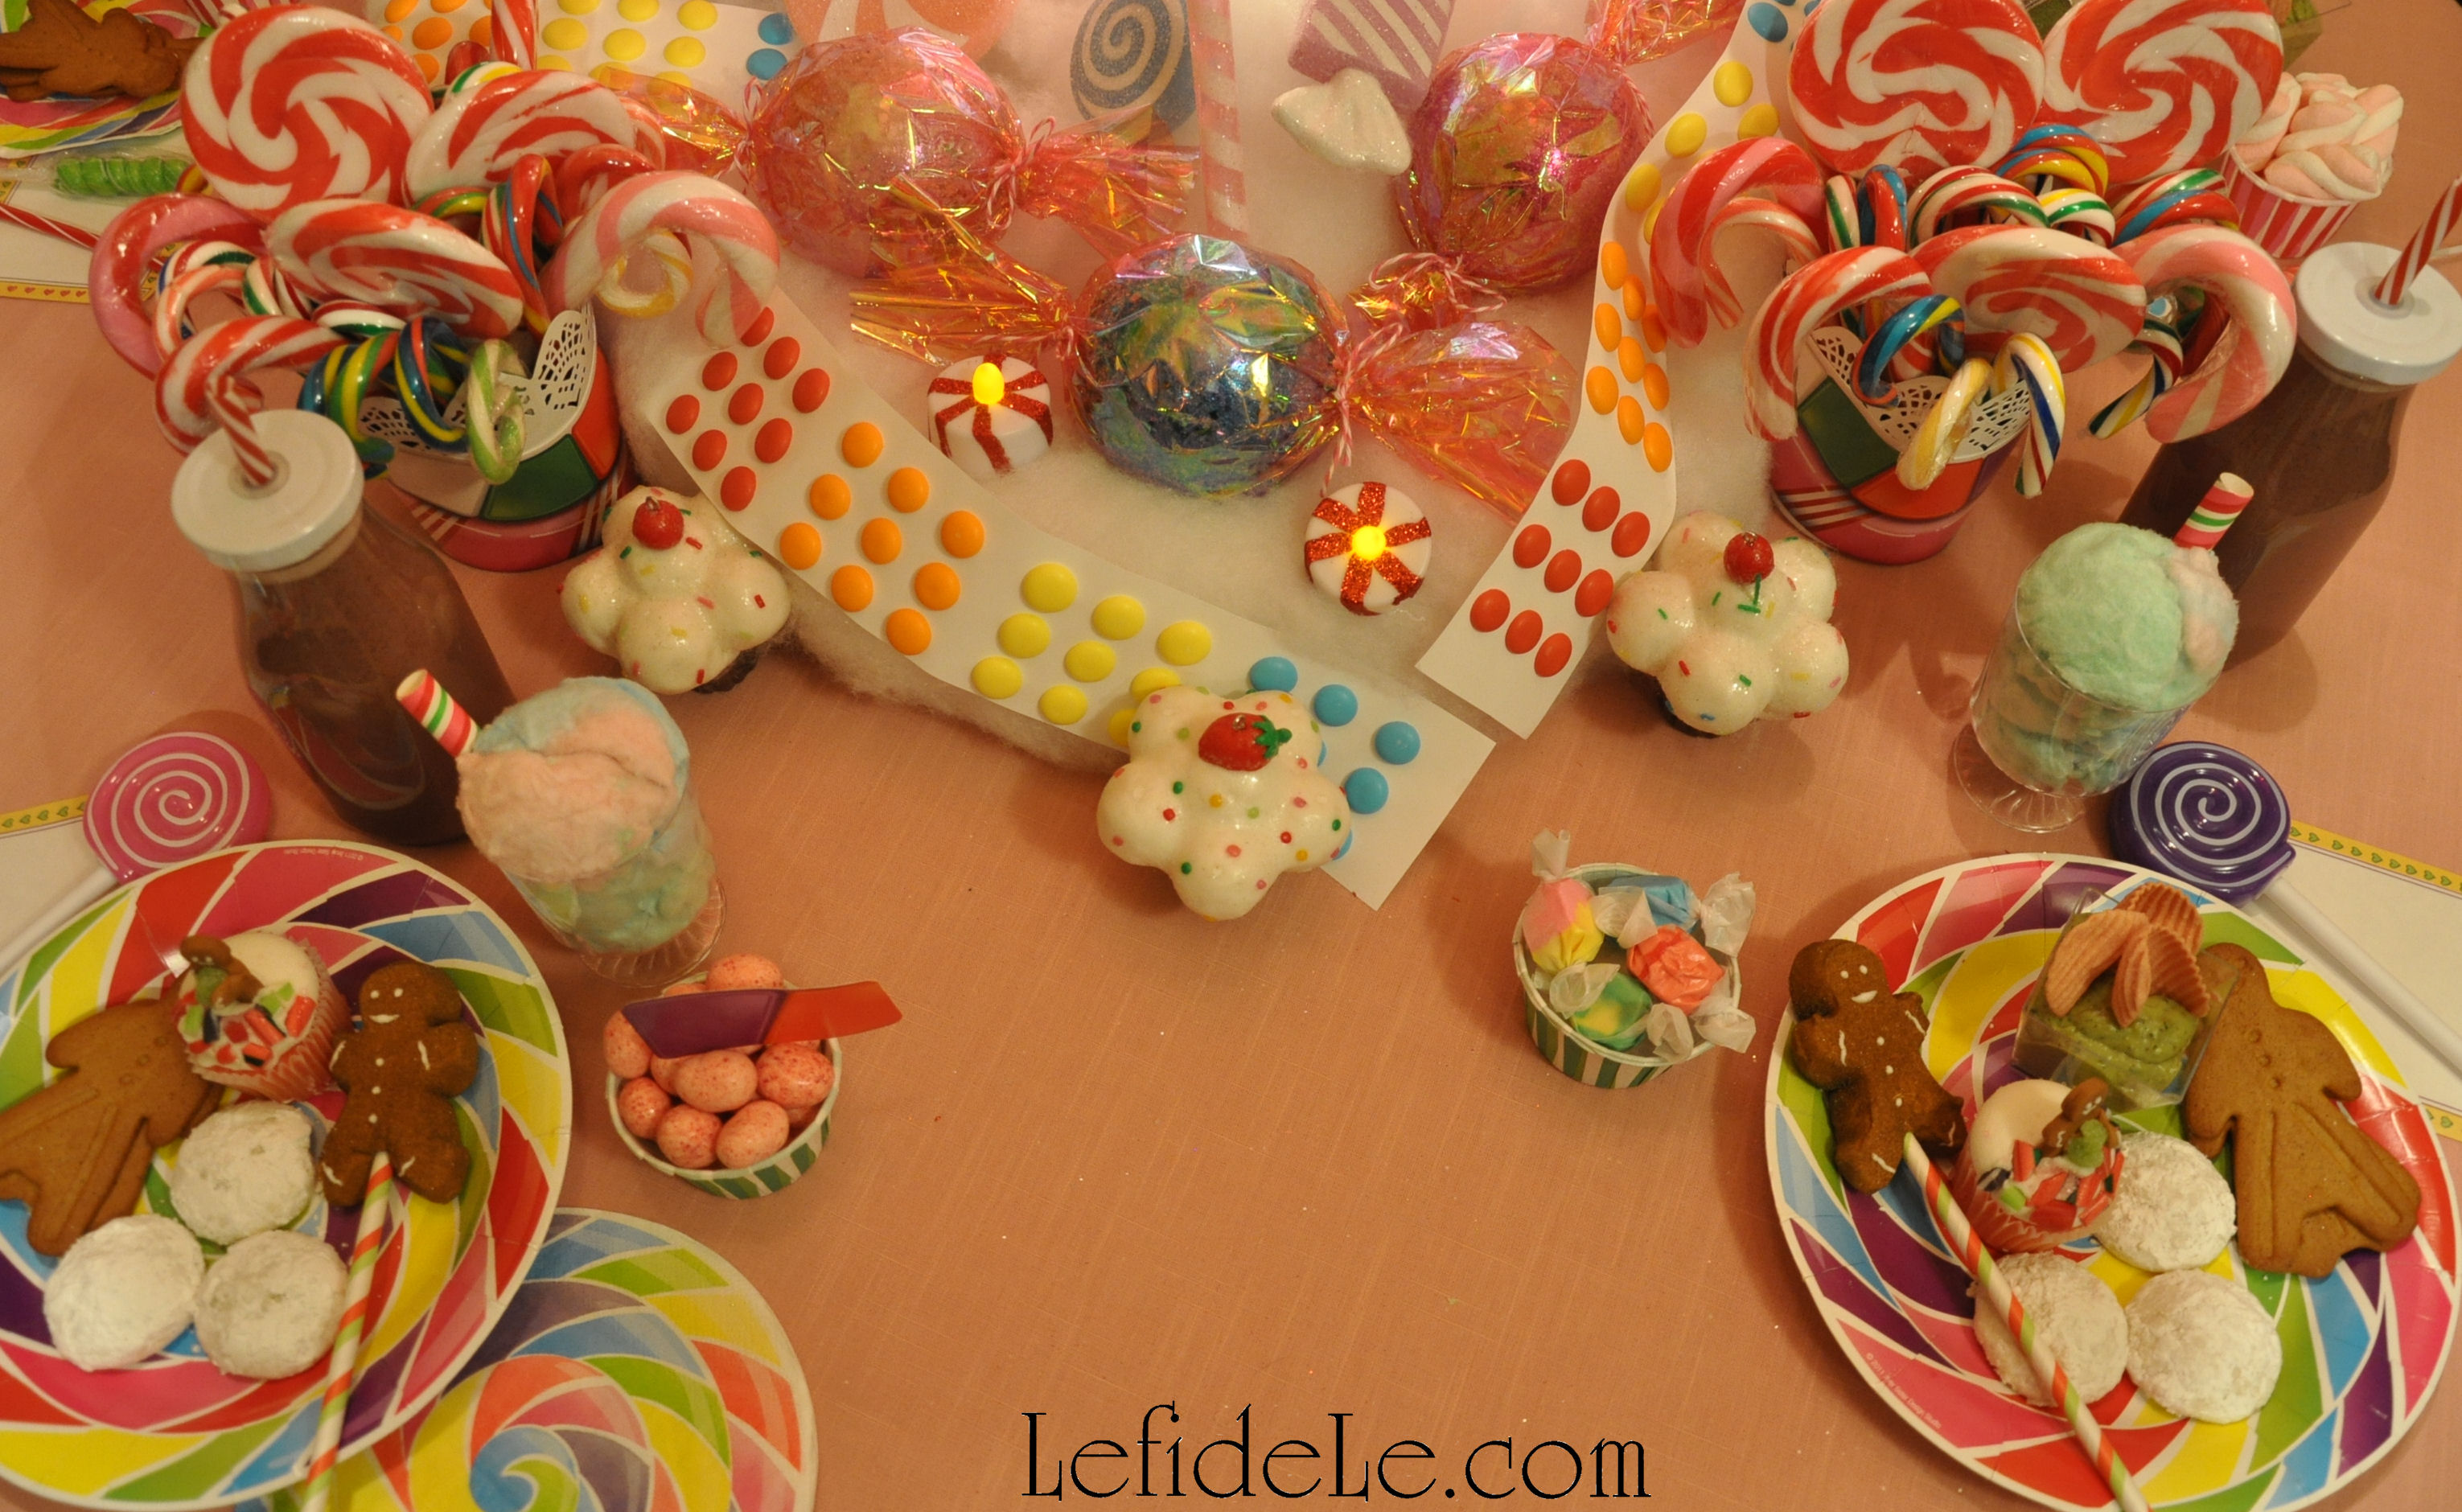
Let’s begin with fabric selection as there are a number of ways to go about this… if you have a plethora of leftover fabric scraps, all the power to you, use them! For my banner base triangles, I used old denim. (This might be the perfect project to do something useful with that old pair of jeans that hasn’t fit in, well… awhile!) You can also purchase coordinates at the fabric shops and craft stores. (See my affiliate links in the side bars as they offer great discounts from time to time.) For my appliqués, I bought a patriotic print on sale (from Le fidèLe Designs affiliate Joann / Hancock Fabrics) that was just perfect for collaging. (See more denim and patriotic print fabric completing my Star-Spangled Independence Day Party Décor as table cloths here.)

127Leigh

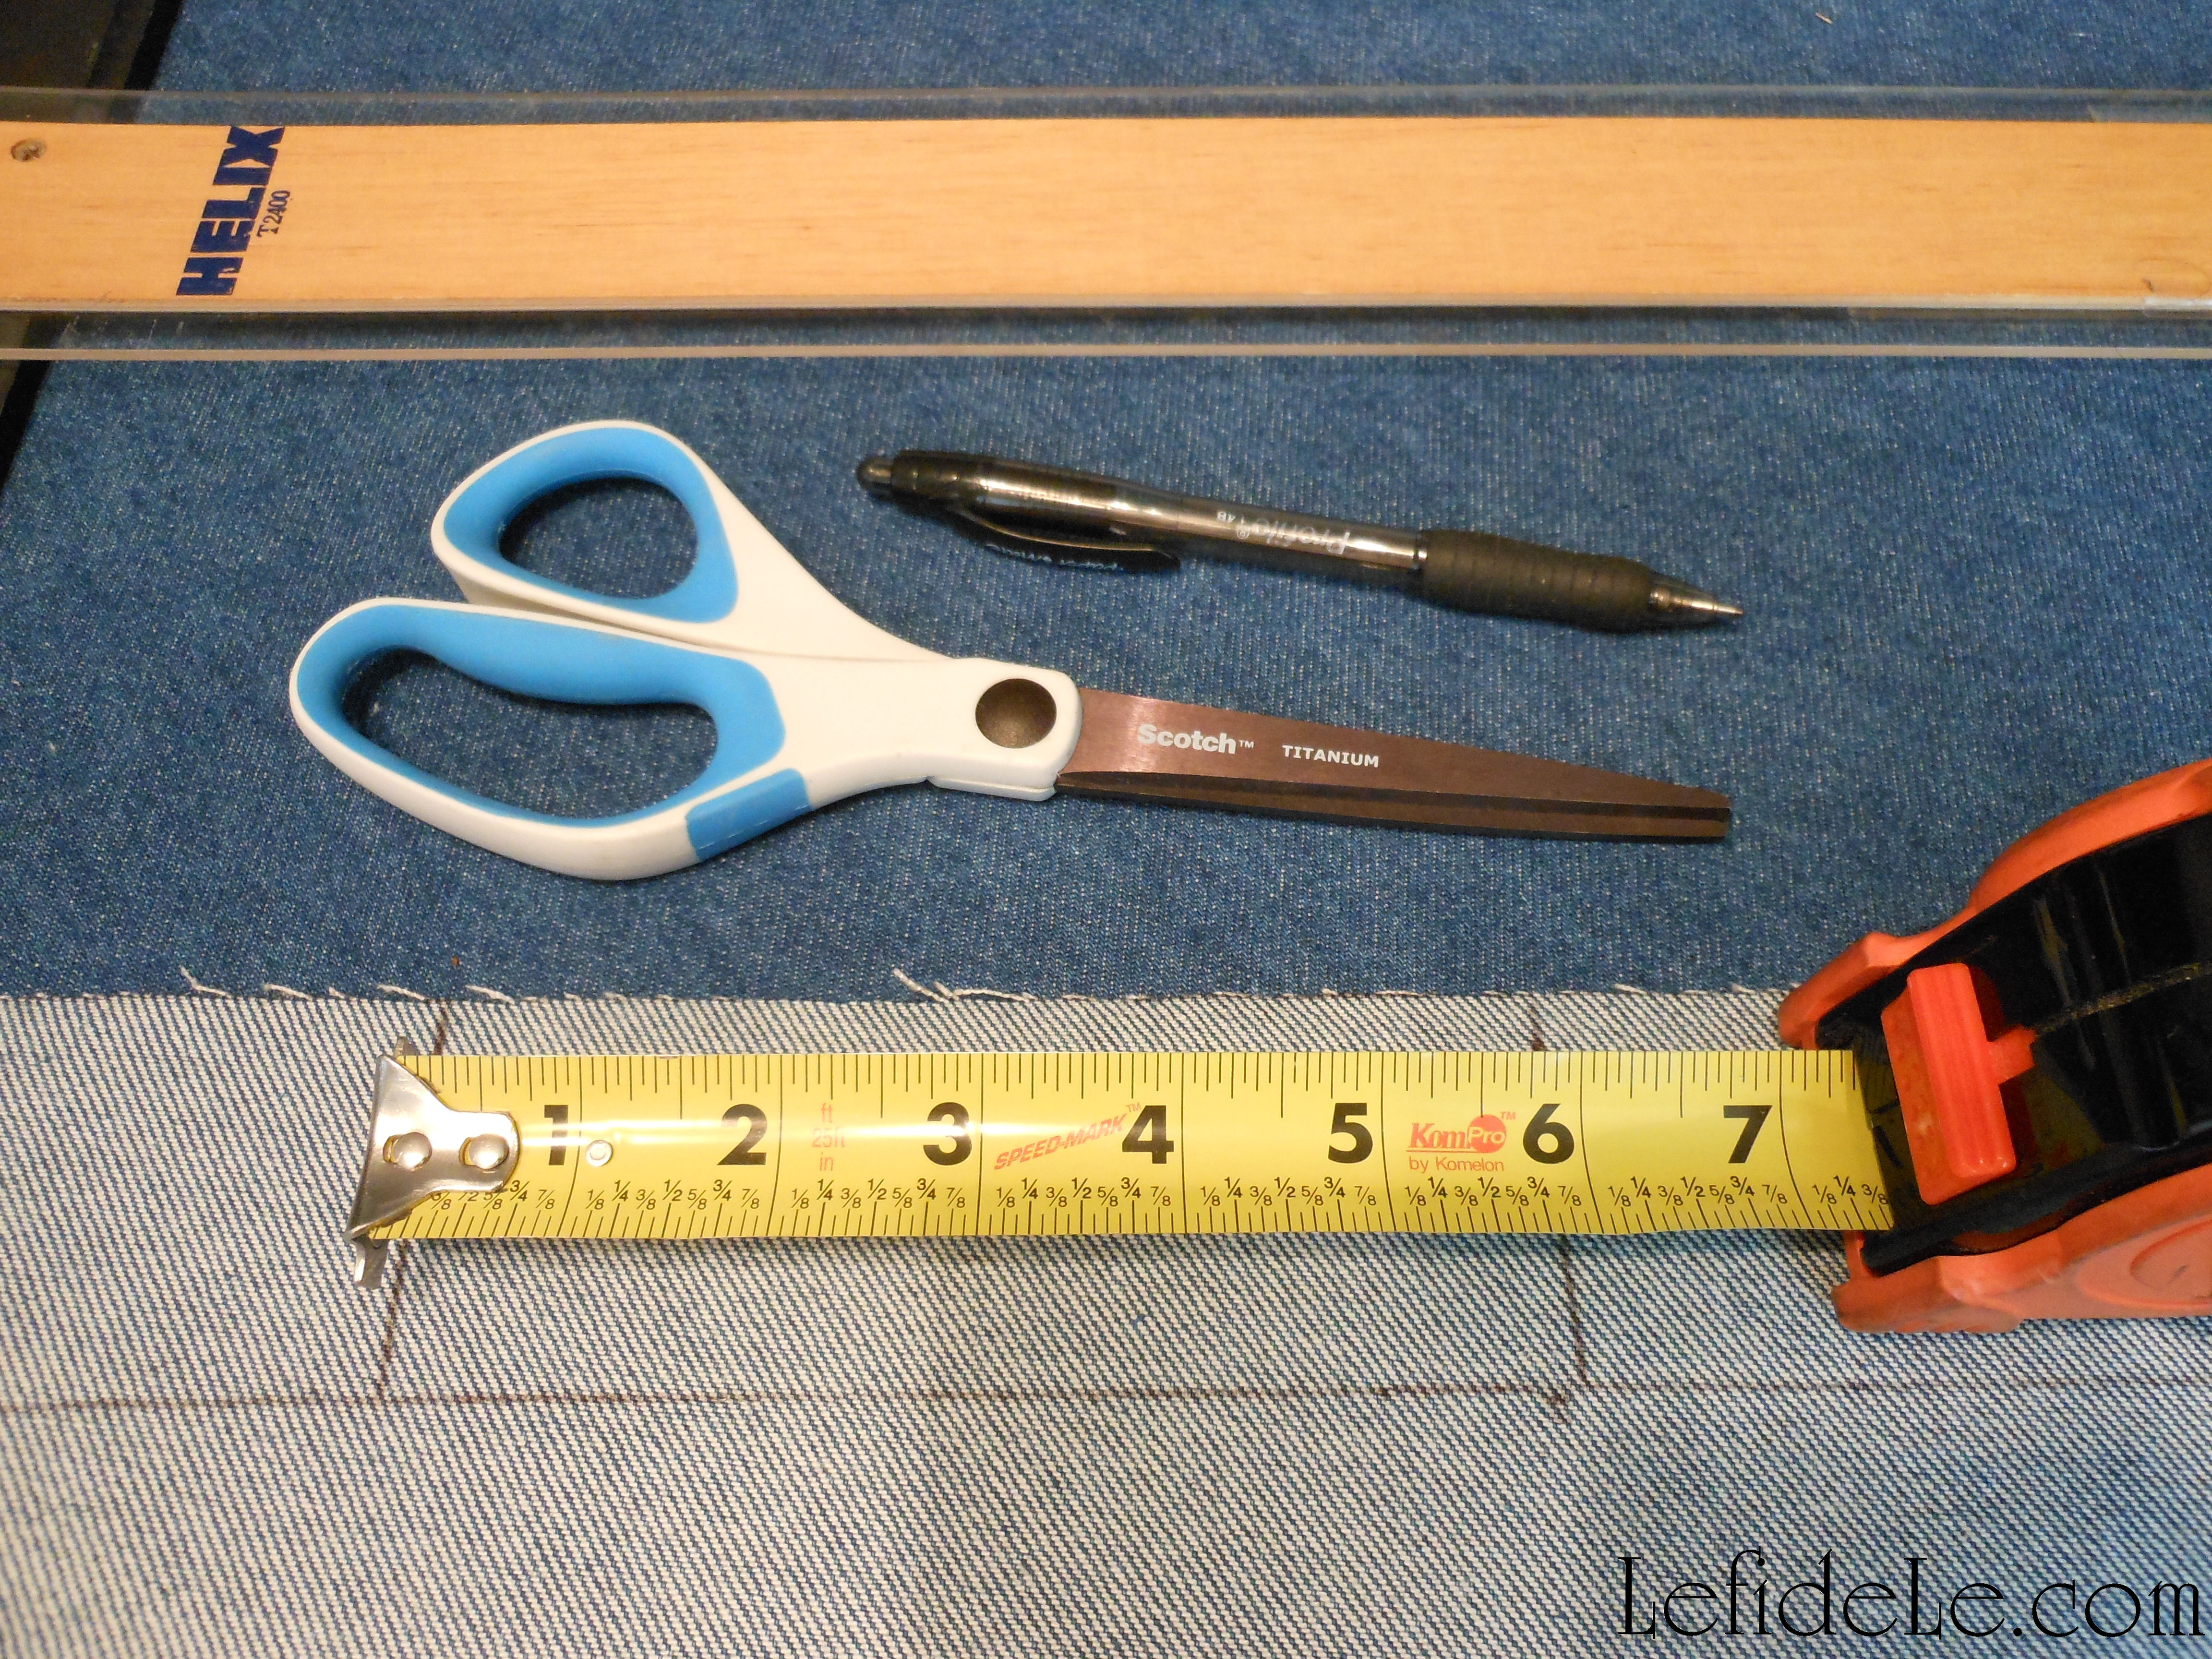
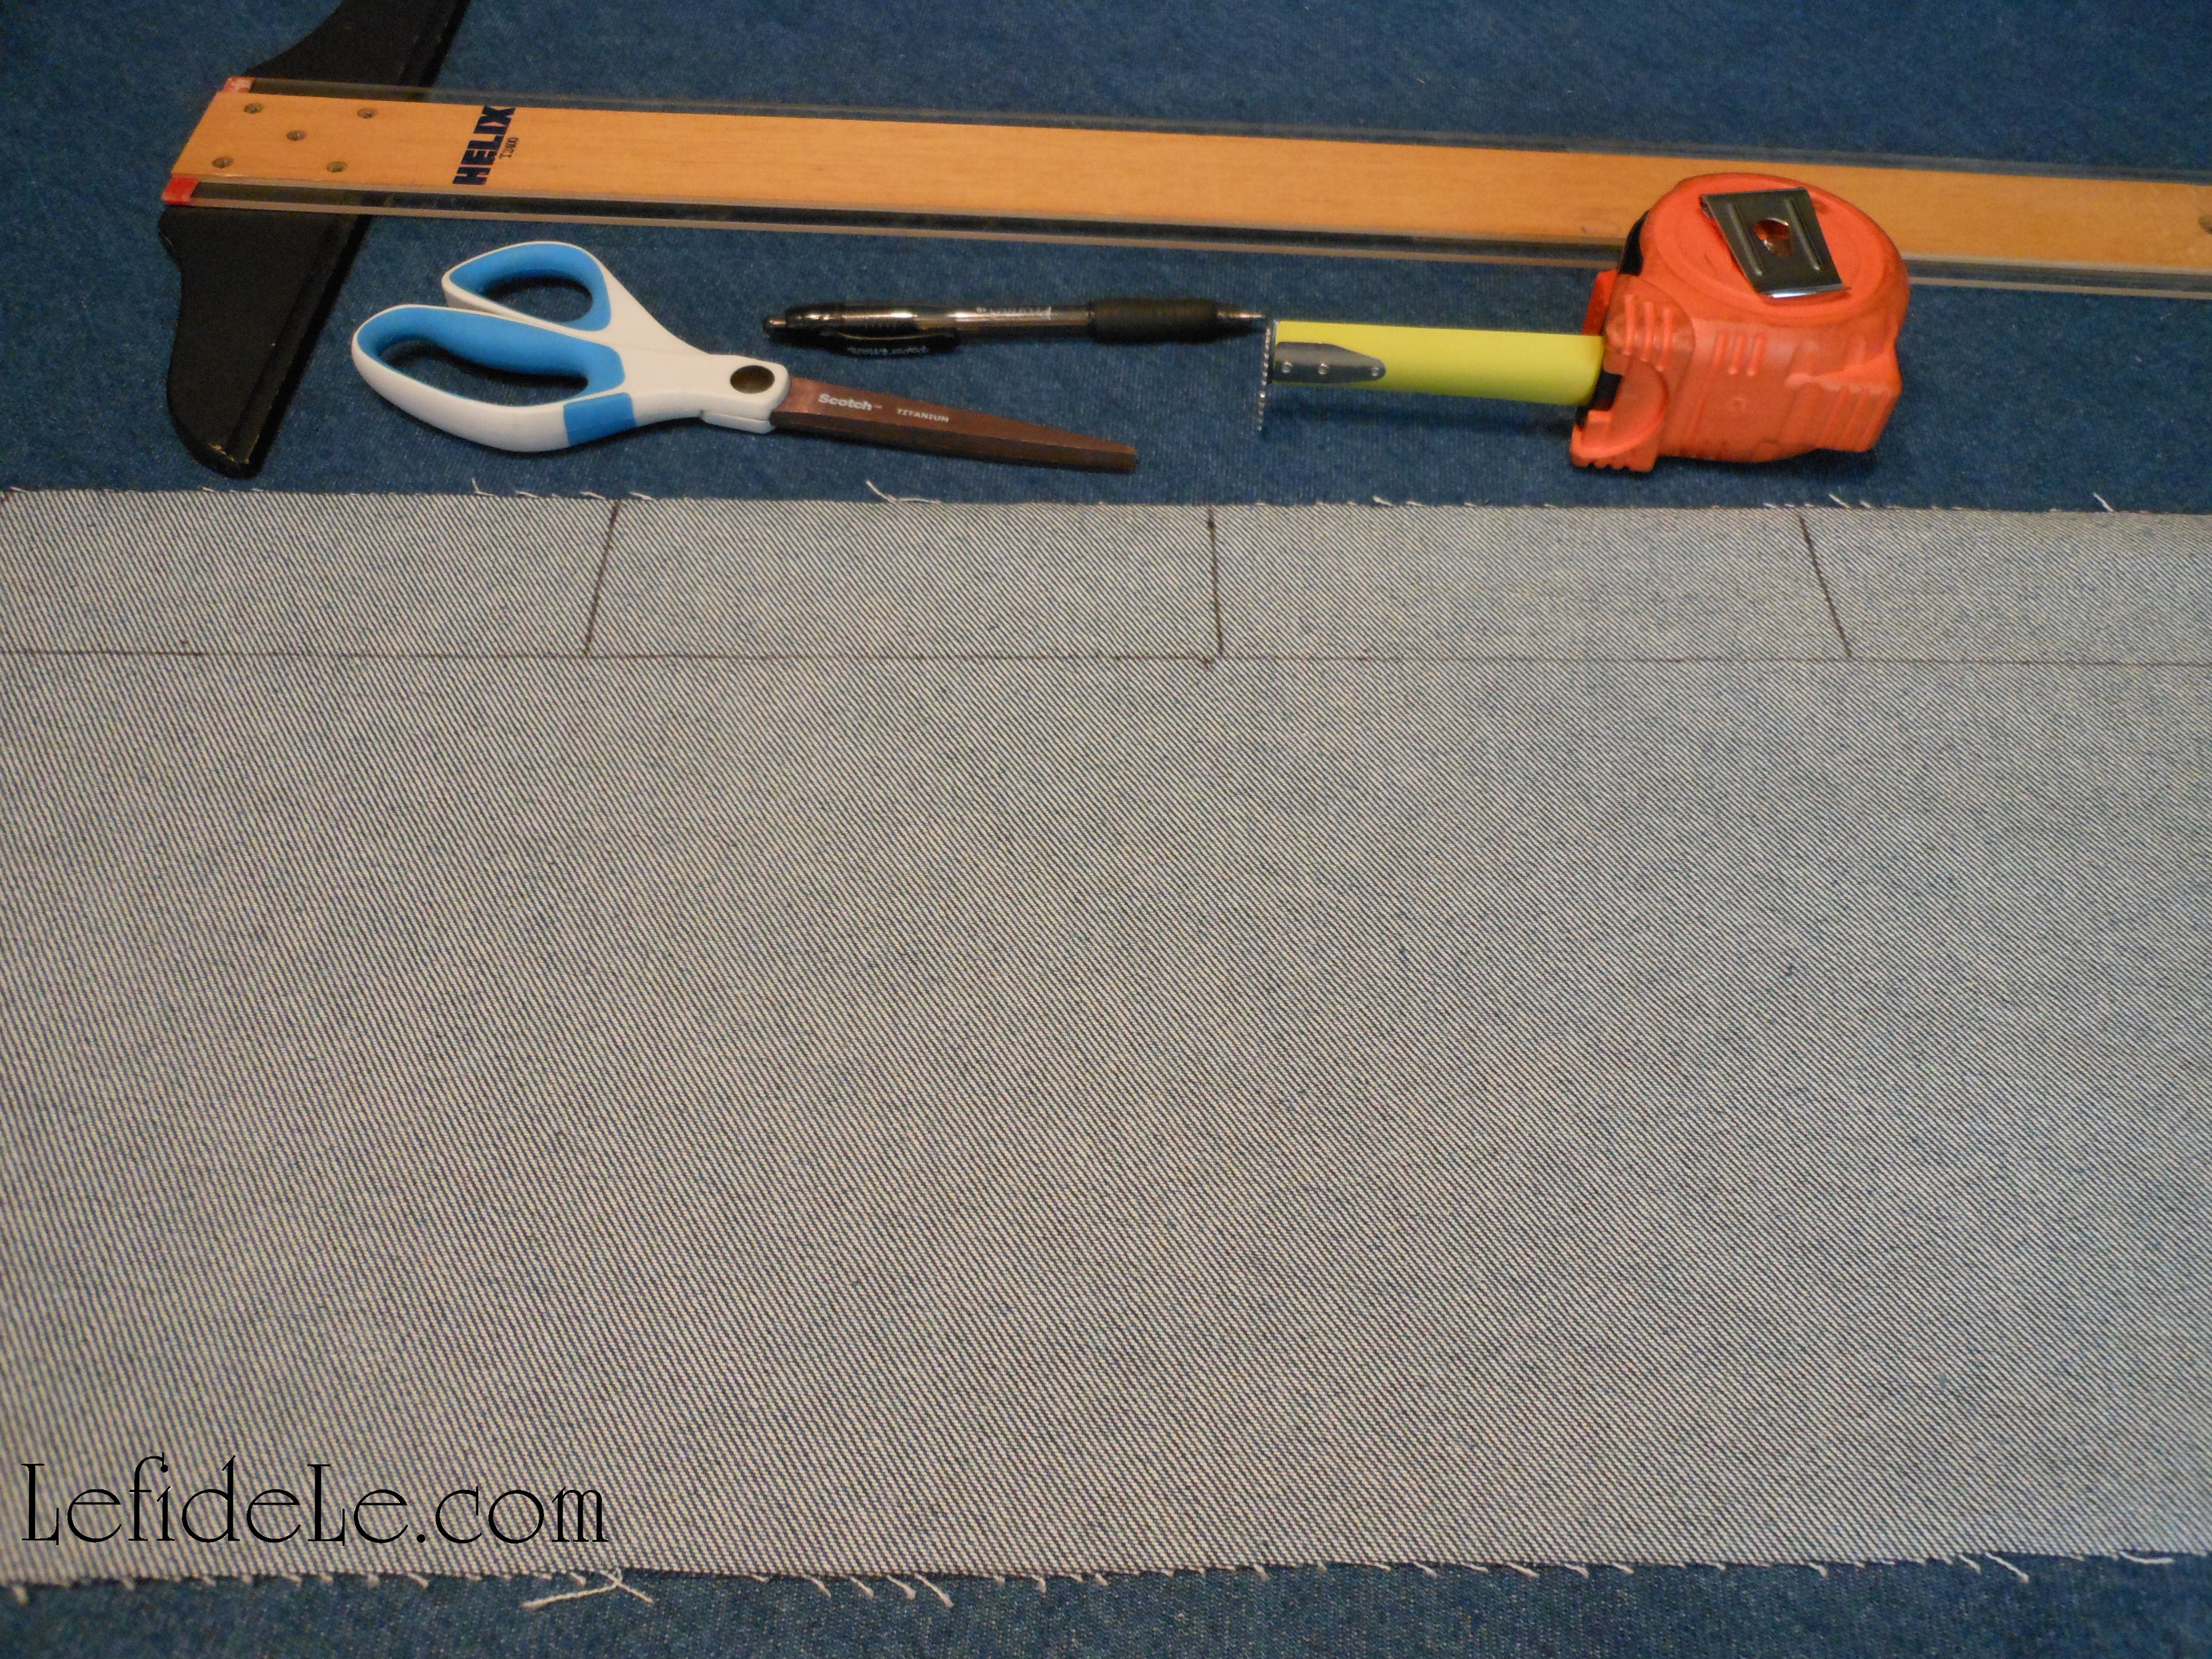
Divide the end of your base fabric into 6 inch sections, and mark the underside of the fabric with a pen.

128Leigh

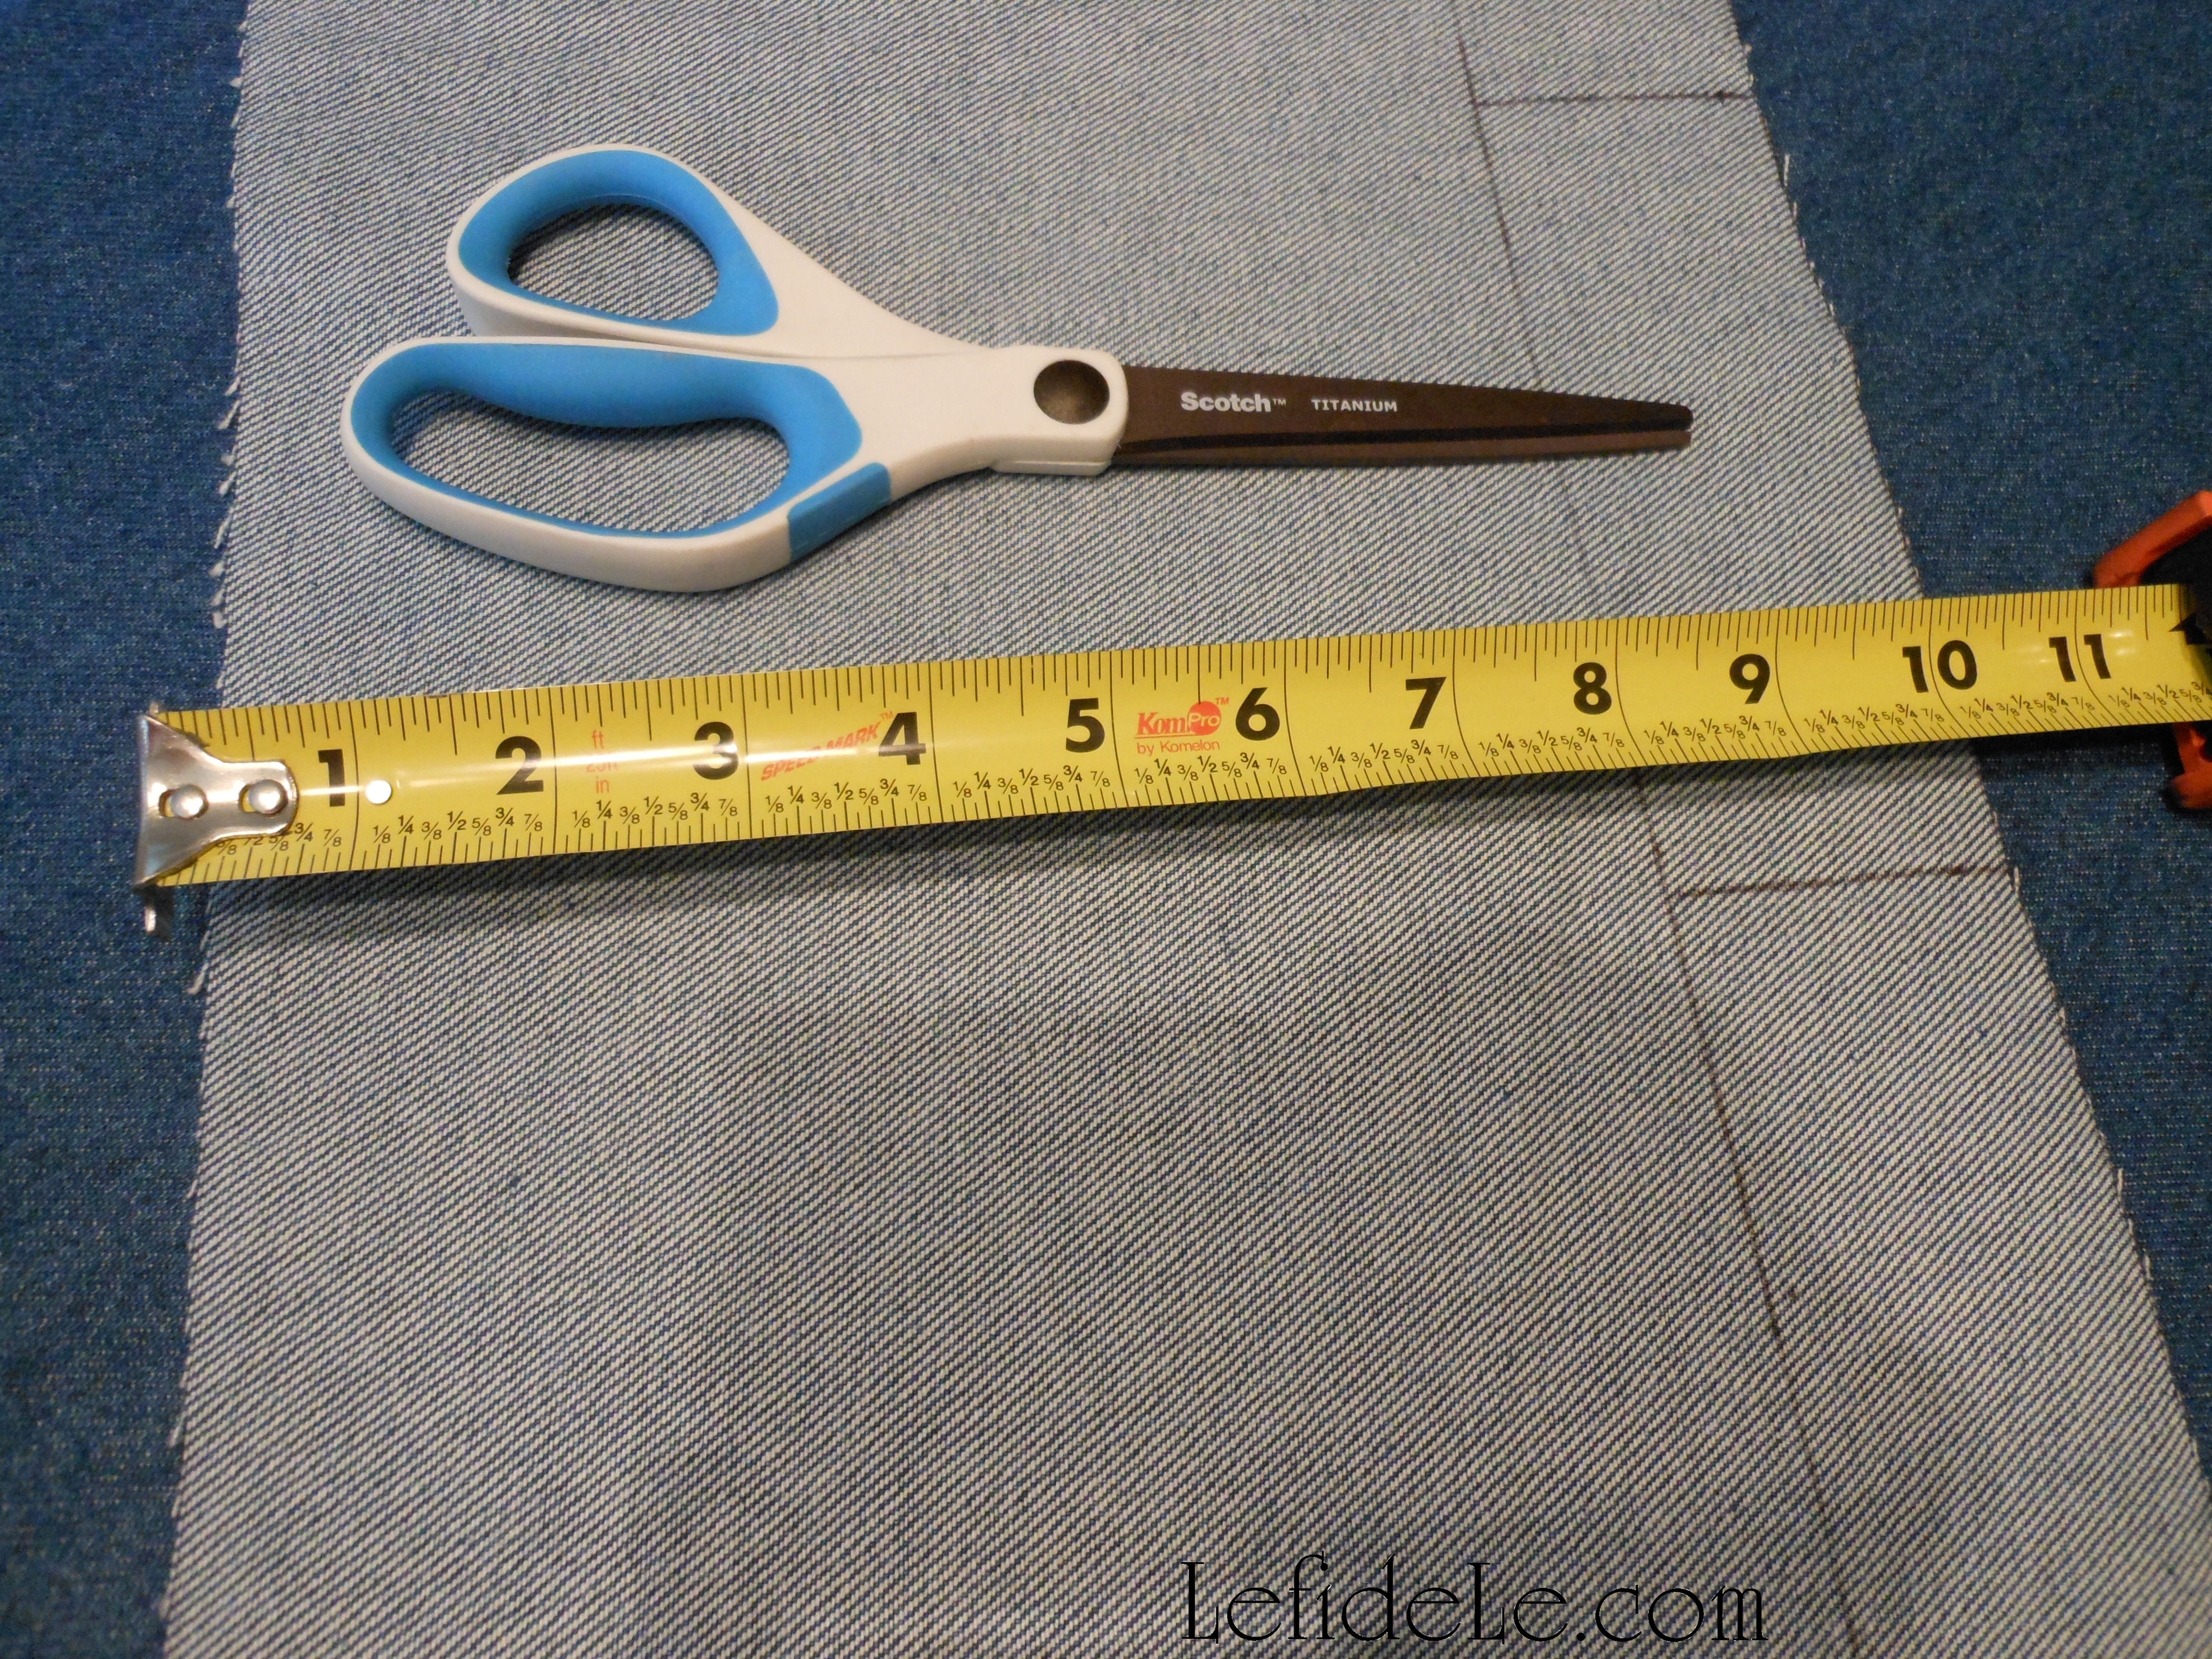
Next, mark 8 inches below the top line to form the length of your future triangles. (You can either cut this strip now or wait until all your marks have been made.)

133Leigh

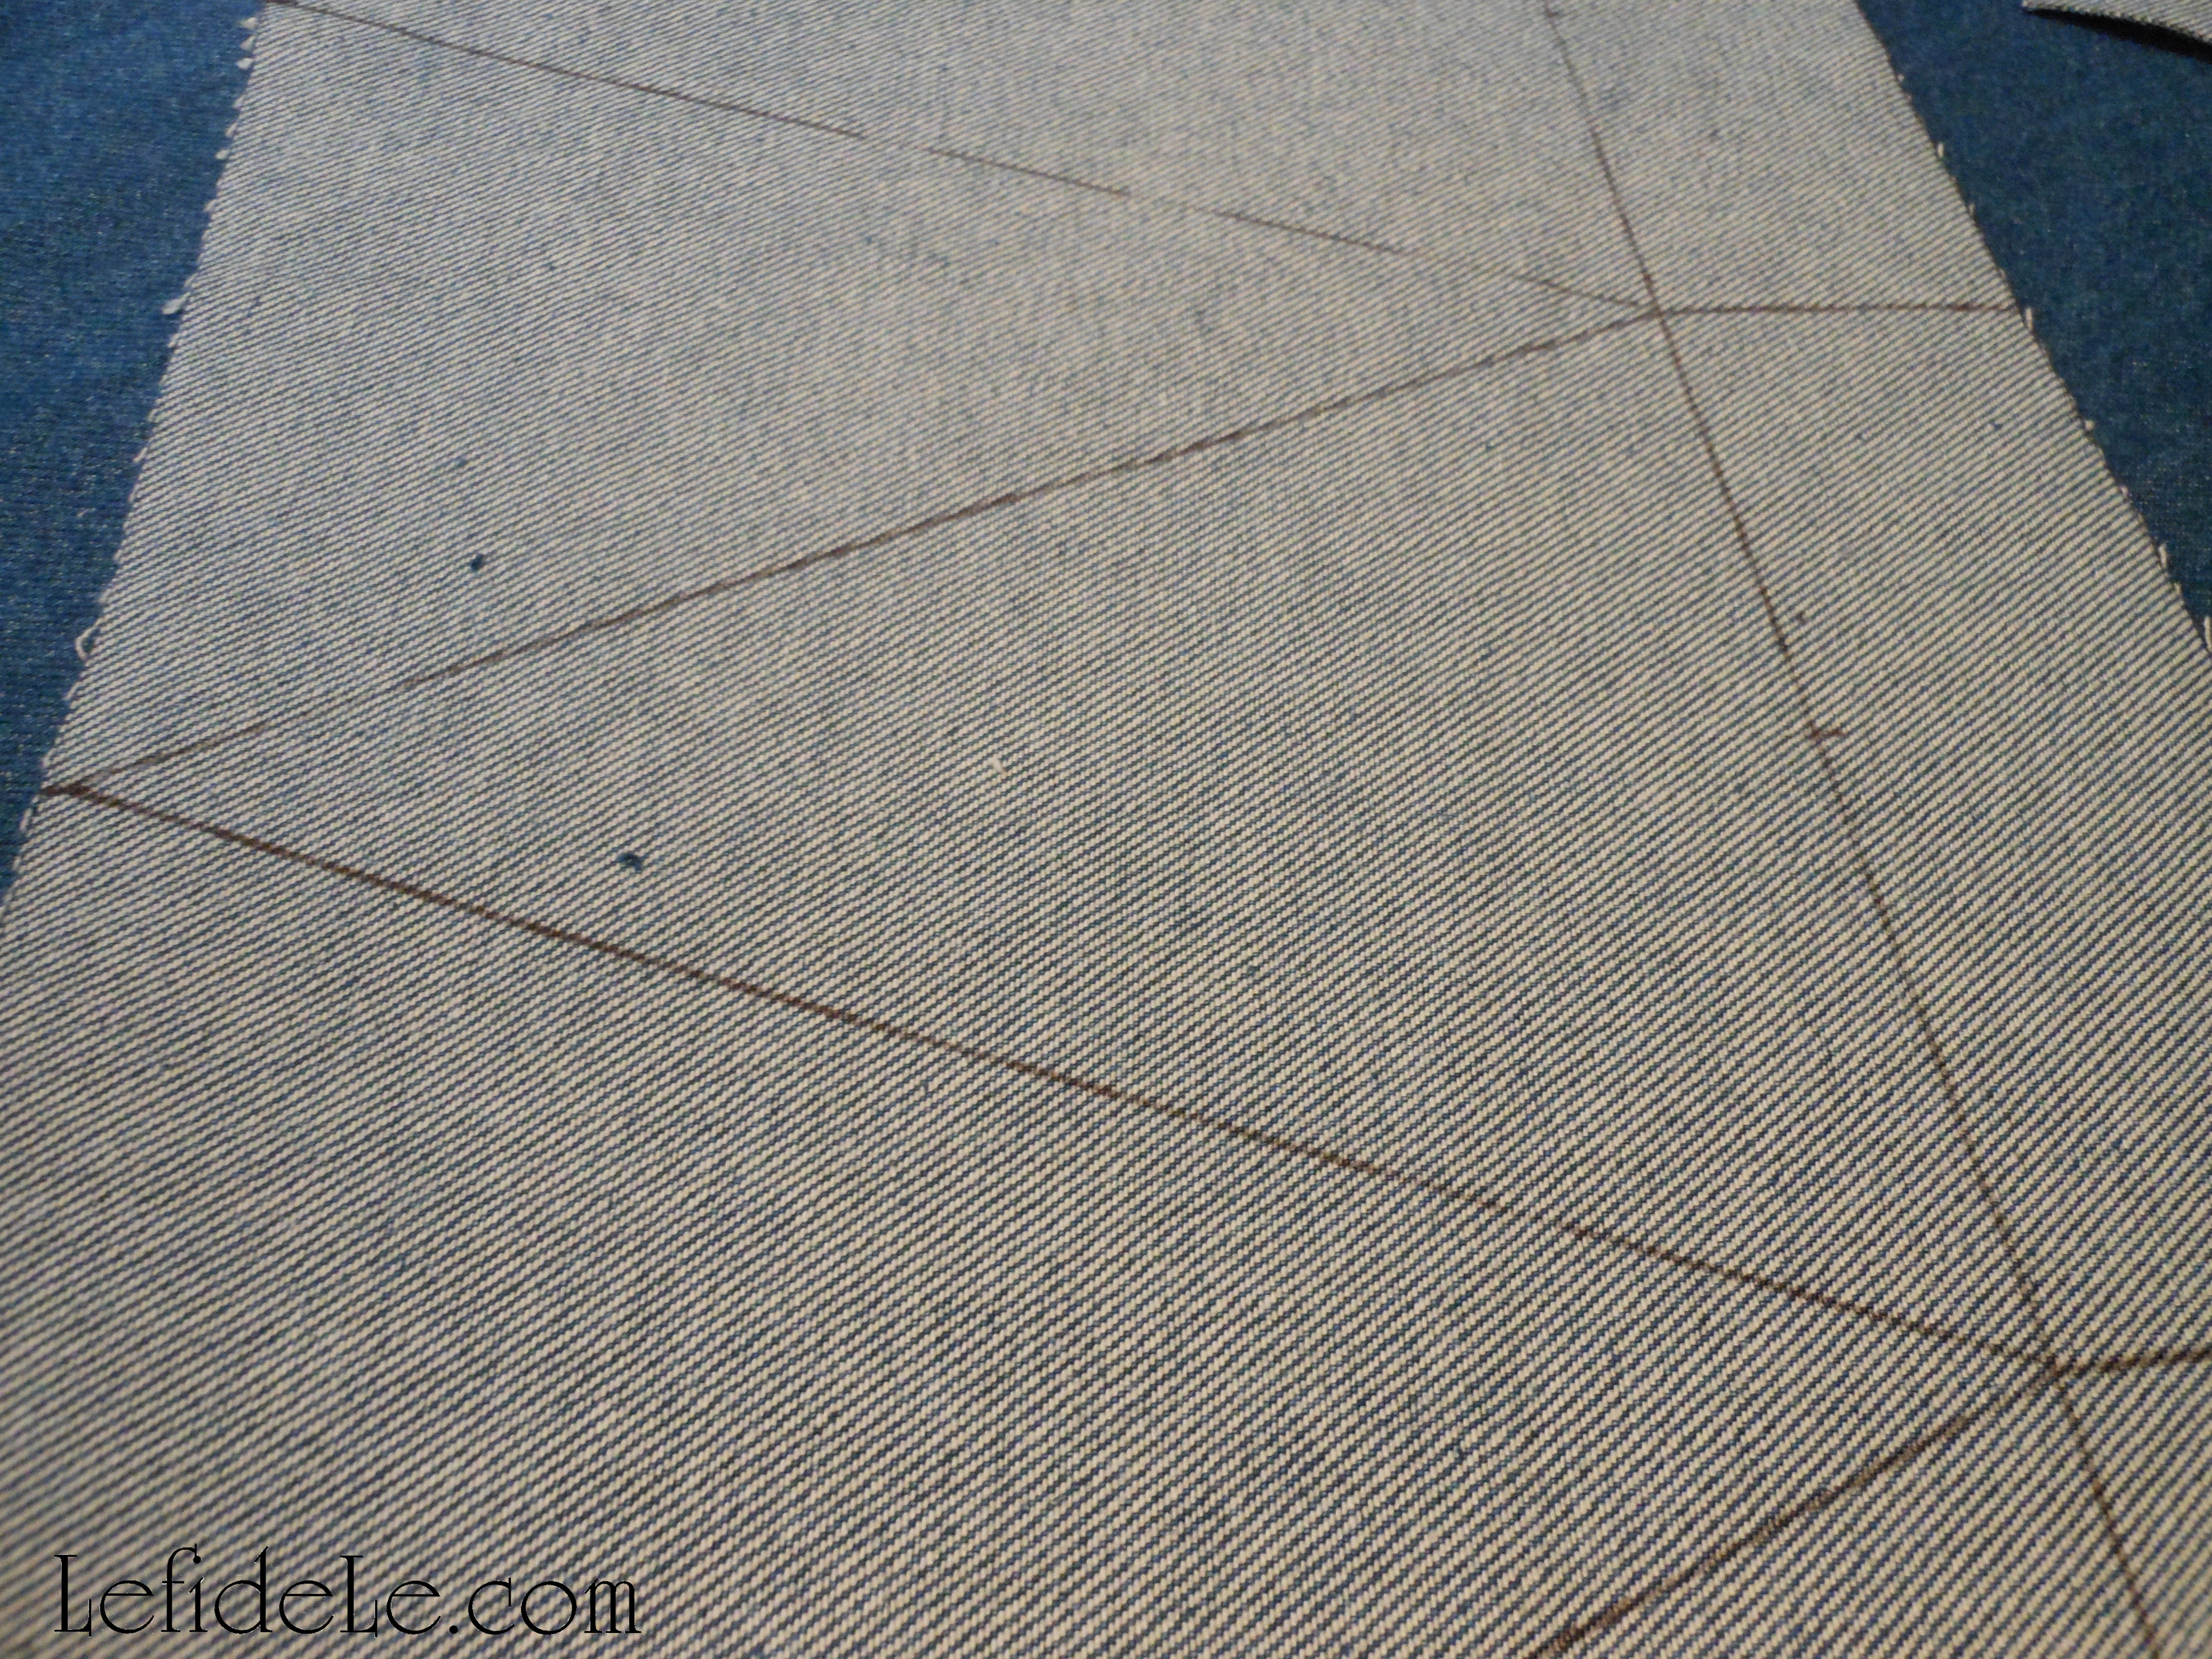
Mark a dot on the 3 inch midpoint of each 6 inch top section. Use a ruler to mark the corresponding point directly below it, onto the 8 inch line (or cut). This will be your triangle’s point. Mark a line to connect this point to each corner of the 6 inch marks you made first. (You will be making triangles with each connection.)

132Leigh

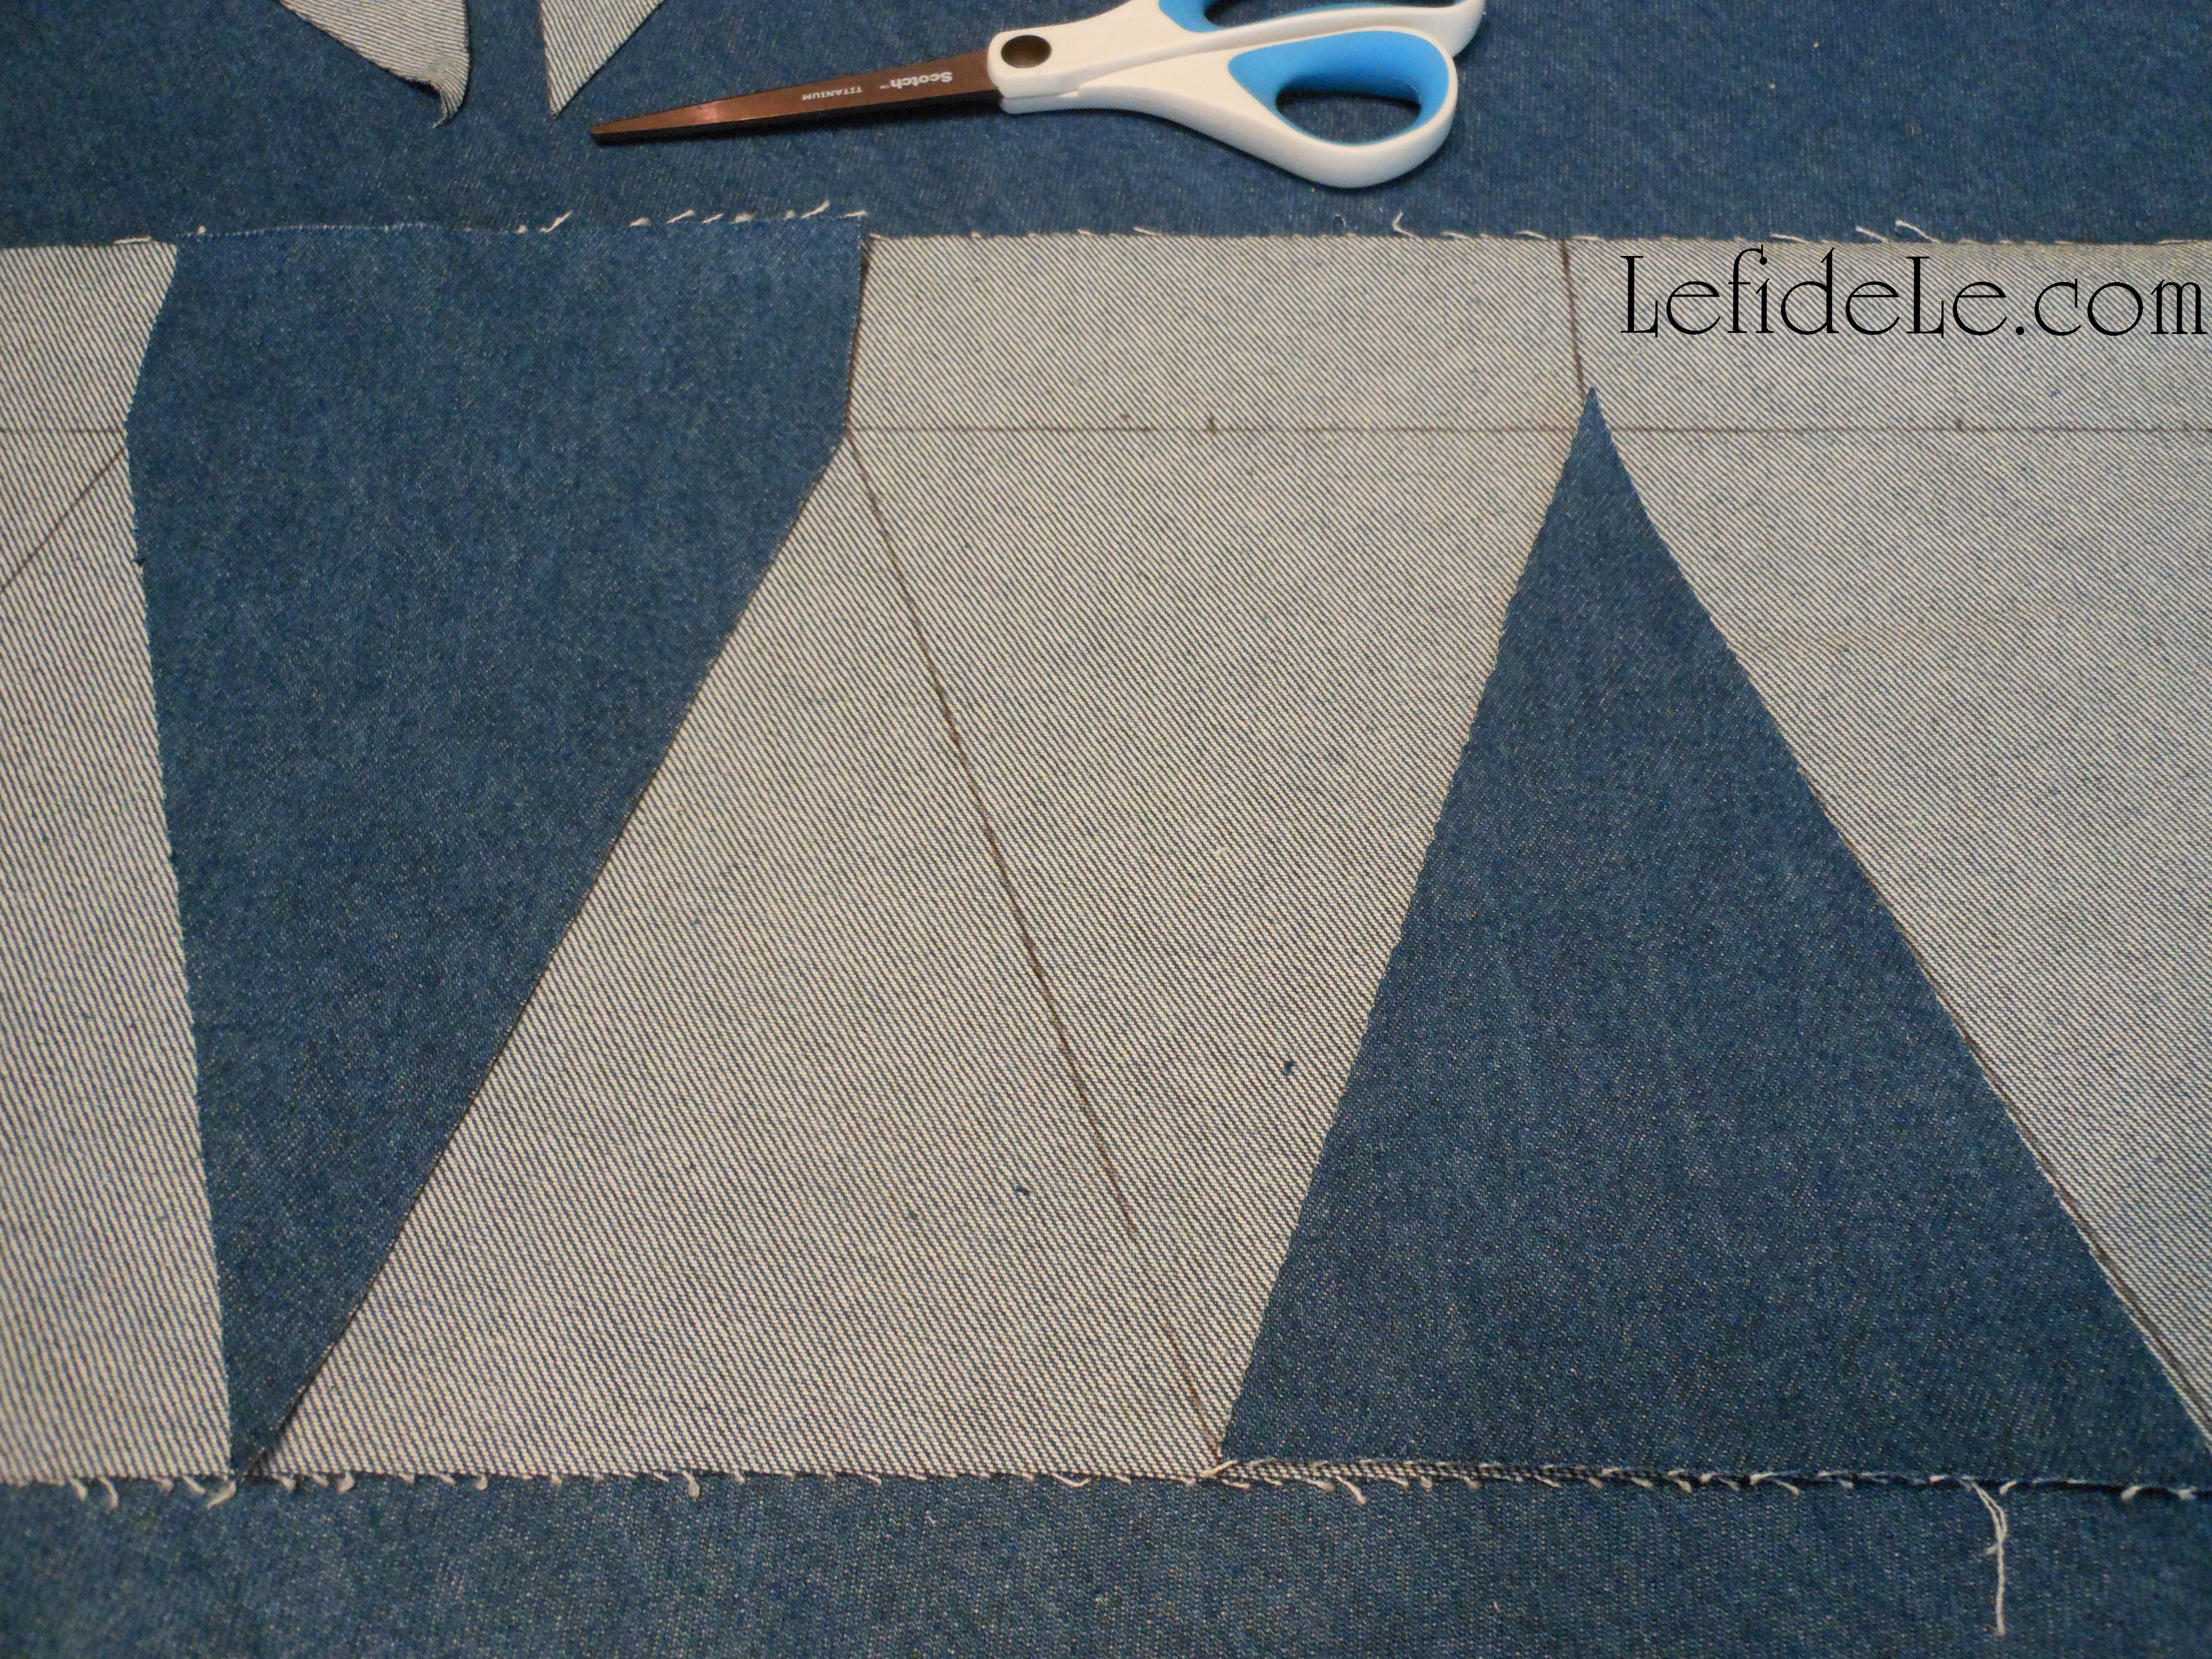
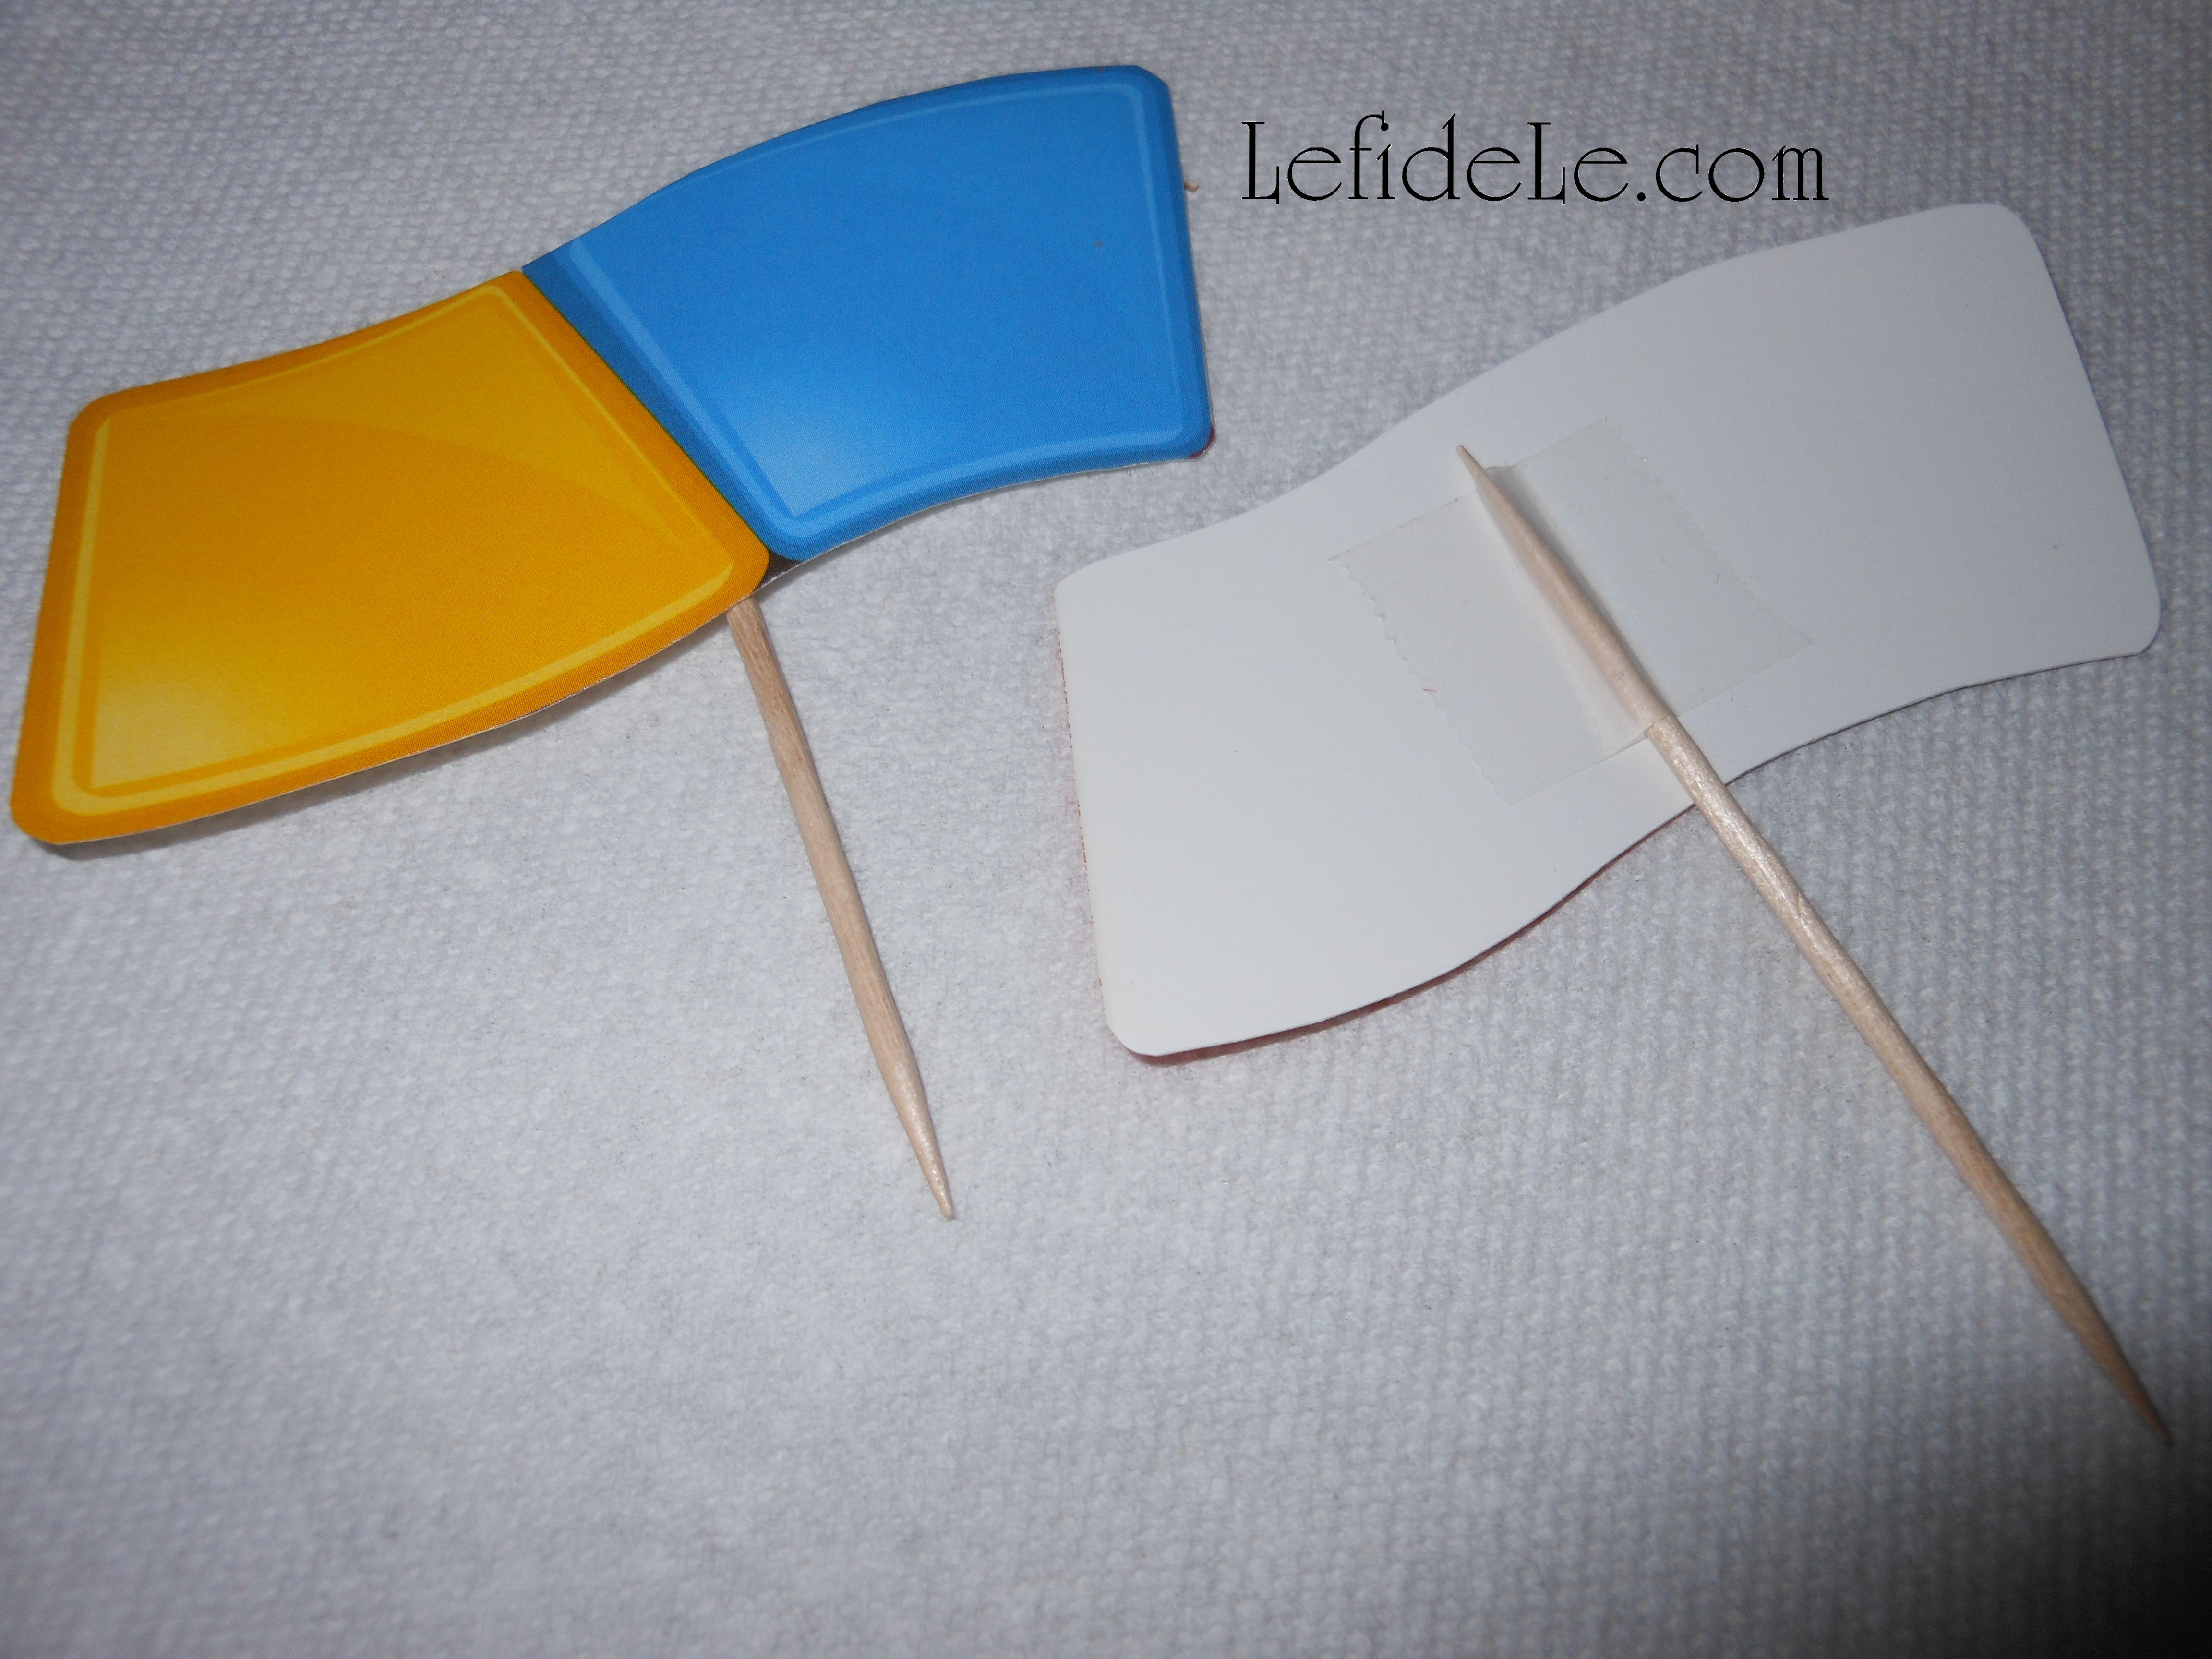
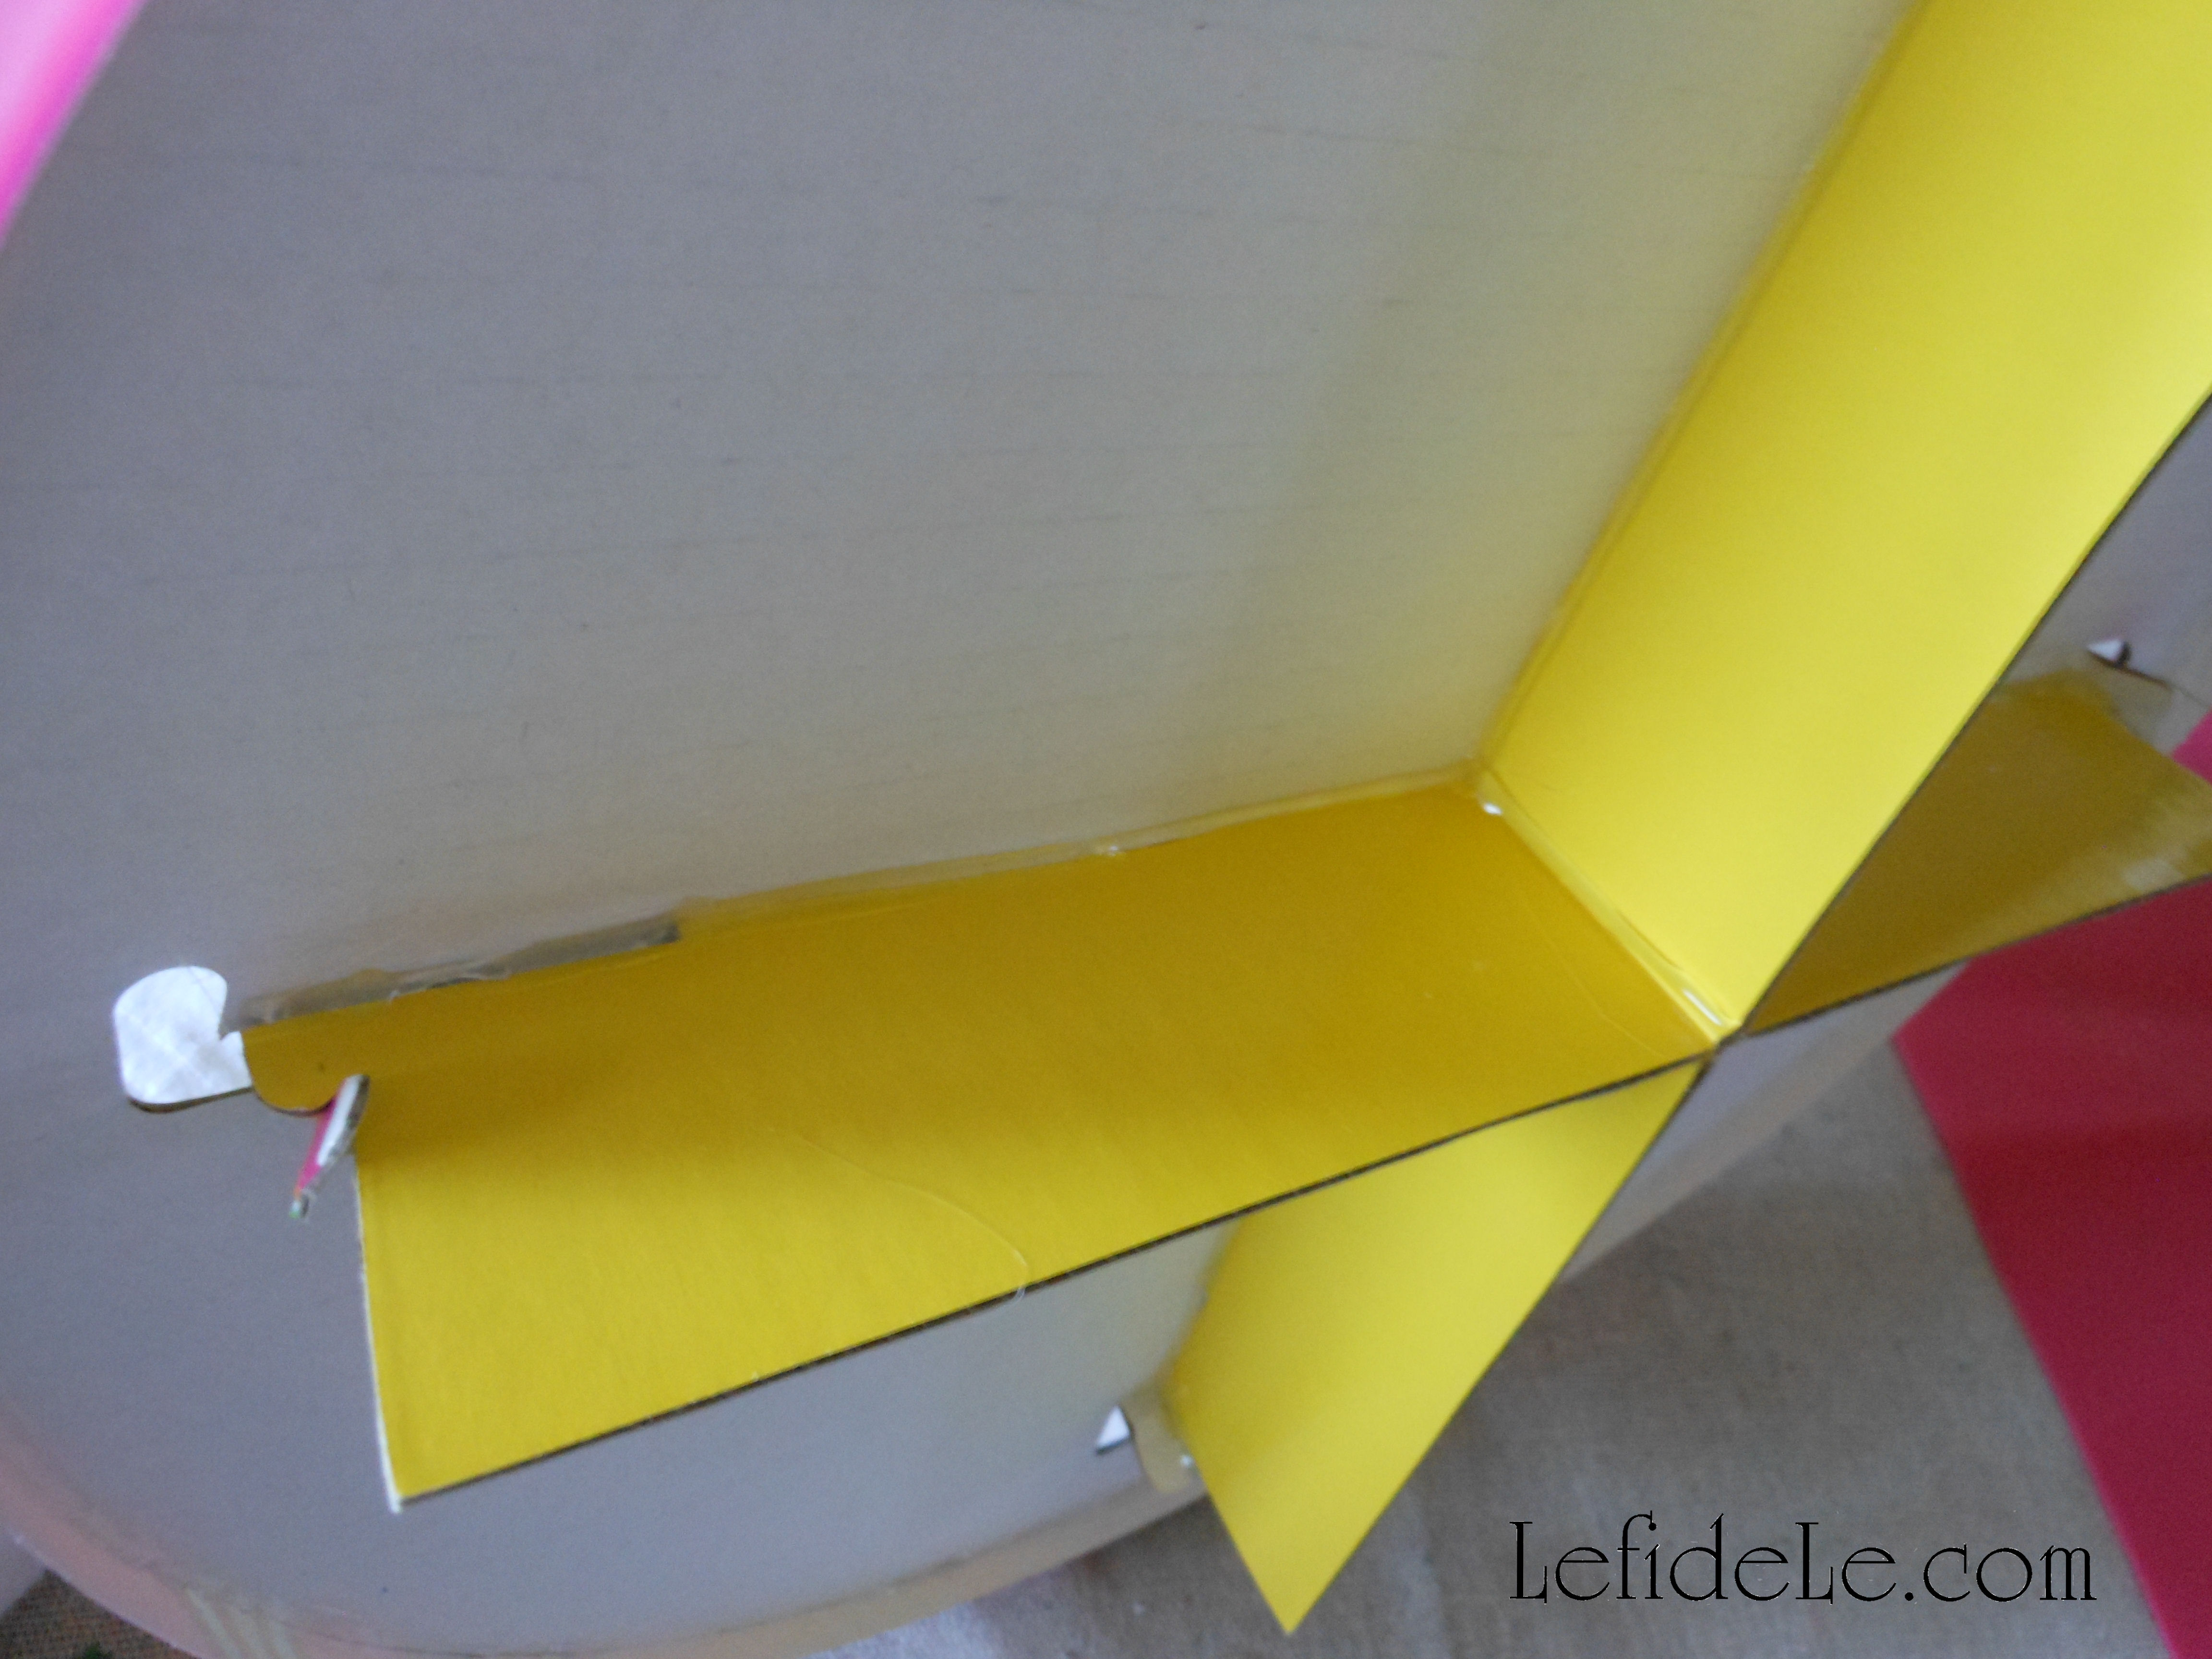
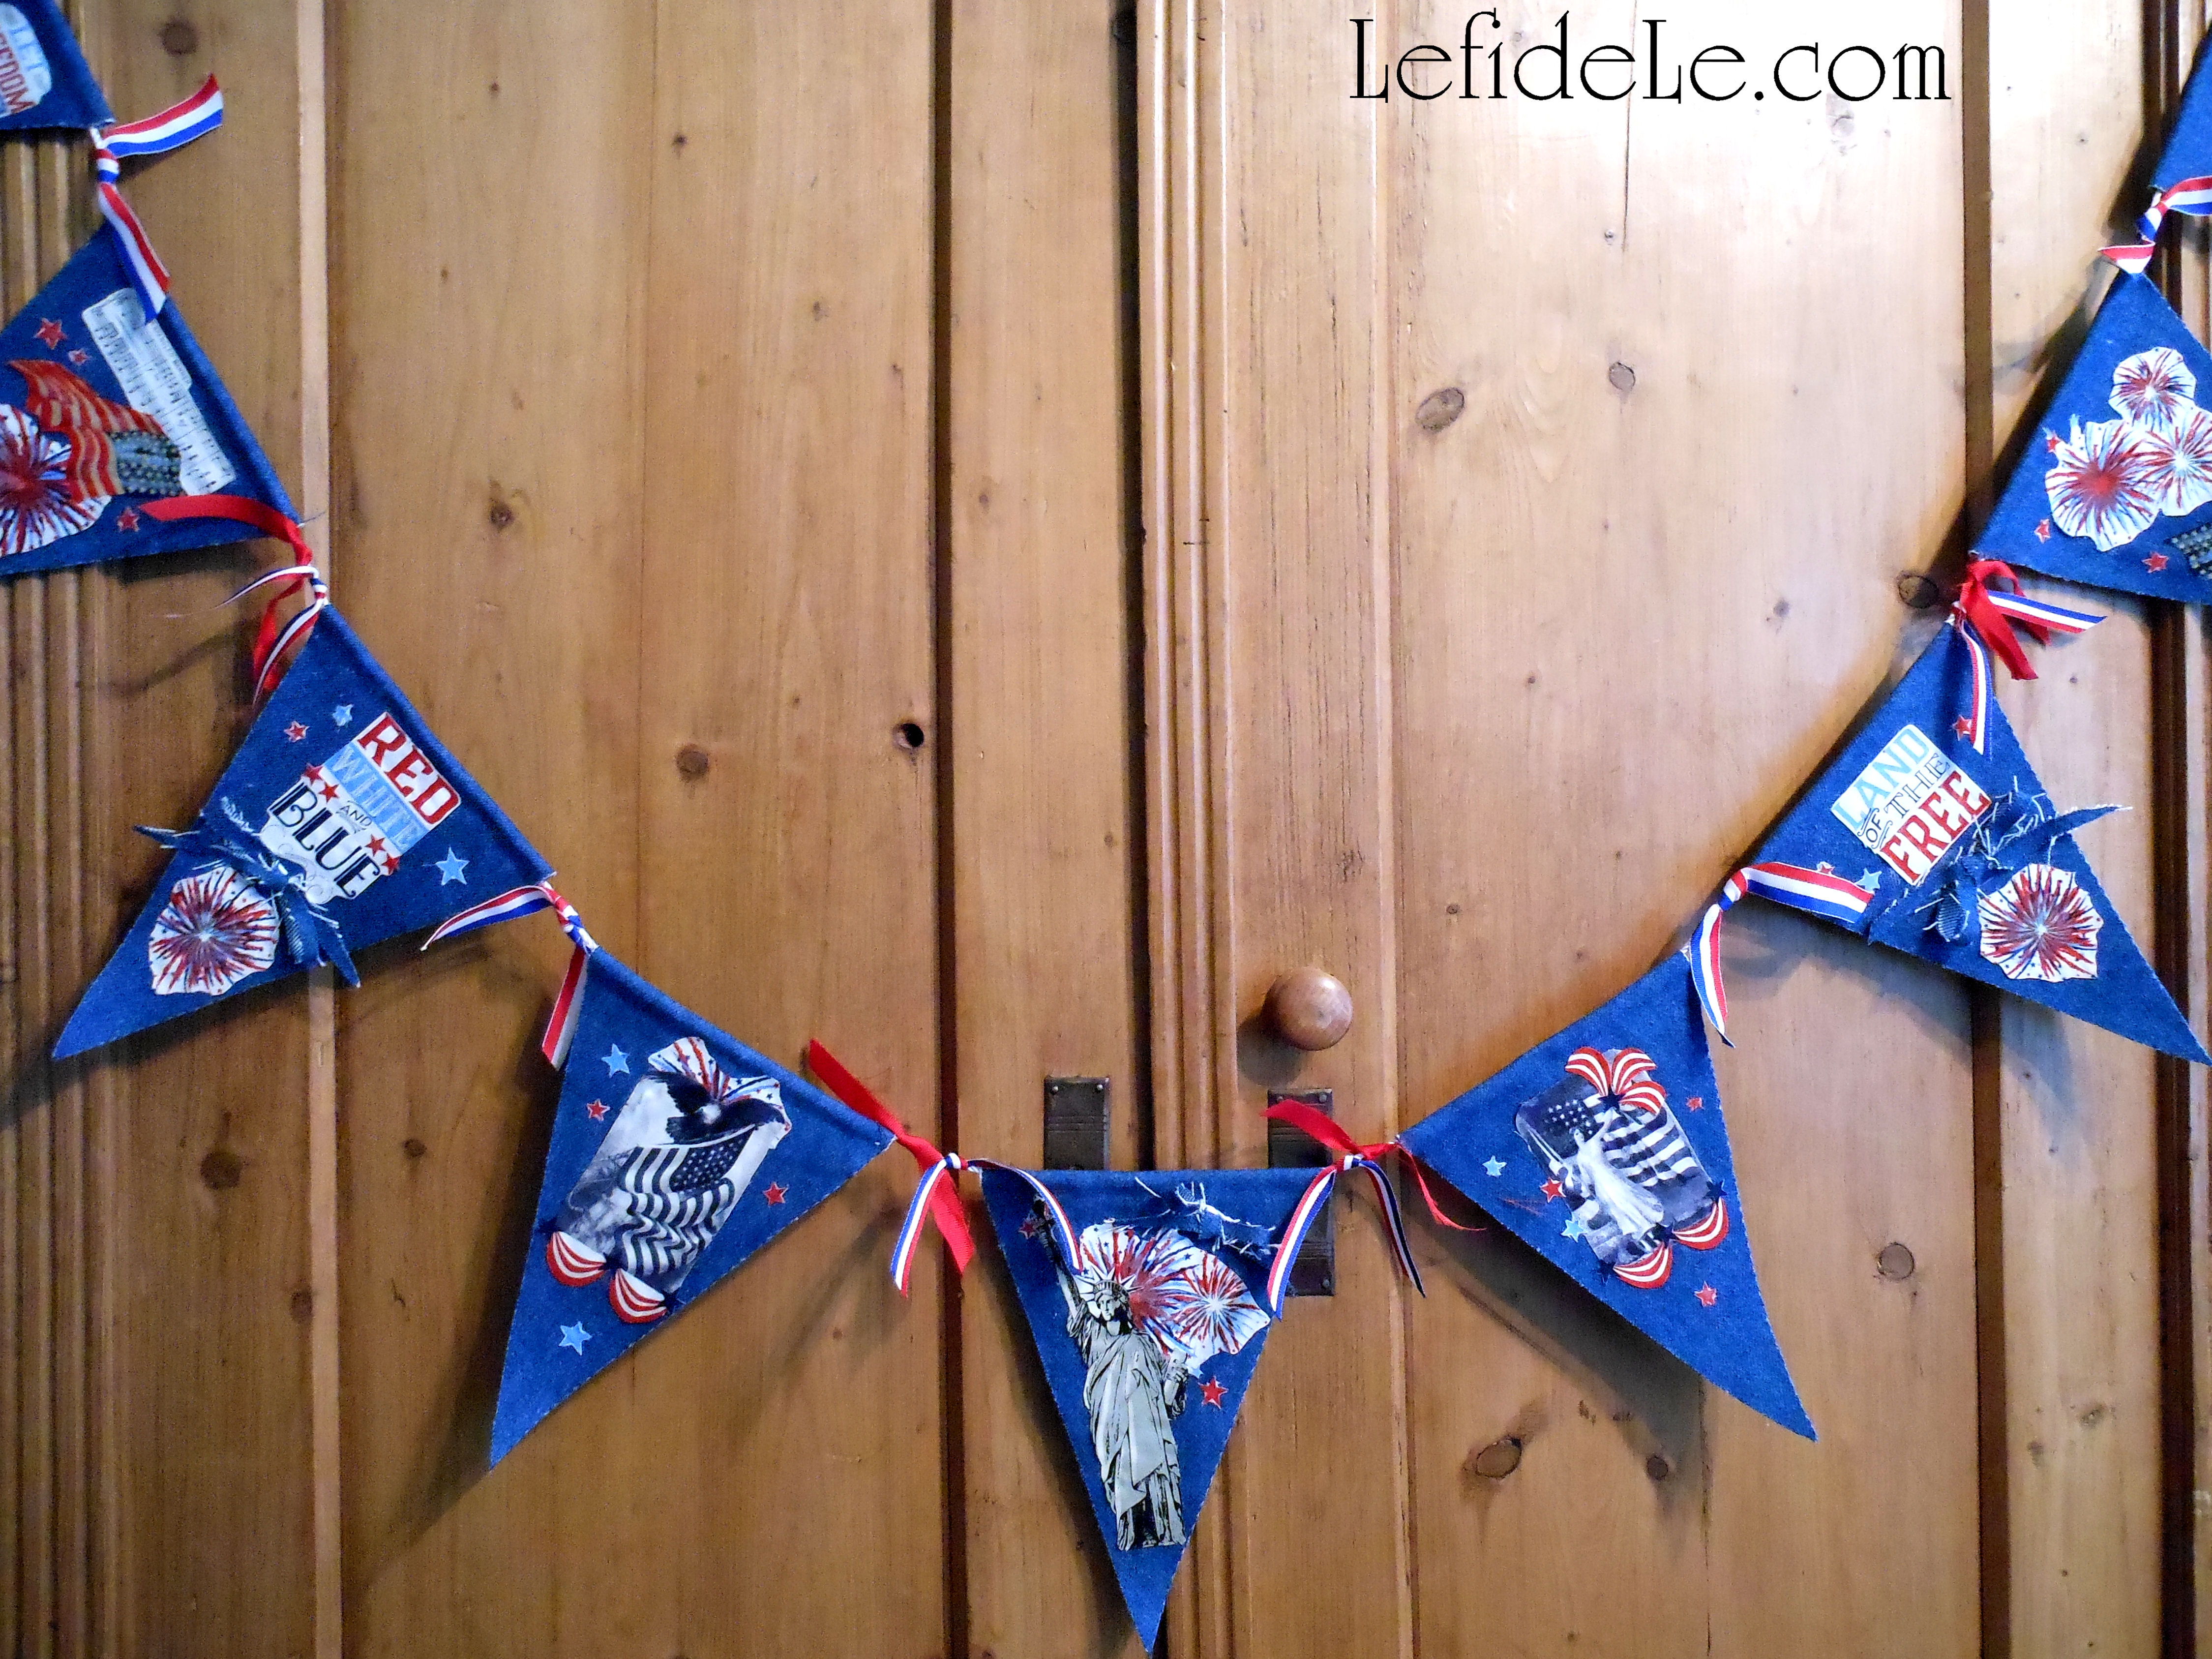
Cut along each line to make your triangle bases. Another option is to make a tab at the top of each triangle in order to fold it over a thick piece of rope… otherwise just glue the triangle top to the rope. (I elected to make a tab for these. I’ll demonstrate the tab-less version in a future tutorial.)

140Leigh

Cut a tapered edge on any tab tops you make, so that it isn’t seen on the front after gluing.

136Leigh

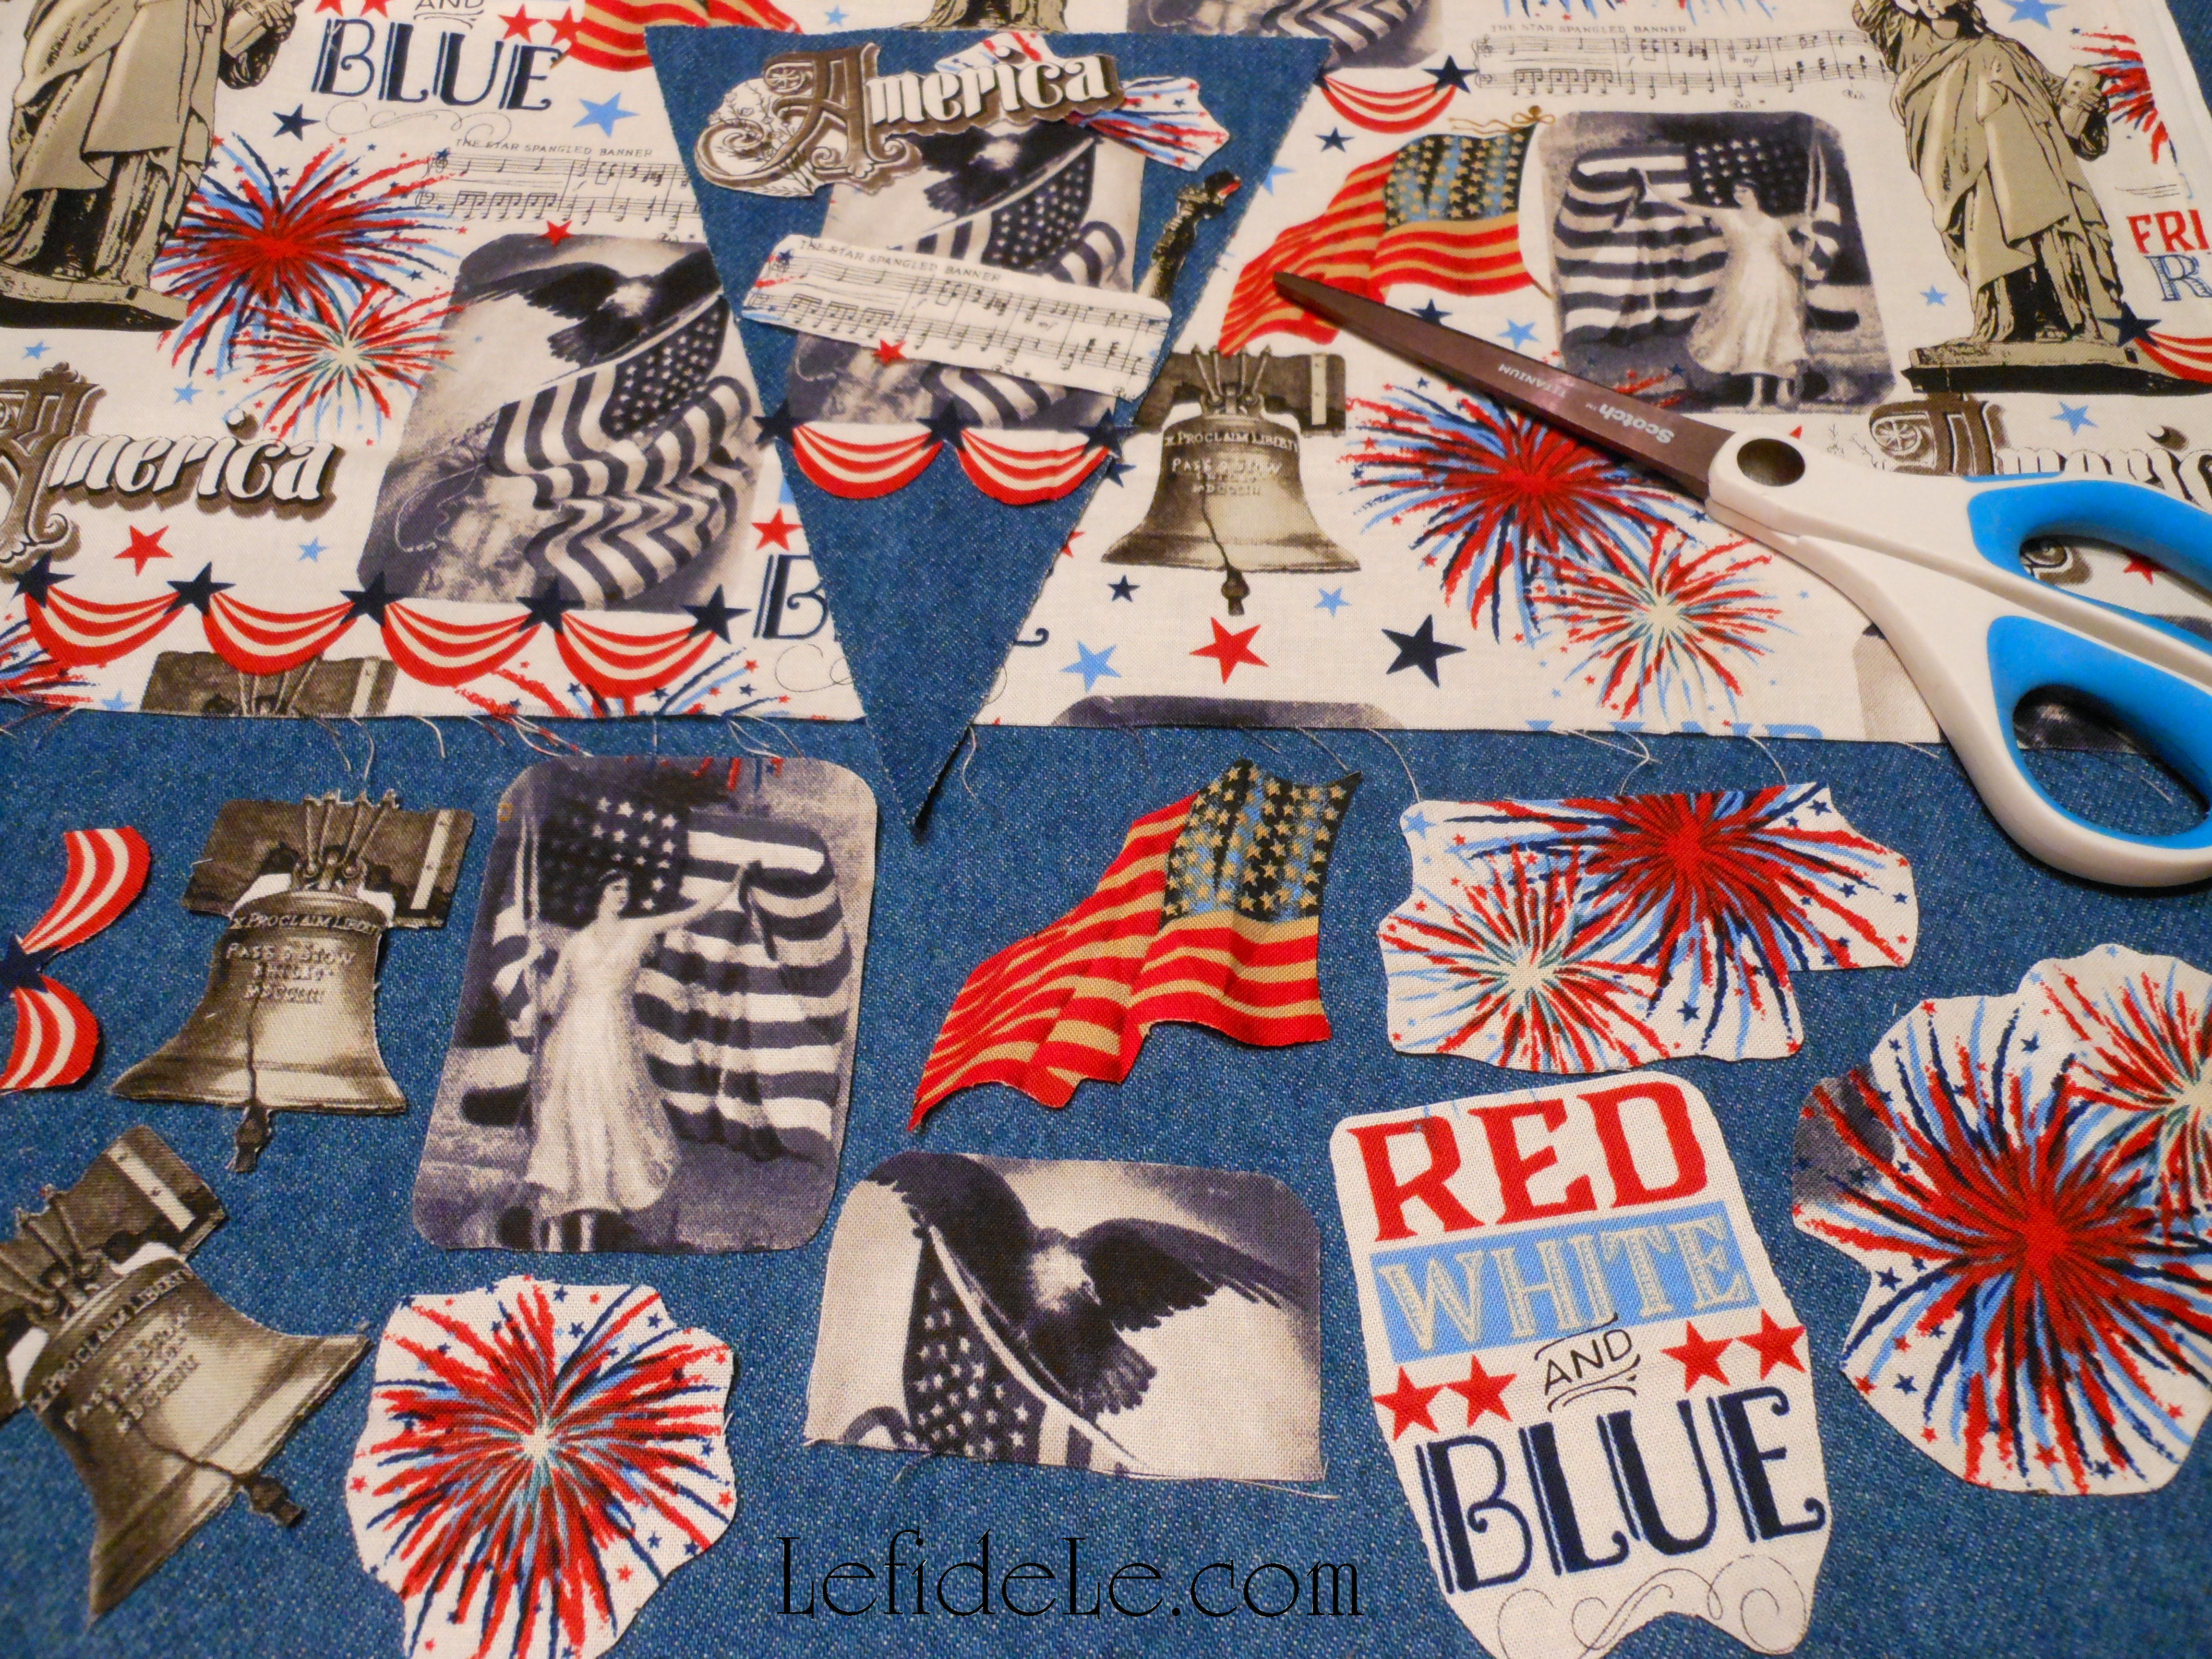
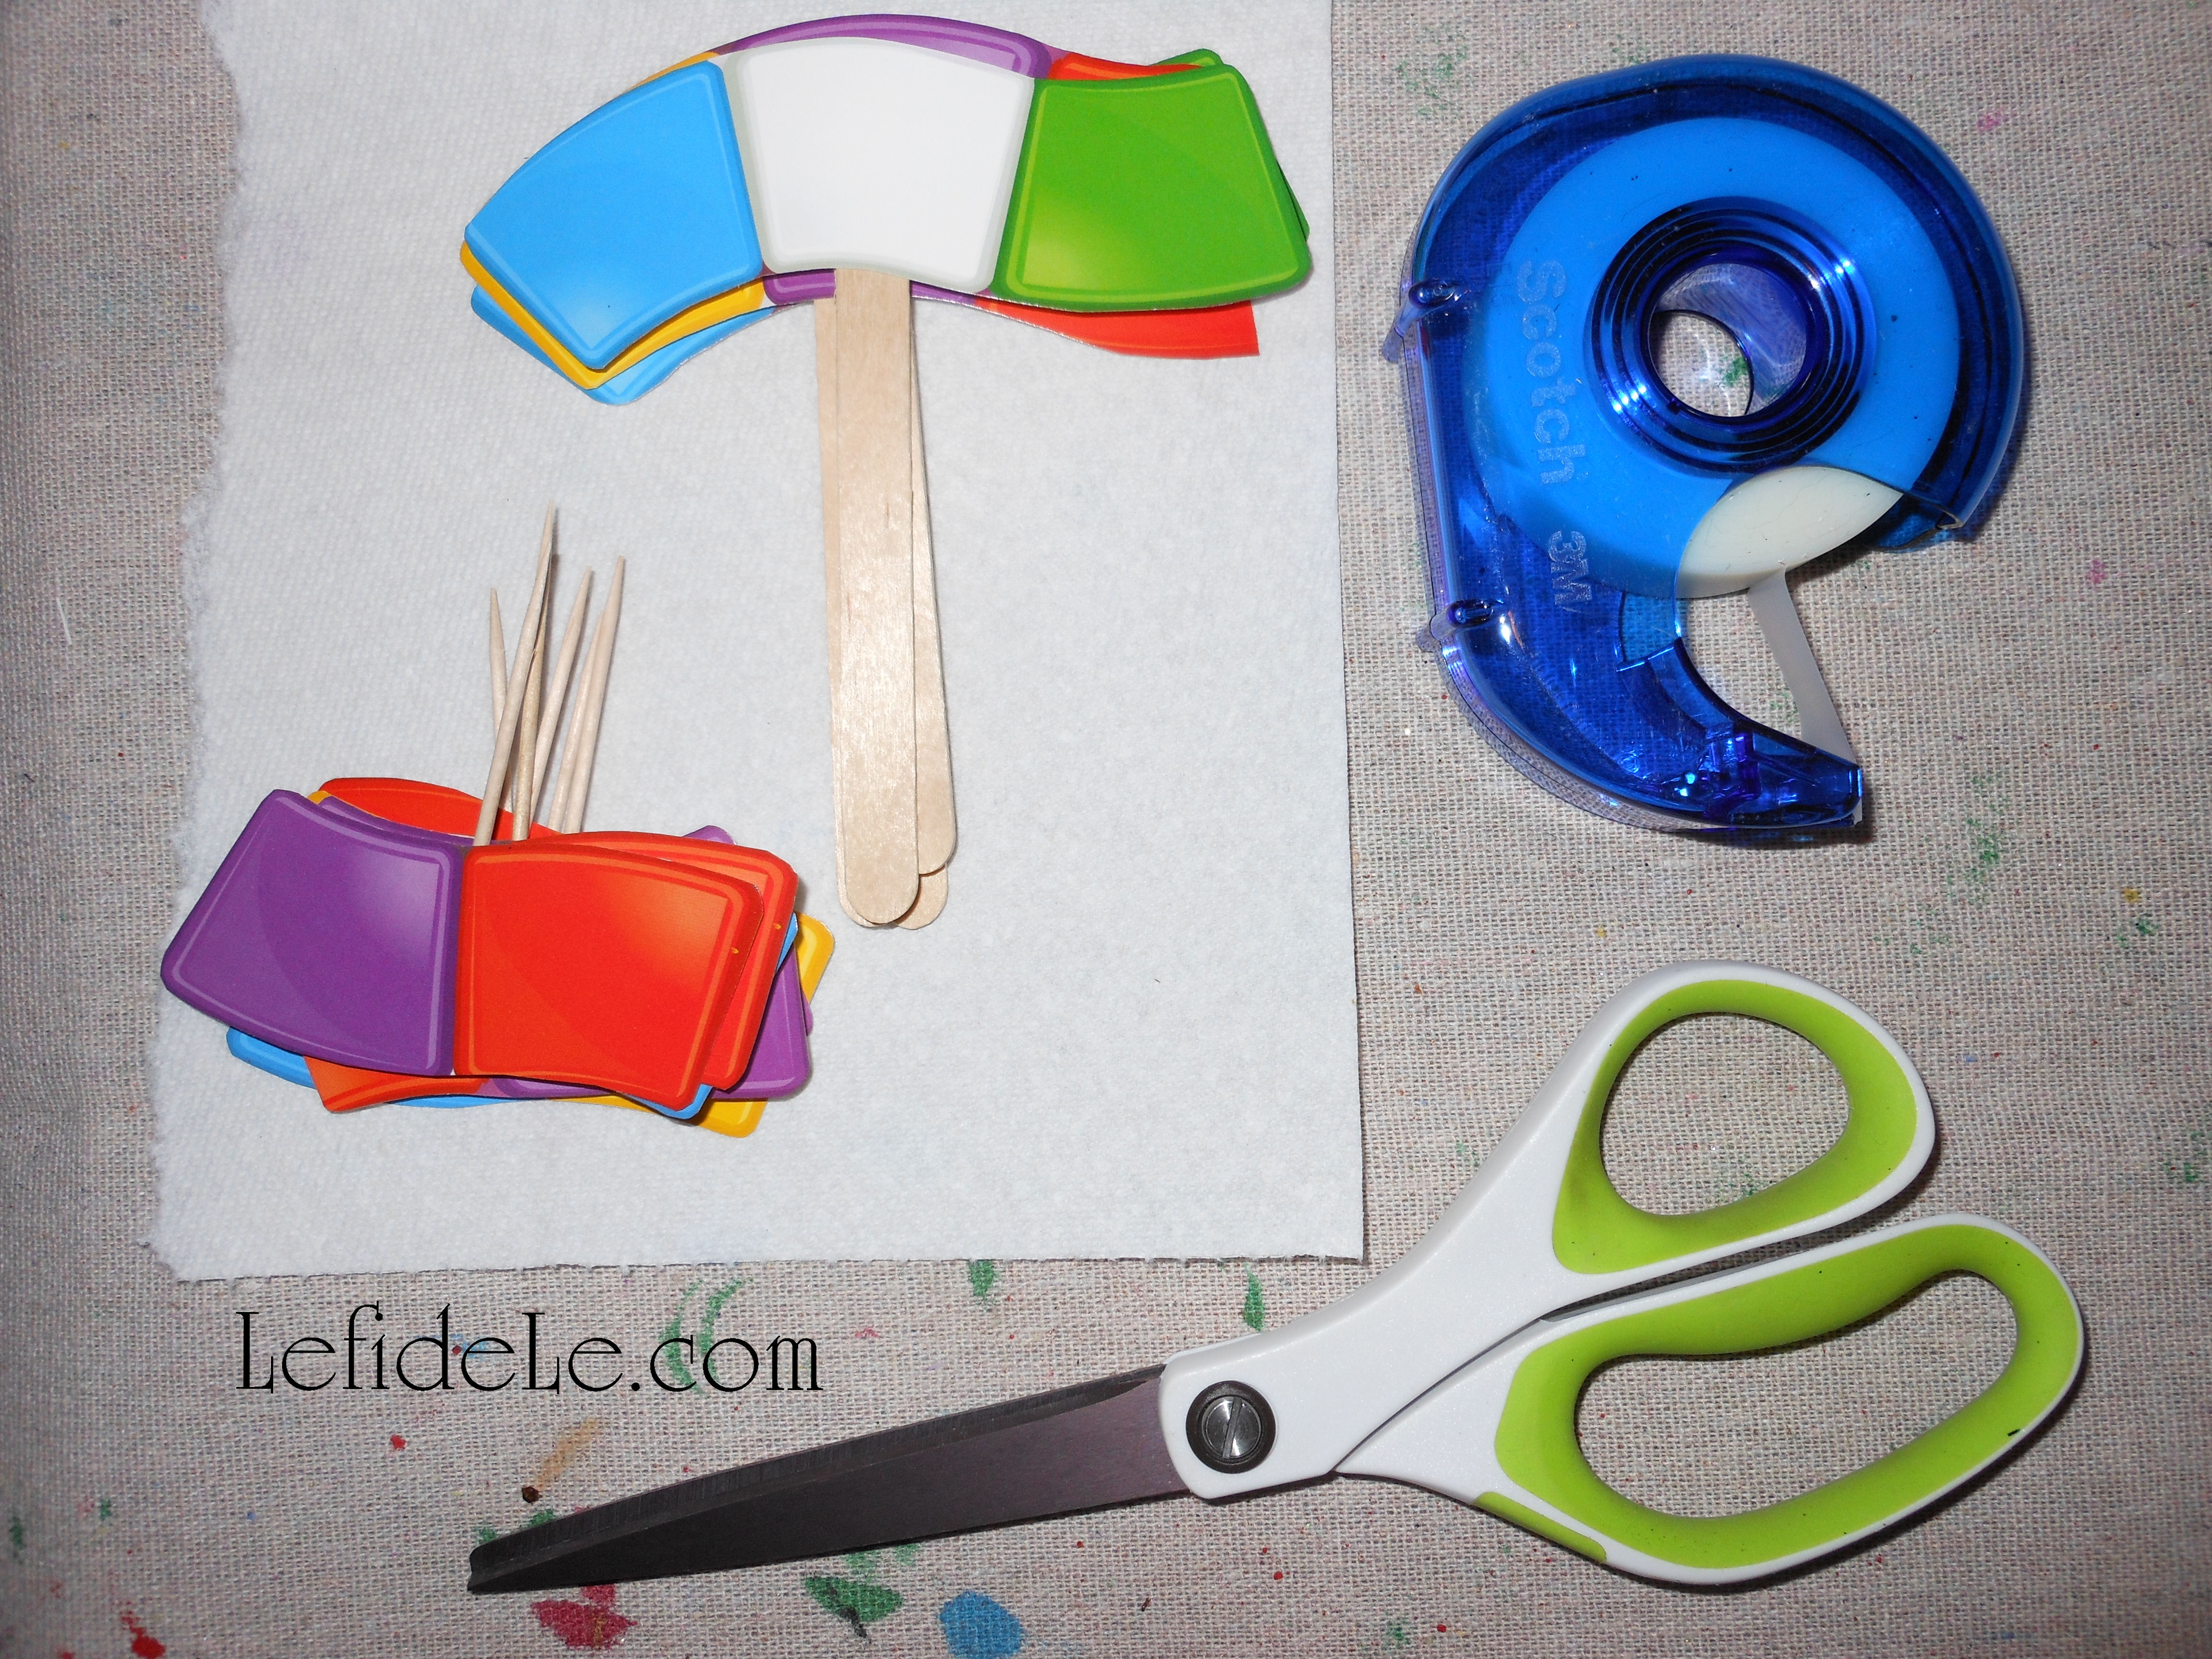
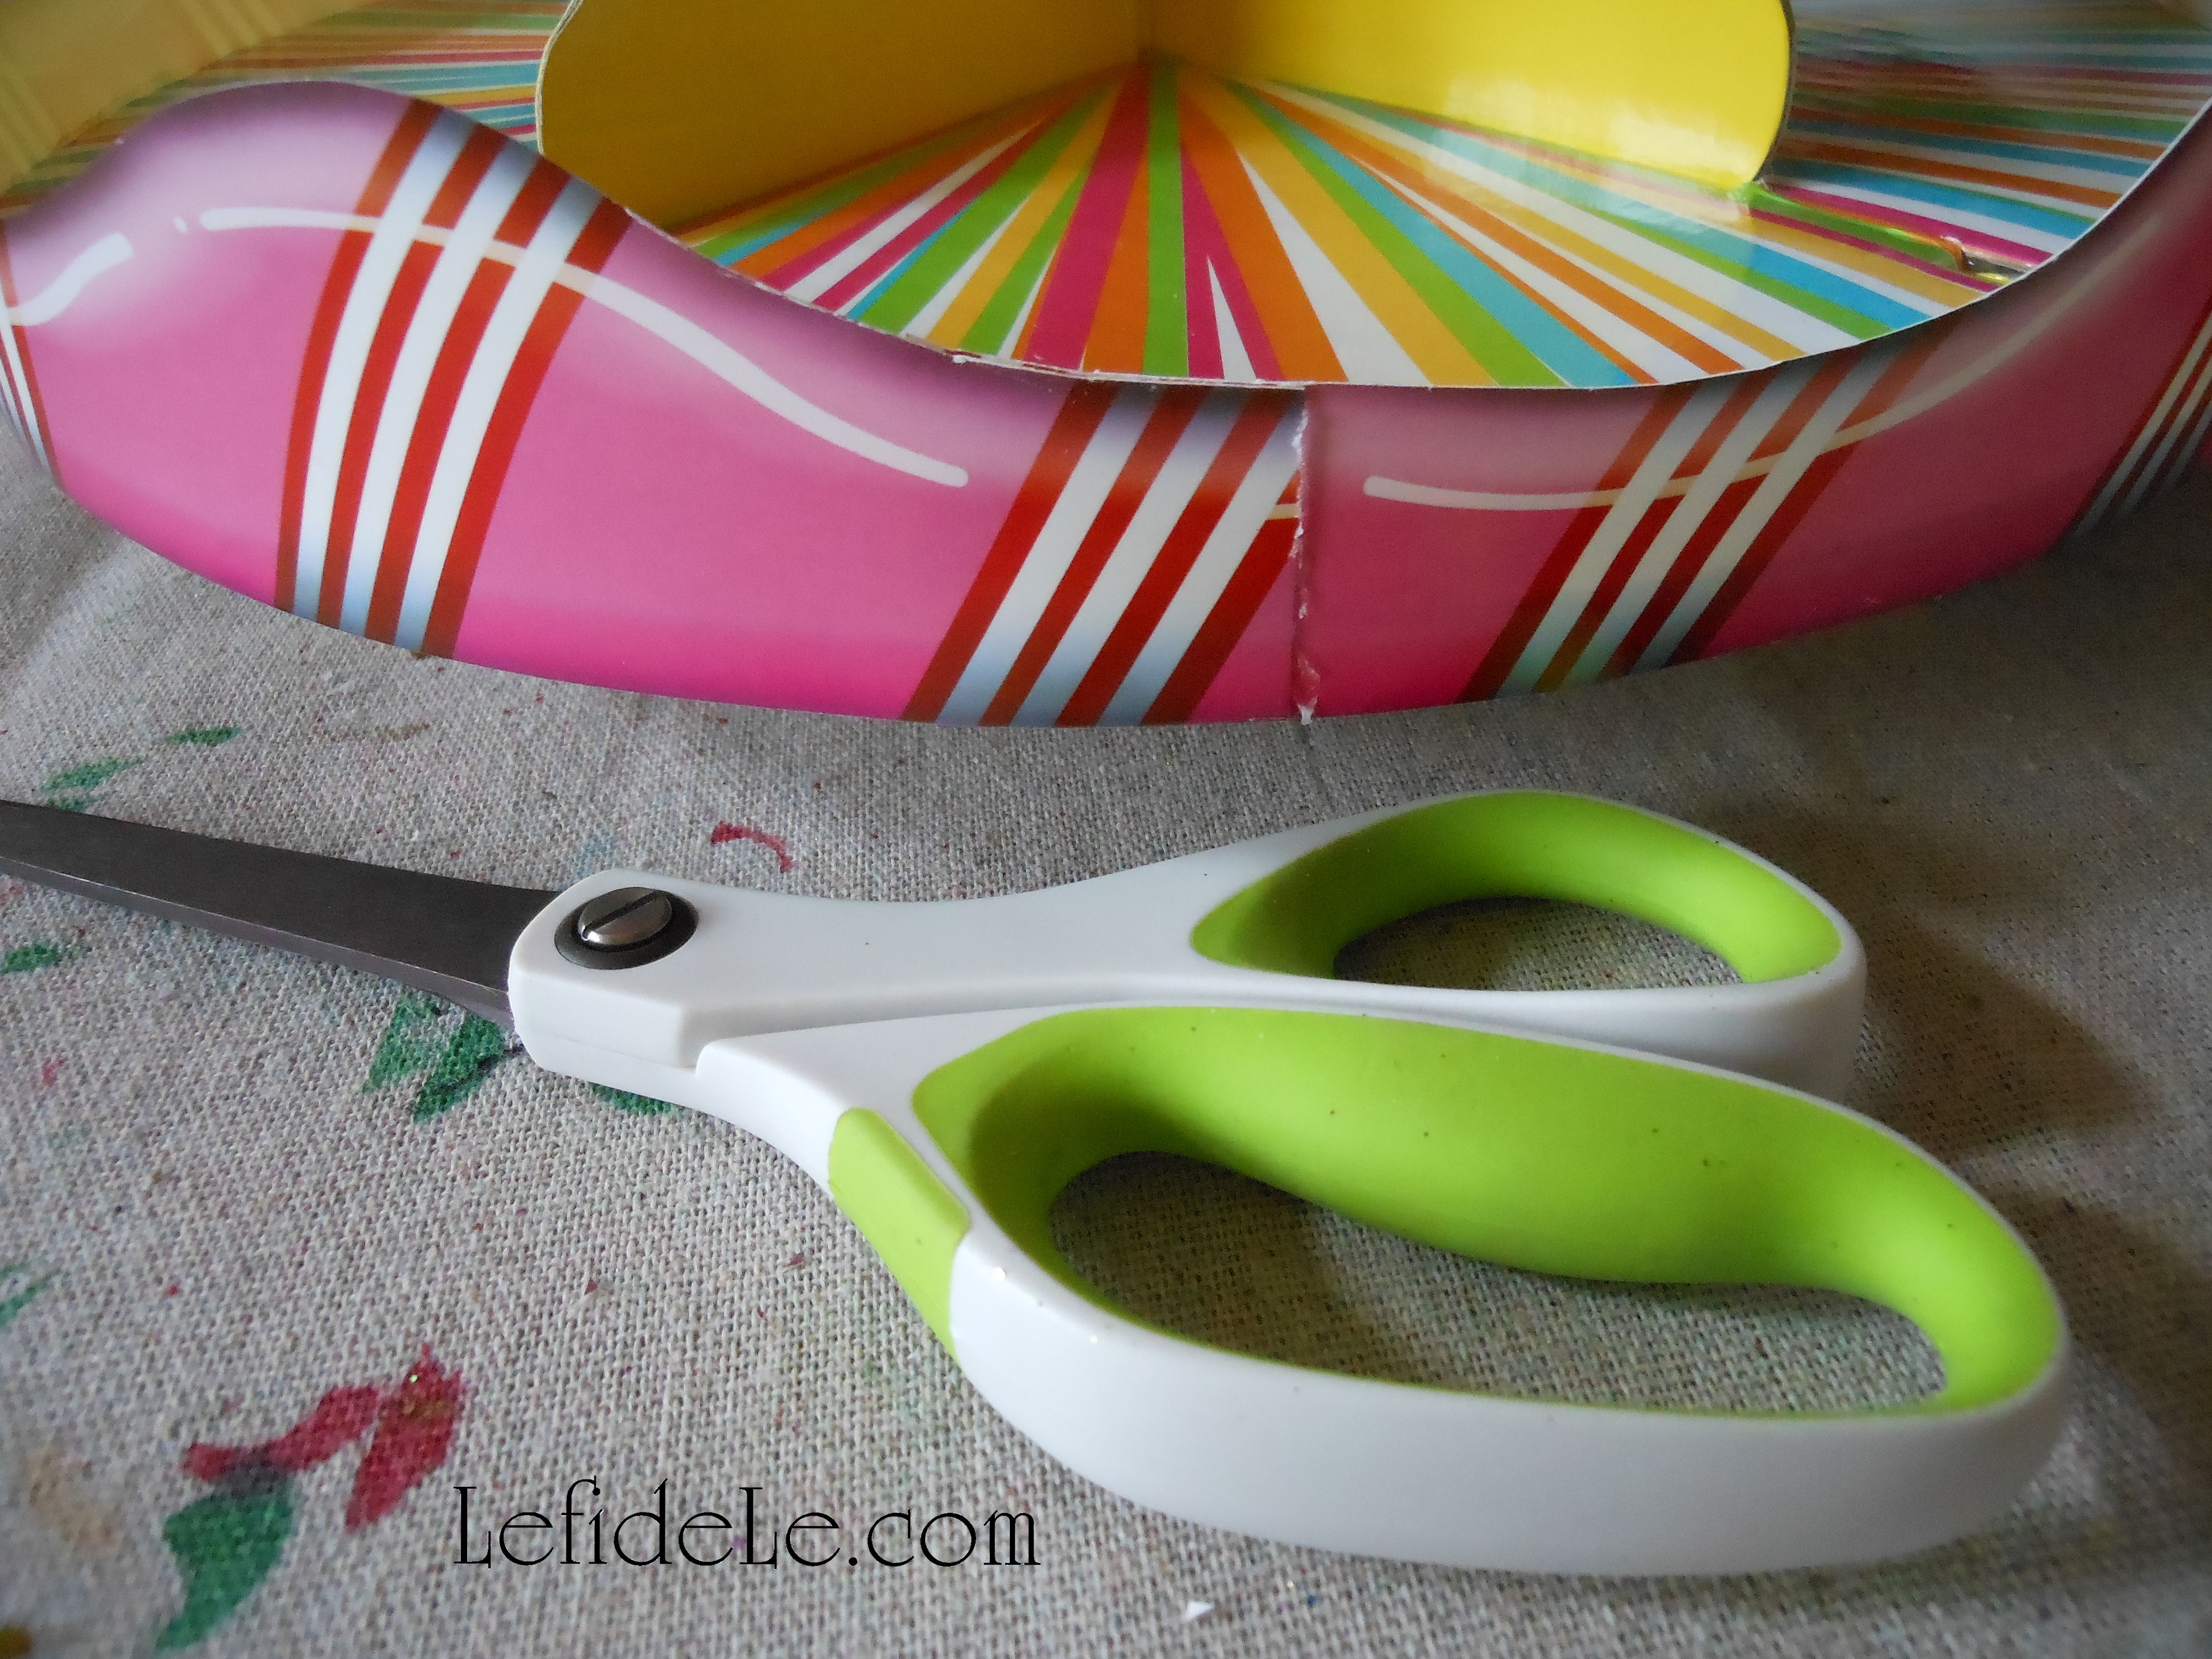
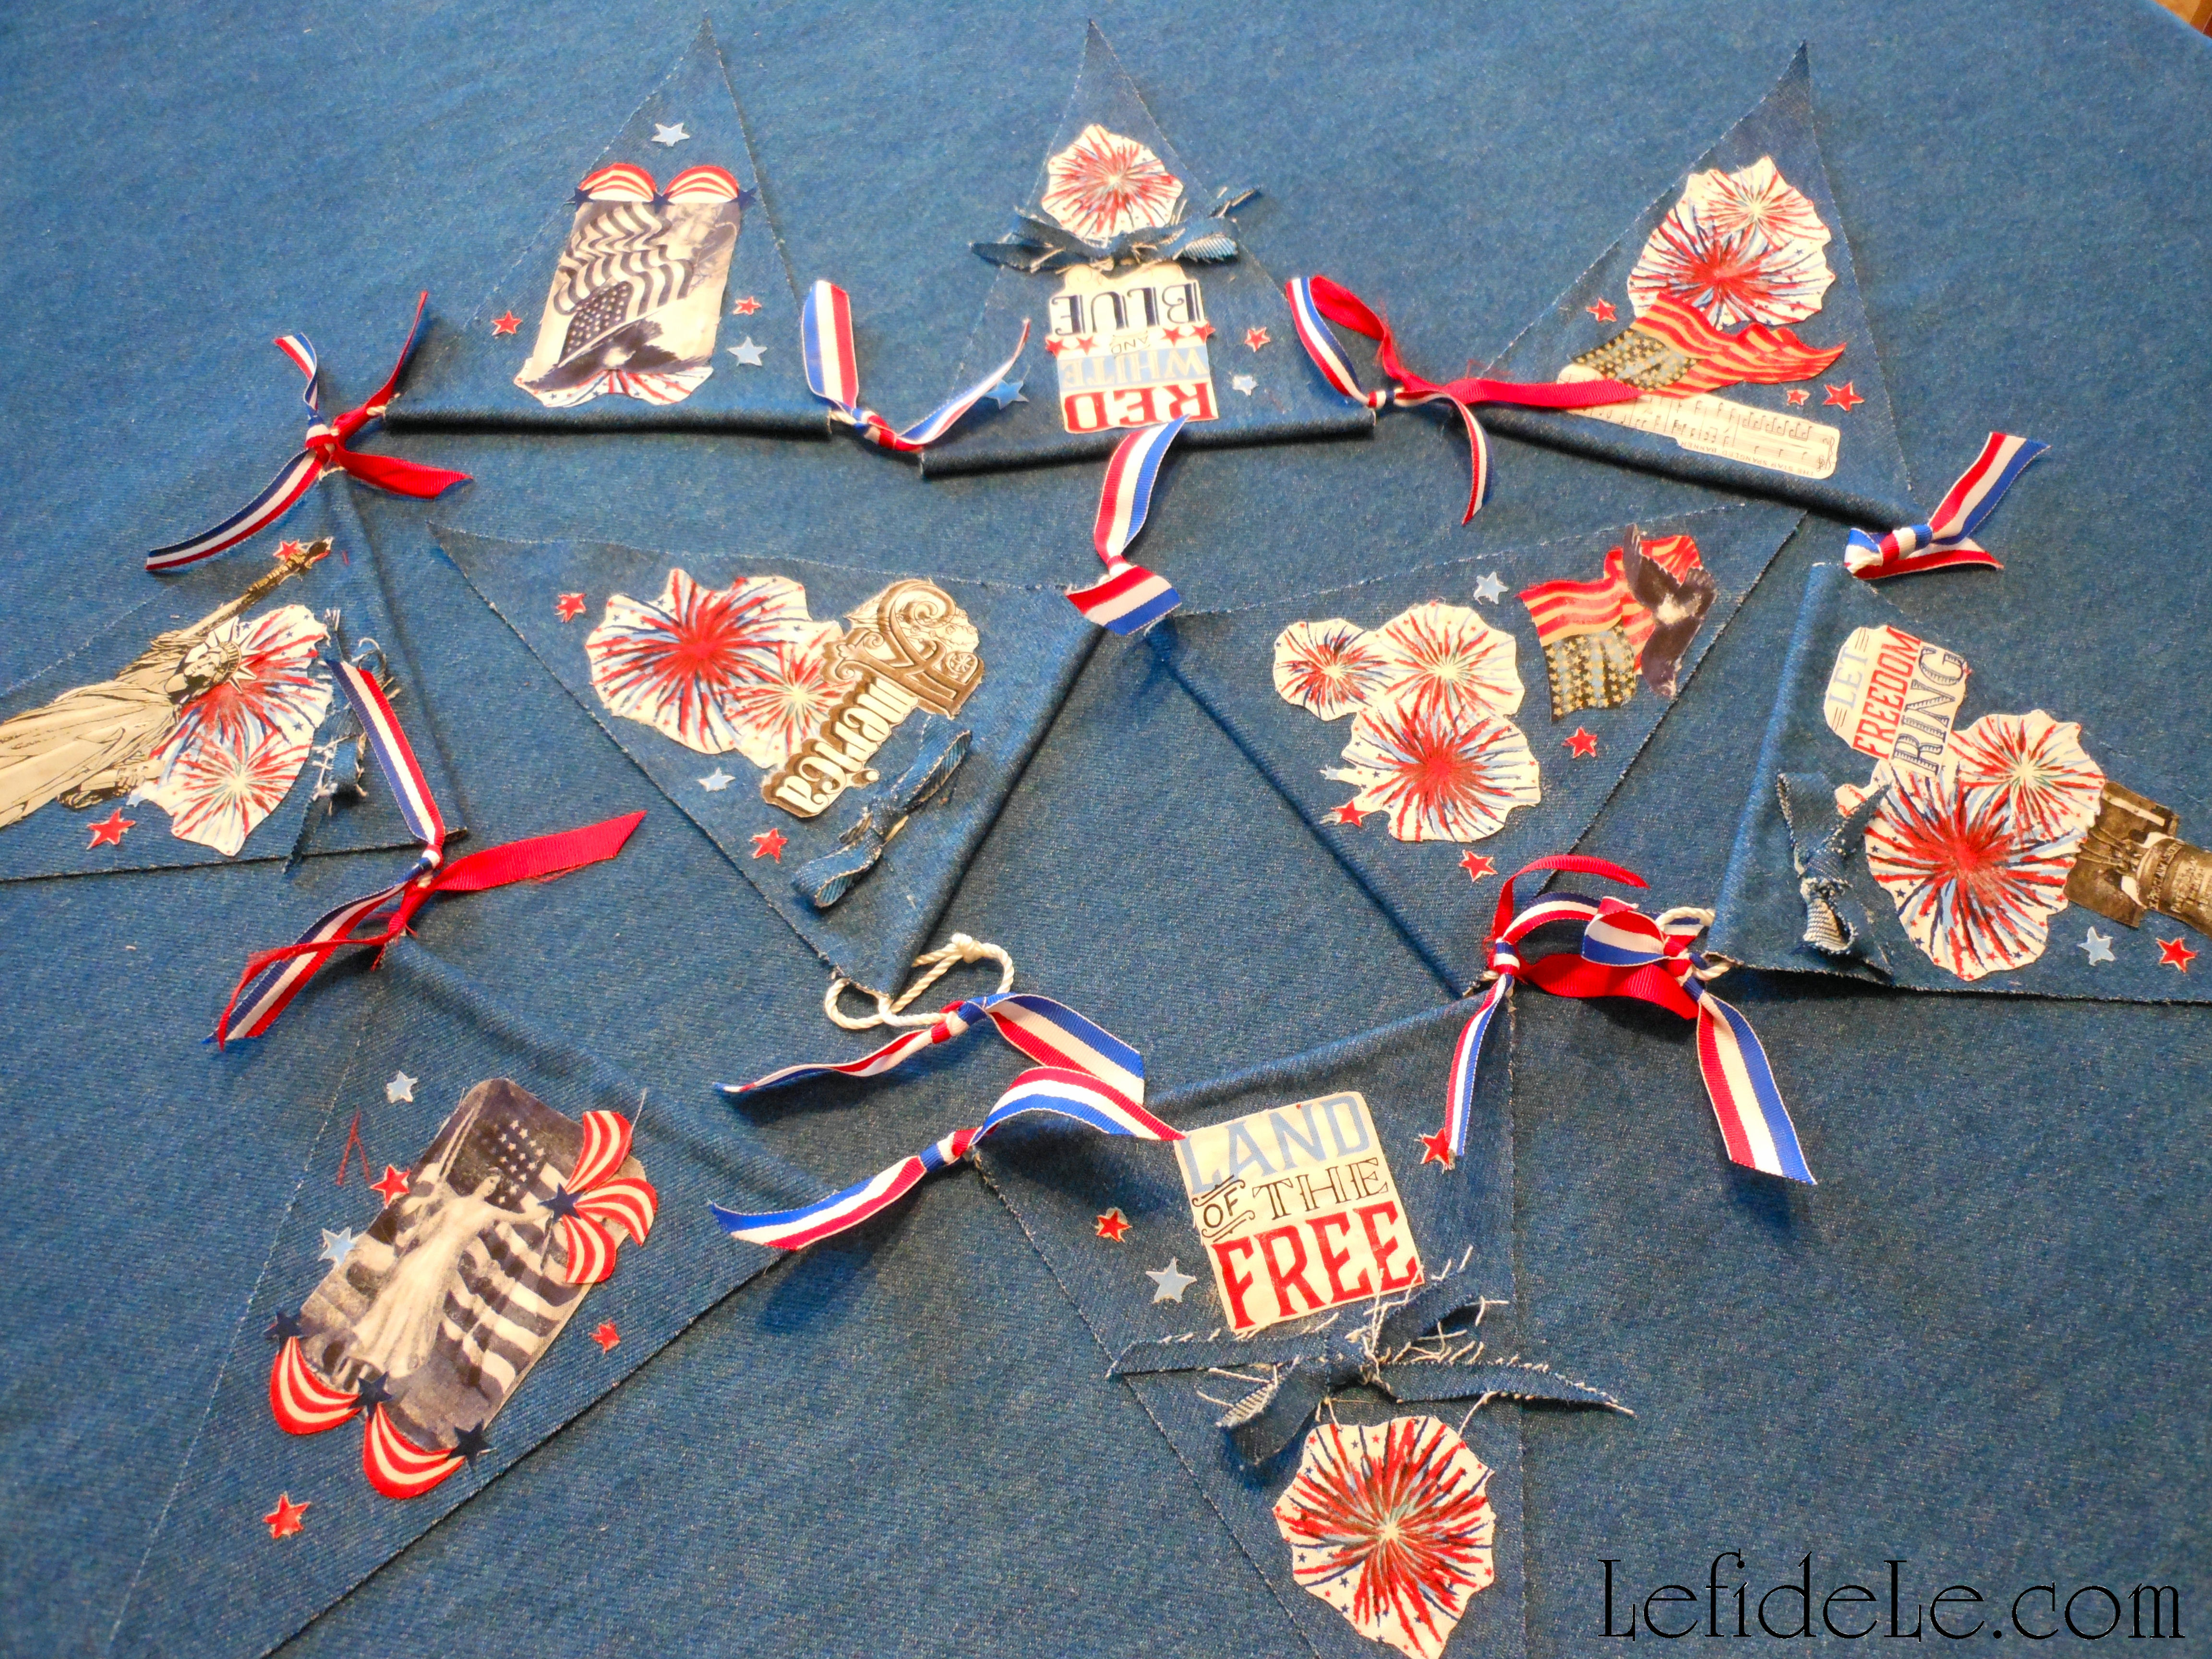
Now cut out individual images from your printed fabric… just as you would in a paper collage or decoupage project. Use good fabric shears for a clean cut, or old scissors to make an intentionally rough edge… again, it’s your project, so it’s your choice. Also, think about cutting apart some of the larger images into smaller ones. (For example, cut apart the eagle from the flag in one image.)

138Leigh

Lay out your triangles to plan your design. Rearrange your cut images until you find it looks pleasing. (This is the part where banner craft becomes collage art.)

142Leigh

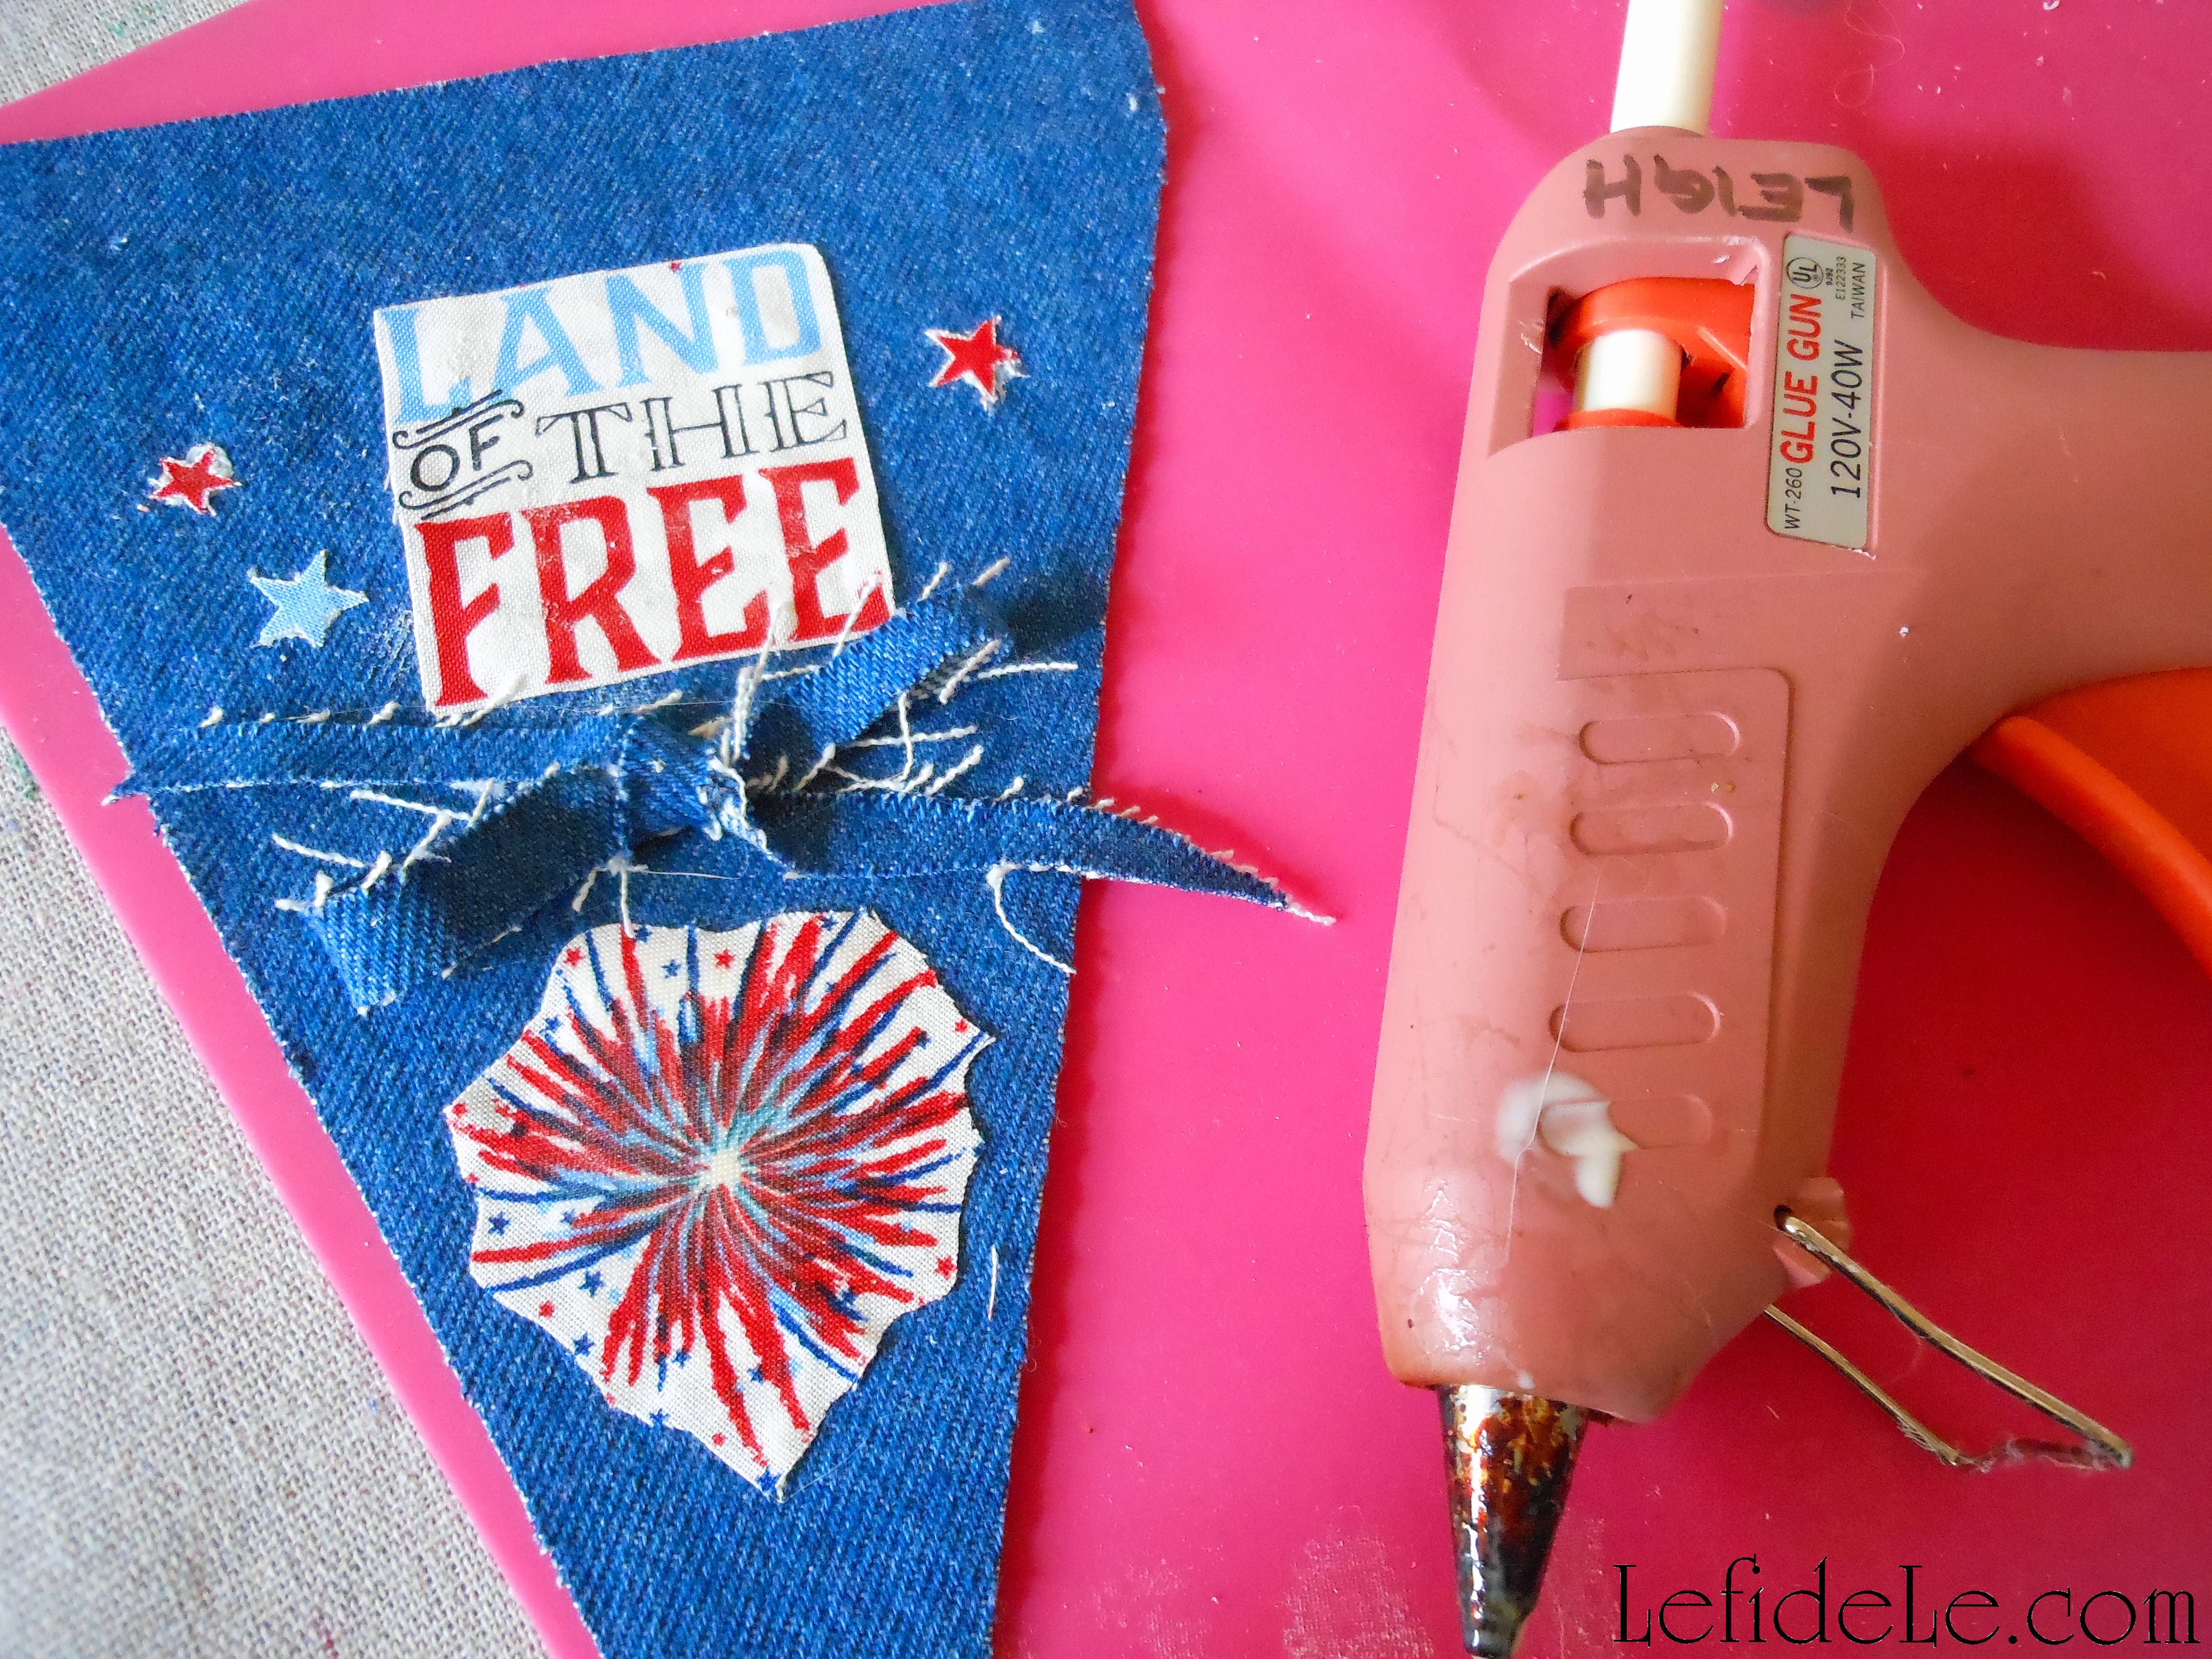
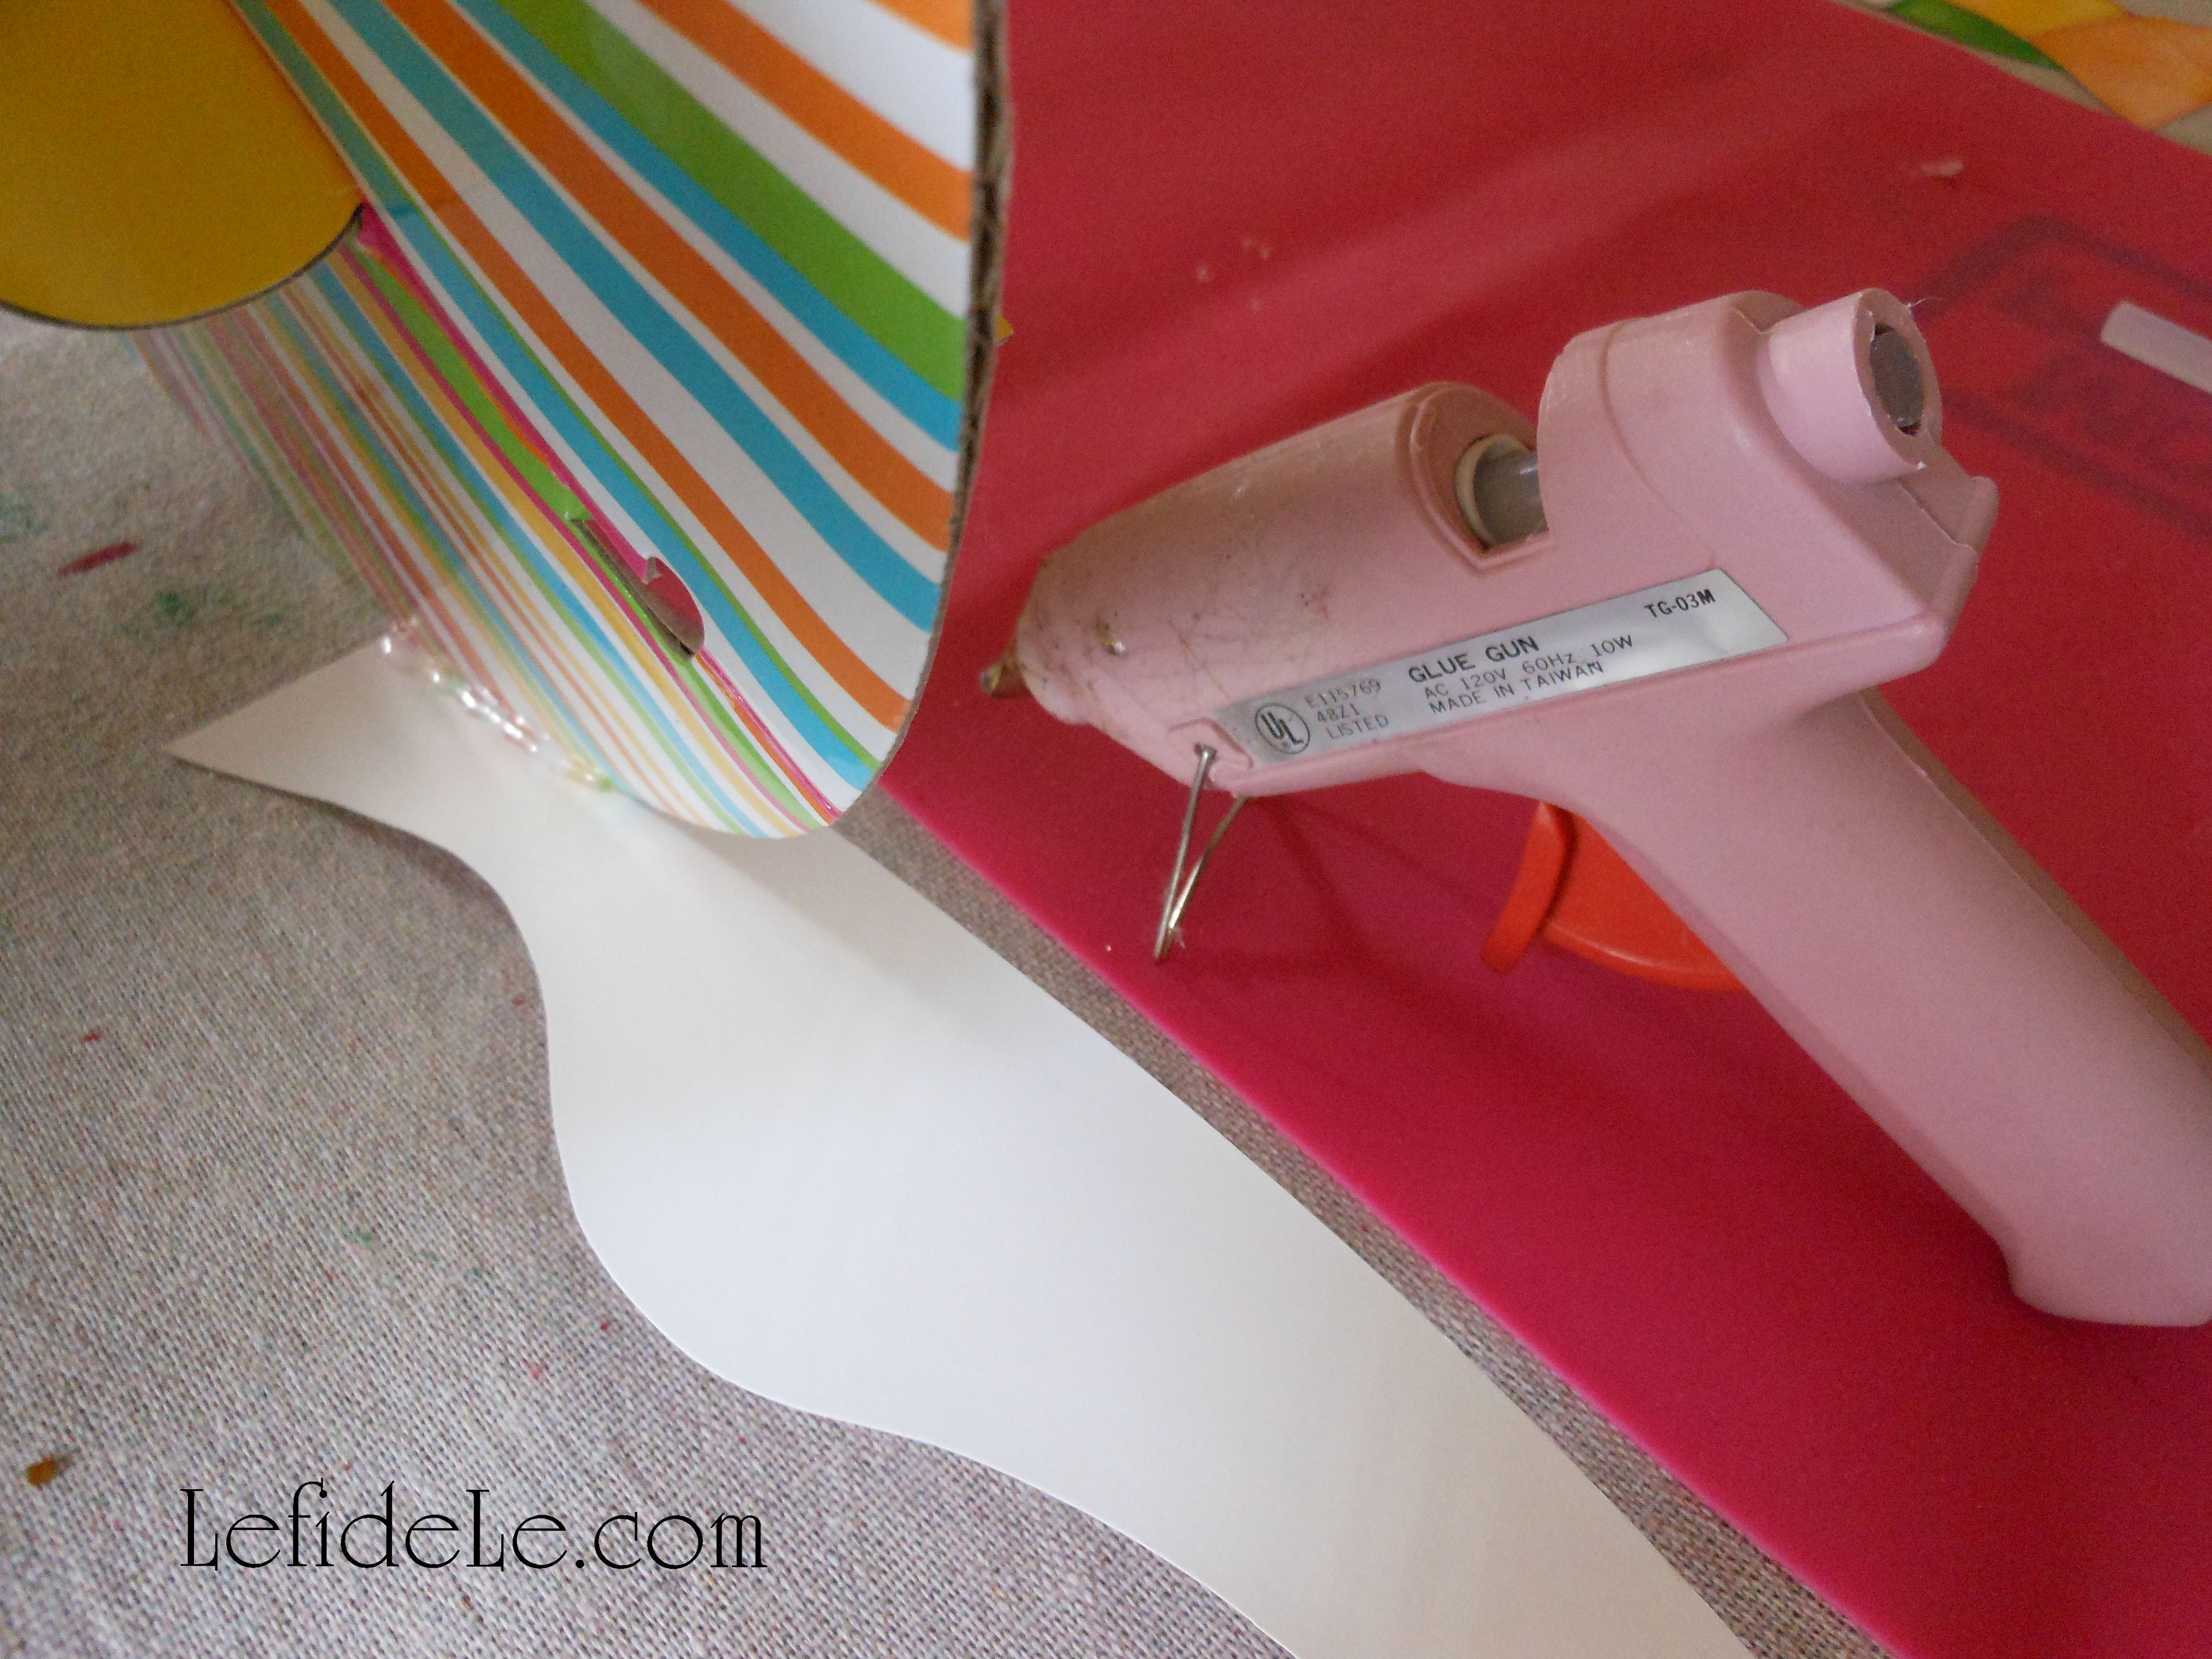
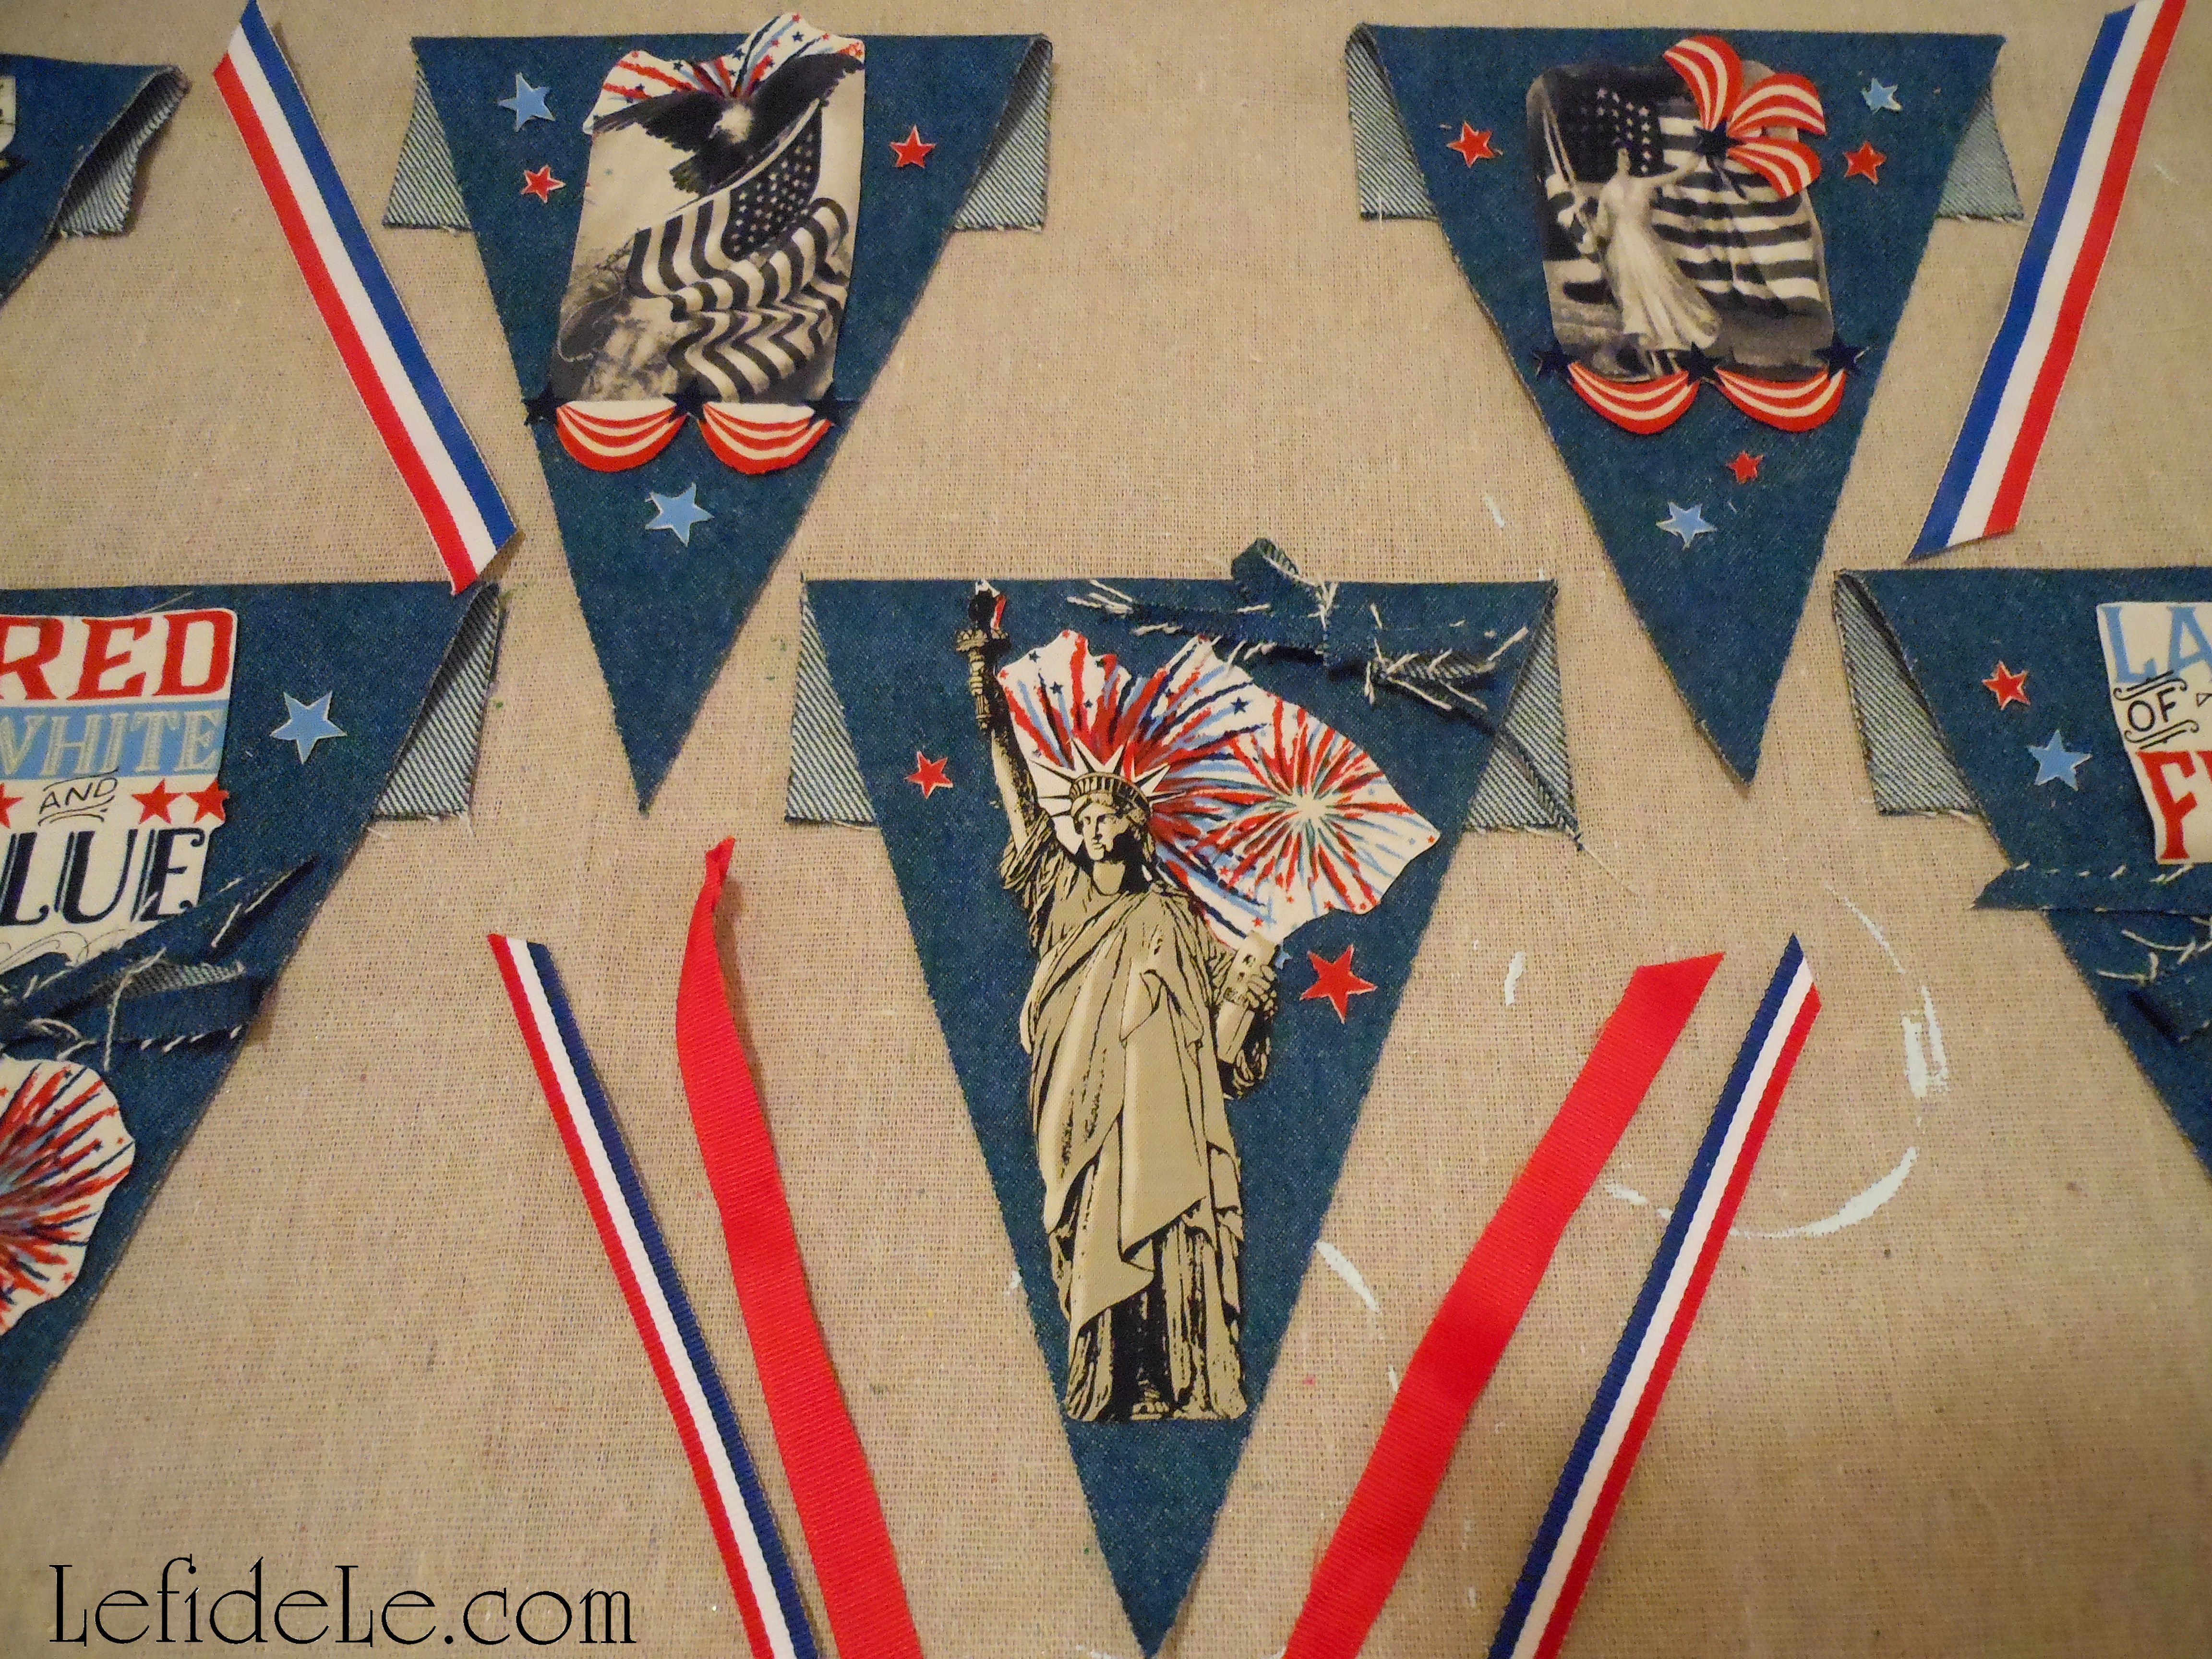
Adhere the appliqués to the triangle base with hot fabric glue. (Because I’ve already dealt with staunch naysayers concerning the ability of hot glue to work on fabric… there are varieties of hot glue made just for fabric, and it will say so on the label. Press the fabrics together immediately after applying the glue, using silicone hand protection of course. Once the glue has cooled completely, I defy anyone to pull the 2 materials apart!) There are also many varieties of cold fabric glue that just require more drying time. (This would be the safer option if constructing this with kiddos.)

145Leigh

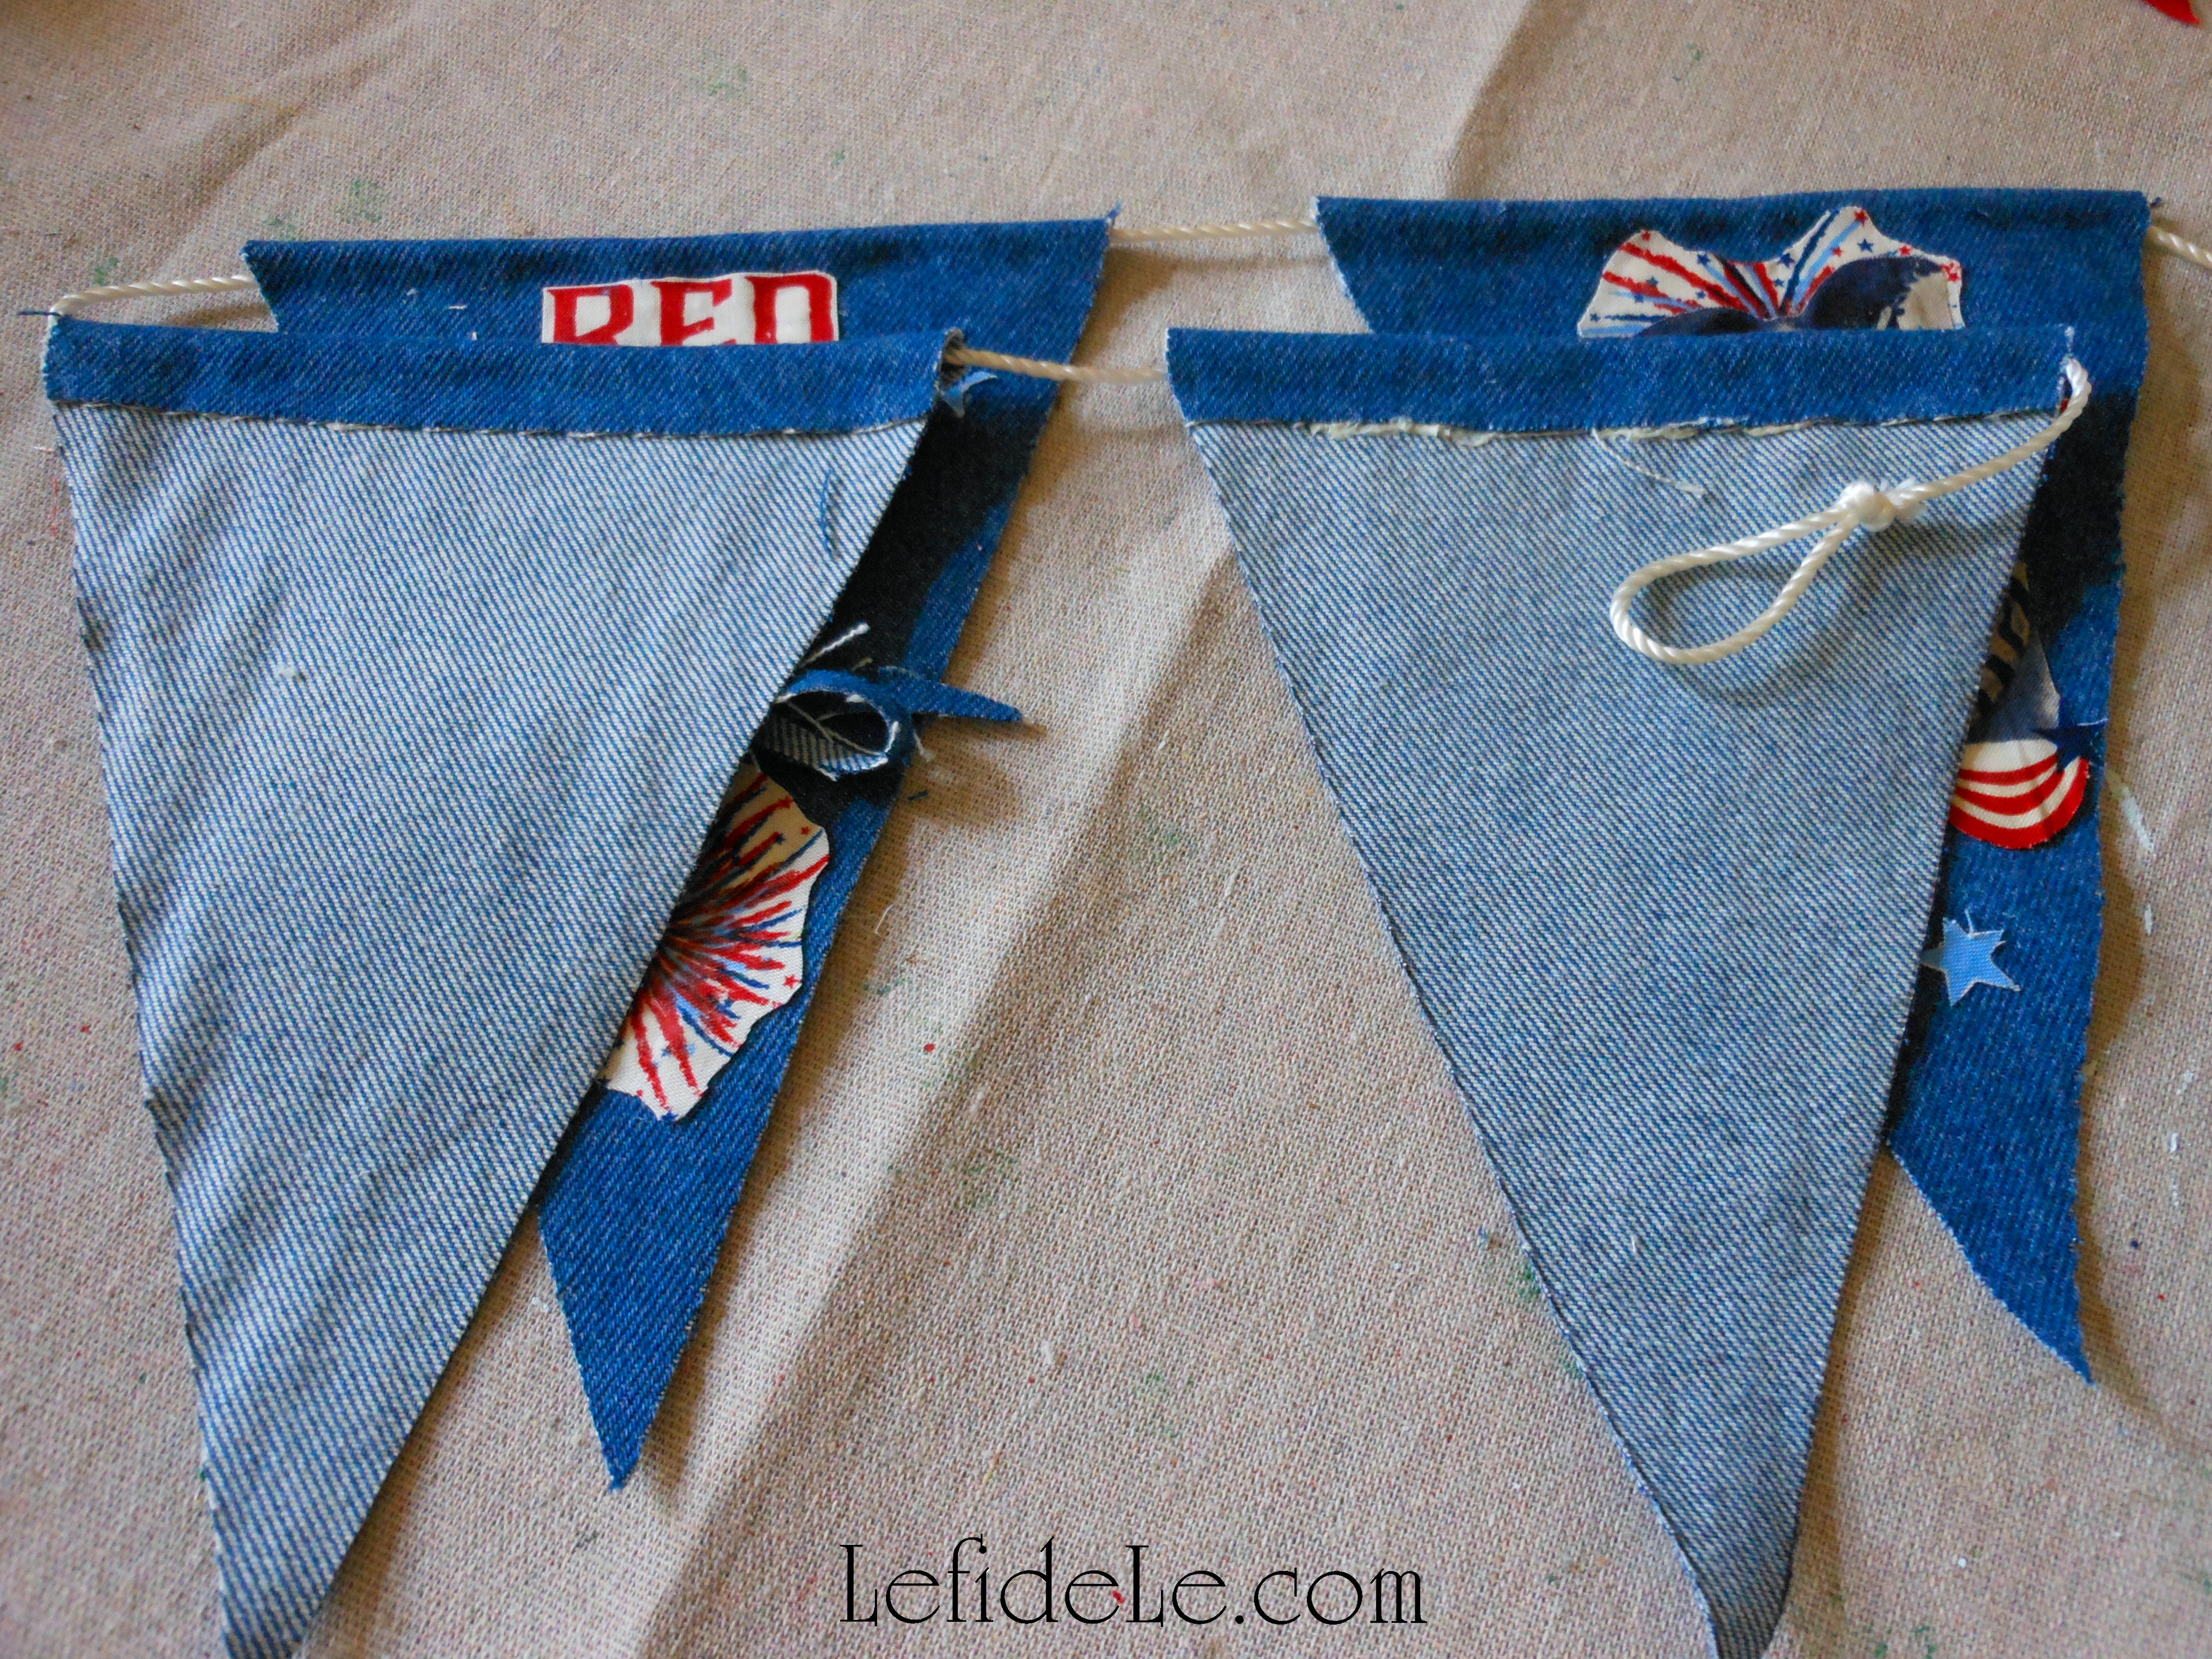
Next glue each triangle flap over the rope you’ve chosen, leaving an inch or so between each. (For the tab-less version, just glue along the top of the triangle’s underside to attach it to the rope directly.) Don’t forget to tie a loop at each end for hanging.

148Leigh

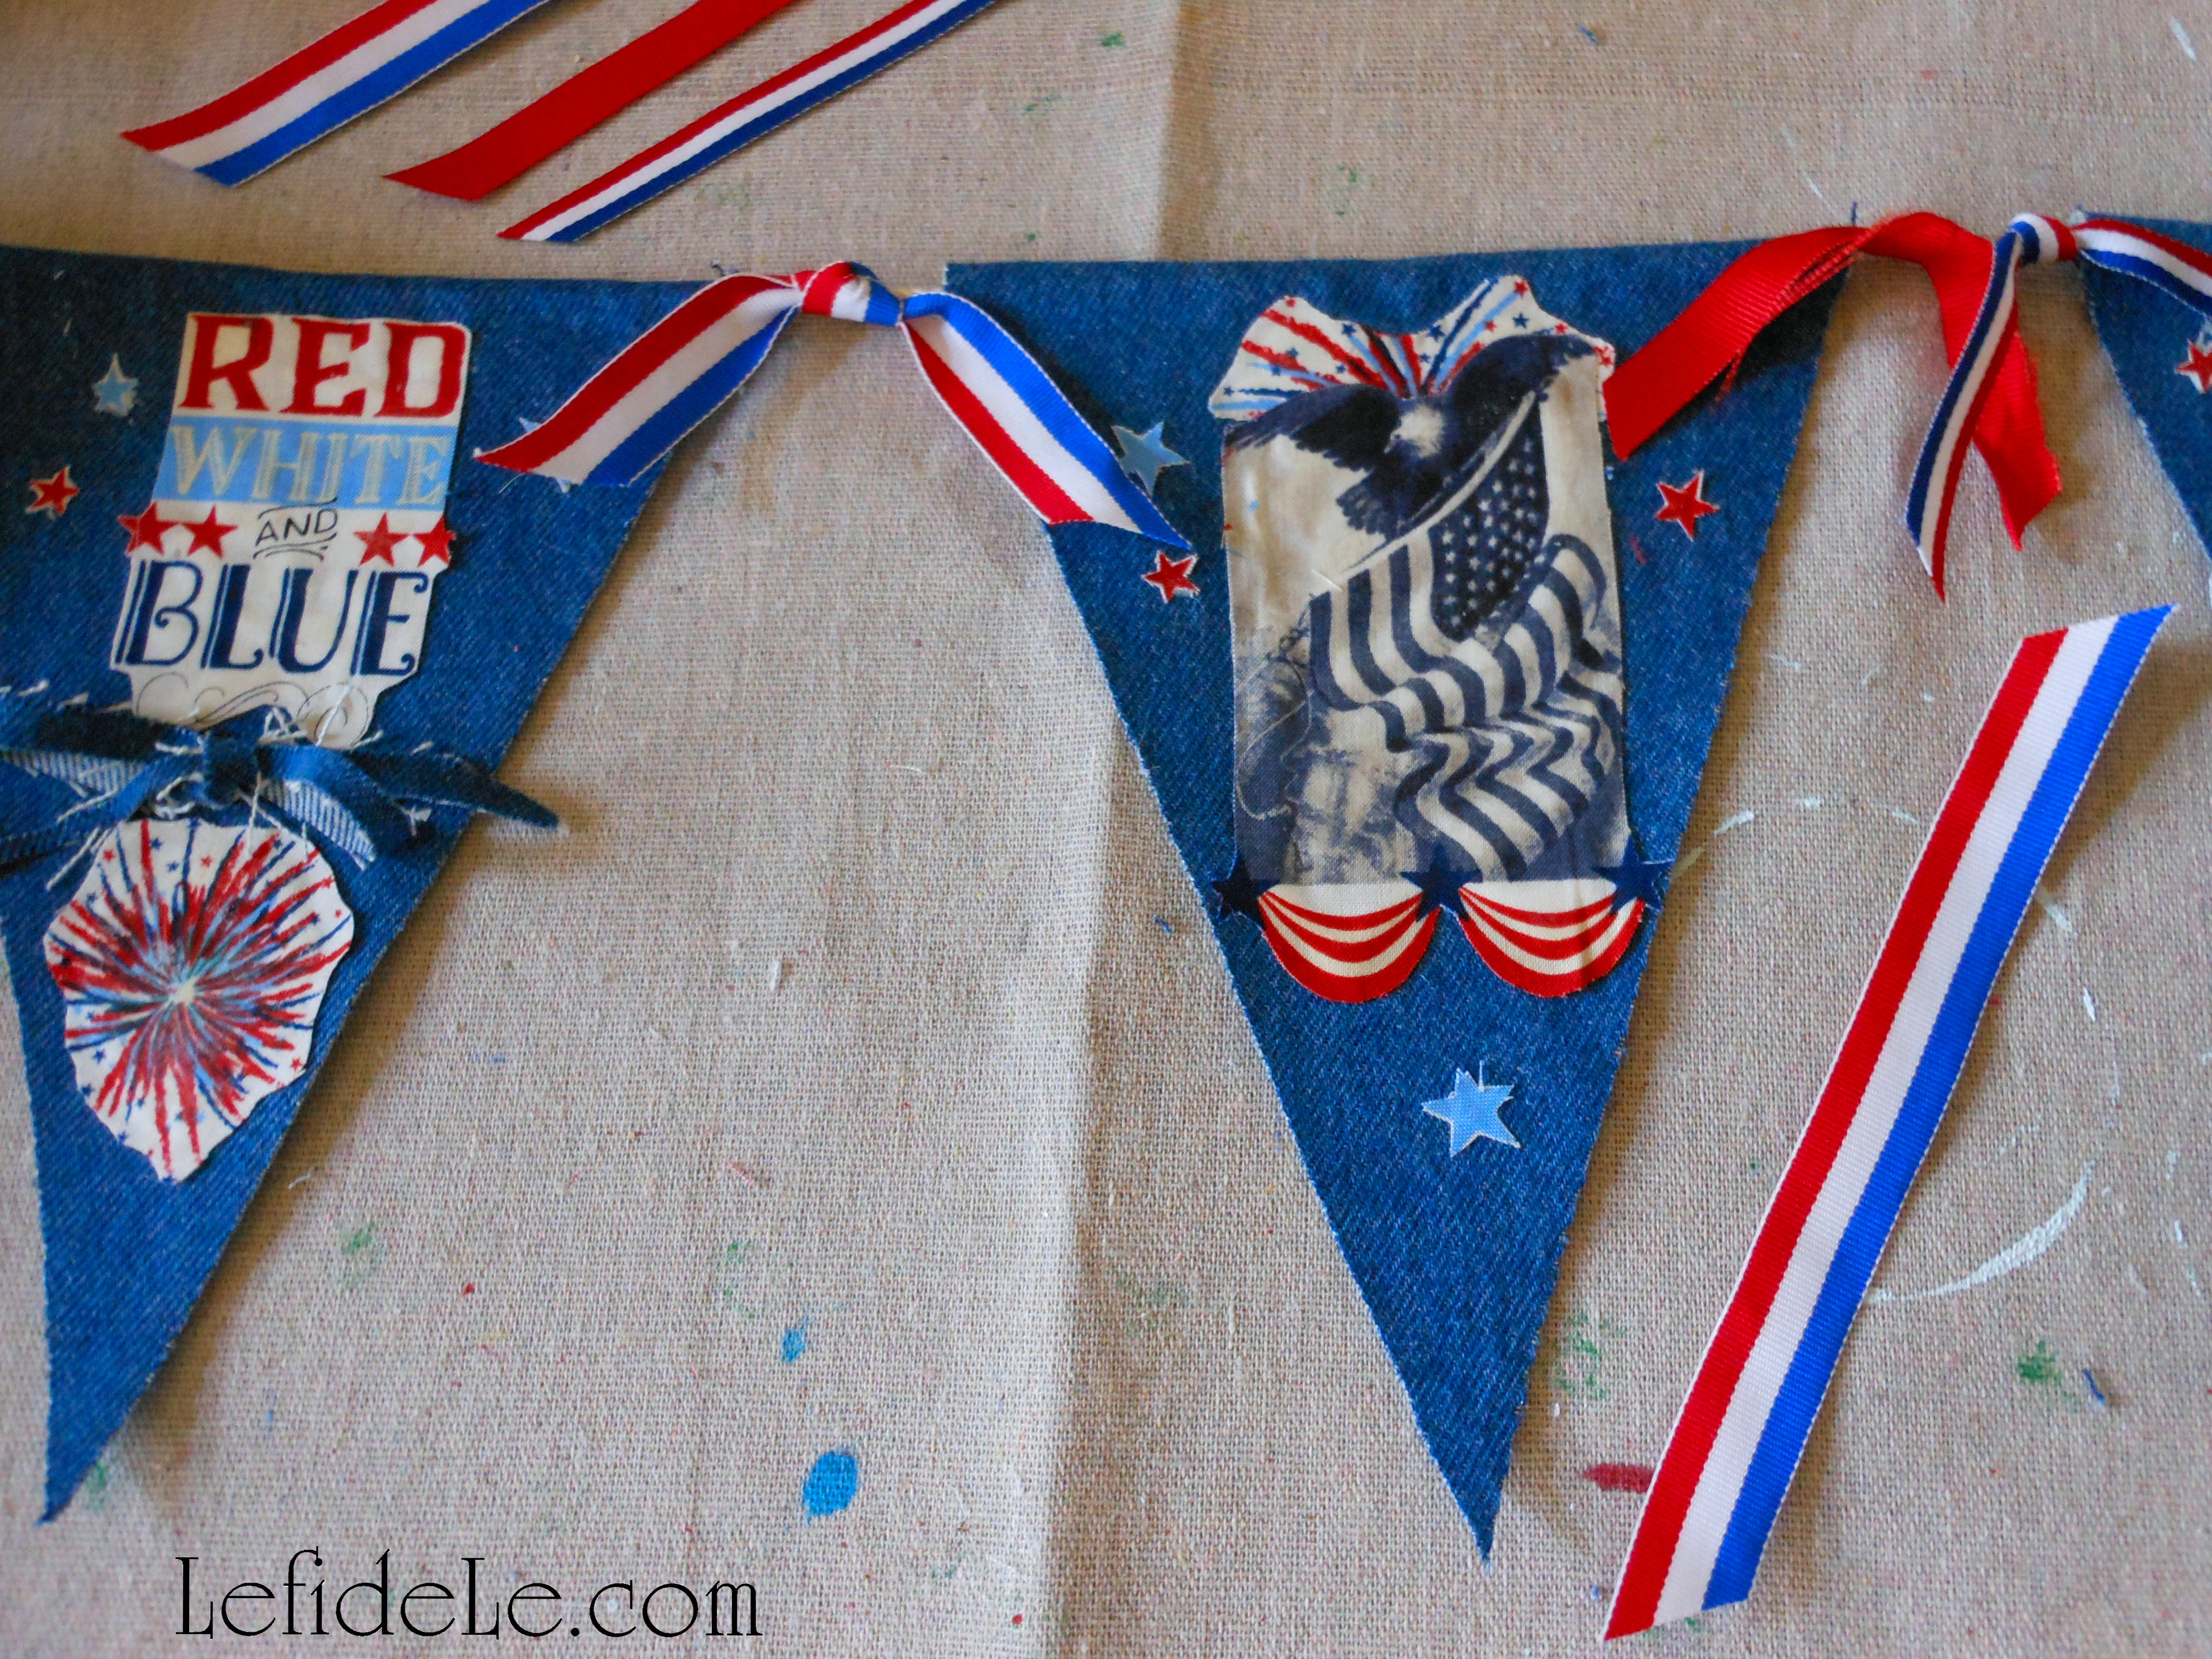
Cut lengths of random yet coordinating ribbon to tie between each panel. Another option is to cut strips of fabric and tie those on. (You can see I’ve done this in the bows I glued to the panel fronts.) Now go hang it up and admire your handiwork! 🙂

162Leigh

“Oh, say, can you see, by the dawn’s early light,What so proudly we hail’d at the twilight’s last gleaming? Whose broad stripes and bright stars, thro’ the perilous fight, O’er the ramparts we watch’d, were so gallantly streaming? And the rockets’ red glare, the bombs bursting in air, Gave proof thro’ the night that our flag was still there. O say, does that star-spangled banner yet wave O’er the land of the free and the home of the brave?”

368Leigh

May you have an absolute blast crafting your own star-spangled banner this Independence Day!

Faithfully Yours,

Leigh

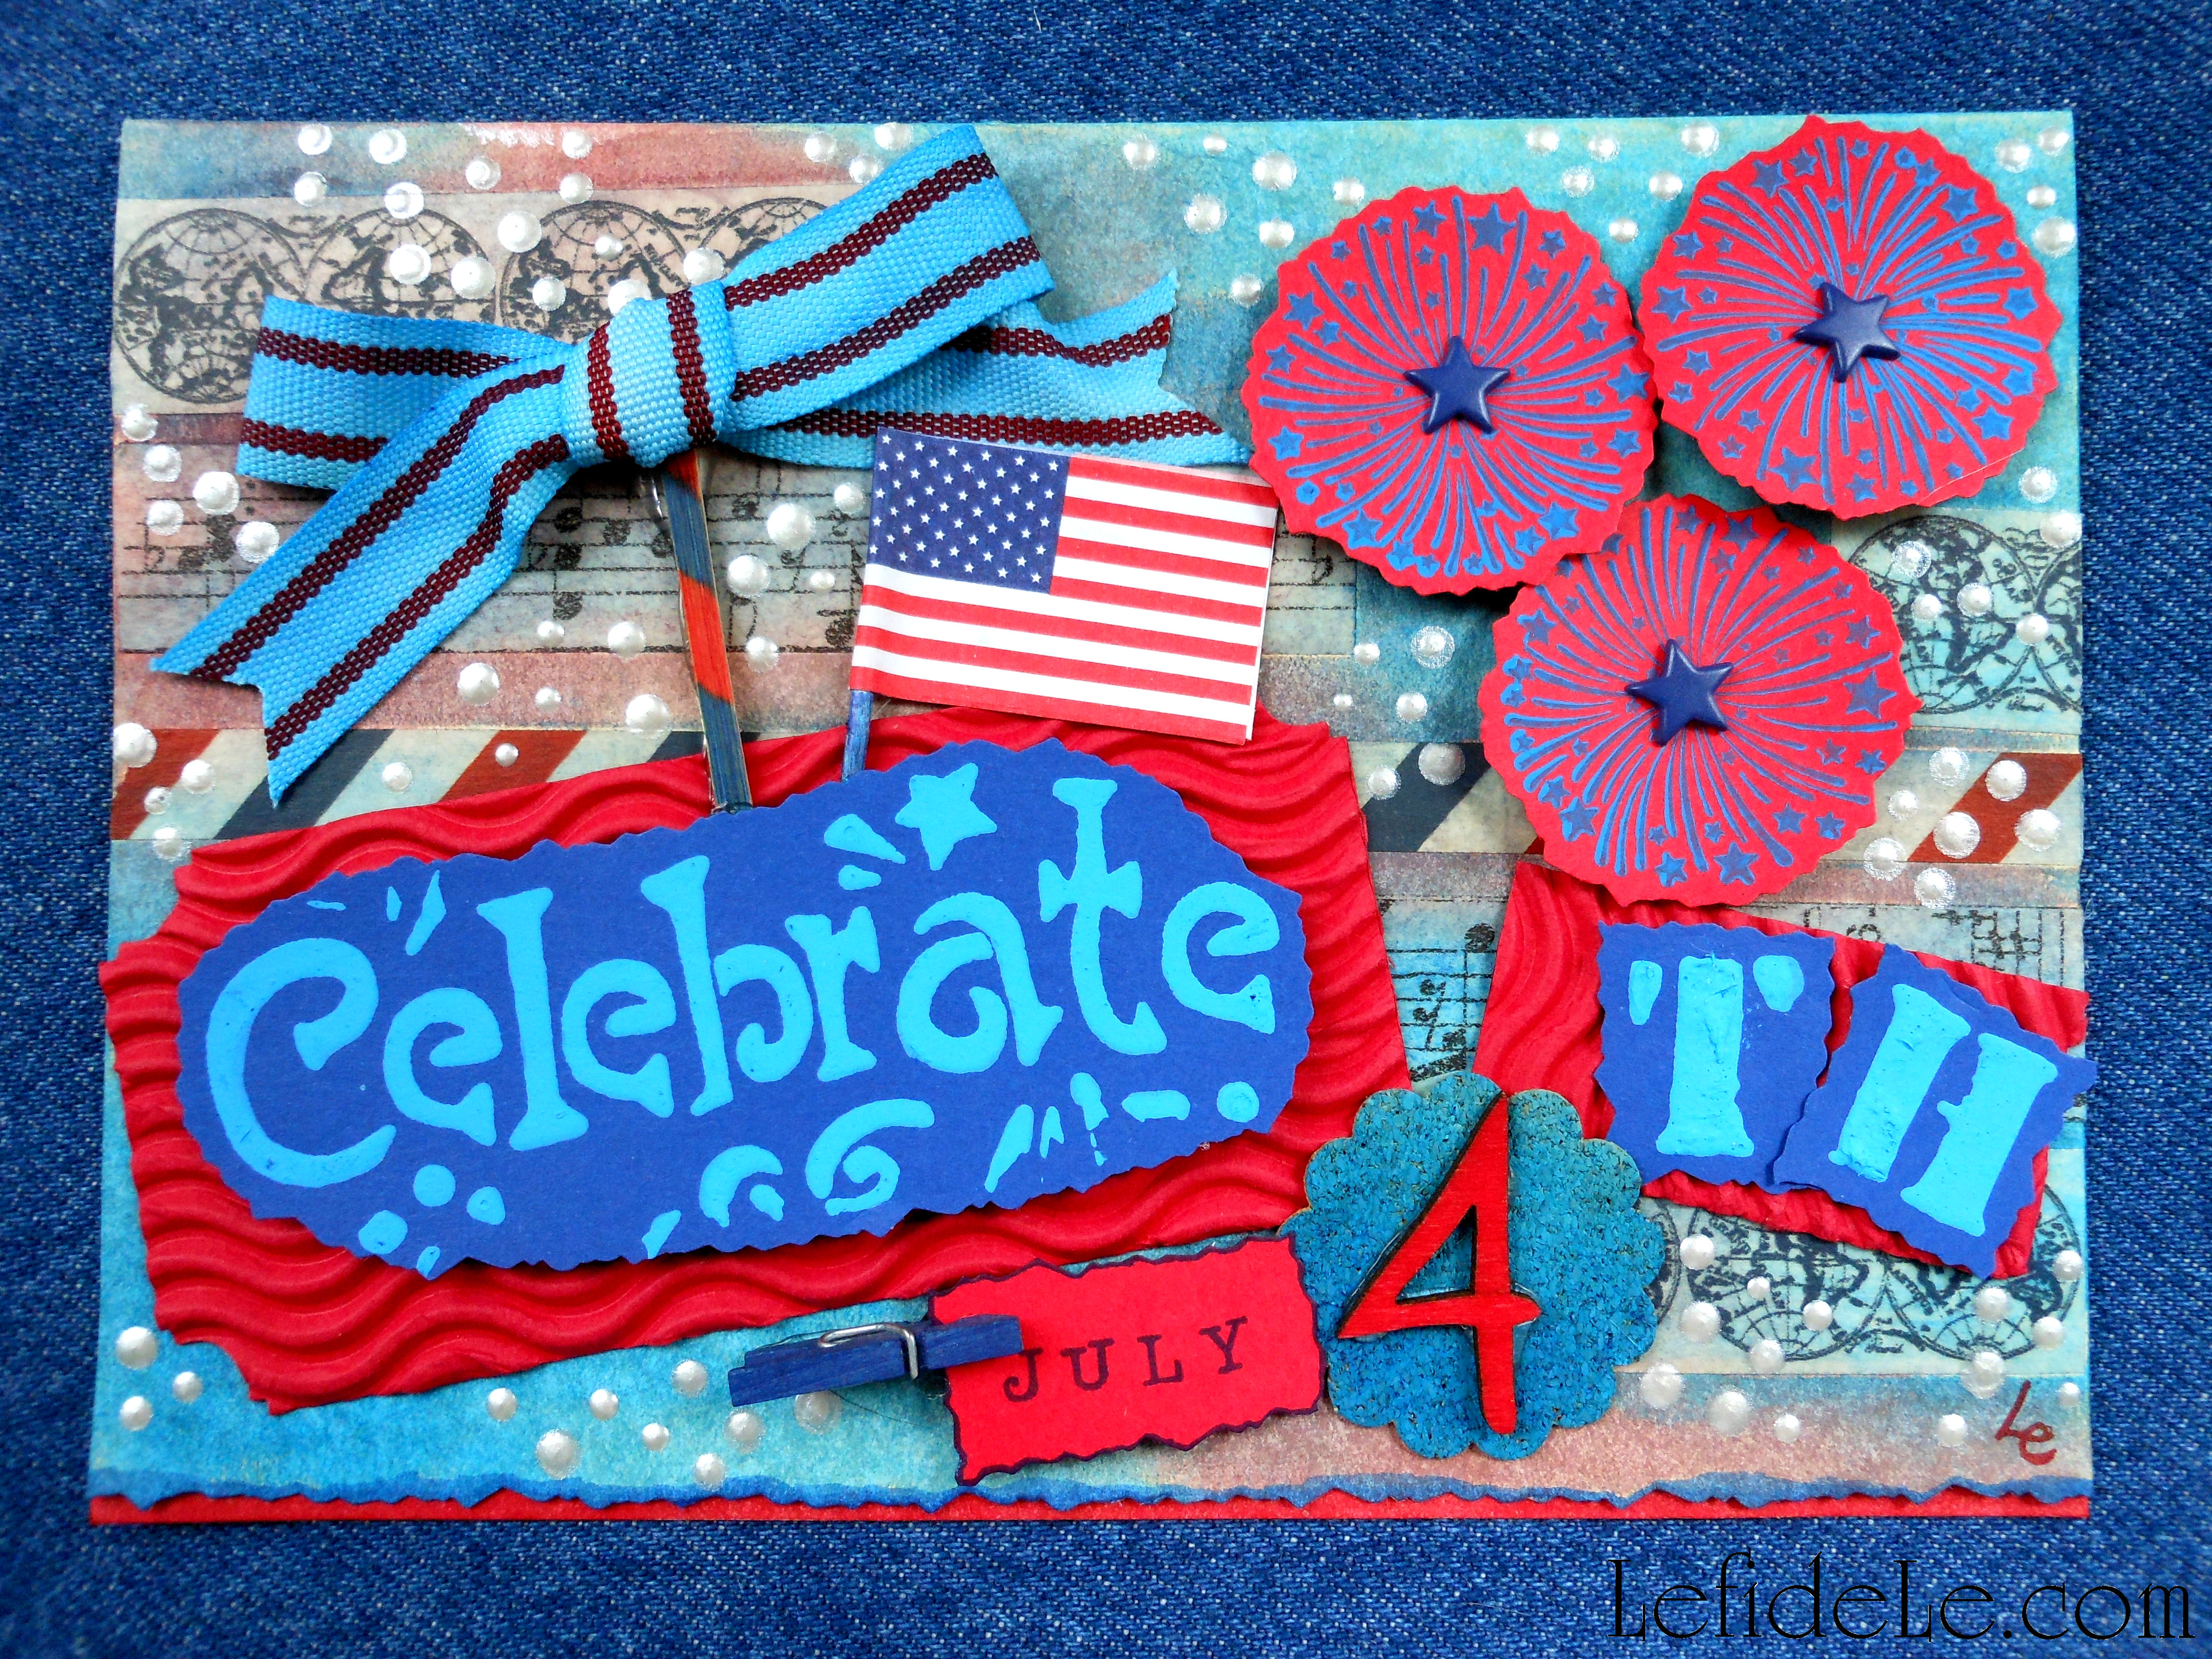
P.S. If you like collage, check out my July 4th Altered Art Greeting Card as Mailable Mixed Media Independence Day Décor (DIY Collage Art Tutorial).

120Leigh

Leaping Bunny Topiary Spring Indoor Garden Party Décor Ideas for Easter or even Showers, Luncheons, & Brunches

256Leigh

Say goodbye to winter storms and hello to spring splendor with a vivacious indoor garden party resplendent with leaping bunny topiaries! Put away the pastels and embrace vibrant carrot oranges and greens echoing this time of growth. Add apropos messages spelled out in hedgerow letters declaring the true reason for the Easter season. Give lettuce-edged napkins the bunny ear treatment as a tongue-in-cheek homage to all those cherished family photos. Layer chevron patterning with textural fibers to modernize the fête’s décor, forming an ensemble proclaiming, “Hello Spring!”

252Leigh

Crisp orange and white chevron fabric awakens the senses, making it the perfect underpinning for this little soiree. (My mother actually made this tablecloth, which is amazing for someone who has repeatedly stated, “I don’t sew.”)

255Leigh

Layered on that are round raffia mats placed as chargers. Rustic sage green plates are topped with orange salad bowls filled with fresh garden salads of baby greens like kale, spinach, and chard, with orange heirloom cherry tomatoes, English cucumbers, fresh parsley, sprouted pumpkin seeds, and crunchy carrot croutons. (Find the easy recipe for it here.)

149Leigh

Daily flatware is used, with the exception of the knives which have been exchanged with lovely patterned versions. (Mixing patterns is not only okay, but fantastic!)

139Leigh

Orange burlap bunny ears napkin rings hold lettuce-edge napkins matching the sage plates. (Learn how to easily make your own rings here.)

220Leigh

Understated water glasses were chosen as the only simple elements on the tablescape. Carrot lollipops with jute bows sit in place of dessert spoons. (Find them on sale at affiliate Oriental Trading Company. The link in the side bar adds a coupon with free shipping to your cart automatically.)

158Leigh

Baby leaping bunny topiaries sprout from burlap covered carrot pots above each place setting. (Learn how to craft them easily here.) Tiny printable carrots act as place-cards for each invitee. (Snag my free printables here.)

287Leigh

Big bunny mama springs from the center of the table in declaration of a beautiful life.

257Leigh

Orange twine wrapped Easter eggs sit on the grass beneath her. Twine and crepe carrots suggest growth of one’s soul.

294Leigh

Faith stands as the center of the celebration both literally and figuratively. (The hedgerow letters are bandaged with burlap and jute symbolizing that one may be battered, but not broken when one has such faith.)

063Leigh

The side table holds another hedgerow spelling Believe. It sits with an additional egg enmeshed in a swirl of vibrant chevrons and burlap lilies.

198Leigh

A green trunk elevates another bunny constructed of grapevines holding both faux farm eggs and green bird eggs.

183Leigh

Above that a carrot wreath with my topiary printable hangs next to my banner. (Find the carrot wreath at affiliate Cost Plus World Market whose sale link is in the sidebar.)

209Leigh

The end of my printable bunny and carrot banner sits close to a burlap carrot sign extending an honest welcome to all enter. (Get my free printables here.)

253Leigh

Take an idea or two, or use all of my craft tutorials and free printables for your own indoor garden party that declares, “Hello Spring!”

Faithfully Yours,

Leigh

P.S. The Easter Bunny approves this message.

WildBackyardBunnyLeigh

(This is one of the wild backyard bunnies visiting my porch!)

Candyland Themed Party Décor Ideas (for Baby Showers, Children’s Birthdays, or Christmas Decorating)

409Leigh

This Candyland theme was inspired by Mary, a dear lady who passed on long ago, but left her inimitable words of wisdom with me, “life is uncertain, eat dessert first,”…and she always did! So it is with her spirit of joie de vivre, that I unbound that creative kid within me that clamored for a sensory sugar high. To release your inner child, follow my 3 part DIY party decorating series (with easy project tutorials and free printables) as it’s a sure path to crafting your way to classic Candyland cuteness! Using some or all of the décor ideas (befitting kid’s birthdays, baby showers, and Christmas parties), you’ll be sure to delight the inner-child in your guests as well! While you’re at it, use my allergy friendly recipes and serving suggestions to fill your candy buffet quickly and easily. For now, let us escape to Candyland…

338Leigh

A Candyland village of (glittered) gingerbread houses sits nestled atop an icing laden hillside (of buffalo snow batting) dotted with (pom-pom) sprinkles.

308Leigh

(Faux) lollipop trees spring forth from gumball forest floors (in speckled metal pails) and (real) candy-cane thickets abound.

302Leigh

Gingerbread people (treat boxes) populate the village, travelling amongst the wellsprings of jellybean pools (in pink plastic pails).

321fLeigh

A few “gingies” guard a fenced supply of the village’s juice-milk stores.

361Leigh

Gingerbread (banner) clouds float high amid skyscraping treat towers holding abundant soirees offering peppermint candied almonds, twisty marshmallows, pastel taffy, and (healthy) spicy guacamole shooters with pink pomegranate potato chips.

317 (2)Leigh

The towers’ penthouse floors encircle trios of cotton candy “cream” sodas with peppermint striped straws.

295Leigh

Round rainbow swirled plates and napkins stand by to serve Candyland visitors.

318 (2)Leigh

Boxed and wrapped candies sit ready for shipment to their final destinations.

356Leigh

Gingerbread peep billboards pop up to signal the way to gastronomical paradise.

351Leigh

Gingerbread (cookie) ladies and gentlemen hold snowball (cookie) fights in the village round, whist the tiniest of “gingie” tots toddle home with gumball treats over candy-cane cobblestones lain over pink velvet (cupcake) roads.

341Leigh

A low gingerbread fog sinks below the sugary iced hills perched above a pink (cloth) cliffside.

381Leigh

Around the bend, pink hard candy (lanterns) shine high above big rock candy mountains.

366Leigh

Glowing with hard candy (ornaments), they burst forth with pyroclastic explosions of candy treats spilling over pillowy white icing.

393Leigh

Hard candy (ornament) boulders tumble amid (faux) ribbon candy bushes and flowing streams of (real mega) candy buttons.

395 (2)Leigh

(LED) peppermint light posts illuminate the scene.

370Leigh(Real) candy-cane thickets and (faux) cupcake bushes dot the camping site where gingerbread residents roast marshmallows in the midst of the pink (tablecloth) countryside.

386Leigh

A rainbow lollipop (lantern) arcs above the distant rock candy mountain (tree).

388Leigh

A lone home defiantly stands amidst the candy (ornament) strewn mountainside adjacent to a fallen (faux) ice cream cone log.

384Leigh

Waterfall (faux mega) candy buttons stream down the embankments whose vistas shout, “Welcome to Candyland!”

333Leigh

Wishing you a sweet life of seized moments in eating desserts first!

Faithfully Yours,

Leigh

P.S. Learn how easy it is to construct your very own Candyland village in these 5 articles:

182Leigh

DIY Candyland Party Themed Craft Tutorial: Gingerbread People Banner, Treat Gifts Boxes, & Printable

380Leigh

DIY Candyland Party Themed Craft Tutorial: Hard Candy Lanterns, Candy Ornaments, & Conversation Heart Garland

179Leigh

DIY Candyland Party Themed Craft Tutorial: Game Board Treat Tower & Easy Buffet Display

231Leigh

Quick & Easy Candyland Confection Ideas: Pink Almond Milk Juice “Recipe”, Cotton Candy “Cream” Sodas, & Gingerbread Peep Pops

170Leigh

Spicy Guacamole Shooters / Avocado Appetizers Recipe (Allergy-Friendly & Nightshade Free = No Red Pepper or Tomatoes)

DIY Candyland Party Themed Craft Tutorial: Game Board Treat Tower & Easy Buffet Display

308Leigh

Craft your way to classic Candyland cuteness befitting birthdays, baby showers, and Christmas décor.  This tutorial for a game board treat tower and easy buffet display are part three of a DIY party decorating series with easy projects and free printables. Using some or all of the ideas, you’ll be sure to delight the inner-child in all of your guests. Sweet!

179Leigh

These simple crafts all utilize the same teacher’s bulletin board banner strips in a licensed Candyland board-game pattern. I made two towers, wrapped six pots, covered two milk corrals and a bunch of food picks… and I still have many strips left over! All of this is from one package of super-cute and inexpensive banners that could not fit my theme more perfectly.

7(2)Leigh

To cover food crates, all you need to do is measure the front width and cut a length off. Double a piece of tape onto itself to hold the cardstock in place during the party. Remove it to reuse later for another craft. One idea is to let the kiddos make thank you cards out of it.

6(2)Leigh

Wrap a length of the banner to coordinate a plain metal bucket to your theme. Simply cut and tape the ends together.

351Leigh

These can be used to hold candy and prop up Gingerbread Peep Pops (see the Candyland Confections article here).

120Leigh

Make food picks by simply cutting the leftover banner end bits into colored squares.

122Leigh

Tape toothpicks or popsicle sticks behind them. These can also be used for place-cards if you like.

109Leigh

My treat towers begin with ordinary cupcake stands that are transformed into darling 3-D gaming creations.

069Leigh

To make your own, first find a commercially packaged stand in a matching color palette.

394Leigh

Cut the teacher’s border into two sections (so that they’re small enough to allow food to be placed once it’s completed).

117Leigh

I just followed the natural curve of the game path pattern.

072Leigh

Put the stand together as per the package instructions.

105Leigh

Hot glue the underside if you really want it to be super-sturdy.

095Leigh

Hot glue a strip to the outside rim of each level. Cut off the excess length.

099Leigh

If your ends don’t match up perfectly, just trim off the top edge to make them appear seamlessly adjoined.

101Leigh

These are what the towering creations look like when laden with sweet treats galore! (See my allergy-friendly Spicy Guacamole Shooters Recipe here.)

317 (2)Leigh

Check out the rest of my Candyland craft series: Gingerbread People Banner, Treat Gift Boxes, & Printables and Hard Candy Lanterns, Candy Ornaments, & Conversation Heart Garland as well as the final party post on Candyland Themed Party Décor Ideas.

302Leigh

Faithfully Yours,

Leigh

DIY Candyland Party Themed Craft Tutorial: Gingerbread People Banner, Treat Gift Boxes, & Printables

295Leigh

Craft your way to classic Candyland cuteness befitting birthdays, baby showers, and Christmas décor.  This tutorial for gingerbread people banners and treat gift boxes are part one of a DIY party decorating series with easy projects and free printables. Using some or all of the ideas, you’ll be sure to delight the inner-child in all of your guests. Sweet!

179Leigh

Every Candyland village needs to be populated with gingerbread people, and it can be accomplished by more than just the menu. Gift your guests with take-home treat boxes that also serve to decorate your buffet.

260Leigh

Begin with readymade gingerbread people shaped paper maché boxes. These are widely available in stores beginning in the fall, and may be purchased online the remainder of the year. (Find discounts for online craft merchants in the side bar from Le fidèLe Design’s affiliates.) I found mine on sale at half off, making them 50 cents each. Use an acrylic paint color in a shimmery brown so that a top coat is unnecessary. (I used DecoArt’s elegant finish espresso metallic paint, because I already owned it, and it coordinated with my banner.)

277Leigh

Separate the tops from the bases, and paint the little guys. I set them rim side down onto a plastic bag, so that I could just peel them off when they dried. (On other surfaces, the paint sometimes acts as glue.)

318Leigh

Allow them to dry overnight, then use hot glue to adhere tiny pom-poms. They make the cutest dimensional eyes, nose, and buttons! I chose colors that would coordinate with my other décor elements, and tried to intentionally randomize the combinations on each “gingie”.

356Leigh

Fill your goodie boxes with candy, tiny toys, or even candy flavored lip gloss and intersperse them in your treat town.182Leigh

Another idea is to fill them with numbered papers that correspond to larger gifts or game elements.

353Leigh

Make a banner of gingerbread people adjoined in jubilant Candyland solidarity, using one of the two following methods.

2Leigh

Foam gingerbread people shapes may be located at just about every craft store in the fall and winter, and may be purchased online the rest of the year. You can choose from many sizes in matte and glitter. I wanted to use the glitter guys to match my houses.

3Leigh

Glue on tiny pom-poms that coordinate with your décor. Use hot glue in the same eyes, nose, and button pattern with which you made the treat boxes.

6Leigh

Punch a hole in each hand of the “gingies” in order to string it into a banner.

9Leigh

Make a loop of thin ribbon through holes in two “gingies”, and tie a knot to connect them. I alternated between three different colors from the same spool of clearance ribbon.

193LeighWM


The second method is to right click on my printable image above (free for noncommercial use), and select print. Then print them in color and photo settings on sturdy cardstock (so that they don’t curl when strung). Cut them out, and punch holes into the white circles in the arms. Choose to leave them as is, or add more glitter to the images. Then tie on ribbons to join them (as in the previous method). You can also glue pom-poms over the images in the prints to add dimension to your project.

193singleWMLeigh


Use the gingerbread person image without white holes for other décor or signage. Simply adjust your printing sizes to make smaller “gingies”. Do this by printing at a smaller percentage (i.e. at 50%) or by printing them as photos (i.e. wallet size). Or… you can get Kinko’s to do it for you! These little guys also make cute kid’s craft puppets when taped to a popsicle stick, so you can utilize them as a party activity for the little ones.

361Leigh

Check out the rest of my Candyland craft series: Hard Candy Lanterns, Candy Ornaments, & Conversation Heart Garlands and Game Board Treat Tower & Easy Buffet Display as well as the final party post on Candyland Themed Party Décor Ideas.

341Leigh

Faithfully Yours,

Leigh

Chalkboard & Glitter Hearts Themed Valentine’s Day Party Buffet Décor Ideas (+ DIY & Printable Links)

Running with the idea that opposites attract, I decided to make a Valentine’s Day Party theme that incorporated both matte black chalkboard and glittery red hearts. The elements actually coordinated beautifully for a party theme that would suit a variety of age groups, or even just serve as a surprise for that special someone. The whole shebang was actually quite inexpensive to pull off, though happily I believe that doesn’t appear to be the case. You can either follow the links to make the fast and easy crafts yourself, or go shopping with the theme in mind.

229Leigh

After deciding on my theme, I actually found this adorable chalkboard Valentine fabric that also had glitter hearts. (You can find some for yourself at Hancock Fabrics or Fabric.com using coupons from the affiliate links in the sidebar.) I hung this up with clear thumbtacks.

204cLeigh

I then strung my glitter hearts Valentine’s banner atop of this. I also attached another doily banner to the credenza itself with tiny tack nails. (The printable and instructions for both banners may be found by clicking here.)

213Leigh

I love incorporating ornament filled trees into holidays besides Christmas. Valentine’s Day is especially easy to do this with because it falls so quickly after on the calendar so that one may really take advantage of all those deep after-Christmas clearance sales. Some of the baubles on this tree were marked 90% off which left the cost at mere cents. The topper is a glittered sprig of holiday pine.

205Leigh

Some of you may recognize the black wooden tree from the Halloween Party. It looks really different when trimmed according to another theme. The conversation heart ornaments were made from white foam shapes (whose craft tutorial may be found here).

215Leigh

On the opposite side of the buffet, I made an arrangement that can be disassembled one heart wand at a time, to be given away as favors to departing guests. This is especially sweet when given as scepters to little Valentines princess party goers. (See the tutorial at the link here.)

206Leigh

I set all of these into a vase shaped like a thread spool twinned with glittery red flat yarn. It symbolizes the ties the bind… and is filled with hearts. Glass marbles contain the arranged wands yet allow for easy removal. These are topped with another variety of glittery yarn to conceal the marbles.

214Leigh

Other décor elements are the chalkboard sign crafts set onto easels (find tutorial here) alongside a store-bought slate that I was gifted with early. (Thanks Mom!)

209Leigh

A variety of gift bags and boxes overflowing with candy were nestled into the ensemble. The heart bags and mail boxes were machine cut from construction paper.

238Leigh

I included both oversized gems and tiny crystal hearts to fill in the empty spaces. I borrowed a bouquet of crepe paper roses that I had actually made for my mother years ago, and set these into a marble filled vase. I wrapped it with some leftover rope trim that coordinated with the theme, and set it atop an upturned boxy metal vessel. It’s really easy to create lifts and levels when one starts to think out-of-the-box and repurpose items for that other than which they were intended for.

219Leigh

The treat tower is actually comprised of two metal trays that I found on after Christmas clearance years ago. I simply stacked these by using an empty drink mix container wrapped with glittery fabric.

17Leigh

It was surprisingly stable, but you can add further assurance by hot gluing these for a temporary bond. A stronger adhesive would make the bond permanent. I stocked the tower with icing laden cookies, cupcakes, and candy cocktails.

208Leigh

The other platter was another clearance gem from over a decade ago. It’s a lovely red metallic reverse painted glass. You can mimic this with a lovely red charger in either acrylic or glass. More of the same sweet treats topped the dish plus some delectable chocolate covered cherries set into their own treat cups. Try this with truffles or even upside down cake pops.

77Leigh

I made my own treat pops with Peeps red speckled white “love birds” with chocolate bases. To make your own, simply poke a pilot hole with a skewer or tooth pick then jab in a paper straw. I chose adorable heart covered ones, and then set these into gumball packed vintage crystal vessels. Any solid candy would serve as well.

250fLeigh

A non-alcoholic berry soda set into an ice bucket serves as equal-opportunity refreshment. The same red metallic plates that appear in the chalkboard sign crafts were placed front and center. Last but not least to complete the sweet buffet was the addition of candlelight. (Use LEDs if you fear sleeves catching fire or if you have young guests attending.) Red mercury glass votives were, you guessed it, purchased for mere cents post-Christmas. They really added to the ambiance of the whole setting.

202Leigh

♥ As you prepare for your own Valentine’s celebration… just remember to, “Keep calm & party on!”

Faithfully yours,

Leigh

2 Fast & Easy Valentine’s Day Banner Décor Craft Tutorials (Doily & Glitter Hearts + Printable)

229Leigh

These Valentine’s Day banner crafts are so fast and easy that even the busiest mama can make them with her little ones. The glitter heart and doily printable only needs the addition of letters to spell out any message you wish. The second banner is comprised of layered doilies and extra valentines. Both are so inexpensive yet add a lot of heartfelt sentiment and party atmosphere. Plus, they’re lightweight enough to stick in a big envelope and send to a loved one whose away for the holiday. You can even use the printables as stand-alone Valentine Cards!

176Leigh

First let’s make the doily valentine banner. This is a great project to use up any leftover schoolroom Valentine cards from your kiddo’s class. You can even save the received ones to make banners for next year’s celebration.

175Leigh

One only needs to add some low-cost paper doilies in varying sizes. I used leftovers from last year along with some Holly-Hobby Valentine Cards from my childhood.

51Leigh

Merely use dots of glue to layer the doilies and Valentines. Then add a ribbon bow for dimension.

54Leigh

Tie circles of twine, yarn, or ribbon through the holes in the doilies and knot together. Hang it up and enjoy!

171Leigh

The glitter heart and doily banner is one that can be easily made by two different methods. You can print and cut out all the glitter doily hearts you need, using my printable at the end of the article. You can also use inexpensive glittered foam hearts from the craft store, and use hot glue to layer white doily hearts onto them.

26Leigh

Either way, the next step is add letters spelling out any sentiment you’d like. I cut out letters with a machine from black card stock to coordinate with my chalkboard theme. You can also use a stencil to trace and hand cut them, or buy them readymade at the craft store. (Michaels has them in every color and texture you can think of. Click on the affiliate link in the side bar to snatch the latest coupons.) I added a knot of ribbon to each dip in the heart to further tie in with my theme’s color palette. Feel free to add any other elements you’d like from paper roses to stickers. (You can even skip the letters and let a kiddo color in pictures to use the printables as Valentine Cards.)

38Leigh

Next add holes to both sides of each heart with a hole-punch. Then use ribbon or twine to string them together. Add a loop at each end to hang the banners by. Voila!

224Leigh

♥ Happy Heart’s Day!

Faithfully yours,

Leigh

V-dayHearts-Leigh

P.S. Here is the Glitter-Doily Heart Printable. Simply right click on the image and select Print. Print them in the best color photo setting.