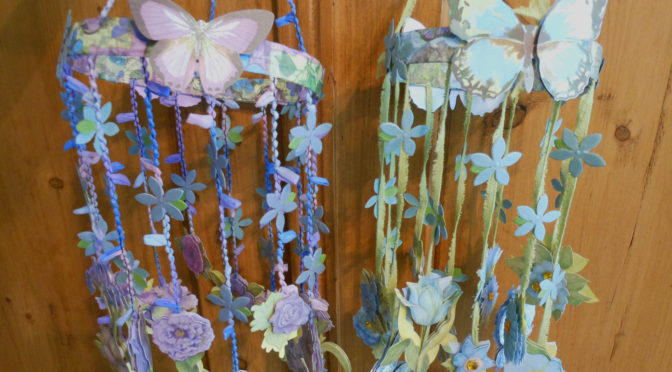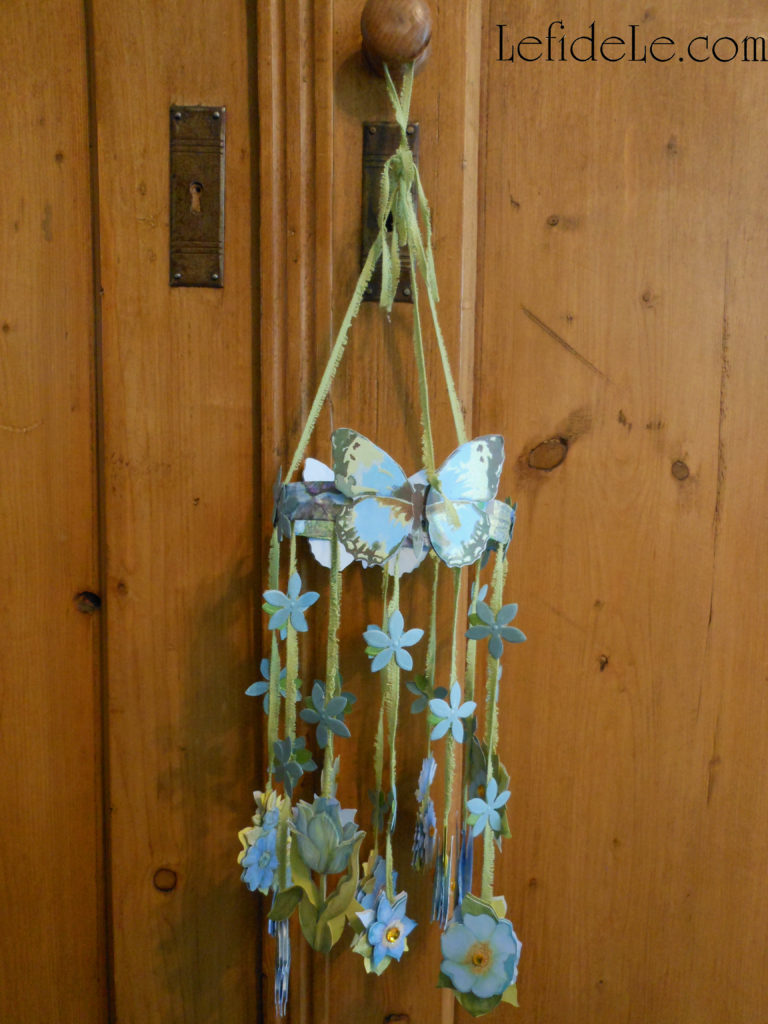
Craft your own DIY mobile from scrapbooking paper flowers with this tutorial for making decorations and gifts for birthdays, baby showers, Mother’s Day, and get well wishes. They’re great to hang up as party decorations, and then let your guests take them home as gifts. They also inexpensively make sweet craft room décor, and because they’re so lightweight they can be placed nearly everywhere… even suspended over a small workspace in a tiny craft closet to bring the magic of a lush fairy garden inside.
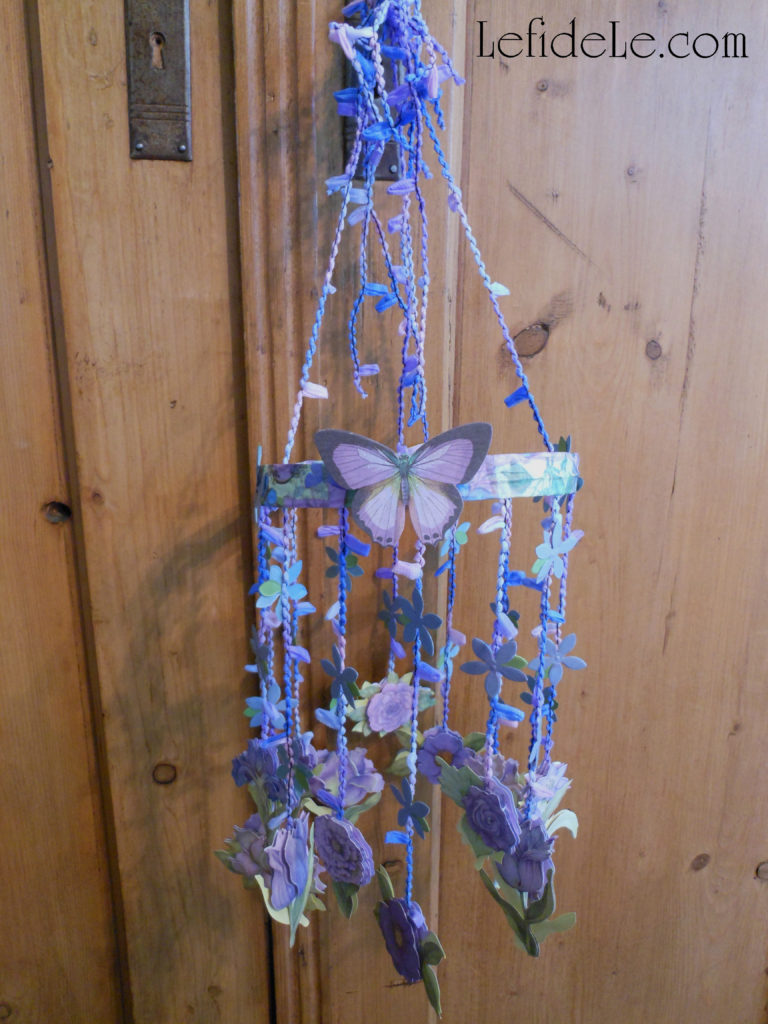
The most important elements of the mobile are the paper flowers that hang from it. Try walking through the scrapbooking aisle at your local craft store, and choose the collection that really catches your eye. (Here, I’m using K & Company layered accents that were on sale.) Be sure to buy 2 matching sets, so that you can glue them back to back later.
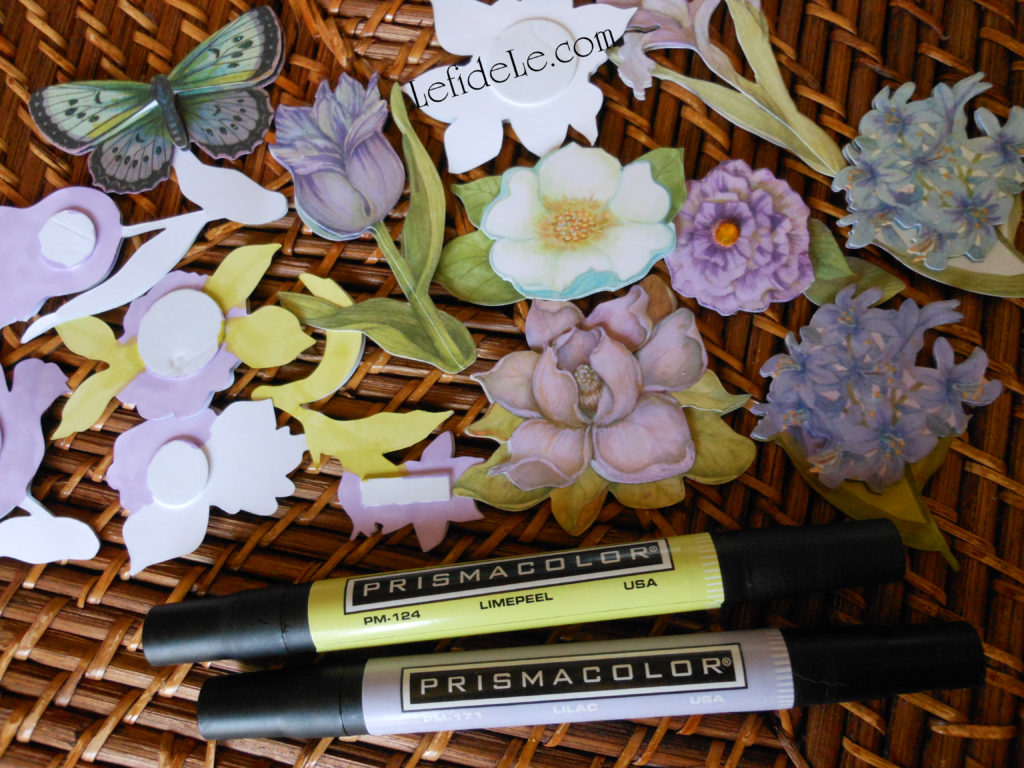
It looks much prettier to add a wash of color to the backs of the floral elements, so that when they’re glued they appear as additional petals. (The easiest way to do this is with a sheer colored marker like these Prismacolor markers in limepeel and lilac.) You can also easily modify the front of the designs by adding a wash of color to them. (In this way, I made blue flowers violet and white flowers lavender… who needs “Bibbidy Bobbidy Boo” when you have markers?!)
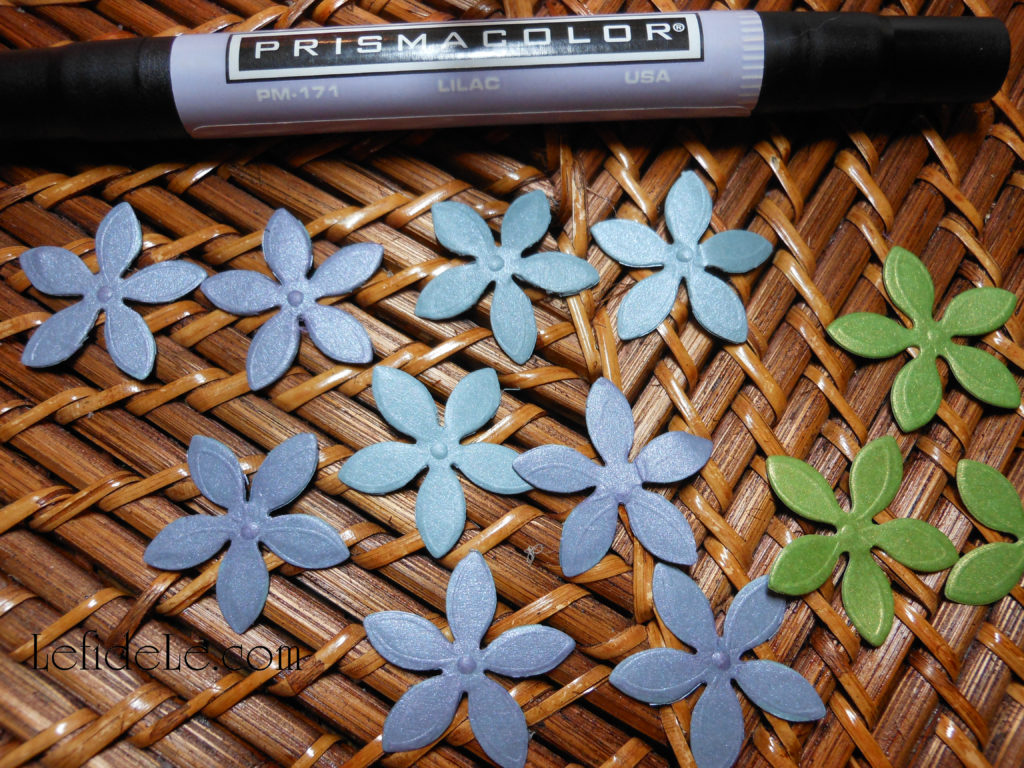
Also, find a package of smaller floral elements to further embellish your piece with. (Here, I’m using a package of flower confetti that I found on the clearance aisle last year.) Remember that it’s so easy to alter the colors of these elements by simply coloring over them with a marker. (This lilac Prismacolor marker added a translucent layer turning my baby blue confetti into lavender… Flora, Fauna, & Merriweather can eat their hearts out!)
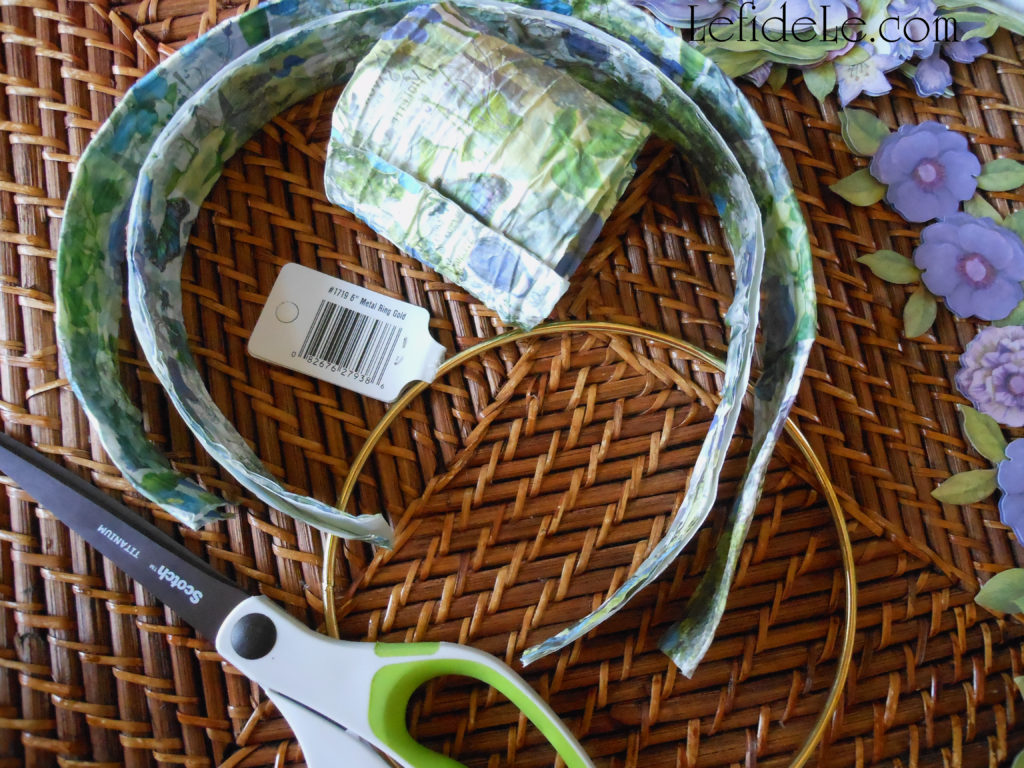
You have several options for the ring the elements will hang from. You can use a 6 inch metal ring (like this golden one from Joann) and wrap it with ribbon… or simply use it as is. You can also opt to use a coordinating wired paper ribbon (as the one I’m using here, which came from my gift wrapping supplies). To do this simply cut a length of ribbon long enough to form approximately half a foot diameter (exact measurements aren’t necessary), and then cut that in half lengthwise.
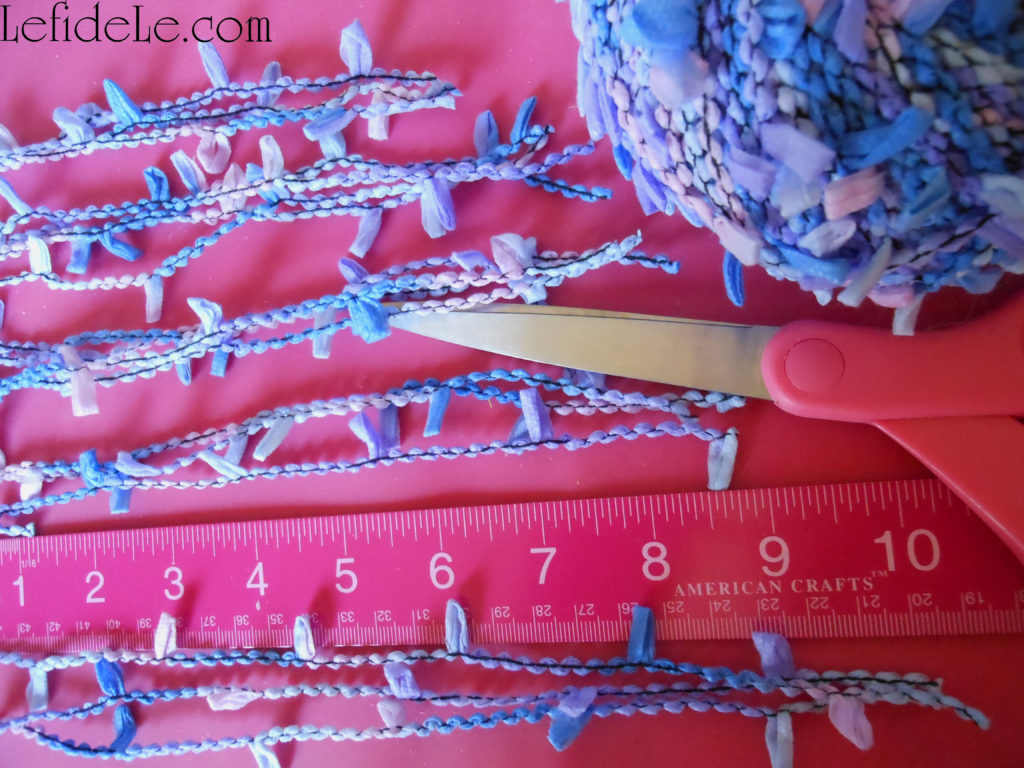
Next, you’ll need to cut 1 strand of yarn/ribbon for each floral element. Try cutting them in various lengths from 6 to 10 inches. (I used clearance yarns that matched my paper flowers.)
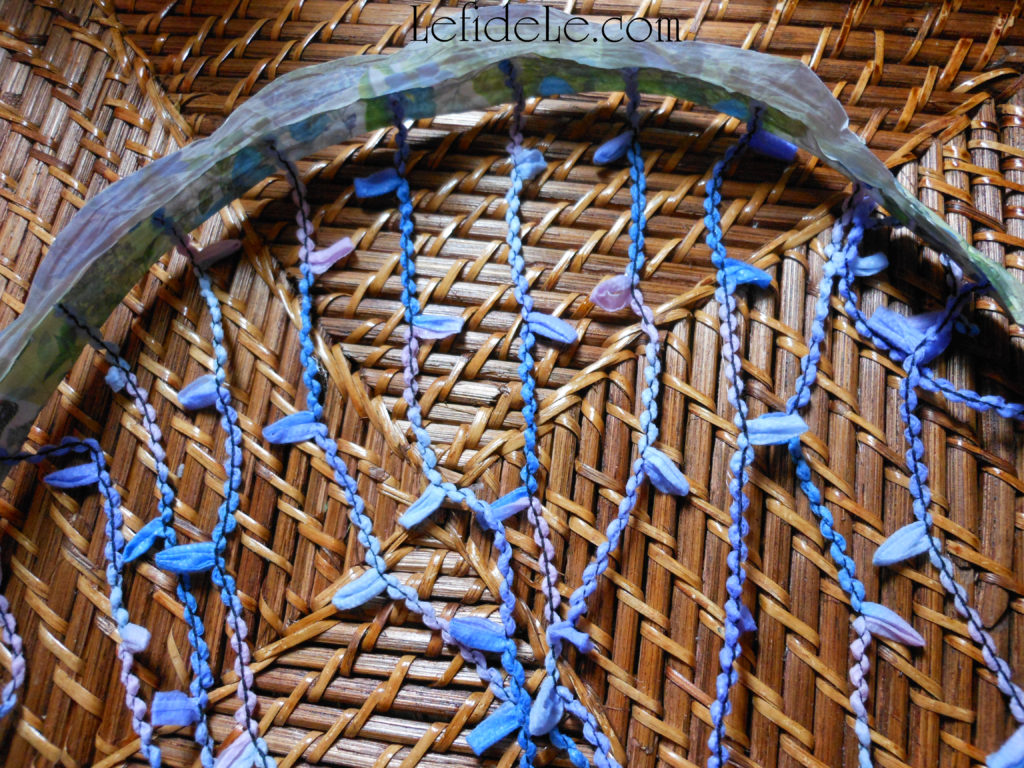
Hot glue the yarn/ribbon pieces (staggered in lengths) to the inside curve of the wired ribbon piece.
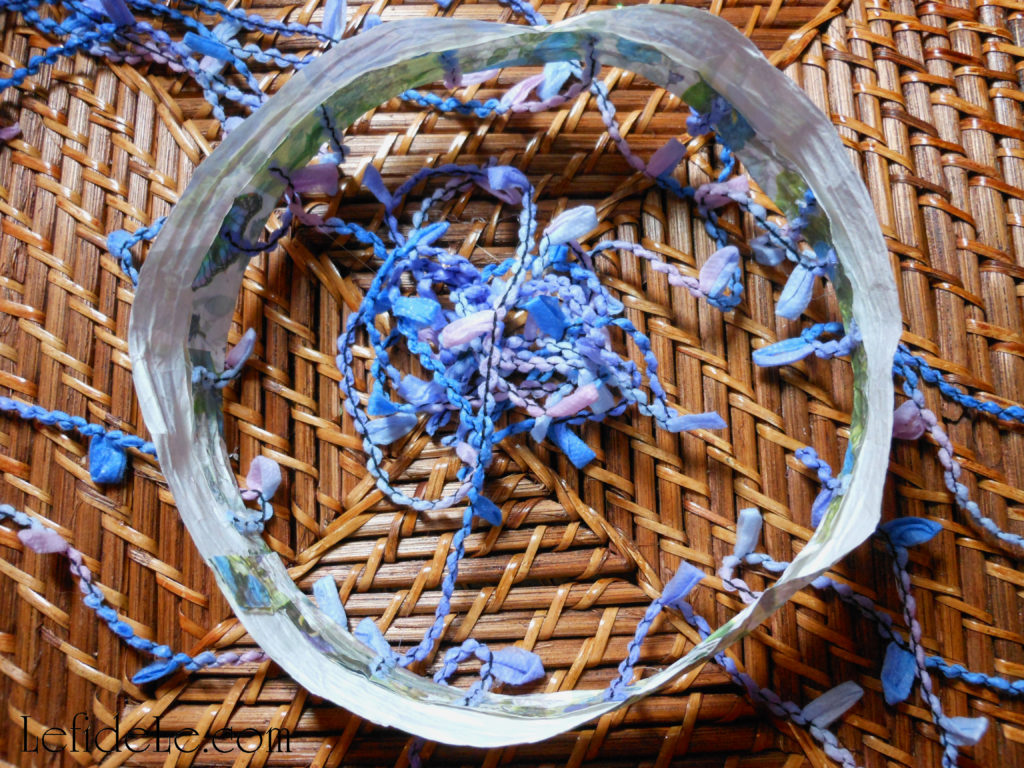
Now glue the ends together to form a complete circle, and then glue the top flap (of the wired ribbon) down over the glued strands.
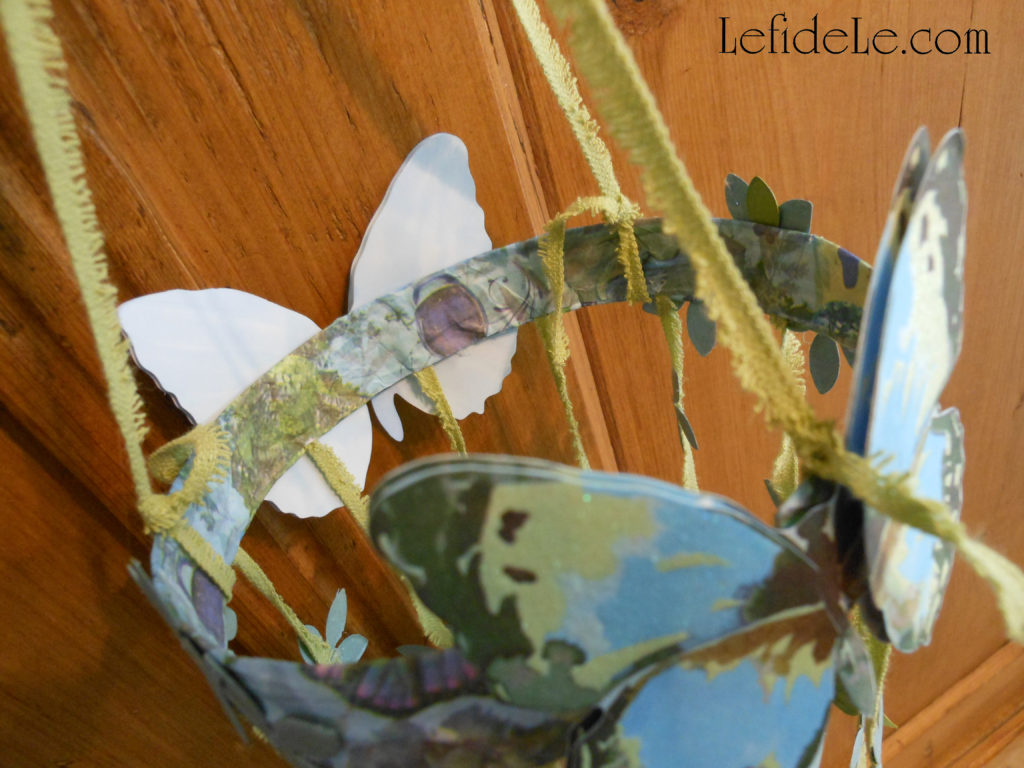
Next, you need to add 3 additional pieces of yarn/ribbon to make a hanging “tripod”. You can either glue them as you did with the strands earlier, or you can simply tie some on. Then, gather the loose ends at the top, and form a knotted loop to hang them by. (If you like, tie more pieces of yarn onto the loop to decorate it a bit.)
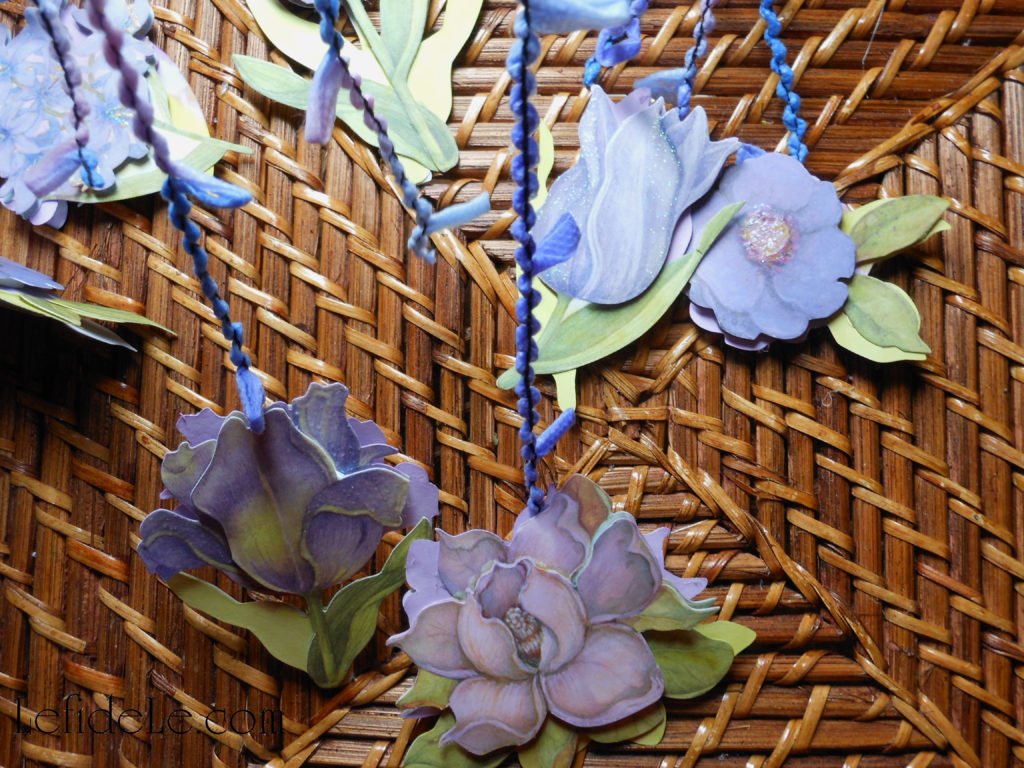
Now it’s time to glue on the big flowers. (It’s easiest to do this by hanging the mobile up, so that you can see how you’re arranging the elements.) Hot glue them back to back with the yarn/ribbon sandwiched in between them. (Even though they have foam stickers, it’s best to use a little glue so that the yarn/ribbon stays put… because every fairy godmother knows it mortifying when your creation falls apart.)
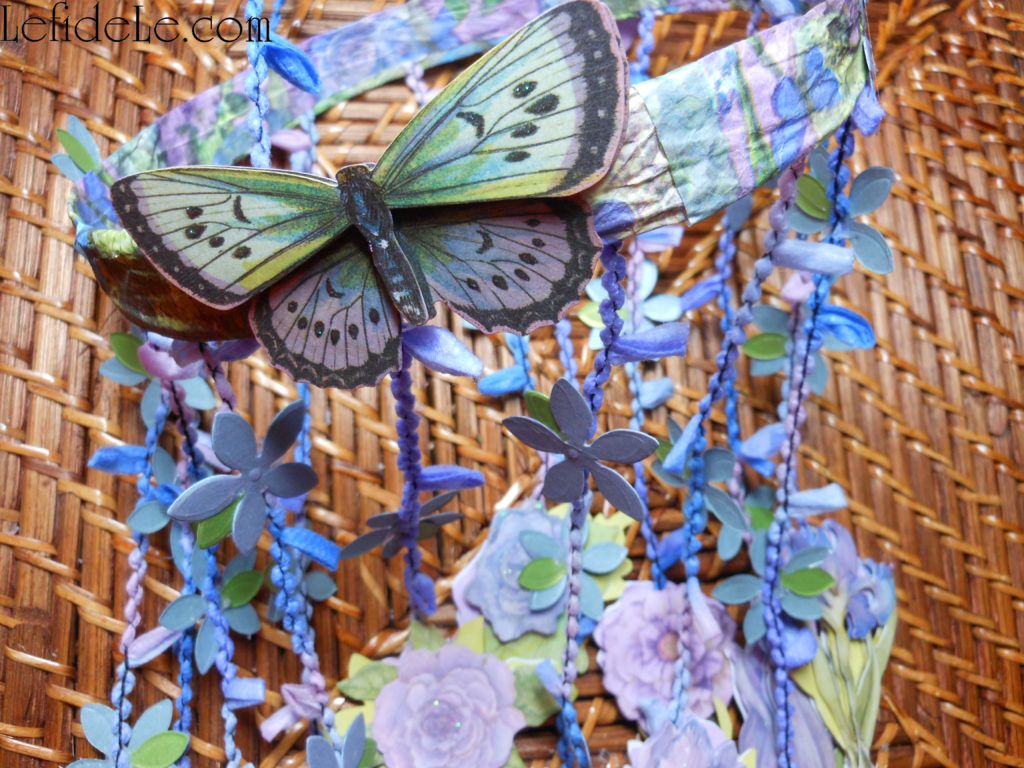
Hot glue the smaller floral pieces (confetti) in a staggered formation along the yarn/ribbon strands. (I also used torn off petals from the green floral confetti as leaves.) To the ring, add a few of the smaller flowers and a couple of larger elements (like these butterflies that were the K & Co. package… which I also tinkered with by adding color).
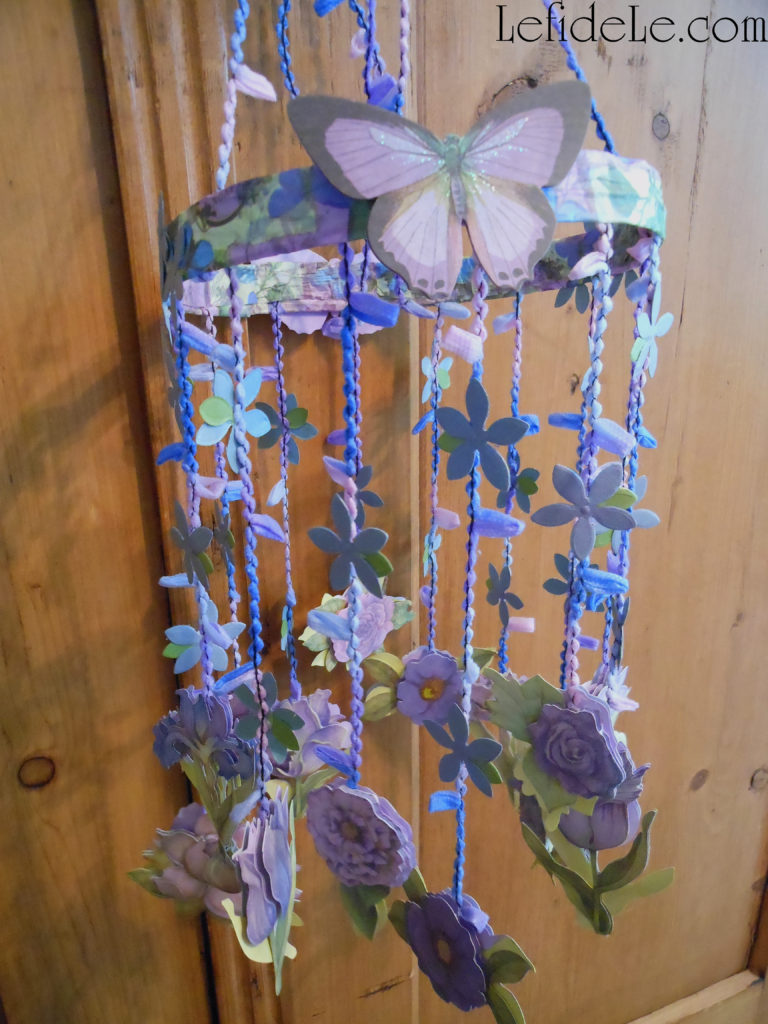
I wanted the dominantly purple mobile to have more of a purple toned ring, so I used a lilac Prismacolor to color in the white portions of the paper ribbon. (I did the same using a blue marker on the dominantly blue mobile… the blue fairy herself couldn’t do this any easier.) It’s the little touches like that which really make mobile a visually cohesive structure… in other words, it’s prettier that way.
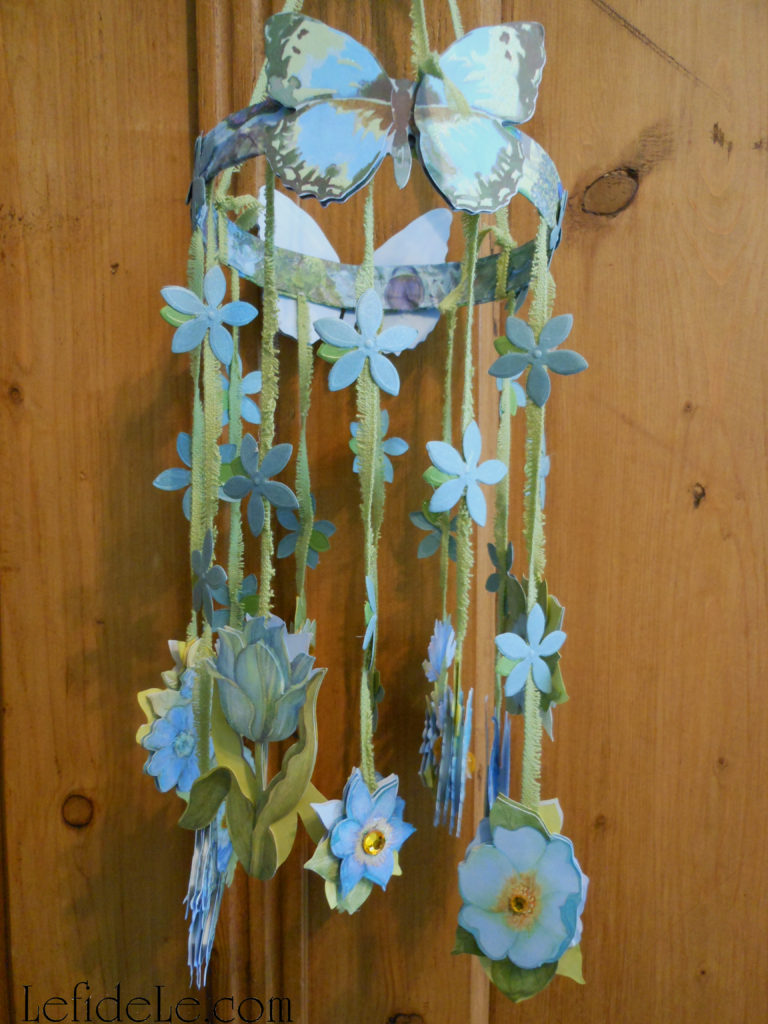
If you feel like it needs more sparkle, attach crystals as flower centers and sprinkle glitter… then tell Tinkerbell to eat your pixie dust!
Faithfully Yours,
Leigh
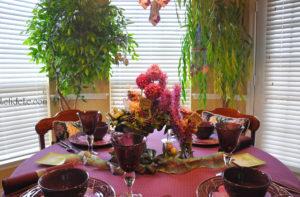
P.S. Check out these mobiles HERE in my Fairyland Tablescape hanging from the trees in the background.
Then get my free printable fairy cards HERE to gift with the mobiles you just created.
