Category Archives: Arts & Crafts

Easy DIY Stamp Painted Tablecloth & Holiday Ribbon Napkin Rings + Burlap Birds Craft Tutorials

953Leigh

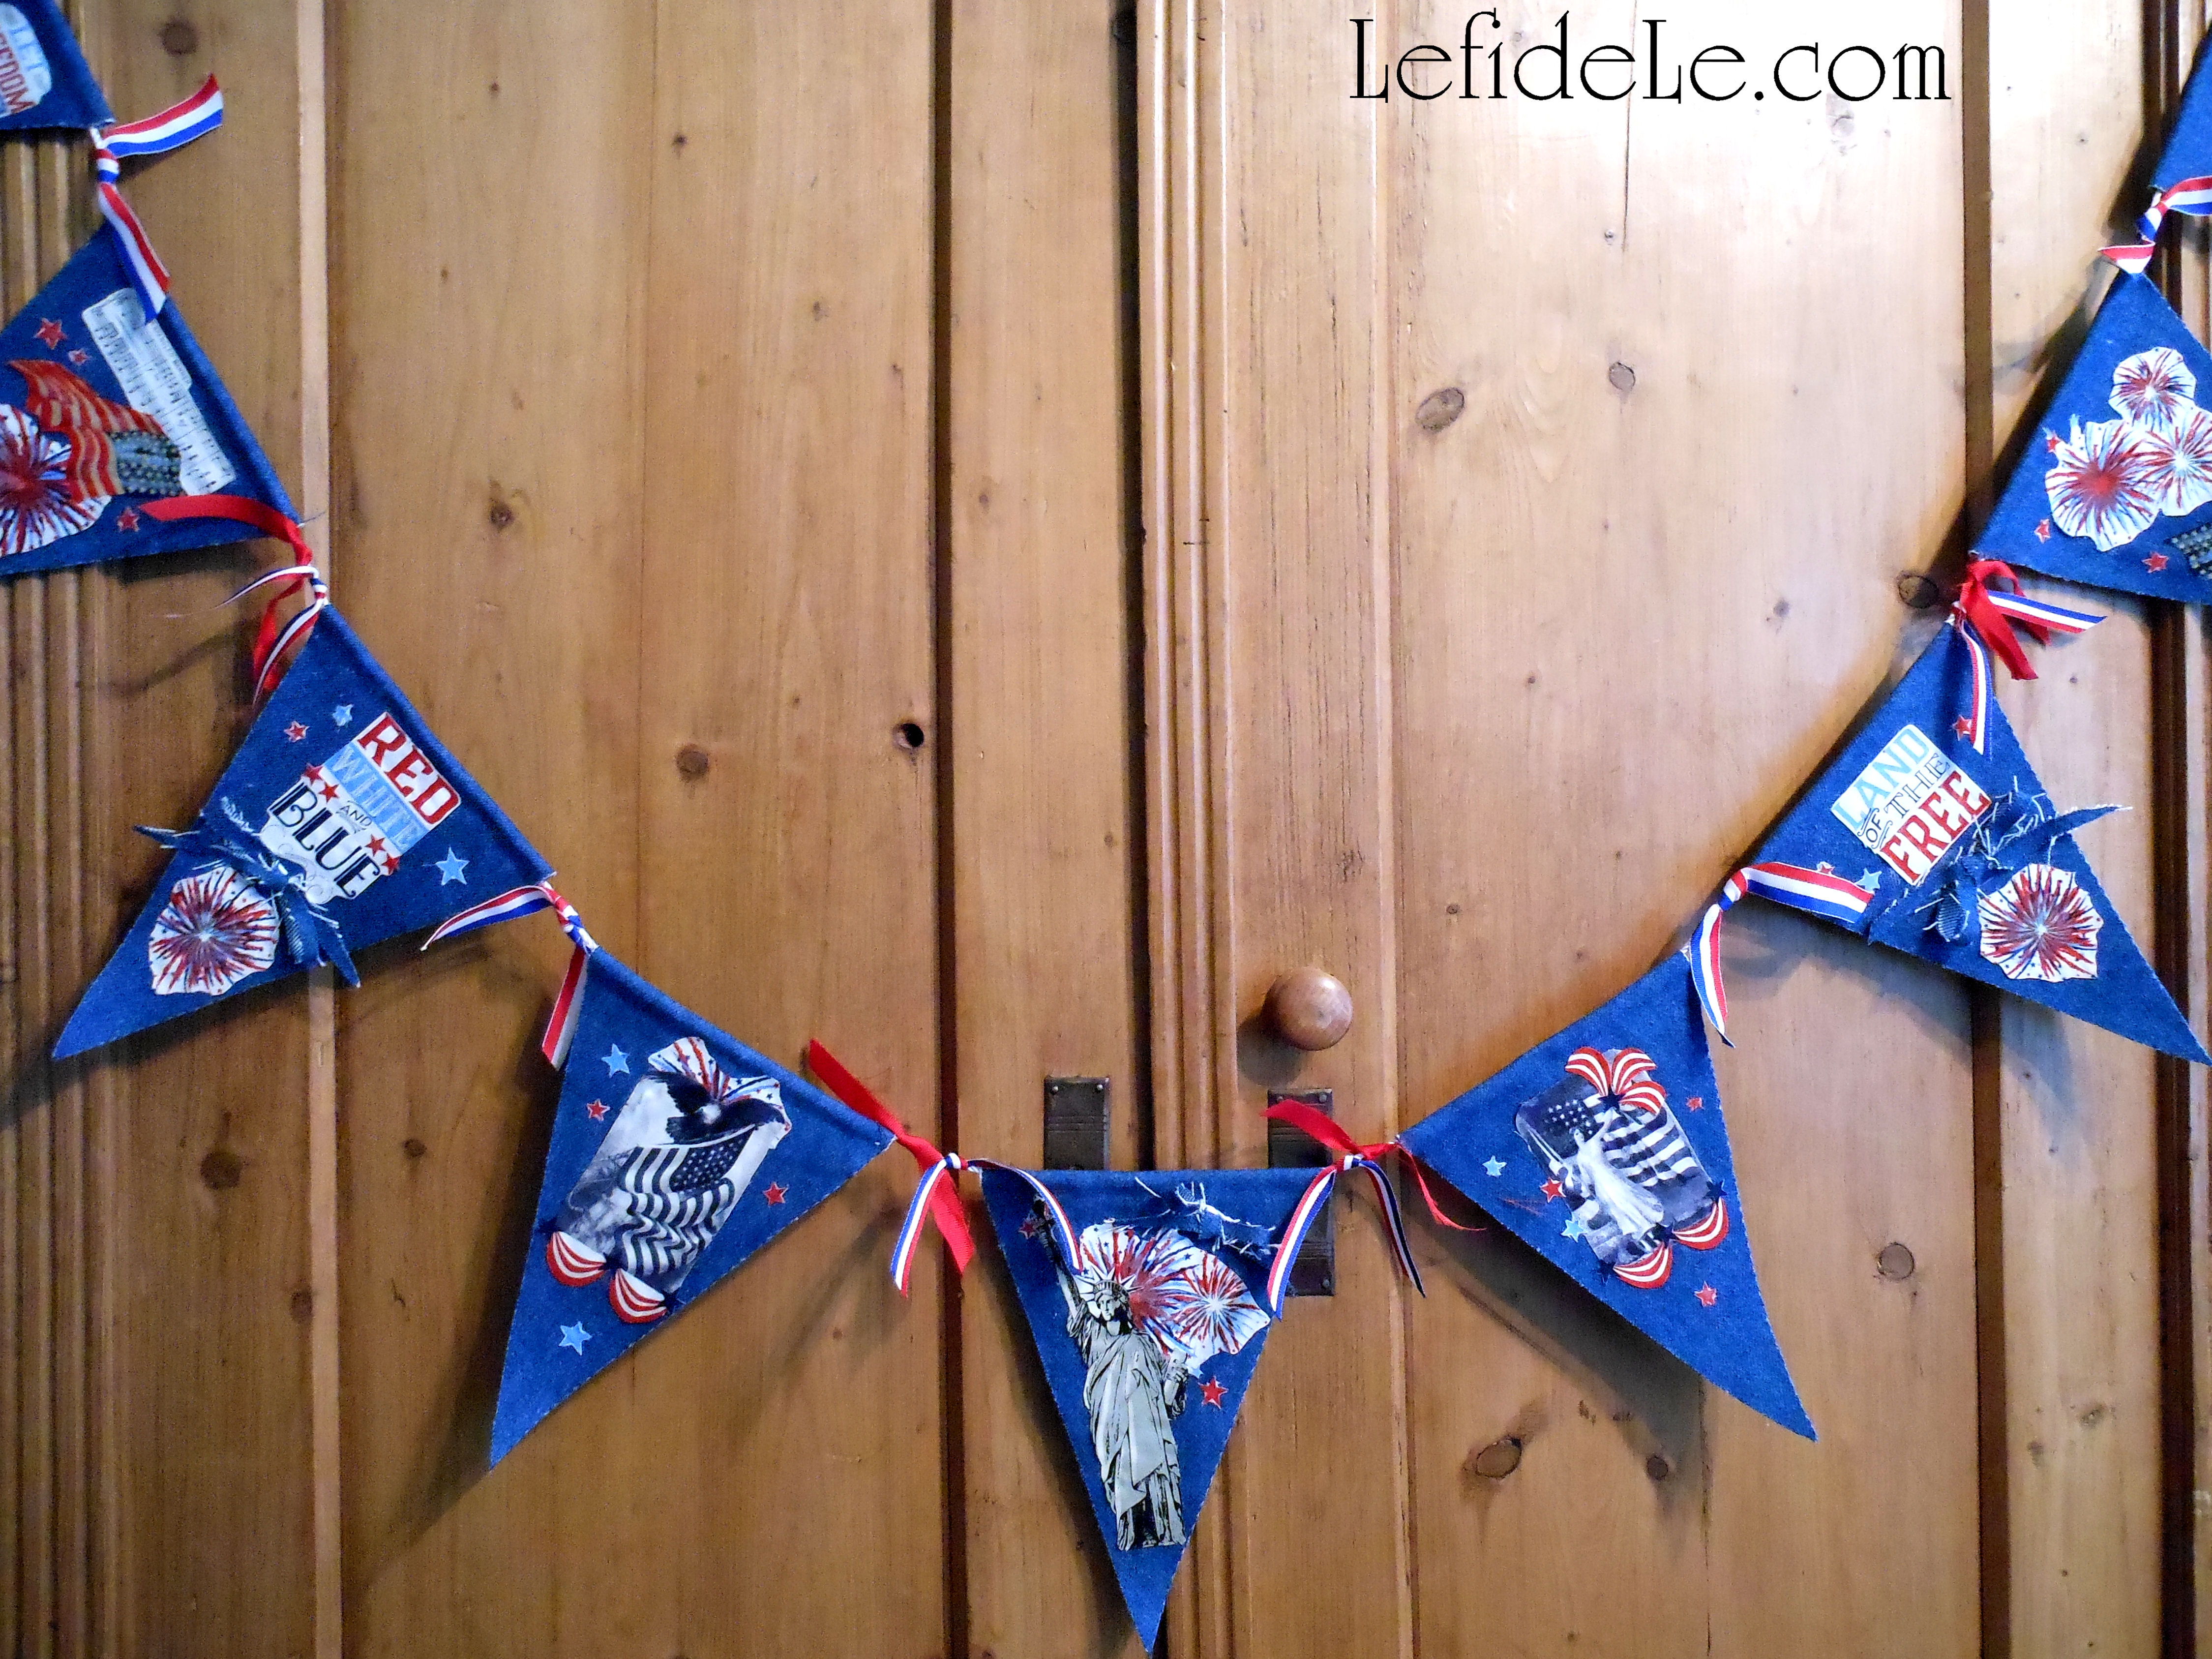
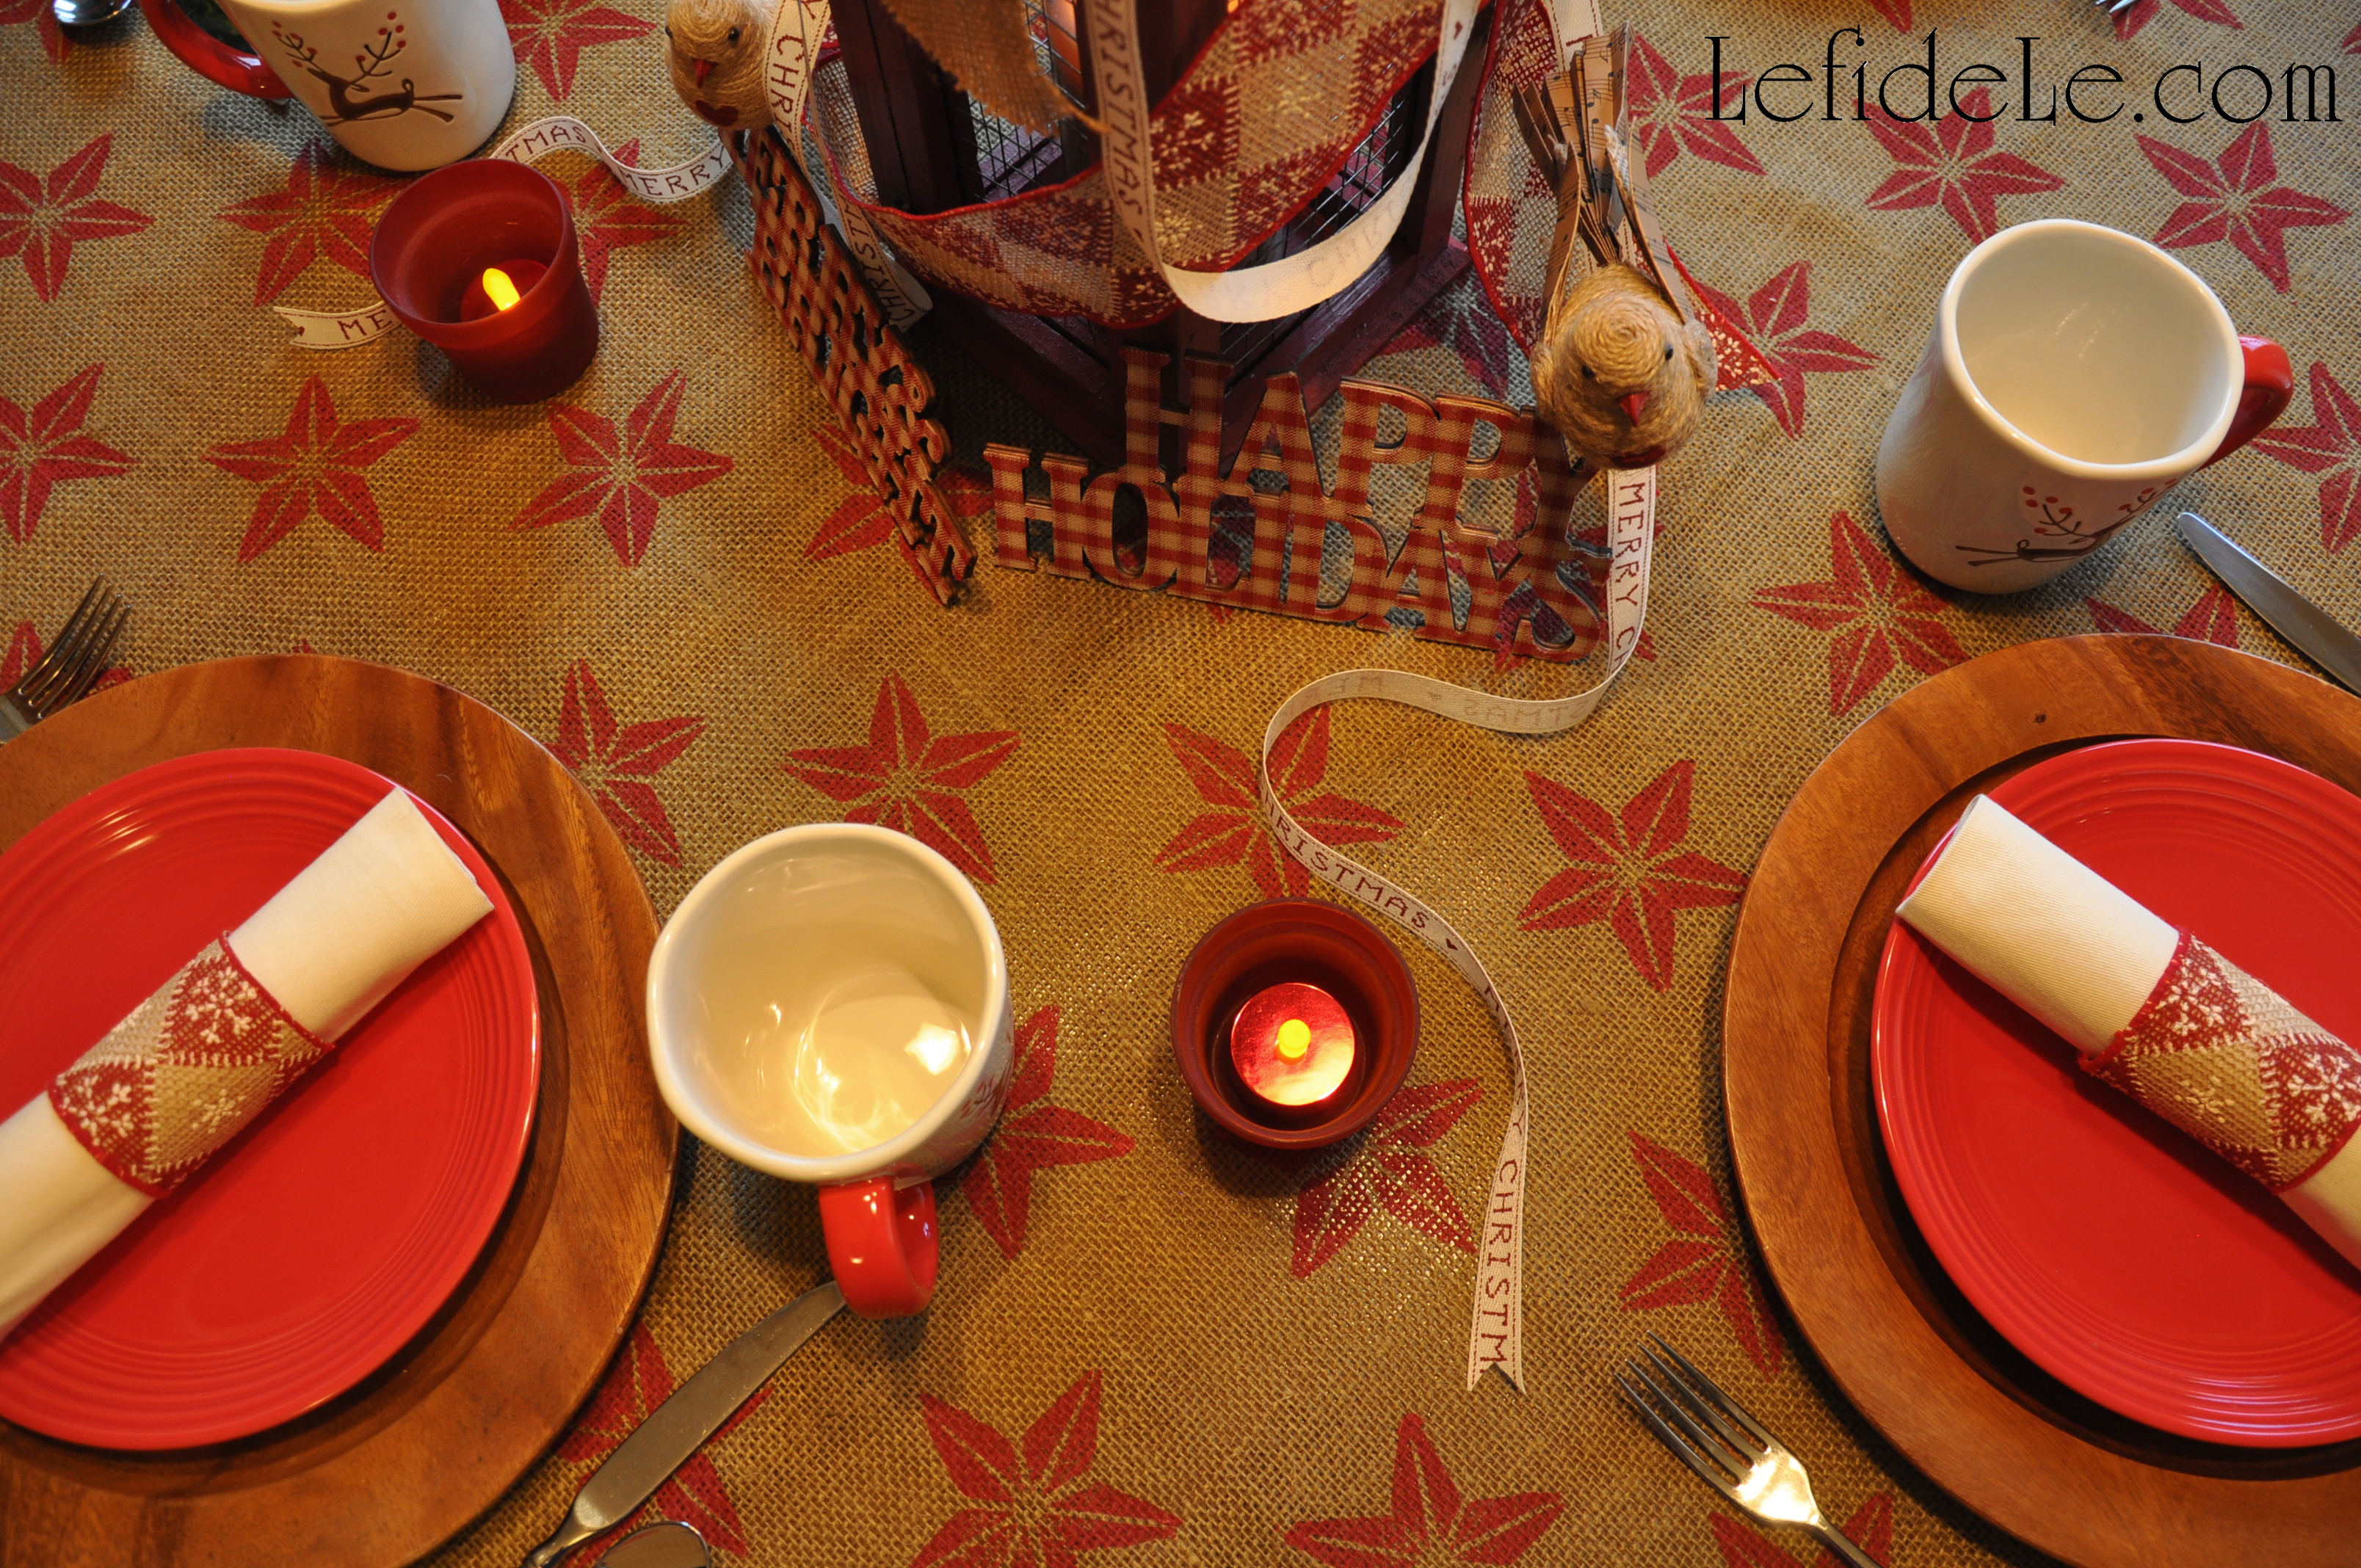
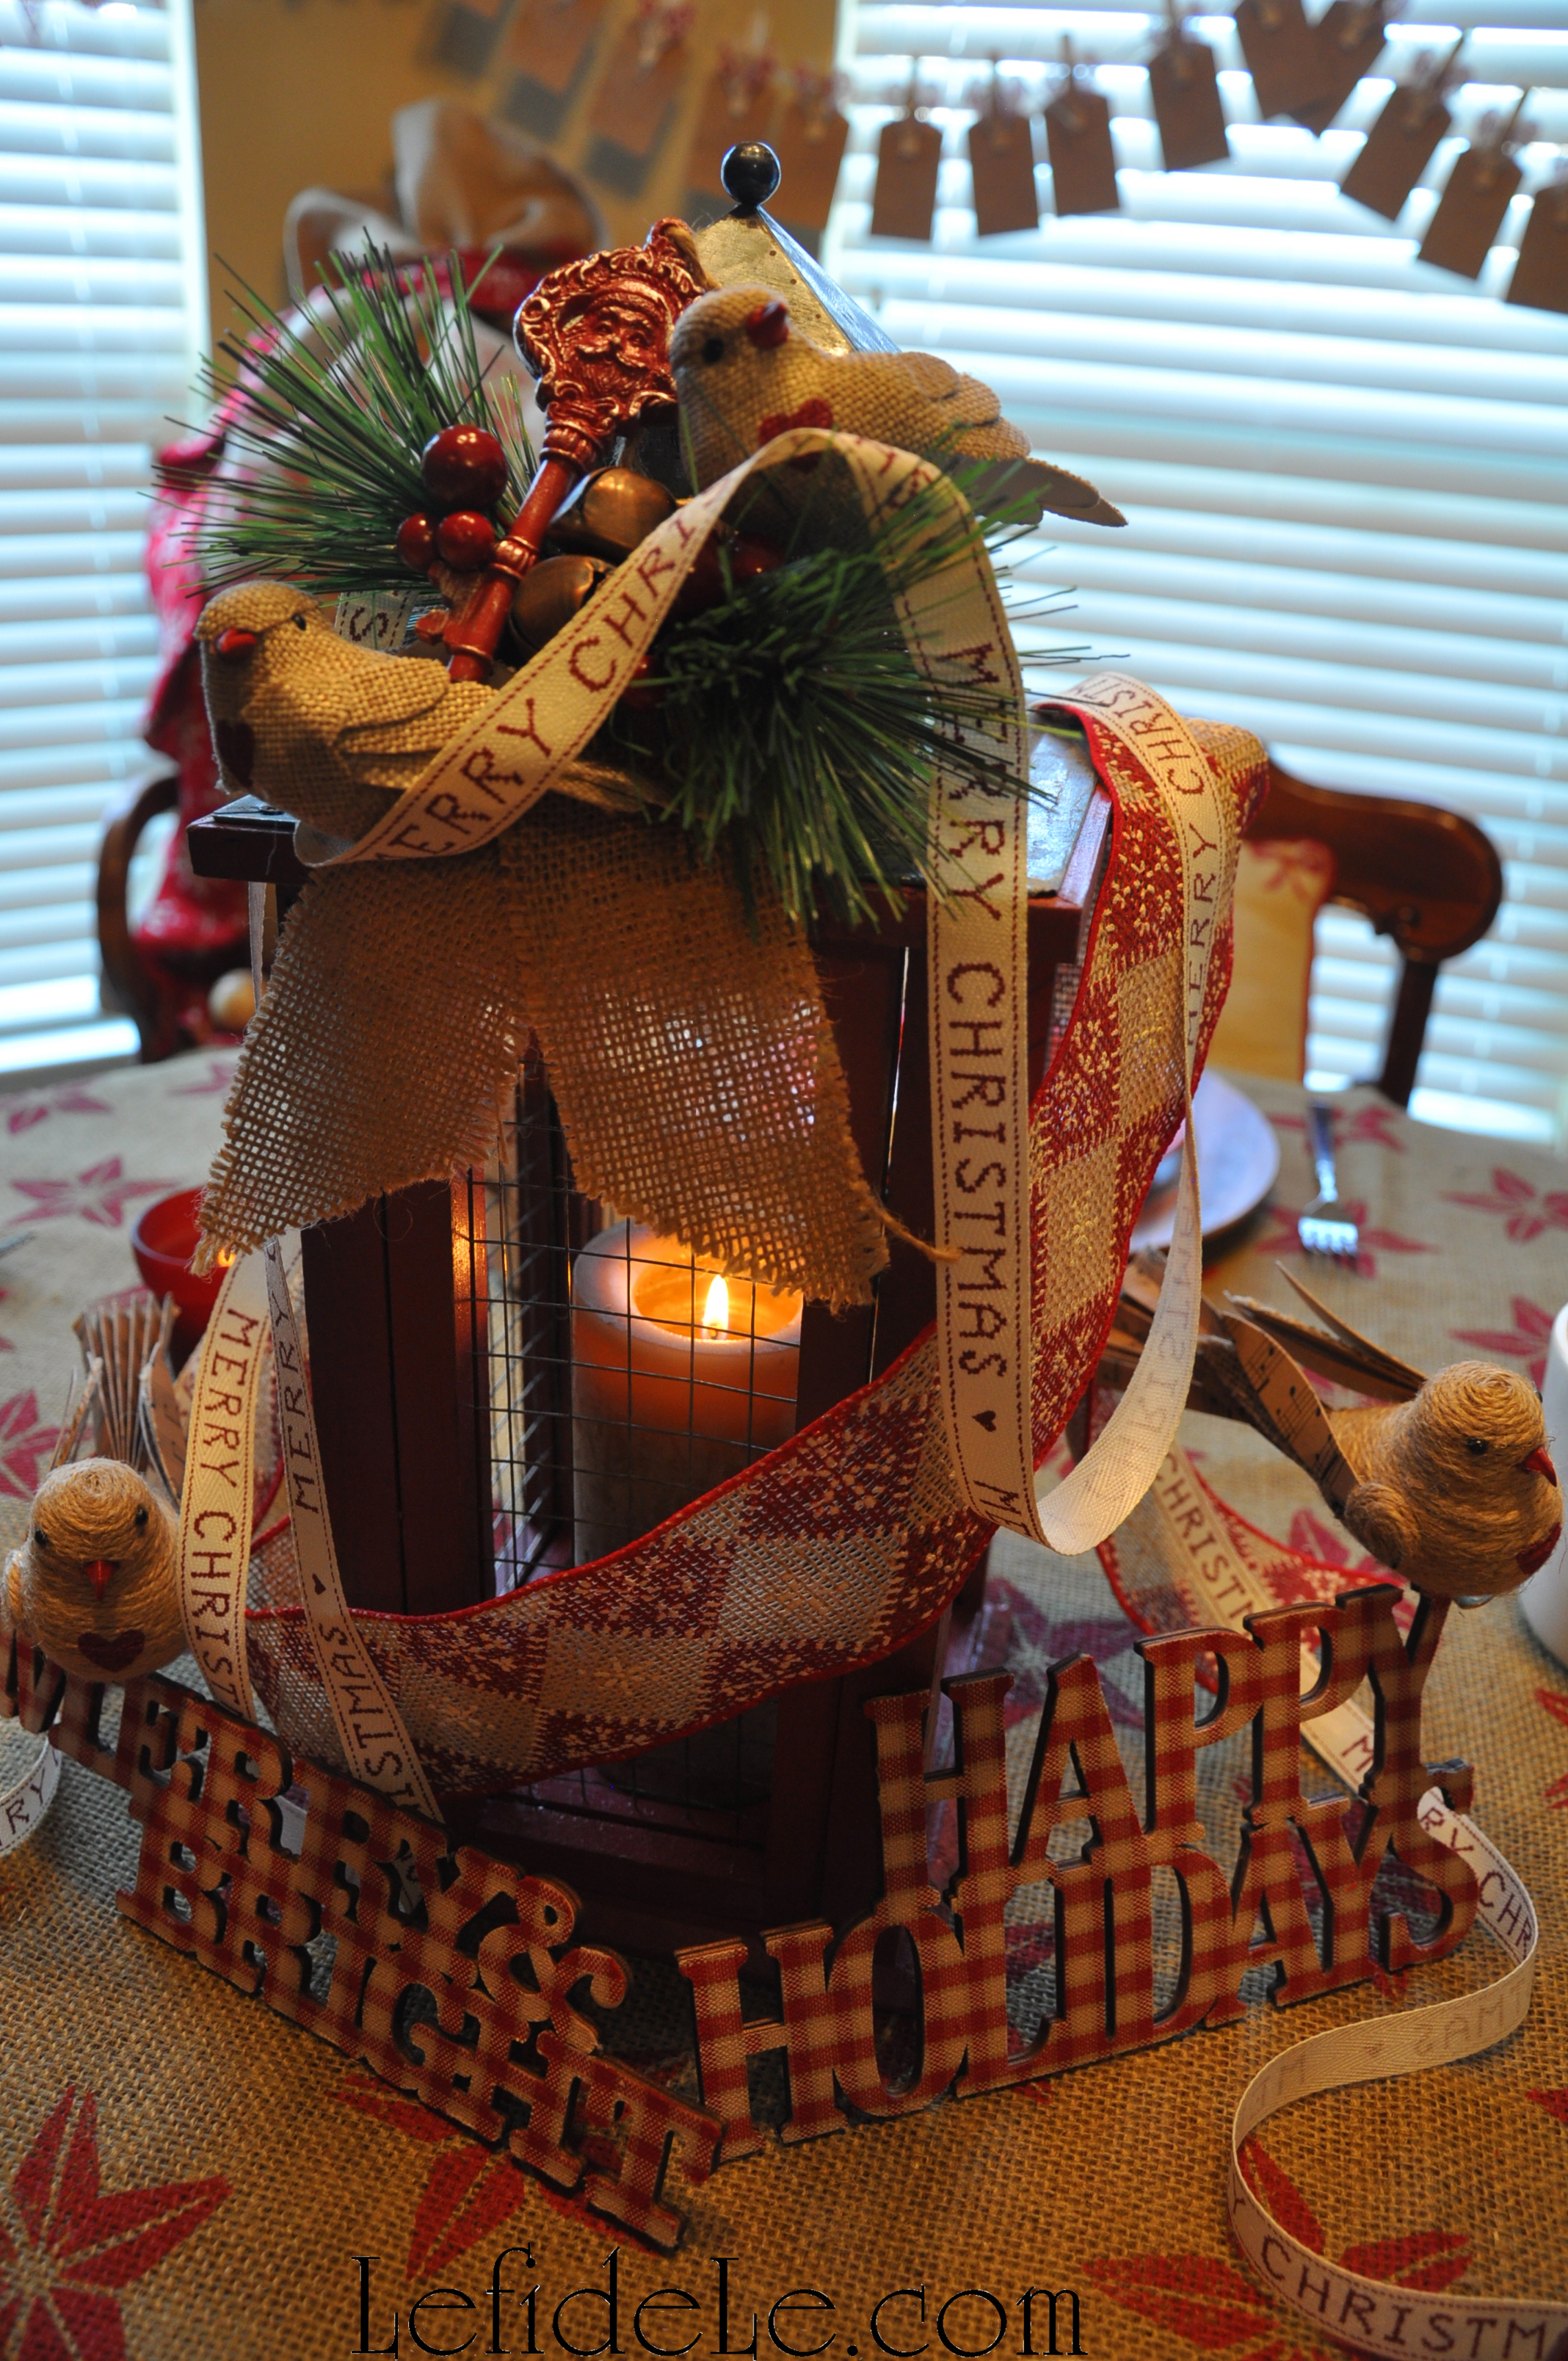
Why prepare for Christmas by waiting in long lines at overcrowded stores when you can create heartfelt moments with loved ones while crafting a homespun holiday that harkens back to simpler times. Deck the halls without breaking the bank with an easy DIY burlap tablecloth painted with stamps to coordinate with ribbon crafted napkin rings. Then add a personal touch to ready-made burlap and jute bird ornaments with just a little paint and sentiment. In this way, we can all celebrate togetherness in the real spirit of the season!

958Leigh

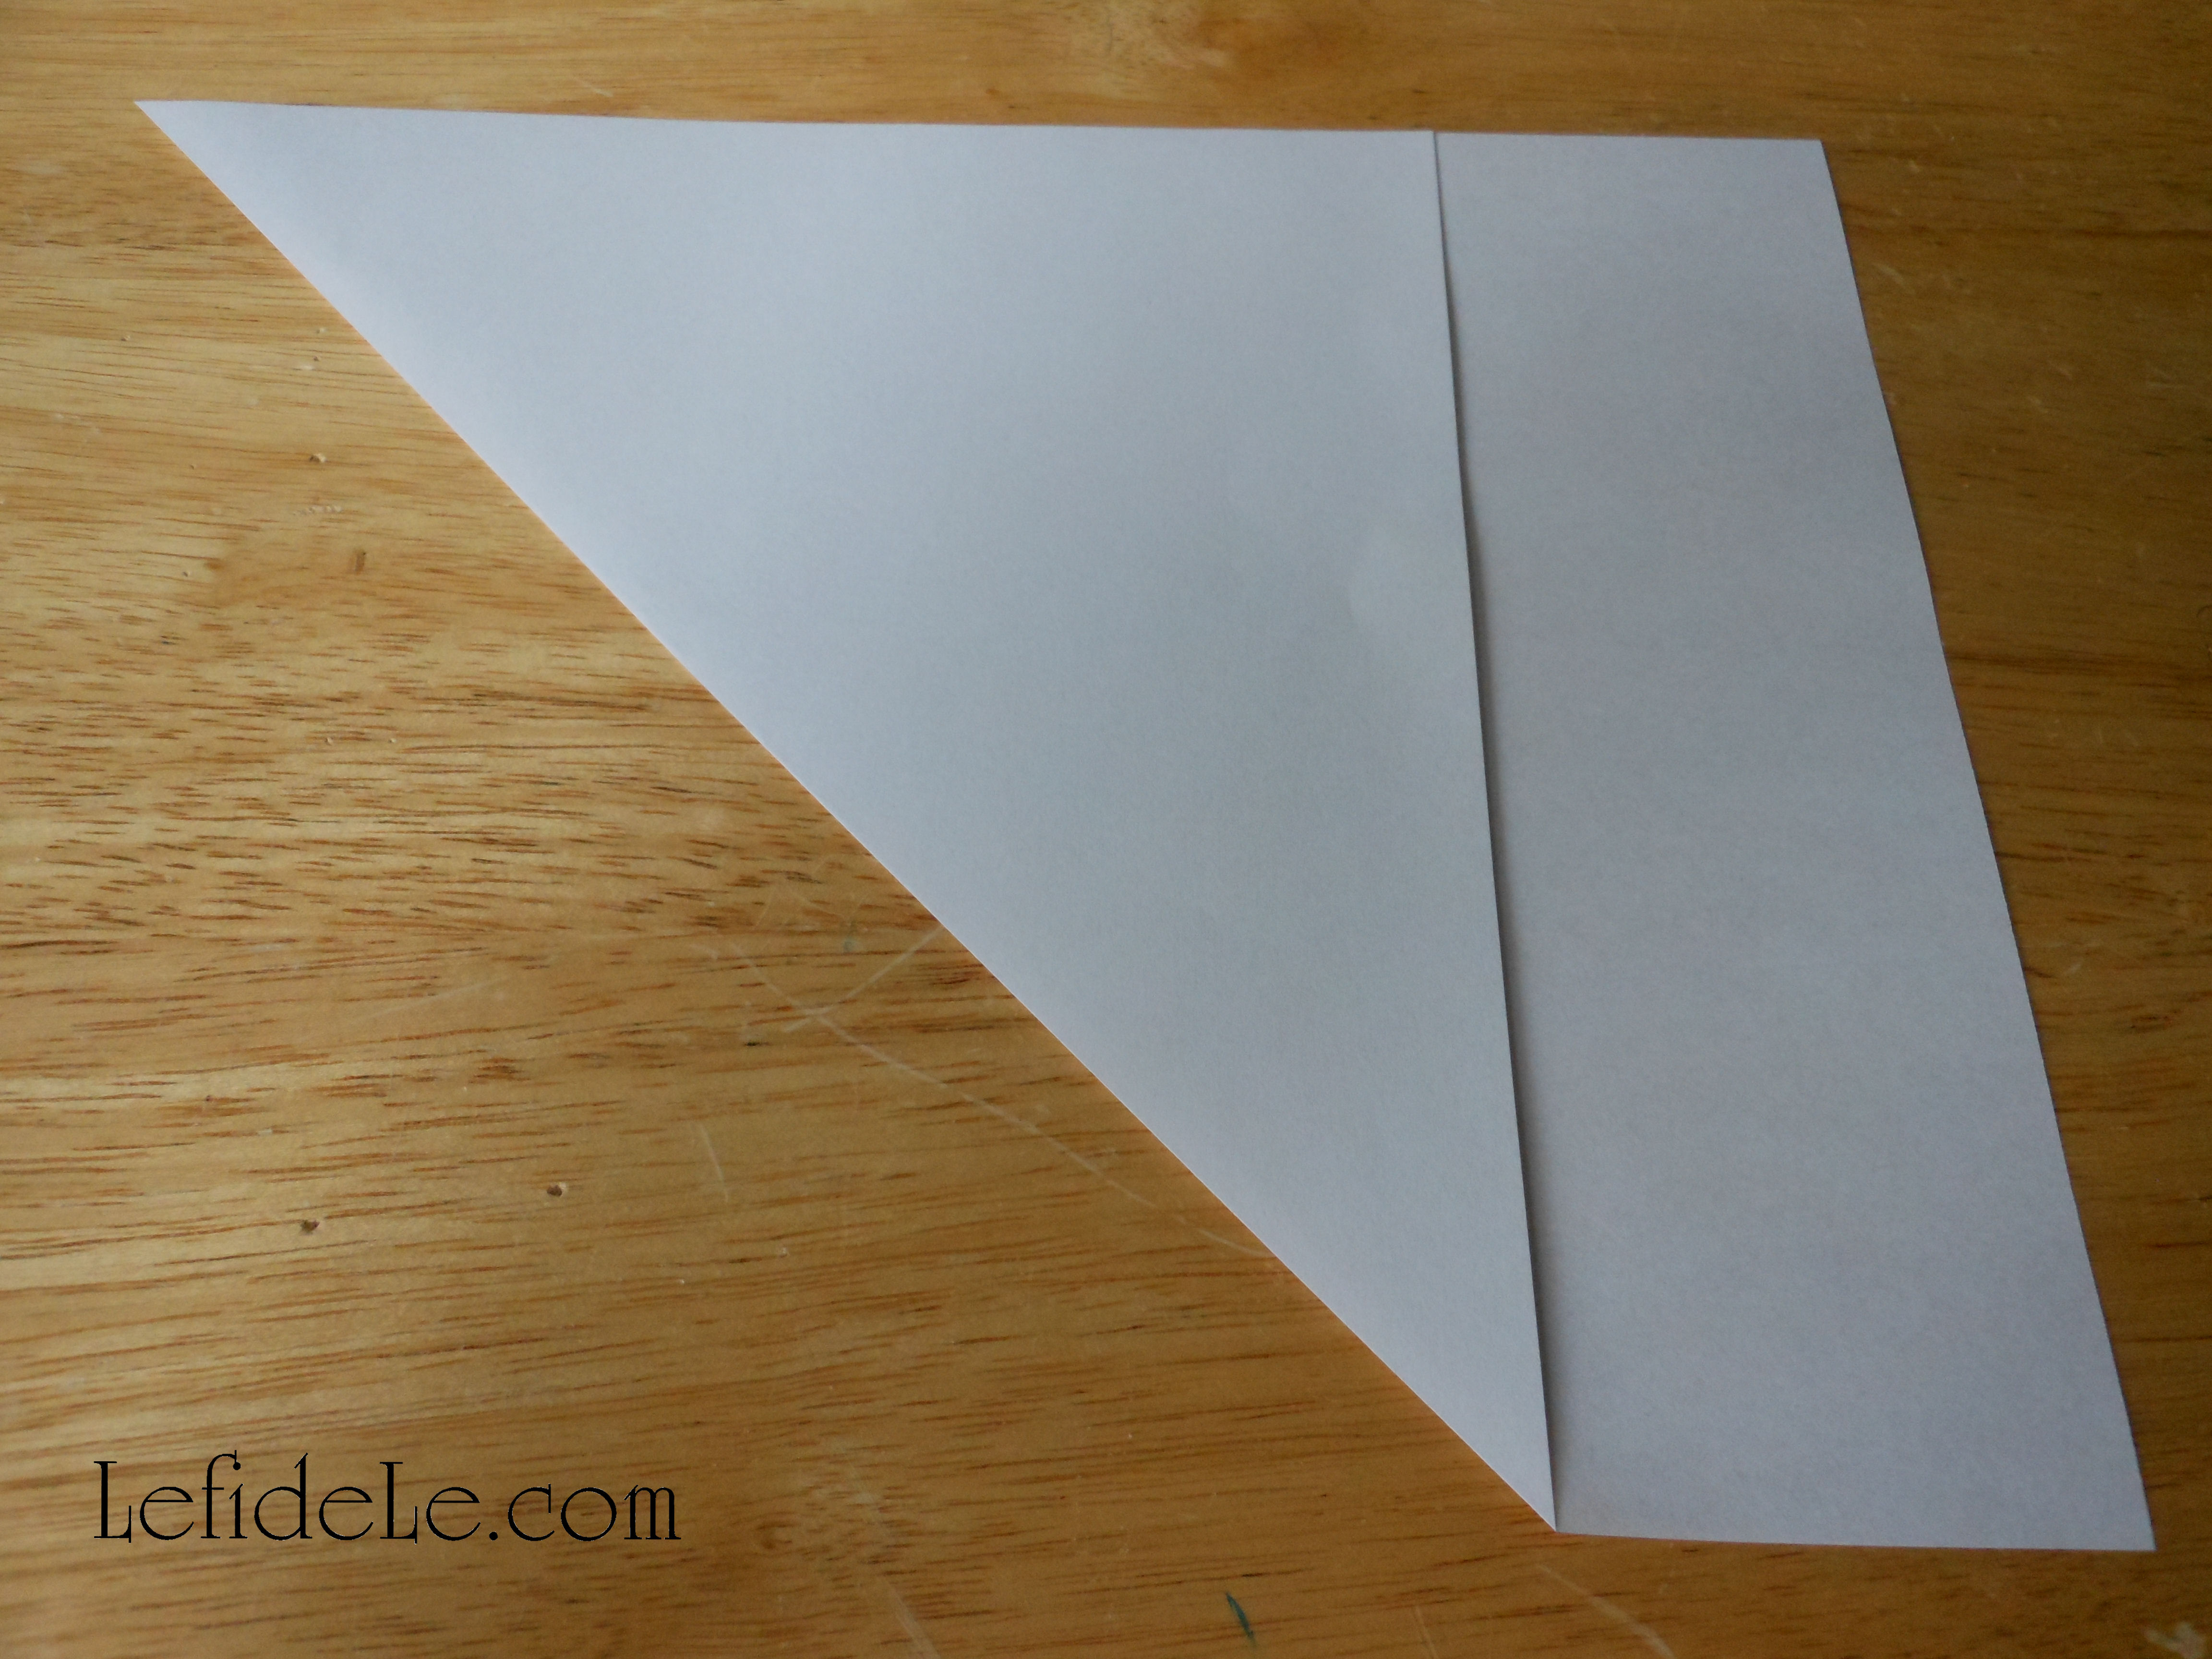
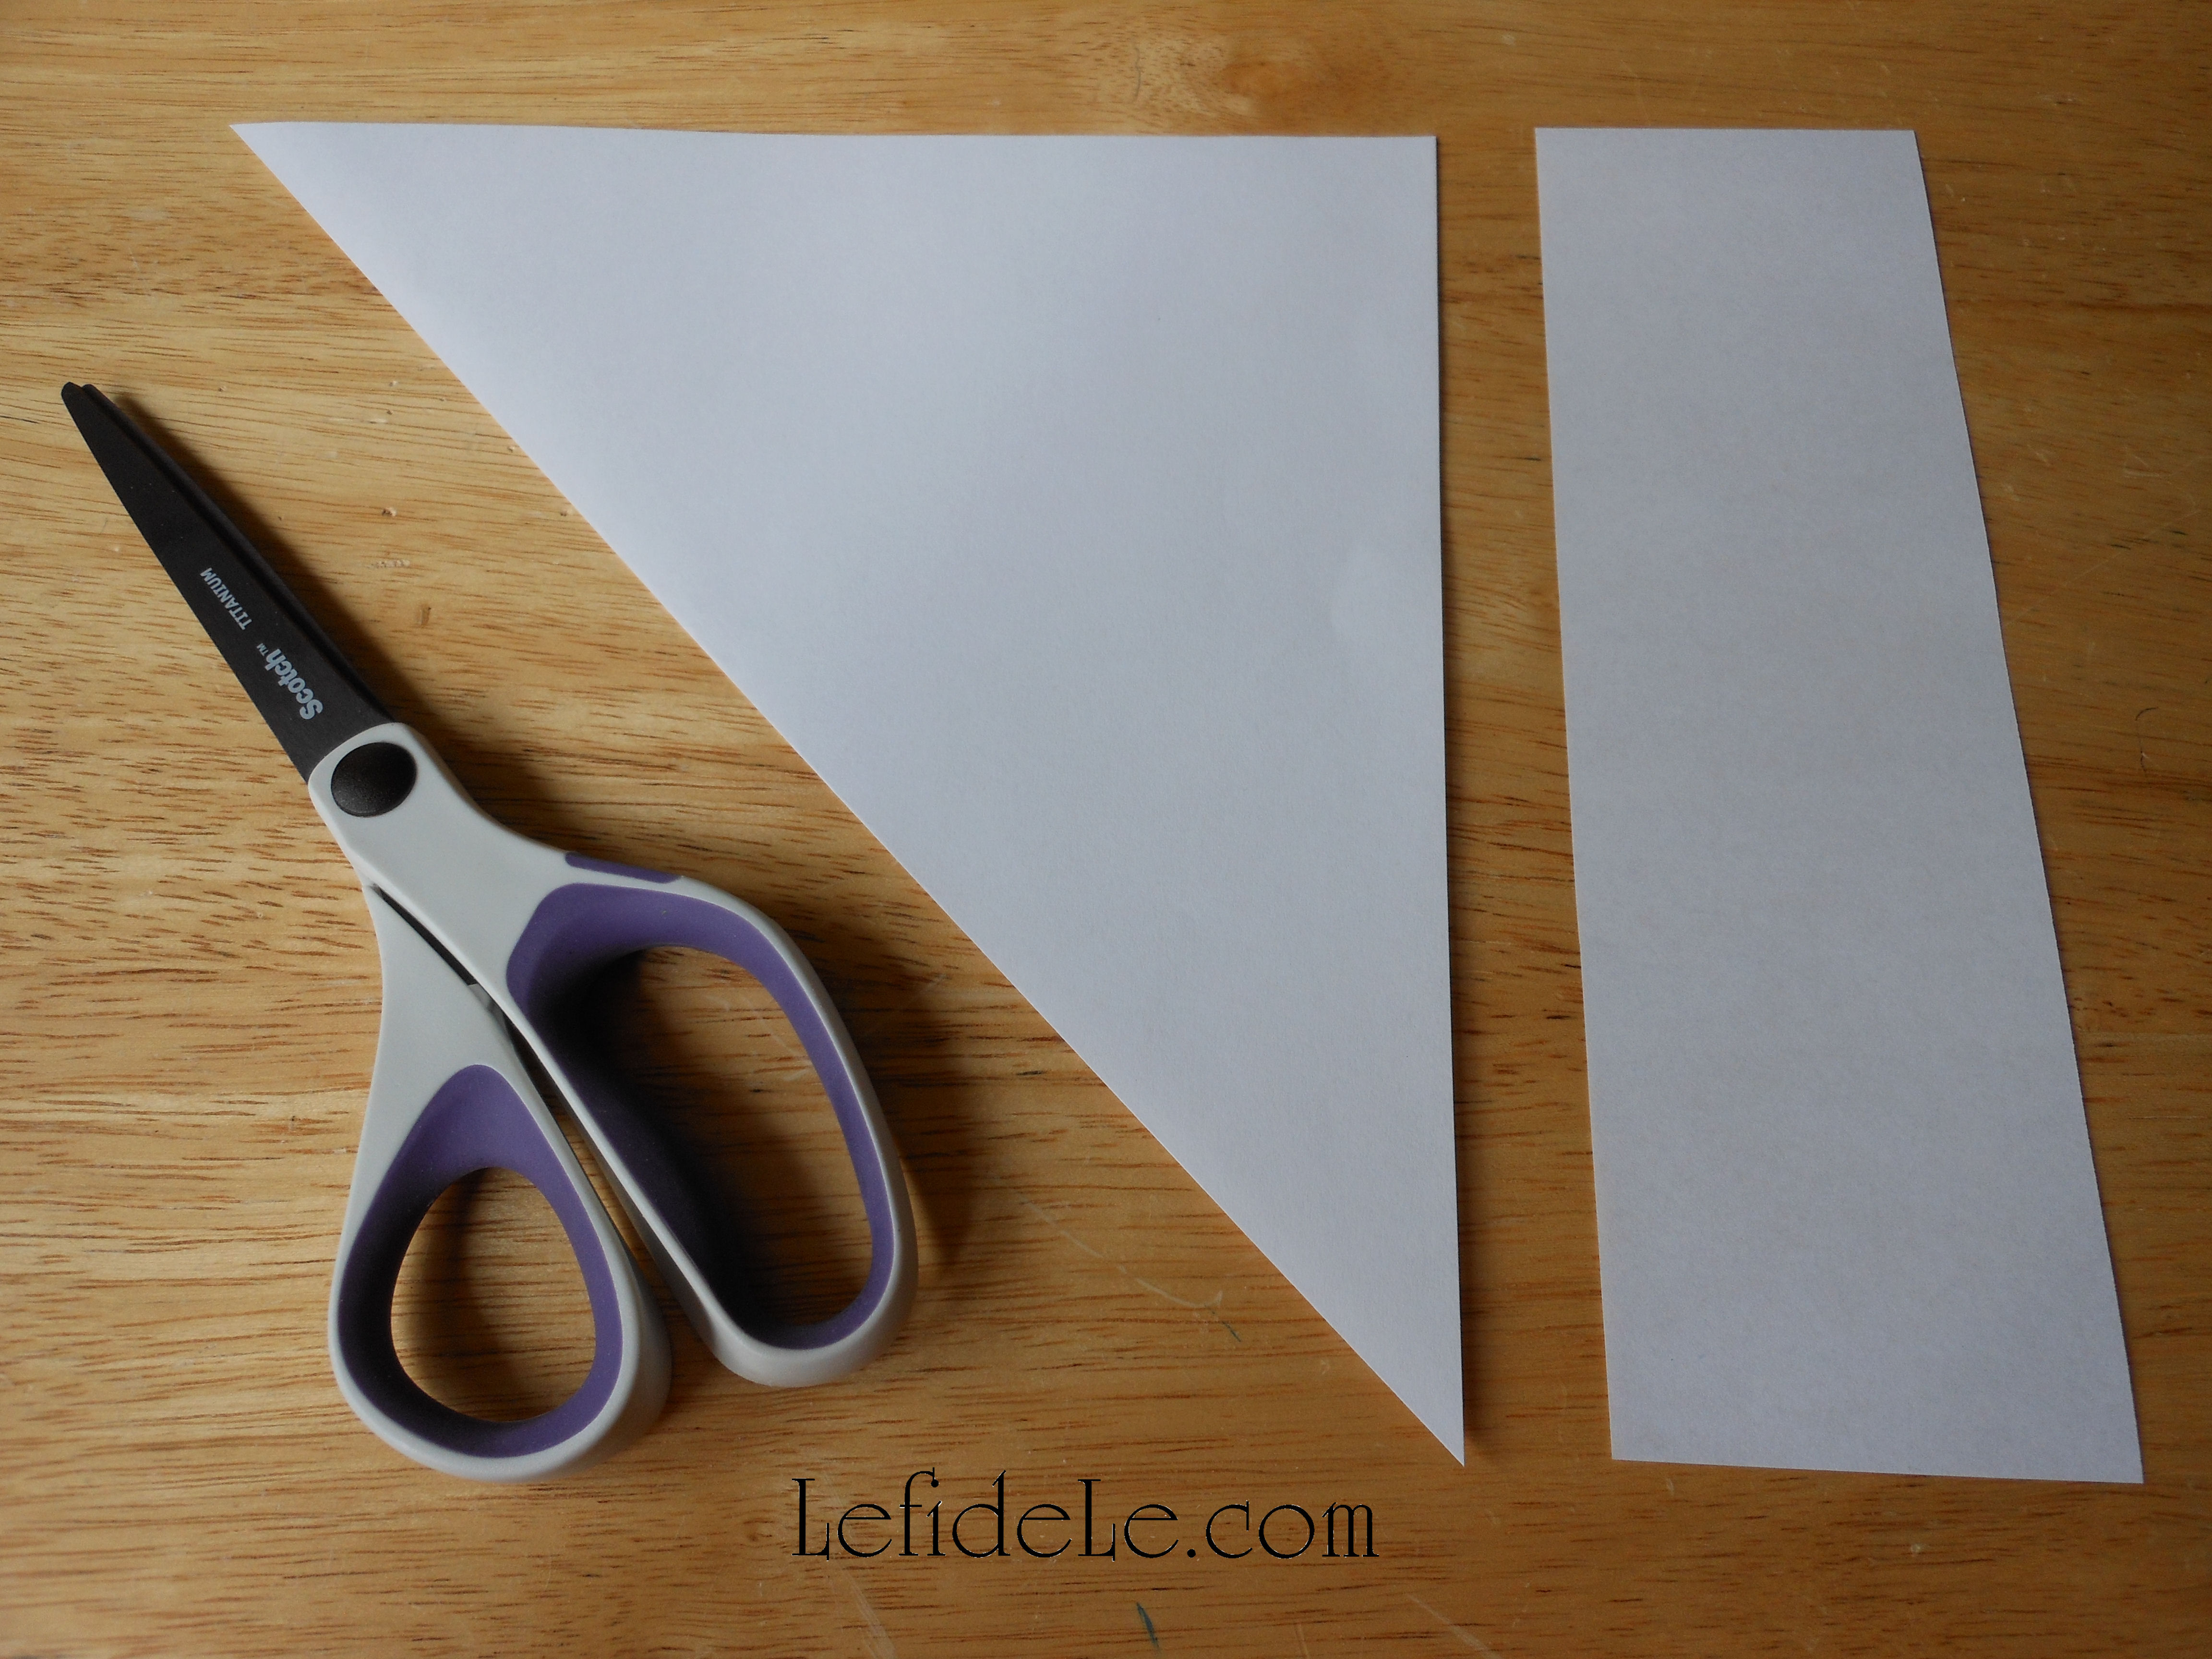
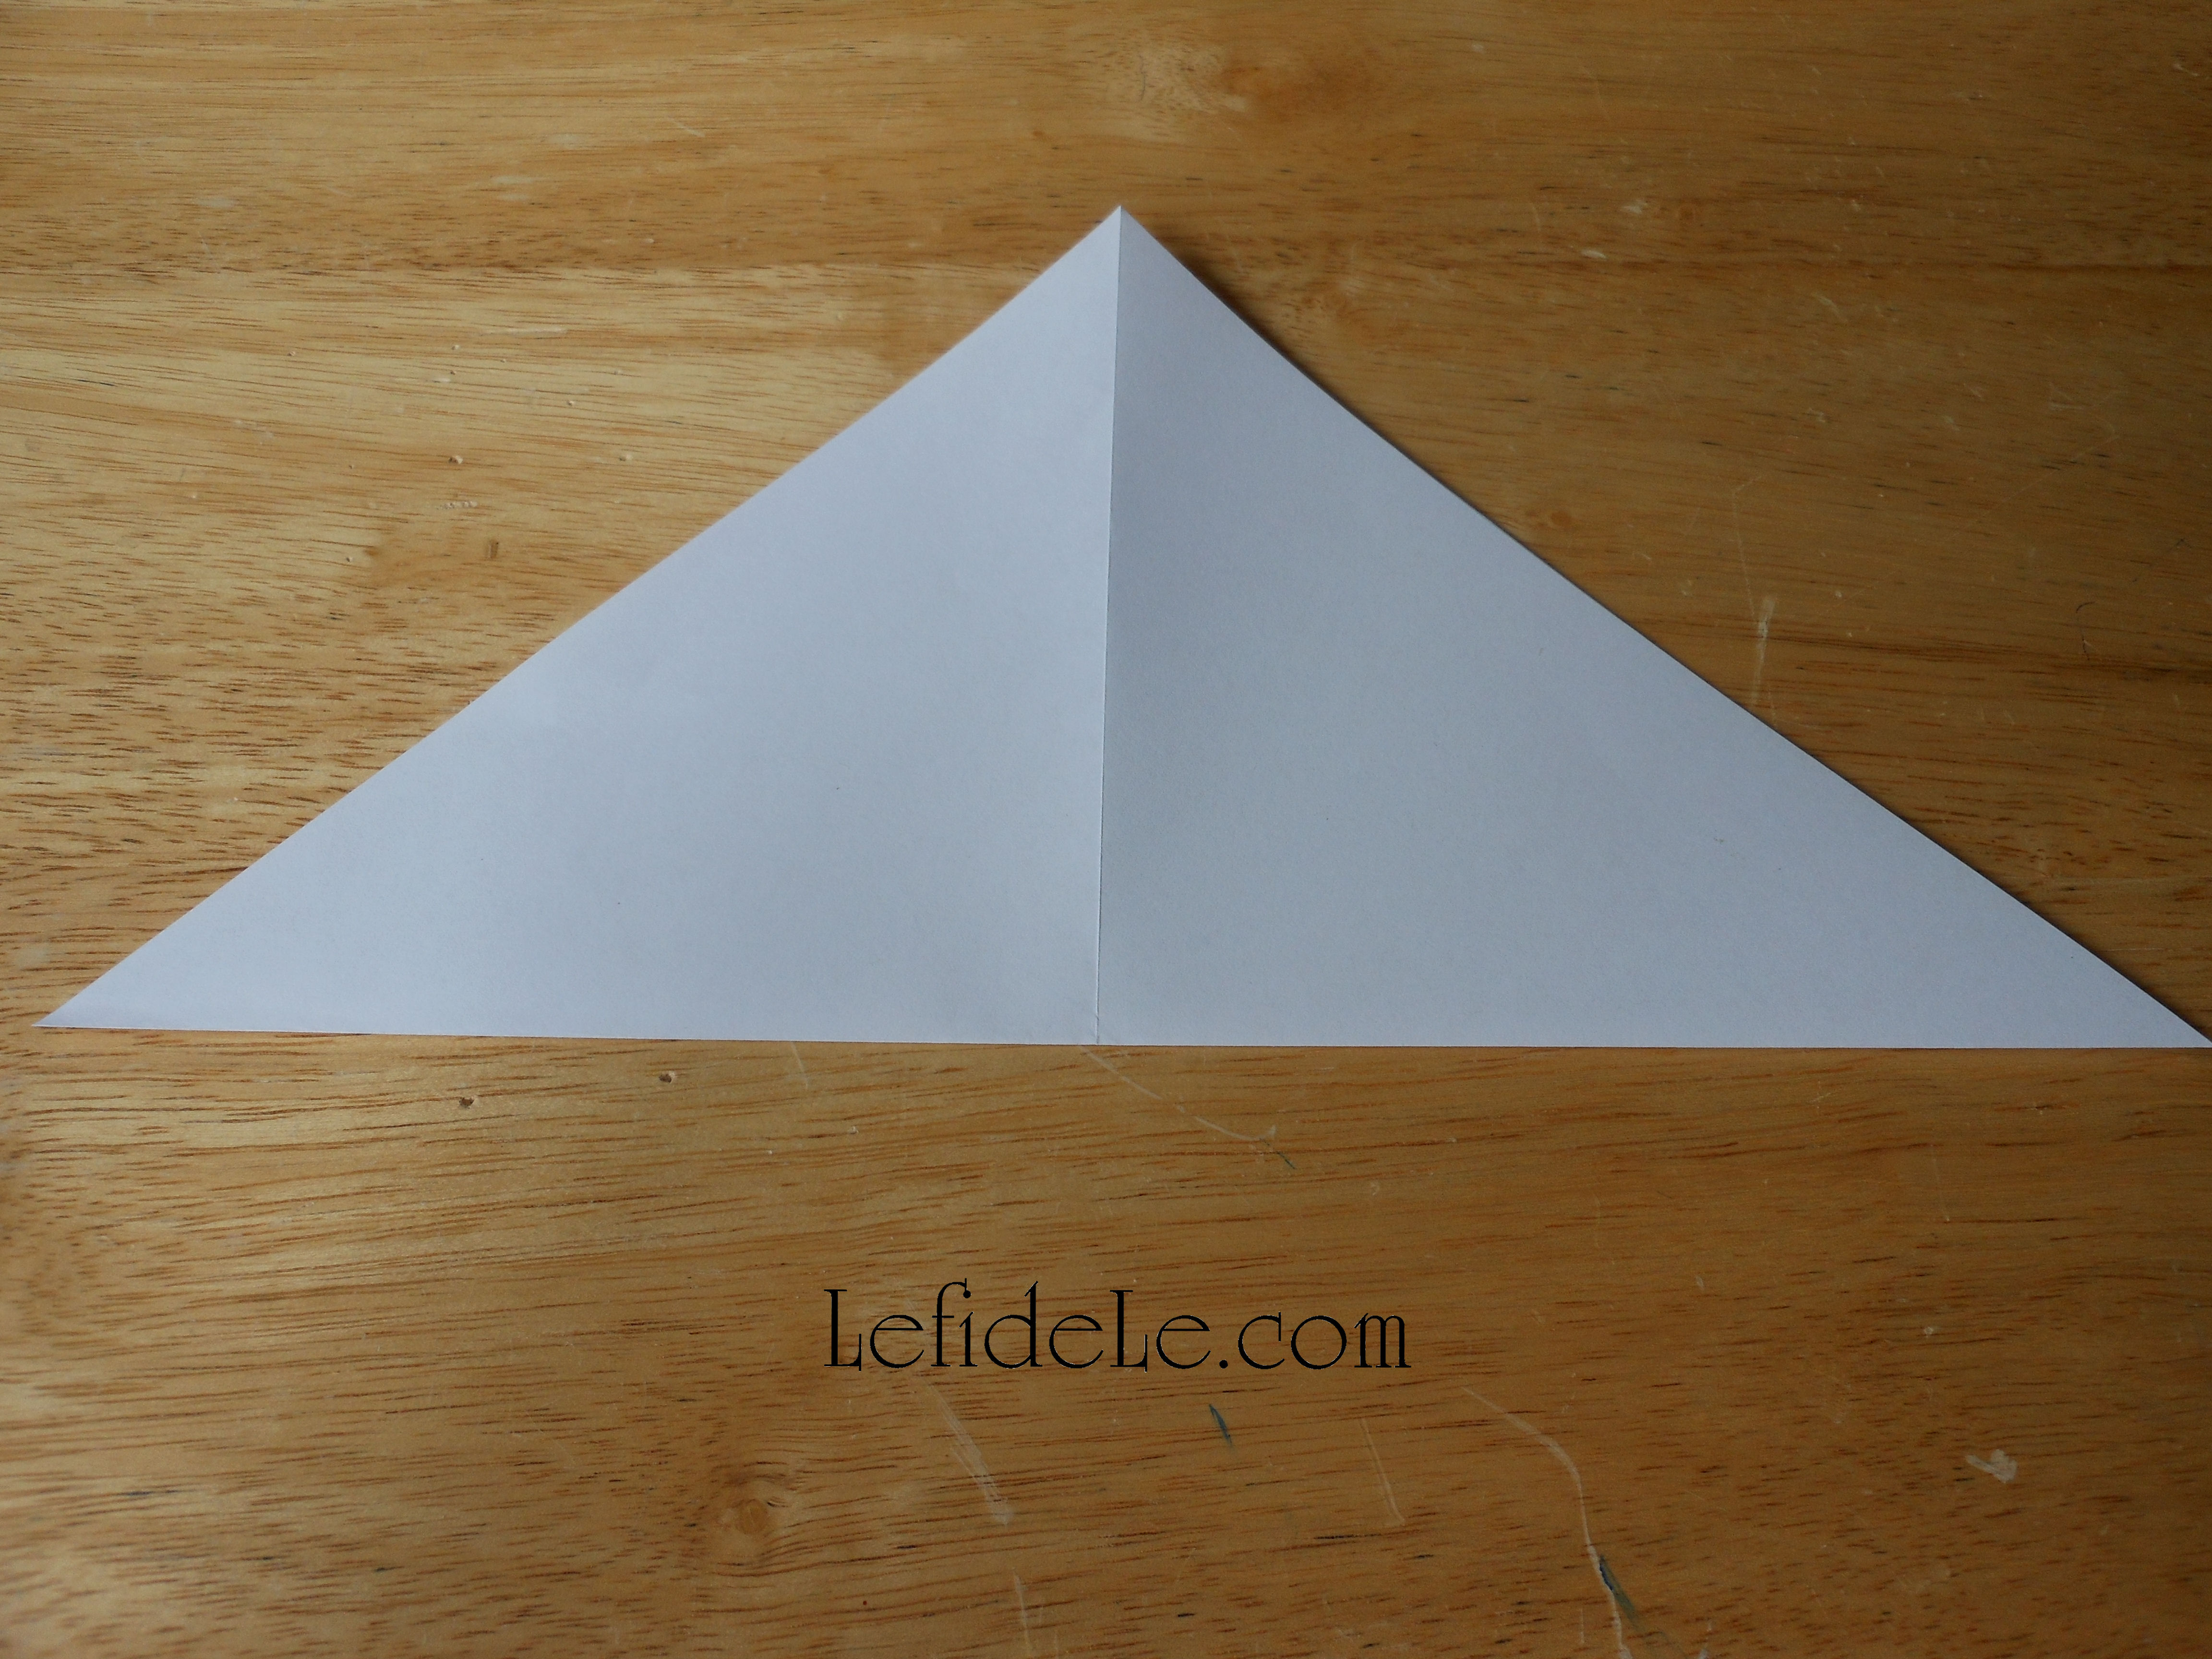
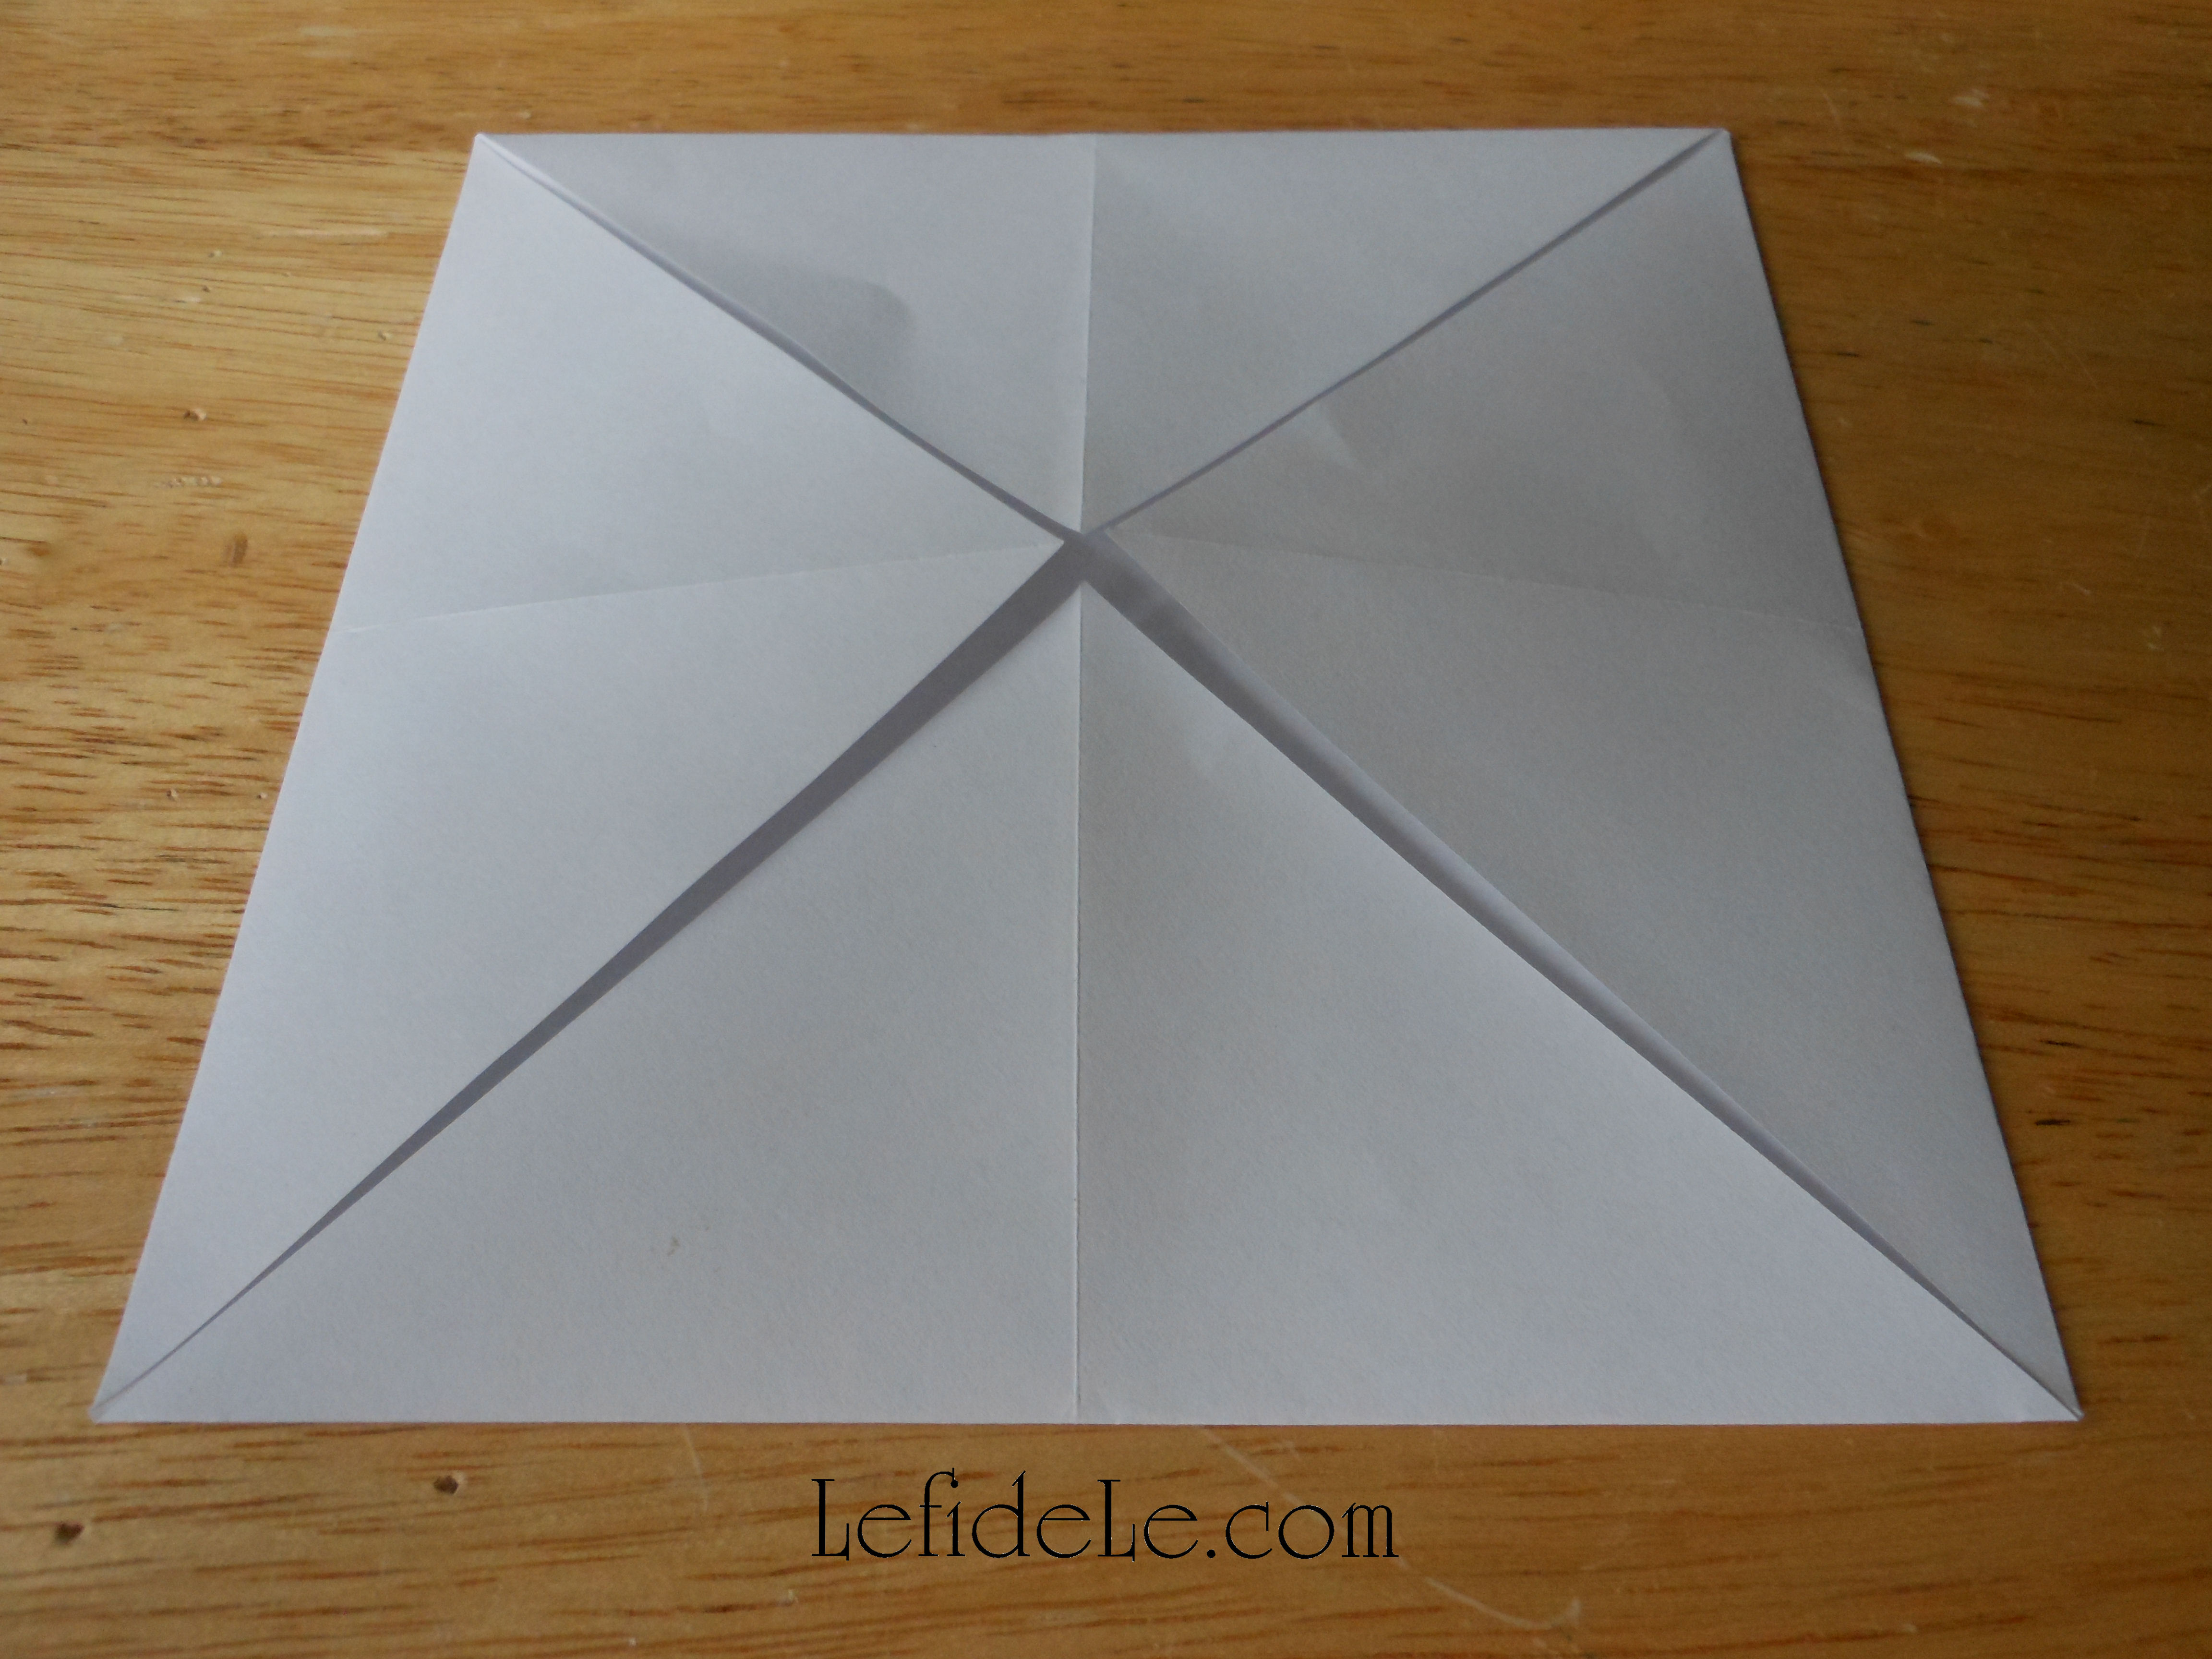
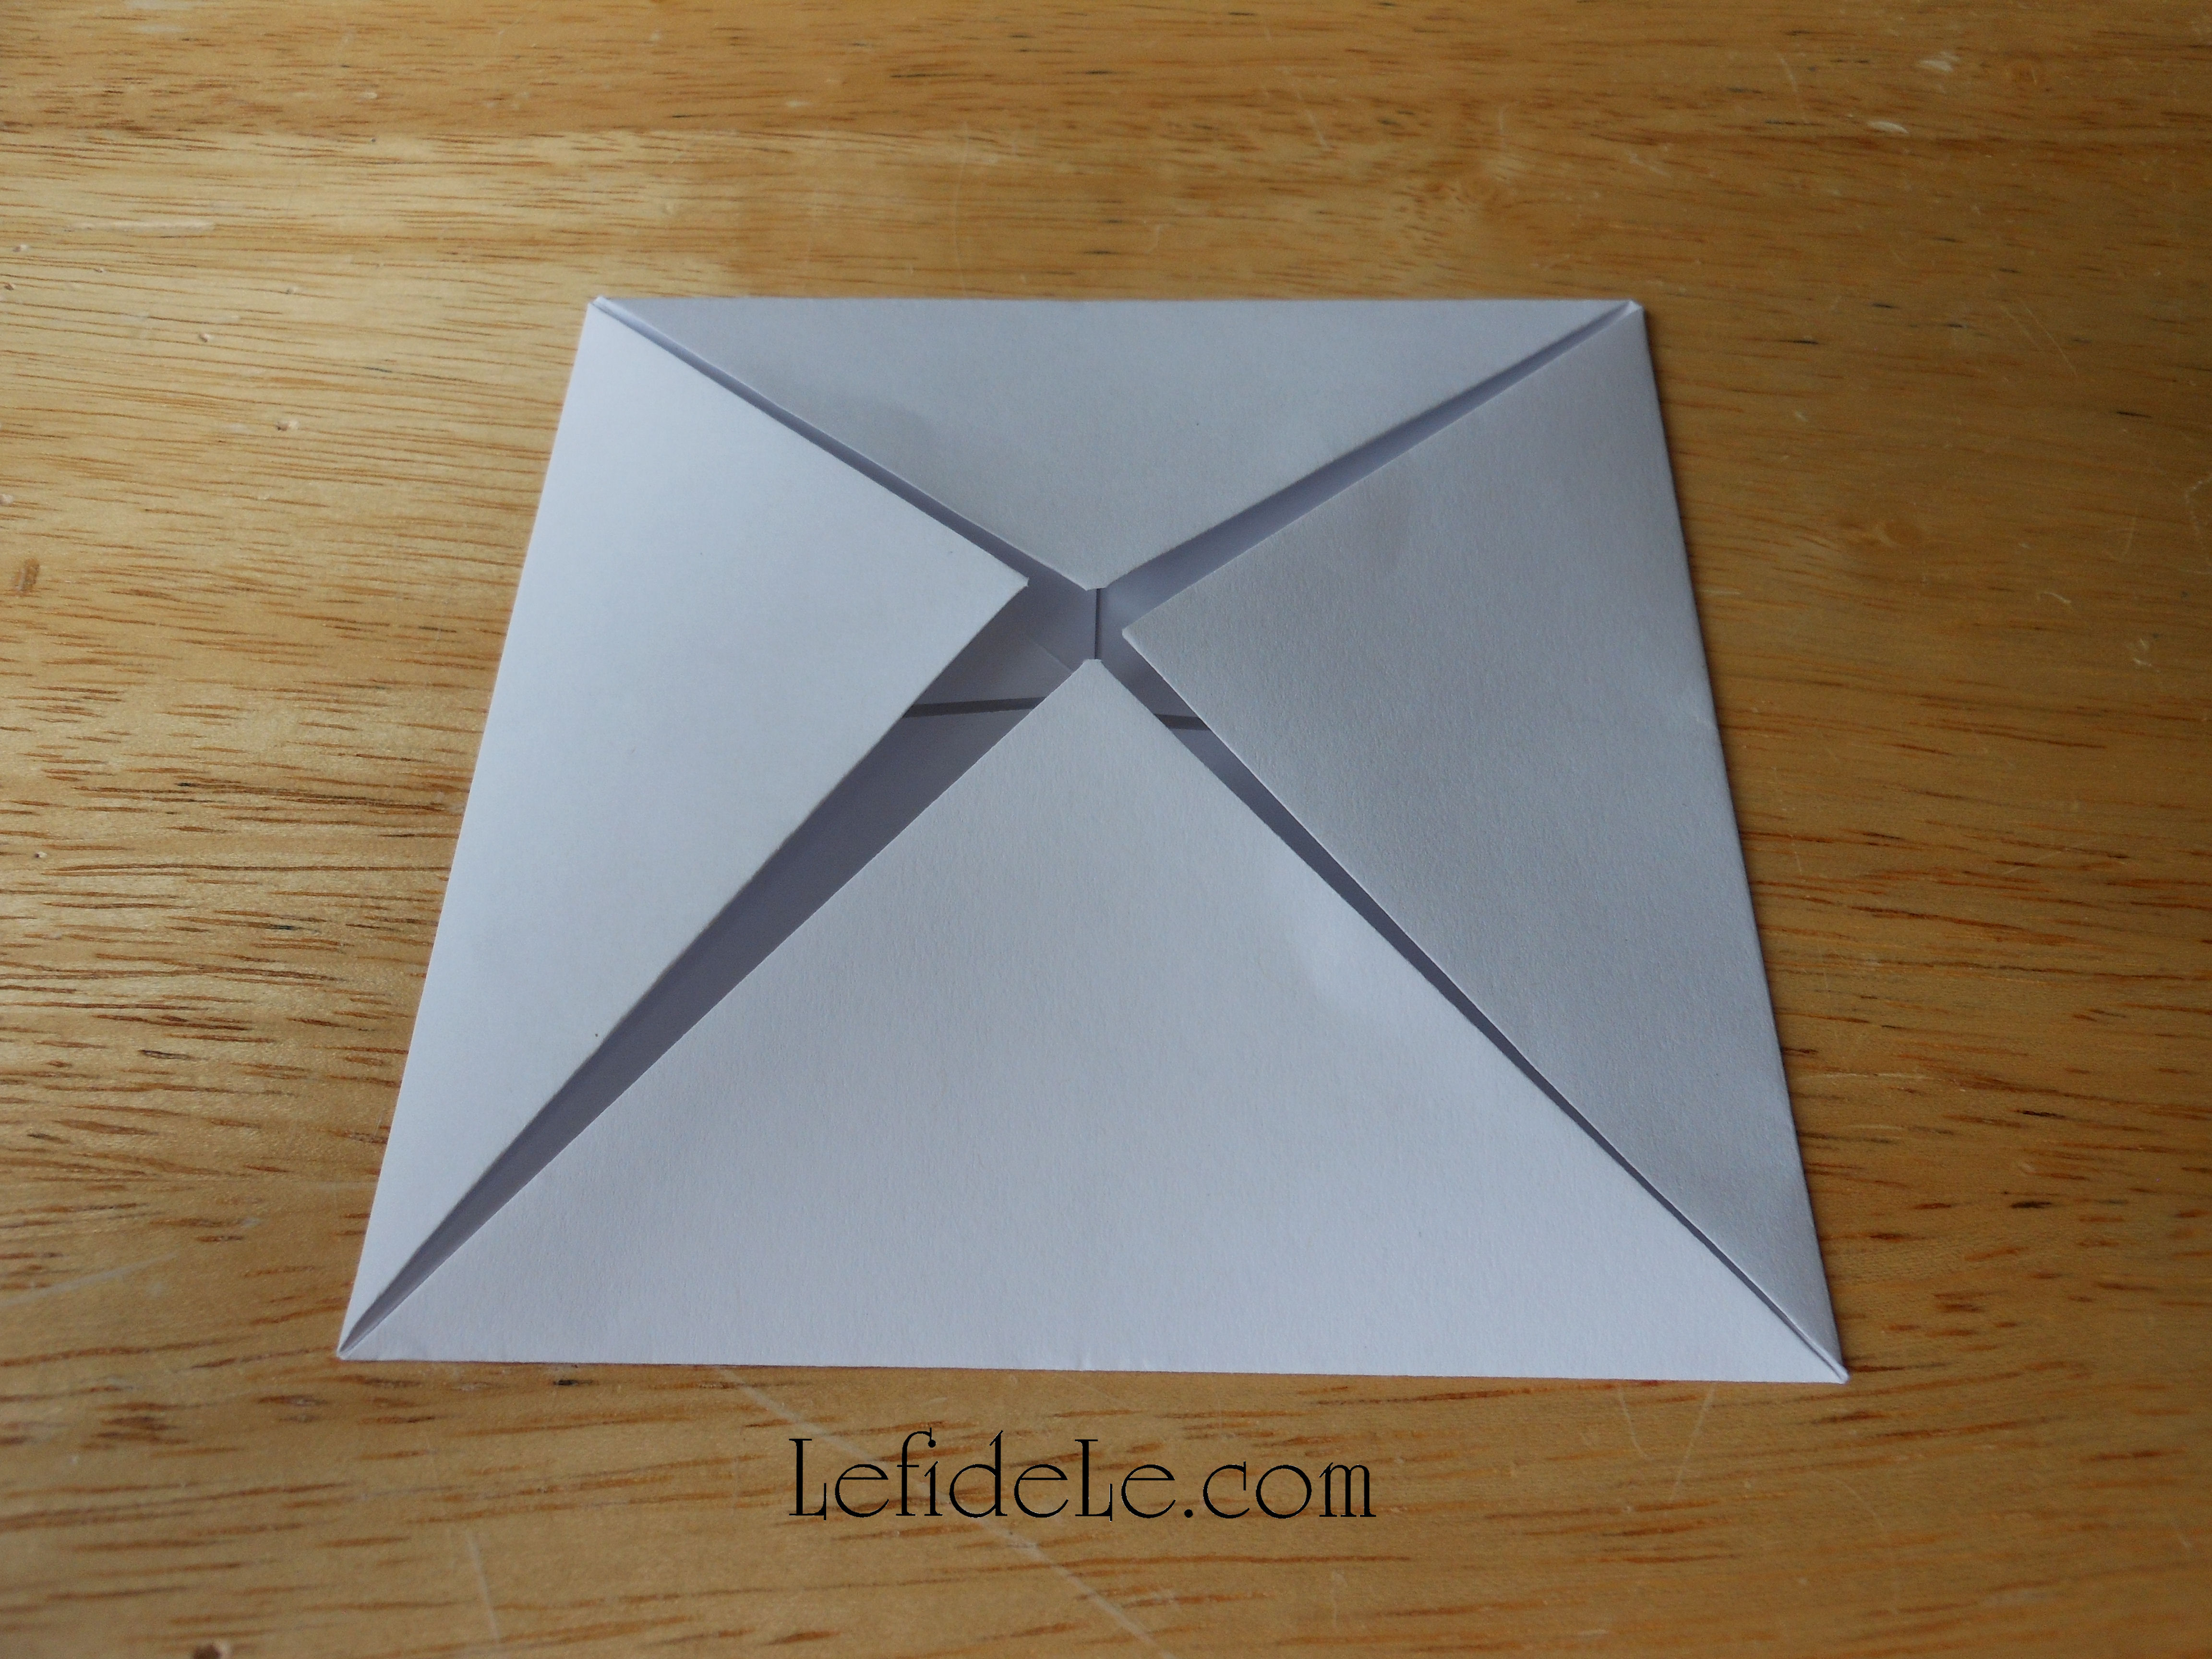
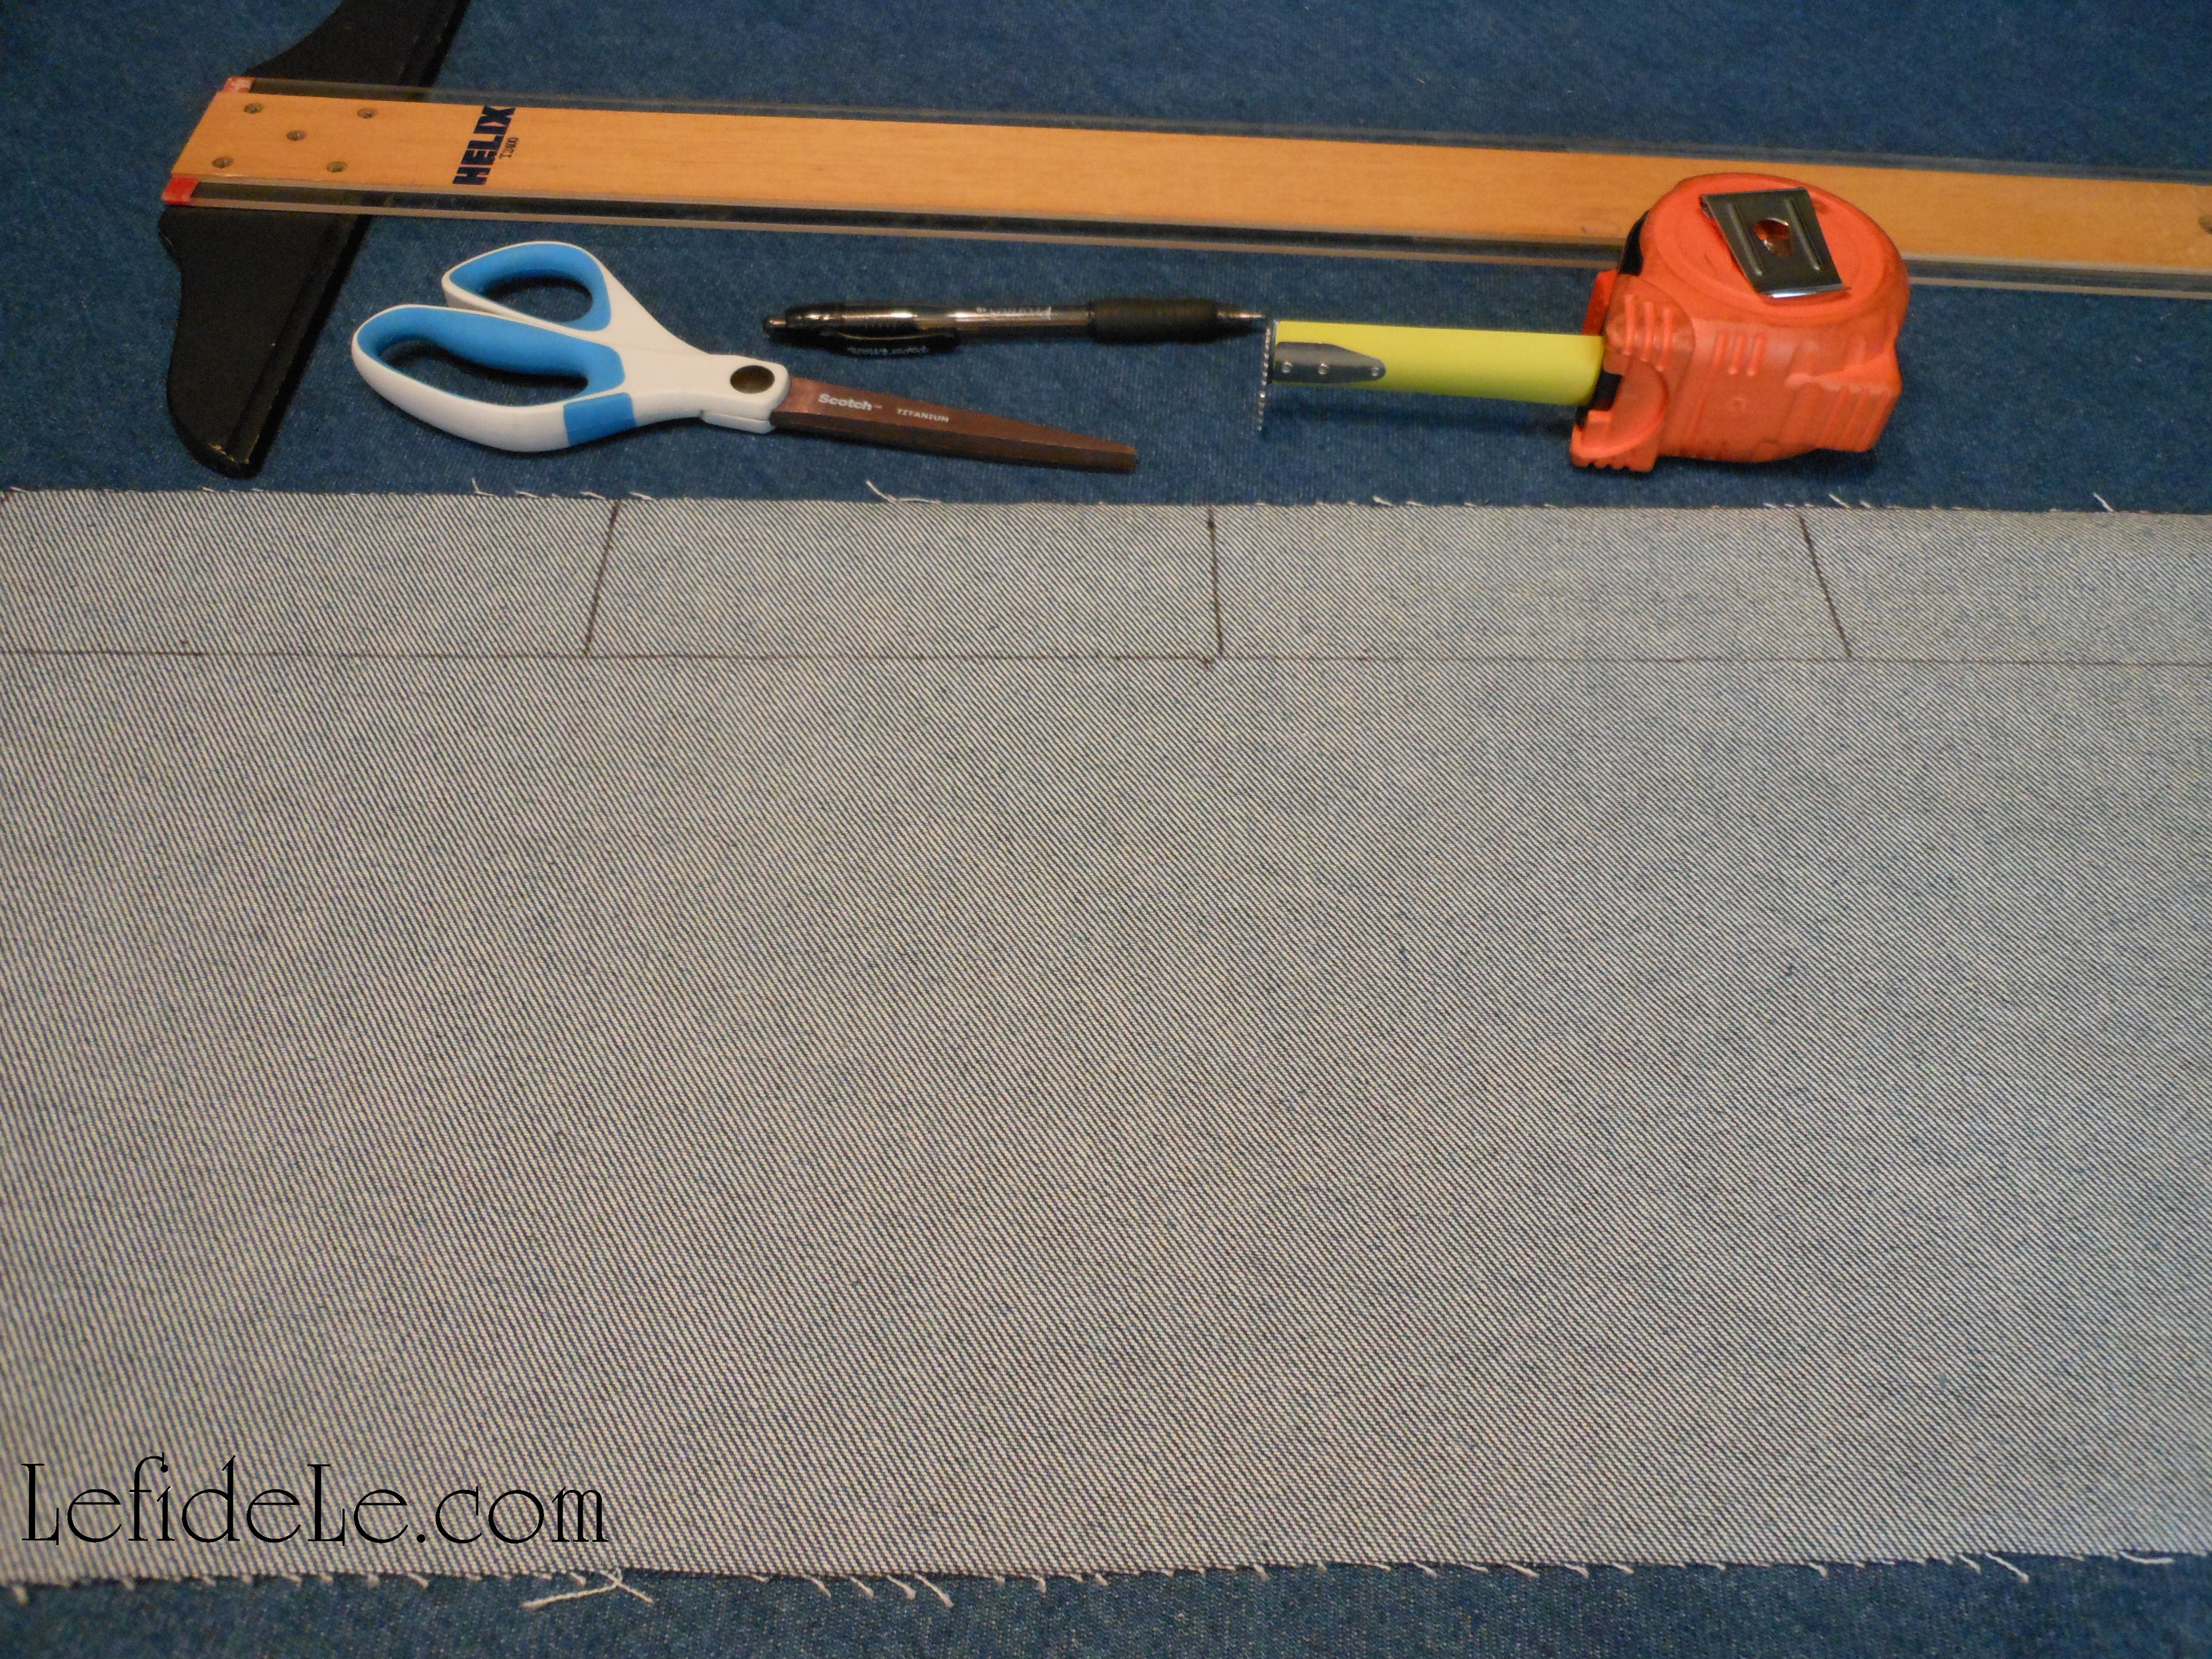
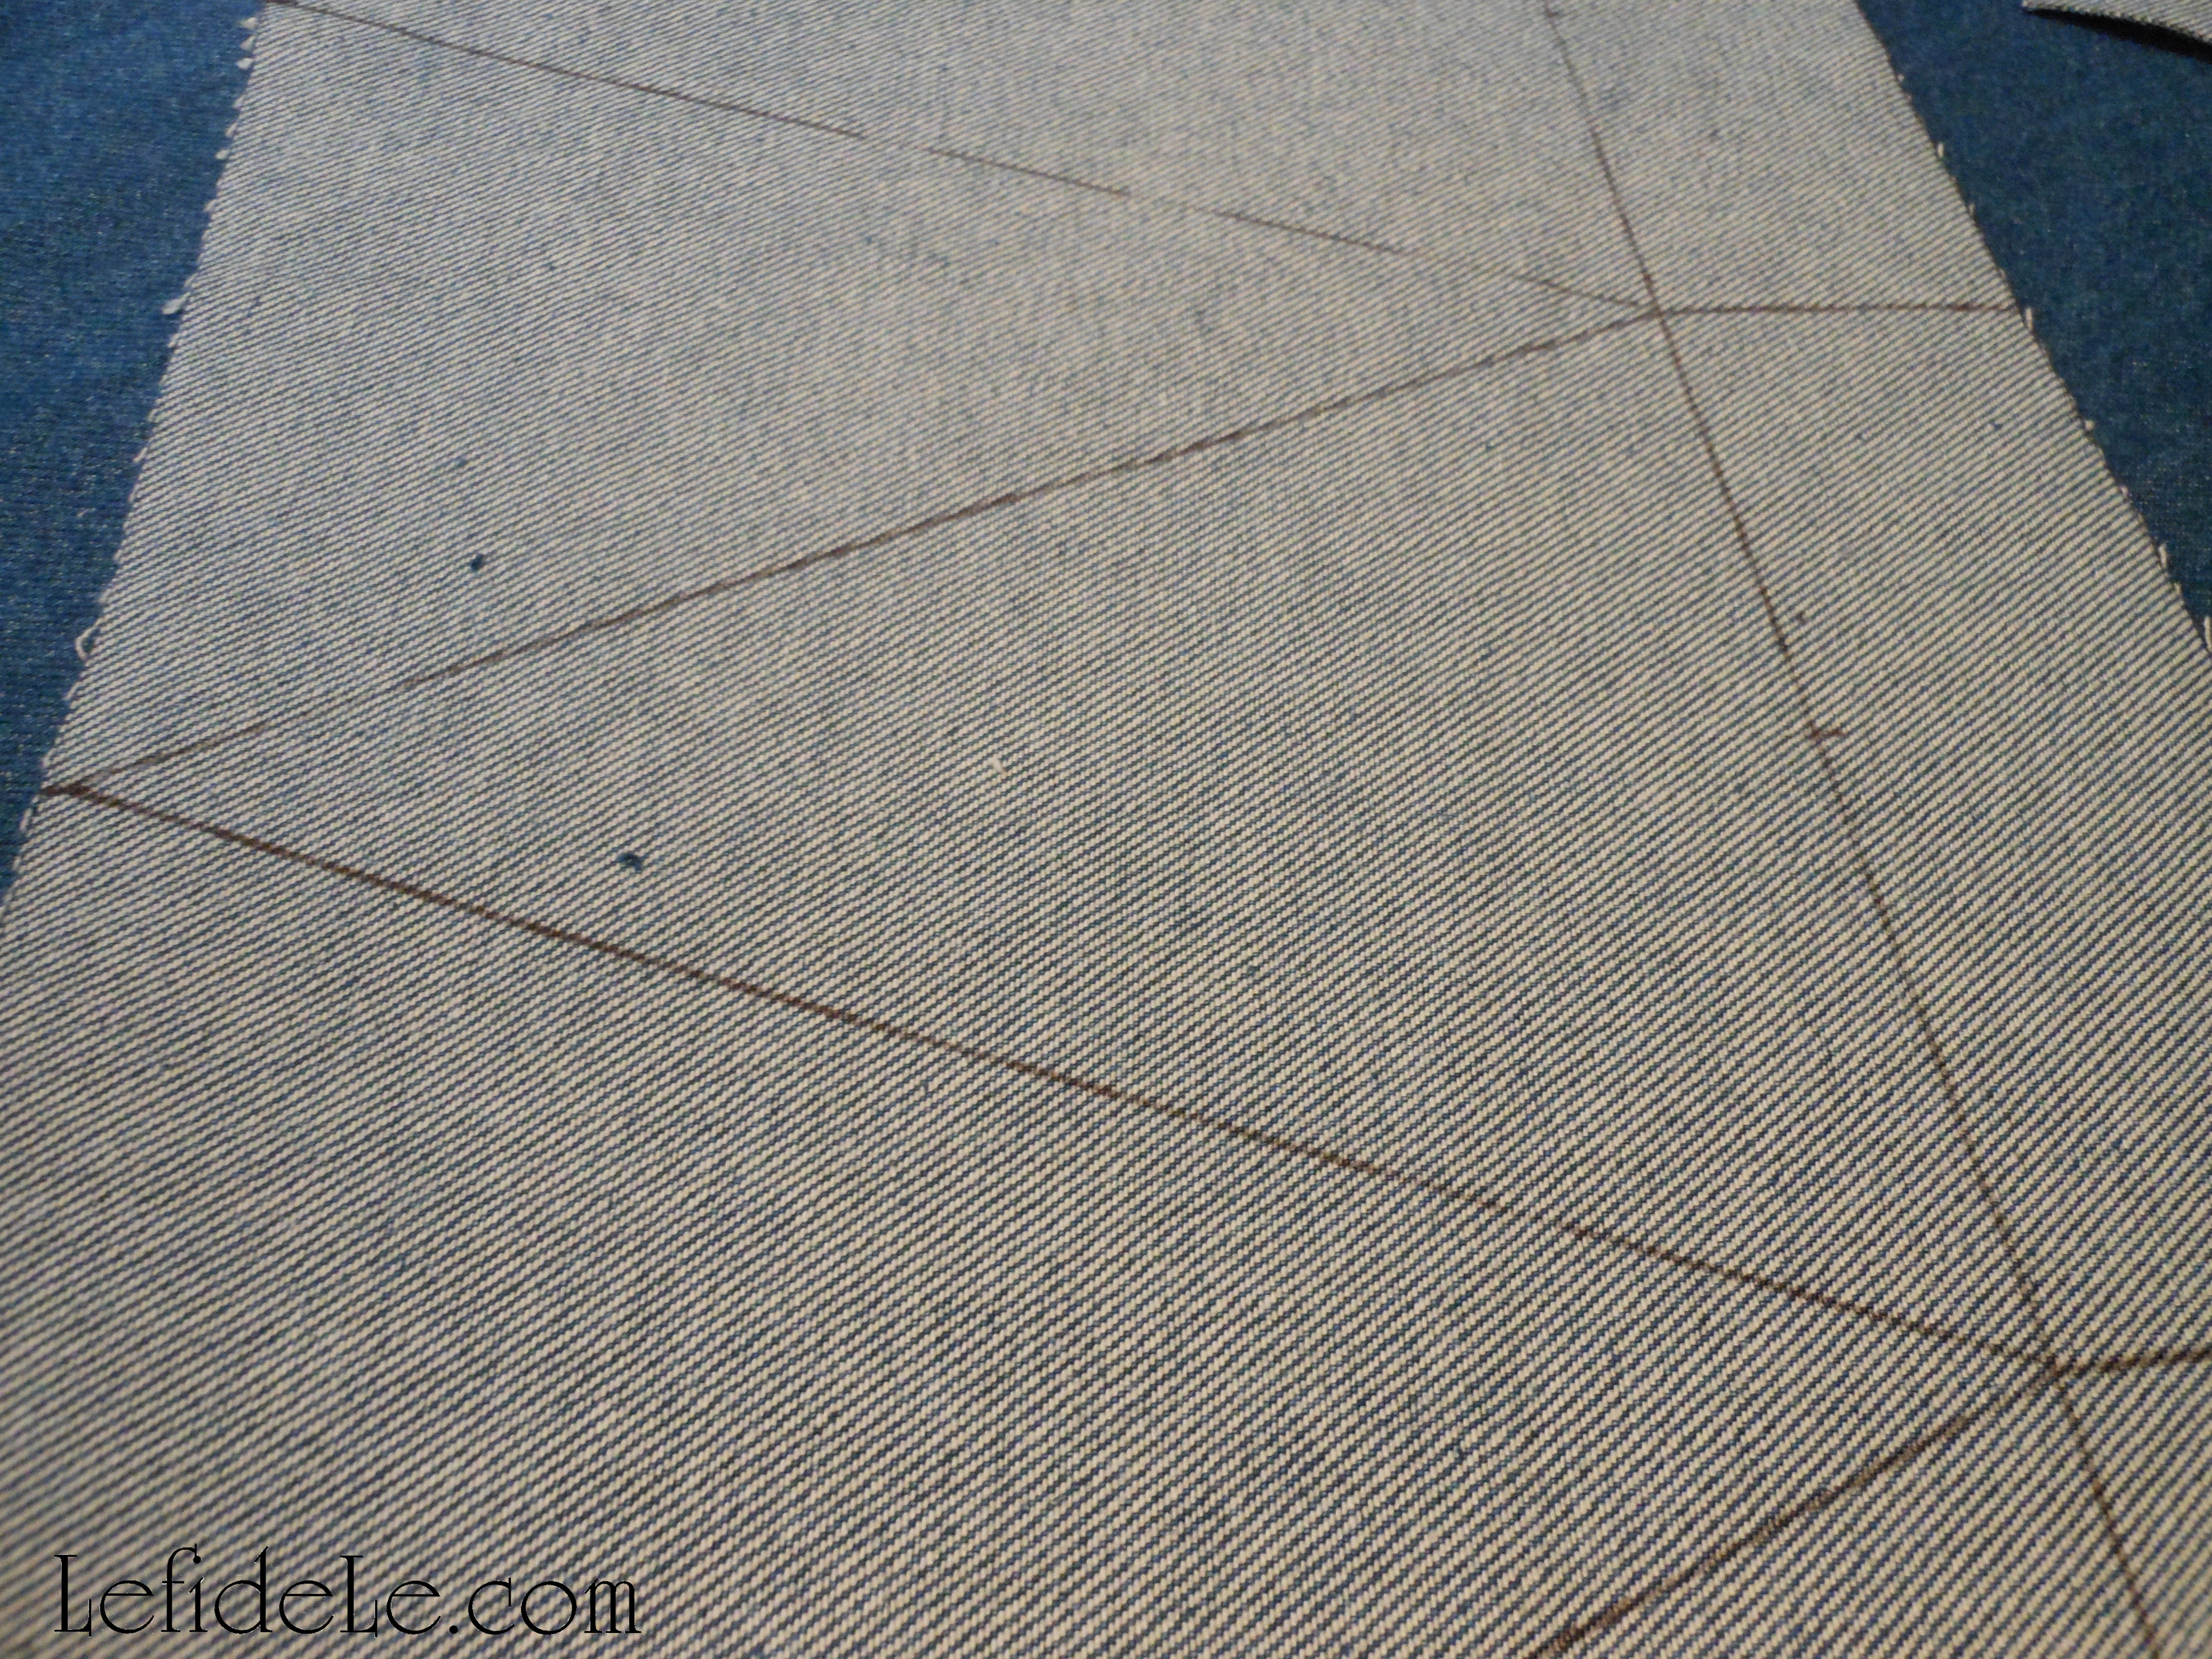
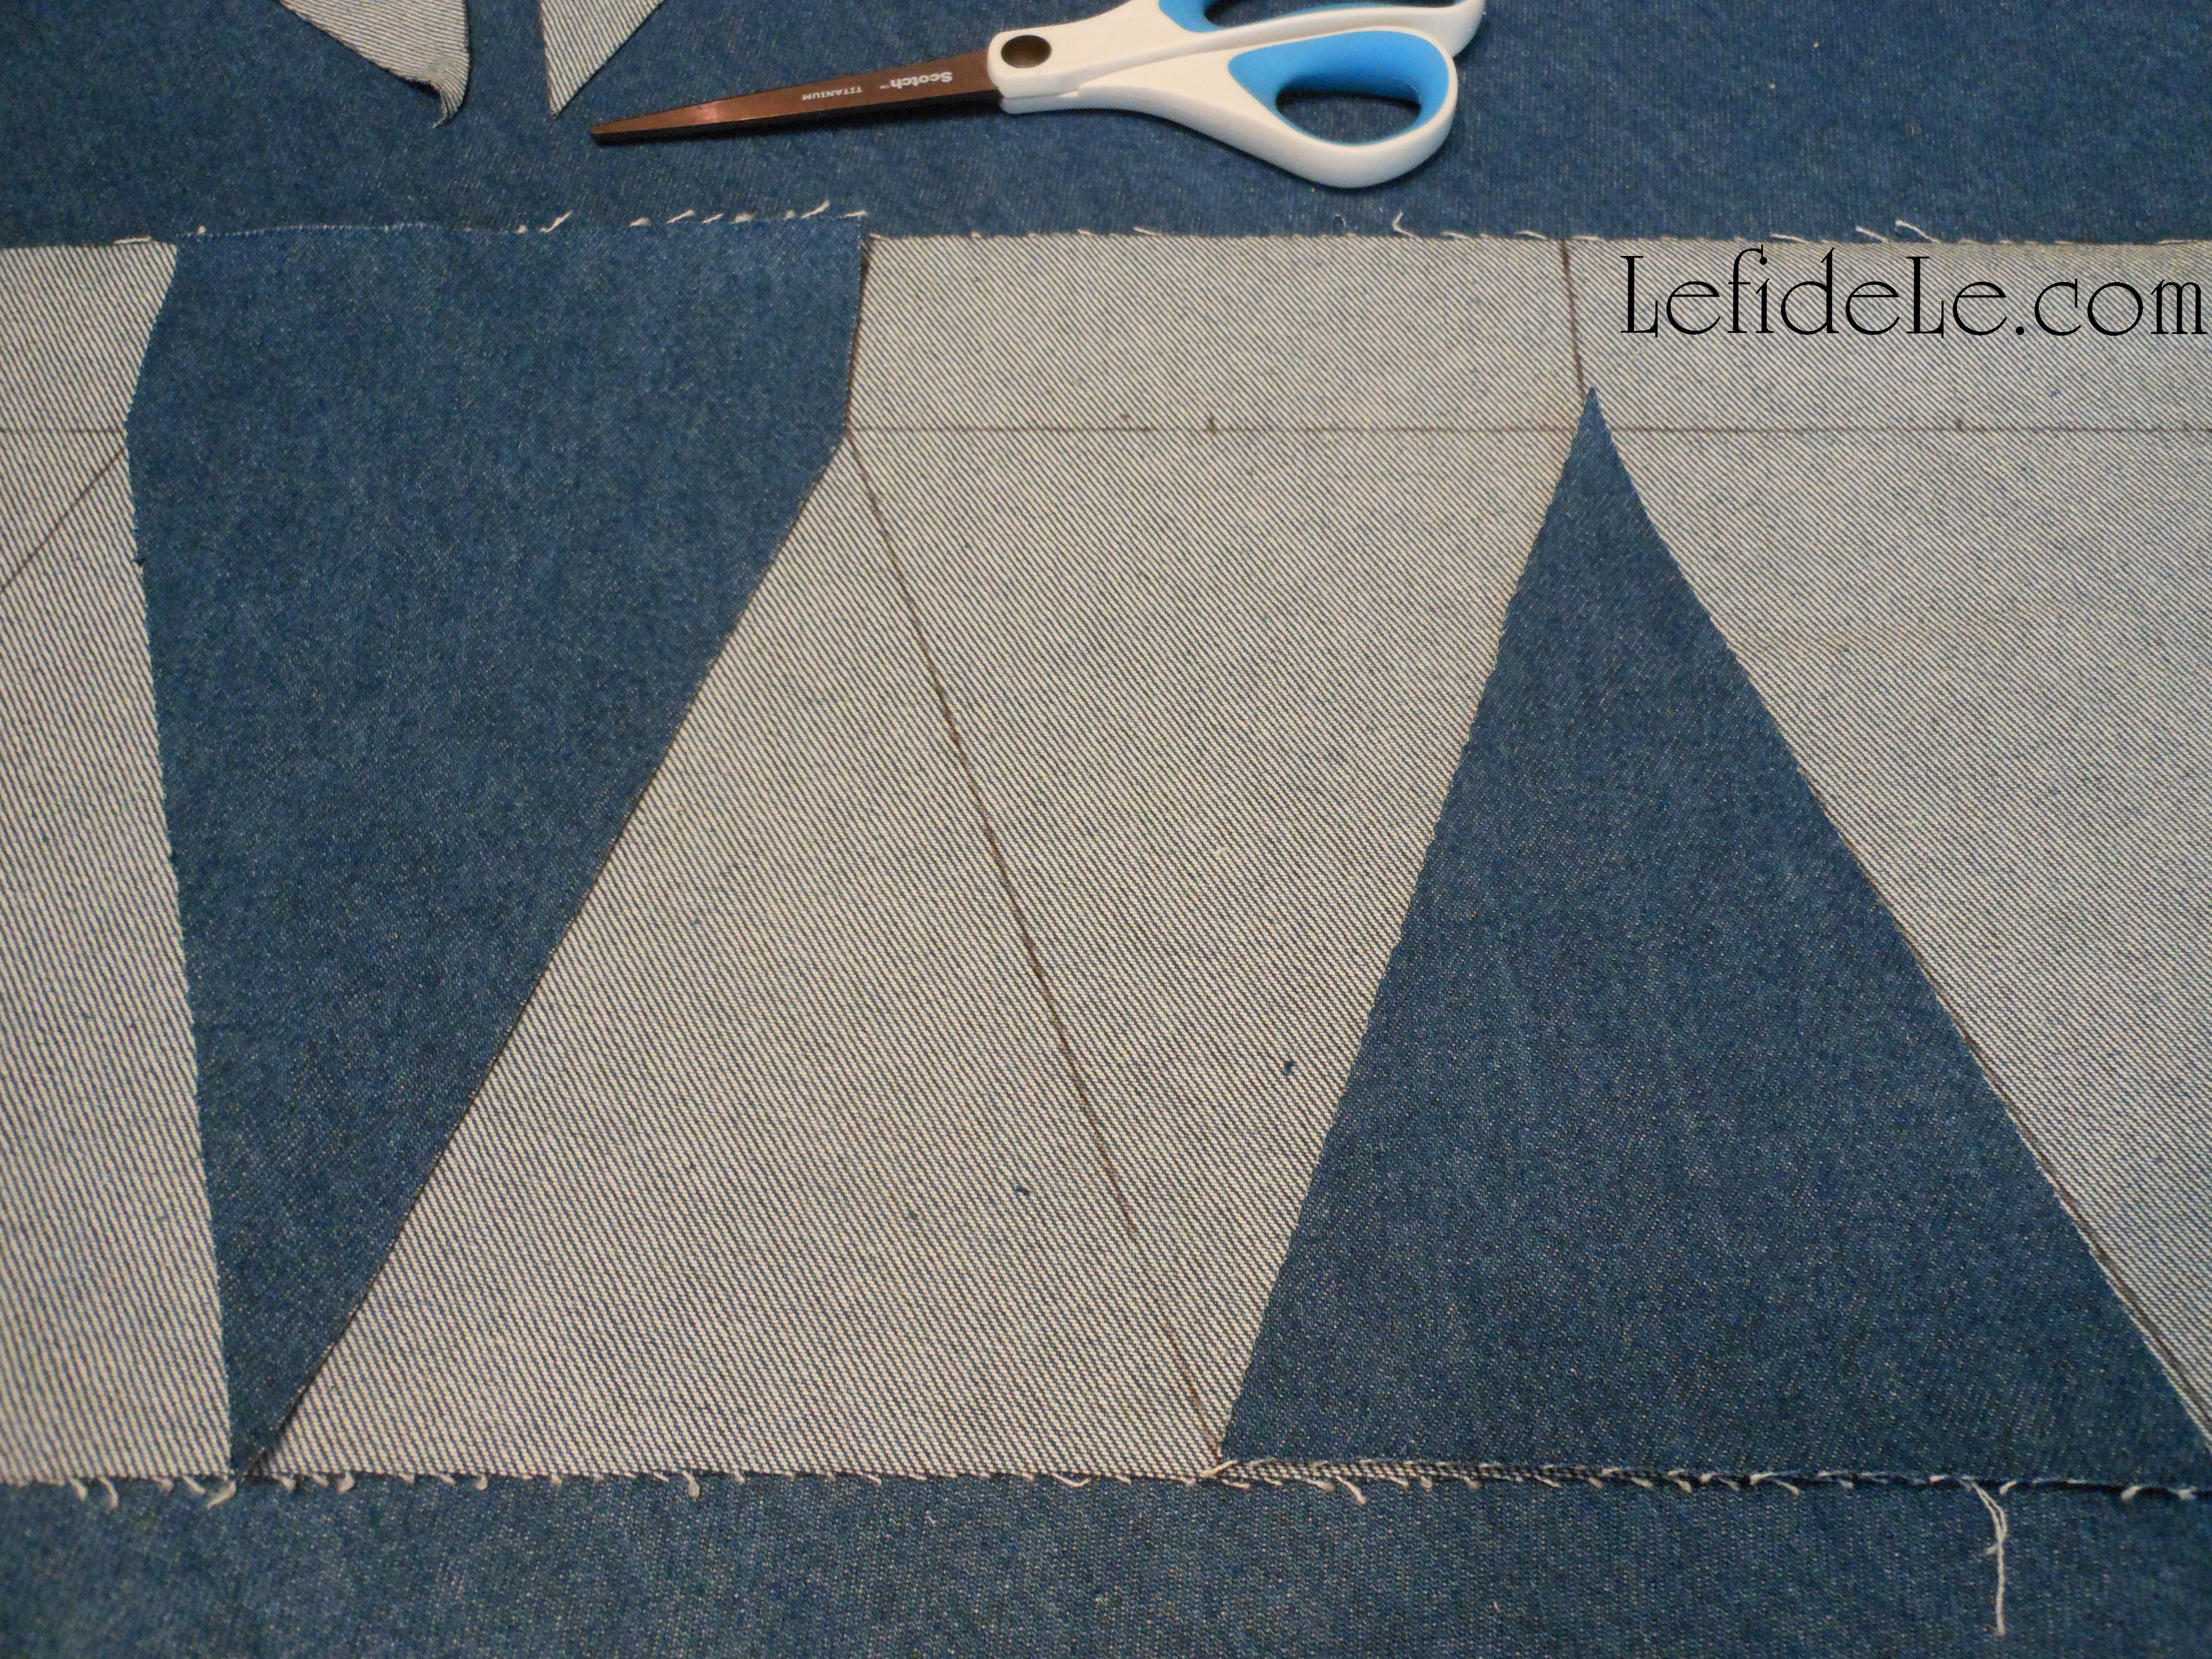
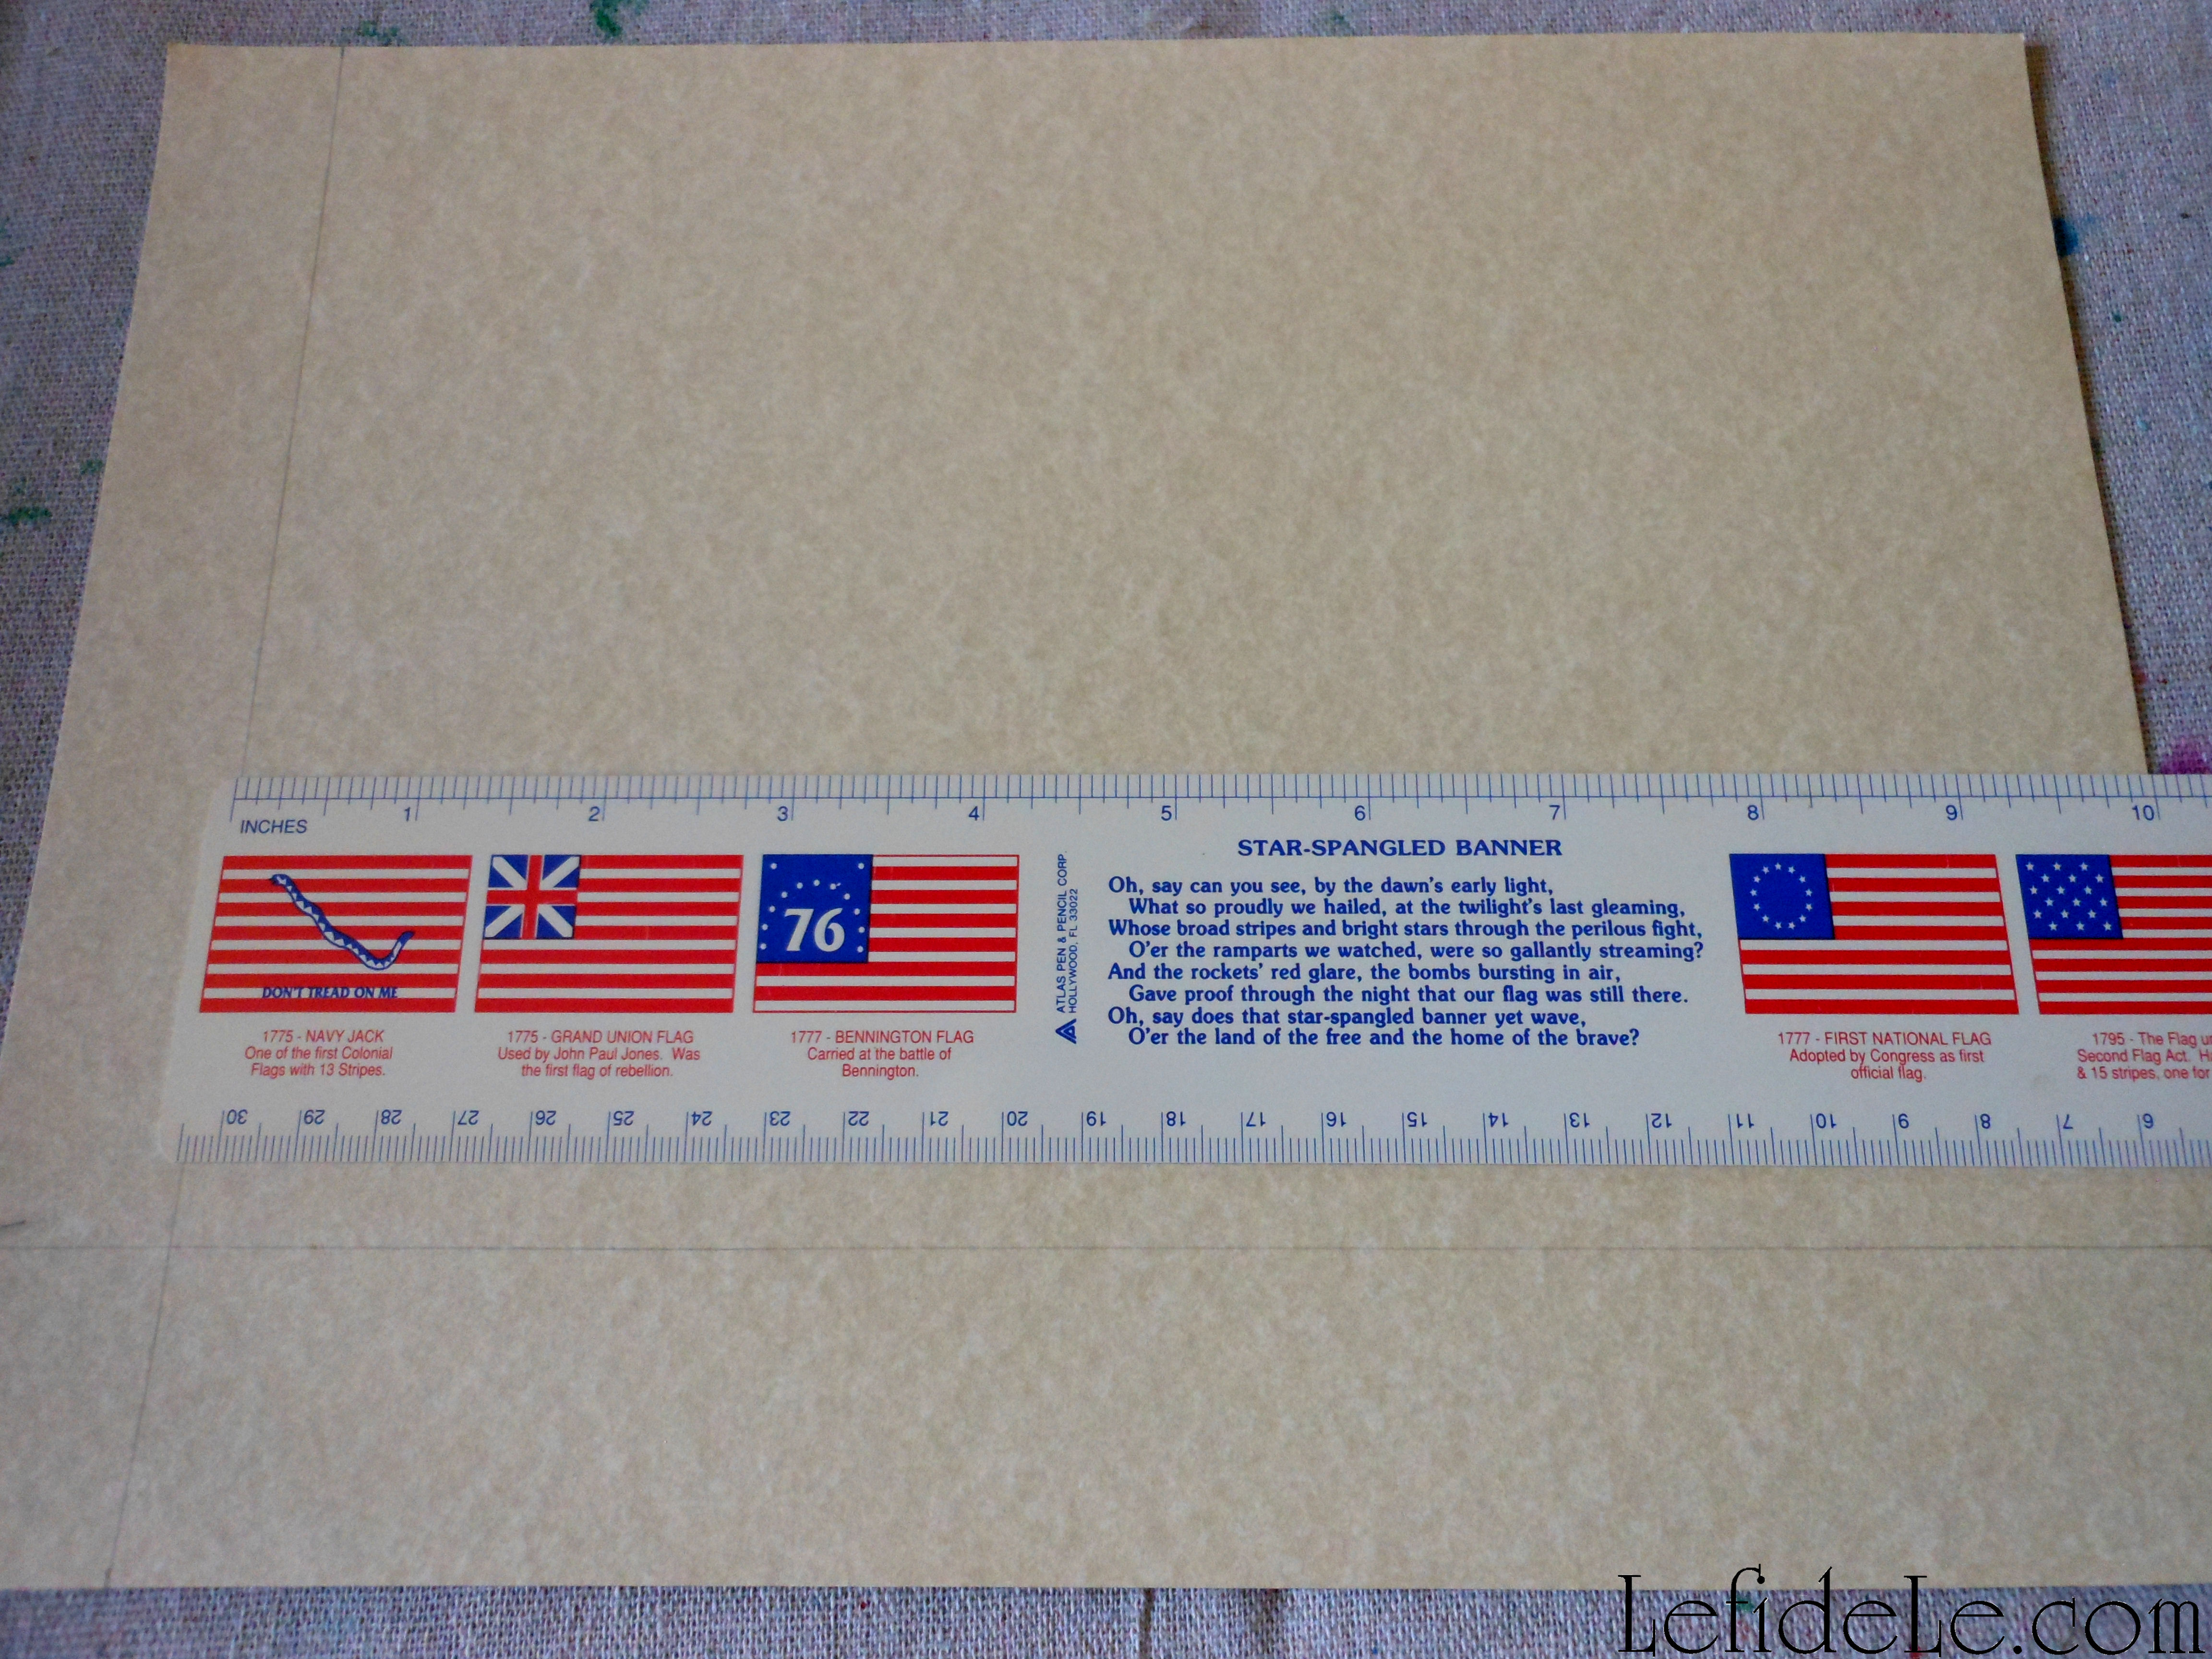
To make the tablecloth, fold the burlap fabric onto itself forming a triangle. Cut alongside the raw edge to remove the extra footage. Unfold it to reveal a perfect square without having measured a thing. The raw edges add to its rustic appeal… so nothing needs to be sewn either! (Note that burlap is available in varying widths which in turn will affect your length… so purchase the widest variety you can find.)

644Leigh

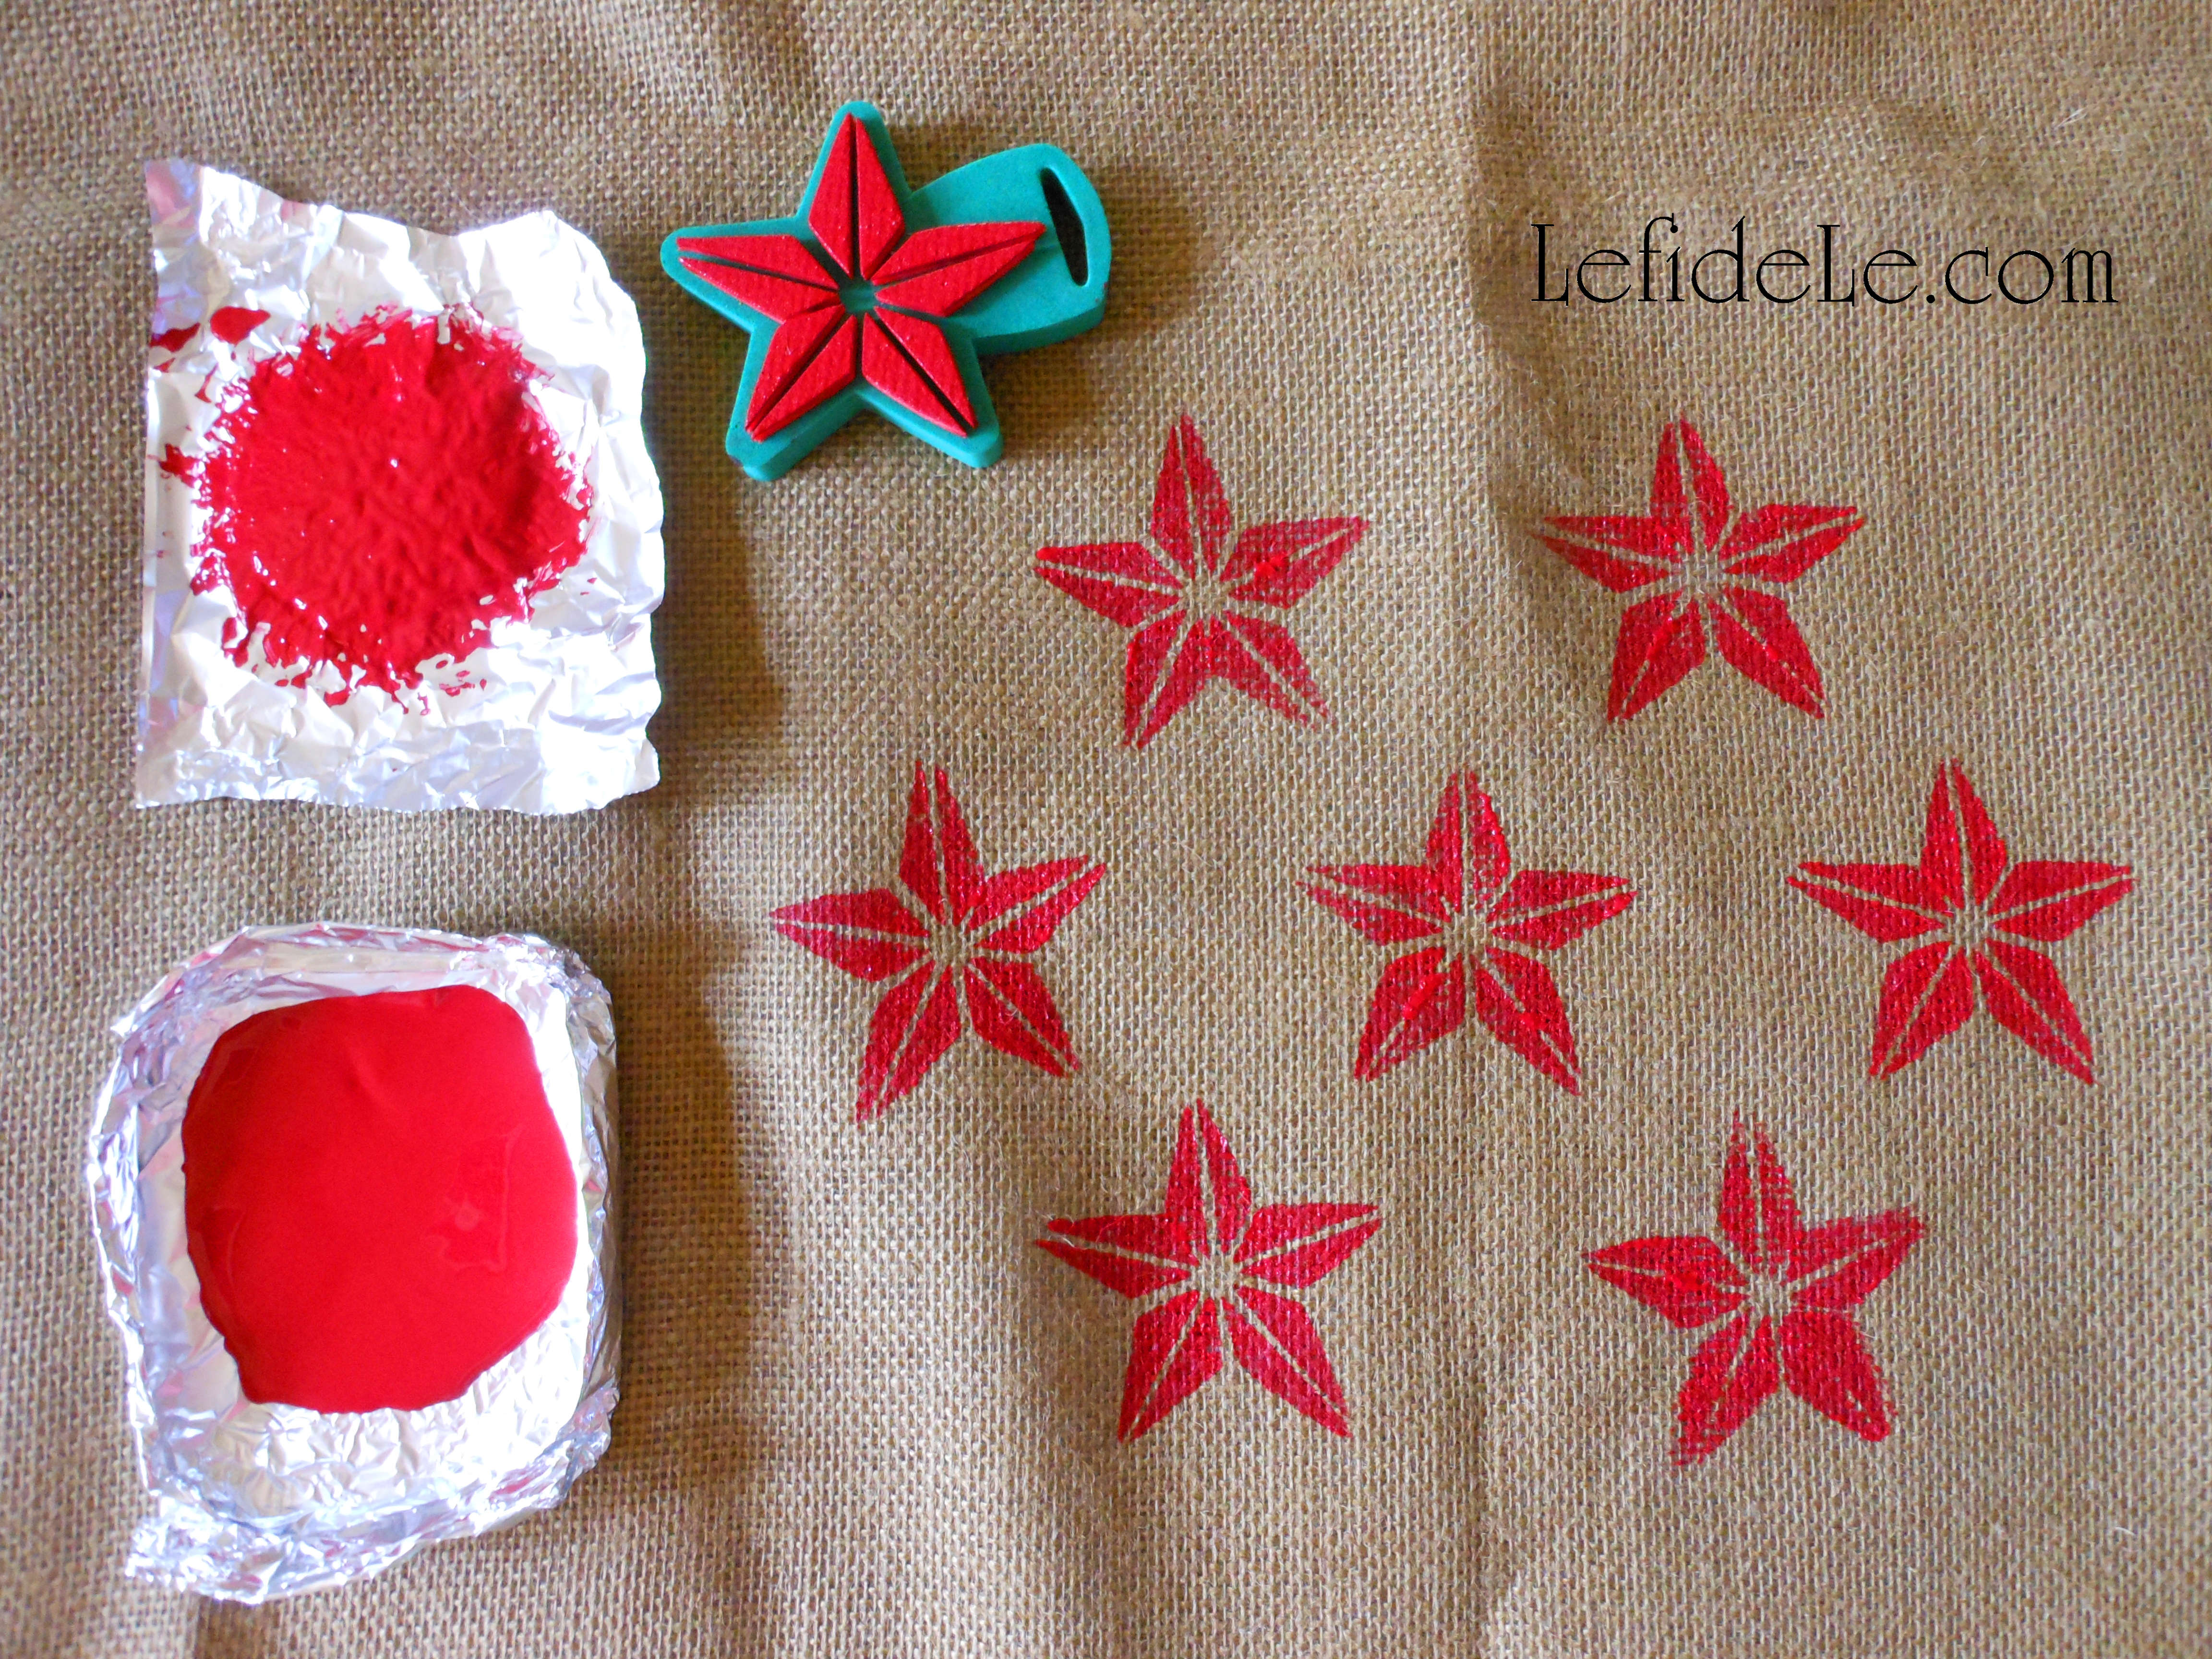
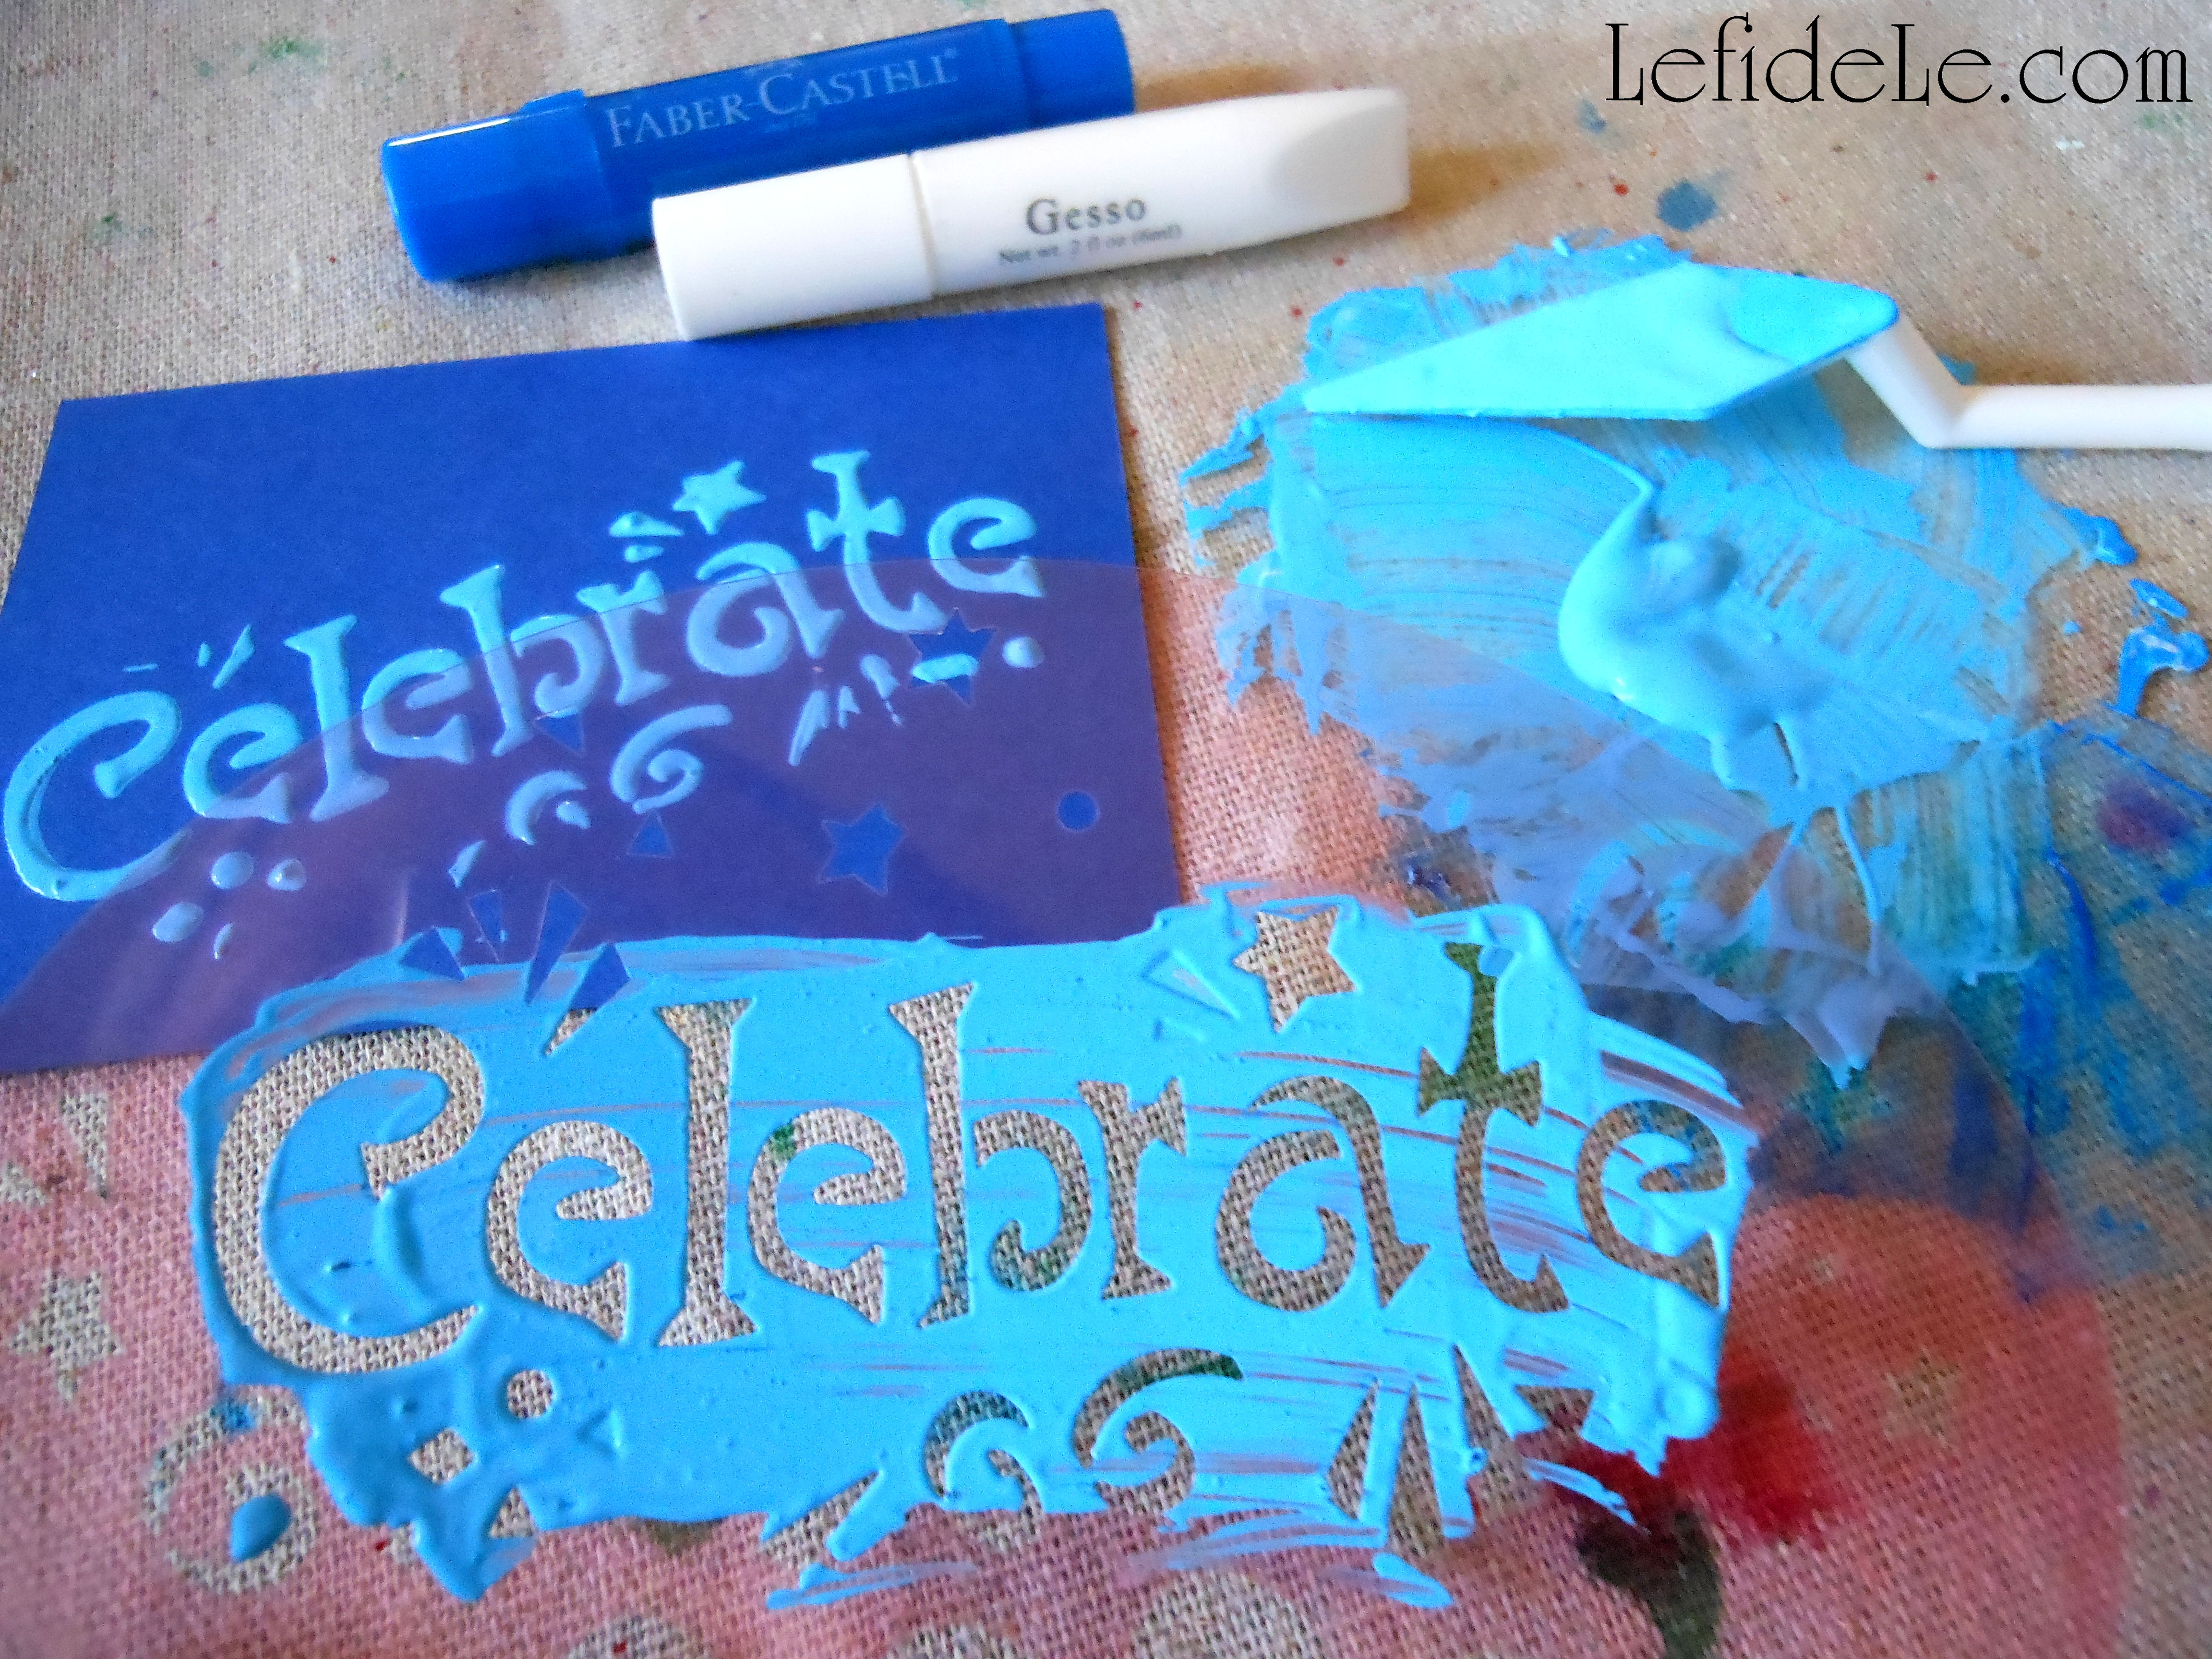
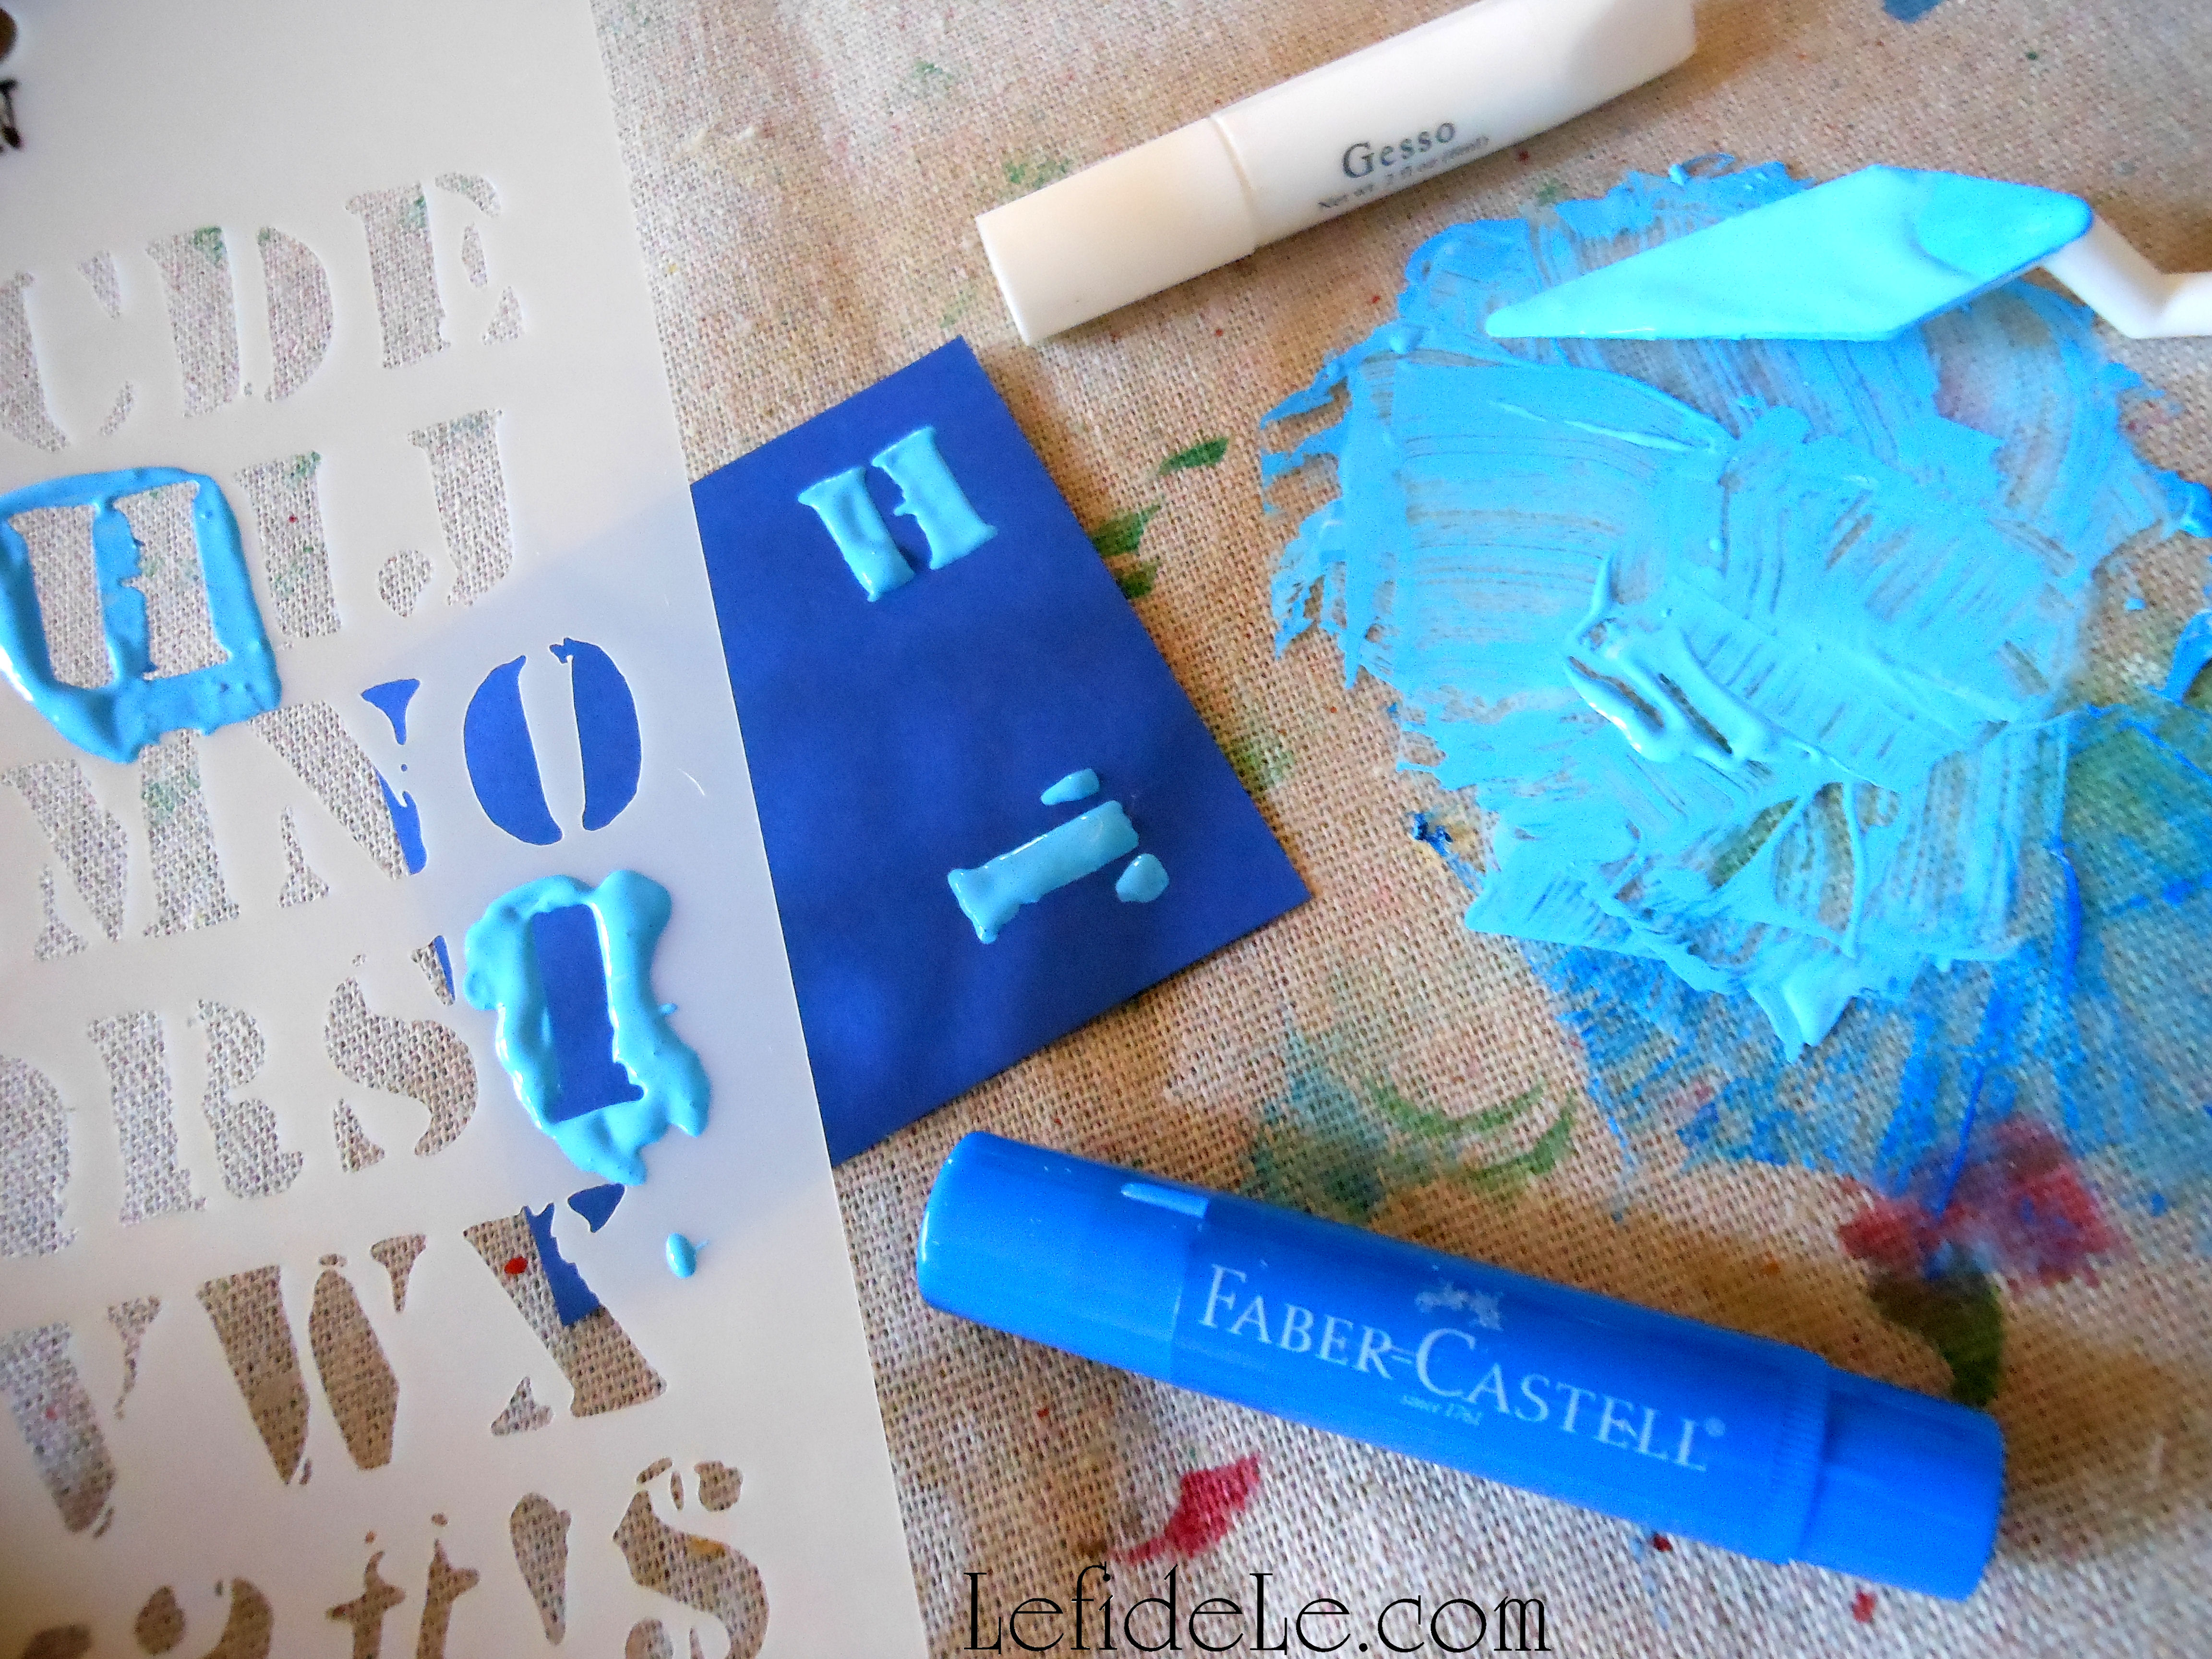
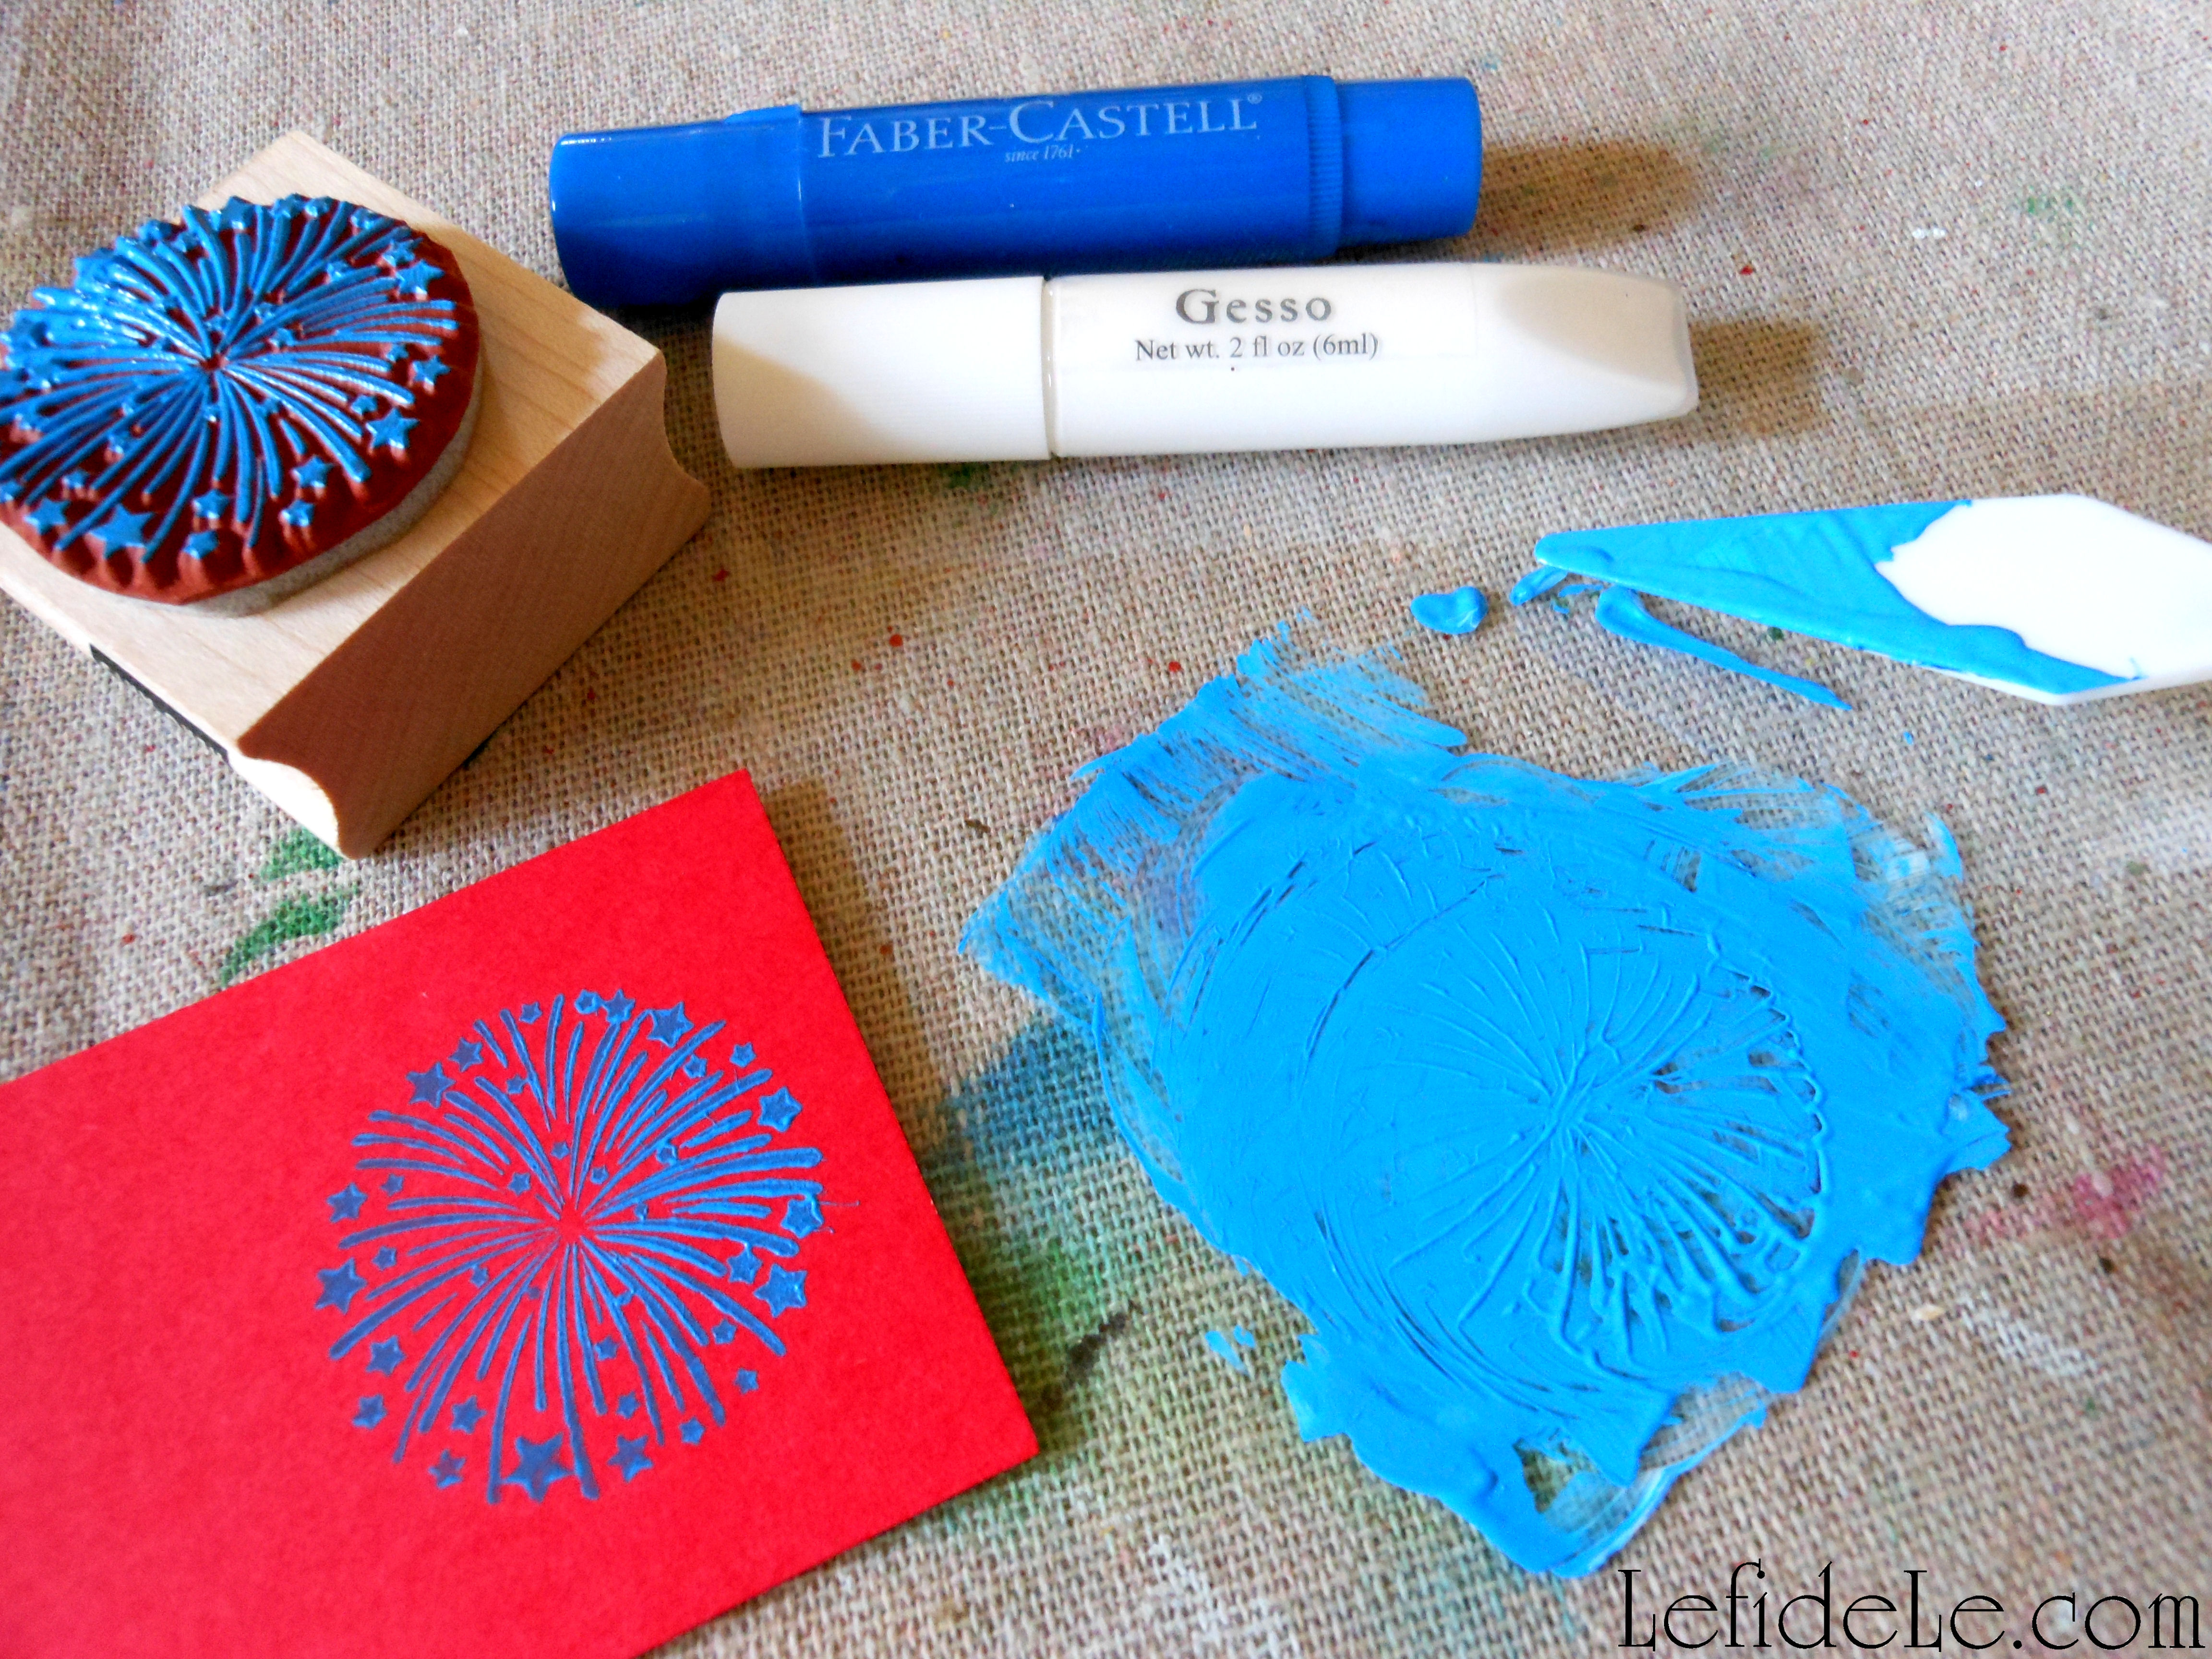
Spread the burlap over a cheap drop-cloth to protect your work surface from paint (because it will seep through). Add a holiday pattern to the cloth with a thick foam shape stamp. Dip it into cheap acrylic craft paint, and then stamp it onto a throw away piece to remove the excess paint before stamping your project.

943Leigh

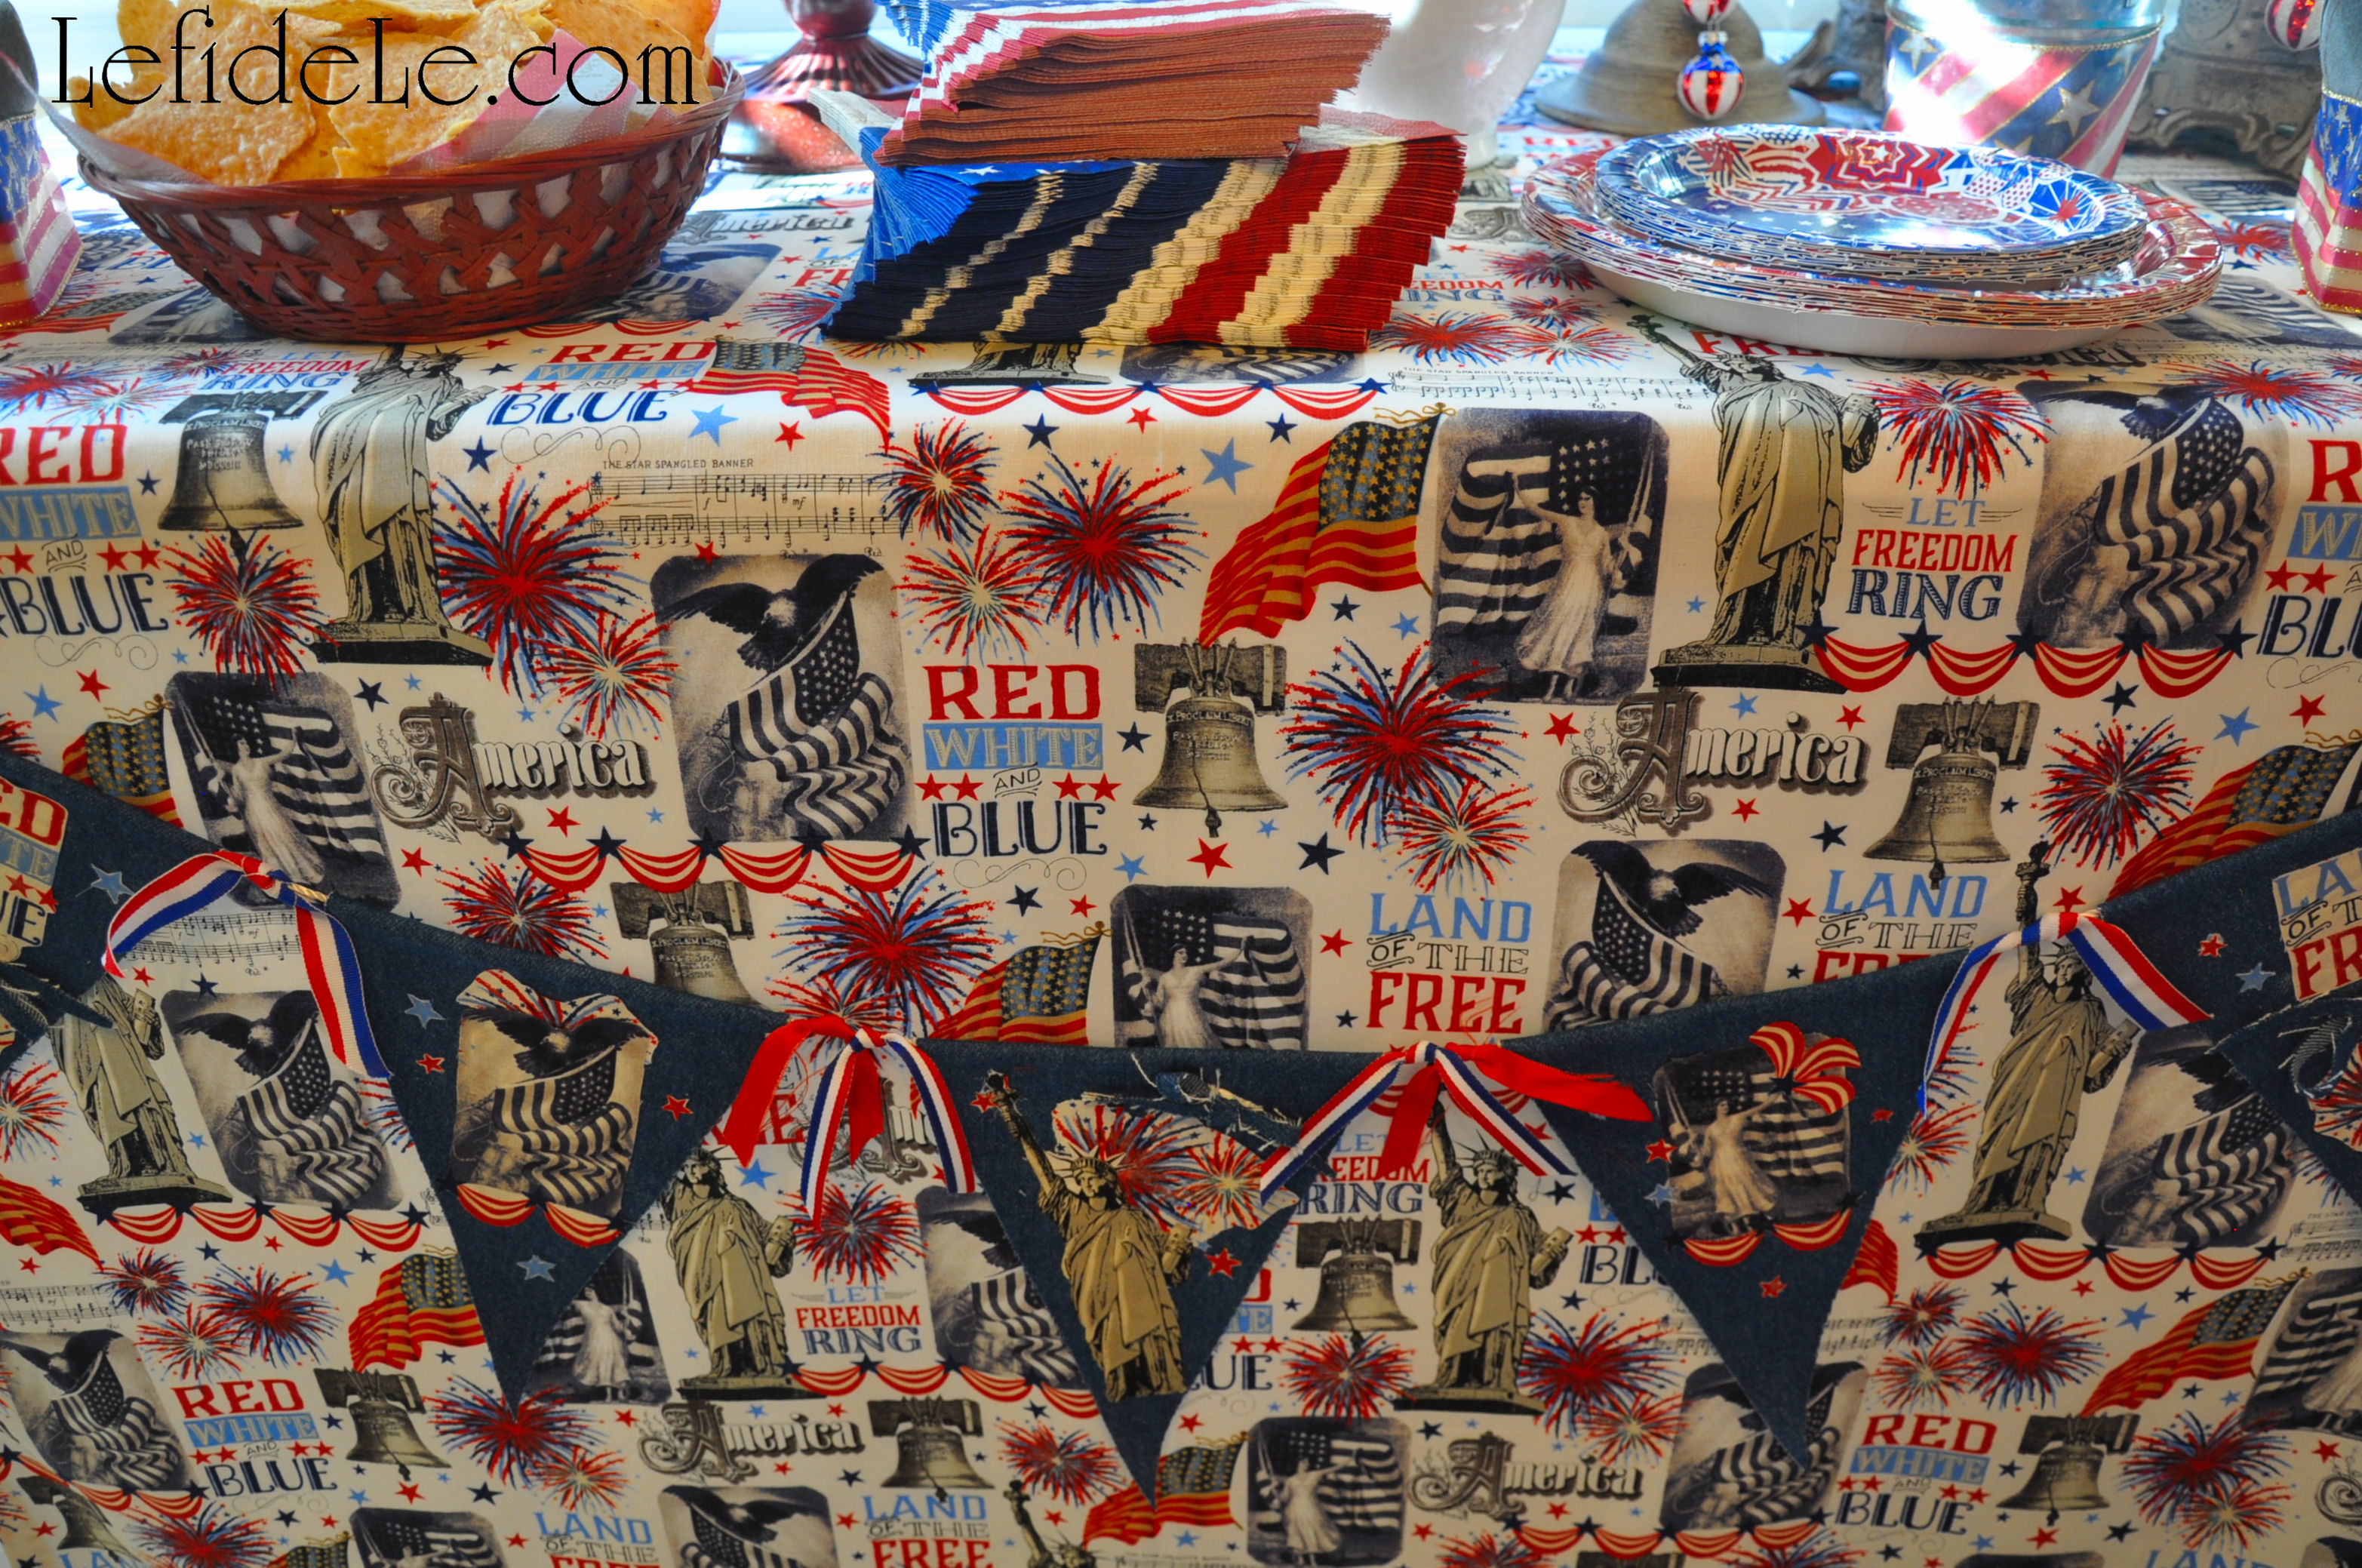
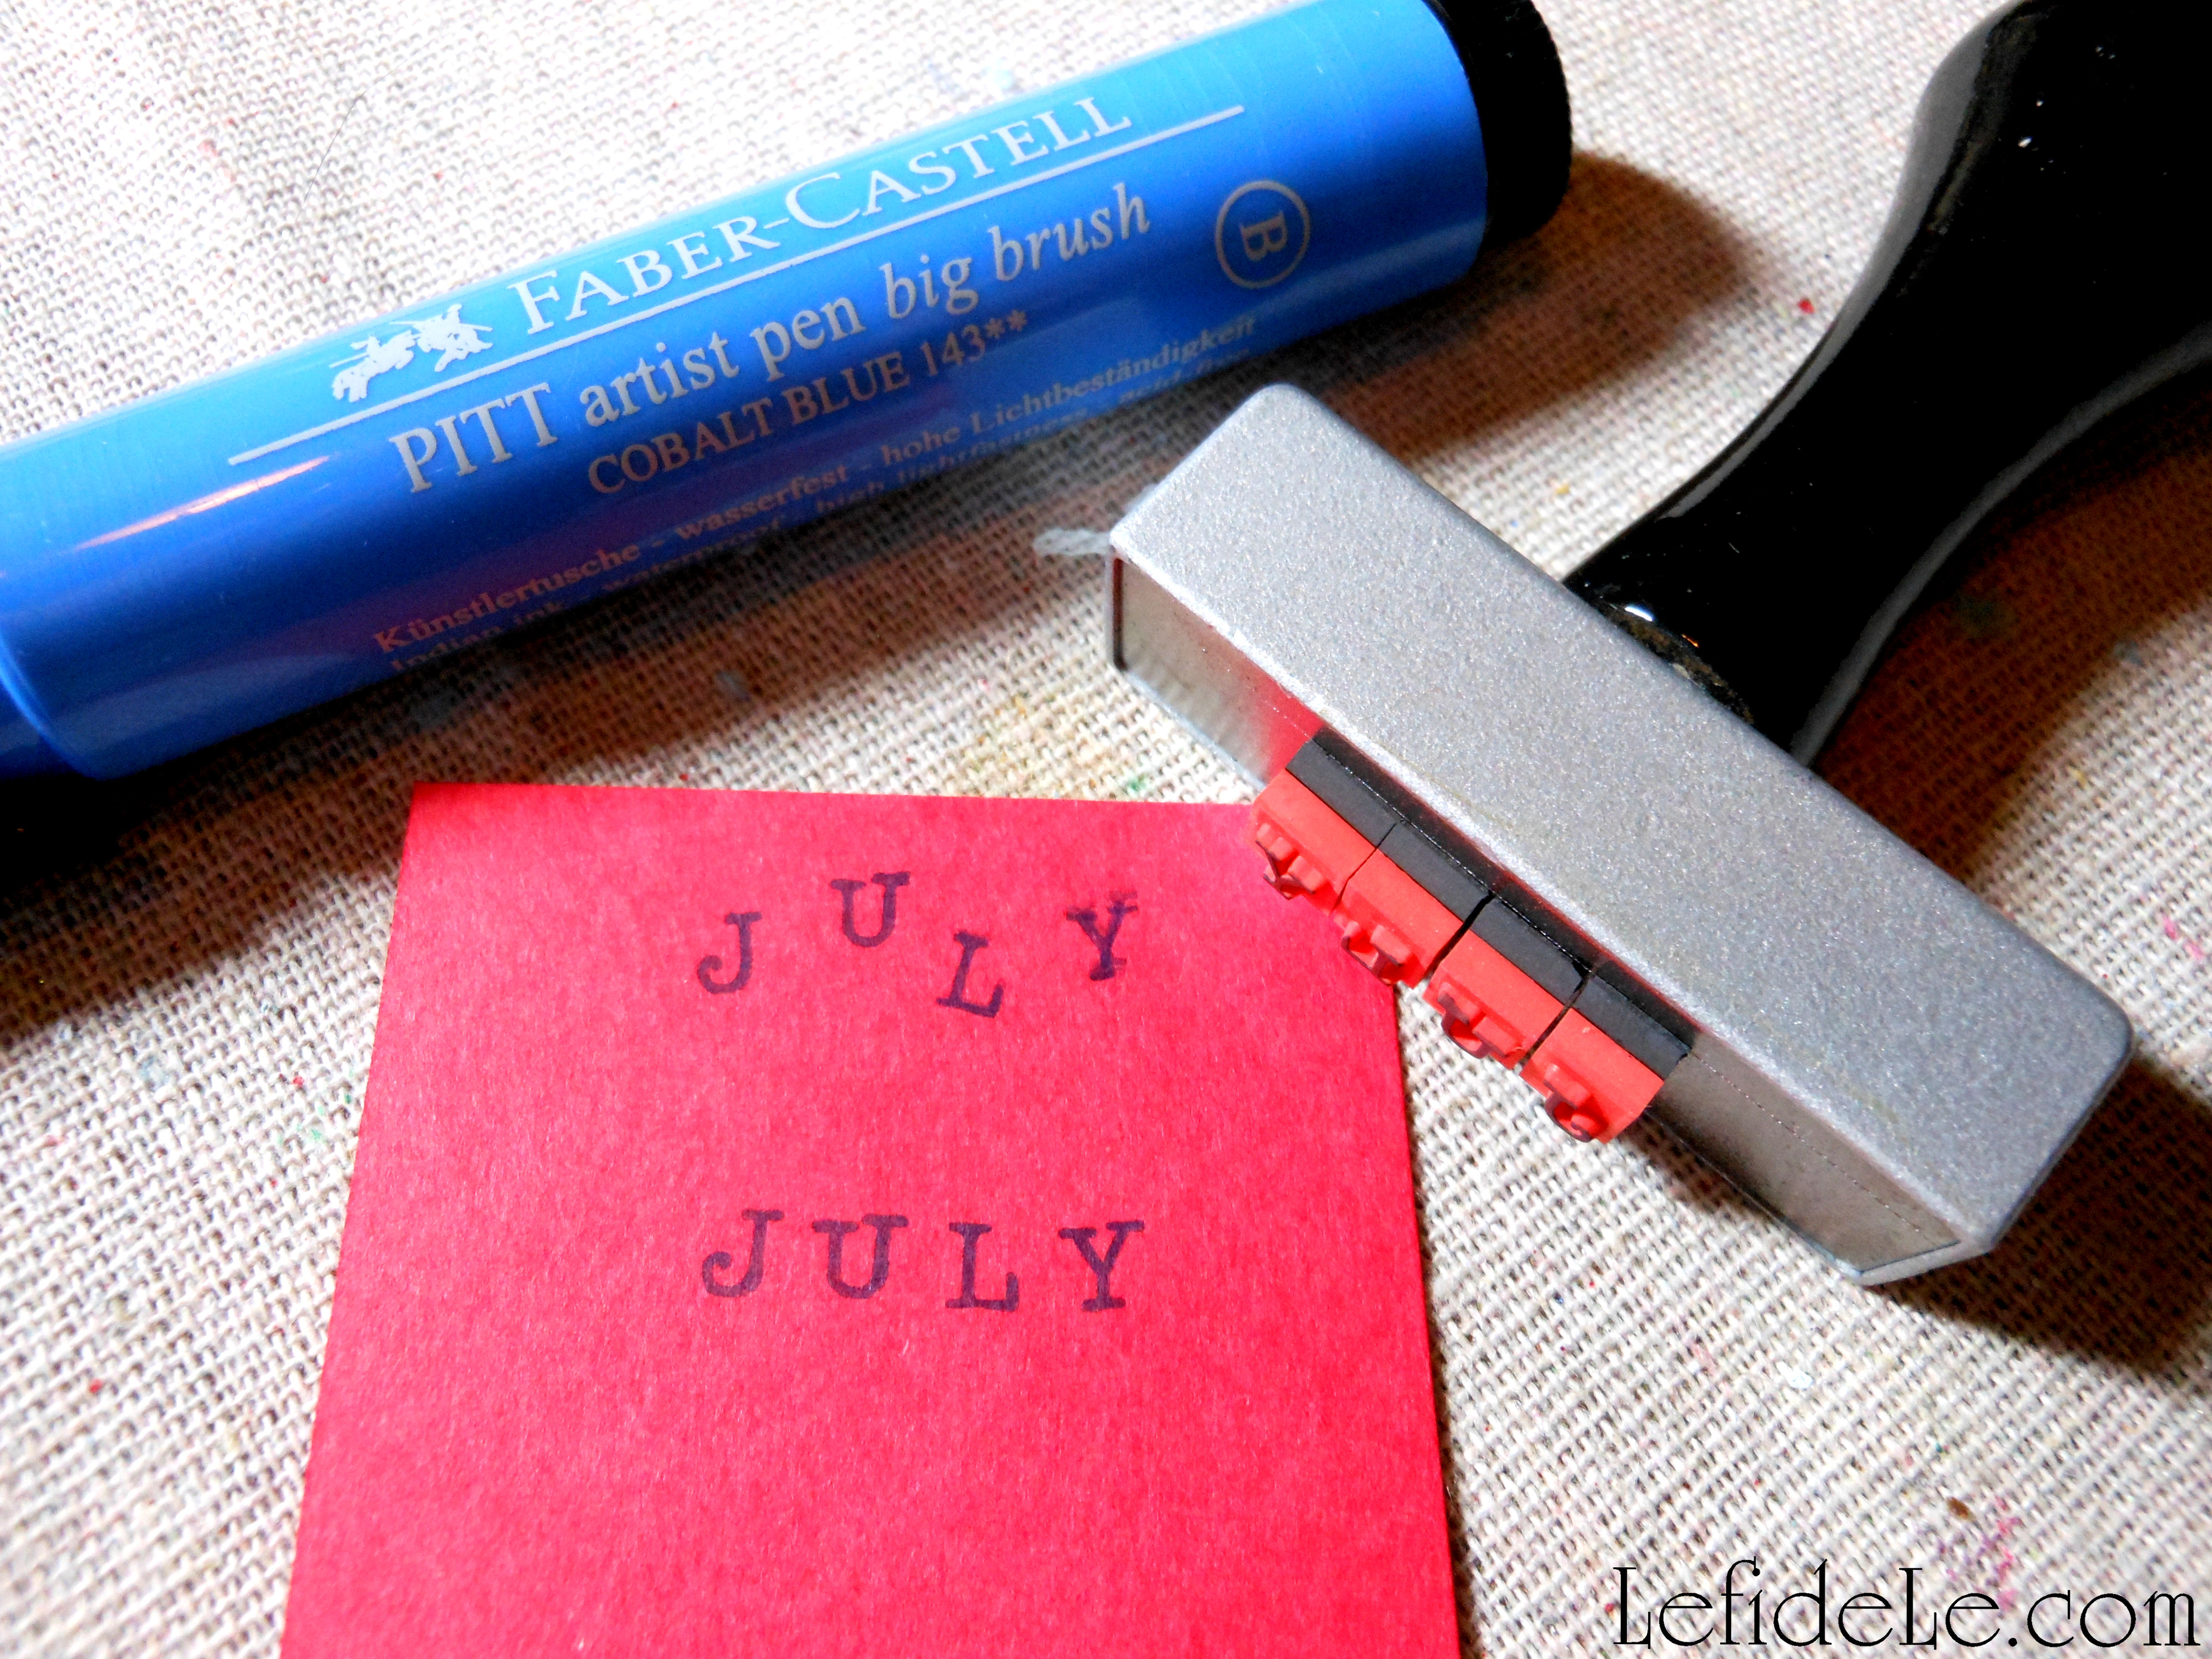
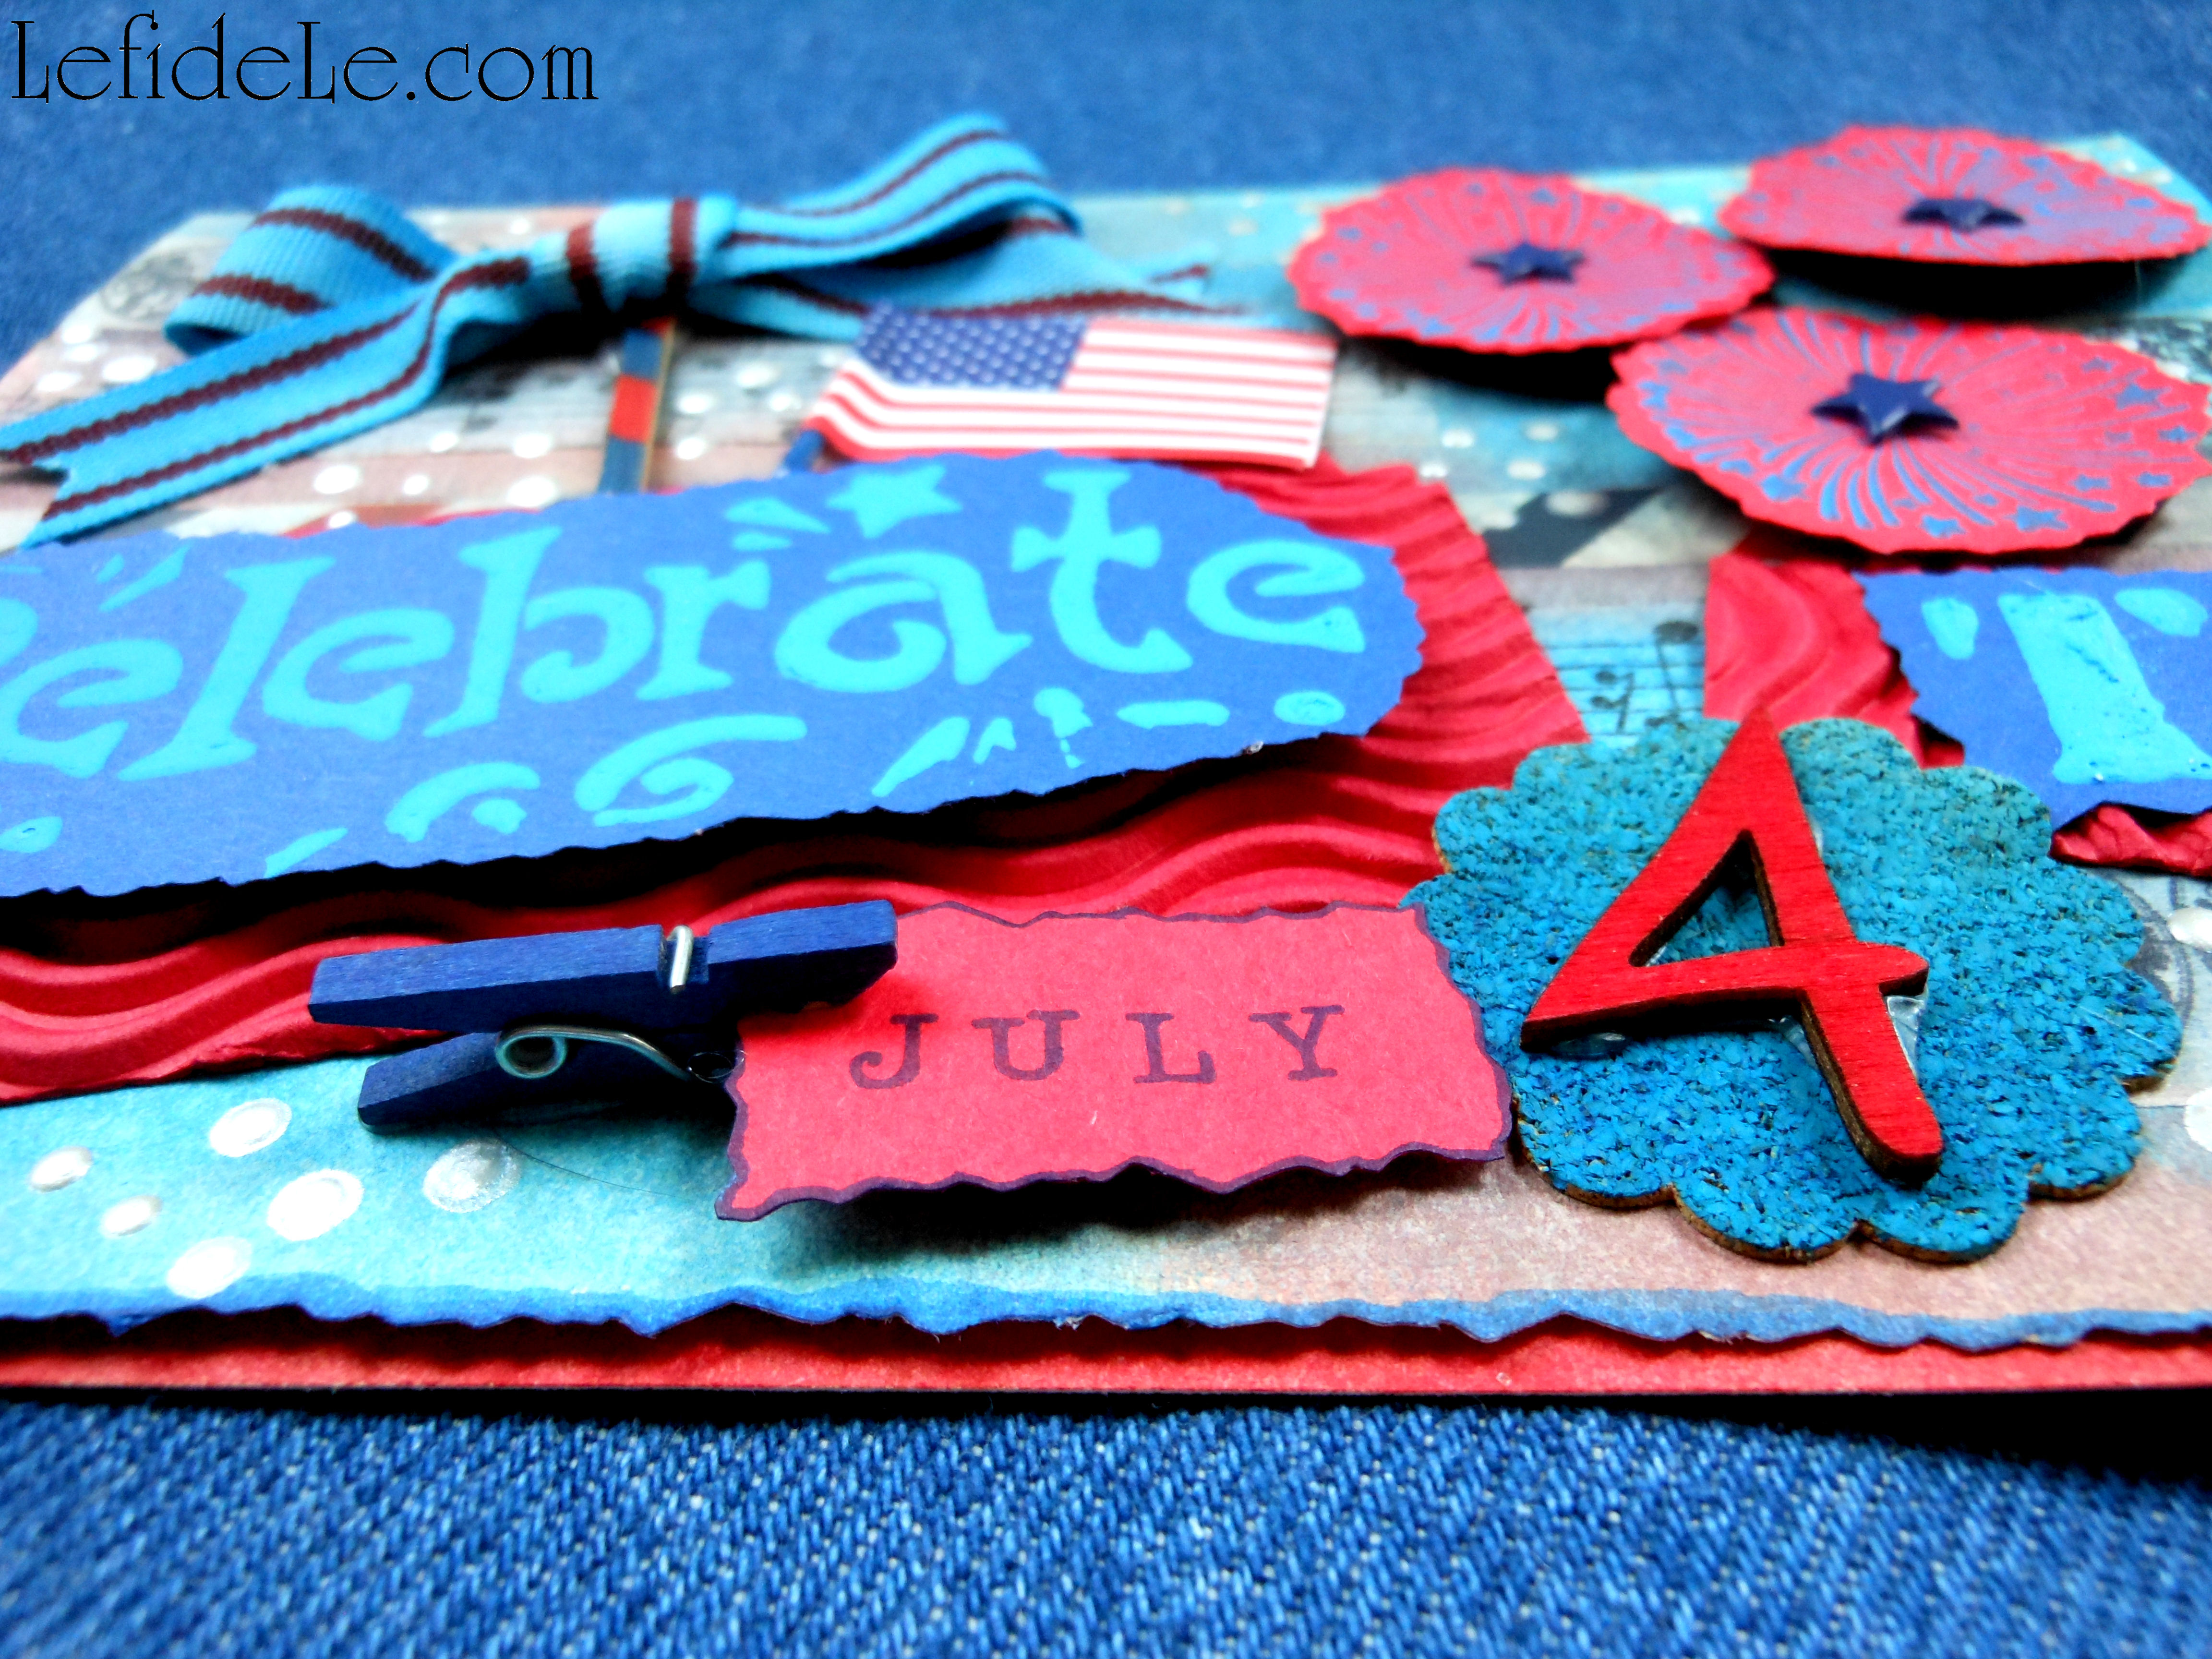
I used a star shape for several reasons… I already owned the stamp, it symbolizes the star of wonder in the heavens, and the cloth can be used again on the fourth of July!

603Leigh

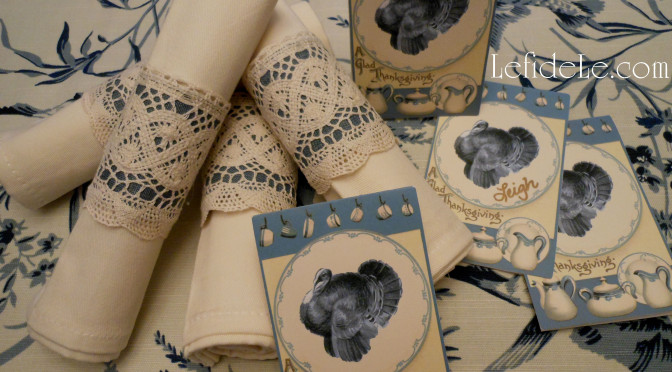
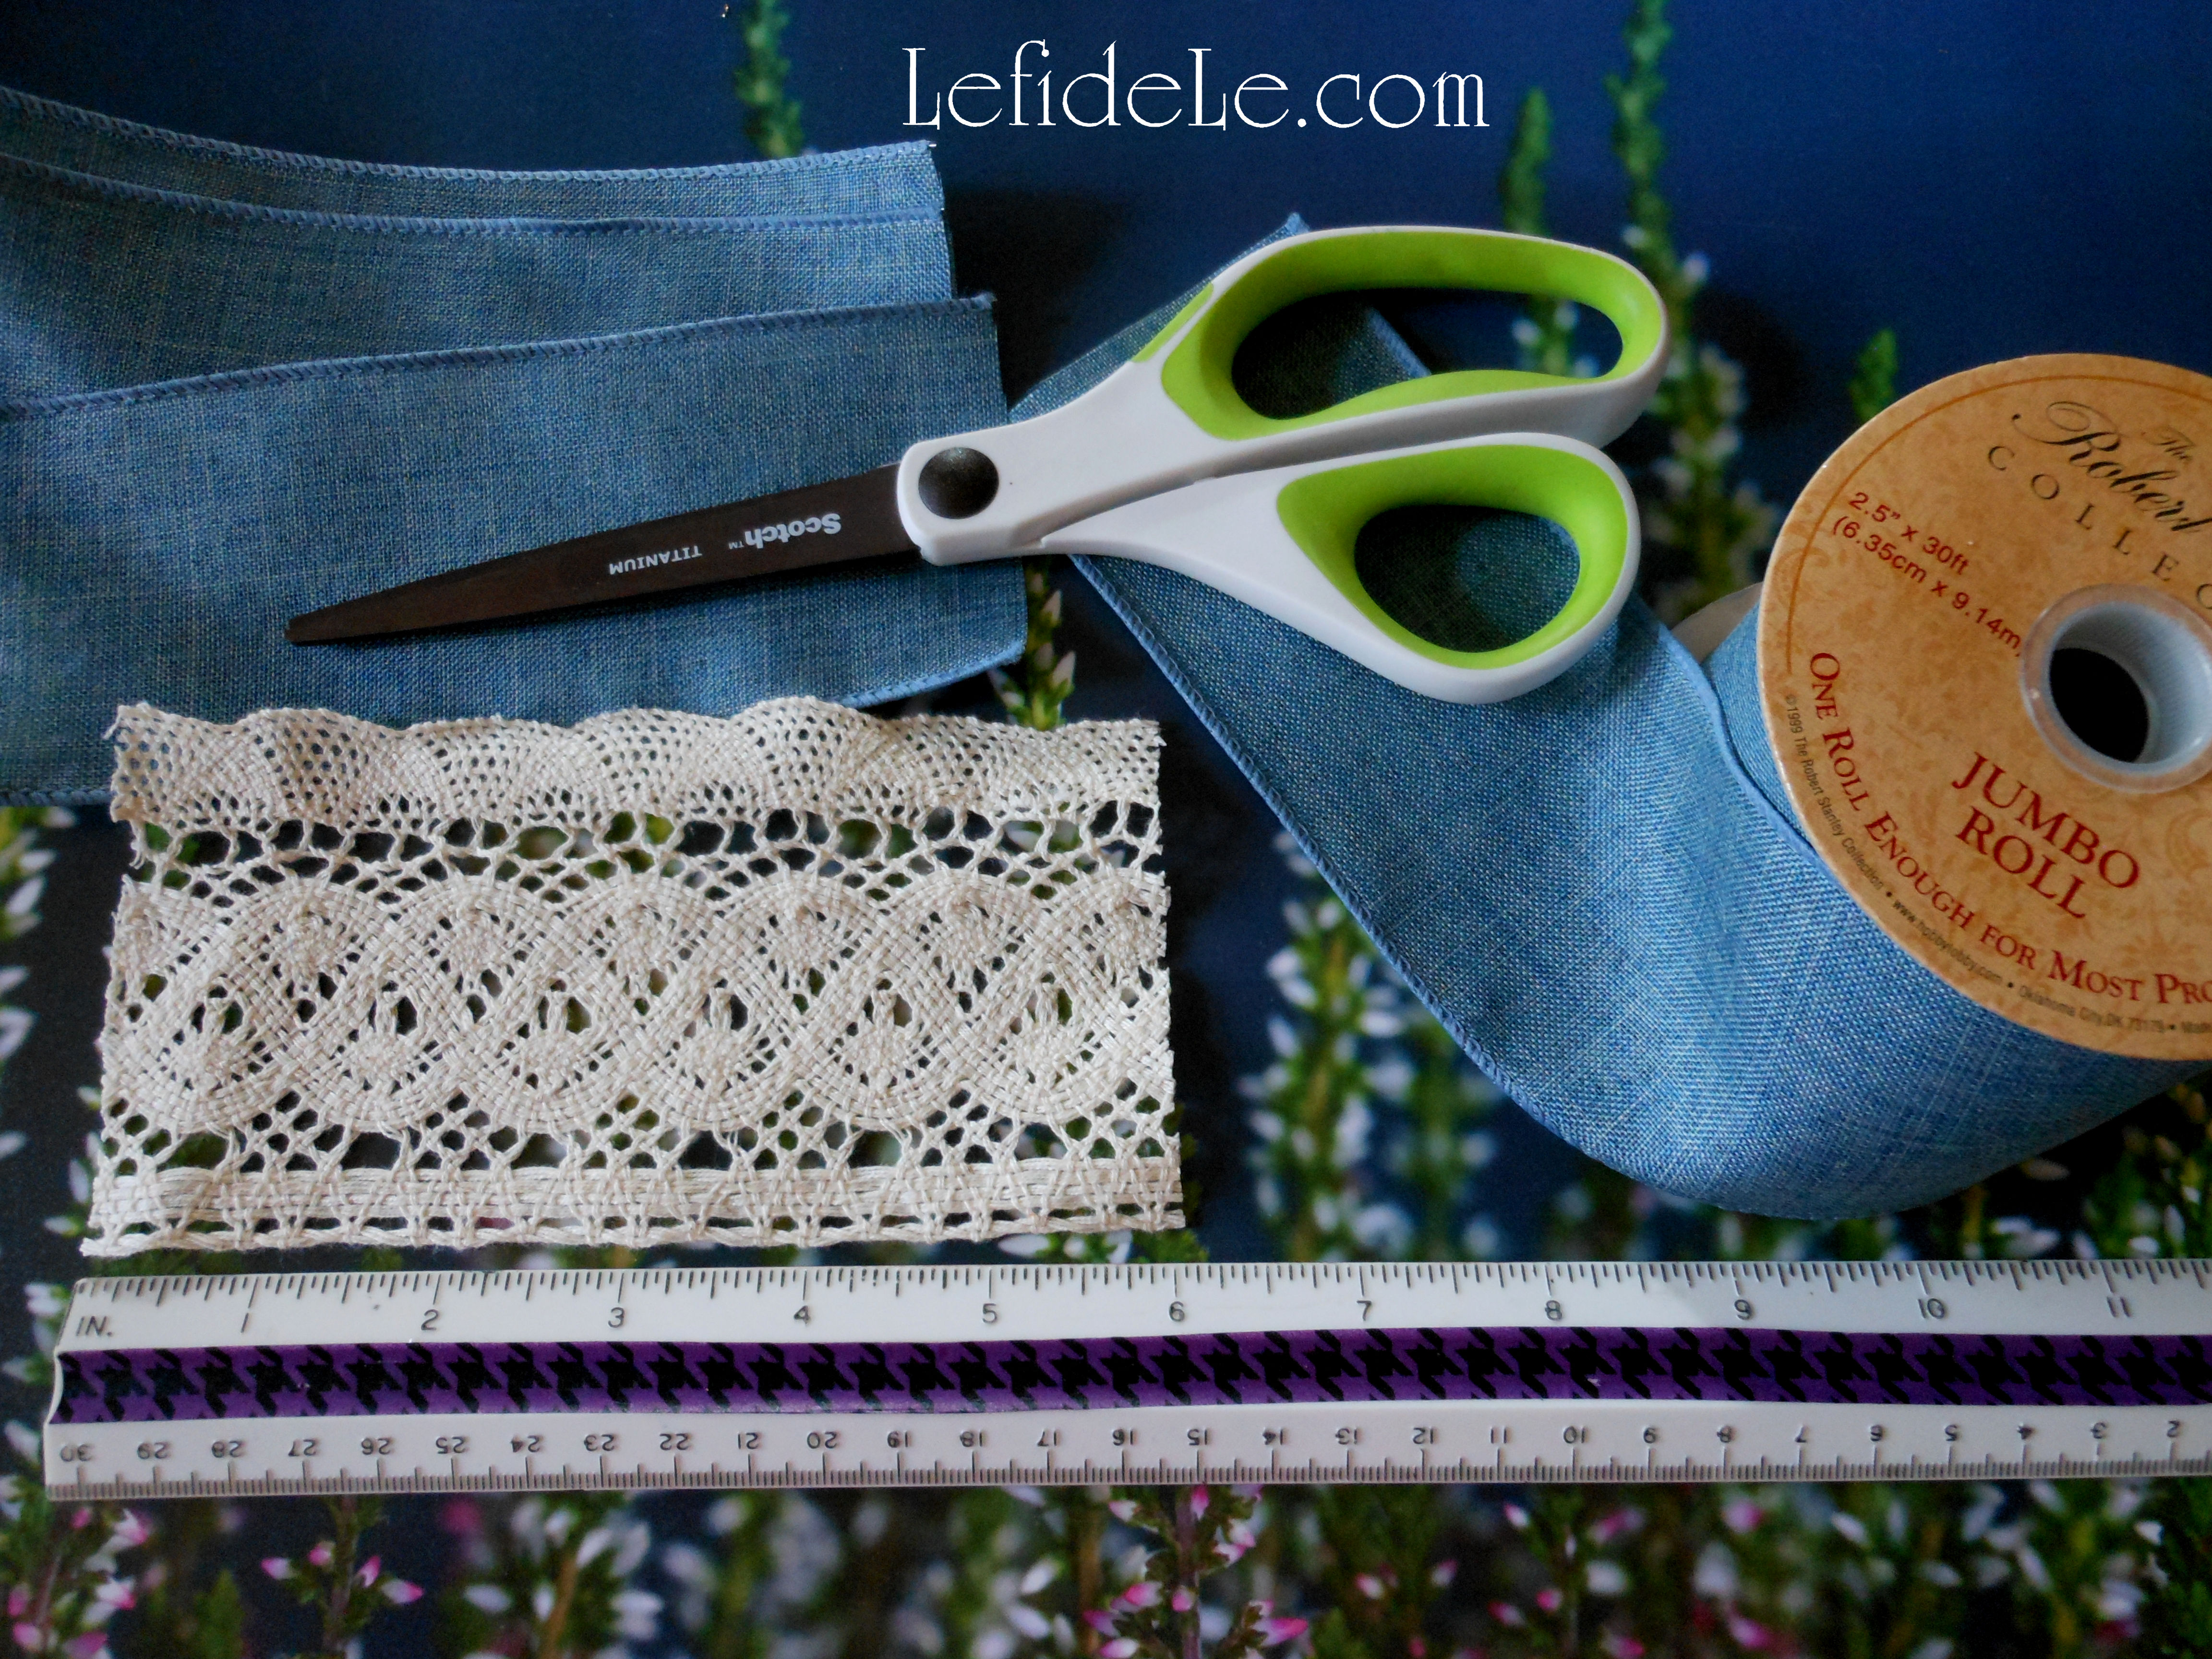
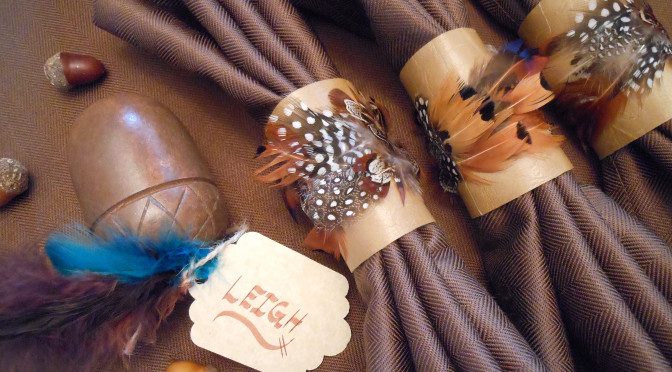
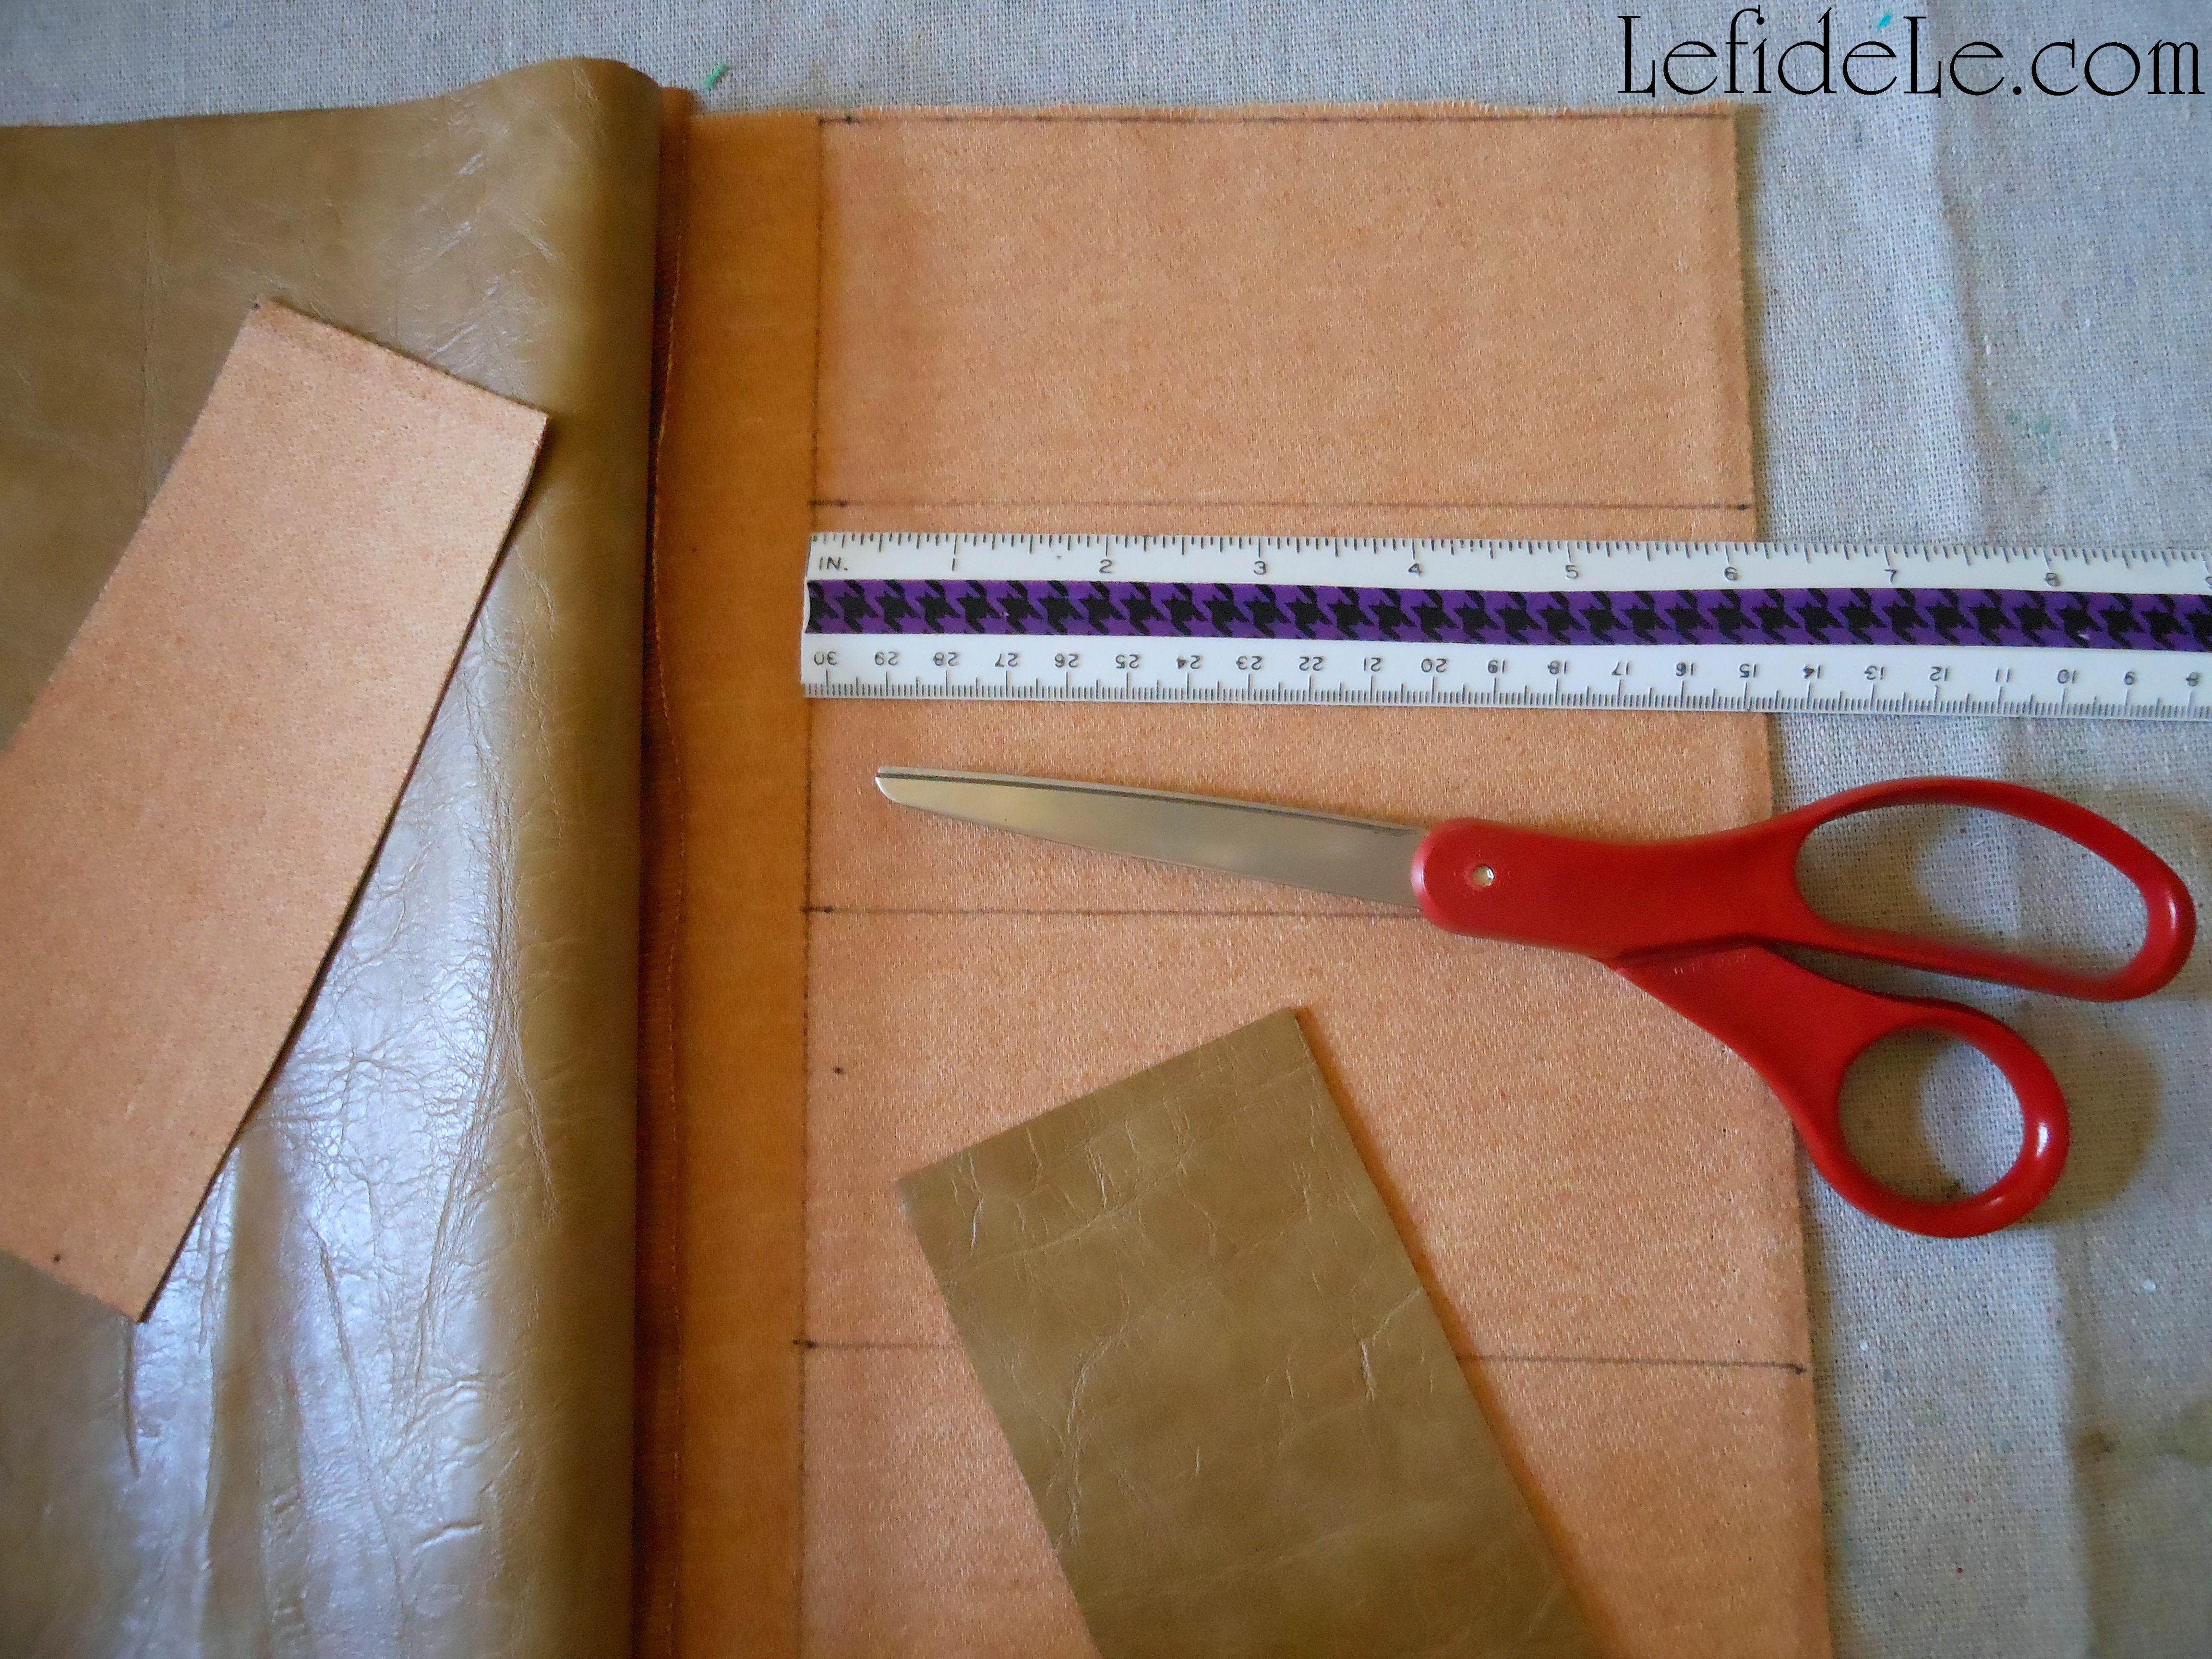
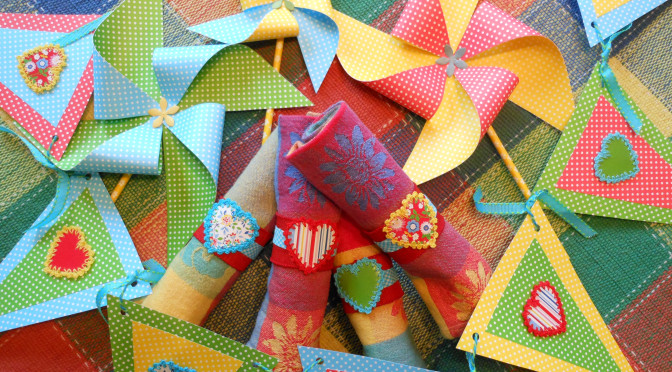
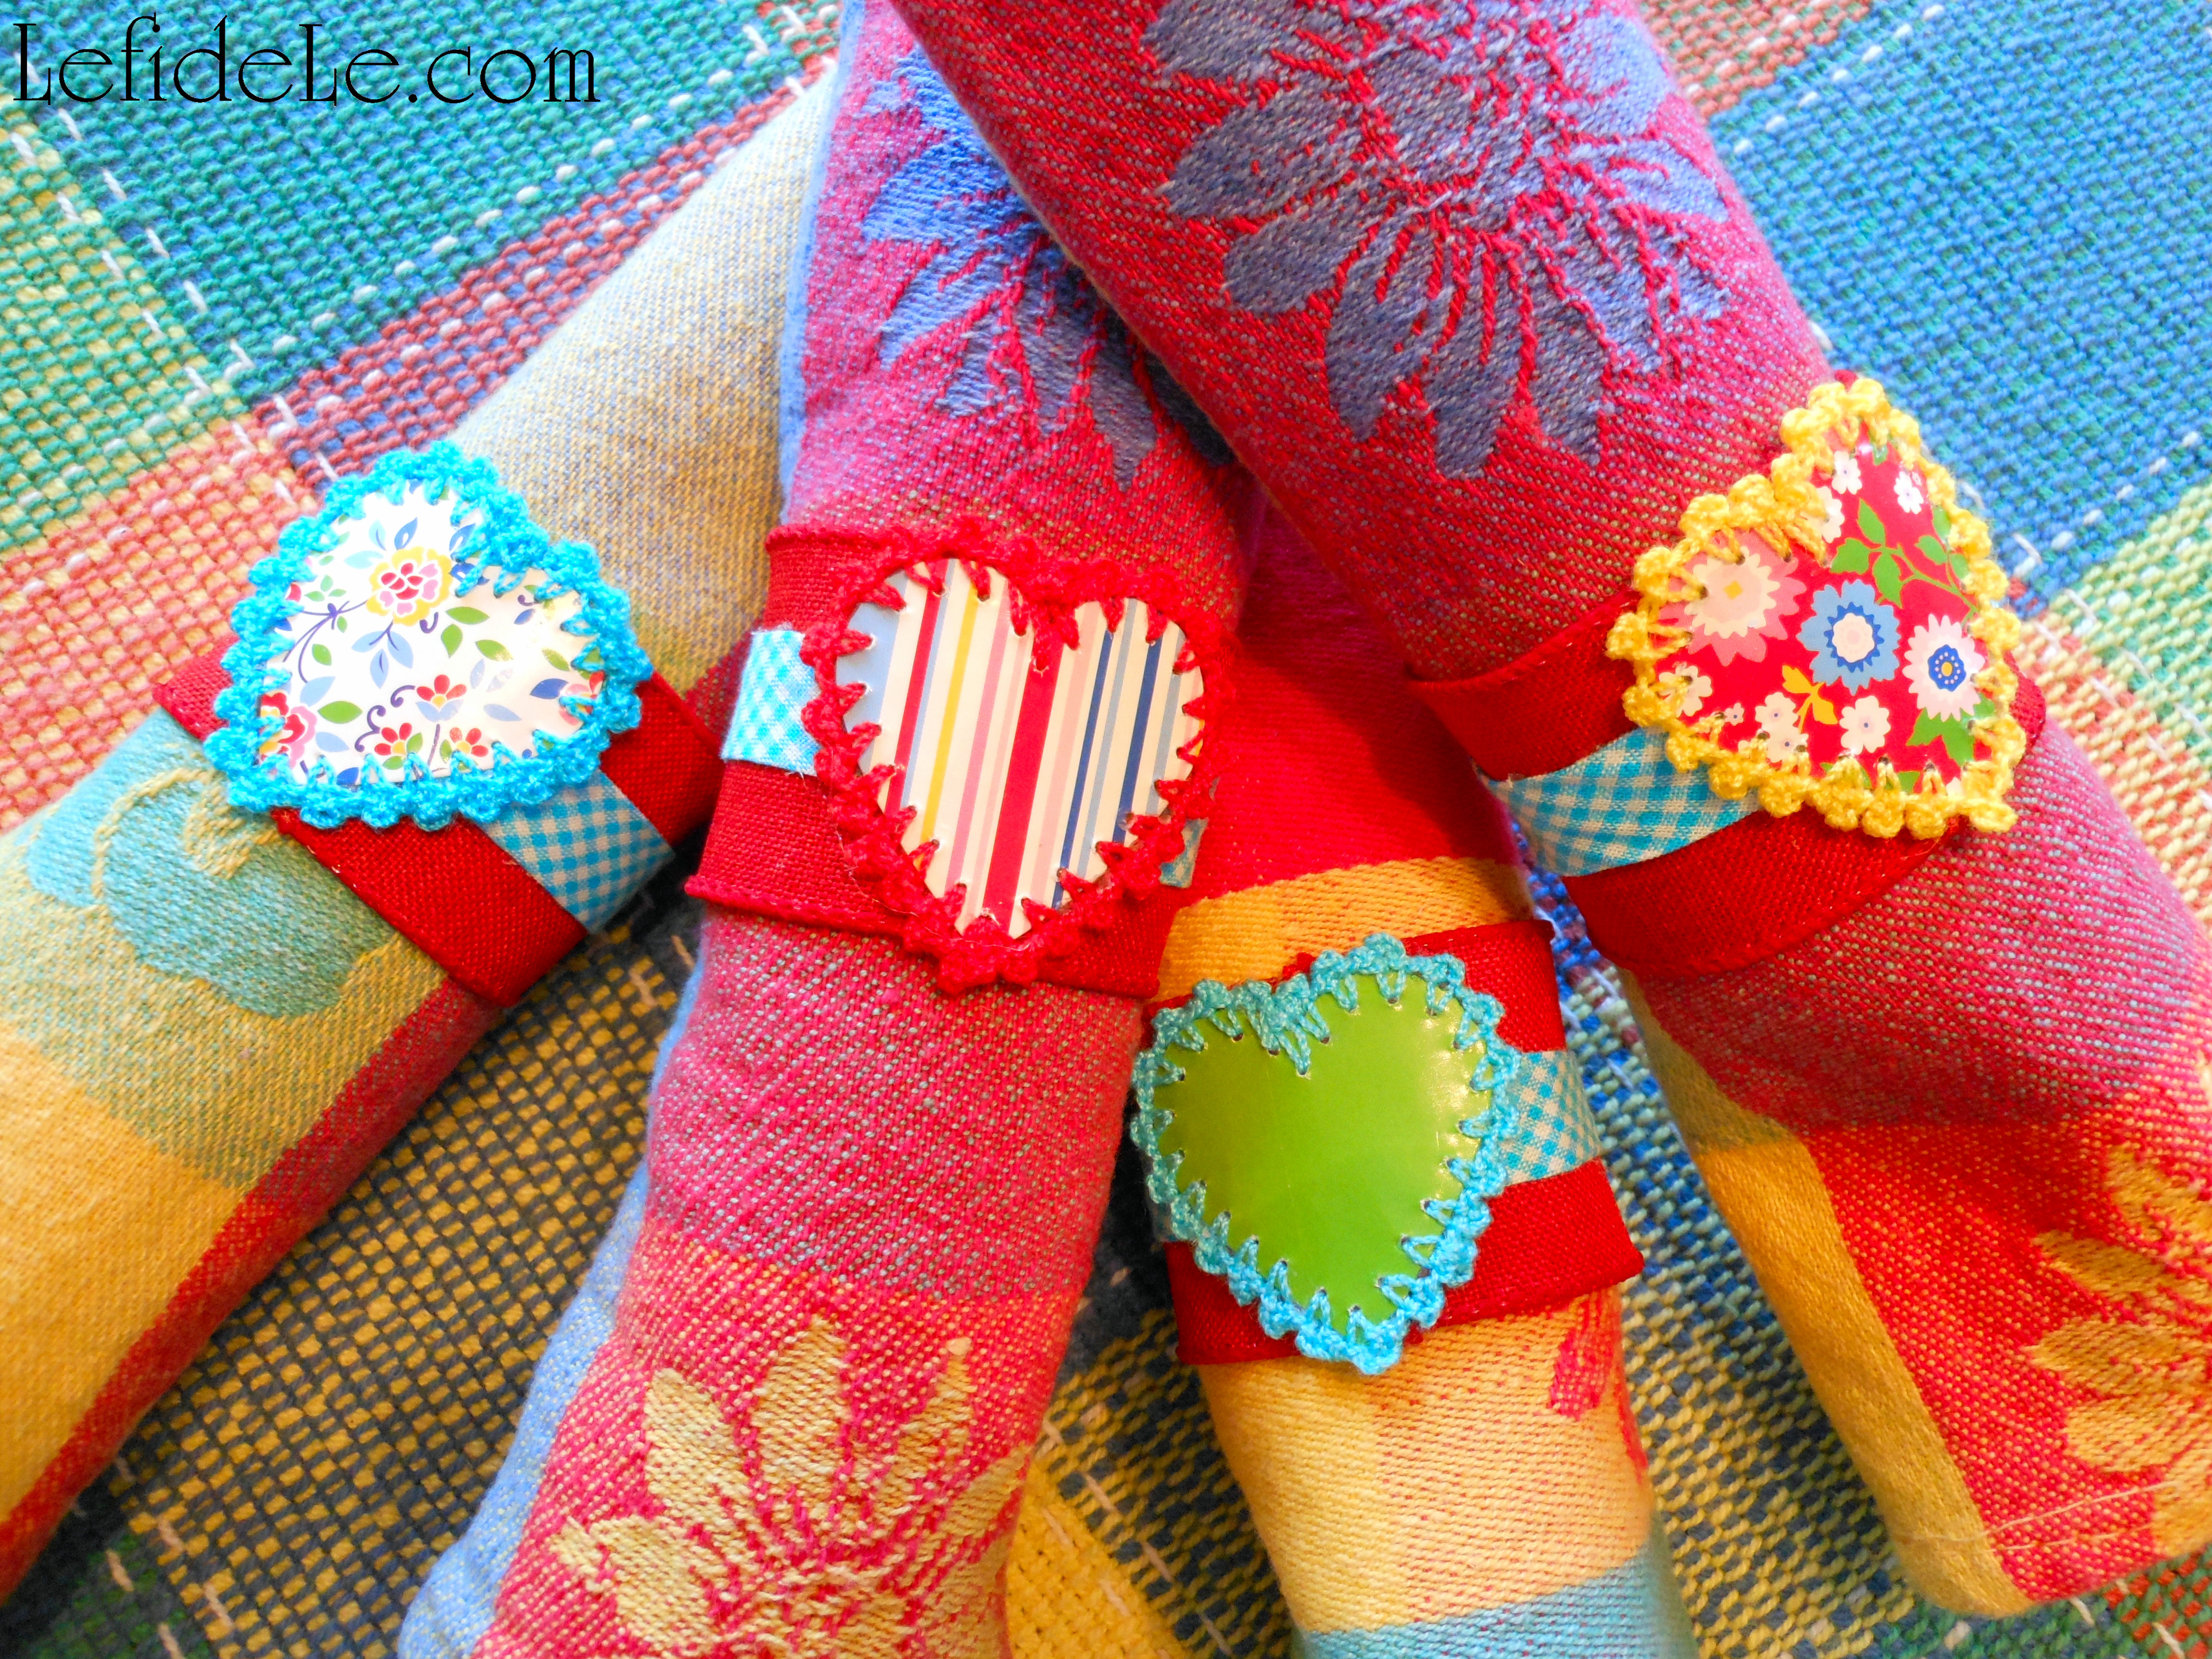
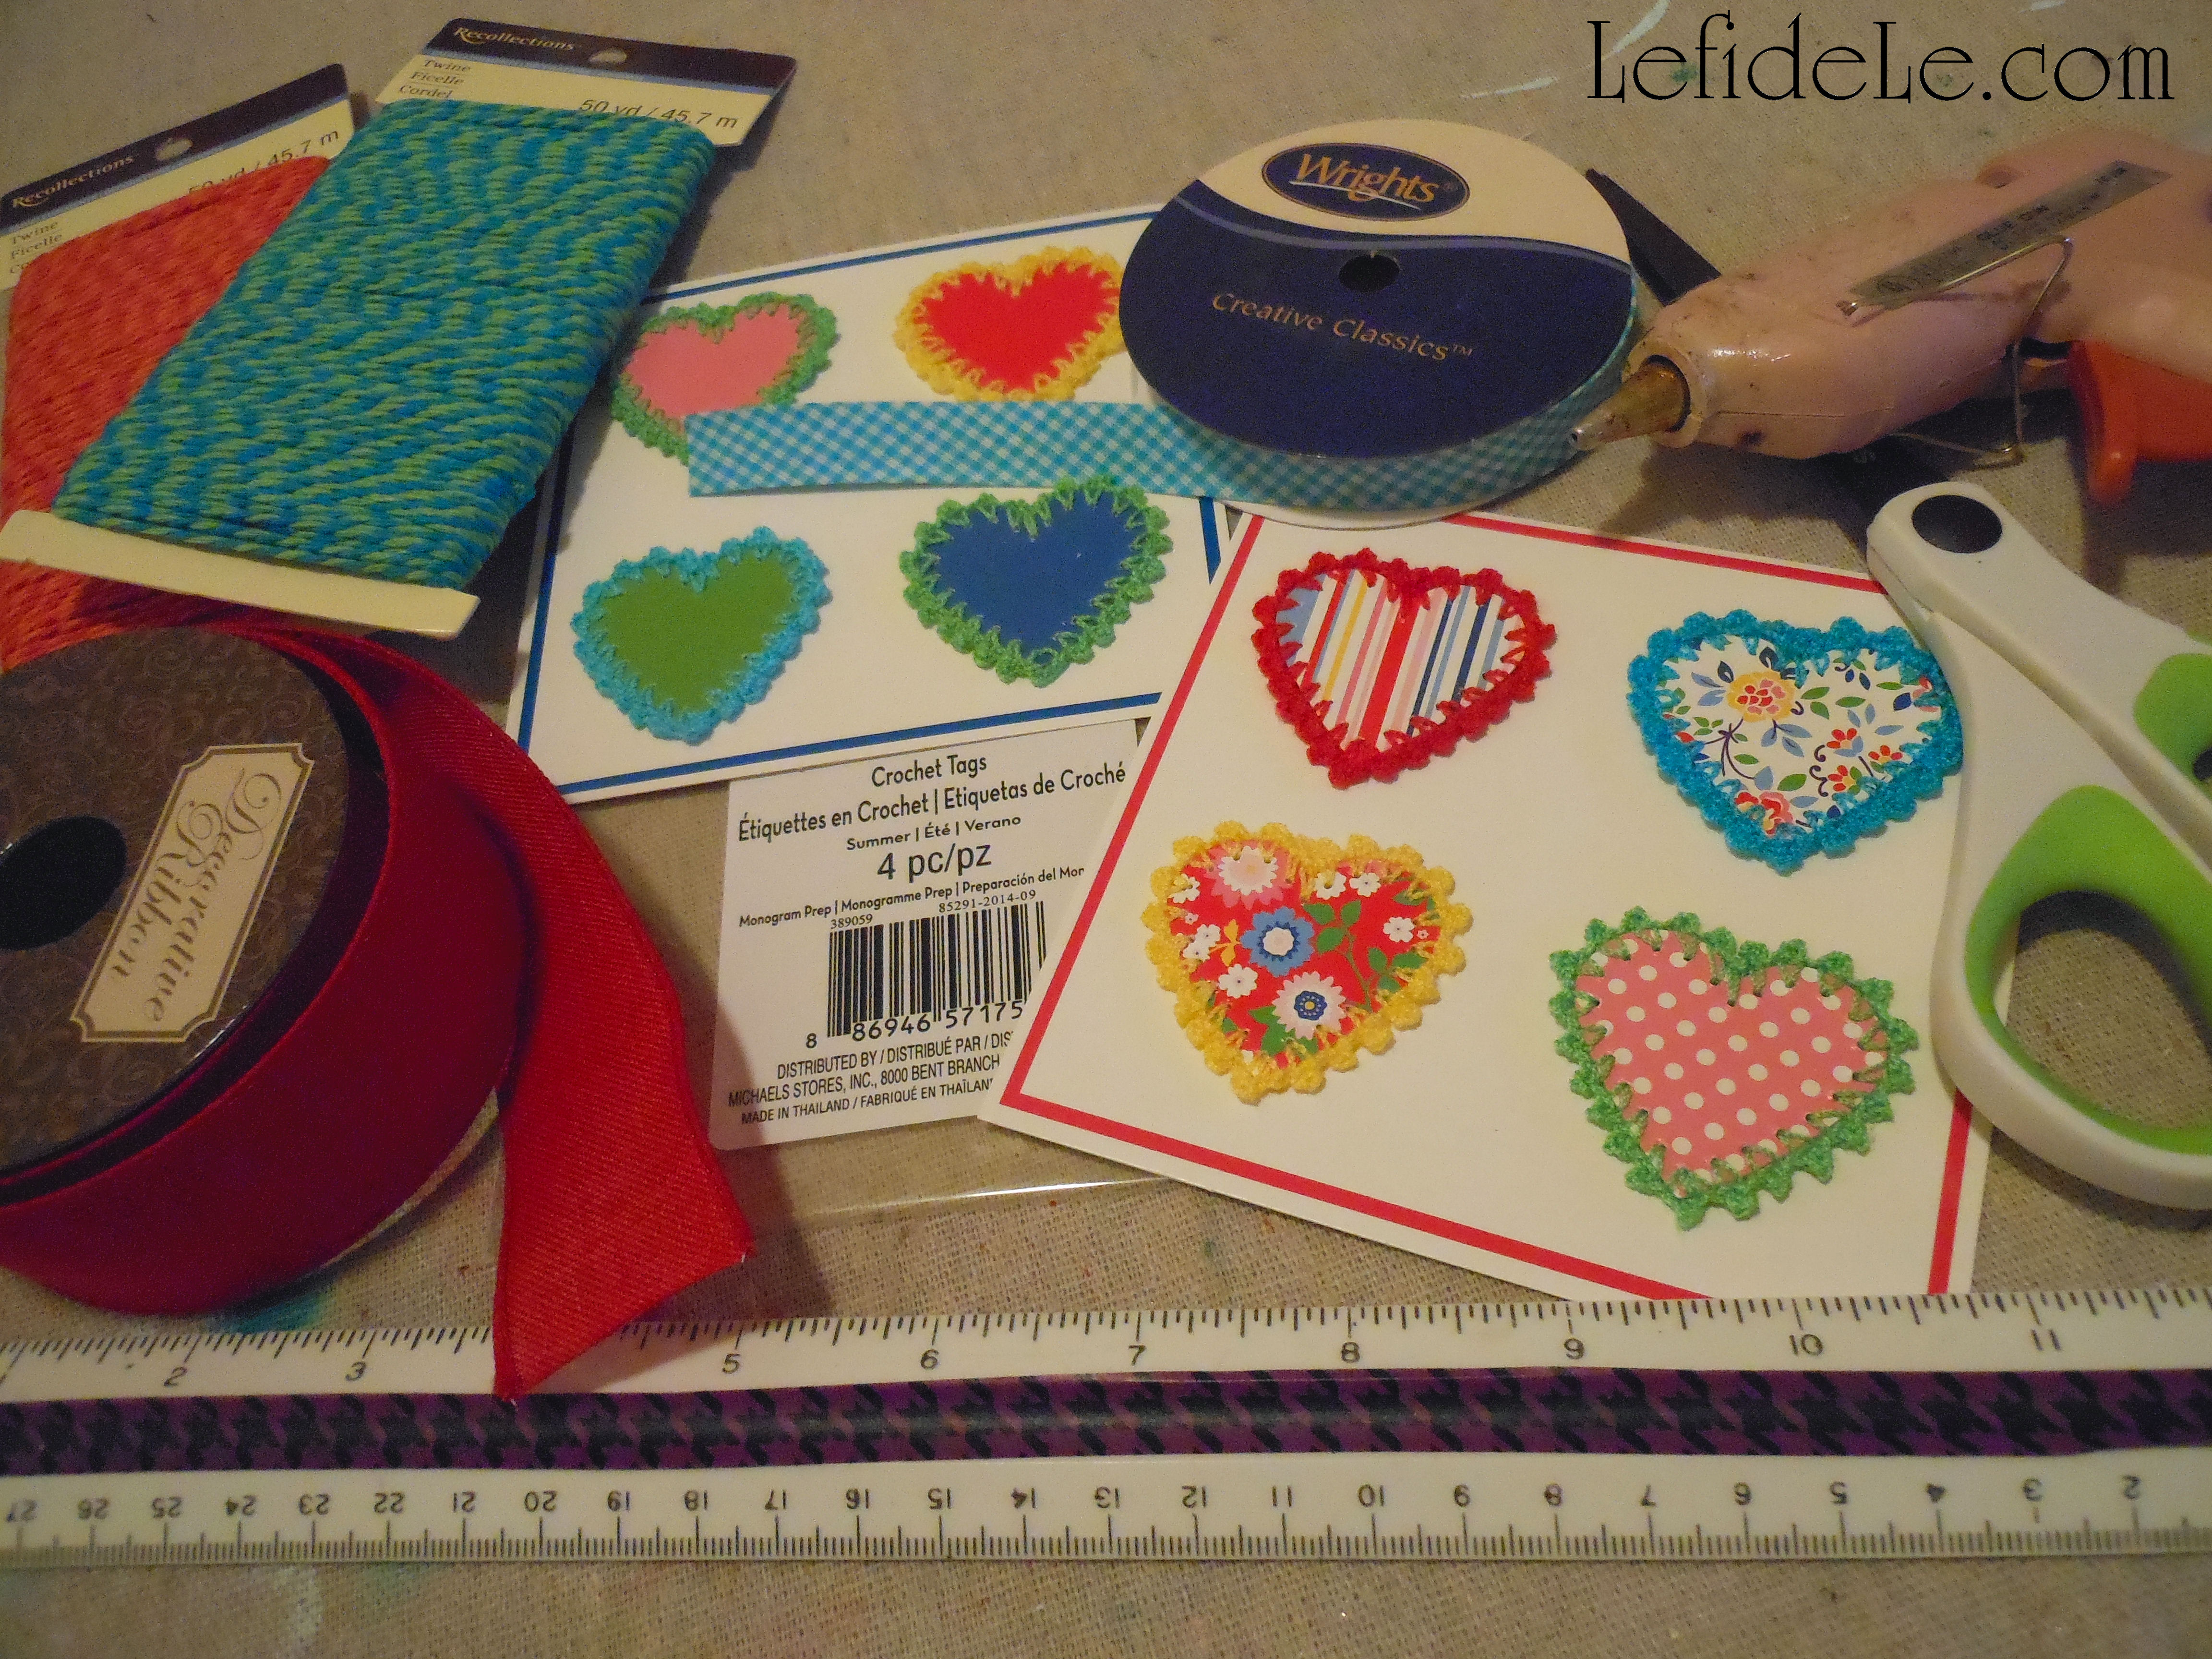
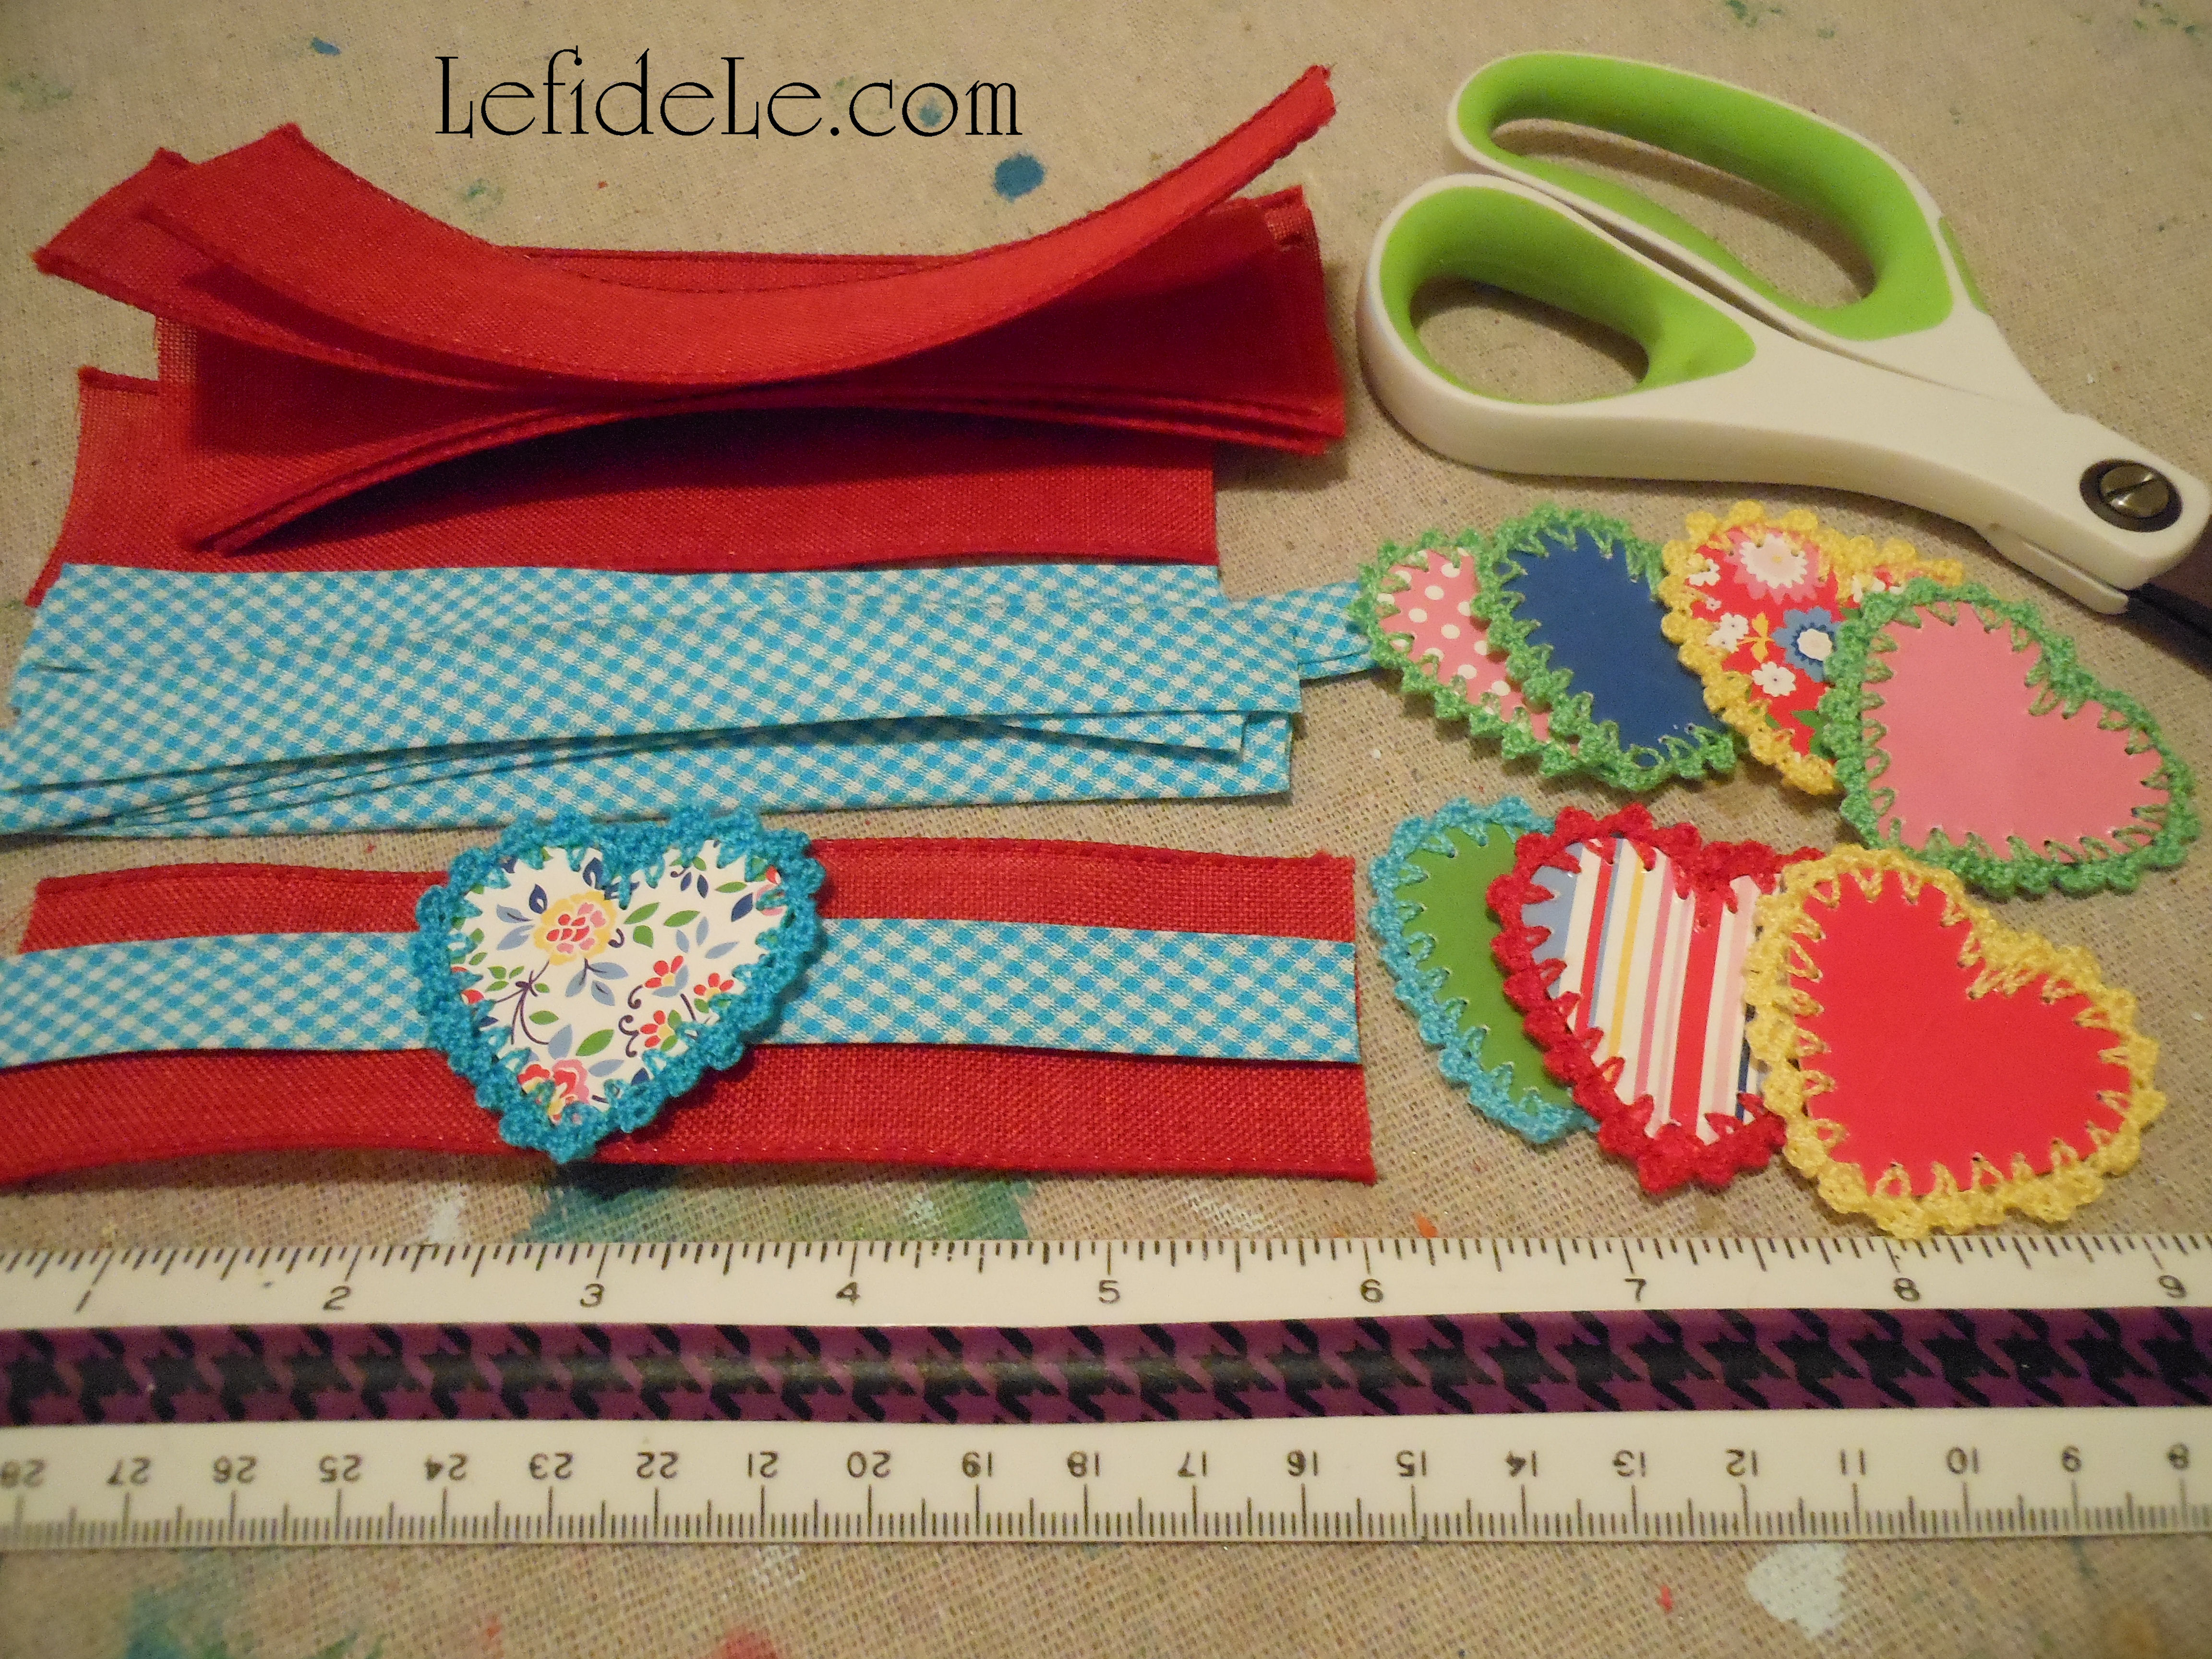
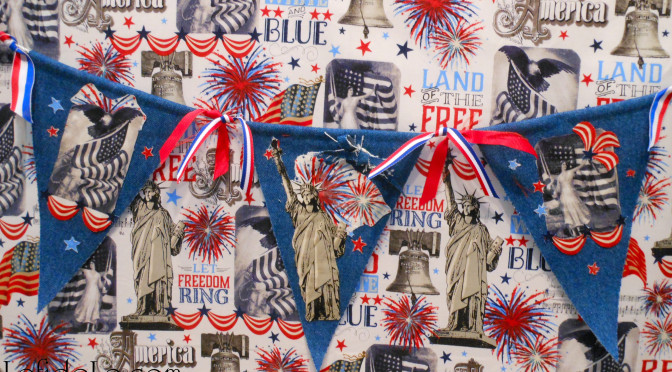
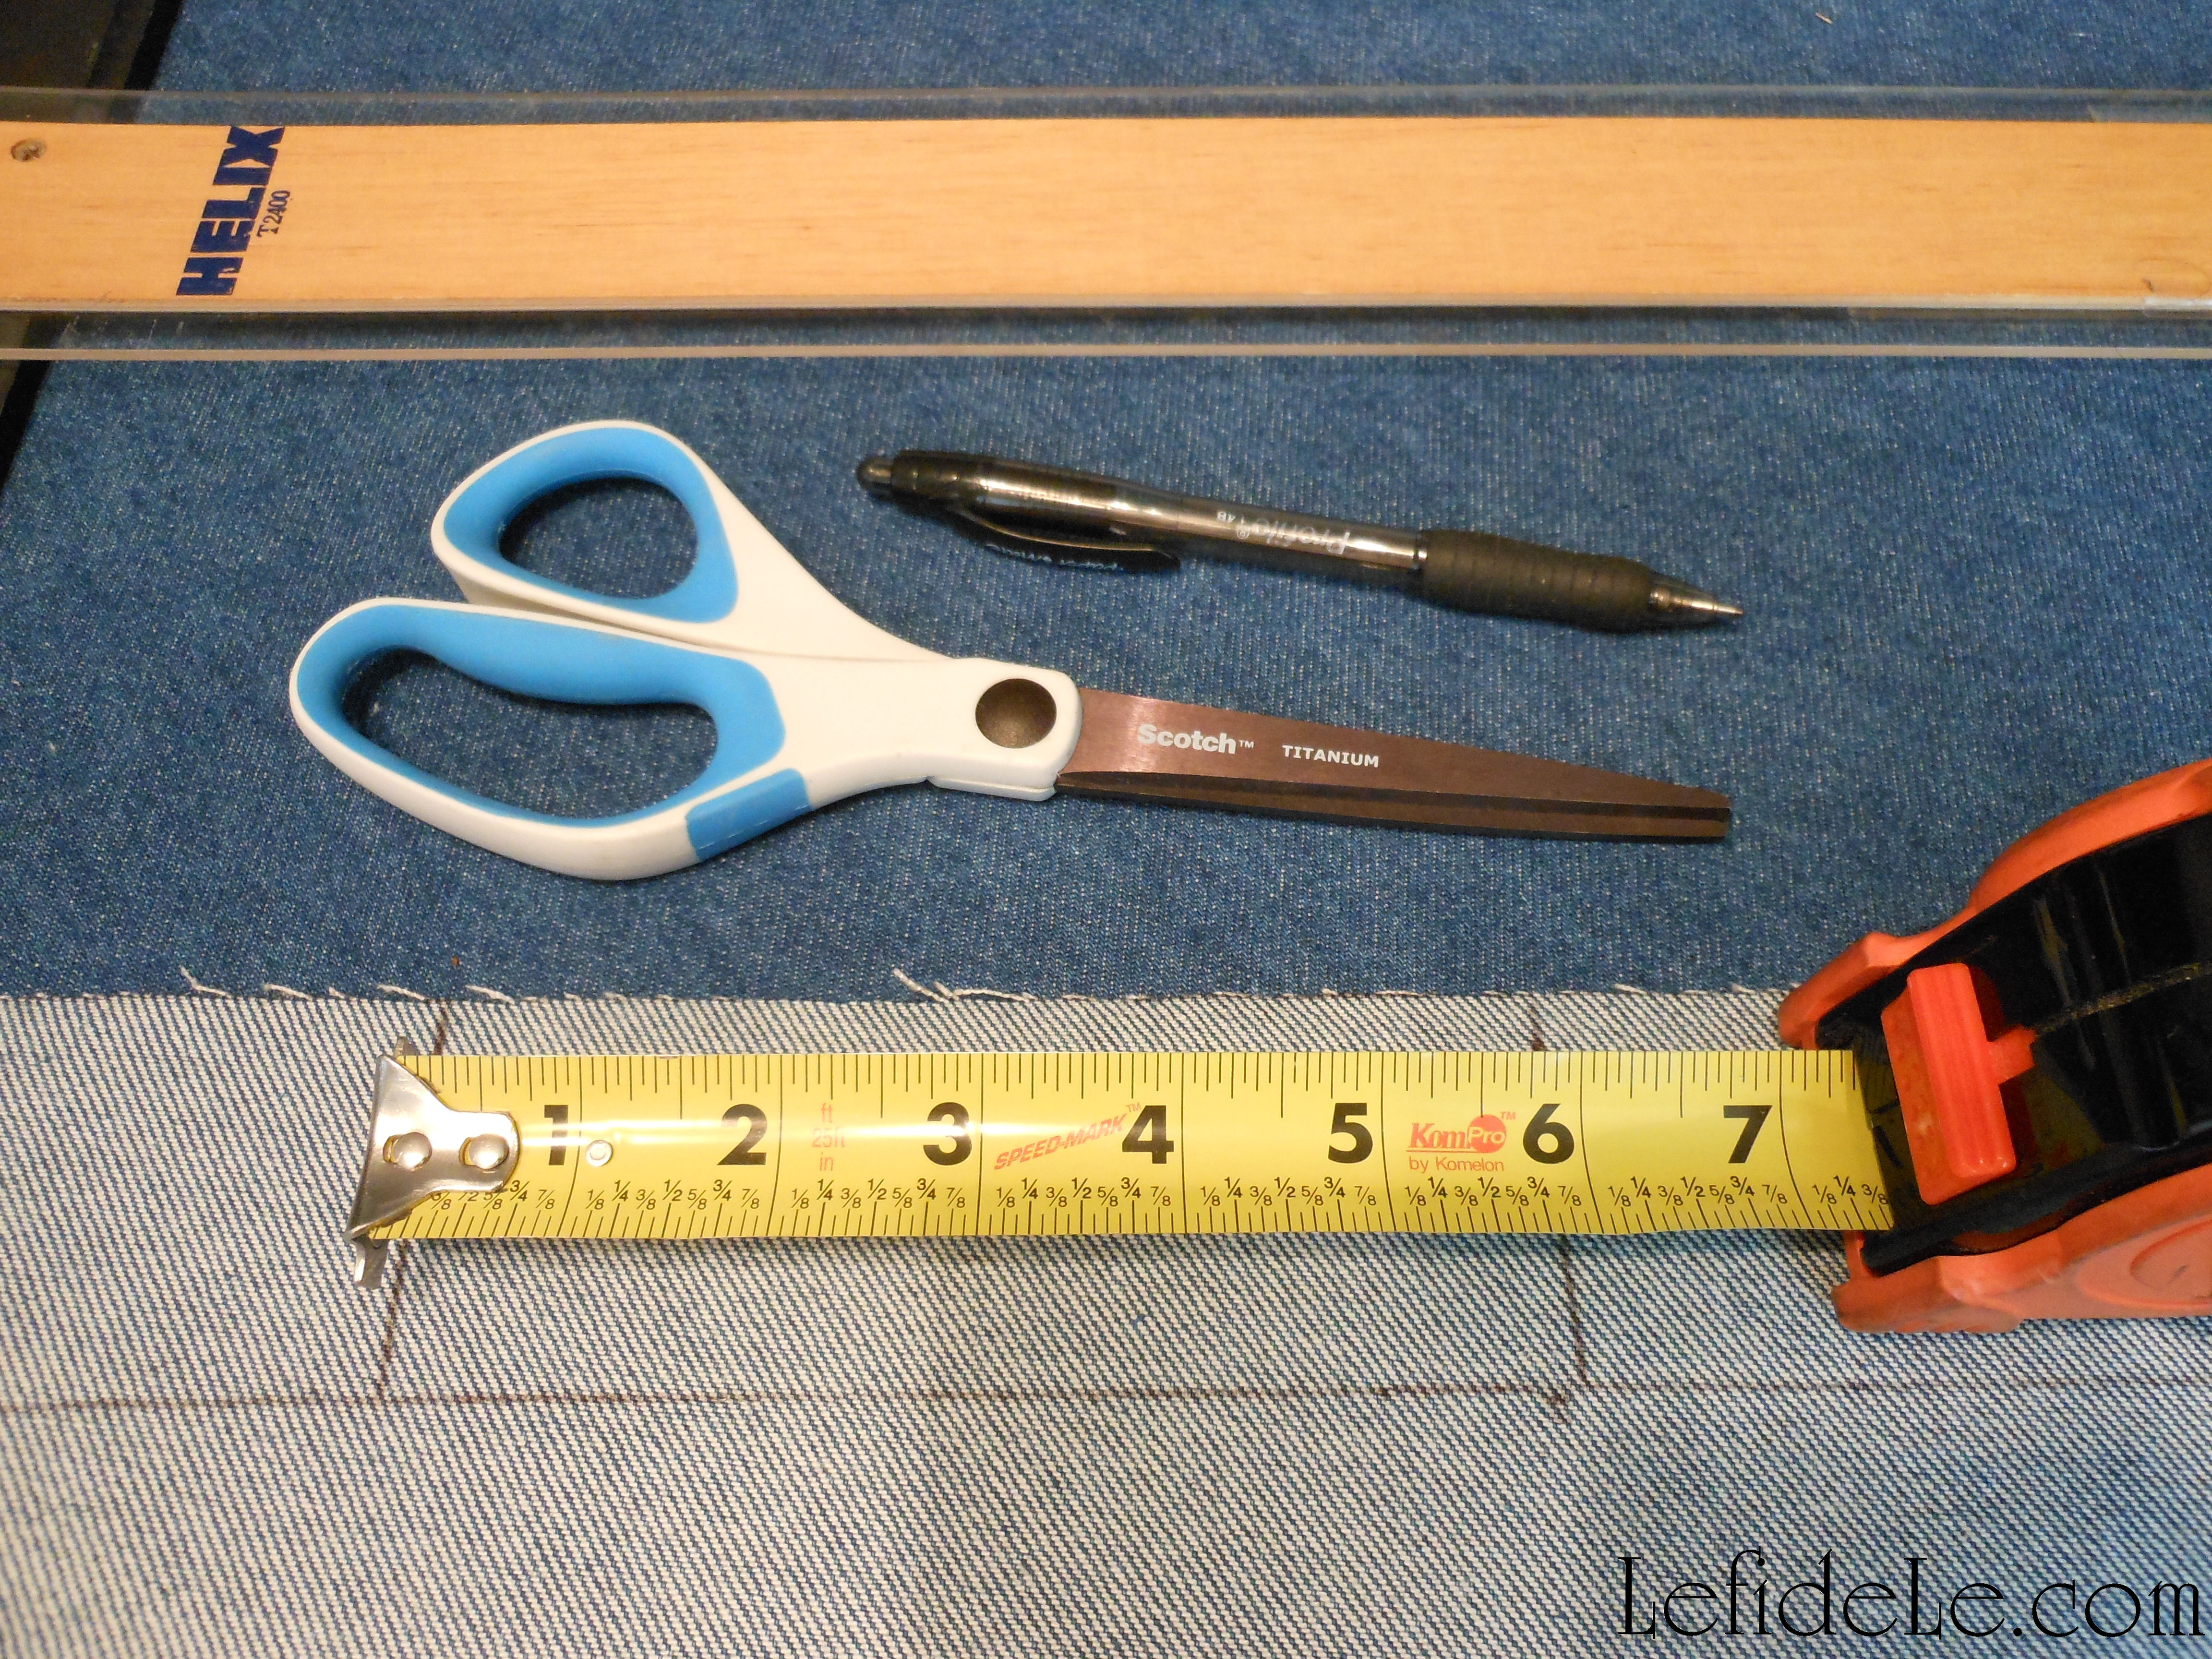
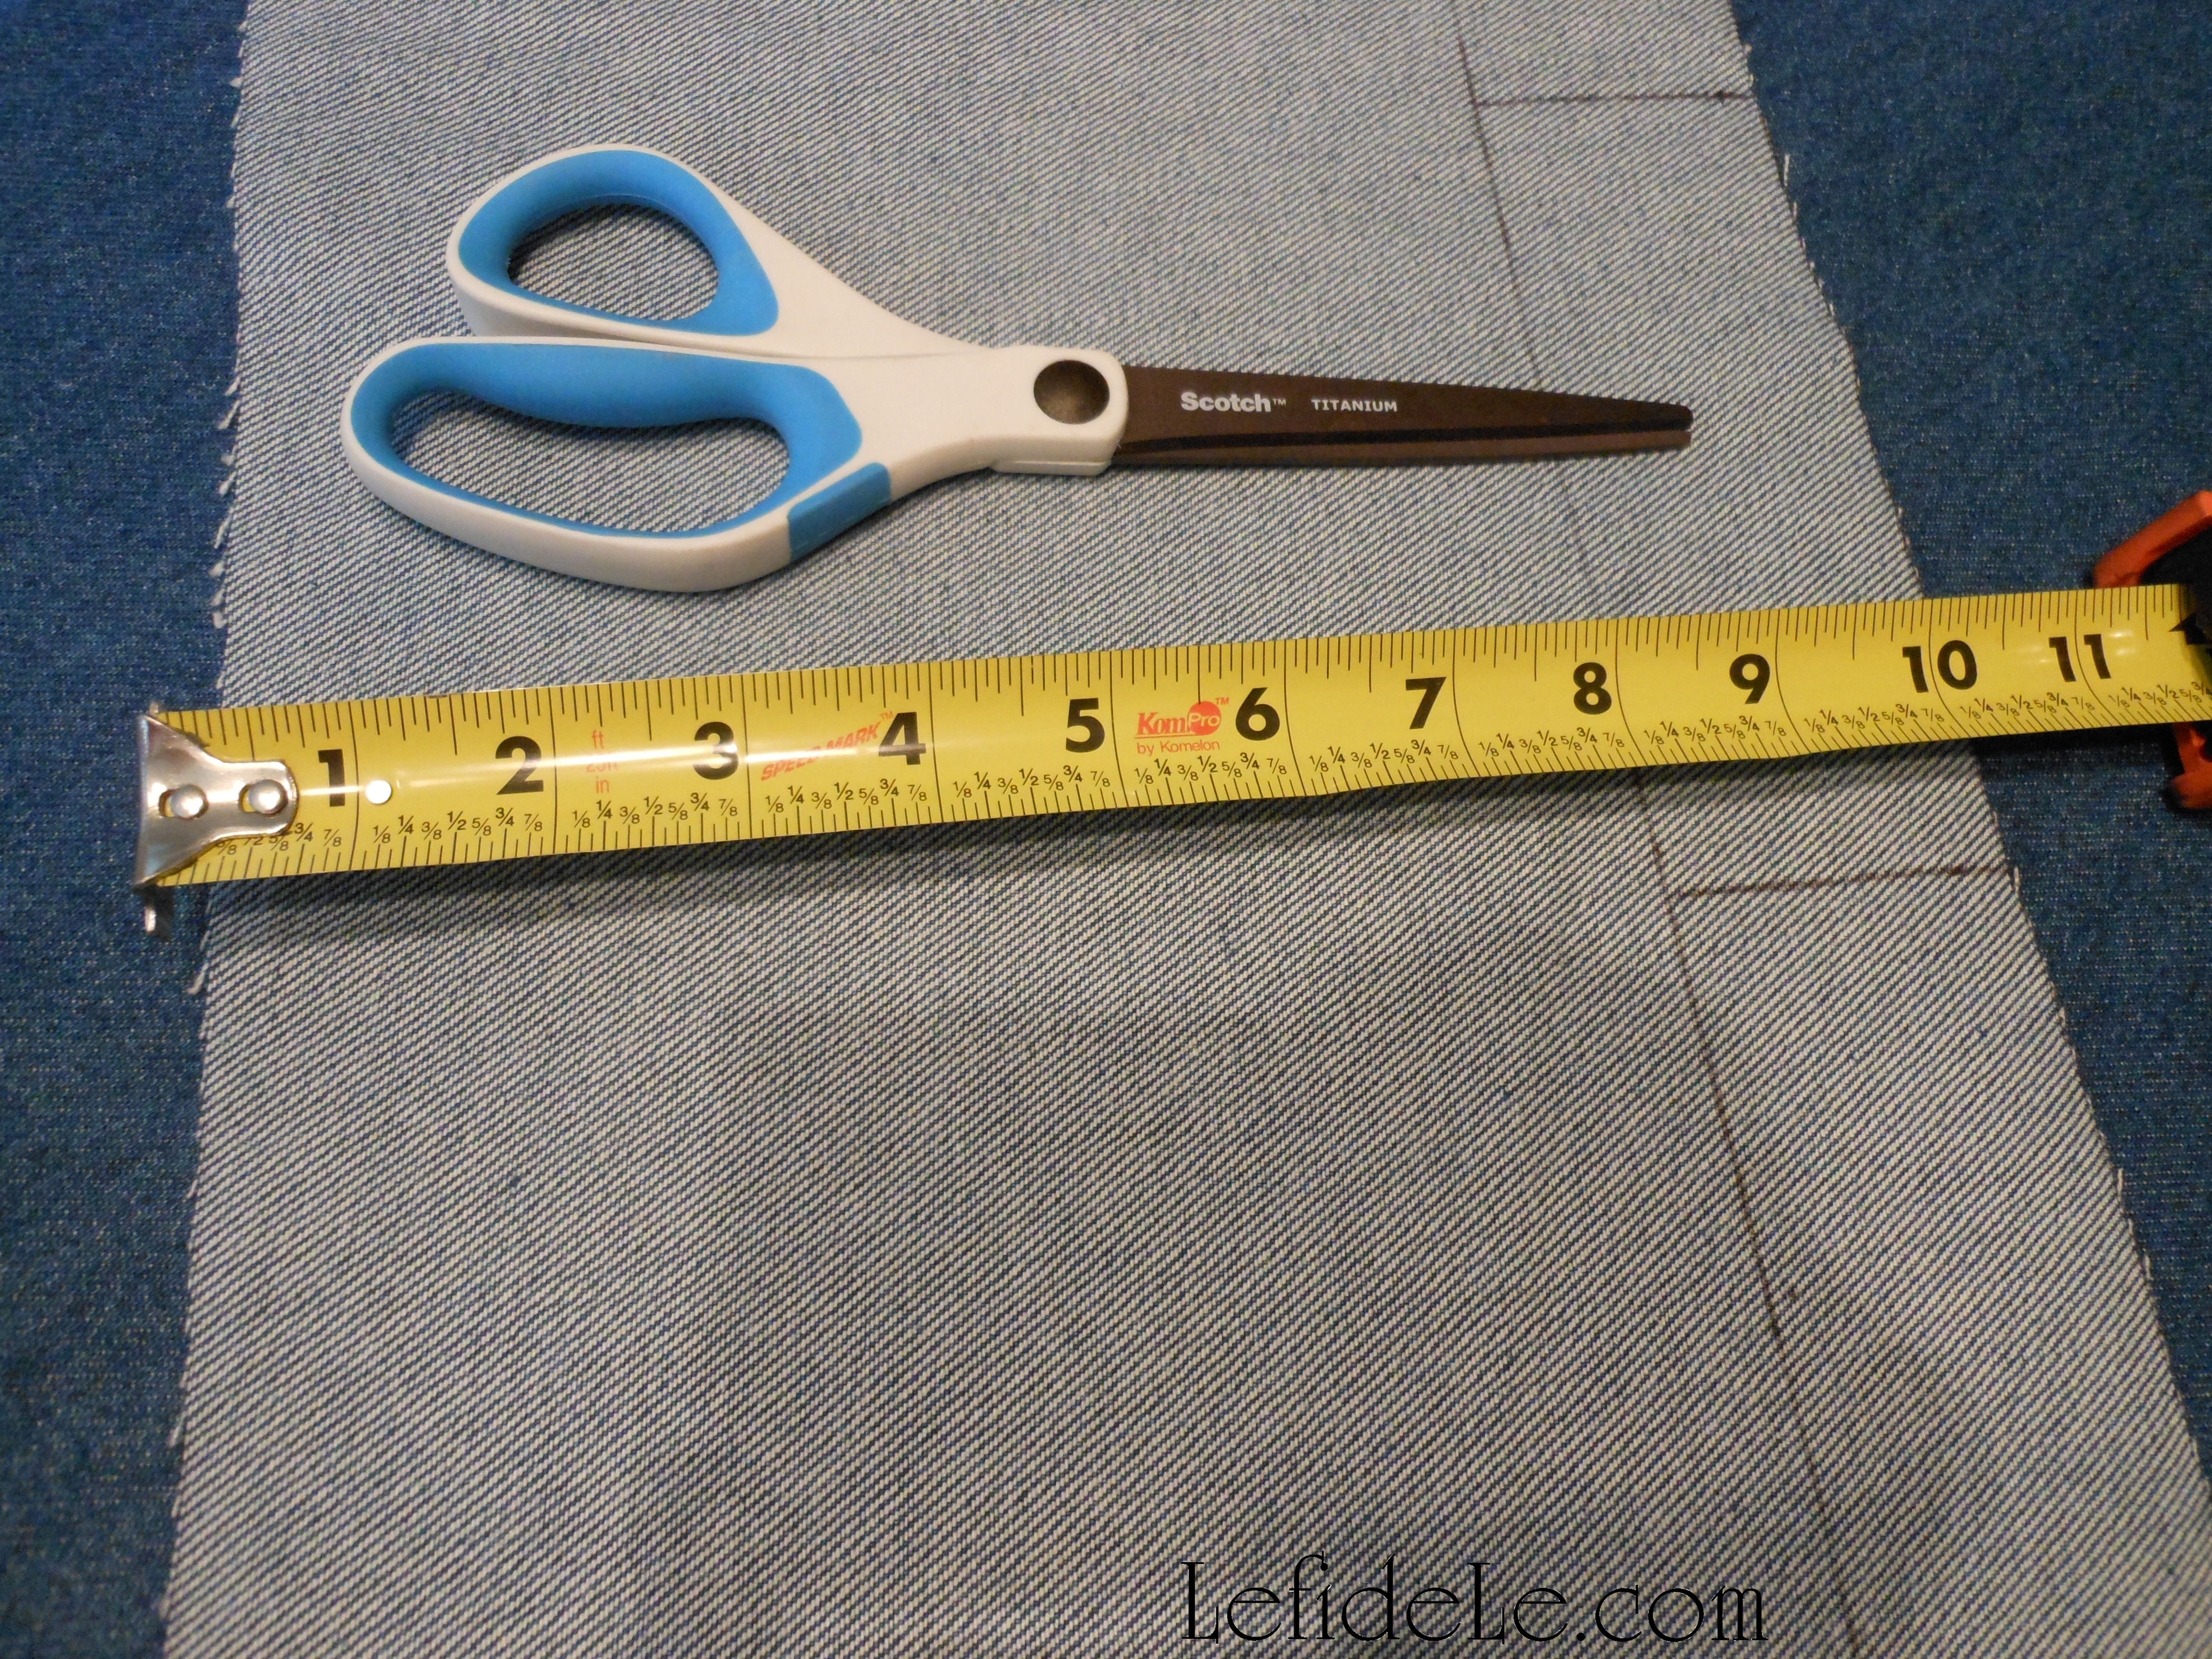
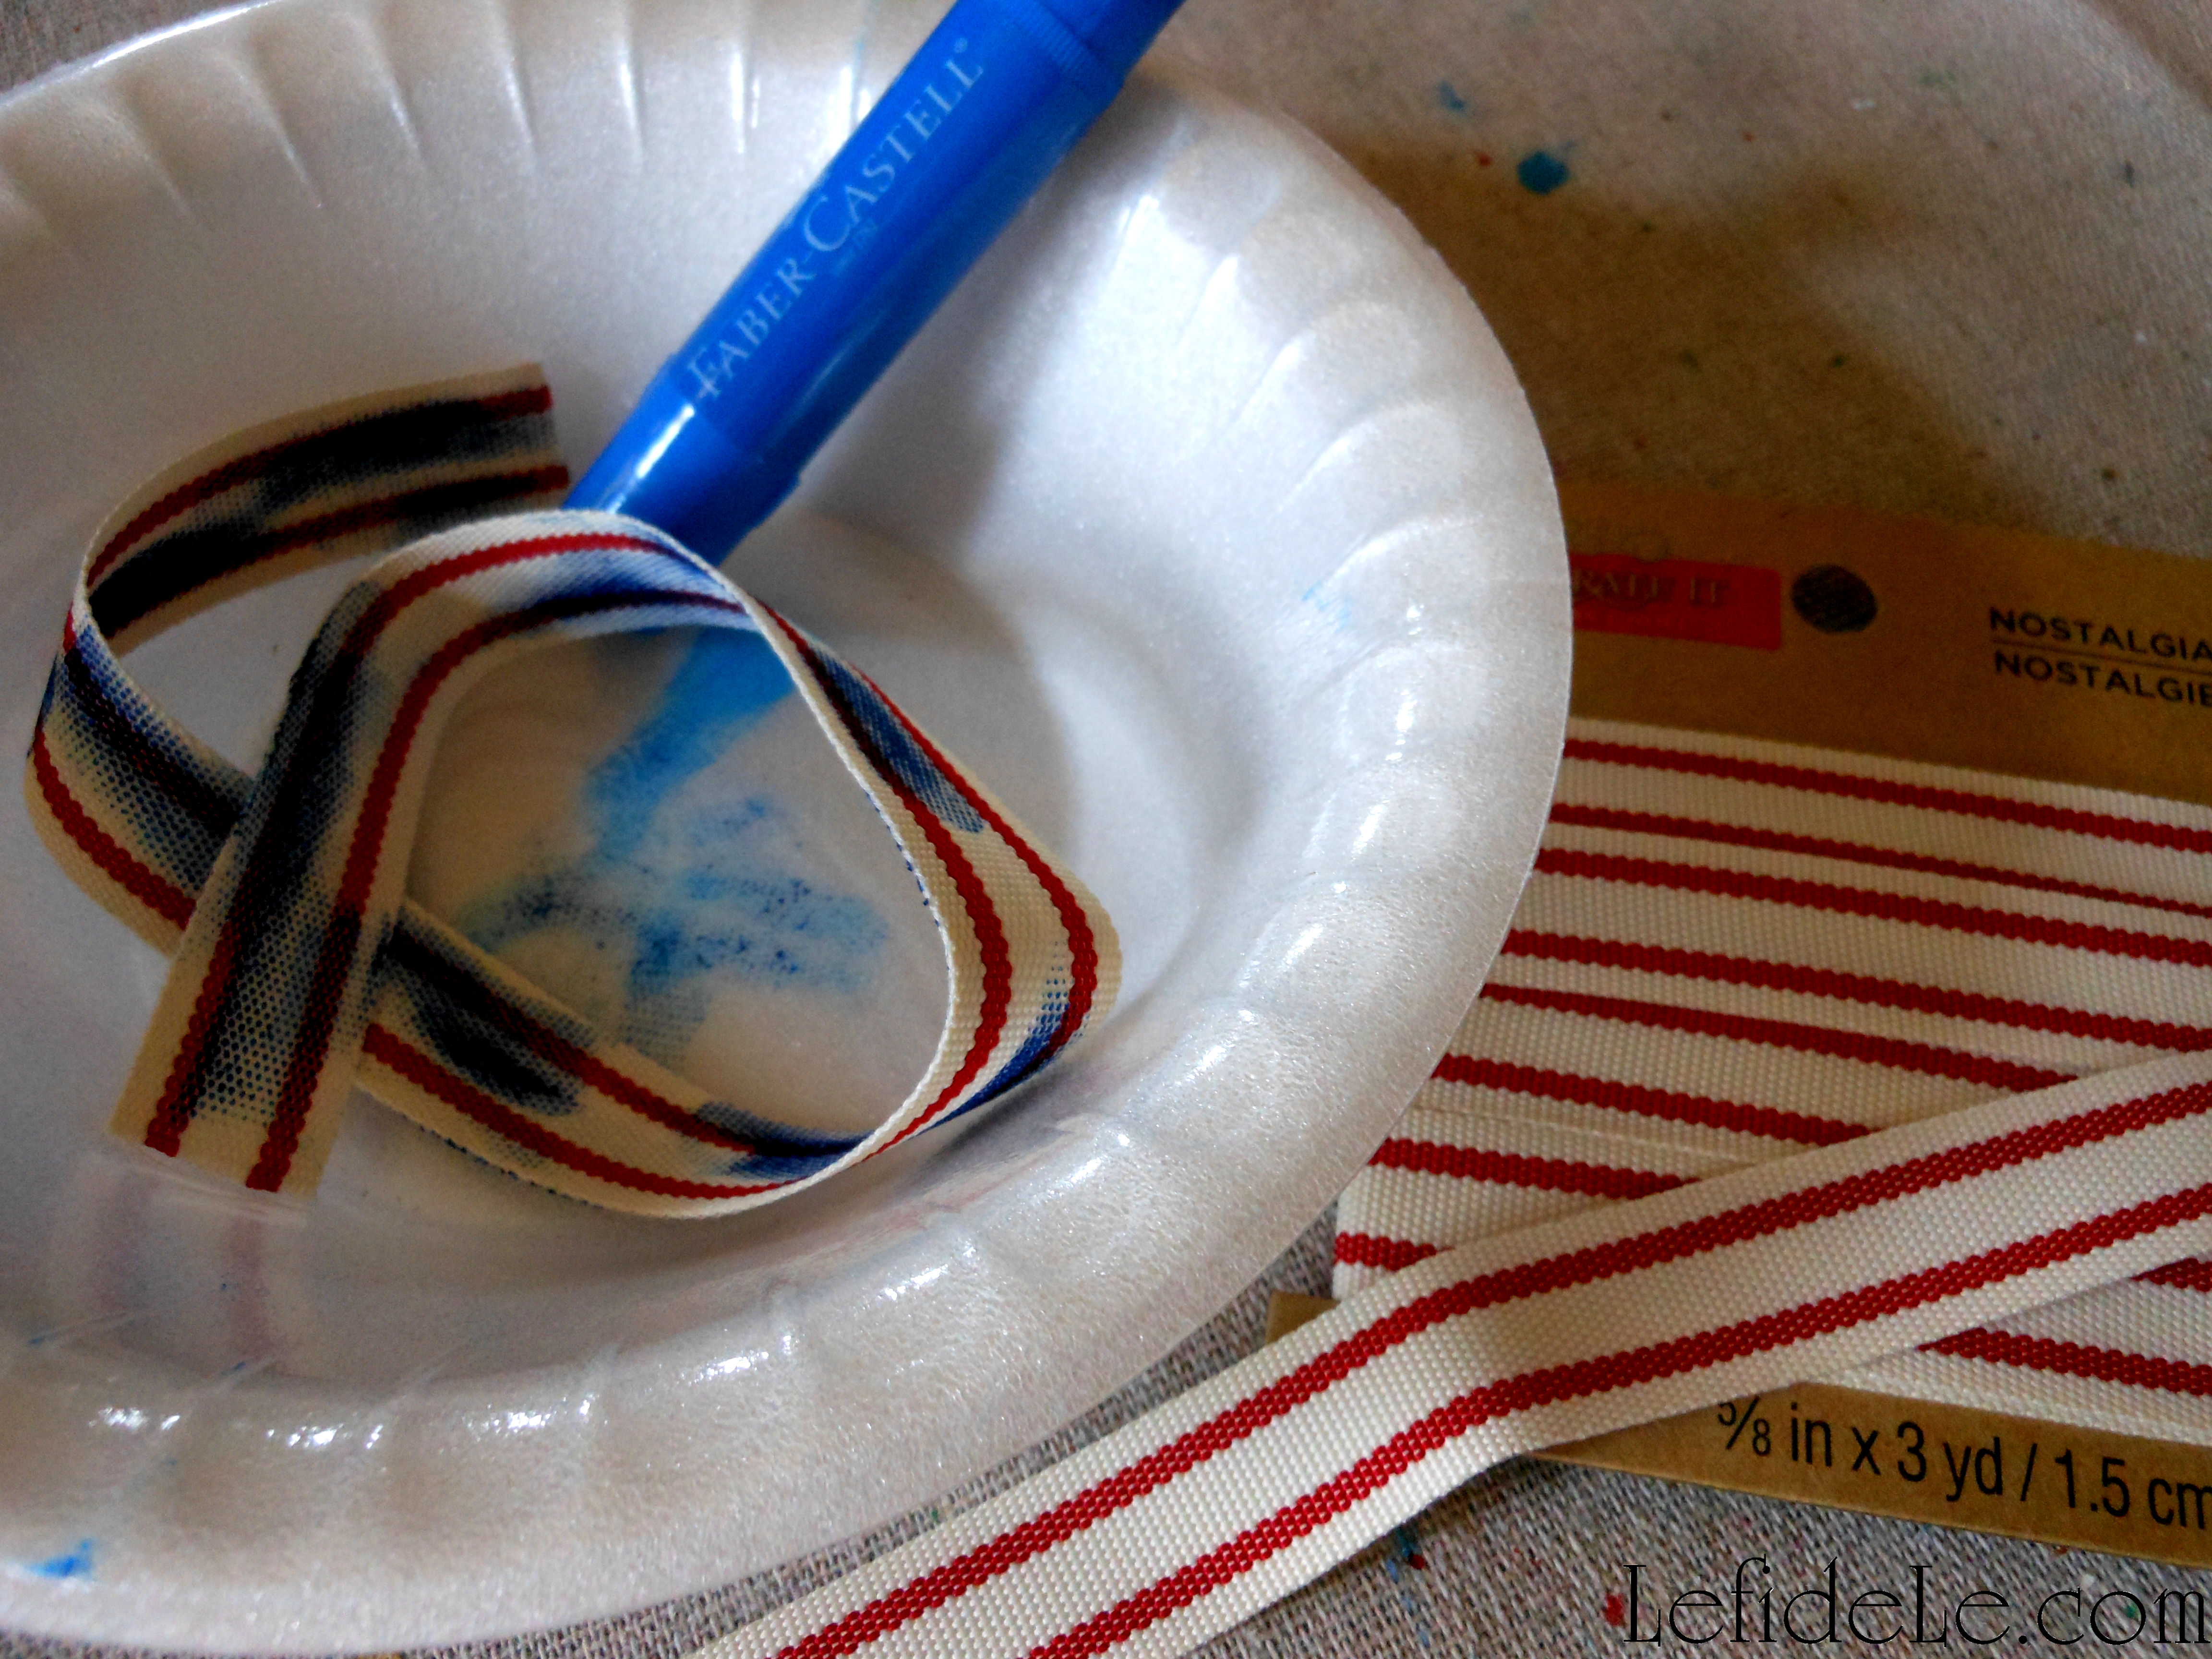
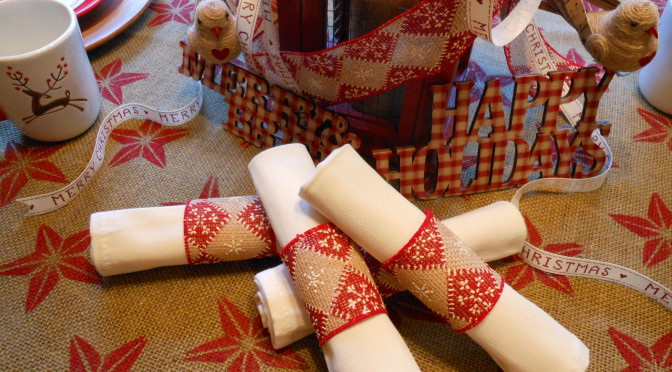
Make the matching napkin rings easily with wire edged burlap ribbon which is available in so many cute patterns. To do this, simply cut 6 inch lengths for each ring you’ll need.

615Leigh

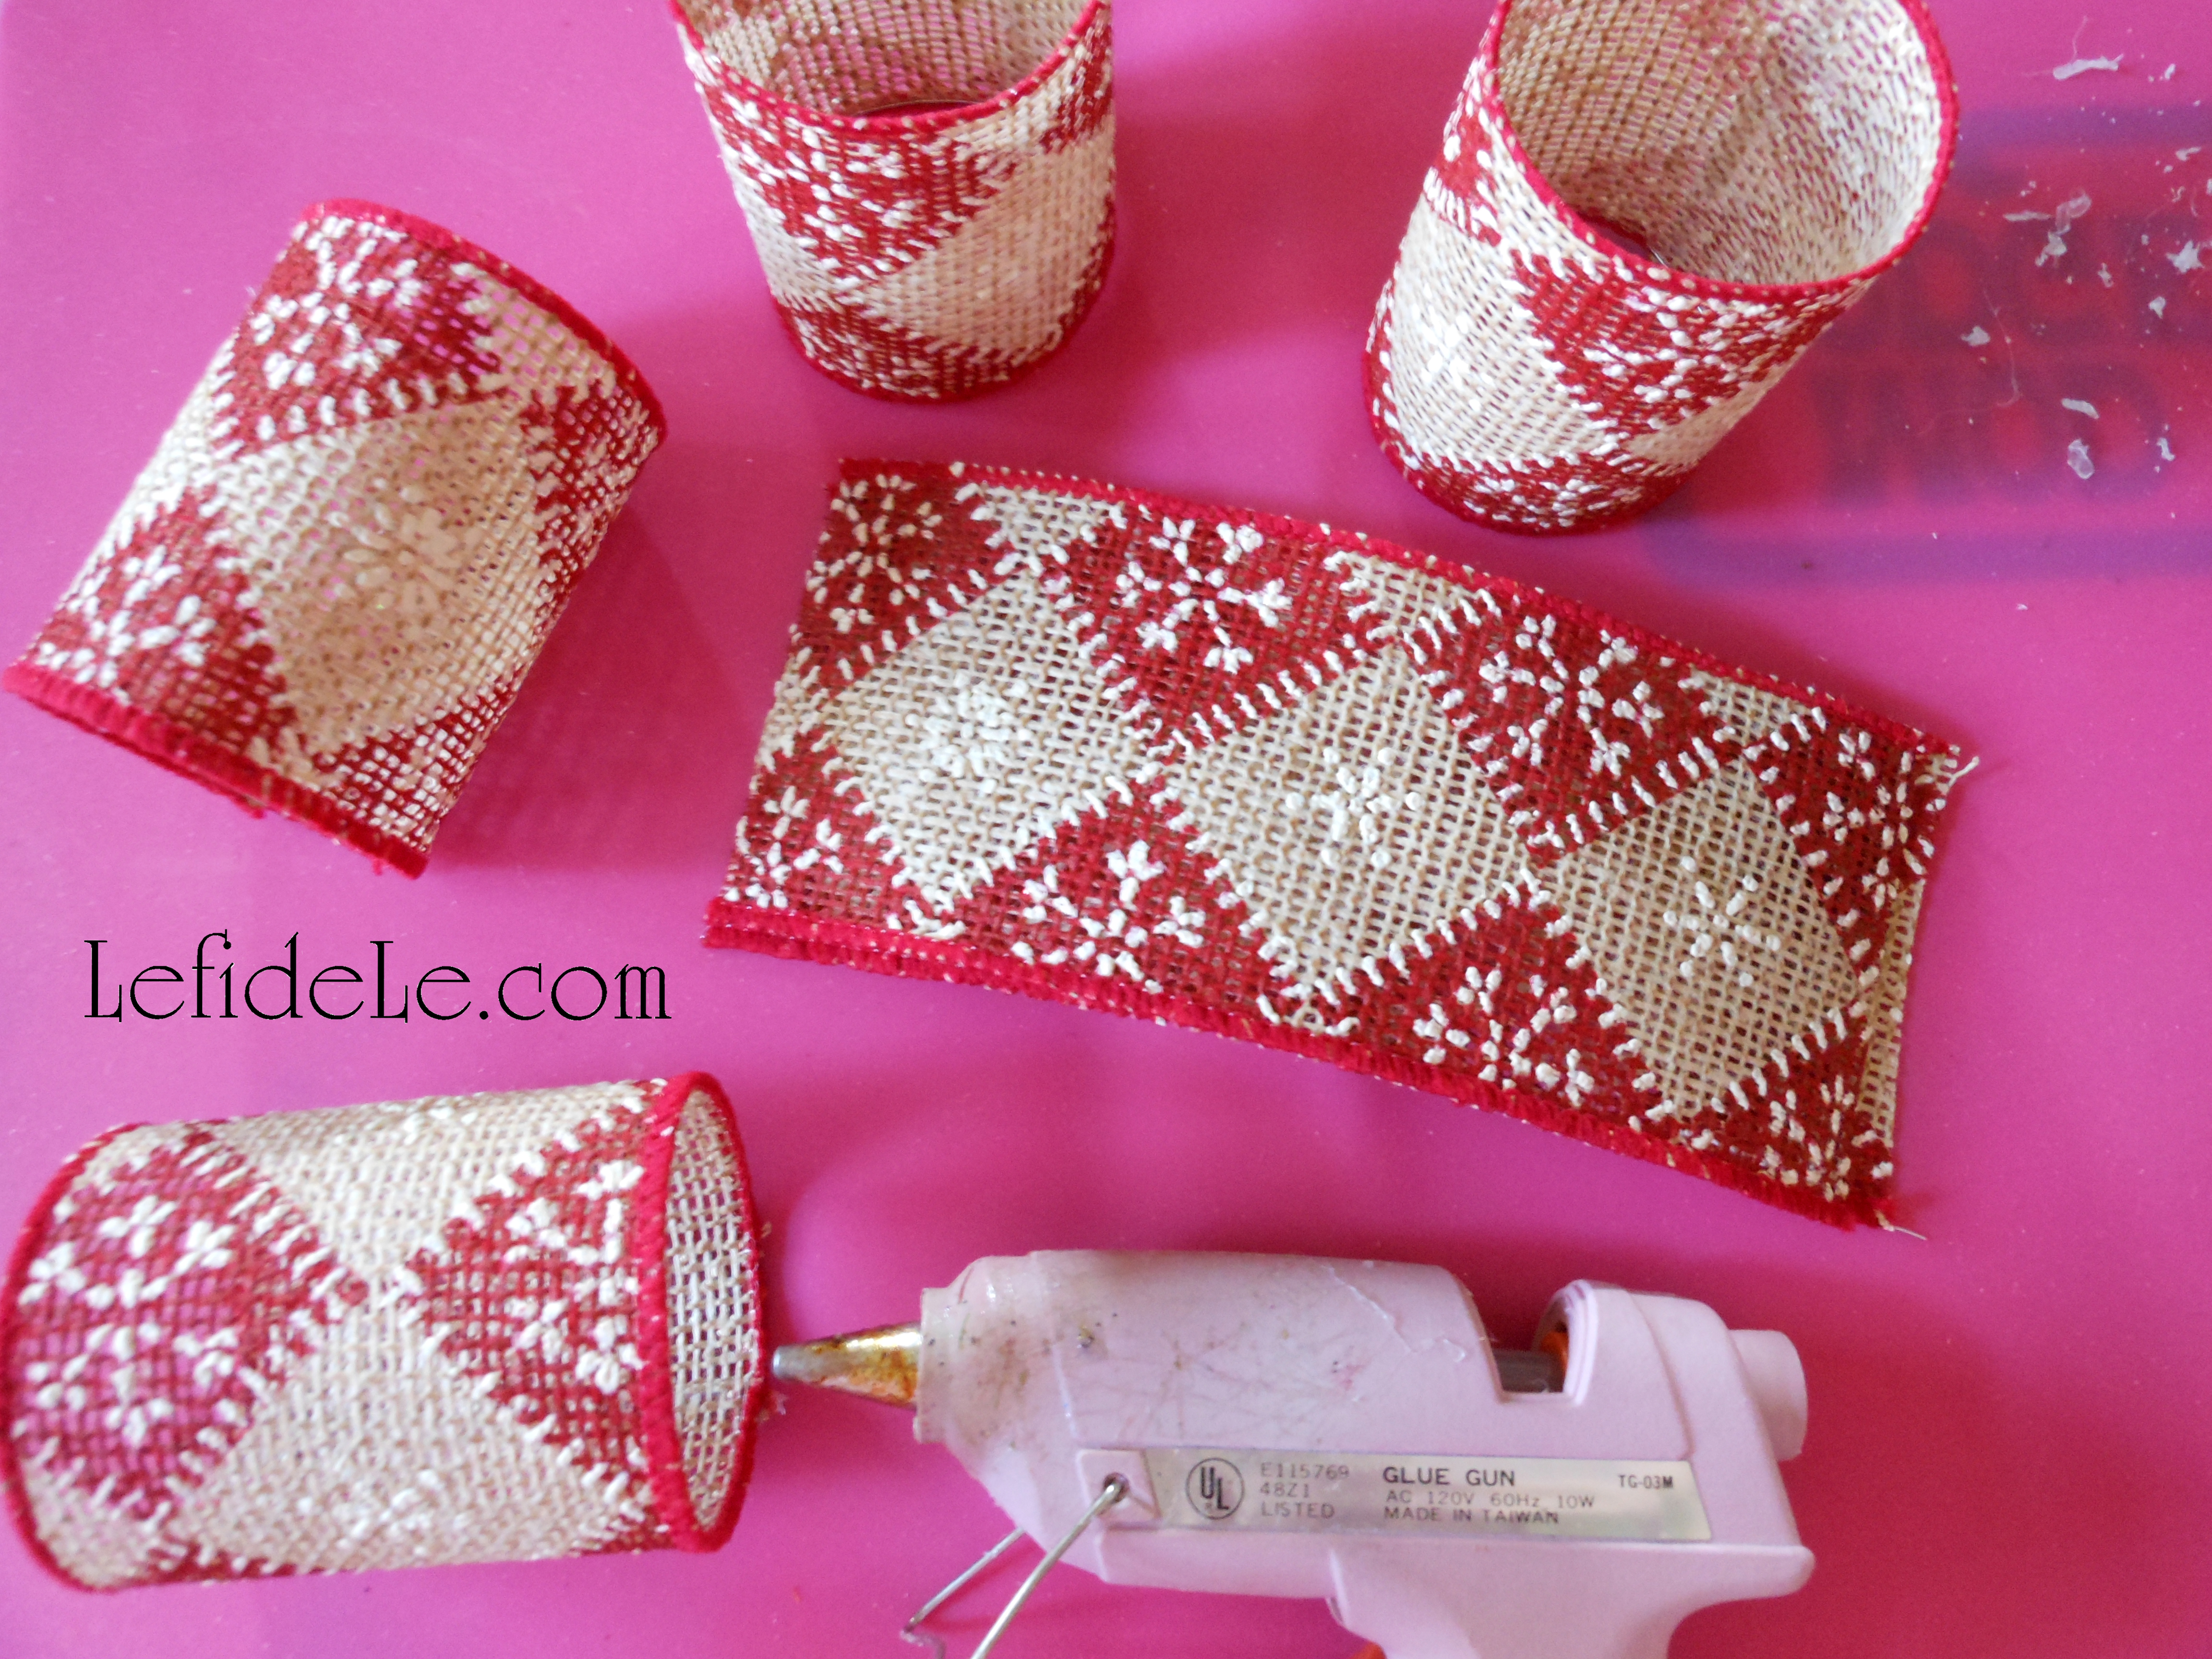
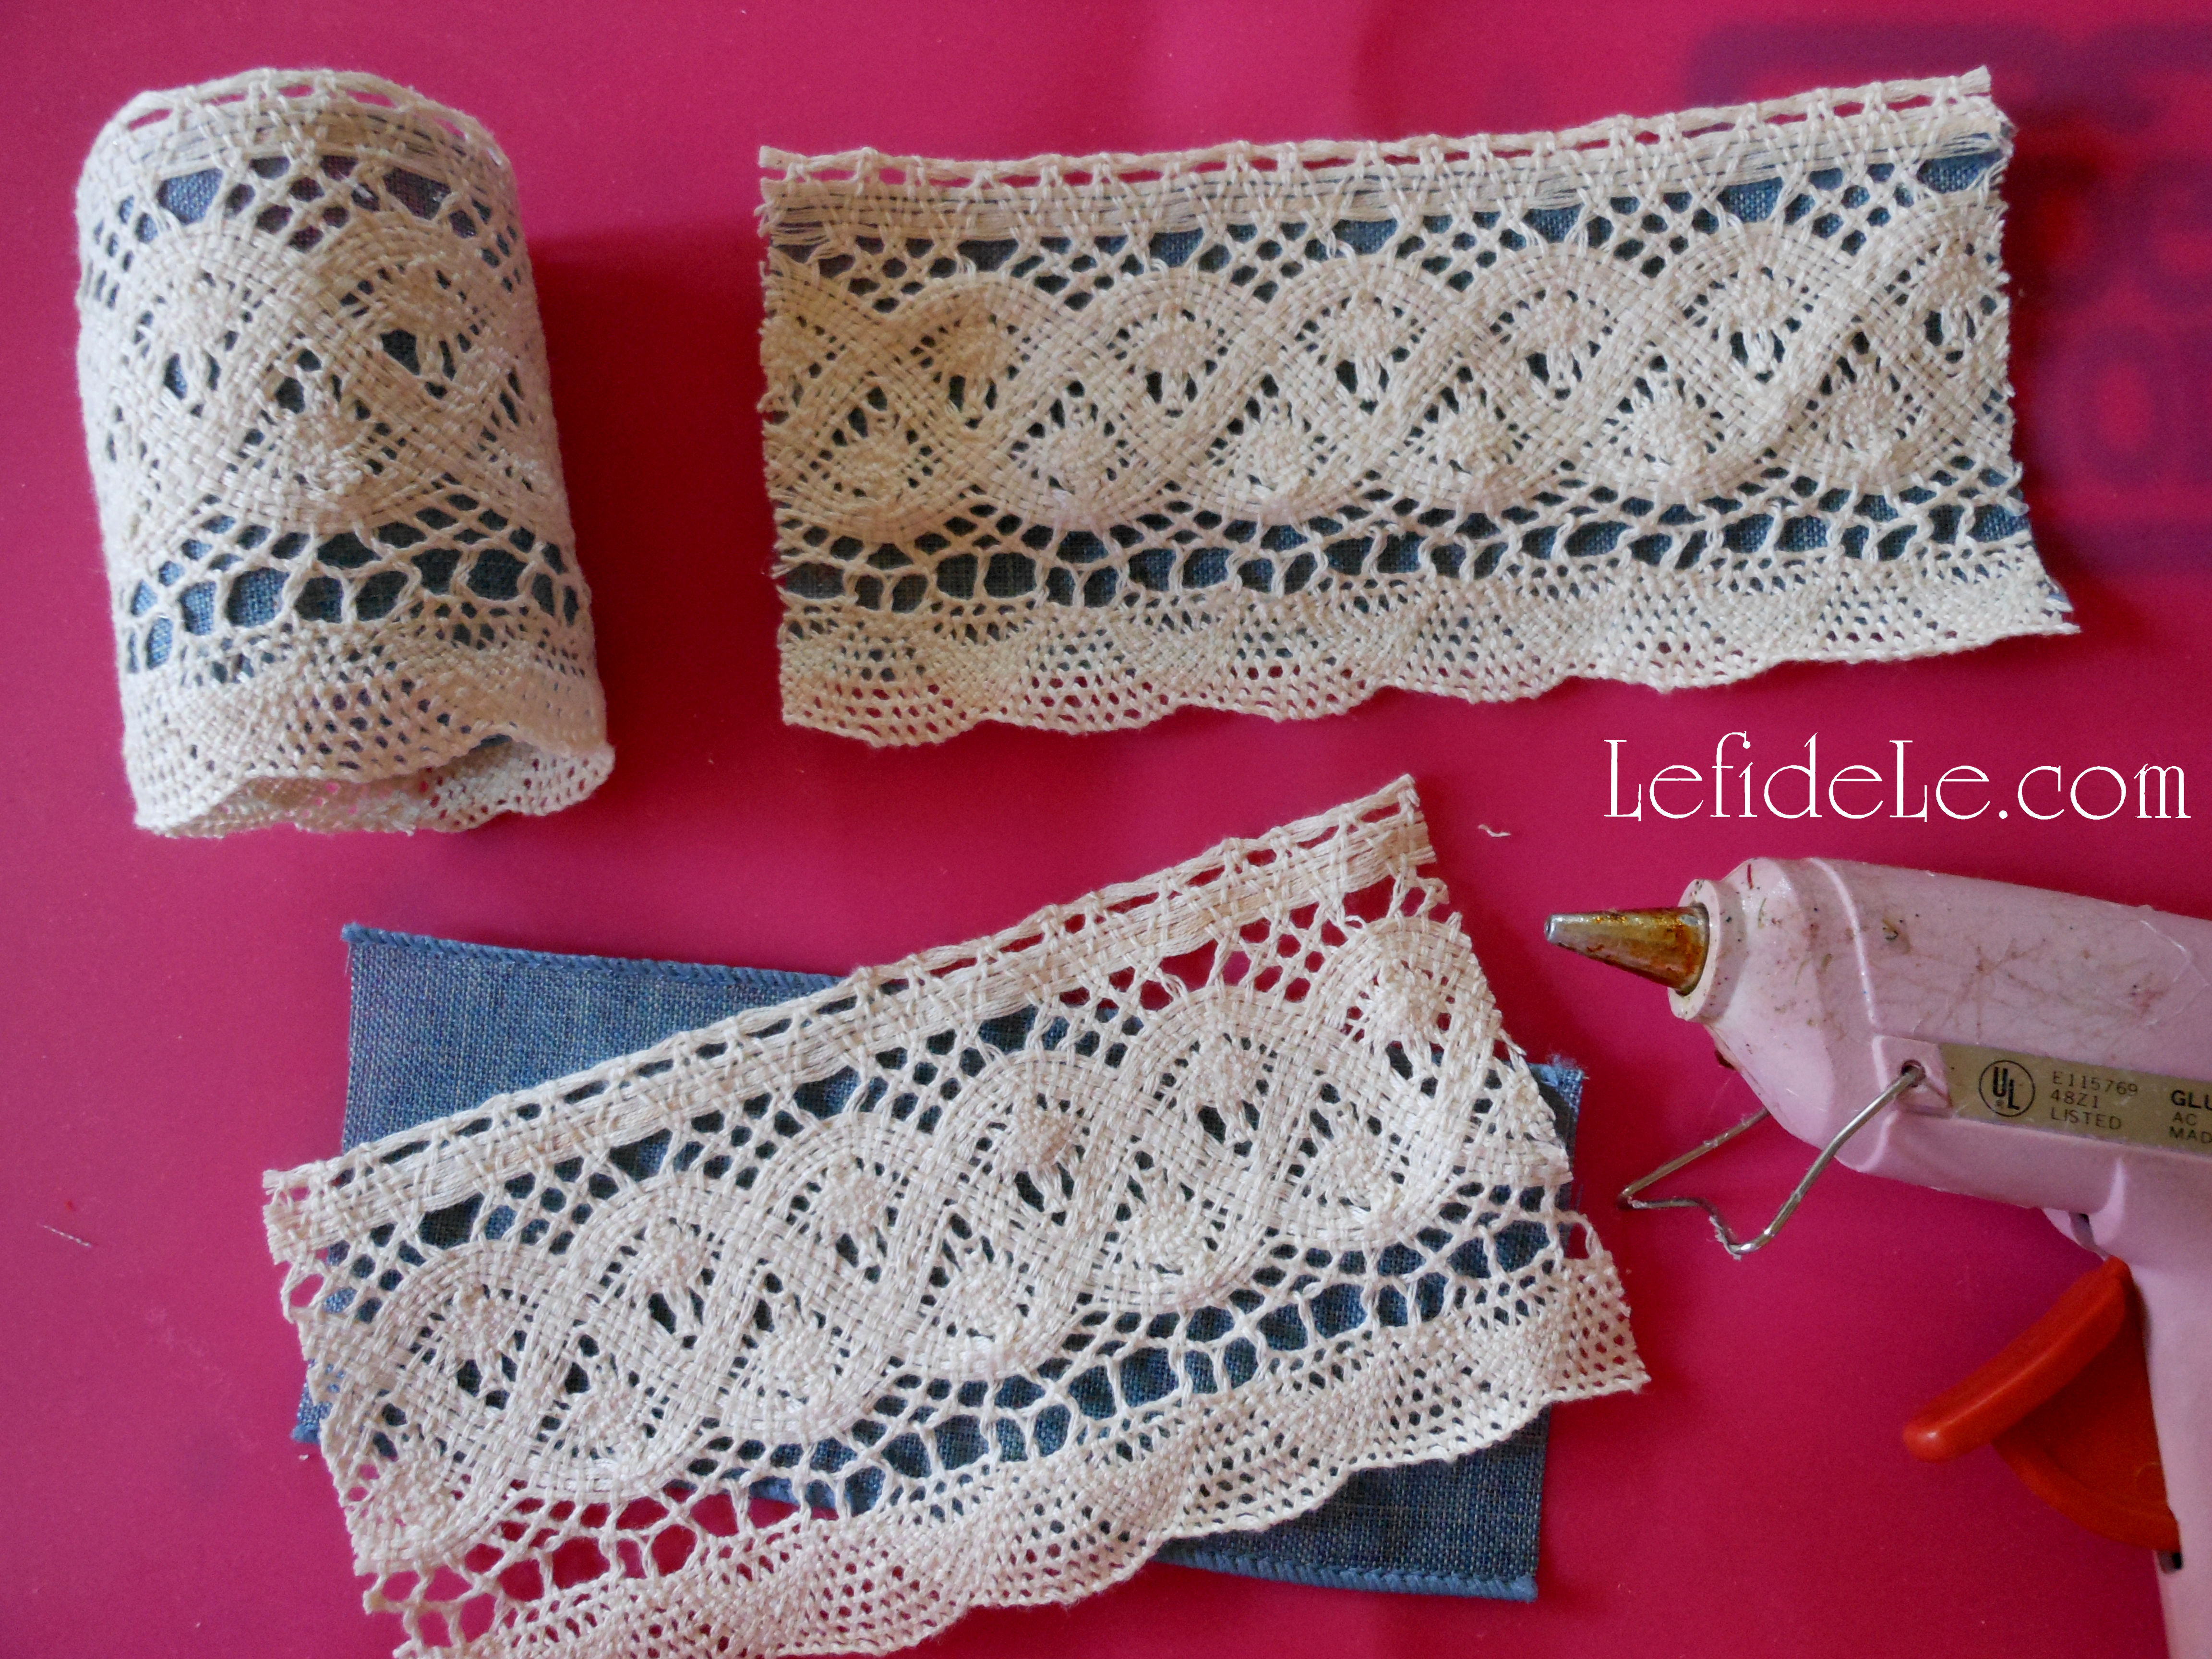
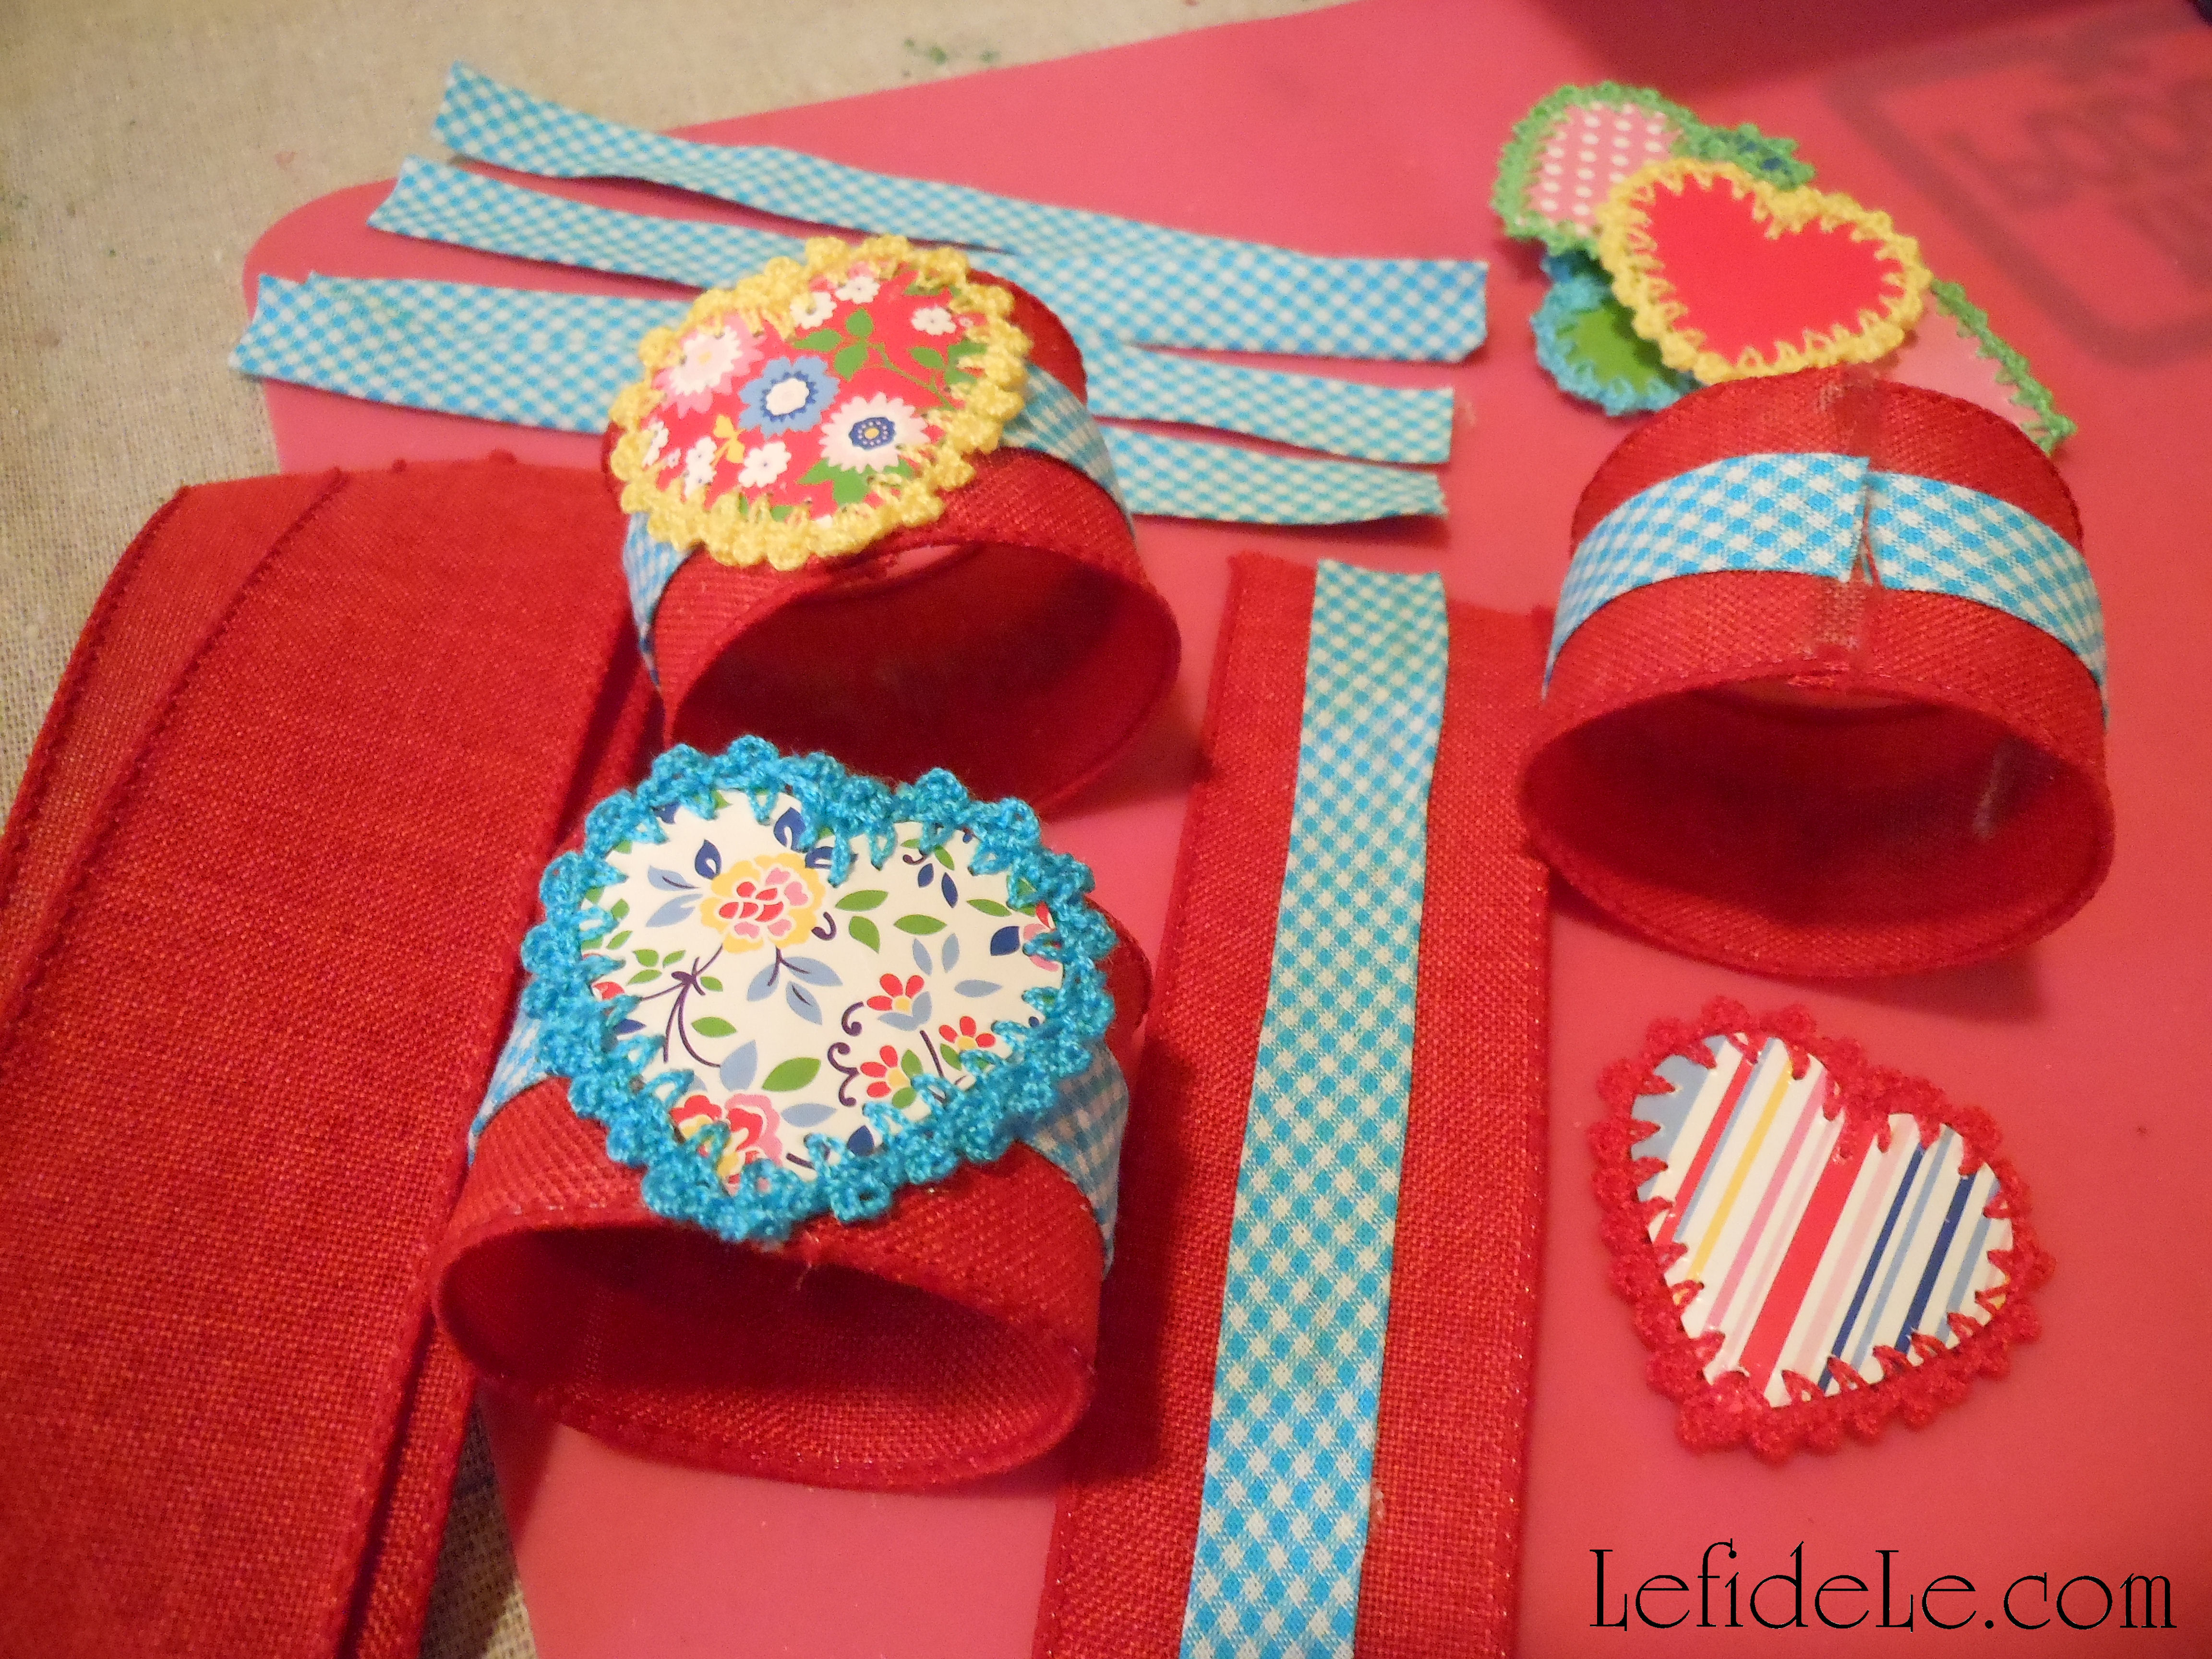
Lay down a line of hot glue onto one end of a section of ribbon and fold it over to meet the other end. Press together firmly to ensure it forms a secure bond. One and done!

917Leigh

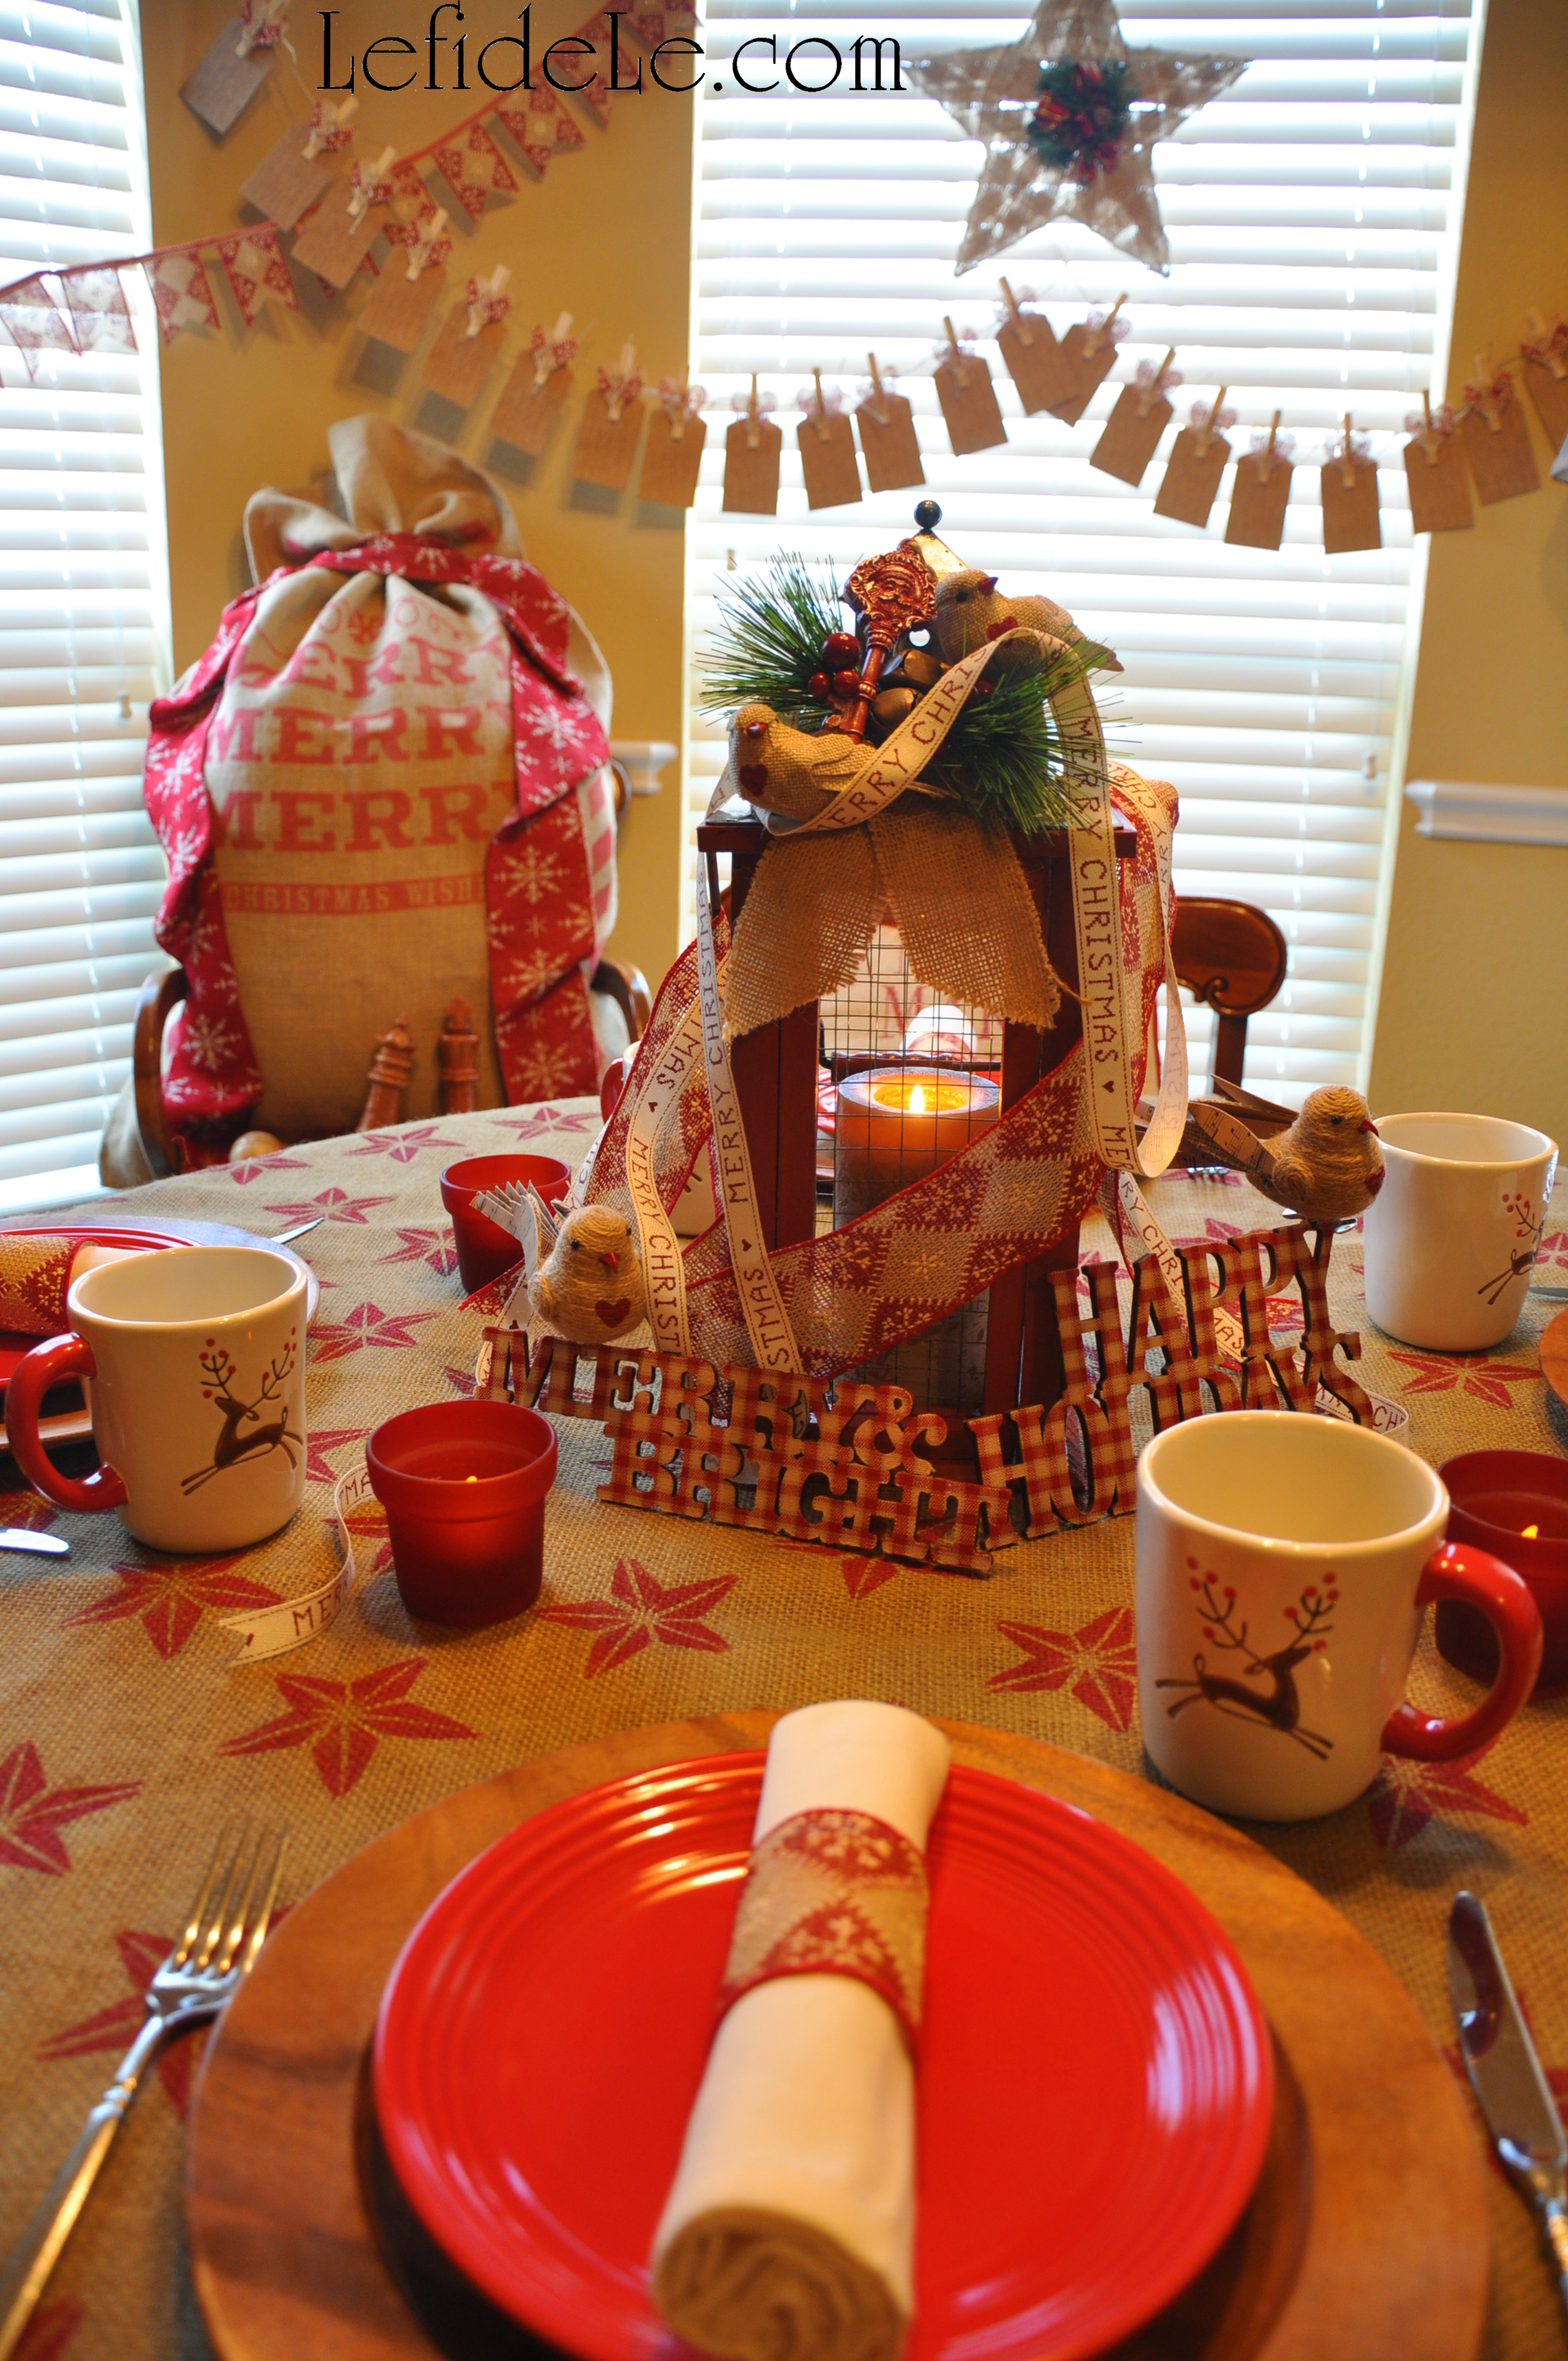
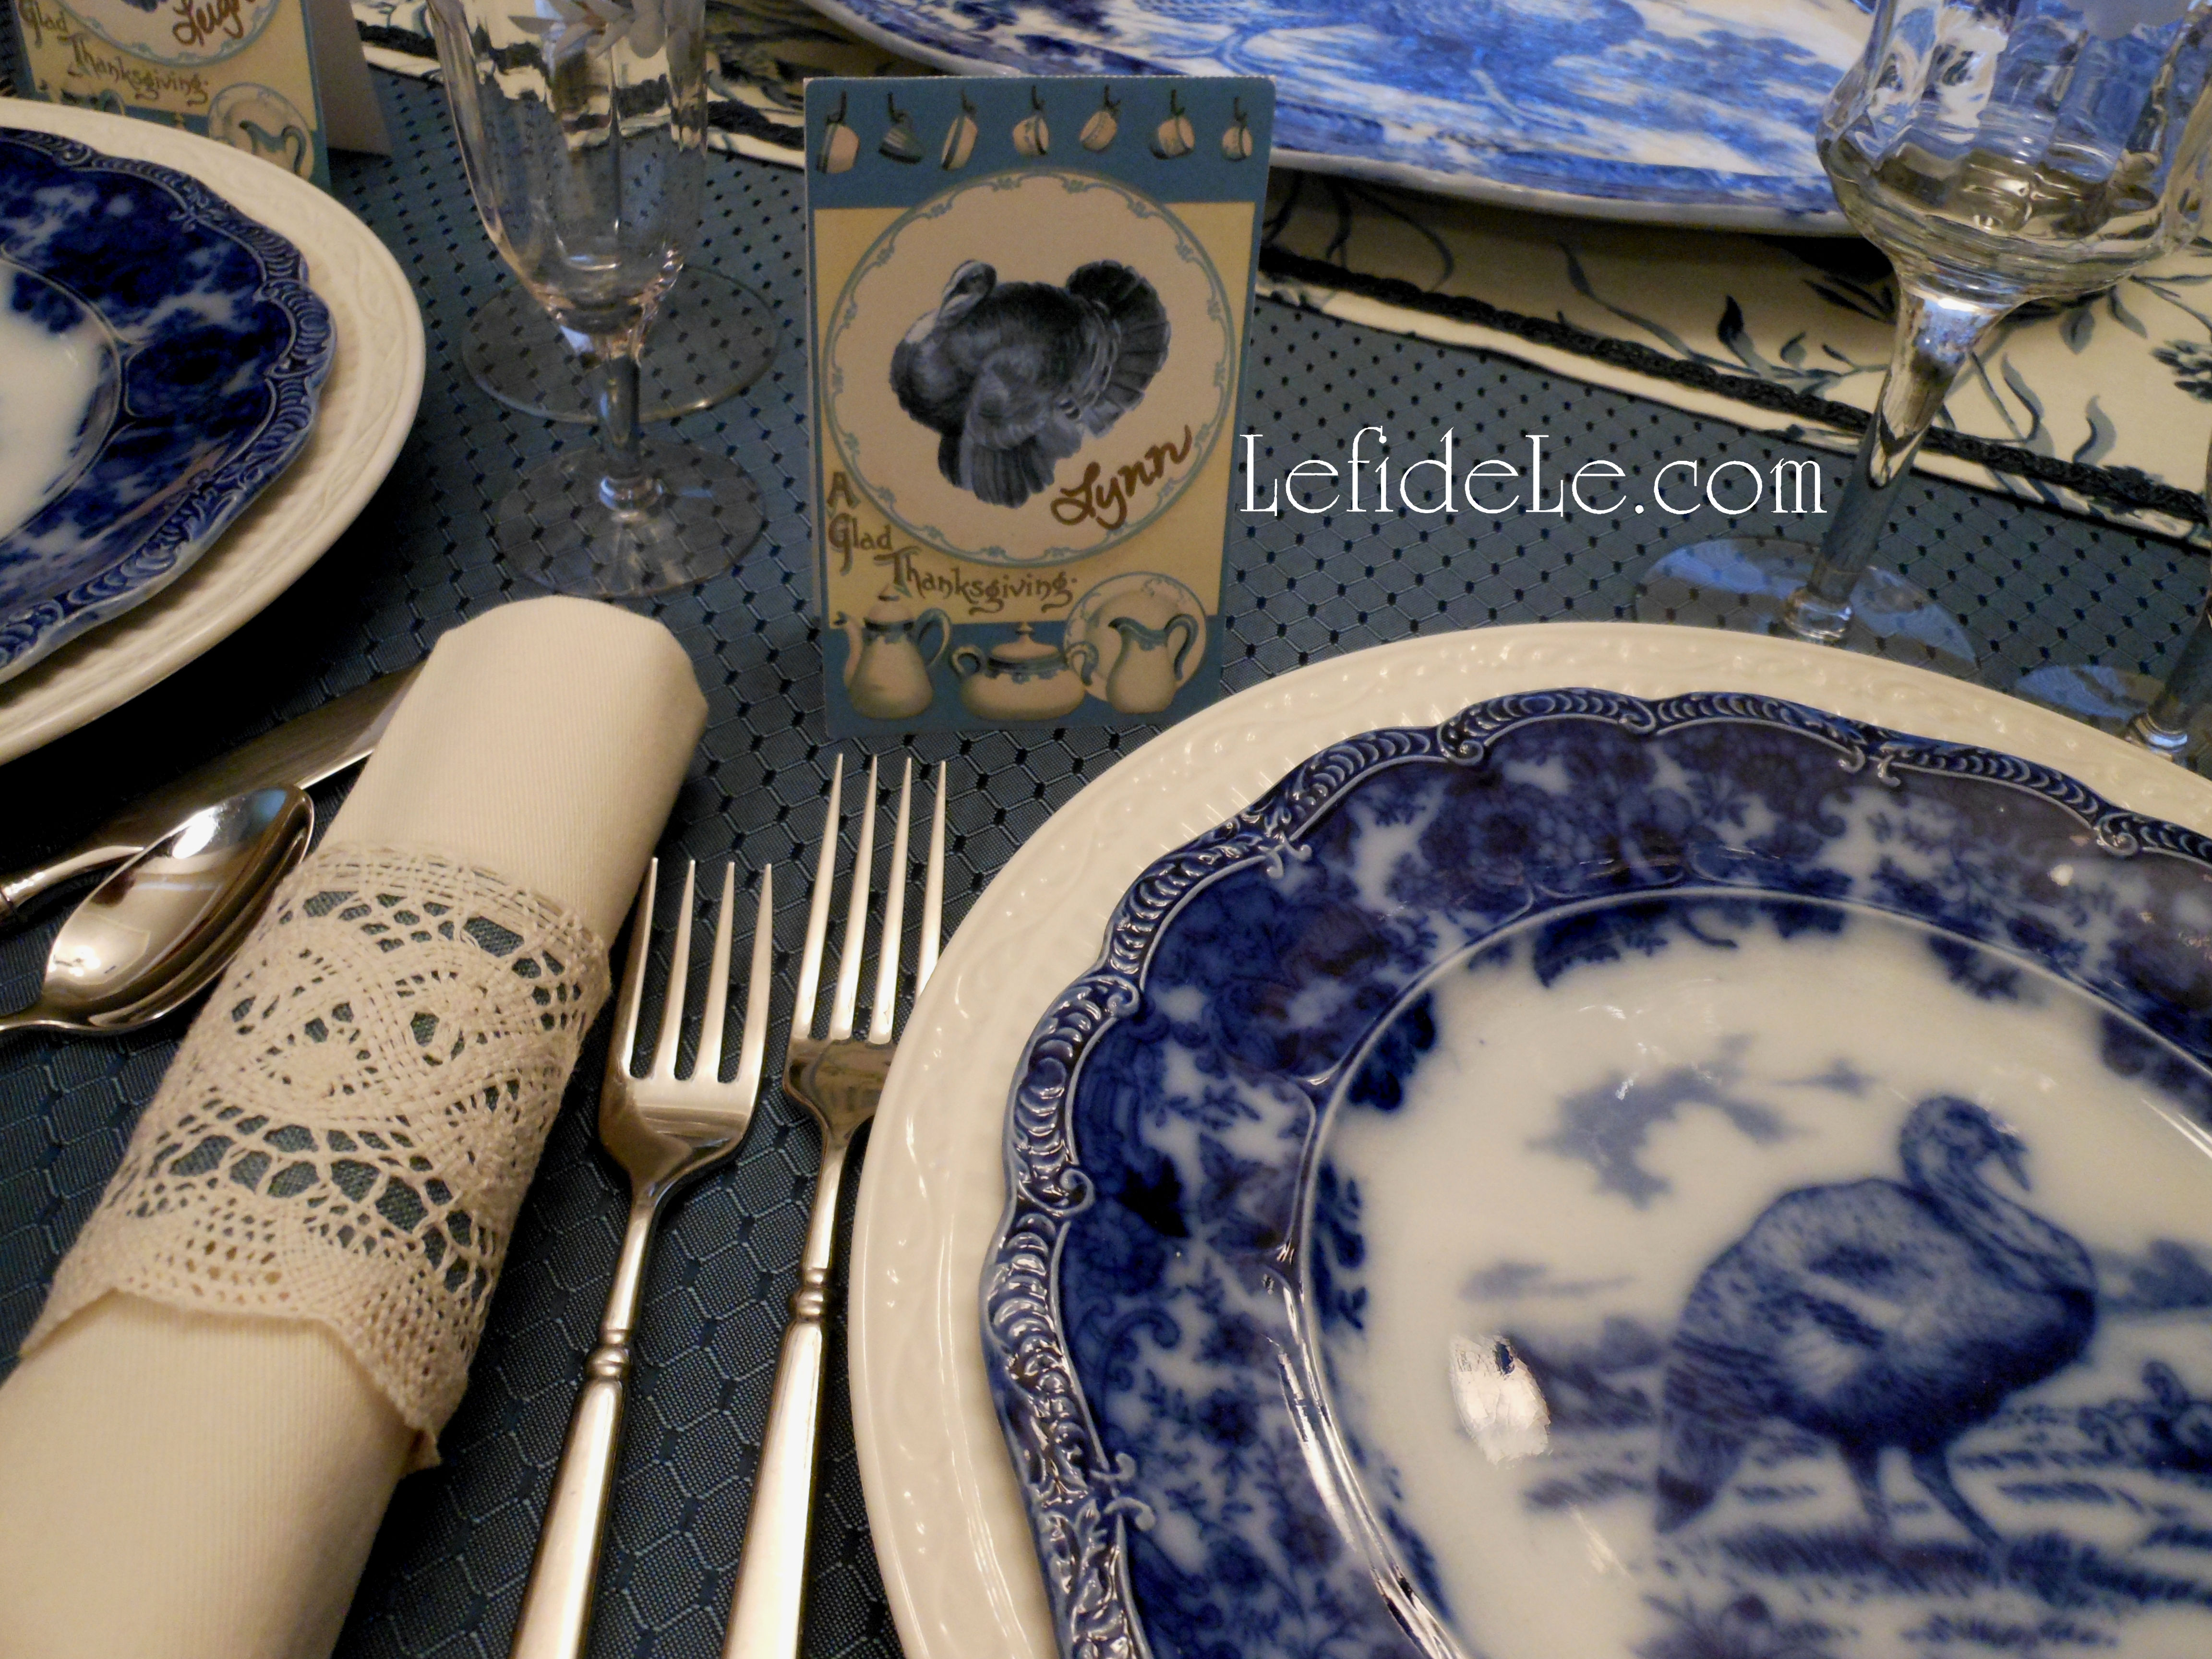
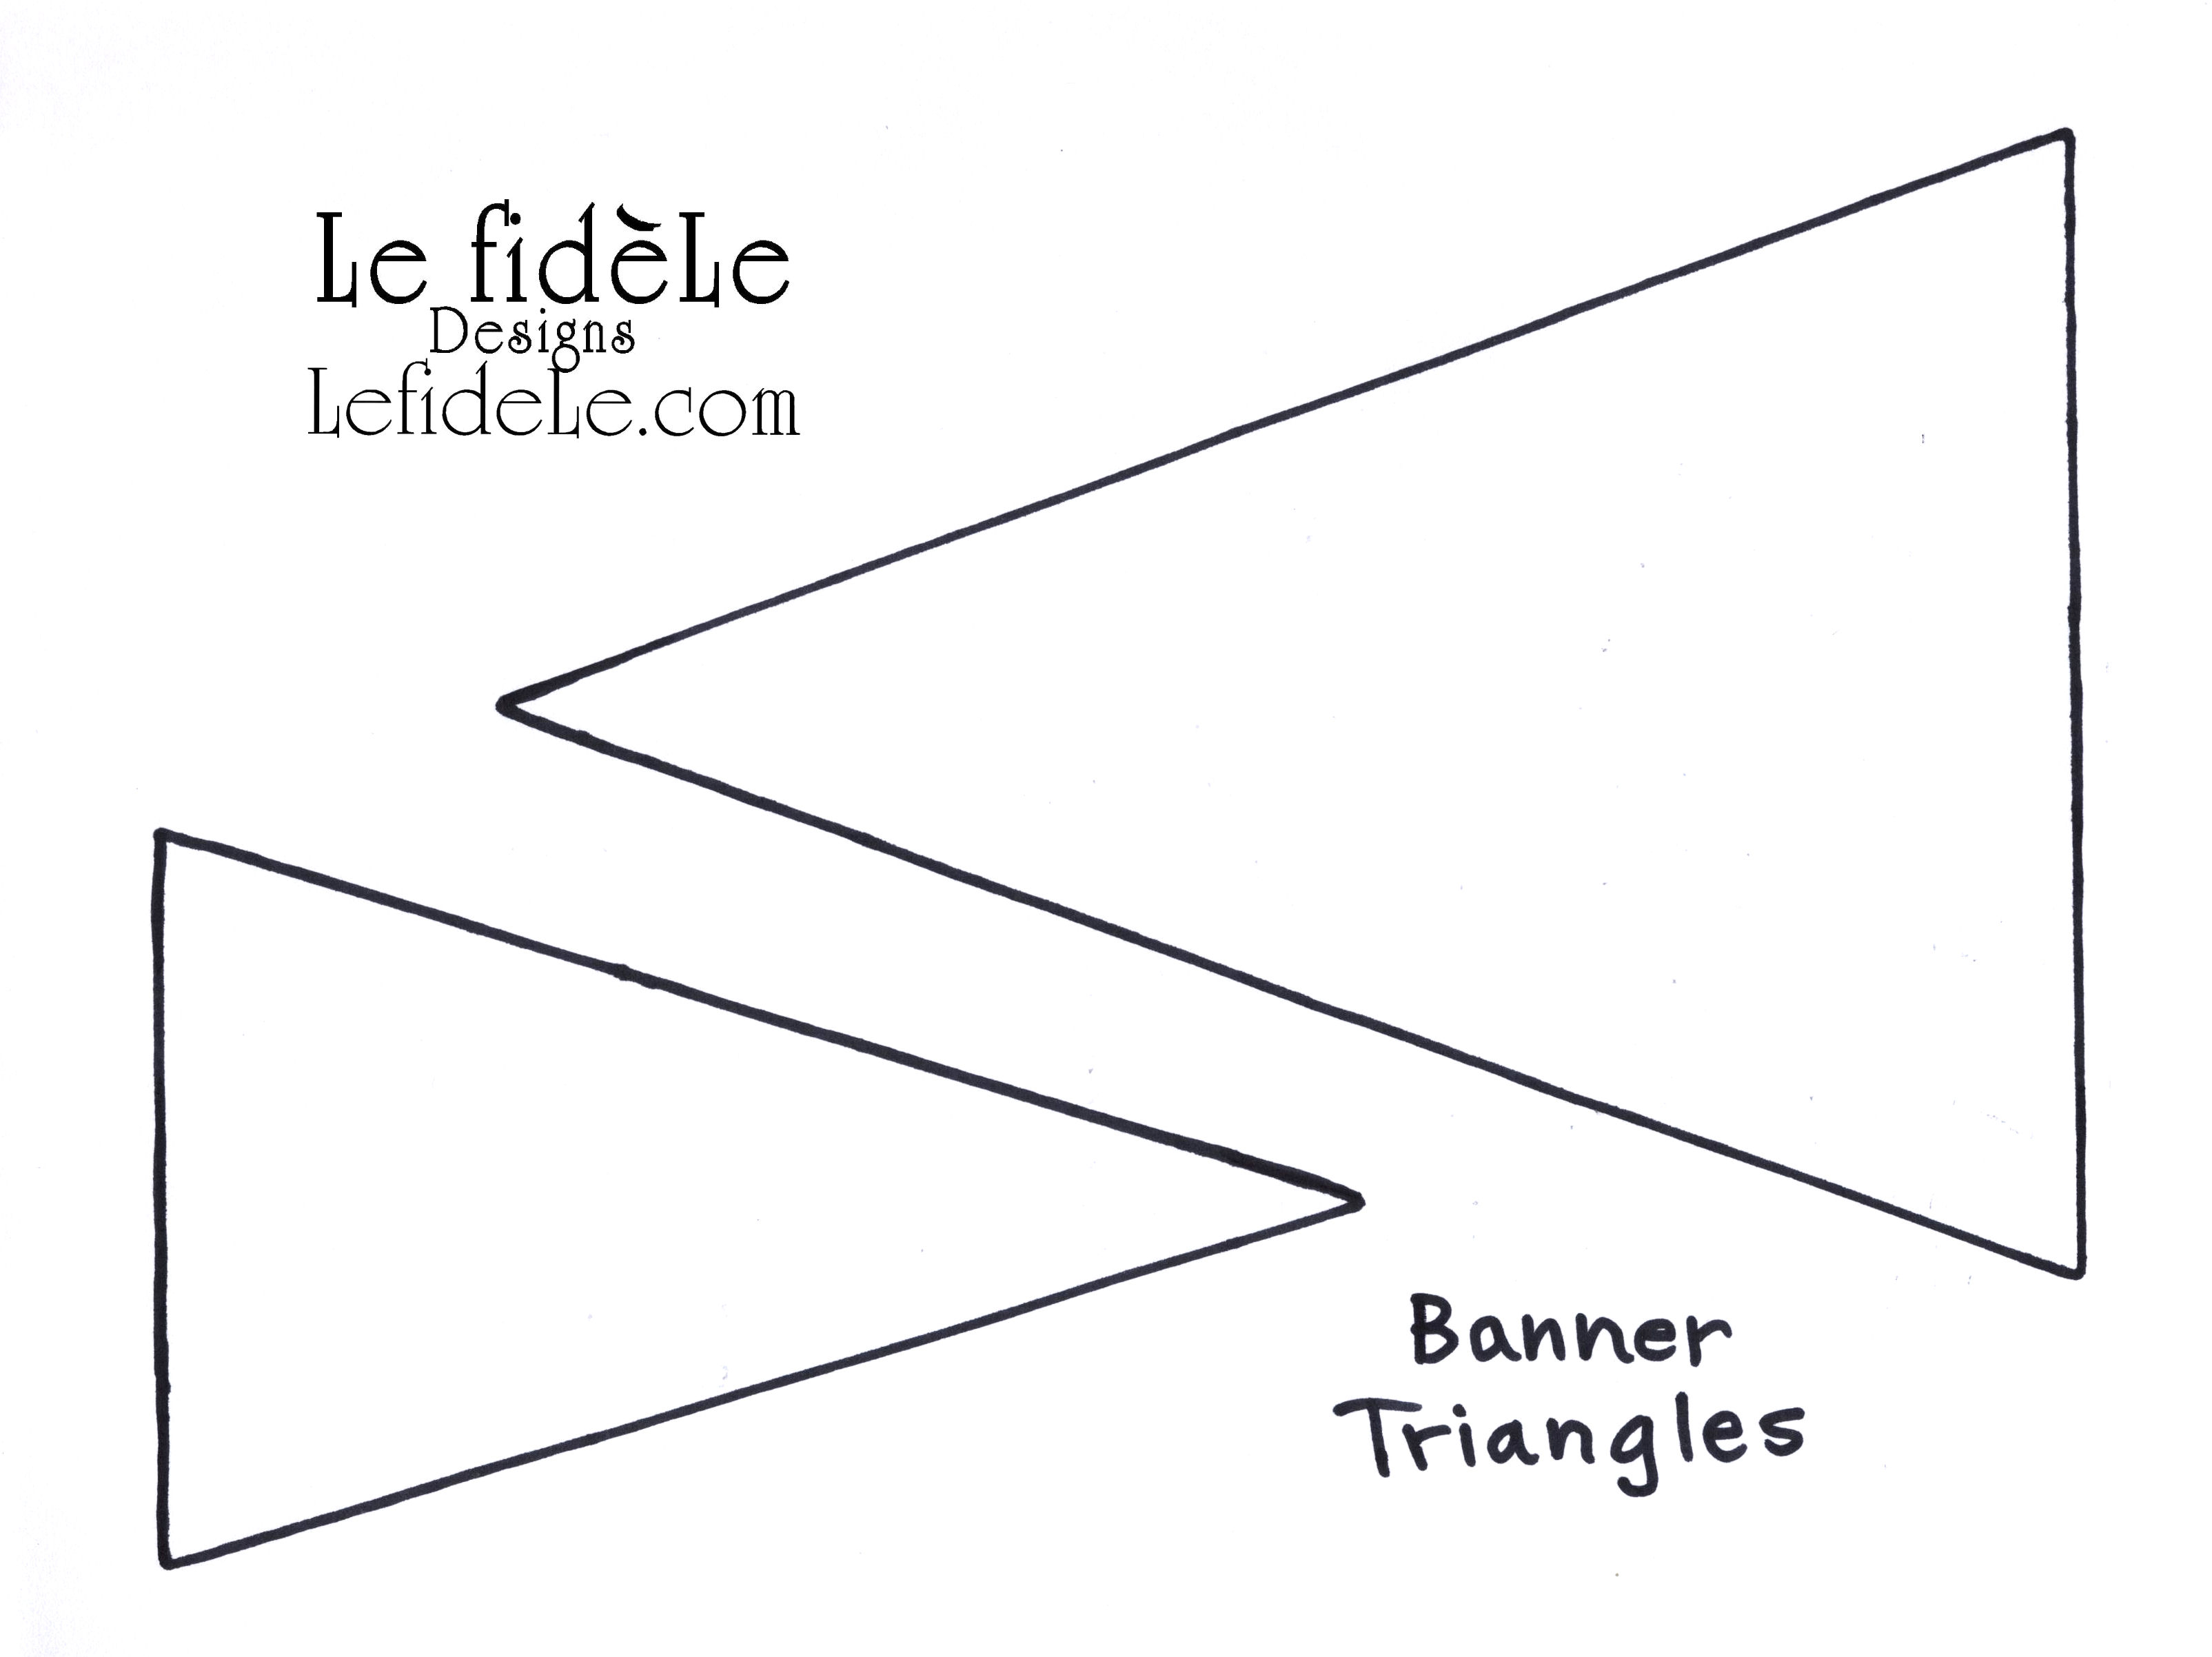
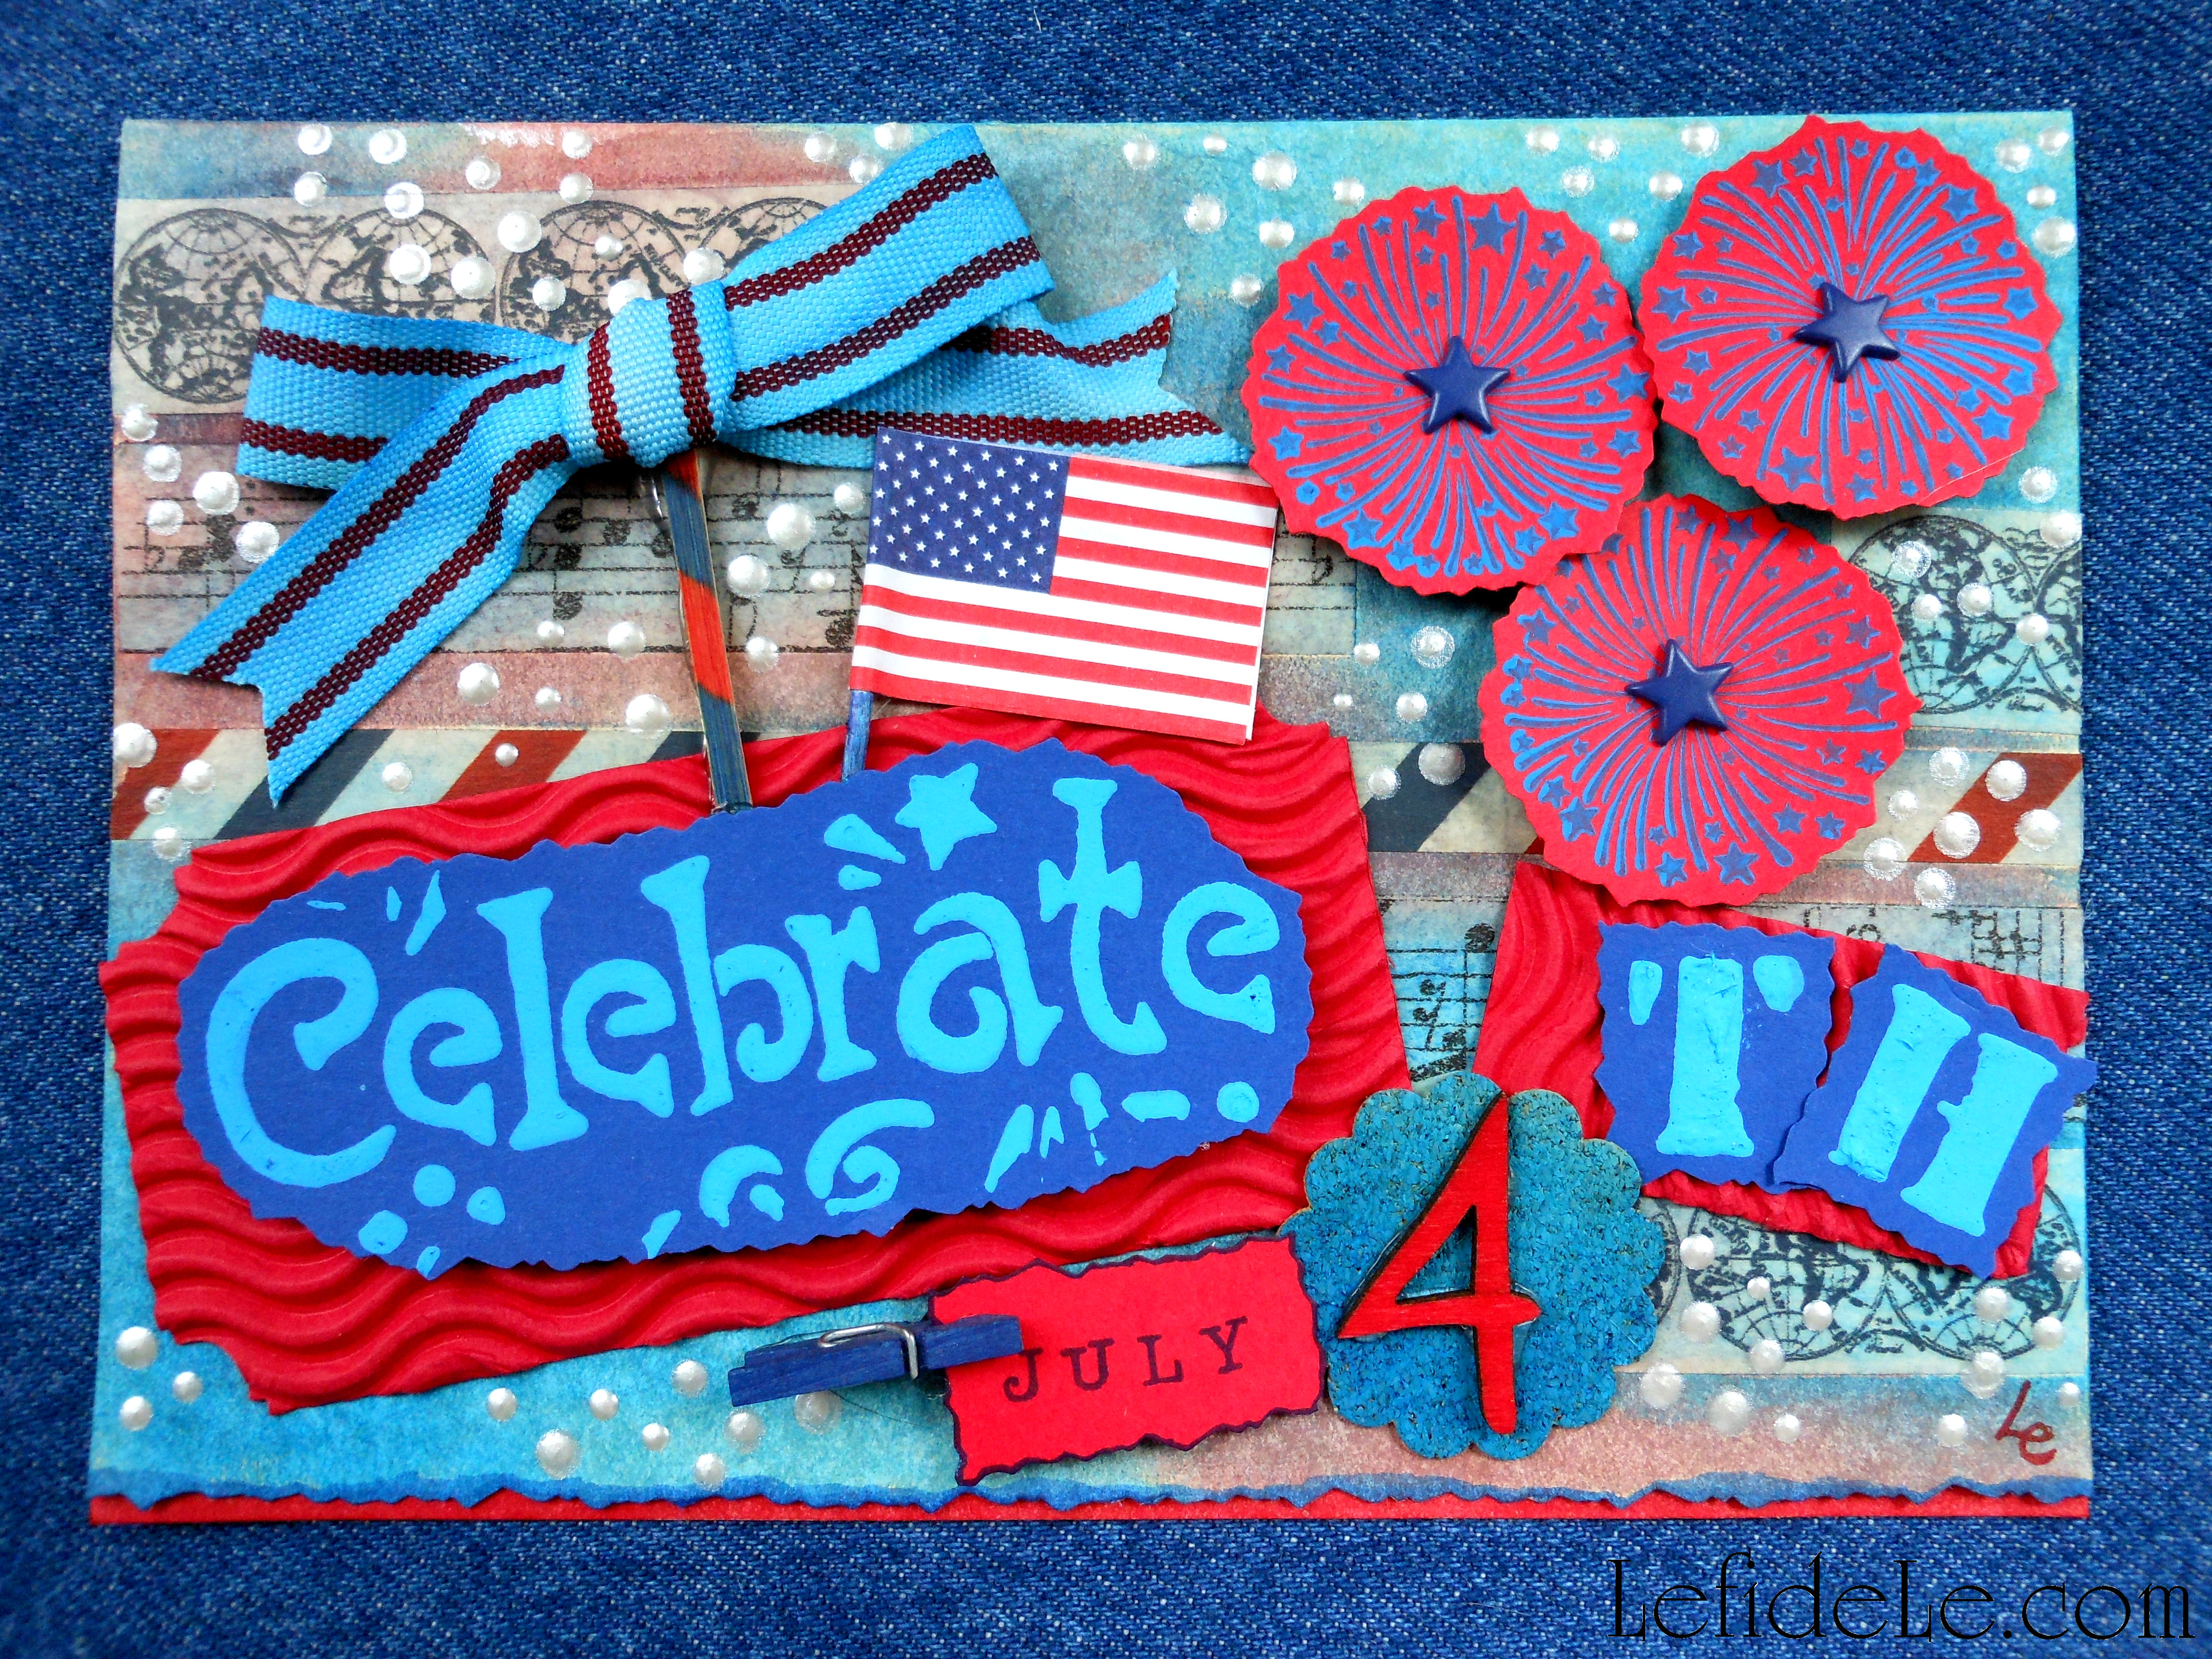
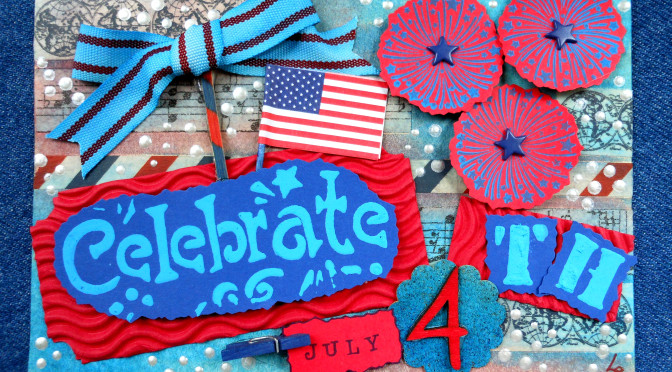
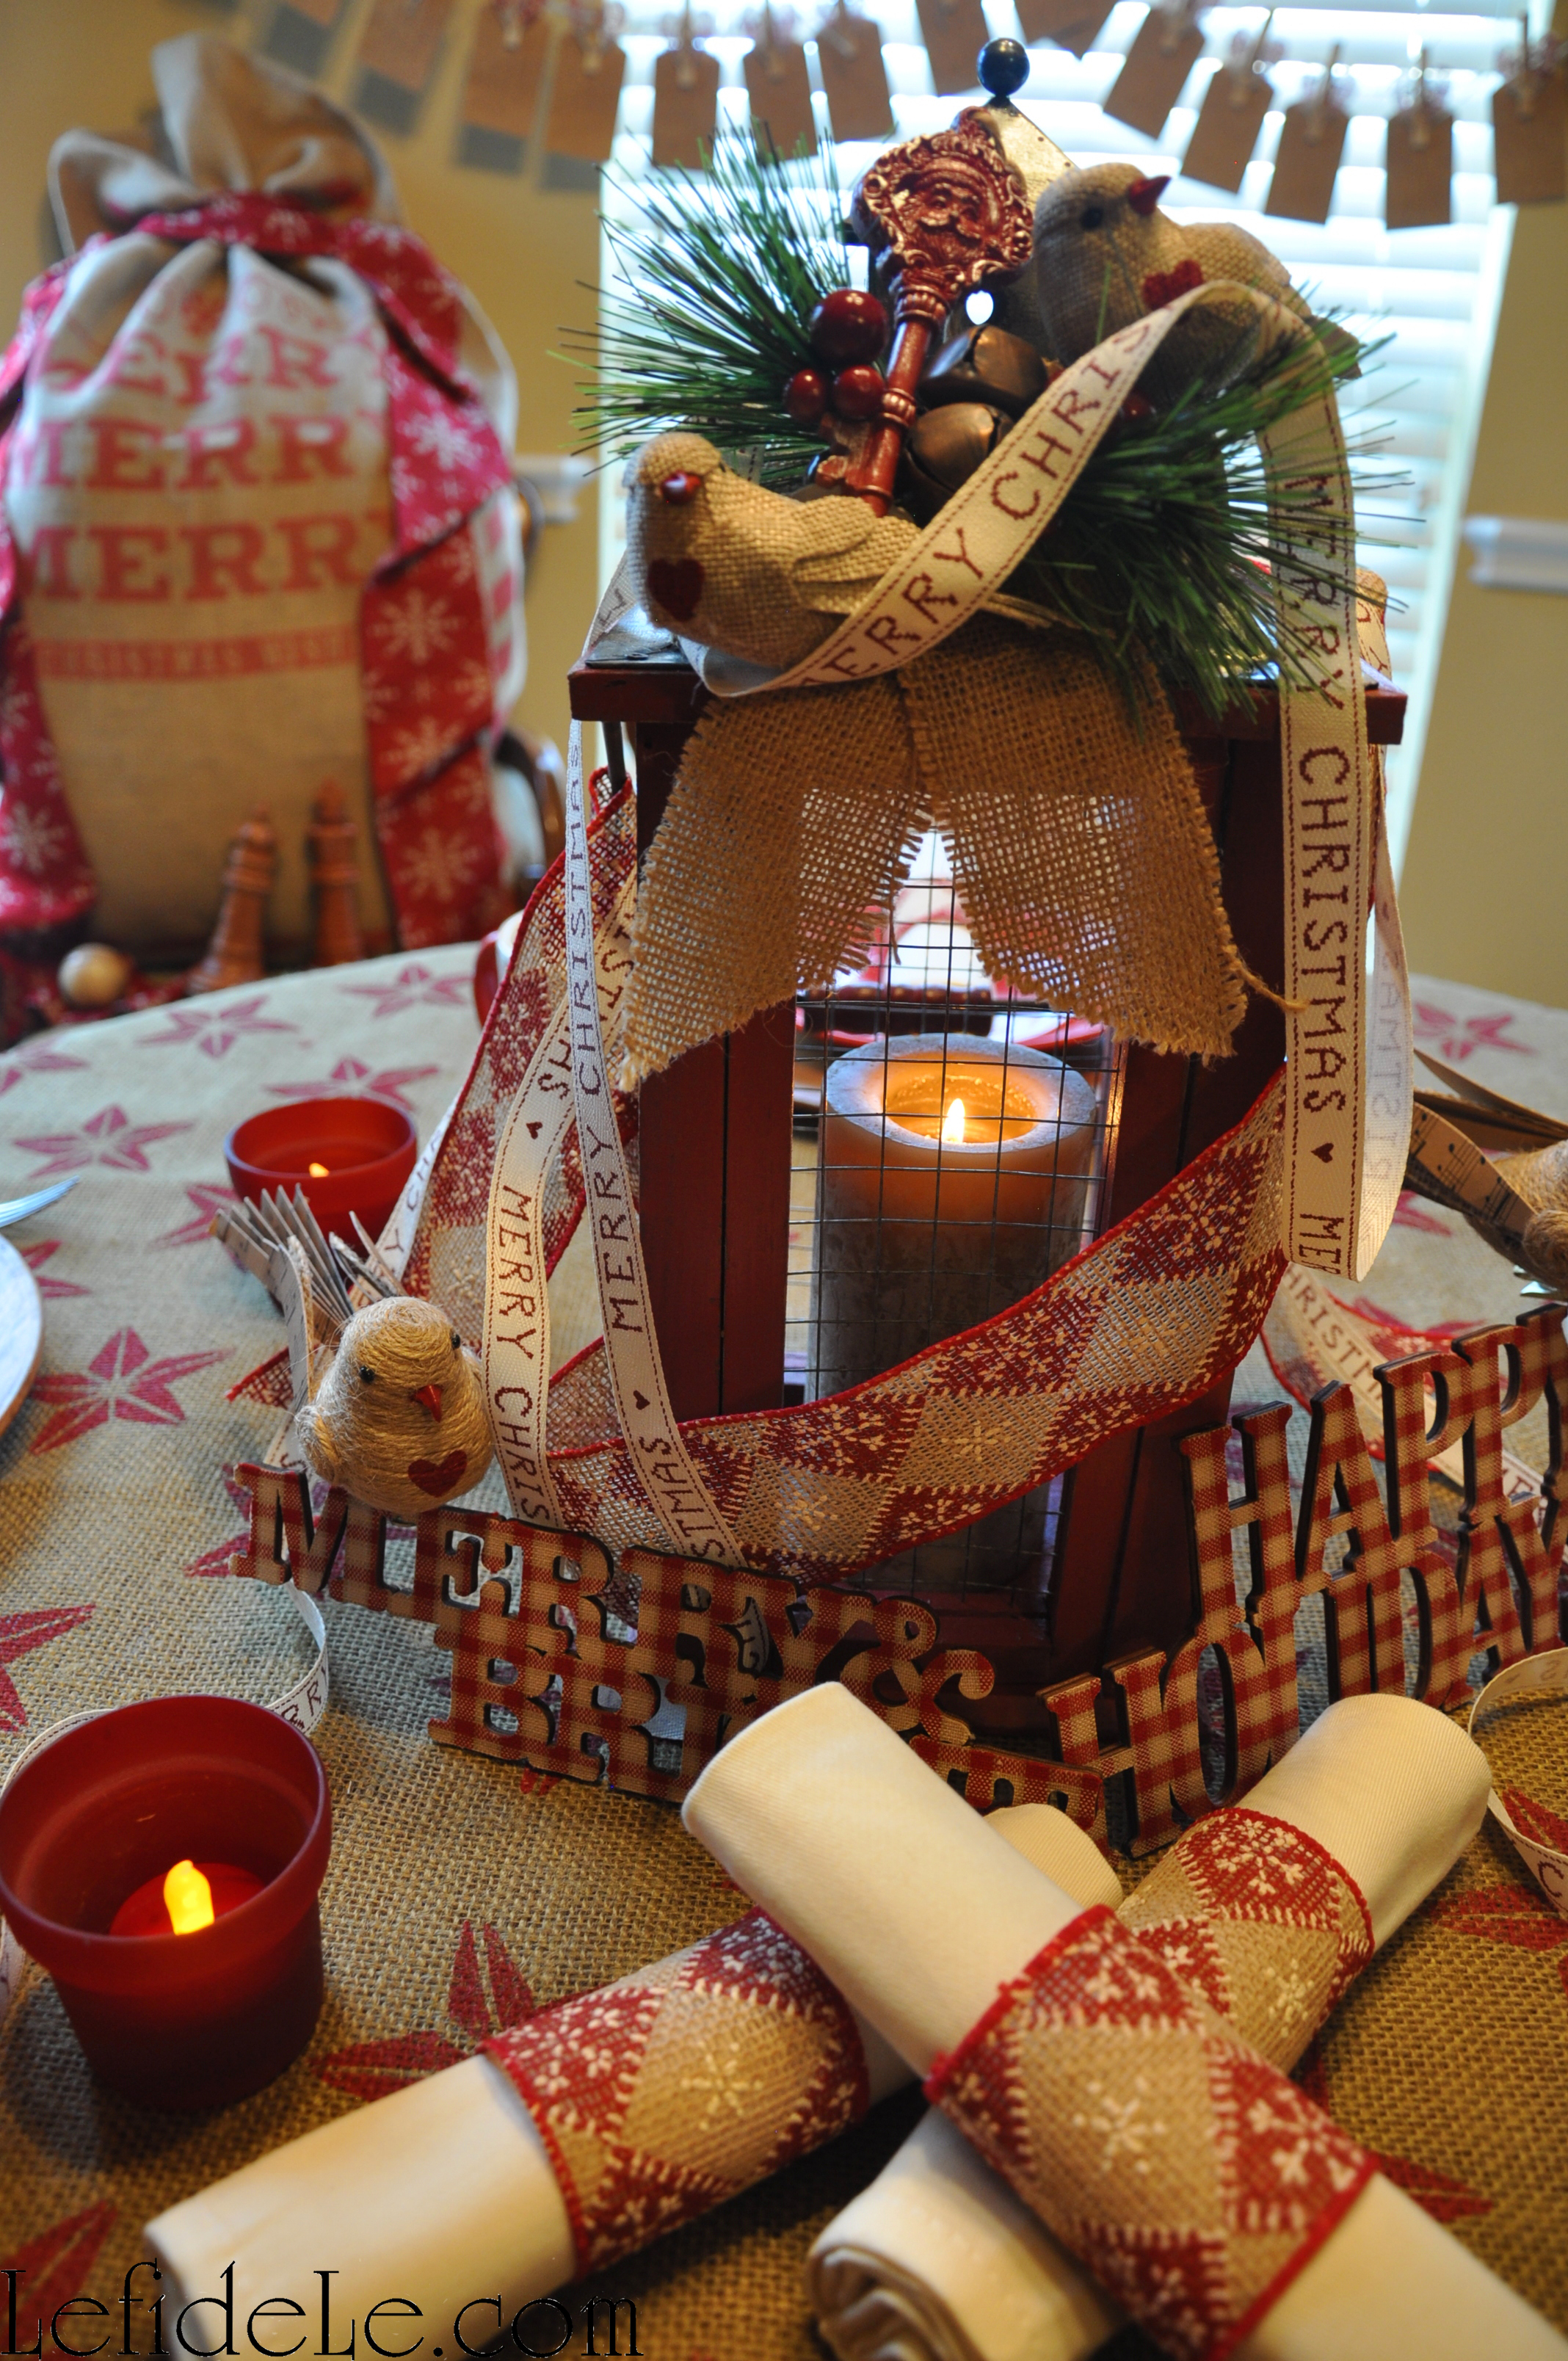
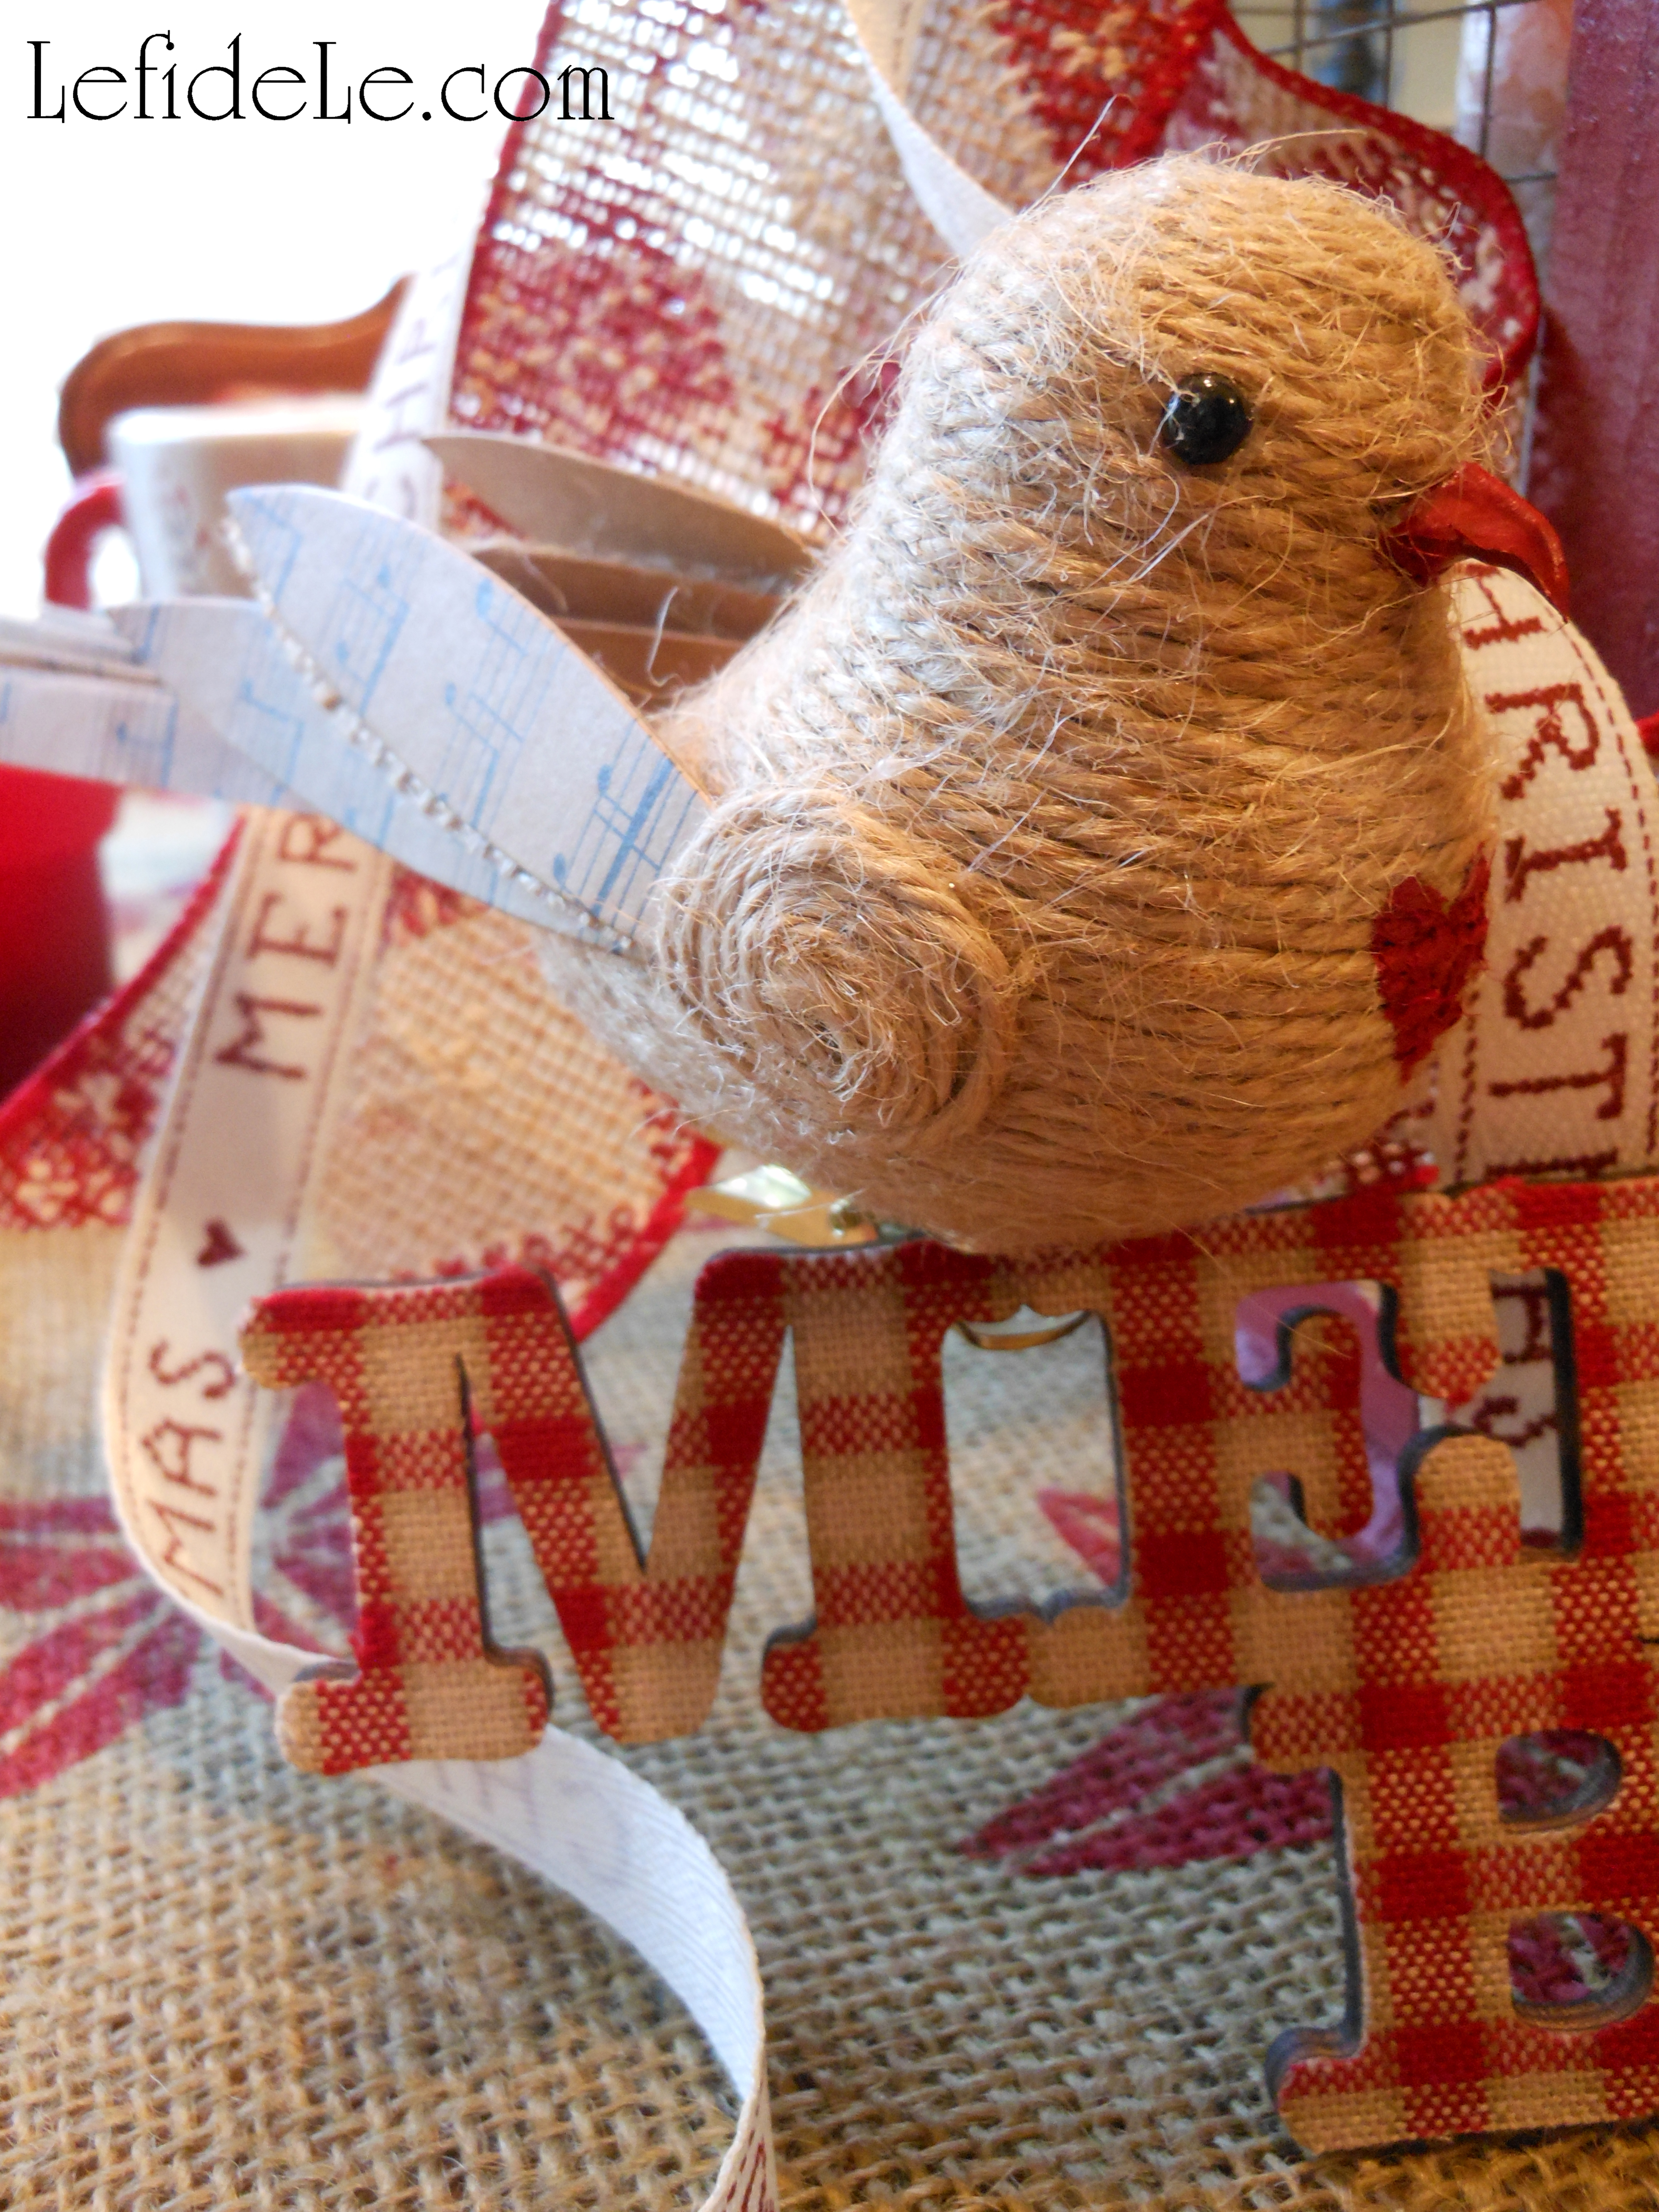
The rings coordinate perfectly with my advent calendar and banner crafts because they utilized the same roll of ribbon.

25Leigh

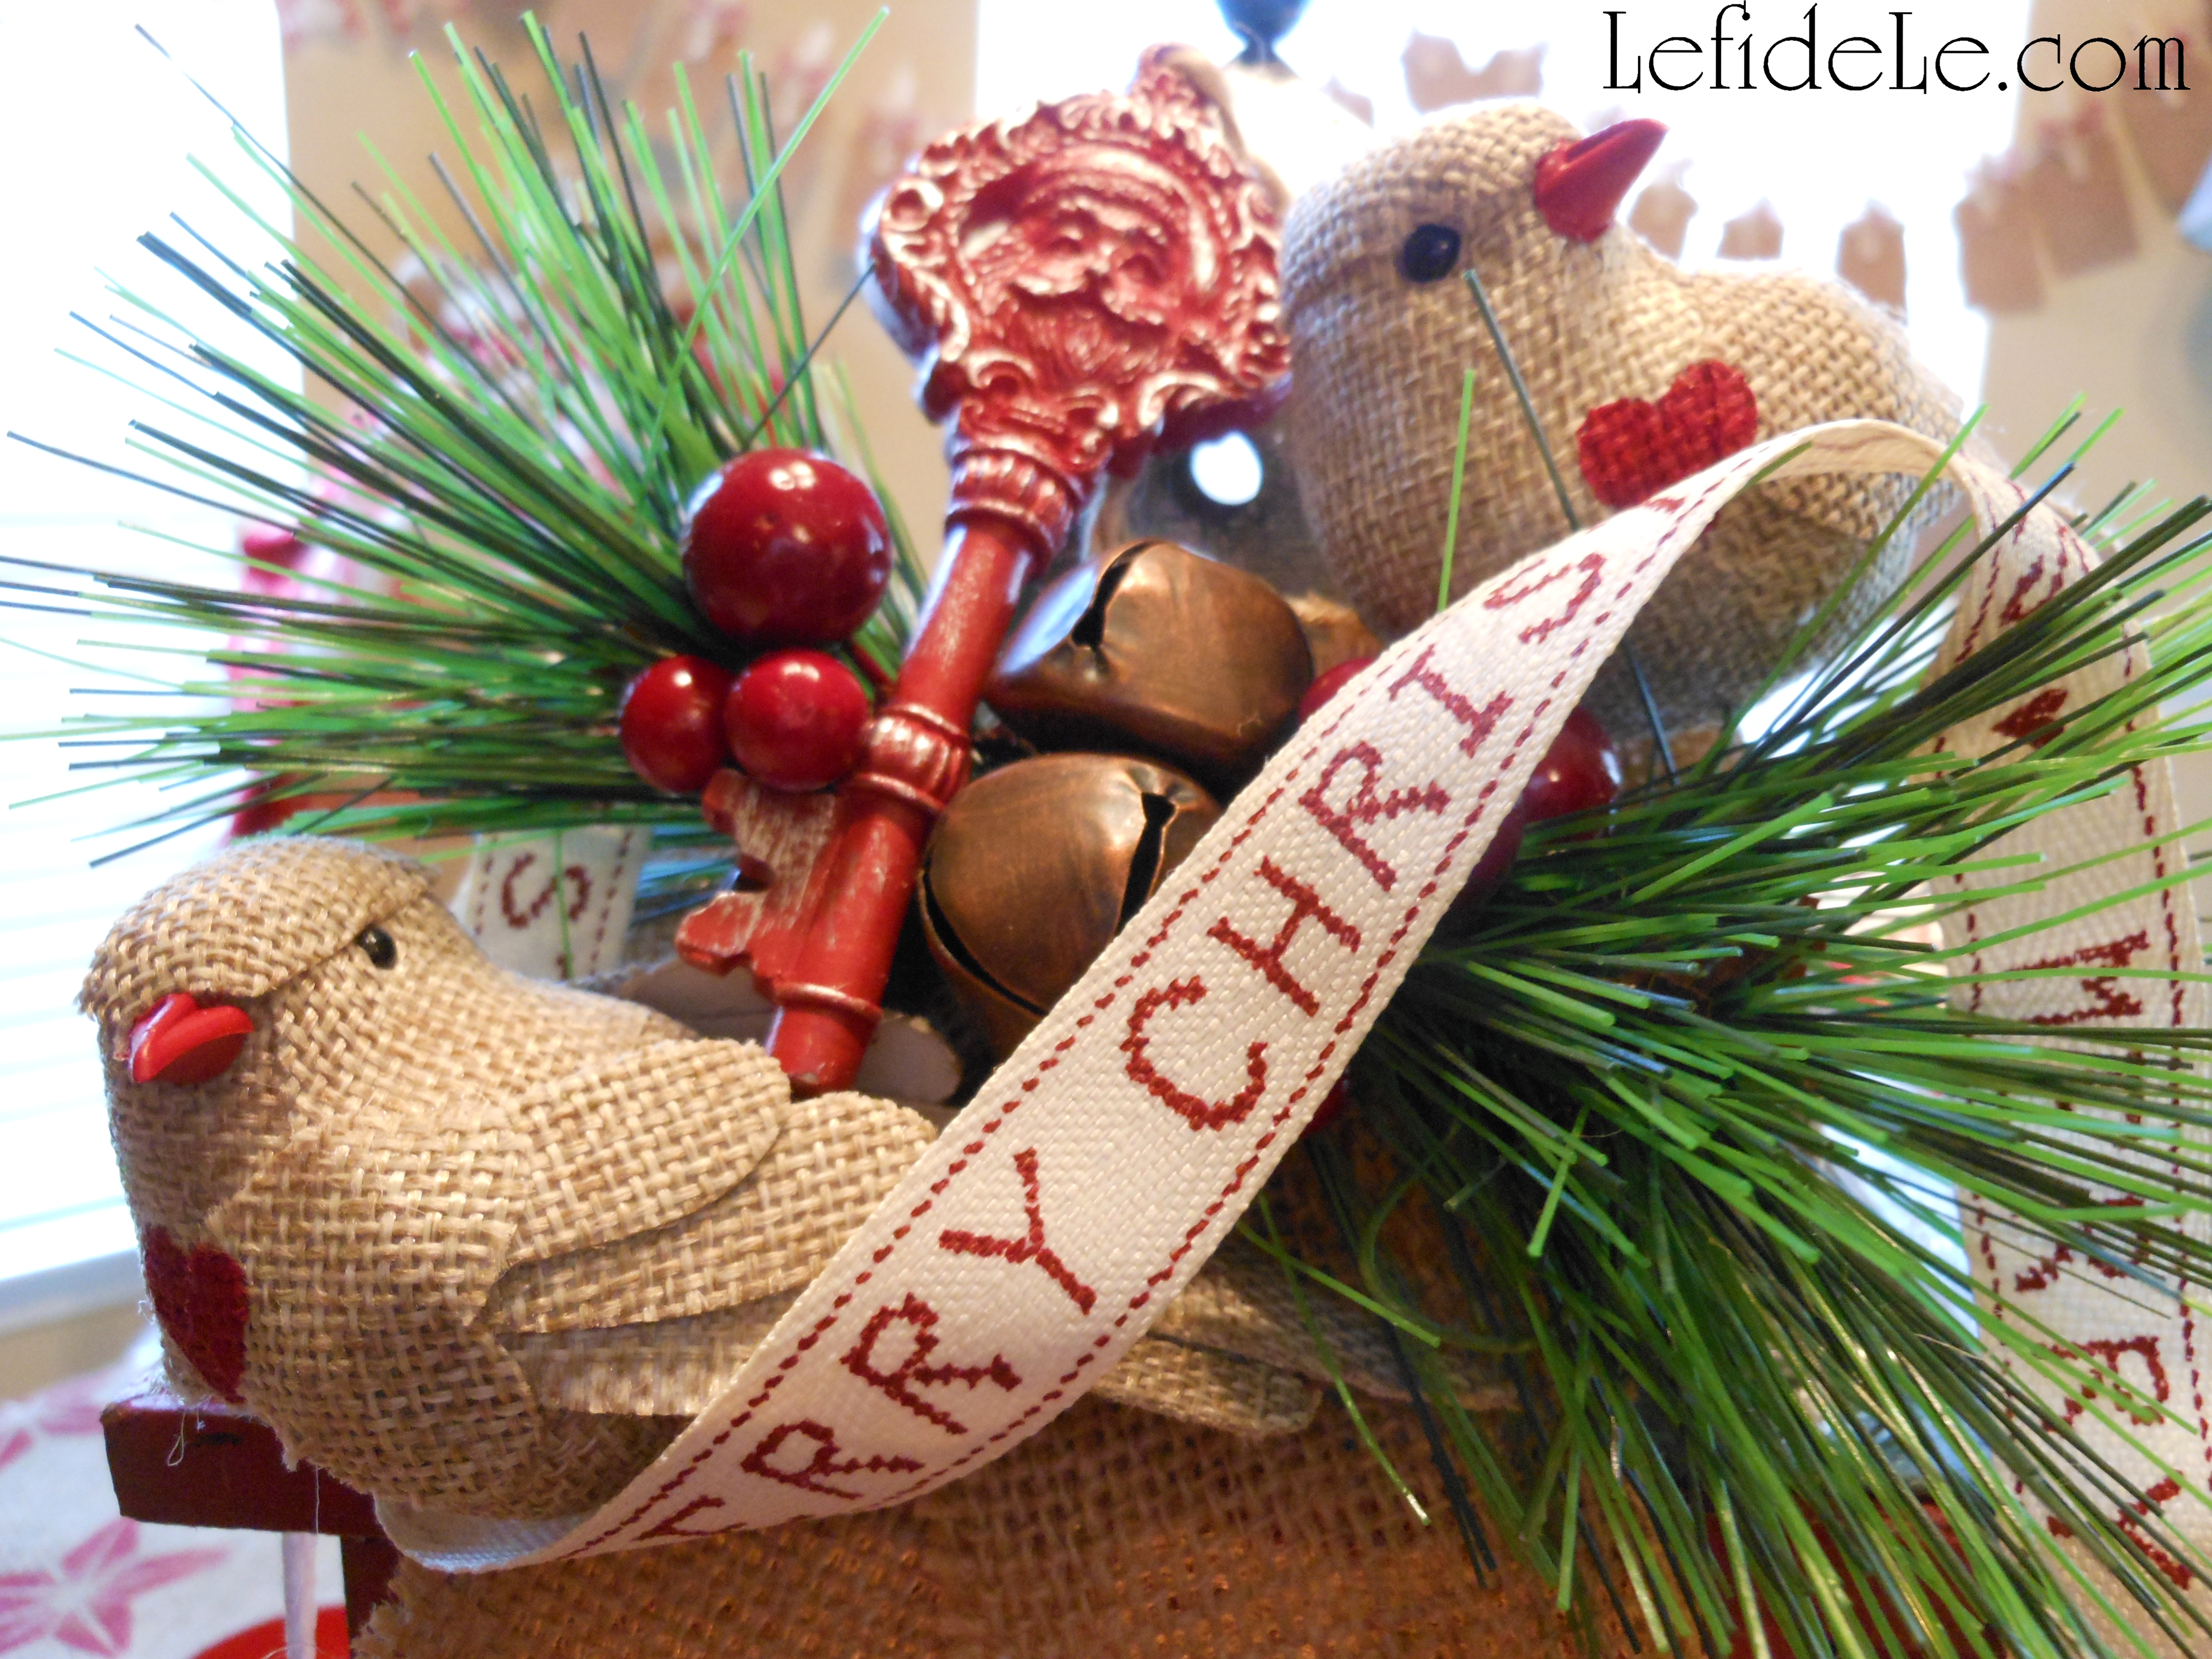
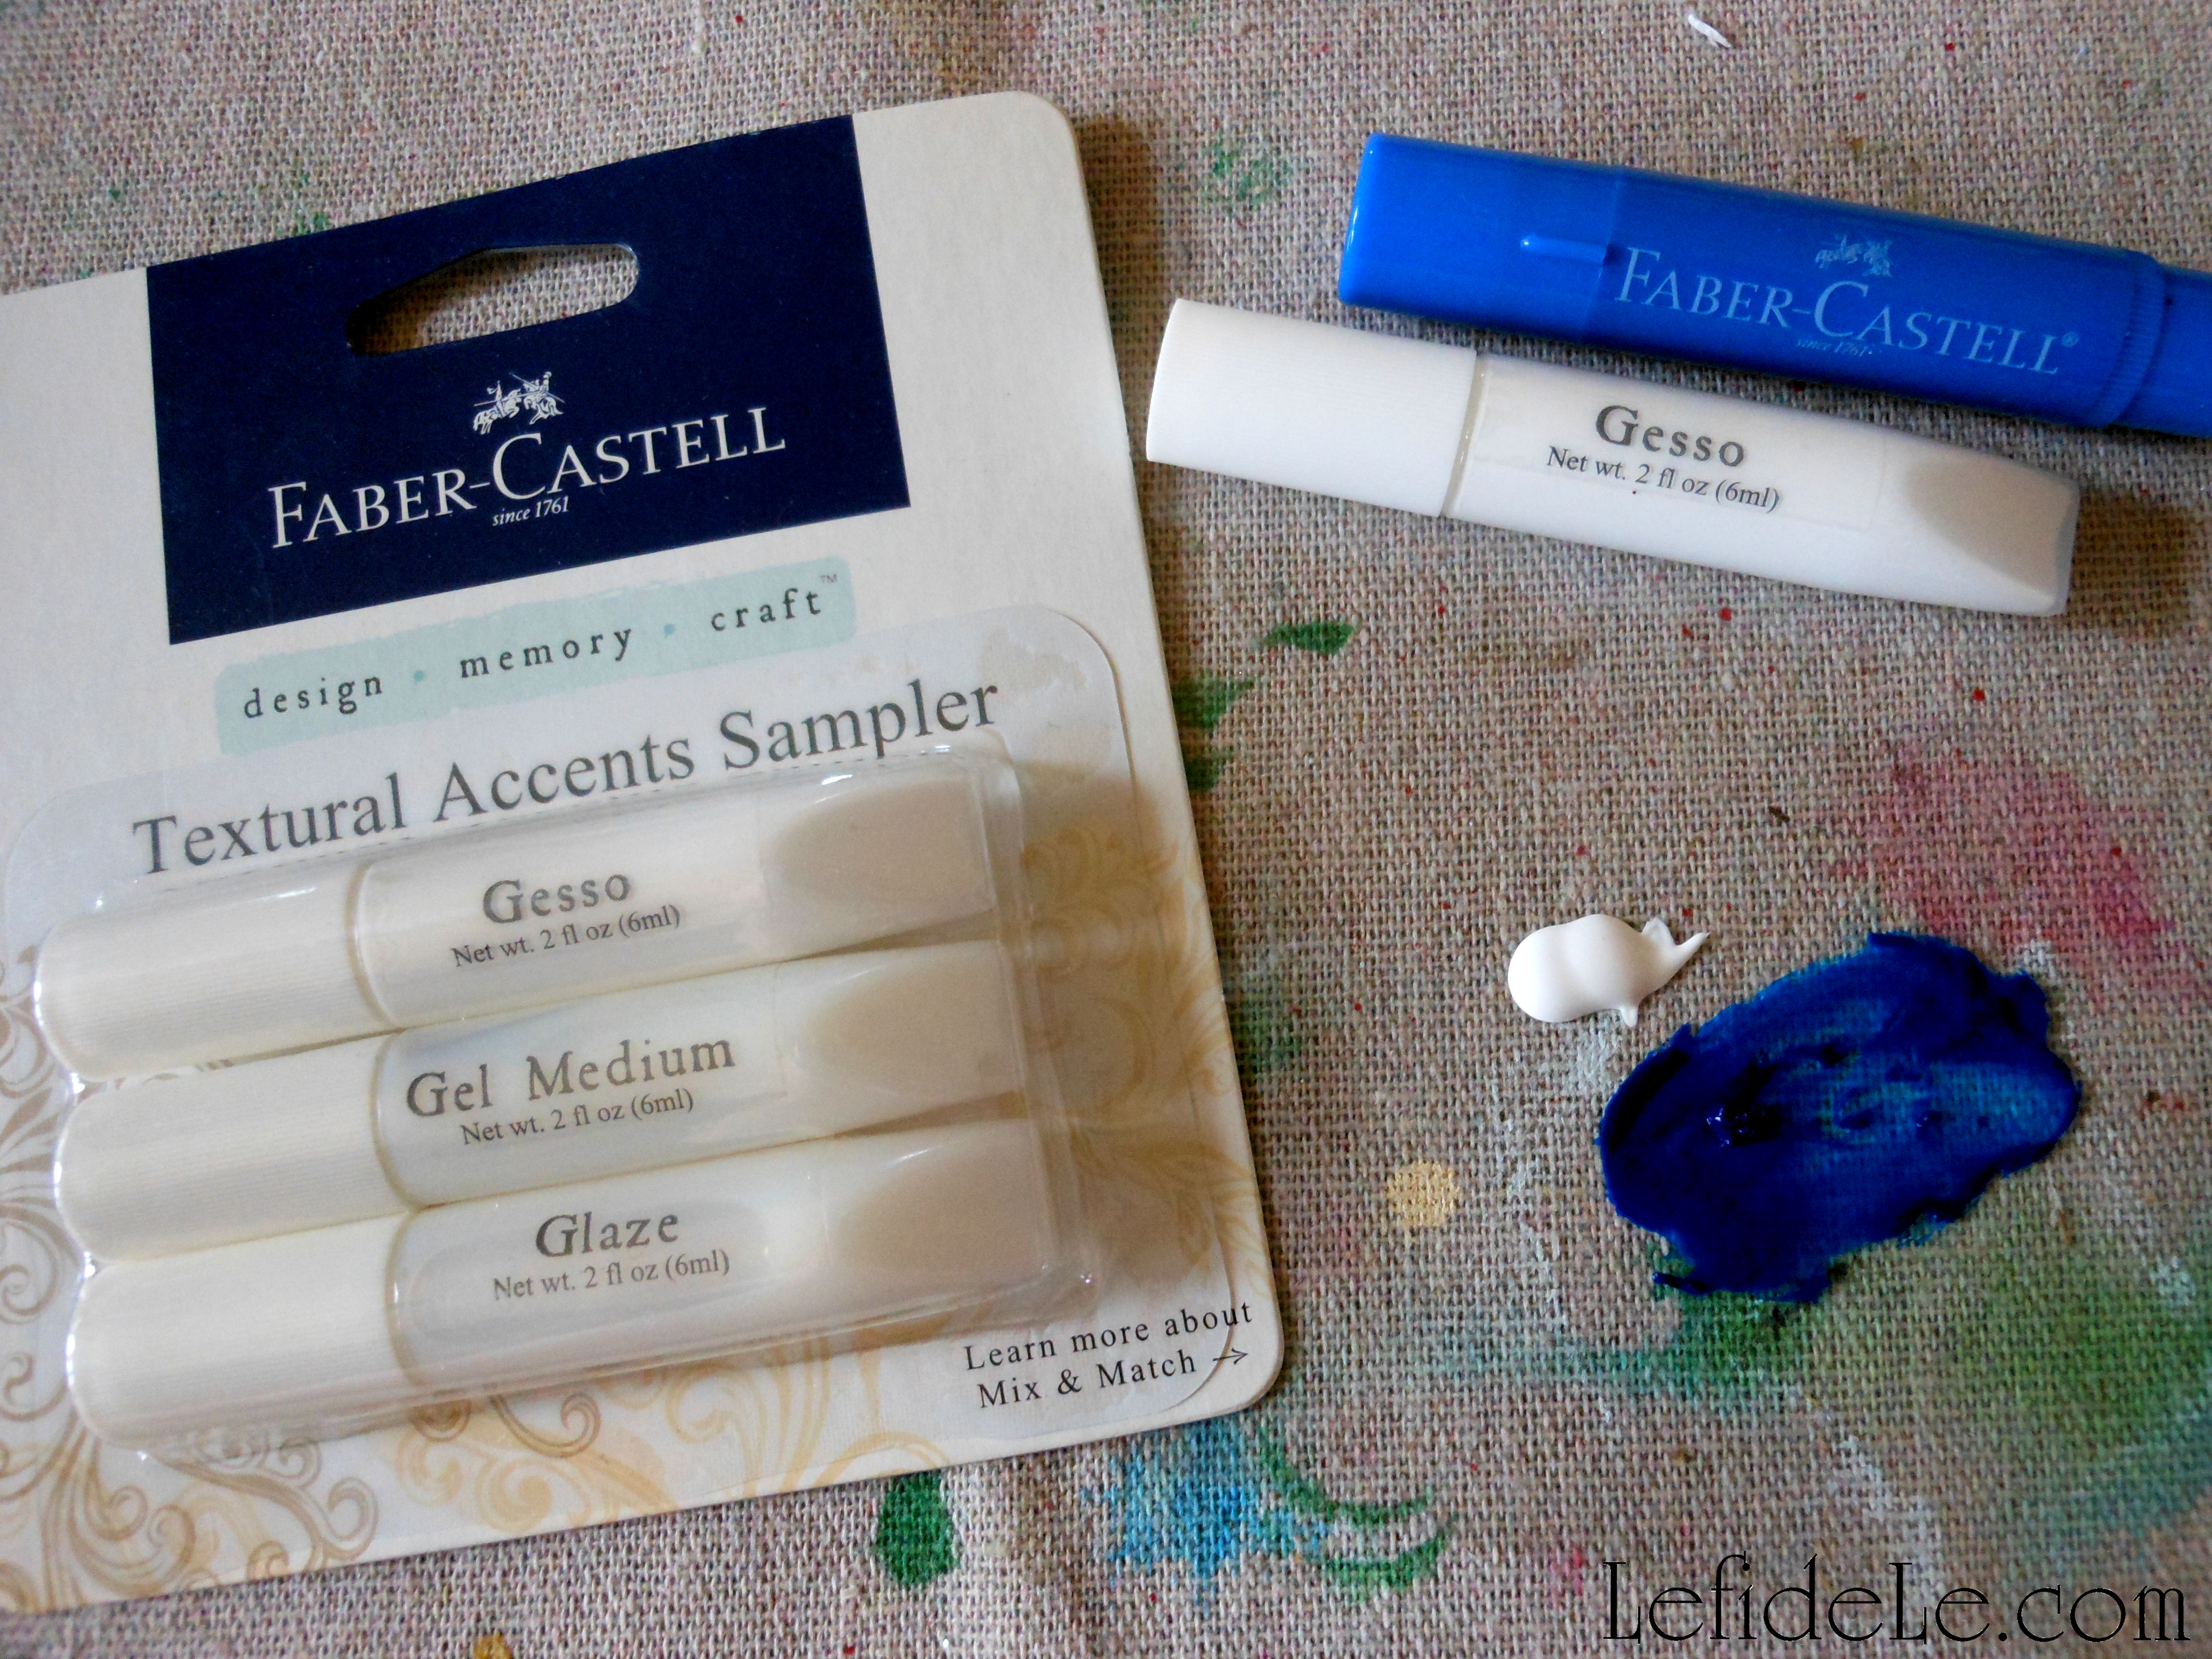
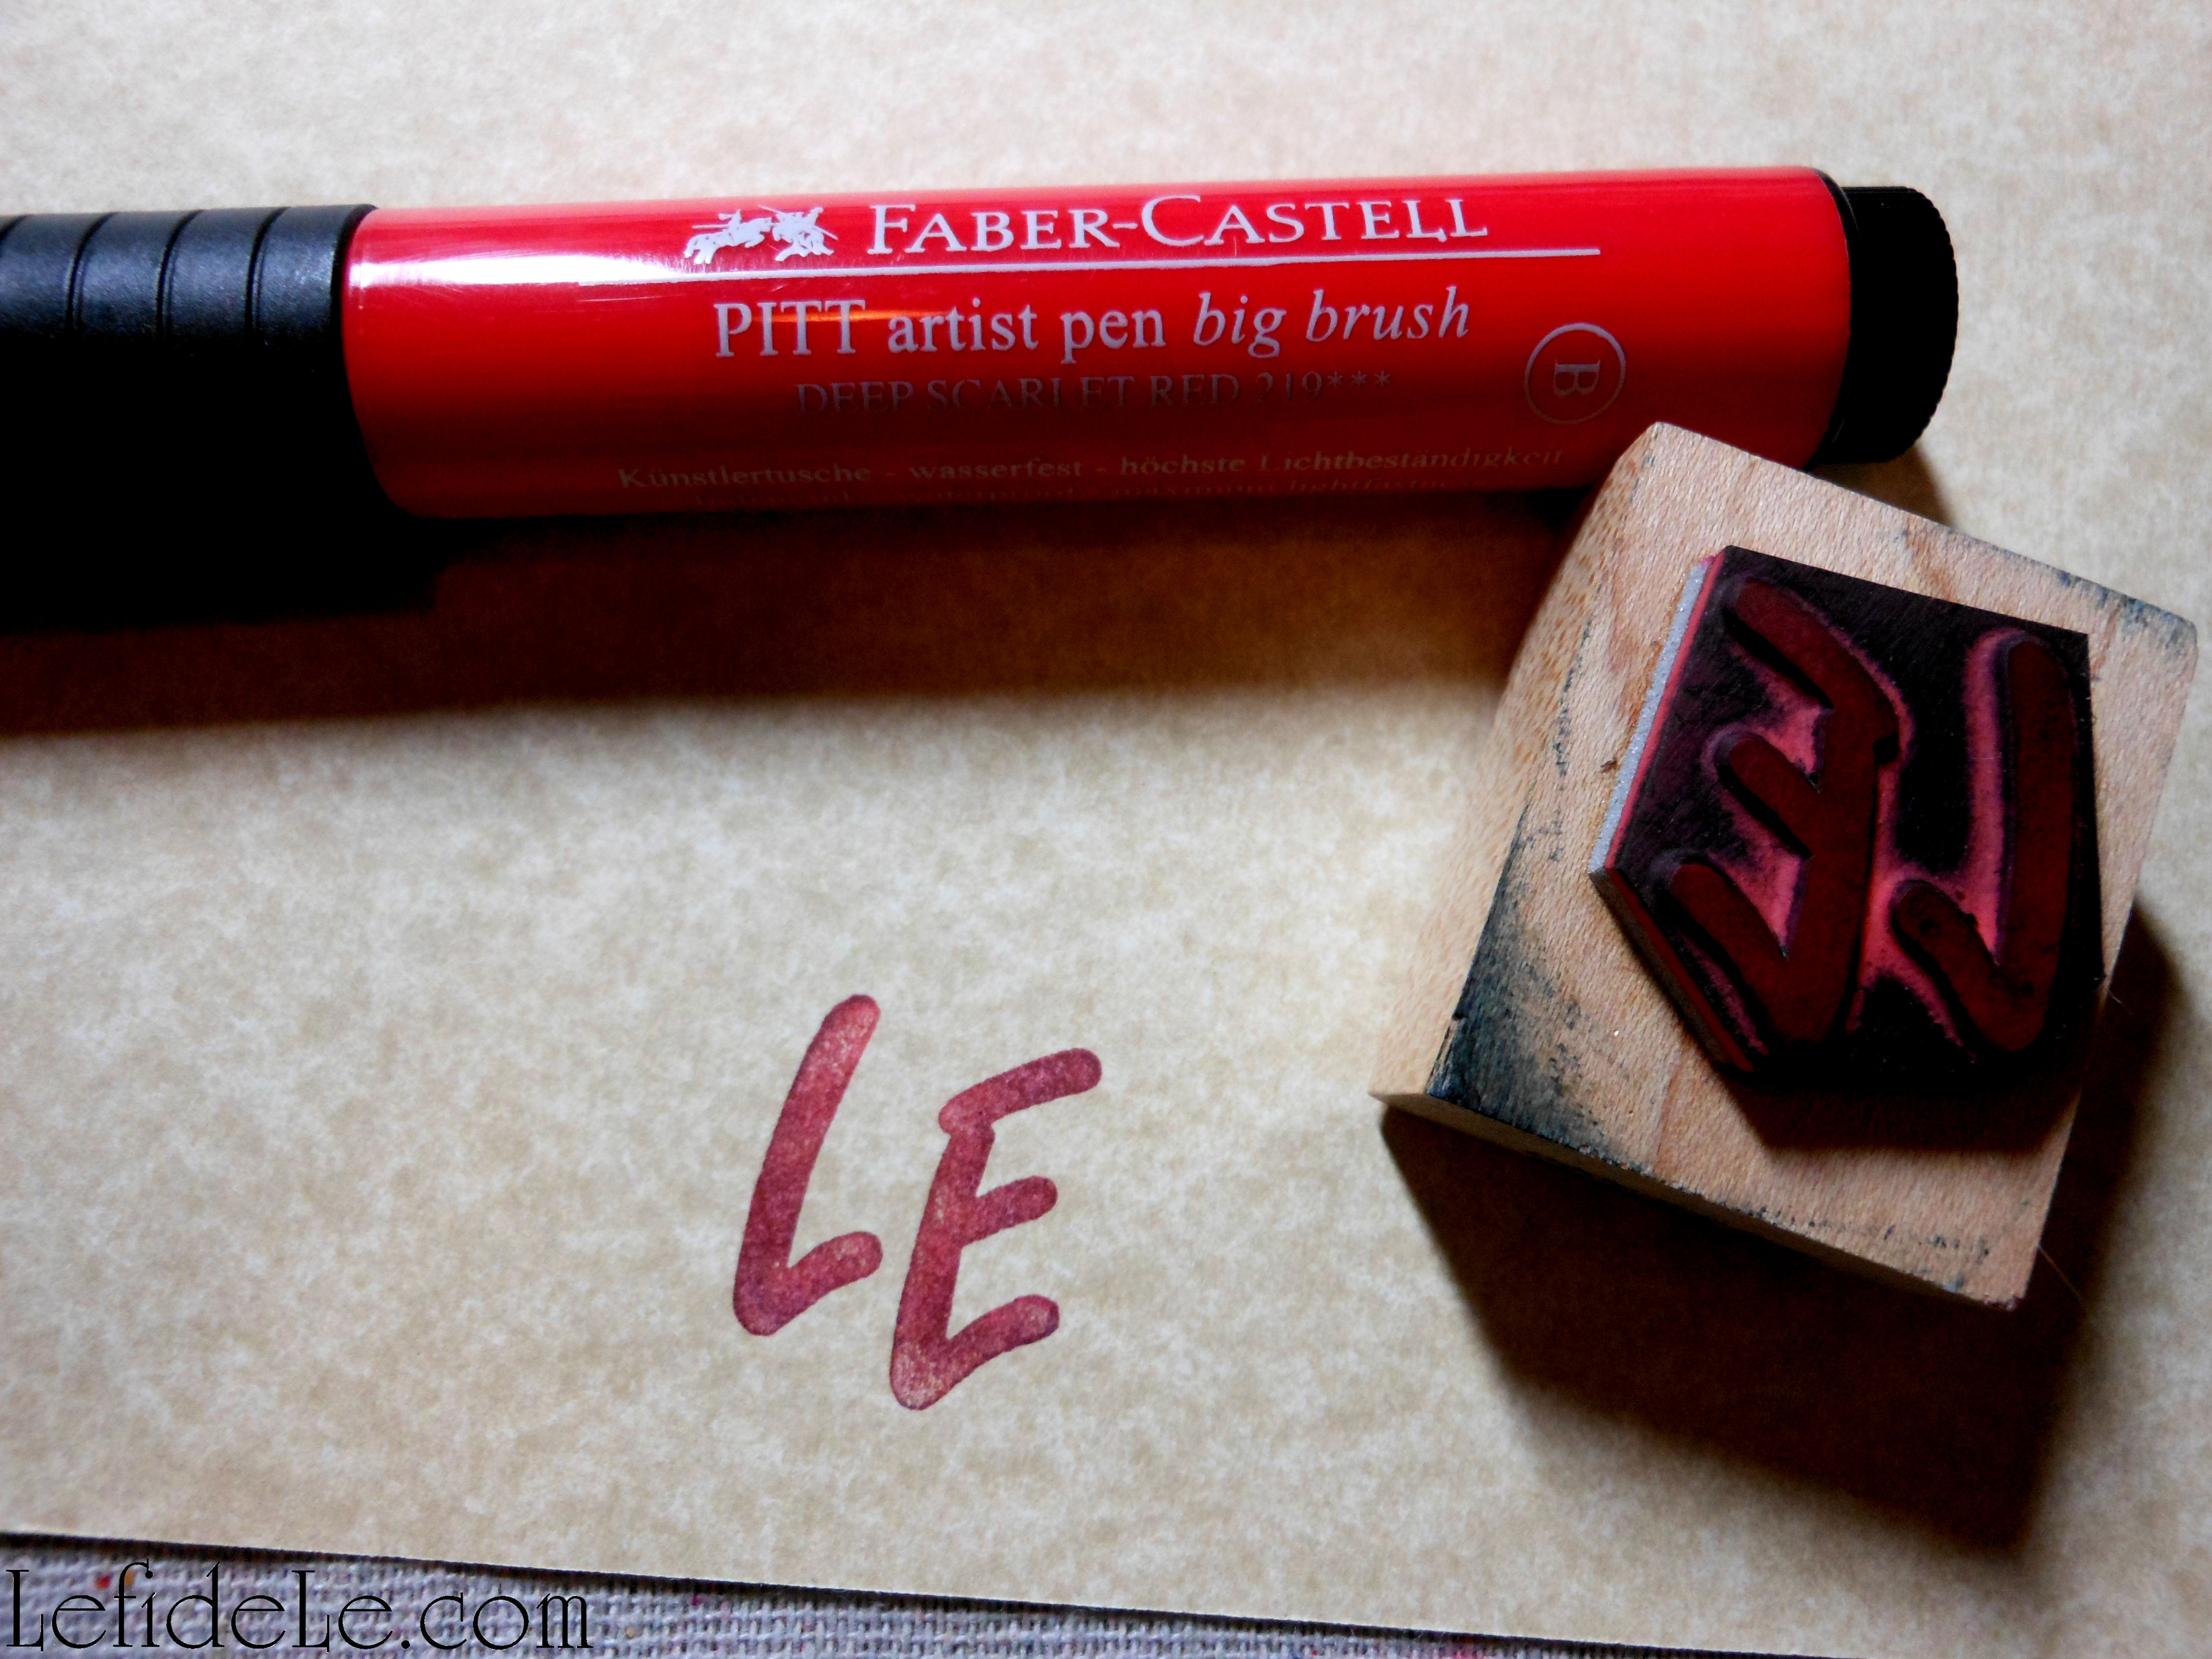
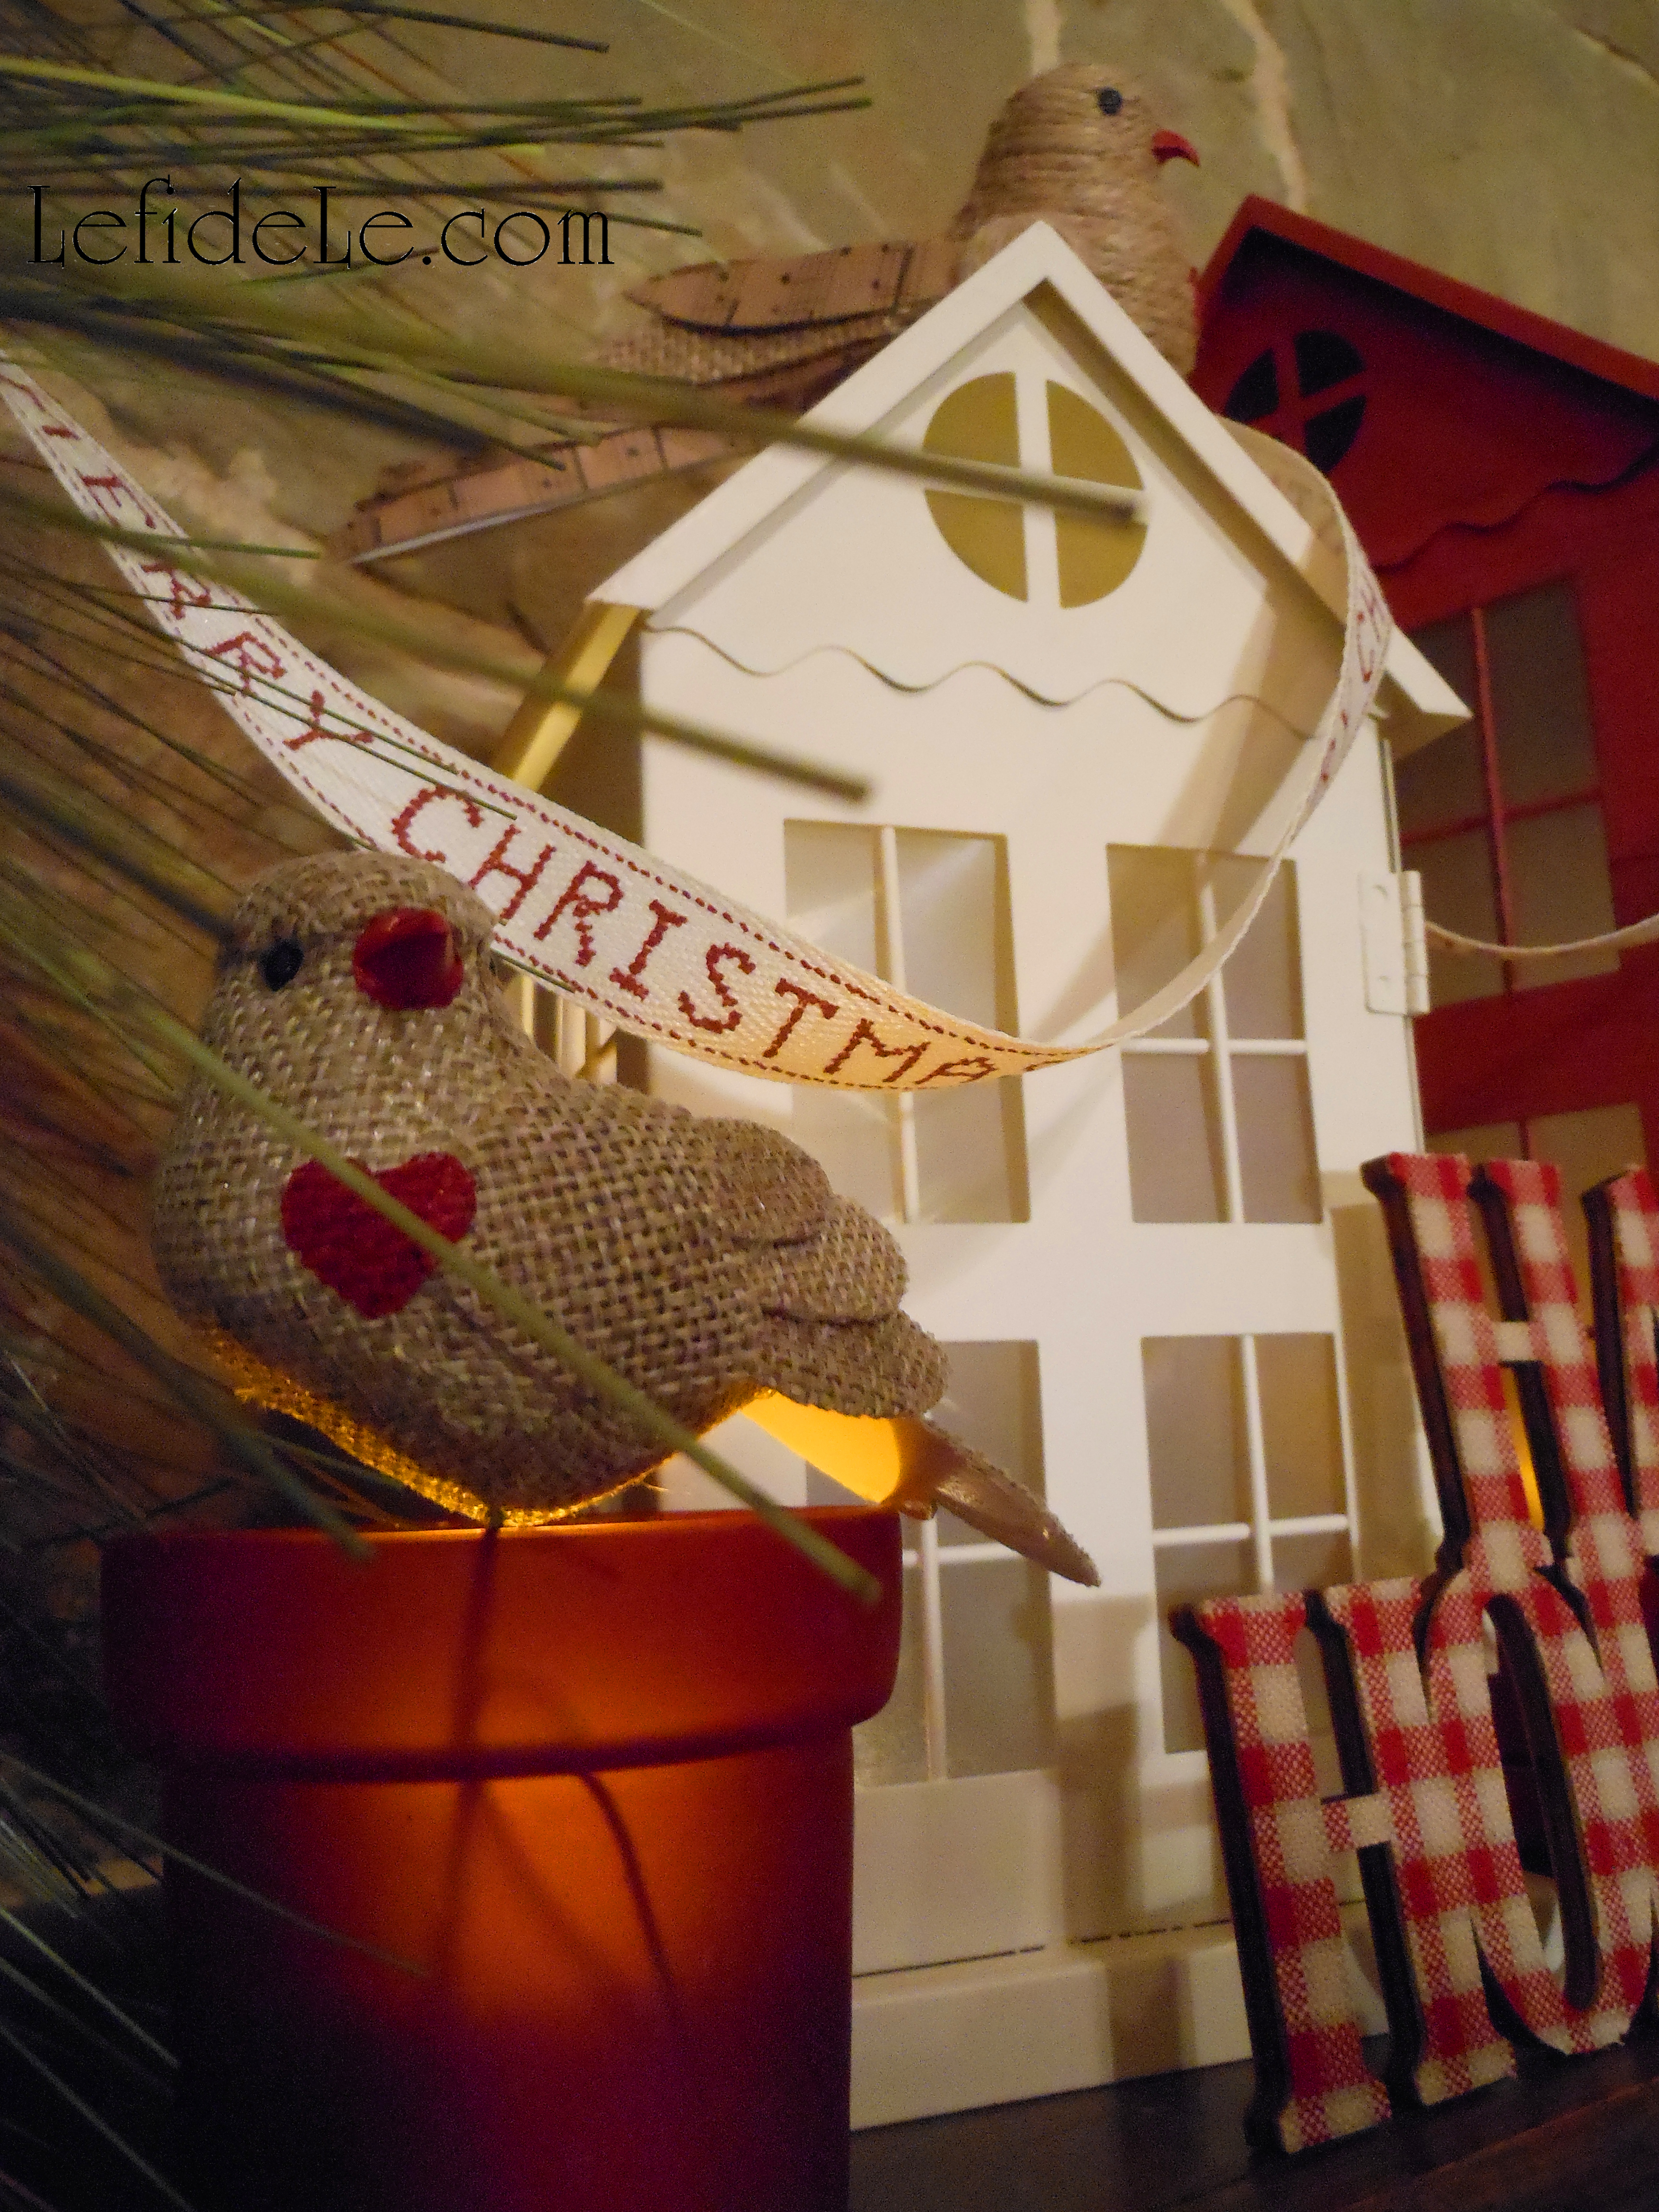
Saving the easiest for last… personalize any store bought ornament with a little paint for gifts or to make it match your décor perfectly.

635Leigh

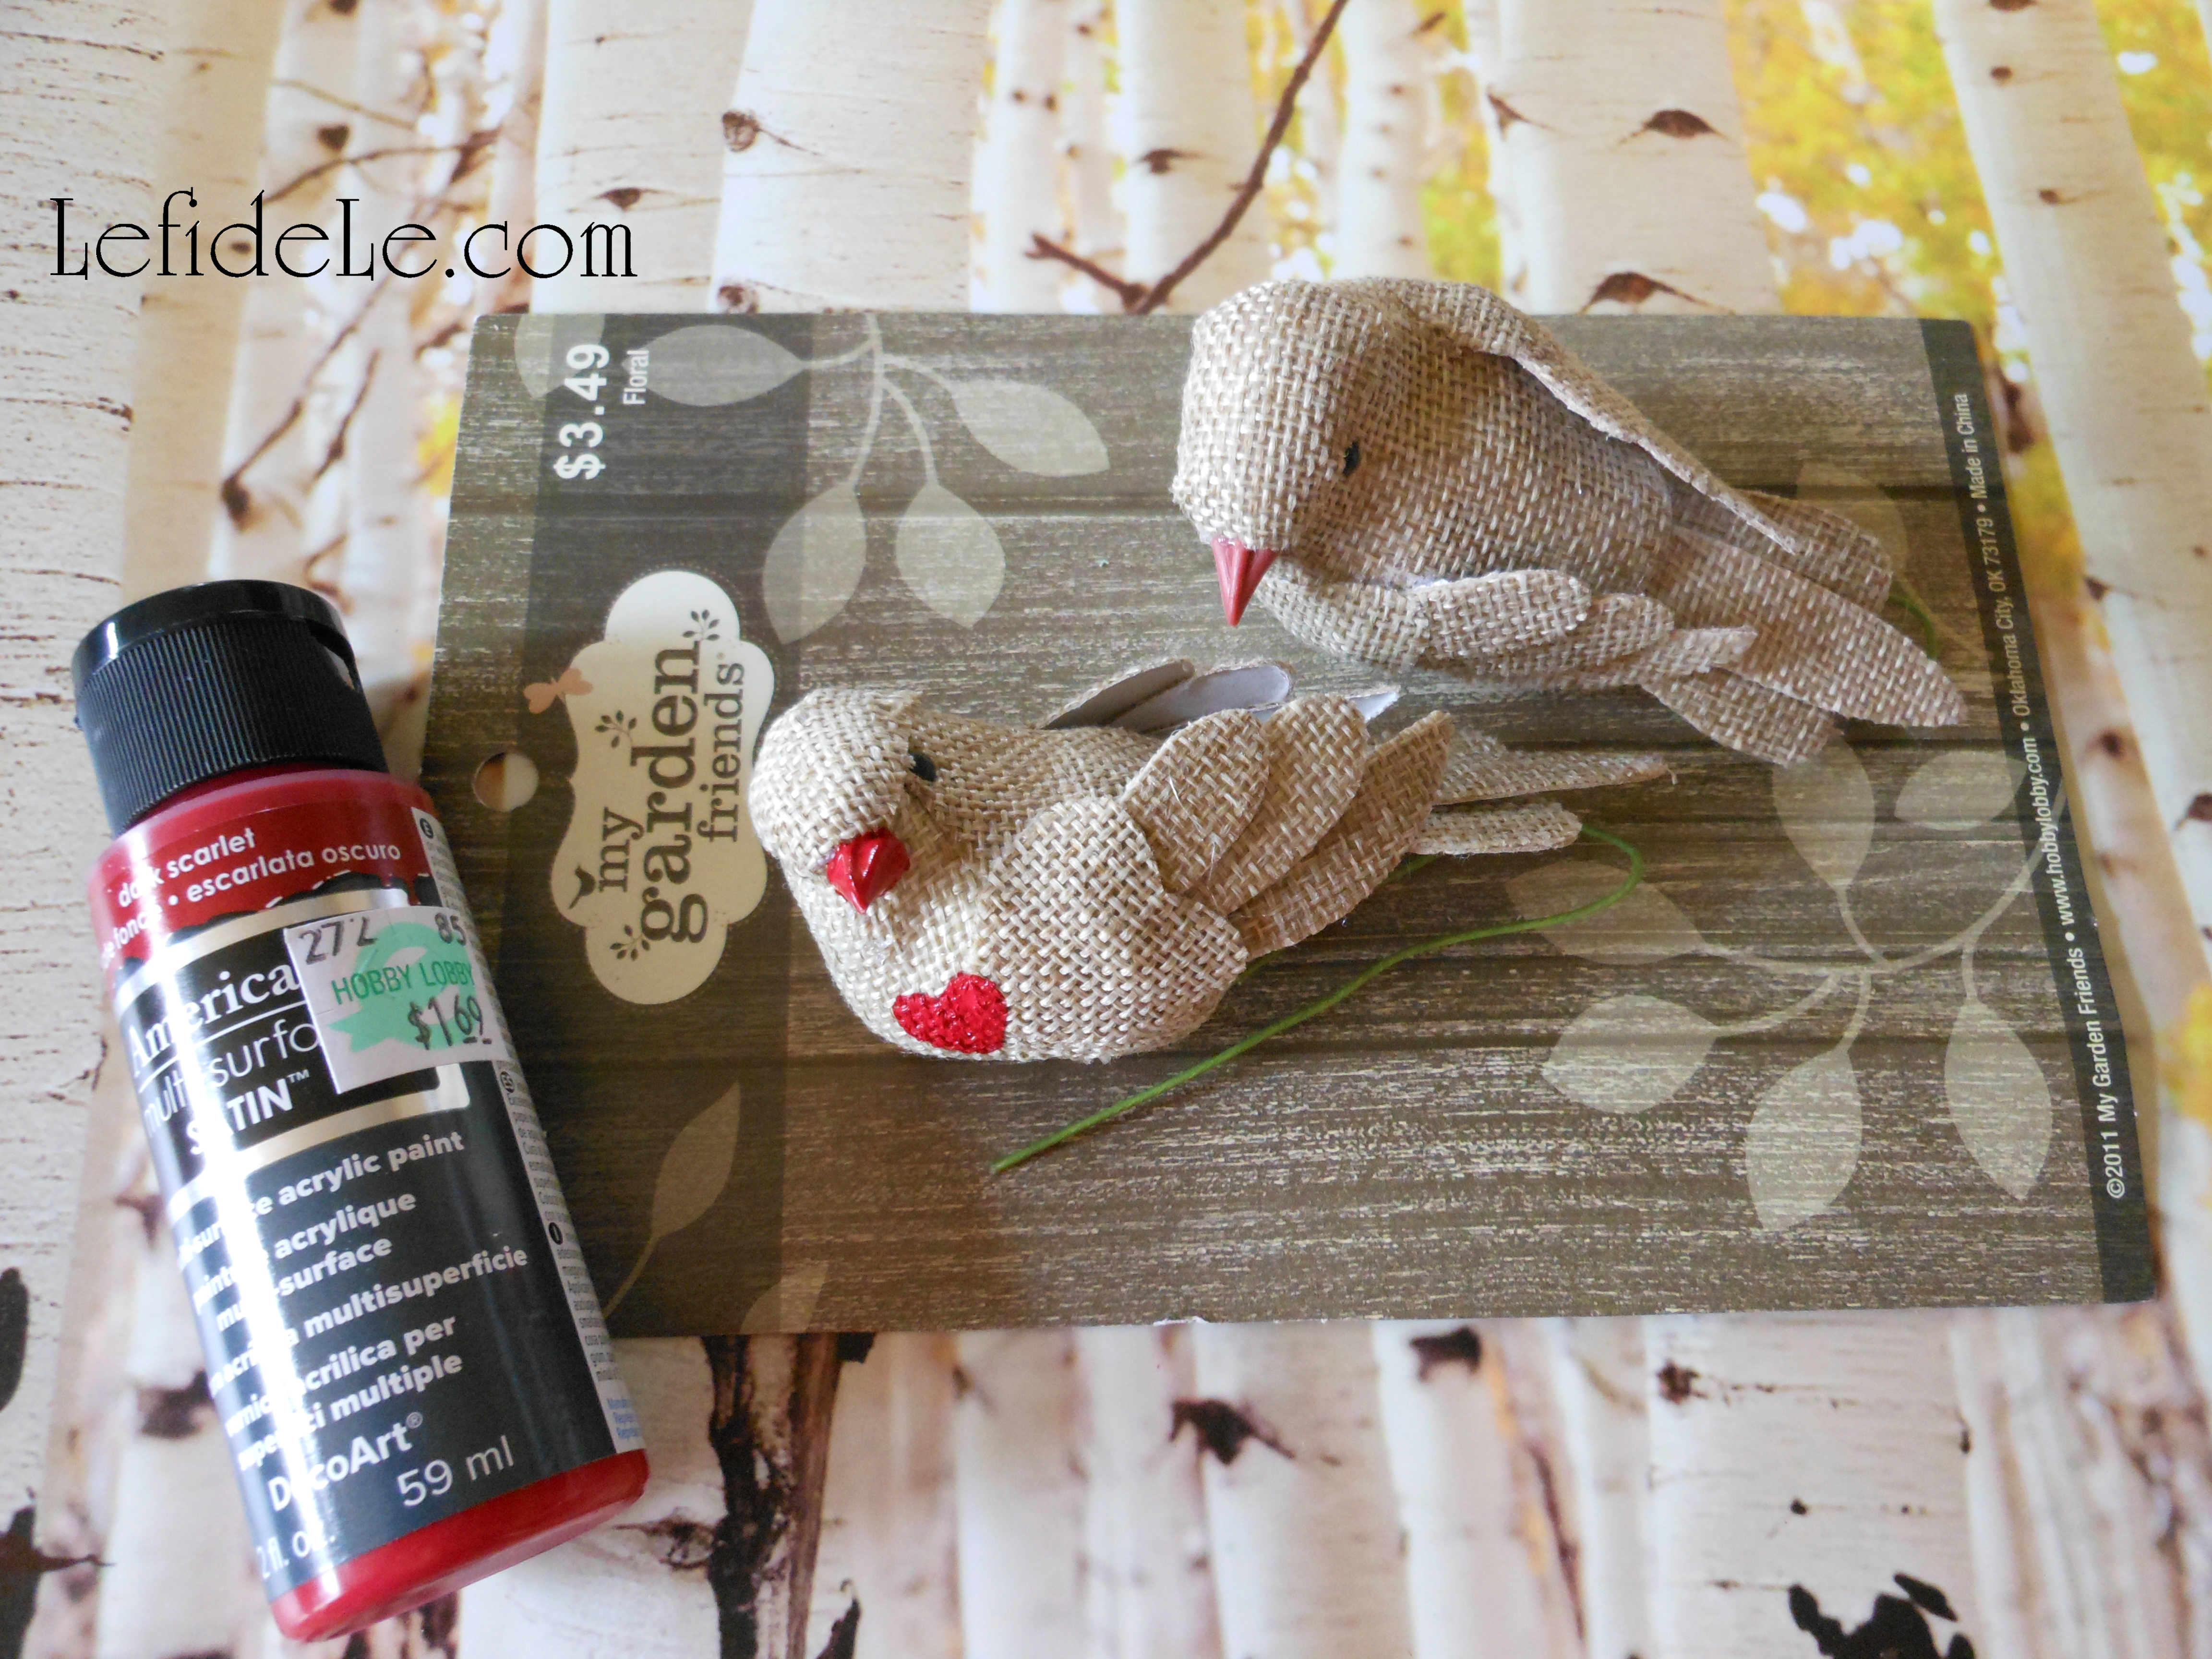
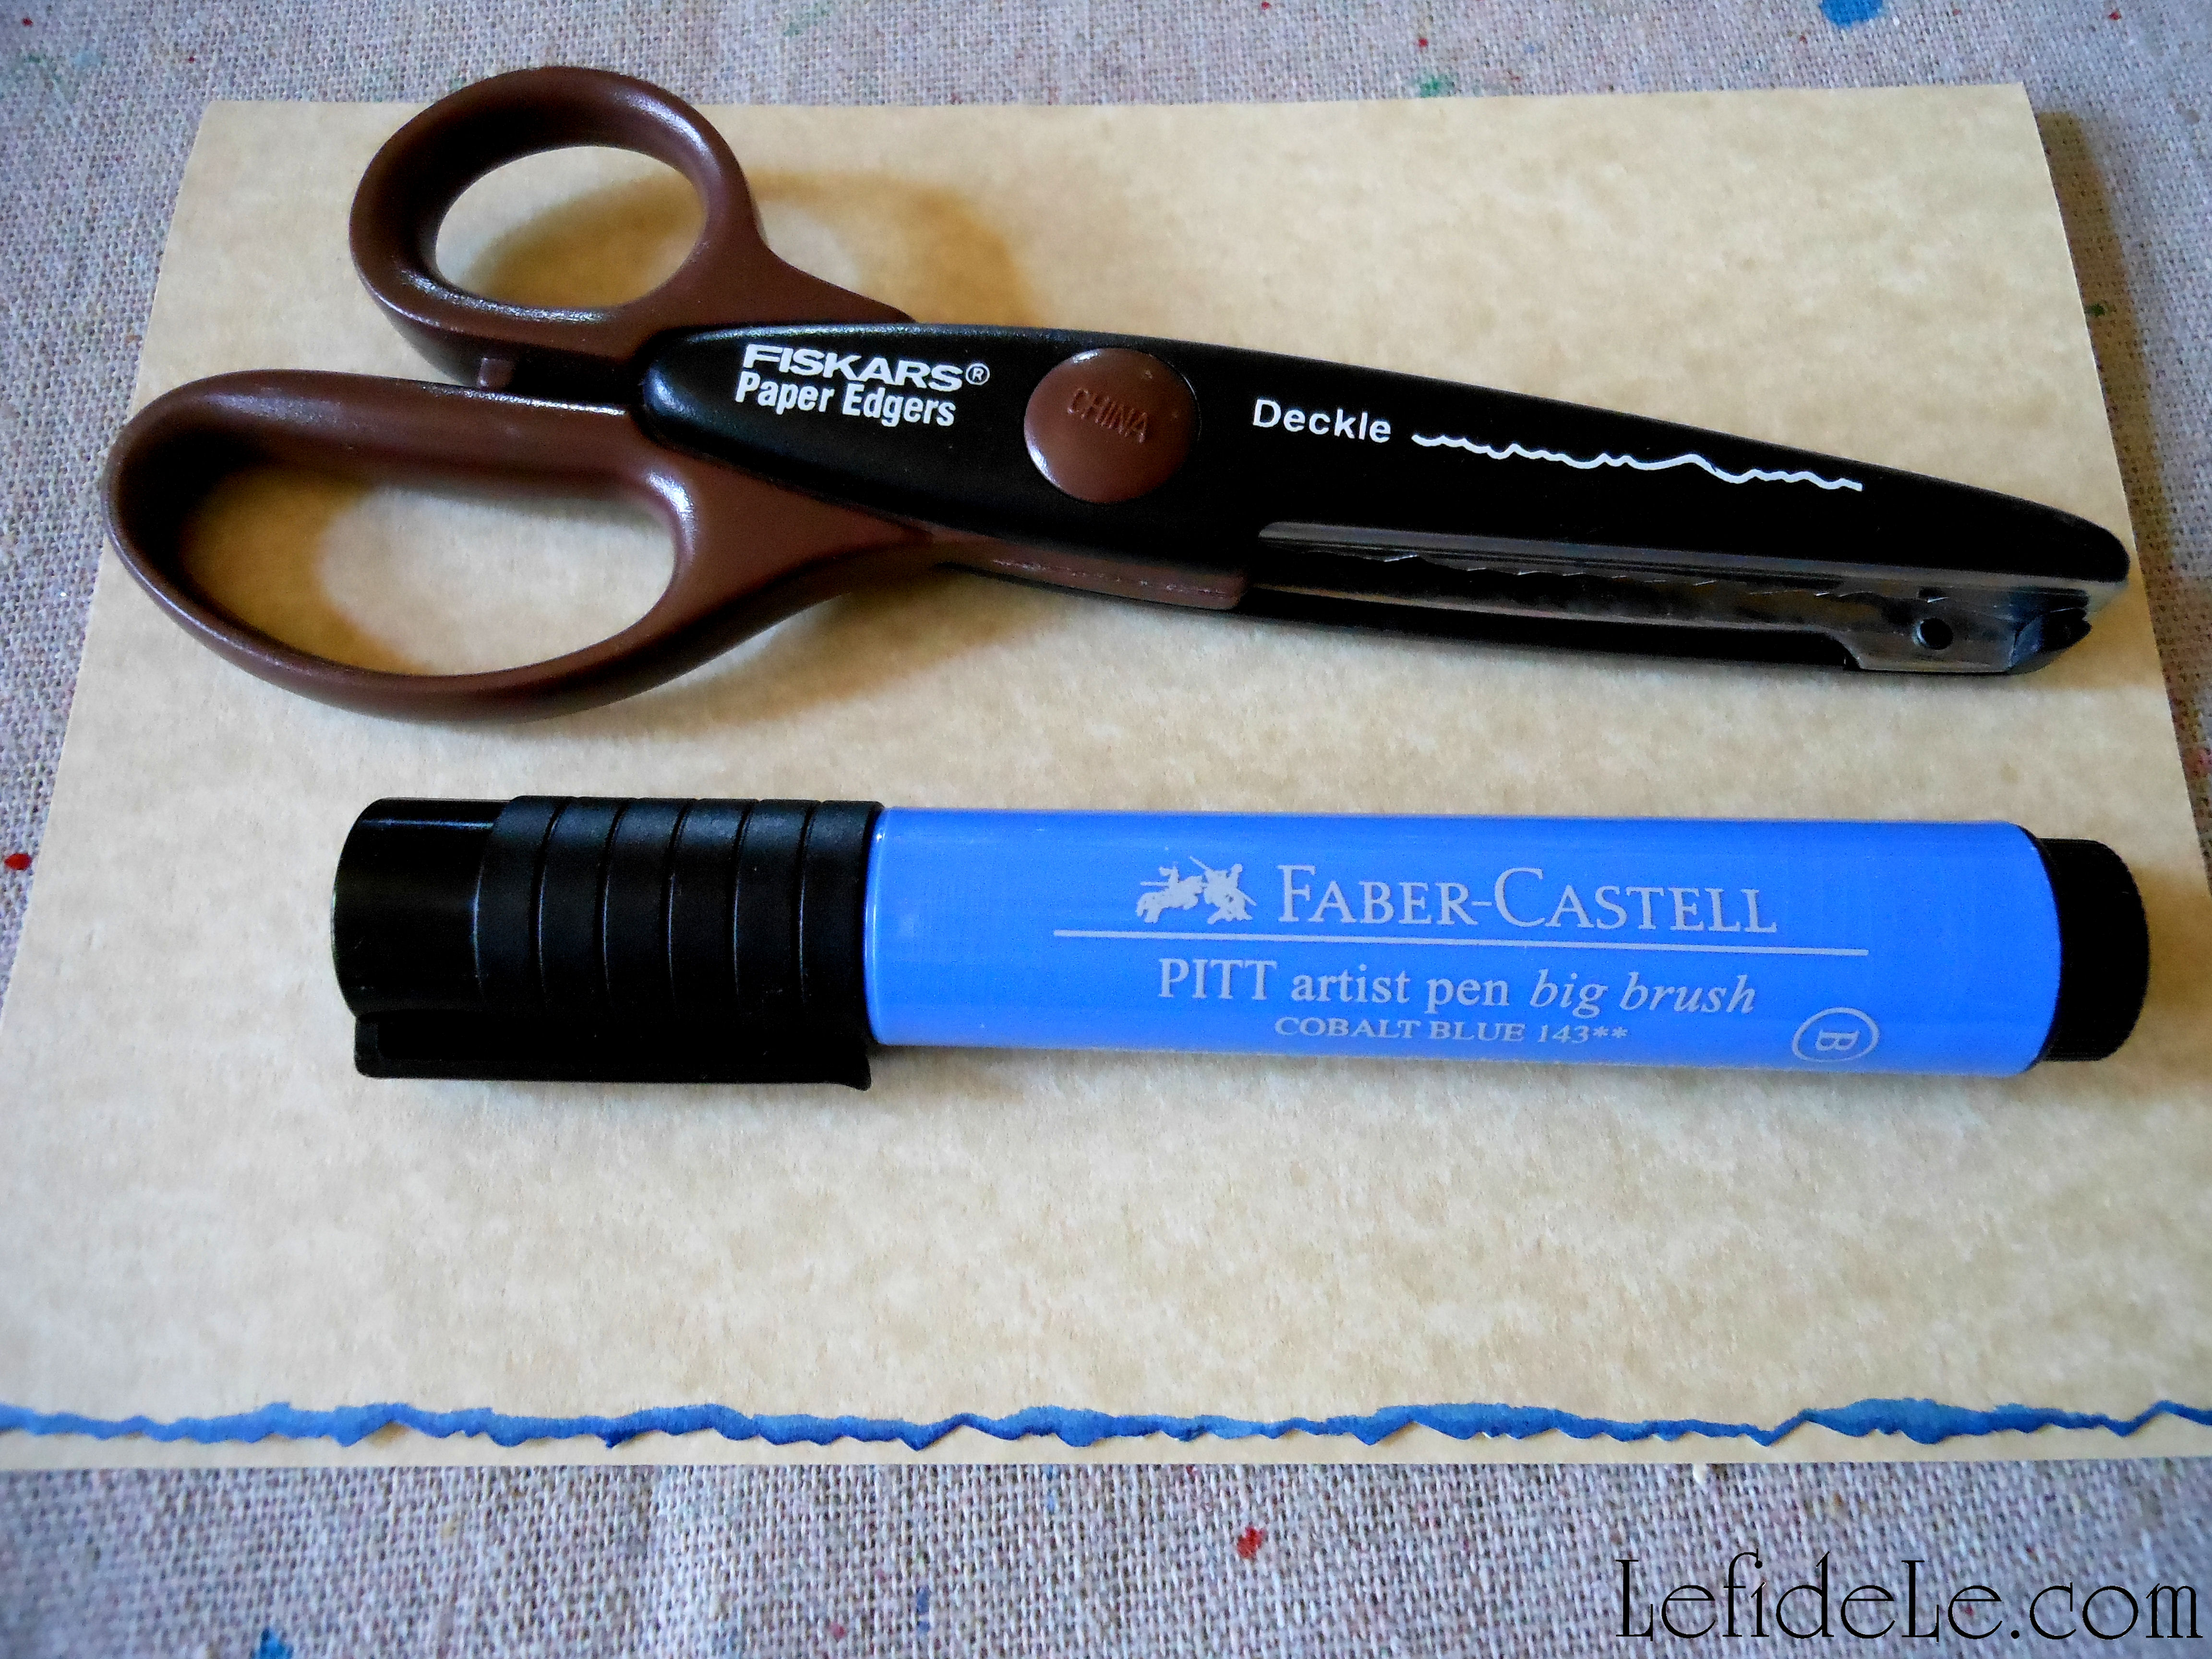
For these bird picks (from the floral department of a local craft store) I simply painted the black beaks and added hearts with a bit of the leftover tablecloth paint.

31Leigh

These clip ornament birds were found at an overstock supply store locally. (Now painted, they look like lipstick laden lady birds wearing their hearts on their sleeves!)

975Leigh

I started the whole ornament personalization thing many years ago when my godmother (not a fairy) asked me to paint a pennant bearing penguin to change its school affiliation. It was a really easy way to customize a small gift to turn it into a keepsake. (If you’re not at ease with a brush and paint, try a paint pen!)

936Leigh

Fa La La La La Y’all!

Faithfully Yours,

Leigh

P.S. Check out my other coordinating homespun holiday craft tutorial HERE, and the full results all of the heartfelt crafting HERE!


Easy DIY Antique Looking Napkin Rings with Crochet Trim Craft Tutorial + Free Turkey & China Thanksgiving Printables (for Place-cards, Hostess Gift Tags, Thank You Notes, Doggie Bag Tags, Food Tent Cards, etc.)

Easily DIY your own antique looking napkin rings crafted with crochet trim to coordinate beautifully with any china pattern for your Thanksgiving. Then make place-cards using my free turkey and china printables that will double a doggie bag tags when the evening closes. Also, print some to use as food tents cards to identify pies or even as thank you notes or tags for hostess gifts.

20151019_602Leigh

To make each napkin ring, you will need to cut 6 inch sections of wide ribbon in a solid color that coordinates with your dishware or linens. (For a 6 place setting that equates to 36 inches, or 3 feet, which is the size of many standard ribbon rolls.) You will need to cut the same size lengths of crochet trim, which may be found in the sewing section of craft stores. (Ivory matches beautifully with most china patterns.)

20151019_622Leigh

Next, lay a line of hot glue (or liquid fabric glue) onto all edges of the base ribbon. Lay the crochet trim over it in a way that showcases the pretty edges. (If using liquid glue, let this dry completely before forming the ring.) Then just form a ring and connect the edges with a single line of glue on one side. (Clothes pins will need to be used as clamps when using liquid glue.)

DSCN0887Leigh

These really look like they could have been inherited, but took mere minutes to make.

DSCN0902Leigh

The napkin rings serve as a beautiful bridge coordinating my antique china with my modern linens, and they can do the same for you too!

20151019_80Leigh

My Thanksgiving printables (free for personal use only) feature vintage dishware and a wild tom turkey in a fresh hued theme that honors the true blue loved ones we’re thankful for this holiday. (See more of my true blue thanksgiving dinner party by clicking here!)

BlueThanksgivingLeigh

To make your own, right click on the image above and select print. Choose color and photo settings, and print them on sturdy cardstock paper. Cut along the image edges and dotted lines (or coax a relative into helping) then fold in half. Voila!

DSCN0897Leigh

Use these as place-cards during the meal (to strategically place guests for mealtime peace), and then attach them as labels for individual pie boxes or doggie bags (to ensure the holiday pounds are well distributed).

DSCN0905Leigh

These also make great hostess gift tags, thank you notes, or even food tent cards (to properly identify the mysterious pie everyone keeps asking about… in my family that would be Chess Pie).

Happy Turkey Day Y’all!

Faithfully Yours,

Leigh

DIY La Calavera Catrina Costume Mask & Calaveras de Azucar (Sugar Skulls) Banner for a Dia de los Muertos (Day of the Dead) Themed Halloween

090Leigh

This tutorial will help you to inexpensively craft your own one-of-a-kind la calavera catrina costume mask in the Dia de los Muertos (Day of the Dead) style, and then easily DIY a Calaveras de Azucar (Sugar Skulls) banner to decorate your Halloween party. Sugar (azucar in Español) is said to balance the bitterness of death (muerte), and calaveras (skulls) are traditionally offered on All Saint’s Day (November 1) to departed loved ones as one would leave flowers graveside. These calacas (colloquial term for skeletons) have migrated north from Mexico into American Halloween celebrations as themed décor. In this same way, traditional parade skull masks have become party costumes. As Halloween serves to poke fun at all things scary, Dia de los Muertos is intended as a way to accept death as inevitable… and also to honor dearly departed loved ones. The Mexican ½ face parade masks symbolize this idea of life being inextricably linked with death. So when you don this half skull mask for Halloween, be sure to make up the lower half of your face as a beautiful representation of life… and poke a little fun at death as not being so scary!

1(2)Leigh

To craft the calaveras de azucar (sugar skulls) banner, begin with either a package of glittered skulls or cut your own shapes from glittered paper. Another option is upgrade a readymade skull banner. (All of these items are available at Le fidèLe Designs craft supply affiliates Michaels and/or Joann whose clickable ads may be found in the sidebar.)

6(2)Leigh

Attack black floral mesh squares to half of the skulls. Glue one end to the top of the front and the rest to the underside so that it looks like a lacy veil.

001Leigh

Next, glue paper rosettes to cover the front edge of the veils.

006Leigh

To decorate these with the traditional sugar skull designs of flowers, hearts, swirls, and apostrophe type marks, I utilized Tulip brand Crystals (= glittery like sugar) T-shirt paint. It works really well on many materials besides cotton. The small tips allow the paint to come out just like icing does on real sugar skulls. If you prefer the control of a paintbrush, just squeeze some out onto a paper plate to use as a palette. Let these dry overnight to cure.

015Leigh

Next cut lengths of colorful yarn or ribbon to string the banner on. If your skulls don’t have the right holes to string them through, just use a hole punch… or even poke some with an ice pick!

082Leigh

Hang them in the background of a themed party or over a candy buffet.

004Leigh

To make your own catrina mask, purchase a plain plastic one to embellish. (This Mardi Gras type can be found at Michaels for about $2, and Joann has some as well.)

011Leigh

Use the same T-shirt paint leftover from the sugar skull banner to cover the mask with. (I just used my finger to smear it around.) Let this layer dry well.

016Leigh

Begin using other colors to add designs to the mask. Dots are the easiest to make with these paints, but make an upside down heart for a nose decoration. (I made a girlier version than can be typically found at the Halloween stores by using softer colors than red and black and by making the eye sockets flowers instead of black rings.) Let this layer dry well too.

037Leigh

Cut a length of lace at about 10 inches across and at a length that will cover most of the hair of the recipient.

039Leigh

Glue the 10 inch edge to the top of the mask, pressing the fabric into the glue. Make small gathers to take up the width. This veil will expand over the head to better cover the hair.

042Leigh

Now pull off faux rose heads from their stems. Glue these on top of the lace, and hold them down until they don’t feel like they will slip off.

44Leigh

Further definition may be added to the edges of the paint lines with a fine tip sharpie permanent marker. (I think a little black helps to tie in the veil’s color.)

103Leigh

Try wearing this with a traditionally embroidered Mexican dress and a black lace shawl.

113Leigh

It may also be used as décor for a themed Halloween celebration.

107Leigh

Viva la celebration!

Faithfully Yours,

Leigh

DIY Calaveras de Azucar (Sugar Skulls) Napkin Rings, Wine Glass Charms, & Vase Craft Tutorial for Dia de los Muertos (Day of the Dead) Themed Halloween Dinner Party Décor

079Leigh

This tutorial will help you to inexpensively craft your own jeweled vase in the Dia de los Muertos (Day of the Dead) style to fill with traditional wild marigolds (cempasuchil), and then easily DIY calaveras de azucar (sugar skulls) napkin rings and wine glass charms to decorate your Halloween dinner party table with. Sugar (azucar in Español) is said to balance the bitterness of death (muerte), and calaveras (skulls) are traditionally offered on All Saint’s Day (November 1) to departed loved ones as one would leave flowers graveside. As Halloween serves to poke fun at all things scary, Dia de los Muertos is intended as a way to accept death as inevitable… and also to honor dearly departed loved ones. Representational calacas (colloquial term for skeletons) symbolize the idea of life being inextricably linked with death, and have migrated north from Mexico into American Halloween celebrations as themed décor. By using one celebration as a theme for the other, the two concepts combine to poke a little fun at death as not being so scary!

1(2)Leigh

To craft the calaveras de azucar (sugar skulls) napkin rings, begin with either a package of glittered skulls or cut your own shapes from glittered paper. Another option is upgrade a readymade skull banner. (All of these items are available at Le fidèLe Designs craft supply affiliates Michaels and/or Joann whose clickable ads may be found in the sidebar.)

4(2)Leigh

To decorate these with the traditional sugar skull designs of flowers, hearts, swirls, and apostrophe type marks, I utilized Tulip brand Crystals (= glittery like sugar) T-shirt paint. It works really well on many materials besides cotton. The small tips allow the paint to come out just like icing does on real sugar skulls. If you prefer the control of a paintbrush, just squeeze some out onto a paper plate to use as a palette. Let these dry overnight to cure, and ensure that no unwanted marks are impressed into the paint.

034Leigh

Cut 6 inch lengths of grosgrain ribbon to serve as the ring. (I found this skull printed roll on clearance, and didn’t find out until much later that it’s a “Monster High” motif. Oh well, it worked!)

036Leigh

Hot glue each end of a ribbon length onto the center underside of a skull.

085Leigh

Ring a ding ding, look who made a napkin ring!

003Leigh

To create wine glass charms, begin with Jolee’s Boutique dimensional scrapbooking stickers. Pull the plastic fronts away from the flat backings.

009Leigh

Use the same T-shirt paint in white to add a layer of sugary glitter to them. These will dry clear. (To make this easier, I made a finger loop of masking tape to hold them while I dotted on the paint, and then just slipped them off onto the table to dry overnight.)

013Leigh

Tie these onto jumbo jump rings with a strand of colorful yarn or ribbon. (I used the same yarn on all my Dia de los Muertos crafts for continuity.)

078Leigh

Since the skulls come in colored sets of 2, why not color-code the drinks by kissing couples!?

018Leigh

Quickly create a calavera vase by upcycling an old vase with crystal stickers or by gluing crystals on. You can use a complete picture, lay on crystals individually, or both. (If you need to use a pattern, just tape a coloring page to the inside of the vase and adhere crystals to the outside of it over the lines.)

020Leigh

Tie on a length of ribbon to coordinate with the other crafts, and fill the vase with black marbles.

67(2)Leigh

Fill it with traditional wild marigolds to use as a centerpiece surrounded by more calaveras.

Happy Day of the Dead!

Faithfully Yours,

Leigh

Feather & Vegan Leather Napkin Ring Craft Tutorial + Easy DIY Centerpiece & Fall Place-card Holders for Oktoberfest

070LeighMaking your own feather and vegan leather napkin rings is an inexpensive way to bring an element of elegance to any gathering, but especially an Oktoberfest celebration of German heritage. Use a stein as a vase for feathers and fall foliage along with feathered wooden acorns to transport your guests to a fanciful fairytale version of a Bavarian hunting lodge. Then reuse the rings and acorns with a different centerpiece for Thanksgiving!

001Leigh

Start with finding a remnant of realistic appearing vegan leather and feather ribbon trim (these are available from Le fidèLe Design’s fabric affiliates whose links appear in the sidebar). Use a pen to mark the underside of the fabric into 6 inch long strips that are about 2¾ inches wide (vary according to the width of your feather ribbon). Cut them carefully to make a smooth self-sealing edge.

006Leigh

Cut the feather ribbon into 6 inch strips as well. (If you’re feeling super-crafty… you make this from scratch by gluing individual feathers onto a strip of ribbon, overlapping them as you go.)

007Leigh

Use fabric hot glue to adhere one end of the vegan leather to the other end, forming a ring.

013Leigh

Lastly, glue a feather ribbon strip around the middle section of the ring you just made. (How easy was that?!)

034Leigh

This would’ve cost so much more if purchased from a department store or boutique!

038Leigh

Next, make place-card holders using simple decorative acorns. (I found these carved wooden types in a 6 pack at 40% off this summer.) I’ve seen various types from burlap and fabric to glittered and beaded… just pick those which suit your linens and dishware best.

035Leigh

Use a punch cutter to make small gift tags from a parchment-like cardstock, and punch a hole in them (or just buy readymade tags). Use a brown calligraphy pen to scroll on the names of your guests.

039Leigh

Use a few inches of jute cord (I get mine super-cheap at the hardware store) to tie the name tag and a small handful of feathers onto the stem of the acorn. (Think about adding brighter feathers to the typical fall colors… so that your ensemble doesn’t resemble mulch. I included some teal feathers to tie in with my other décor.)

002Leigh

Set them into place, and you’re done! The best part is that they can be reused with a different theme because the feather decoration and tag slip right off… however, feel free to glue them into place for a permanent set.

058Leigh

Make a centerpiece by simply using a steinkrug in place of a vase. (I used my grandfather’s, but a new one would look great too!) Fill it with a few boughs of natural or faux fall foliage and some gathered branches. Tuck in long feathers from the local craft store.

93Leigh

I set this onto a faux horned tray and placed shorter candles around it. (I got the tray 90% off because it had some broken tips which were easily camouflaged with paint.) Any decorative tray can visually contain the elements into a cohesive appearing centerpiece.

052Leigh

I then distributed feathers around the outer edge of the tray to coordinate with the others. (Look in the children’s craft section of your local craft store to find a larger quantity of bagged feathers much cheaper than those in other aisles.)

090Leigh

Time to go download some “oom-pah” music… so kidding! (Click here to see more Bavarian Oktoberfest Party Décor Ideas for a Fall Tablescape)

Faithfully Yours,

Leigh


Simple Origami Lotus / Waterlily Flower Arts & Crafts Tutorial (Perfect for Pan Asian Themed Décor, Place-cards, & Chopstick Rests)

010Leigh

This arts and crafts tutorial for an origami lotus flower, also known as a waterlily, is really very simple. I first learned the method from a book in elementary school, and I’ve been making them ever since. I’ve been known to leave them as calling cards, get well messages, love tokens, etc. They also make elegant yet inexpensive table décor because they can be upcycled from any paper. Just write a name on a petal to use them as place-cards then allow them to double as disposable chopstick rests… but expect some to be taken home as mementos from the evening.

001Leigh

Use any paper you like from traditional origami paper from the craft store, to economical white printer paper like this. (Read my origami crane tutorial to read how to use wrapping paper.) Fold one corner over until it meets the opposite side, and press the crease down flat.

002Leigh

Cut off the uncovered portion of paper cleanly, using the folded paper’s edge as a guide. You have just made a perfect square without using a ruler.

003Leigh

Unfold the triangle you’ve cut free, and then refold it using the opposite corners. Now unfold it, you should see an X crease into the square of paper.

004Leigh

Next take each corner and fold it into the middle, using the X crease as a guide. You just made a smaller square shape.

005Leigh

Repeat this 4 corner folding again, making an even smaller square.

006Leigh

Repeat this again, making an even tinier square.

007Leigh

Now flip it over, and then repeat the 4 corner folding into the center one last time.

008Leigh

This is the tricky part… place your thumb into one corner of the square, and place the other fingers under the lipped point underneath it. Push in the corner with your thumb while gently pulling the underneath point out. It will flip up and over into a sort of petal. (The right petal in the picture is only halfway done. You can keep pulling gently until it looks like the left petal.) Stop pushing and pulling once the petal has a solid form with a rounded outside edge. Repeat this petal making on all corners.

009Leigh

Now pull out the four hidden points from beneath.

010Leigh

This is what it’s supposed to look like, but it may take a few blooms to get the hang of petal pulling.

011Leigh

This is what the underside should look like. (It’s the perfect place to write a little message.)

14ChopstickRest-Leigh

This is one of my origami waterlilies being used as a place-card holder/ chopstick rest. See it in action in my Pan Asian Inspired Indigo Shibori & Wooden Themed Tablescape (Perfect for Luncheons & Informal Dinners).

227Leigh

Bloom where you are planted!

Faithfully Yours,

Leigh

DIY Picnic Heart Napkin Rings & Customizable Banner + Pinwheel Craft Tutorials (+ Free Printable Templates)

Craft your own colorful indoor picnic party quickly and inexpensively with scrapbooking paper, ribbon, and dimensional stickers! Use them to create your own customizable banner and pinwheels with my free printable templates, and then make DIY heart napkin rings to up the ante…. taking your picnic from average to outstanding!

091Leigh

My heart napkin rings utilize dollar bin dimensional chipboard stickers that were decoratively crocheted (which I actually purchase half-price at Le fidèLe Design’s affiliate Michaels). The scrapbooking section of your local craft store always has items such as these which are made with sturdy materials, whose pretty looks belie their price points.

213Leigh

Find coordinating colors of wire ribbon and bias tape to tie together the set of differing stickers. (It’s like using different photos with matching frames to give a cohesive look to a home gallery.)

215Leigh

Cut 6 inch lengths of both the ribbon and bias tape. (Bias fabric tape is a sewing product, but makes a beautiful trim for this project. You can also use a thin ribbon in its place.) Pull the sticky dots off of the sticker backs. (Place them on plastic packaging to reuse for dimensional card-making later.)

219Leigh

Glue the bias tape across the center of each wired ribbon strip, making sure the tape doesn’t have a flap open… if so, glue it down too. Next, glue one end to the other by laying down a thin line of glue onto one short-side edge, and then press the other end onto it. (Press it down hard… using silicone finger cots if utilizing hot glue. I’ve use hot glue, fabric hot glue, fabric glue, tacky glue, universal glue… and it all worked beautifully.)

077Leigh

Take advantage of the wired ribbon’s staying power to form perfectly round circles for your rolled fabric napkins to slide right into. (Wired ribbon is the perfect base as it has a clean finished edge without needing to fold and glue.)

228Leigh

I made a set of 8 different heart napkin rings to mix and match according to my tablescapes (and it only cost me a few dollars).

233Leigh

Here they are featured in my Colorful Indoor Picnic Party Tablescape Perfect for Rainy Days or Texas Temps, because in my world, a picnic is the perfect excuse for crafting! (Note the heart stickers were also placed on the drinking jars.)

274Leigh

Make your own banners quickly using my free printable template to cut perfectly precise pennants from any scrapbook paper matching your theme décor. Finish them of with chipboard stickers like those I used on my heart napkin rings.

BannerTriangleTemplatesLeigh

Print the template by first clicking on the picture above. Next right click on the image and select print. Choose a text or black and white setting to conserve ink. Cut out the two triangles.

001Leigh

Trace around the triangles with a pencil onto the back of the scrapbook paper. (Use them to conserve paper by flipping them until you maximize the number of triangles per sheet.) Now cut out these triangles. (Save the leftover bits for card-making later.)

003Leigh

Glue a smaller triangle to the center of a larger one of a contrasting color. (A permanent glue stick works beautifully with less mess.) Punch a hole next to each top point of a glued pennant.

006Leigh

Place a dimensional sticker onto the center of each pennant. (Try to use contrasting colors to make a more visually interesting combination.)

010Leigh

Use any variety of string, twine, yarn, or ribbon to run through the punched holes. Knot each end into a loop to hang them by. (To do this, form a loop then make a simple overhand knot.)

019Leigh

For additional flair, tie small lengths of thin ribbon in between each pennant. Hang it up for an extra dose of cheerful festiveness!

096Leigh

Next, let’s make matching pinwheels for décor or children’s play.

PinwheelTemplatesLeigh

Either fold over an edge of scrapbook paper to form a box that can be cut out, or… print a template to quickly churn out pinwheel bases. (The templates are great to enhance a young kiddo’s tracing skills.) Click on the picture above, then right click on the resulting image and select print. Choose text or black and white settings to conserve ink.

012Leigh

Cut out a single square from double-sided paper, or cut 2 squares of the same size for single-sided paper.

015Leigh

If using single-sided scrapbooking paper, glue them back to back with a permanent glue stick. Or, you can do as I’ve done here by cutting one piece, gluing it to the plain side of another, and then cutting around the box… which I think is easier.

016Leigh

Next use a ruler to draw a line with a pencil, from one corner across to the other. Cut along this line, but leave a half inch or so at the center making 4 flaps.

020Leigh

Take the right corner of each flap and glue it onto the center. Decide if you want them to be functional or just décor. For décor, use cardstock and hot glue the whole thing onto a paper straw then glue a paper flower onto the center… and call it a day. For functional pinwheels, use thinner paper and weaker glue. Push a tack into a thin wooden dowel cut about a foot long… not pushing it in all the way in order to leave some room for the paper wheel to turn on.

237Leigh

‘Cause nothing says happy picnic like a pinwheel!

Faithfully Yours,

Leigh

263Leigh

P.S. See all of these projects in action in my Colorful Indoor Picnic Party Tablescape Perfect for Rainy Days or Texas Temps!

Fire Mountain Gems Swarovski Crystal Giveaway with Jewelry Crafting Tutorials & Video


Swarovski Crystal Coral Pendant
Fire Mountain Gems

This beautifully asymmetric Swarovski crystal coral bead , from Le fidèLe Design’s affiliate Fire Mountain Gems, is inspired by nature and draws on the mysterious beauty of the ocean’s coral, as well as the play of light on the water’s surface. The intricate facets reflect rainbow rays for maximum brilliance.

Triple-Strand Necklace and Earring Set with
Swarovski Findings

This focal piece can be used as a pendant for necklaces or as a component for earrings and other projects. Click on the links for tutorials featuring the crystals that will help to get you started in making your very own creations.

Single-strand Swarovski Necklace with Sterling Silver Chain

If you’re not into jewelry crafting, these Swarovski beads also look beautiful when simply strung onto a ribbon or chain, and make for exquisite gifts that look so much more luxurious than the low price this Le fidèLe Design’s supplier offers them for. (How perfect would these Swarovski crystal coral bead be to use as pendants for bridesmaid’s gifts in a seaside wedding?!)

Earrings with
Swarovski Crystal

One lucky follower can win one of these beautiful coral inspired Swarovski beads which are just perfect for summer! To be eligible for entry into this August giveaway, simply sign up for the free LefideLe.com e-mail newsletter that keeps you informed when new groups of articles have posted. (Click here for a link to the Contact or Subscribe page.) If you already receive the e-mails then you are automatically entered… loyalty does have its rewards!

And here’s something FREE for all of my readers… a 73 page Swarovski E-Book on Trends, Inspirations and Project Designs with jewelry making instructions… just click here to snag yours now!

Fire Mountain Gems and Beads 40th Anniversary Sale

Watch this tutorial video on how to use an Ice Pick Bail to quickly and easily turn a bead into a lovely pendant for a necklace:

¡Bien Suerte! (= Good Luck!)

Faithfully Yours,

Leigh

P.S. Click on the image below to see more Swarovski Crystal Innovations from Fire Mountain Gems!

DIY July 4th Denim No-Sew Appliqué Collage Star-Spangled Banner Craft Tutorial for Independence Day

163Leigh

Inspired by our glorious national anthem, I set out to construct my own star-spangled banner (not old glory) to wave over a modern Independence Day celebration. Making a fabric appliqué collage banner is easier than it looks, and it’s easy on the budget because it only takes a little fabric, rope, ribbon, and hot fabric glue. That’s right, glue… no sewing skills are necessary! This makes it so quick to construct, that it can be made the day before a party. Even better, no one else will have anything like it, because it’s your own one-of-a-kind work of art!

125Leigh

Let’s begin with fabric selection as there are a number of ways to go about this… if you have a plethora of leftover fabric scraps, all the power to you, use them! For my banner base triangles, I used old denim. (This might be the perfect project to do something useful with that old pair of jeans that hasn’t fit in, well… awhile!) You can also purchase coordinates at the fabric shops and craft stores. (See my affiliate links in the side bars as they offer great discounts from time to time.) For my appliqués, I bought a patriotic print on sale (from Le fidèLe Designs affiliate Joann / Hancock Fabrics) that was just perfect for collaging. (See more denim and patriotic print fabric completing my Star-Spangled Independence Day Party Décor as table cloths here.)

127Leigh

Divide the end of your base fabric into 6 inch sections, and mark the underside of the fabric with a pen.

128Leigh

Next, mark 8 inches below the top line to form the length of your future triangles. (You can either cut this strip now or wait until all your marks have been made.)

133Leigh

Mark a dot on the 3 inch midpoint of each 6 inch top section. Use a ruler to mark the corresponding point directly below it, onto the 8 inch line (or cut). This will be your triangle’s point. Mark a line to connect this point to each corner of the 6 inch marks you made first. (You will be making triangles with each connection.)

132Leigh

Cut along each line to make your triangle bases. Another option is to make a tab at the top of each triangle in order to fold it over a thick piece of rope… otherwise just glue the triangle top to the rope. (I elected to make a tab for these. I’ll demonstrate the tab-less version in a future tutorial.)

140Leigh

Cut a tapered edge on any tab tops you make, so that it isn’t seen on the front after gluing.

136Leigh

Now cut out individual images from your printed fabric… just as you would in a paper collage or decoupage project. Use good fabric shears for a clean cut, or old scissors to make an intentionally rough edge… again, it’s your project, so it’s your choice. Also, think about cutting apart some of the larger images into smaller ones. (For example, cut apart the eagle from the flag in one image.)

138Leigh

Lay out your triangles to plan your design. Rearrange your cut images until you find it looks pleasing. (This is the part where banner craft becomes collage art.)

142Leigh

Adhere the appliqués to the triangle base with hot fabric glue. (Because I’ve already dealt with staunch naysayers concerning the ability of hot glue to work on fabric… there are varieties of hot glue made just for fabric, and it will say so on the label. Press the fabrics together immediately after applying the glue, using silicone hand protection of course. Once the glue has cooled completely, I defy anyone to pull the 2 materials apart!) There are also many varieties of cold fabric glue that just require more drying time. (This would be the safer option if constructing this with kiddos.)

145Leigh

Next glue each triangle flap over the rope you’ve chosen, leaving an inch or so between each. (For the tab-less version, just glue along the top of the triangle’s underside to attach it to the rope directly.) Don’t forget to tie a loop at each end for hanging.

148Leigh

Cut lengths of random yet coordinating ribbon to tie between each panel. Another option is to cut strips of fabric and tie those on. (You can see I’ve done this in the bows I glued to the panel fronts.) Now go hang it up and admire your handiwork! 🙂

162Leigh

“Oh, say, can you see, by the dawn’s early light,What so proudly we hail’d at the twilight’s last gleaming? Whose broad stripes and bright stars, thro’ the perilous fight, O’er the ramparts we watch’d, were so gallantly streaming? And the rockets’ red glare, the bombs bursting in air, Gave proof thro’ the night that our flag was still there. O say, does that star-spangled banner yet wave O’er the land of the free and the home of the brave?”

368Leigh

May you have an absolute blast crafting your own star-spangled banner this Independence Day!

Faithfully Yours,

Leigh

P.S. If you like collage, check out my July 4th Altered Art Greeting Card as Mailable Mixed Media Independence Day Décor (DIY Collage Art Tutorial).

120Leigh

July 4th Altered Art Greeting Card as Mailable Mixed Media Independence Day Décor (DIY Collage Art Tutorial)

120Leigh

Herald in the fourth of July with an altered art greeting card that doubles as a mailable gift, as it may be framed by the recipient as mixed media décor commemorating Independence Day. It’s a delightful way to send a bit of revelry to a loved one who can’t attend the year’s celebration. This art project is perfect for gathering the whole family together for a fun “crafternoon”, because the Design Memory Craft mediums are non-toxic. They are also fully compatible with each other and a large variety of substrates. This product versatility makes it so easy to combine collage material into something impressive. So follow along as I create an art card ablaze with the spirit of the season, then use the ideas to make one infused with your own artistic essence… because a blast of creativity is the best way to start the holiday off with a bang!

058Leigh

Begin with a readymade greeting card base or make your own inexpensively from sturdy cardstock.

061Leigh

I cut a piece of parchment printed paper to a 7 x 10 inch size, so that it could be folded into a 5 x 7 card… perfect for framing.

63Leigh

I used deckle edge cutting scissors to produce a torn looking finish on the card. (I later used the deckle scissors to cut around some of the stamped images too.) Pitt artist pen big brushes are perfect for highlighting such details. Just swipe the side of the brush along the edge to deposit the permanent ink in a rough fashion.

064Leigh

Paper washi tape is a quick way to imbed visual texture onto the base of a collage. Another way is apply printed pages with gel medium. (I’ll demonstrate this more fully in a future tutorial.)

068Leigh

Design Memory Craft gelatos are multipurpose mediums that look like colored chap-sticks. They apply thickly, but can be thinned to watercolor consistency when mixed with water. (You can even turn them into a liquid spray paint to splatter your work with!) They can be used to dye a variety of materials as well. To dye canvas ribbon, I simply marked it haphazardly with a gelato on both sides. I then took water and rubbed it into the ribbon, like magic… it turned blue. It dried fairly quickly too!

070Leigh They can be mixed with other mediums also. You can see here what straight gelato and plain gesso looked like before mixing. (Warning: if you explore medium capability with a small sample pack like I did… you may get totally hooked too!)

074Leigh

Here I used a palette knife to tint gesso with a cobalt blue gelato. White gesso opacified the color into more of a cornflower blue. A thick swipe of medium over a stencil will lay down a swath of shaped color onto your paper. (Stencil words like “celebrate” are great to have in a craft arsenal to use year round.)

076Leigh

I used the same technique to form raised letters onto colored paper. (This is a great way to use up all those scraps of “craftermath” from previous projects!) The thicker the layer of gesso, the longer it will take to dry.

072Leigh

Use any leftover gelatoed-gesso as an opaque stamping ink. It’s great to use on colored papers that would just appear as plain black if using a stamp pad. (I really liked the blue on red for these fireworks.) Just remember to rinse off your stamp before the gesso dries.

079Leigh

You can dye just about anything with gelatos and pitt pens. The gelato dyed ribbon will appear lighter once it has dried. If you’d like to impart deeper color, just repeat with more gelato. The little scalloped round element is a cork sticker that I tinted with cobalt blue gelato. It’s easy to make an ombre effect by applying color to only one side then rubbing it across the piece. I used the pitt pens as a wood stain by simply coloring the laser-cut birch 4 and bamboo food pick. (This is the easiest and cleanest way I’ve found to tint wood without losing the grain pattern!)

083Leigh

Pitt artist pen big brushes can also be used in place of stamp pads. (They’re especially great when you want to combine colors onto one stamp image!) I spelled out JULY, with a magnetic lettering stamp, as if it had been printed by an old-school typewriter.

087Leigh

Don’t forget to add your seal of “makership” to the back of your creation! Leftover ink on my stamp blended with the deep scarlet red pitt pen ink to tint the edges a bit darker… which I completely adore.

81Leigh

Once most of your elements are constructed, you can place them on the card in order to edit… if need be. I used the rough-draft placement to decide where my background colors should go.

086Leigh

I used red and blue gelatos as finger-paint to tint the paper and washi tape background with. Use a wet finger or a water brush to grab pigment straight from a gelato, or dip a brush or finger into pre-mixed gelato and water. (My choice took me straight back to kindergarten!)

091Leigh

Next, I tied a bow with the ribbon (representing remembrance) and glued everything down. You can use any glue you like, or even the gel medium to glue down the papers with. (I chose hot glue because it works on all the elements I used… even the wooden ones.)

122Leigh

I layered red tinted cardboard under the stenciled papers, and elevated them with tiny foam stickers for dimension. The fireworks were attached with brads, but I added hot glue dots beneath them to make them pop right off the page. (Note that the star spangled banner is actually another repurposed food pick!)

093Leigh

For a finishing touch, I applied dots with opalescent texture gems gel liner (to symbolize stars in the night sky filled with the rocket’s red glare which we memorialize with fireworks).

120Leigh

It’s that subtle yet profound symbolic meaning that completes the piece’s transformation from craft into art which makes it worthy of being framed, not just as a holiday decoration, but as artwork. This Independence Day, I will be celebrating the liberty we are given to express ourselves in a country of freedom.

Faithfully Yours,

Leigh

P.S. If you like making collages, be sure to check out my DIY July 4th Denim No-Sew Appliqué Collage Star-Spangled Banner Craft Tutorial for Independence Day. 

163Leigh